titino
-
Posts
591 -
Joined
-
Last visited
Content Type
Profiles
Forums
Events
Gallery
Everything posted by titino
-
Excellent!!!
-
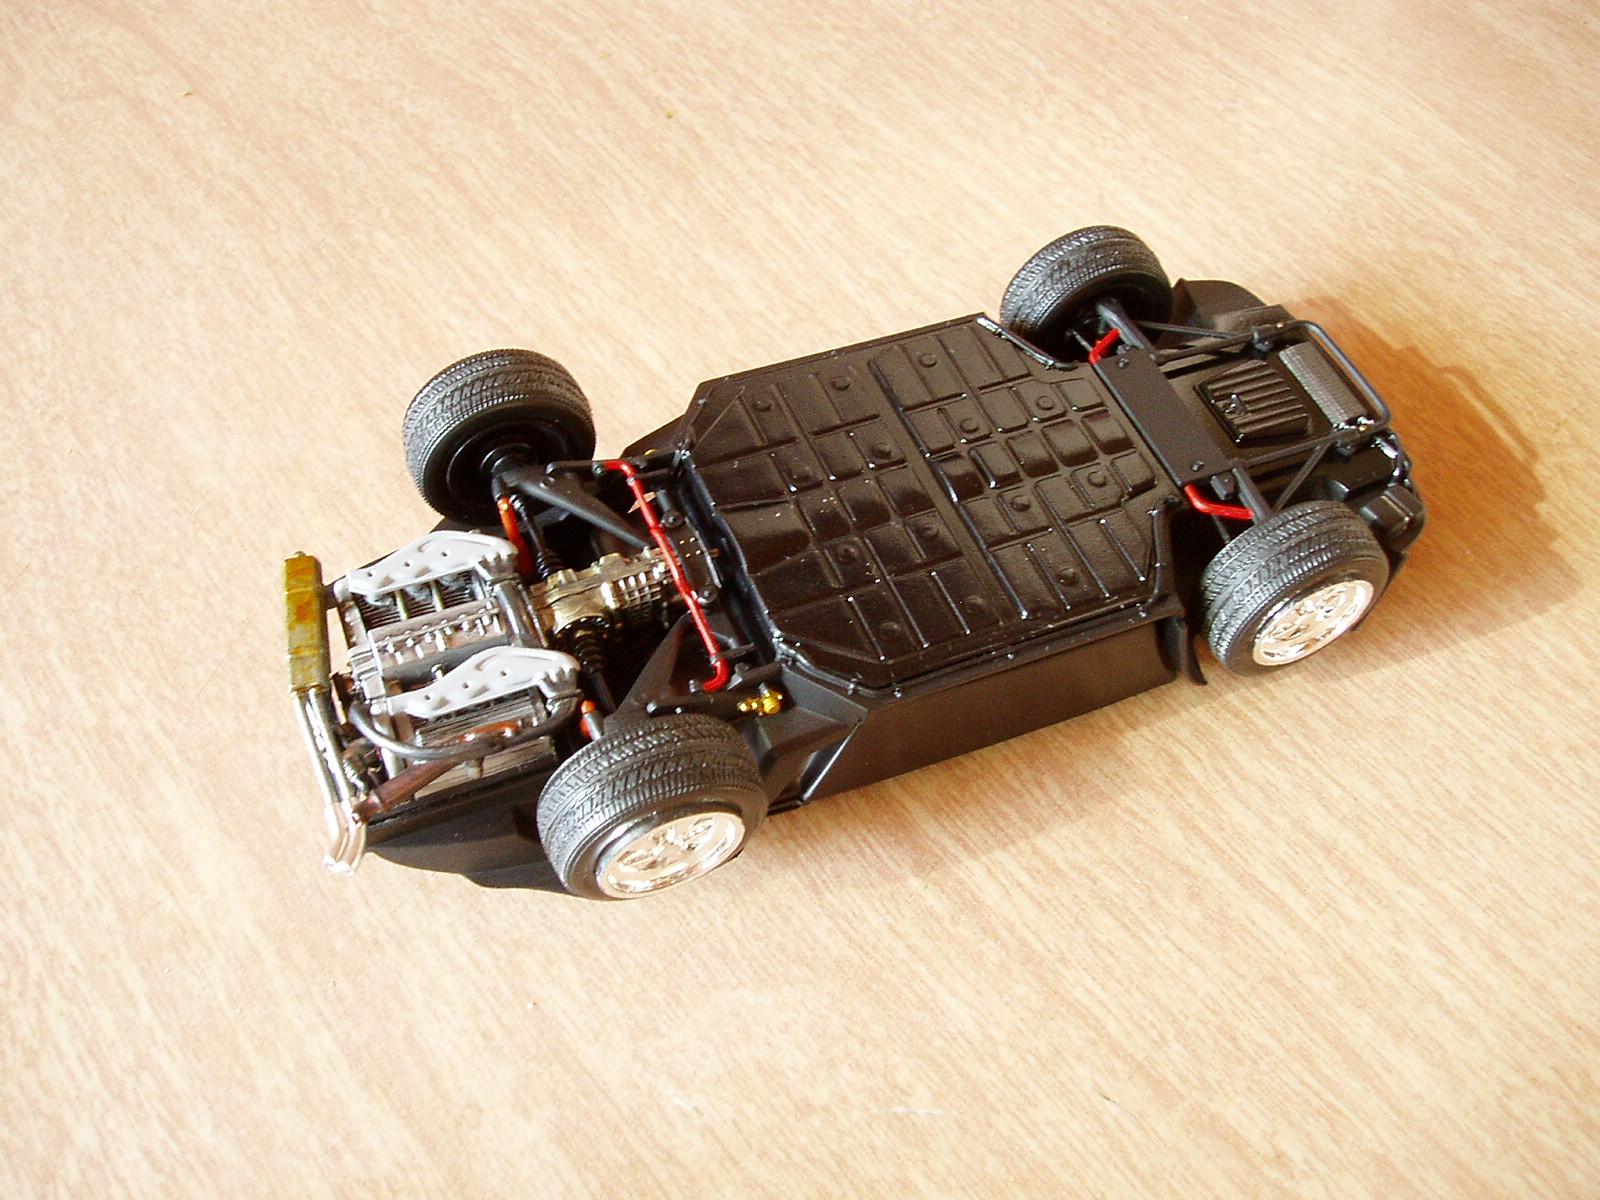
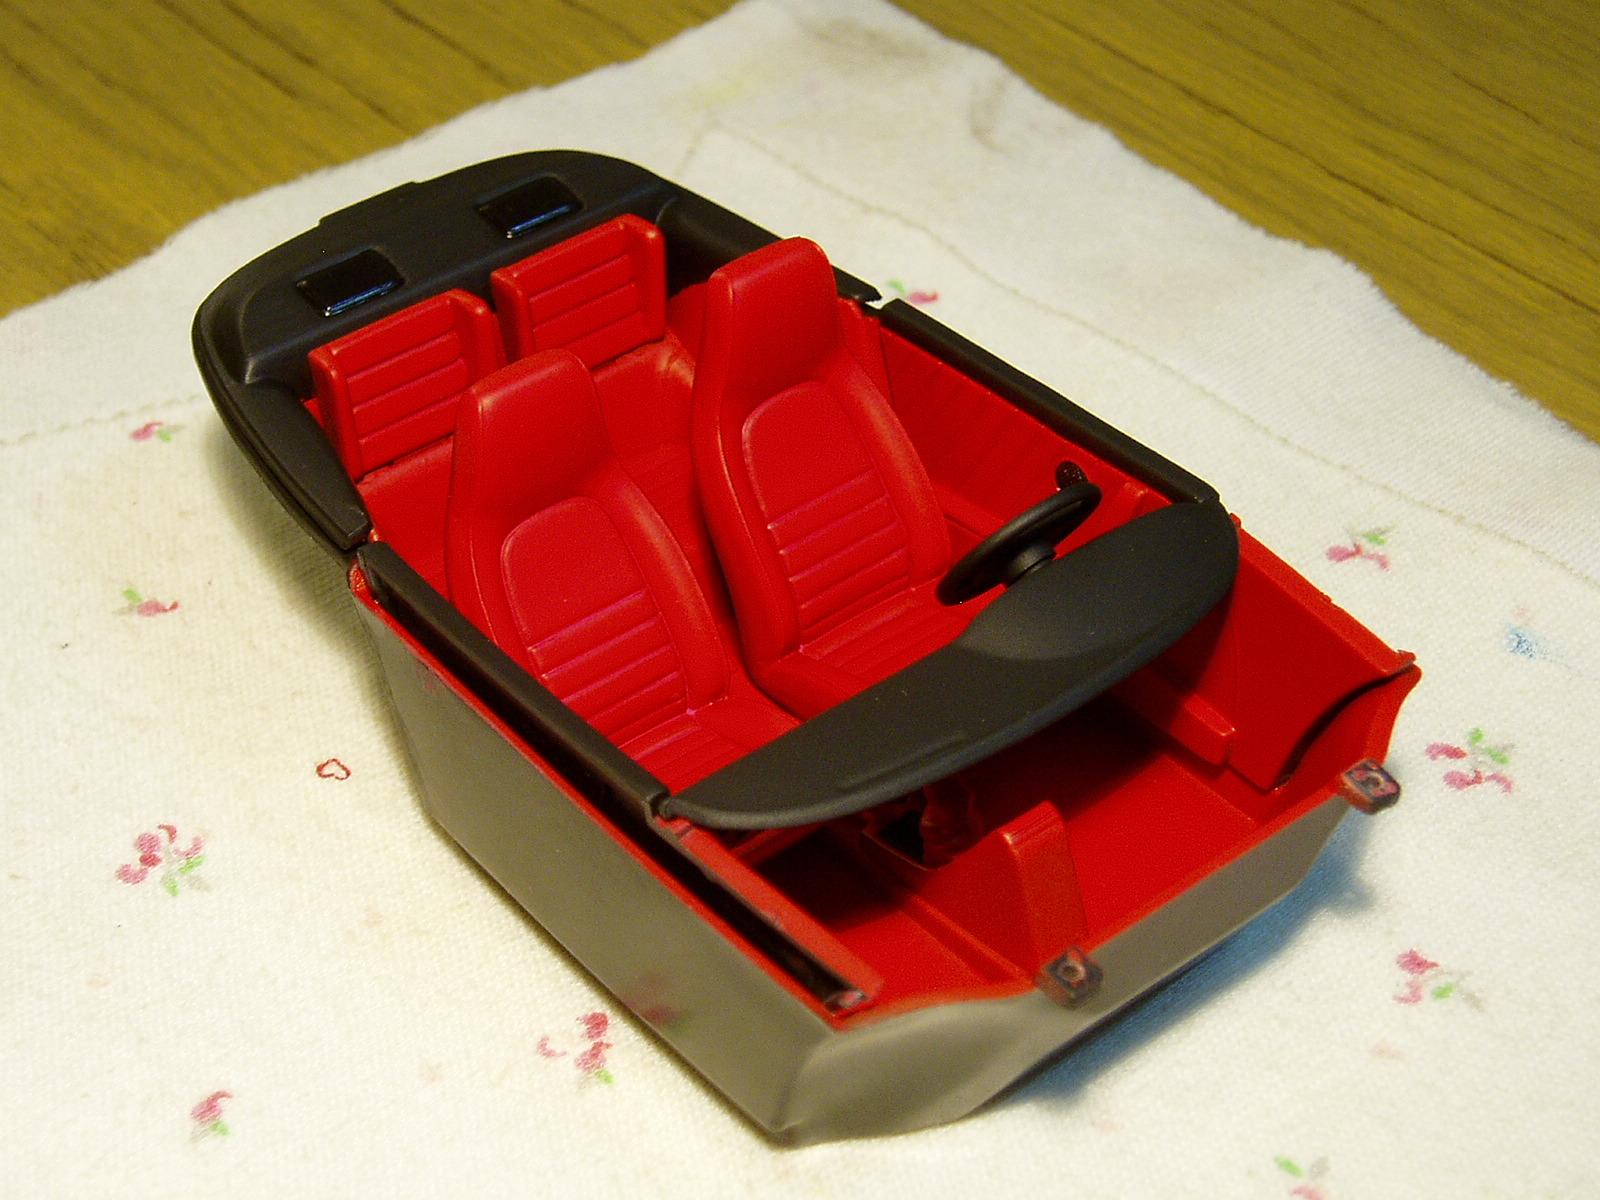
Hello Kelson, Tamiya made 3 very similar models, with small subtleties to differentiate them, first the Honda NSX which can be adapted to the Acura NSX, the Acura NSX which can only be made in this version and the Type R which changes the tires and seats and only this can be done. I had to convert the Acura to Type R because of the price of the Type R, over 150 dollars and it's just a toy. Greetings.
-
Thank you Jim B, DJMar, ChrisR, ncbuckeye67, espo and PappyD340.
-
Thanks everyone for the comments
-
Thank you everyone for the compliment! Much appreciated!
-
Starting from an Acura to a Type R

-
Thank you very much Donato for your words, very happy that you like the model.
-
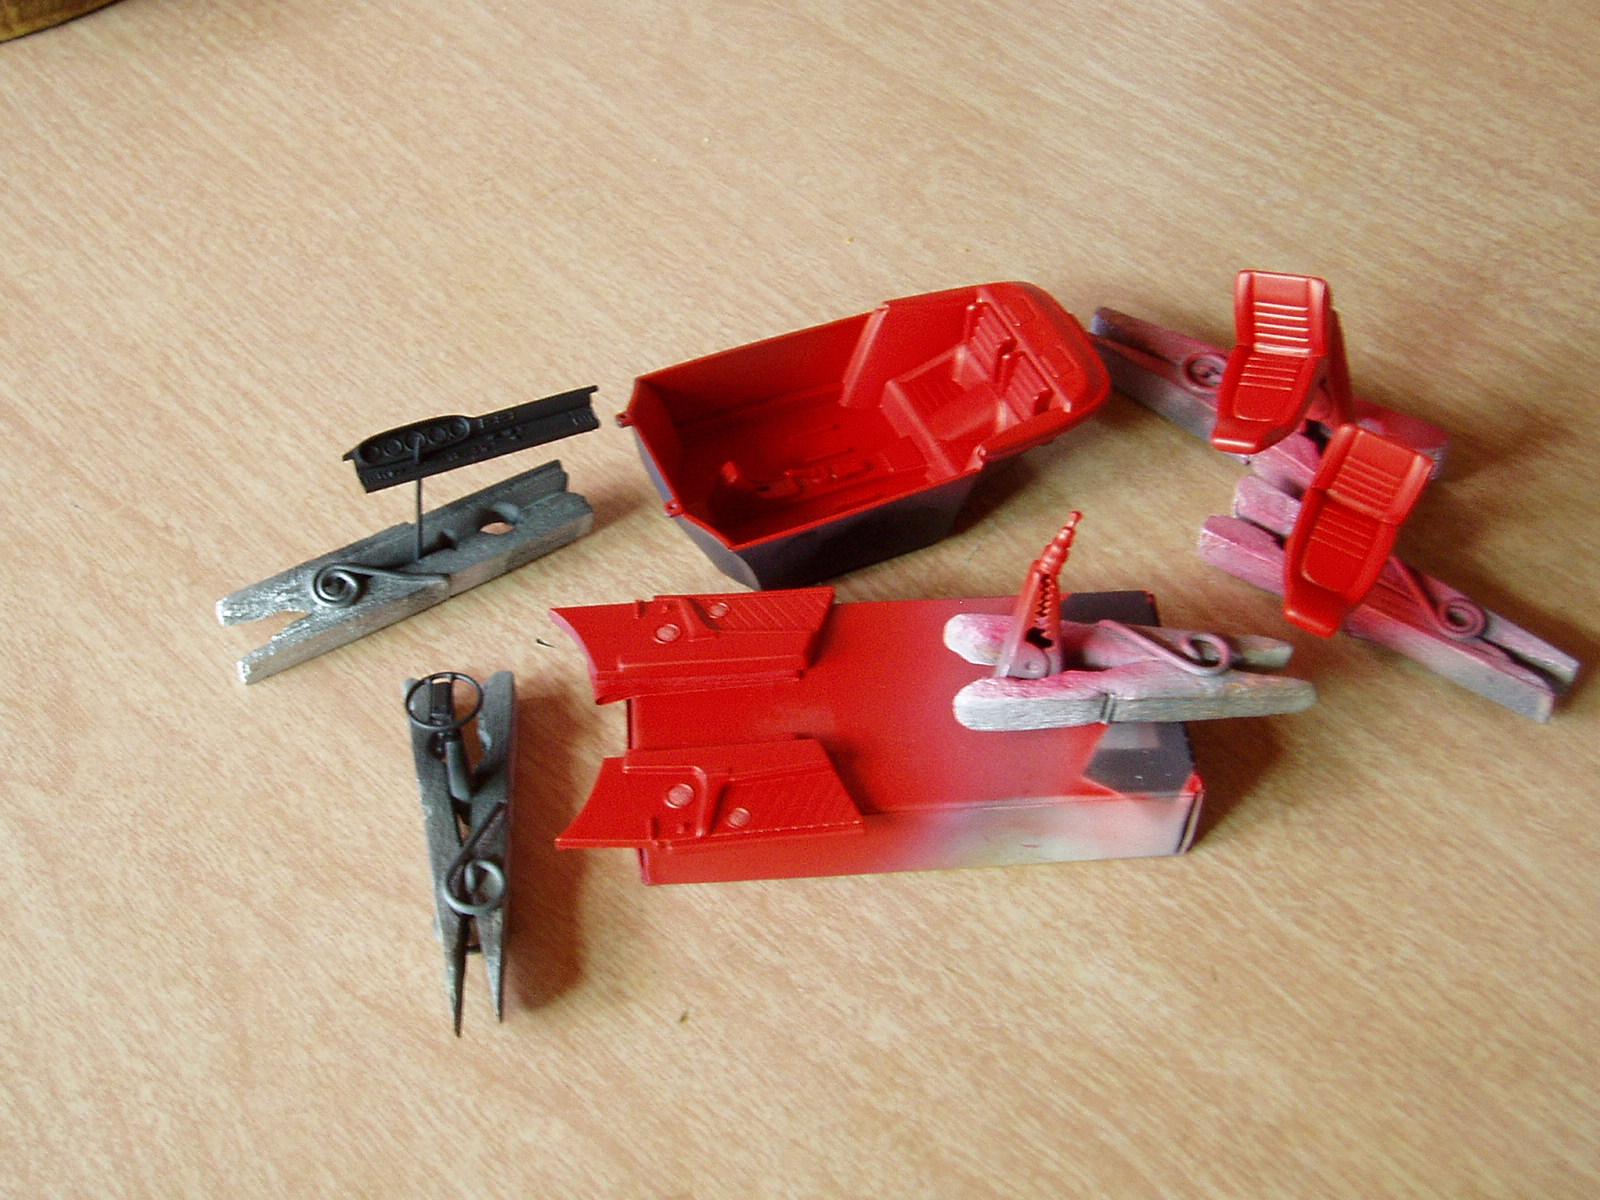
Color Humbrol 208 Fluorescent Signal Green Gloss
-
Glad you liked it, thank you very much Carl.
-
Hello Eric, this kit is completely plastic. Thank you very much for commenting.
-
Thanks a lot Mathias.
-
Thank you Chris.
-
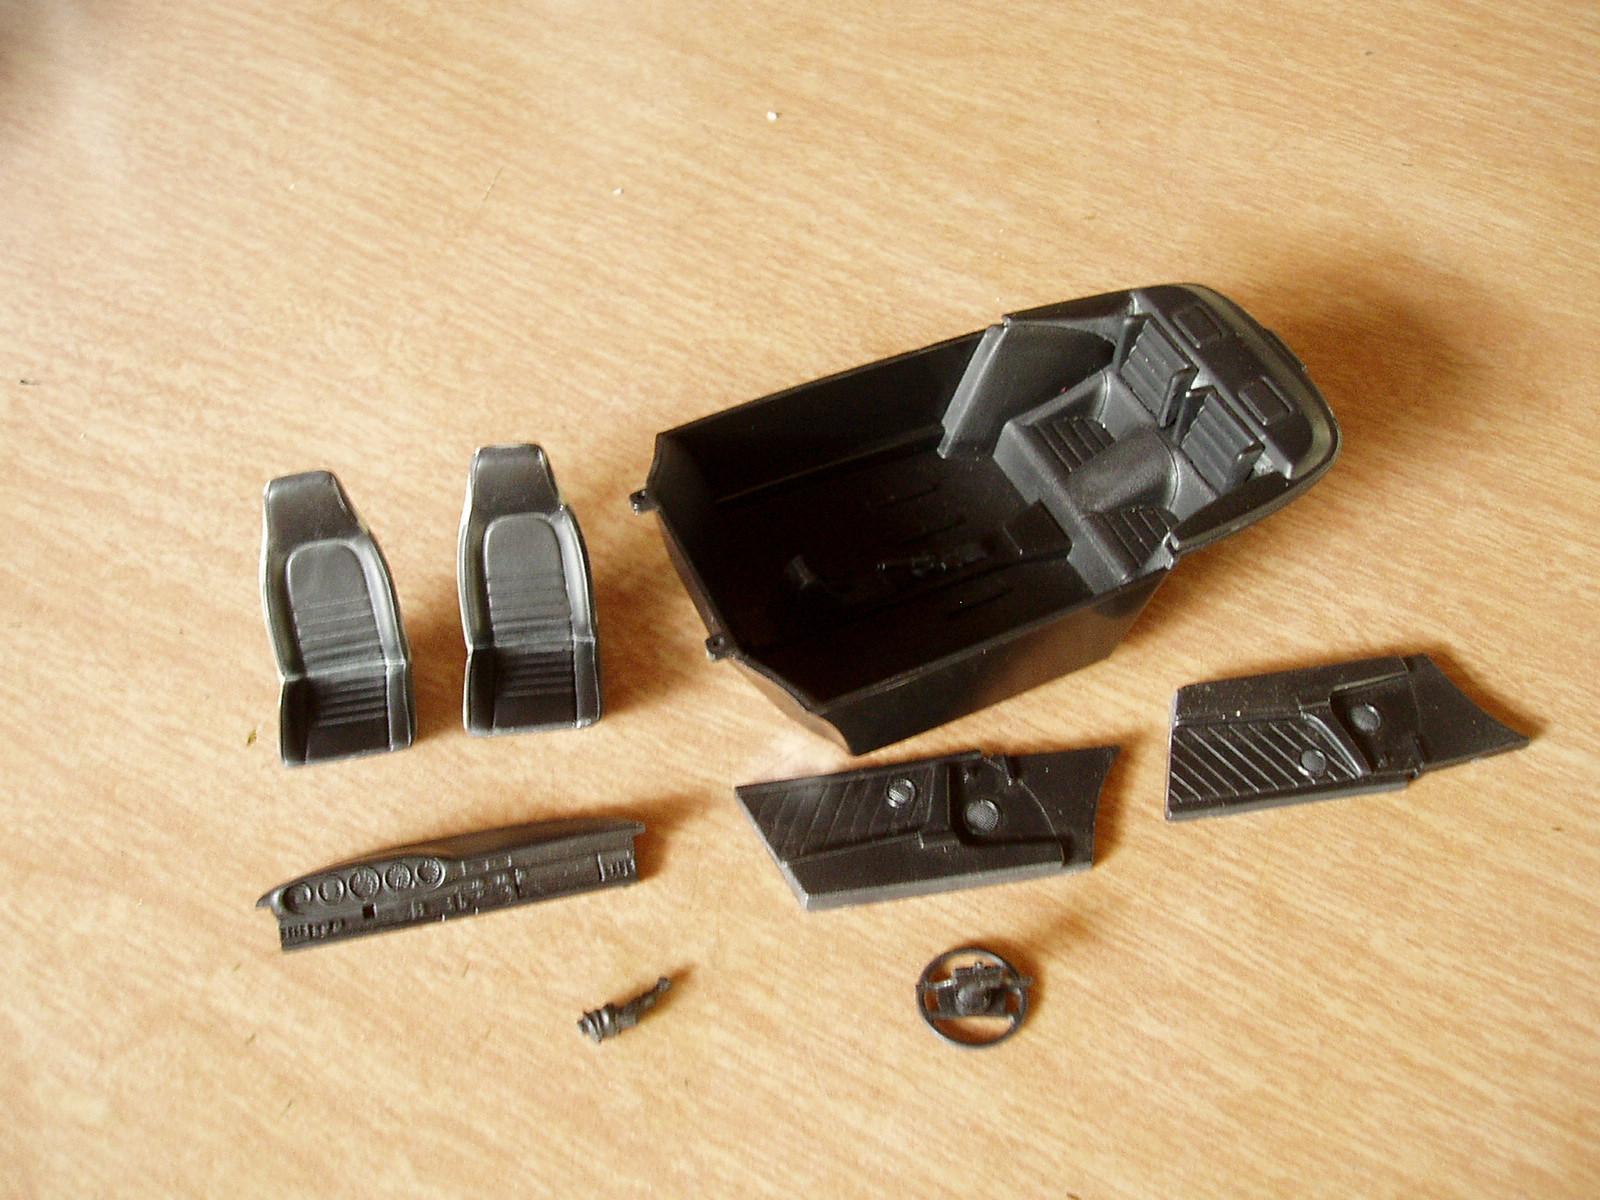
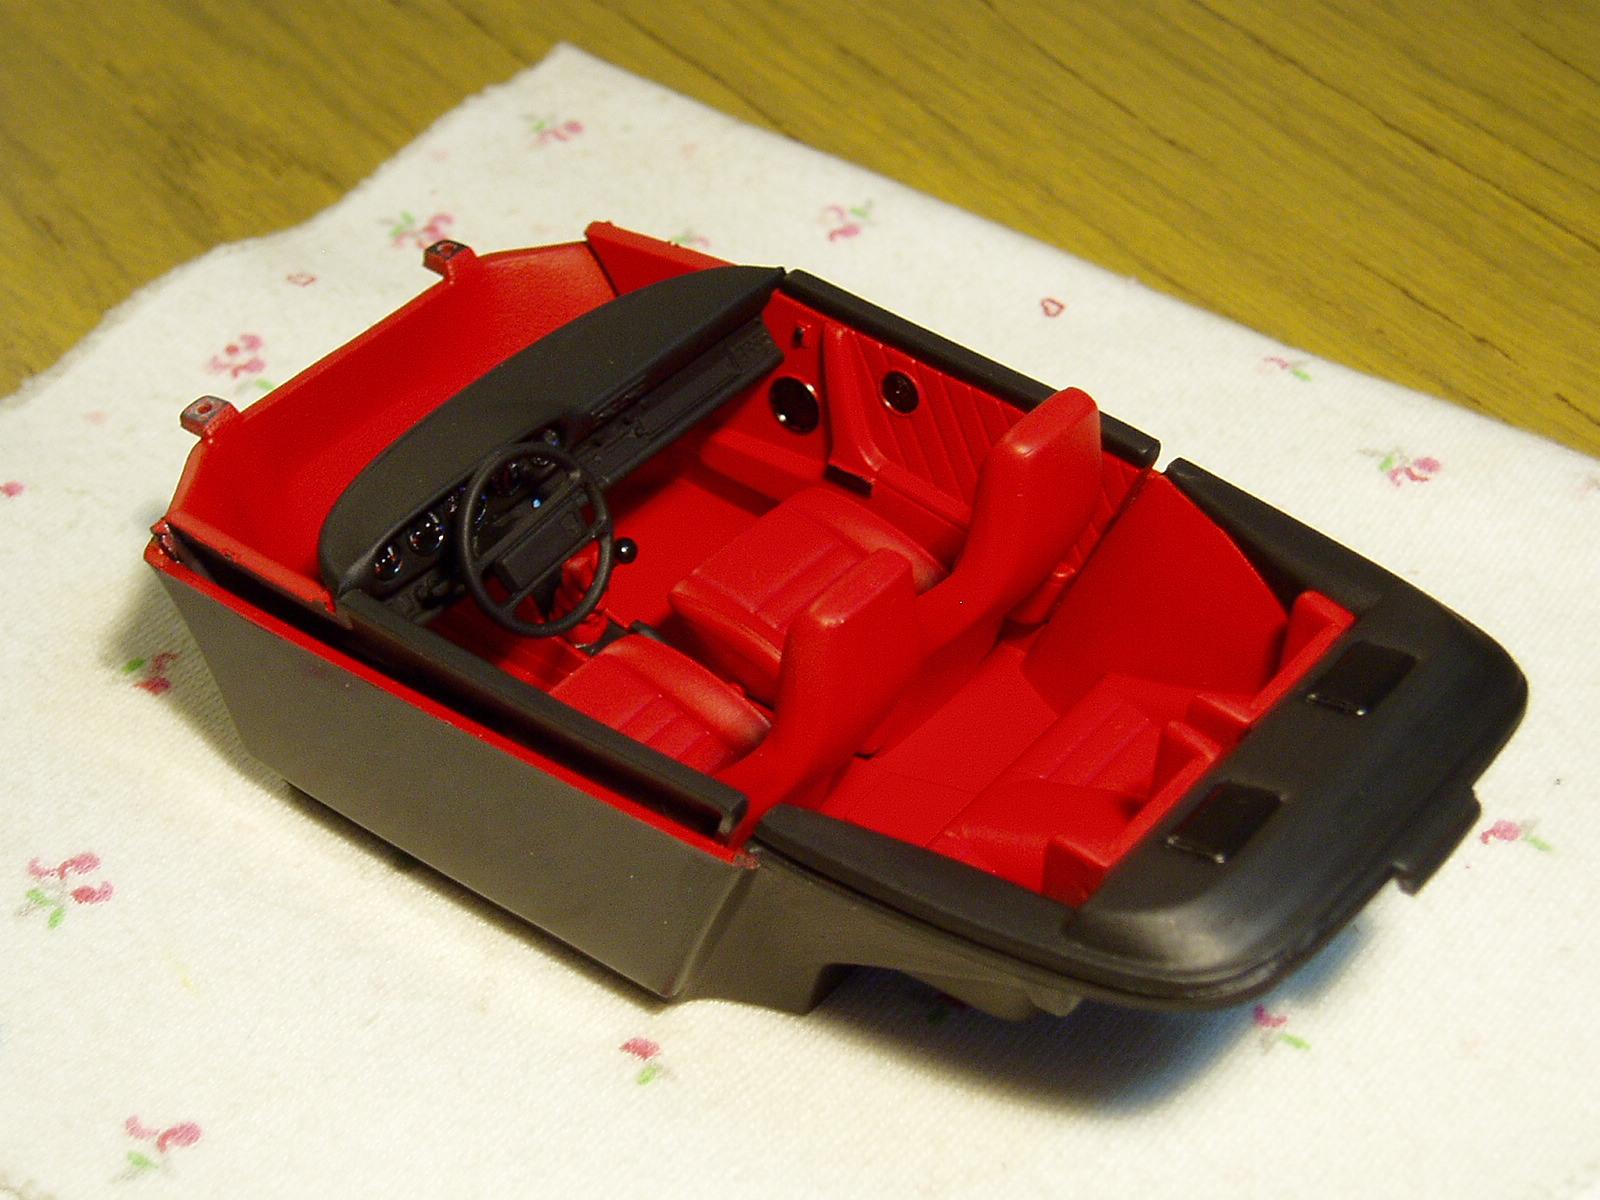
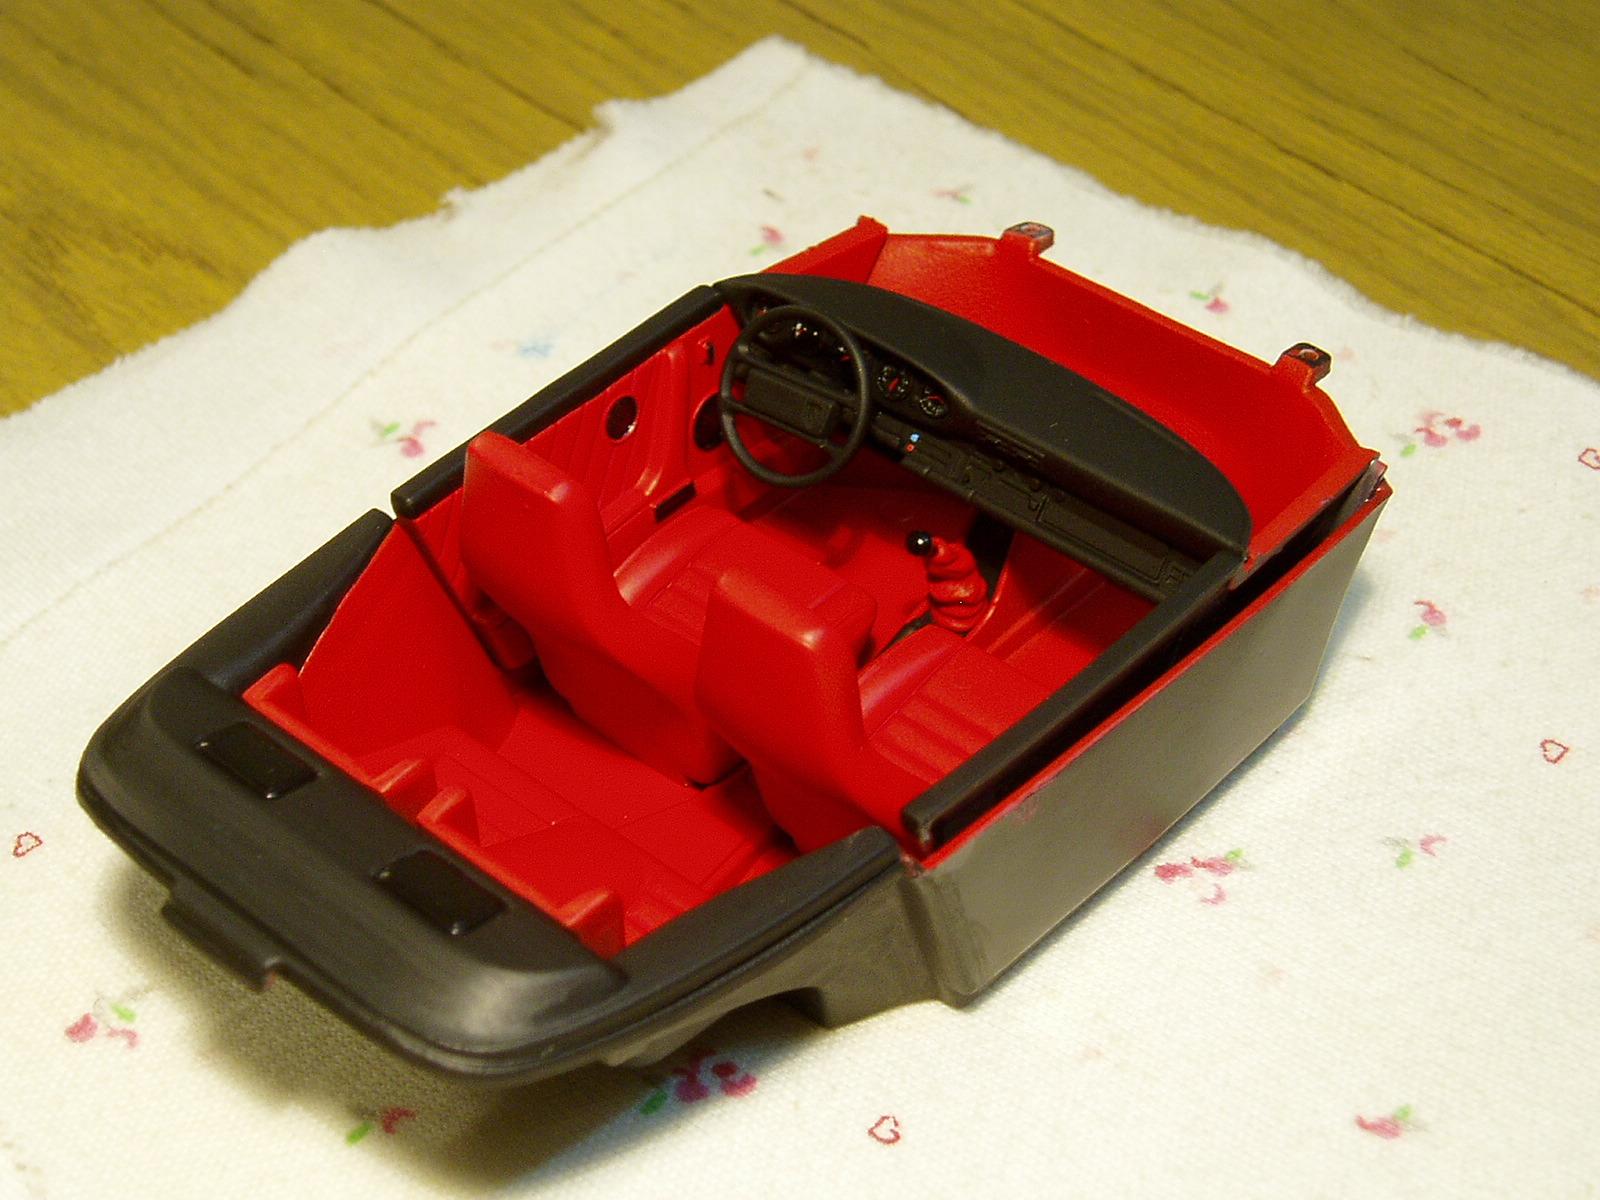
Thank you very much Jeff, the model comes in red, it is not a good red/red combination.
-
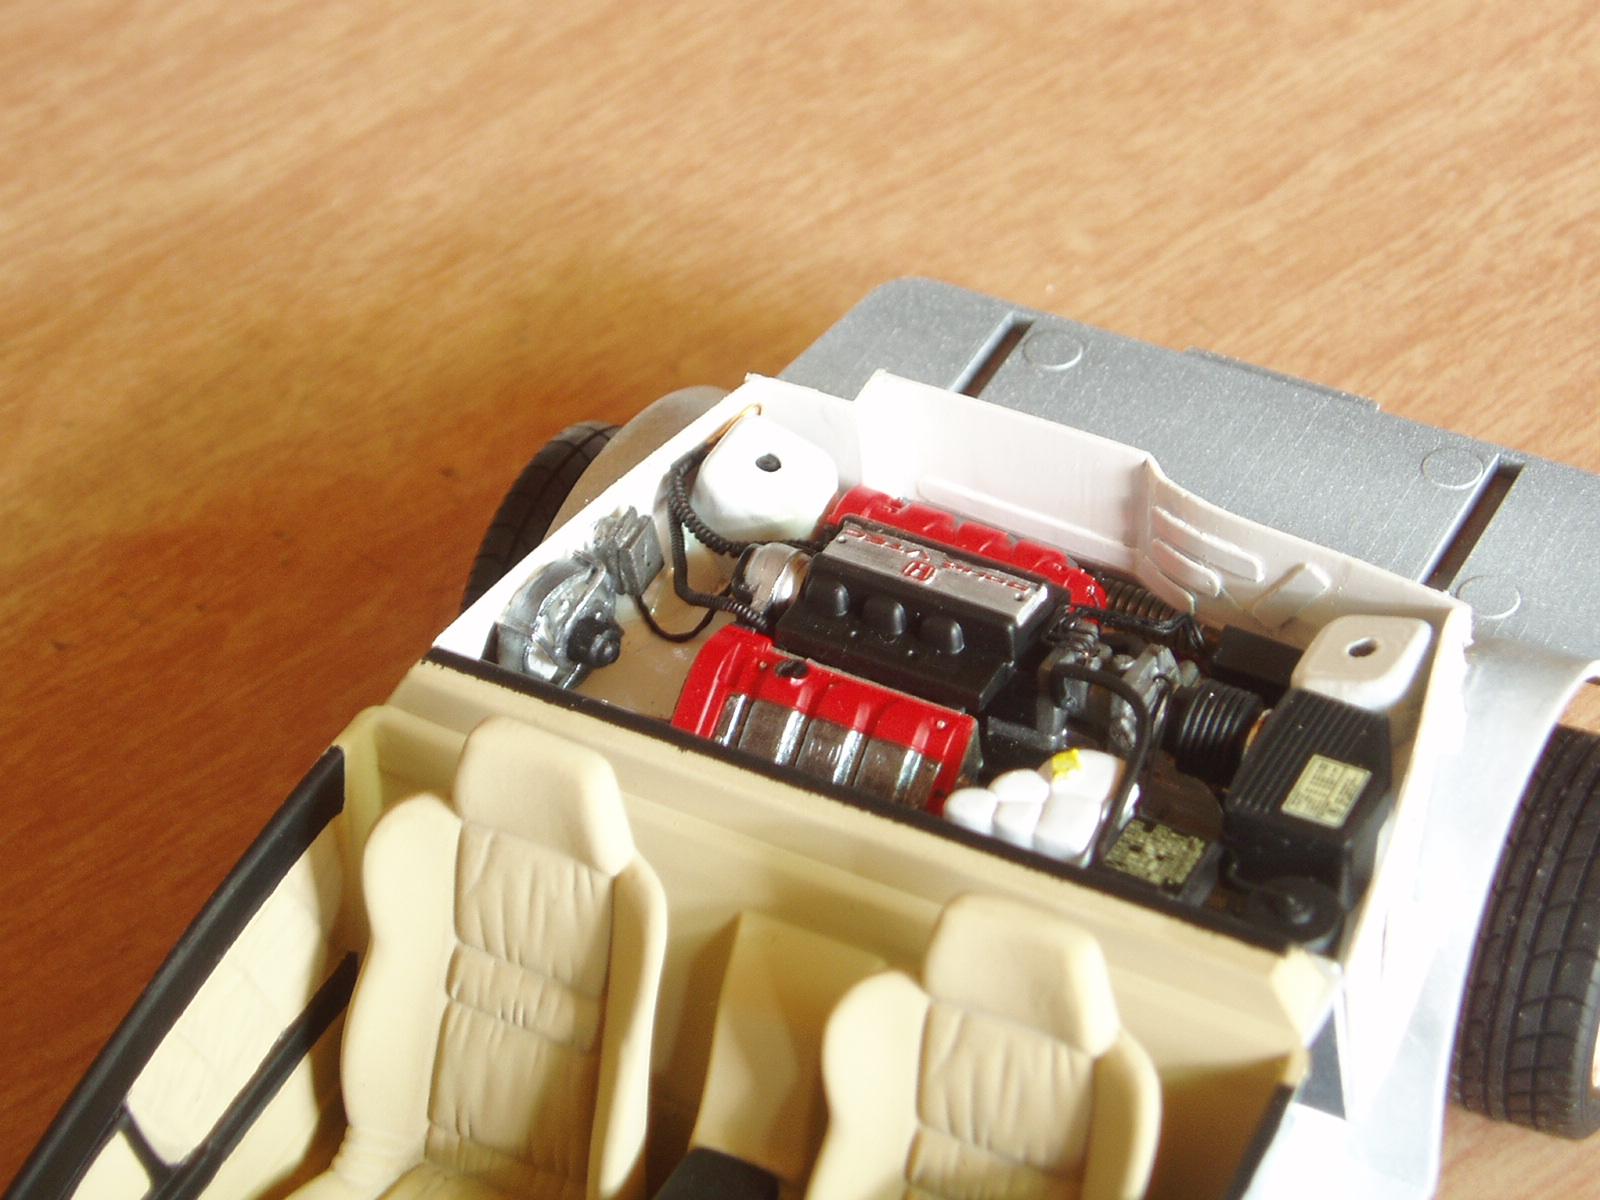
Thank you very much Bob, since the interior comes pre-painted in red/black, look for a matching exterior color.
-
It turned out pretty decent, thanks for your comment David.
-
Thank you very much Larry.
-
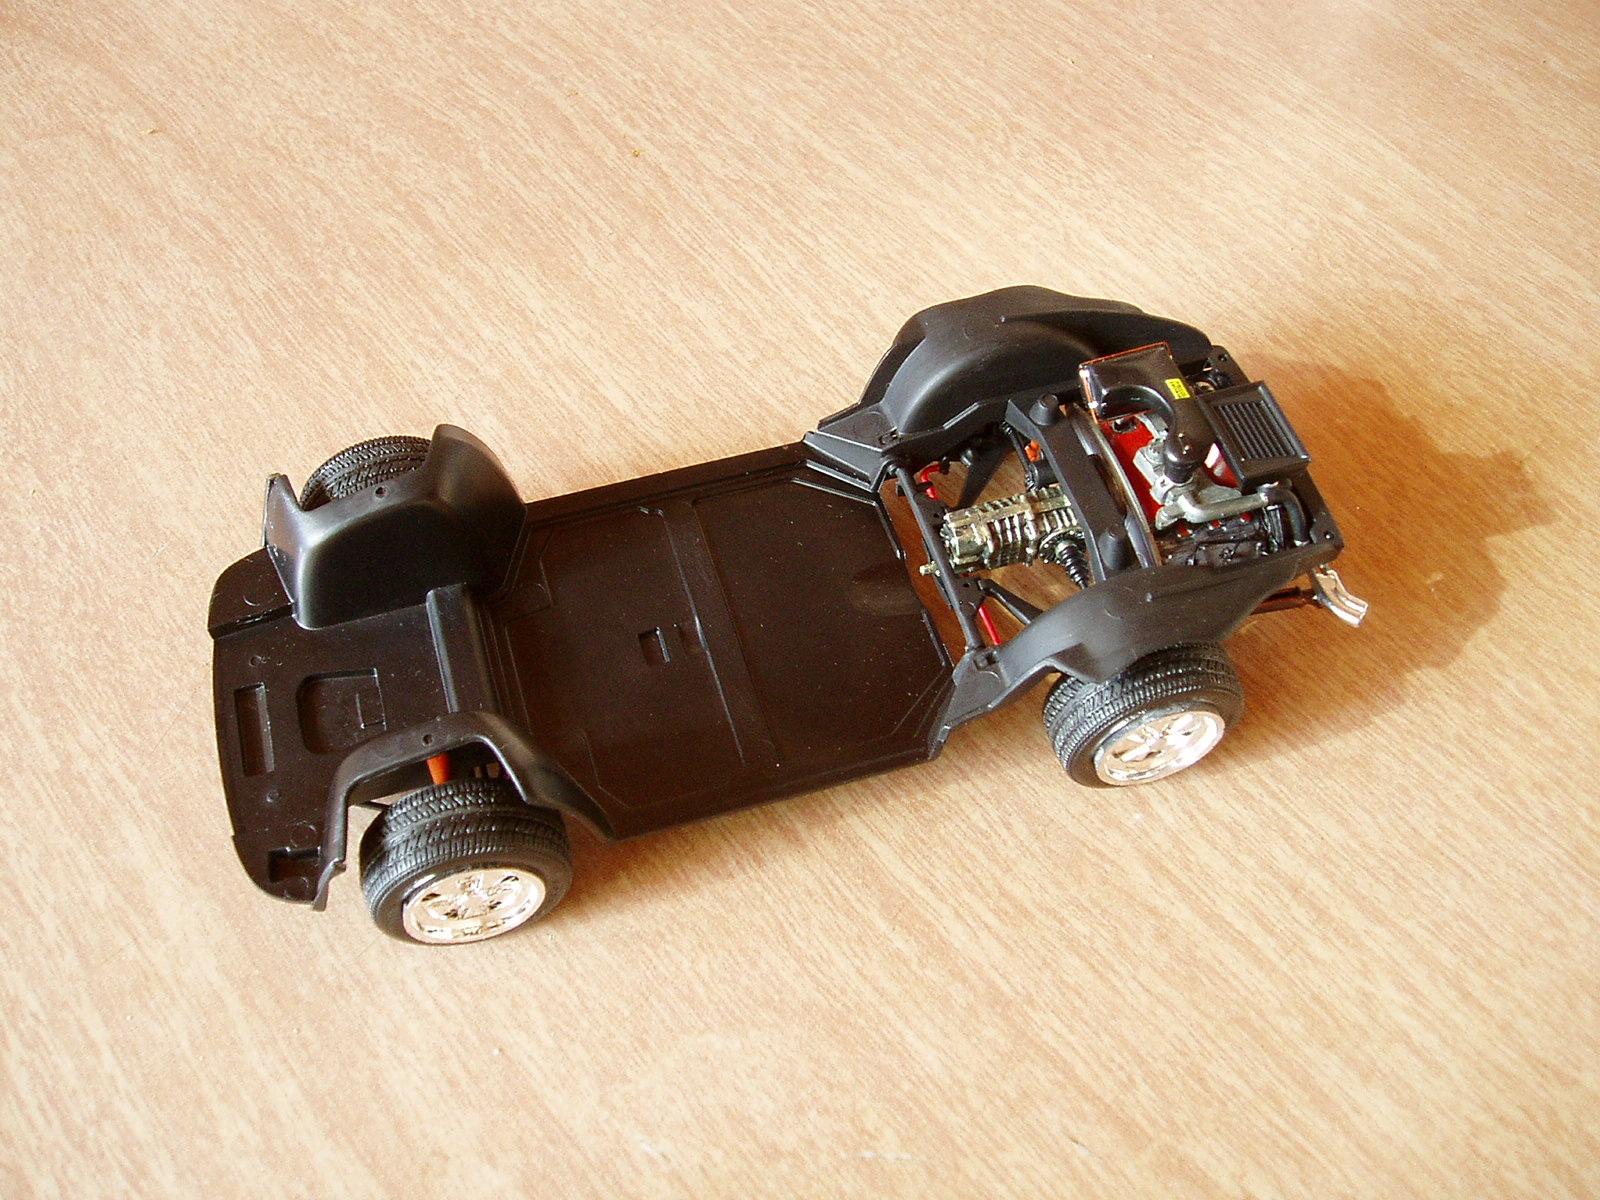
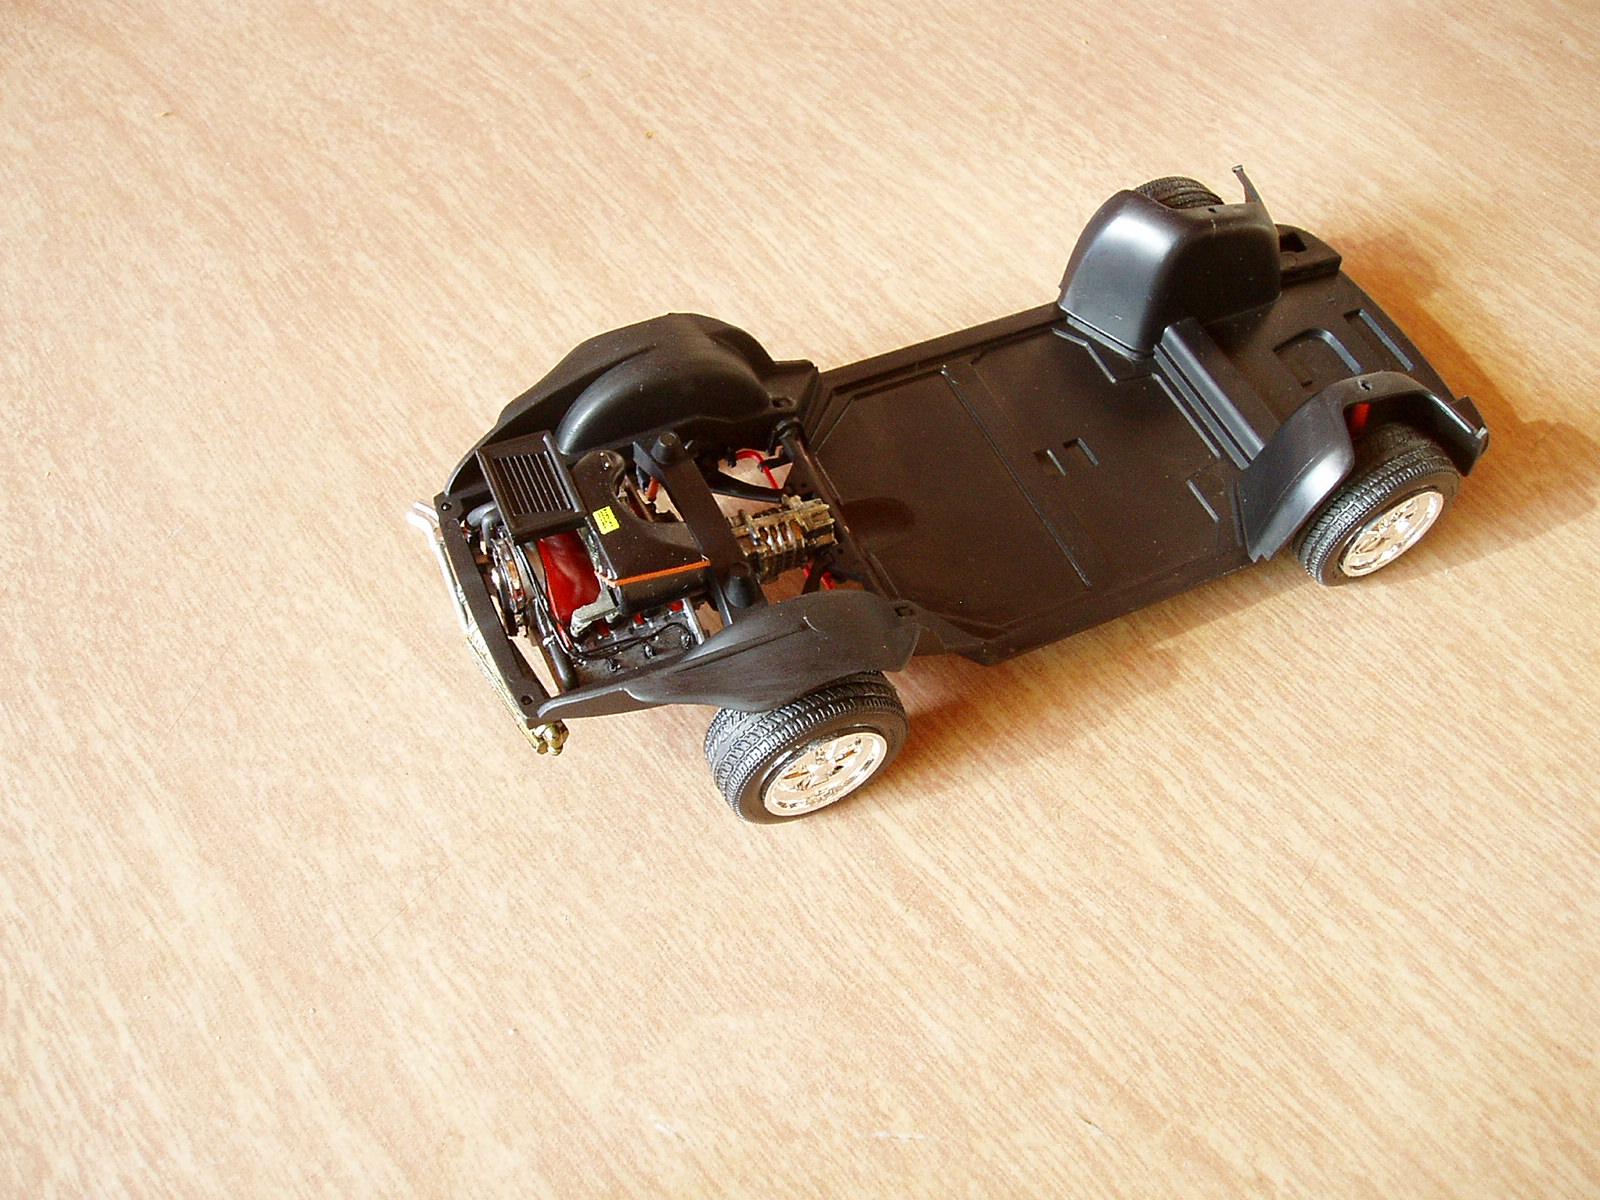
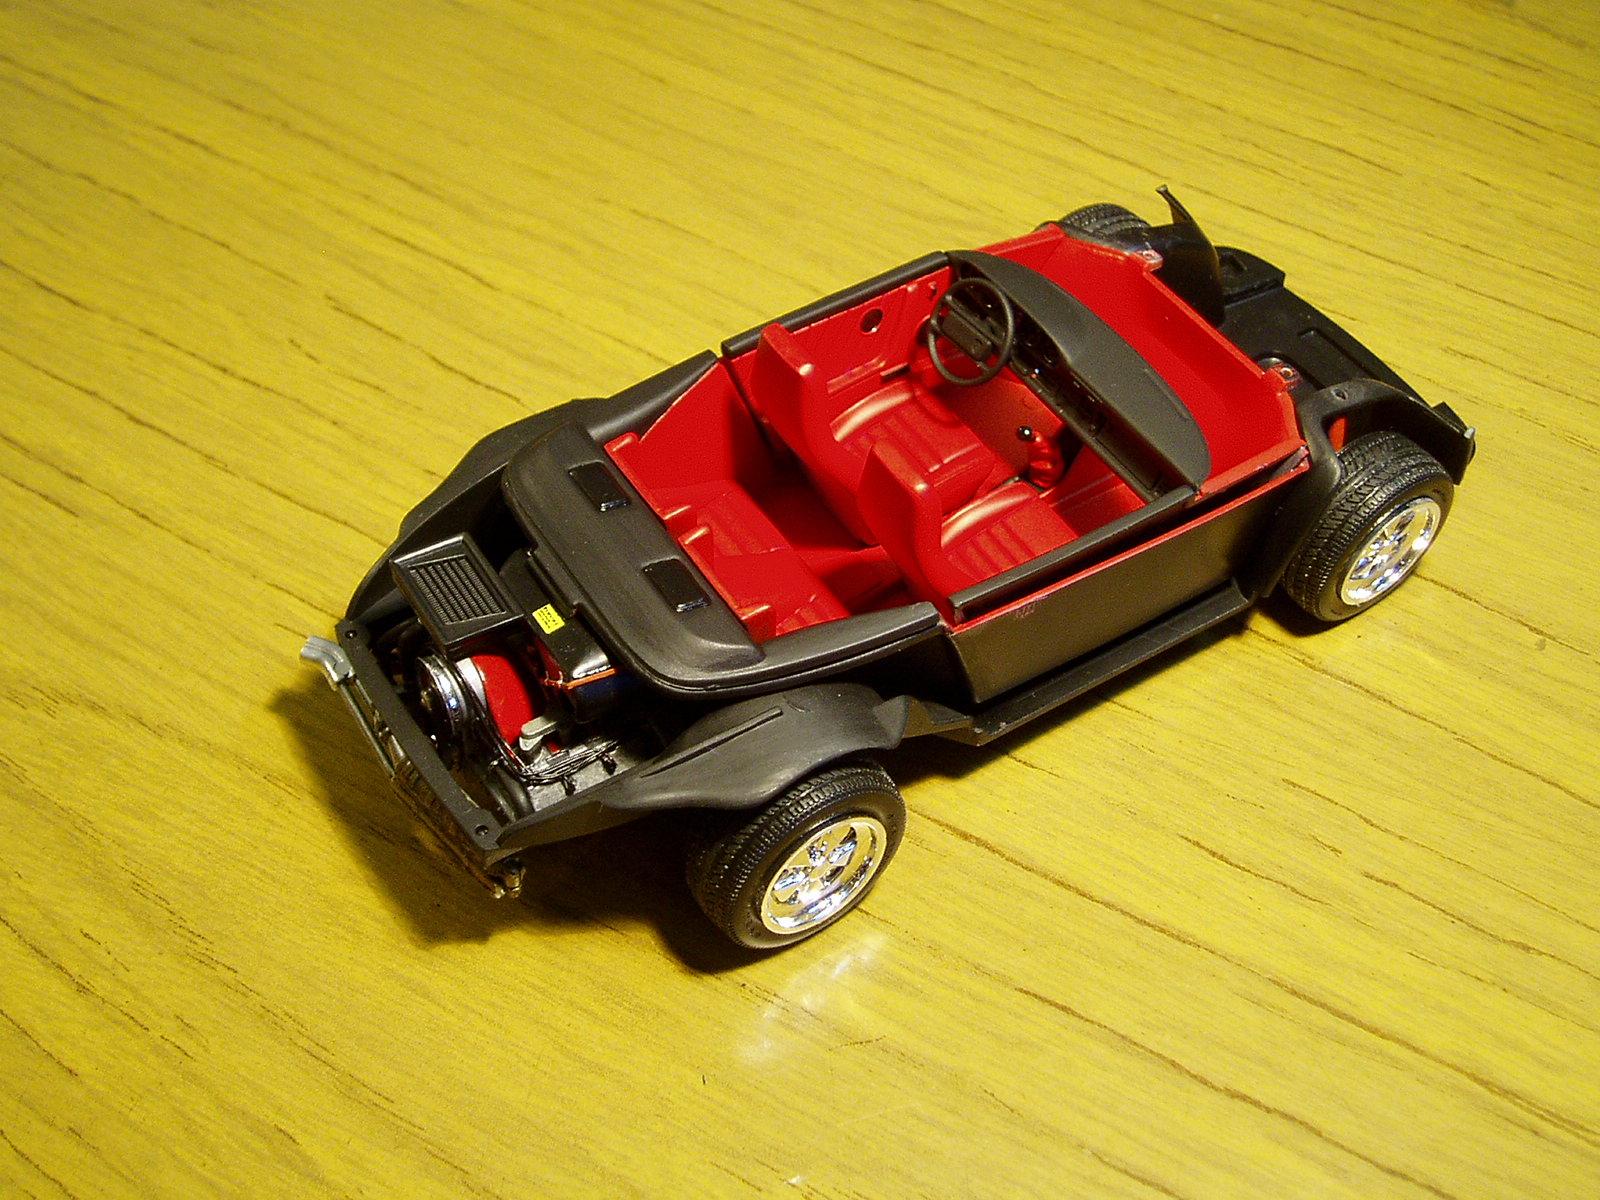
Hi Ulf, I'm glad you like it. The rims are quite well proportioned and have their original paint.
-
Thank you for your words David.
-
Thank you very much James.
-
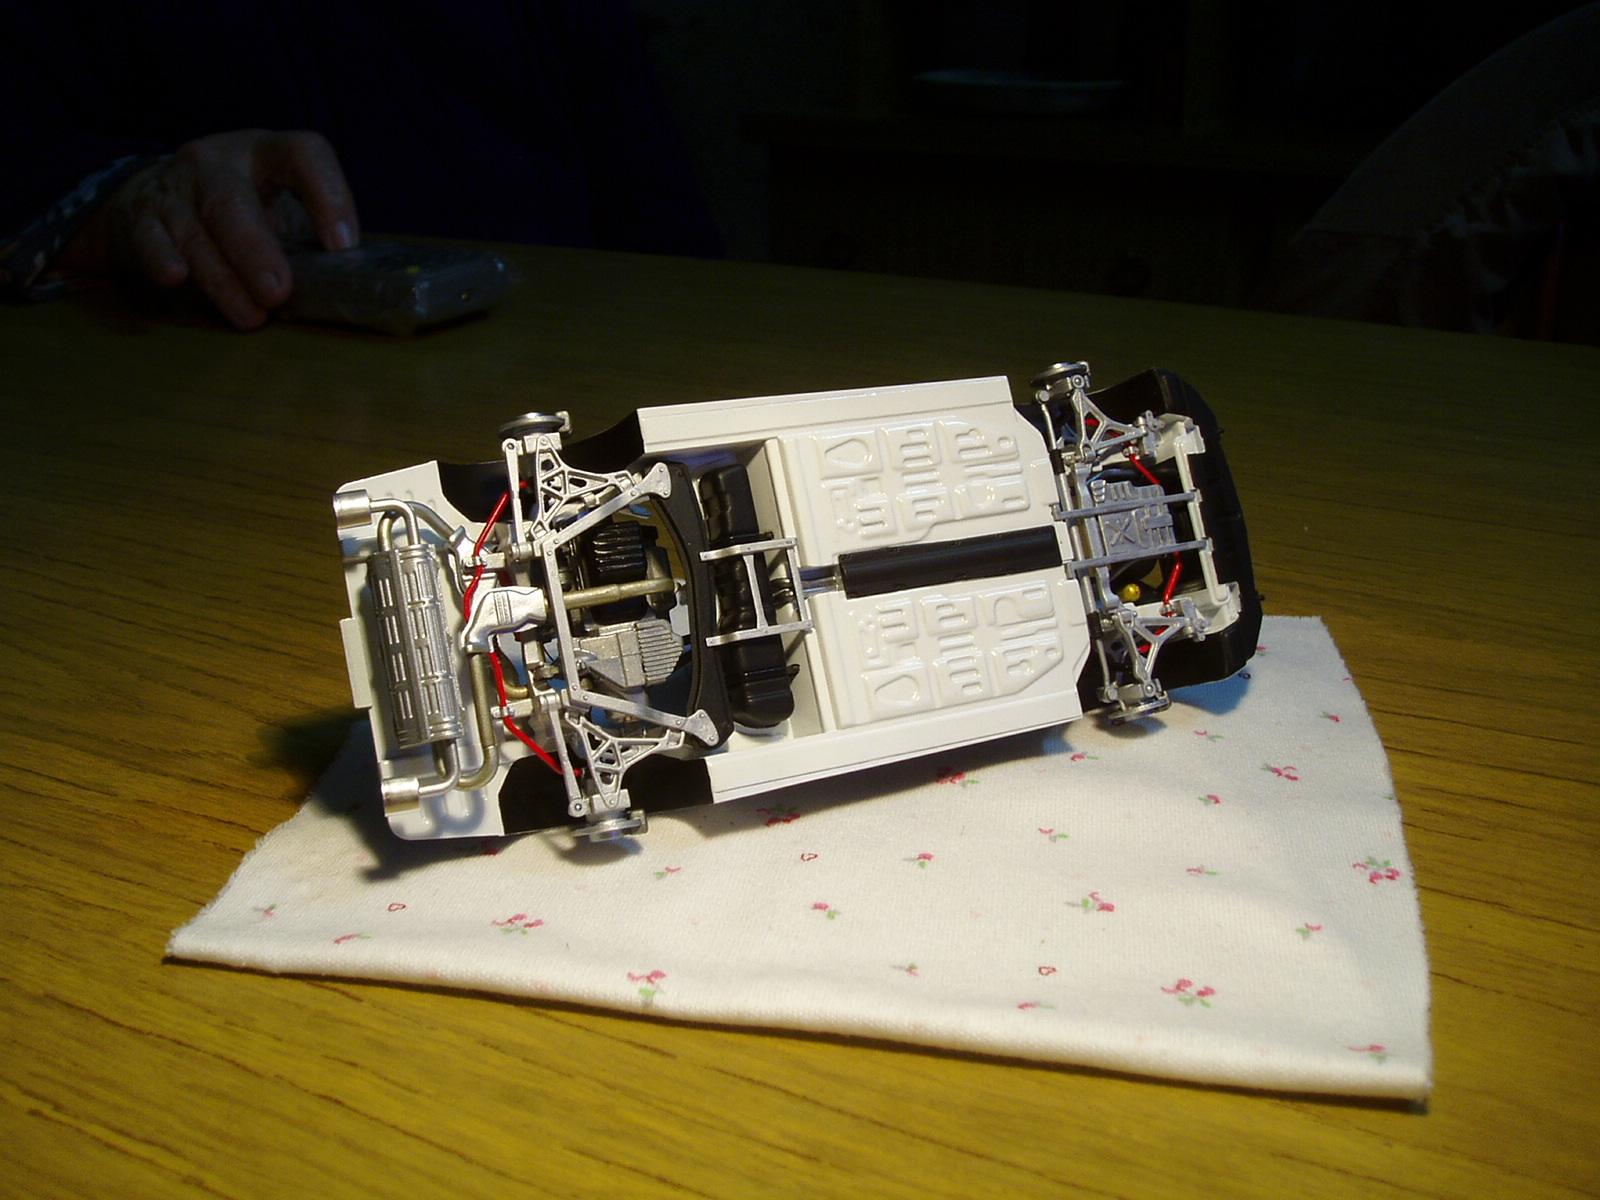
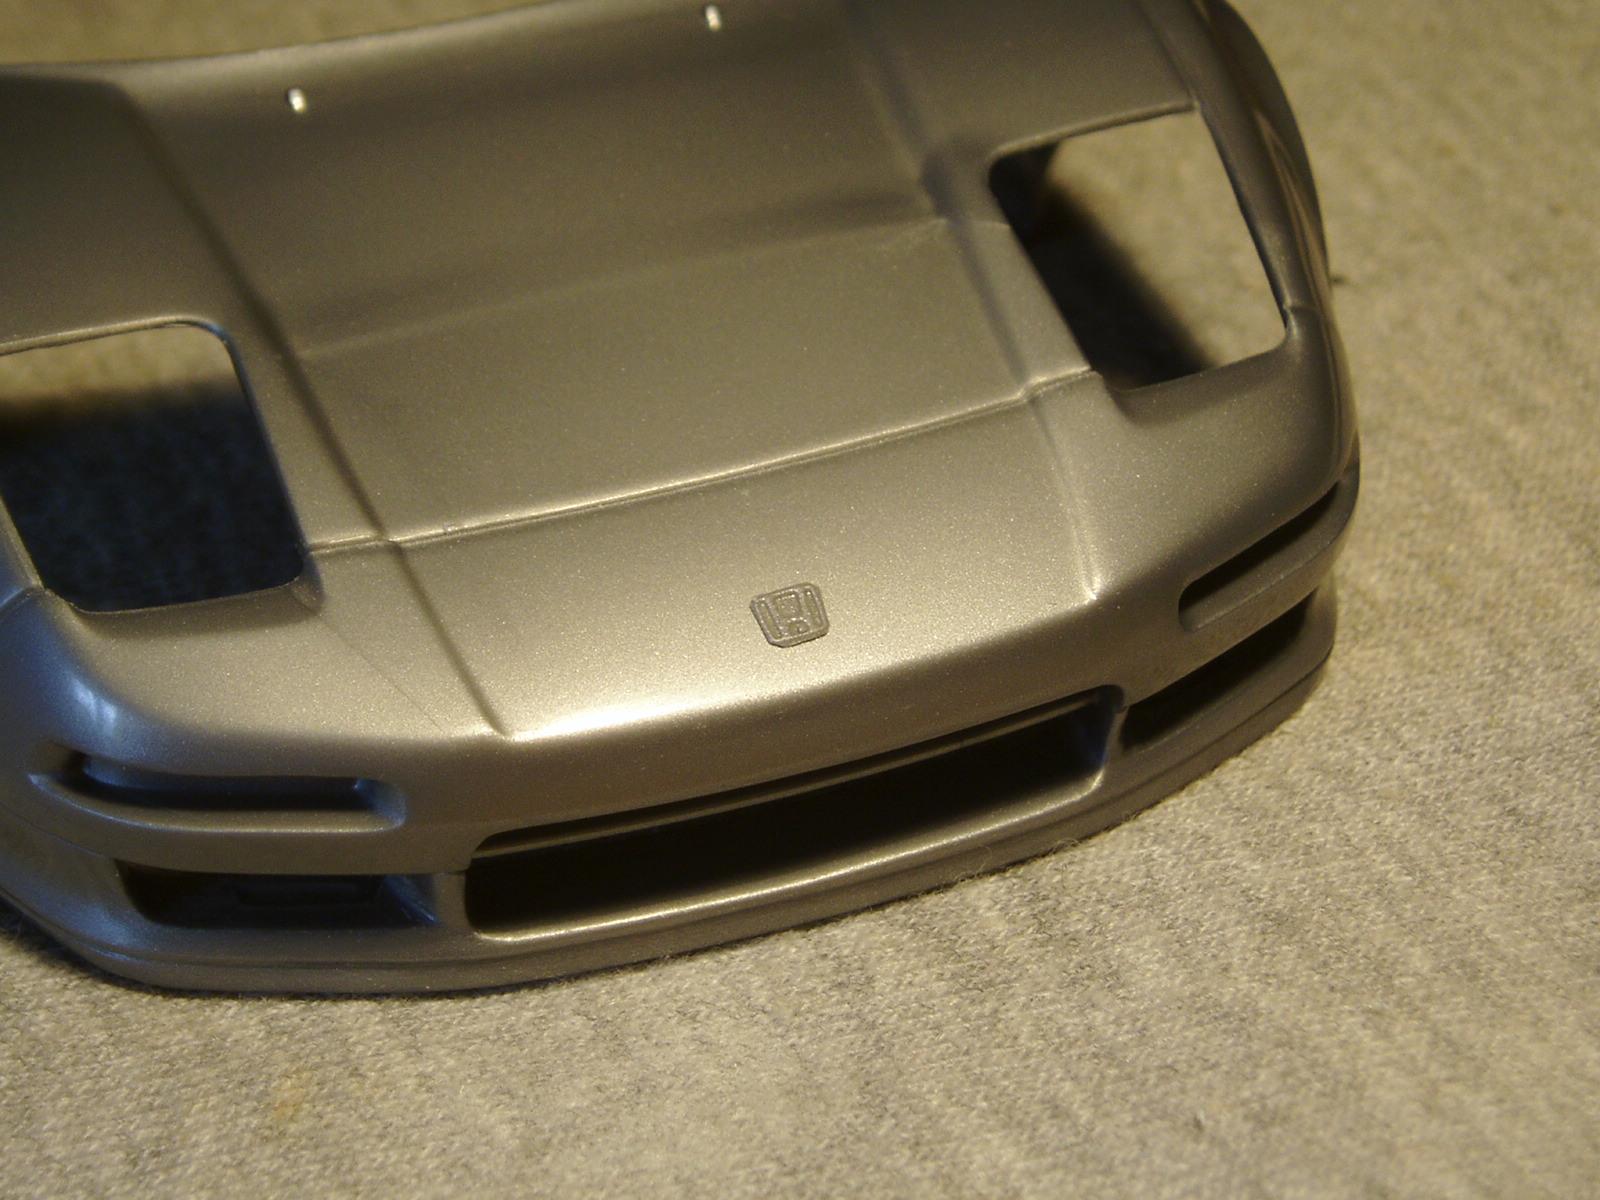
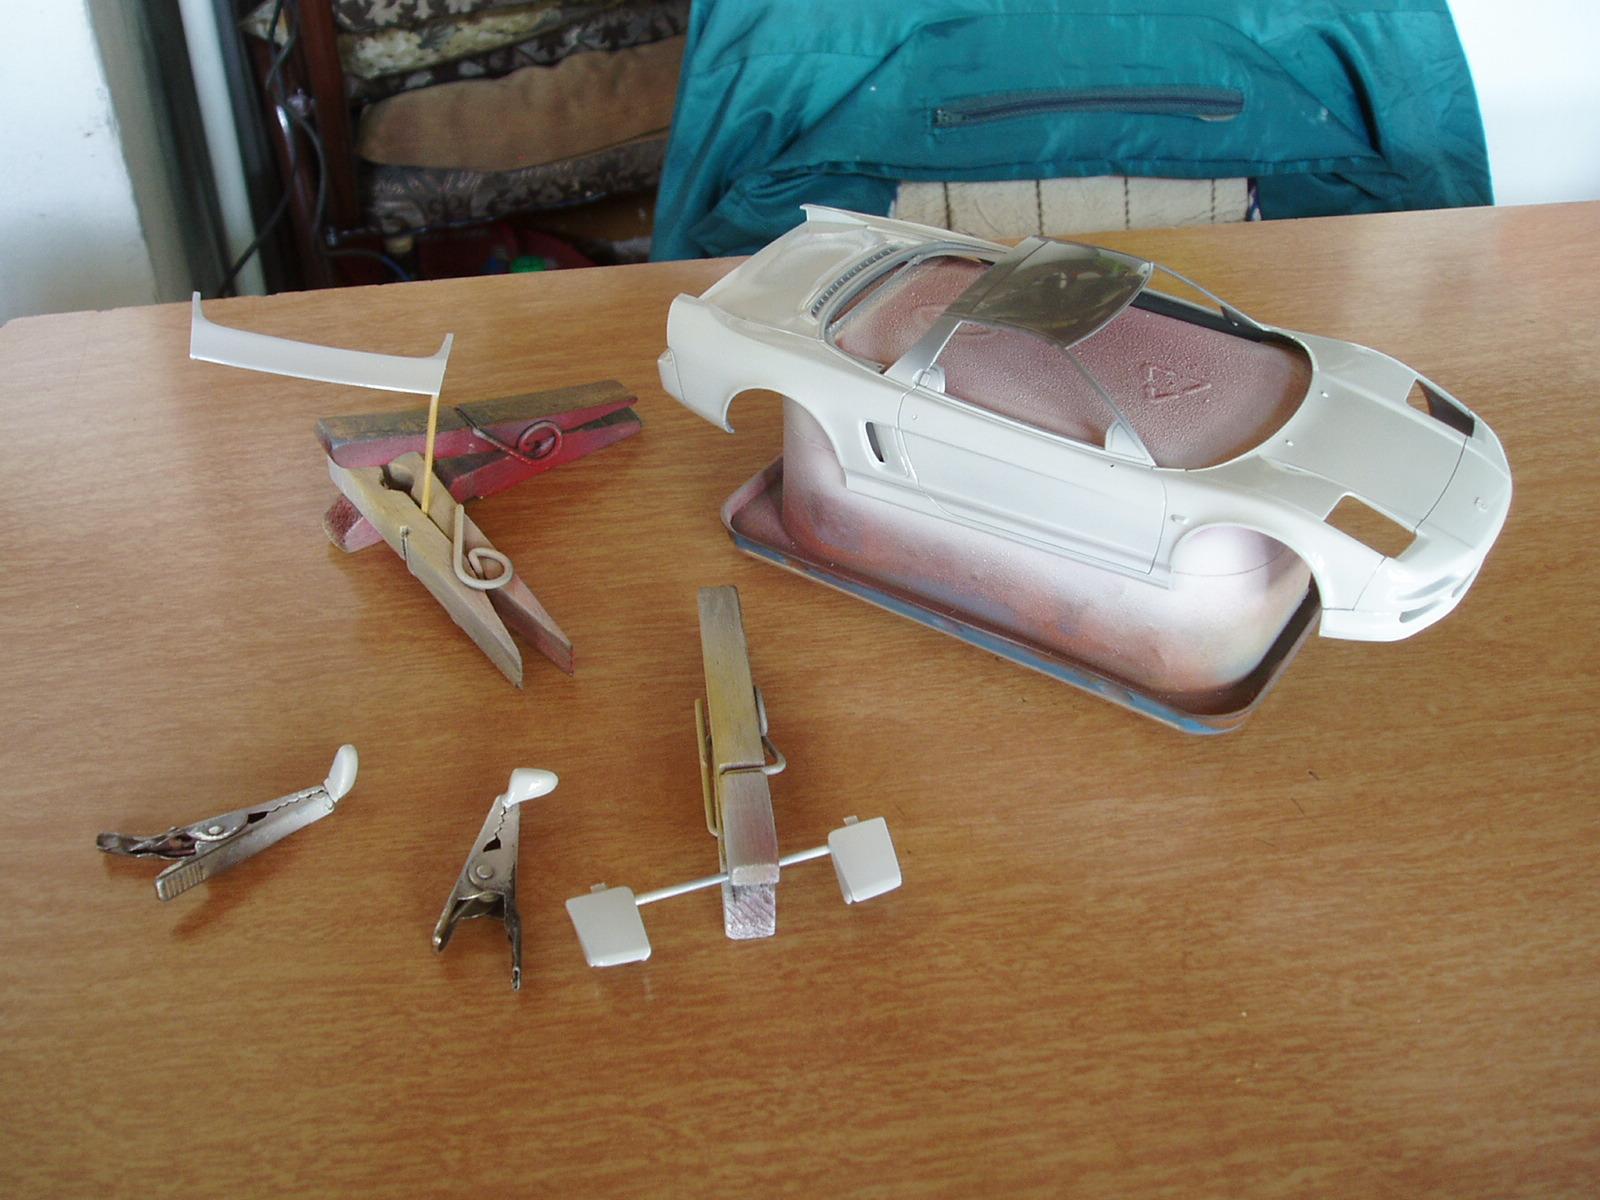
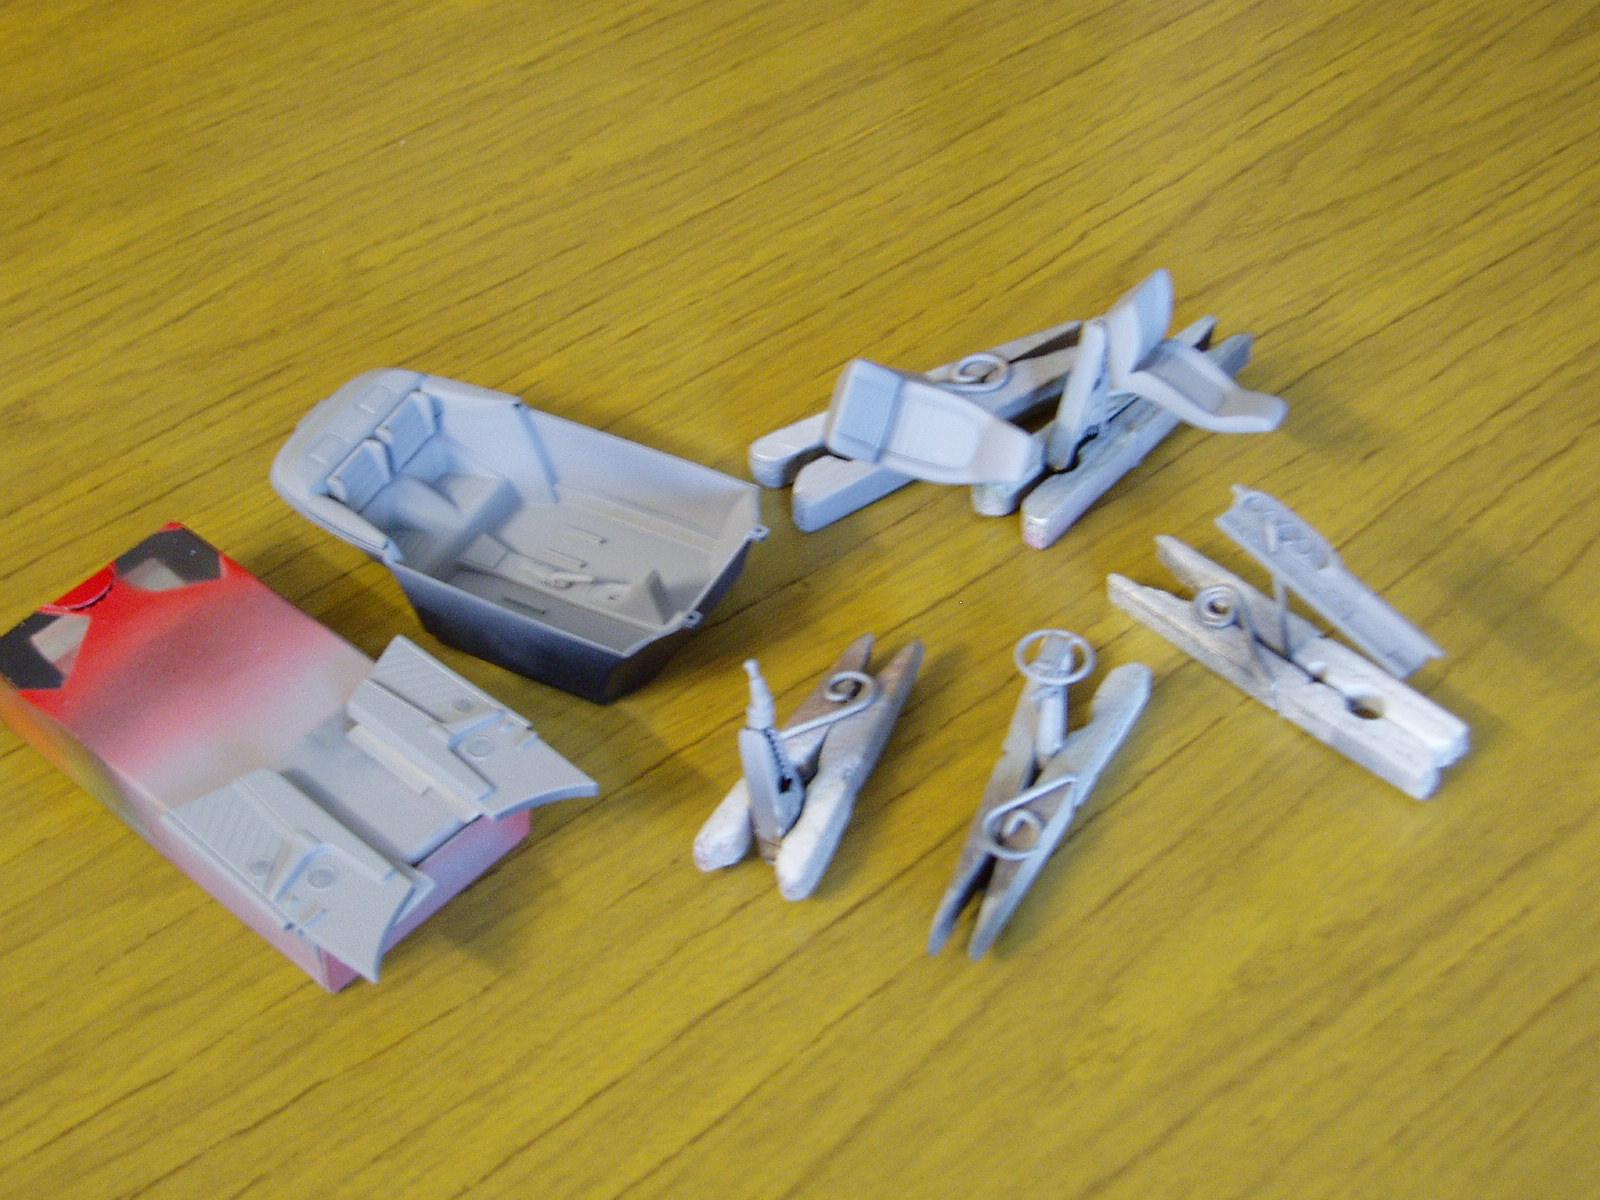
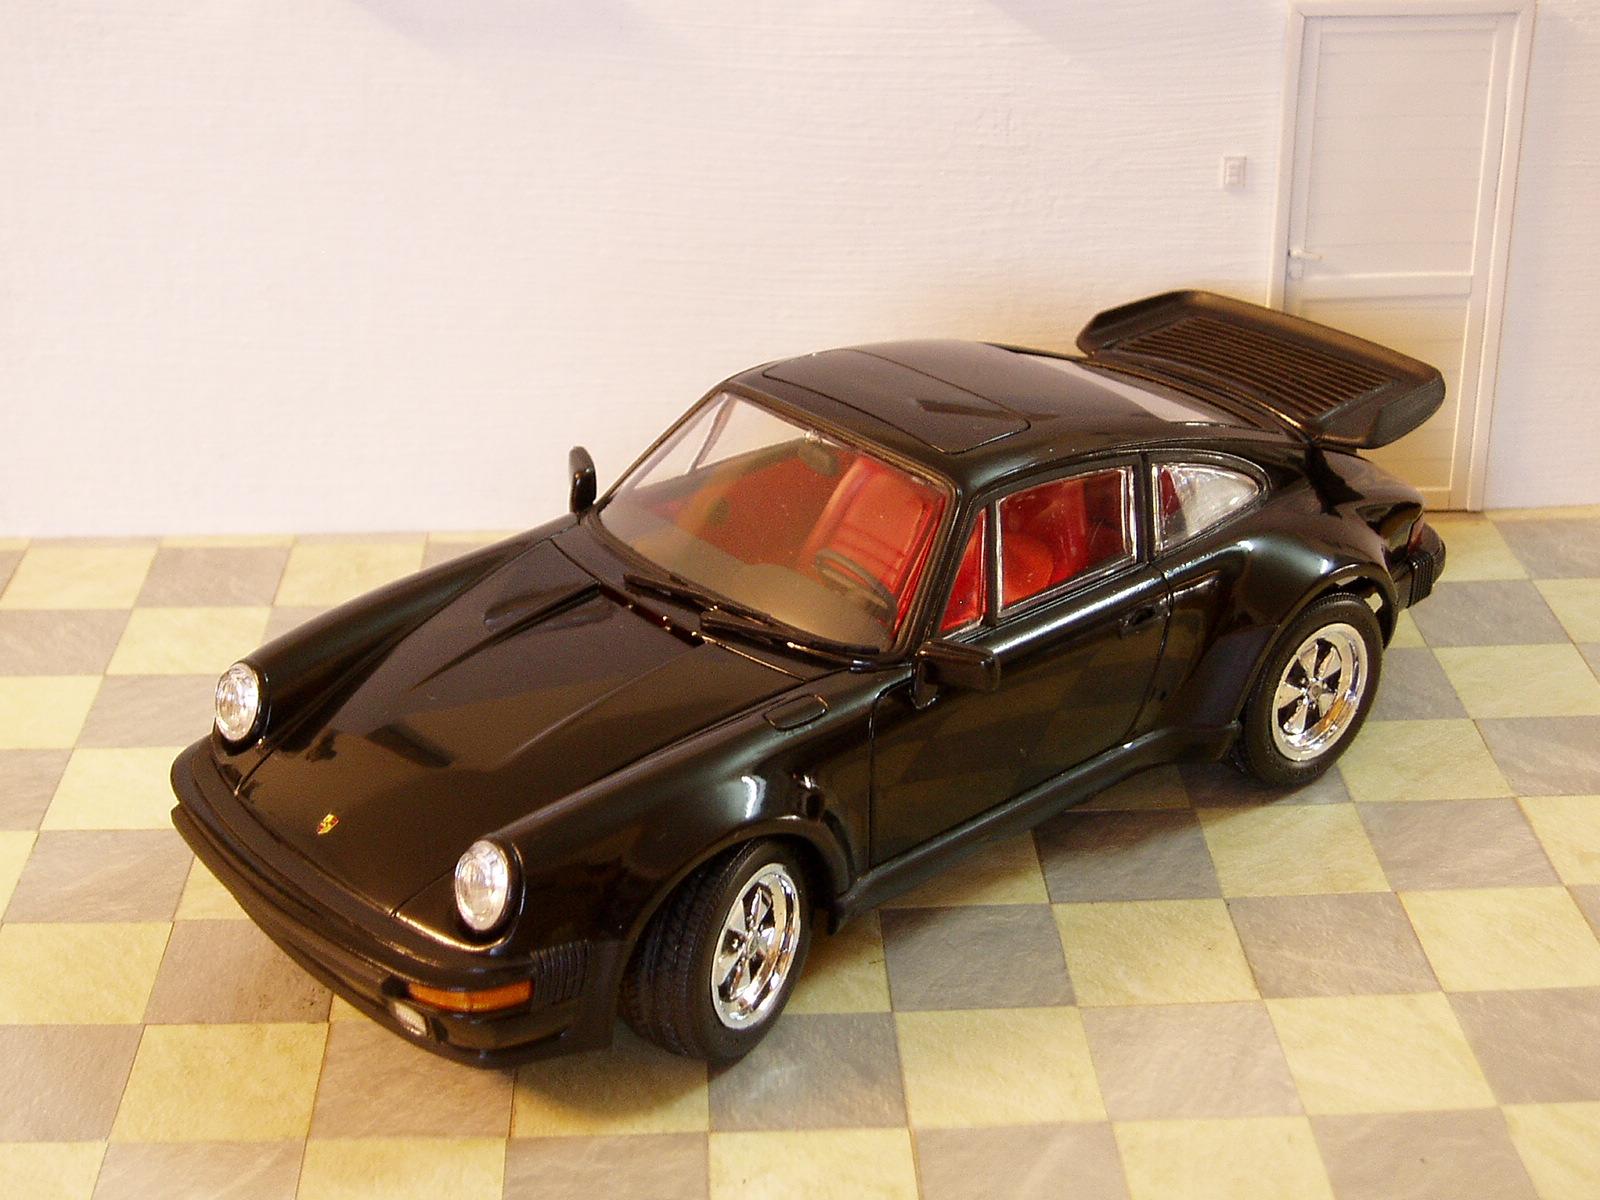
Hello, a kit that I really liked since I saw it. The bad thing about it is the pre-painted parts, not all of them, since when you separate them from the tree, there are visible parts that you have to repaint and the burrs. The other bad thing is the stickers, they should be water-based decals like all the kits have. The combination of red color on the exterior and interior is not the most correct, there are very nice colors for this model. Another thing is the pre-assembled parts, the body comes complete and it was impossible for me to separate the front lights, they had to be masked. The final result is good, except for my own mistakes such as a bad choice of varnish to finish it. I hope you like the model. Greetings.
-
Hello, it's finished.
-

Mitsubishi Montero Super Exceed
titino replied to titino's topic in Model Trucks: Pickups, Vans, SUVs, Light Commercial
I am very glad that you liked it, thank you very much. -
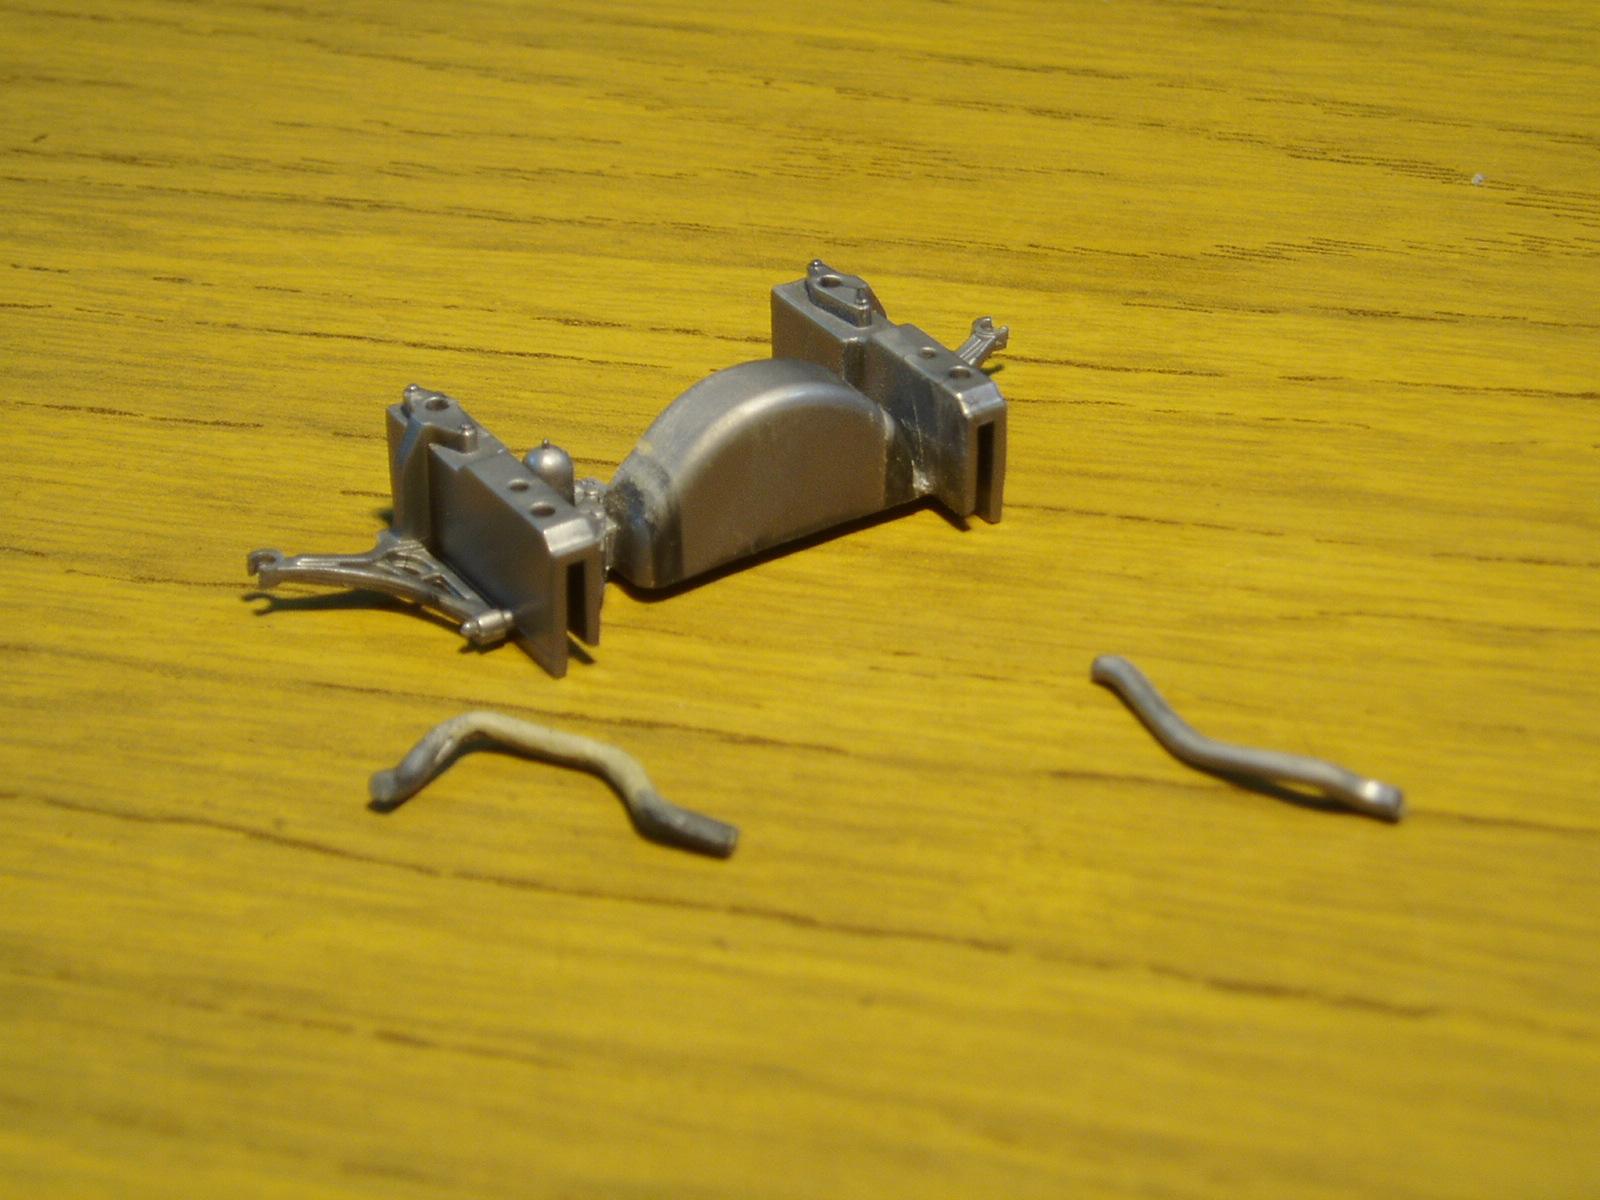
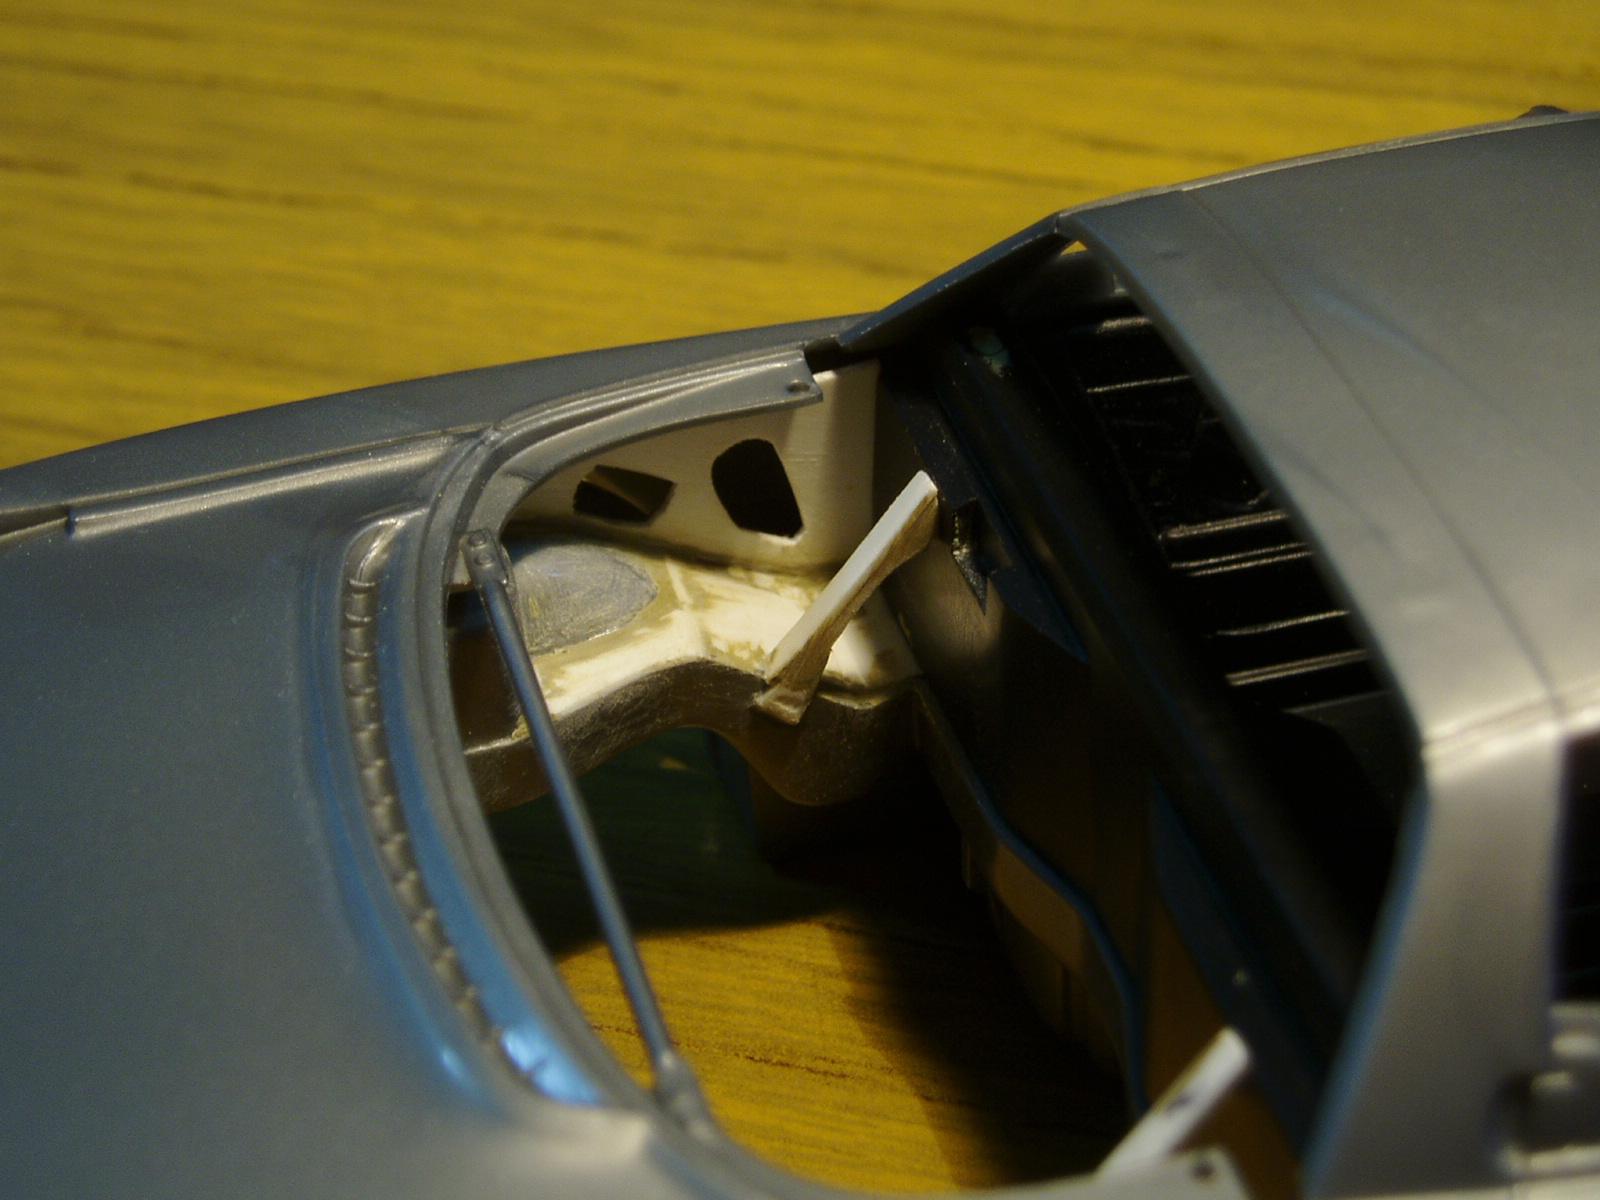
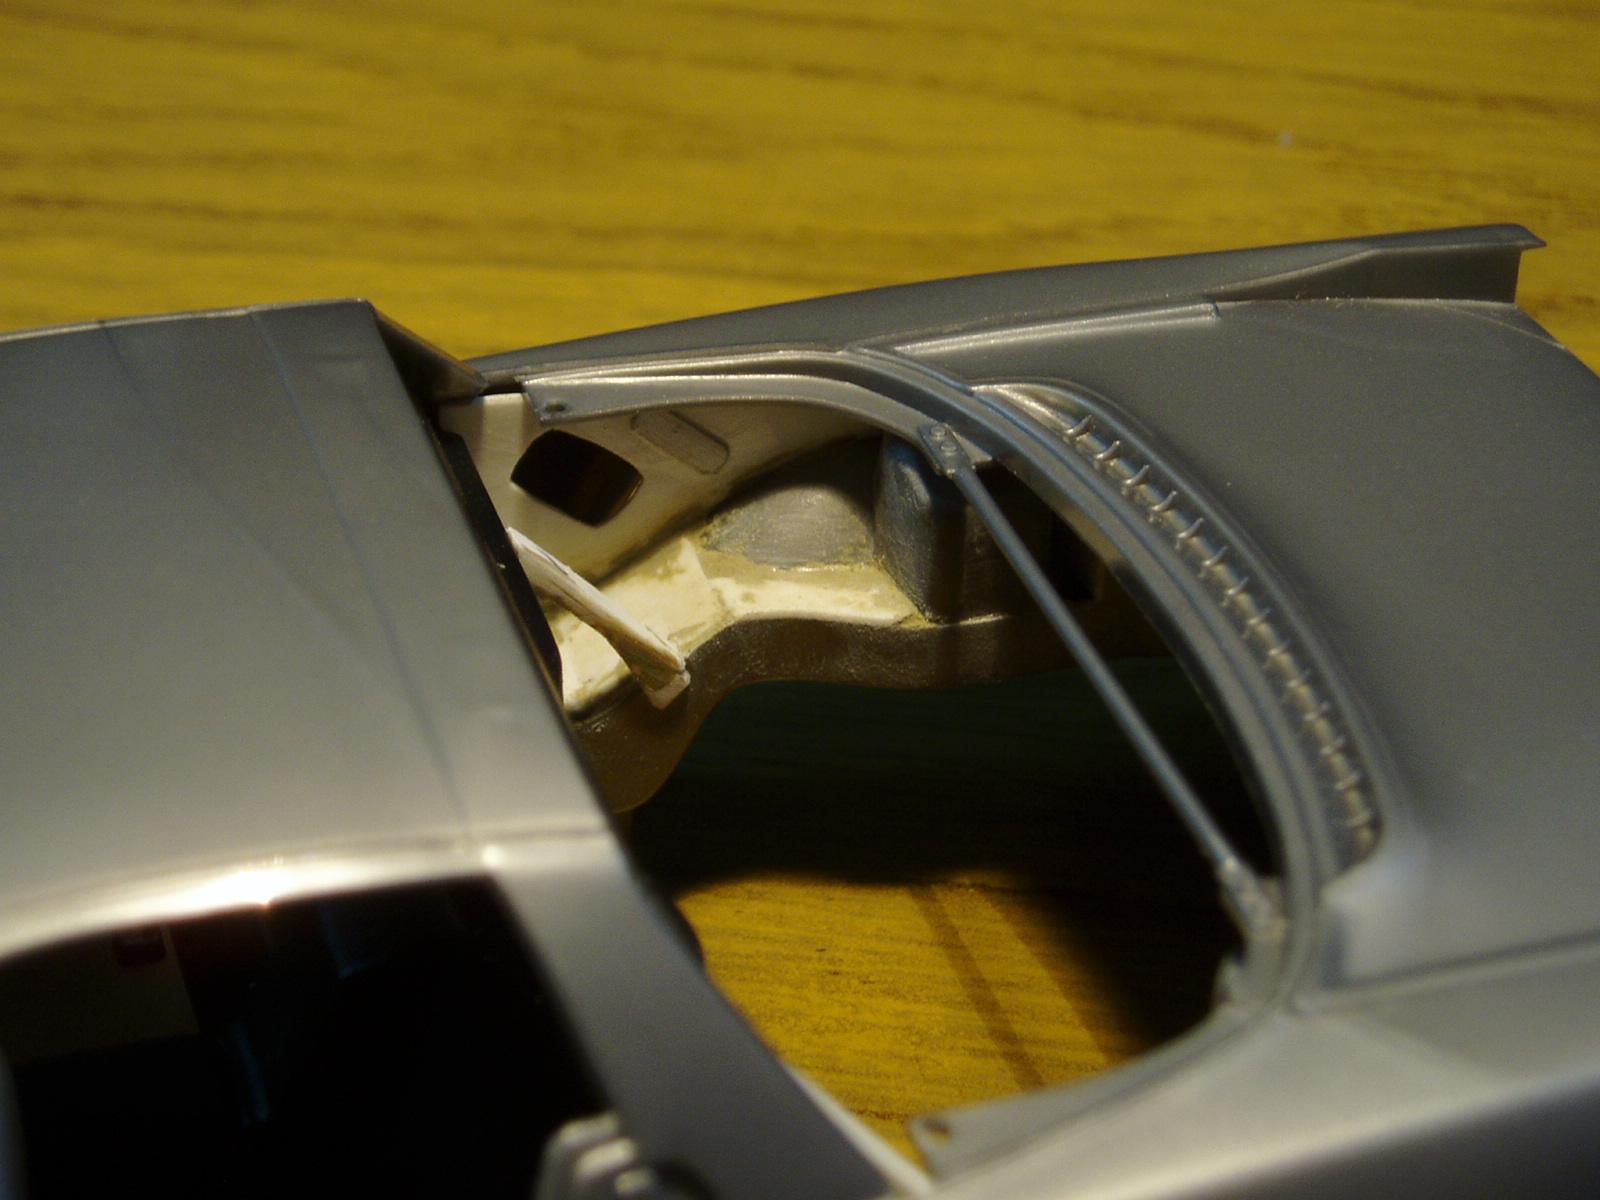
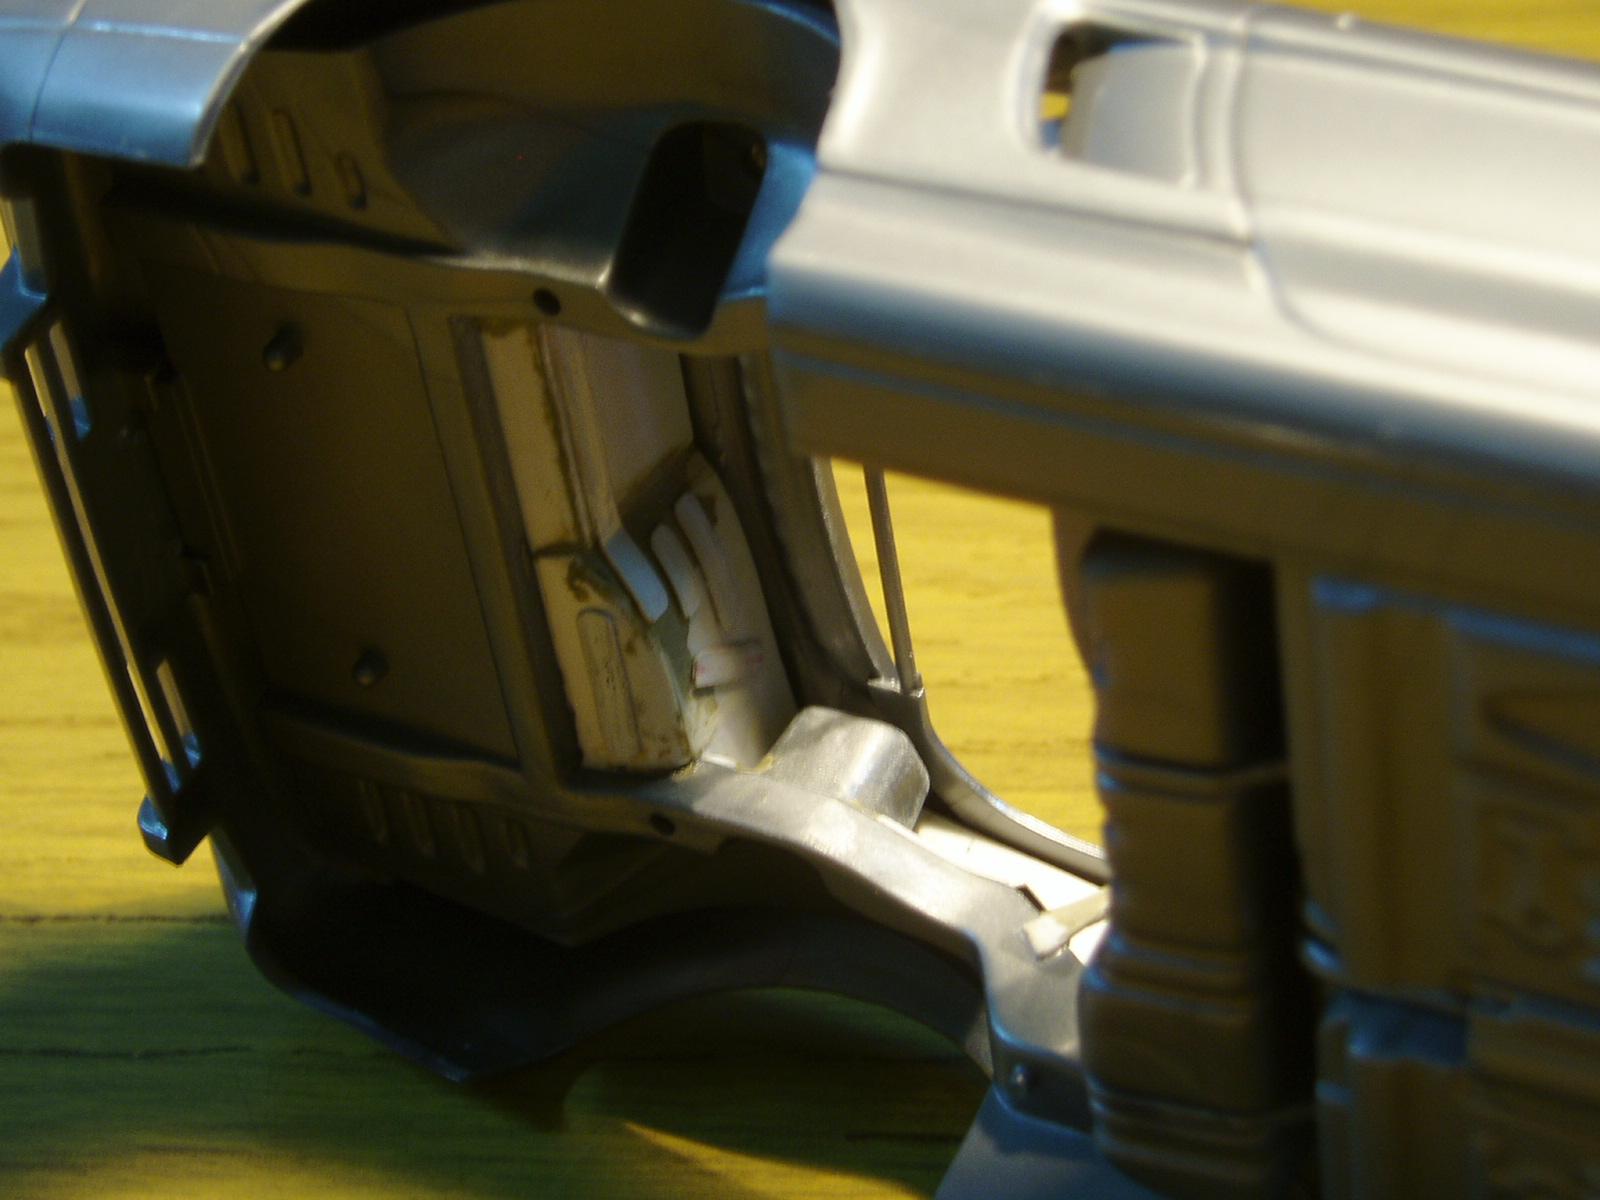
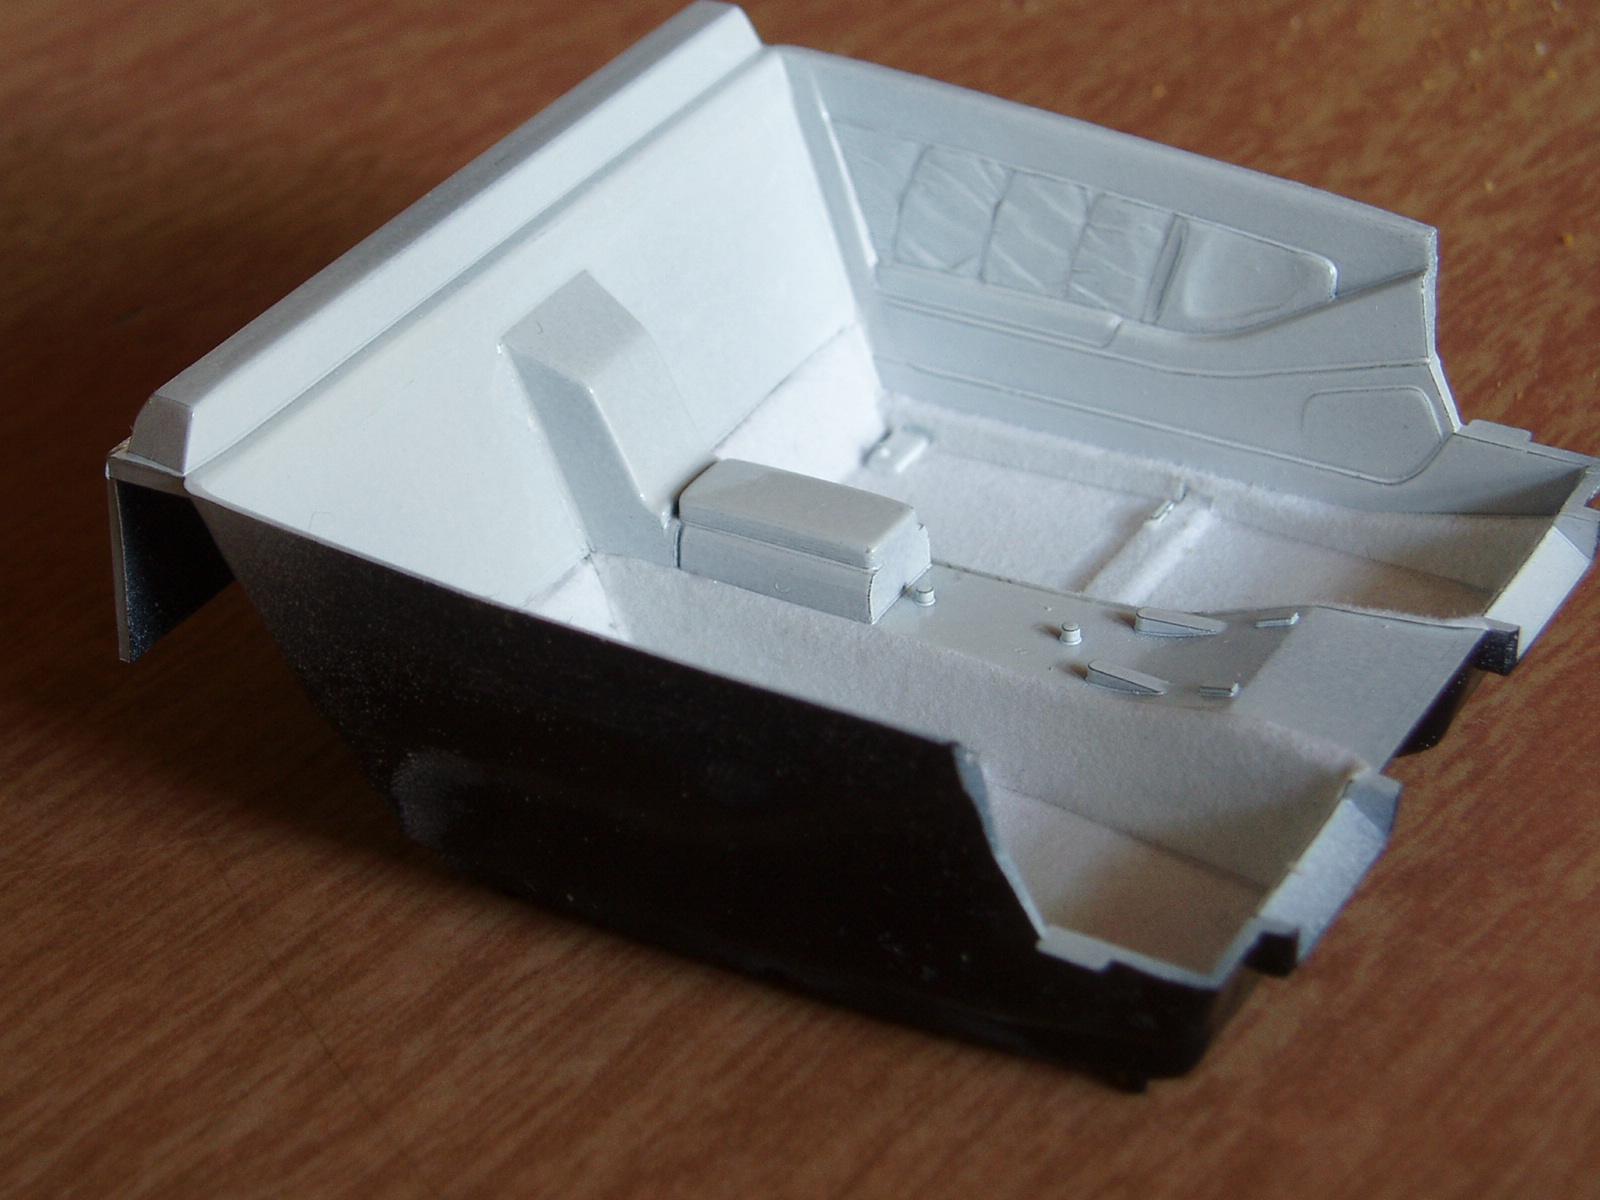
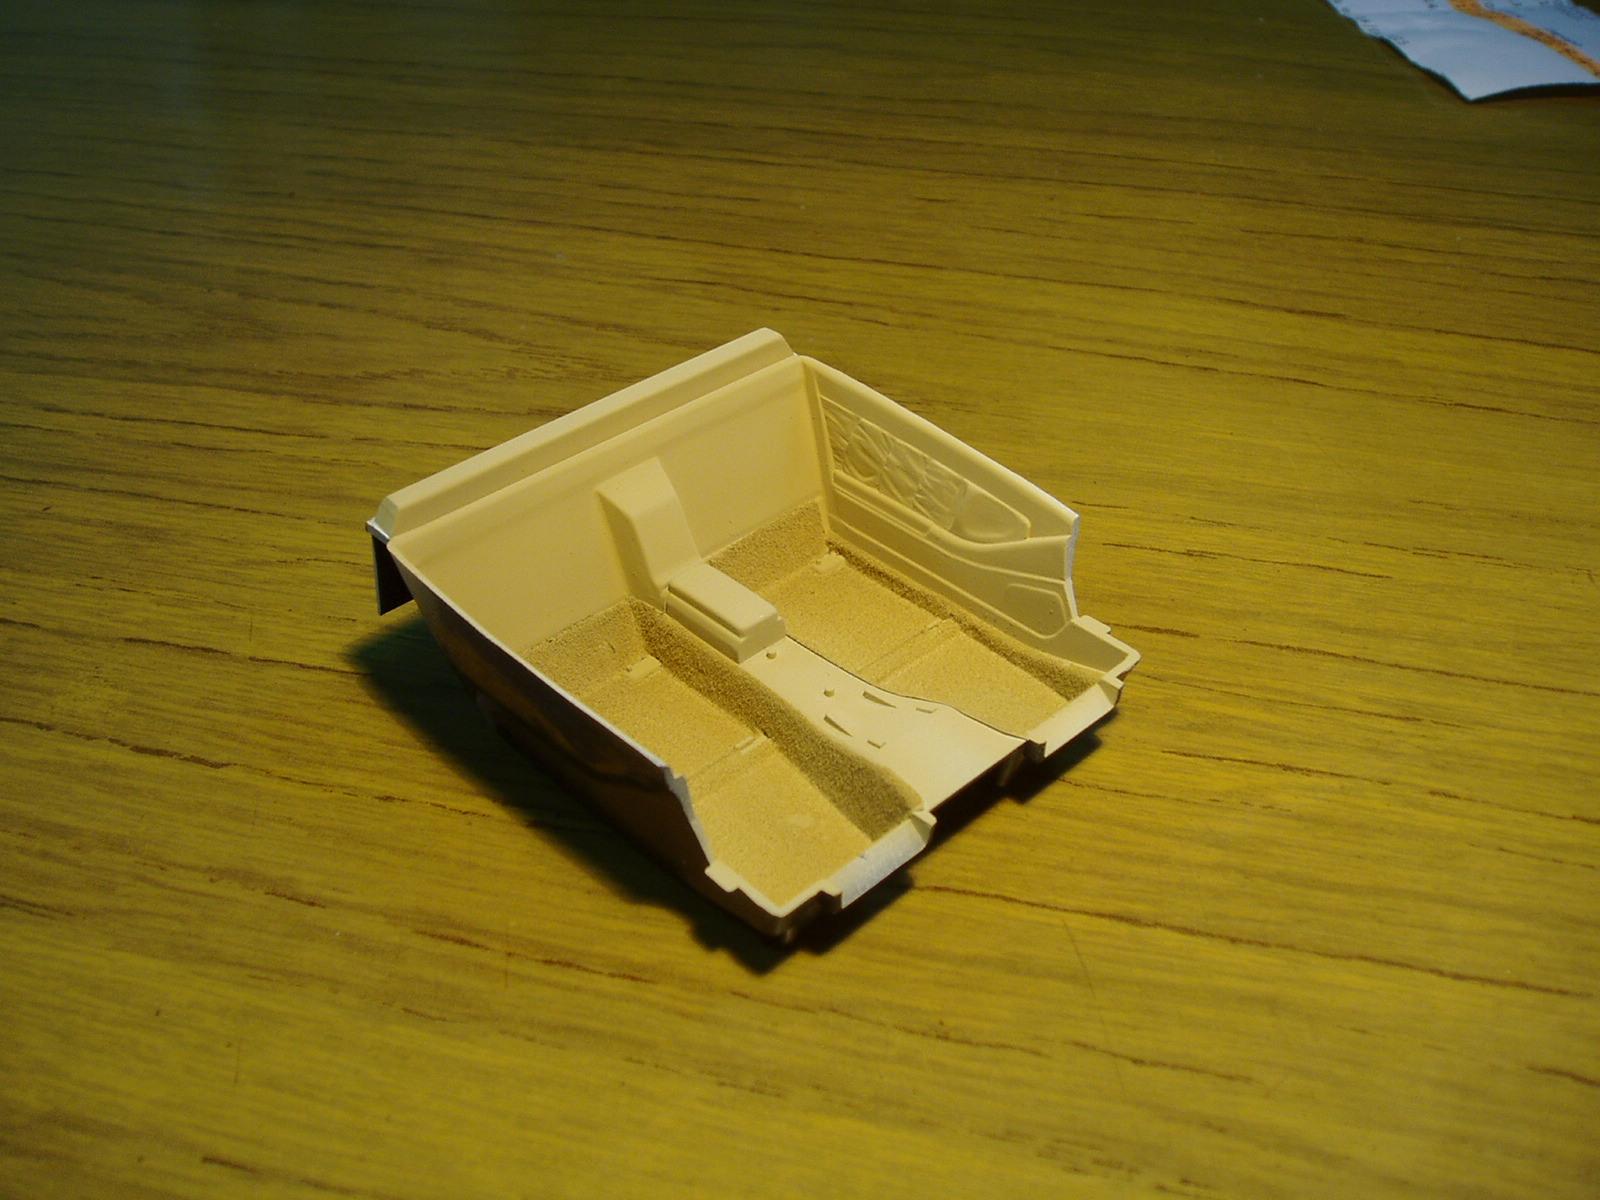
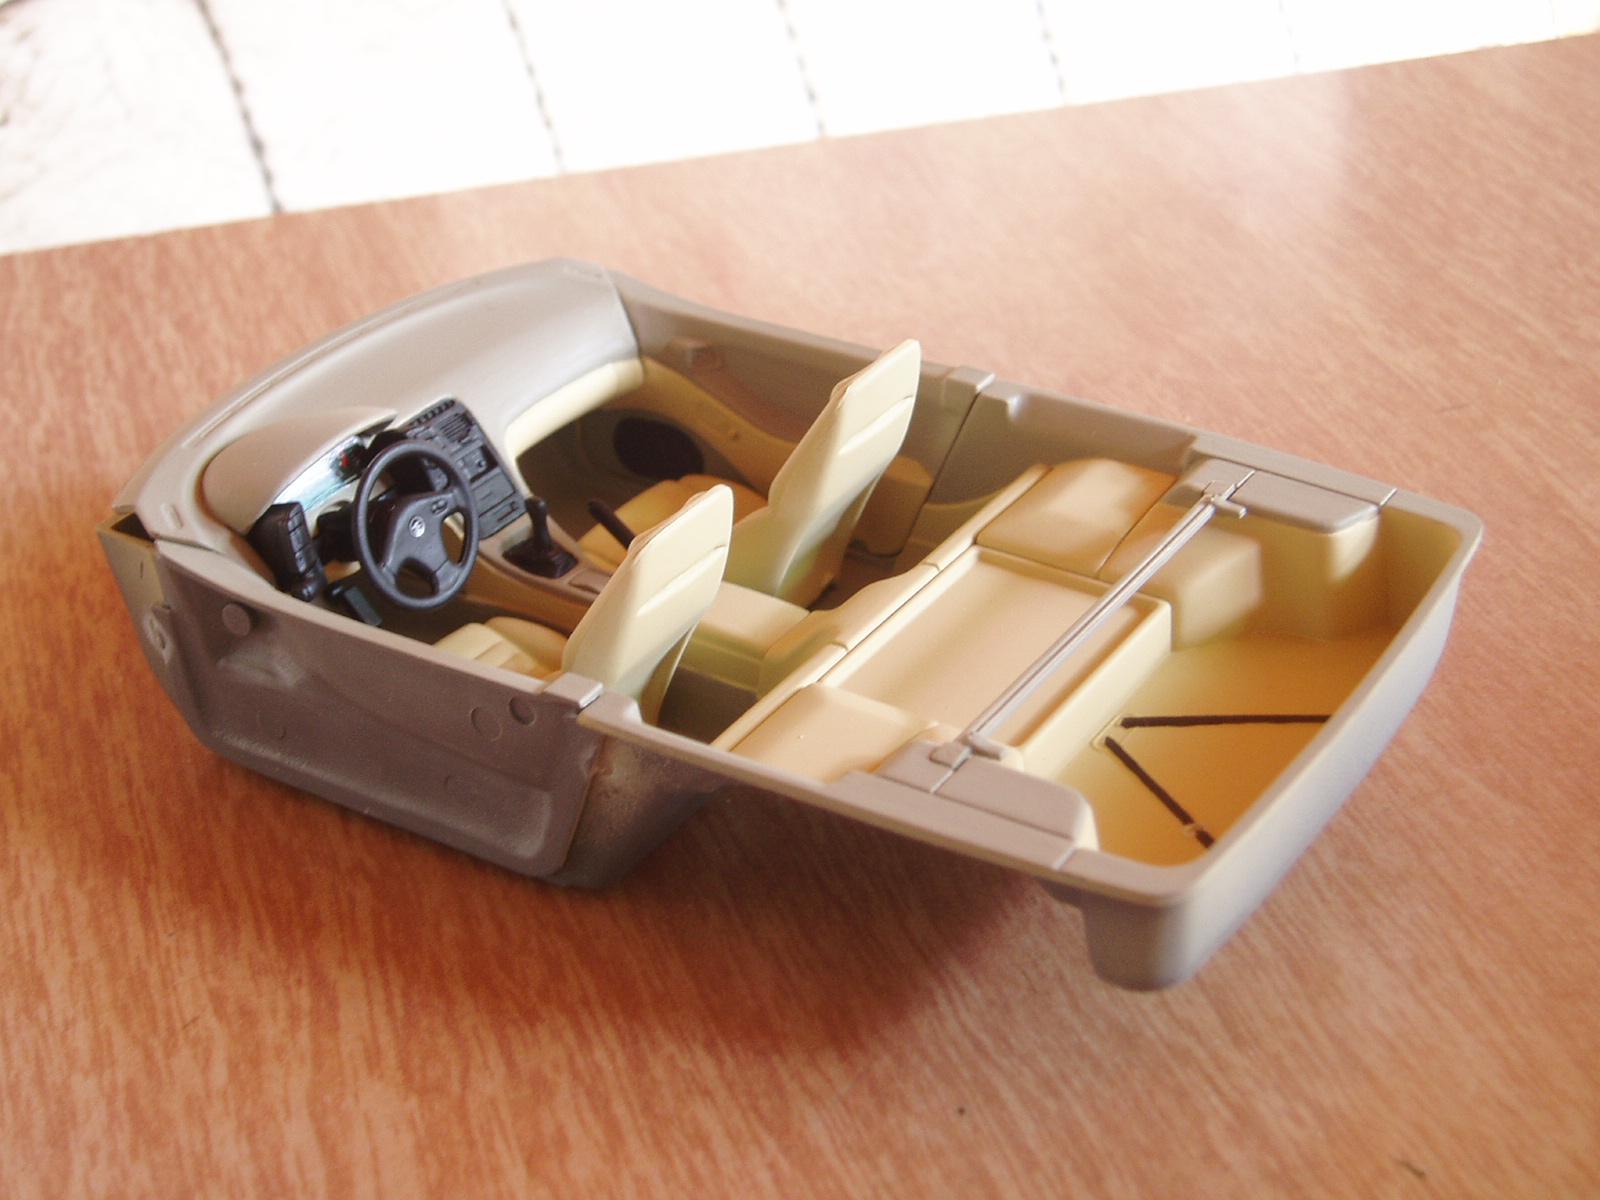
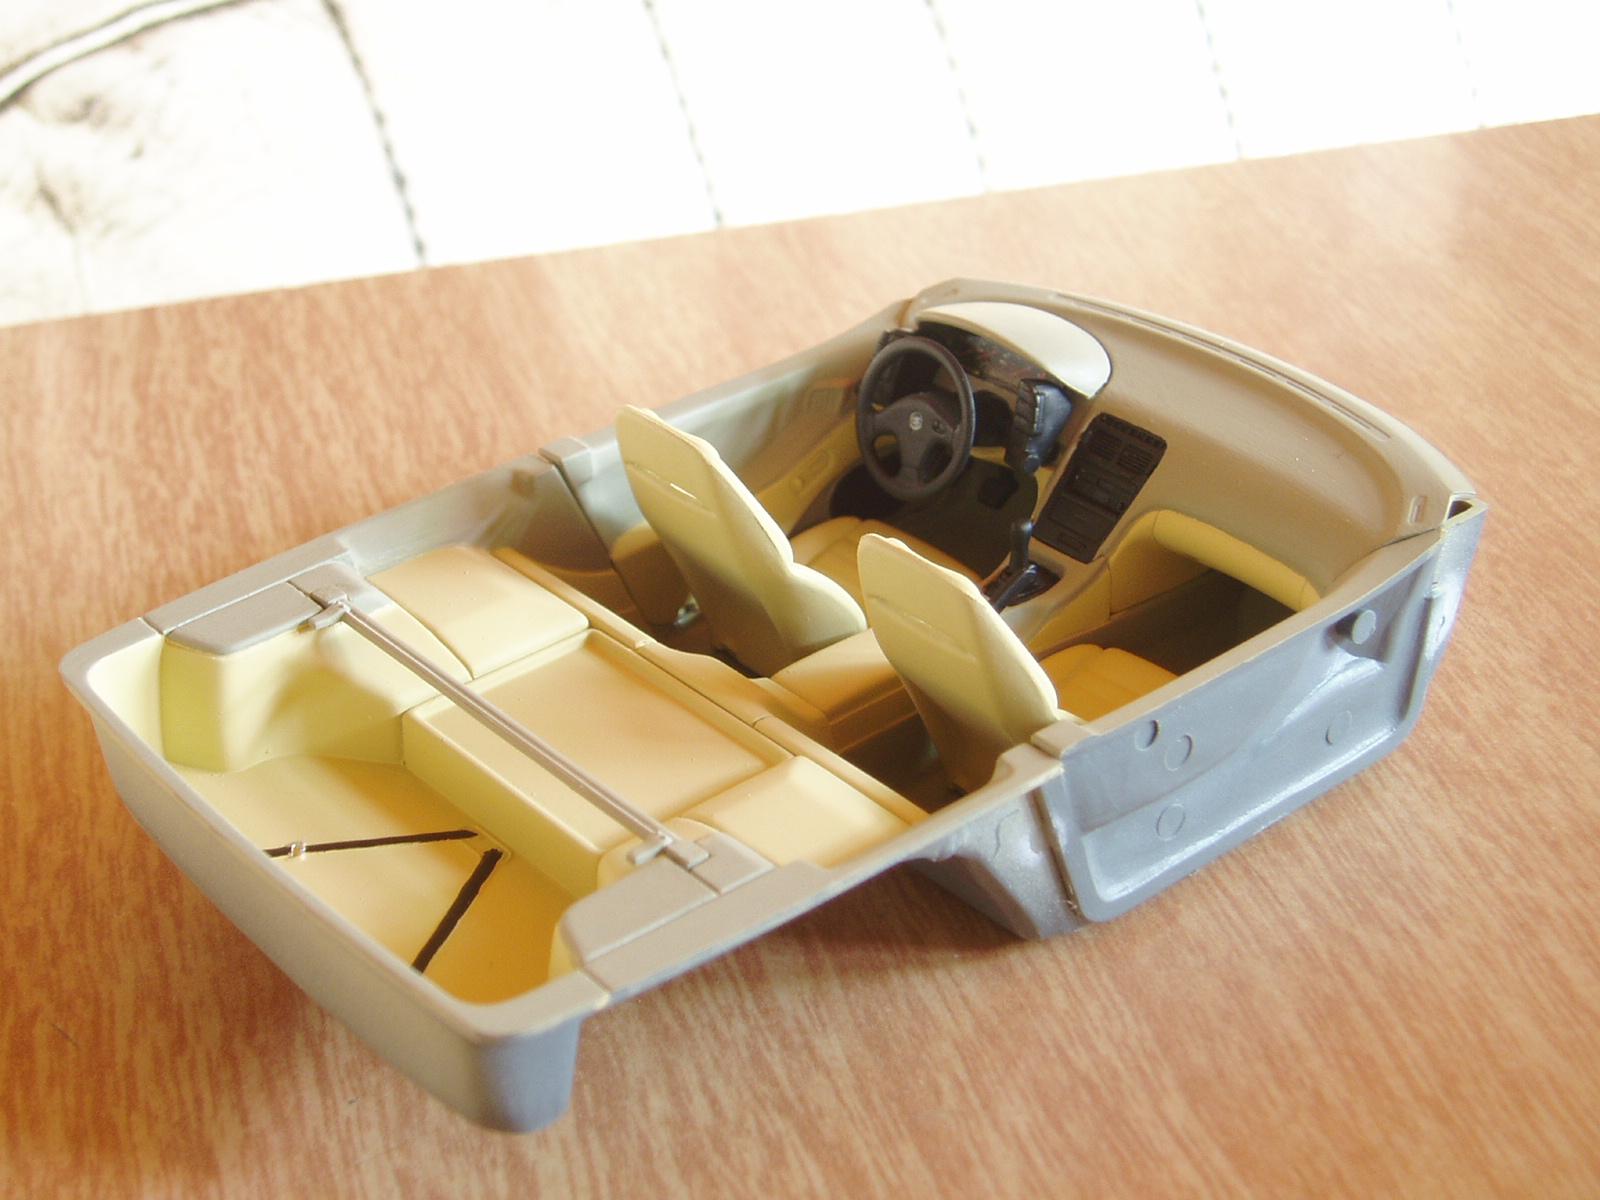
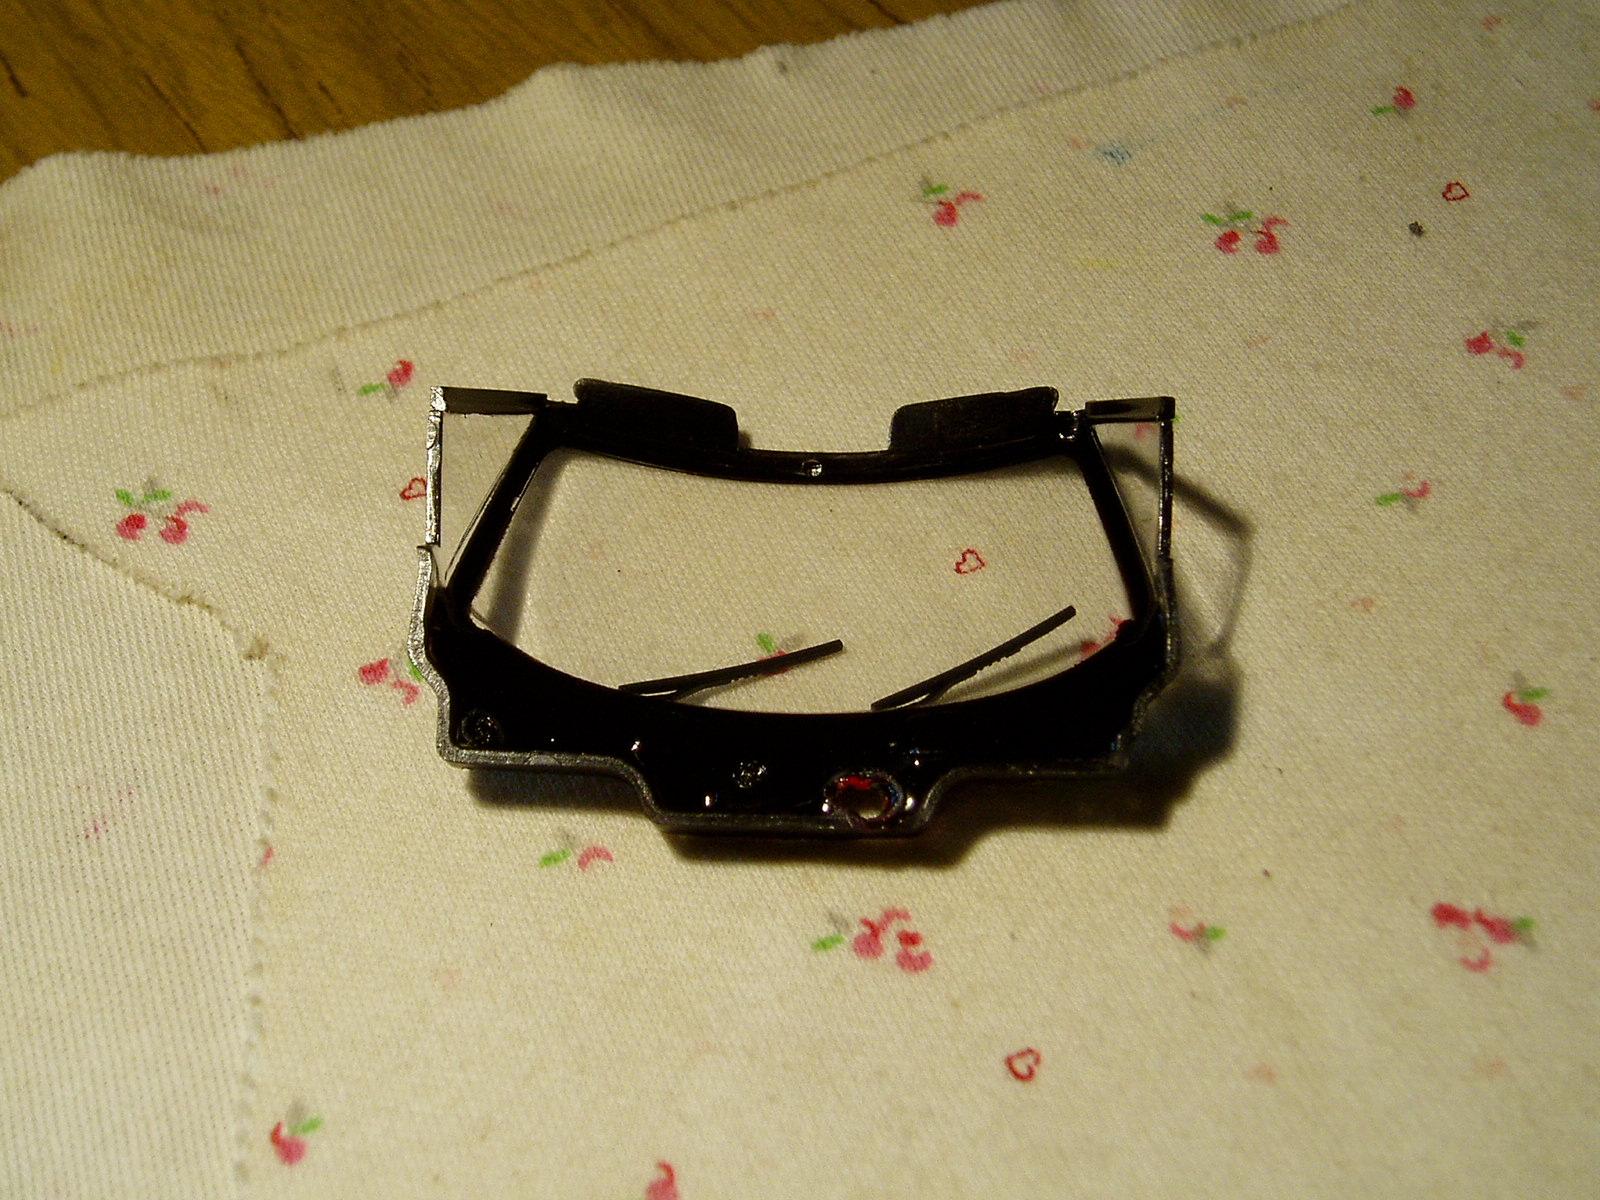
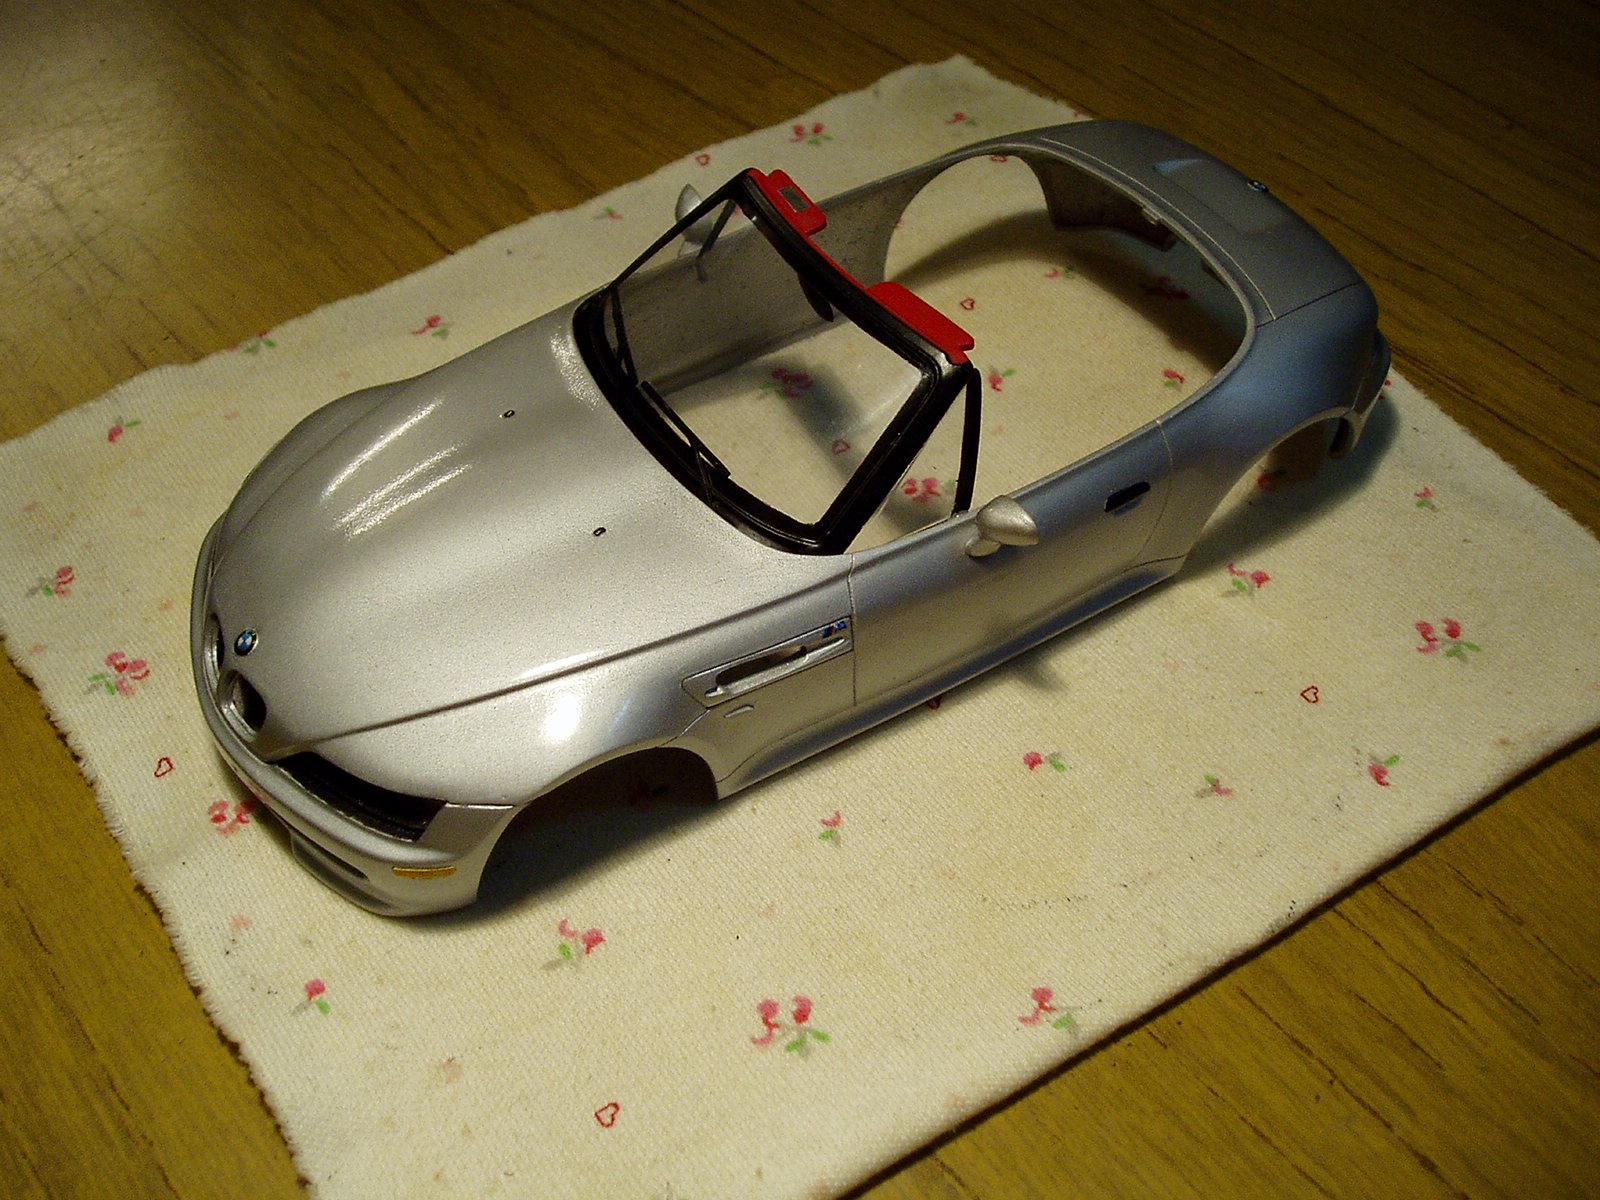
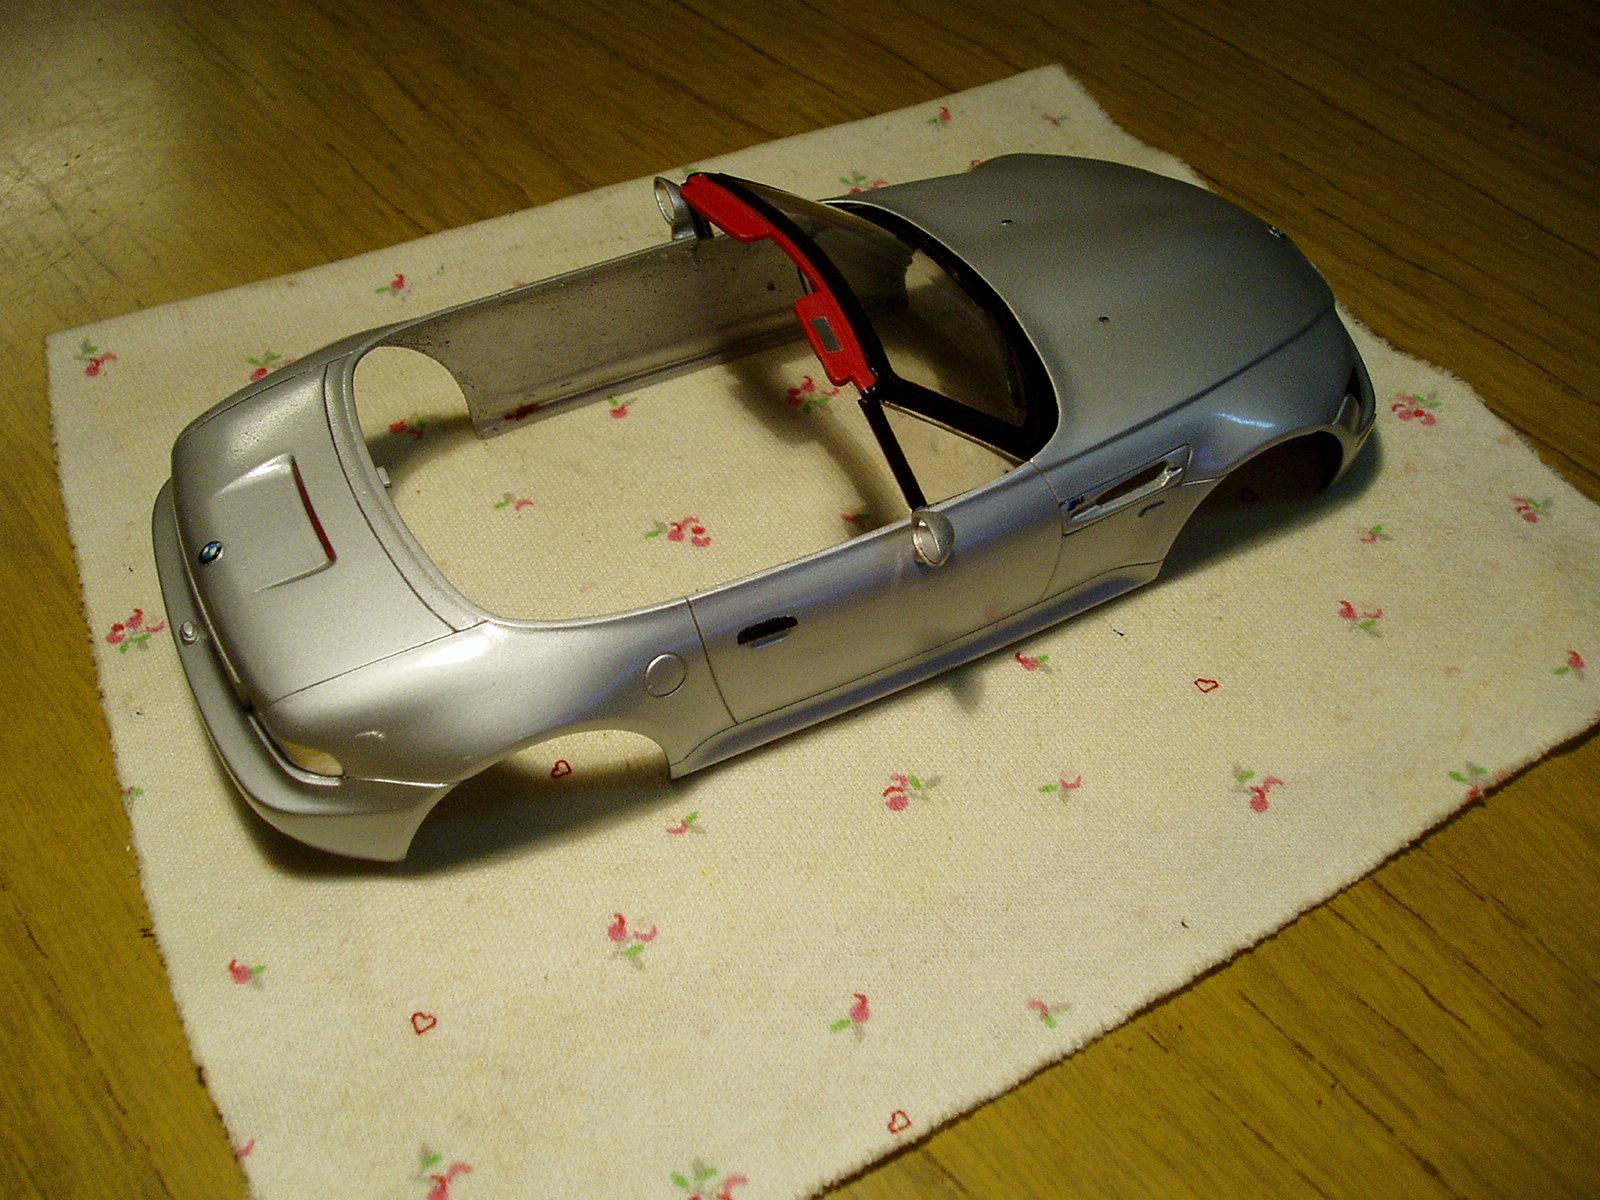
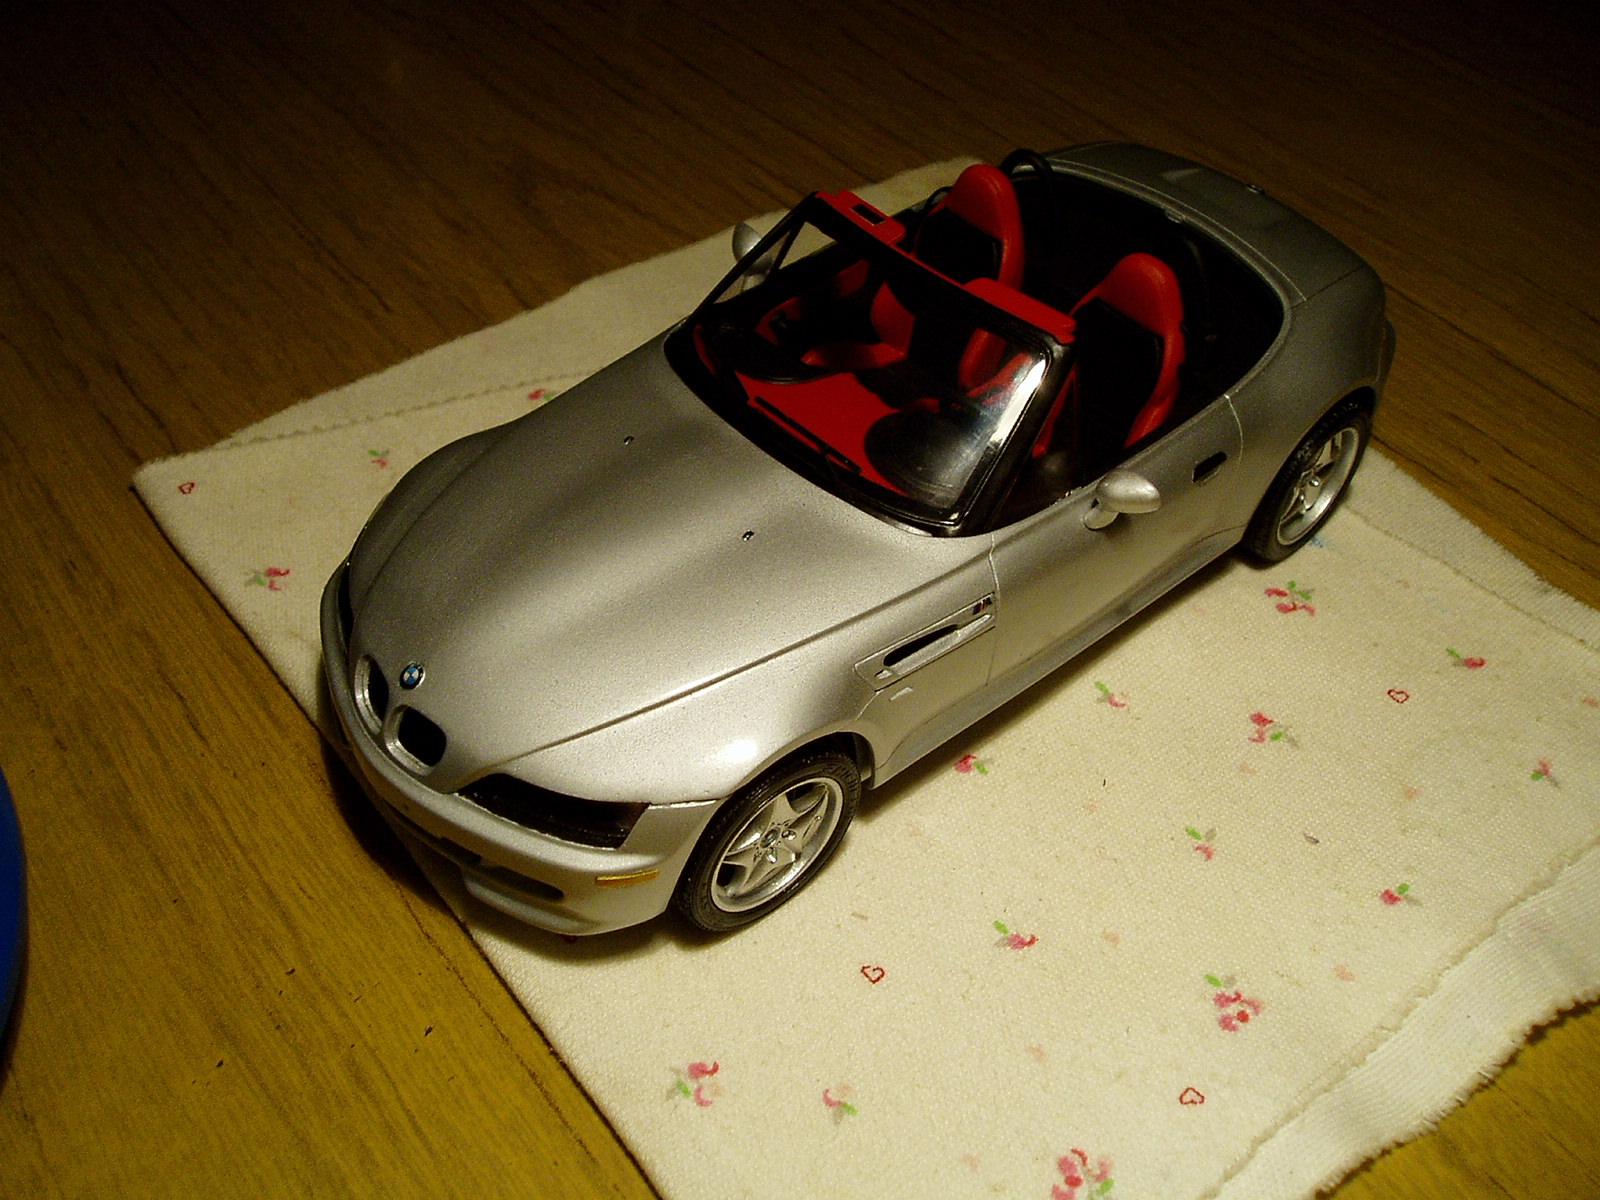
Hello, we continue with the progress, we see that the windshield is not completely faithful to the model, so it will undergo improvements such as the position of the wipers. In addition, it has upholstered parts so it will have to be painted the same color as the interior. The body is ready to be assembled.