titino
-
Posts
591 -
Joined
-
Last visited
Content Type
Profiles
Forums
Events
Gallery
Everything posted by titino
-
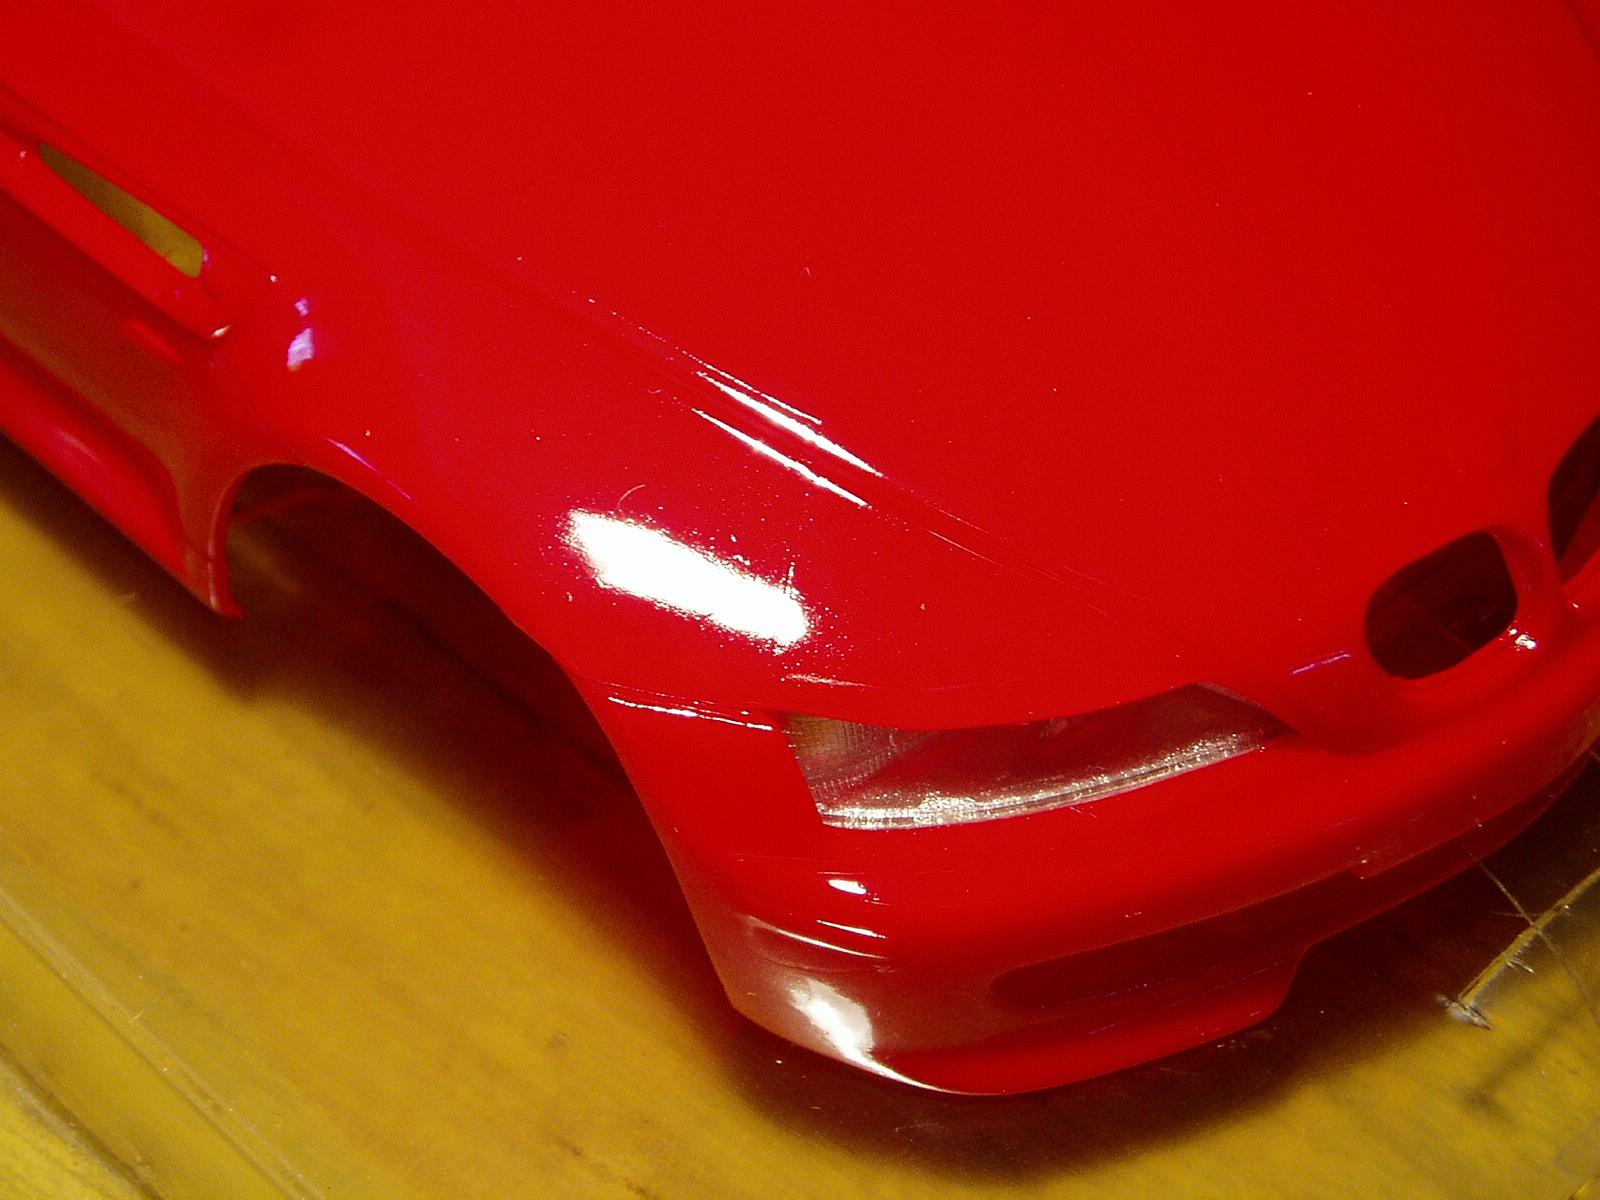
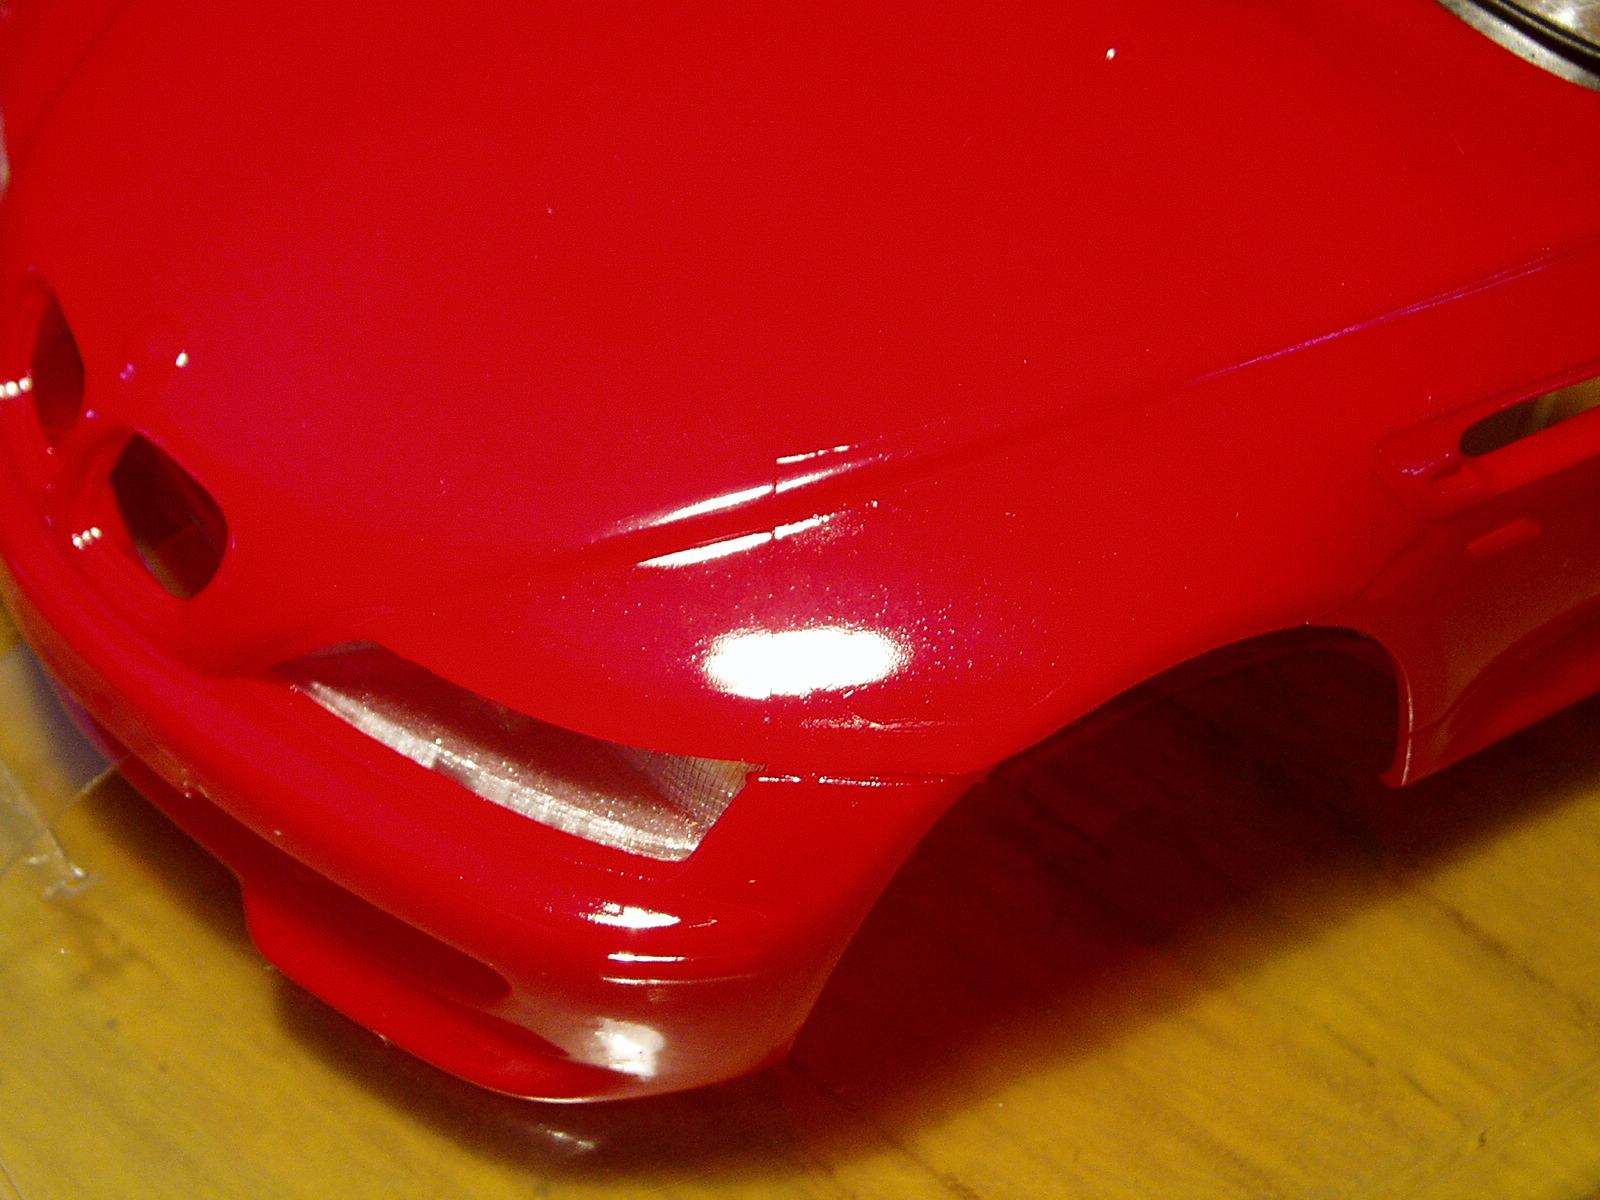
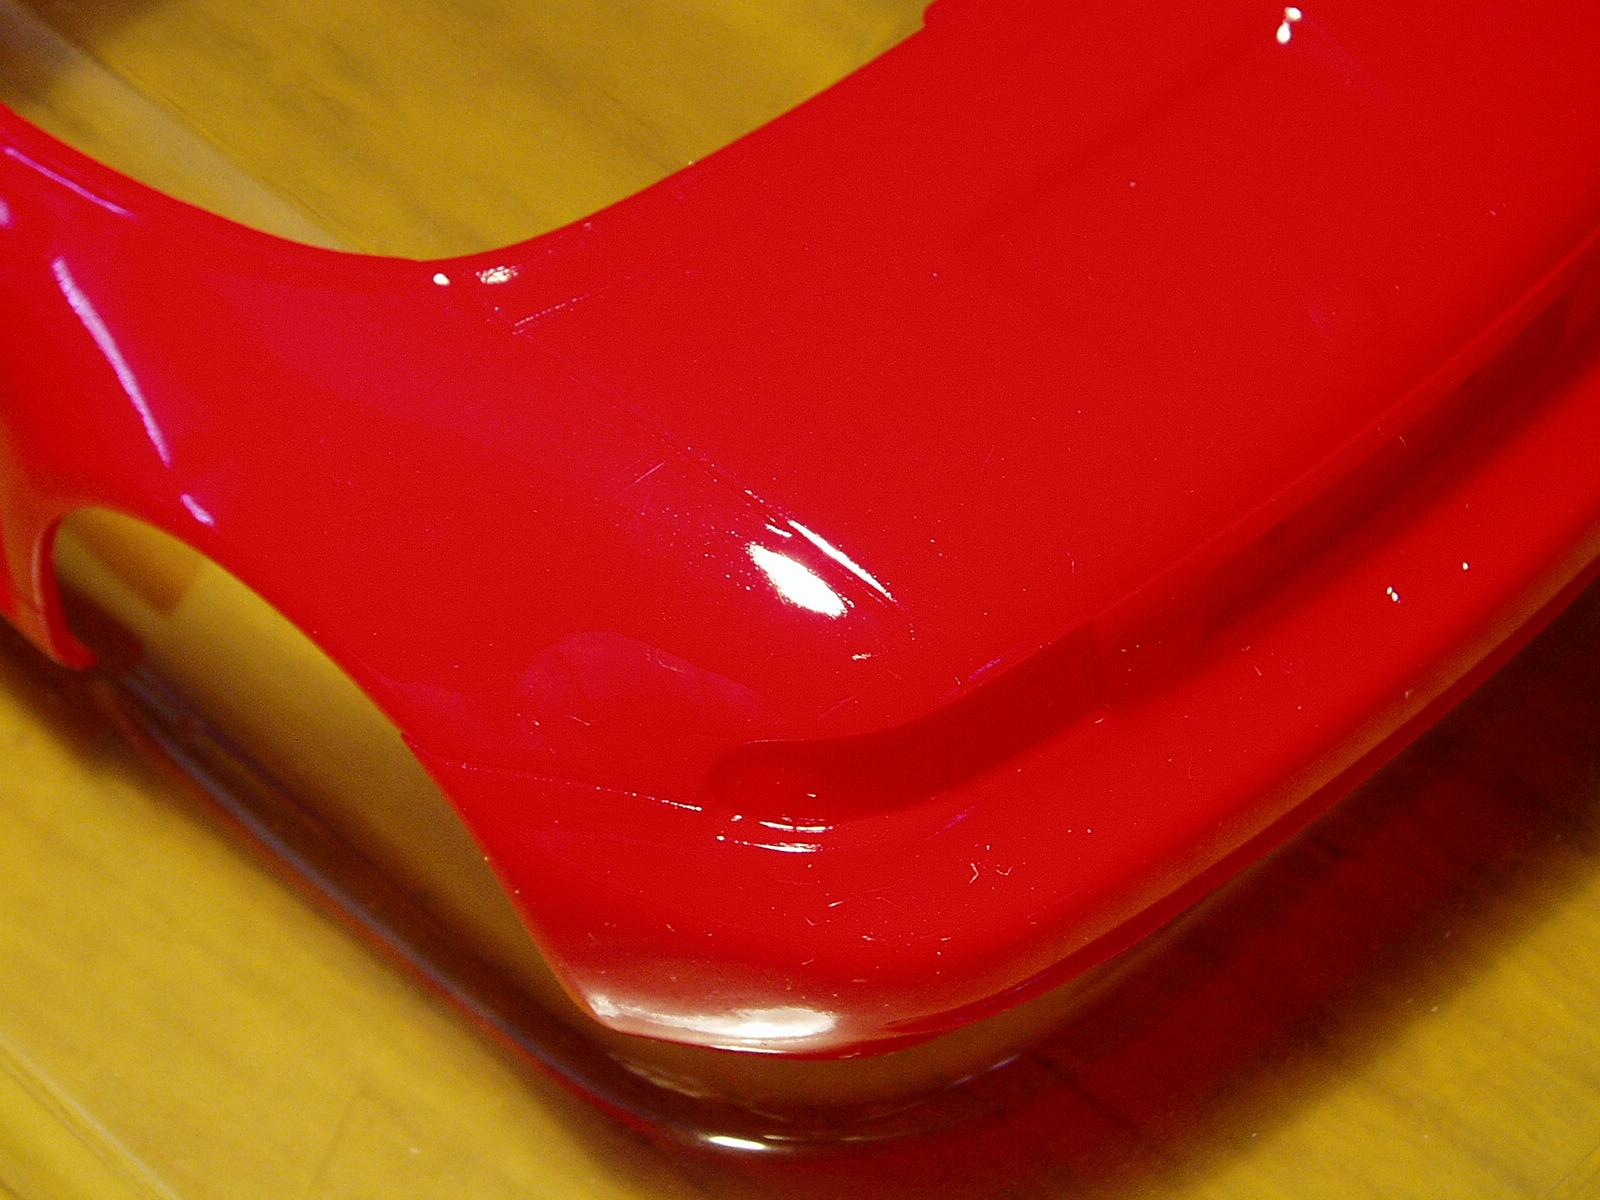
Hello, for the bodywork I used a new paint, a water-based acrylic, colourless acrylic enamel, which I first tested to see its properties such as levelling, gloss, etc. I thought it was very good but as usual its behaviour on the model was slightly different, dull and with an orange peel appearance, so I had to sand and polish it very gently as that is not its function. I previously applied the decals.

-
Thank you Carl
-
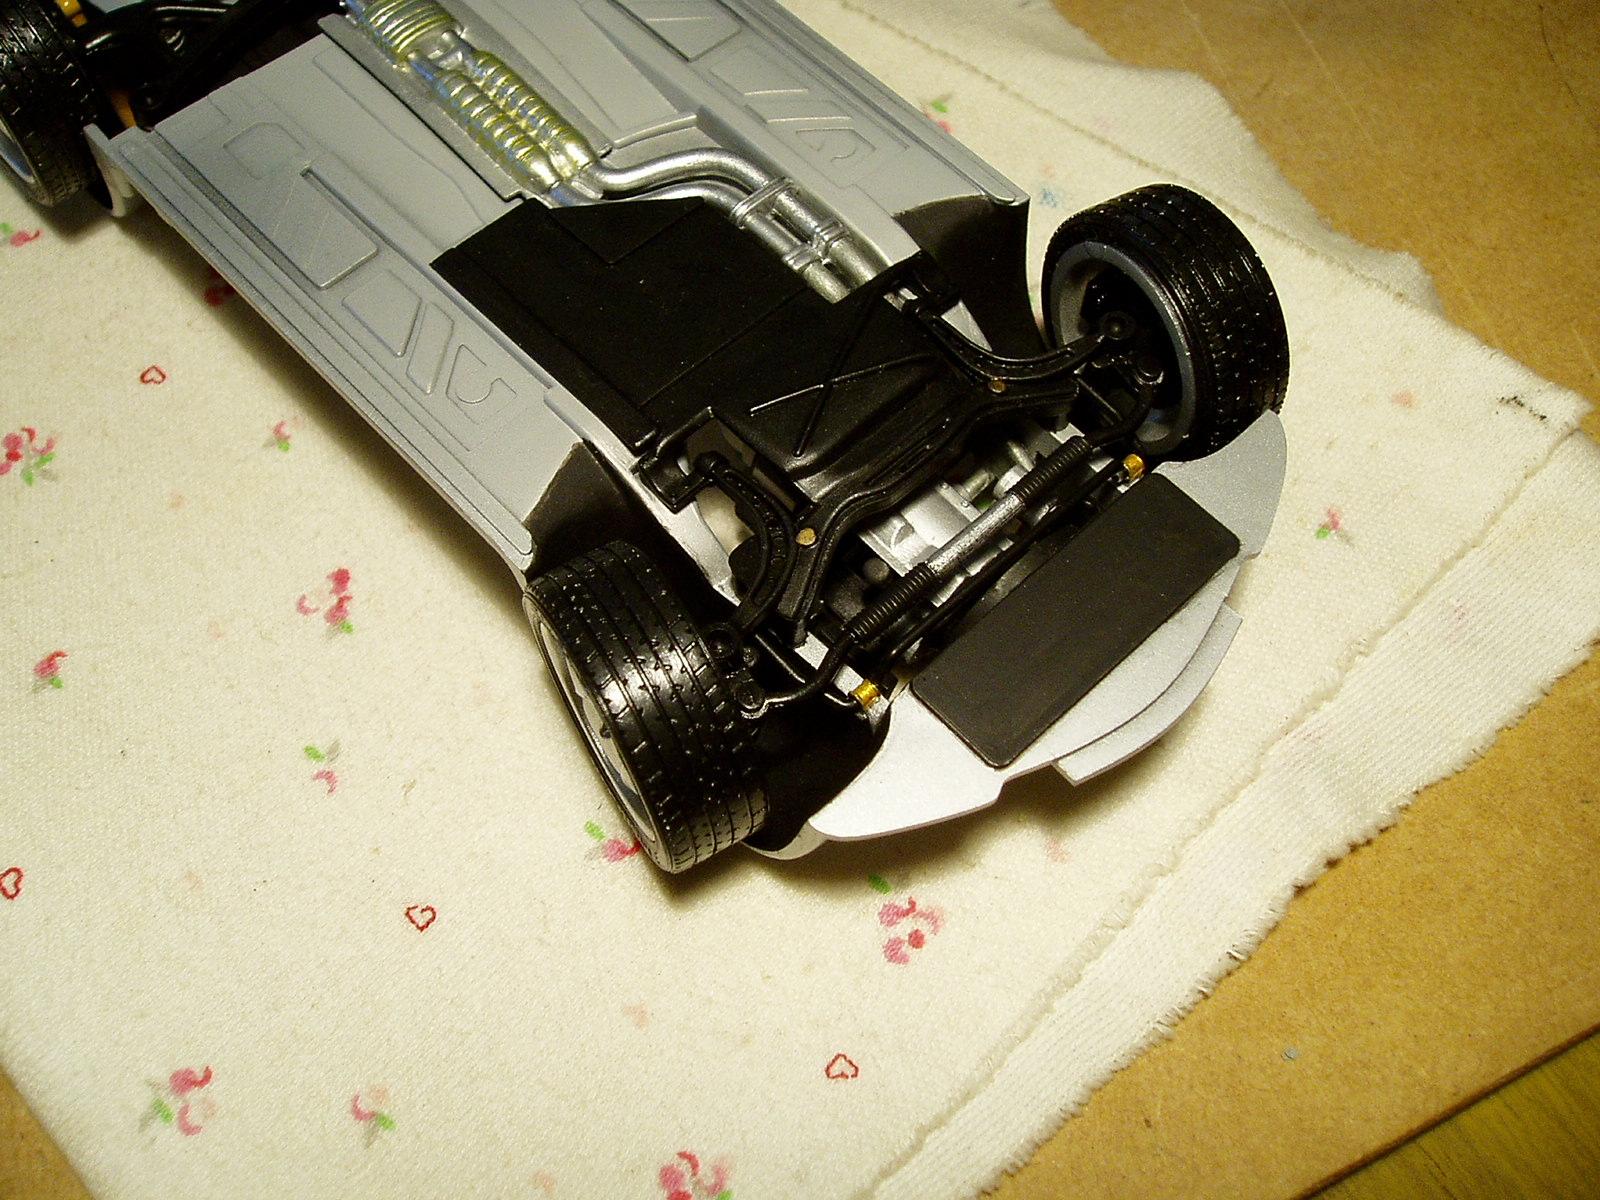
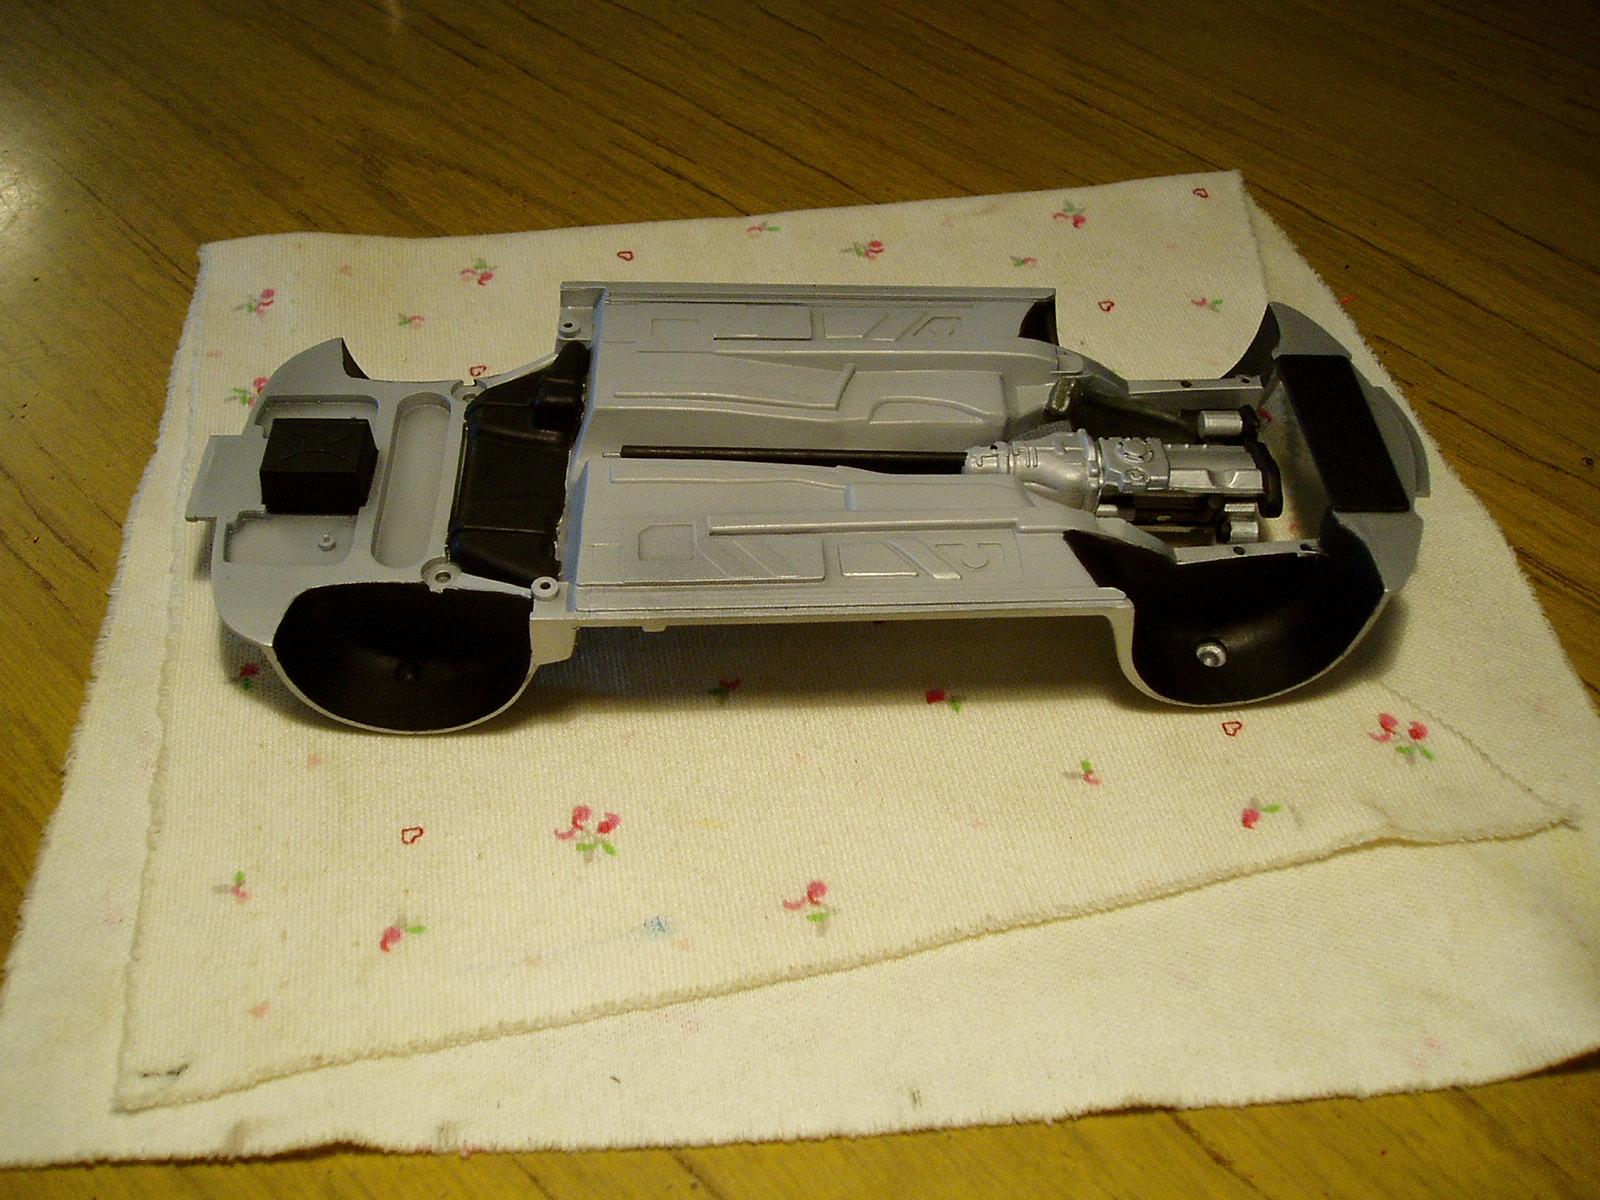
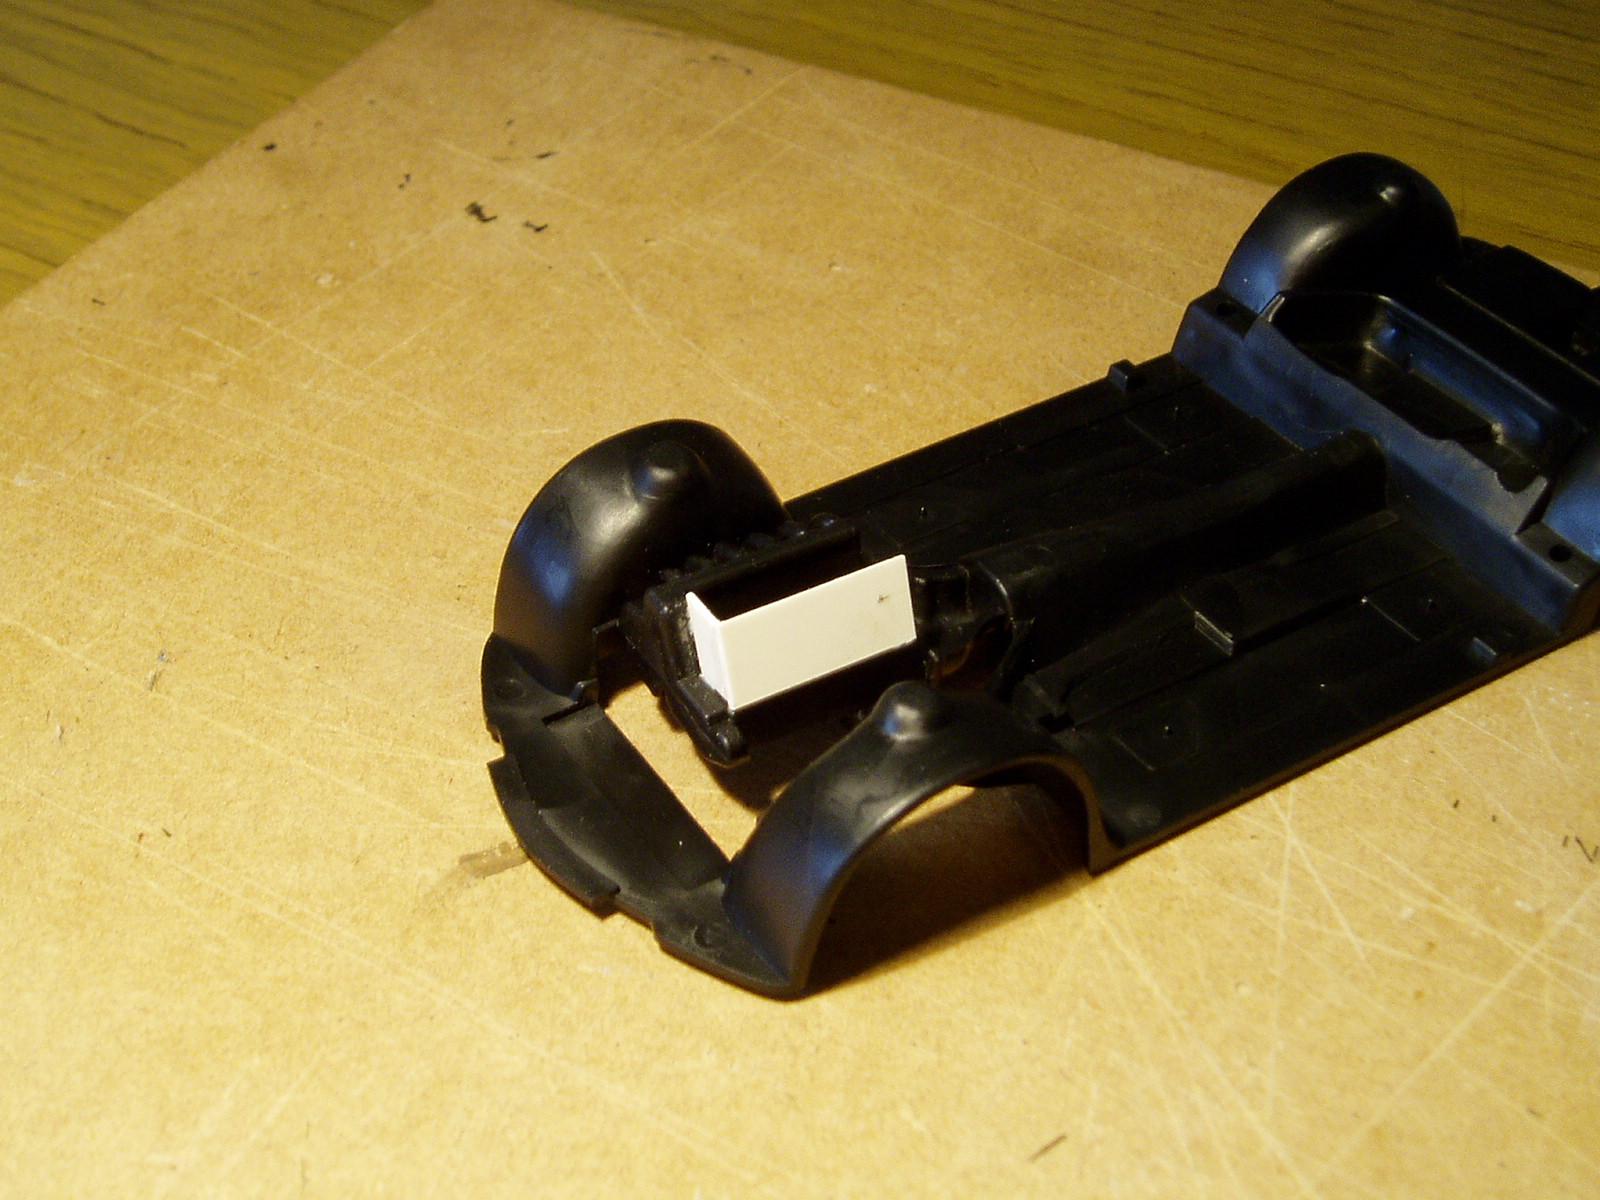
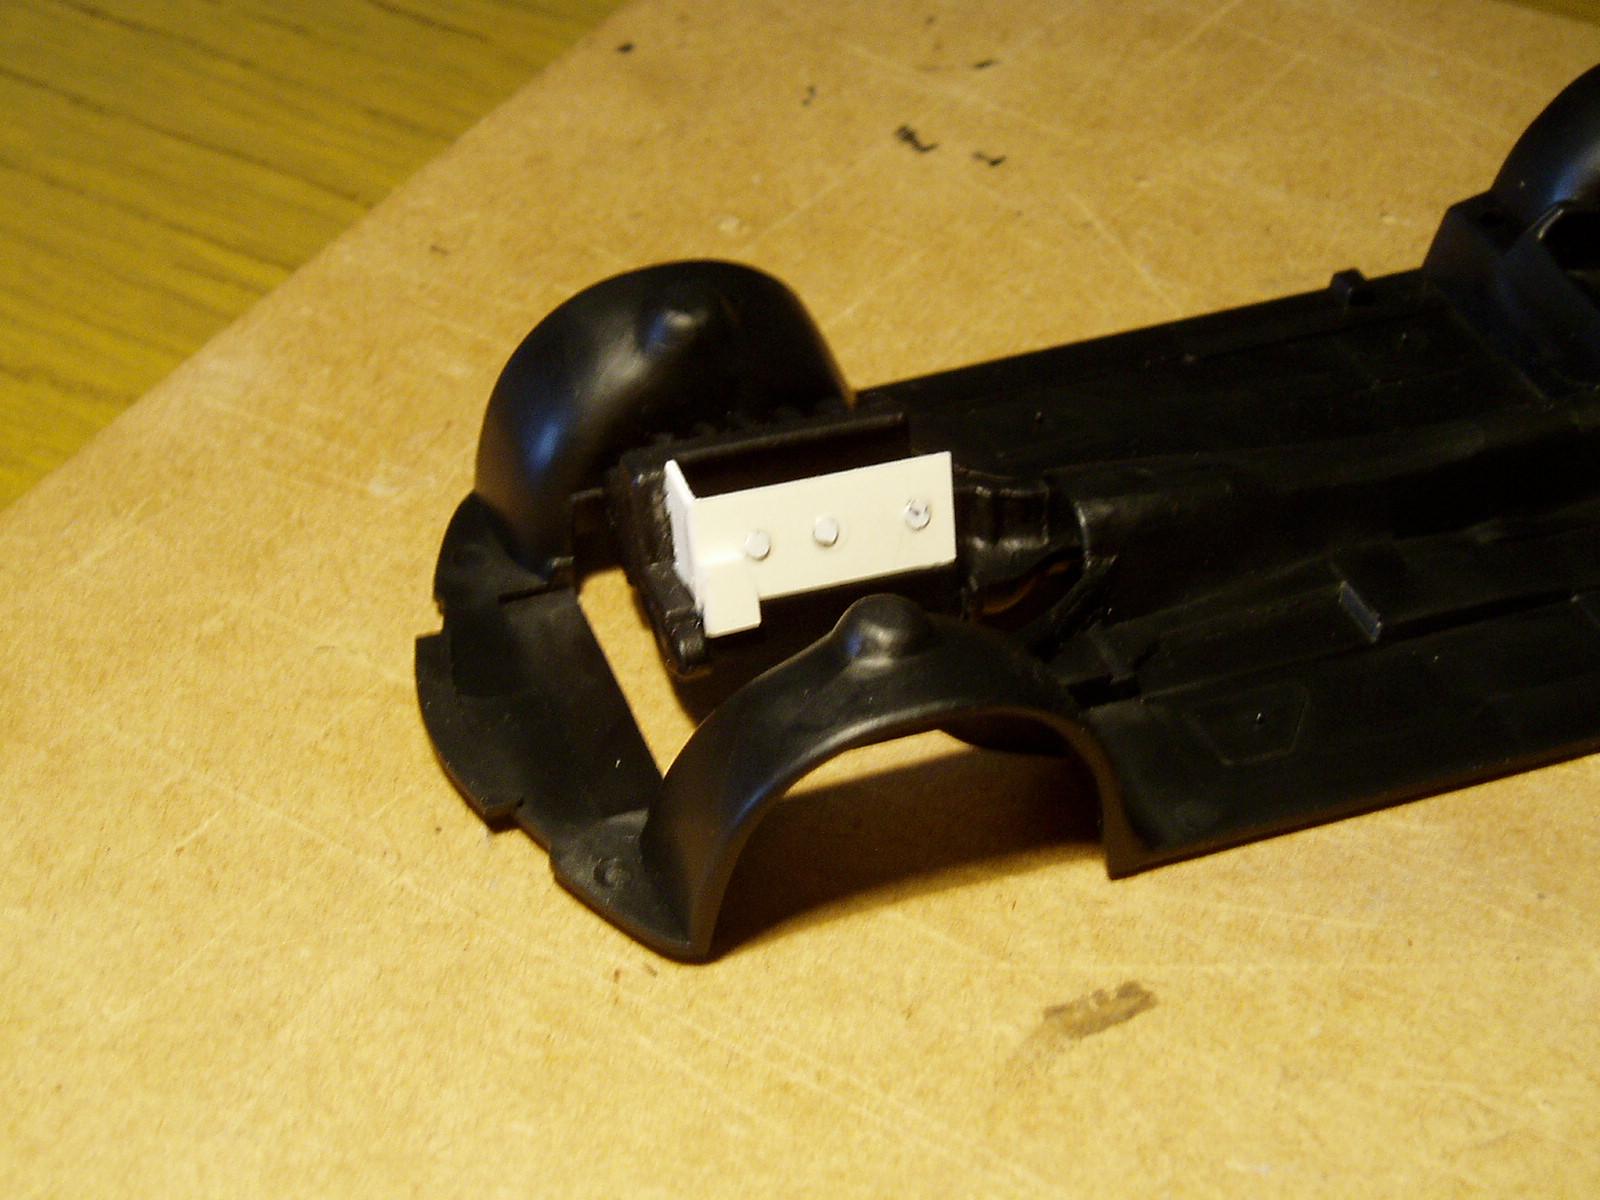
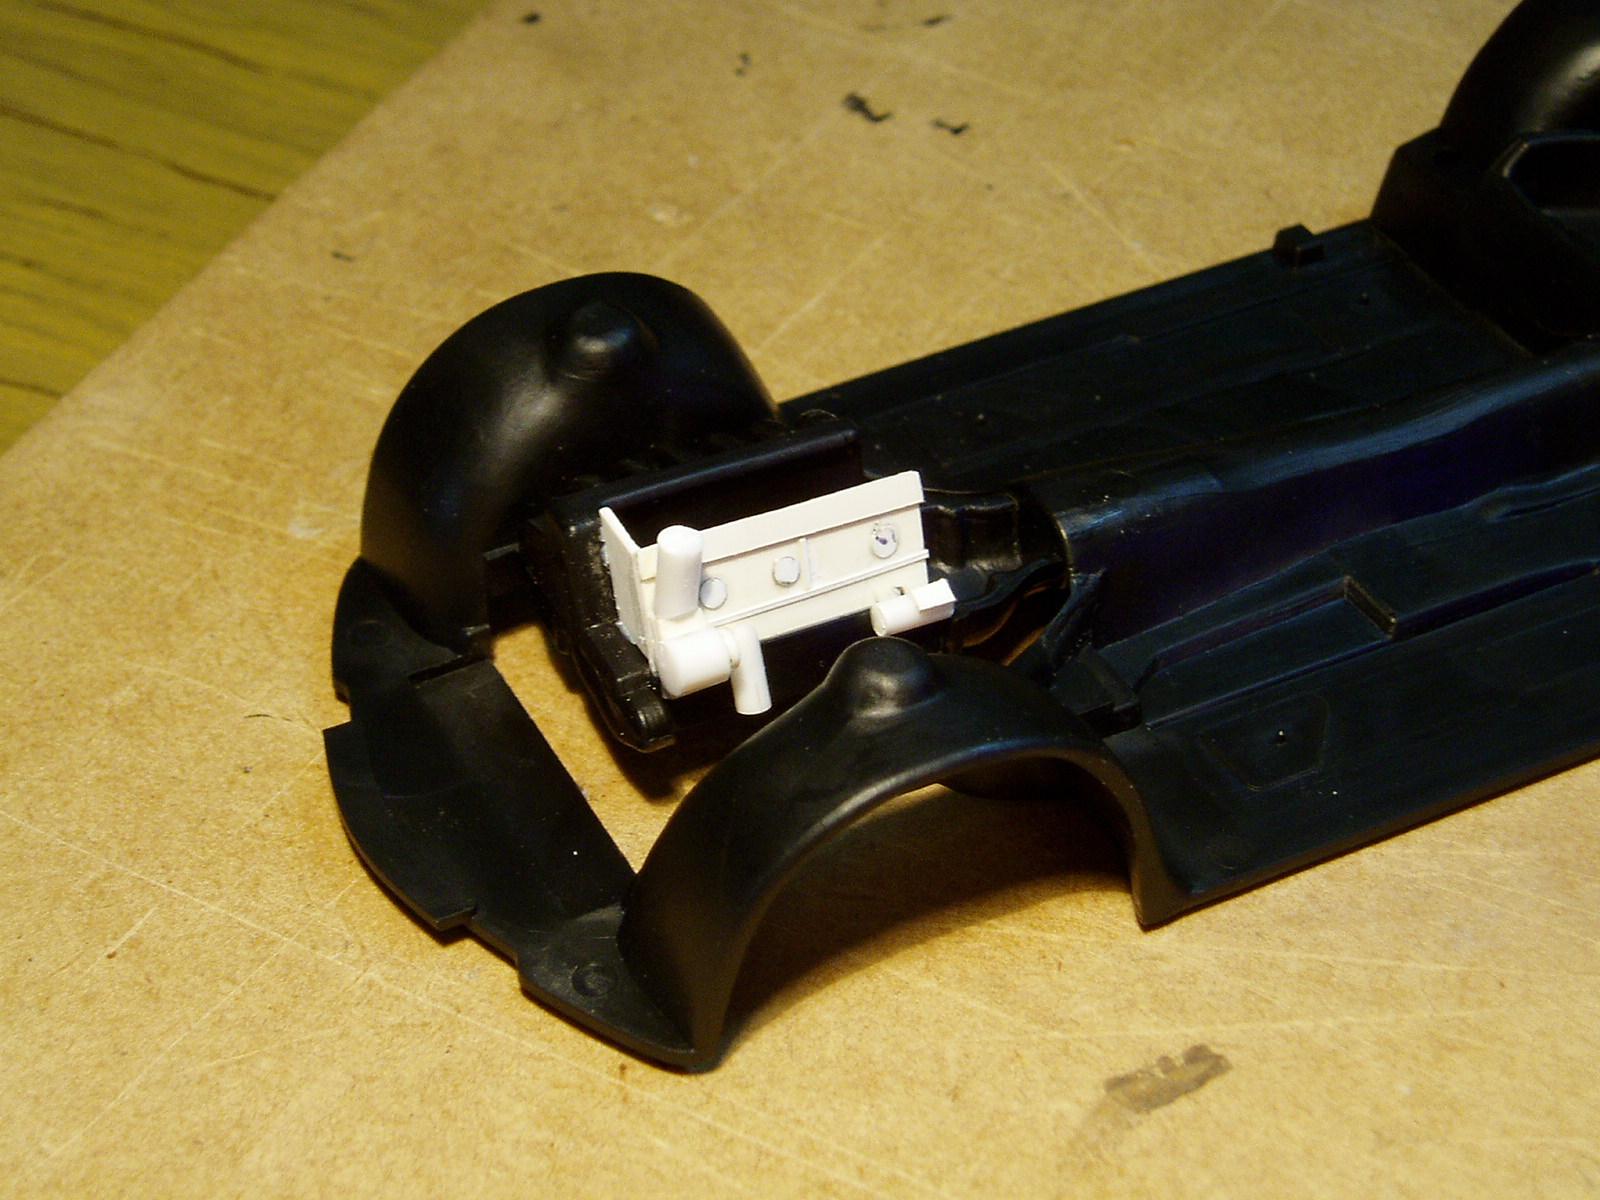
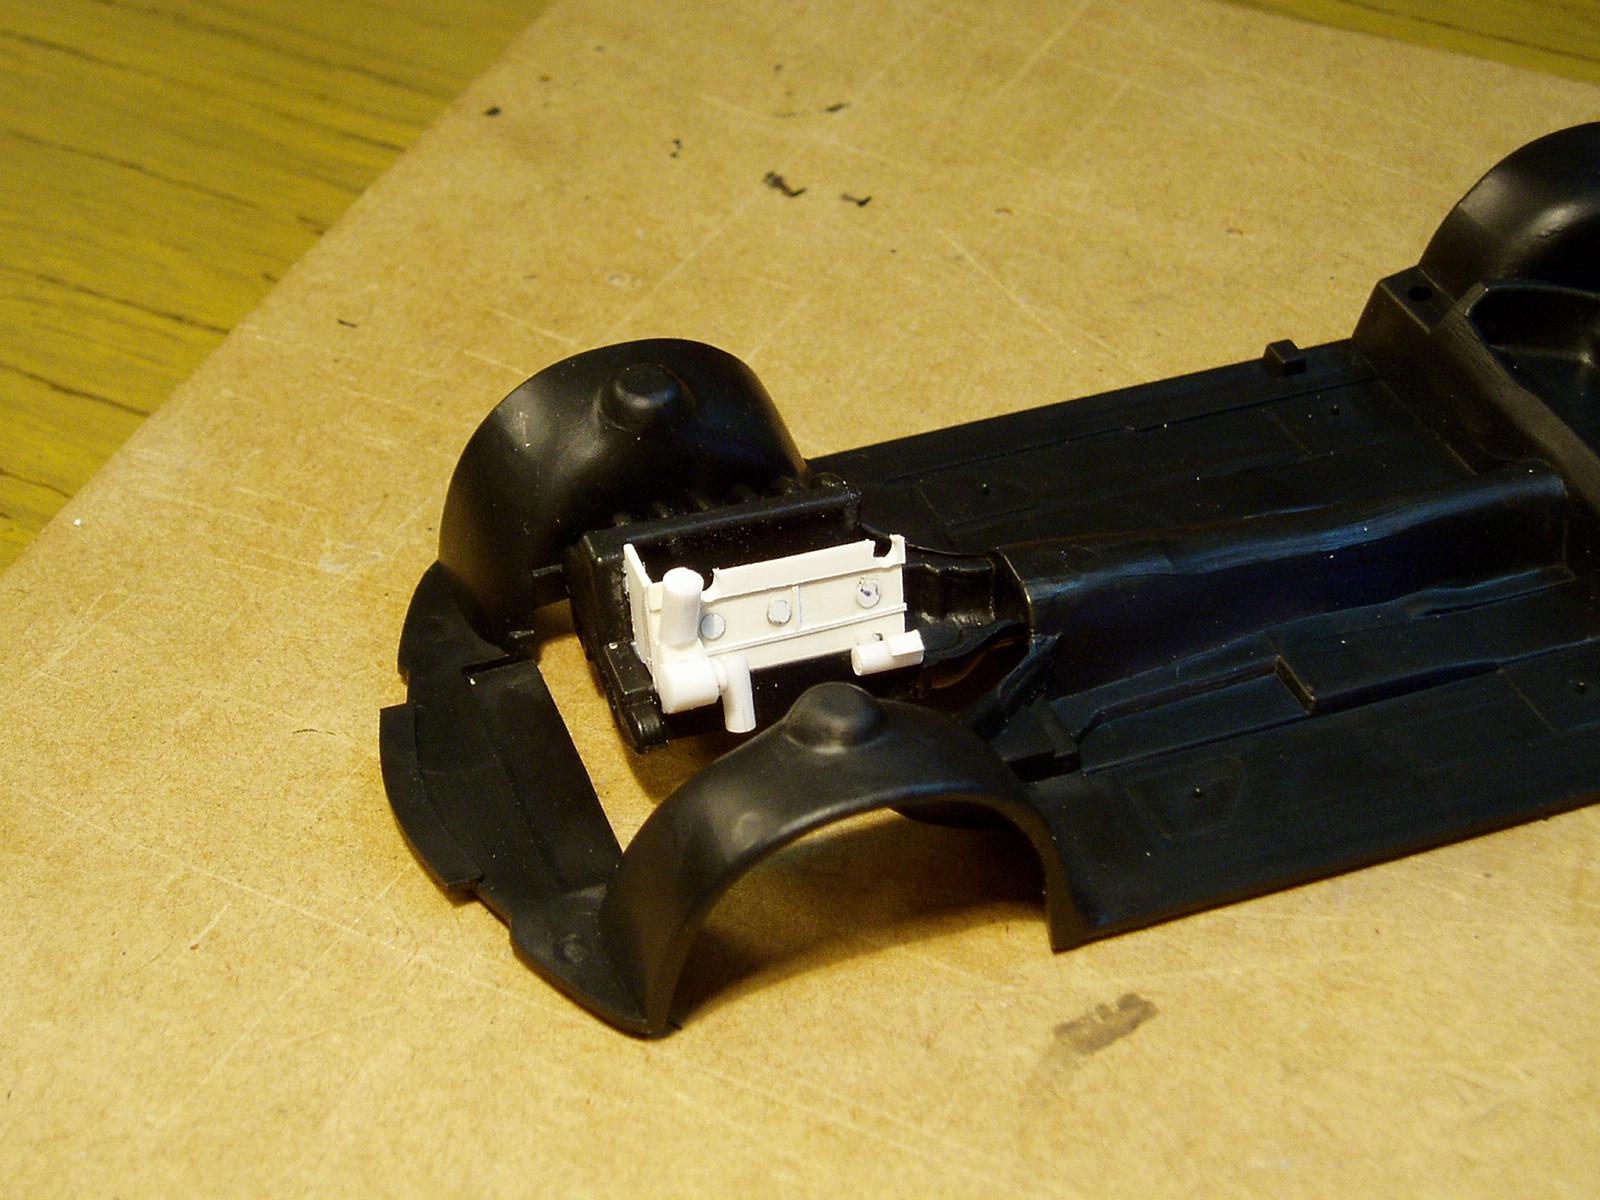
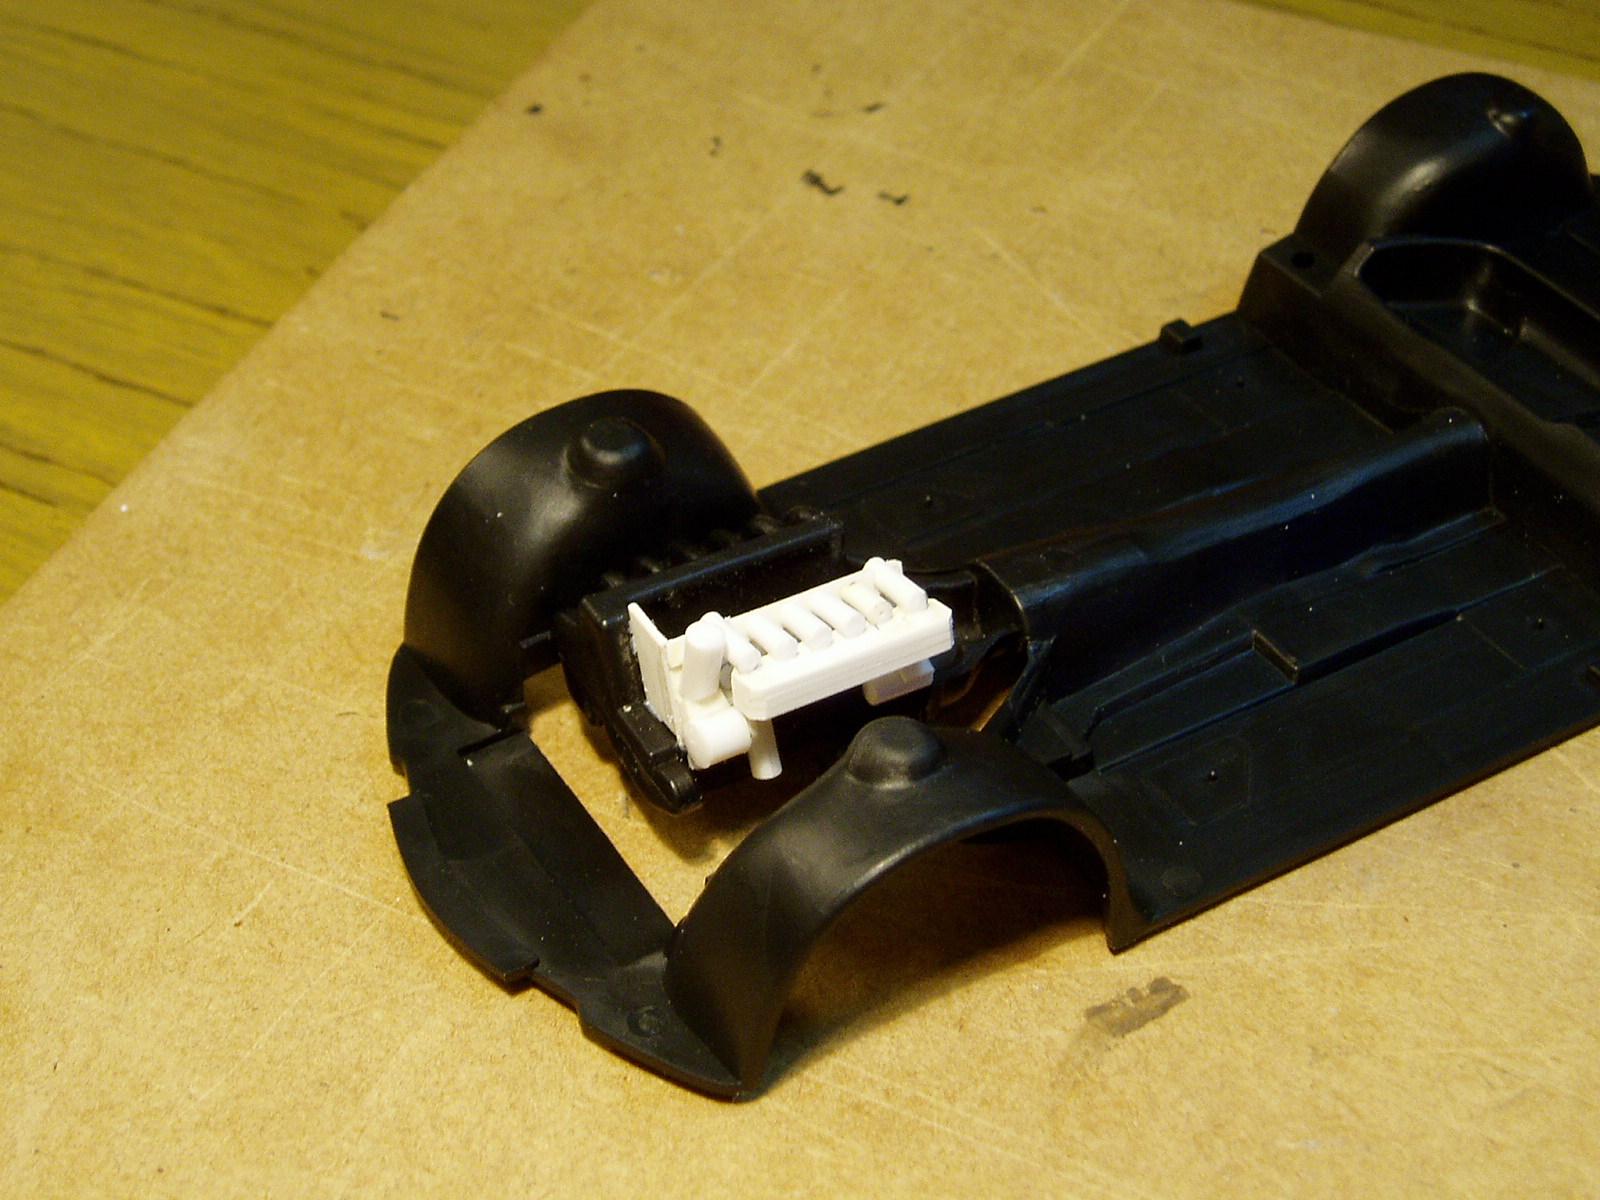
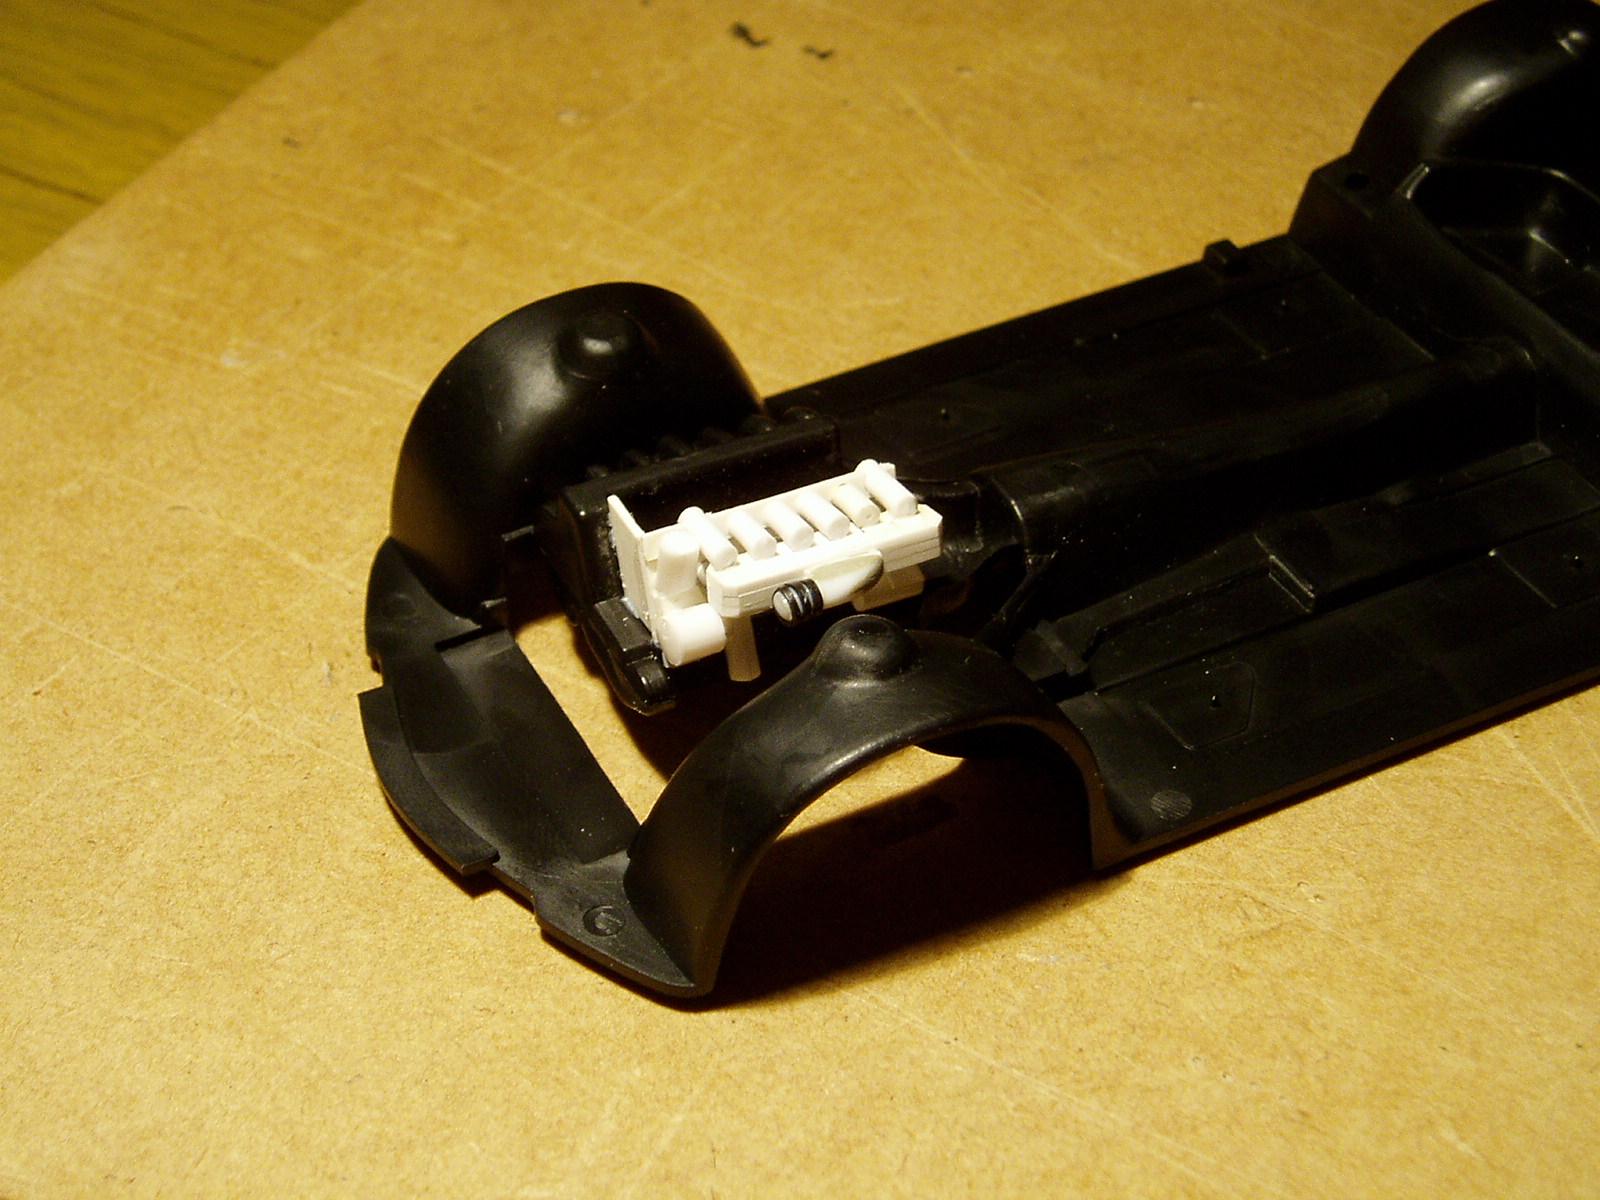
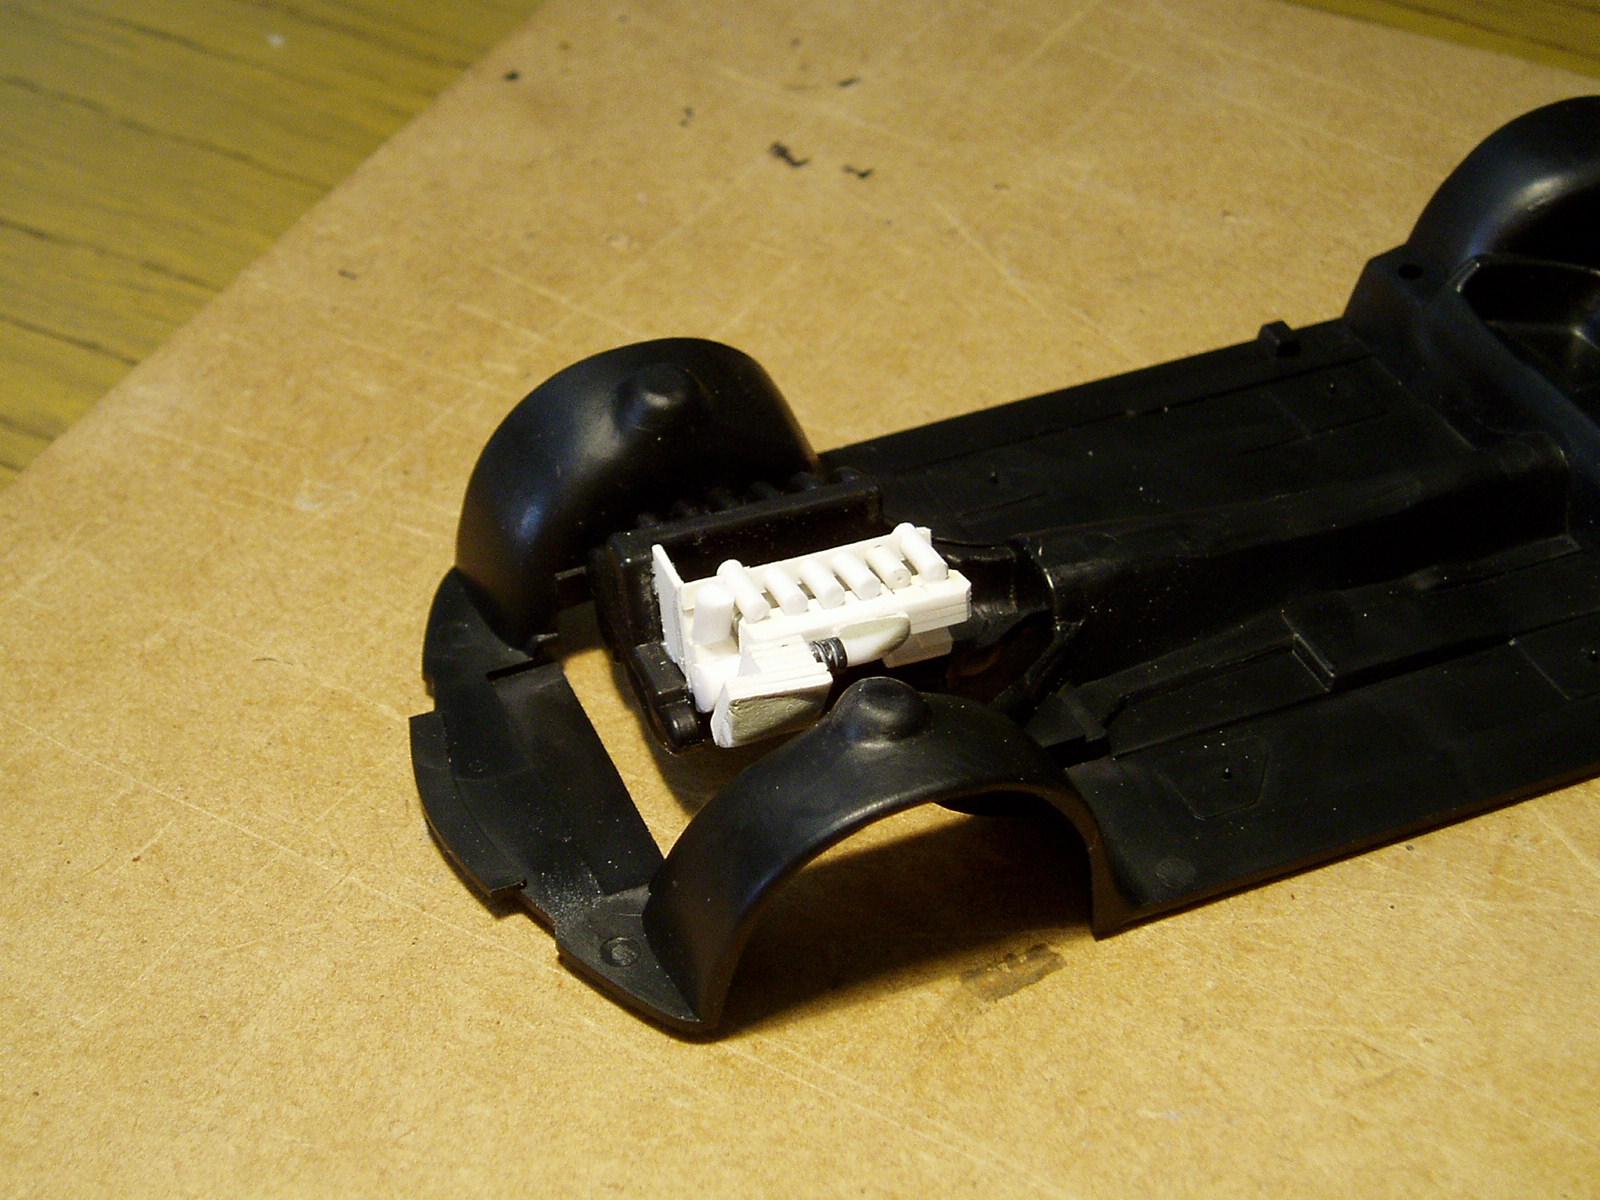
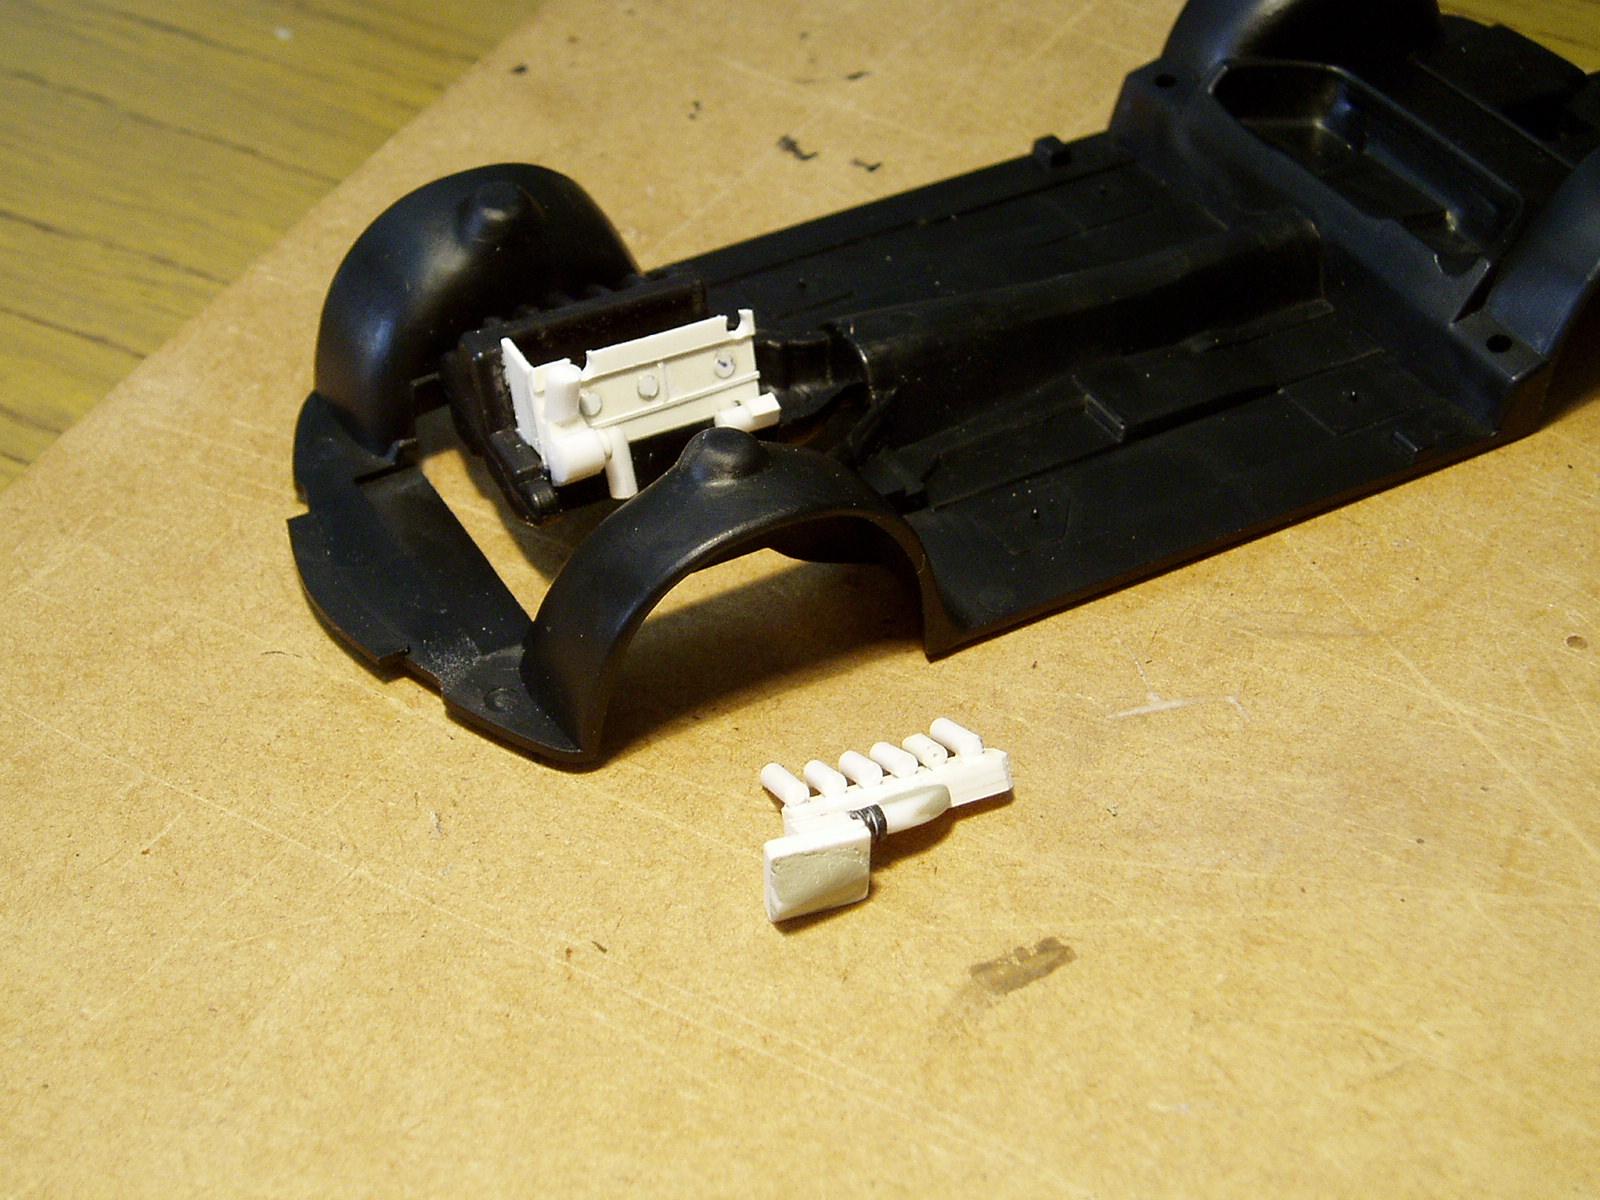
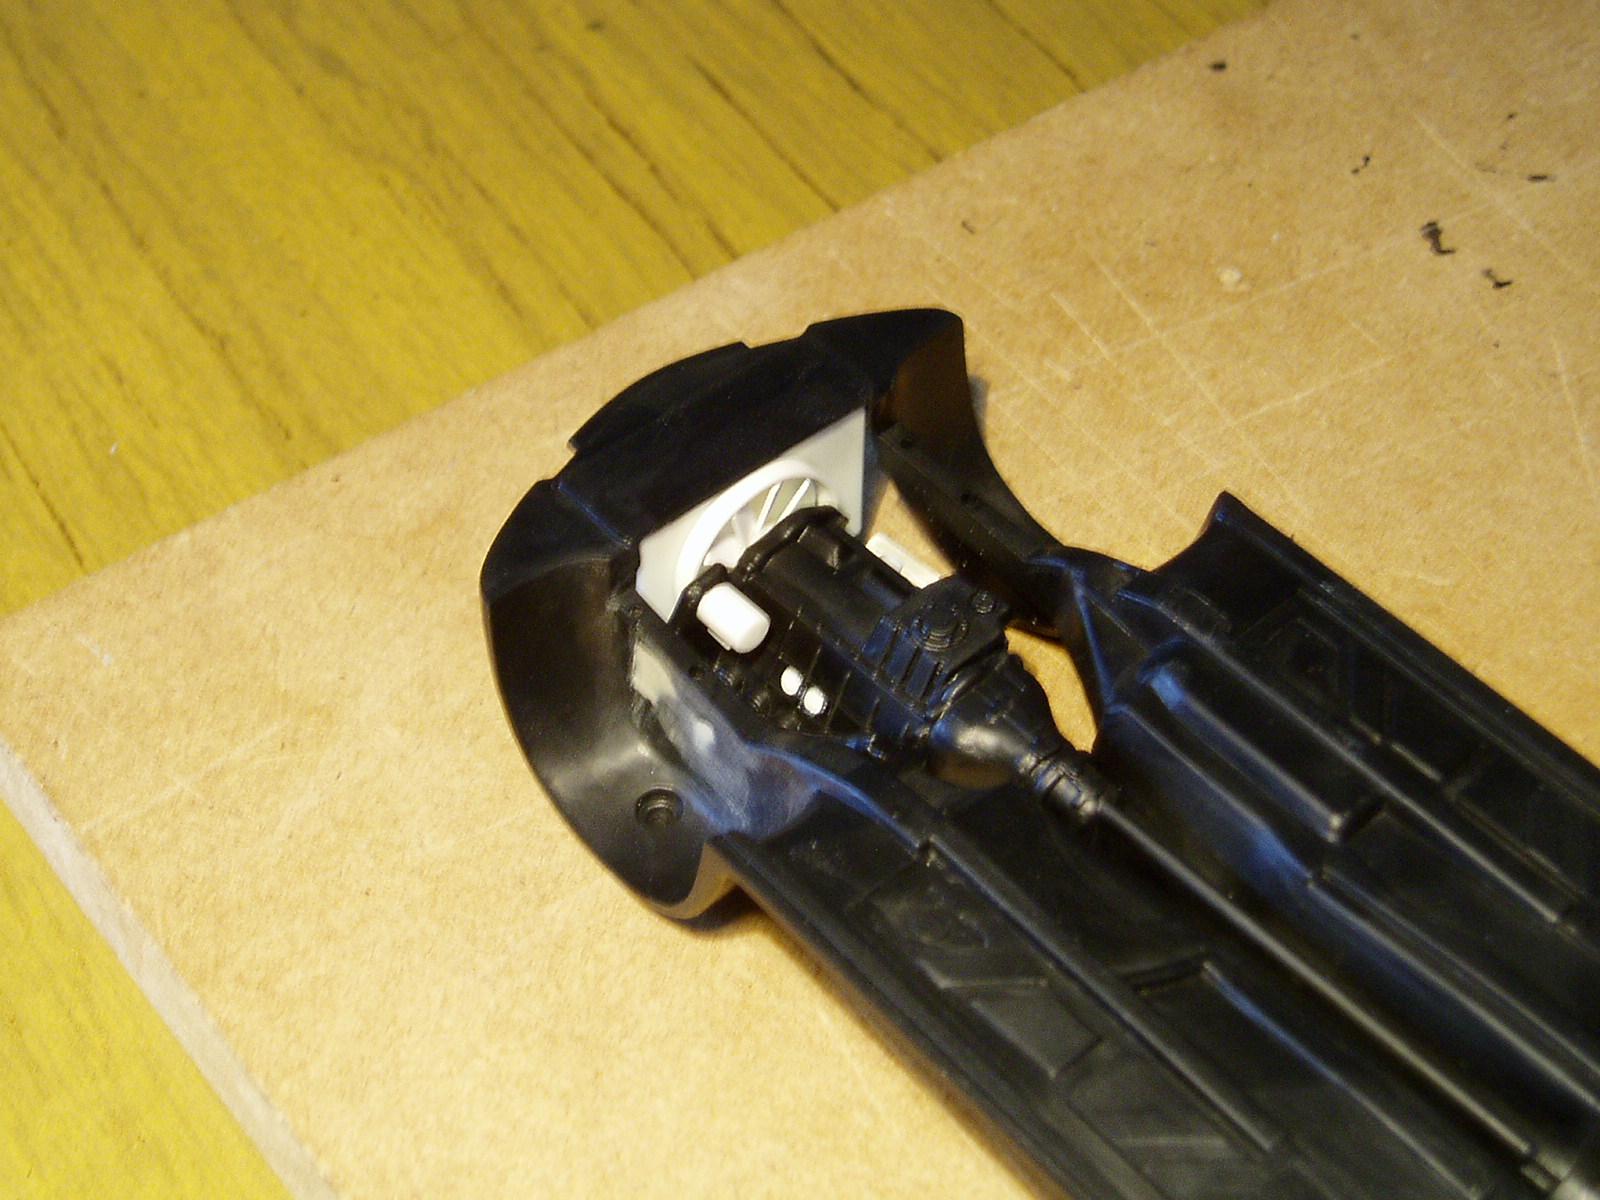
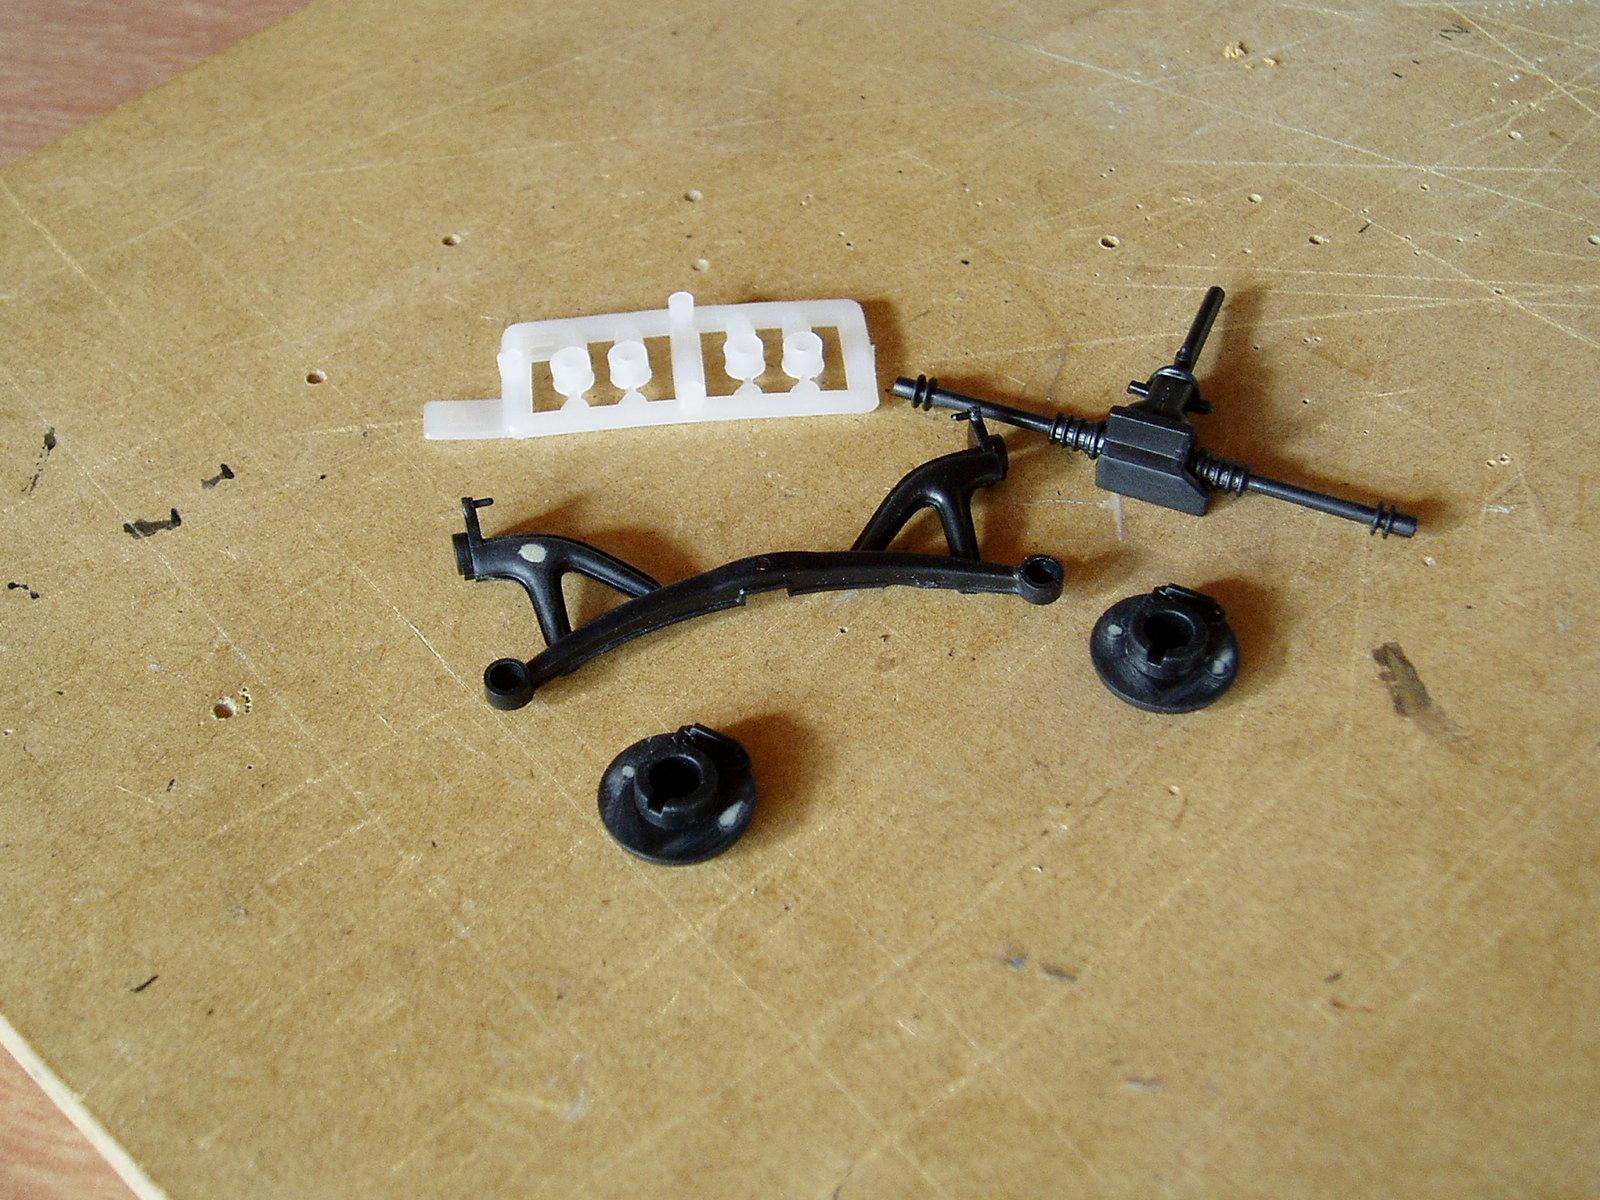
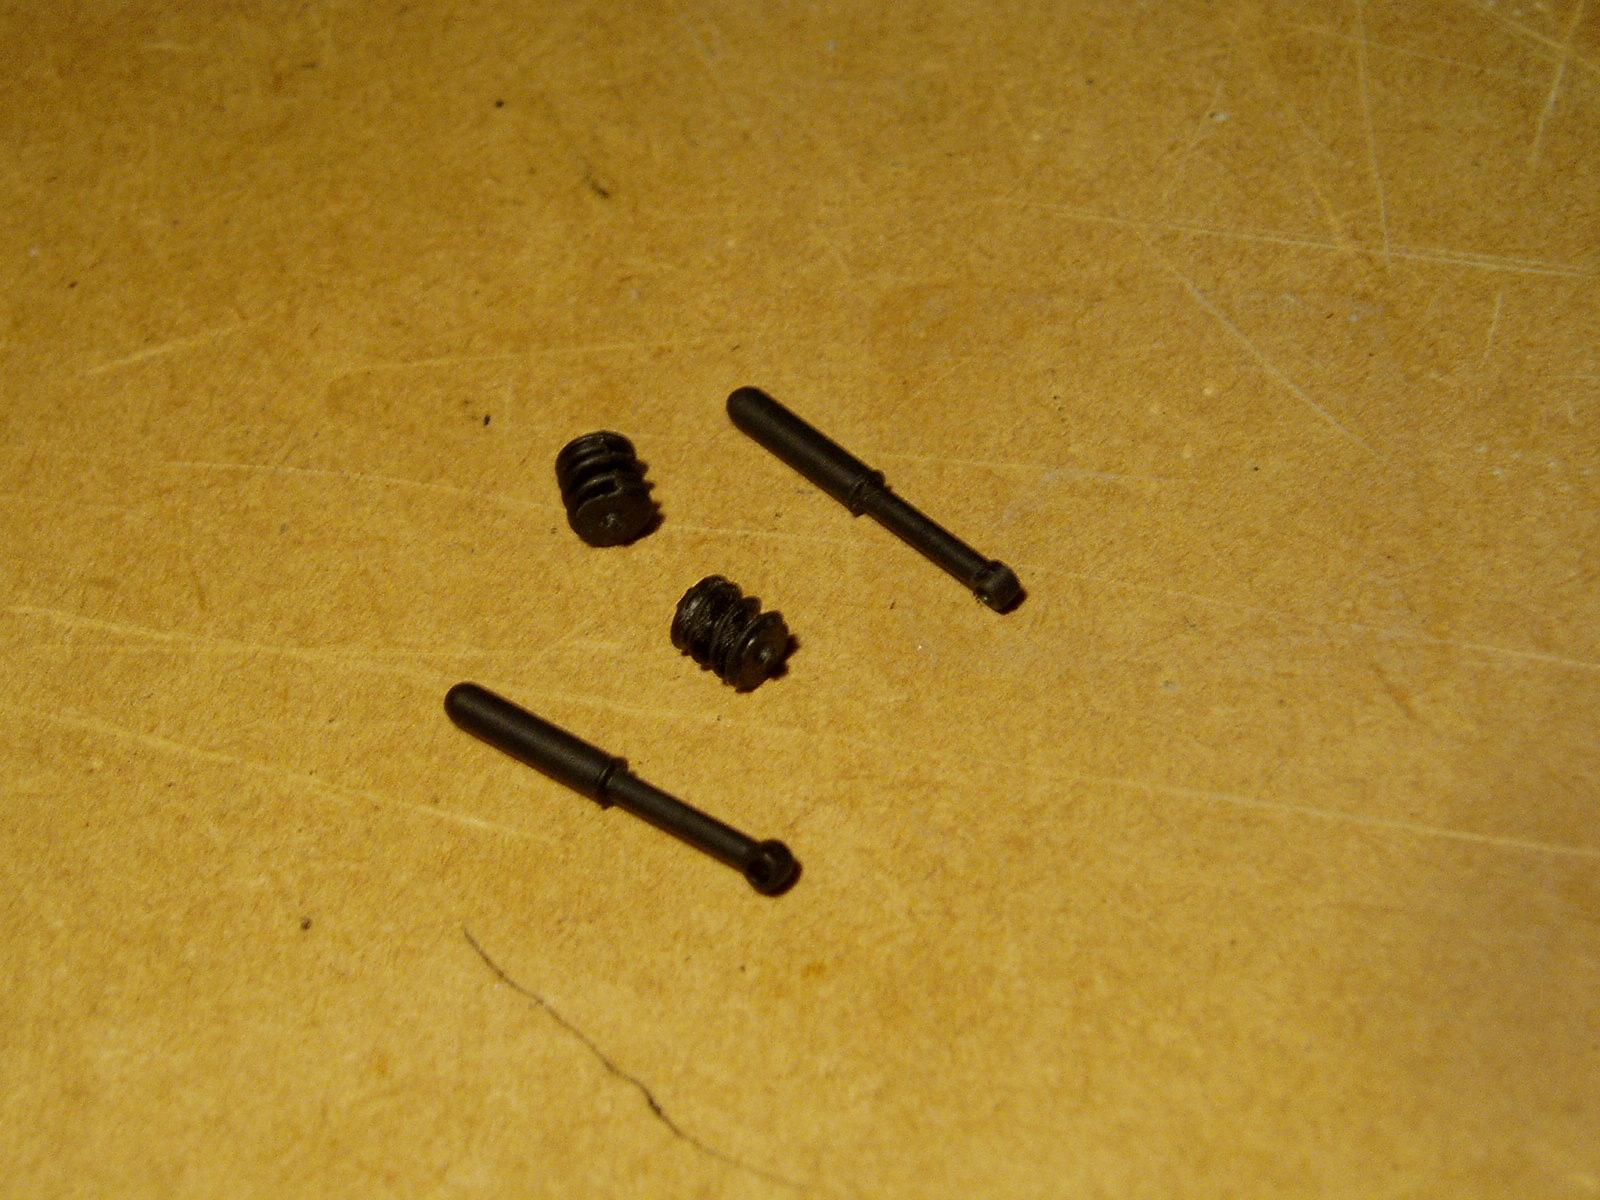
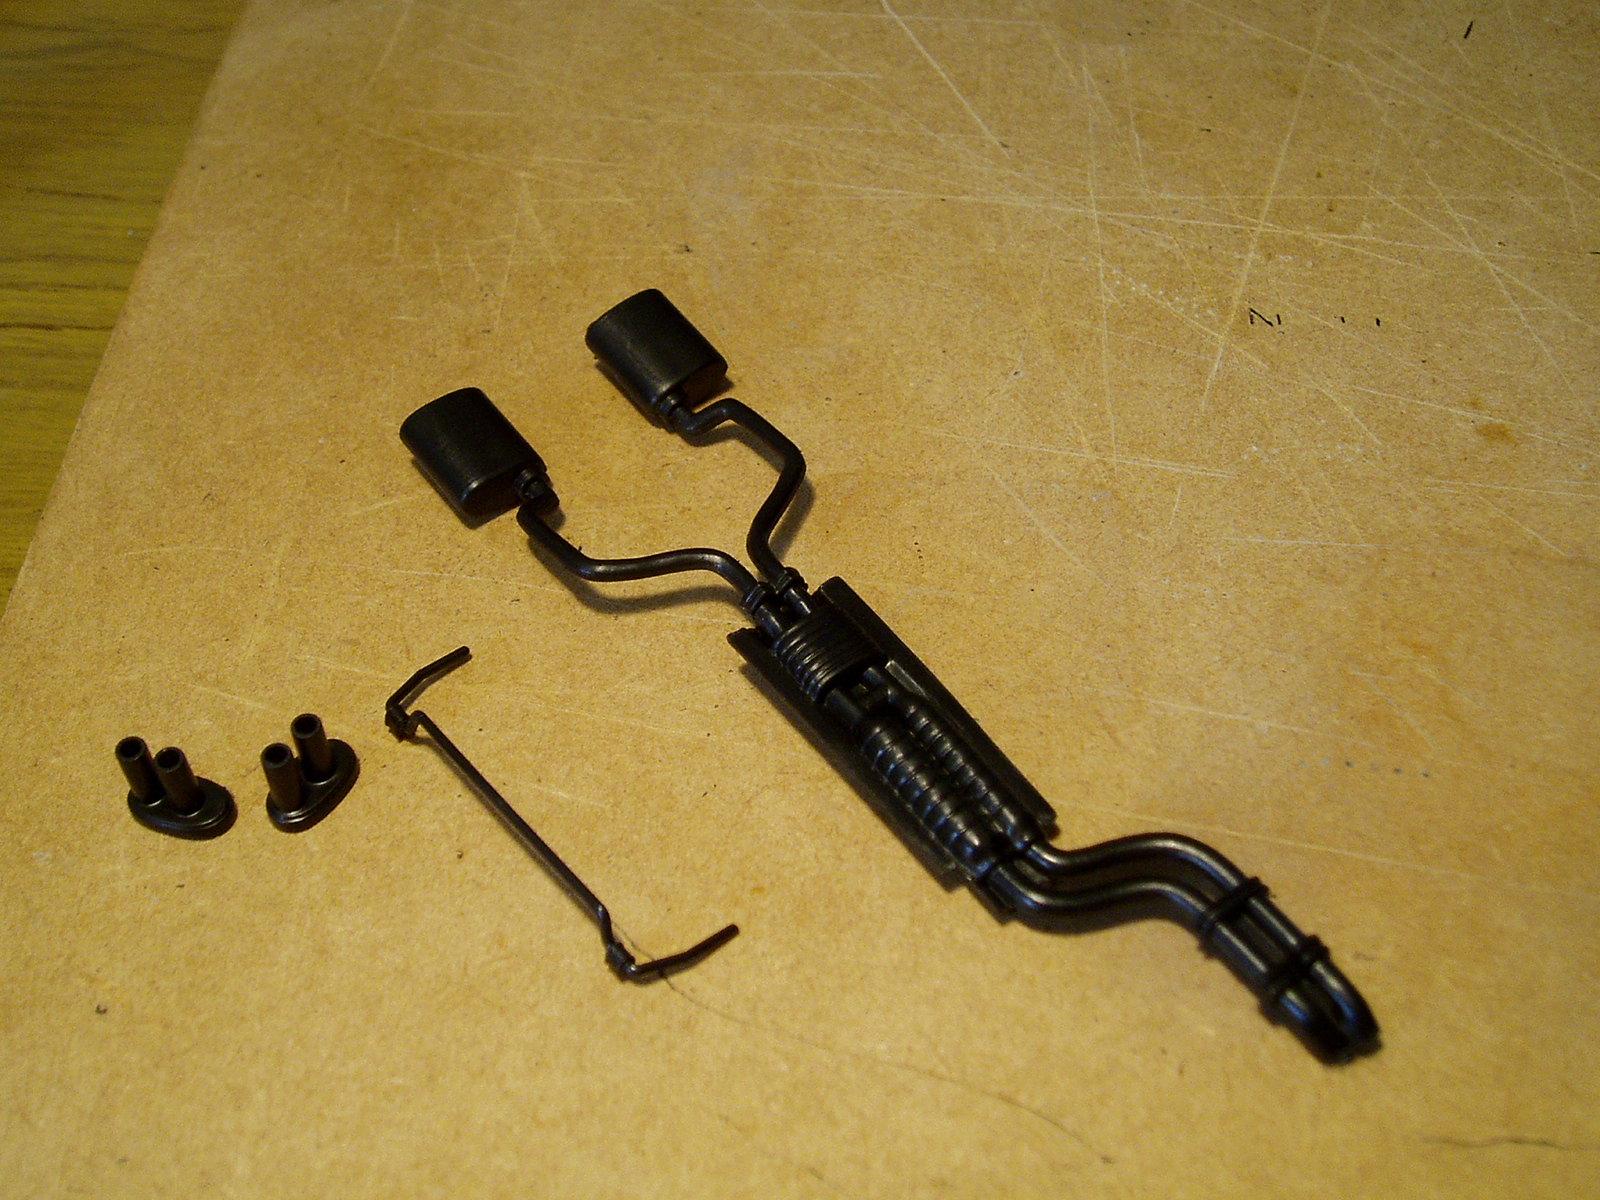
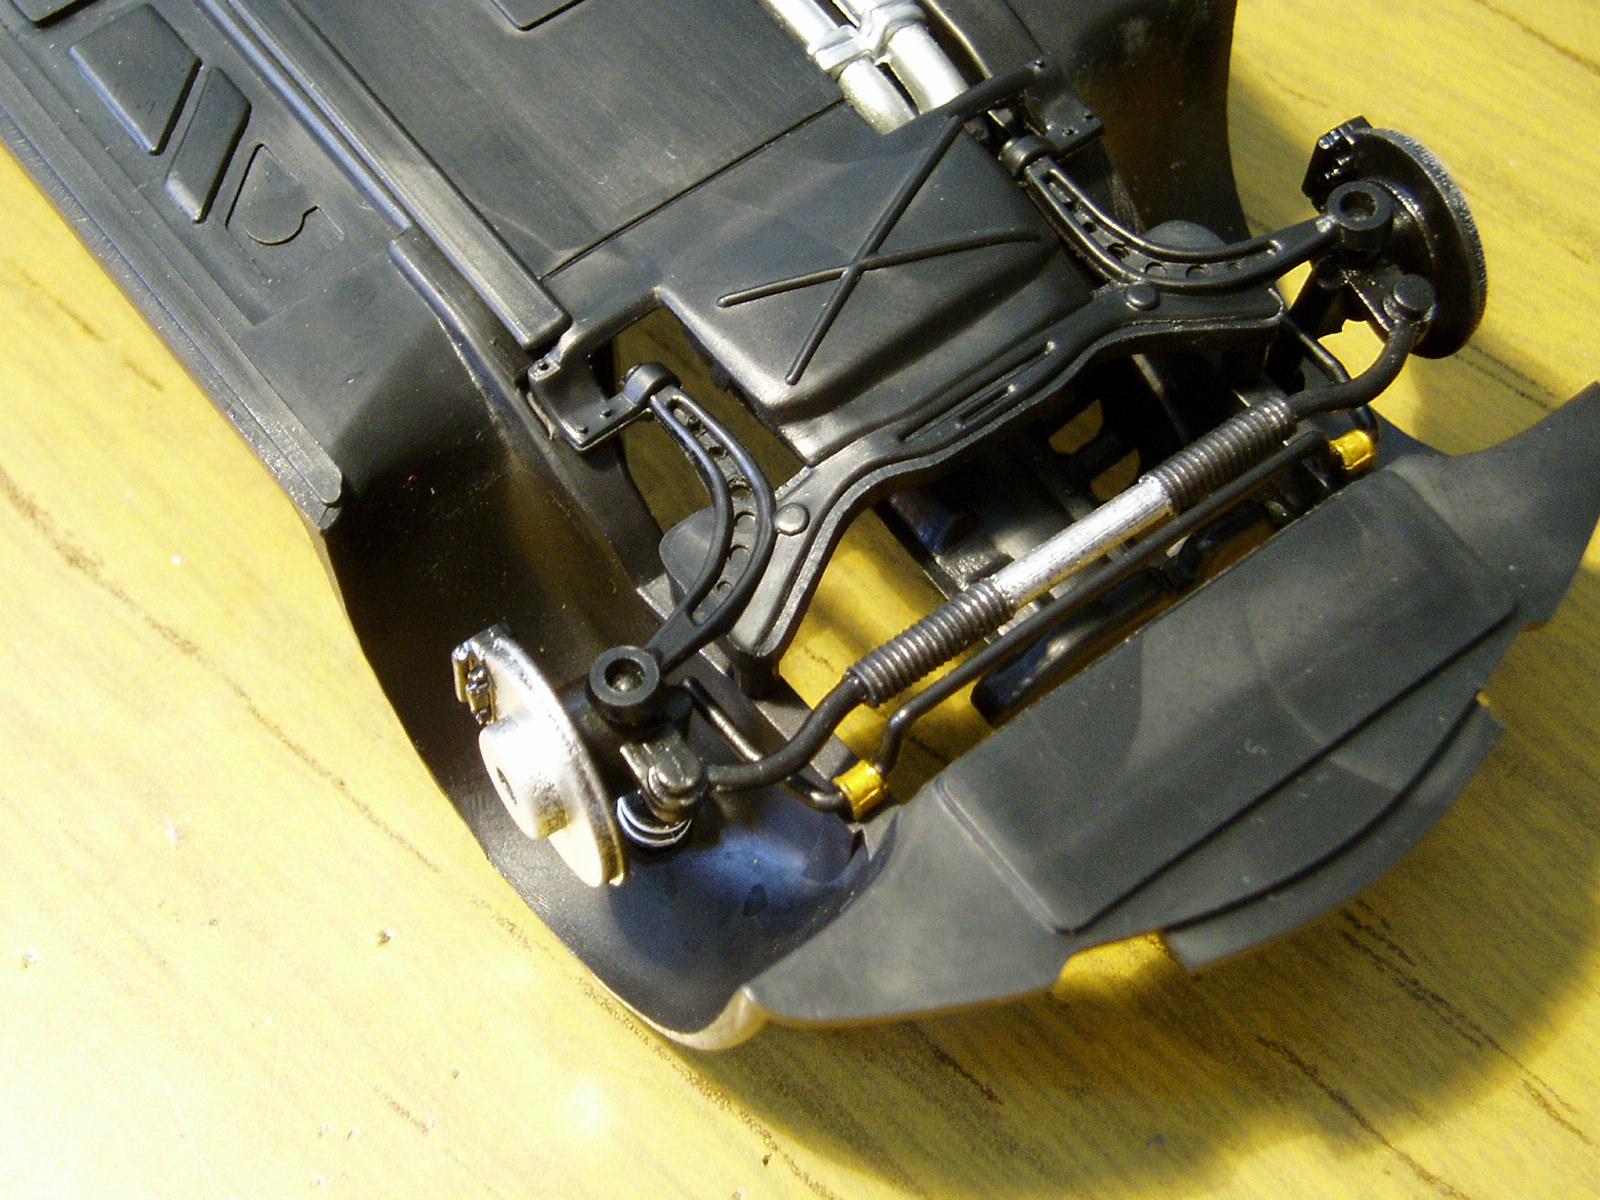
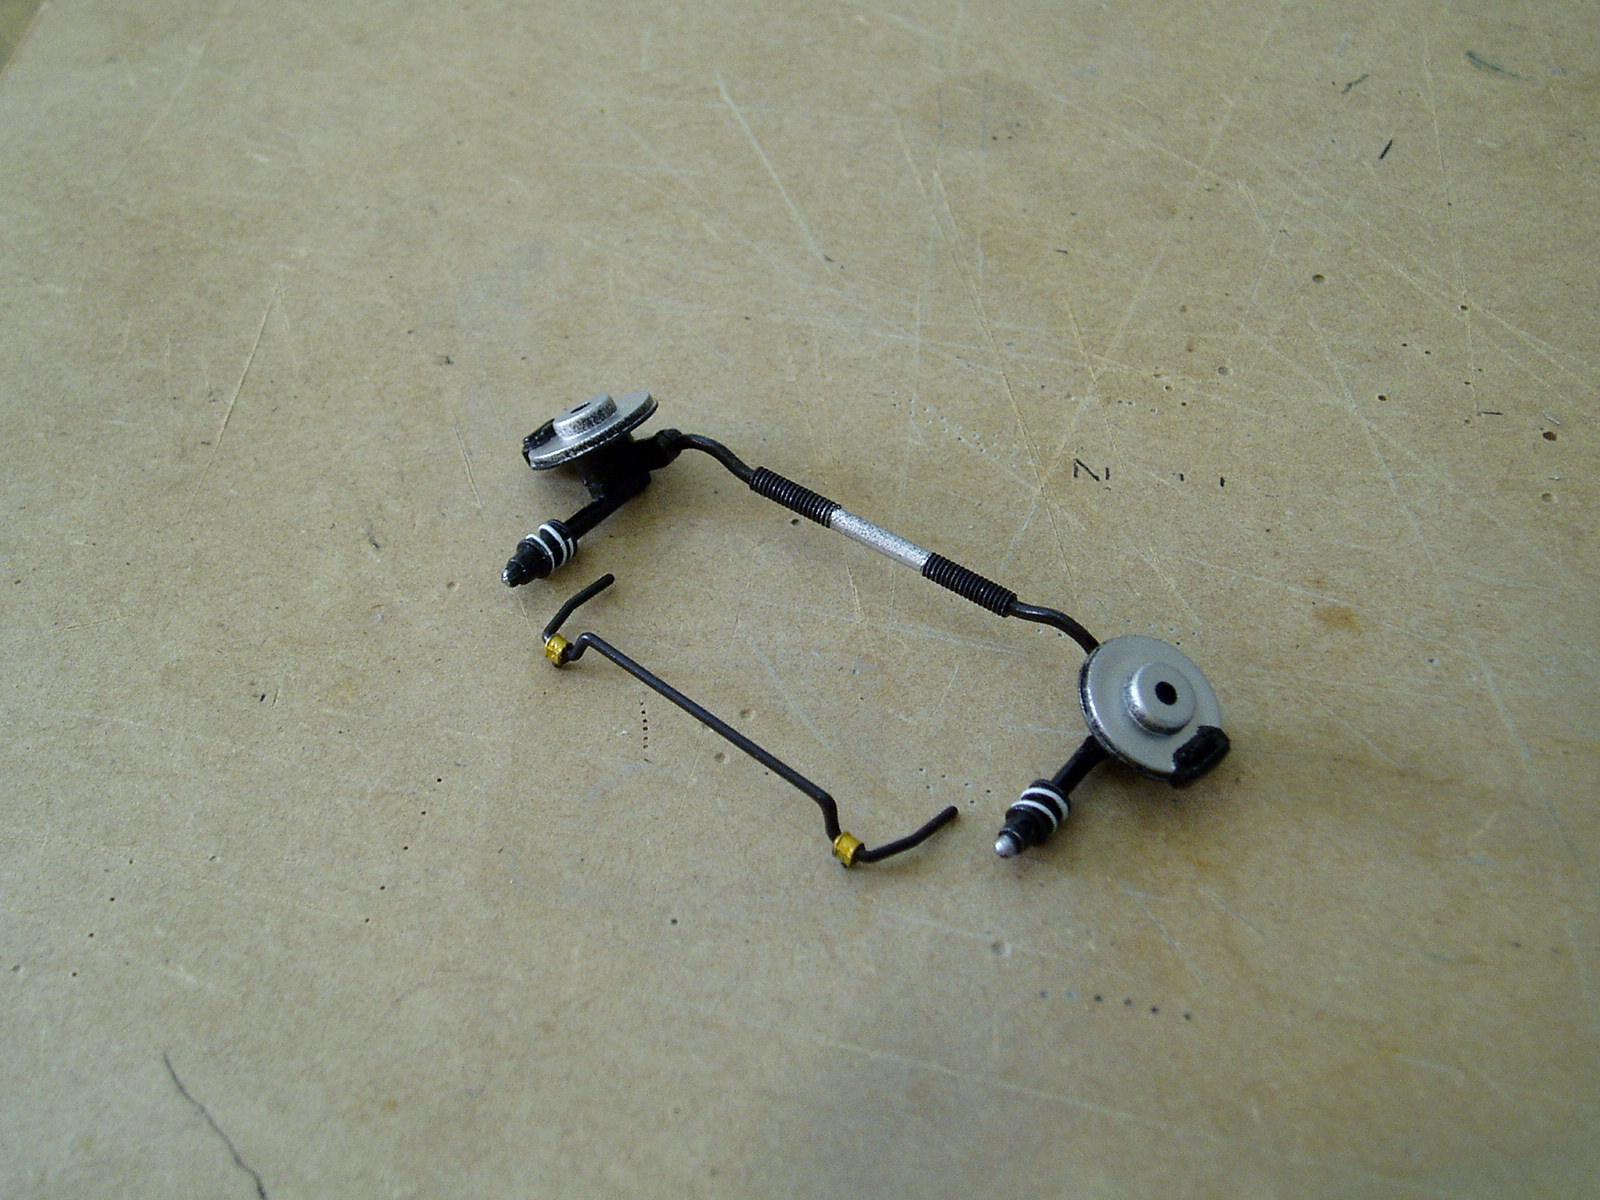
Hi, we continue with the chassis, we place the exhaust pipe and the stabilizer bar. We complete the front axle. This is how the hole looks with the parts scratch-made.
-
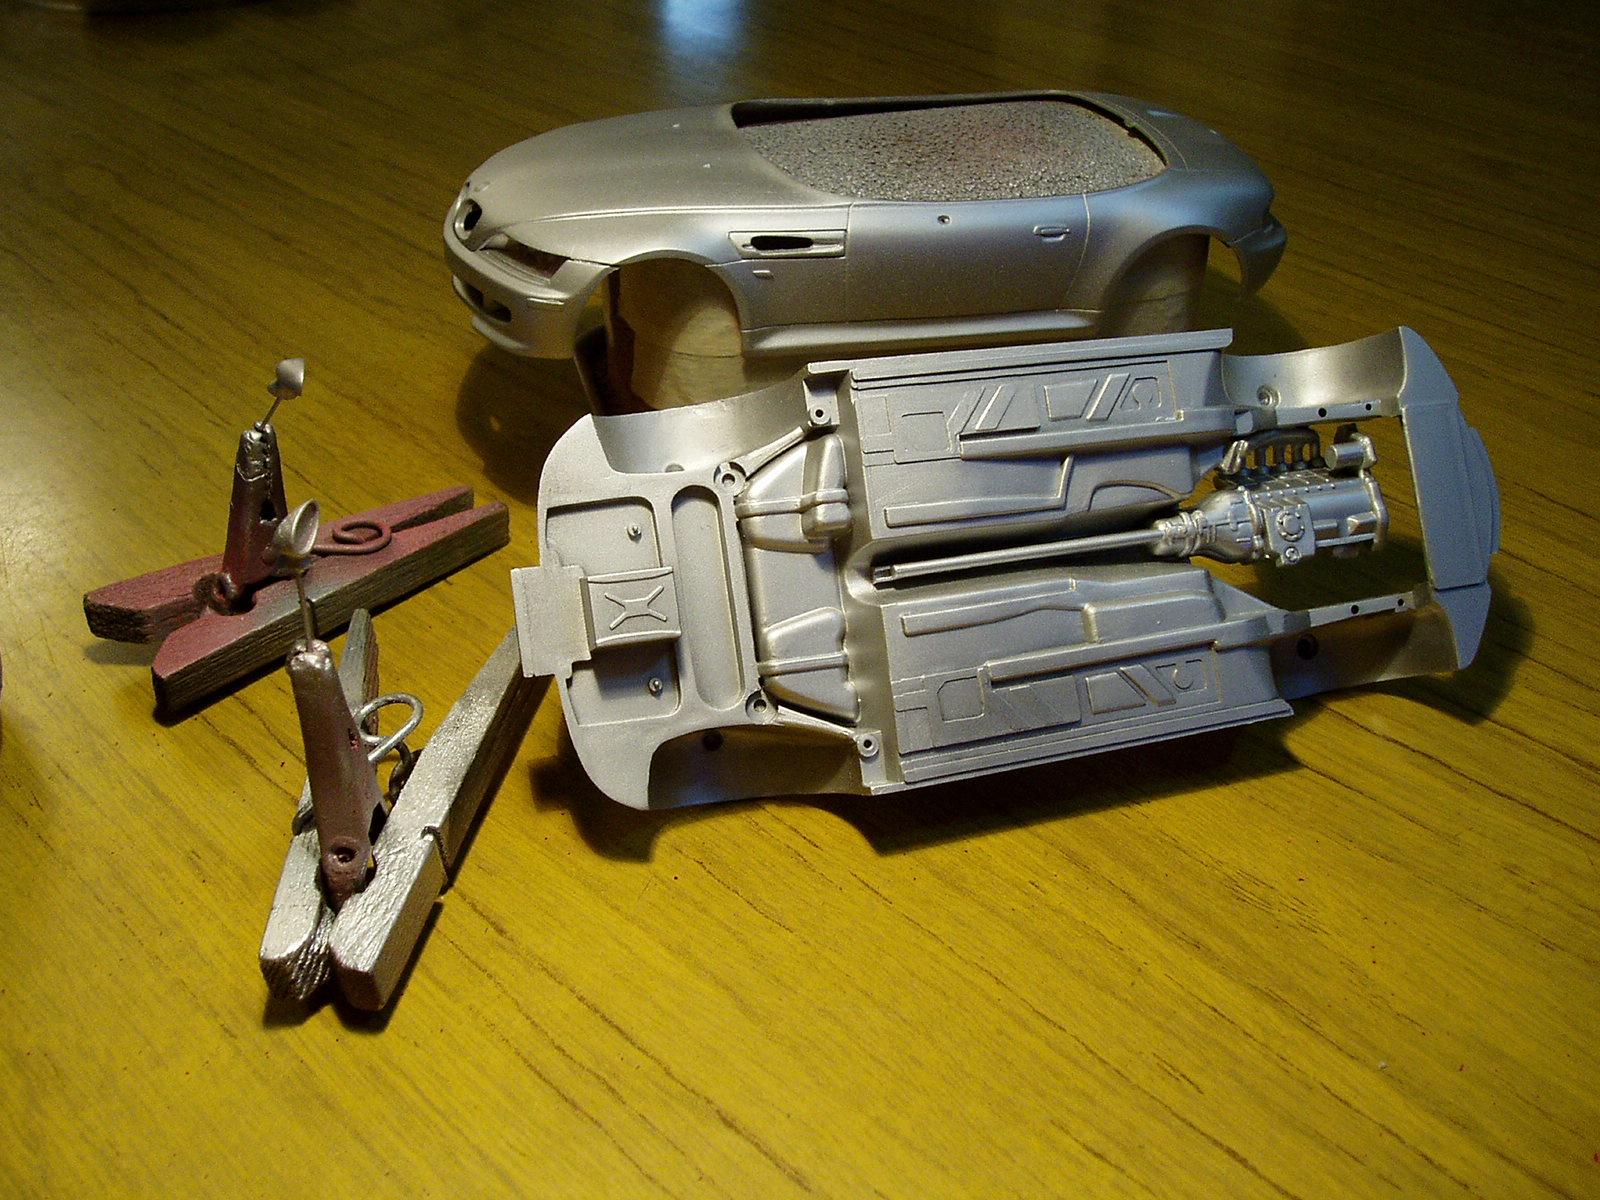
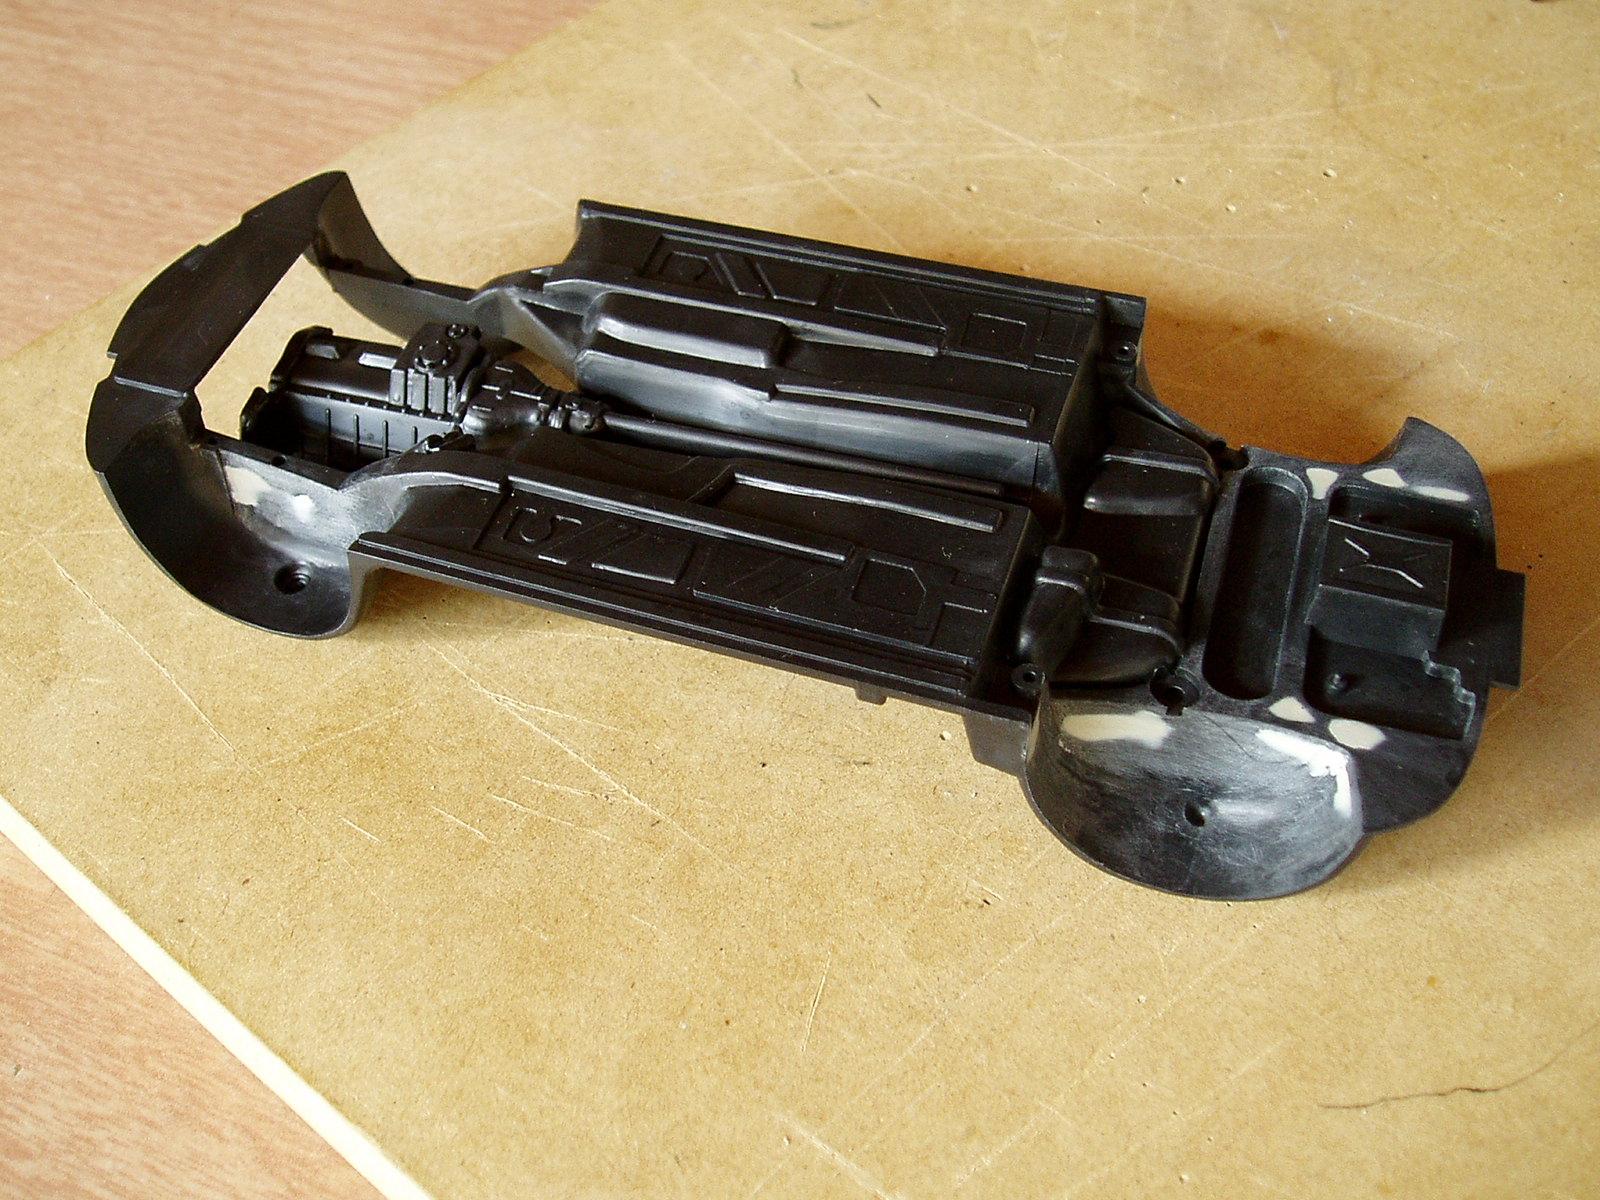
Hello, as you know, the model comes pre-painted in red. I thought it was just a transparent lacquer, but no, it had color; I removed it with medicinal alcohol and a hard brush. Remove the mold lines. For the silver color I used Mr Color 8. I gave the chassis about 3 coats of water-based varnish and then a gray color longitudinally. I detailed the different parts of it in black and glued the parts made in scratch. I also glued the rear axle.
-
Thank you very much for your comments, there will be progress shortly.
-
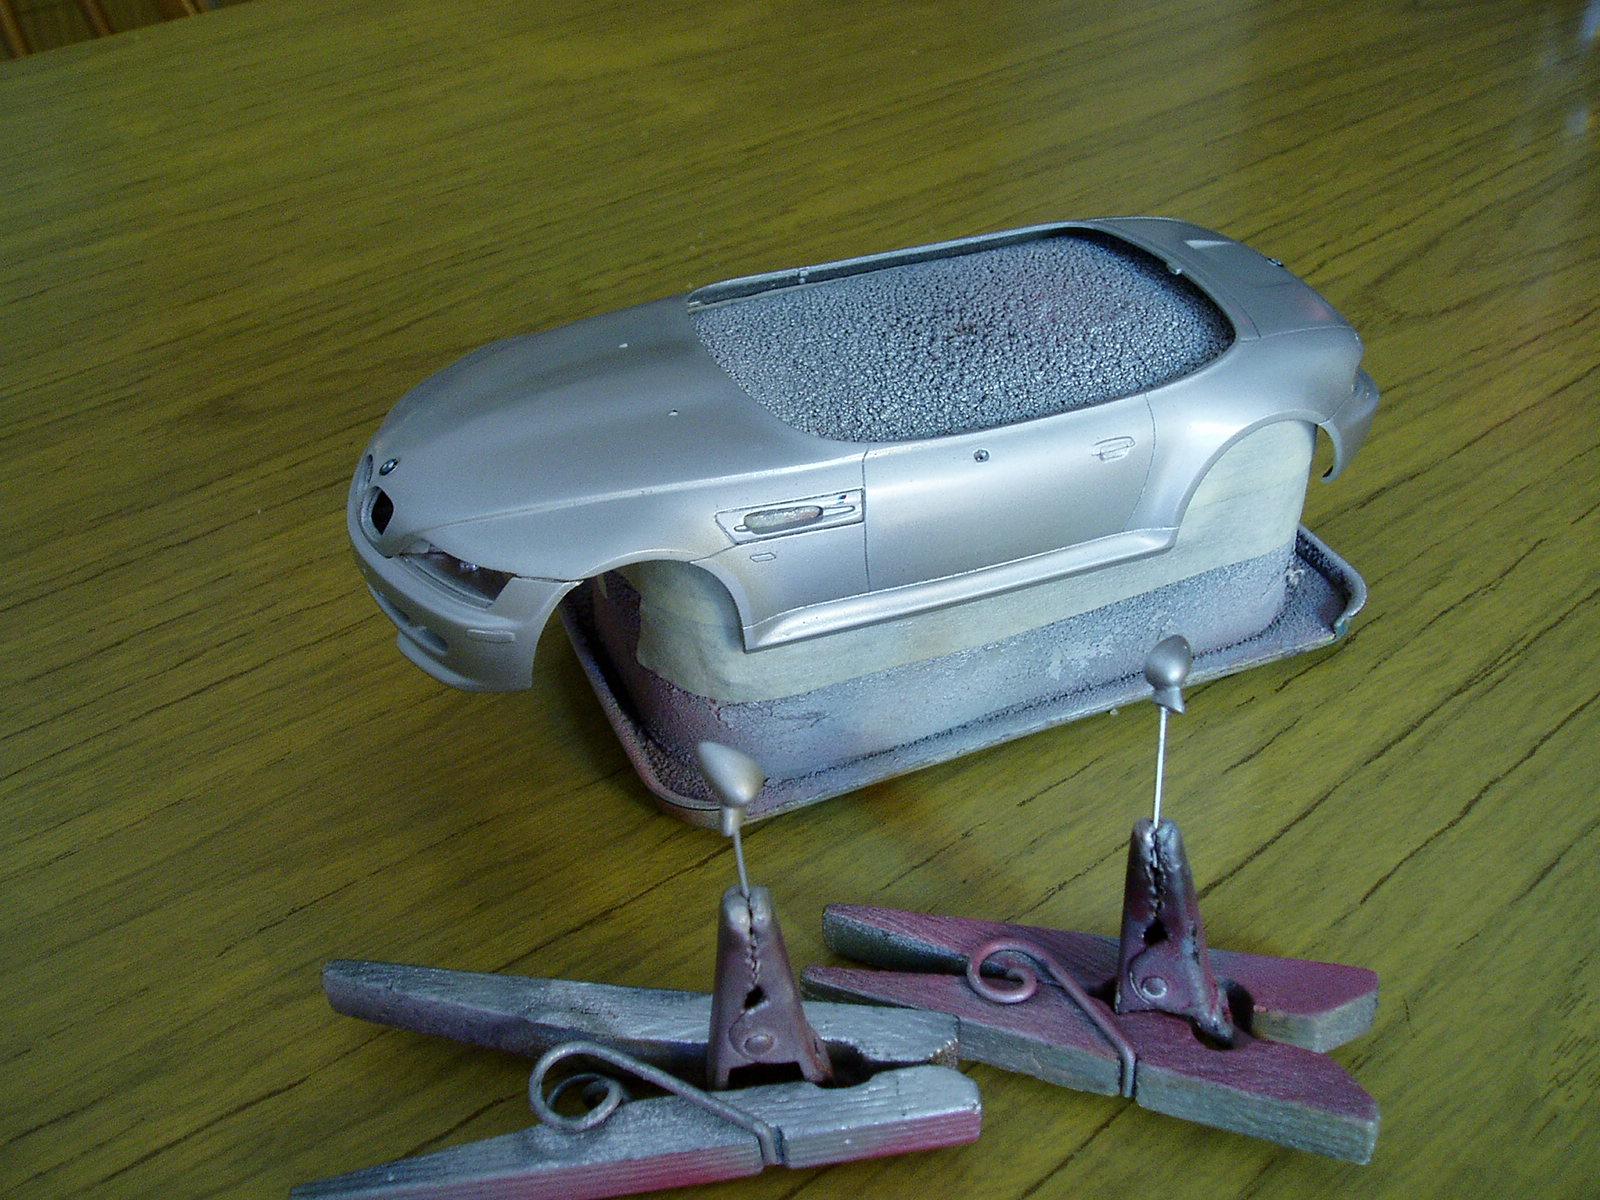
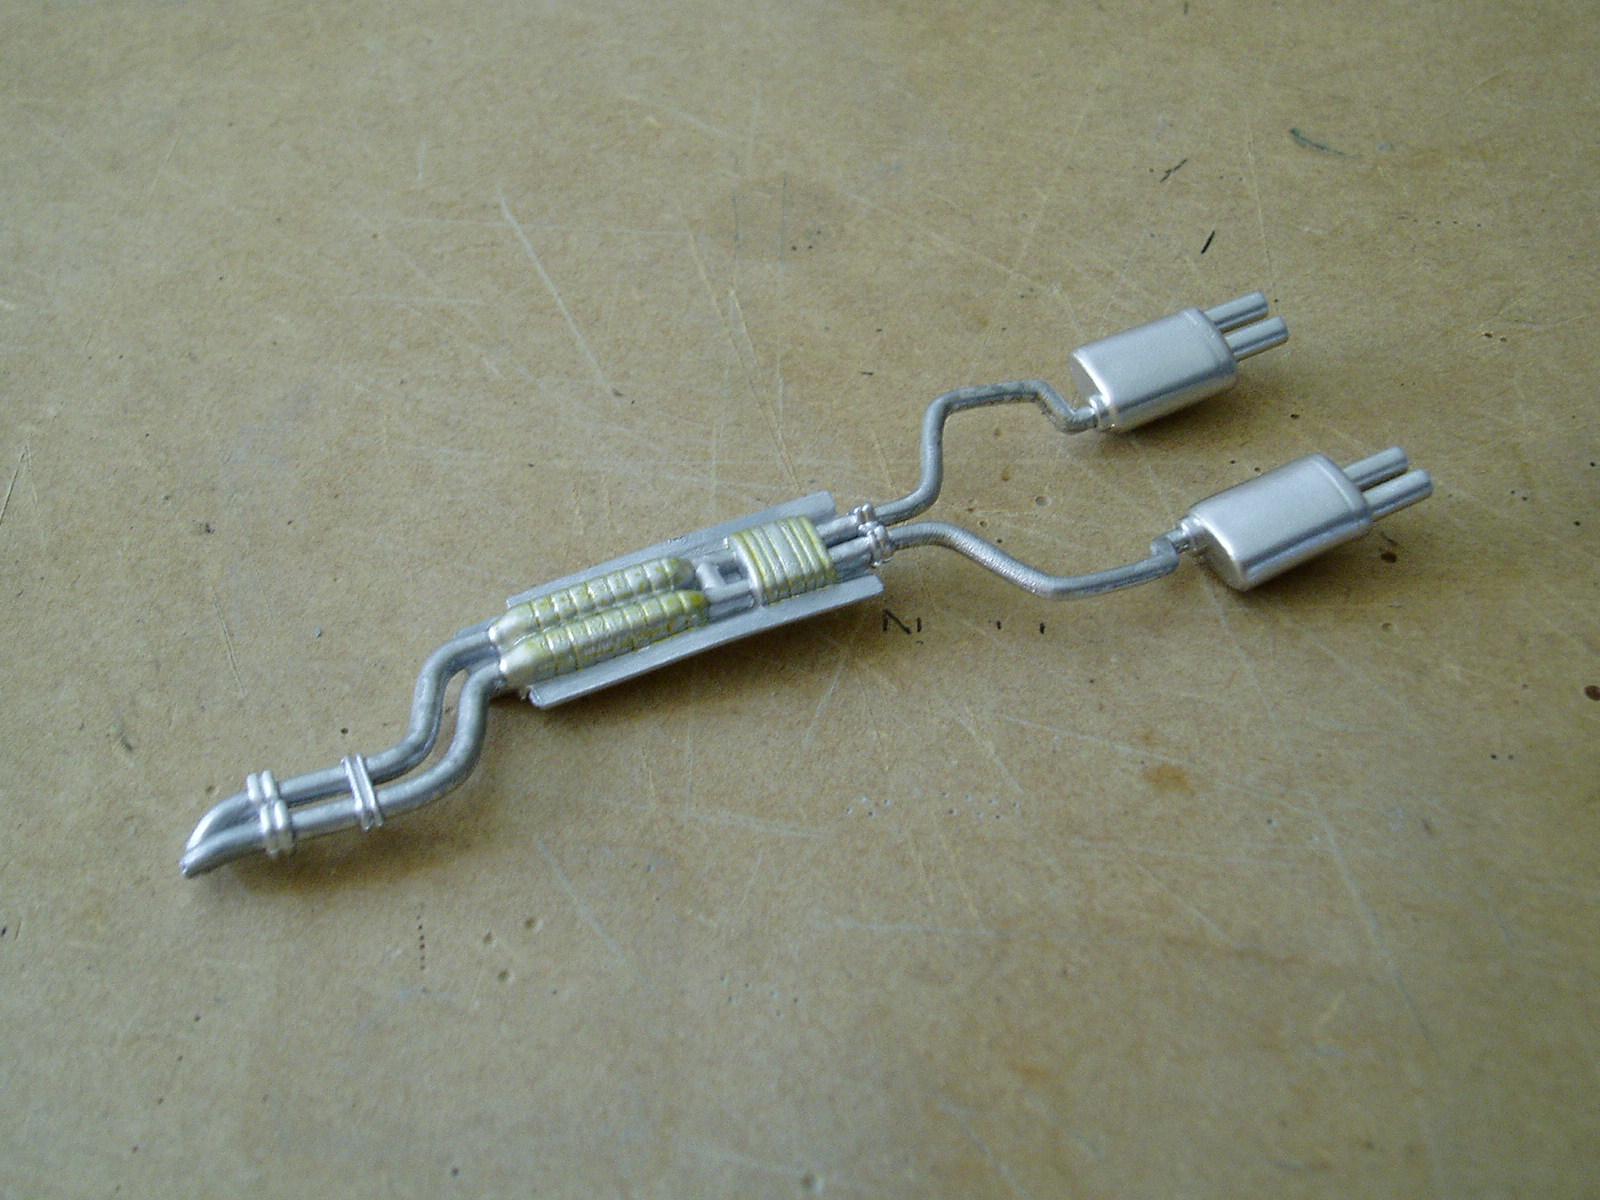
Hi Csaba, I've been building this model for a long time. I don't know exactly, but it was a sheet of aluminum that I cut, filed, and drilled. The turns are made on a shaft made of pieces that have been heat-stretched to the required size, and the springs were from an electronic device, very soft.
-
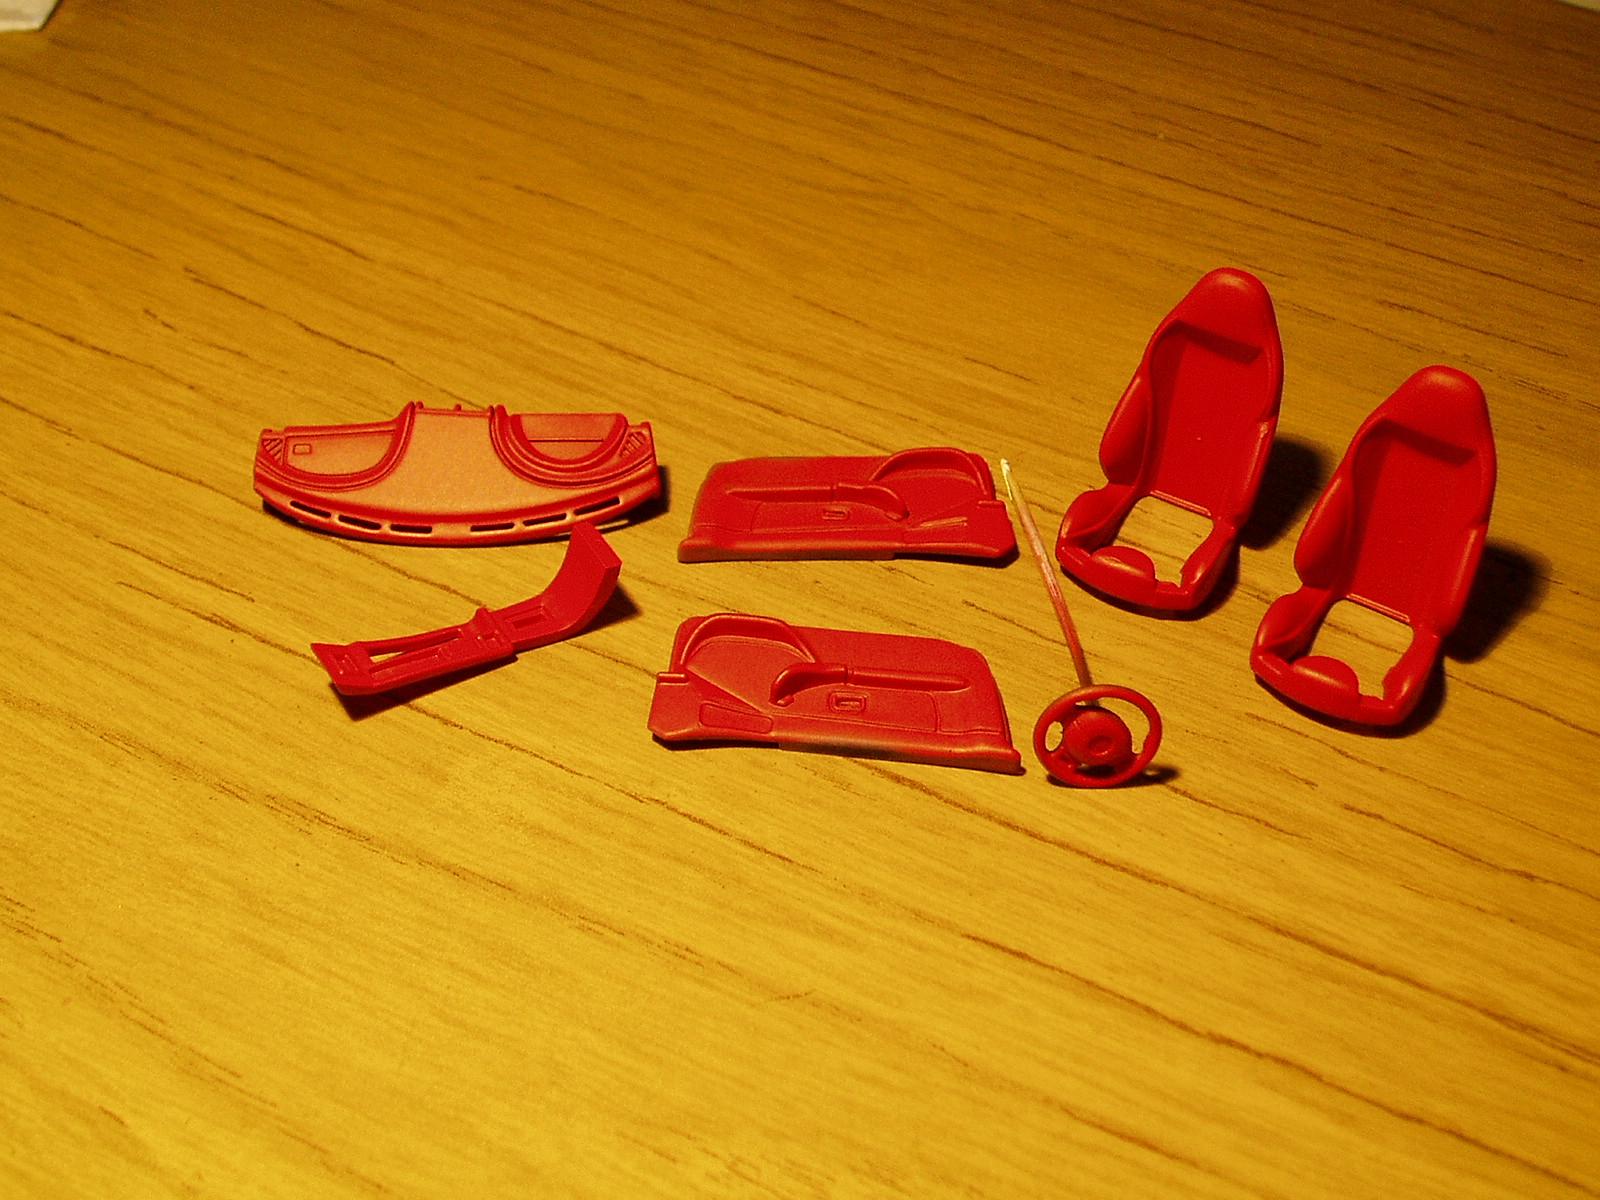
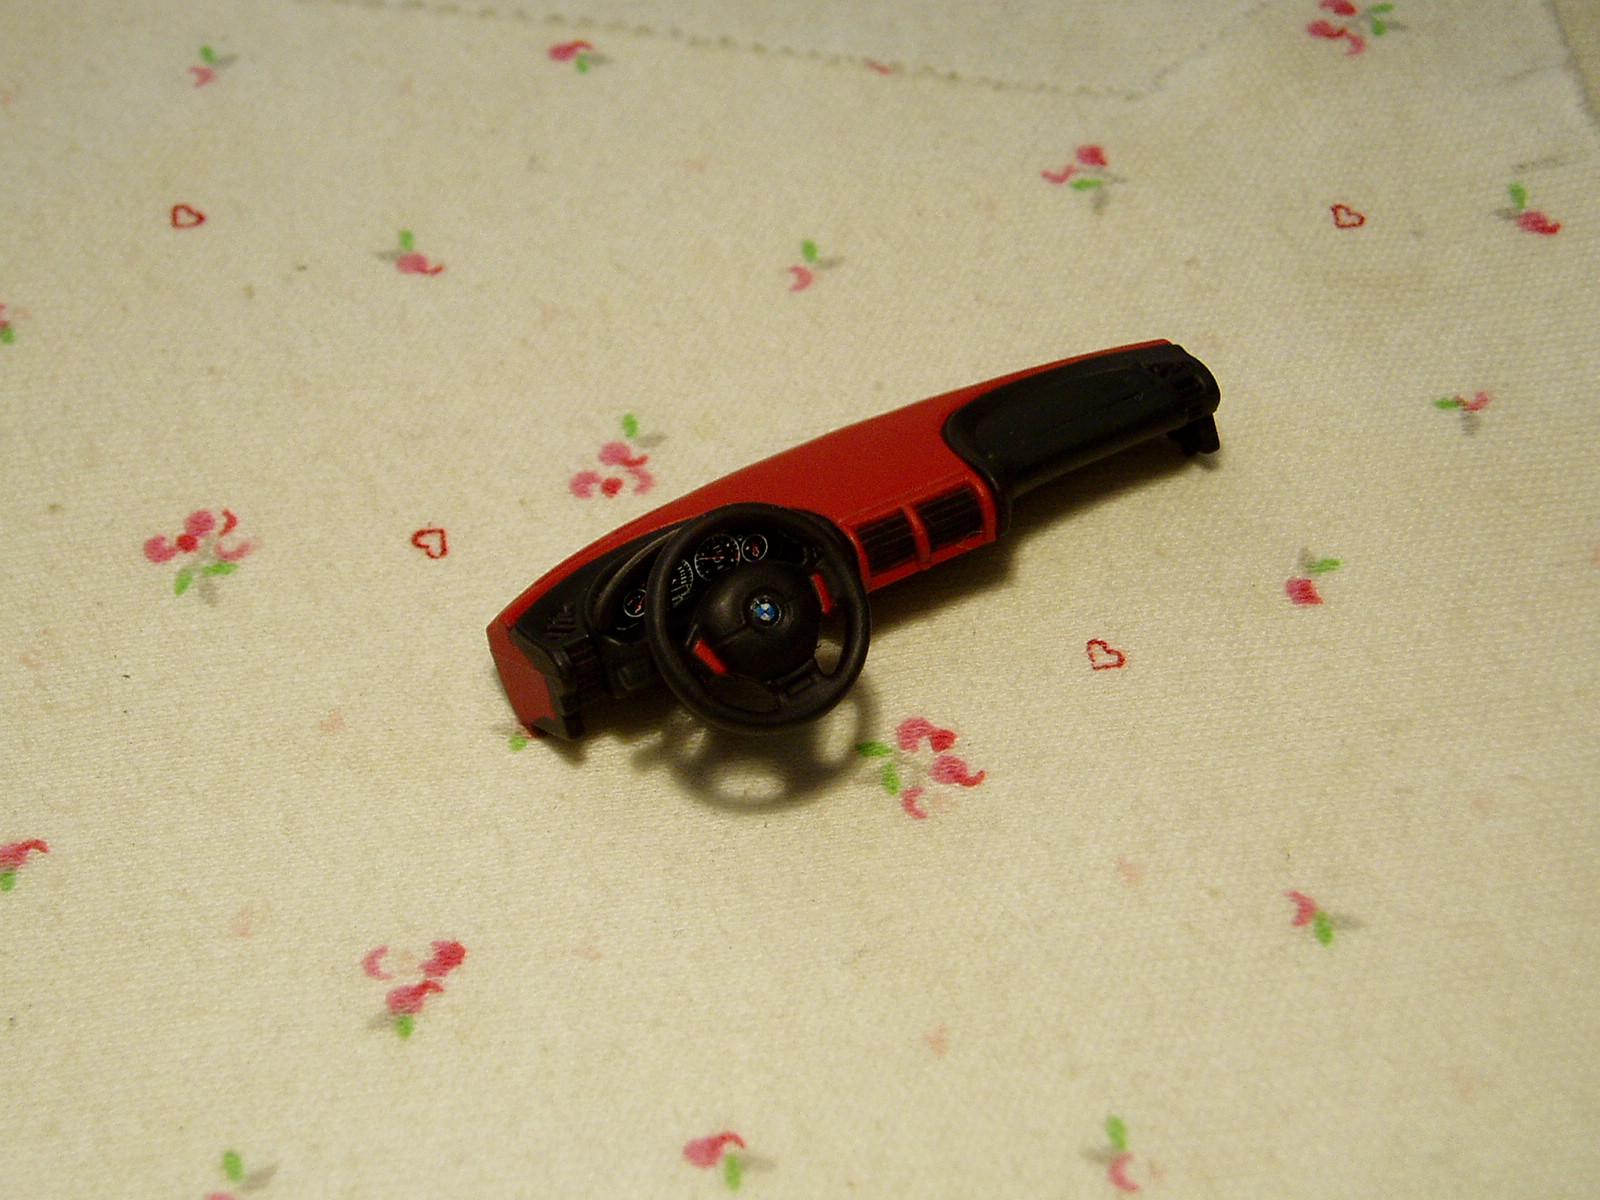
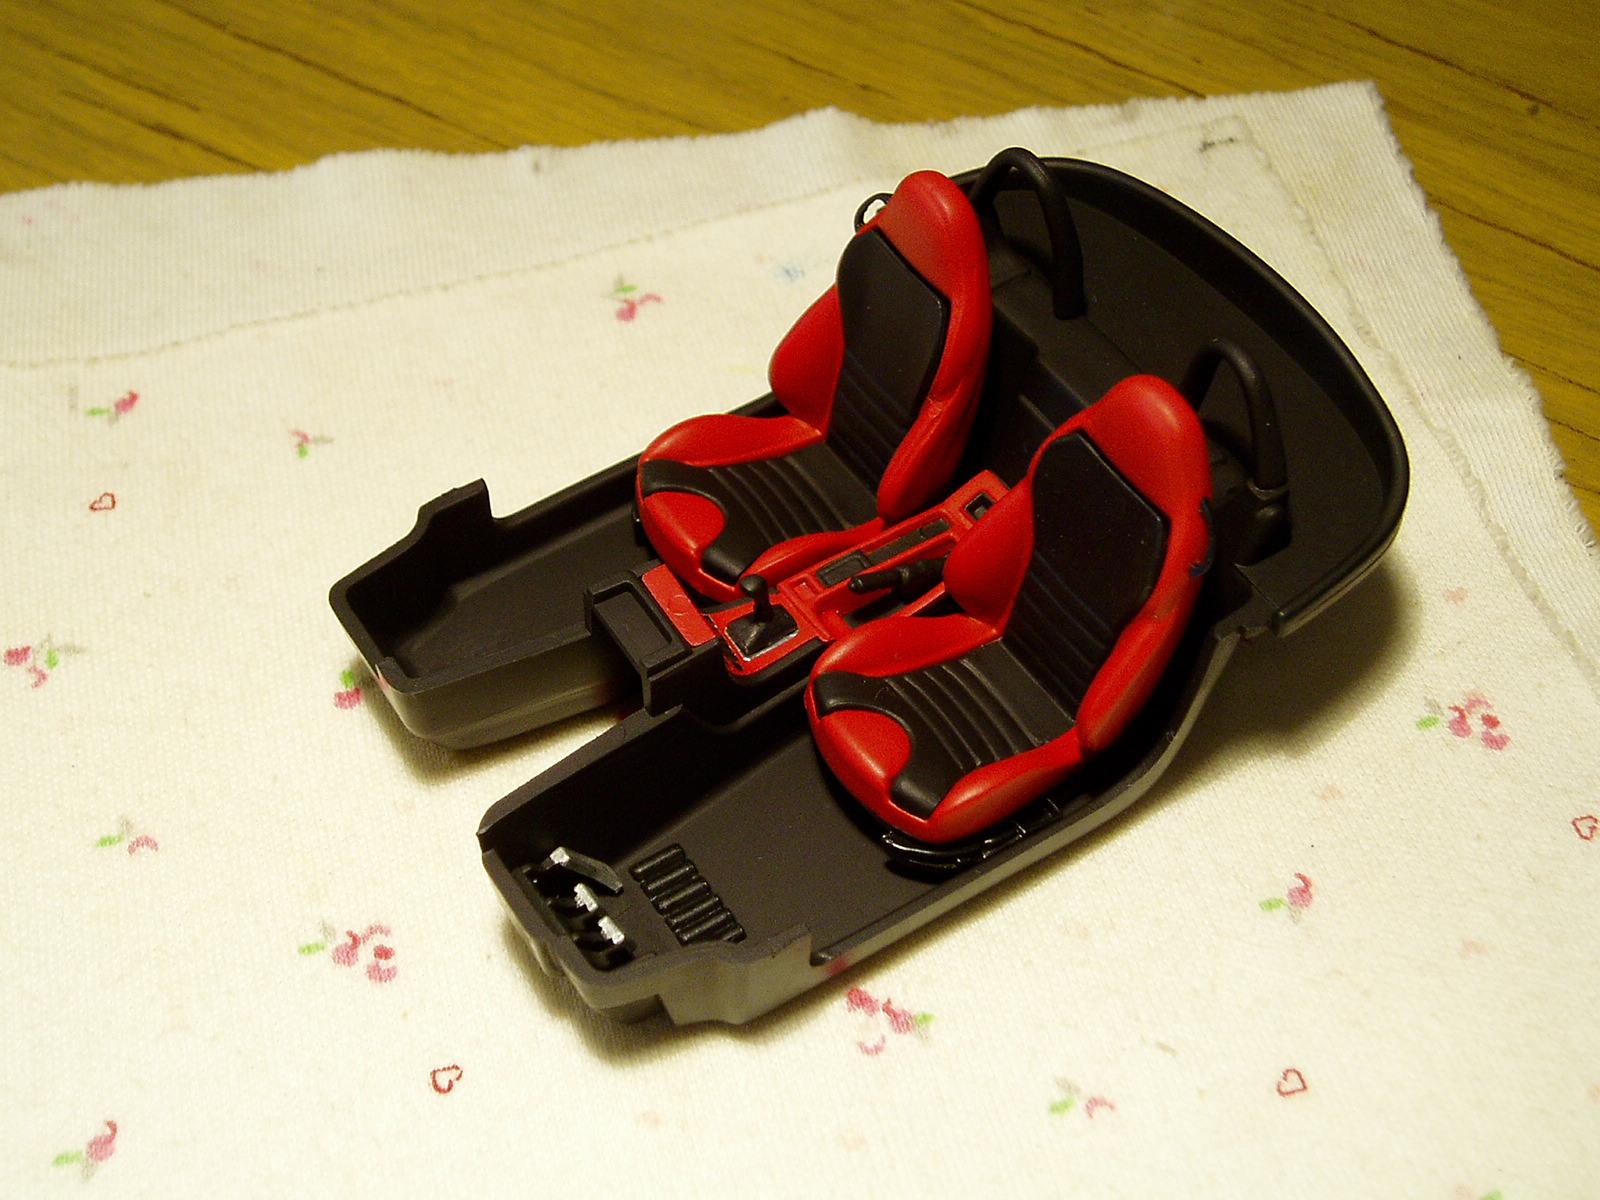
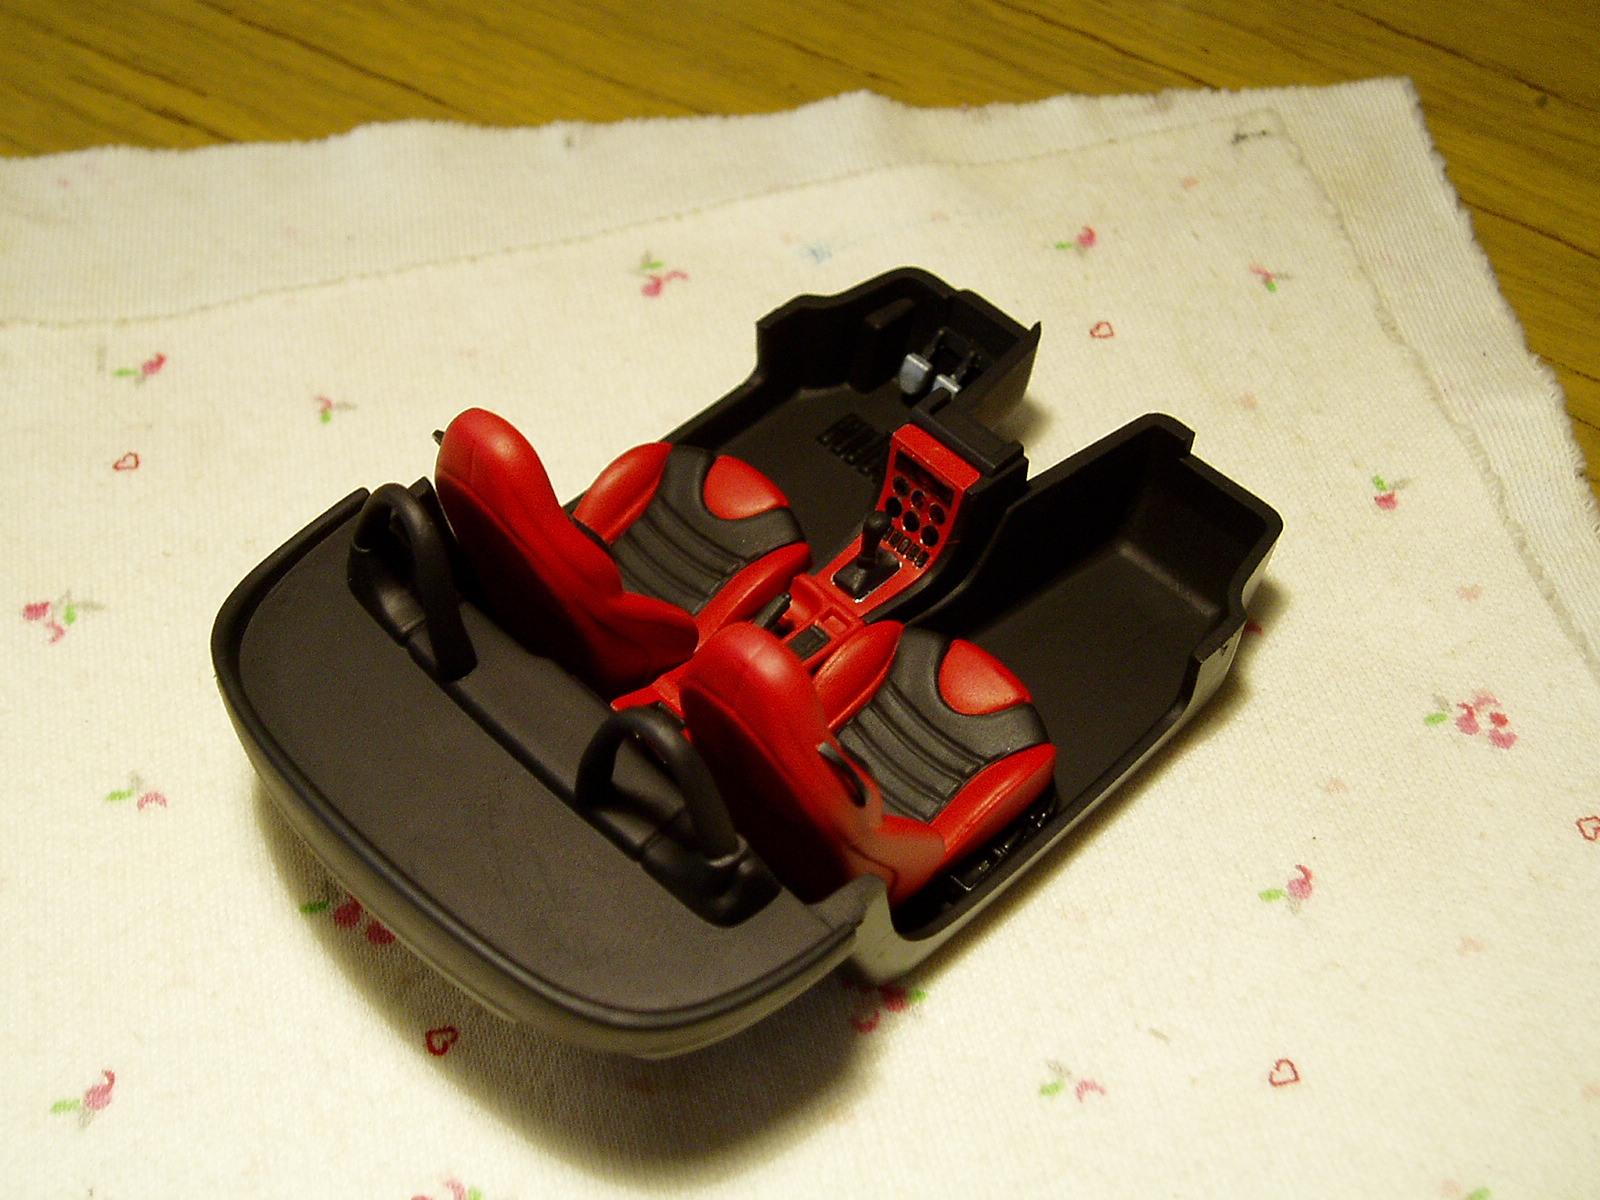
Hi, we continue with the BMW, we apply acrylics to achieve a unified red color. We prepare the pieces according to the following steps in the instruction manual. Then we begin to color the pieces as appropriate. Step 6 Step 7 Step 8 Step 9
-
Hi Gregory, go ahead and do it if my work inspires you.
-
Thank you very much Michael and Carl for stopping by and commenting, I hadn't thought of that Bburago.
-
Hi Mike, I've searched the internet and found very little. We'll see how it goes.
-
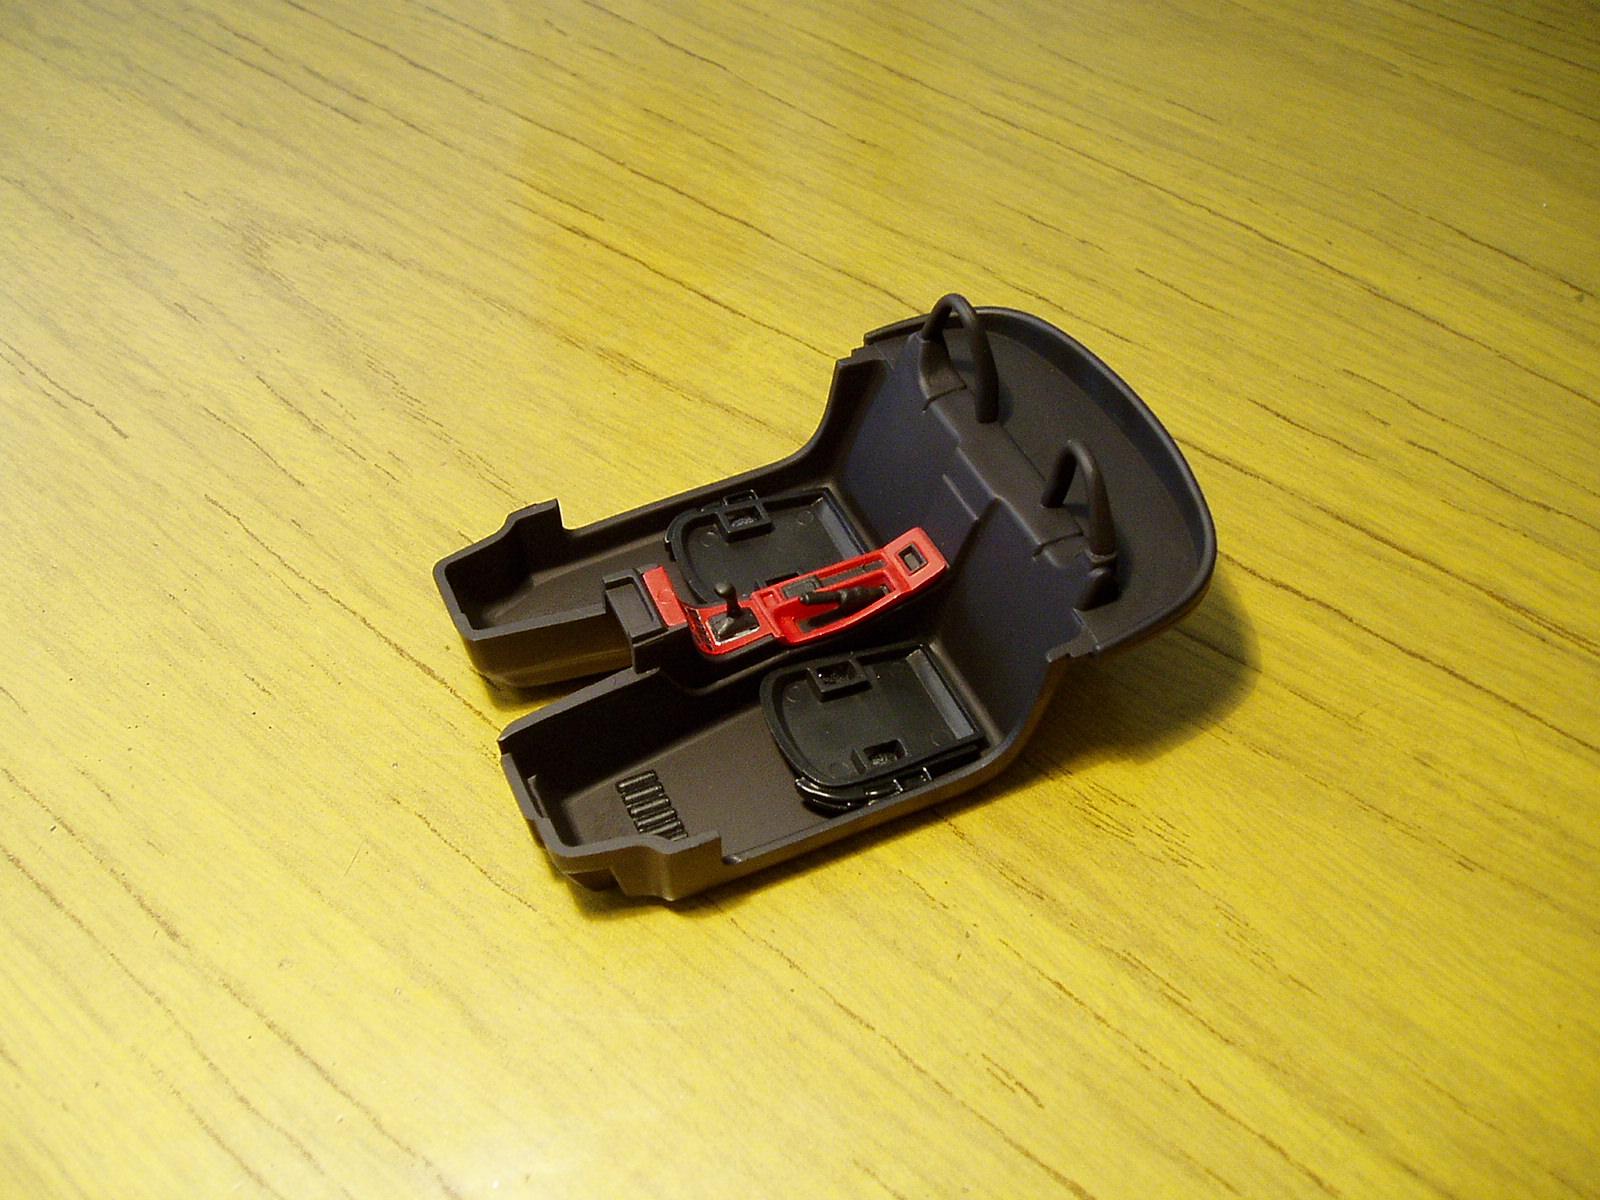
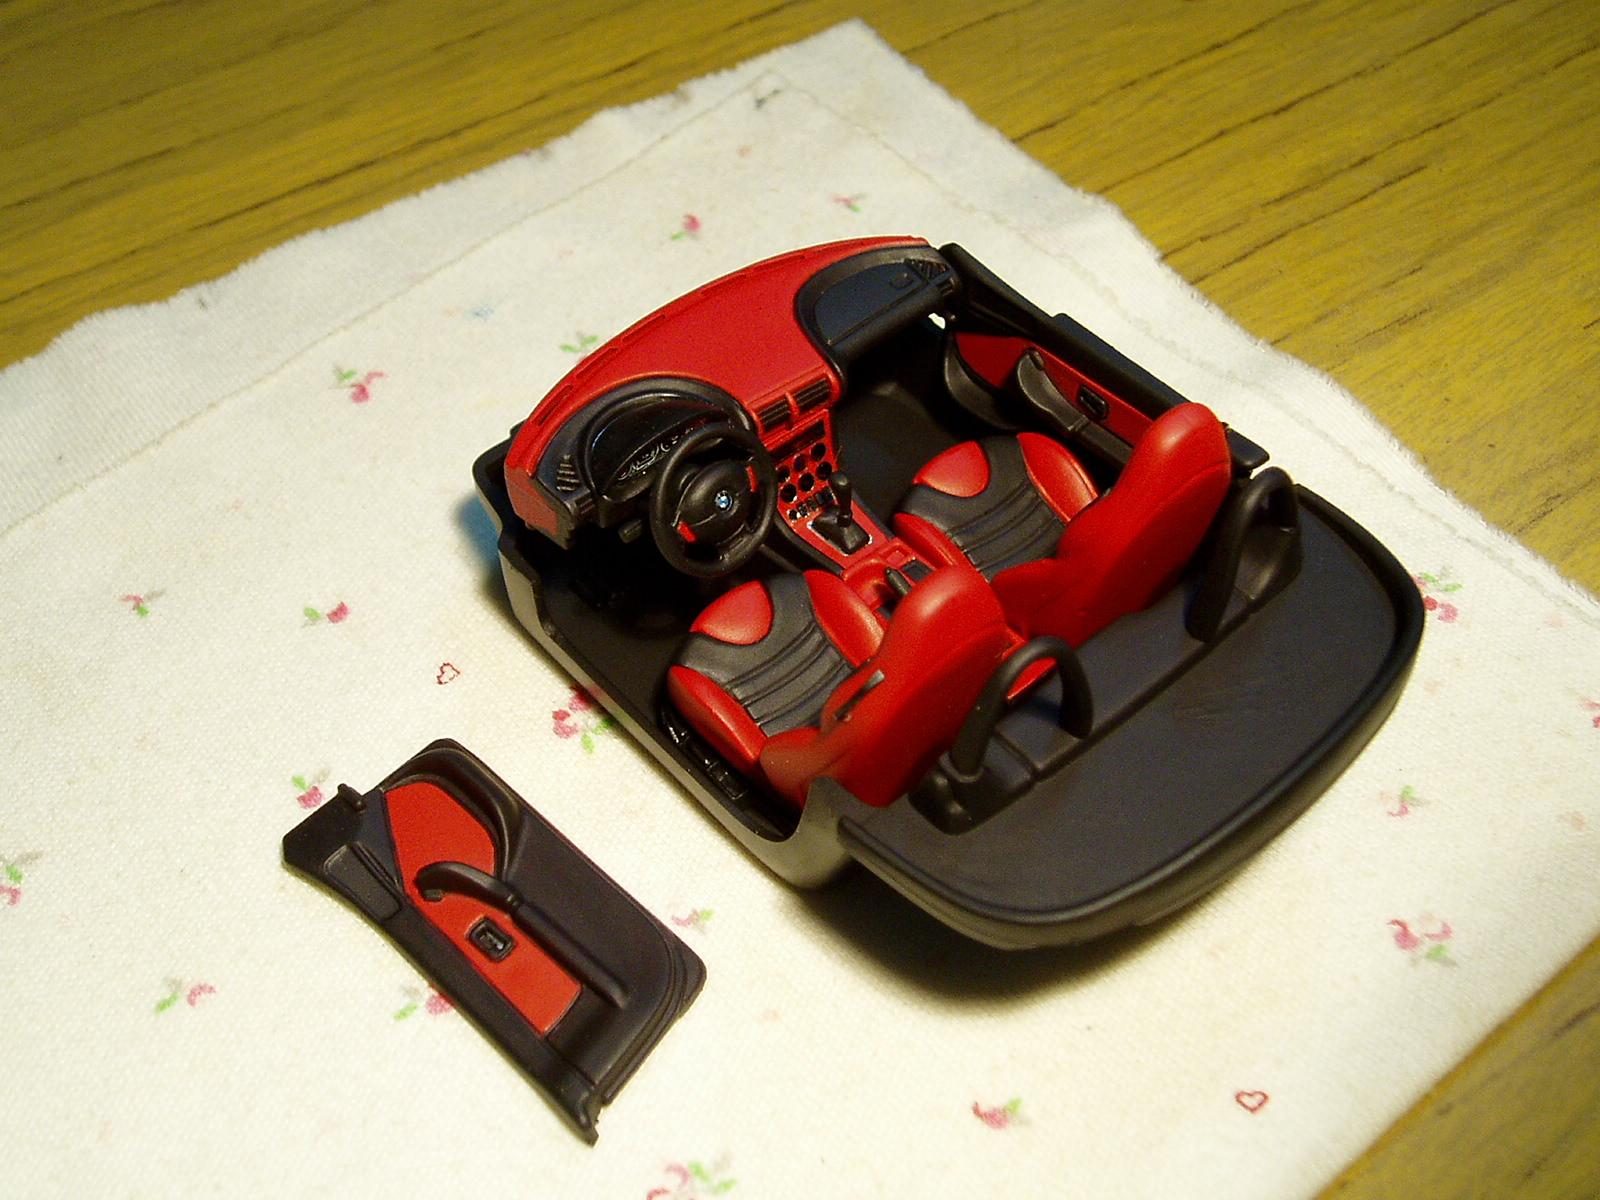
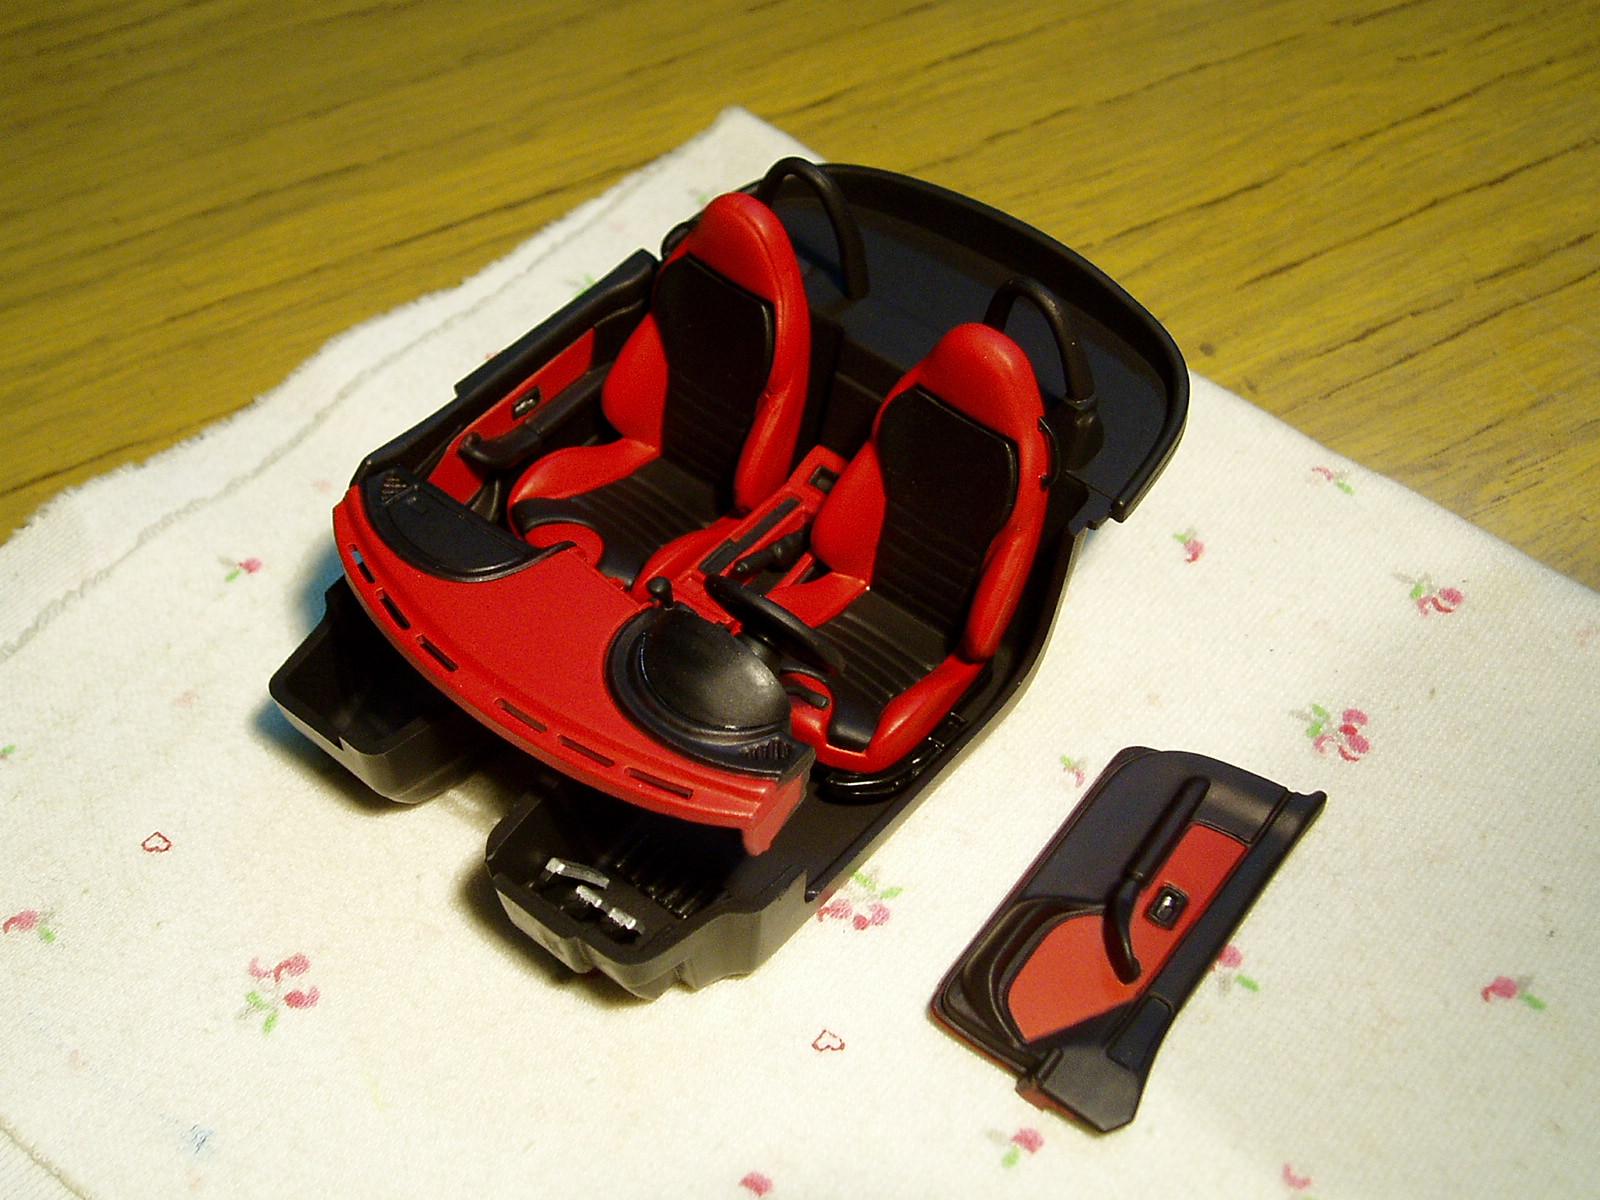
Hello, having finished the chassis topic, we continue with the interior. Looking at the pieces that come prepainted for the interior that are matte red, I see that I have 3 or 4 shades of red, so I will try to remove the paint to unify the color.
-
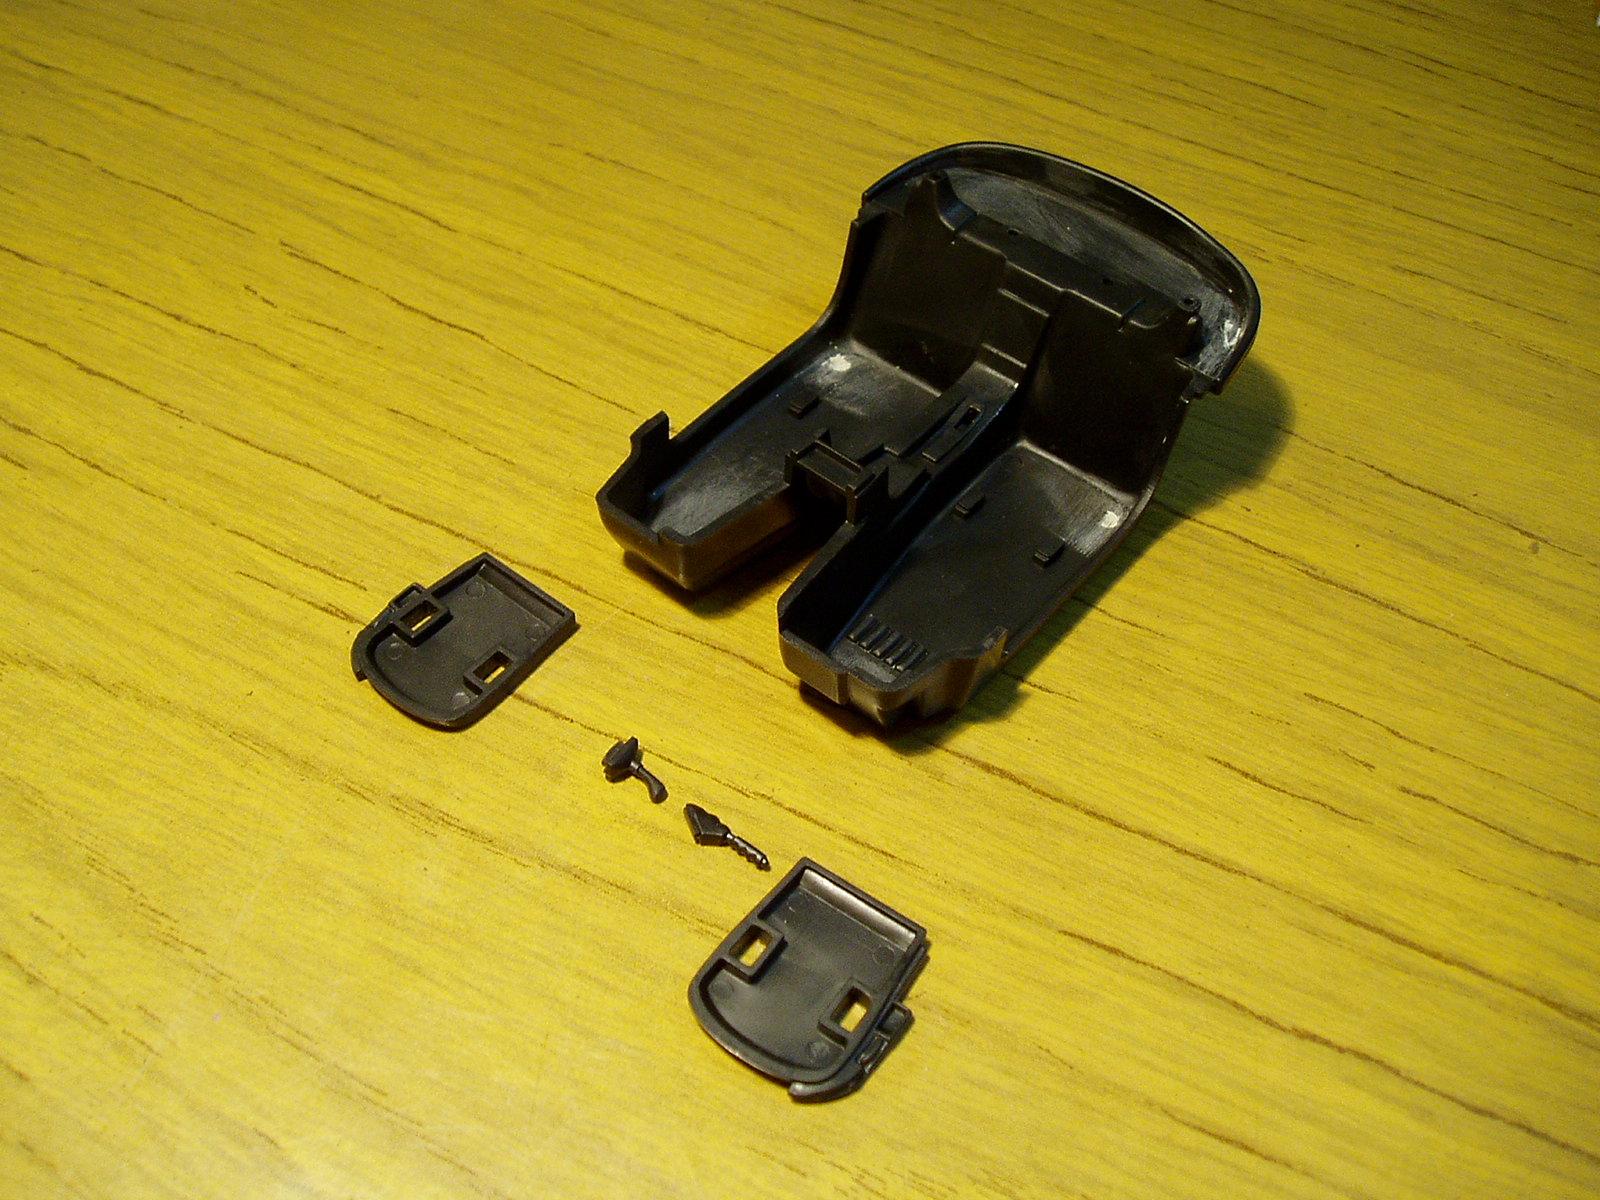
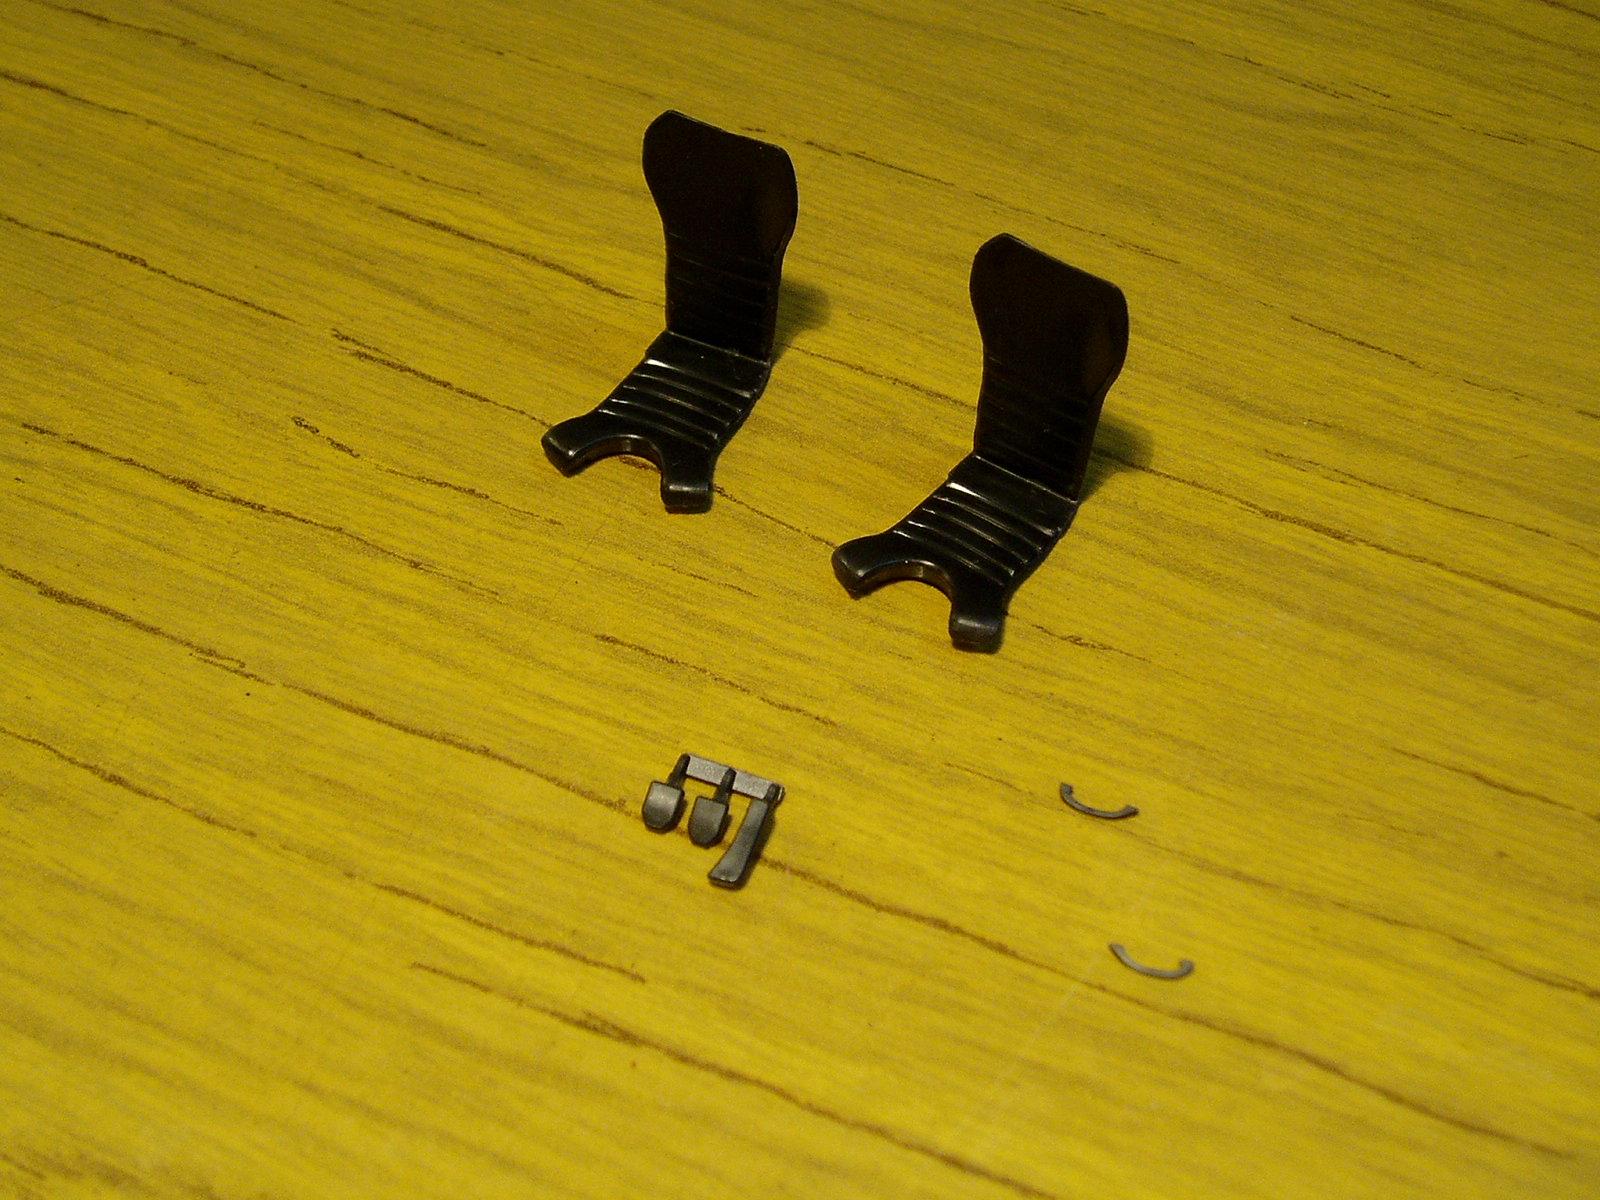
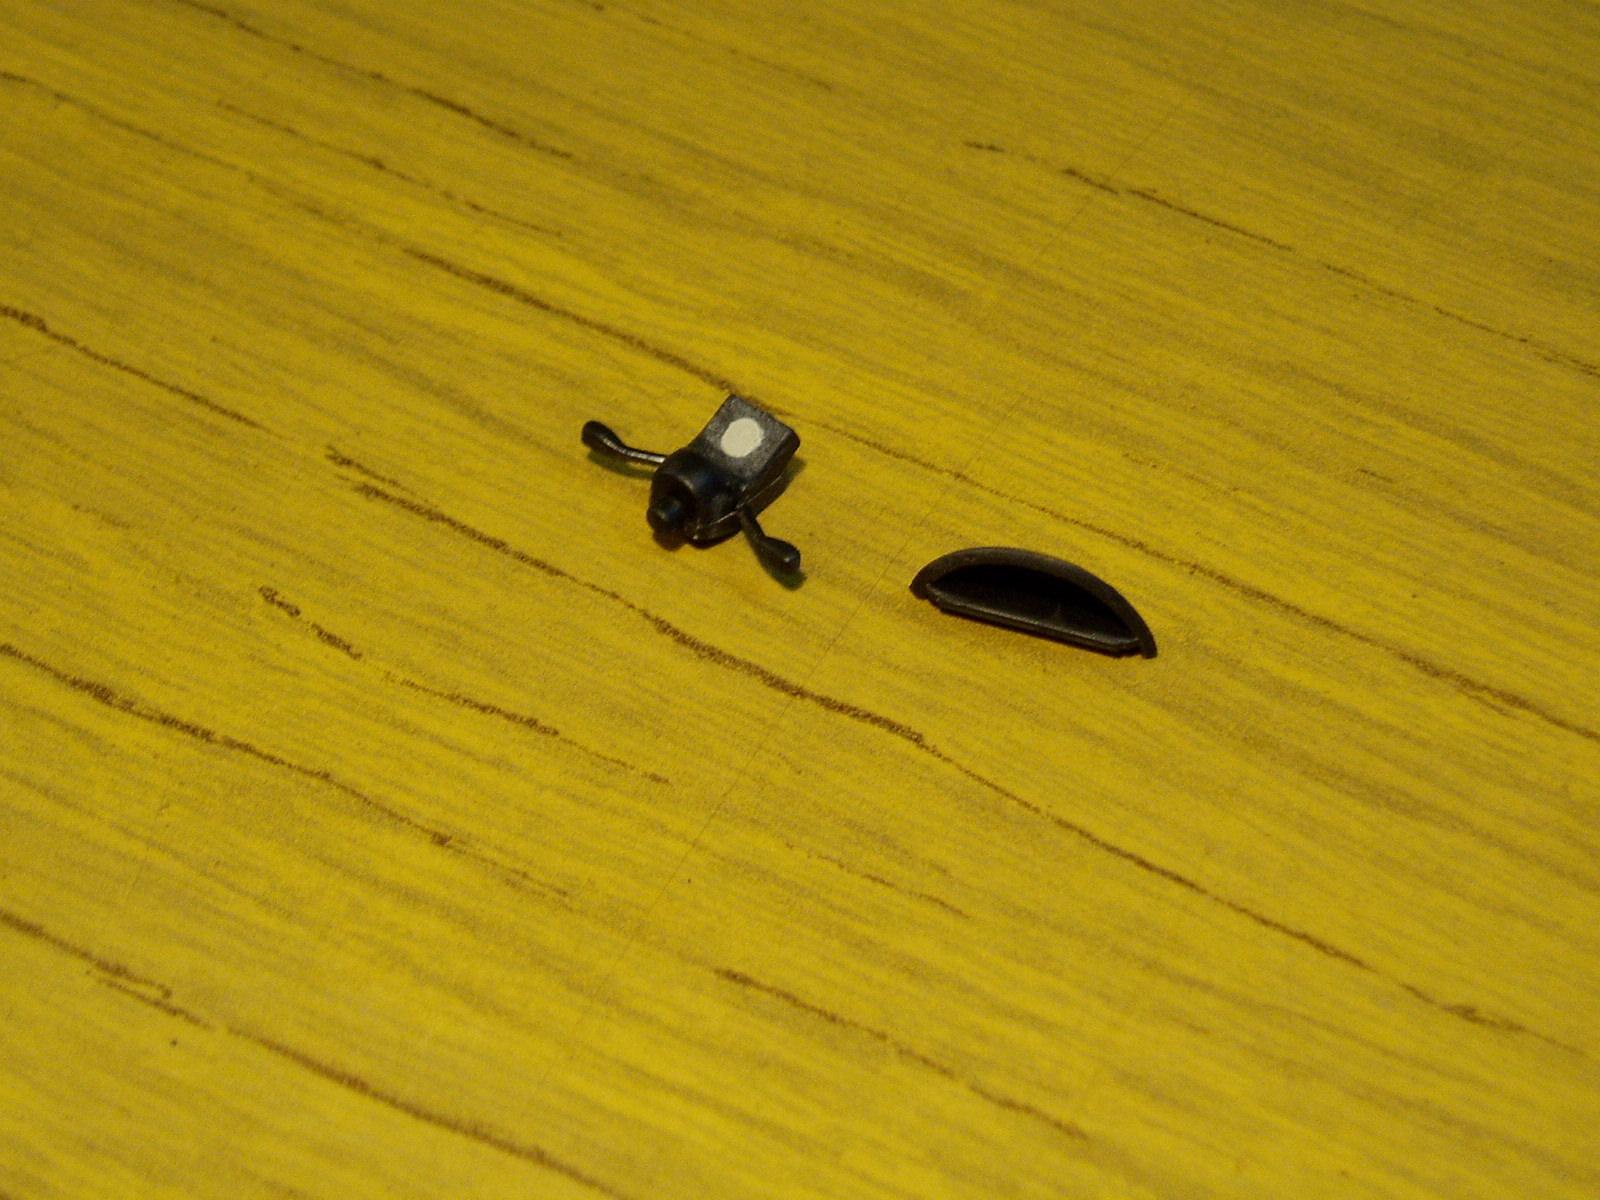
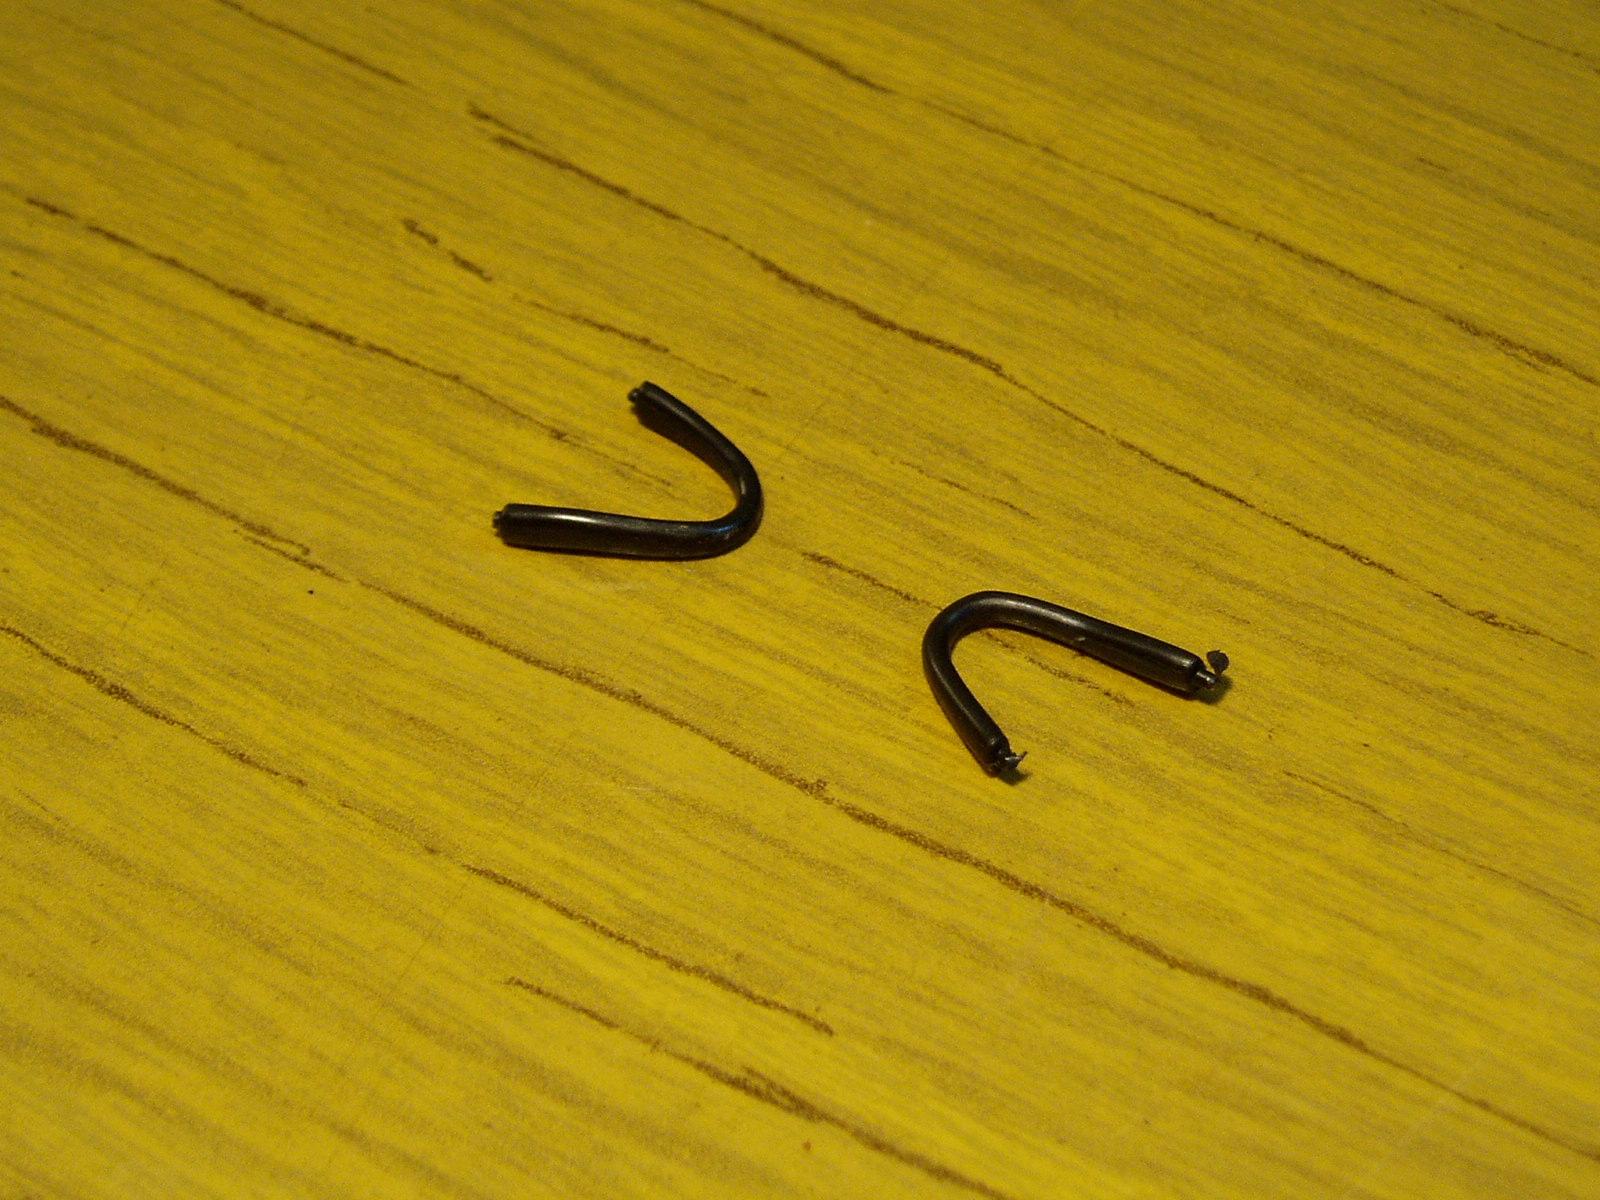
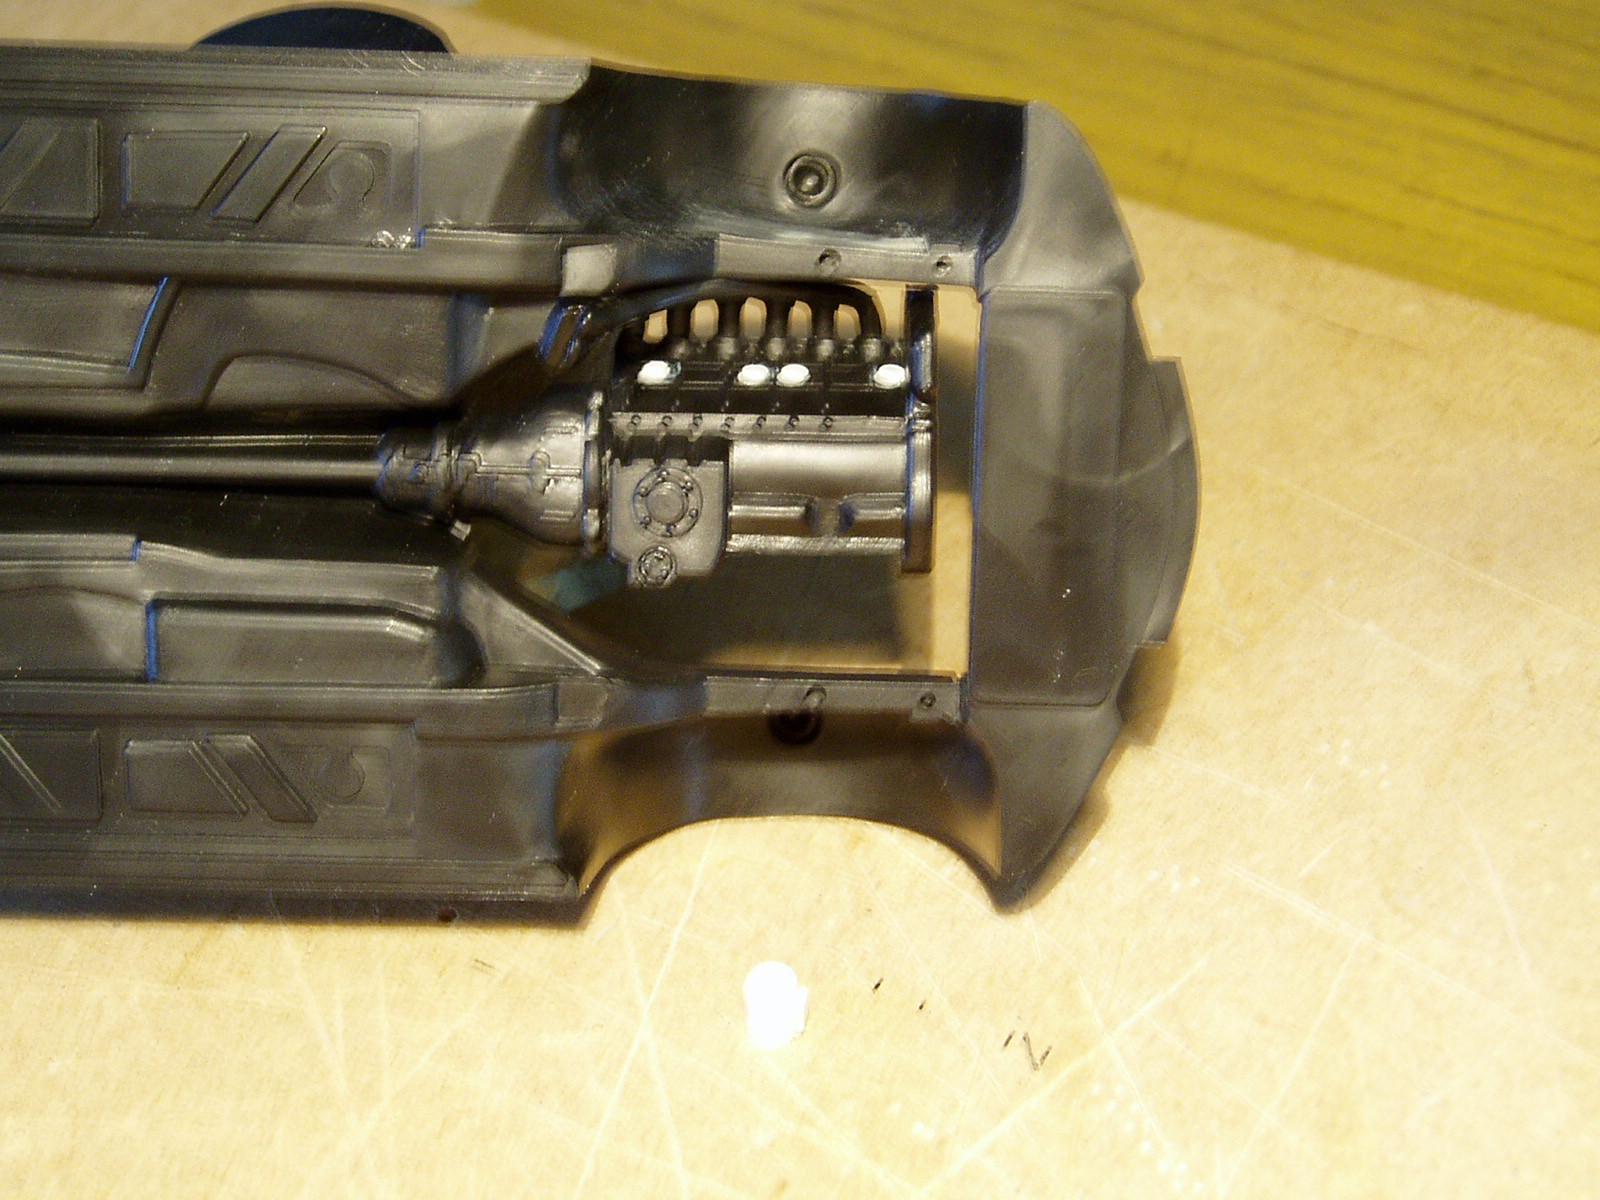
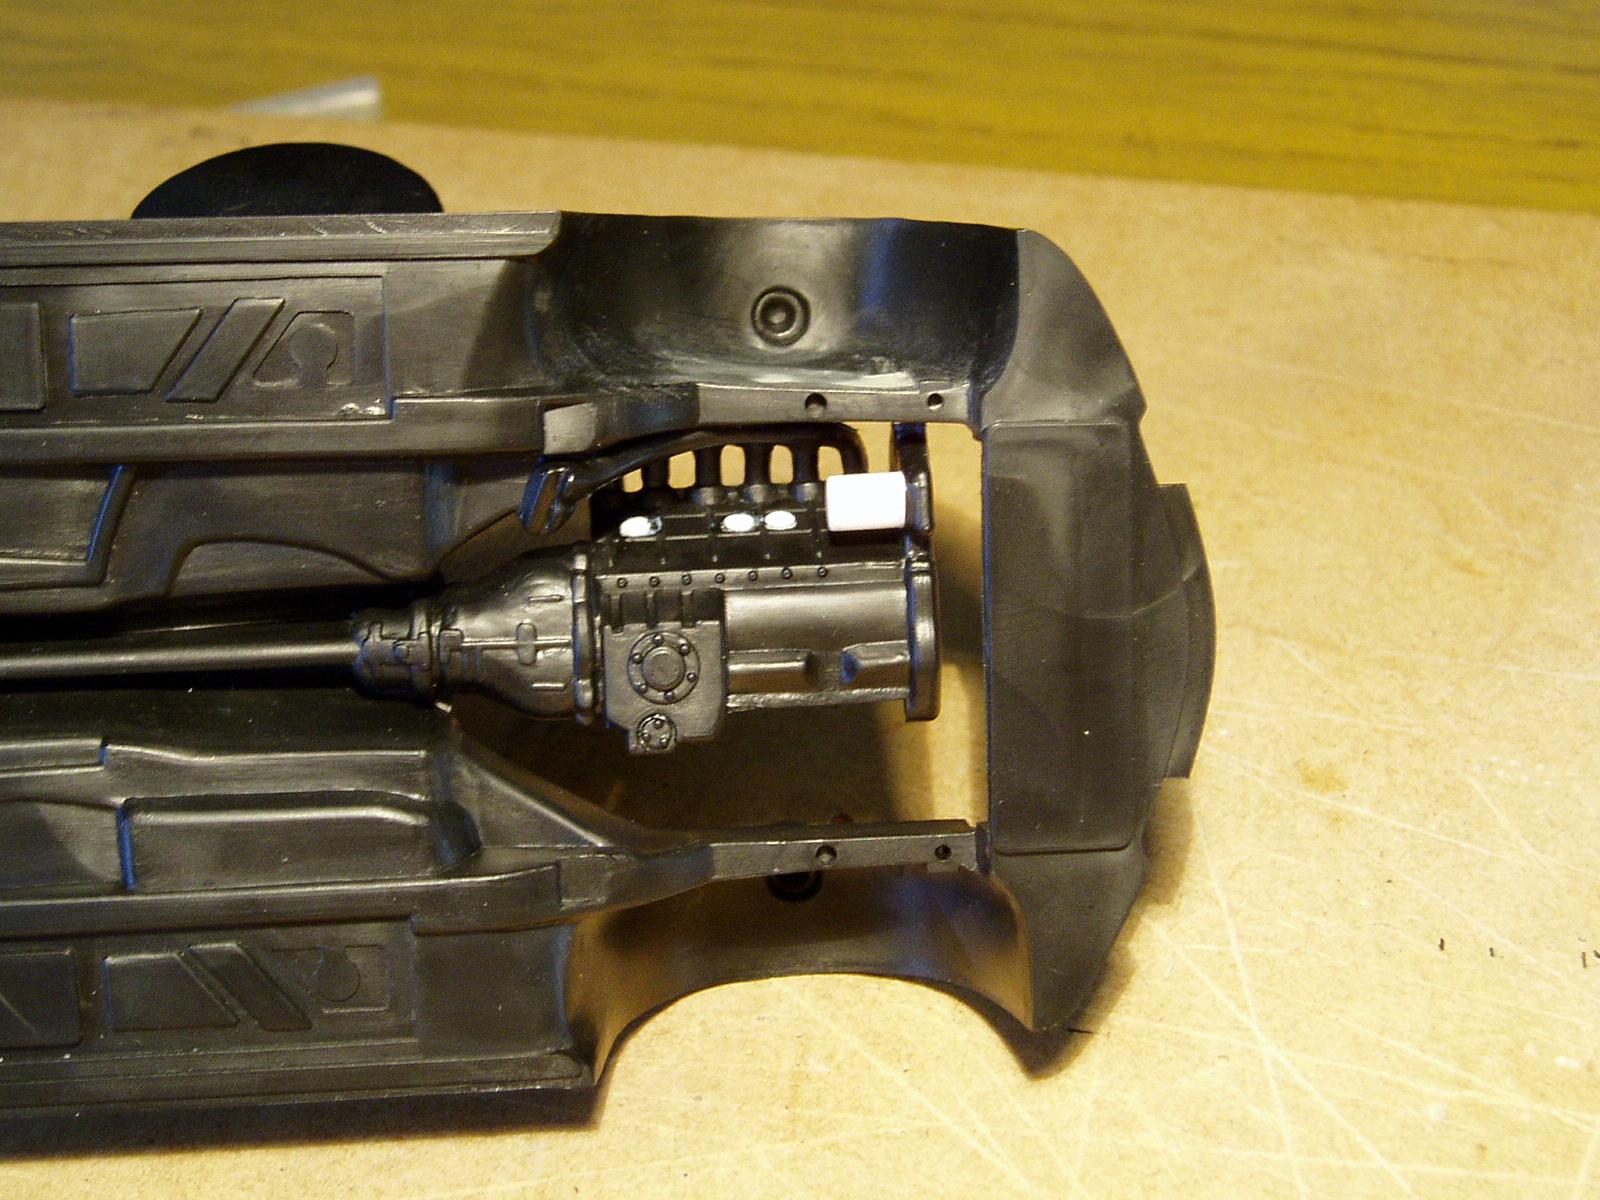
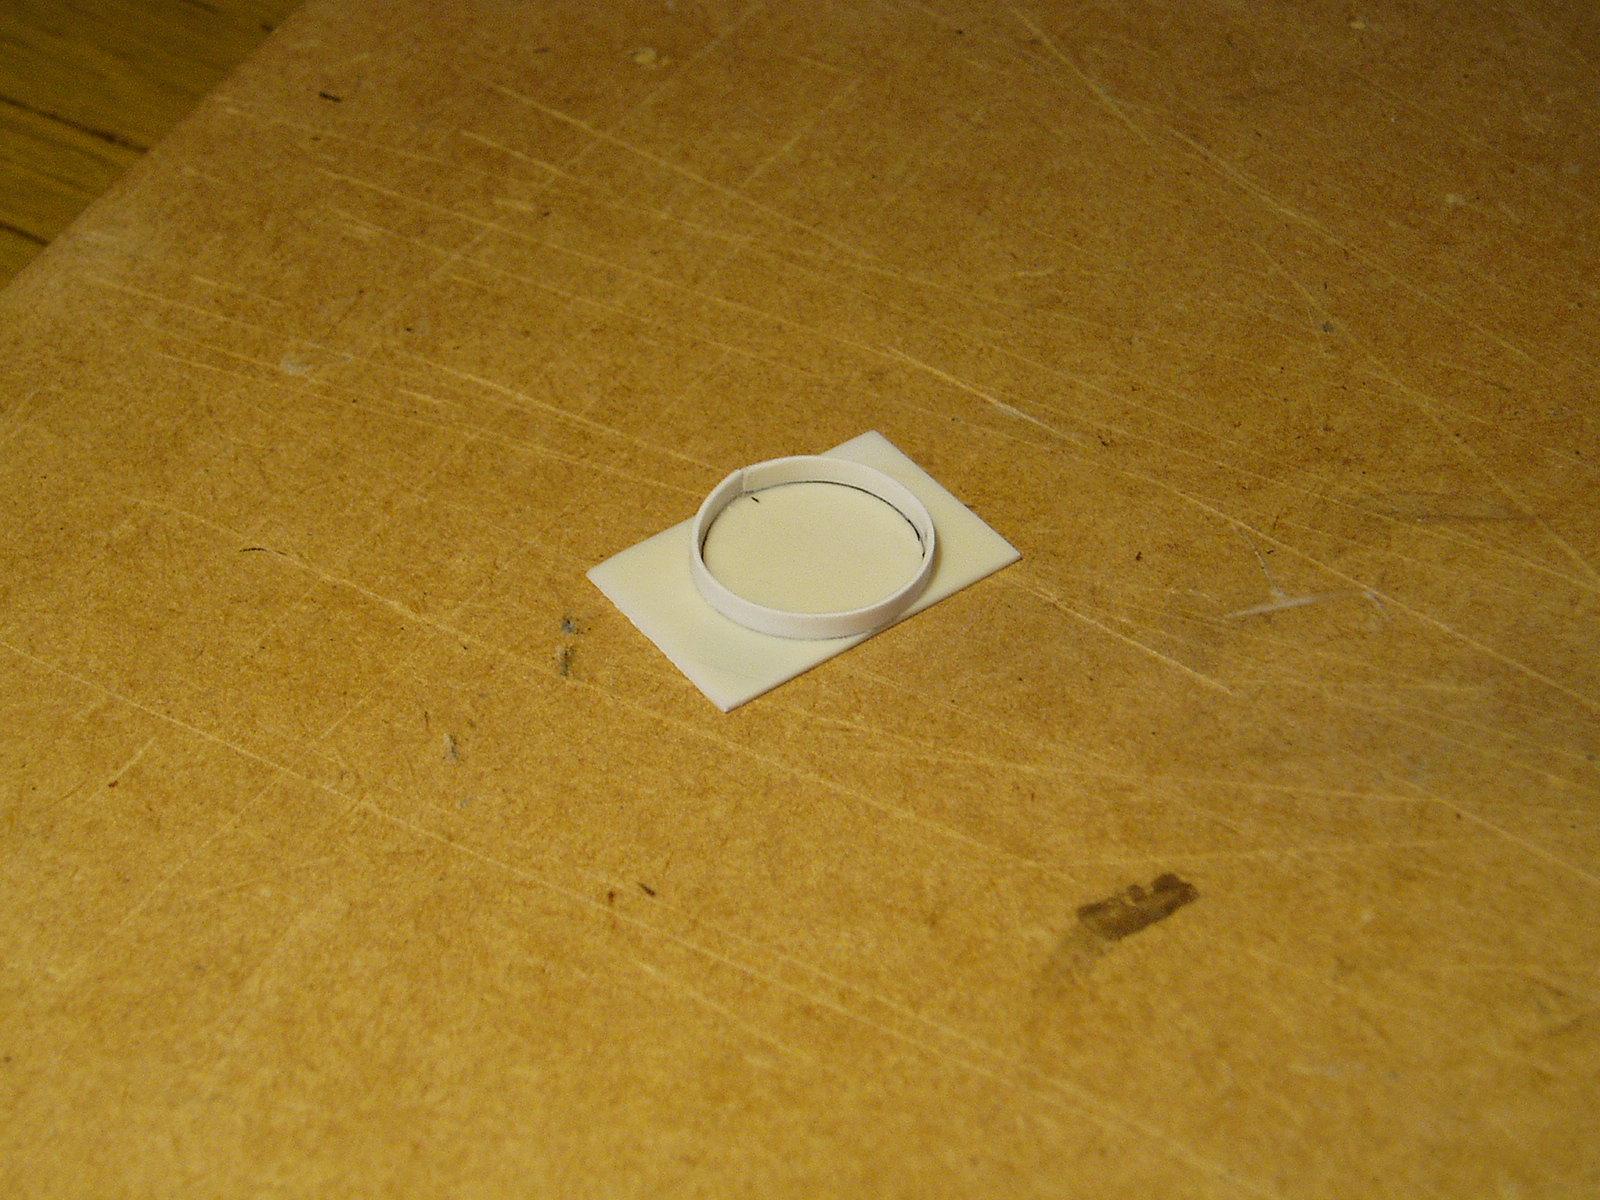
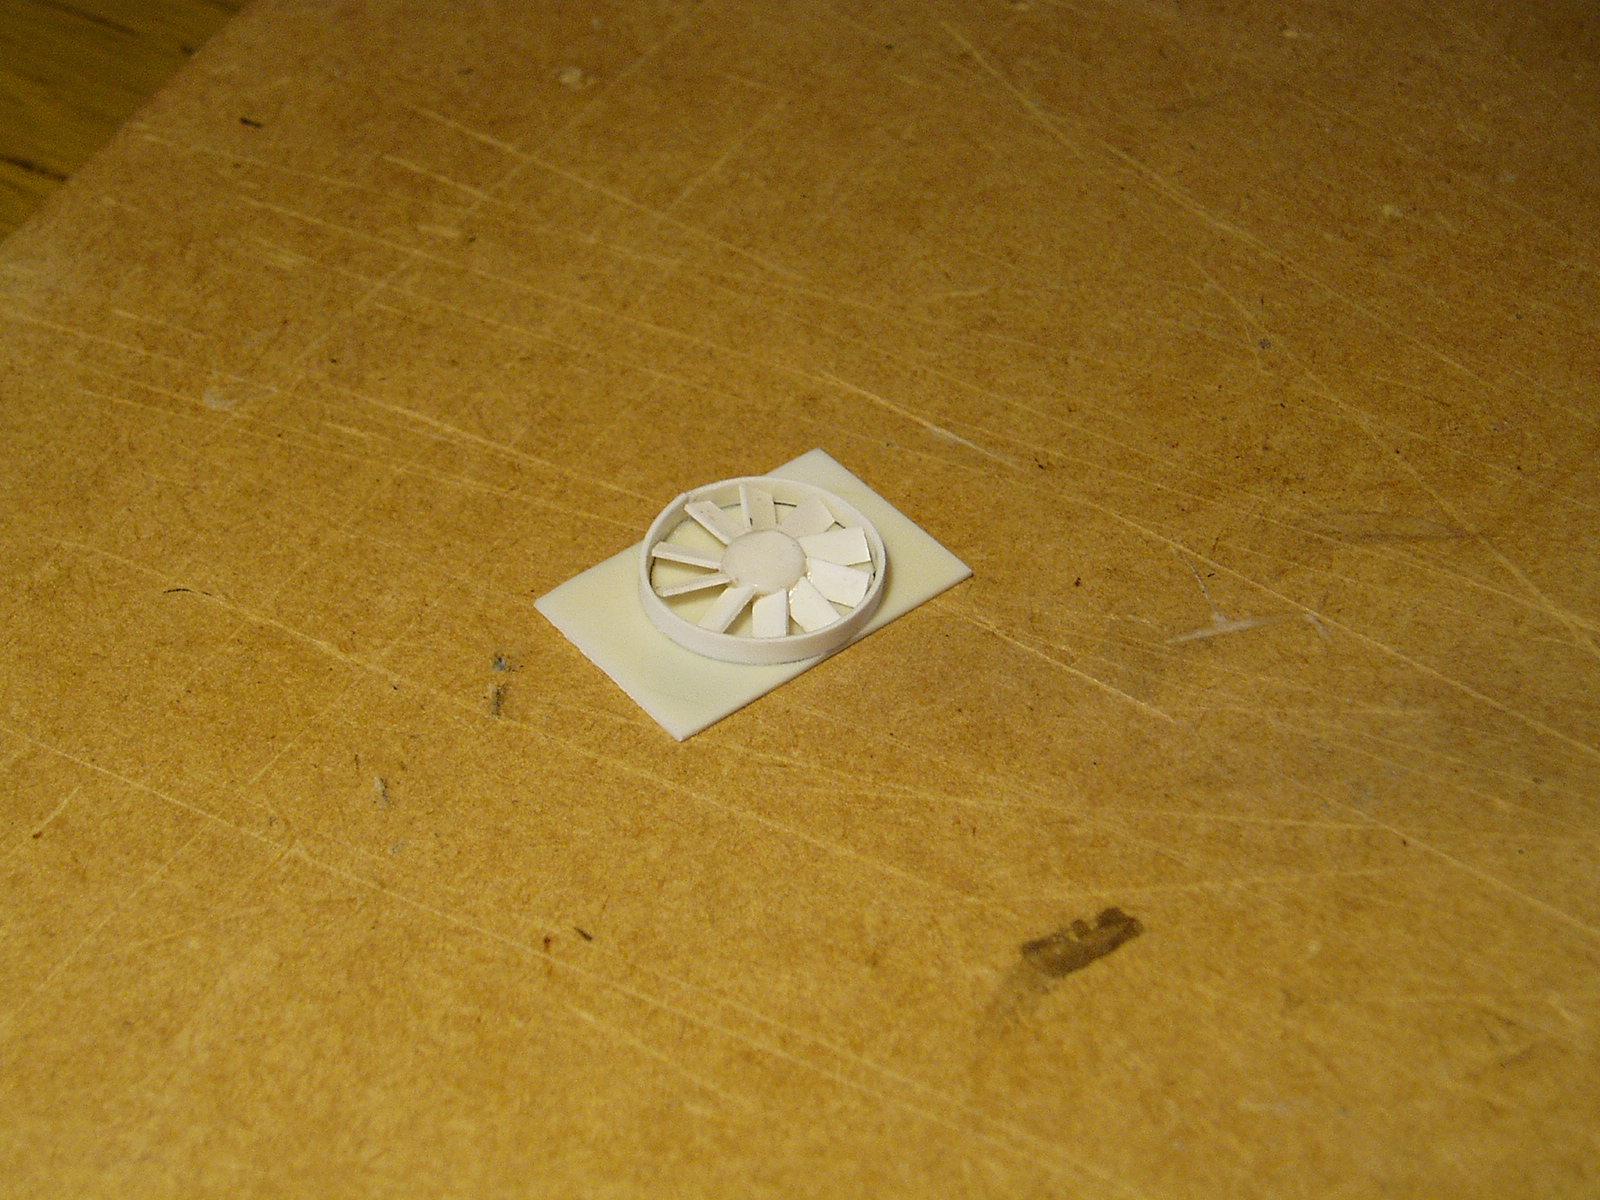
Hello, we started by placing the engine block covers made with a hole punch we continued by adding the compressor made with the parts tree with sheets we make the engine block we give it shape and volume by adding parts we place the filters, starter and alternator also made with parts tree Next we make two holes to assemble the intake manifold, made with sheets and 2mm rod With part of the tree we continue towards the air filter, making the bends of the hose with heat shrink With 1mm sheet we make two blocks that make up the filter holder With sheet we make the fan and the radiator. We see the whole and what was once a hole, changed It does not have much detail since the hood will not open.
-
Thank Carl
-
Thanks Marcel.
-
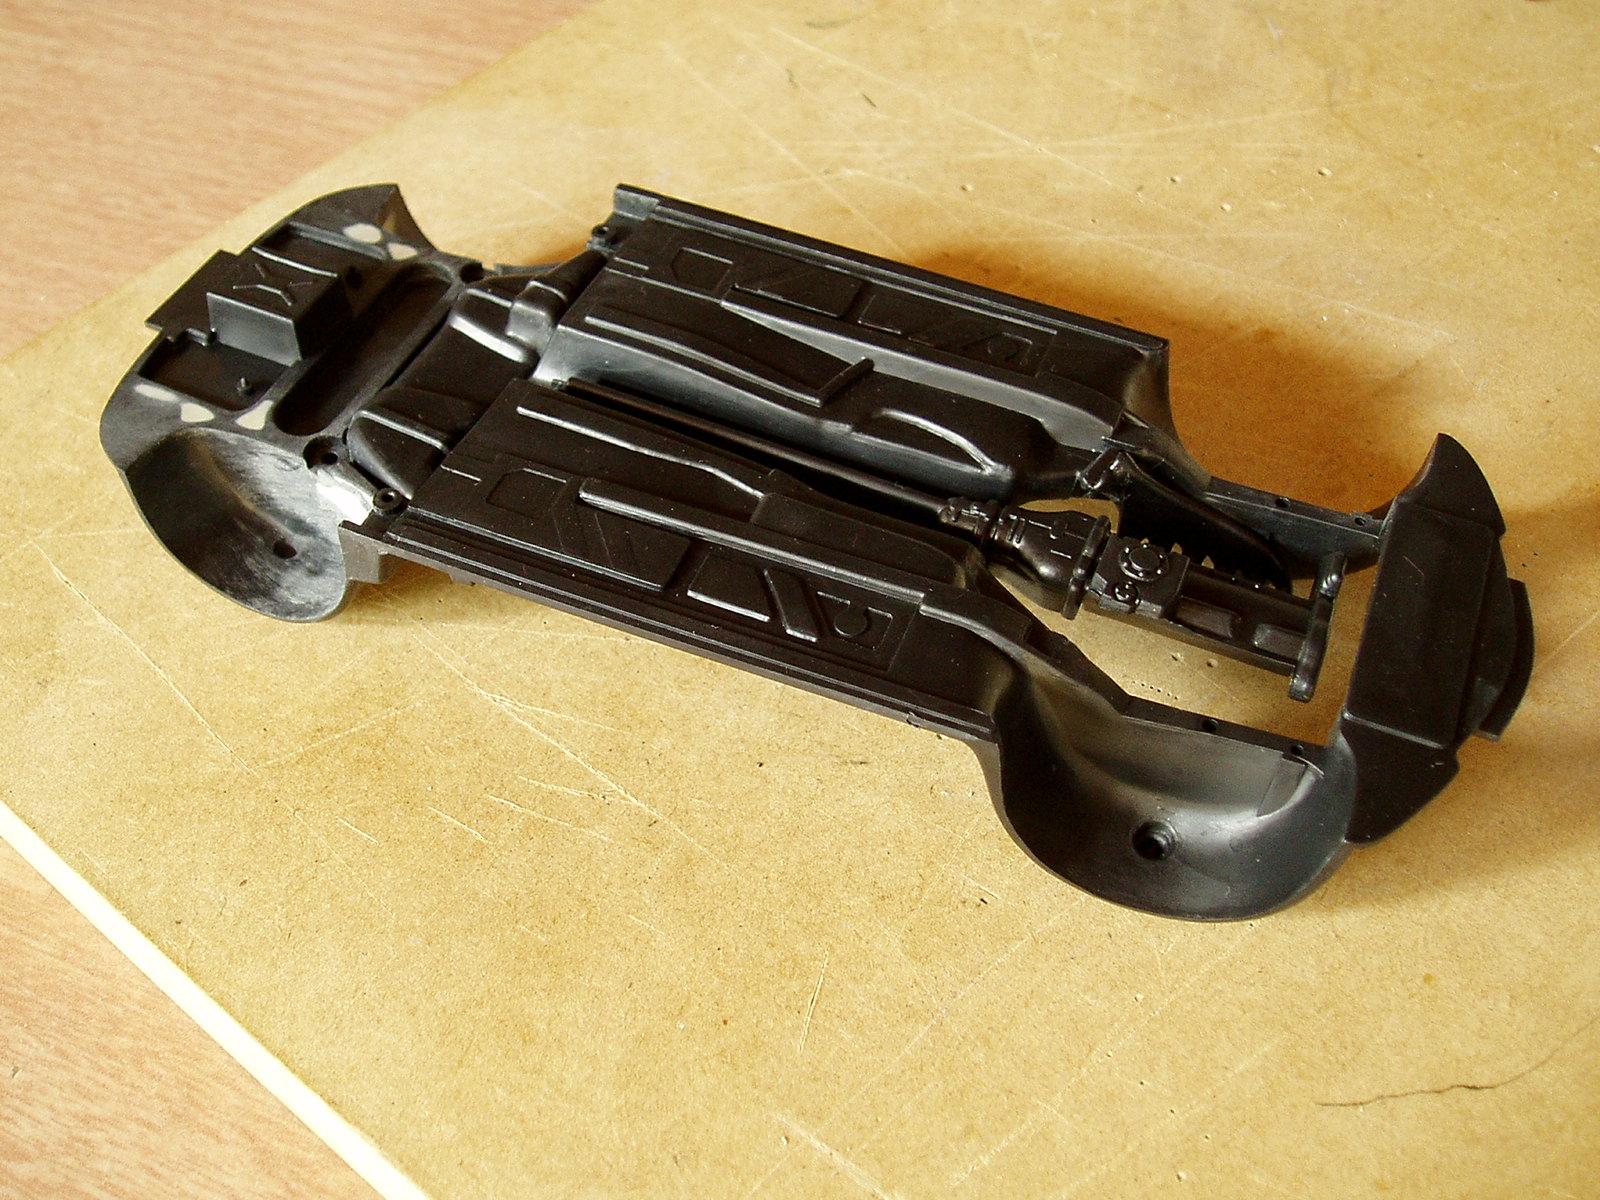
Hi, I started with everything related to the chassis, following the steps in the manual, cutting the pieces step by step. Step 1 Step 2 Step 3 Step 4 Step 5 After preparing the pieces, I painted and glued them Rear axle Exhausts Front axle While pre-assembling I found this gap, we'll see how we can fix it.
-
Comments on the model are much appreciated.
-
Feedback on the model is much appreciated. Thank you very much.
-
Hi Ulf, I use Google Translate. I'll post my progress soon.
-
Hi Tom, I hope this post inspires you.
-
Hi Doug, nothing to say except spectacular work.
-
Hi Donato, a thousand pictures are worth more than a word
-
Hi Gregory, have you posted it on the forum?
-
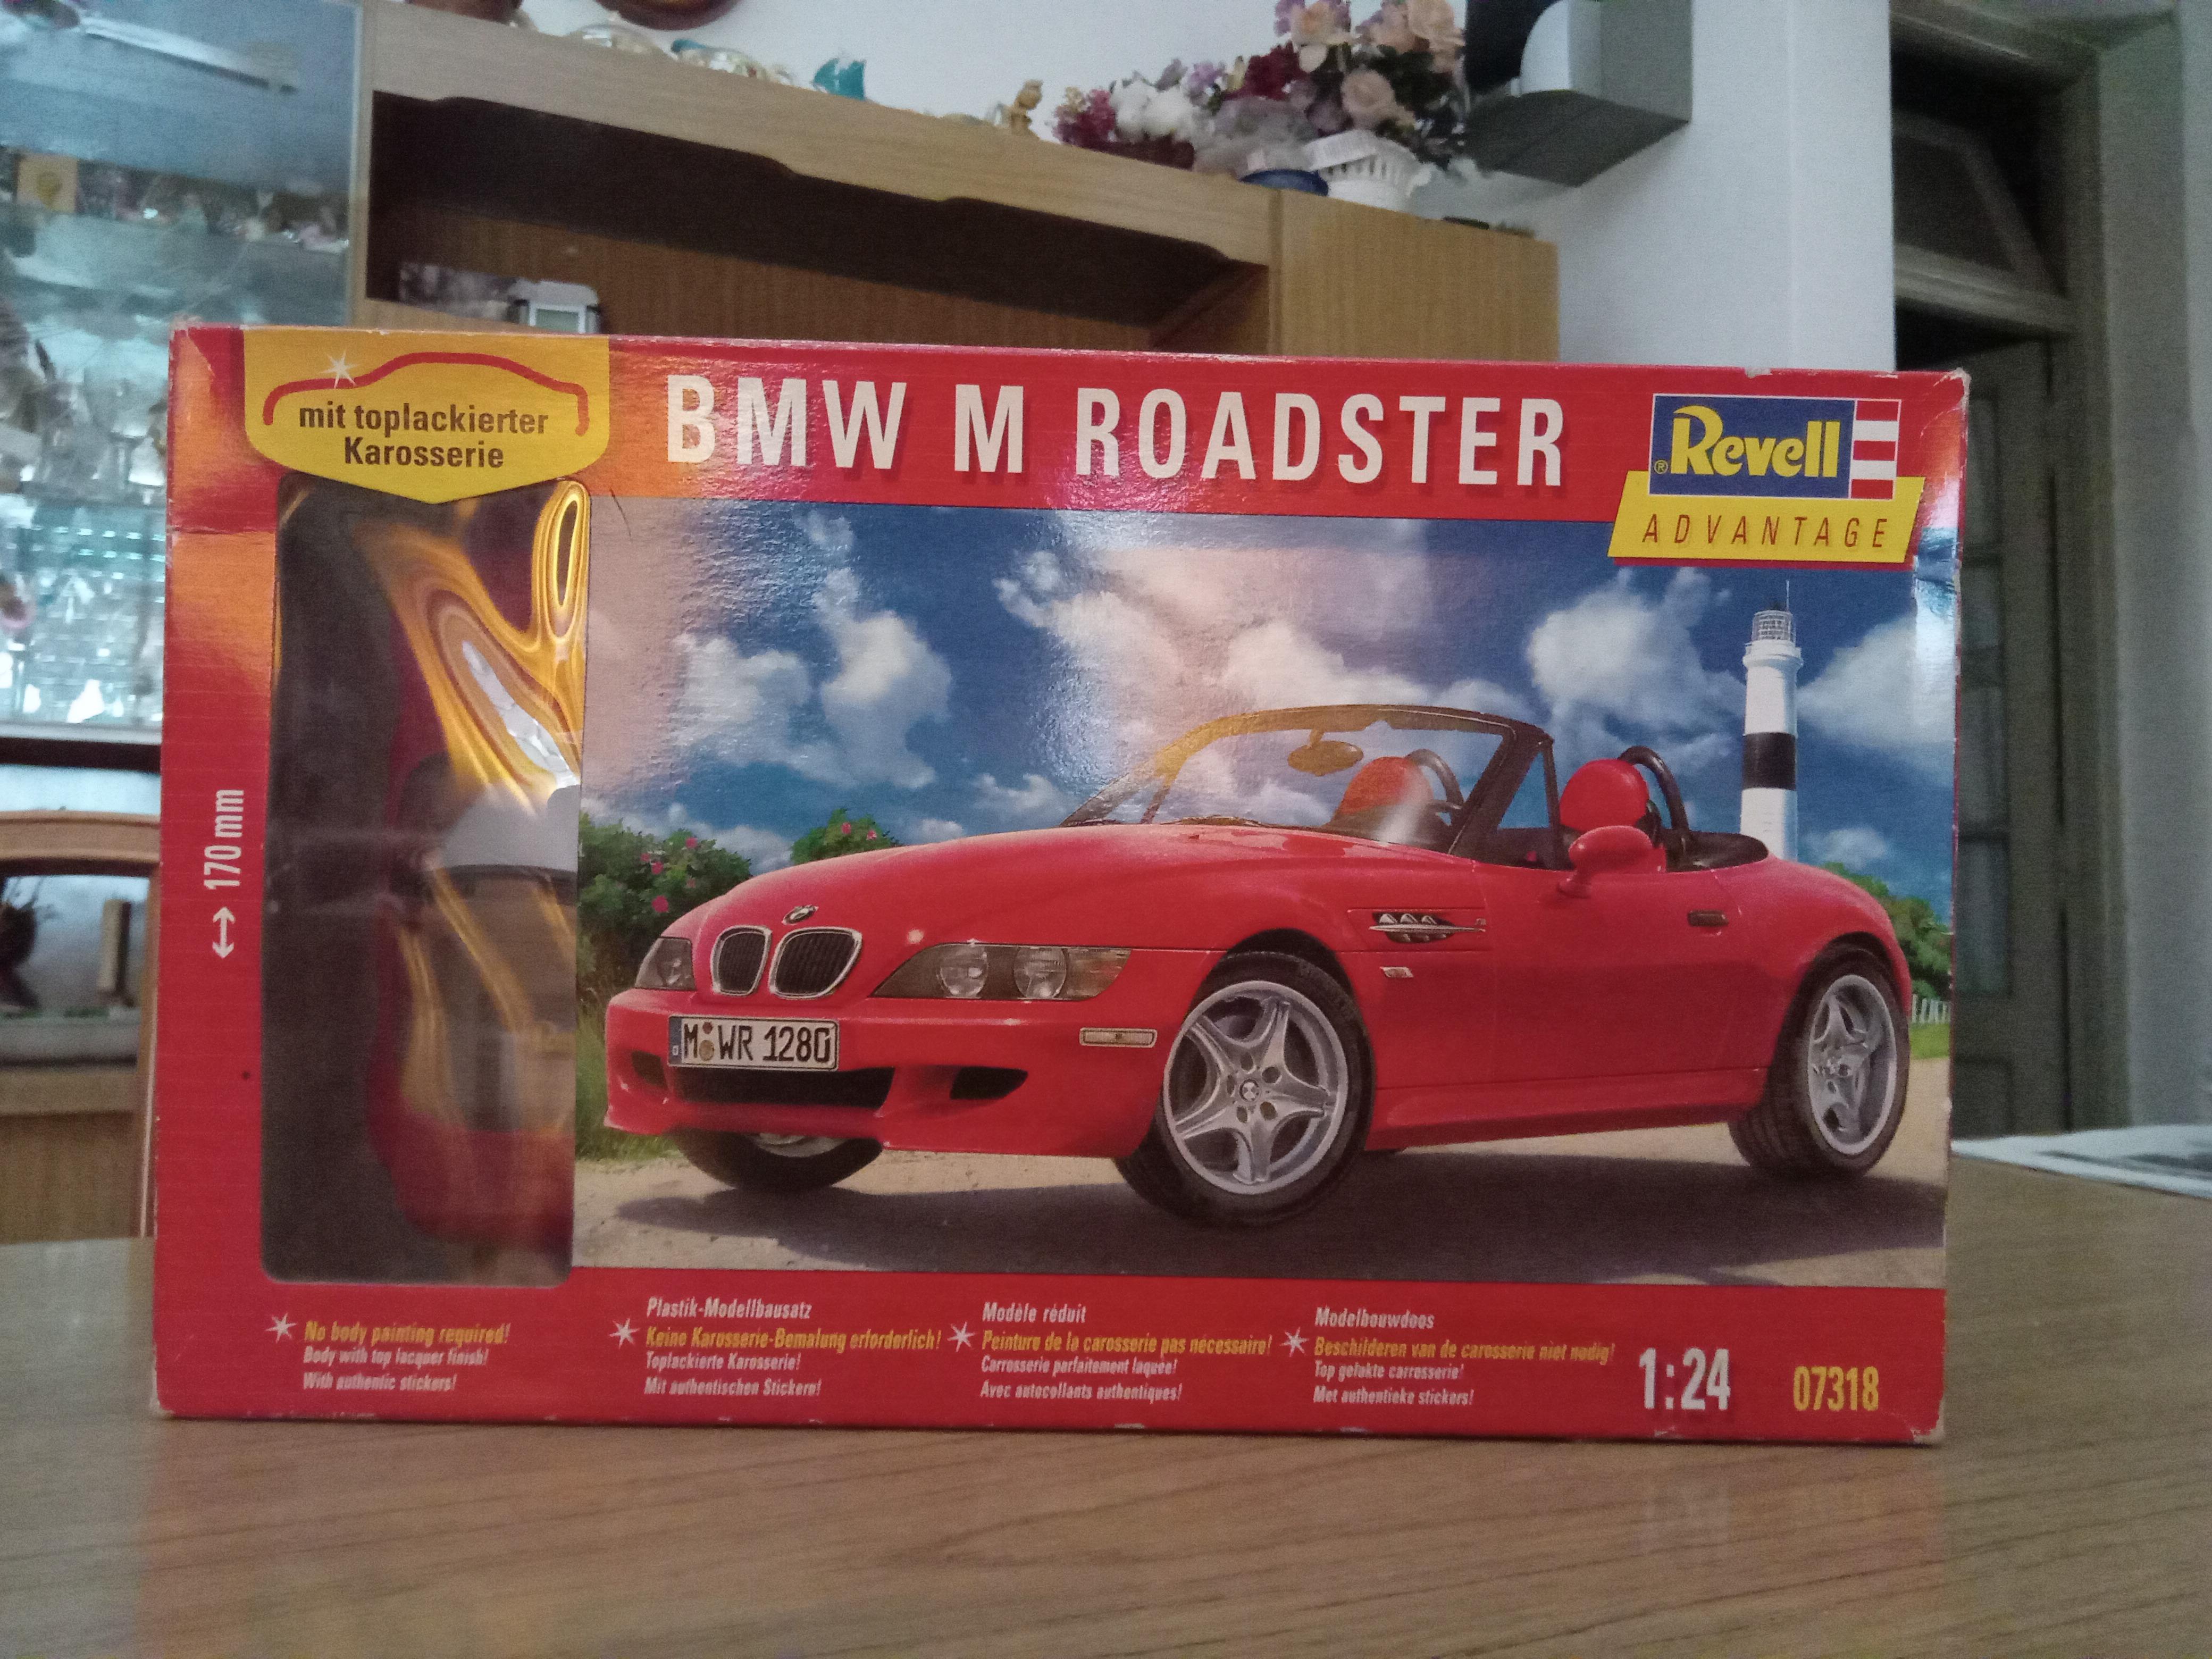
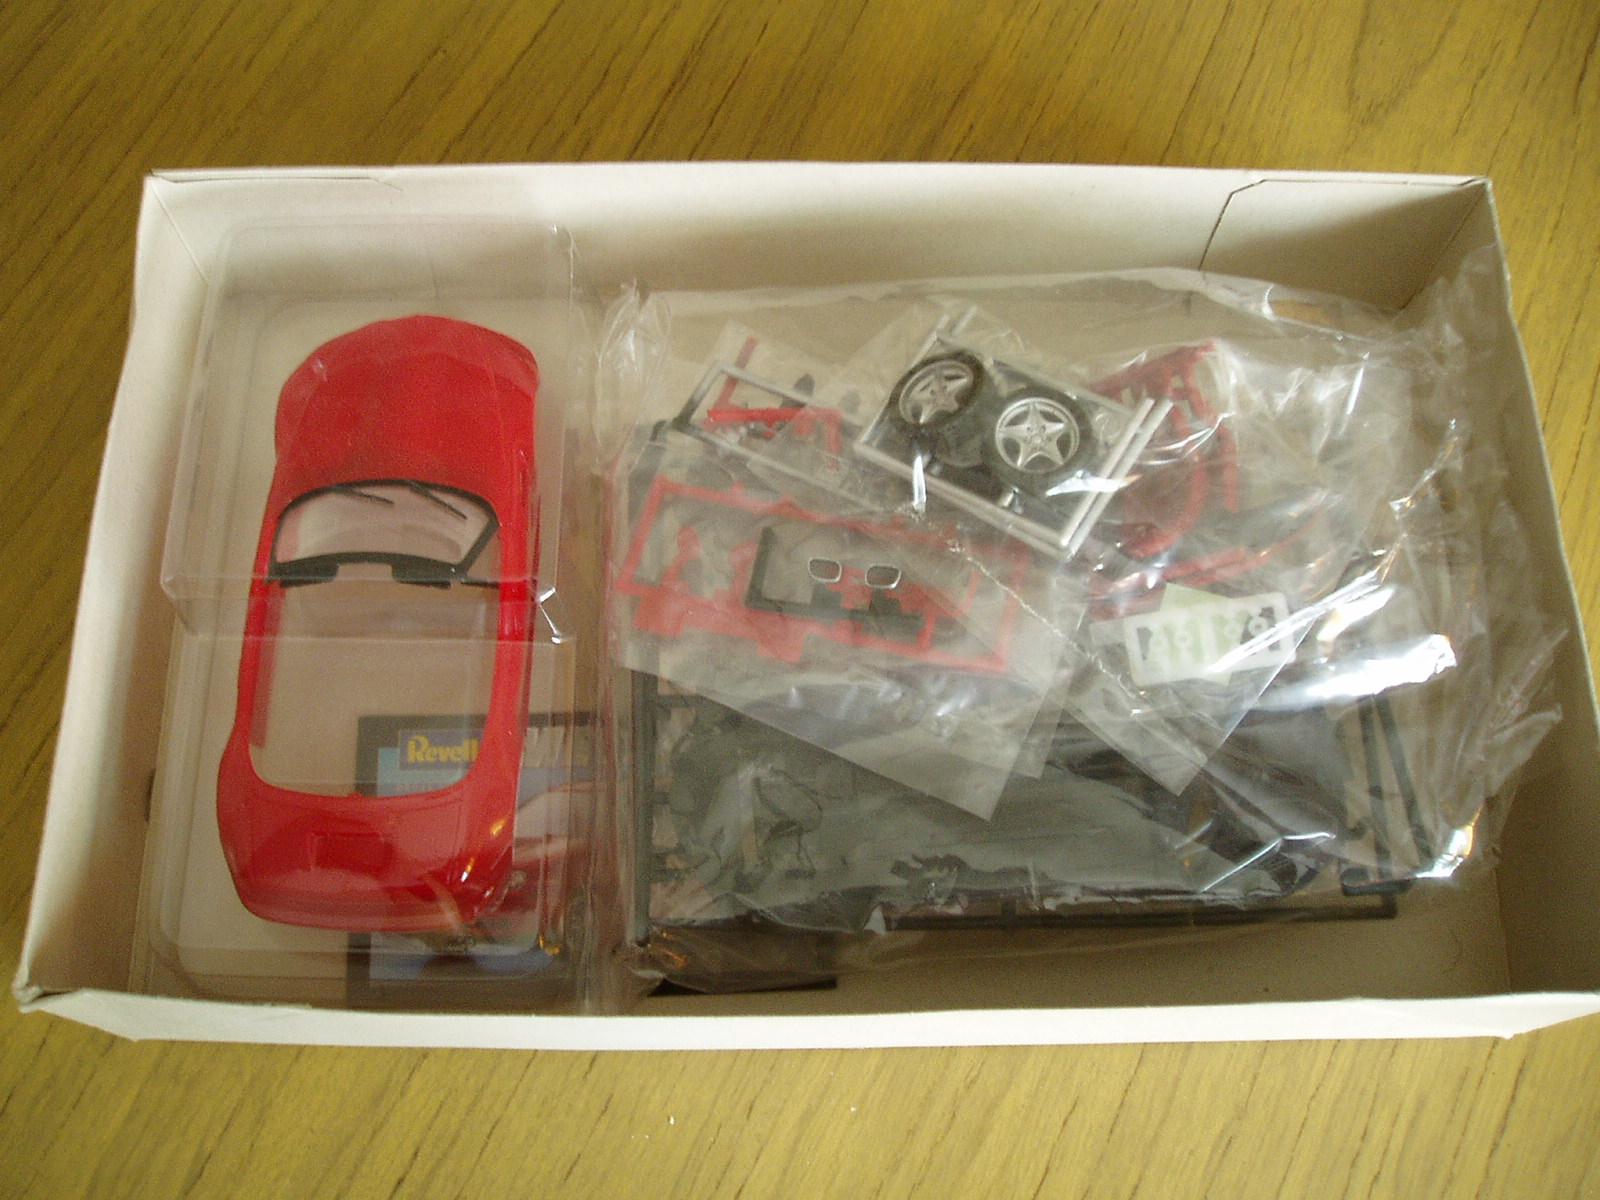
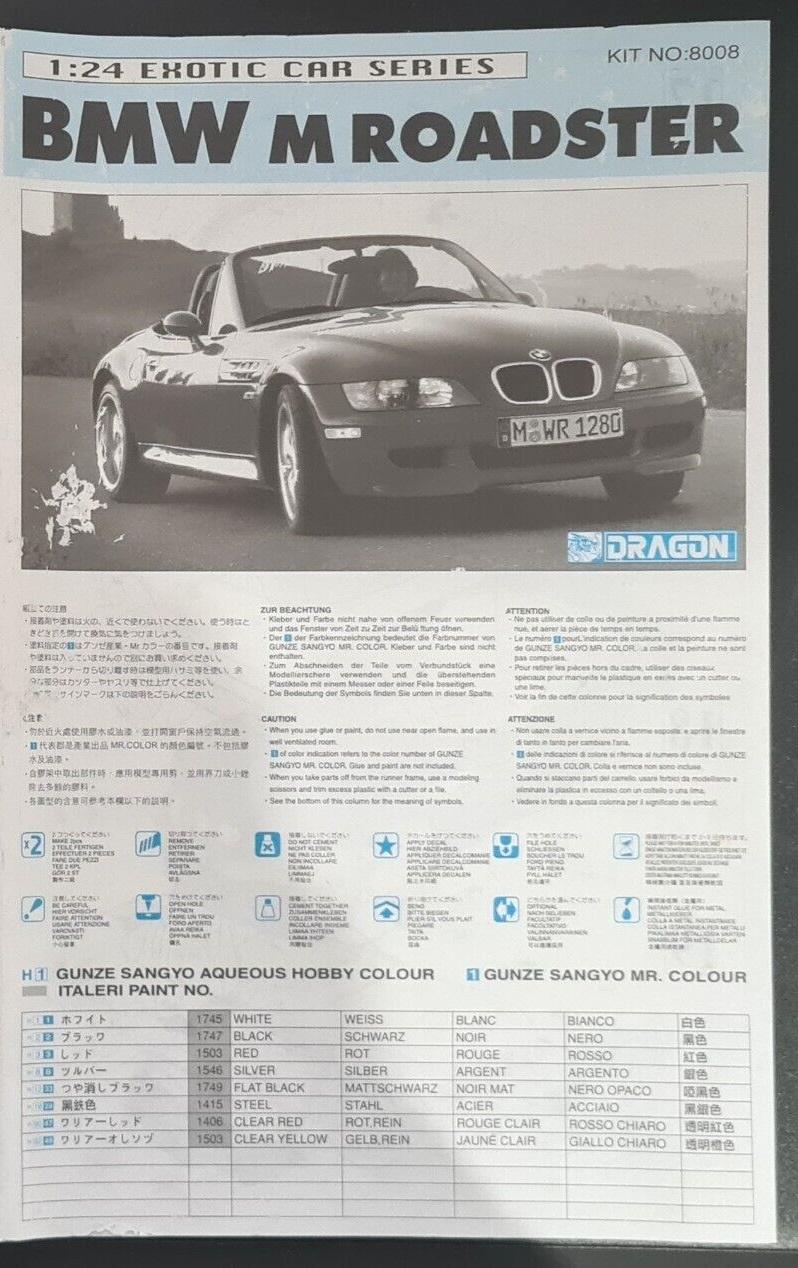
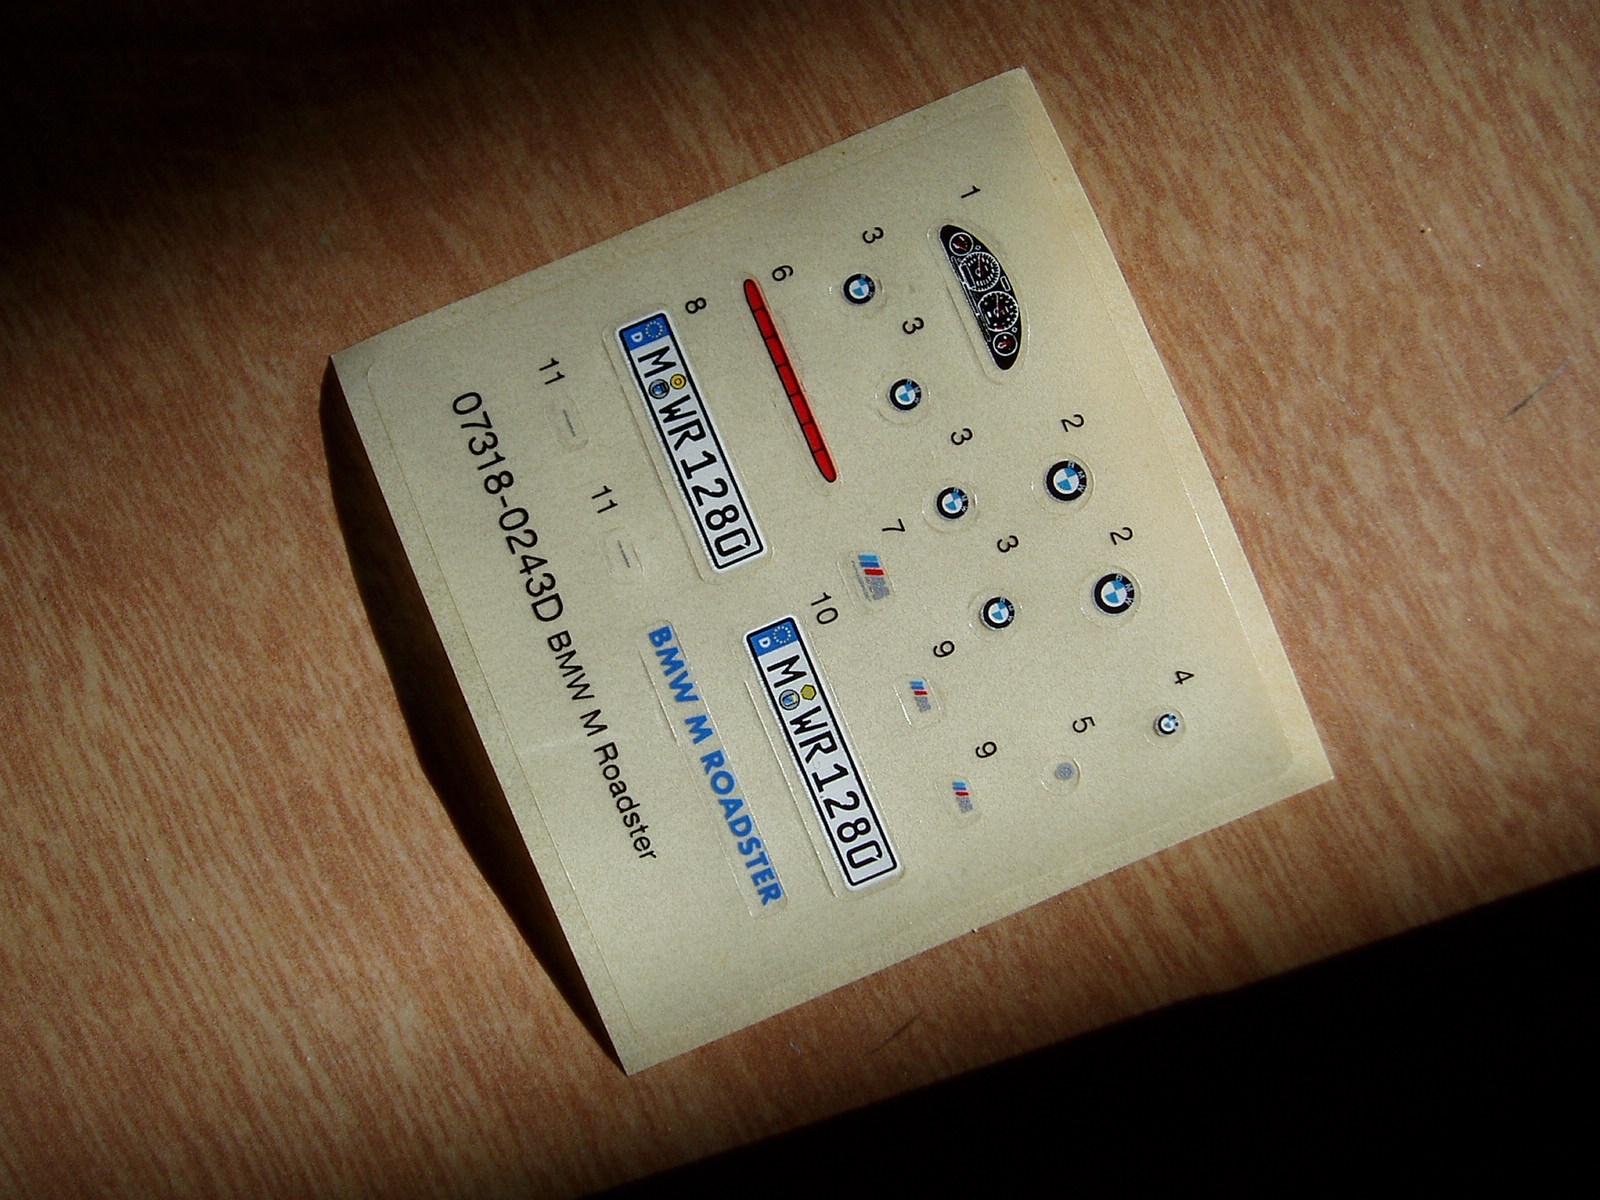
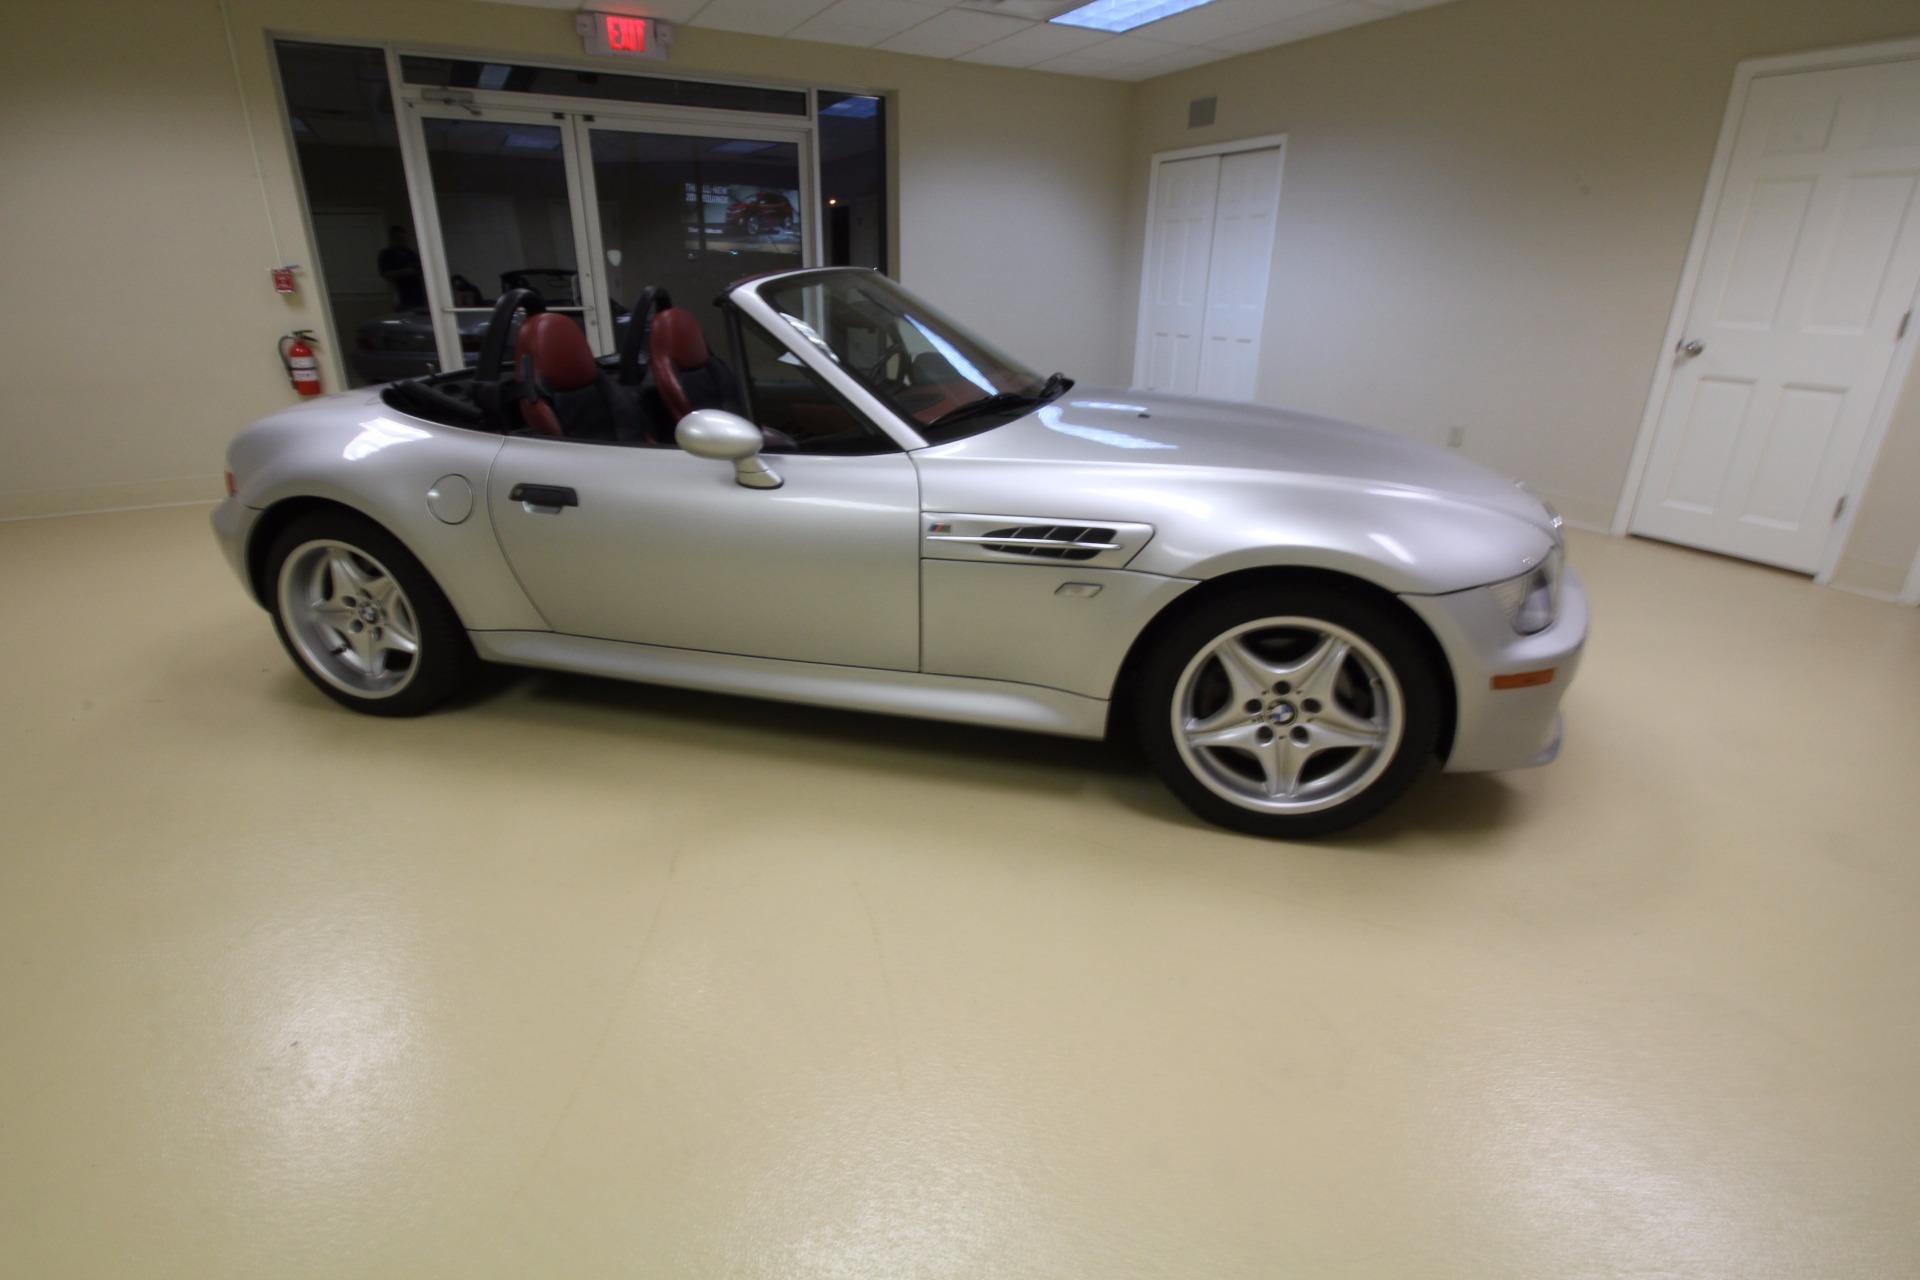
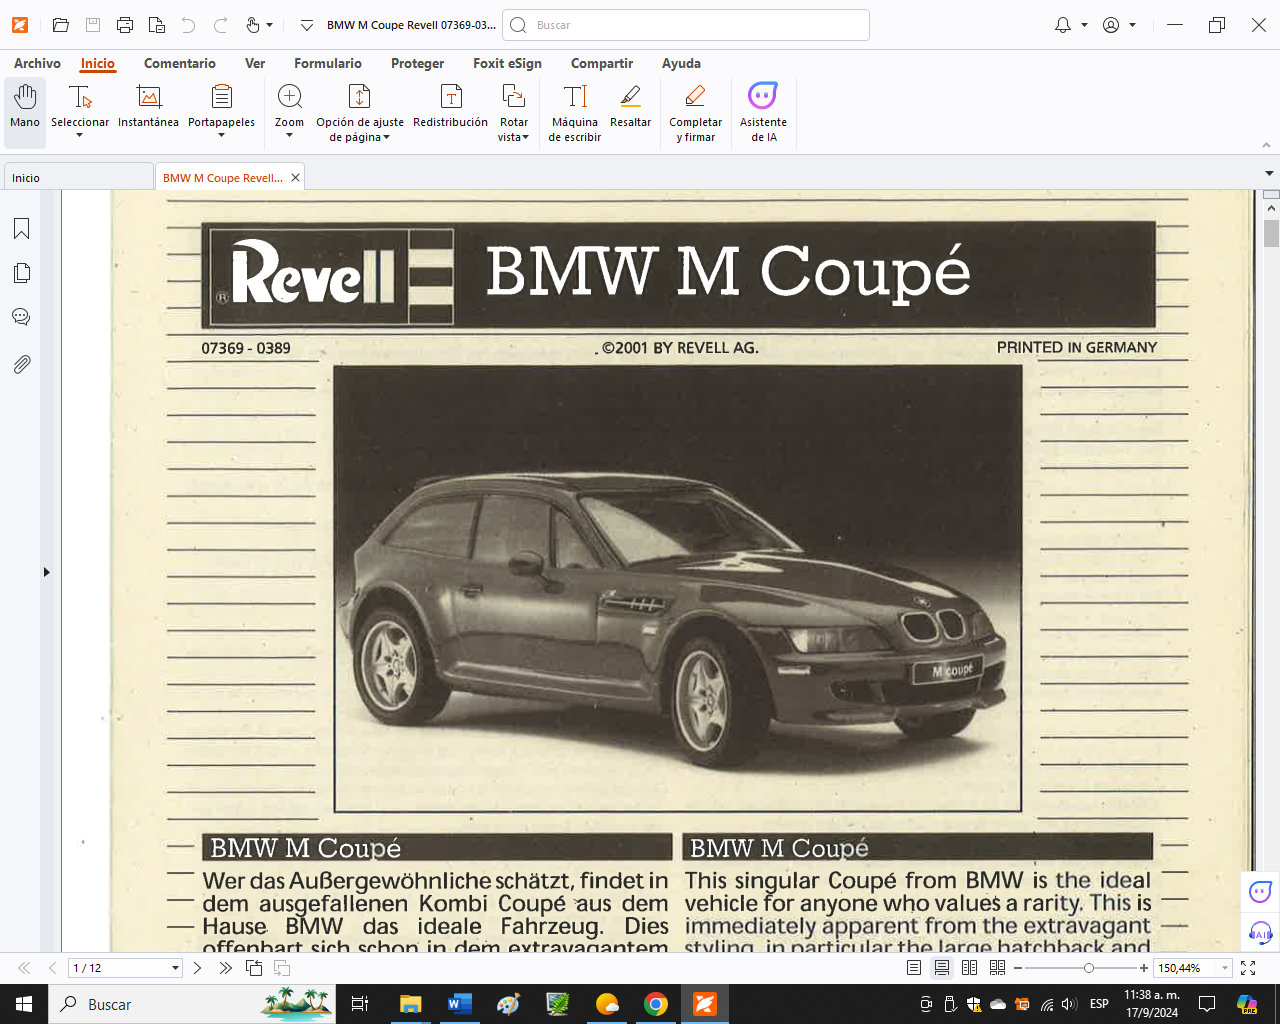
Hello, this is my first assembly post so it will be tedious for me as English is not my native language. The model I want to make is a BMW Z3 M Roadster, so I will start with the Revell model that I got; this kit comes prepainted but they haven't removed the plastic burrs, so it will have to be stripped. I find the interior difficult to modify in terms of colors so I will see if I can get as close as possible to the color to make modifications if necessary. I managed to get the instructions for the two Revell models, Roadster and Coupe, and Dragon one. The decals are stickers so I had decals made with a laser printer. This is the goal We'll see how it goes.
-
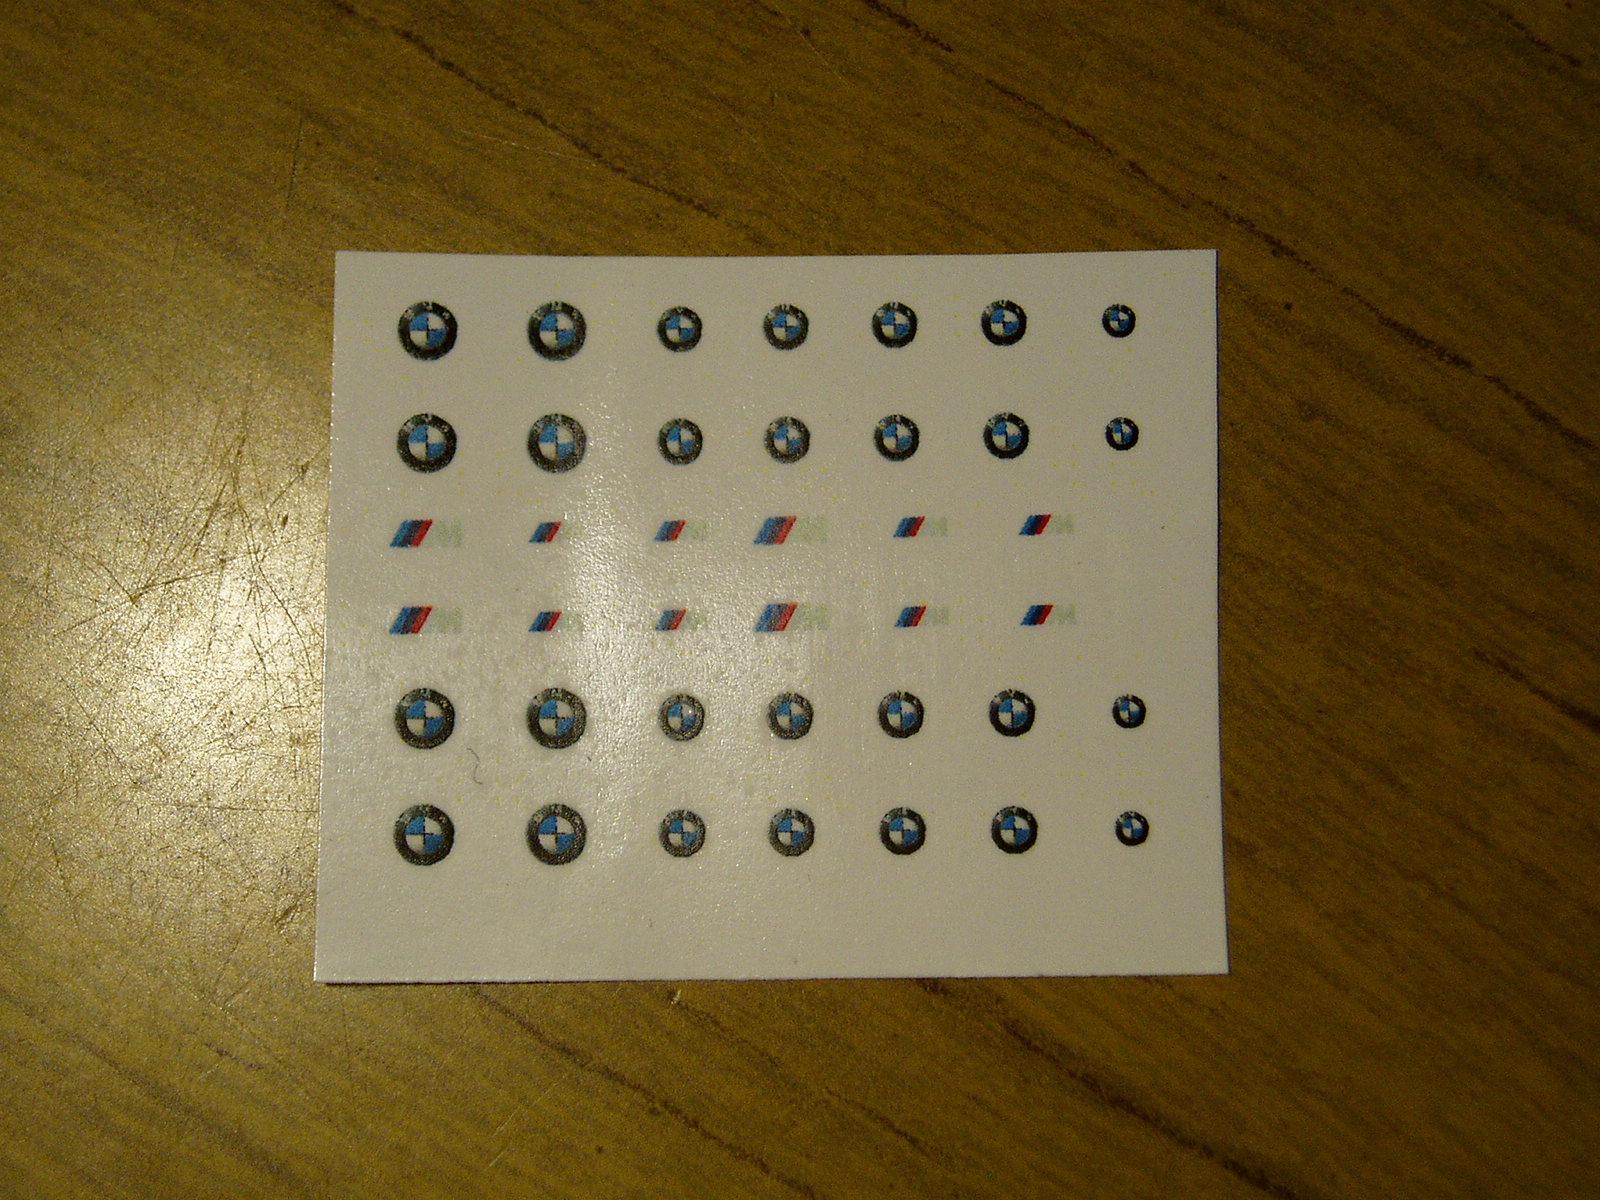
Hi, this will help many people who make their own decals with a laser printer. I have consulted the person who should have done it in the first instance, the manufacturer, and he told me that it is not necessary to apply anything on top, to cut it from the support, moisten it and apply it. Many thanks to the forum members who participated to clear up my doubts on this subject.
-
What I have noticed is that JPEG images do not maintain pixels, being visible in large areas, as is the case with this topic.