MonsterFan88
-
Posts
56 -
Joined
-
Last visited
Content Type
Profiles
Forums
Events
Gallery
Everything posted by MonsterFan88
-
A tiny update...

-
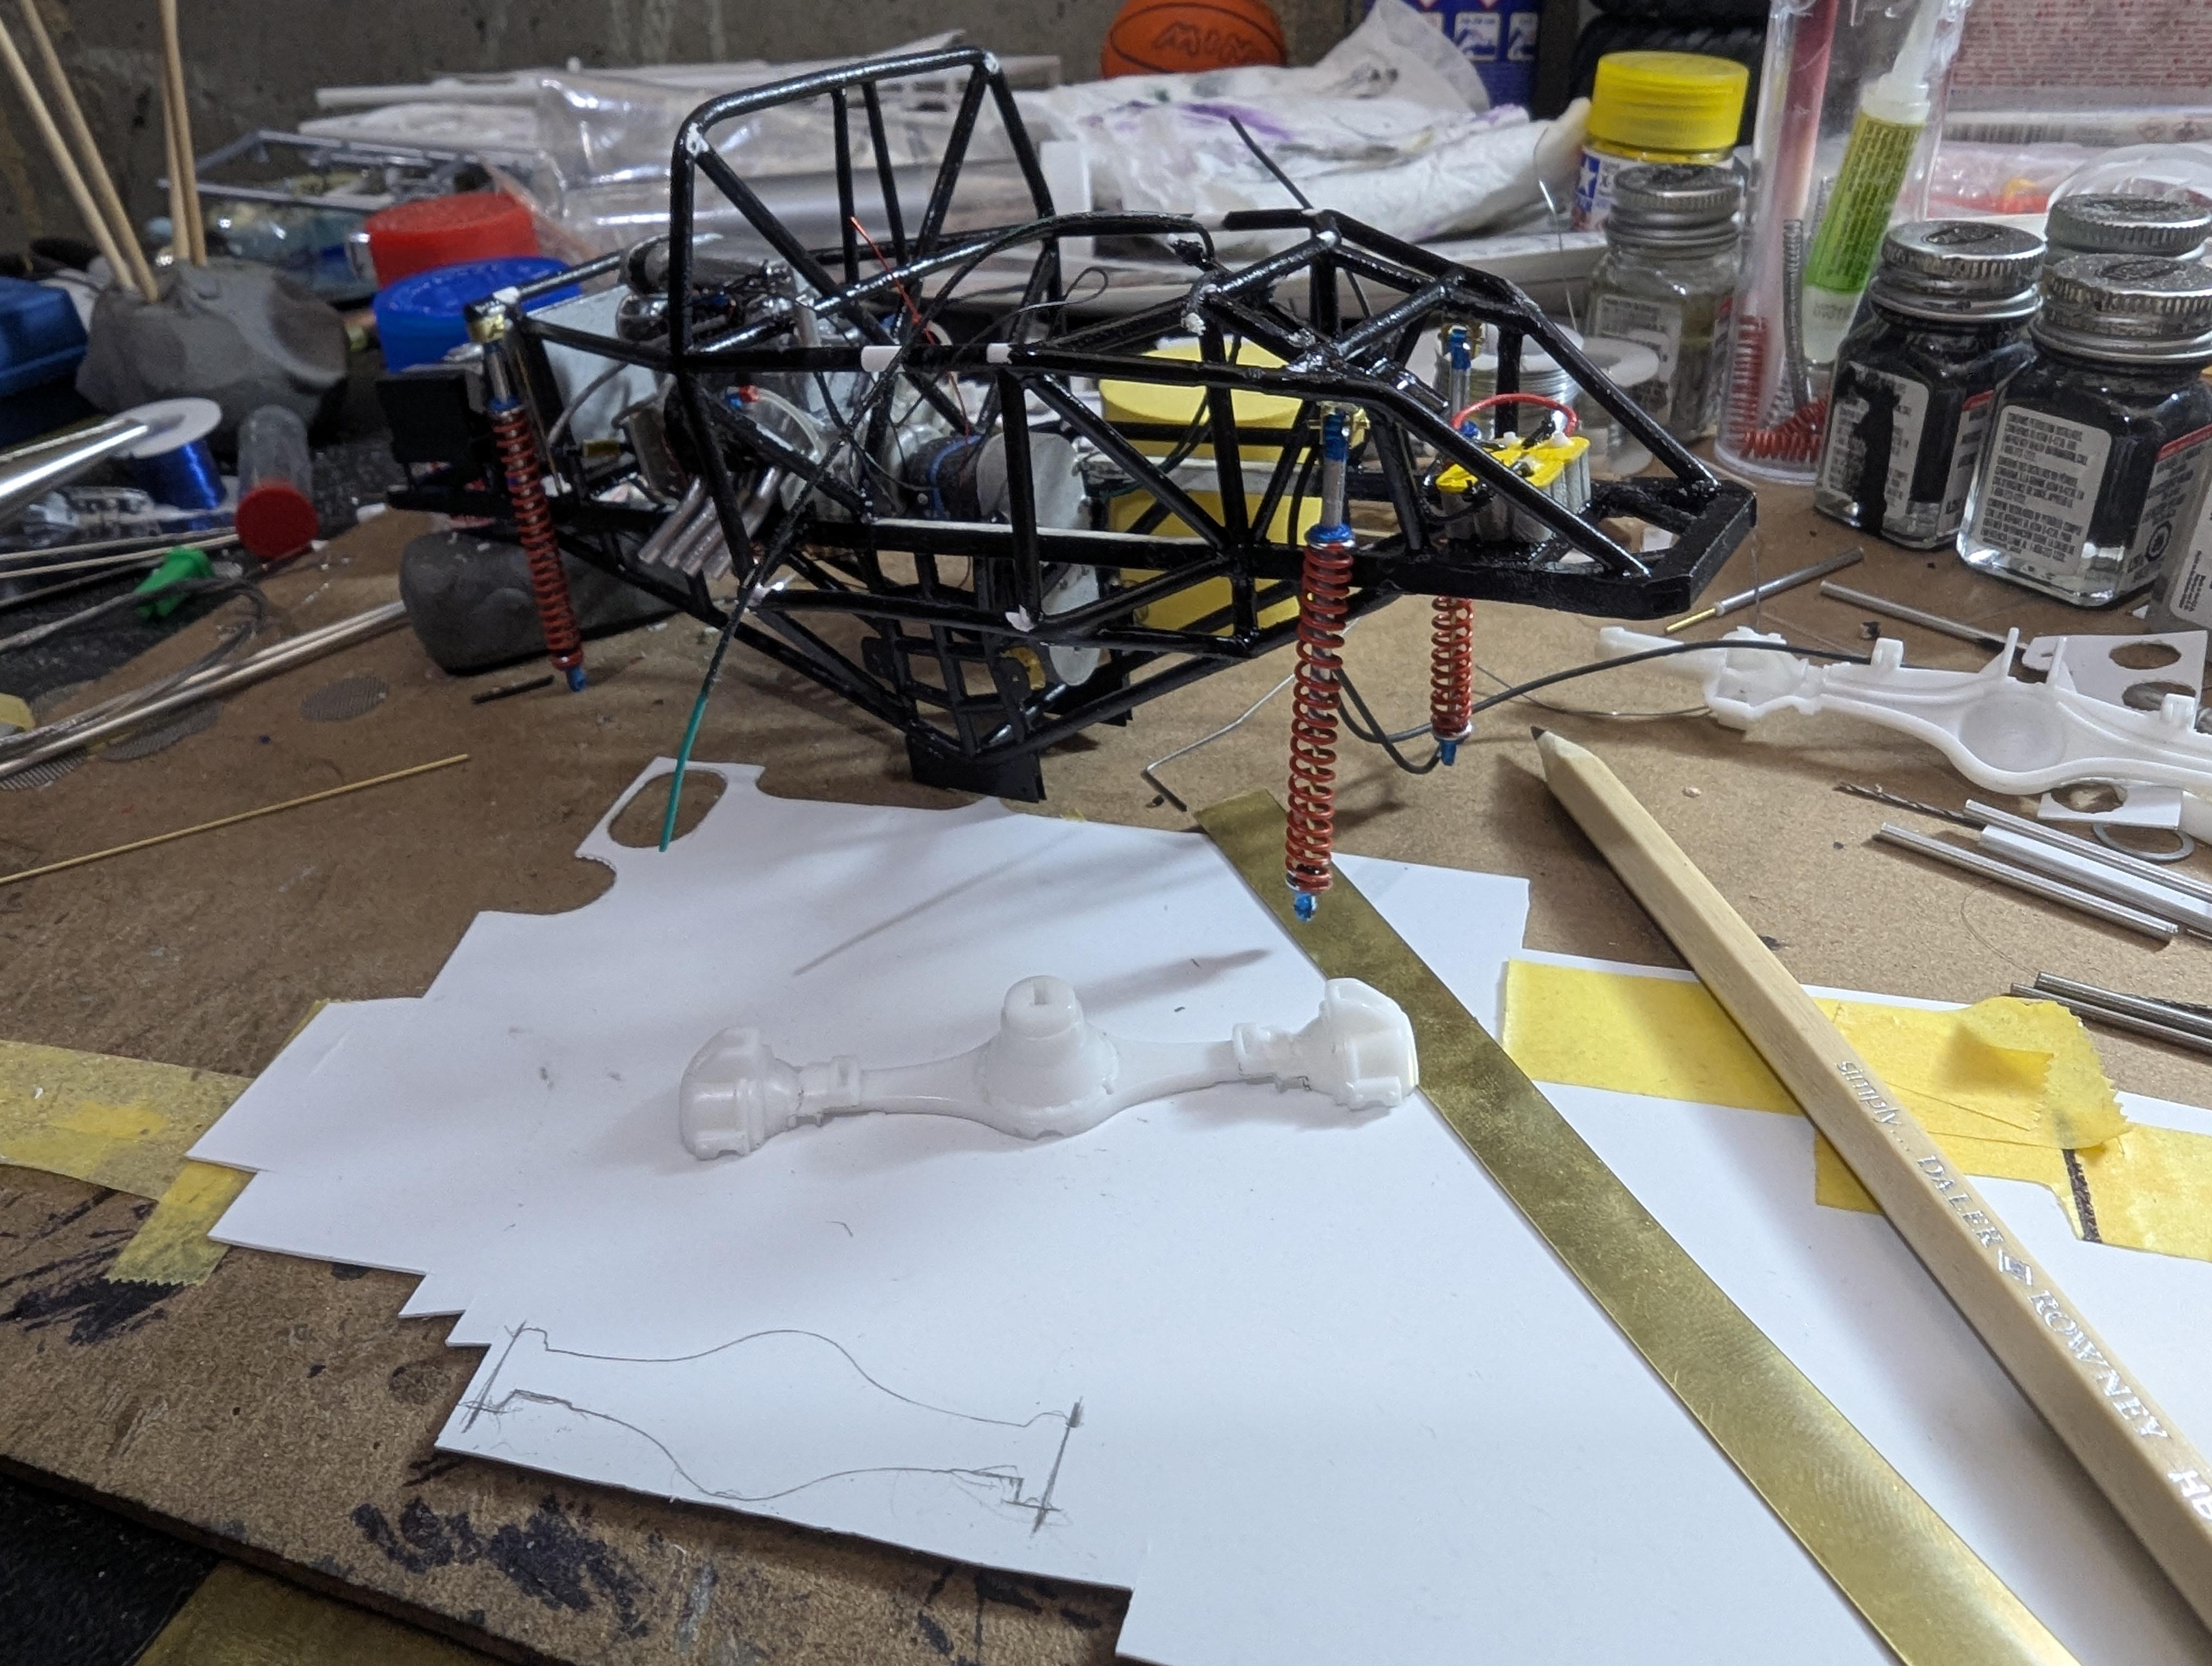
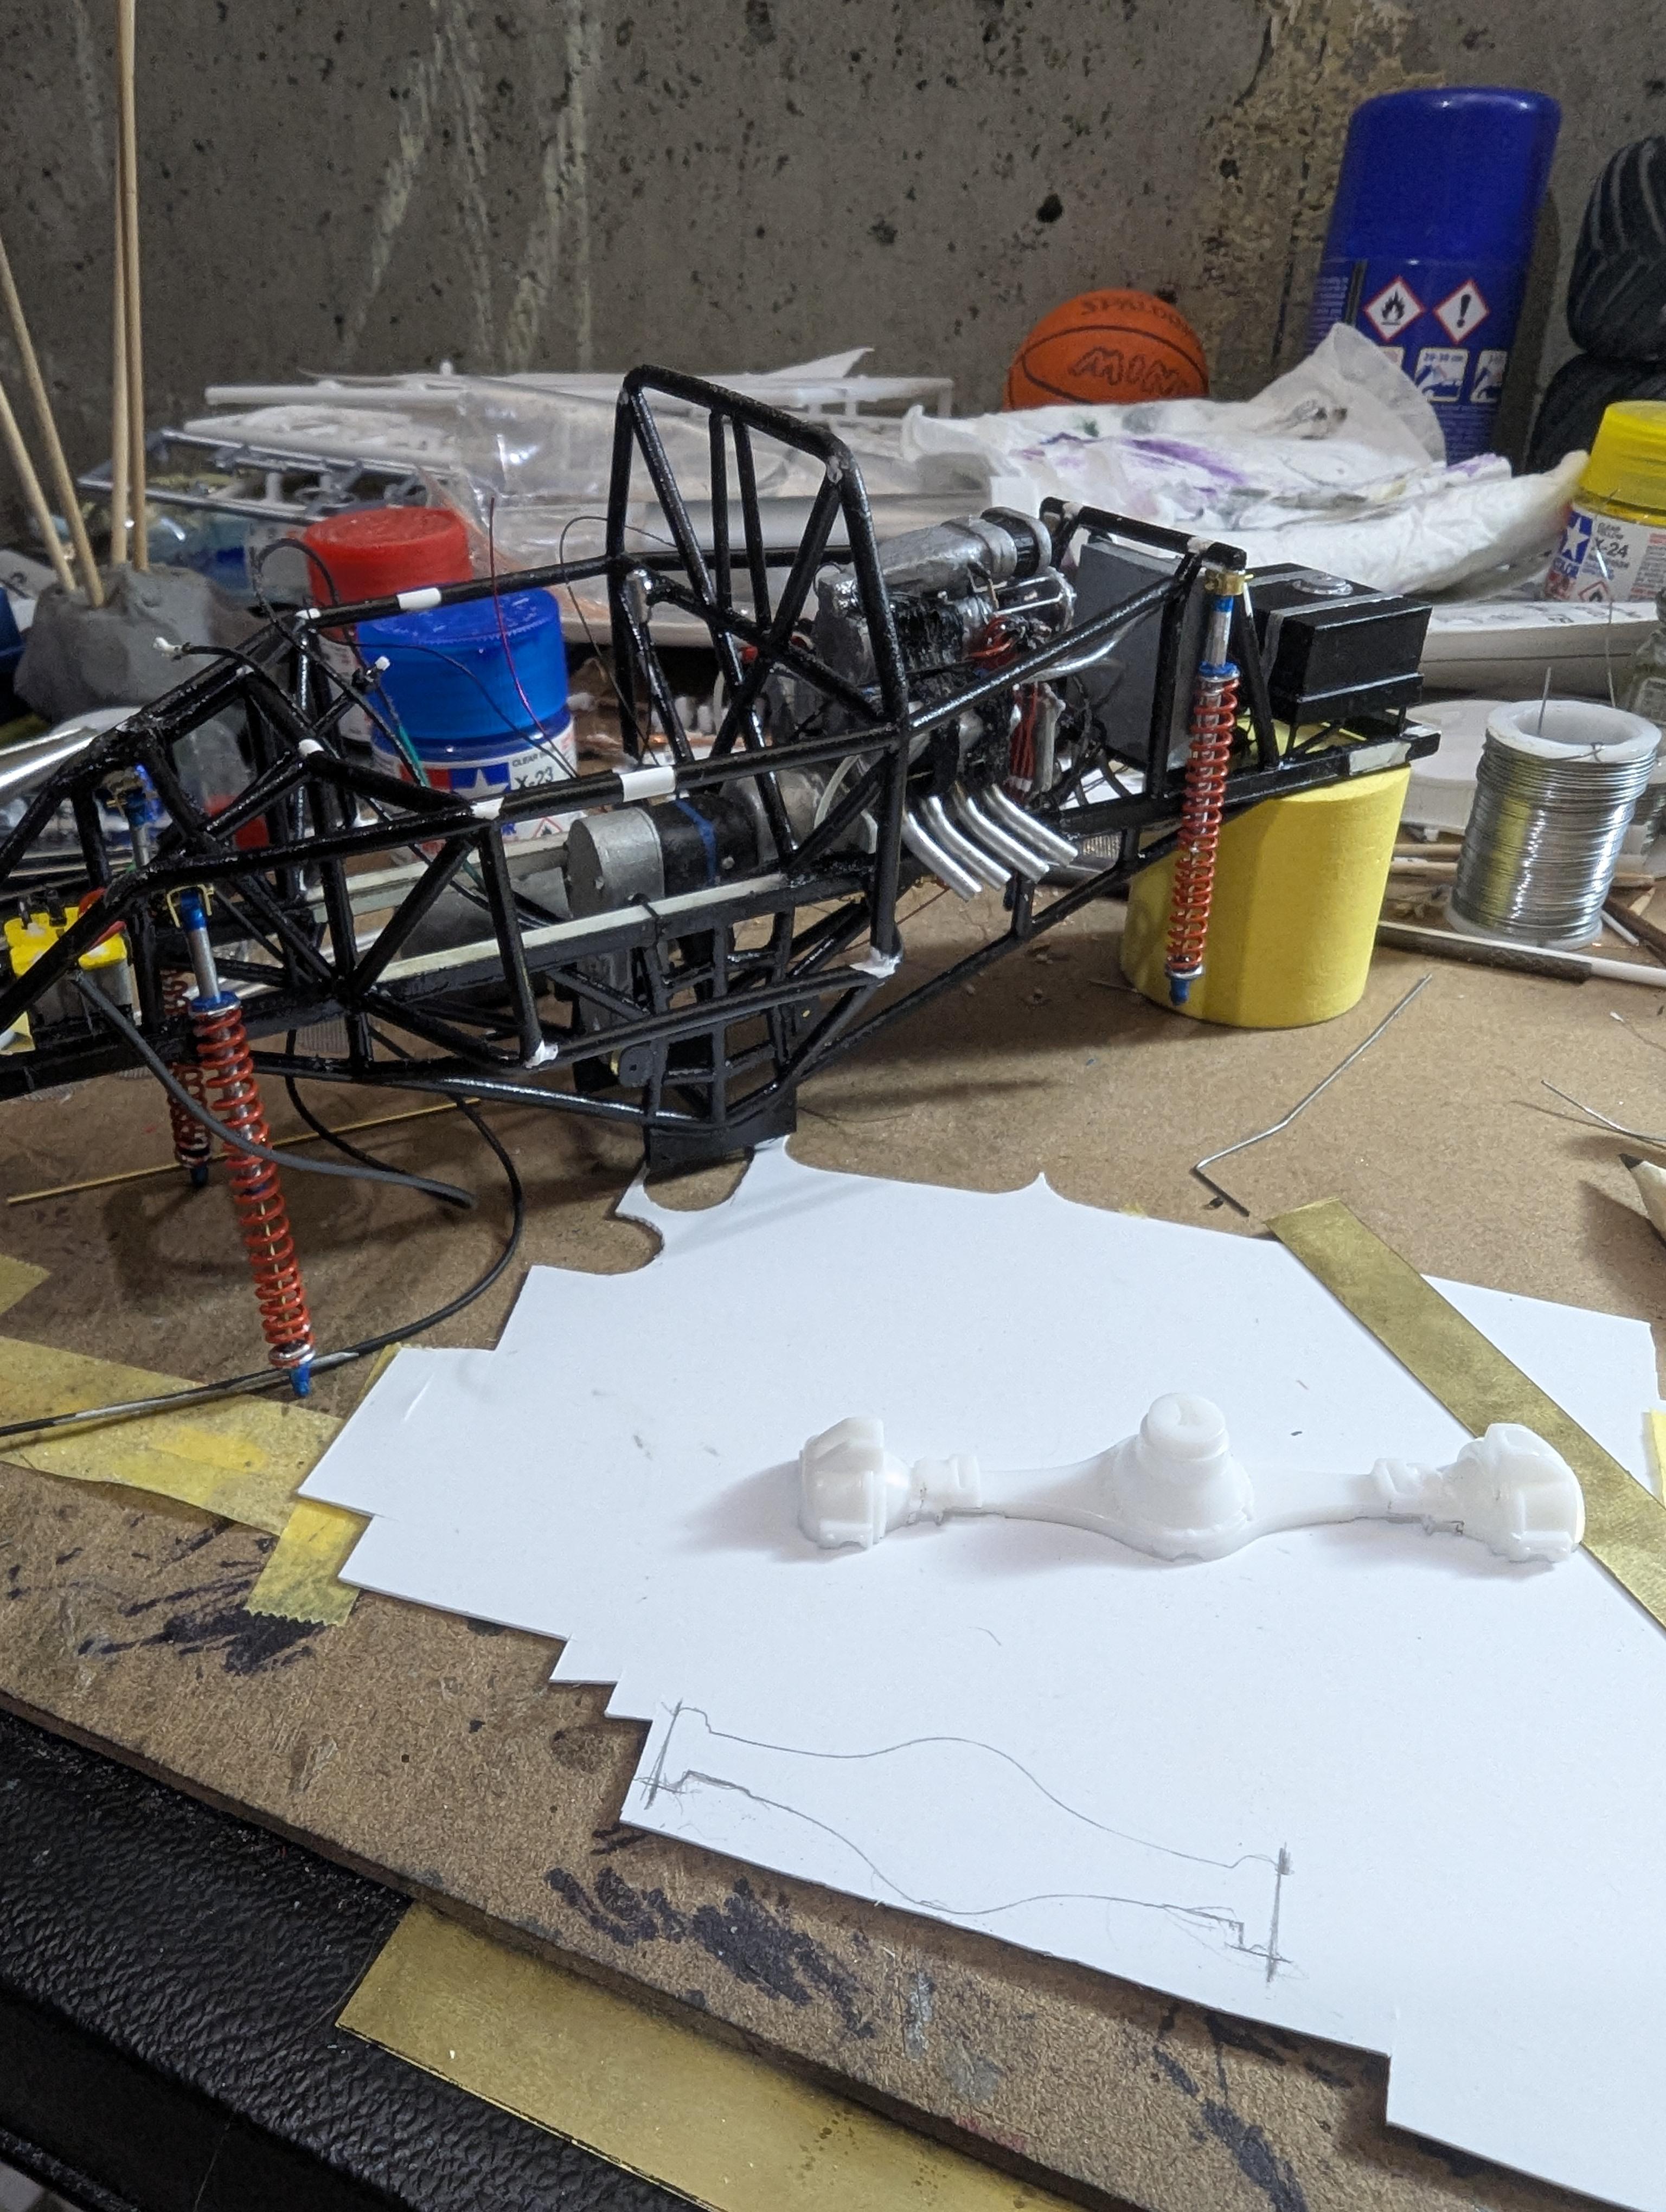
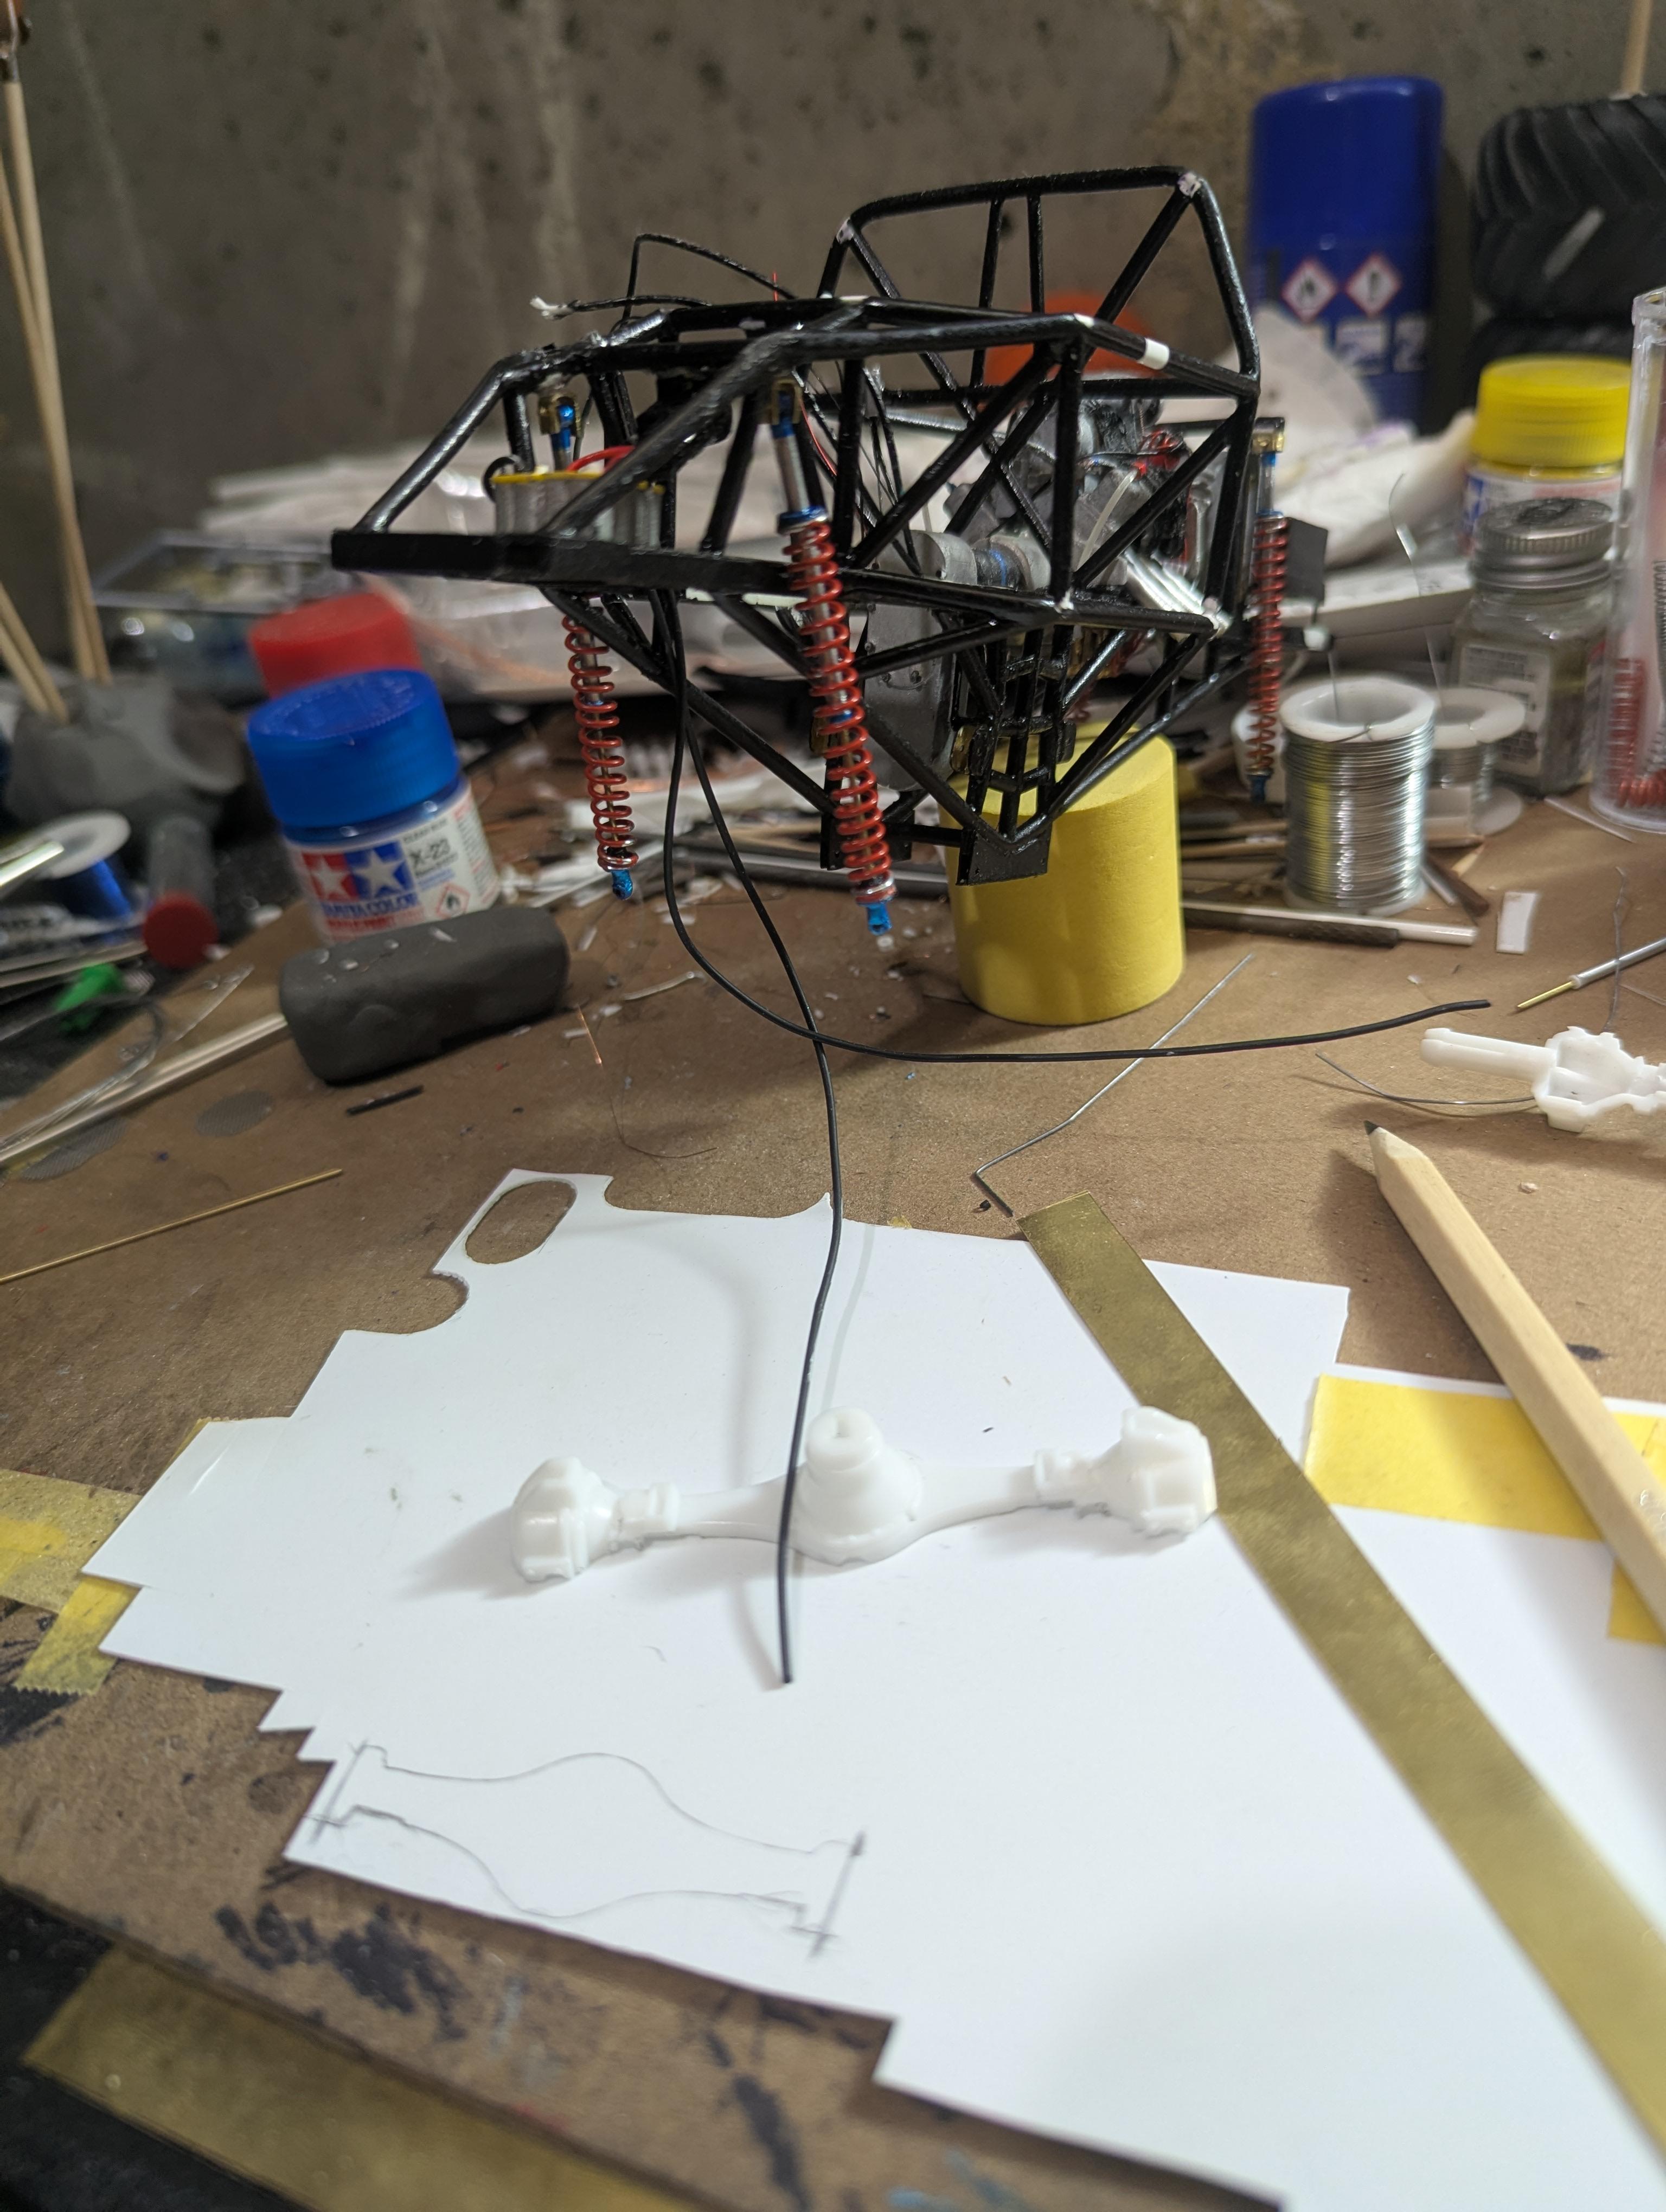
Hello, finally getting around to building the axles and getting the suspension done, so far so good 👍 😊
-
Thank you it's been quite the building process after the suspension is finished I'll be working on the body and decal work and then I'll be finished👍😎
-
USA-1 Monster truck
MonsterFan88 replied to MurfTwice's topic in WIP: Model Trucks: Pickups, Vans, SUVs, Light Commercial
Awesome 👍 😎 -
Just a small update here this was a big step and I'm pleased with the results 😉😎😁👍
-
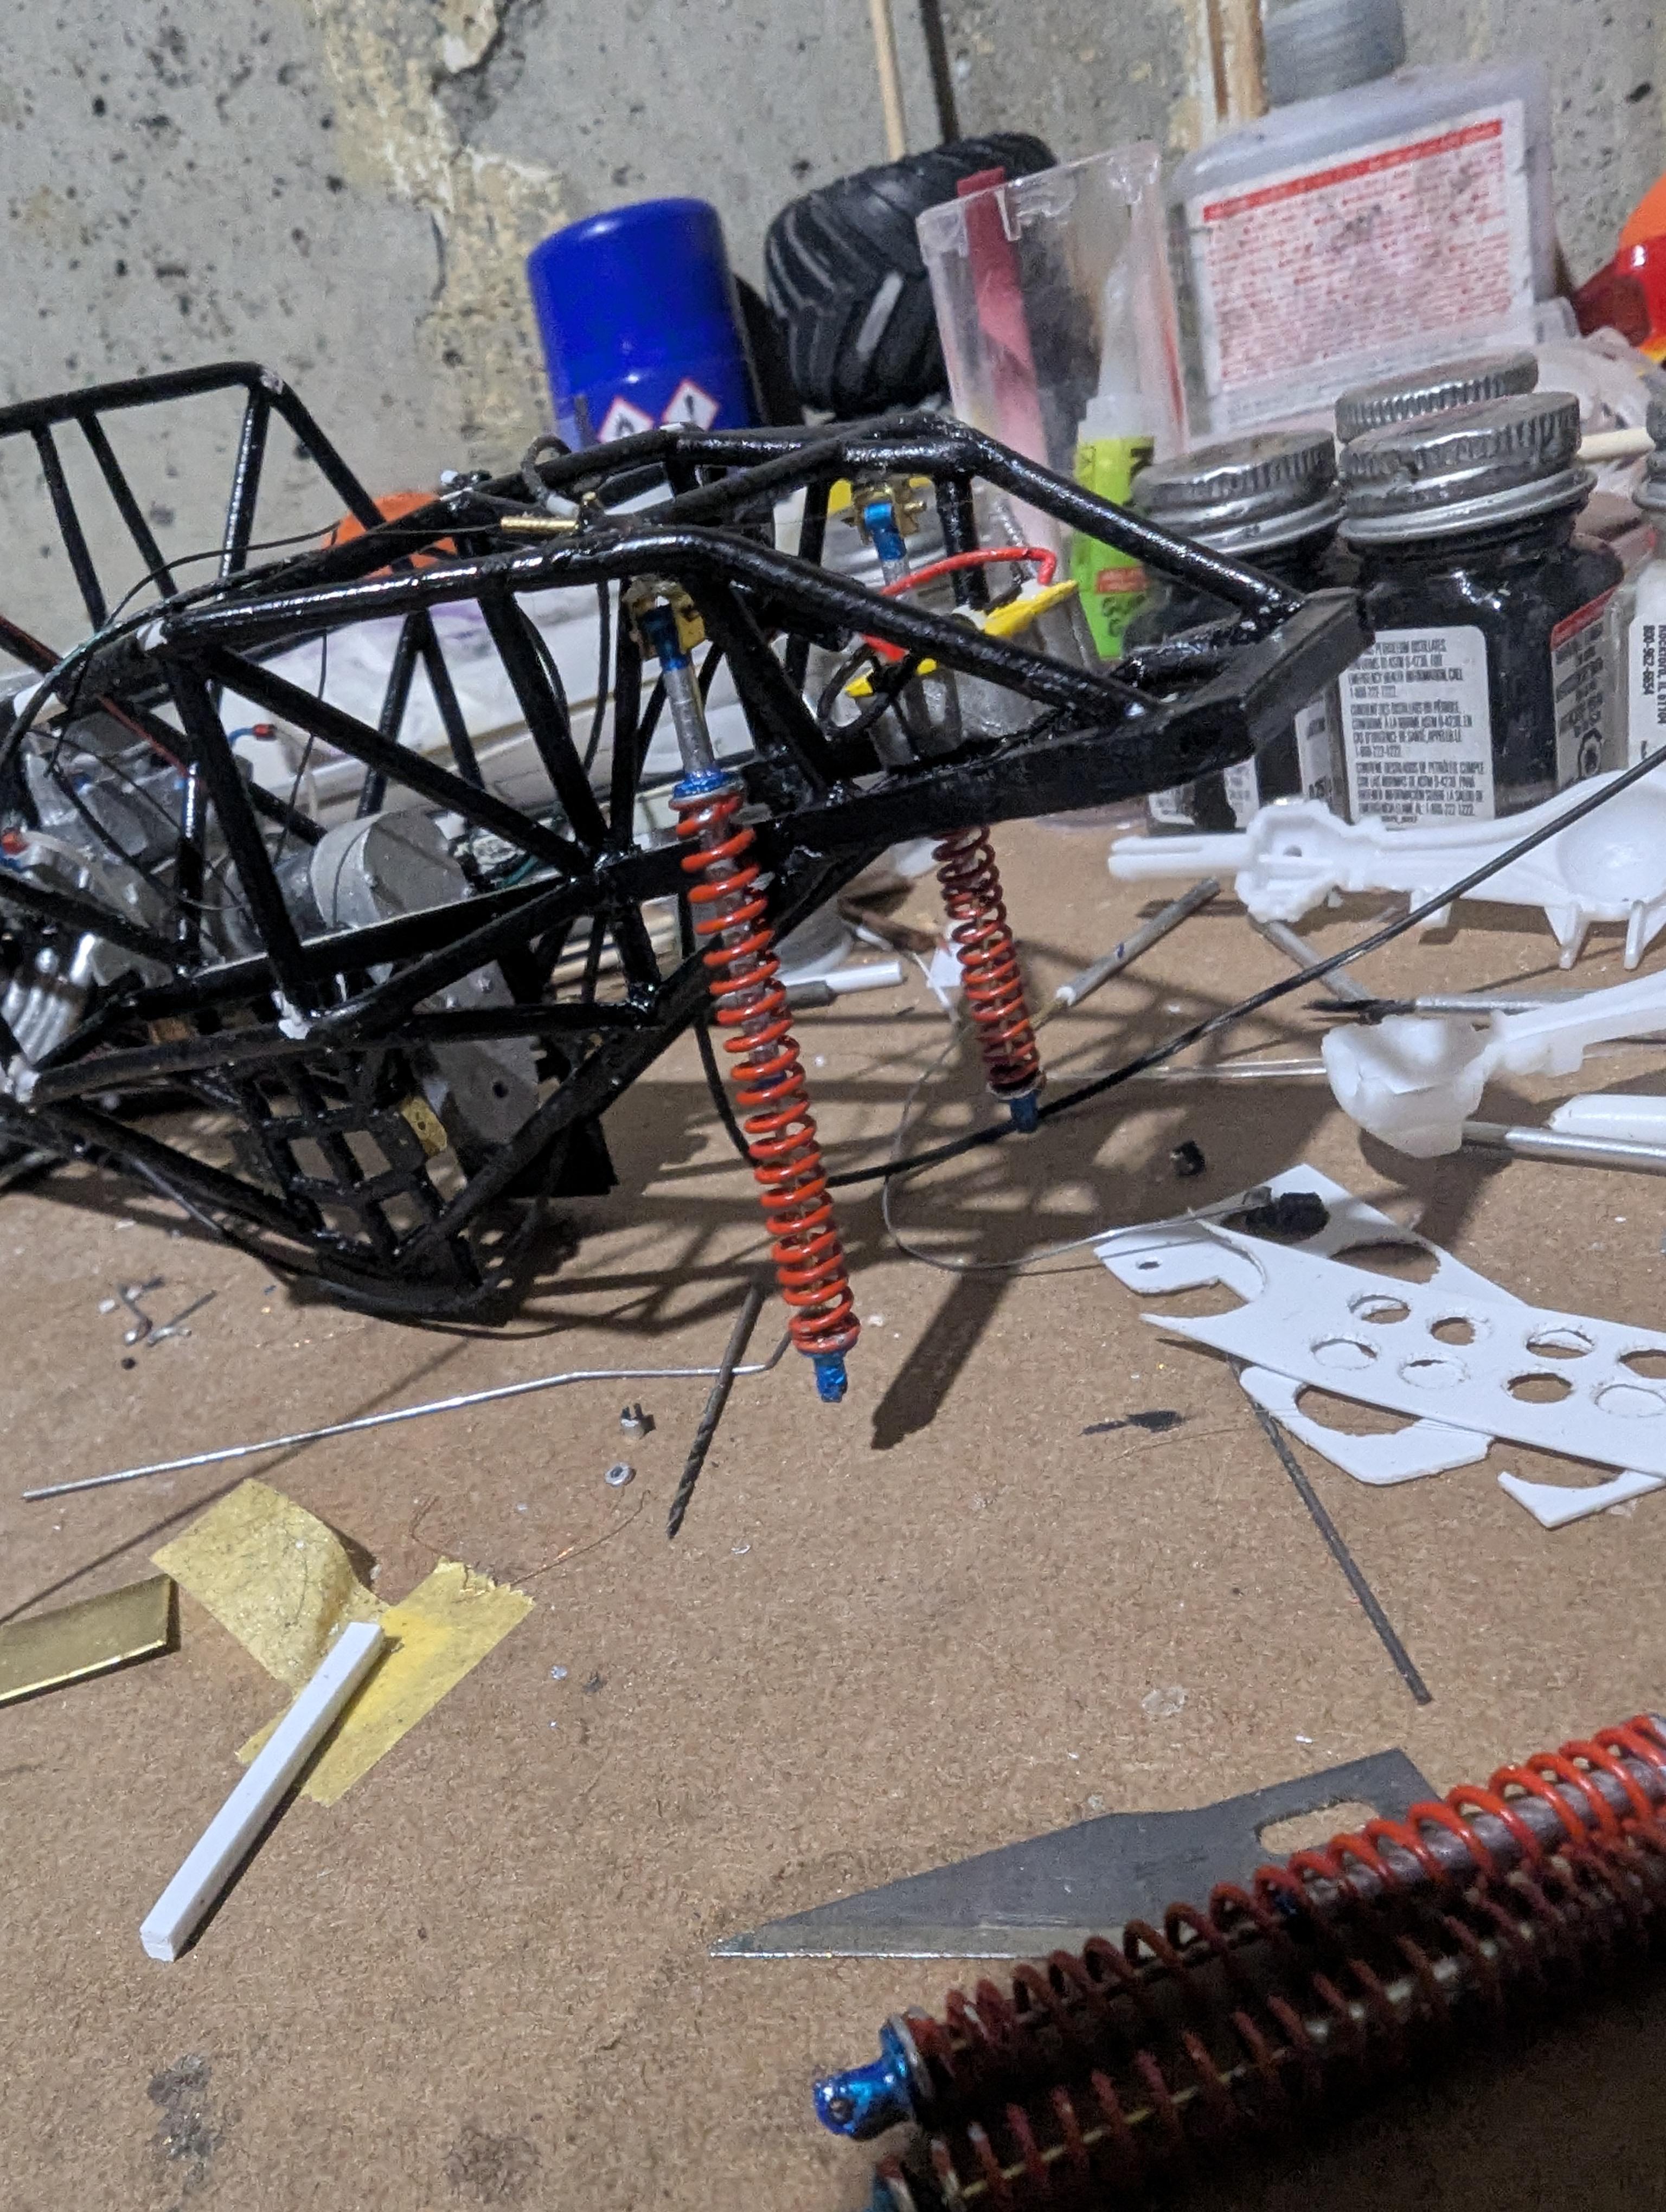
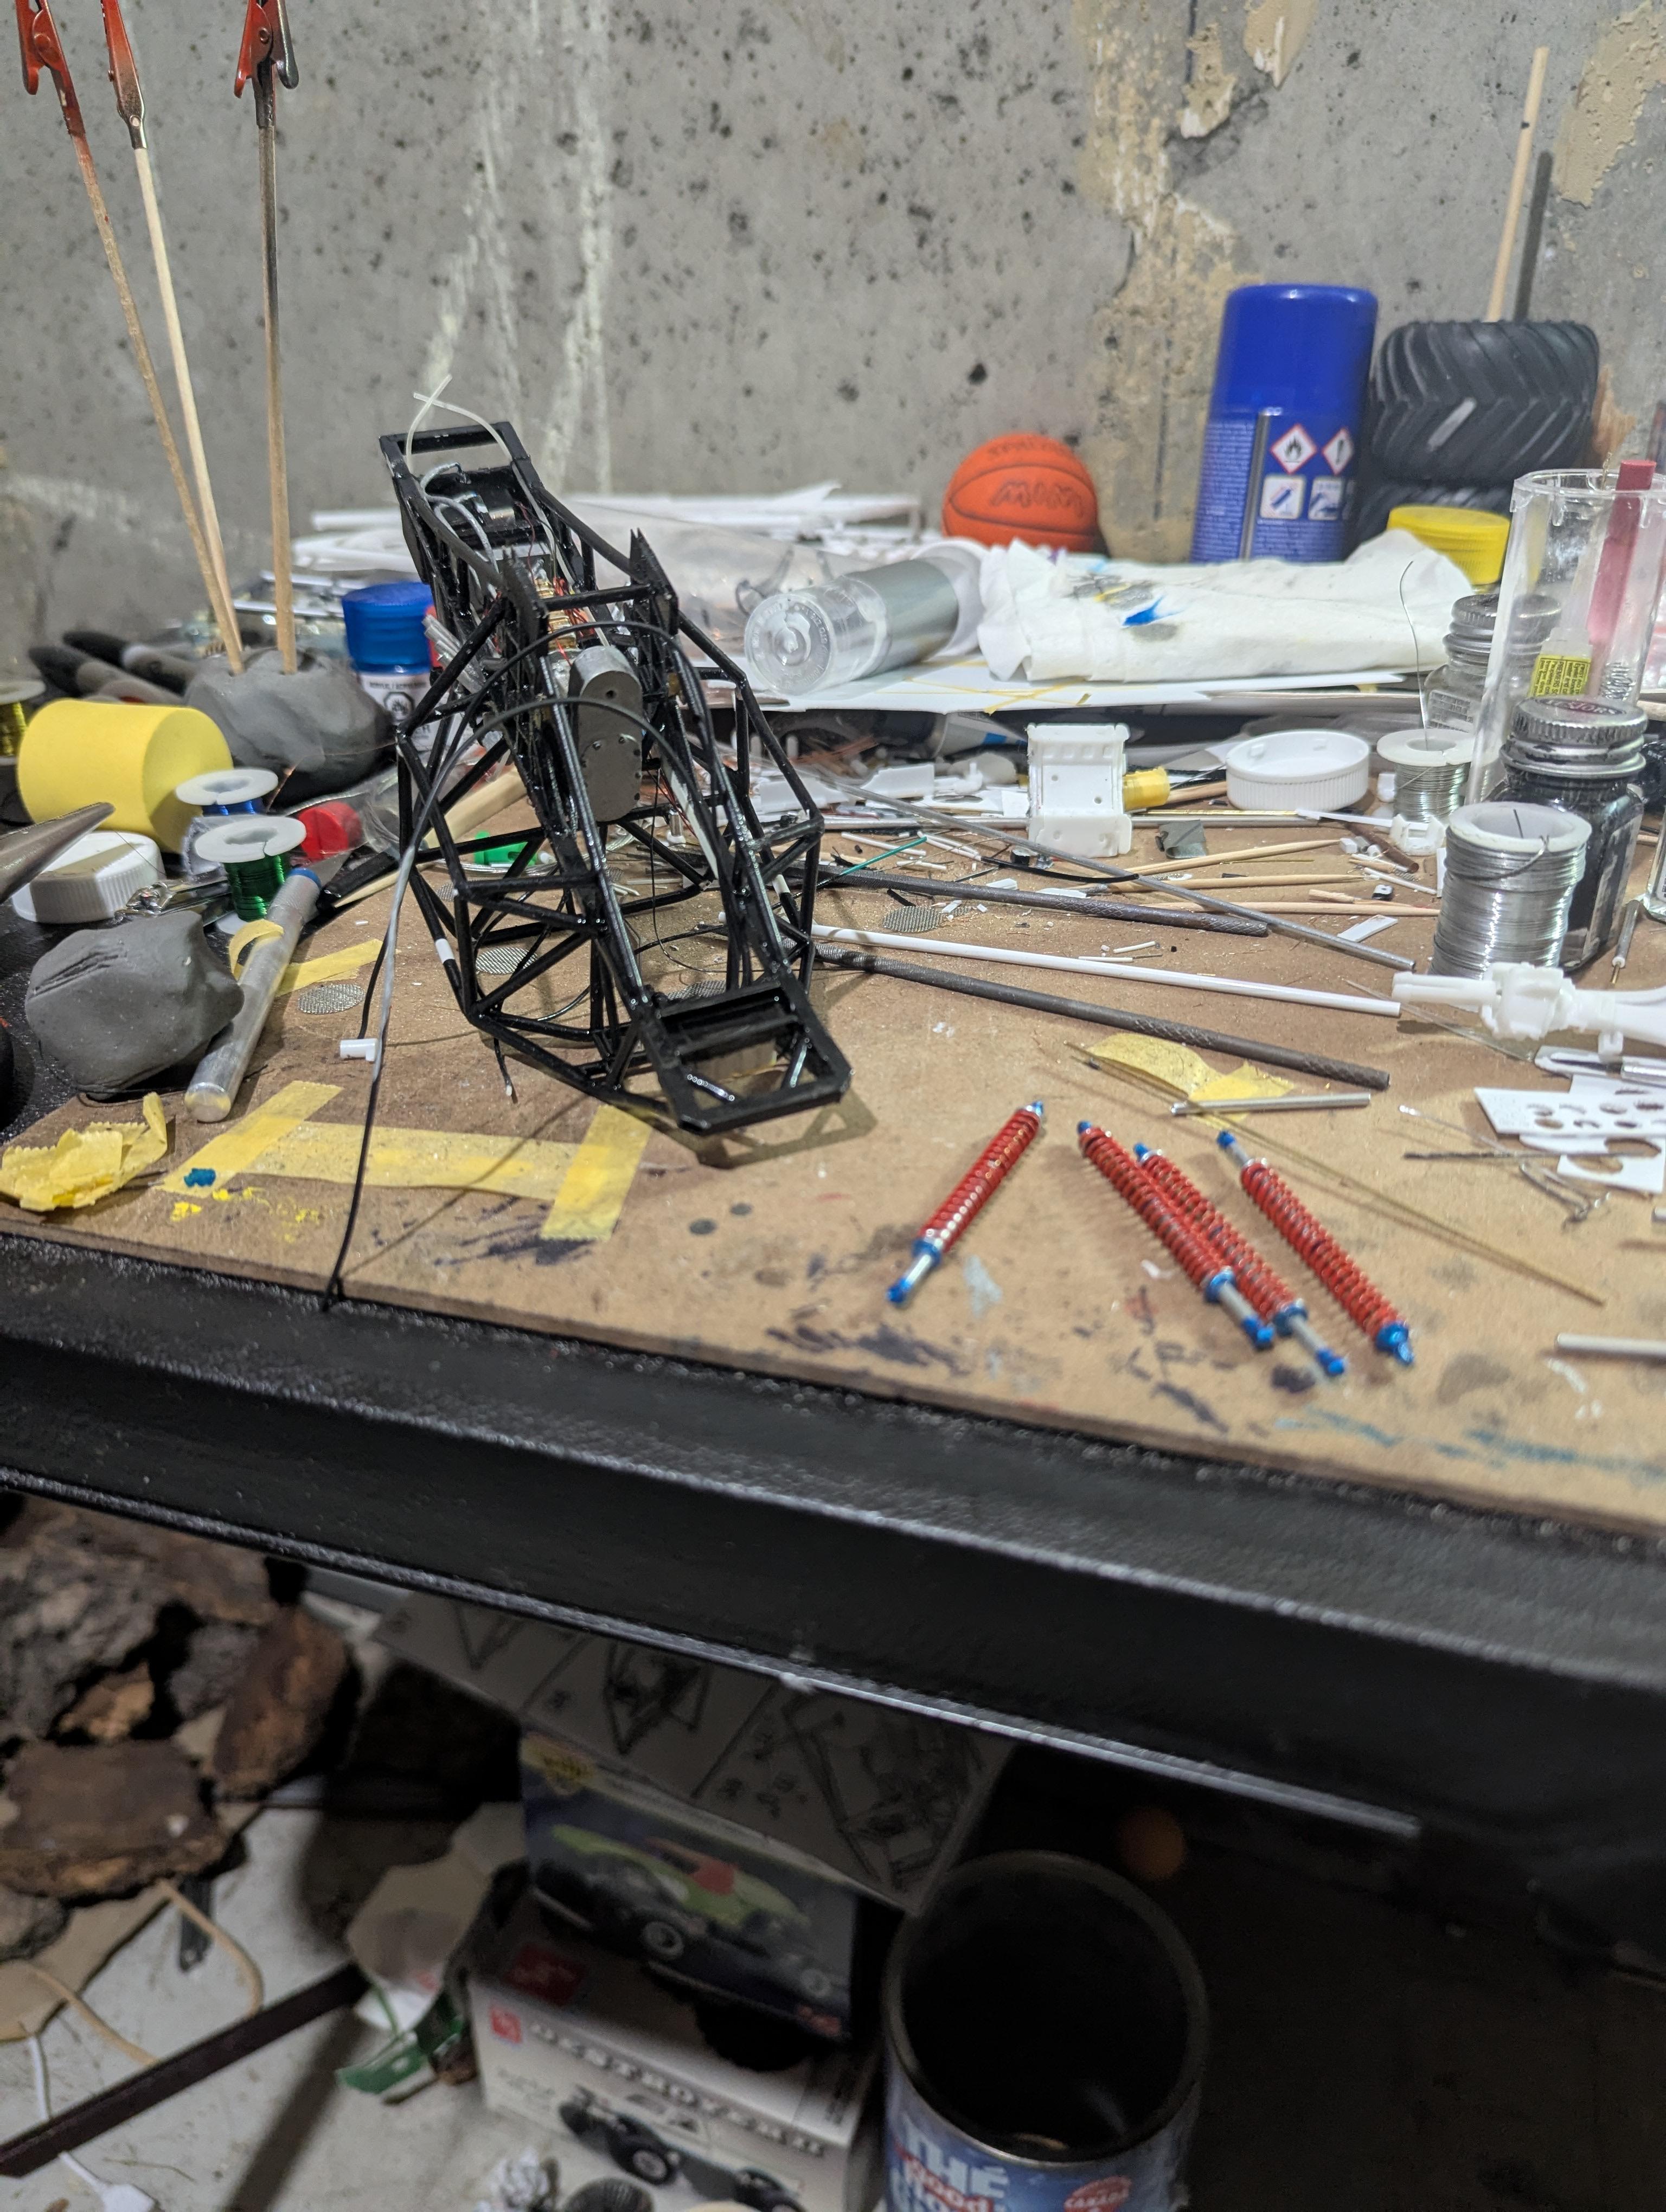
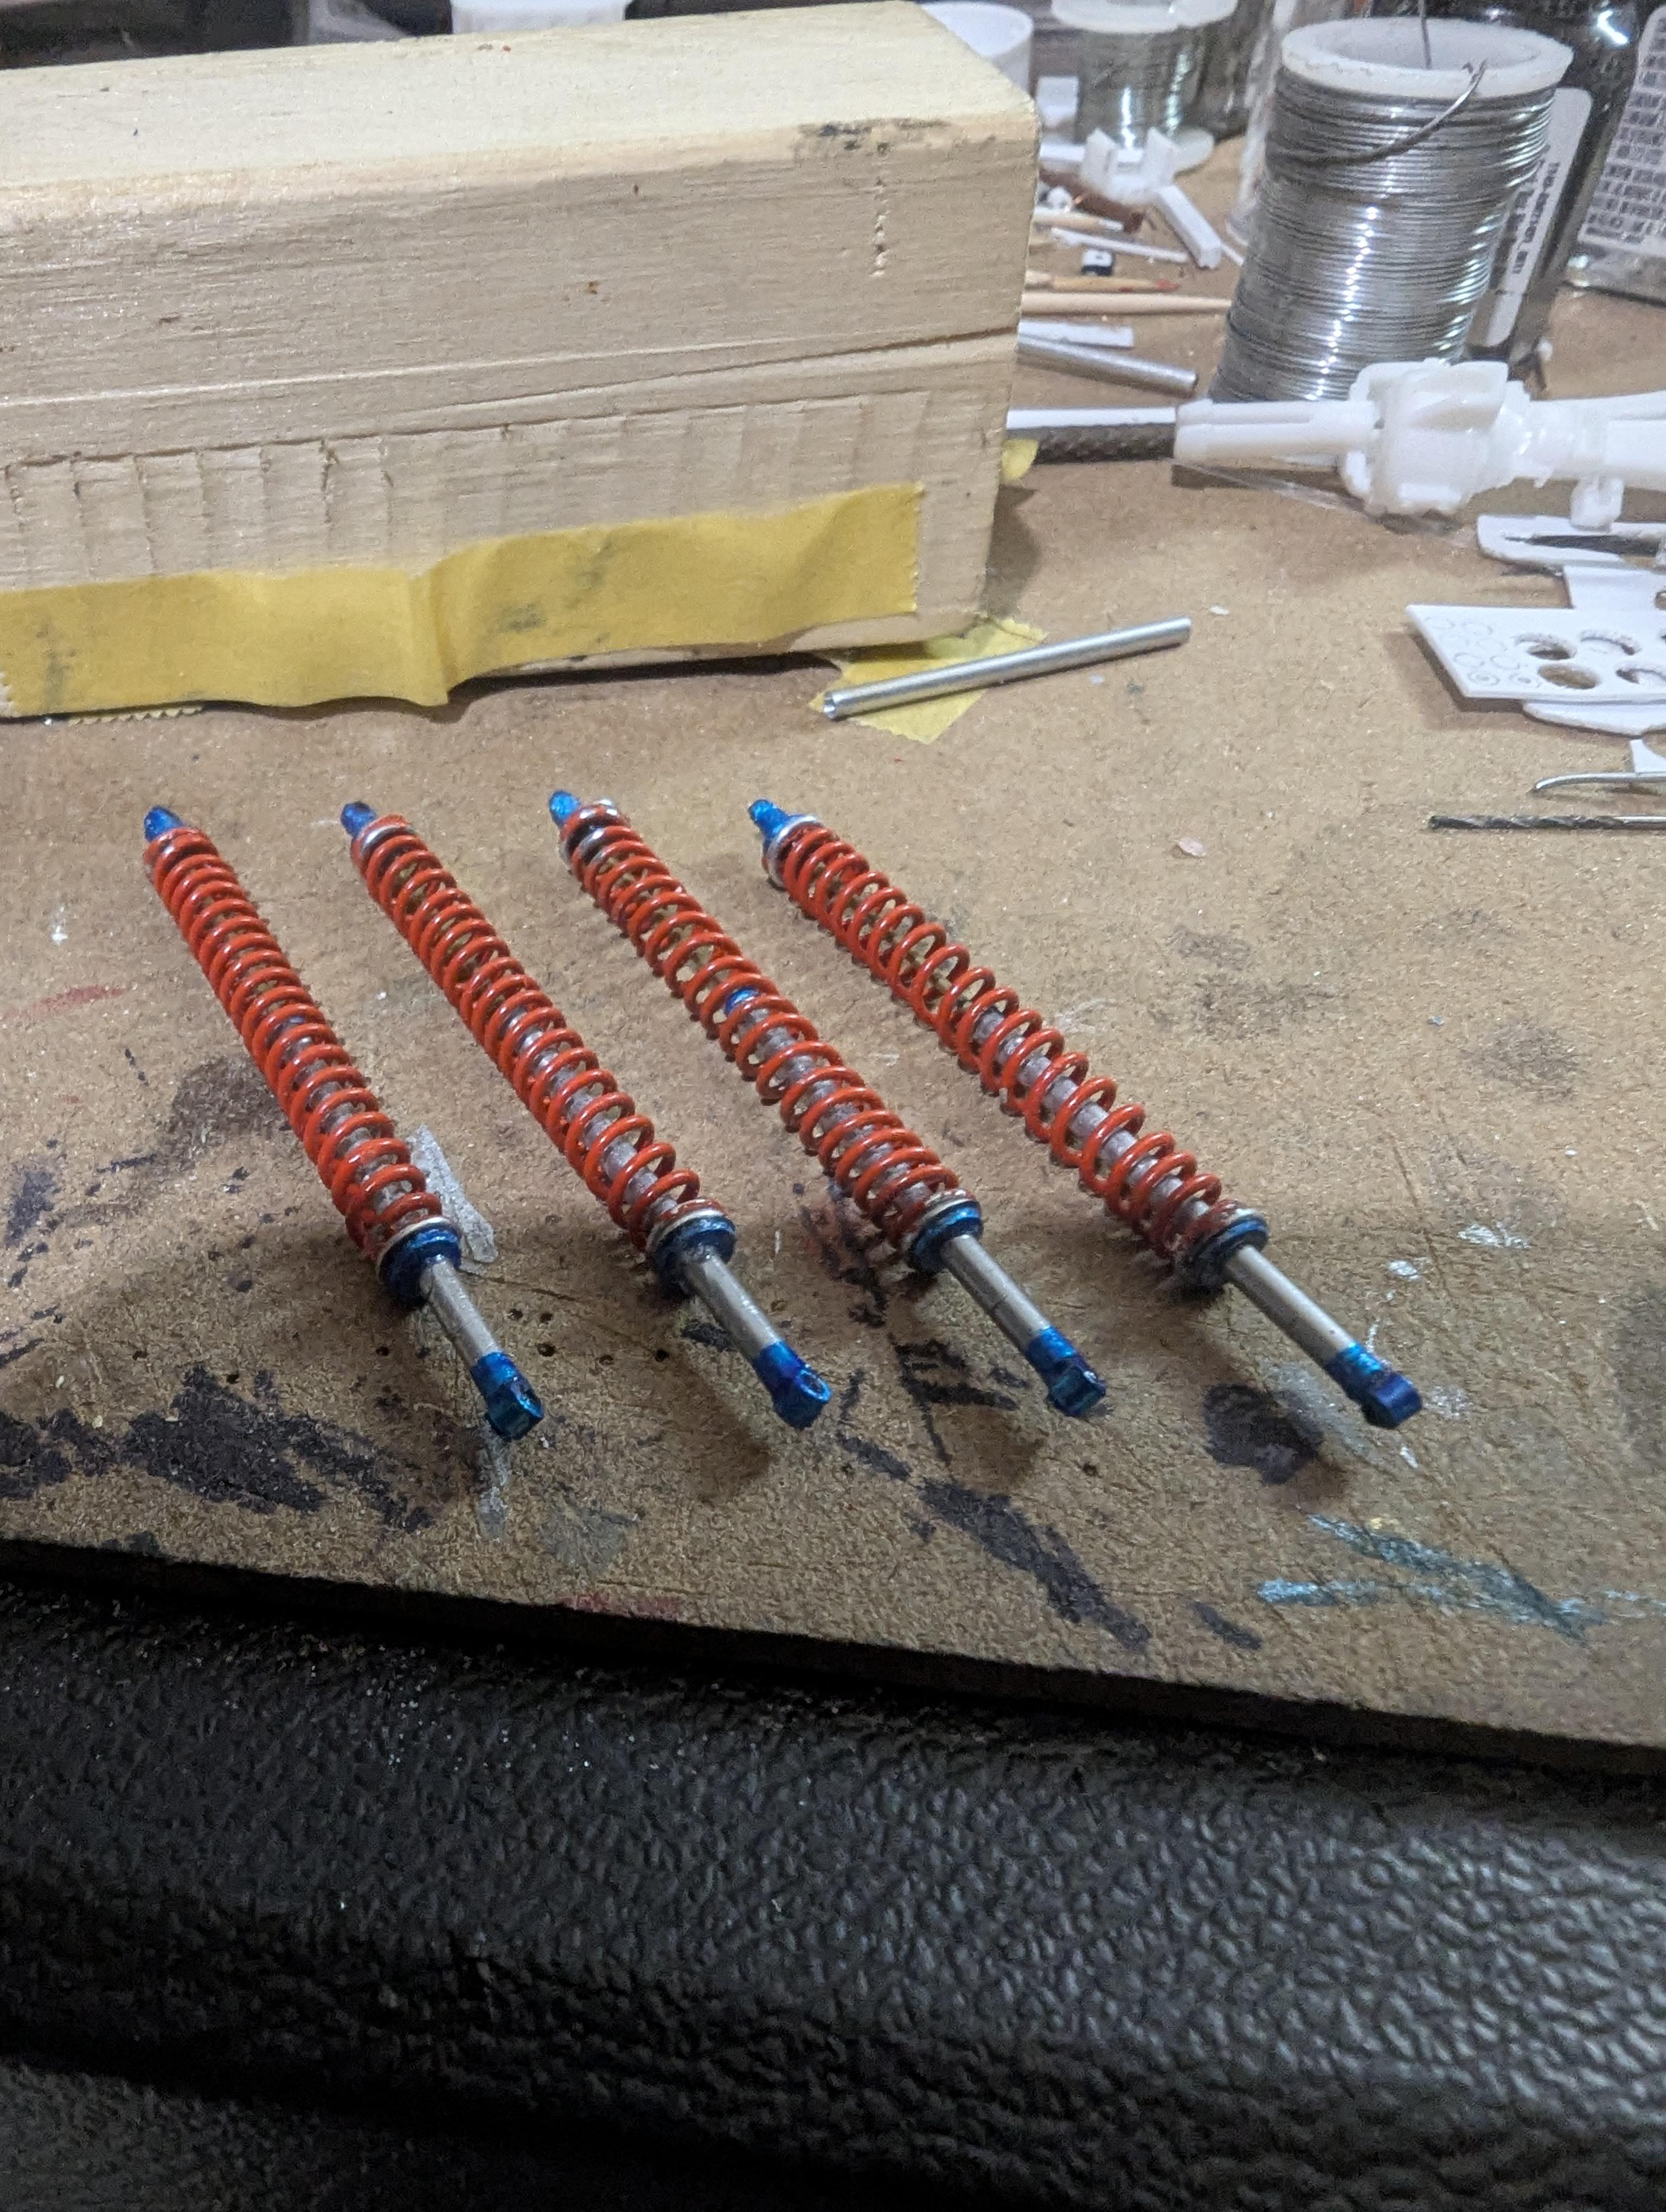
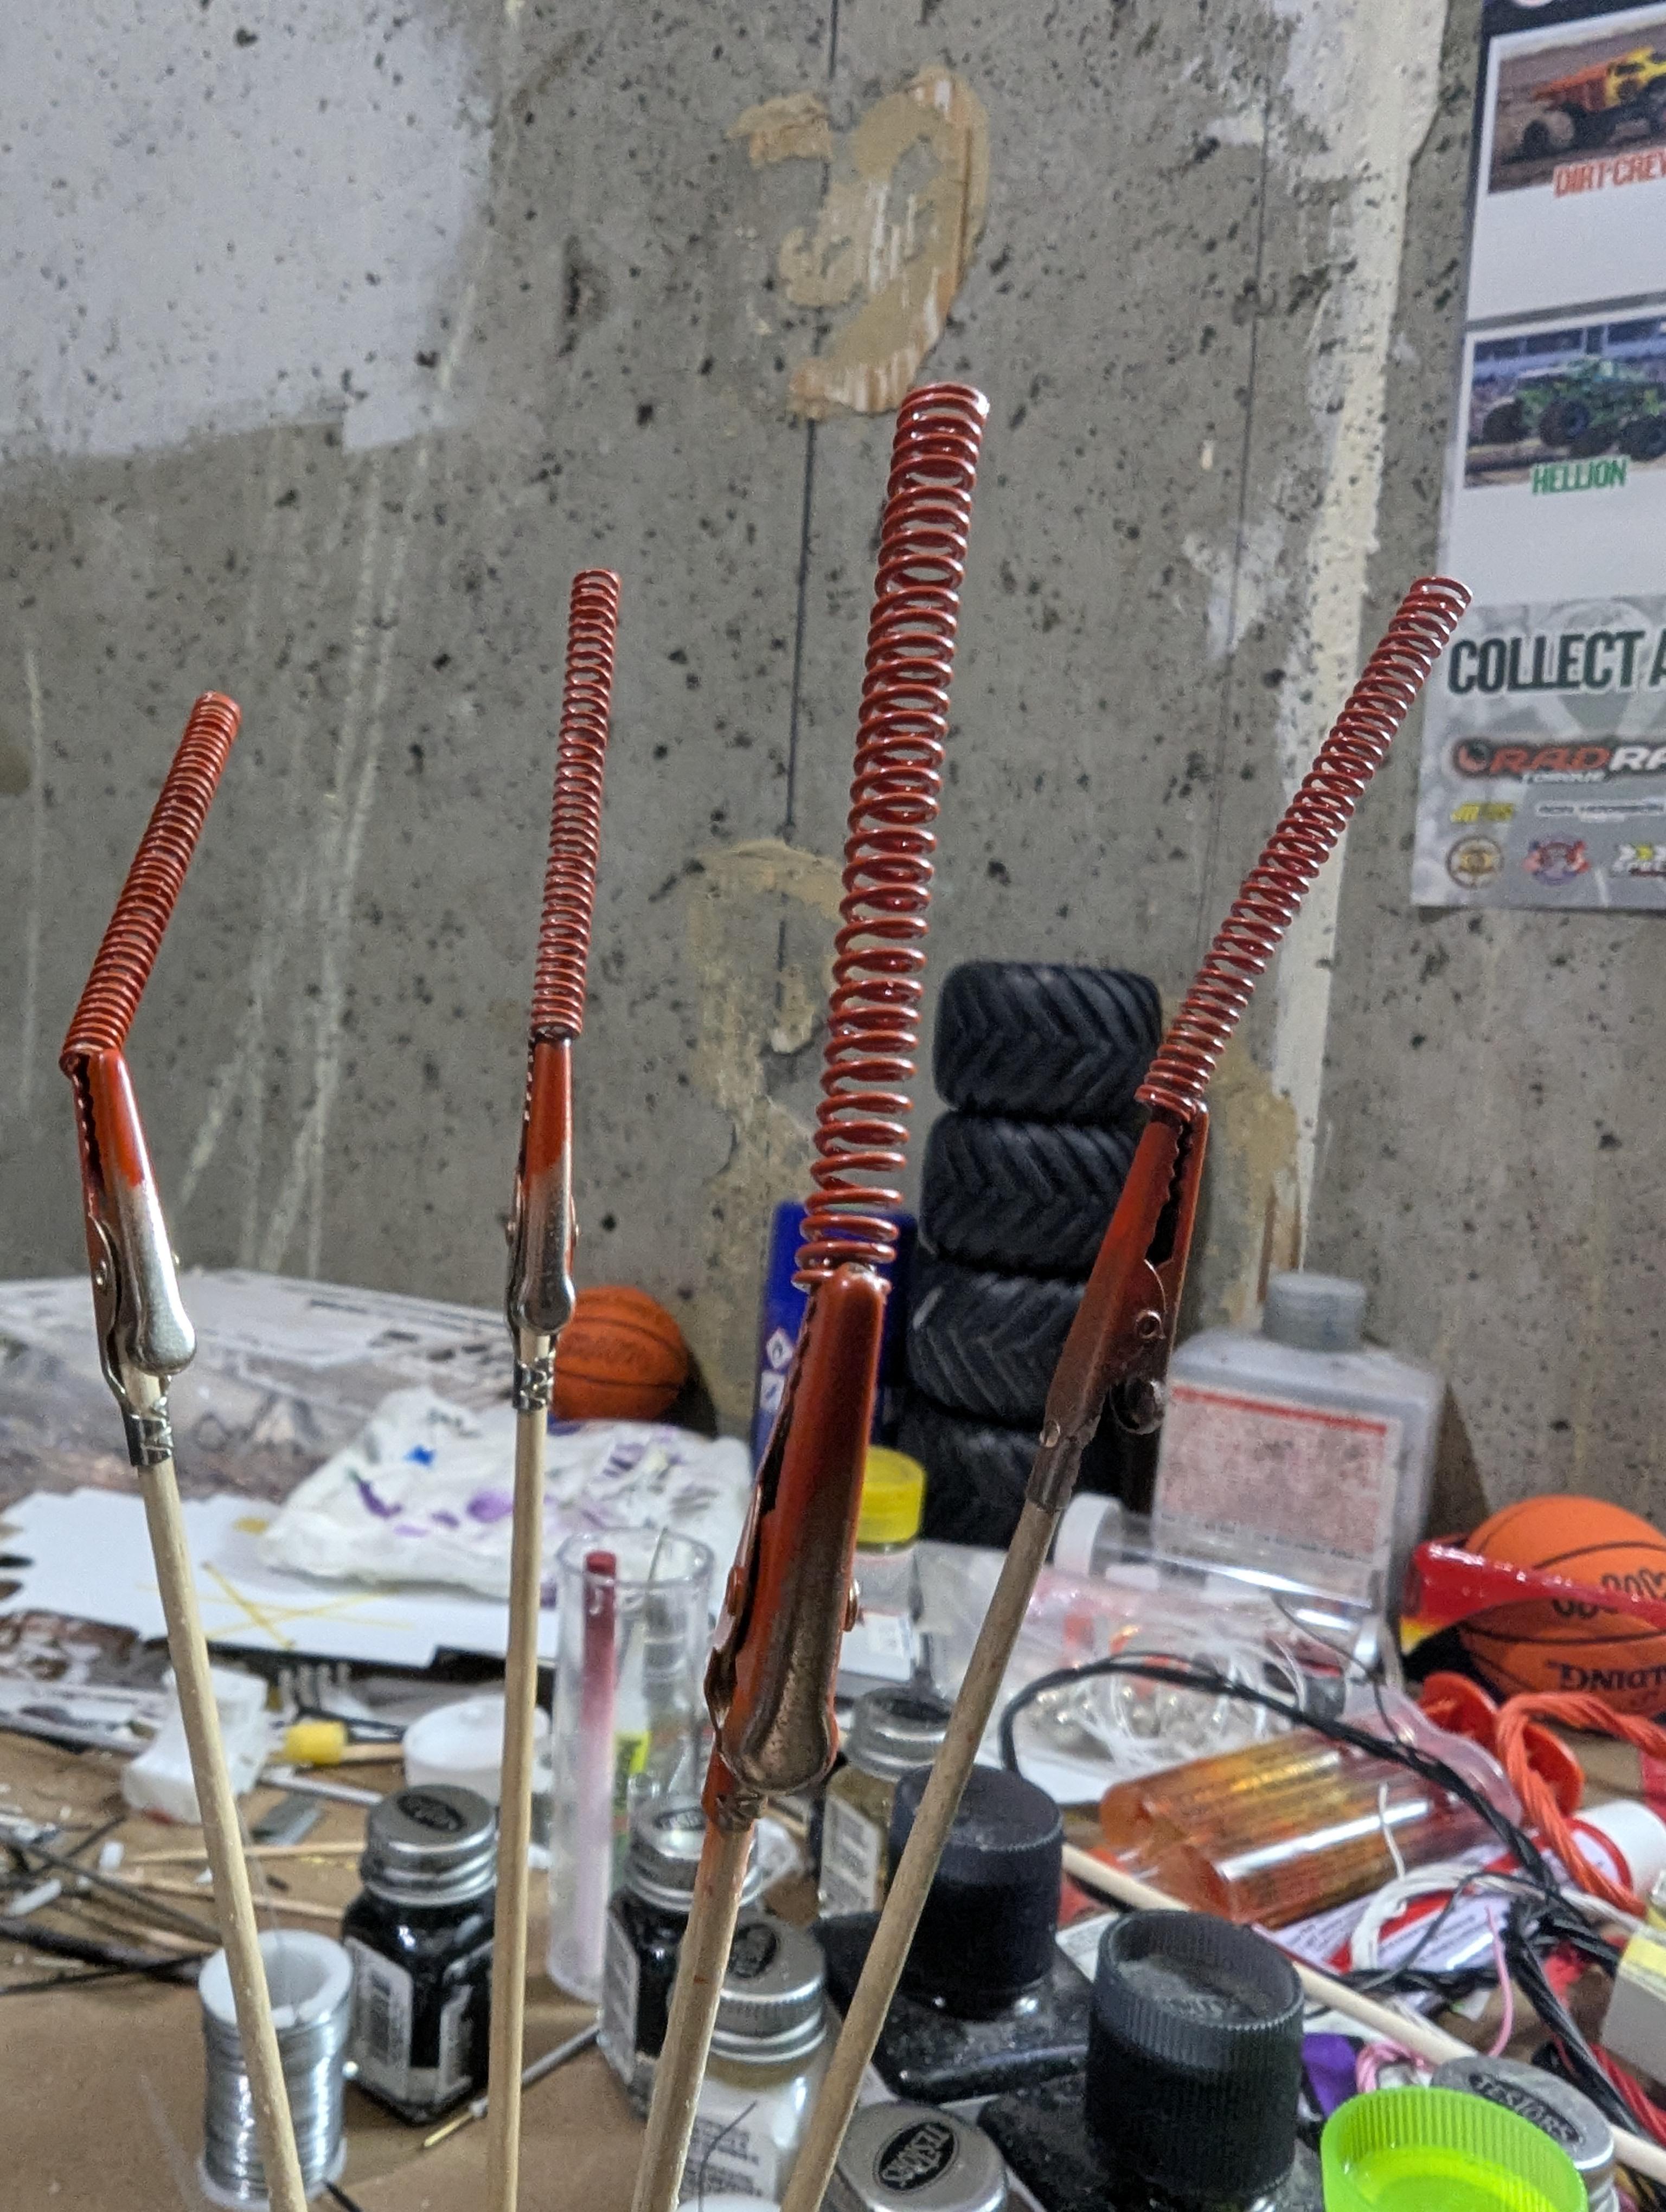
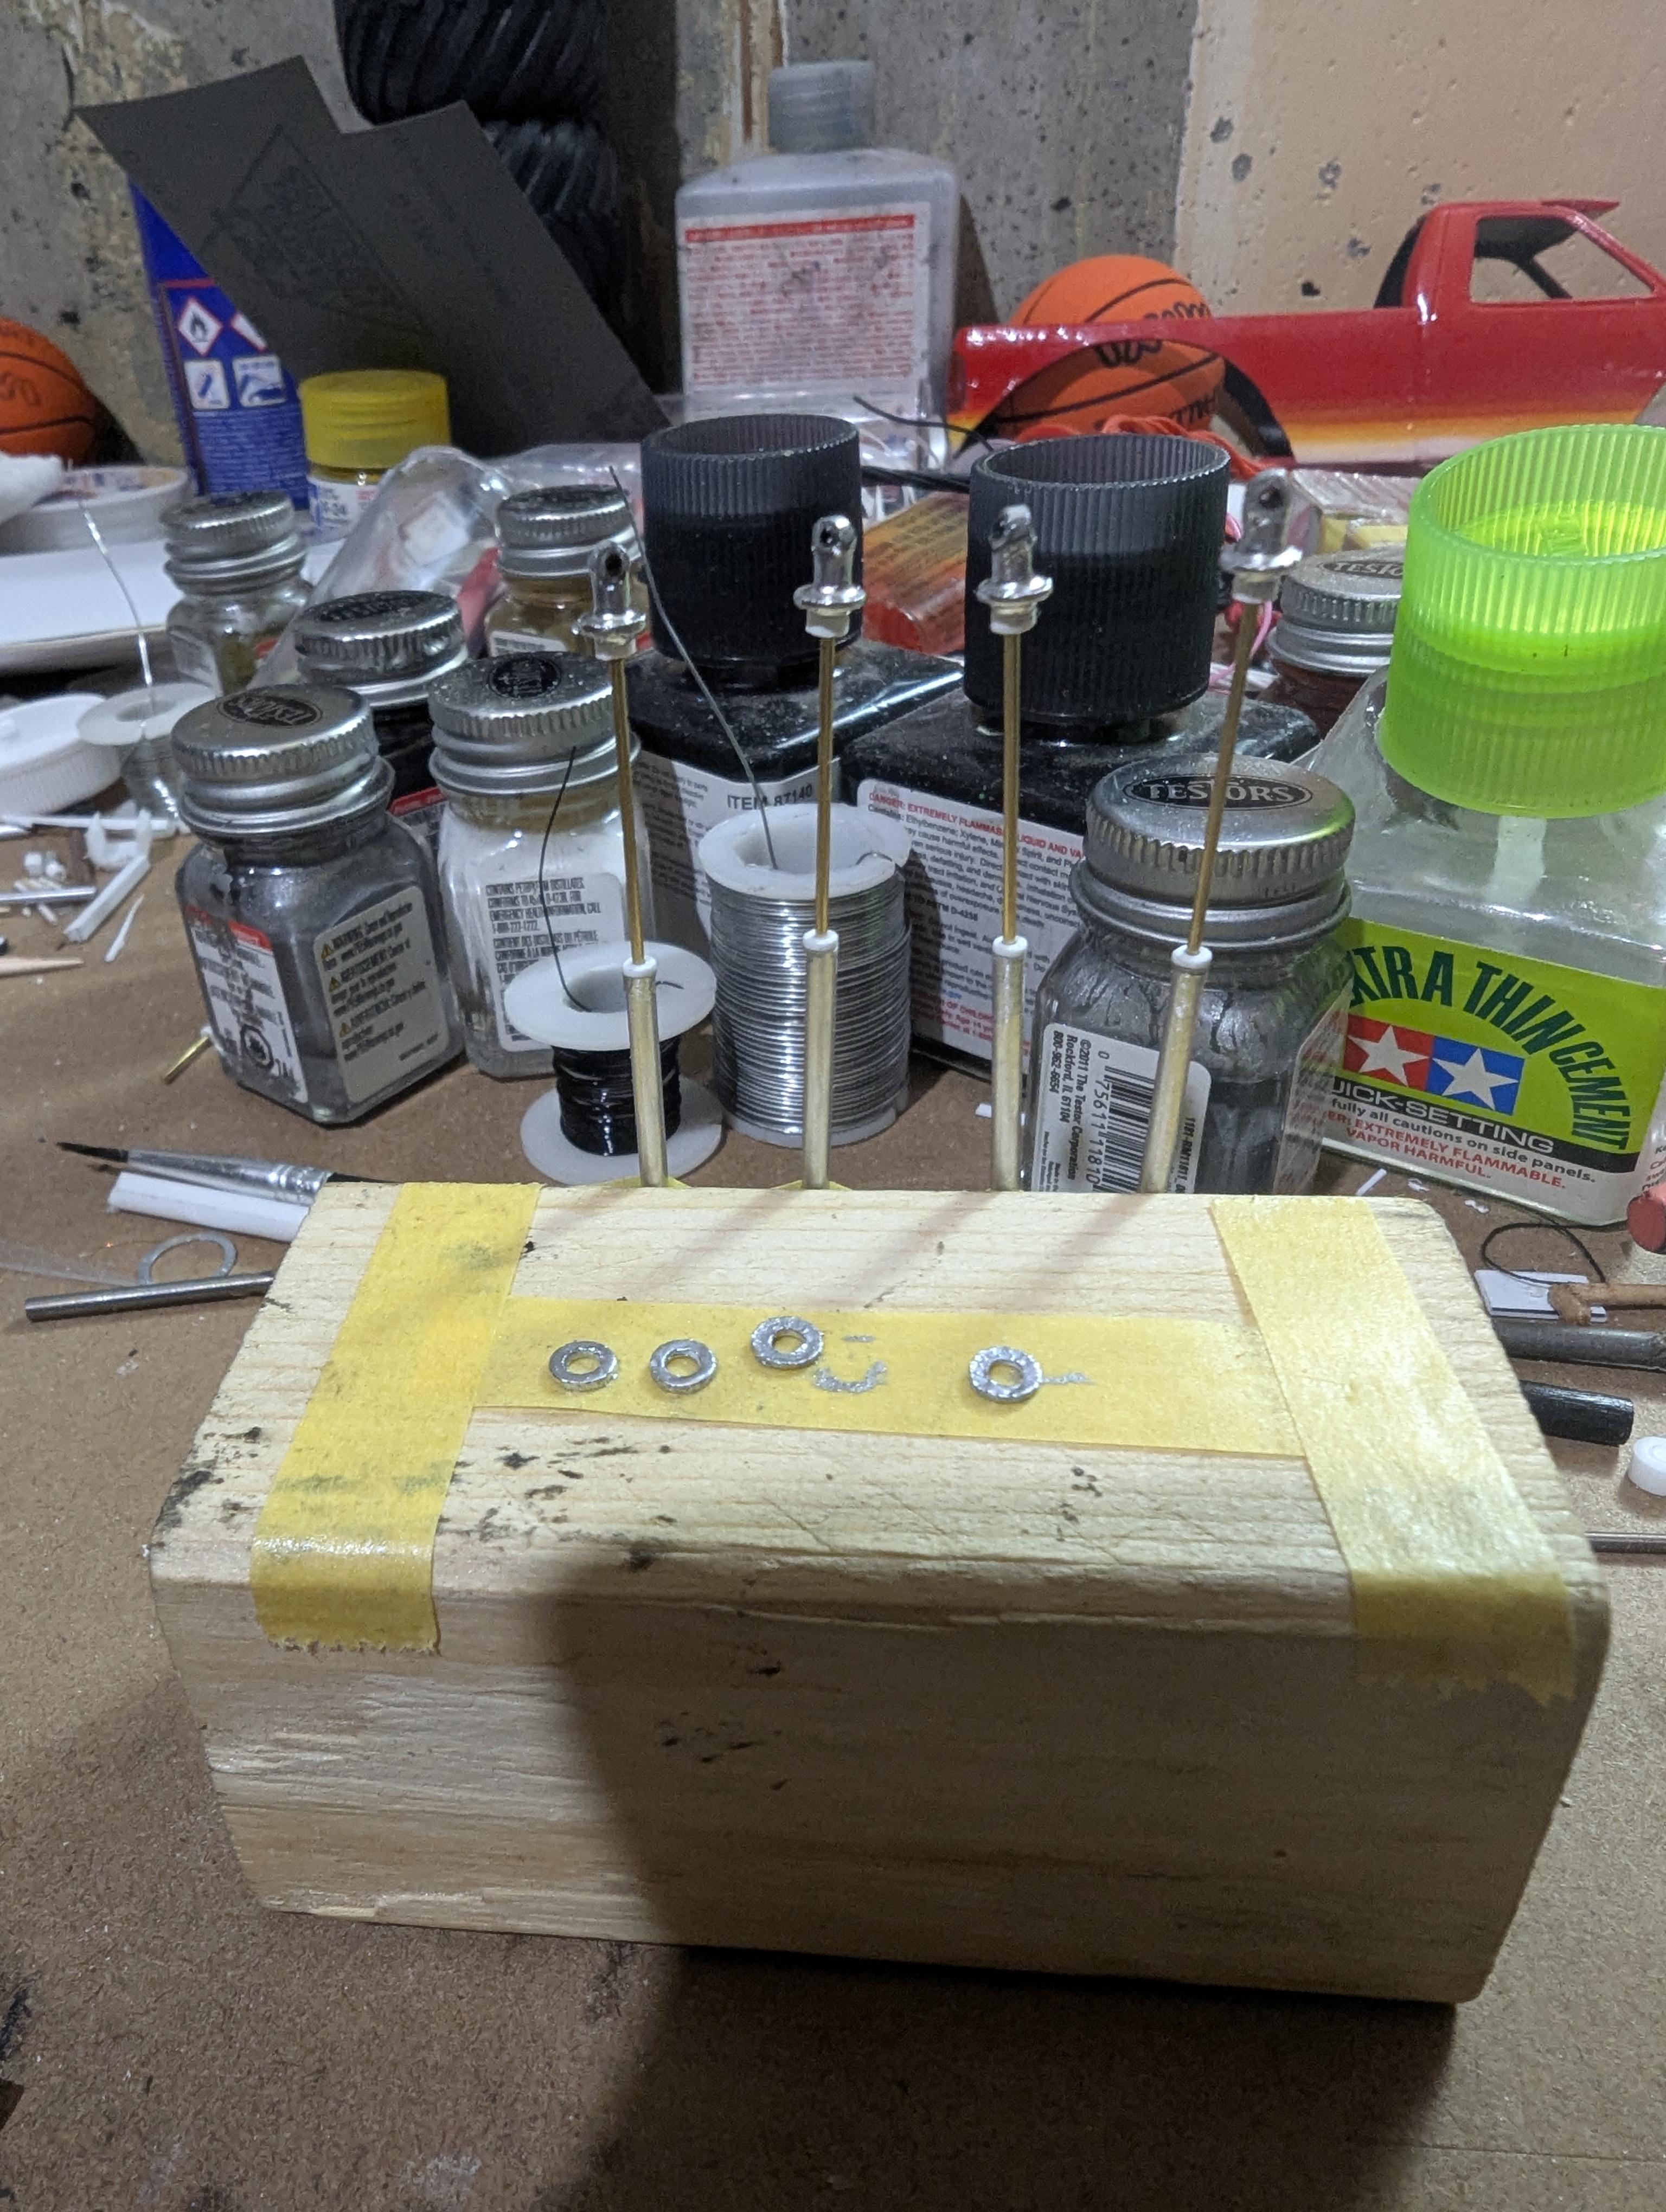
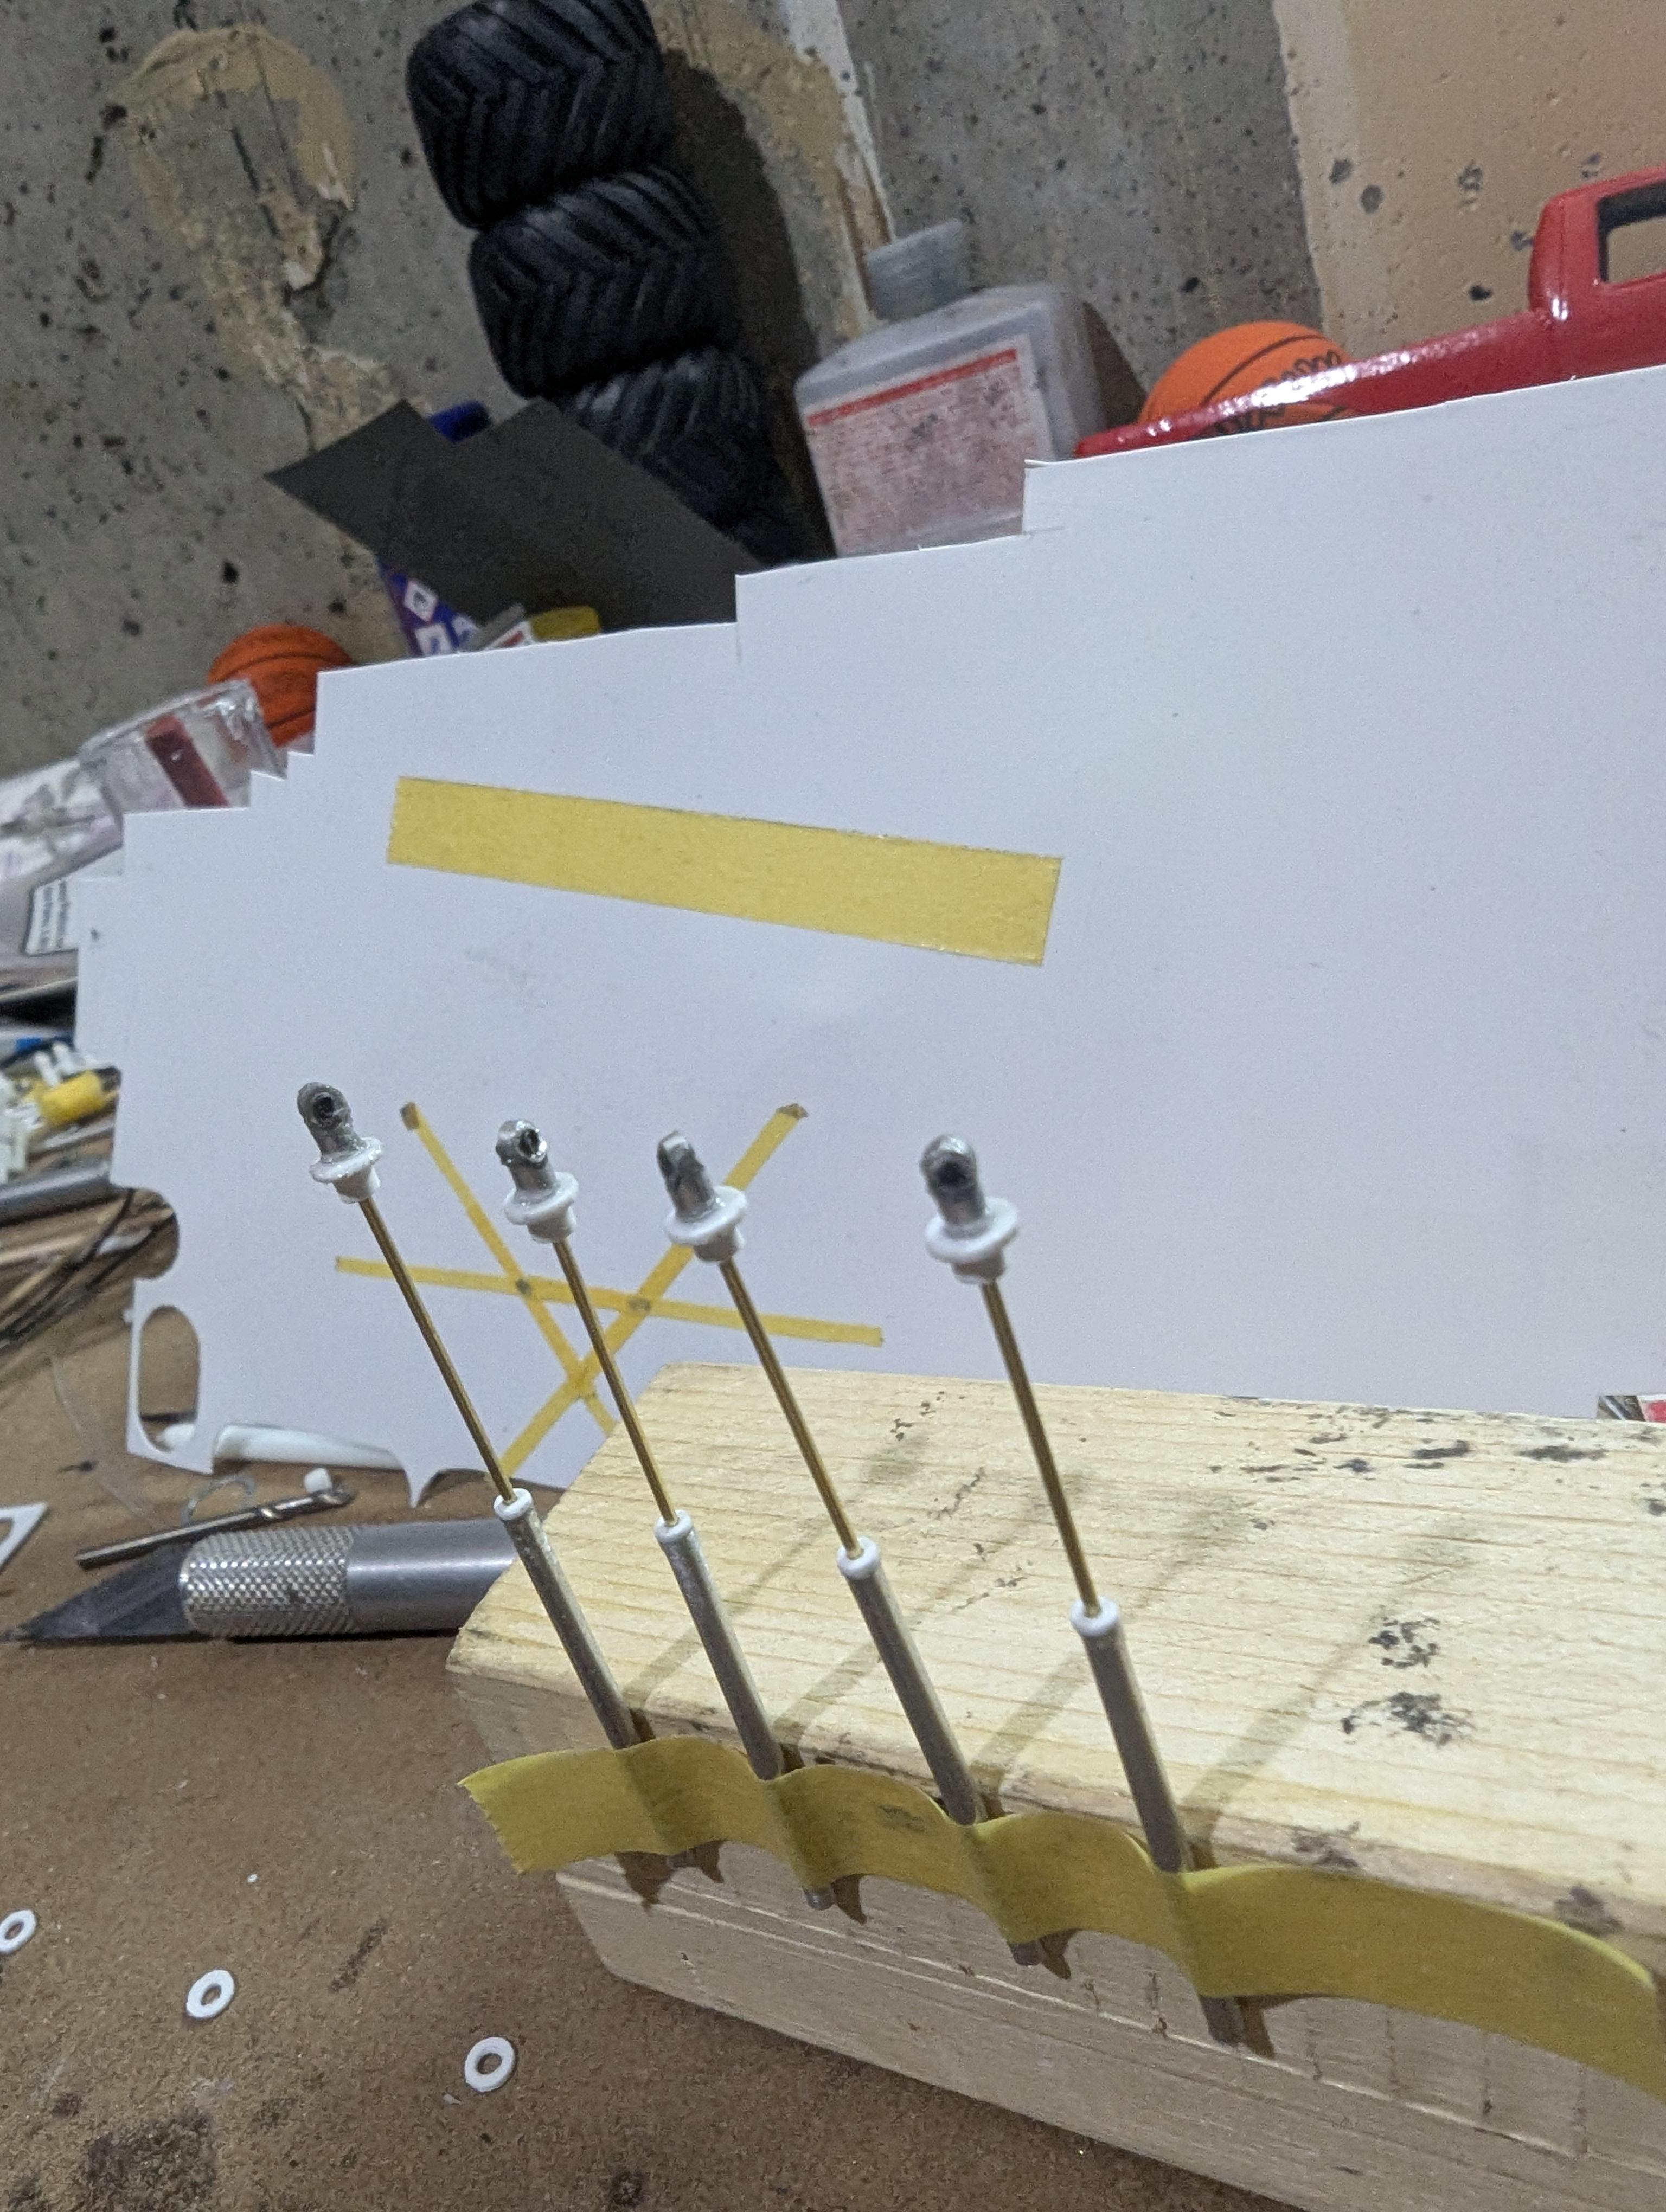
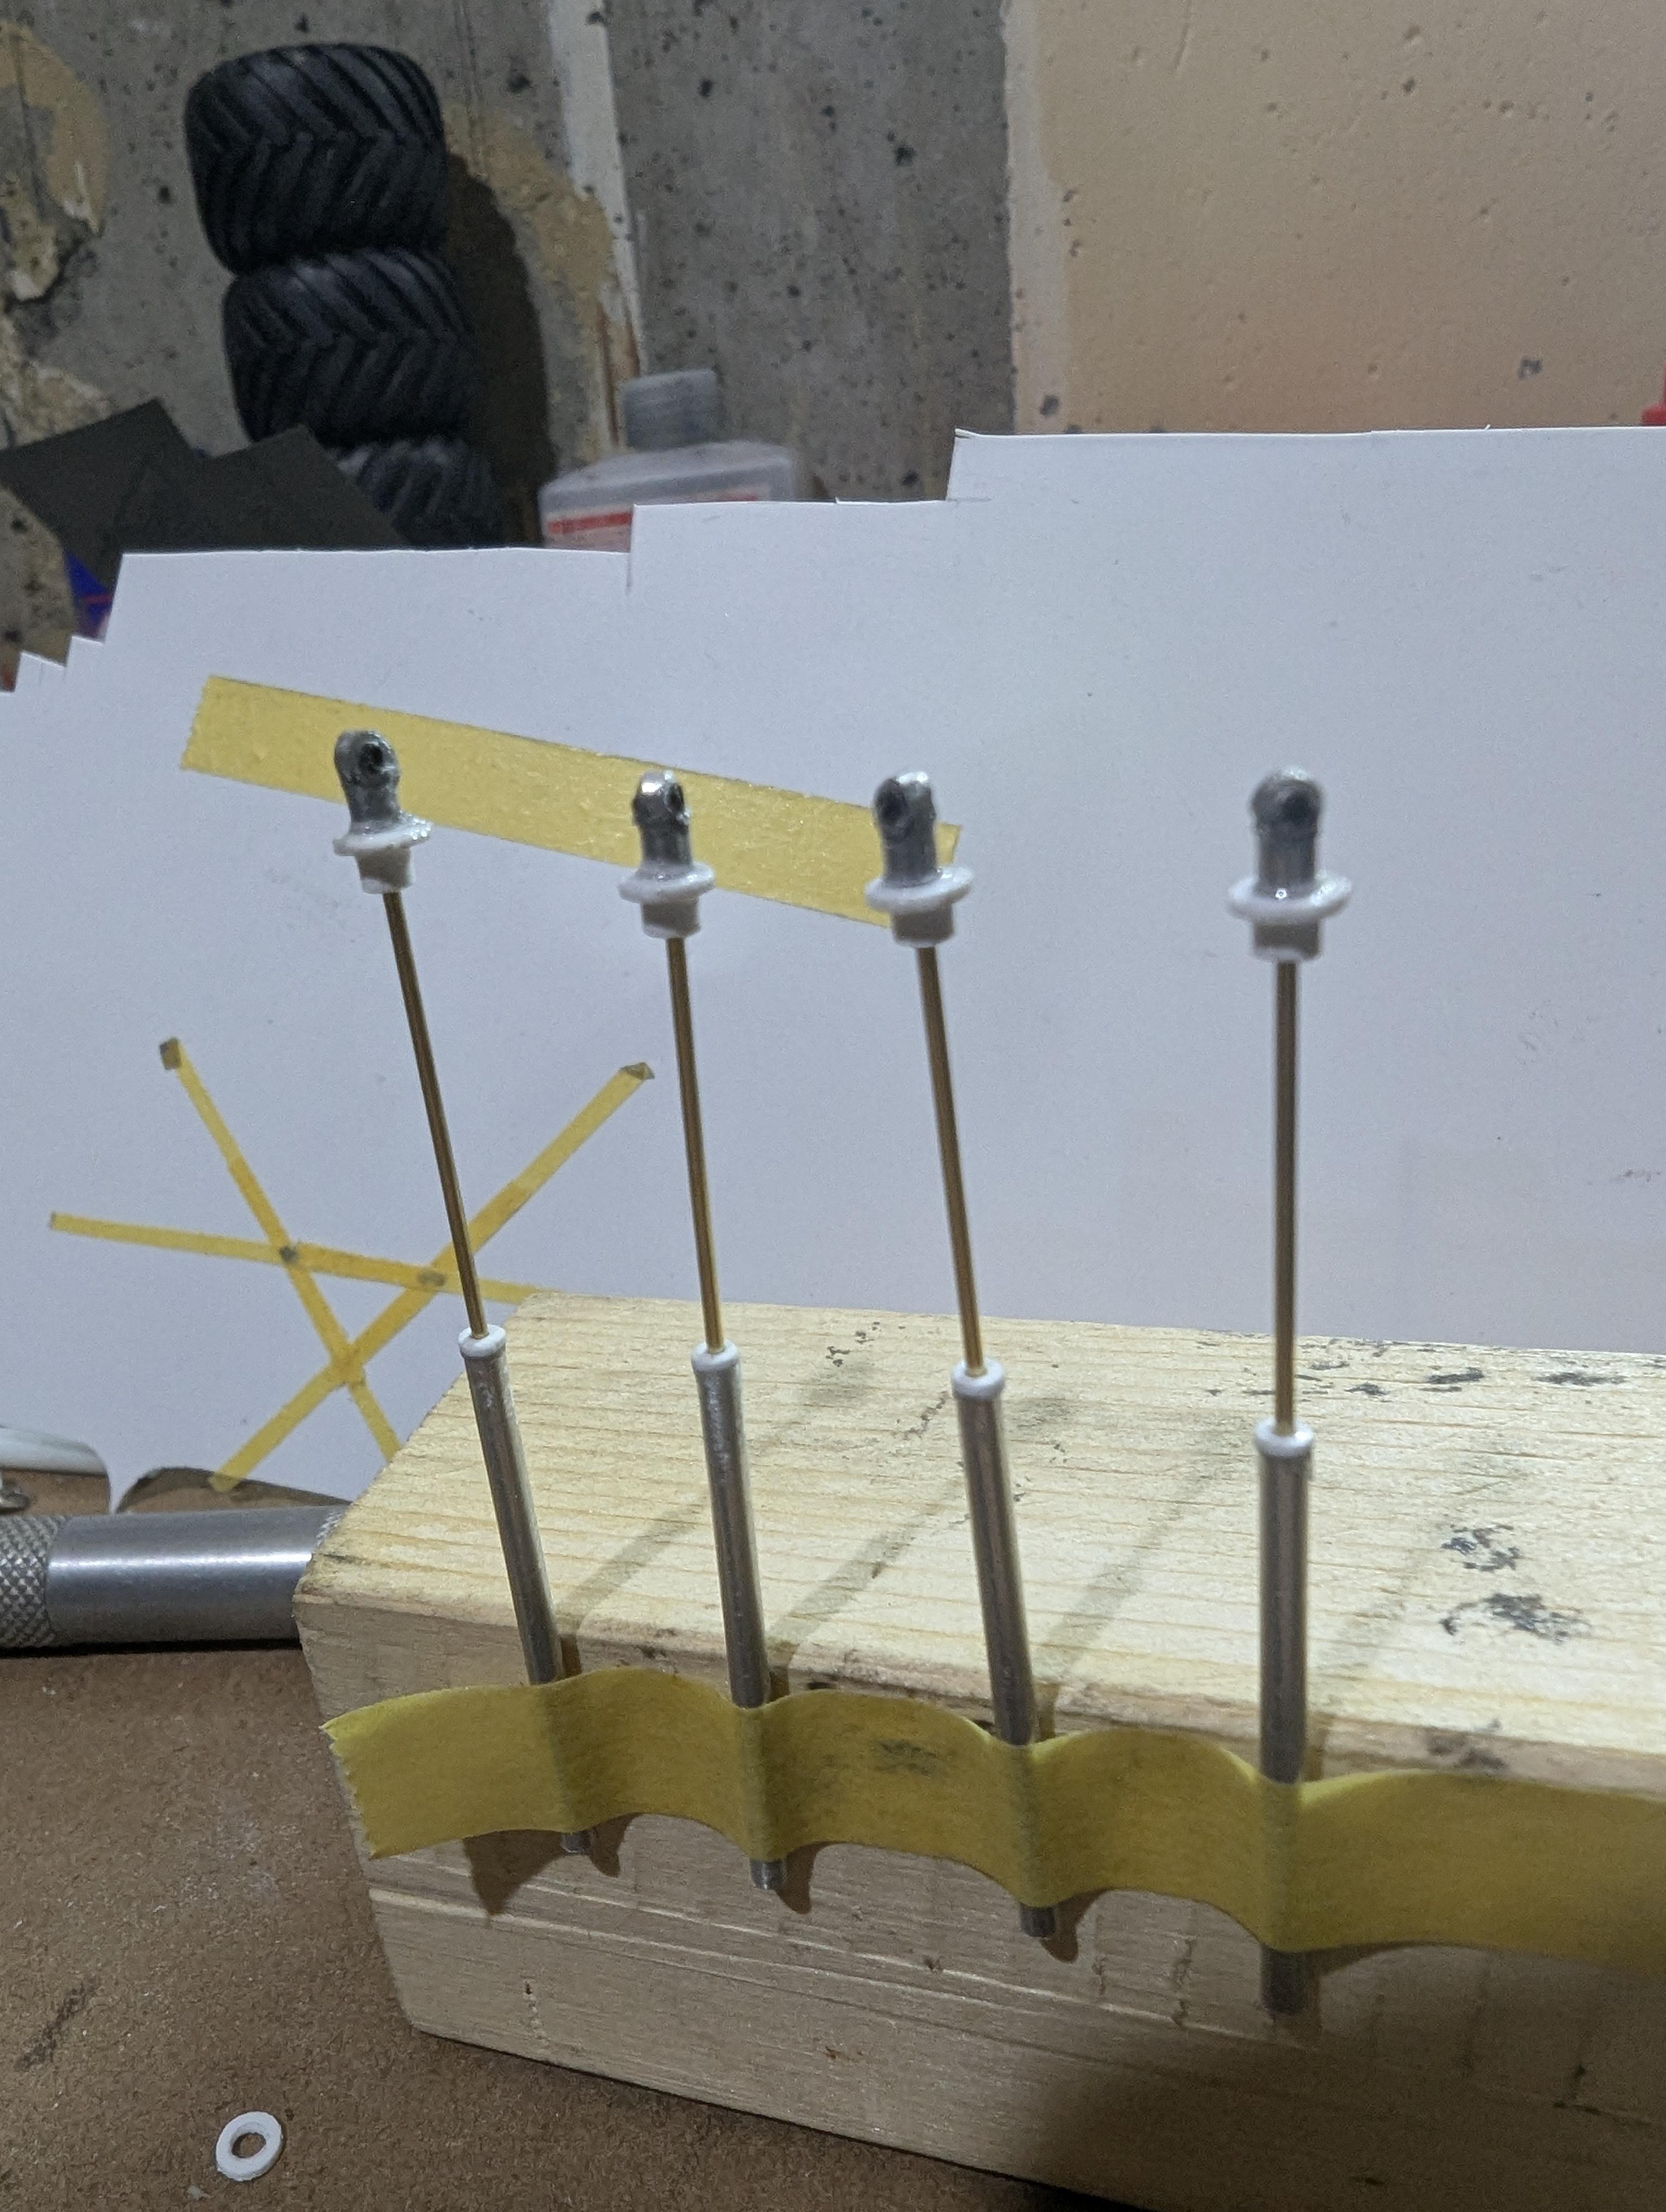
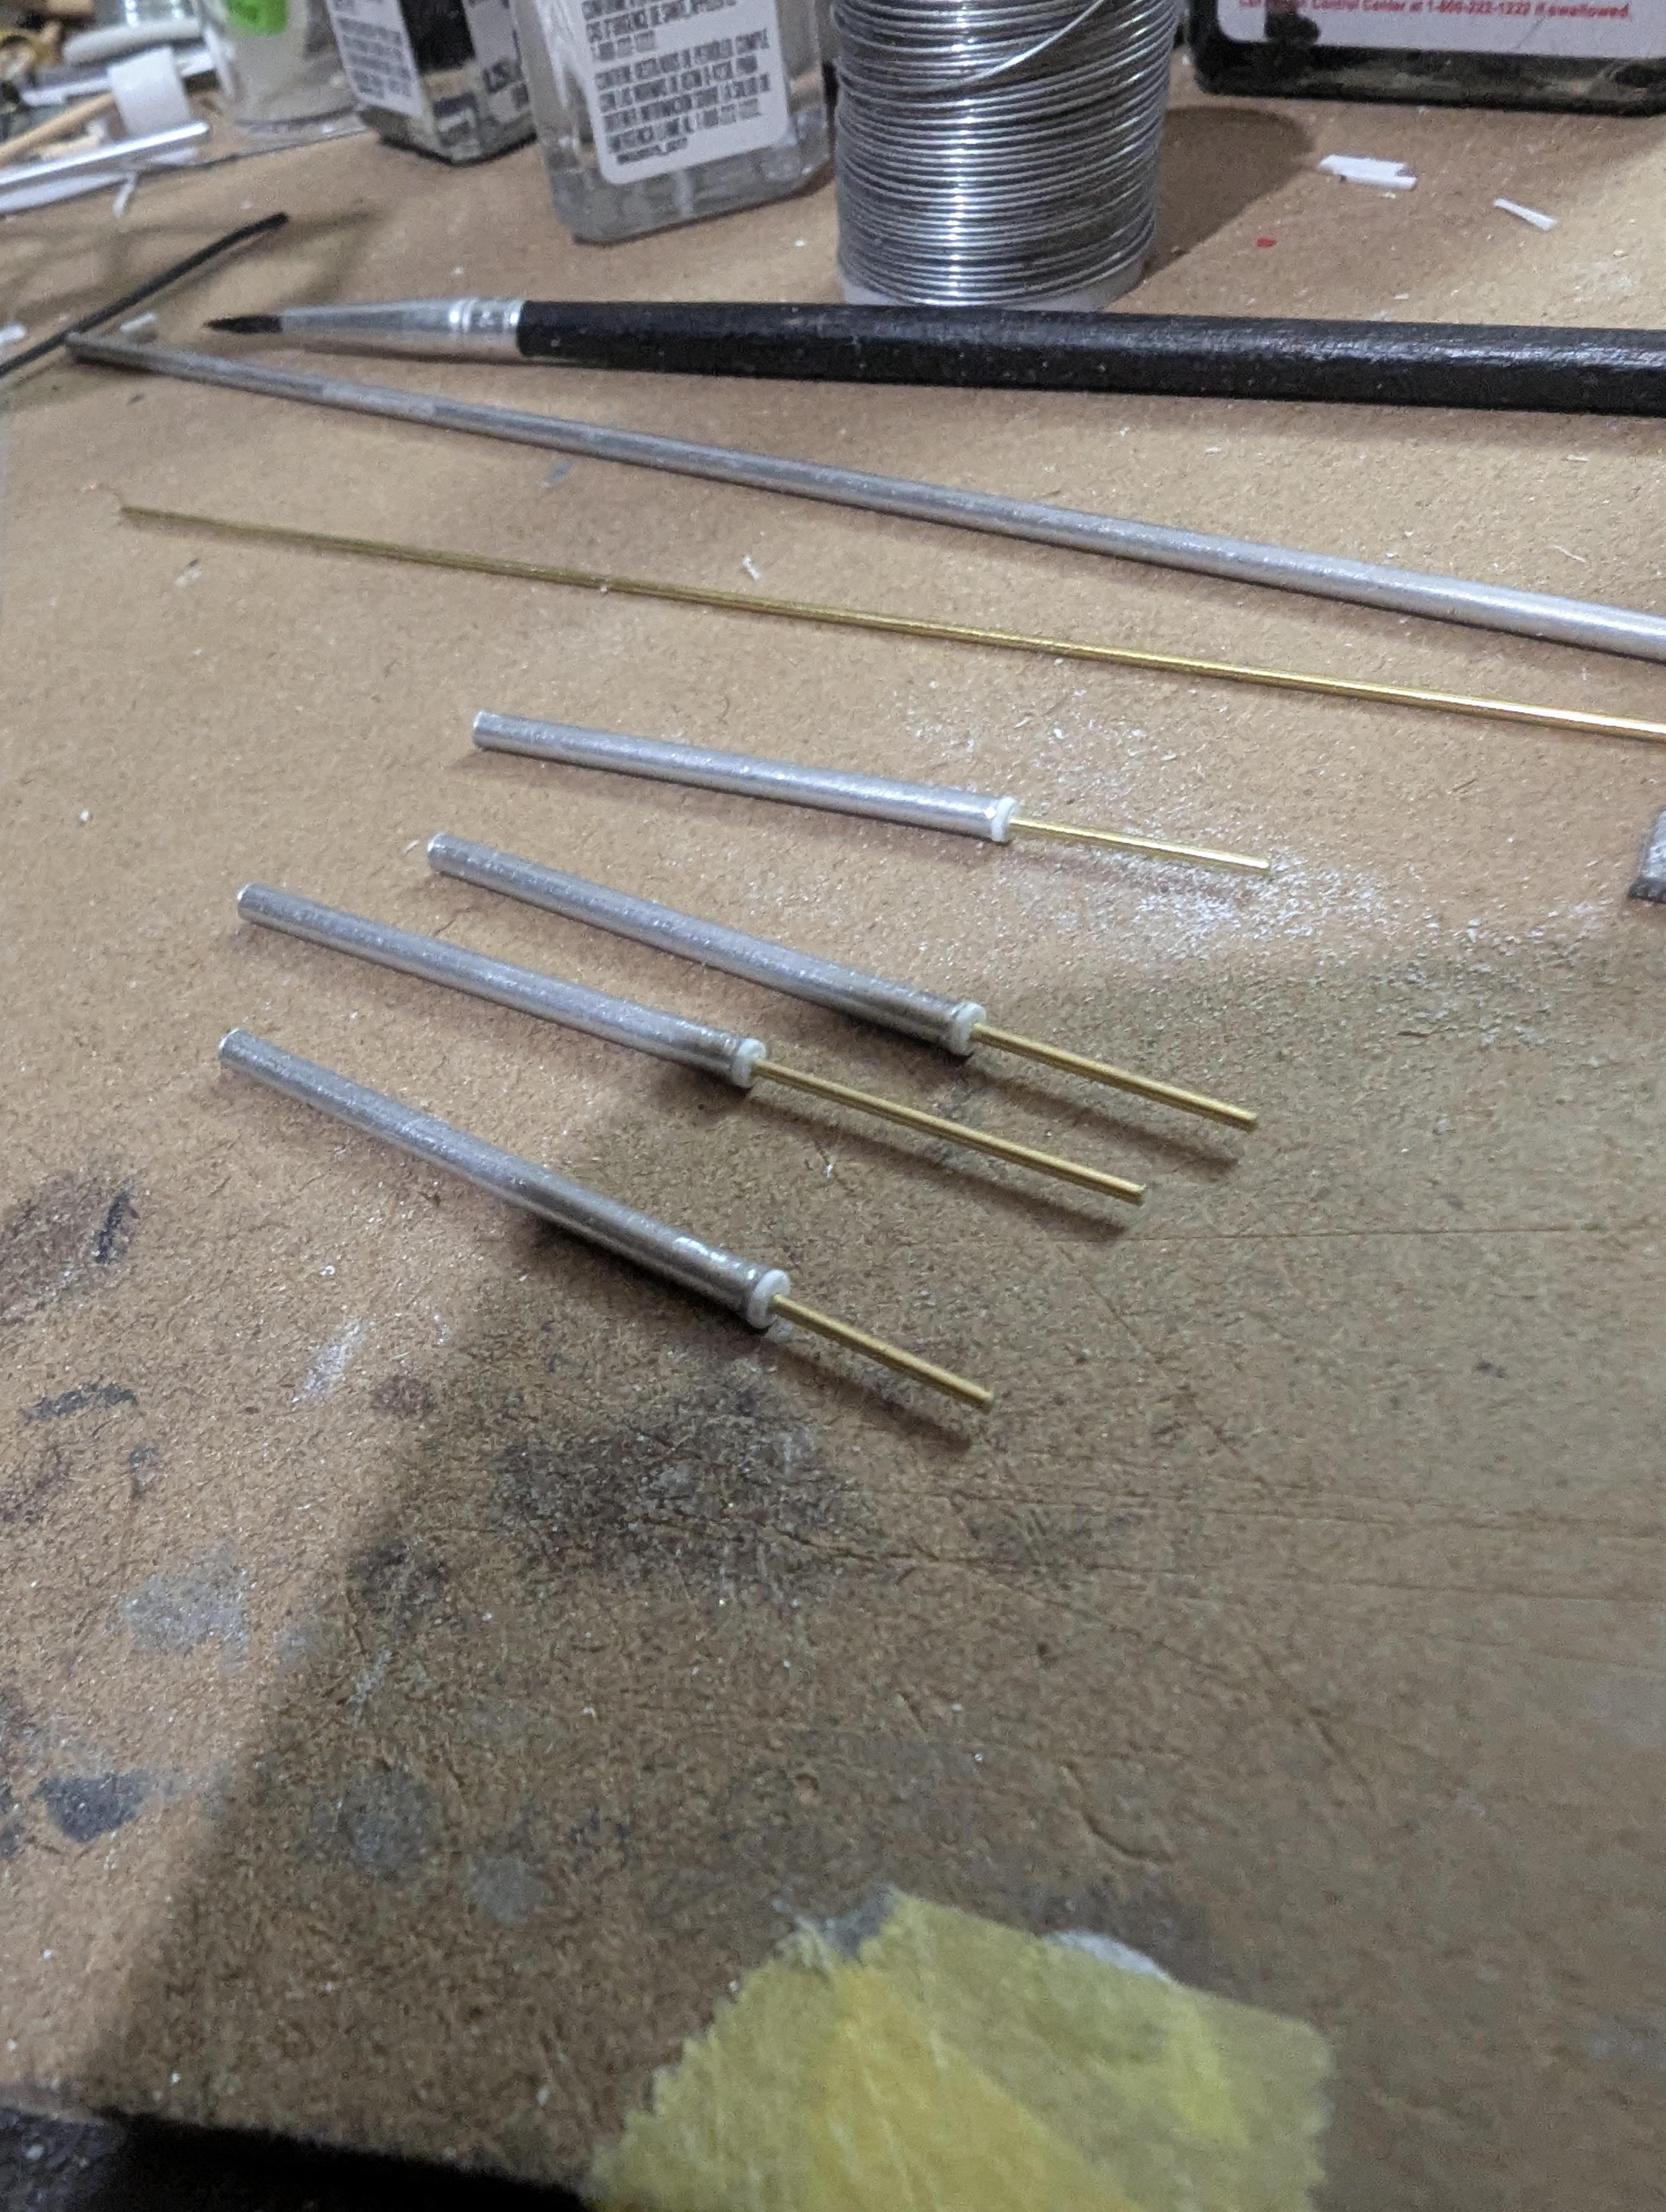
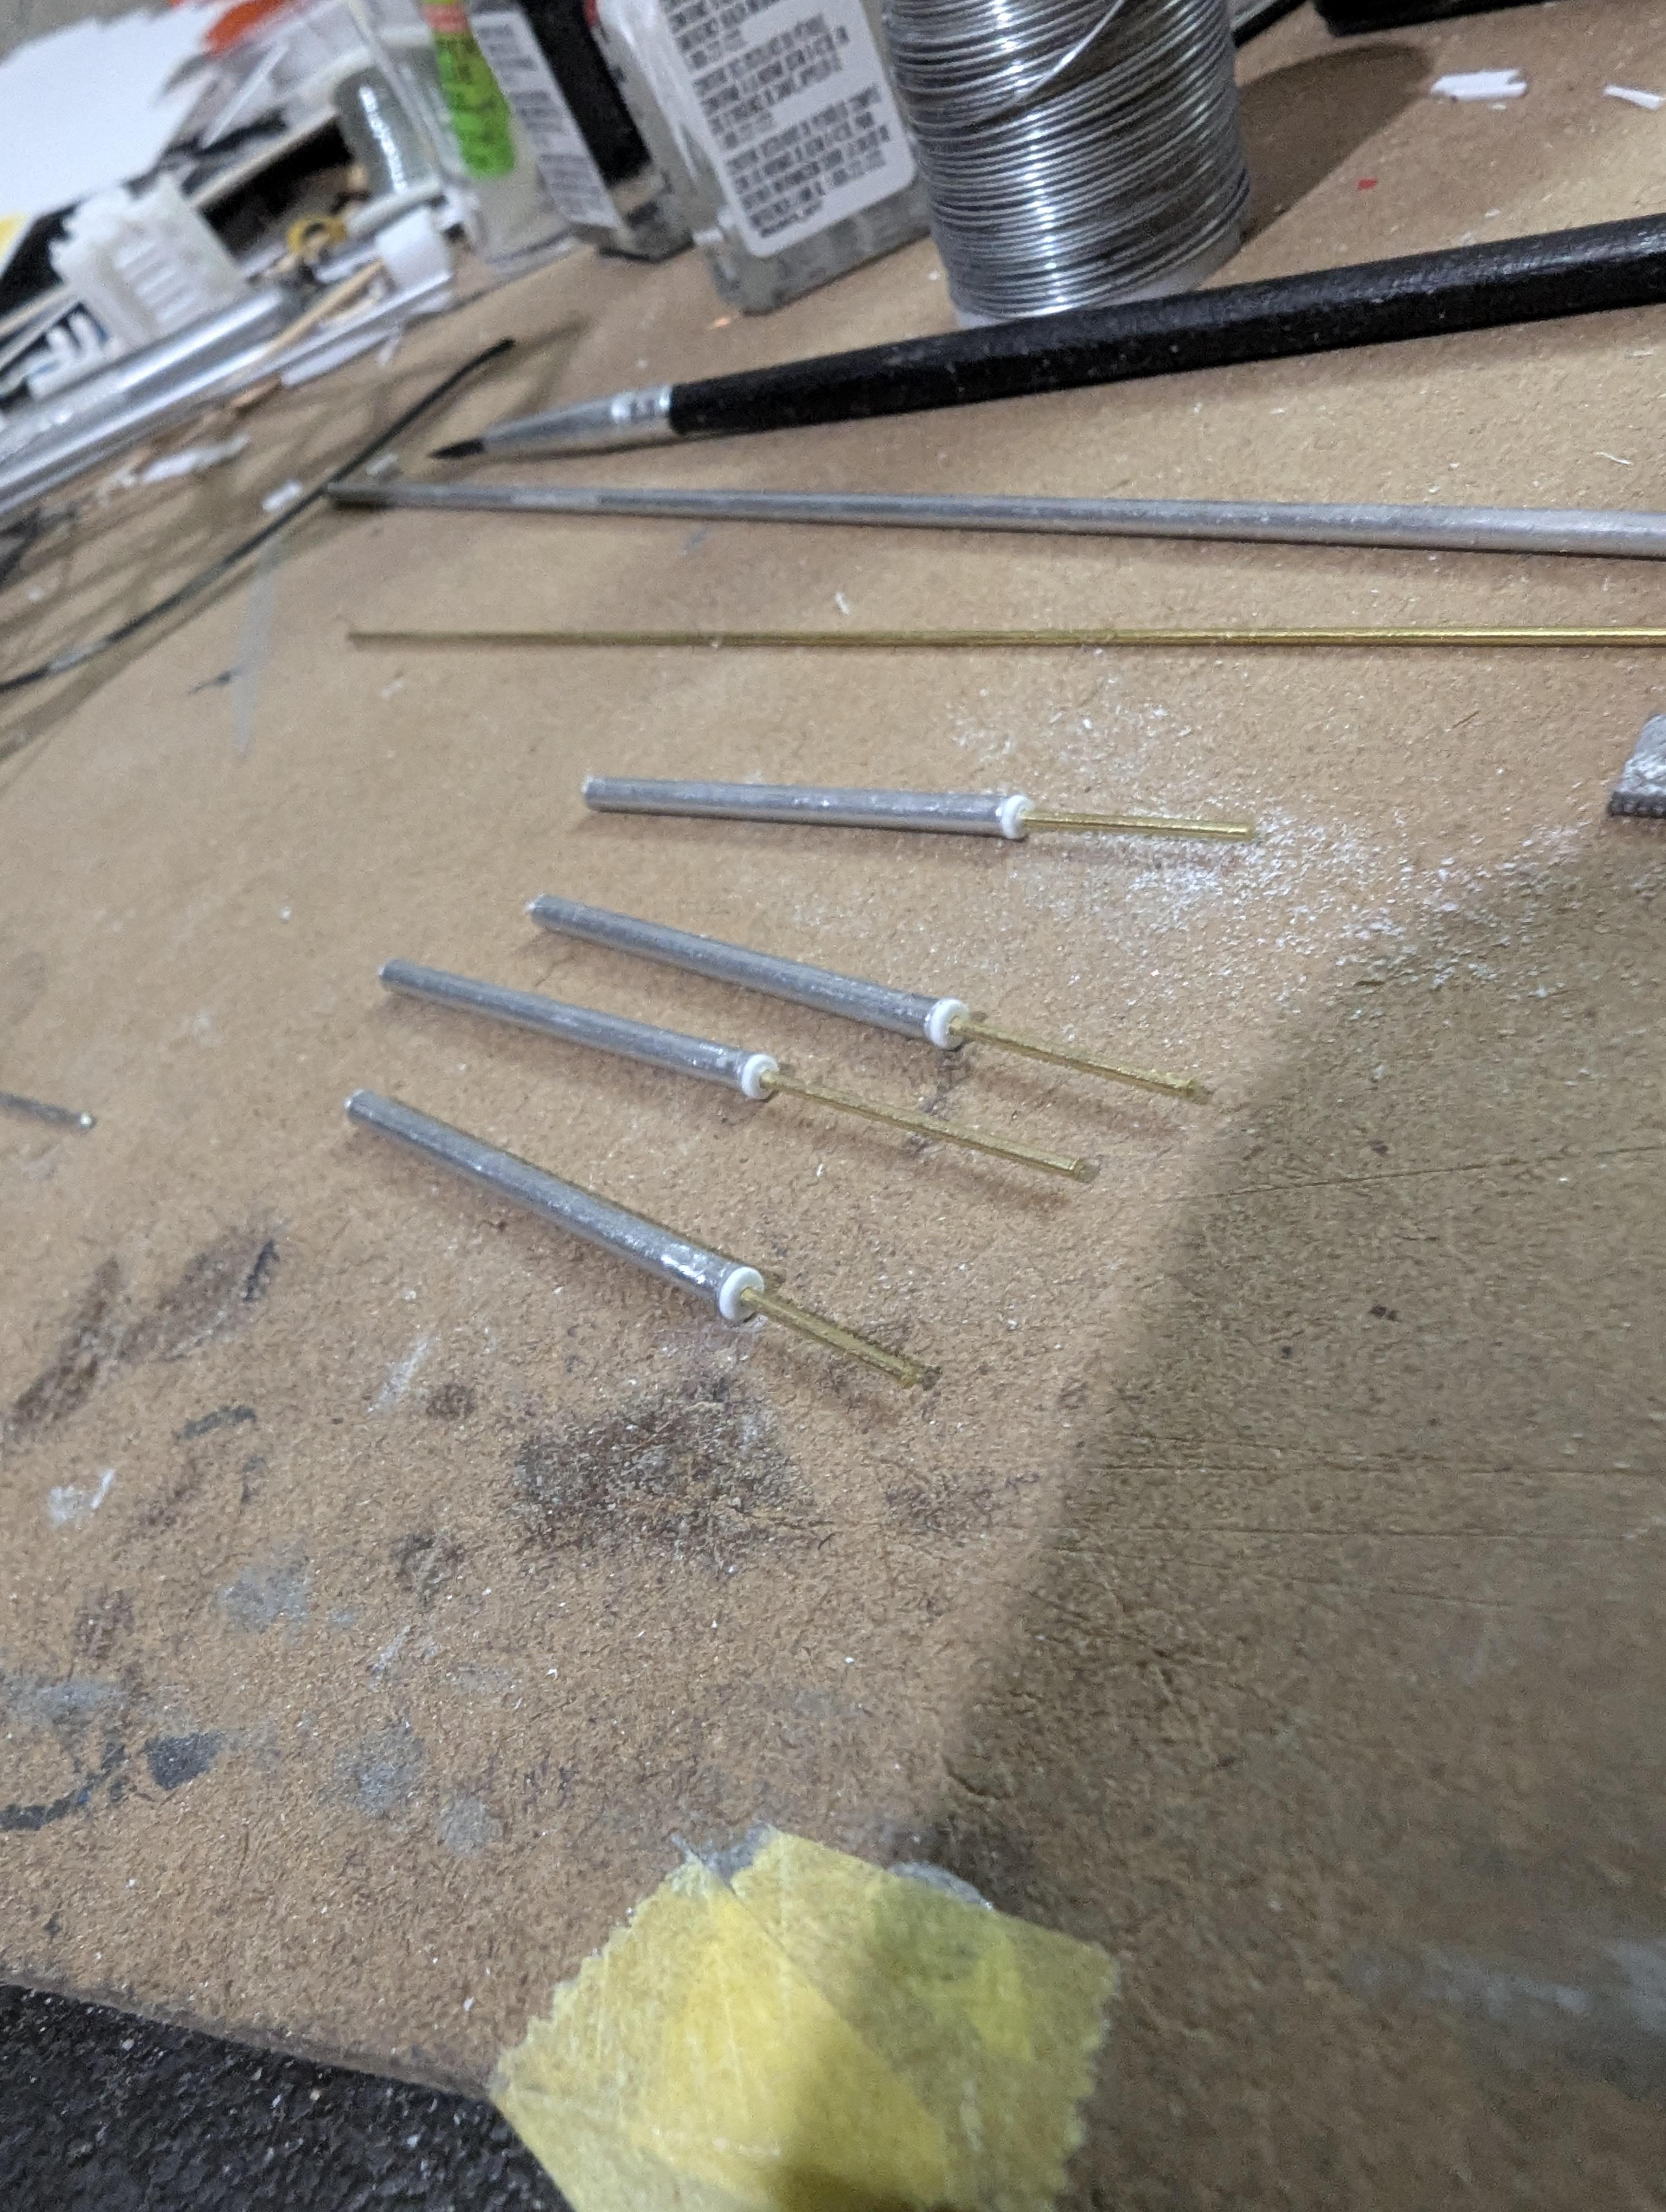
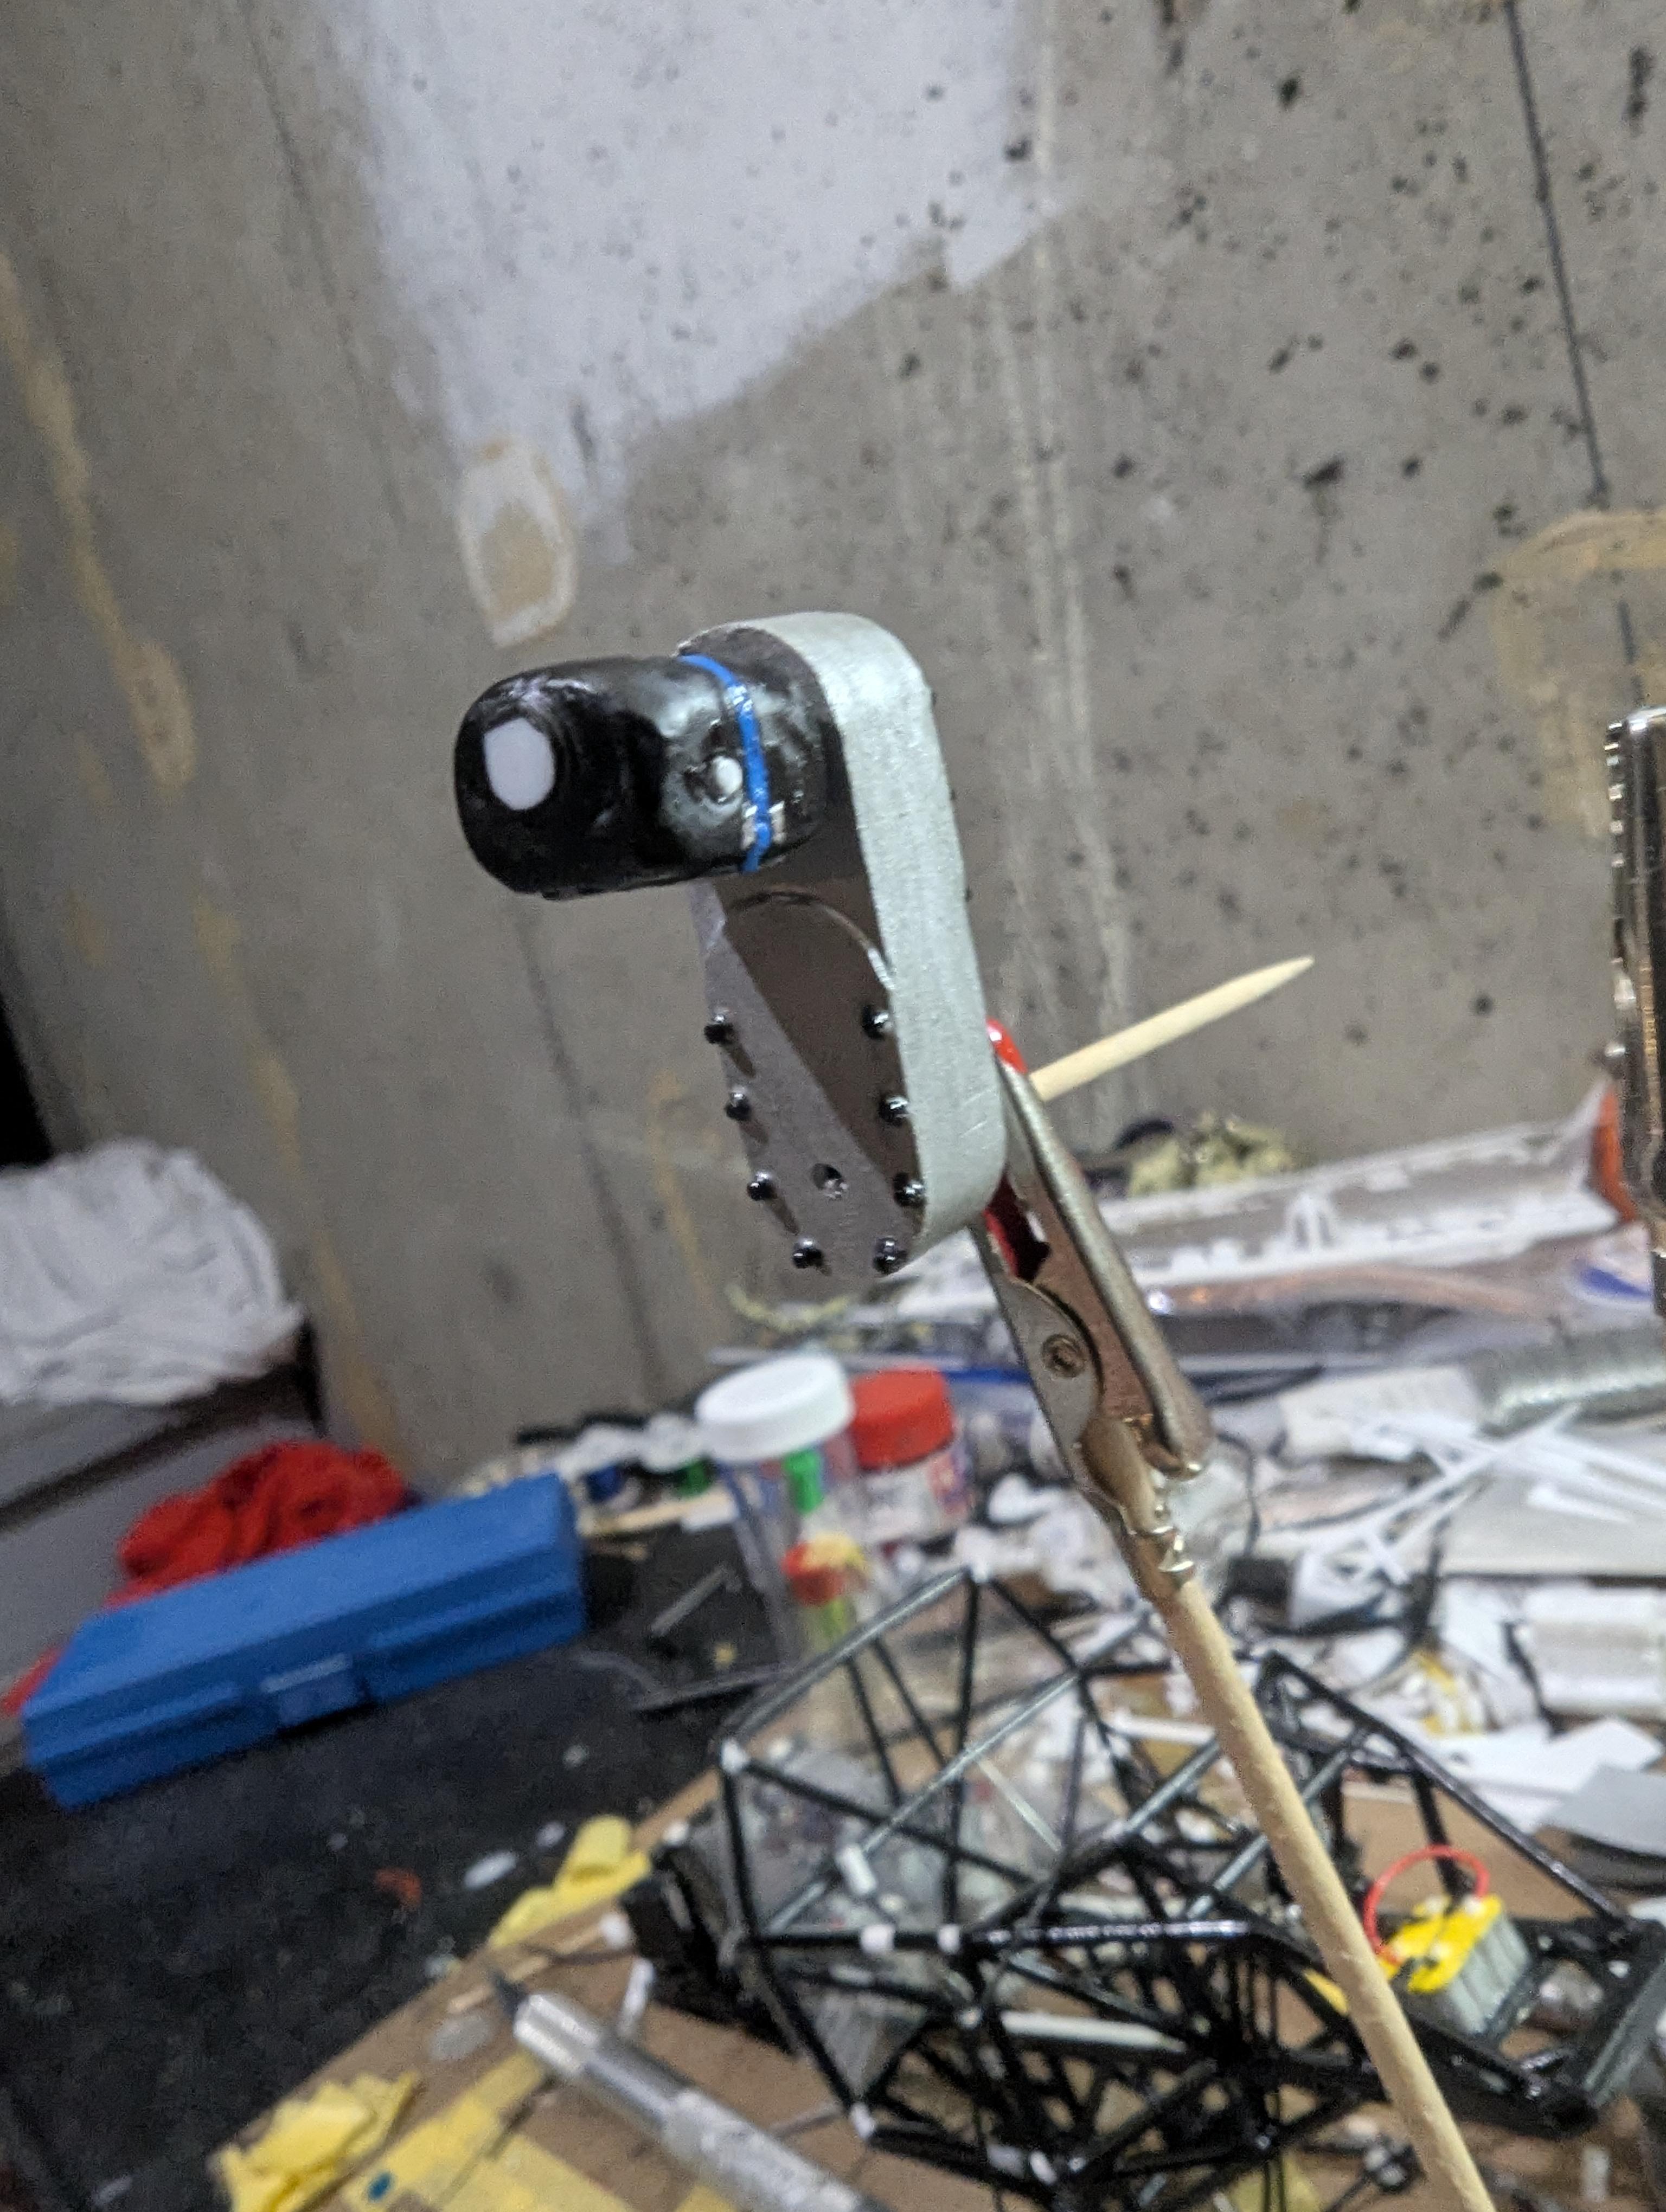
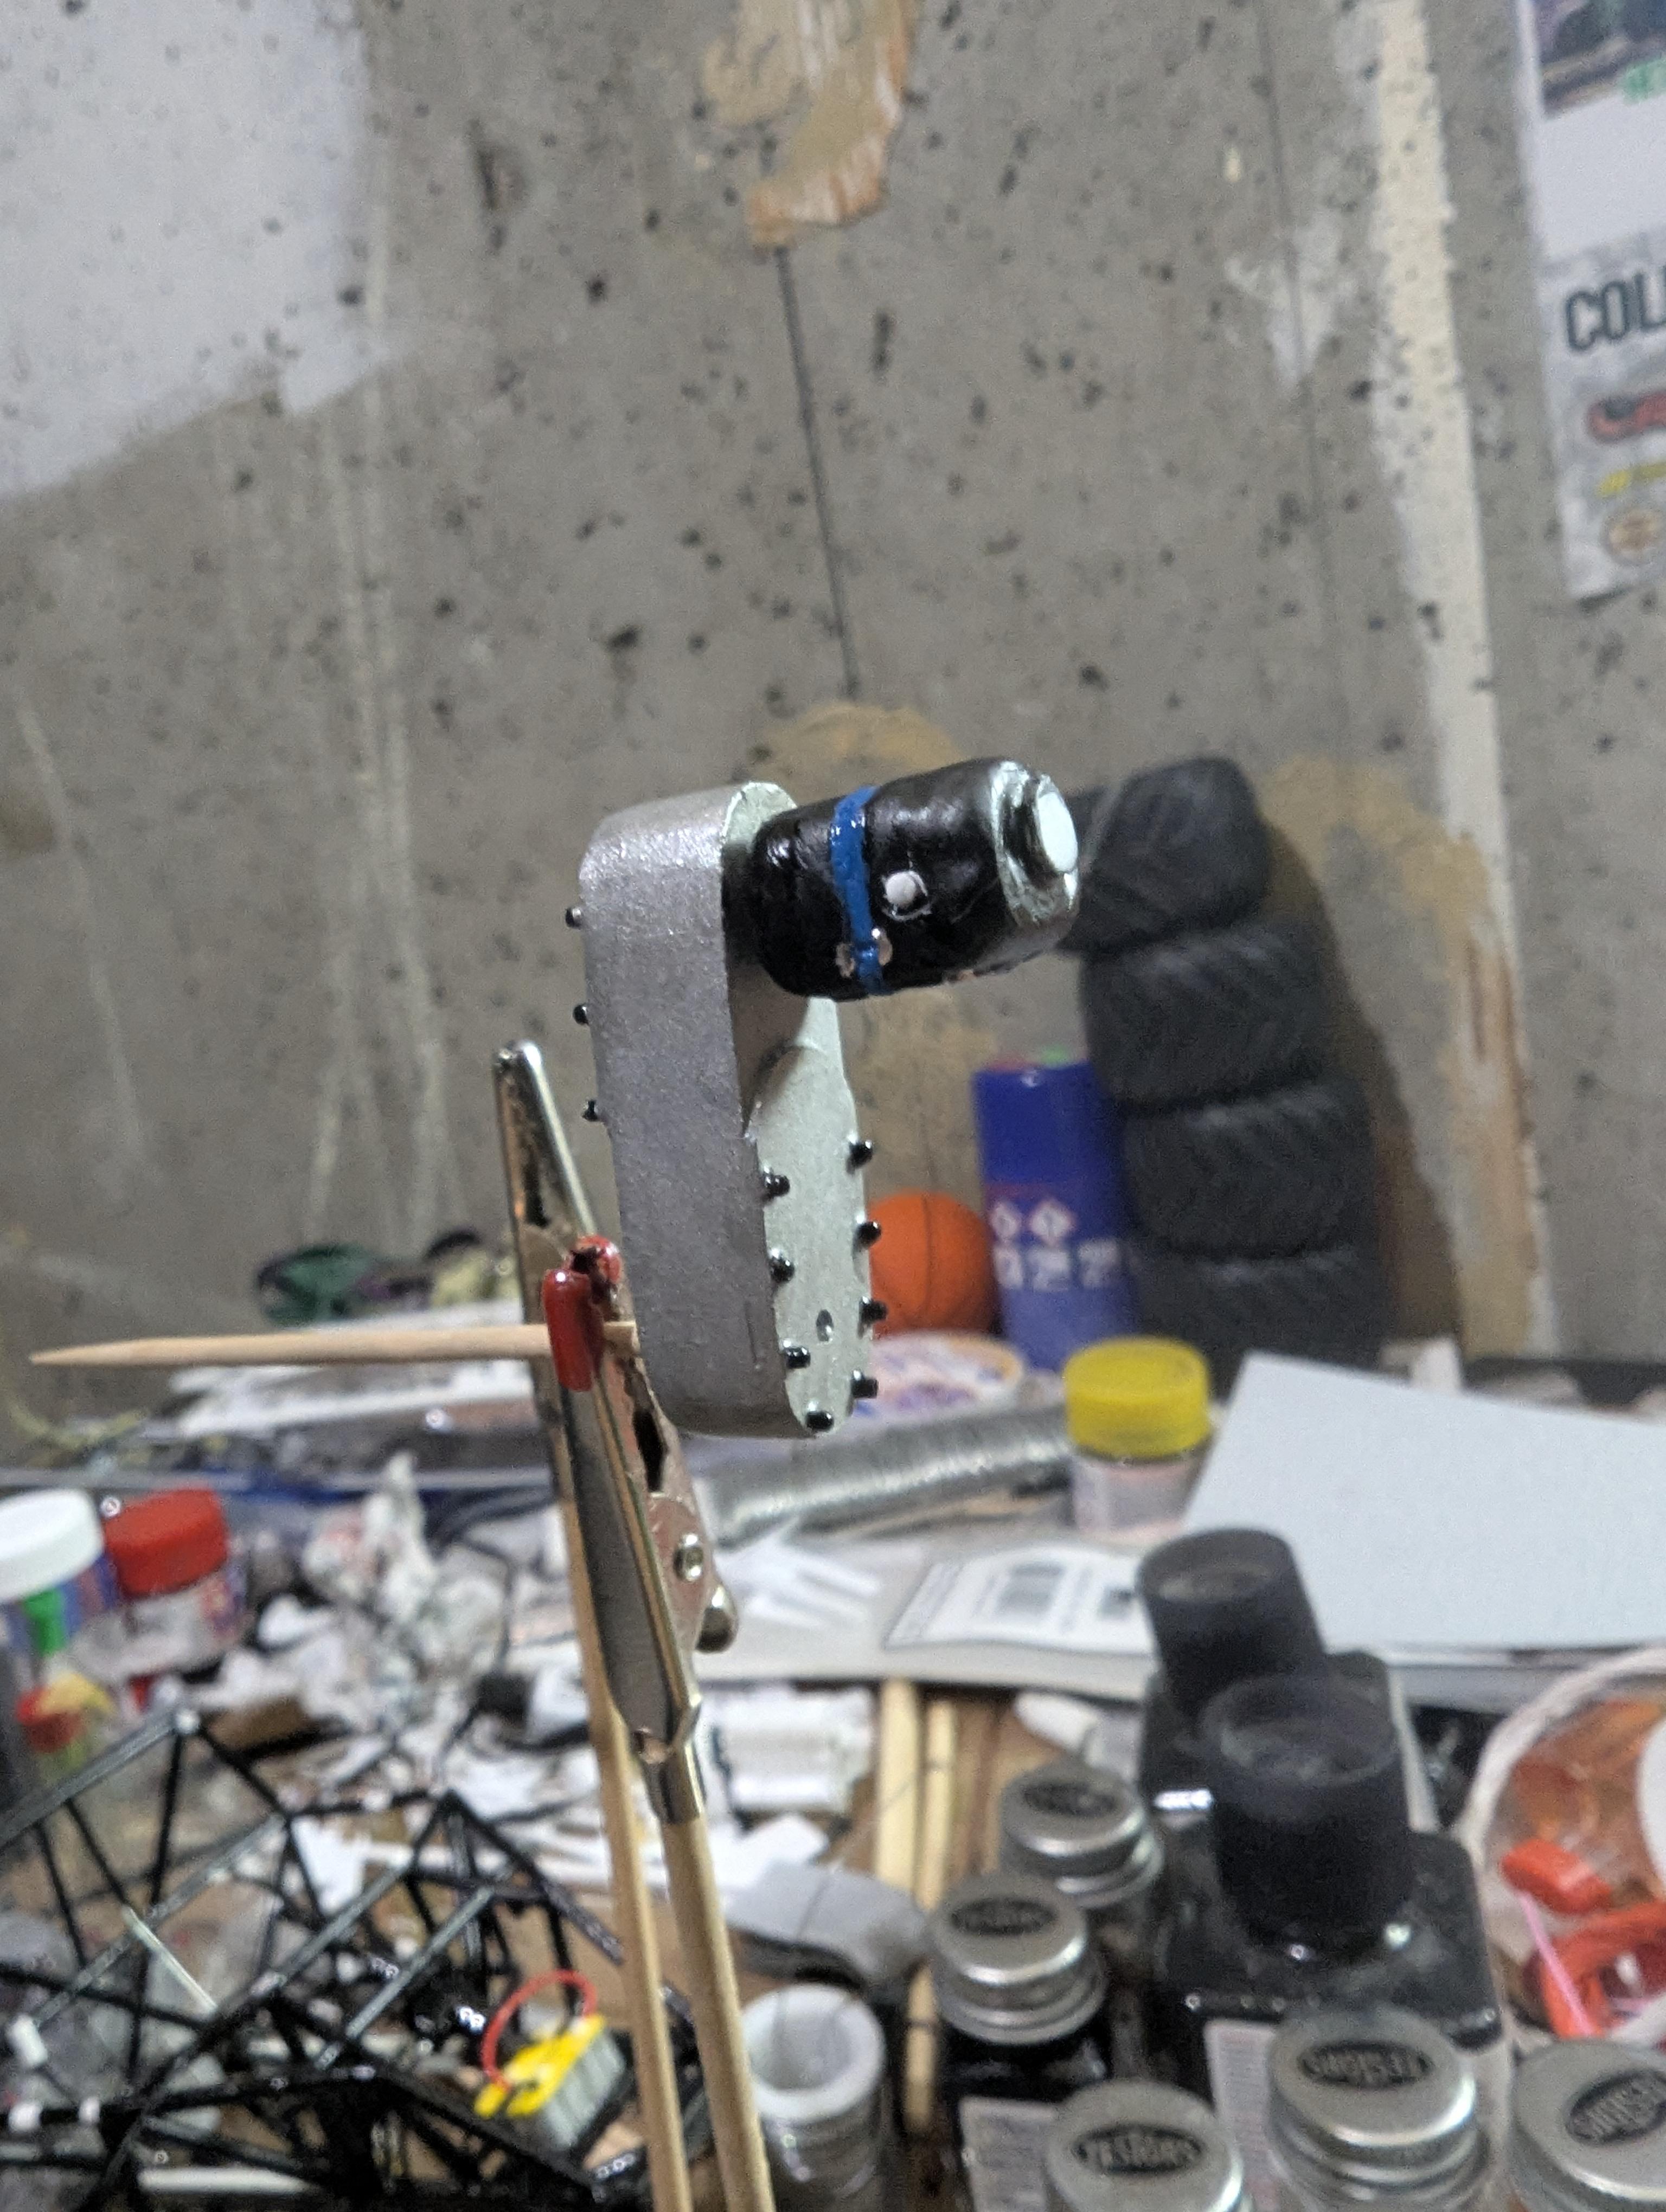
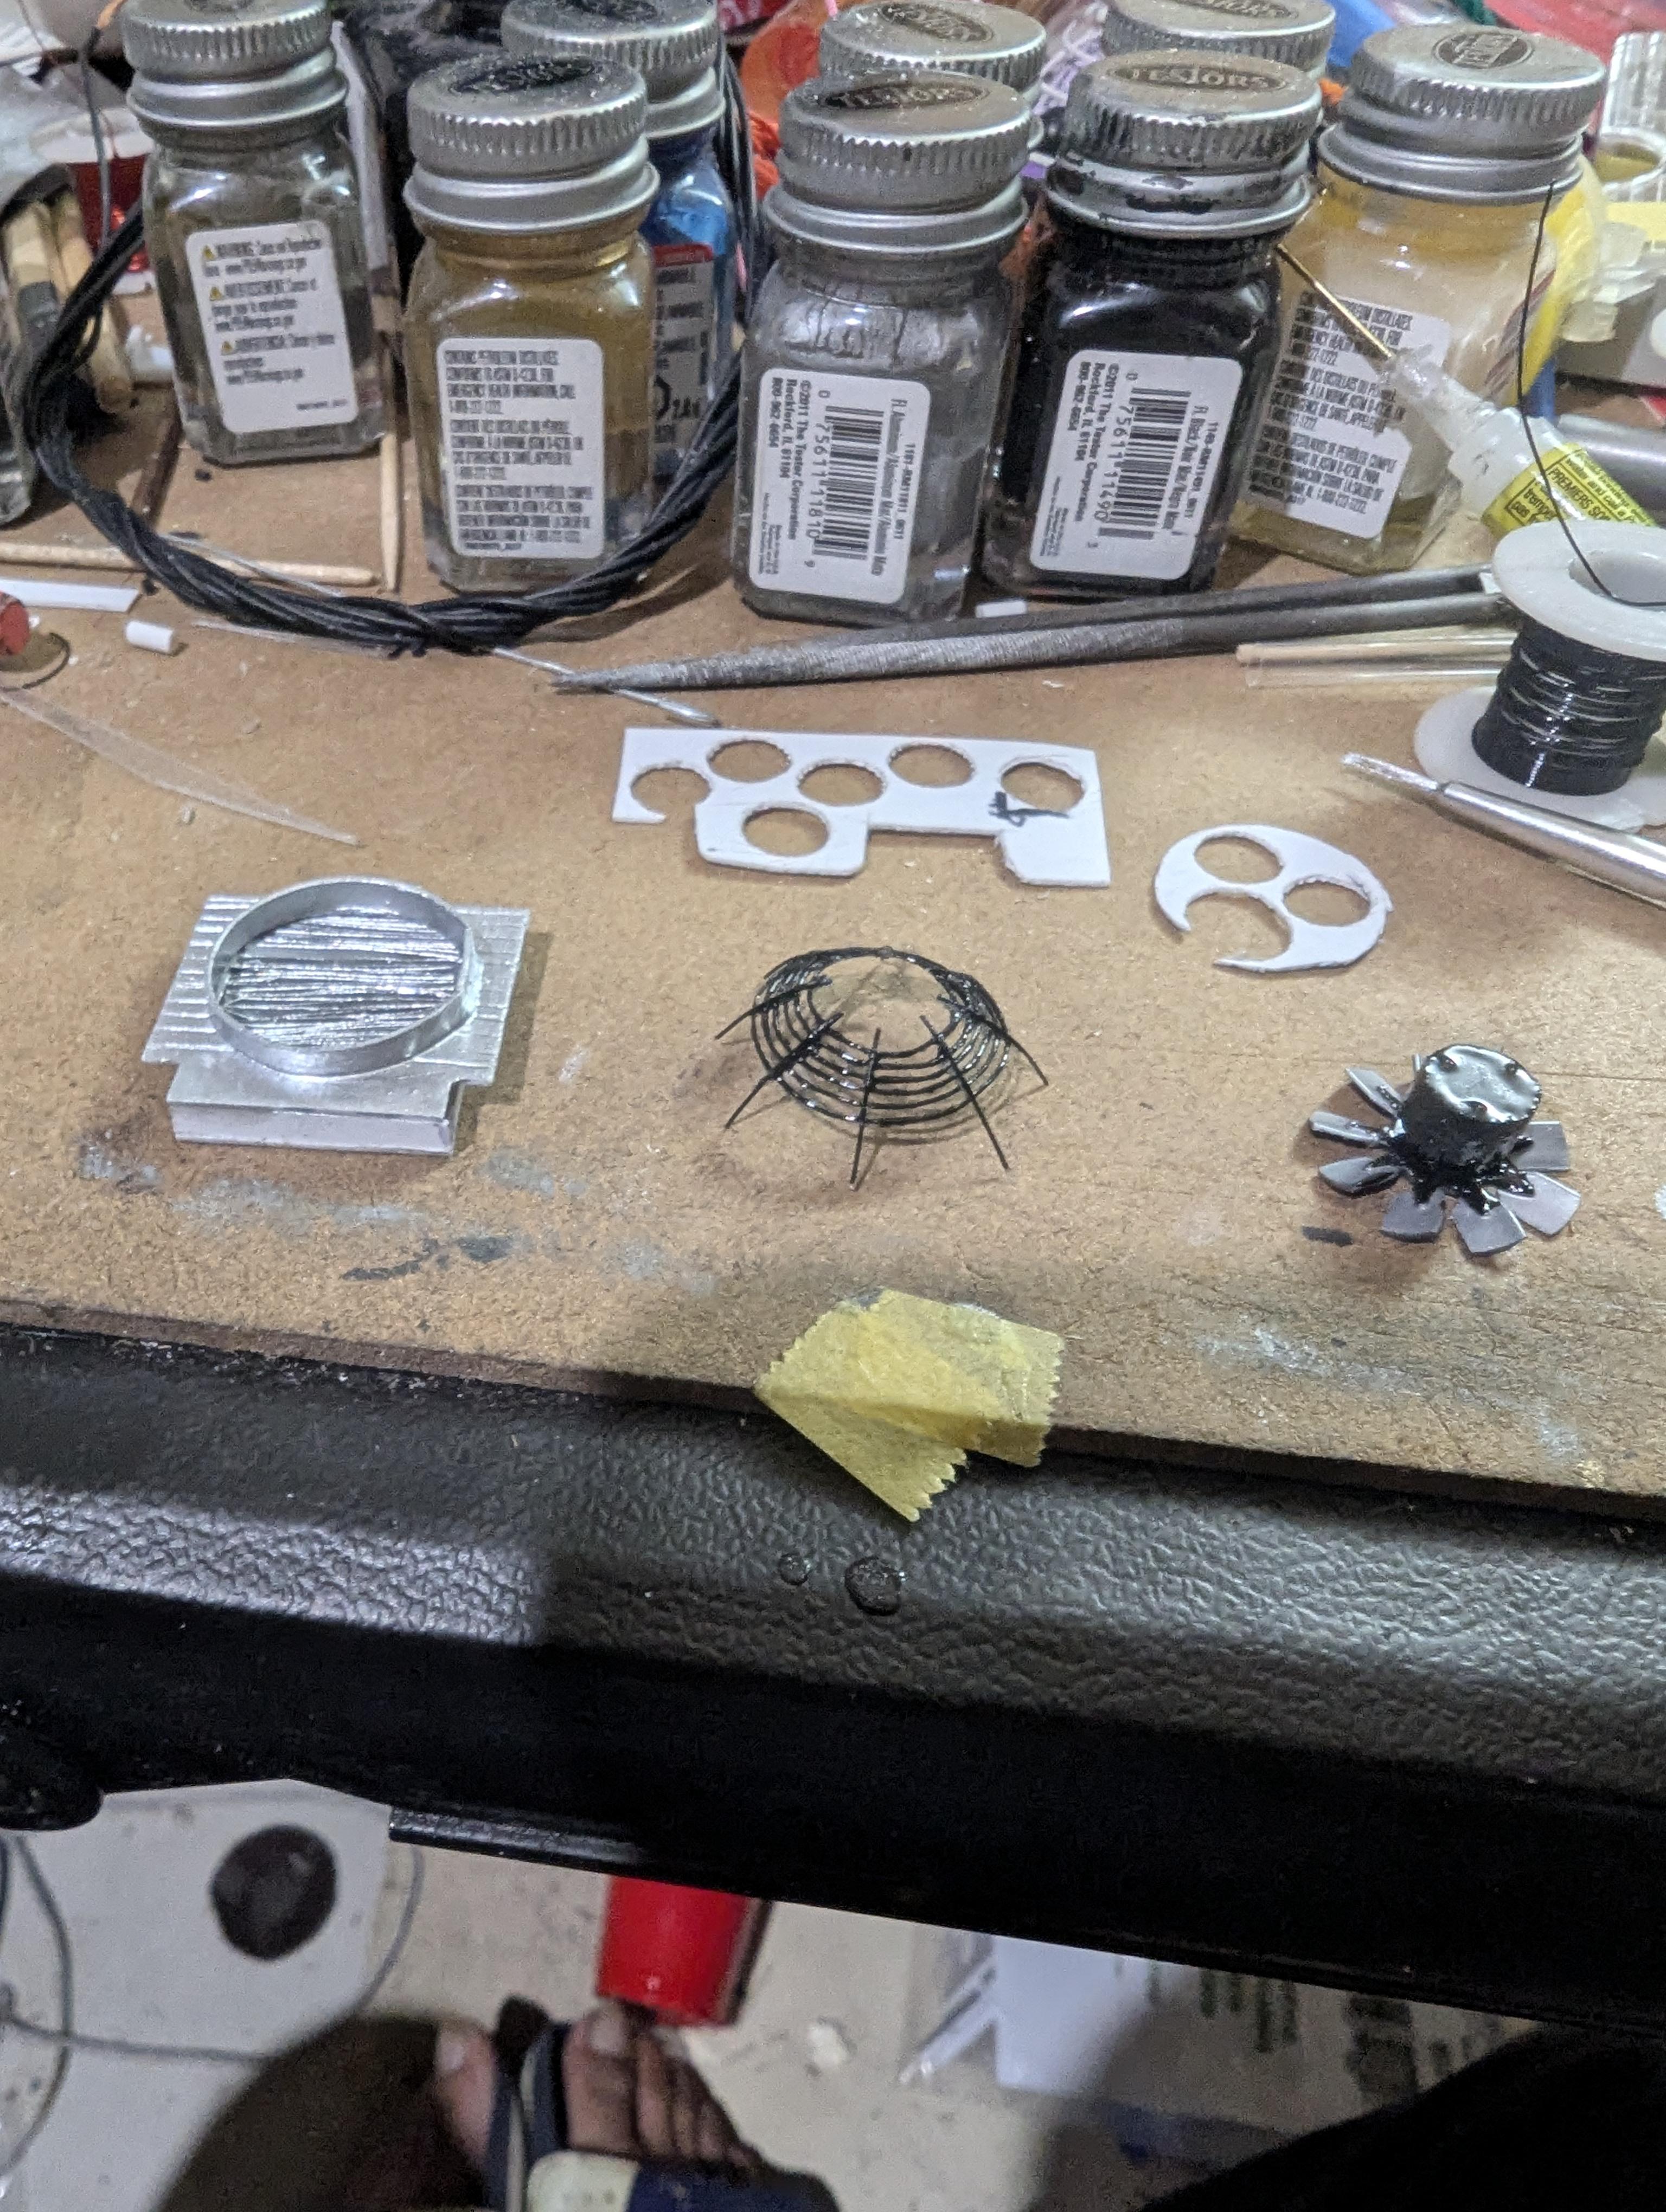
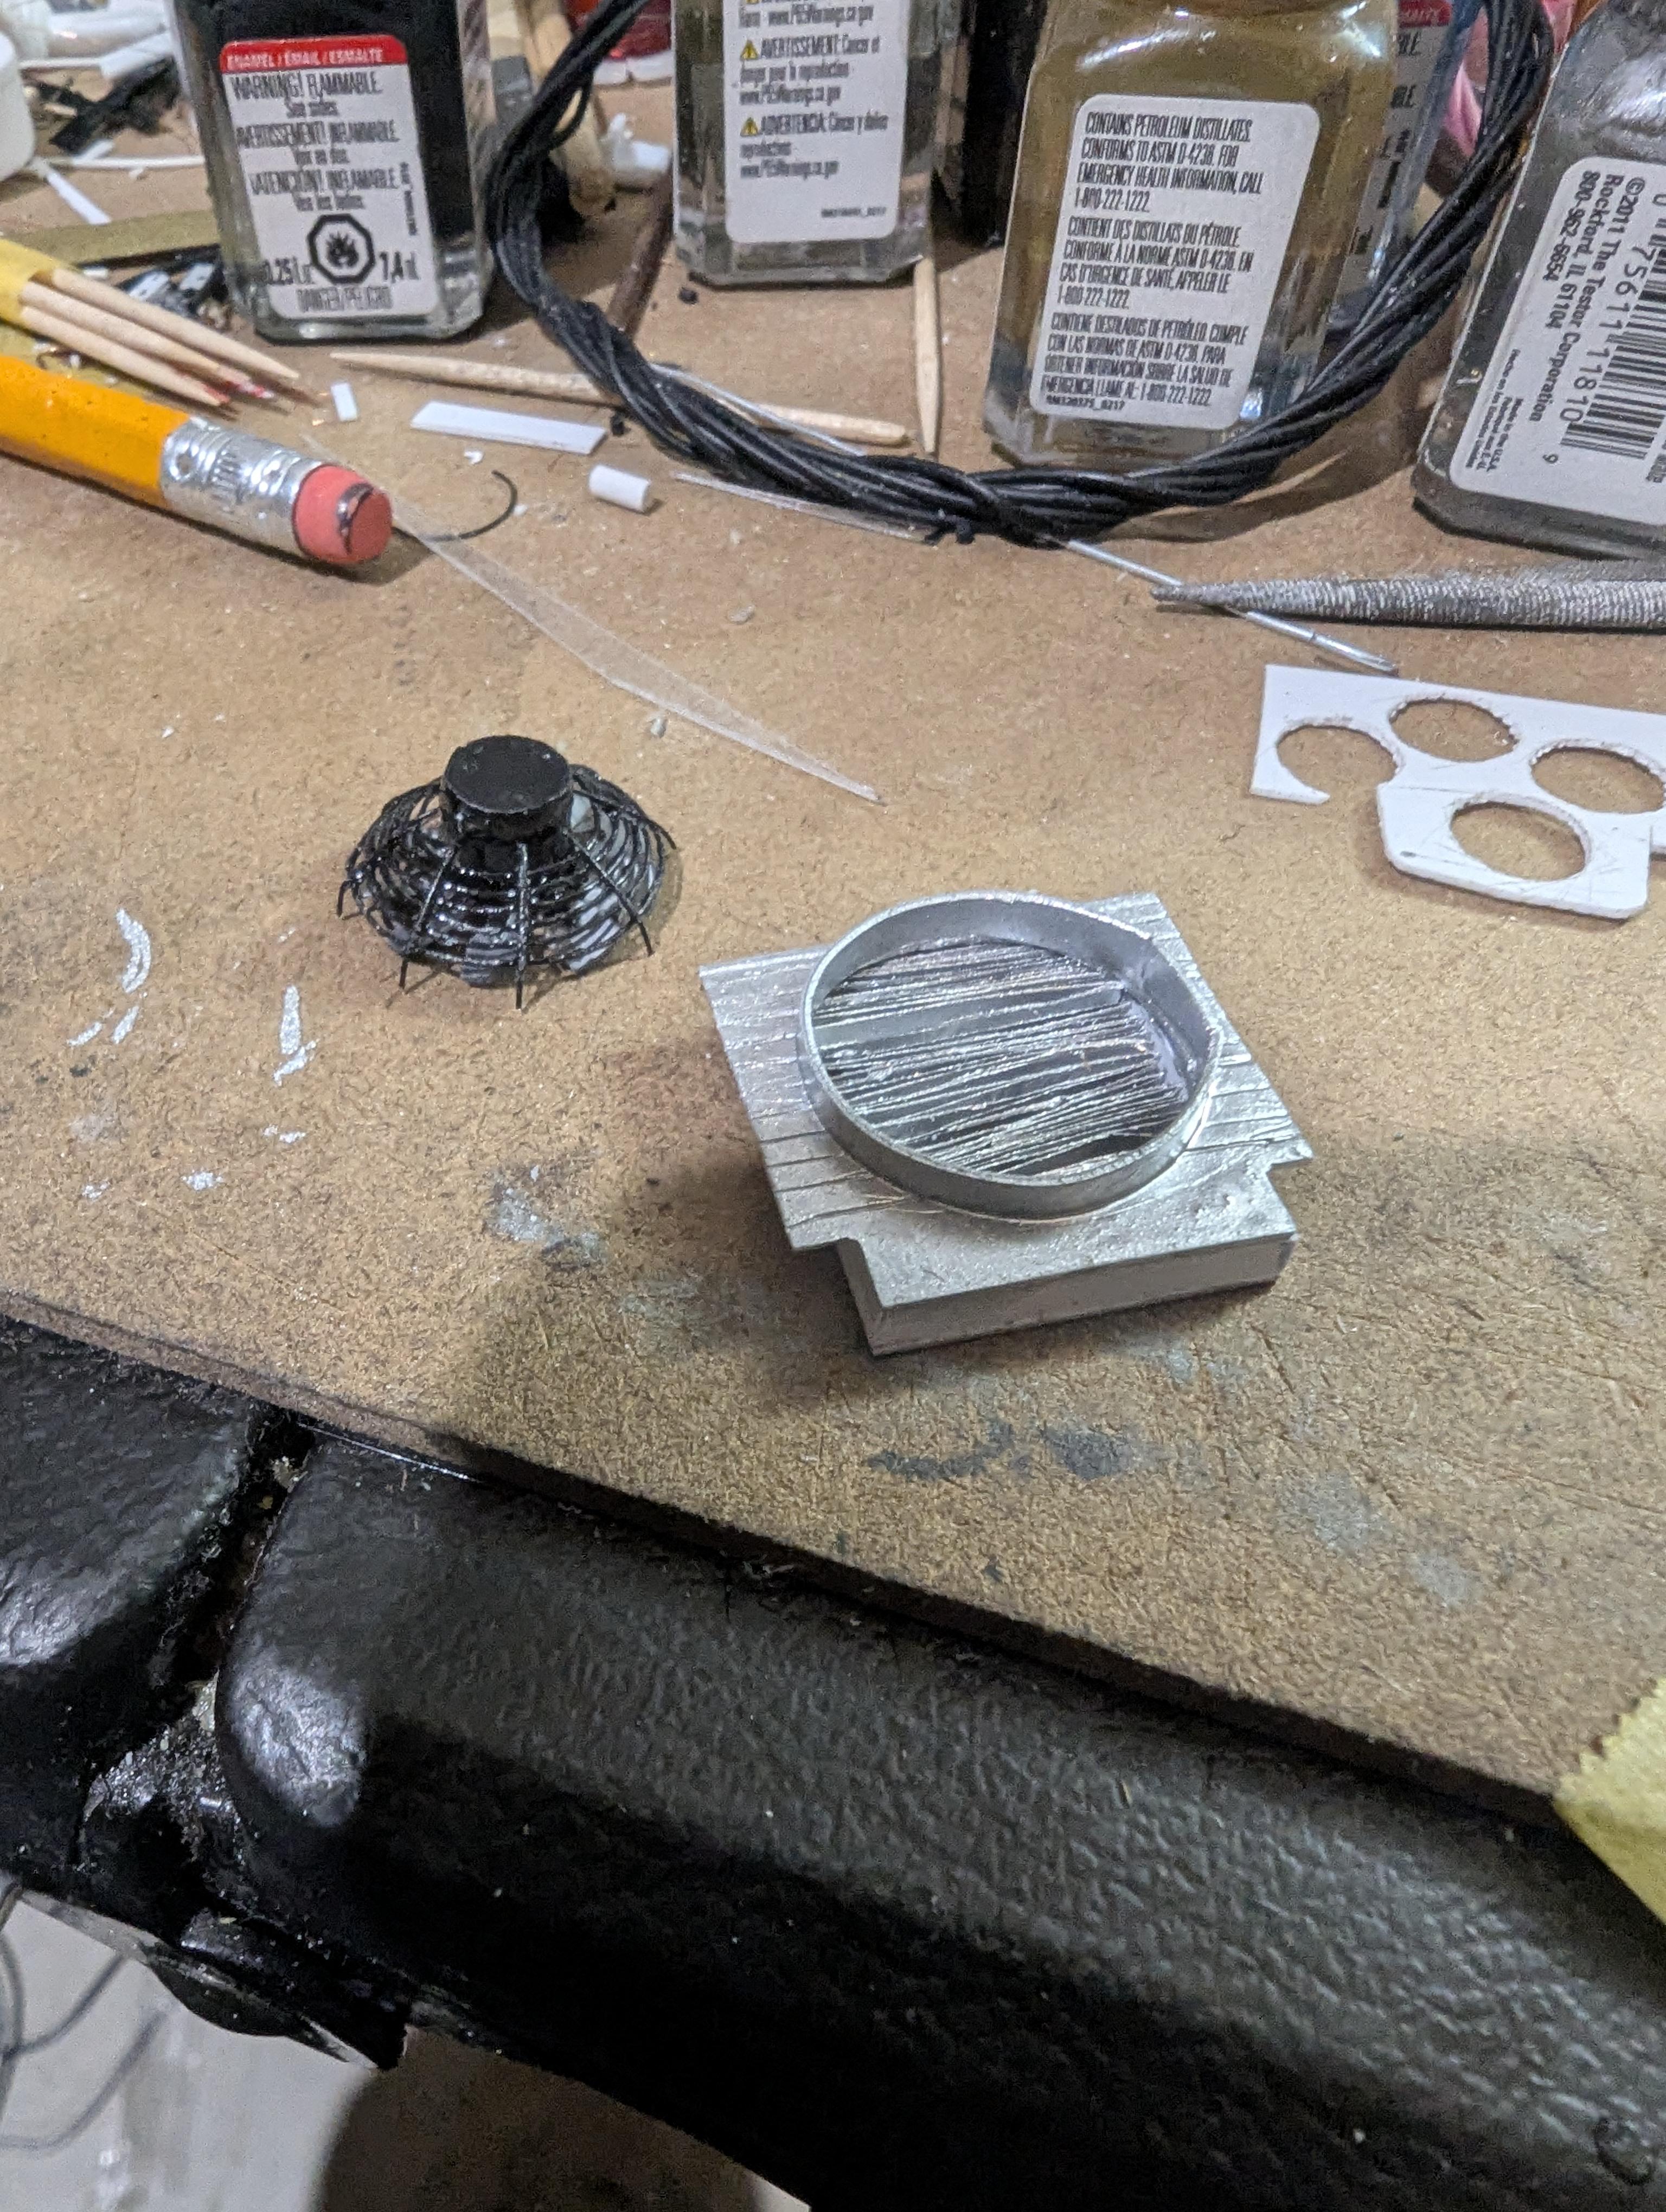
FINALLY!!! 😀 Got the coil overs glued had to shorten the springs and the bottoms of the shafts but here's what they look like now
-
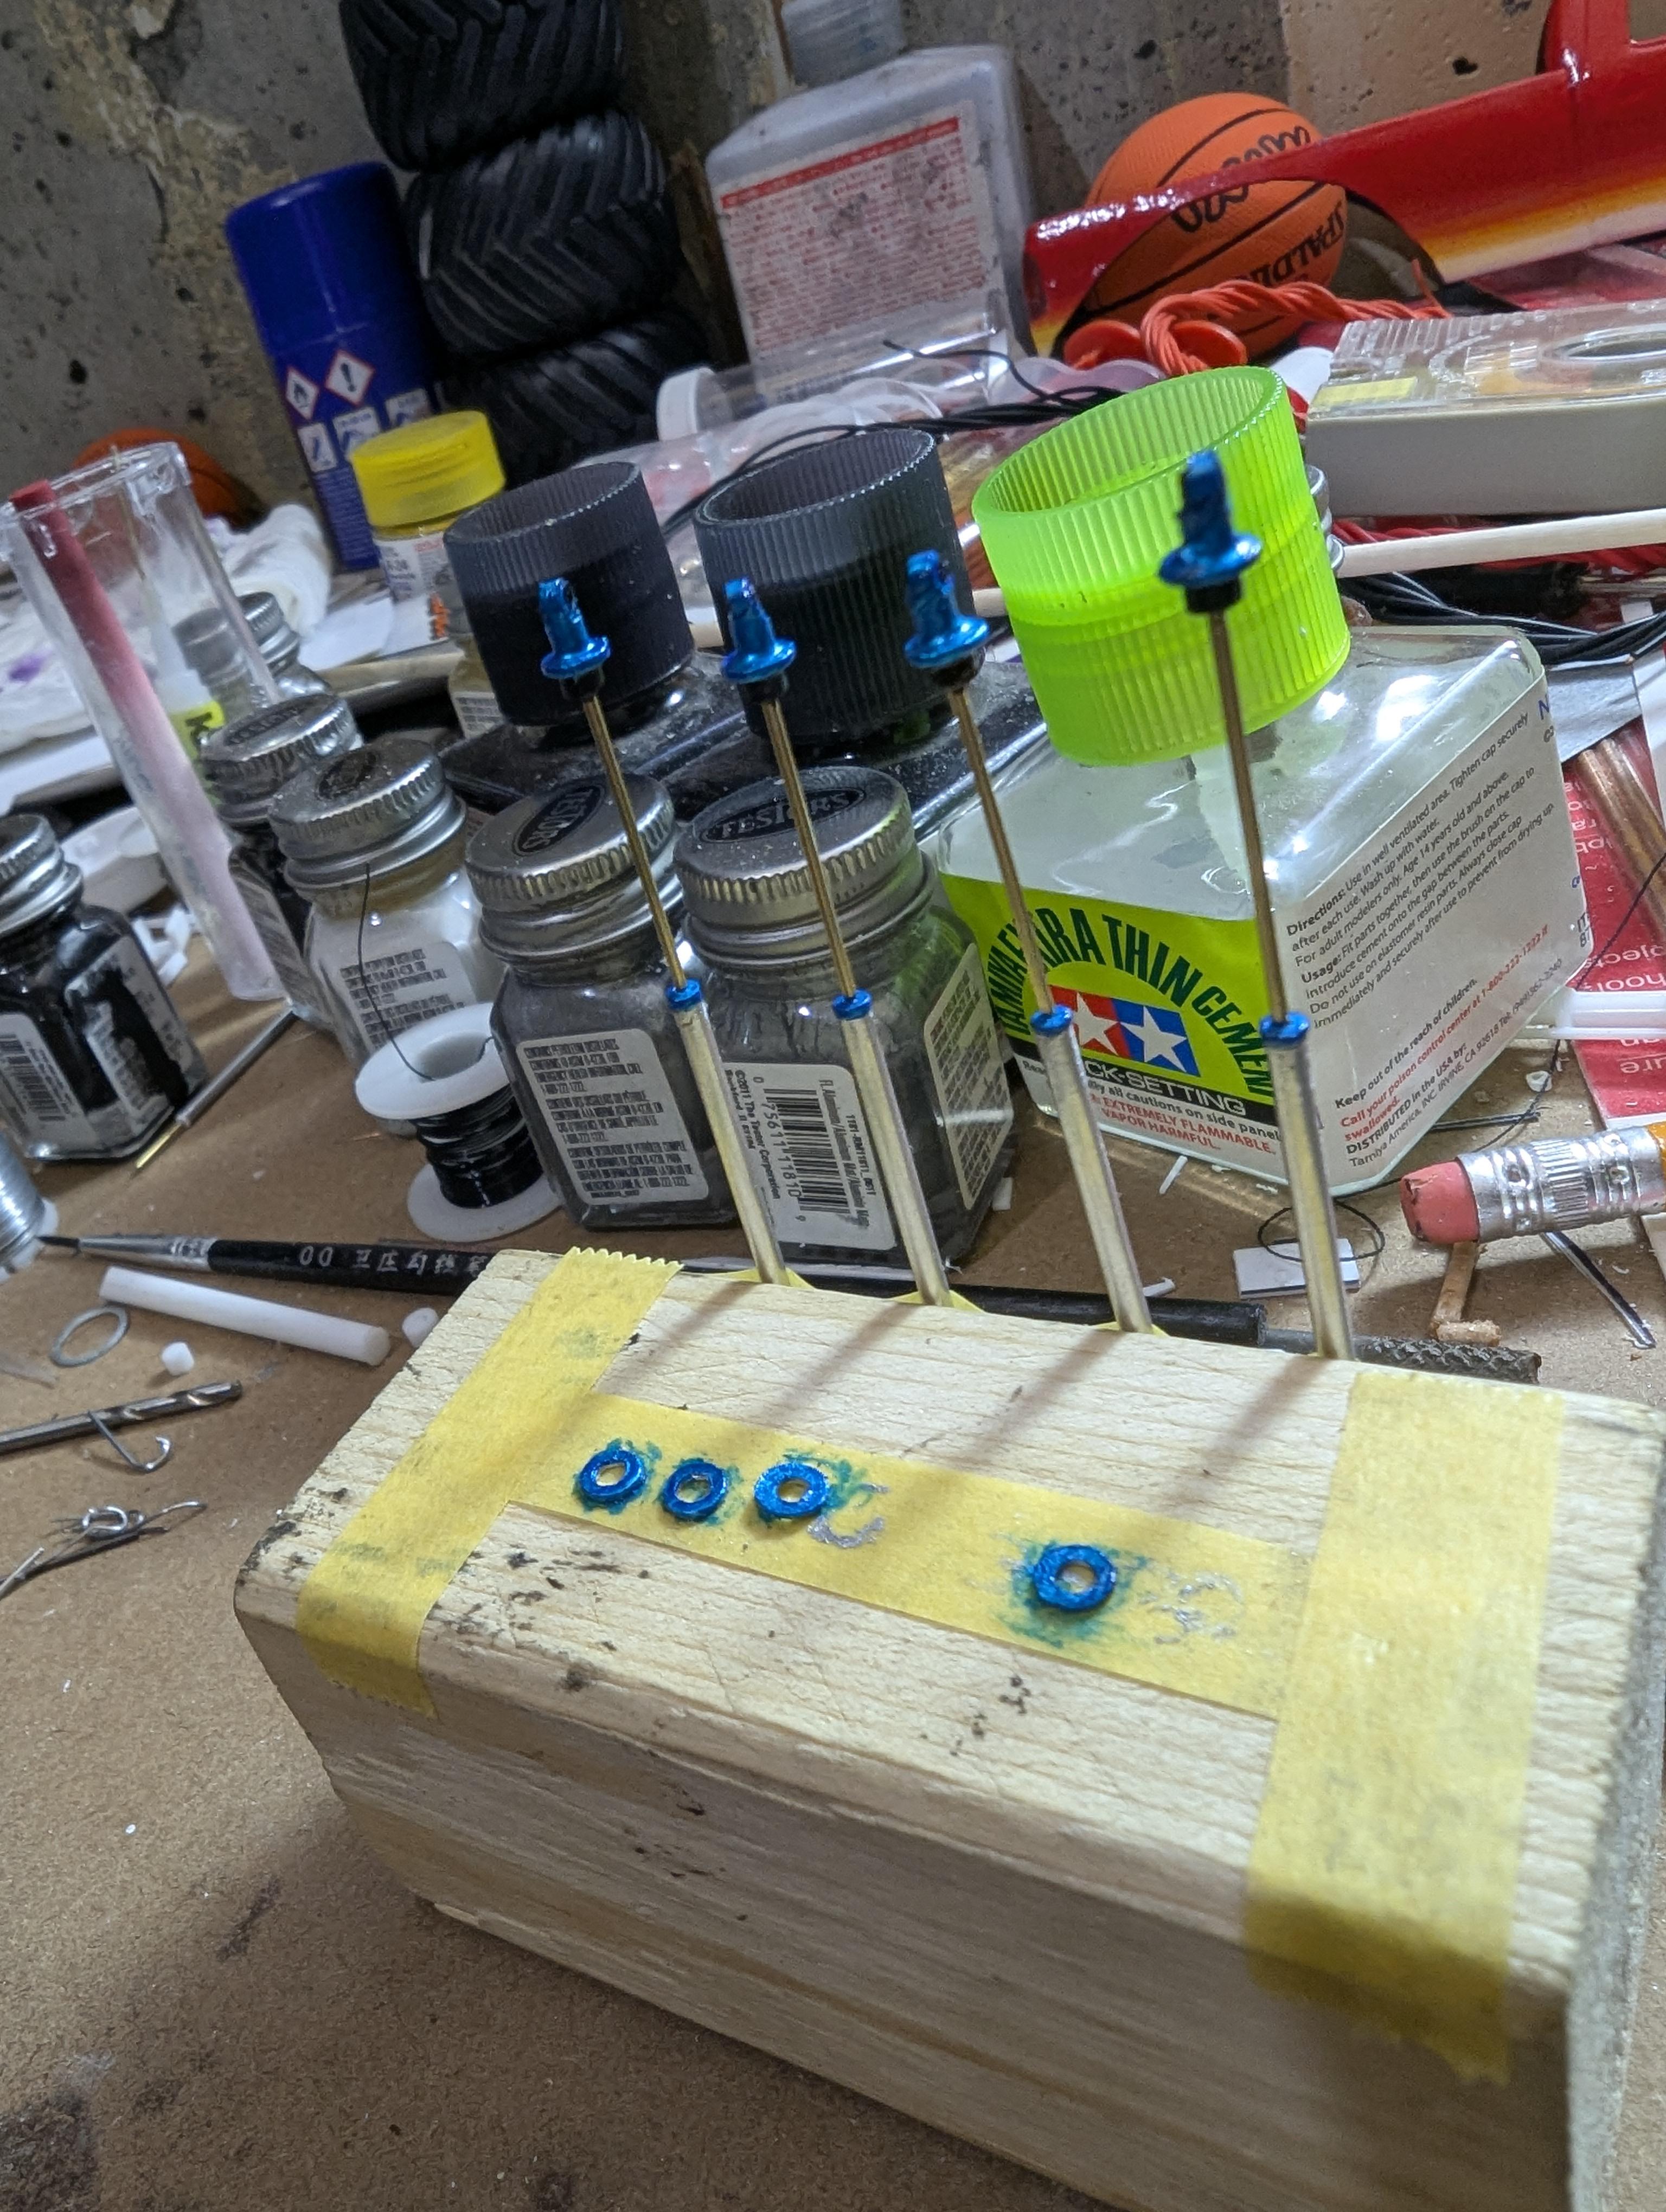
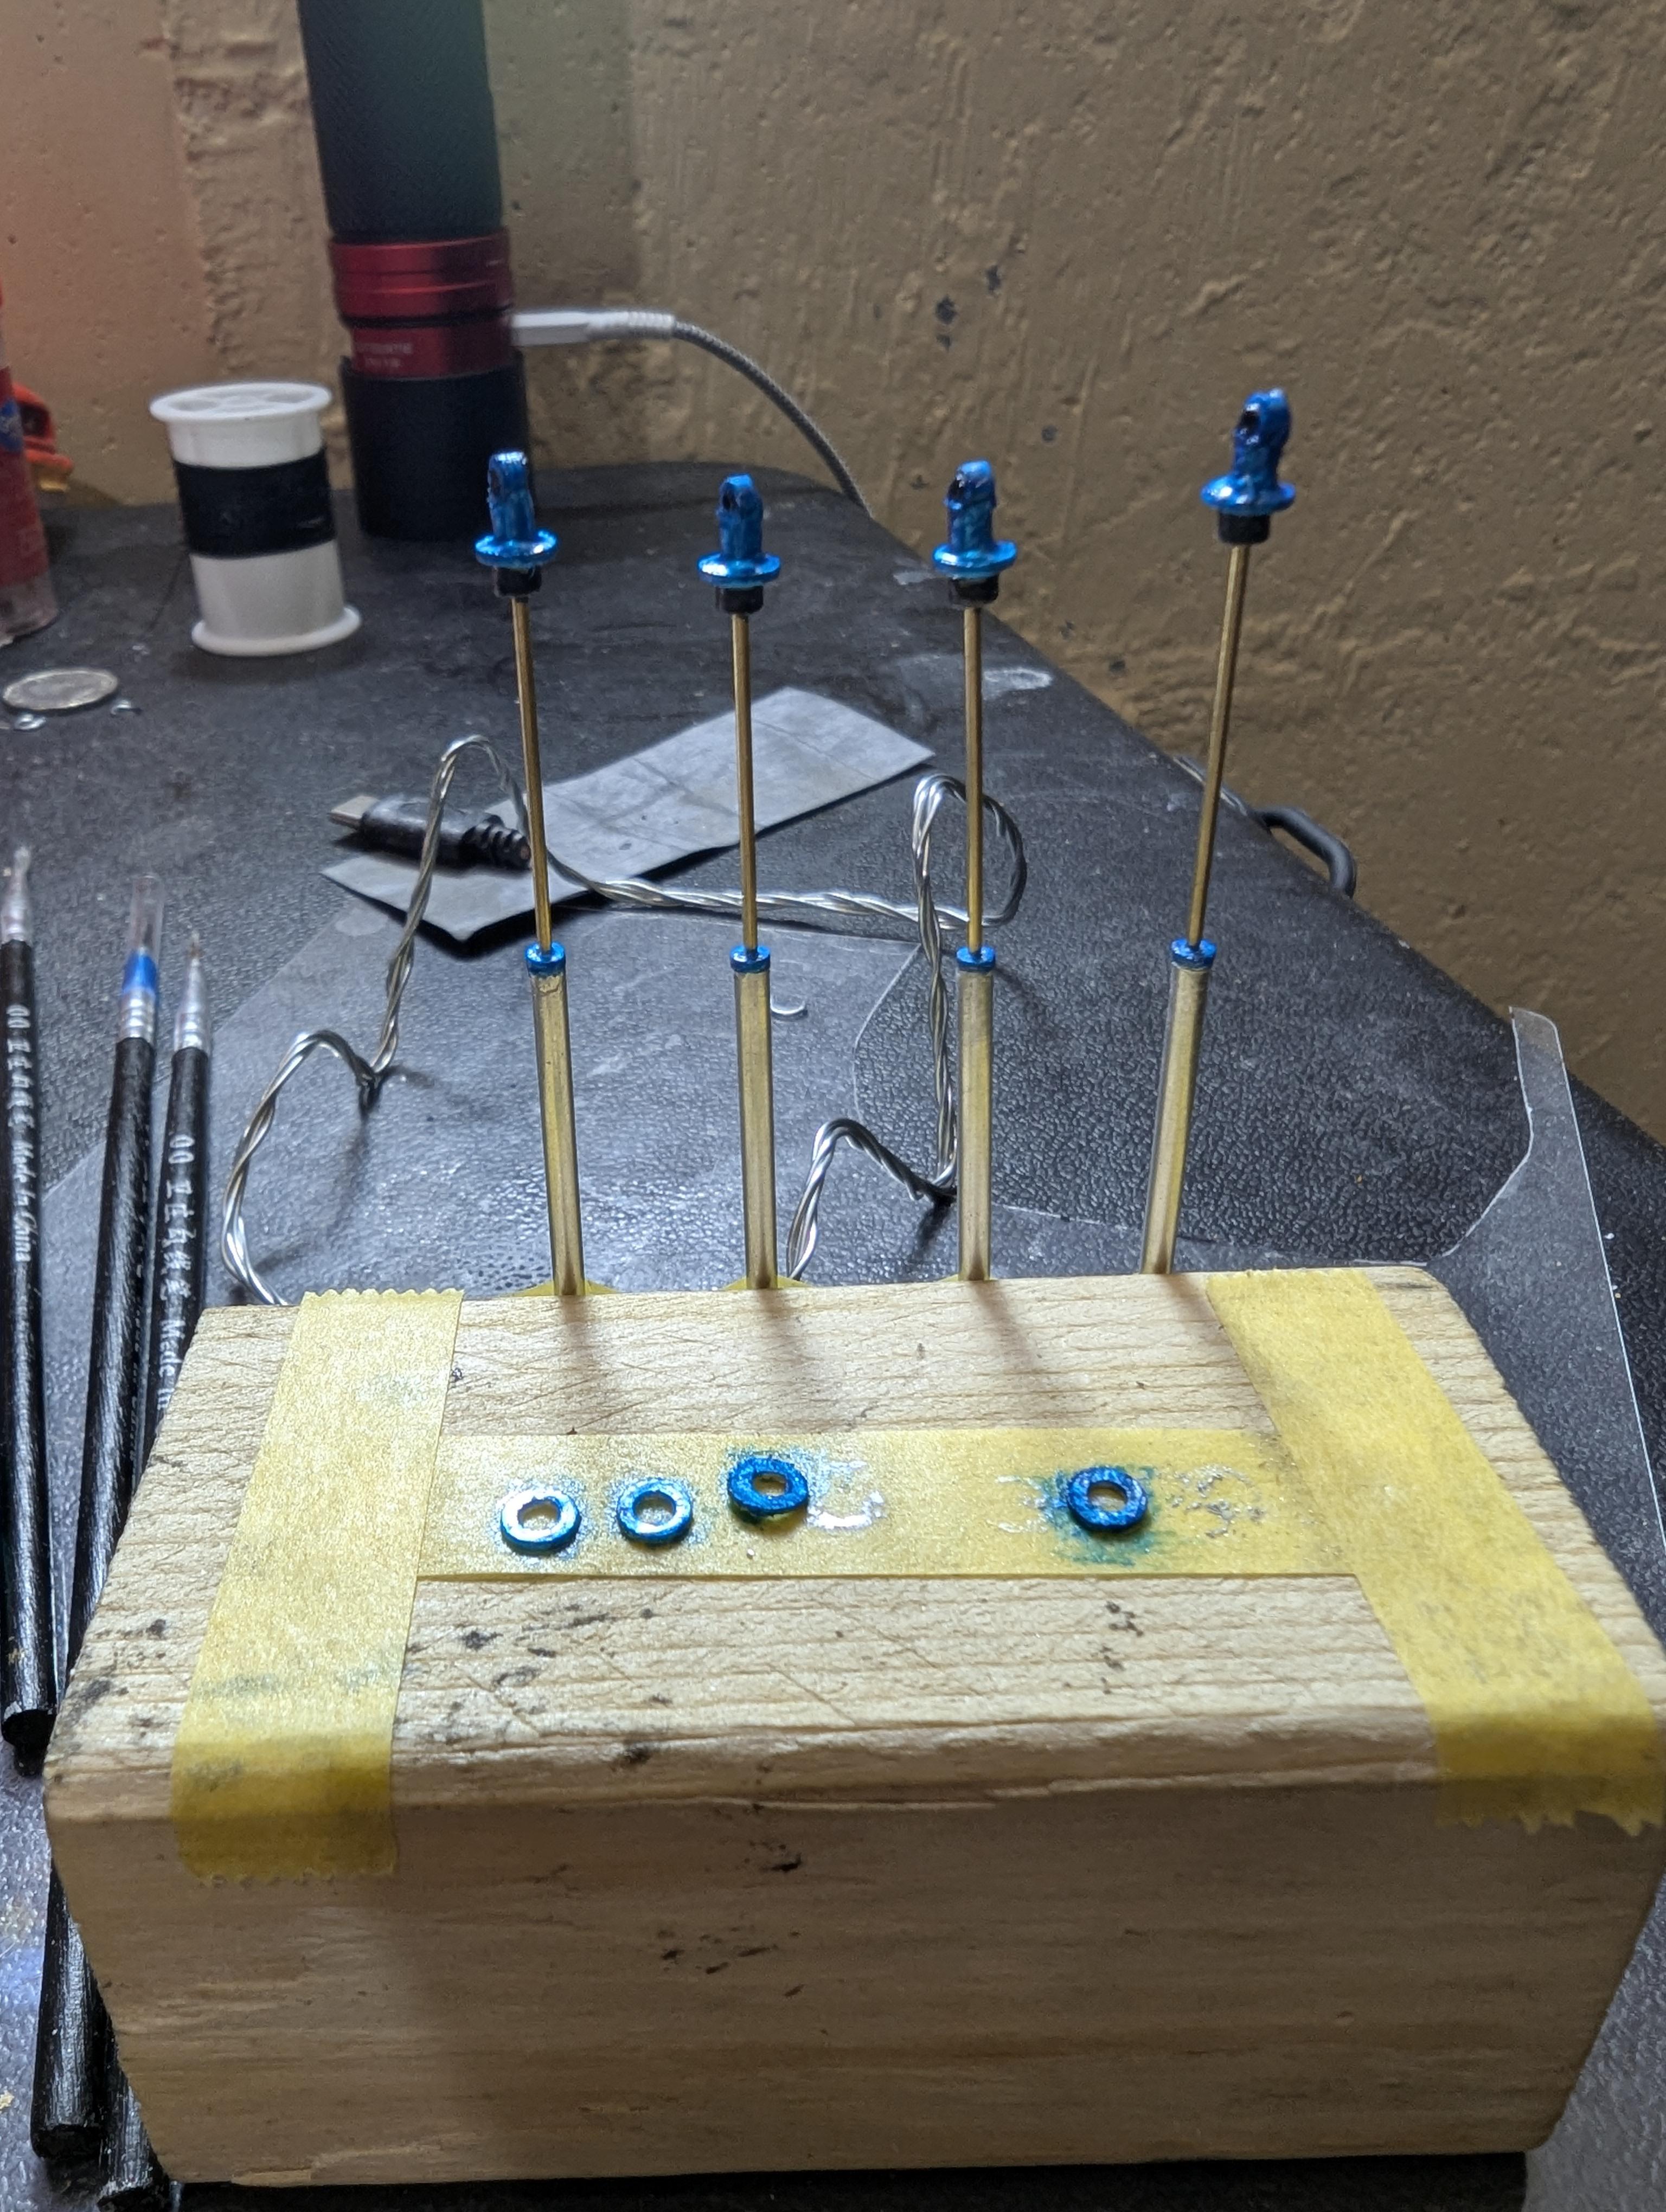
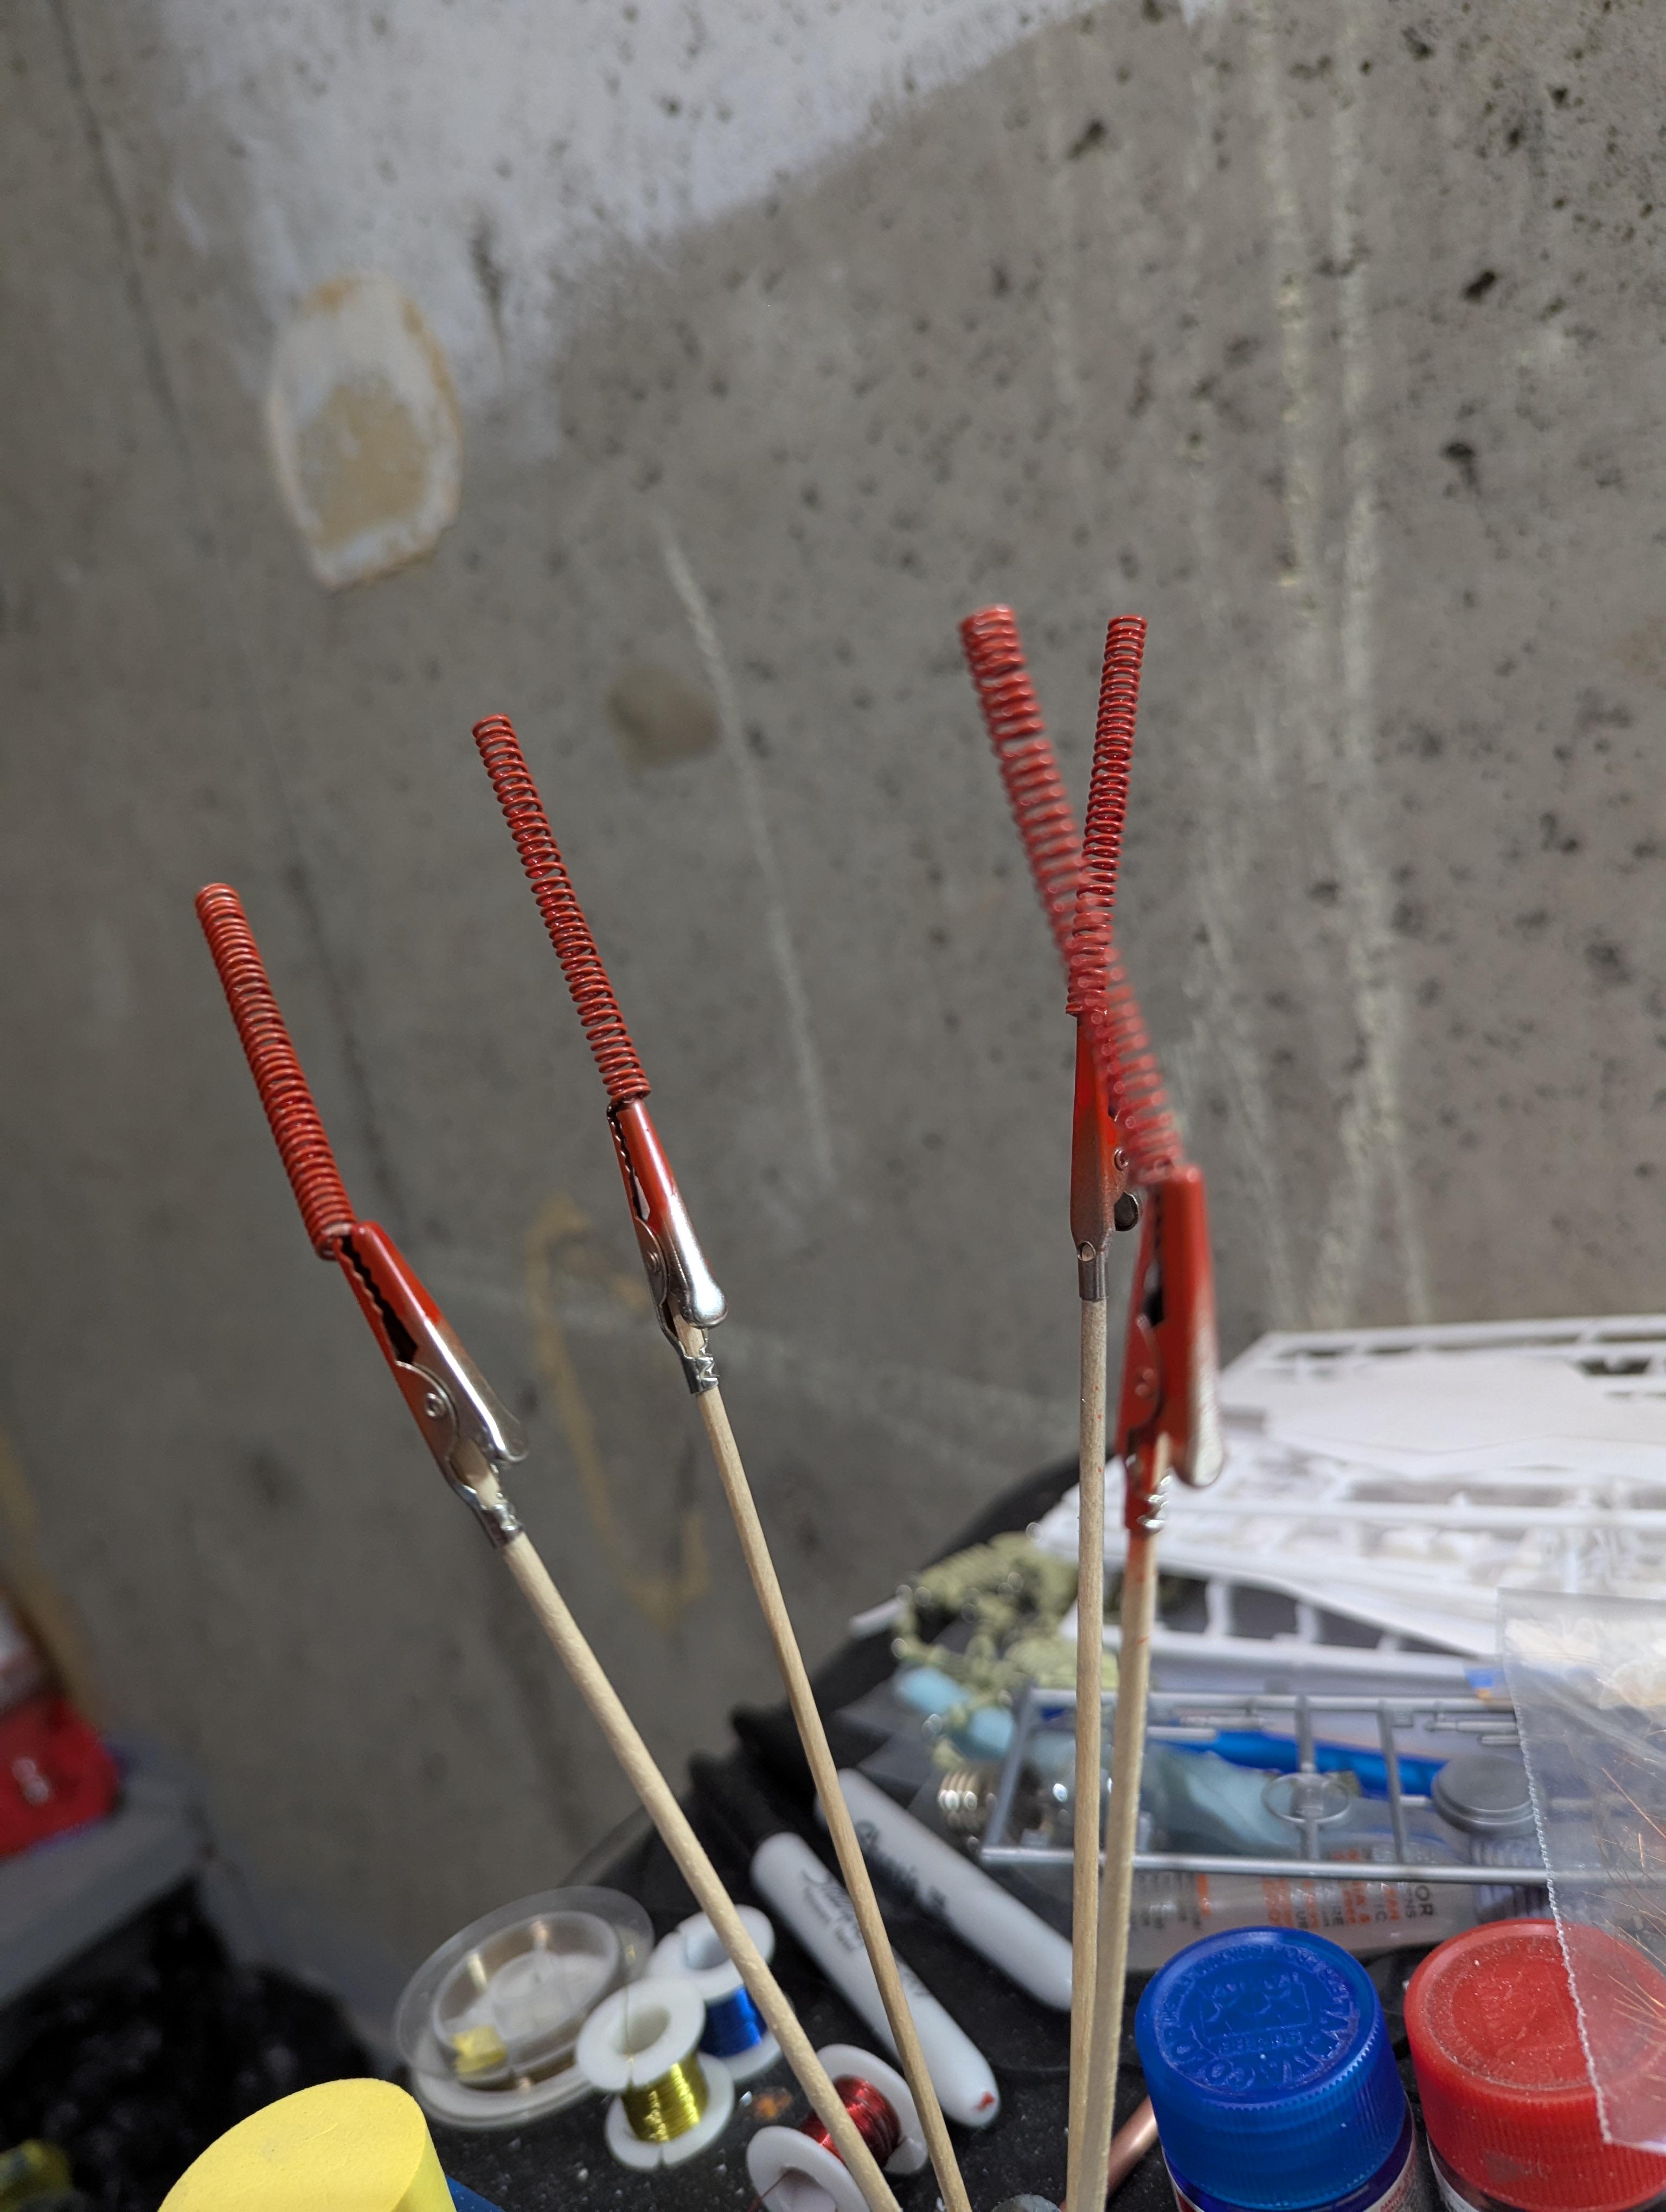
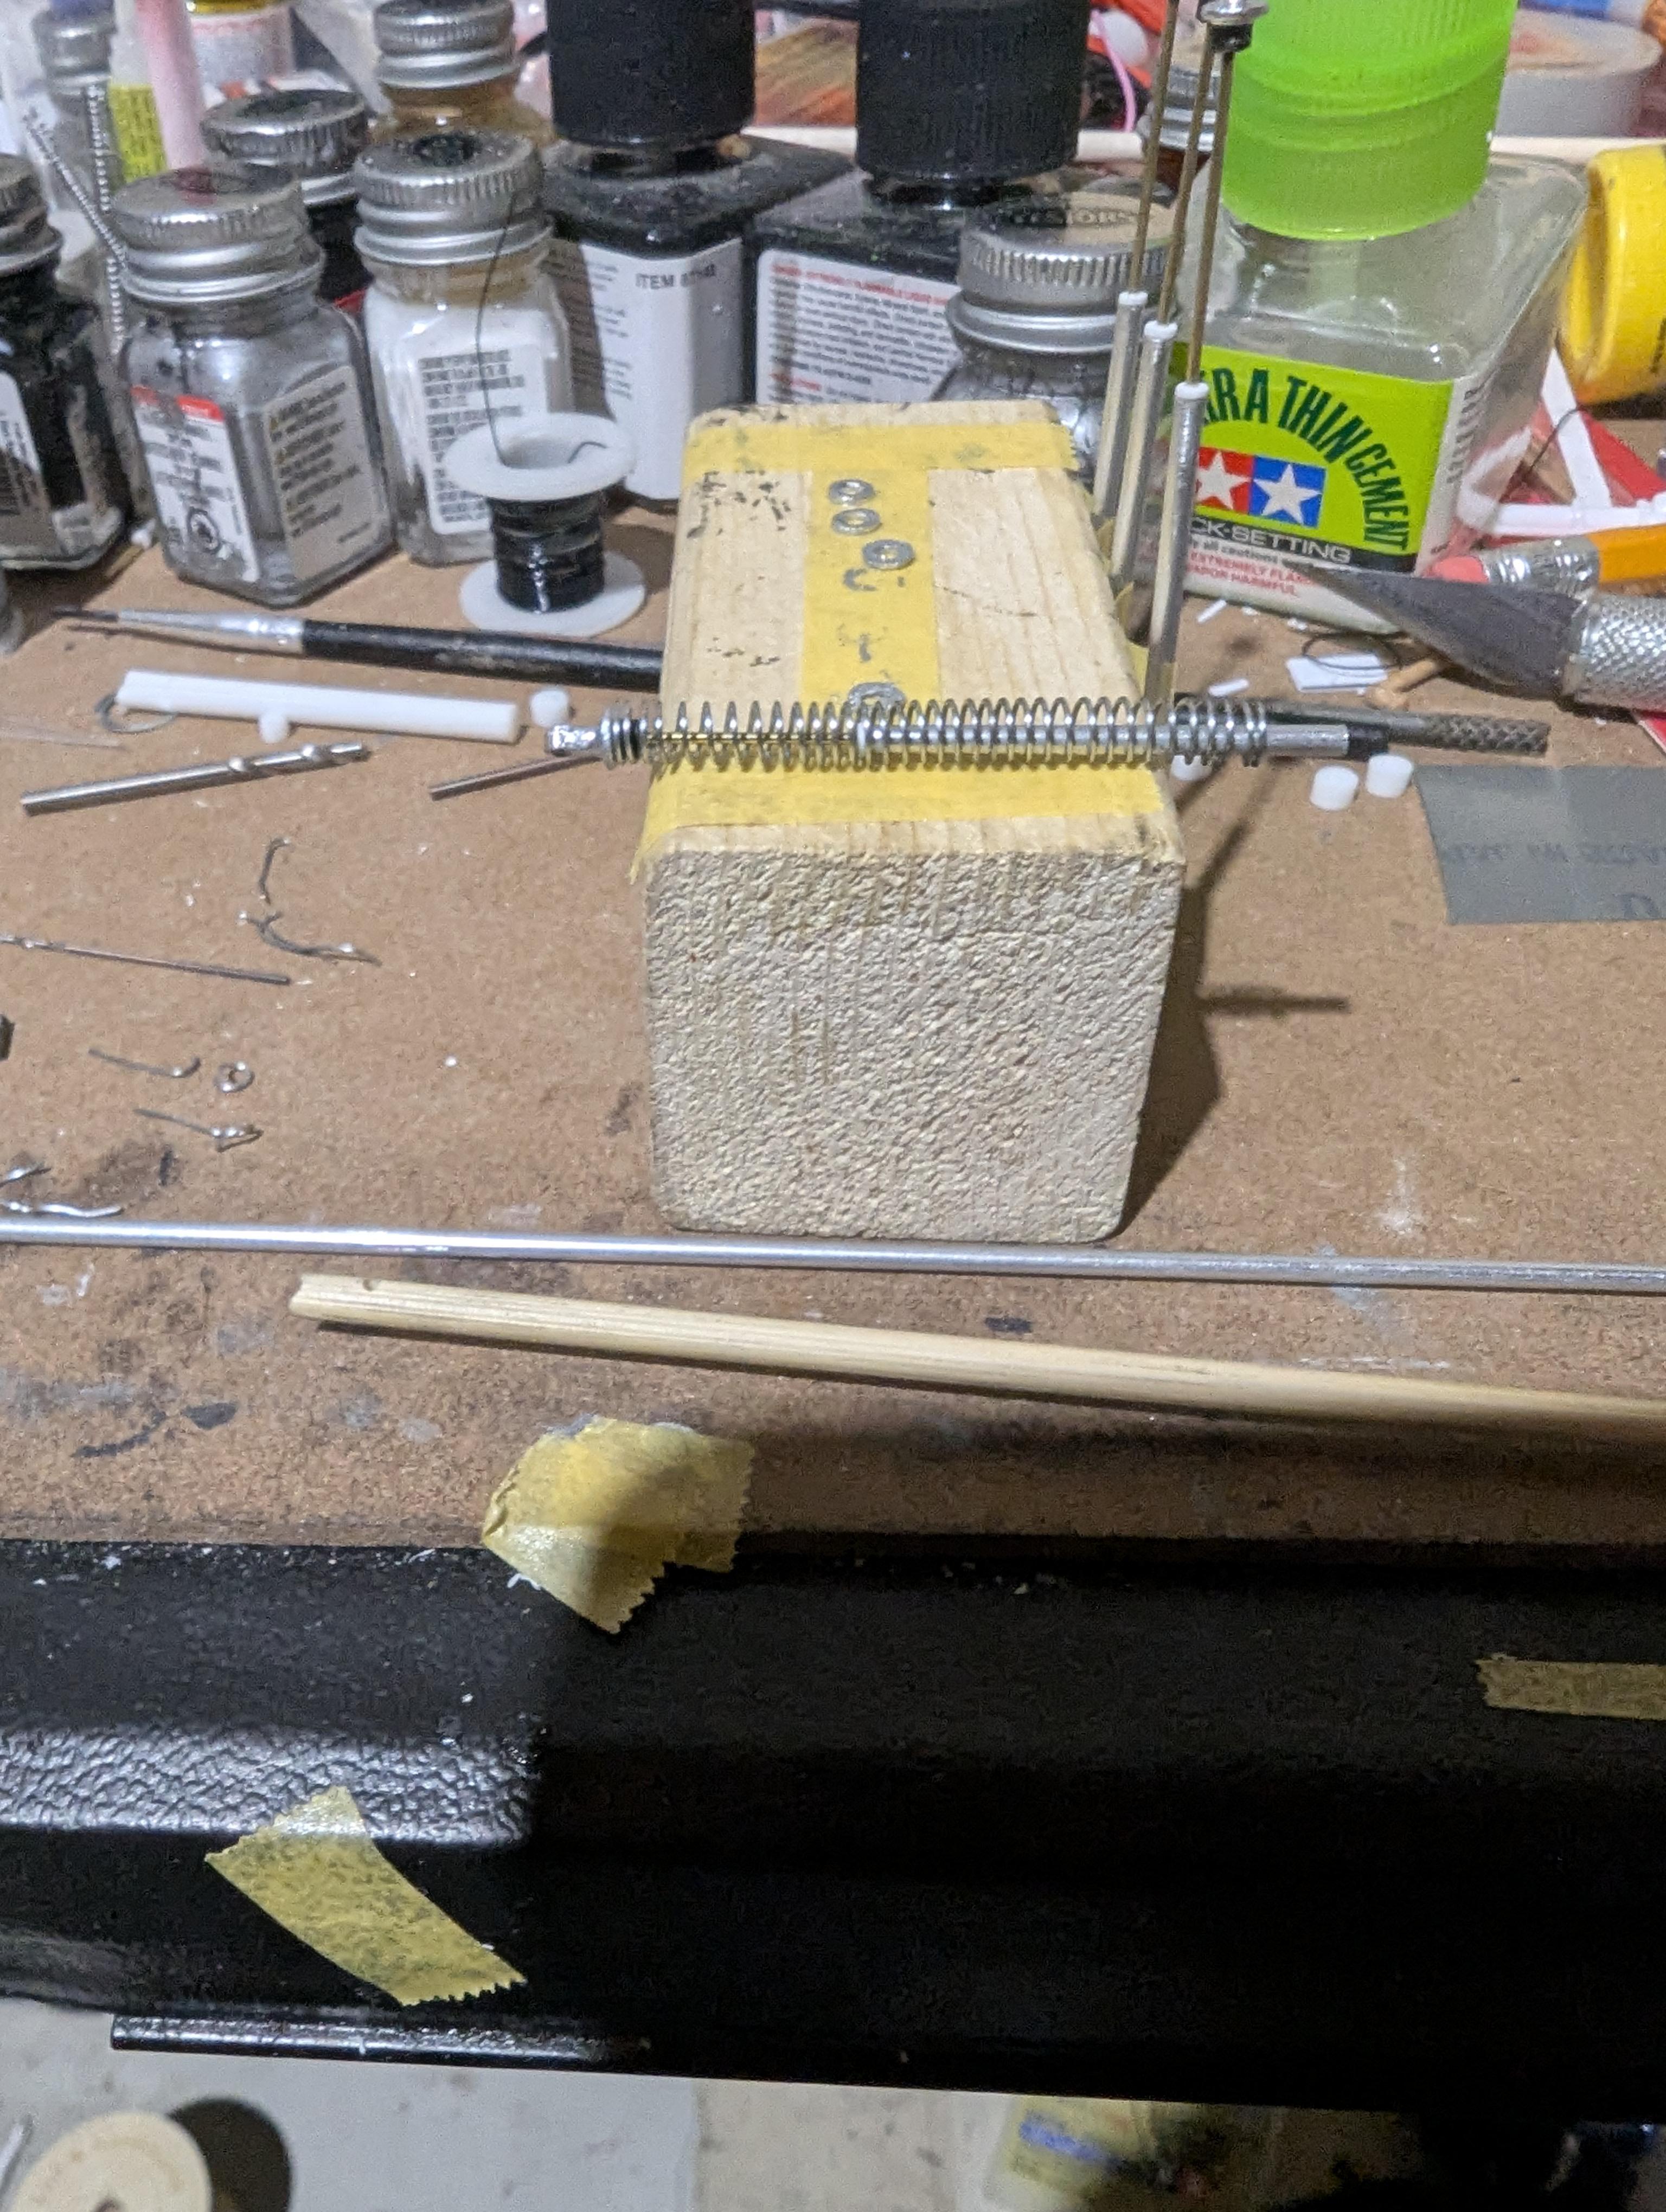
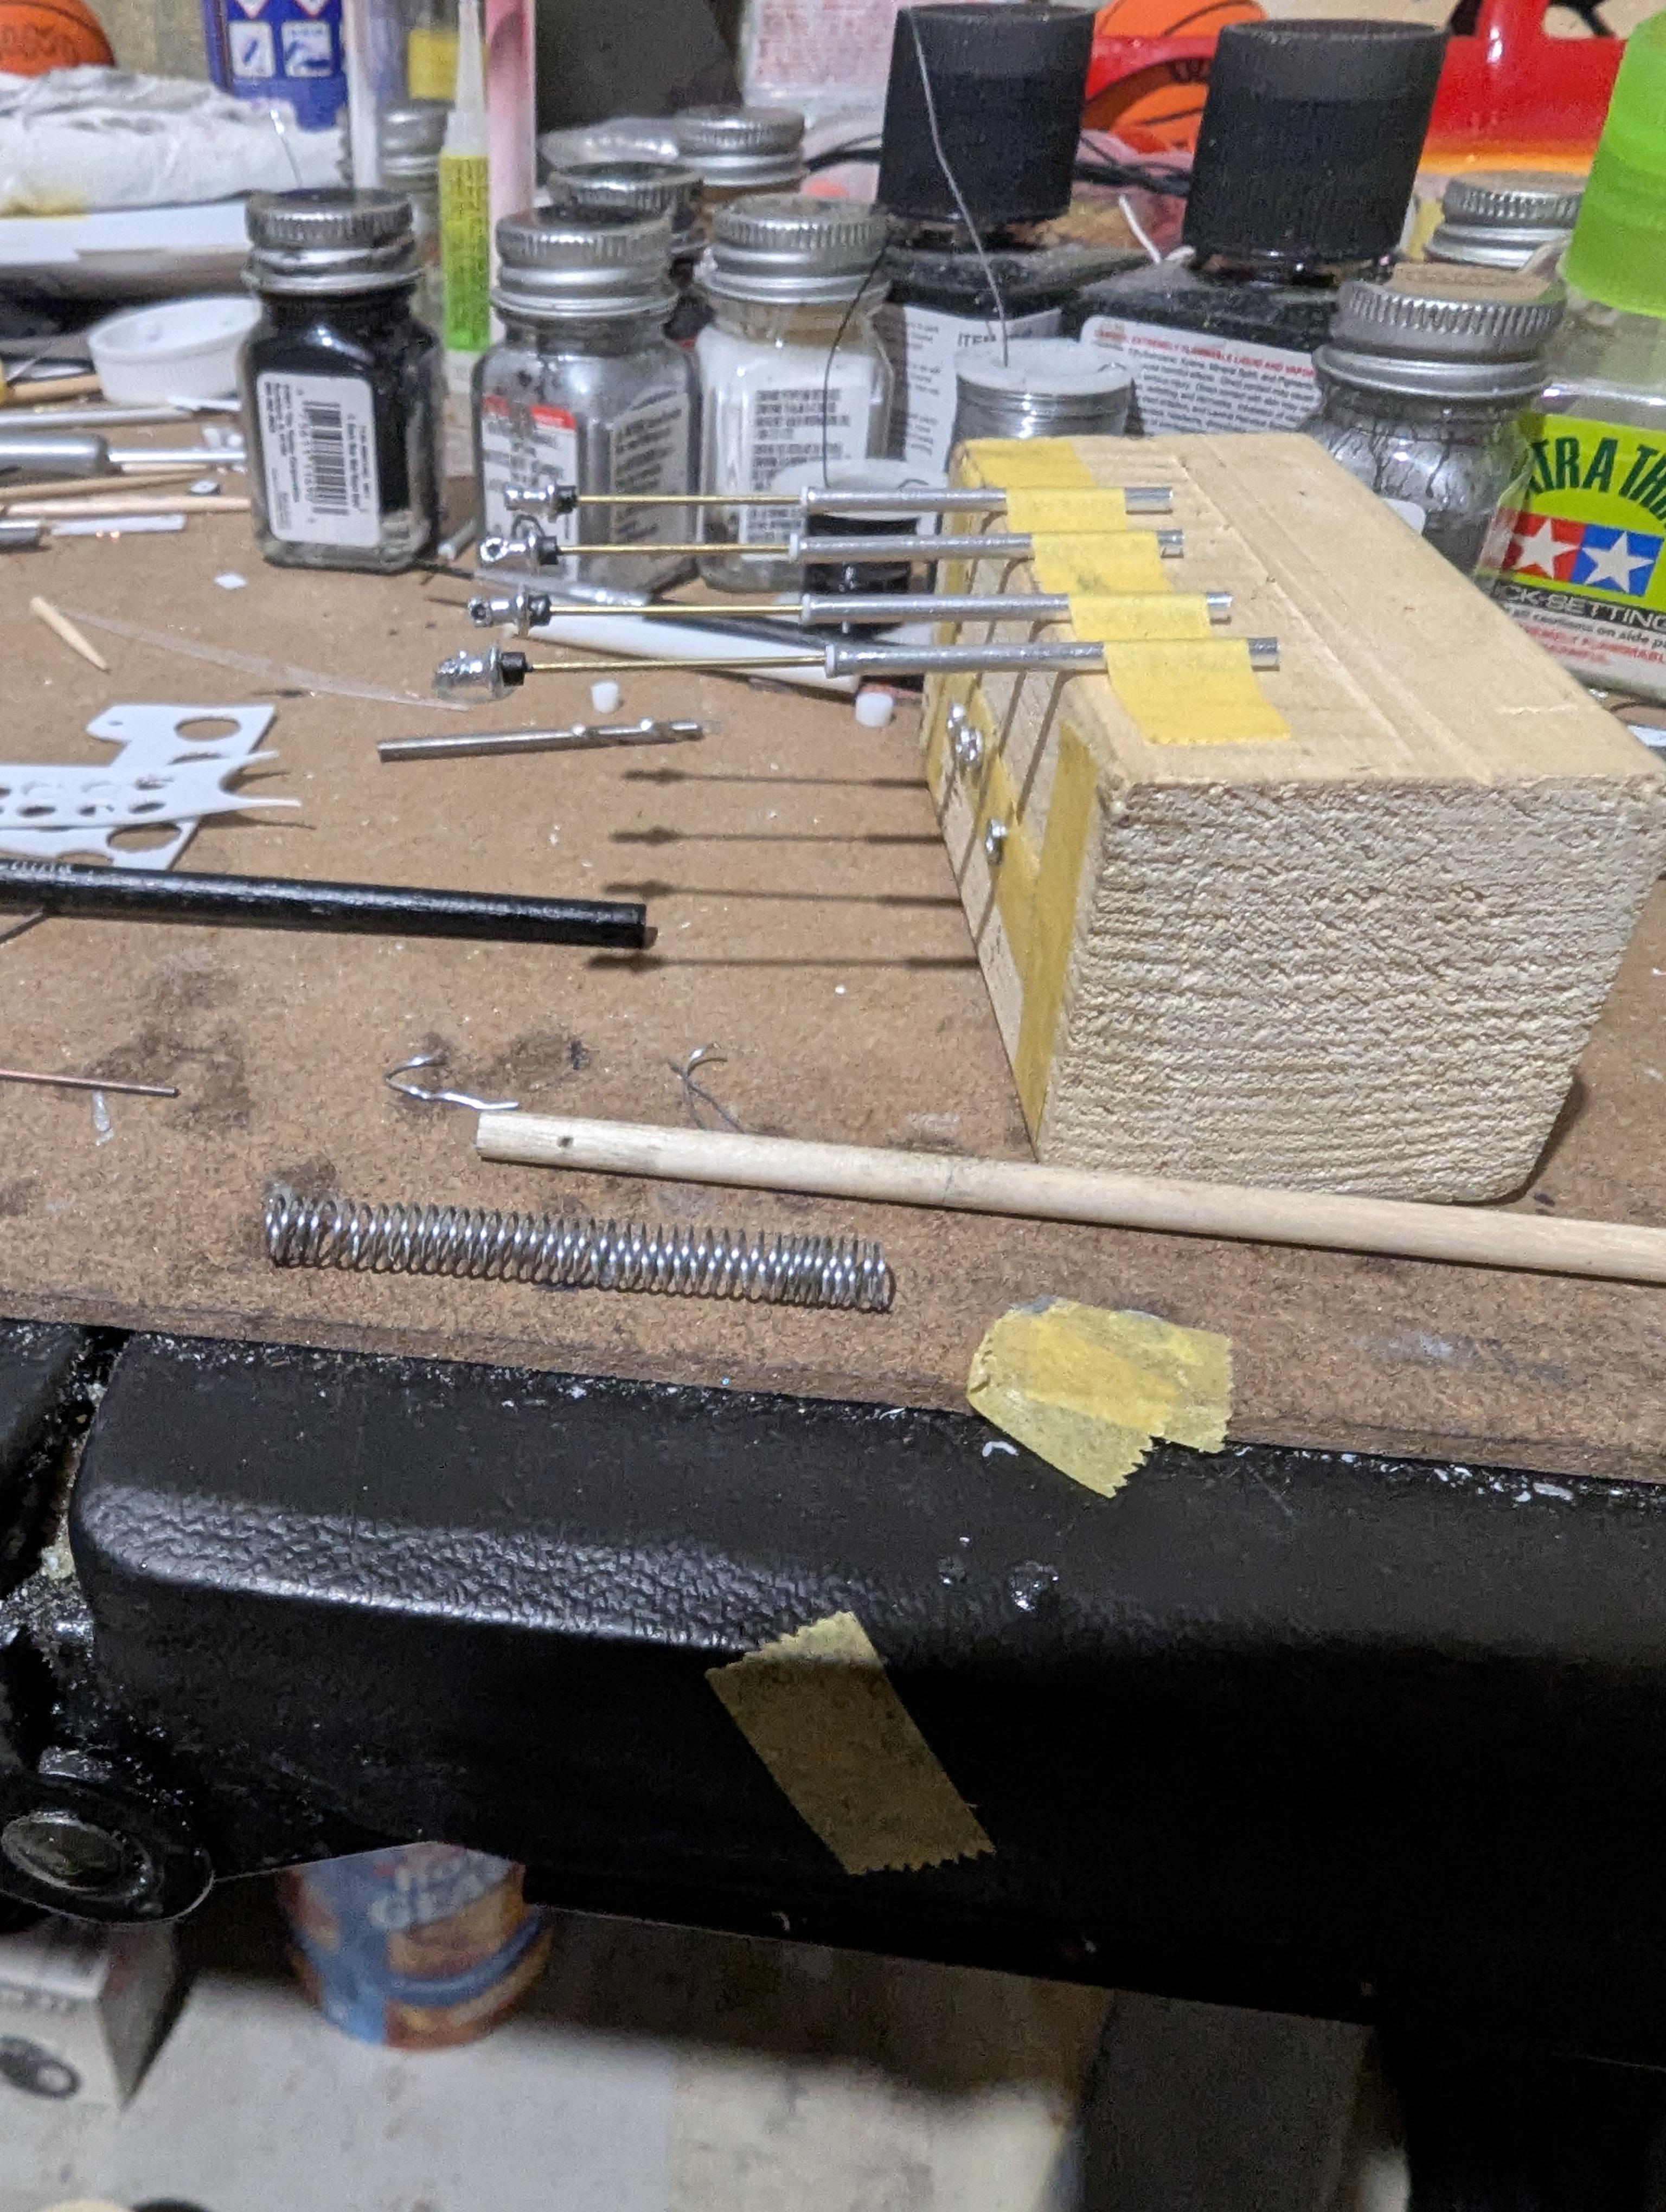
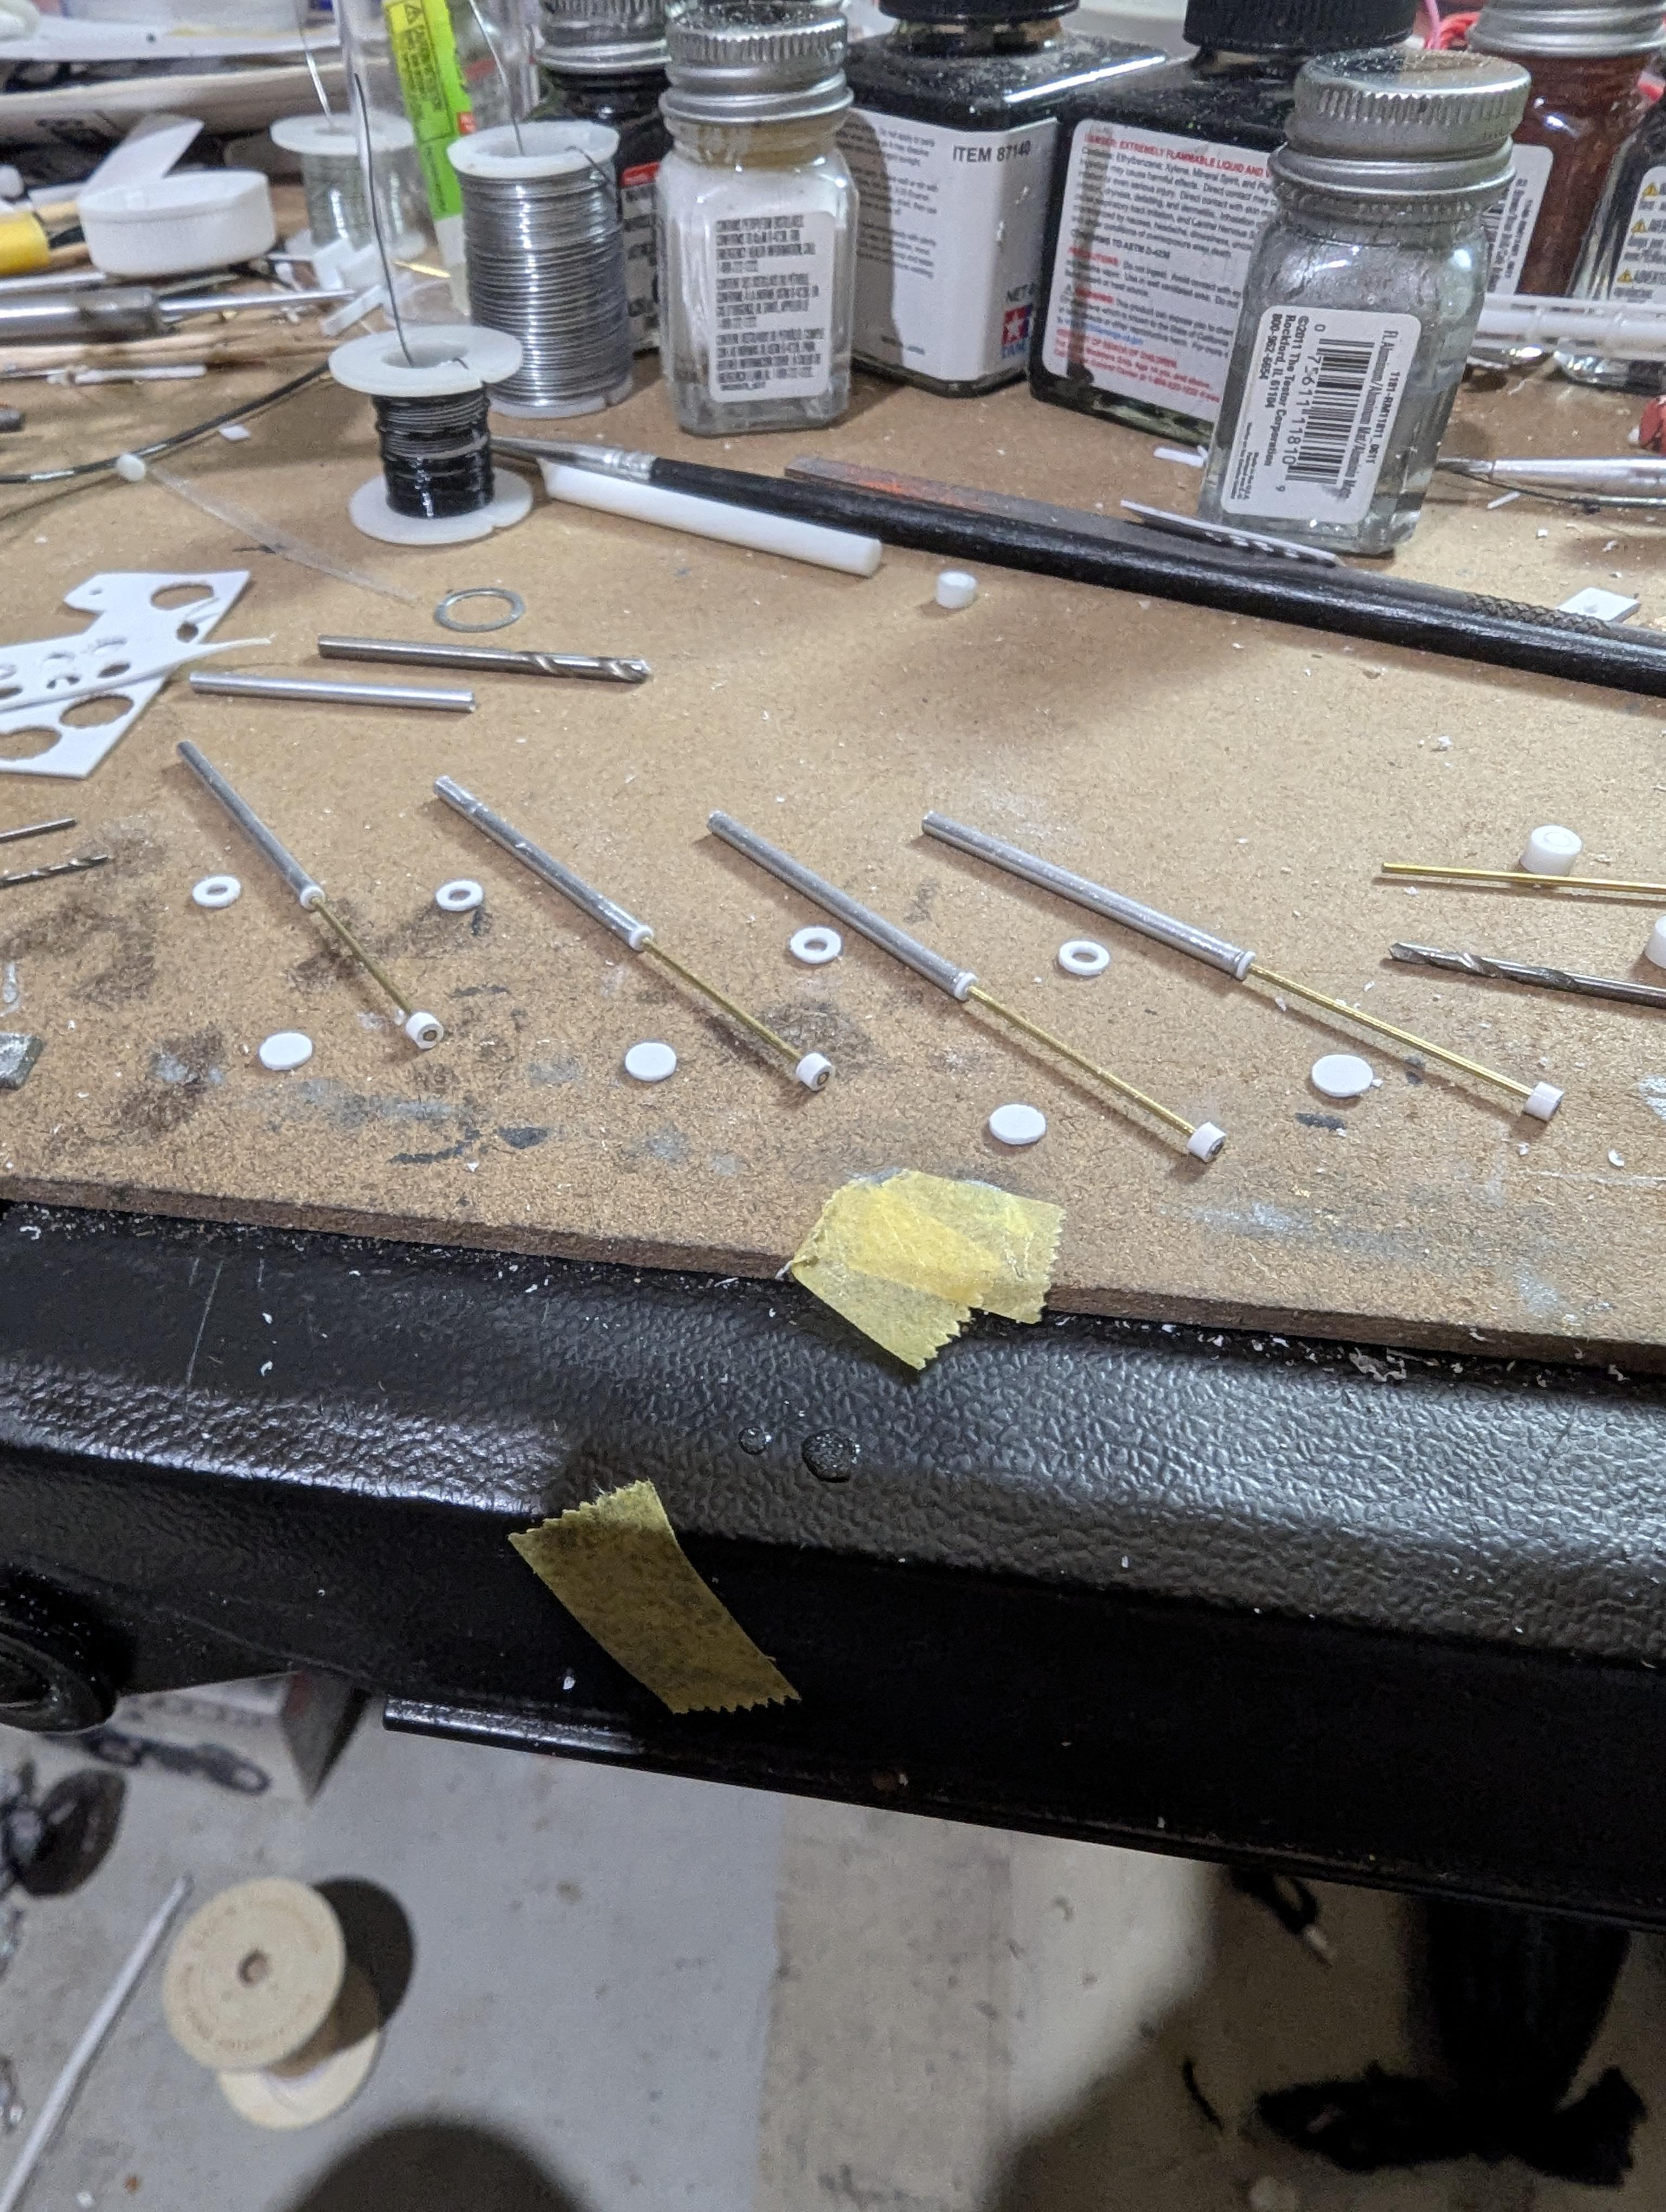
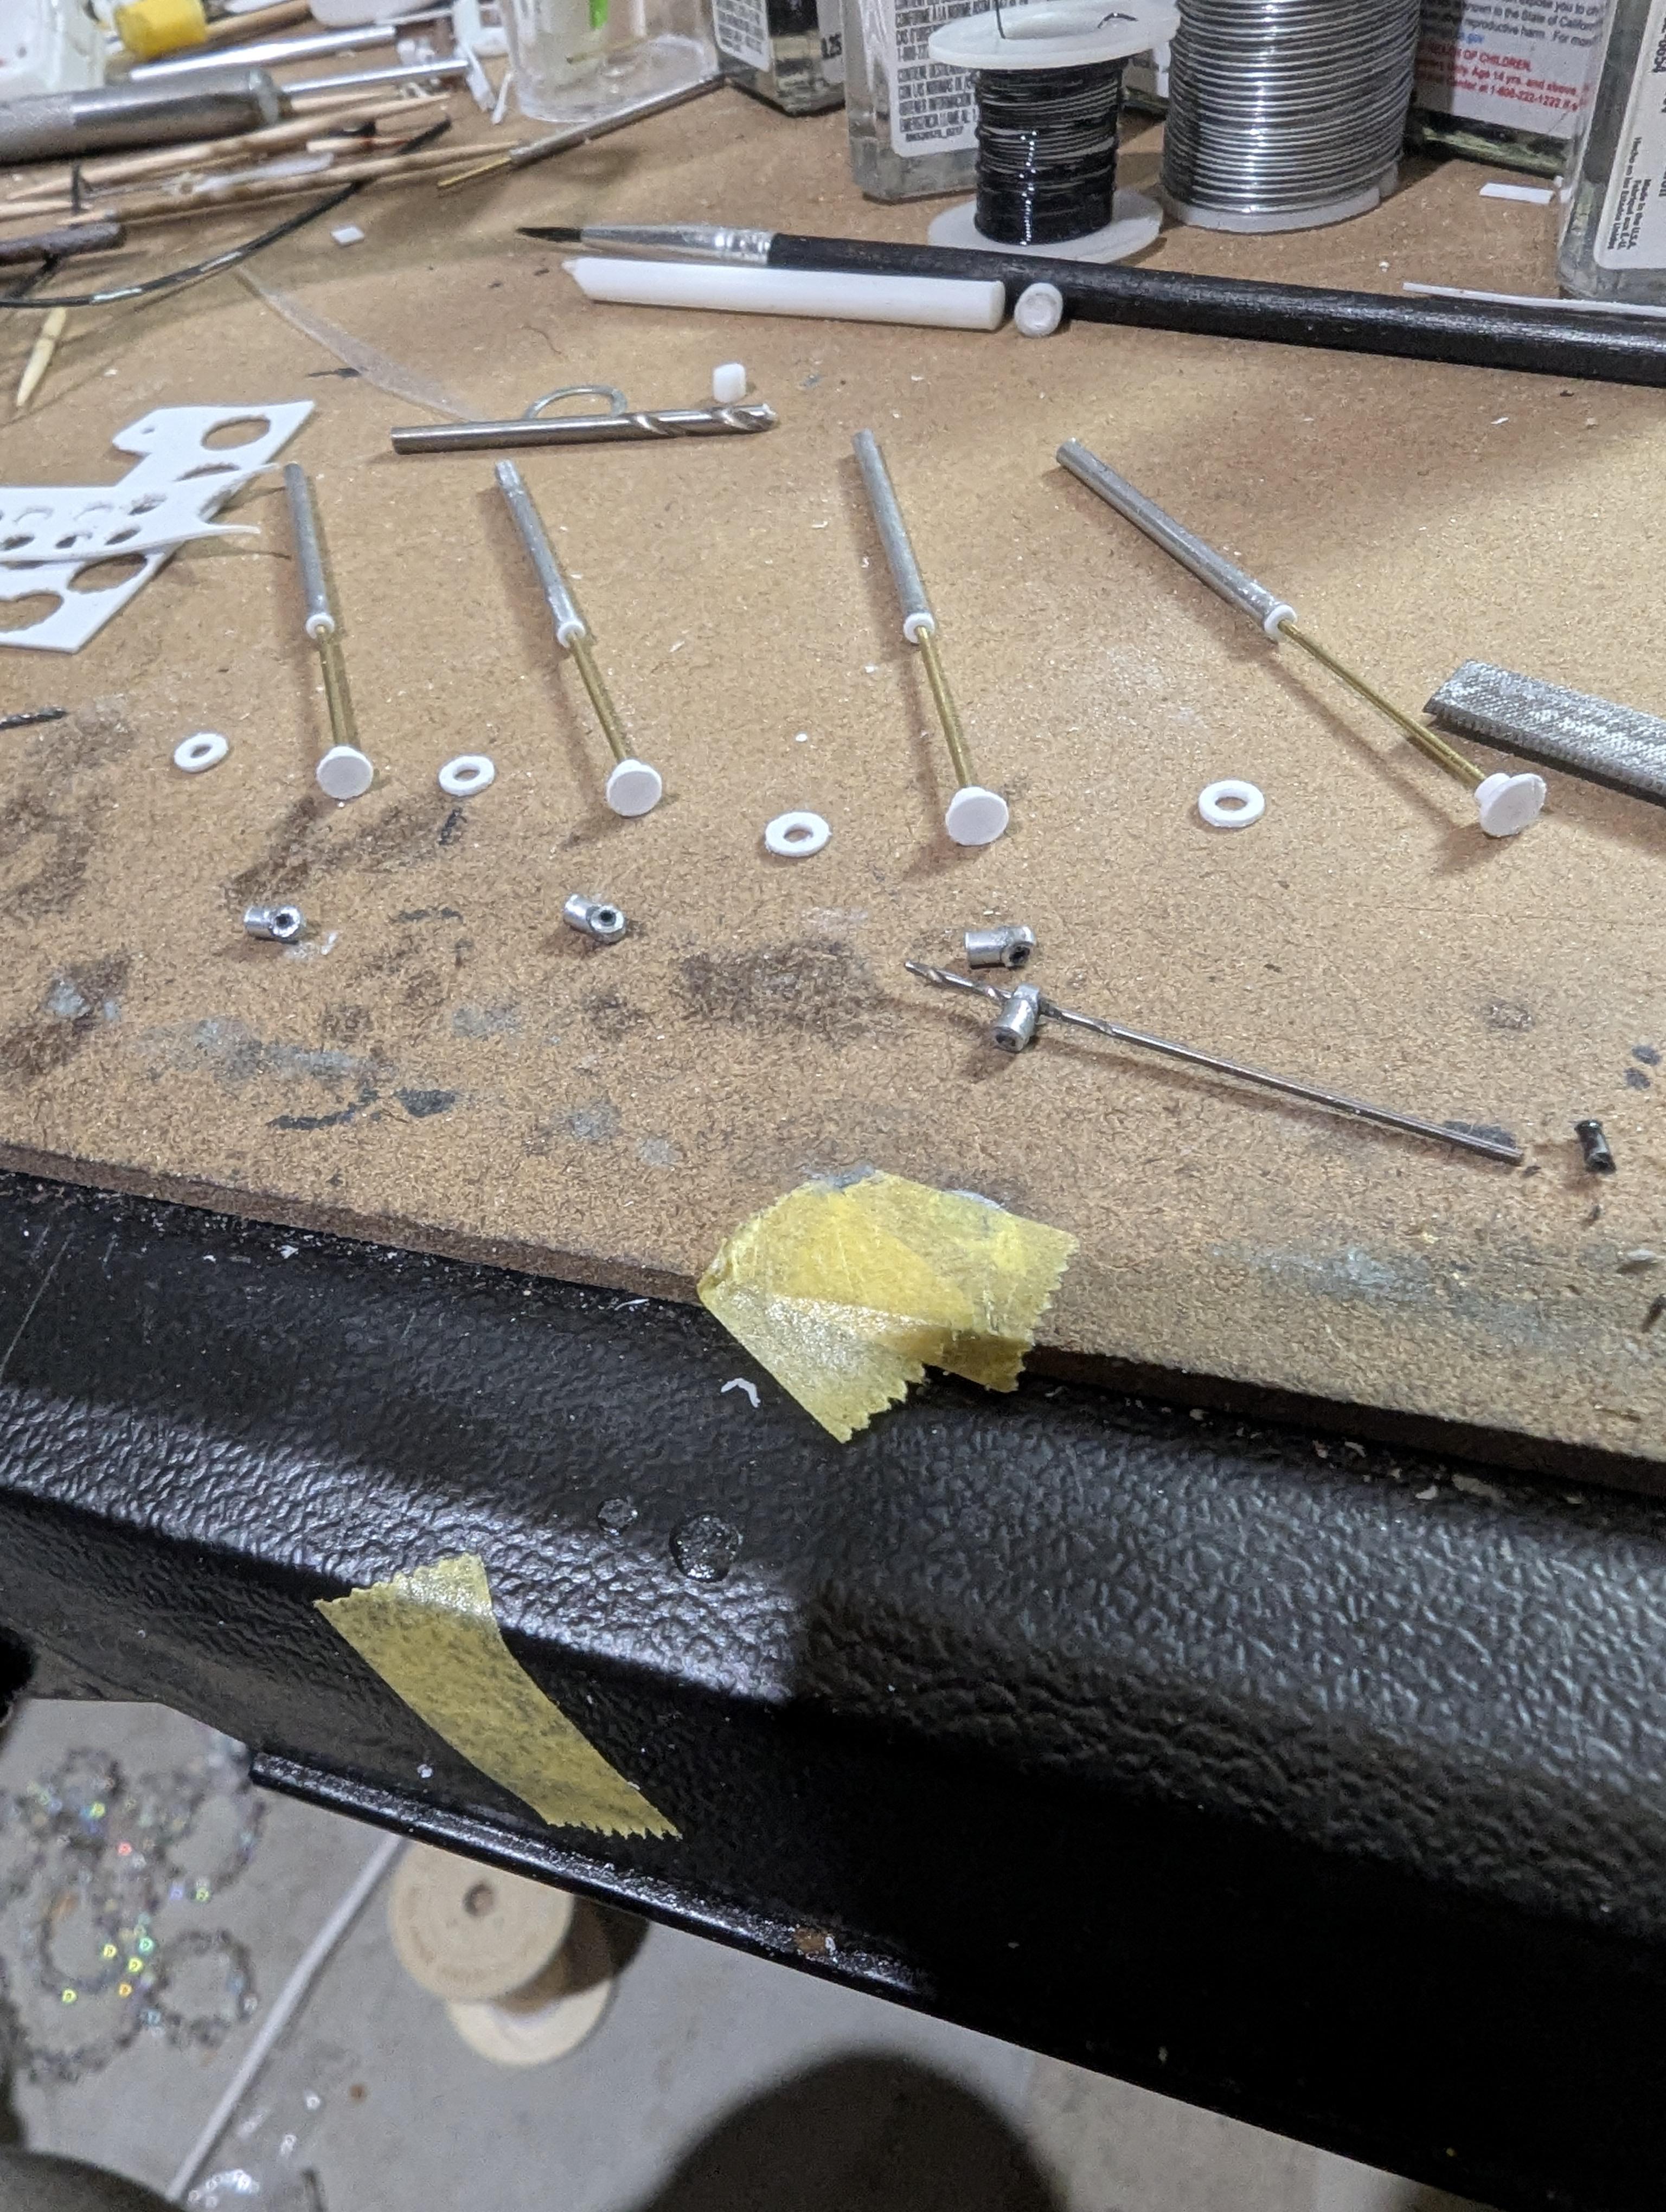
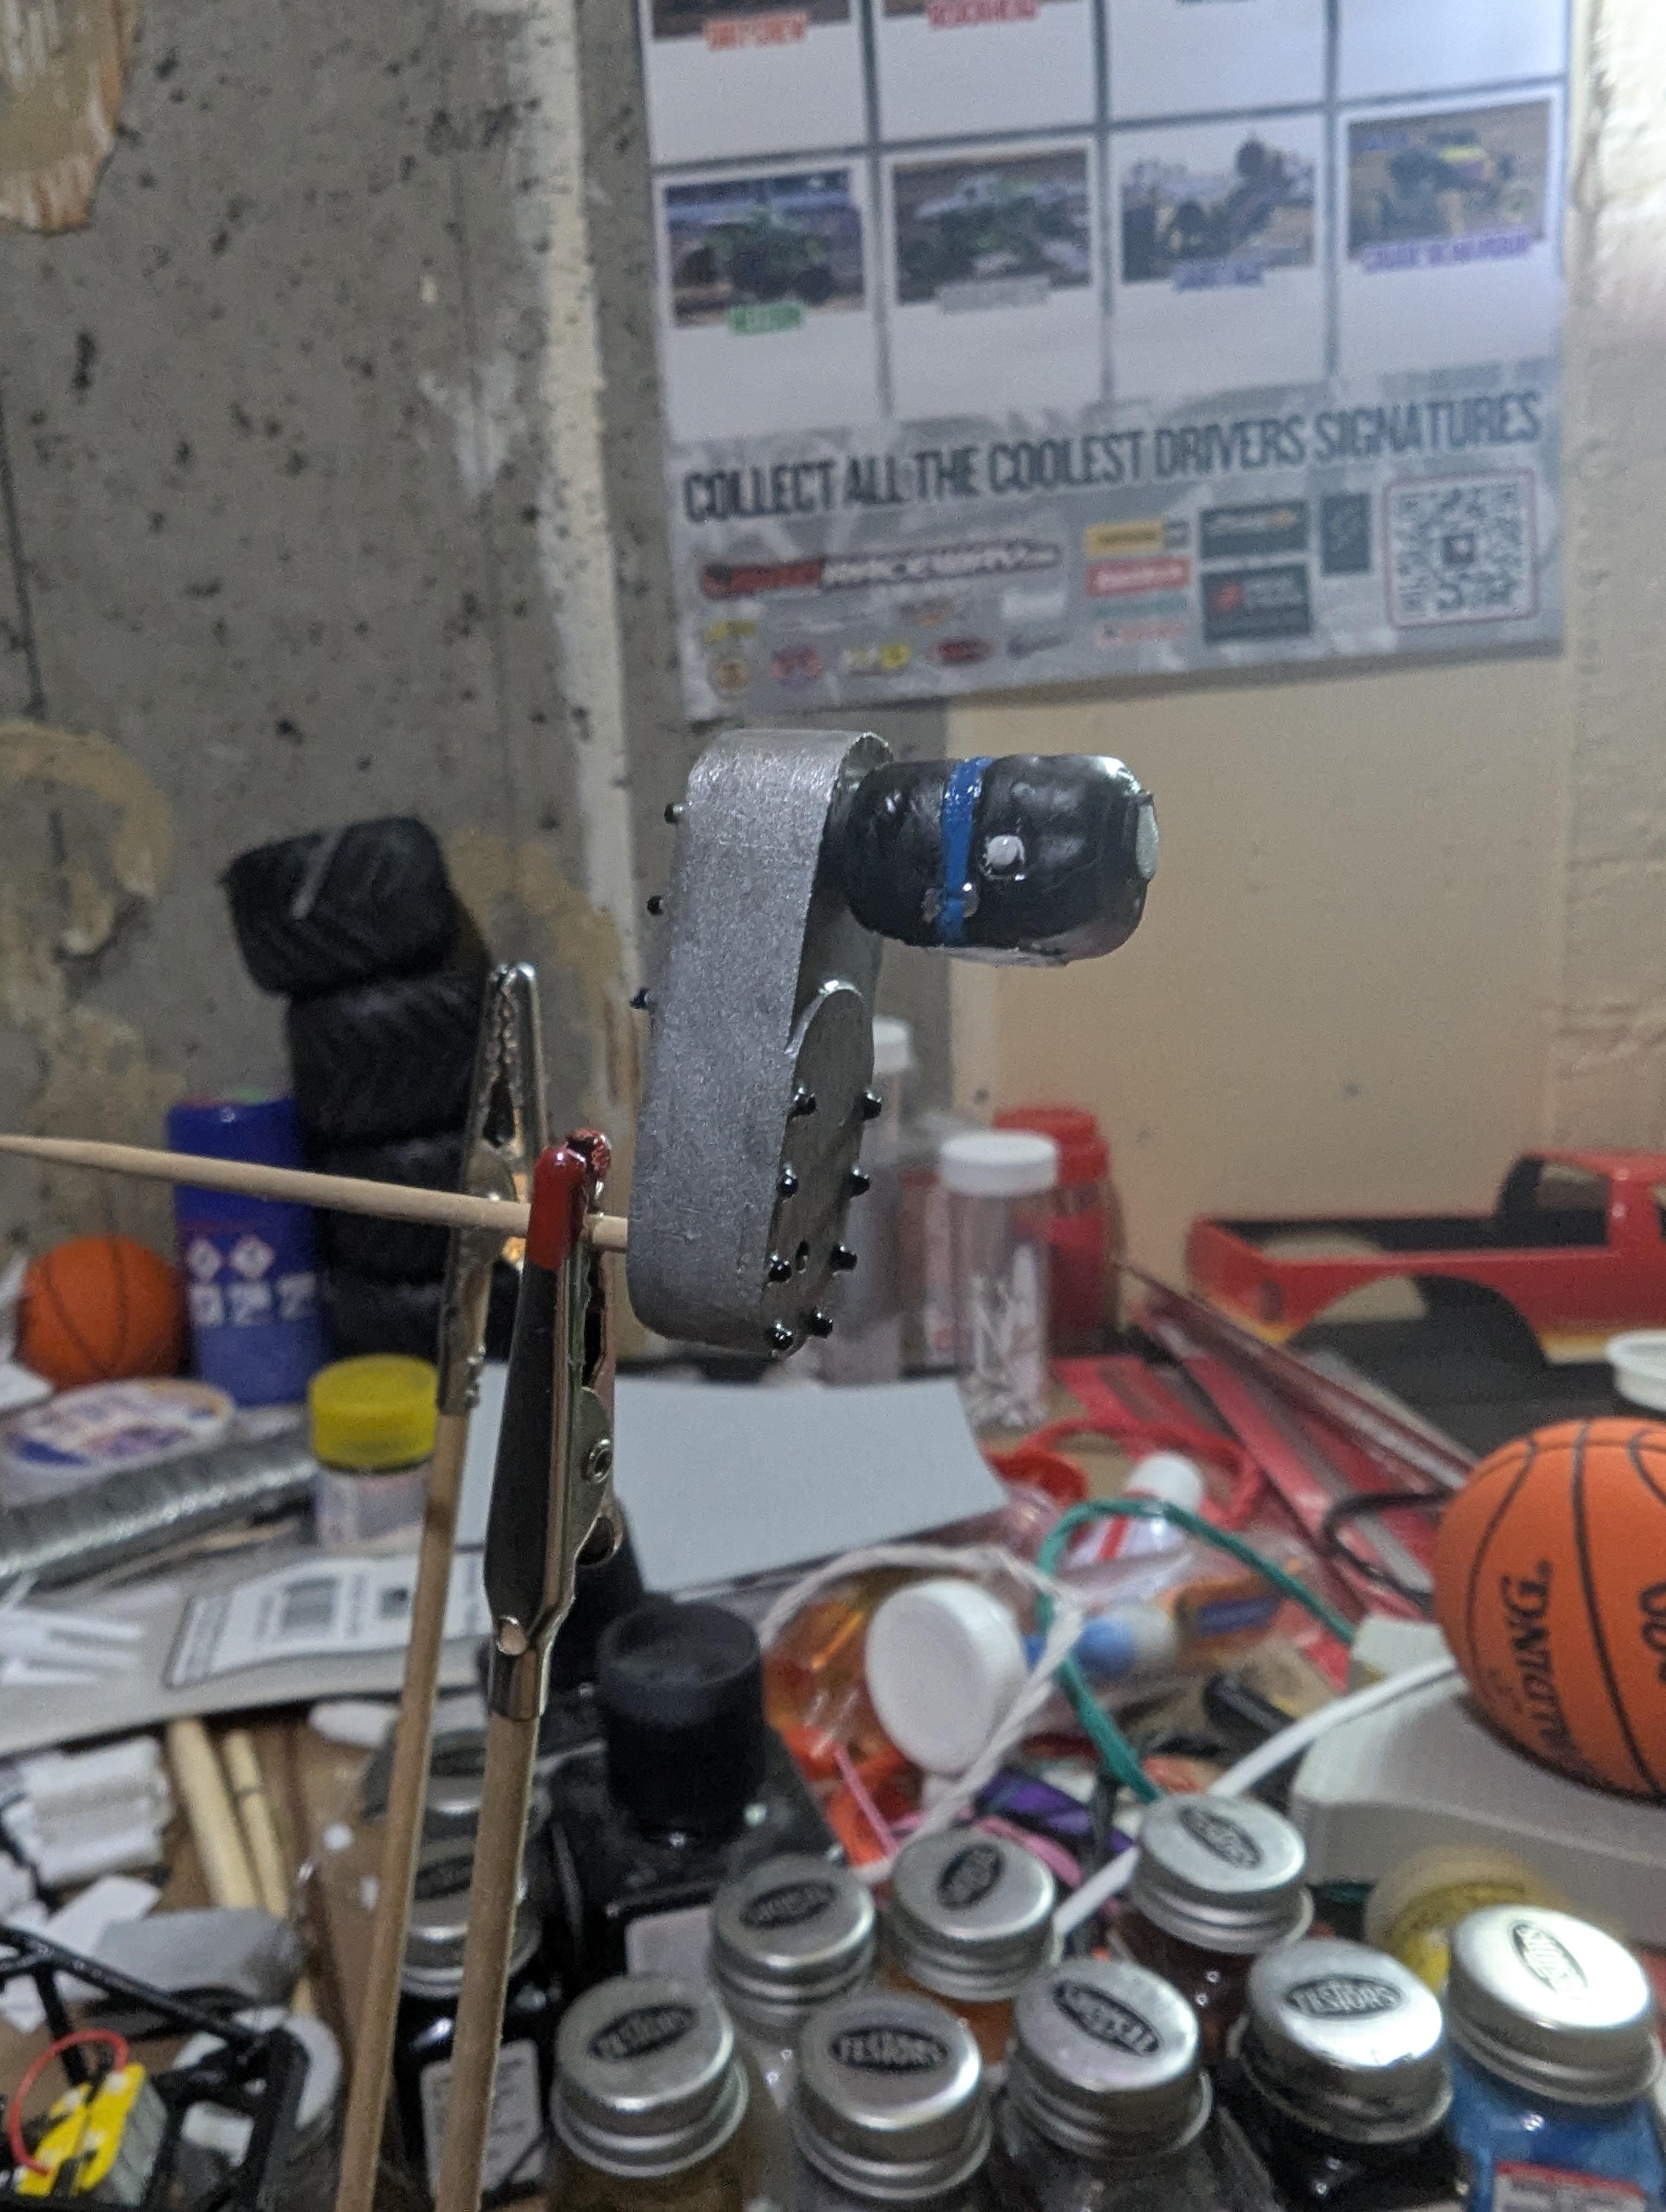
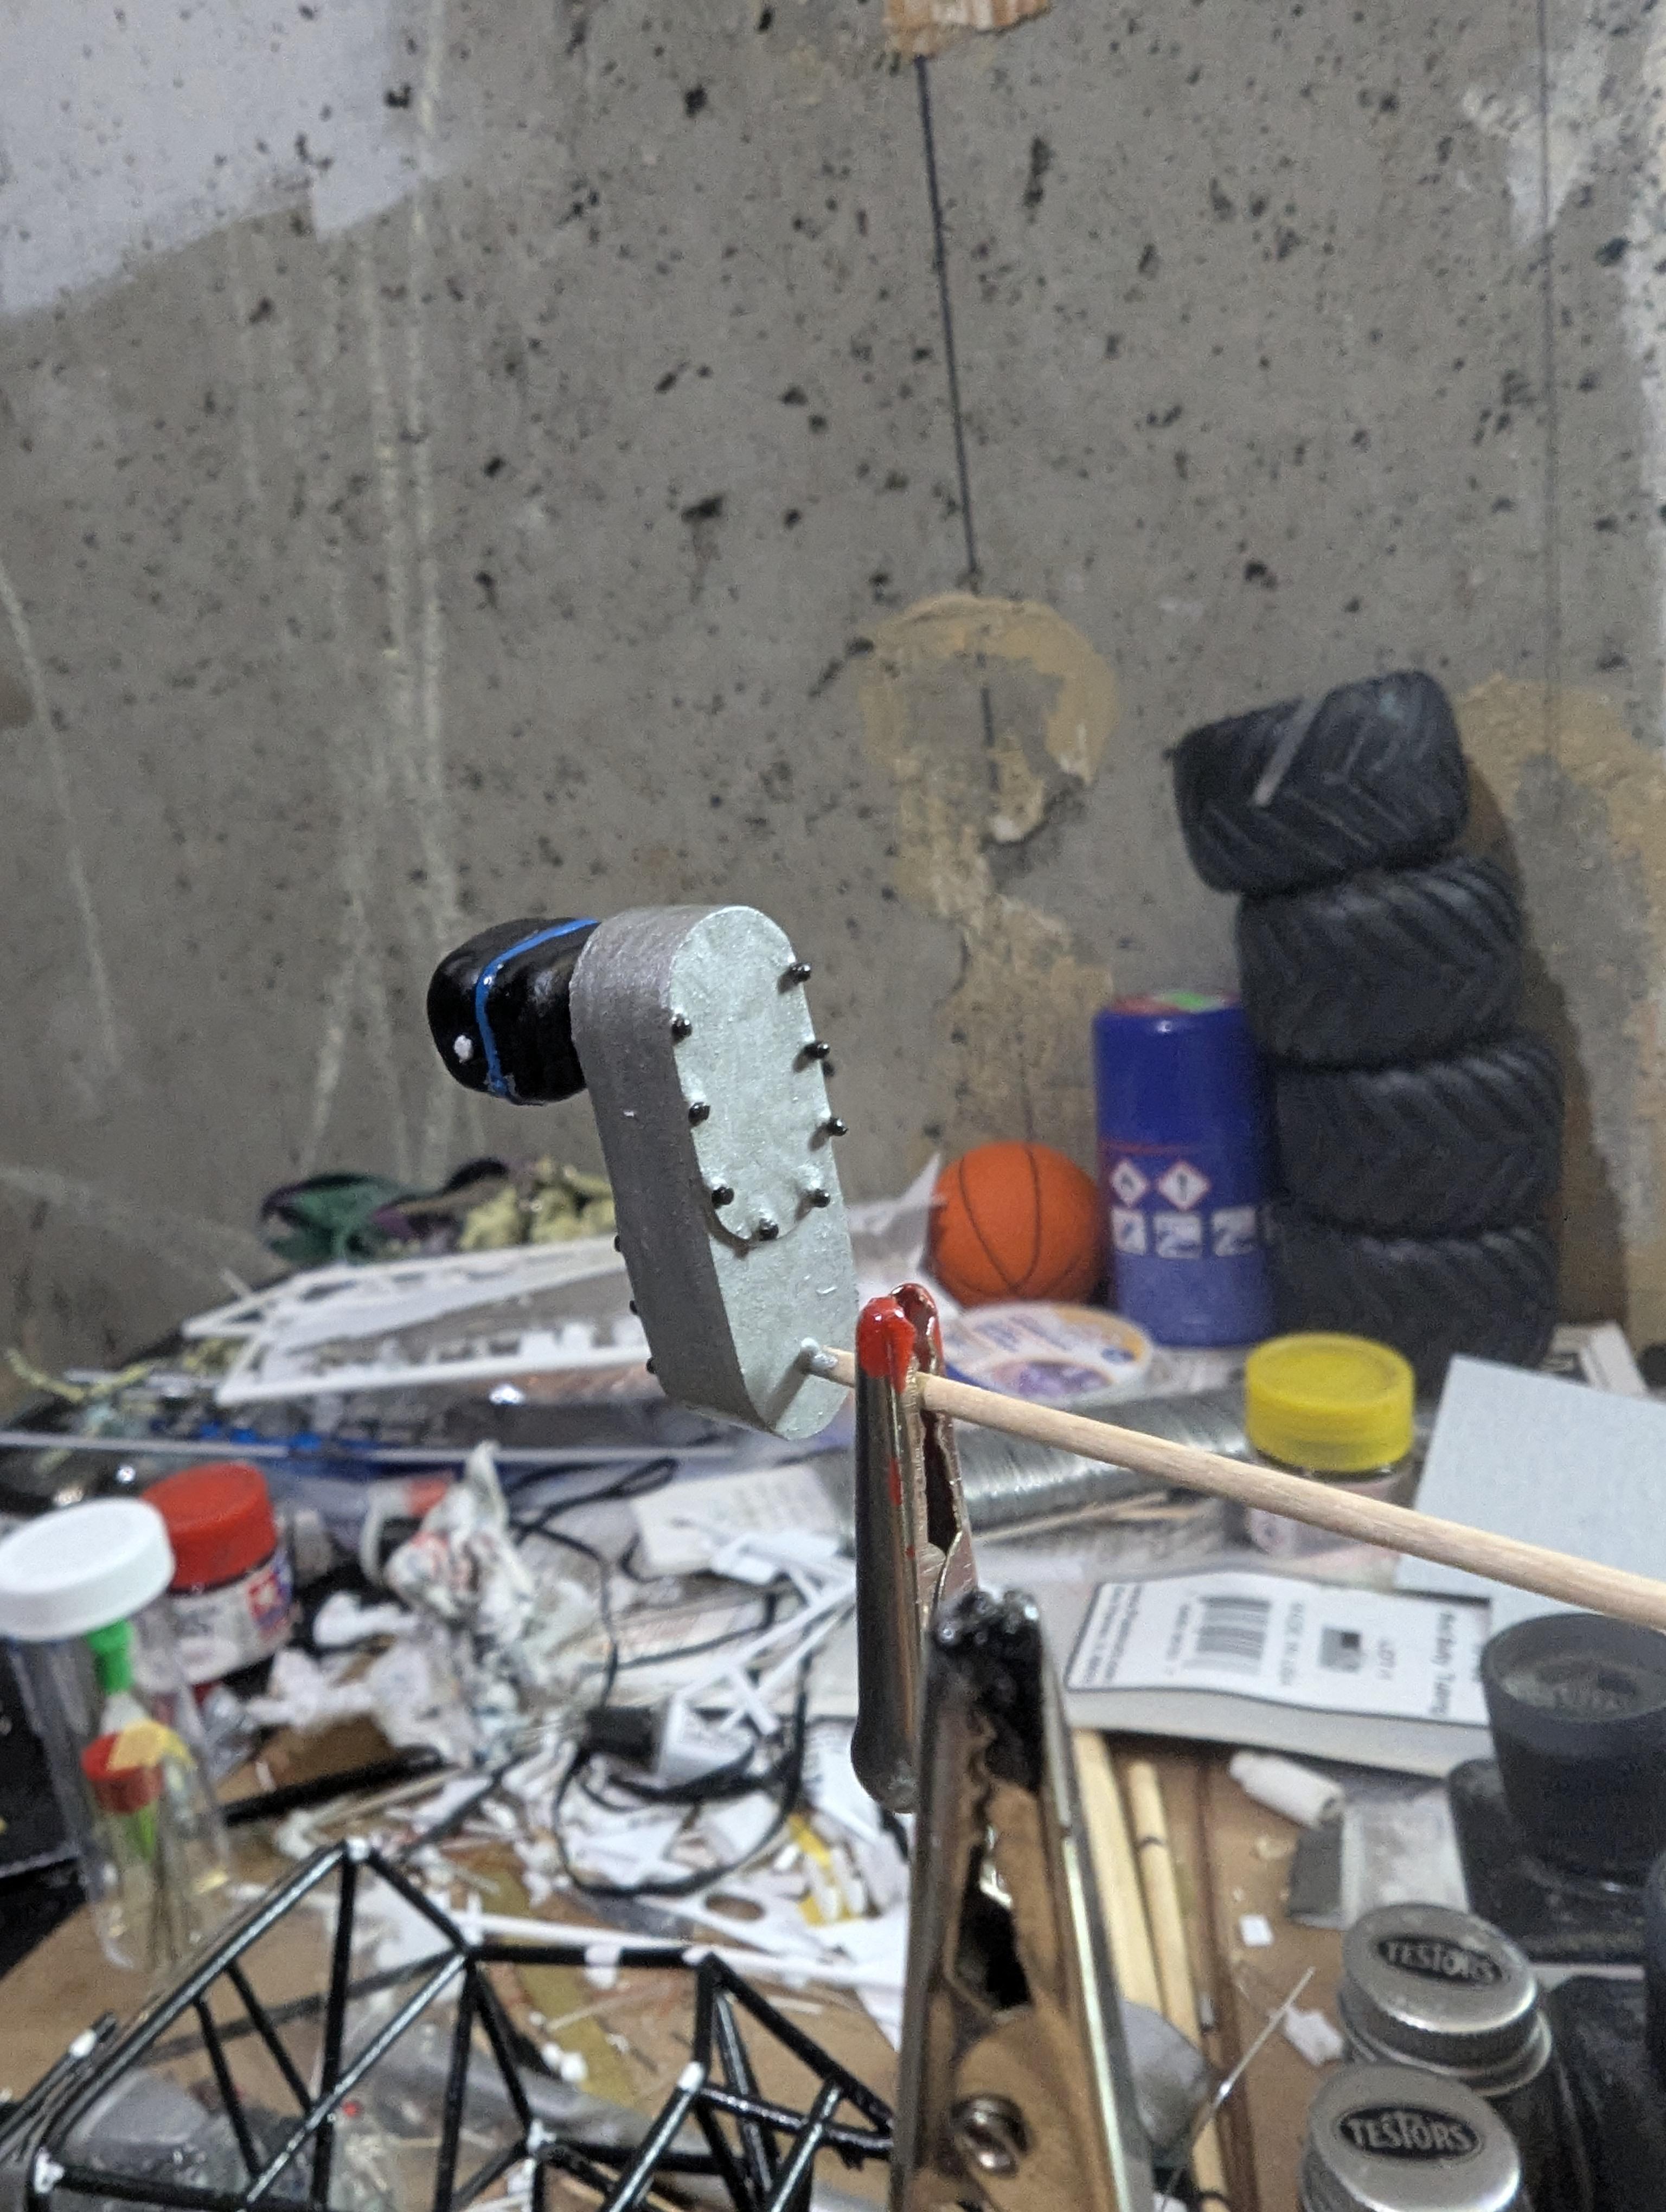
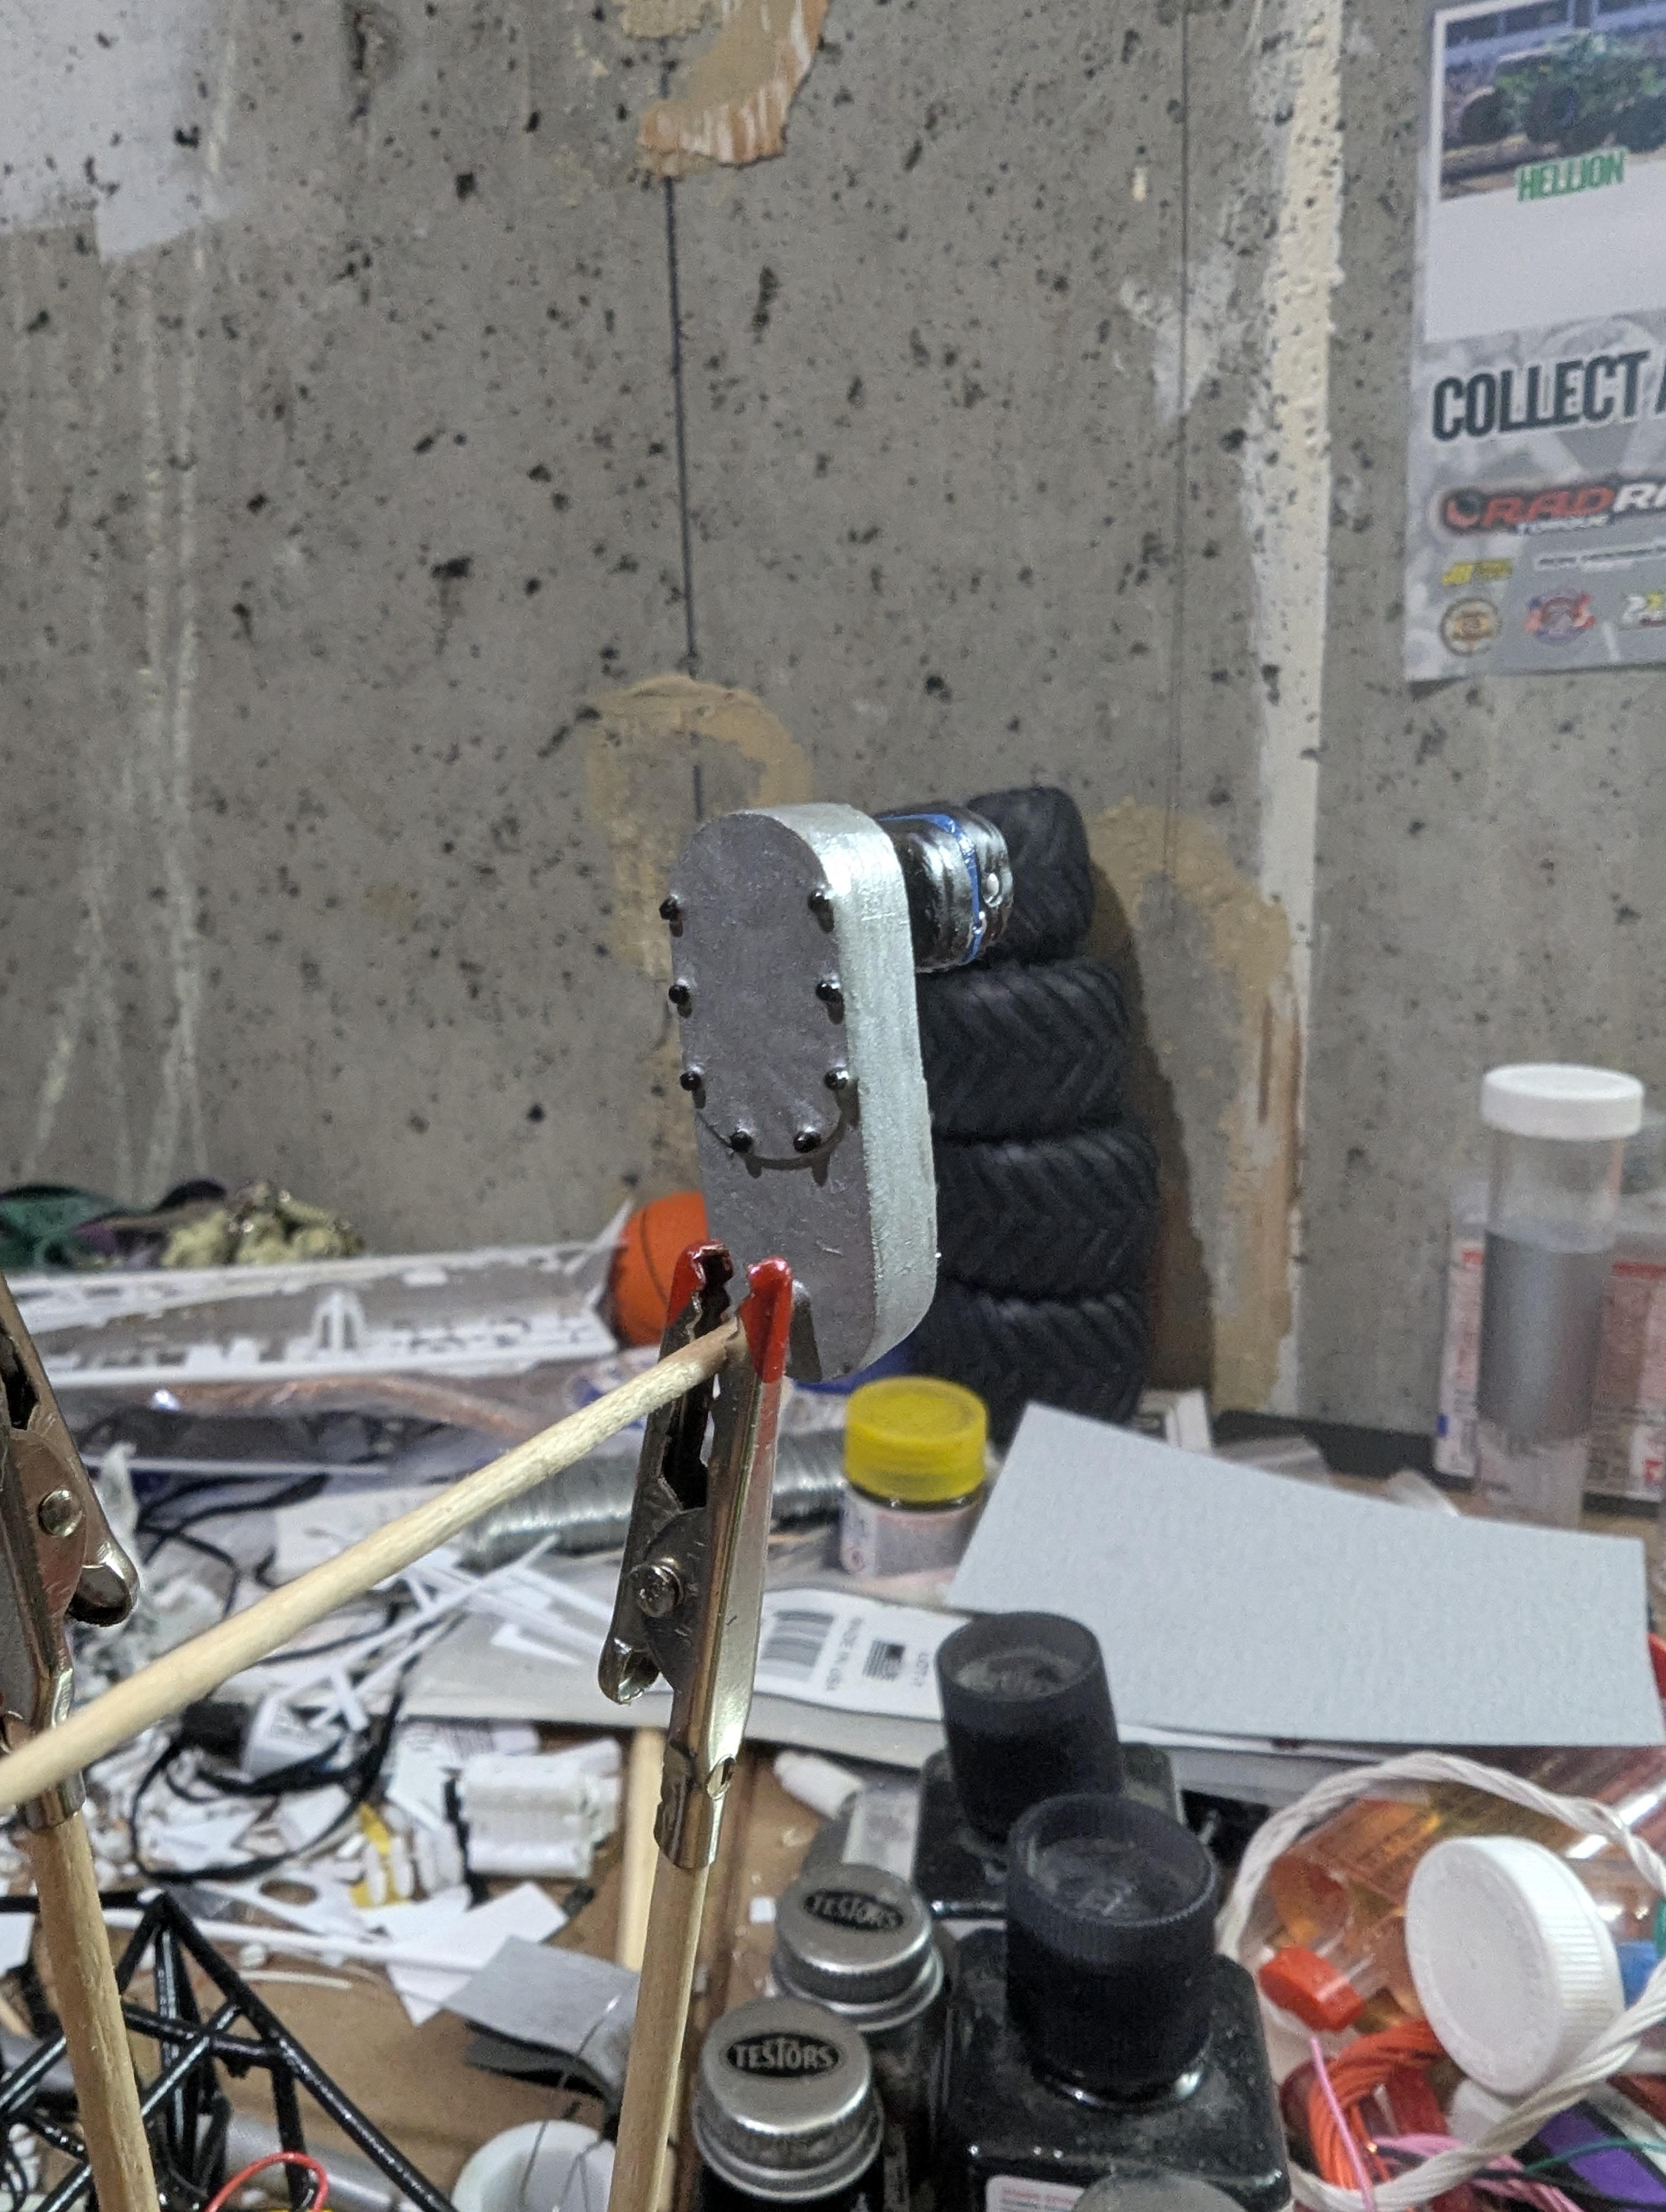
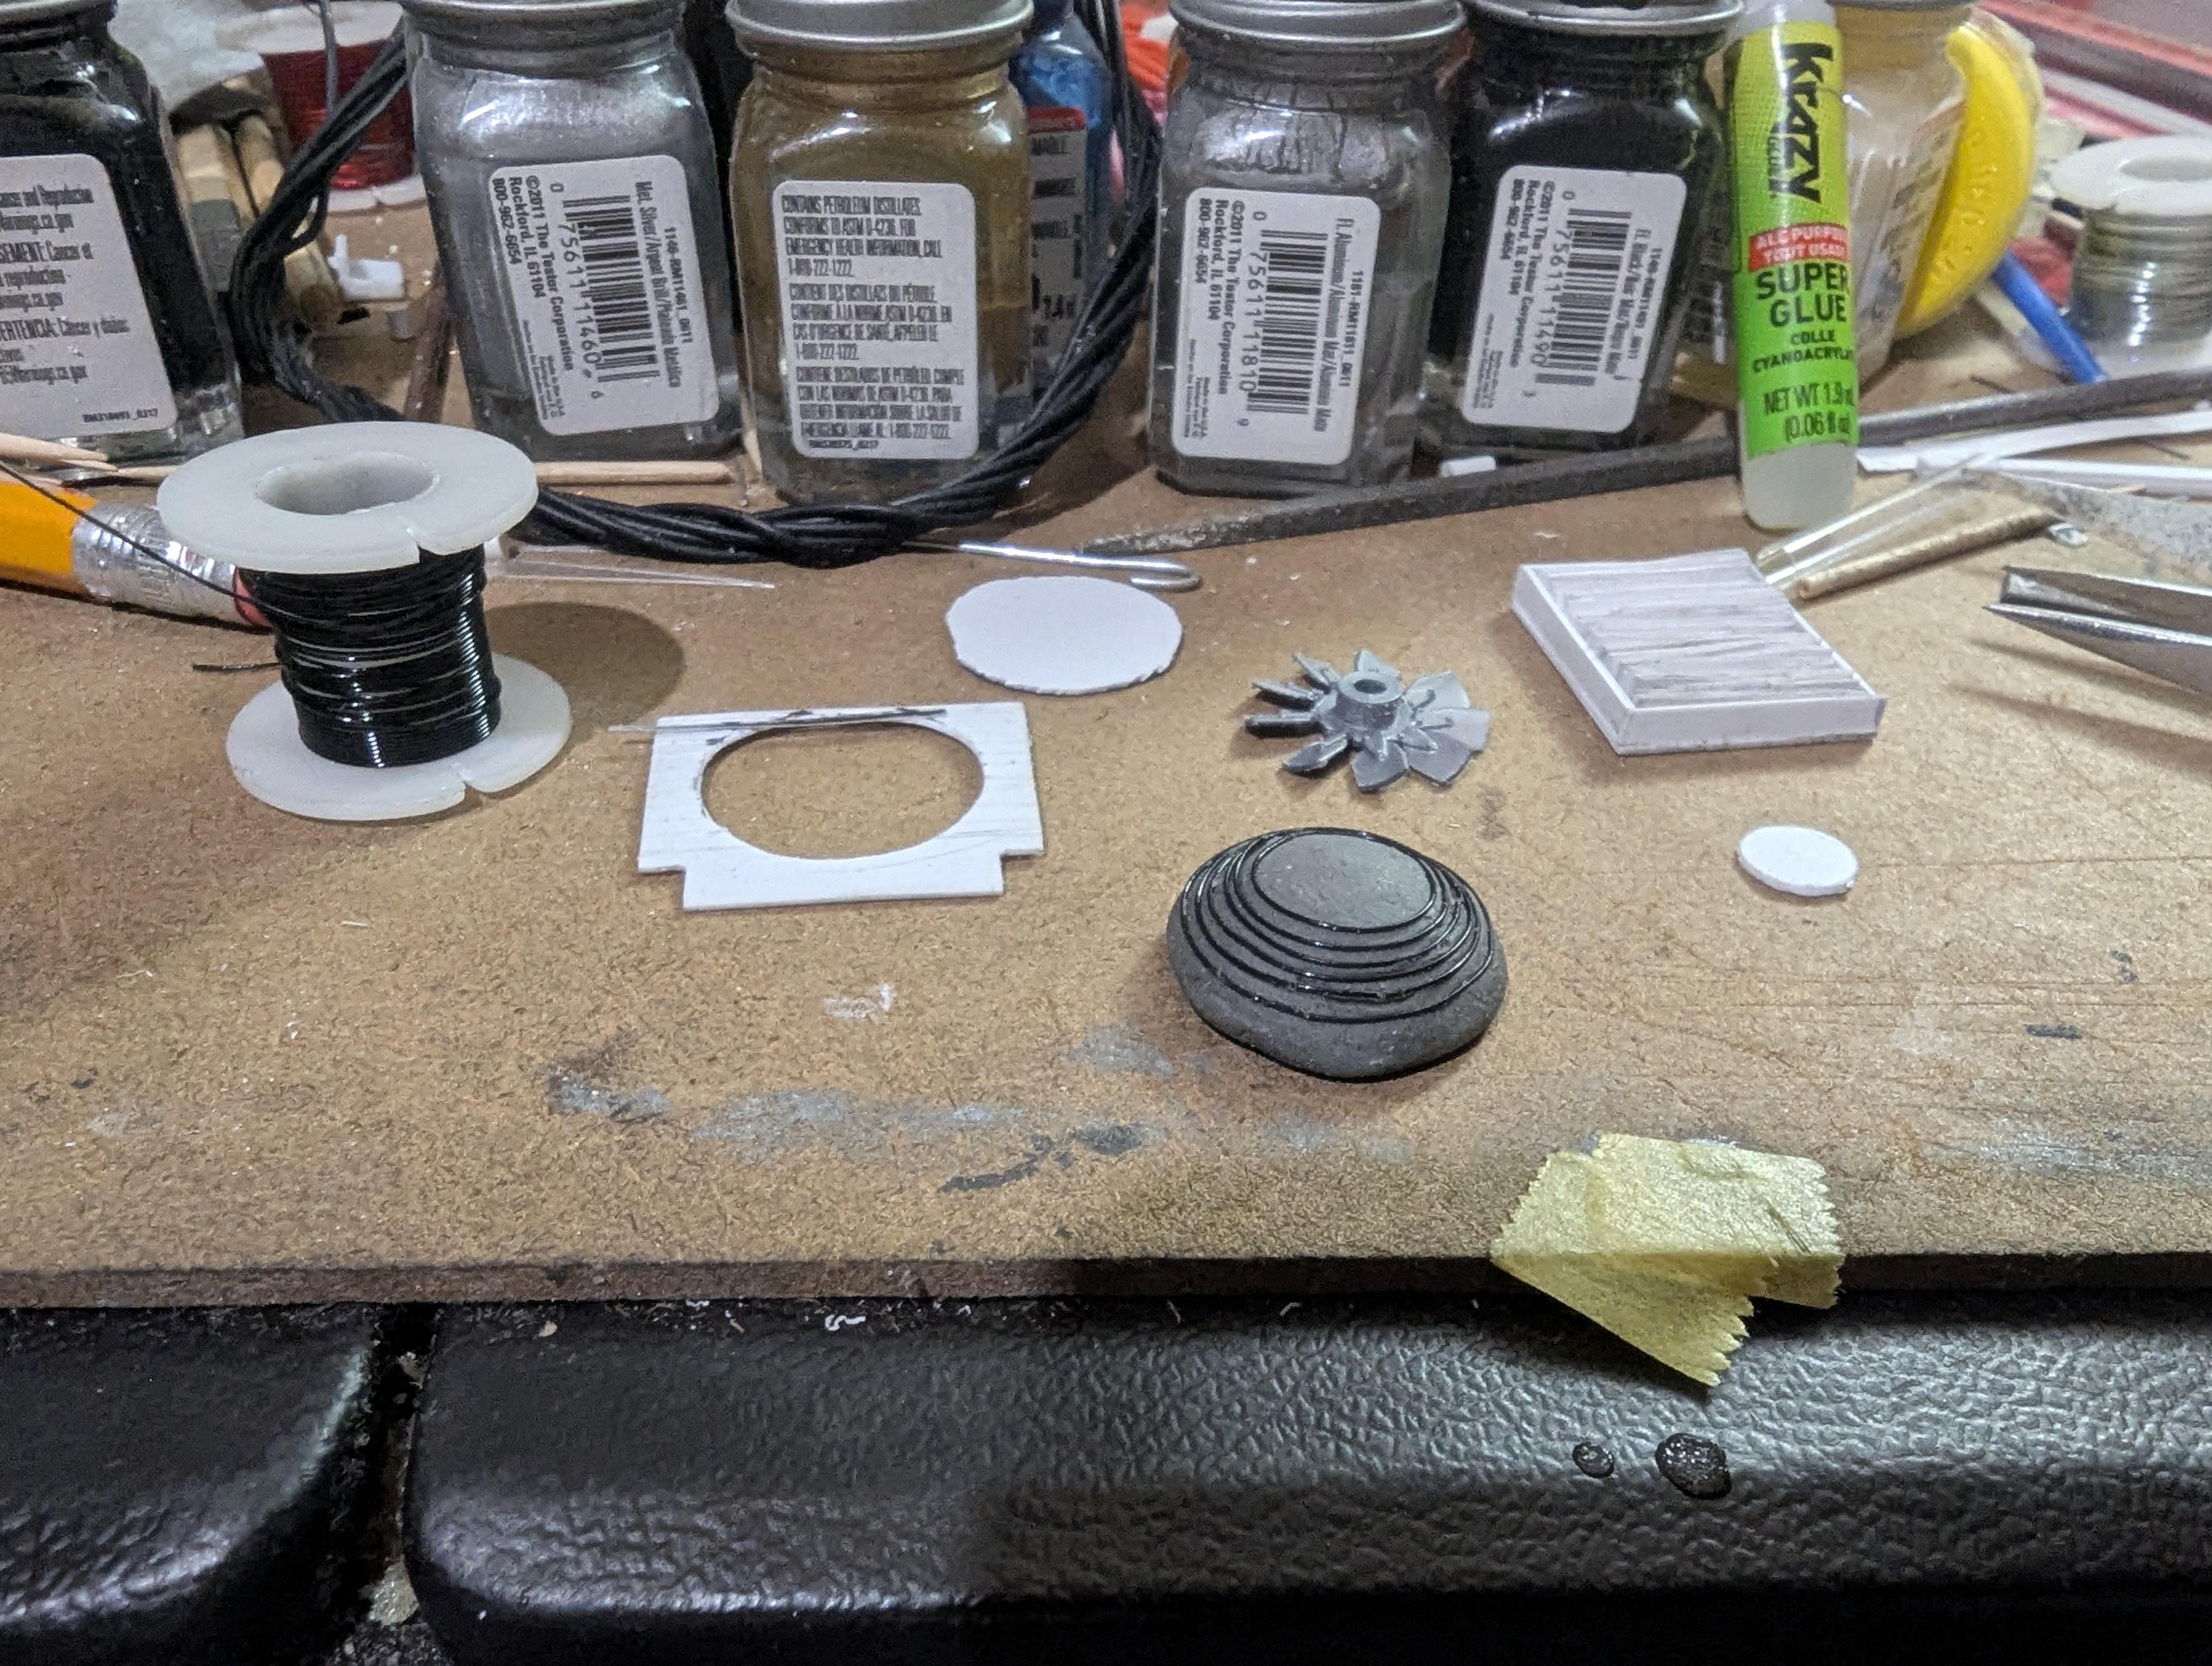
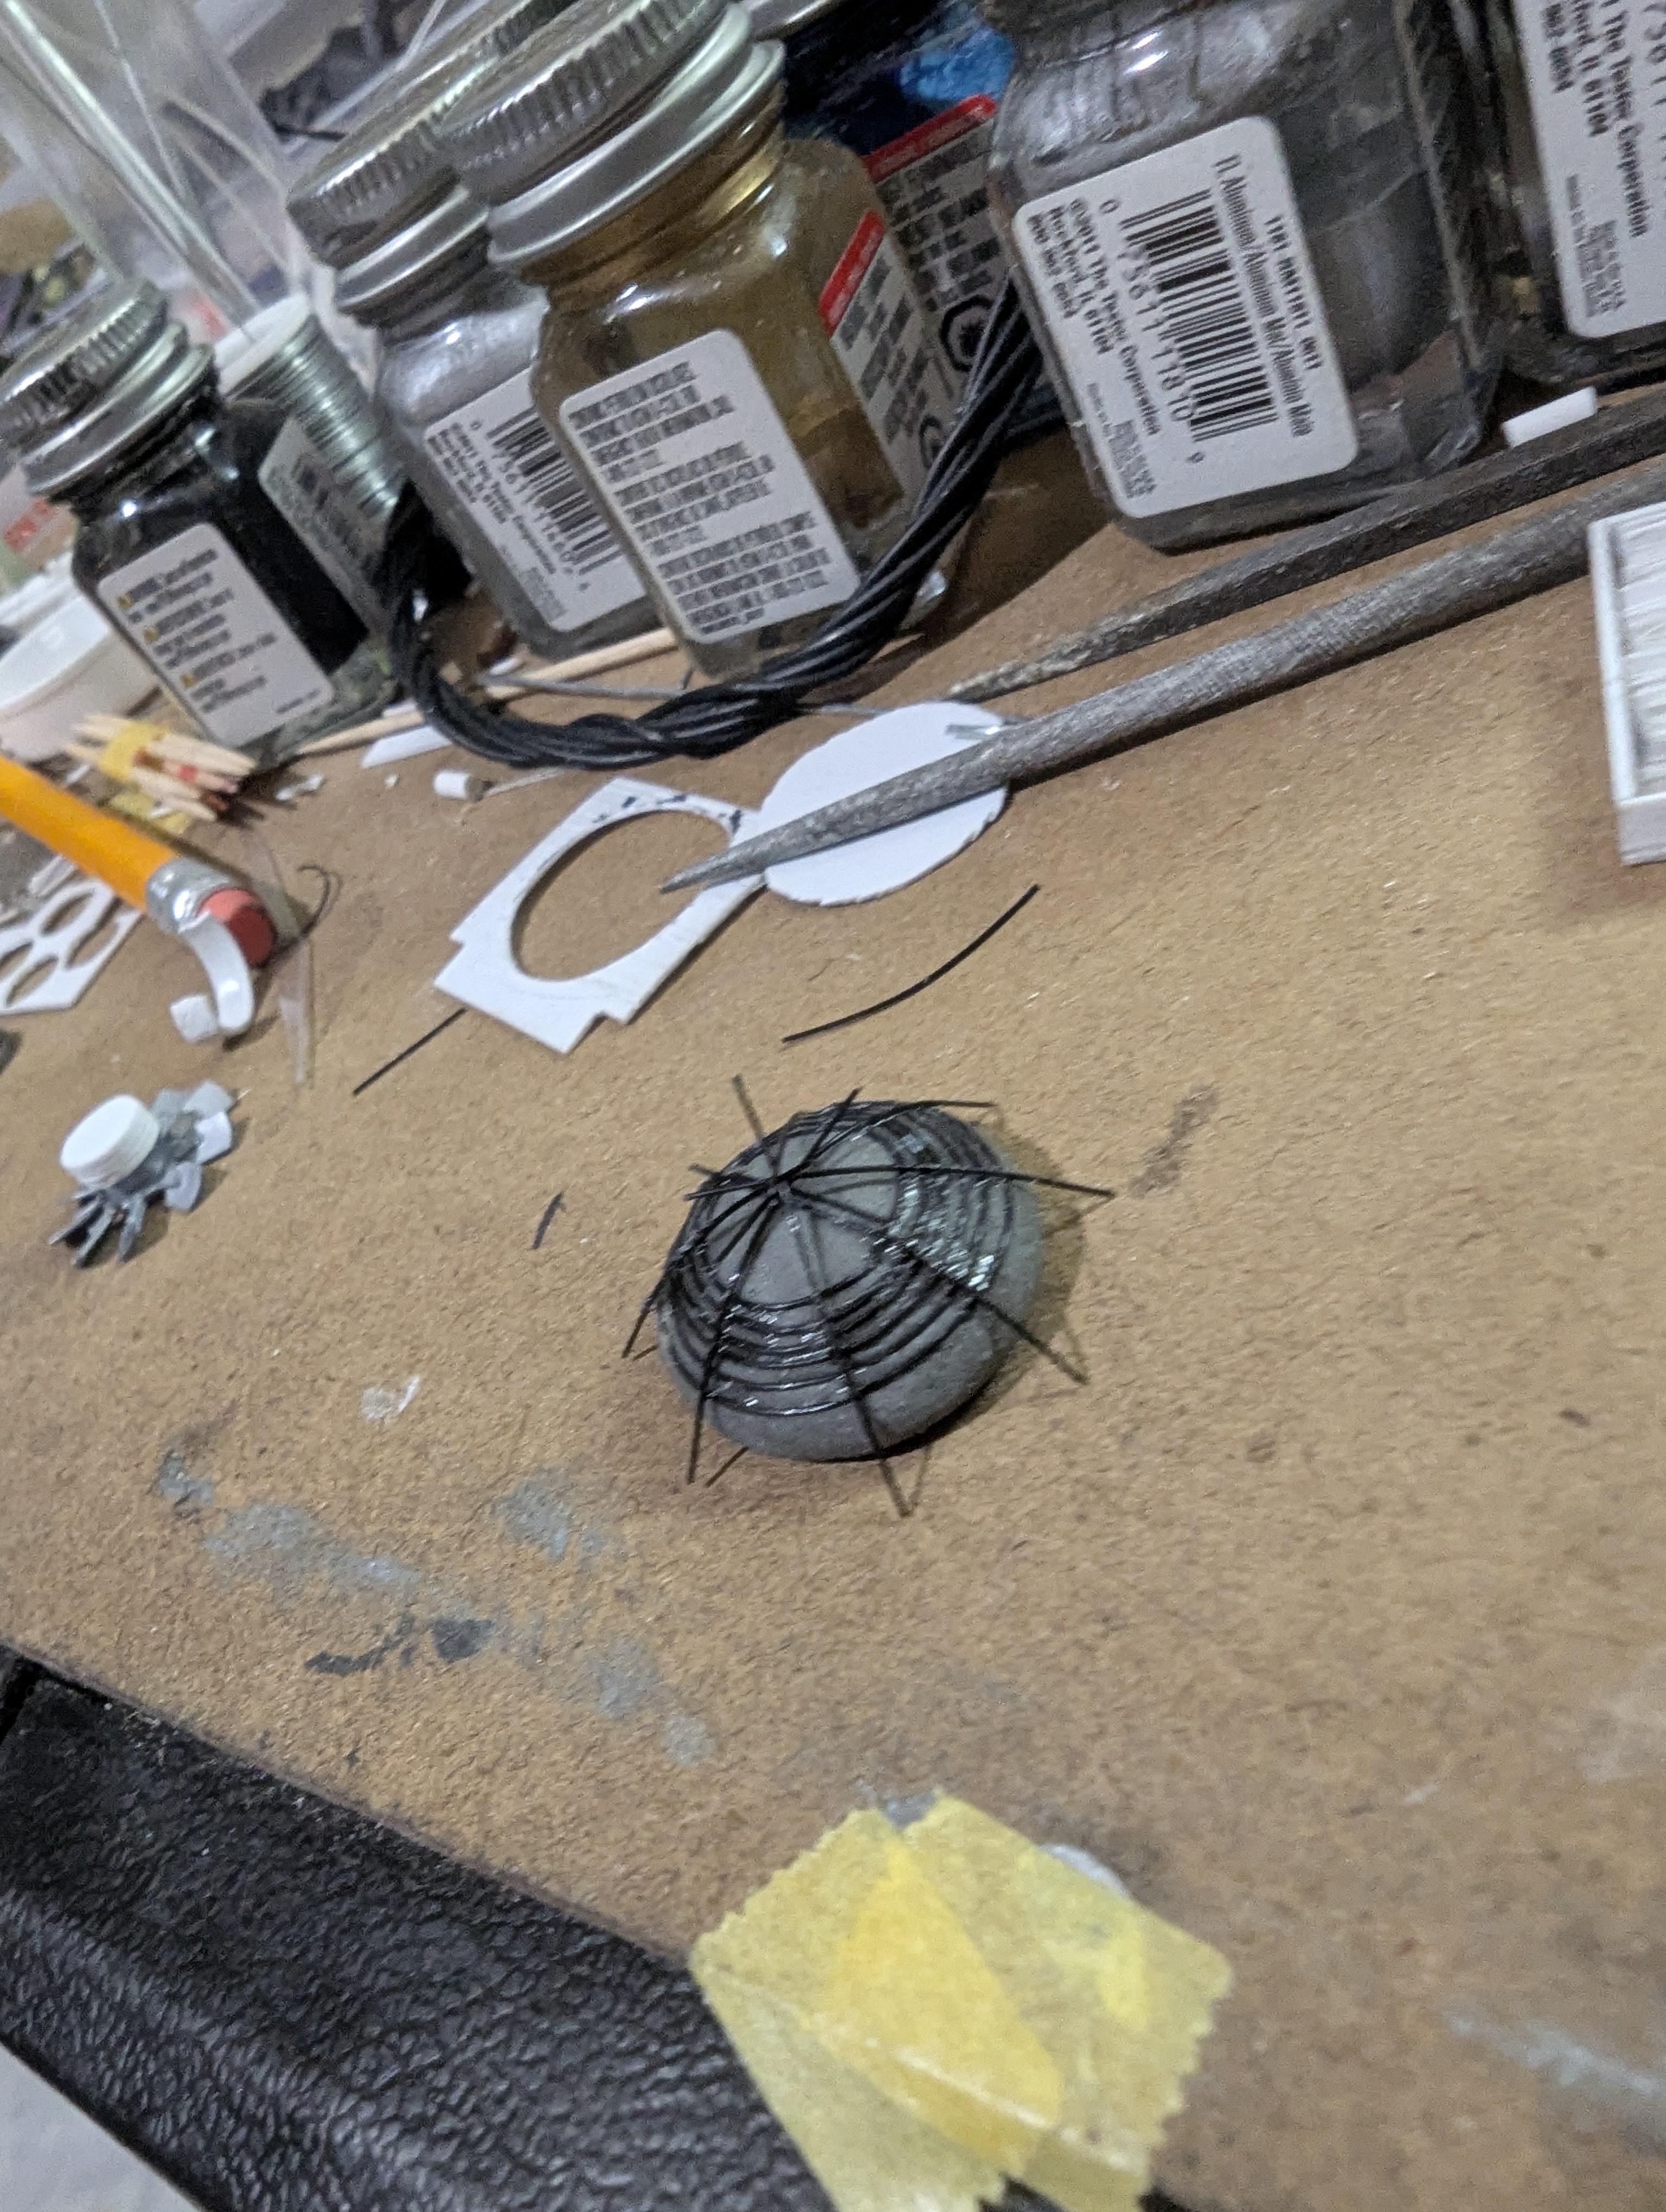
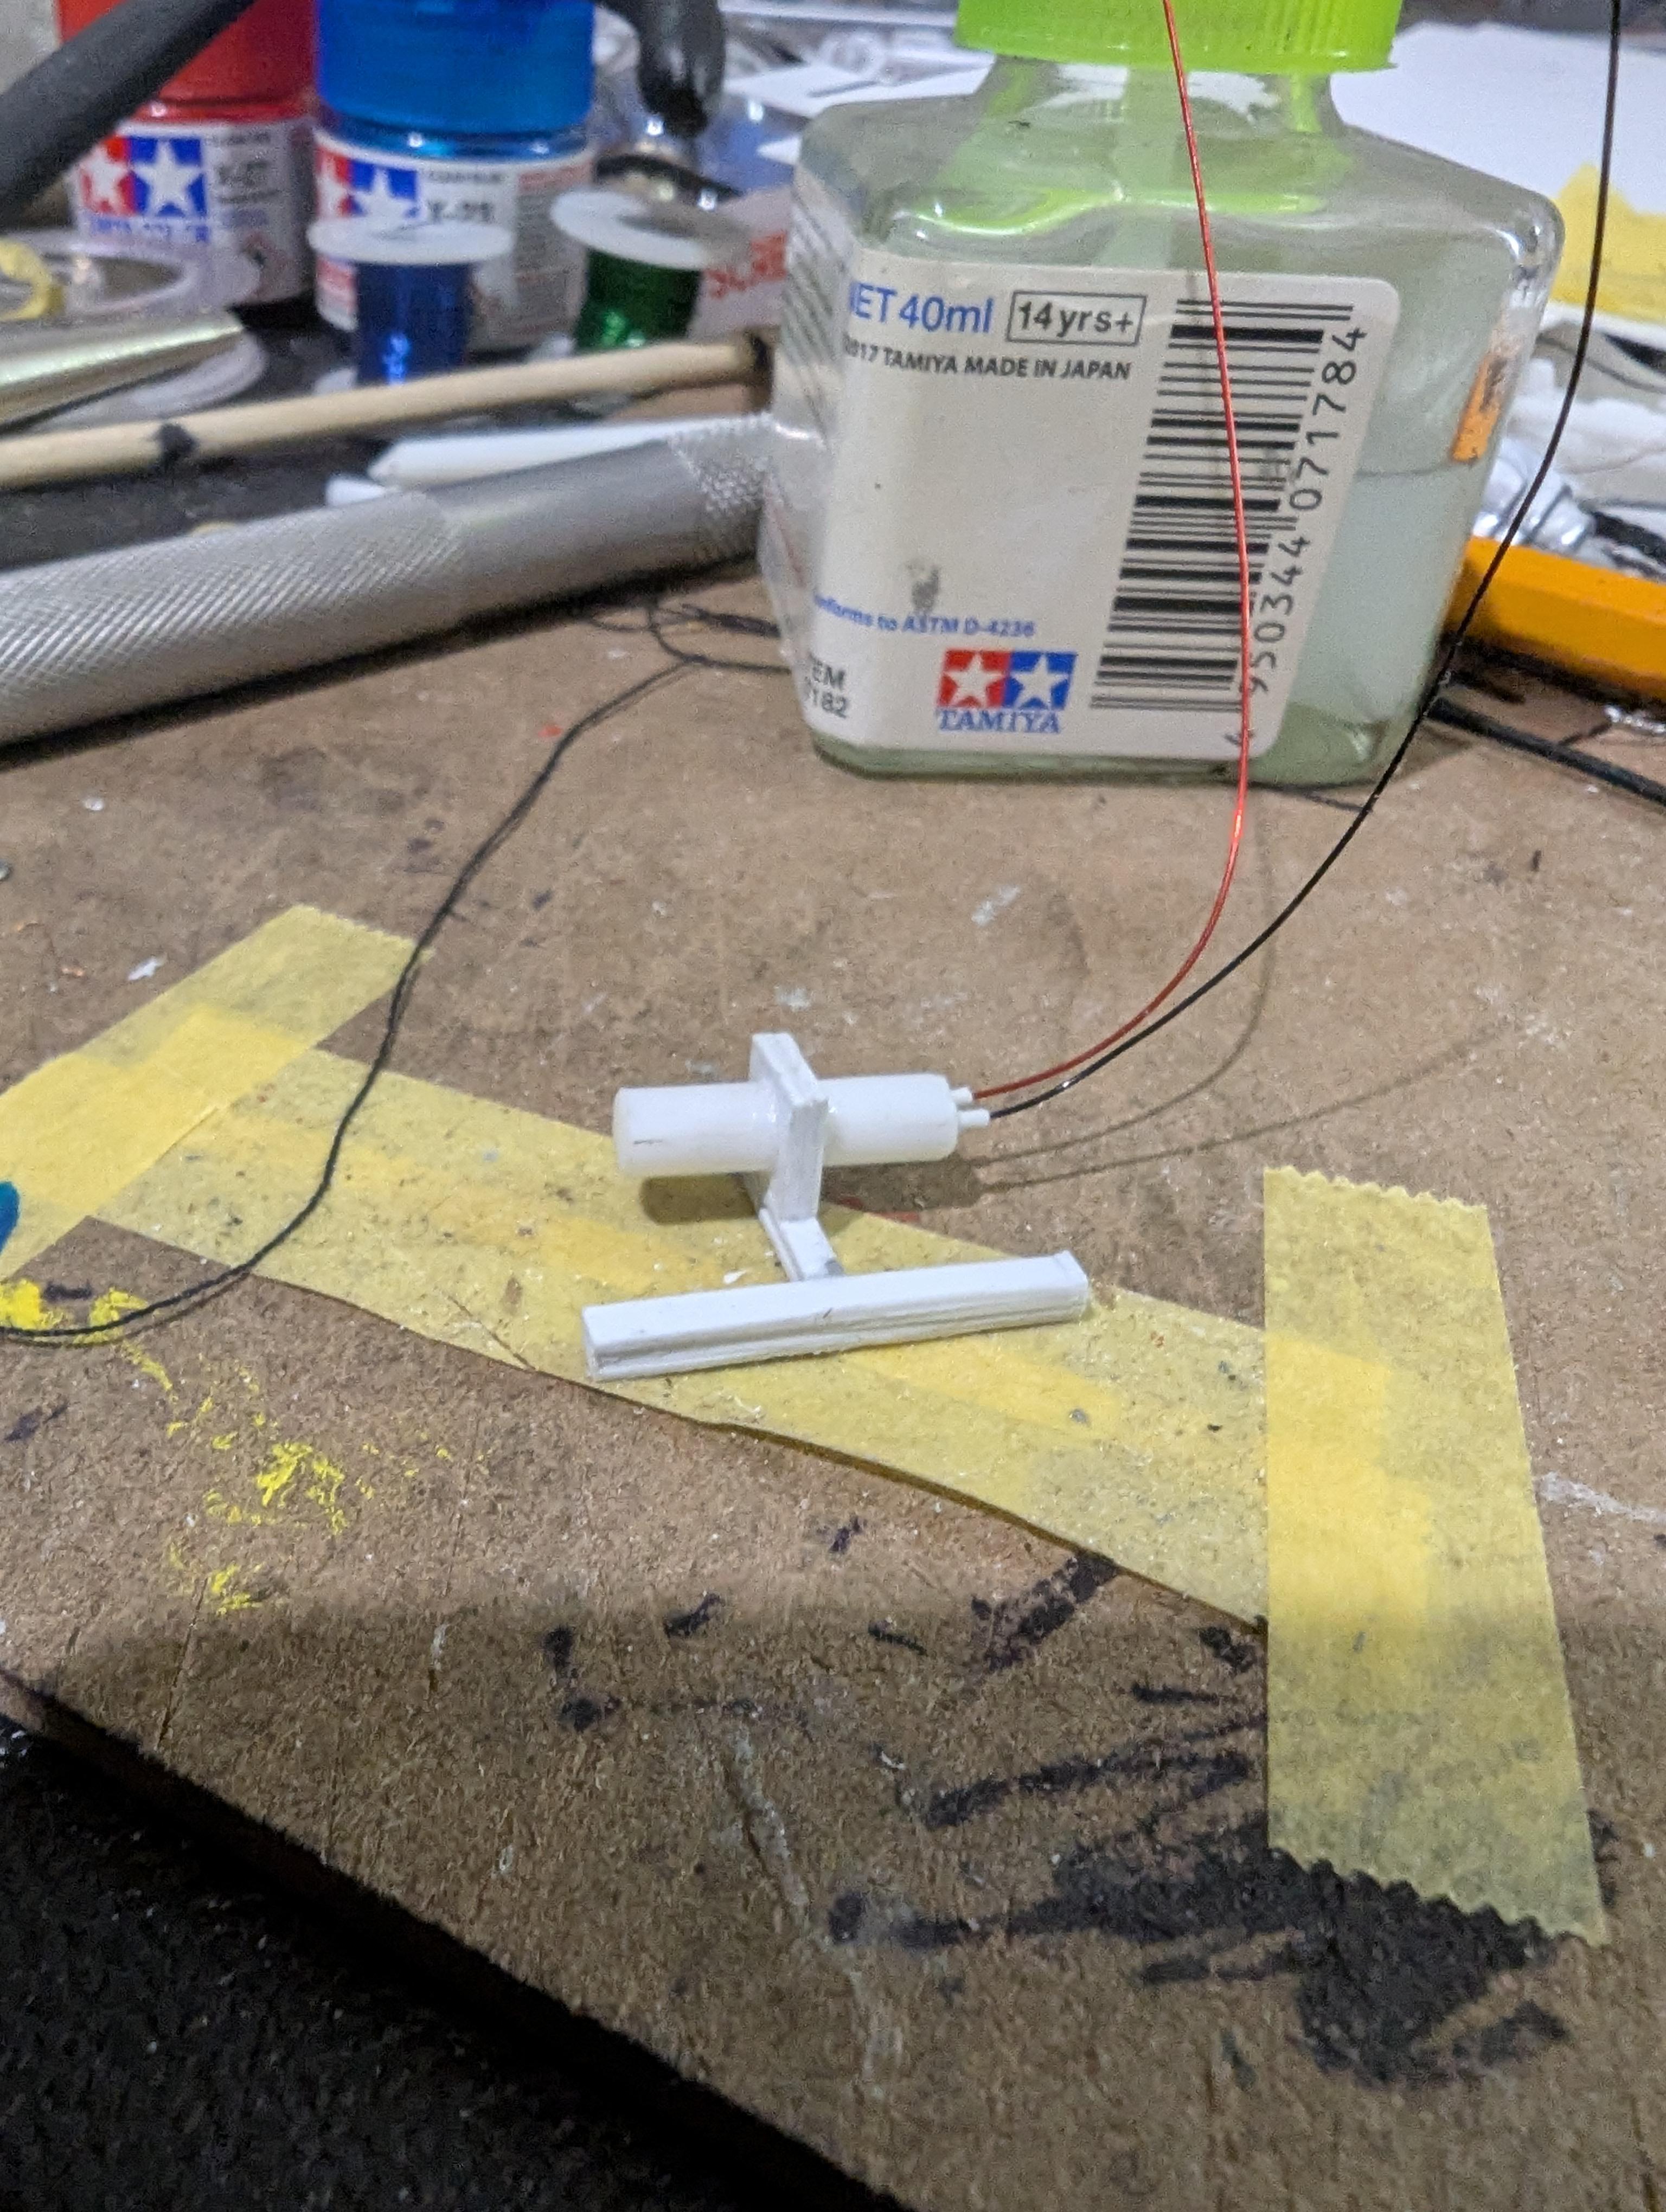
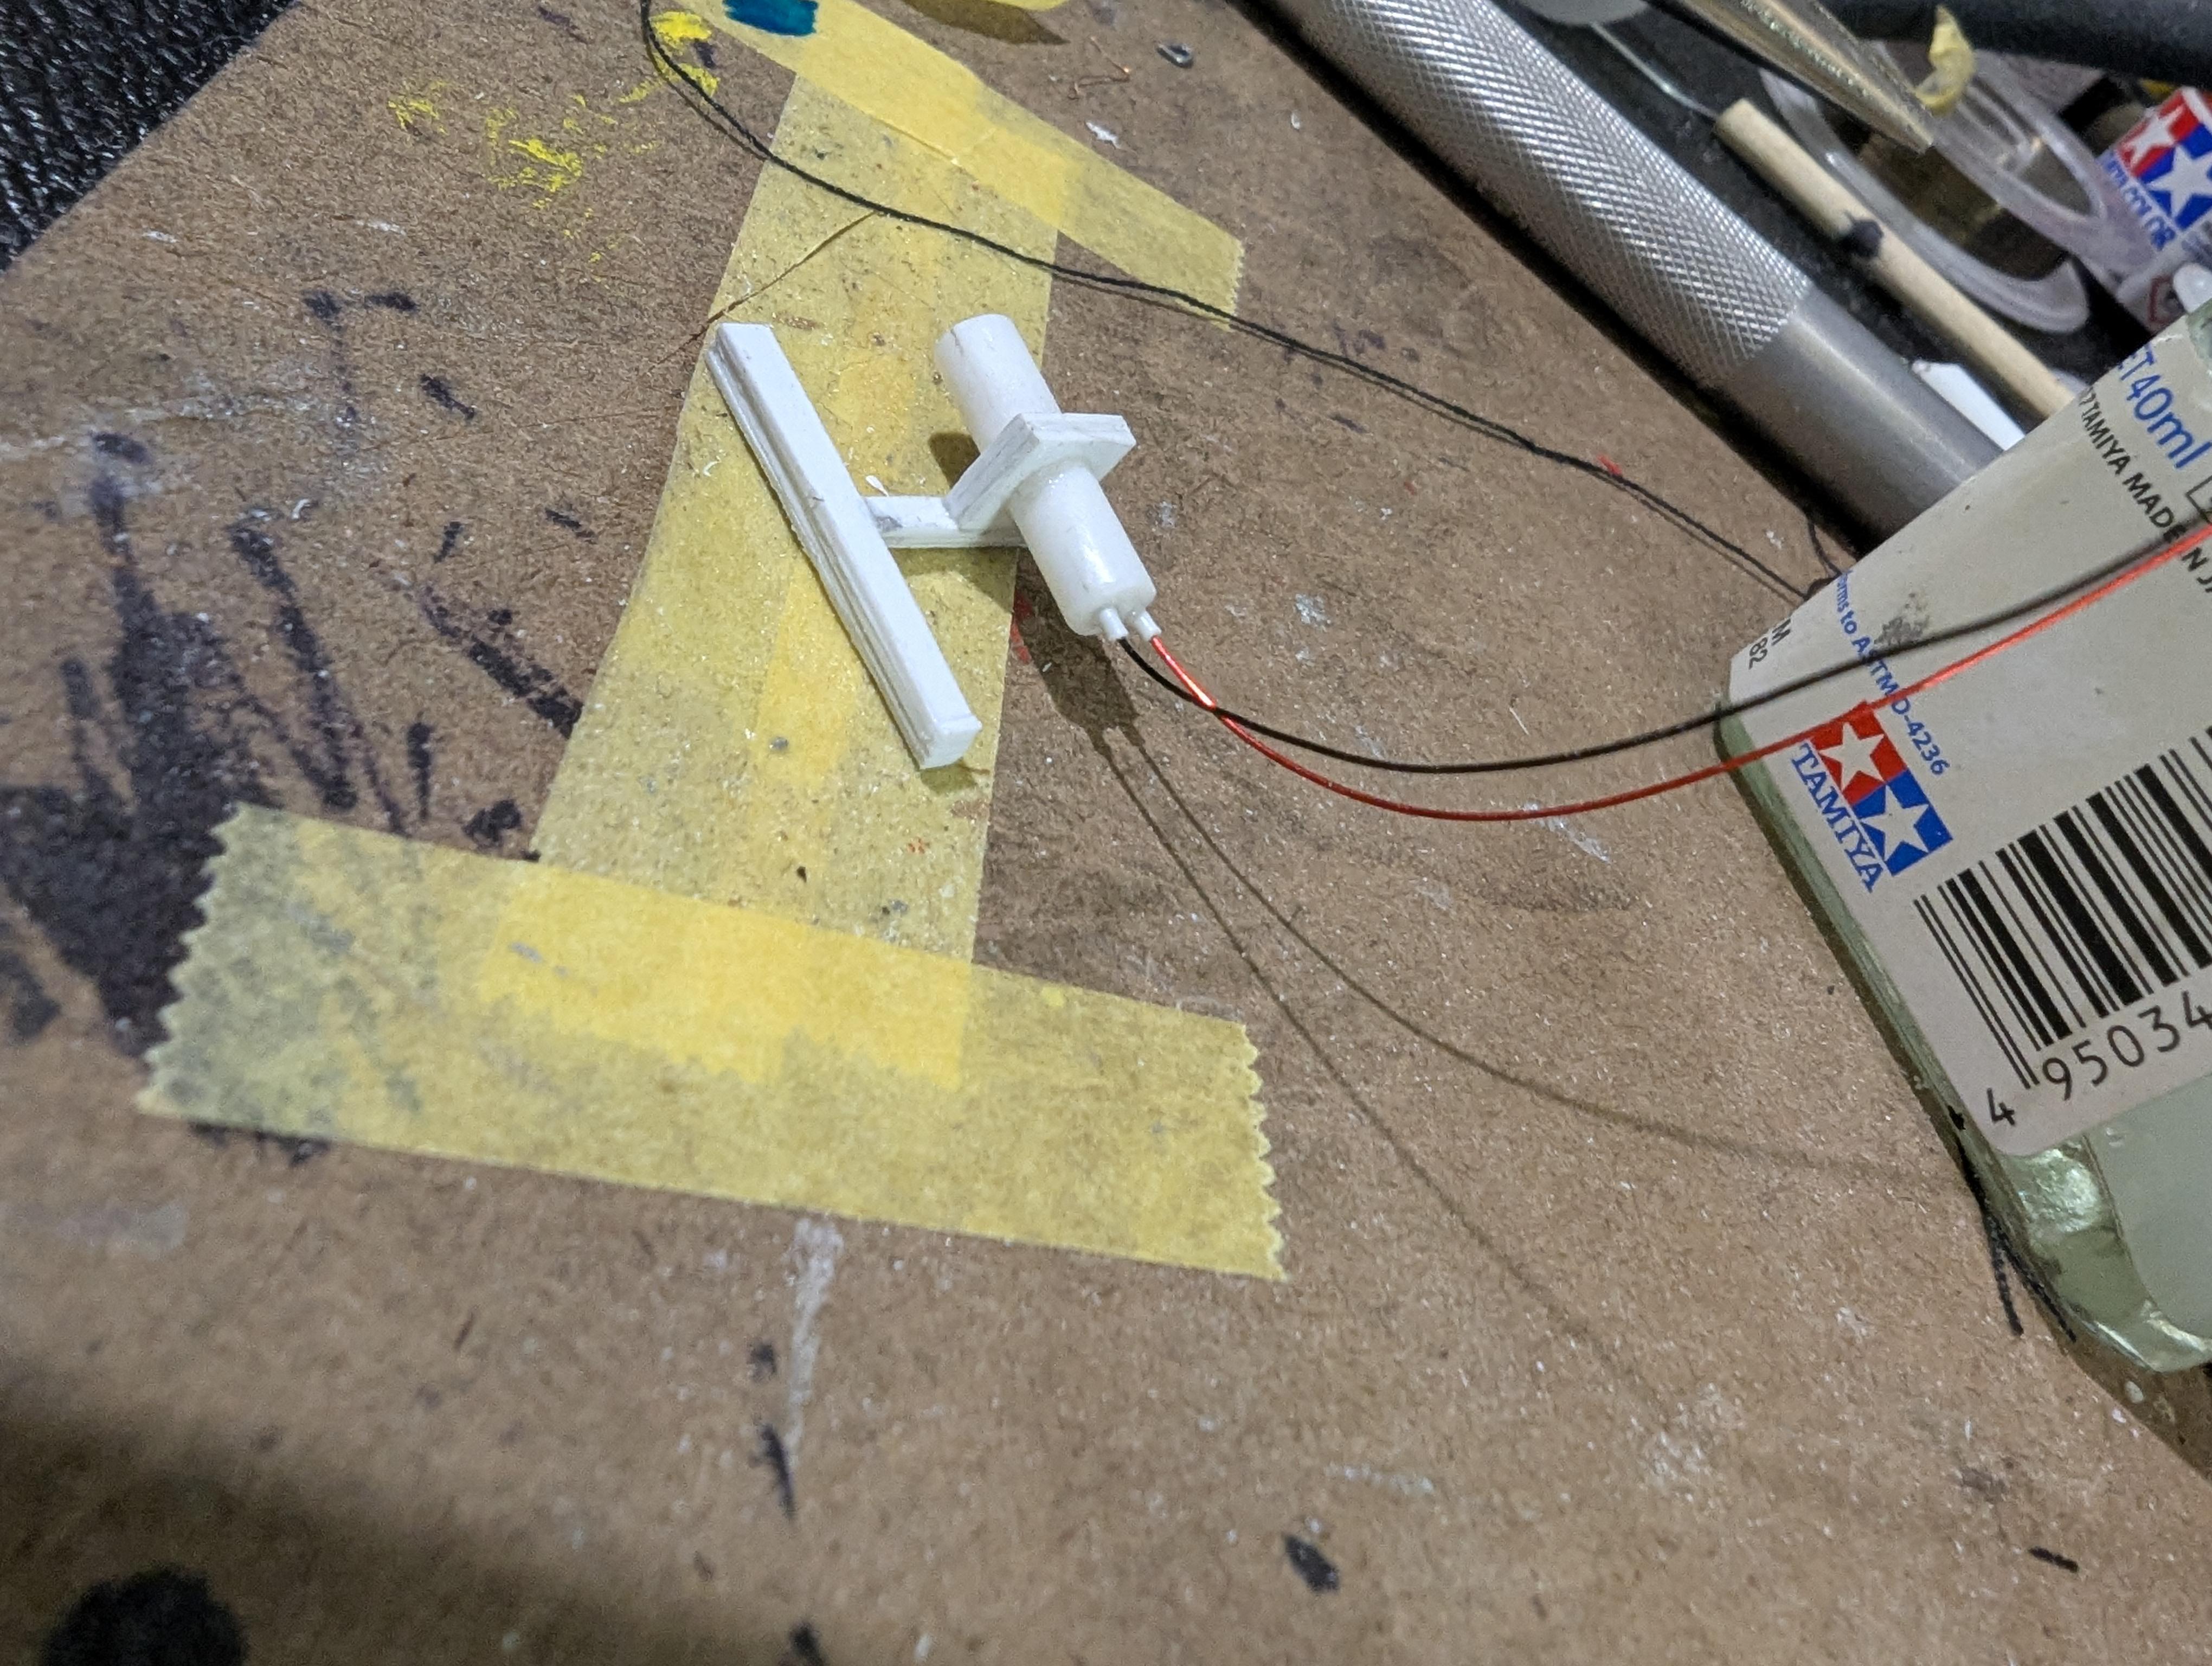
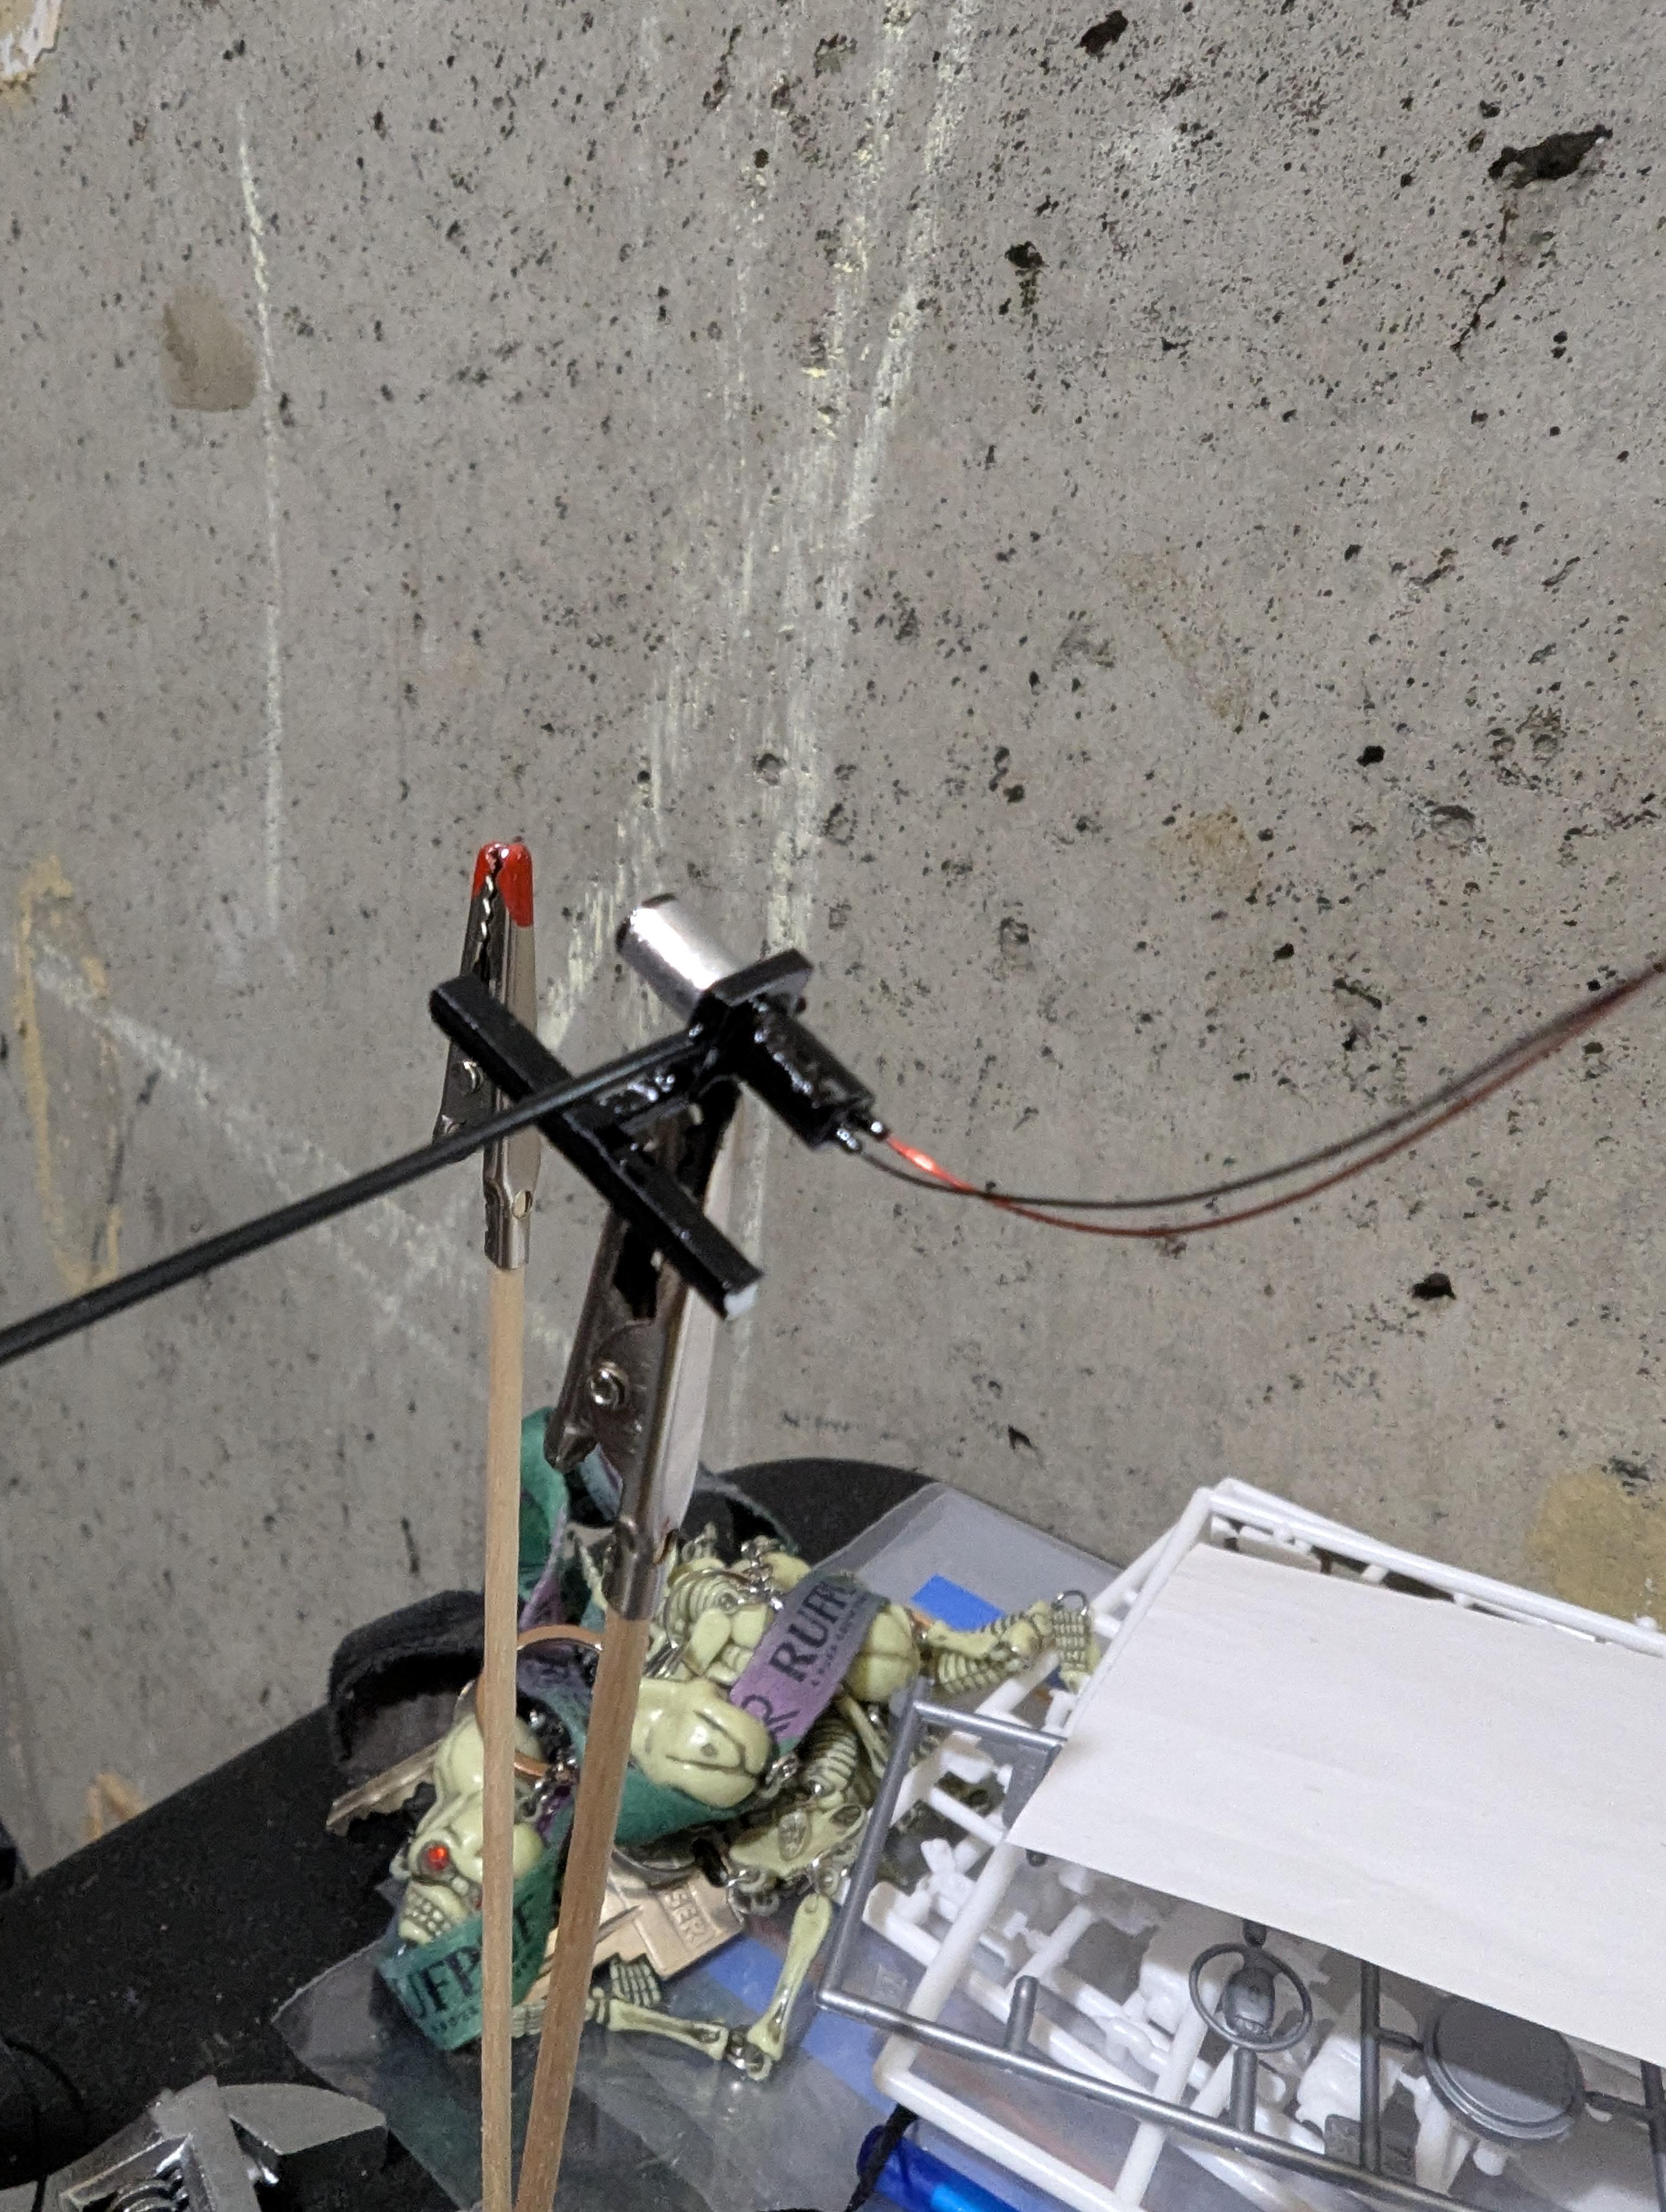
Here's my shock absorber project another coat of paint on the springs a few dabs of glue and these babies are done, I might wind some more wire and see if I can get a more detailed scale look for them 😉 👍
-
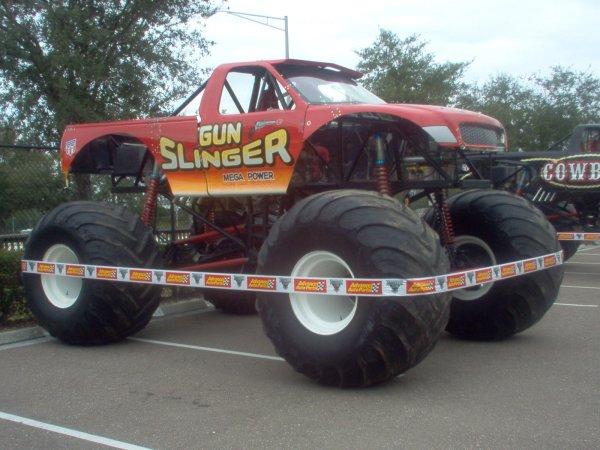
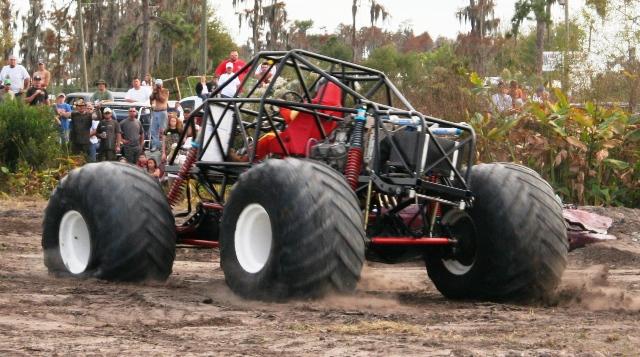
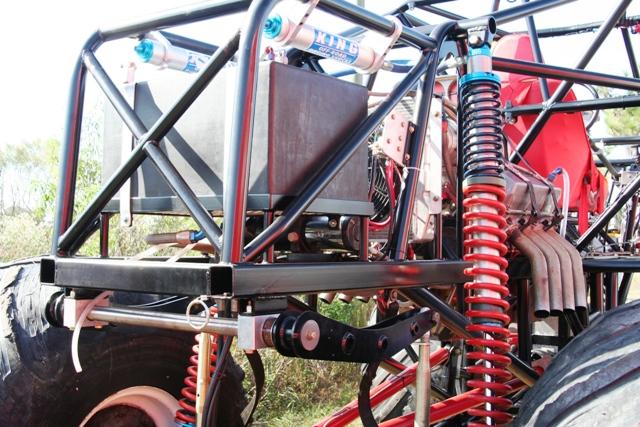
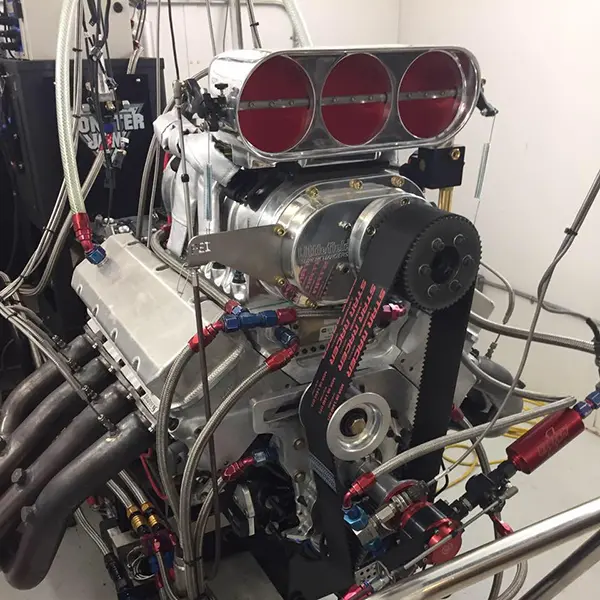
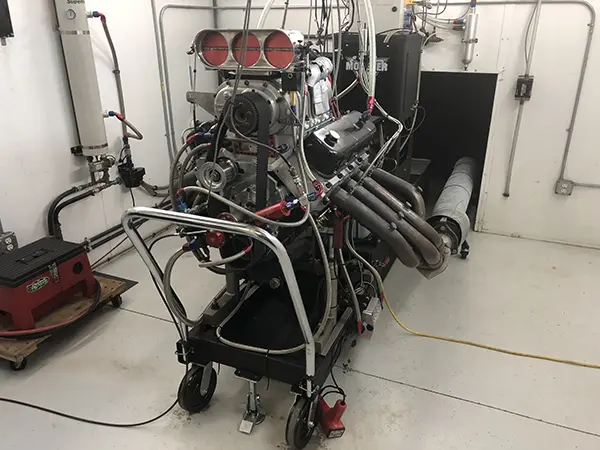
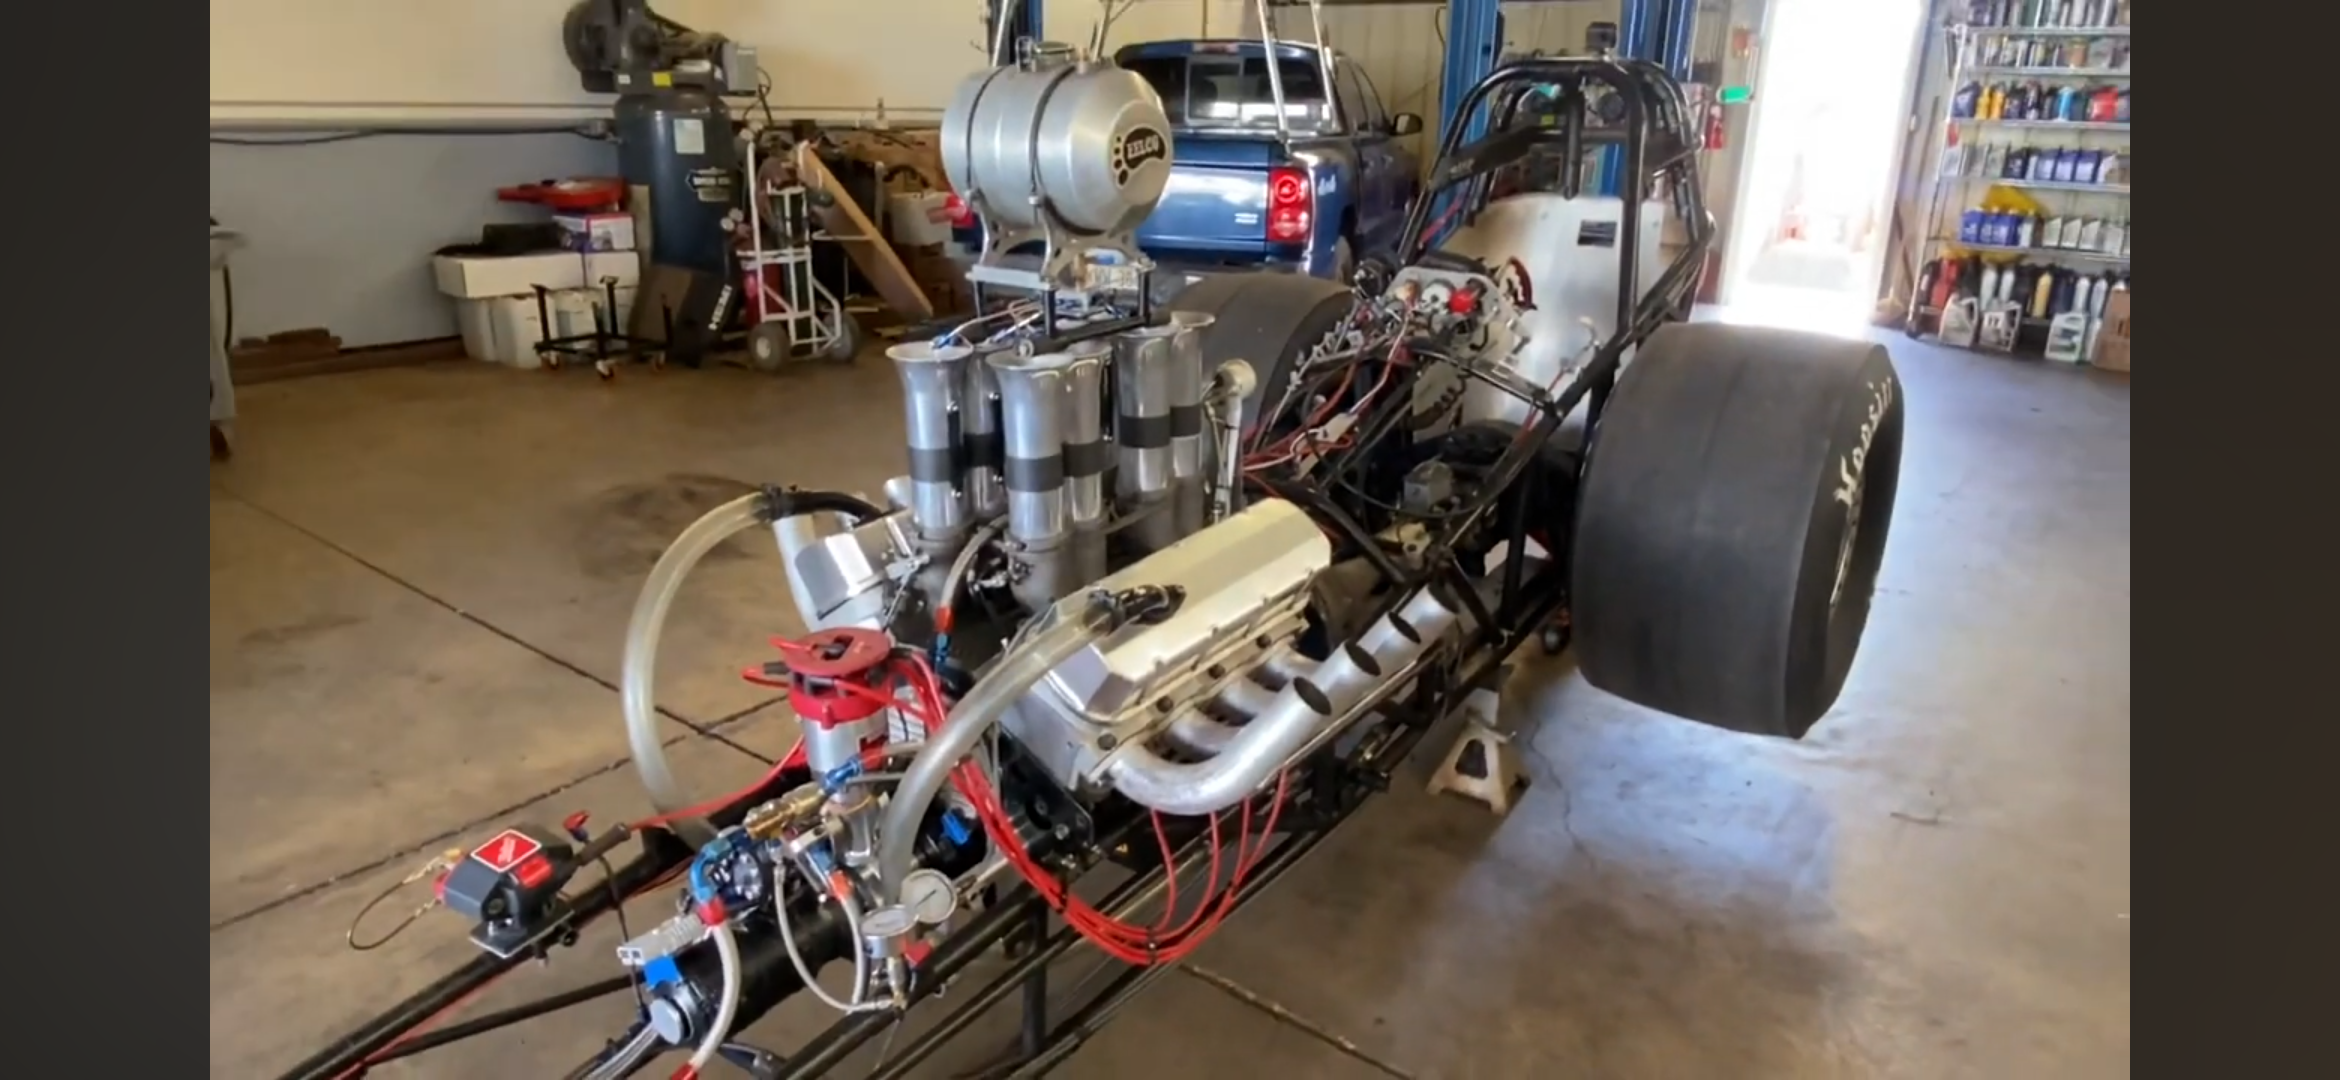
I'm trying to get the look of the coil over springs right here's the photo of the real thing and the absorber that I made
-
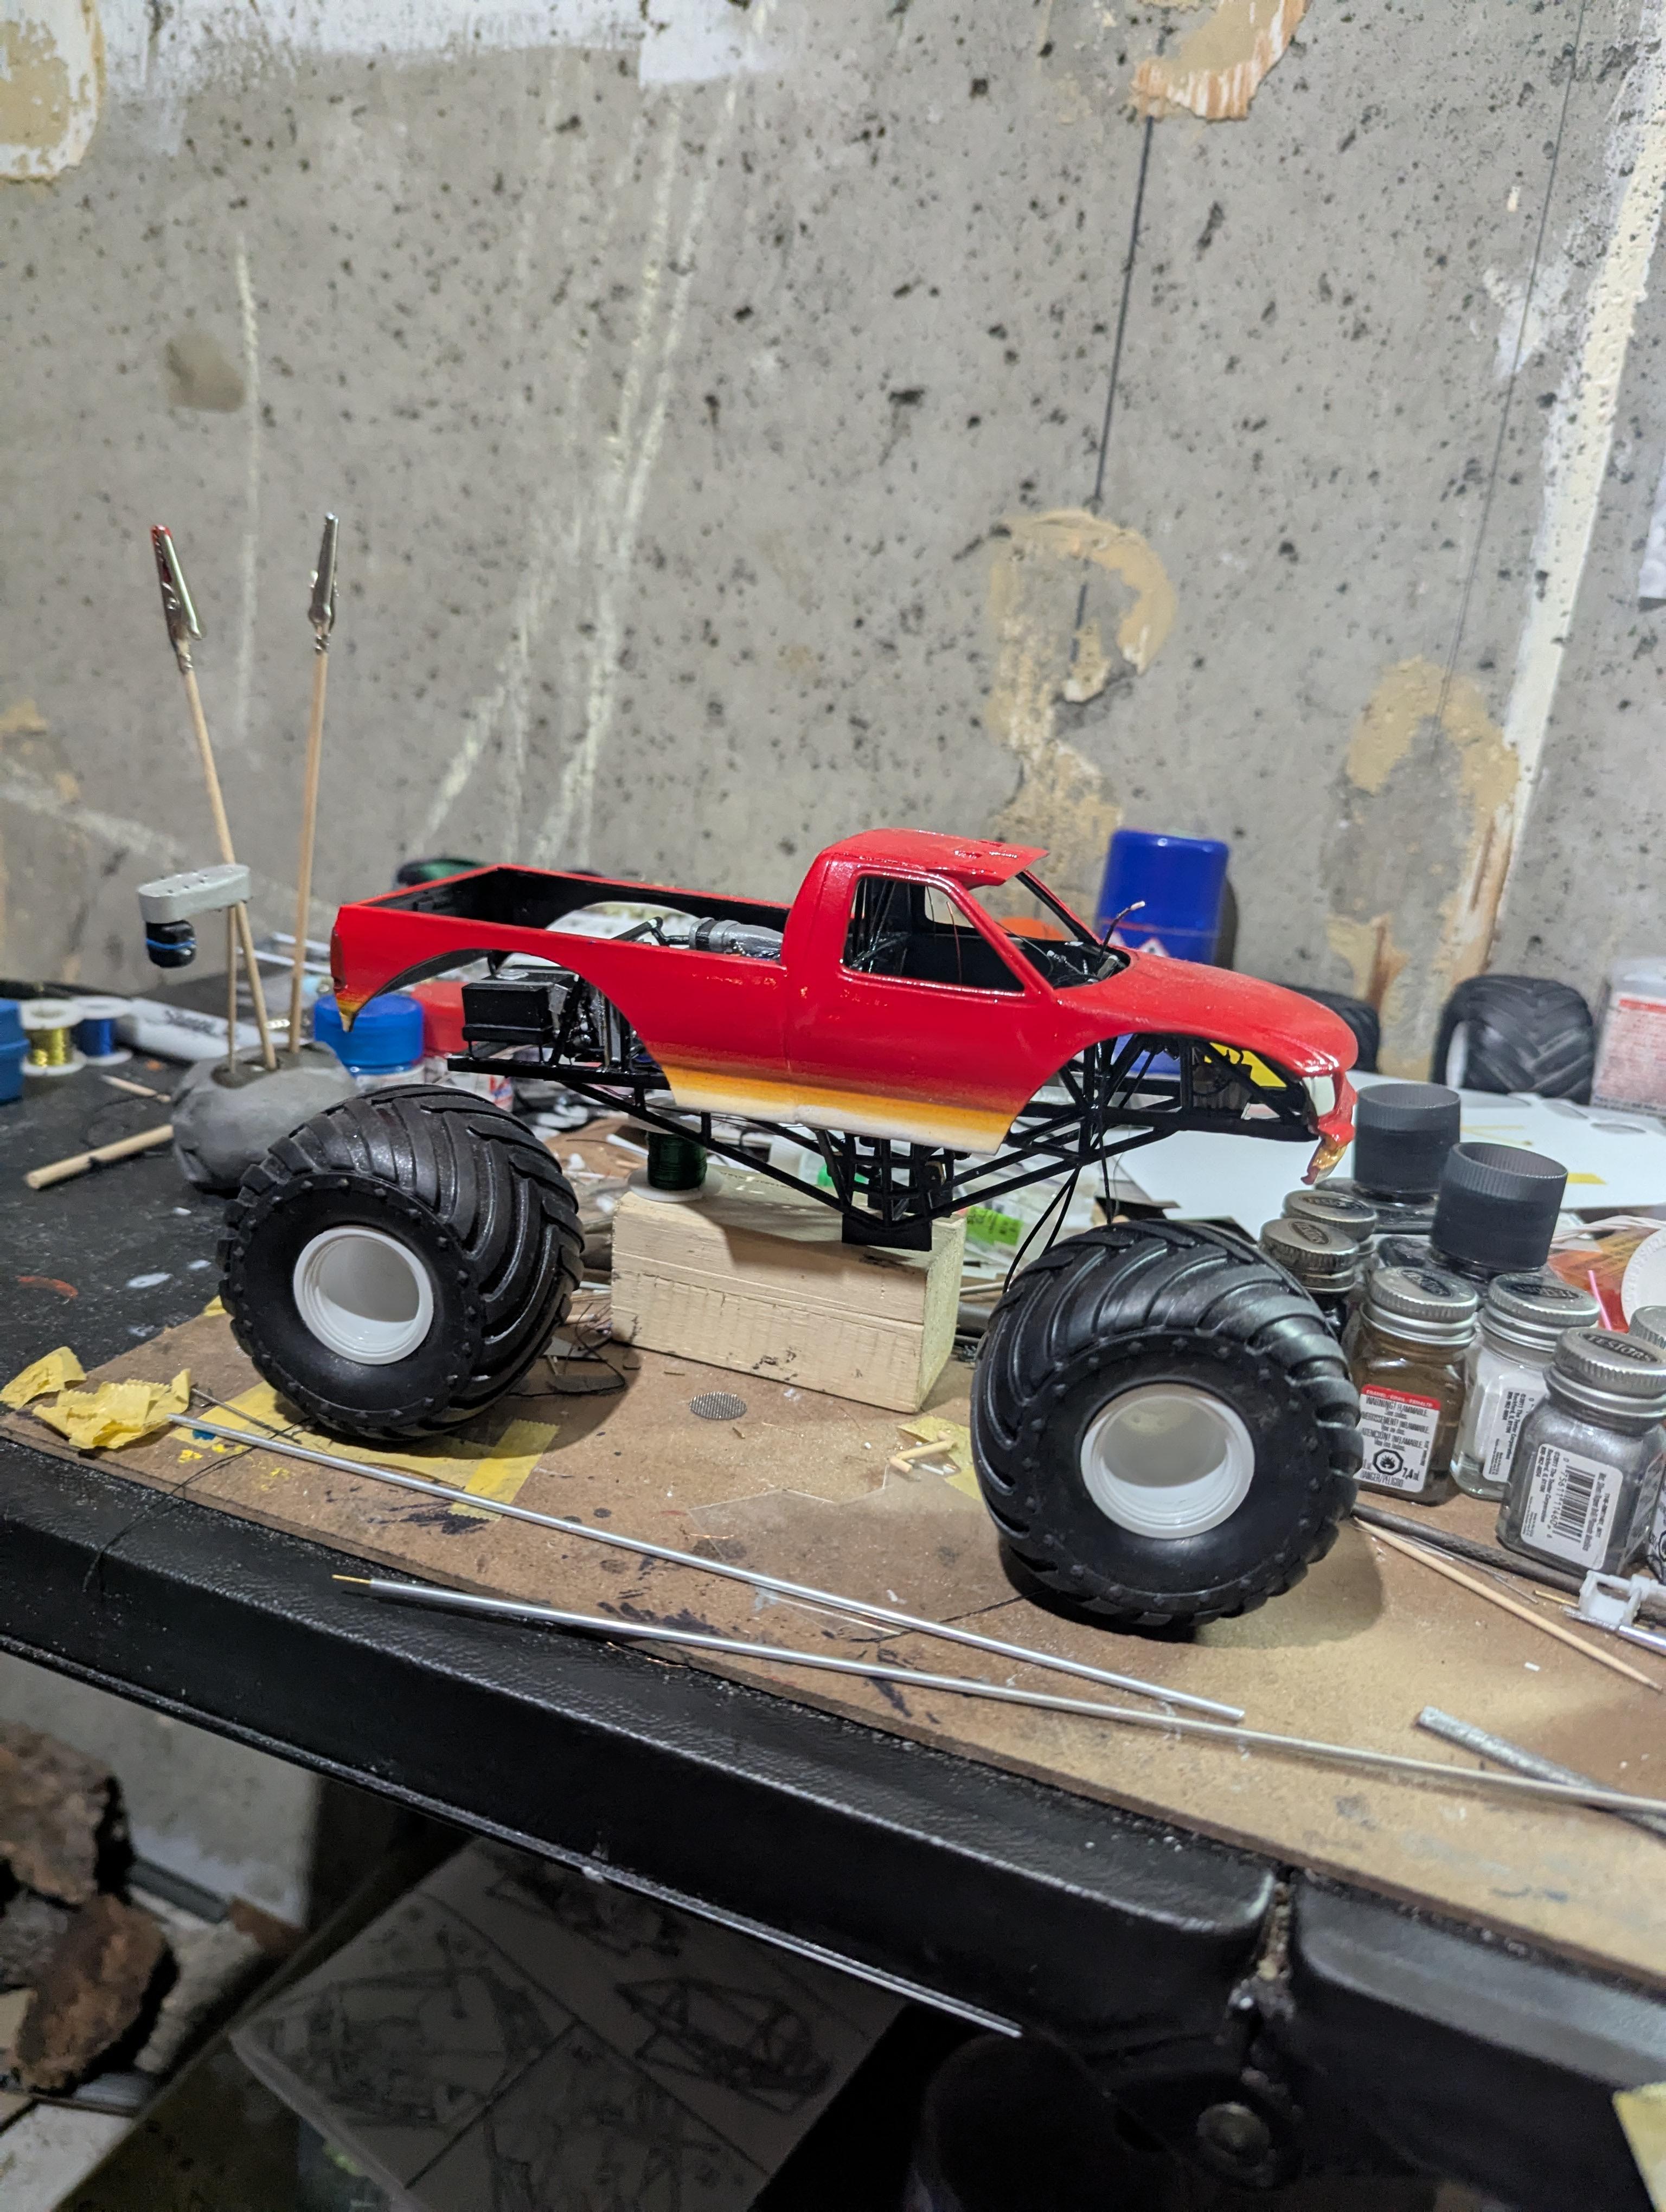
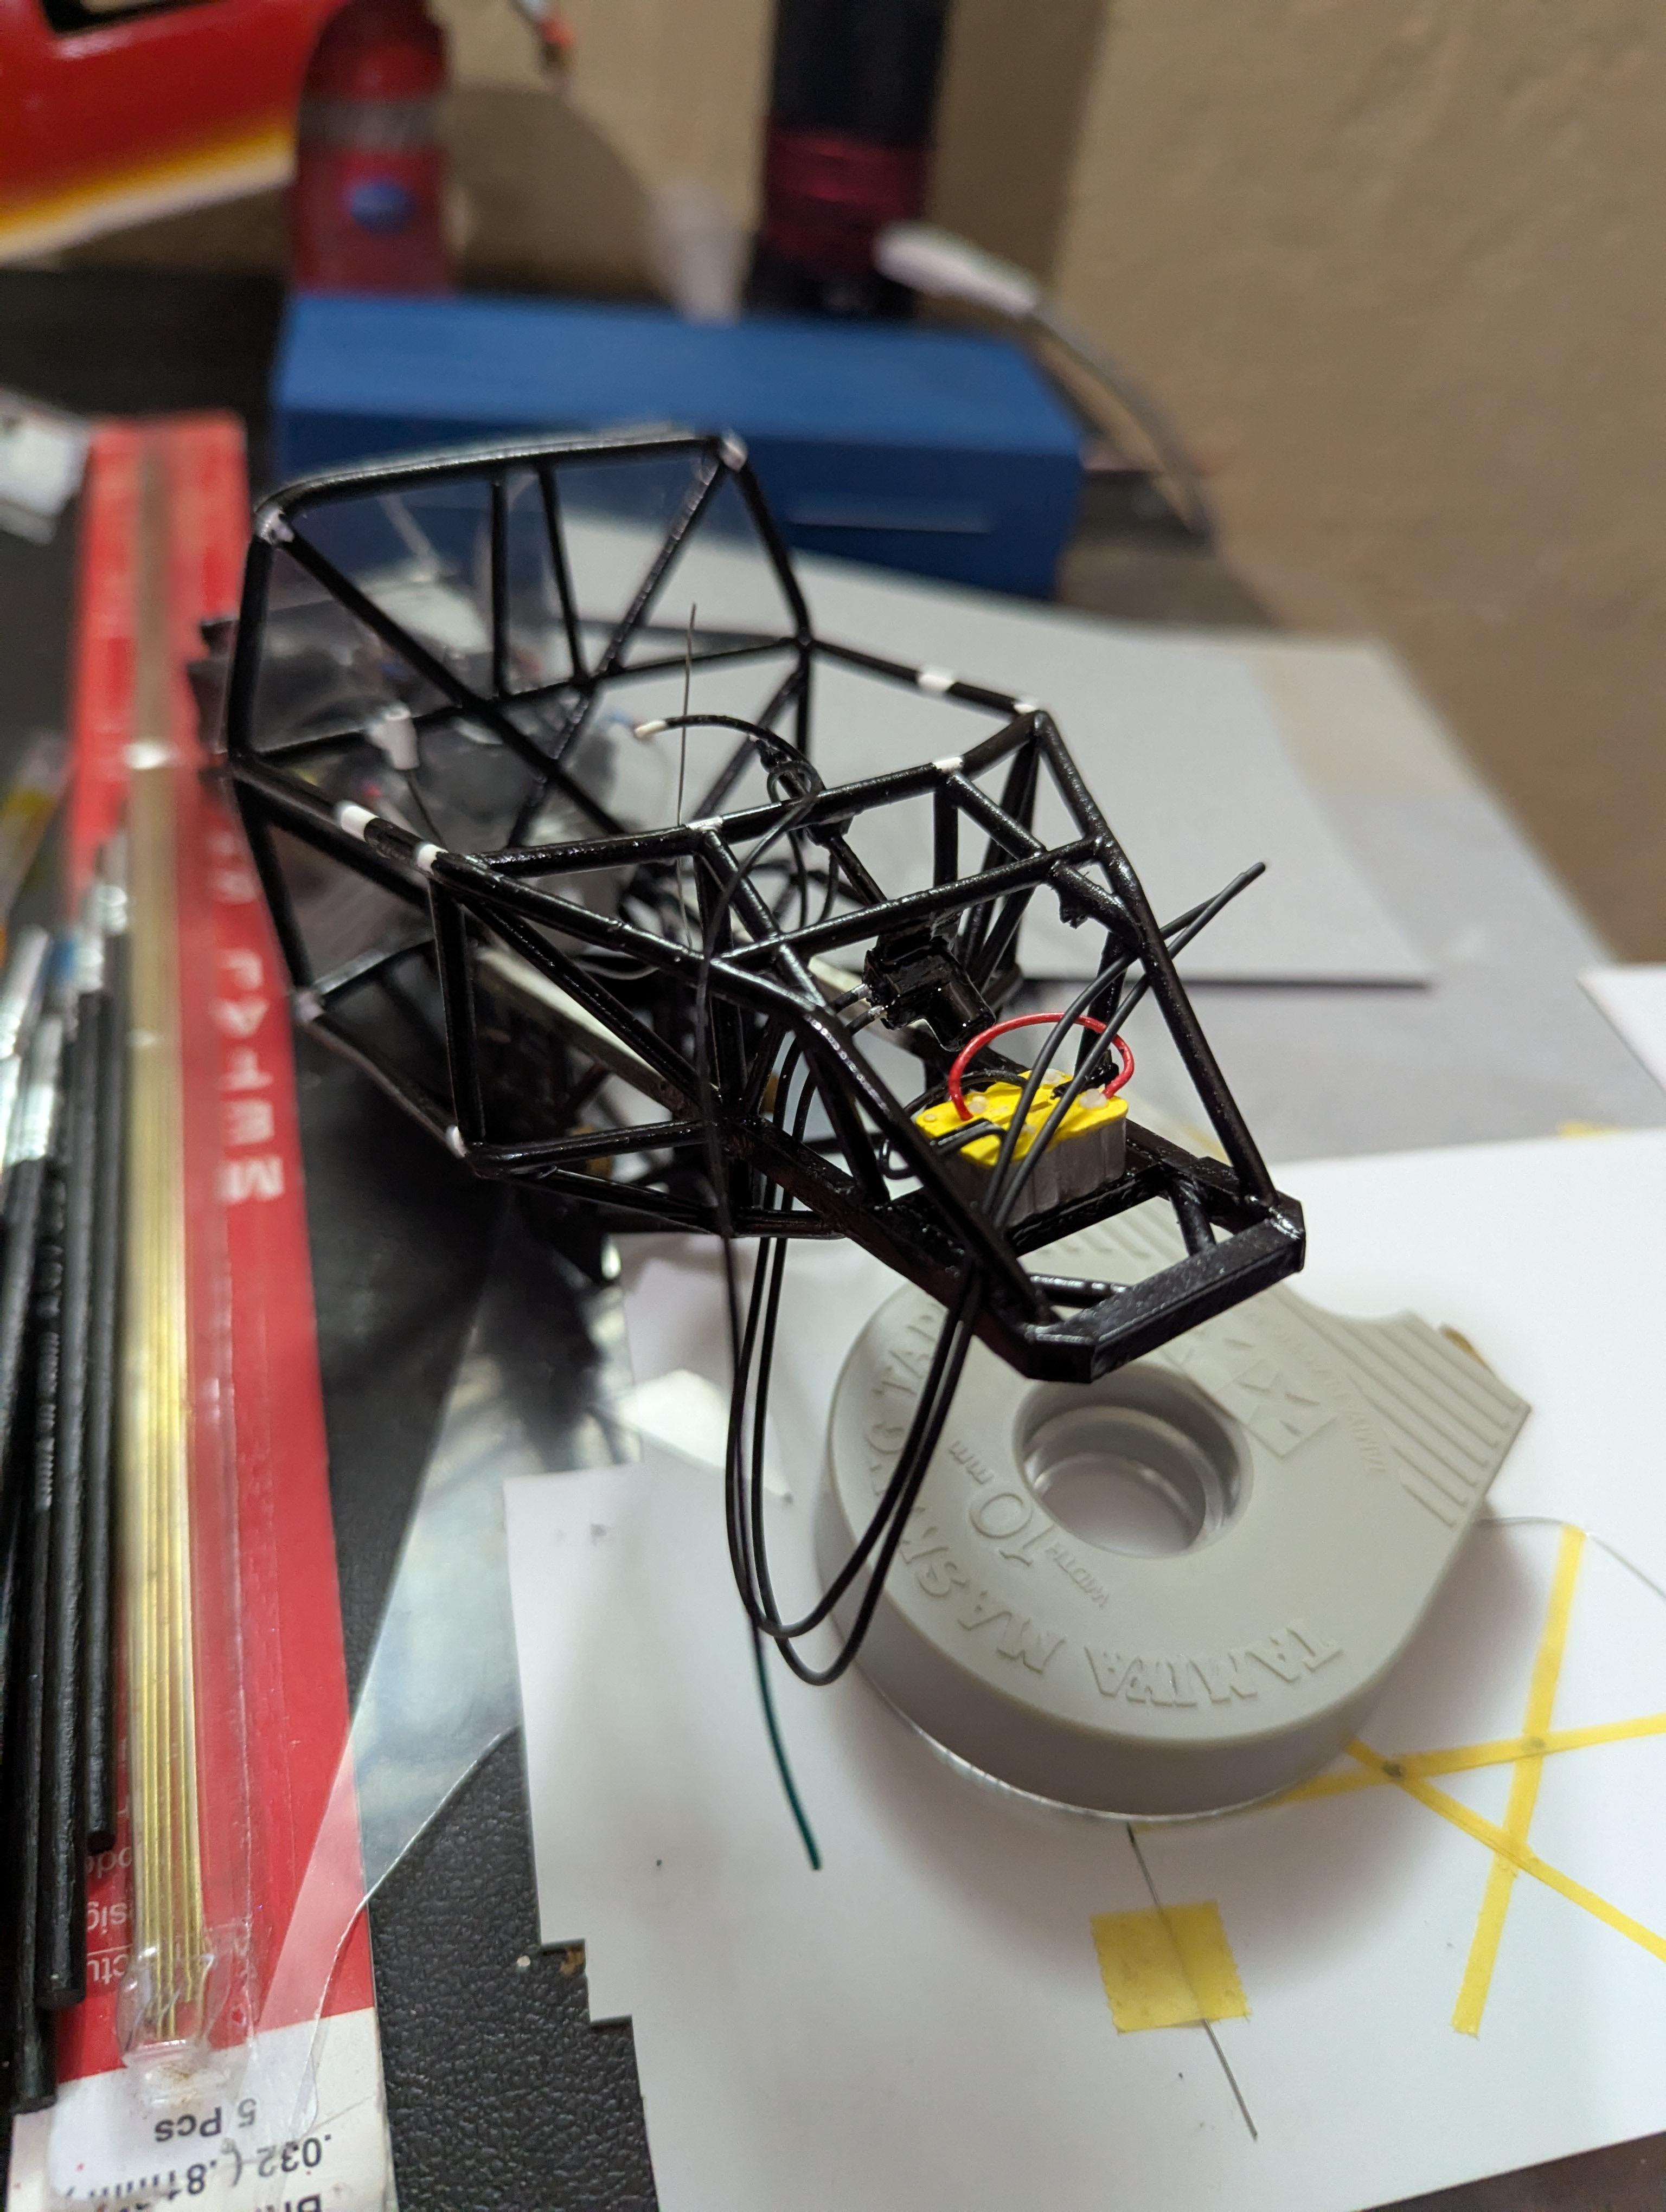
Here's some more progress, after the linkage and suspension are done it's just the axles and cab to finish up then decal/body work and then Done!!!😁😎👍
-
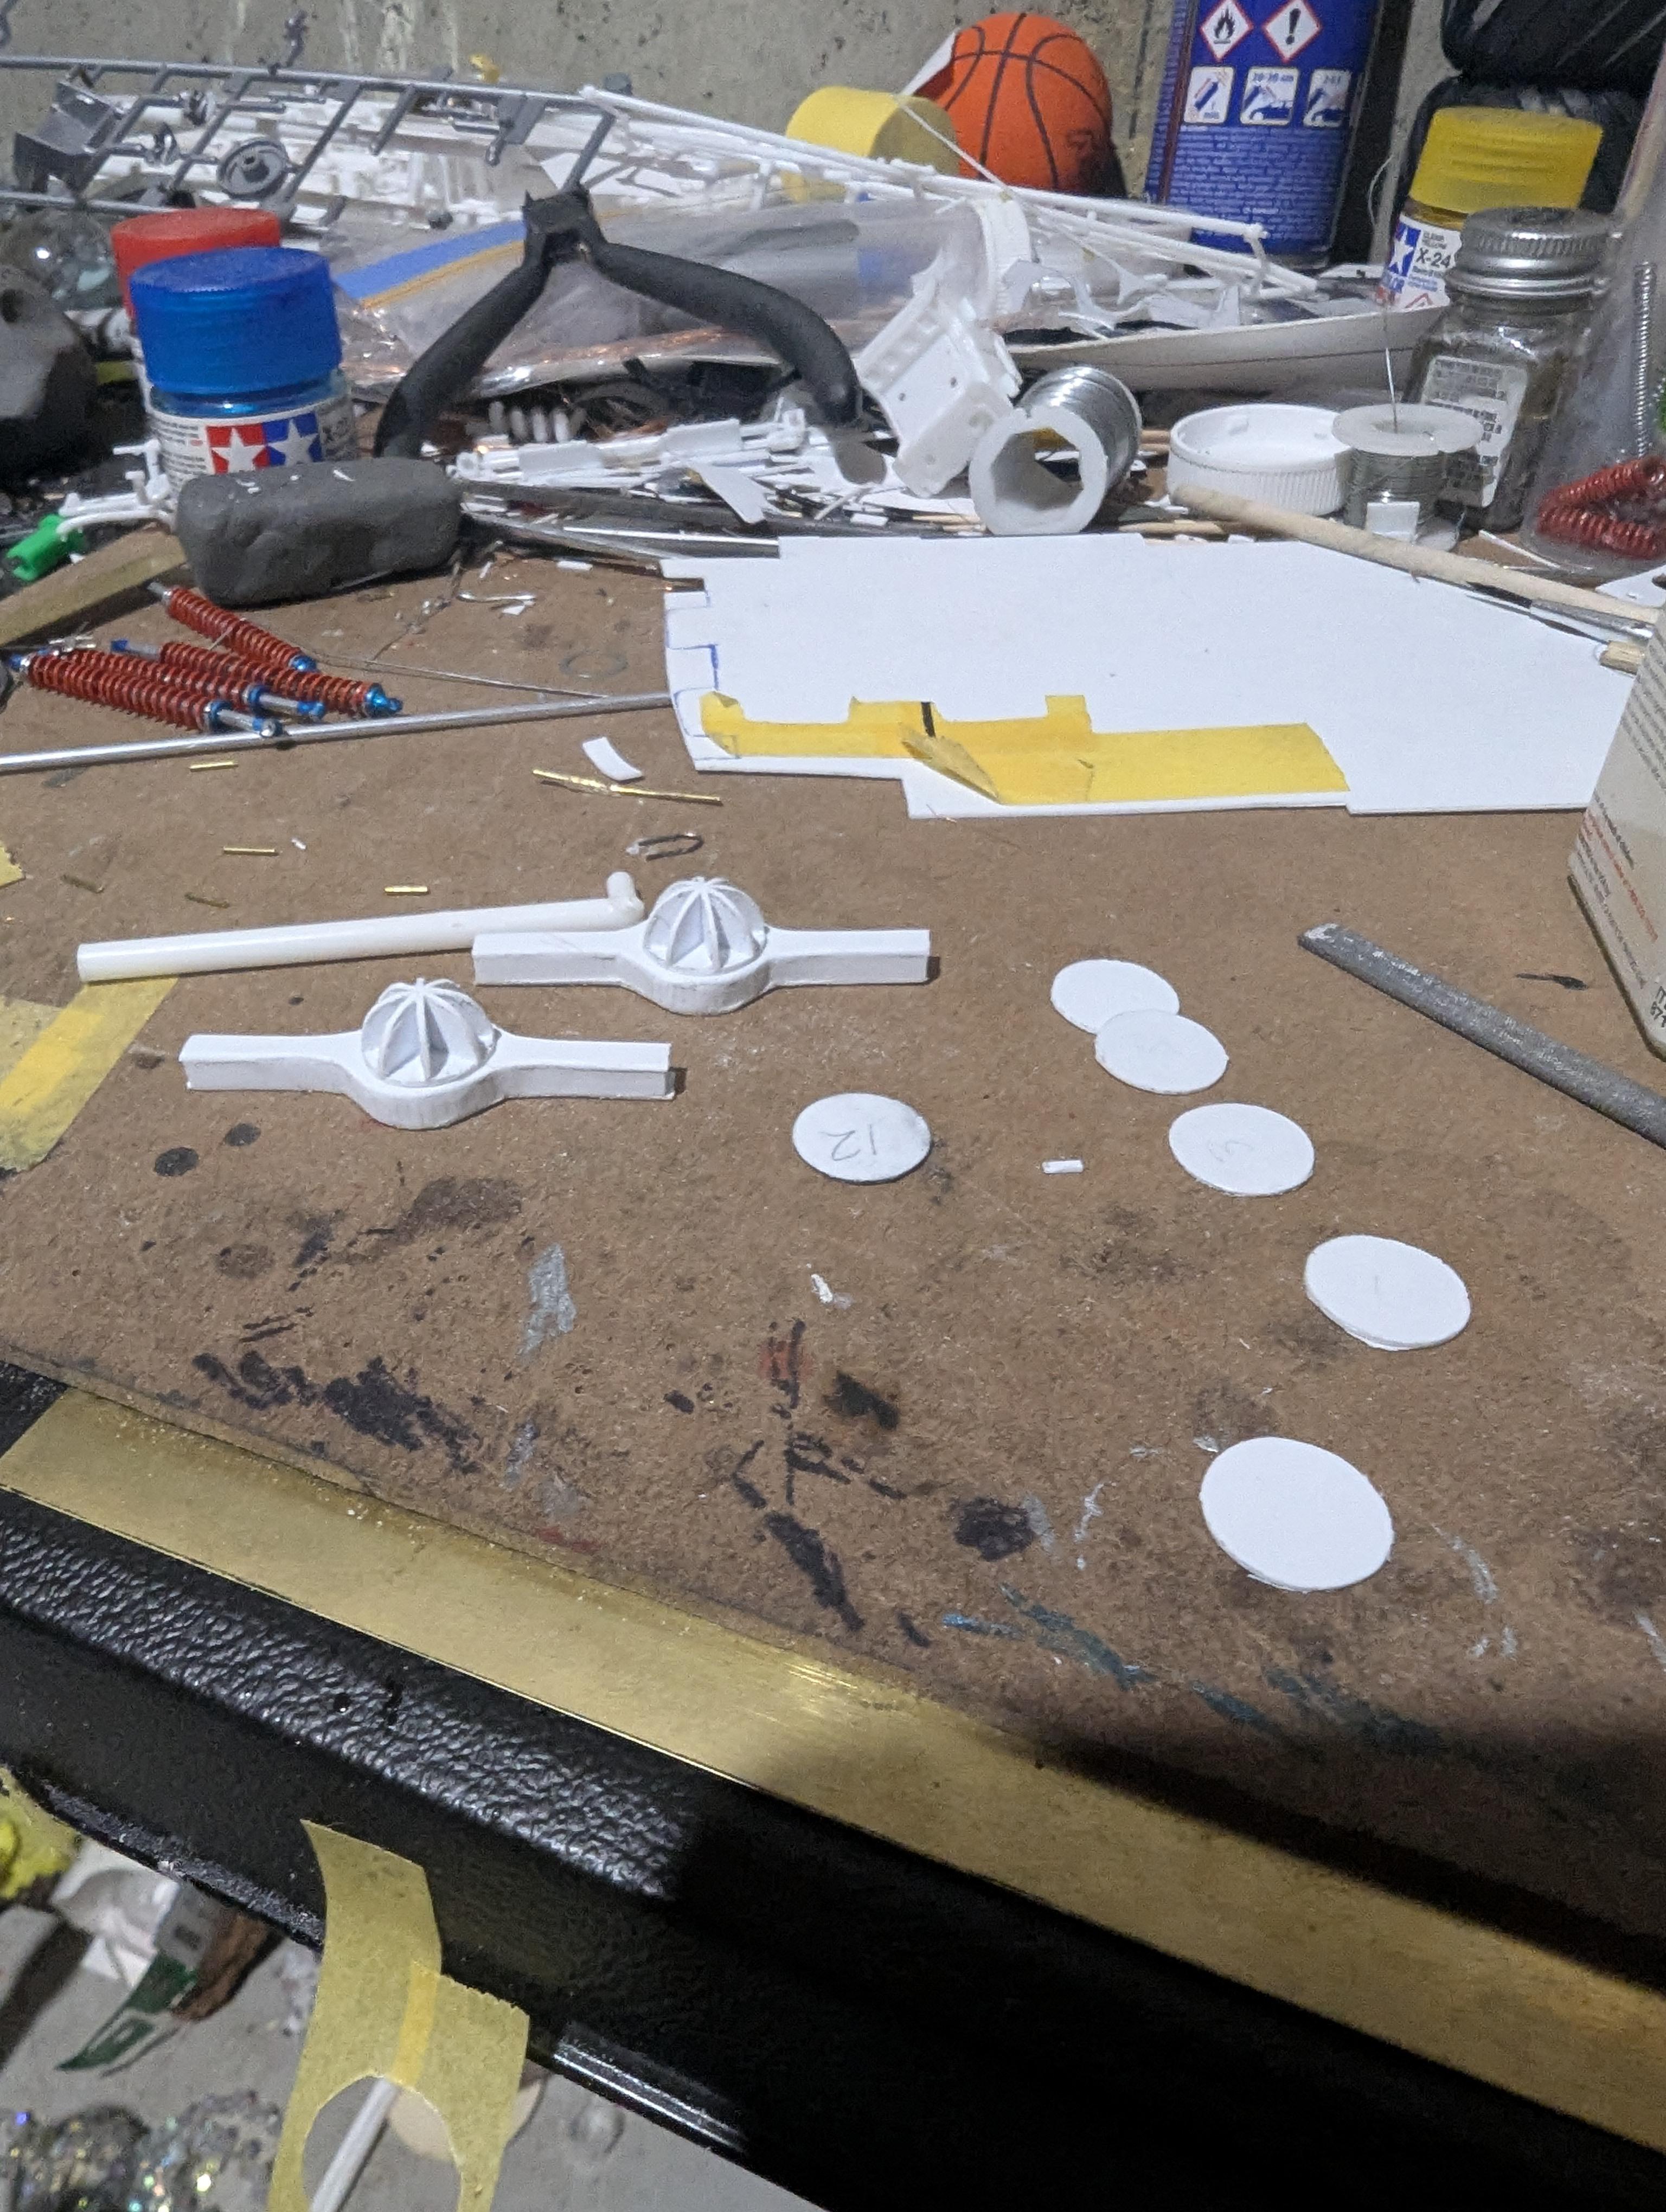
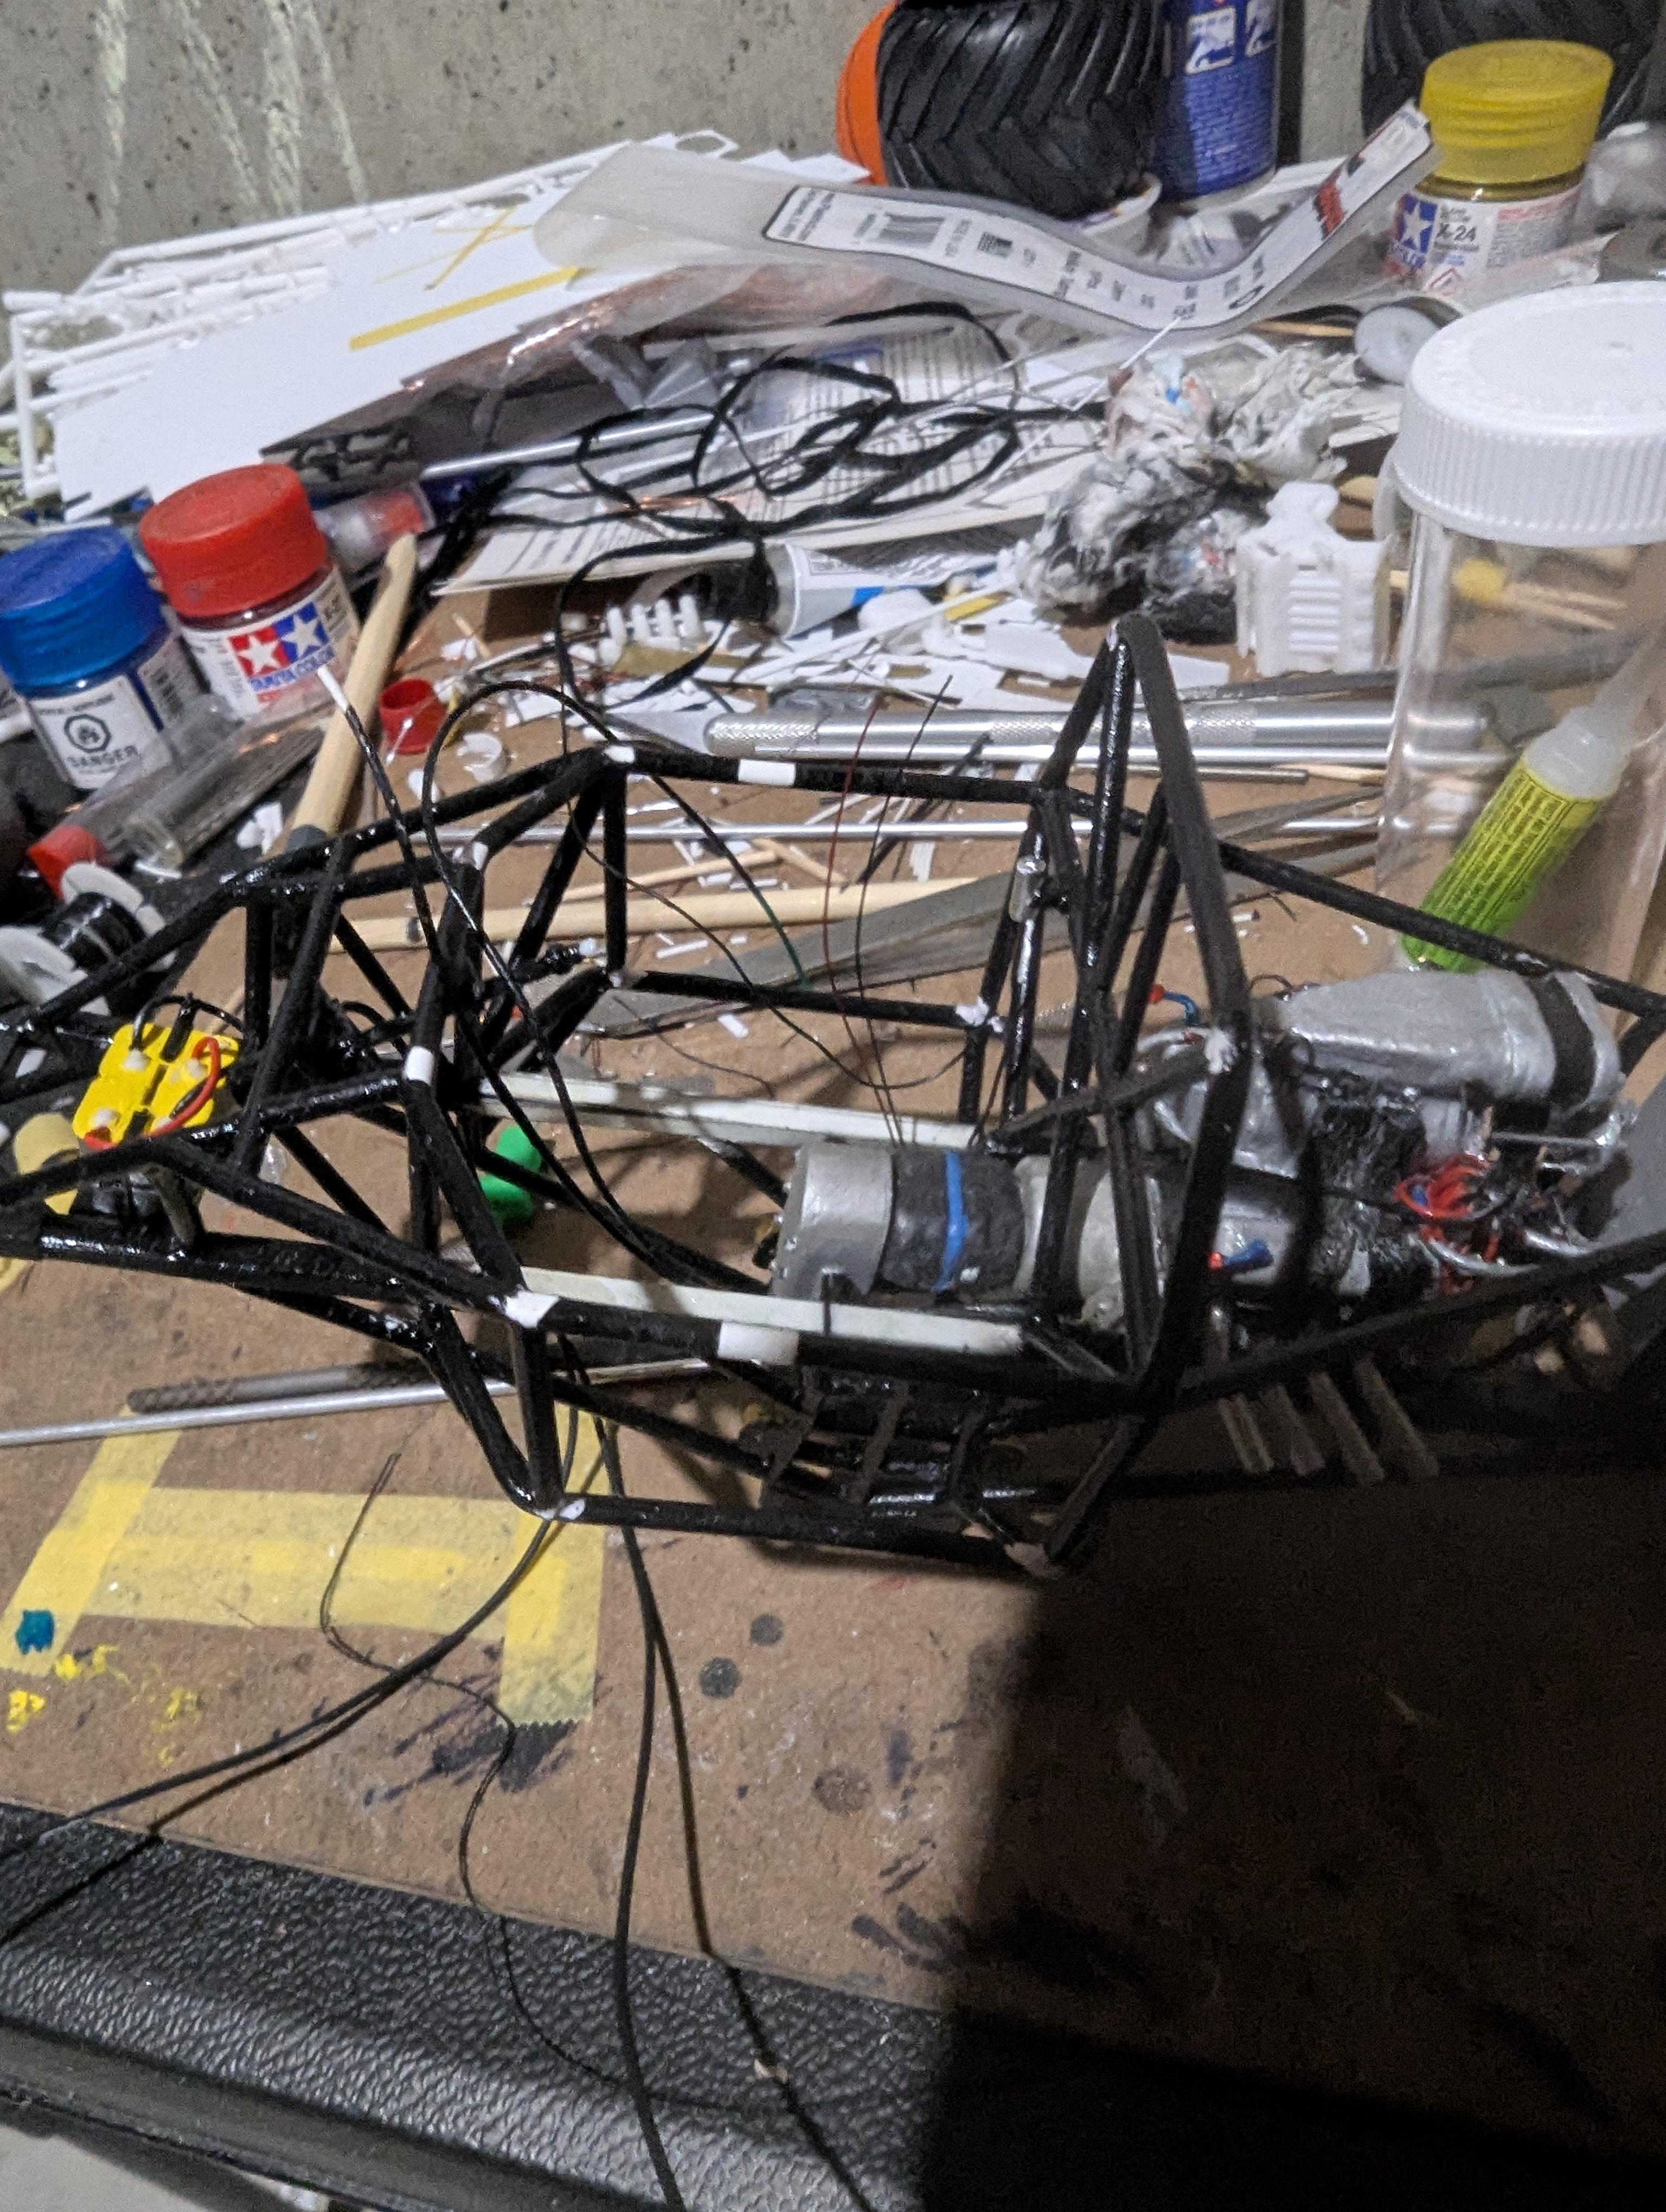
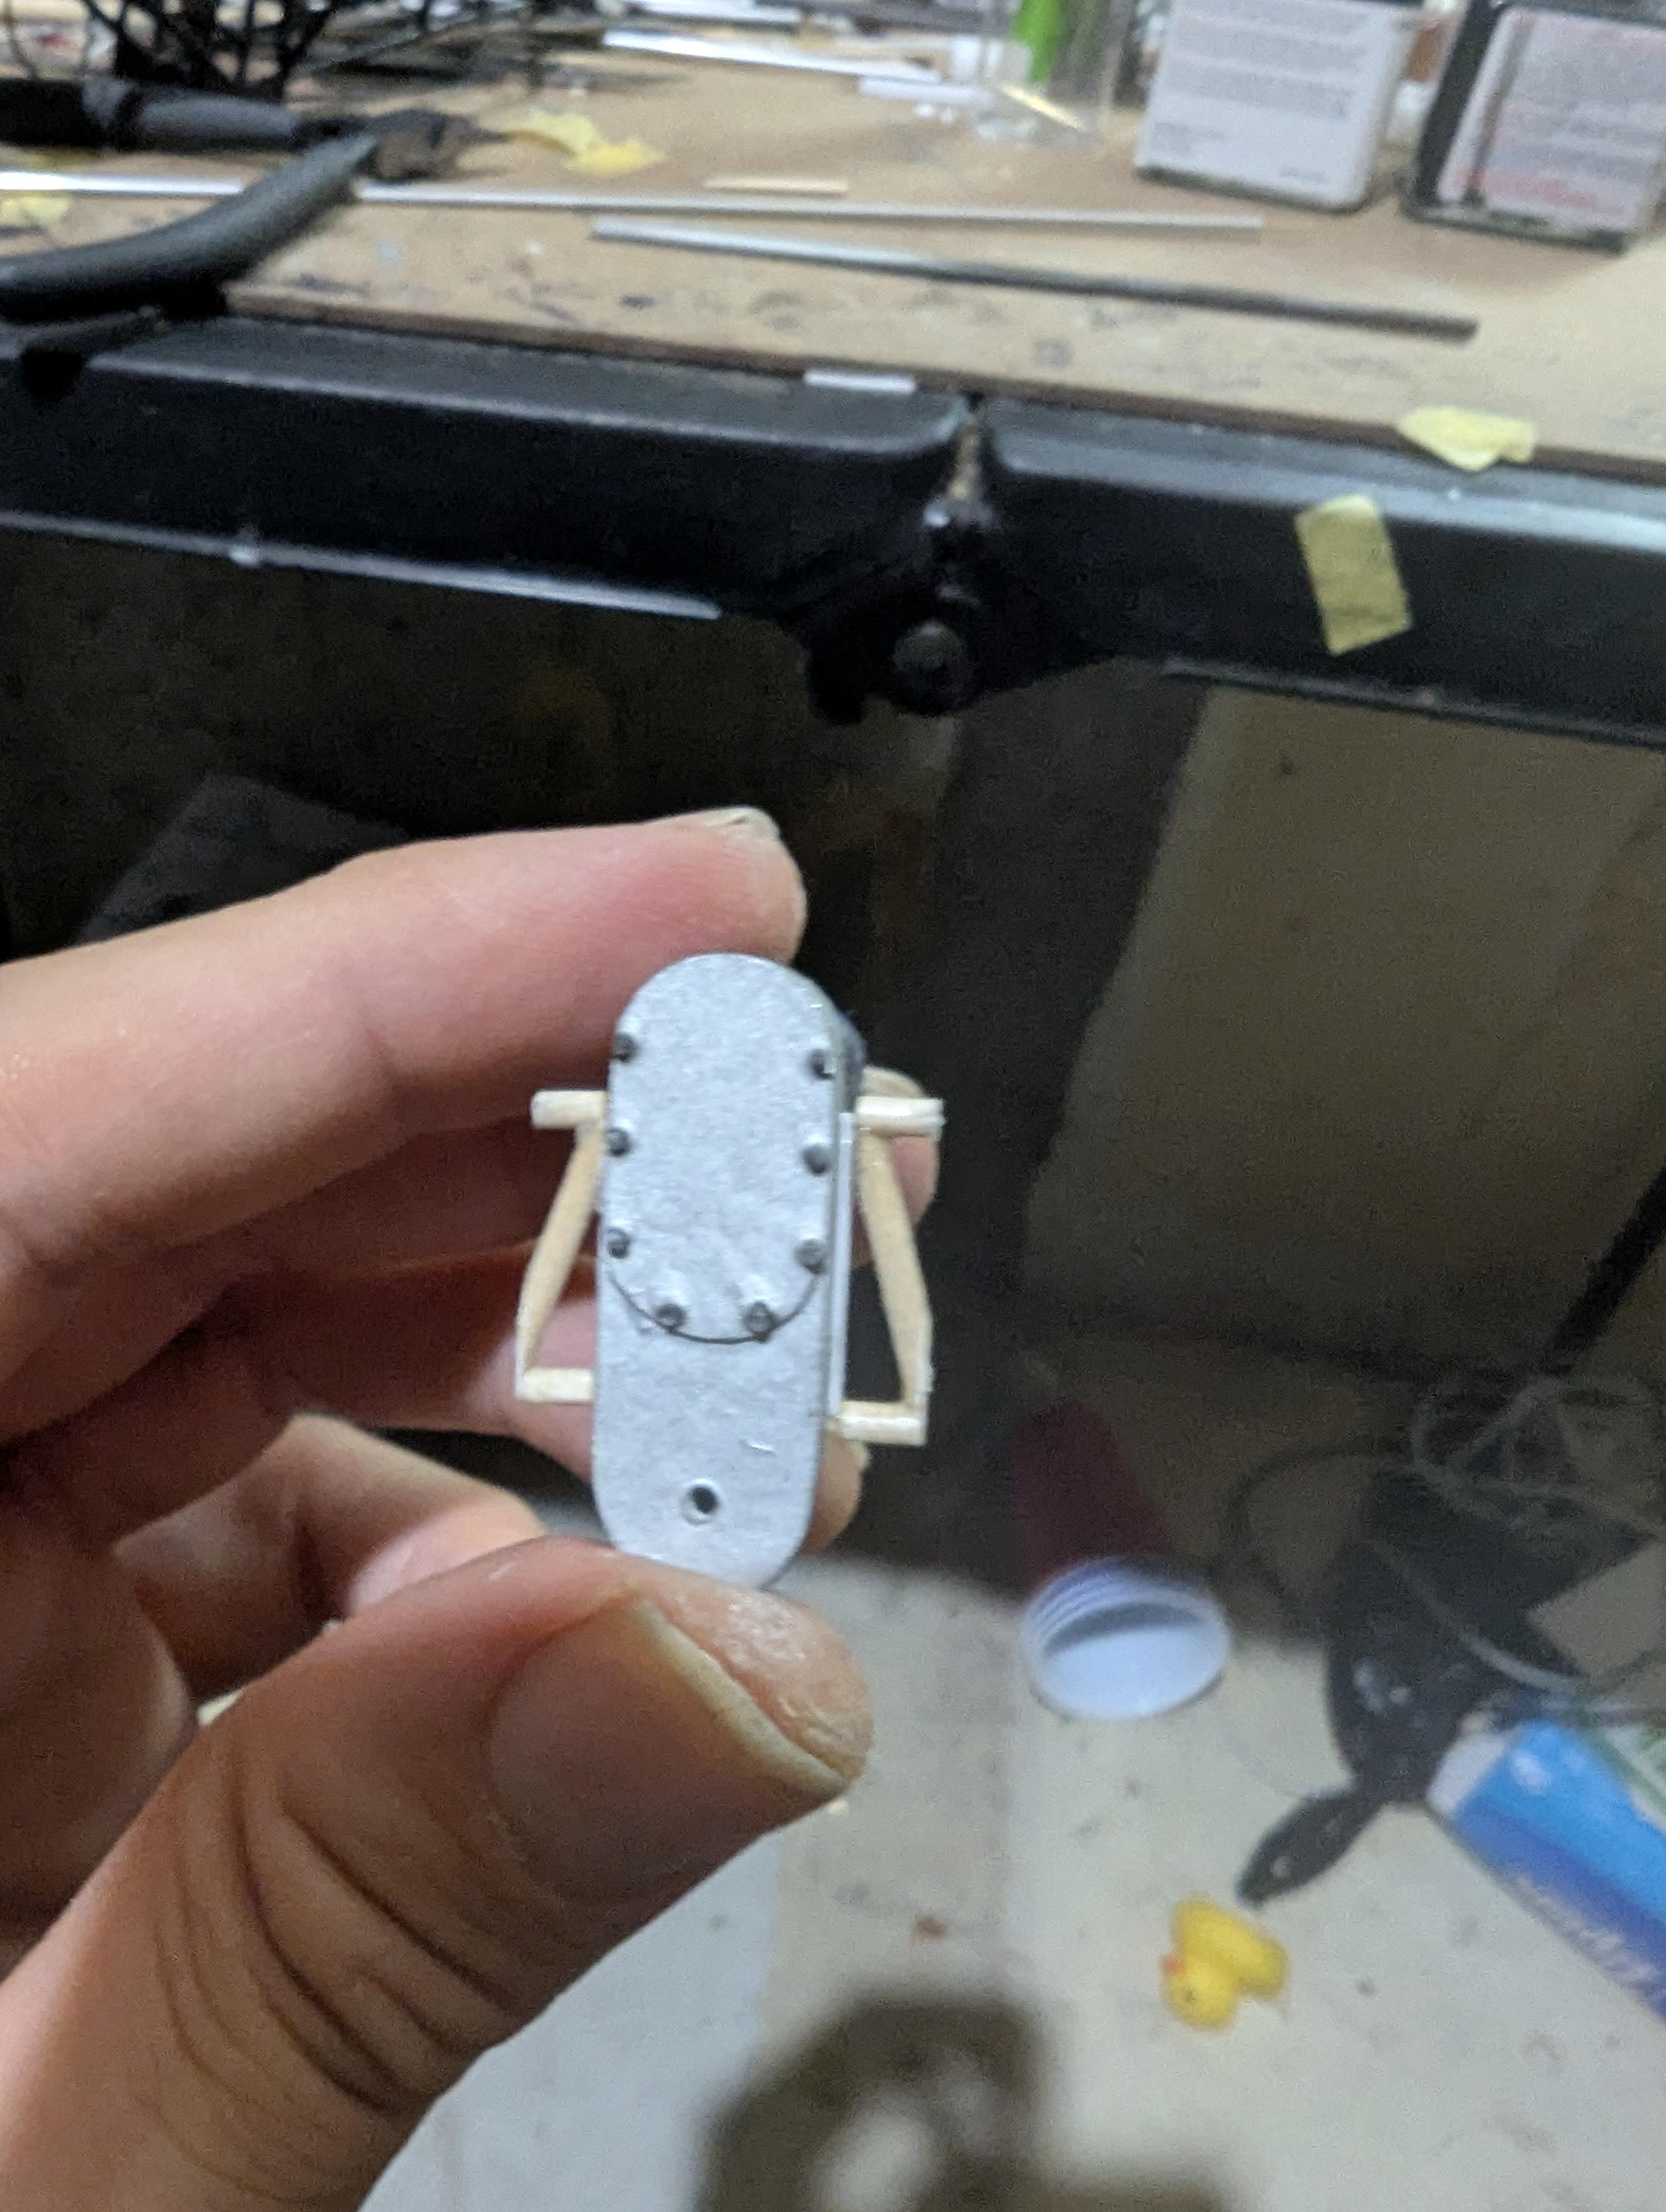
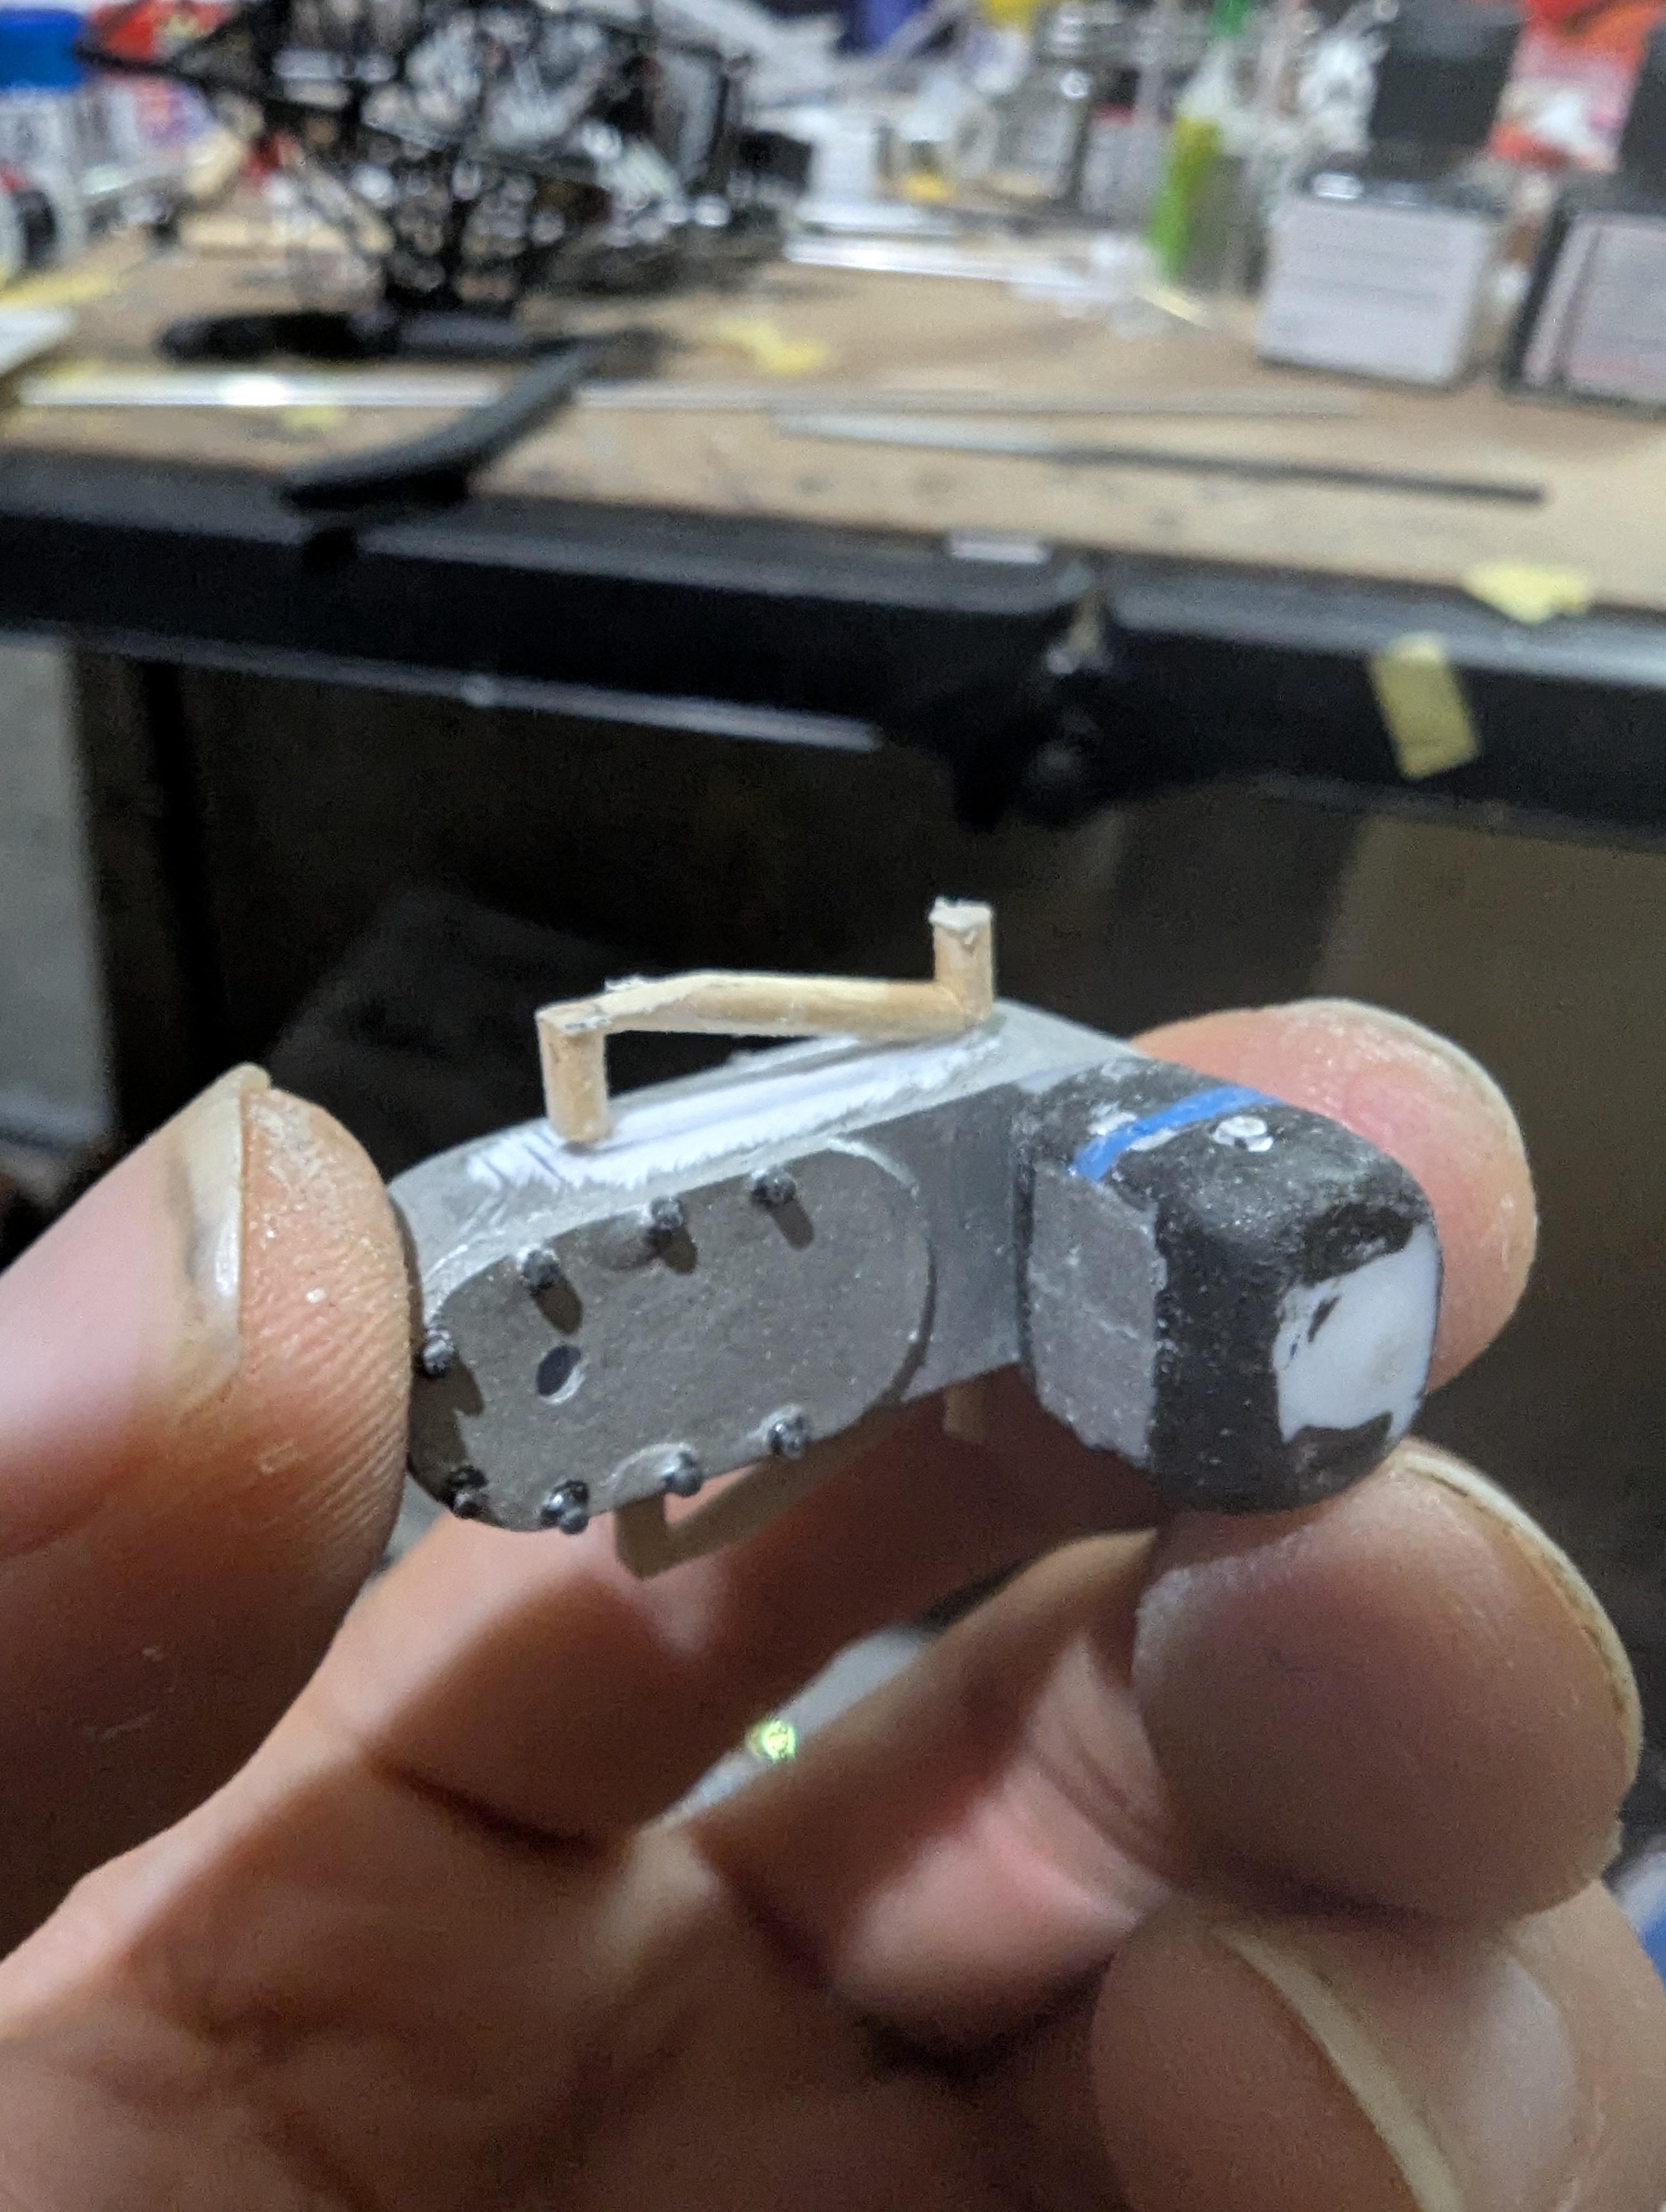
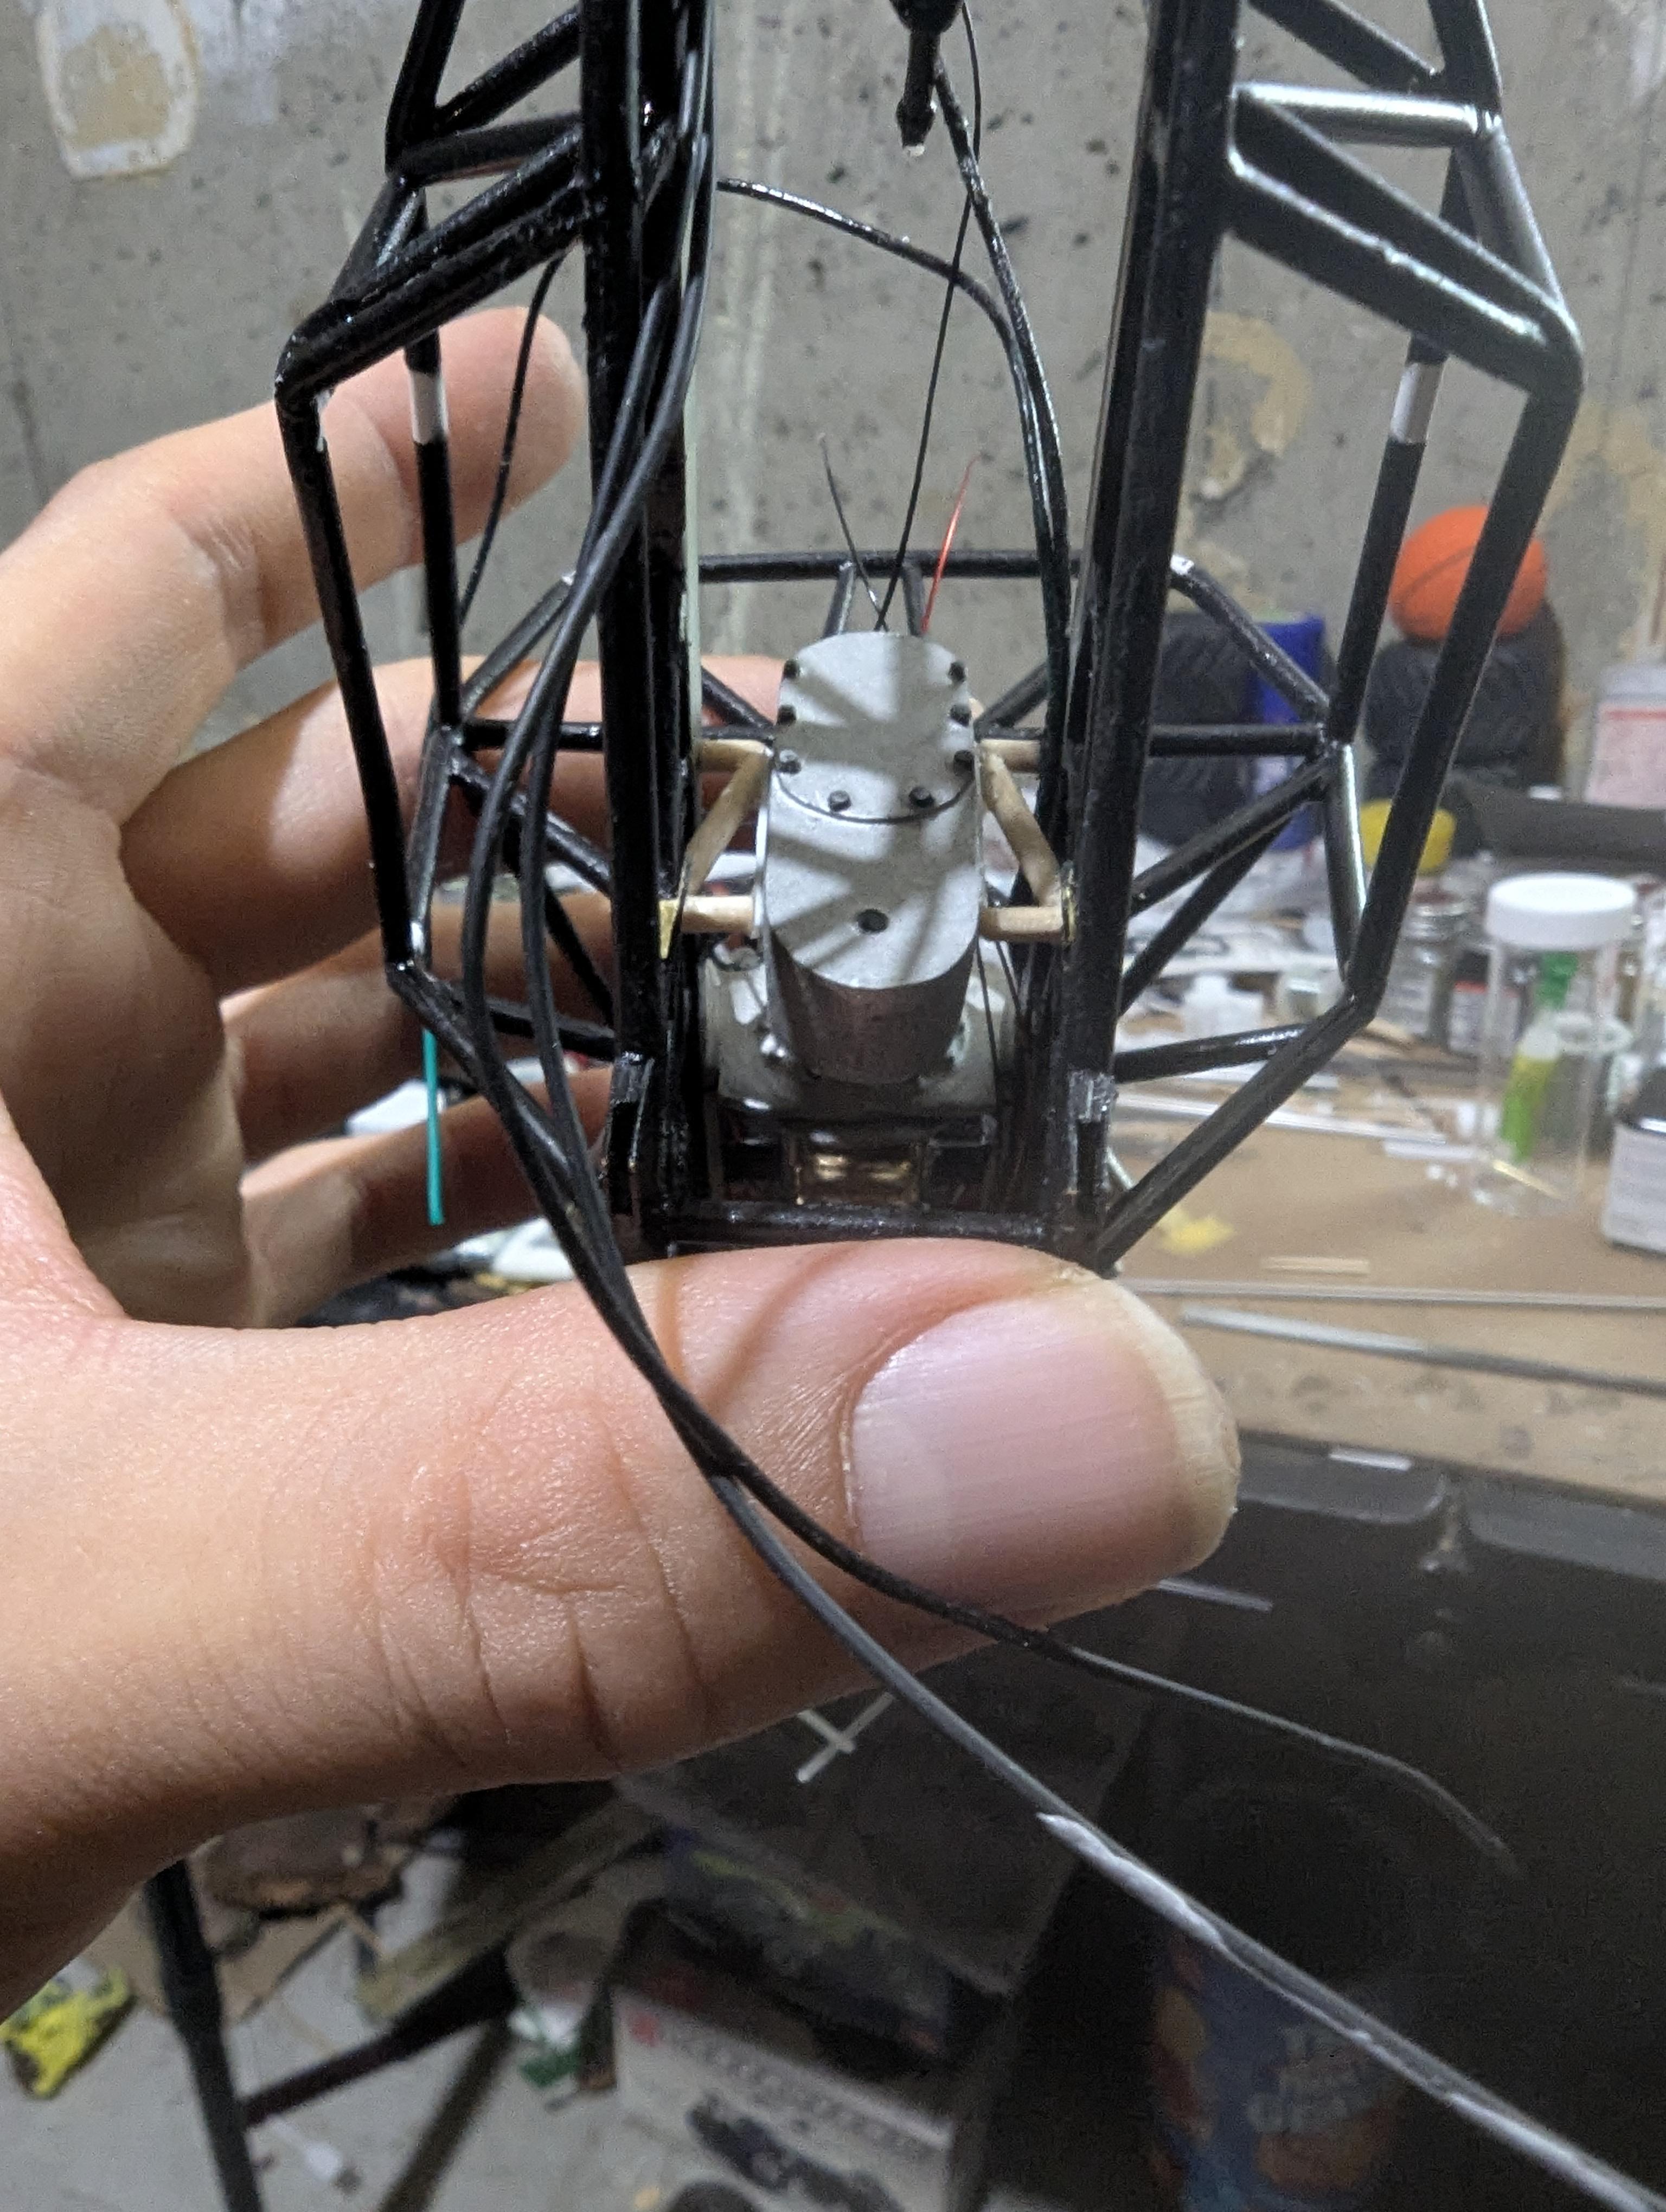
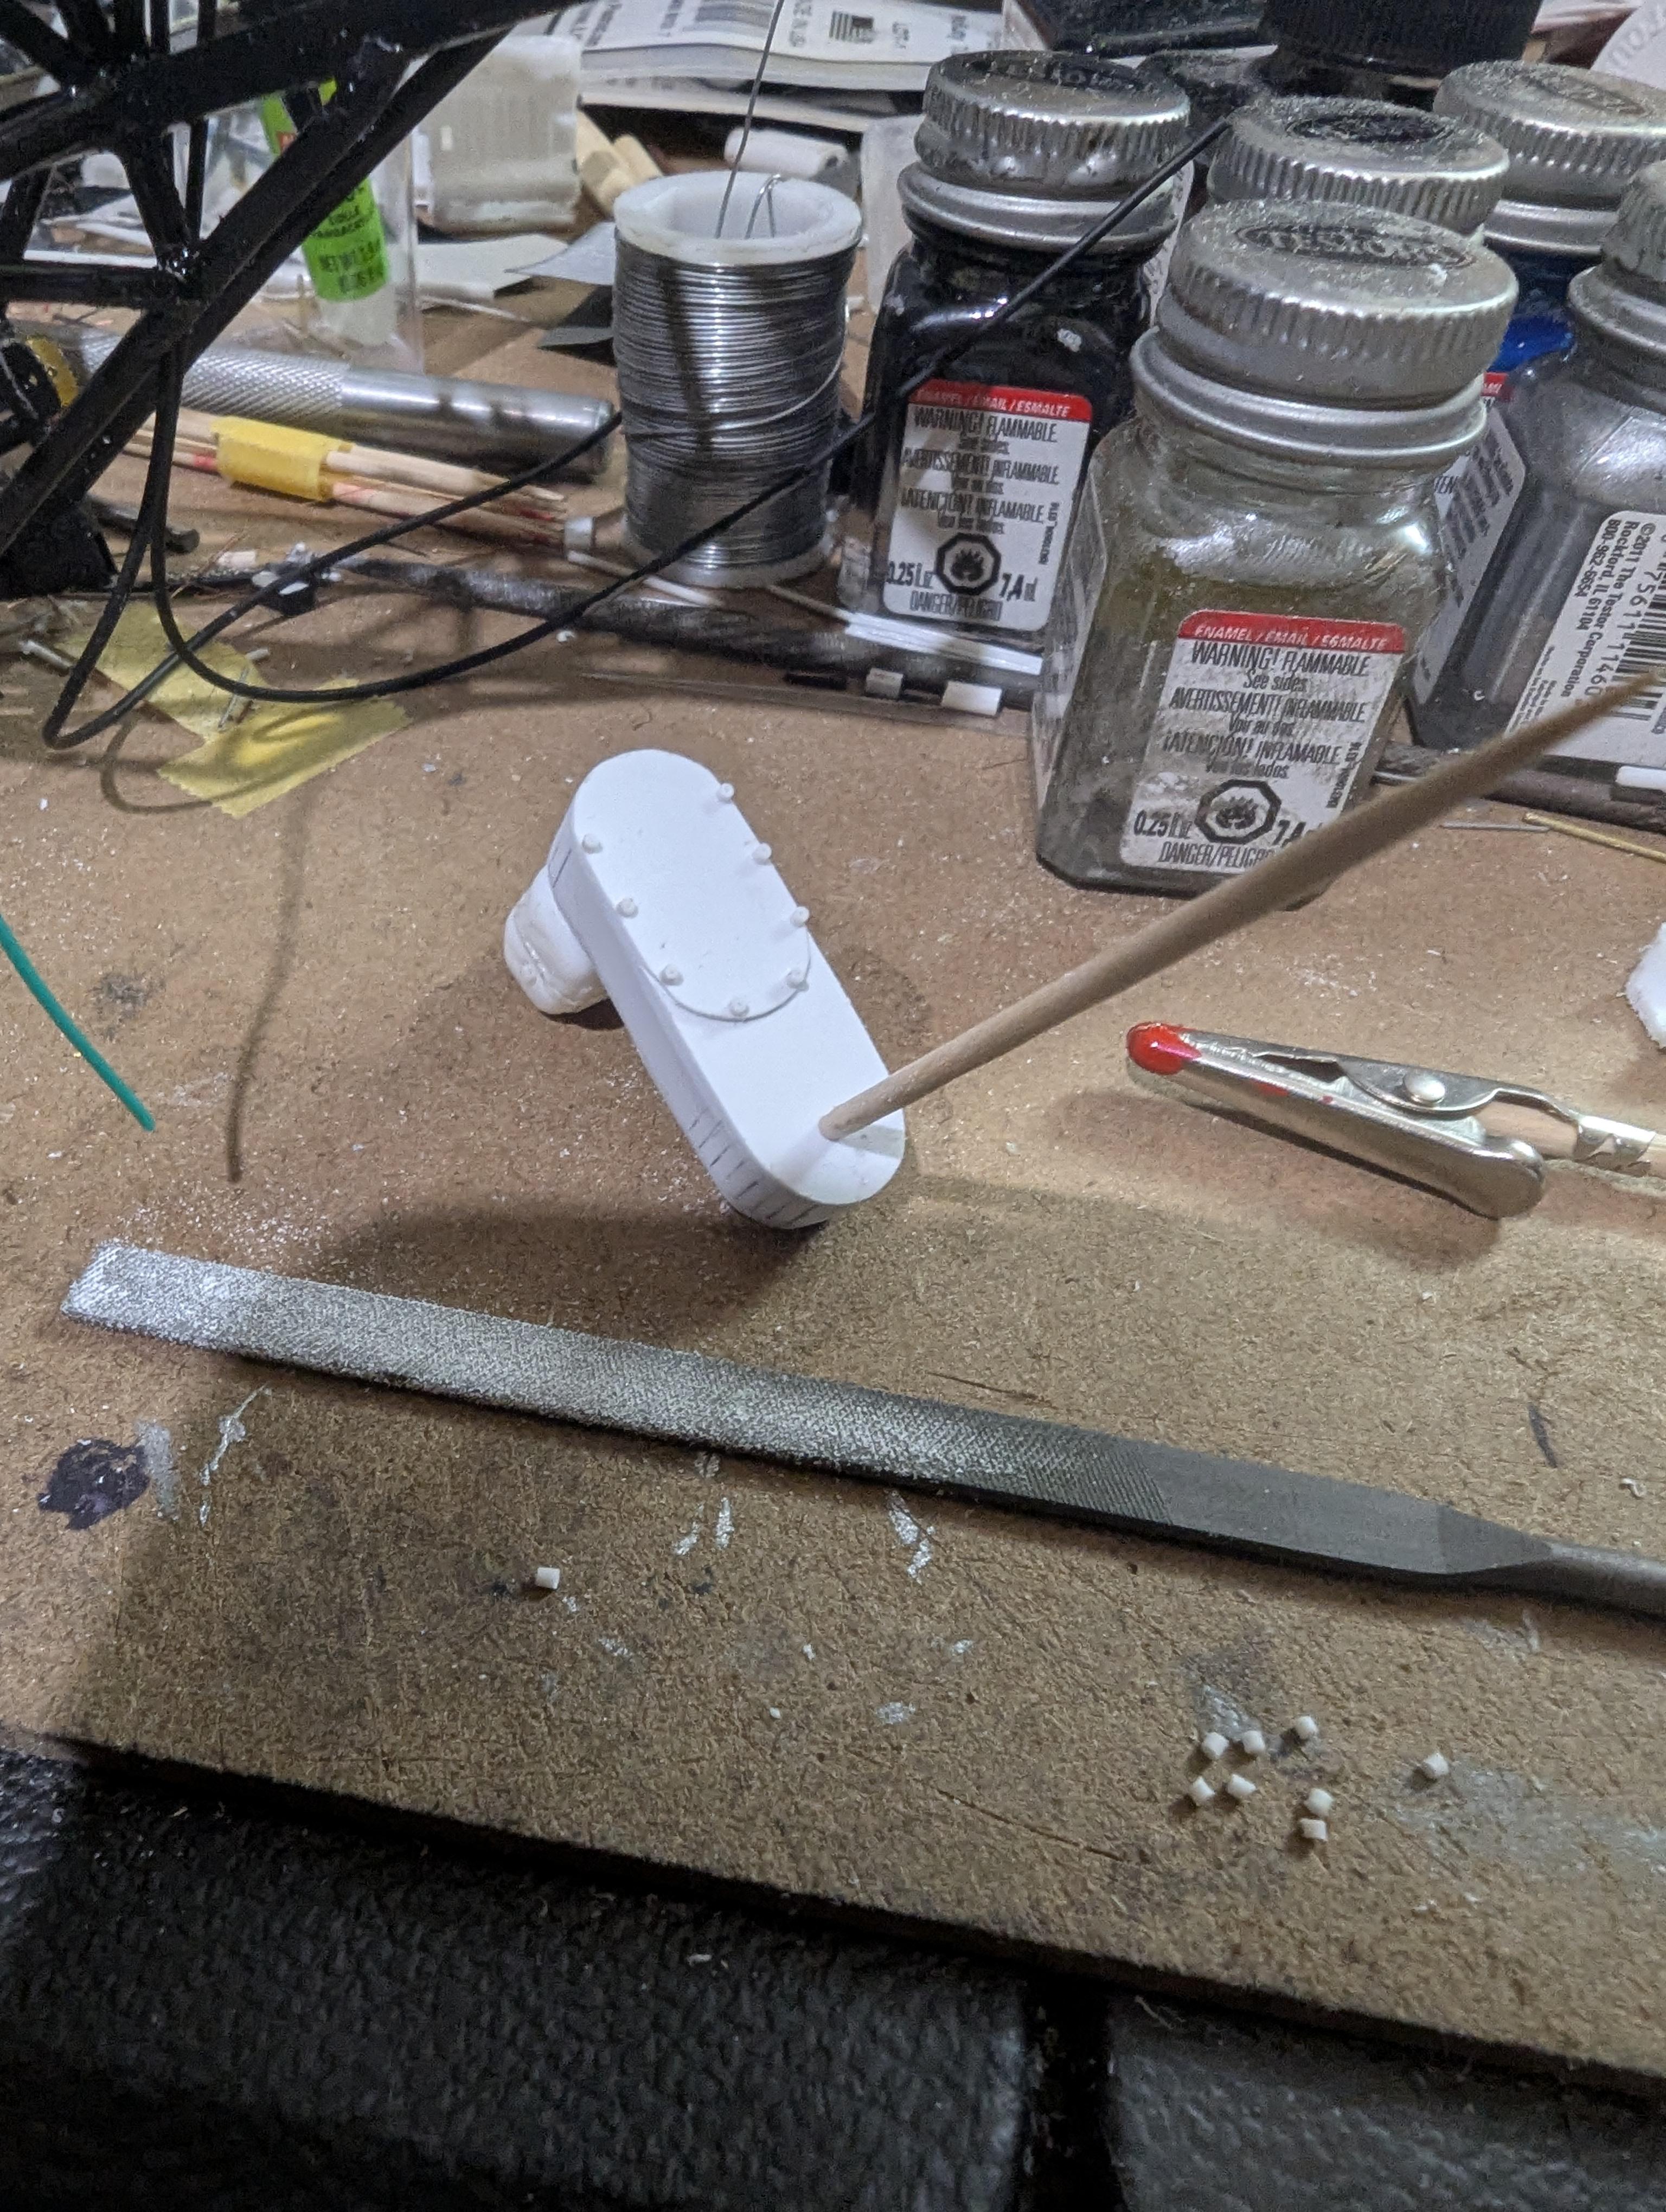
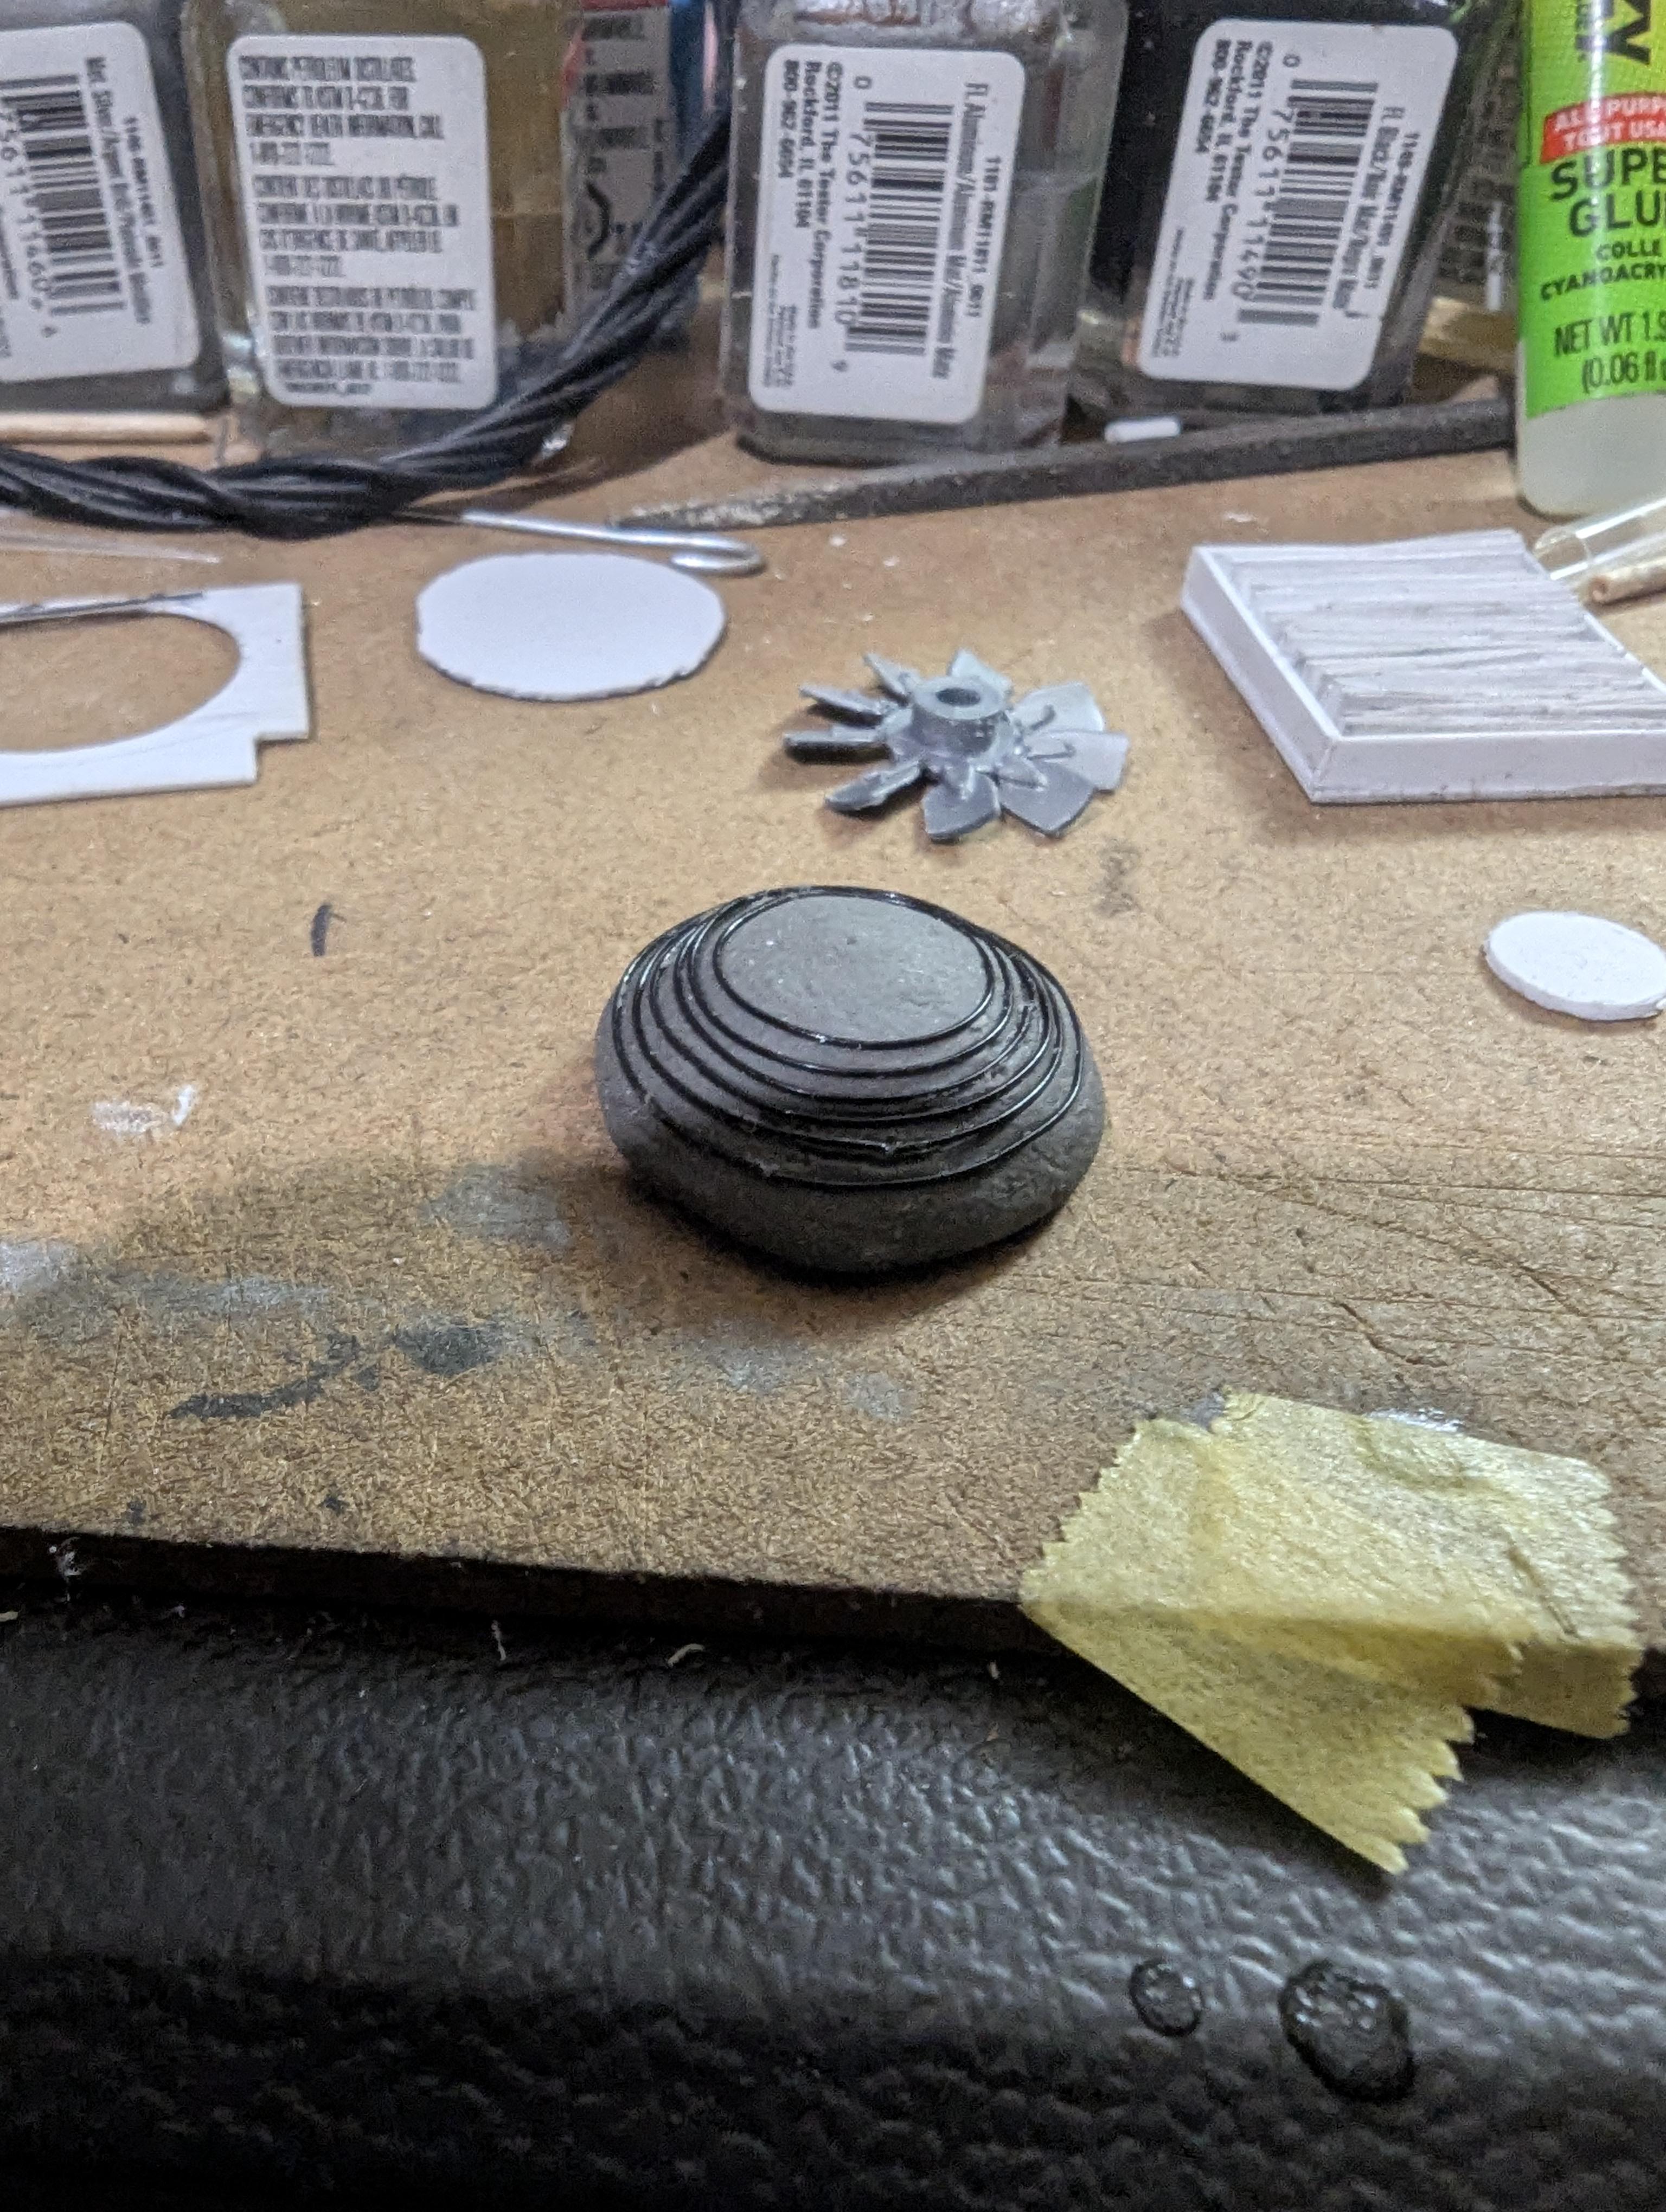
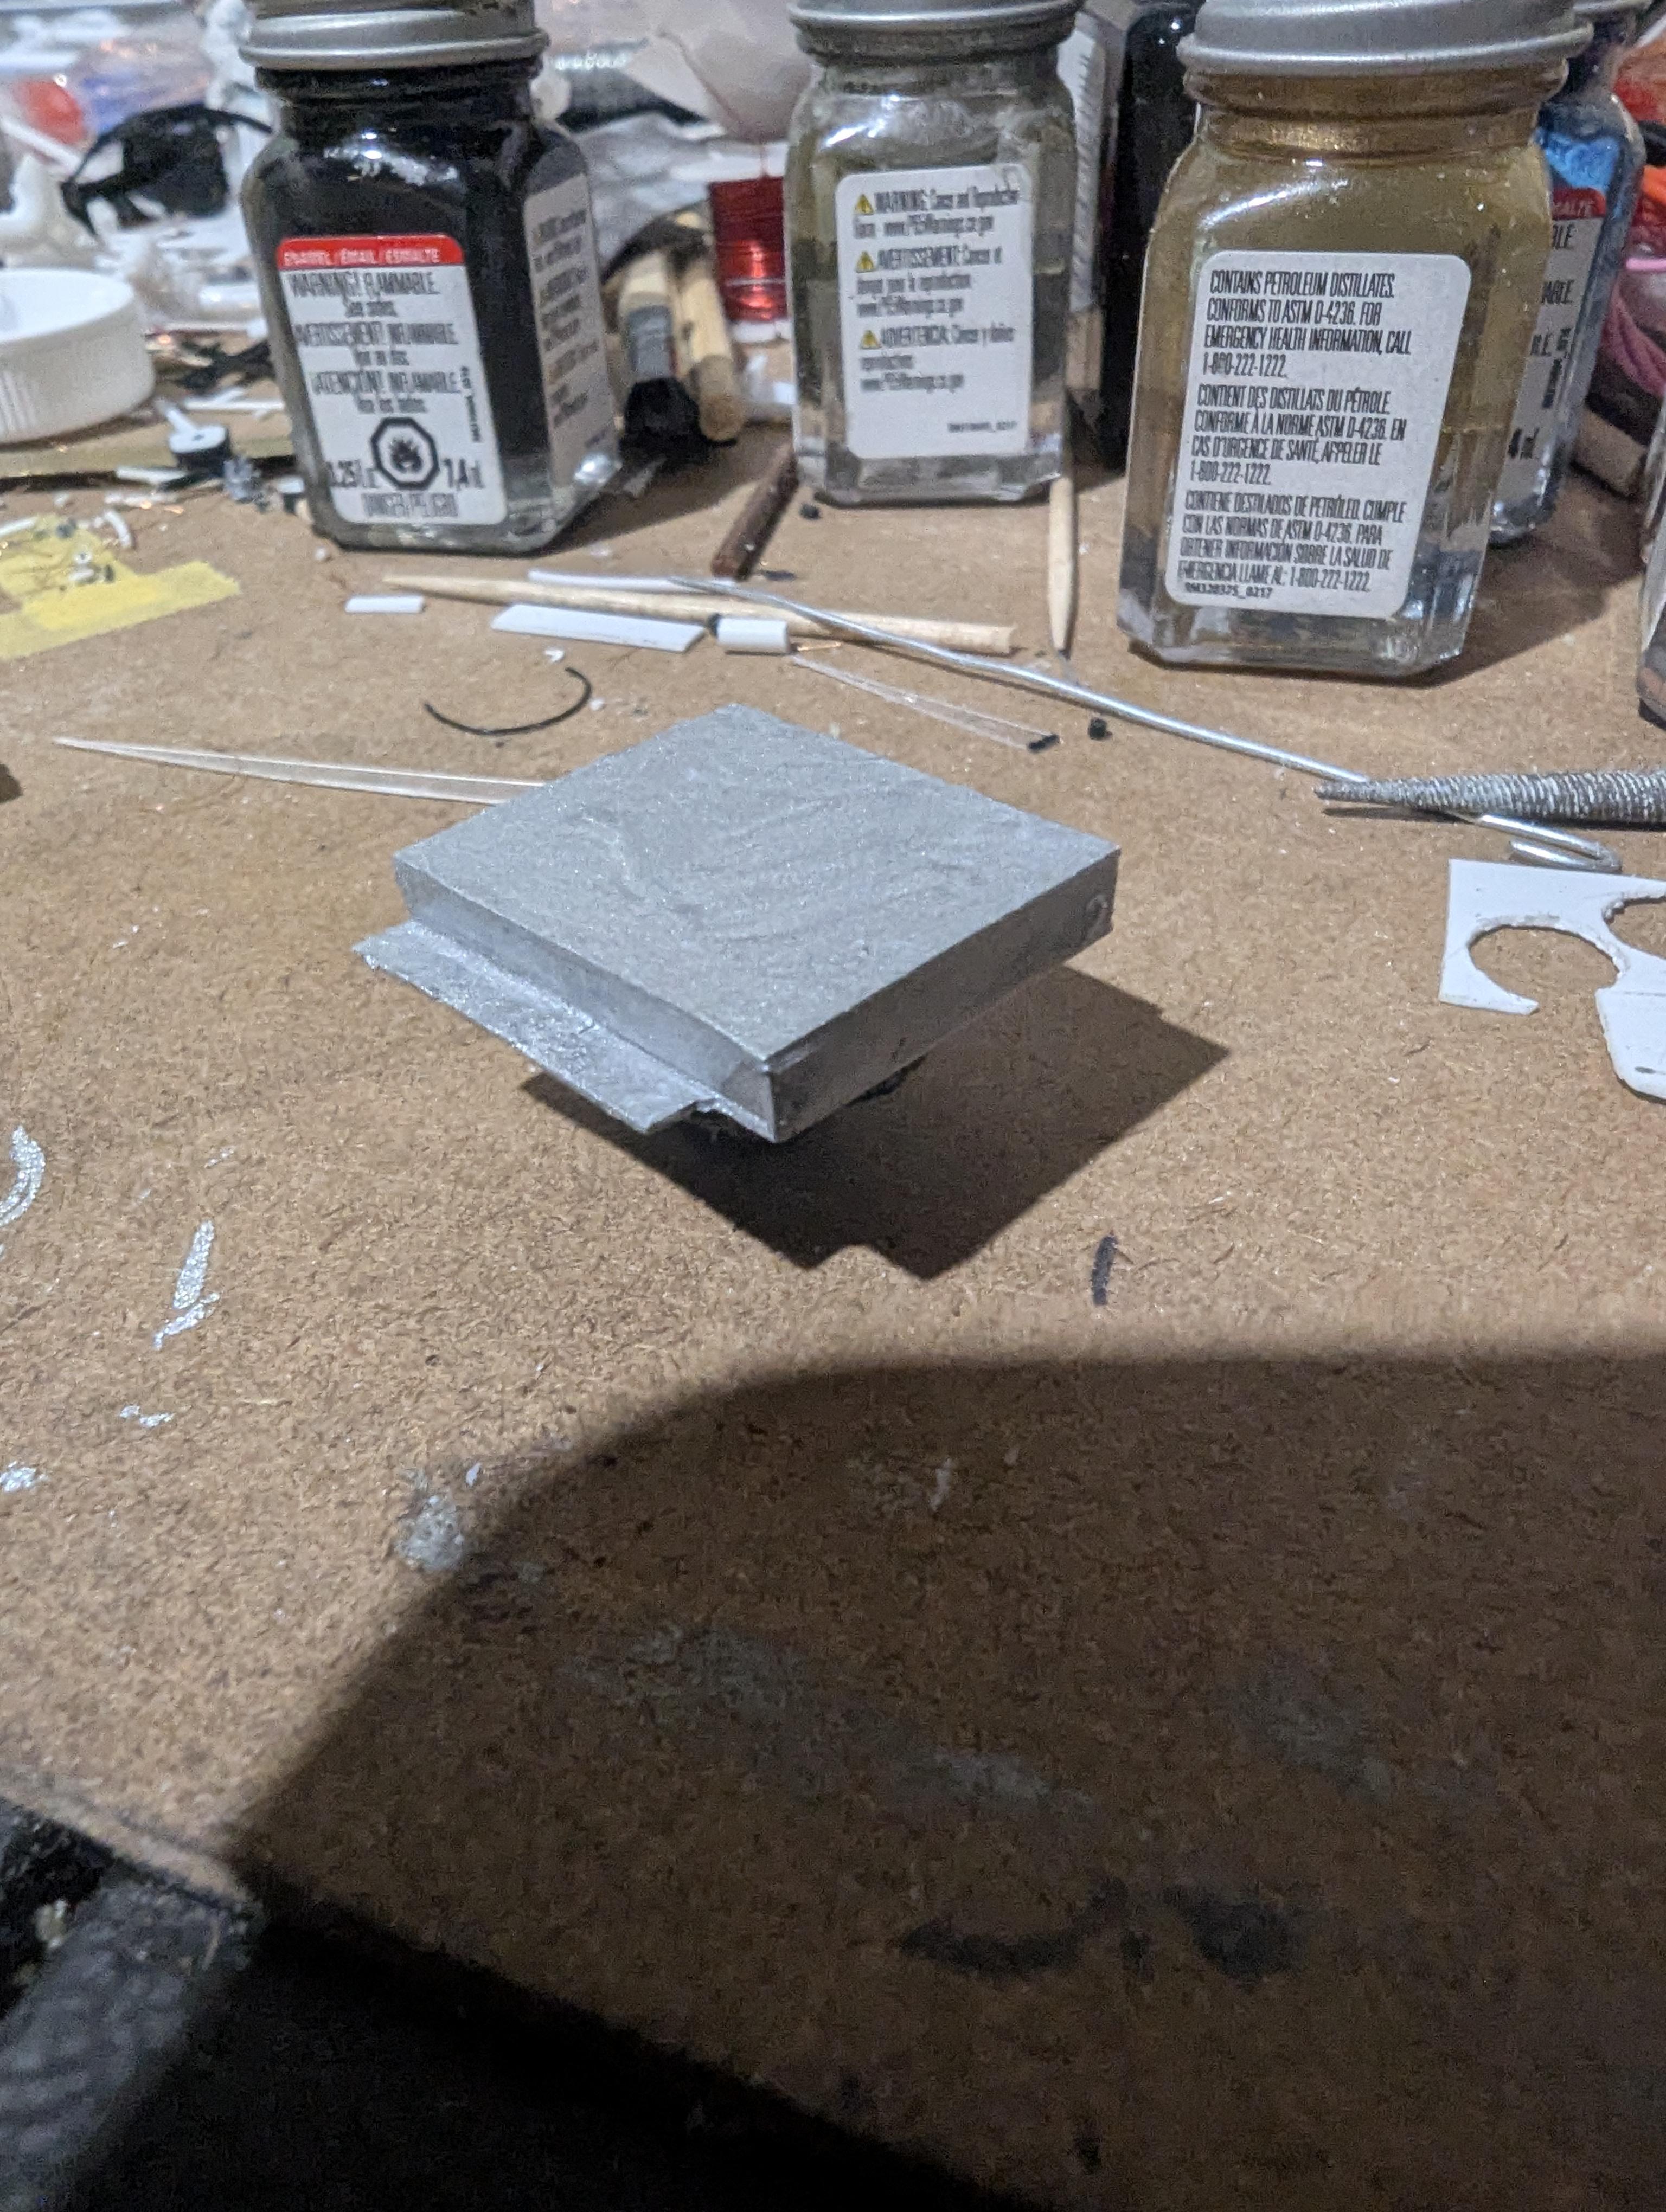
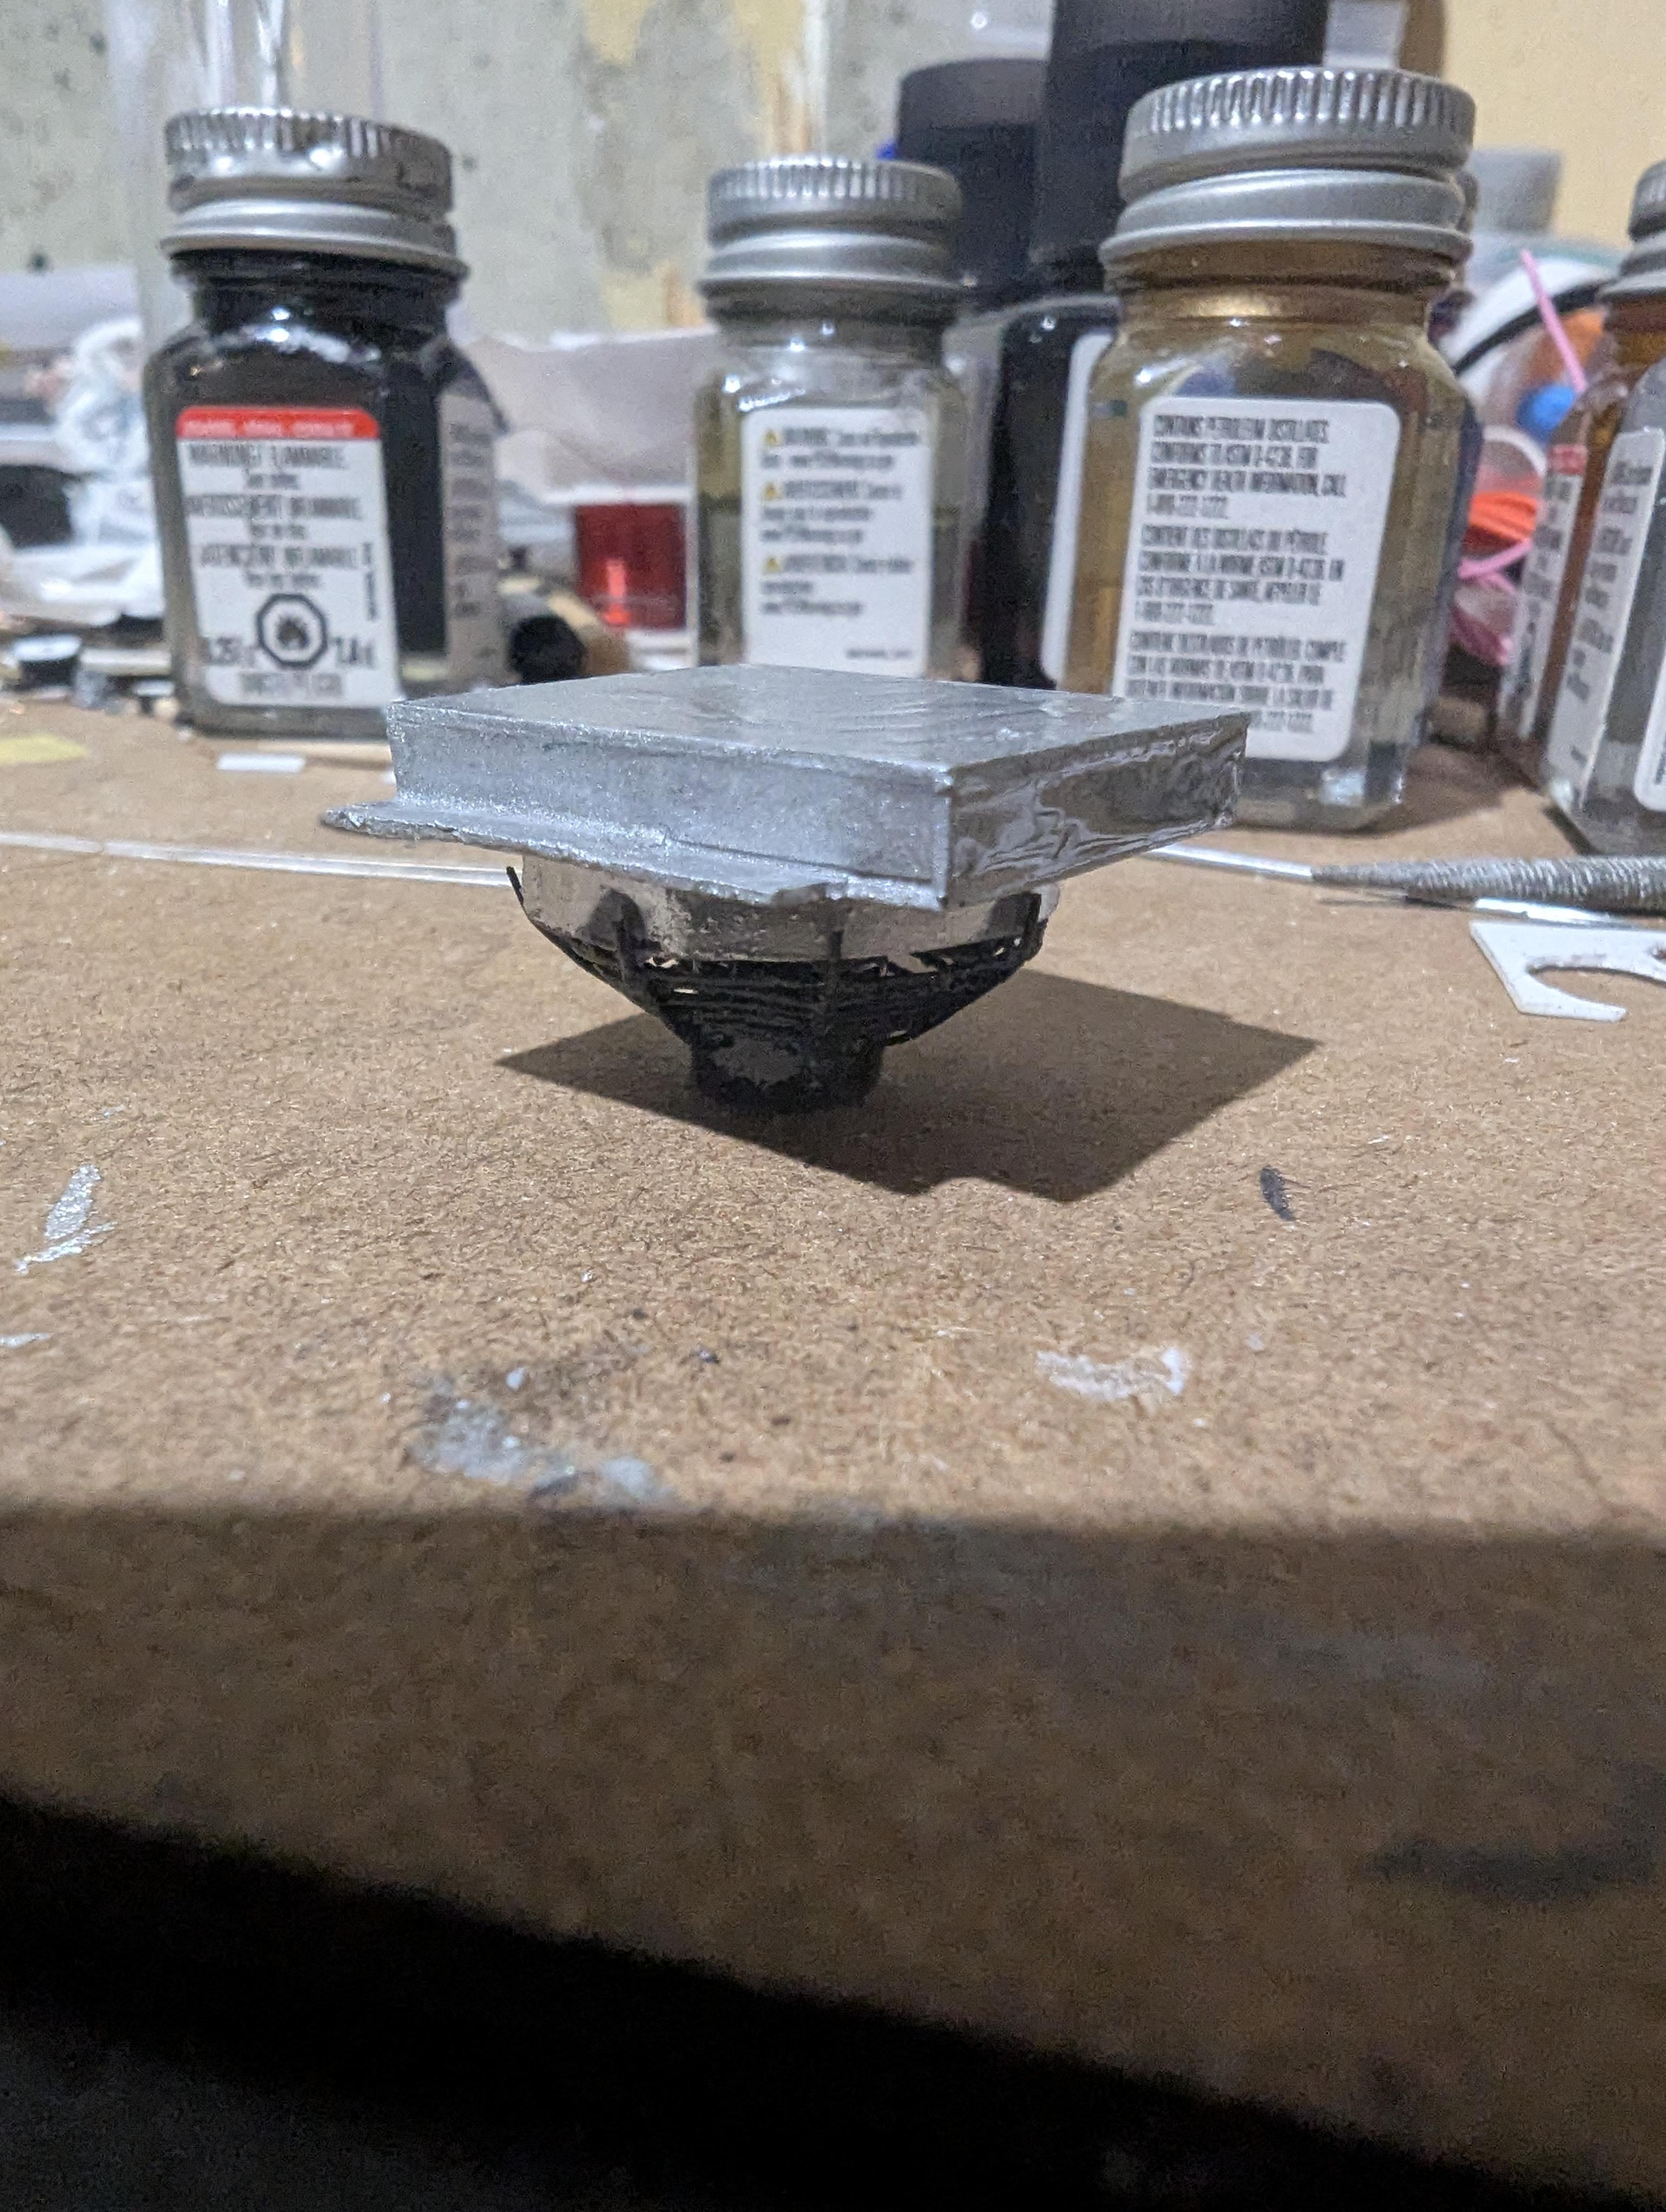
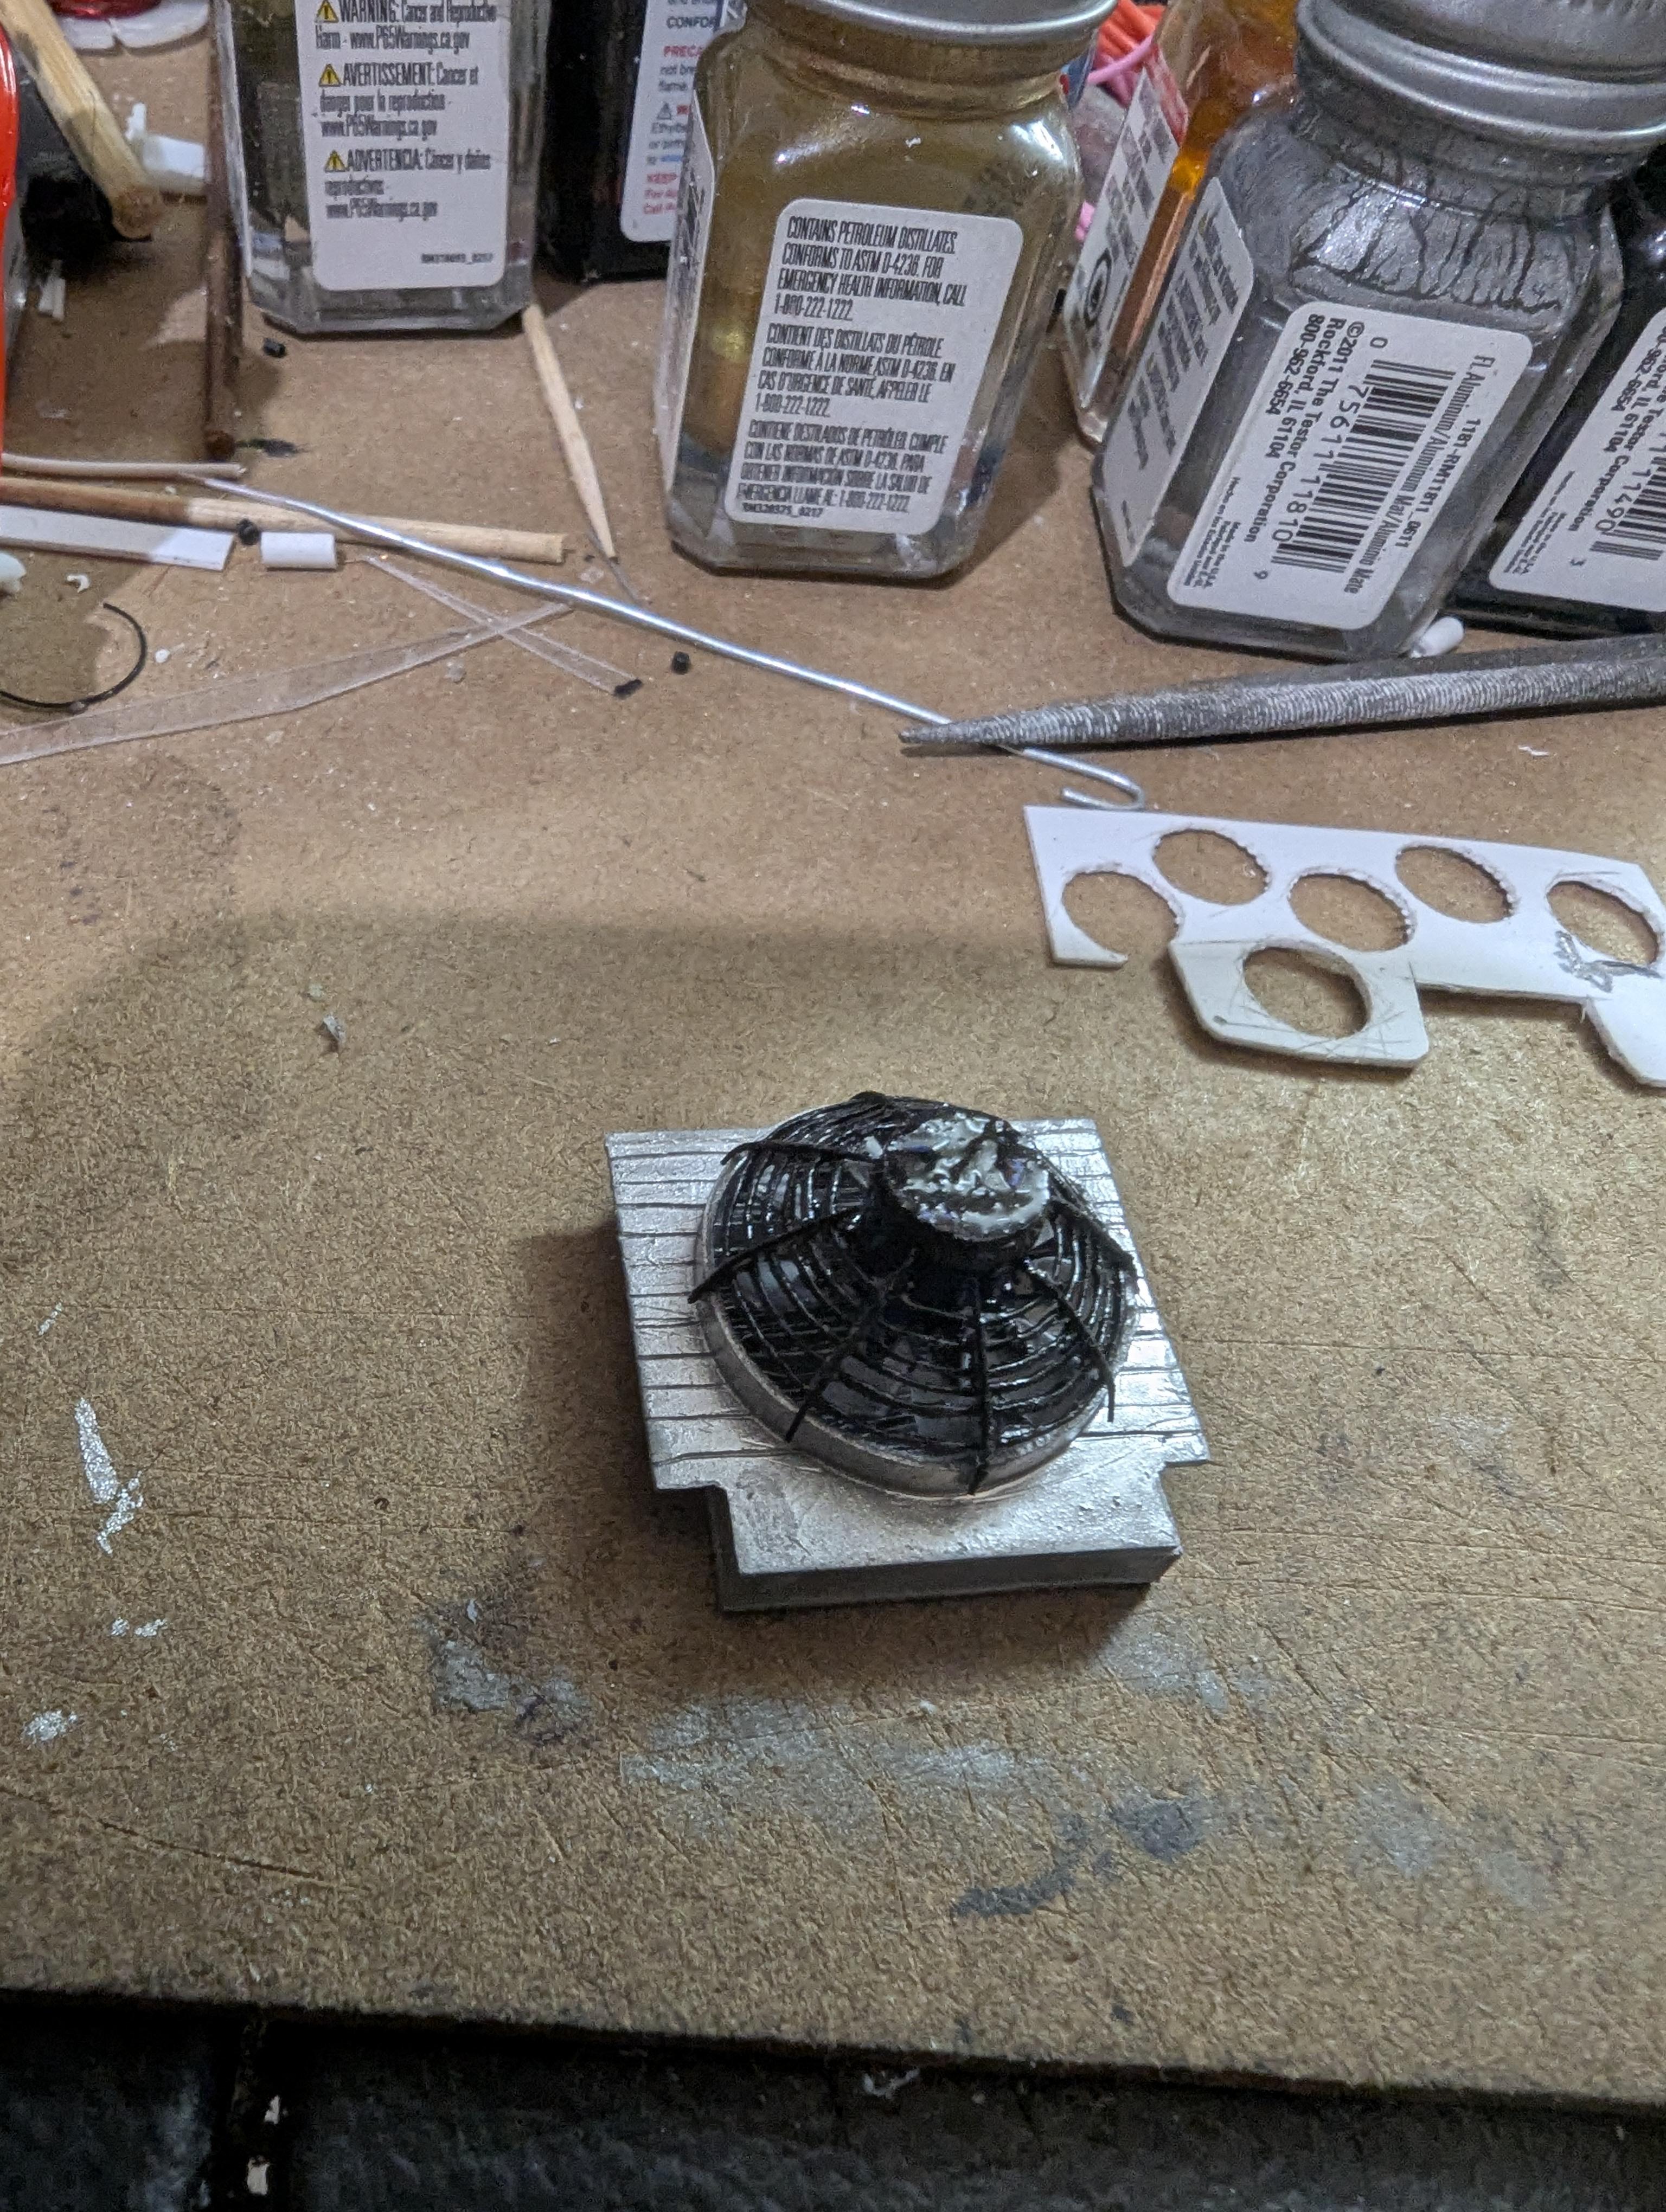
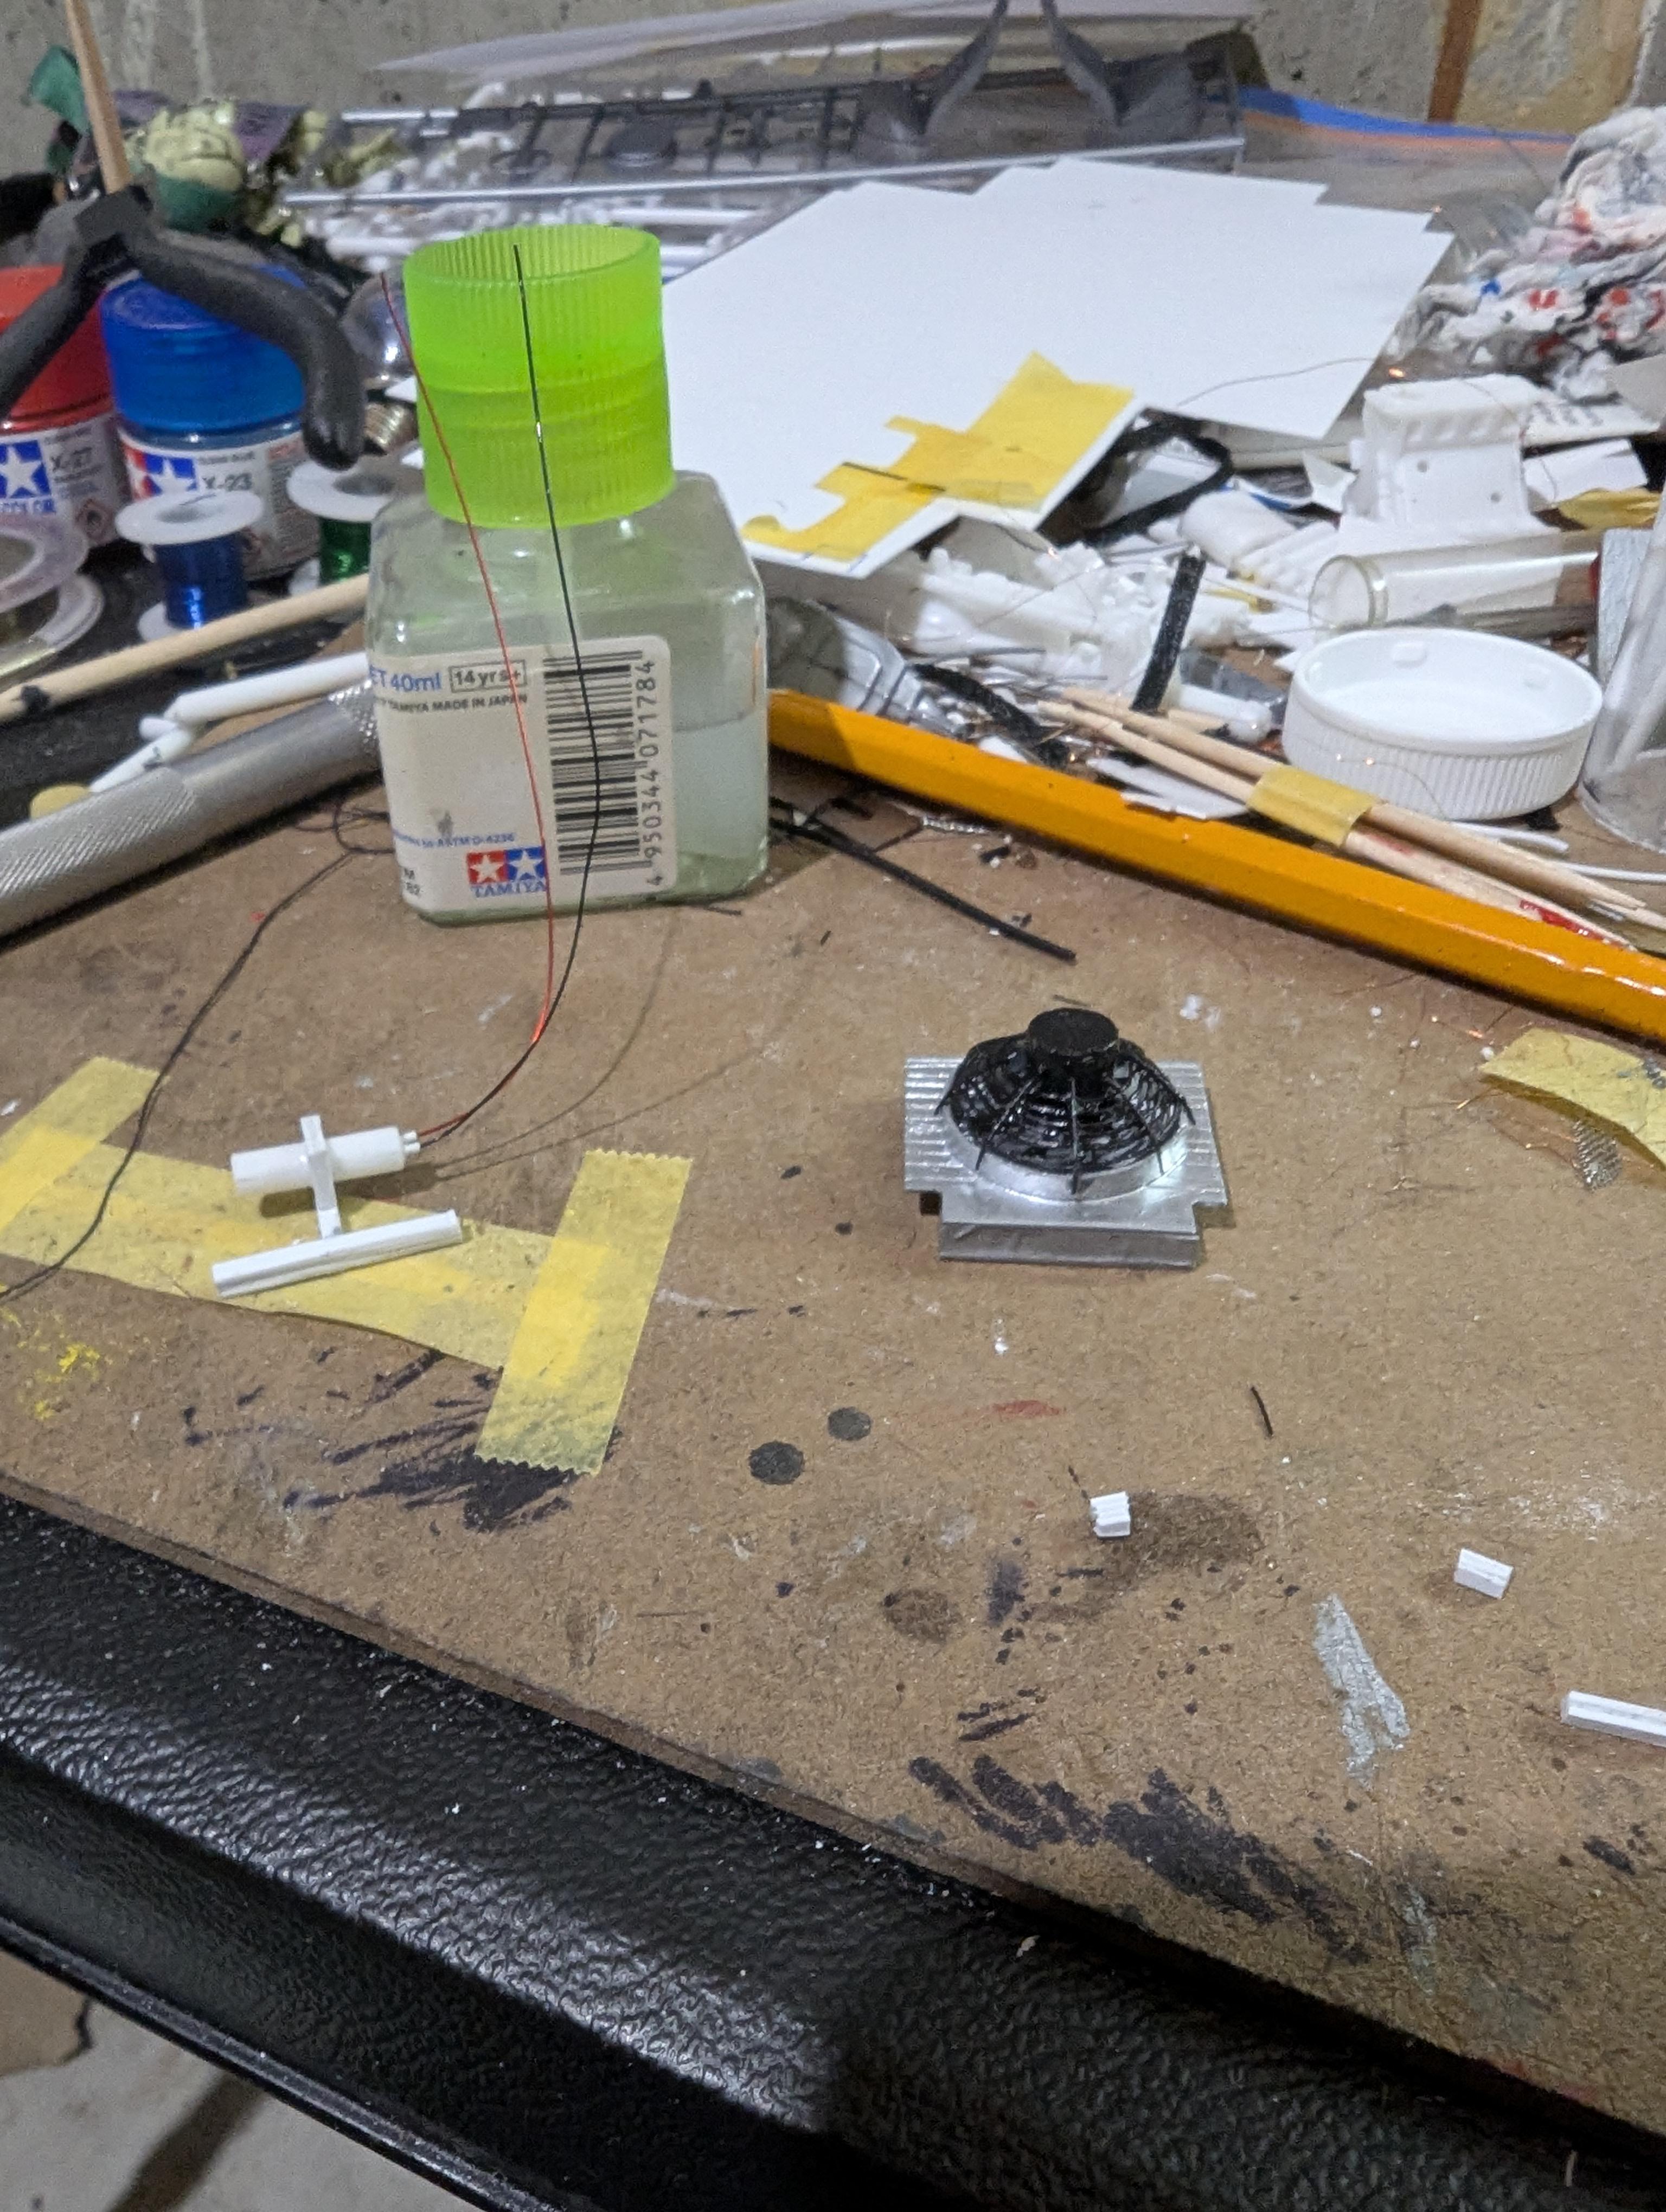
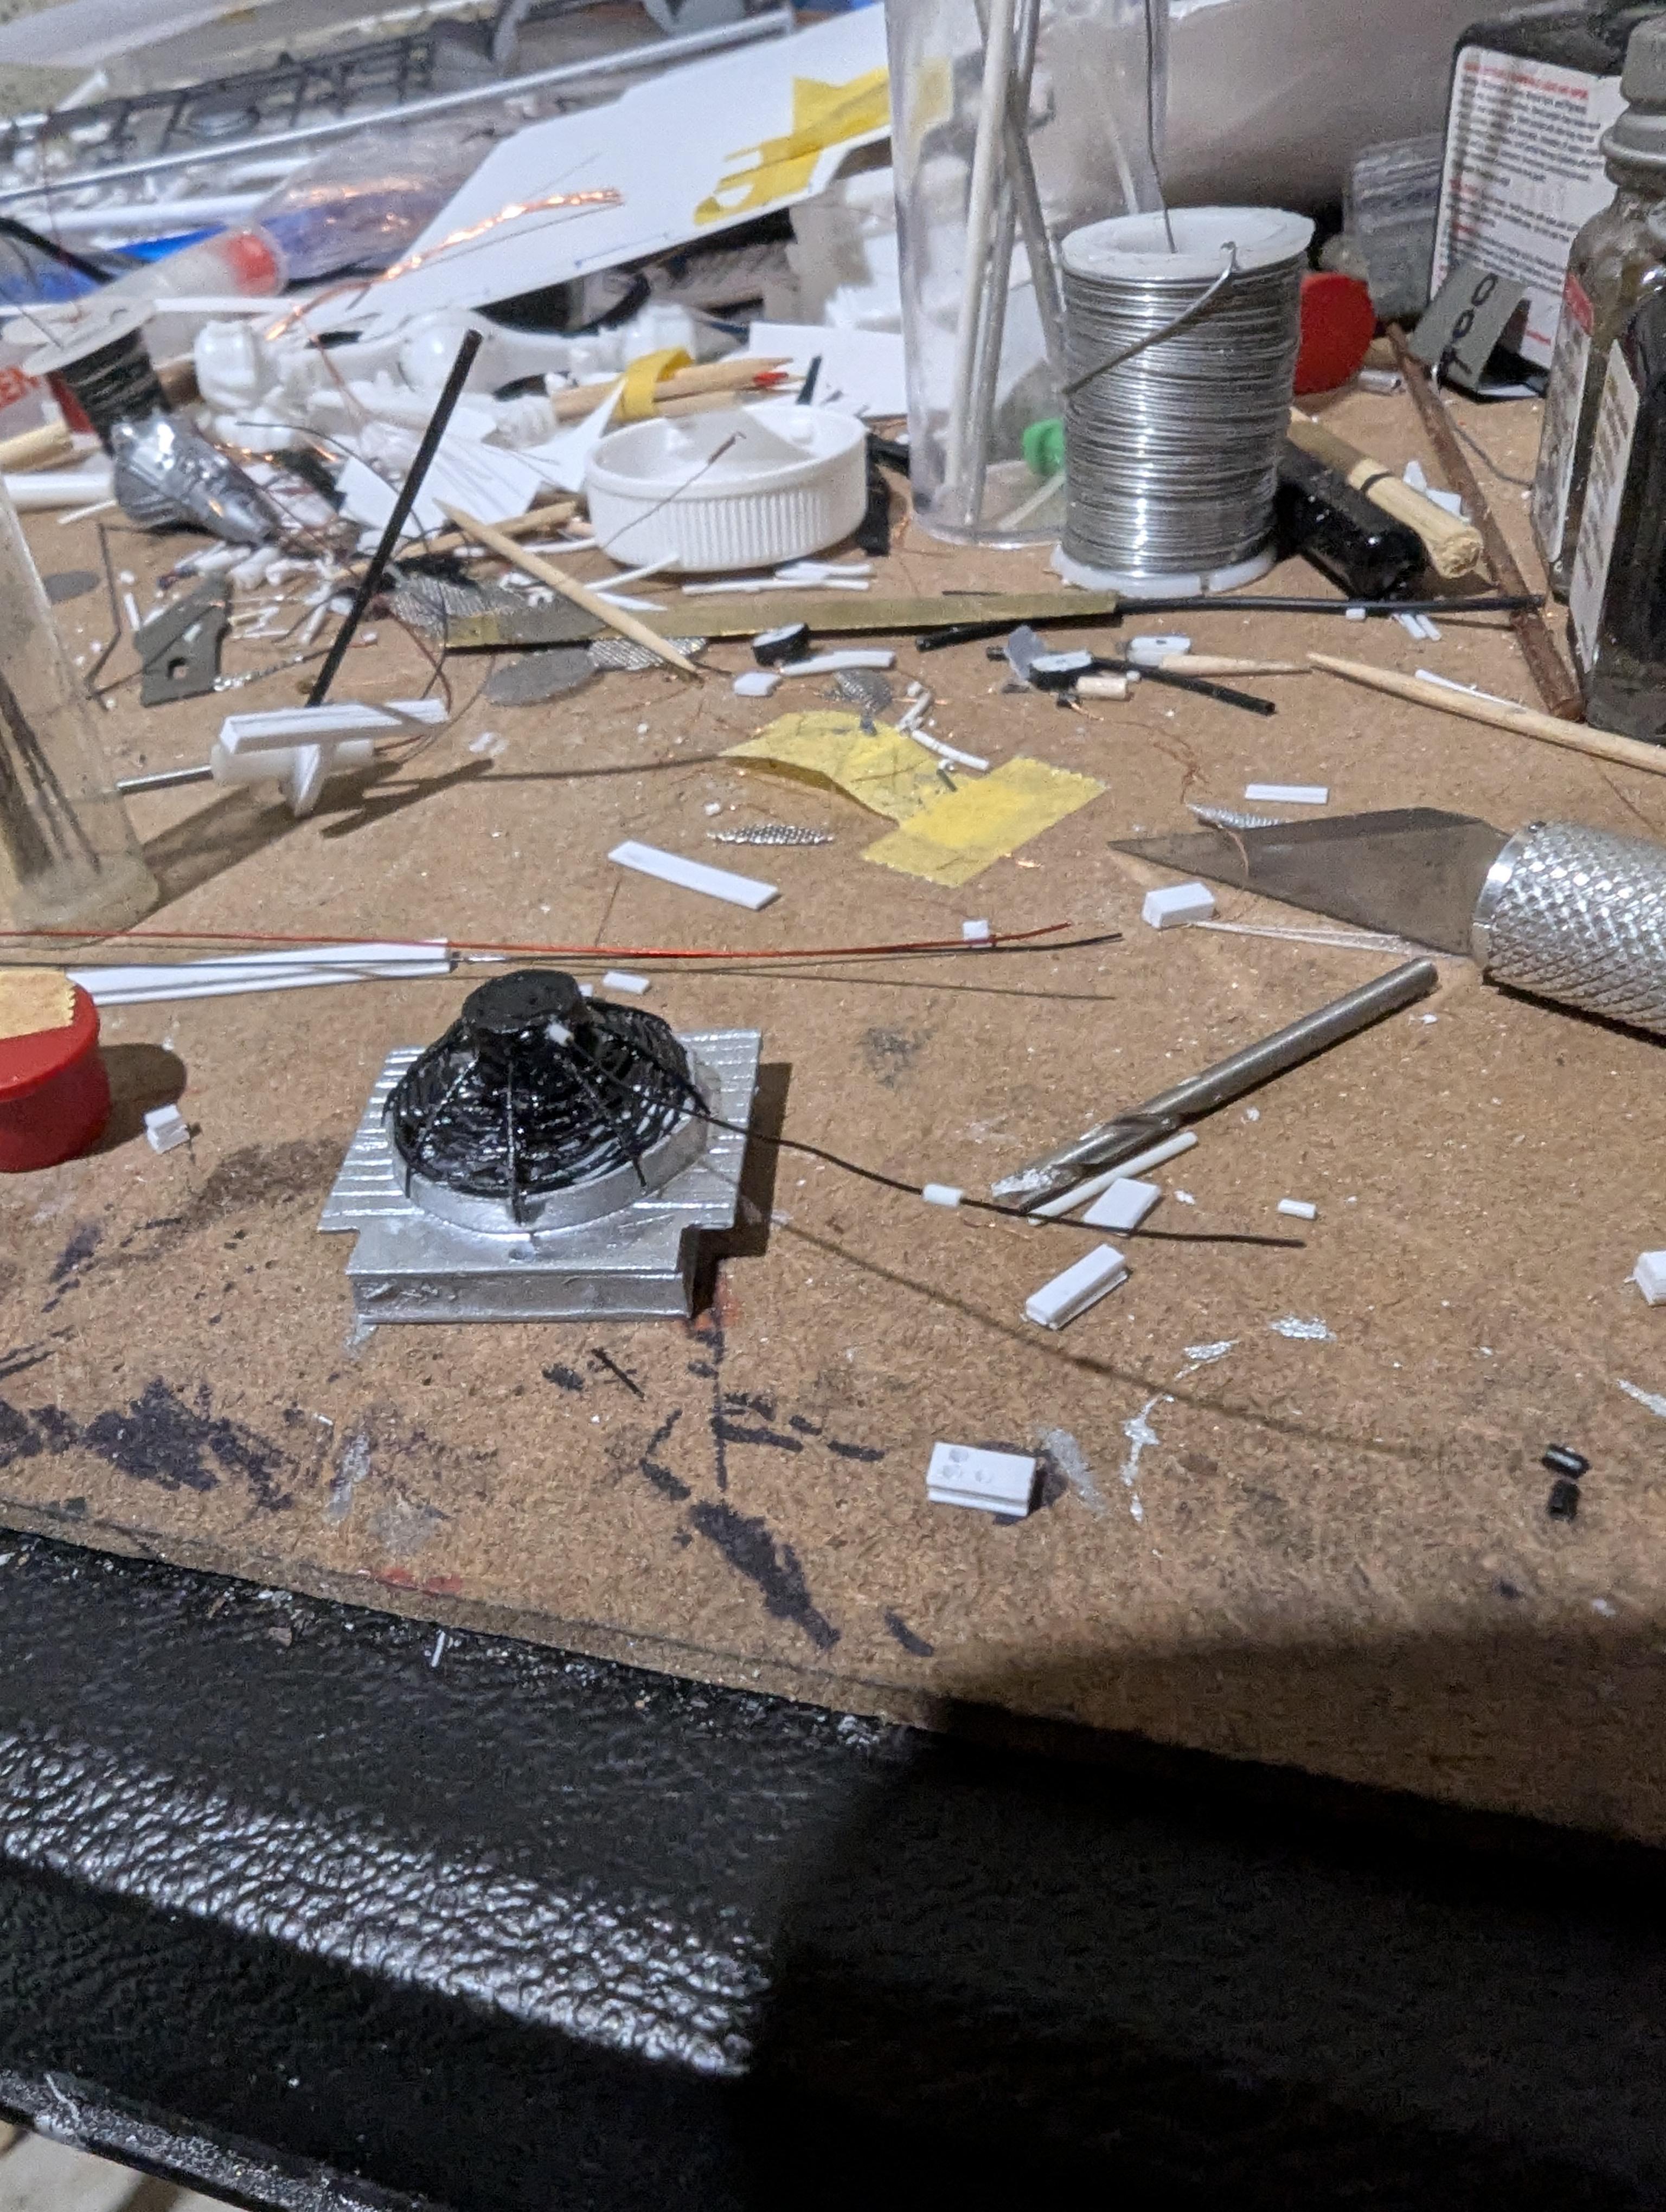
Here's the transfer case it's in the chassis now working on the shock absorbers and linkages I'm getting very close now 😁😎👍
-
Thanks I'm almost done with the chassis work now
-
Here's a little build I did earlier this year for my nephew 😎👍
-
- 3
-

-
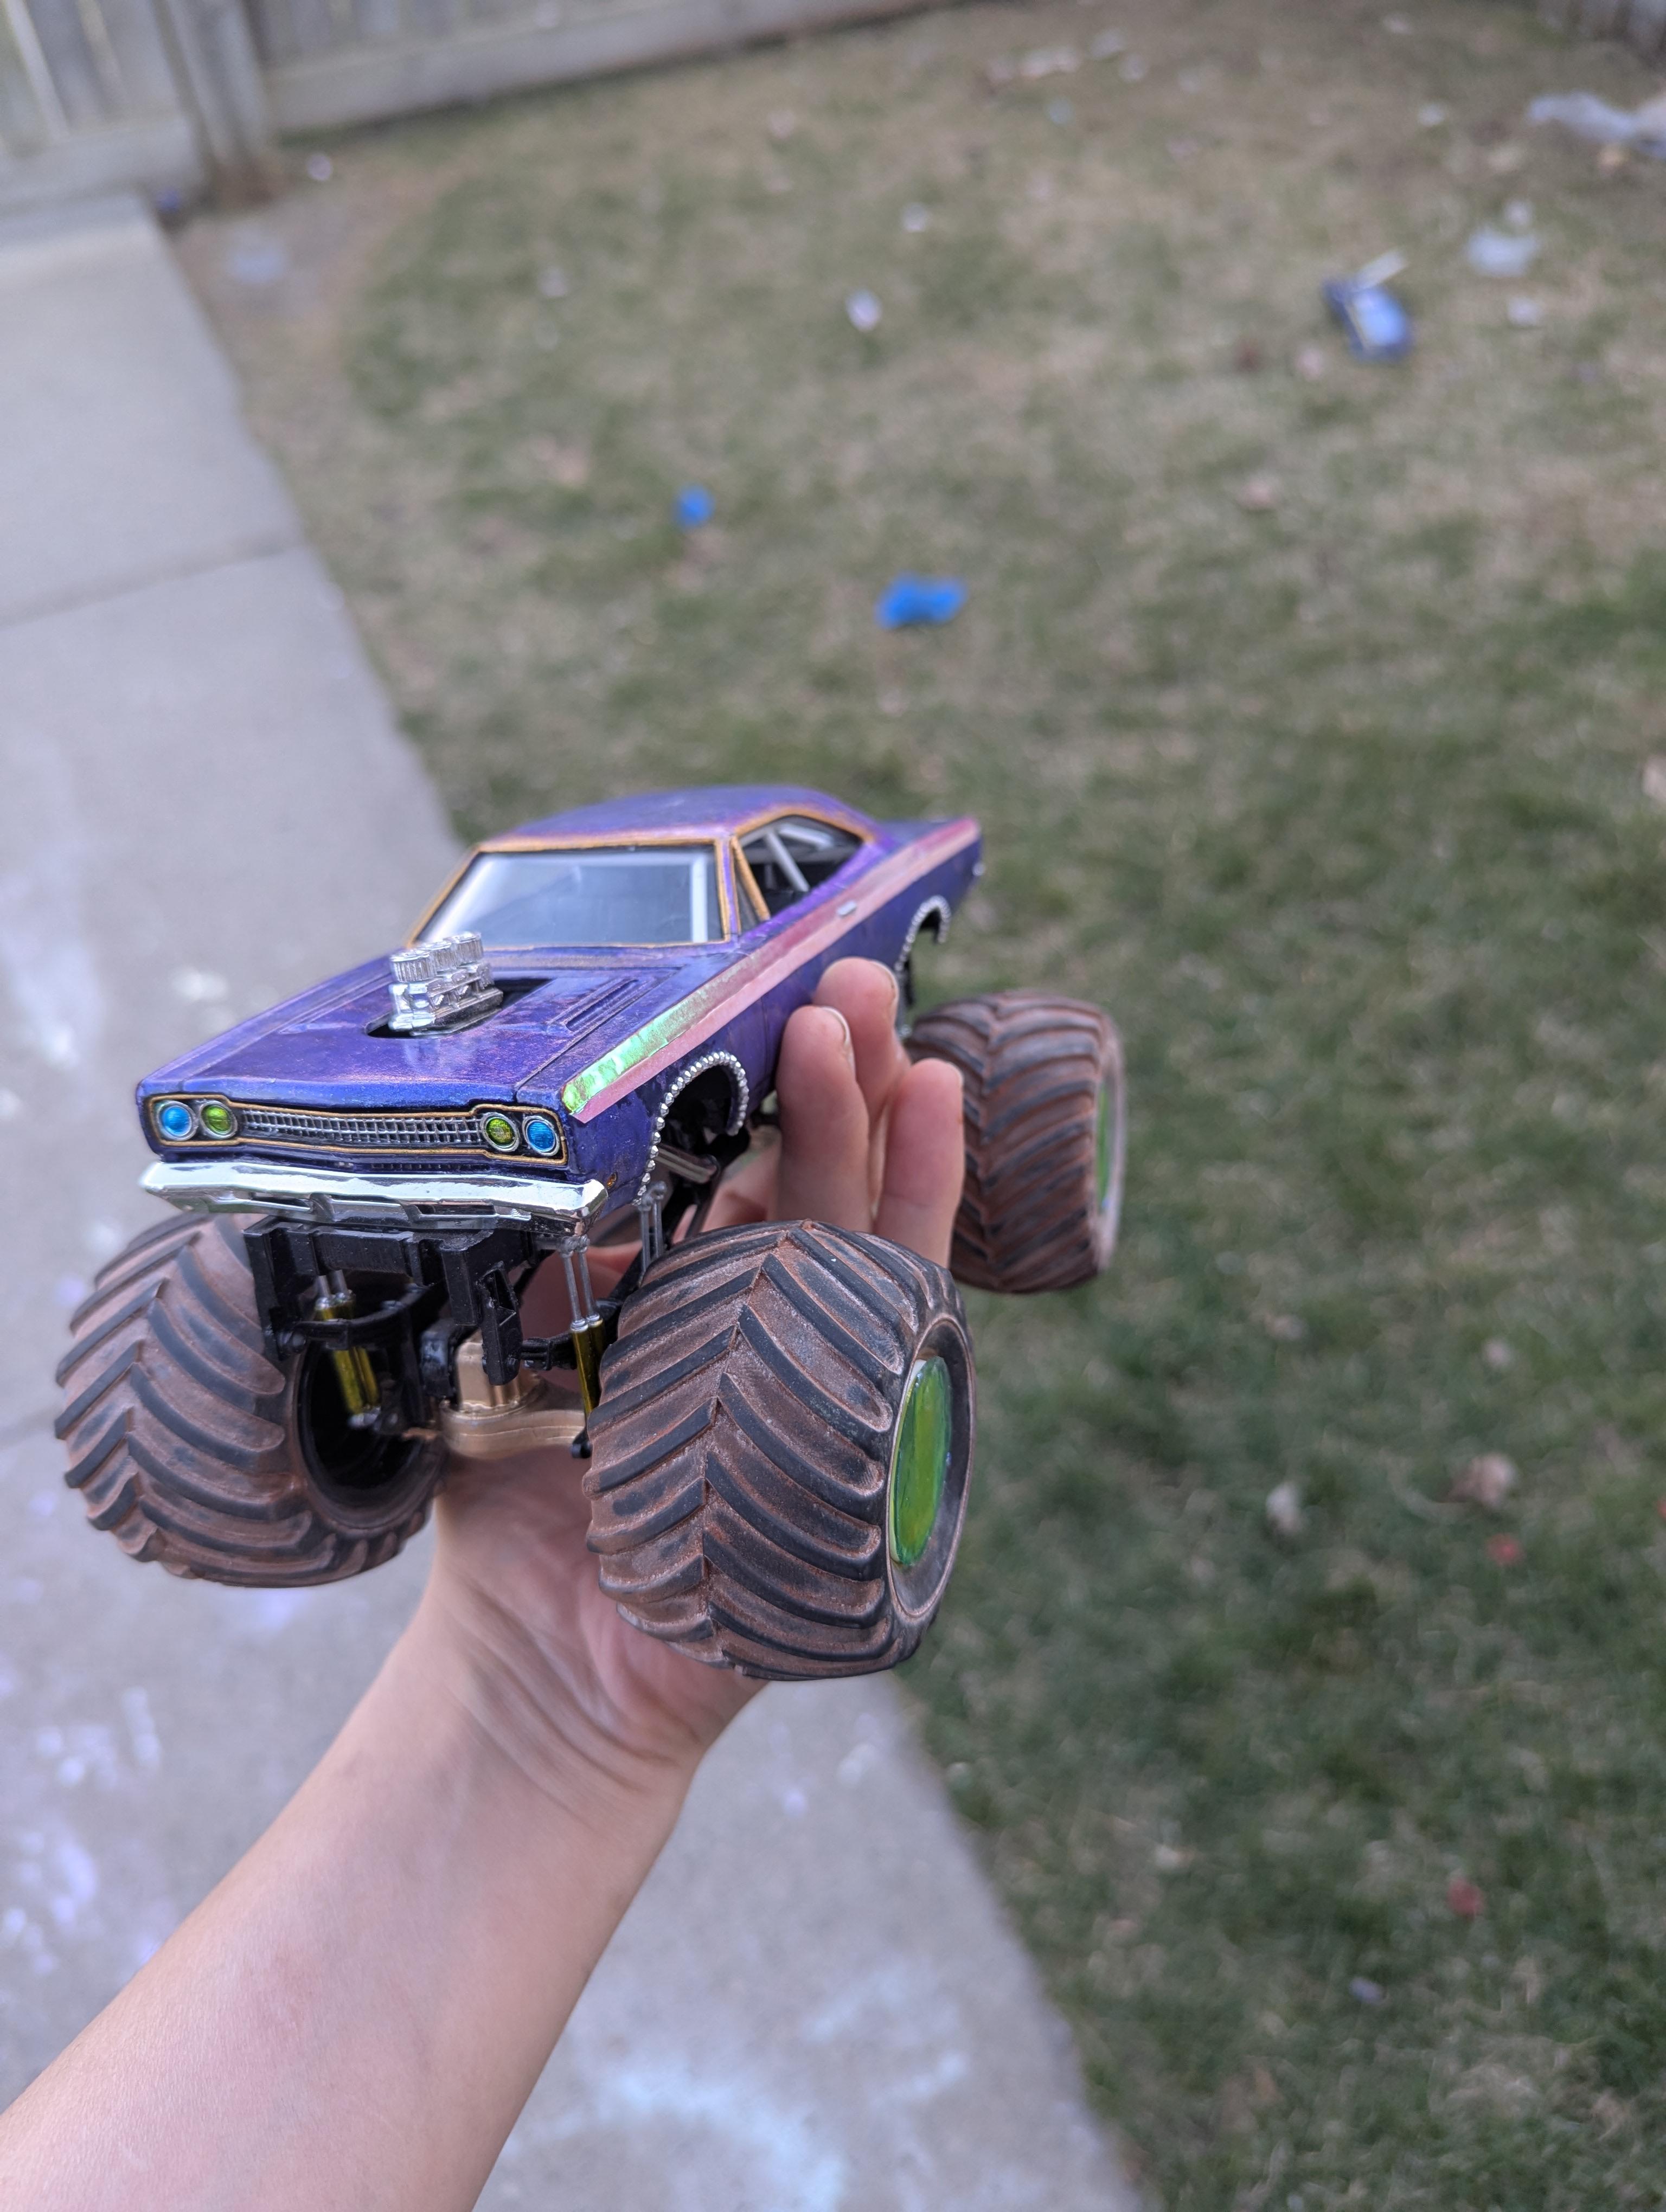
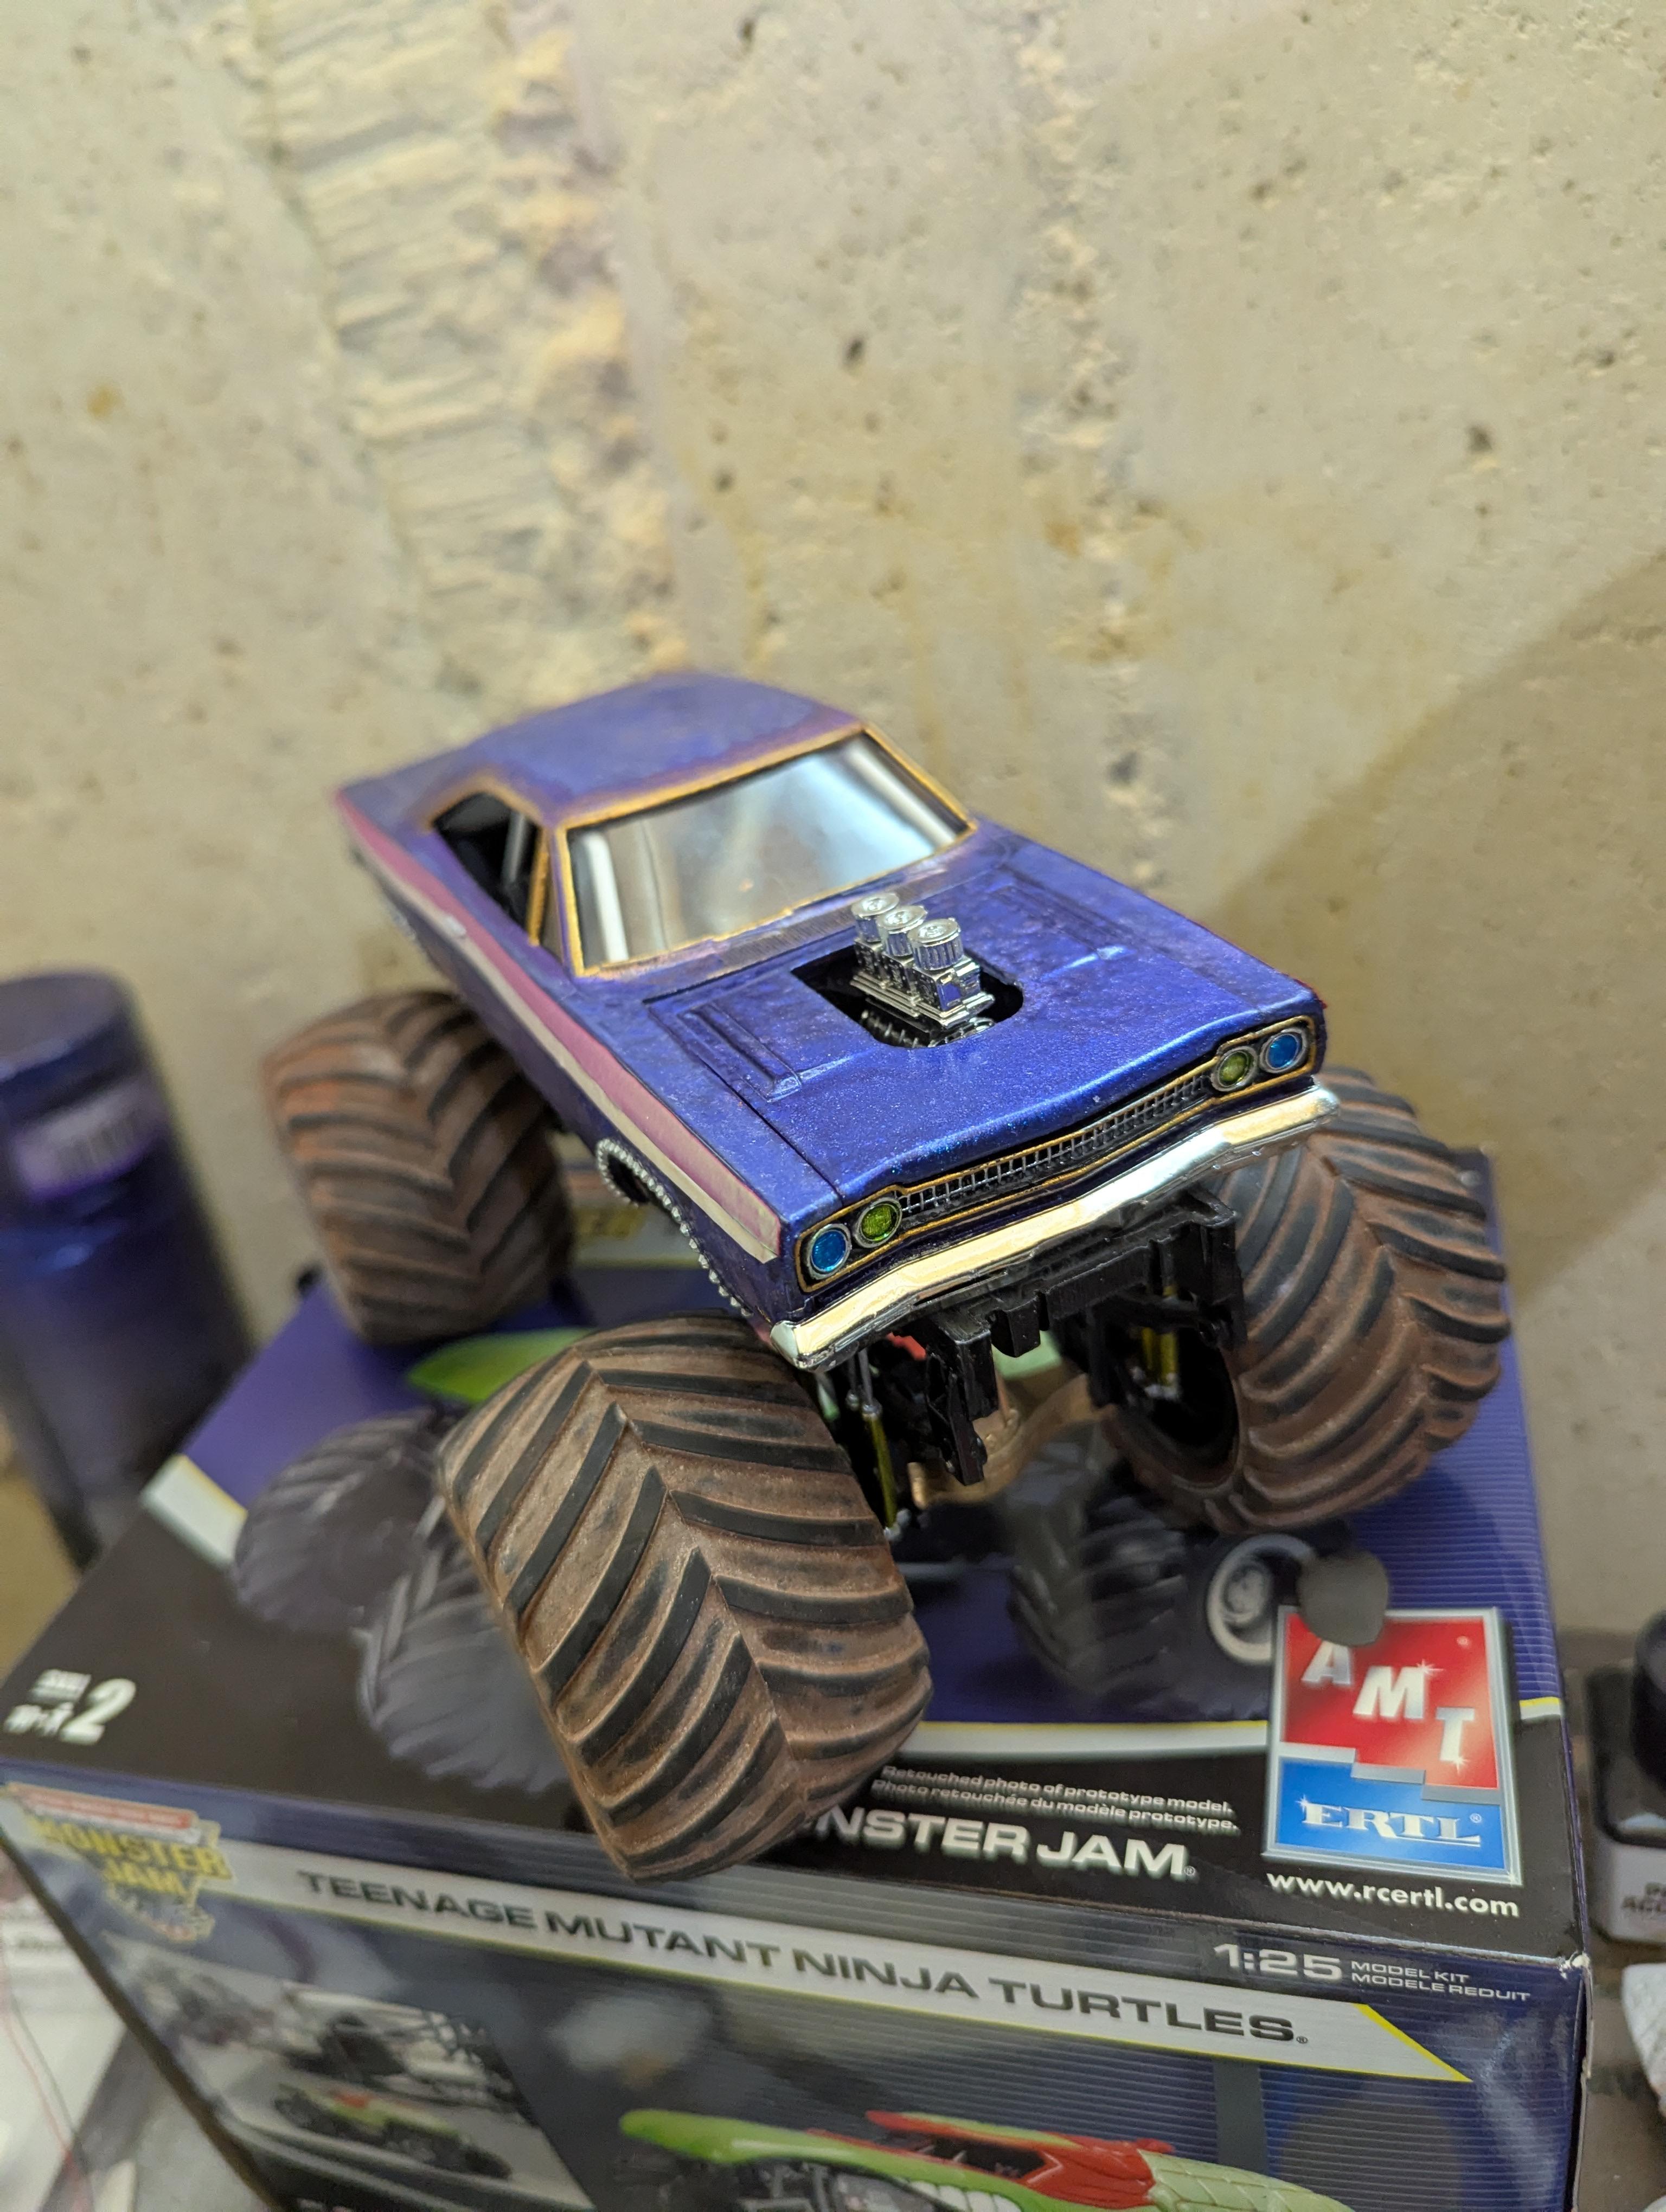
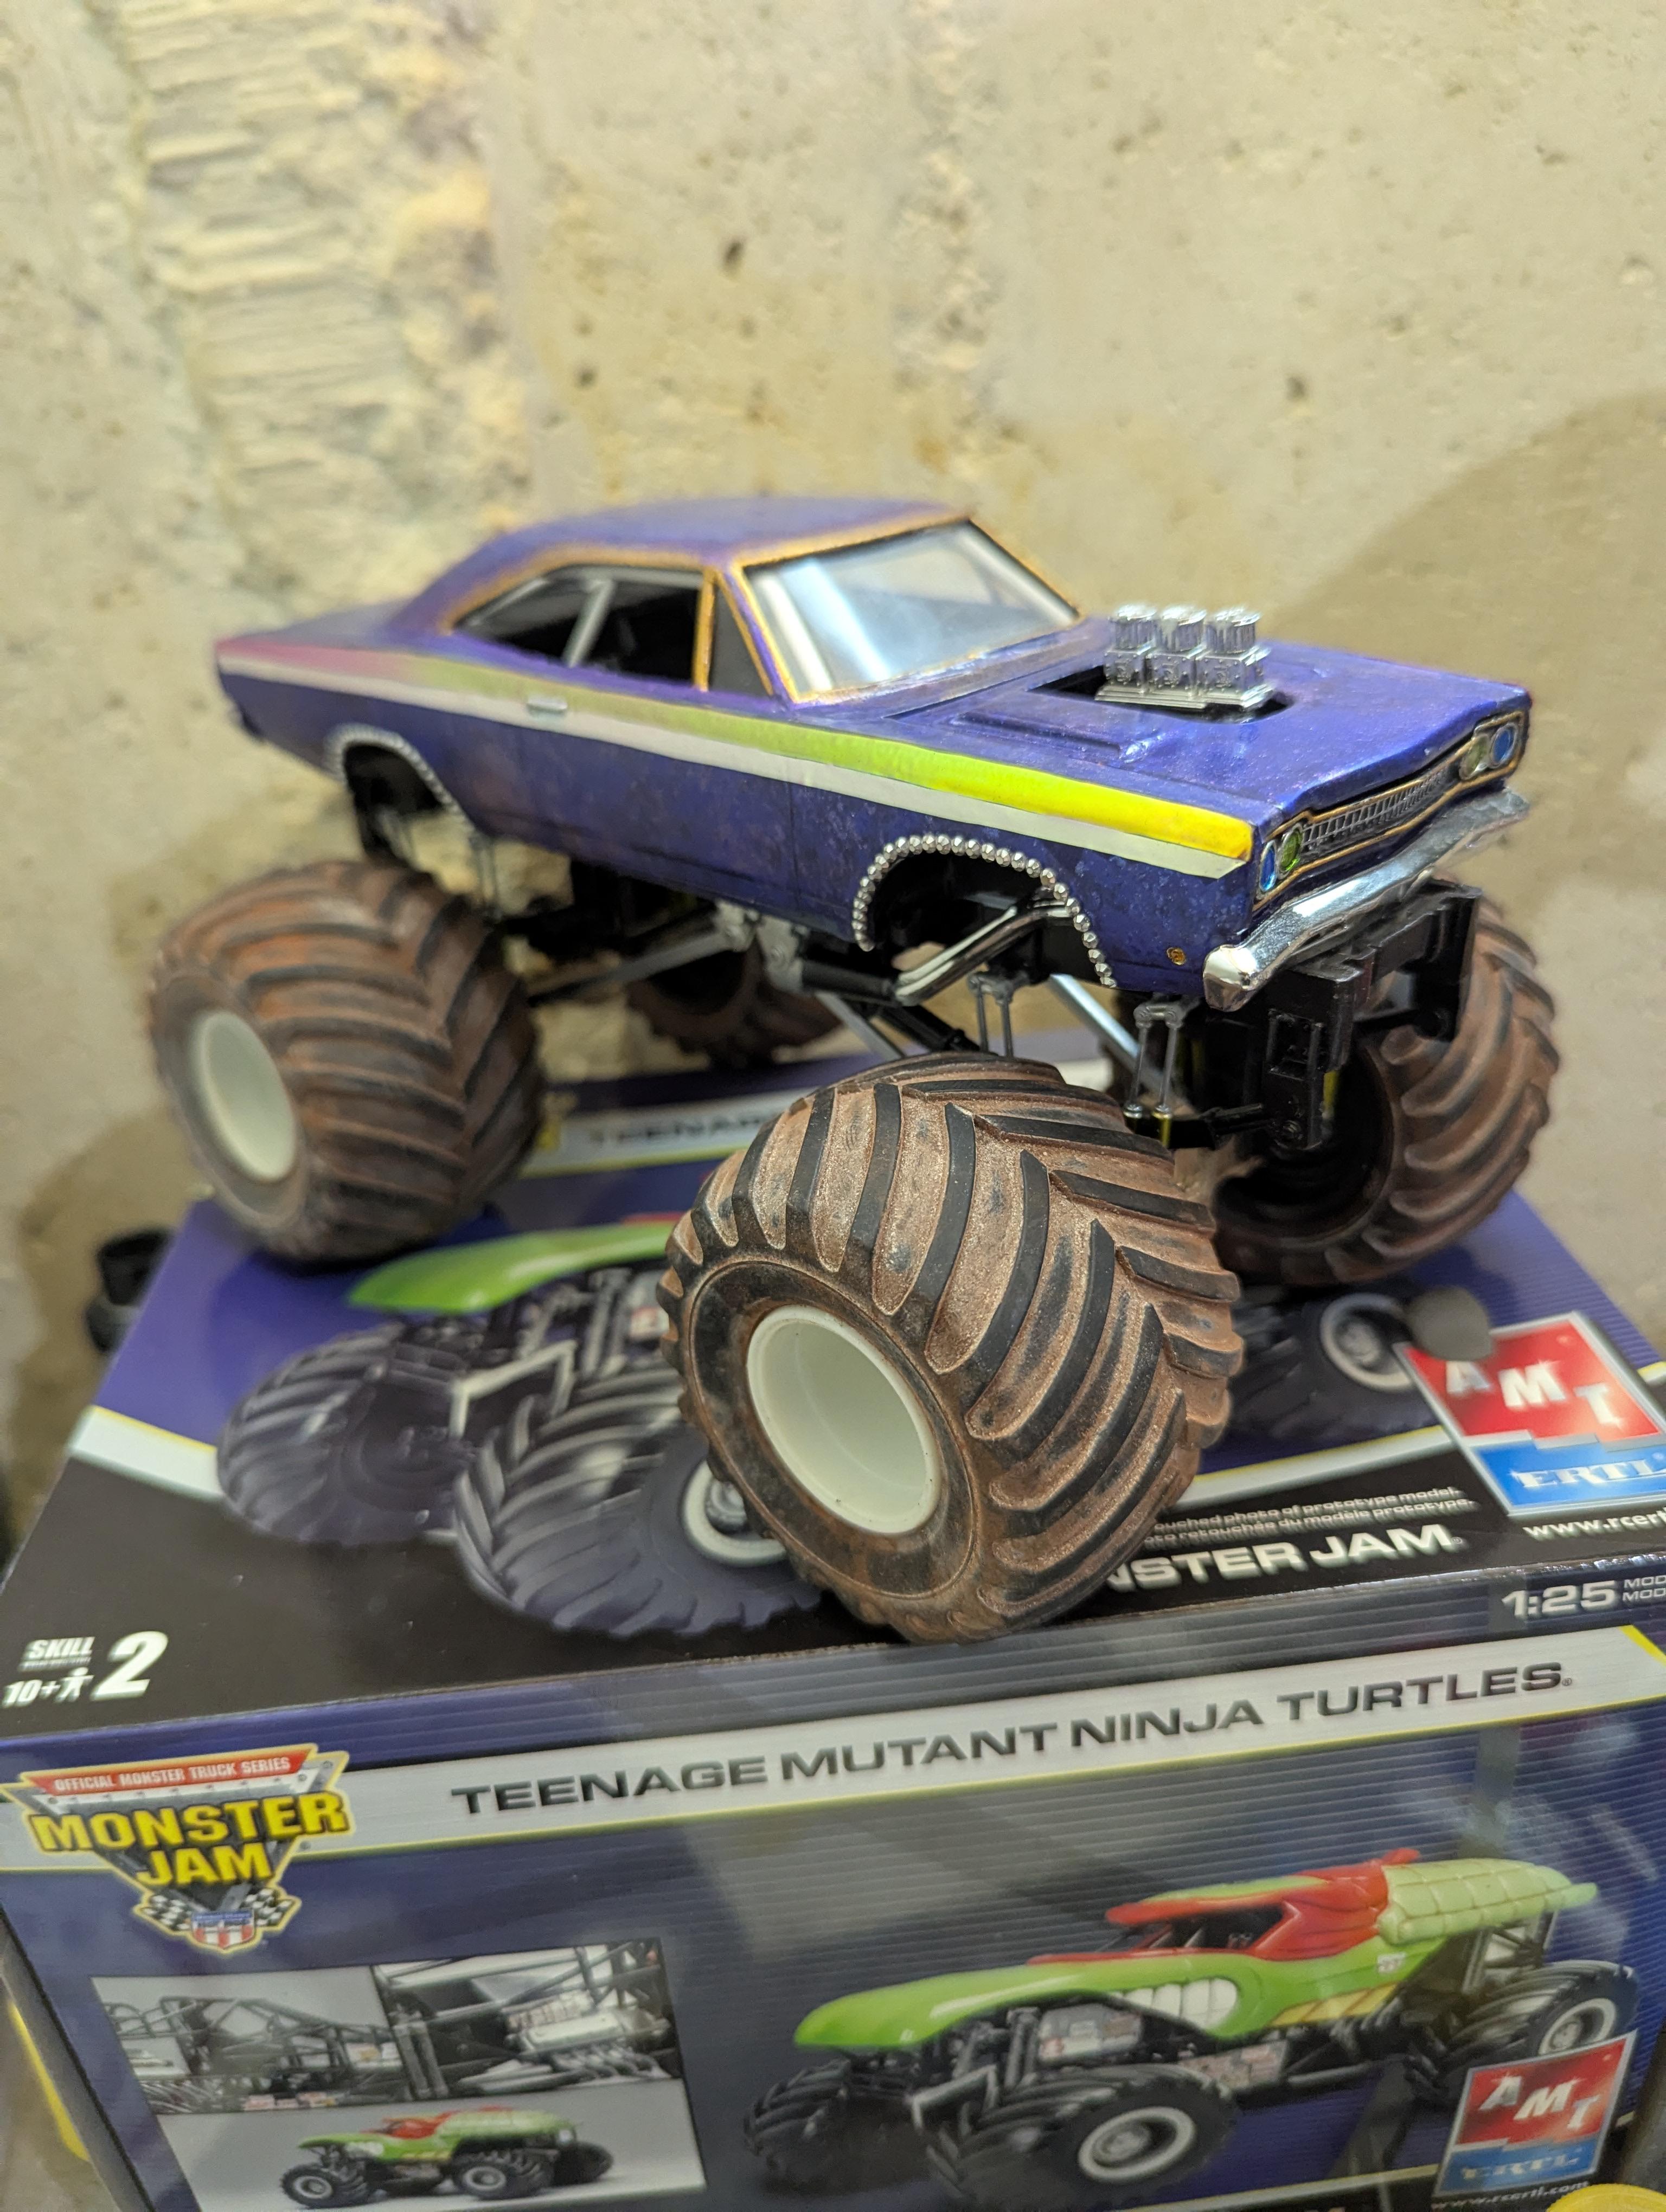
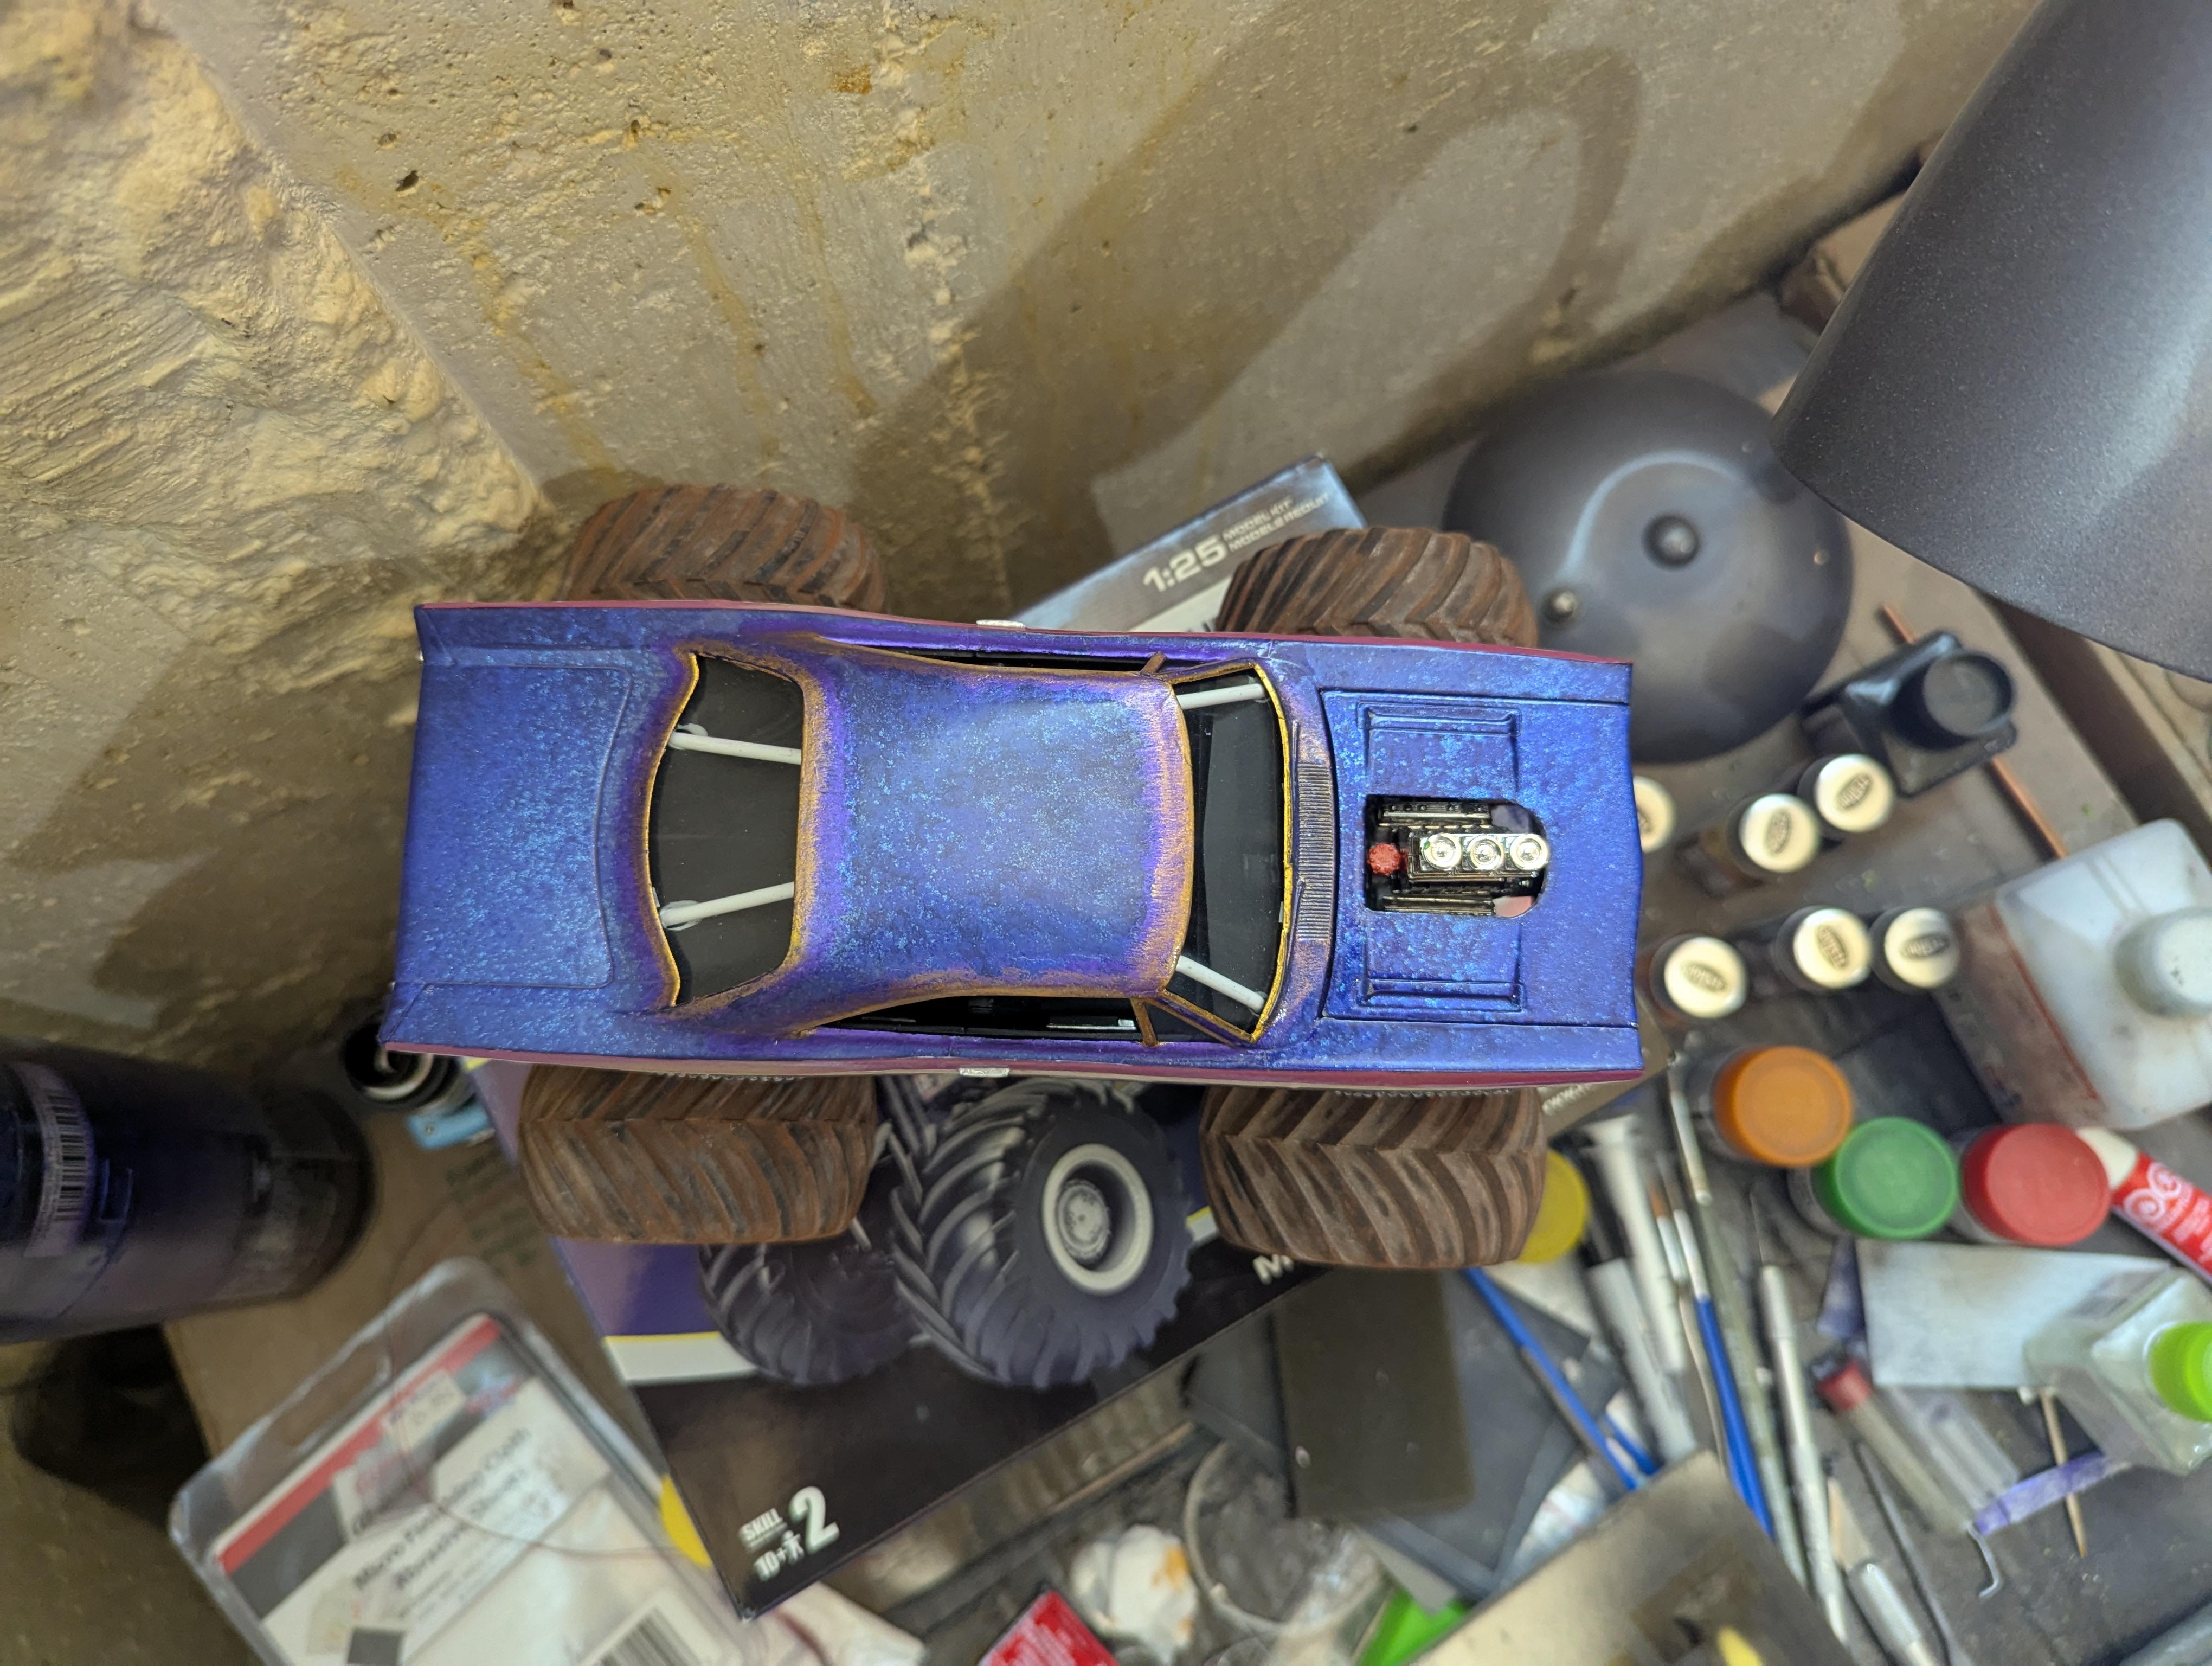
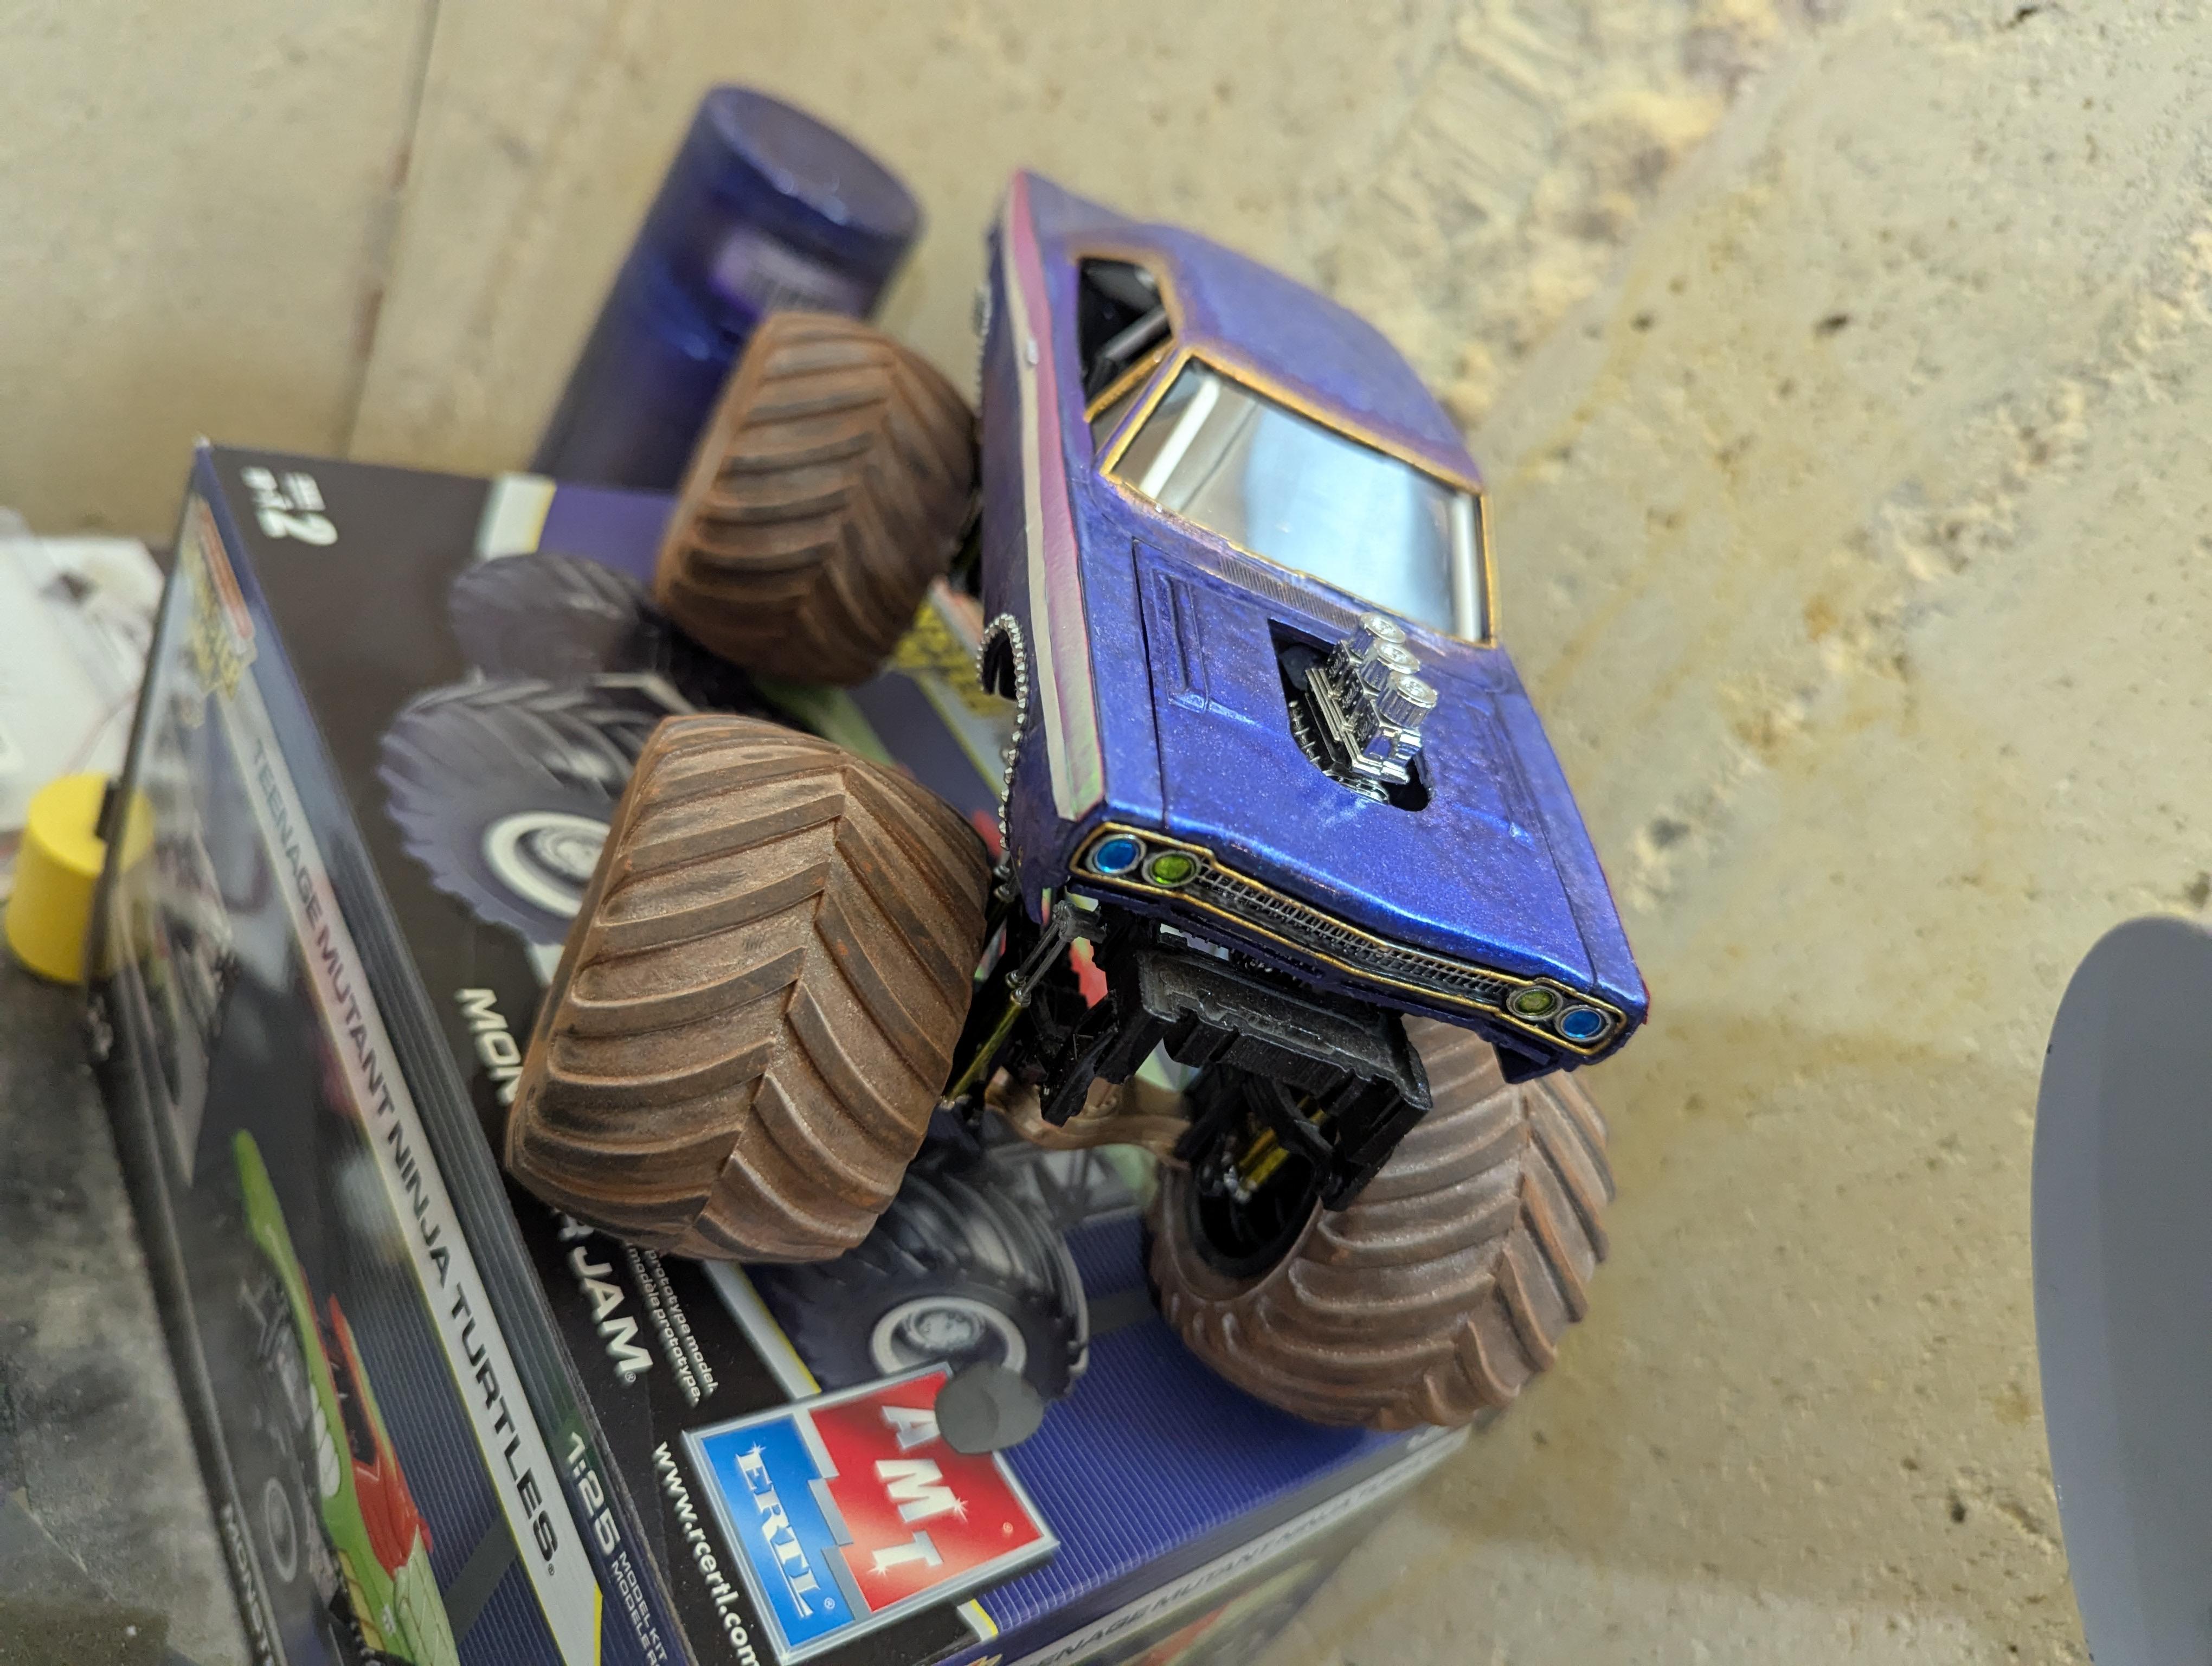
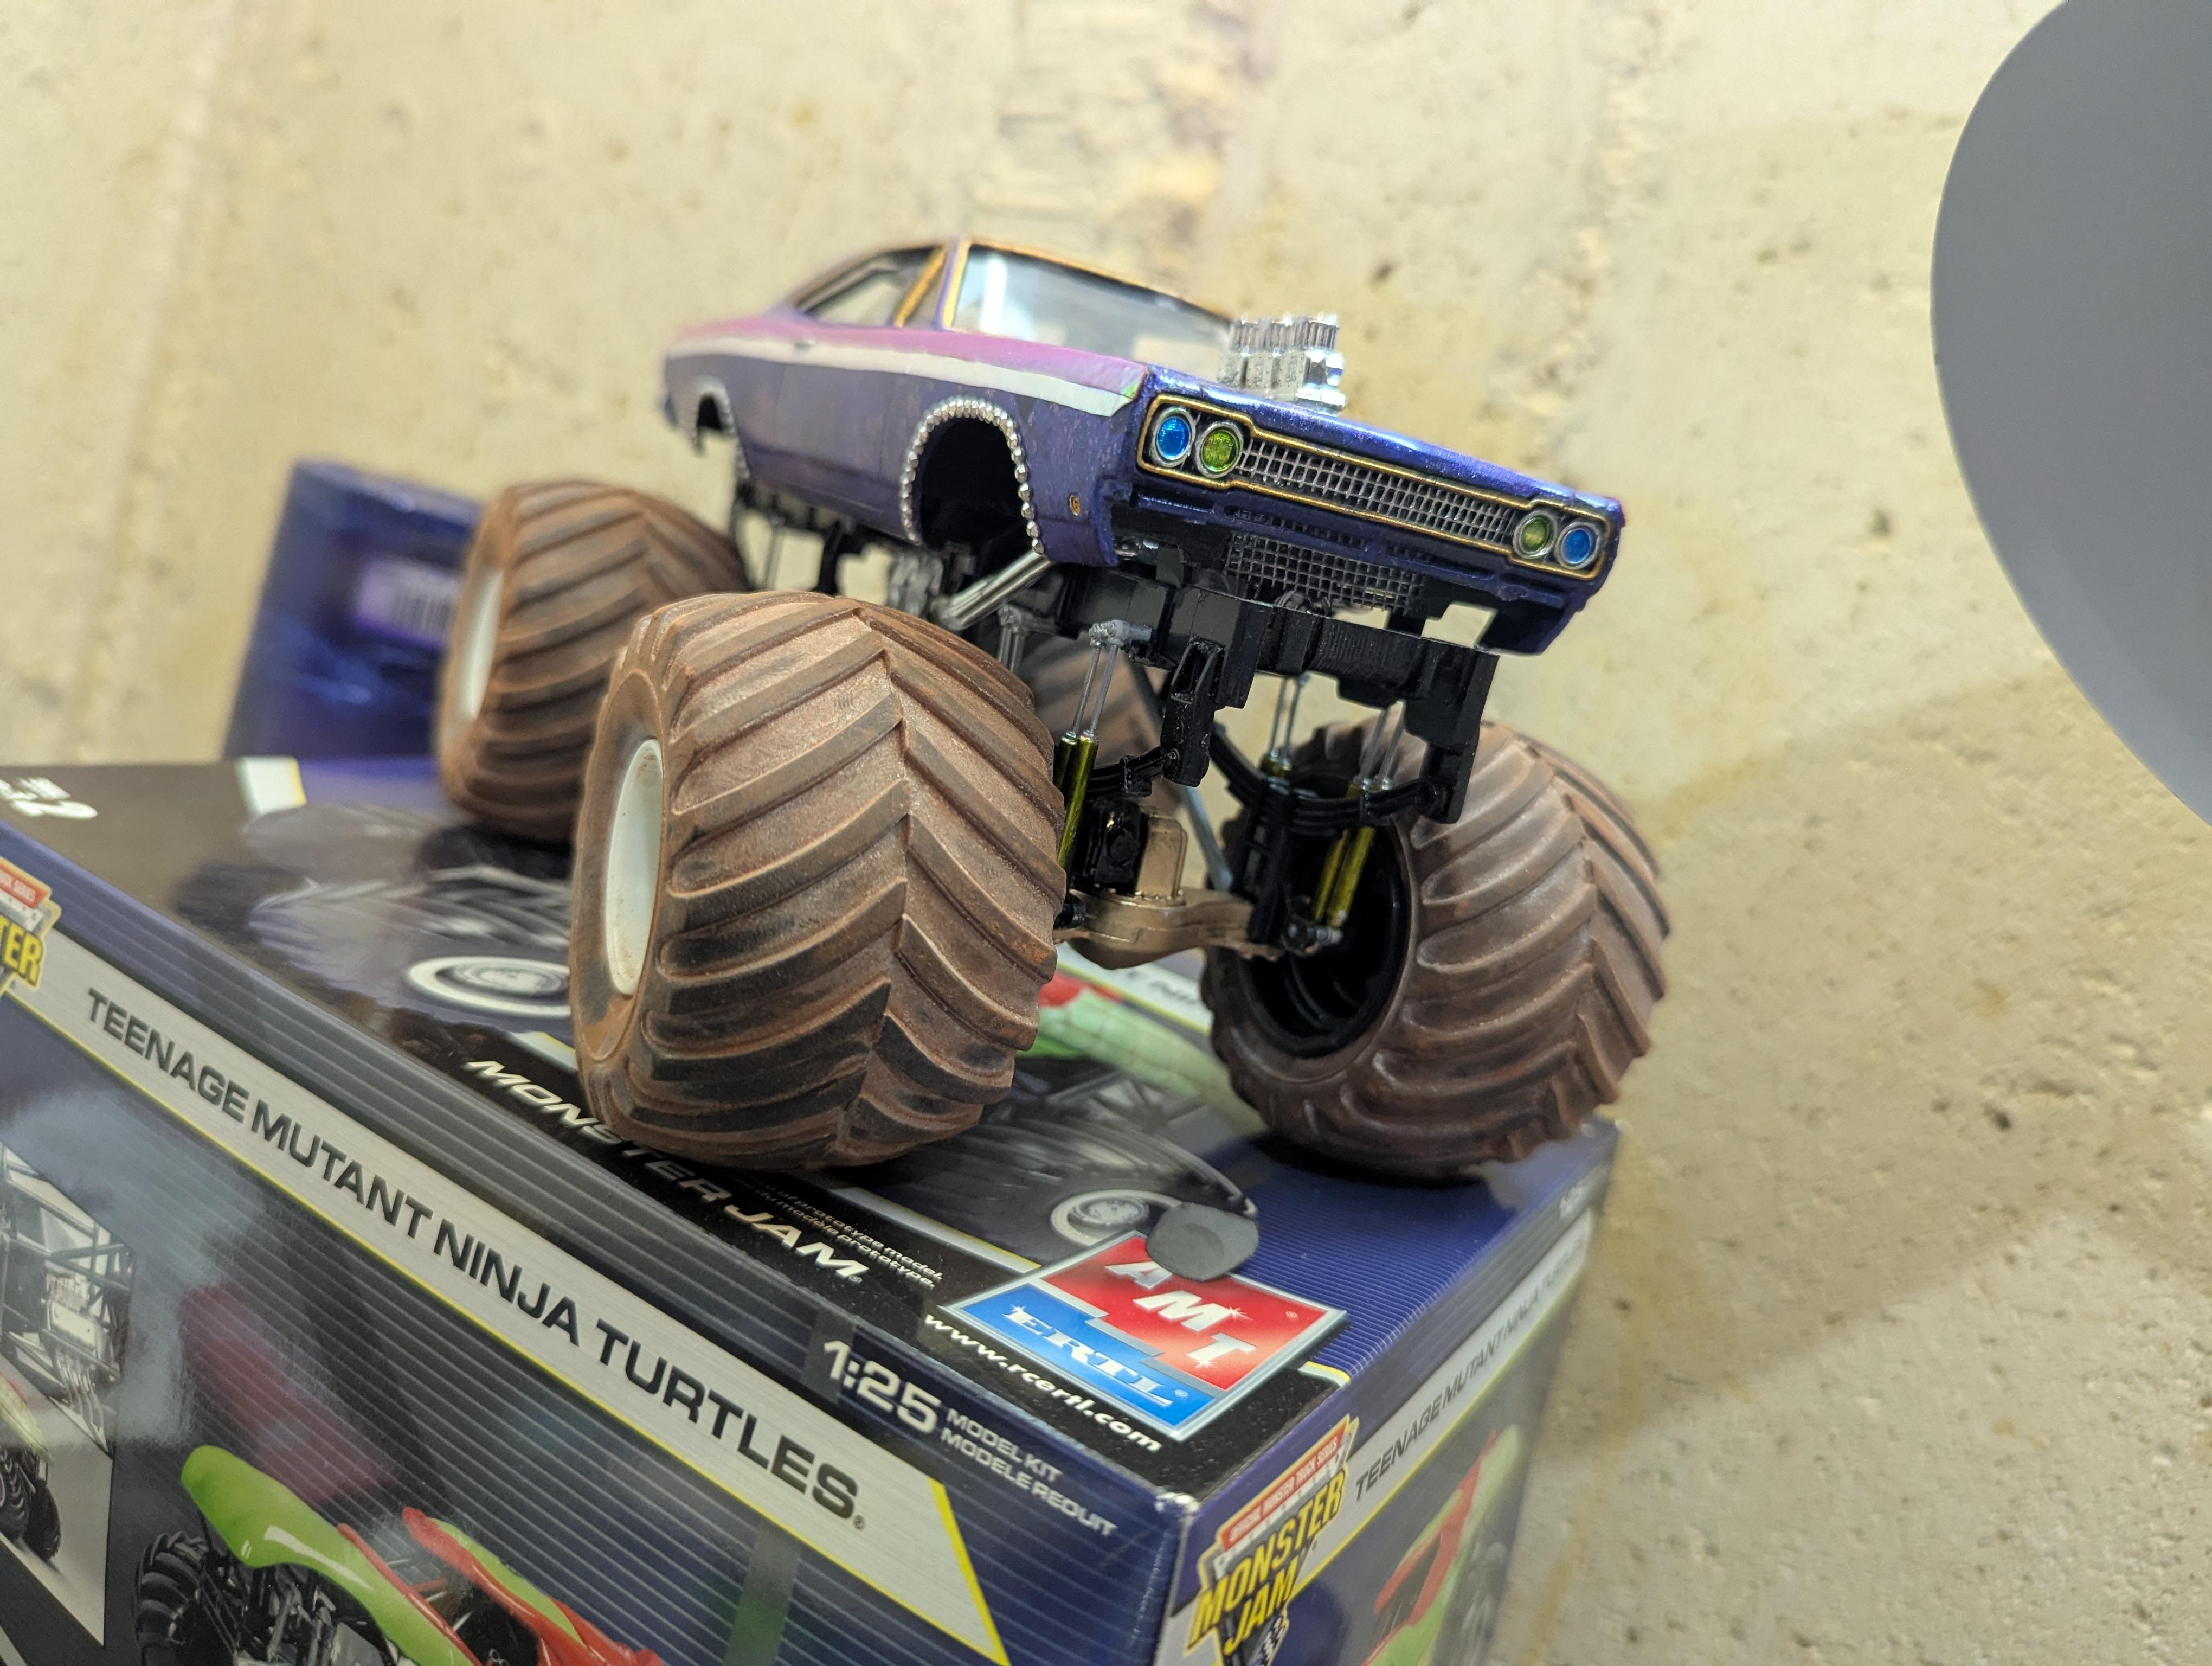
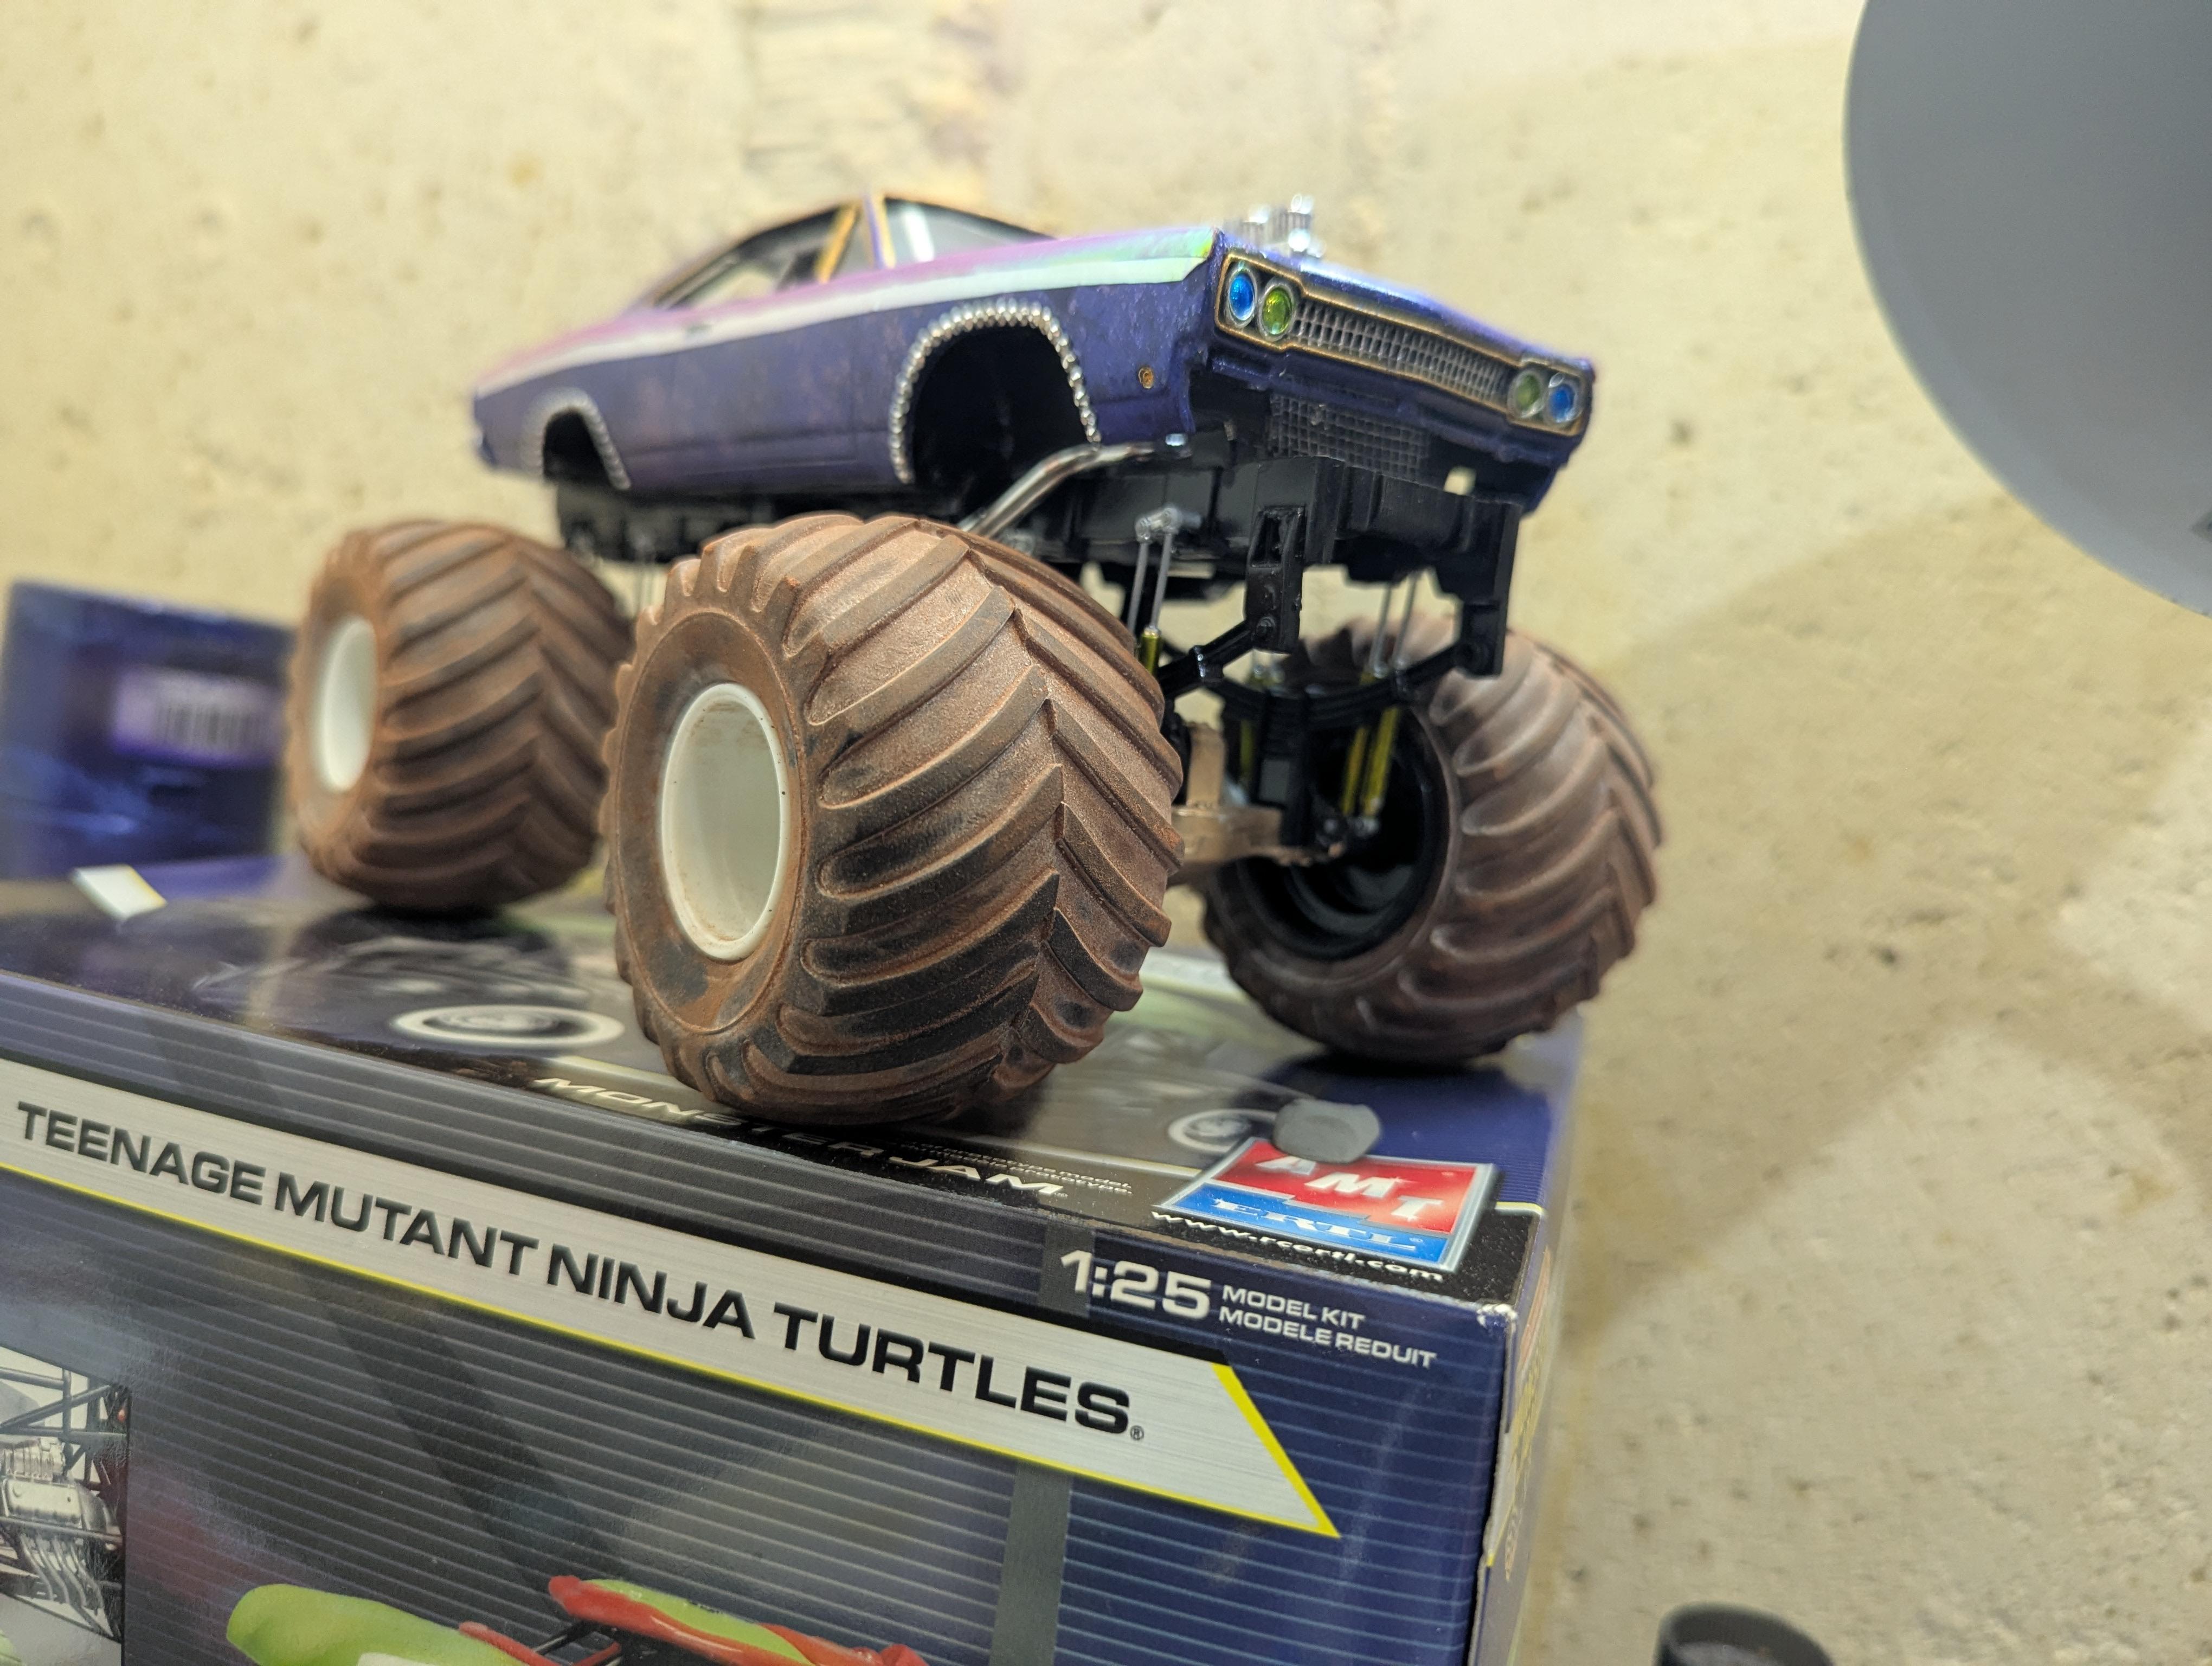
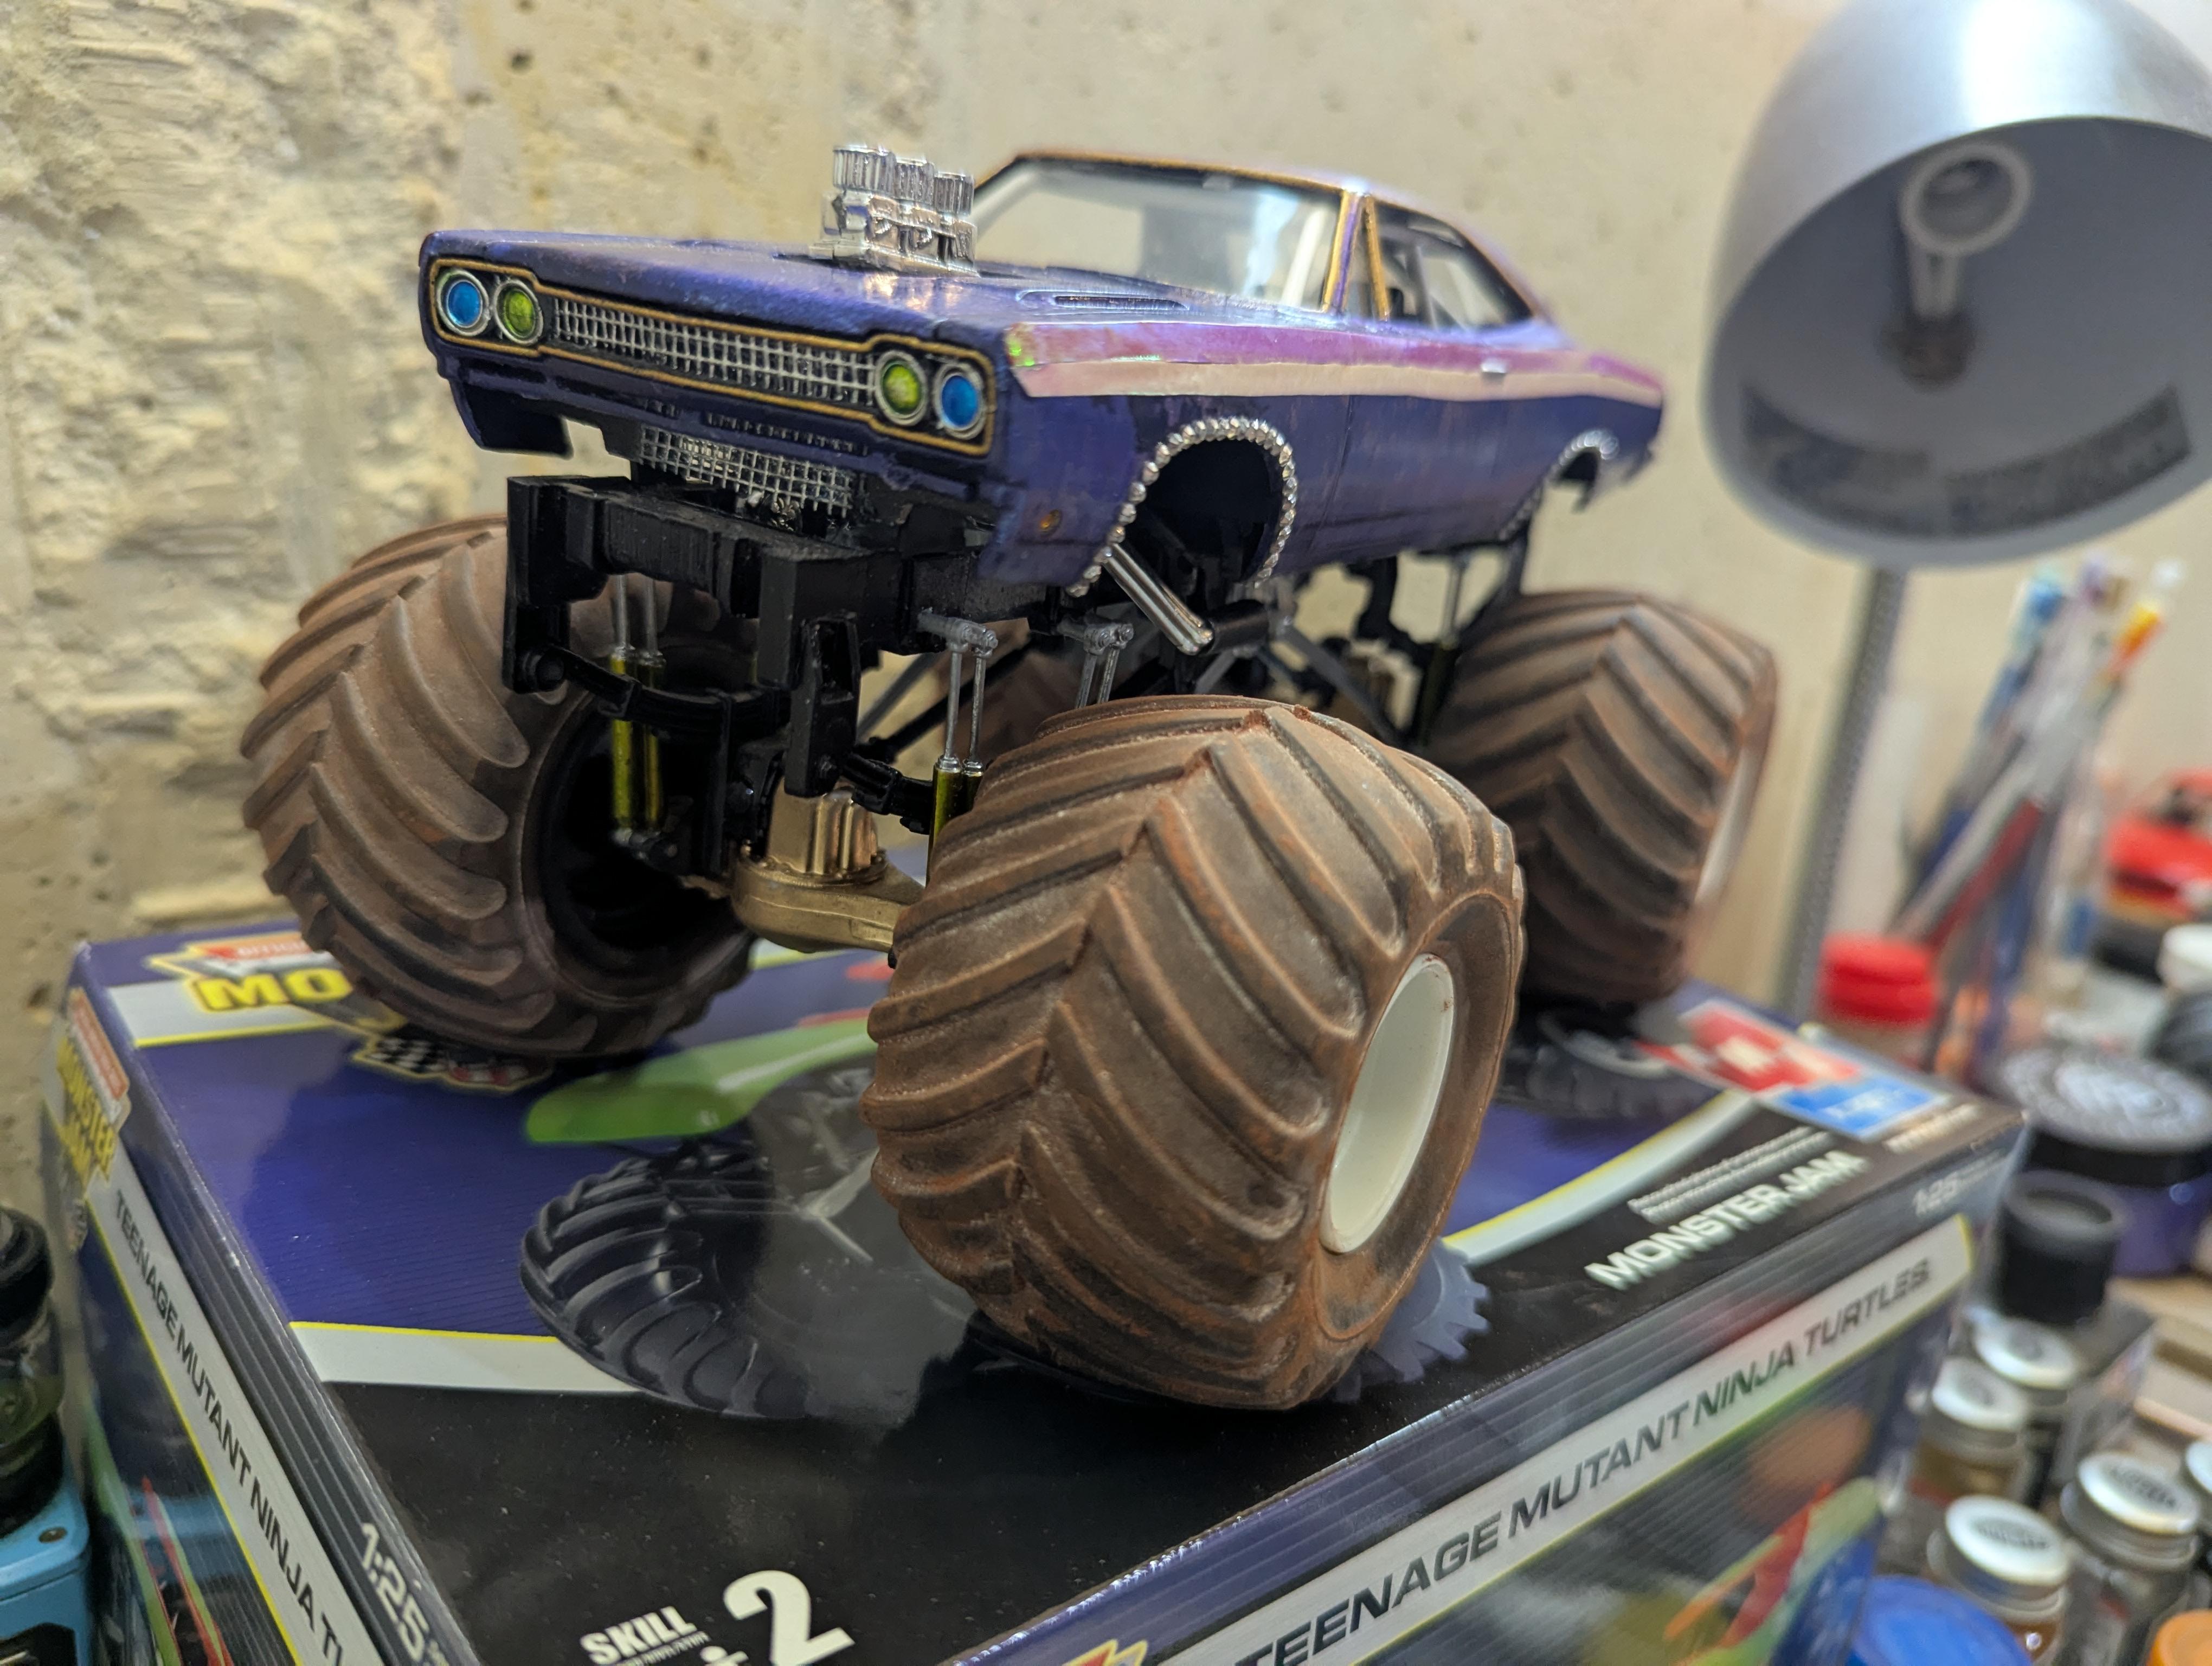
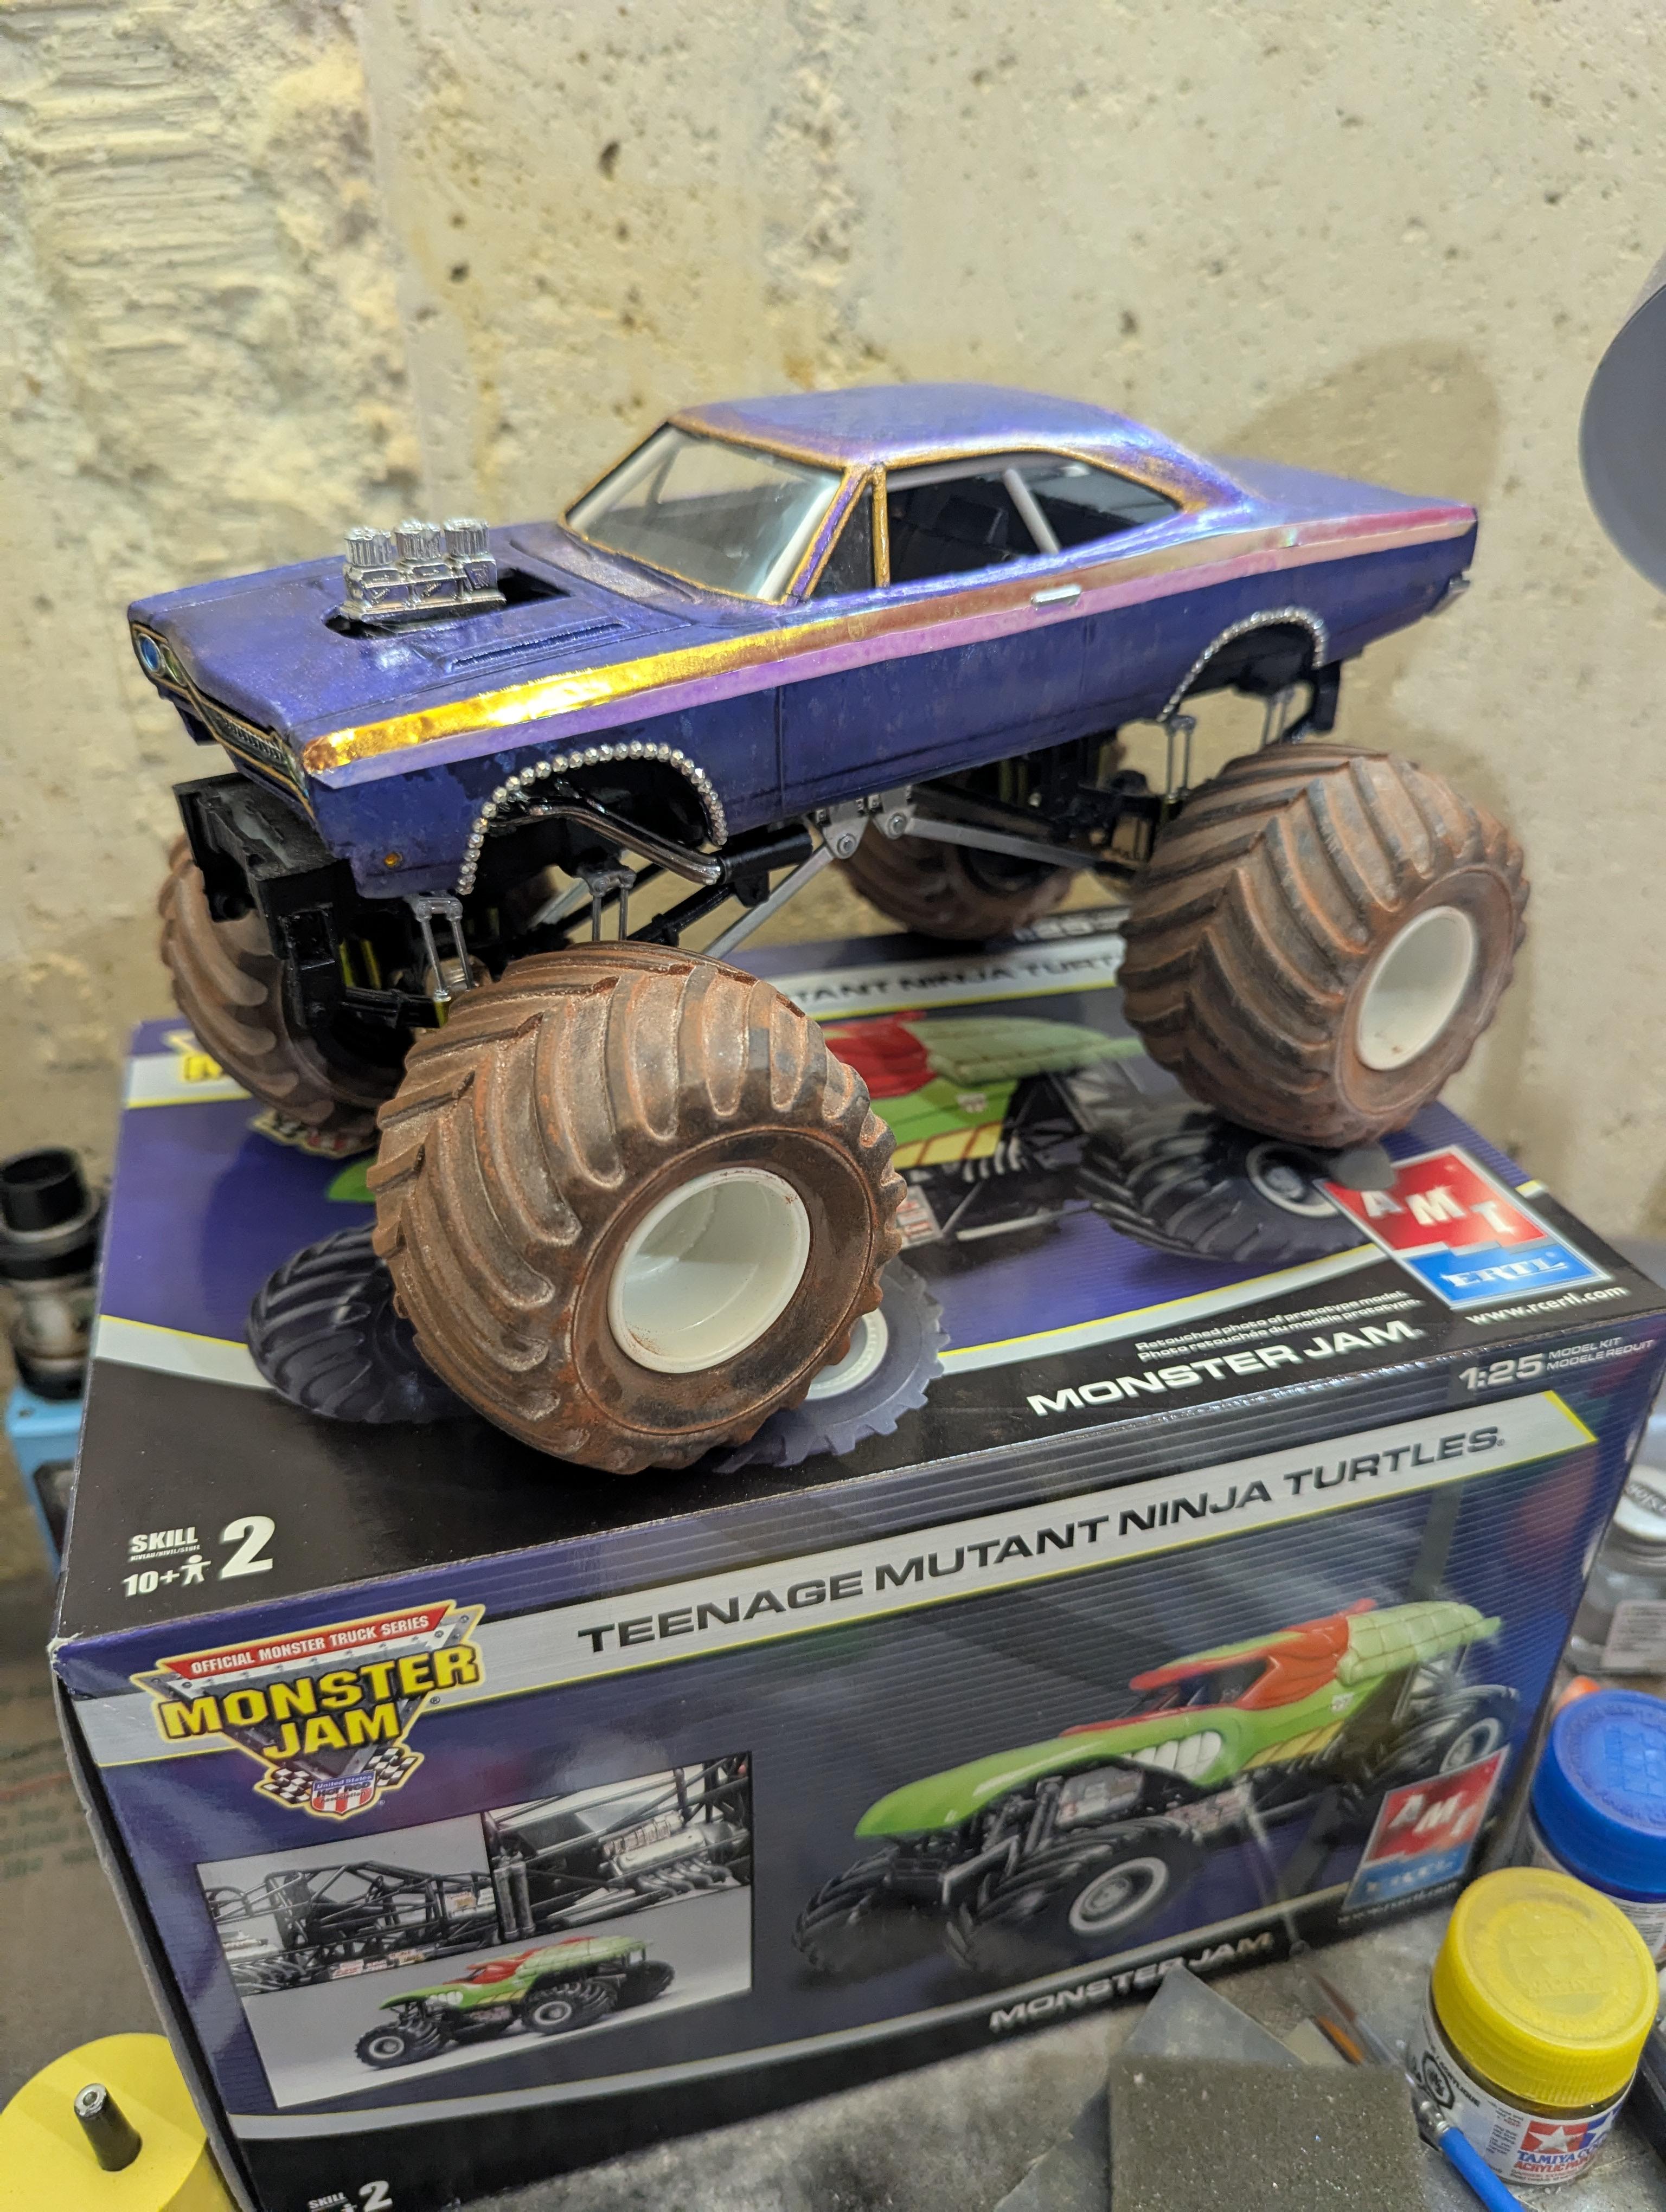
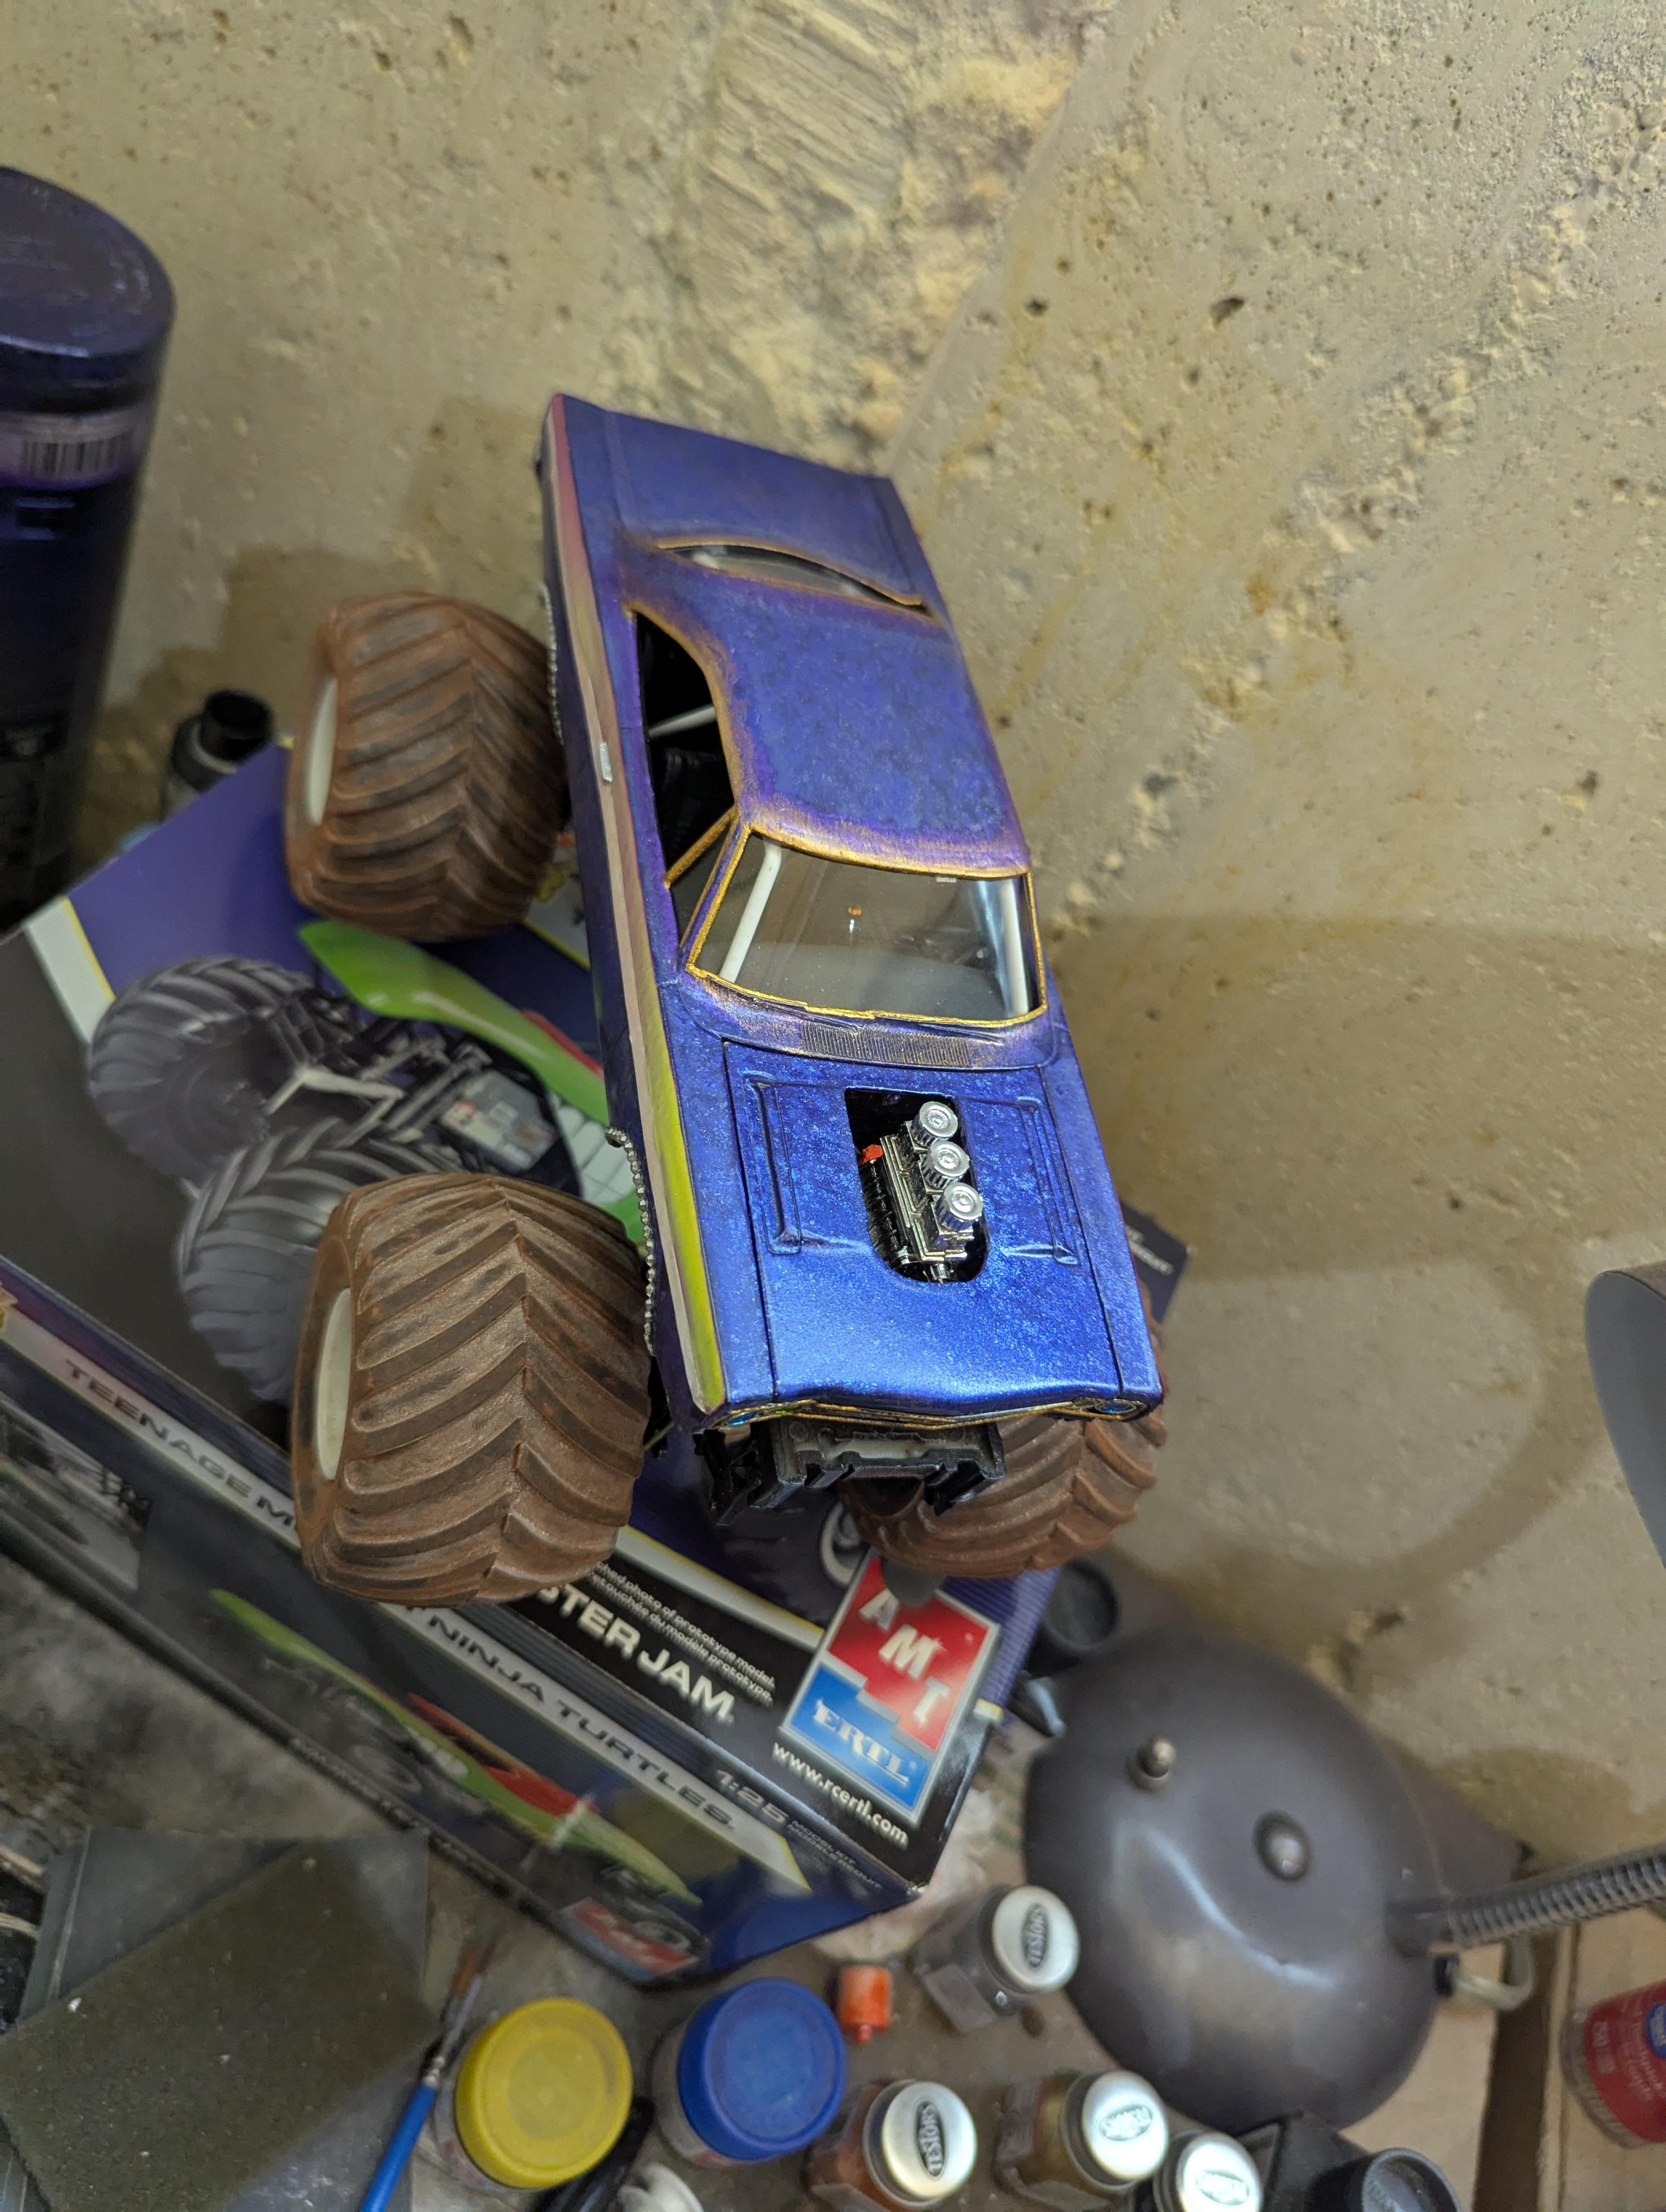
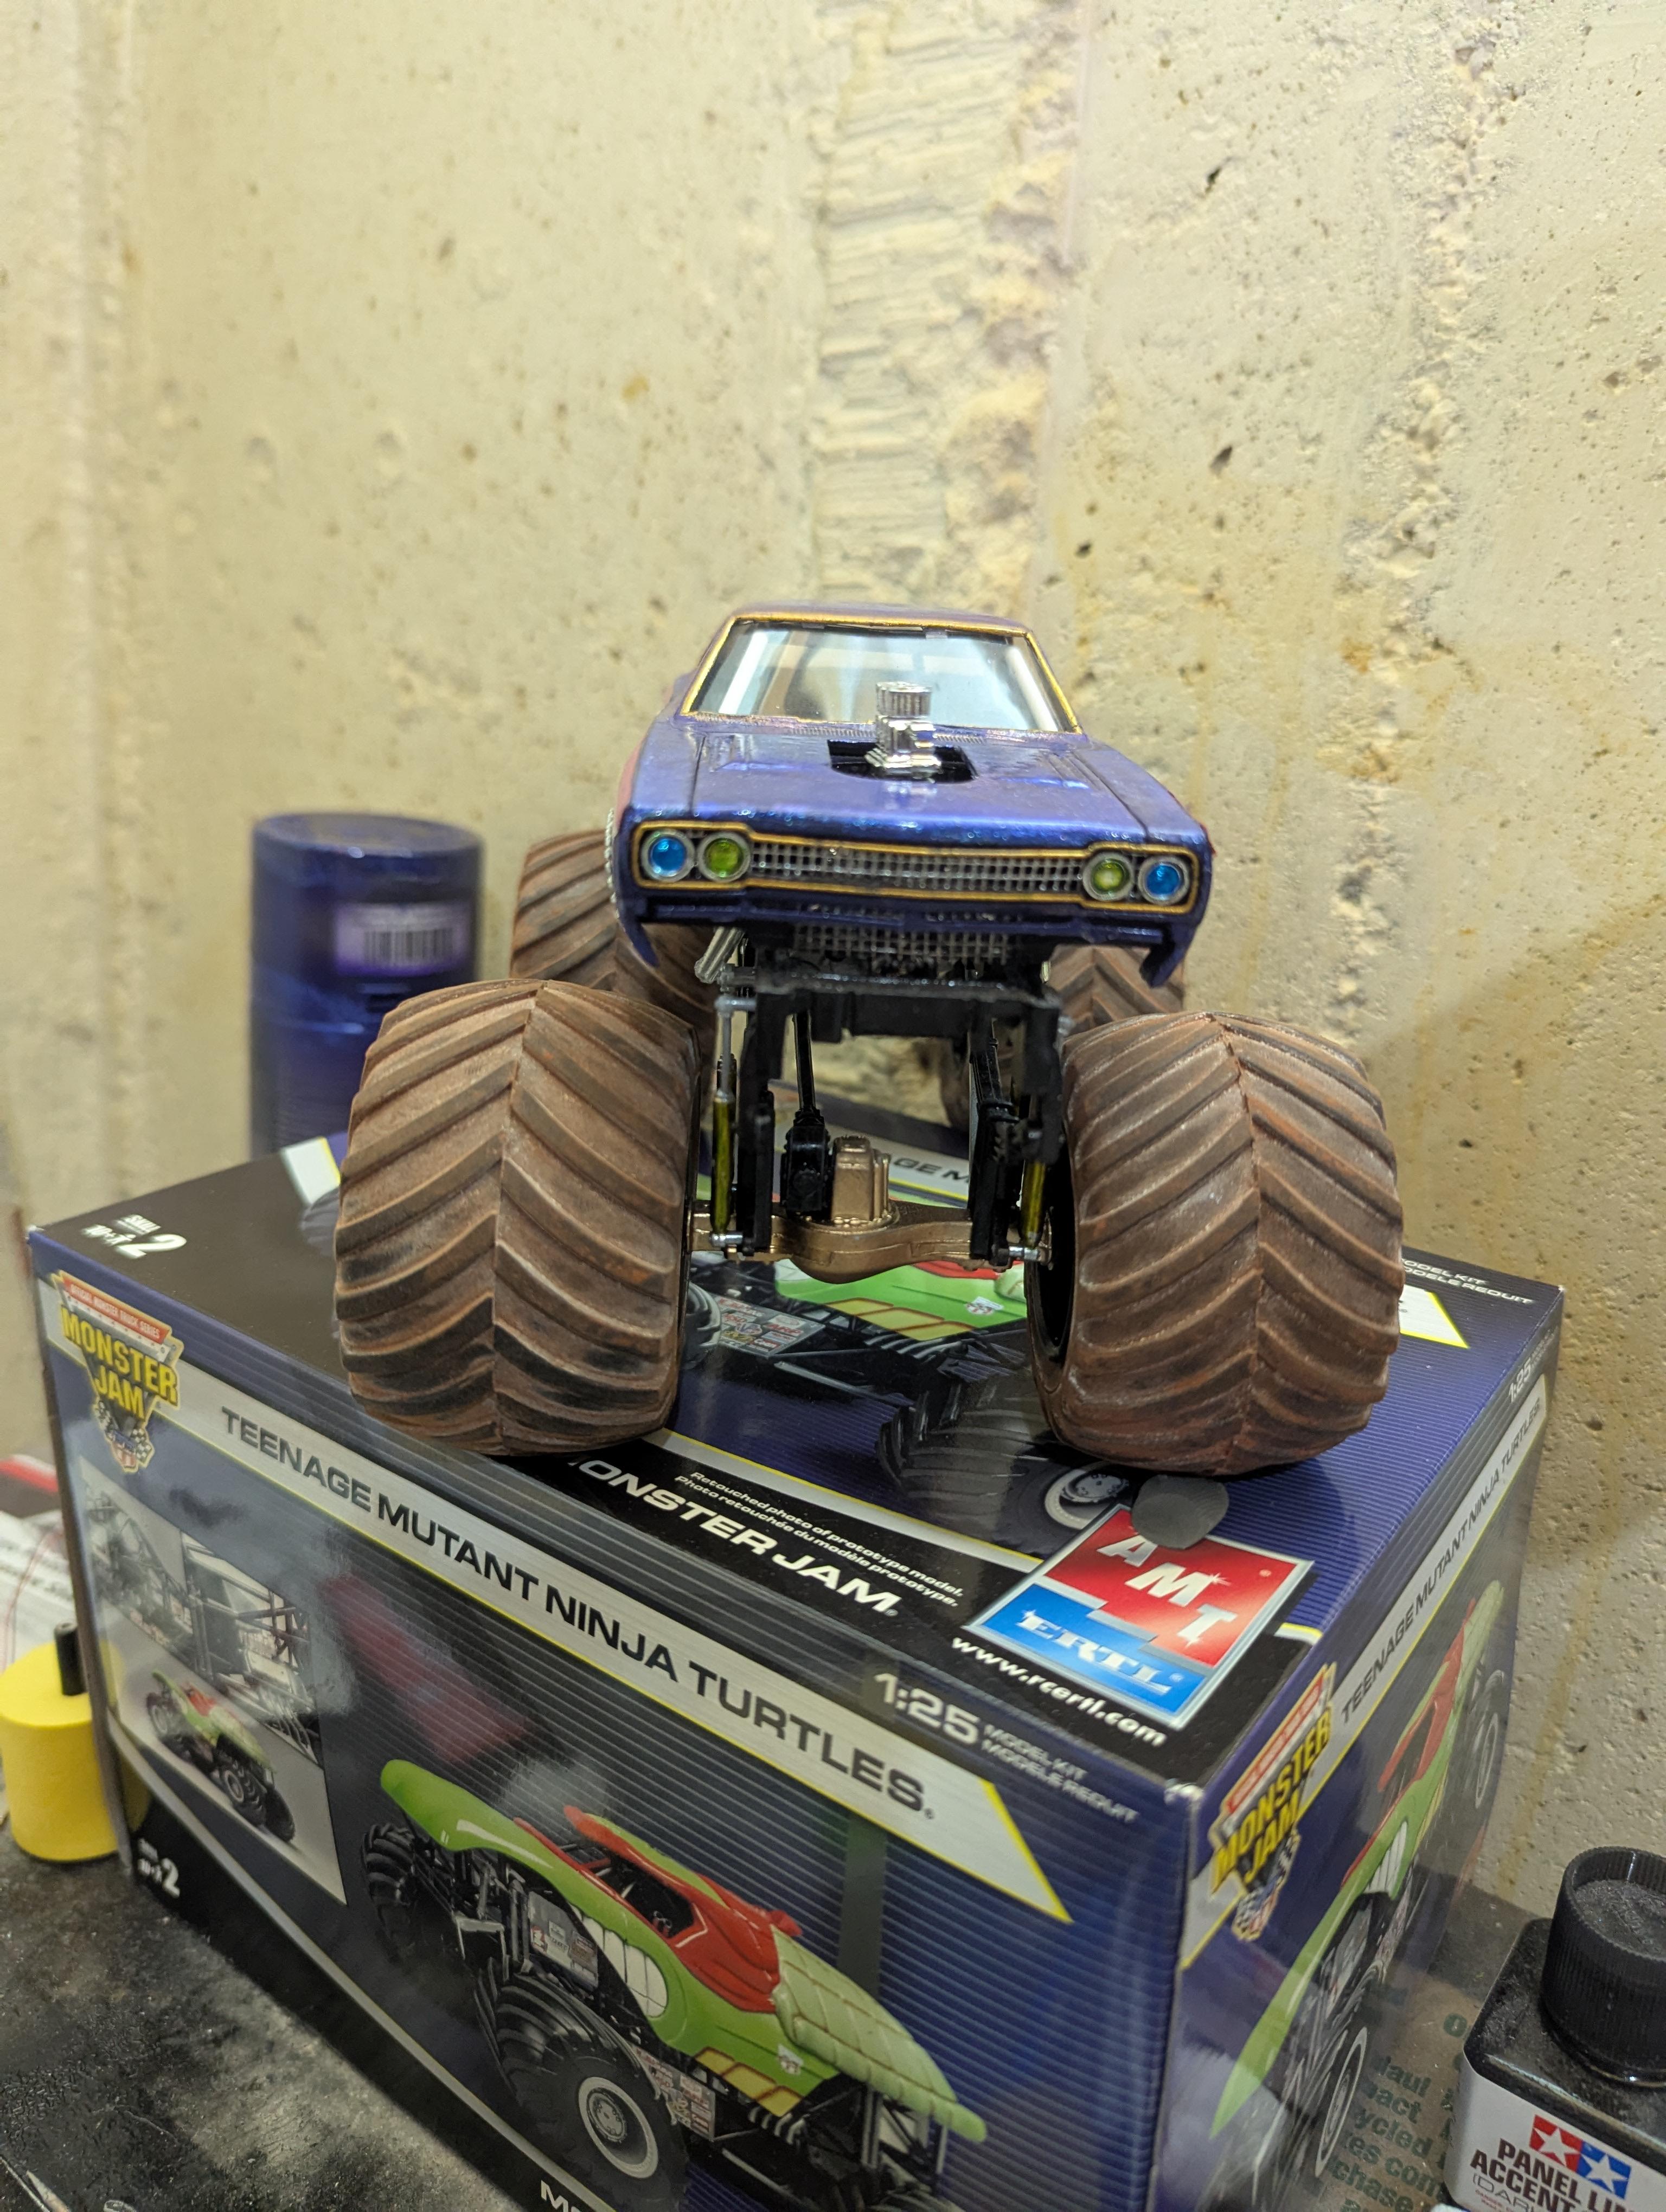
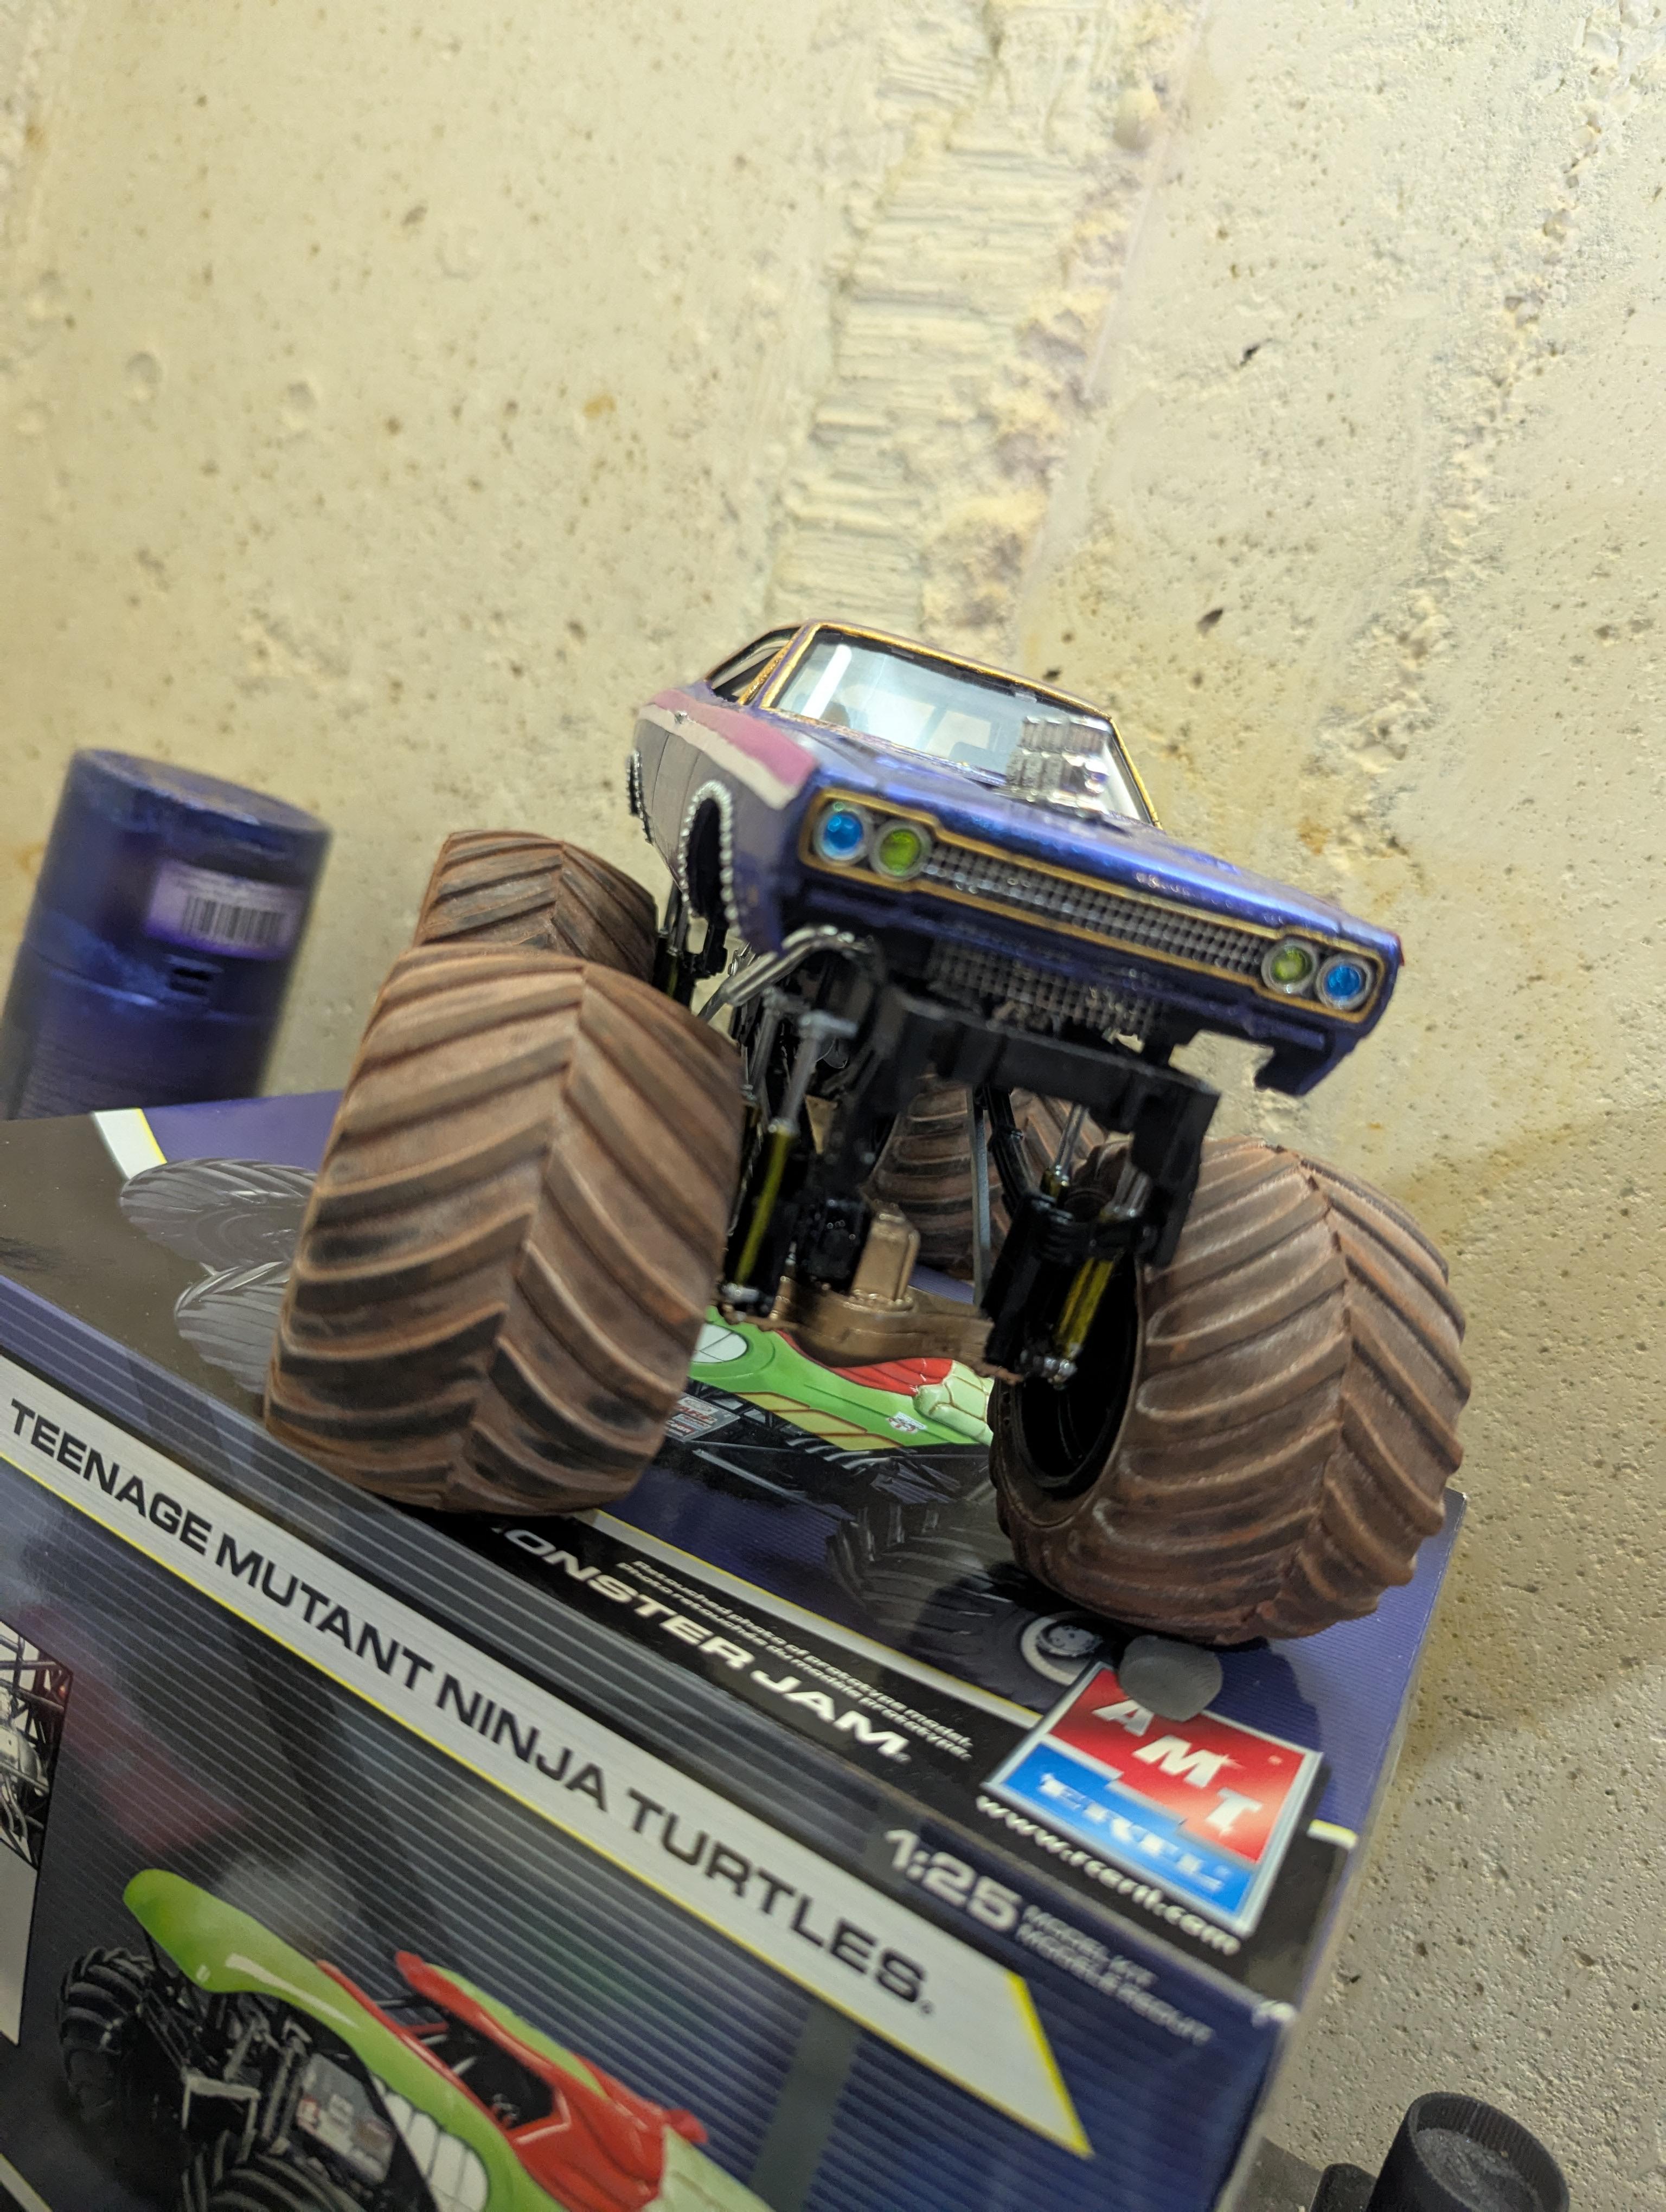
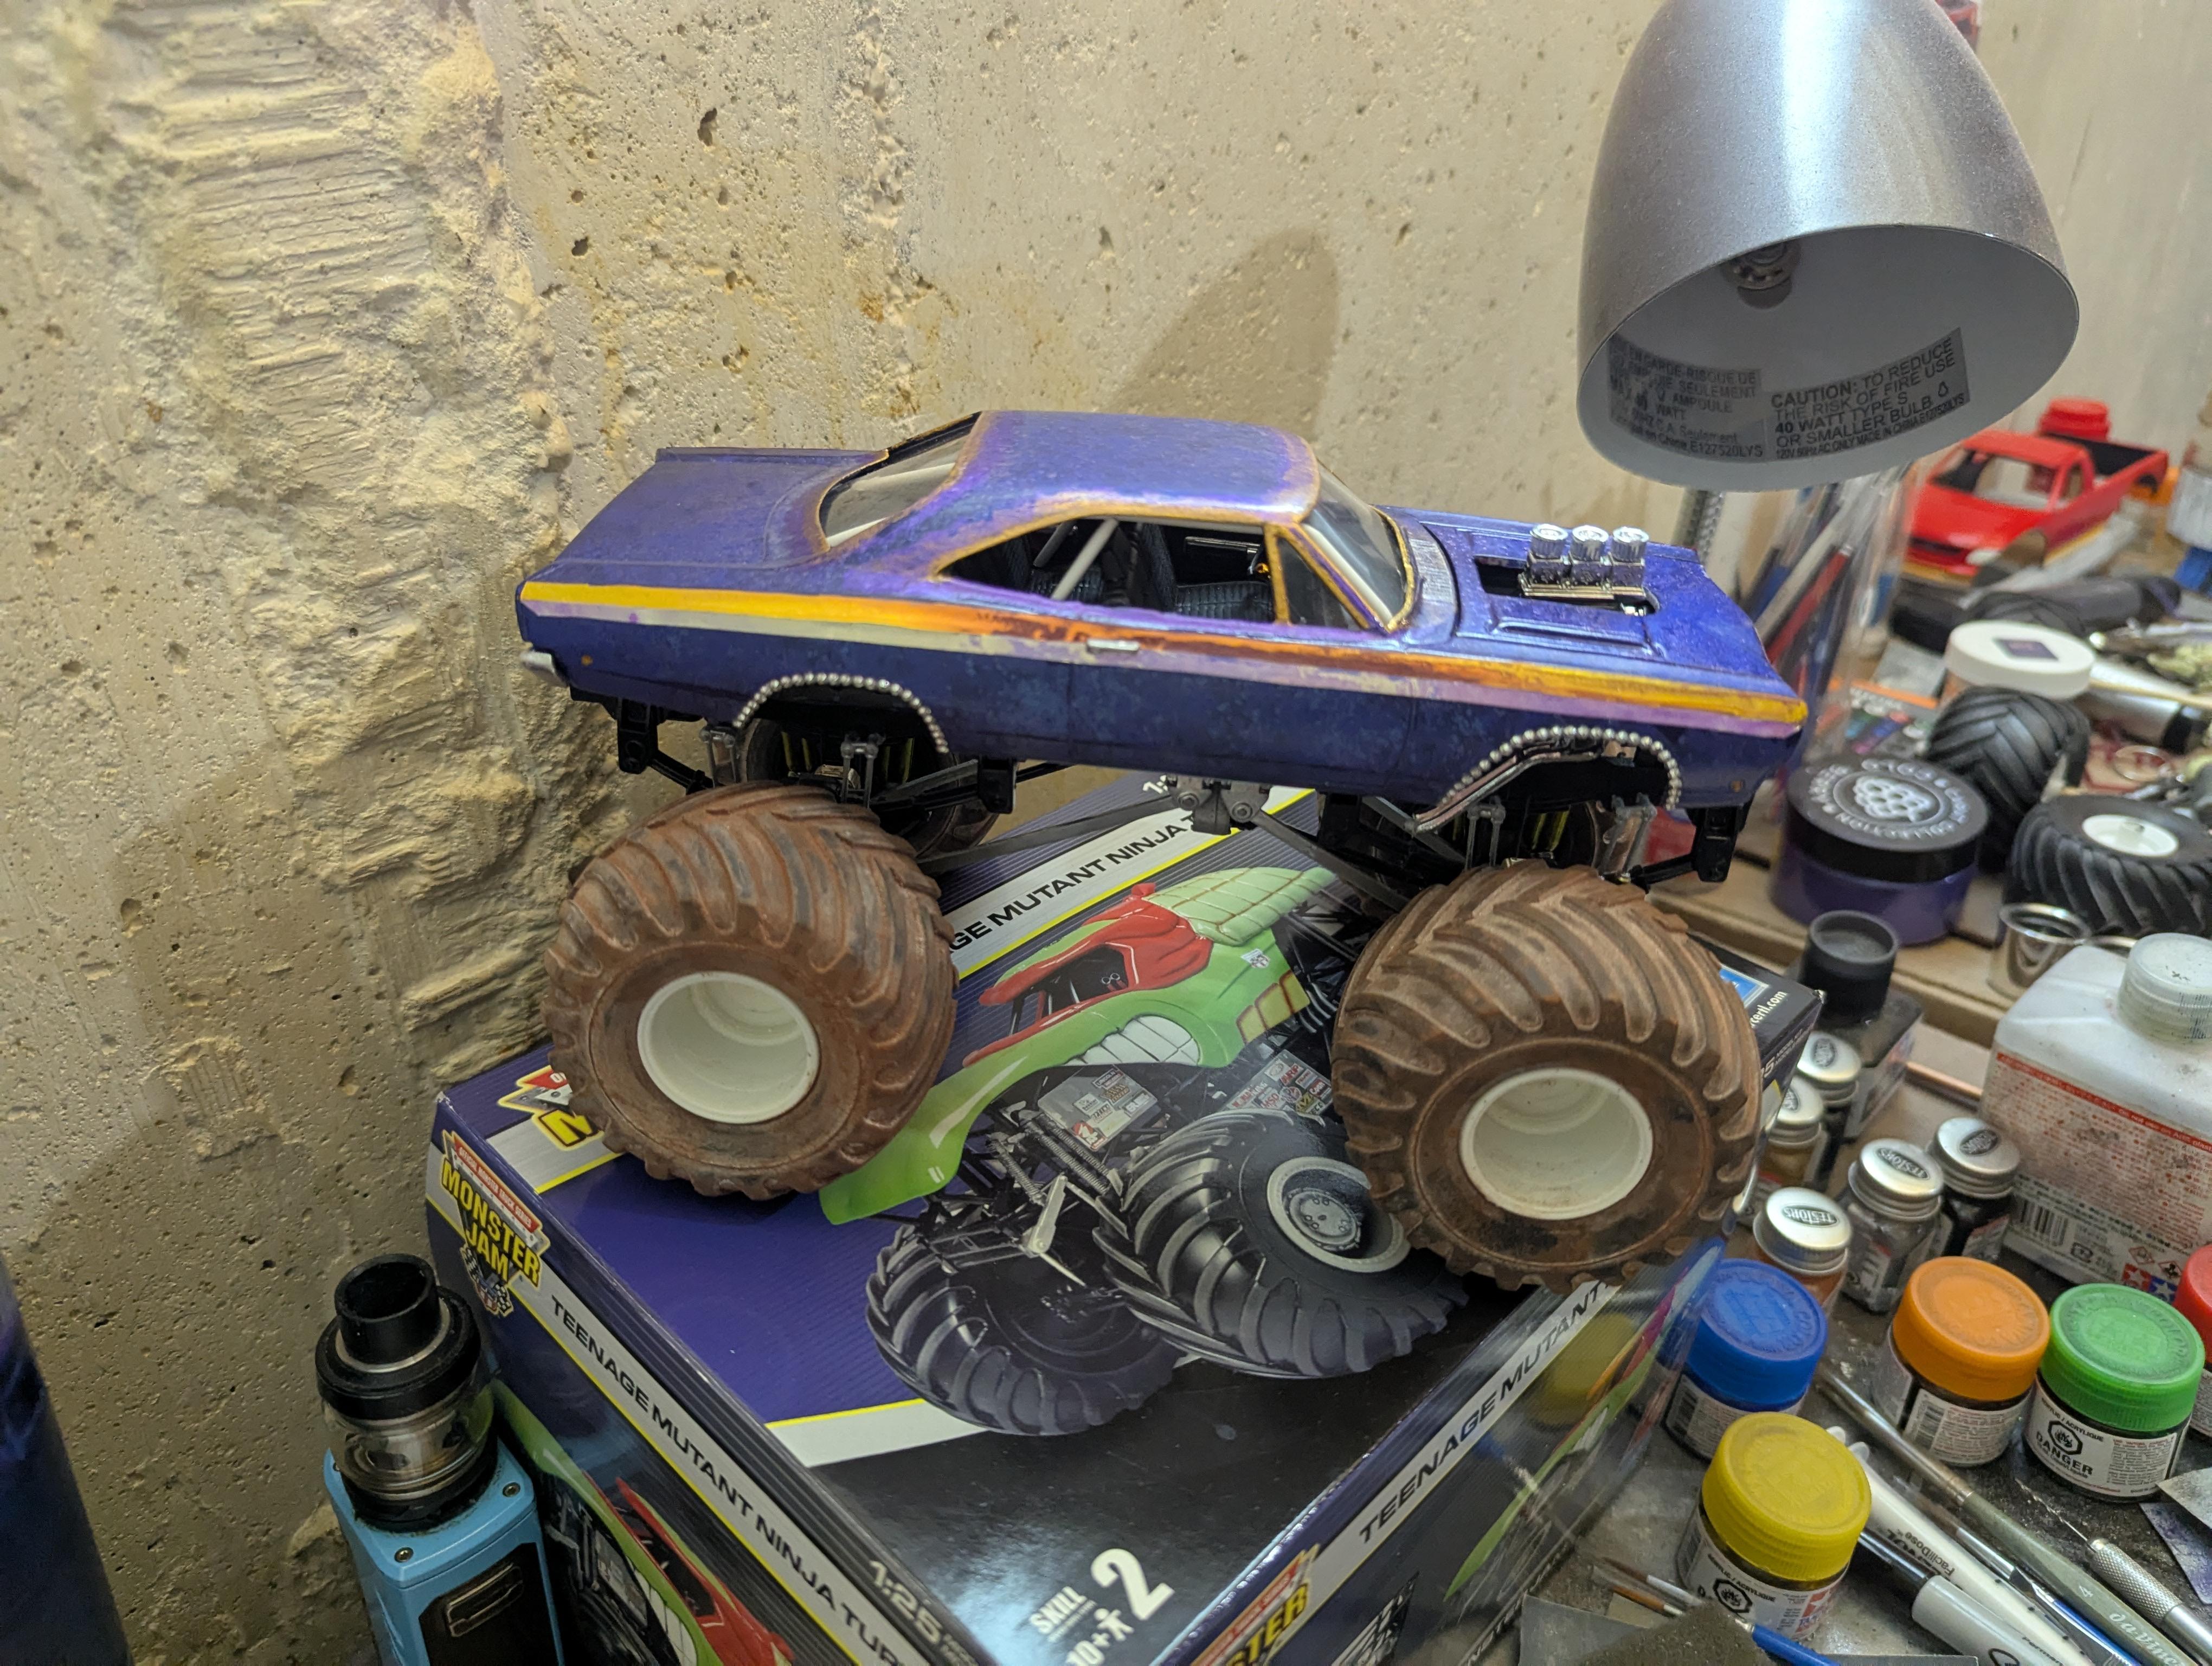
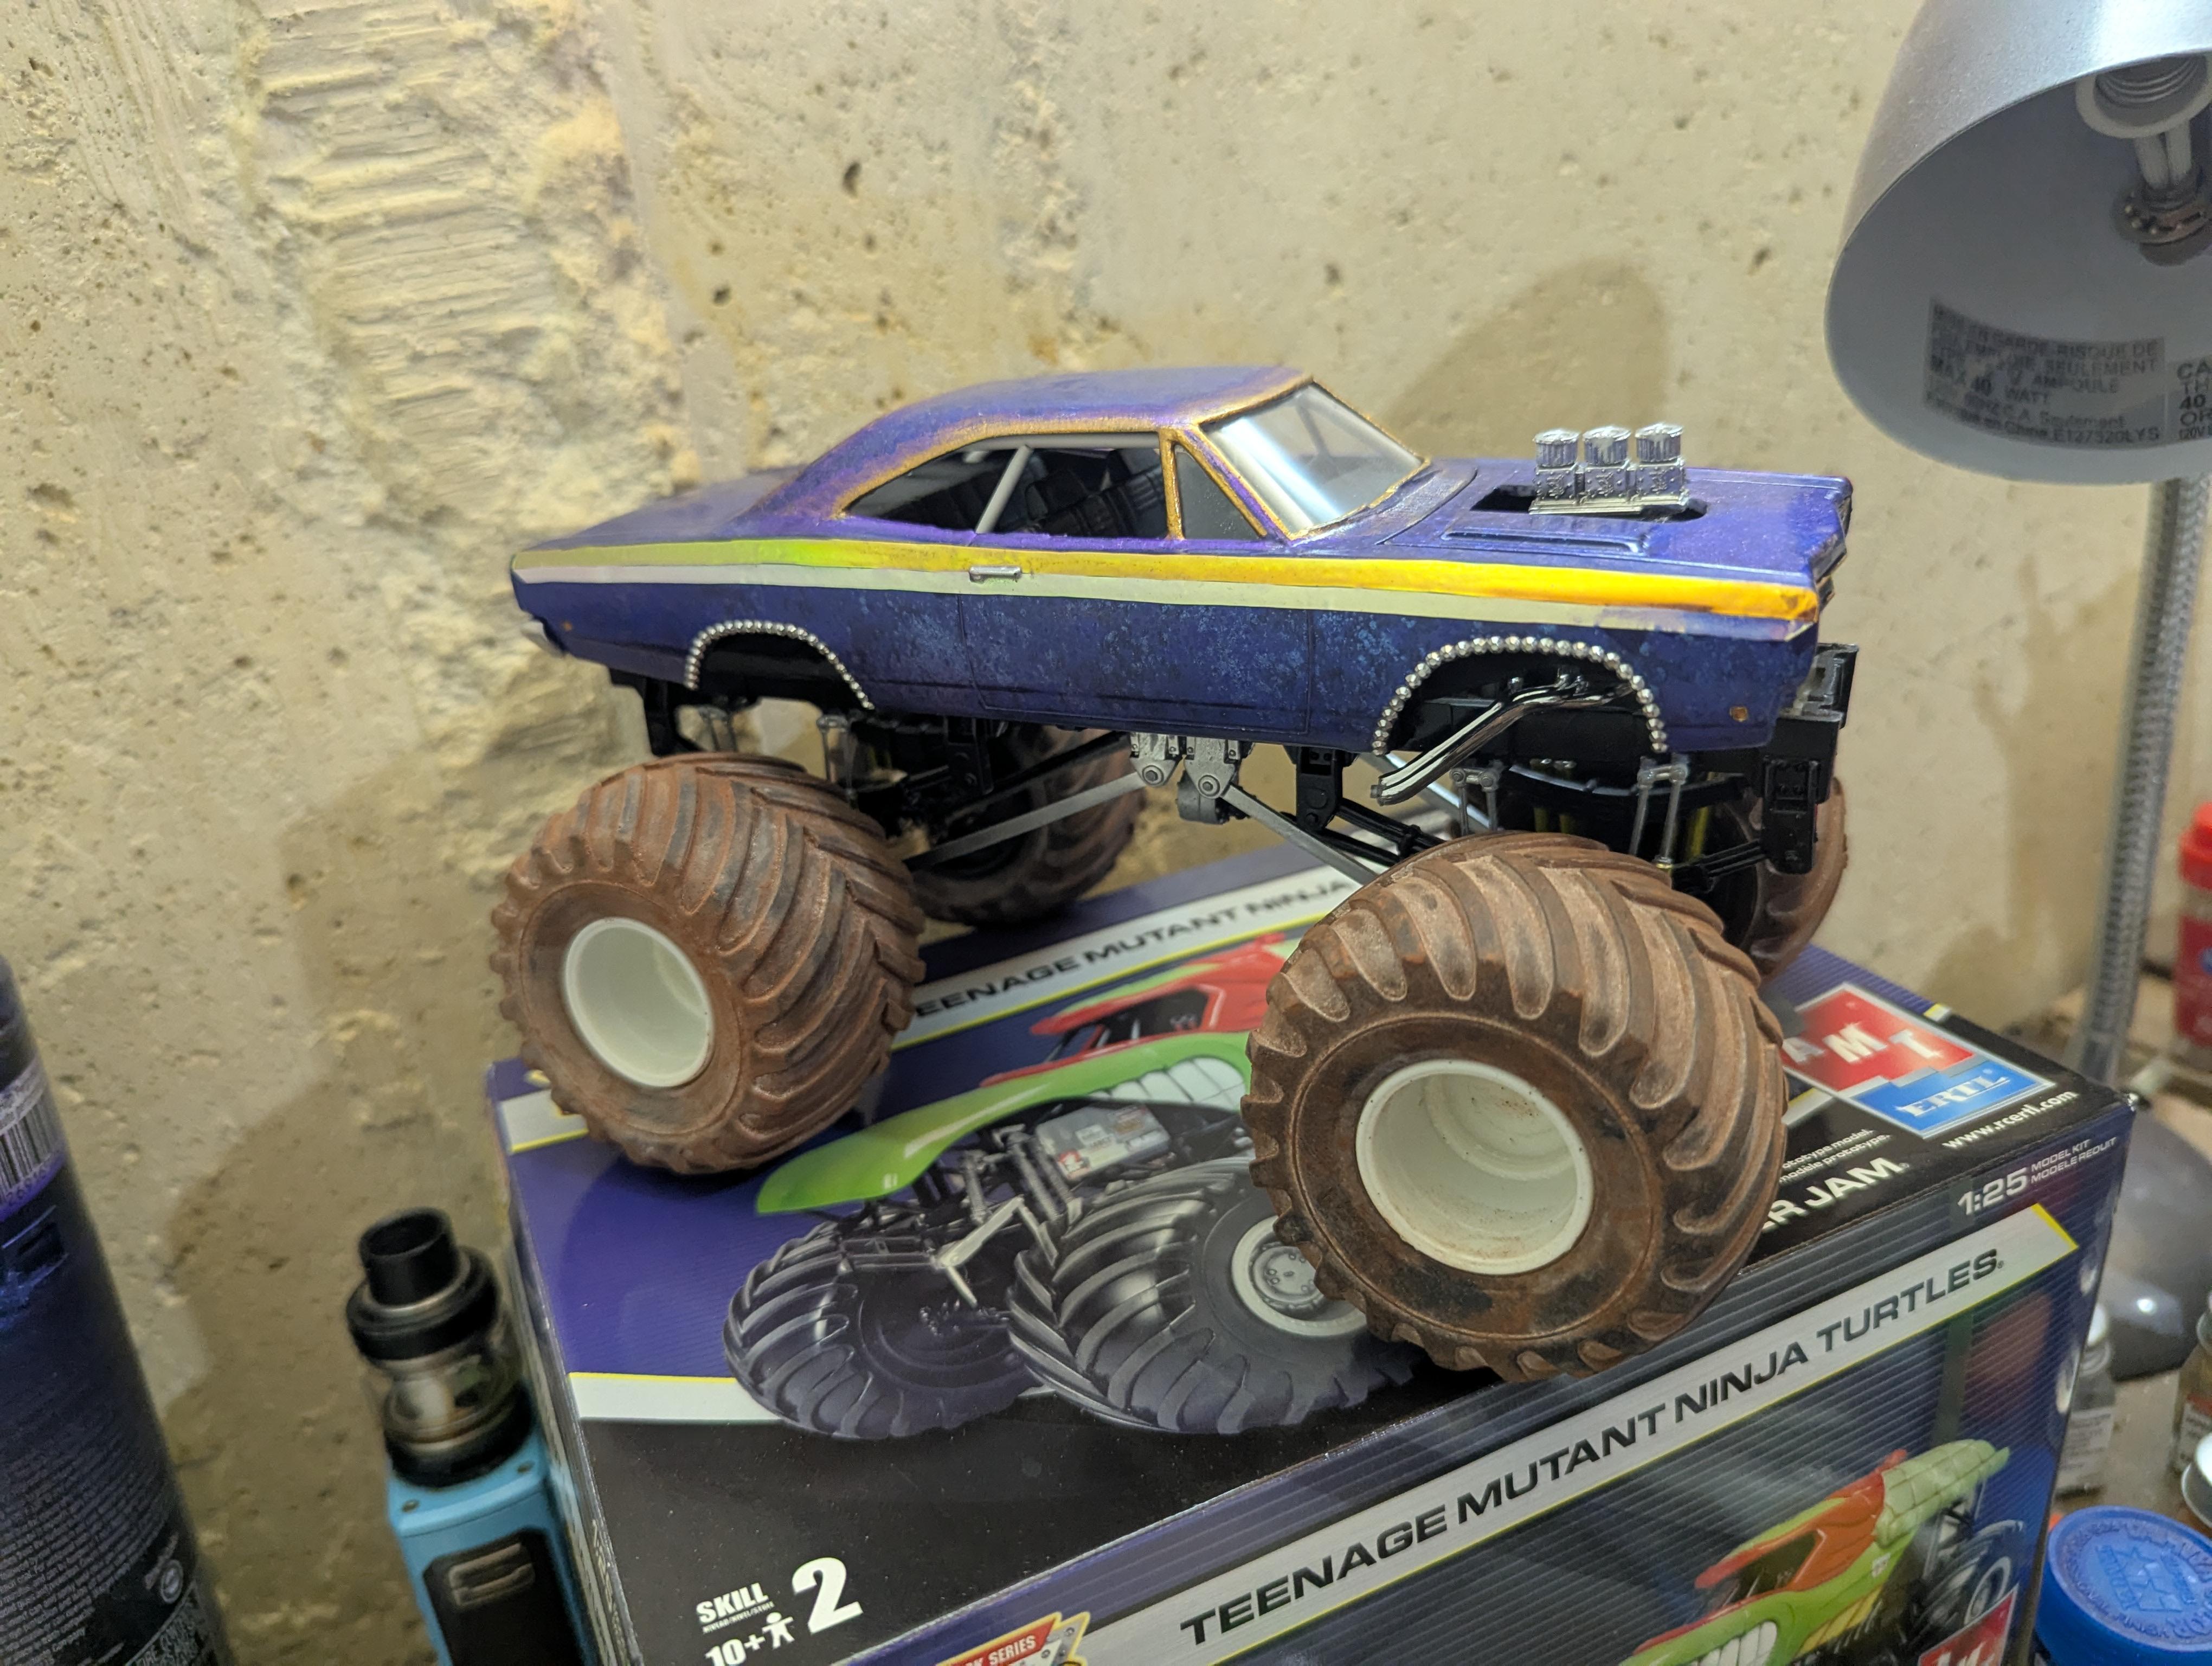
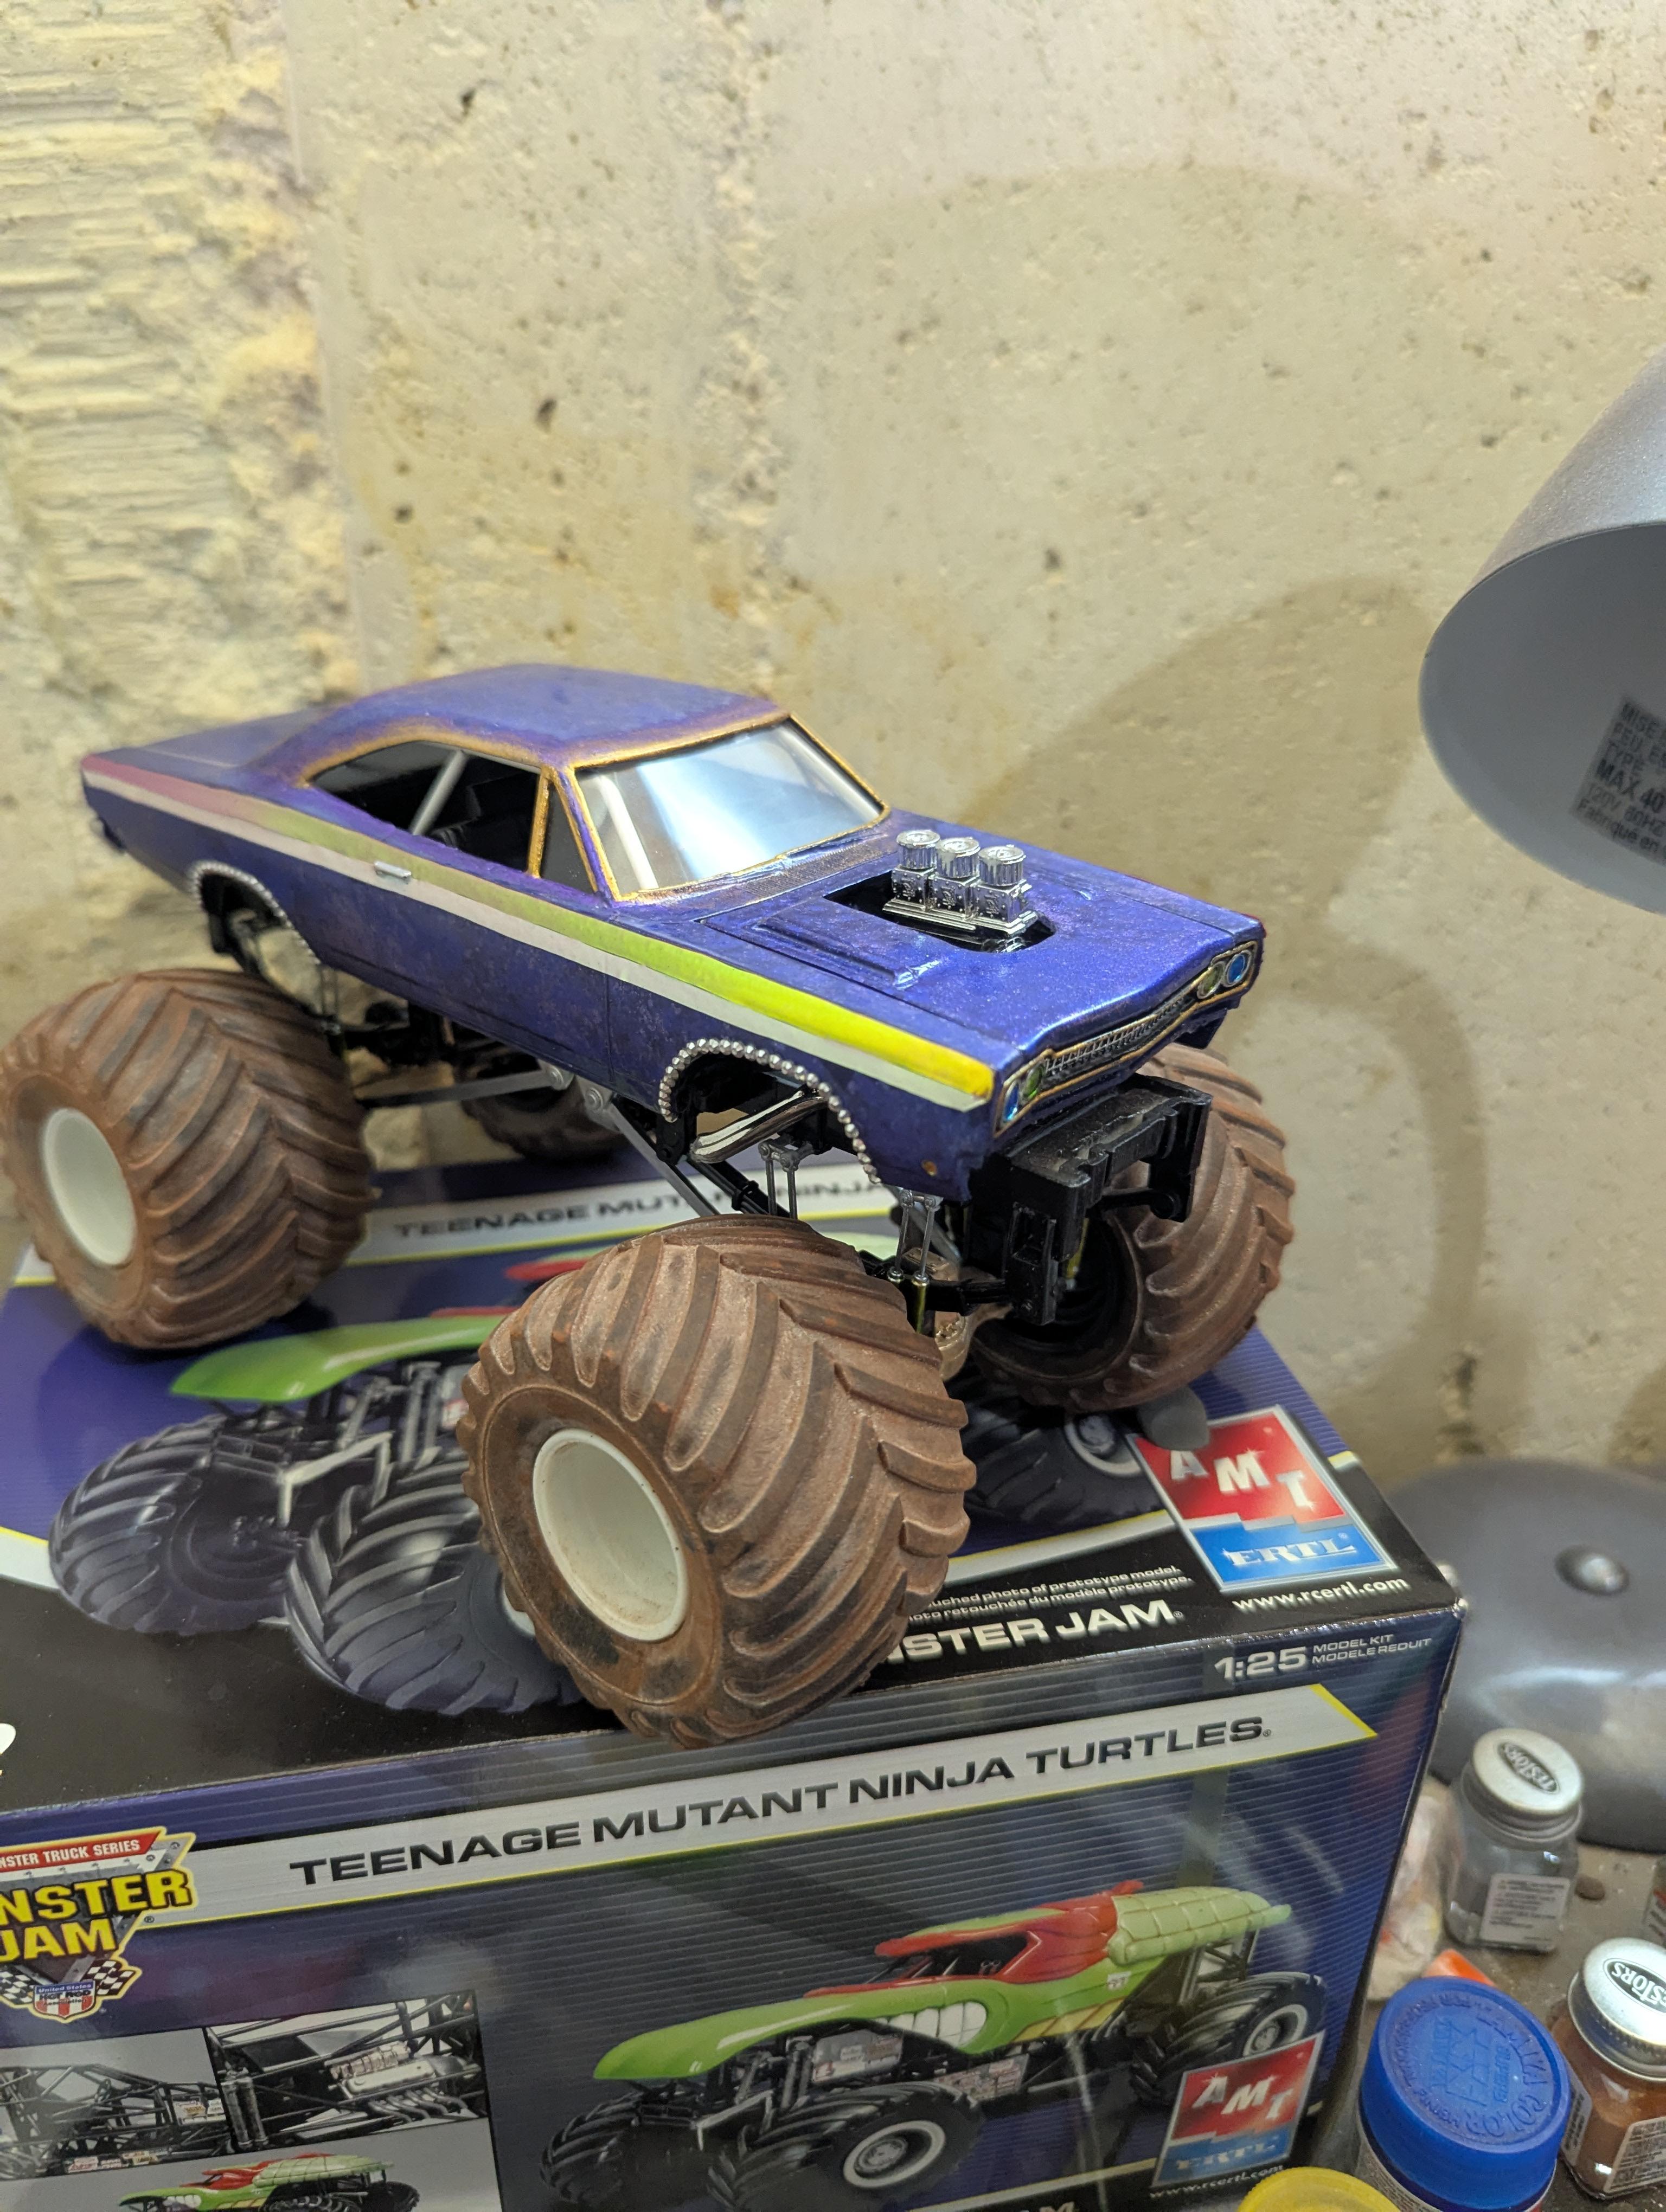
1968 Road Monster
MonsterFan88 posted a topic in Model Trucks: Pickups, Vans, SUVs, Light Commercial
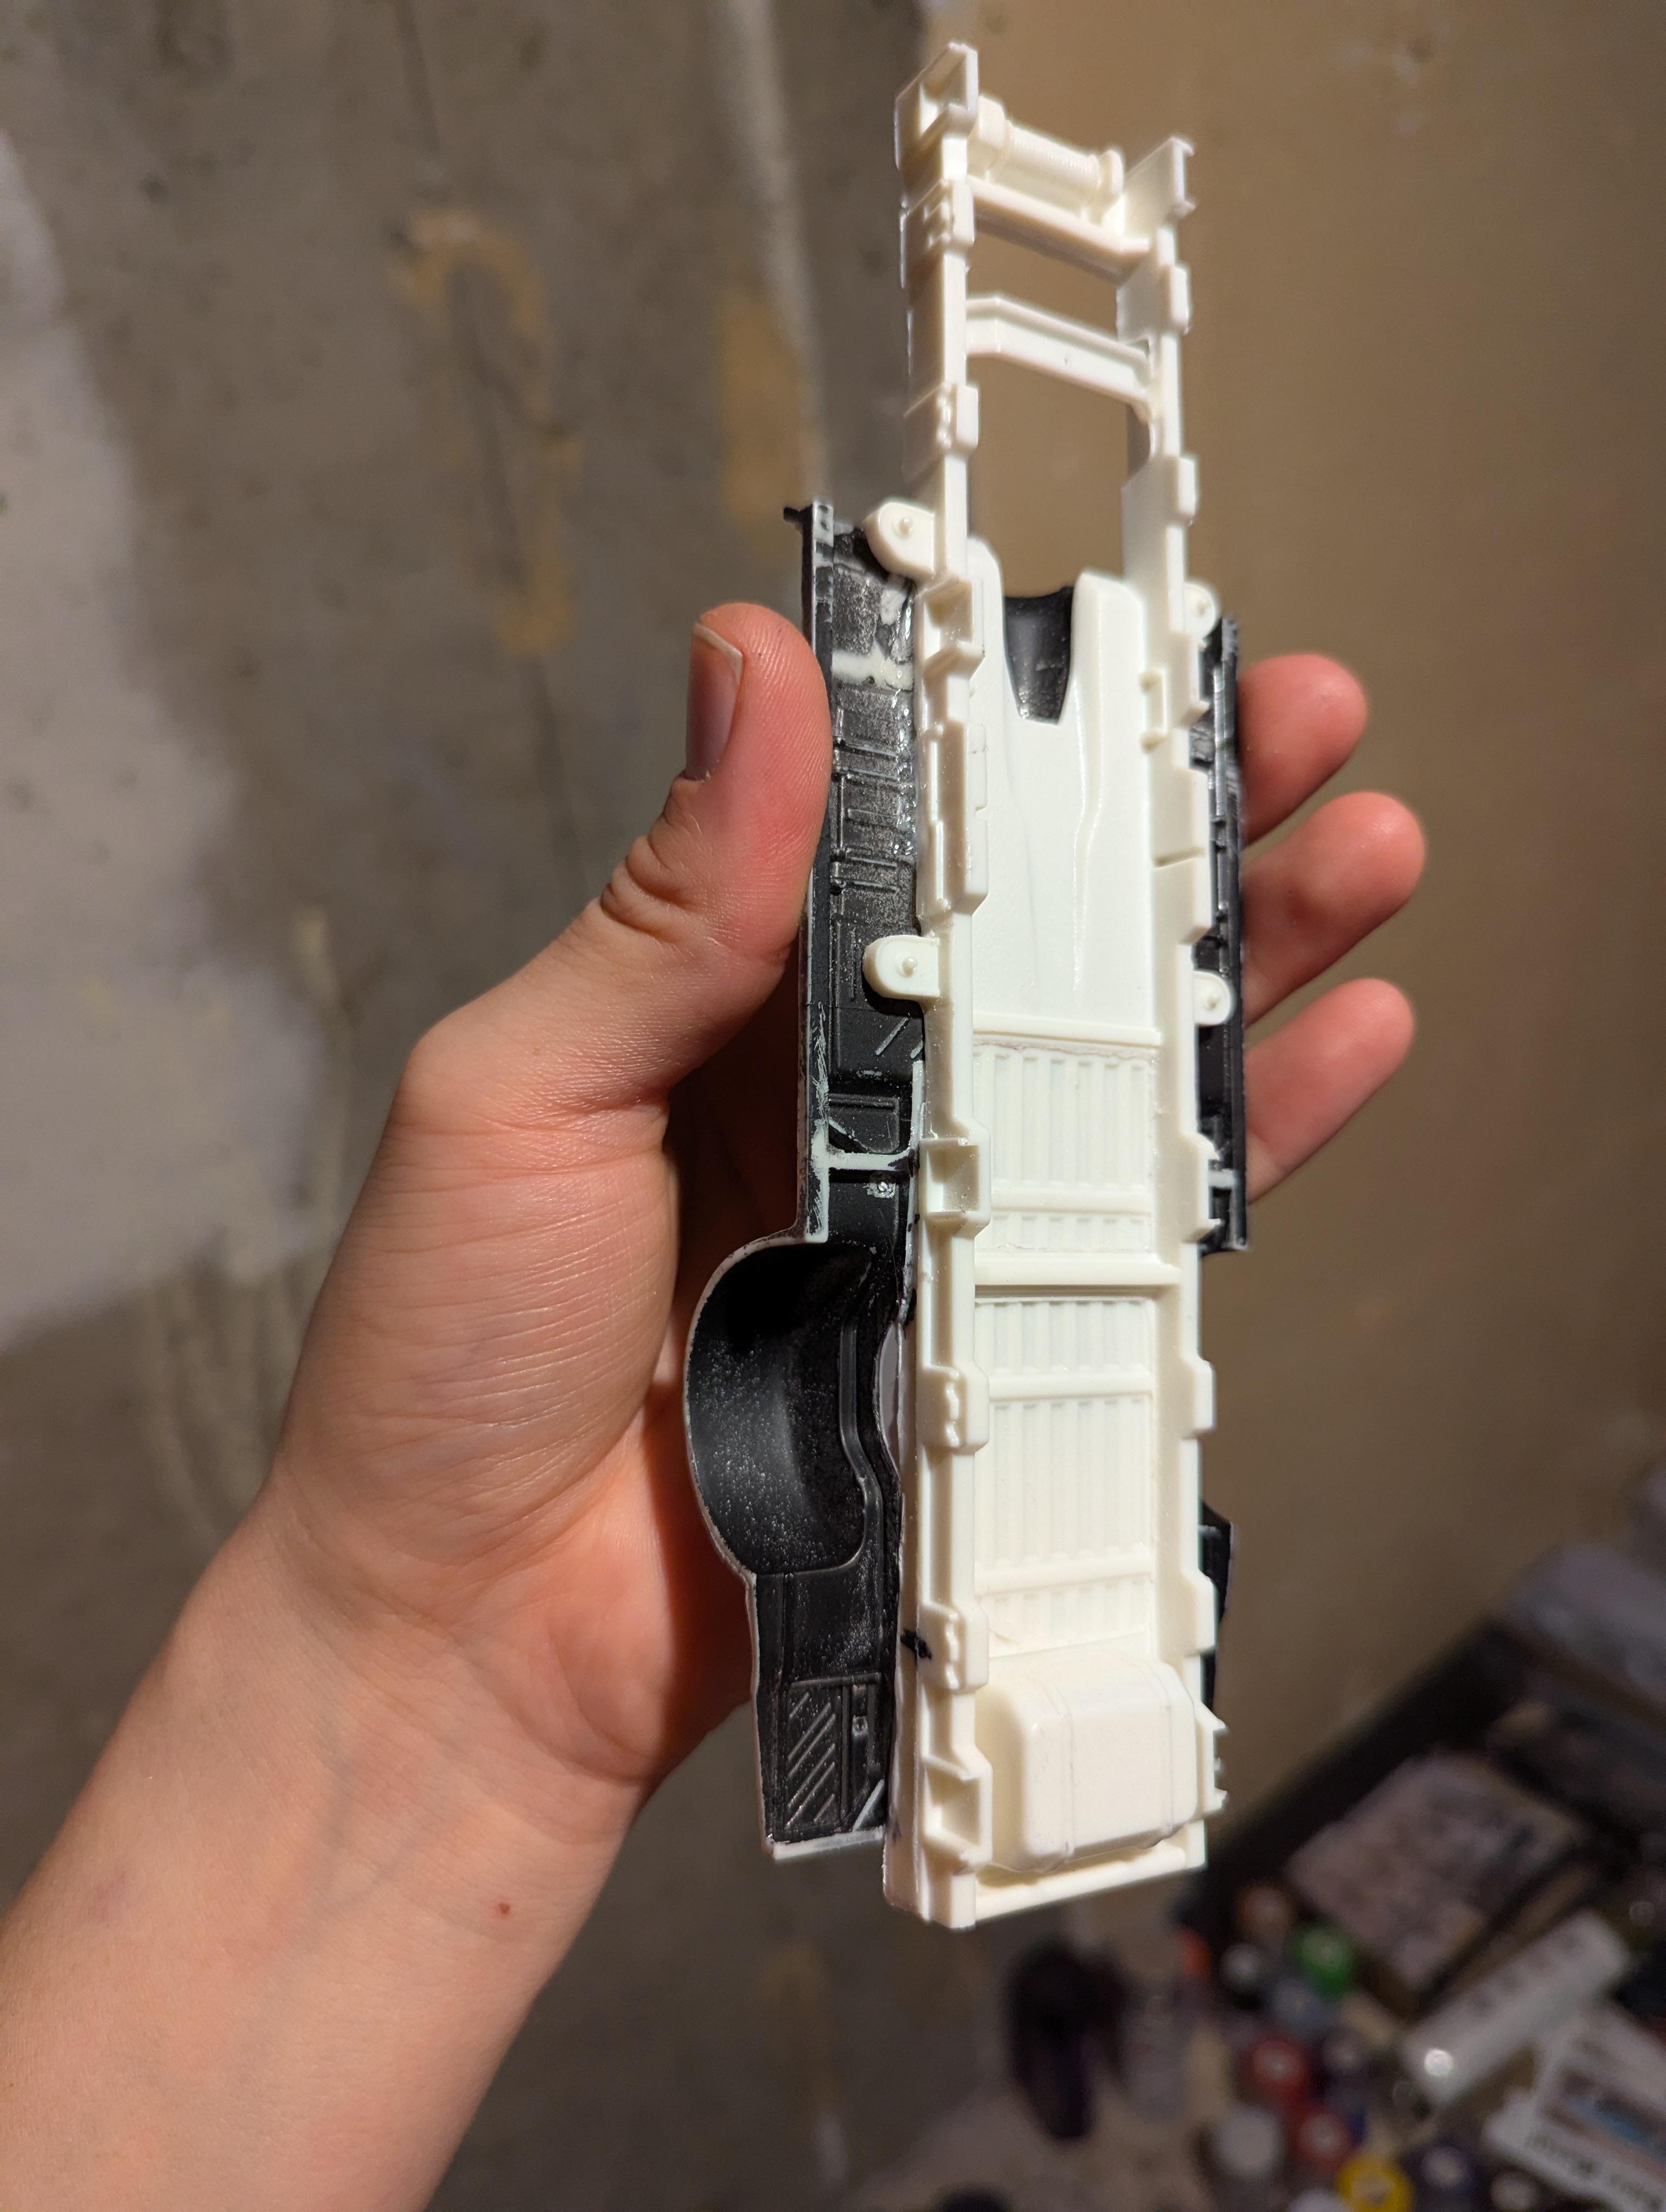
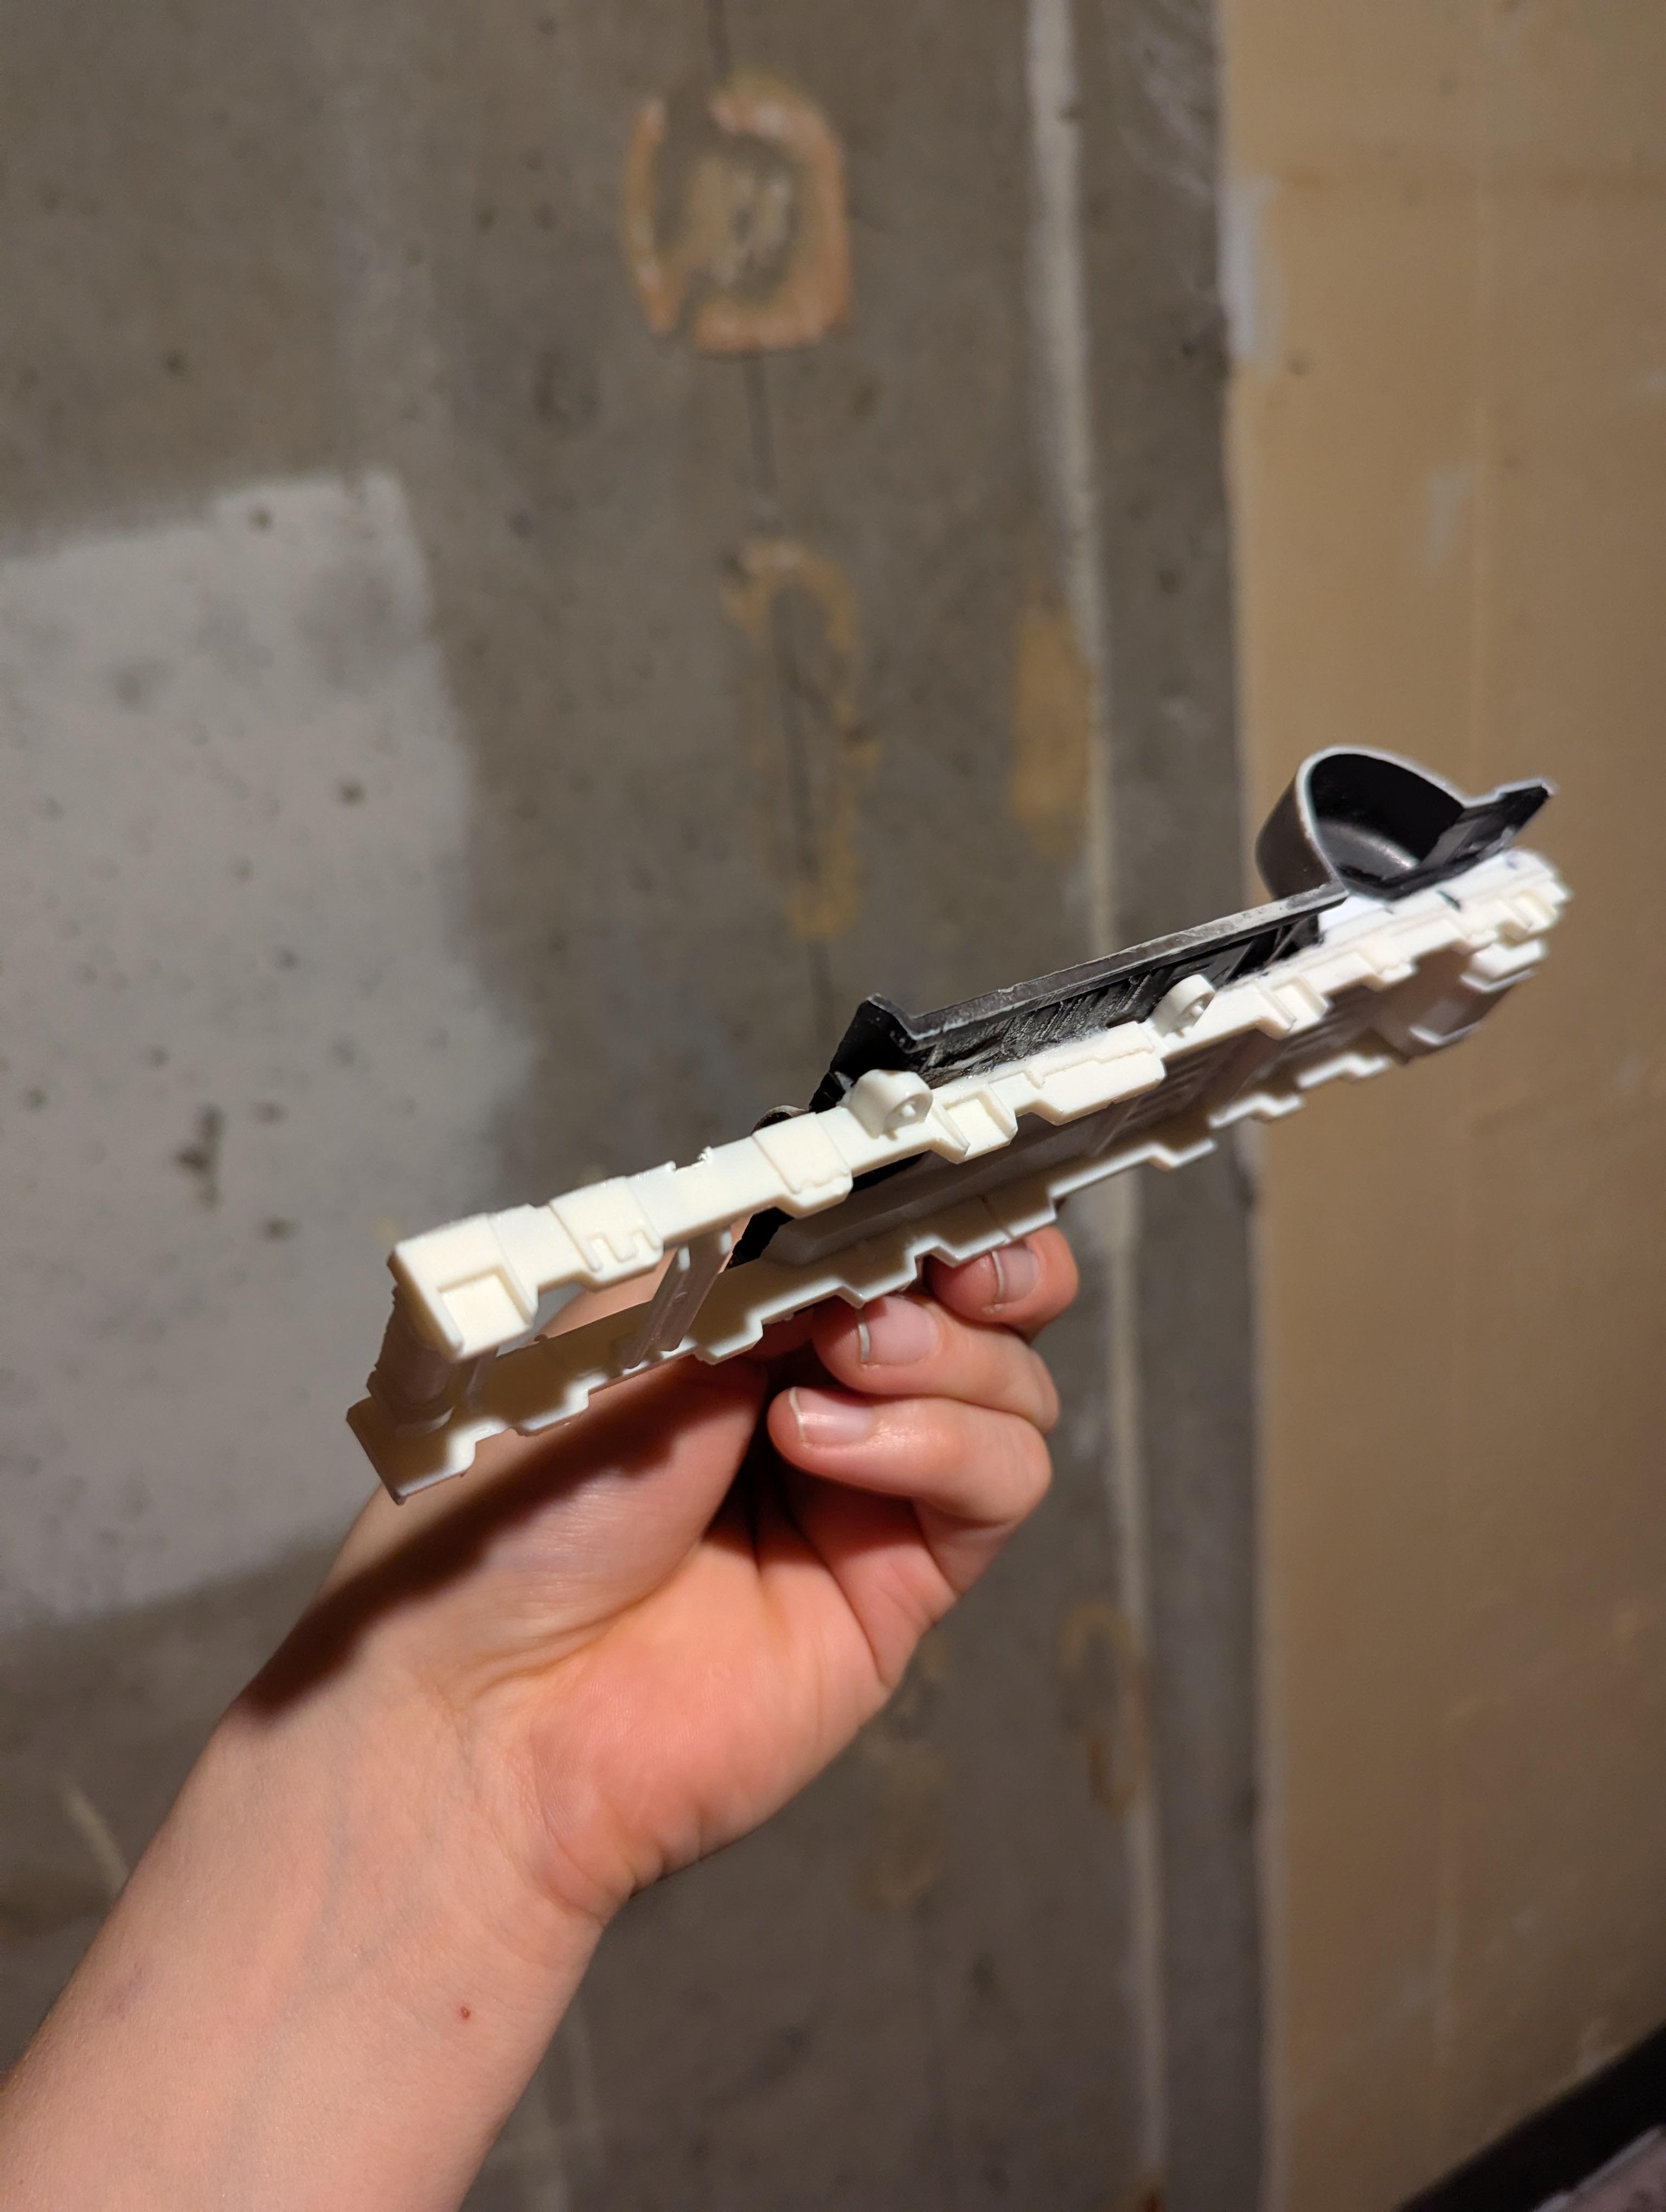
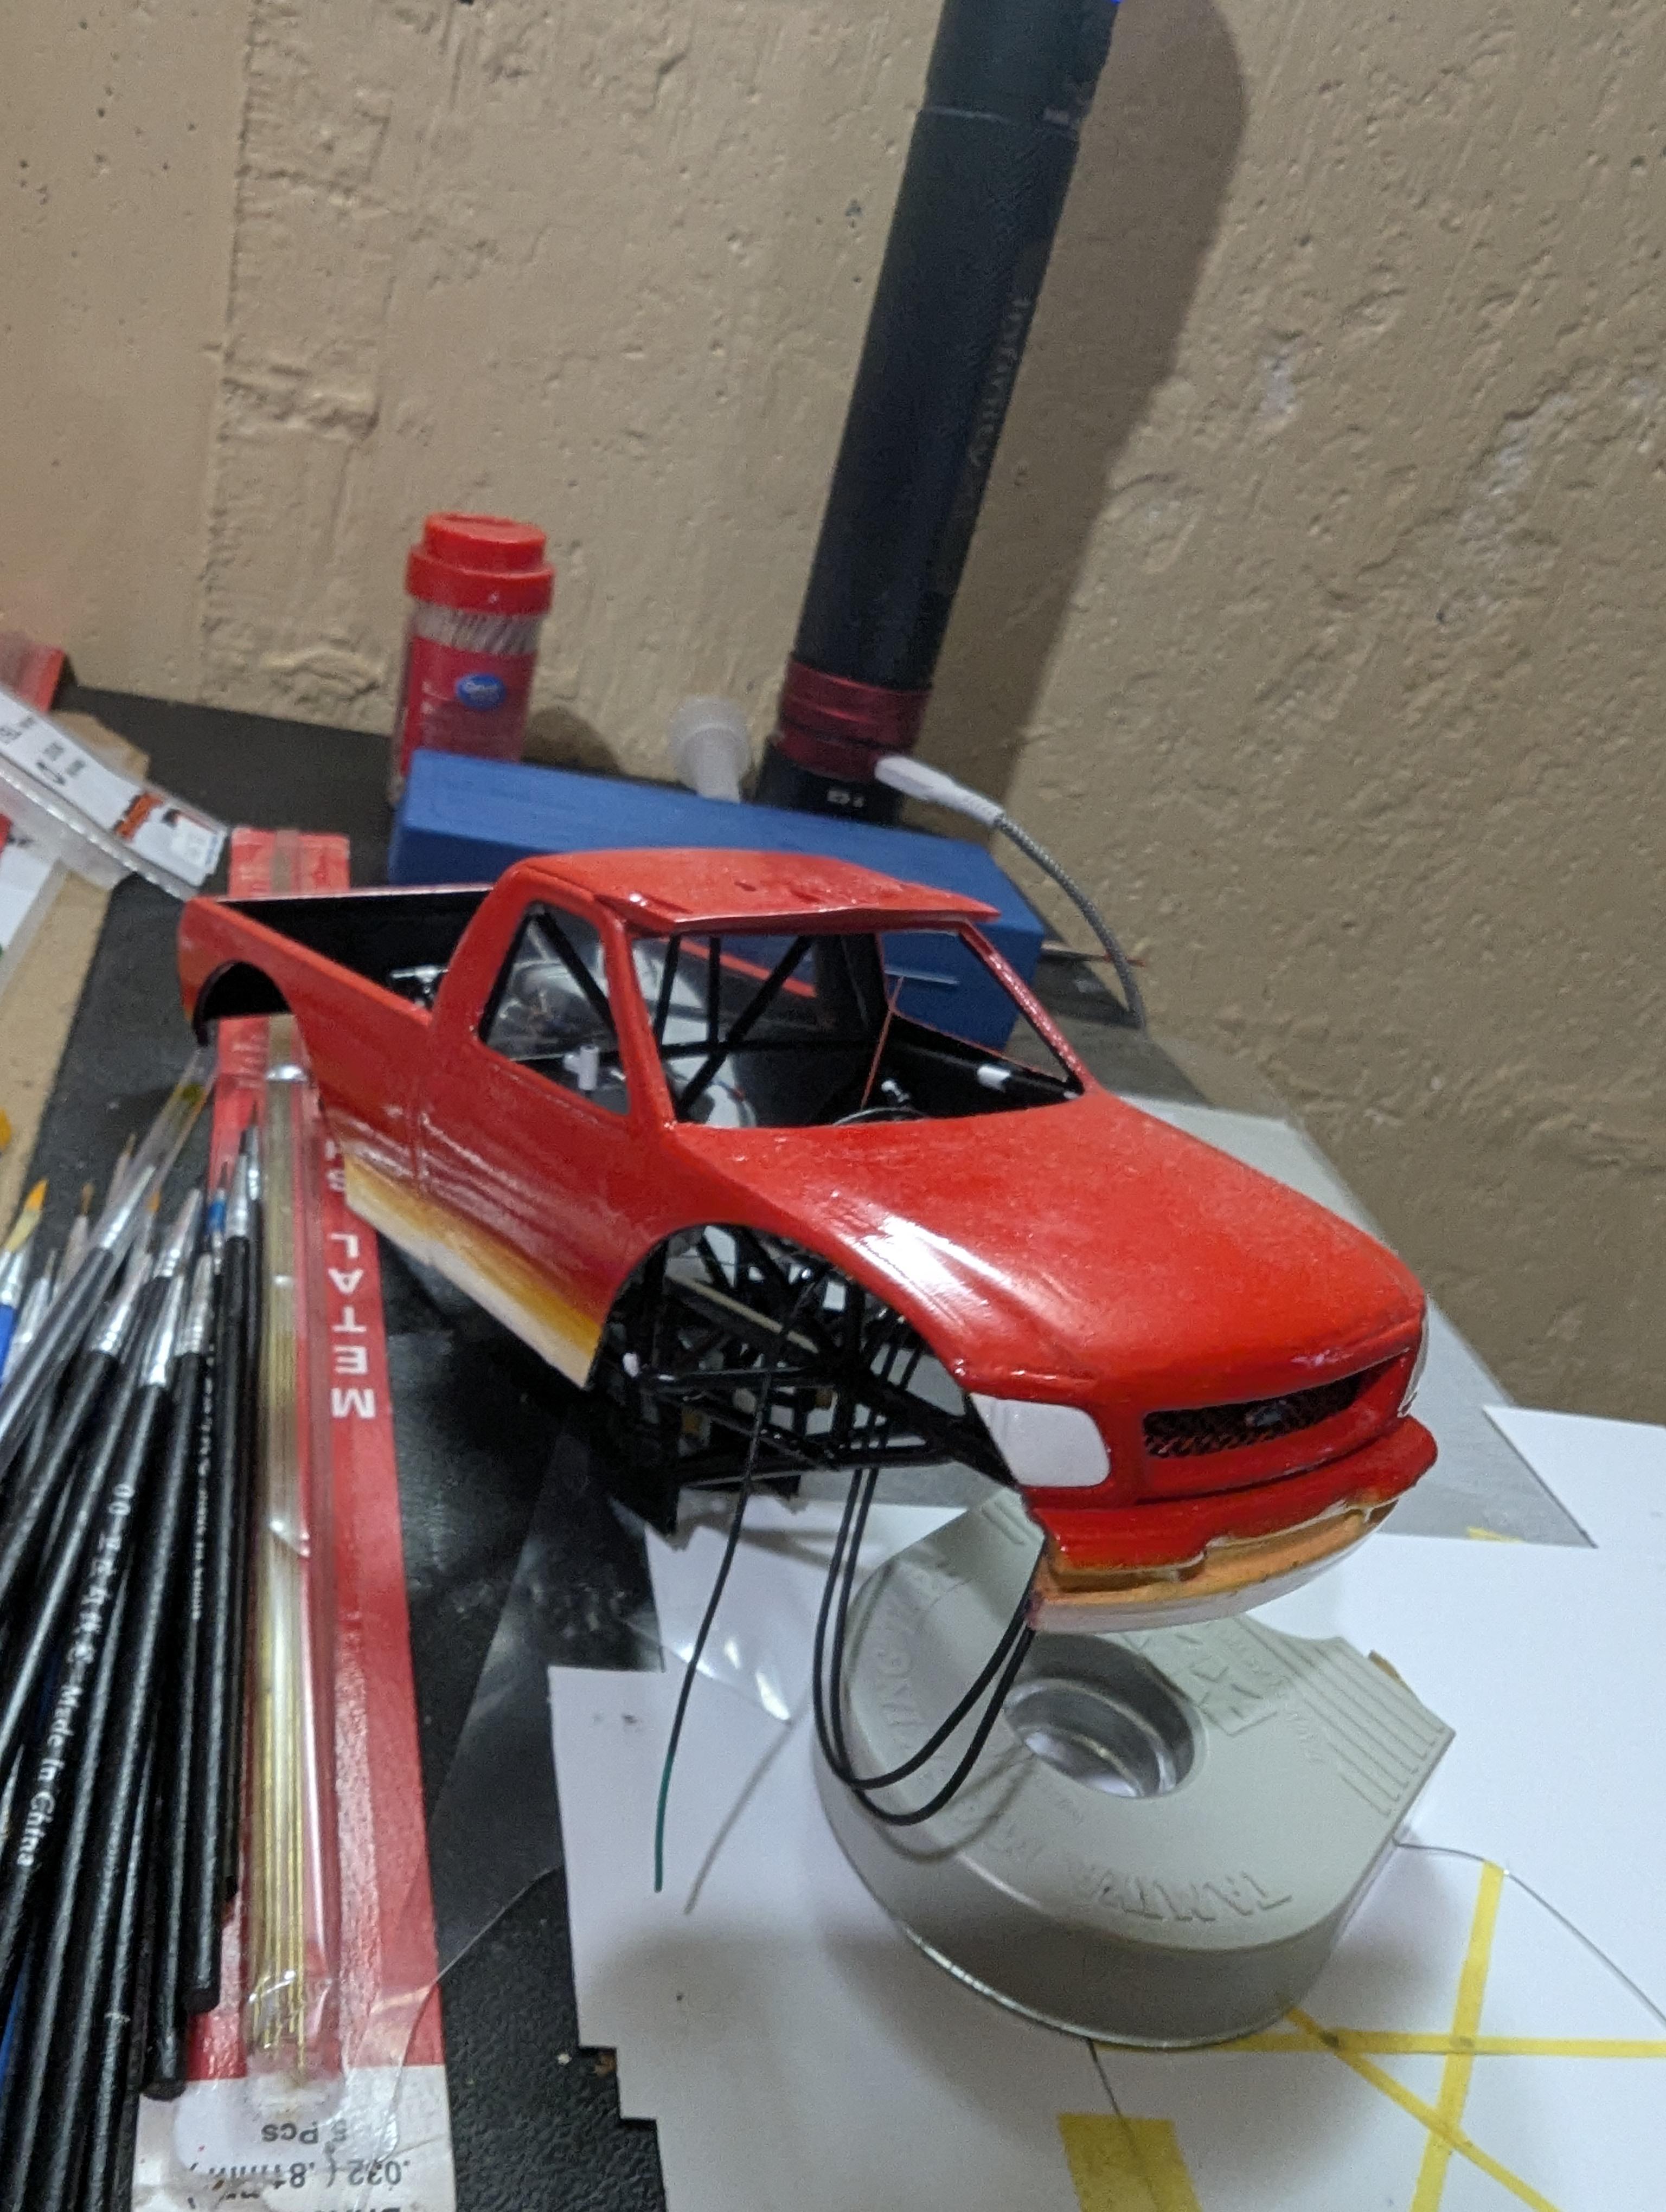
Here's a model that started as a car, broke, then was revived as a monster truck 😎👍, this is my nephew's truck that I built for him
-
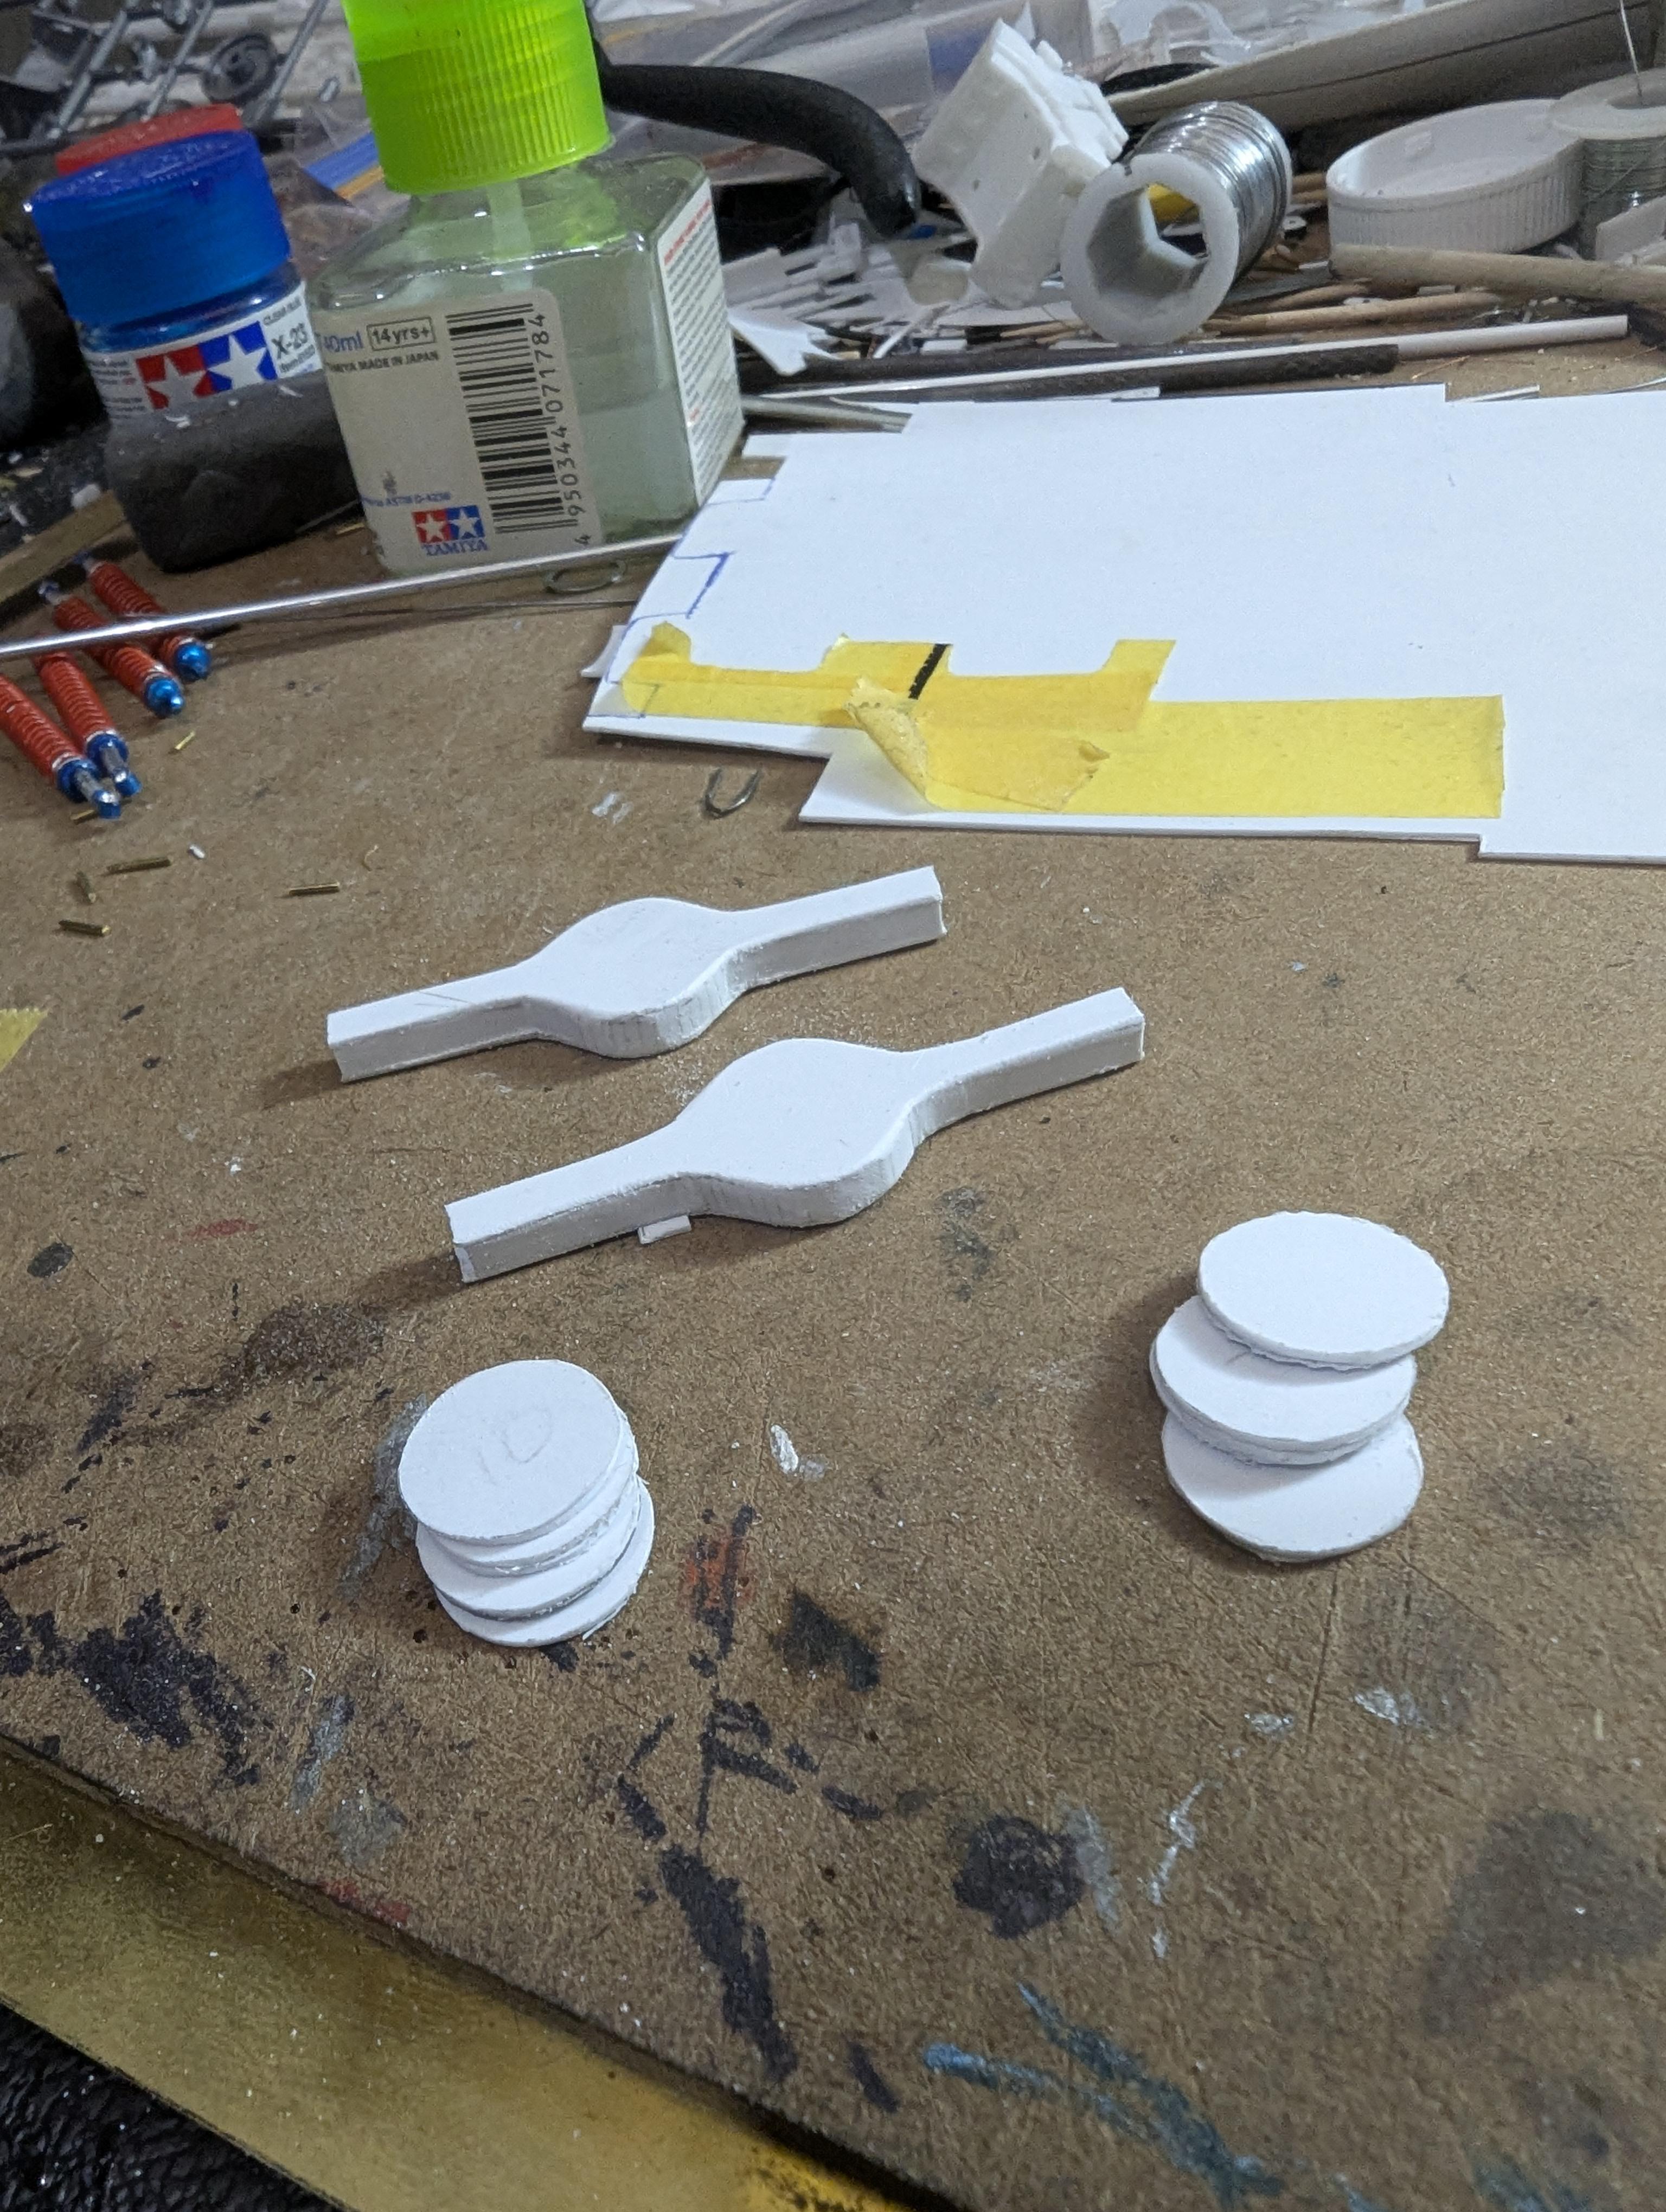
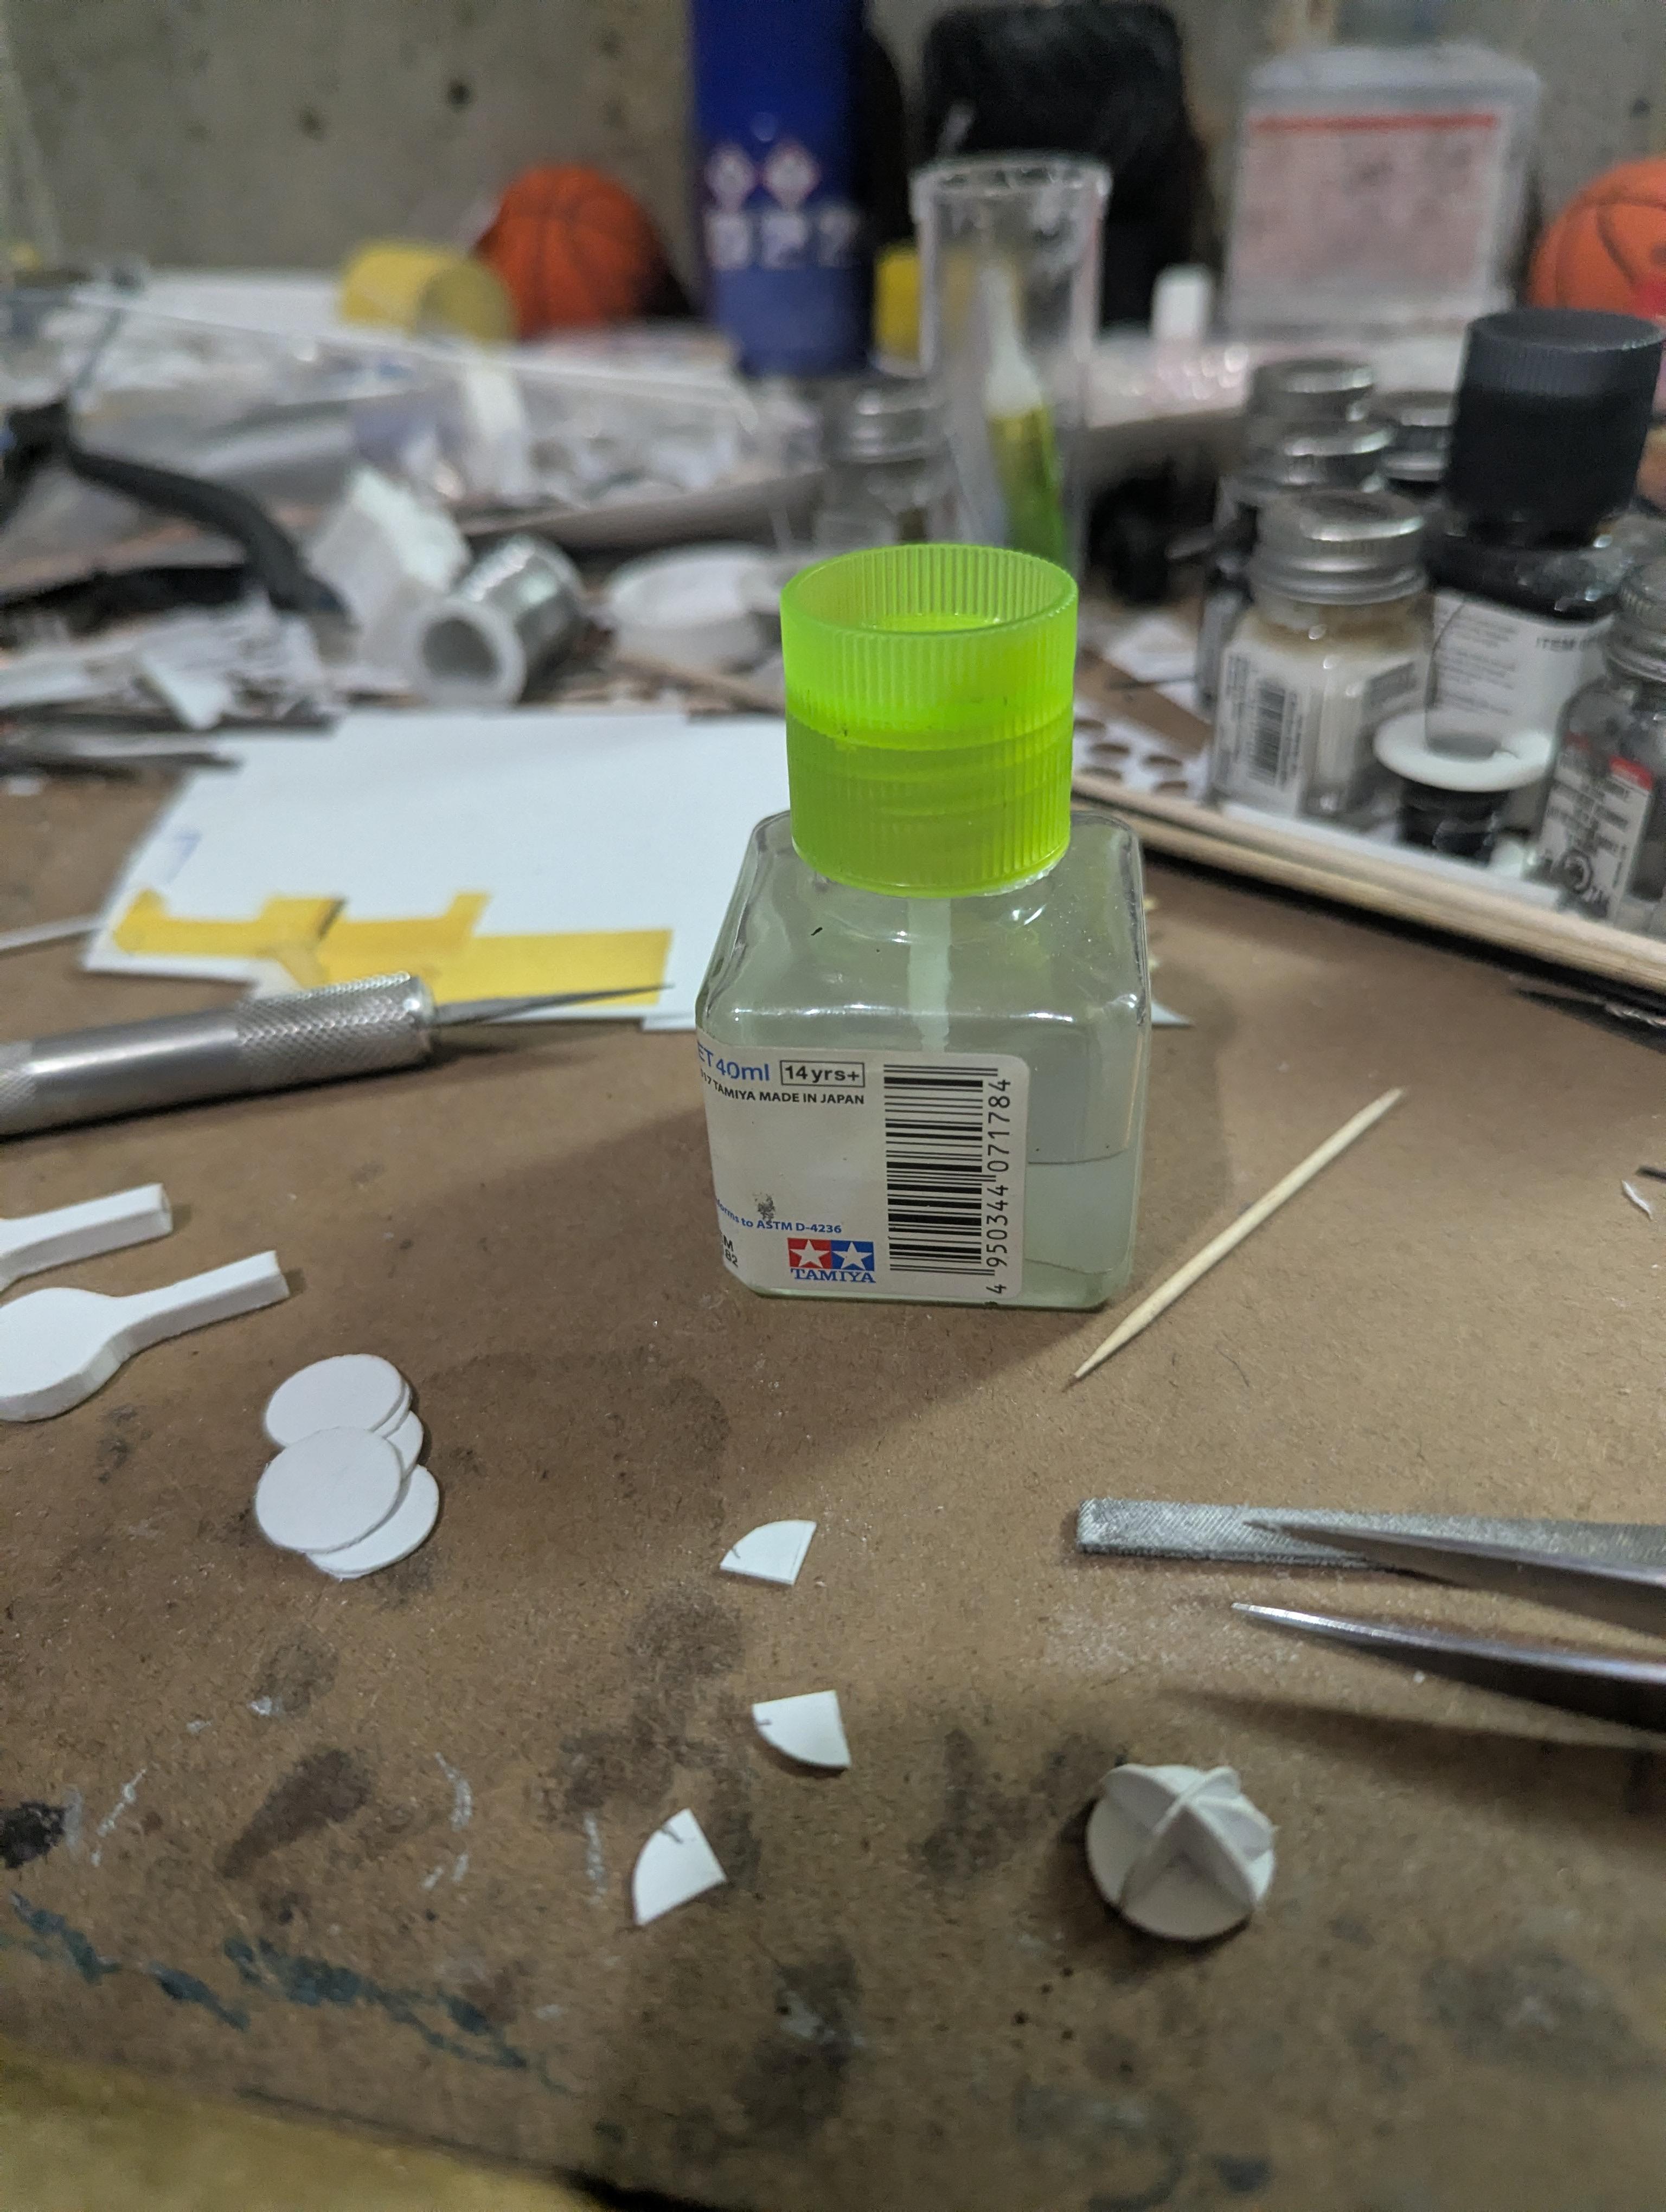
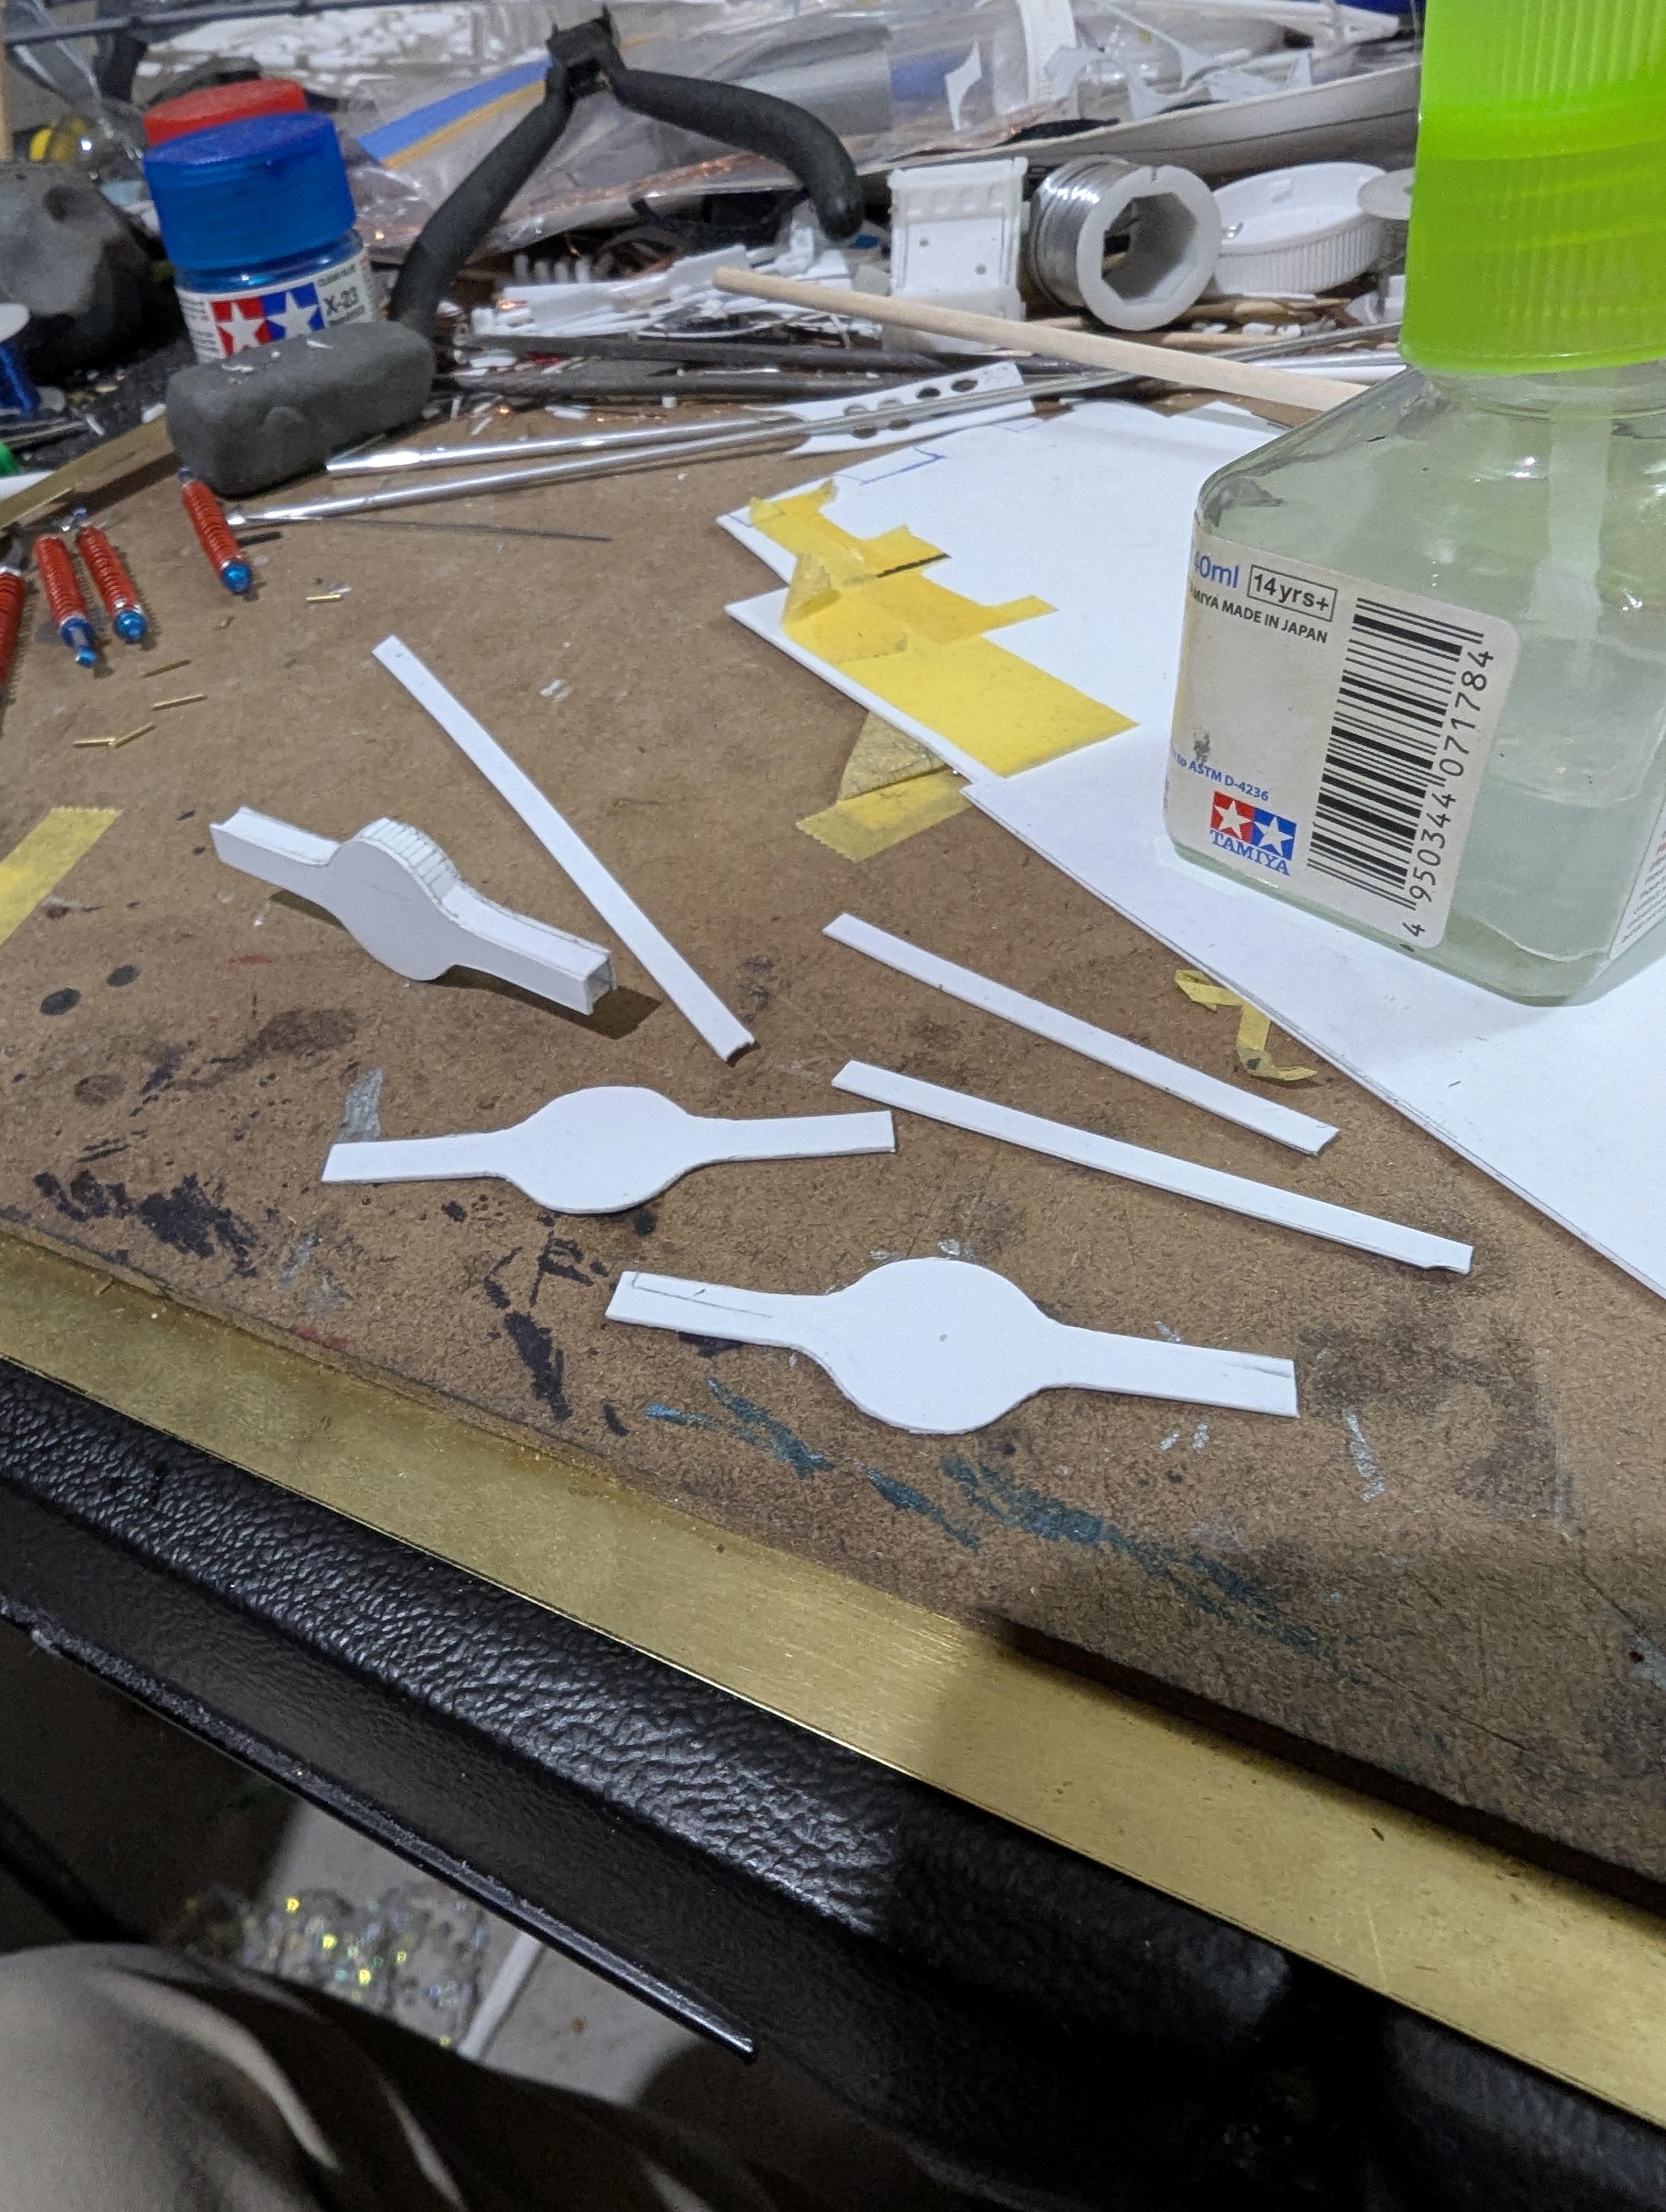
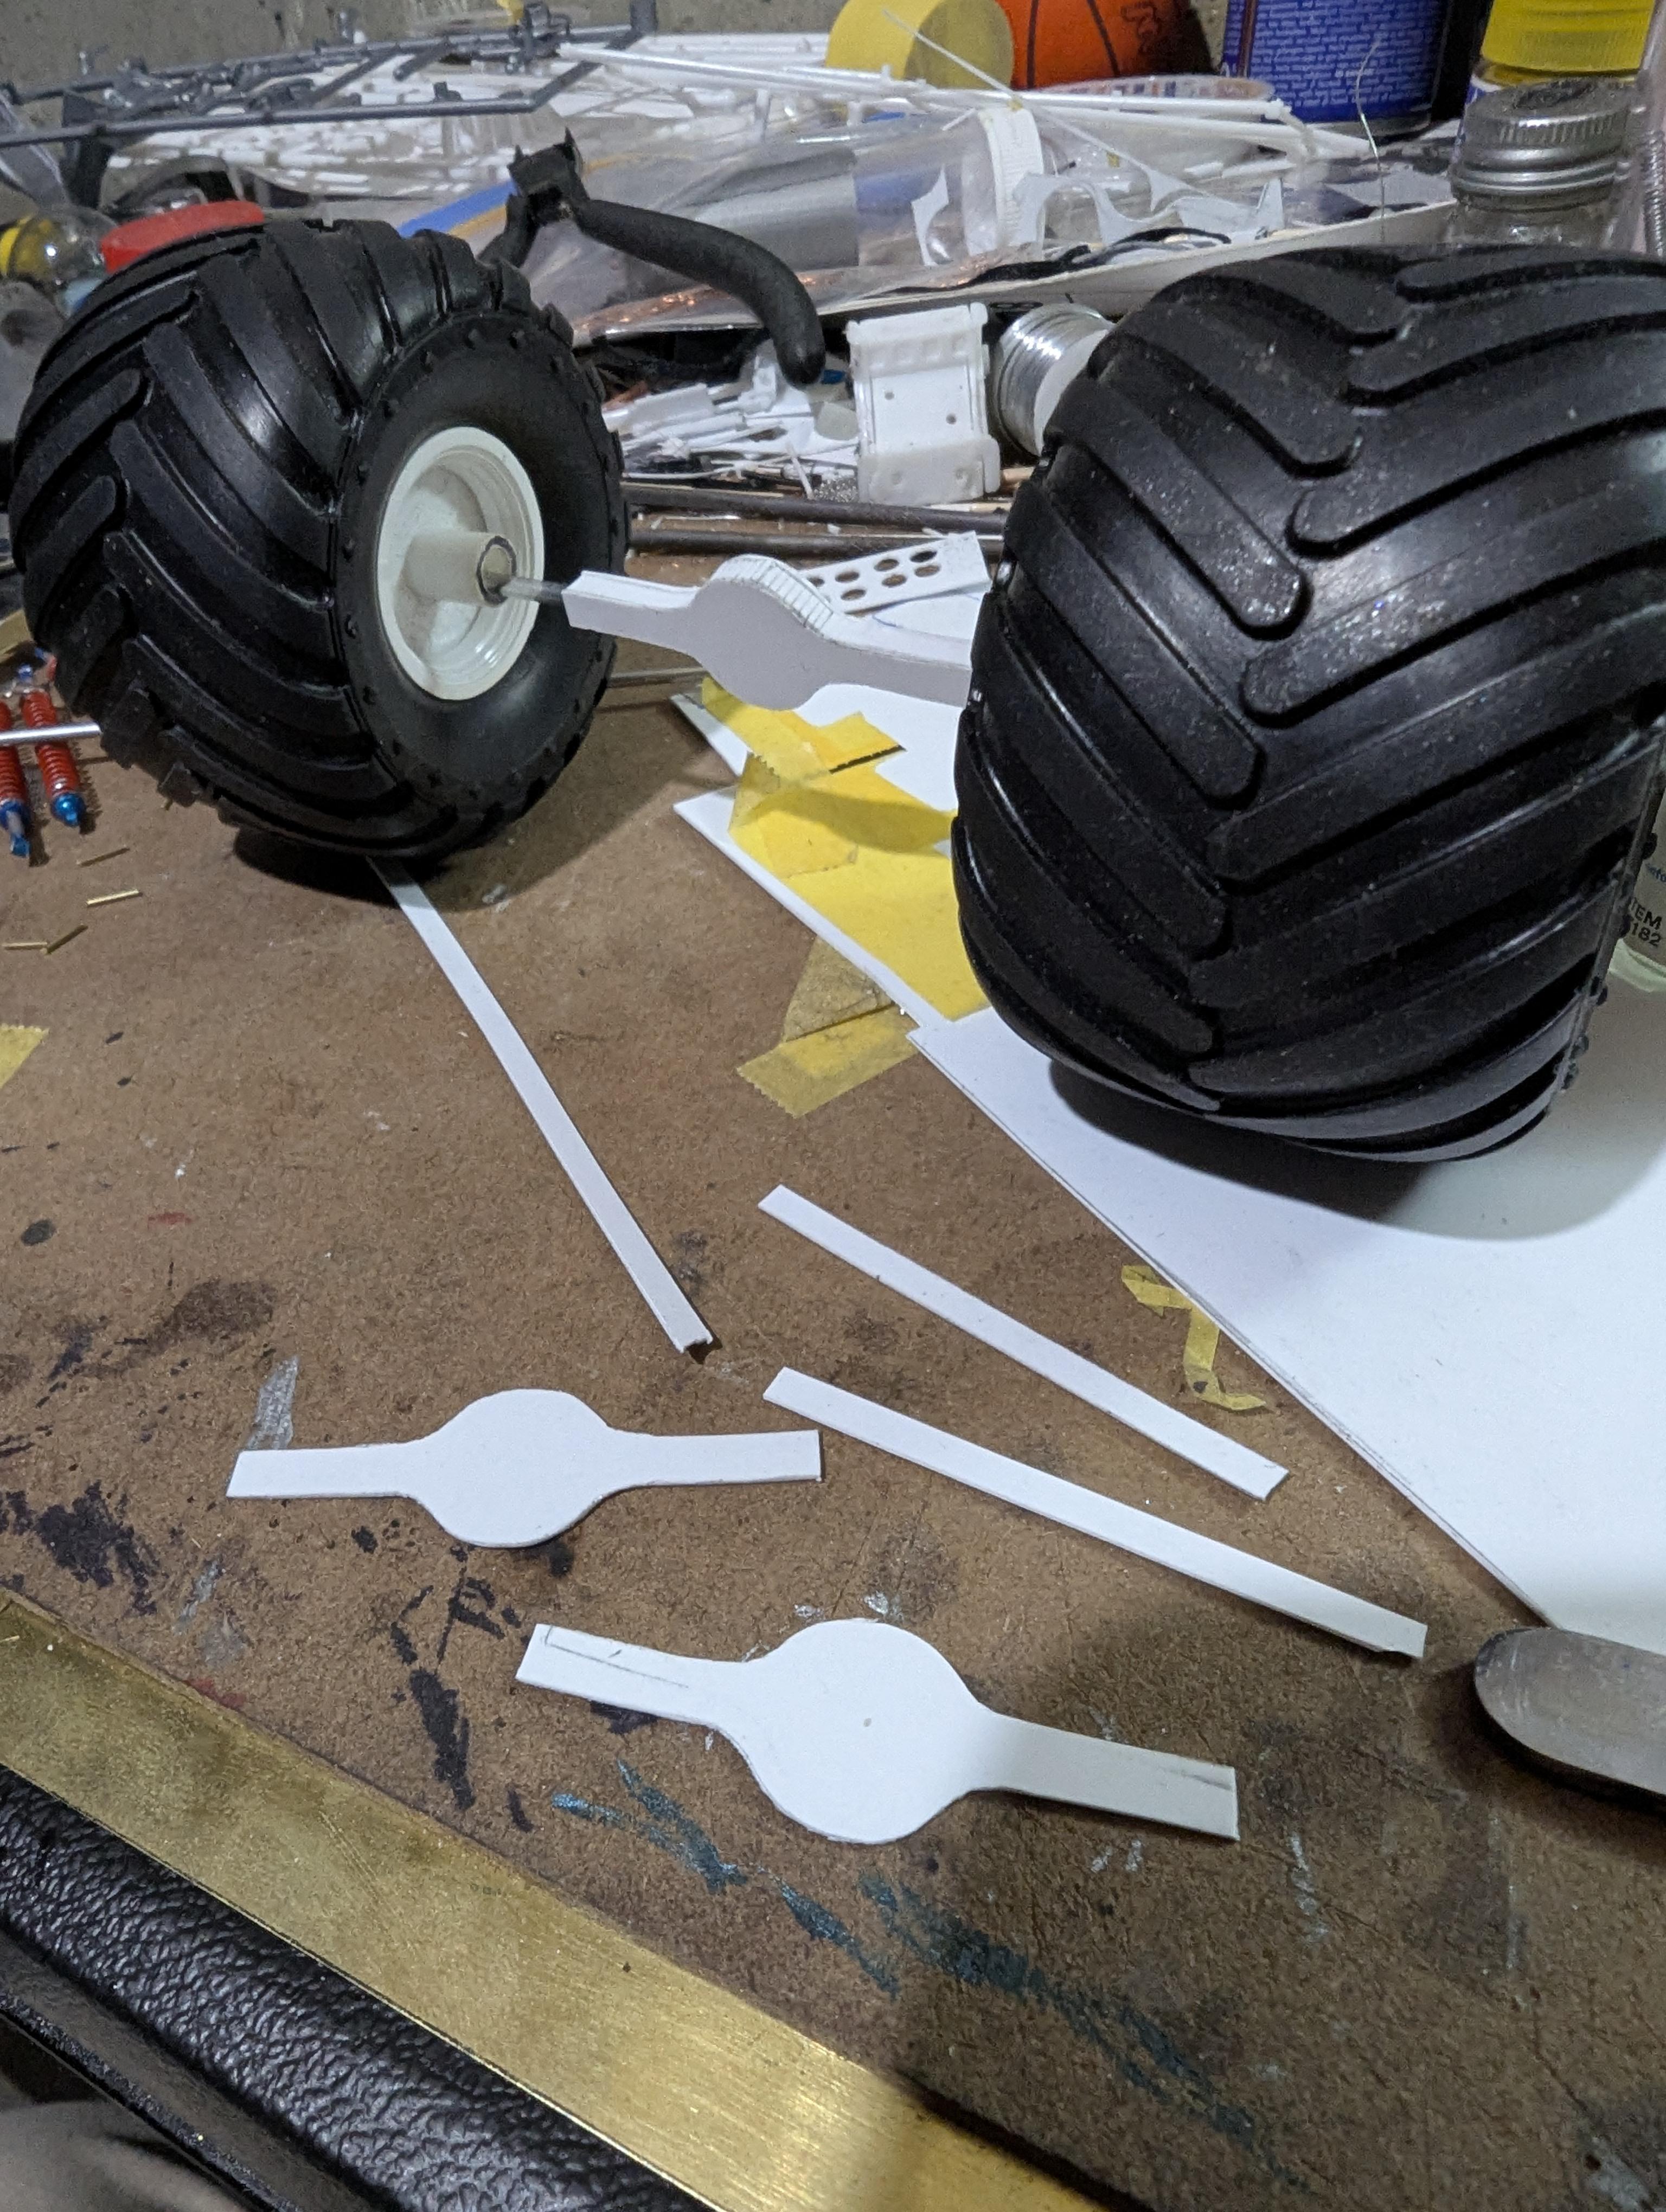
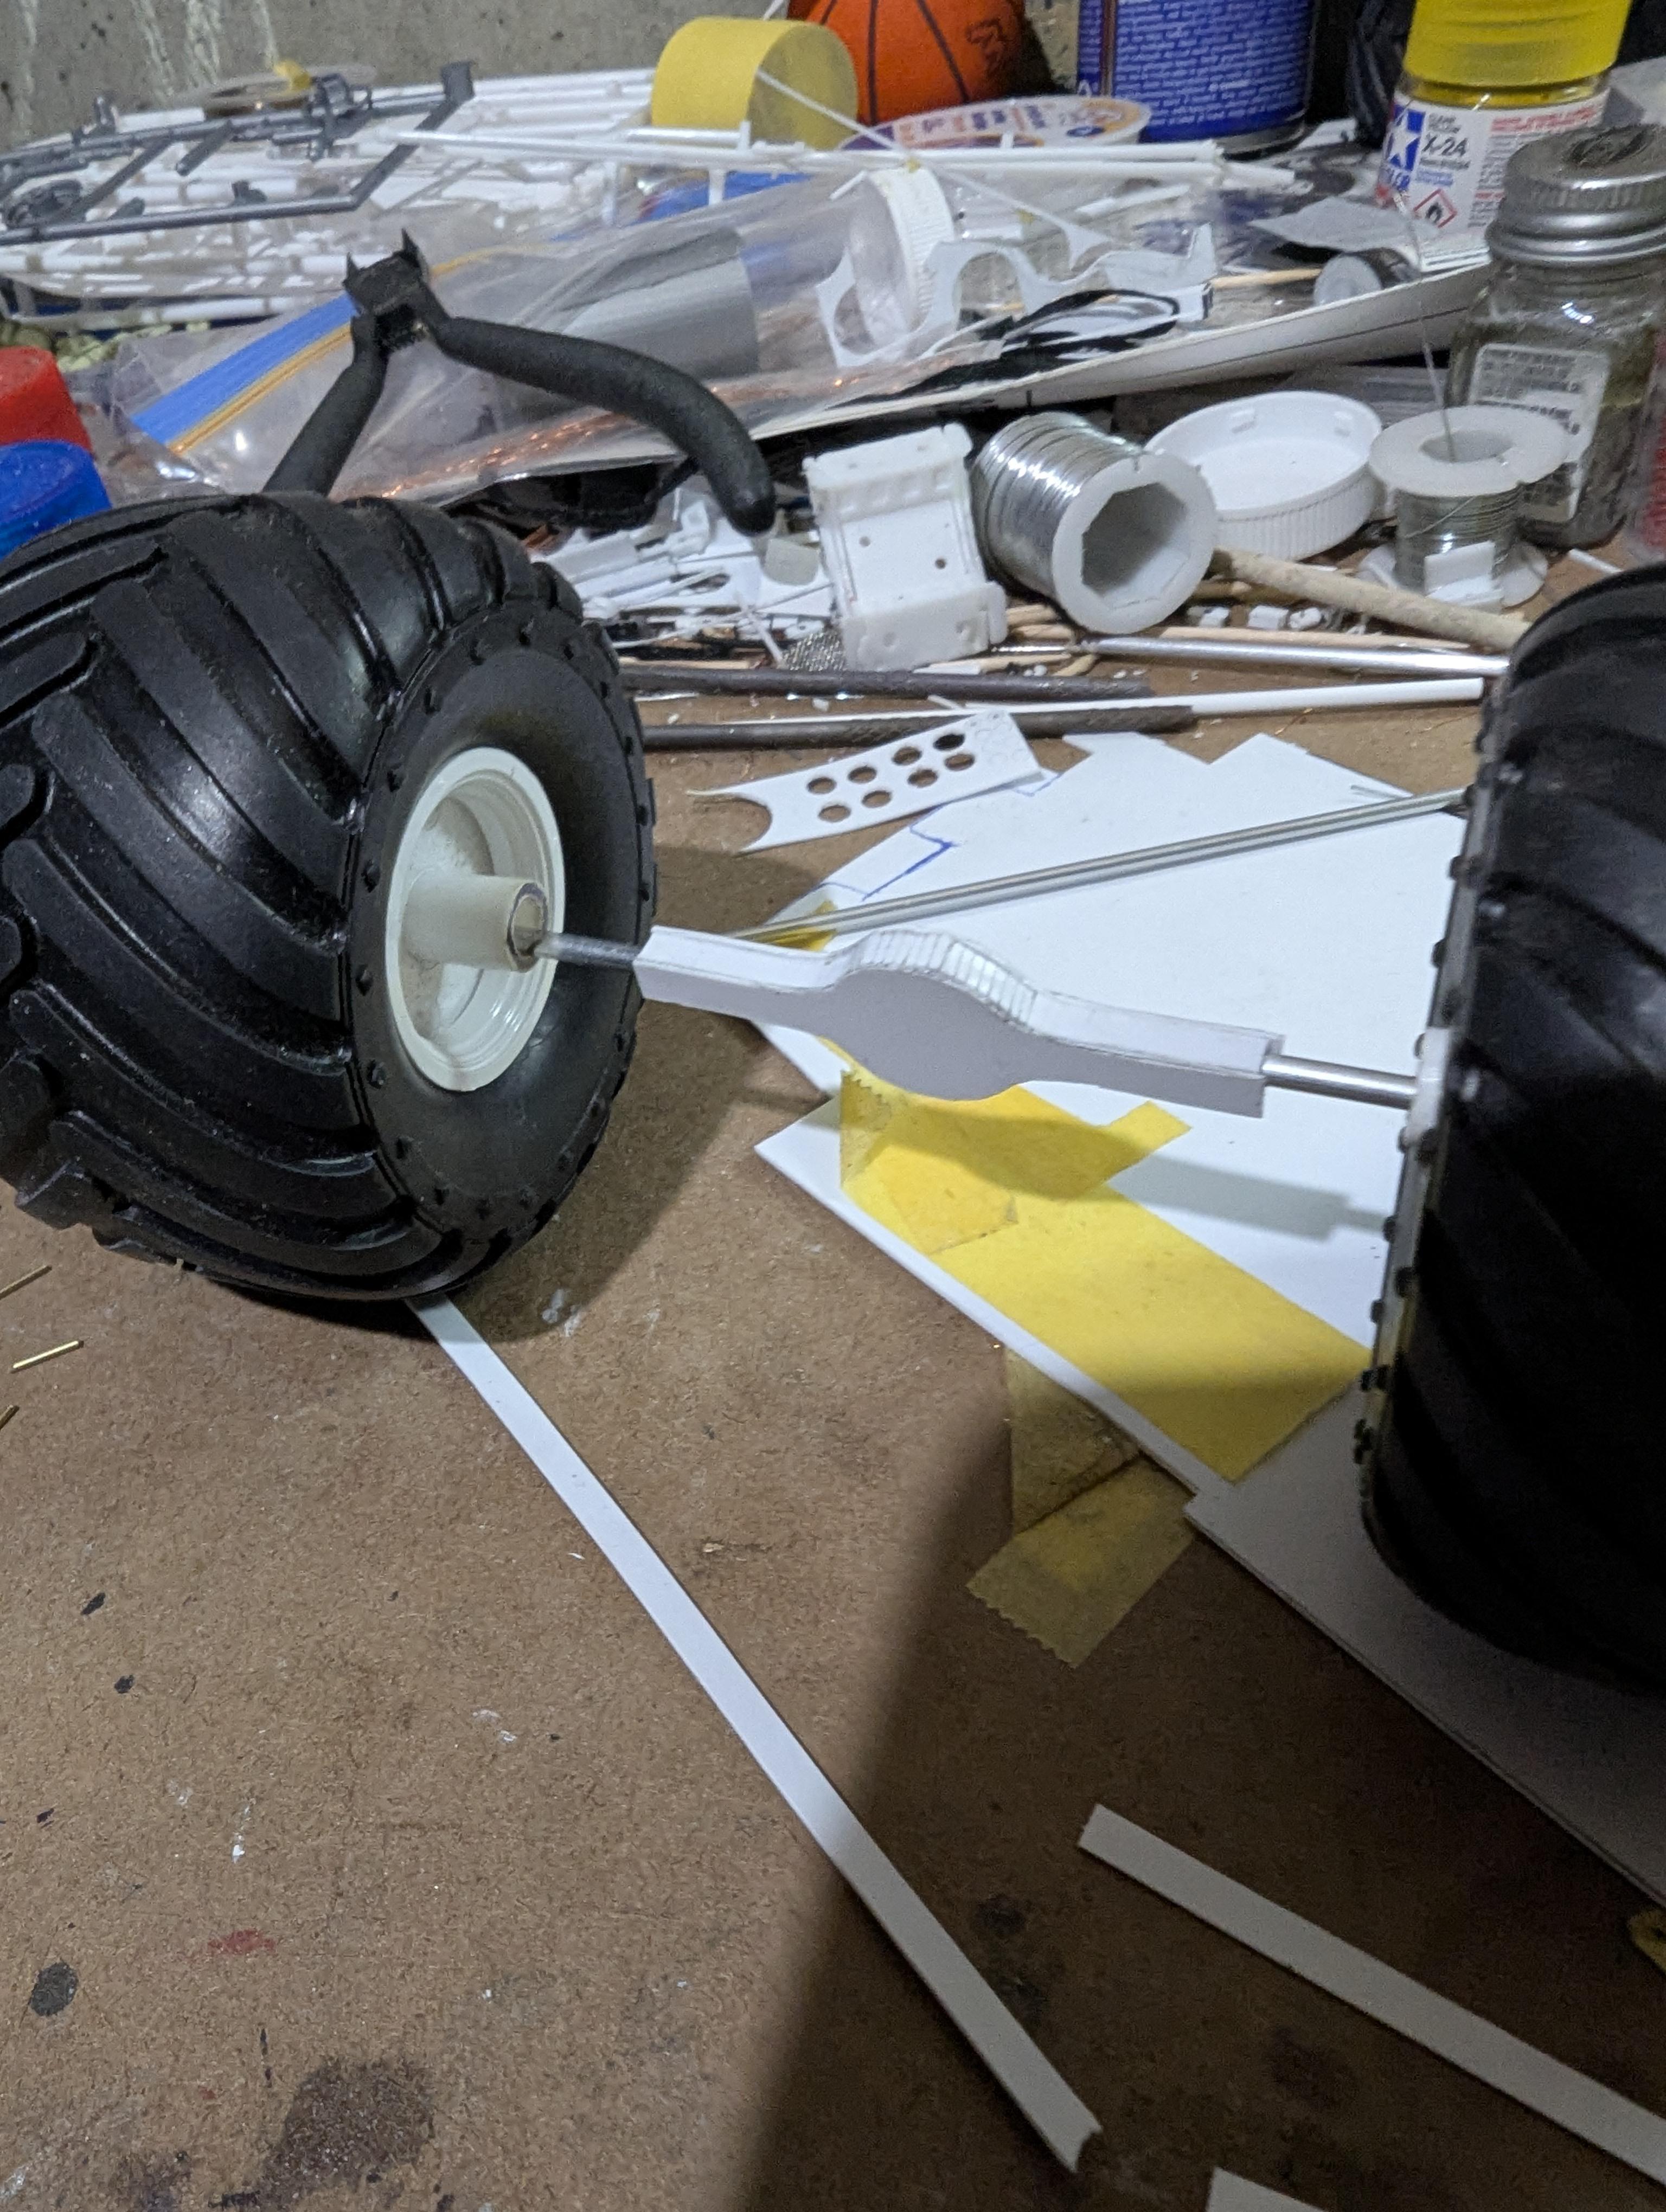
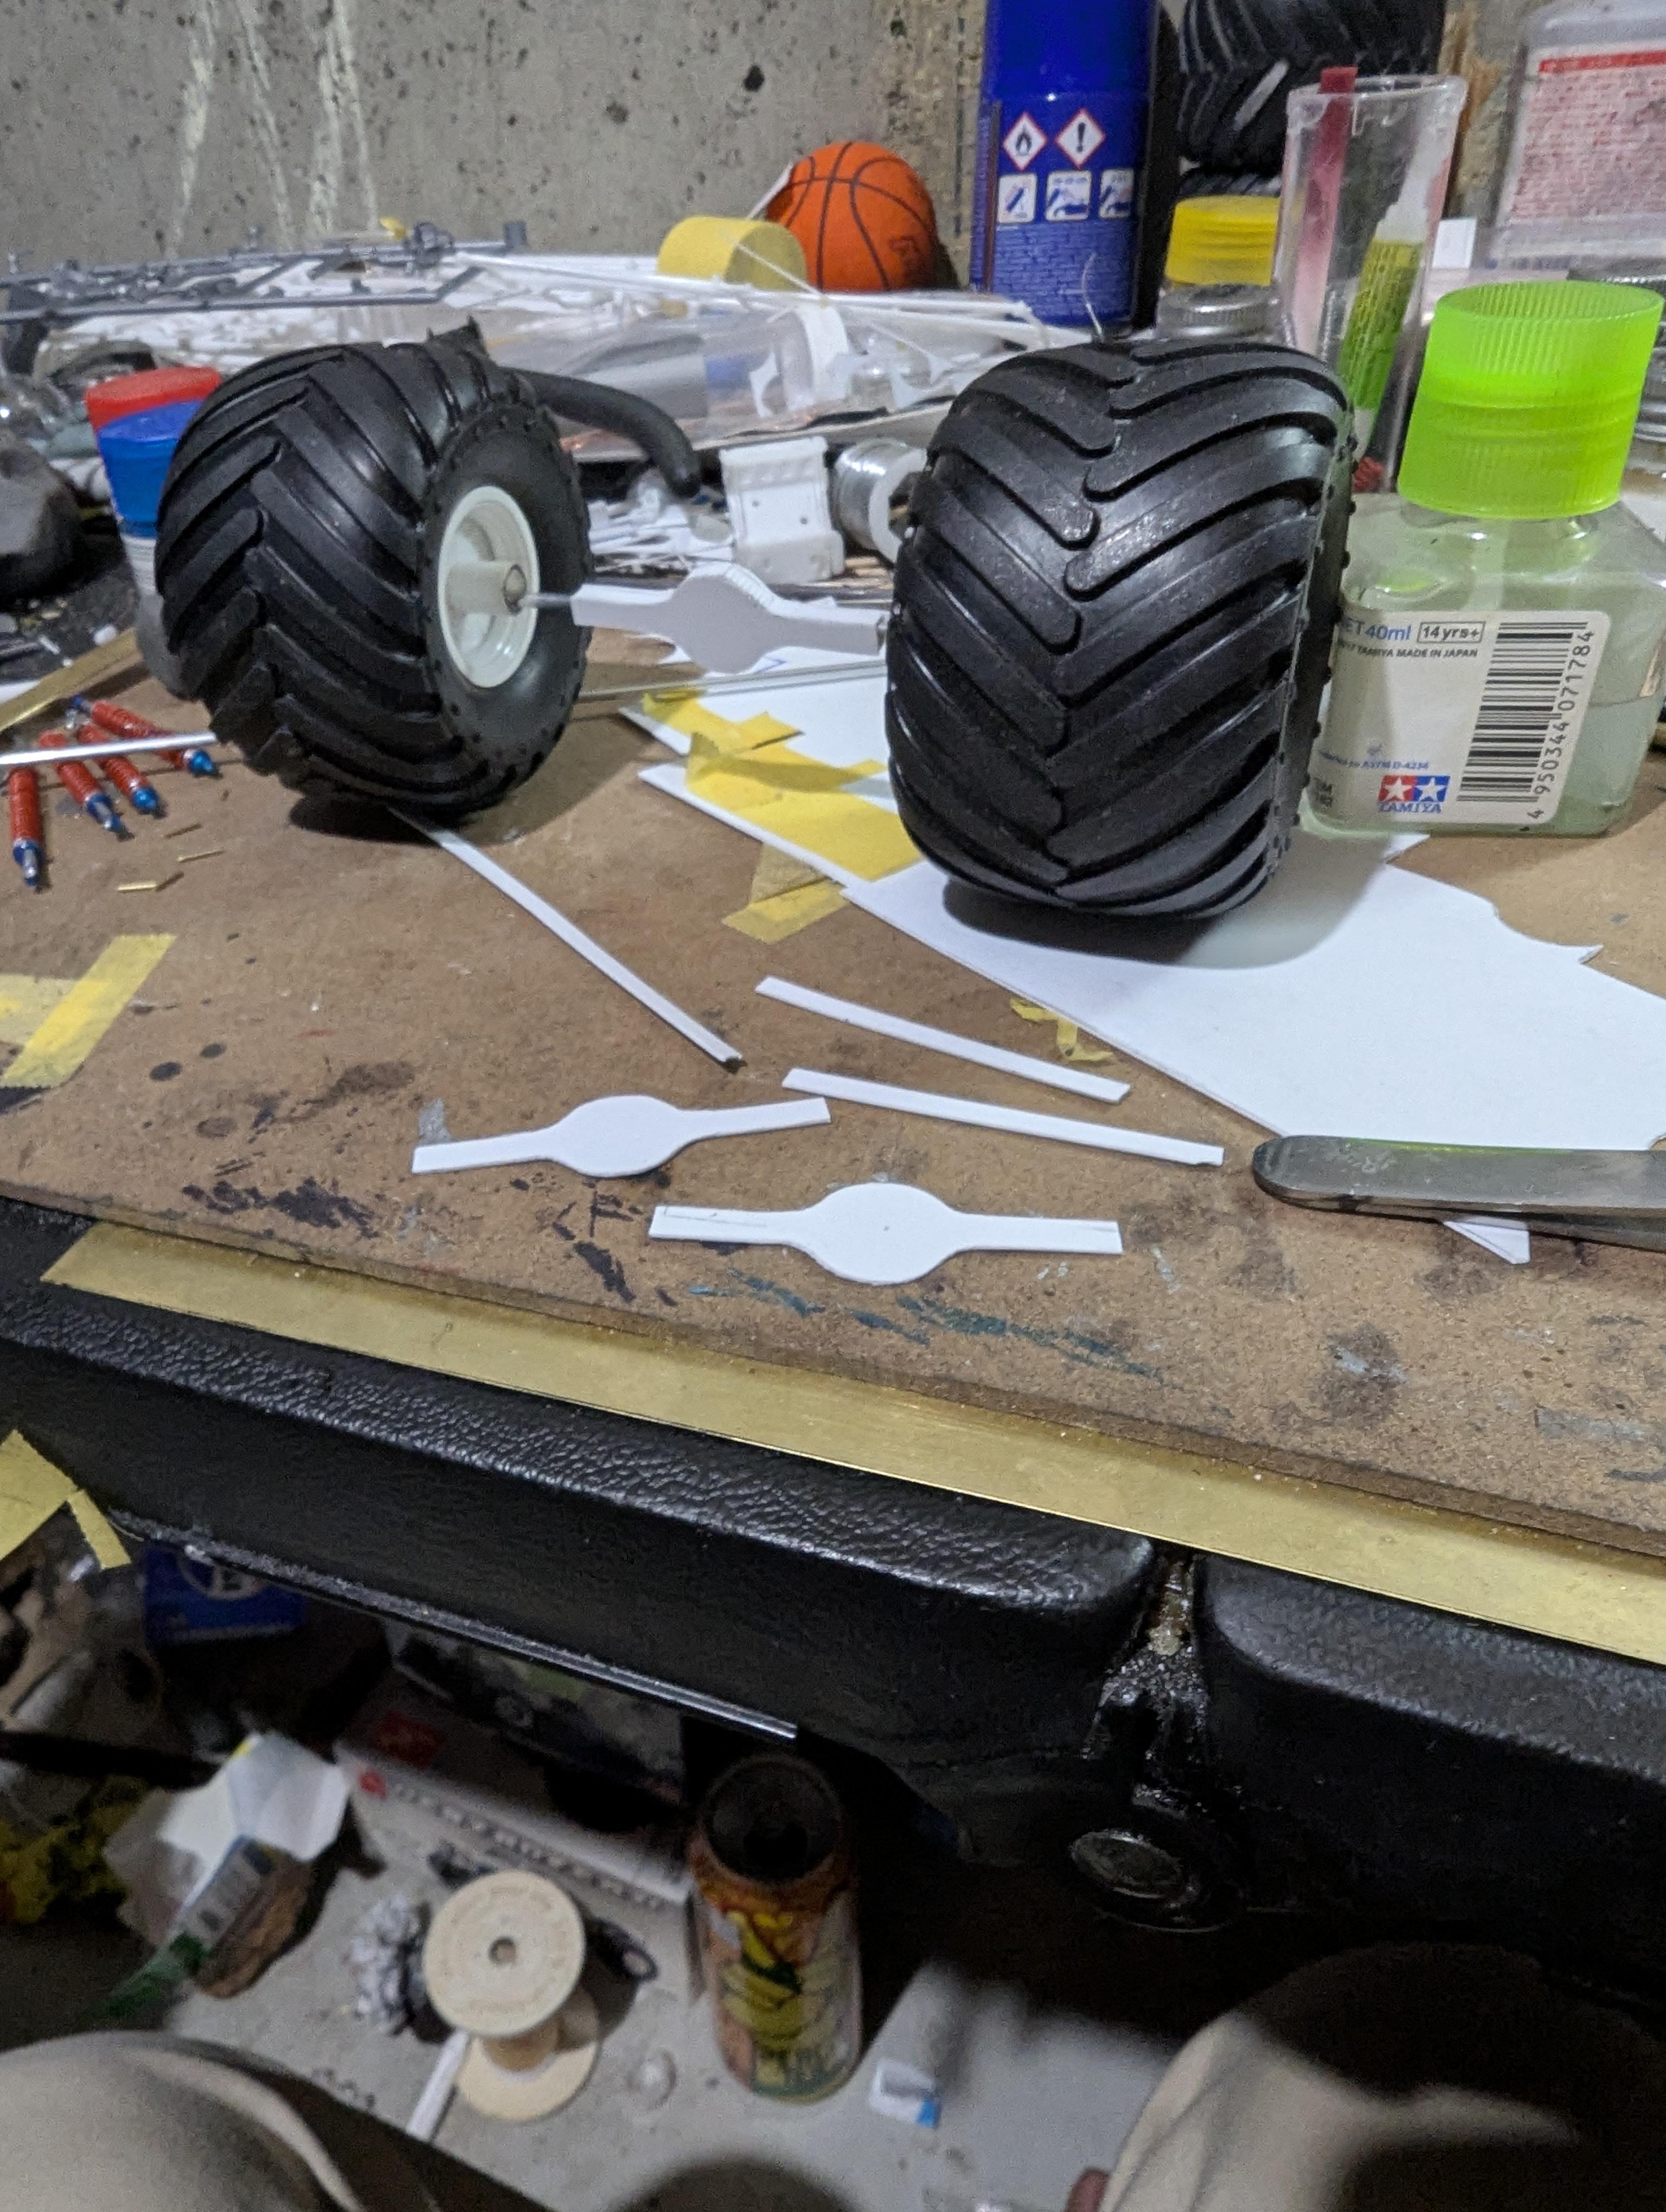
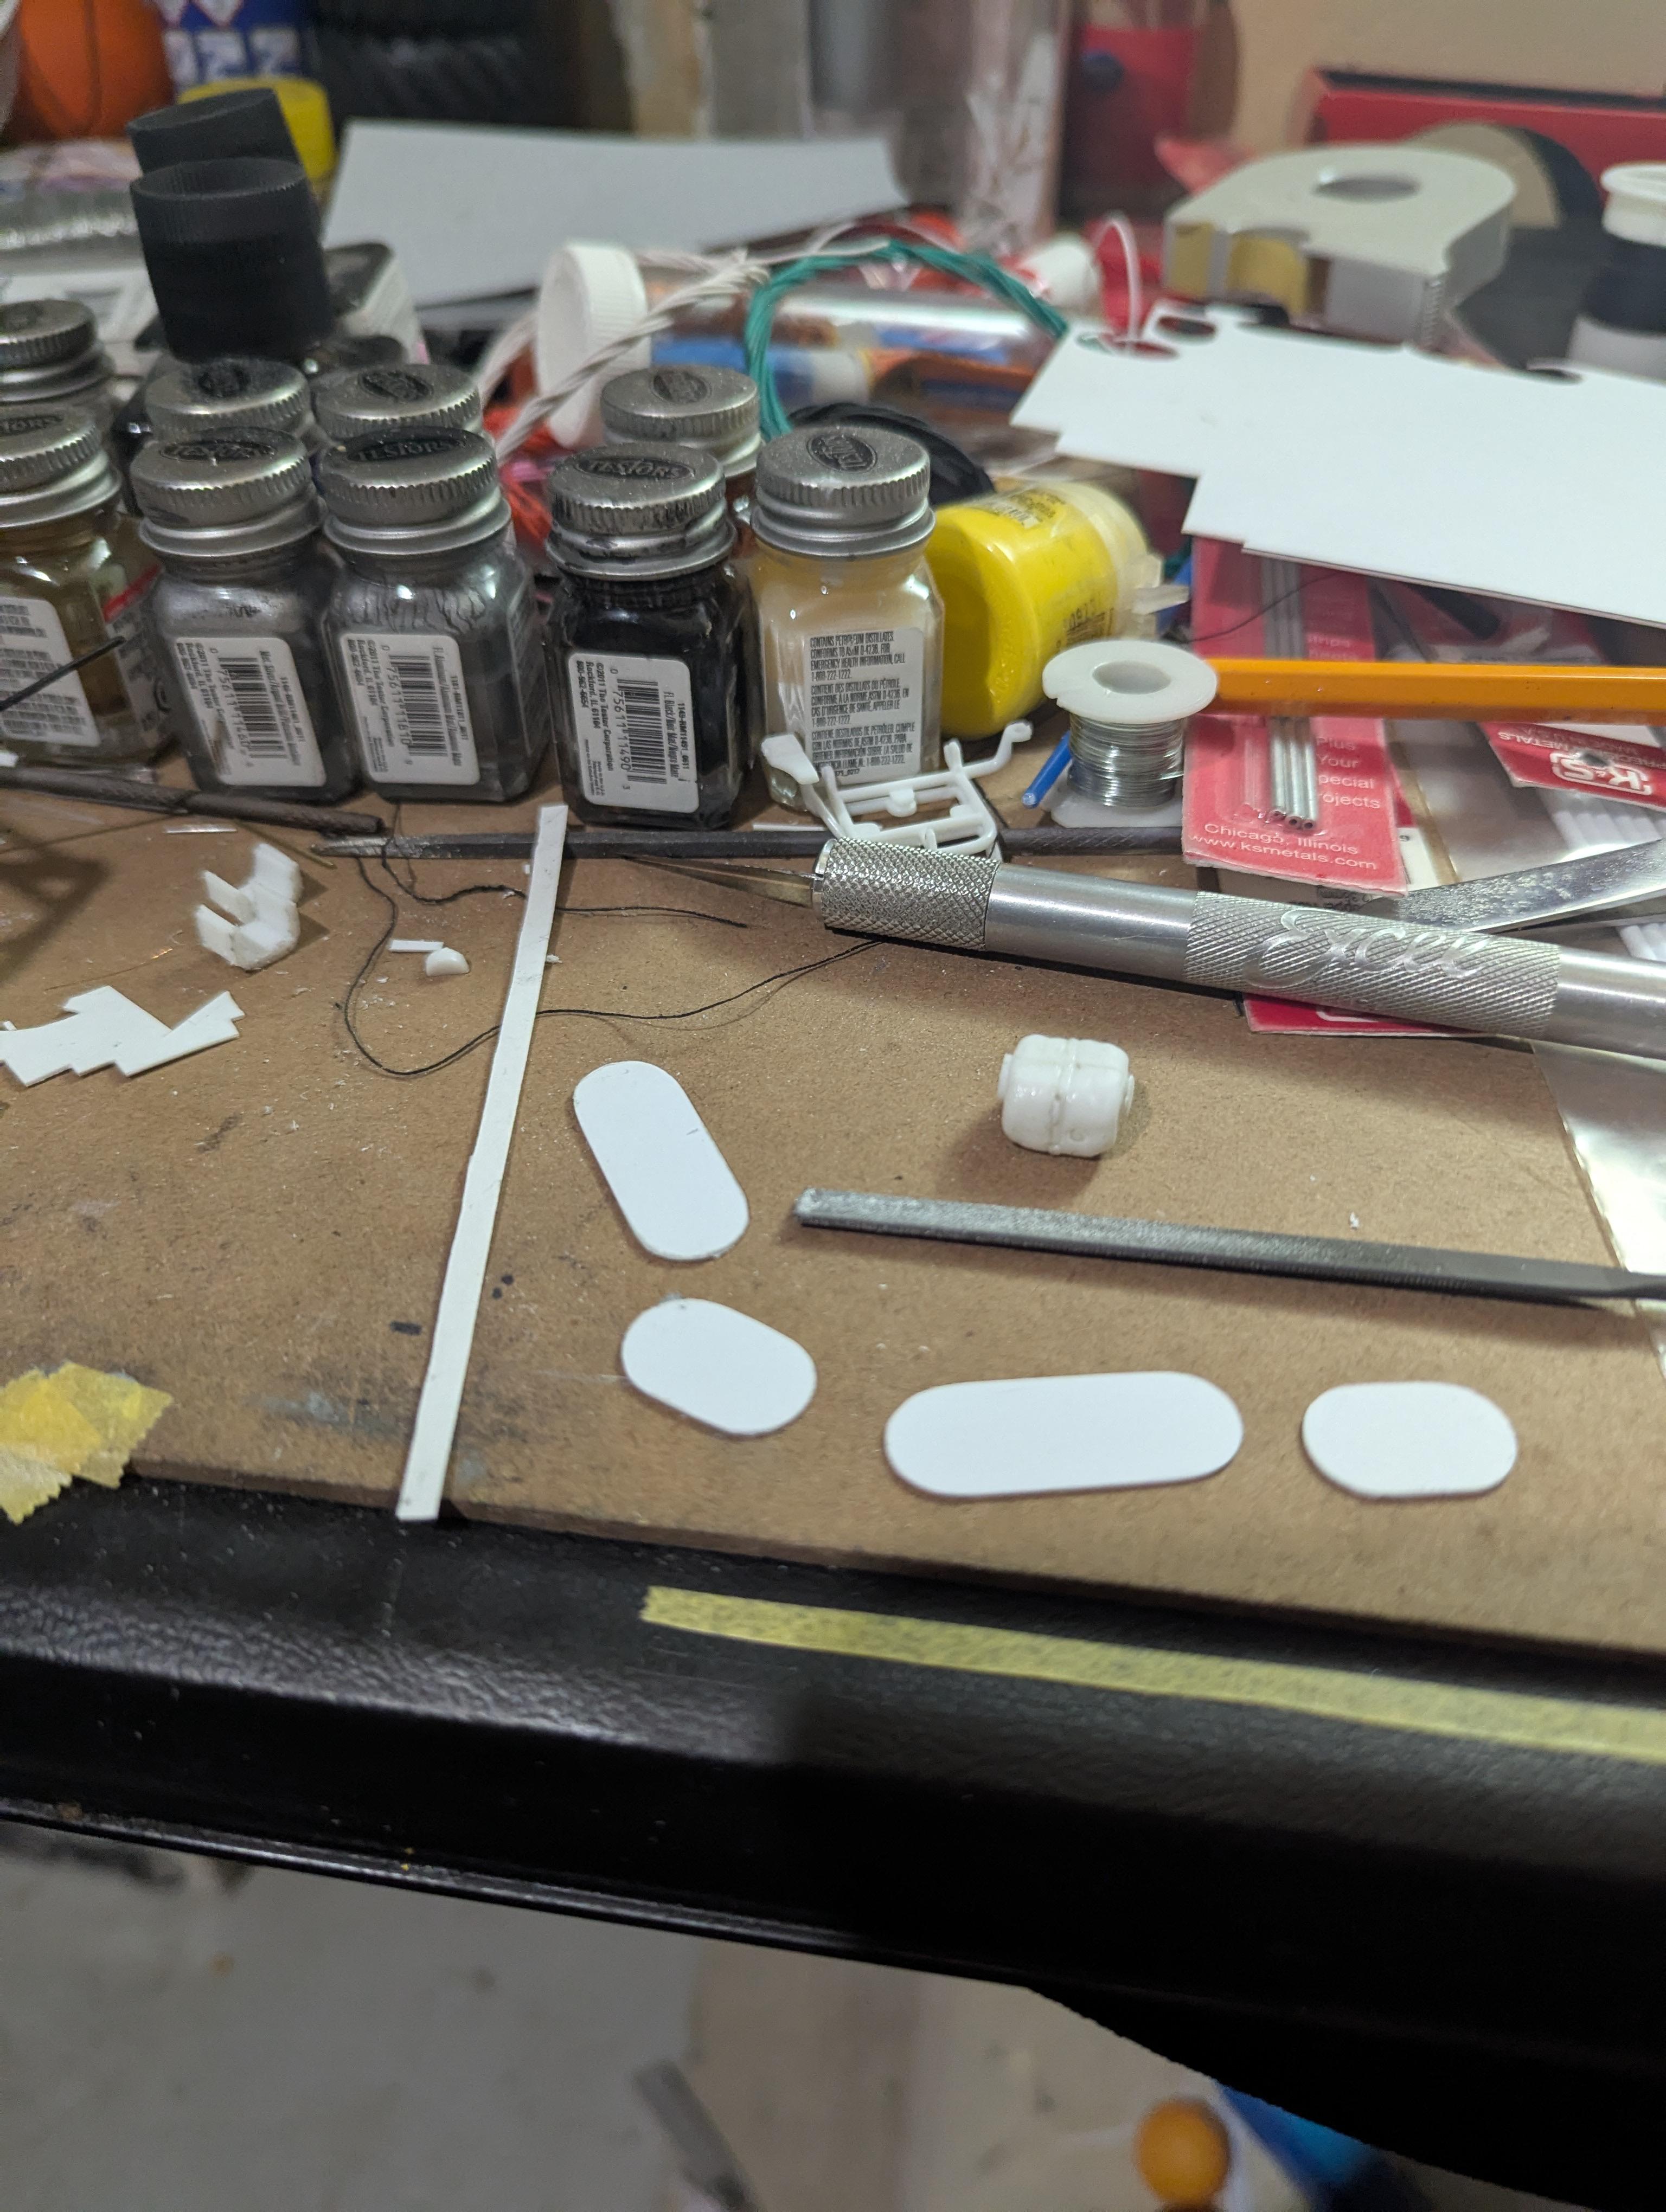
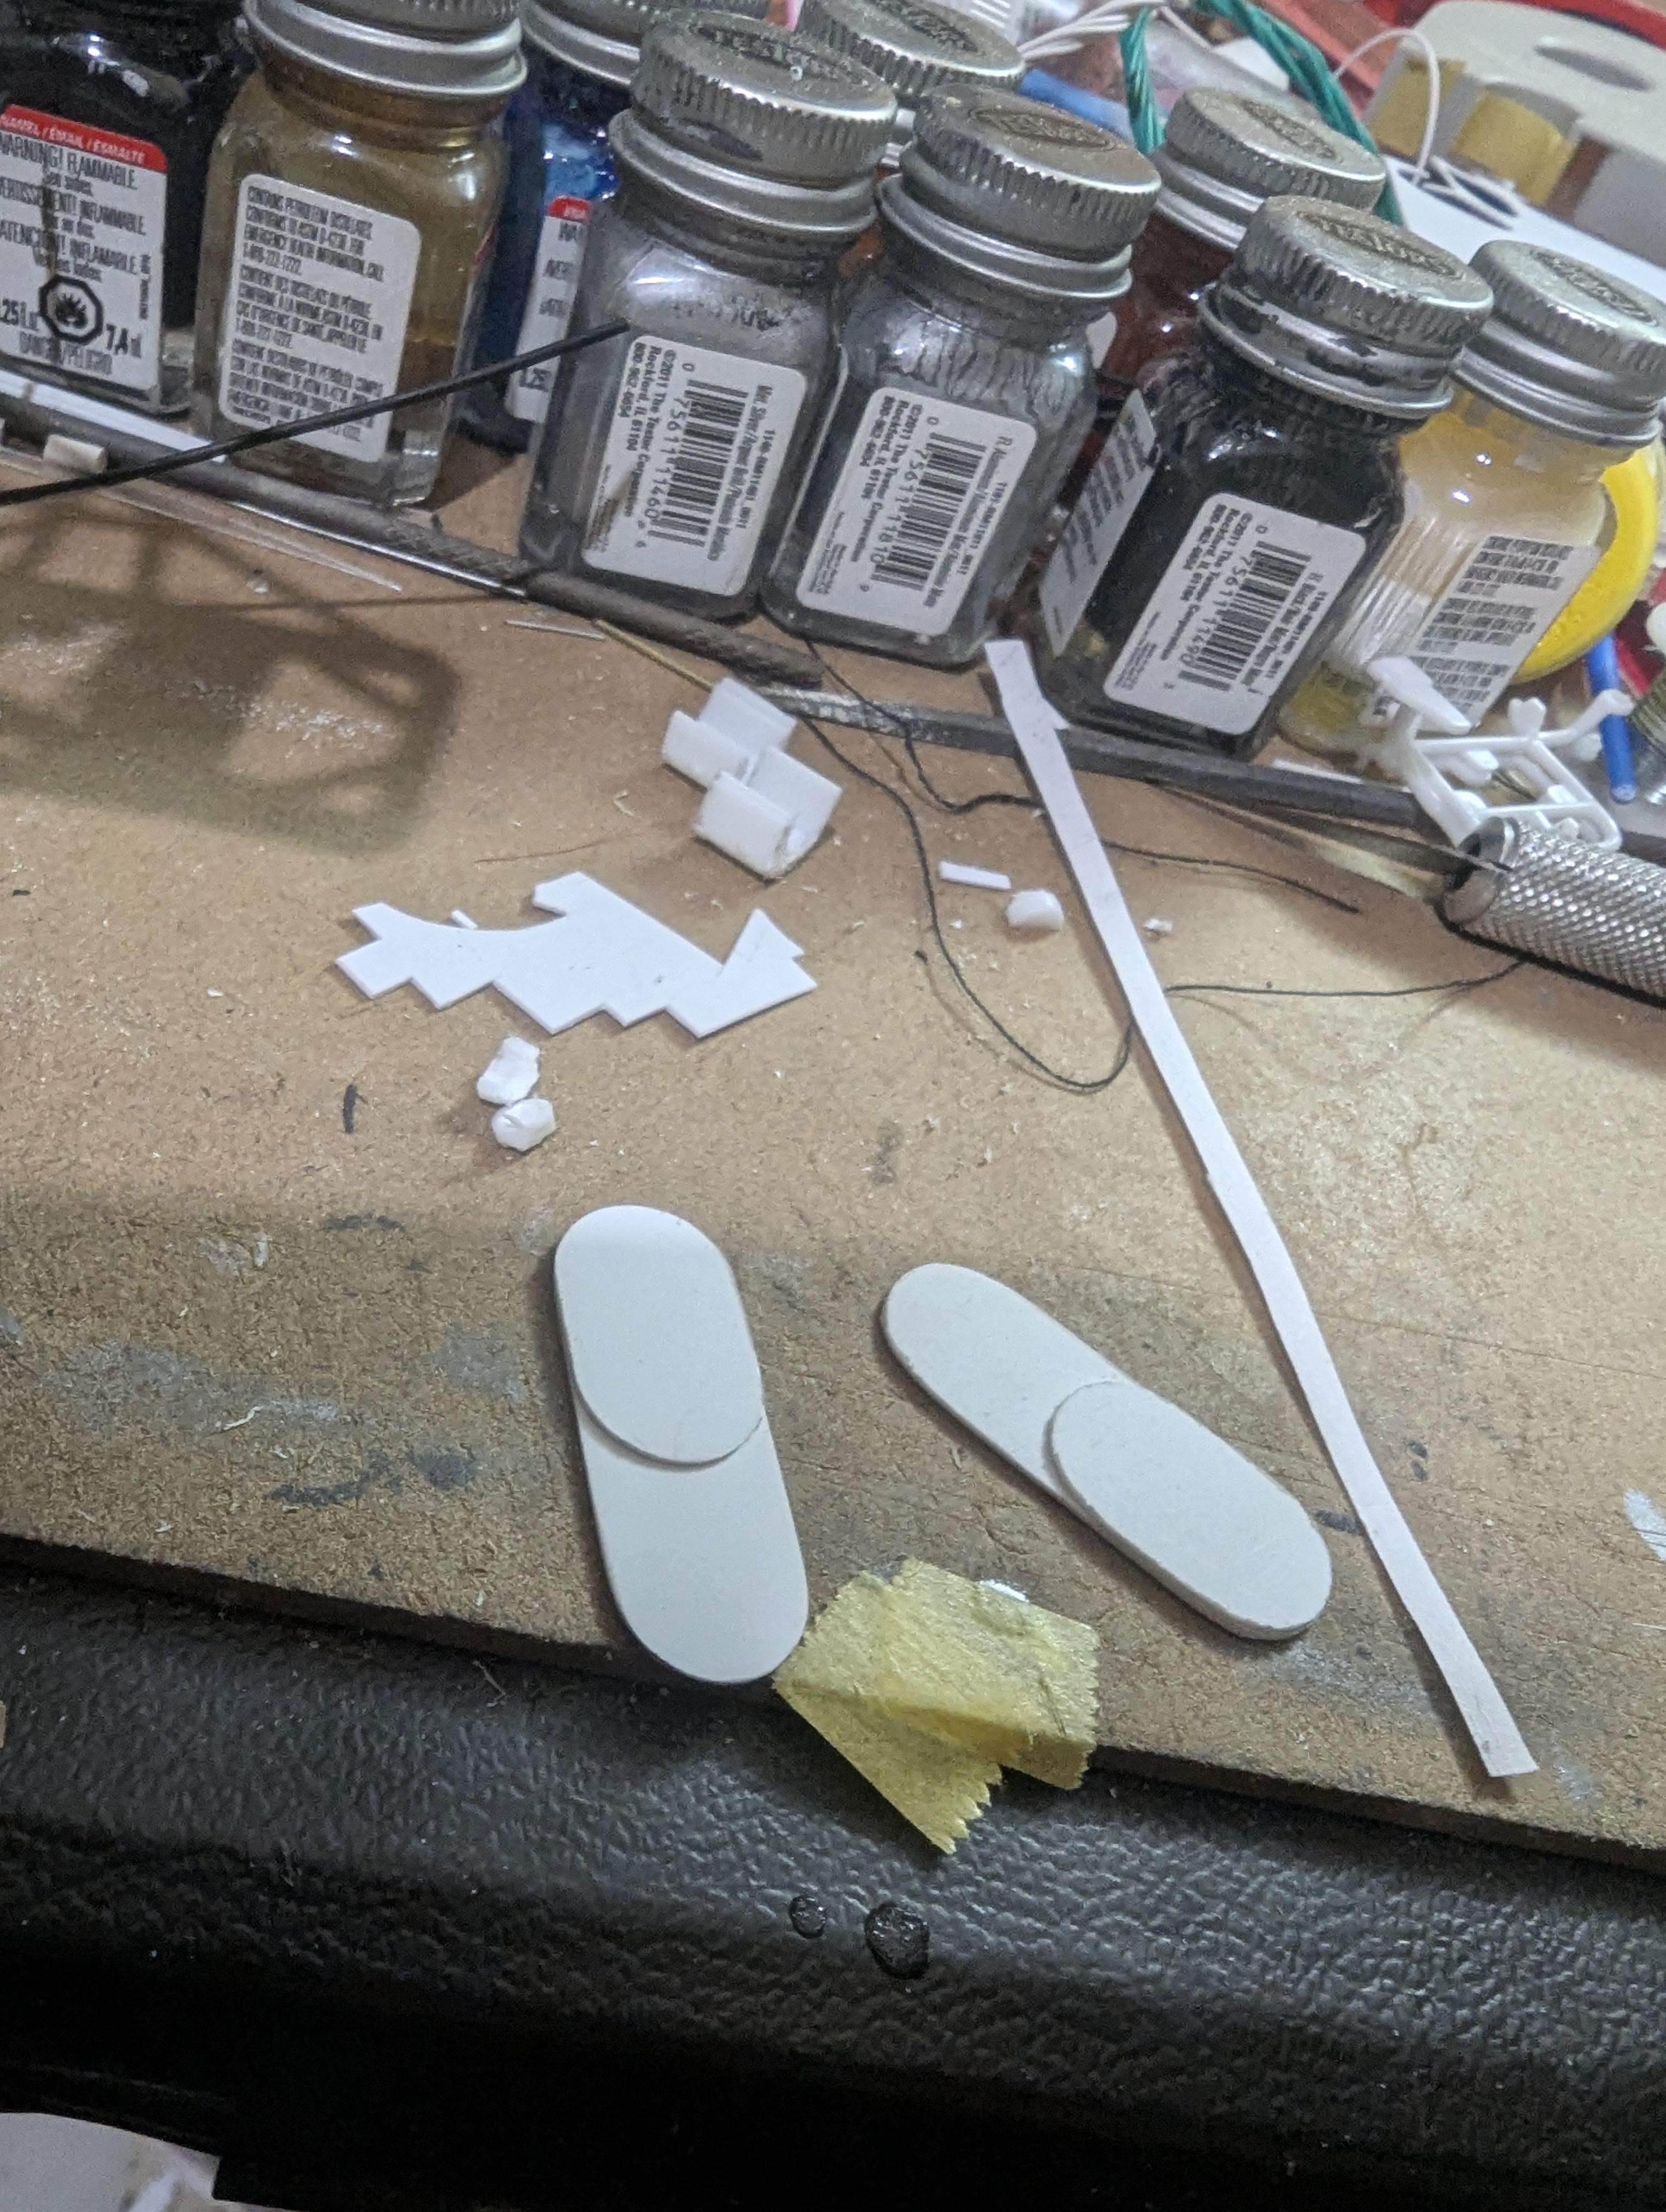
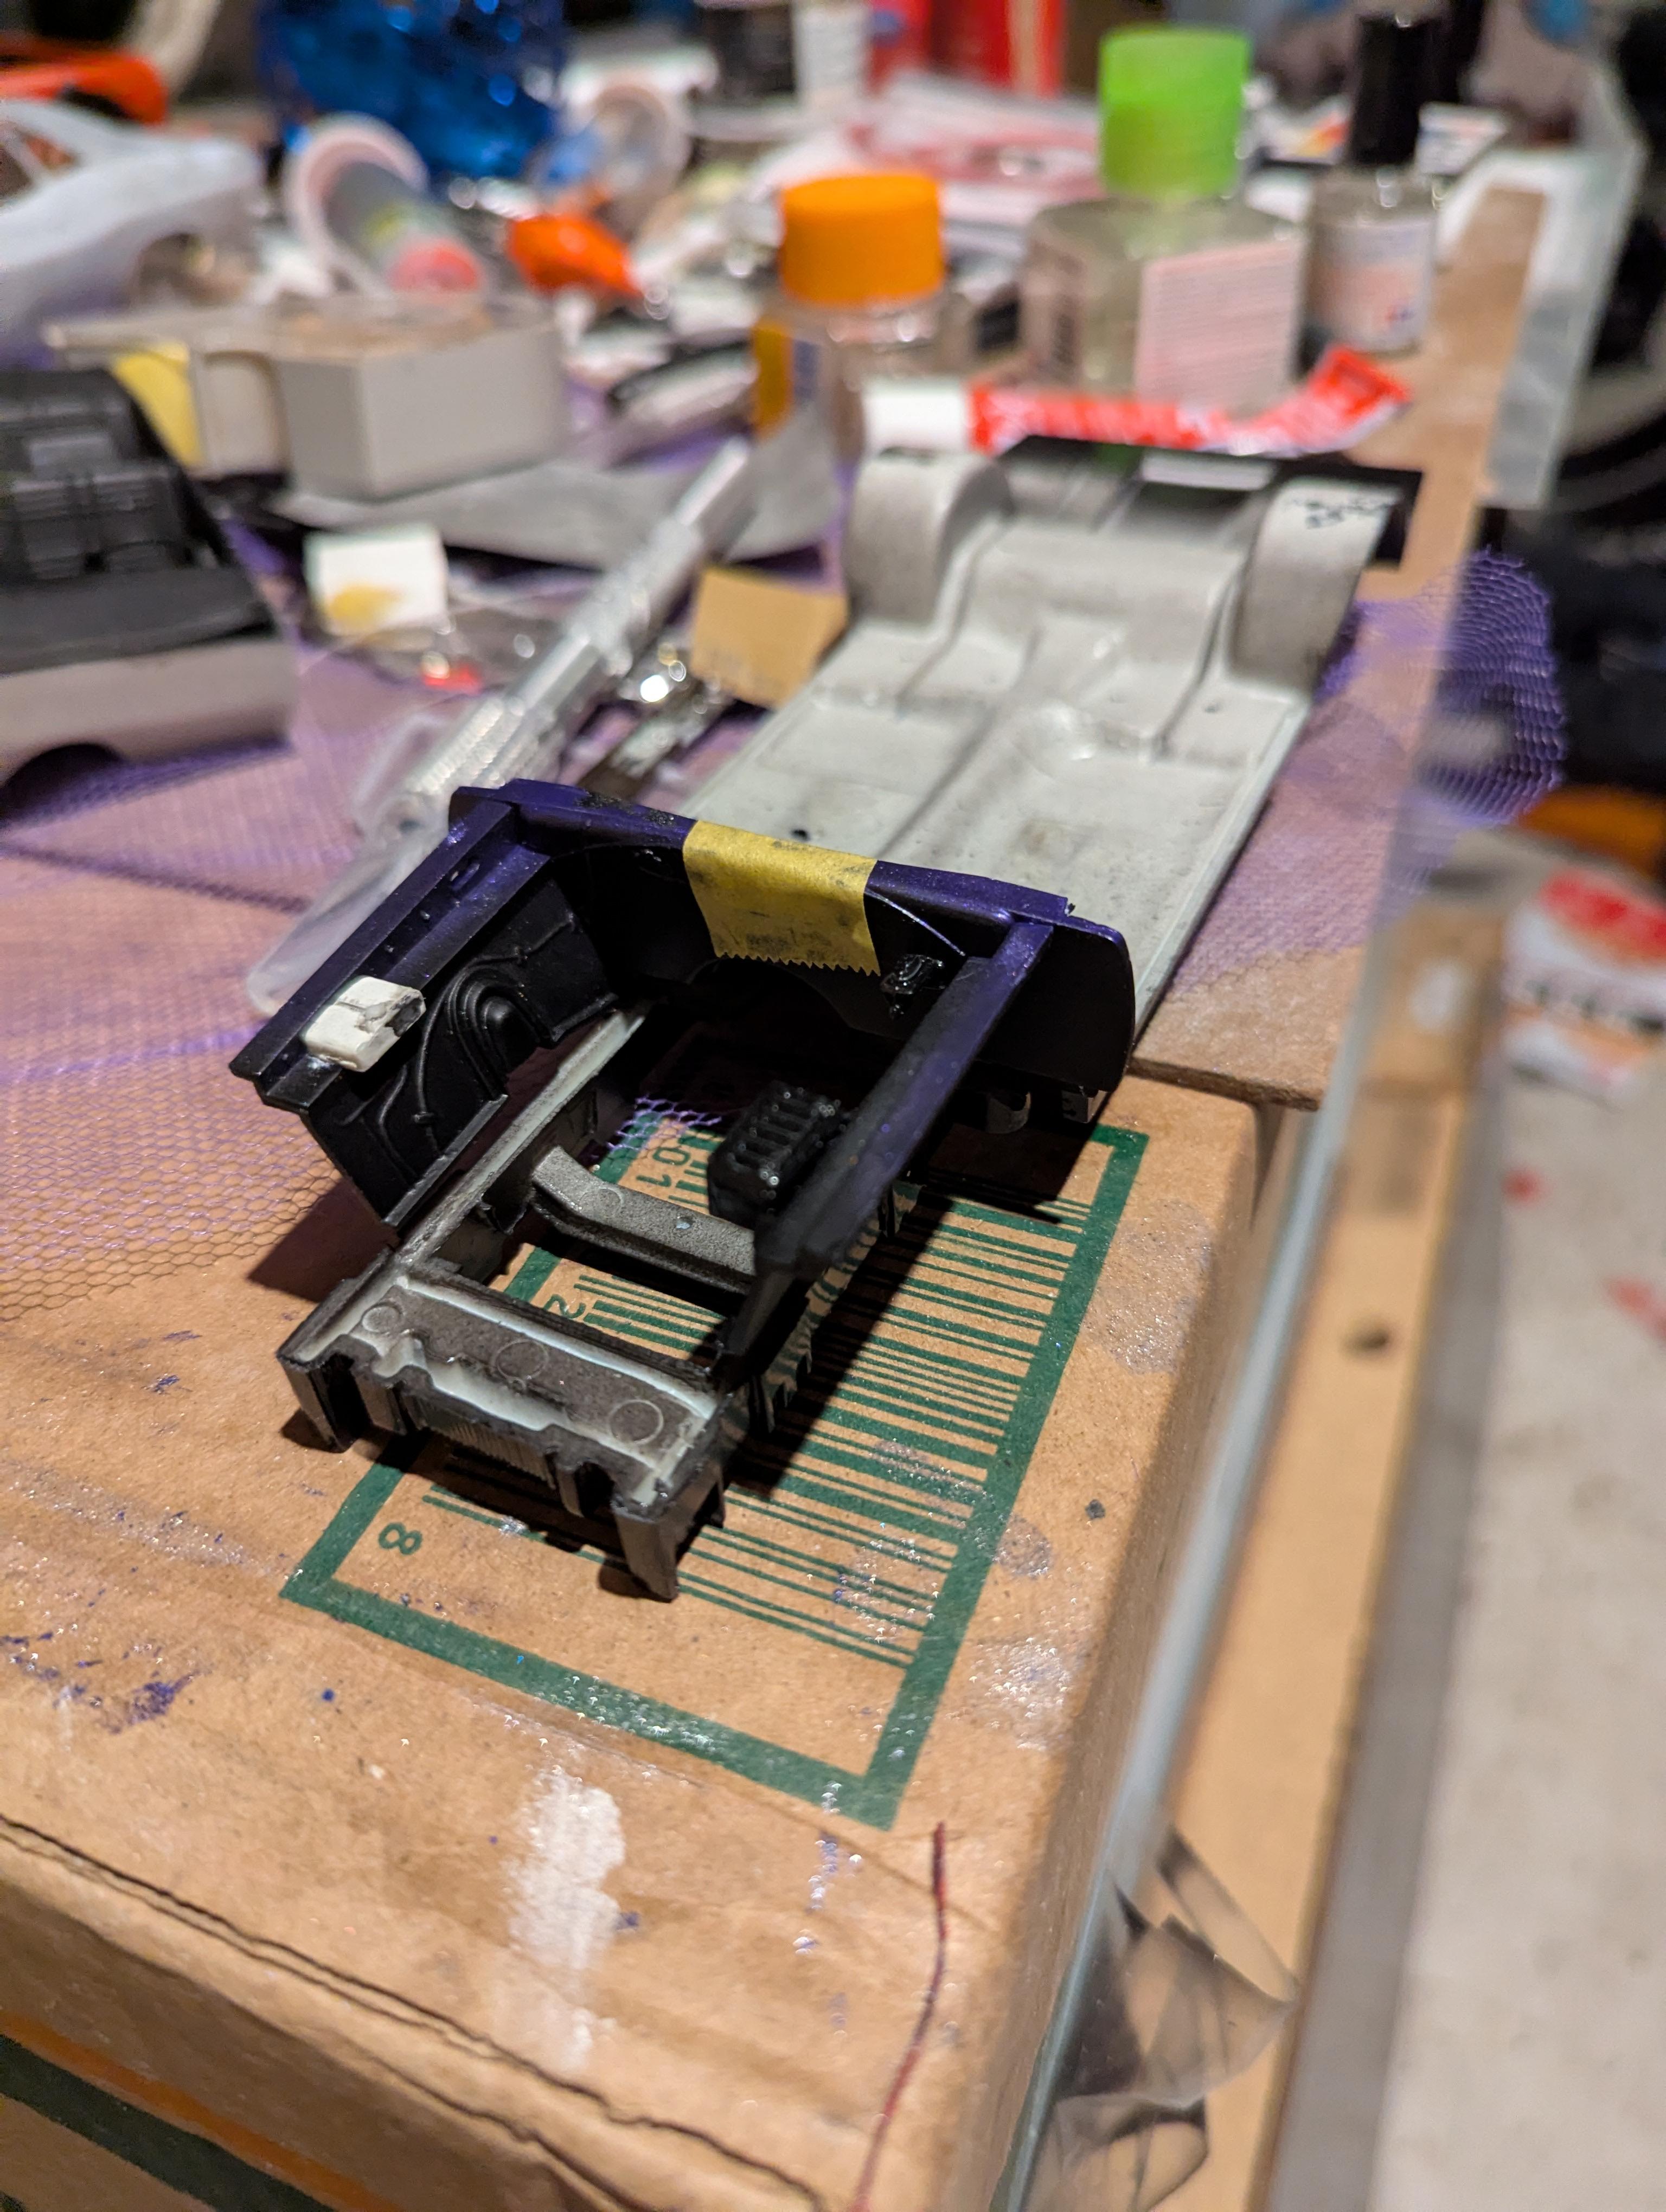
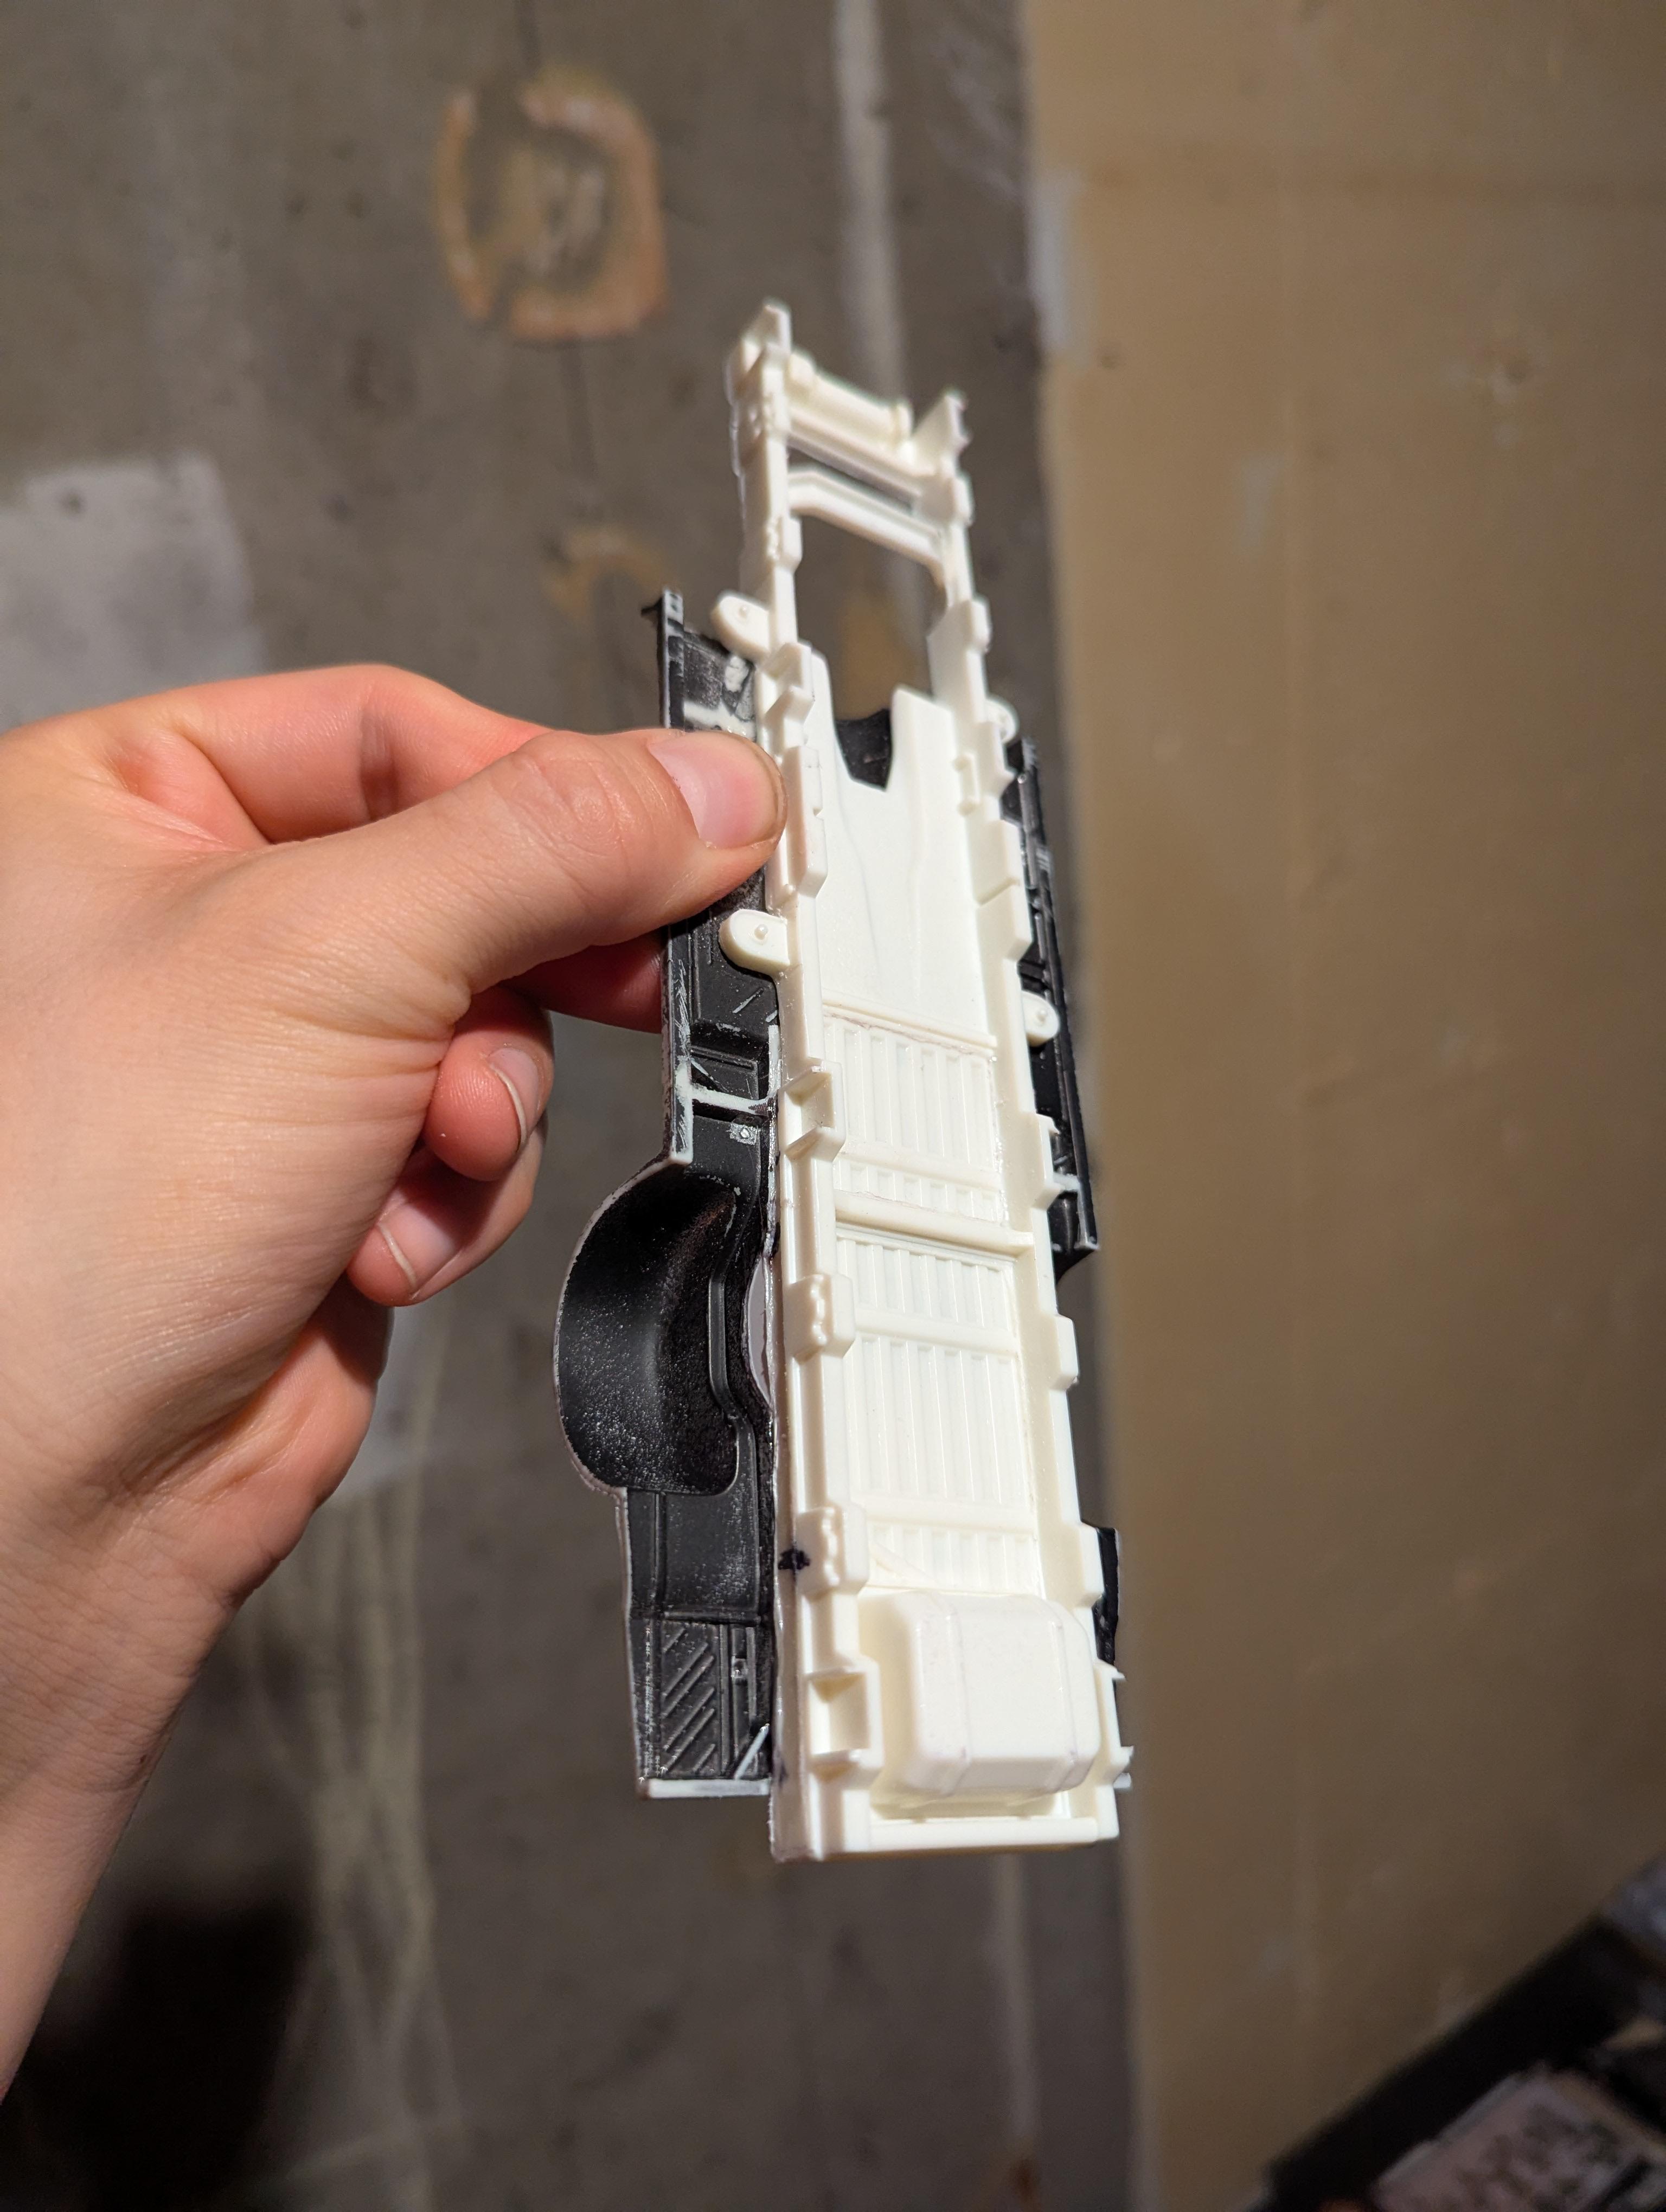
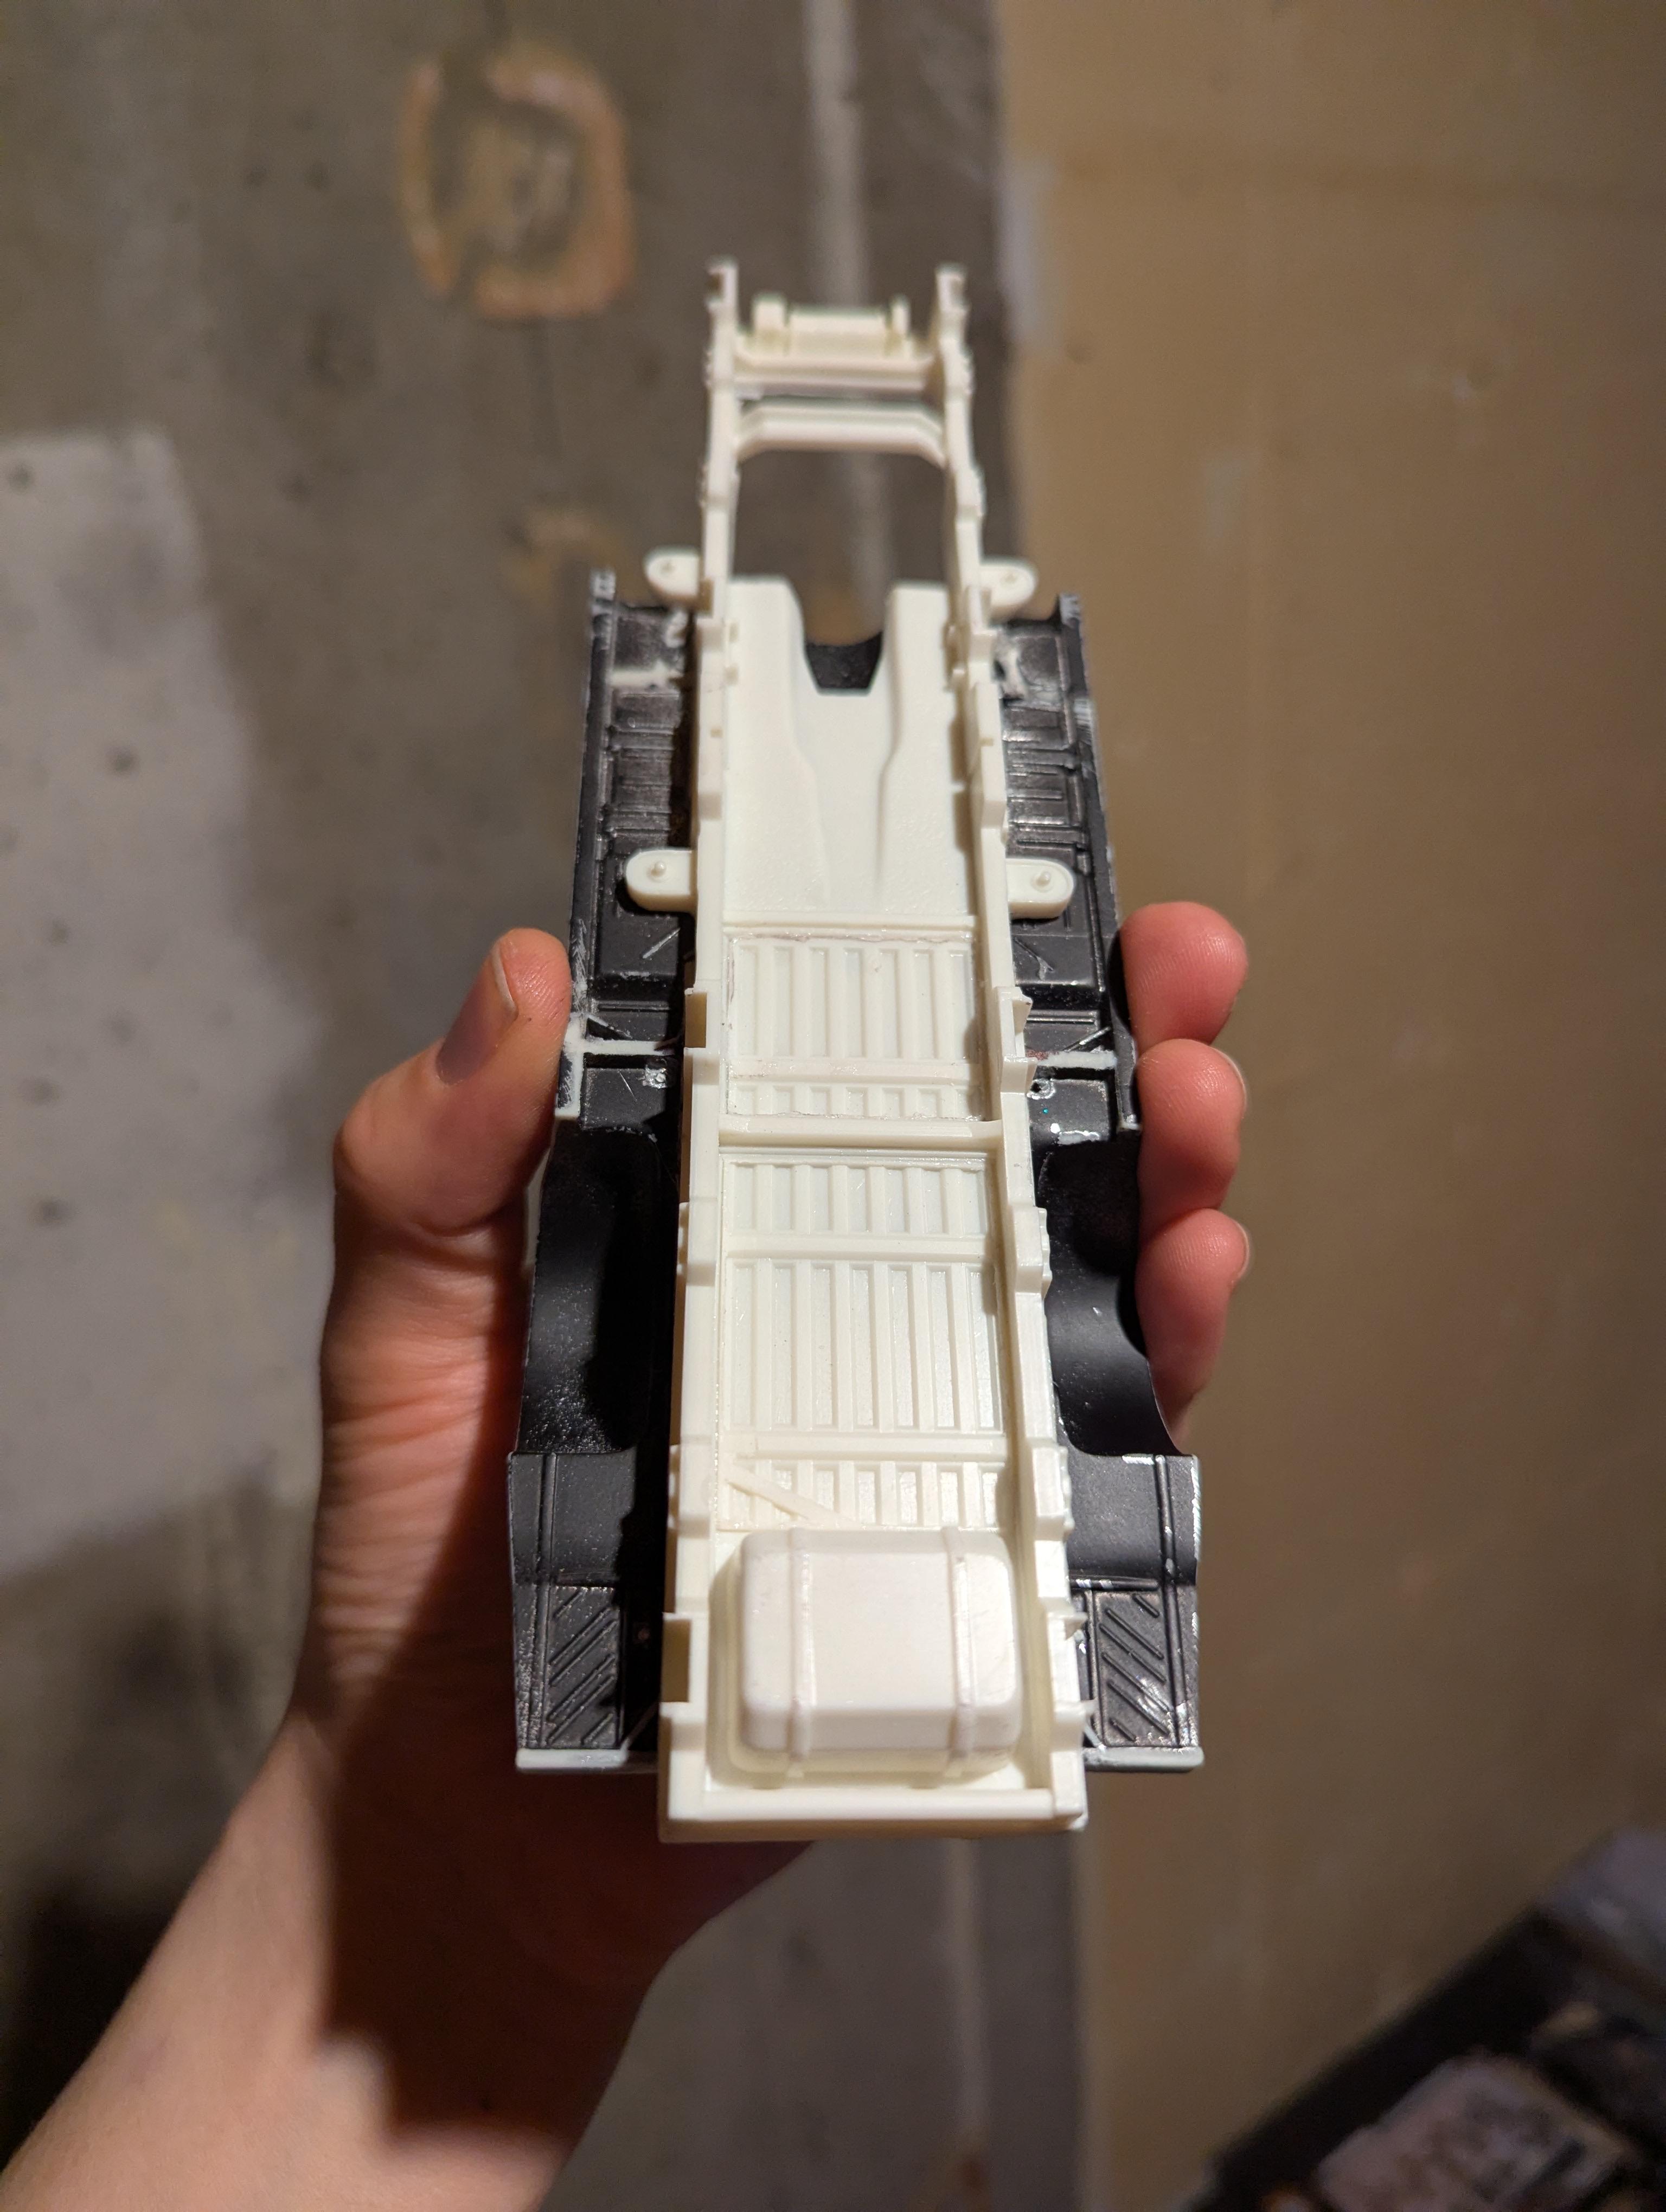
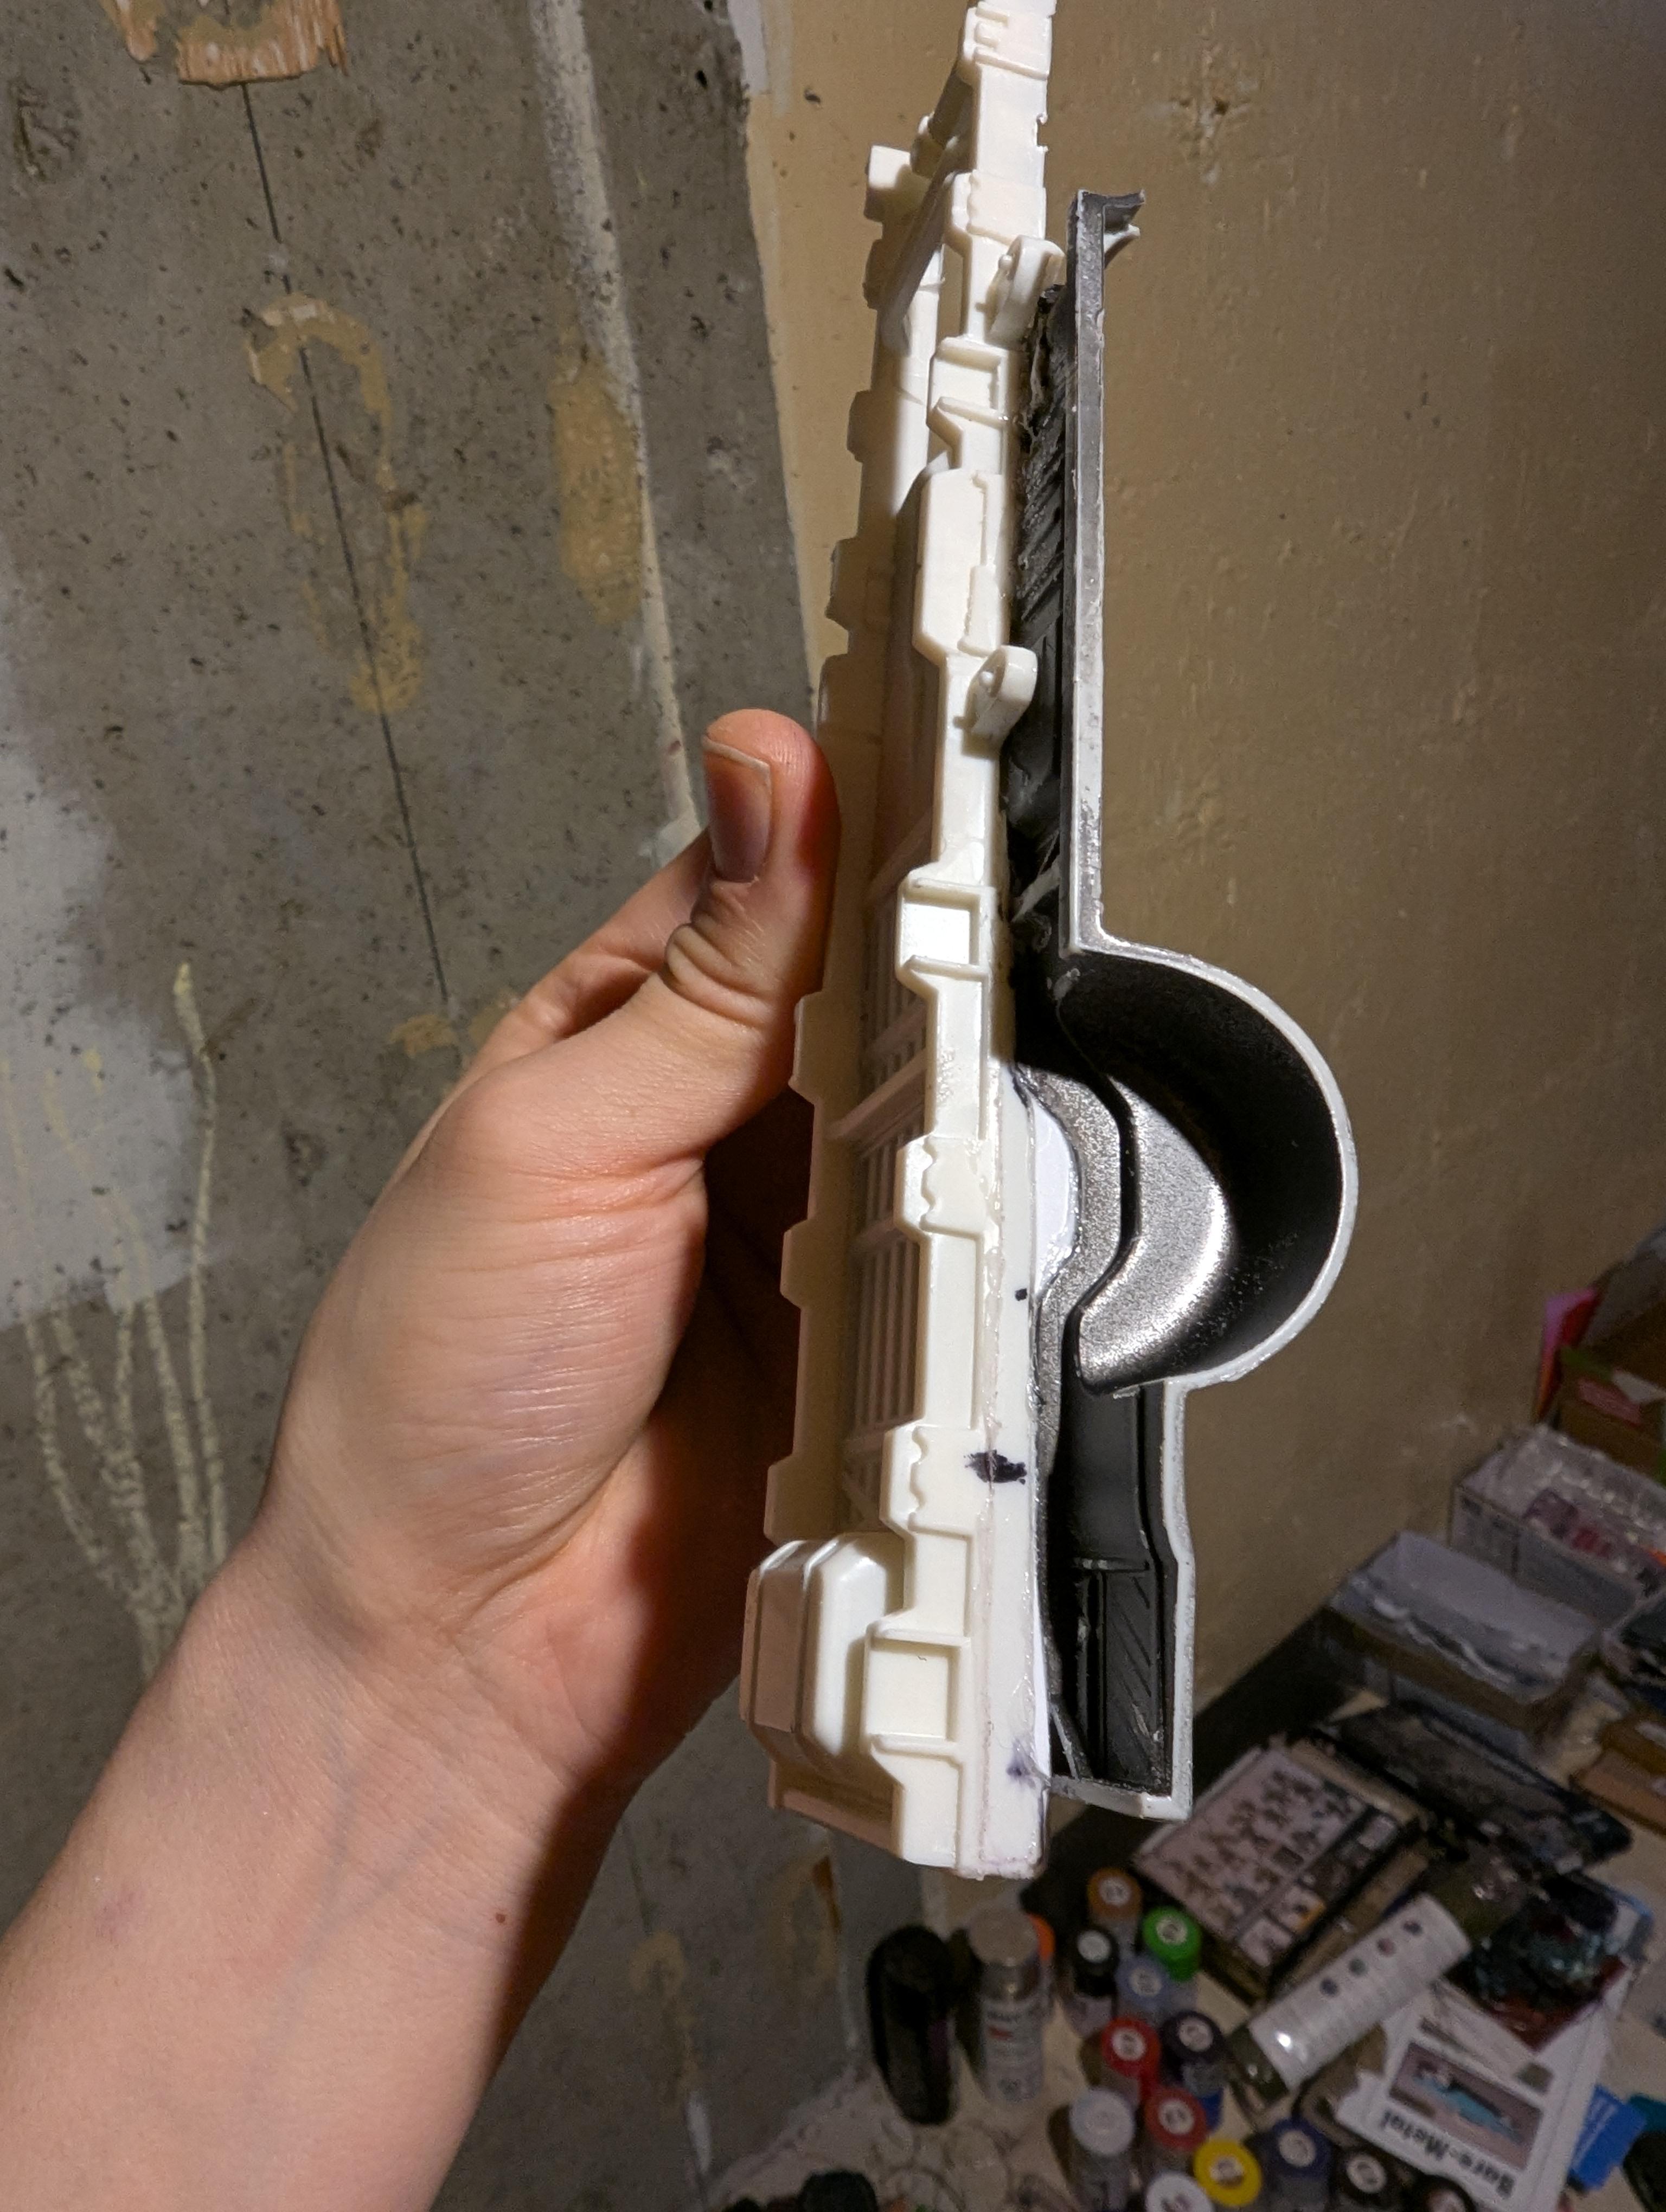
Small update here from the past few days I took a break usually I end up looking at reference photos and getting back to things, so here's what I've done, after I get these on the chassis it's transfer case time ☺️😁😎👍
-
My 55 Chevy & 67 Chevelle Pro street's
MonsterFan88 replied to Maurice Henderson's topic in Drag Racing
Great work both are fantastic 👍😎😁 -
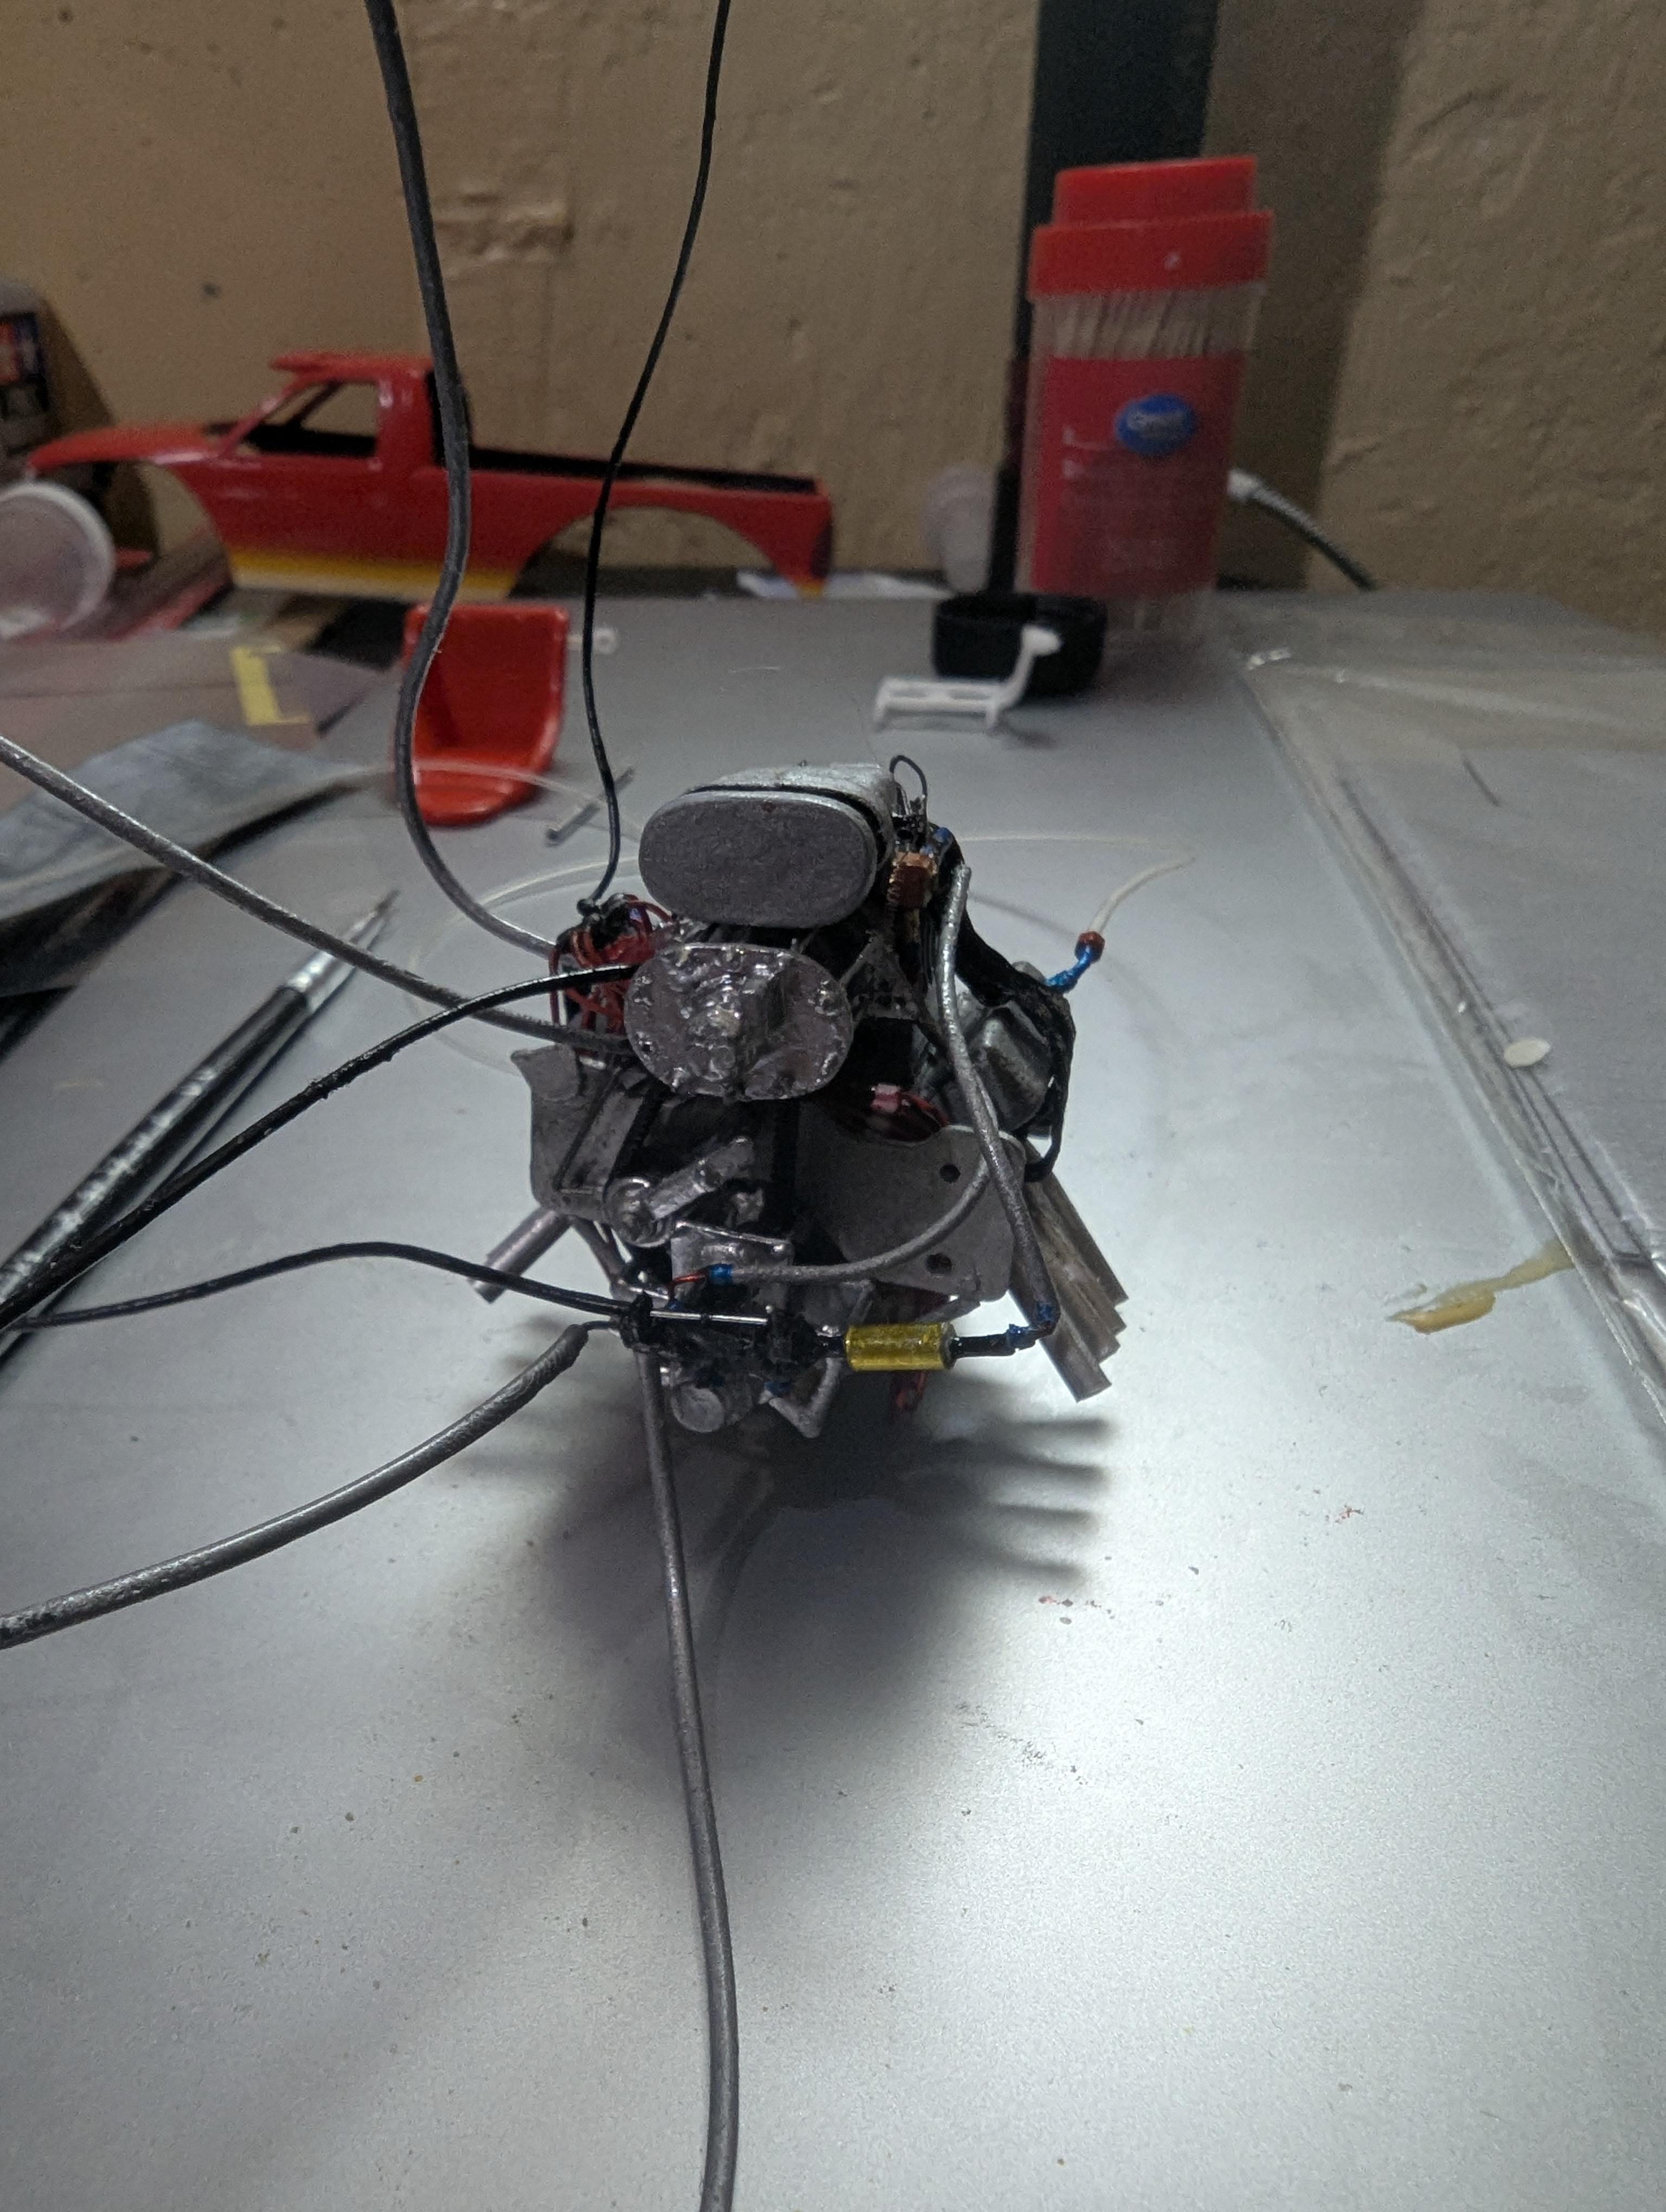
Love the straps on your engine tried to do that with my engine, did you make those or are they made by a vendor? Great engine work I'll try that on my next build 👍😎
-
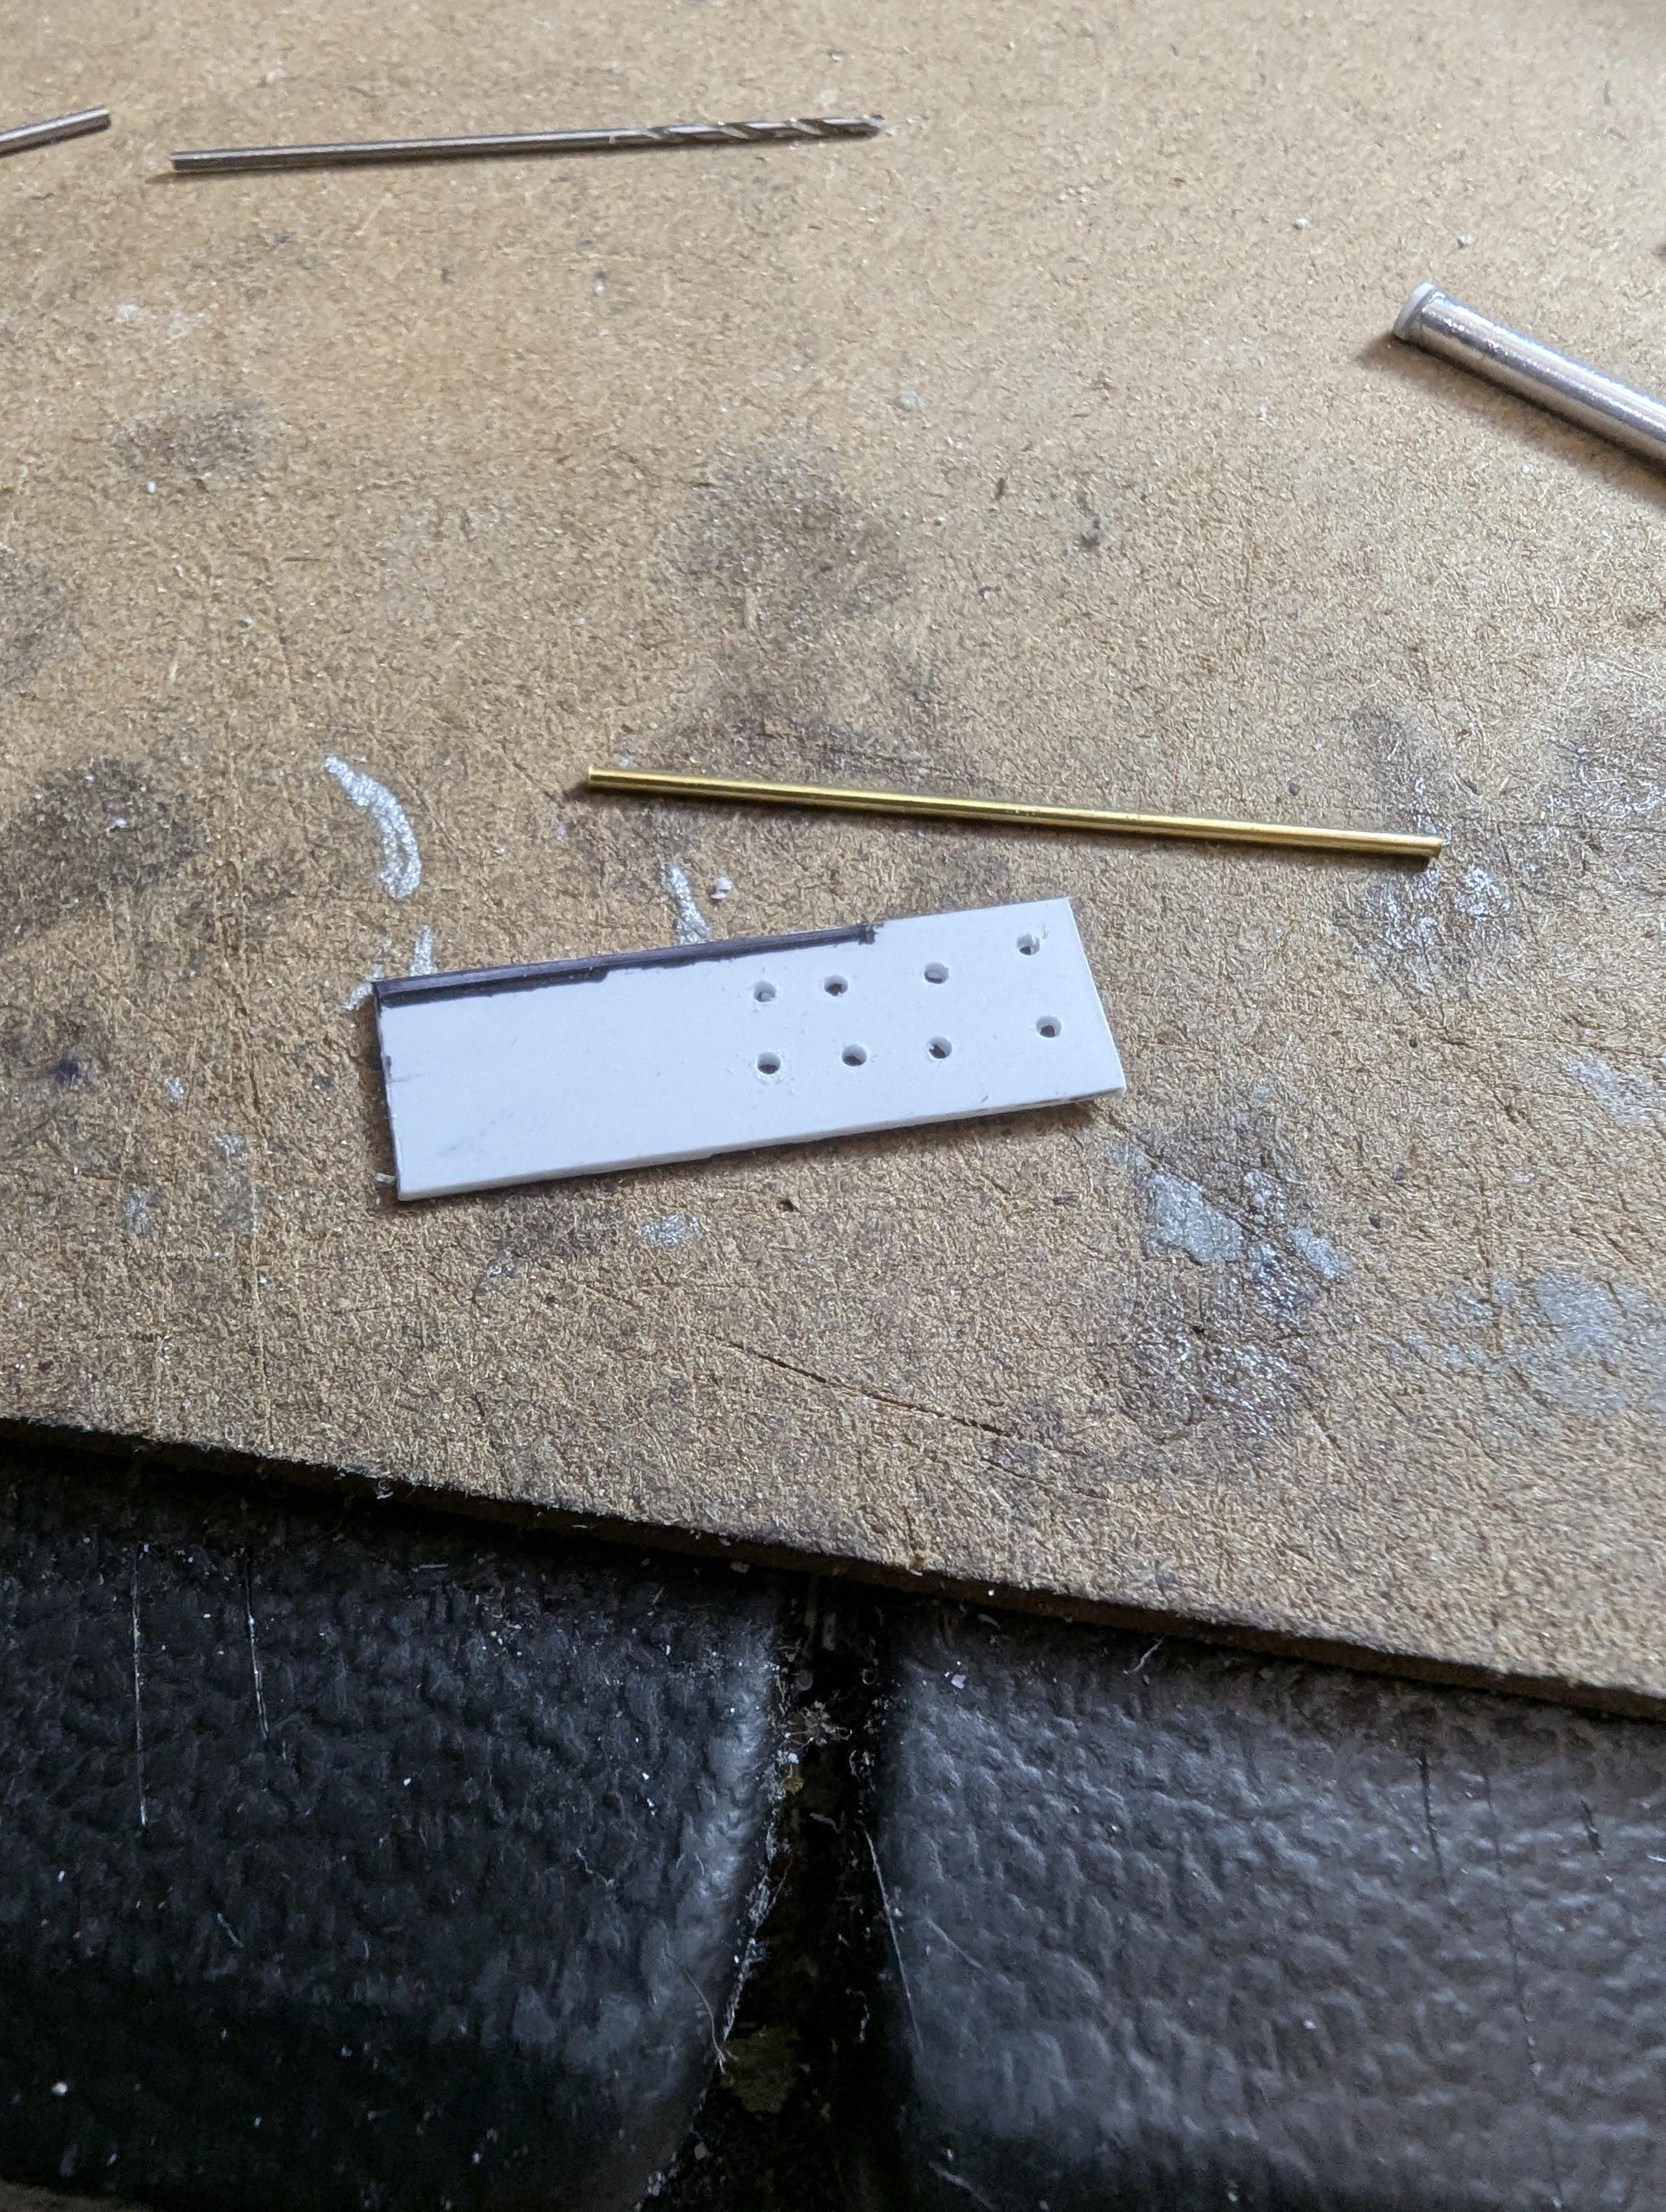
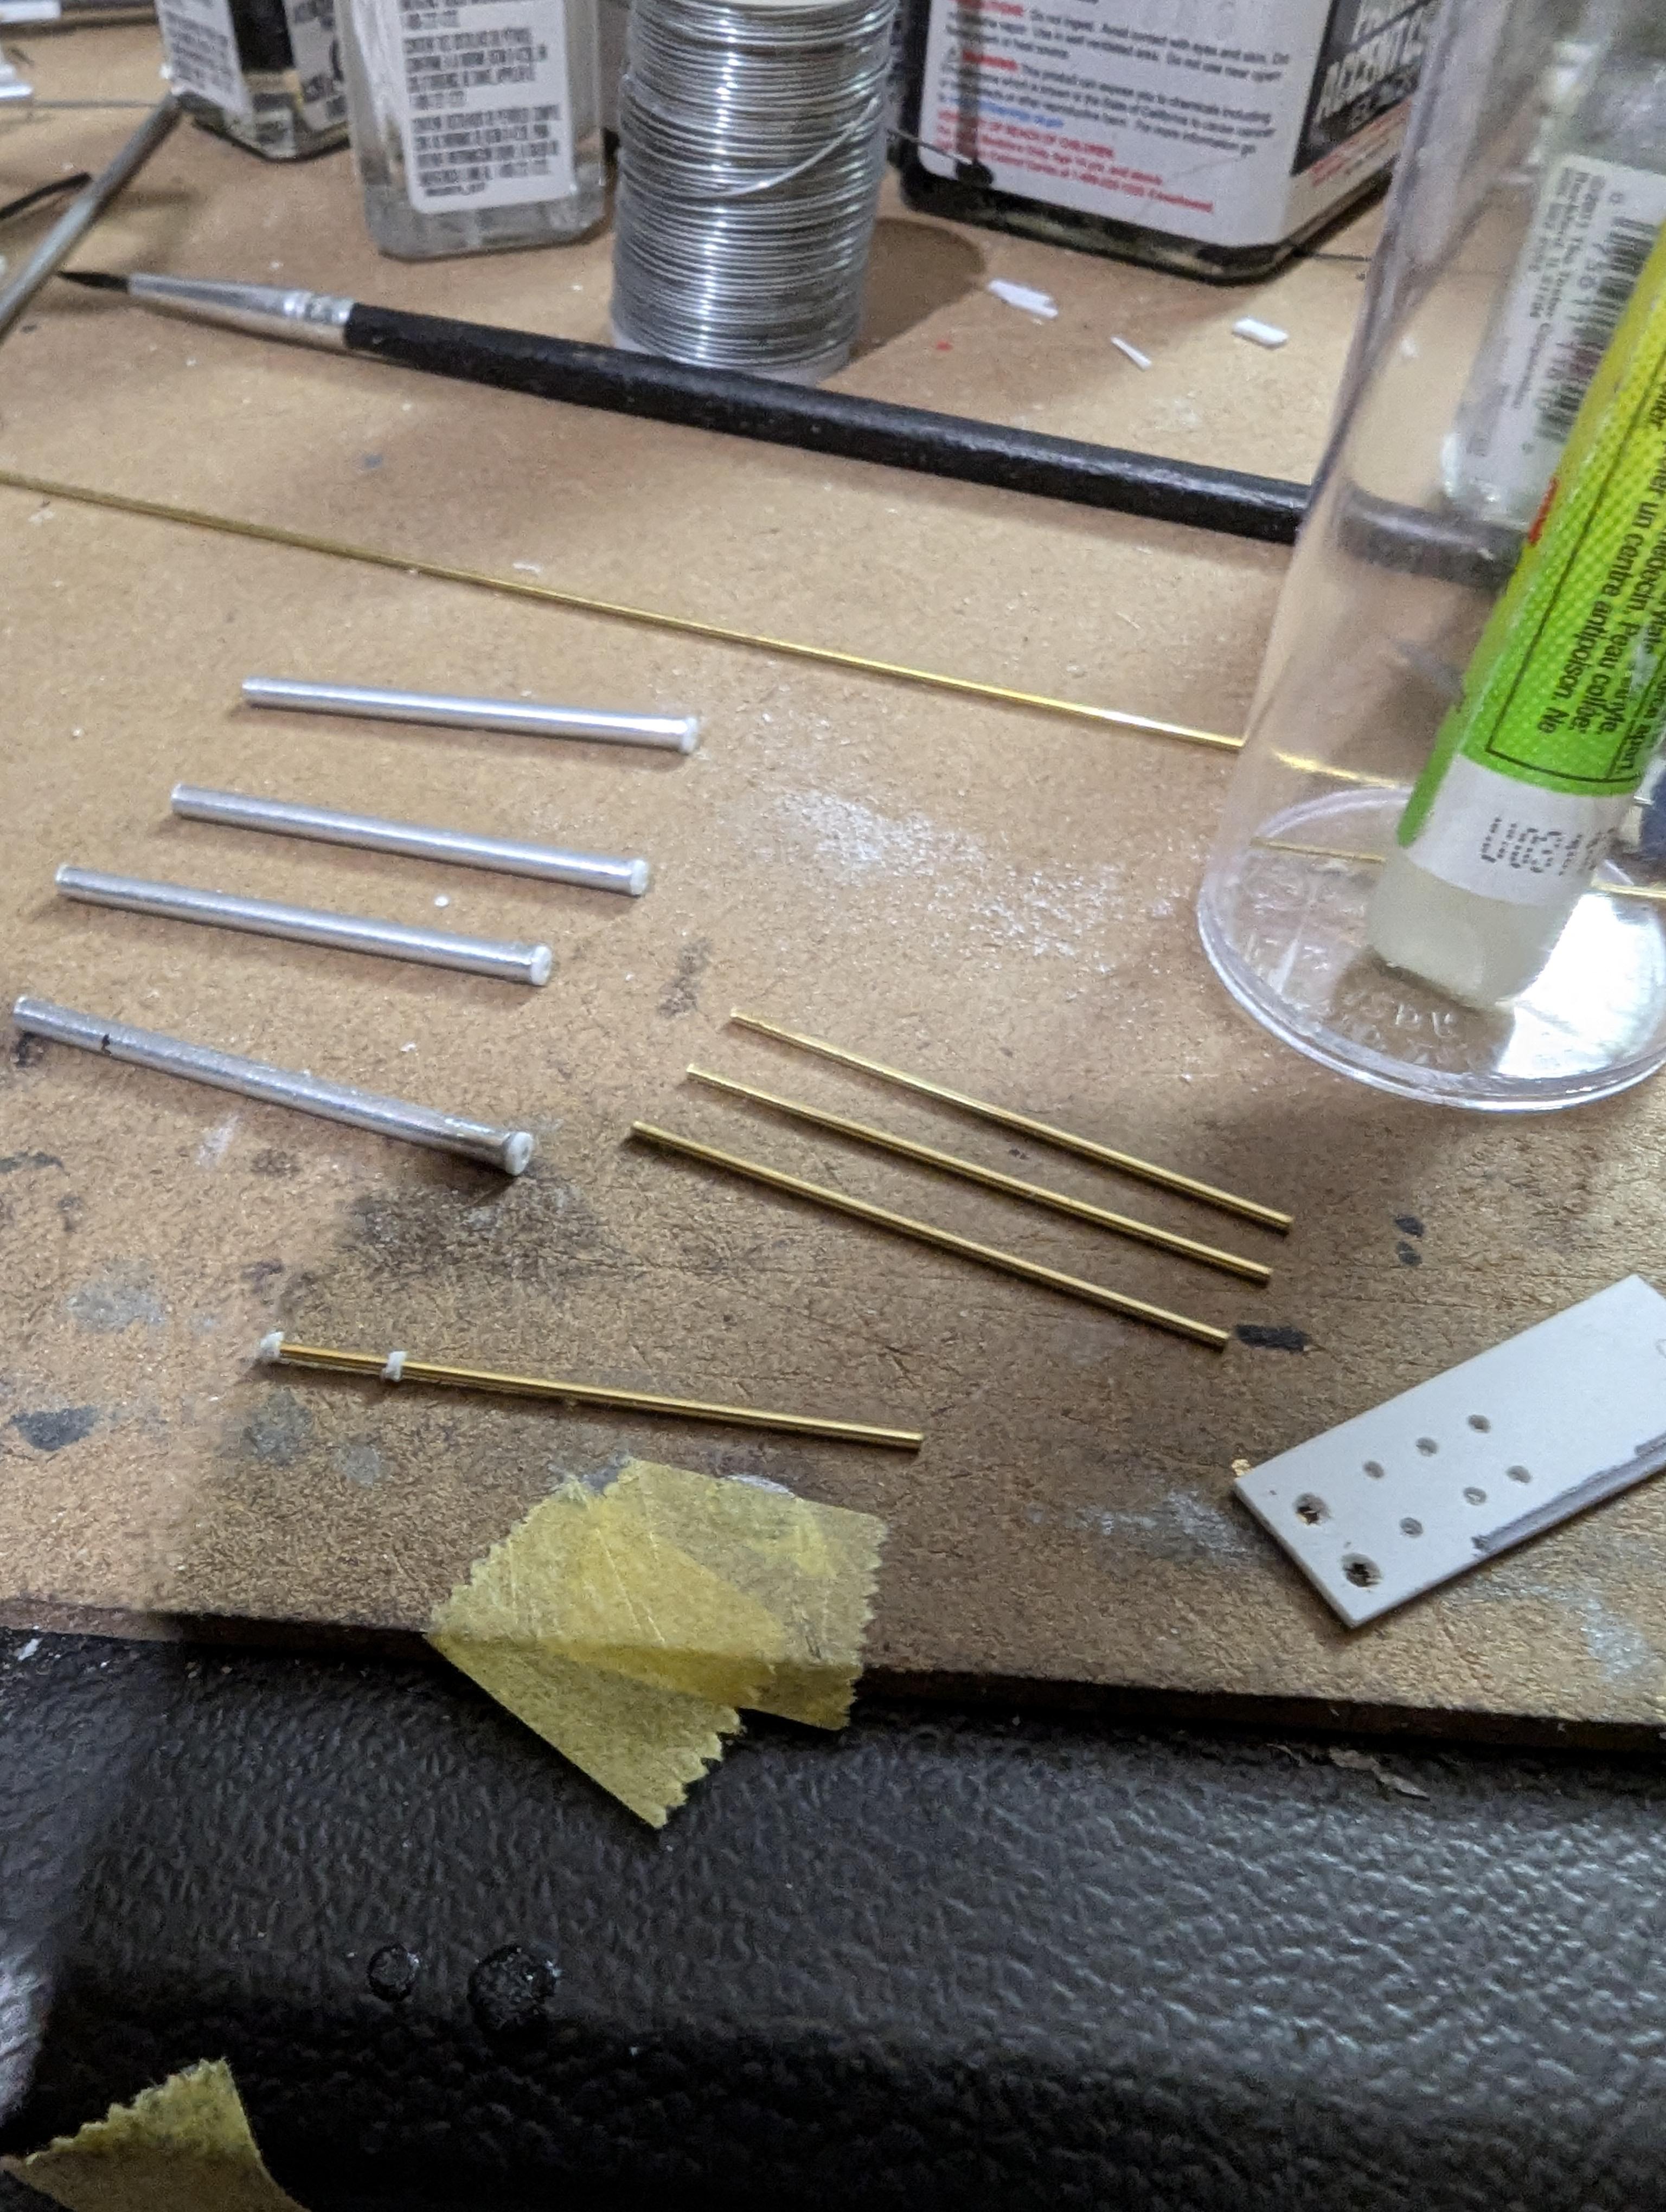
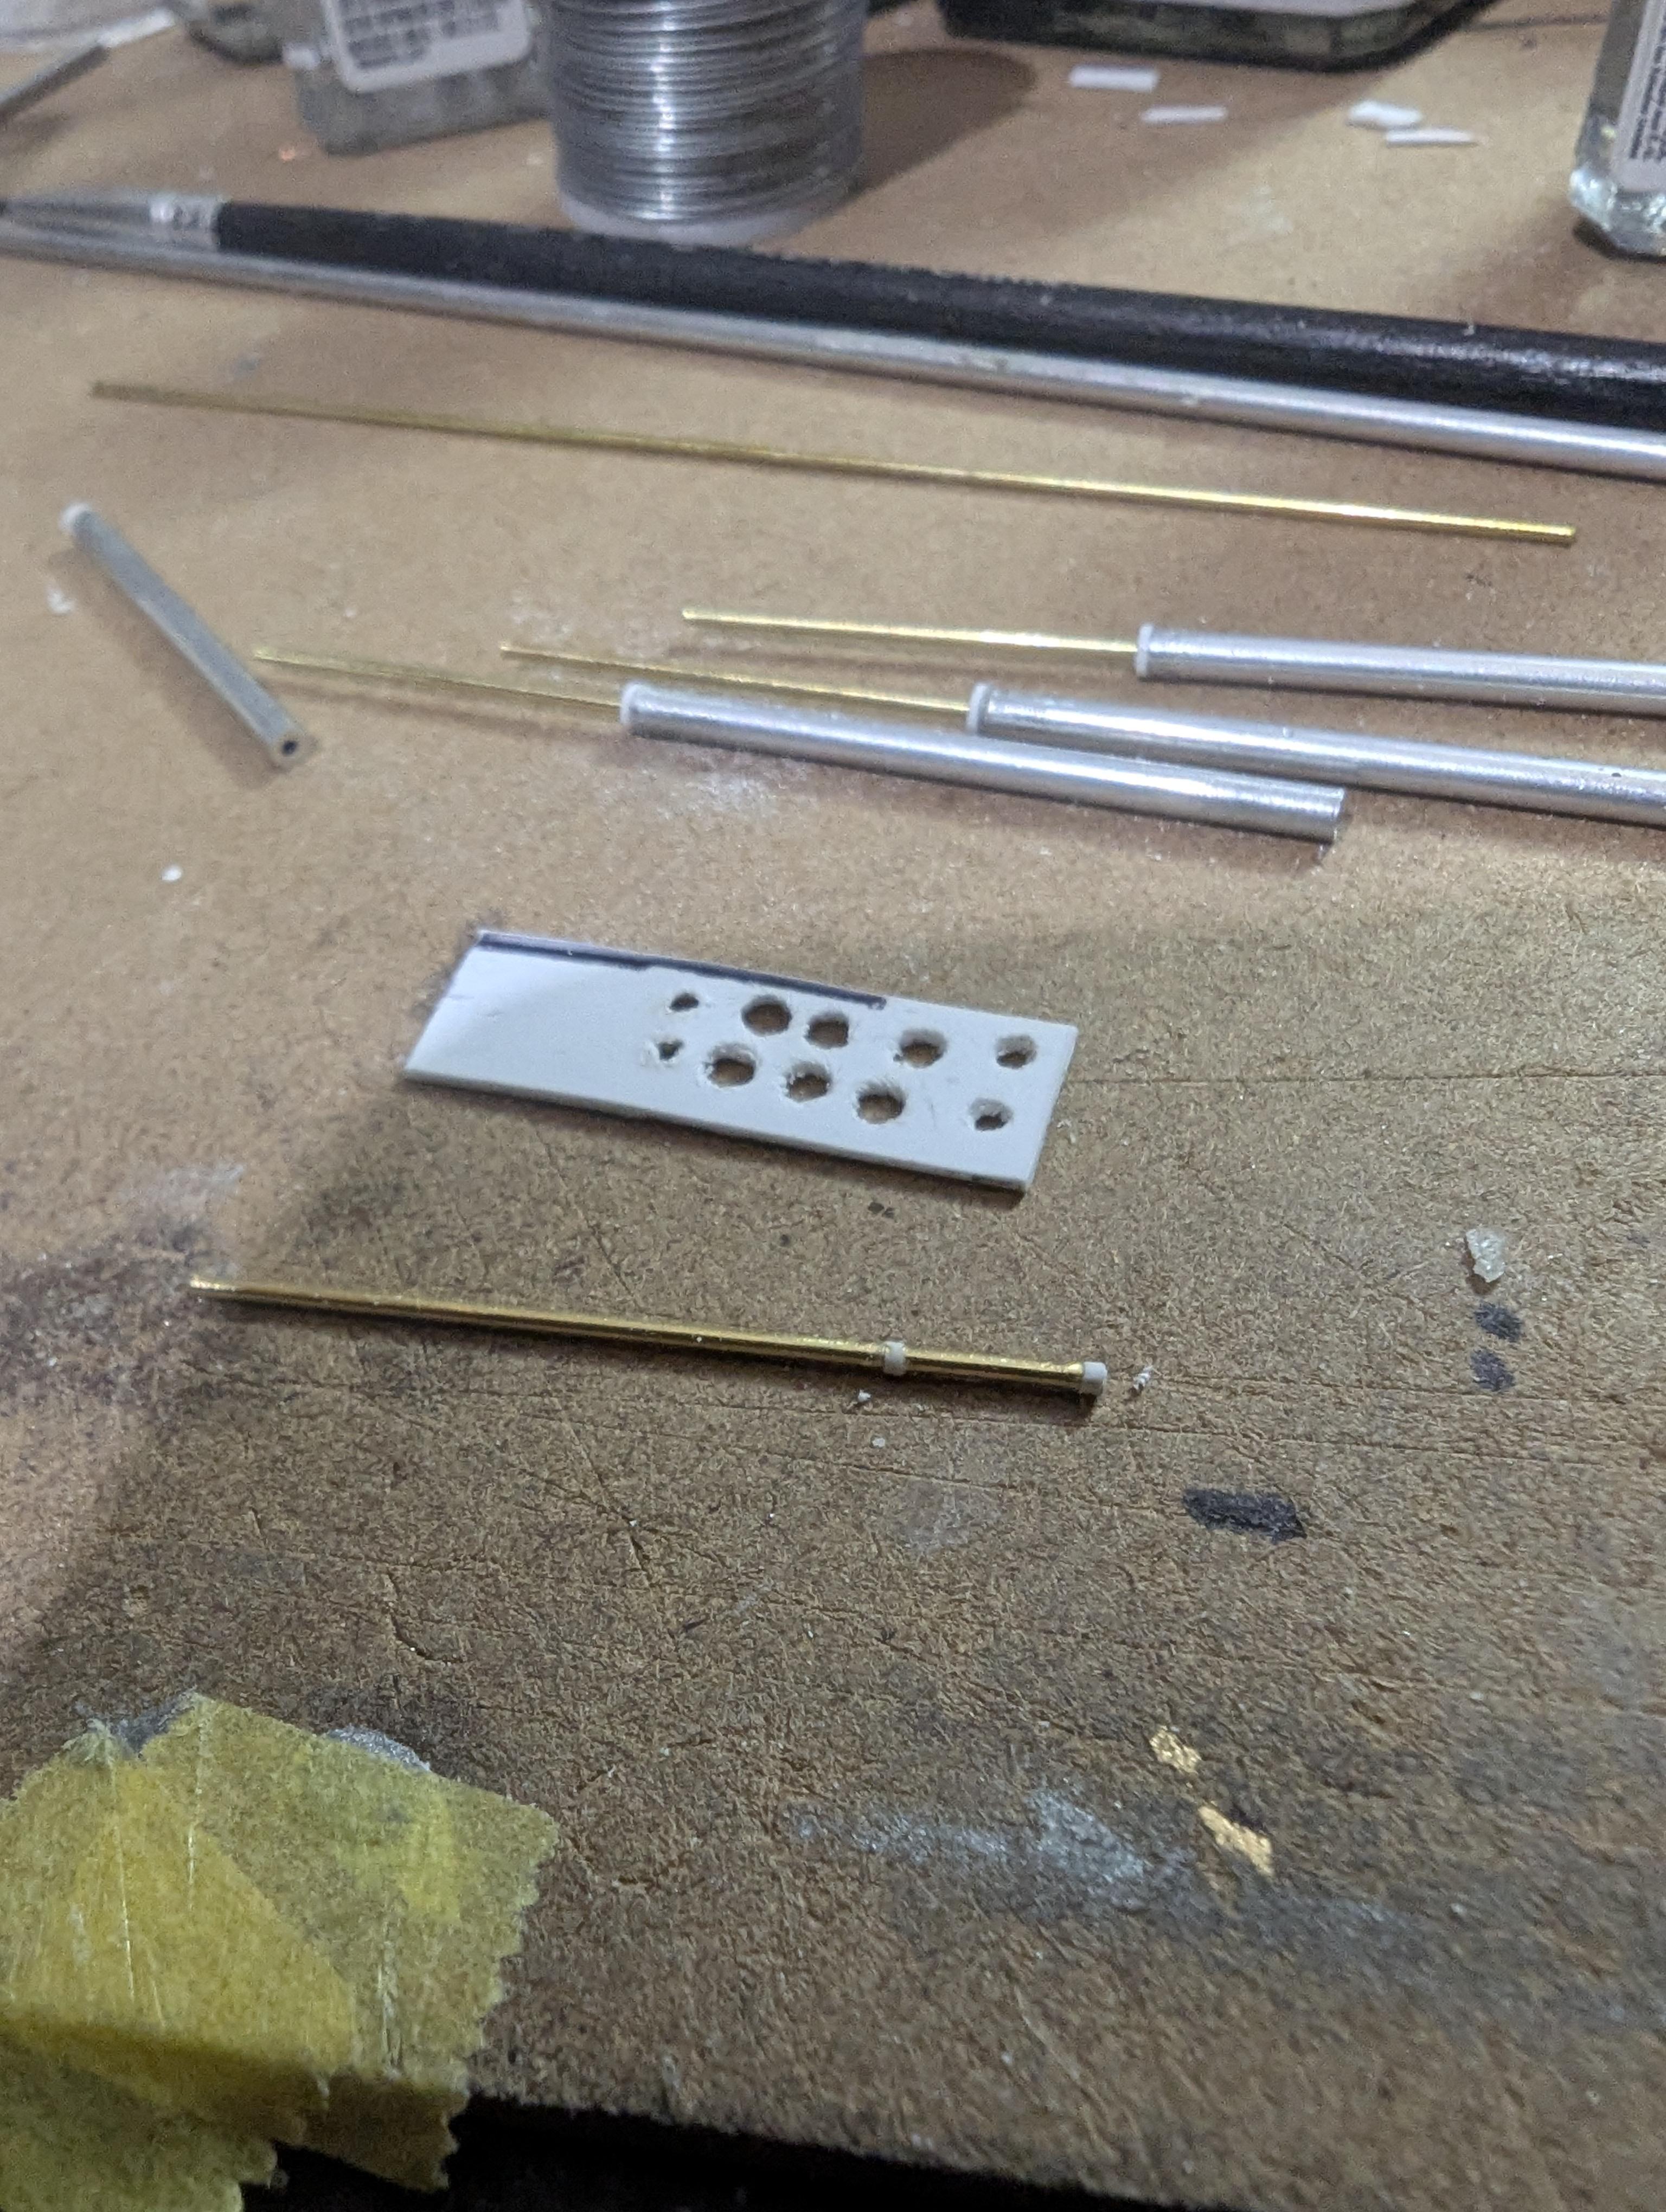
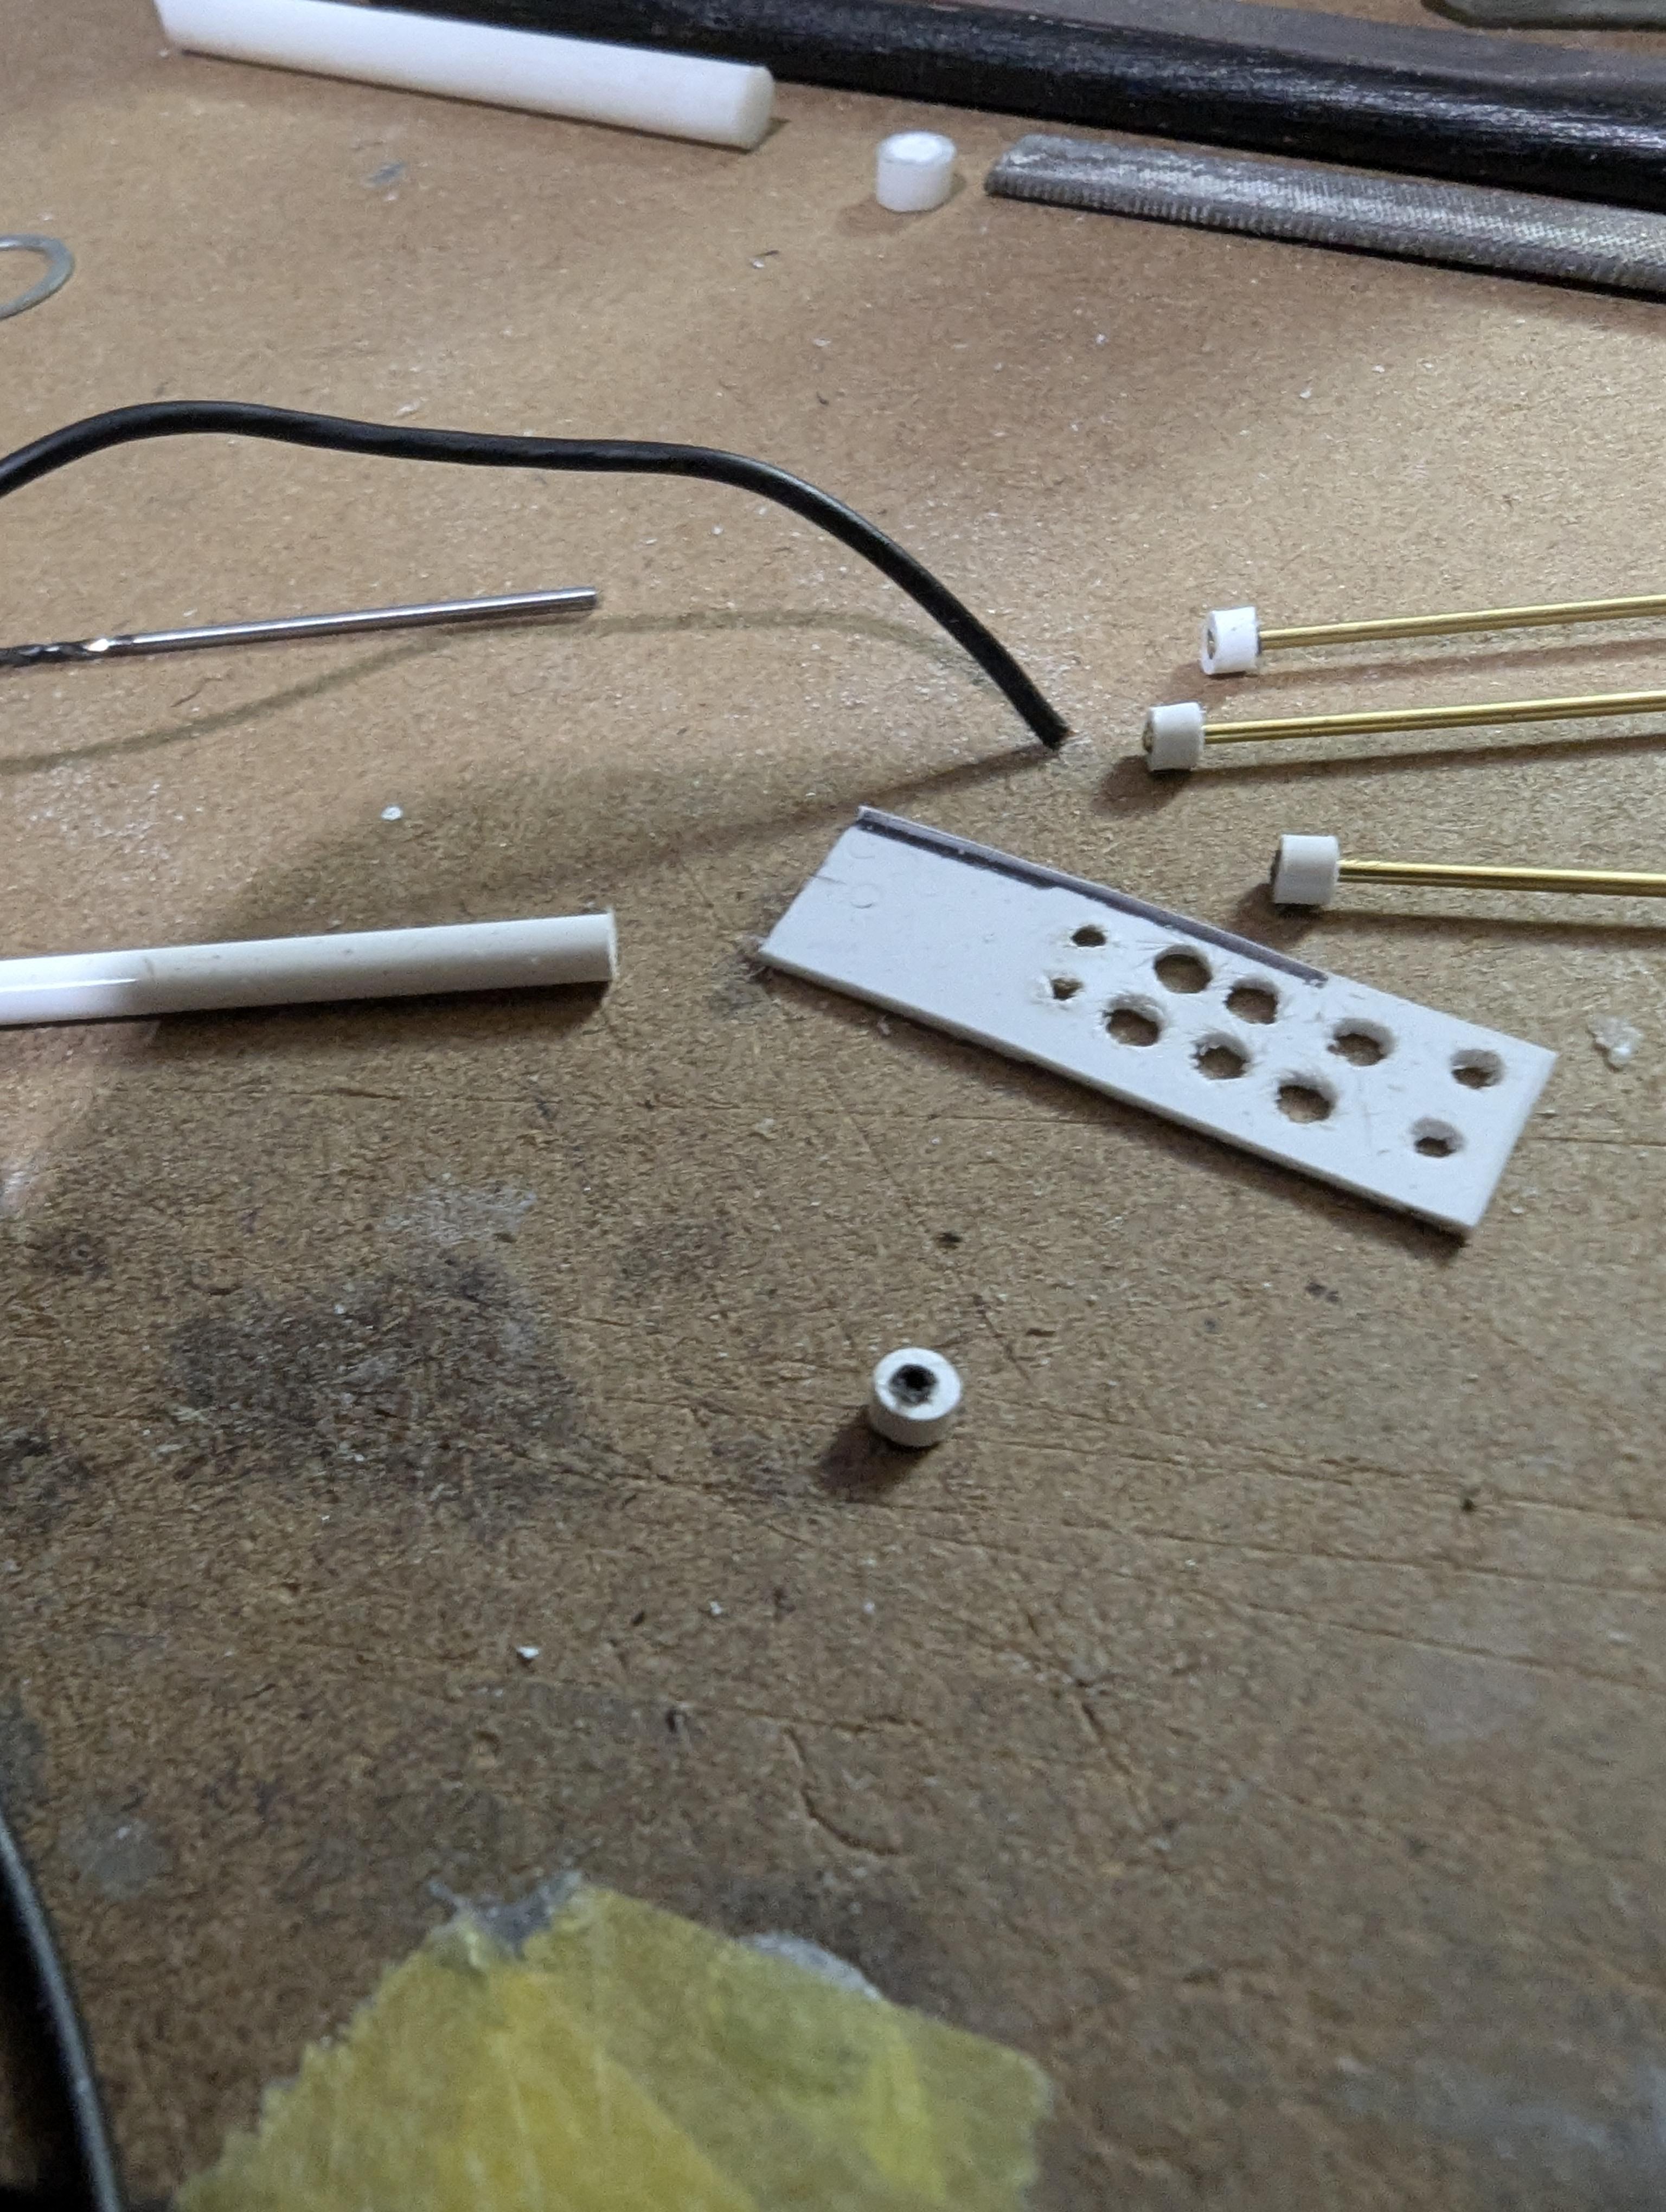
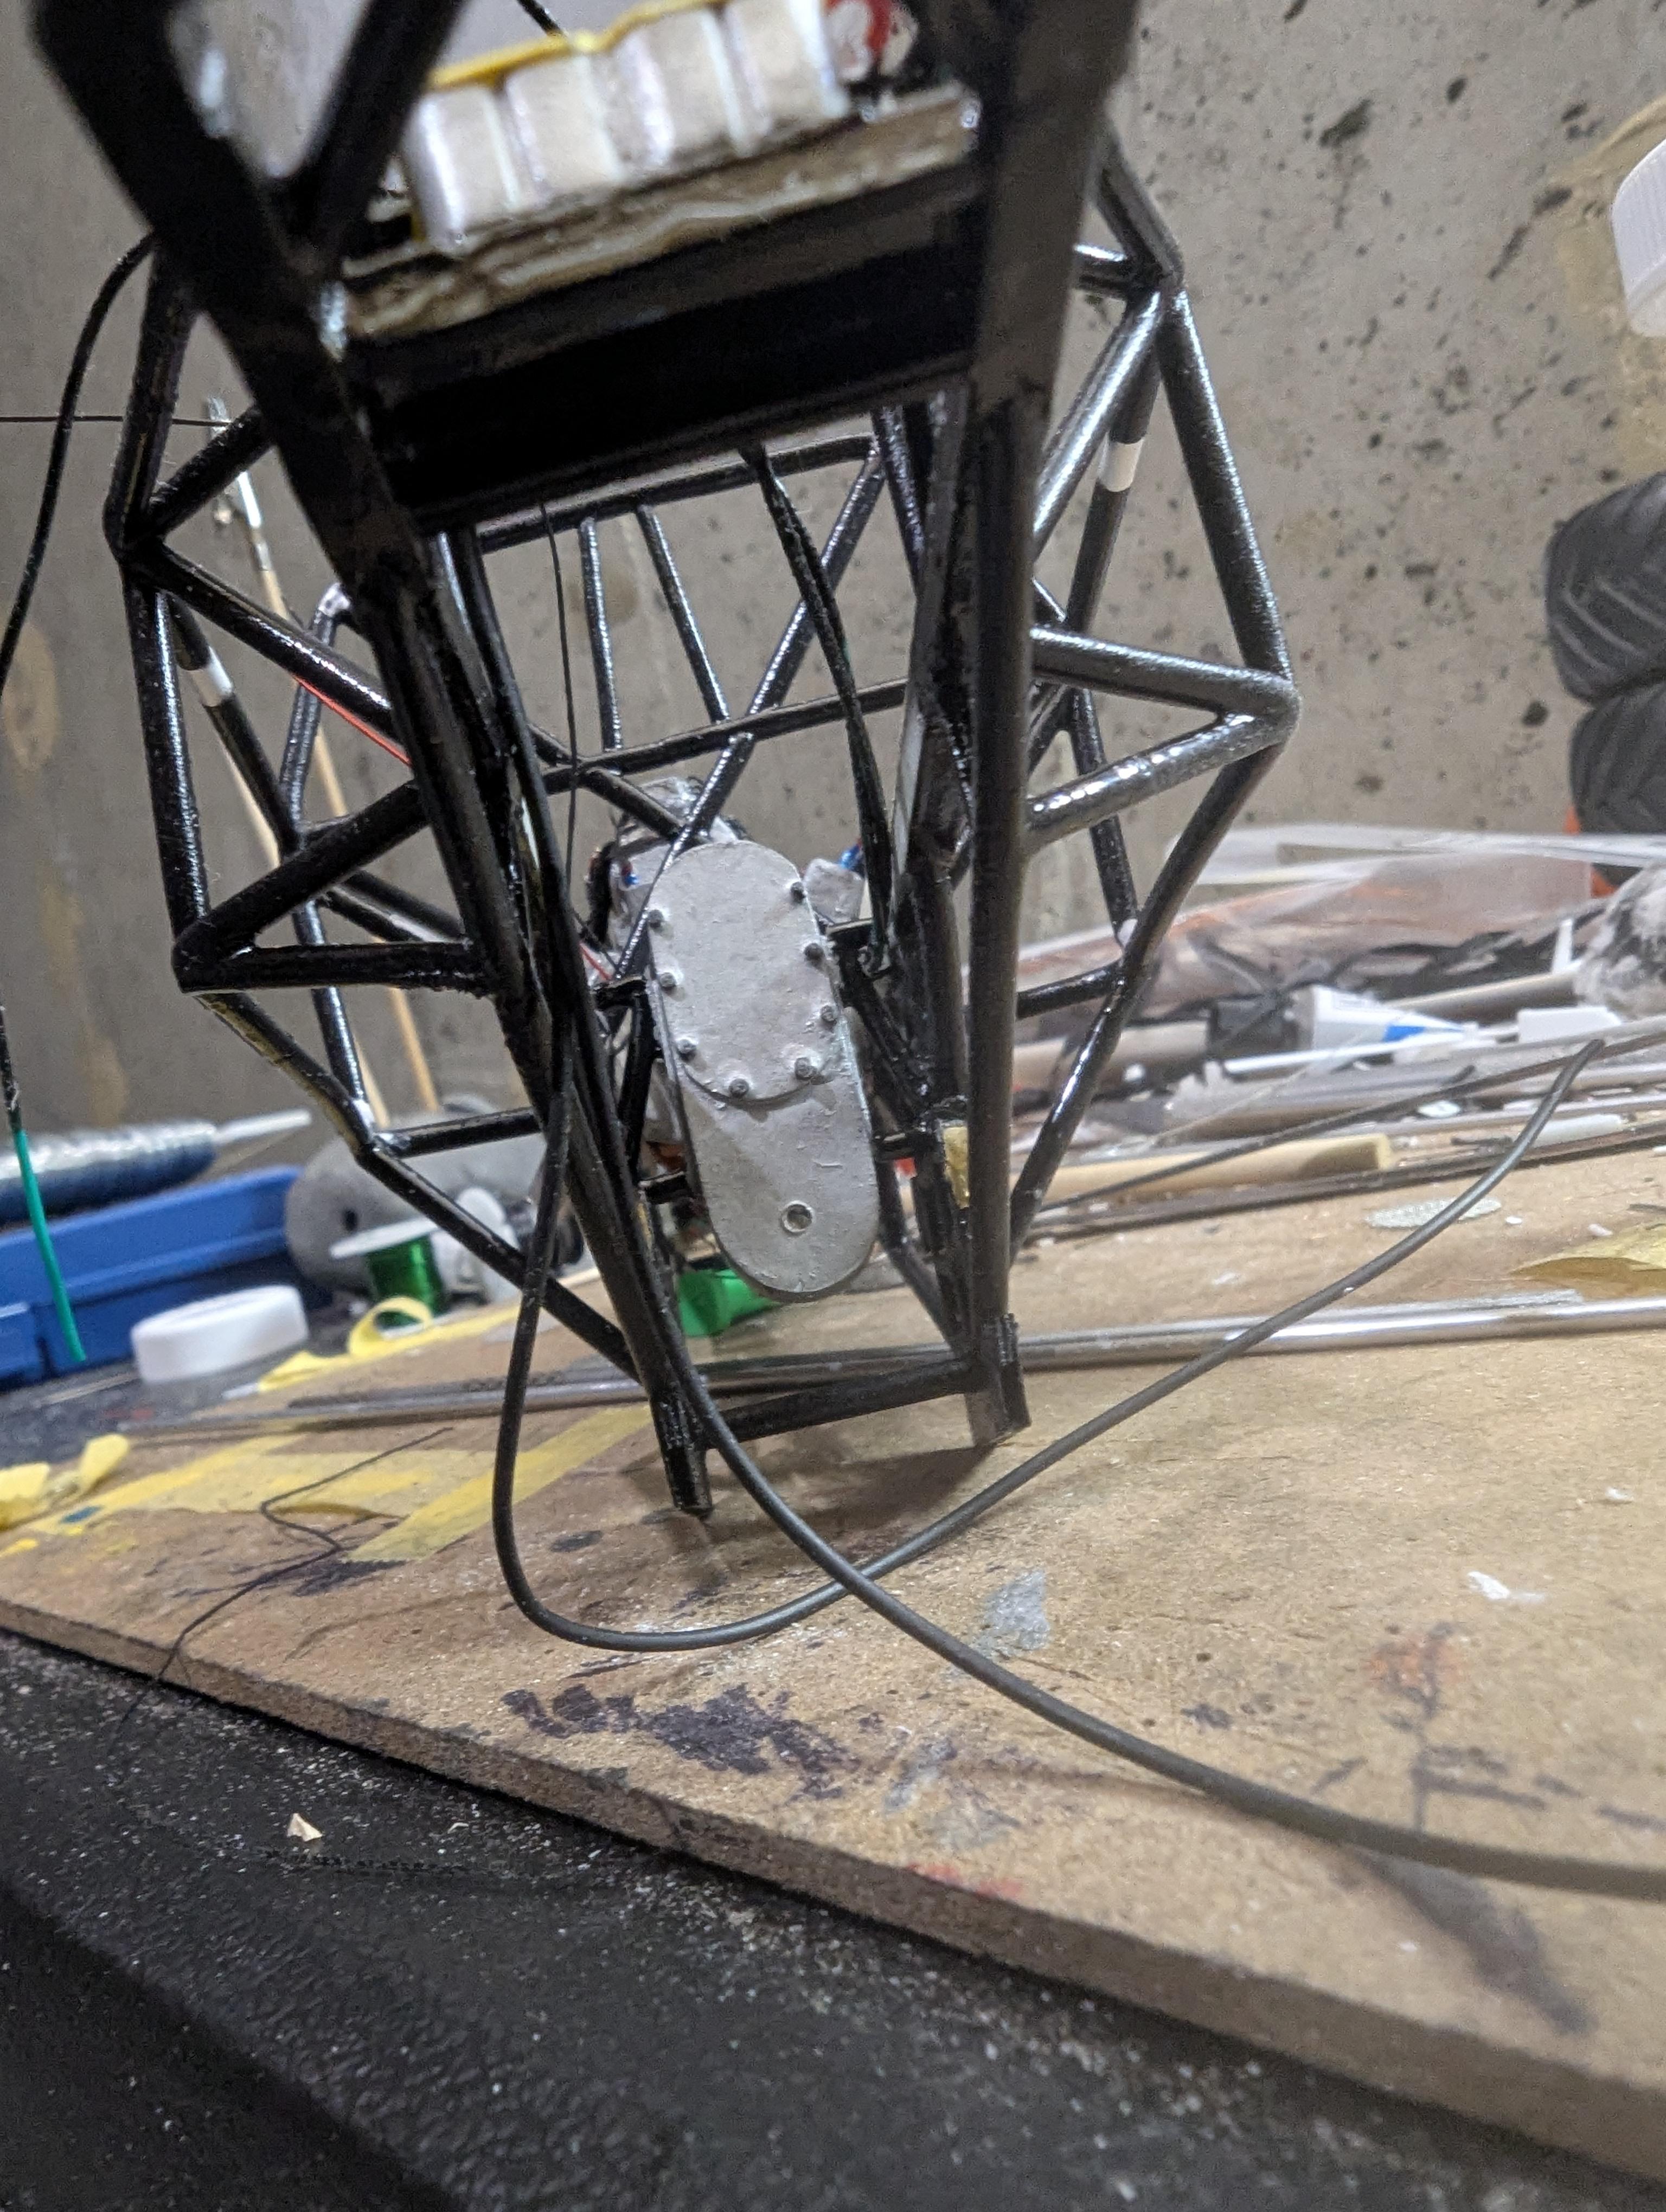
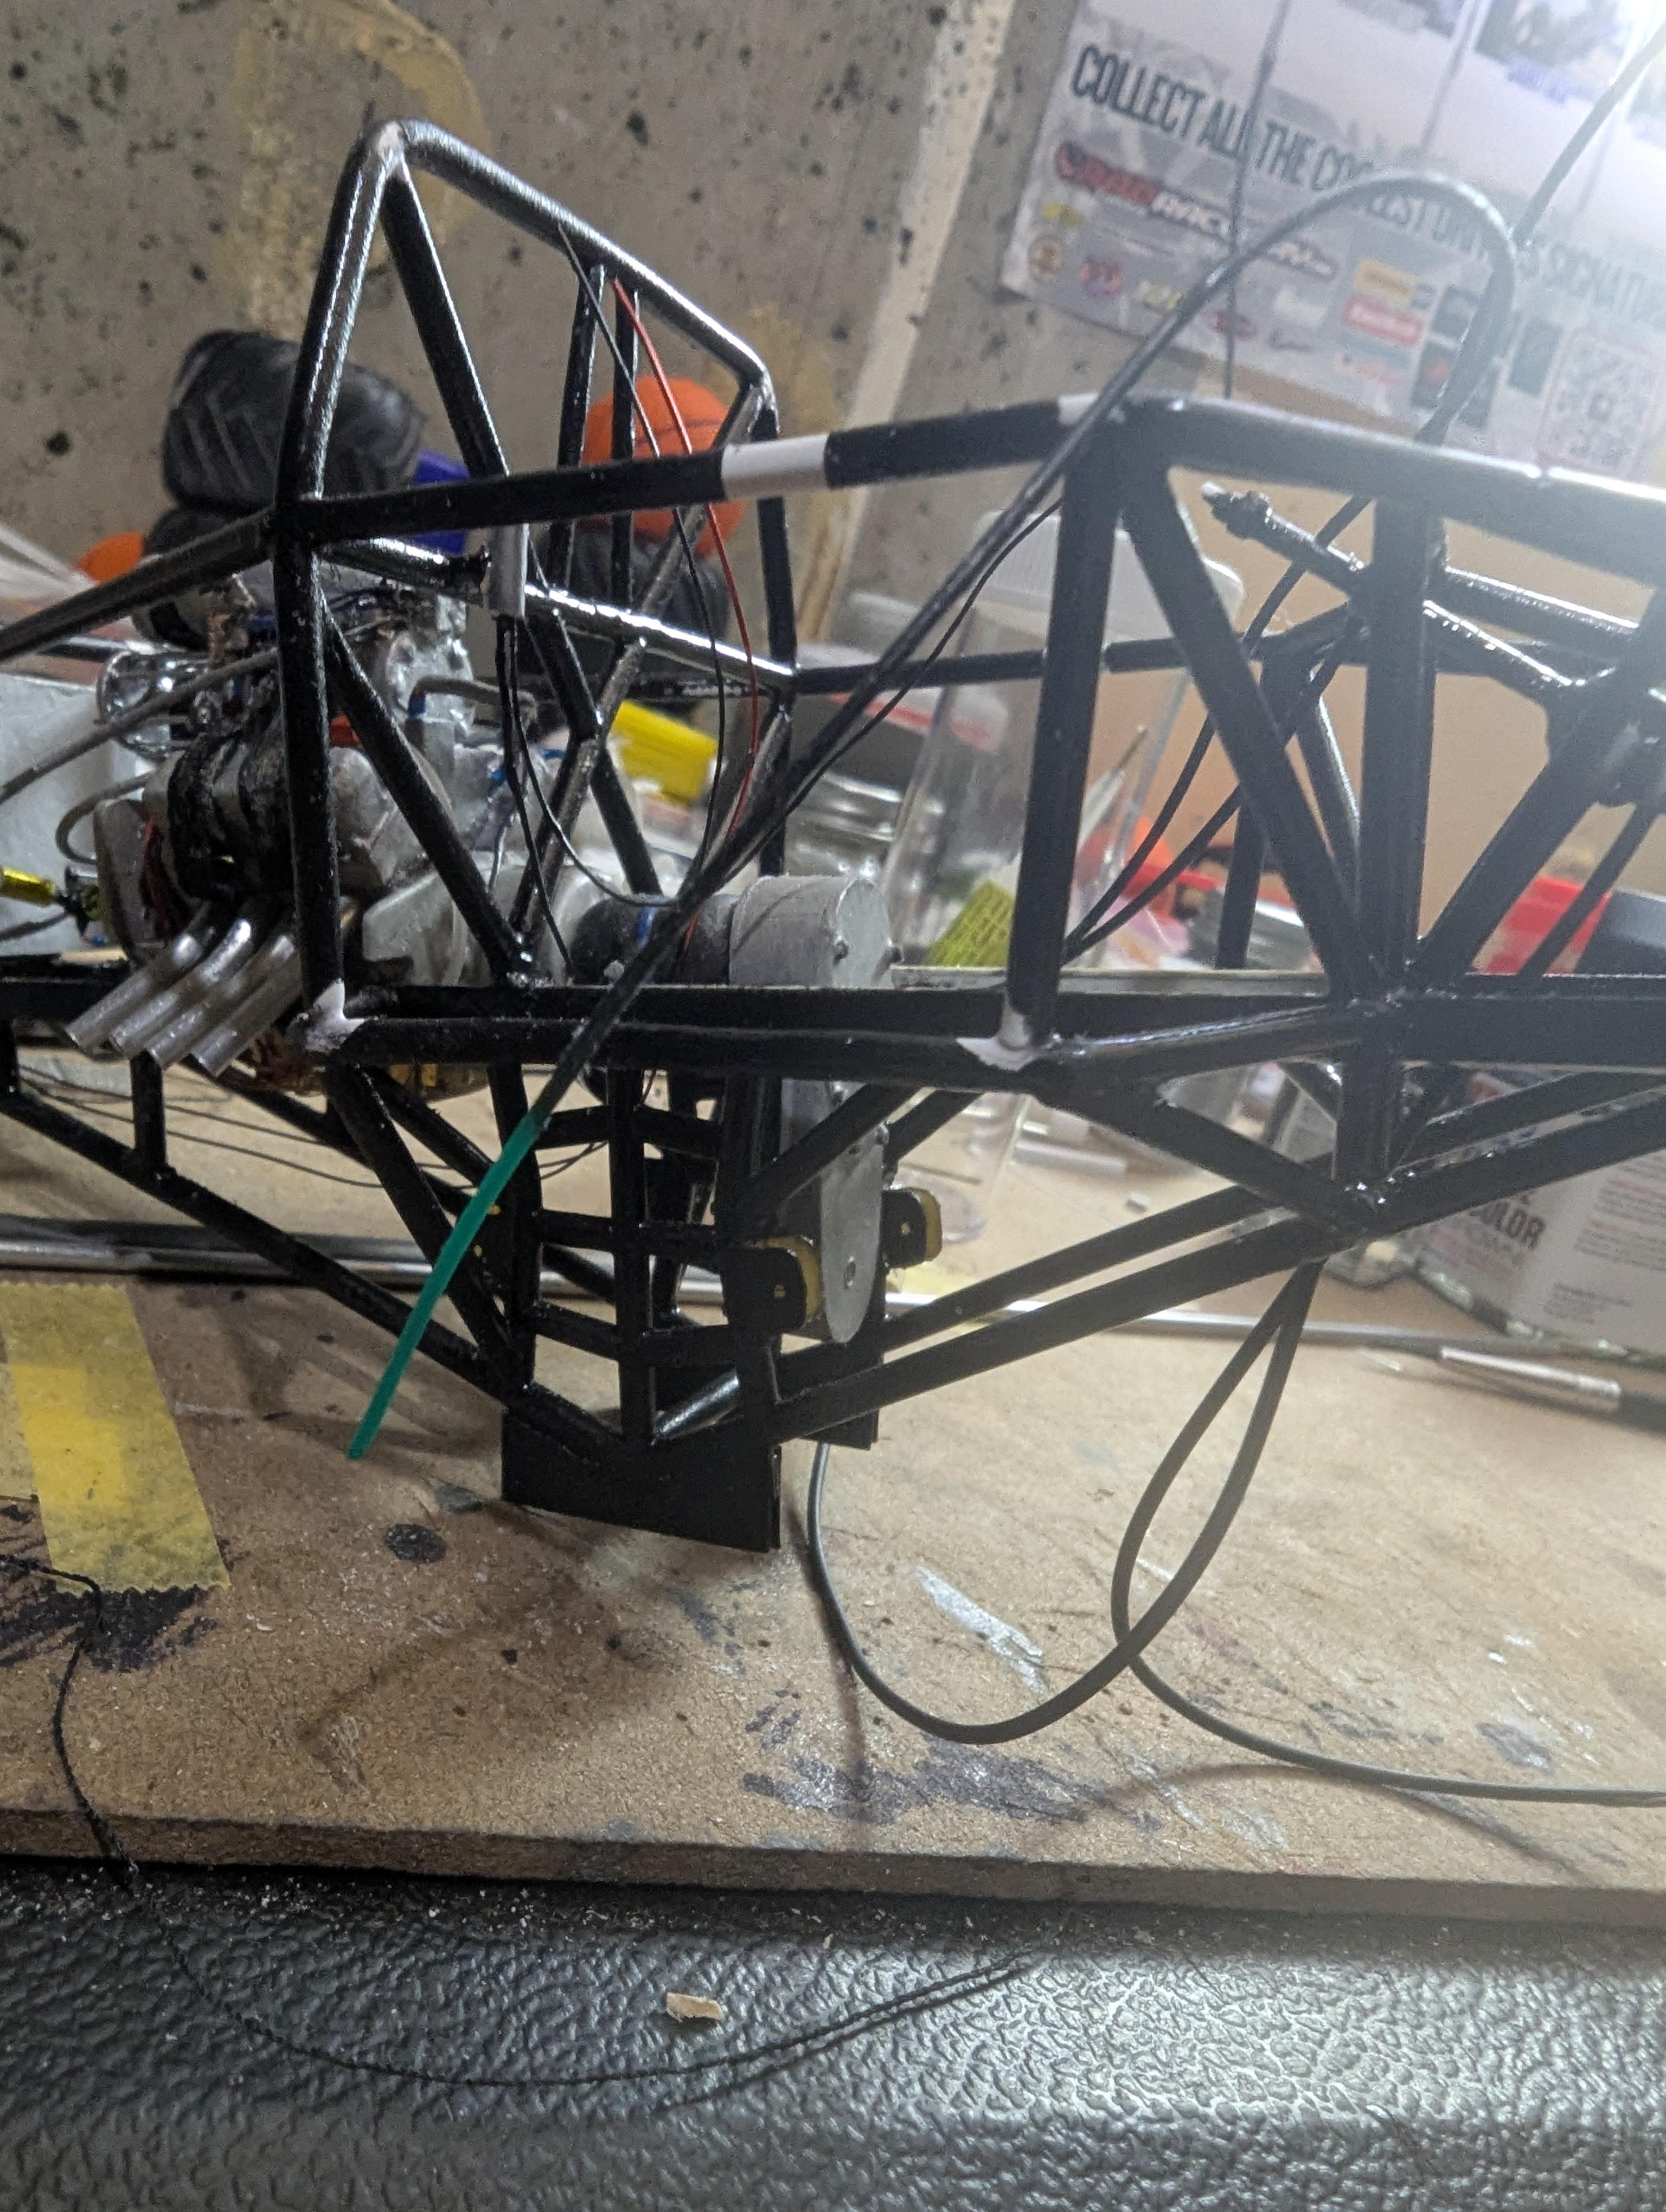
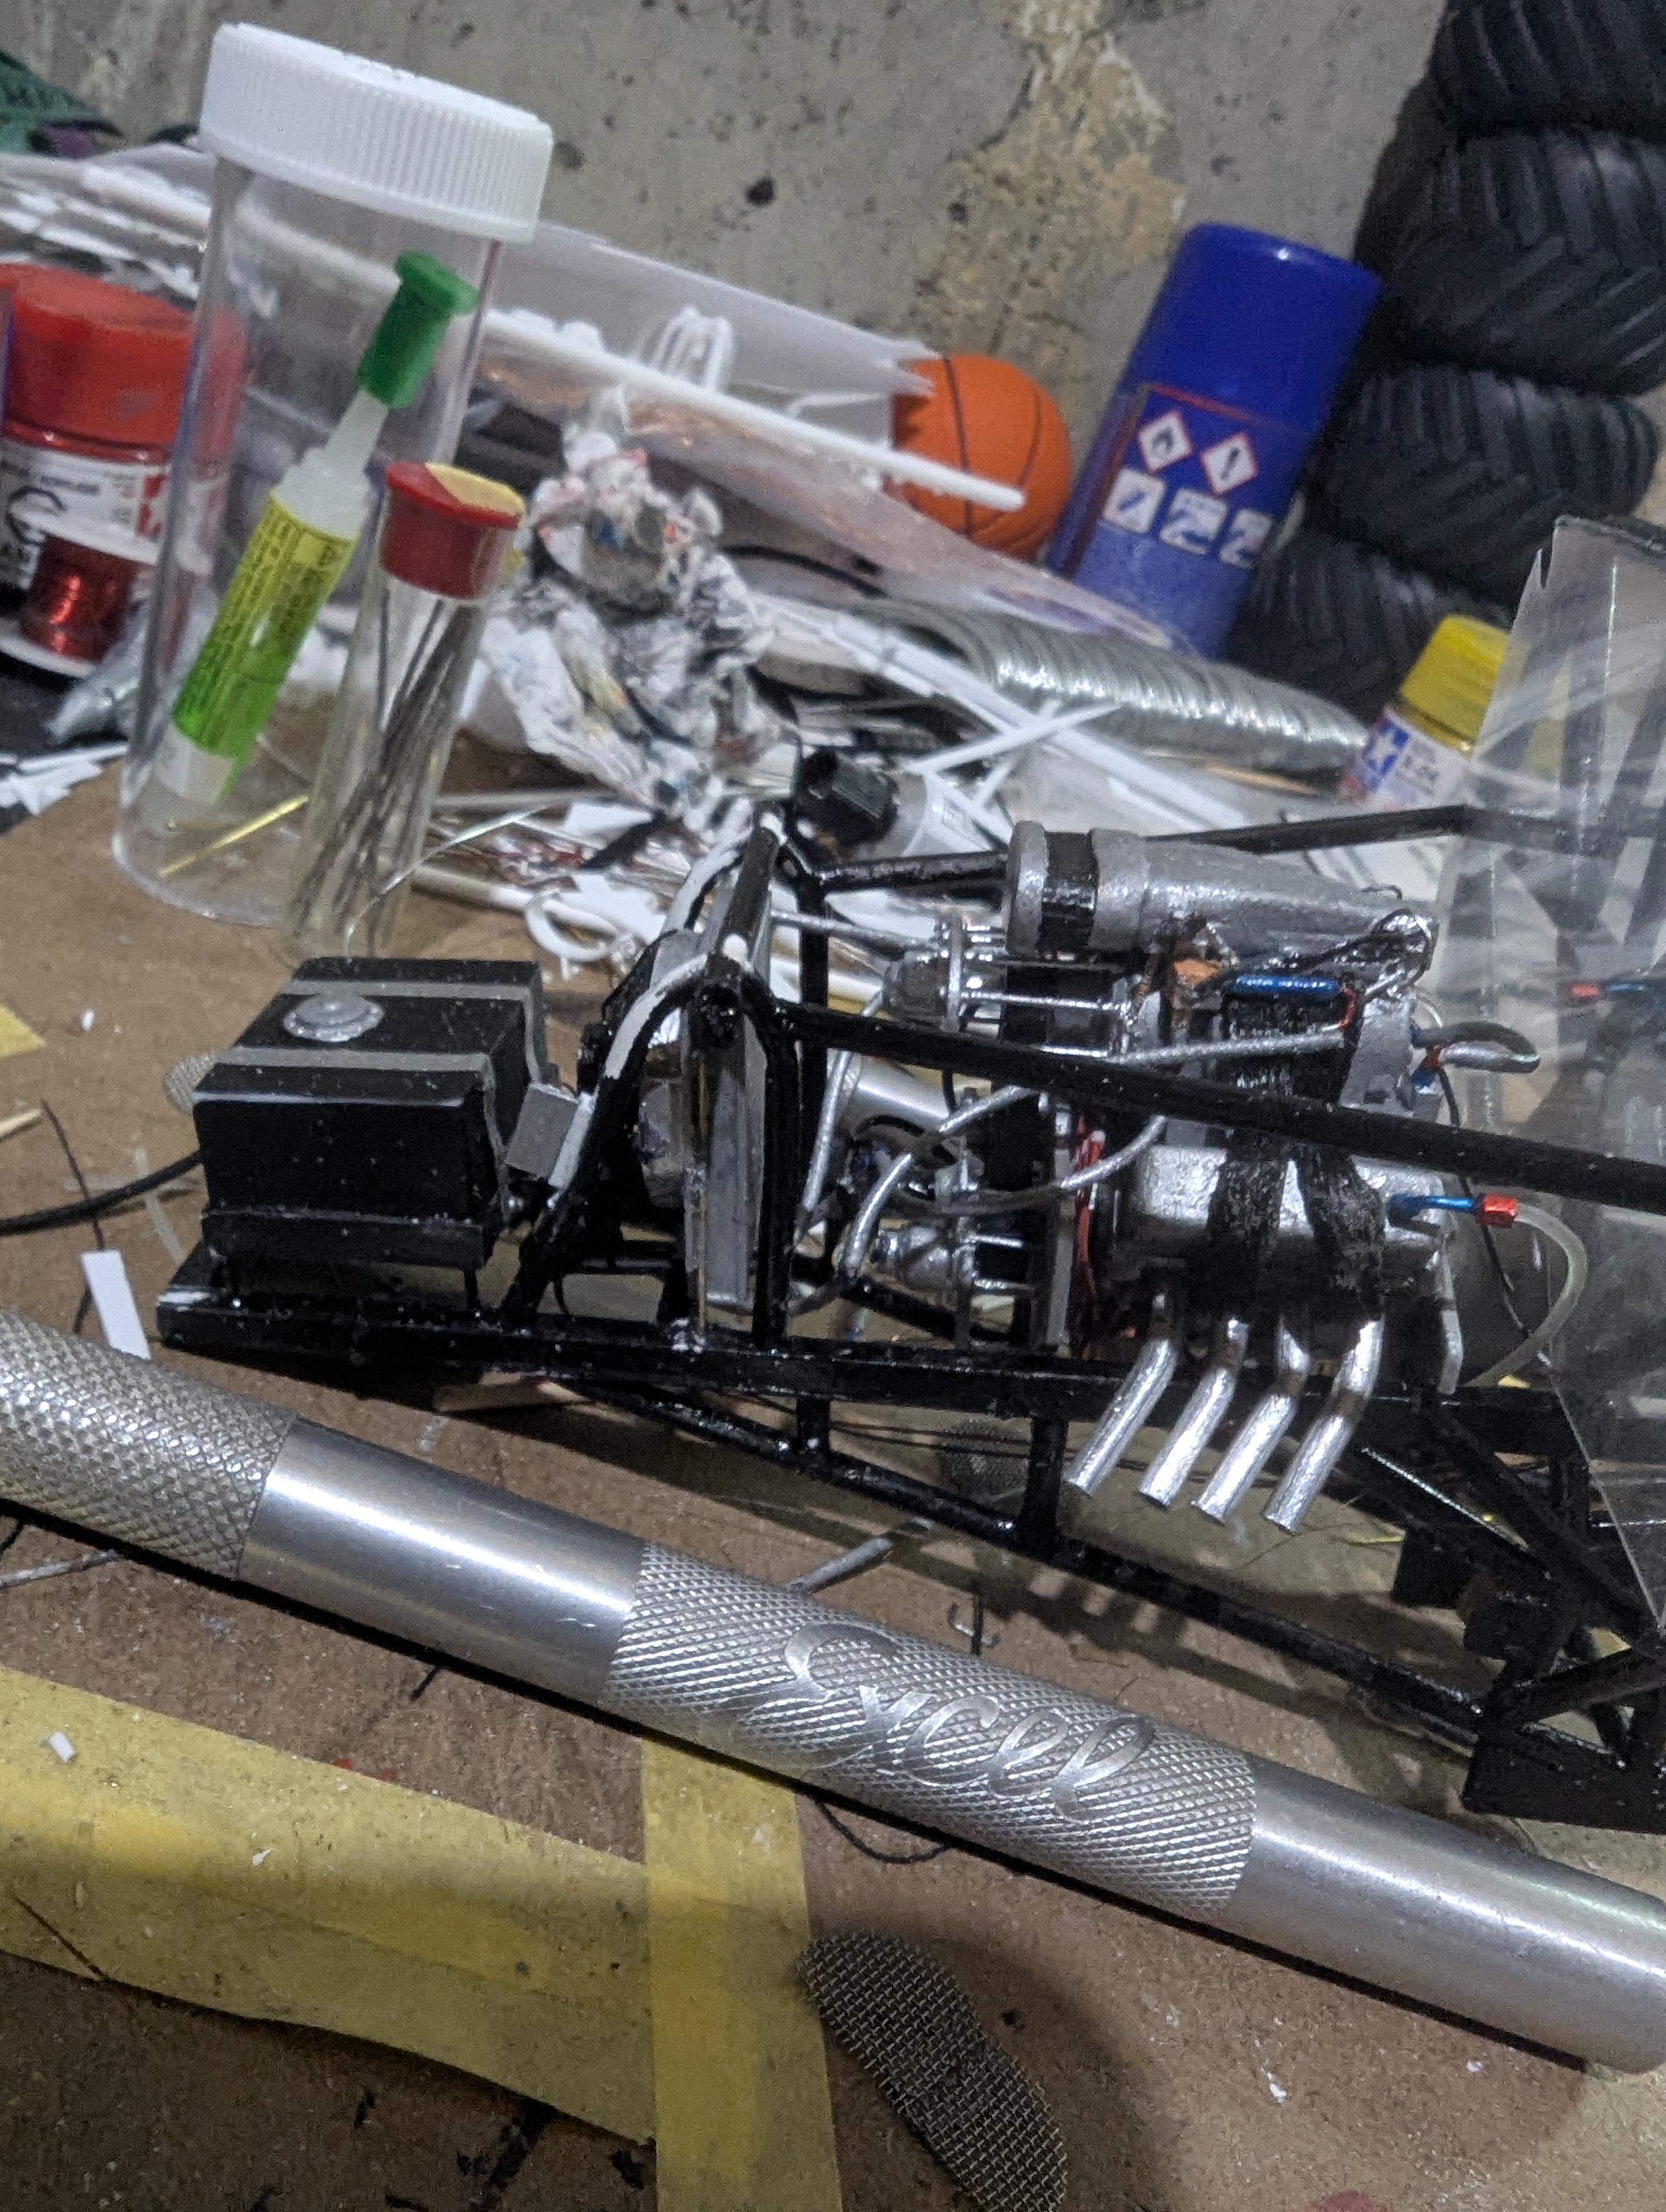
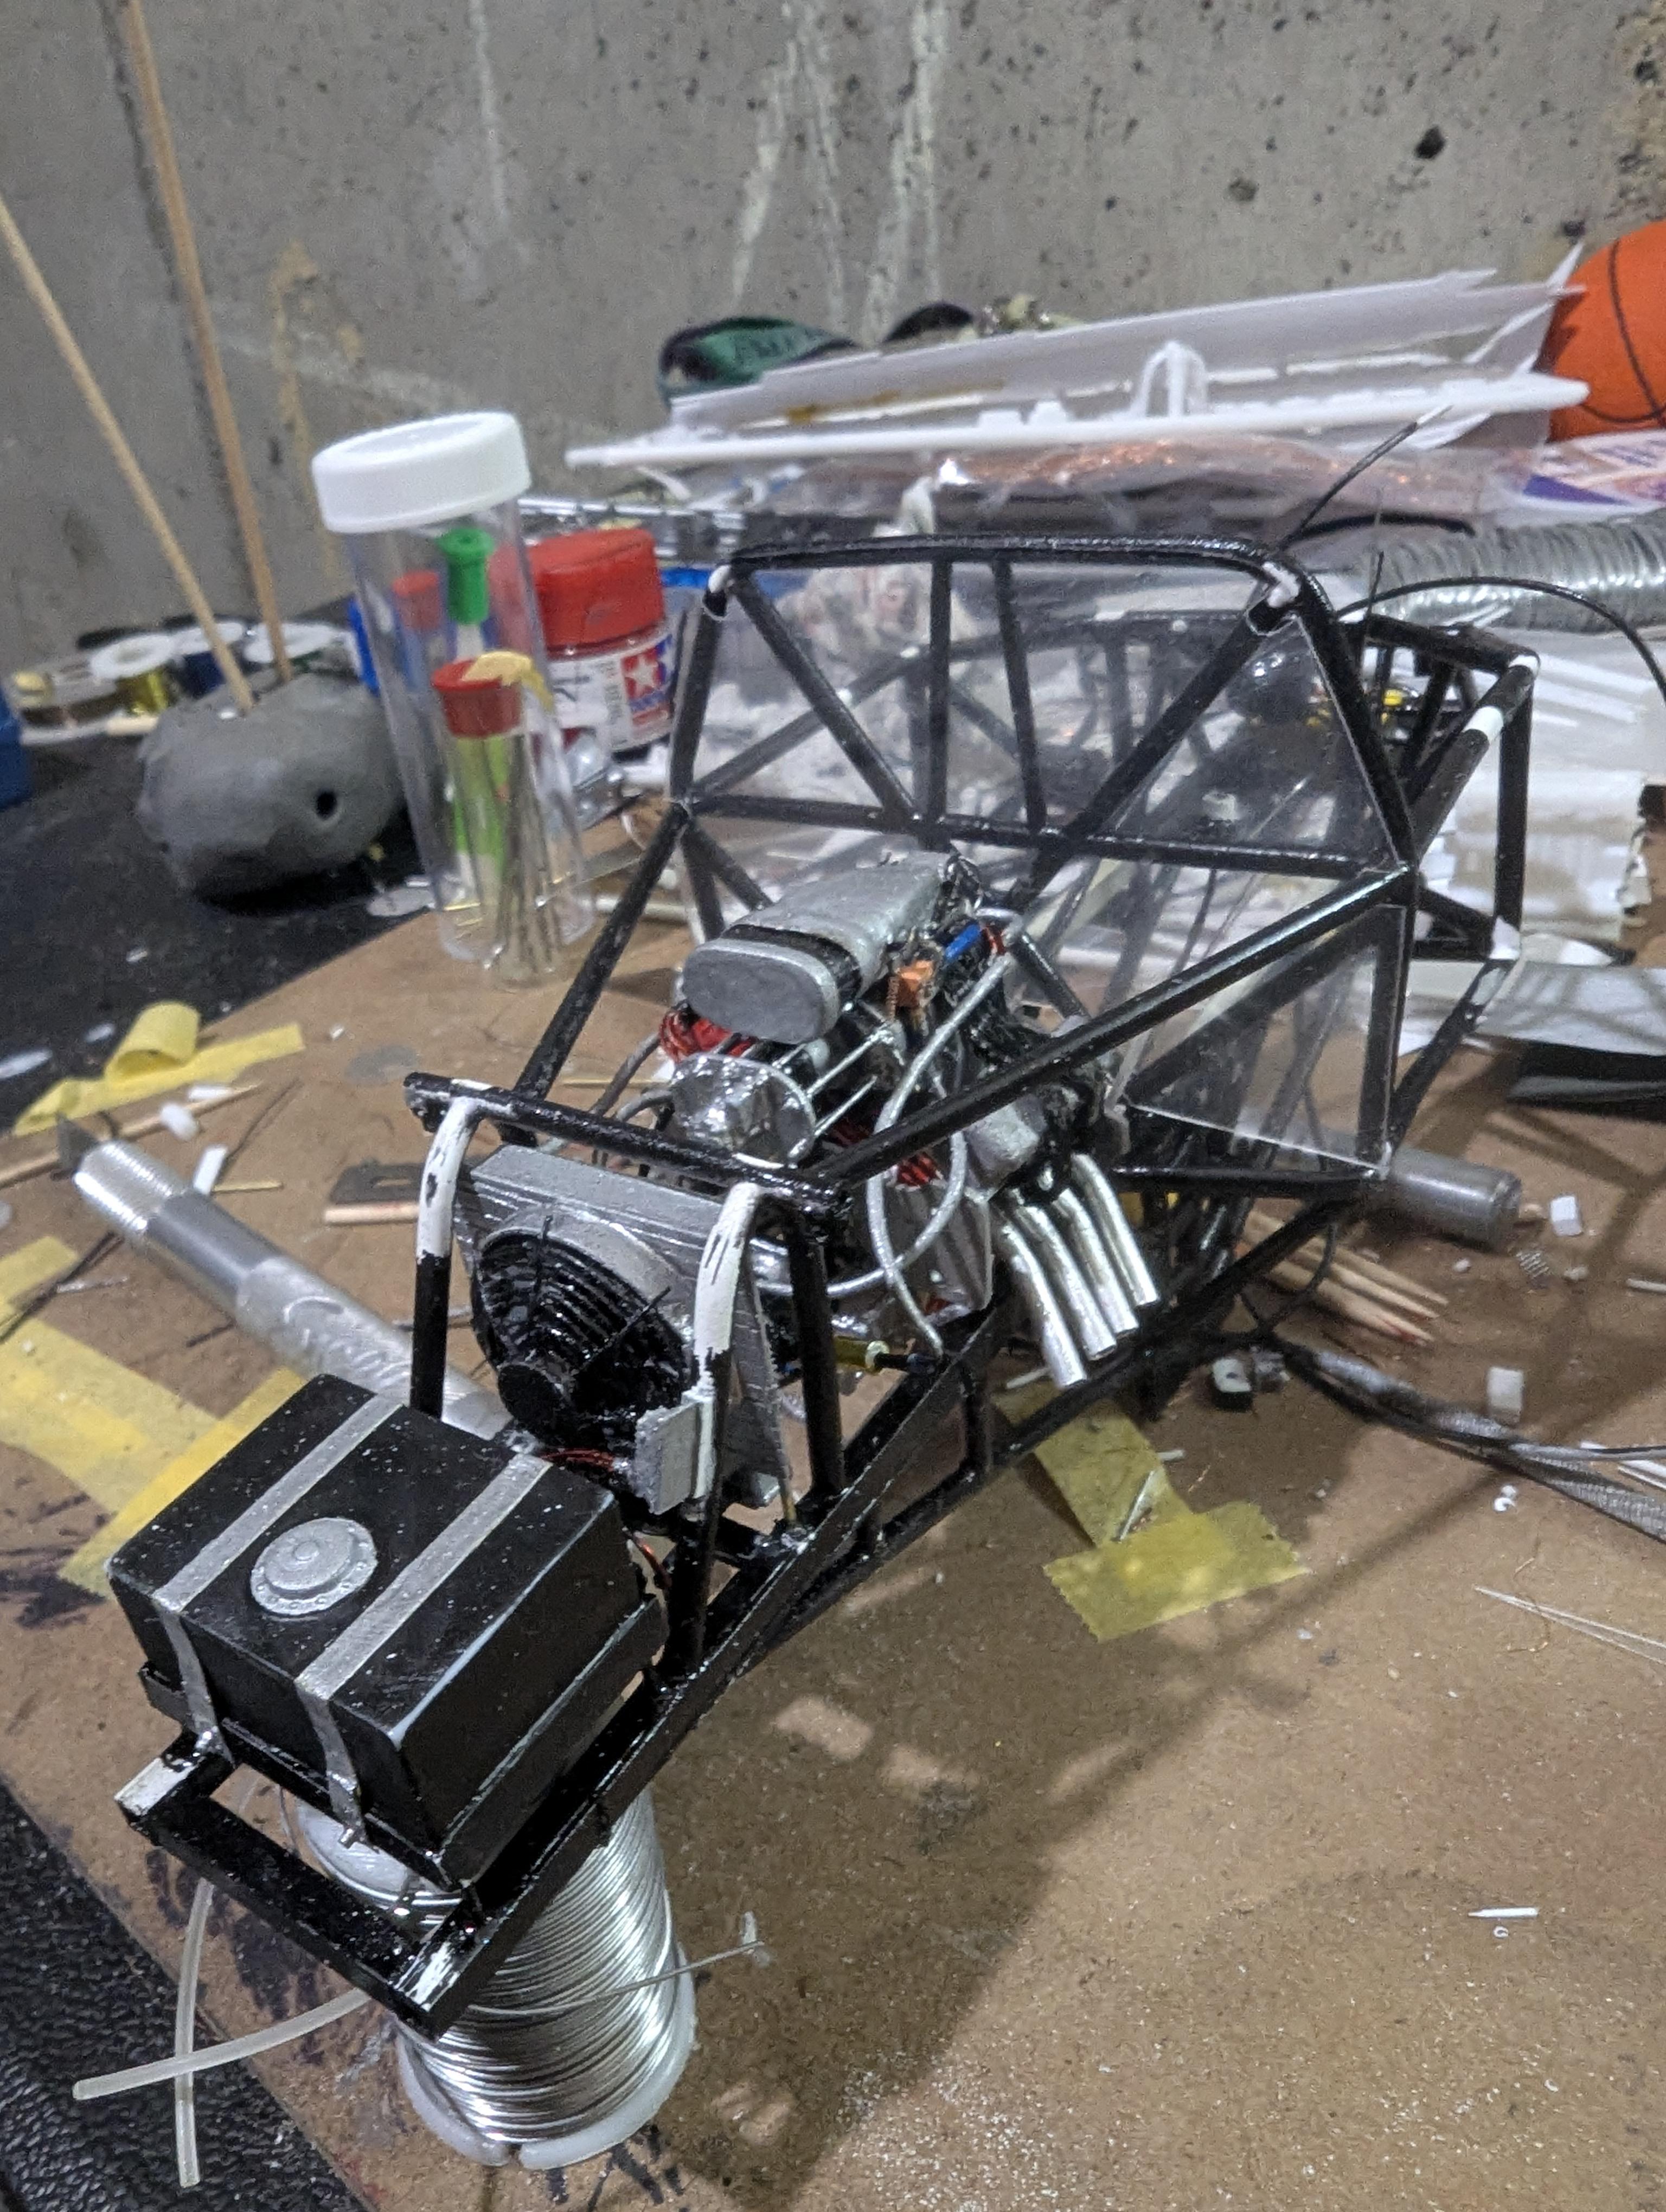
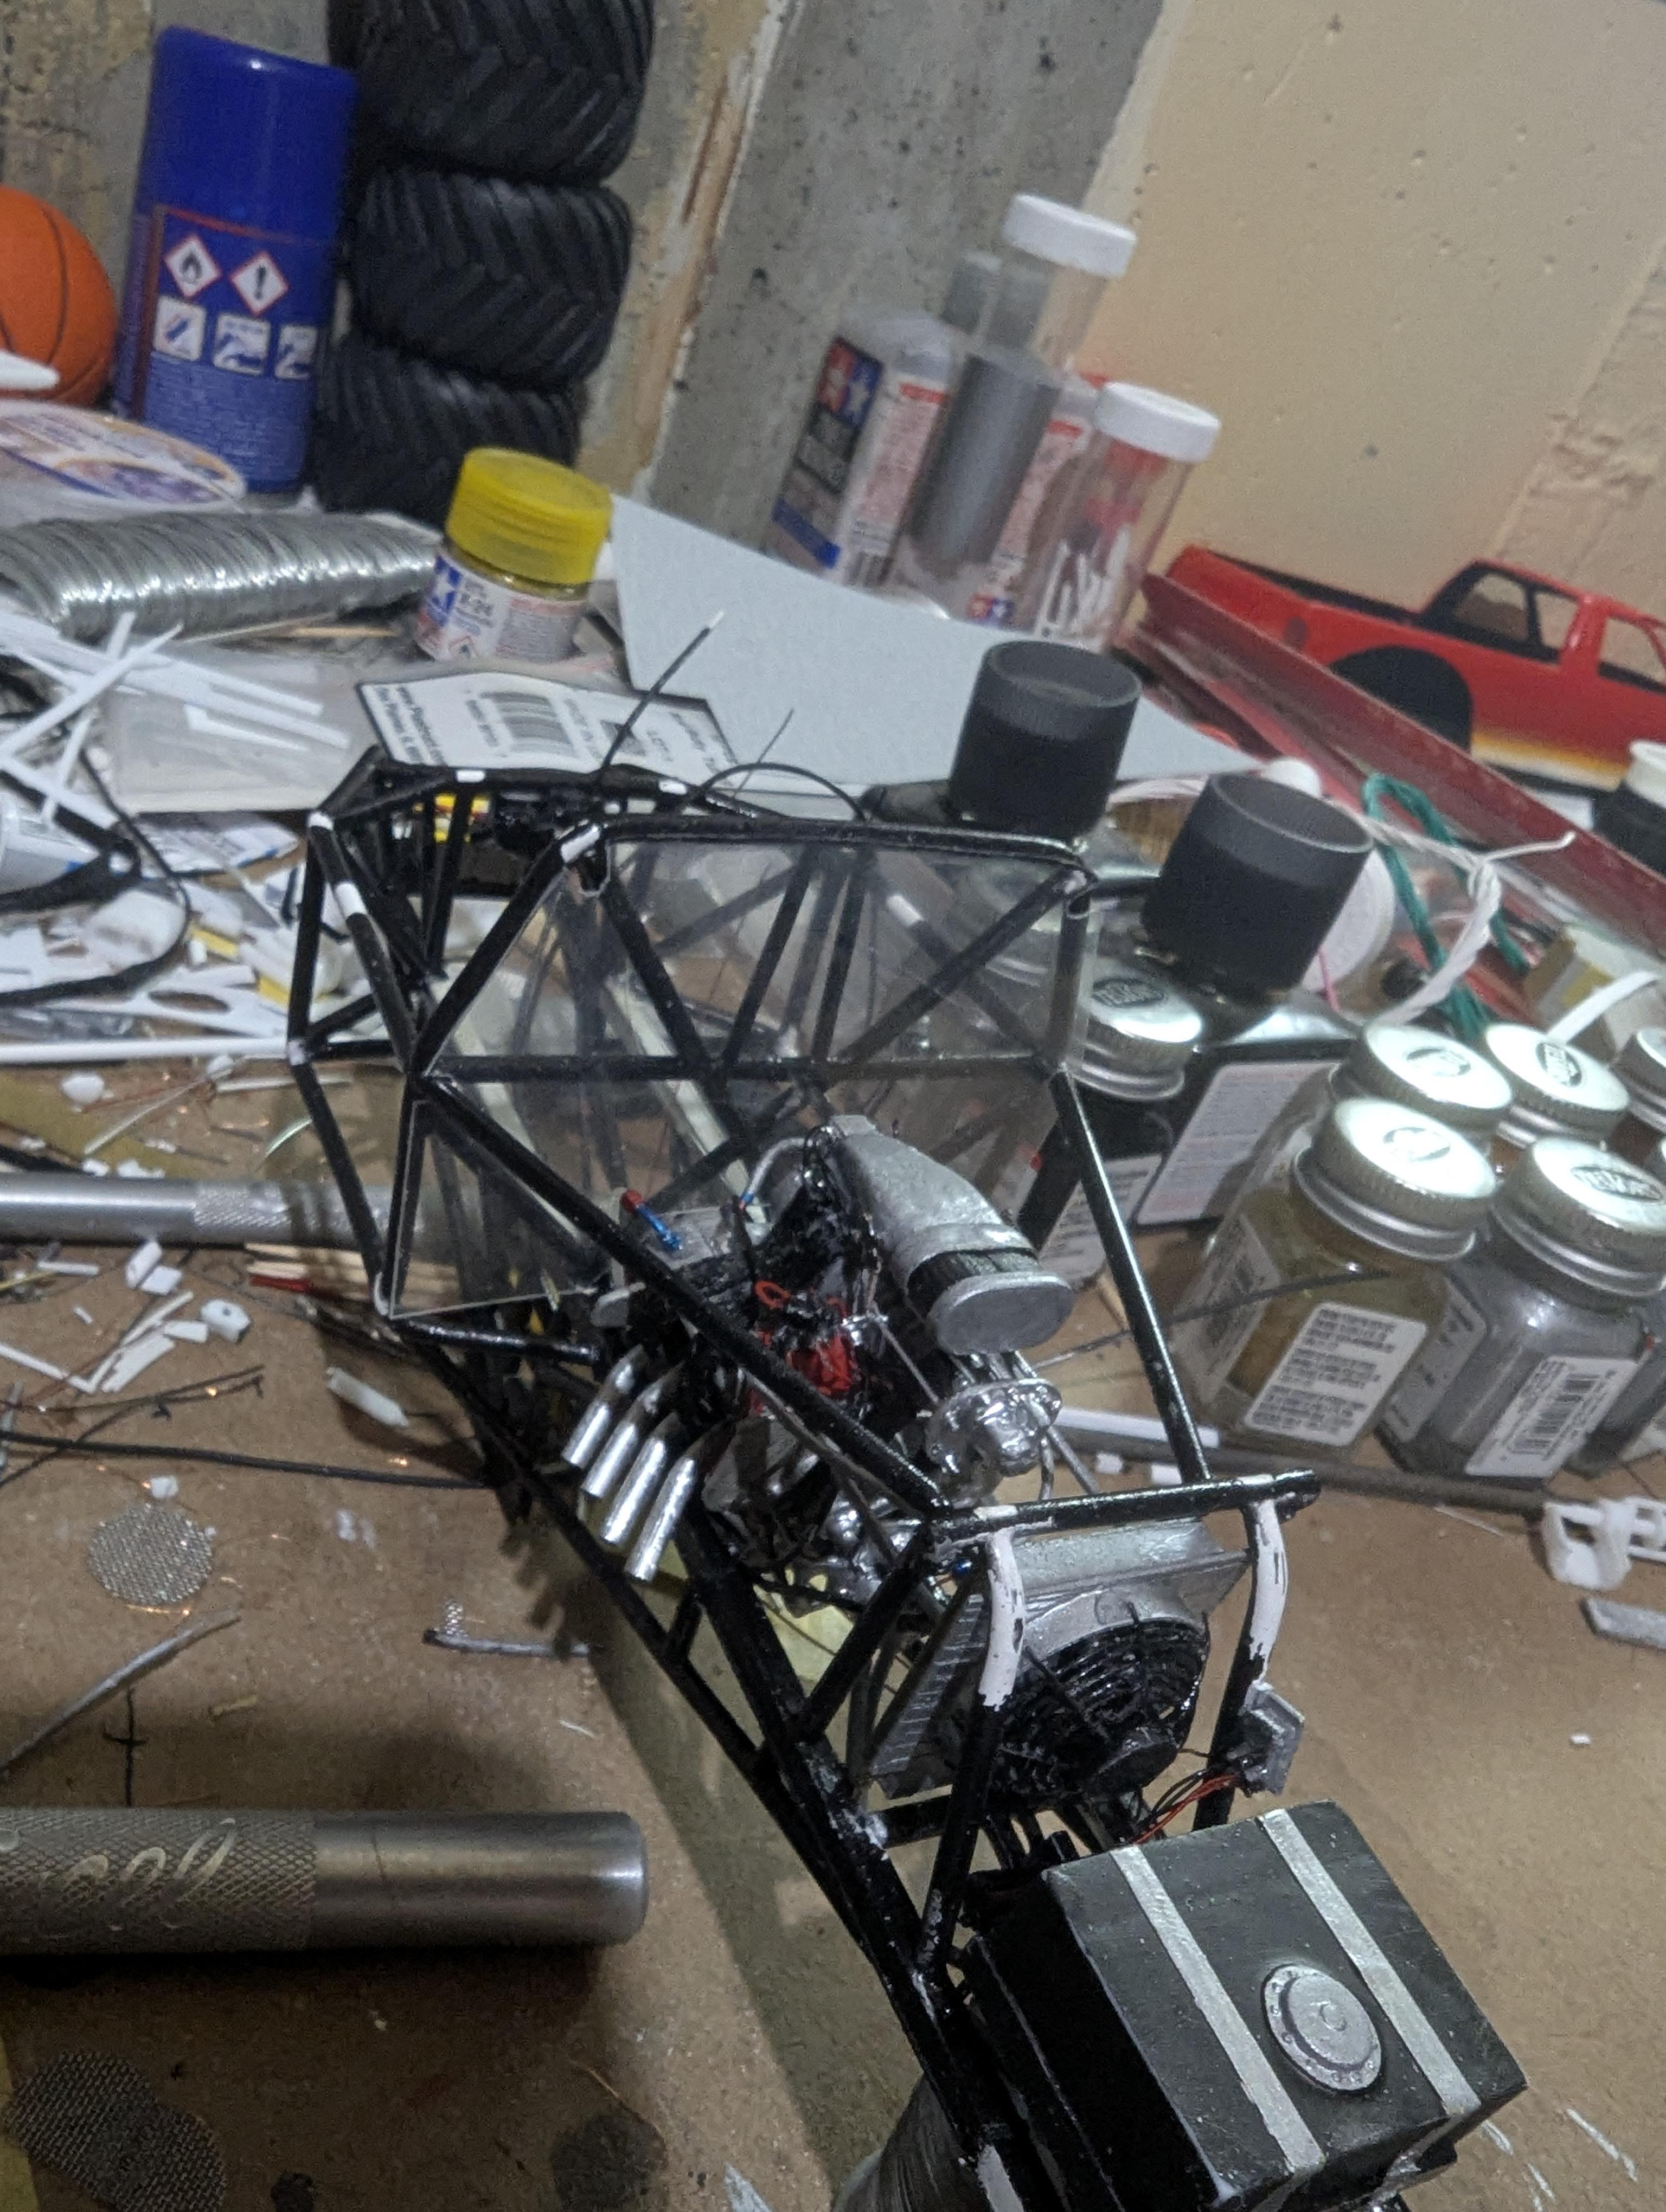
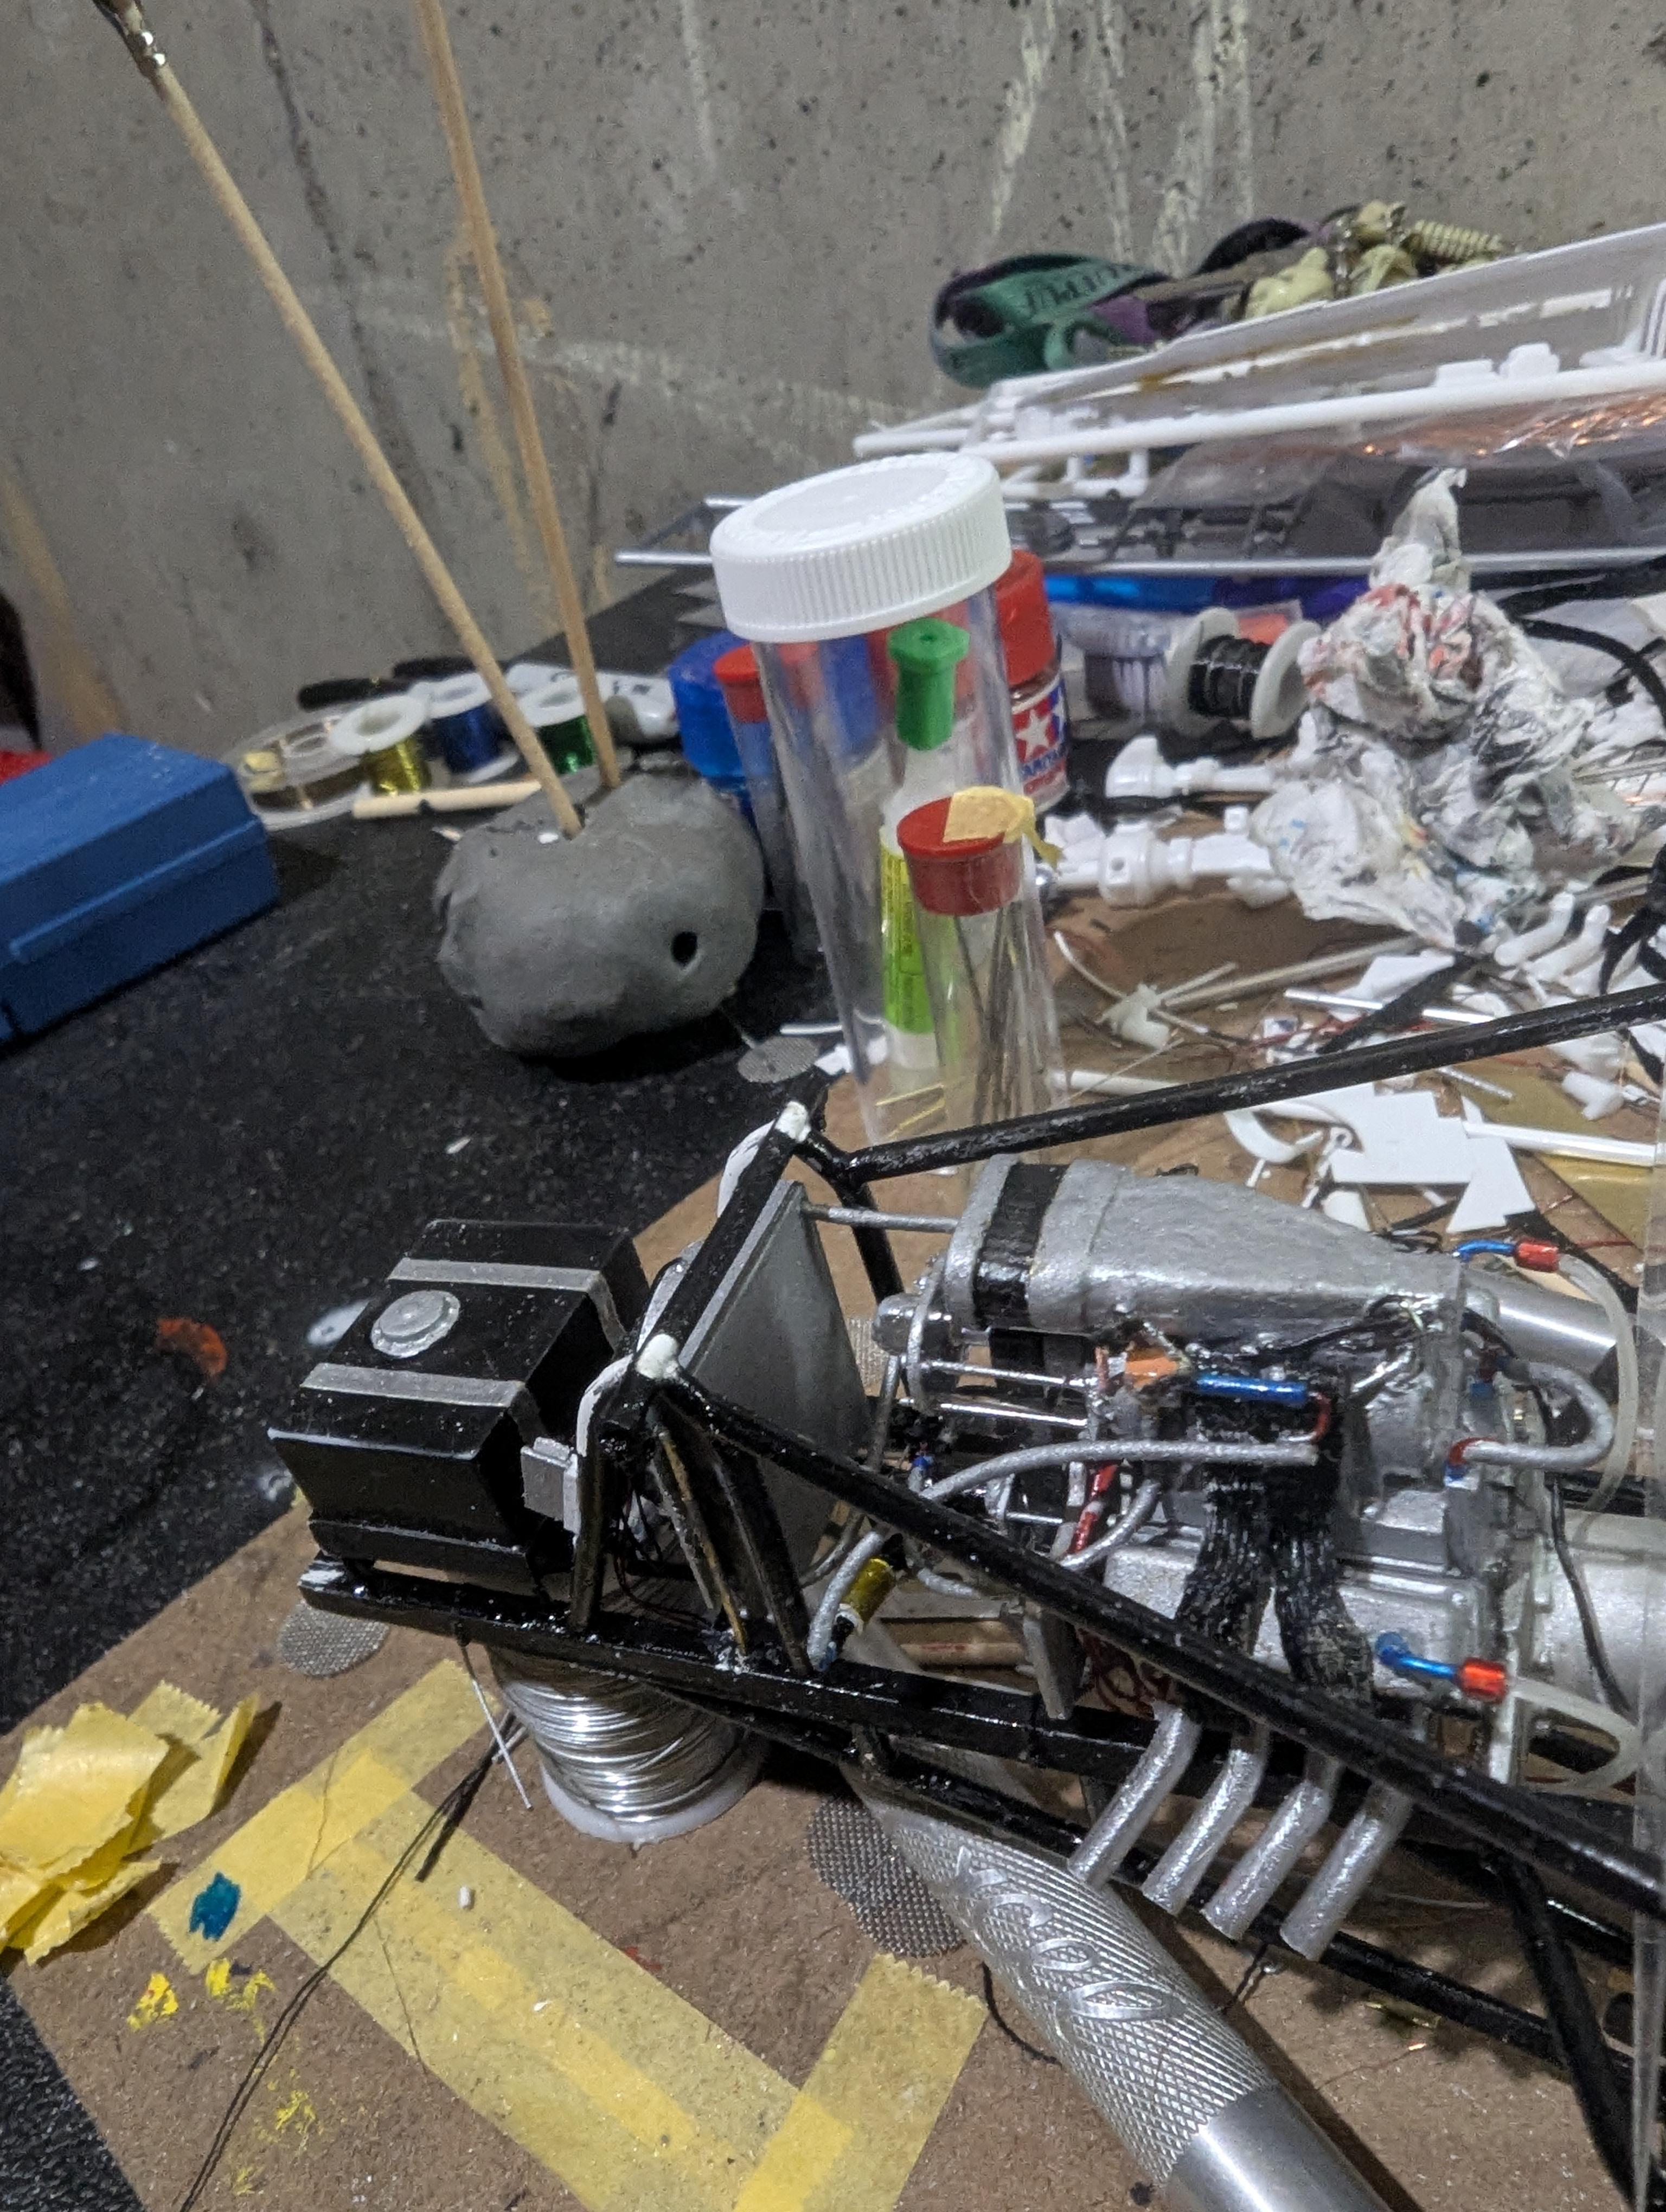
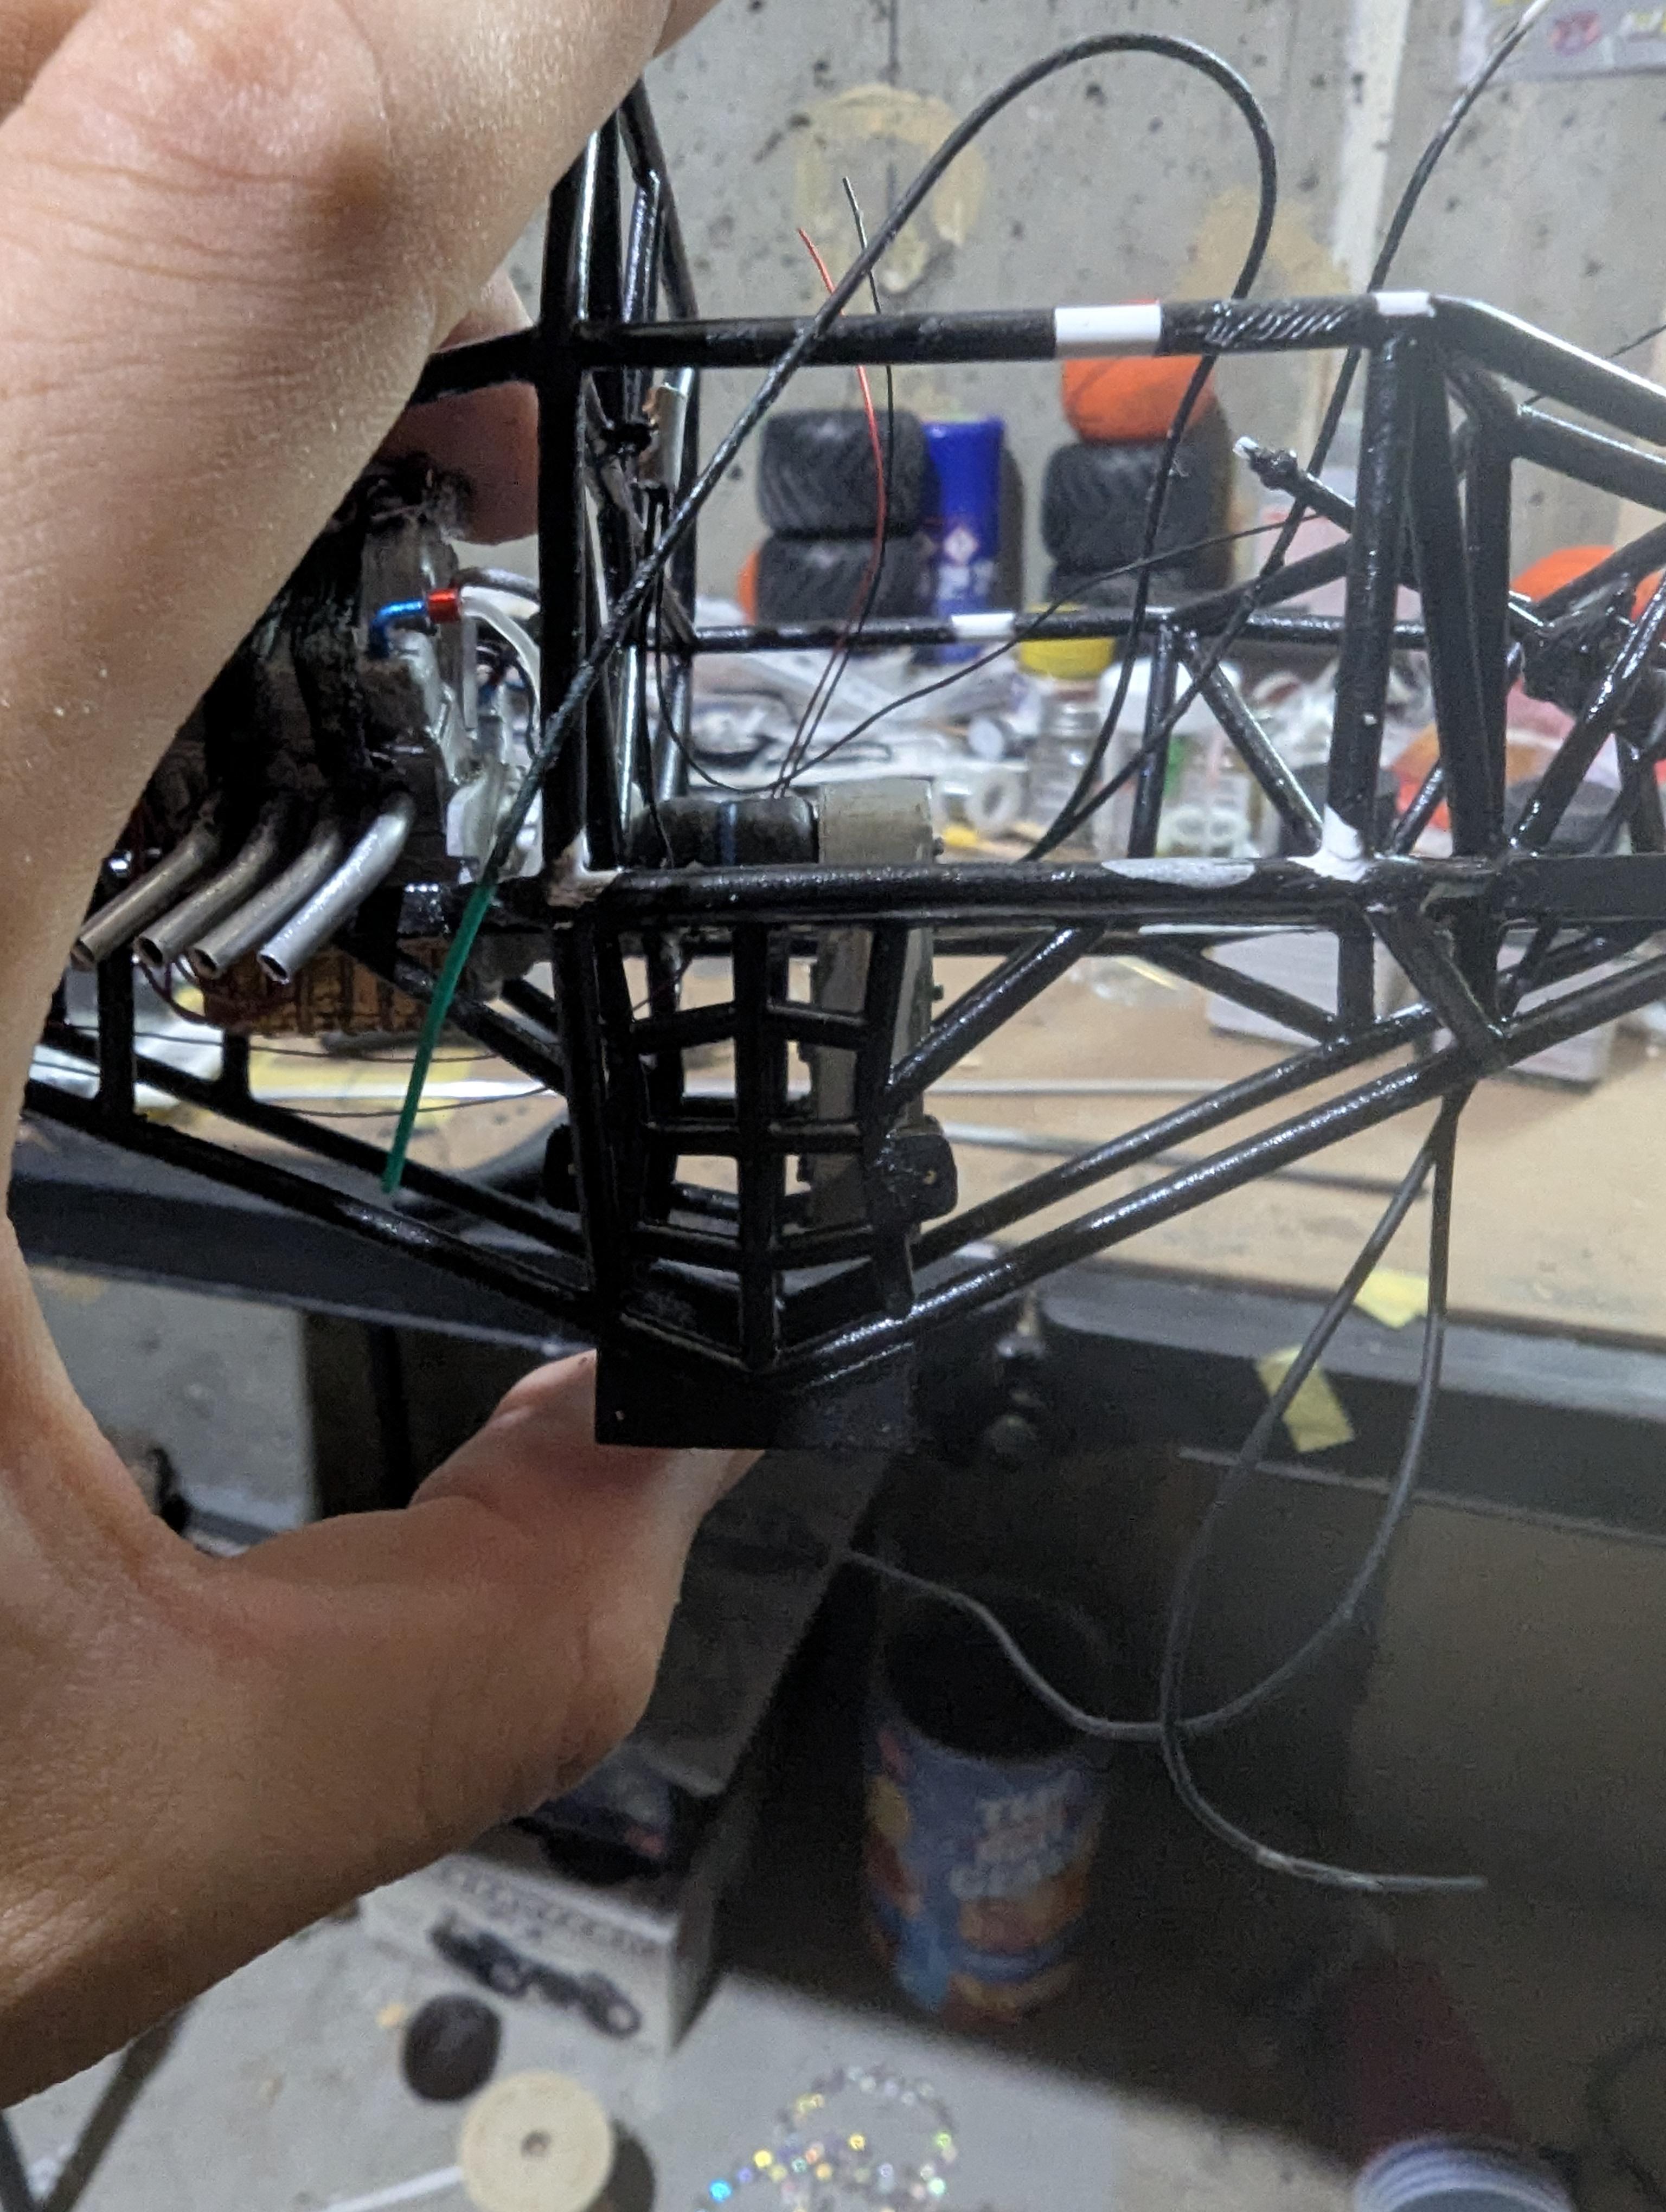
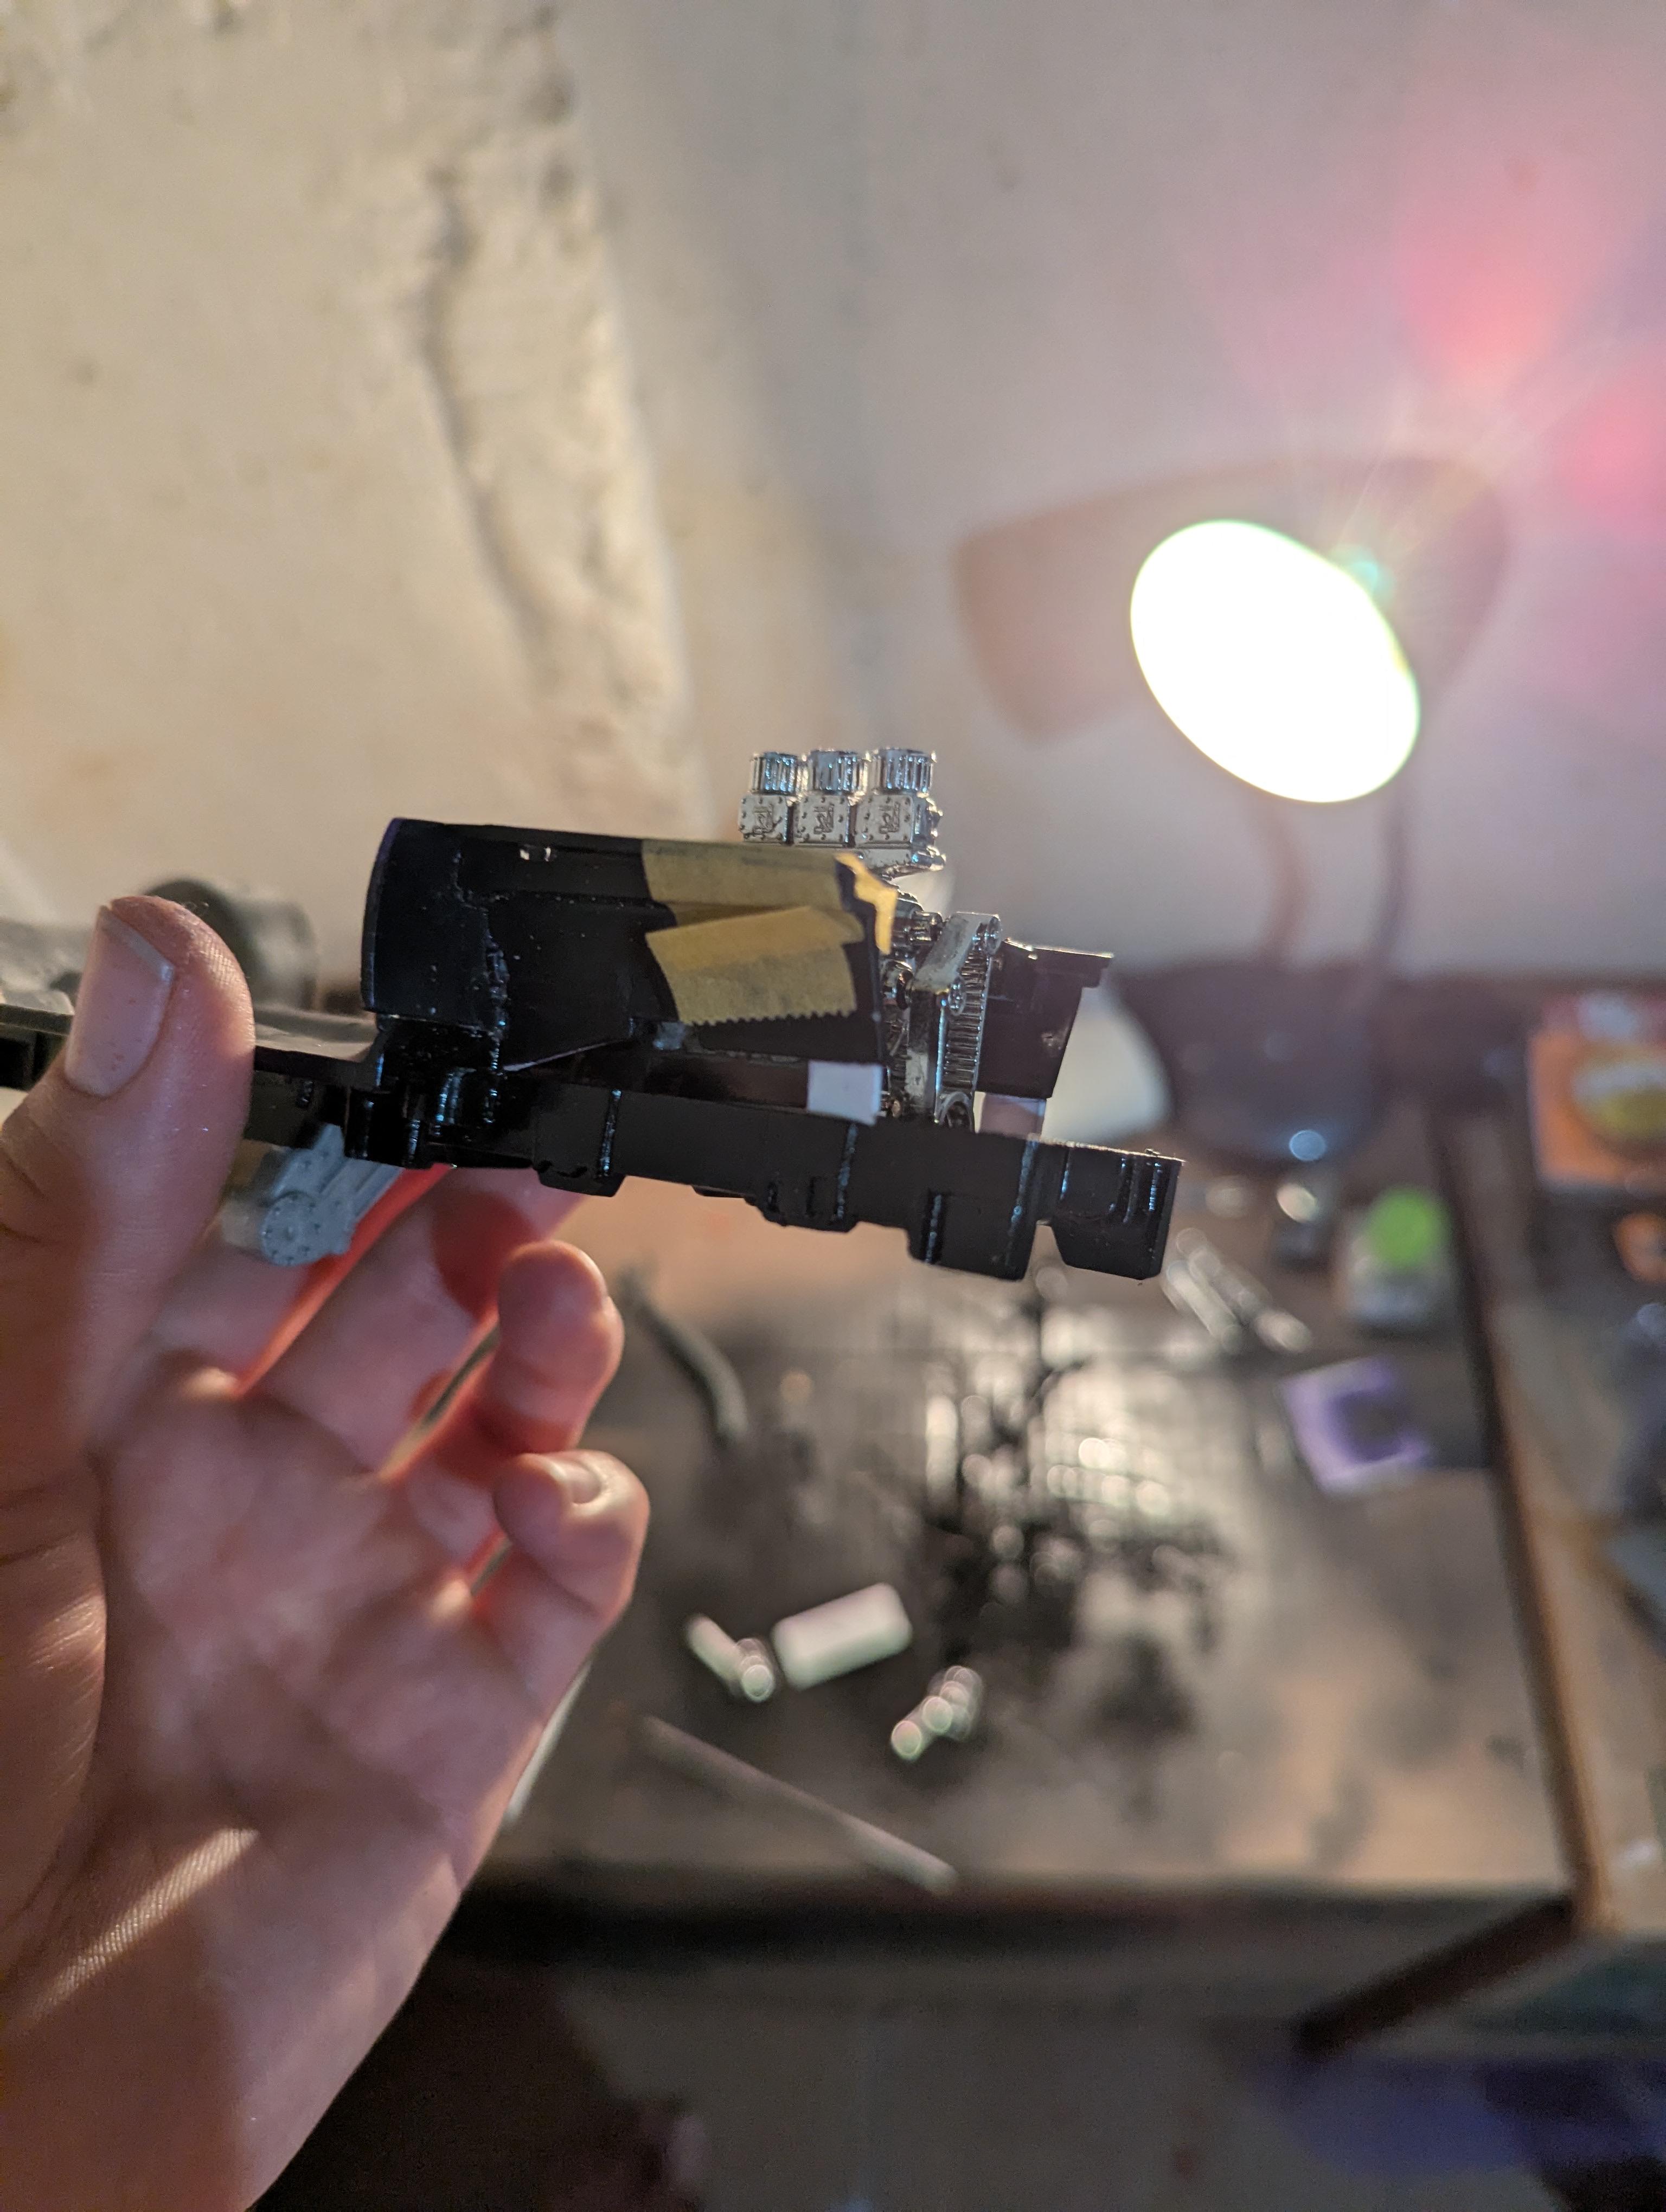
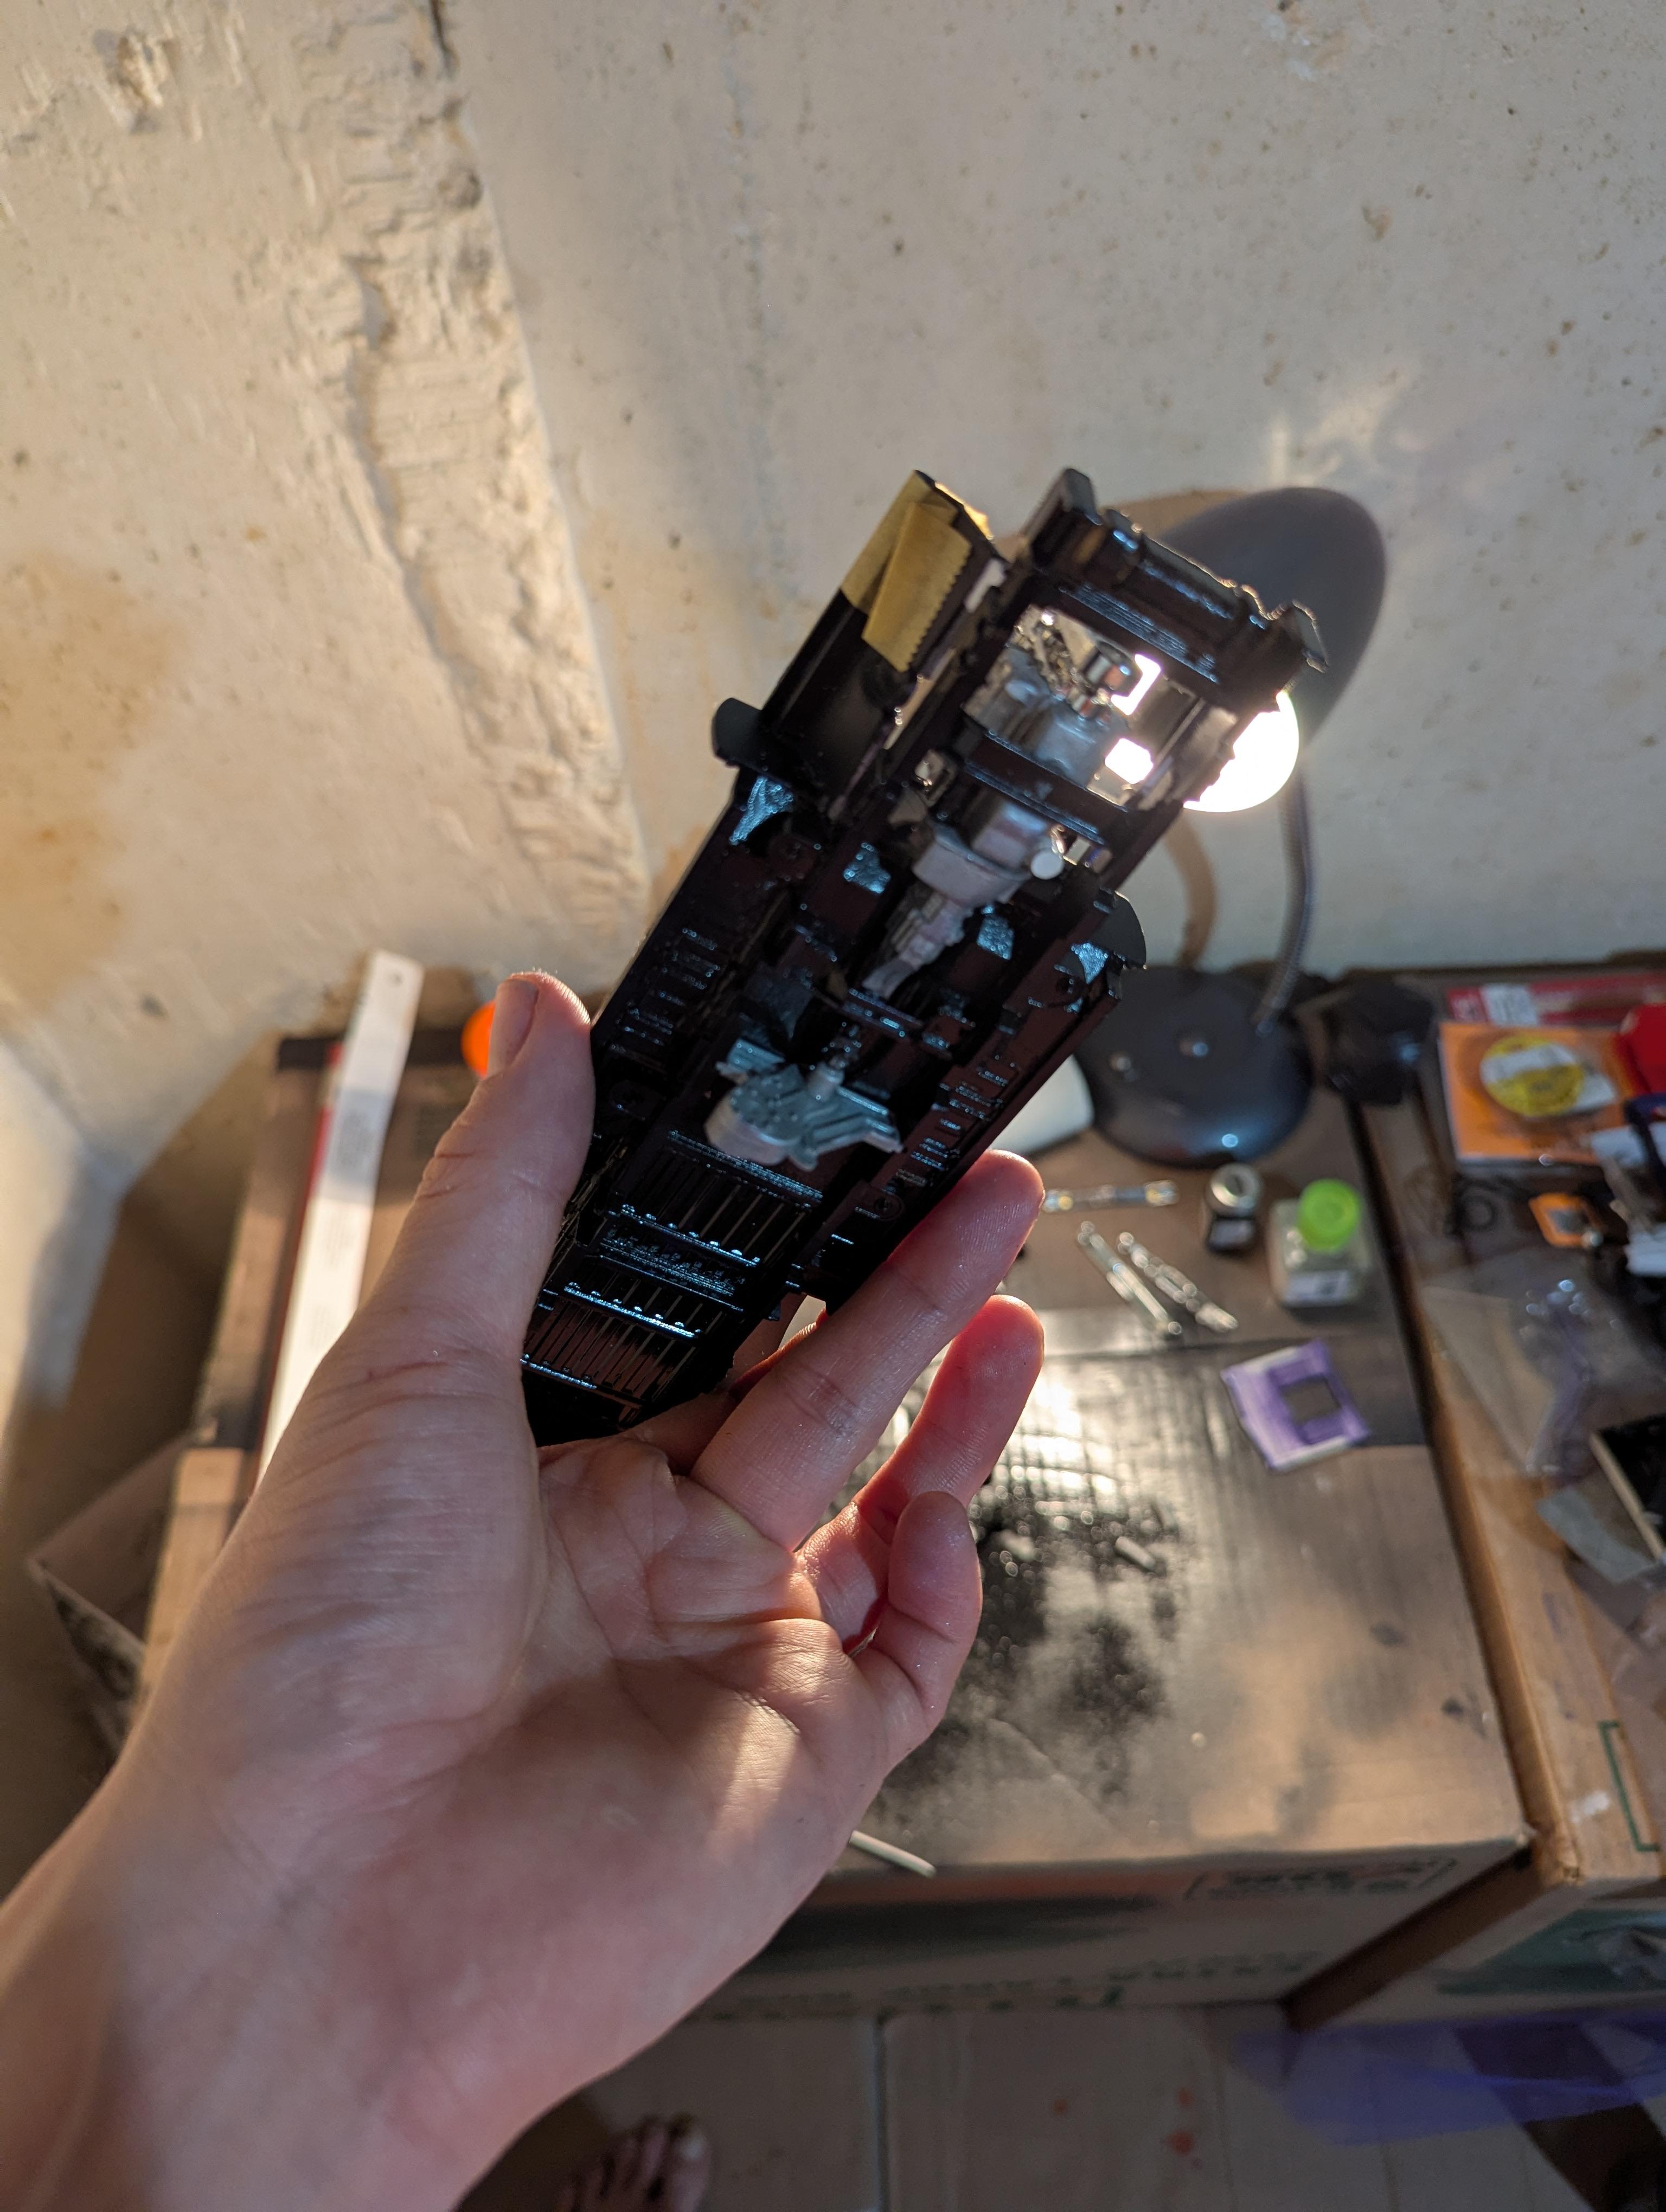
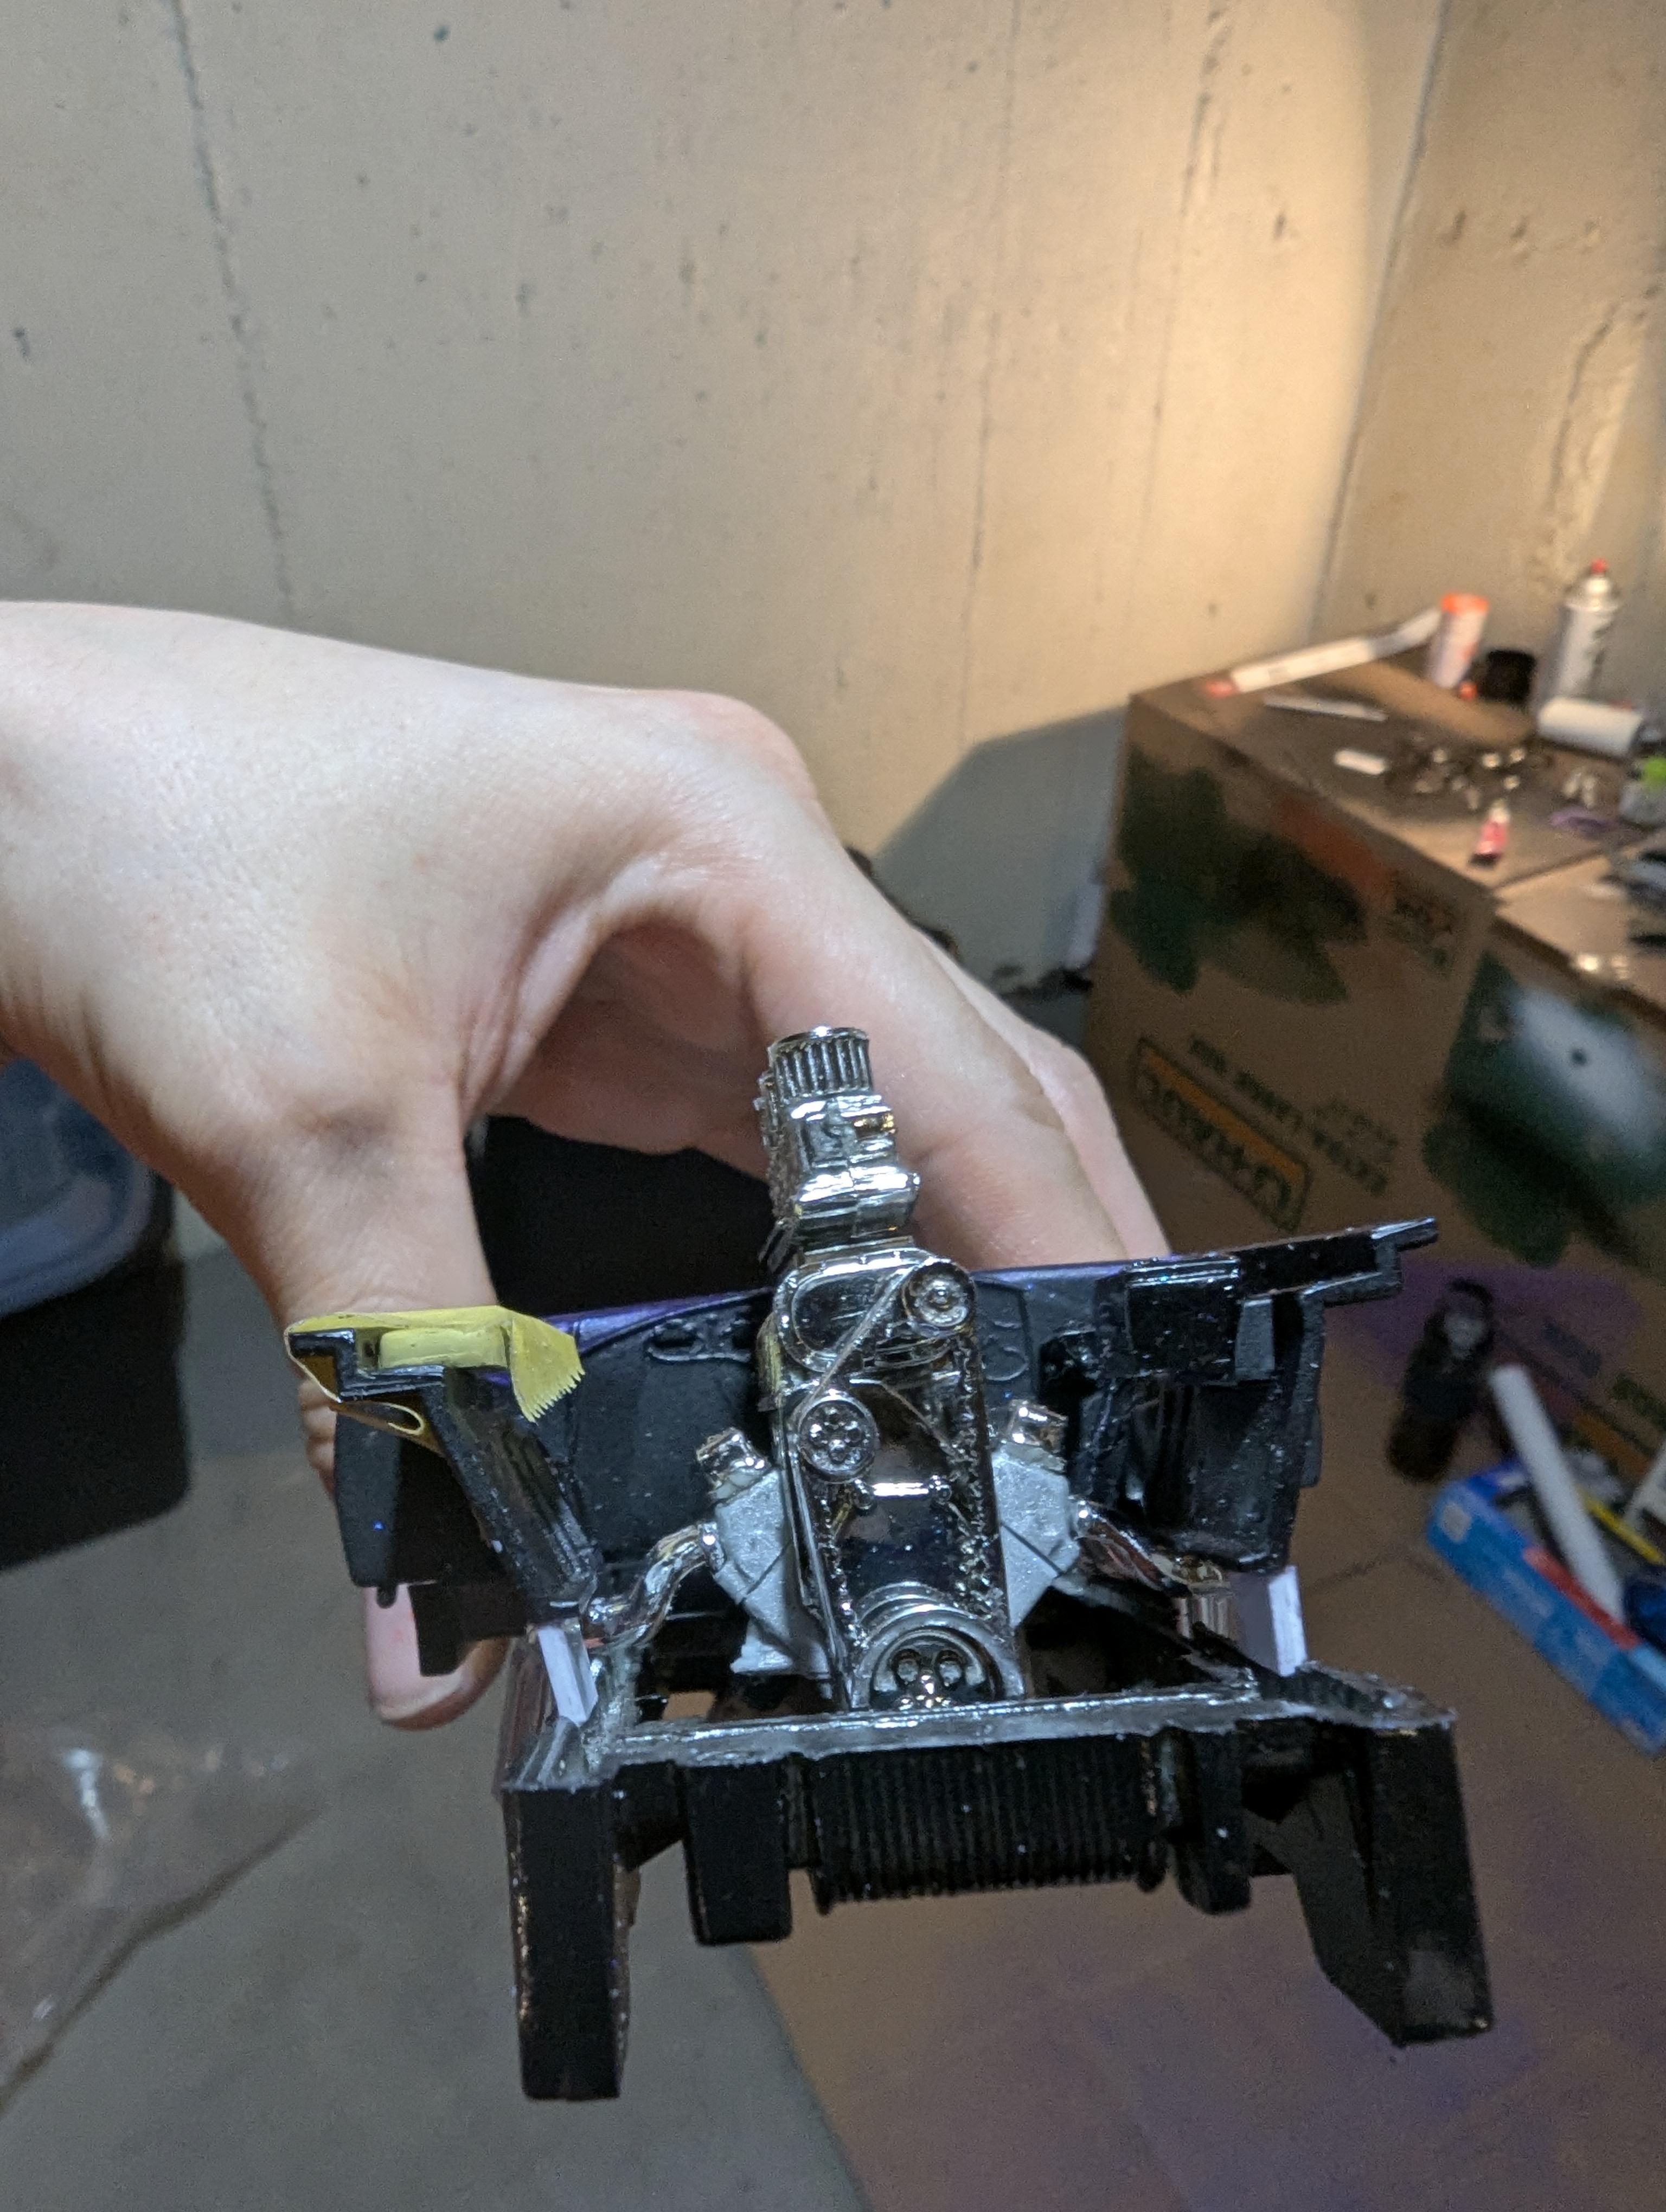
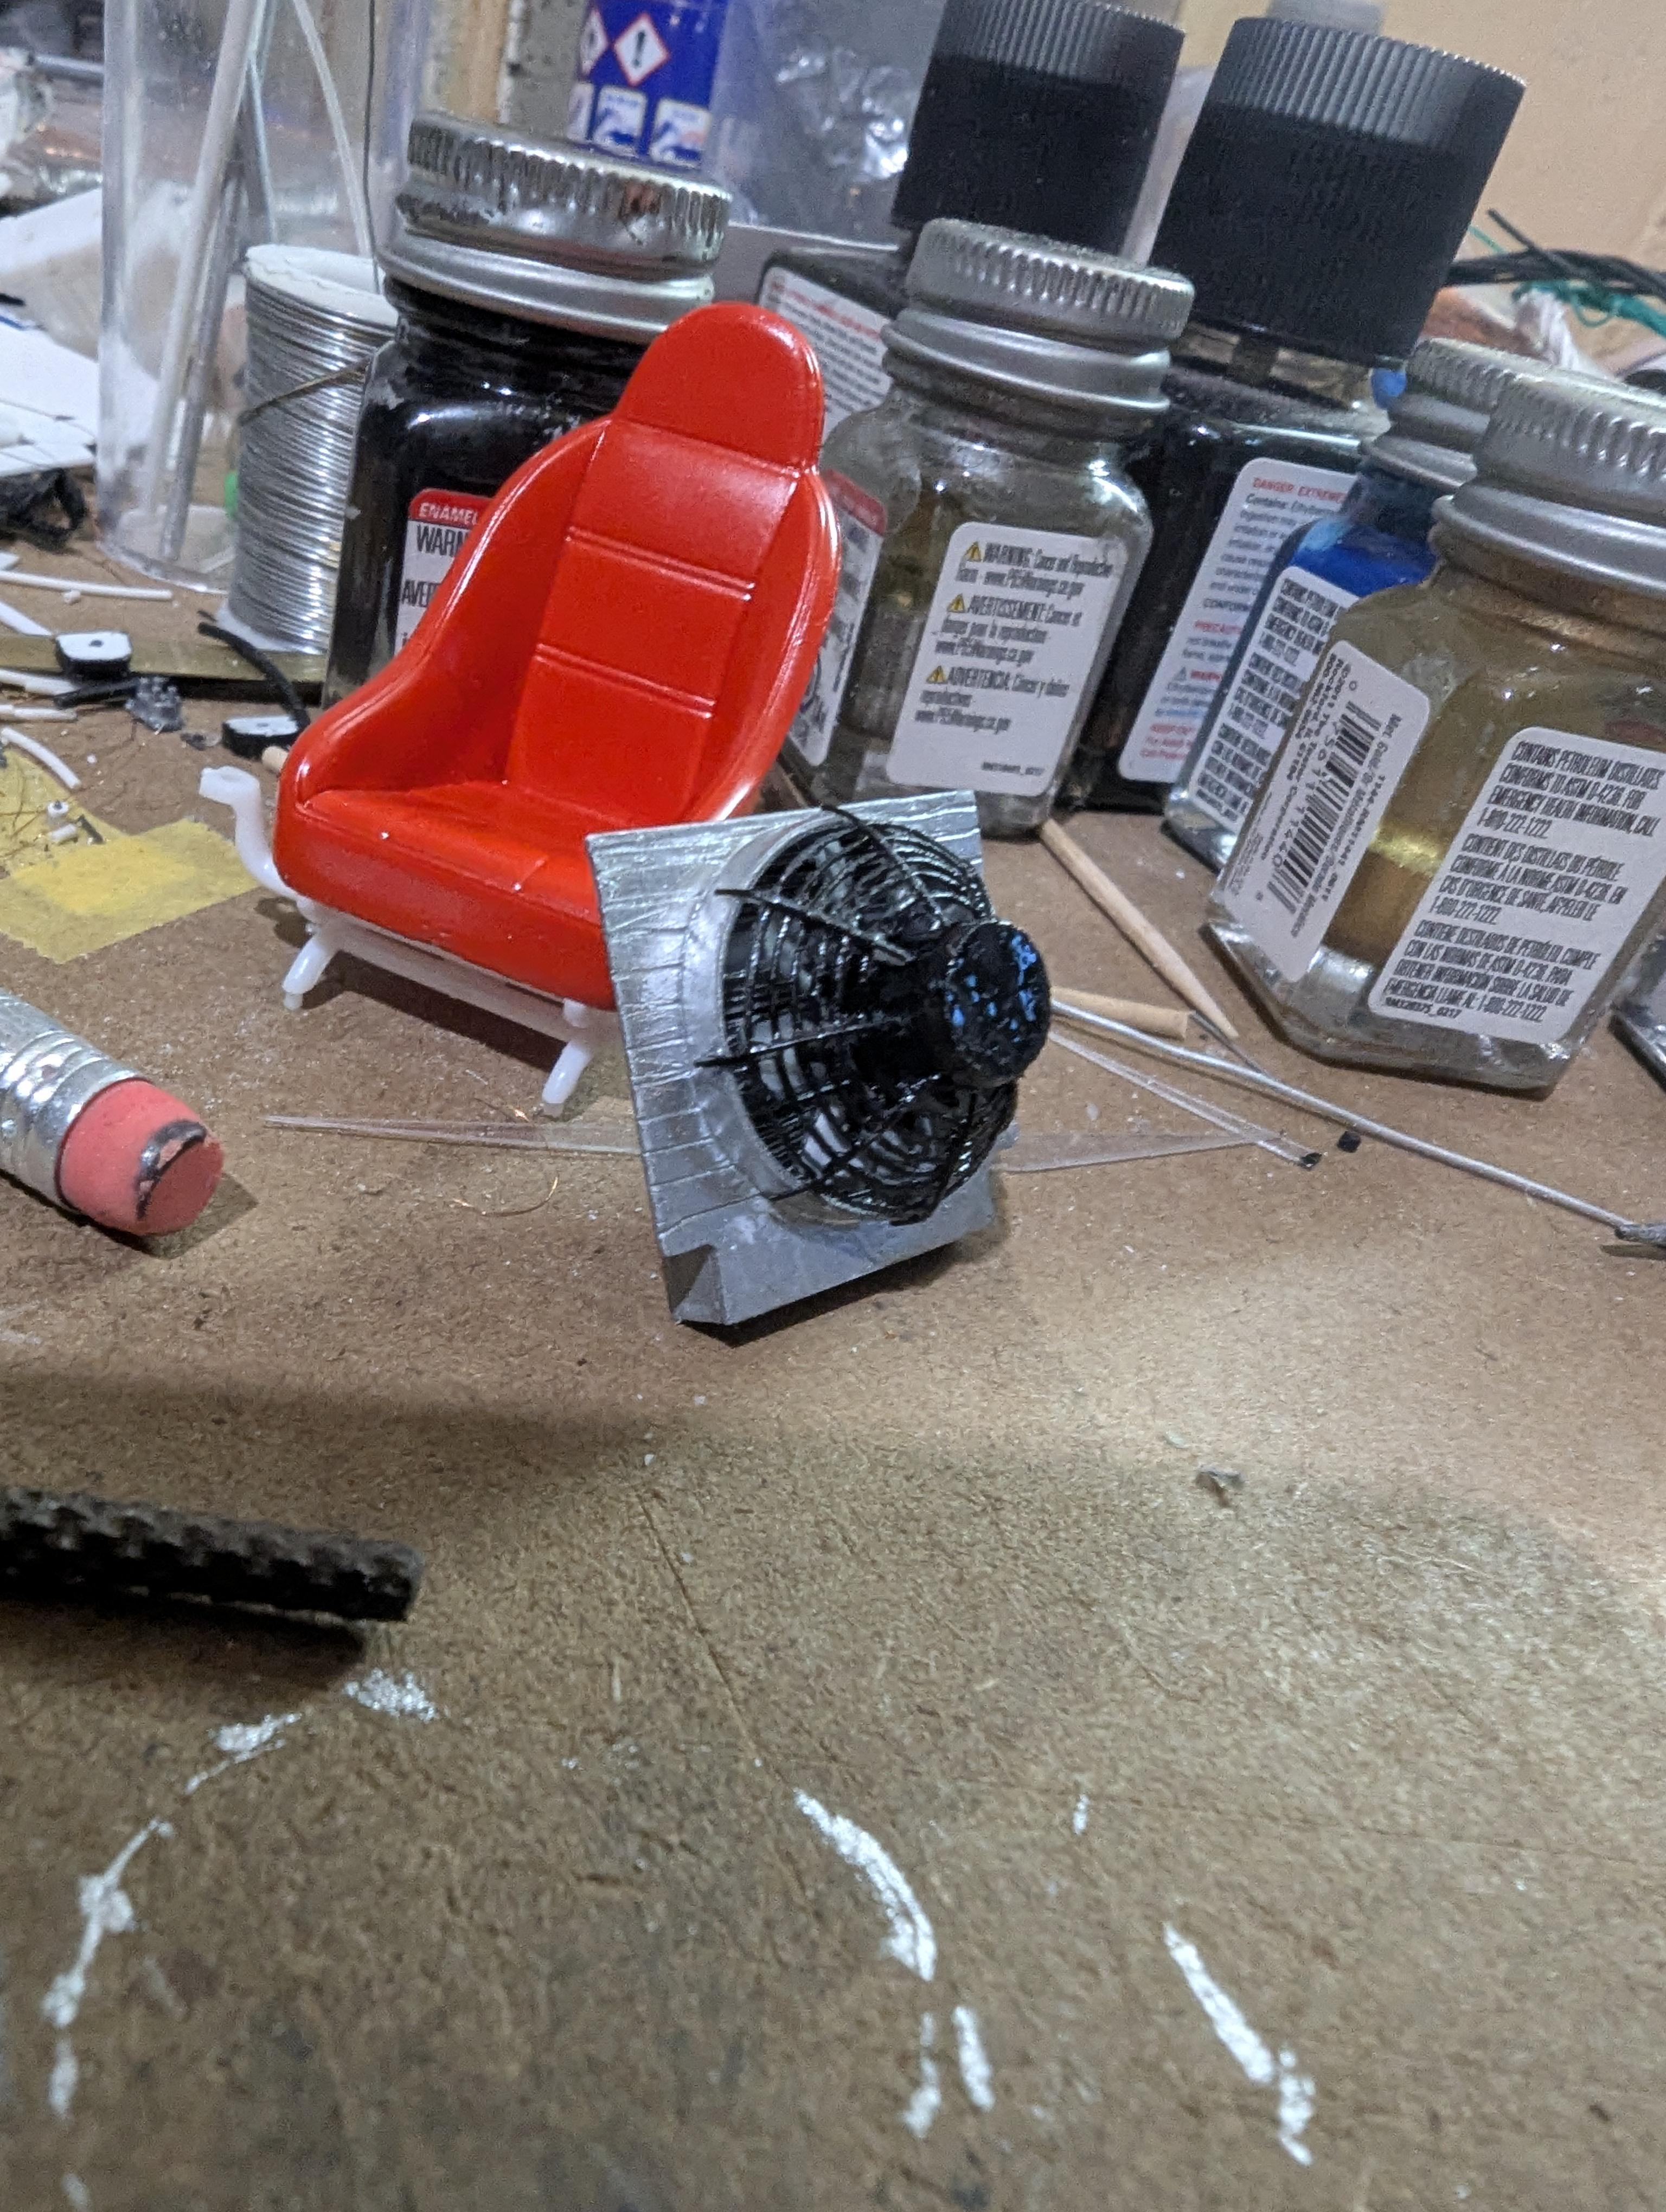
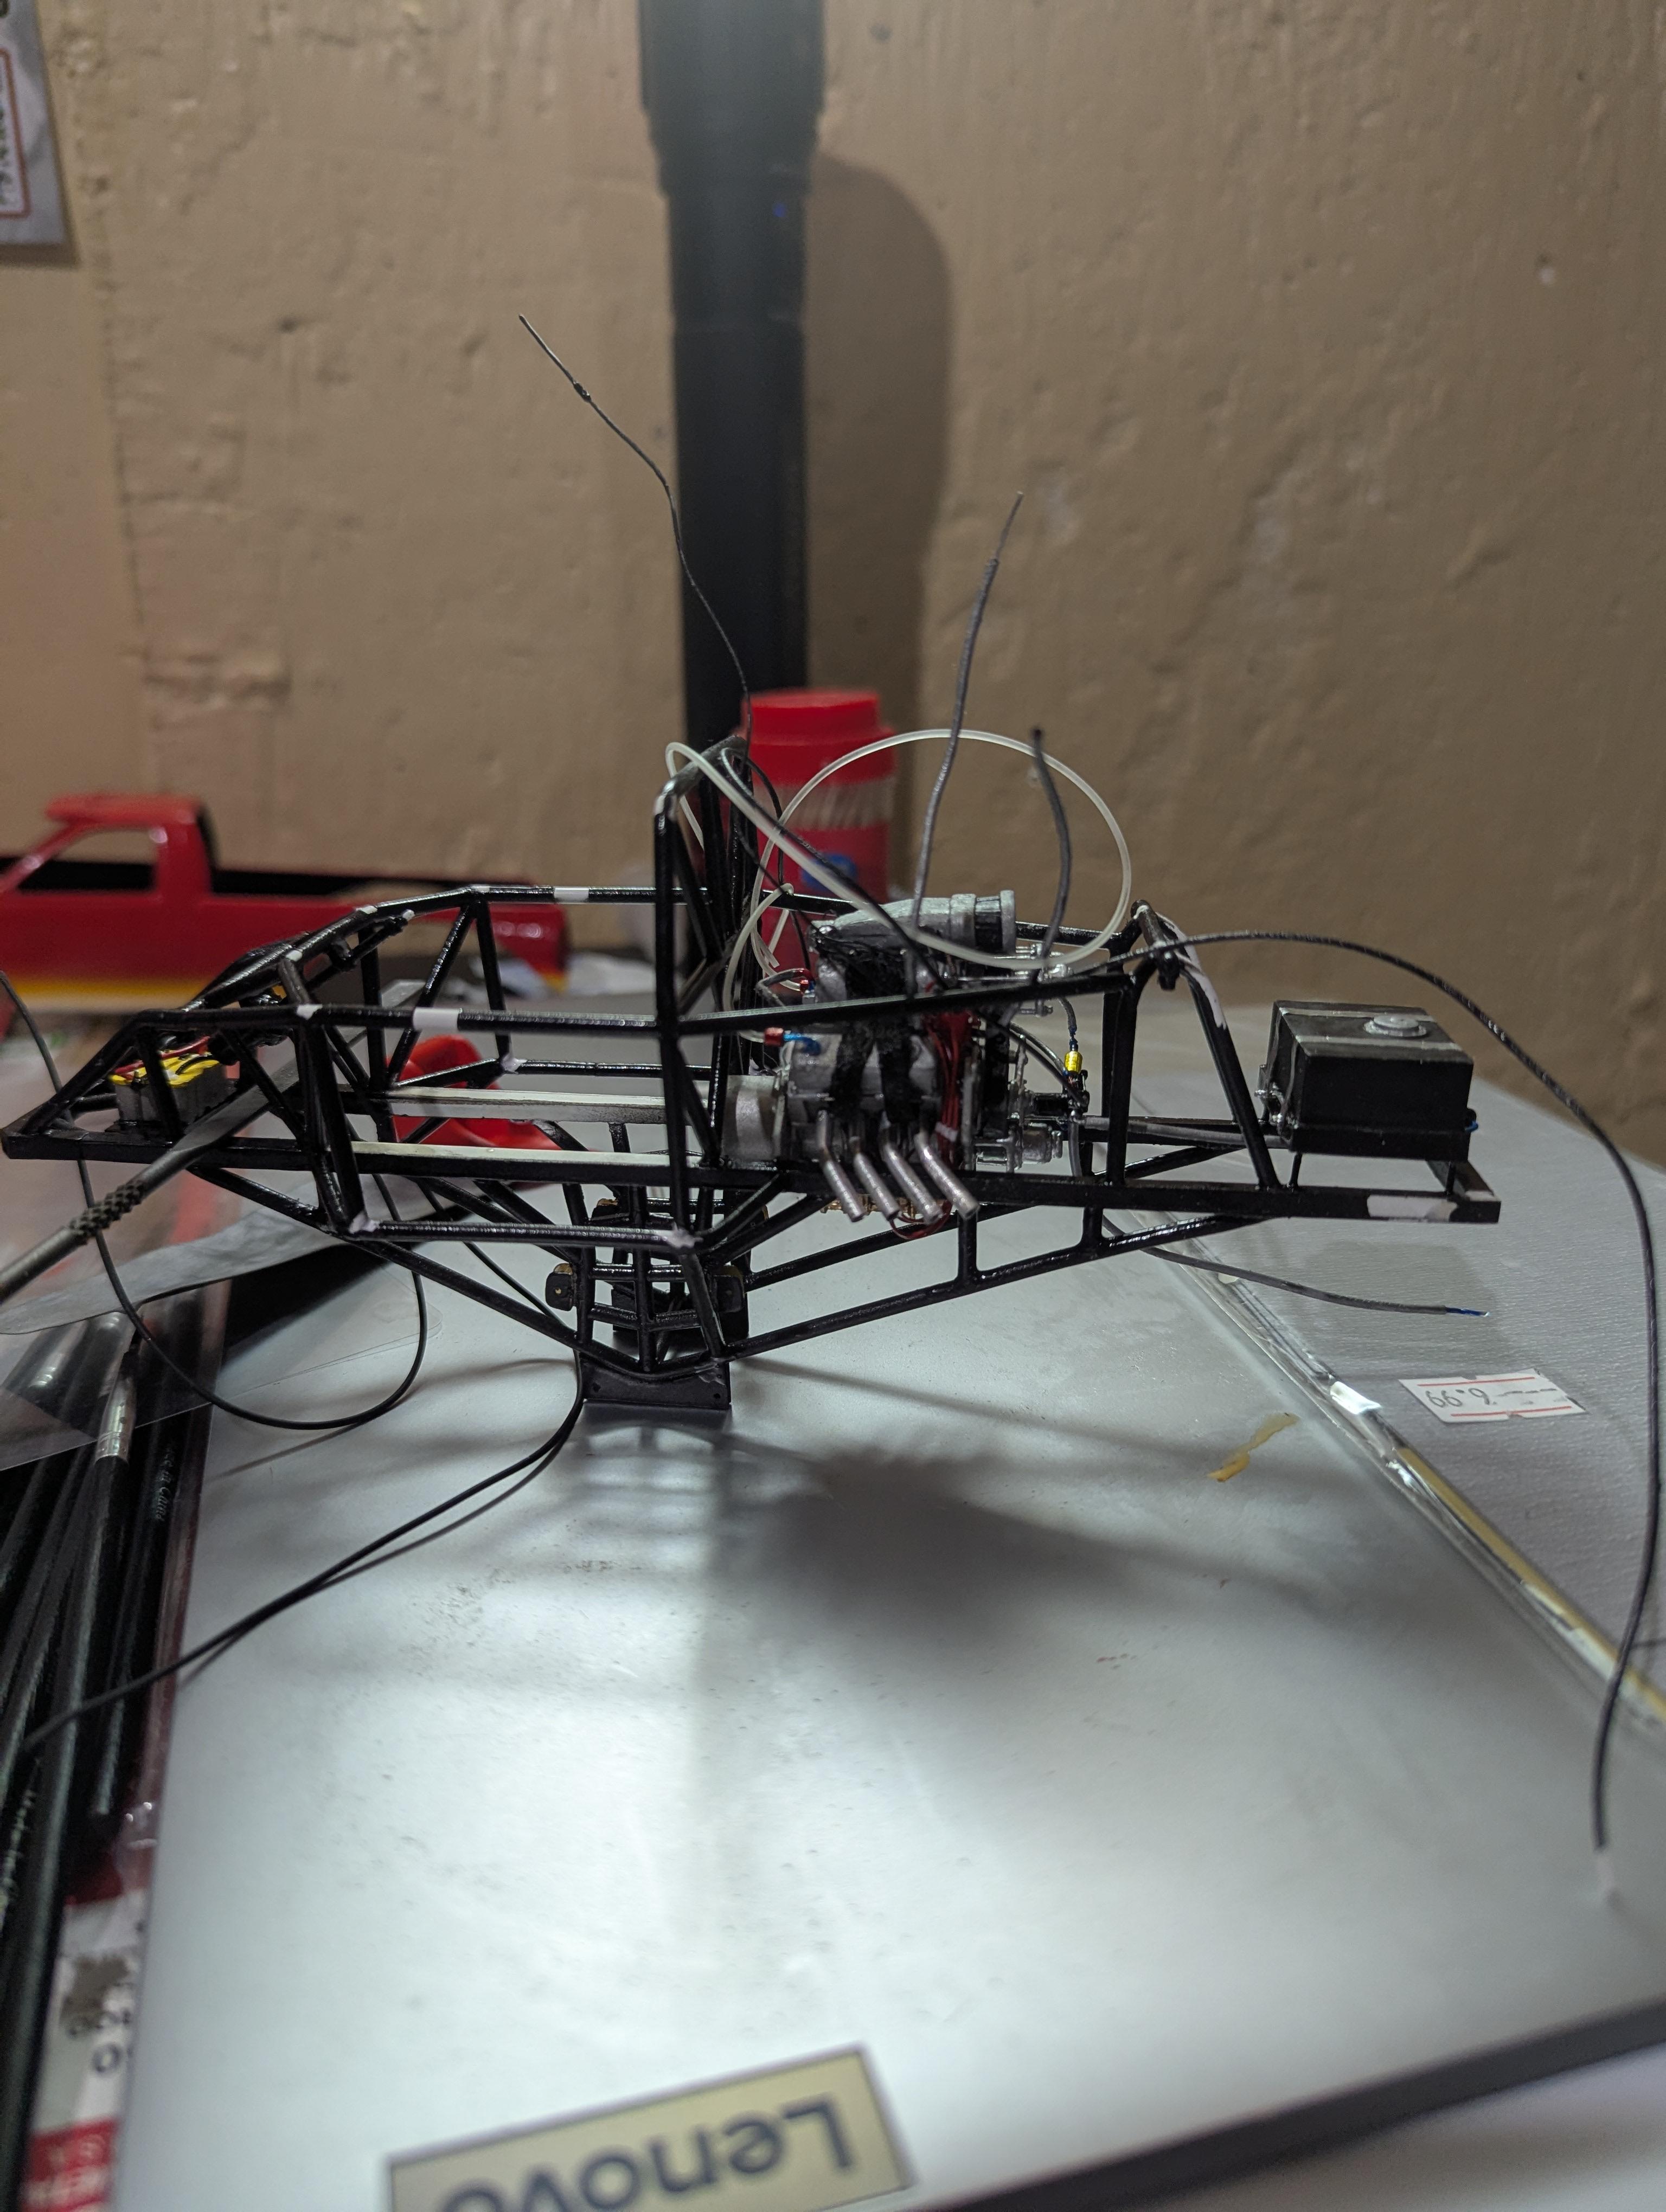
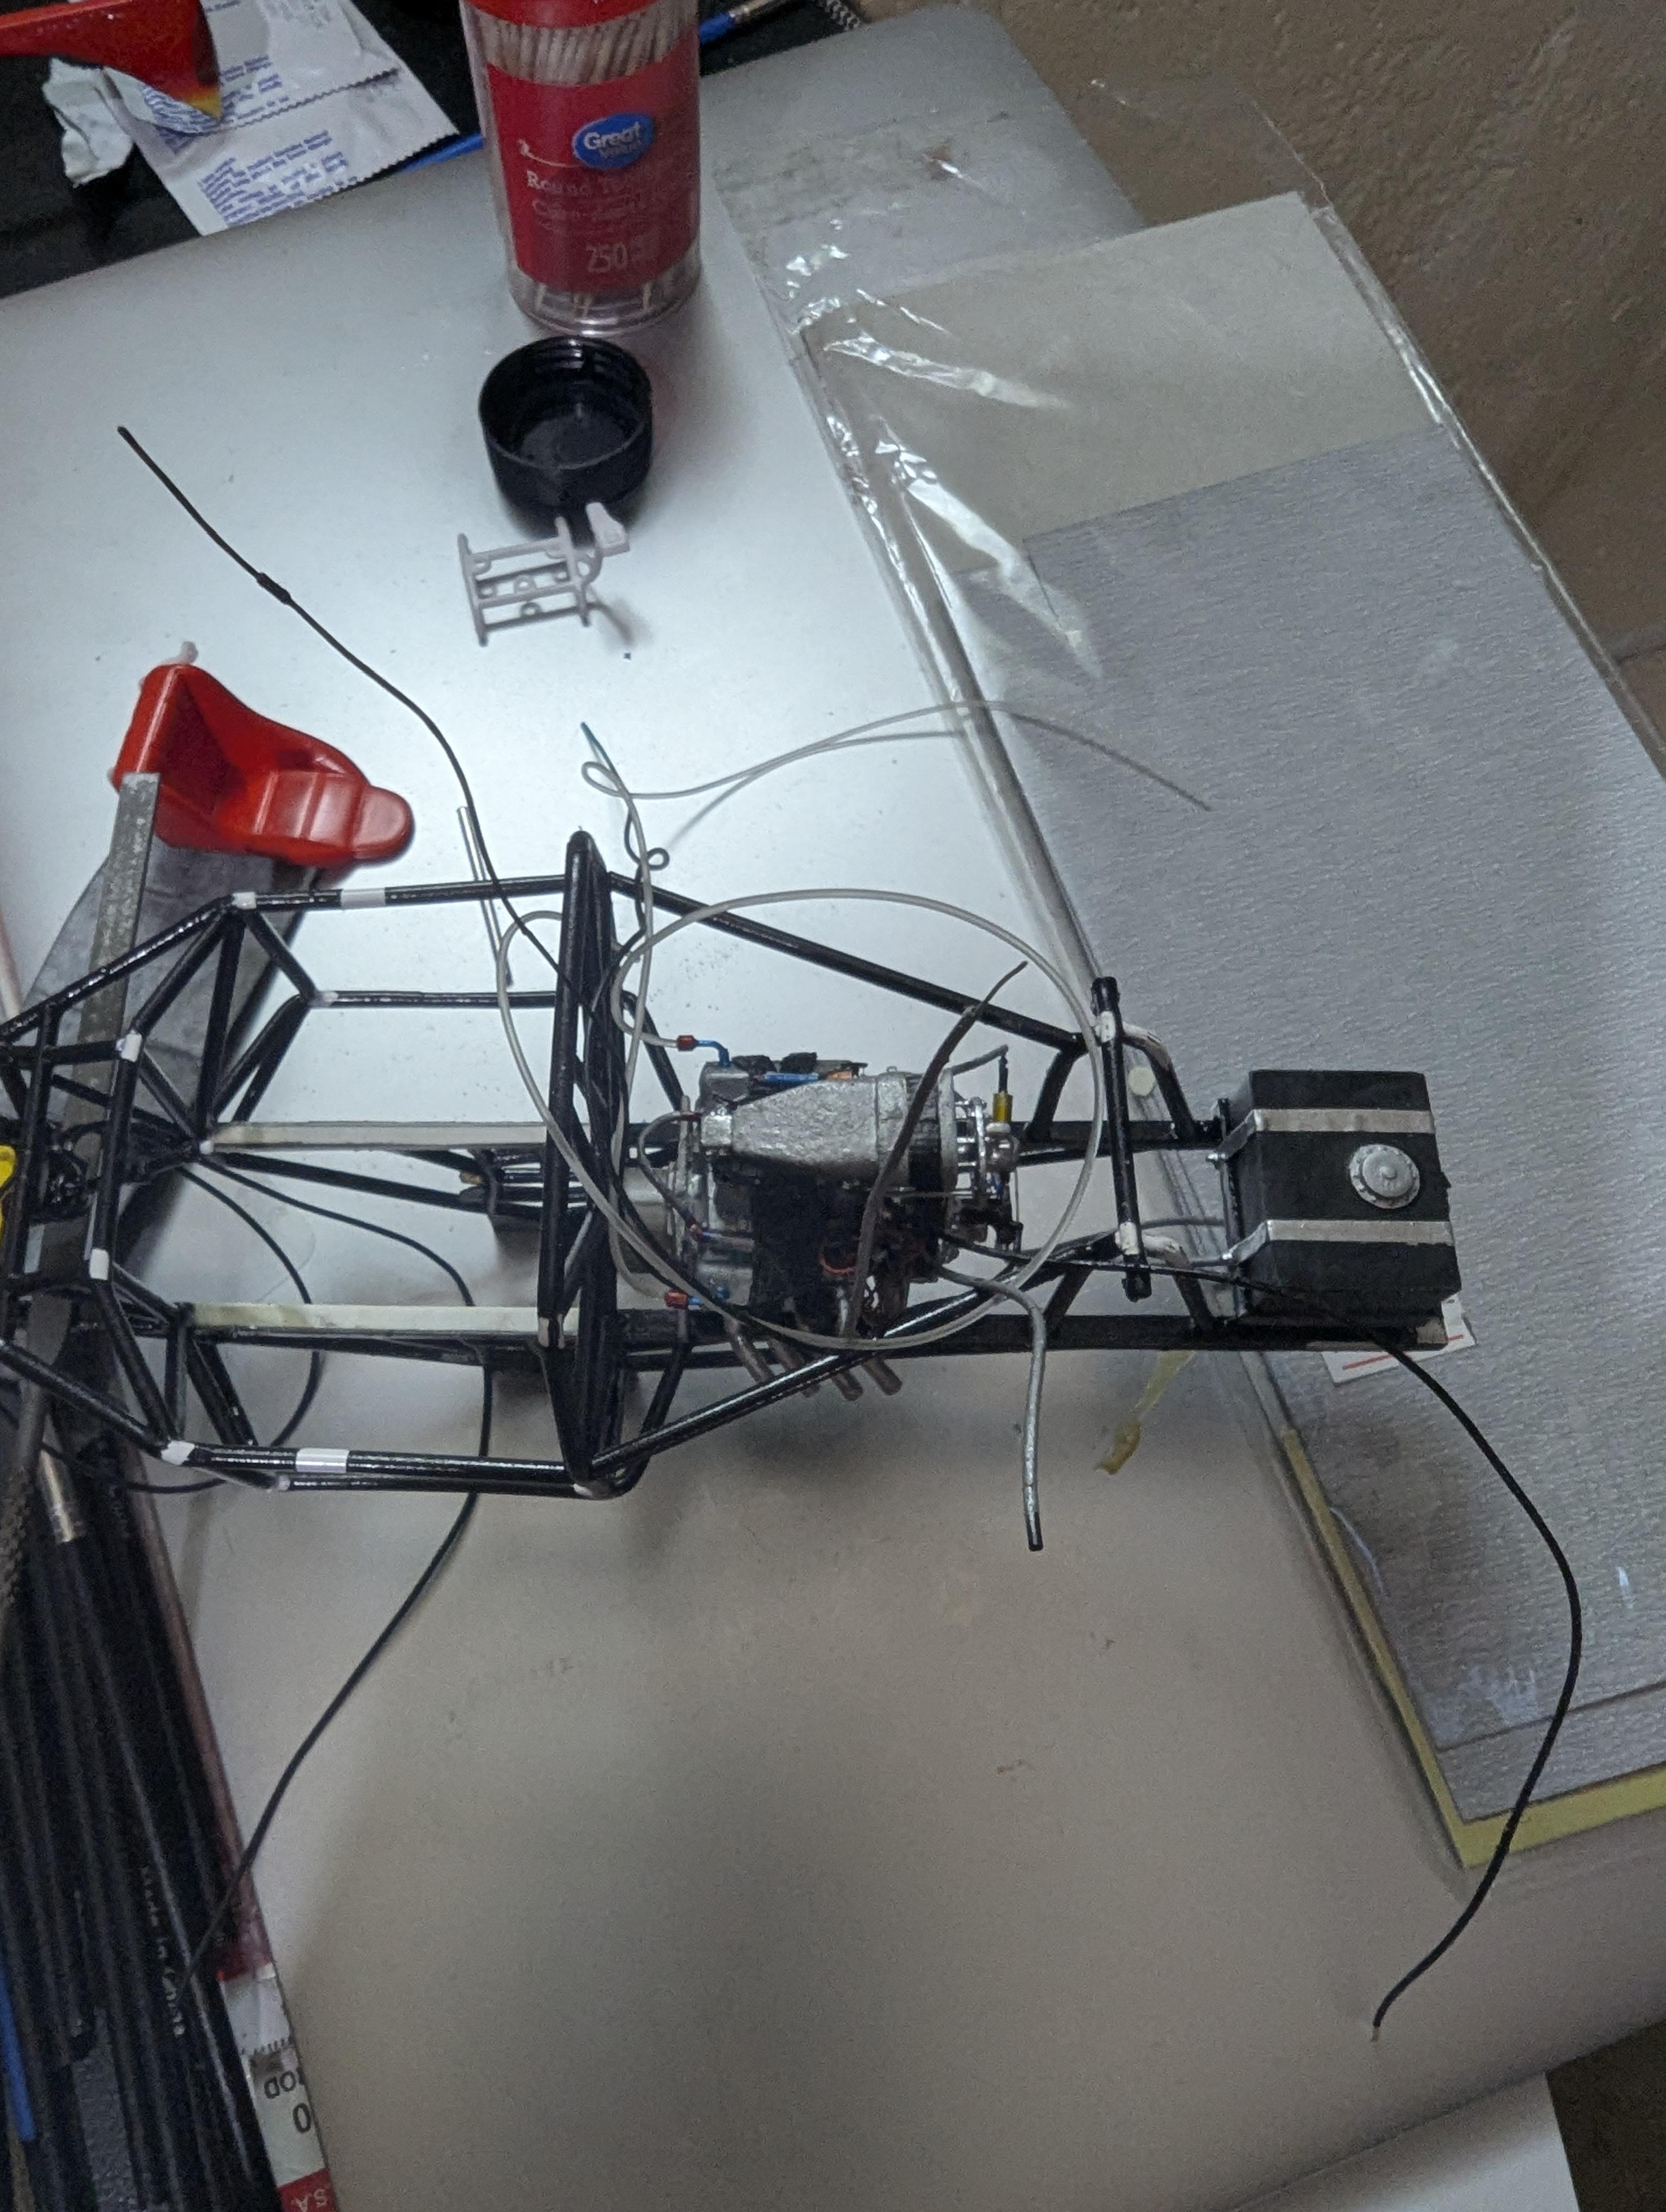
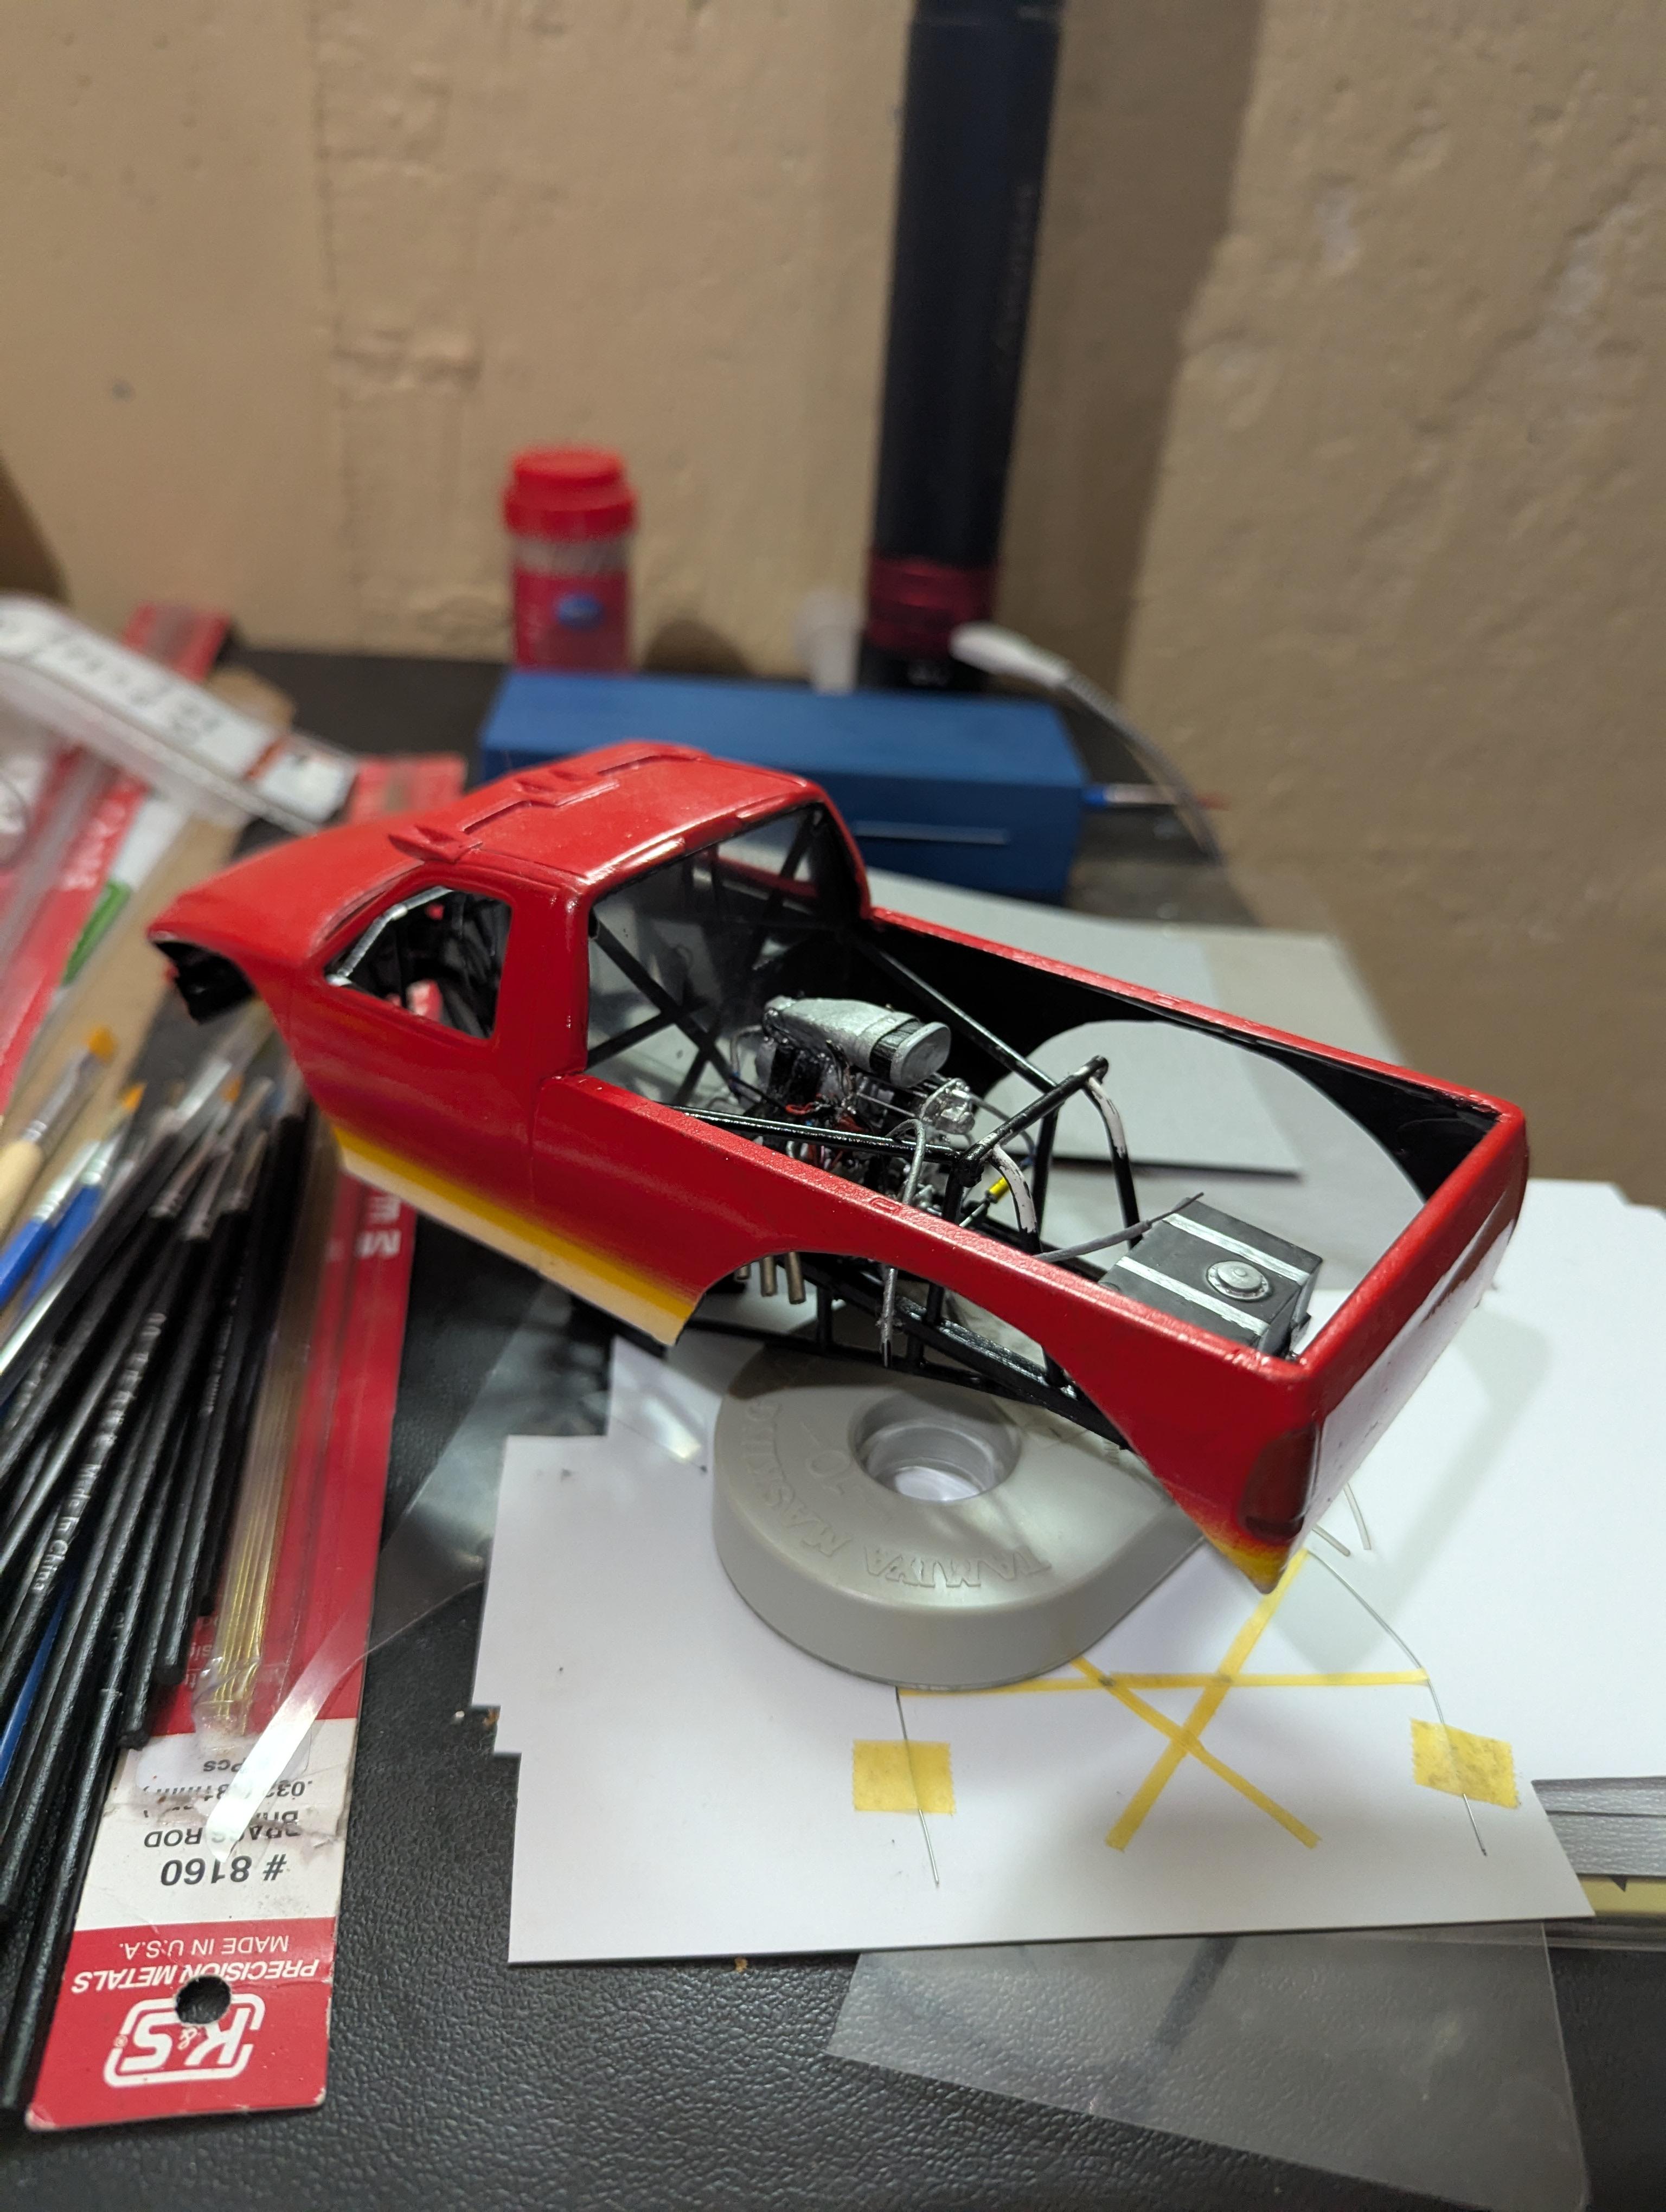
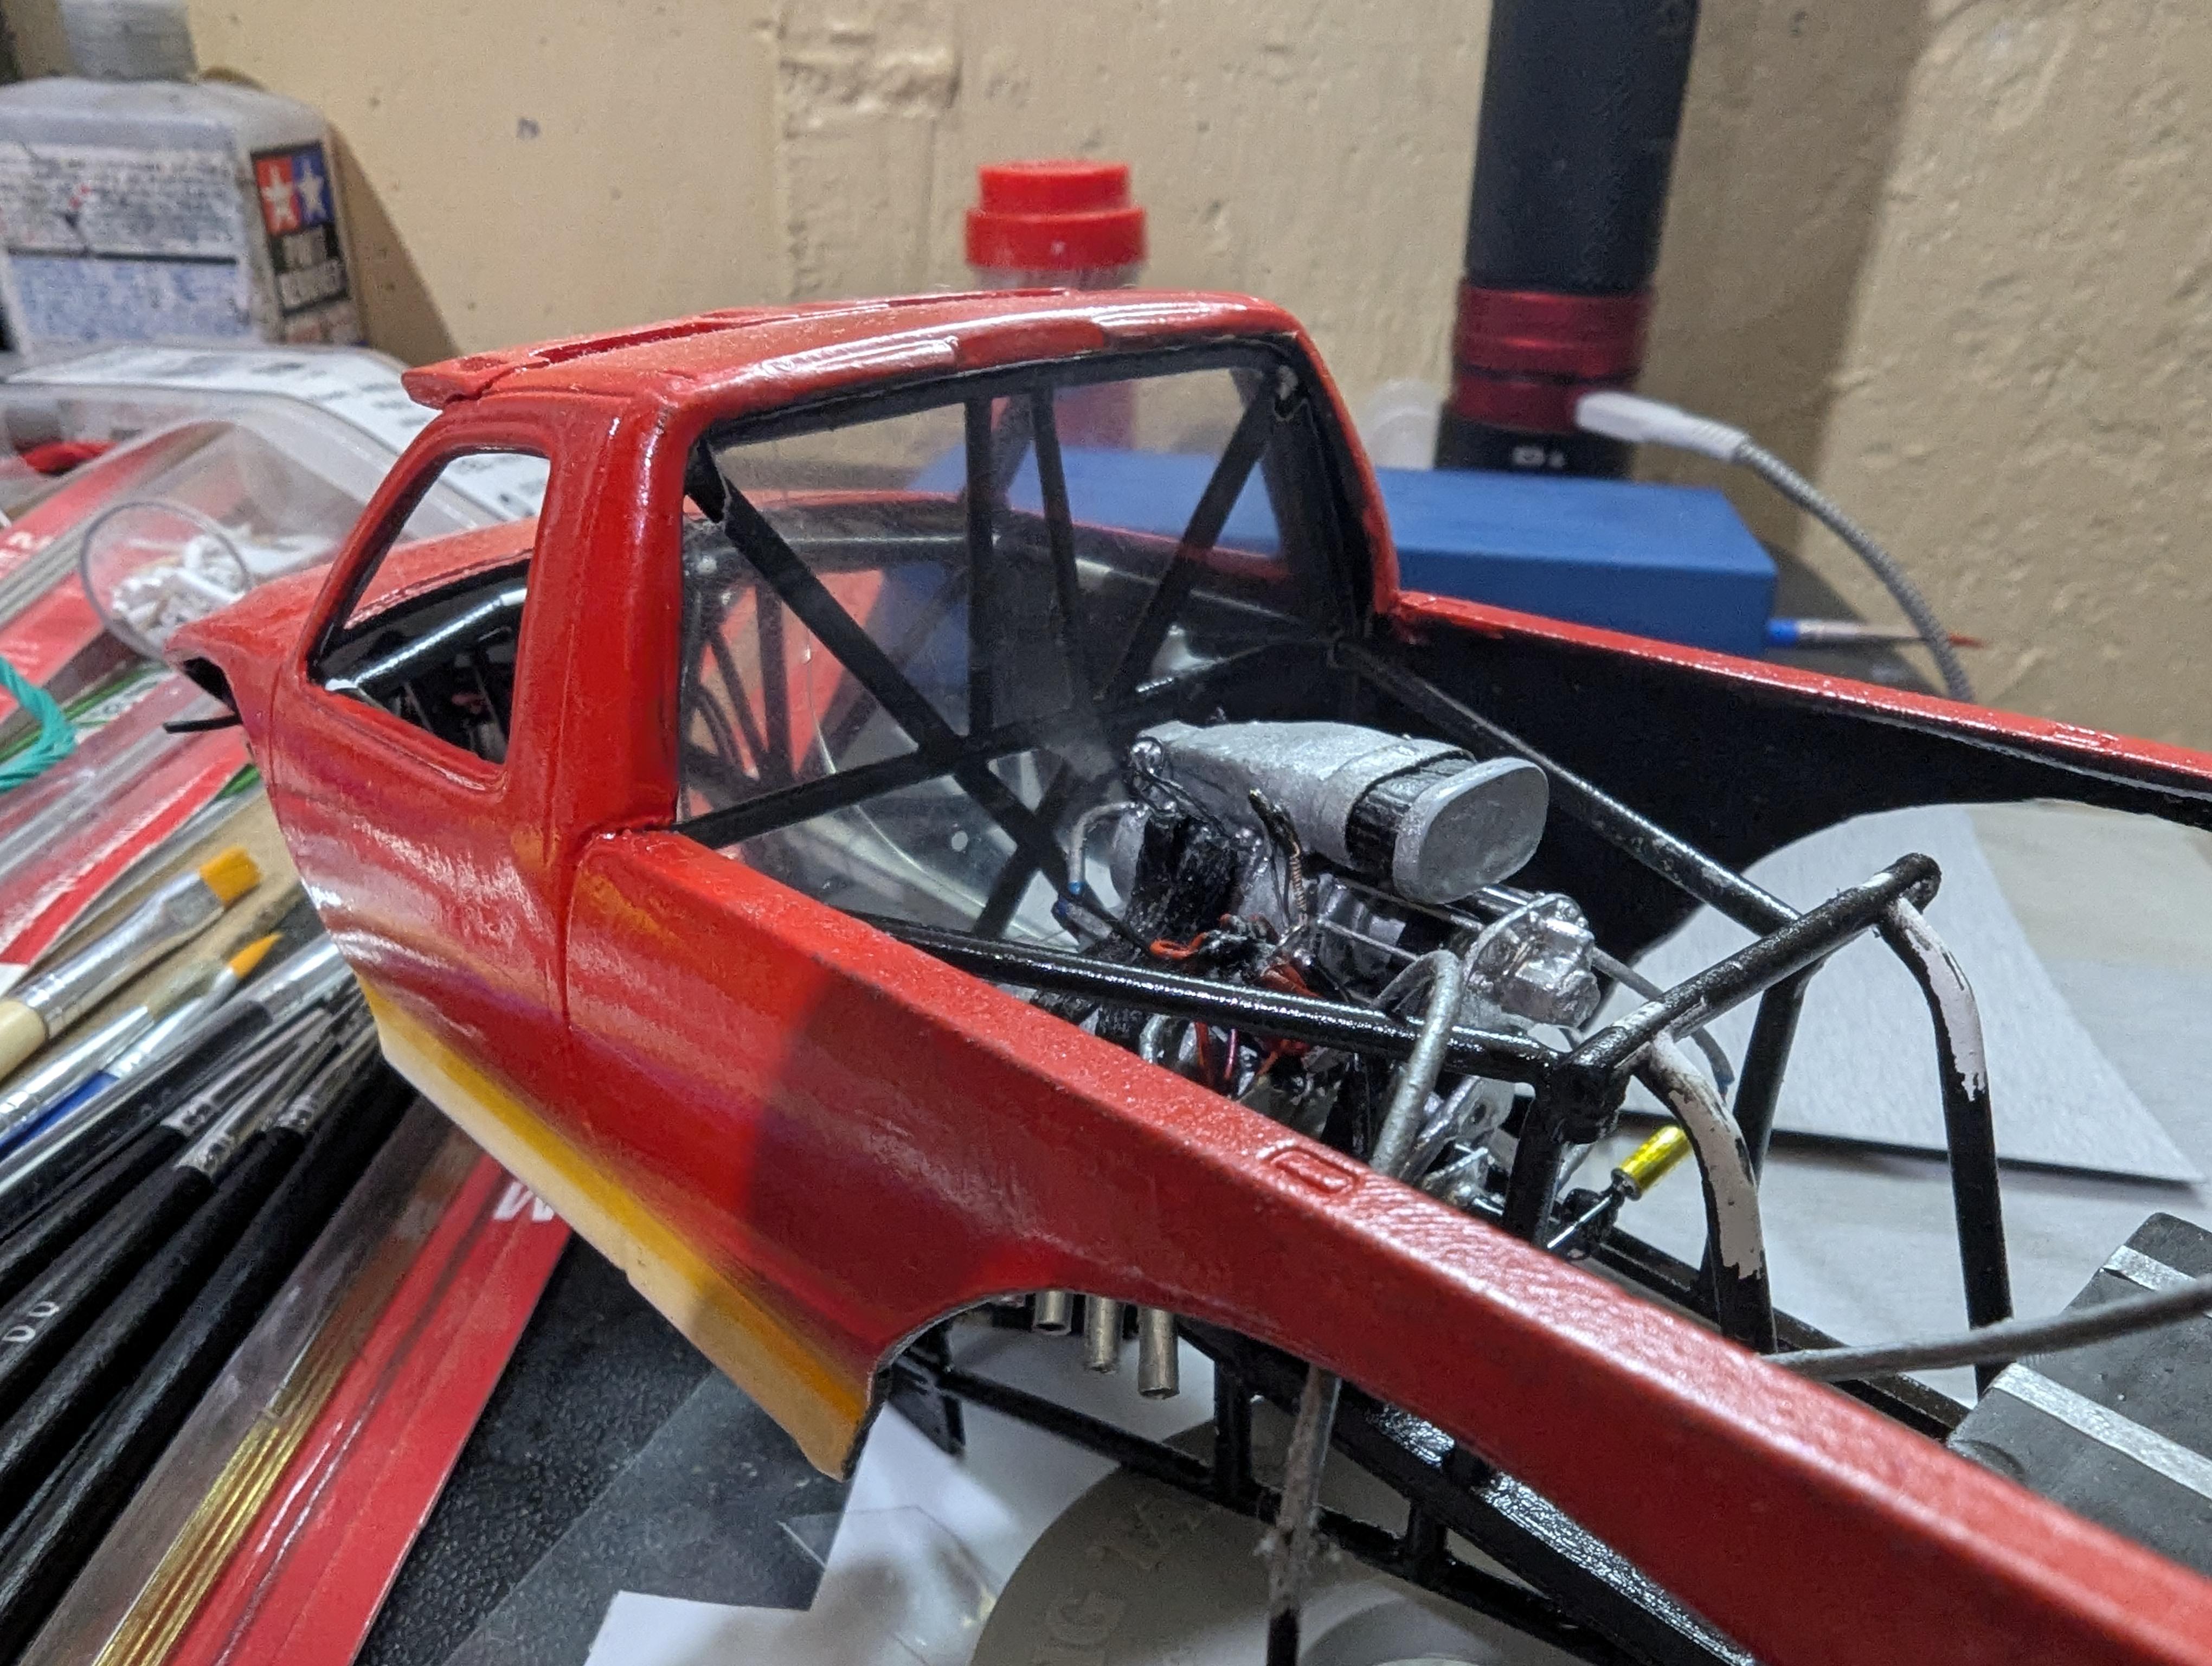
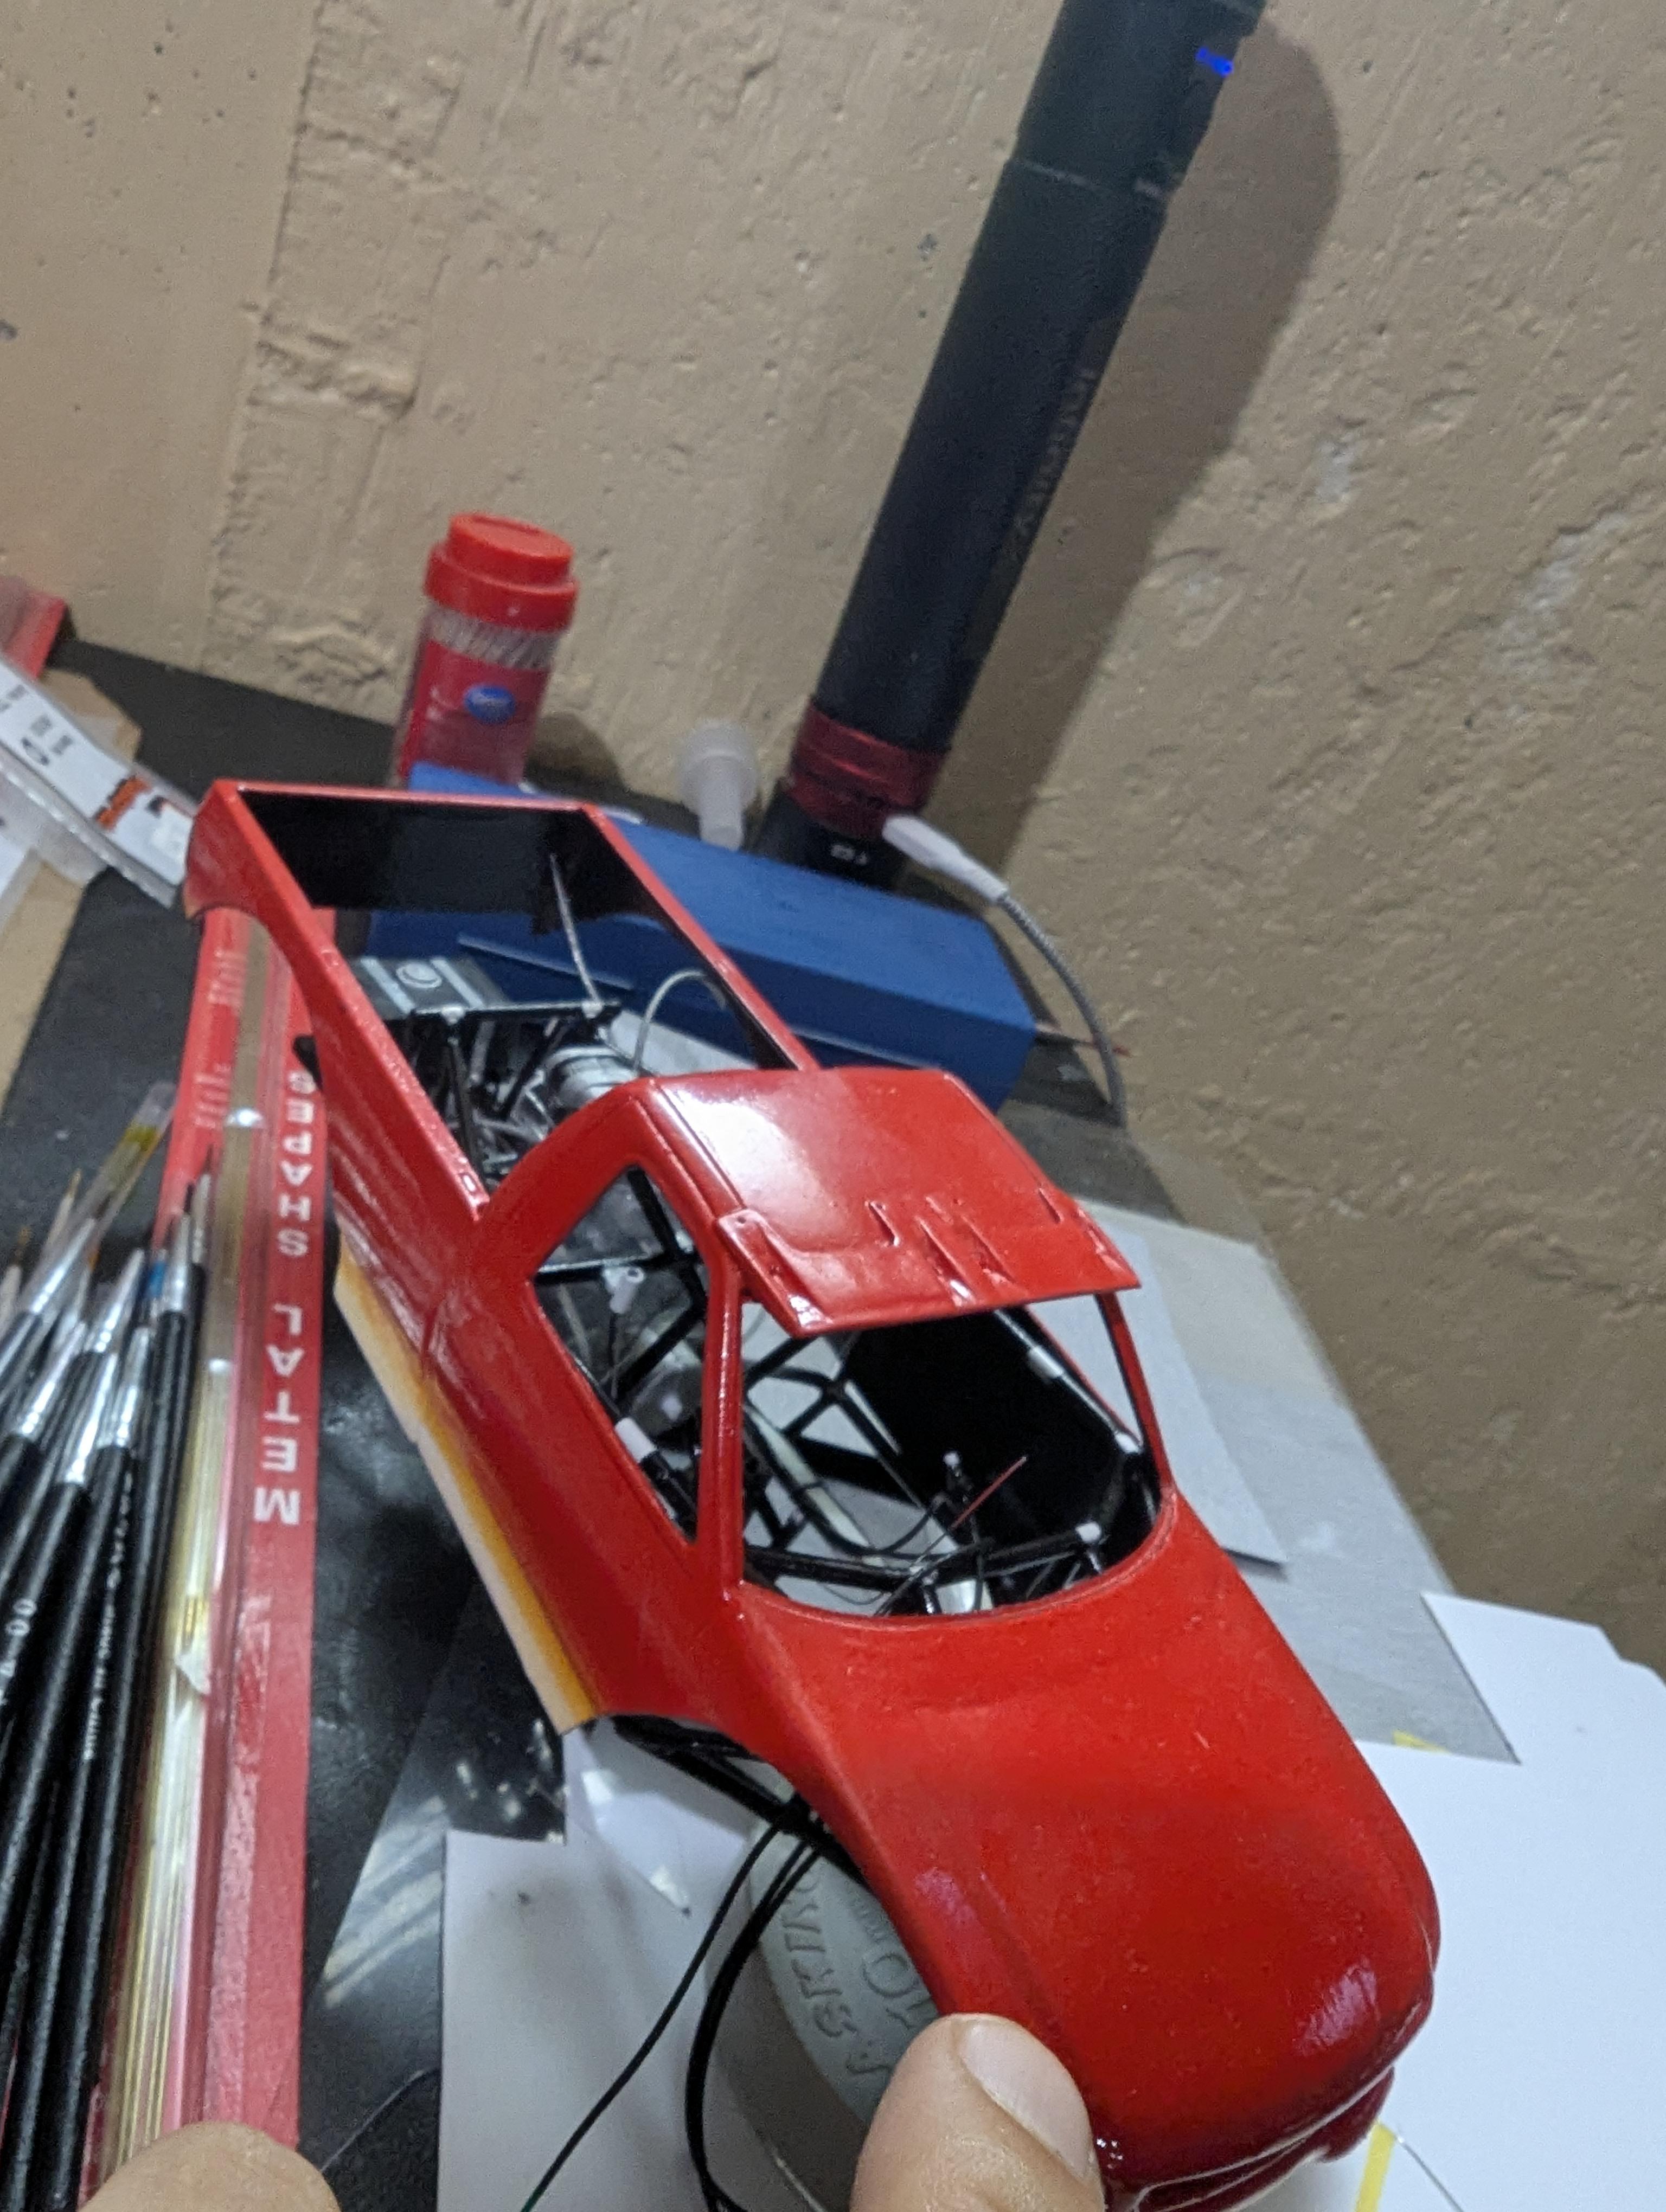
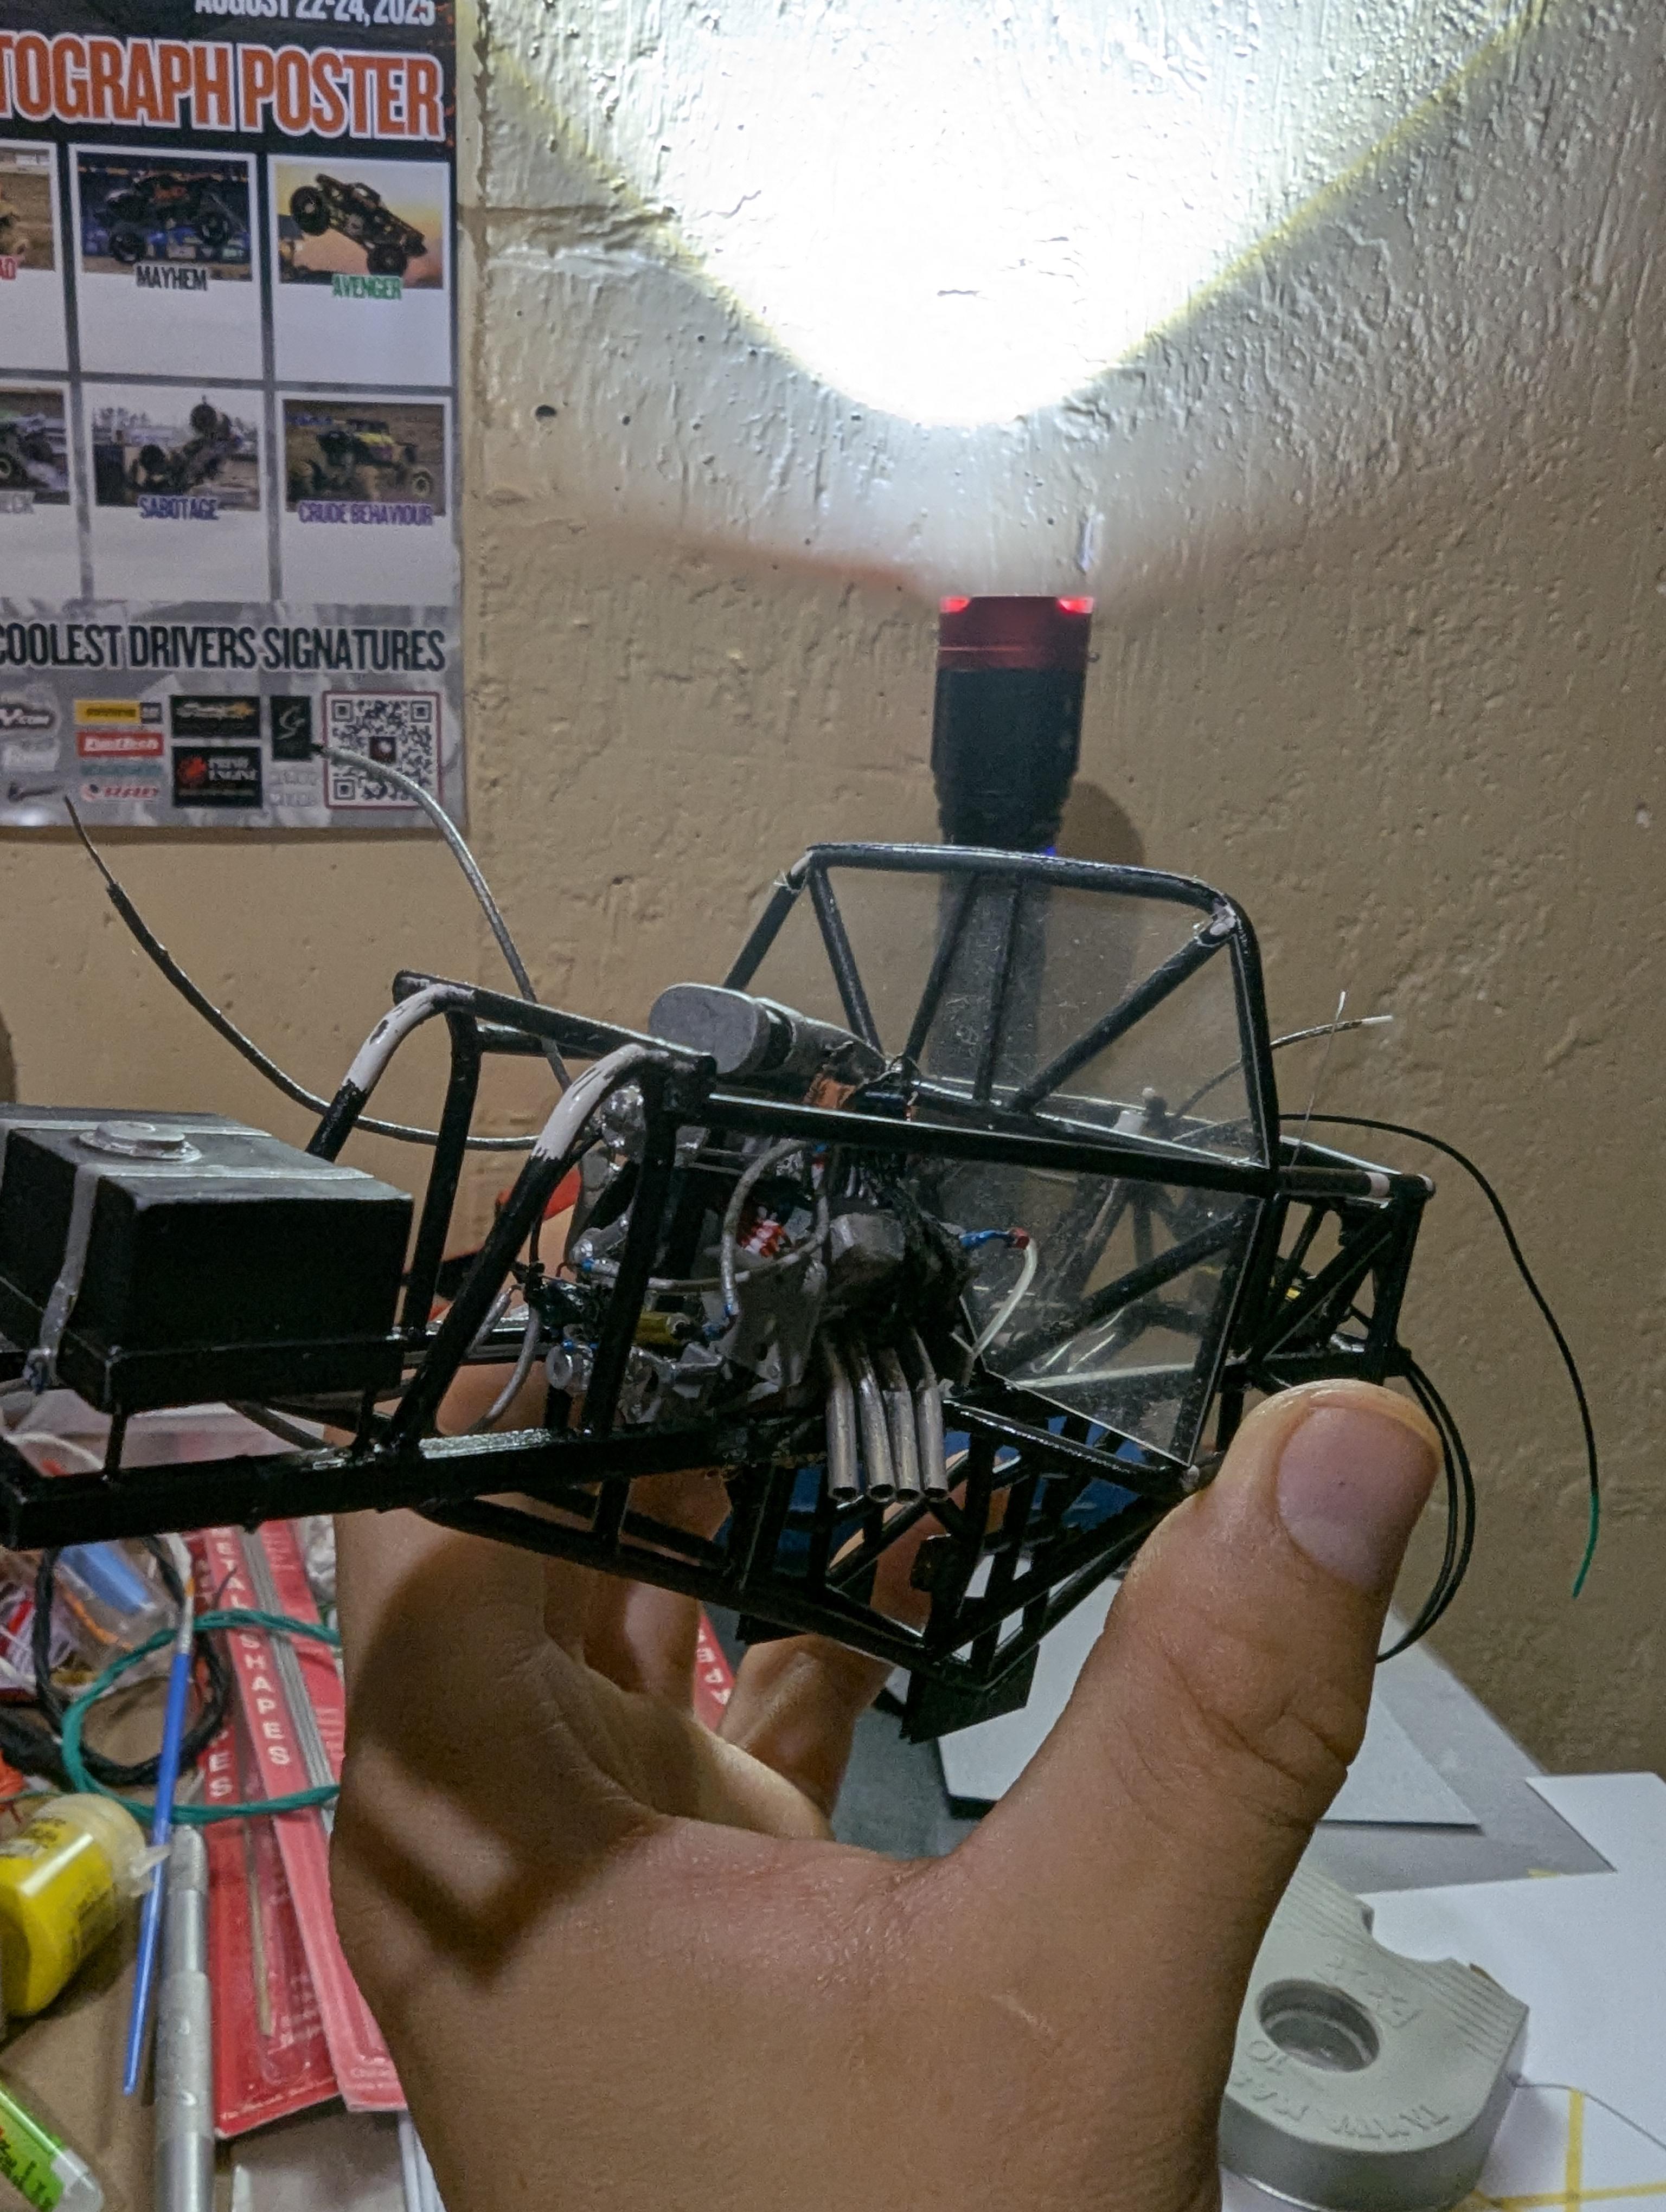
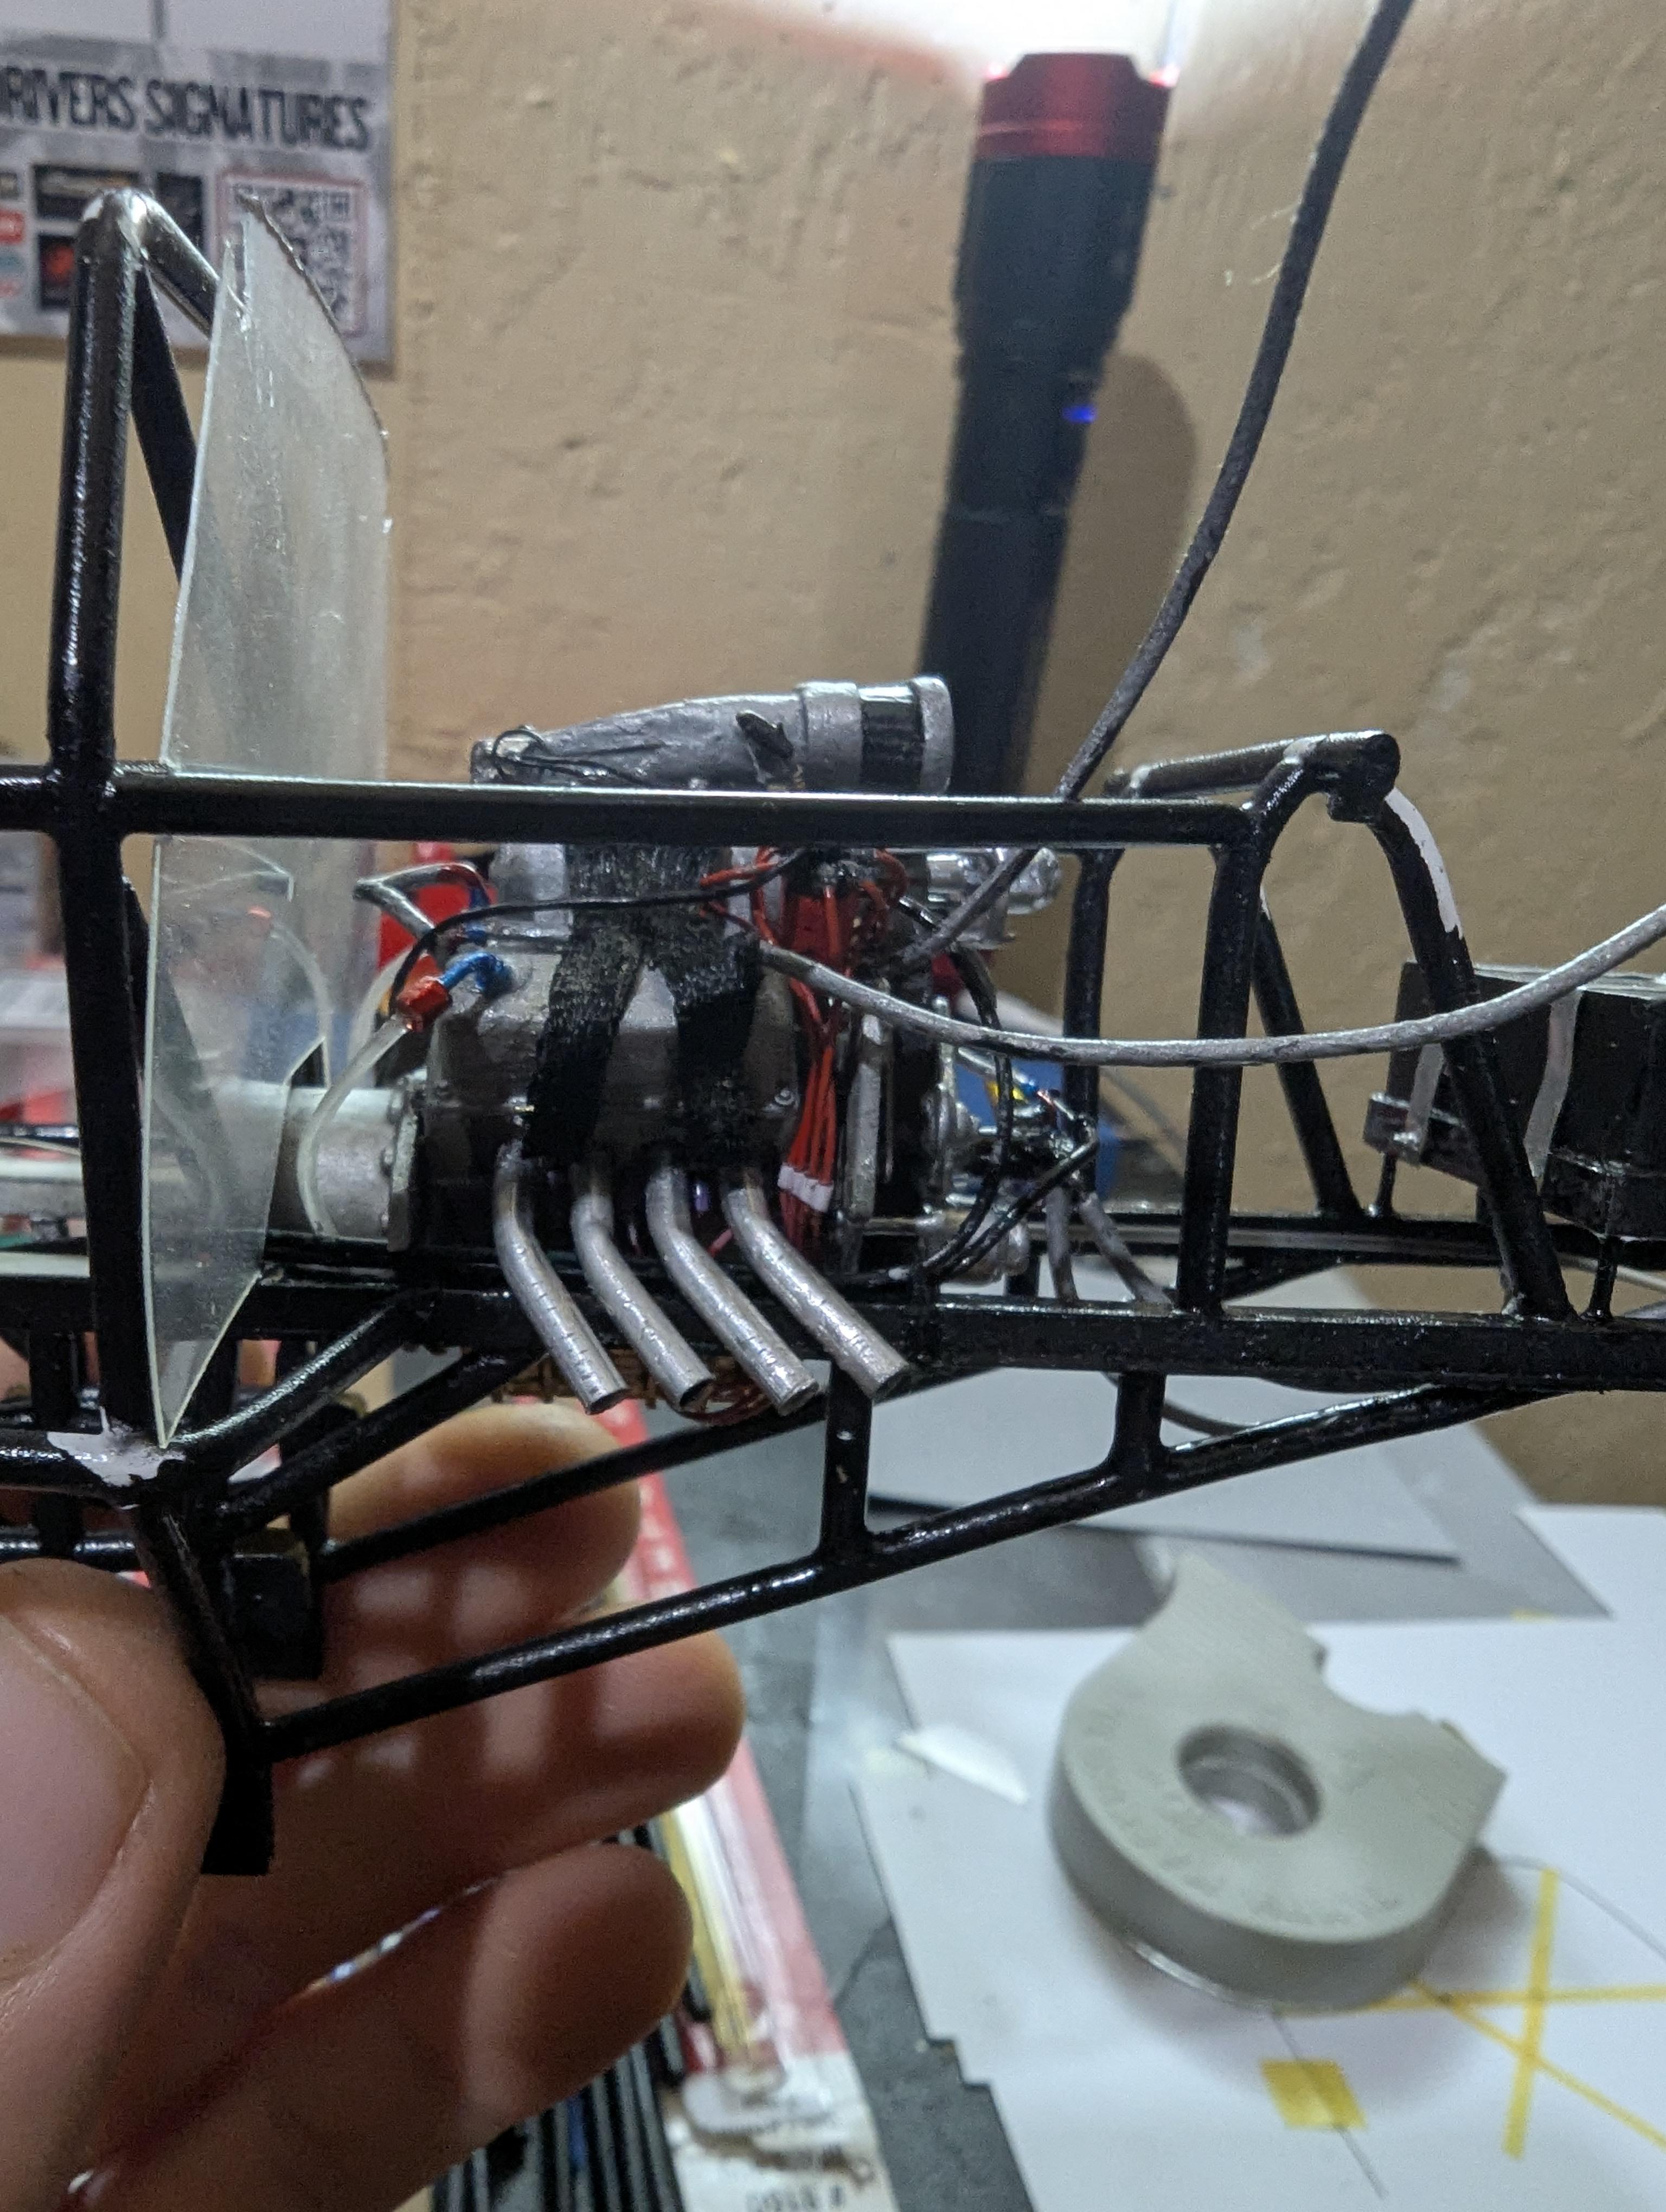
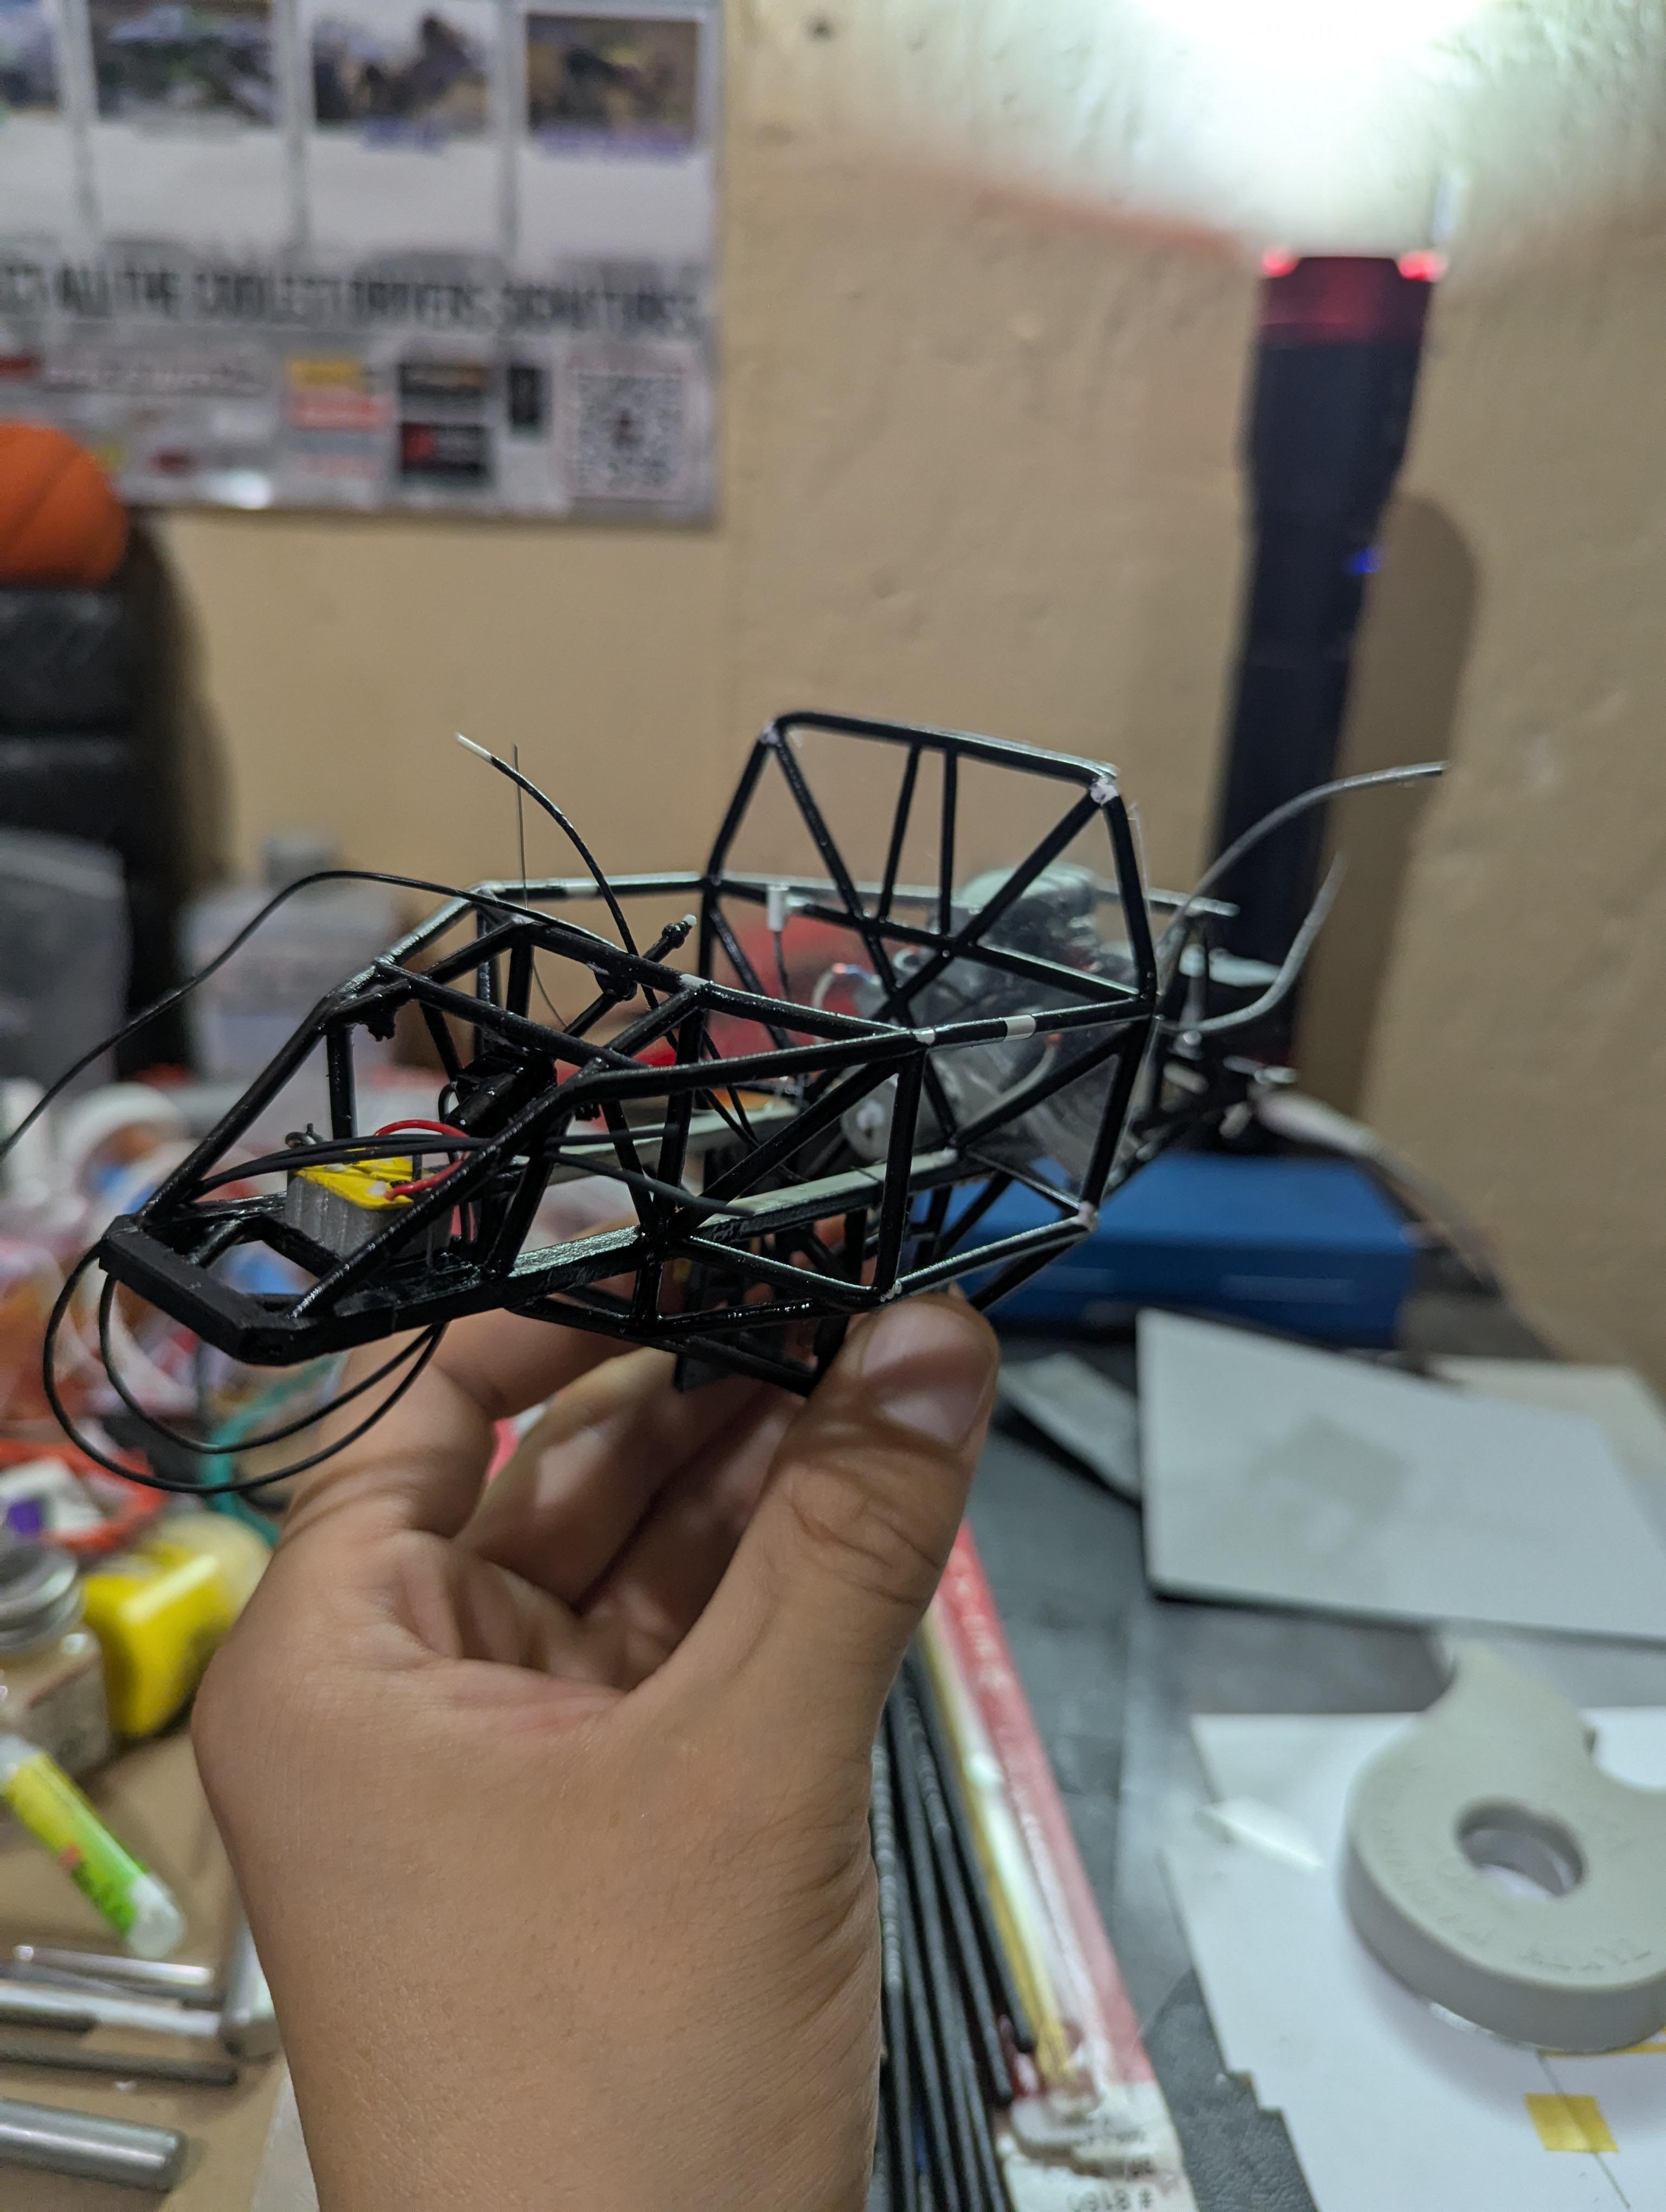
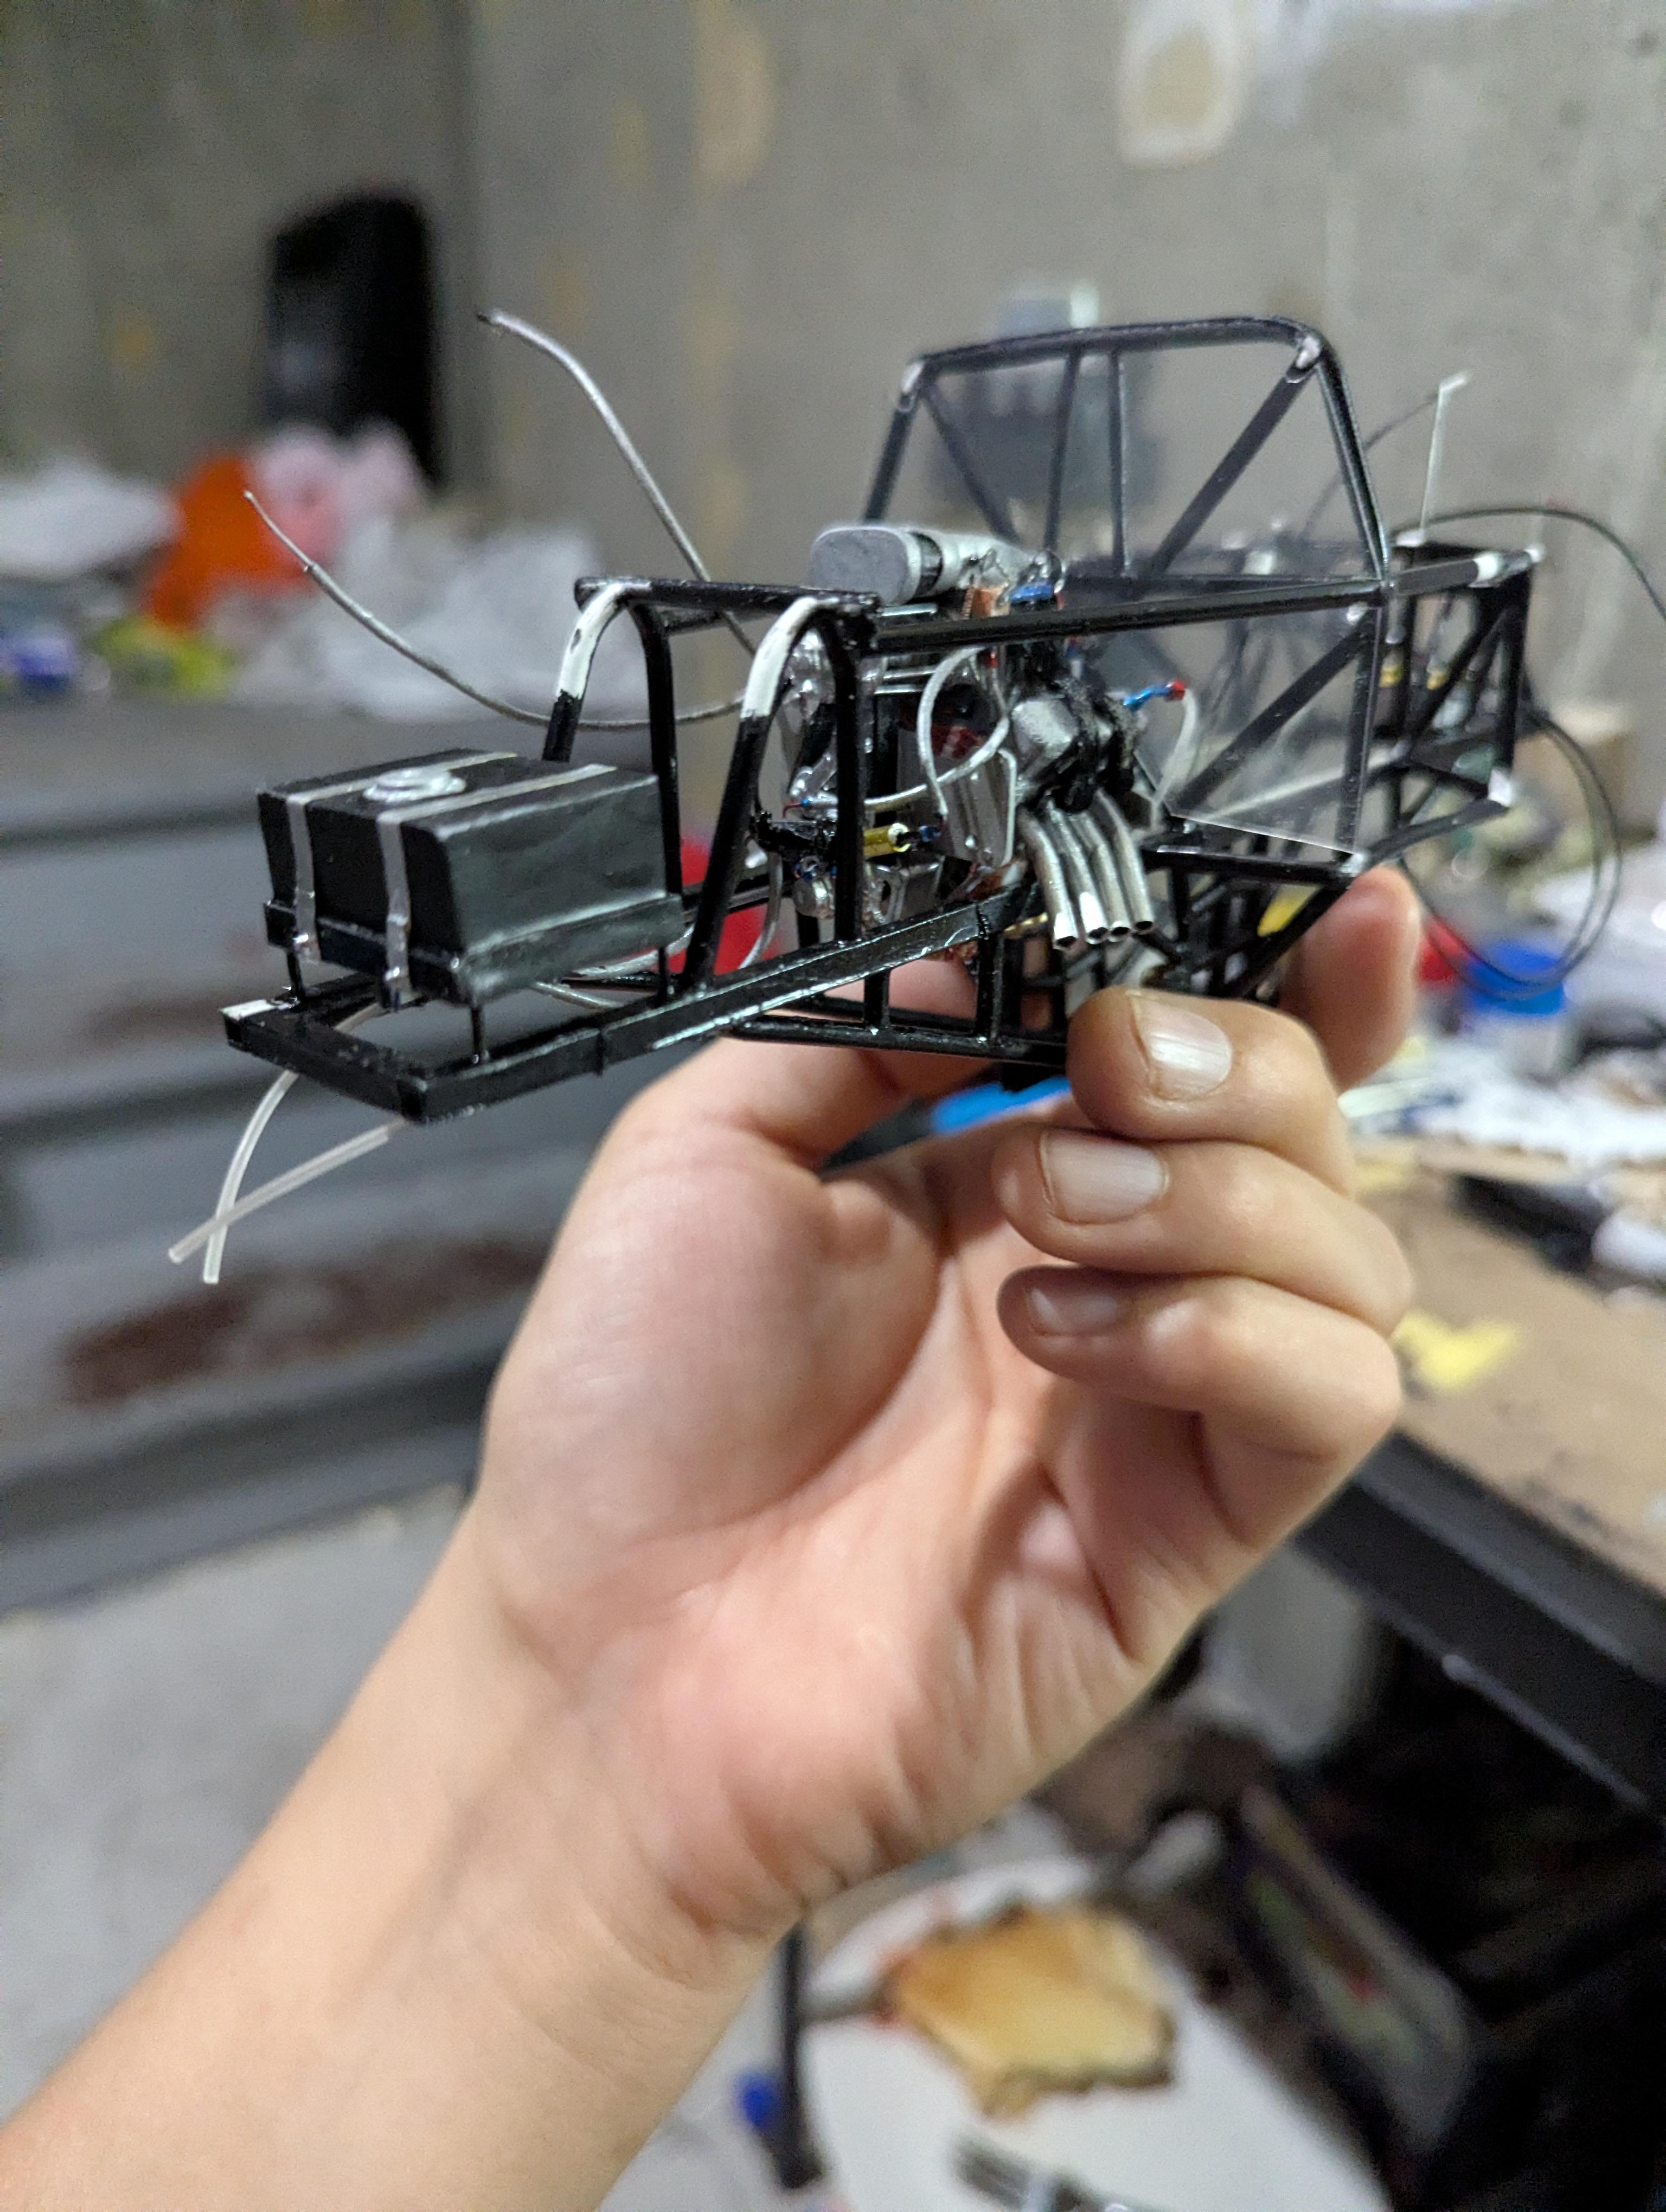
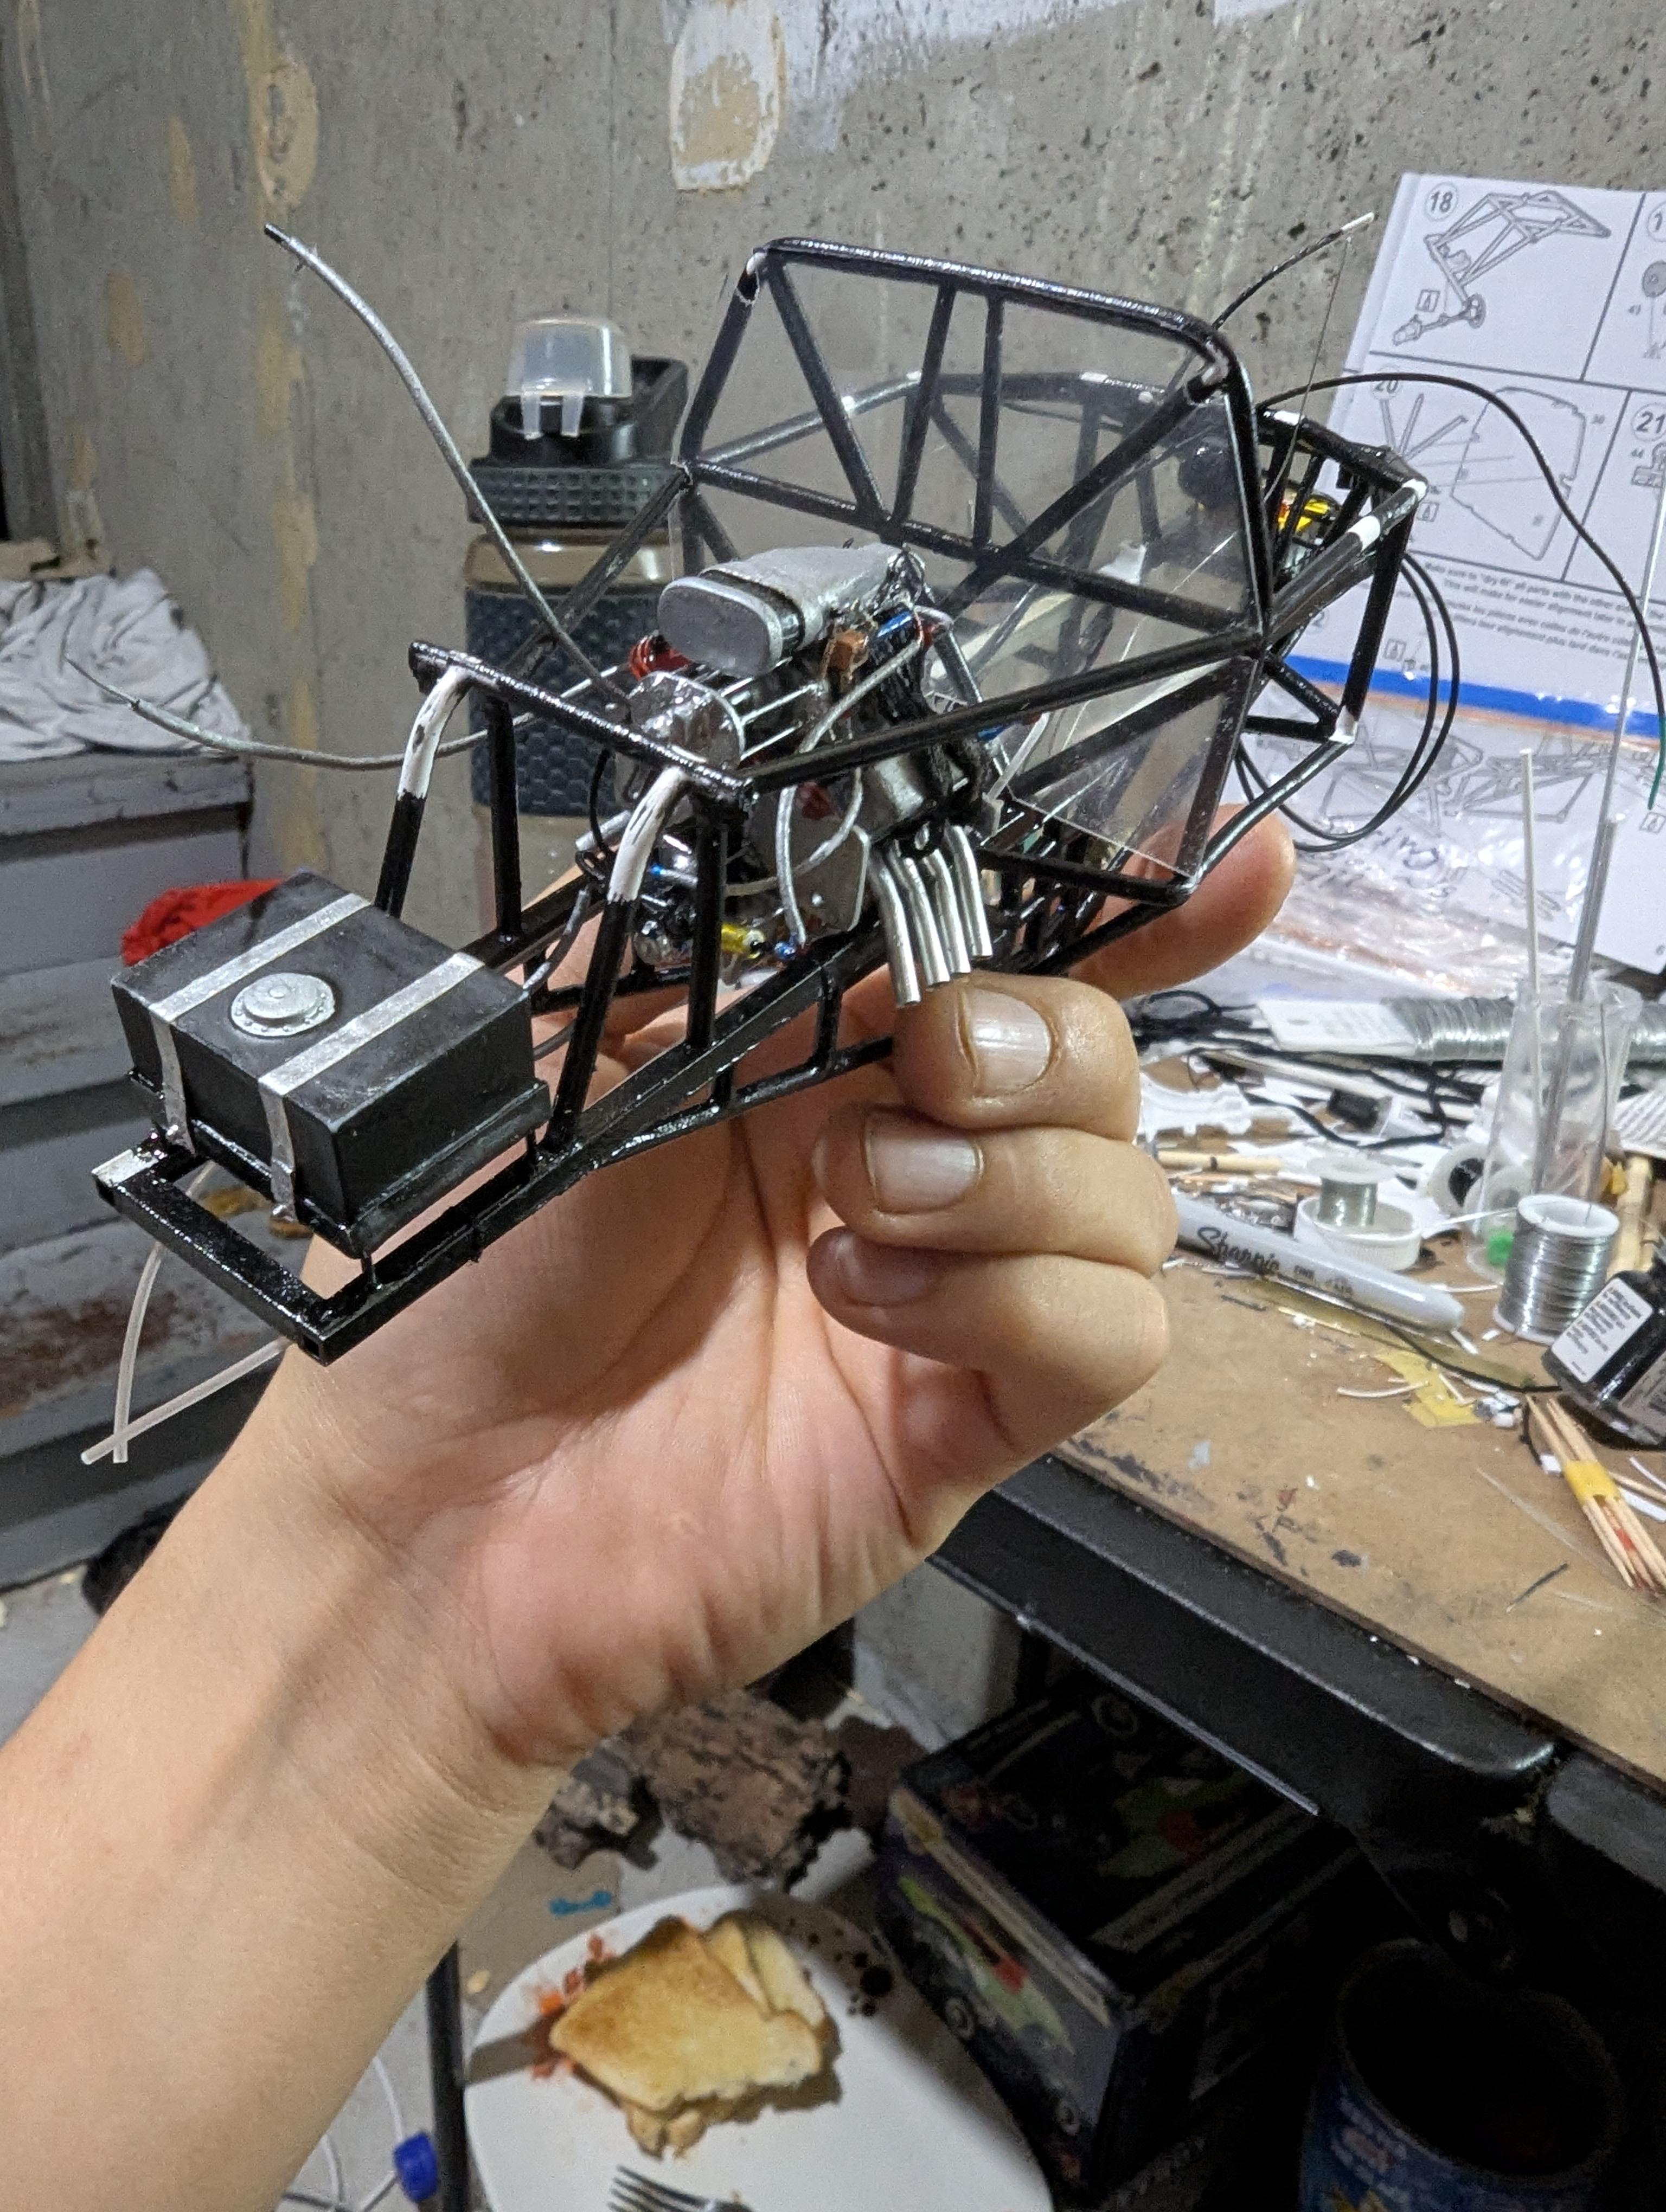
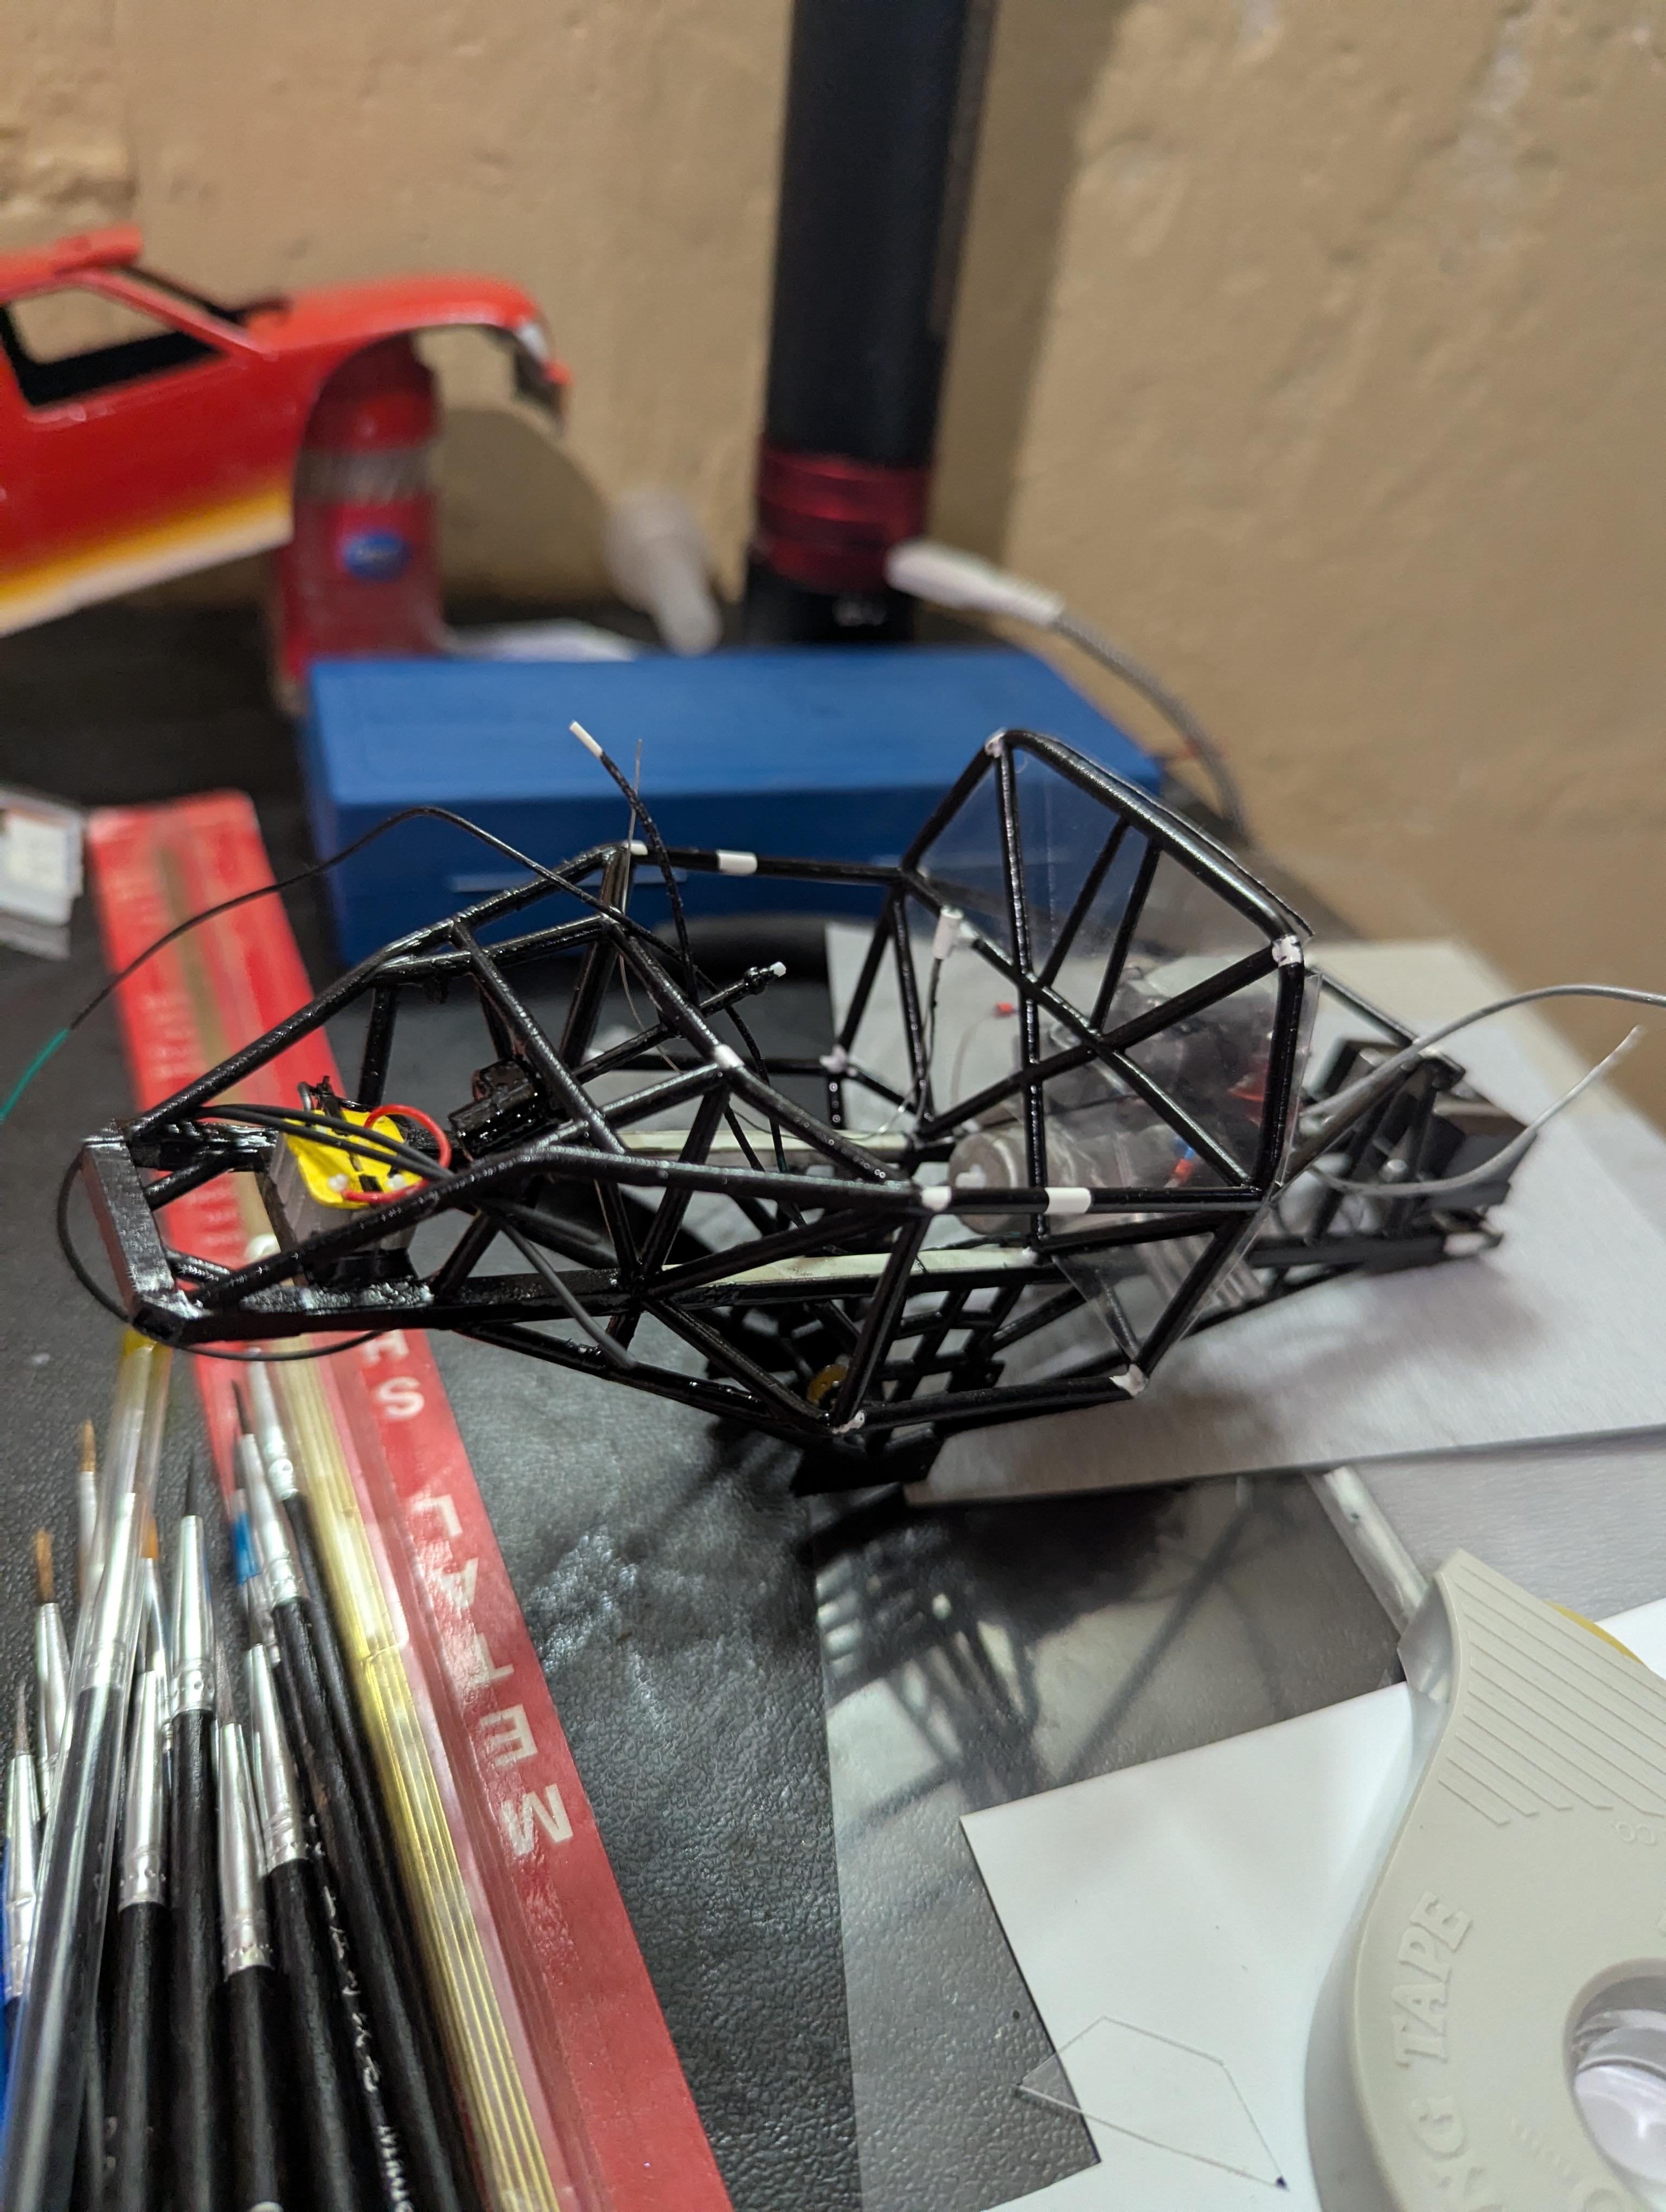
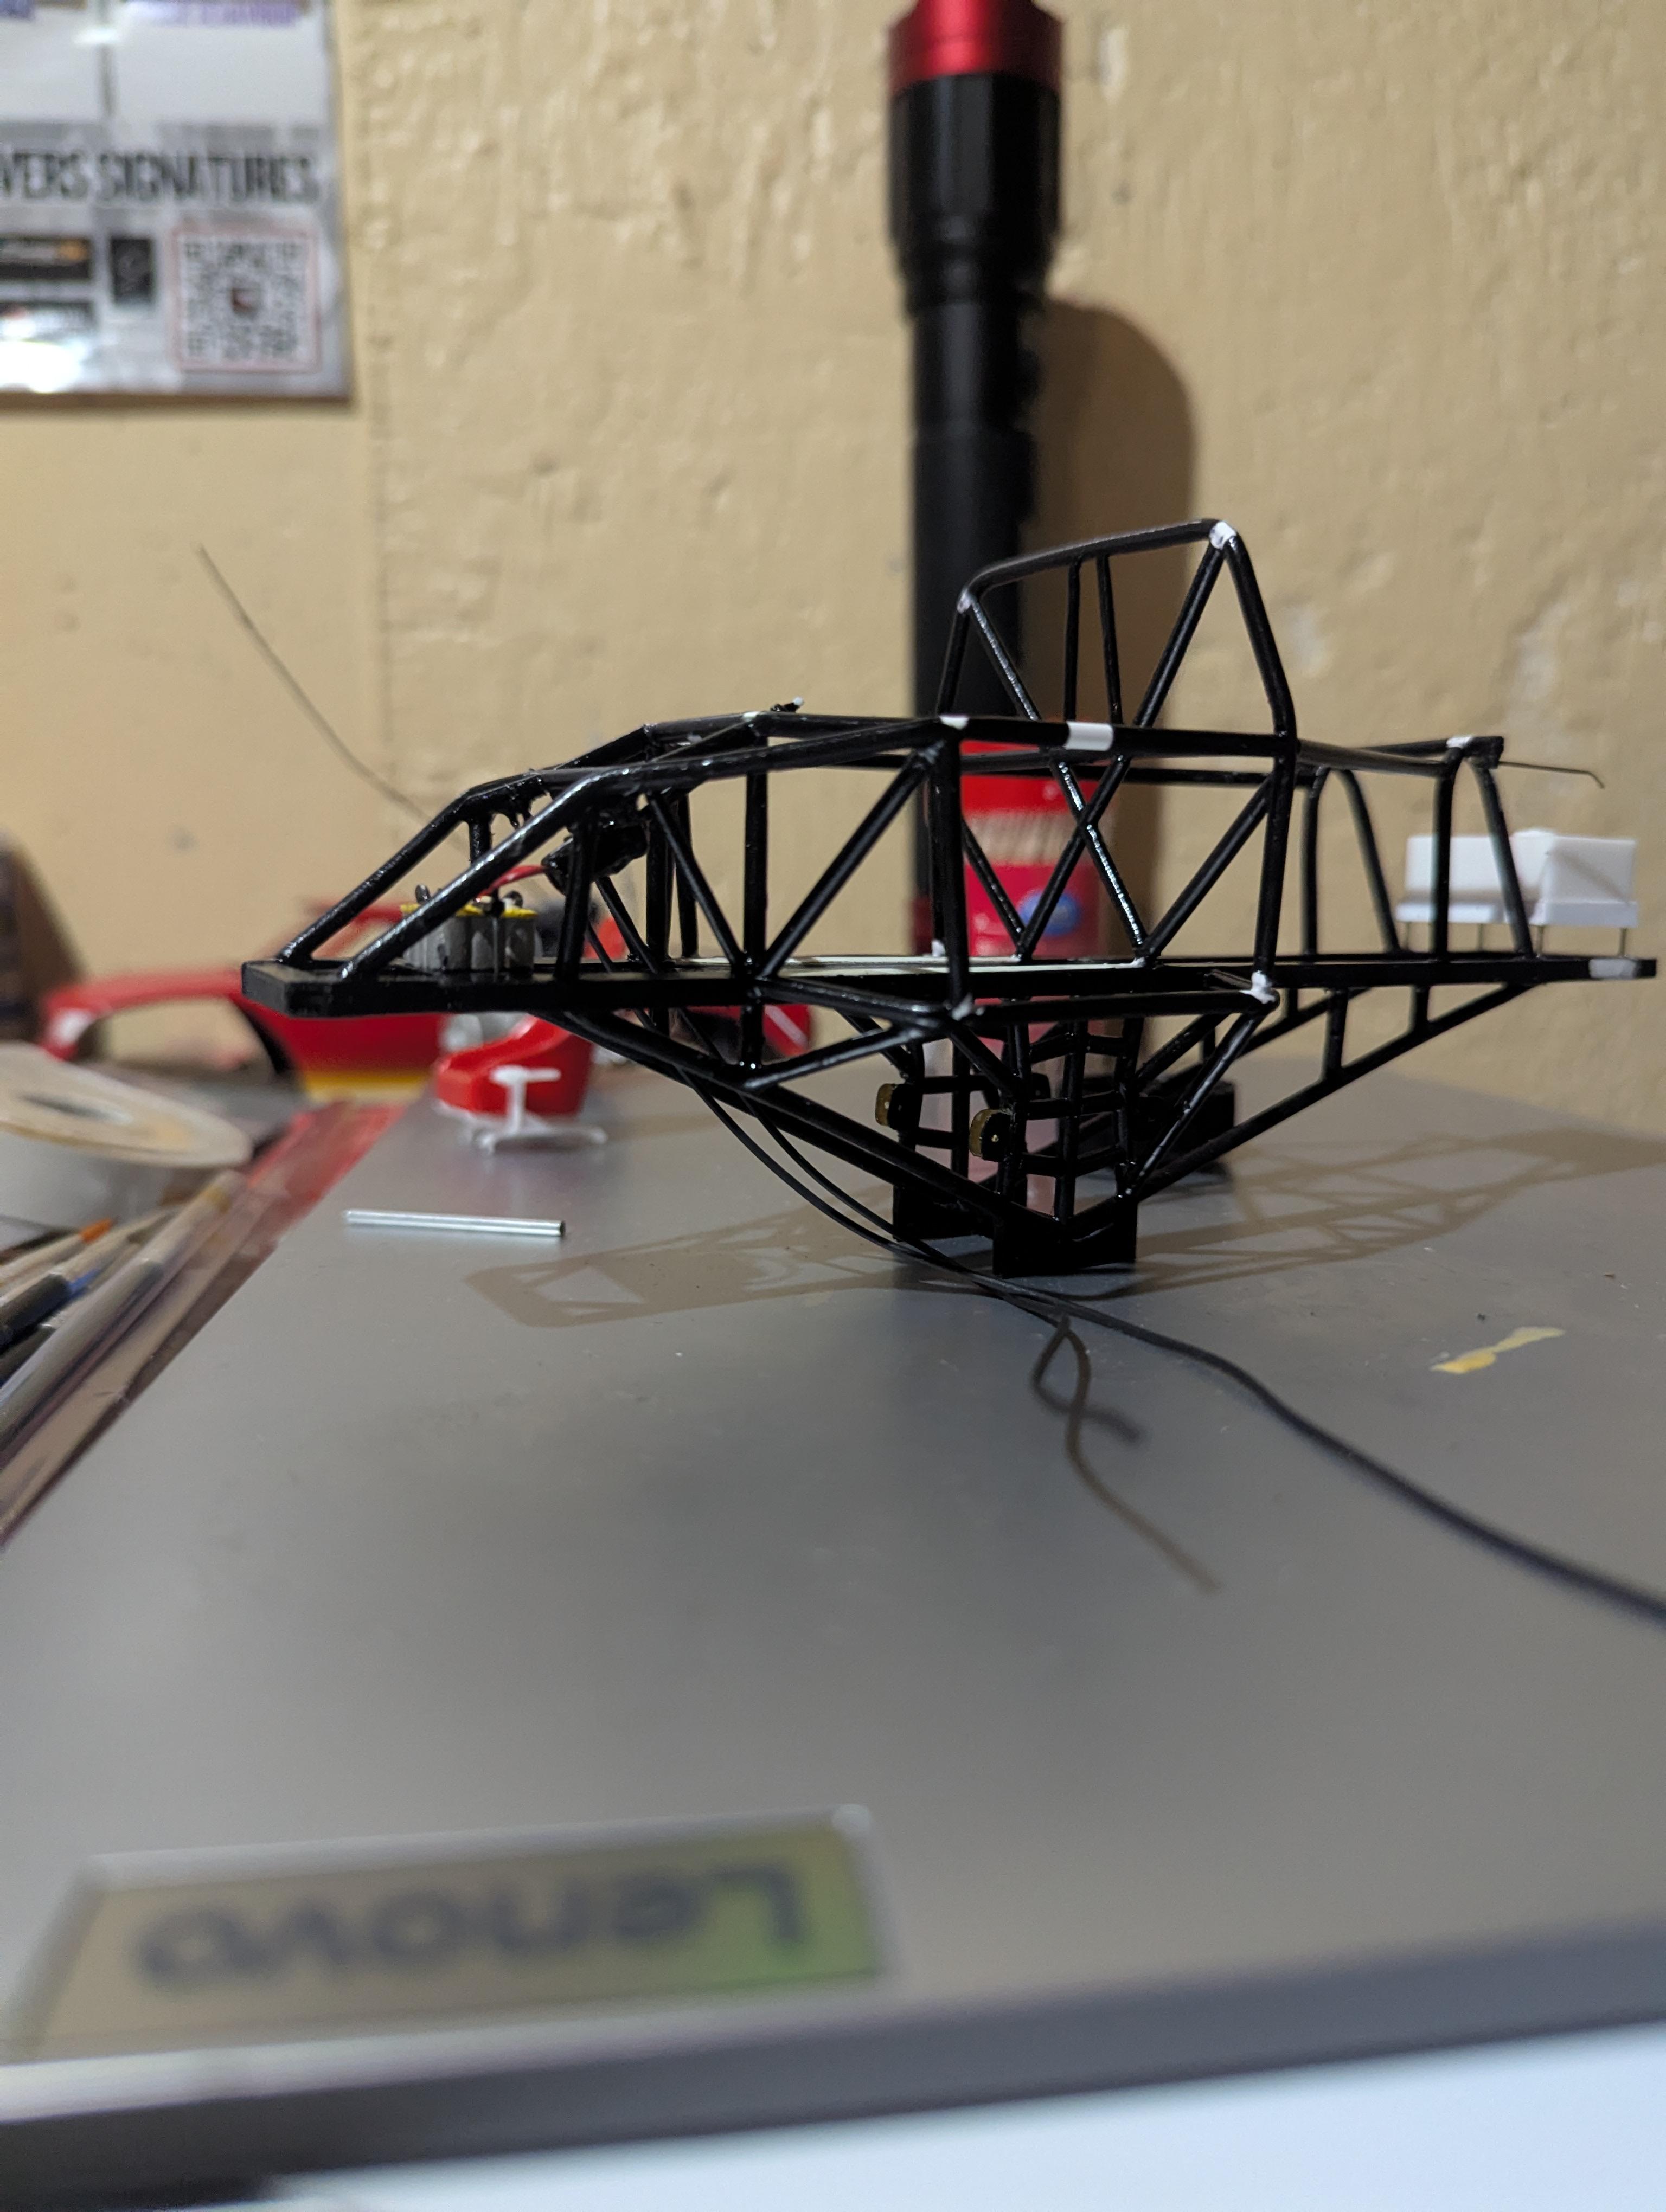
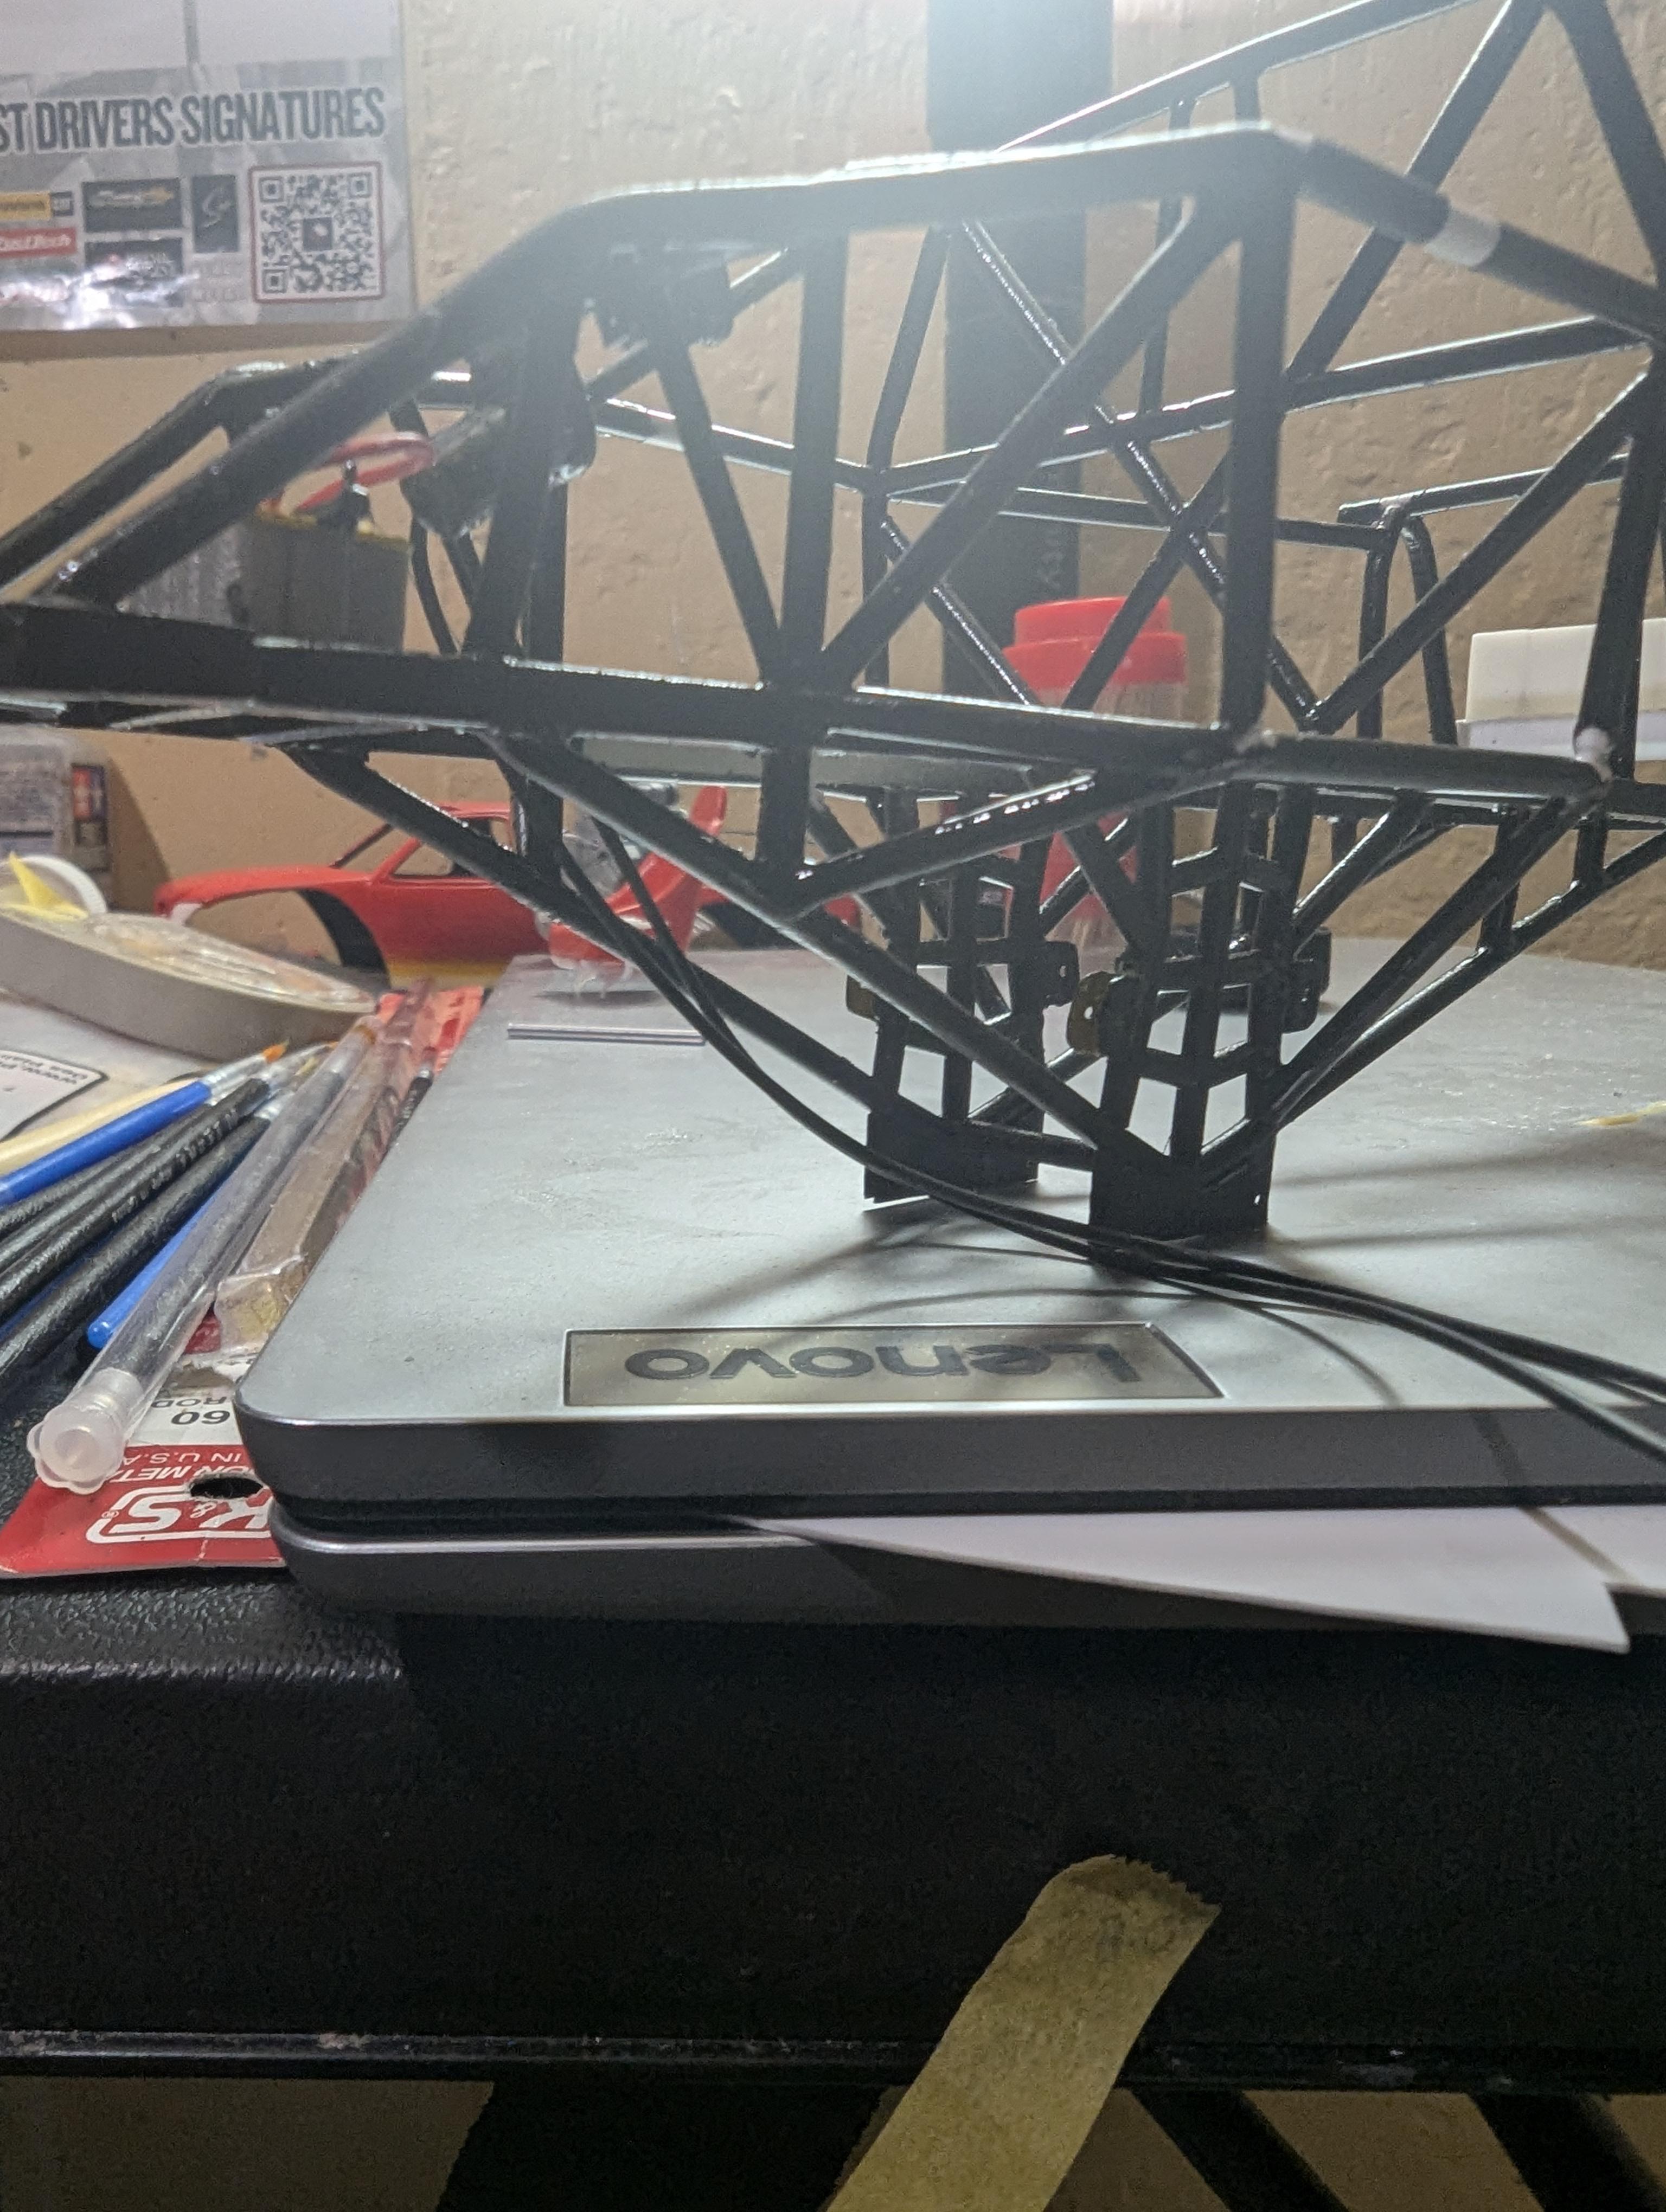
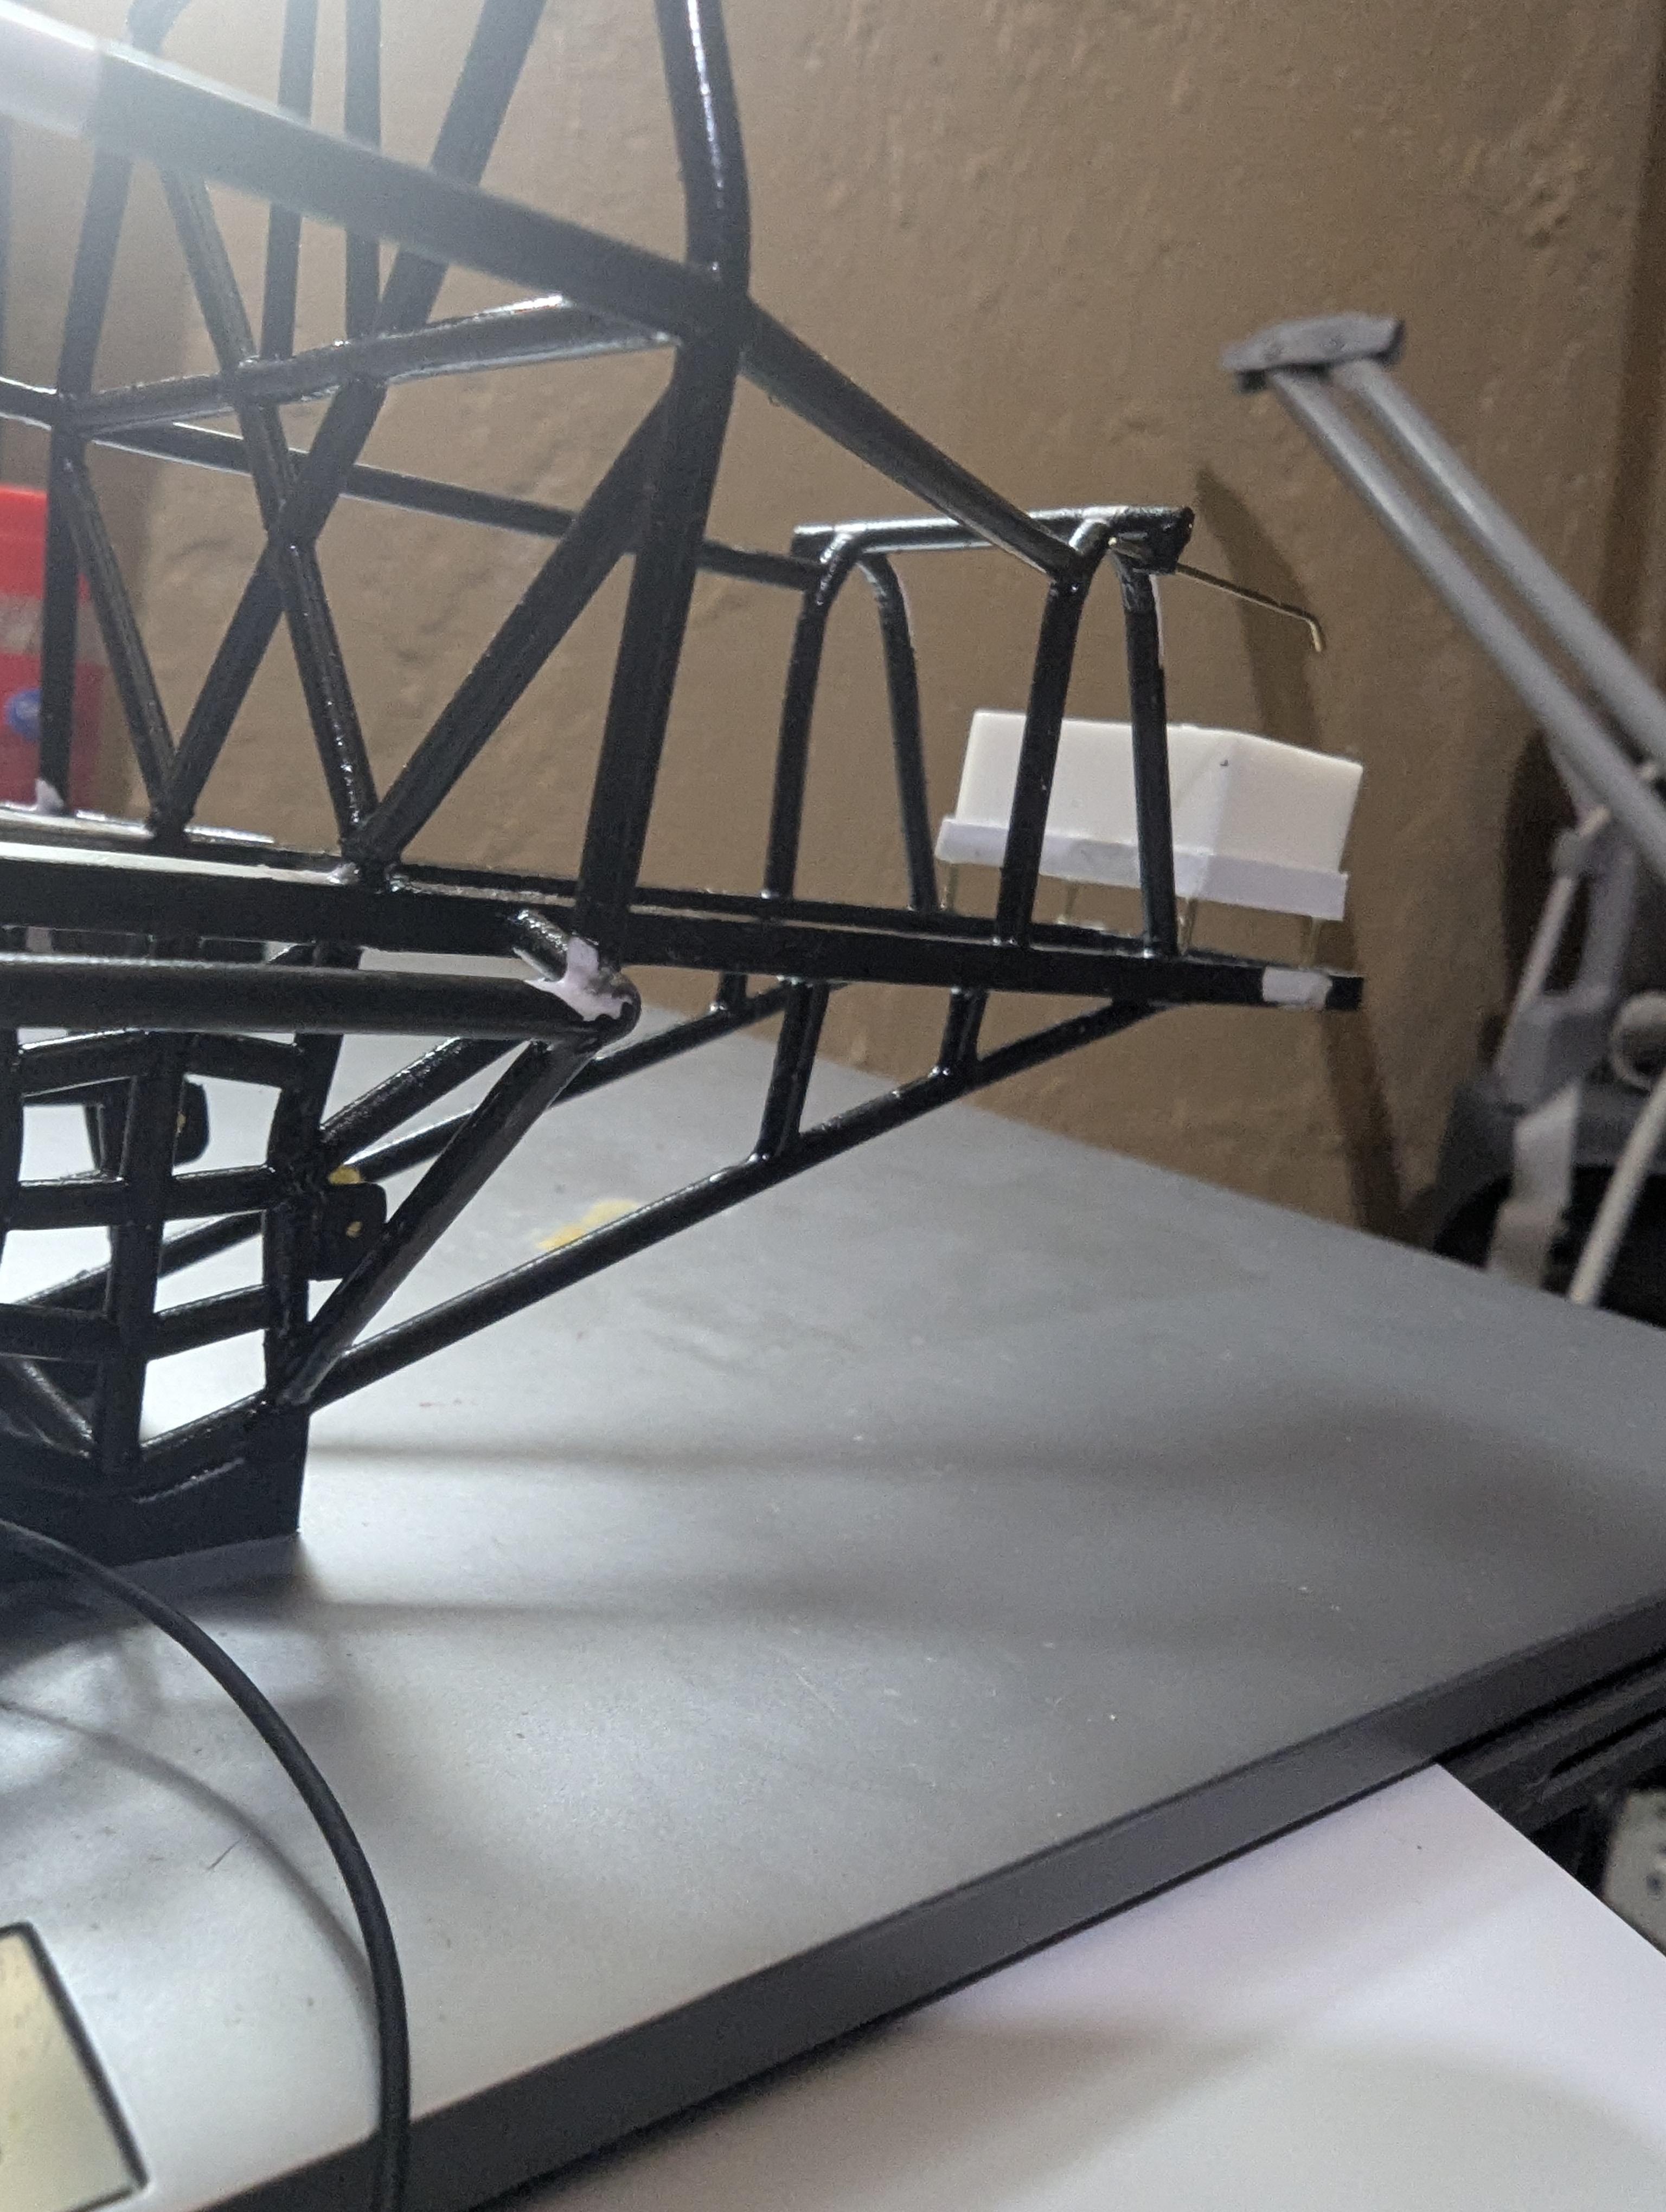
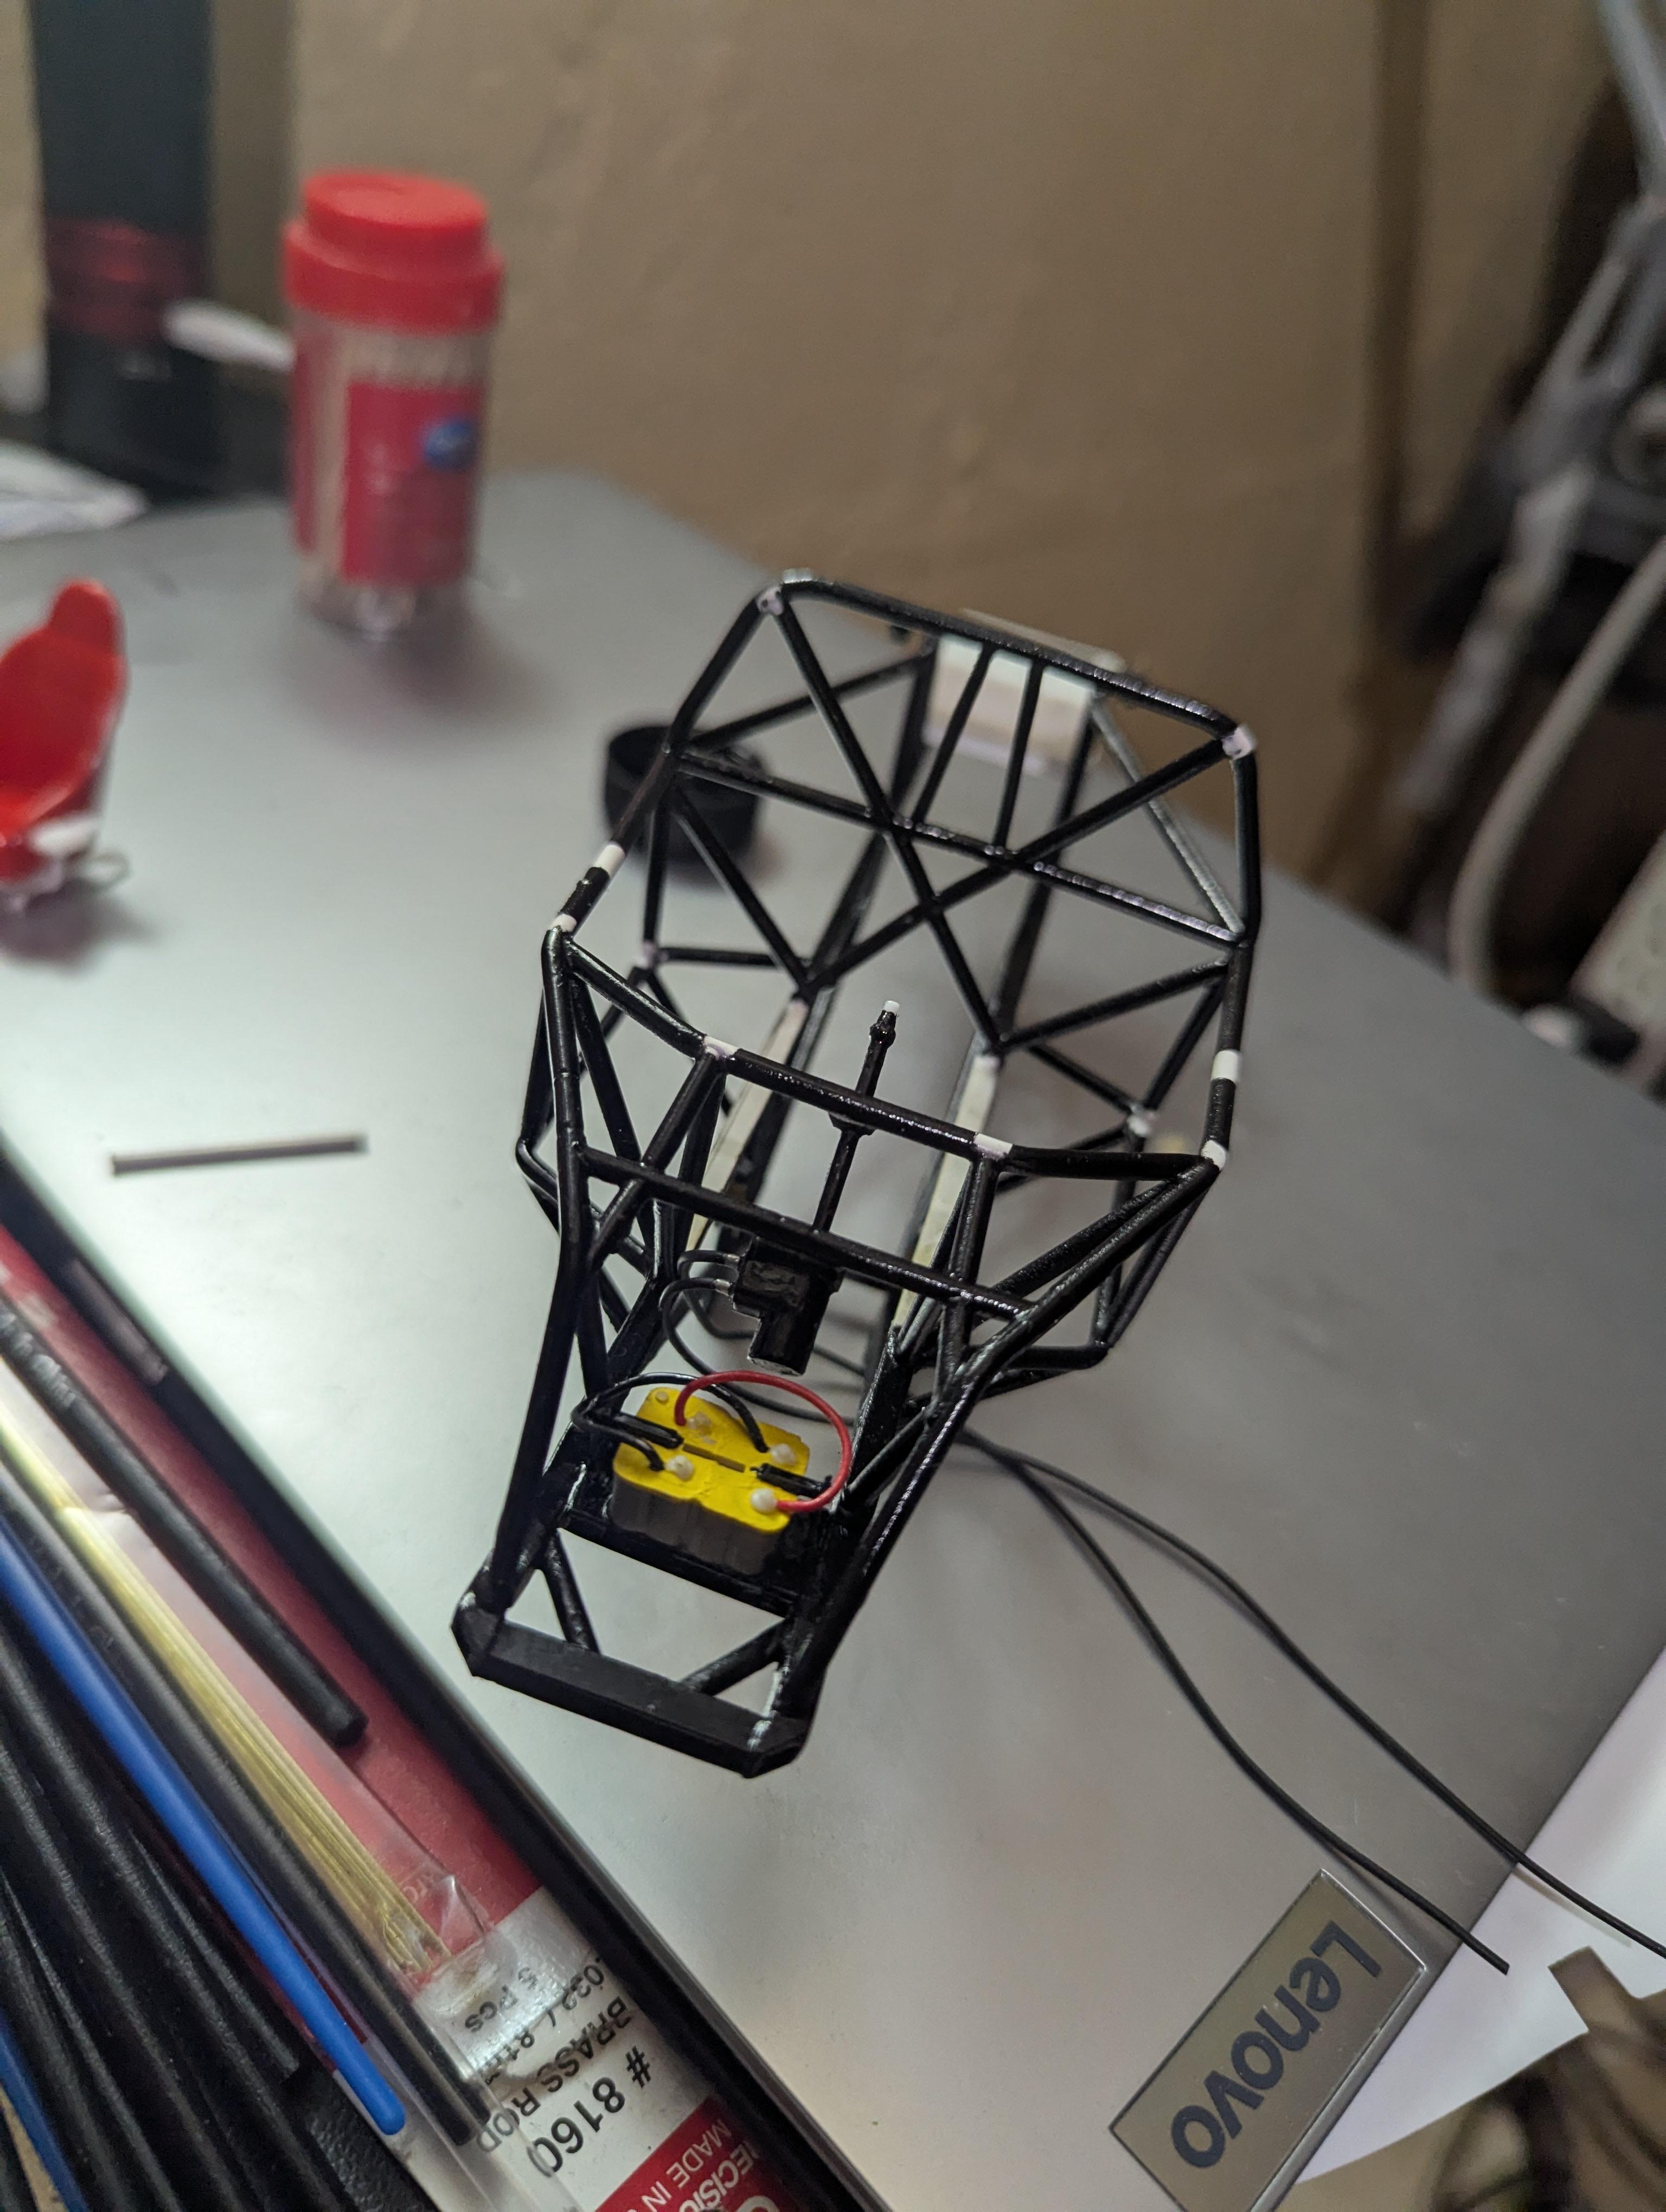
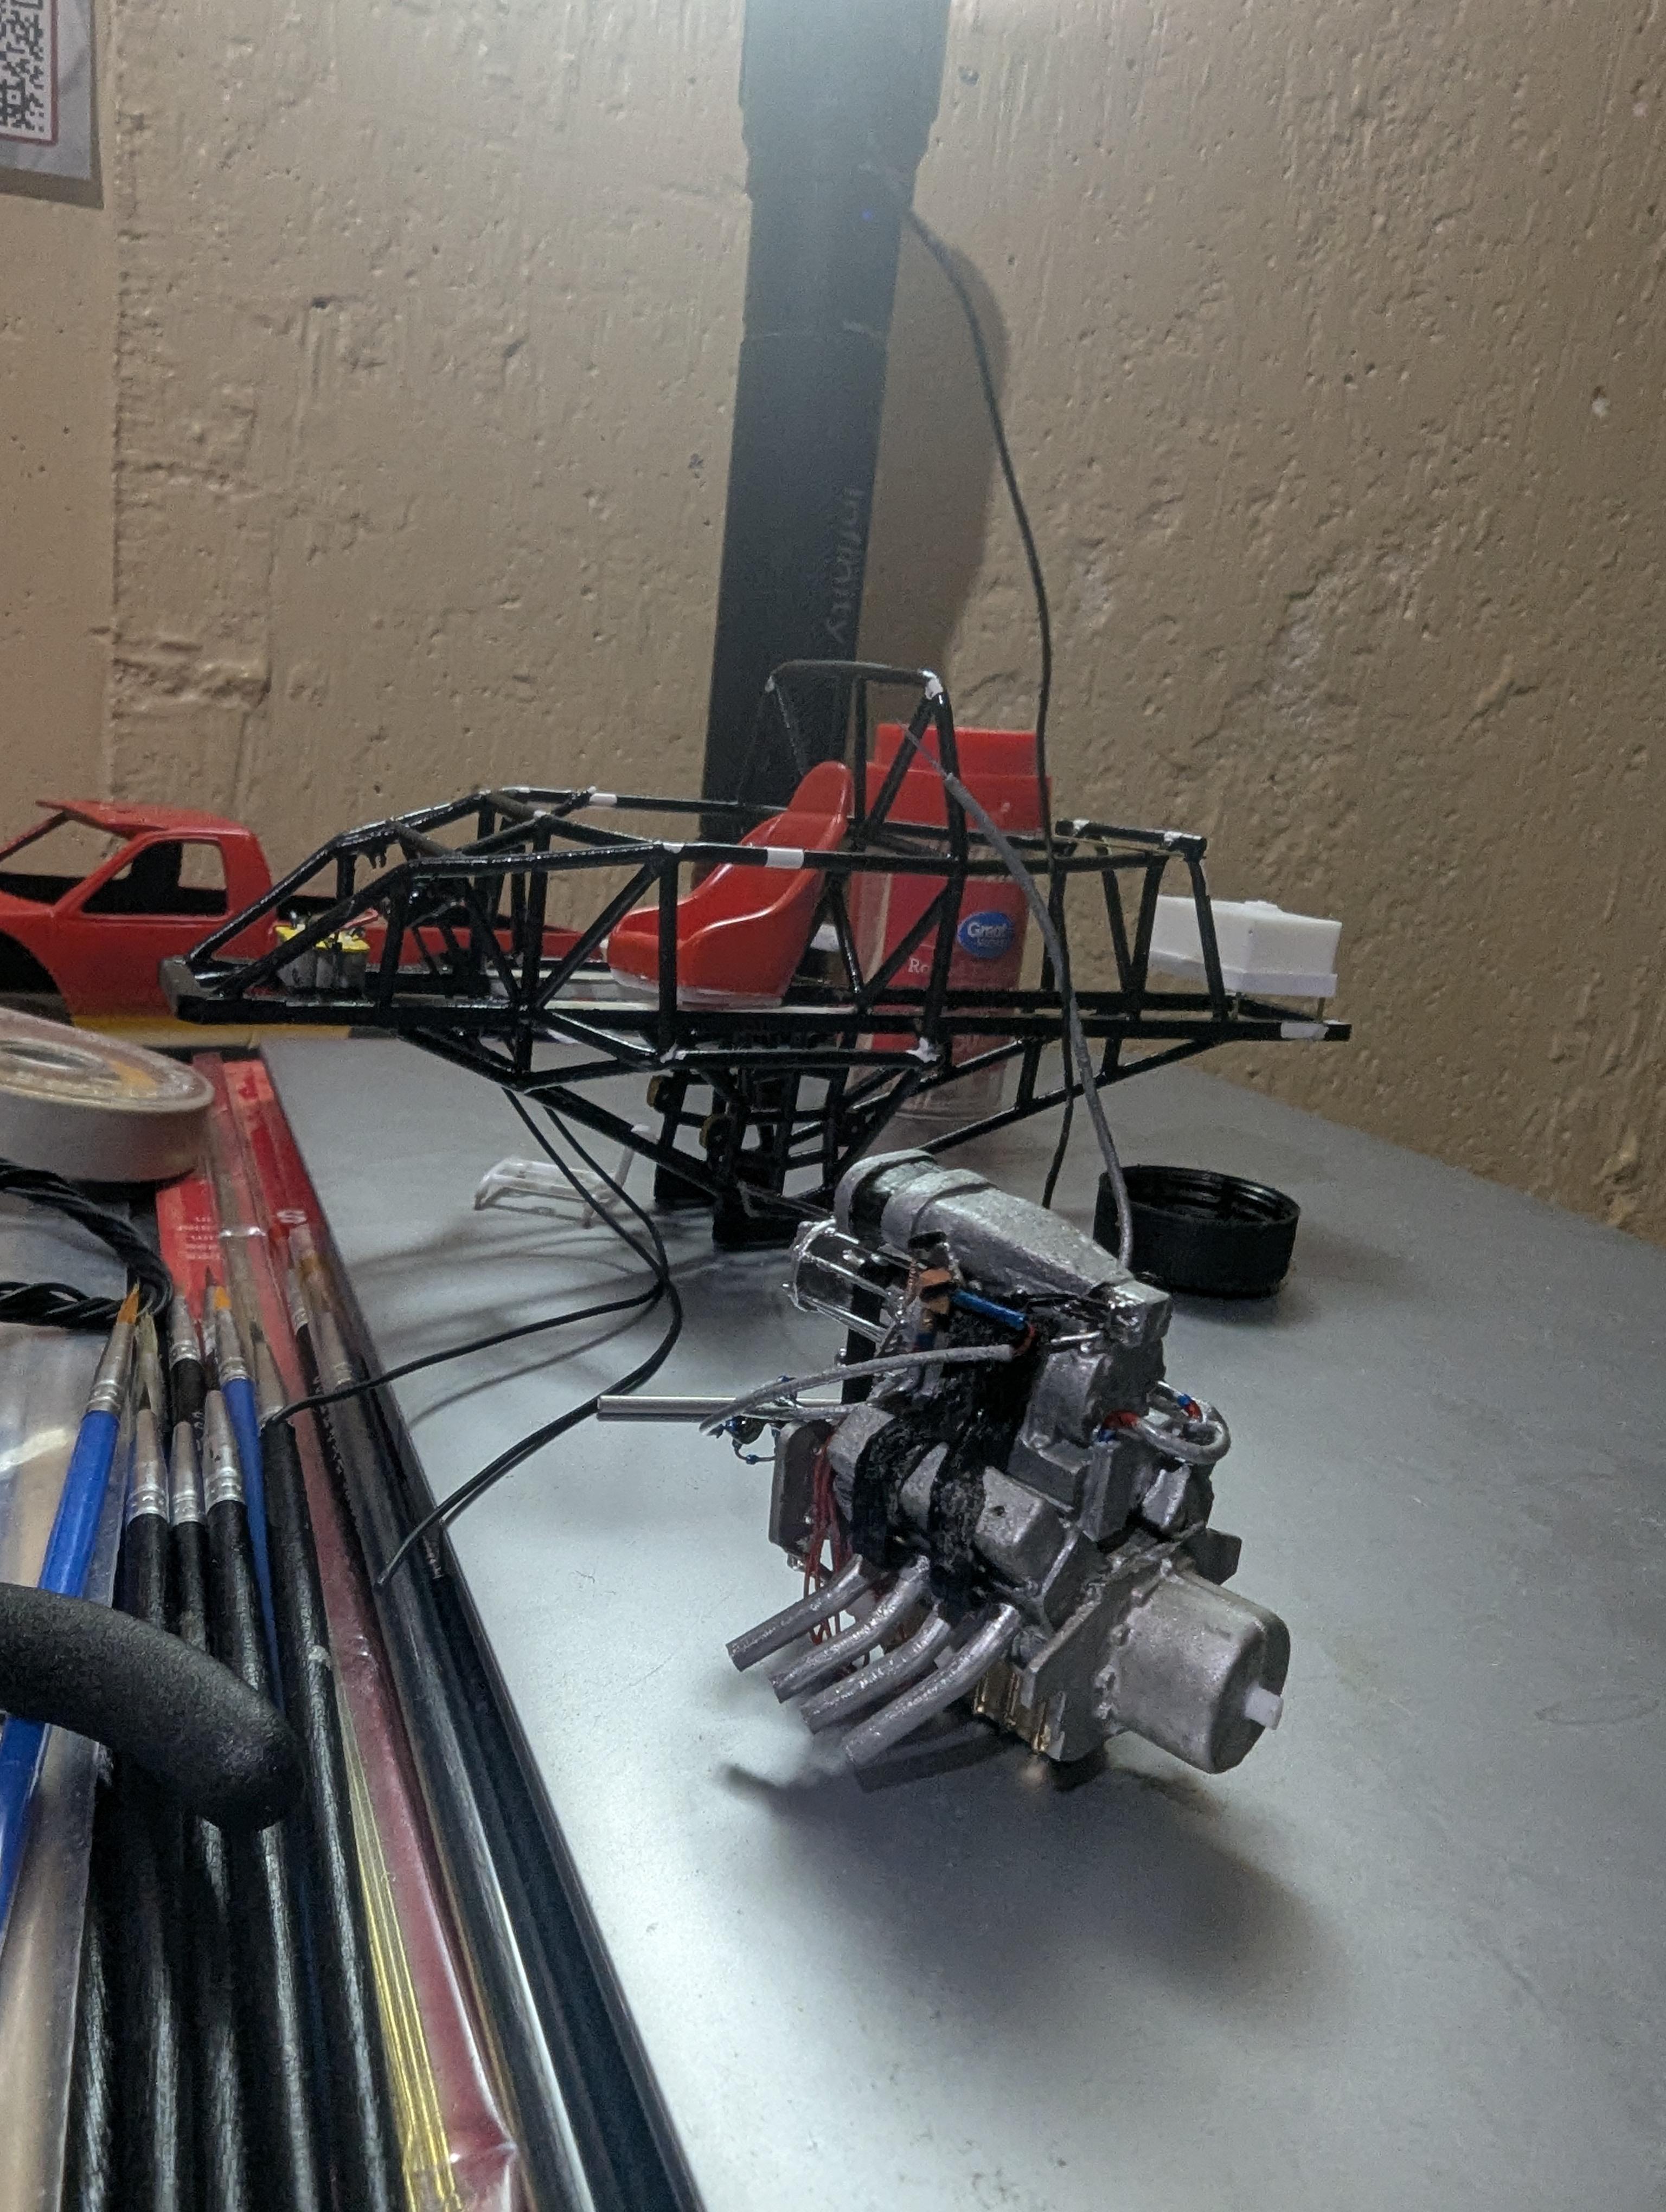
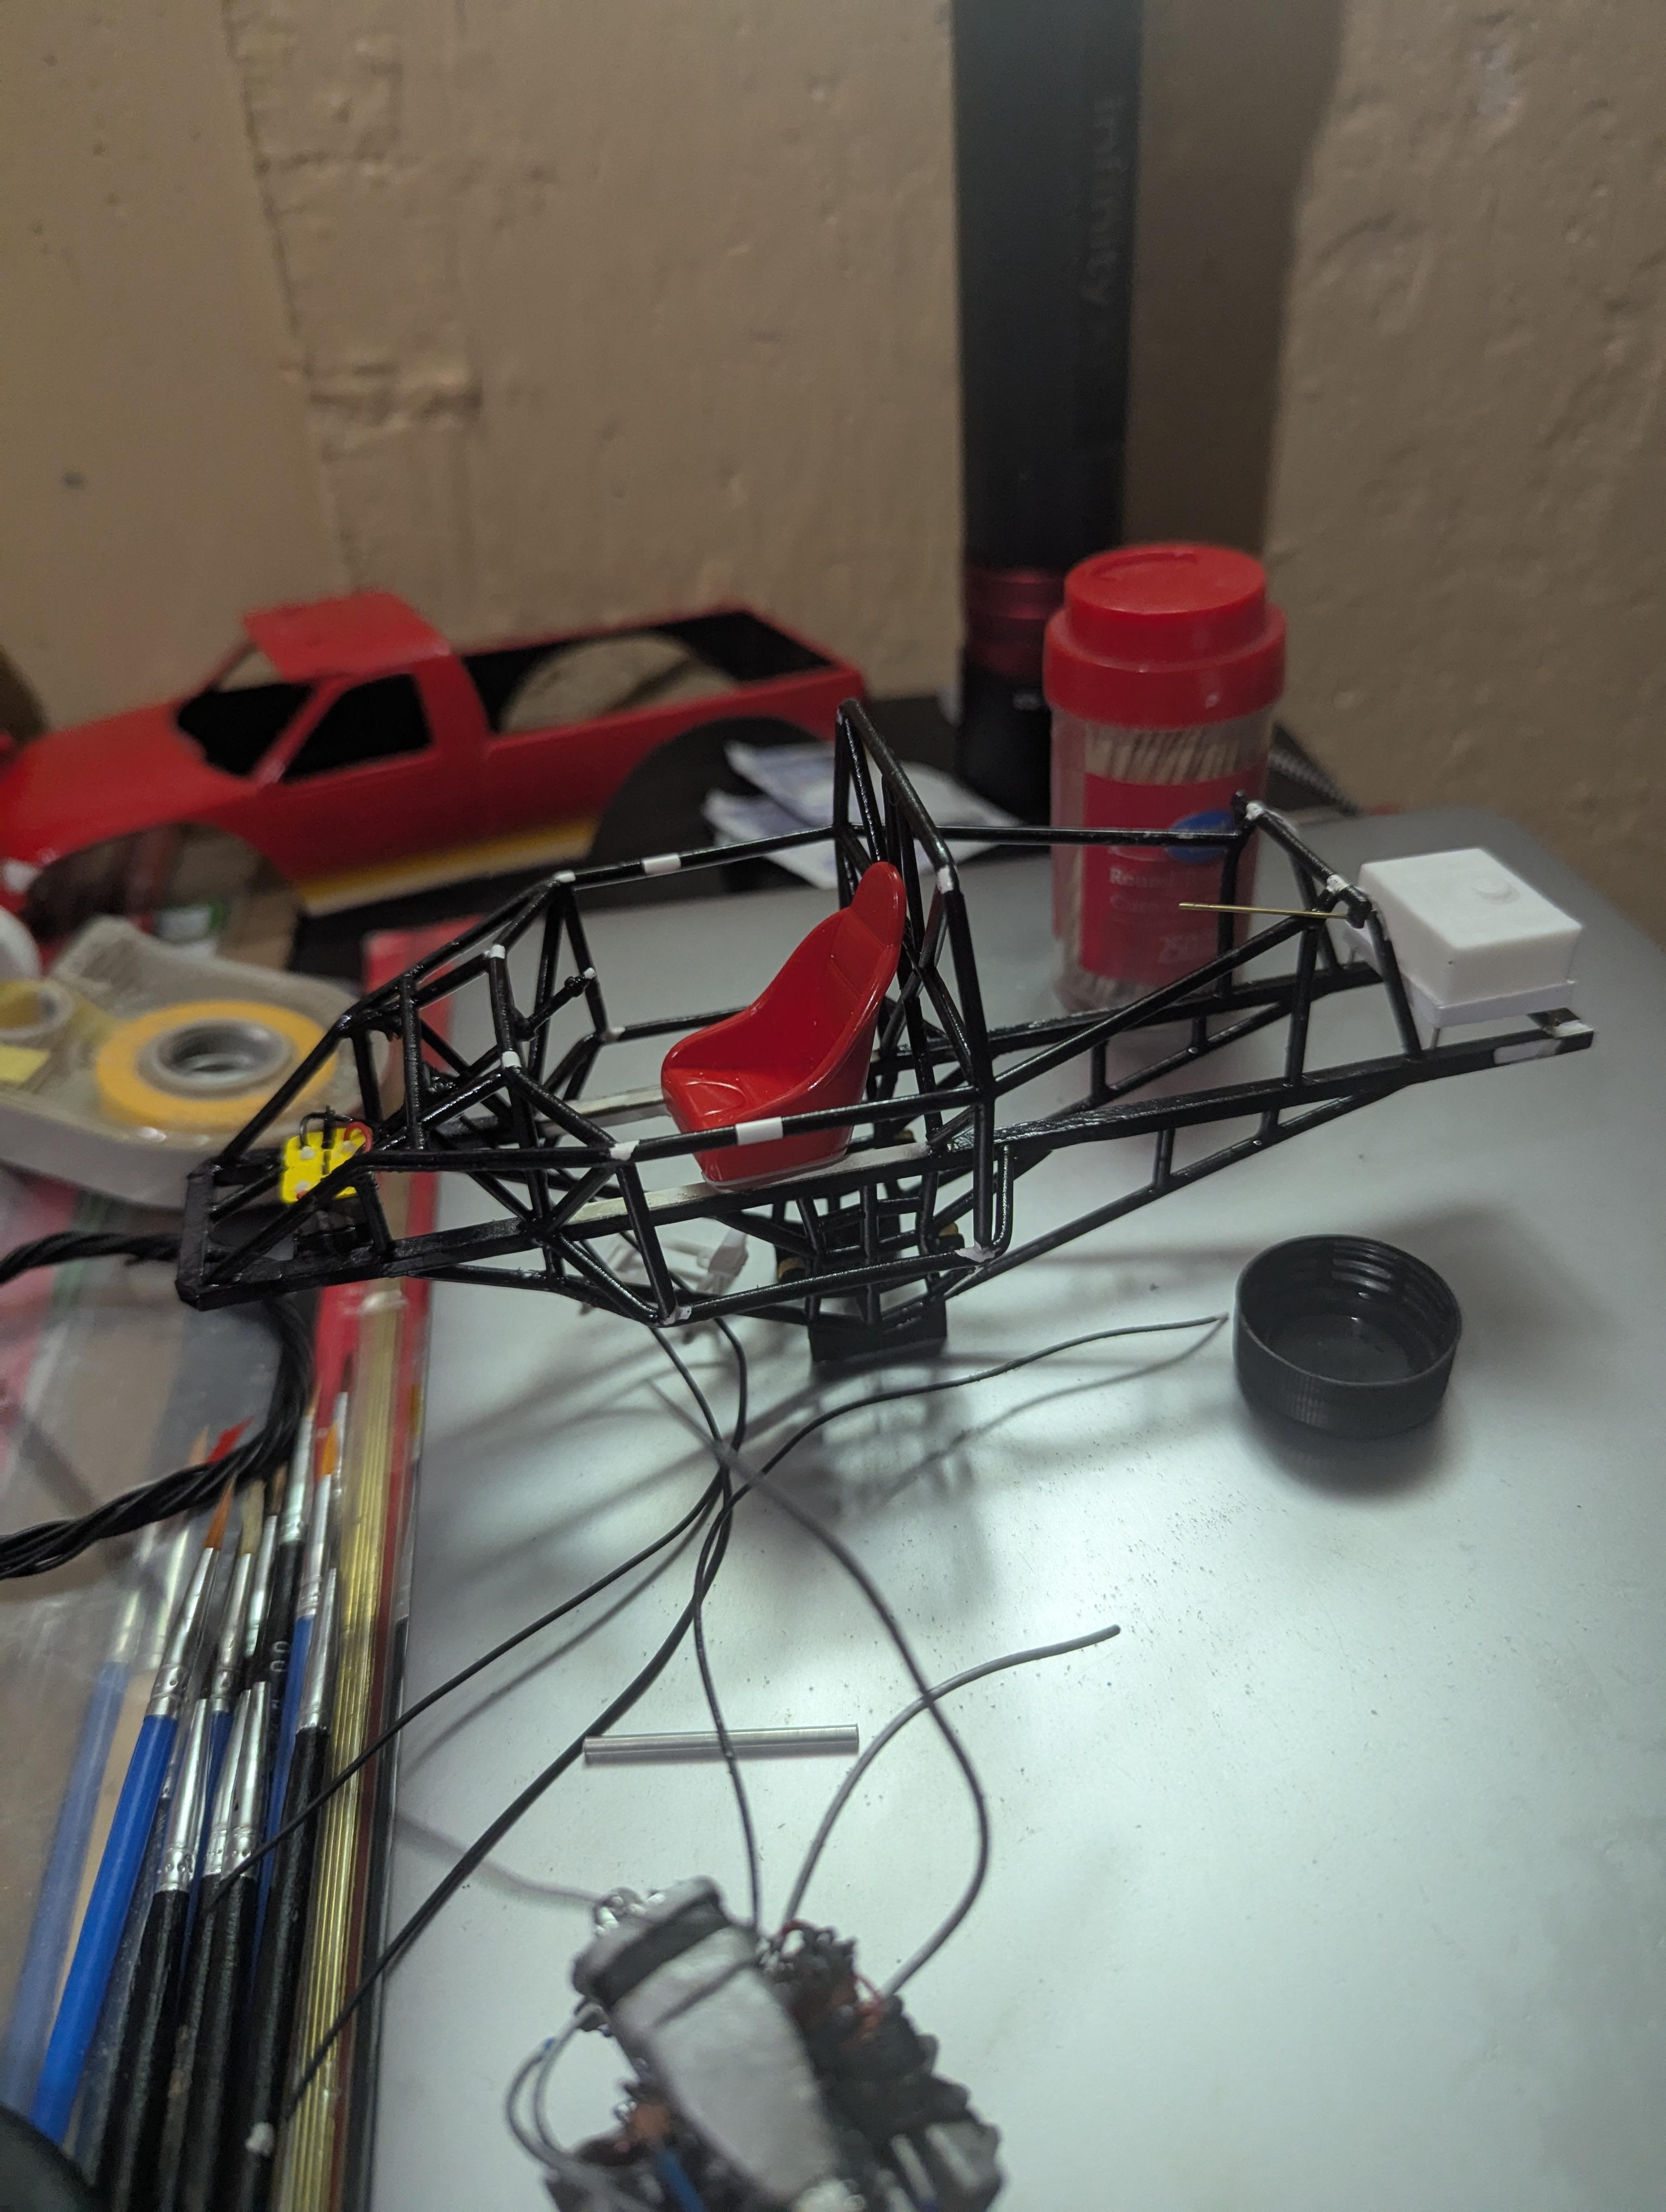
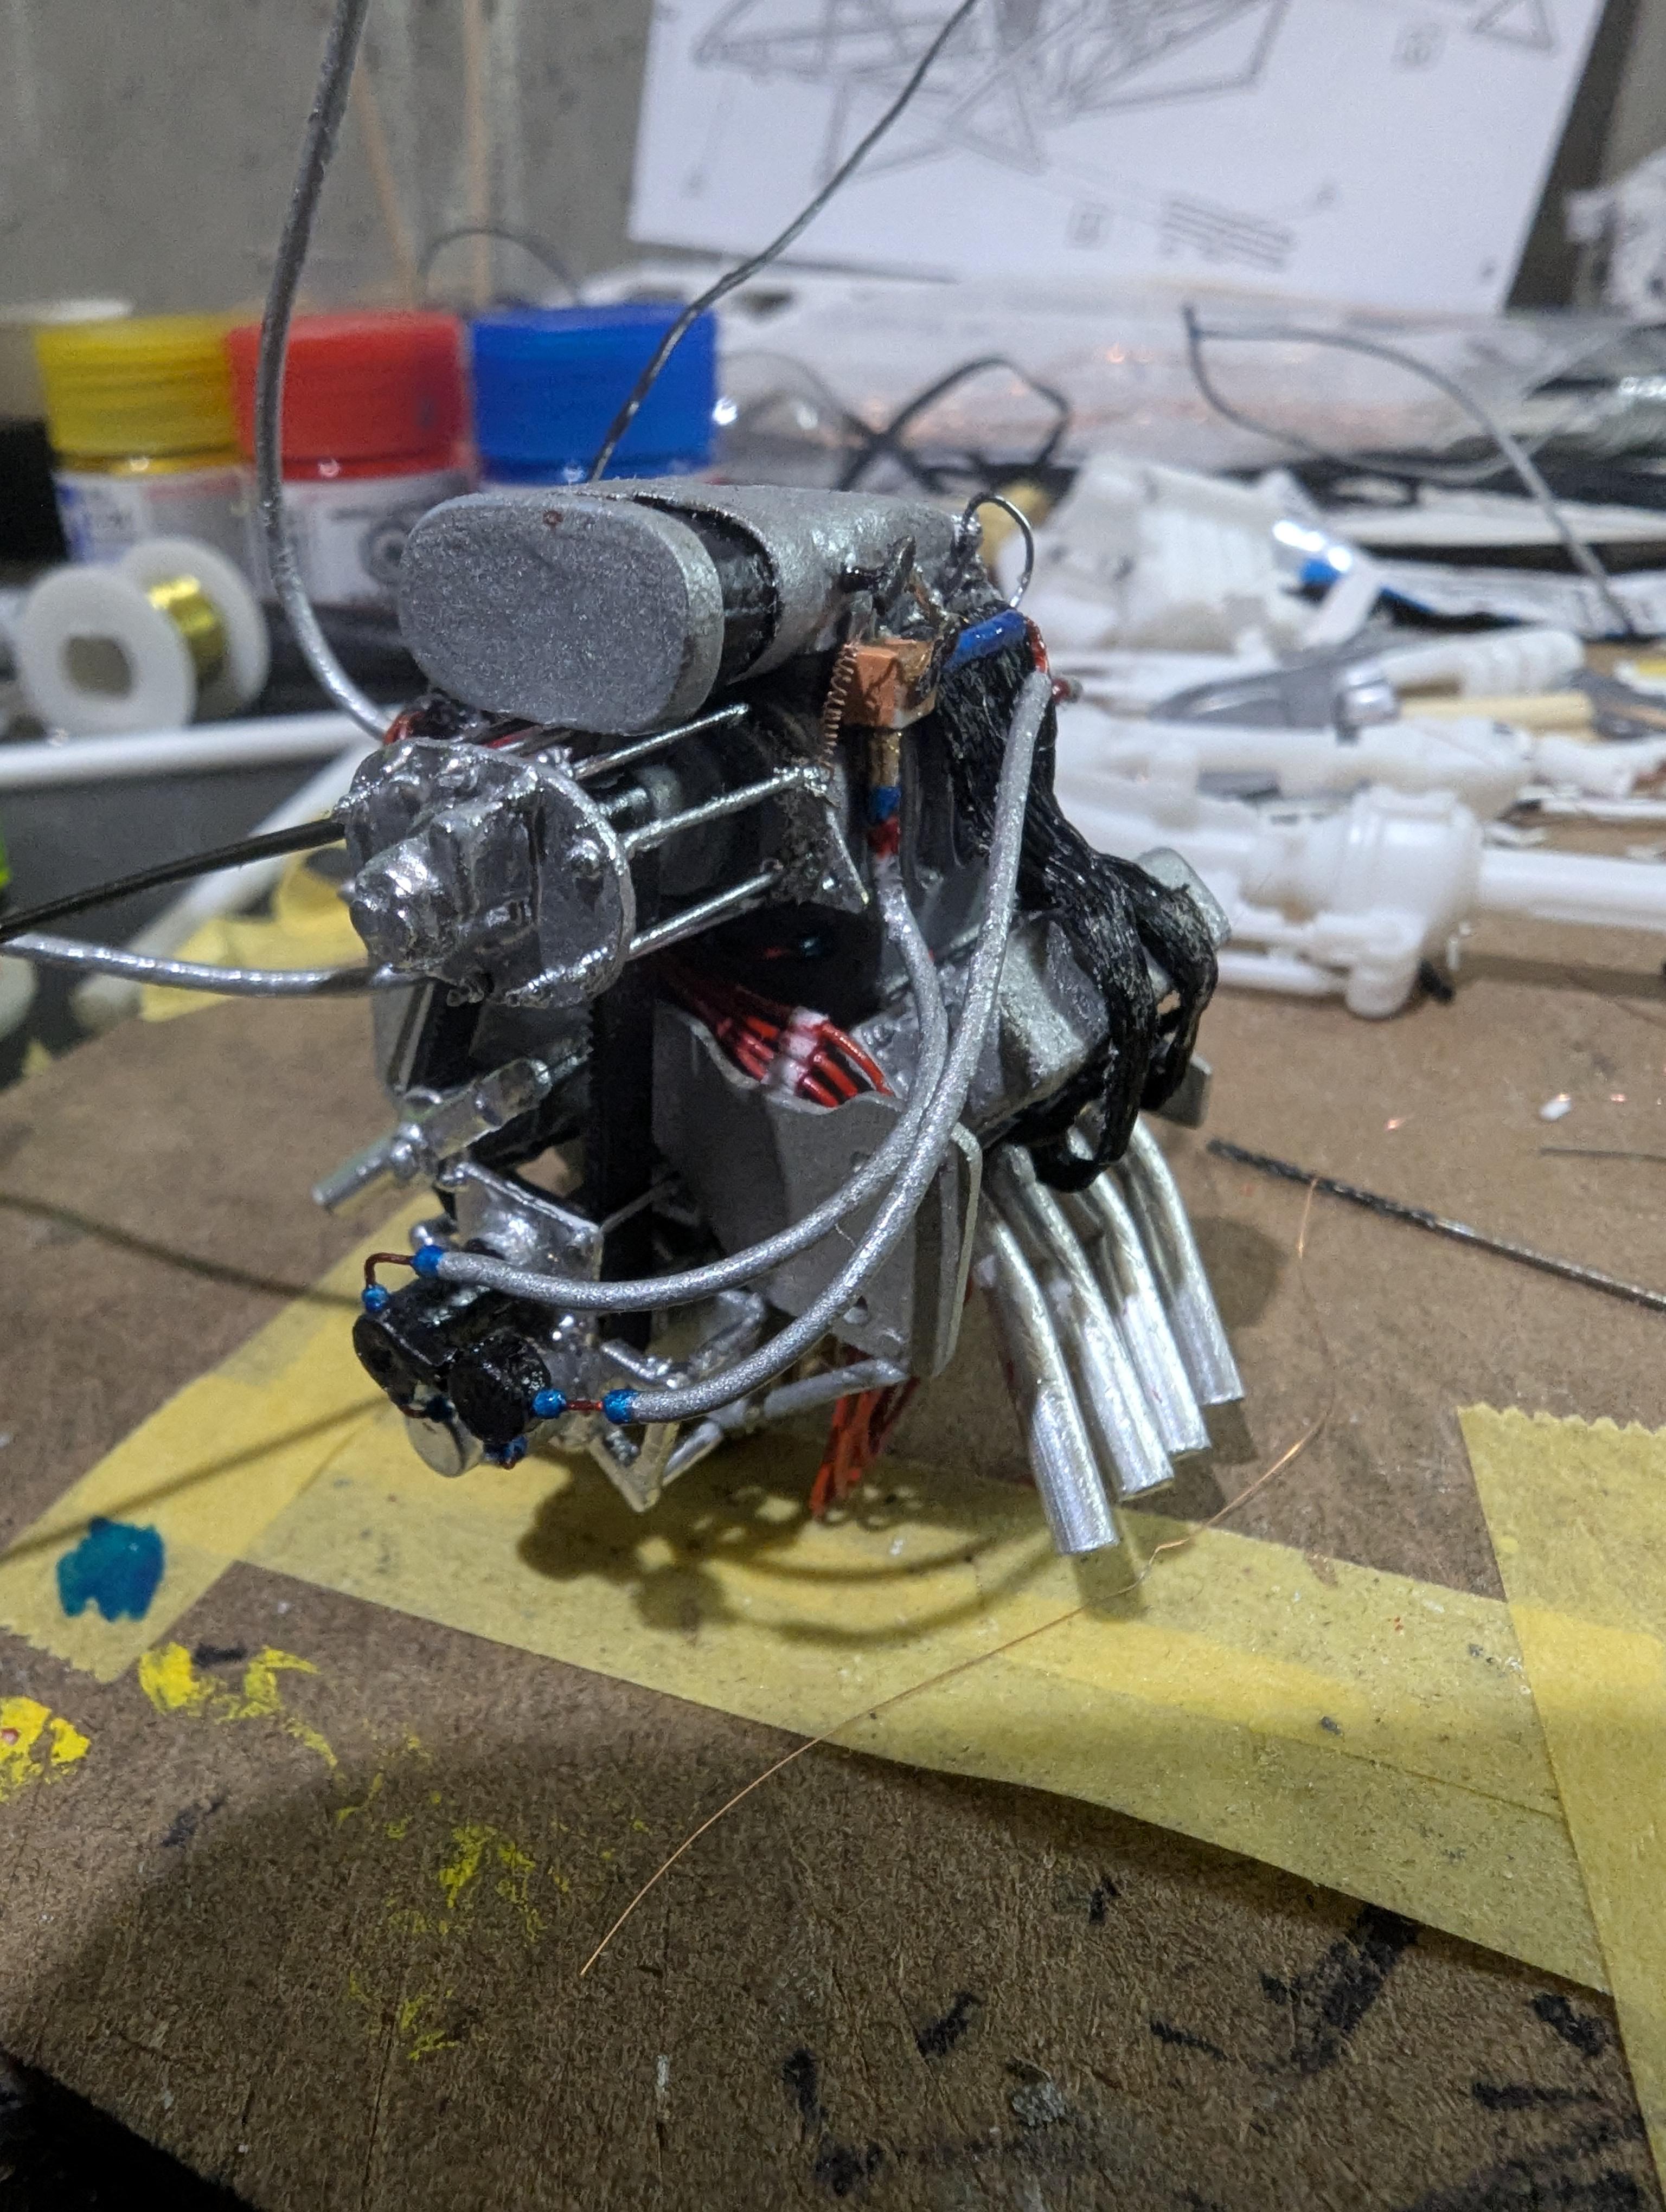
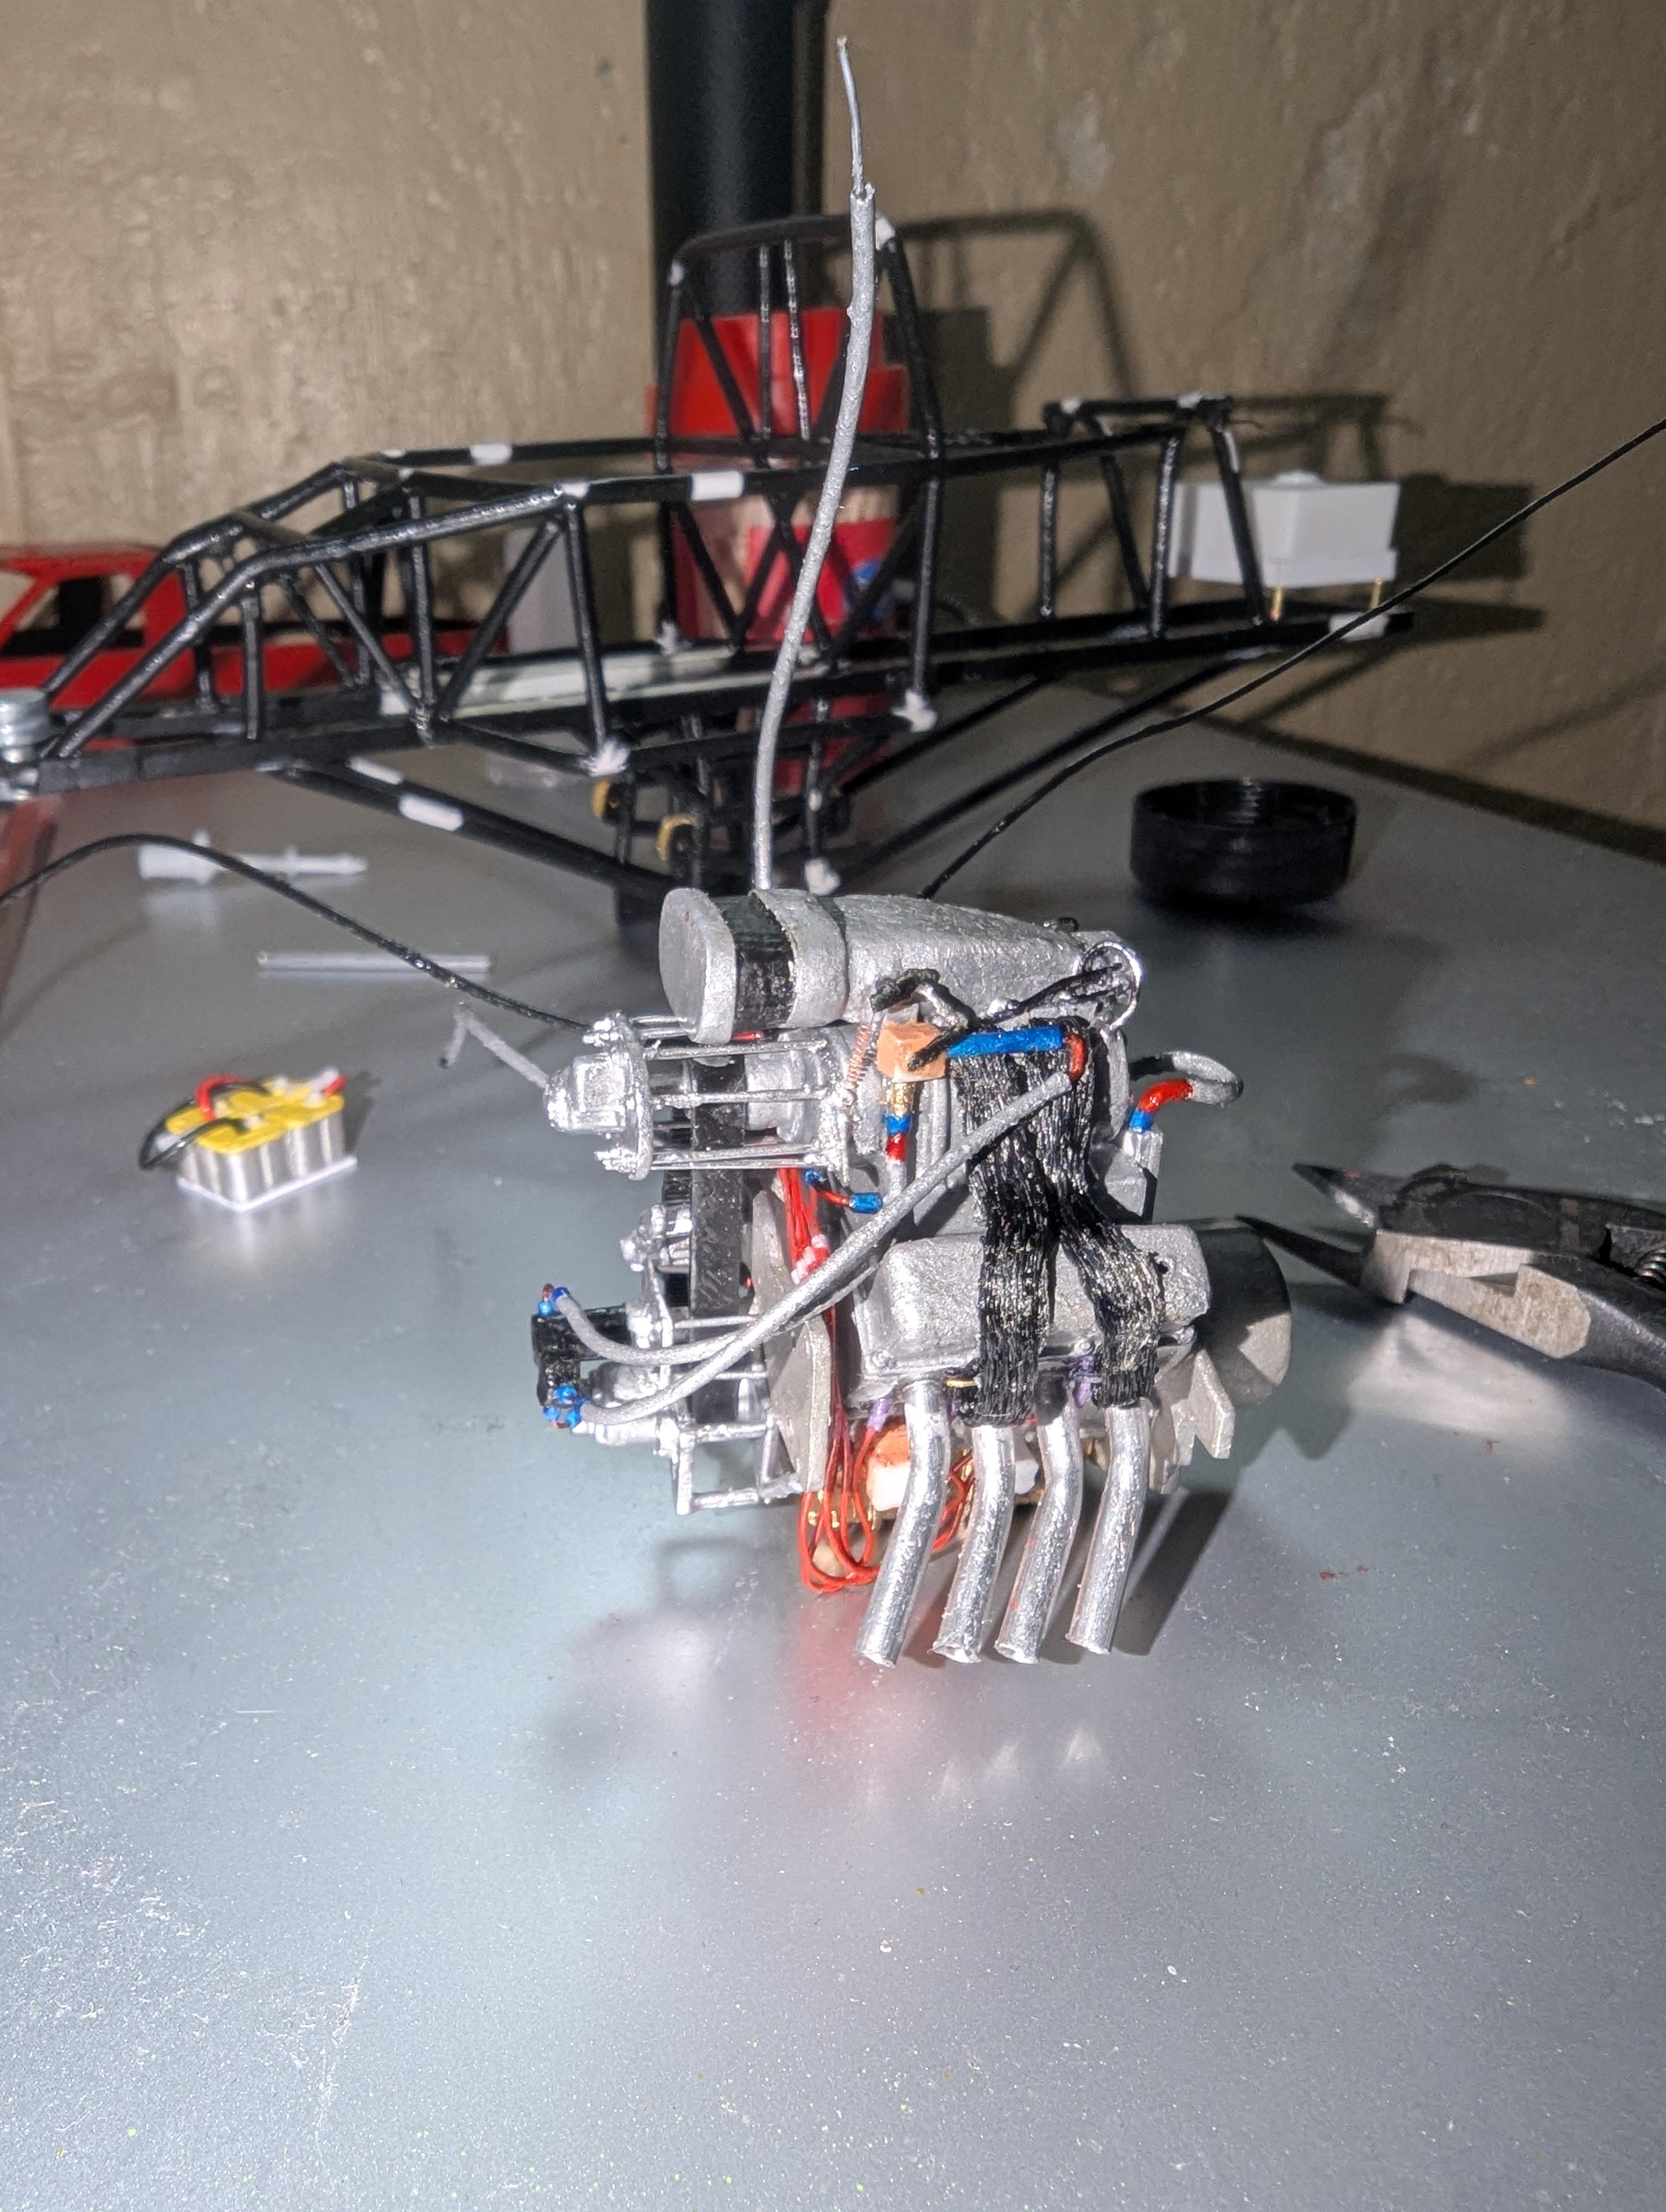
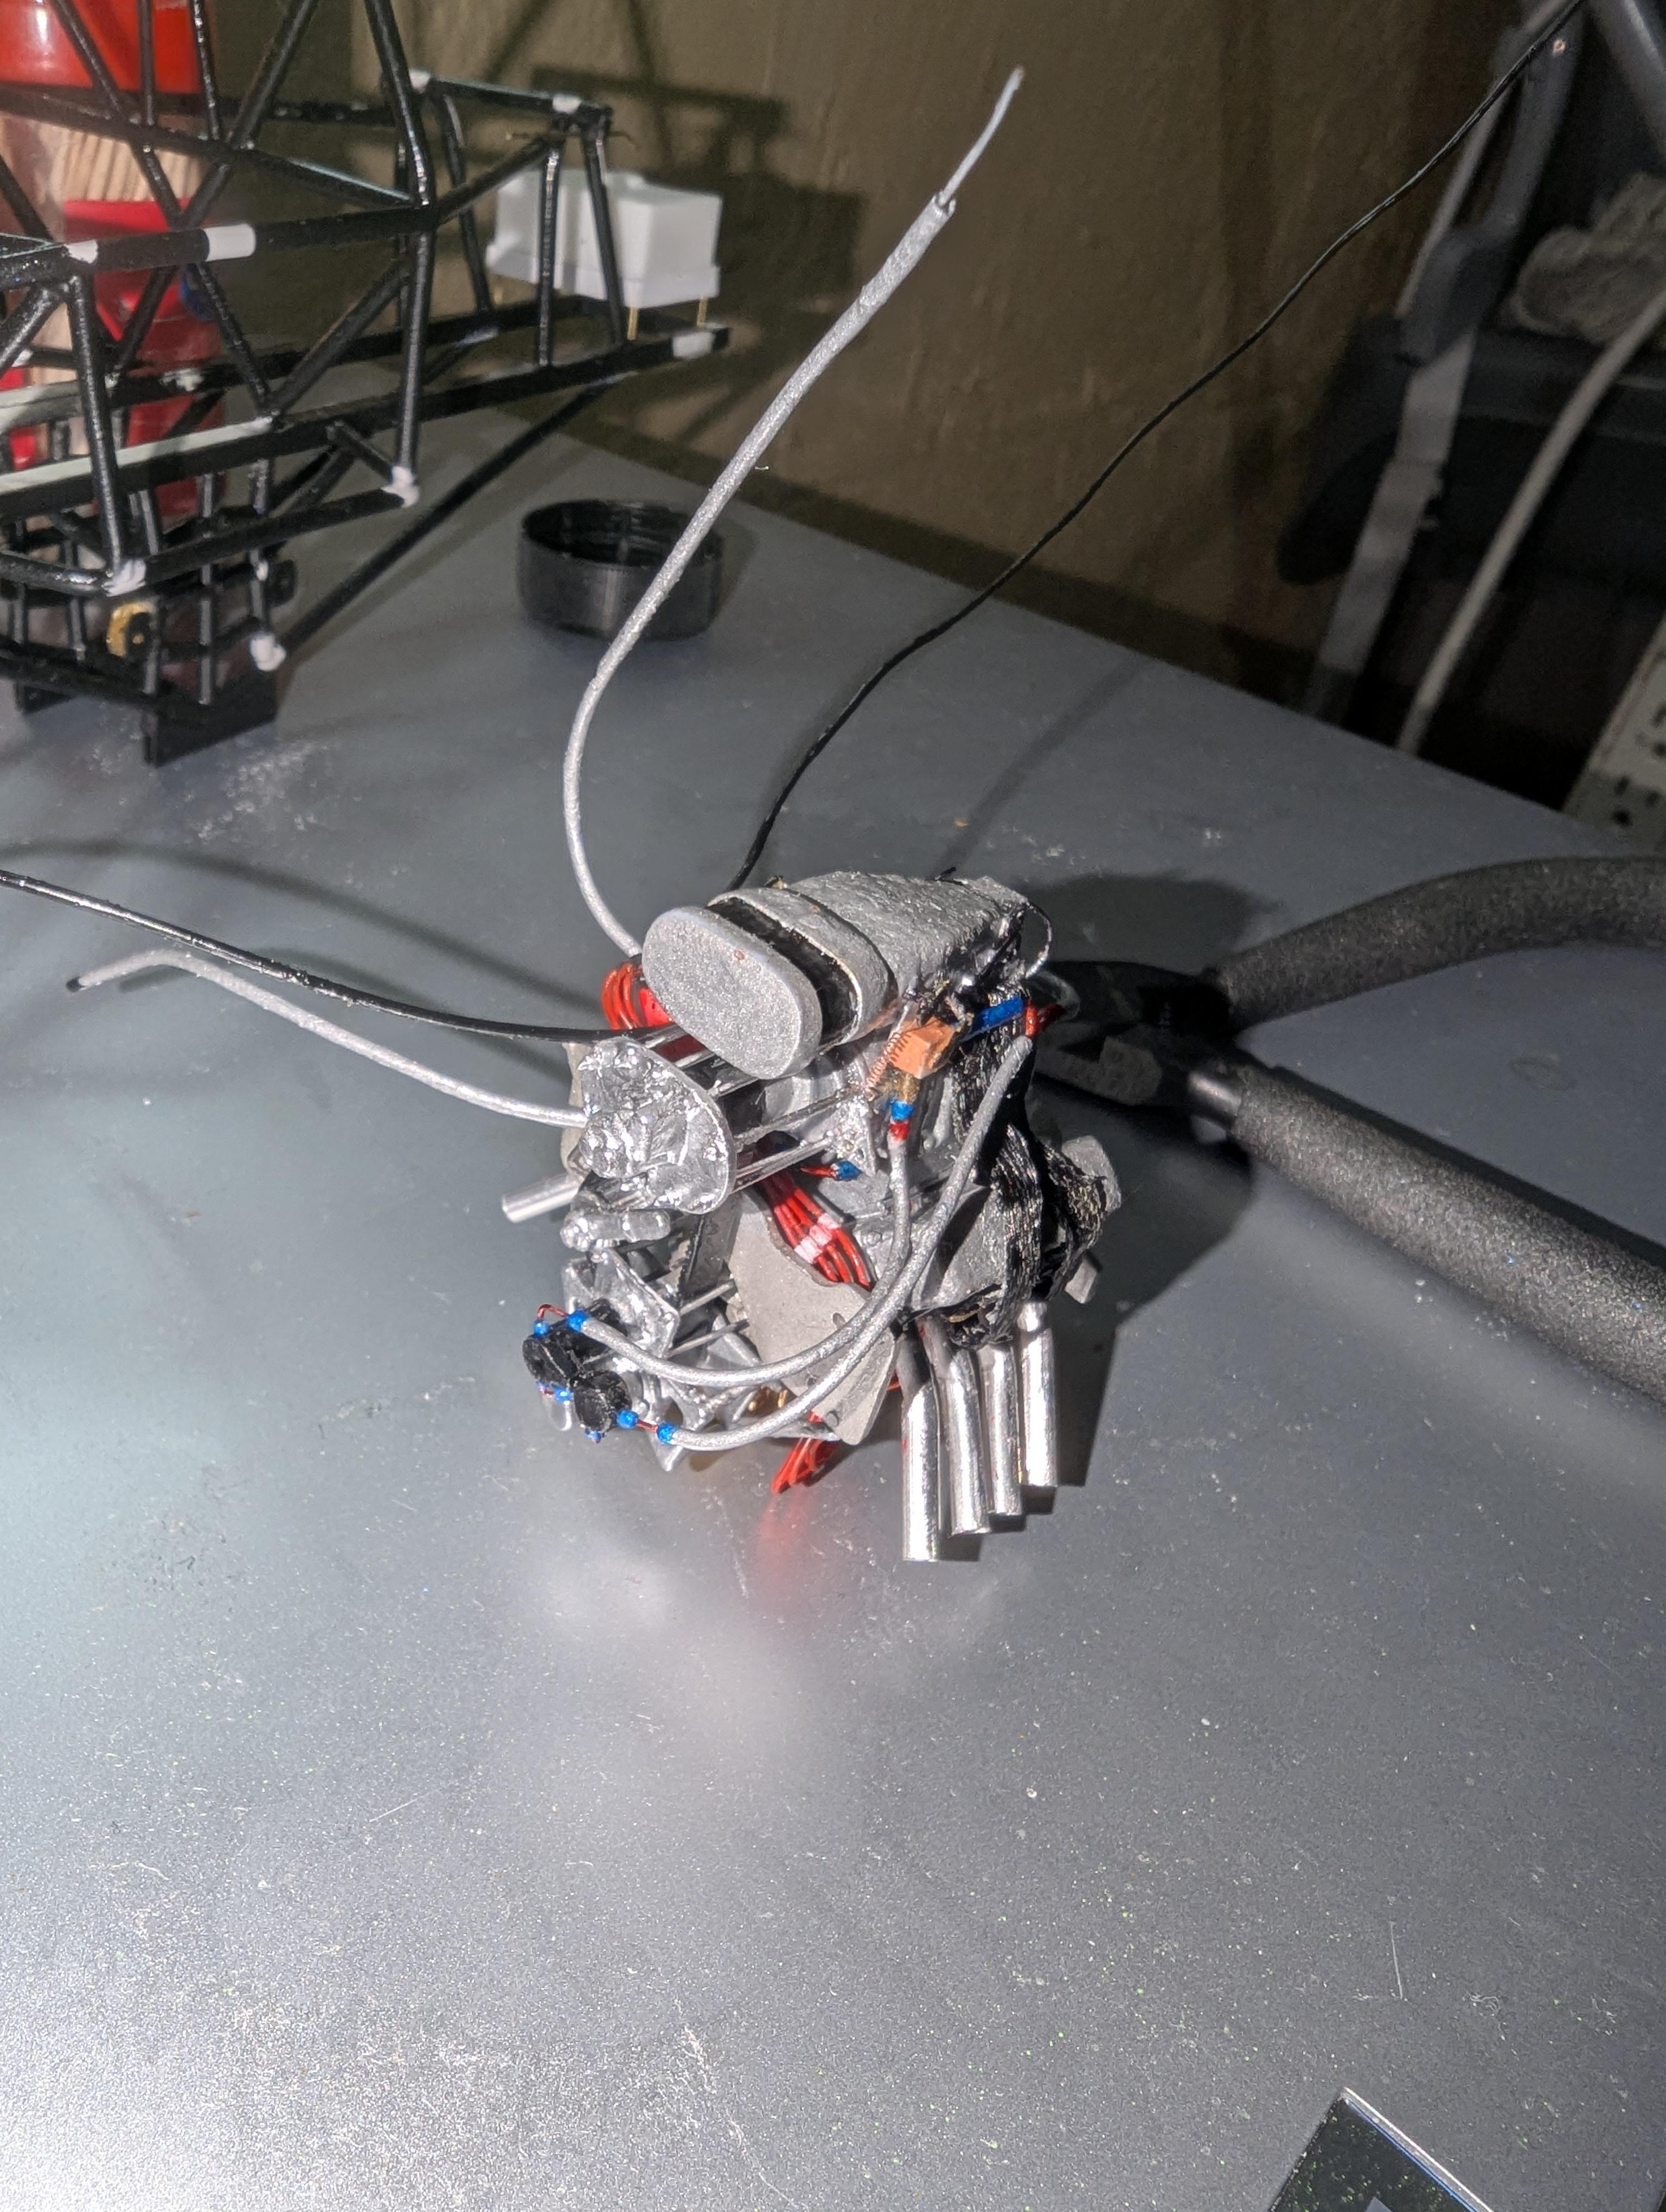
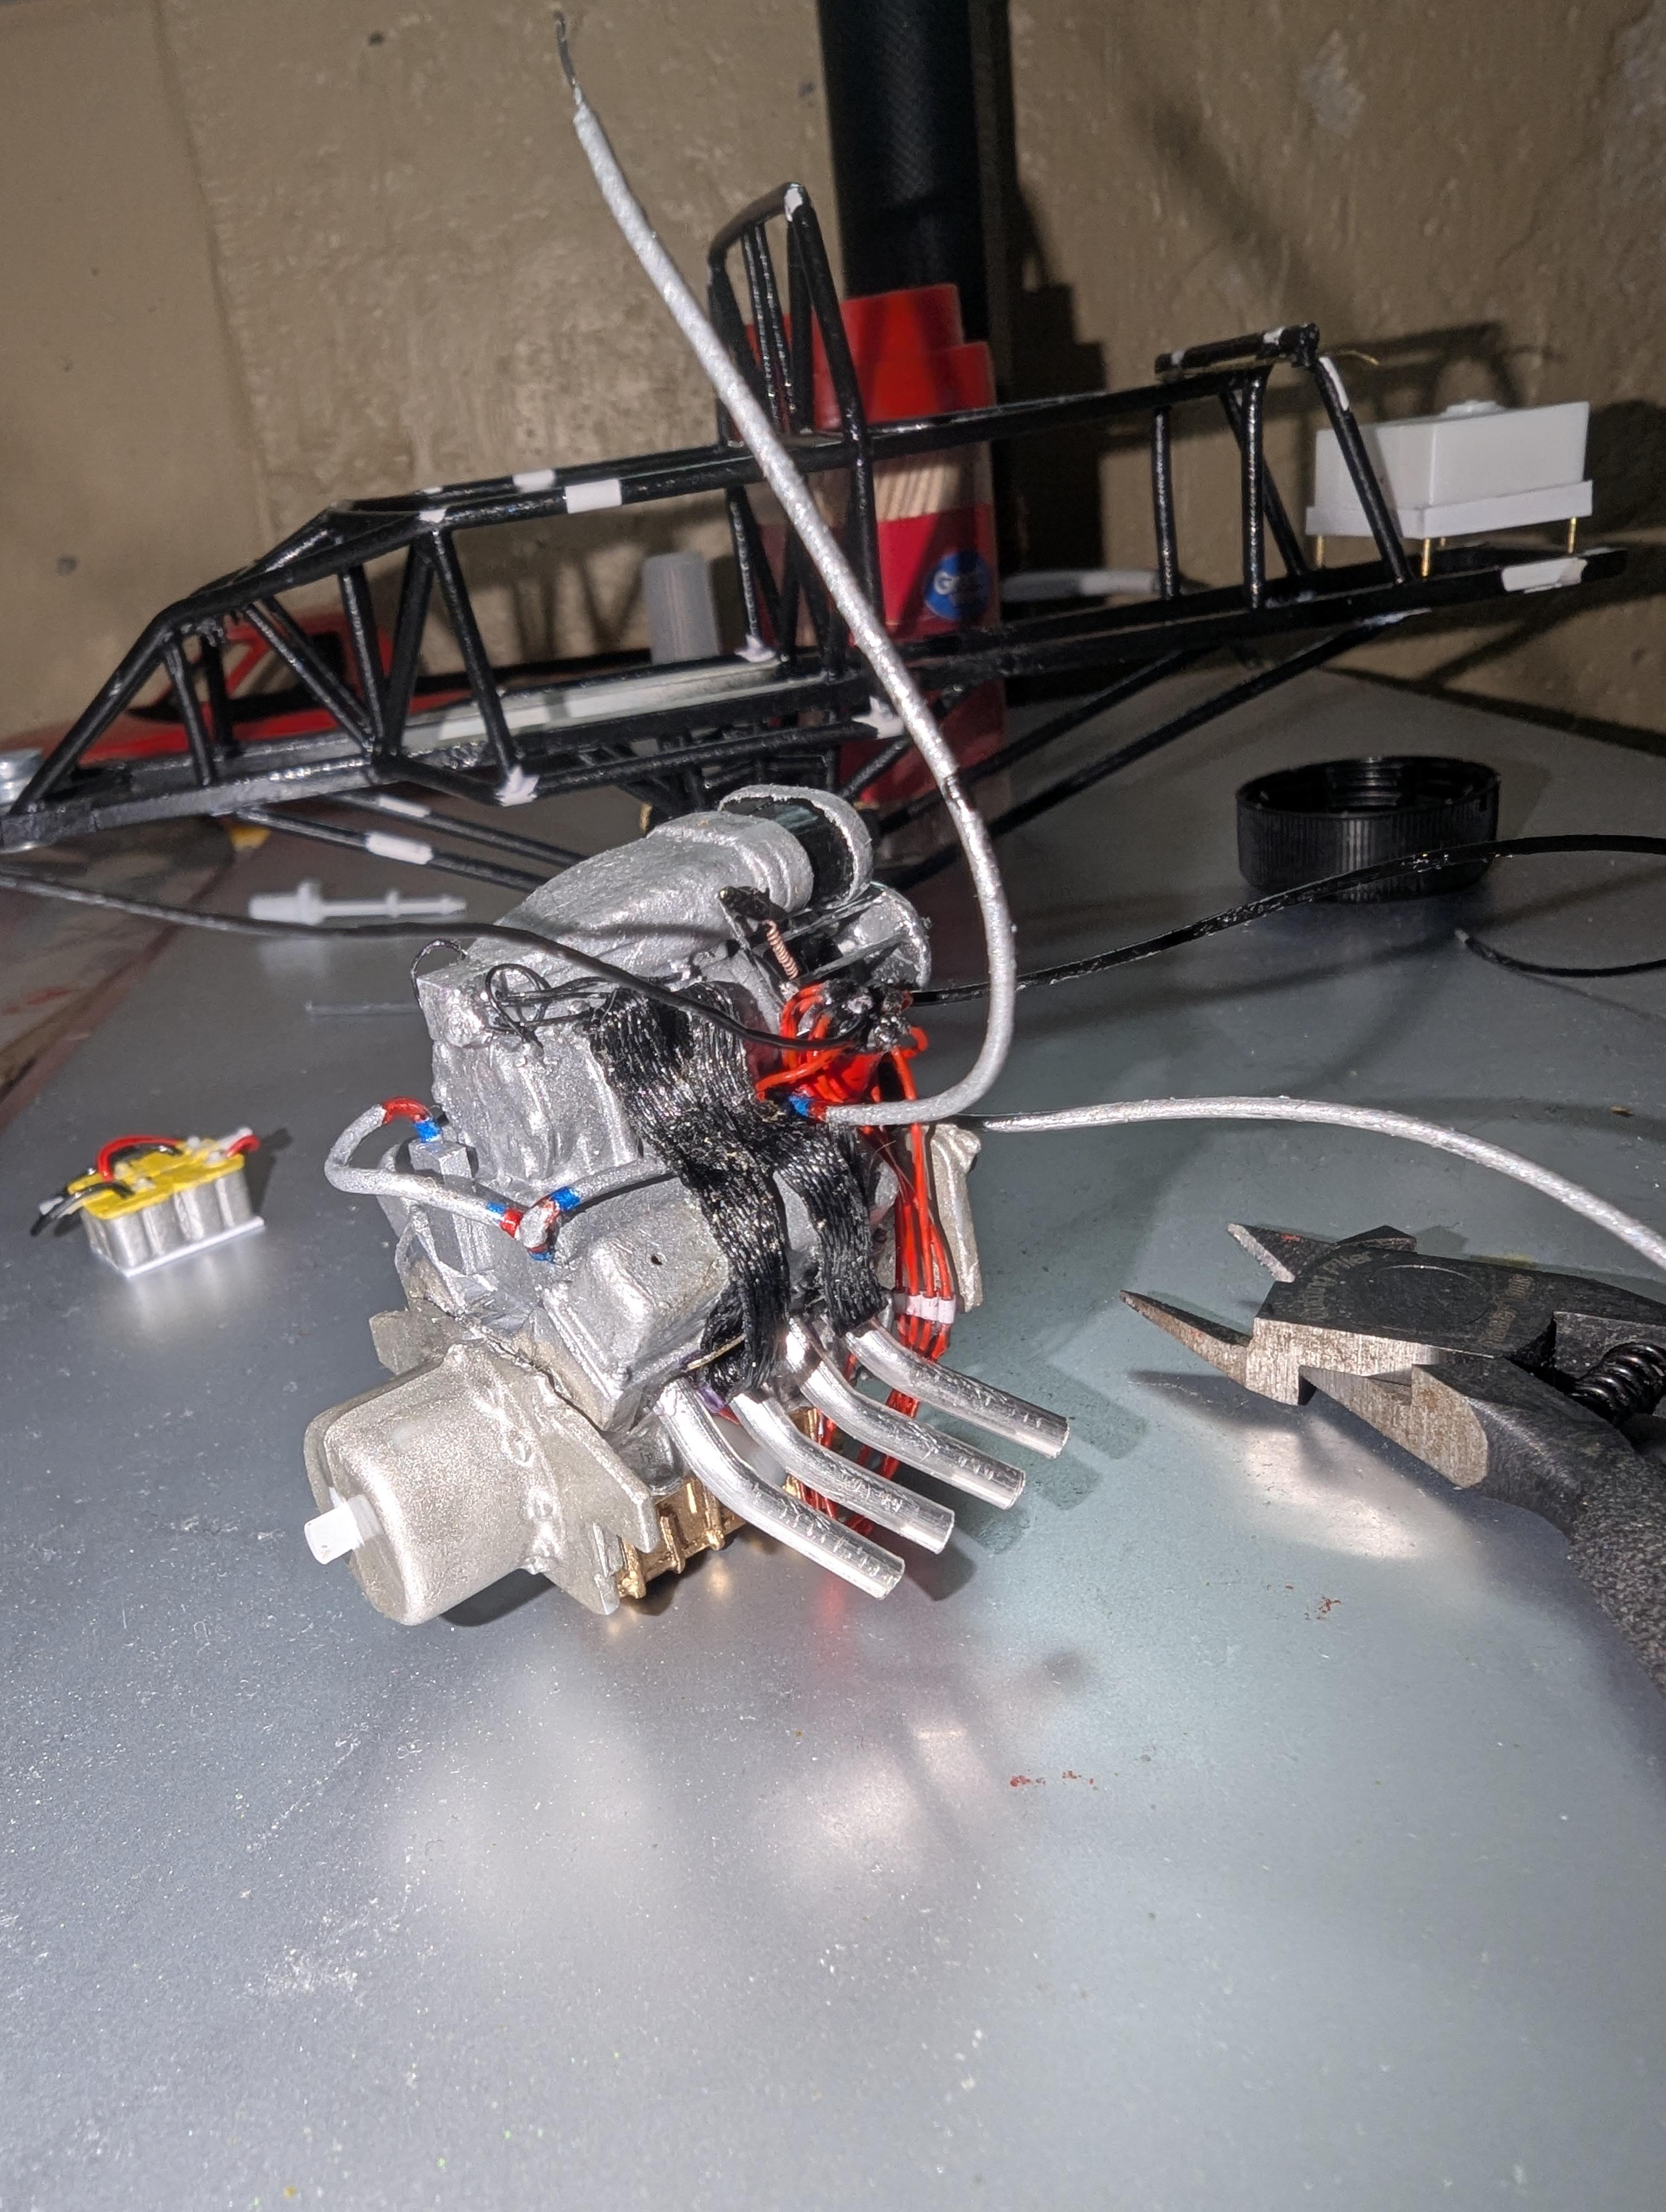
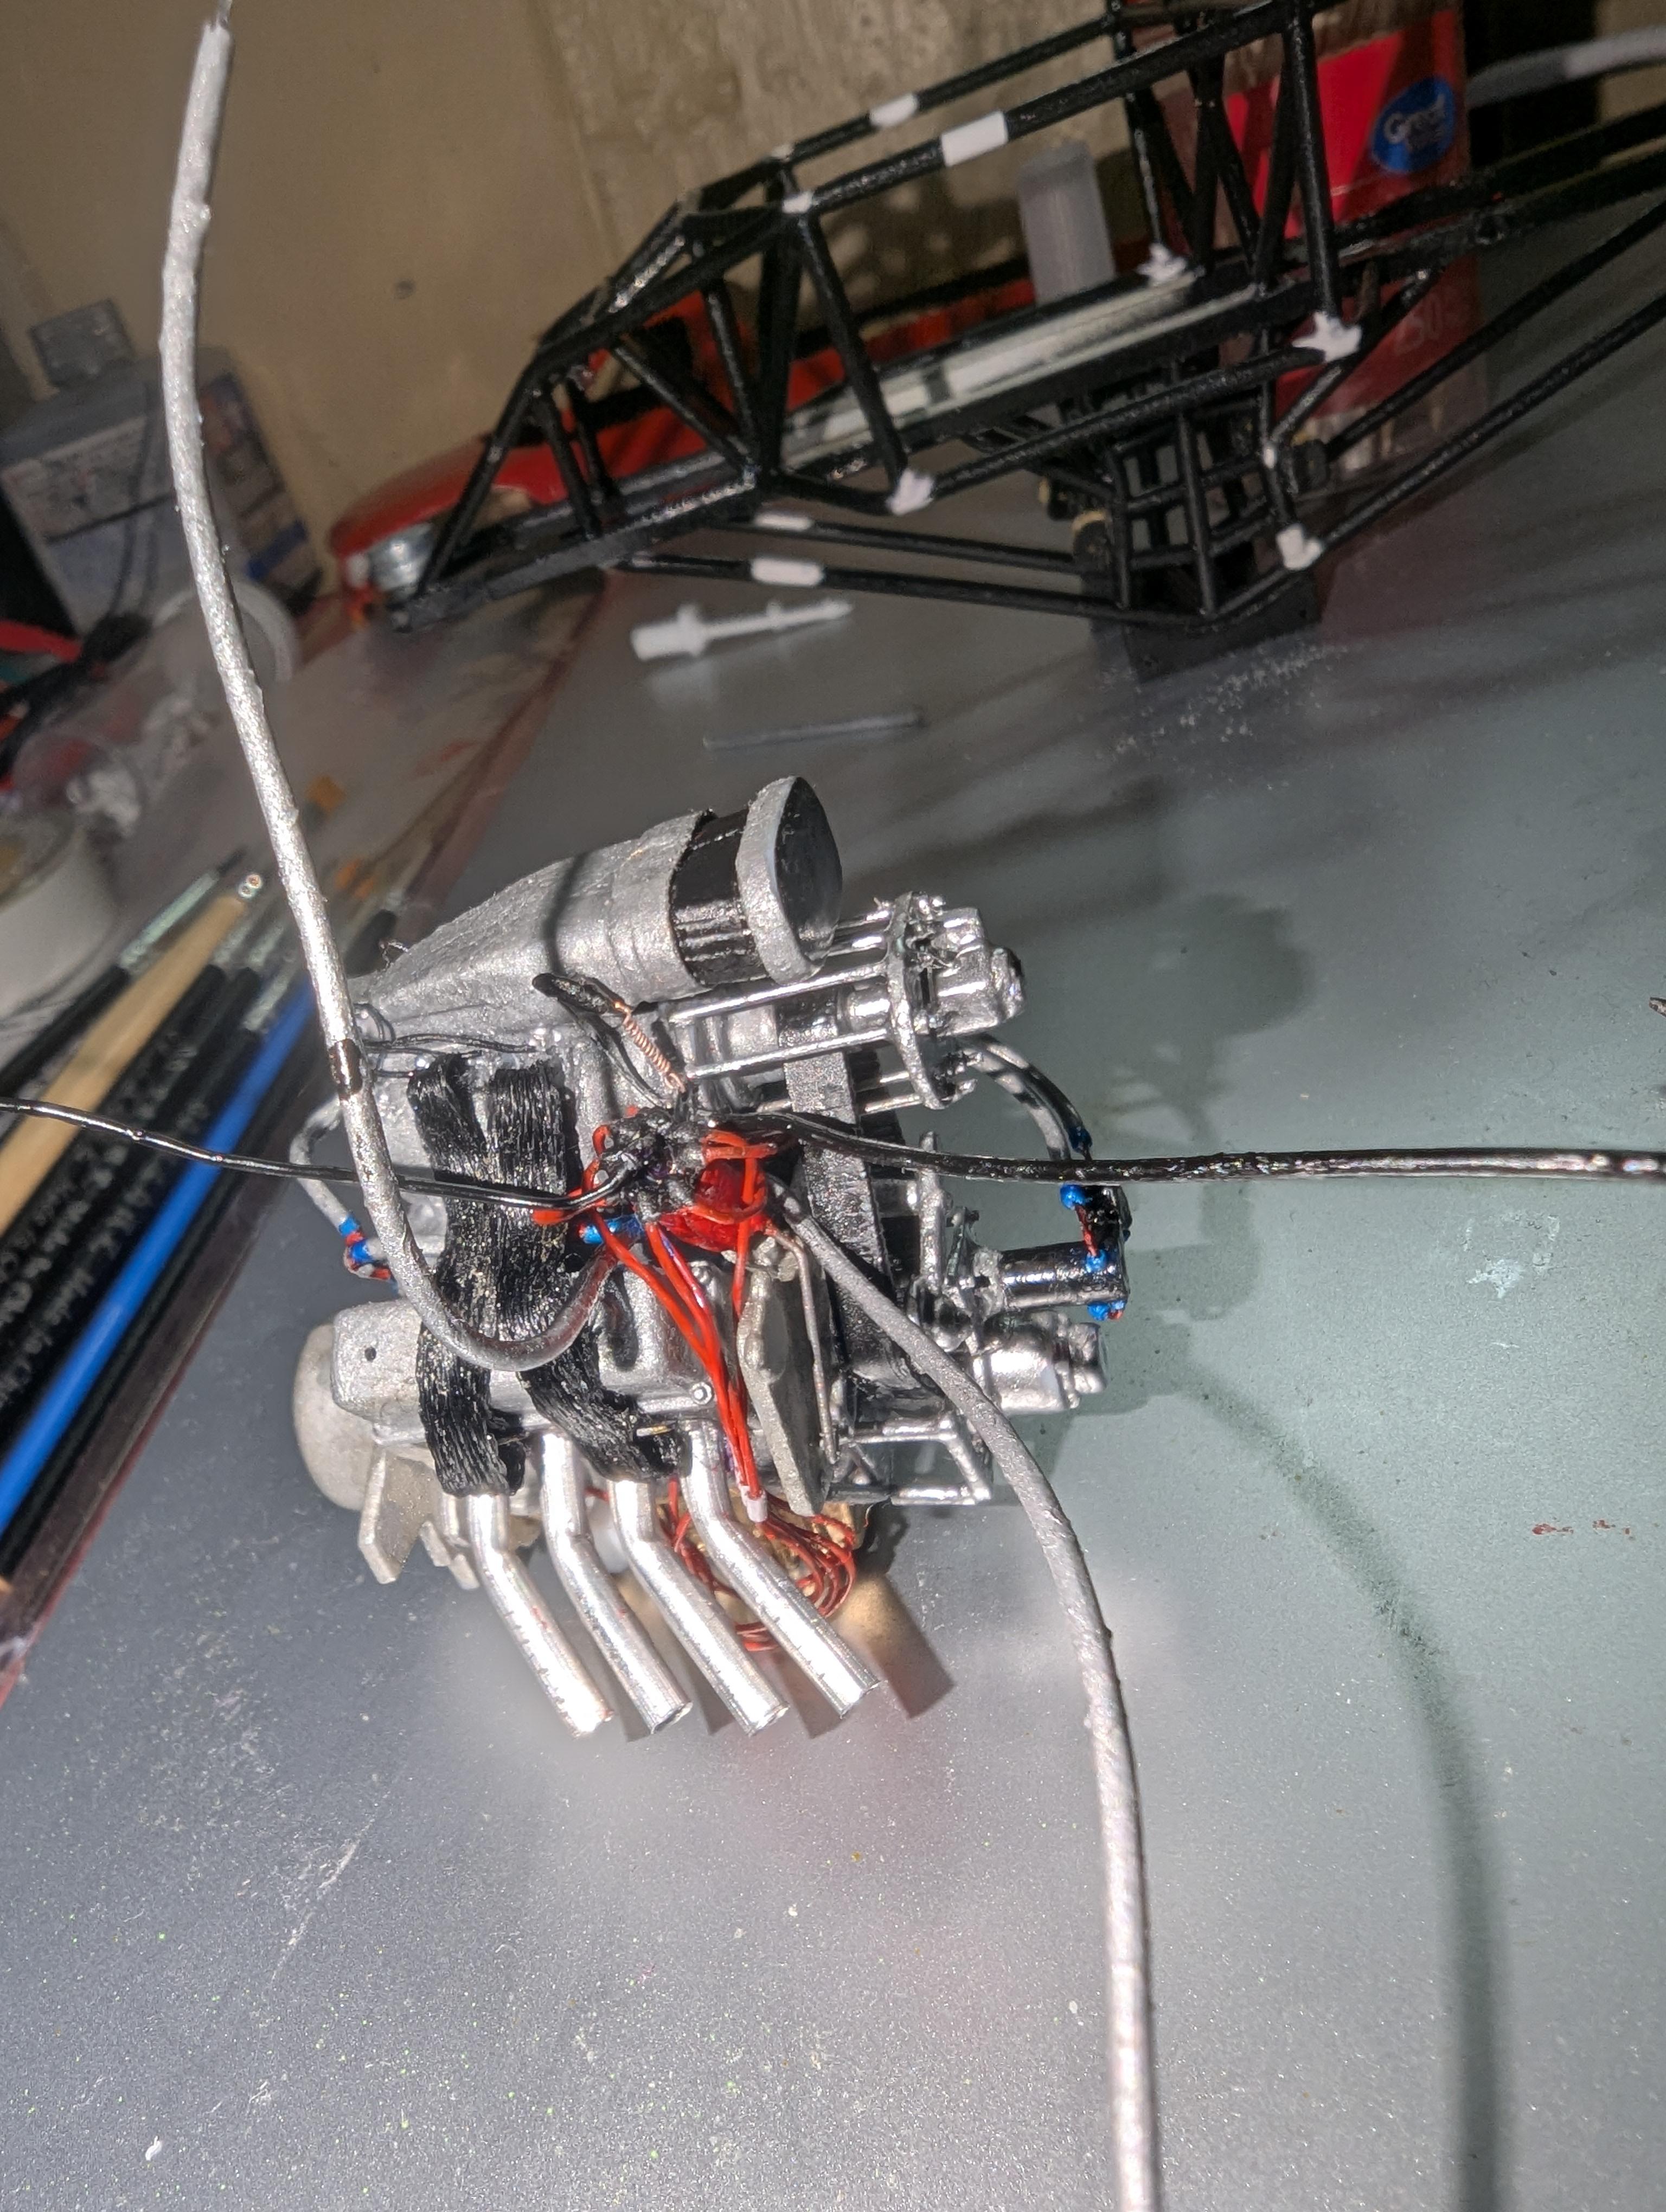
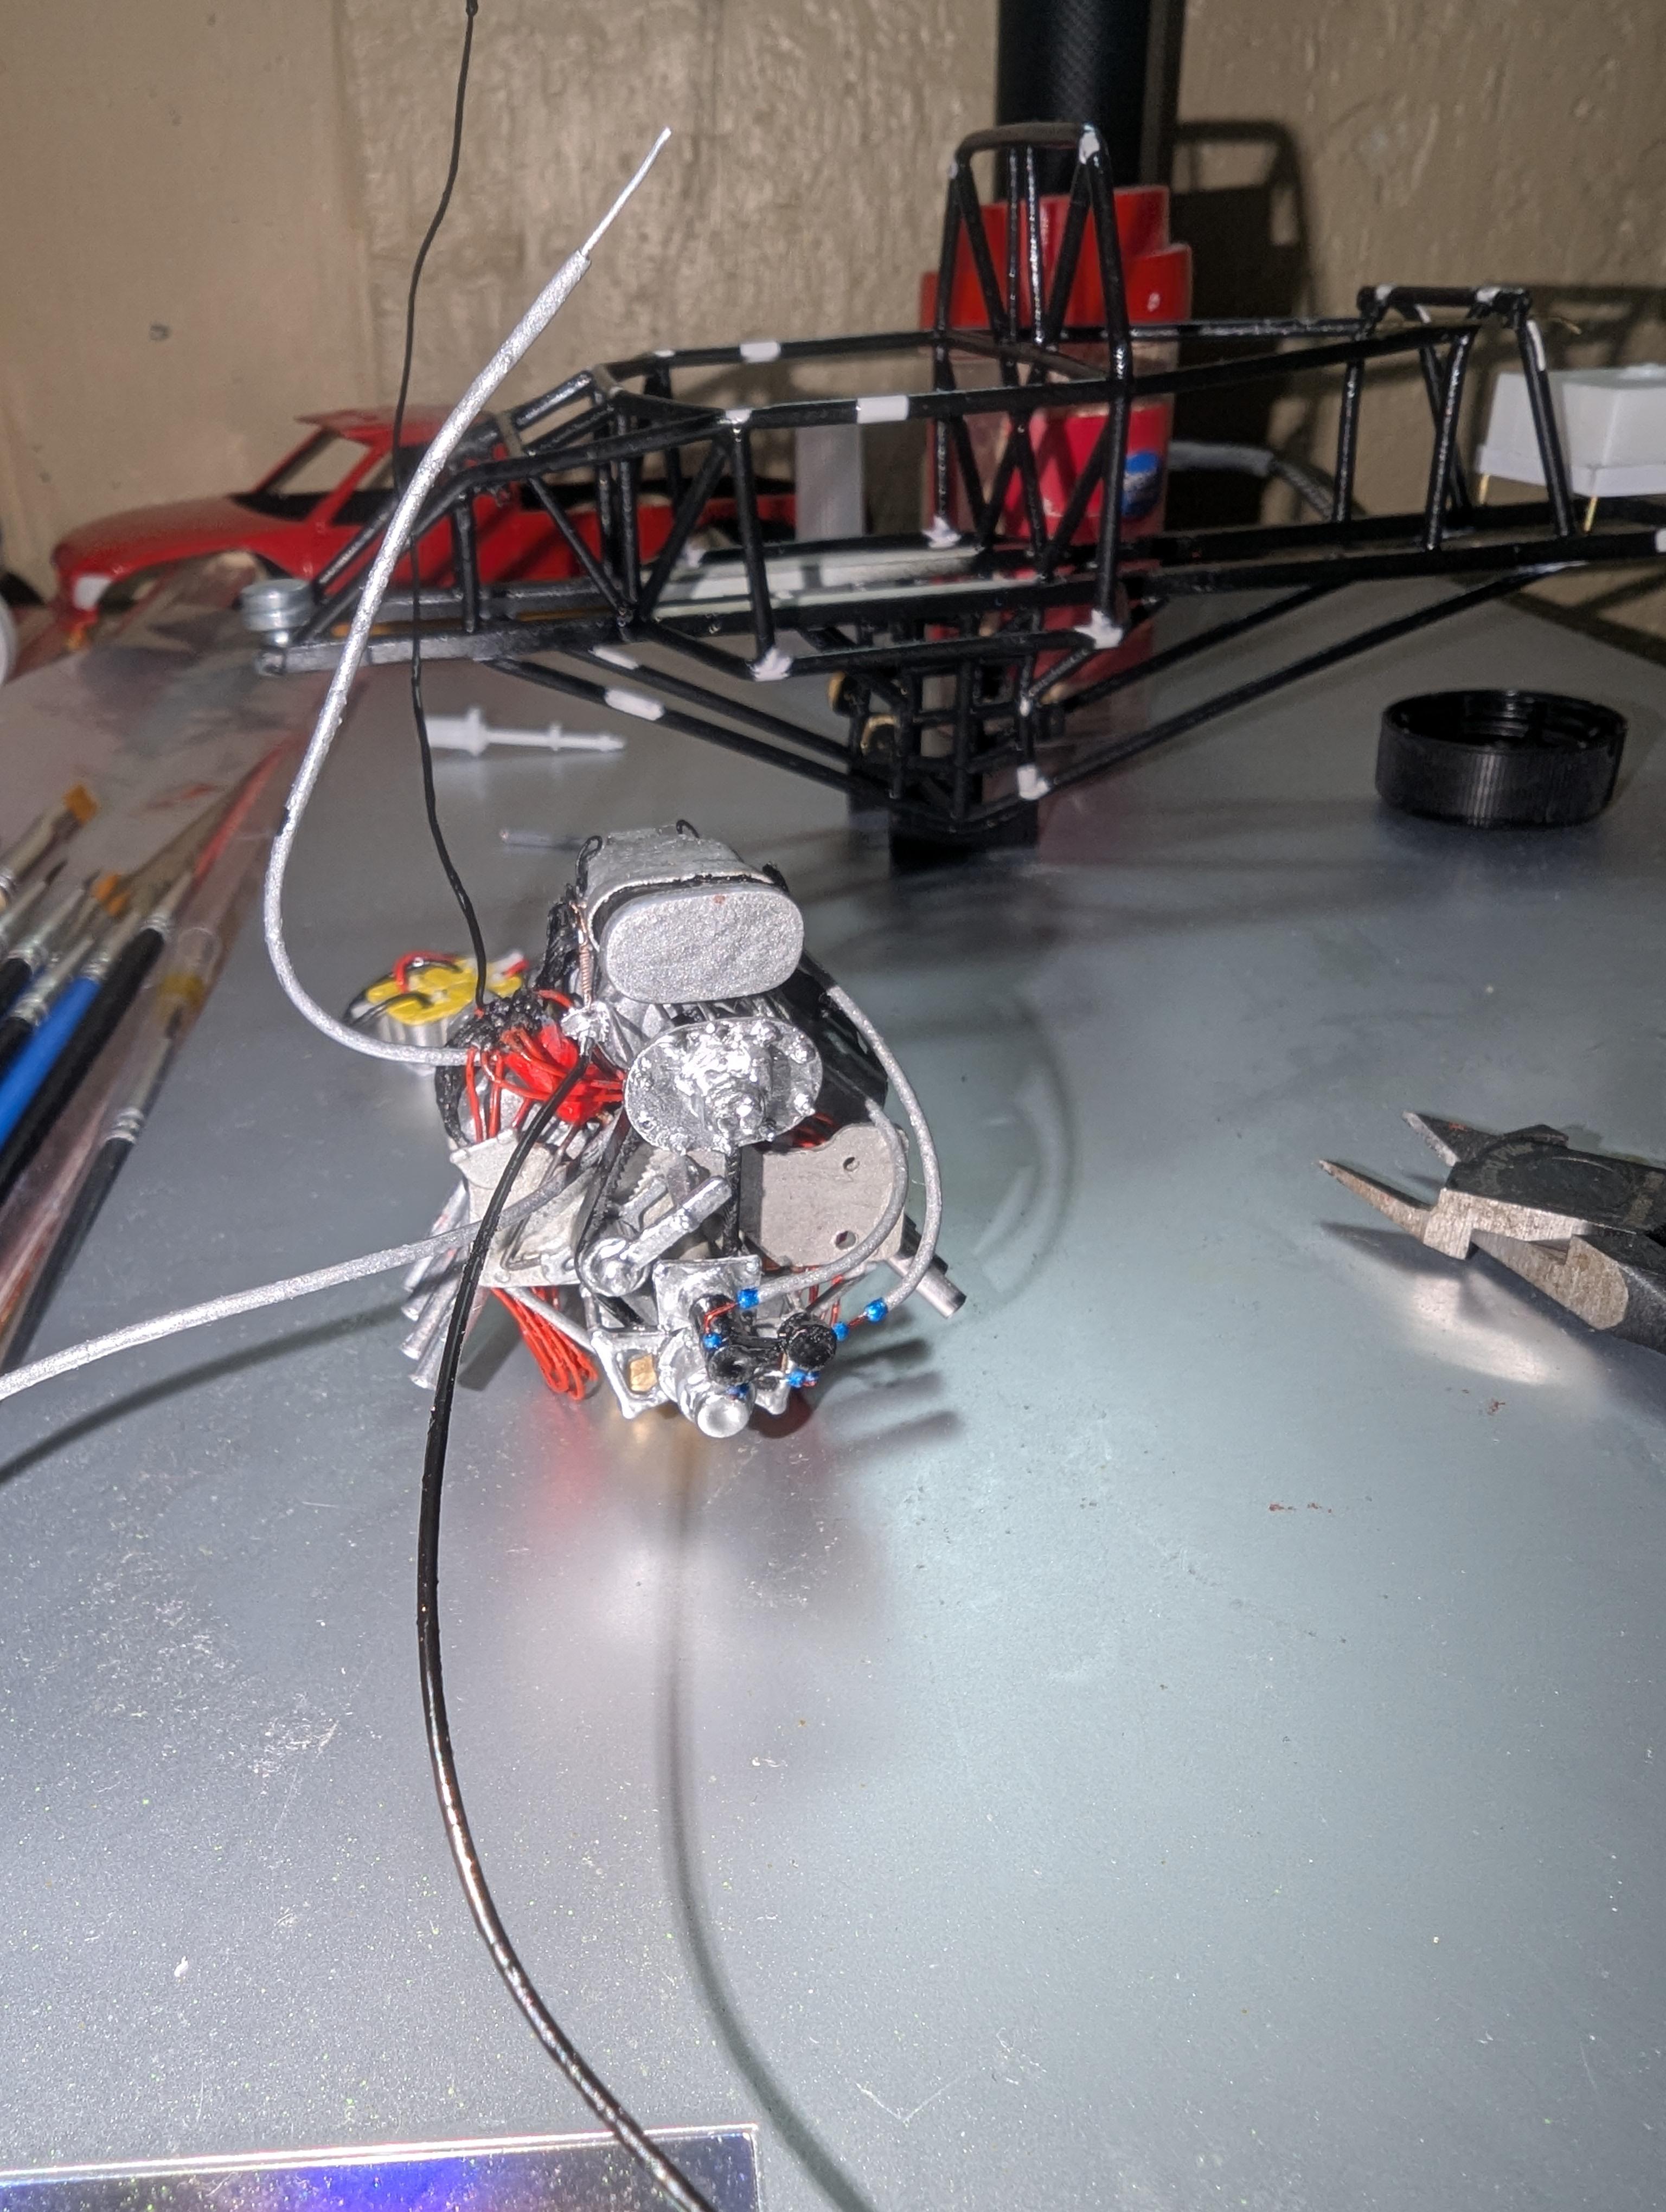
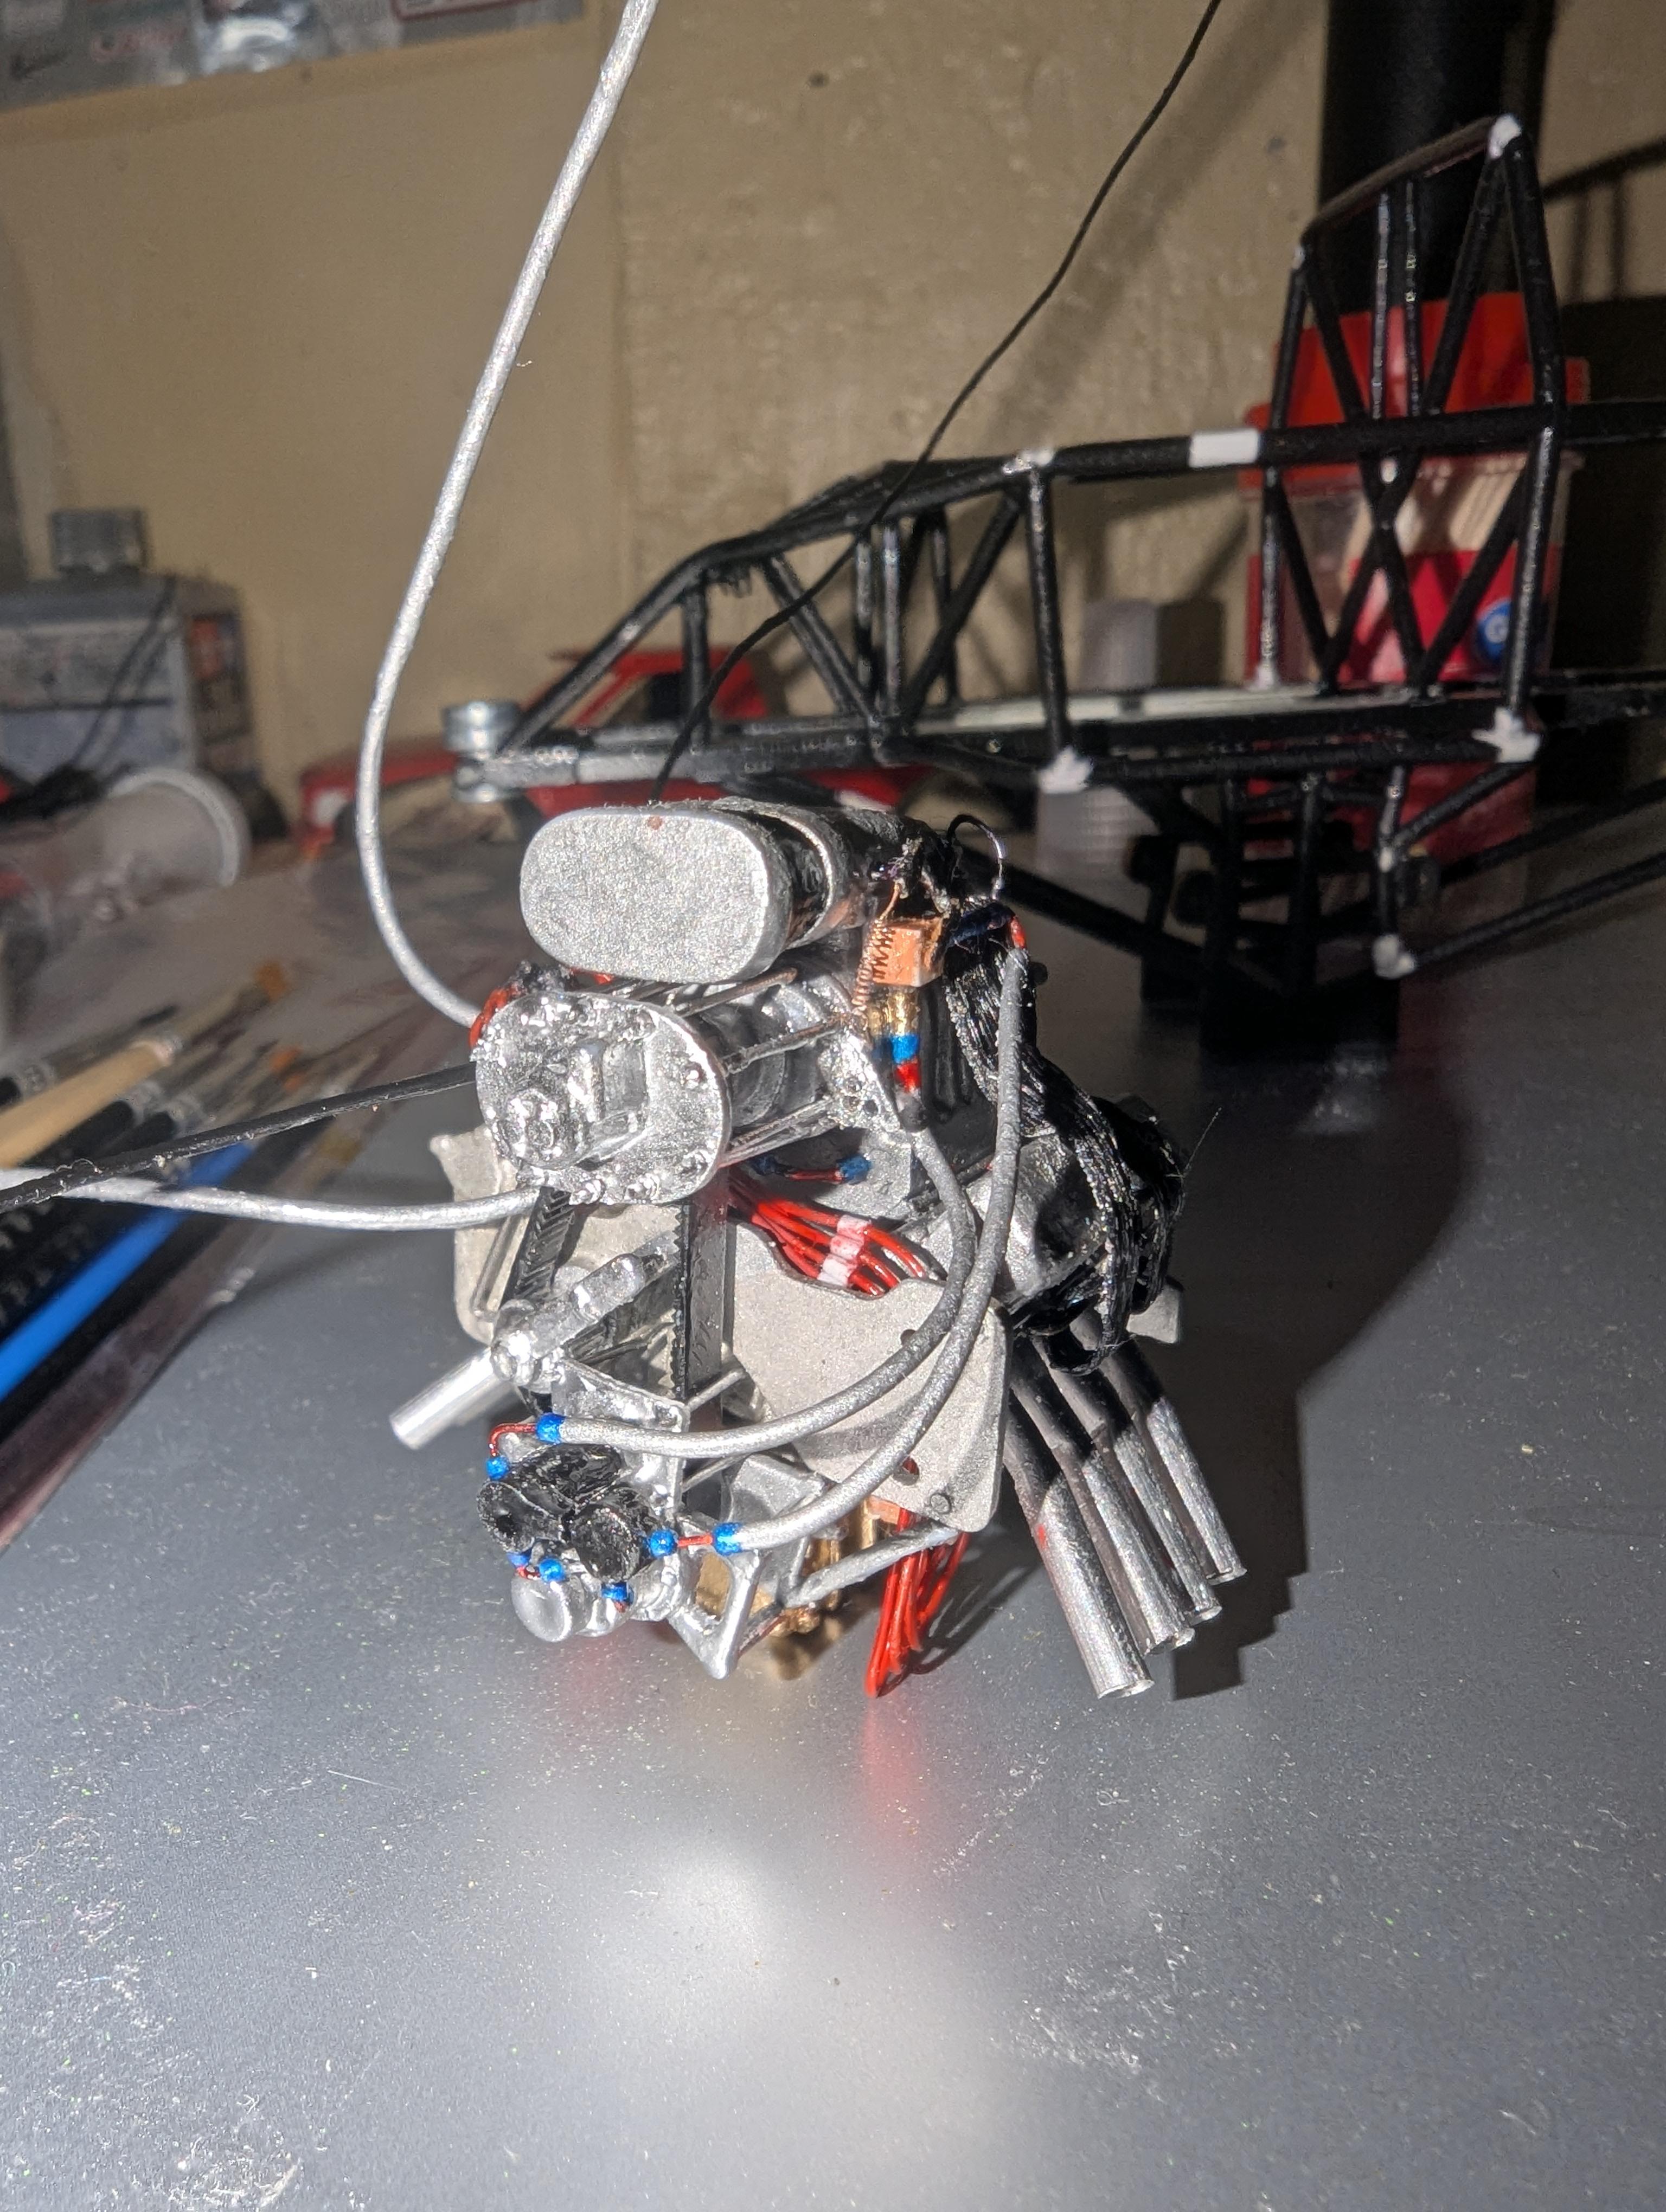
So finally got the engine in the chassis and finished with the wiring of the engine now onto the cab, seat, switches, and suspension components still have to scratch build a radiator and gearbox we're getting close to the end of this one 😎😁👍
-
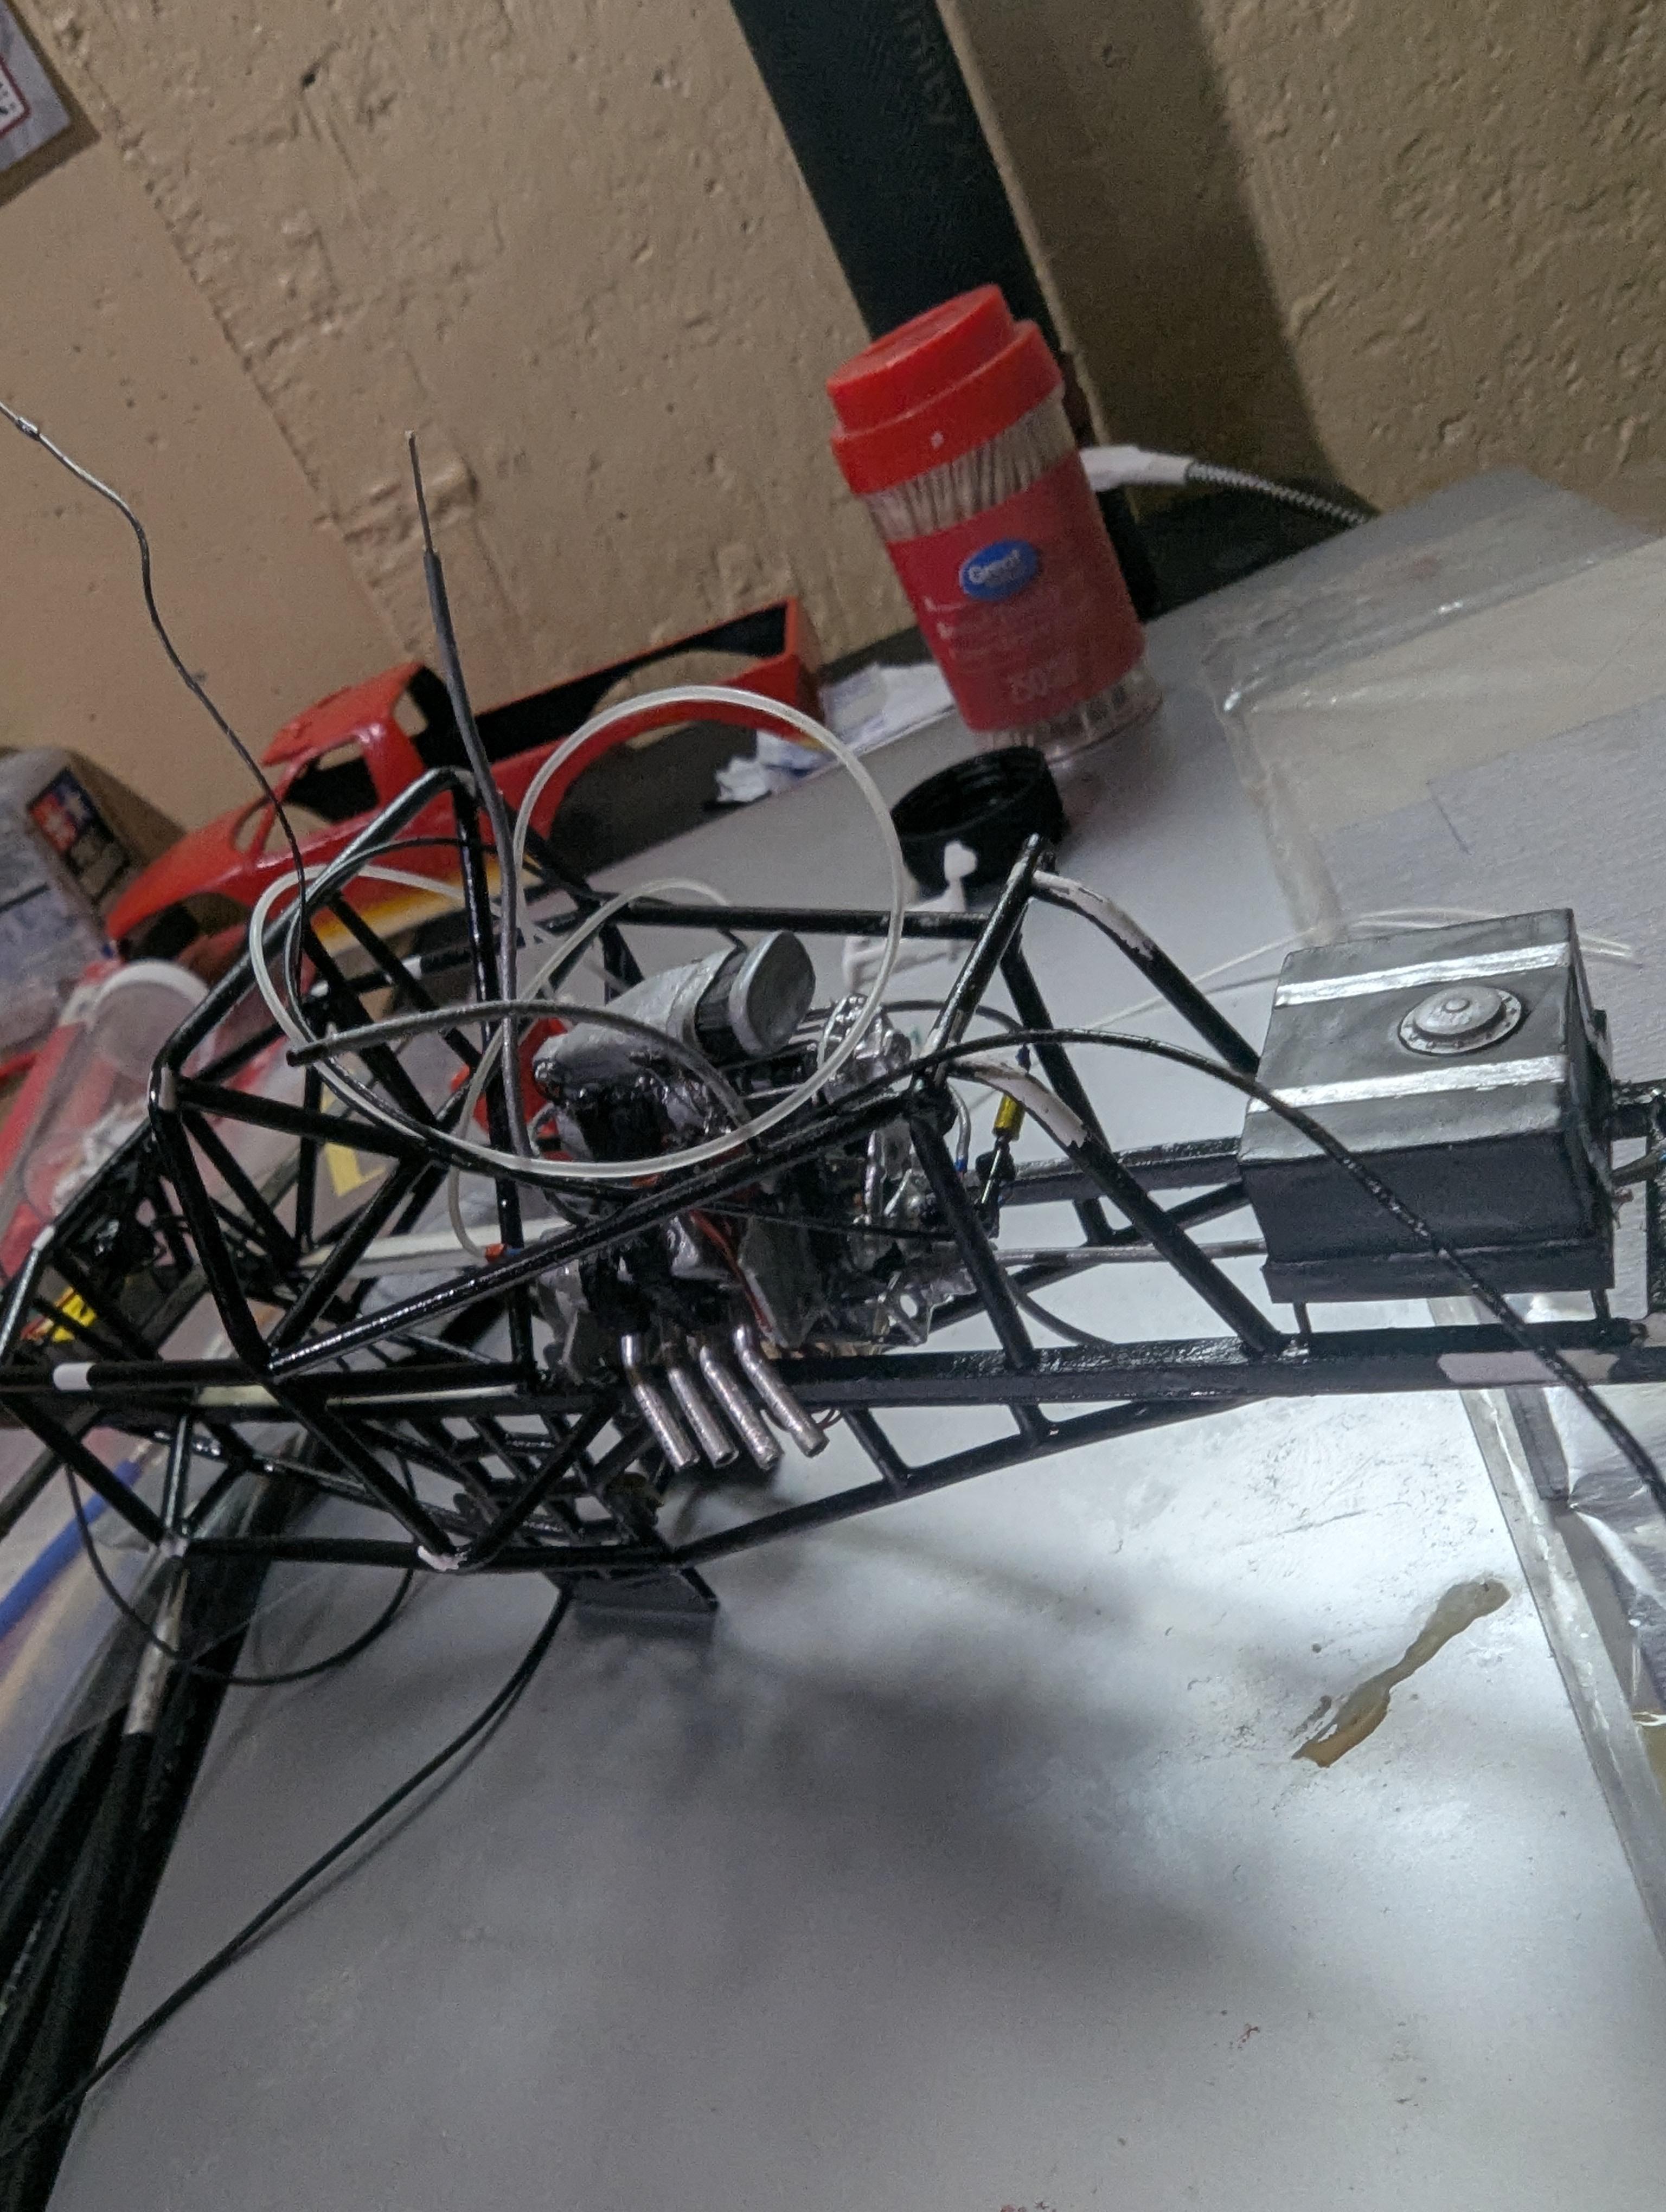
Here is what I've done on the chassis might be a little bit unnoticeable I am now pretty much finished with the chassis minus the little white spots all over and the mounting of the engine and cab components and suspension
-
Valve cover hoses?
MonsterFan88 replied to MonsterFan88's topic in Model Building Questions and Answers
I appreciate all the input and thanks for the insight 💯 🙂 👍🙏 -
Valve cover hoses?
MonsterFan88 replied to MonsterFan88's topic in Model Building Questions and Answers
Hi everyone I'm trying as best as I can to scour the interwebs for the answer to a burning question, what are the hoses coming out of the valve covers connected to?
-
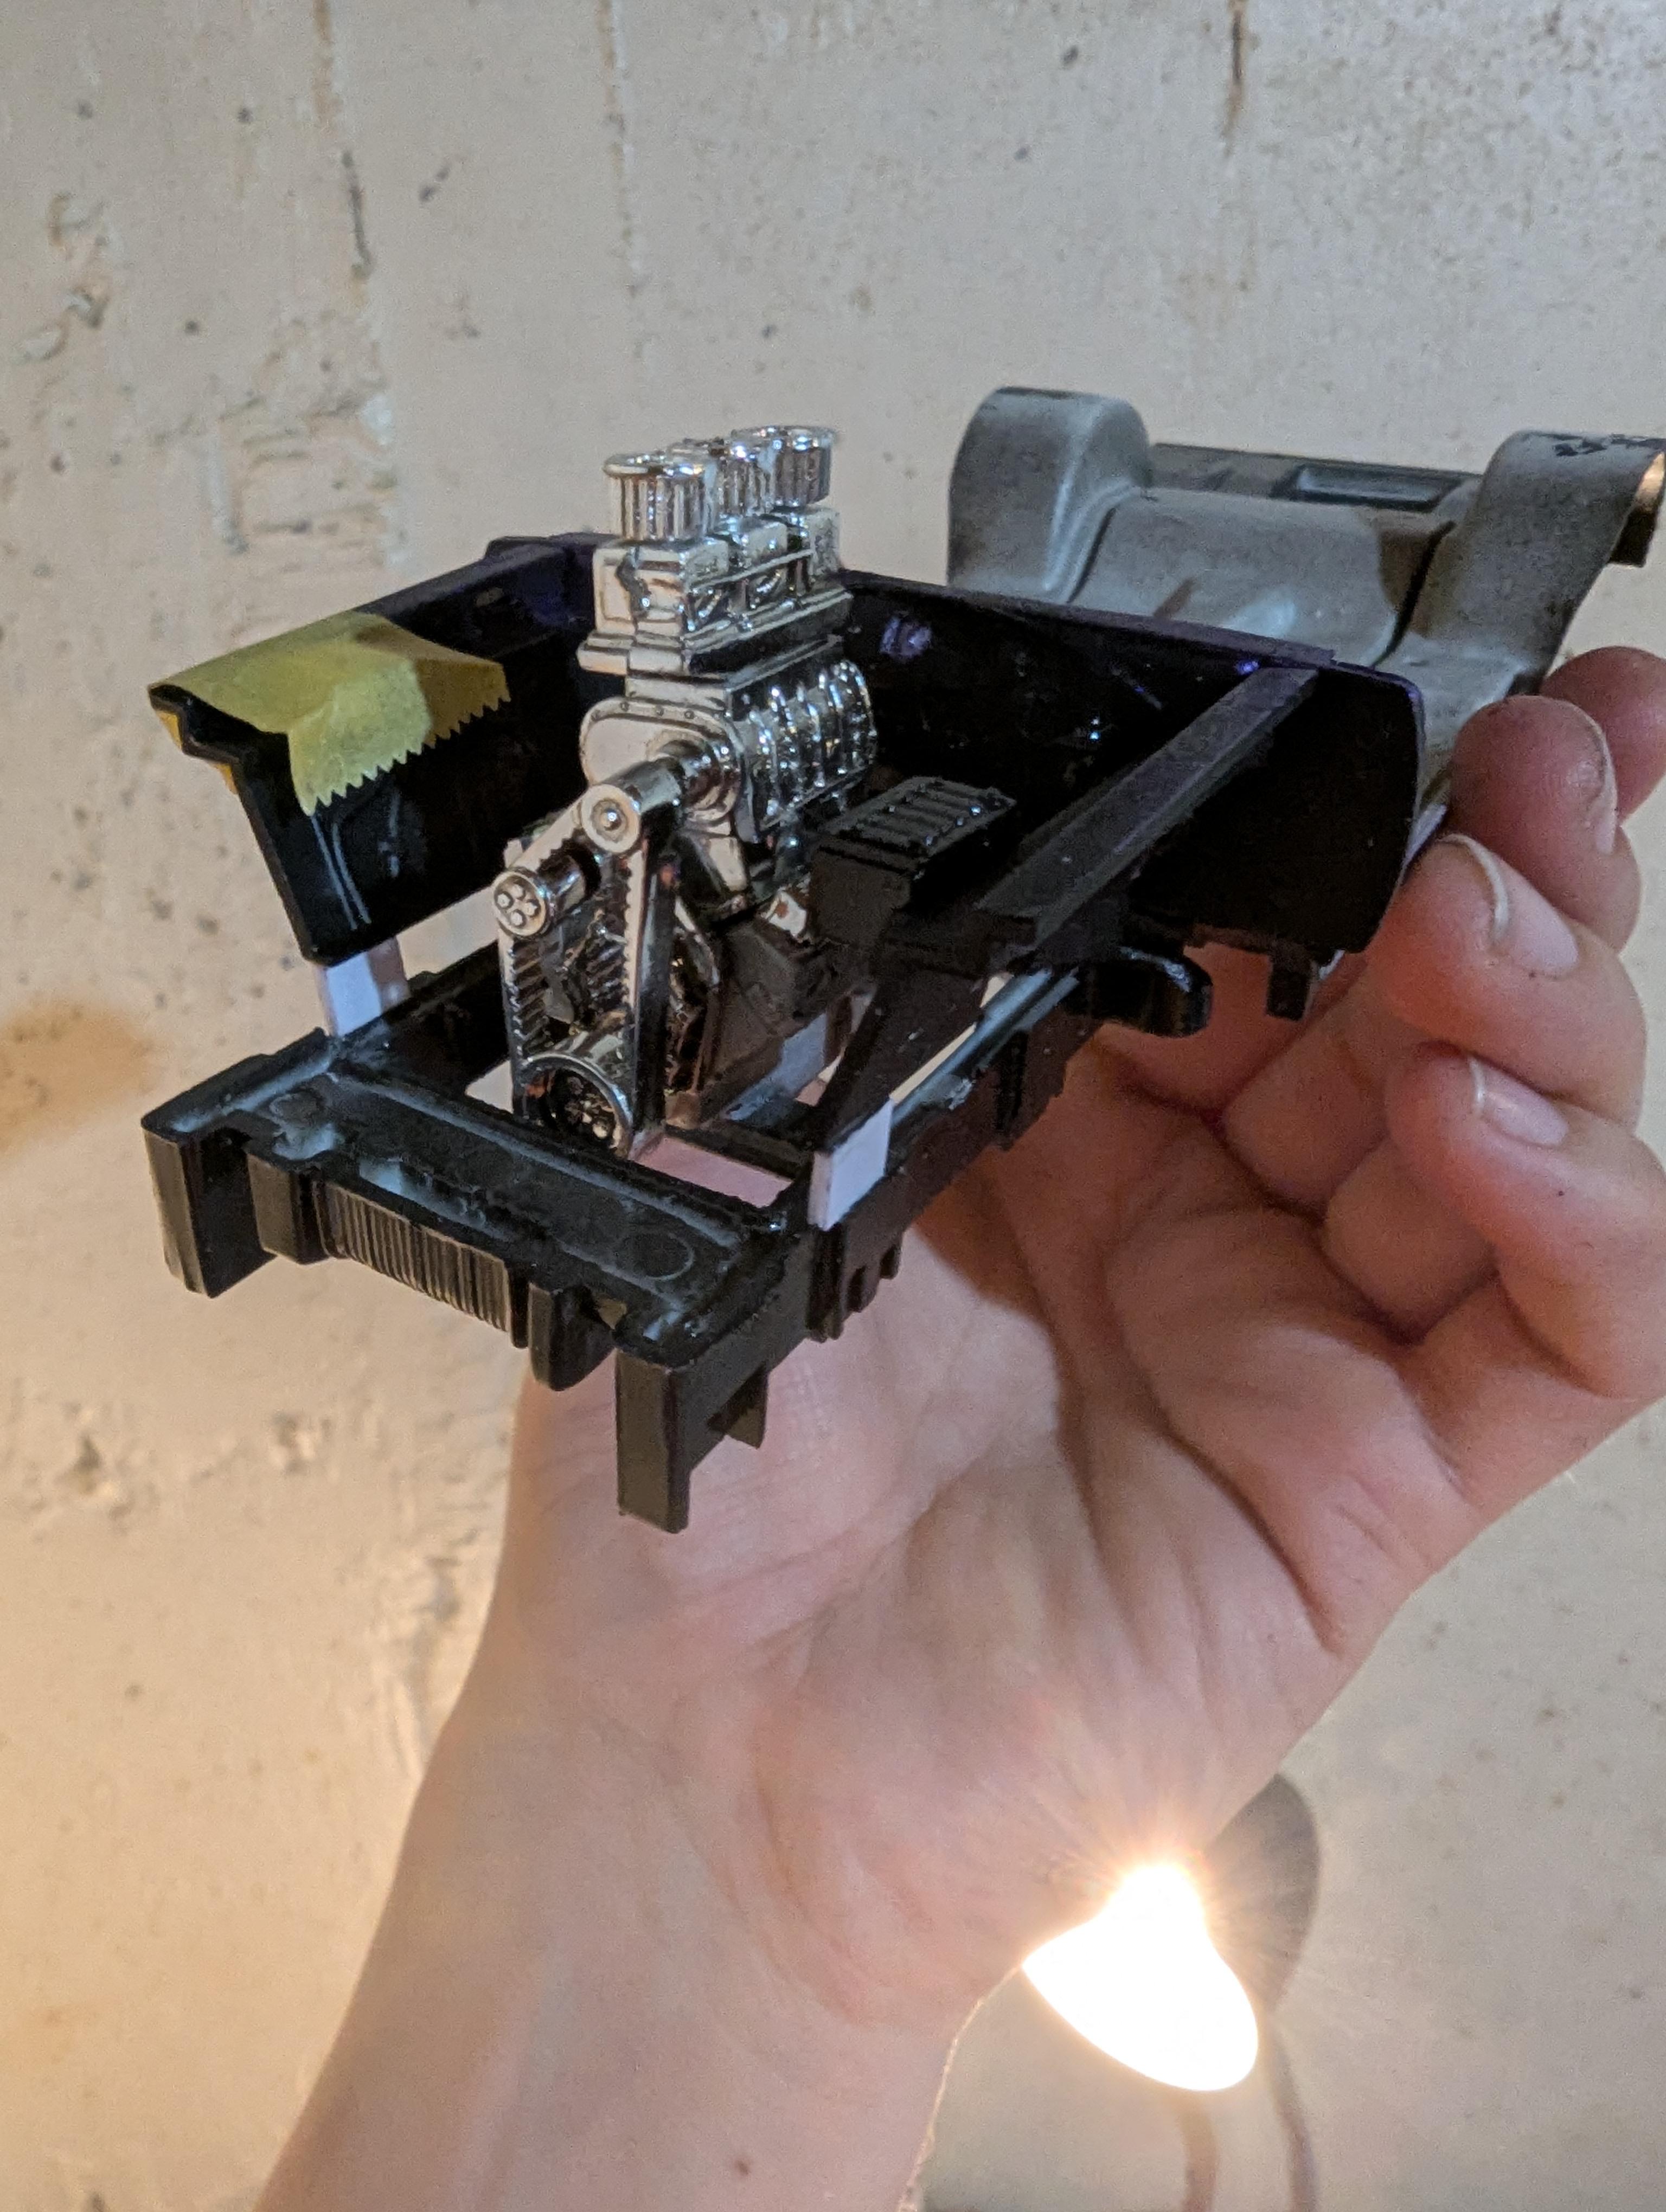
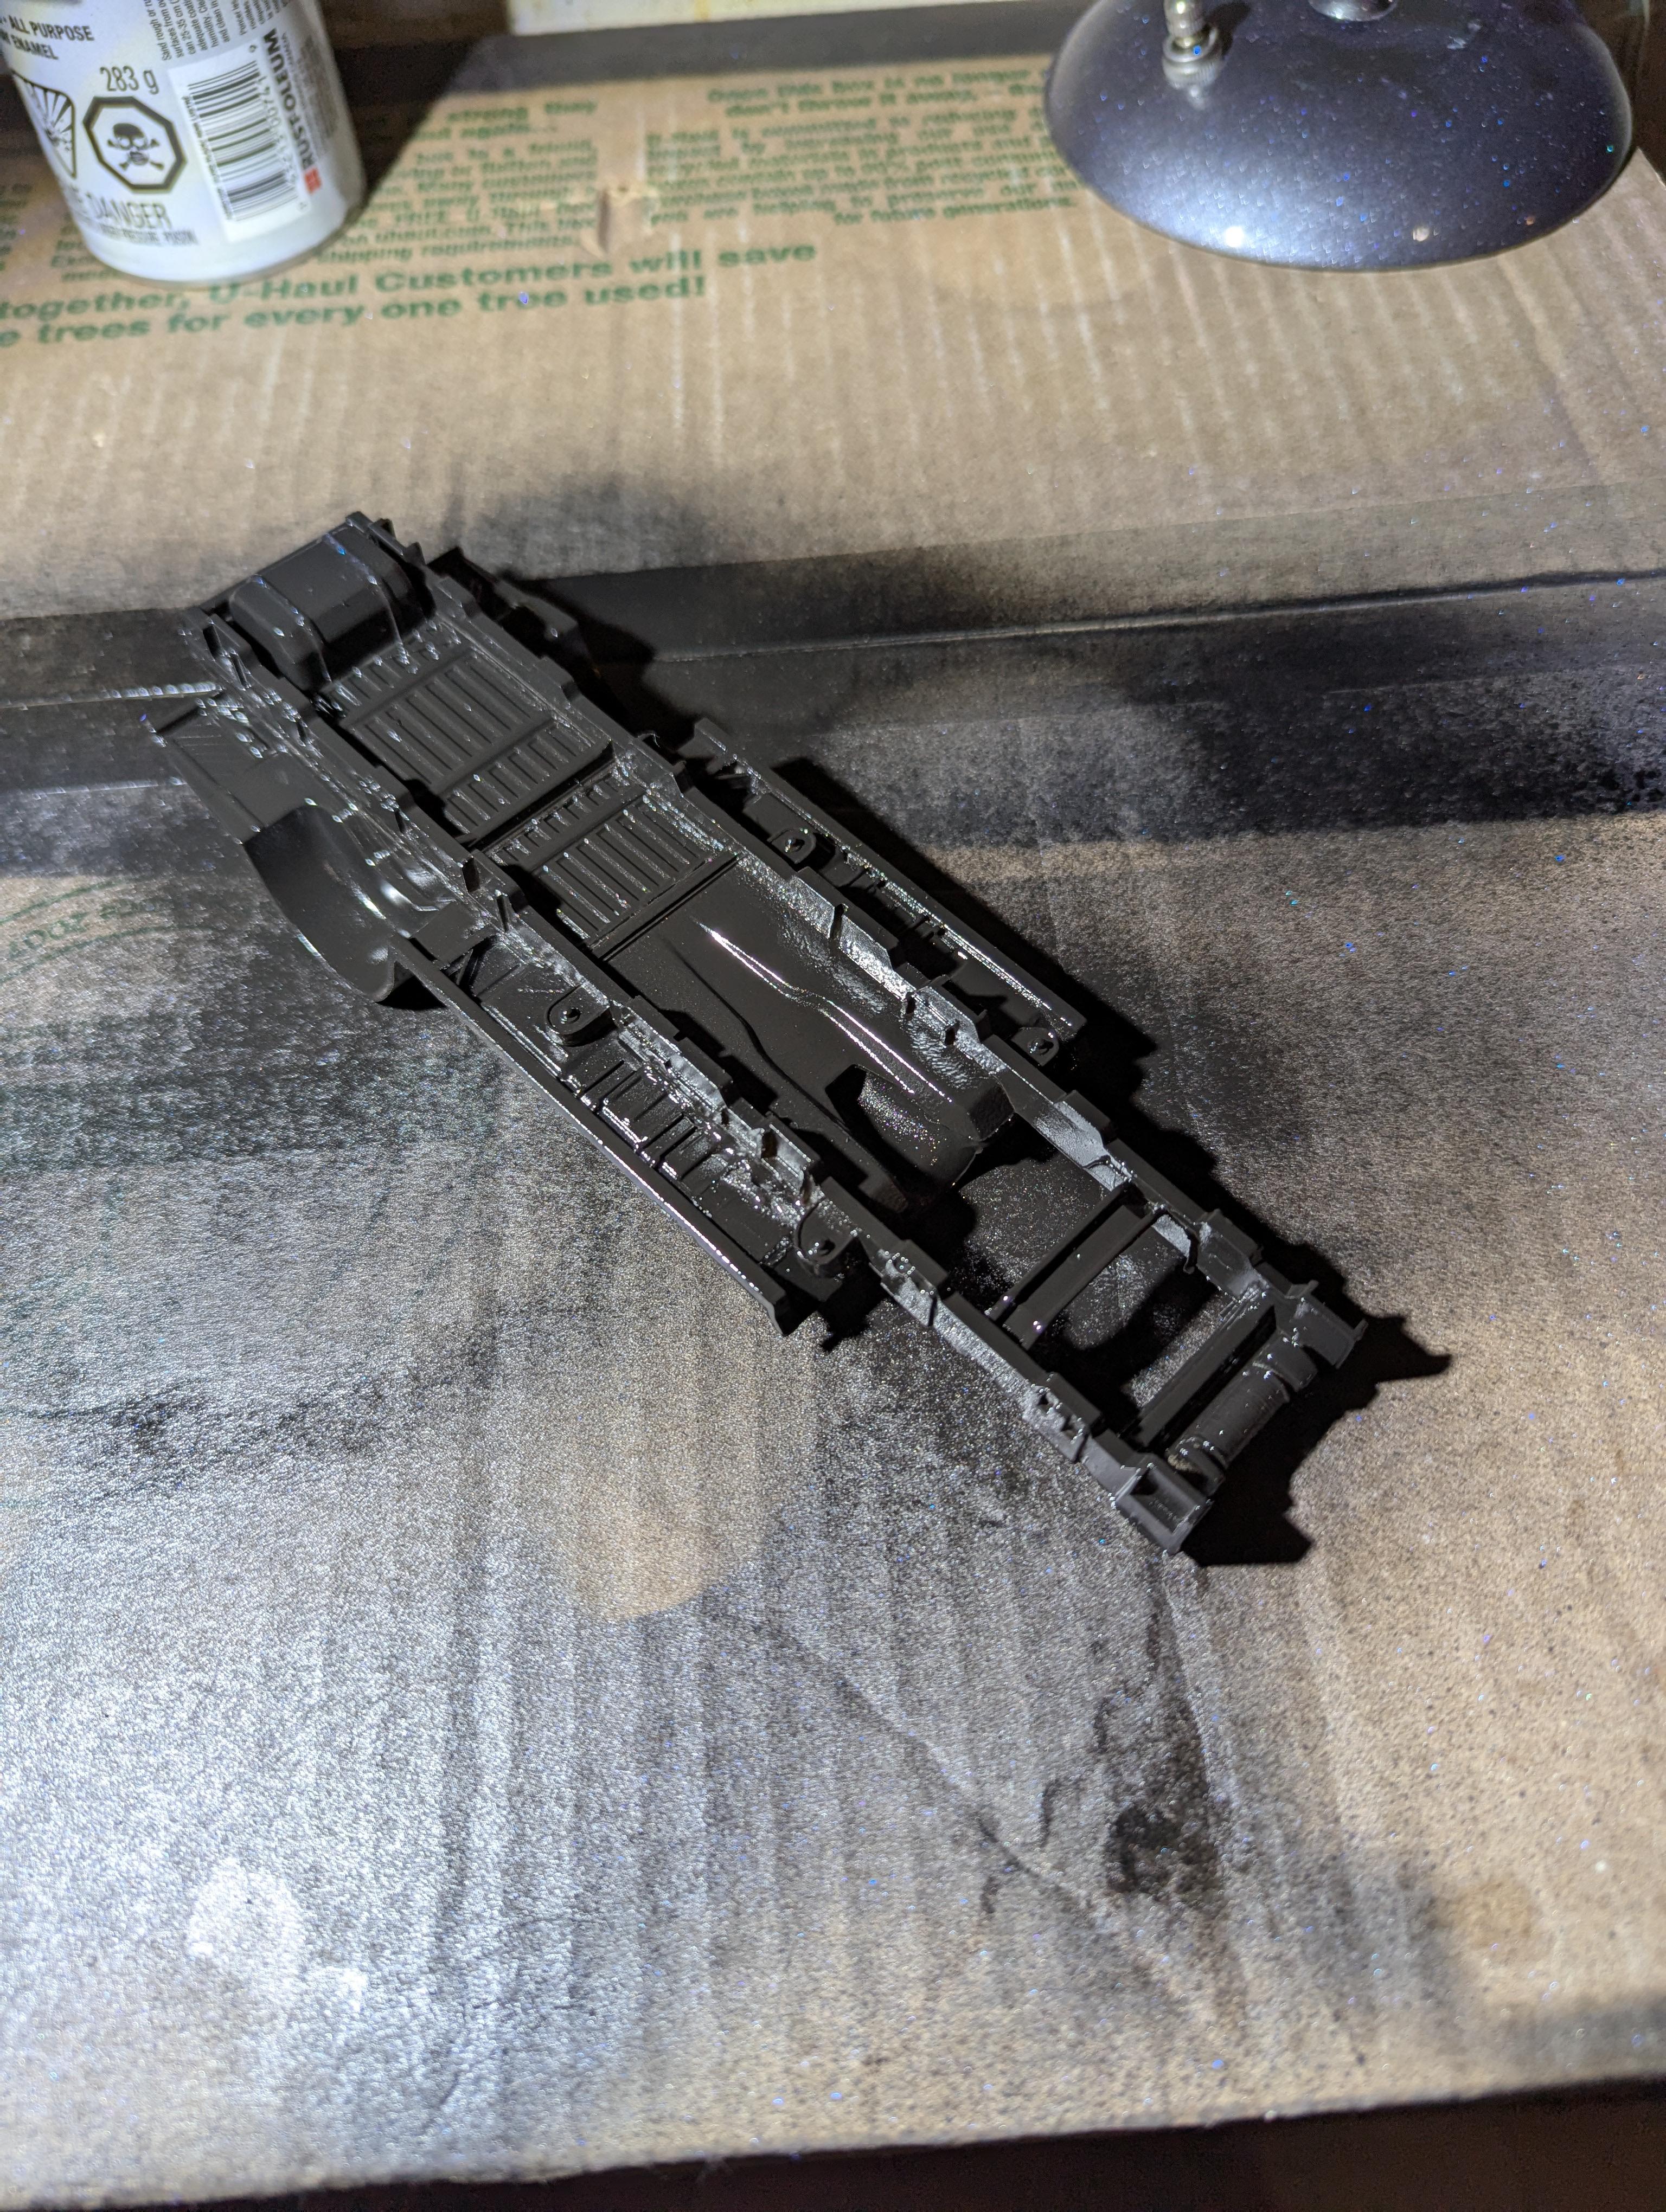
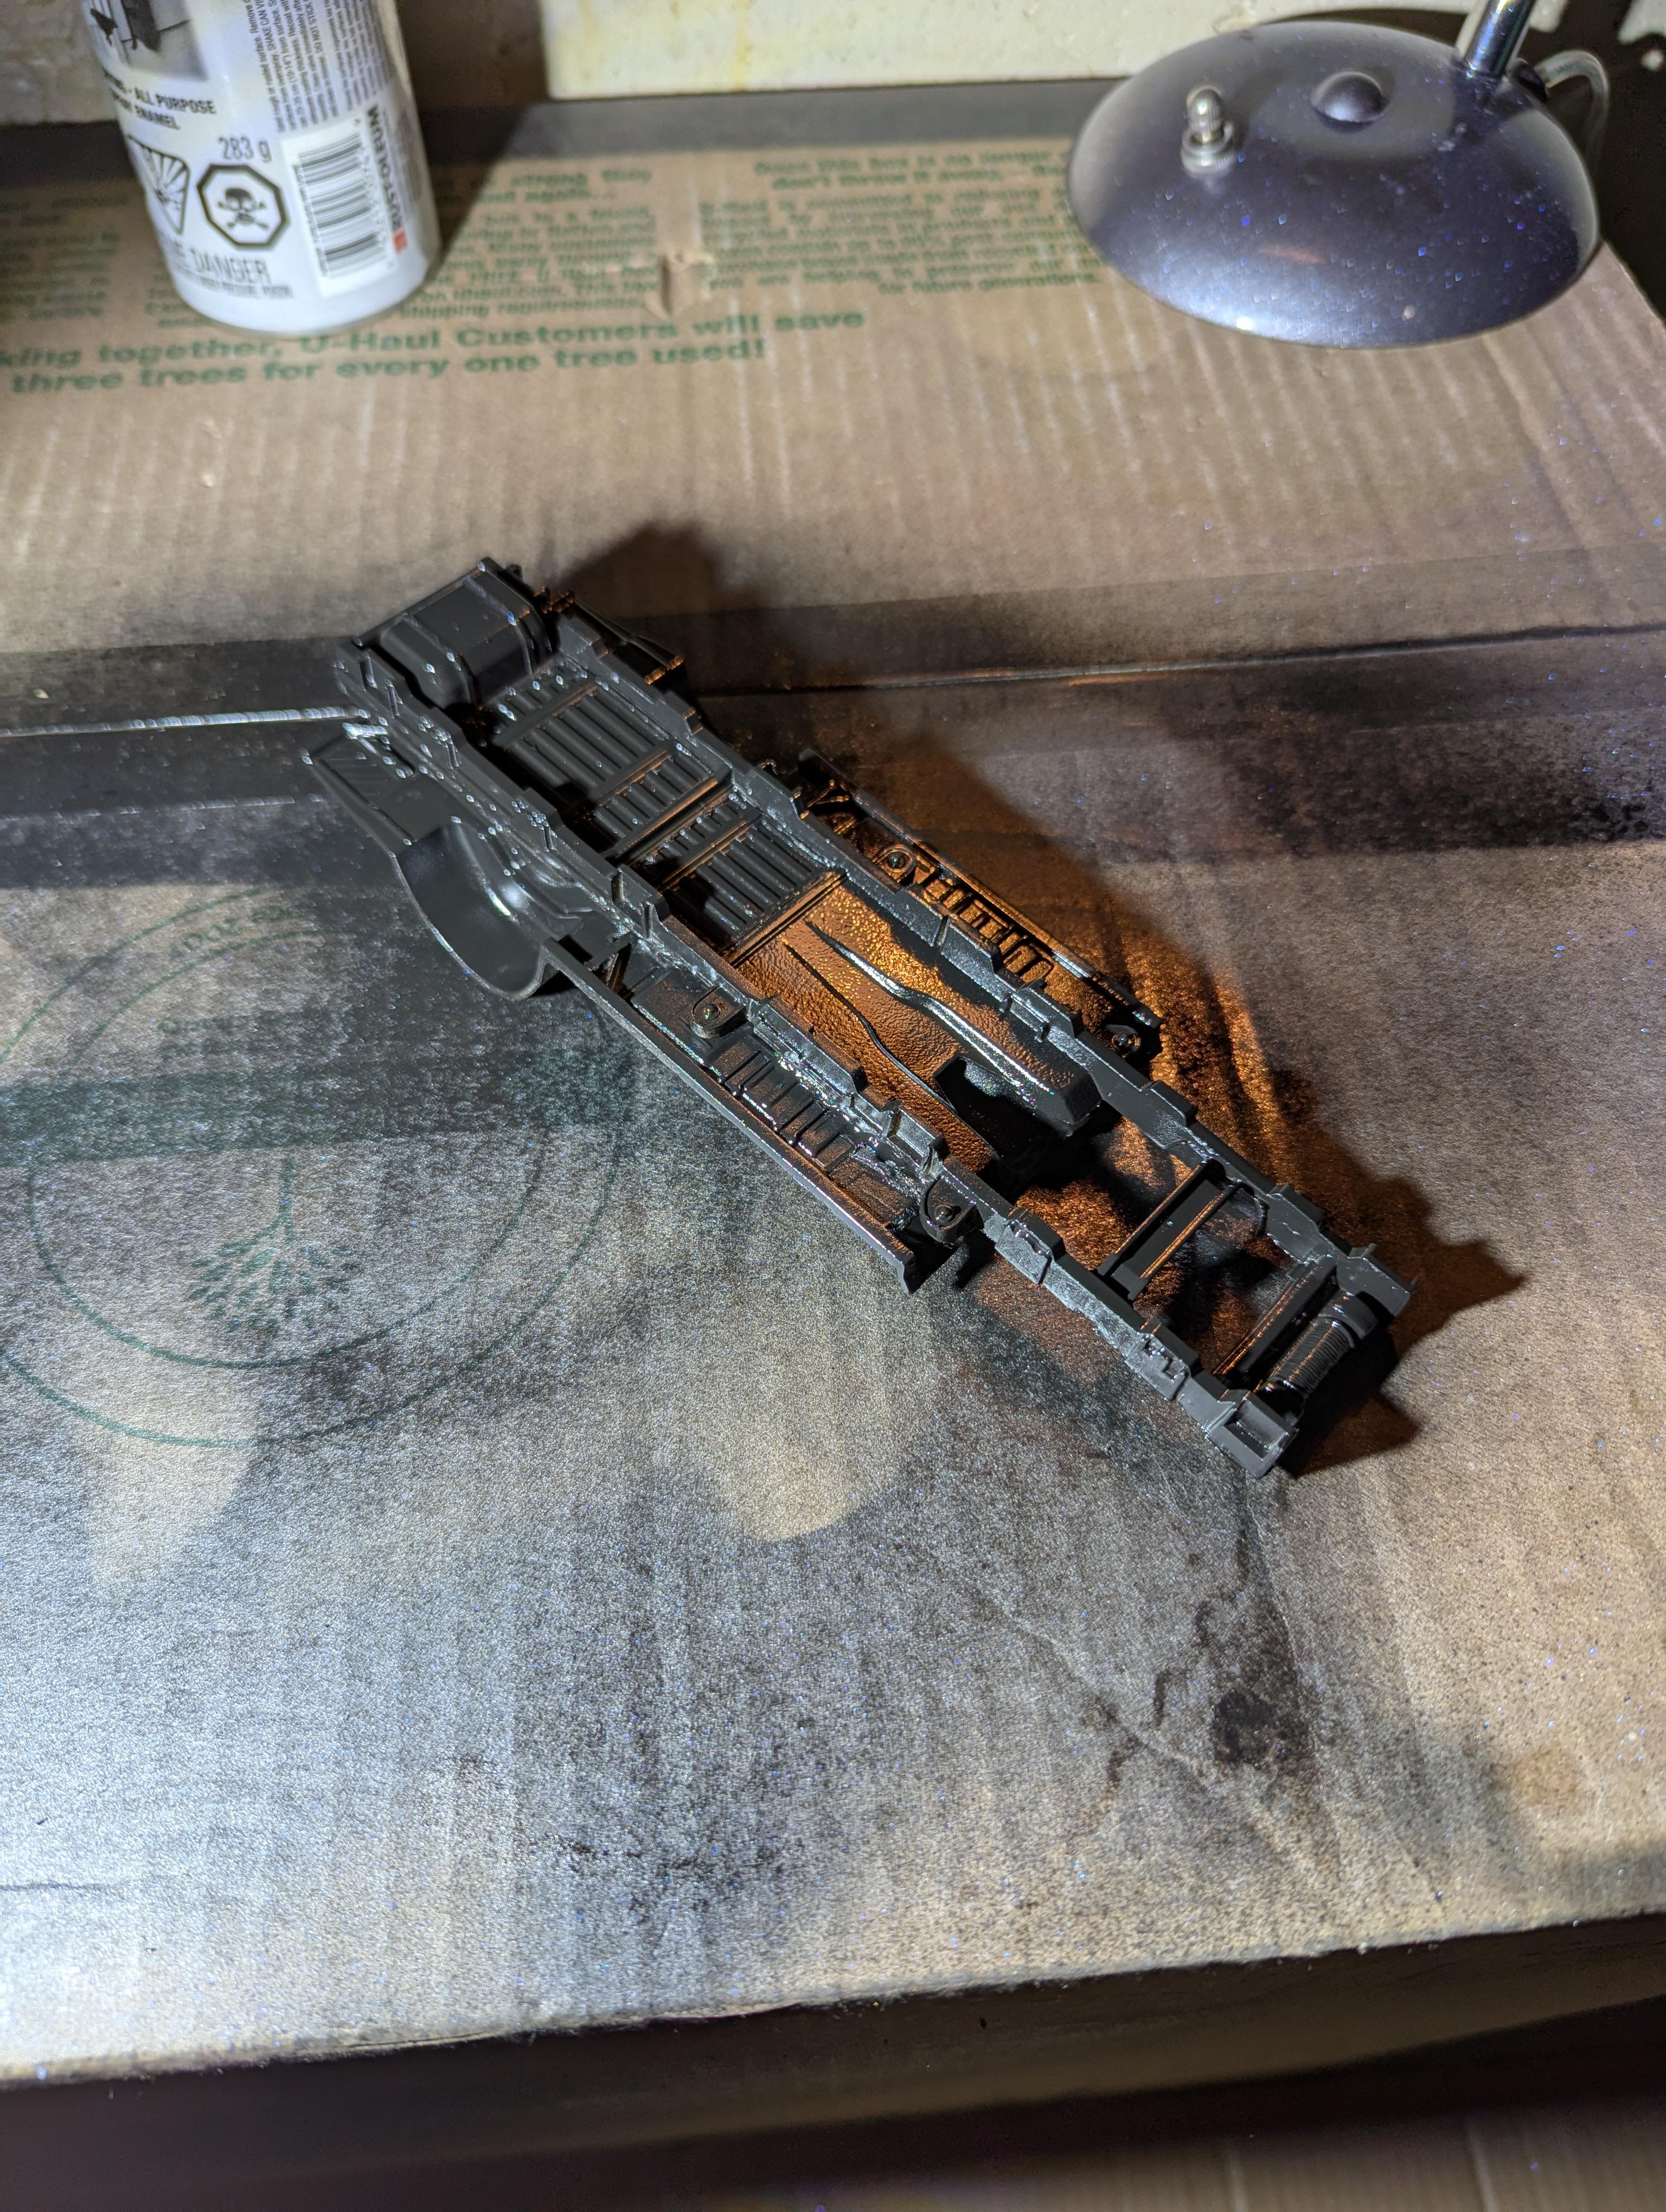
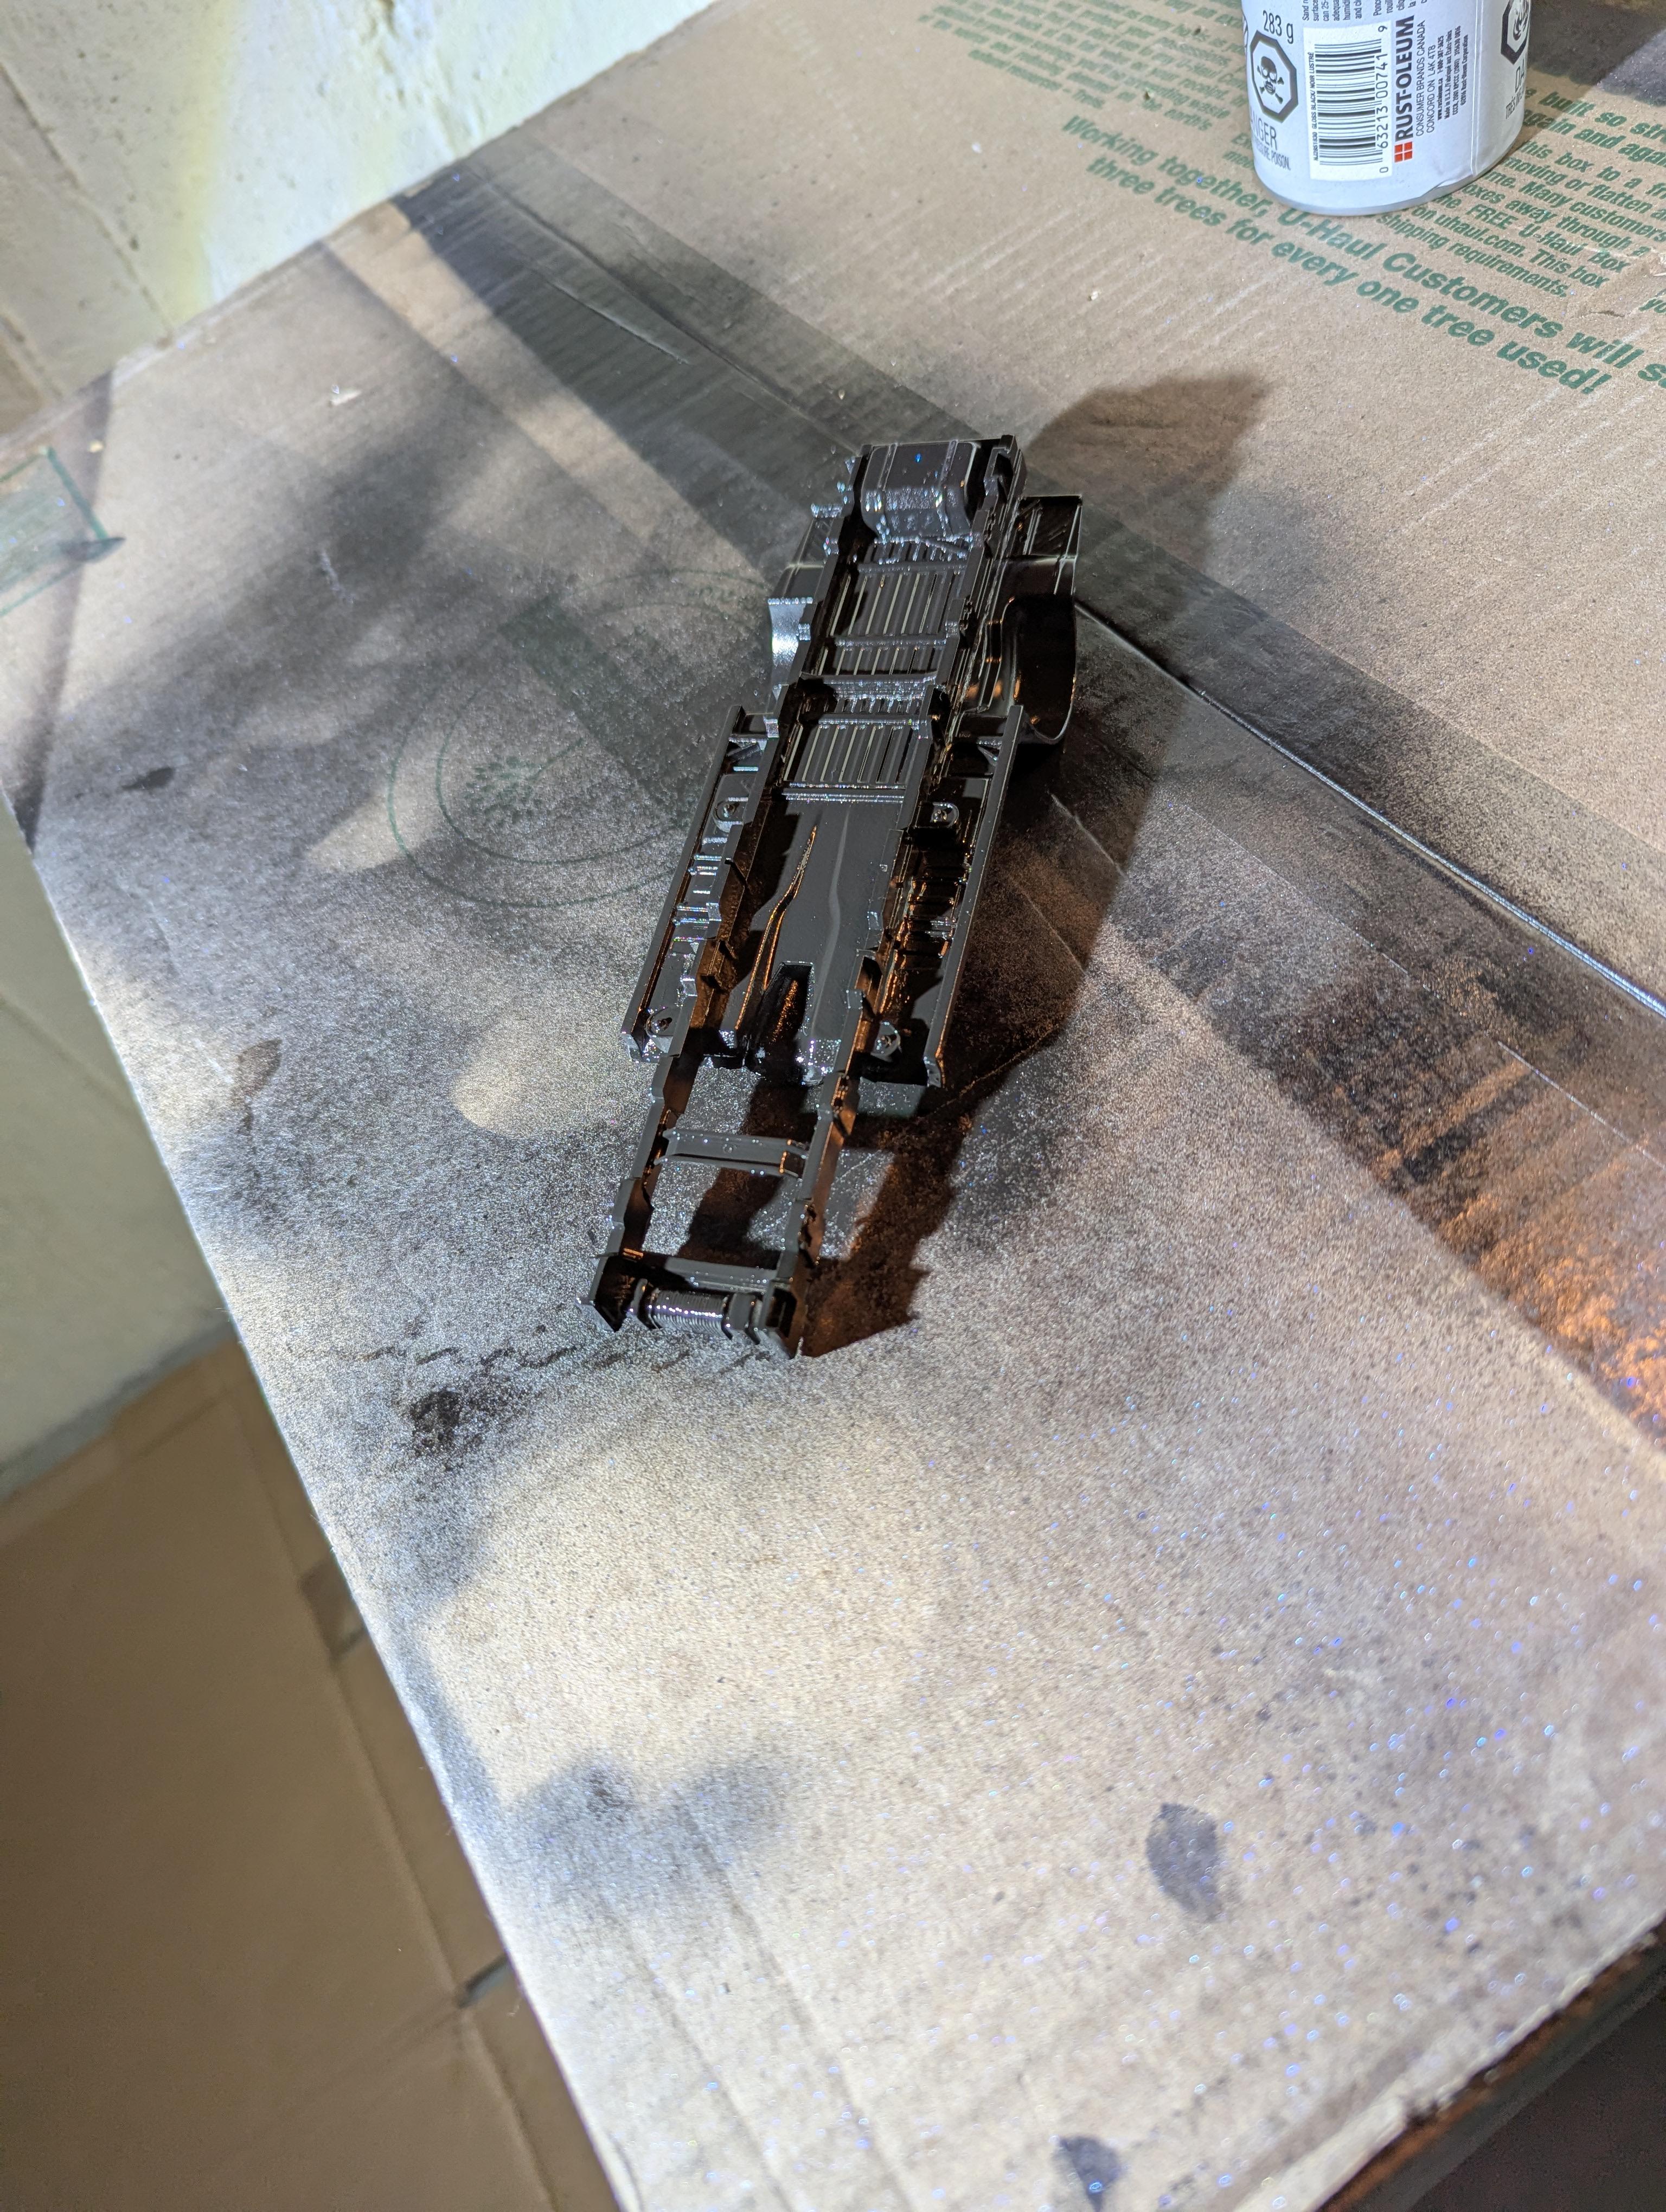
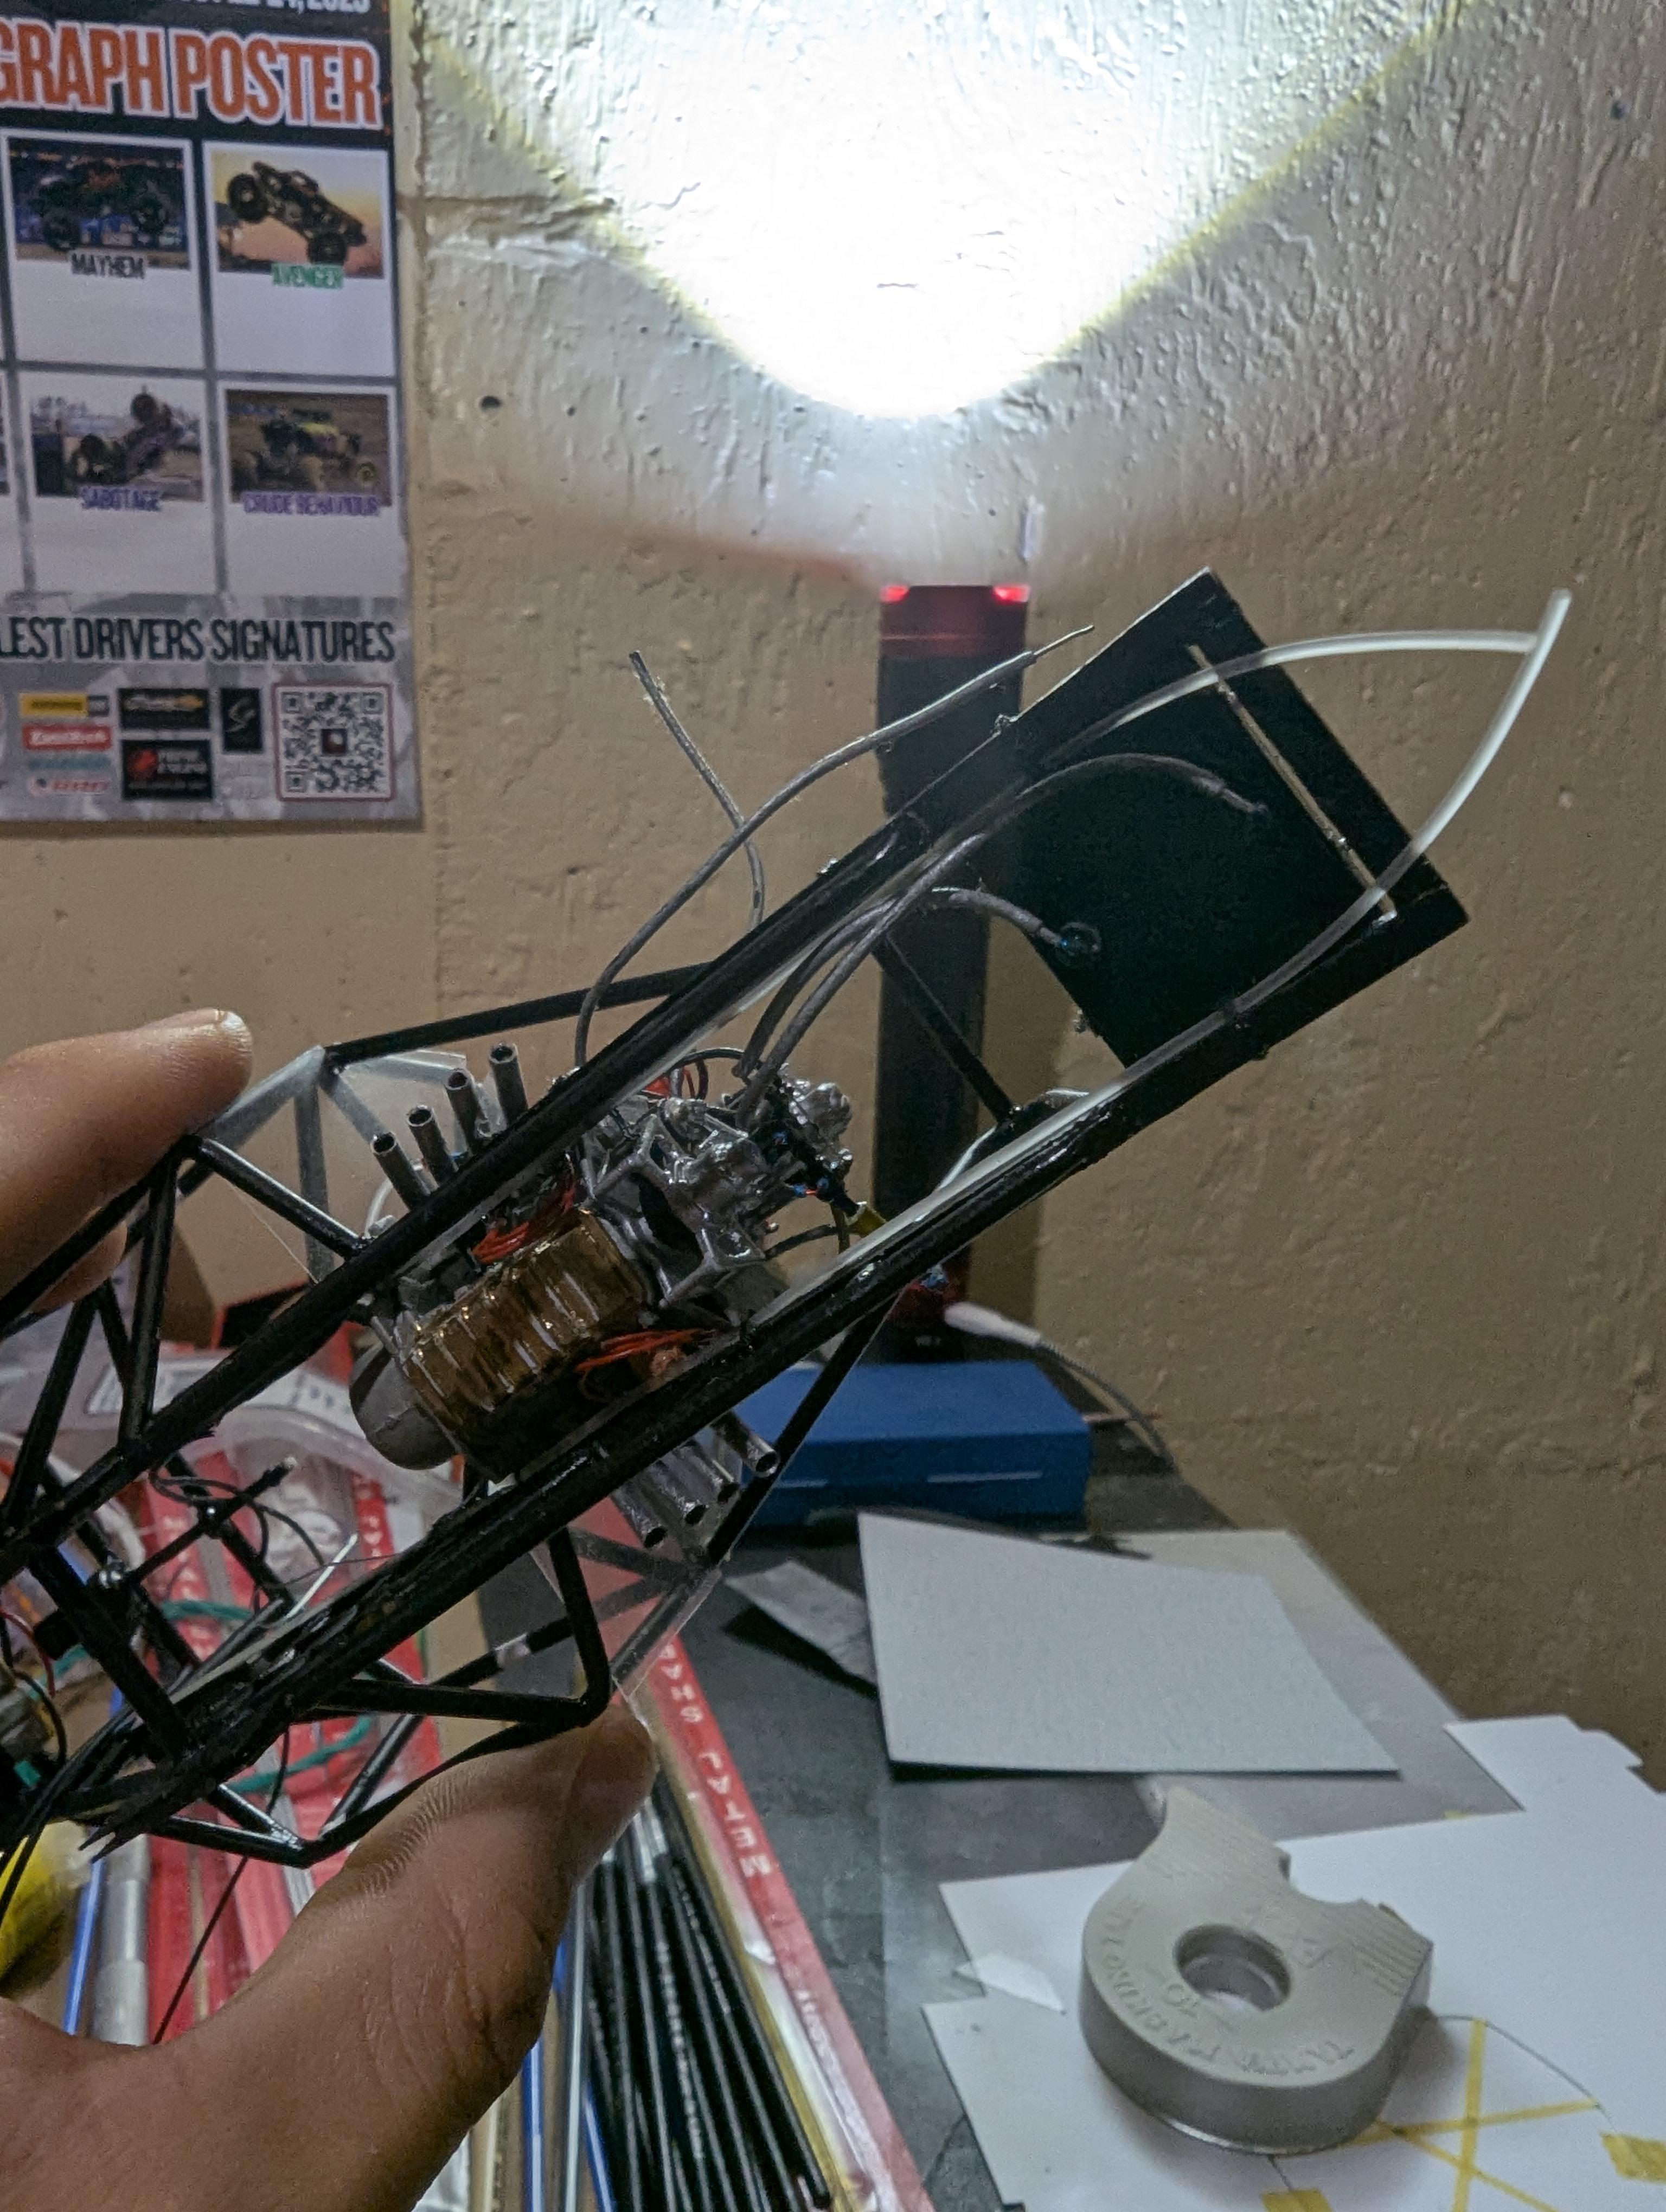
Hey I'm back after a break with some small updates, I just did an entire "paint cycle" on the engine before it goes into the chassis so while that dries up I'm going to work on a few chassis pieces and then get started on the decals 🙂 🙏 hopefully all goes well with that...
-
Thanks I forgot to mention that the engine will look like it's sitting higher on the model compared to the real truck, I have two other monster truck kits in the photos I've posted I'm not sure what I'm going to do with the destroyer II kit I plan on getting three other ninja turtle kits and I'll get started on those once they're all here👋😎👍 take care and see you on the next one