

Kit Basher
-
Posts
2,425 -
Joined
-
Last visited
Content Type
Profiles
Forums
Events
Gallery
Posts posted by Kit Basher
-
-
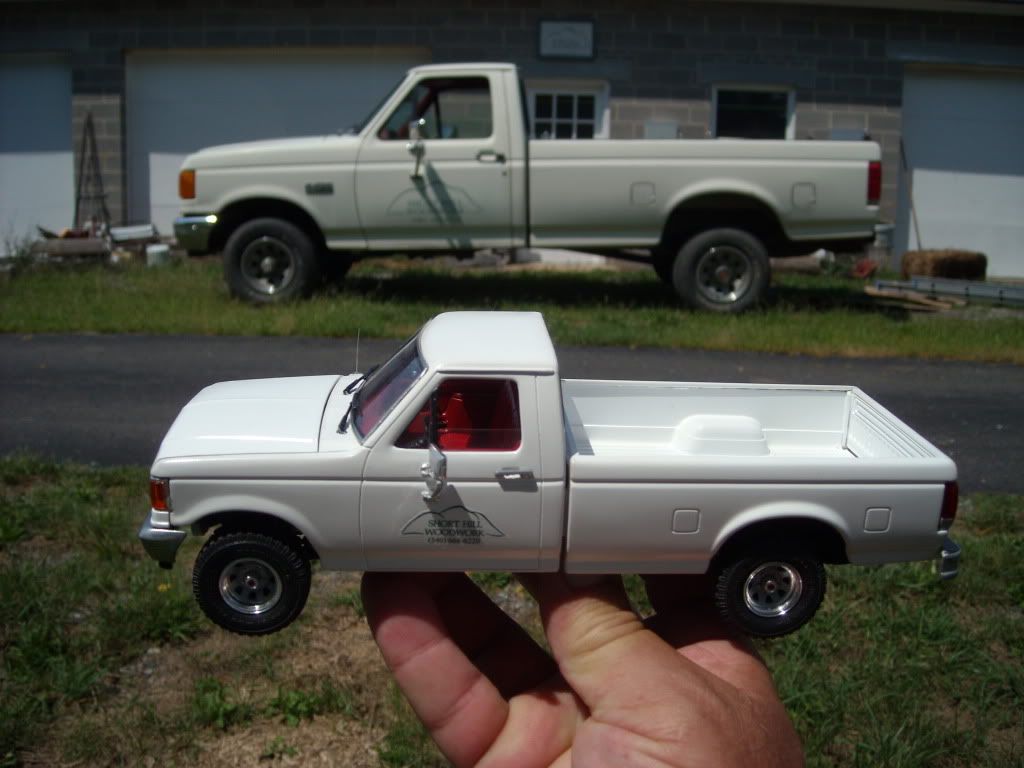
Thanks to all for the kind words. As I mentioned in the WIP, I could not have done this without the help I found on this forum, so thanks for that as well. The paint is Testors Classic White Lacquer, decanted and airbrushed, no clear, no polish.
-
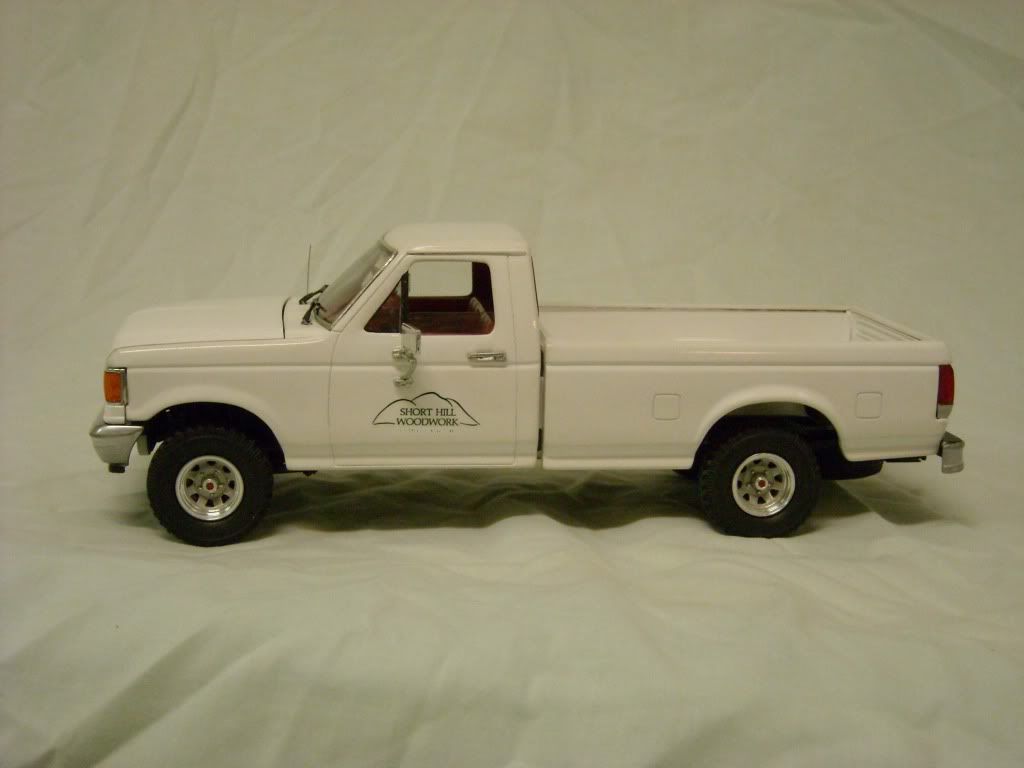
Still no F150 badges, but I want to try to "foil cast" those, so I will need to find another cab with good badges (any suggestions would be welcome). Who knows when that will happen, so I'm calling it done for now, and putting it Under Glass: http://www.modelcarsmag.com/forums/index.php?showtopic=47315
I could not have done this without the generous advice and answers to questions from the folks on this forum. So thanks to all who helped, whether they knew it or not.
-
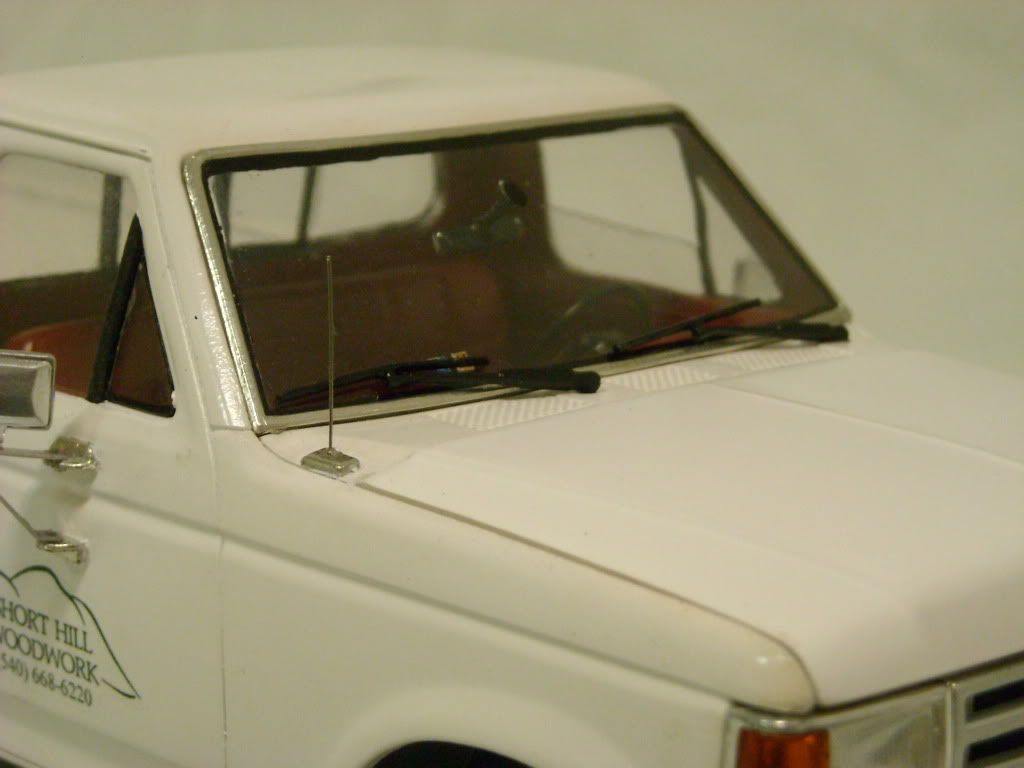
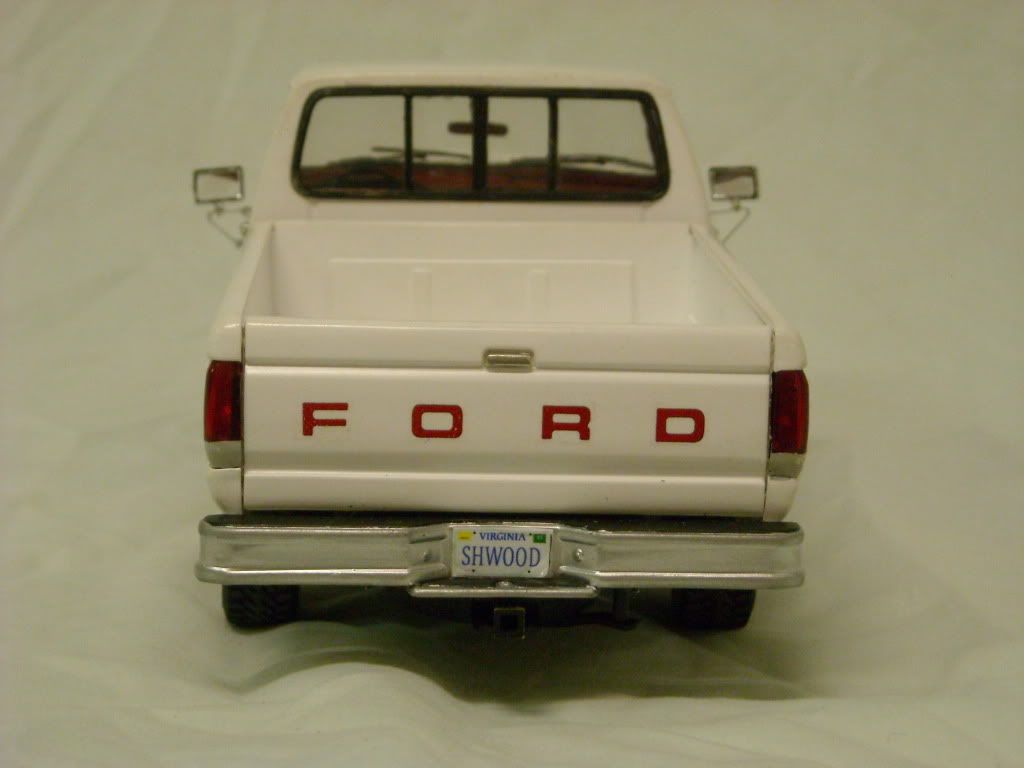
No tape or CD player, so it definitely needs a radio antenna.

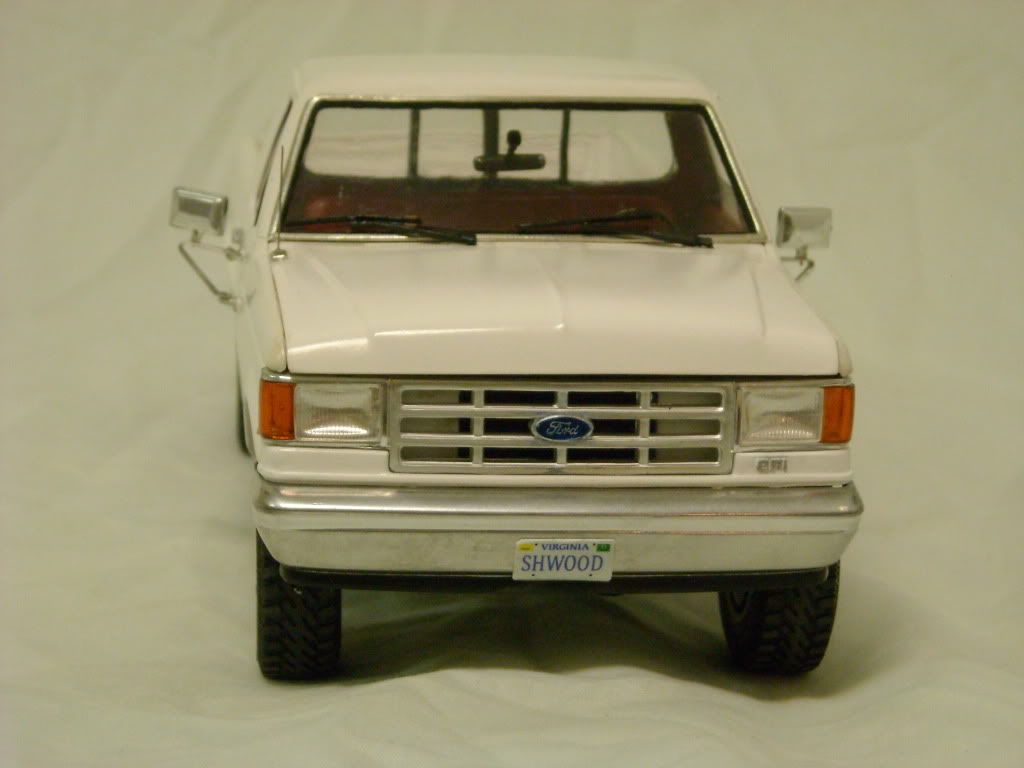
Passed inspection and the taxes are paid.
-
Here it is! Possibly the most boring model subject ever! A stone stock, base model, white pickup truck. But there's more to this thing than meets the eye. If you're interested, the WIP is here: http://www.modelcarsmag.com/forums/index.php?showtopic=44306
-
Can I have the funny car, AND the girl?
:lol: Either way, you'd want to drive it home.
-
If you're really looking for gold or brass, I think it's too orange. I would try mixing some clear yellow with the orange. Just my opinion.
-
'70s cars in real life were ######
I think it depends on the car. My Dad's Vega was a piece of junk, so was my sister's Audi Fox. My '74 Corolla SR5 was a great car! It had a Hemi (well, half of one anyway).
Hey Harry, your quote got censored! I didn't do it!
-
Actually, my Mom's car. 1970 Dodge Dart Swinger with a 225 and 3 on the tree. Not a ton of power but would still do a nice four wheel drift on the dirt roads. I would'nt mind having that car today.
FYI to Mr. Obsessive: The number of knuckleheads on the D. C. beltway has increased exponentially!
-
At least one variety of the Krylon paints uses MEK (the same stuff as Testors Liquid Cement) as a solvent. You can imagine what that would do to plastic! Definitely read the label.
-
Great job! I really like the way the plow moves and operates.
-
Are you kidding me?! Those are by kids?! Now I really feel inferior! Great job on both.
-
If they're calculating board feet the same as wood, then 1 board foot= 1" x 12" x 12", or 144 cubic inches. So multiply the three dimensions in inches and divide by 144. If the sizes you're describing are 1" thick, then 2" x 24"= 48 c.i., or 1/3 BF. (48/144 = 1/3) I find it easier to figure the length in feet and divide by 12 (it's the same thing, trust me). So 1" thick x 8" wide x 2 feet long = 16, divide by 12 = 1-1/3 BF. Clear as mud?
-
I can't think of any wood "stains" that would do what you describe. However, some of the dyes used for coloring wood might work. Most of these can be used to tint lacquer, so a dye mixed with a clear lacquer and shot with an airbrush might work. I don't know how lacquer would react with chrome, tho. Another thought, how about the Tamiya transparent colors? Perhaps a mix of yellow and amber sprayed very thin? These aren't answers, just possibilities.
-
Thanks, Matt. I'd love to see that '87. I hope it works out for ya. I'm gettin' really close on this one, I hope to have it done soon!
-
Let's take it a step further and include all Generals!
Don't forget General Confusion, General Incompetence, and General Ignorance!
-
Sa-weet! Gorgeous paint, beautiful detail. Nice job!
-
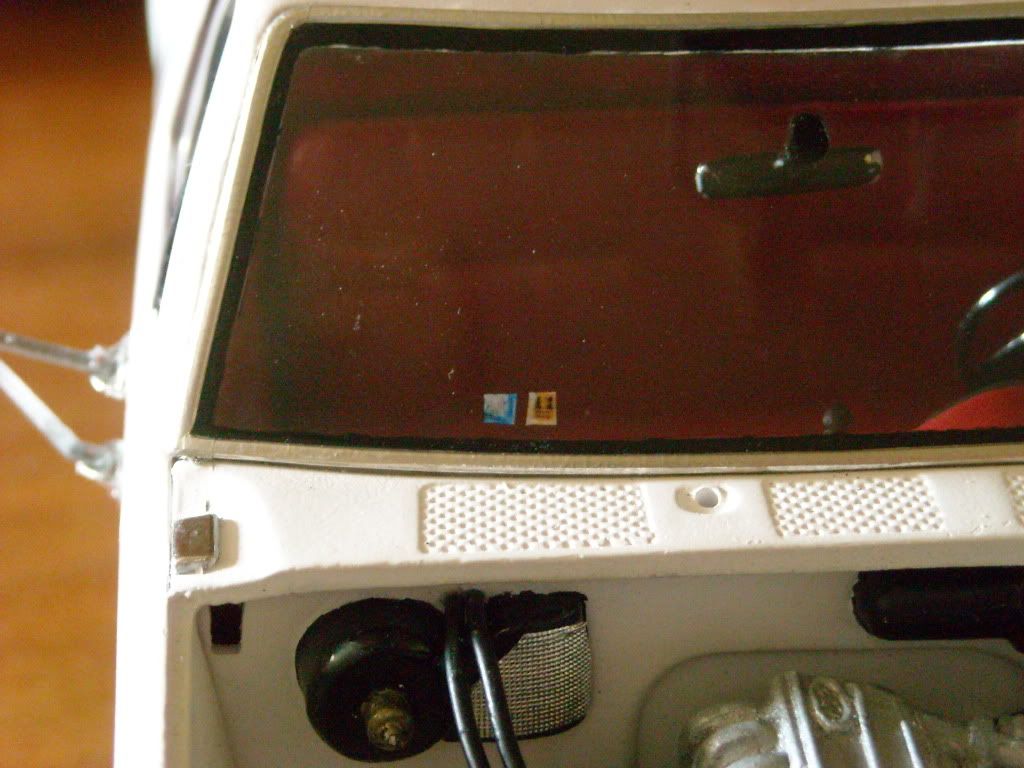
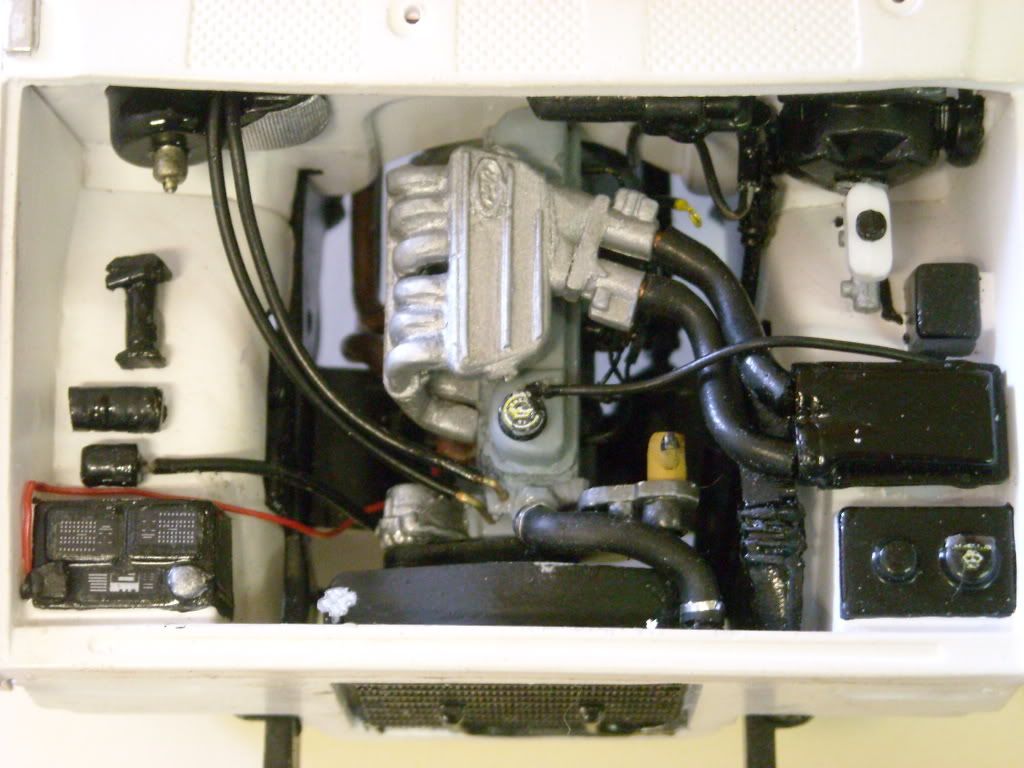
Thanks gray07 and Robert. I'm finally finished under the hood. Had to make the air intake and the radiator filler and cap. The passenger side fender looked a little naked so I made a jack to go there.
I hope to finish this puppy up soon!
Advice and comments always welcome
nuff for now, more later.
-
I use LHS as much as possible, even tho they are 15-30 miles away. These guys are trying to make it while competing with the internet, and if we don't support them they'll be gone.
-
so i was looking at the duplicolors and i only saw one primer, it was a grey.
Duplicolor does make a "white sandable primer" It's nice stuff. I have had no trouble finding it at auto parts stores. Maybe you can look a little more?
-
OOB - Out Of the Box
FUBAR - and old WWII military expression
SNAFU - see above
Lets see if there is any one who knows this one and it's source - Falcon code 269
Don't forget JANFU and TARFU
CRS
I forget what that means...
I used to have CRS, it has progressed to CRAFT!
-
Actually, a lot of members here really need to update their web browsers.
I'm using ie6 because ie8 kept crashing. If this pic shows up, it seems to be working fine.
-
Thanks, Roger. I don't know, I may slip in another update or two before I'm done. It seems like there's still a lot left to do. I spent most of yesterday working under the hood, and I'm still not done. Then there's bumpers, grille, mirrors, decals, windshield, etc. And I still have to make those badges. Don't hold your breath!
-
Jantrix is right. I use Duplicolor "White sandable primer". Really nice stuff. Works fine with Duplicolor, Tamiya, and Testors lacquer top coats.
-
I gotta join the chorus. That thing is drop dead gorgeous! That's how a Challenger should look. Nice work!
 :lol:
:lol: 
1990 F150 4x4
in WIP: Model Trucks: Pickups, Vans, SUVs, Light Commercial
Posted · Edited by basher
Thanks Charlie and Mike.
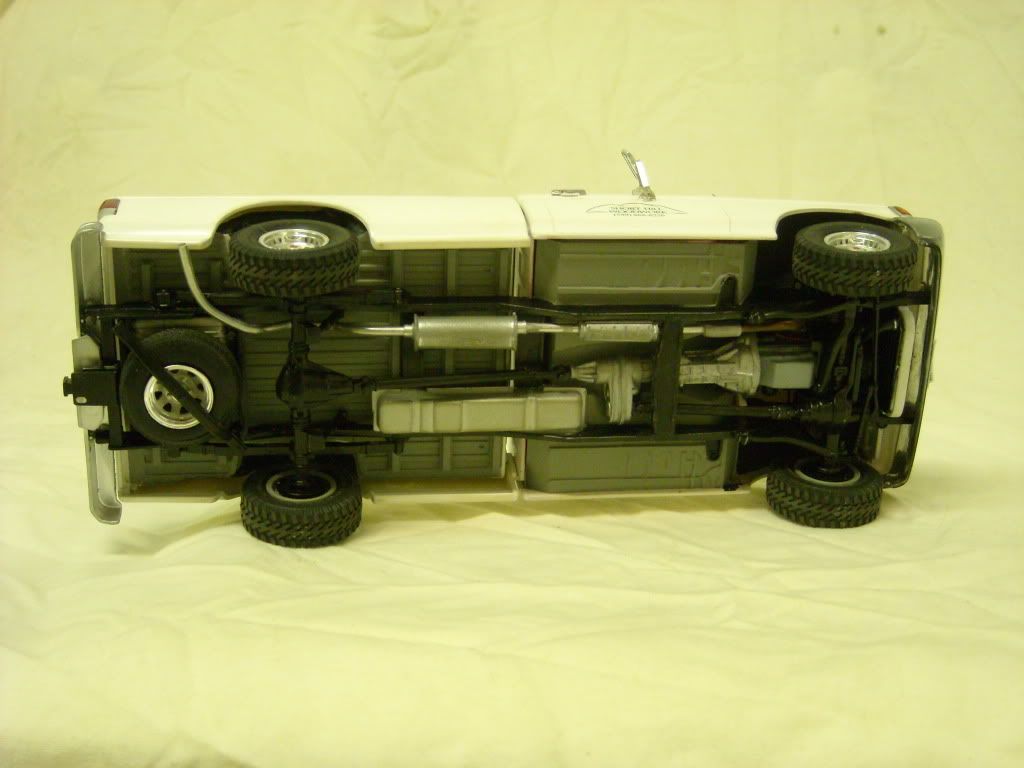
Charlie, I don't have any photos, but here is a sketch of the general idea.
I removed the material from the inside of the frame rails on the front section, and from the outside on the rear section.