Search the Community
Showing results for tags '69 nova'.
-
I built this Revell kit as a typical muscle car that could be found on the streets in the 70's. I added a lot of detail to make it look realistic, even adding a working pull-down license plate with the gas filler neck and gas cap, which was common back then. Door locks, tire valve stems, drive shaft balance weights and a lot of work in the engine bay, on the engine and chassis. The paint is Model Masters Dark Green Metallic enamel with their enamel High Gloss clear. I made mistakes but pleased with the end result.
-
Hello to everyone, The construction of the model took 2.5 months. Since it was not the kind of production I wanted, I made many parts by my own means. I used Revell's wheels with the body of the AMT model. I share with the photos of the construction phases.
-
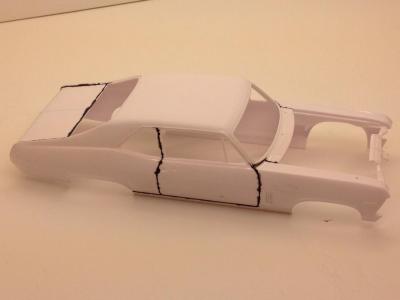
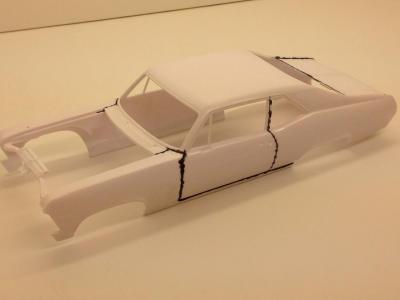
This Nova is my son's favorite car, and I have been pondering some combinations for too long. It's time to get this project going. We have different definitions of "cool", but this will be built his way. After looking at various kits and supplies on hand, including the Corvette Callaway, C5R, and C7R model kits, we decided to try and use parts from Revell's 2013 Camaro ZL1 kit. He has told me about how he would like the stance (more level and lower than in the pic below), colors, etc. I'm not too formal with measuring, so we'll see how this goes. I think I have a good idea for where cuts will need to be made and how this will all work. Any suggestions welcome. I'll post progress as this project moves along. Thanks for looking.
-
Hello - I'm looking for advice on how to build a '69 Chevy Pro Touring scale vehicle. I'm particularly interested in finding a style wheel that will match the 1/25 scale Revell '69 Chevy Nova SS or Yenko kit that I plan to use. I'm familiar with Aoshima and Pegasus but I couldn't find a style that I'm looking for with these. I found some Aoshima that might work, but I'm unfamiliar with what inch wheel and tire size I might need (they were all pictured with imports). I also noticed that these were 1/24 scale. I'm open to resin, aluminum, 3D printed, or maybe even another kit that I could find something in this particular style: Boze Performance or something close to this - http://www.bozeforged.com/performance.html I'm also wondering how I might go about lowering this kit as well as if the box stock engines would work or other upgrades that I might do for Pro Touring. This style is all new territory for me, so thanks for any help, even if you can steer me in the direction for more research.
-
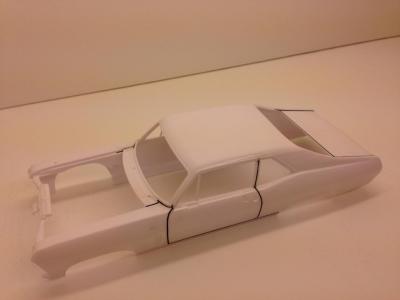
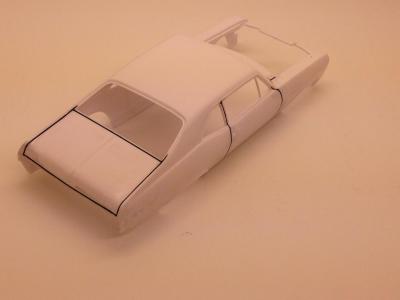
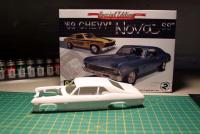
Hey guys, It's been awhile since I've posted here and I've built a few models since then. I figured I'd start posting again to help people, as well as get comments/ advice for my own self as a model hobbyist. Feel free to ask any questions. So let's begin. Here's the kit Parts look good so far, but I haven't done much too them yet, although I prepared the body. Which did have some flash on the trunk fenders and wheel wells. But overall looks like a good kit. So I cleaned that up and wet sanded the body and the hood using #1000 grit. After that I scribed the panel lines and applied a black wash to the panel lines. Here's progress so far, I will be priming hopefully by tomorrow. Cheers, P.S. First time using this quick pic attachment, plus I'm using my iphone. Hopefully they turned out well if not I'll repost them.
- 91 replies
-
- Nova
- chevy nova
-
(and 2 more)
Tagged with:
-
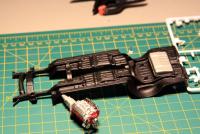
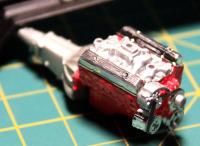
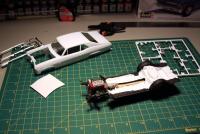
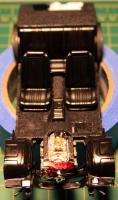
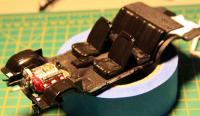
Well here is my first WIP in over 25 years. Like the title says its the 69' Nova. I am building it box stock. I hope to build it something like the one my Grandma had when I was younger. I think her's was a 72' but the body style seems to be the same on the 69'. The one thing I want to try to do is a faux sunroof. It was a soft top sunroof. I am going to try to find some pics of it this weekend. And so it begins Engine work Small mock up This was my first time trying to use embossing powder, it didn't go as well as planned. I think my spray glue was to cold, it did not spray right, kind of bubbly so when I coated the floor it made humps. After it dried I peeled the lumps and coated it again. It didn't turn out like I wanted so I gave it a lite wash coat of flat black in a few places that didn't turn out well. That helped a lot. At least I am learning again. Next time I will make sure my glue is warm before I spray. Starting to add a few details Thats all for now. Next will be more details and mock ups. All comments, suggestions are welcome. Thanks for looking.


