IbuildScaleModels
-
Posts
98 -
Joined
-
Last visited
Content Type
Profiles
Forums
Events
Gallery
Everything posted by IbuildScaleModels
-
 Wow... Just wow. I am humbled even further! I'm going to shut up for a while and build so that I can hold weight to your comment Tim. I need to improve. I'll be back with more pictures. Edit: Tim, so.... I am going through your fotki album. I think you are thinking too highly of my skills. I am flabbergasted by guys that have your level of skill. That scratchbuilt engine, the suspension, the pinion, the... EVERYTHING! SWEET BABY JESUS!!! I can only hope to make it to your level one day! Humbled.... Justin
 -
66' Mustang Fastback / ProStreet ProTouring Hybrid
IbuildScaleModels replied to Codi's topic in Model Cars
Tim, This is my kind of build... Love the suspension and the headers. Are you using the rb motion ball end and coil-overs? By the way... This is the kind of crazy level that I love! And thank you for your kind words on my build. When I see this kind of build it humbles me, gives me inspiration and it most importantly shows me I still have a lot to learn! Fantastic work! -
Thank you Tim! I'm checking out your builds! I like crazy. And thank you again. I don't know if it is my autism or the fact that I get an annoyed feeling when I see so much attention to detail and then on the same build I see my bad paint job. Or vice versa, a great paint job, but the "extras" were omitted. I know it is different to each builder but to me it is like "well if I am going to make the bonnet articulated, then I should do the parts that are seen under the bonnet." but then I get more obsessed and say to myself "dammit, if I can see the parts under the bonnet, then they should be accurate..." ? ? maybe a bit of column a and a bit of column b.
-
I hope so Dann. I hope so! I have been looking at Randy Ditton's brass build of the MKI and it is stunning. I hope to do my build just as much justice. Not only that, I am a small fry when compared to the lot of you guys. I am just trying to keep being inspired by all of you. Hopefully my build does the same.
-
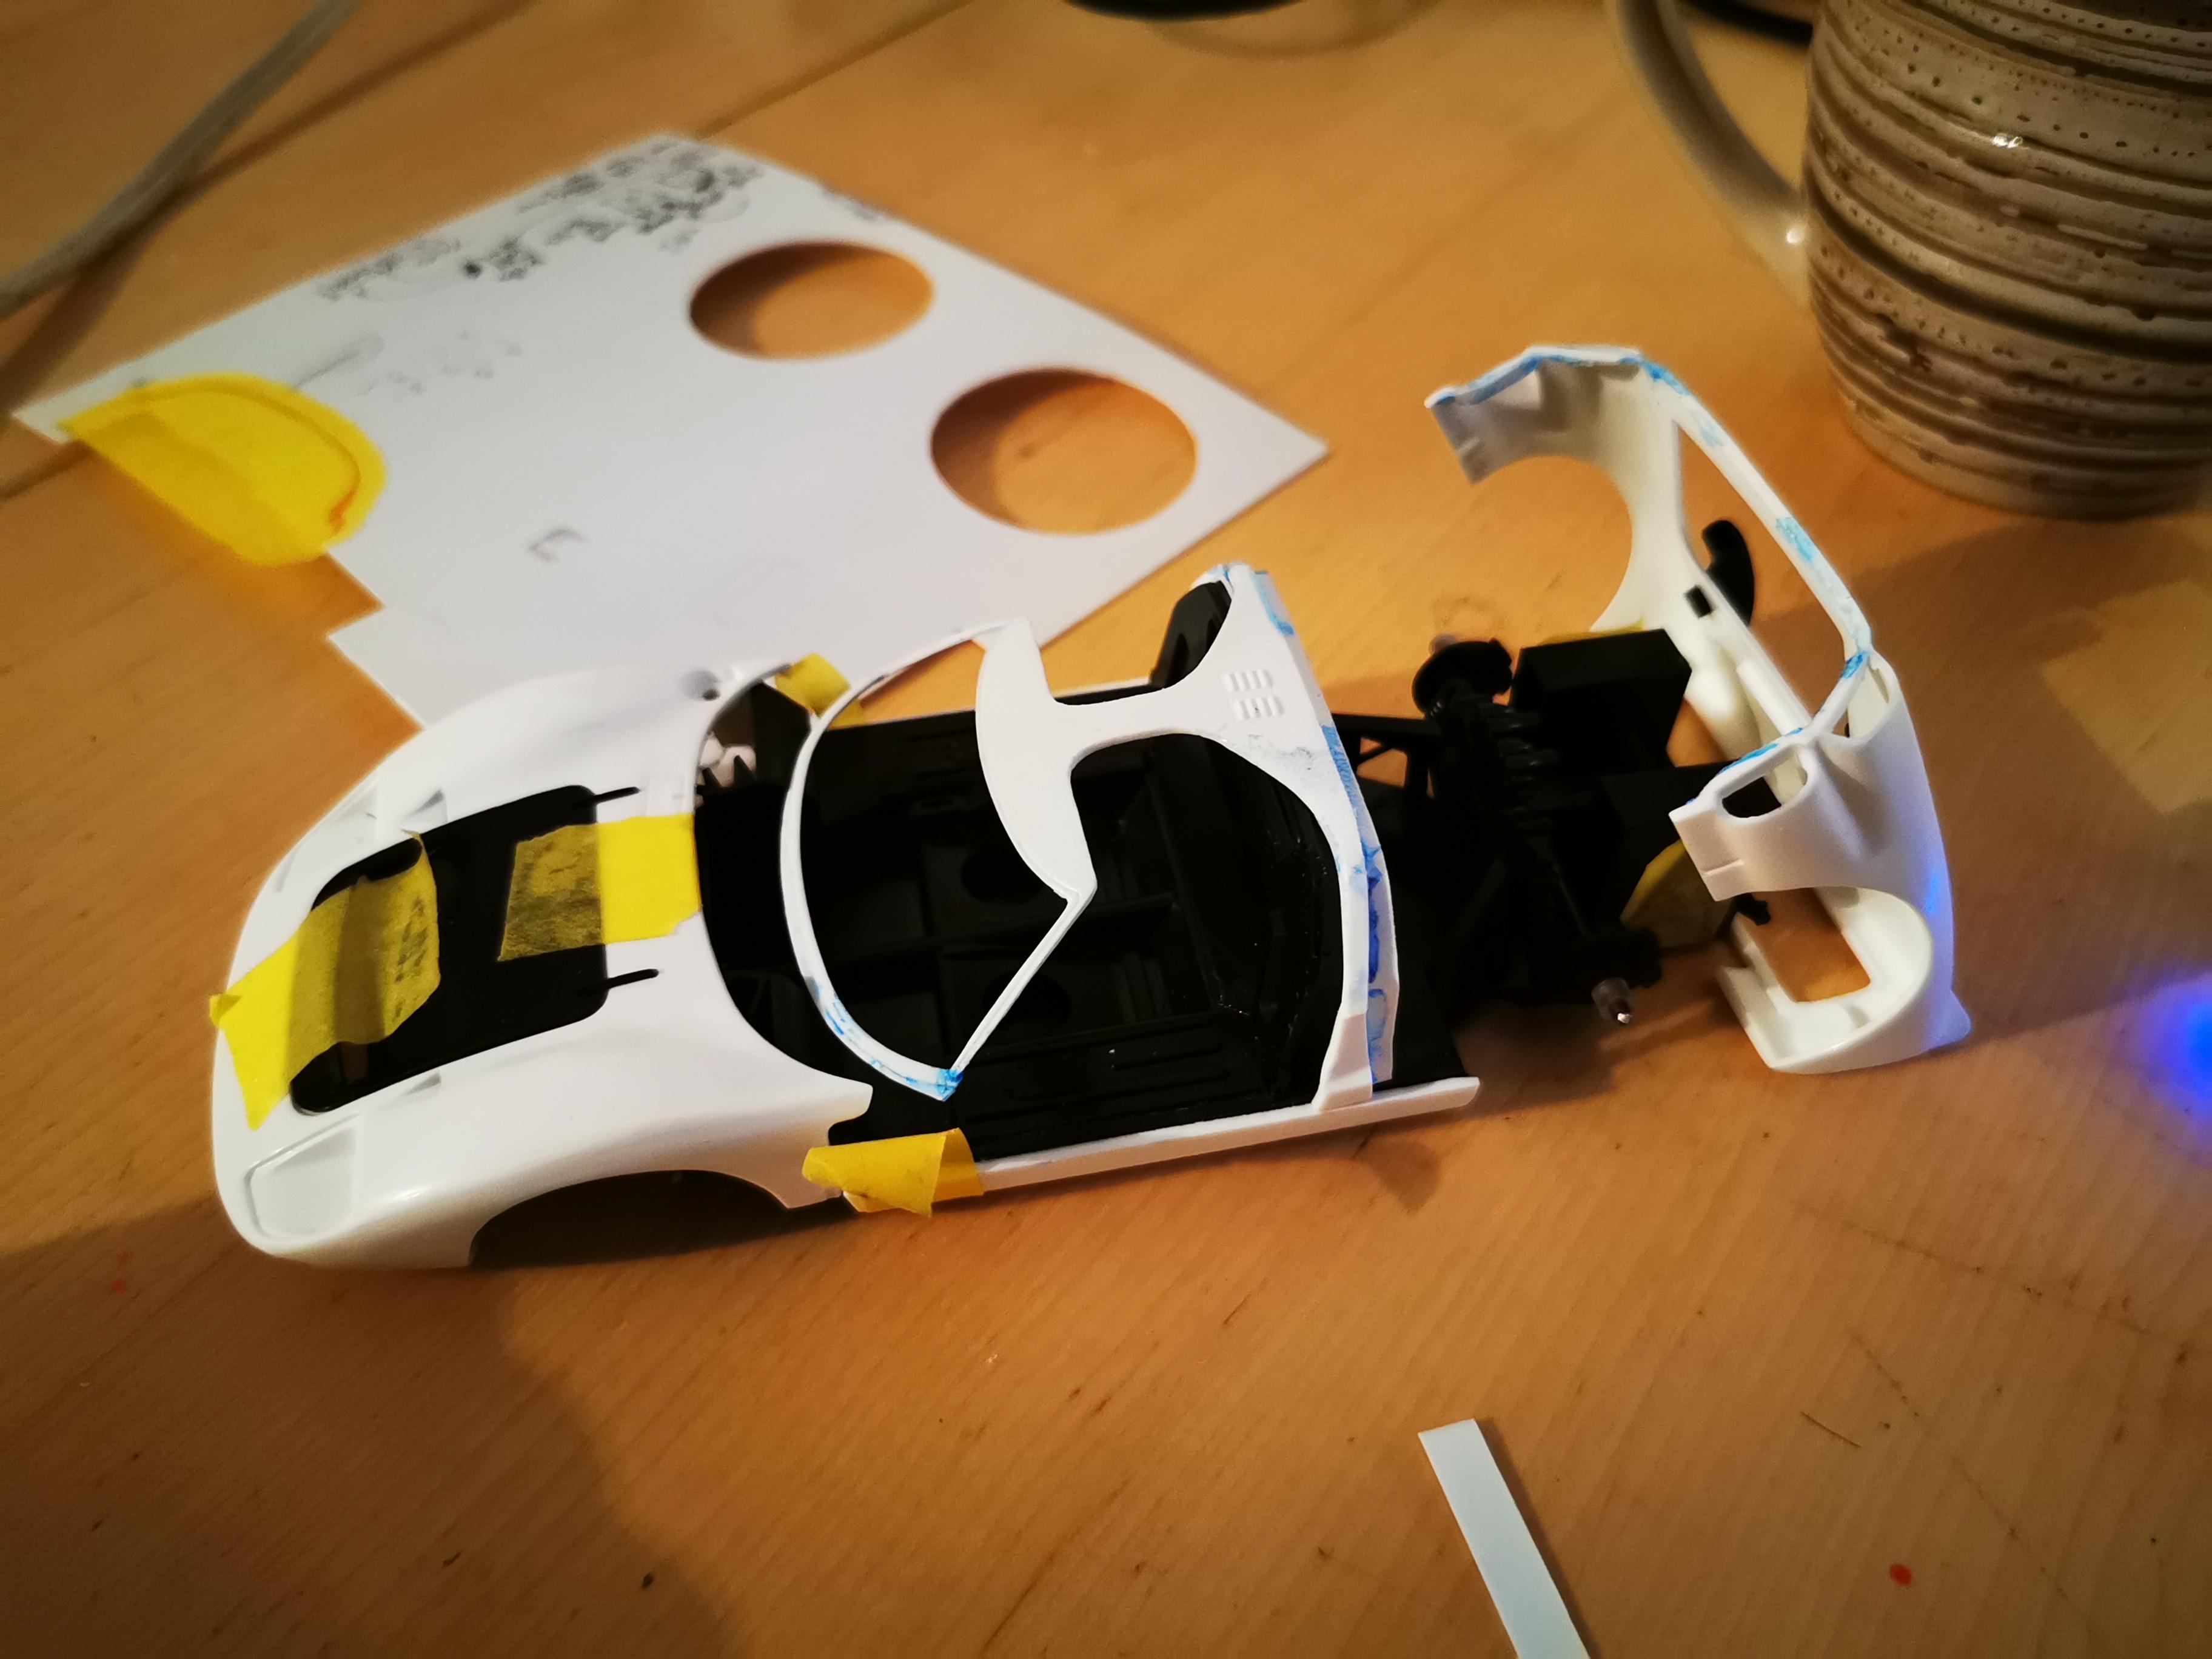
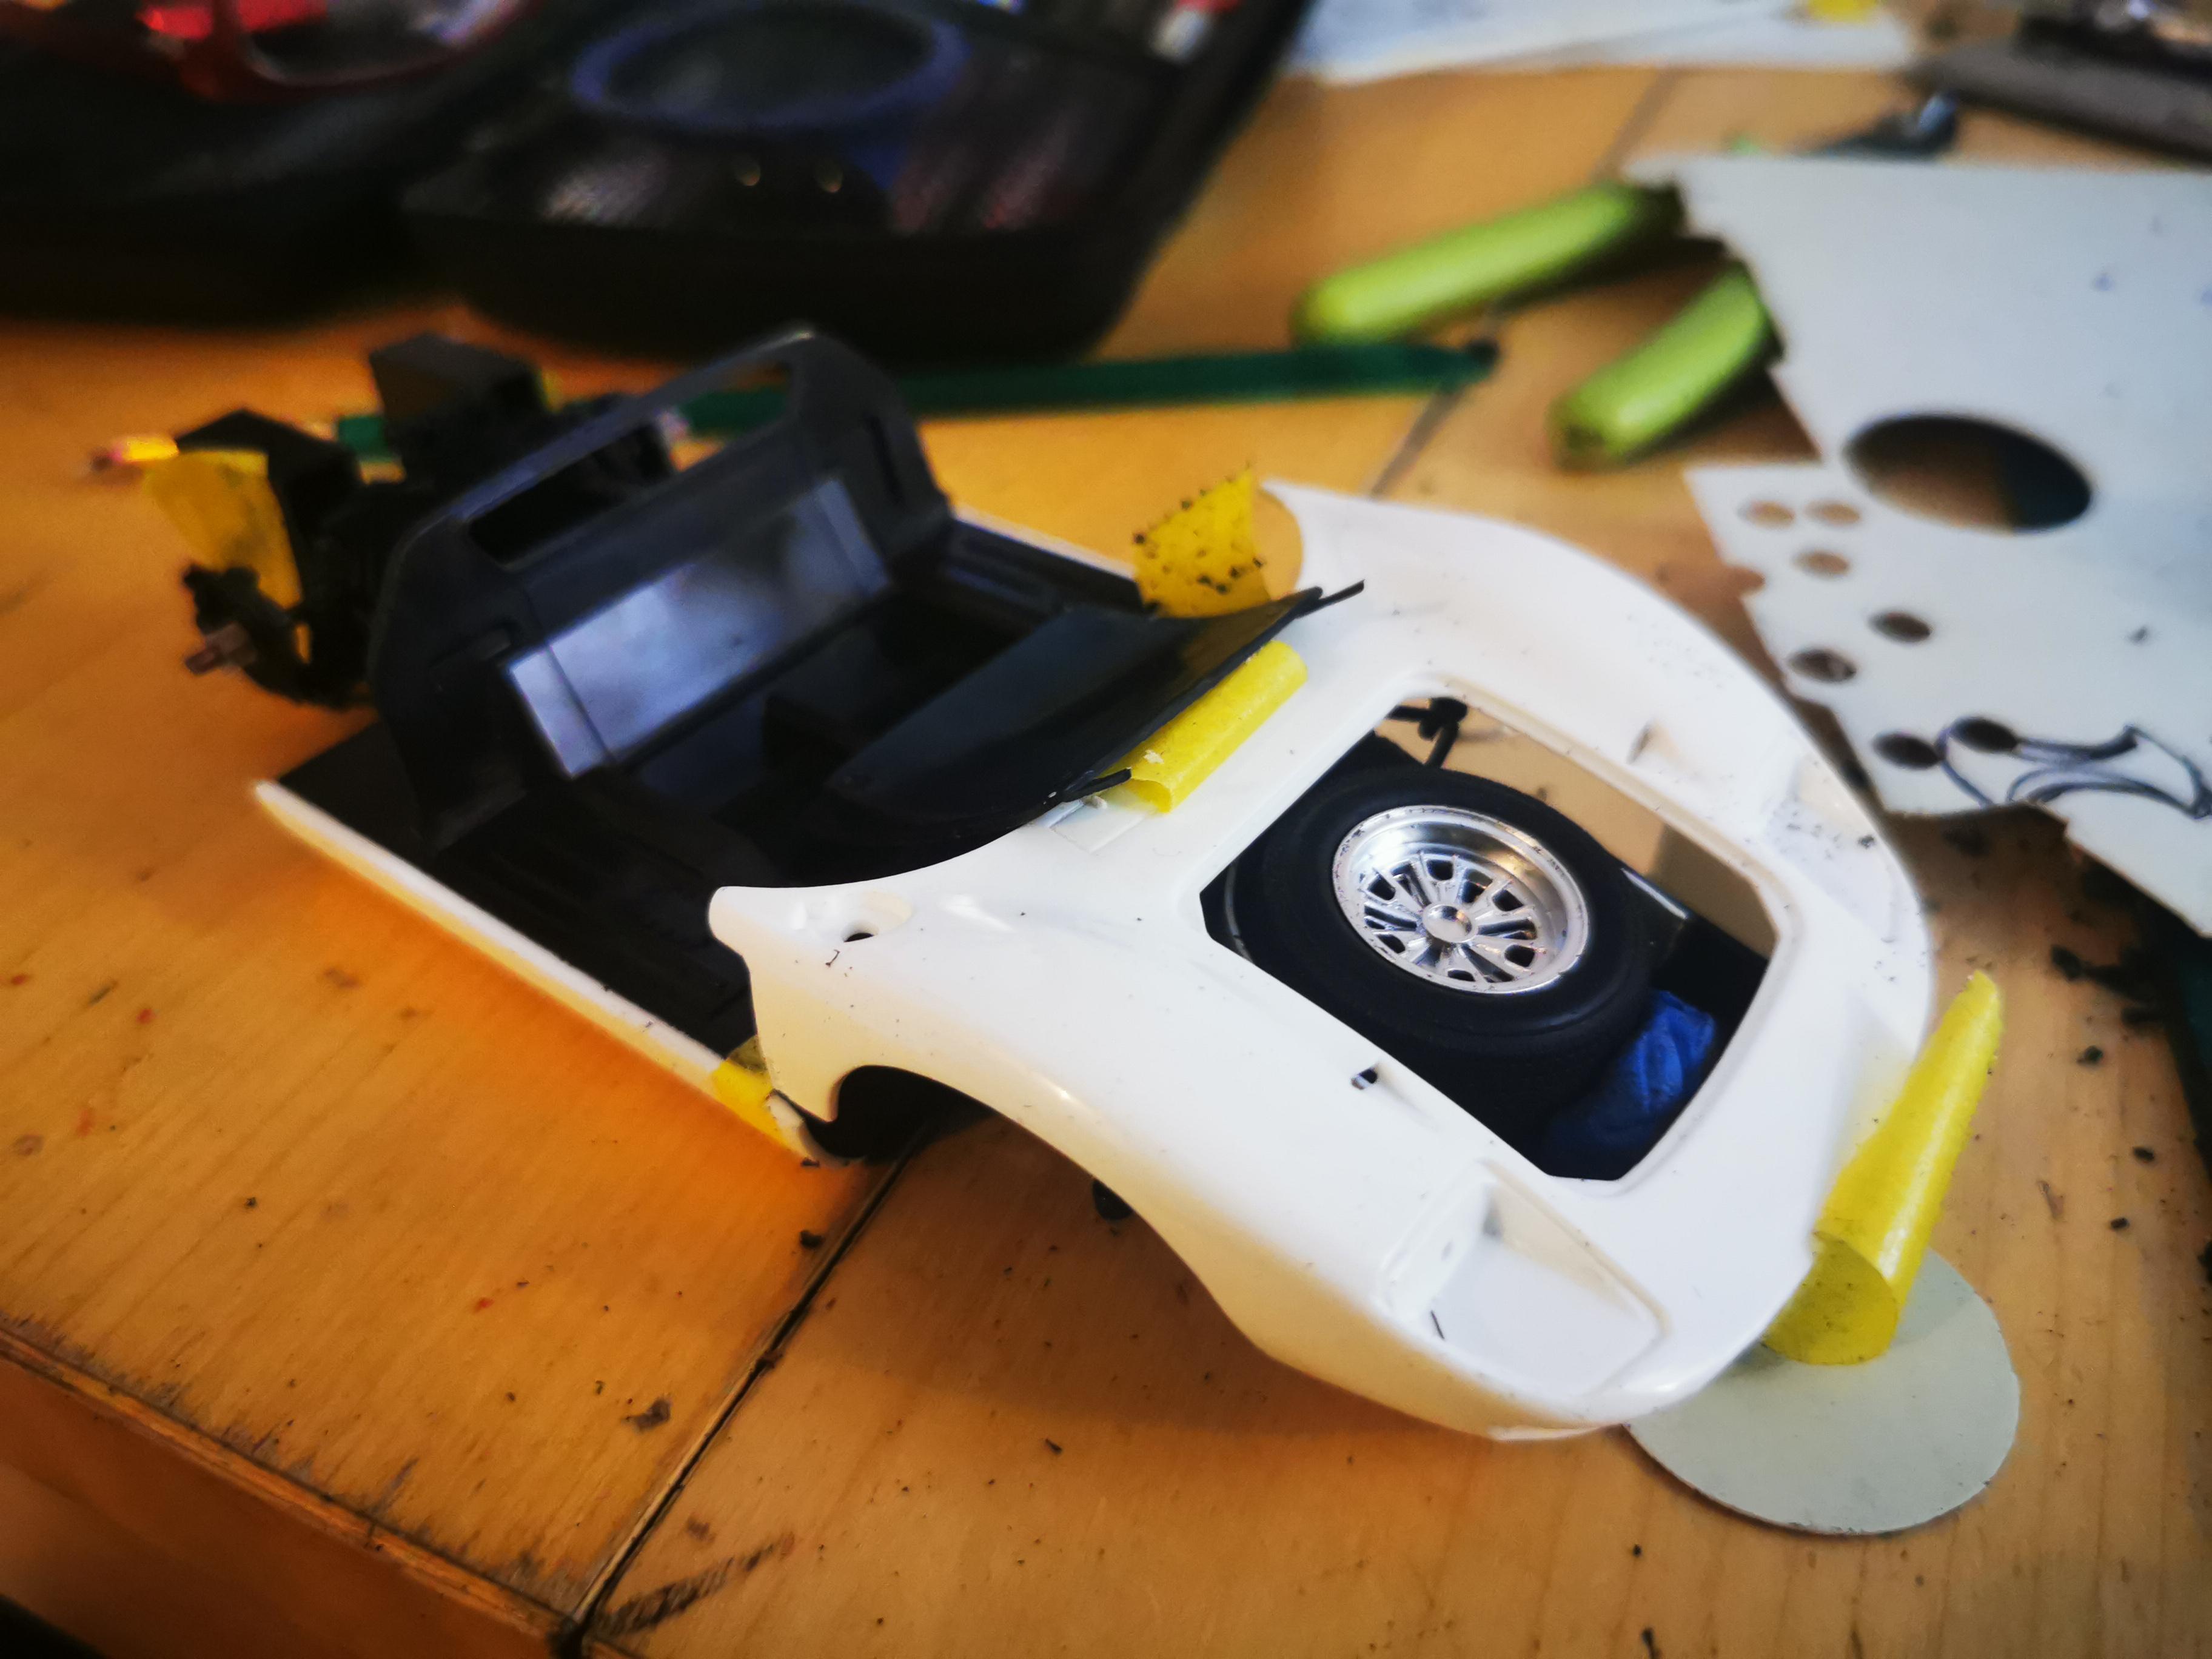
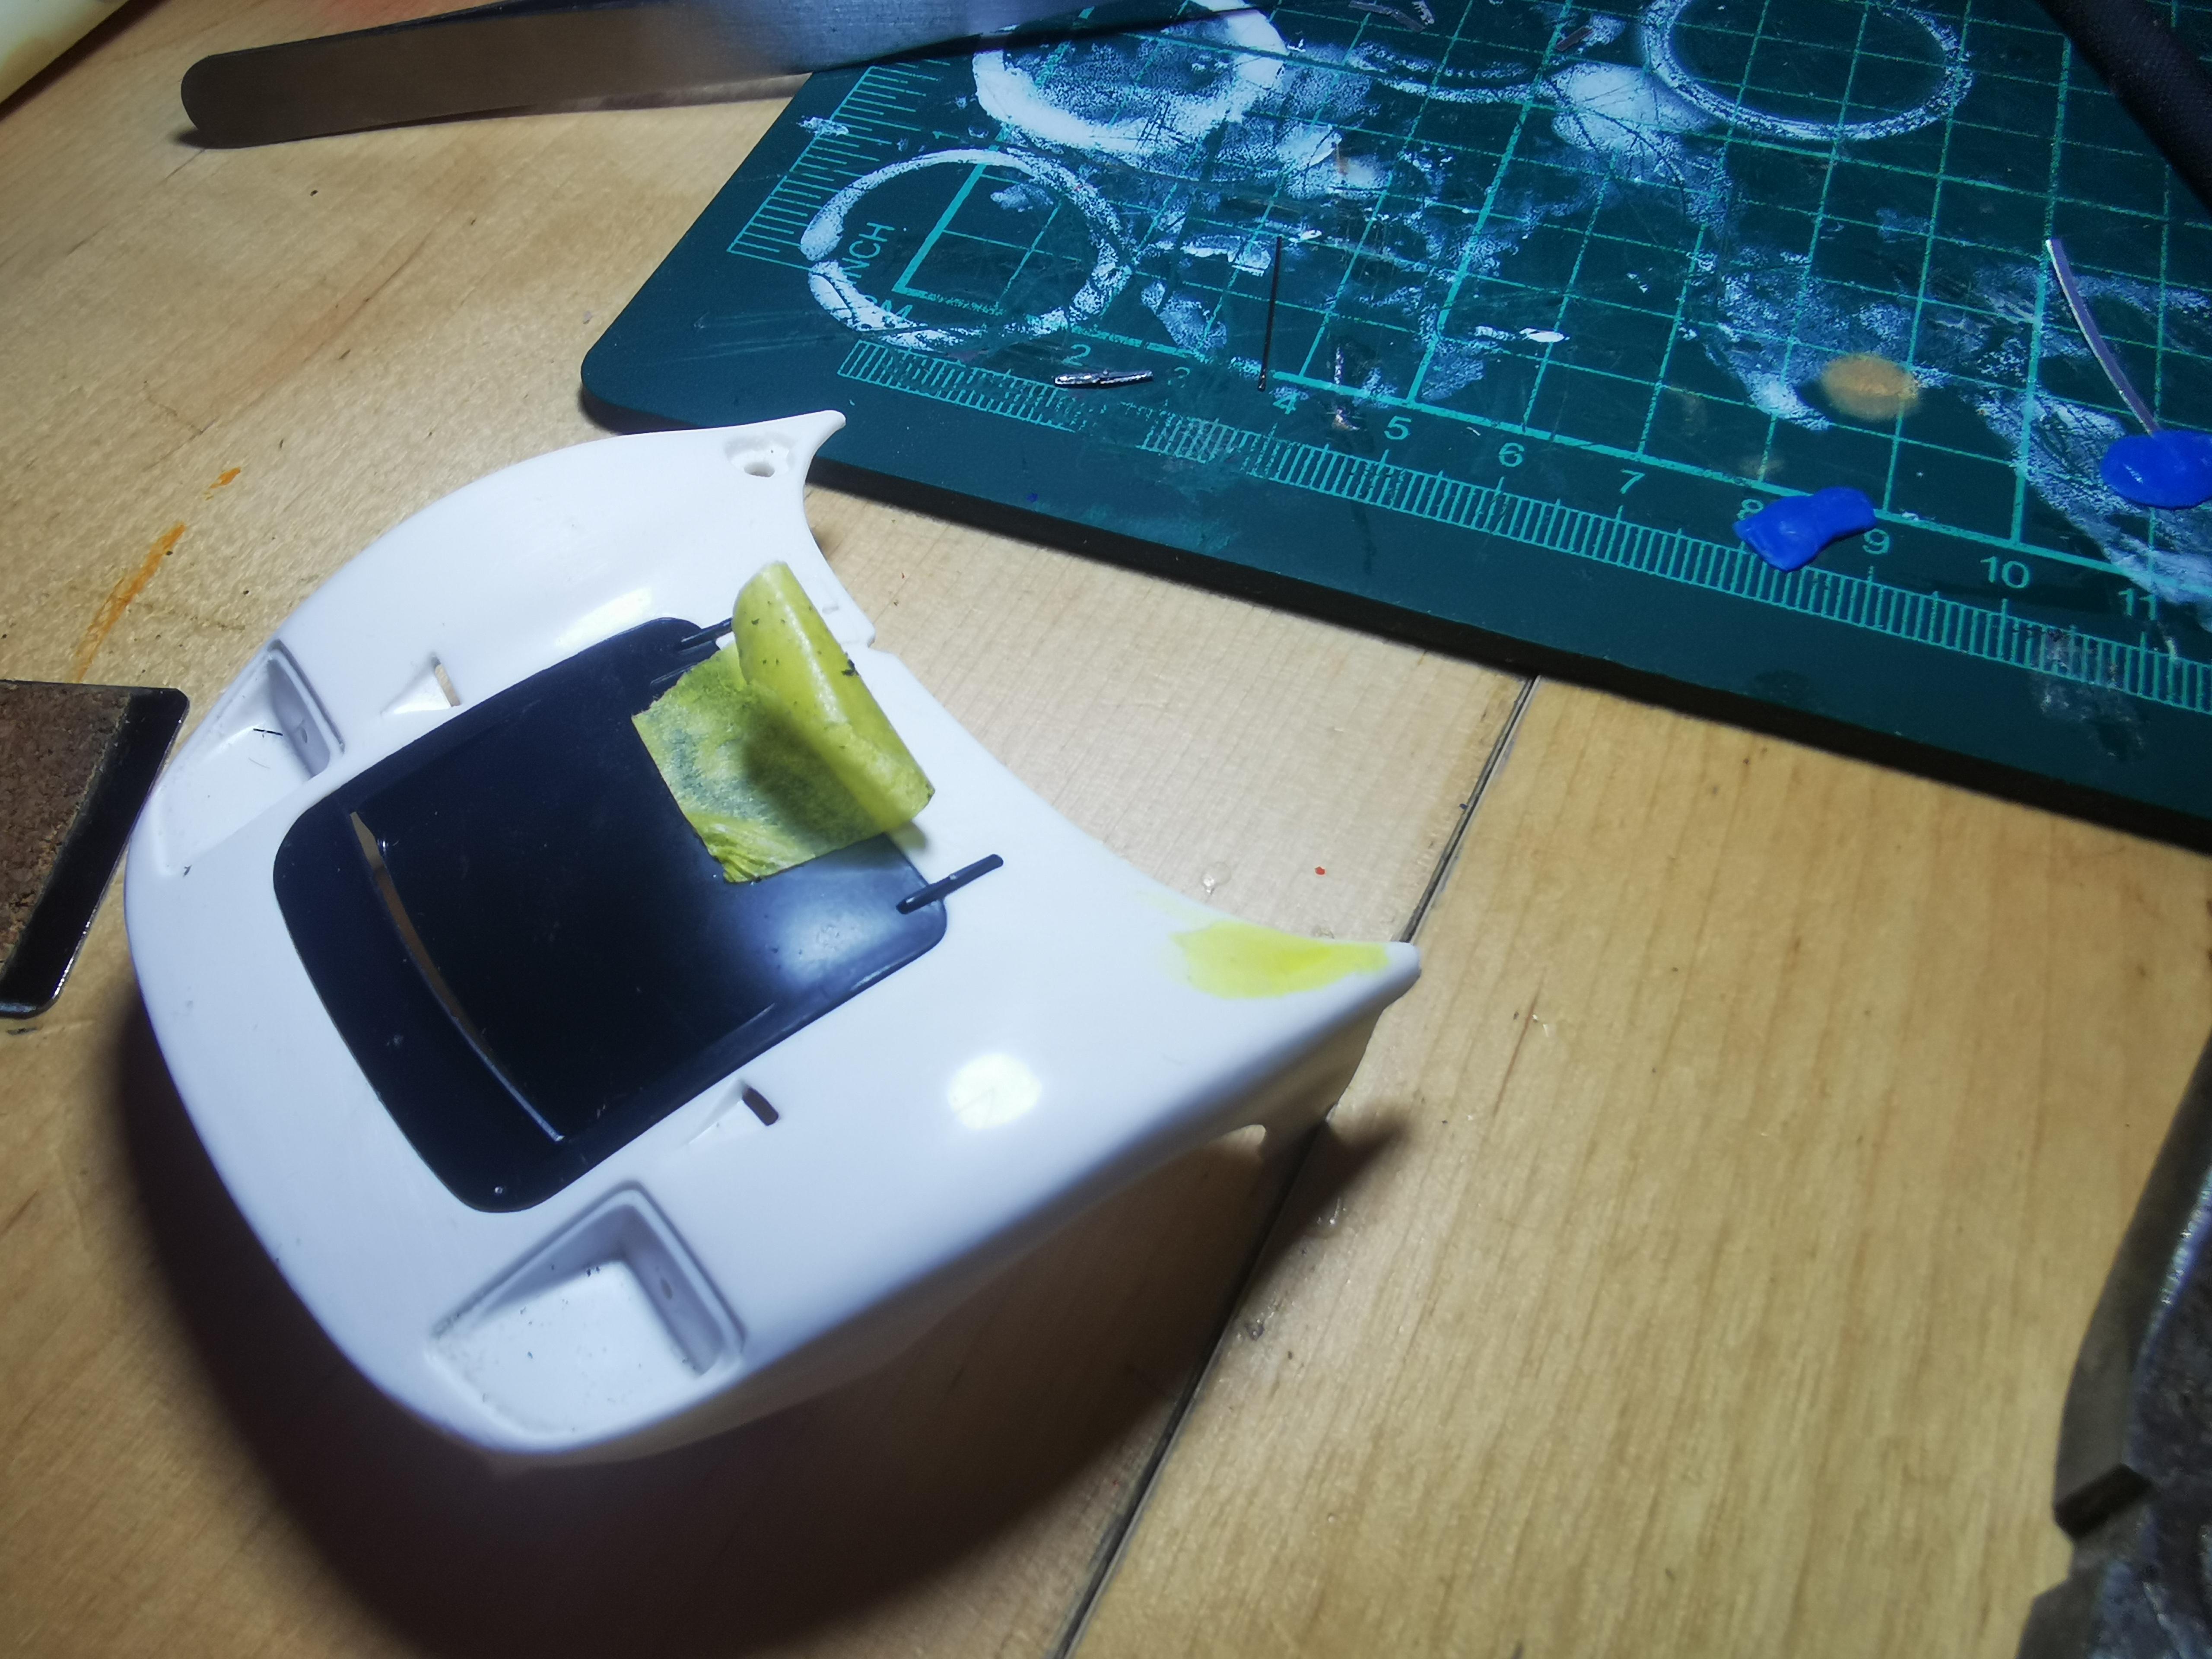
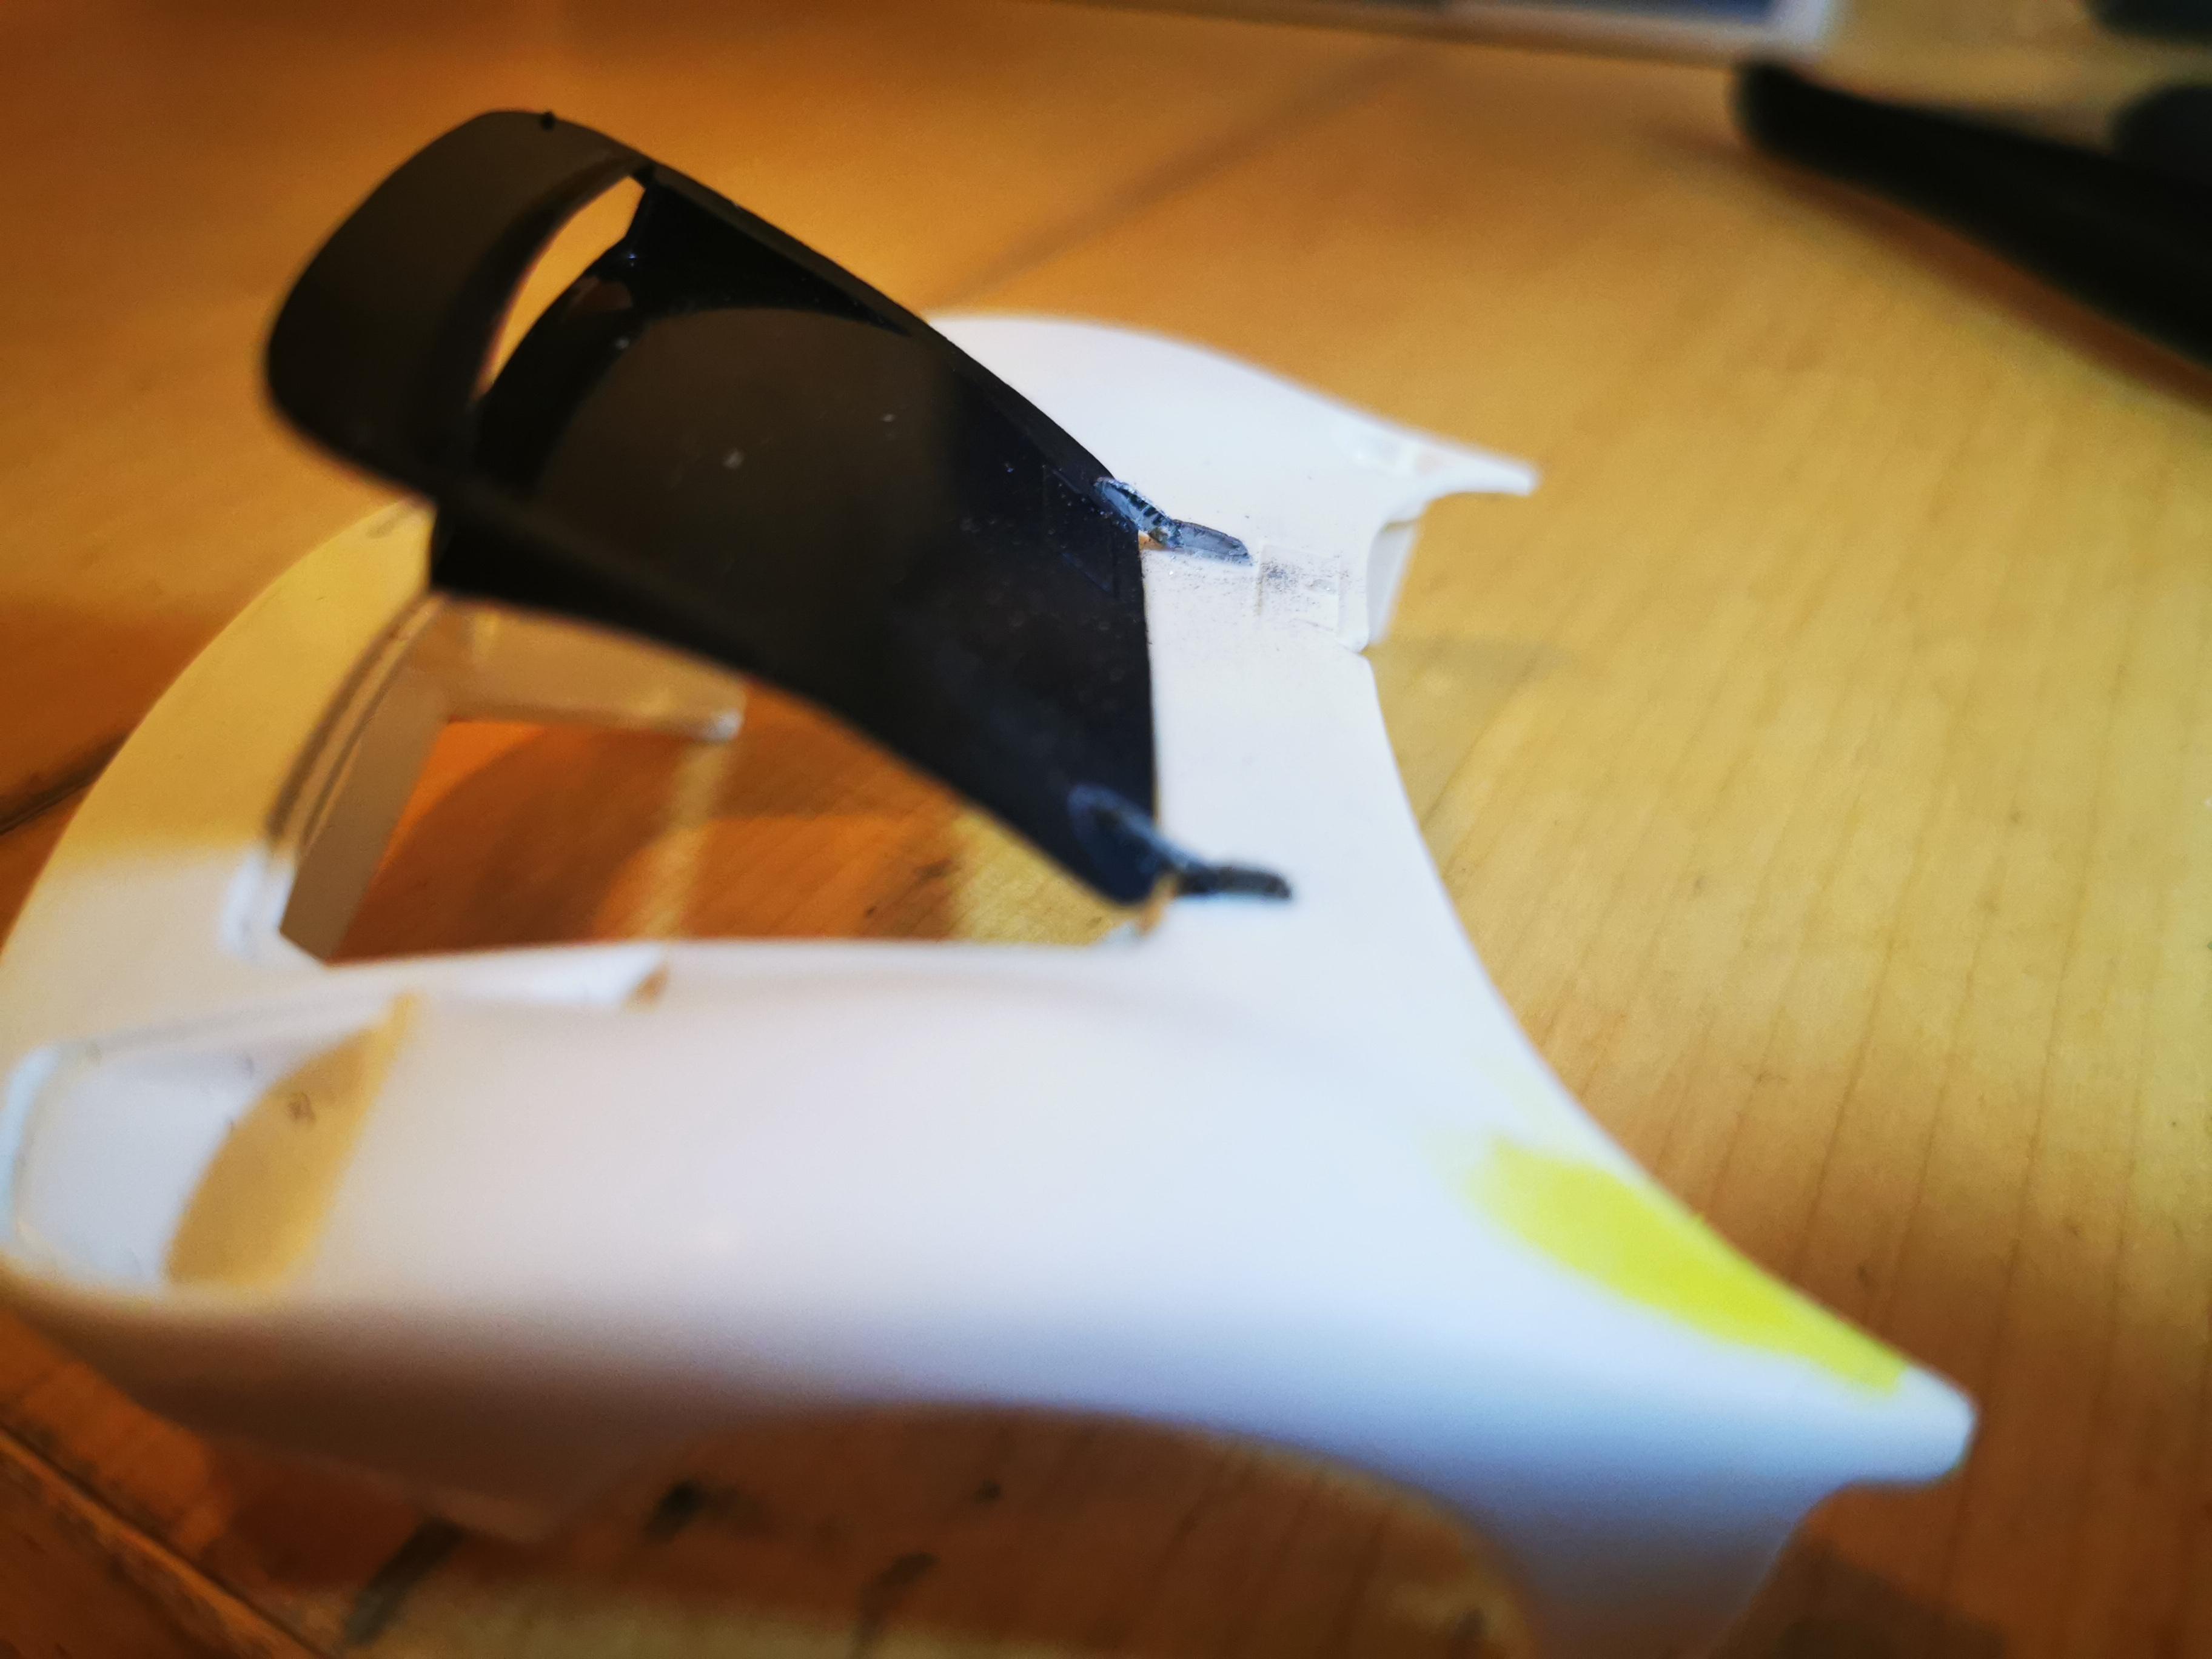
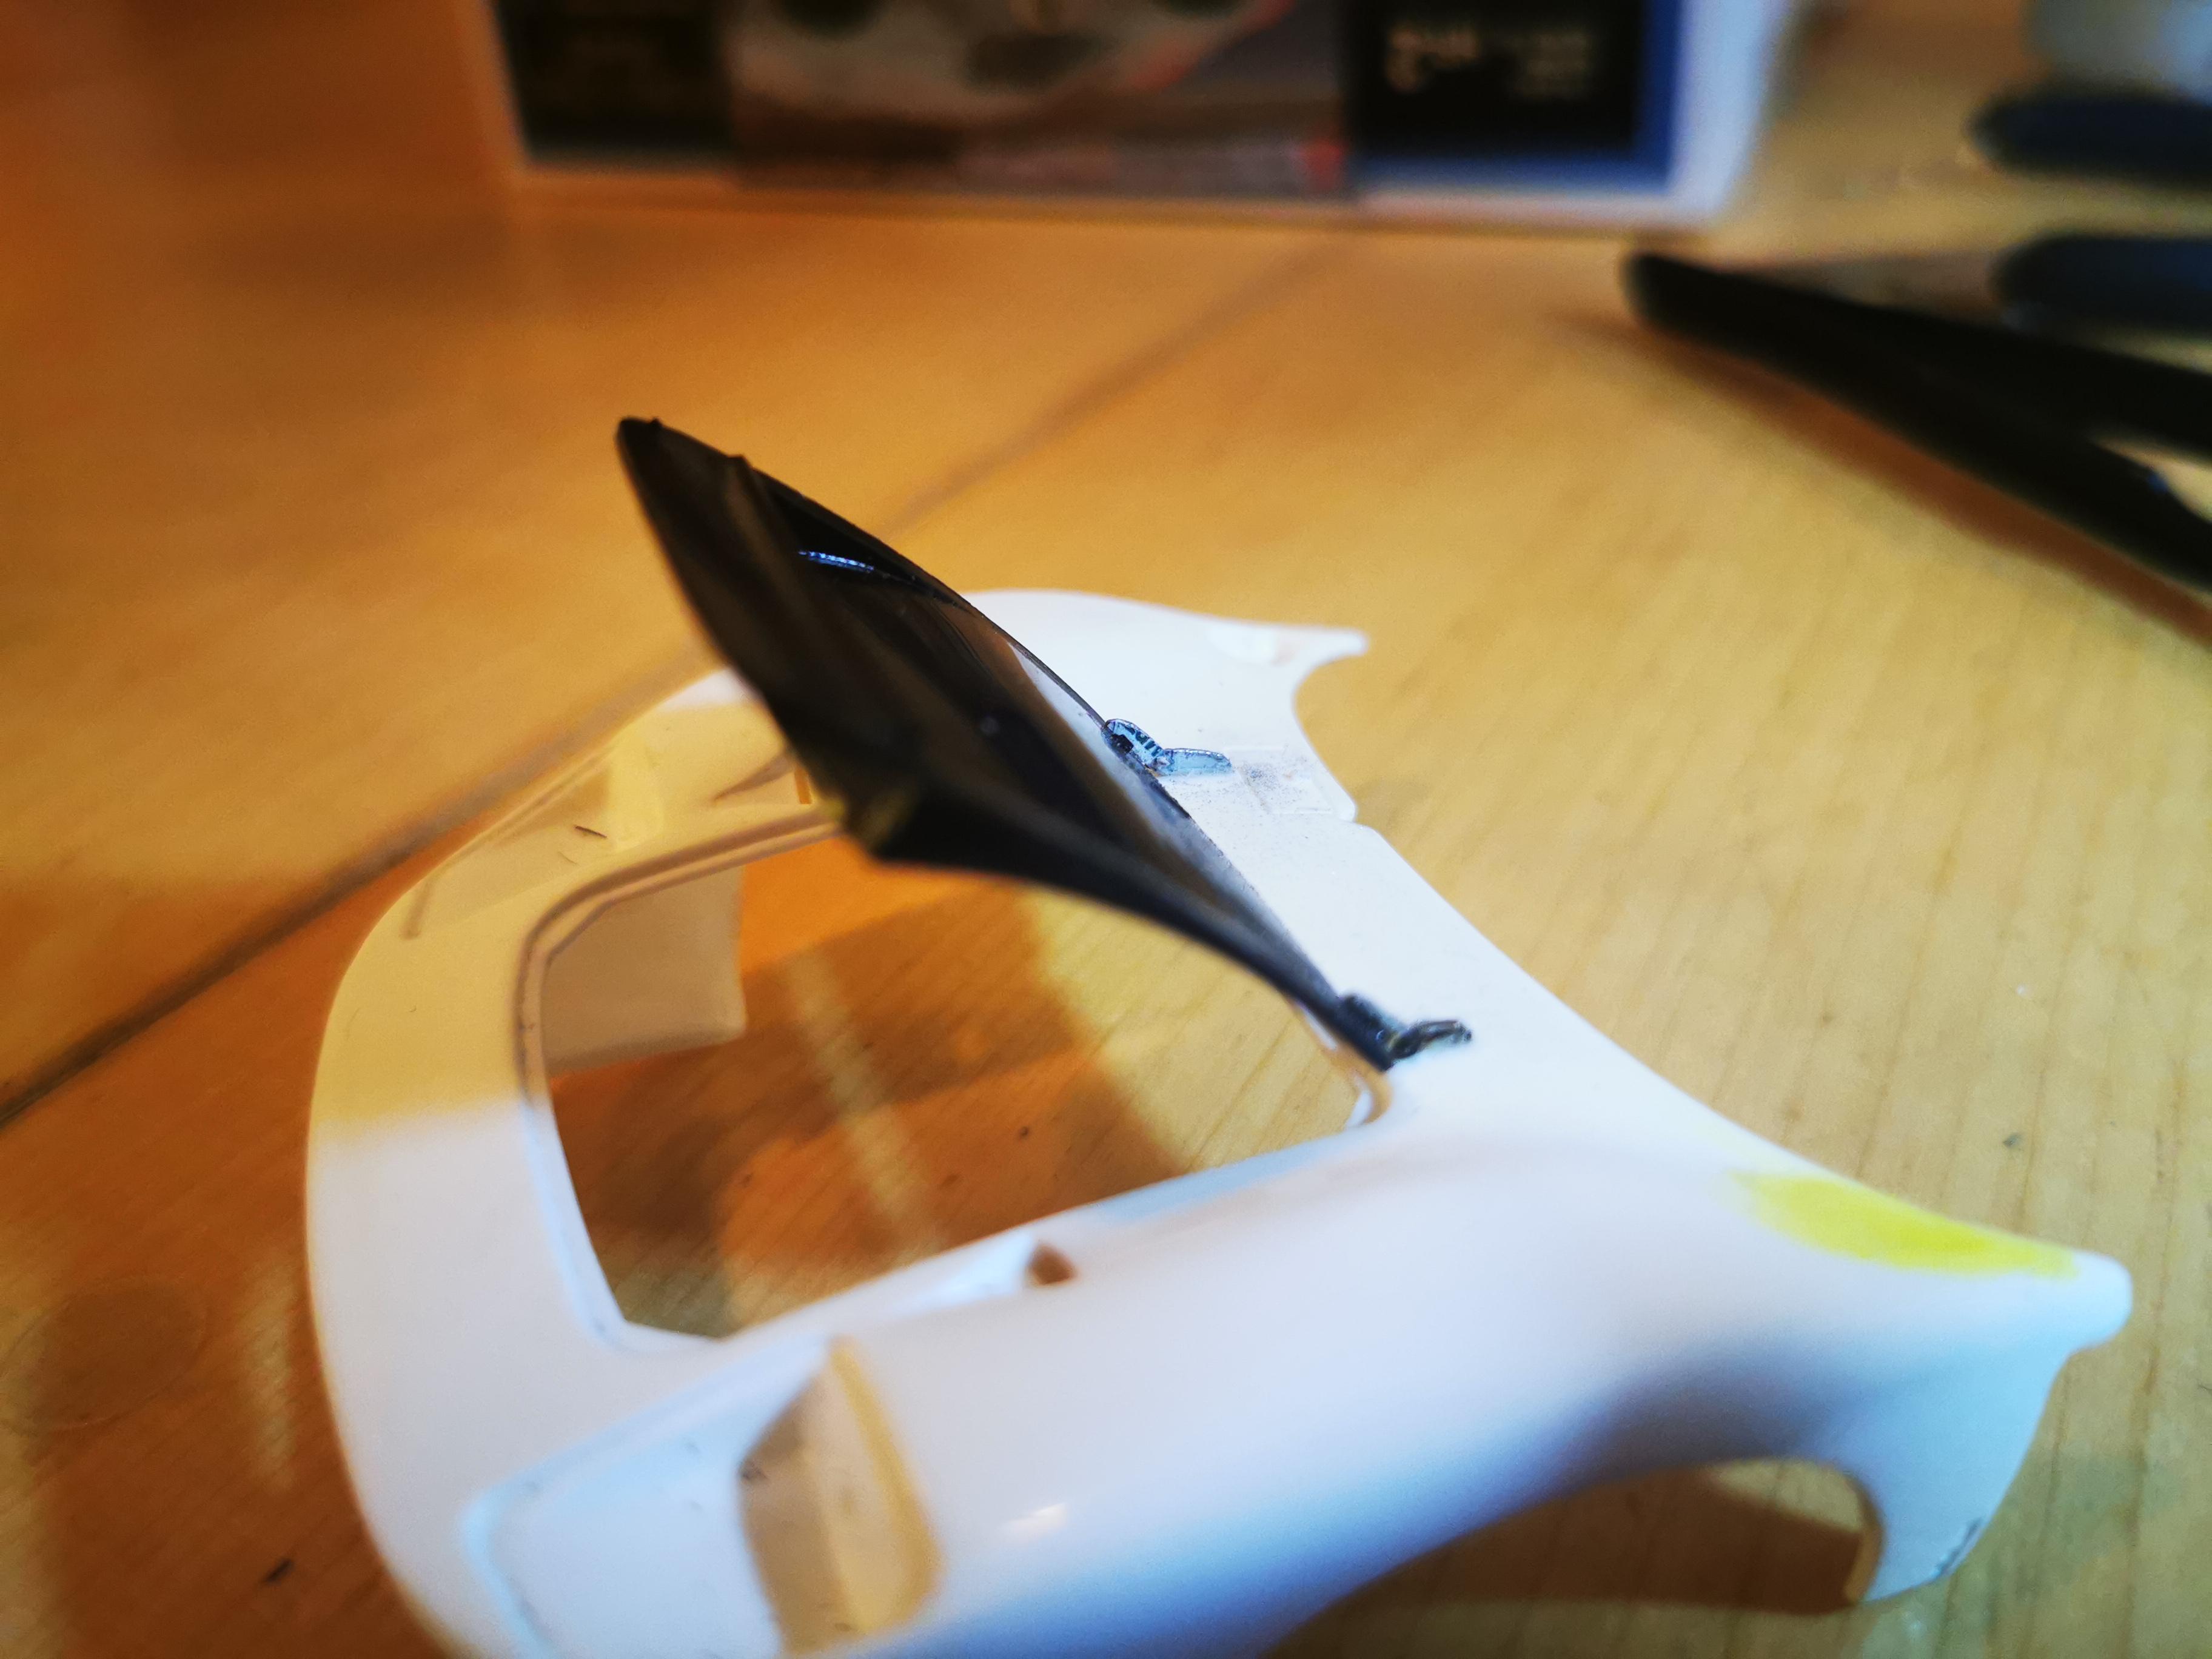
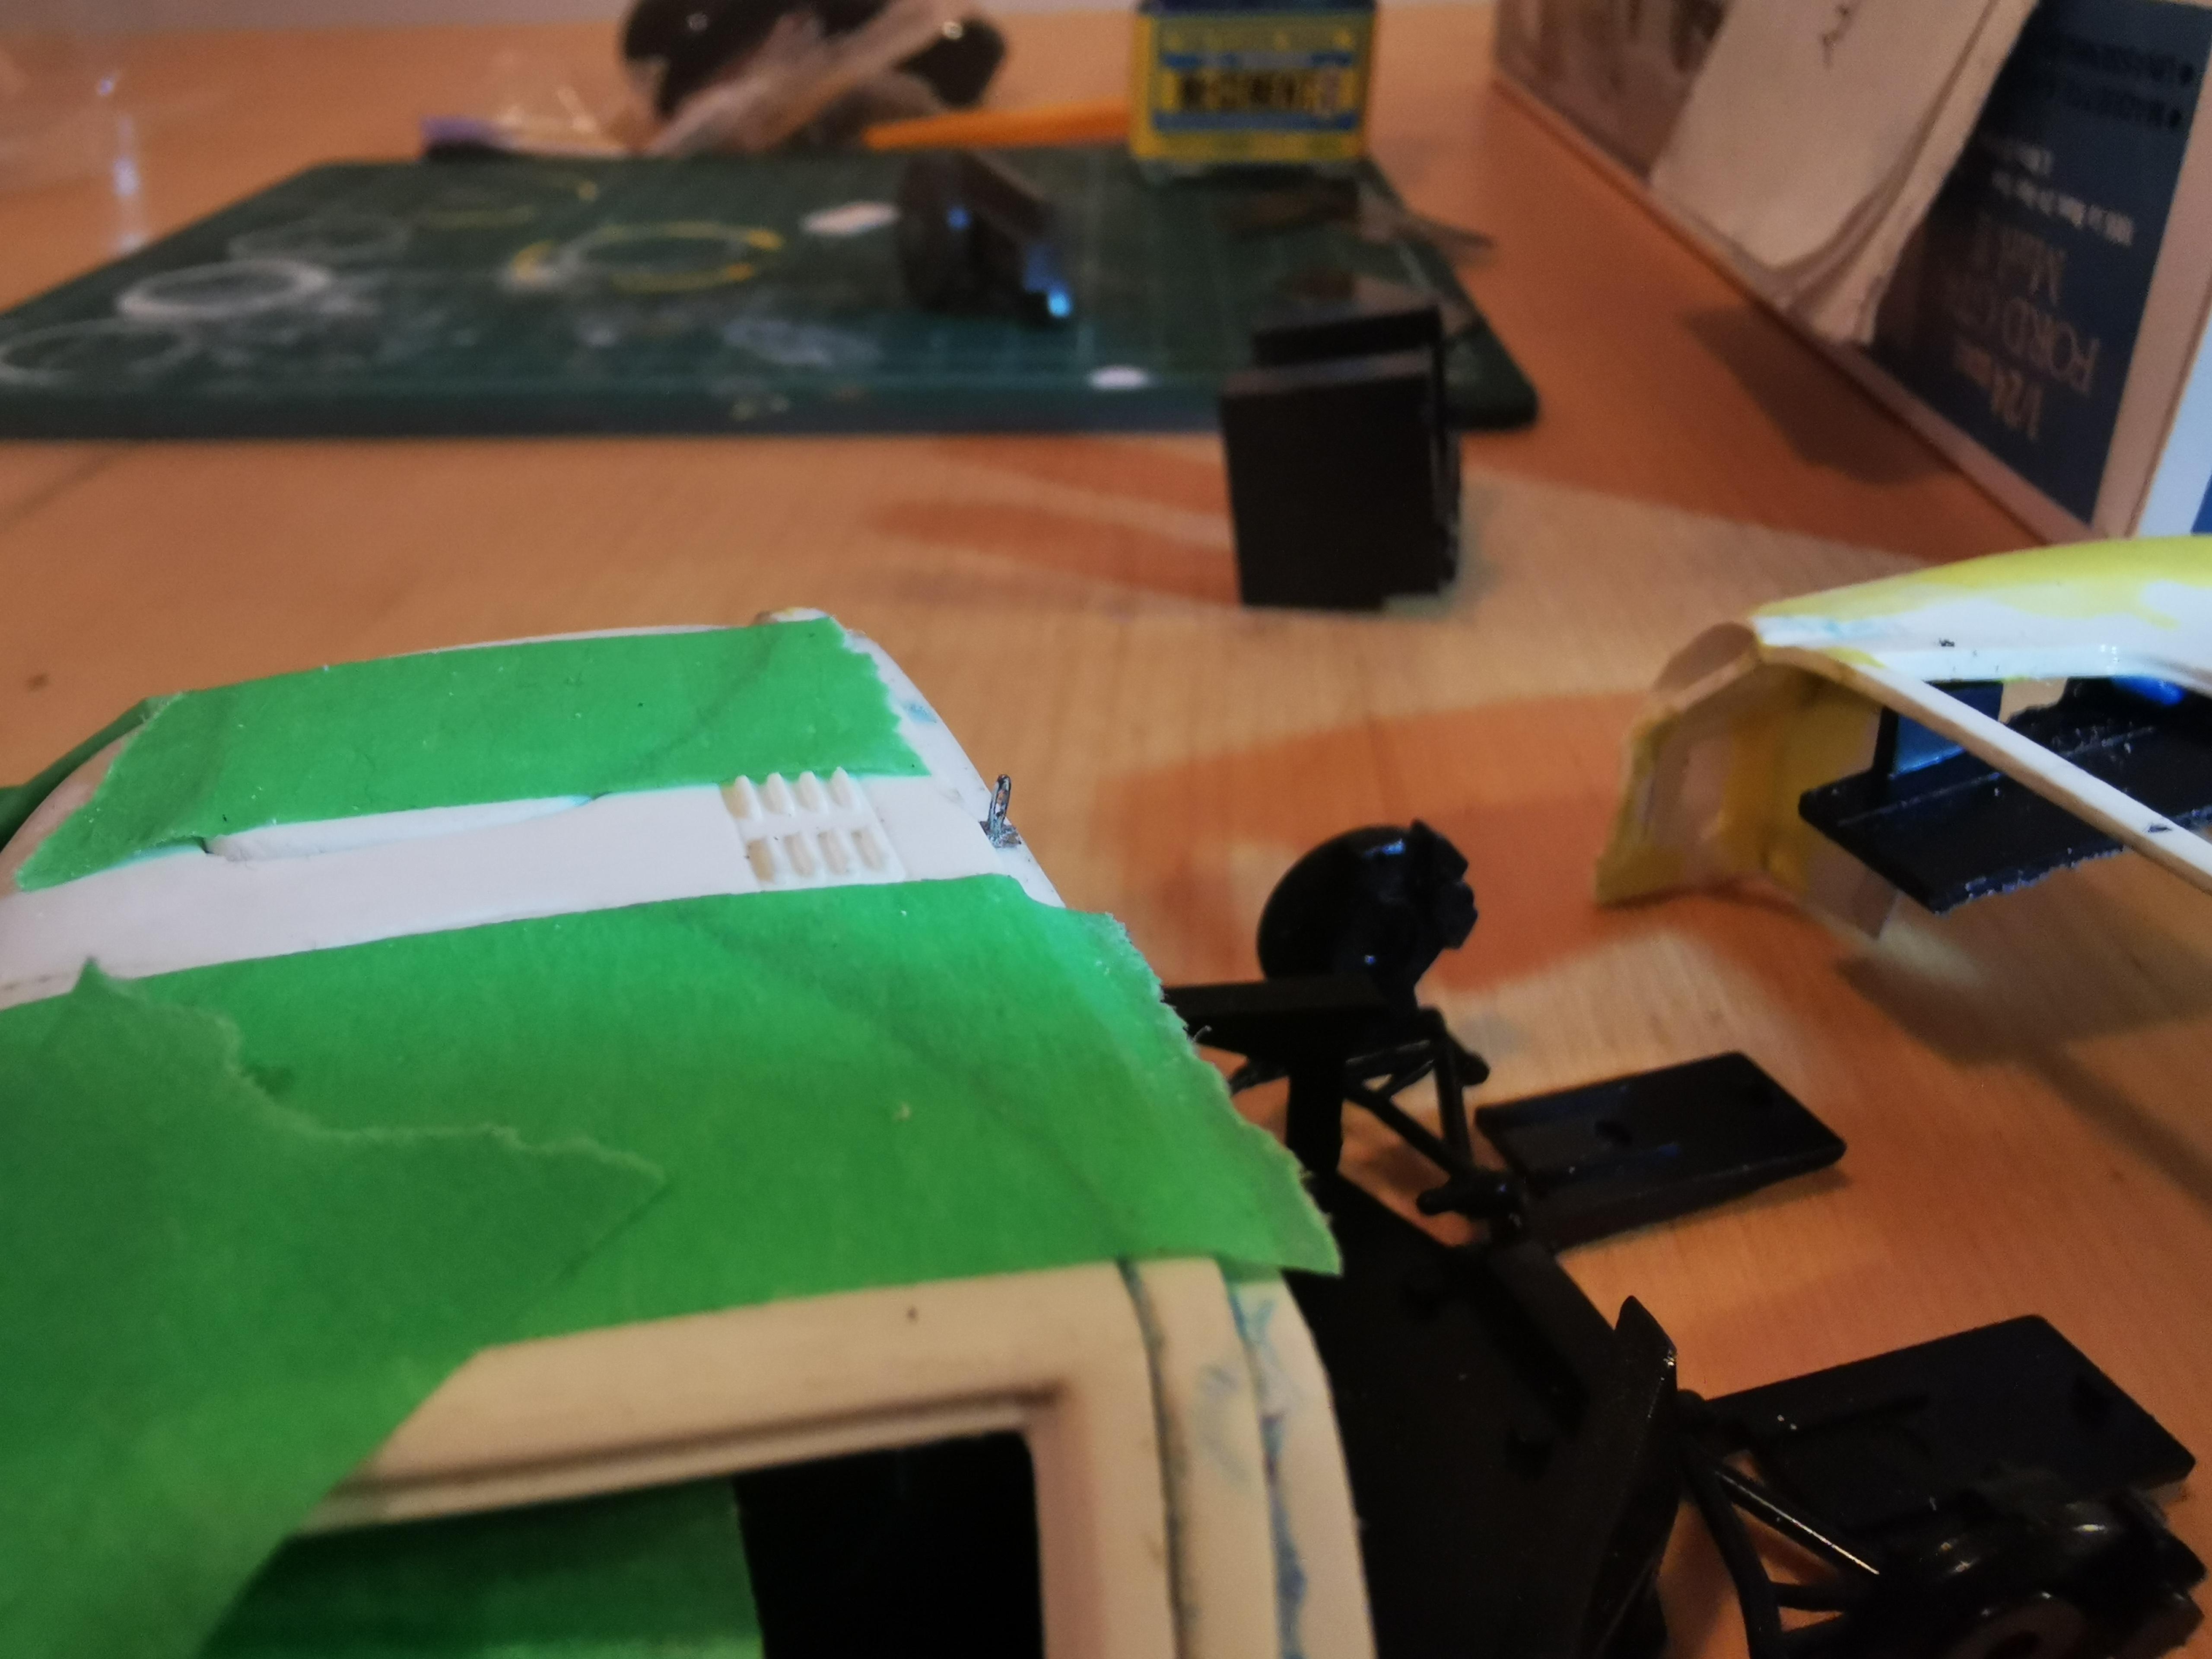
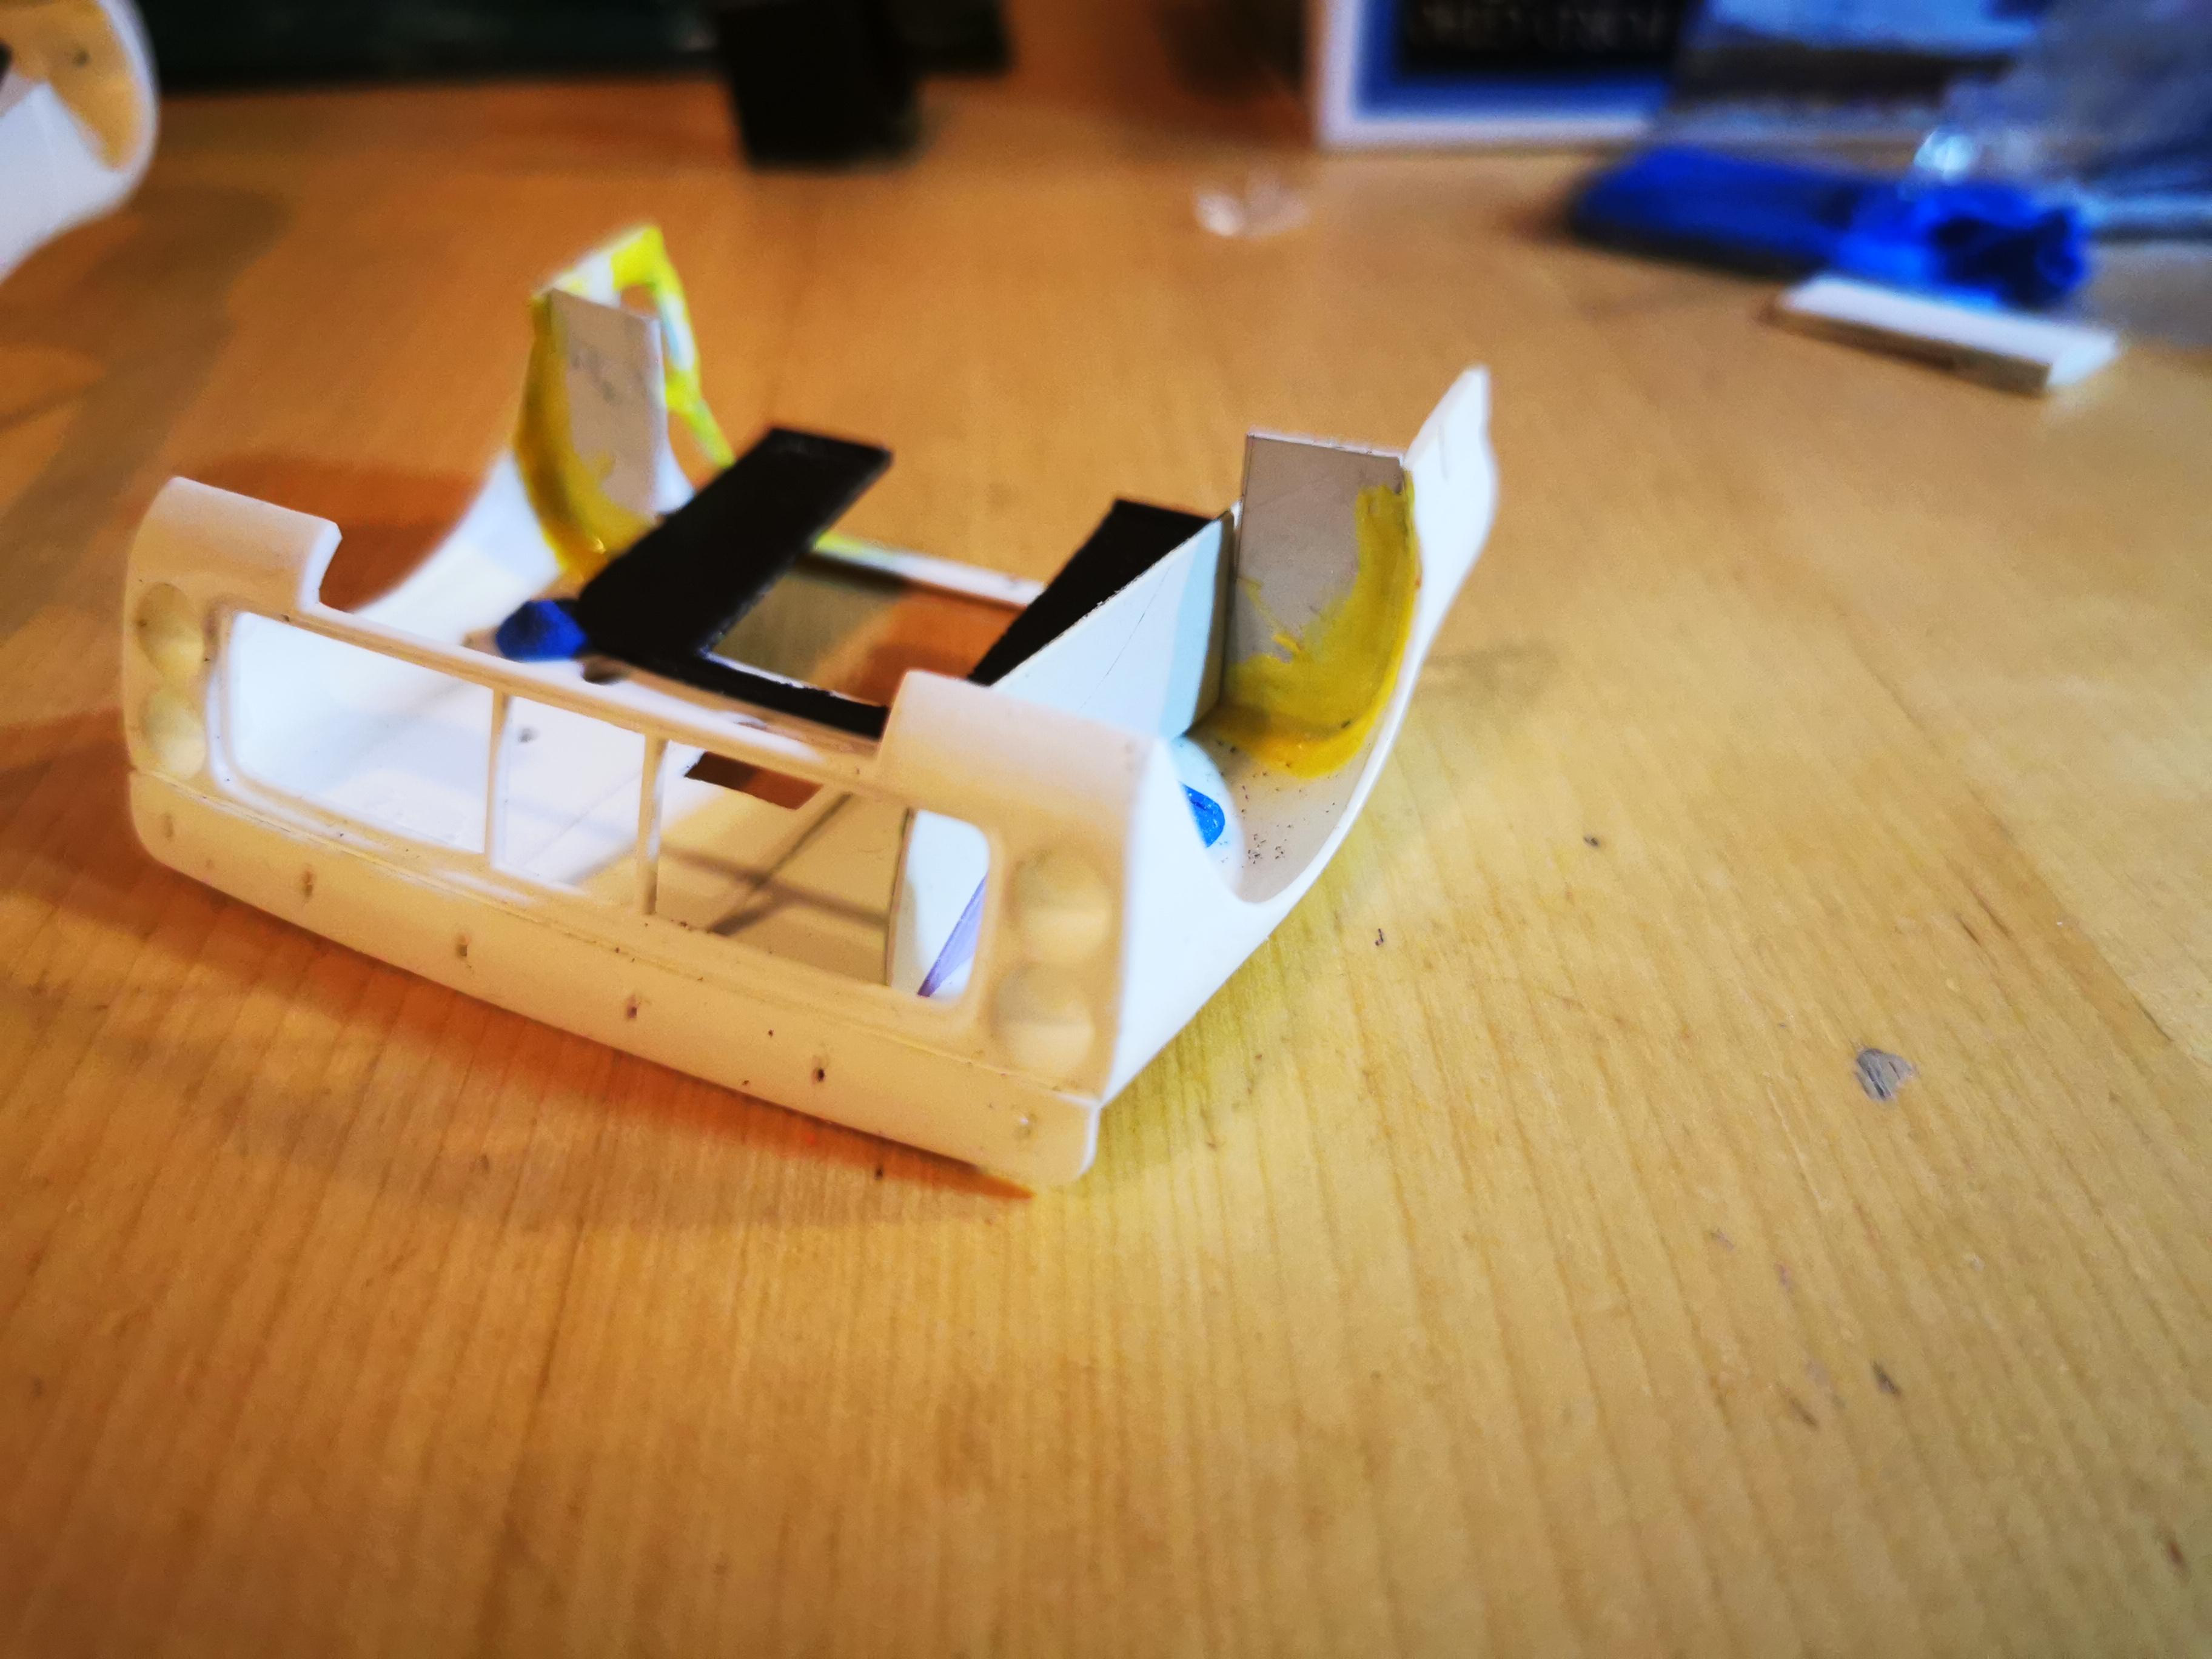
Side scoop prototype testing. I need to smooth out the scoop holes so that the vents sit better inside. And after looking at other photos I noticed that they are angled. Back to the drawing board.

-
Thank you Dan! I'm grinding away on this
-
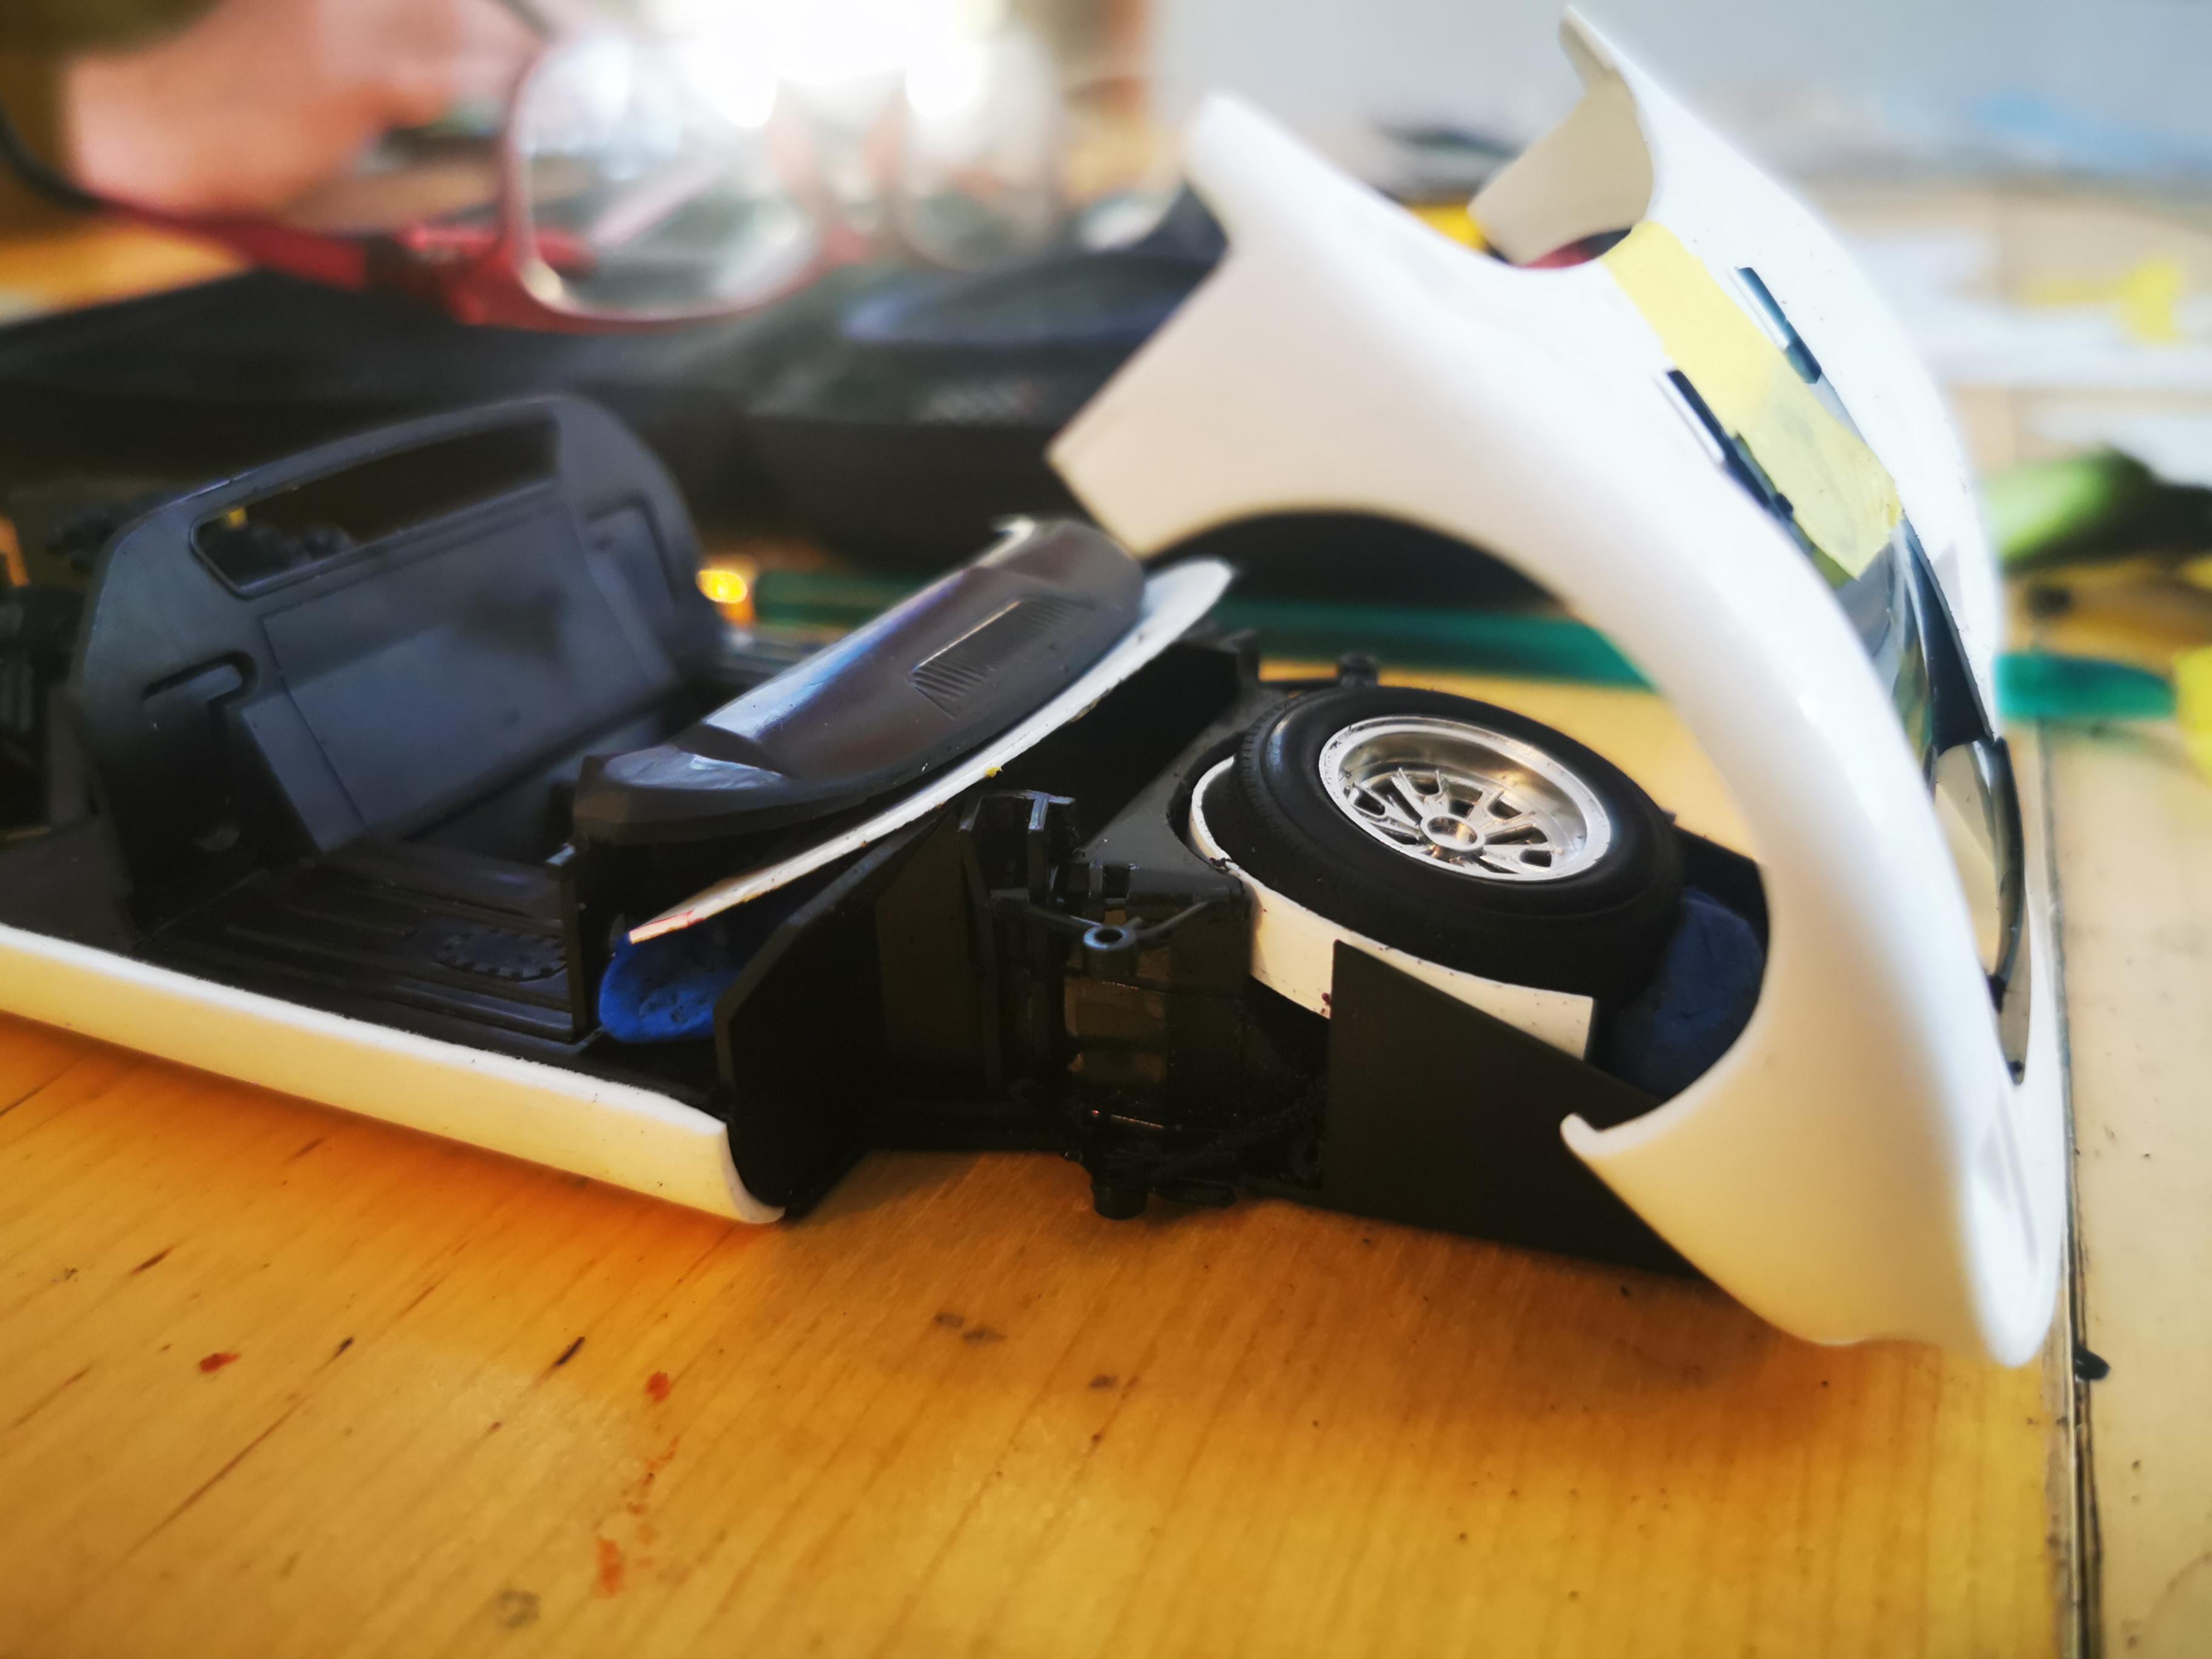
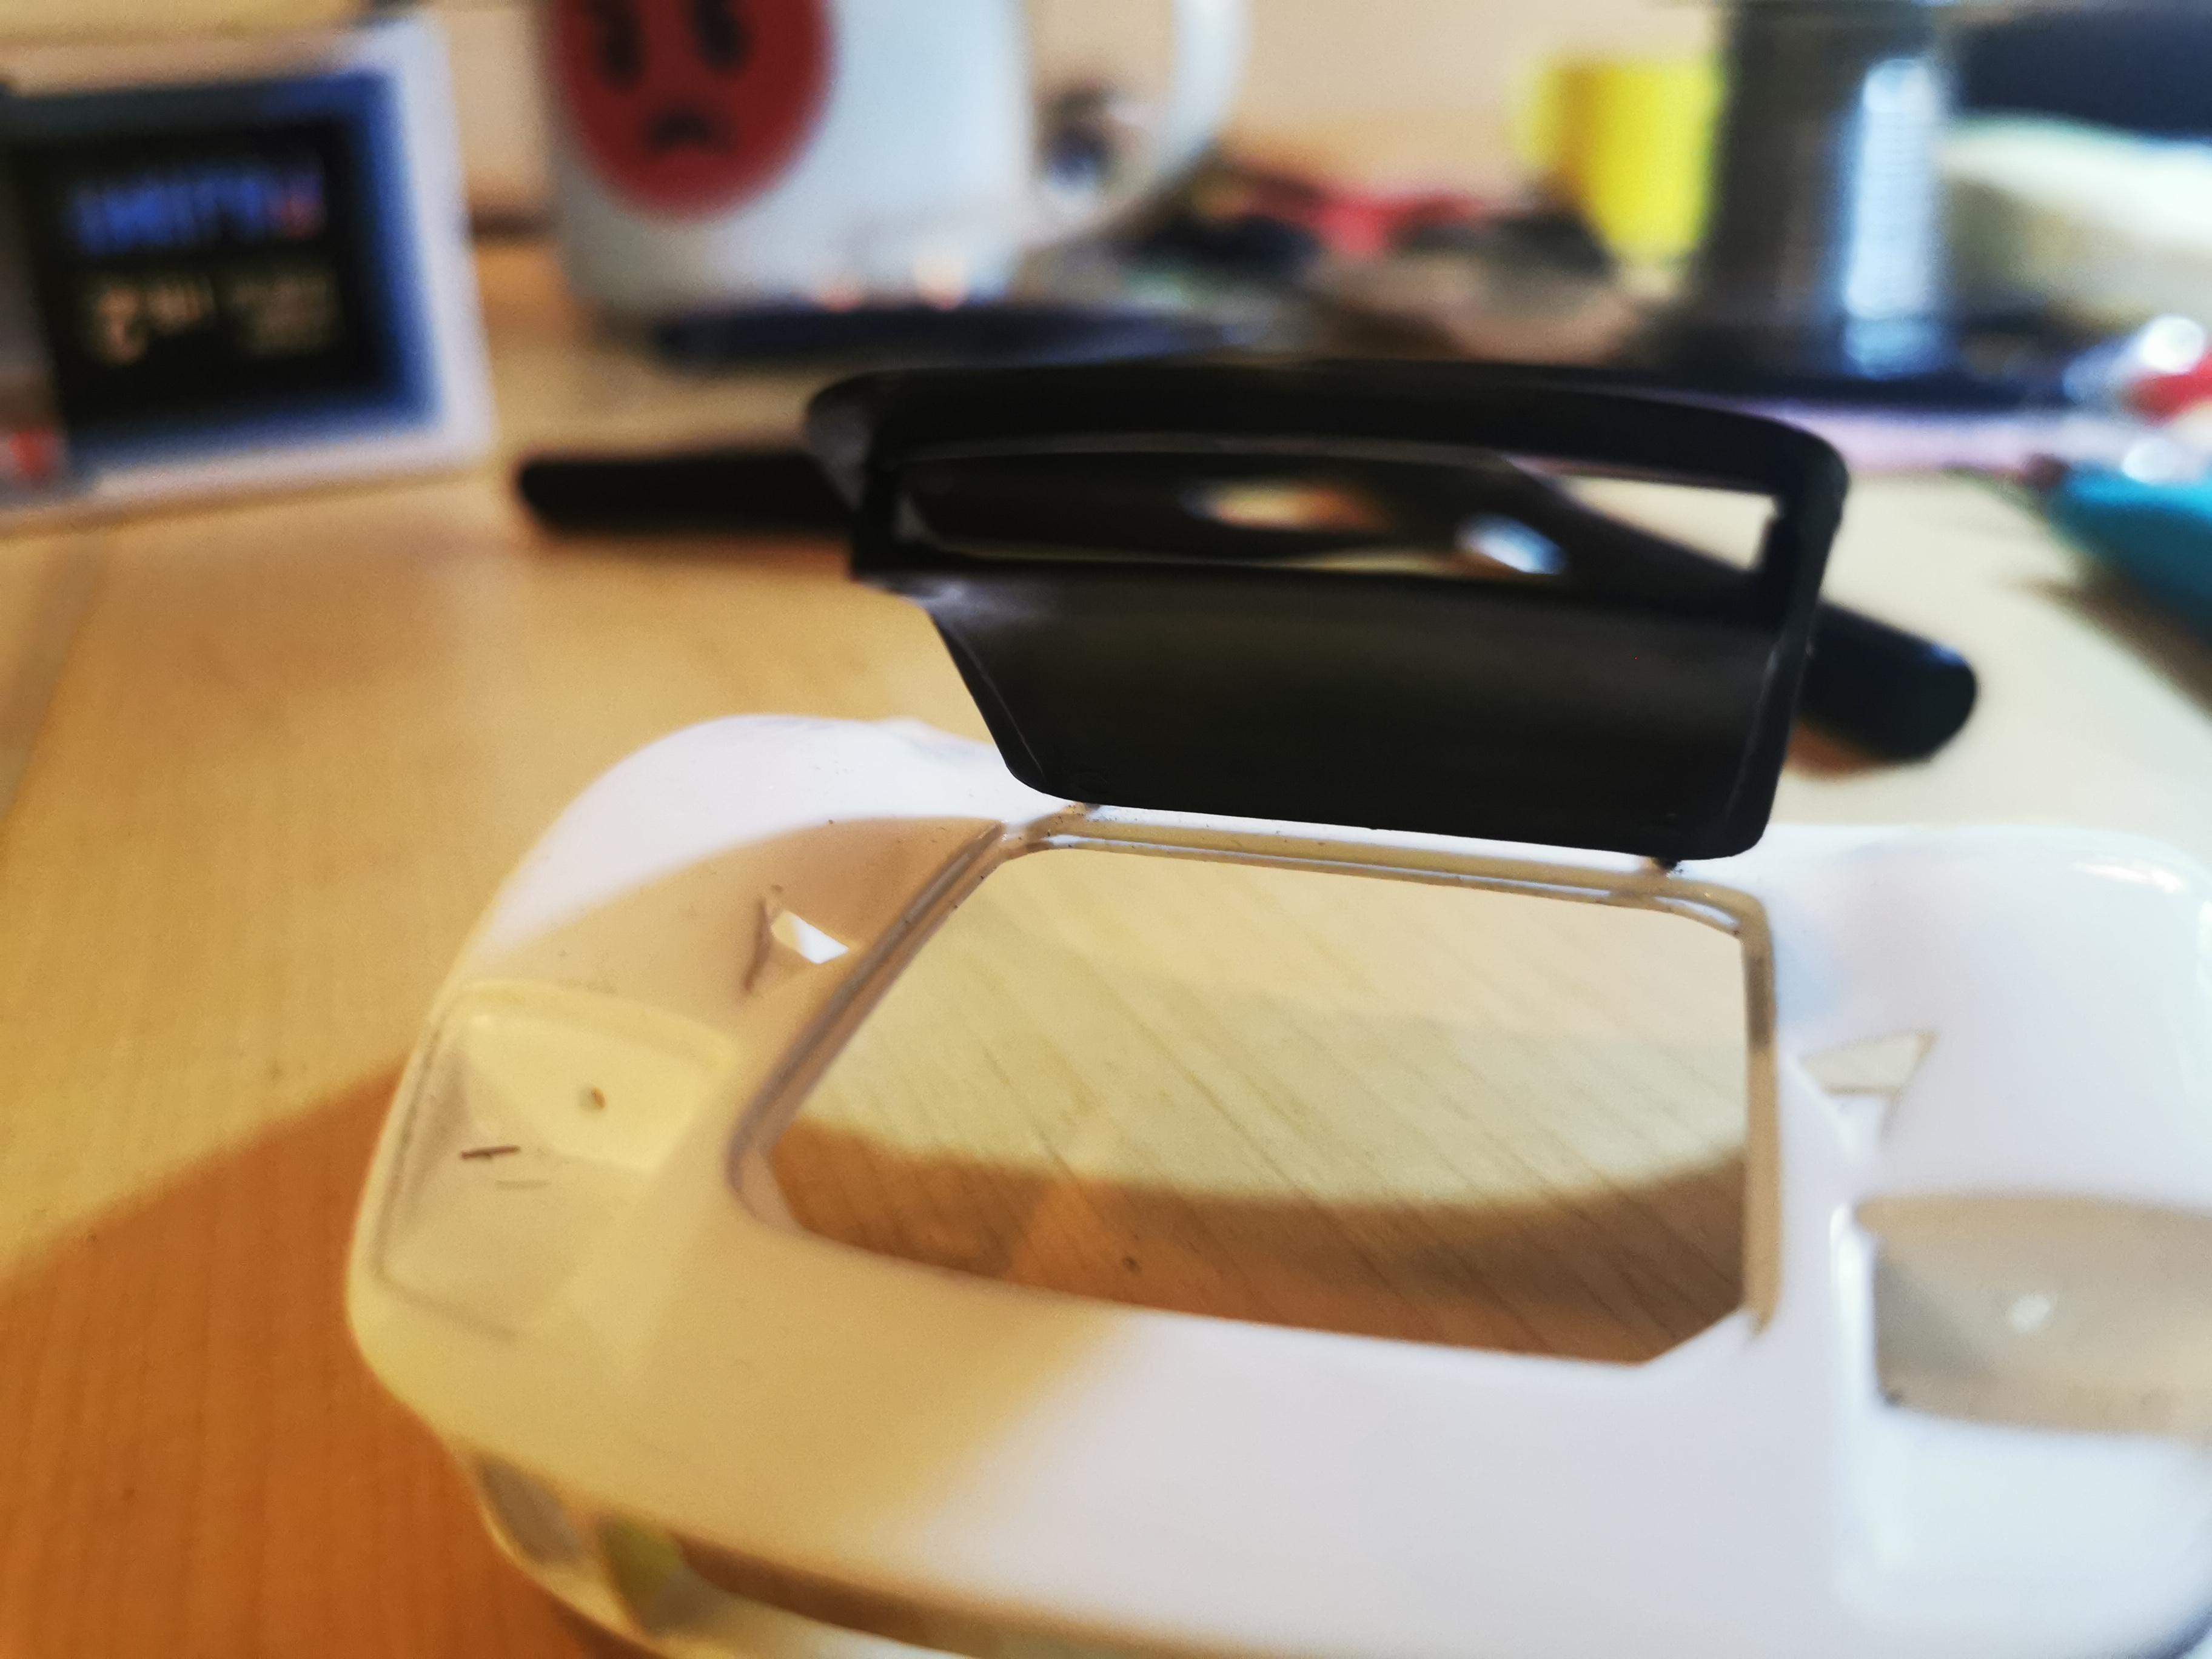
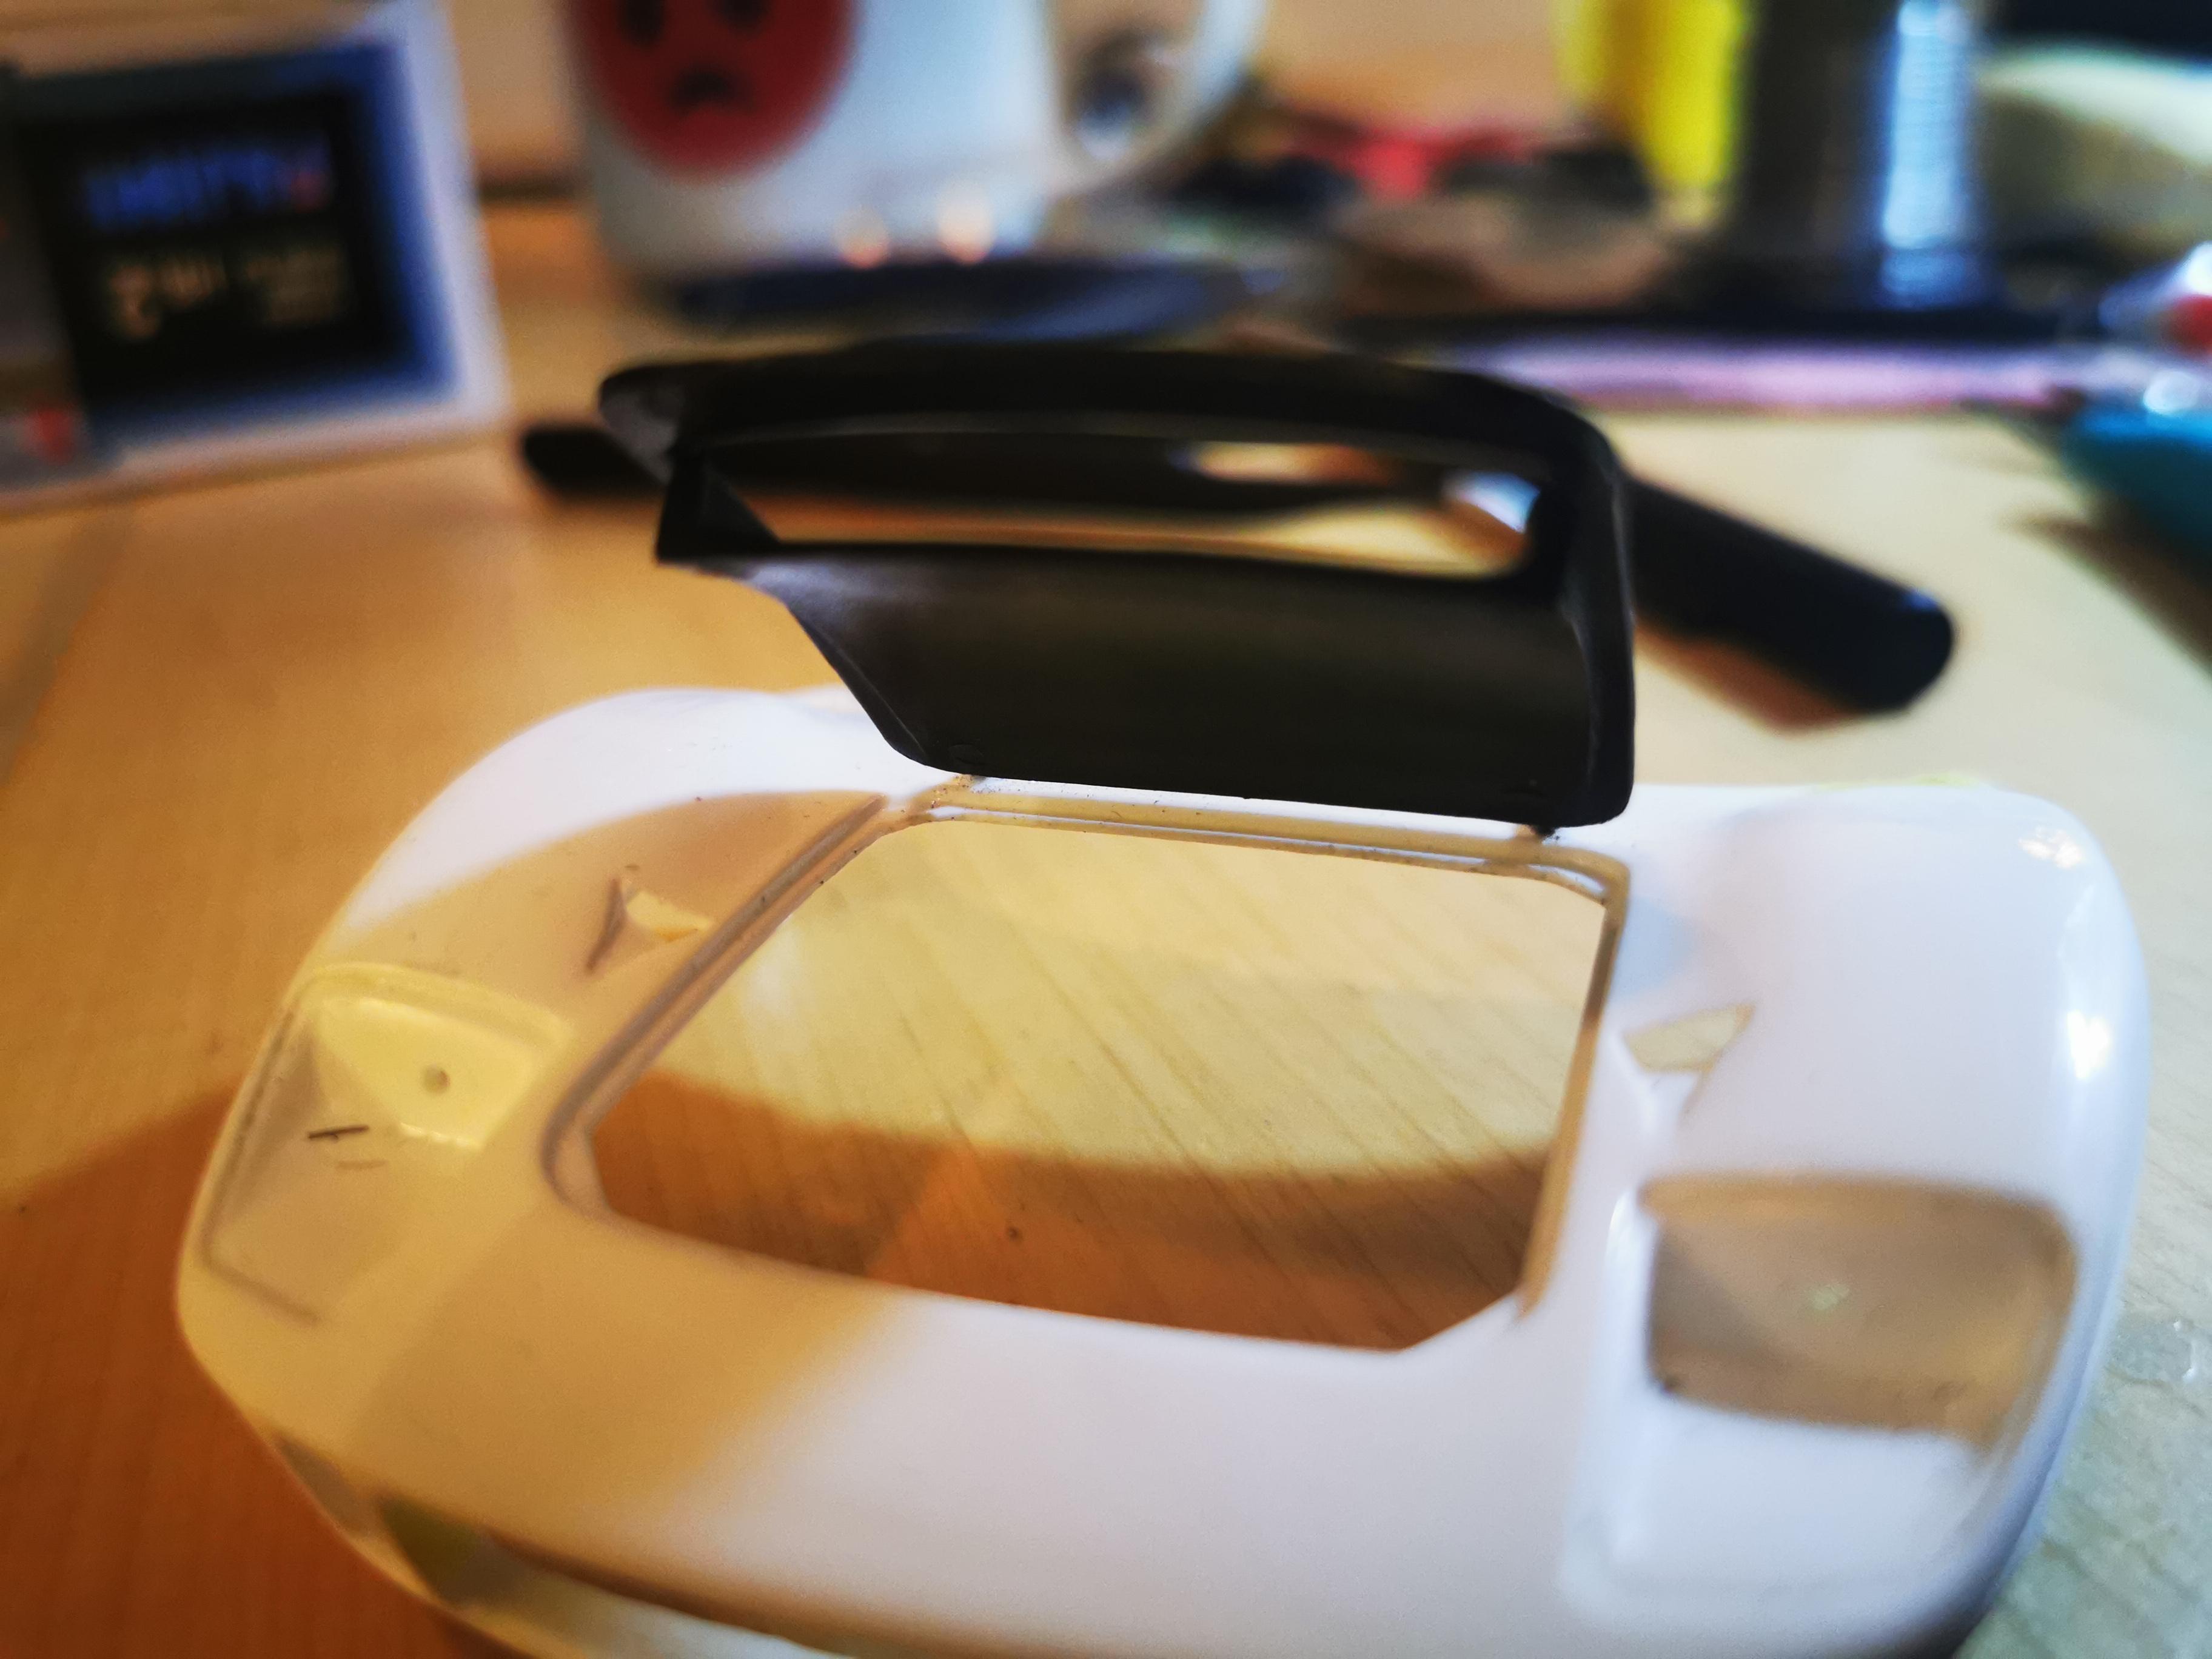
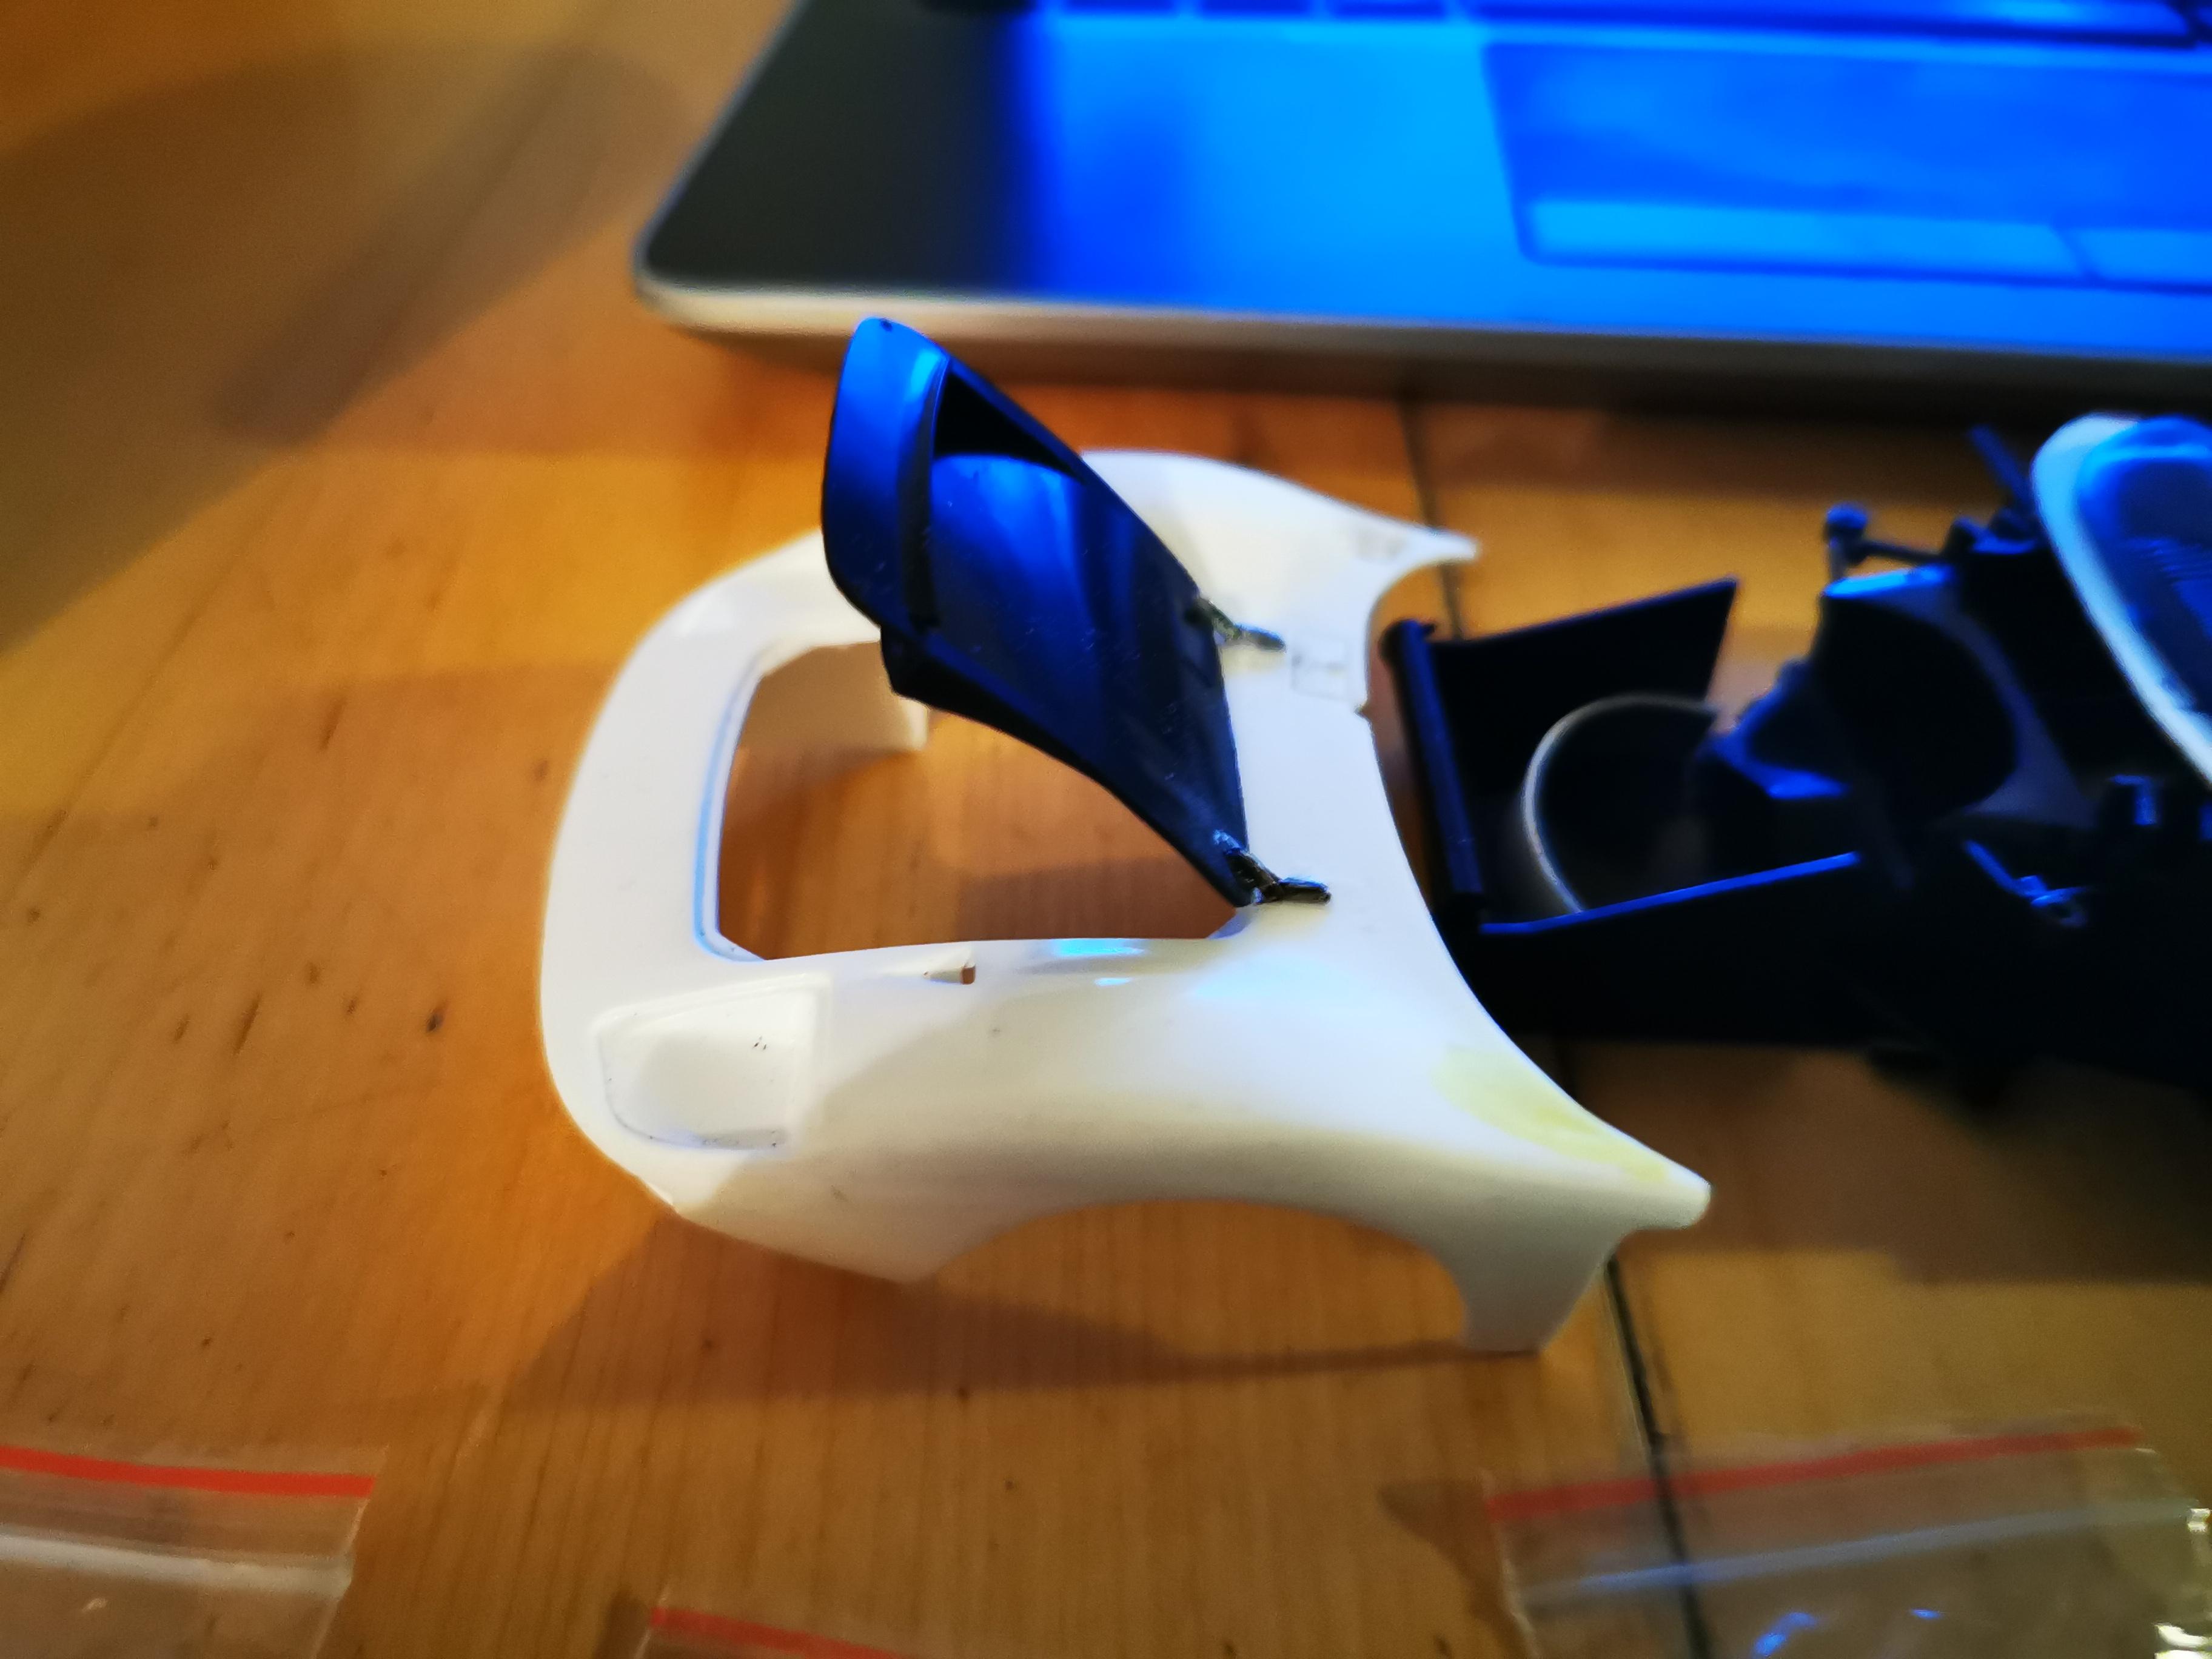
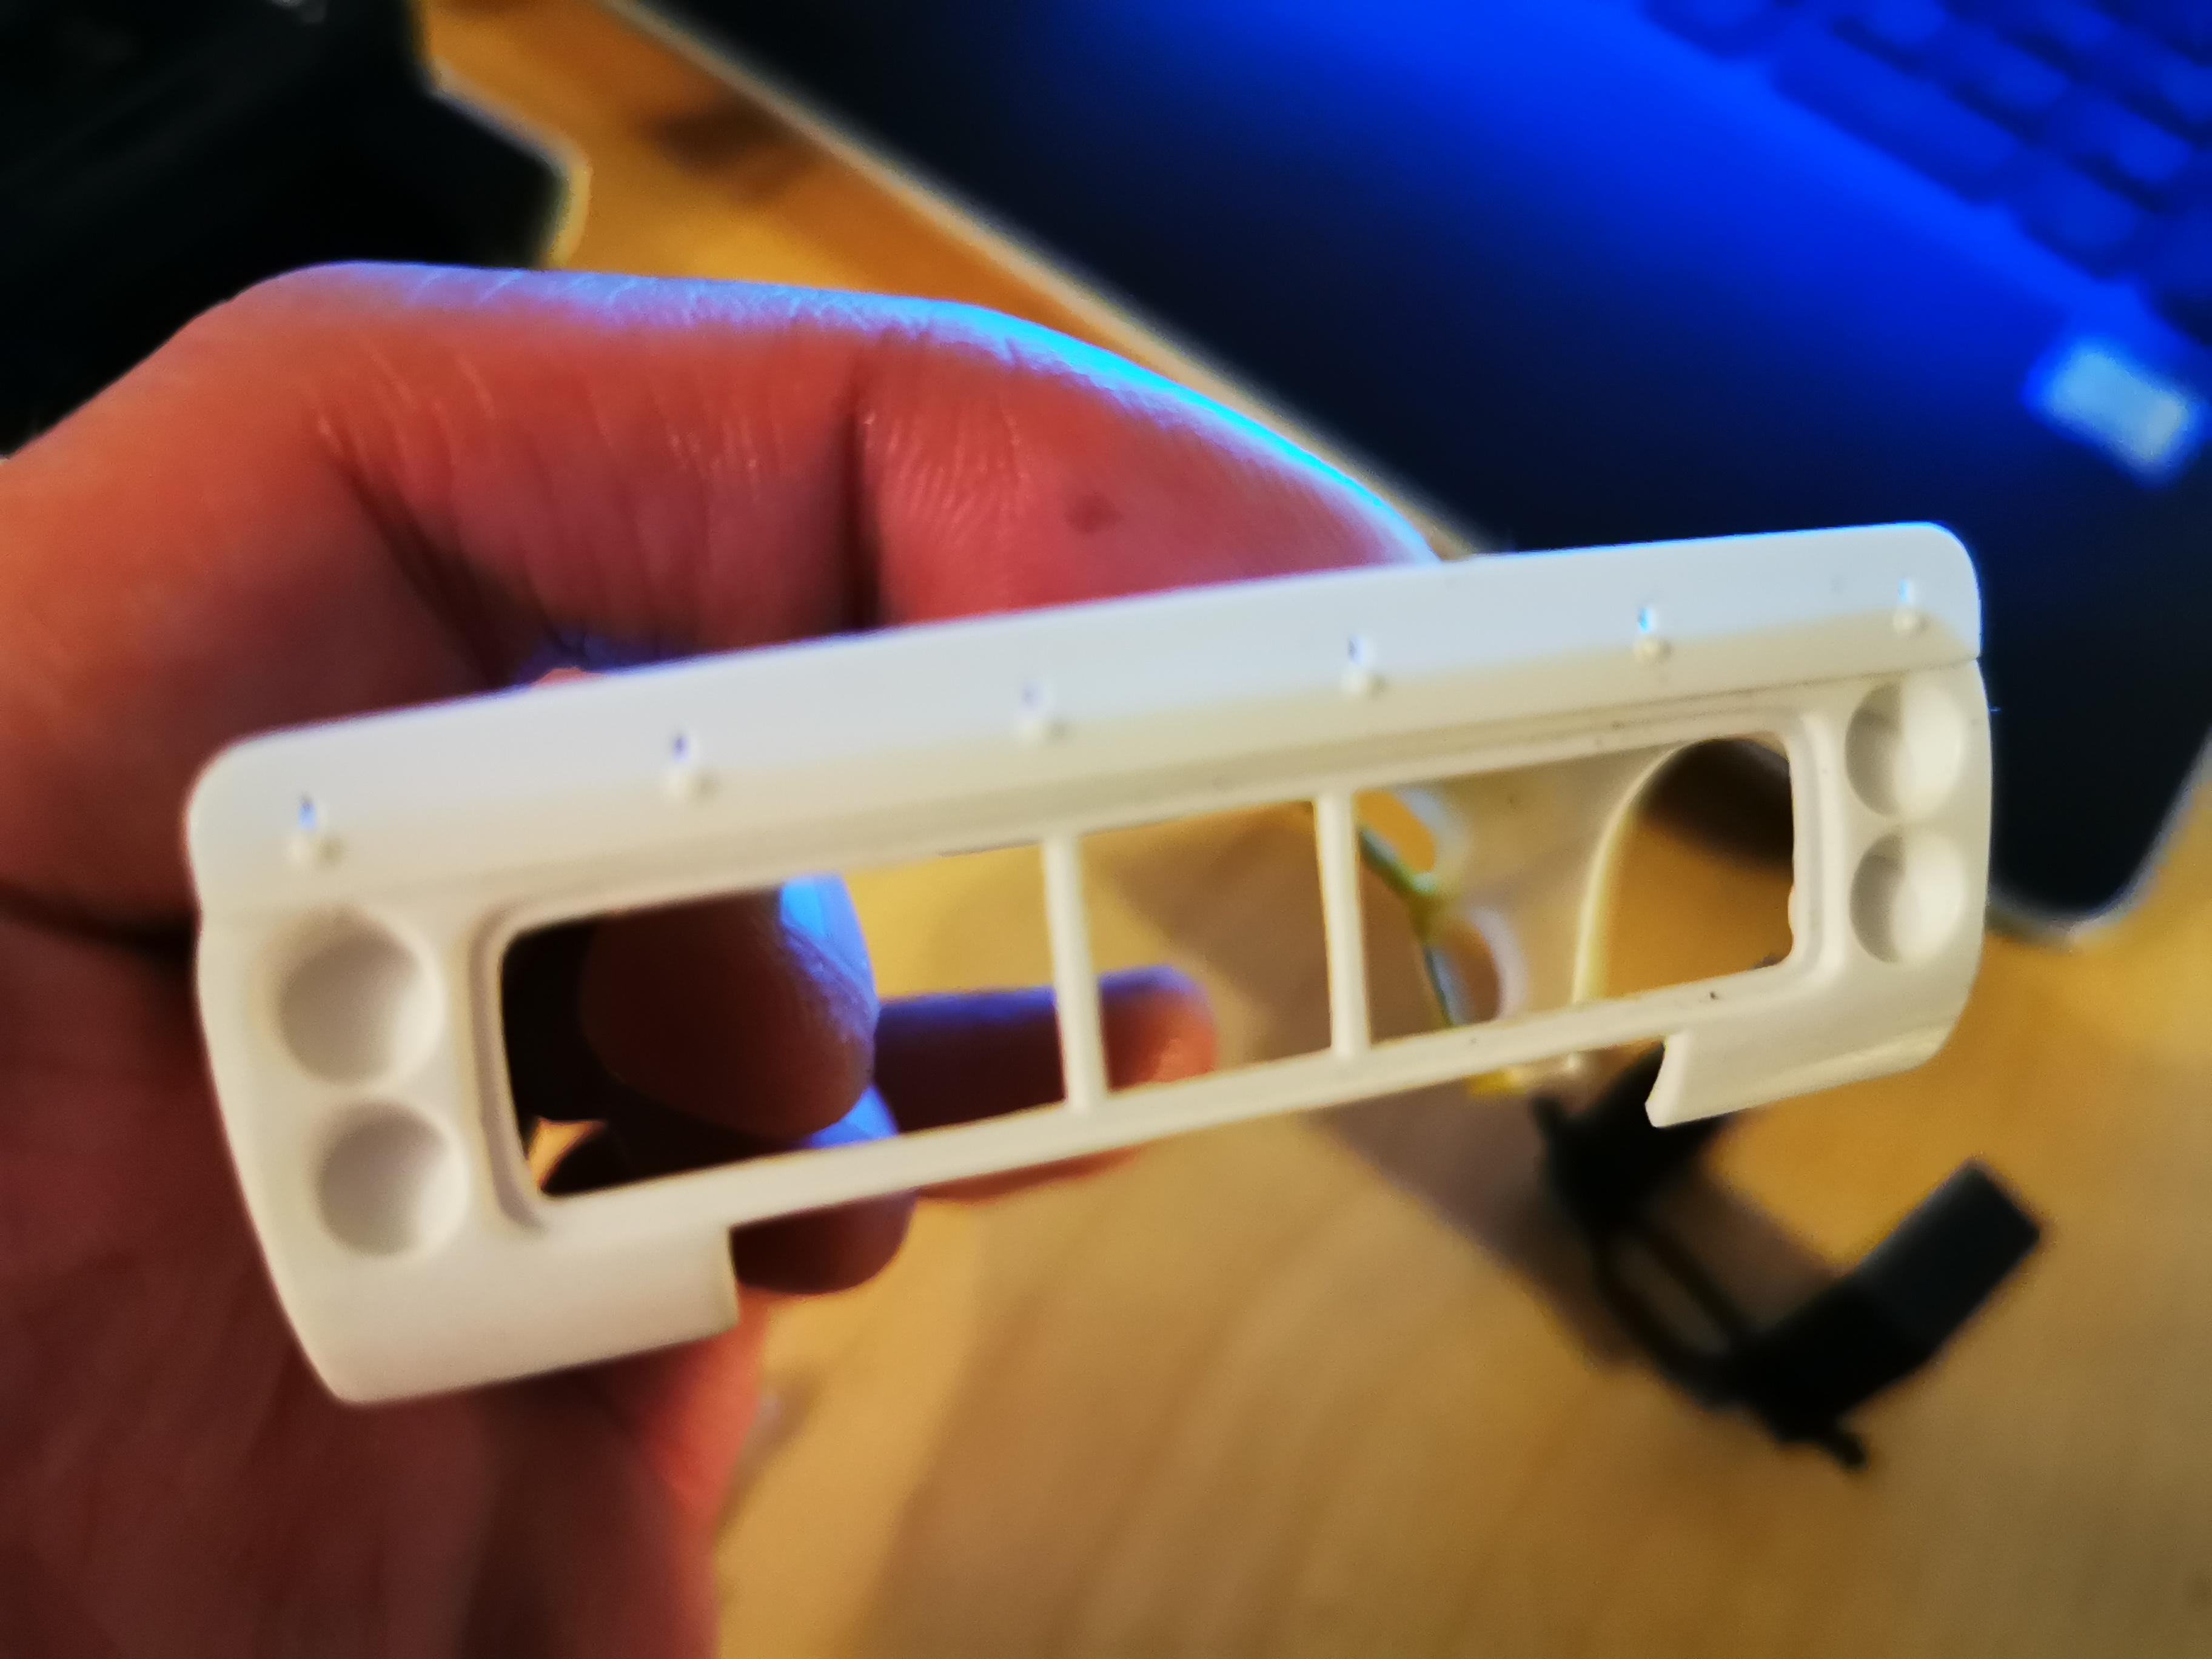
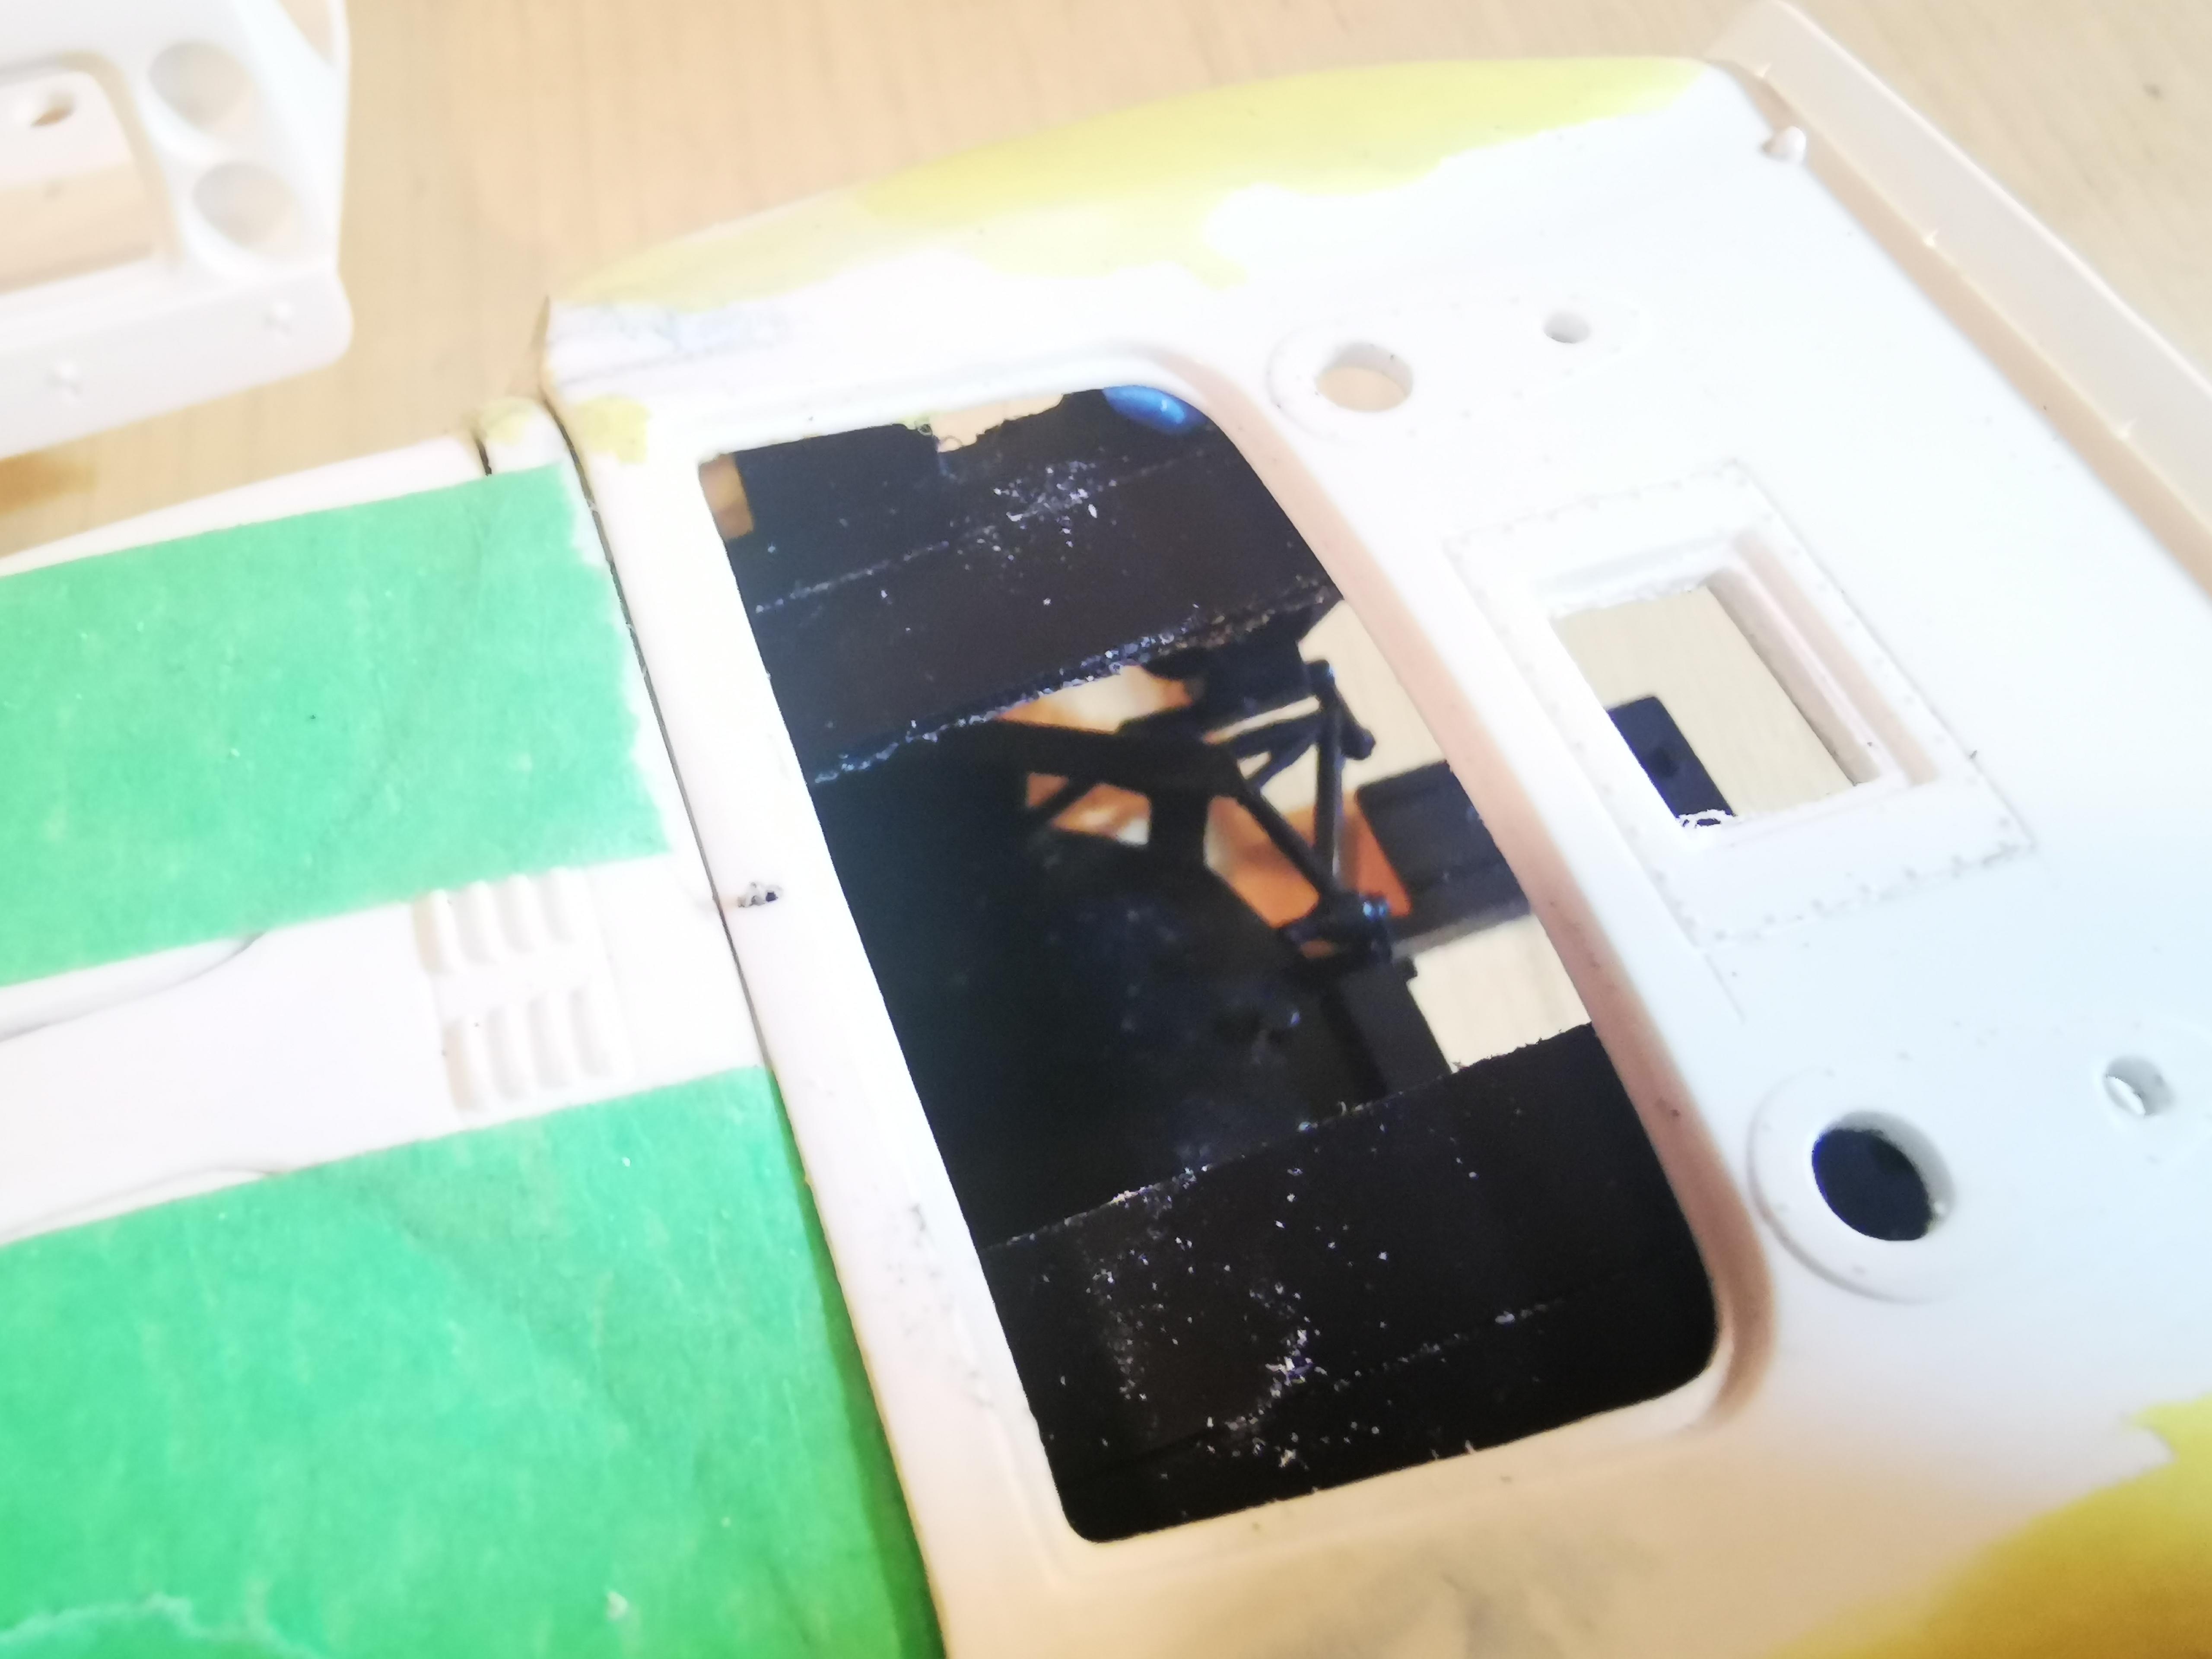
So I noticed a major discrepancy in the engine cover... The edges are slanted and on an angle. I had to cut off my previous modifications and taper the edges. Now it looks like the photo... ? OK à bit of cleaning up to do after the putty dries.
-
GROAN!!! KNEE SLAPPER! Nice one guys!
-
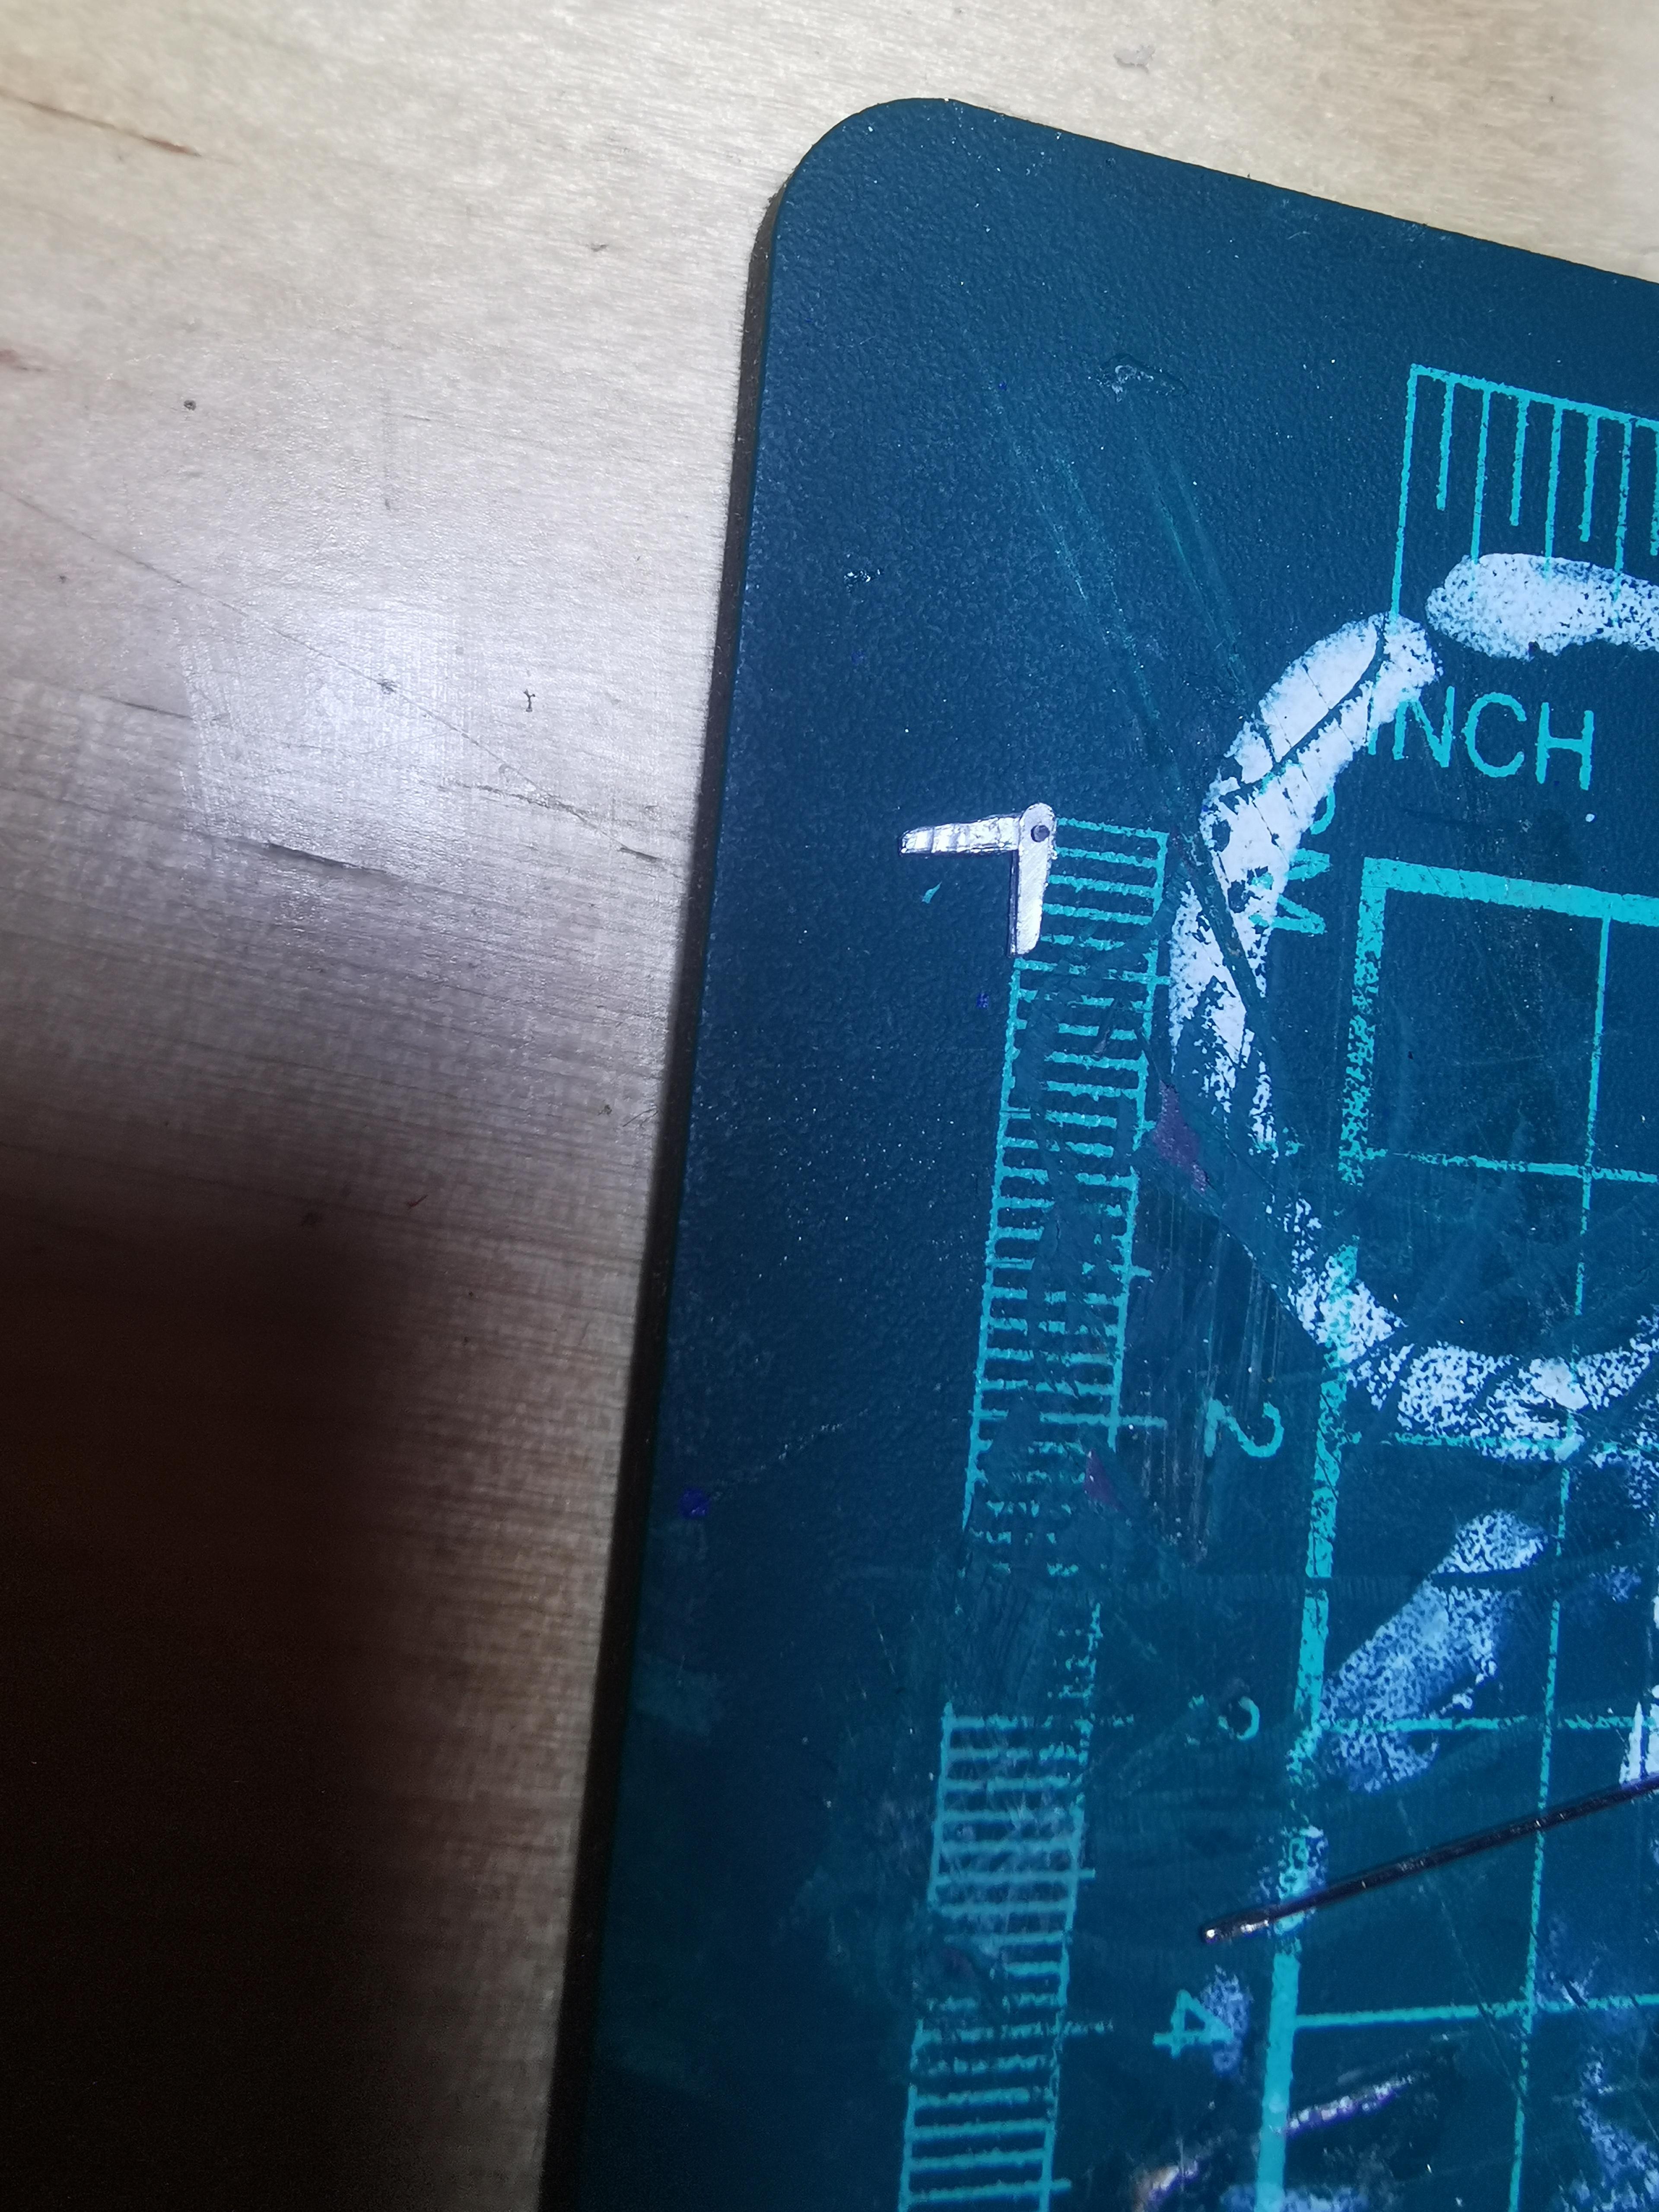
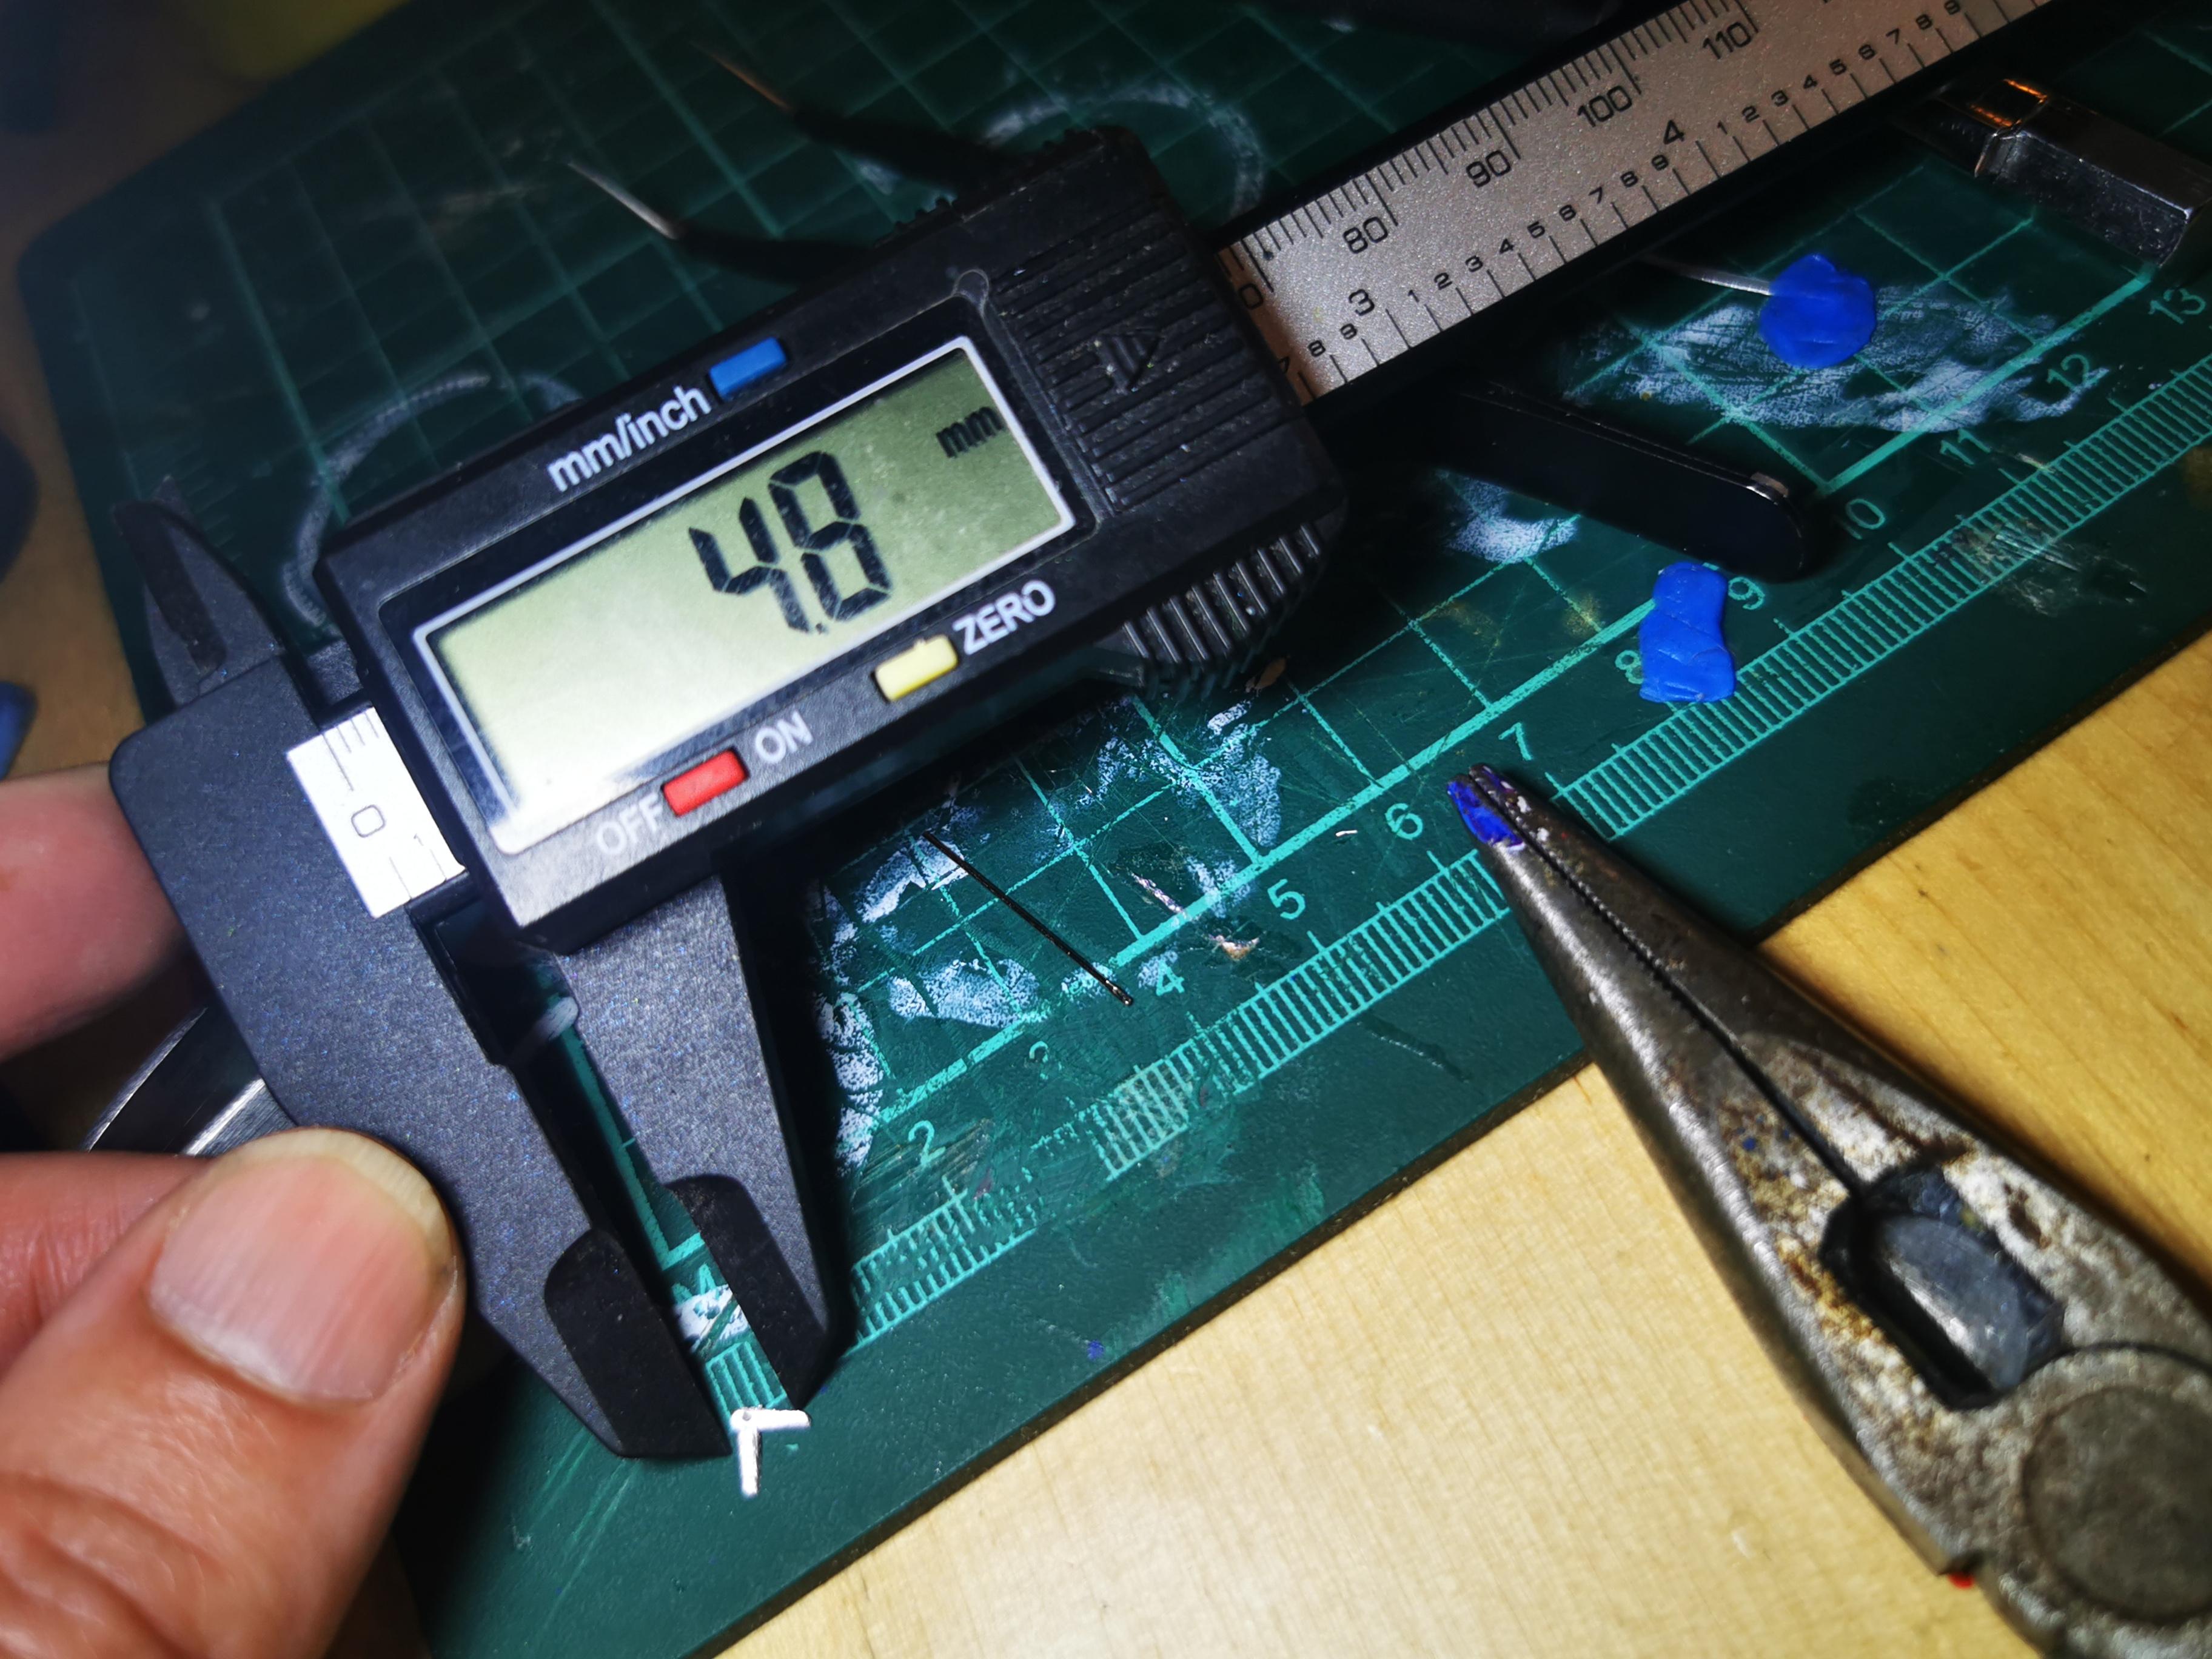
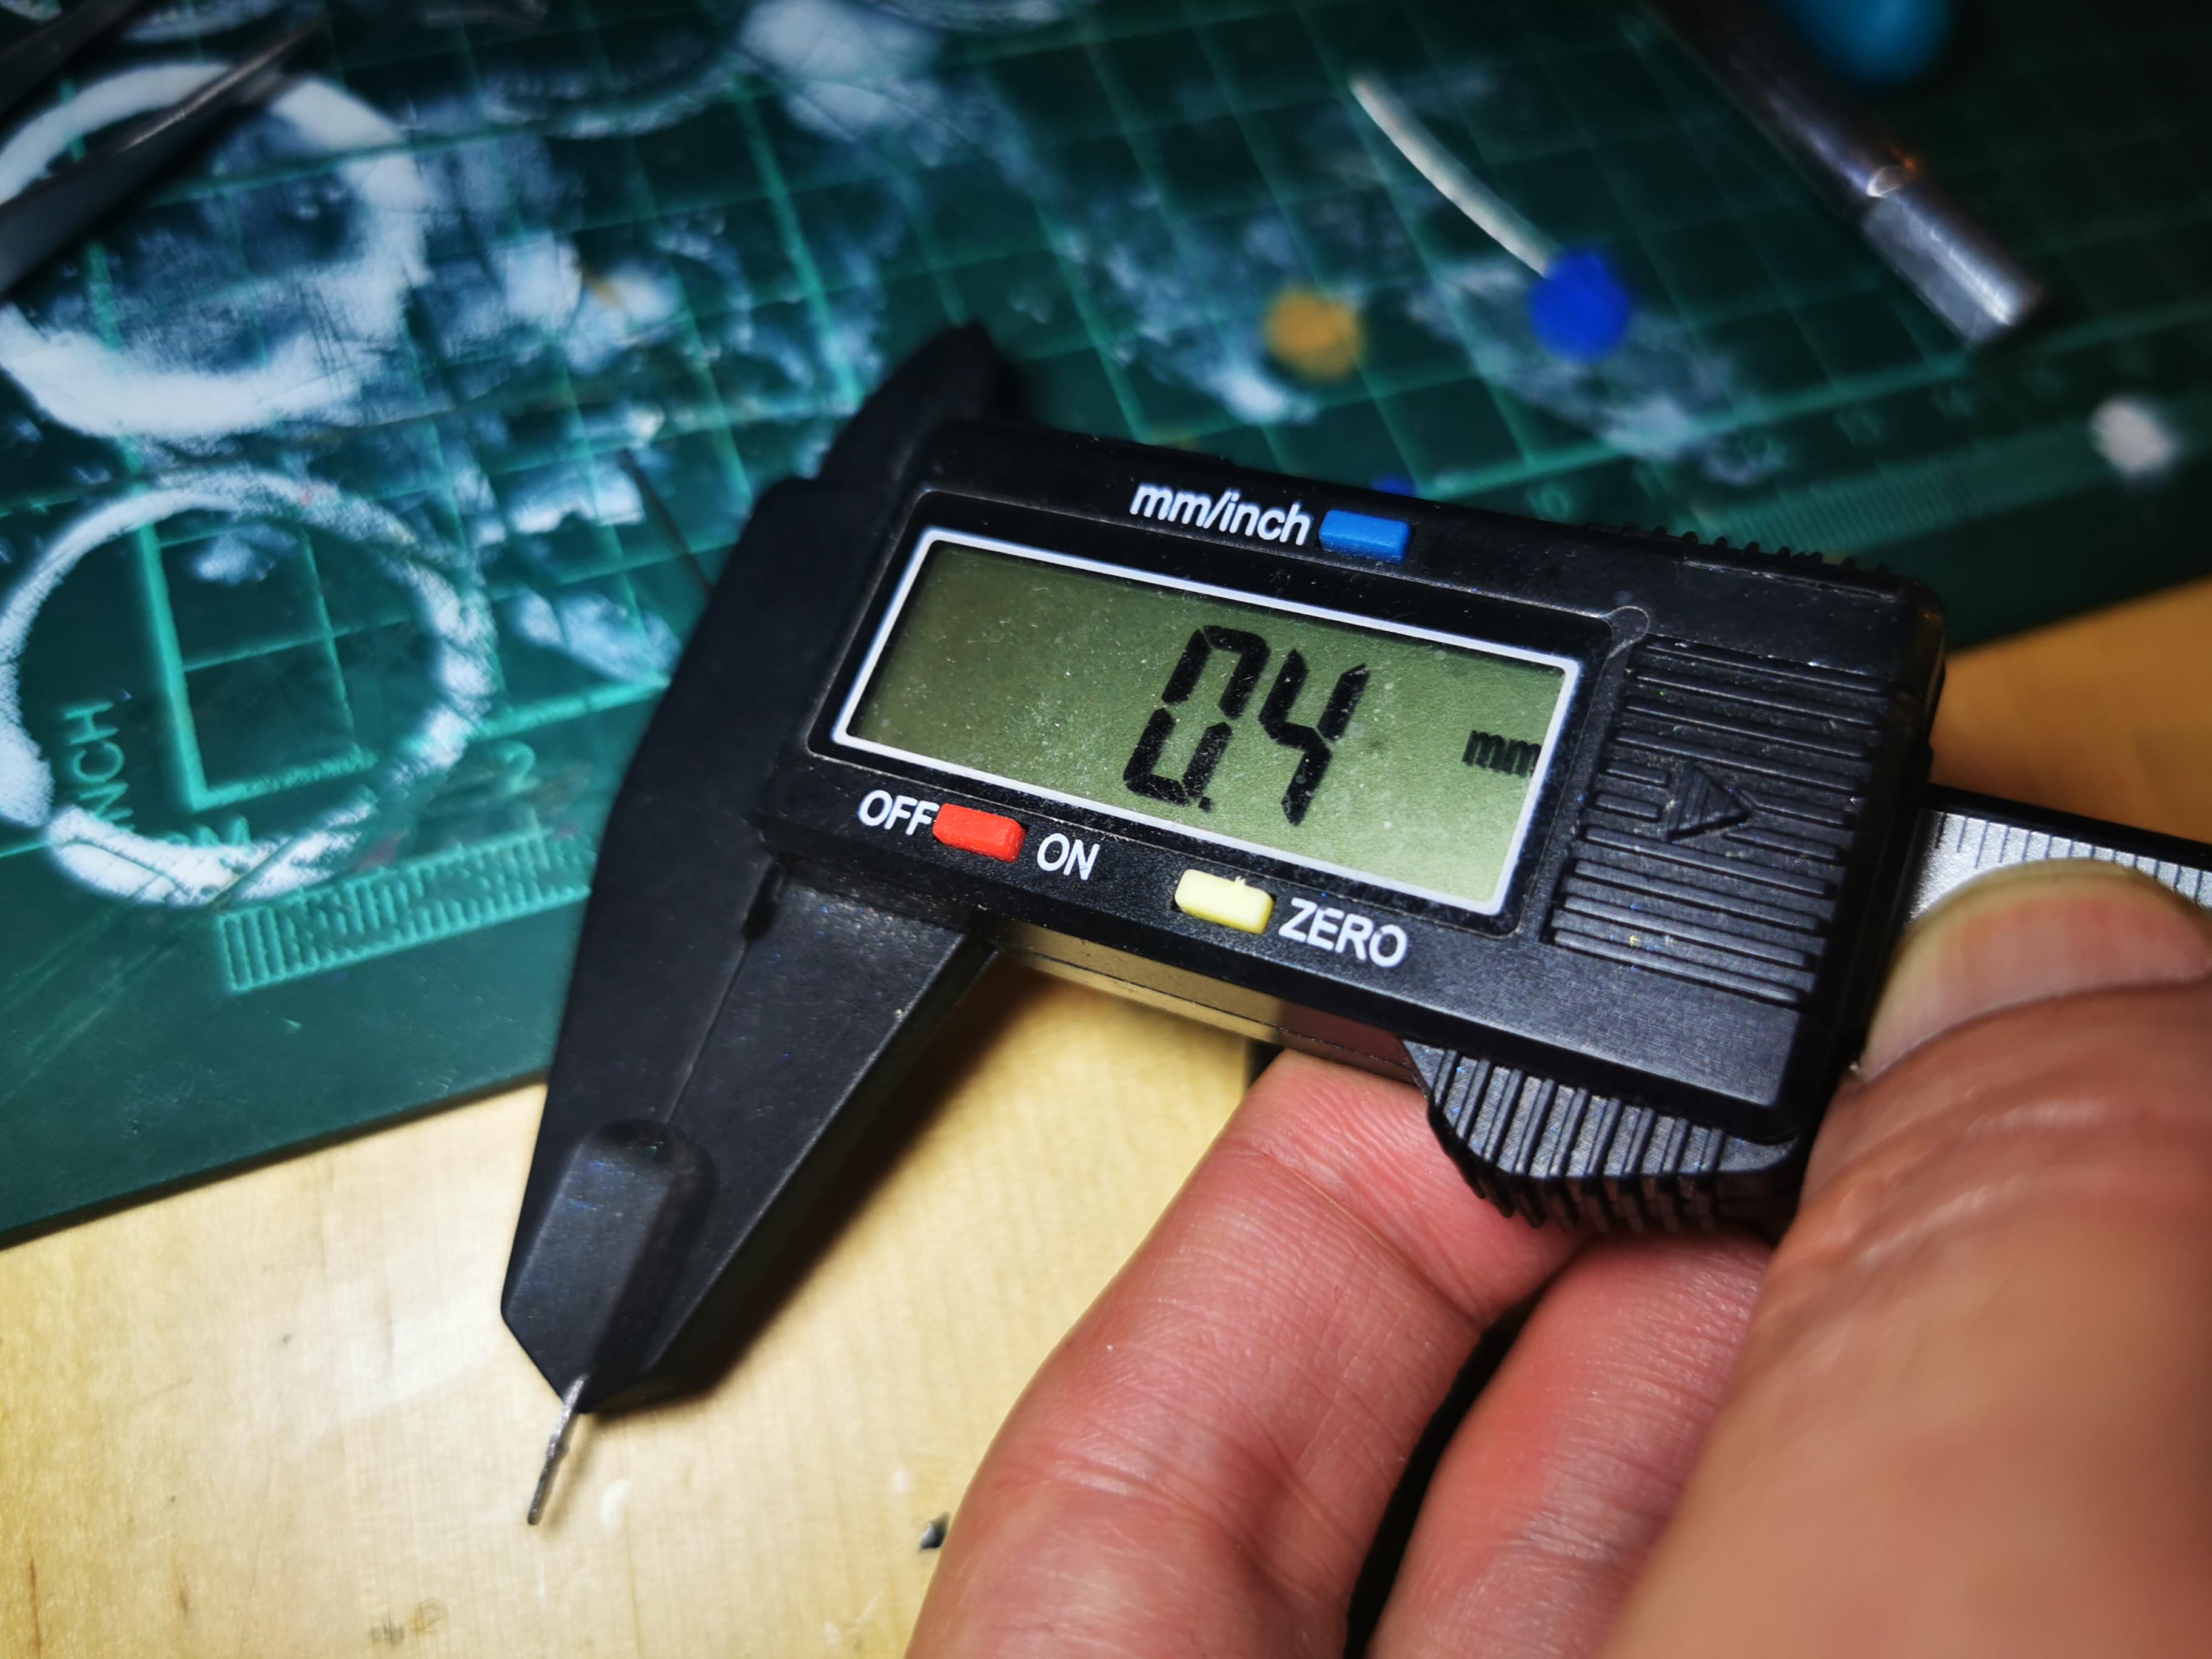
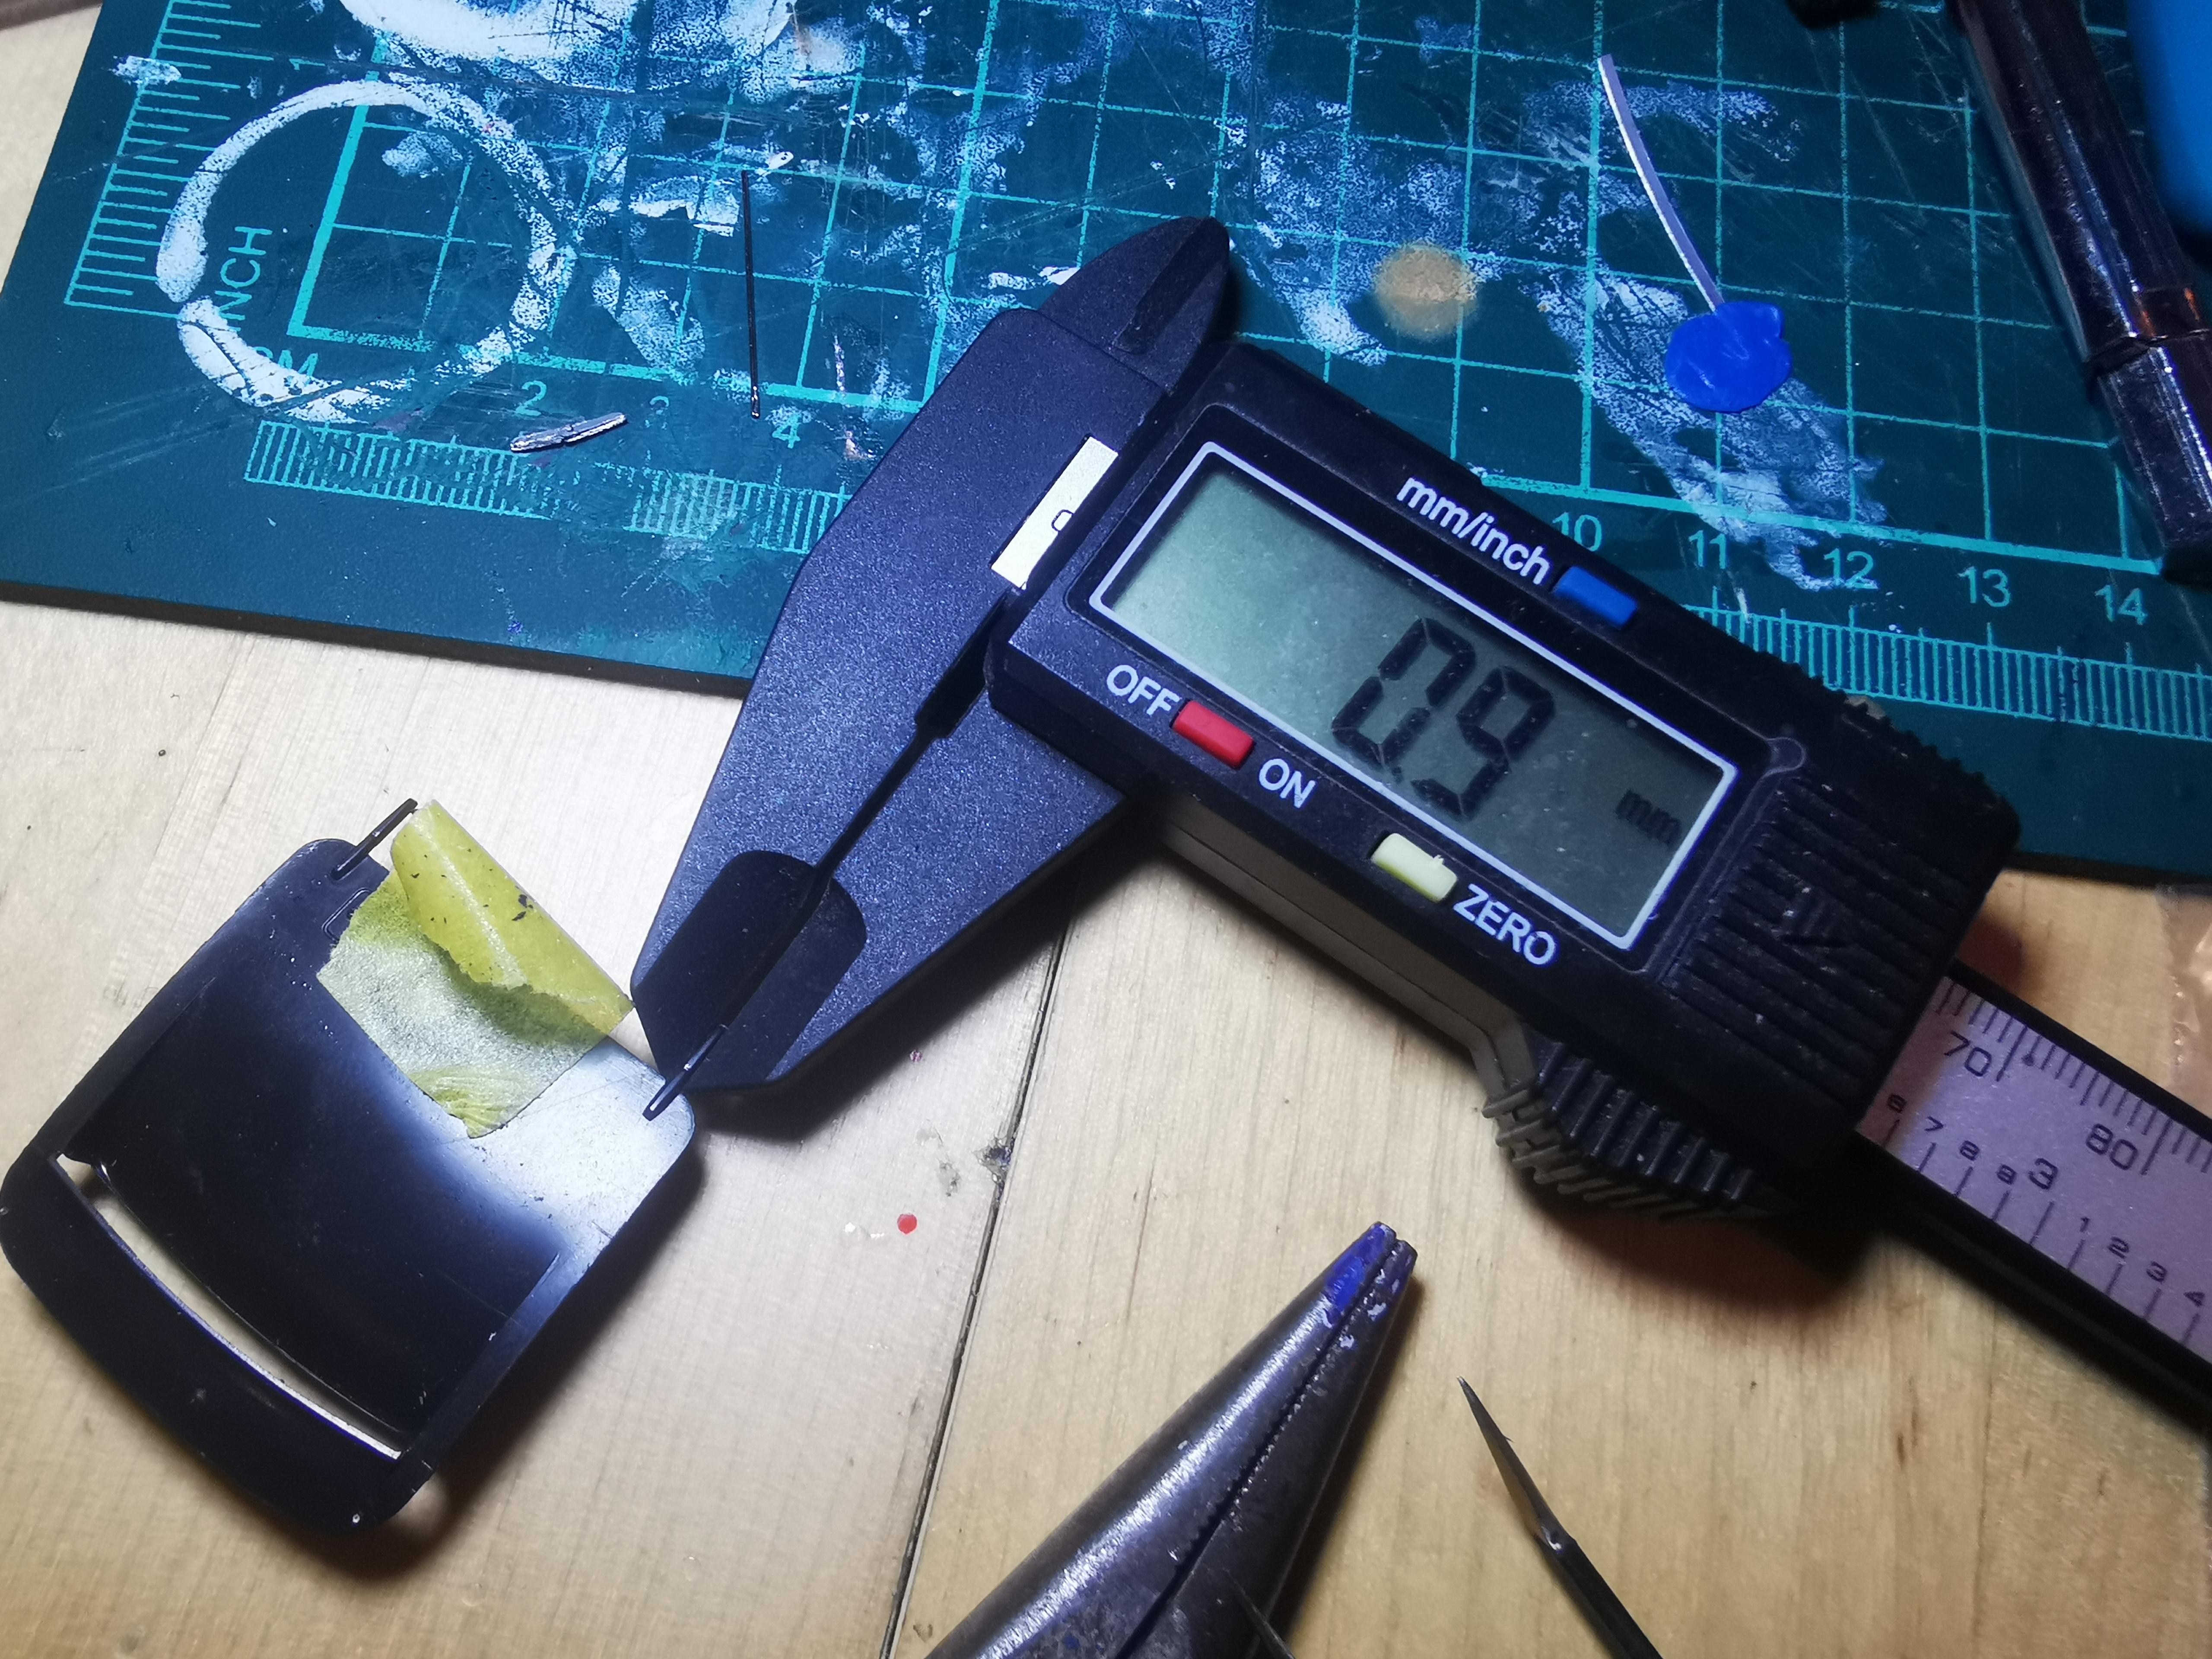
Thanks Edgar! I think later today I will start making the prototypes for the hinges in plastic to be later transferred to brass.
-
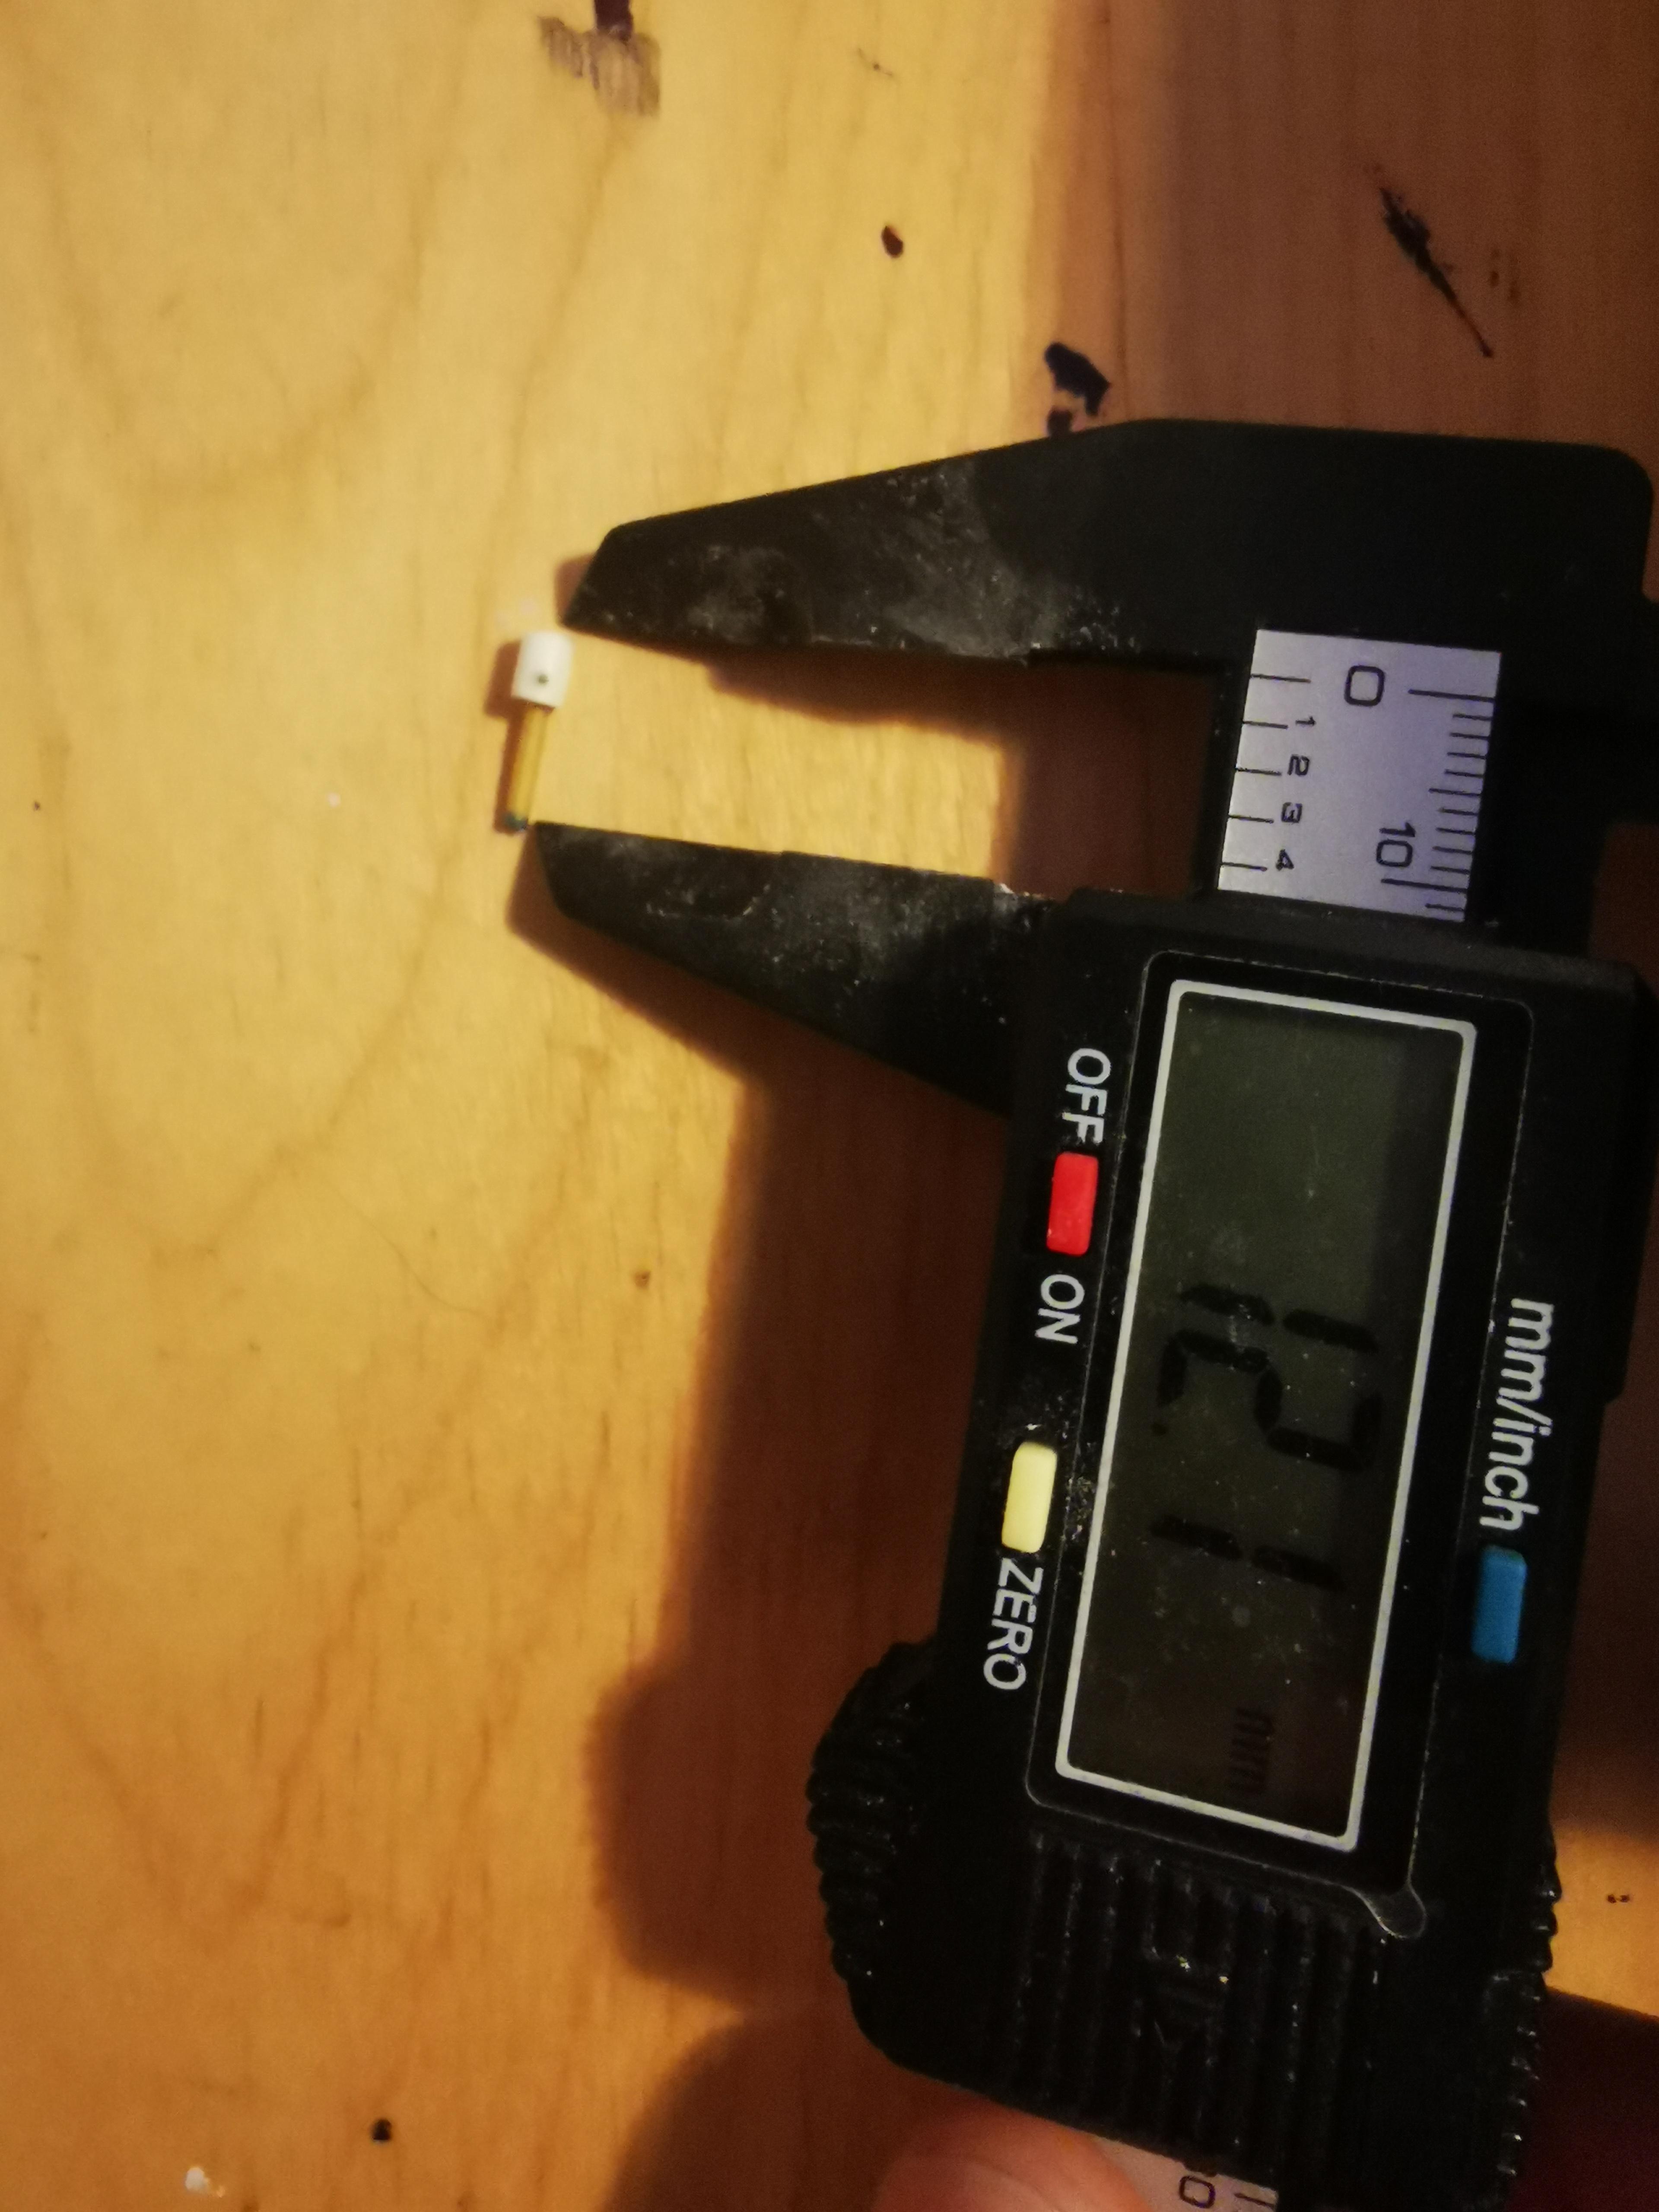
HAHAHA. Yah, I guess in reality it doesn't matter about the term used. The result is the goal. And I will. I am waiting on some Albion Alloy tubes to come in the mail. The 4 week possible lead time is killing me! I am planning out what I will be working on next!
-
Rex, Gary, you guys keep talking about "trans kits" (transplantation kits). In the Gundam robot scale model world we would call these "mod" or "upgrade" kits. I understand why you call them transplant kits, because that part is obvious. To me the not so obvious part is things like reconnecting the parts as these trans kits are typically resin. So does the engine just float in the back of that? or is it held in place by a support/screws/glue? The issue to me is not seeing the parts that are hidden. Justin
-
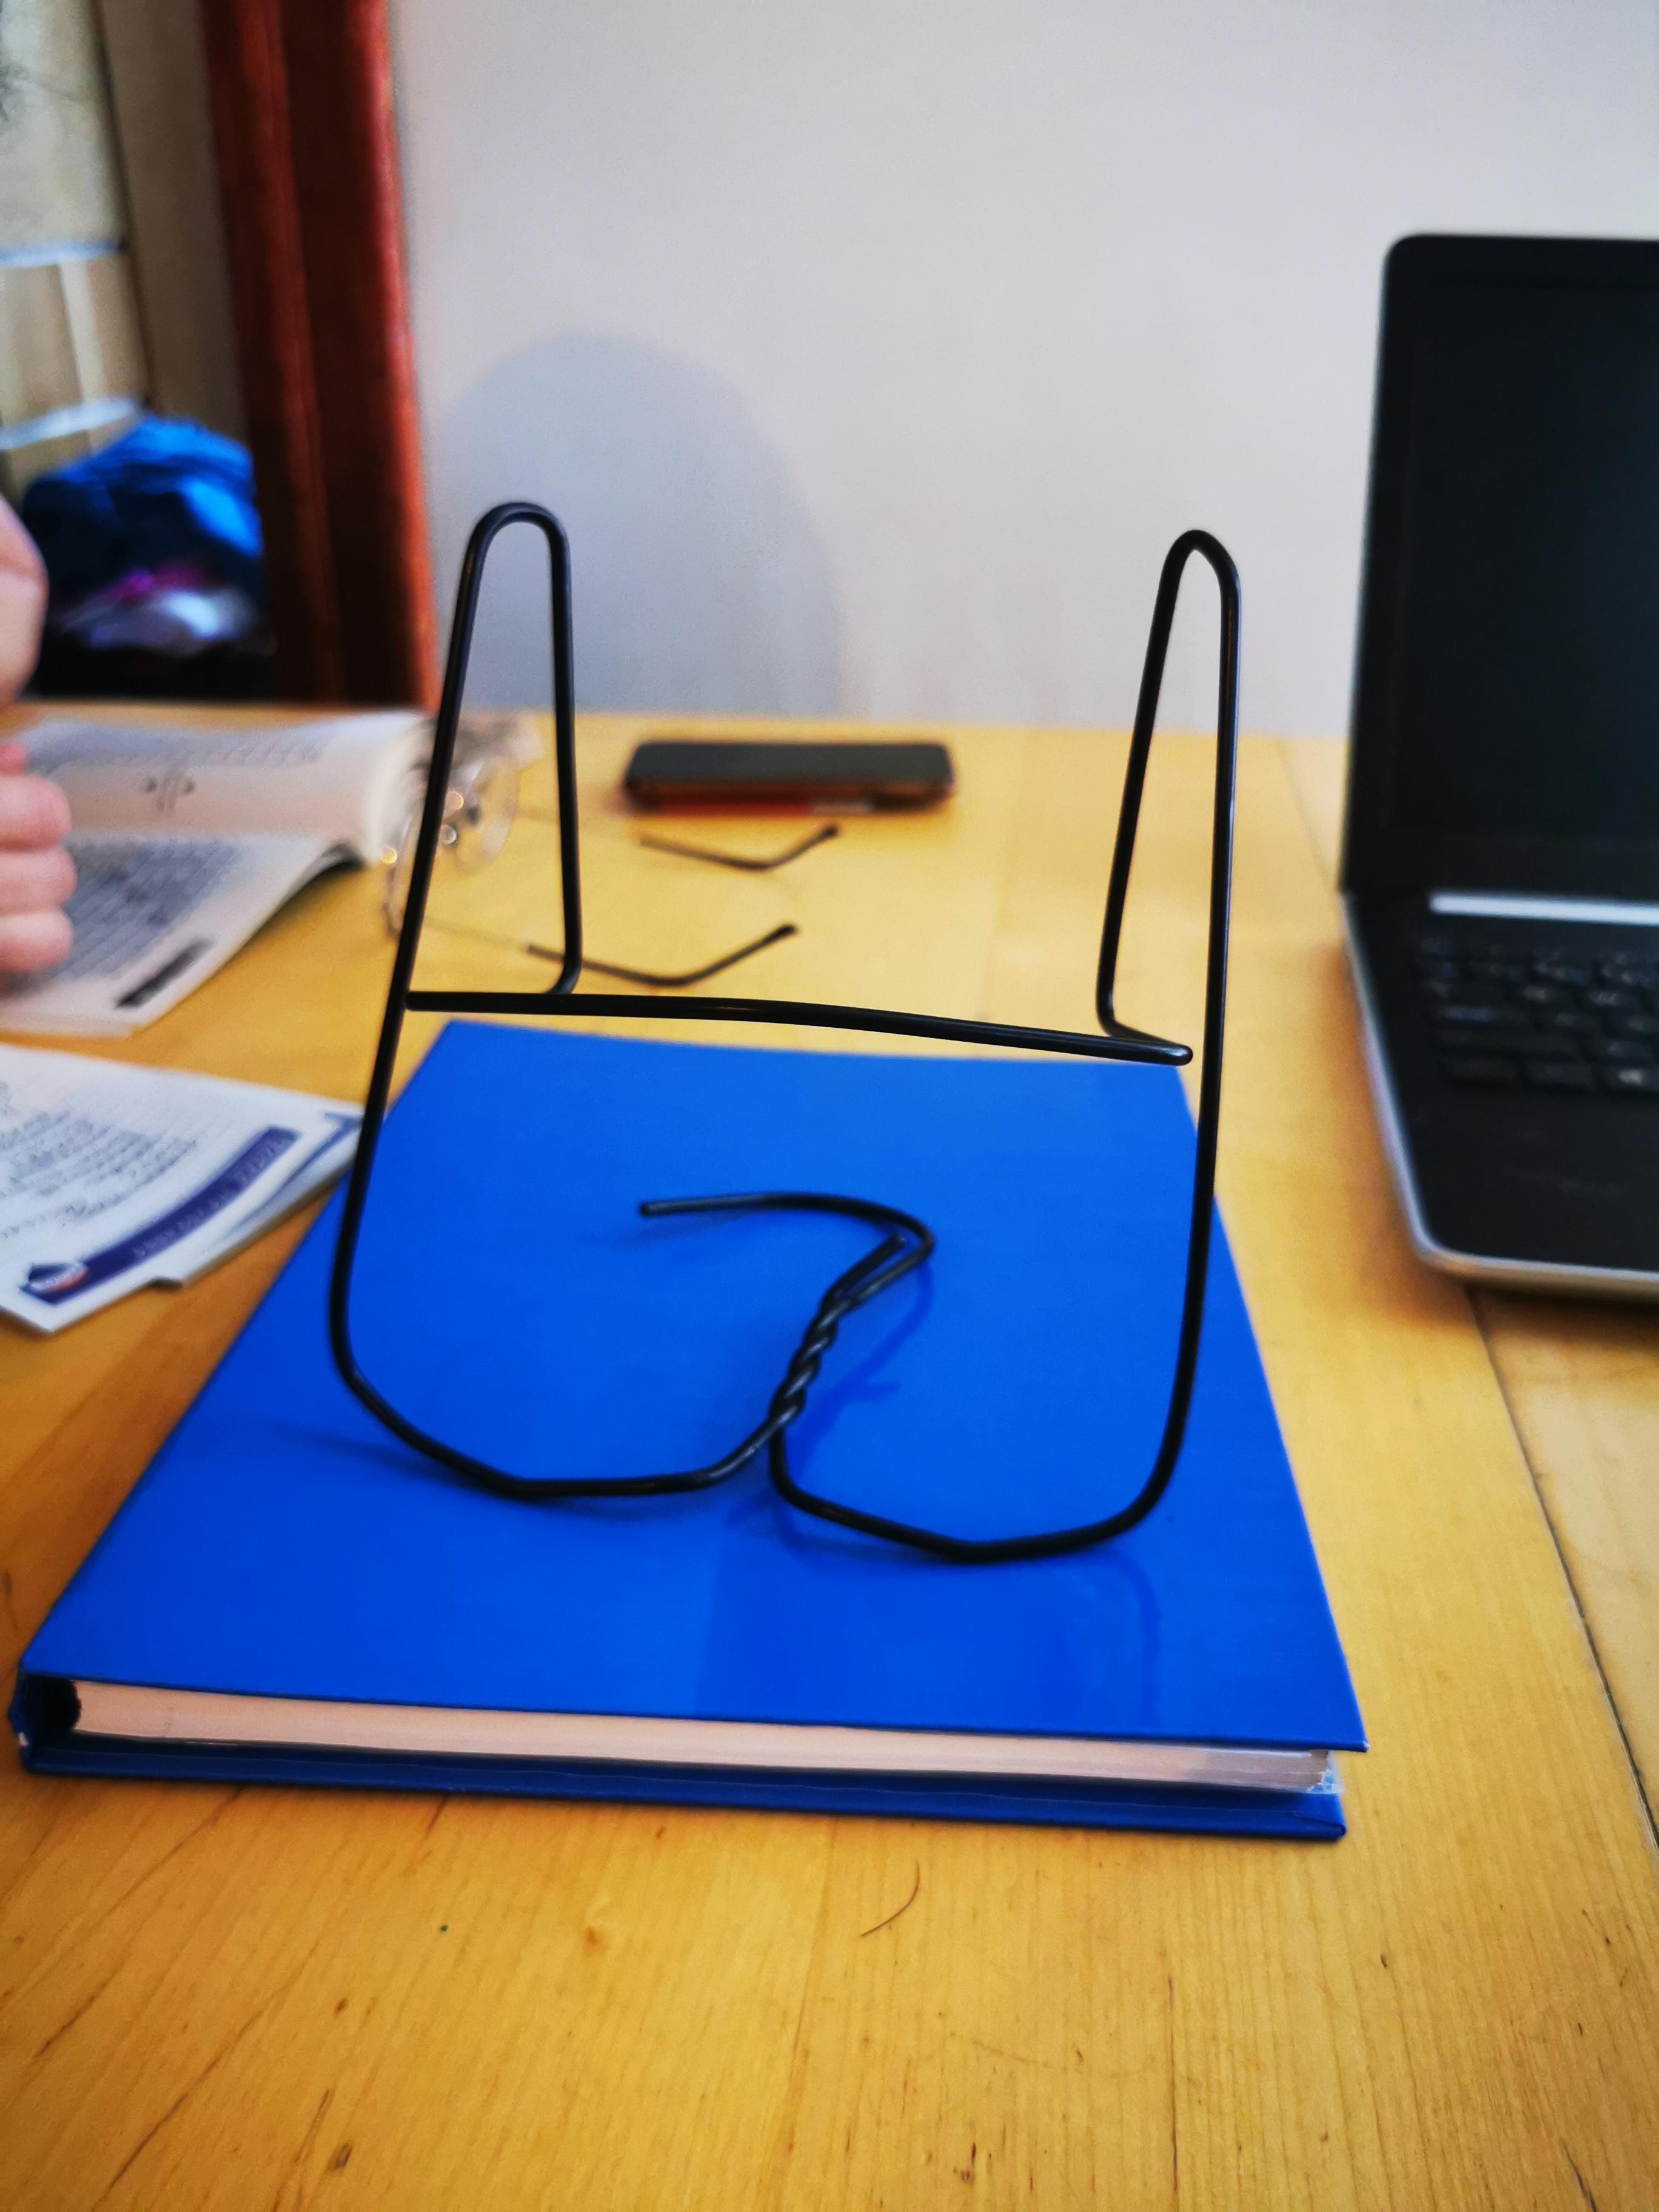
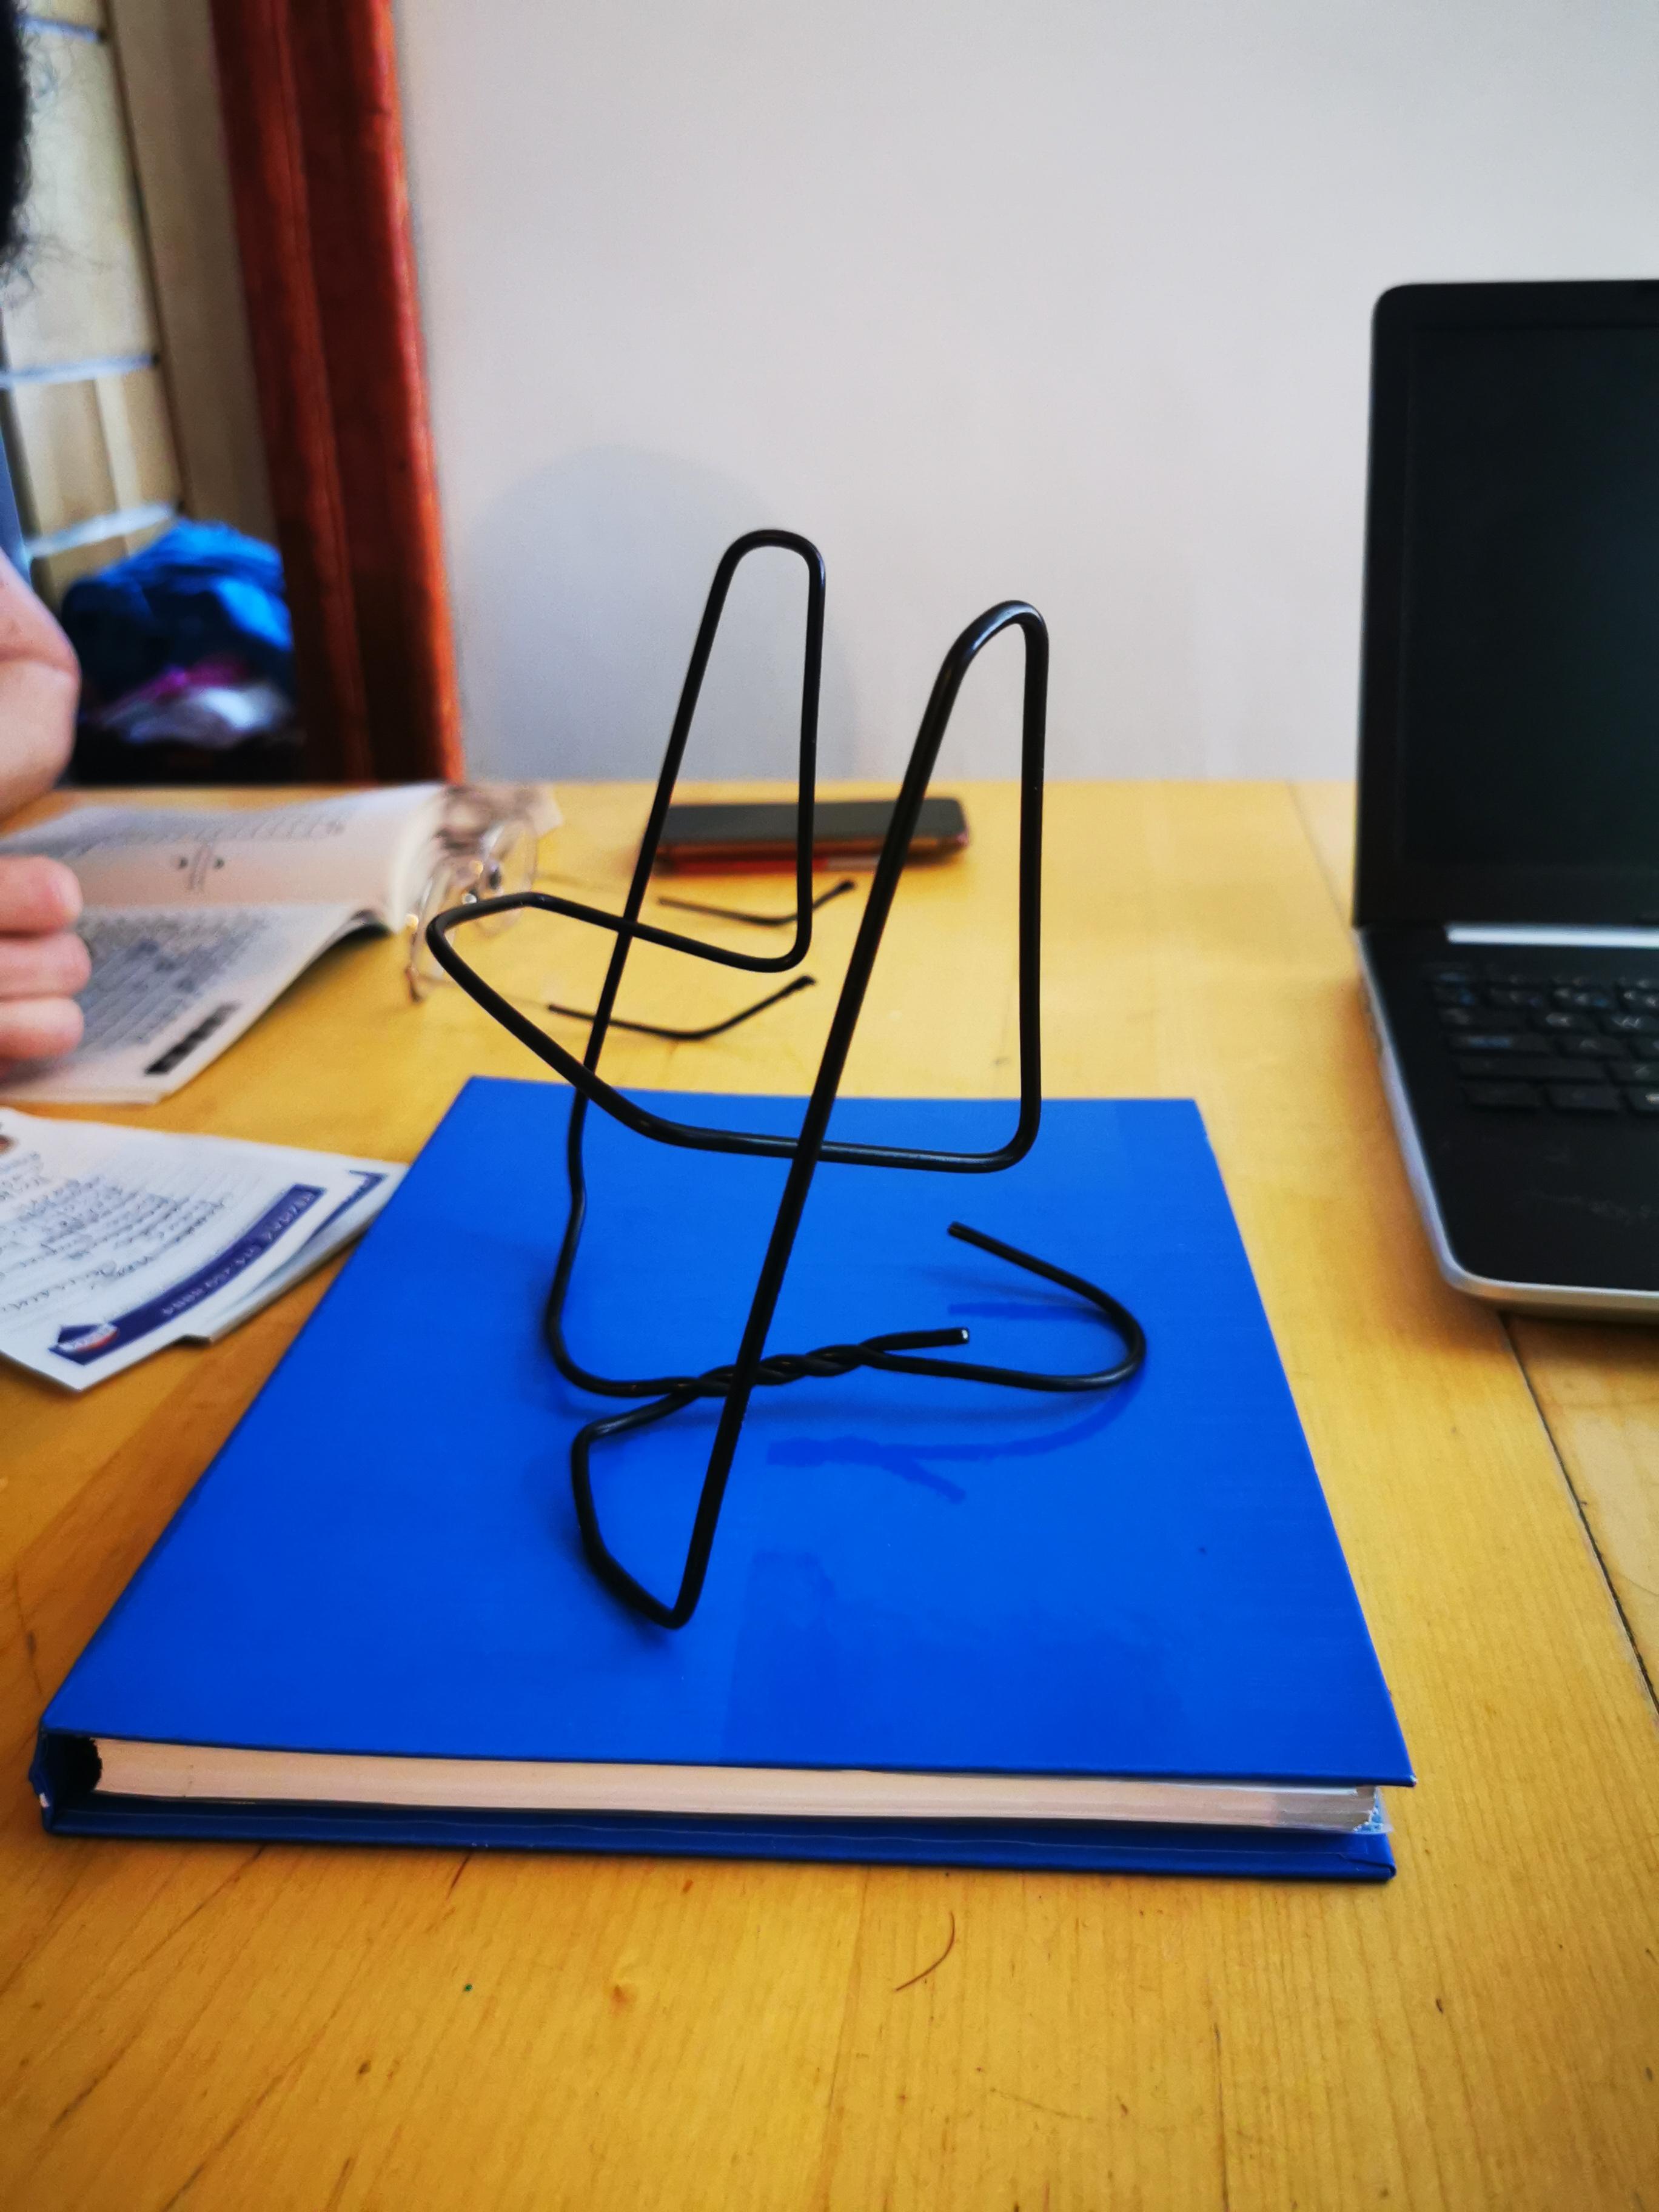
Here I am cutting off the exhaust. Recording this was easier said than done. Because I don't have a stand/tri-pod to record I had to fashion a camera stand out of a coat hanger. I was actually surprised to see how well it worked. Editor.mp4
-
That engine detail is so nice! Love it.
-
Oh man. Can't wait to see it! Now is the perfect time to build. You know... Home confinement and everything... Haha
-
Let me know if the images help!
-
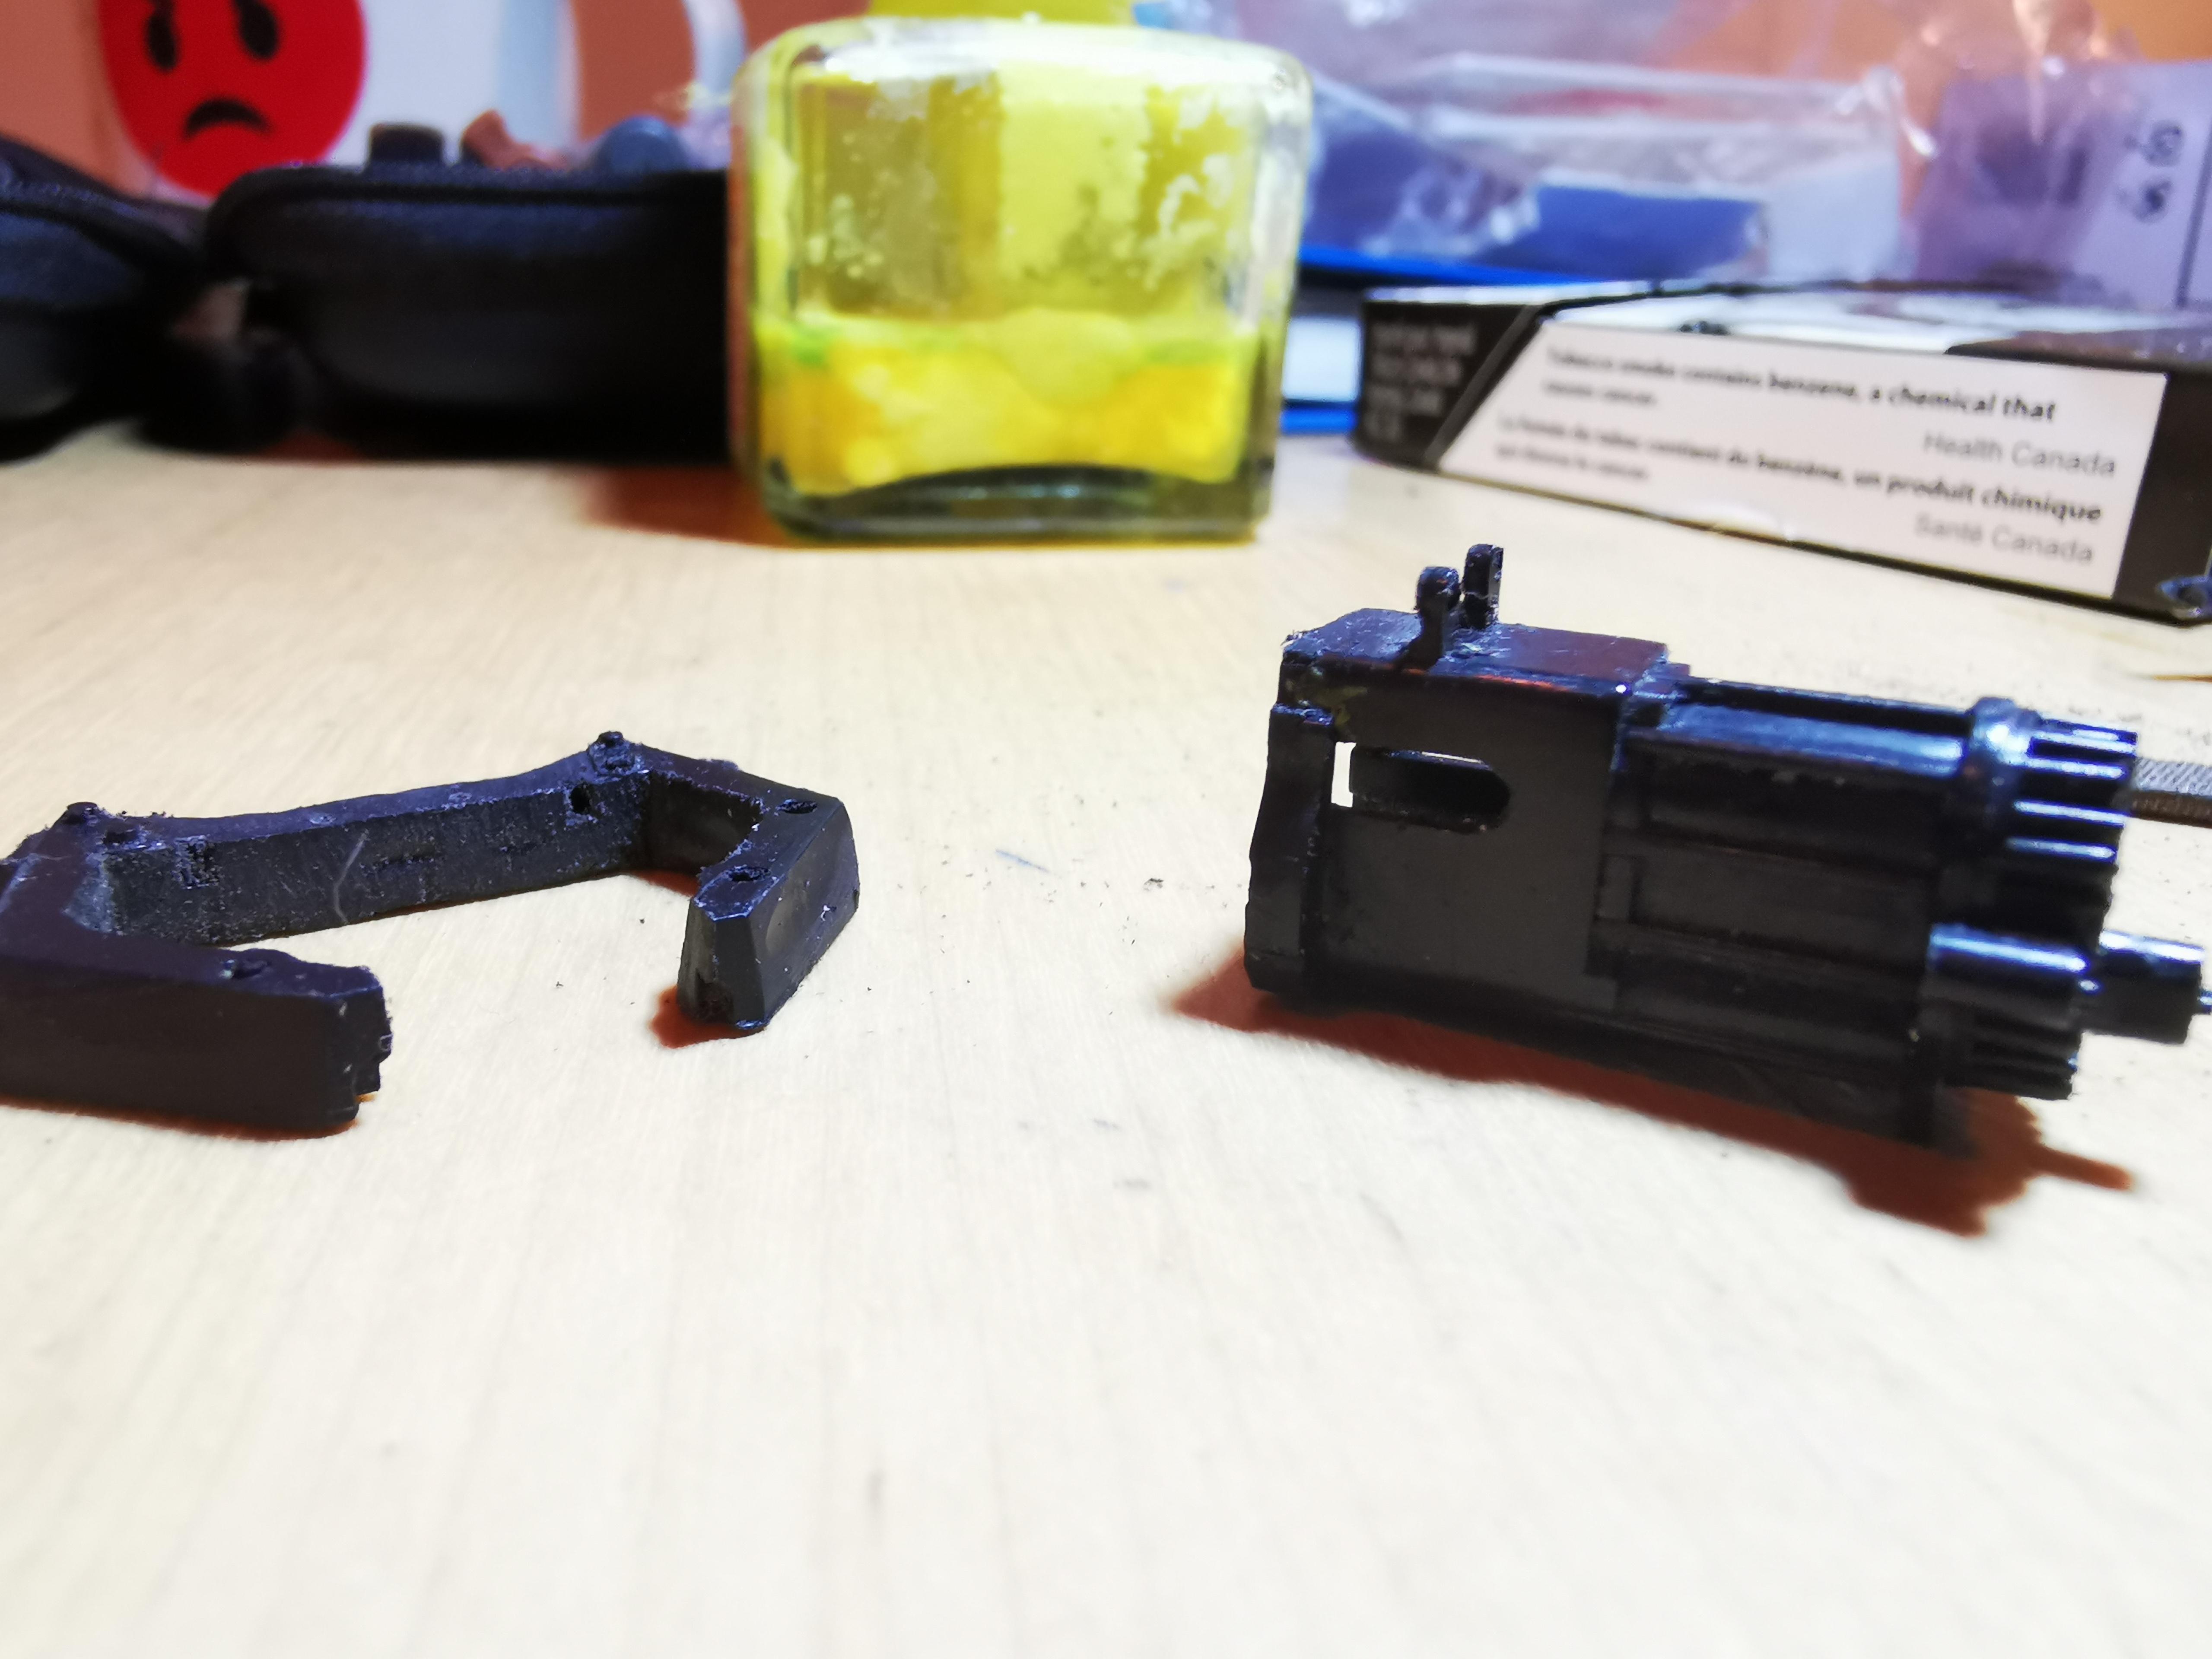
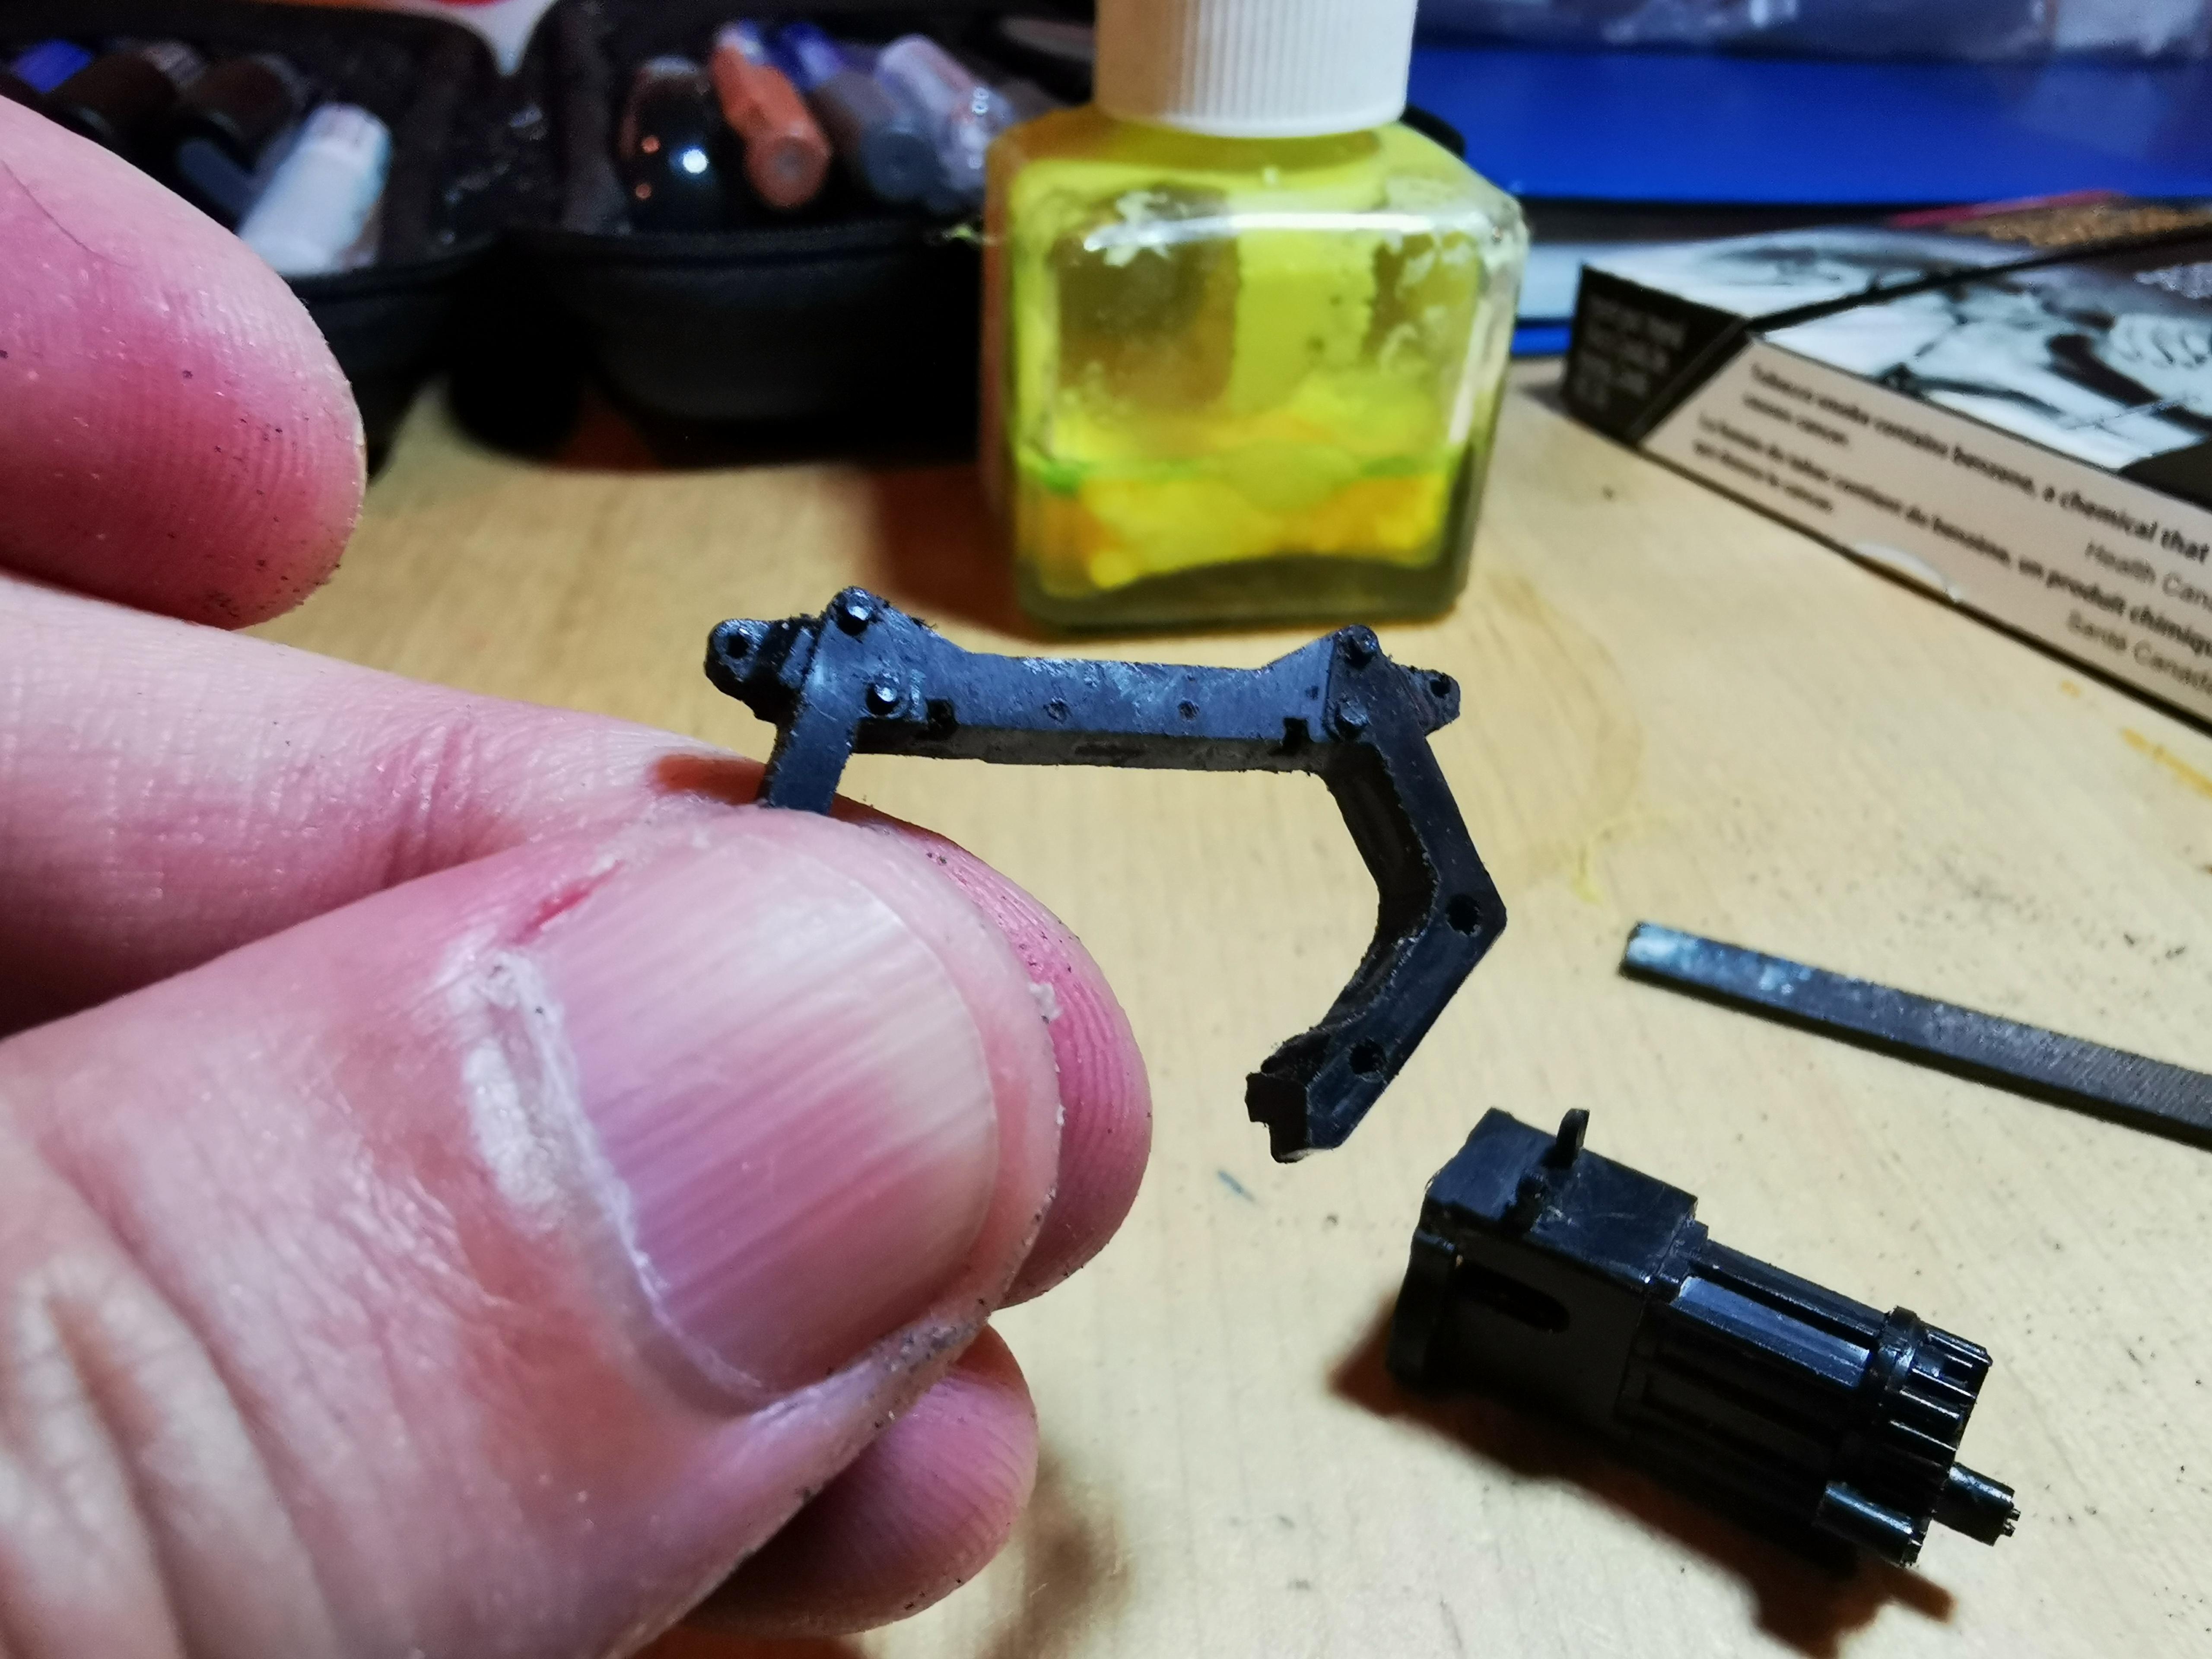
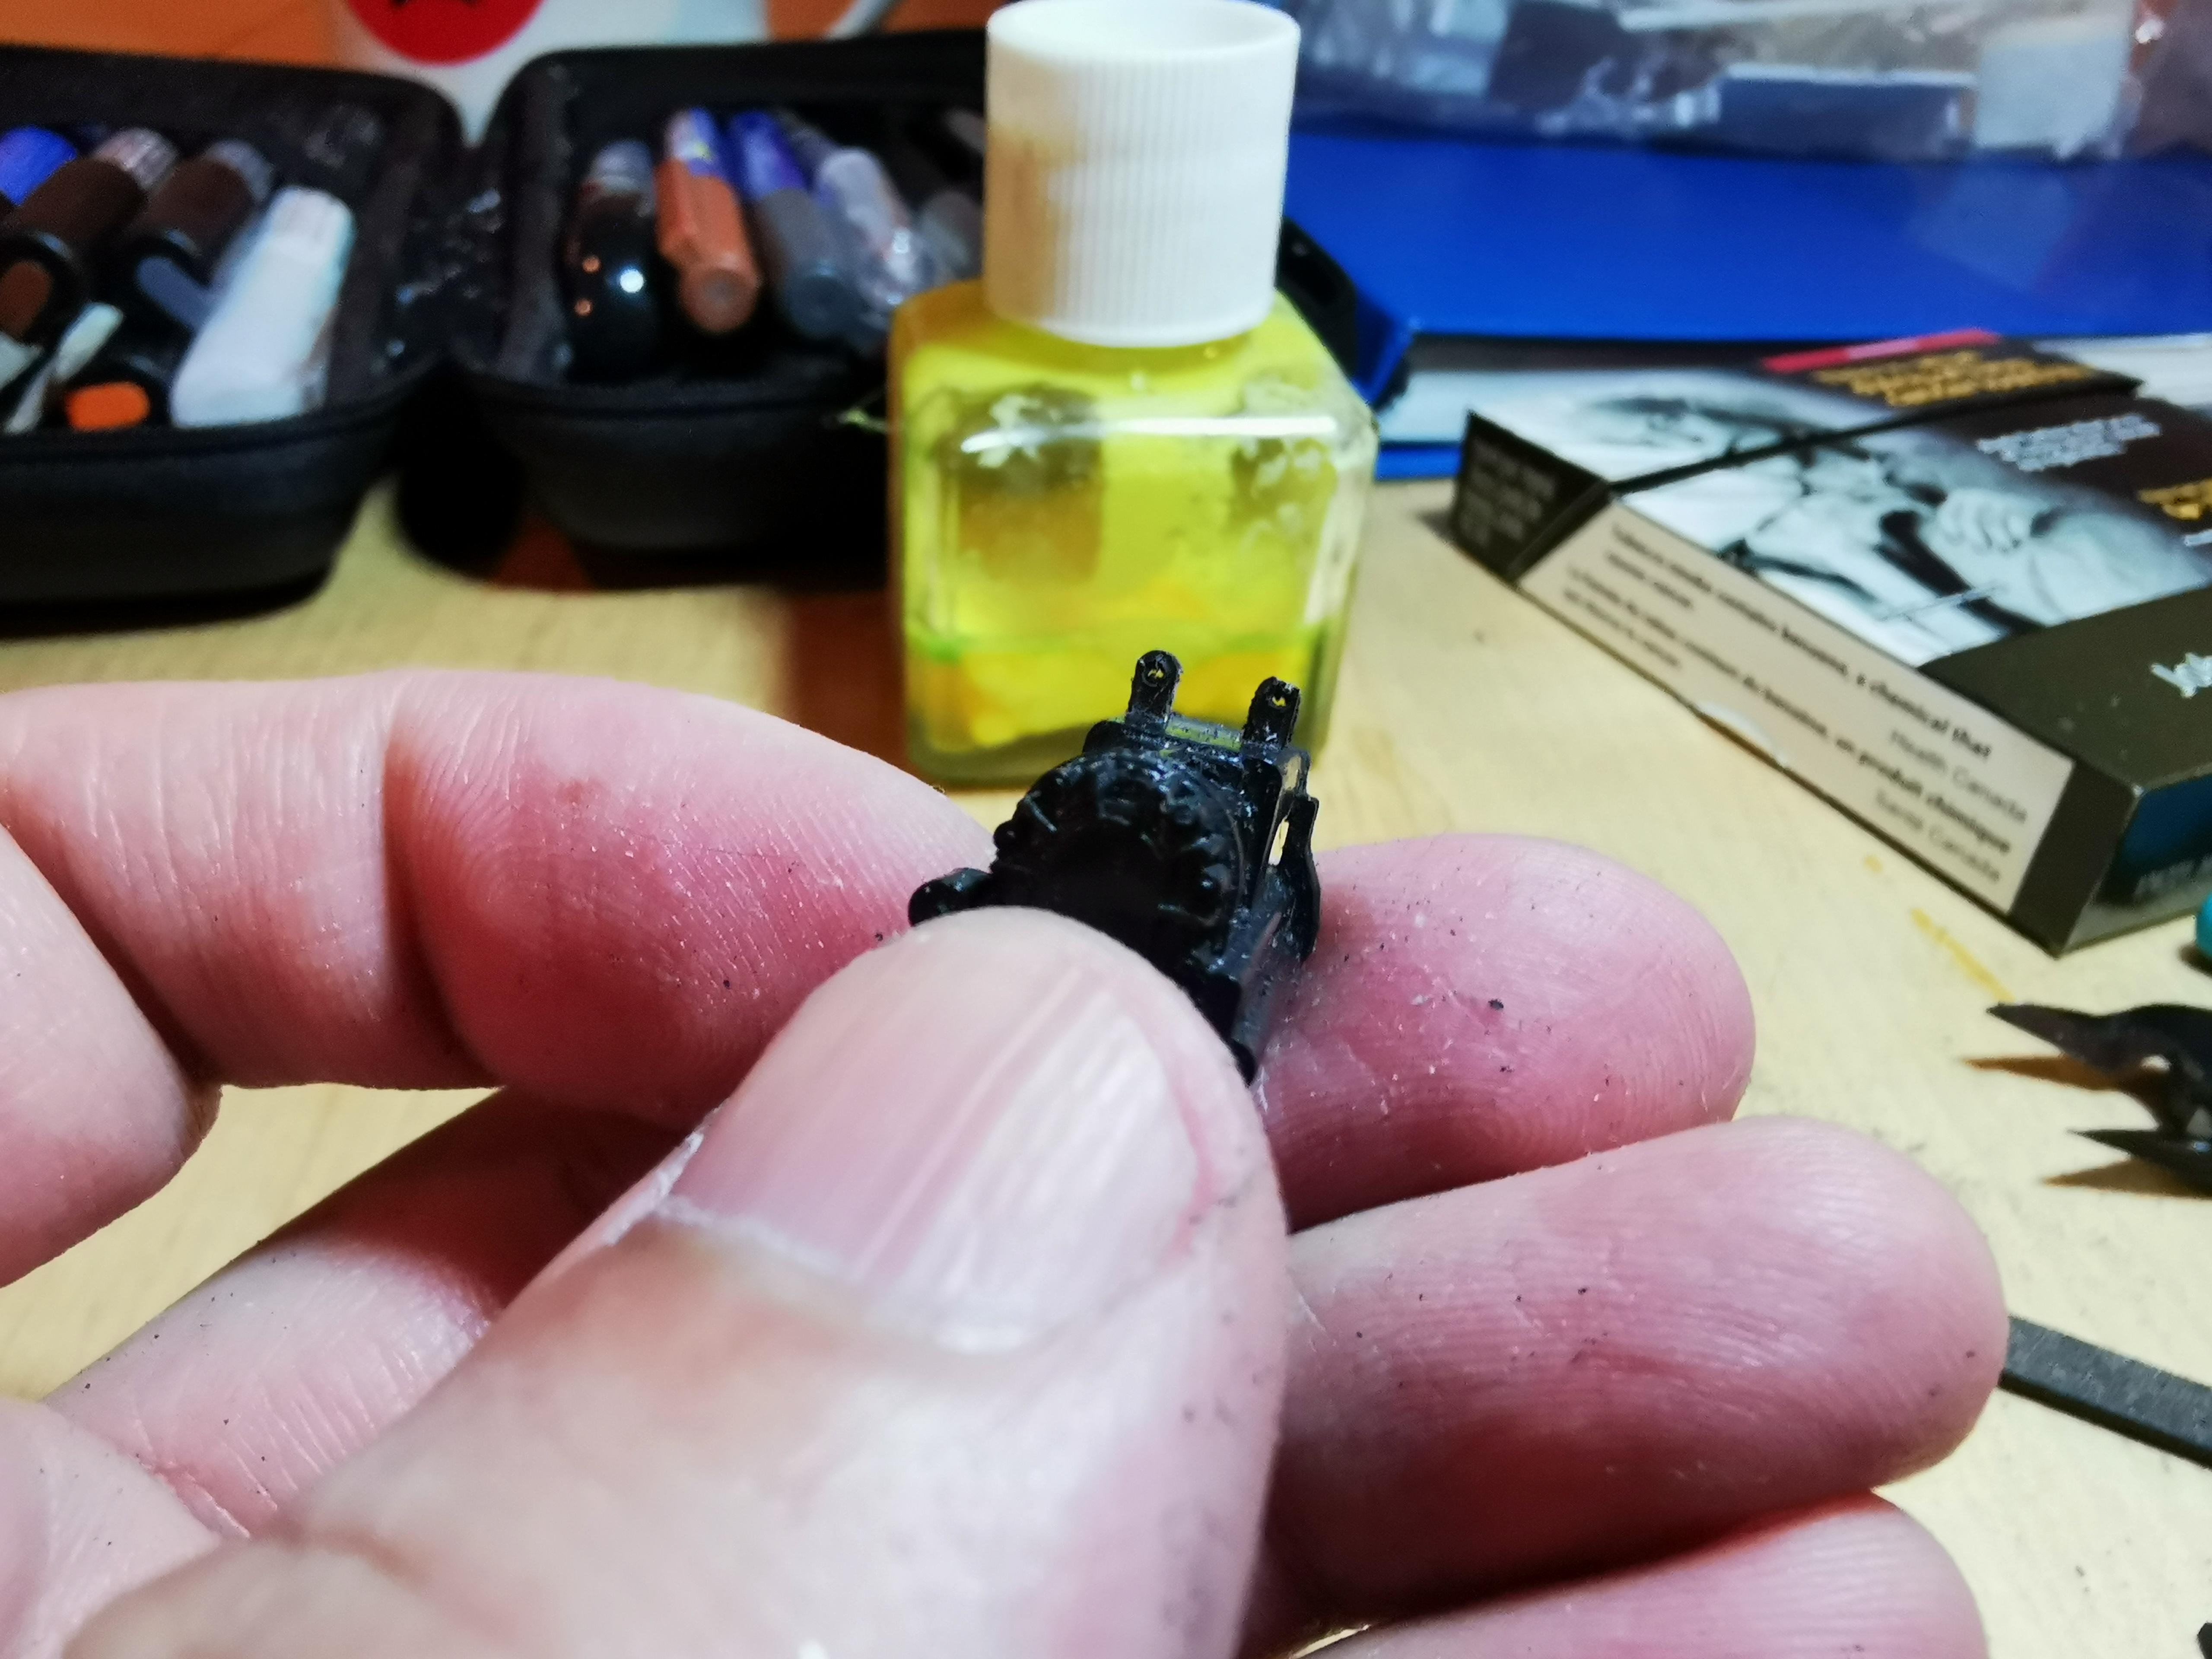
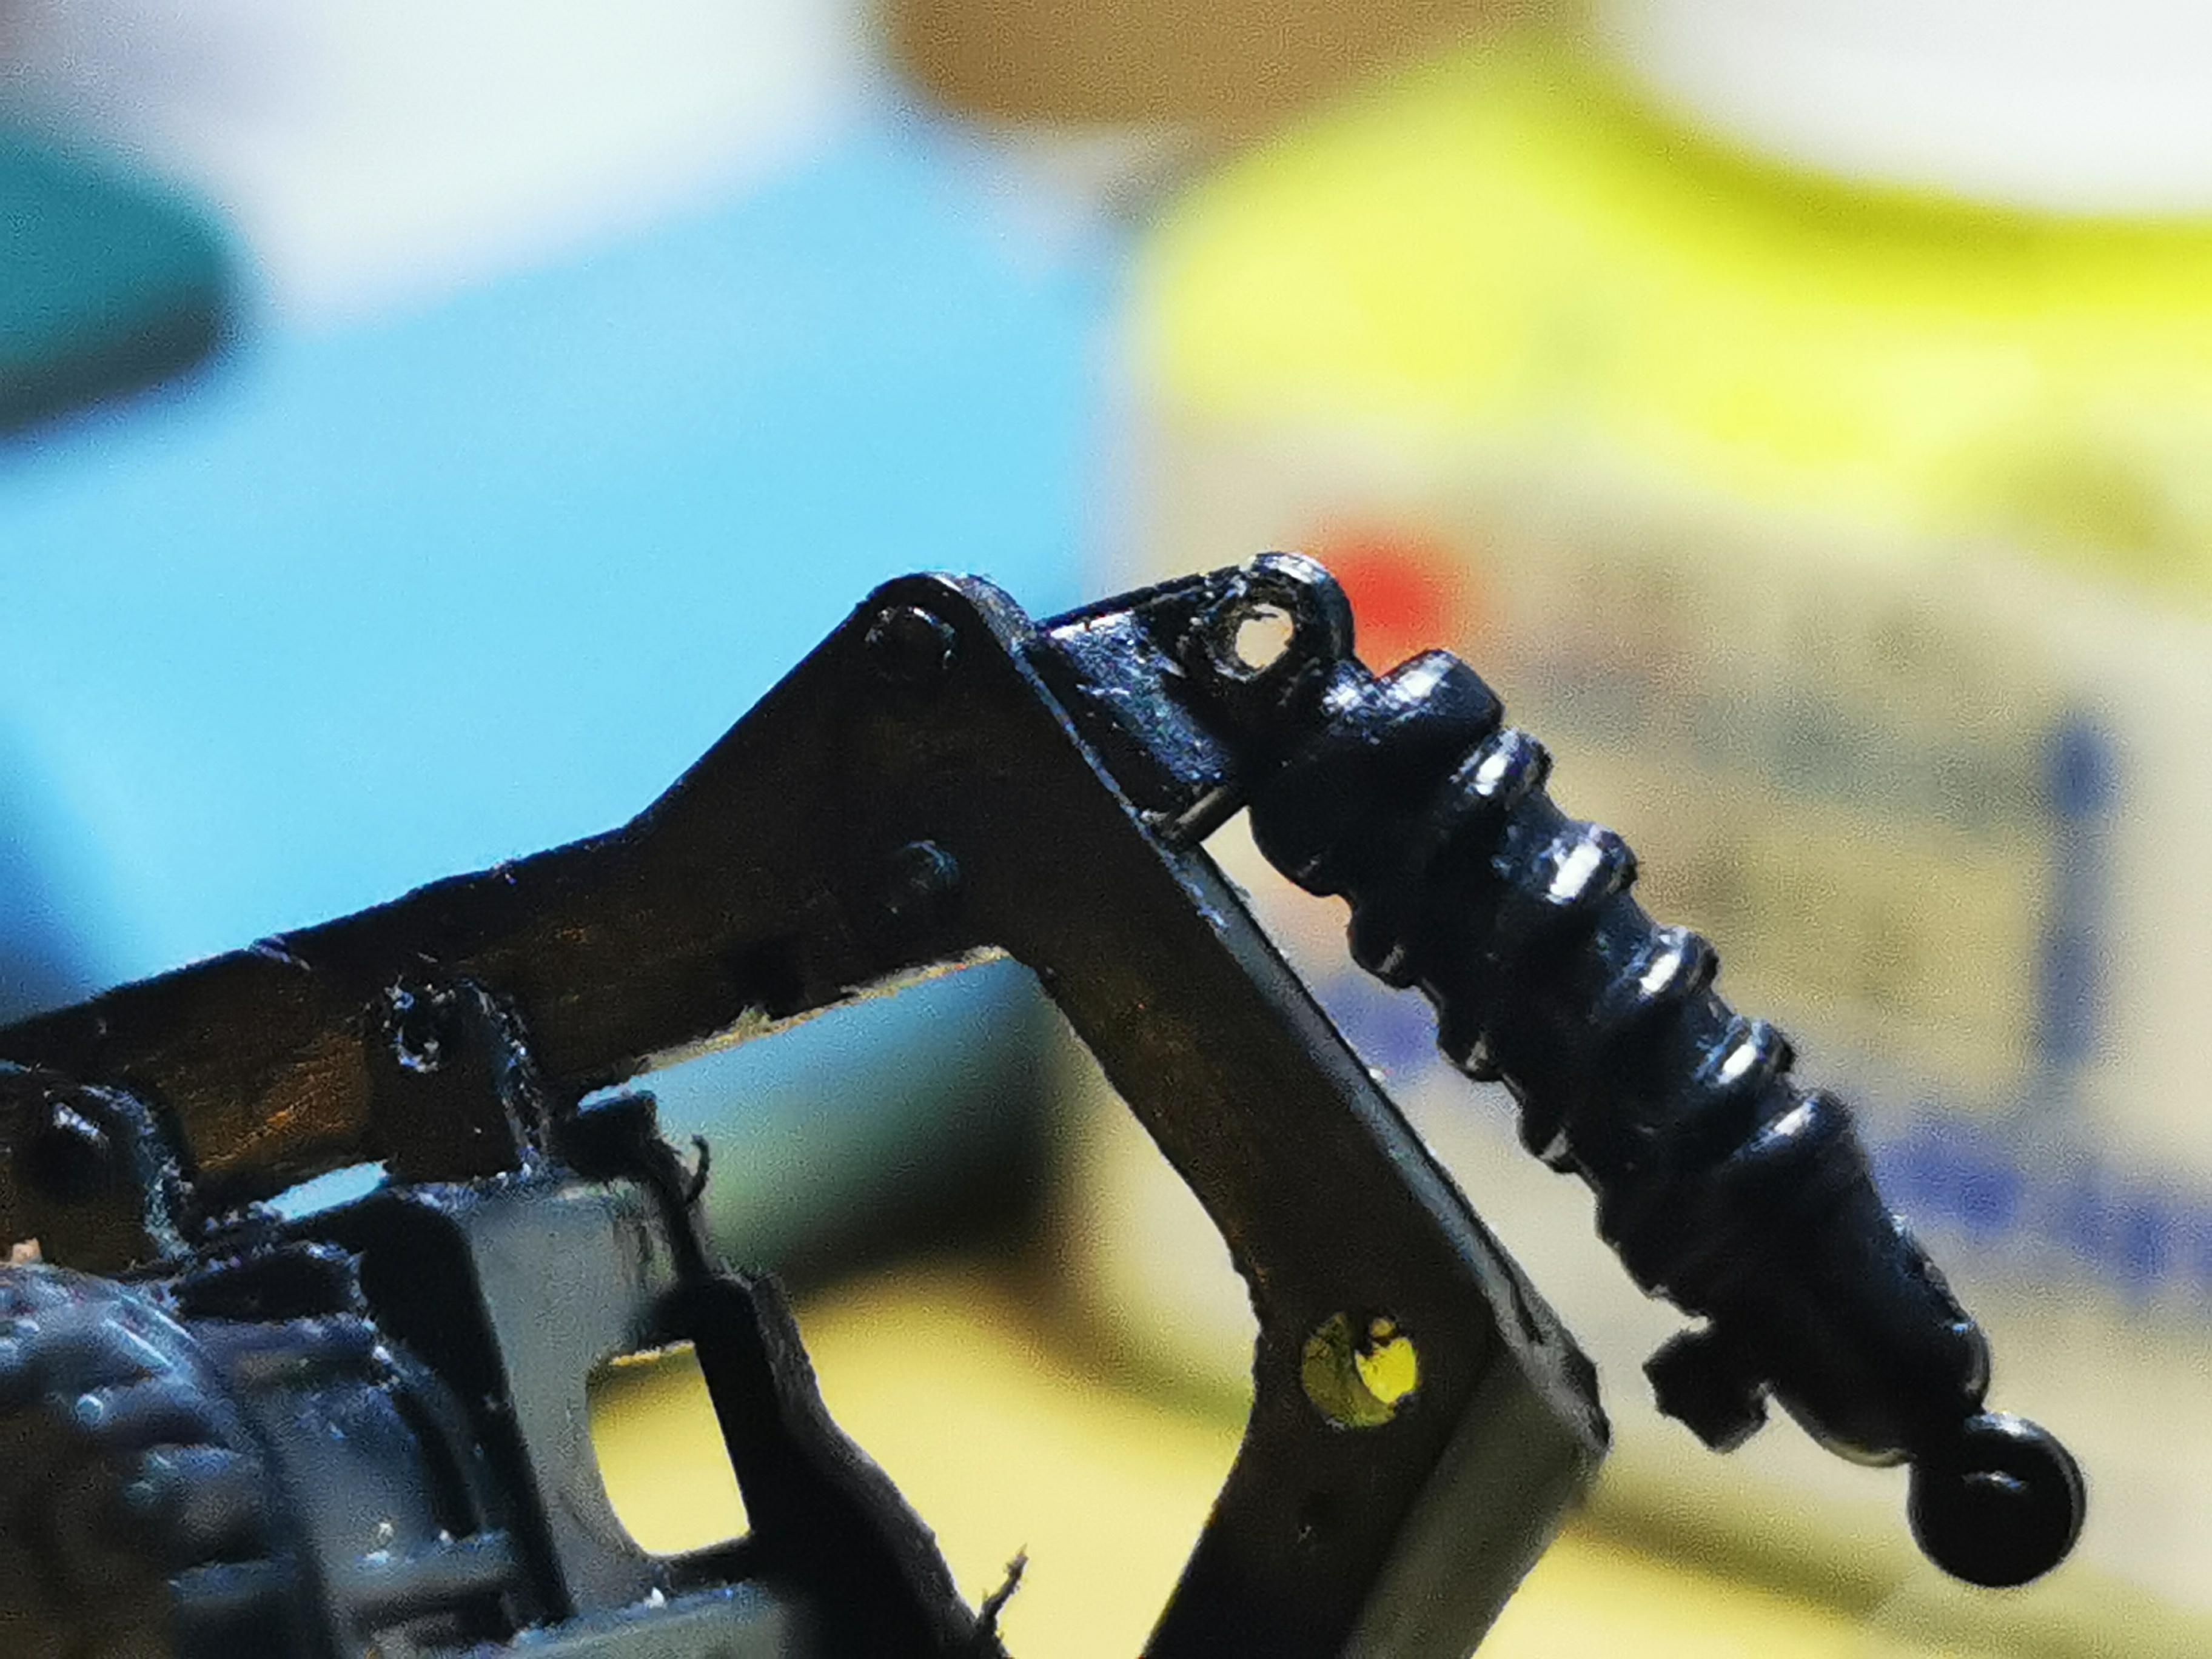
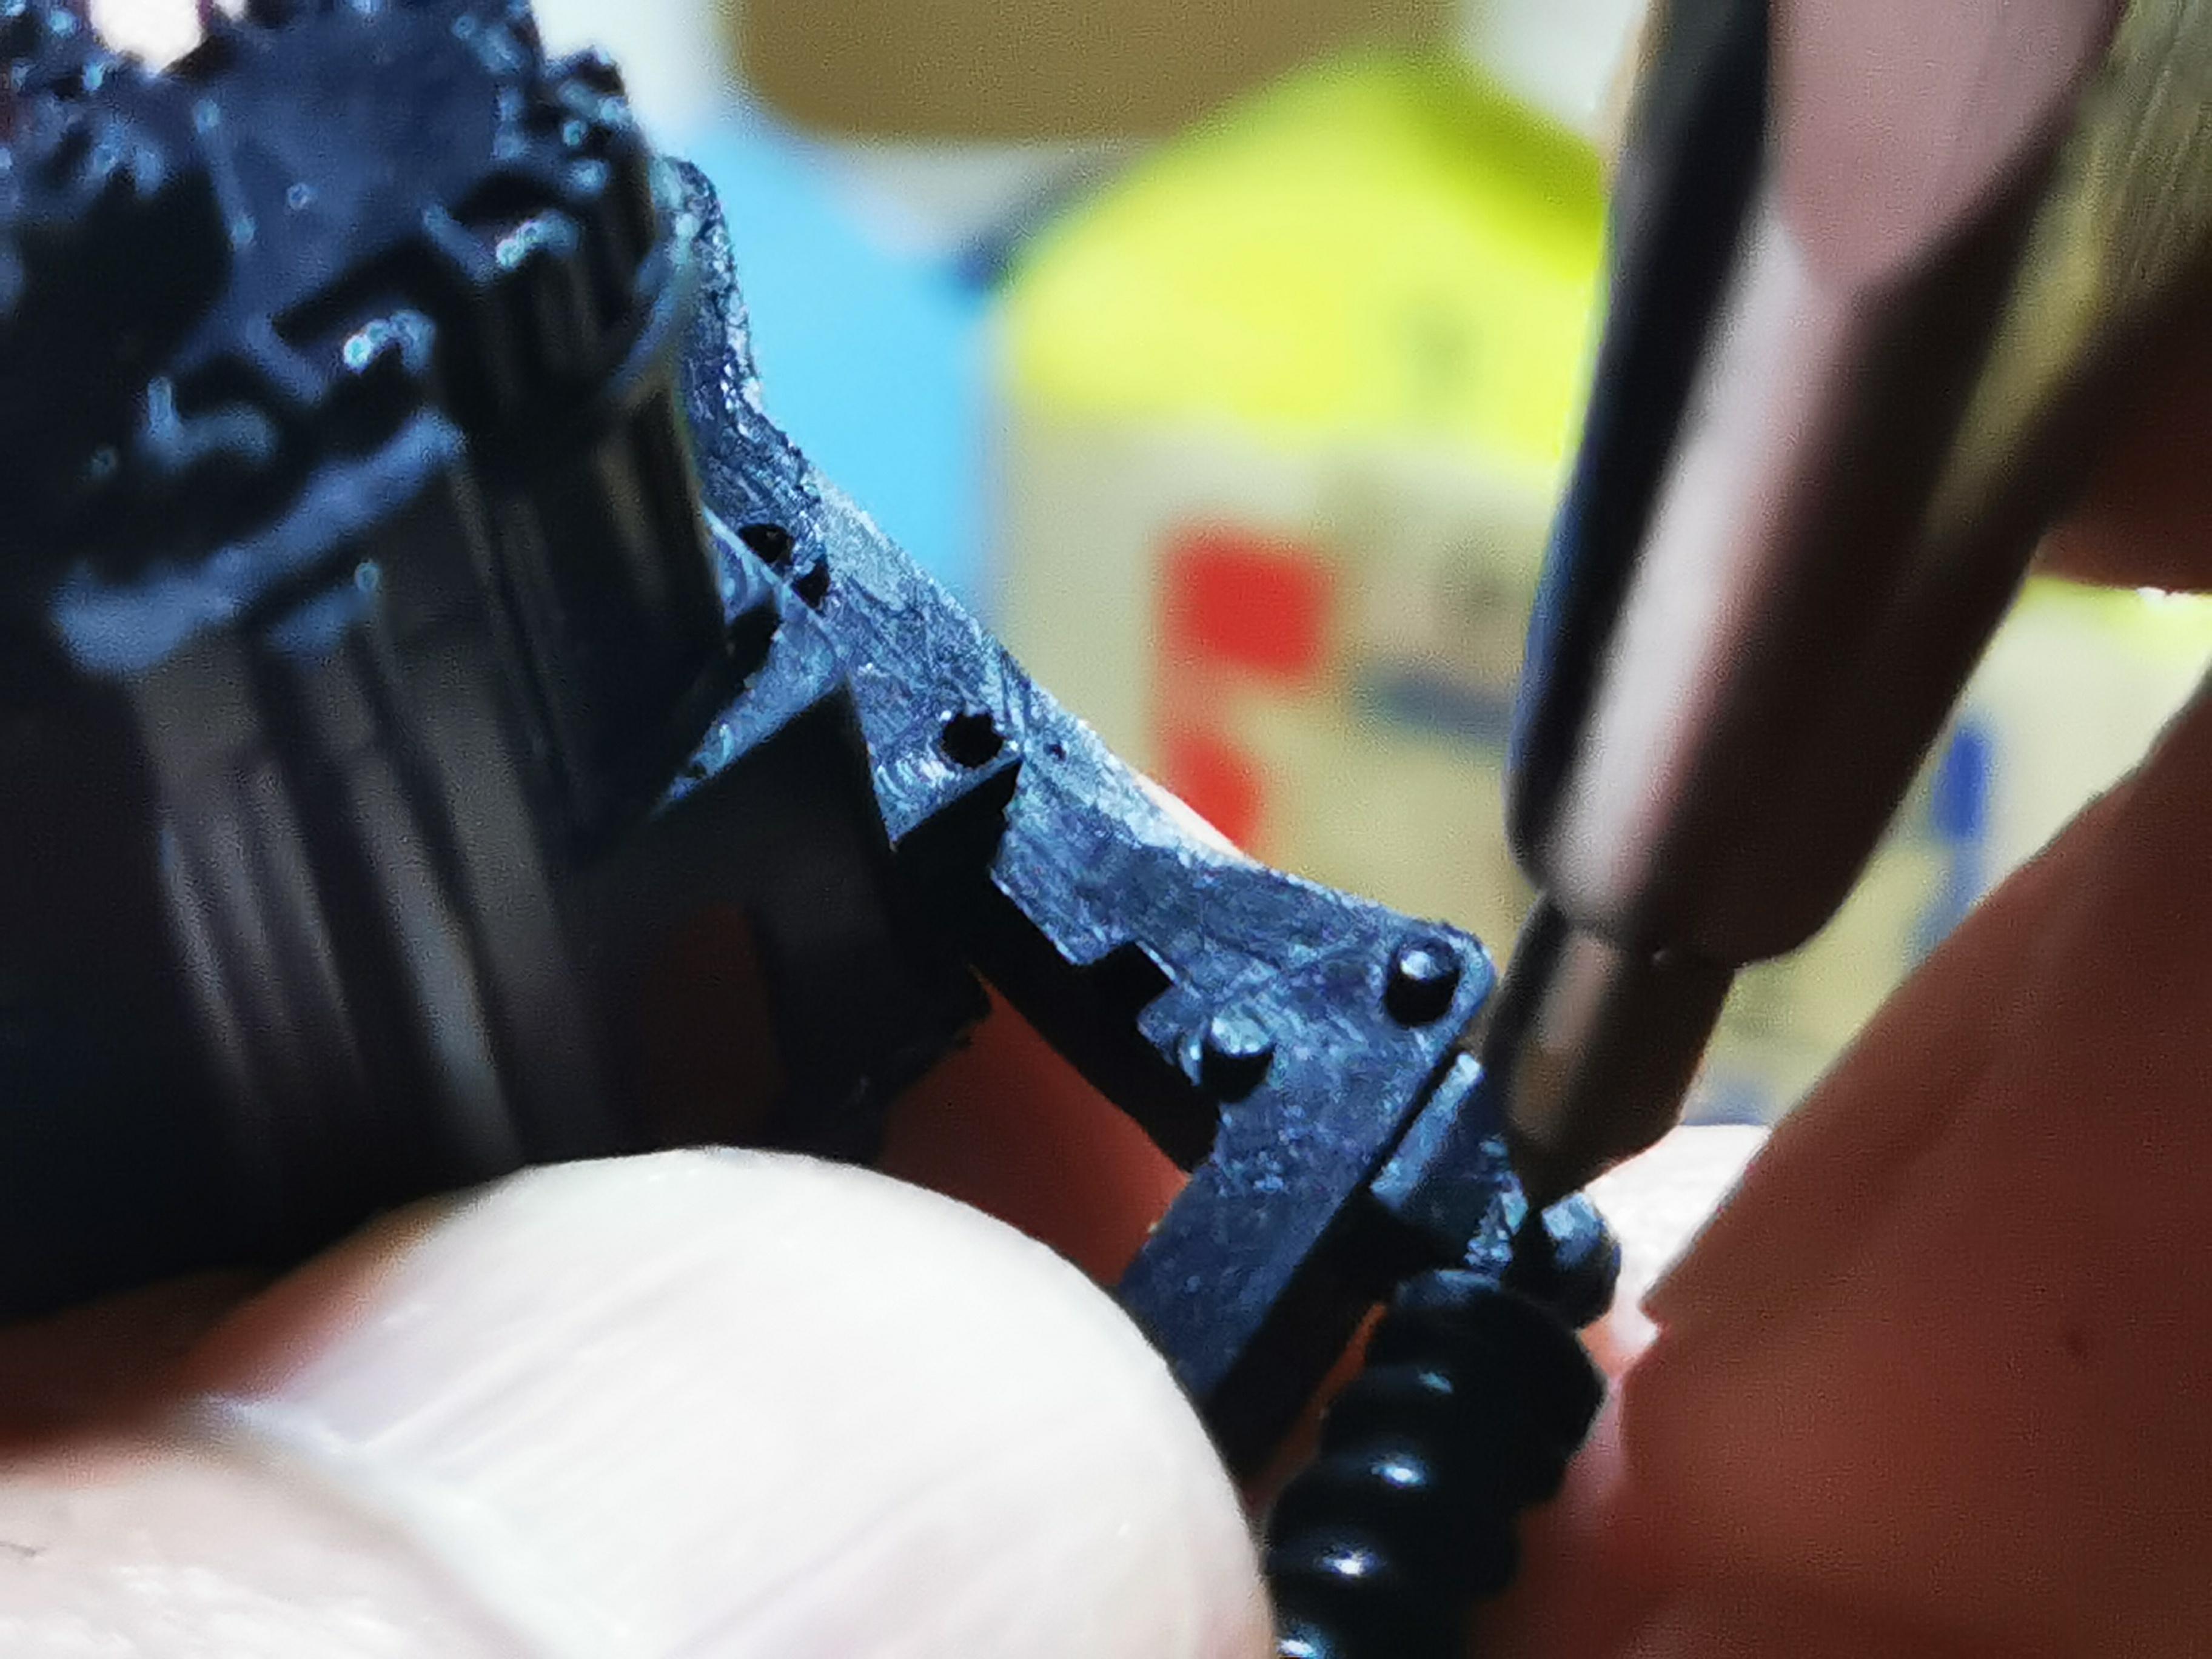
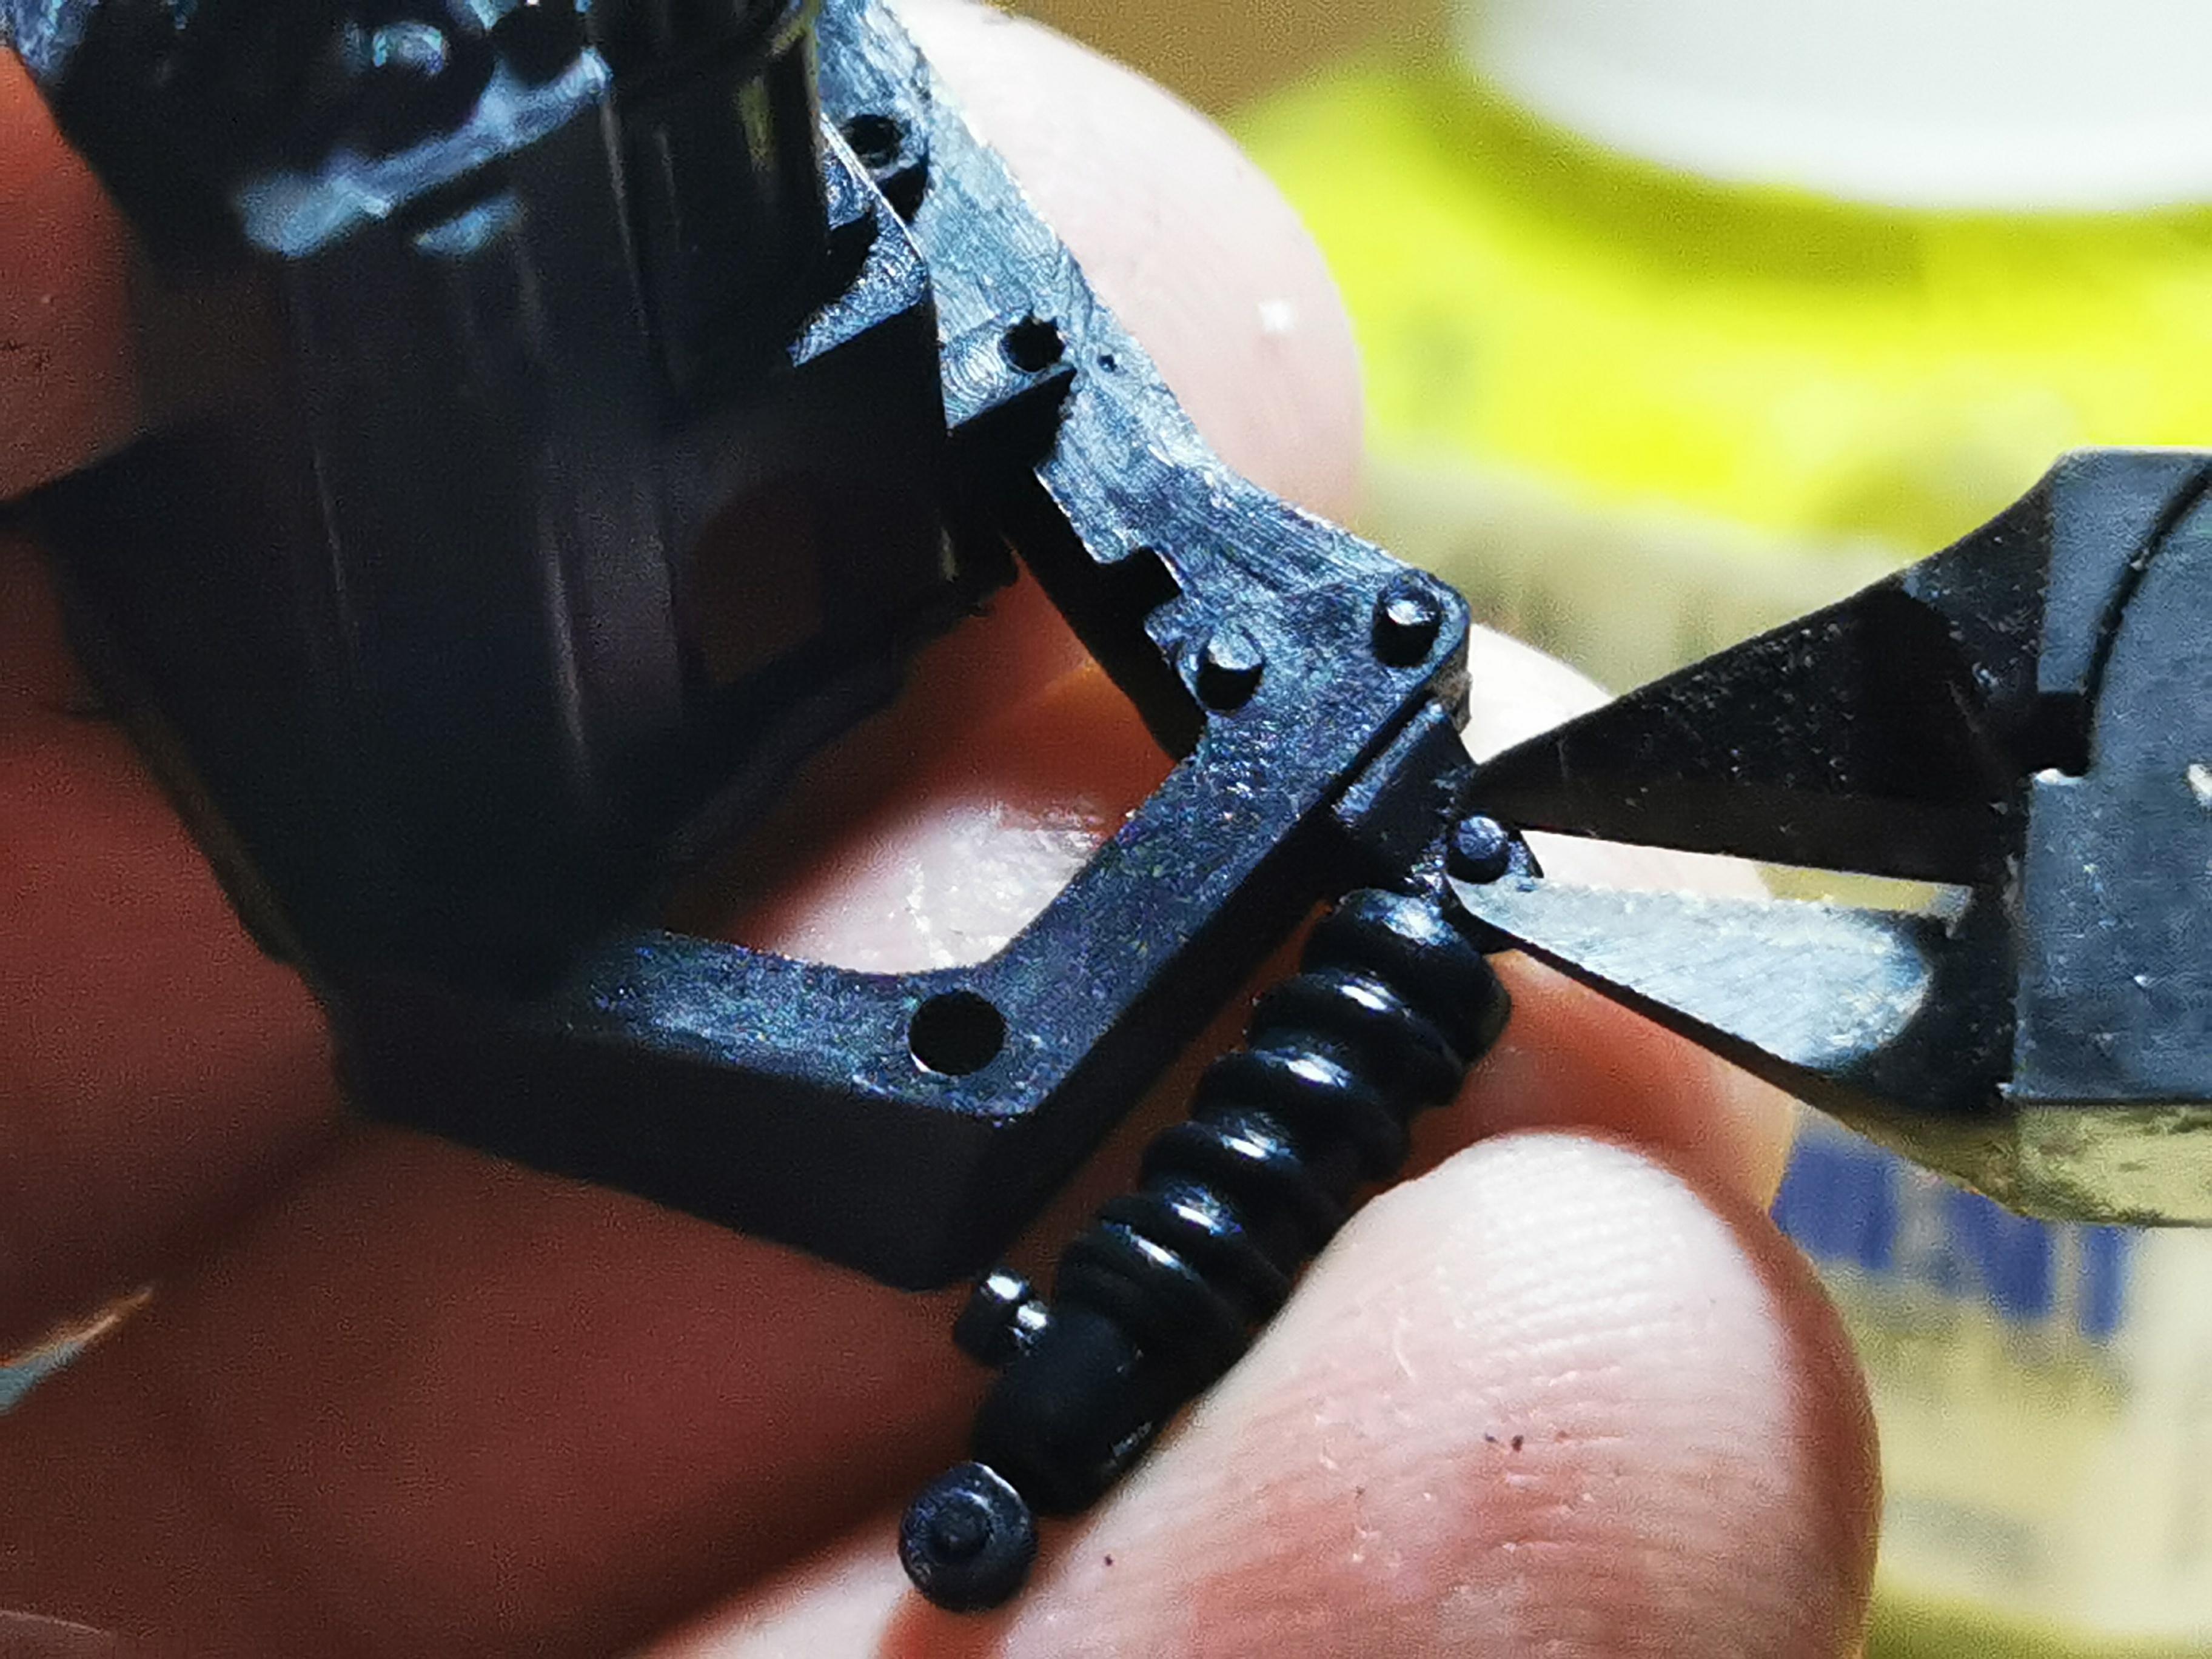
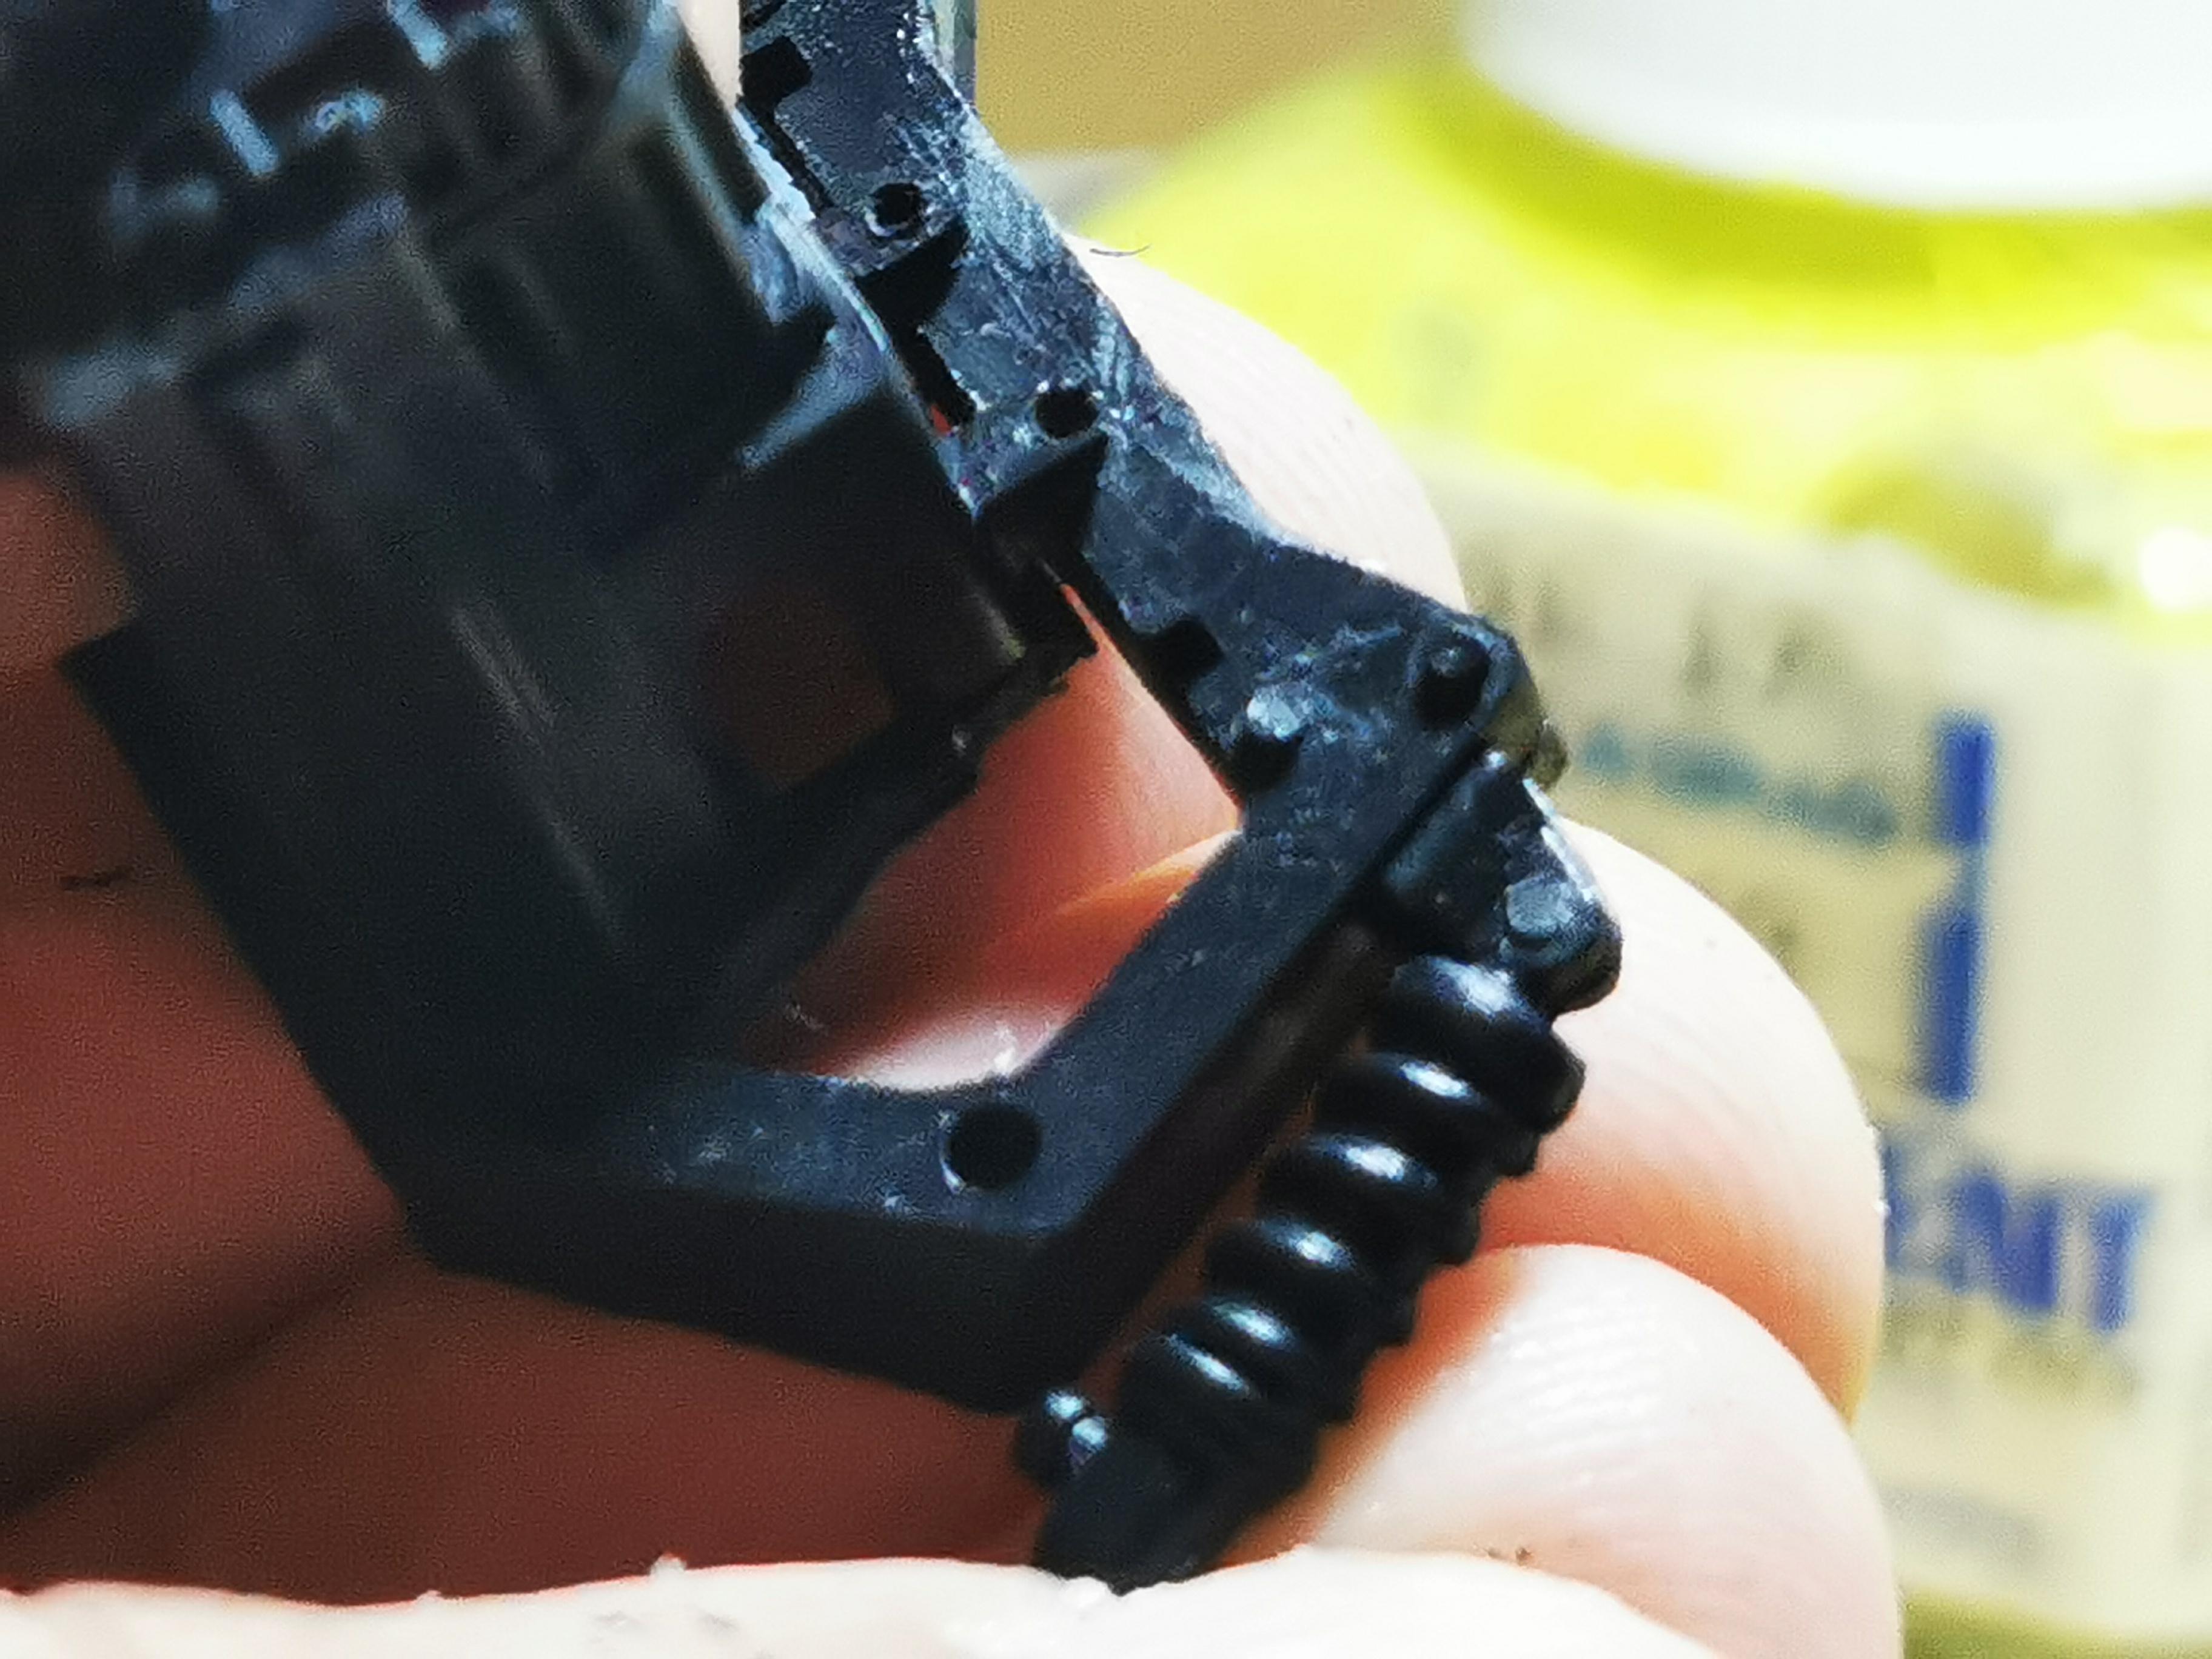
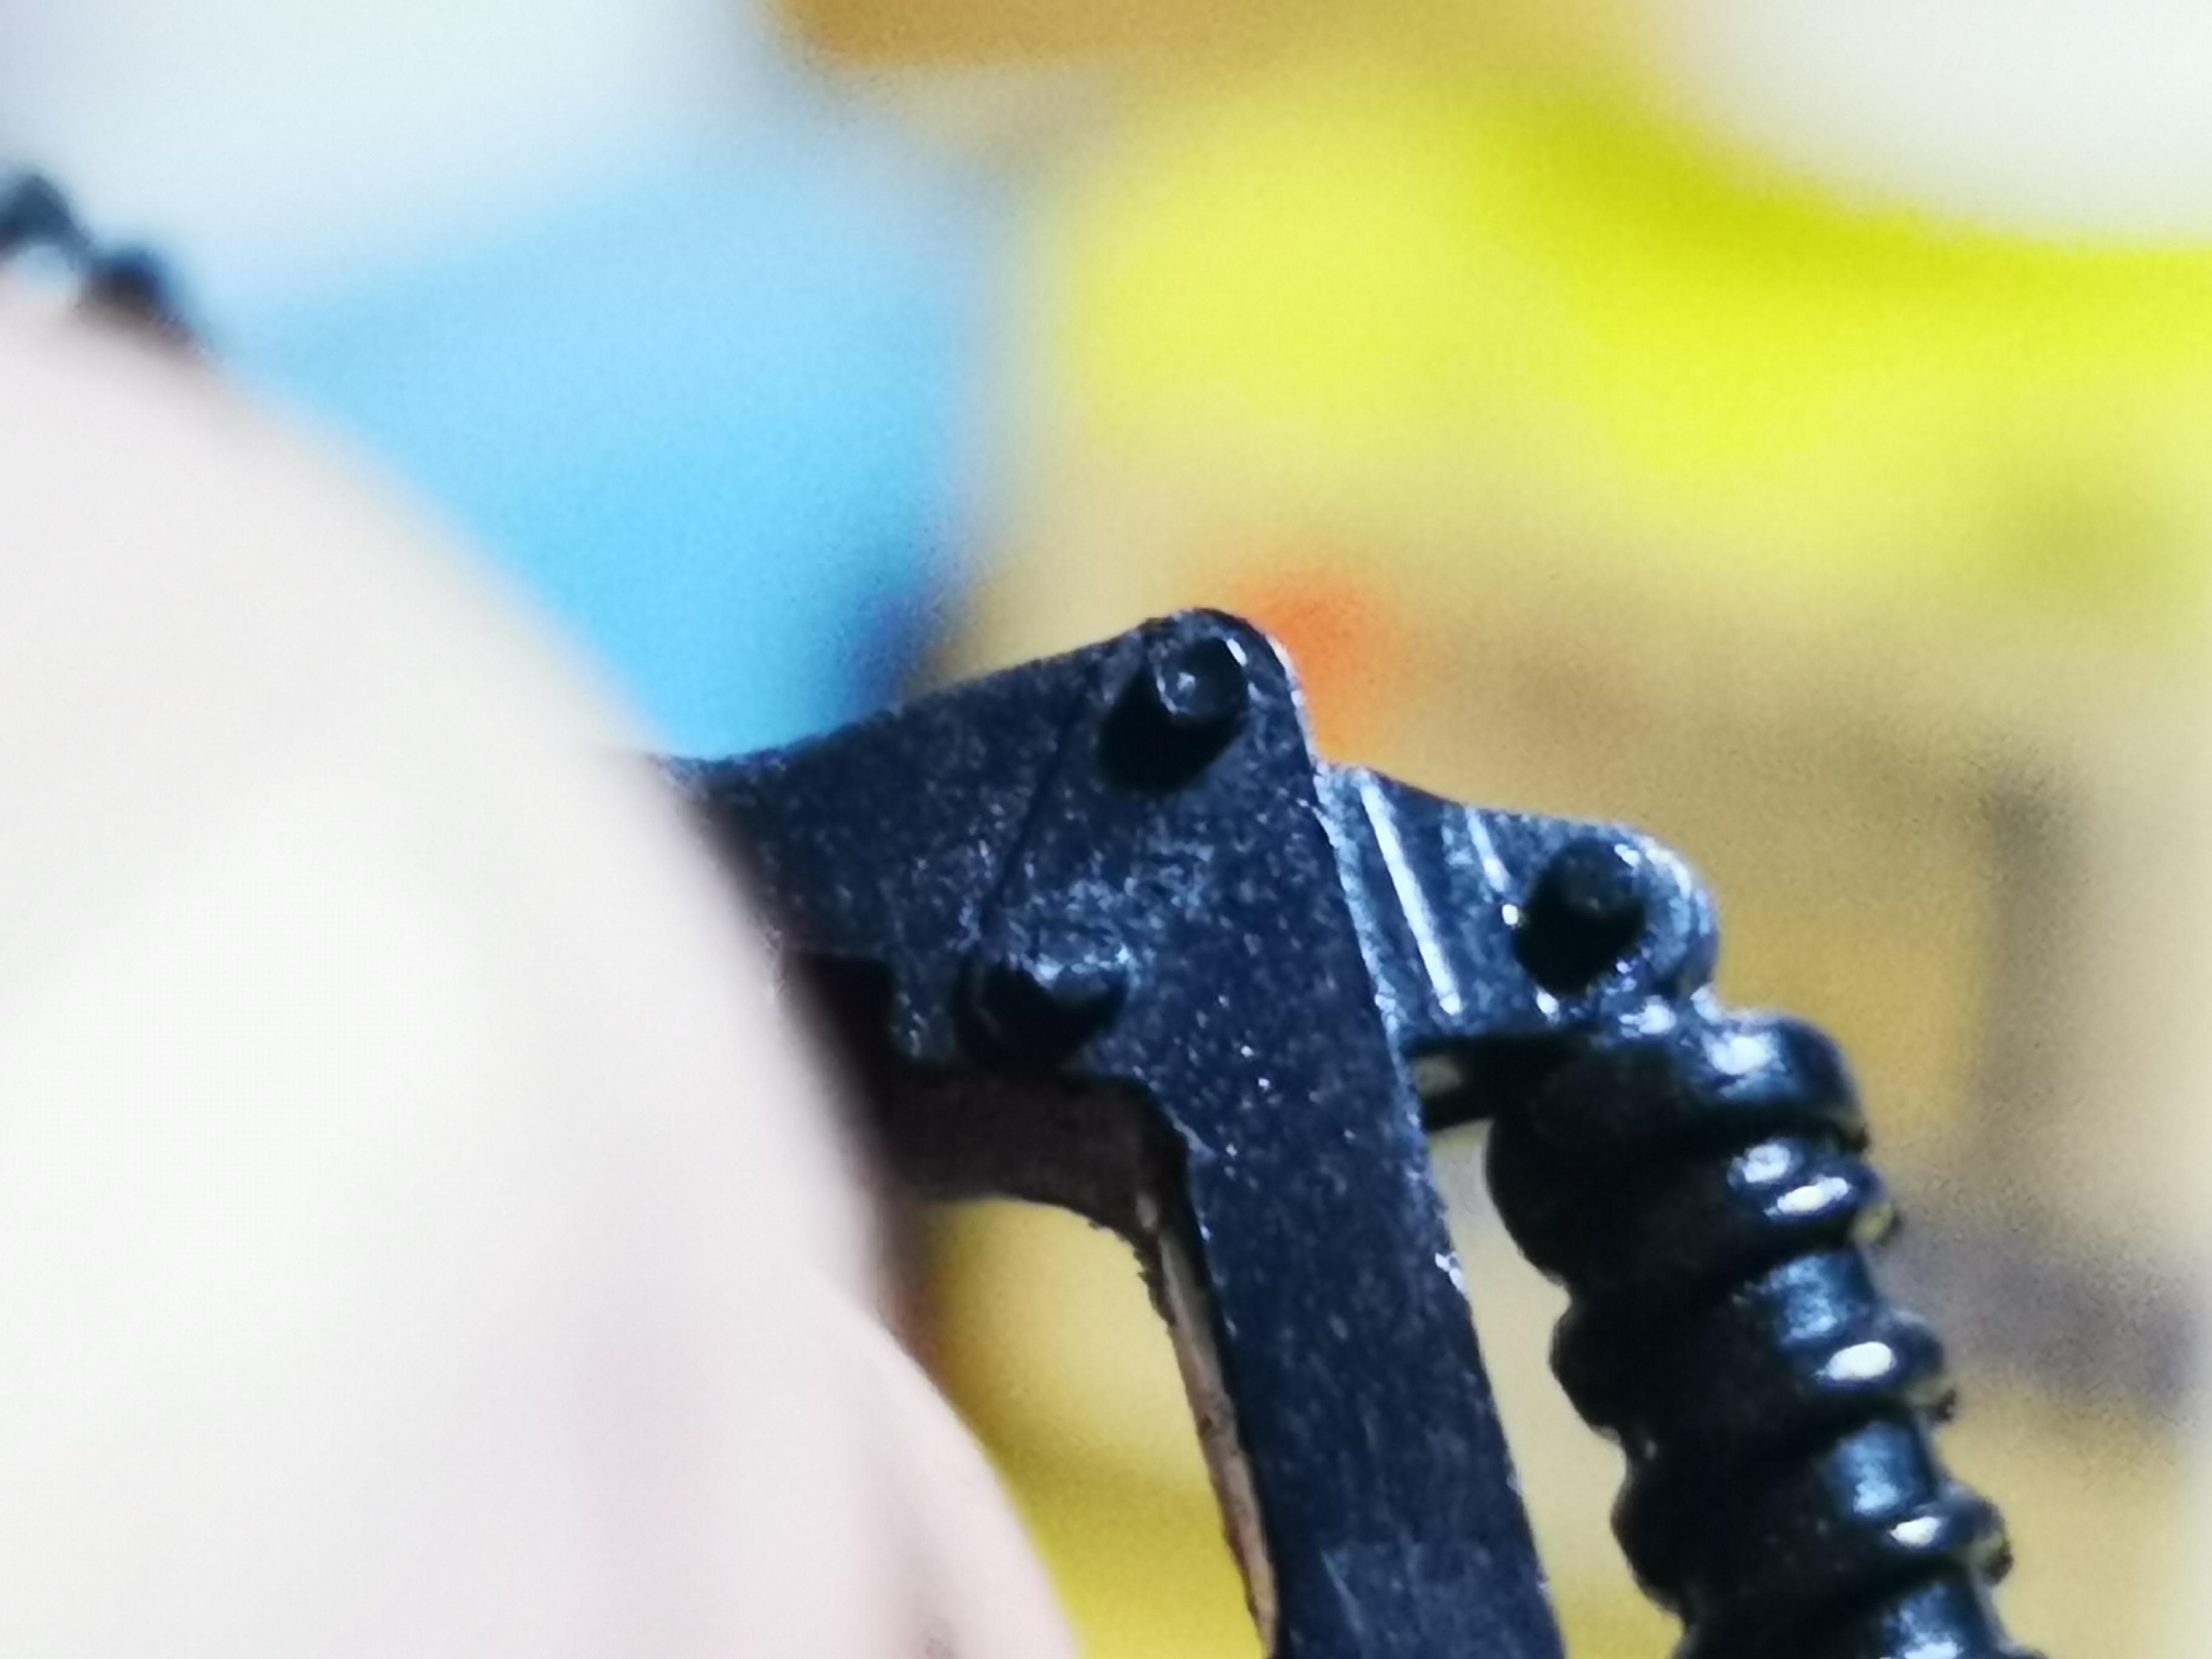
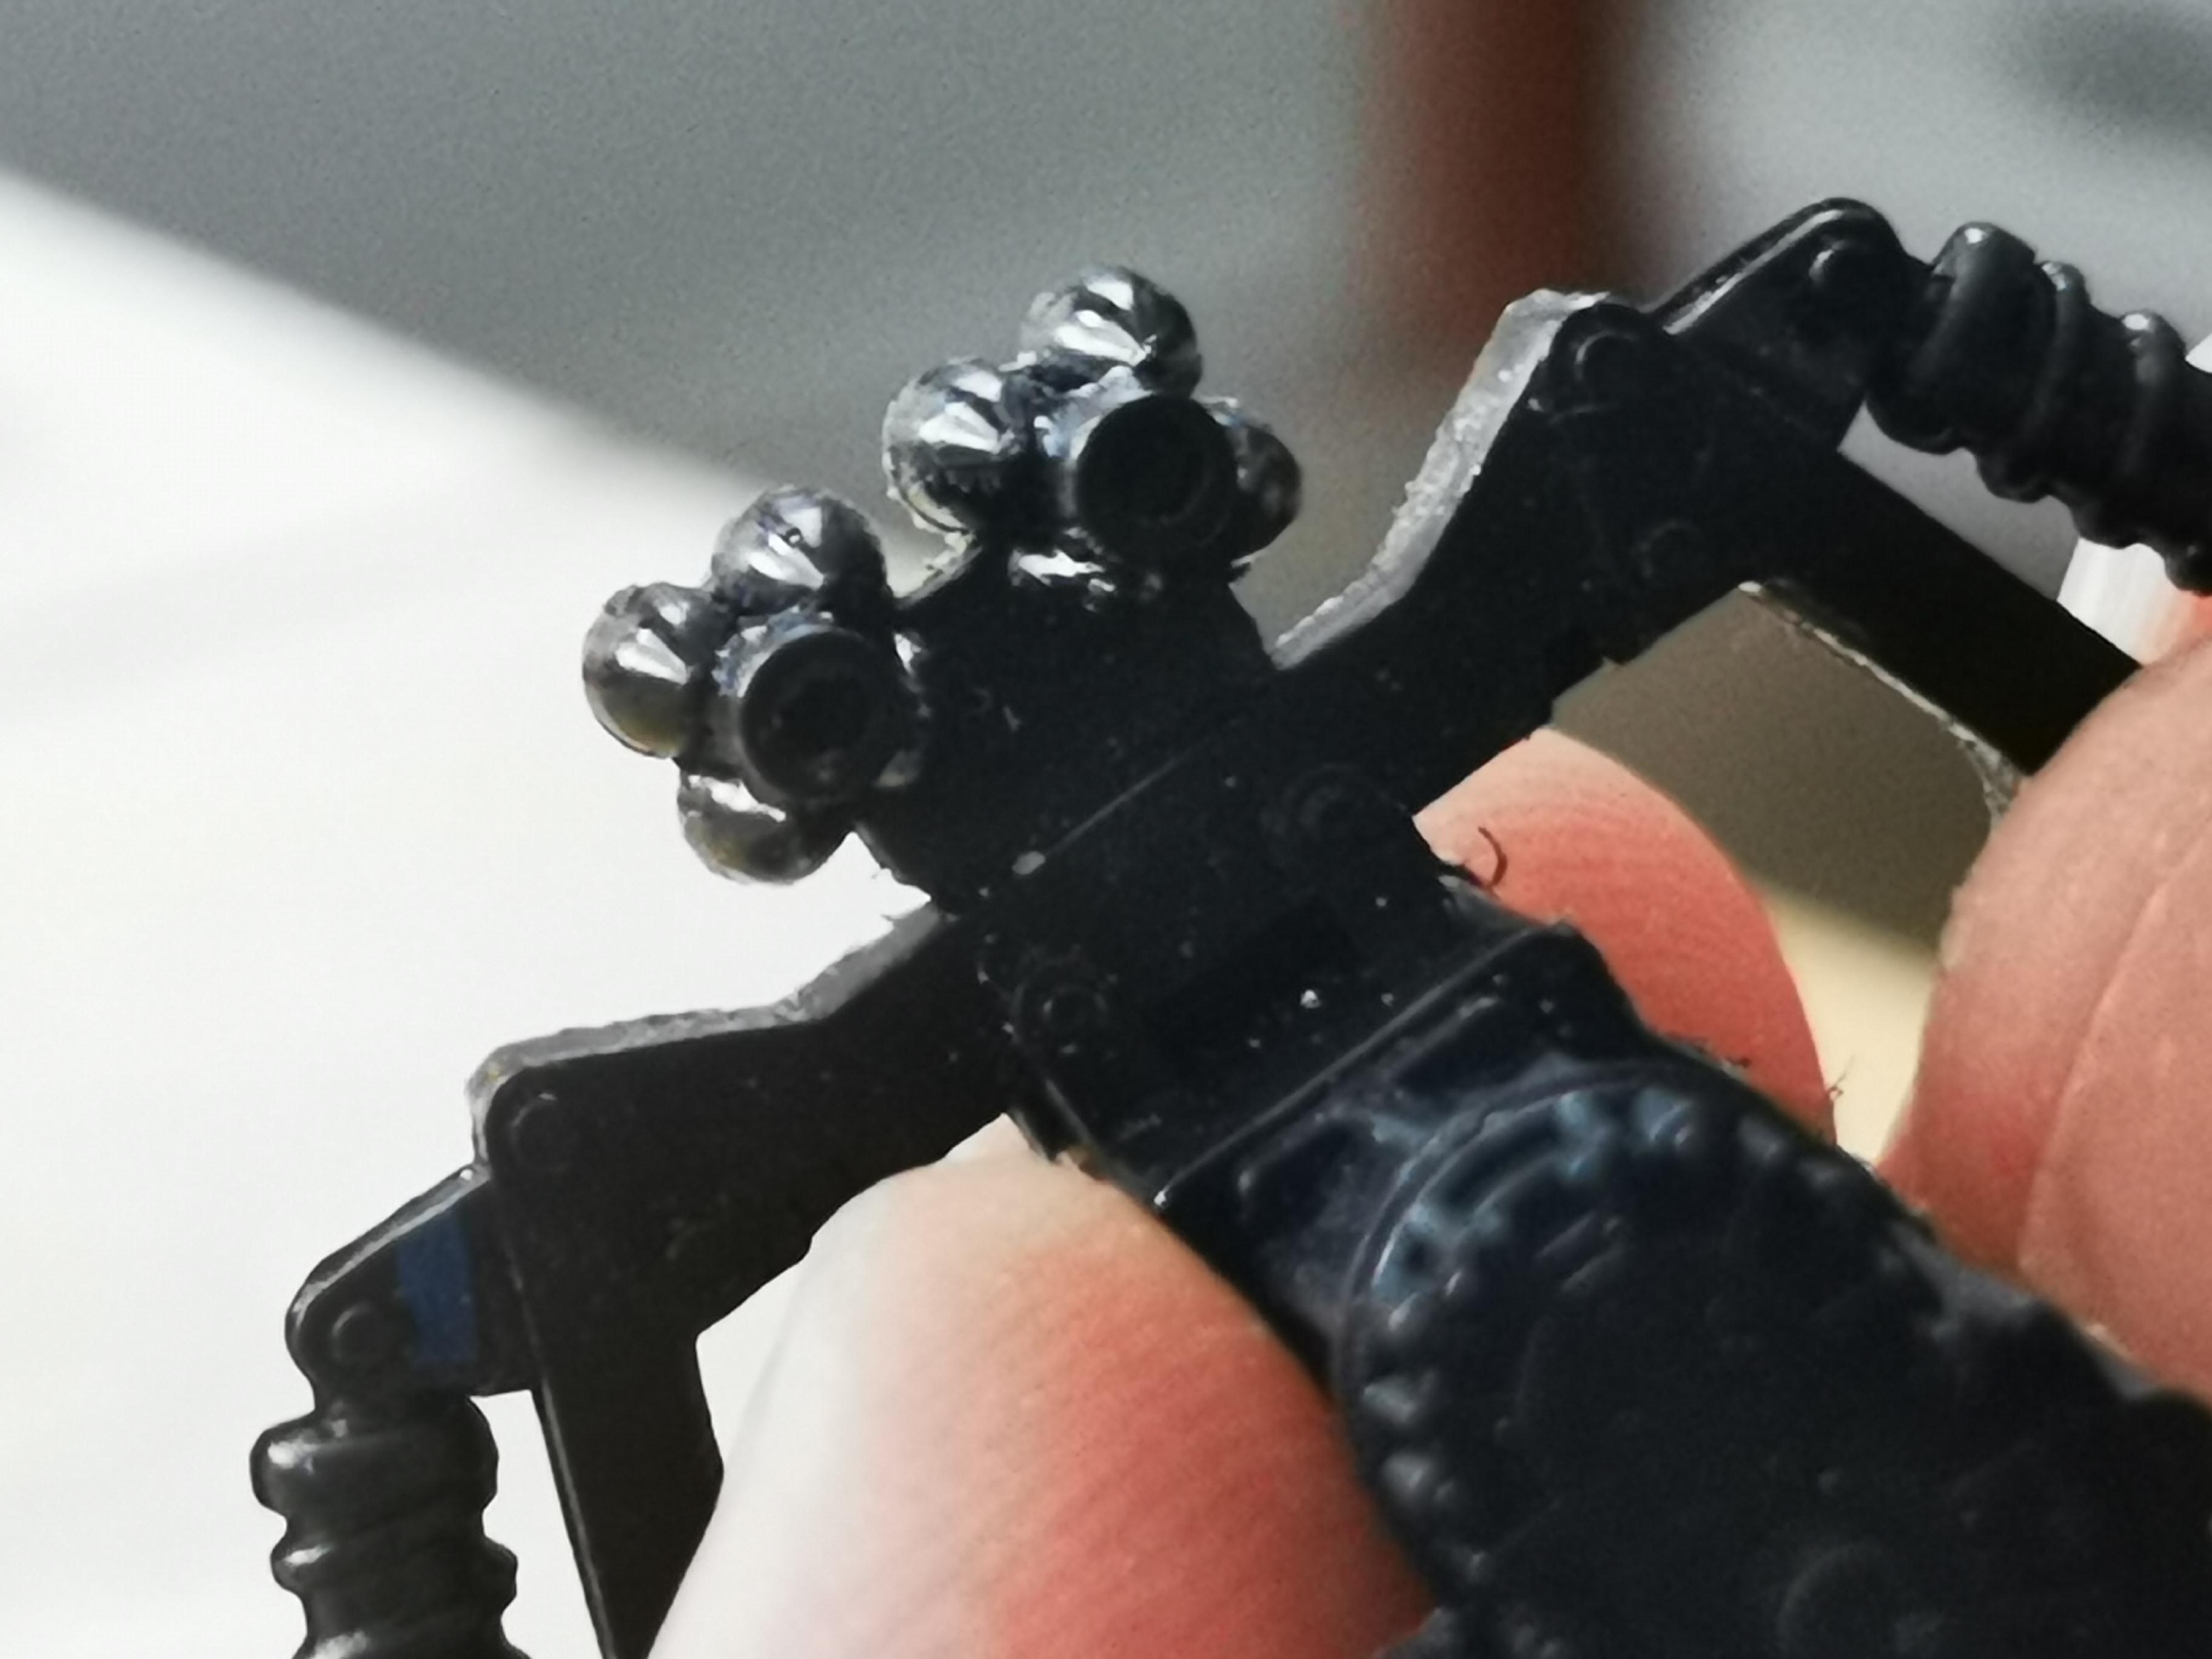
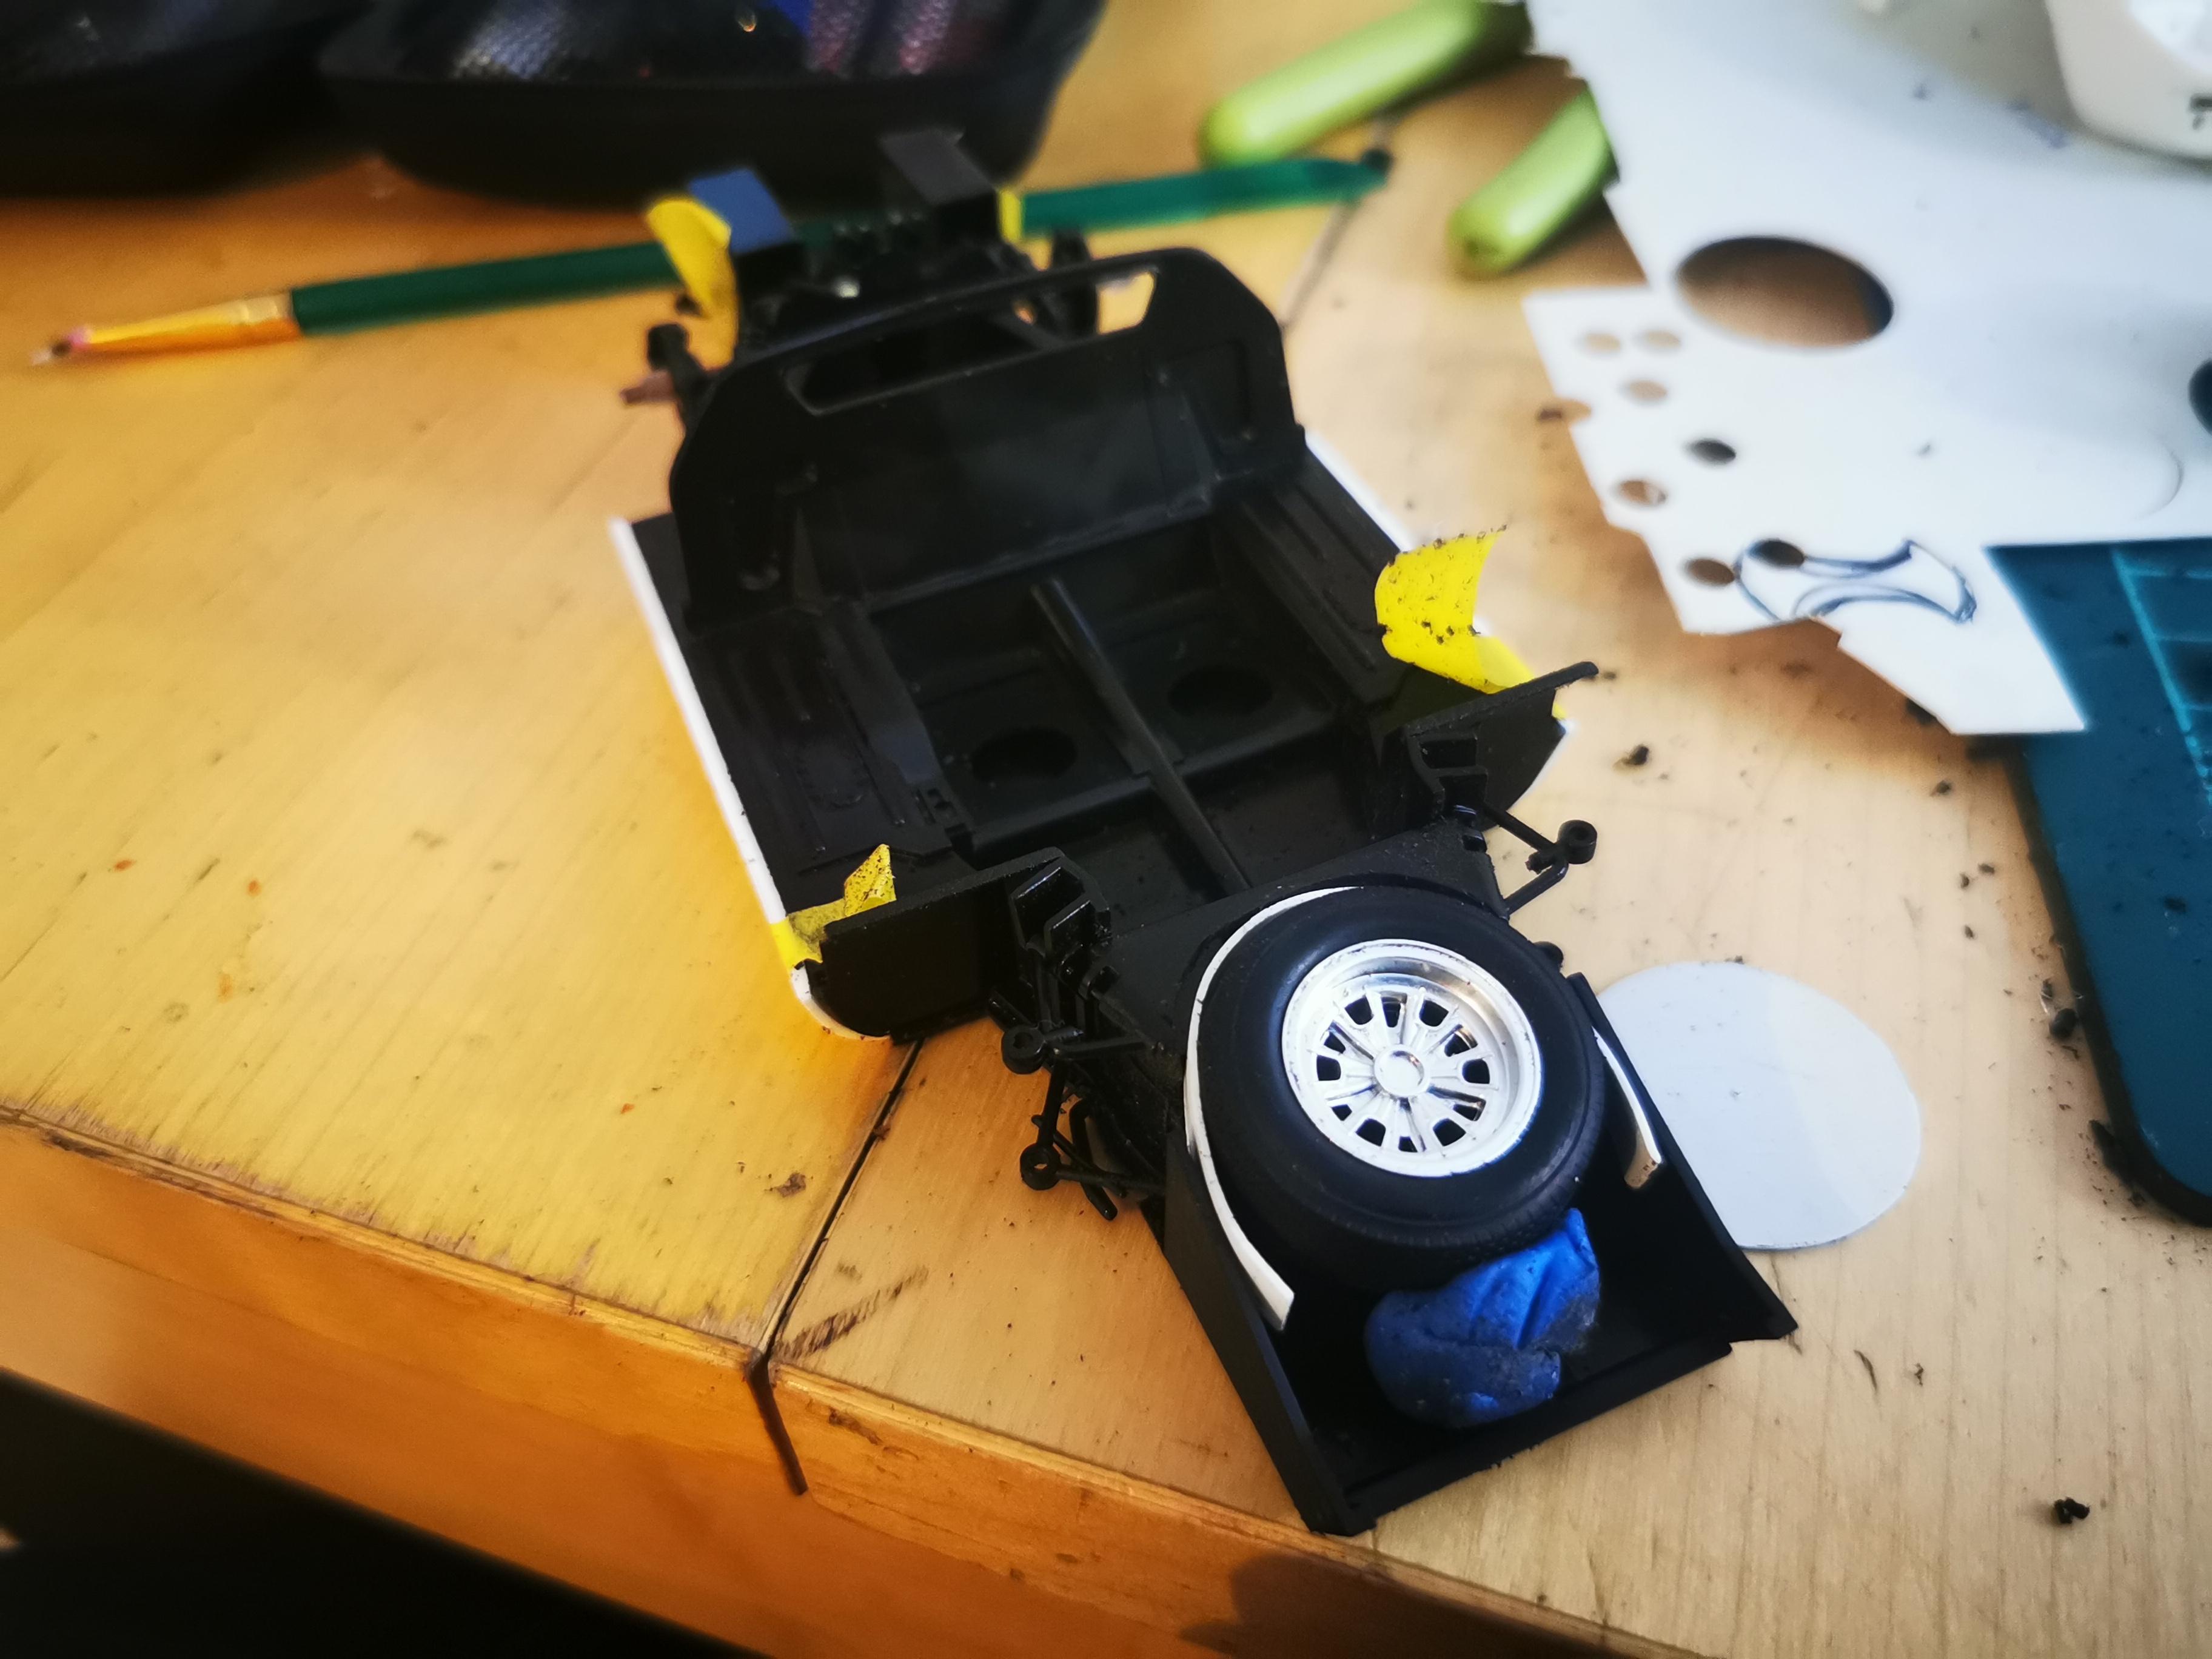
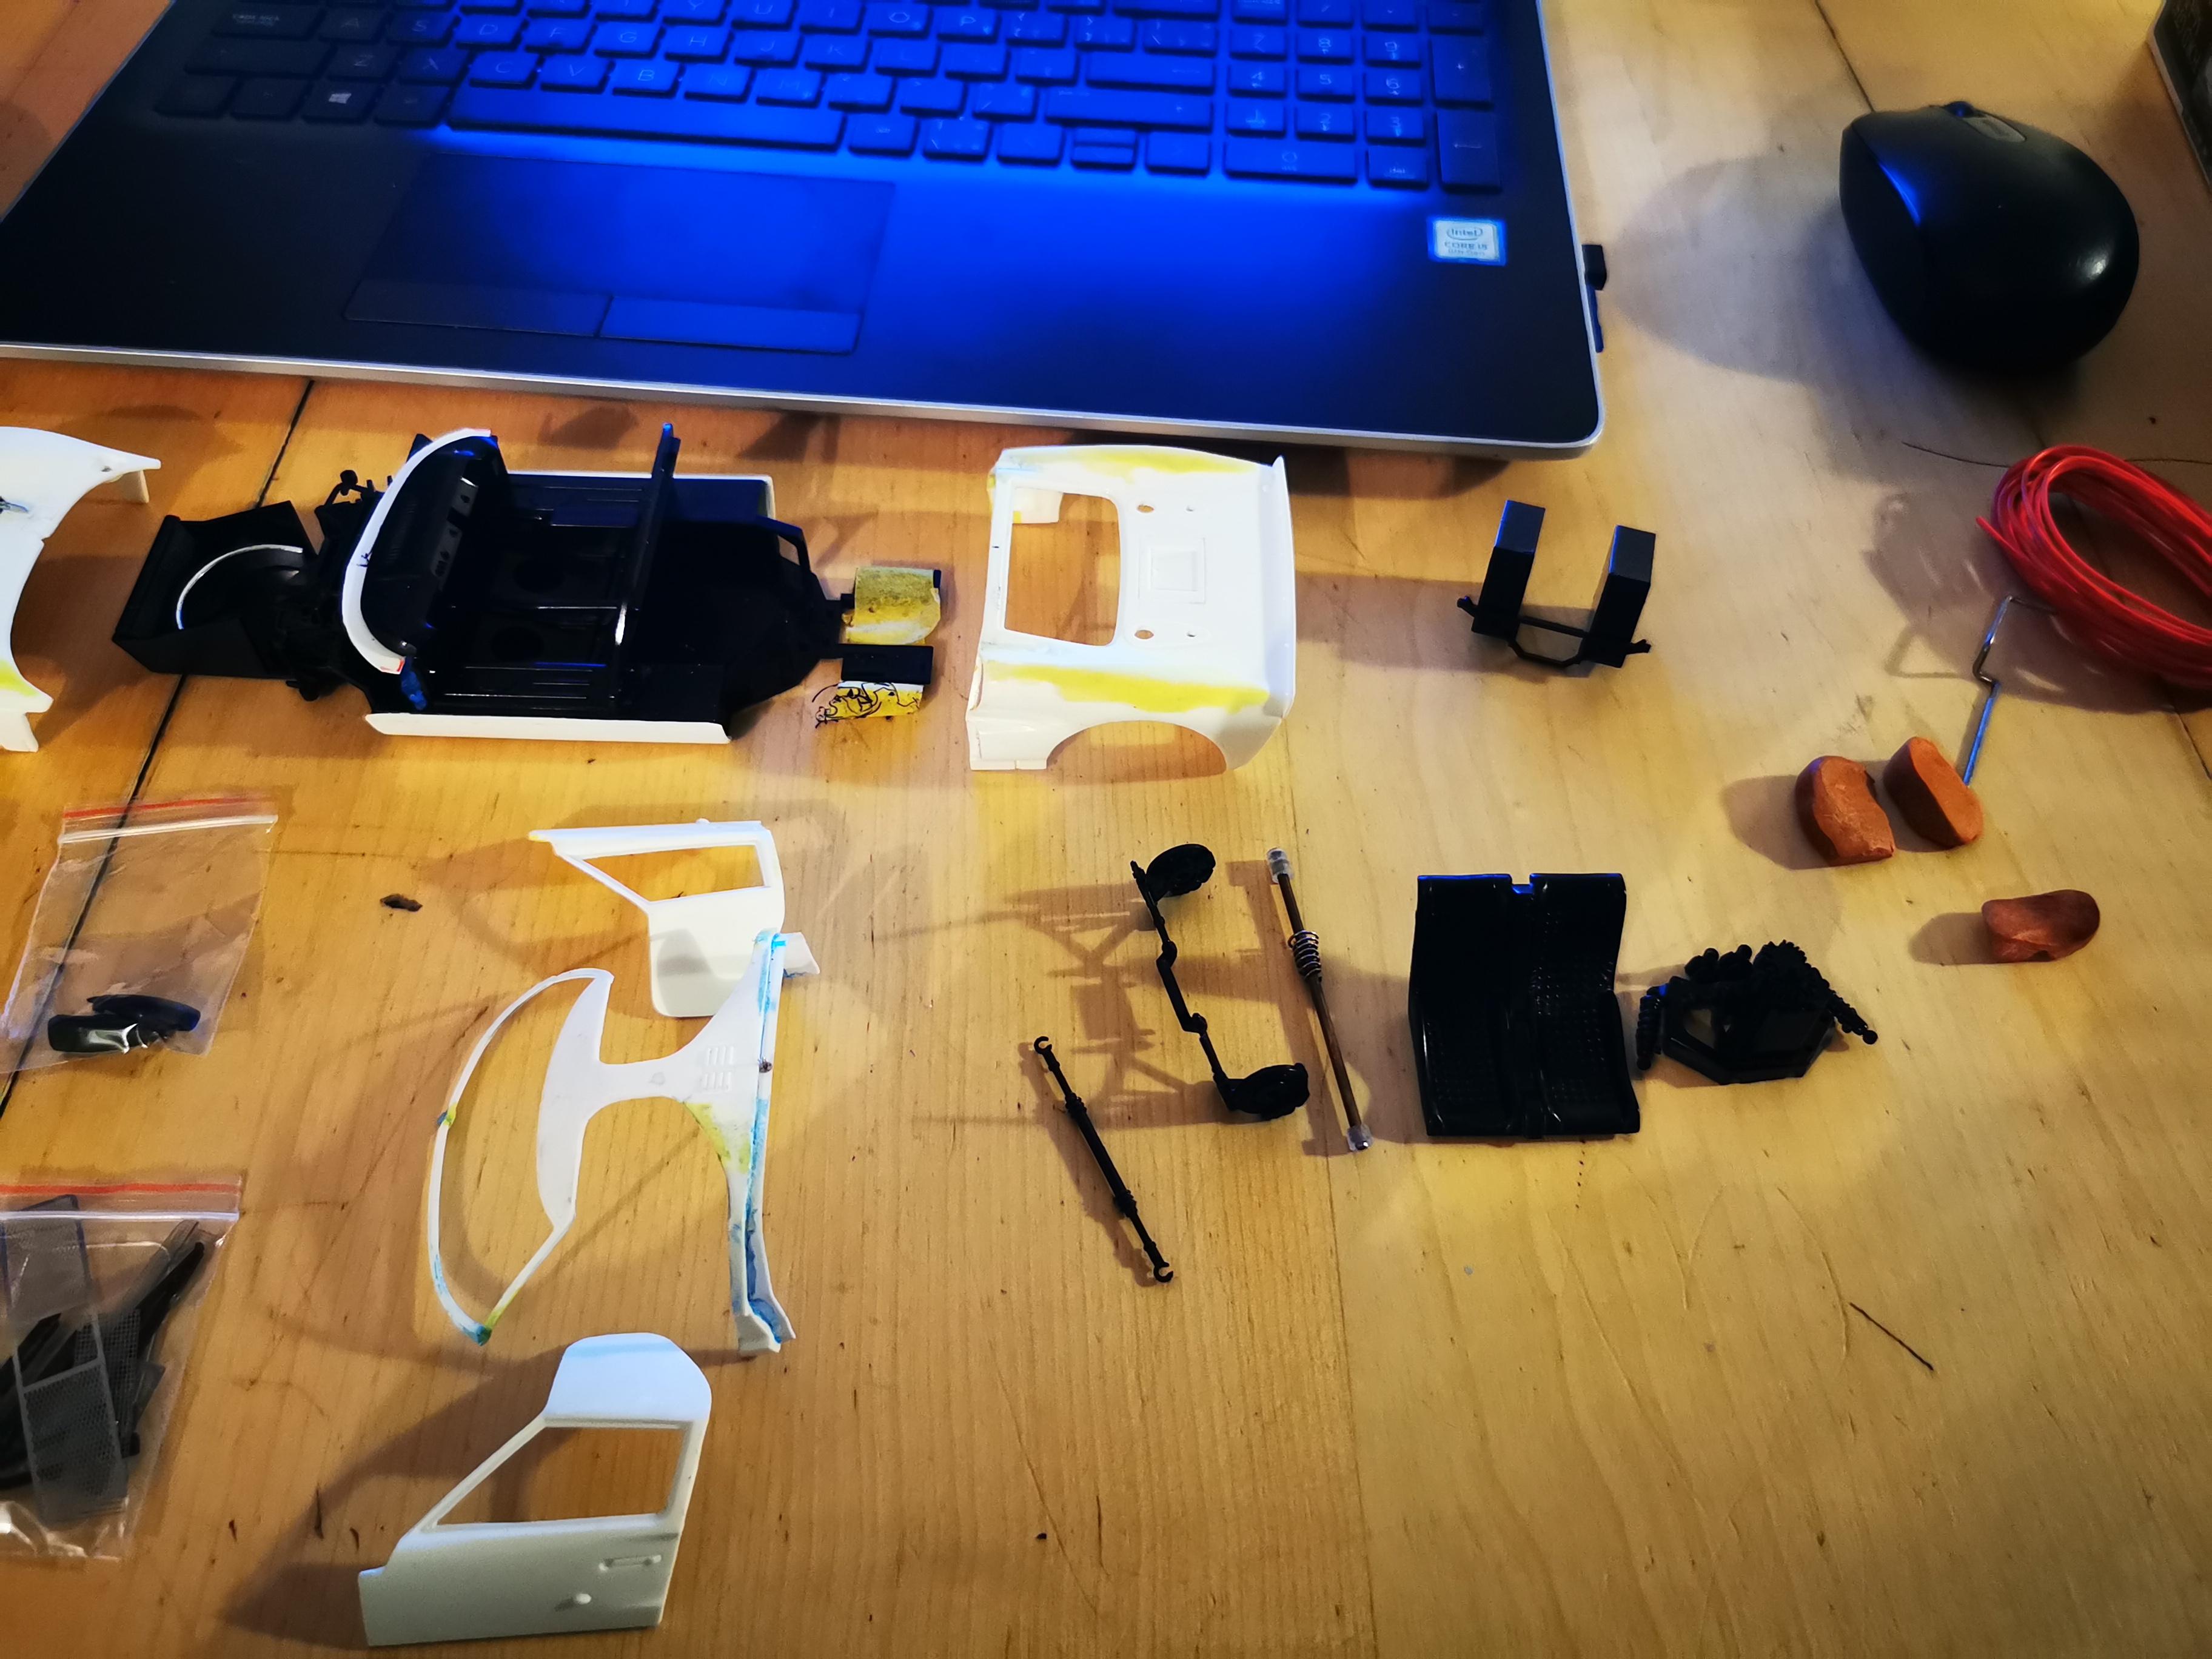
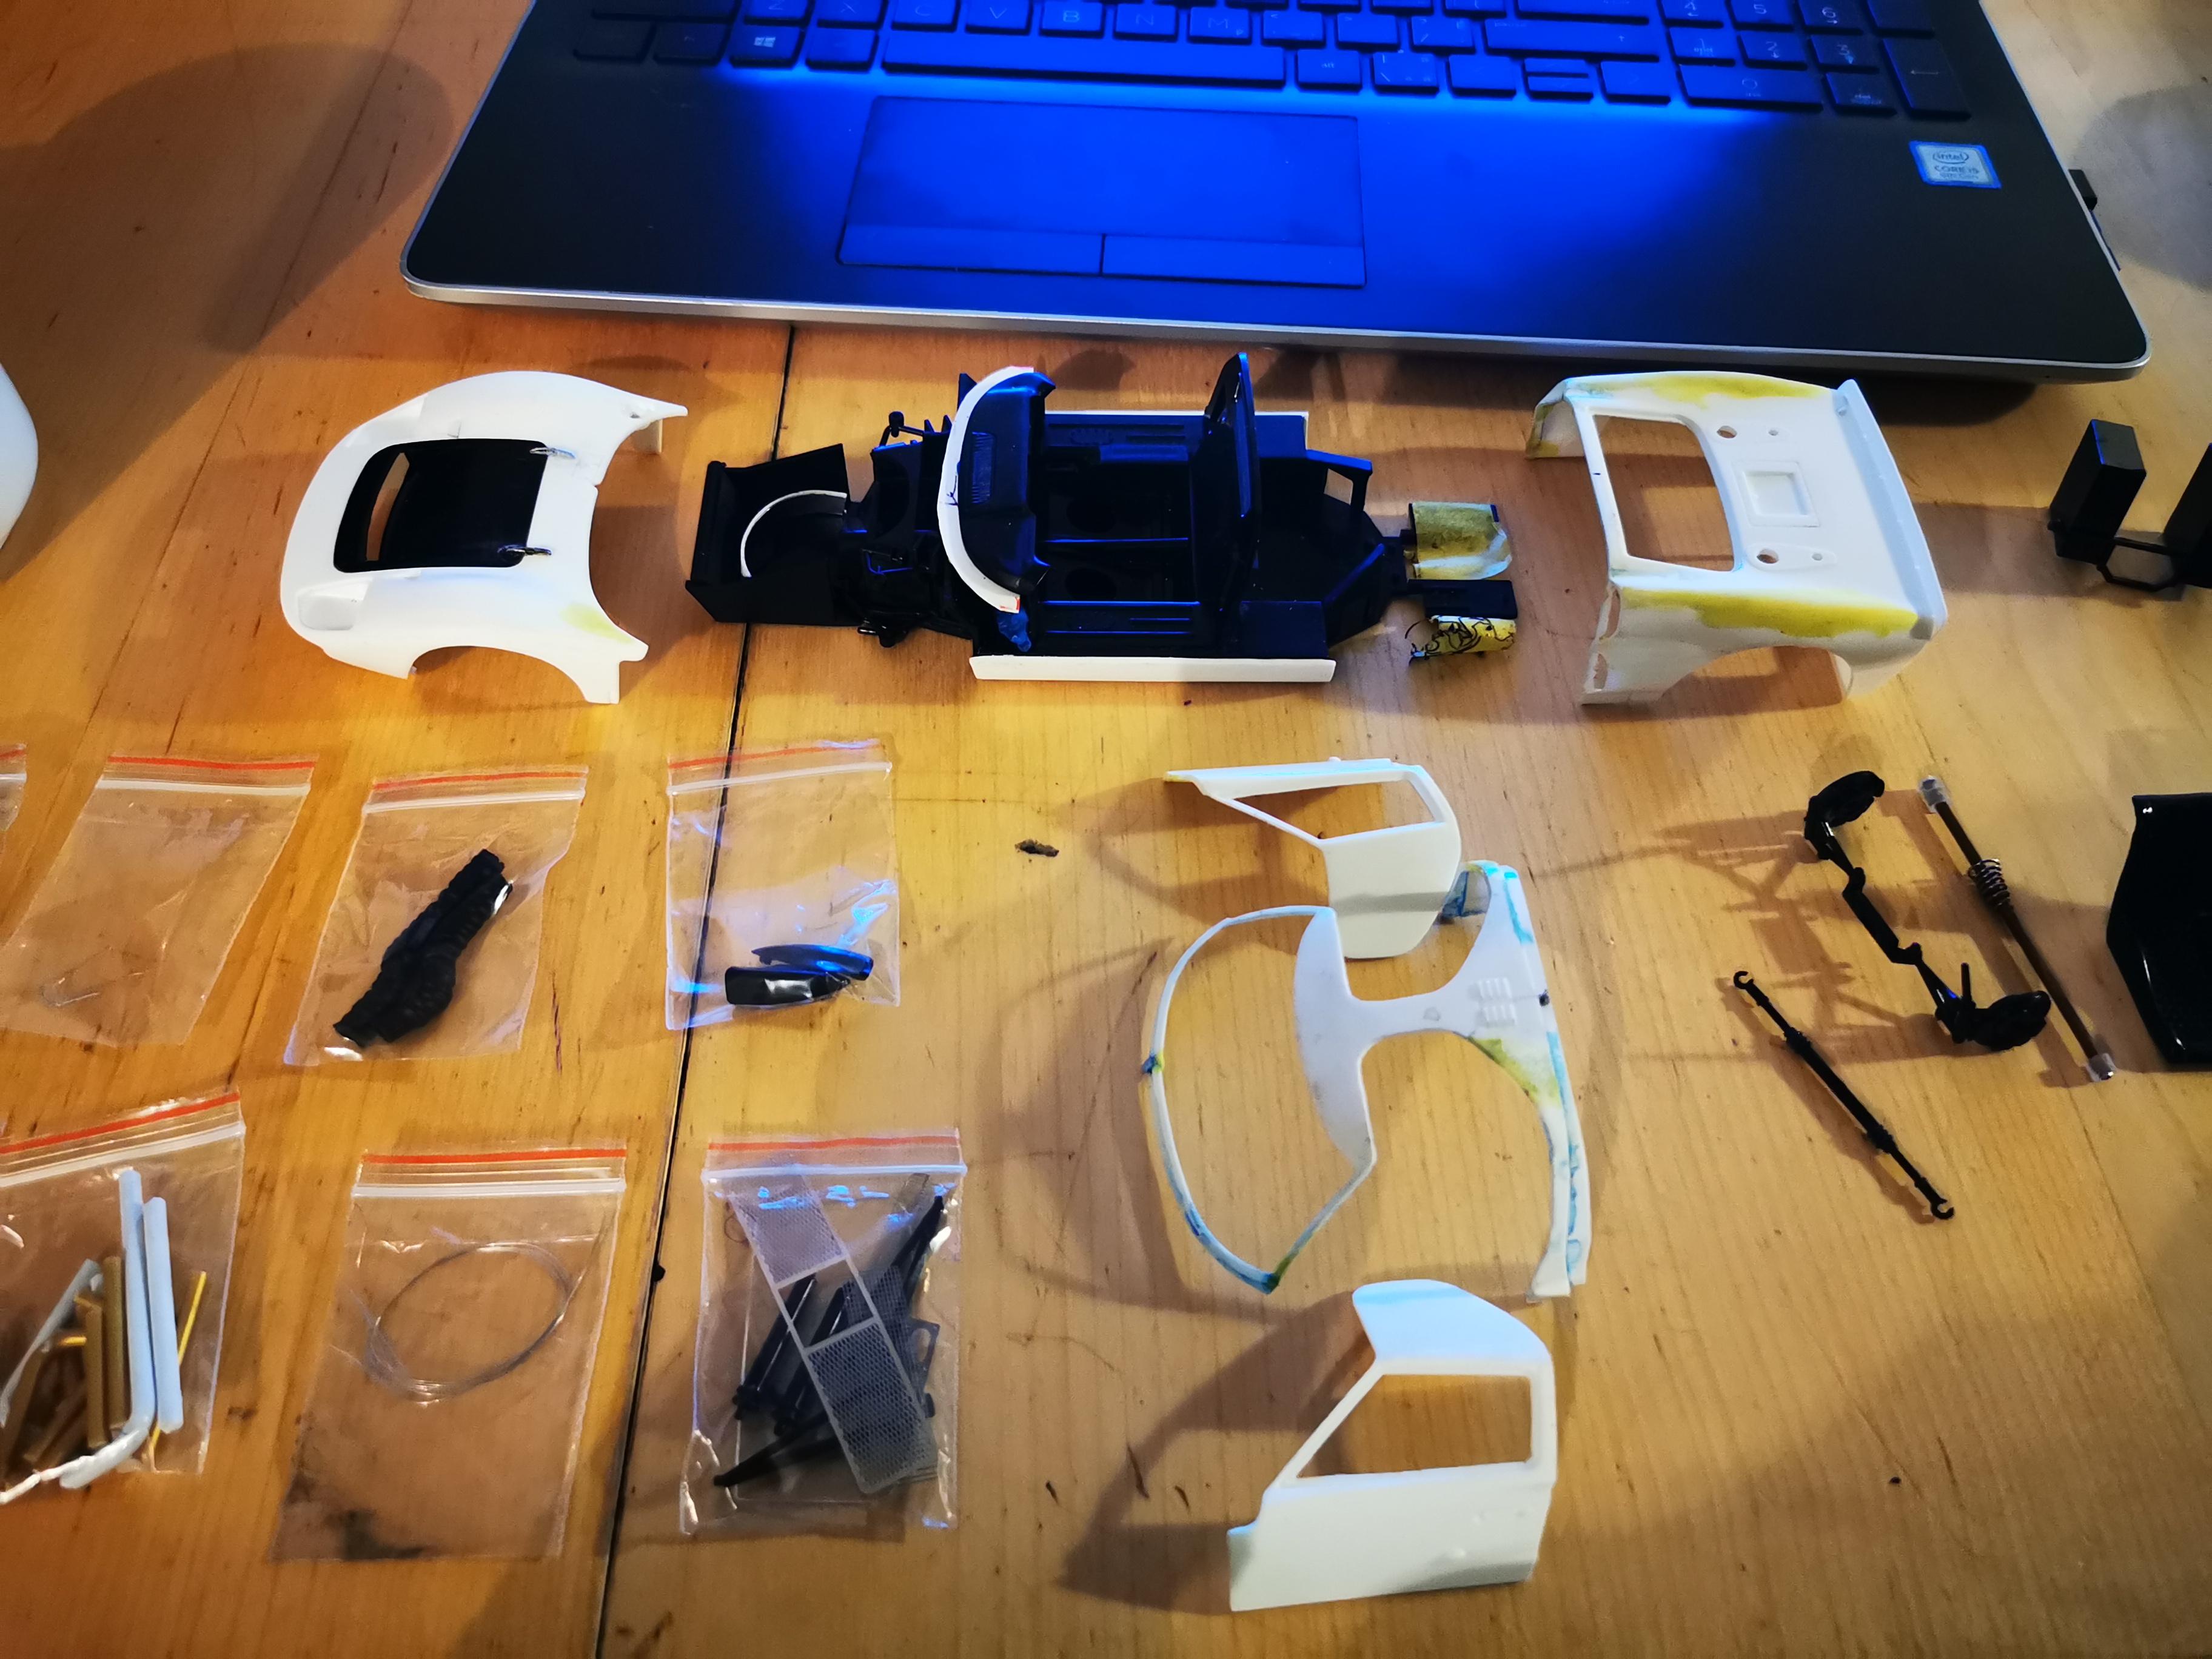
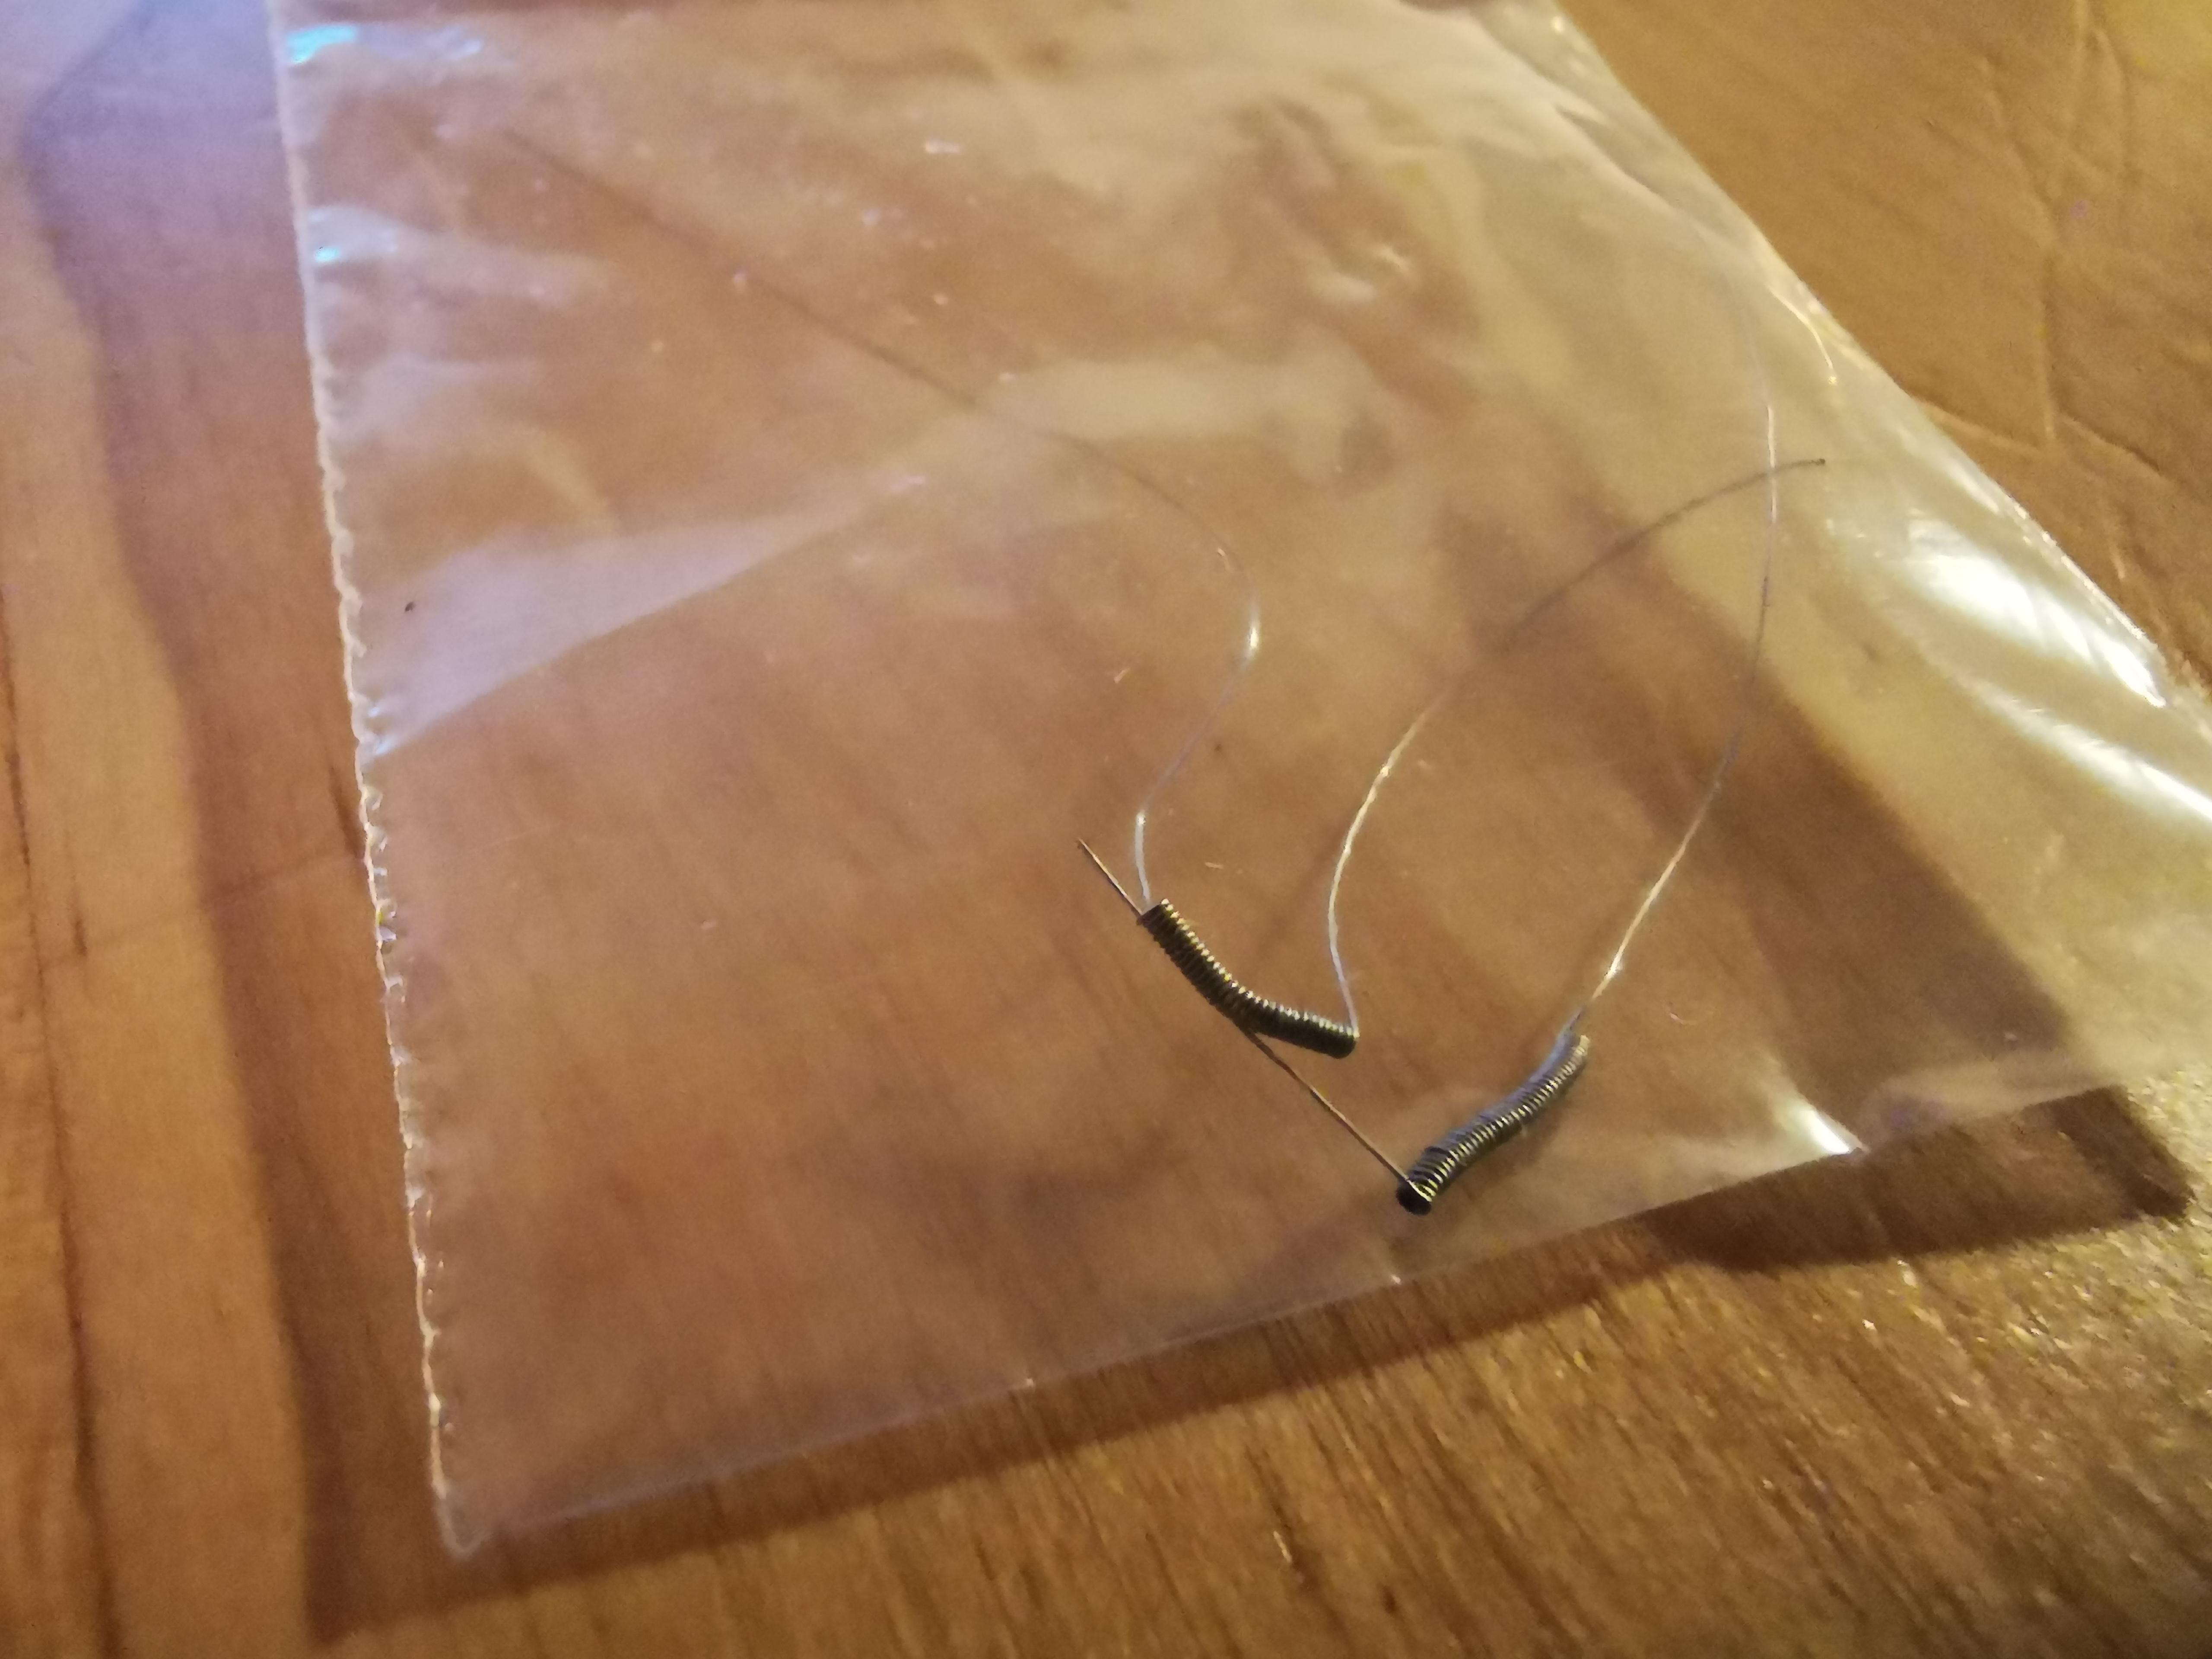
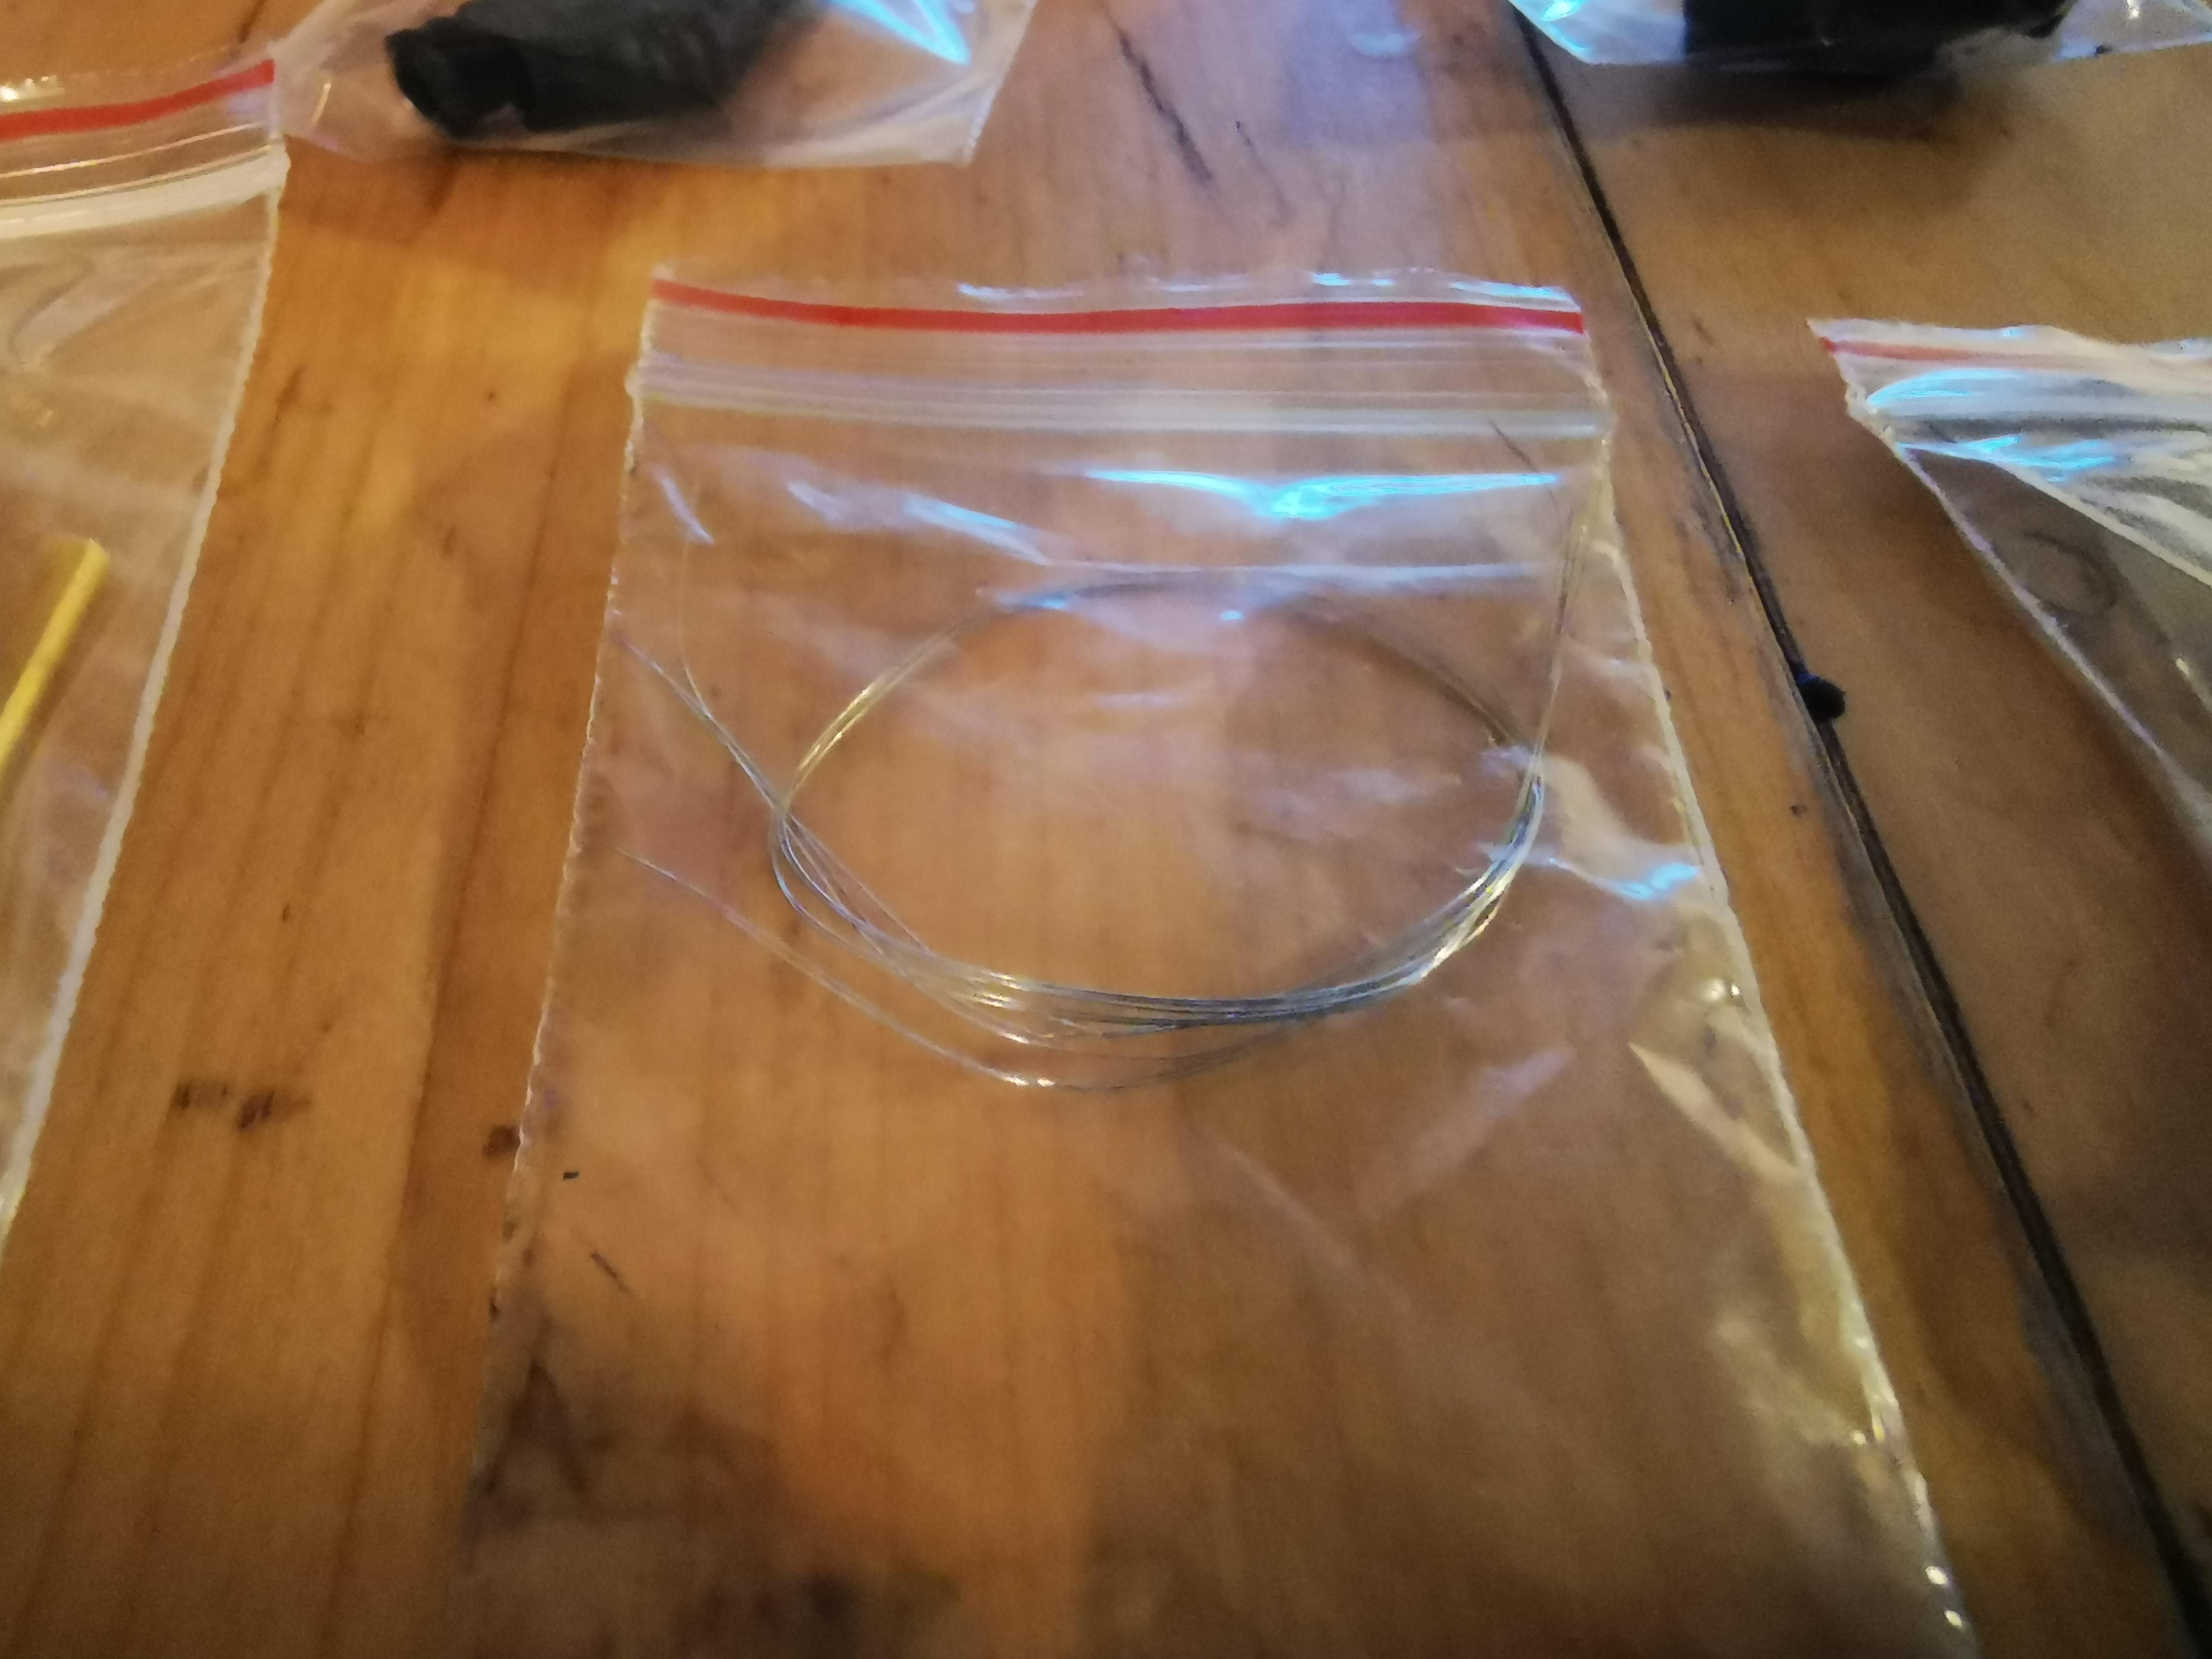
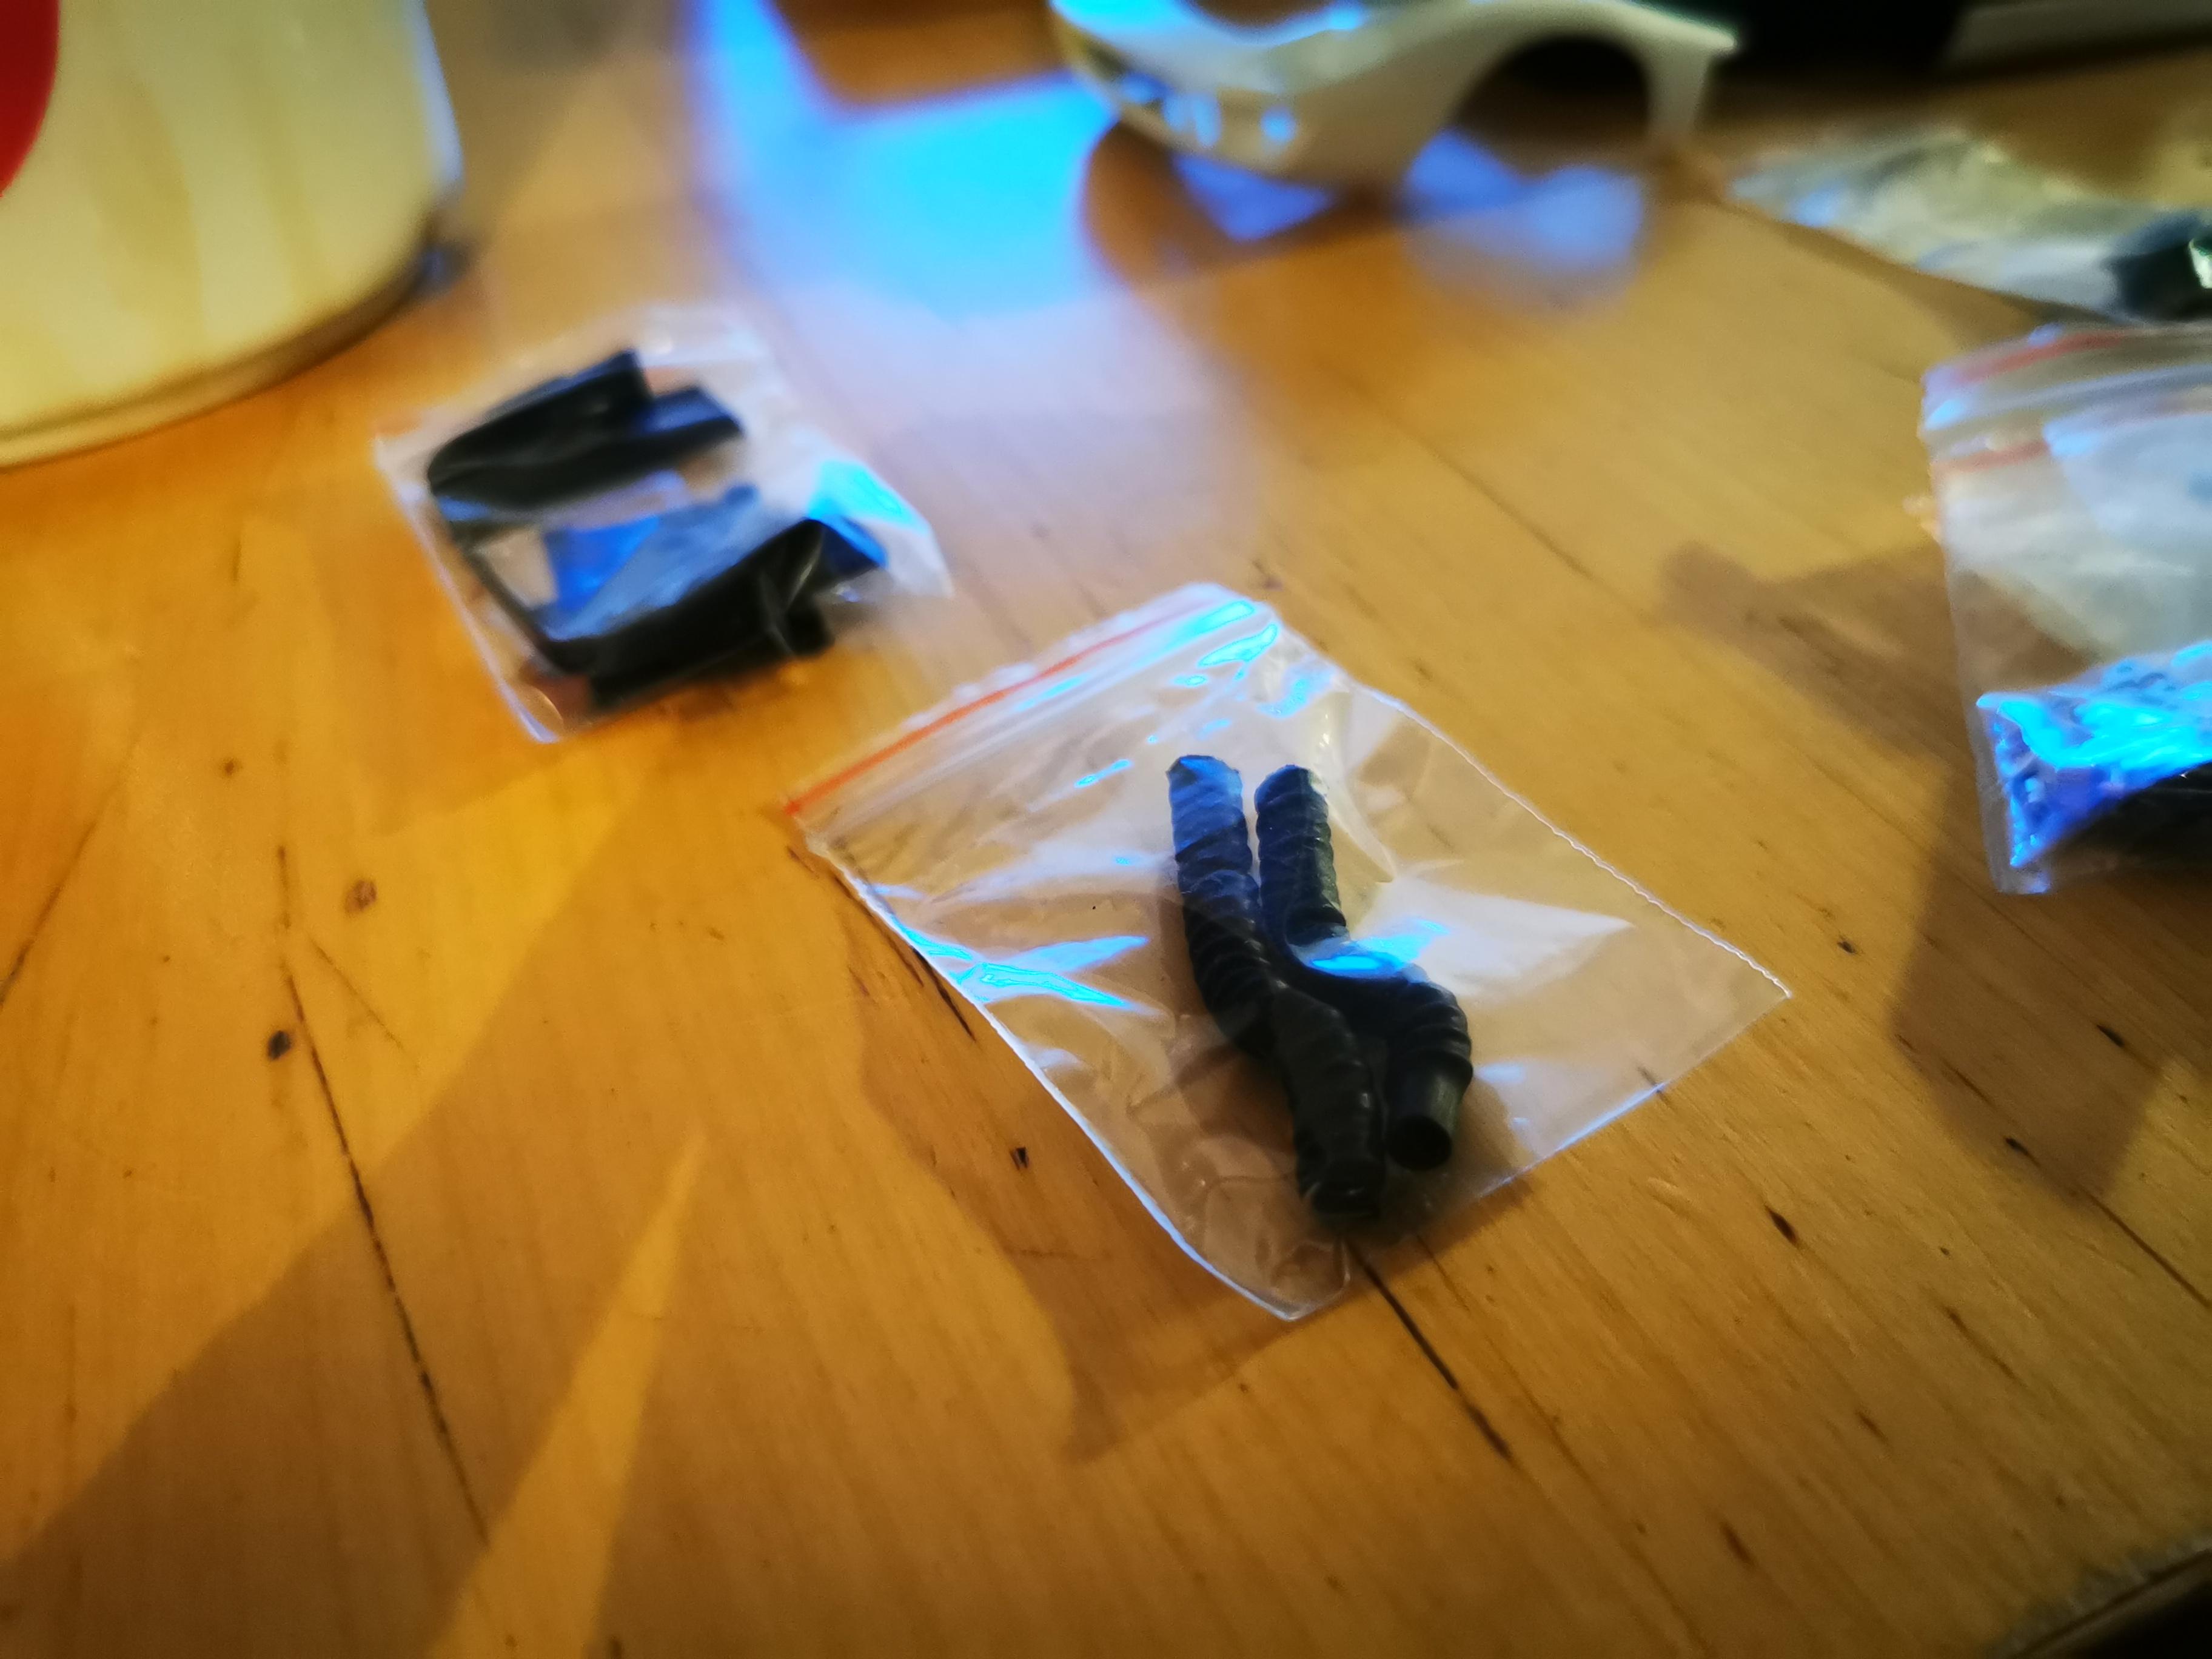
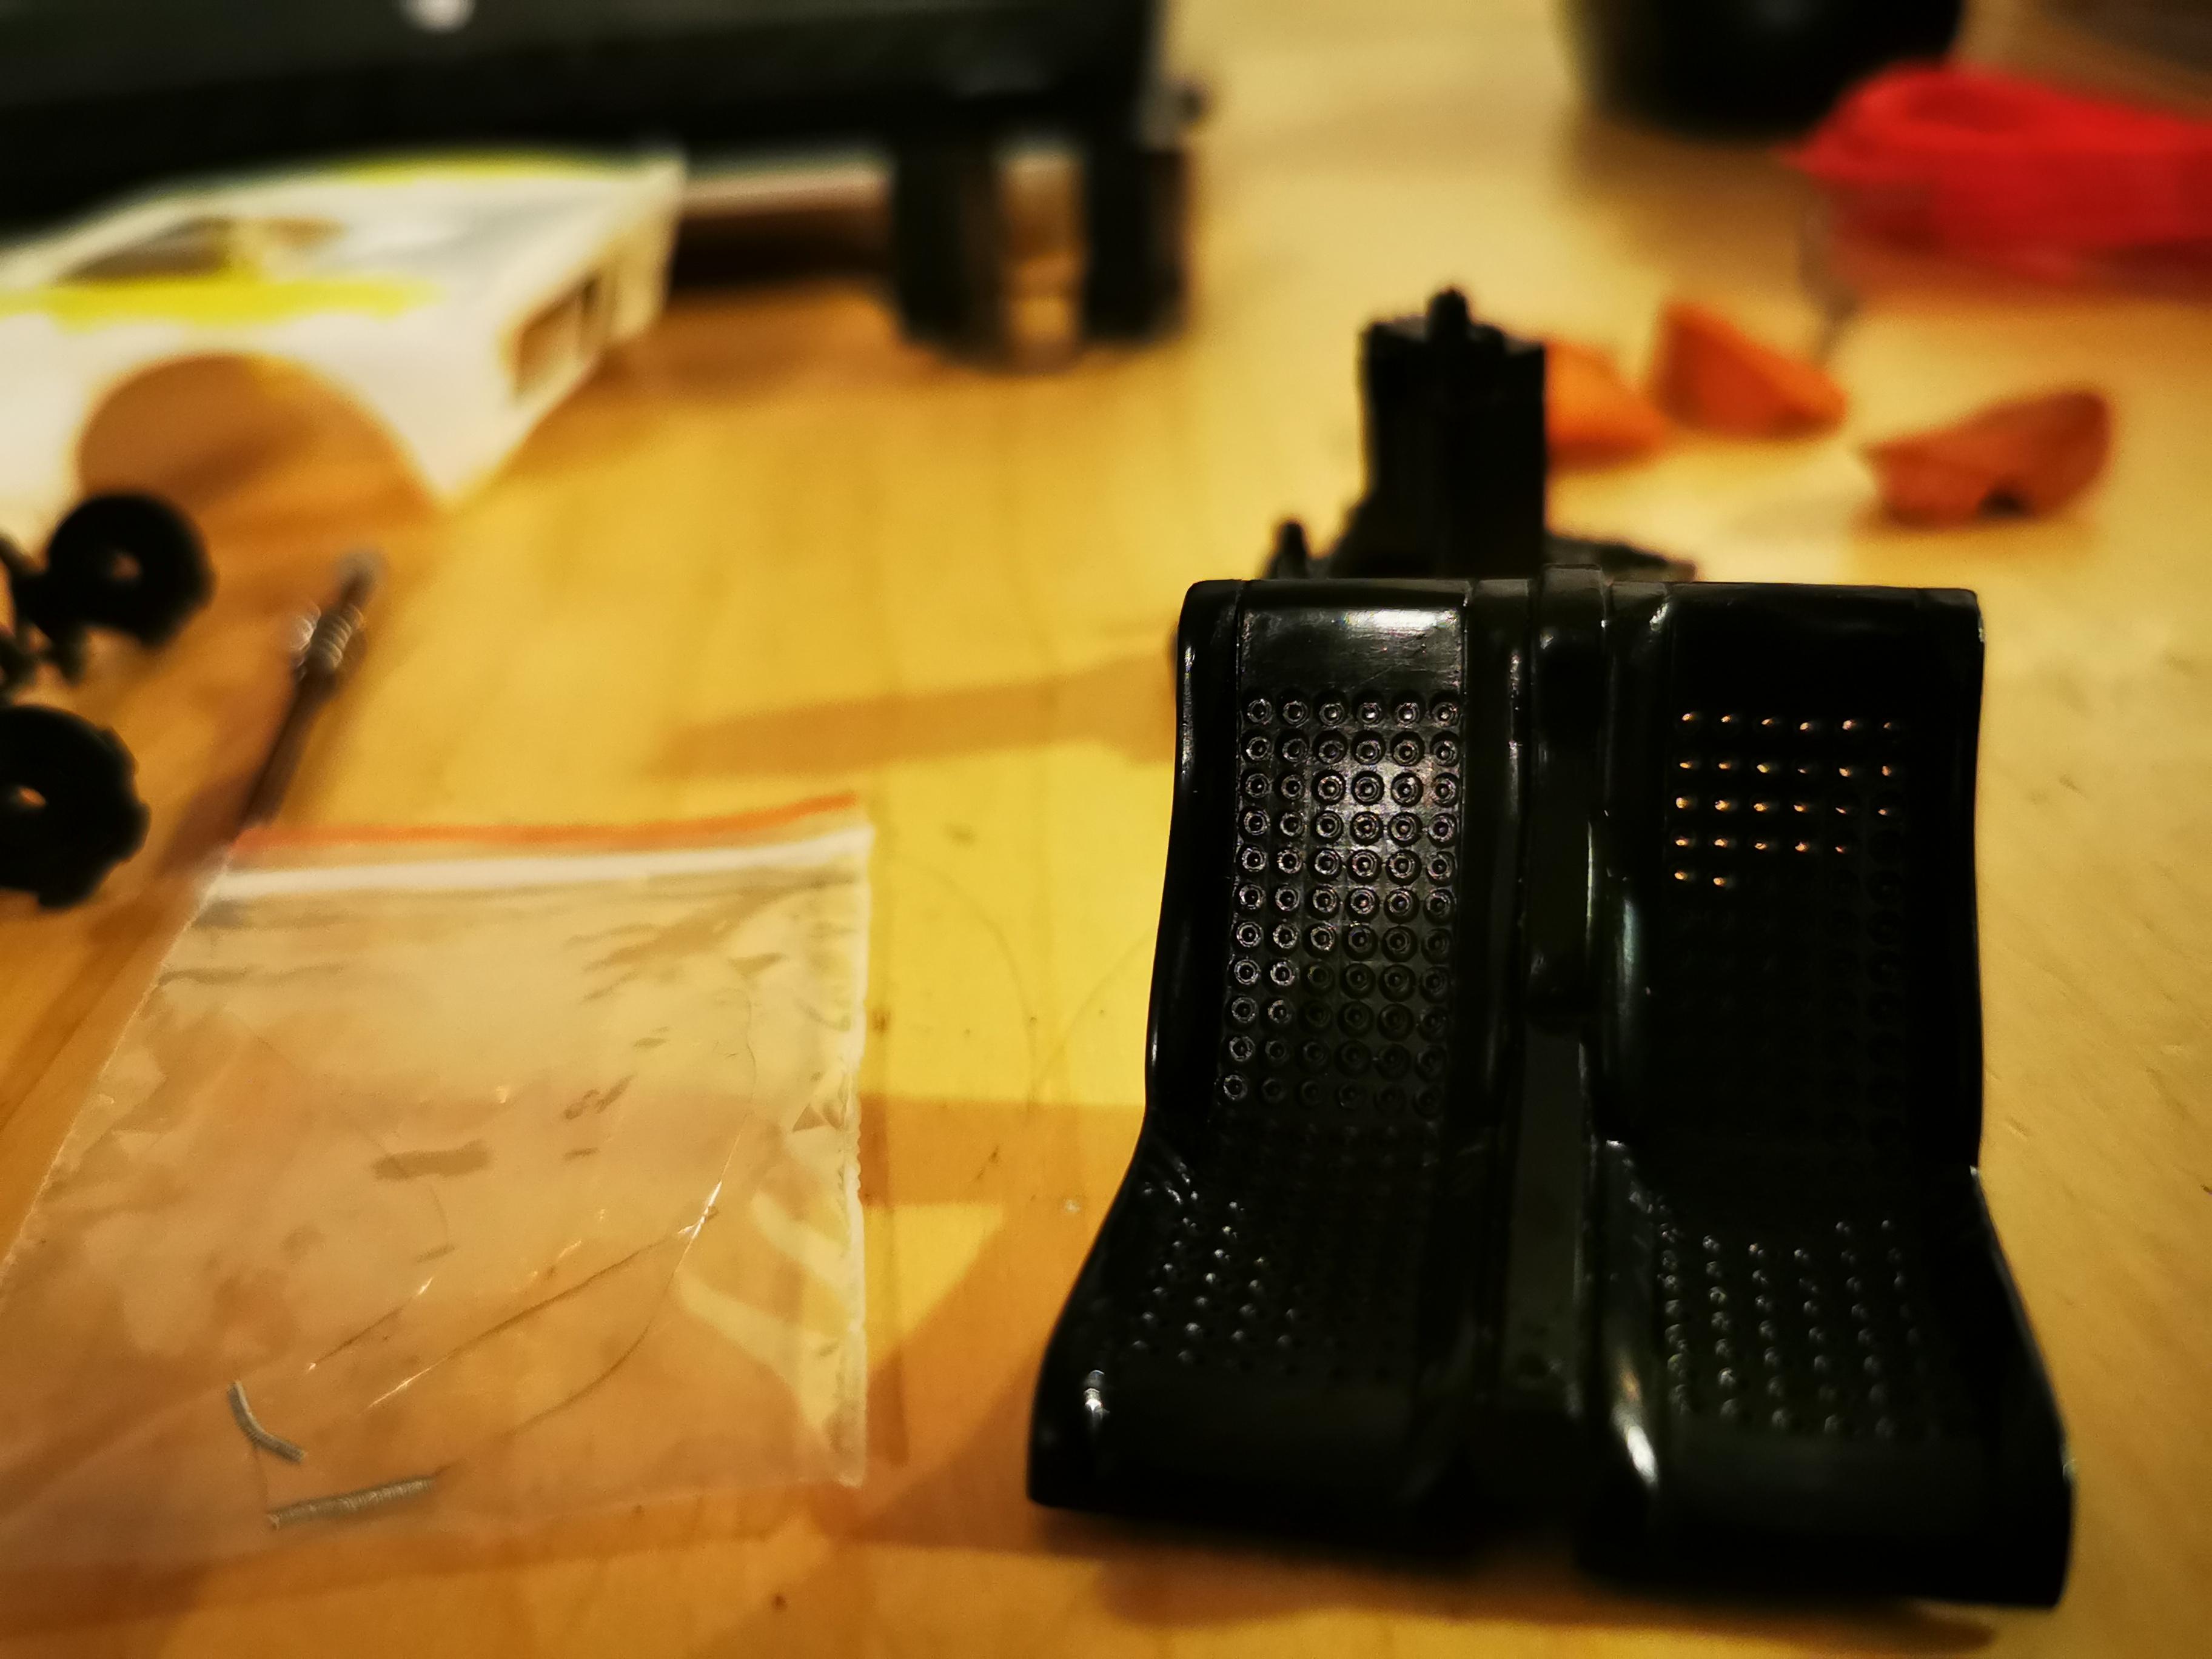
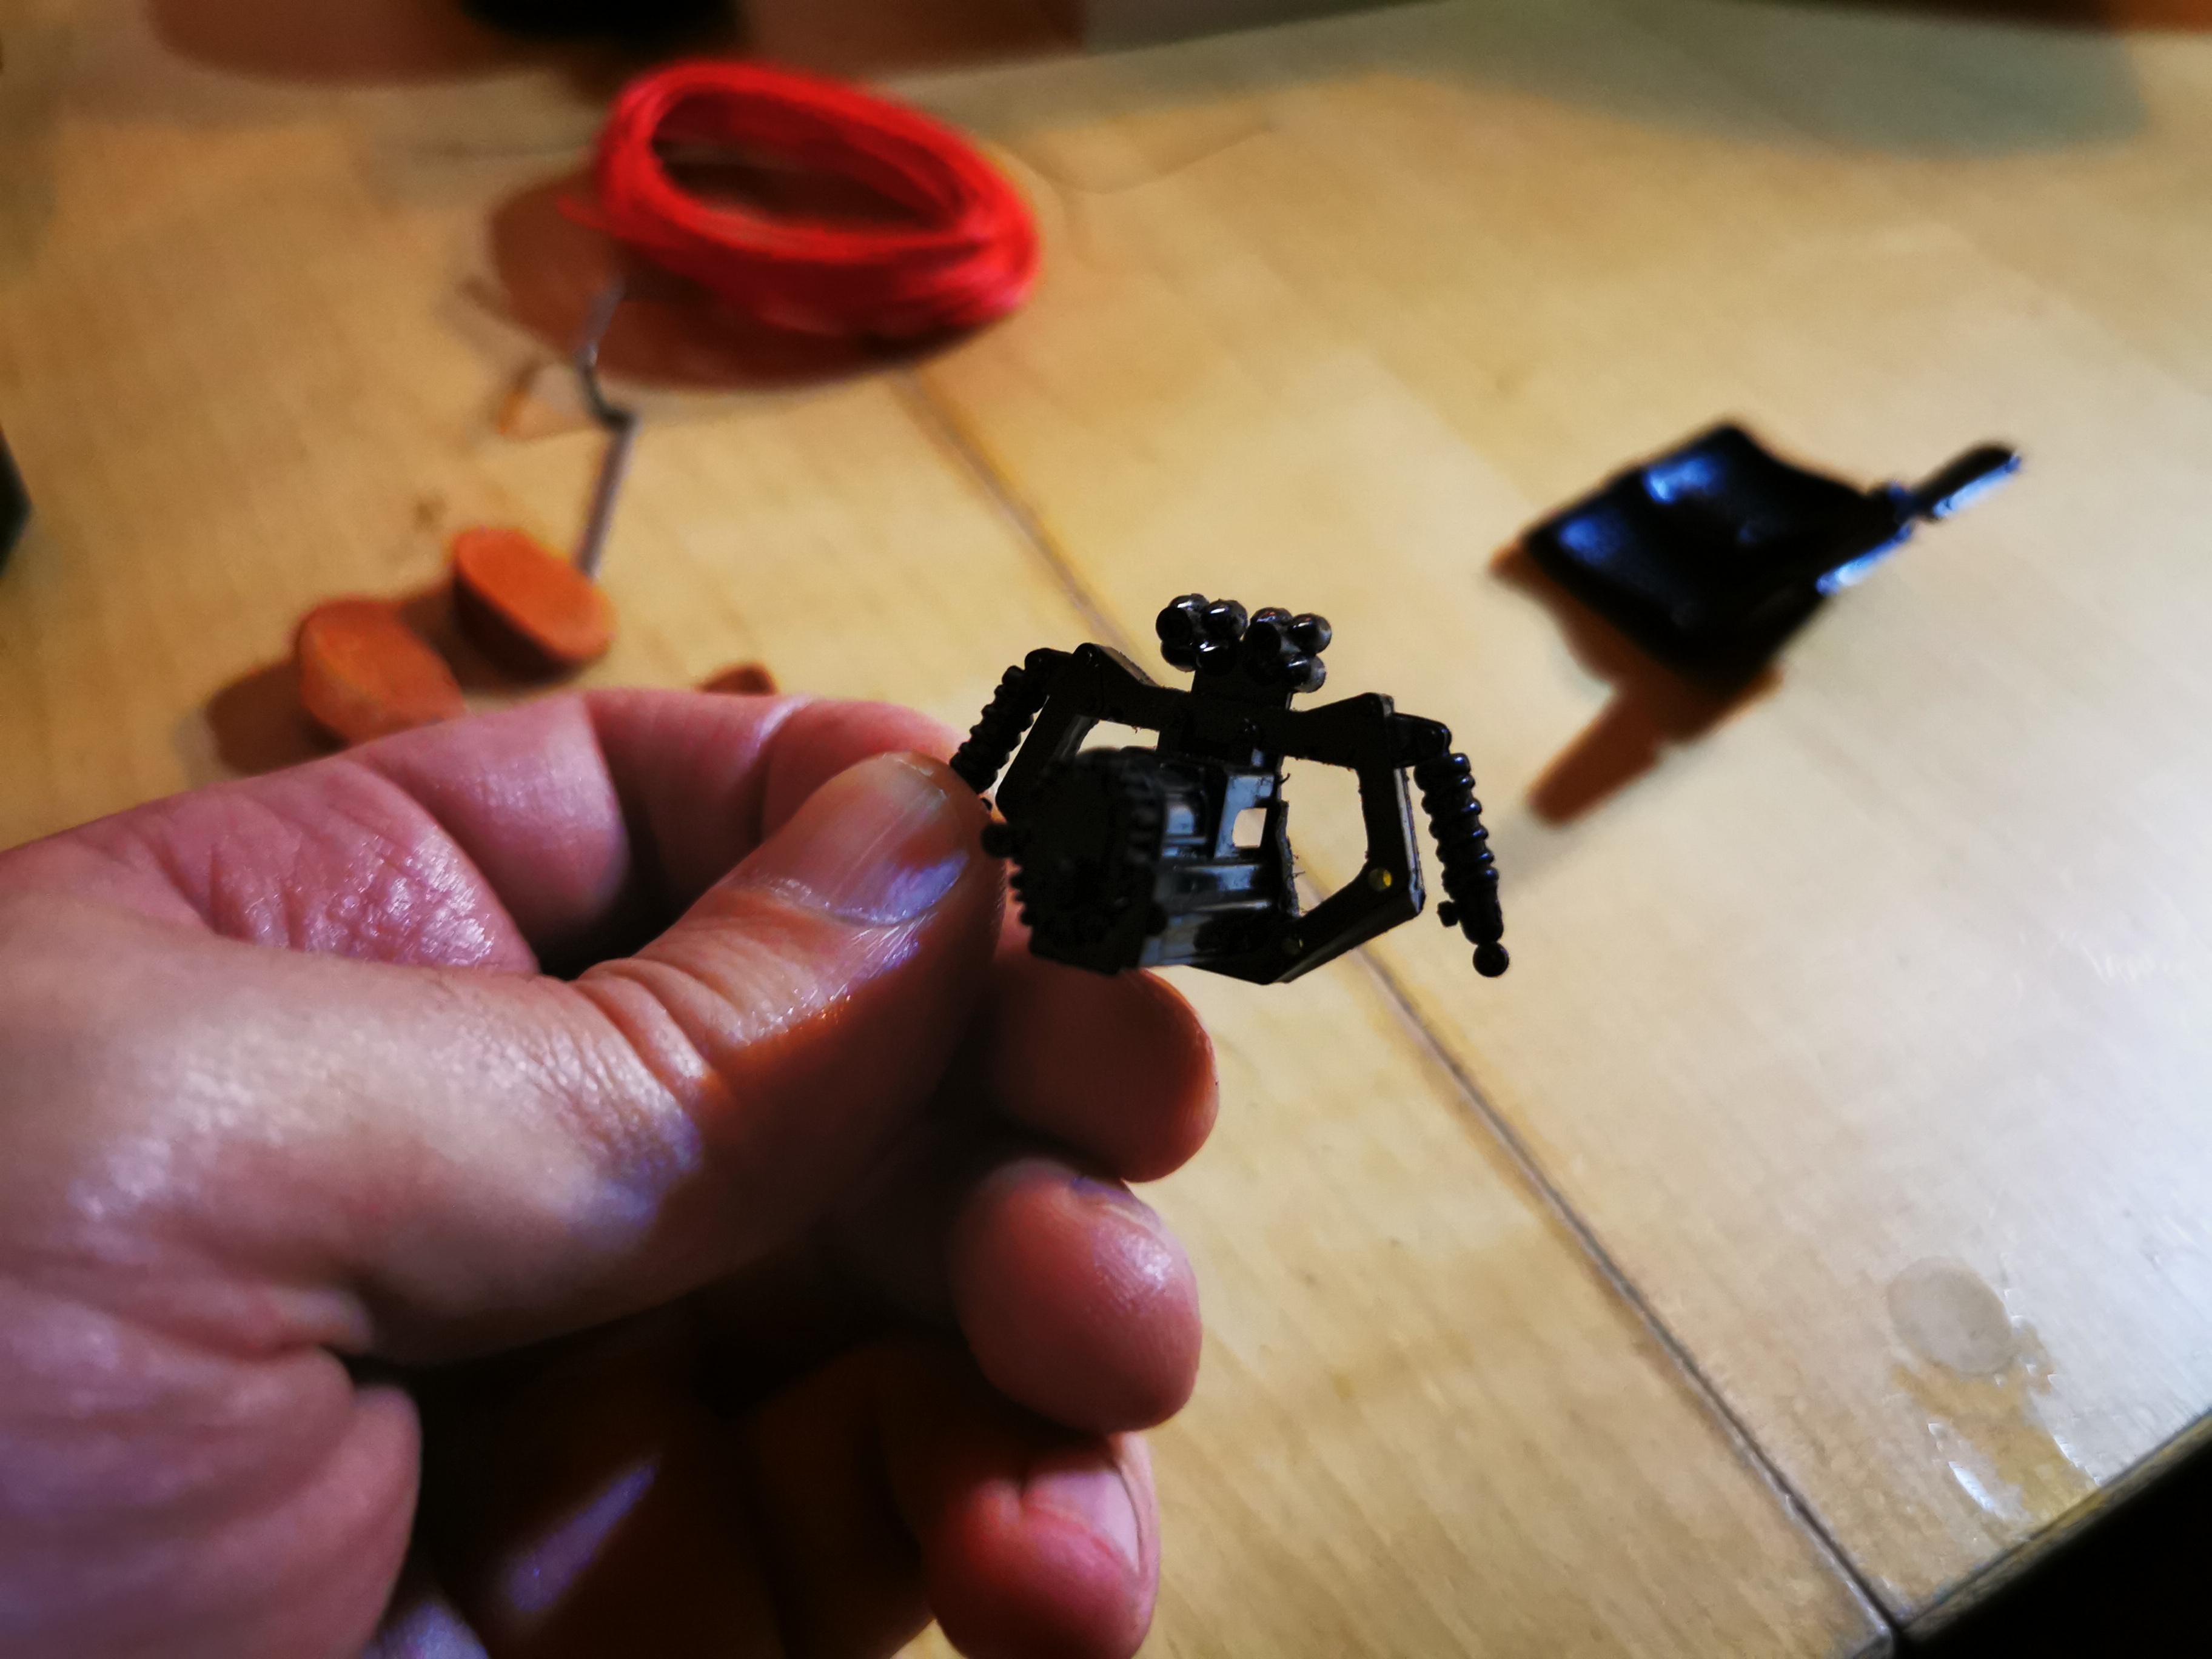
Ok... So I detached the trans box from the rear strut... Drilled the rear coil over connections into the strut... Detached the coil overs. Need to put the rear strut back together... Scratch build the coil overs... Make engine...
-
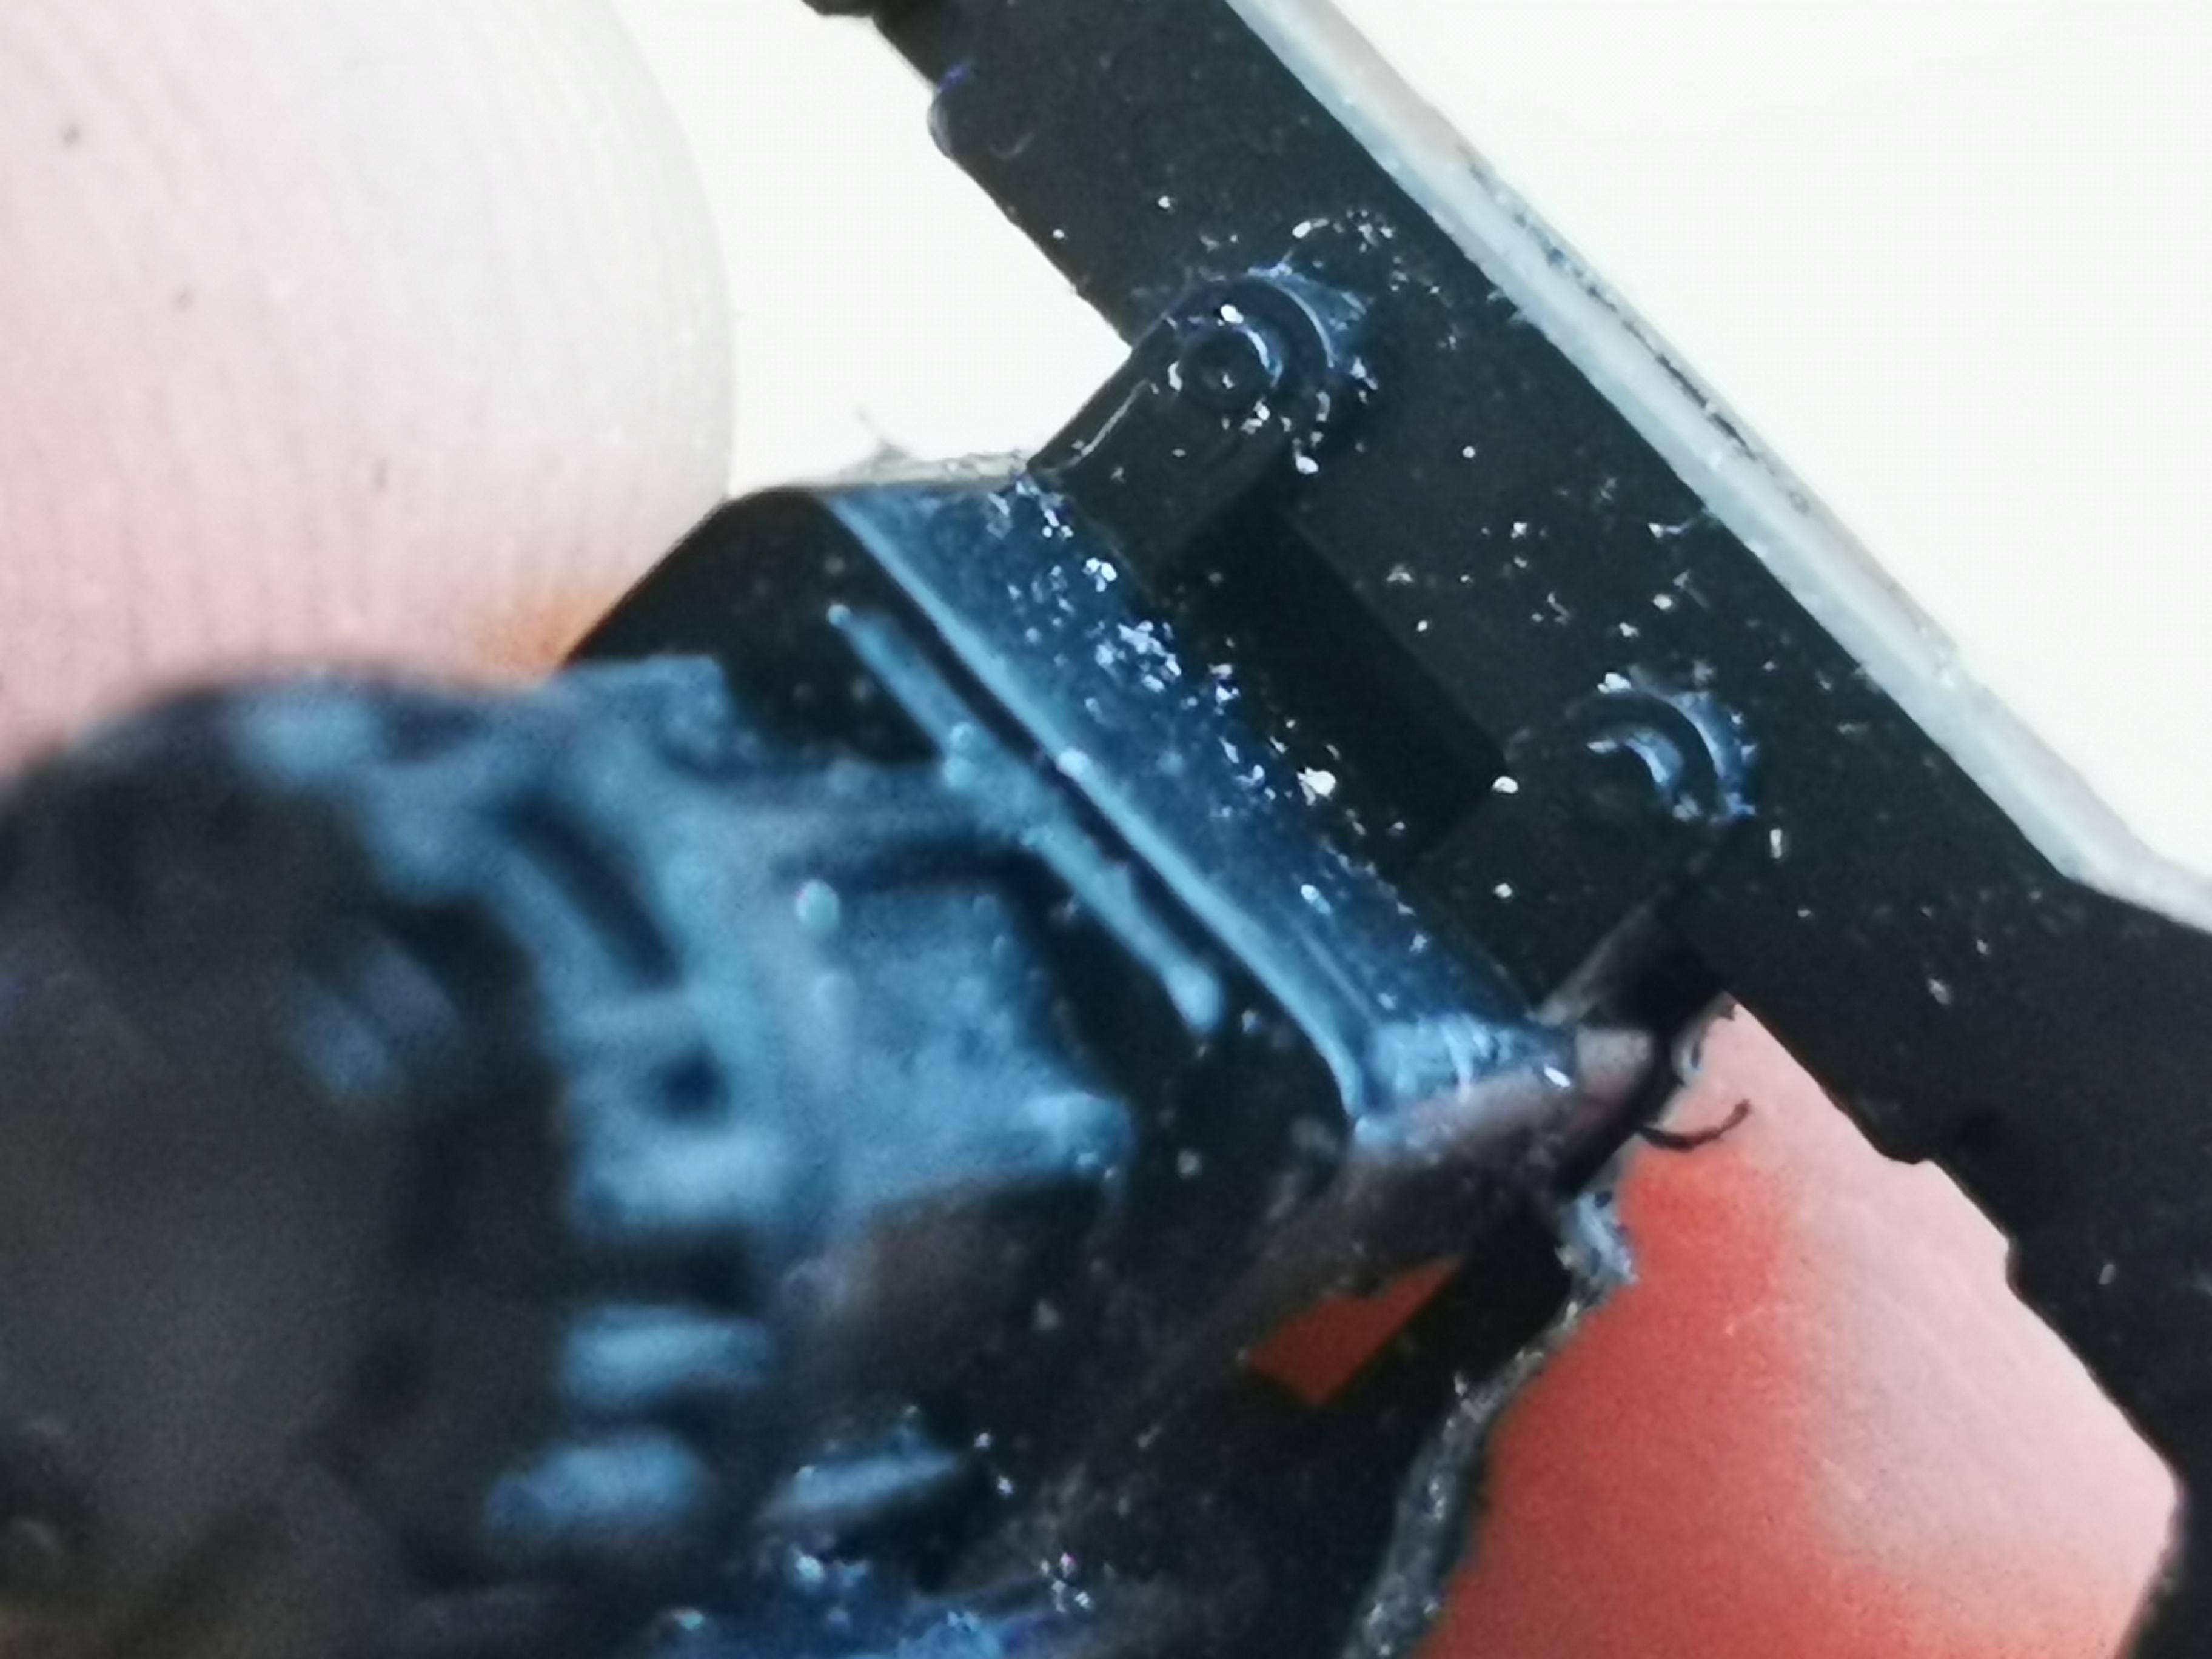
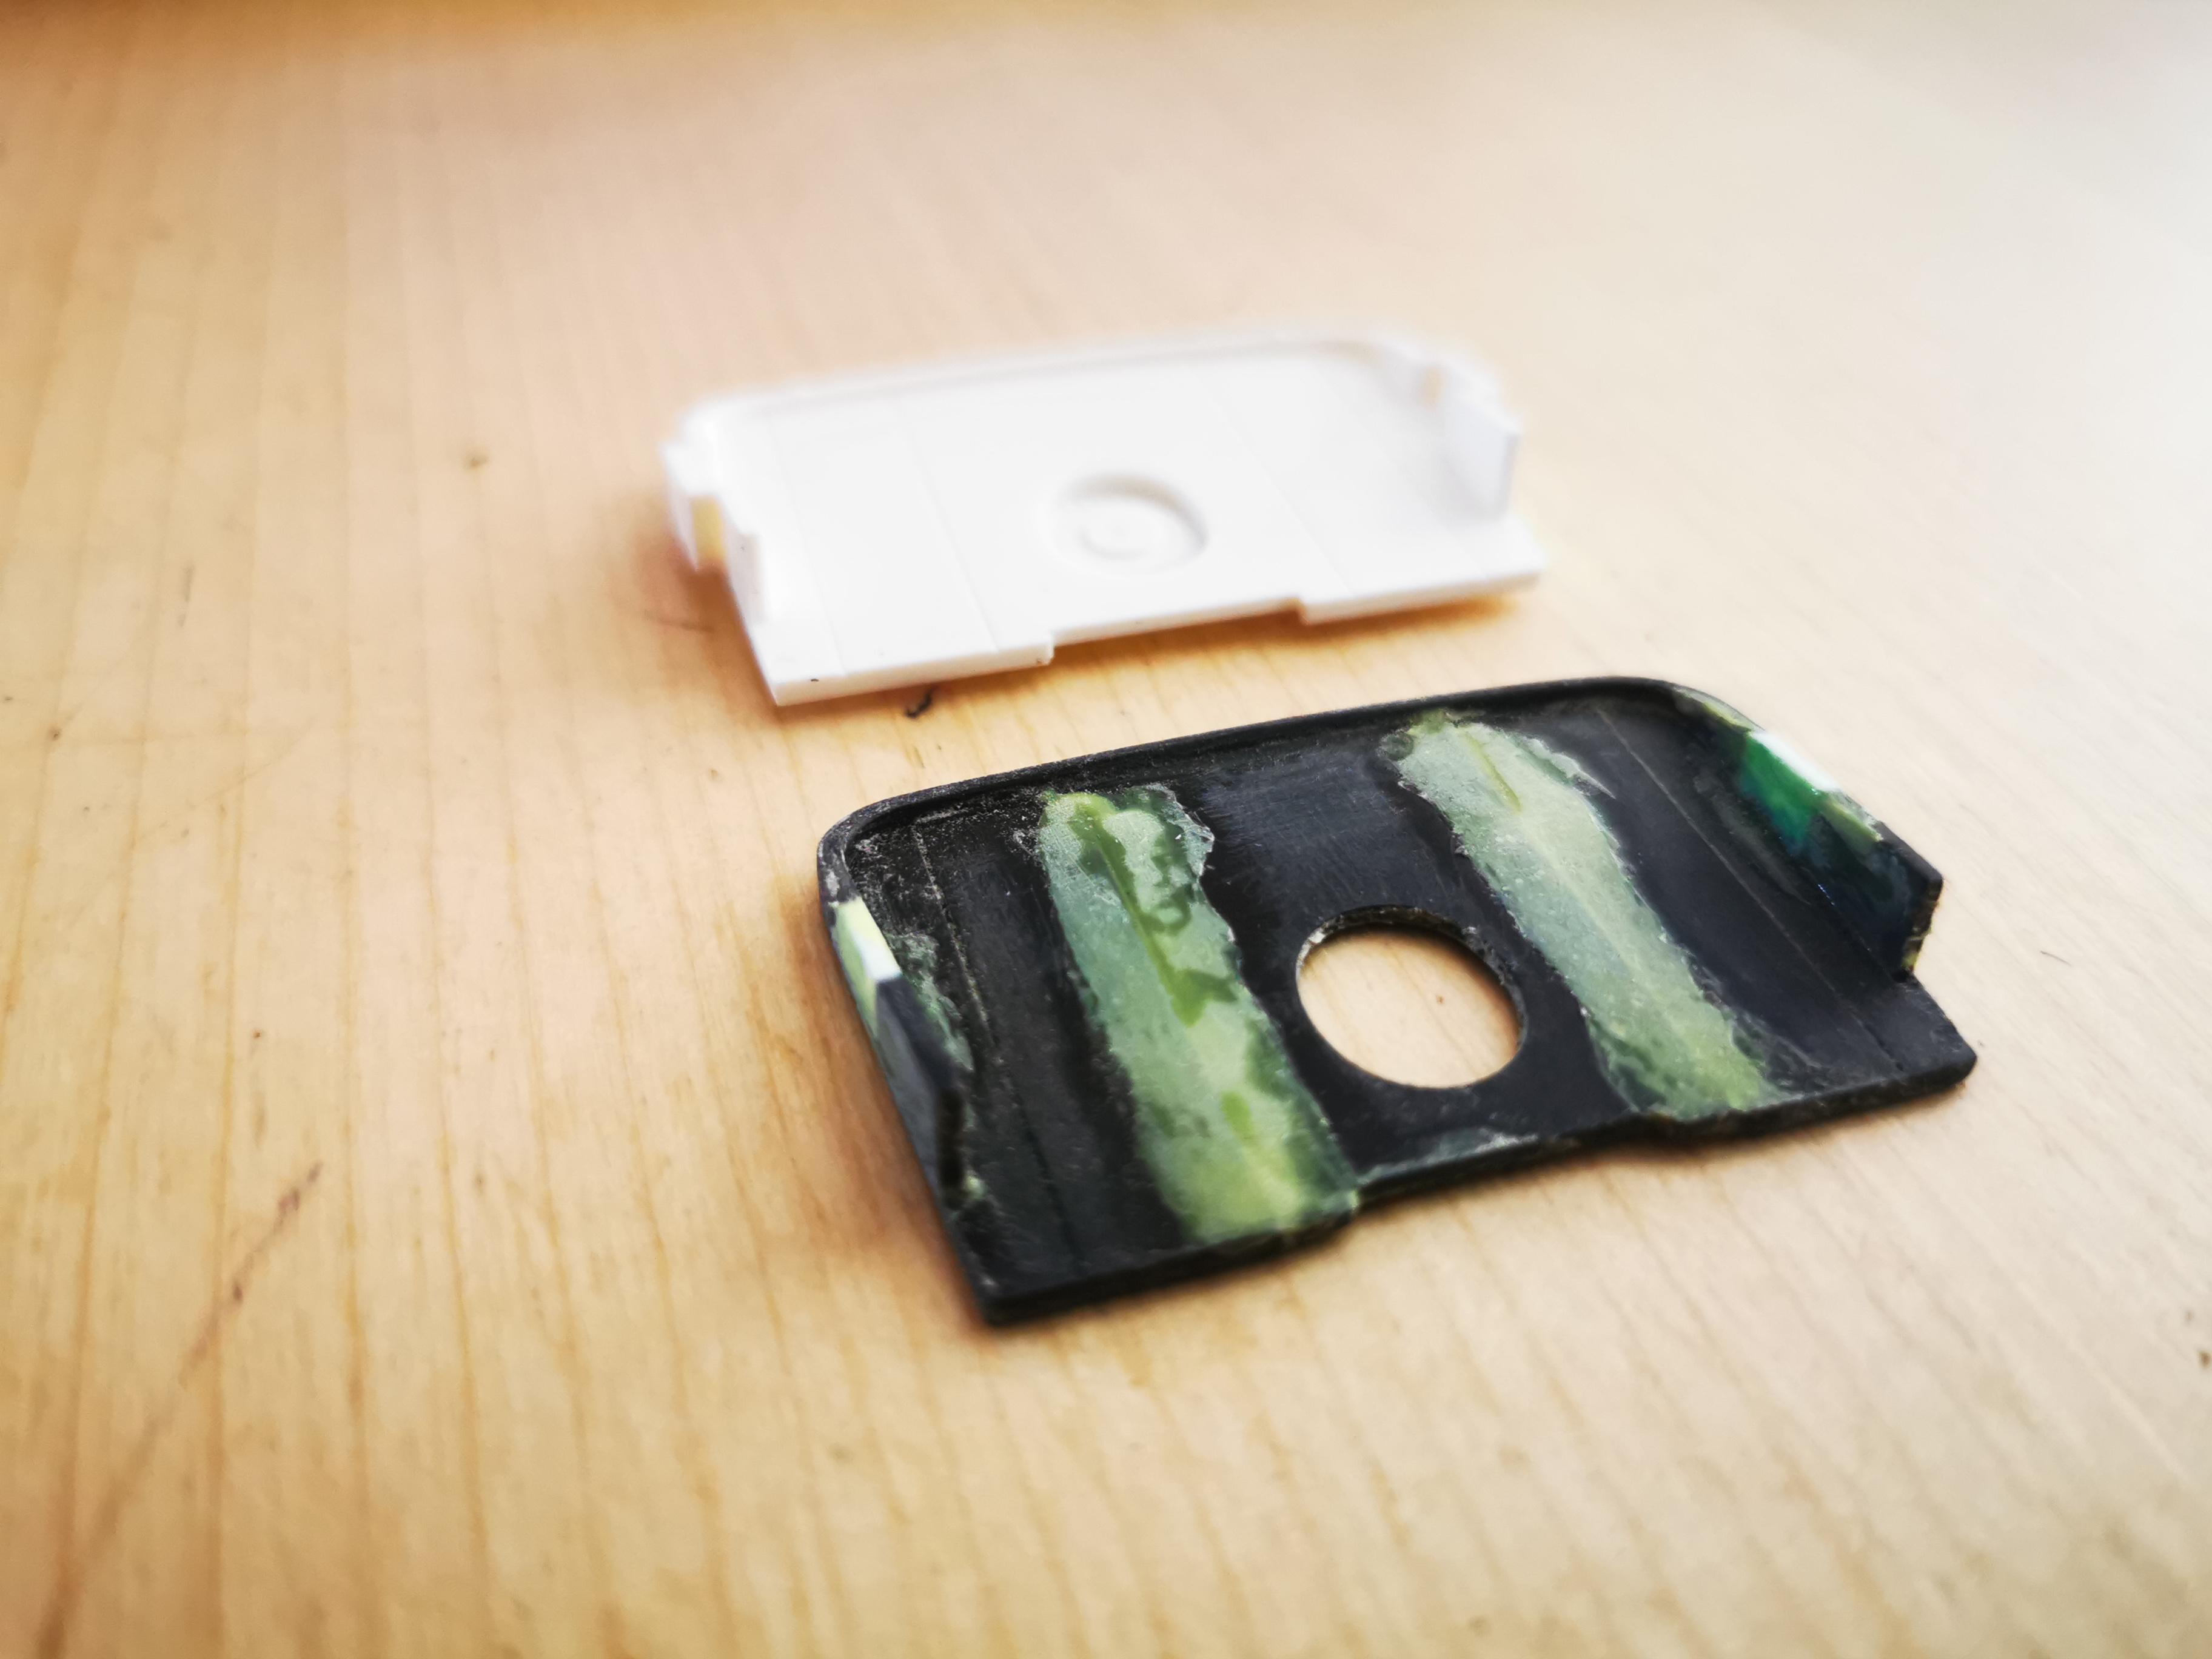
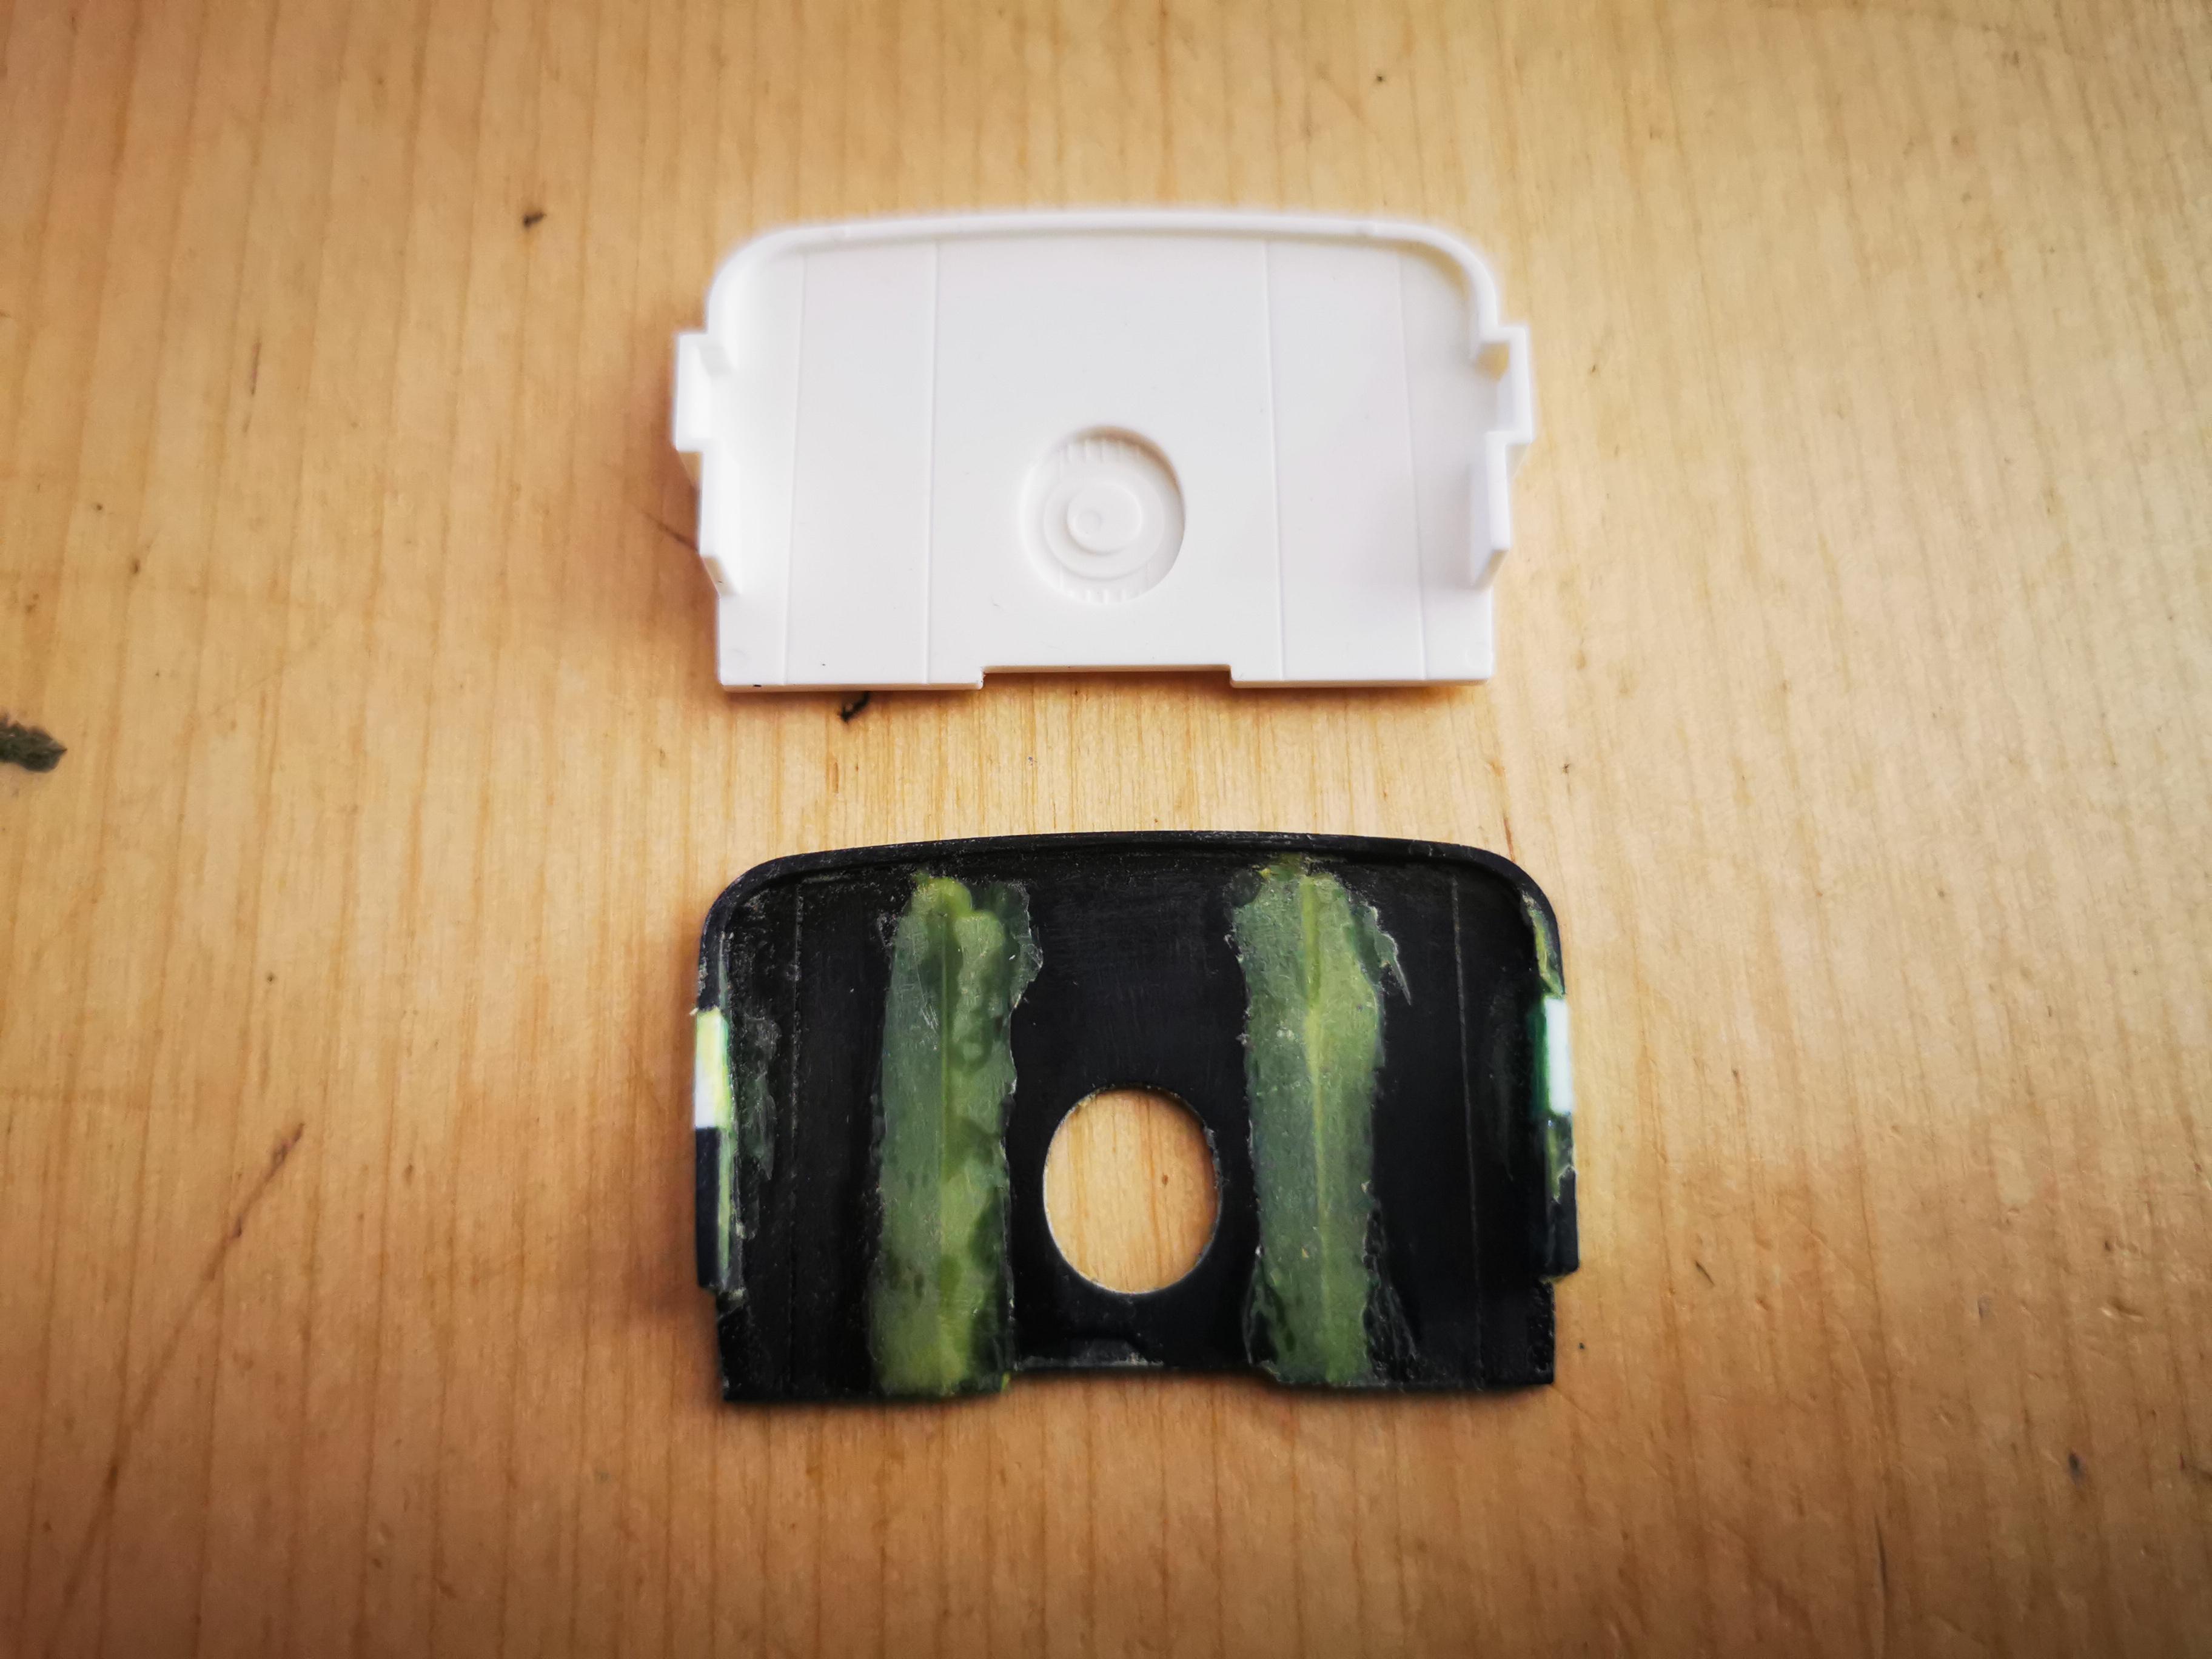
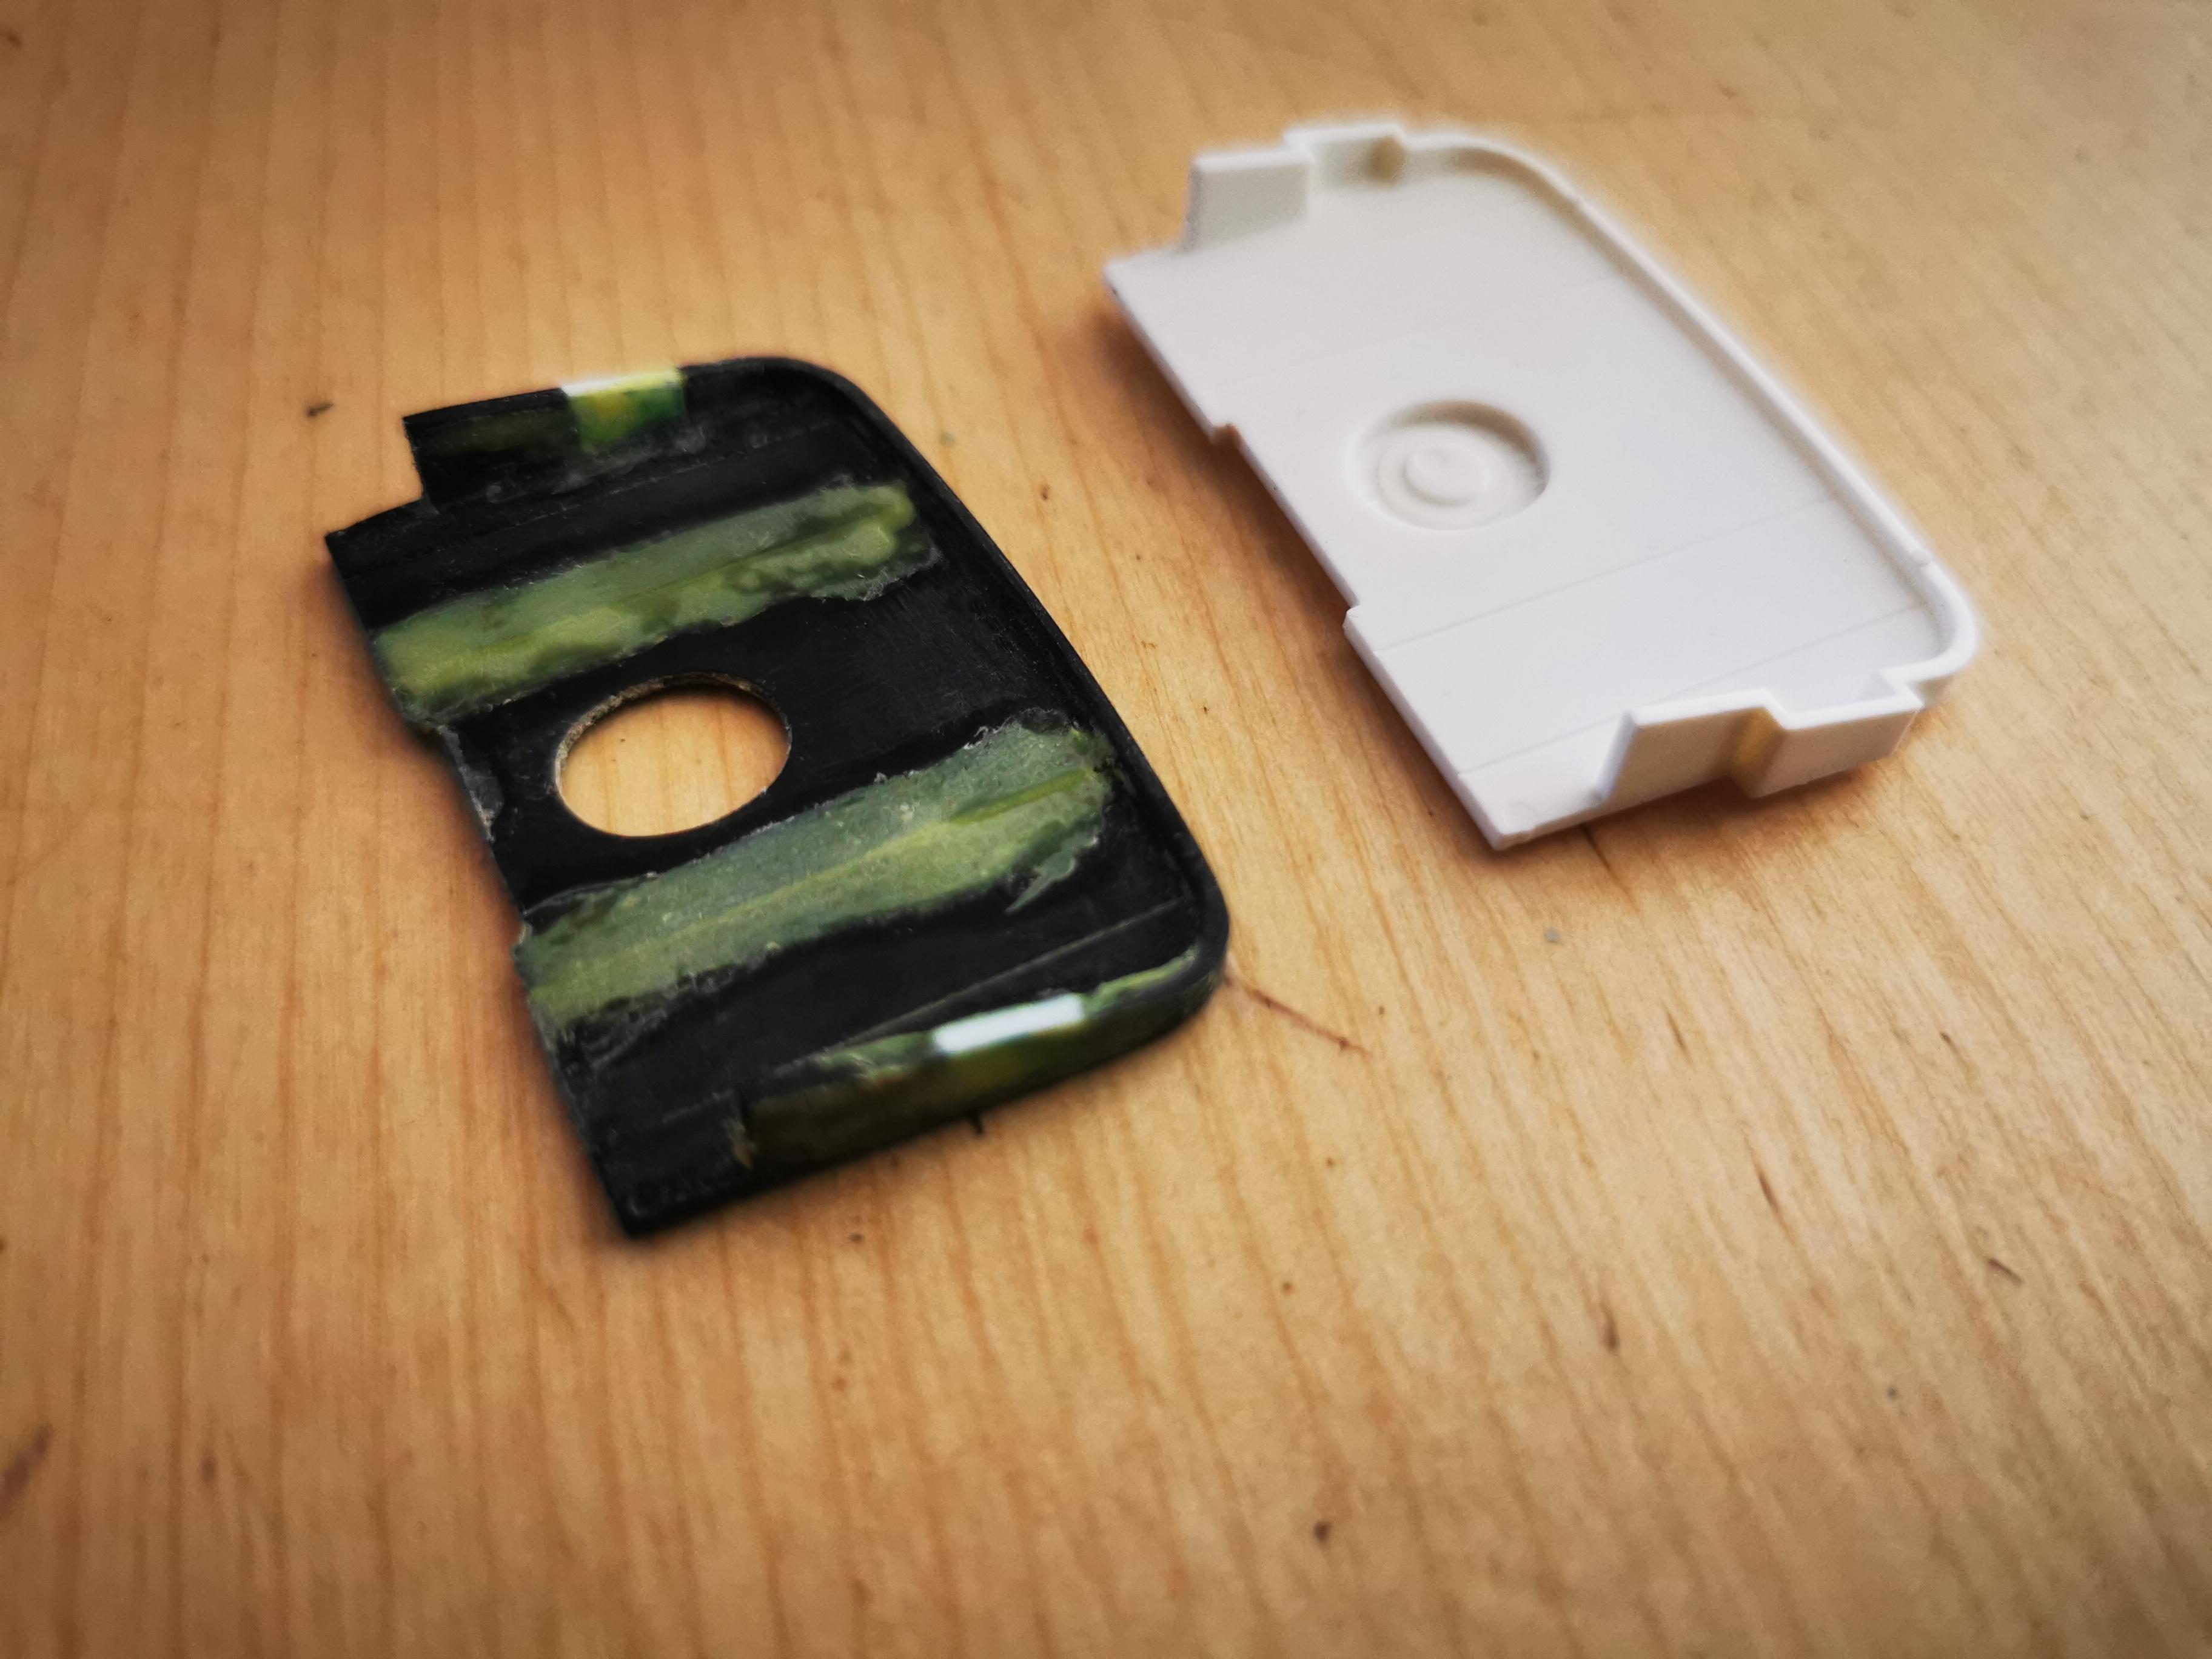
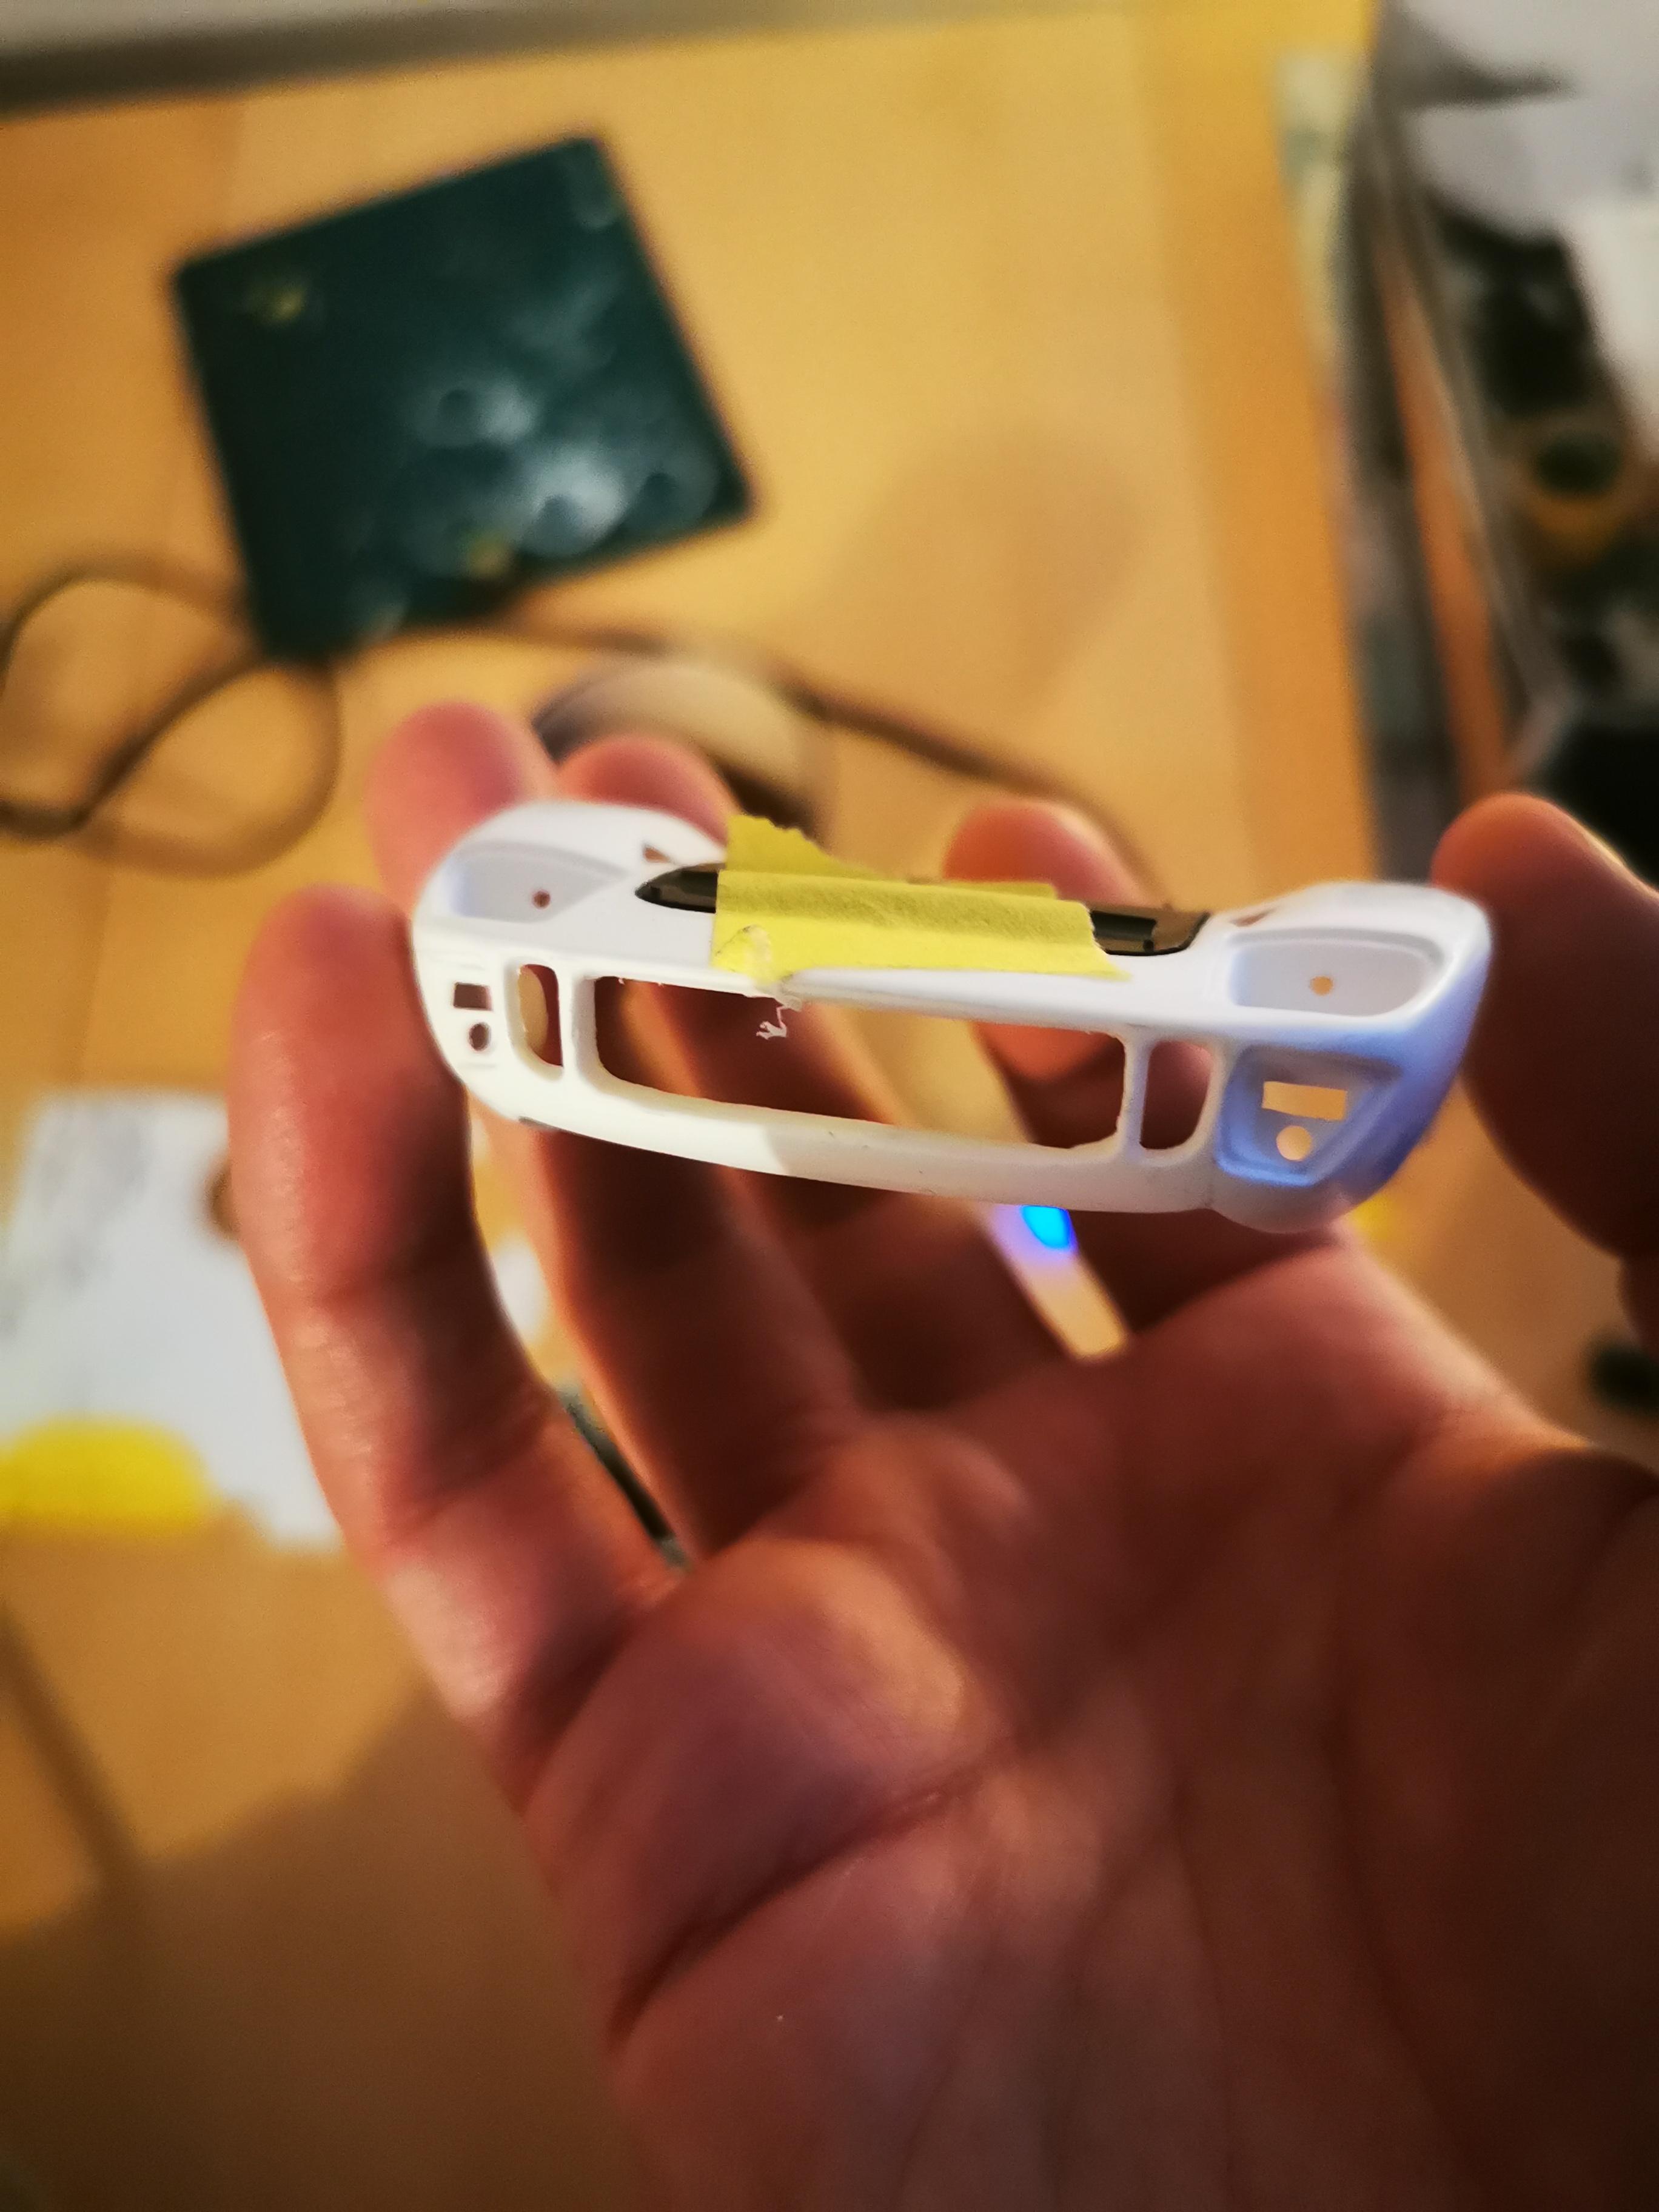
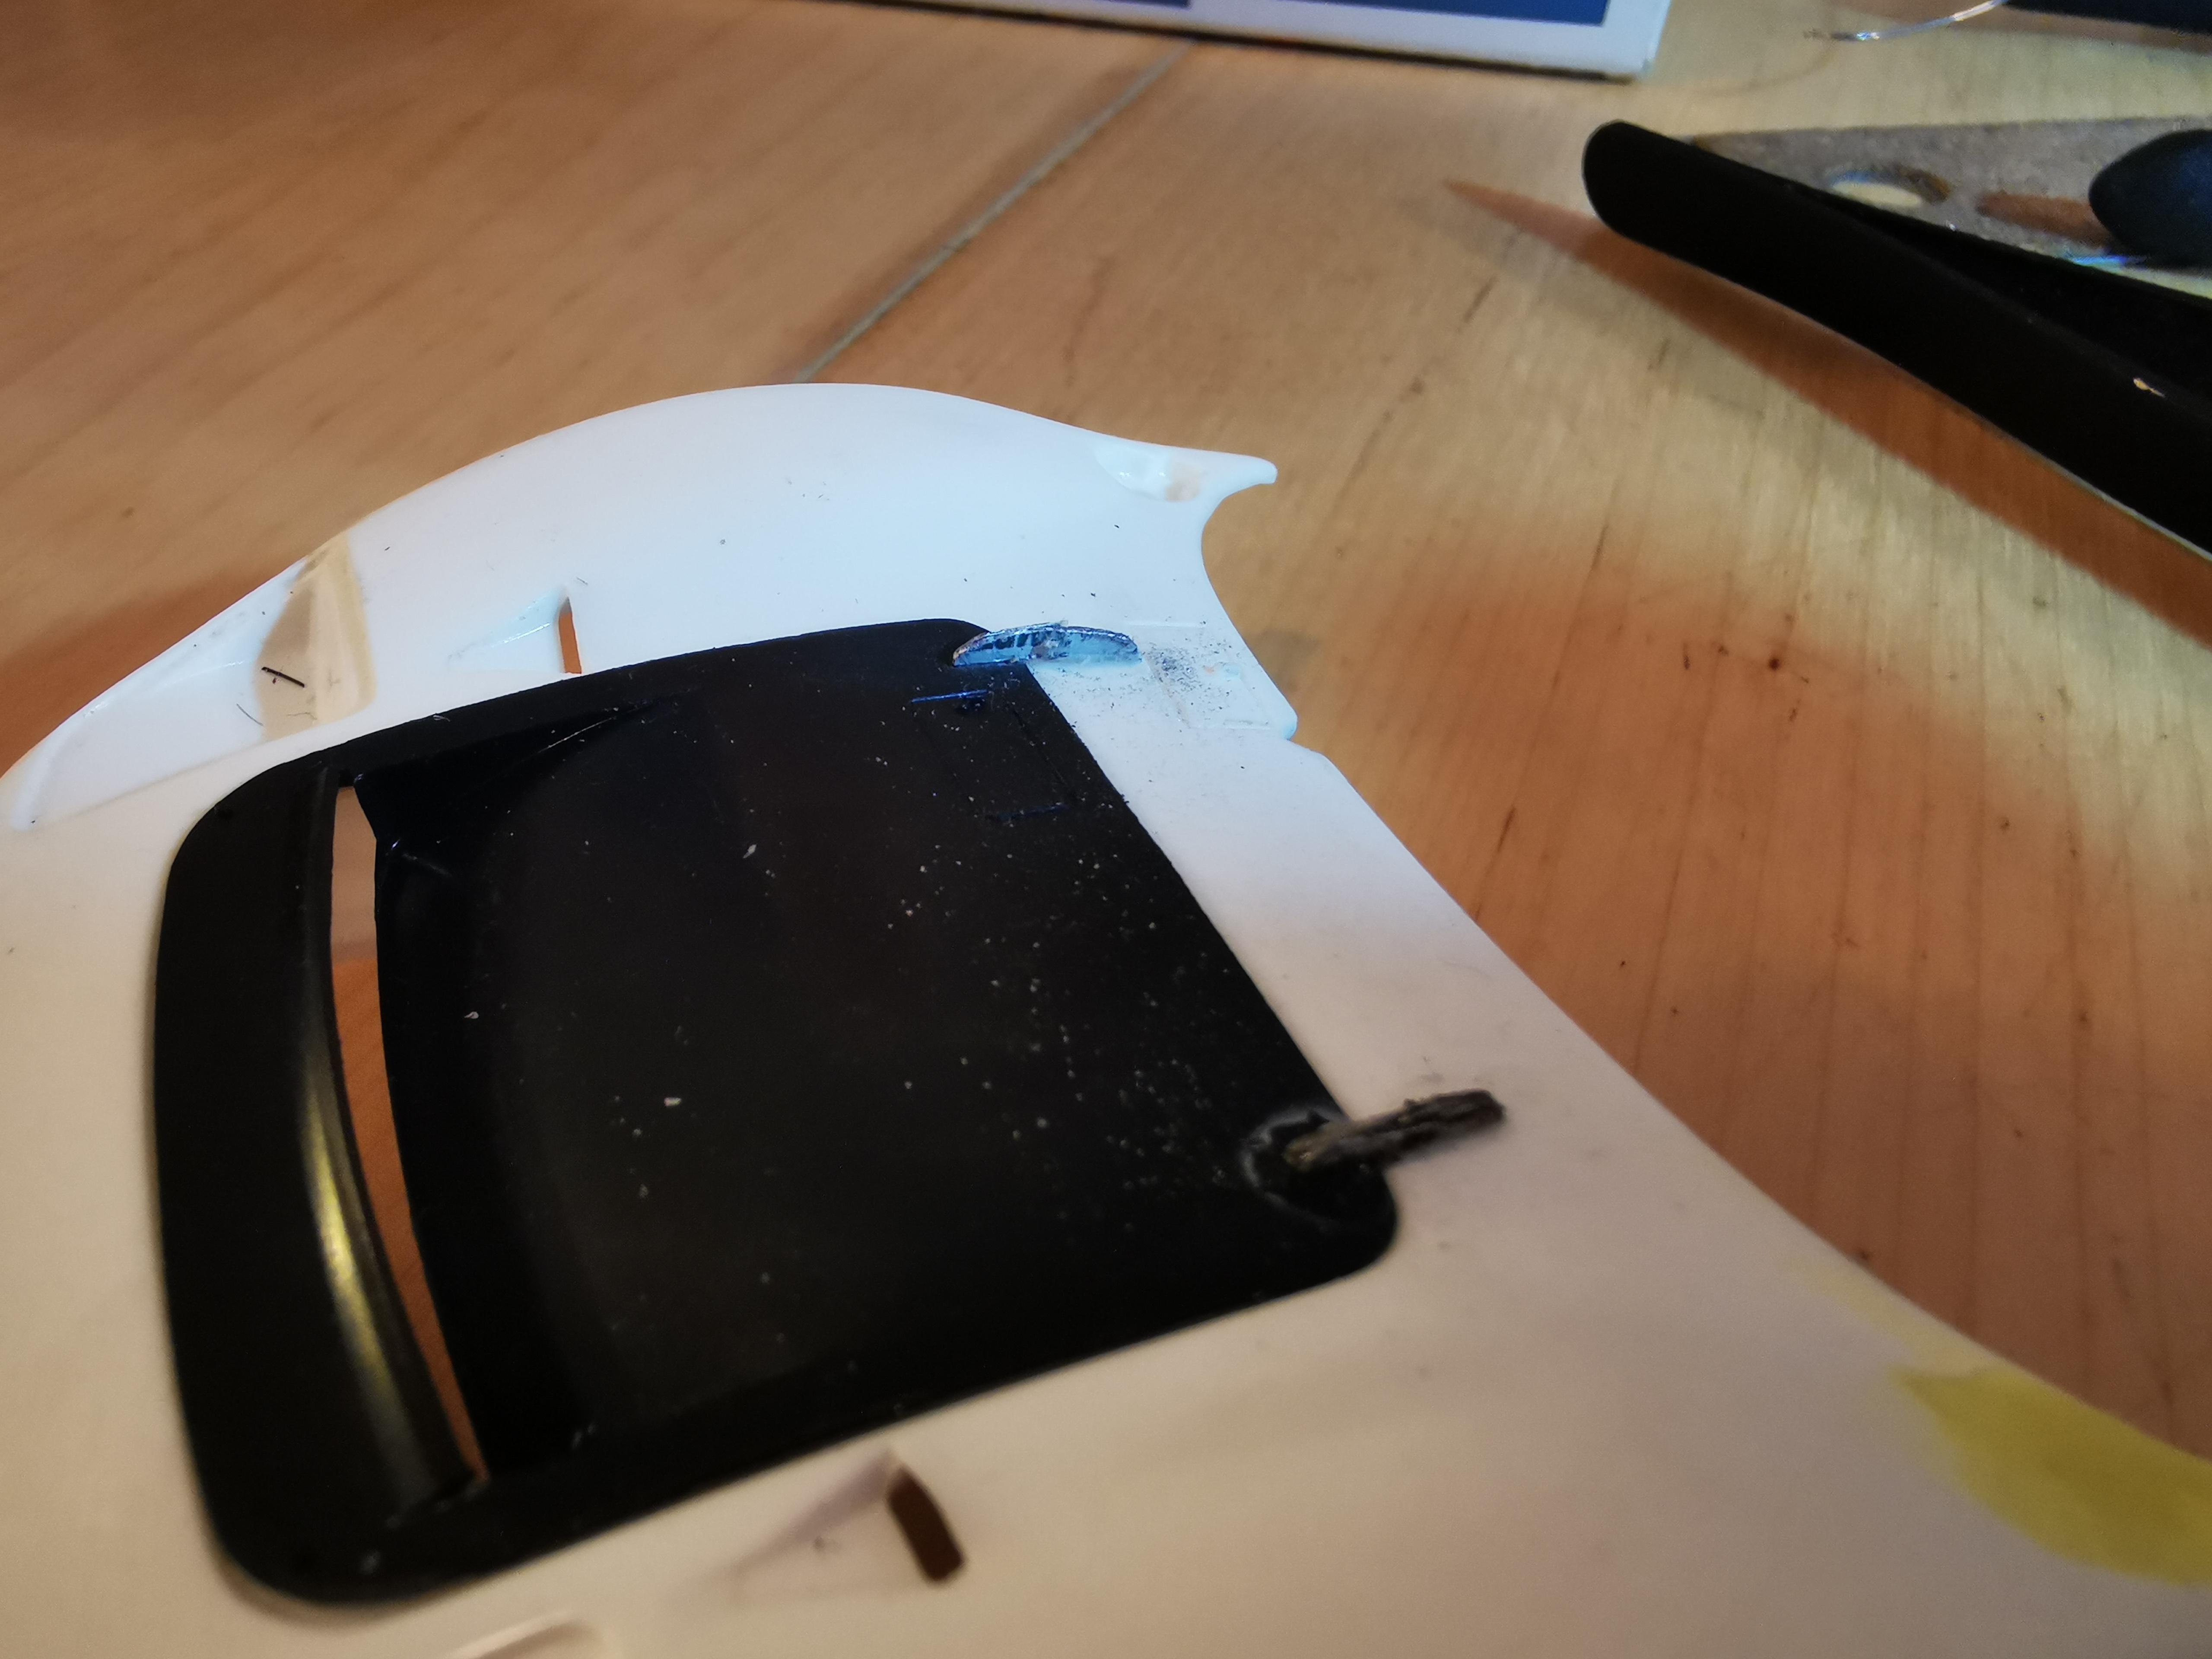
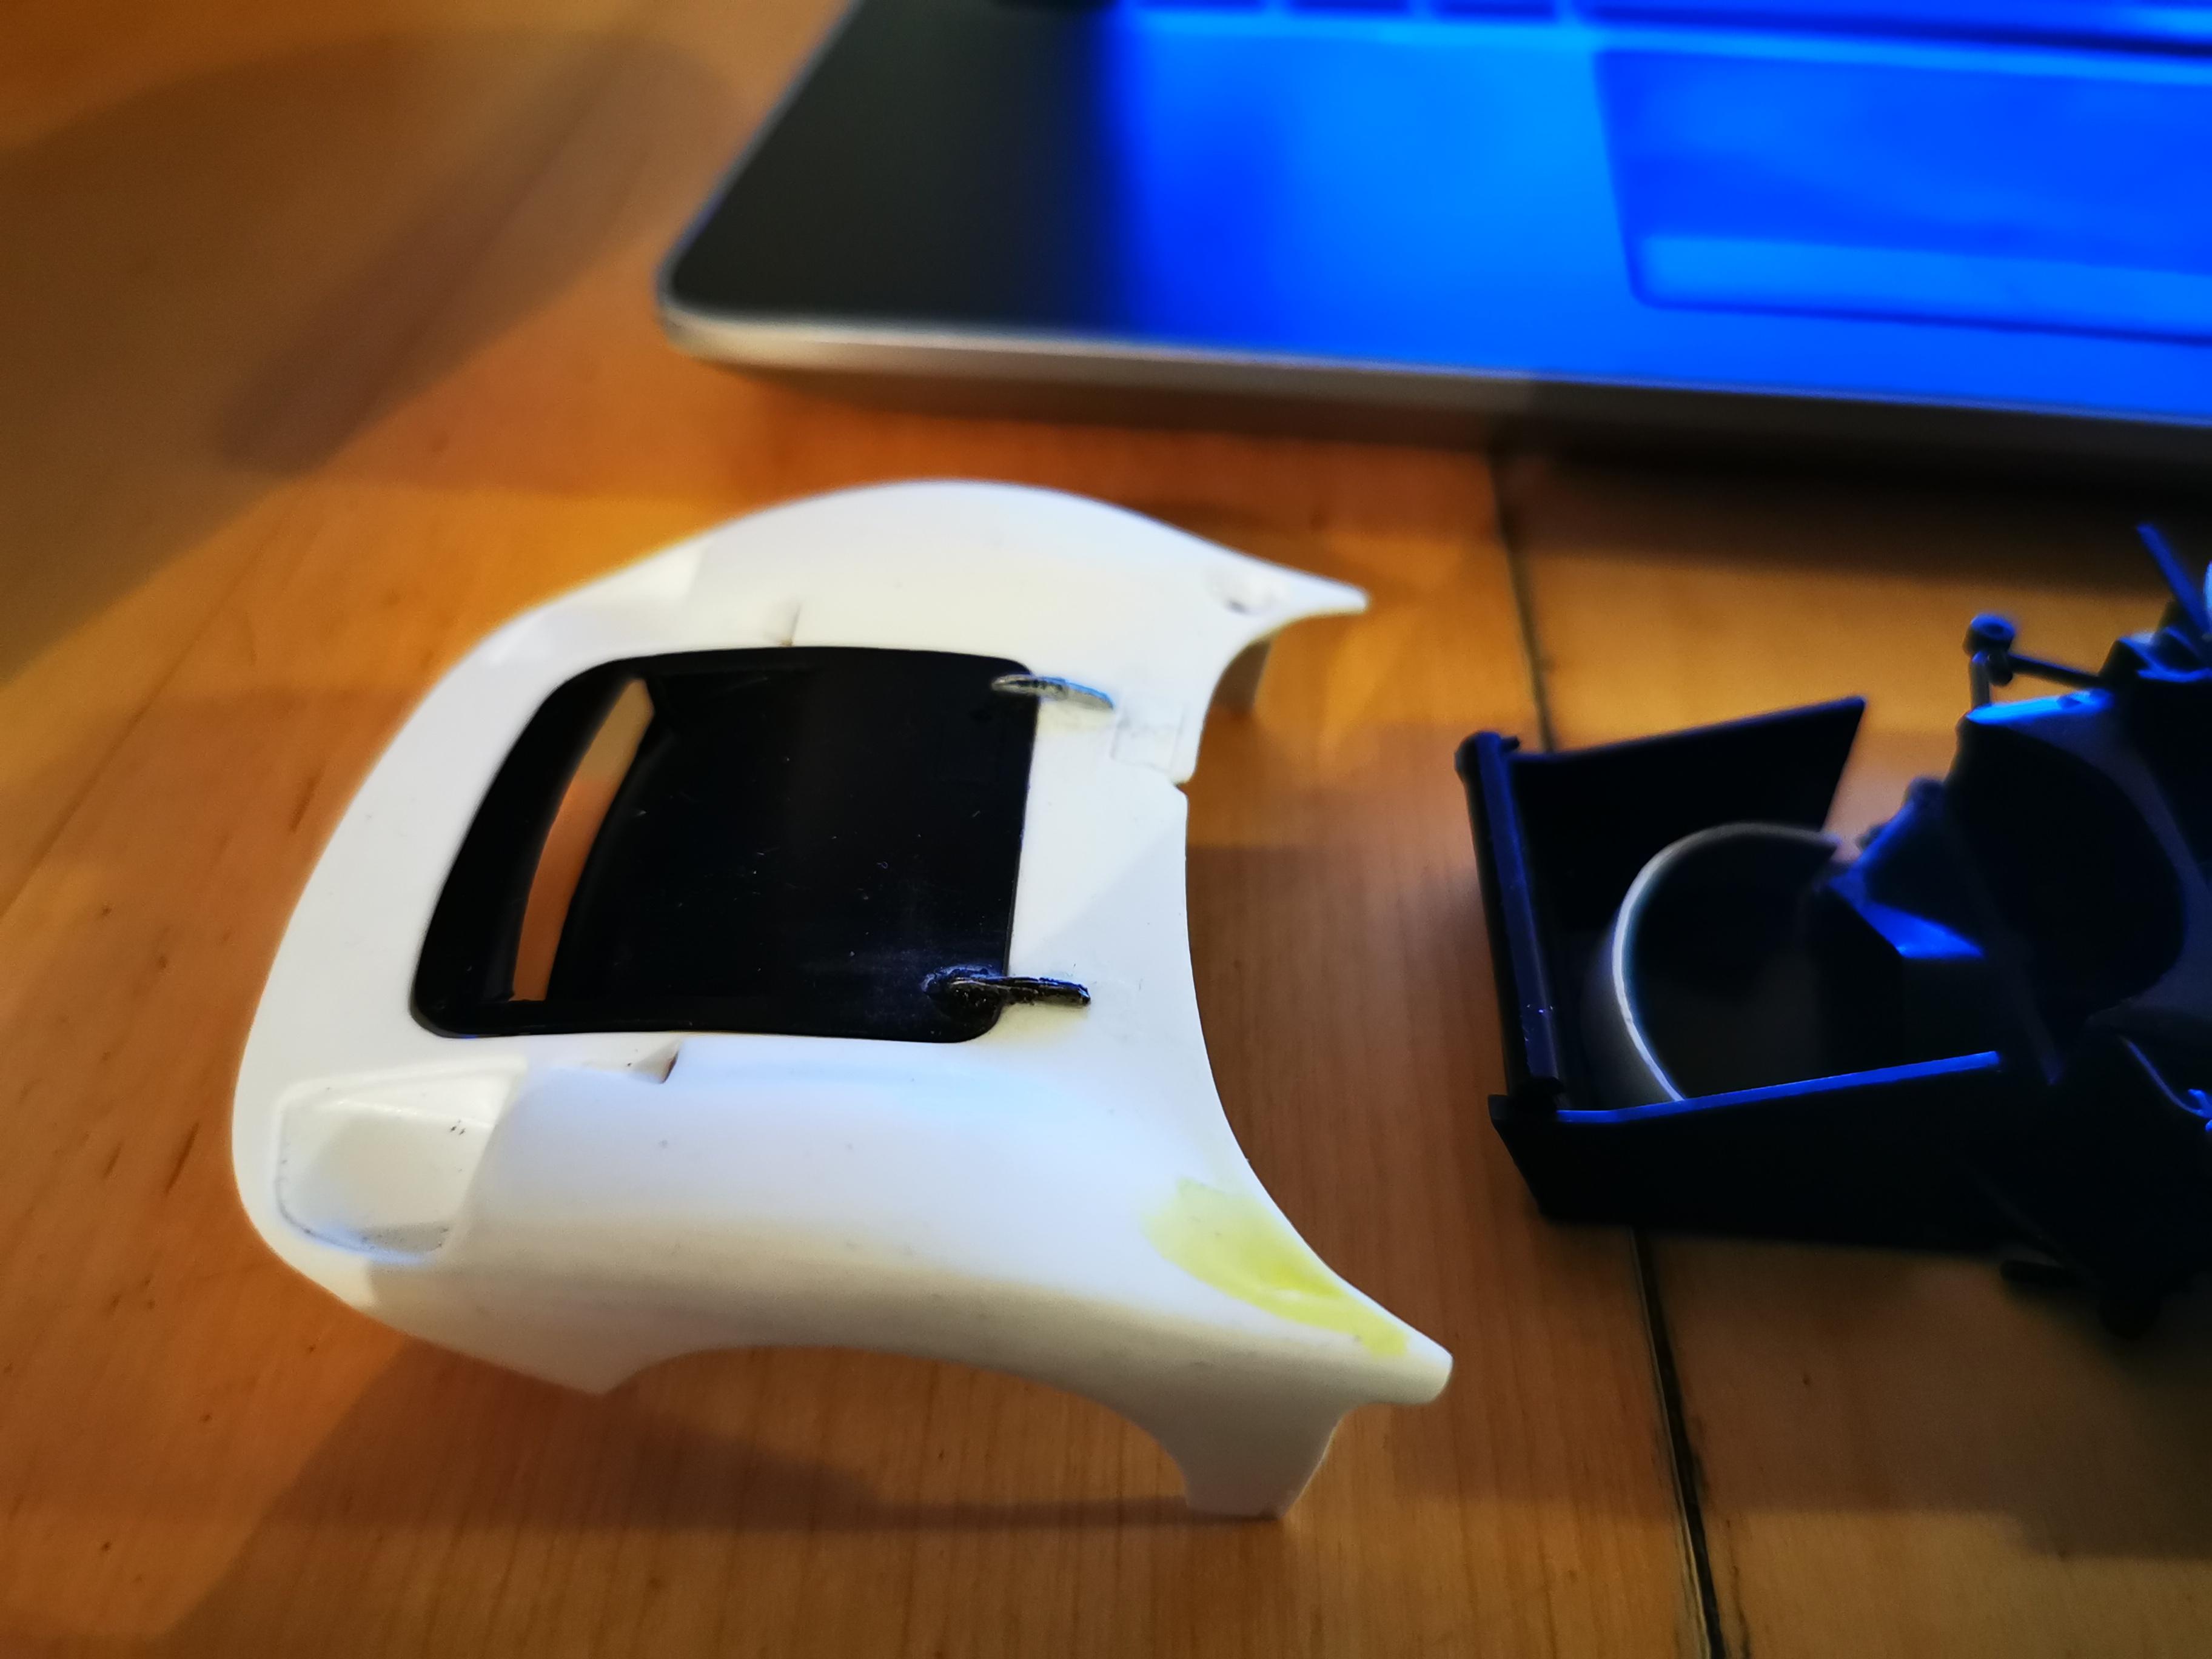
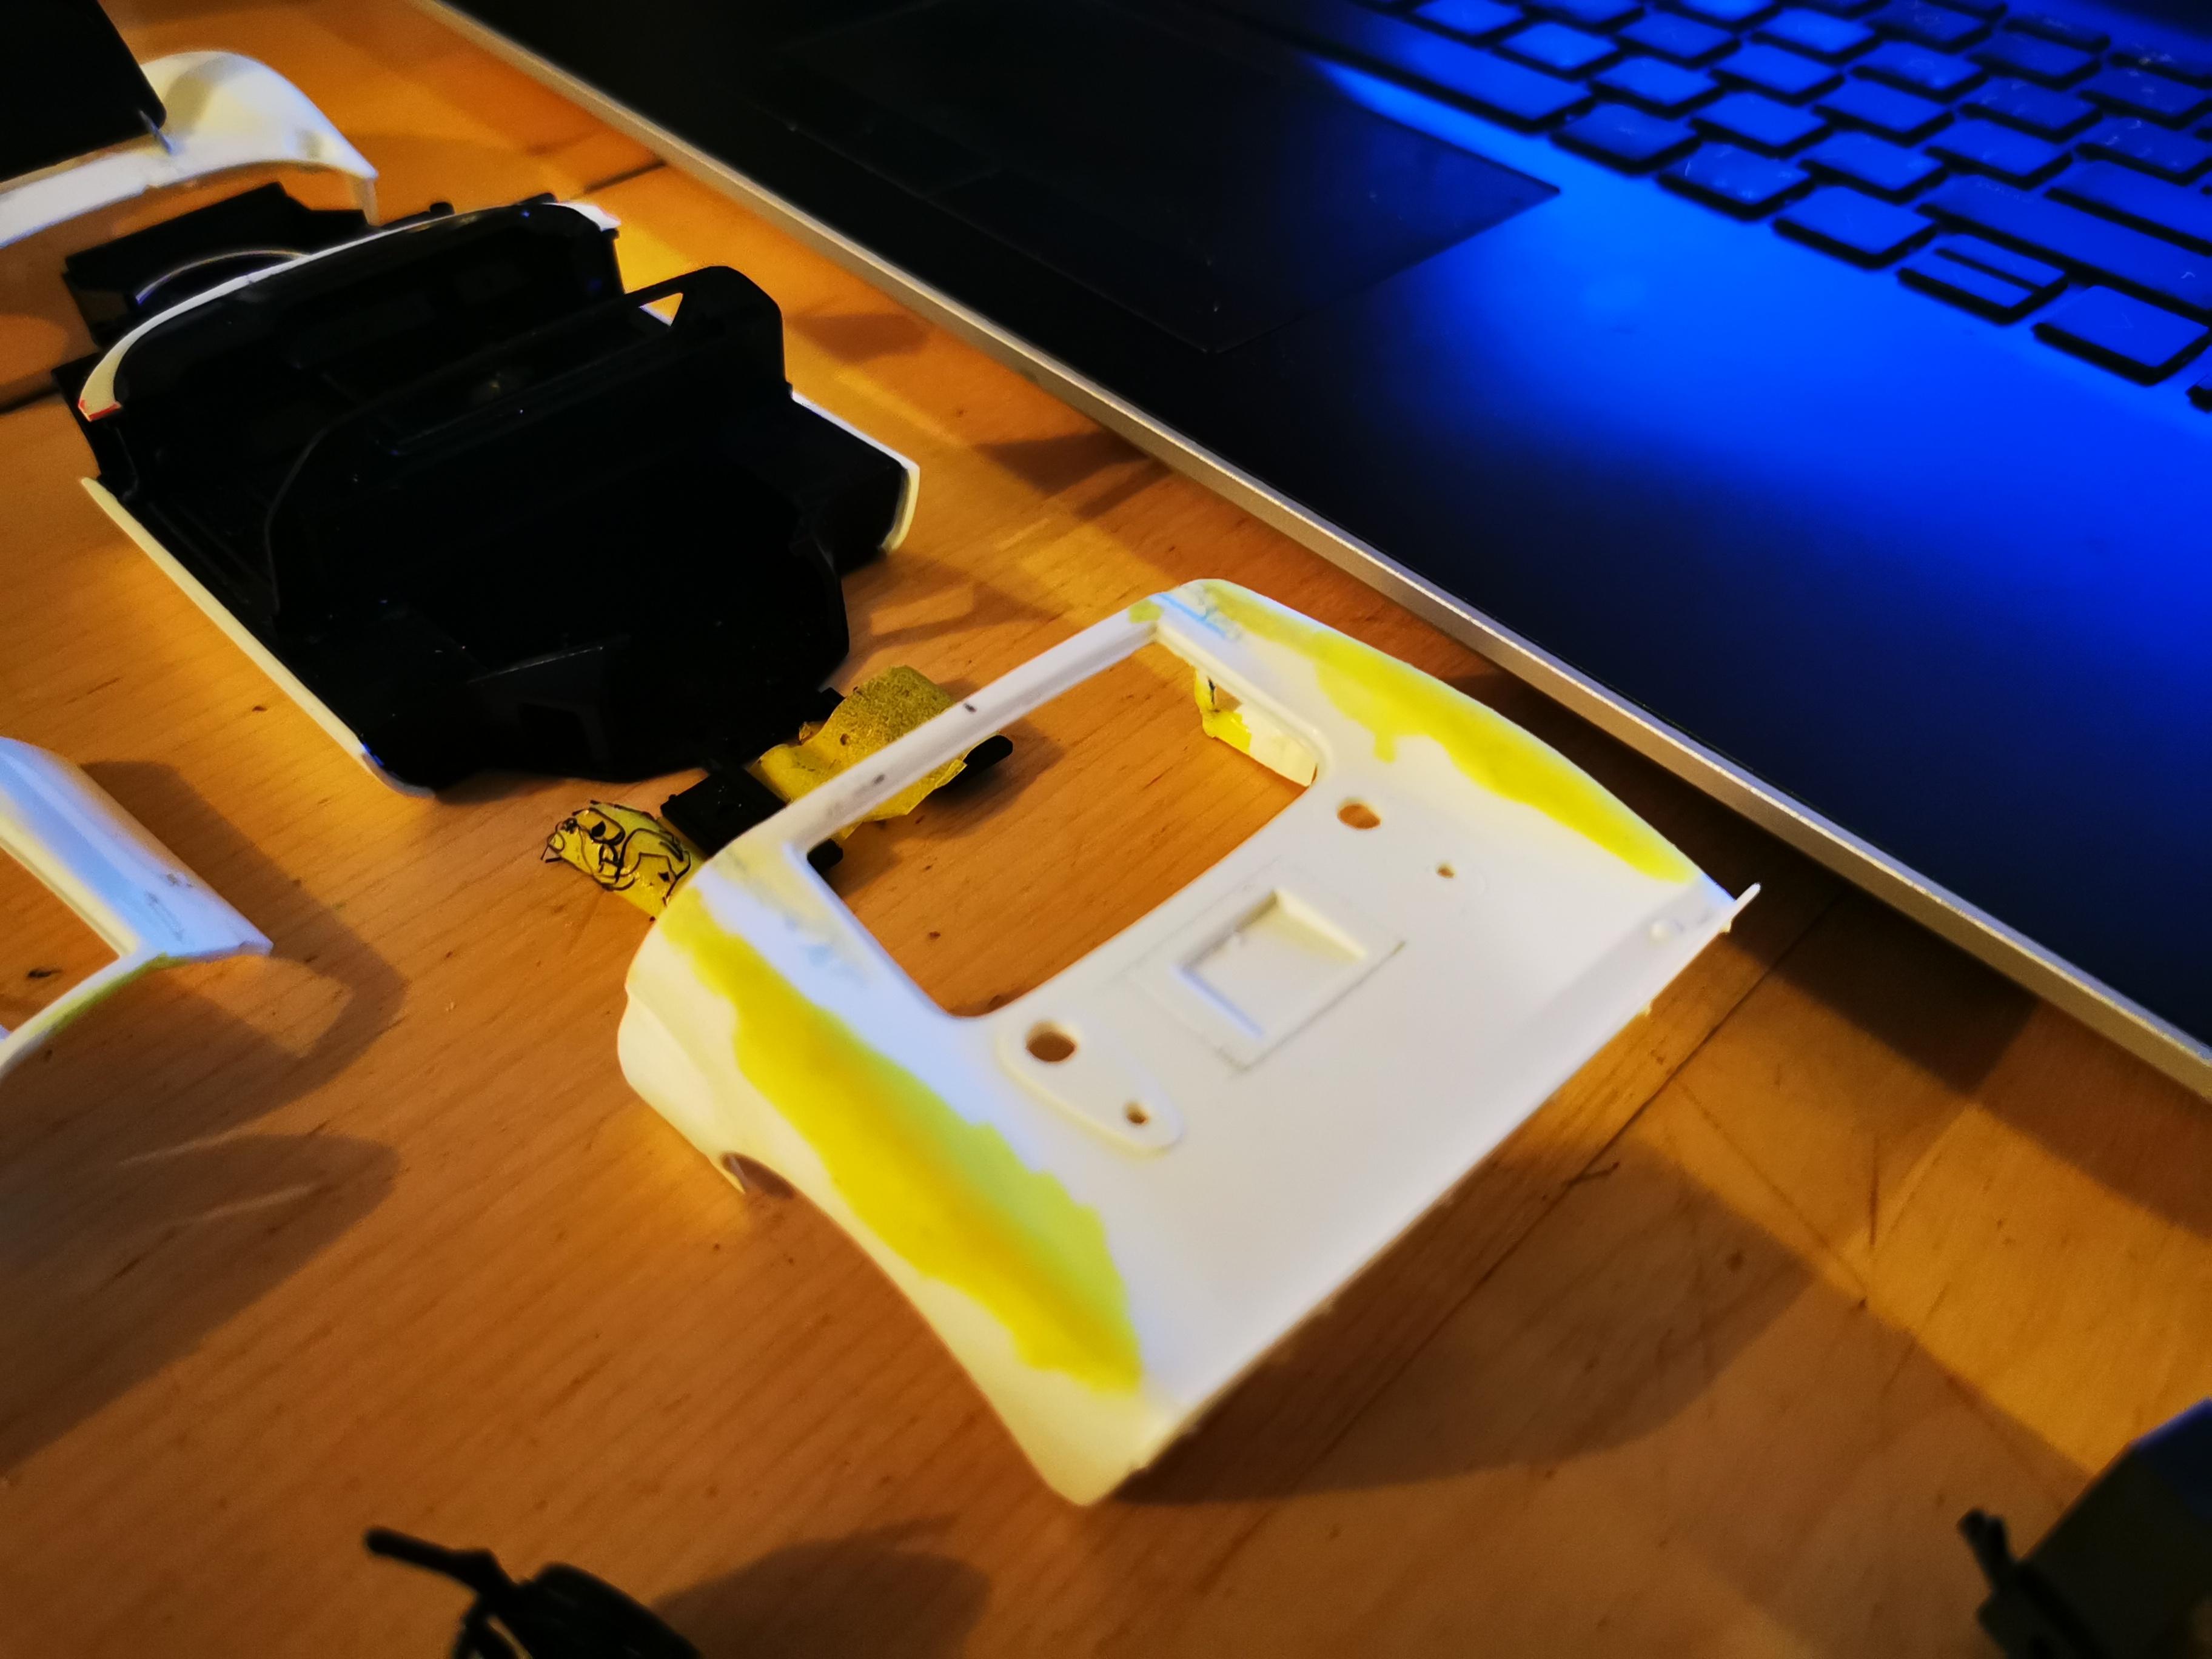
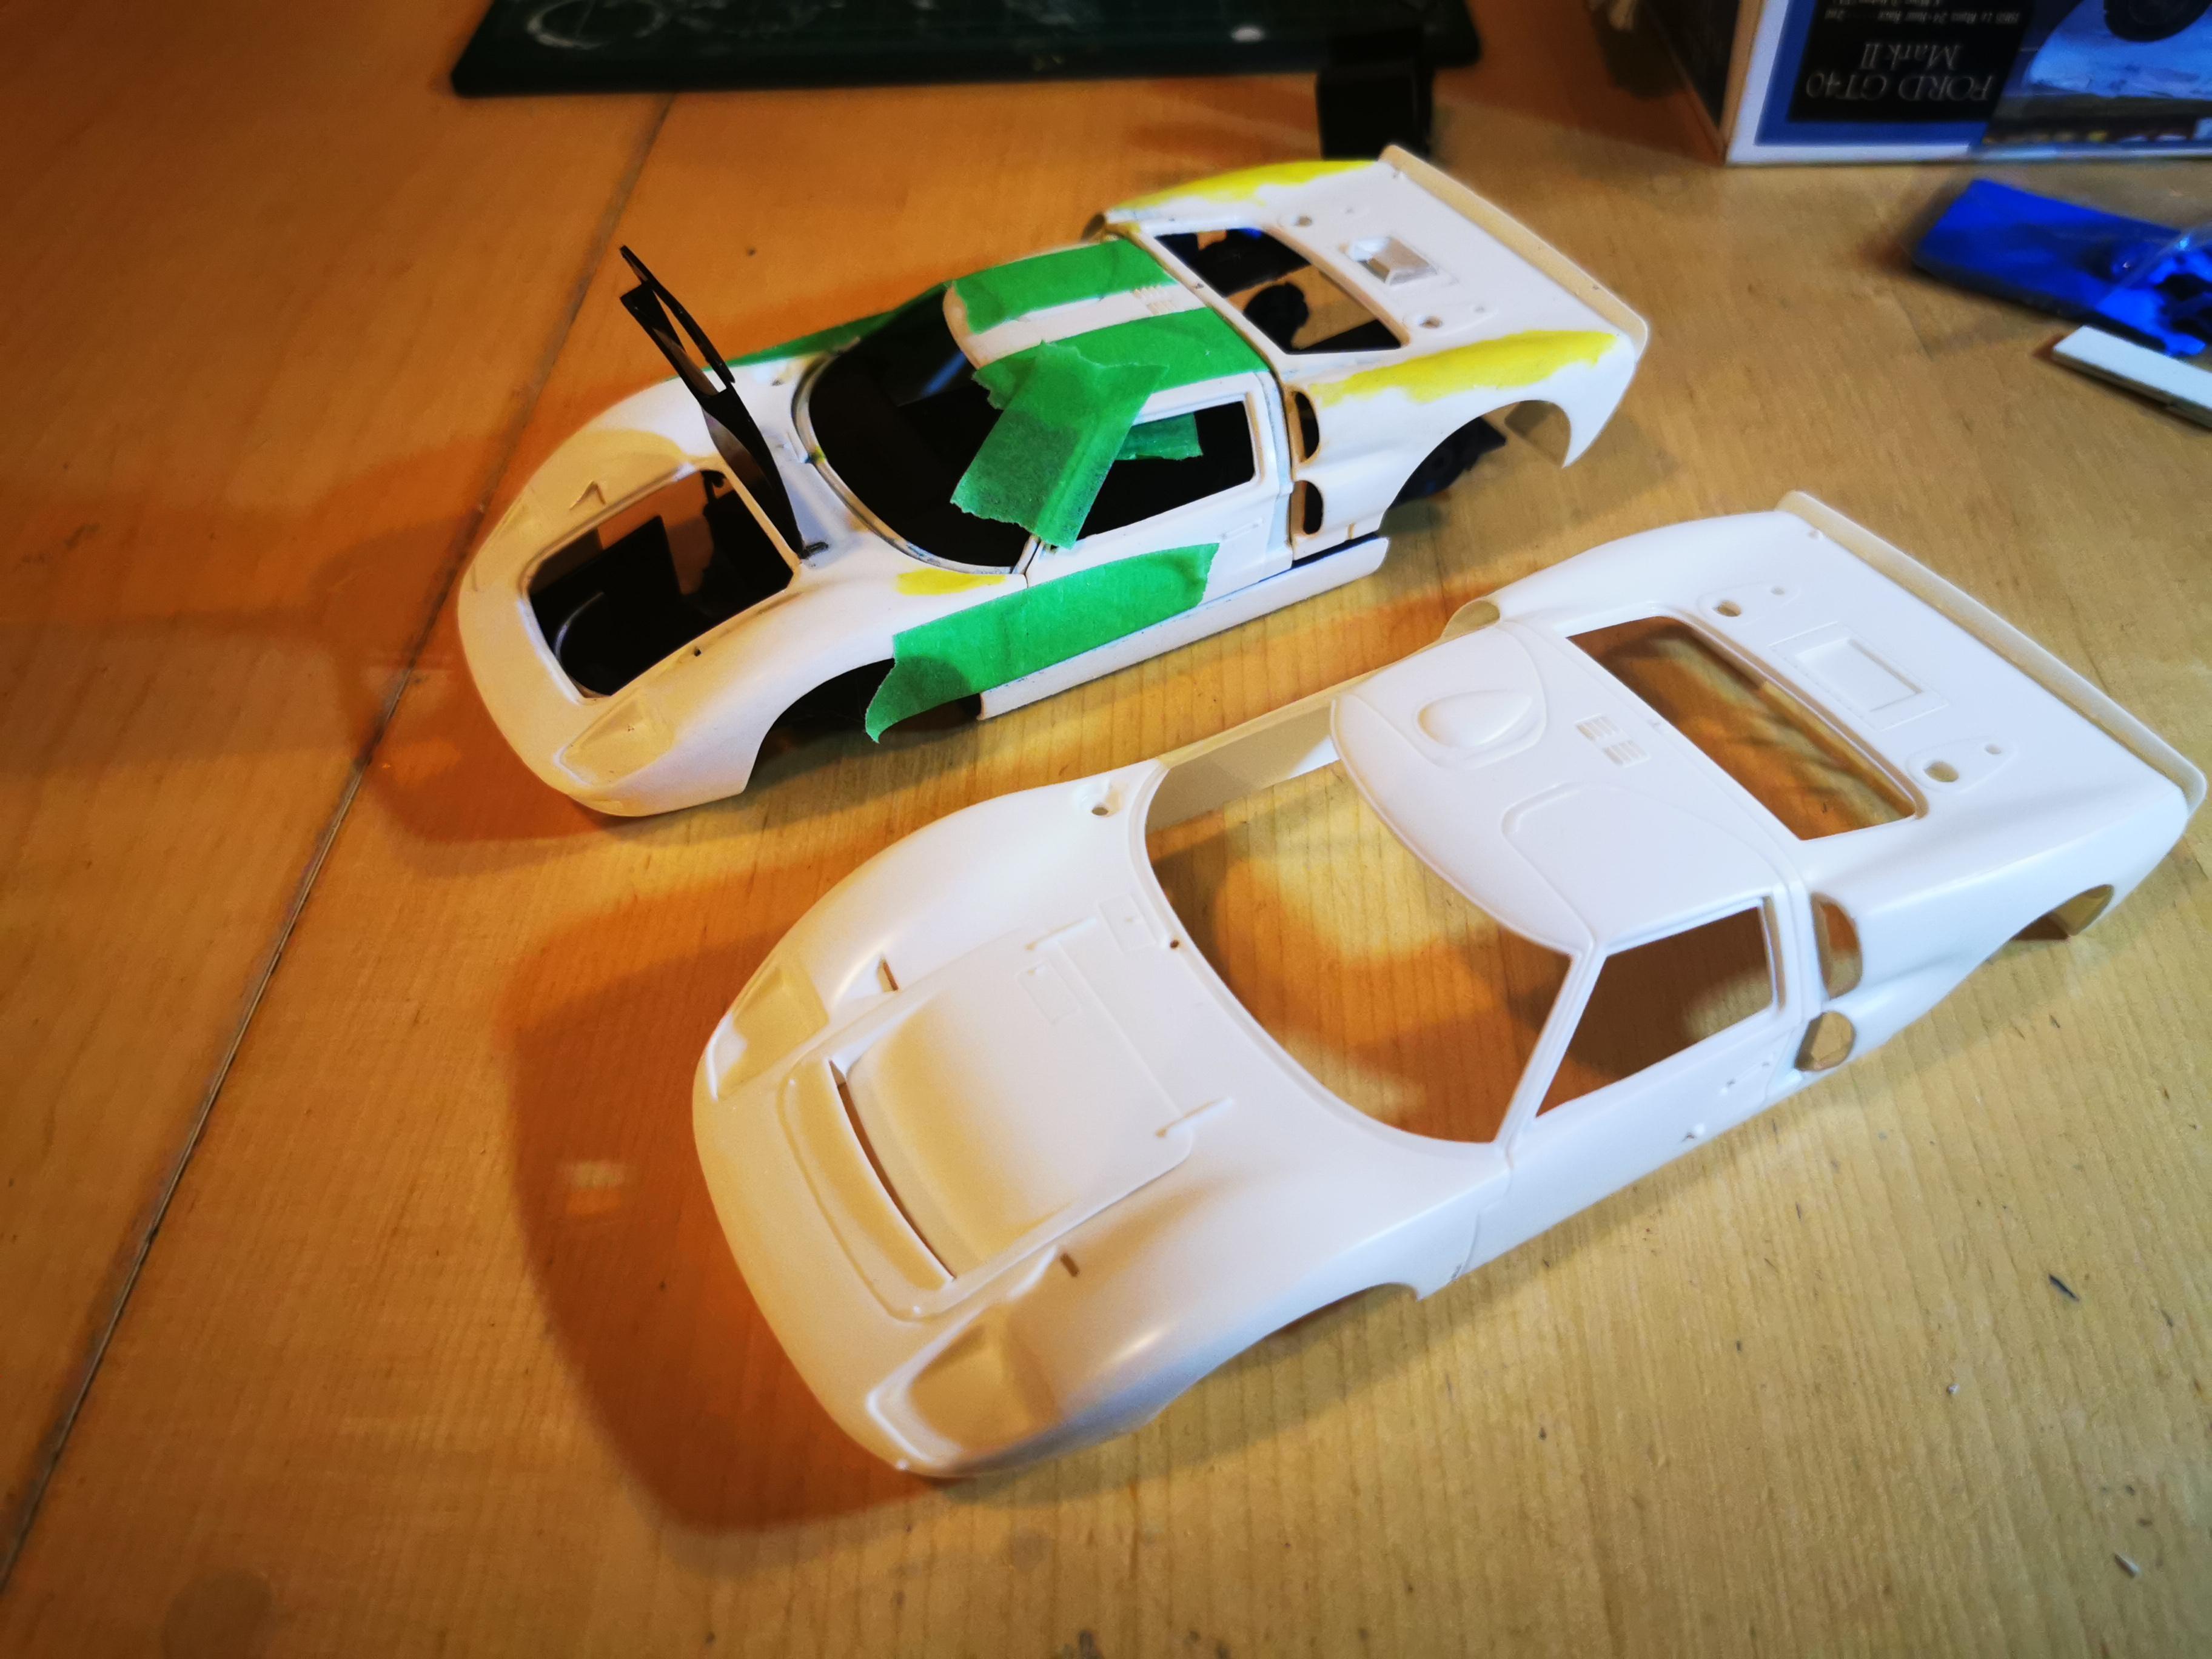
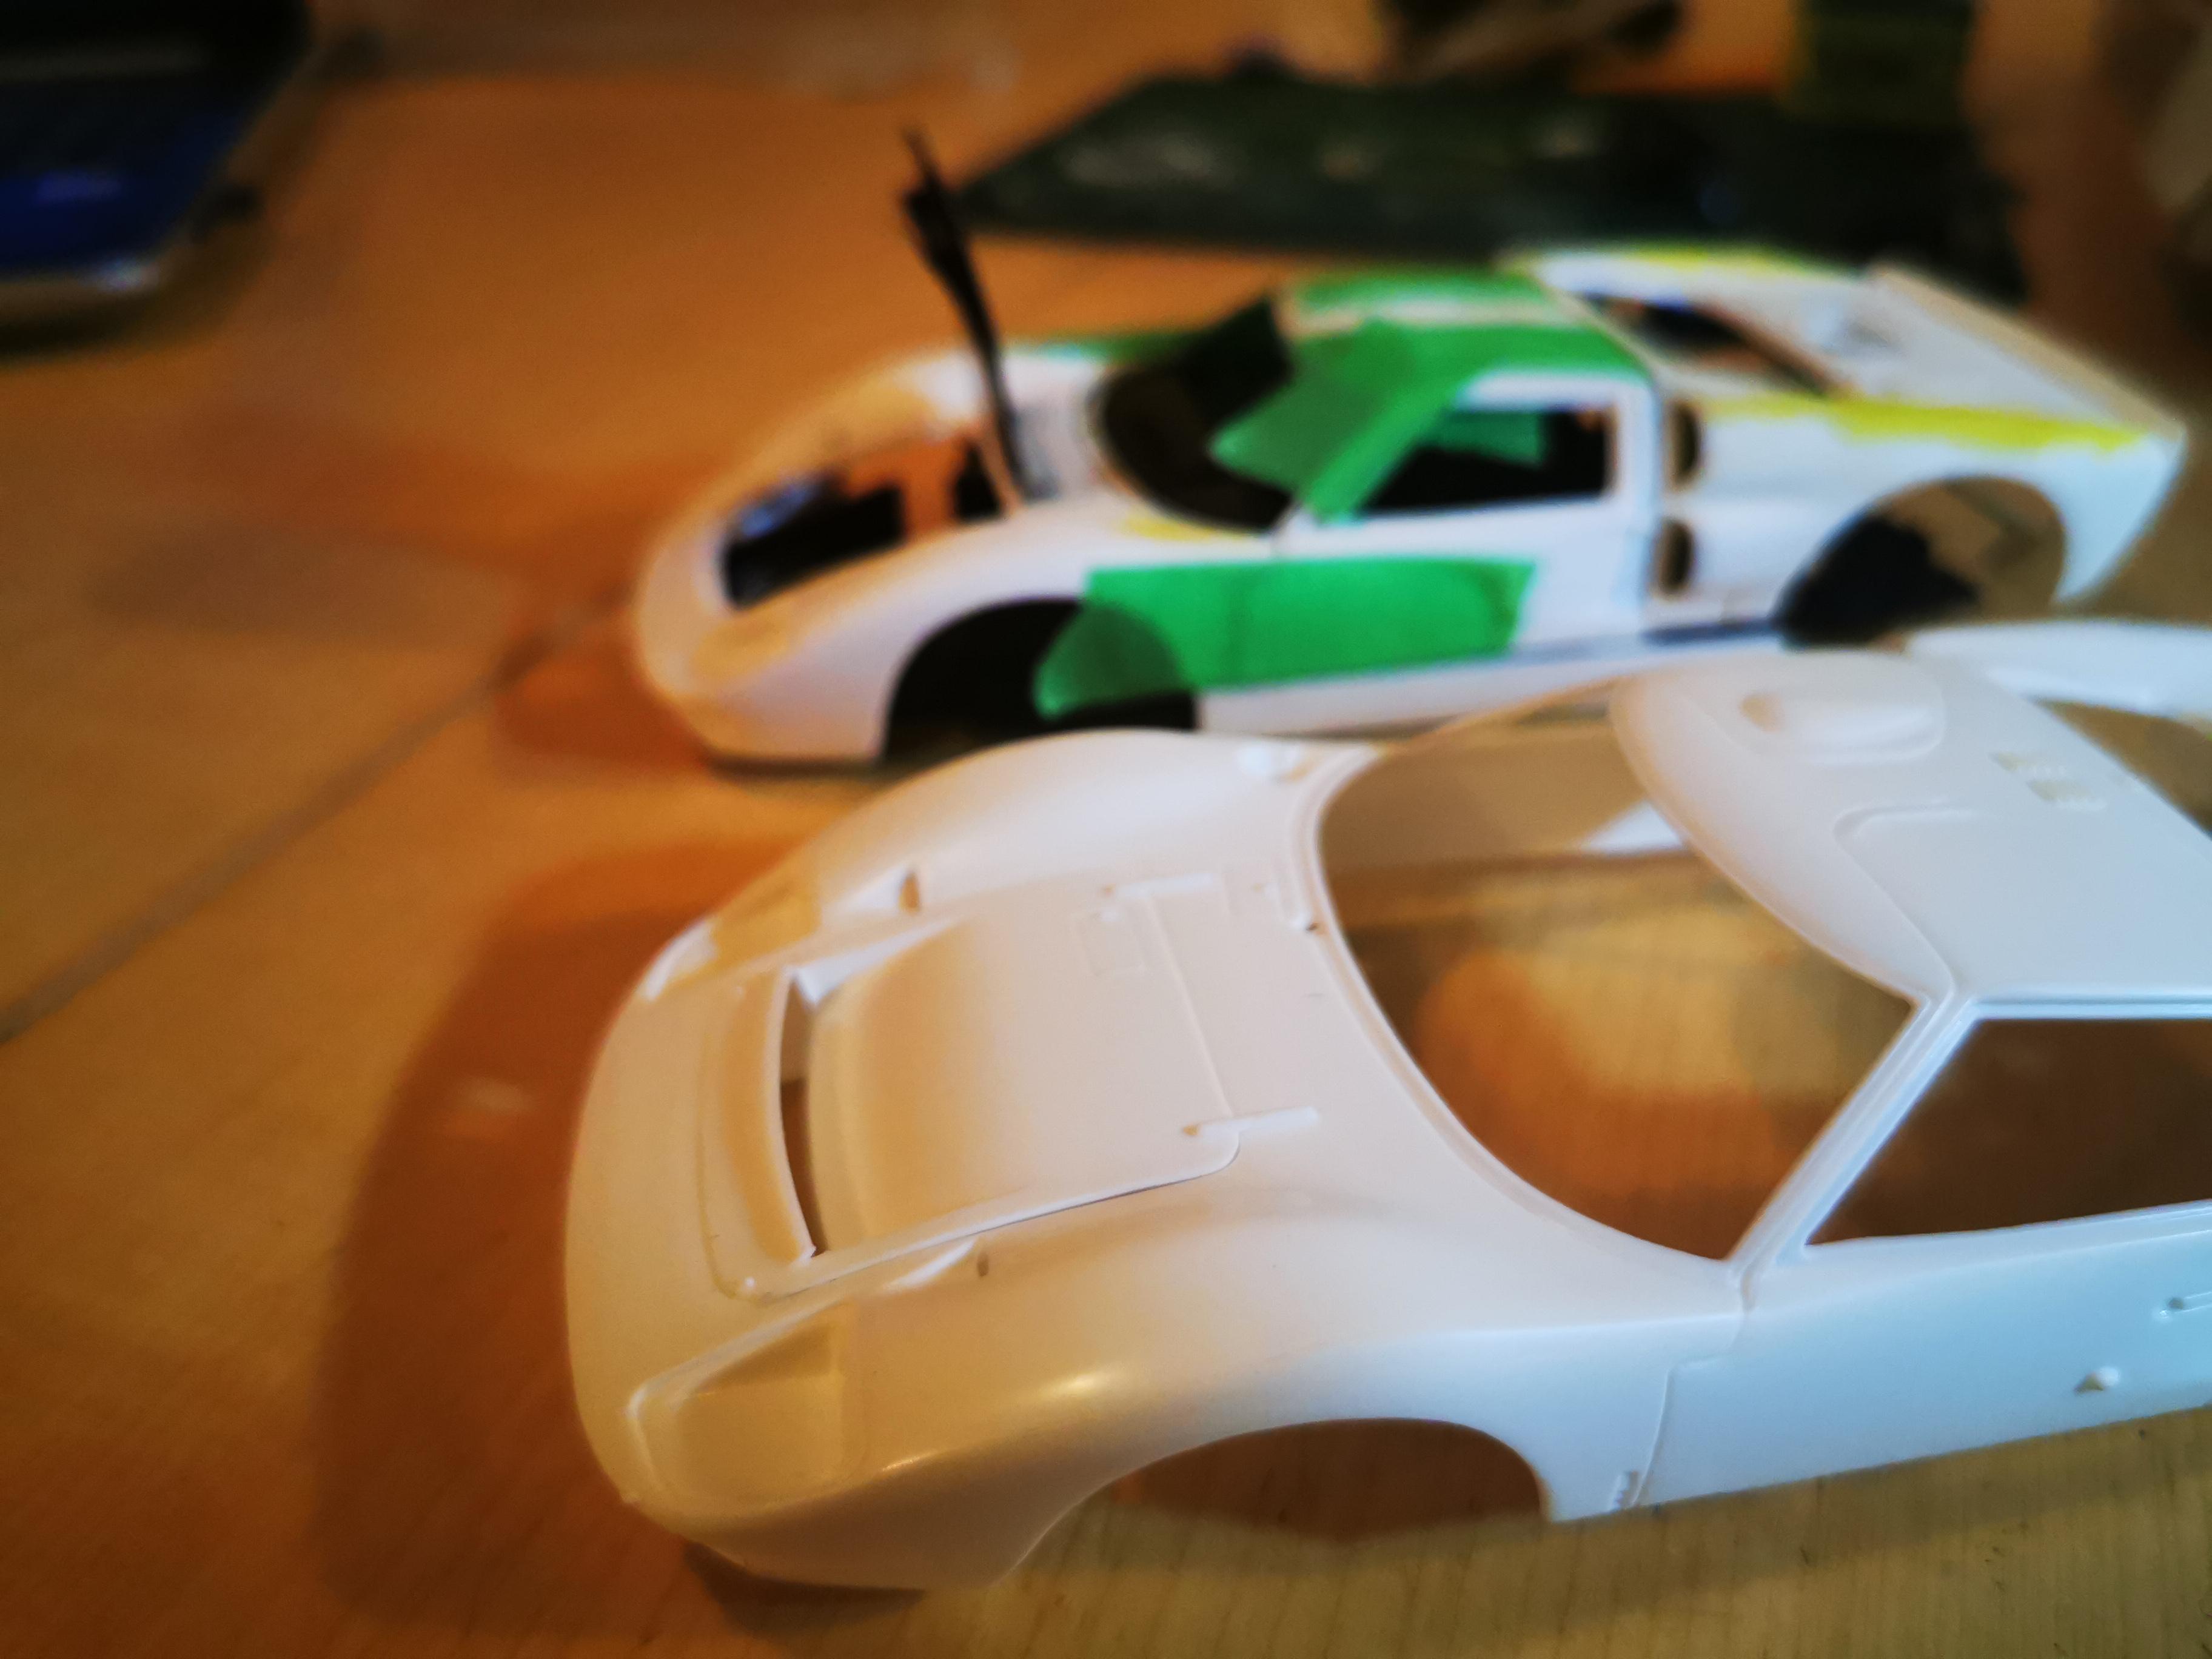
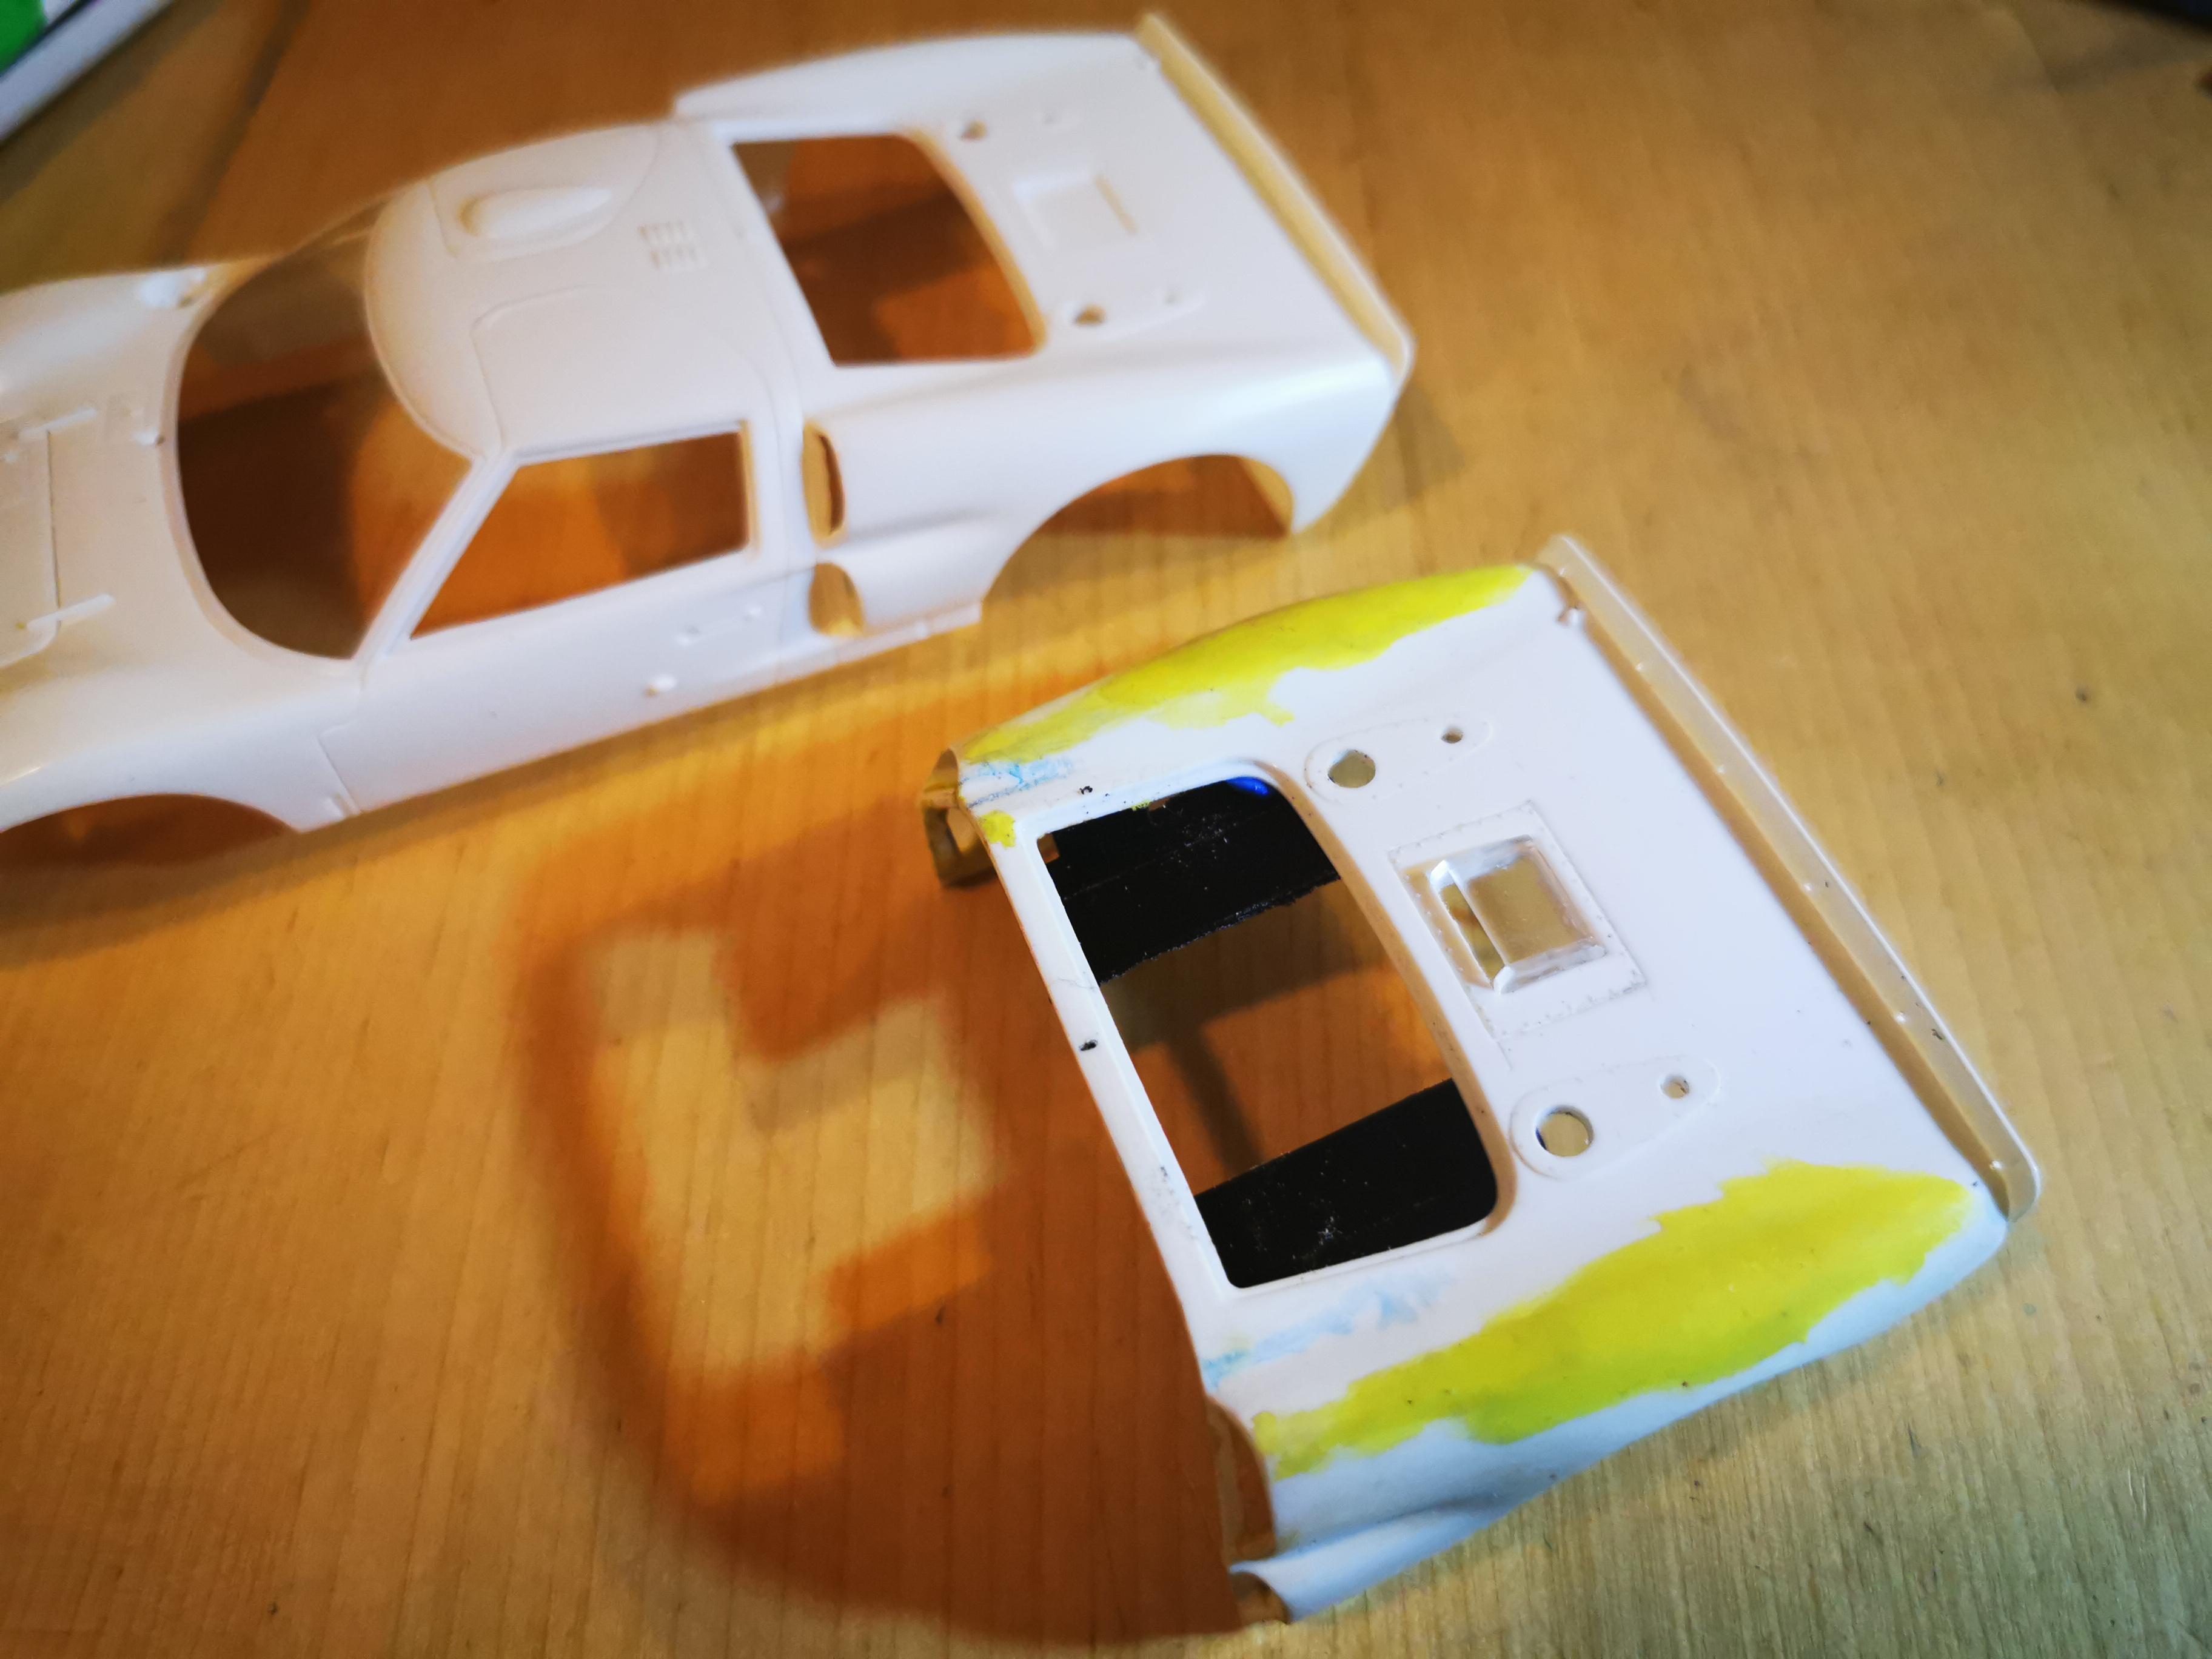
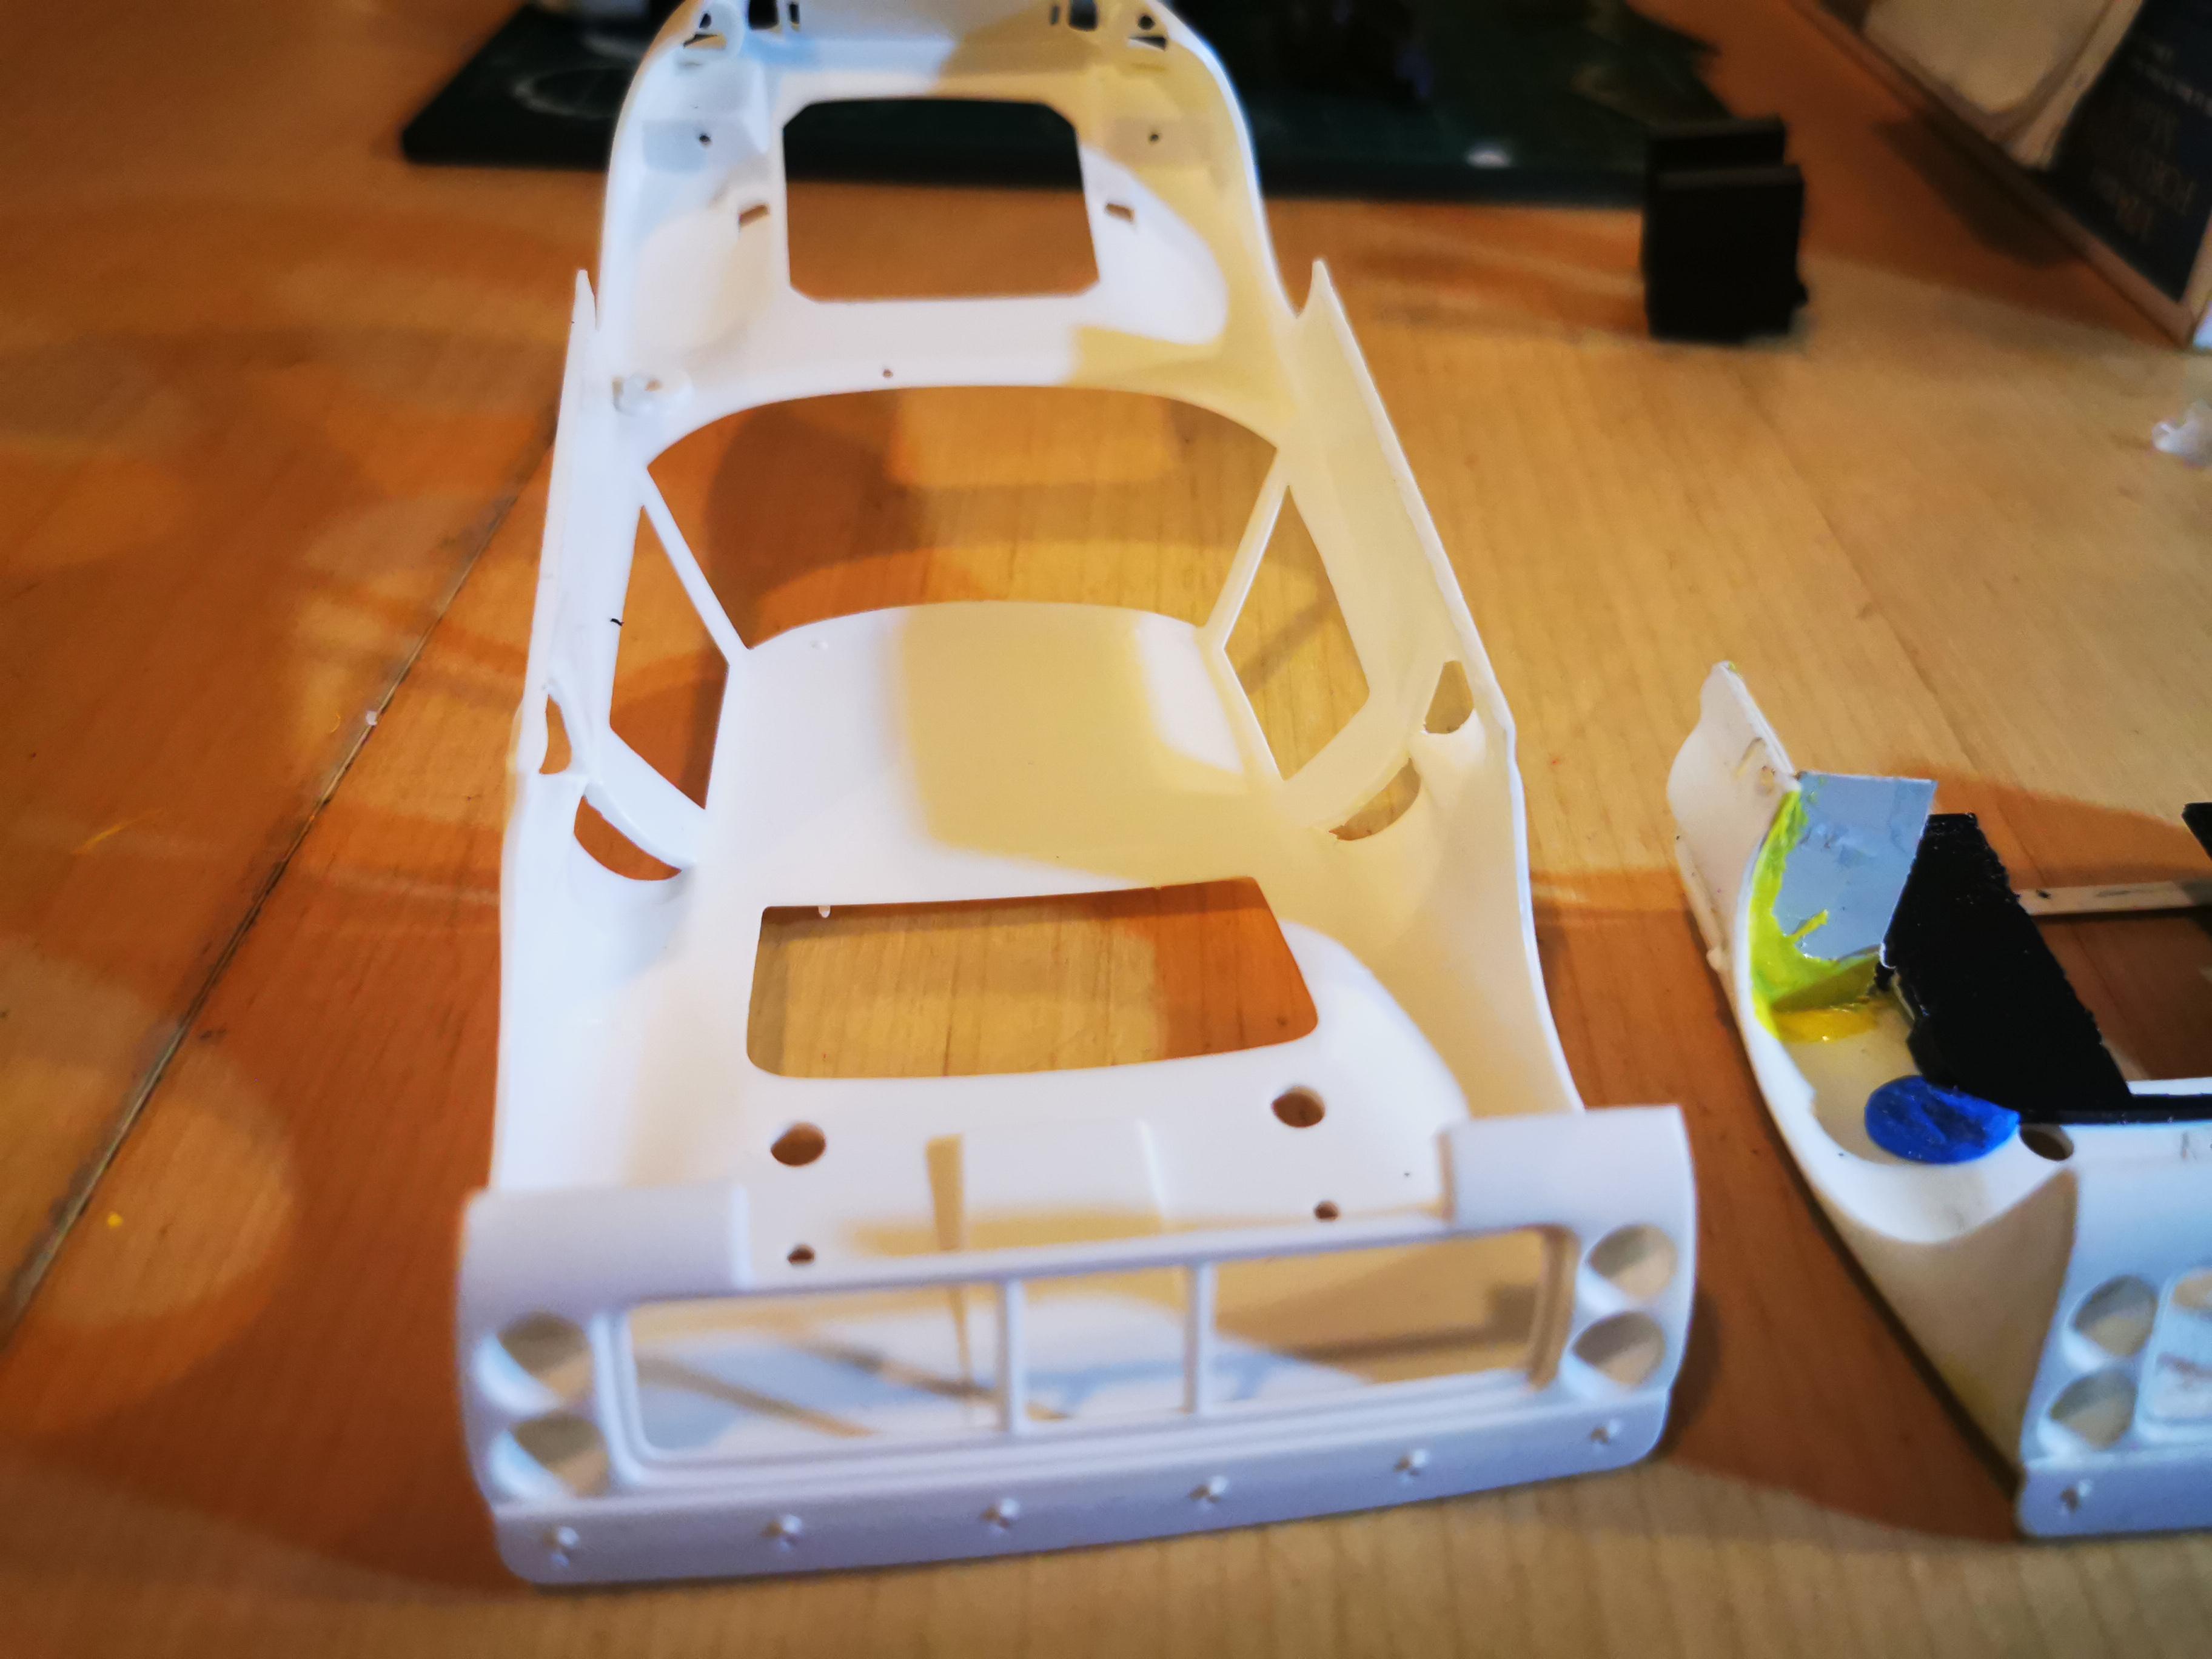
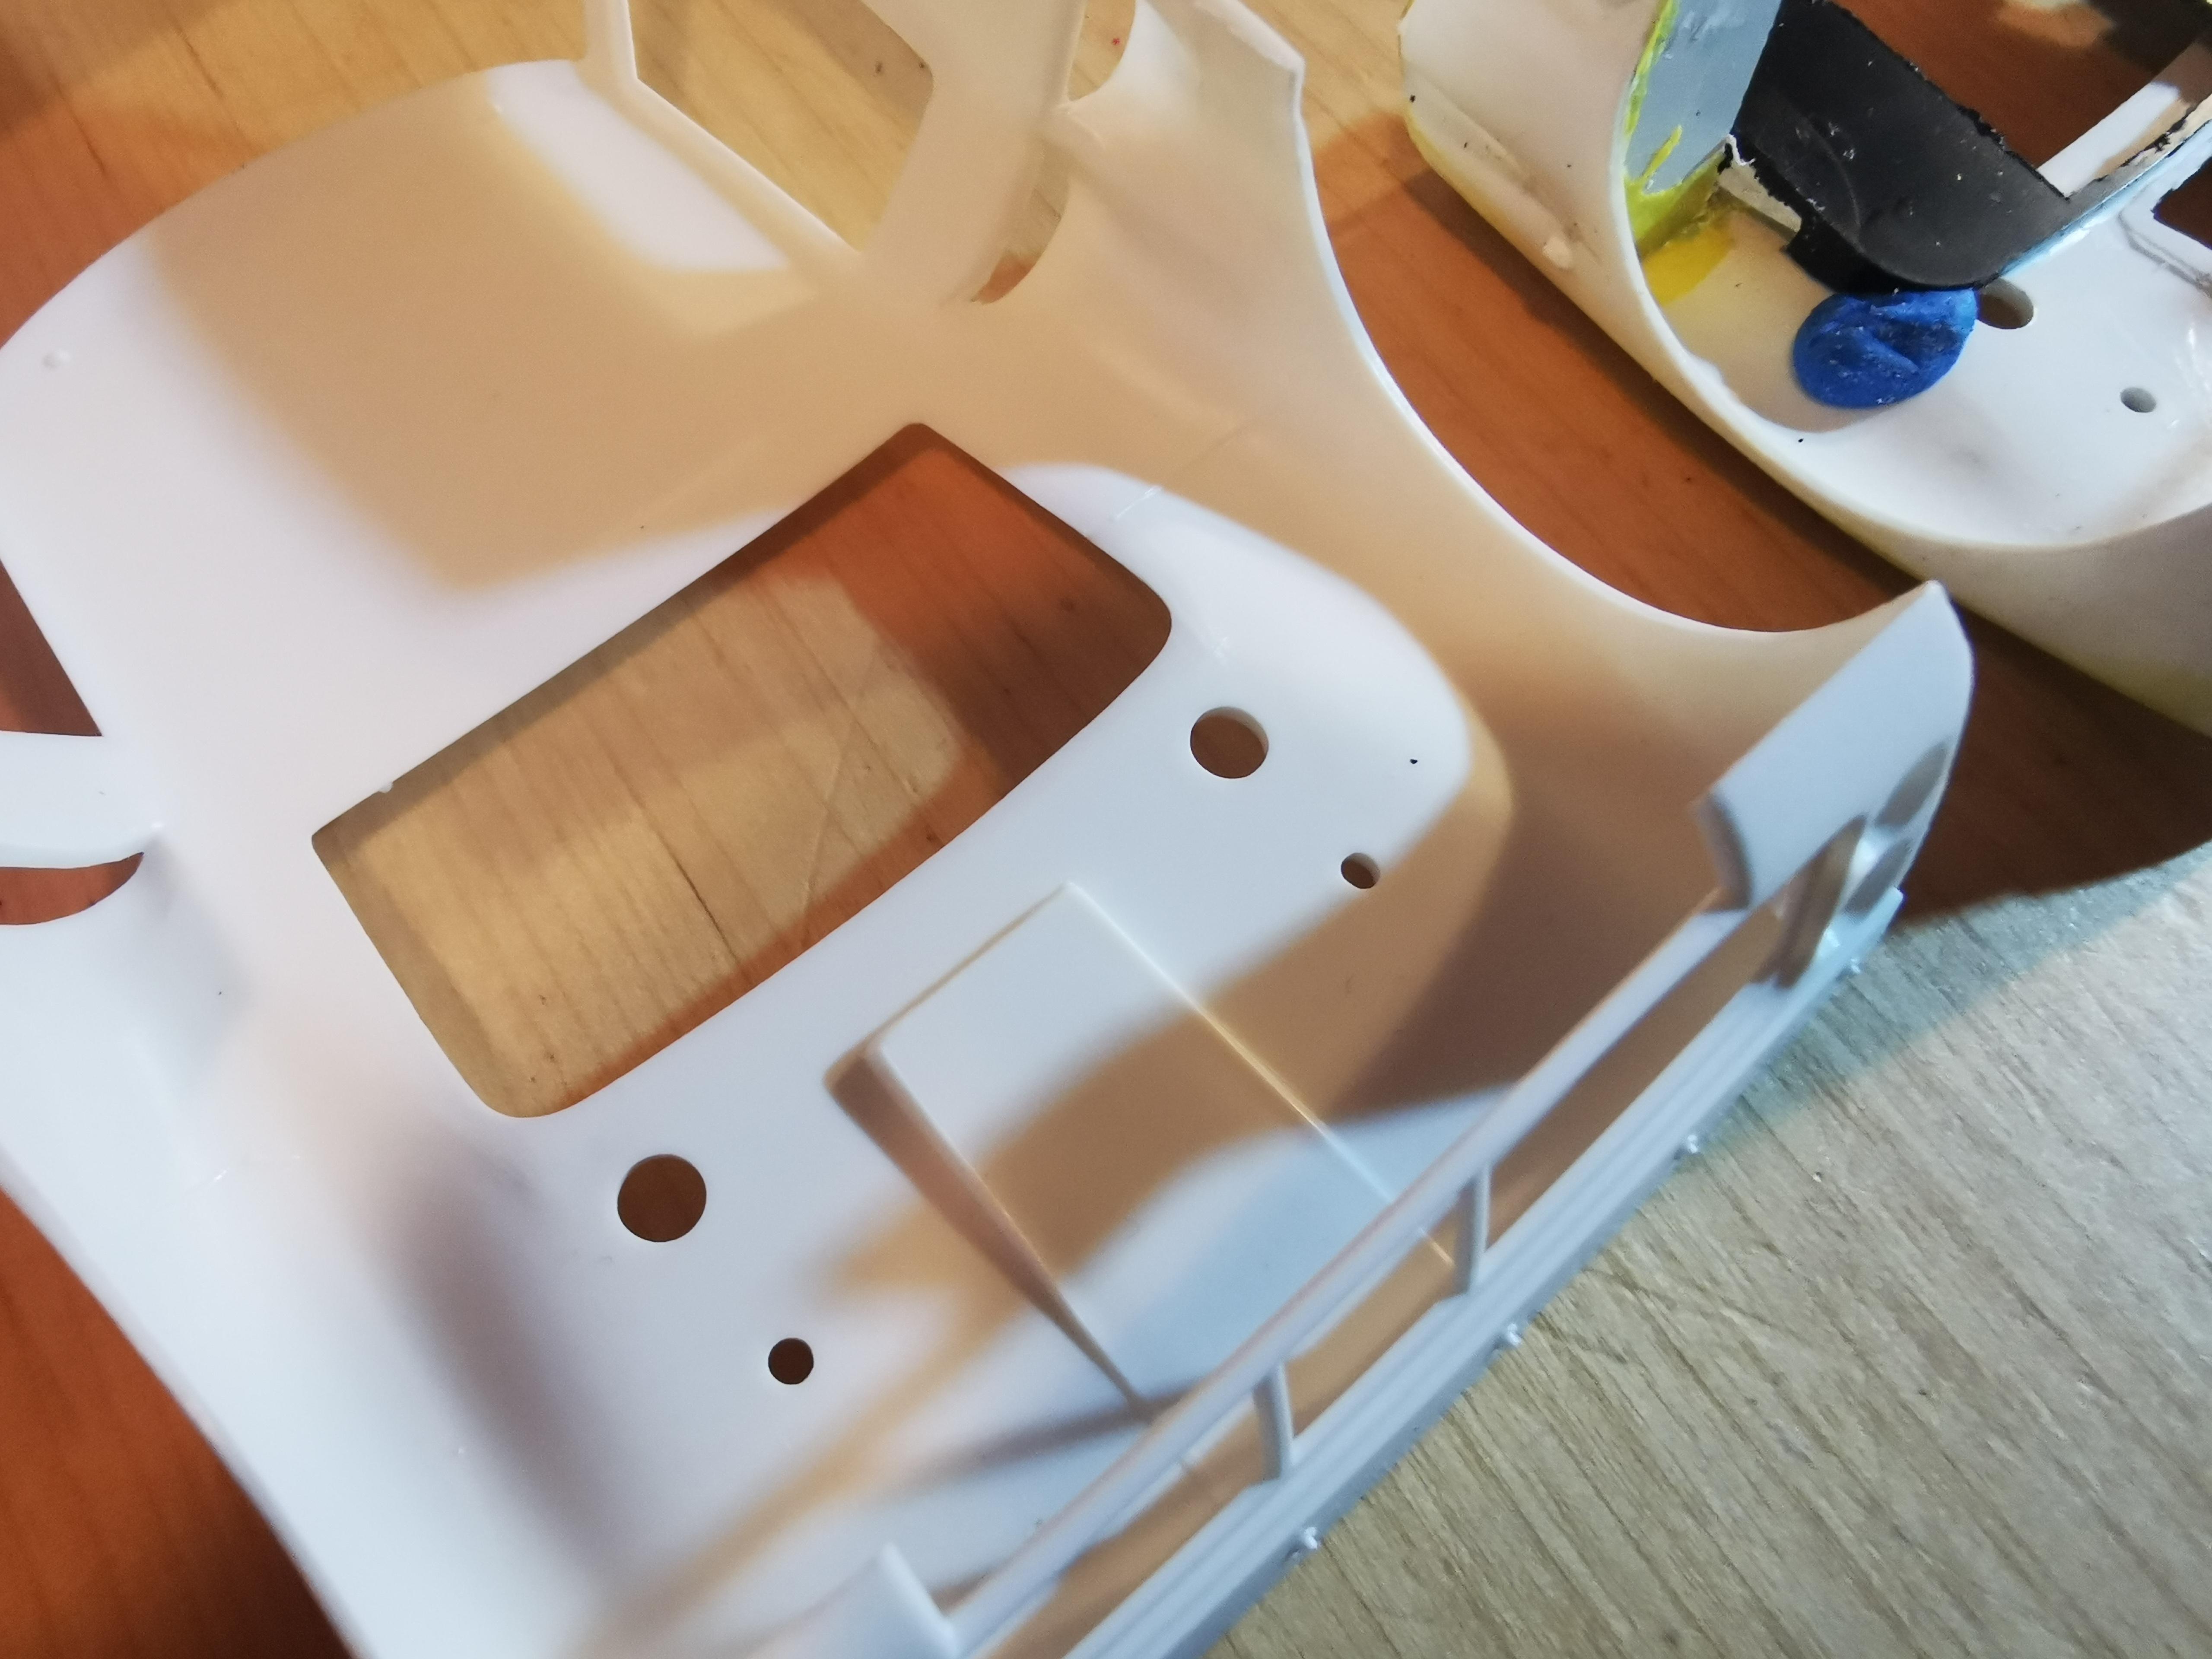
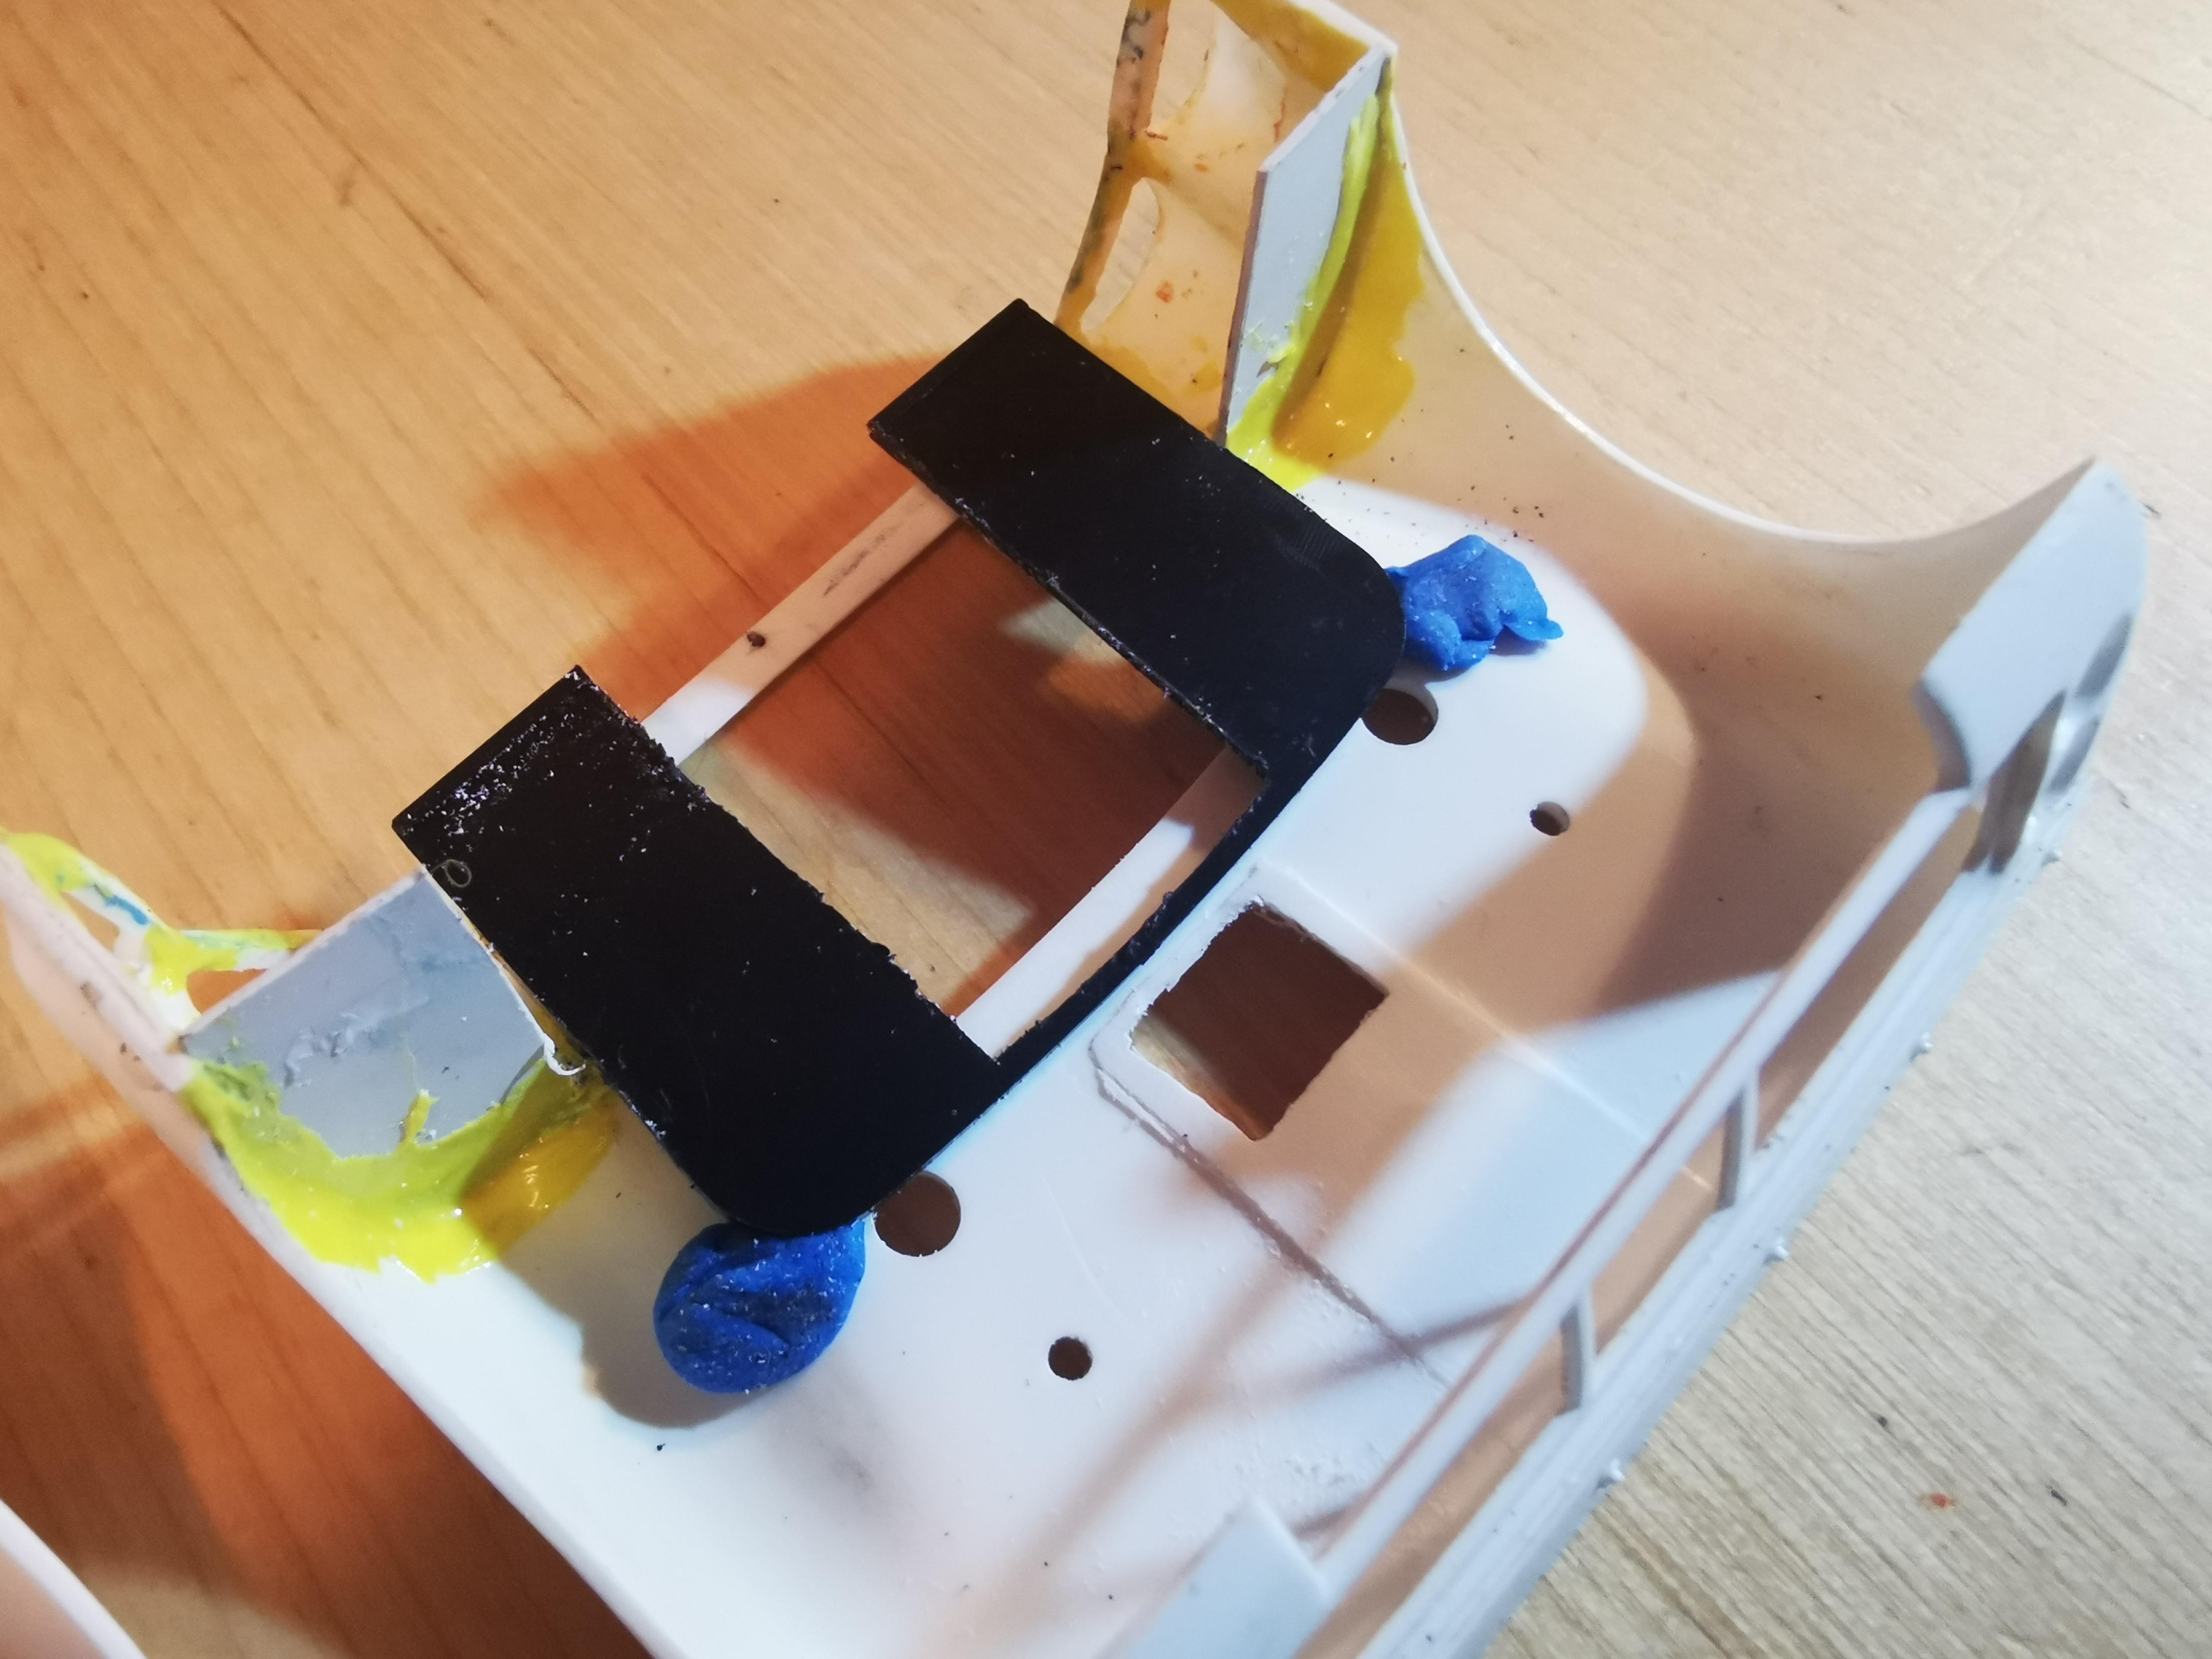
Thanks Phil! Decided to work on the engine cover today. Had to clip off the vent ports that were in the wrong position and fill them up. Also cut out the fake carburetor molded in the engine cover under the rear bonnet. Doesn't look like much, but i had to split the middle section first to get a better angle to cut through the carb, remove the carb, glue the middle piece back in place, use some putty to fill the gaps from sawing, sand, cut little 2mm triangle pieces to fill the vent ports. Tested in place and it actually looks good and fits great! I am now in the process of removing the dual 4 port exhaust from the rear suspension piece.
-
Wow guys! Thank you so much for your encouragement! Seeing you all respond on this pushes me to build further!
-
I agree totally. Unfortunately I don't have the money to drop on an engine set that costs as much as a kit. Not hating on mad mike, just going to make use of my skills and scratch build.
-
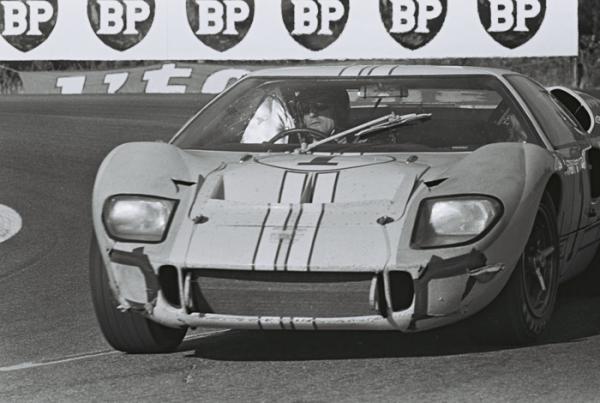
No I didn't know about those figures... I was maybe thinking of using a tamiya 1/24 driver and sculpting the head to be like Ken Miles.
-
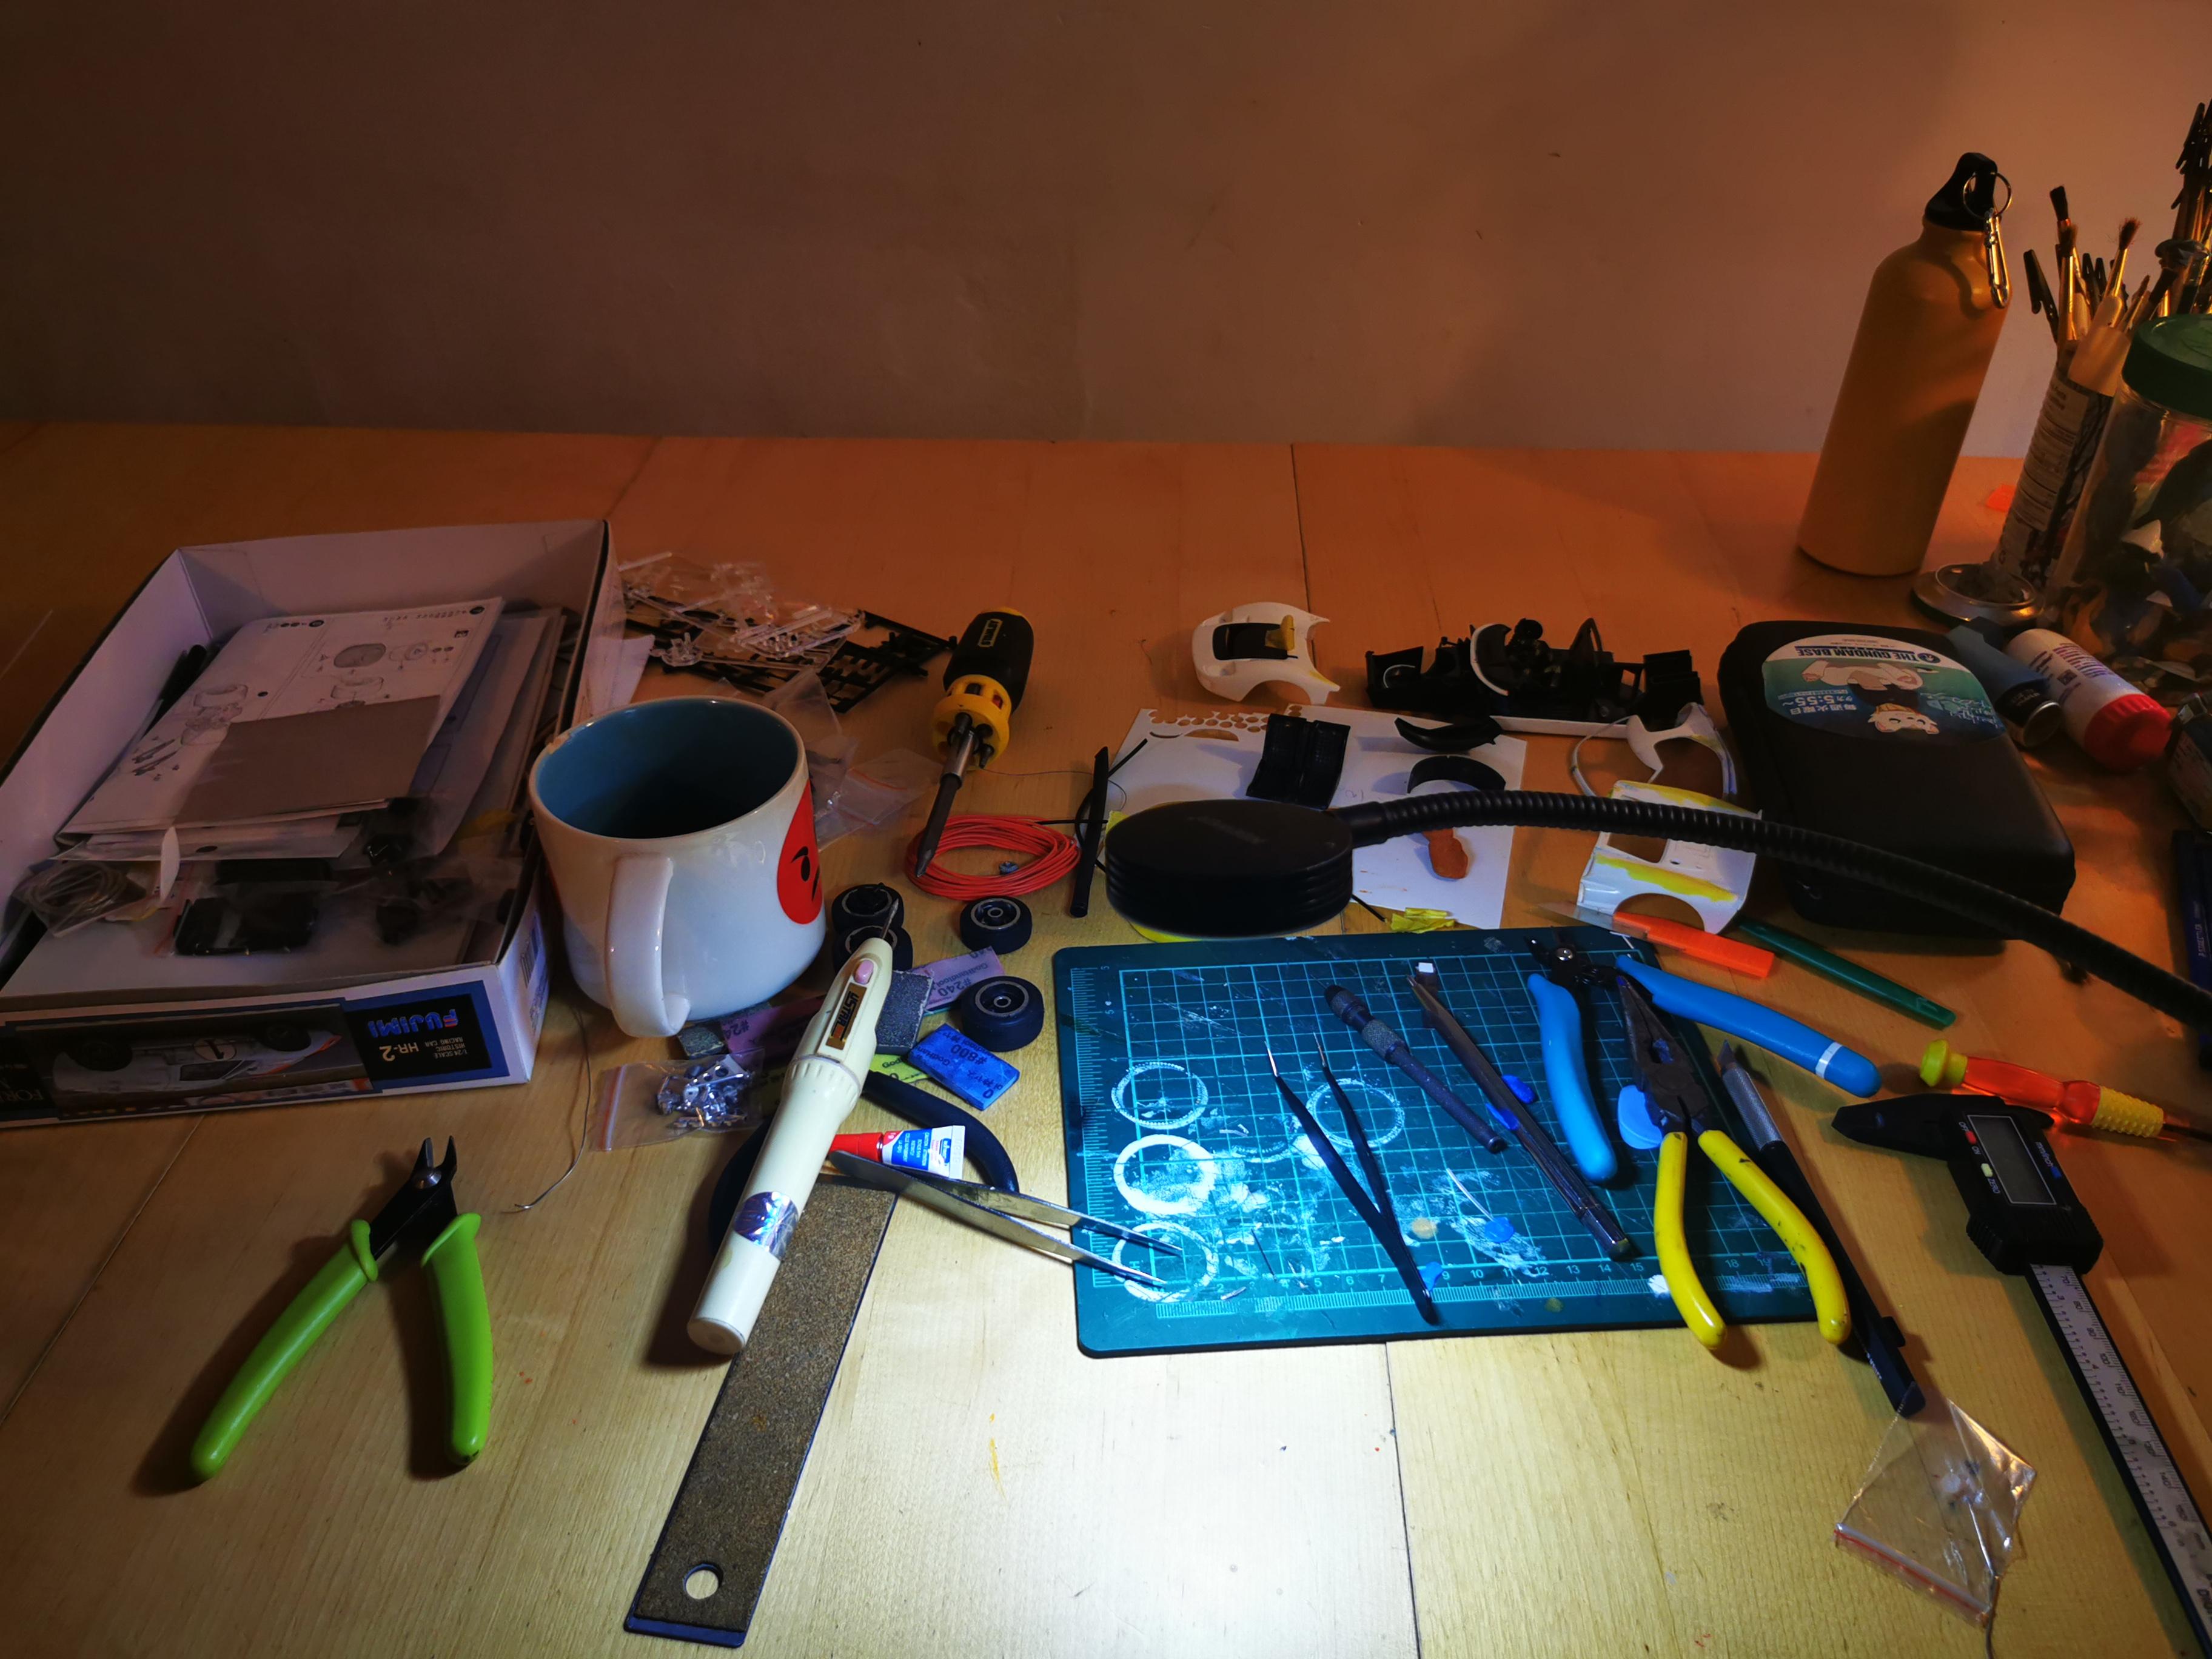
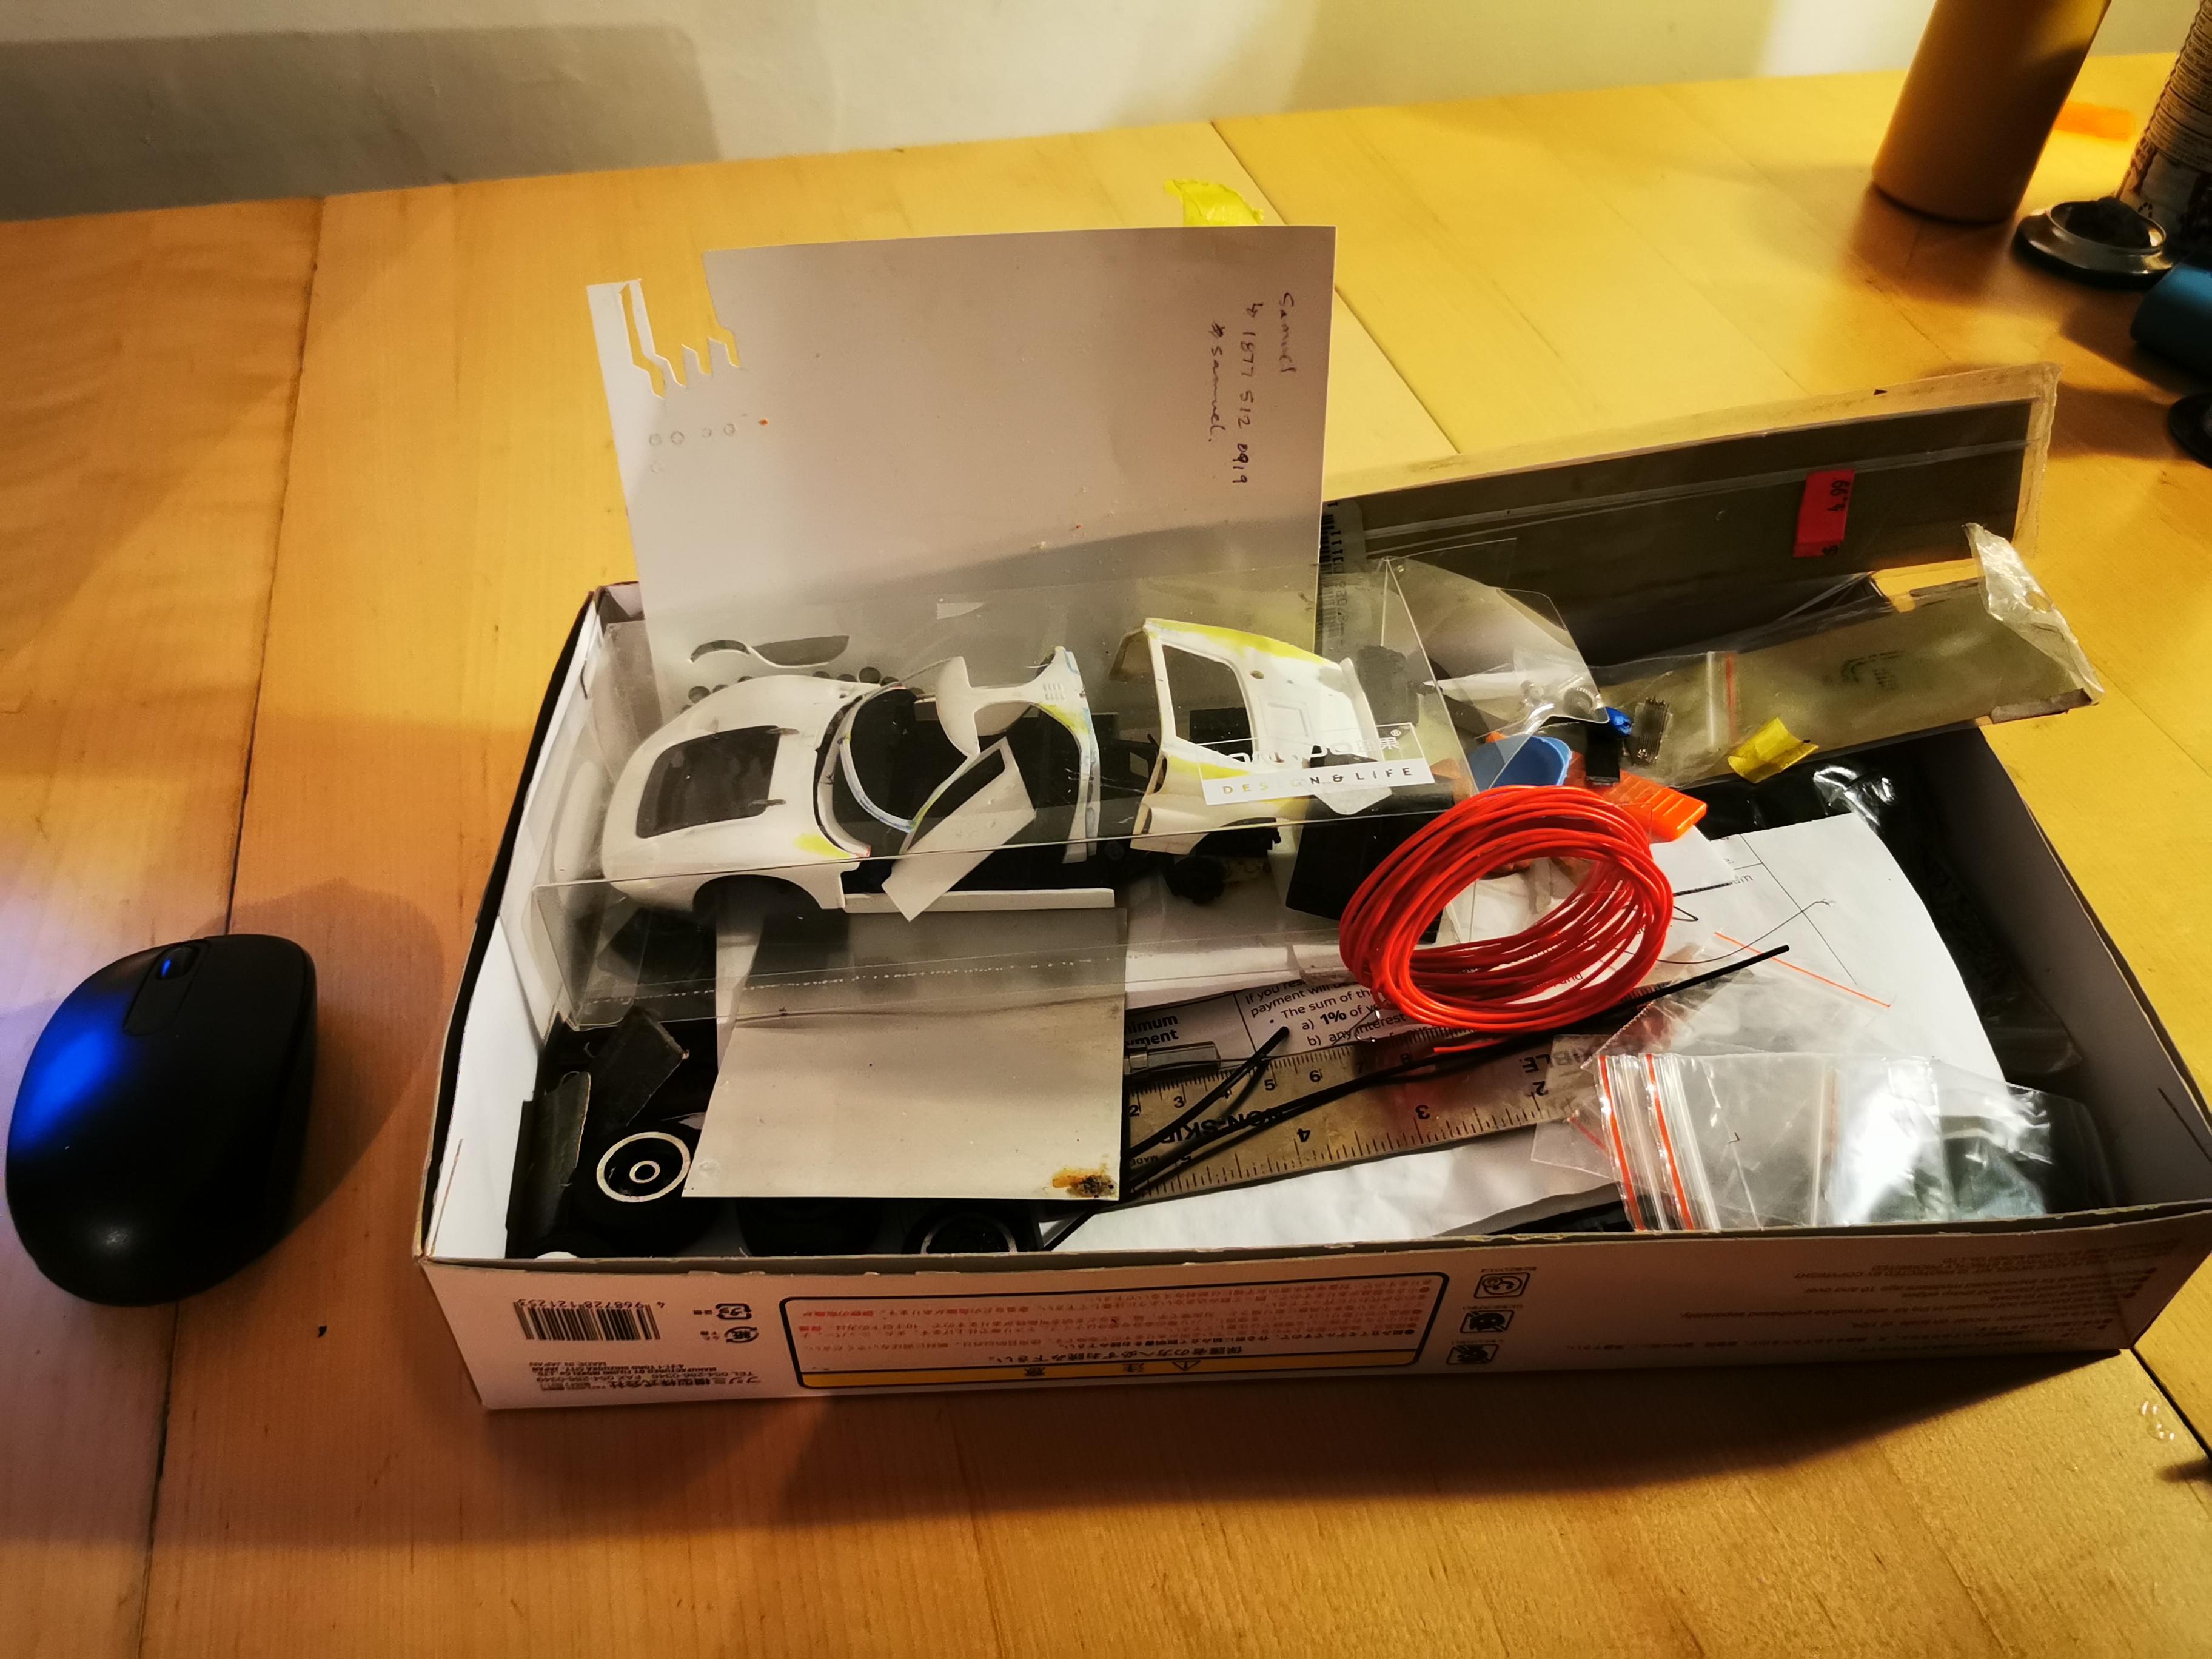
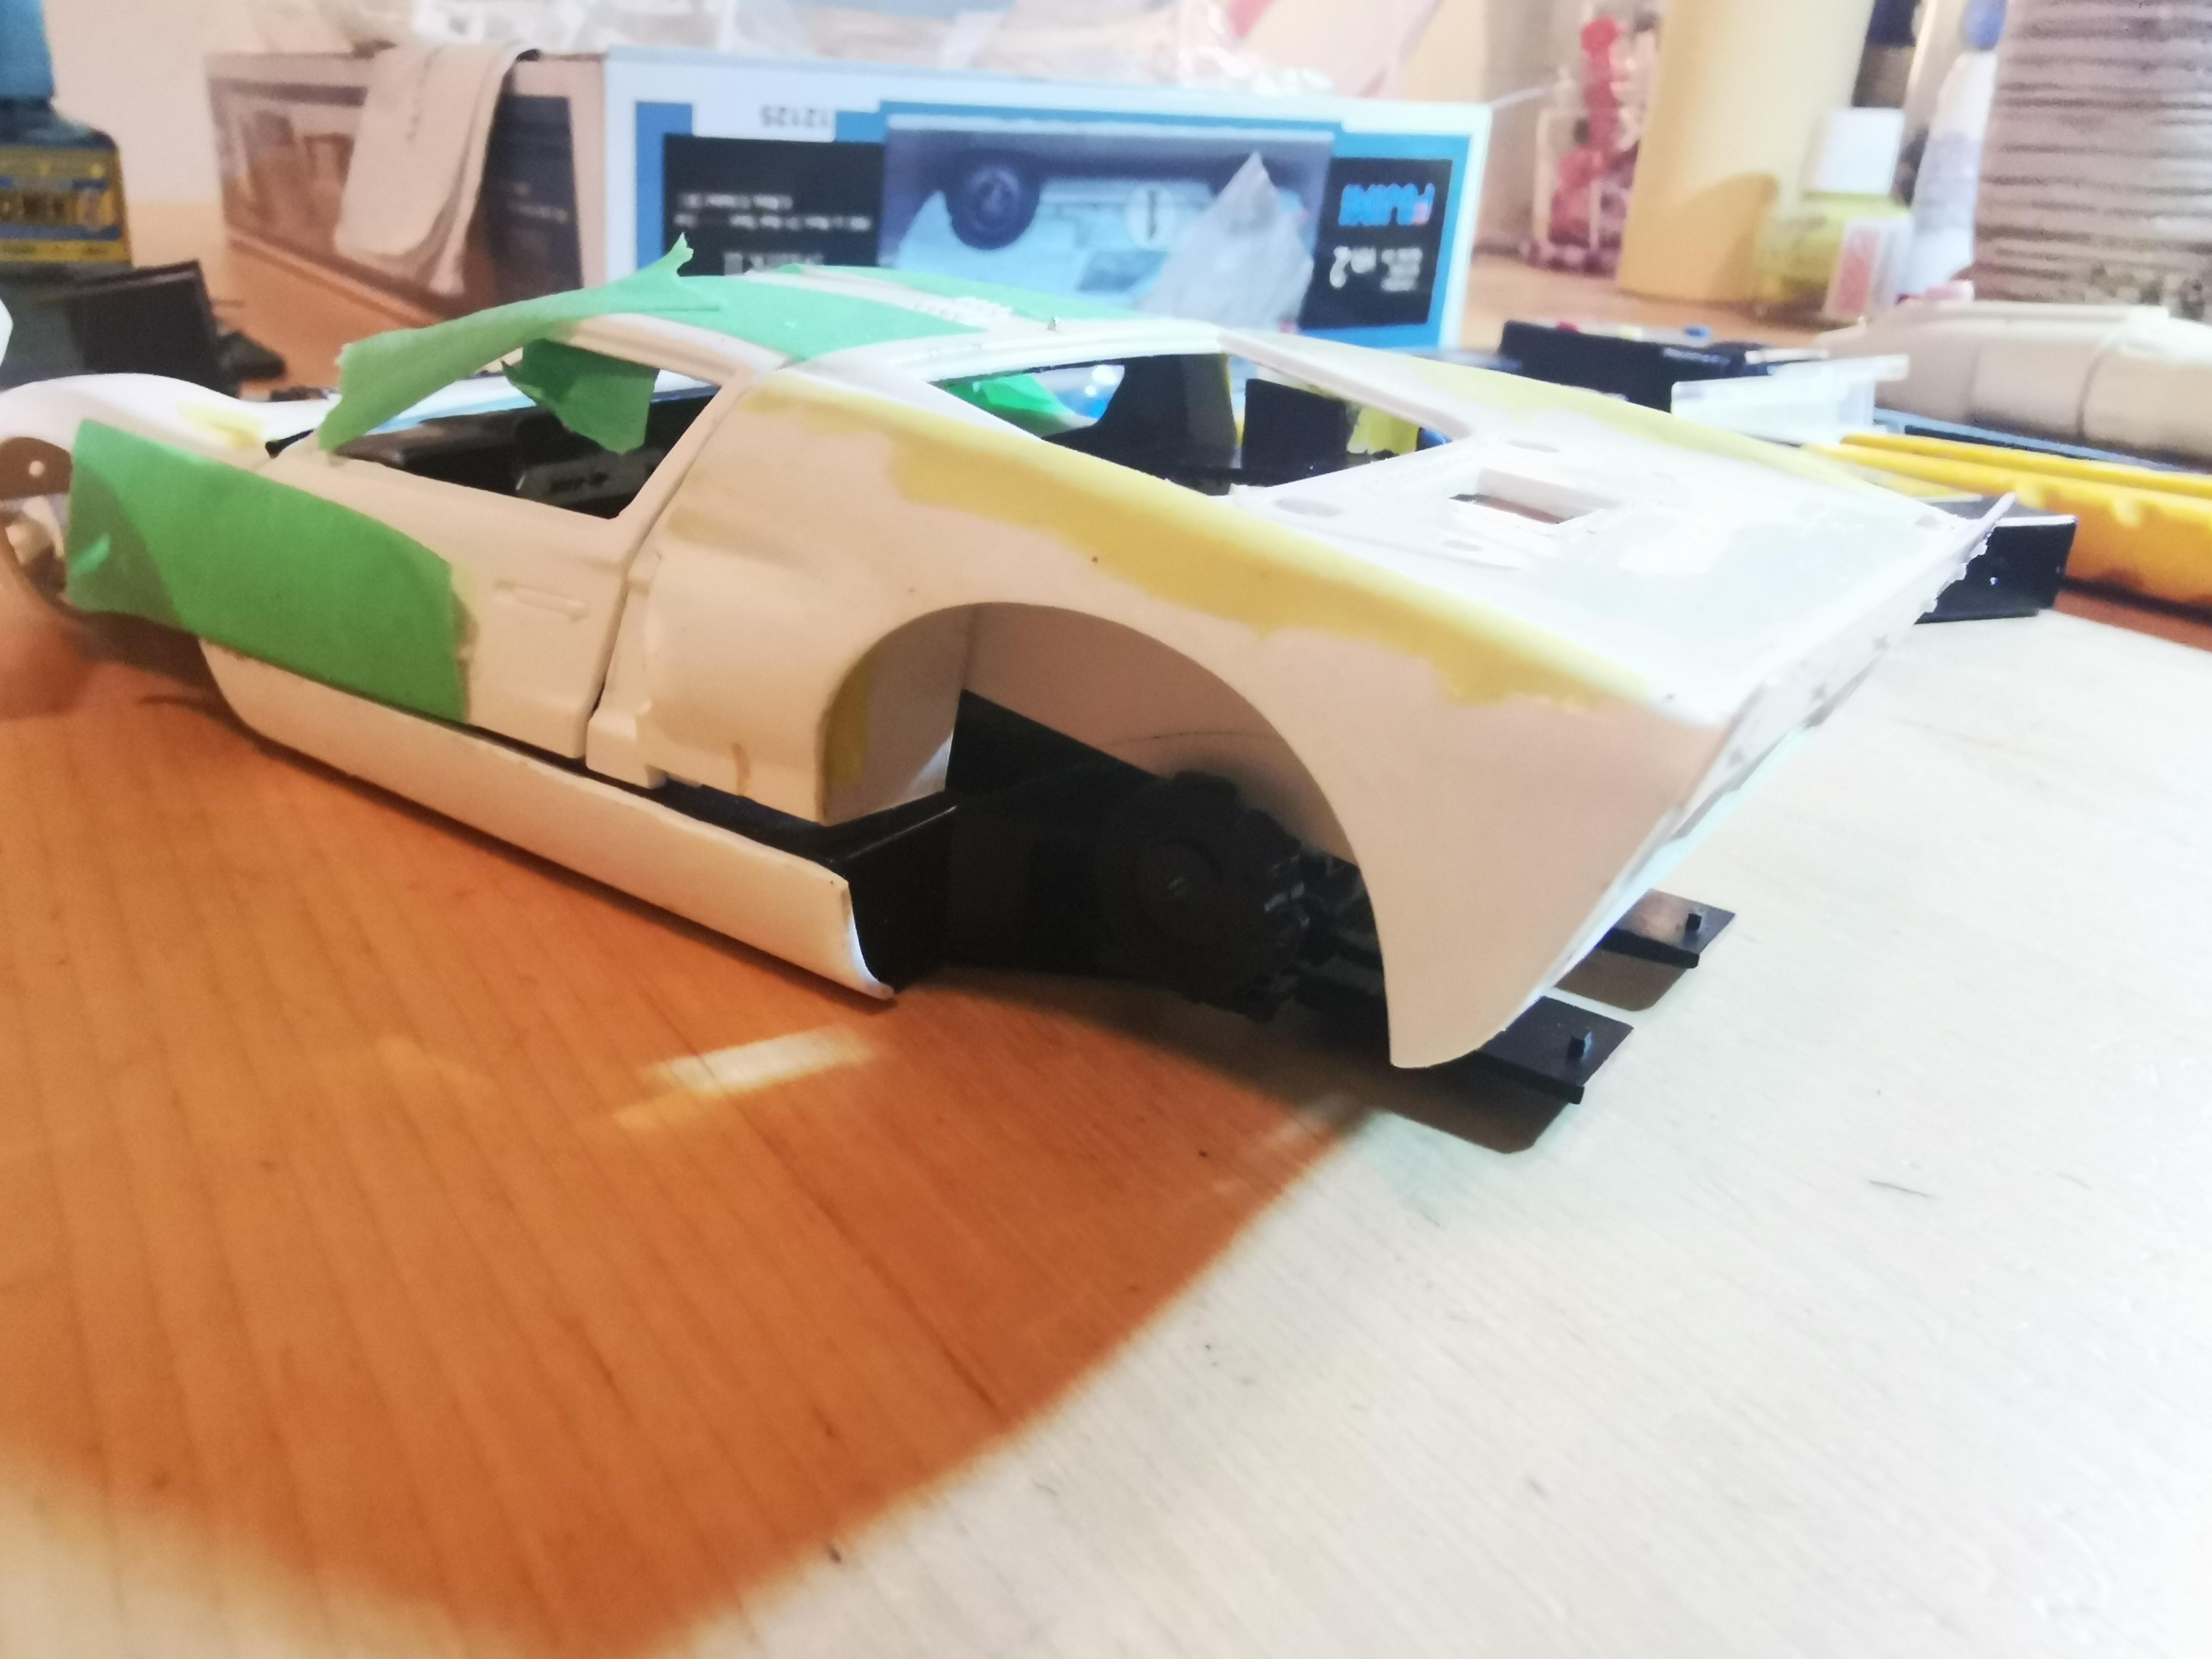
So after many years of not building a scale car, and having this kit in storage since 2010, I decided to take a break from building Gundam robots (as I normally do) and build up this GT40. This is also because of the COVID-19 quarantine that I have a lot of time to work on this. I decided to super detail this build, working doors, bonnet, trunk, working on scratch-building an engine..., rebuilding the front and rear suspension, putting in a working trunk hinge with cables, bonnet hinge, tire compartment, etc., etc.. I know some of these details can be done with the KA-parts super detail kit, or by using the IMC/Union kit as a base... but I had this in storage and lack of money pushes me to further my skills. Just wanted to share. Huge thanks to all of you guys out there who are helping me build this era correct! Hopefully you all know who you are! VID_20200317_173358.mp4
-
Replicating modern LEDs in headlights?
IbuildScaleModels replied to Fat Brian's topic in Model Building Questions and Answers
use fiber optic tubes, using a shrinkwrap tube around the LED to concentrate the color. Use a light blue LED, most likely a SMD led (the bigger ones as they are easier to use). Check Youtube as they have lots of tutorials using fiber optic stuff you get from the dollar store and LEDs! Good luck! -
Mr. Linear L7 compressor thoughts.
IbuildScaleModels replied to aurfalien's topic in Model Building Questions and Answers
Hi Brian, Justin here. My scale model club is actually sponsored by Mr.Hobby / GSI Creos. I actually have the Mr. Linear Compressor 3 and have personally tested the whole line. Here is a quick breakdown: Pressure - average, but because it is a linear compressor, it gives constant psi, compared to an oil-based compressor. Life expectancy - 10-15 years depending on constant use Repairing - simple enough to repair with fish tank compressor pistons (need to be fearless to do this) Adjustability - not much unless you know about compression adjustment screws Pressure adjustment - slight adjustments as it has an external pressure valve Sound - extremely quiet, comparable to a fridge running, or maybe even a desktop computer Use - best overall use is for high coverage, similar to a spray can. You can use a dual-action airbrush with it with ease. Connector - 1/8" only, you can get the adapter for it to convert it to 1/4" and then use a normal hose, I don't suggest this as the smaller hose raises the pressure, but if you want to use a wide spread gravity feed brush you will need the adapter. Cost of the adapter is about 20$ - use only the GSI/Creos adapter as it is JSI threads, using an aftermarket adapter can scrap the connection. Hope this helps! PS. I love this line as I live in a small apartment. I also encourage the use of the Mr.Hobby Airbrush marker system using paint markers as you can refill the markers and mix your own custom colors. Plus it makes clean-up time easy, as in no clean-up... -
Found it!