Jump to content
Model Cars Magazine Forum

gman

Members
  • Posts

    913
  • Joined

  • Last visited

Posts posted by gman

  1. Tamiya Racing White is closer to what you see in this example.

    If you have an airbrush and want to experiment, you can buy the bottled LP series Tamiya Lacquers (White, Racing White) and mix them together to tone down the brightness of the white and incorporate some of the ivory shades for a final colour more in between the two. 

    Vintage reference paint chips can change colour over time, and lighting/camera will skew the colour of photographed subjects. 

    https://www.tamiyausa.com/shop/tamiya-color-lacquer-10ml/lacquer-lp-2-white/10ml-bottle/

    https://www.tamiyausa.com/shop/tamiya-color-lacquer-10ml/lacquer-lp-39-racing-white/10ml-bottle/

    • Like 1
  2. 12 hours ago, Ace-Garageguy said:

    ...which is the reason for using a tool with a ground, hooked tip that cuts like the Tamiya engravers (which you can make yourself with a grinder) by removing a "curl" of material on the backstroke, deepening the groove without displacing material to either side.

    I have a few of the Bare Metal scribers. One with quite a bit of wear on it plus a brand new one.

    https://www.scalemates.com/kits/bare-metal-foil-bmf003-panel-scriber--321399

    I haven't tried the Tamiya scriber, but will give it a shot if I can locate one locally.


  3. The majority of the time I scribe panel lines to deepen them, it raises the surrounding areas a bit. I like to use a sanding stick as a scale "long board" to true up panels on either side of the line that was scribed before paint. You won't be able to take care of this detail after paint, and depending on how much distortion you see in the plastic surrounding your scribed panel lines it may end up requiring some sanding and a repaint to look correct under subsequent coats.

    • Like 2
  4. Dry pearl pigments will show best in clear coats or in transparent paints like pure candy colours. They will show a little bit in translucent metallic paints, but the effects will be subdued. Opaque paints will cover up any pearl additives you might stir into them and be a waste of time.

    If you will be spraying a white lacquer base, a compatible lacquer clear will be the best medium to carry the pearl pigments over top of that.

  5. I believe a .7 tip should do the job, as long as your clear is thinned properly to flow out without pooling/running and you don't overload it with flake (which can give a textured finish if you use too much). Some test sprays on a scrap body should help you dial in how much pearl is too much without using your model as a test bed.

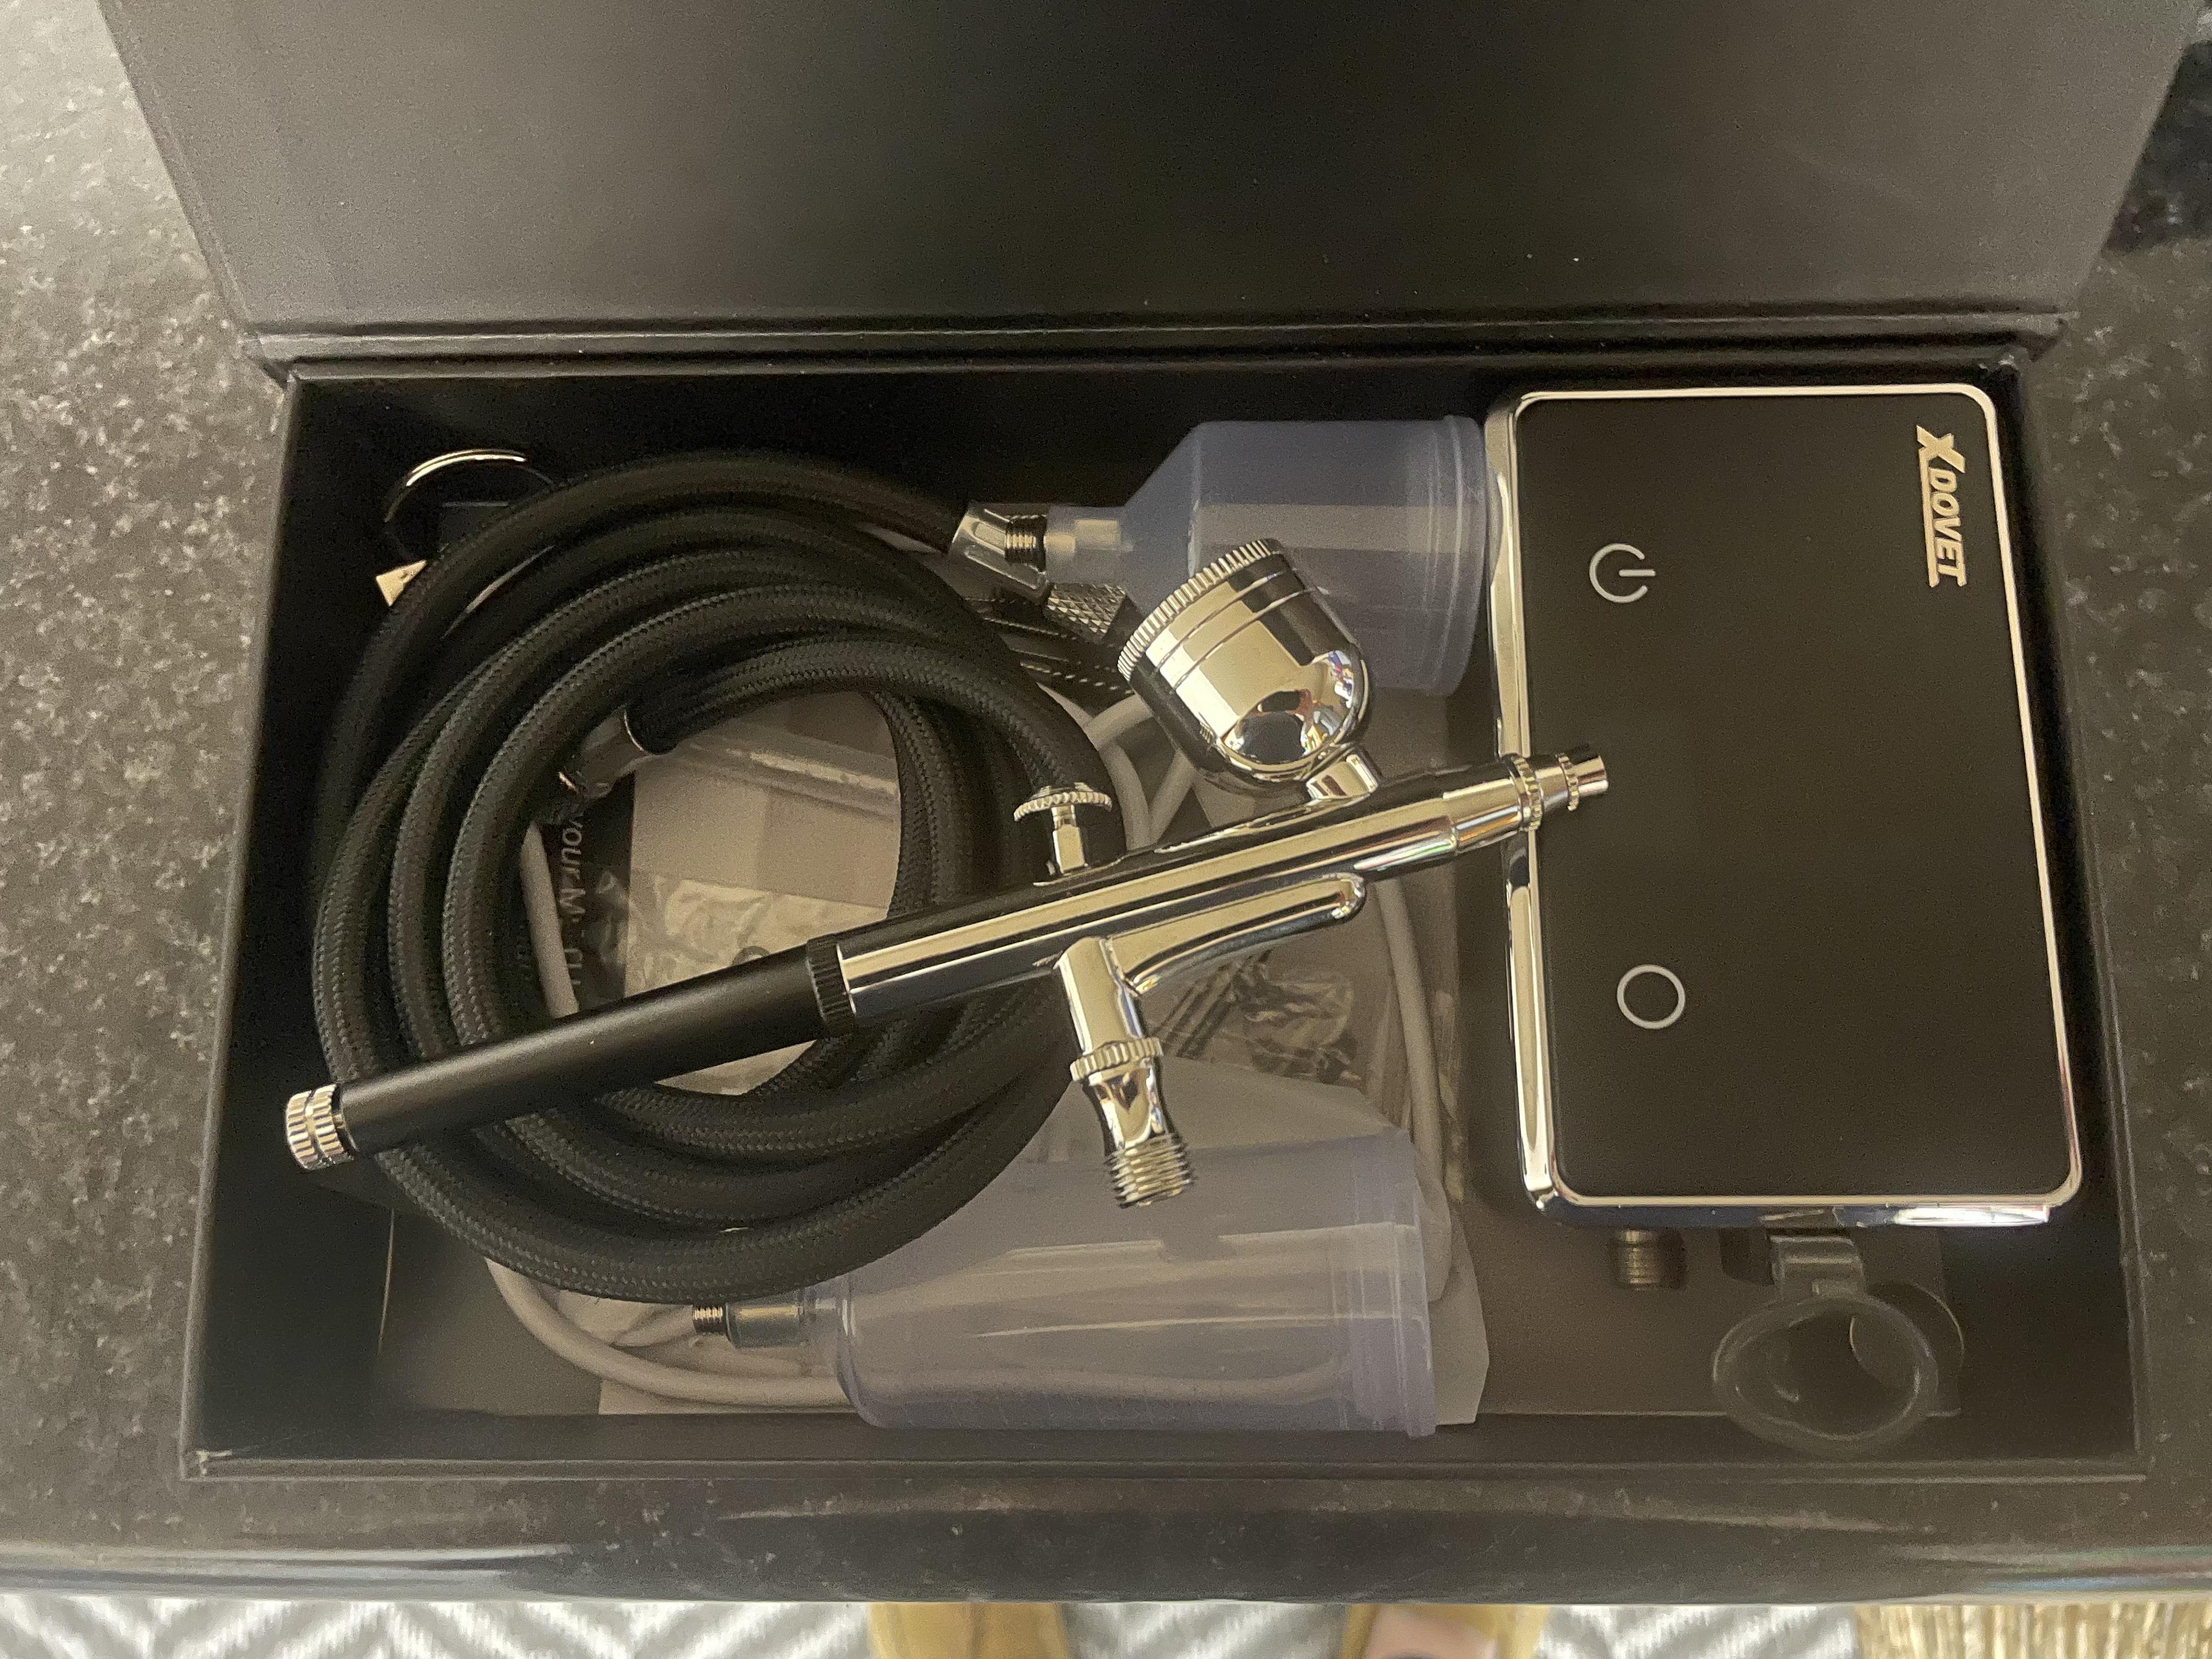
  6. If you have an air brush, you can add your own pearl powder to Tamiya clear.

    You can get different pearl powders from Michaels, Hobby Lobby or even Amazon in a variety of colours and flake sizes. My recommendation would be to start off with less powder per paint jar of clear than you think you will need, and build it up in coats rather than try to get the effect with one heavy pearl-laden coat.

    https://www.jacquardproducts.com/pearl-ex

    • Like 2
  7. LP ;fe

    \

    \


    ppppppppppppppp


    Edit- disregard. Cat on keyboard ;)


  8. https://www.scalemates.com/kits/mpc-1-0746-scavenger--1014935

    I built a previous version of that kit back when it was a new release- at least in my kit, the hood sat right when flipped up, but all of the MPC flip front kits from the era ('57 chevy, '57 Corvette, Datsun and Ford pickups) had fiddly hinges that had to be installed right for the hood to sit properly...I built them all.

    IIRC, the Datsun, Chevy and Ford all had the same generic frame assembly. The hinges had oversized holes that locate to pins on the front of the frame and had a fair margin of error, but if installed correctly the hood would sit properly at the cowl. If there is flash on your hinges, you could use that to your advantage for a more precise fit.

    • Like 1
  9. I do believe you're right...there is a detail in the 3 window wheel well stamping just above the frame rail (usually hidden behind the rear wheel) that I hadn't noticed before. On 5 windows and roadsters, the wheel well is more visible when built as a hi-boy, and the Revell flat wheel well in the kit doesn't quite look right. Now that my curiosity has been piqued, I need to see what the same part looks like on a real steel tudor sedan also.

    I hear what you are saying about the non-OEM  hemi. The next time I work on one of Revell's 3 window deuces I will try to incorporate that to get that detail right. We all know it's plastic, but the period I usually shoot for with a build is before fiberglass replica bodies existed, and it is satisfying to give the model a "real steel" look by sneaking in extra detail that isn't in the box. Your build is certainly looking the part.

    breece+coupe+(12).JPG?format=1000w

    • Like 1
  10. 3 hours ago, CabDriver said:

    Happy Monday y’all!  Super cold here, which made for a long tiring day (sub zero temperatures most of this week, on top of a bunch of snow we got over the weekend…) but got a little done at the bench tonight…

    First up, started working thru painting some metal parts.  As I sorted through the parts I realized I wanted more of them to be chrome than I’d originally realized…gotta lay some clear on a load of little bits and get them smooth for some nice shine…

    Rear axle is aluminum tho, and will be masked and painted with some different shades this week to add to the realism, the old T leaf spring will be steel, as will the rear brake drums, another aluminum shade for the Moon gas pedal and some other colors for a couple of other pieces…it’s fun mixing and matching different metalizer products for different looks:

    IMG_7144.thumb.jpeg.fcf9db8d0f60303ea103624790c30036.jpeg

    Something I heard from an artist whose work I follow recently was “you’re probably not using reference material as much as you should be”.  He was speaking to ‘regular’ artists, people who draw and paint, but I’ve been thinking on that a lot recently and making sure to collect a lot of reference pics even when I think I know how a part should look…here’s some I gathered as reference for future detailing on that quick change, for example:

    https://public.fotki.com/NewYorkSpeedShop/11-cars/reference-material/quick-change-axles/

    Next up, I had in my head that those headlamps would have pinstriping and be painted, even if nothing much else above the frame is, so I went through my stash of decals just for a change of pace this evening.  I was trying to find a couple of small decals with an arc to them to somewhat mirror the curve of those headers I was messing with yesterday, for some visual symmetry when the car’s viewed from above.  

    Went through a bunch before finding a couple on the Revell kit decal sheet that did exactly that - doh!  Should’ve started there 🙄

    IMG_0579.thumb.jpeg.2edd2a3c40959e4cac1654e03c718073.jpeg

    Theyre still wet and snuggling down with the decal solution right now, but they laid down ok…

    And finally, I made a start on the inner rear fenders tonight.  I’m sure you all know what the flat Revell kit pieces look like, but I wanted to add some detail to make them look more like a real set:

    IMG_7147.jpeg.8ccb16b0e1e66481000165b73dae5b1c.jpeg

    Nothing for it but to get the files out and start carving away material…

    IMG_7146.thumb.jpeg.466bf3c8deff2a2cedb6a8916c83cc95.jpeg

    Excuse the roughness, they’re not finished yet, but I didn’t achieve much this evening and they were an extra thing to show for my time at the bench 🤪

    Thanks for looking, more soon, soon as I’ve done more!

    If there is a '32 expert that can correct me, I'm all ears. The '32 5 window and and roadster had wheel wells like in your attached image. I believe 3 windows and sedans actually had flat wheel wells (more like what is represented in Revell's kits).

    I started mastering a pair years ago for the roadster with the intention of casting multiples in resin, but the work was sidelined by work of the paid variety.

  11. If you want a flathead V8 in a '29 (to represent a hot rodded AV8), you are free to choose whichever early flathead color you like.

    The flathead V8 made its debut in '32 and it would have been an inline 4 installed in the Model A originally by ol' Henry Ford. Early flathead V8s were various shades of green, with later ones red.

    https://www.enginelabs.com/engine-tech/engine/historic-engines-the-fabulous-ford-flathead/

    I'd probably narrow down which generation your chosen flathead represents and paint it a color appropriate to its approximate model year...or go custom on the engine paint. Flatheads can be identified by the type of distributor, shape of the heads and location of the water inlets as these varied over the different generations between 1932 and 1953 model years.

    • Like 2
    • Thanks 1
  12. I would start with some Evergreen styrene square rod in a size that looks right. Break the junction blocks down into their simplest shapes, and bond pieces together with liquid glue (something like Tenax 7R) to get the "T" shapes you want. Gently sand them on a flat surface like a Flexi File when the glue has fully cured, then drill them for your brake lines. You can use your favourite brass metalizer type paint to get the right colour and sheen.

    https://evergreenscalemodels.com/collections/14-white-polystrene-strips/products/131-030-x-030 (random size square strip)

    https://www.hobbyworks.com/cproduct/17500%2Fstyrene-tack-it-ii-adhesive-(formerly-tenax-7r)-plastic-welder

    https://flex-i-file.com/en-ca/products/525-flex-pad-intro-set

    https://www.sunwardhobbies.ca/alclad-ii-alc-109-polished-brass/?absrc=Google&abid=&abcampid=17854858780&gclid=CjwKCAiA1MCrBhAoEiwAC2d64YnKgeDDkAlnPWuM3oujK4IYiQ26Dy6-1Tc9bDFlG4e9YGH2rnjLEhoC_j8QAvD_BwE&gad_source=1

    This will be far easier to work with than real brass, and allow you to make more complex shapes without having to machine small pieces of metal. Tenax (now has a new name) holds well, dries fast, and will allow the styrene to be sanded when fully dry without showing seams.

  13. 24 minutes ago, Ace-Garageguy said:

    It's not so much "prefer" as it is what's correct.

    Exactly...and one of the reasons touching up real-car lacquer jobs (many factories used acrylic lacquer also) was so easy, as opposed to repairing enamel work. Did I mention I've been in the real-car repair/refinish/restoration/race prep business for well over 5 decades?

    Same kit, Duplicolor sandable gray primer, plastic crazed and significant swelling over the "peak" and emblem on the hood after they were sanded flat, allowed to dry thoroughly, and repeatedly re-primered and sanded until it was stable, then shot with Duplicolor color, as-shot, no clear, no color-sanding or polishing.

    "Acceptable"? Well, it's better than 99% of what I see on models, and illustrates that technique...including a thorough understanding of the materials and their limitations...is essential to produce "acceptable" results.

    AUG12014Caddy_Challenger_50olds077_zpsd04e6ca3.jpg

    AUG12014Caddy_Challenger_50olds079_zps80fcb570.jpg

    I wasn't referring to your work when I said "acceptable." That green looks great. I do not doubt your credentials, and I do admire your work and your posts, do appreciate what you have to say.

    I shot mine with a Duplicolor metallic brown over black primer, and my finish is what I was referring to as acceptable (as opposed to optimum). If my finish turned out like the hood on yours, I would have wrapped up the build at that point rather than shelving it. When I get around to it, mine will need additional colour coats and some paint correction.

    The statement I was making in my initial post in this thread is that there was likely still too much solvent in OP's primer which was trapped under the Testors and Tamiya he shot over top of it. Intention wise, I was trying to help the OP but I'll refrain from further posts in this thread as my intent isn't to argue with anyone.

  14. 18 hours ago, Ace-Garageguy said:

    No.

    Lacquers "cure" by evaporation of the solvents in them.

    Everything else you wrote is fine, but the above isn't.

    Lacquer solvents do indeed penetrate into some plastic substrates, some more than others, they definitely penetrate into any previous coats of material, and subsequent coats of material can indeed retard the evaporation of solvents in underlying coats...which can result in a surface that squirms around or expands unpredictably when topcoats are applied, leading to cracking or wrinkling that looks like the effect of lacquer shot over enamel.

    But as Duplicolor primers are, in general, much more solvent-resistant than any hobby primers, properly applied and aged Duplicolor primers should be fine under any hobby paint.

    Still, TESTING of any material combination you want to use ON PLASTIC THAT'S THE SAME AS THE MODEL YOU'RE TRYING TO PAINT, and applied and aged exactly the same way, is imperative to avoid problems like the OP had.


    What I am referring to with the statement "chemically bonding" to previous coats is that re-wetting, one coat of lacquer over another where the solvents activate the previous coat will then behave as one thicker coat rather than multiples.

    When you polish a paint job that consists of multiple coats of lacquer, it tends to be more homogenous (should you polish through one coat into the next) compared to polishing over multiple coats of enamel. Enamels never truly cure beyond the top skin of the paint layer, and wet sanding or polishing through the topmost layer can sometimes look like an archeological dig compared to using the same process on a lacquer paint job- changes in color as you go through that top skin into the uncured portion of enamel layers closer to the base styrene. 

    To be clear, I am not trying to be difficult or nitpick either. I like Duplicolor primers and paints and have used them under enamels (which I only use rarely now), under Duplicolor paint, and under Tamiya paint as well. All without issues. While sticking to a one product primer/basecoat/clearcoat system is much more predictable, I also use Tamiya and Gunze lacquer primers when the top coats are not going to contain hotter automotive solvents. If you prefer not using the word "cure" in relation to lacquers, that is fine...perhaps it would be better to say that all of the solvents have had a chance to evaporate or gas out rather than "cure." 

    Many years ago when I didn't know any better, I shot Duplicolor Wimbledon White straight over bare AMT styrene (no primer) on a '32 Ford. As you can expect, that didn't work out well and it caused a bunch of texture to poke out of the styrene resulting in a ruined finish. I resigned that body in the parts bin. I came across that body and pulled it out after a decade or so, and was surprised to see most of that texture had disappeared- I broke out some polish and had at it, and was able to level any remaining texture into what would be considered an acceptable paint job without cutting through the Duplicolor. In about the same time period, I had a similar failed paint experiment shooting Duplicolor over un-primed Revell styrene on a '29 Roadster pickup. This attempt also polished out after many years, even though it didn't have as much texture as it did blush to a dead flat finish. While adding more lacquer to either body would have had the solvents wet and reactivate the mess caused by reaction from the styrene, those original coats of Duplicolor had certainly become stable over time and did not react to the mild solvents in the polishing compound. I have learned since the early 80's and always use a suitable primer under automotive lacquer.

    About 12 years ago, I primed the then-new Revell '50 Olds in Duplicolor black primer (two mist coats and one heavier coat). This kit uses the reformulated styrene that is more sensitive to lacquer than vintage styrene. After a few days (when I could no longer smell solvent in the primer and it had settled into not having any texture) I dusted on a few mist coats of Duplicolor base coat followed by one wetter coat and again got some horrible texture from solvents leaching down to the styrene. This too eventually settled down and was polished into something acceptable, though I burned through the color coat in a few areas. If I had a do-over, I would have let that primer gas out for a few weeks before spraying color. The point being, technique is every bit as important as using compatible products from one manufacturer's paint range. I really miss the old Plastikote lacquer primer, as I never had any adverse effects with that under automotive lacquer, hobby lacquers or enamels. 

    • Like 1
  15. Duplicolor lacquer primer and paint is good stuff, but because the solvents are "hot" for styrene it has to be treated carefully when used on plastic models. Lacquers cure by chemically bonding to the coats underneath. If the primer coat is on the thin side, a heavy second coat can have the solvents get trapped and cause the underlying styrene to soften and react.

    You have to let the solvents gas out really well whether you are shooting multiple coats of primer or color coat over primer so those solvents don't activate the coats underneath and have those solvents penetrate the primer (barrier) coat and react with the styrene. If you dust on multiple coats of primer and allow plenty of time for the solvents to evaporate, the primer will better act as a barrier to prevent color coats from getting all of the way through.

    While Testors and Tamiya lacquers carry much "cooler" solvents better suited to styrene, if they are shot on too heavy too quickly, they can activate an automotive  primer that isn't quite finished gassing out to hold those hotter Duplicolor solvents under subsequent coats against the styrene rather than allowing them to completely gas out. 

    While I usually use an automotive lacquer primer when I am going to use an automotive lacquer color coat, for Testors and Tamiya paints I would use a Tamiya or Gunze primer (and still allow ample time for underlying coats to fully cure). There are many users who have successfully used Tamiya and Gunze hobby primers under automotive lacquer color coats too, but I would err on the side of caution when doing so i.e. very thin coats with ample time to flash.

    I have many failed paint experiments under my belt, and in my experience Duplicolor primer really does need lots of time to cure to properly protect a styrene model kit body. I suspect it was the Duplicolor solvents remaining in the primer layer that caused the reaction OP has gotten rather than any of the Testors or Tamiya solvents shot over top.

    • Like 3
×
×
  • Create New...