

gman
-
Posts
924 -
Joined
-
Last visited
Content Type
Profiles
Forums
Events
Gallery
Posts posted by gman
-
-
My first go around with the Tamiya TS maroon was similar to what happened in the photos of the original post. I could say the same for other colours in the TS line as well.
I was ready to give up on the Tamiya TS sprays, but it turns out I was applying them wrong- as others have said, spray mist coats to build up some coverage and "tooth" for the following coats. Let those mist coats gas out, and then slowly build up successive coats to get full coverage. The solvent in the following coats will chemically bond with those initial mist coats and smooth them out as you continue to build the colour up. The Tamiya TS maroon lacquer is a semi-transparent paint, so multiple coats (ideally over a darker primer) will help you get to your chosen opacity in fewer coats than if spraying directly over bare plastic. If you see some texture in the paint after arriving at proper coverage, let it cure completely (the texture should settle down some when fully cured) and then polish using gentle compounds.
-
I had a late 80's release of this kit that is just as you describe- molded in light blue, with brownish portions on a number of parts and a greasy residue on many of them. Full of flash, short shots and twisted plastic. It is possibly the most un-buildable example I have owned, but there are a few built versions on the forum which show it can be done.
-
Aclad's range of aluminum finishes may be a good option too:
-
A good method for trimming out side windows from a one-piece glass unit is to cover the area to be cut with masking tape, make a cut beyond your intended cut line gently using a fine toothed razor saw (not forcing it- let the teeth do the work as clear parts can be brittle and crack in unexpected ways). Remove the tape, then gently take the rough plastic edge down to the cut line with files. You can even polish the cut edge with progressive grits of Flexi Files to make it look like it was molded that way.
This method takes some time, but if done carefully will leave the clear parts you want to retain un-cracked and give you a smooth, straight edge at the window line.
-
That color combo really pops- great clean work, nice mods and aftermarket add-ons. The finished model sure looks the part. Great job.
-
Tamiya semi-gloss black? (lacquer spray can, acrylic bottle)
I used quite a bit of that Model Master black chrome over the years (usually air brushed), and hitting any gloss black or flat black spray with a few coats of semi-gloss overcoat yielded a similar look, with lacquers being more durable for handling purposes over the Model Master enamel which always remained relatively soft. While the enamel certainly had it's place, you should be able to switch to a new product and end up with something that works at least as well.
-
13 hours ago, JohnnyK said:
Yes, this is an old kit. Then why is the word NEW printed in big yellow letters on the box cover.
New for the European market in a Revell AG boxing? Who knows...the old Monogram issue was not a bad kit IIRC.
-
That is looking really good so far...
-
 1
1
-
-
Nice job. I see you threw in a bonus poem 😂
-
I really like this build, and look forward to seeing how the paint job is going to look under the pearl clear.
-
1
-
-
Everything I see so far is incredible. I am staying tuned.
-
 1
1
-
-
Truly an excellent build. I love the chop, the stance, the powertrain enhancements, the hood mods (to go around the headers), rad support rods. The paint choice is very nice. Your work goes together just right for a nice period look.
-
1
-
-
That is looking extremely good so far. I was impressed by the 1:1 when that movie came out, and it looks like you are doing that 1:1 justice.
-
Looks good- try some polish before abrasives
")
-
1
-
-
^^ this. If you are using Testors enamels, they take an extremely long time to fully "dry" beyond just an outer skin on the paint. If there is enough solvent in your second color, this will dissolve that dried skin pretty quickly.
A good solution would be to use an acrylic for the amber lens color (such as Tamiya). The solvents shouldn't impact those in the Testors silver, and you can flow enough amber in to simulate a lens.
-
Man, is this build shaping up to be awesome or what? It is already looking great, and those custom hood sides will take it over the top. I have often eyeballed that Tamiya green, and wondered what it would look good on. Now I know.
-
22 hours ago, noname said:
Well, I've heard of the Spaz Stix but have never seen it. Maybe it is not readily available here in Canada.
The last can I bought was found in Burnaby (BC) years ago. I don't believe I have seen it since. Hobby shops that carry RC car bodies and supplies would be where I would focus the search.
https://www.pmhobbycraft.ca/mirror-chrome-paint-aerosol.html
Amazon has it too- at more than double the price 😕
https://www.amazon.ca/Spaz-Stix-Ultimate-Aerosol-3-5-Ounce/dp/B0015H1FGA
-
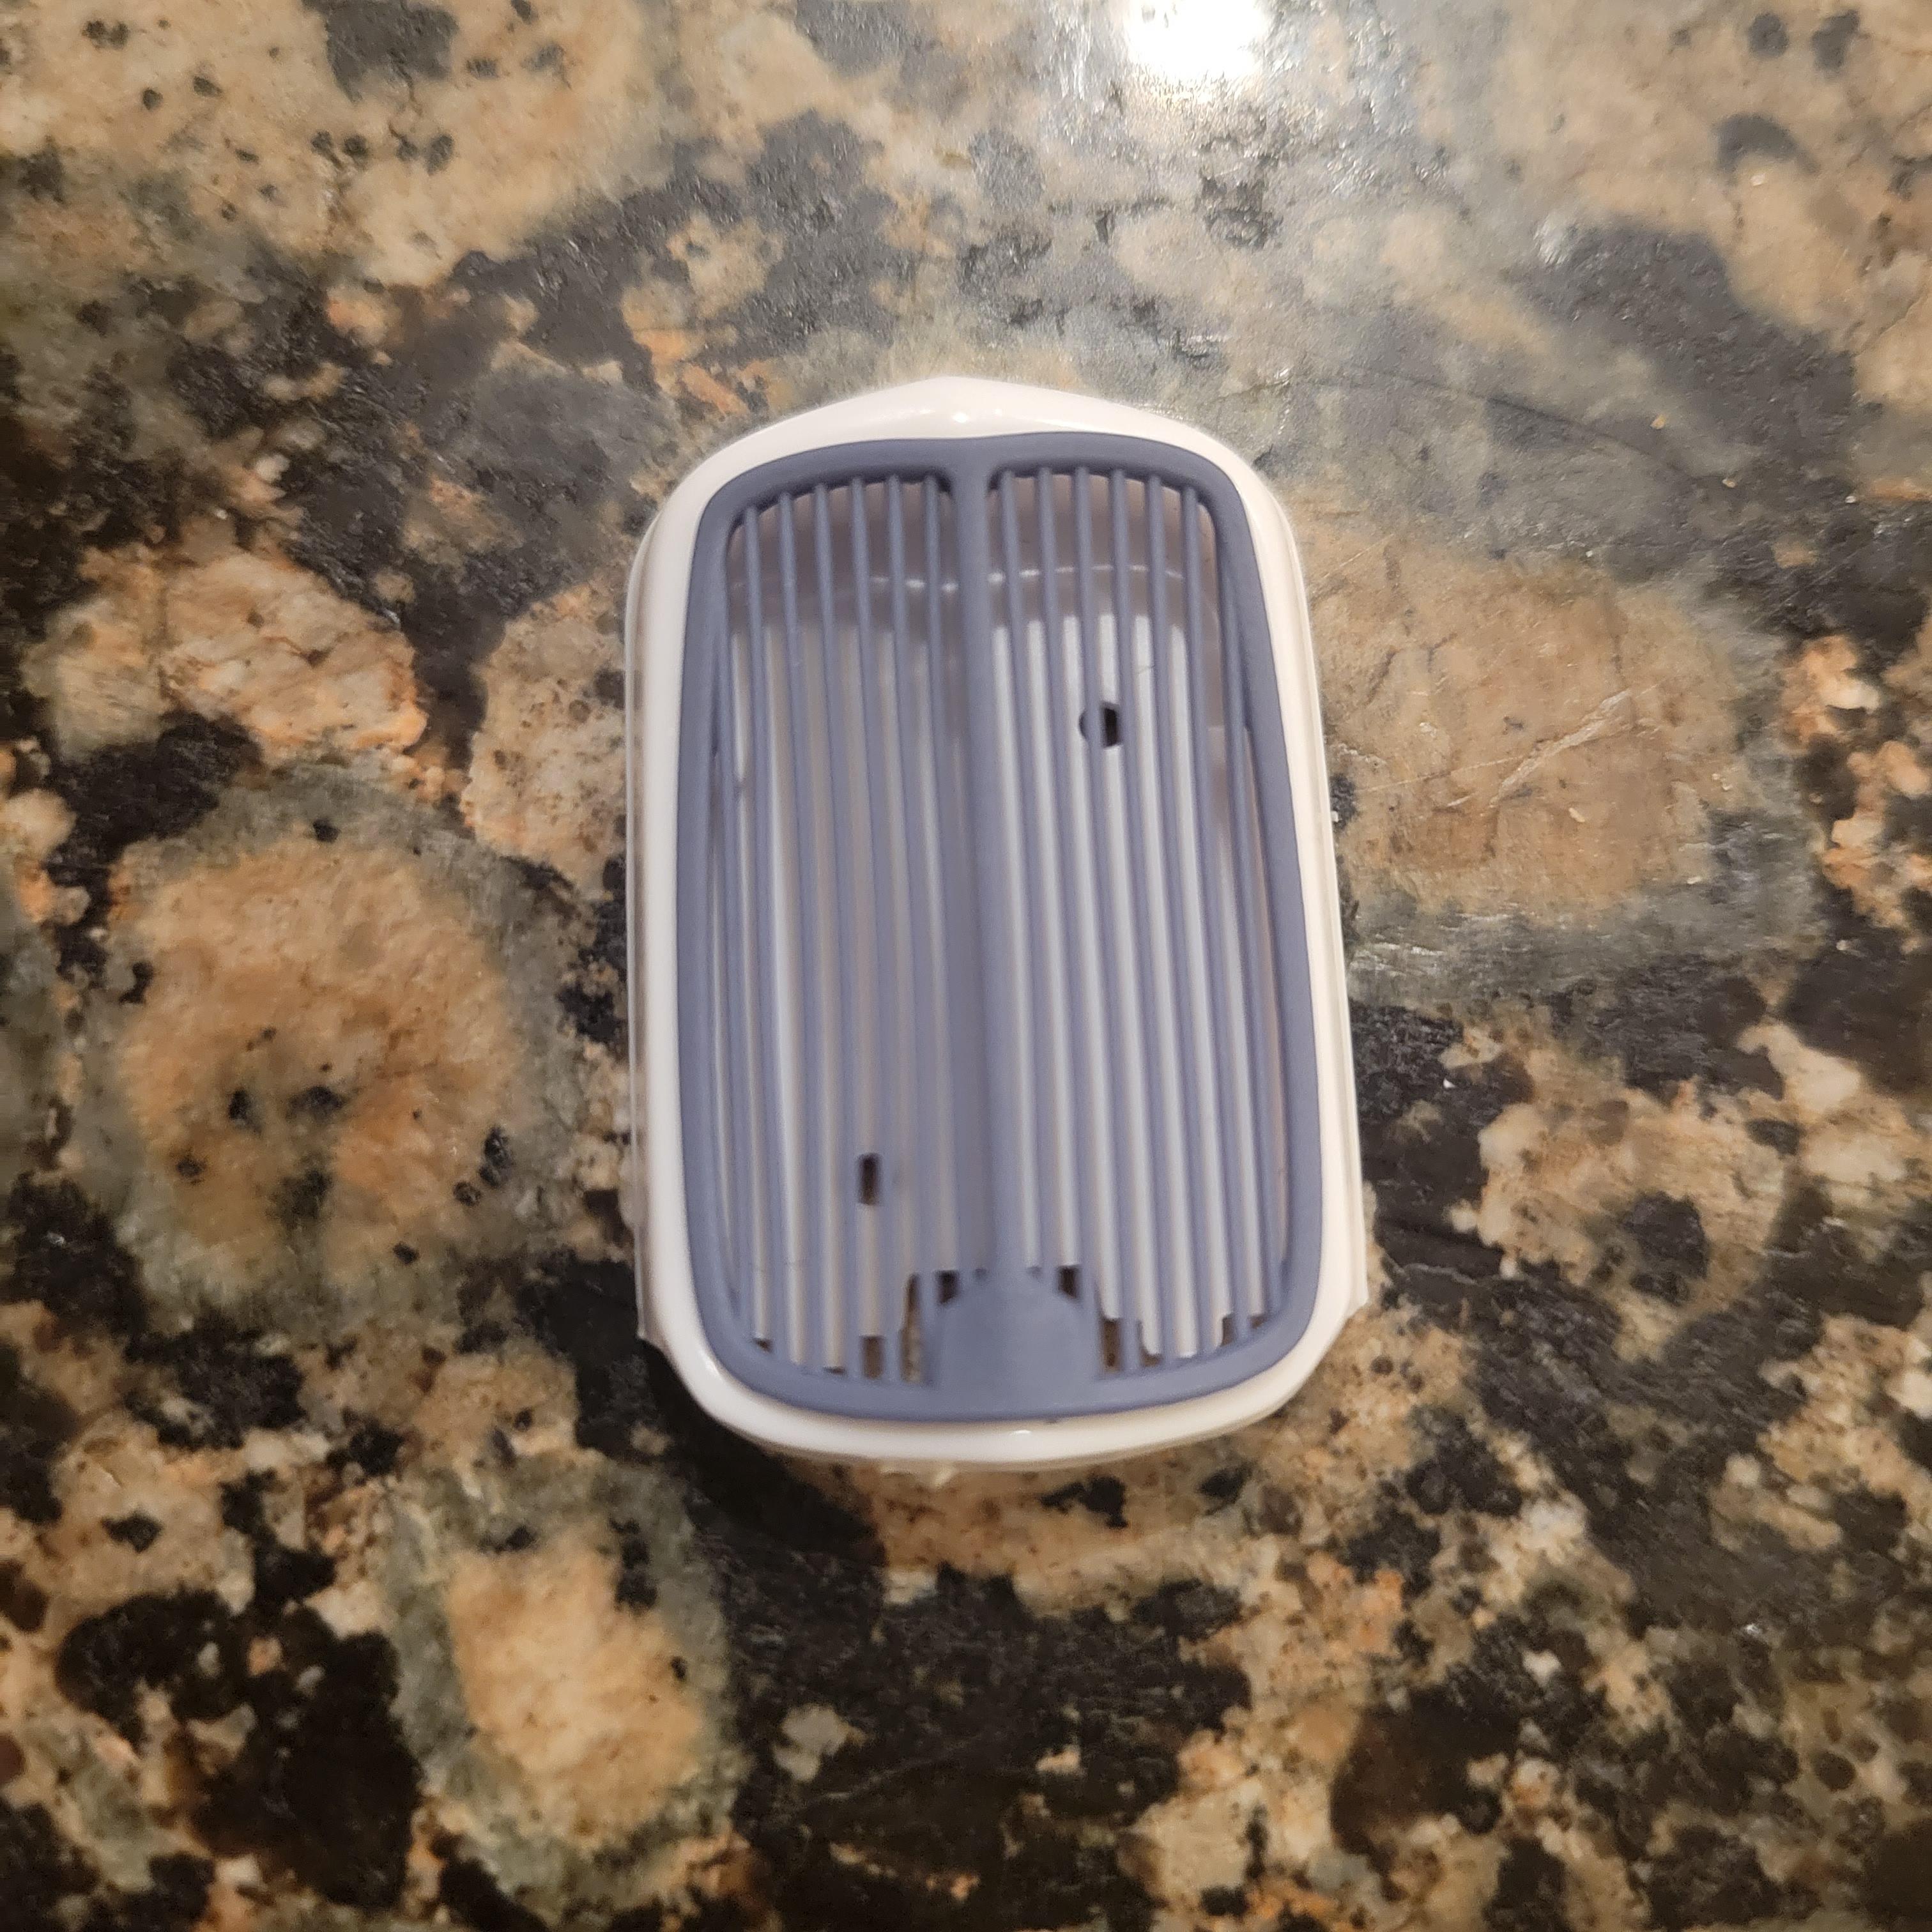
On 11/29/2022 at 3:33 PM, Texas_3D_Customs said:
First attempt at the winter front

That looks promising!
-
2 hours ago, customline said:
A VW Beetle? That's a chop I would not attempt. The 1:1s I've seen look a bit awkward. The complicated nature of the C pillar/hood scares me off. I have given serious consideration to attempting a chop of the Moebius '47 Aero Sedan, but that's about as difficult as I'm willing to go for now. You are welcome to post pix of your VW here, and that goes for anyone working on a chop. Or maybe post a link. I'm here to learn. Below is a chop I did on the AMT '41 Plymouth Coupe.
That chop on the Plymouth sure changes its attitude- looks downright angry (and nice color choice).
-
On 11/20/2022 at 6:10 PM, LL3 Model Worx said:
Well, not that anyone cared anyway. But the build is now stalled.
My kit only had one front and rear spindel and not two...so the search is on.
Oh no- I have never had this kit in-hand, so no idea what the missing spindles look like. Is it possible to scratchbuild what is missing based on the front + rear you do have?
-
Again with the excellent custom paint work and colour choice that works so well with the model's body lines- clean build. That HoK paint just glows.
-
That patina paint job sure tells a story. I love how this build turned out.
-
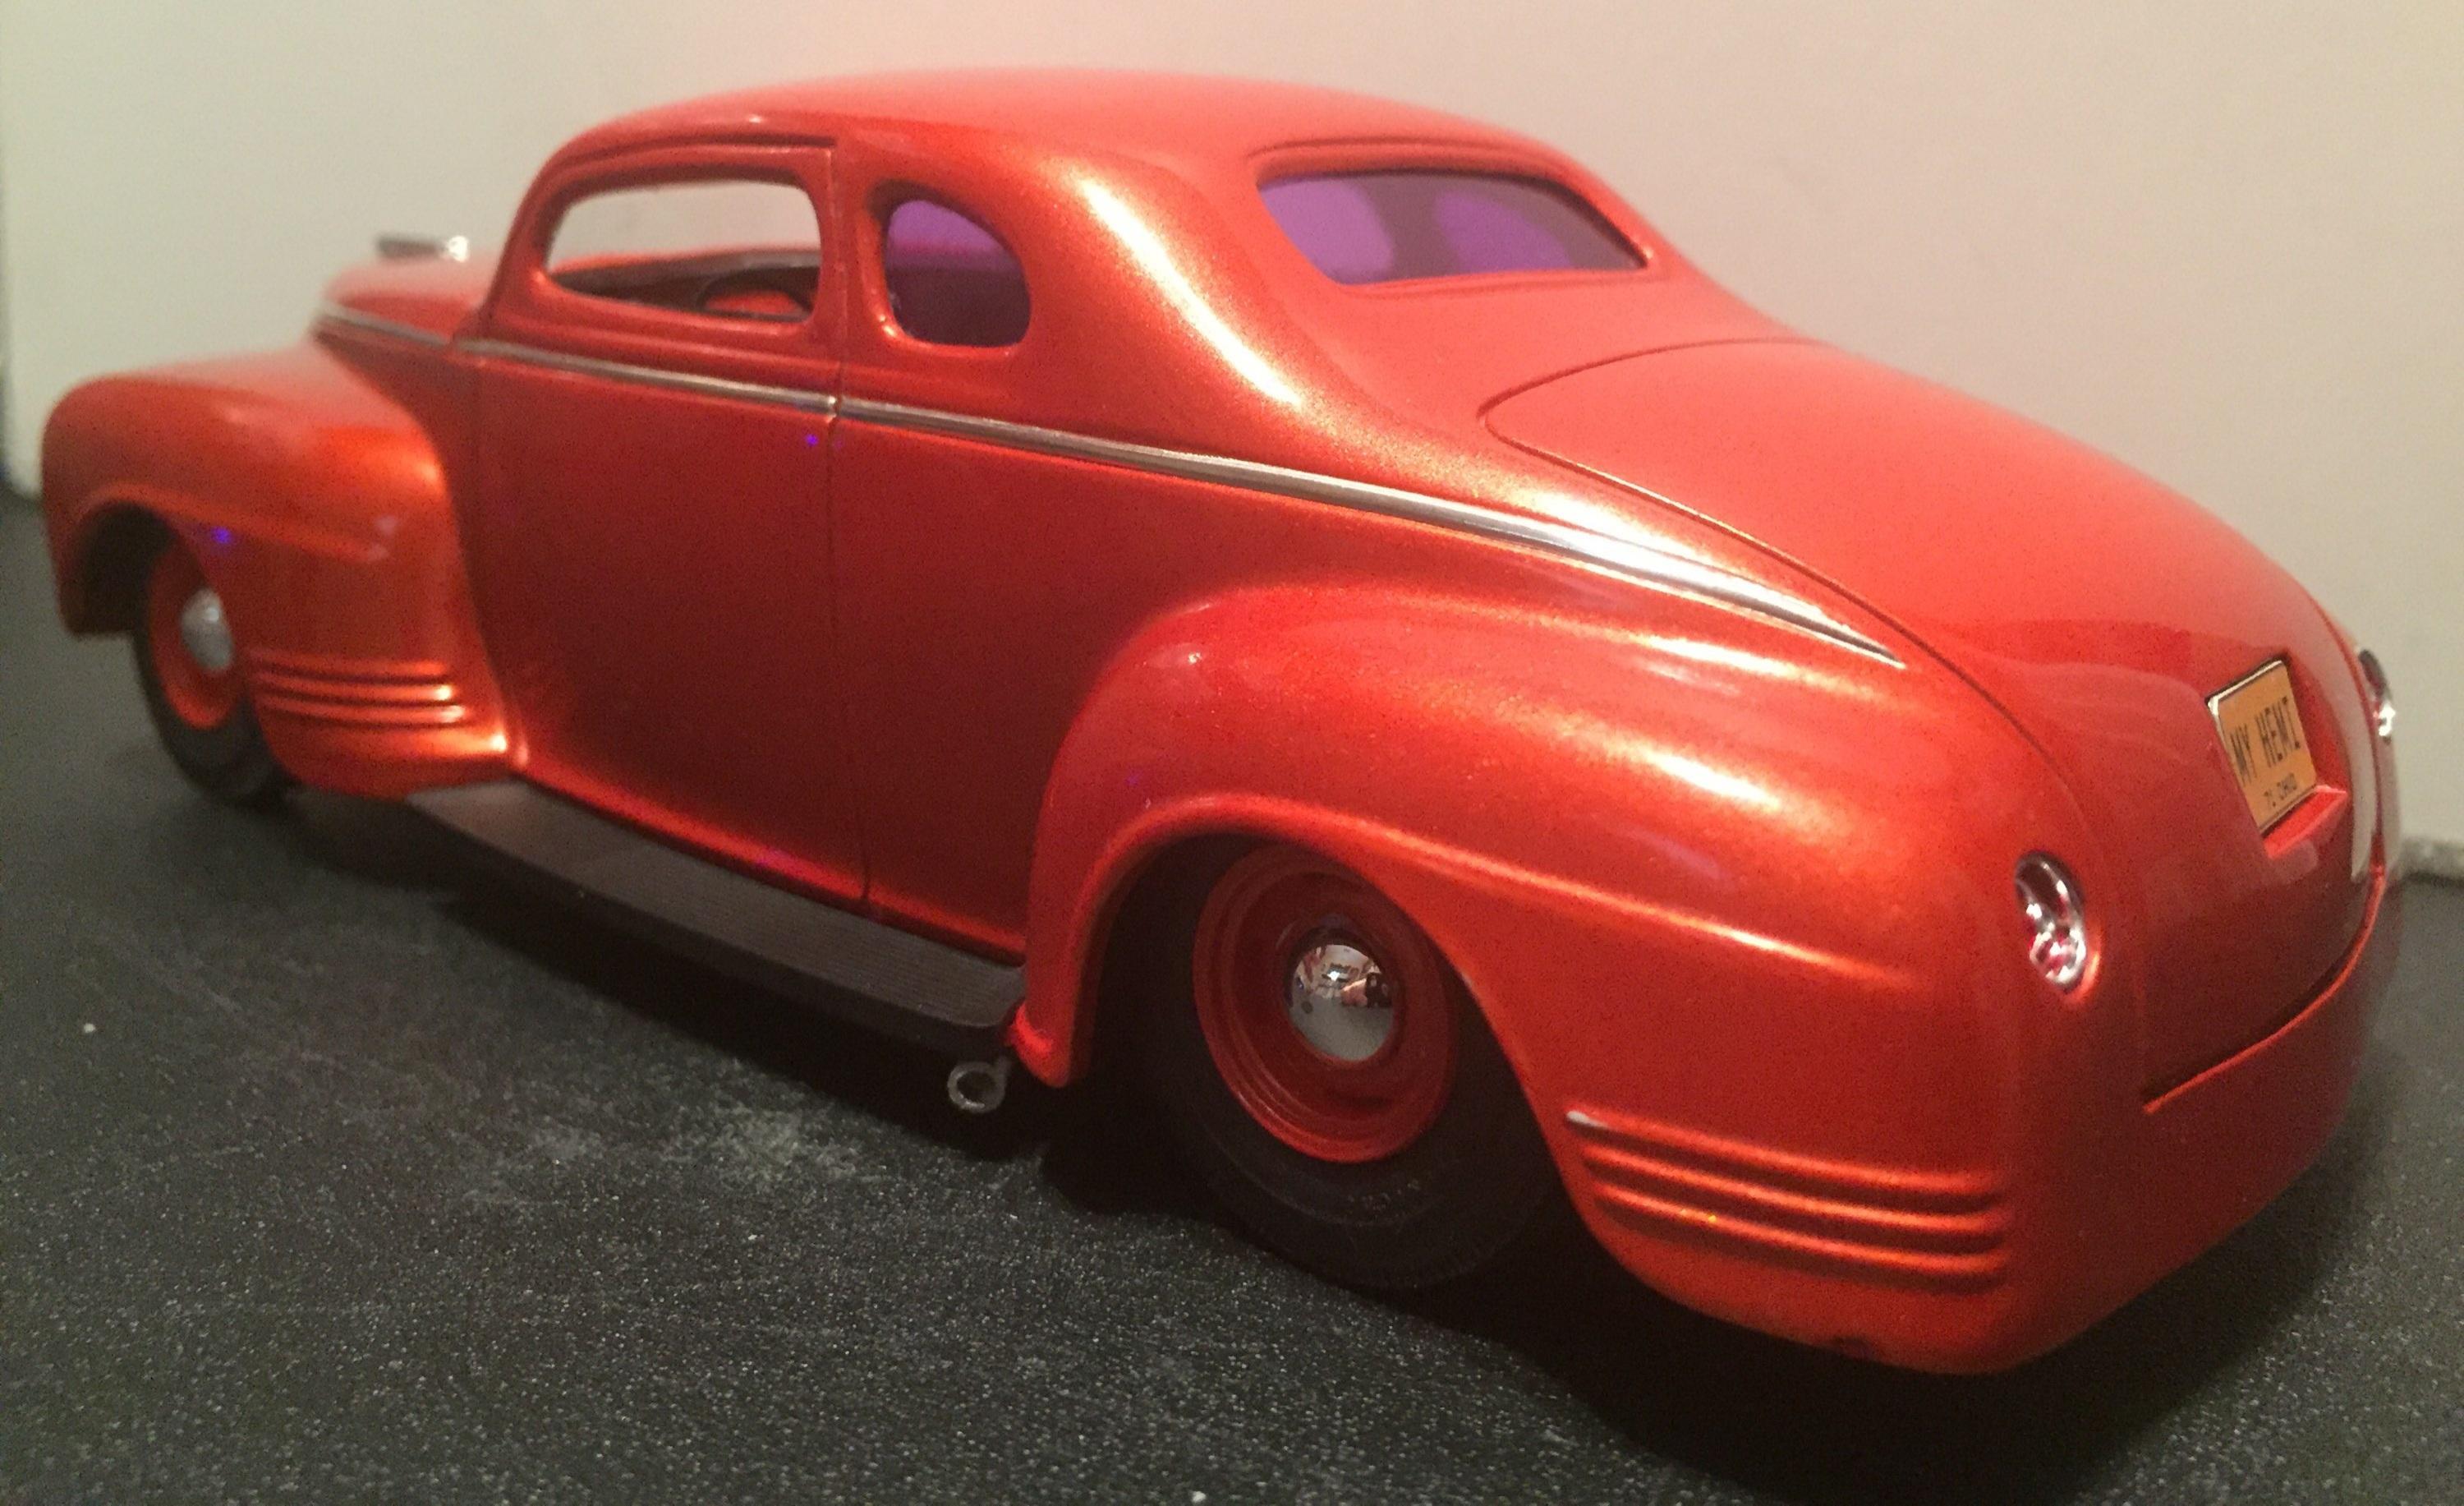
On 11/9/2022 at 2:04 PM, Vintage AMT said:
Nope, no flopping
") I mixed this paint sometime in early 2000, I put all the left over met. paint into one jar mixed with clear gloss. So in person its so dark that it's almost a black/brown till light hits it.
I mixed this paint sometime in early 2000, I put all the left over met. paint into one jar mixed with clear gloss. So in person its so dark that it's almost a black/brown till light hits it.
That sounds like a great kind of happy accident. I love the paint job, looks great. A "parchment" interior with black accents (dash, carpet, parcel shelf) may go very nicely with your custom shade of paint.
-
1
-
-
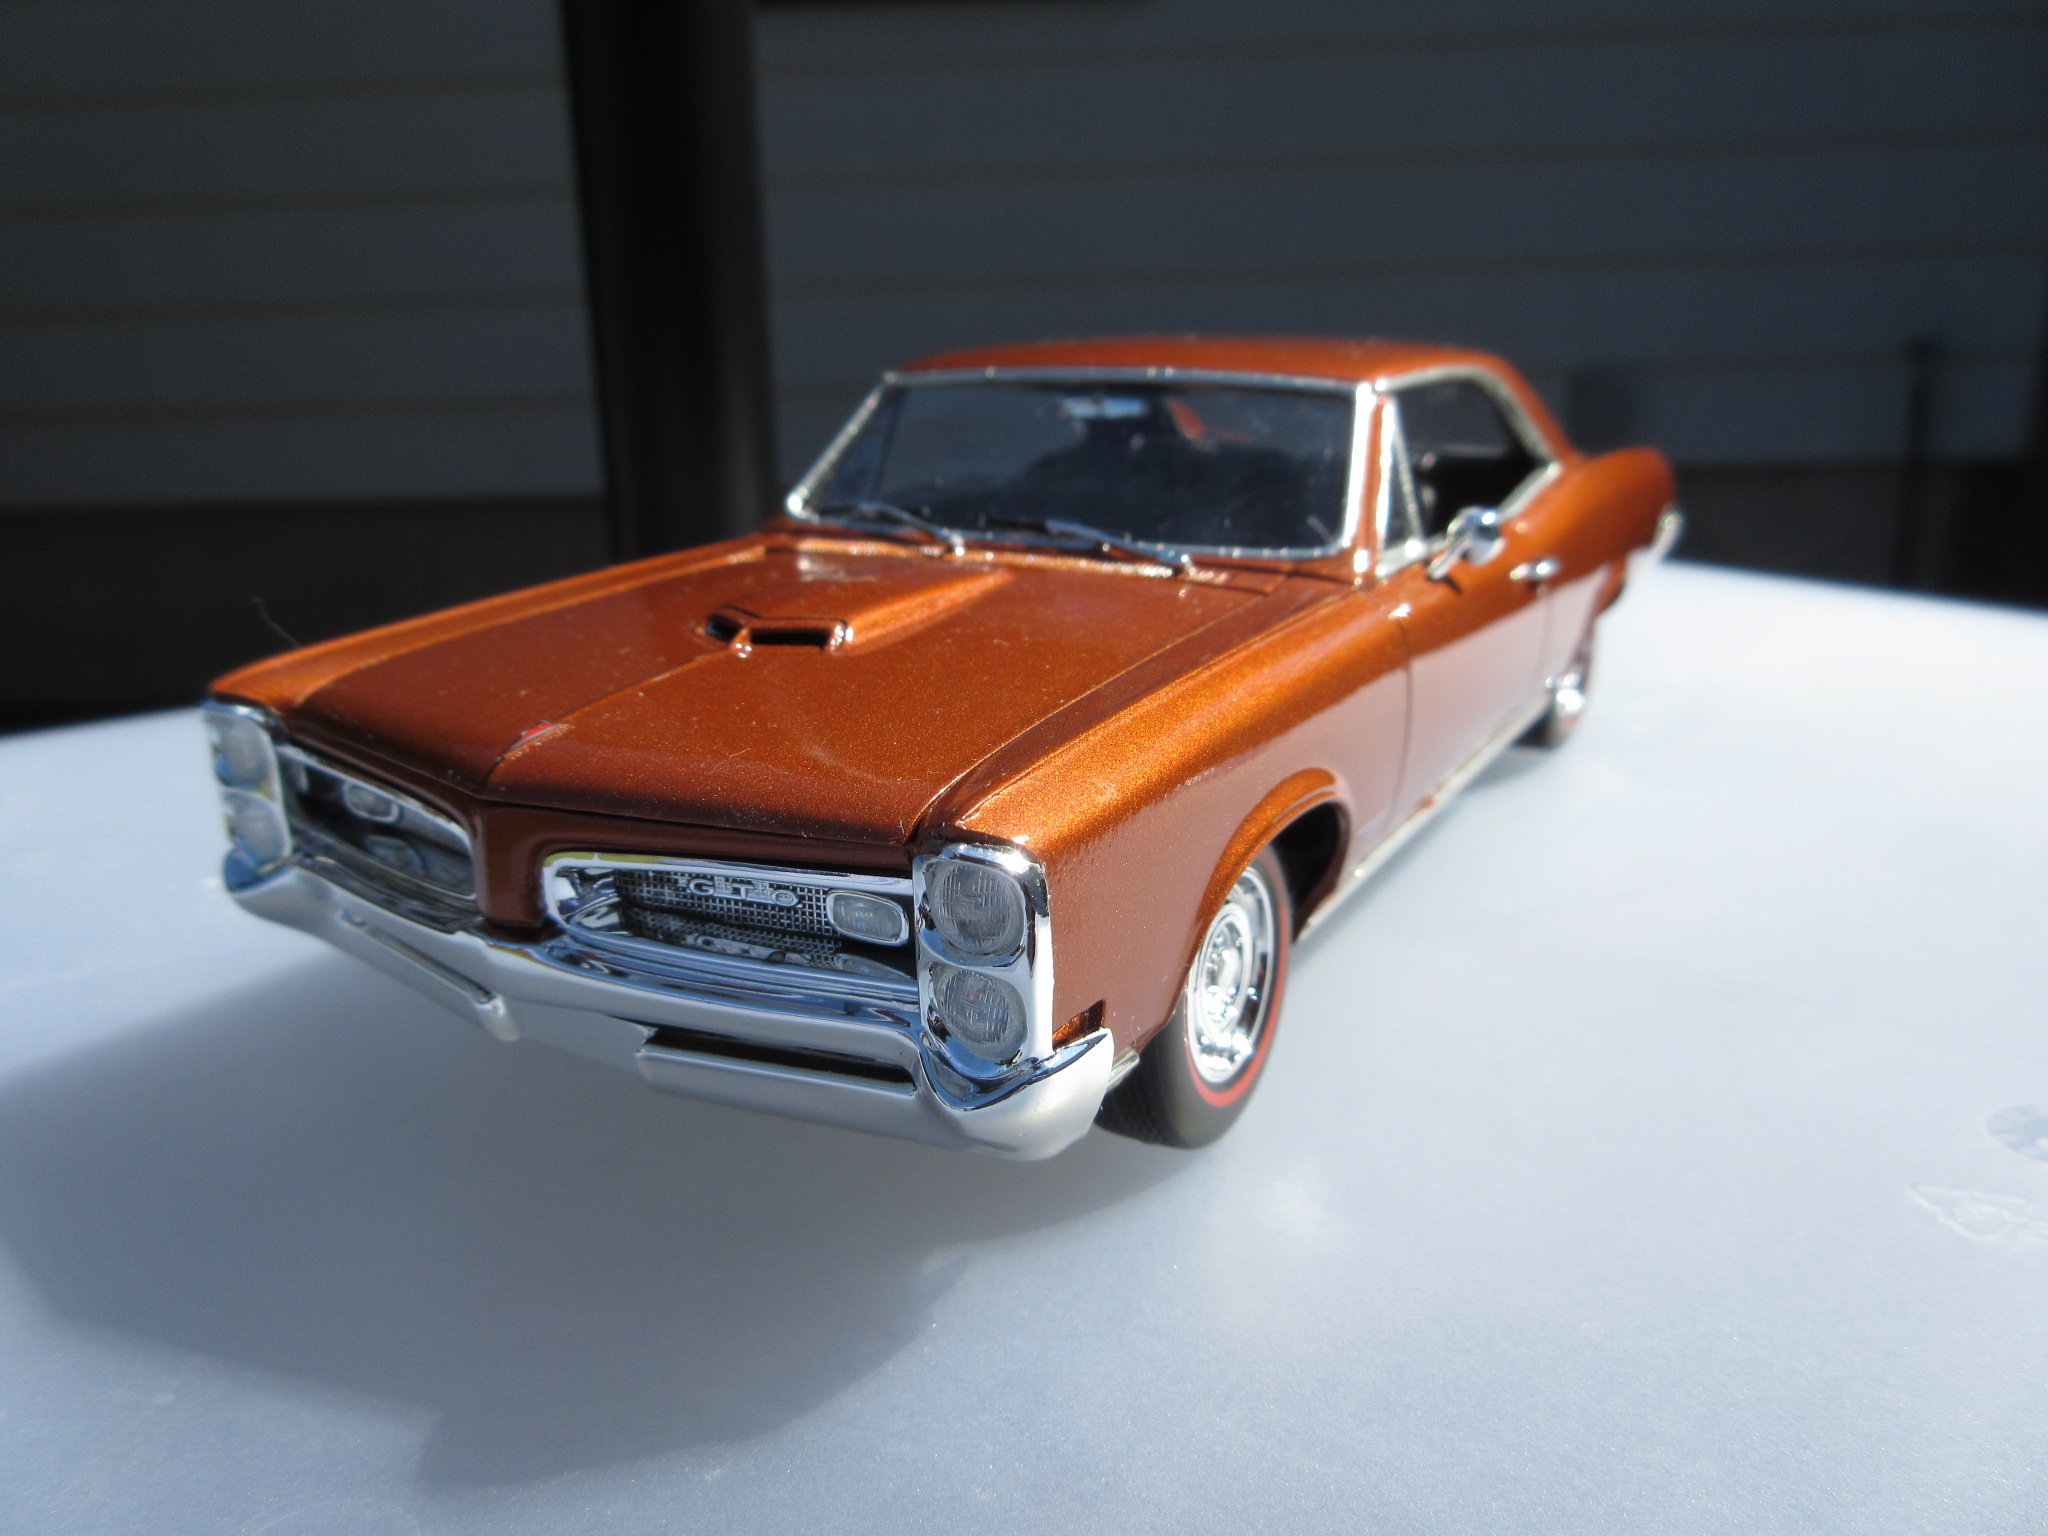
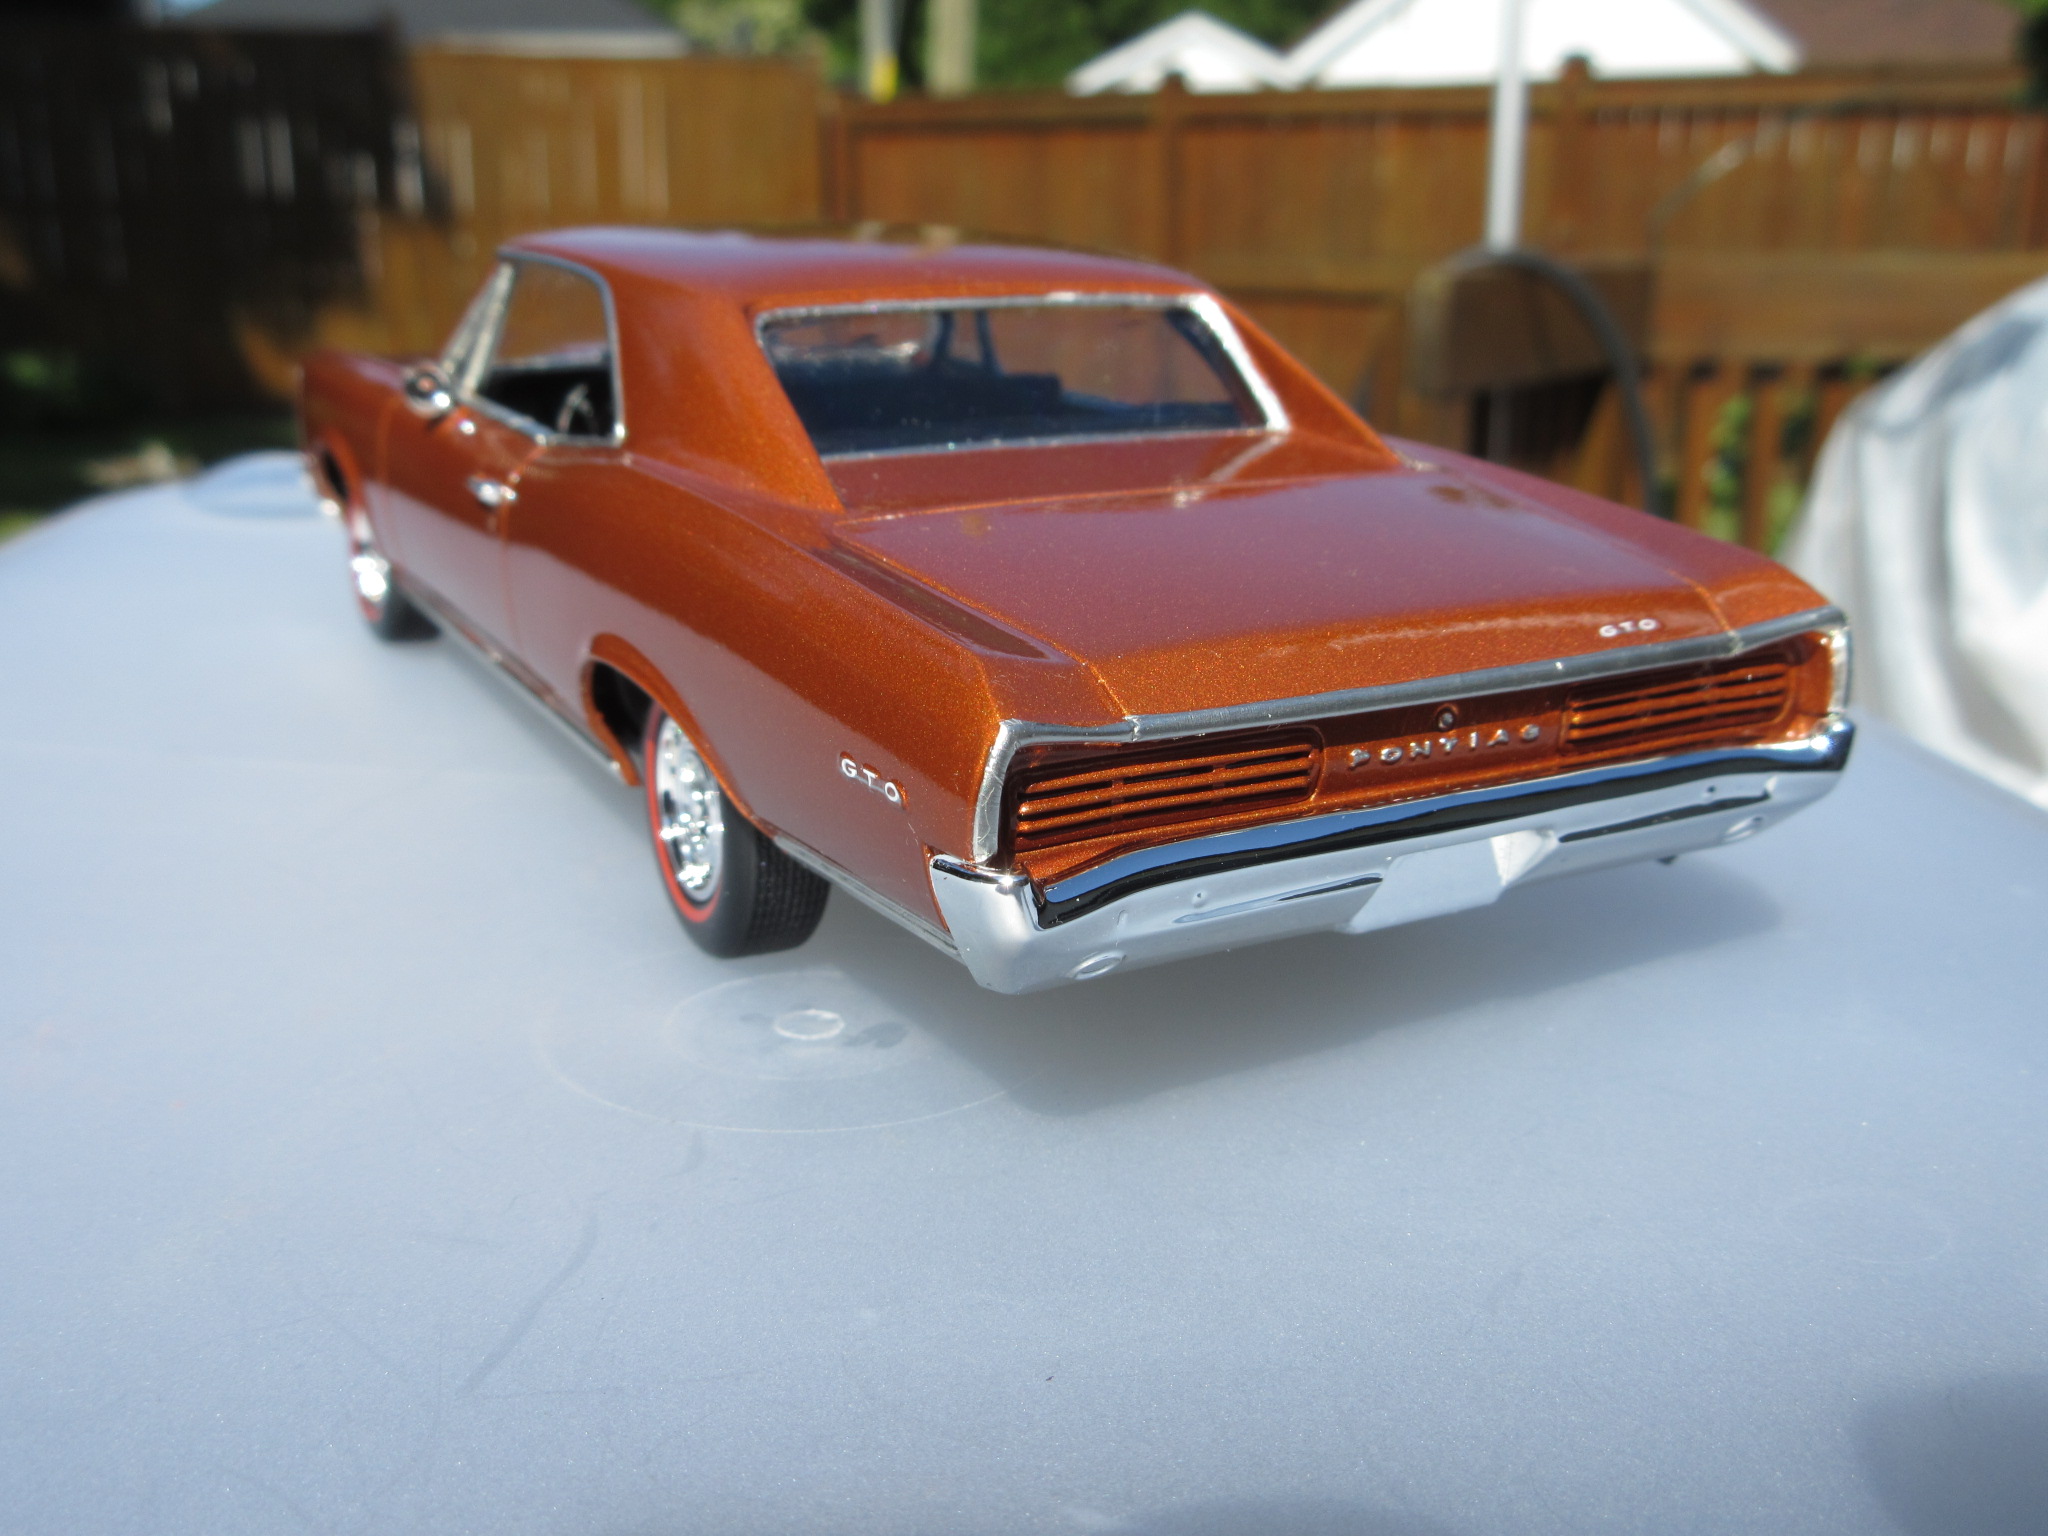
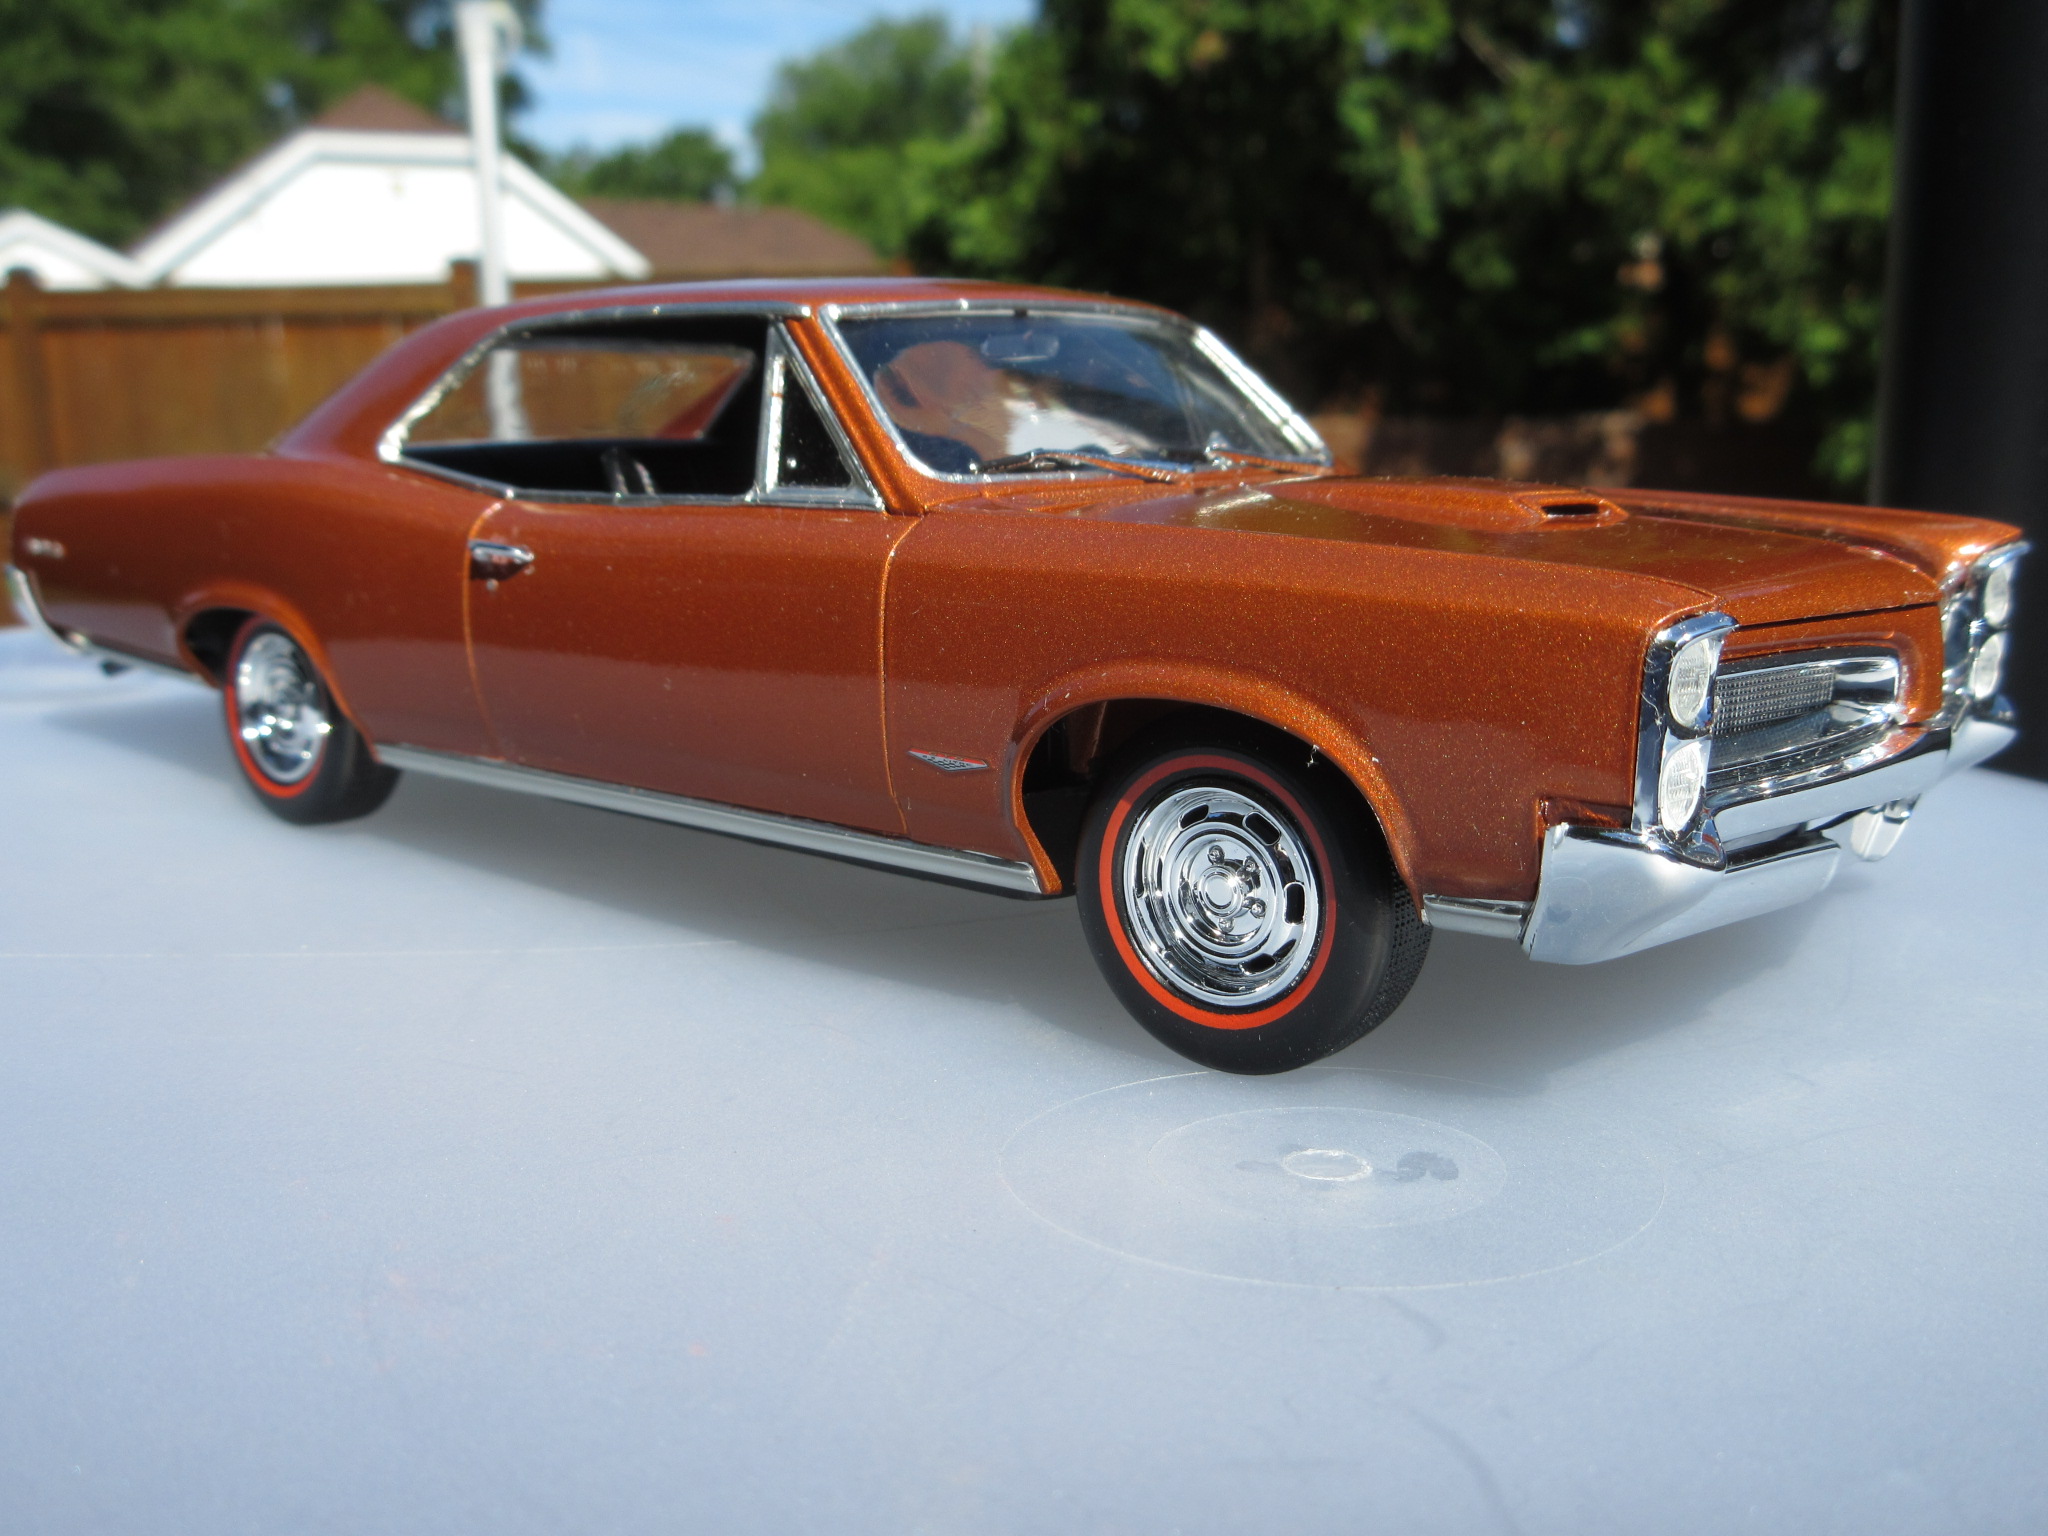
^^ larger photos of the same build, a member here on this forum.
I would say that is an excellent burnt orange metallic type of colour, and it looks like it laid down really well for the builder. I like it.
-
1
-
1
-

Pink 59 Cadillac
in WIP: Model Cars
Posted
That is looking extremely nice- my vote would be let the base coat metallic shine through clear. You could do test sprays with clear pearl/purple pearl on spoons or a scrap body, but it would be a shame if it subdued the brilliance of the metallics already in the base coat.