

PatW
-
Posts
4,511 -
Joined
-
Last visited
Content Type
Profiles
Forums
Events
Gallery
Posts posted by PatW
-
-
Thanks Nie, yes it's a pity about the decals. I have a few more rally cars on the shelf to build.
-
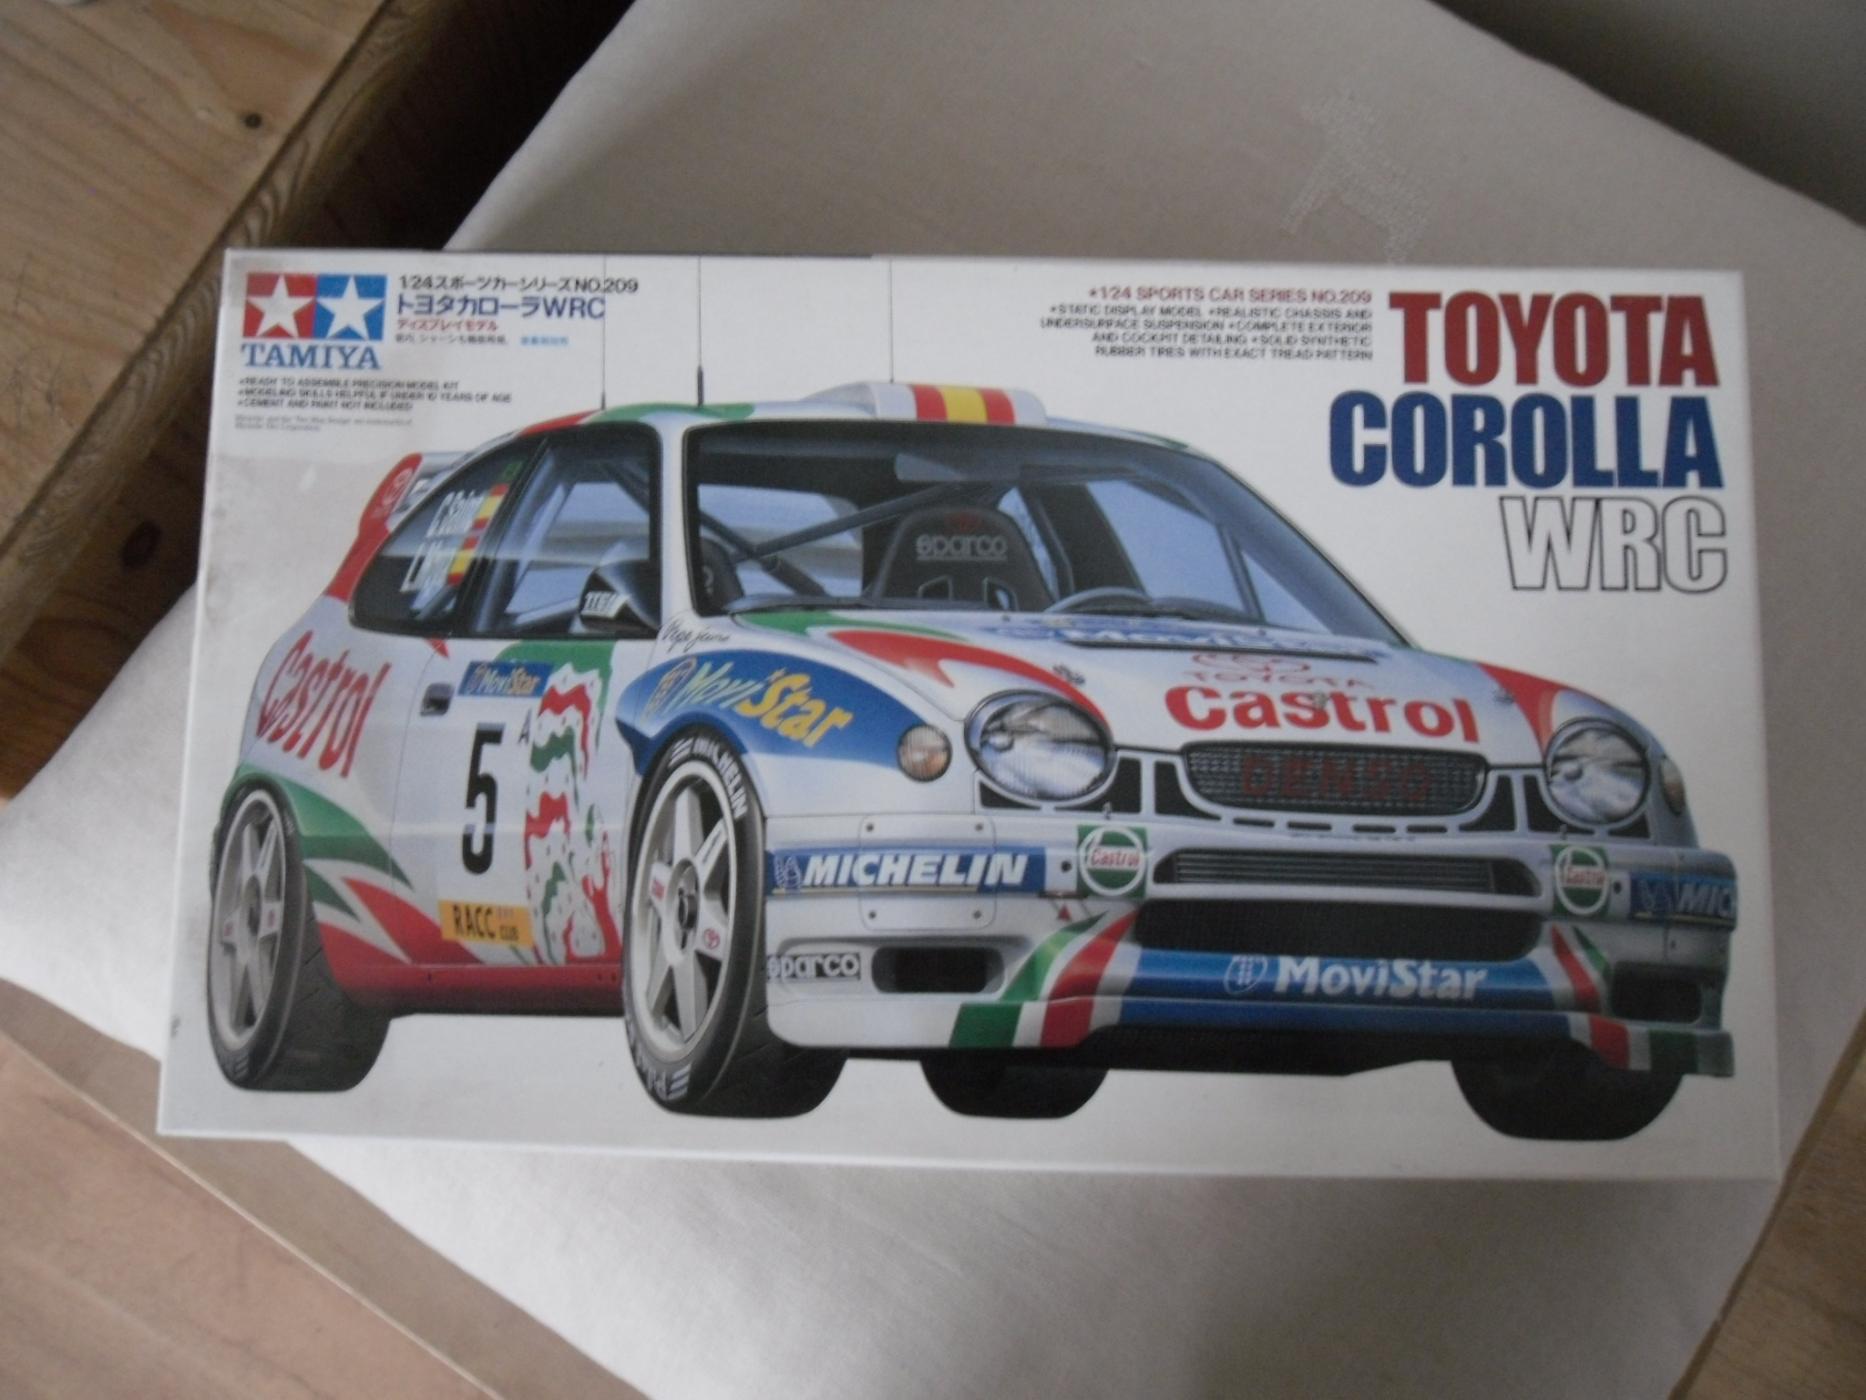
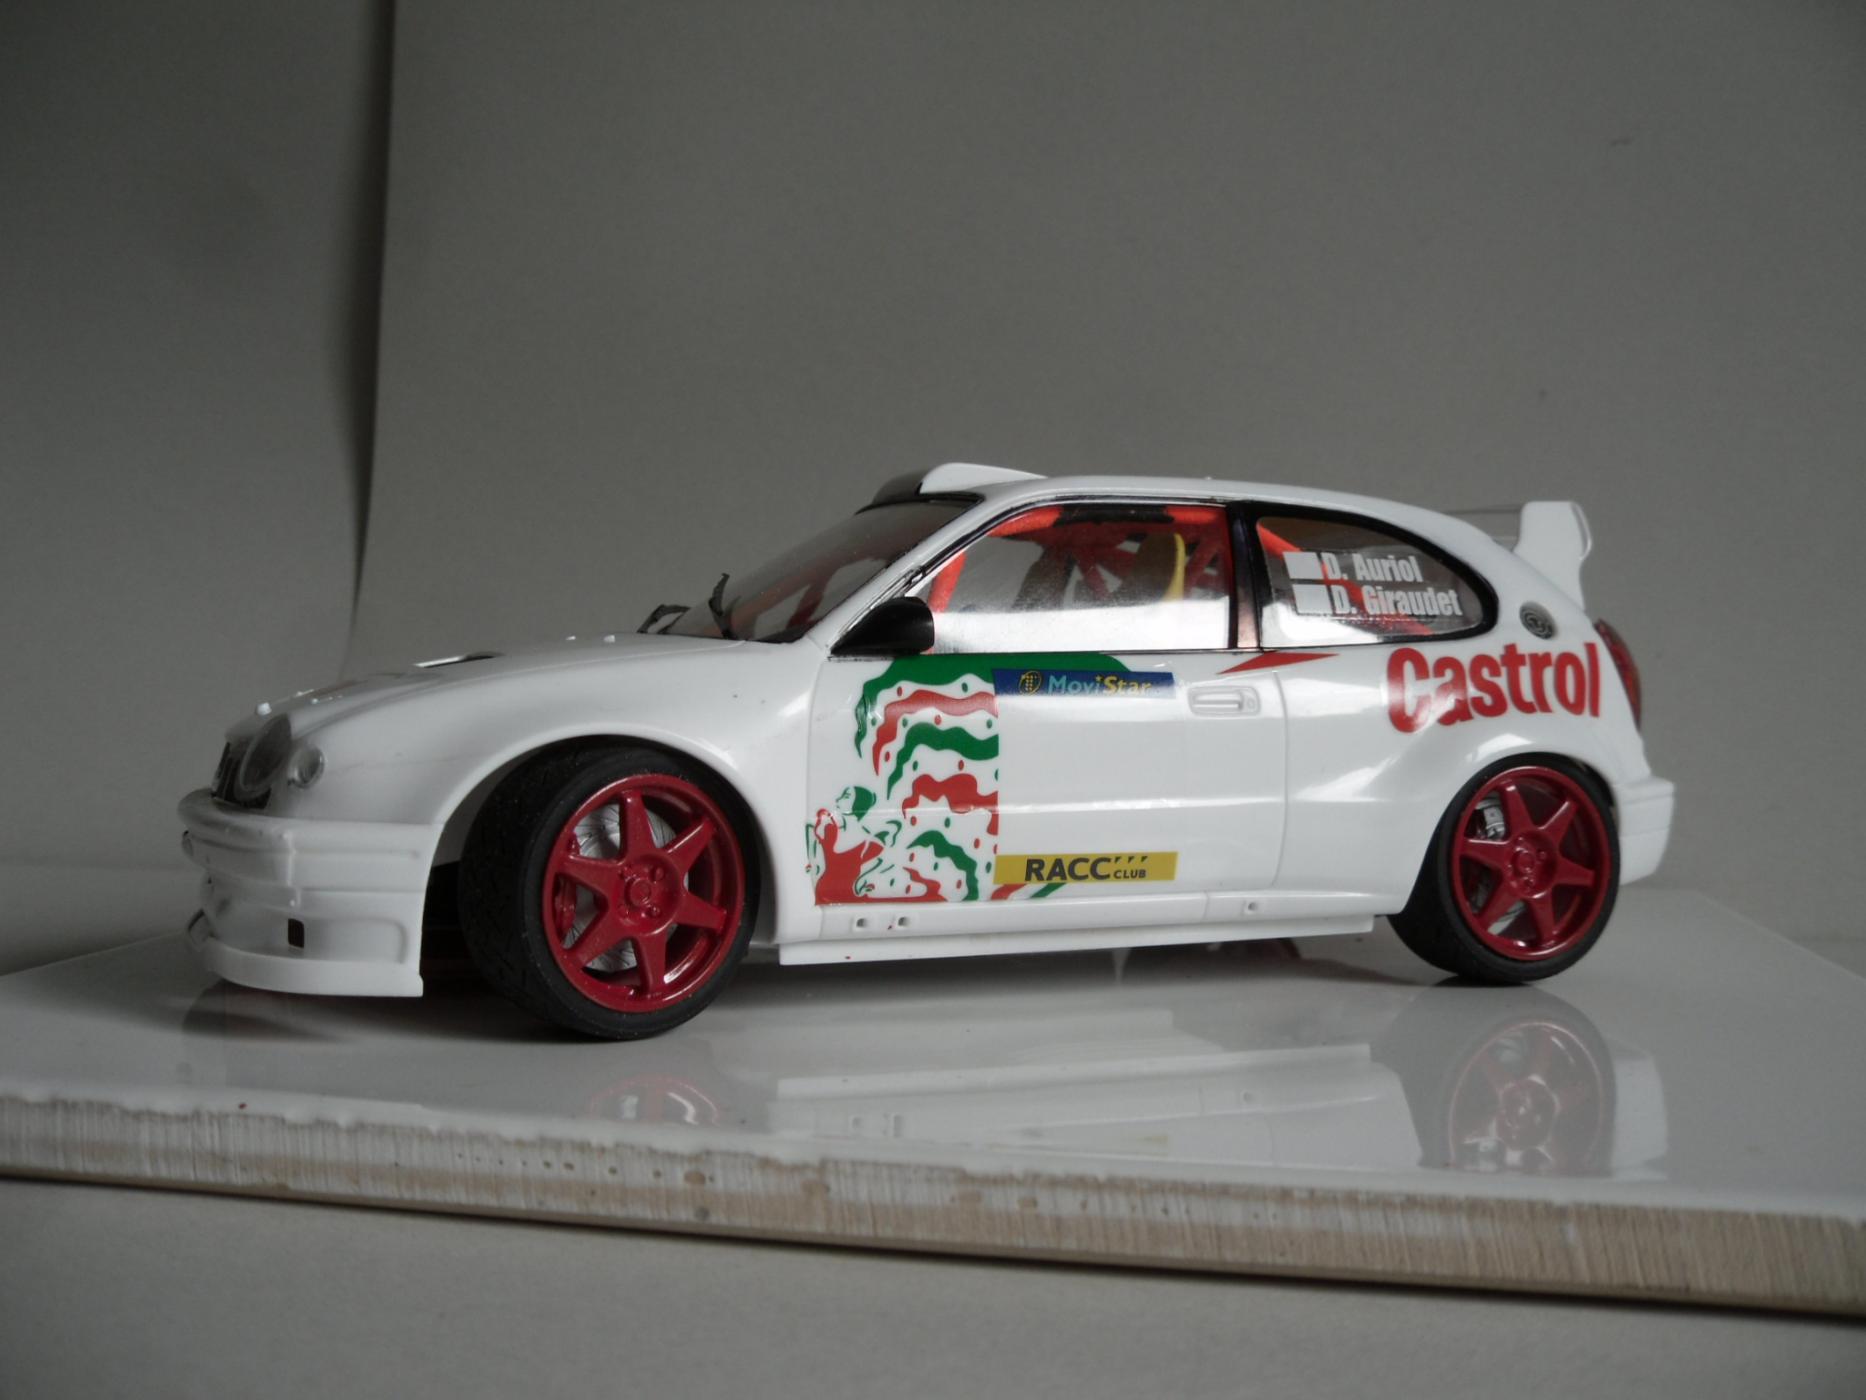
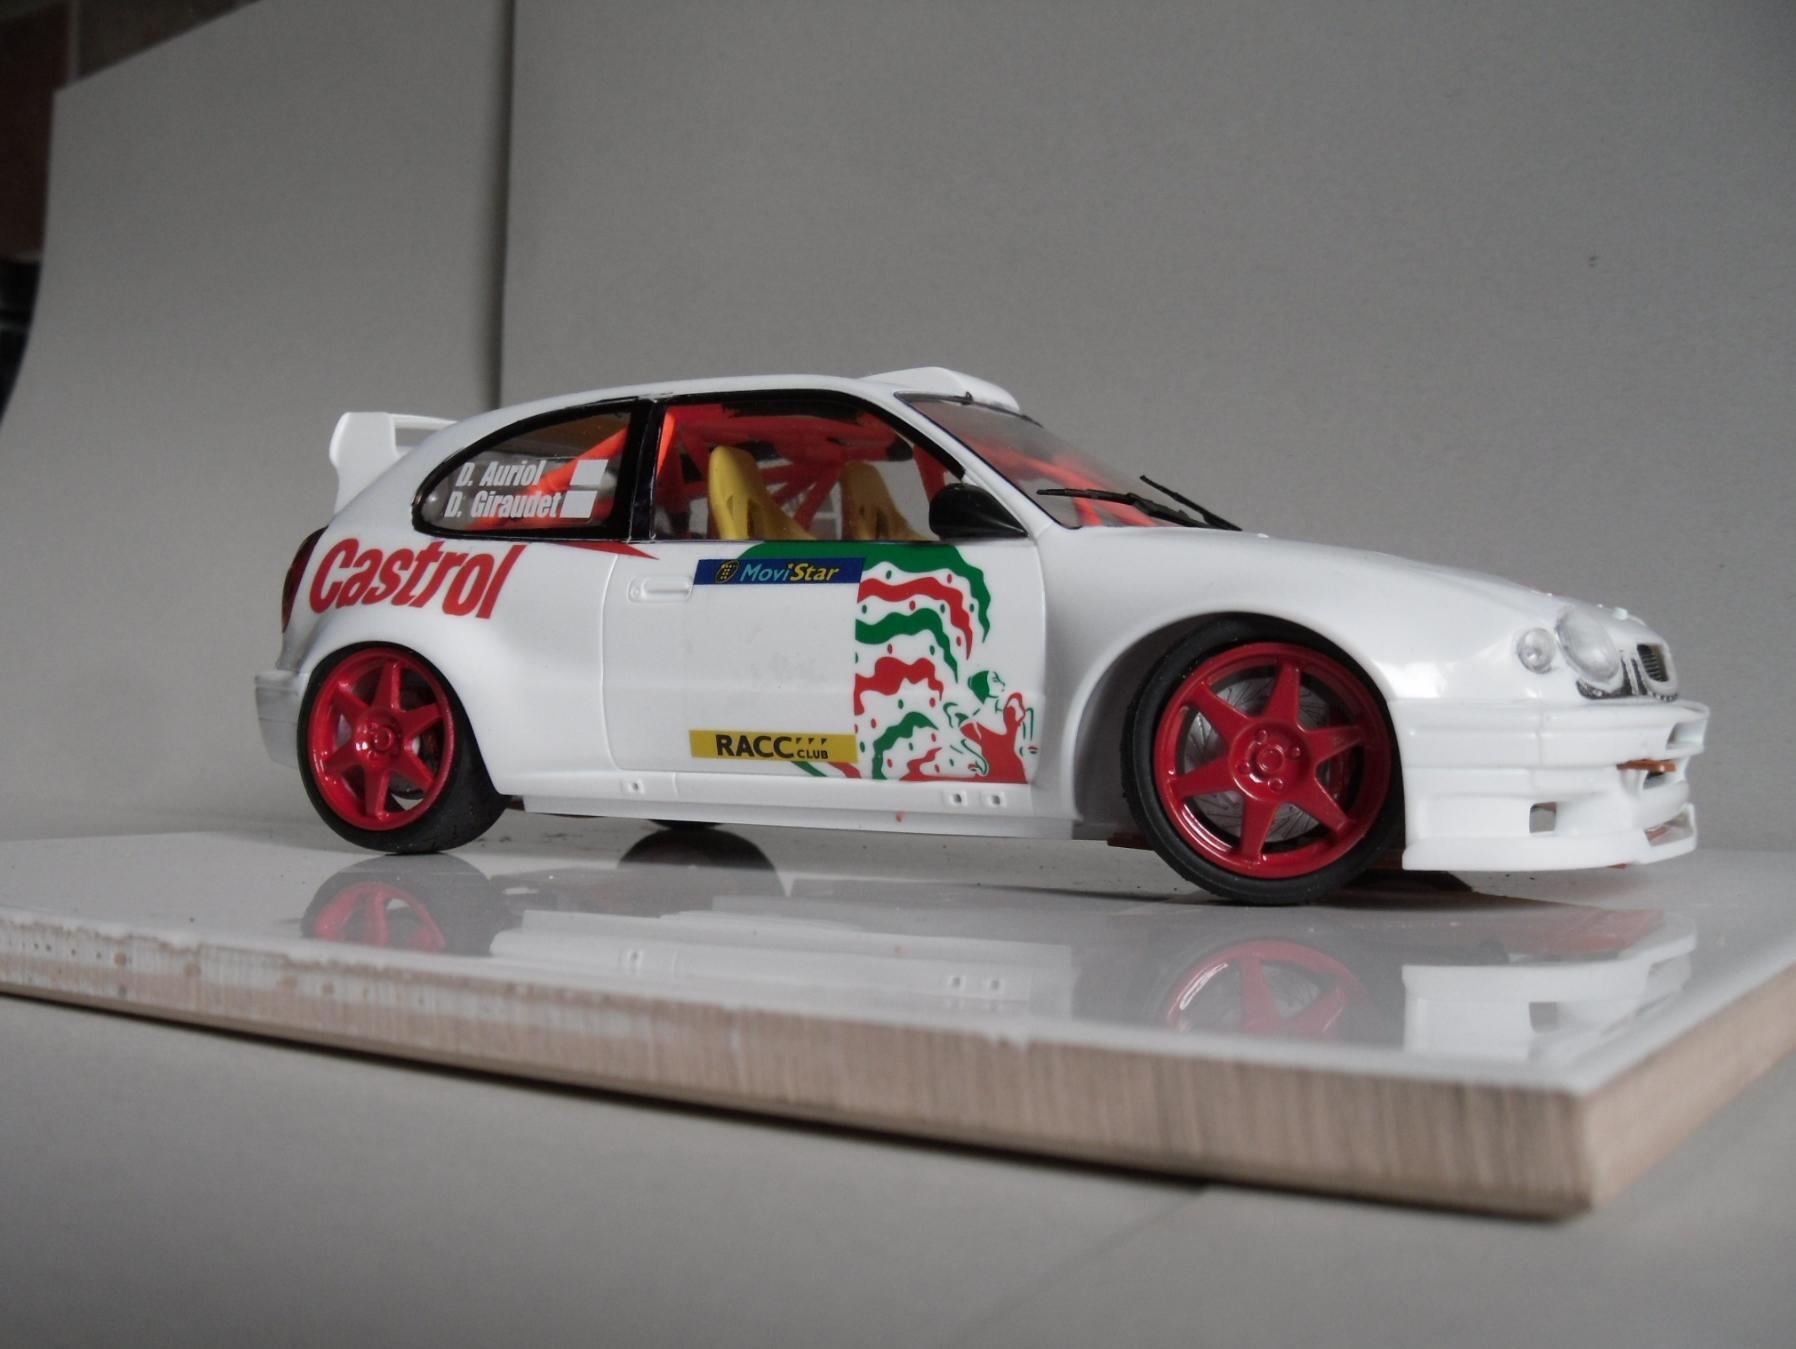
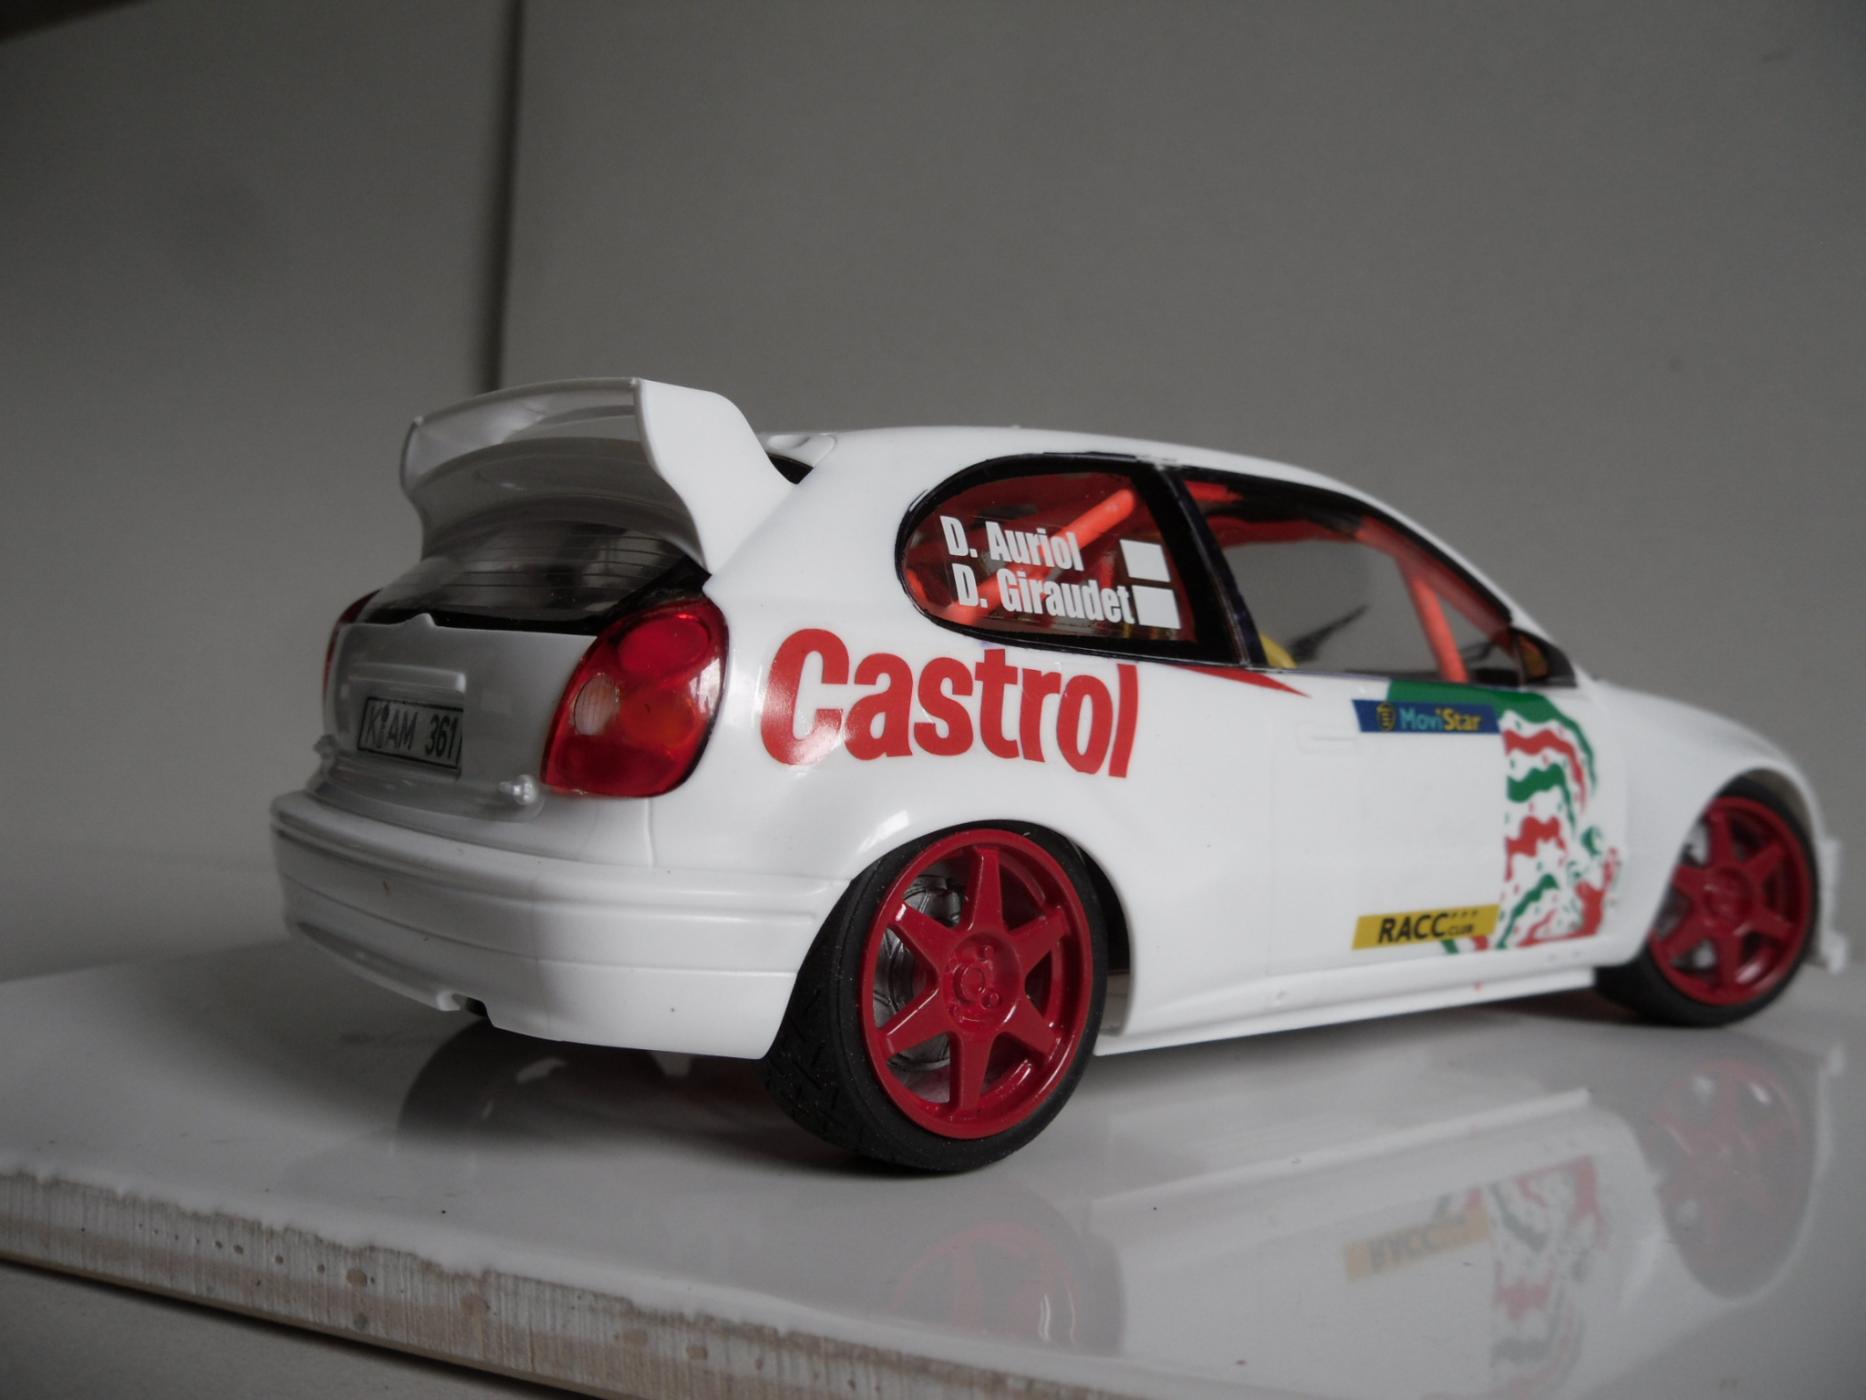
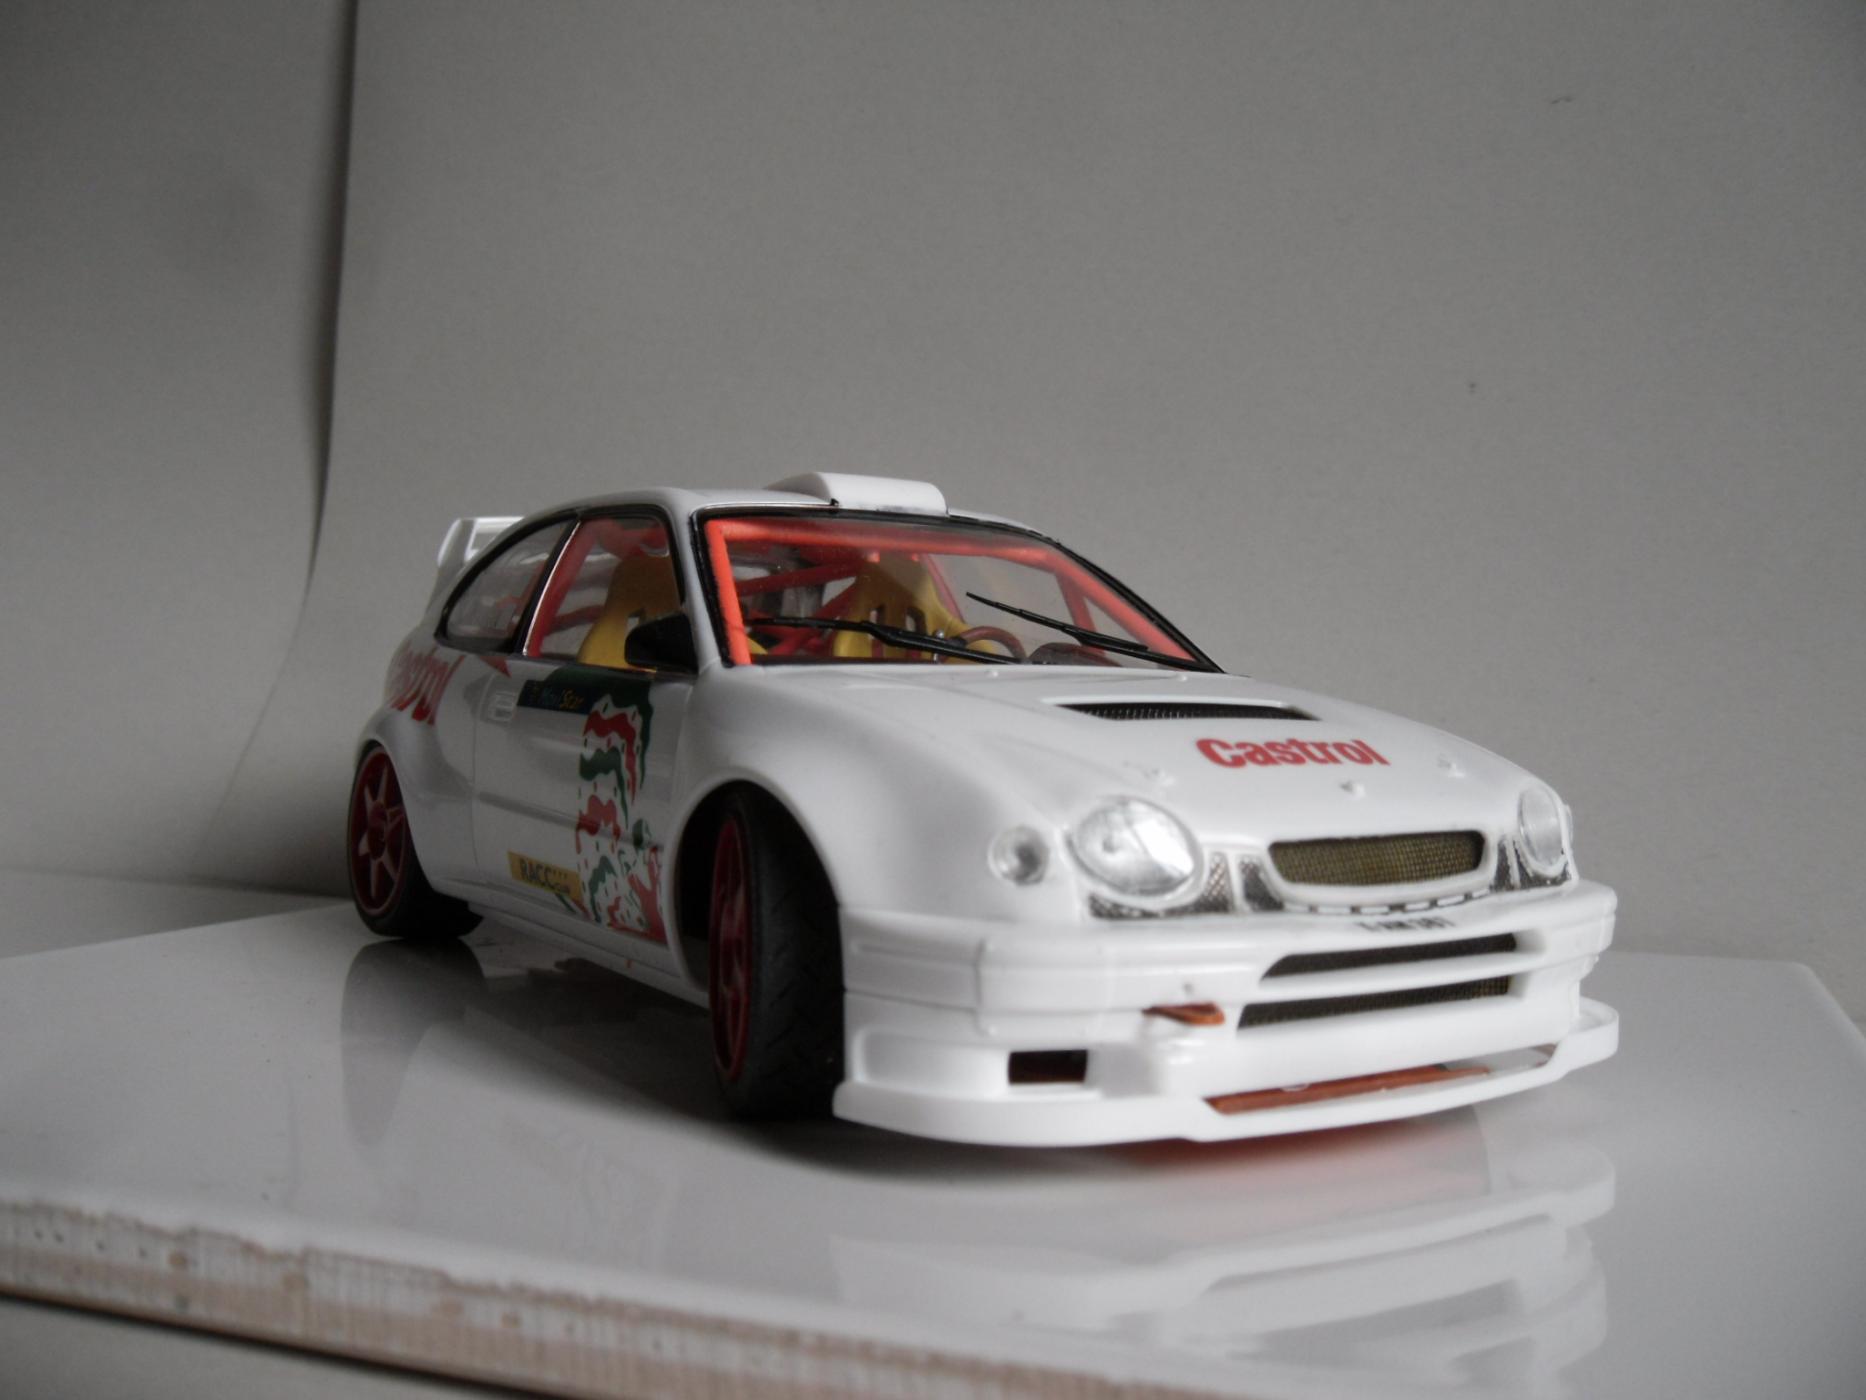
Due to the fragility of the decals in this 1999 kit I've built the car as a Tarmac Recce car and only used those decals that held together. The Recce cars are used by teams prior to the event to take pace notes for the driver / navigator crews on the event.
As Tarmac cars are like racing cars, run over smooth tarmac or concrete road I shortened the suspension spring coils by two at the top of each unit leaving the locating pin to go in the right place in each wheel arch. Having then to modify the bottom location upwards to hold the spring unit. This still allowed the steering to work at the front.
The seats were sprayed gloss yellow plus two coats of matt clear and seatbelt decals.
The rollcage I sprayed flourescent orange and matt black on the rubber safety cushion sections.

-
Your doing well with your builds of this car! I remember Yves team mate was Tom Chilton ( his dad owns Aon) from the UK.
This one is also looks superb with the Aon decals, well done.
-
Very nice Allan, I'm a buggy fan too.
-
It's looking good Daniel, these racecars were built by the Mallock factory not far from here in the UK.
If you look back on this thread there is another build of this car by martinfan and the problems he had with the decals. It is at the moment at the bottom of page 2.
-
Really fantastic looker, well done!
-
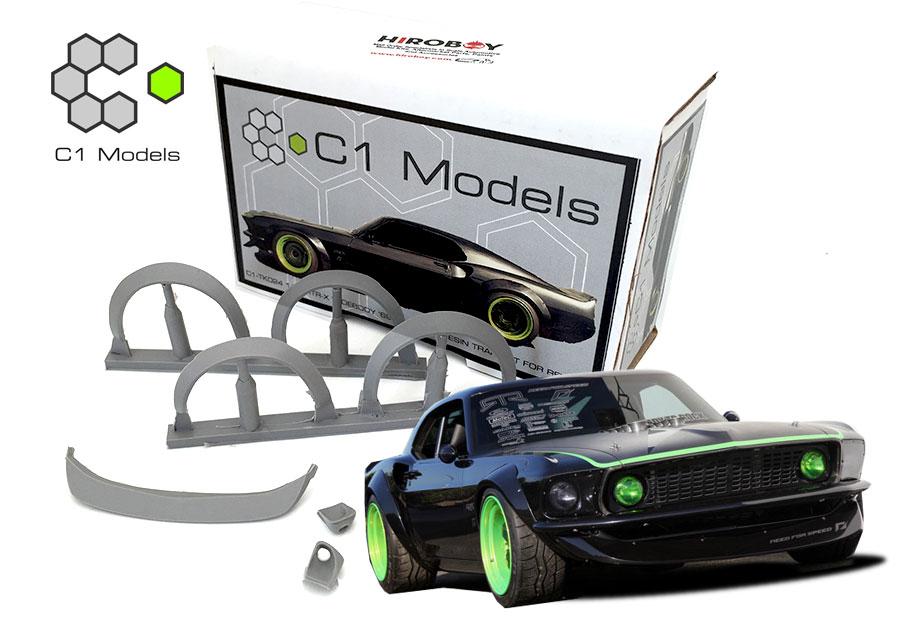
Thanks guys, yes Andy the C1 transkits are very good quality and easy to fit. Also Gene, I like building cages and I'm glad you like the induction.
-
Thanks Bill Eh?.
Thanks gtx6970 for the advice although I wouldn't know where to get a countersunk machine screw from.
-
Well Jim that looks just great, well done!
-
Now that does look well!
-
-
The finished build is in the 'Under Glass' section above.
-
Thanks guys. Yes Ryan it's only 1/32nd but a great build, with impressive really sticky stickers!
-
Thanks guys!
-
Very nice, I like the idea of just a clearcoat over the bare plastic, I do it now and again.
-
Thanks Tony.
-
Thanks guys and thanks Steve for the ball bearing idea, I'll try that on some spare ally tube!
-
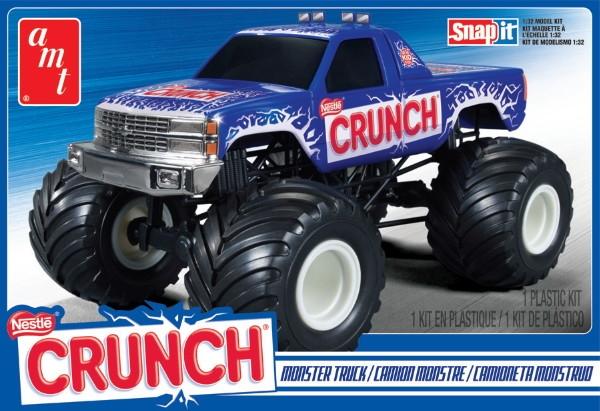
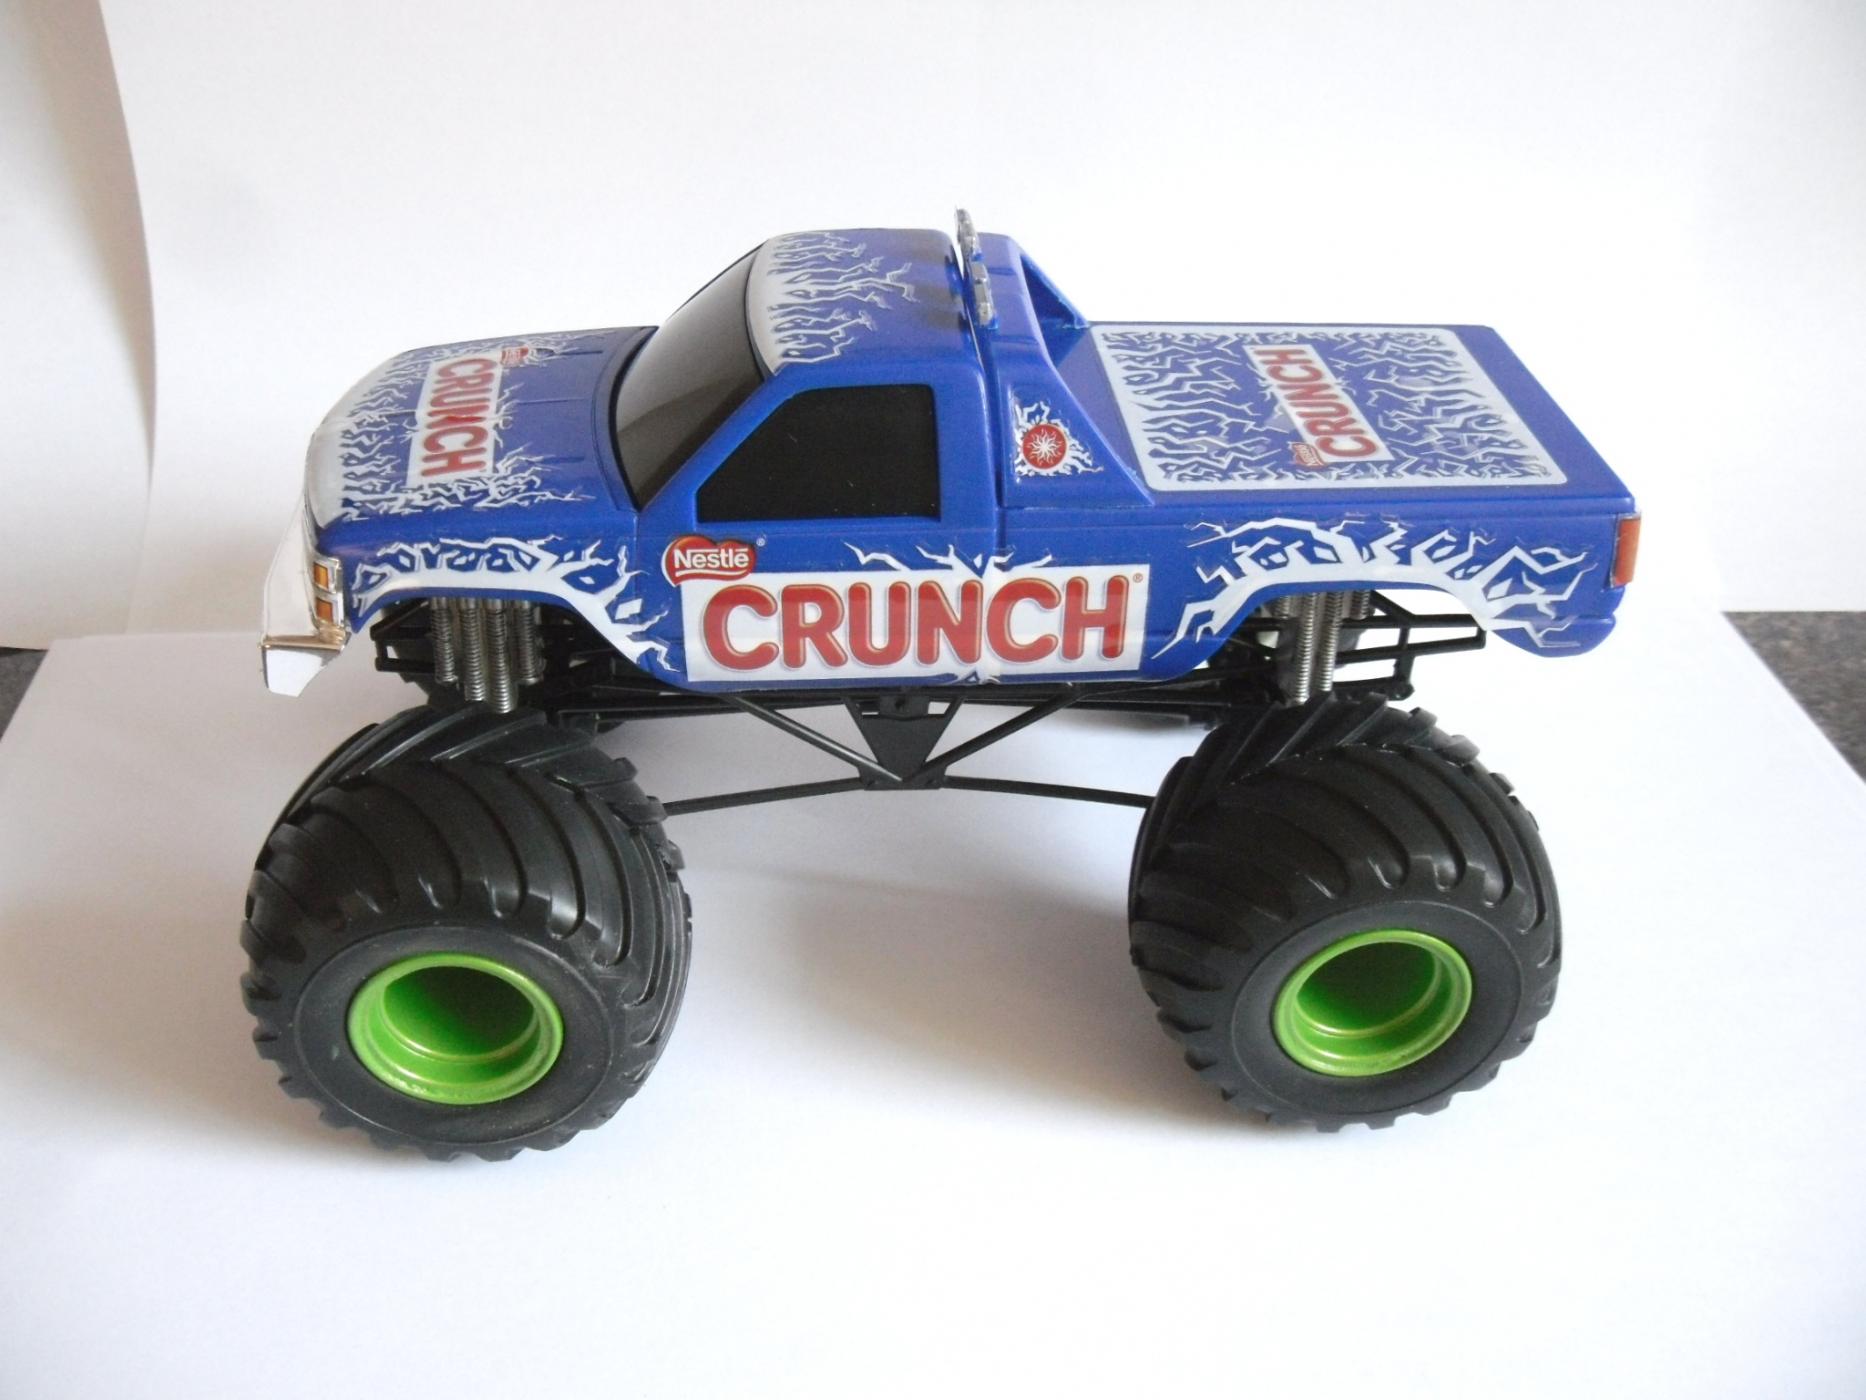
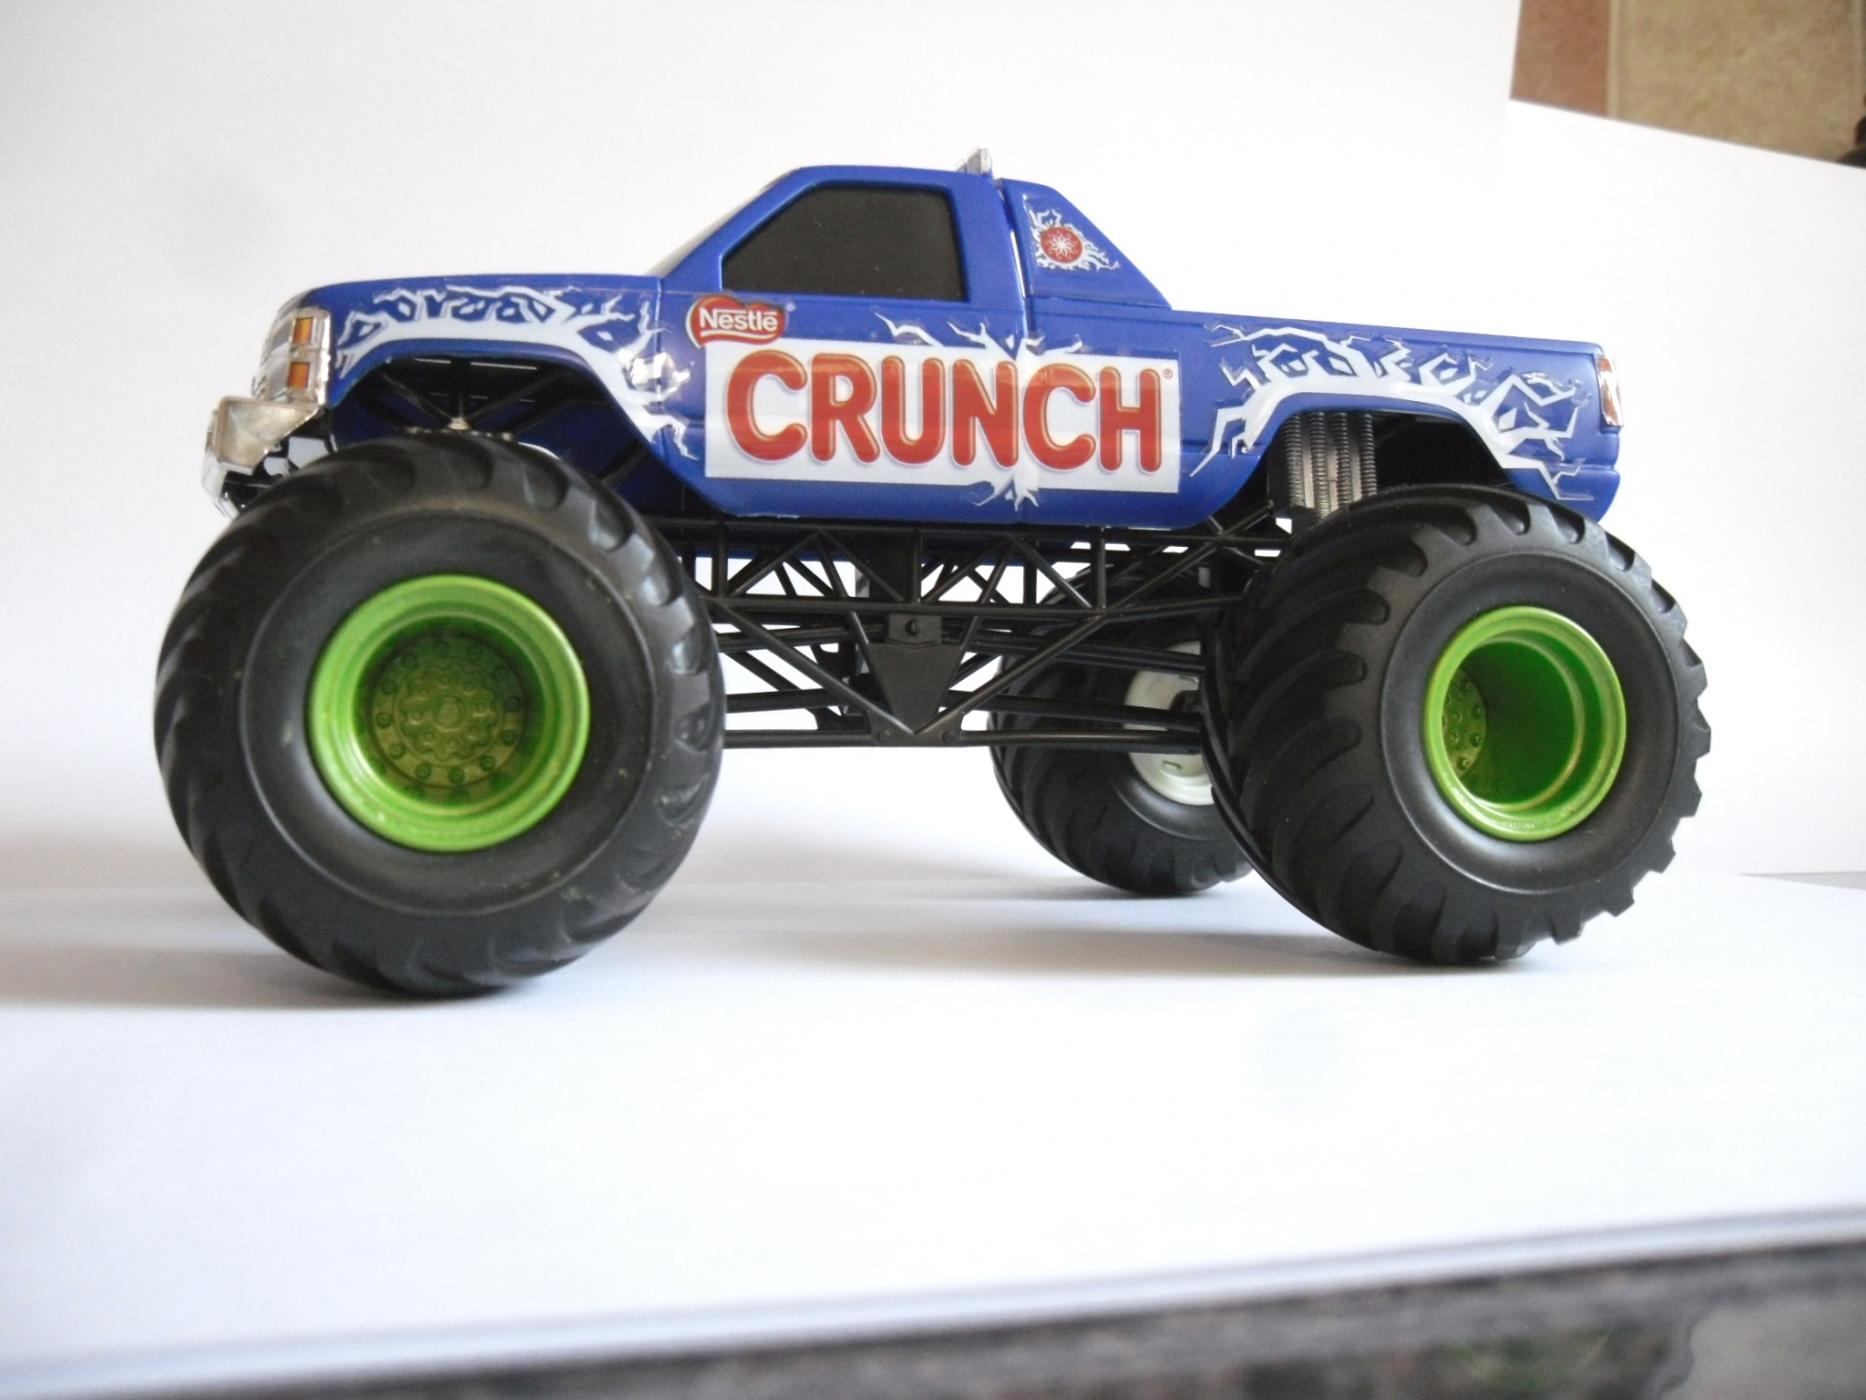
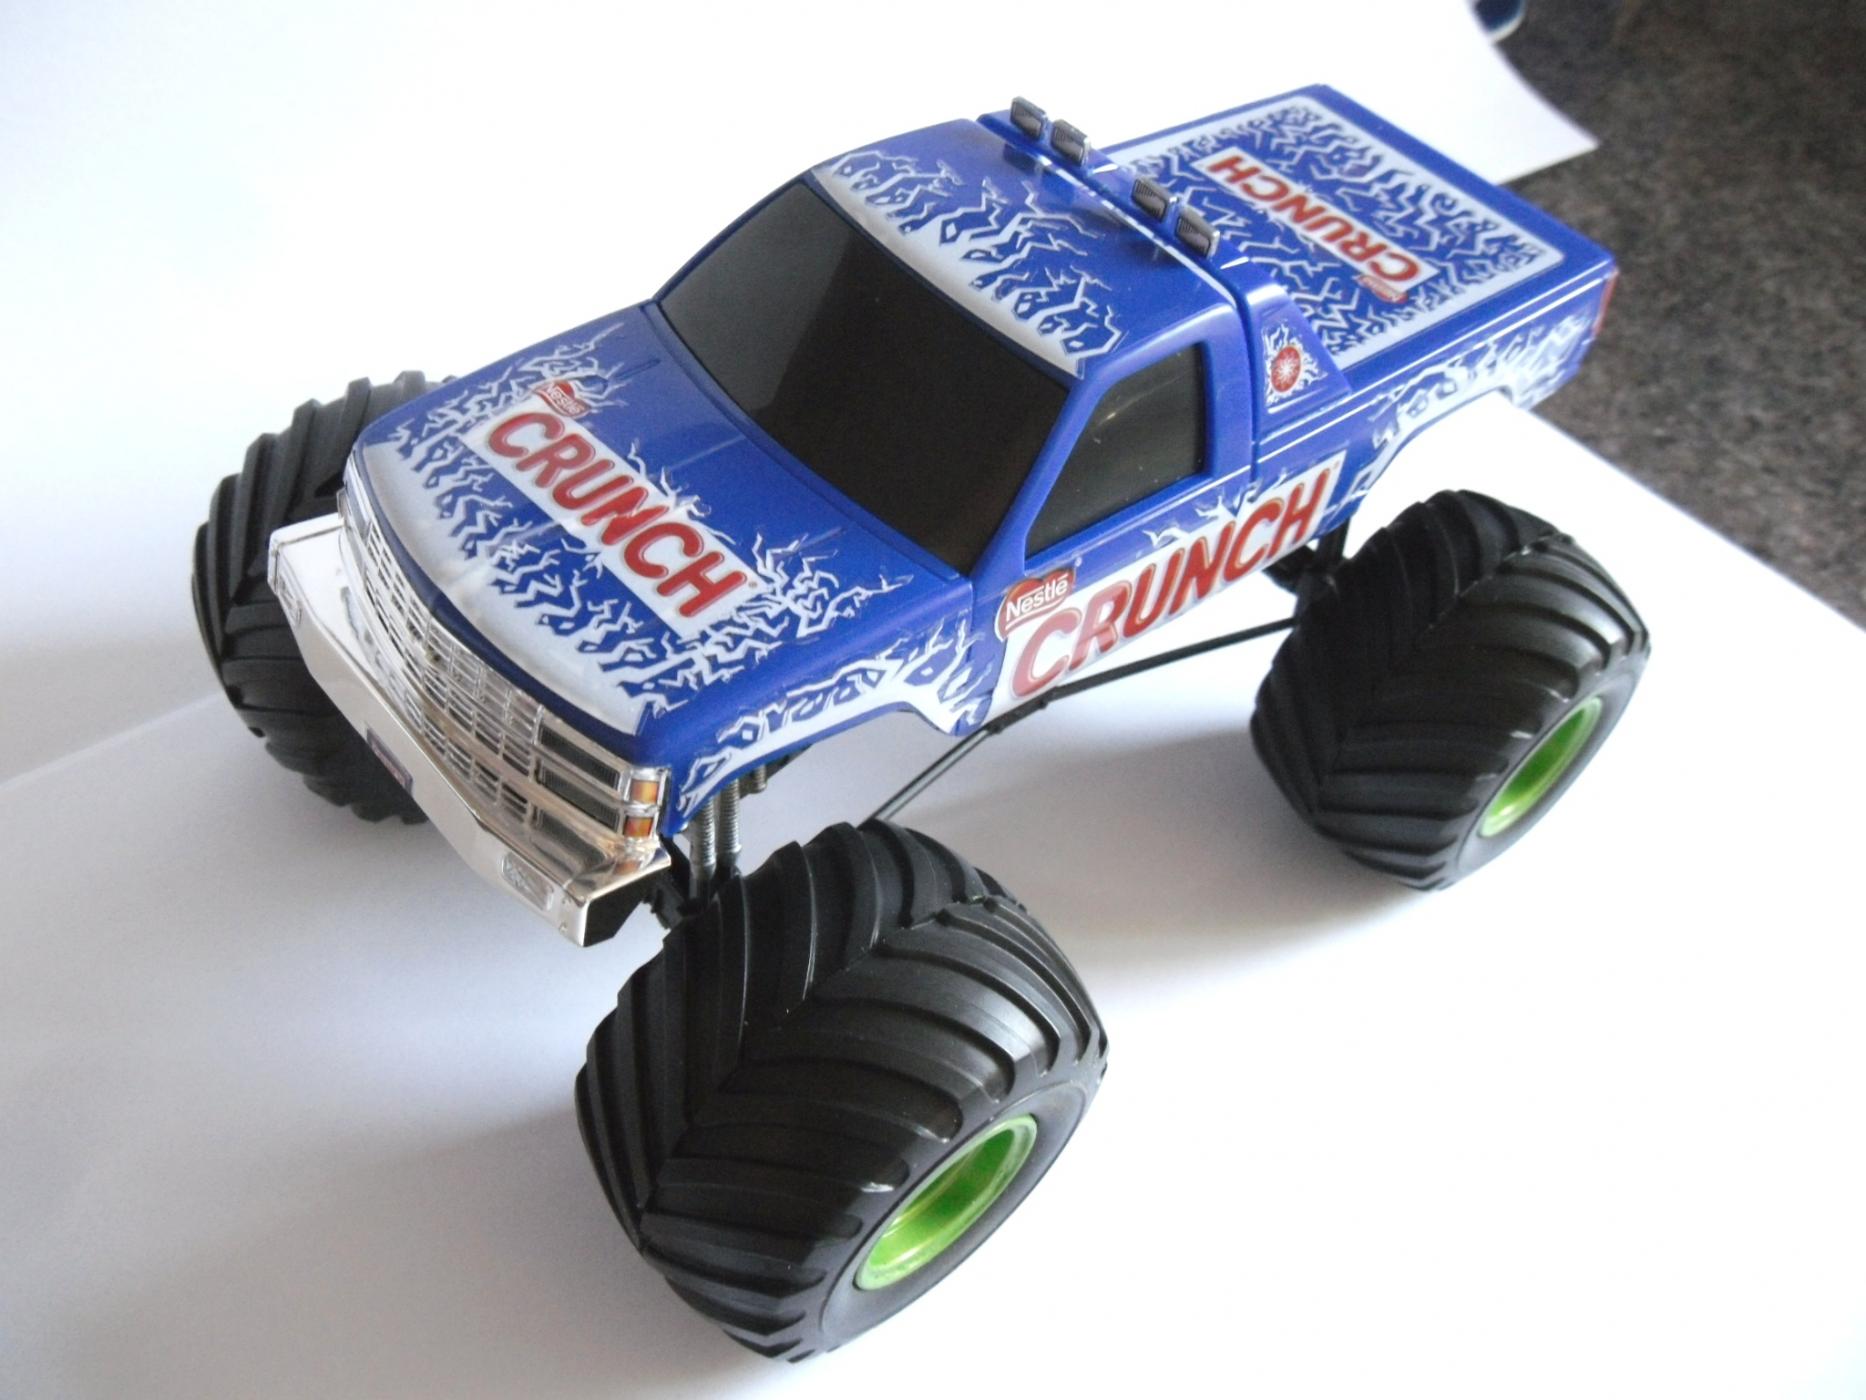
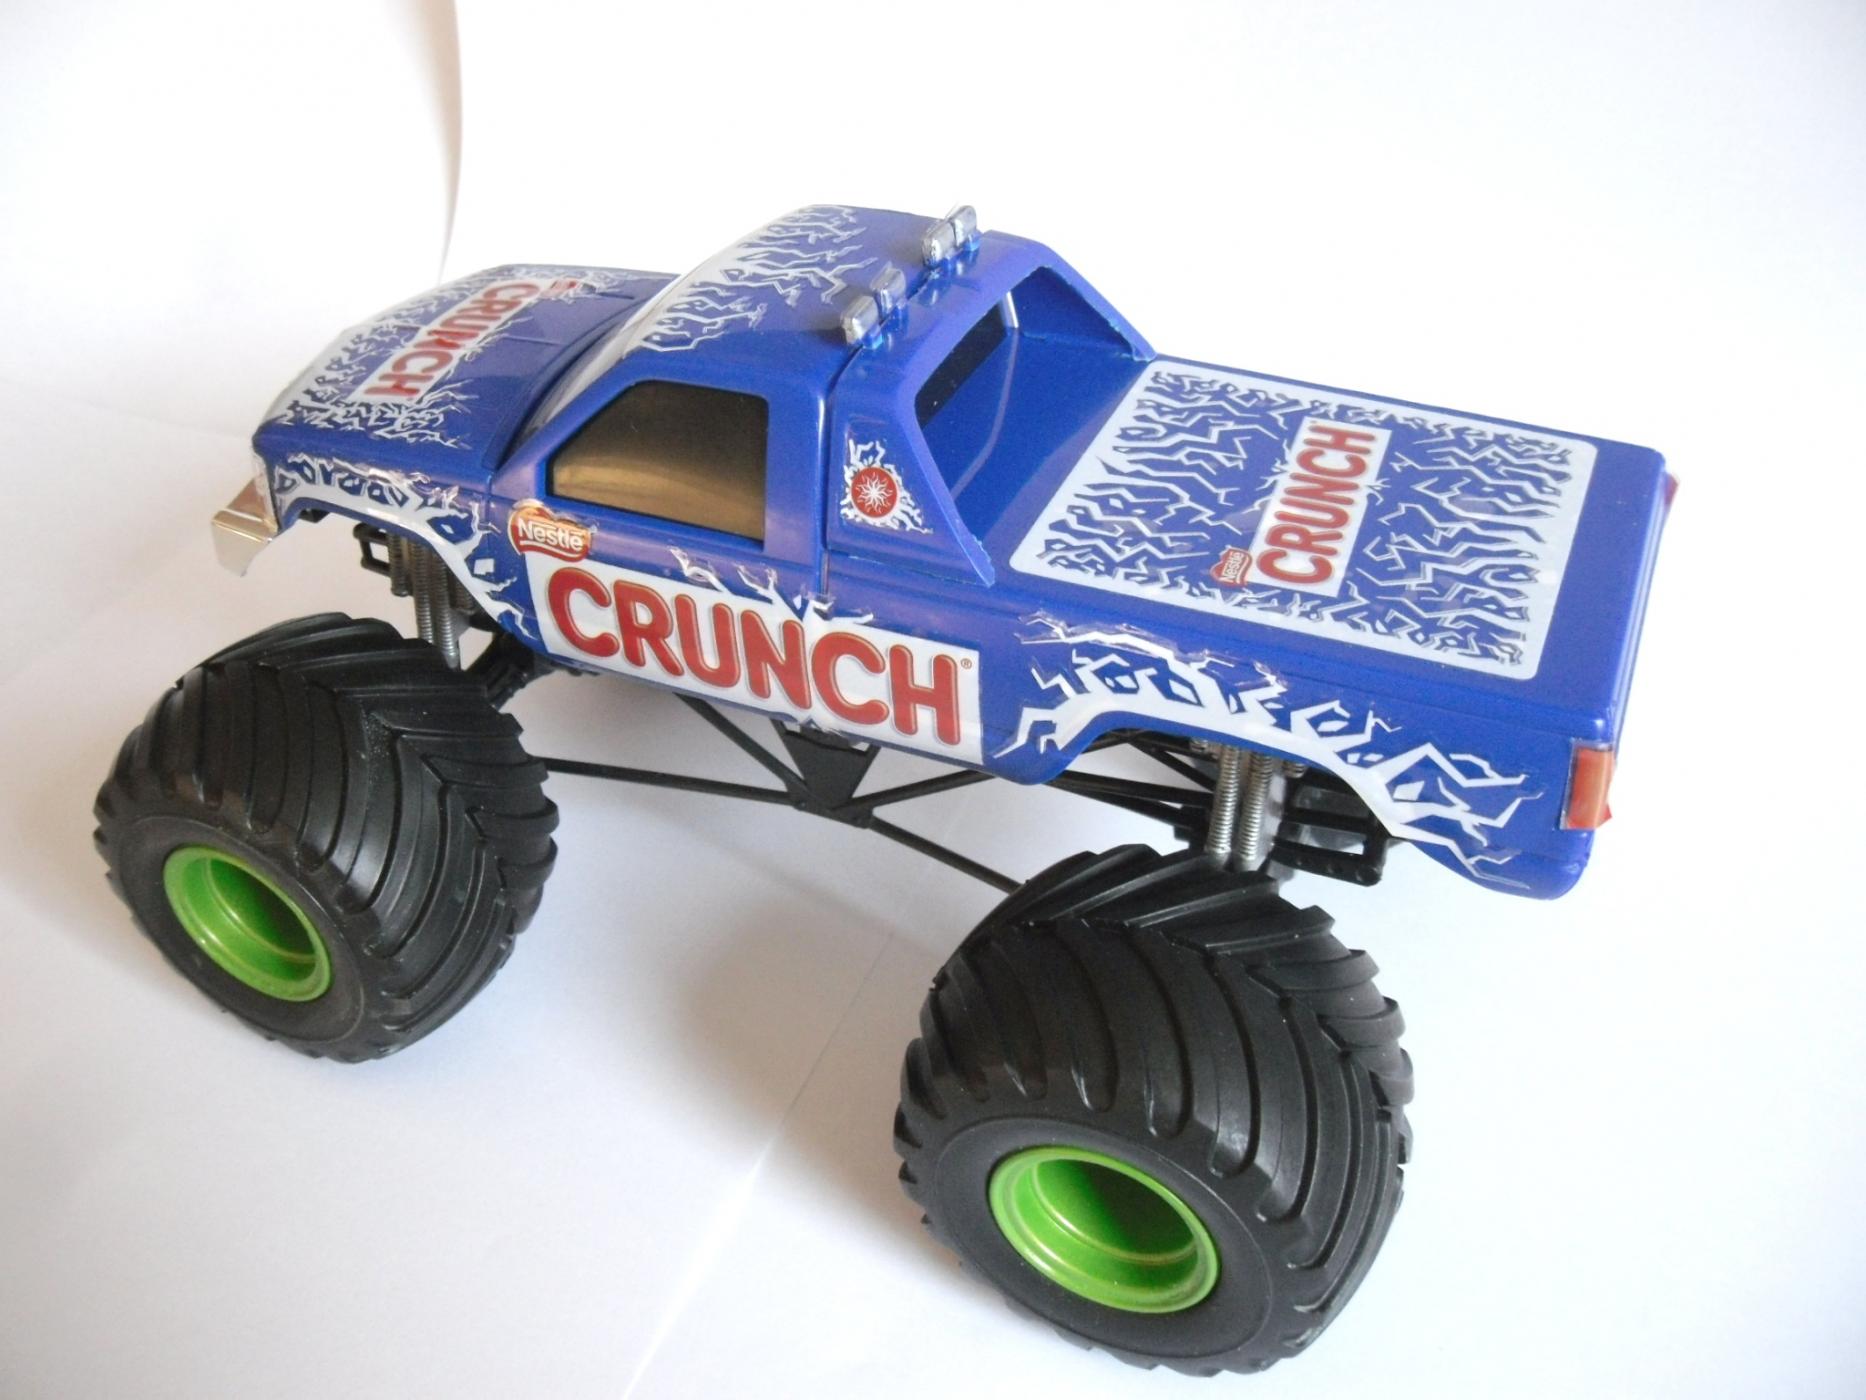
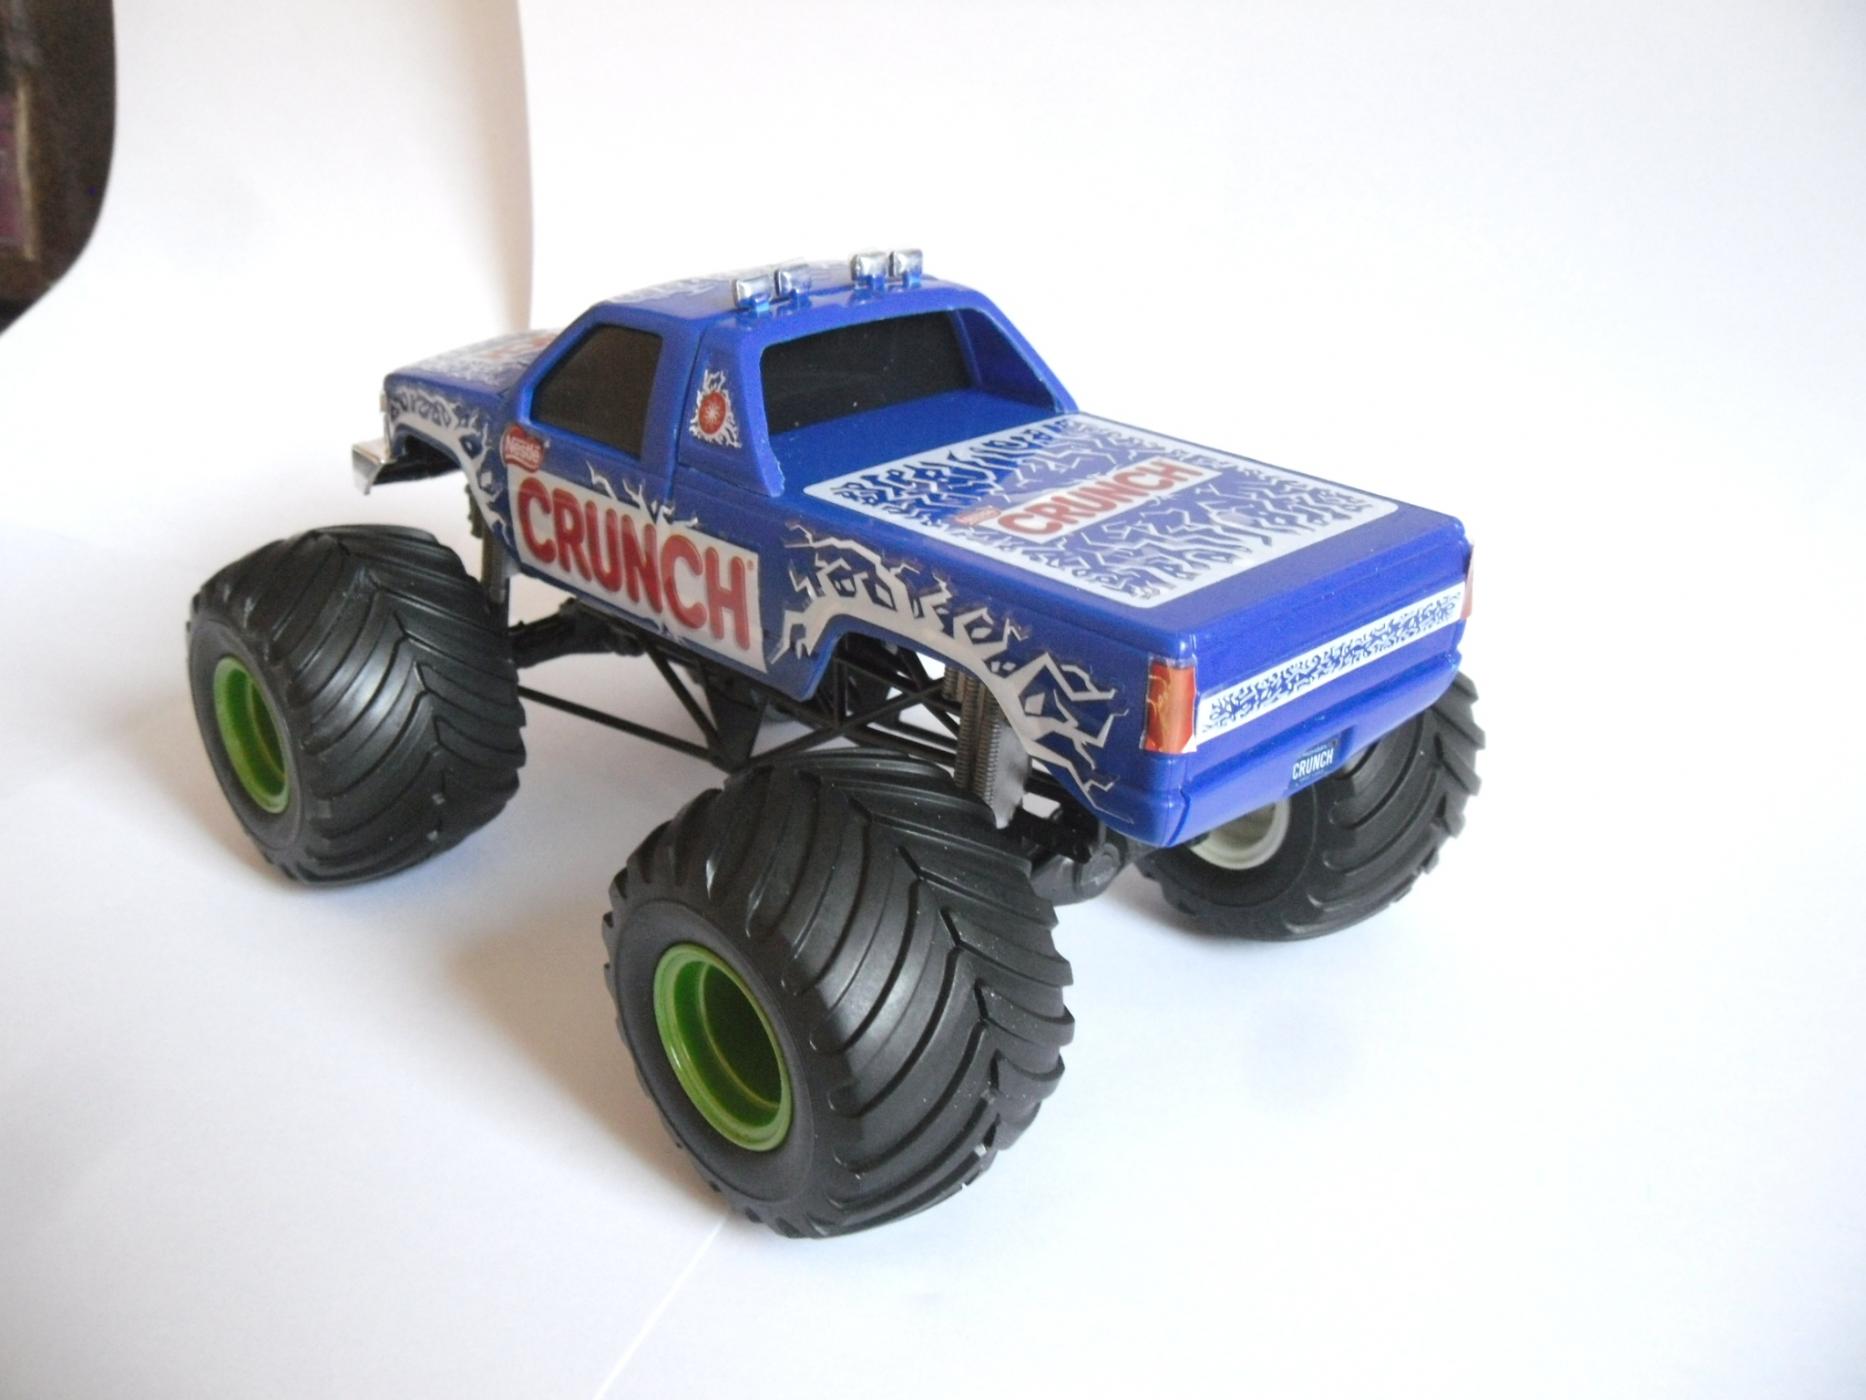
Before I launch into another major project I thought I'd tackle a Monster Truck first.
It's a 1/32 scale Snap Kit and I painted the wheels and shocks. It's taken me just over two hours.
-
Thanks Dee Cee. I have answered your message, thanks.
-
Cheers guys, yes the engine fits well plus the extended parts of the rollcage. I'd luckily bought coloured plasticard sheets at a local toy/railway/model shop last christmas, and used the black on top of the engine before mounting the induction.
I would have liked it a bit lower but the arches, being shaped to fit the body can't really be moved any higher.
-
Cheers Ray, that's why I wanted it to look like the real one, thanks!
-
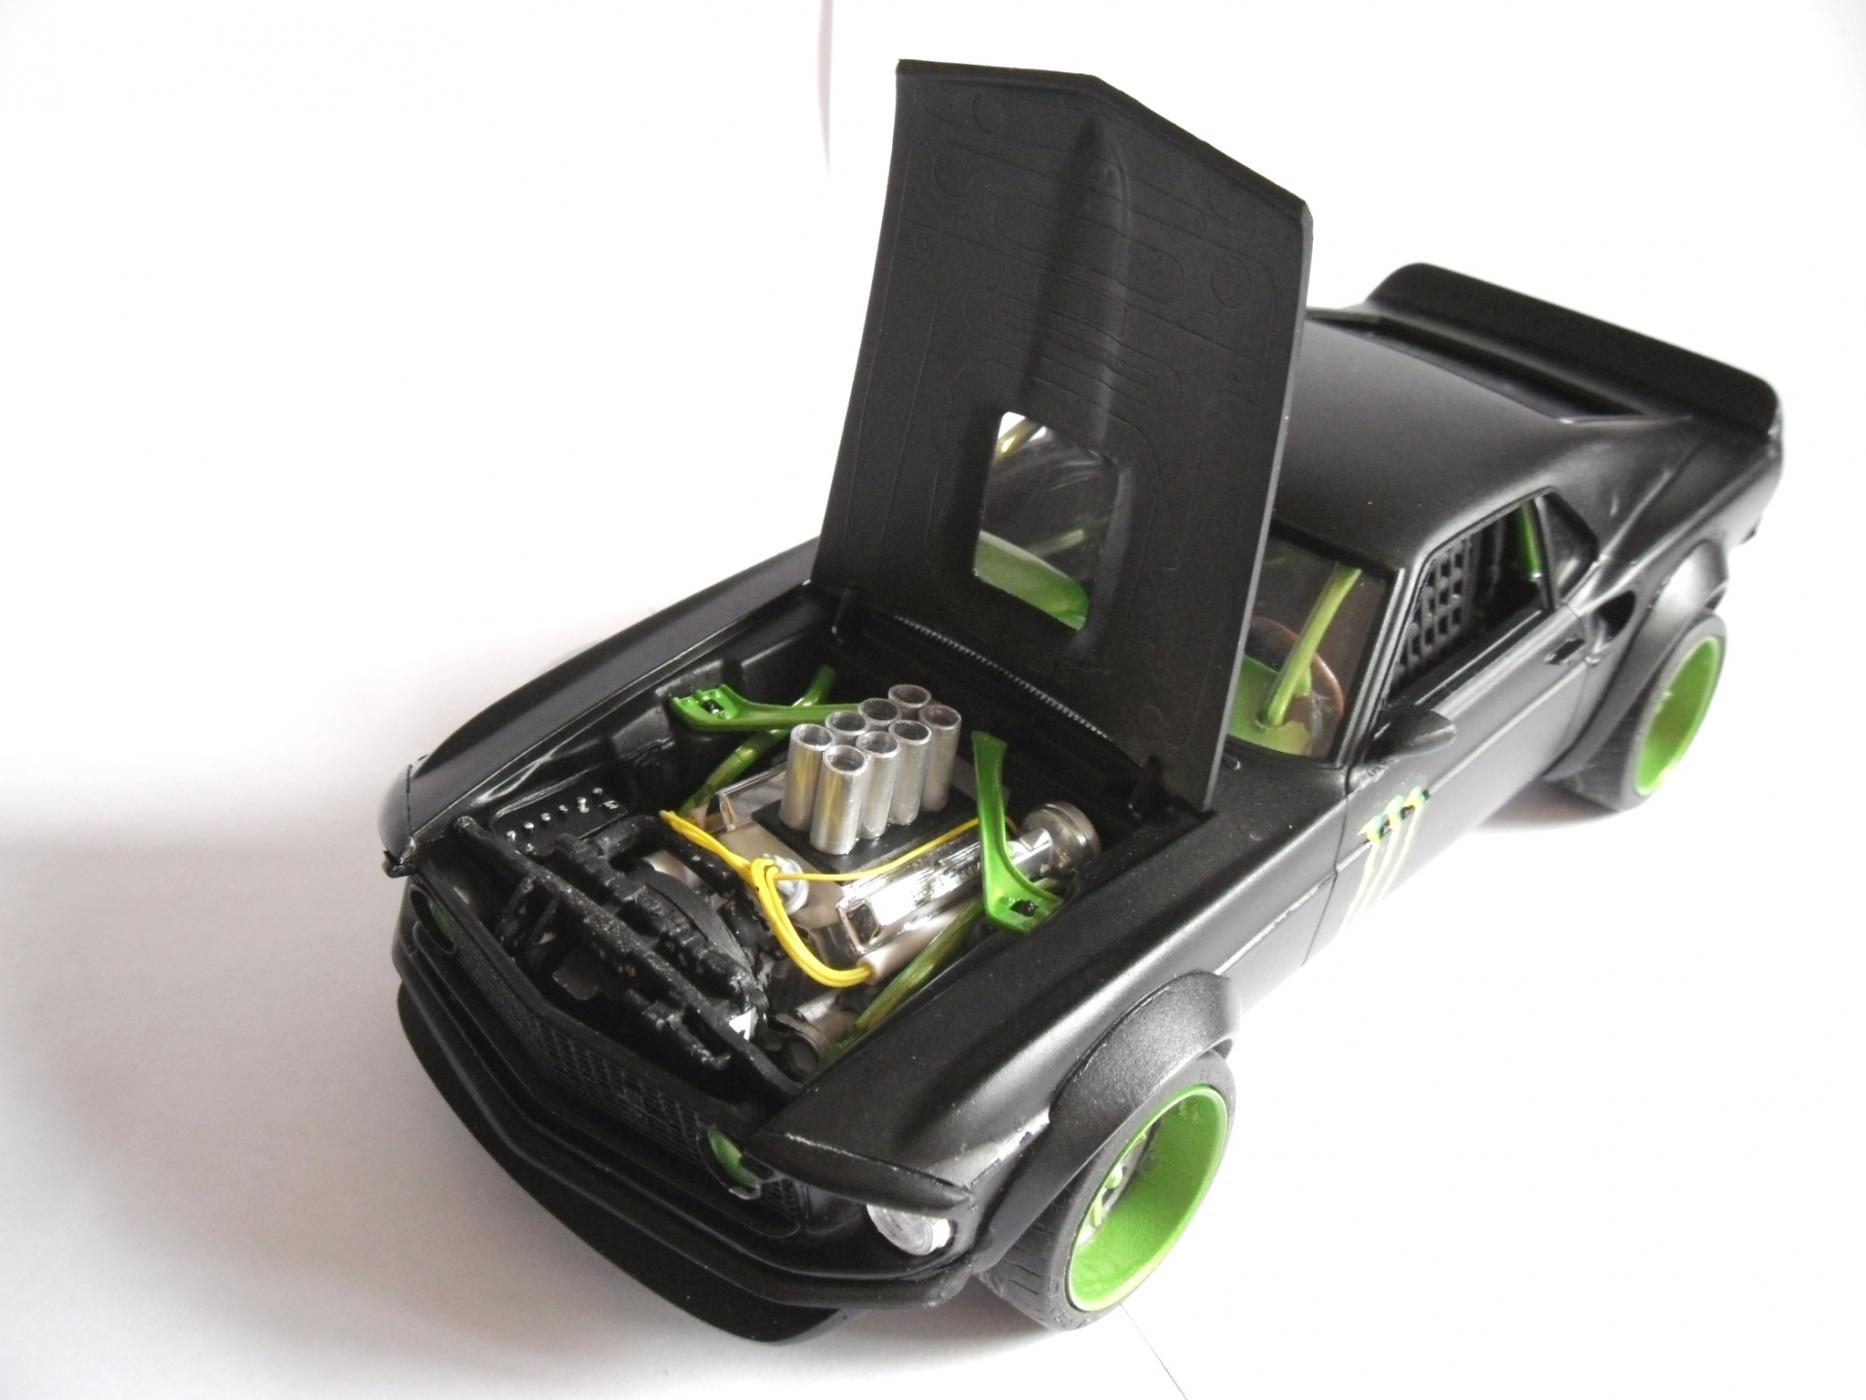
So this is my take on the drift car. Firstly the Interior with the modded sides of a Nascar roll cage and the rest in plastic tube. My own seatbelt decals with two spare race seats from the parts bin.
The rear view shows the rollcage and alloy tube exhaust tips. The C1 resin parts fit well with the arches shaped to fit the body contours. I've painted the wheels as close to the subject car as possible.
The induction pipes on the engine are in cut alloy tube, but I don't have a flaring tool for the tops of the pipes. I also fitted a pre-wired distributor and extended the rollcage into the engine compartment for extra safety.
-
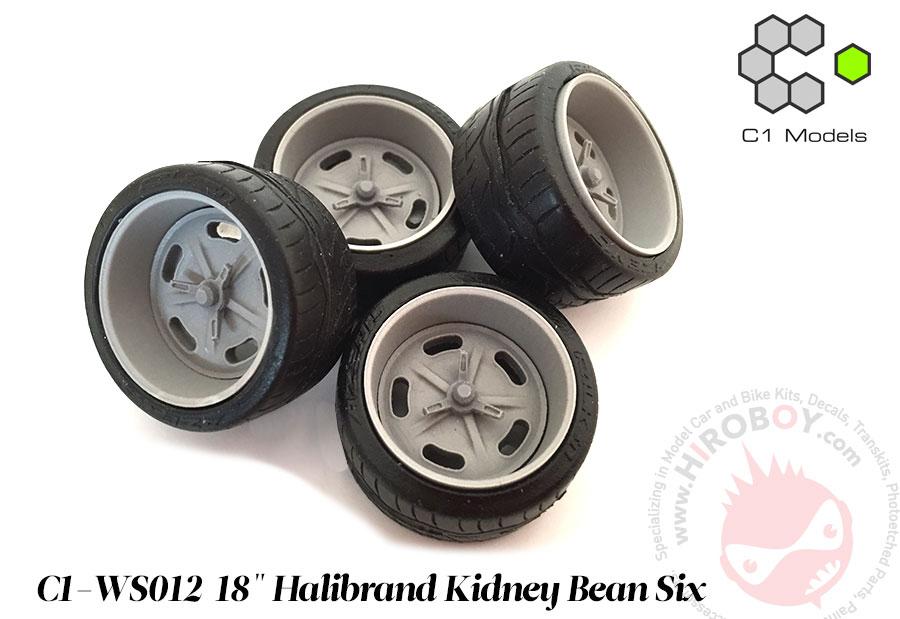
This is a Revell 1969 Ford Mustang kit plus C1 Resin Transkits for wheel arches etc and Halibrand Wheels with rubber tyres. This builds up the Vaughn Gittin Jr drift car.
-
I see from a build on here that the white decals have cracked already, something I would have expected from a kit left in the box for 10 years plus!


Lamborghini Sihlouette
in Model Cars
Posted
Very nice Dann!