customline
-
Posts
3,793 -
Joined
-
Last visited
Content Type
Profiles
Forums
Events
Gallery
Everything posted by customline
-

'57 El Nomado
customline replied to customline's topic in WIP: Model Trucks: Pickups, Vans, SUVs, Light Commercial
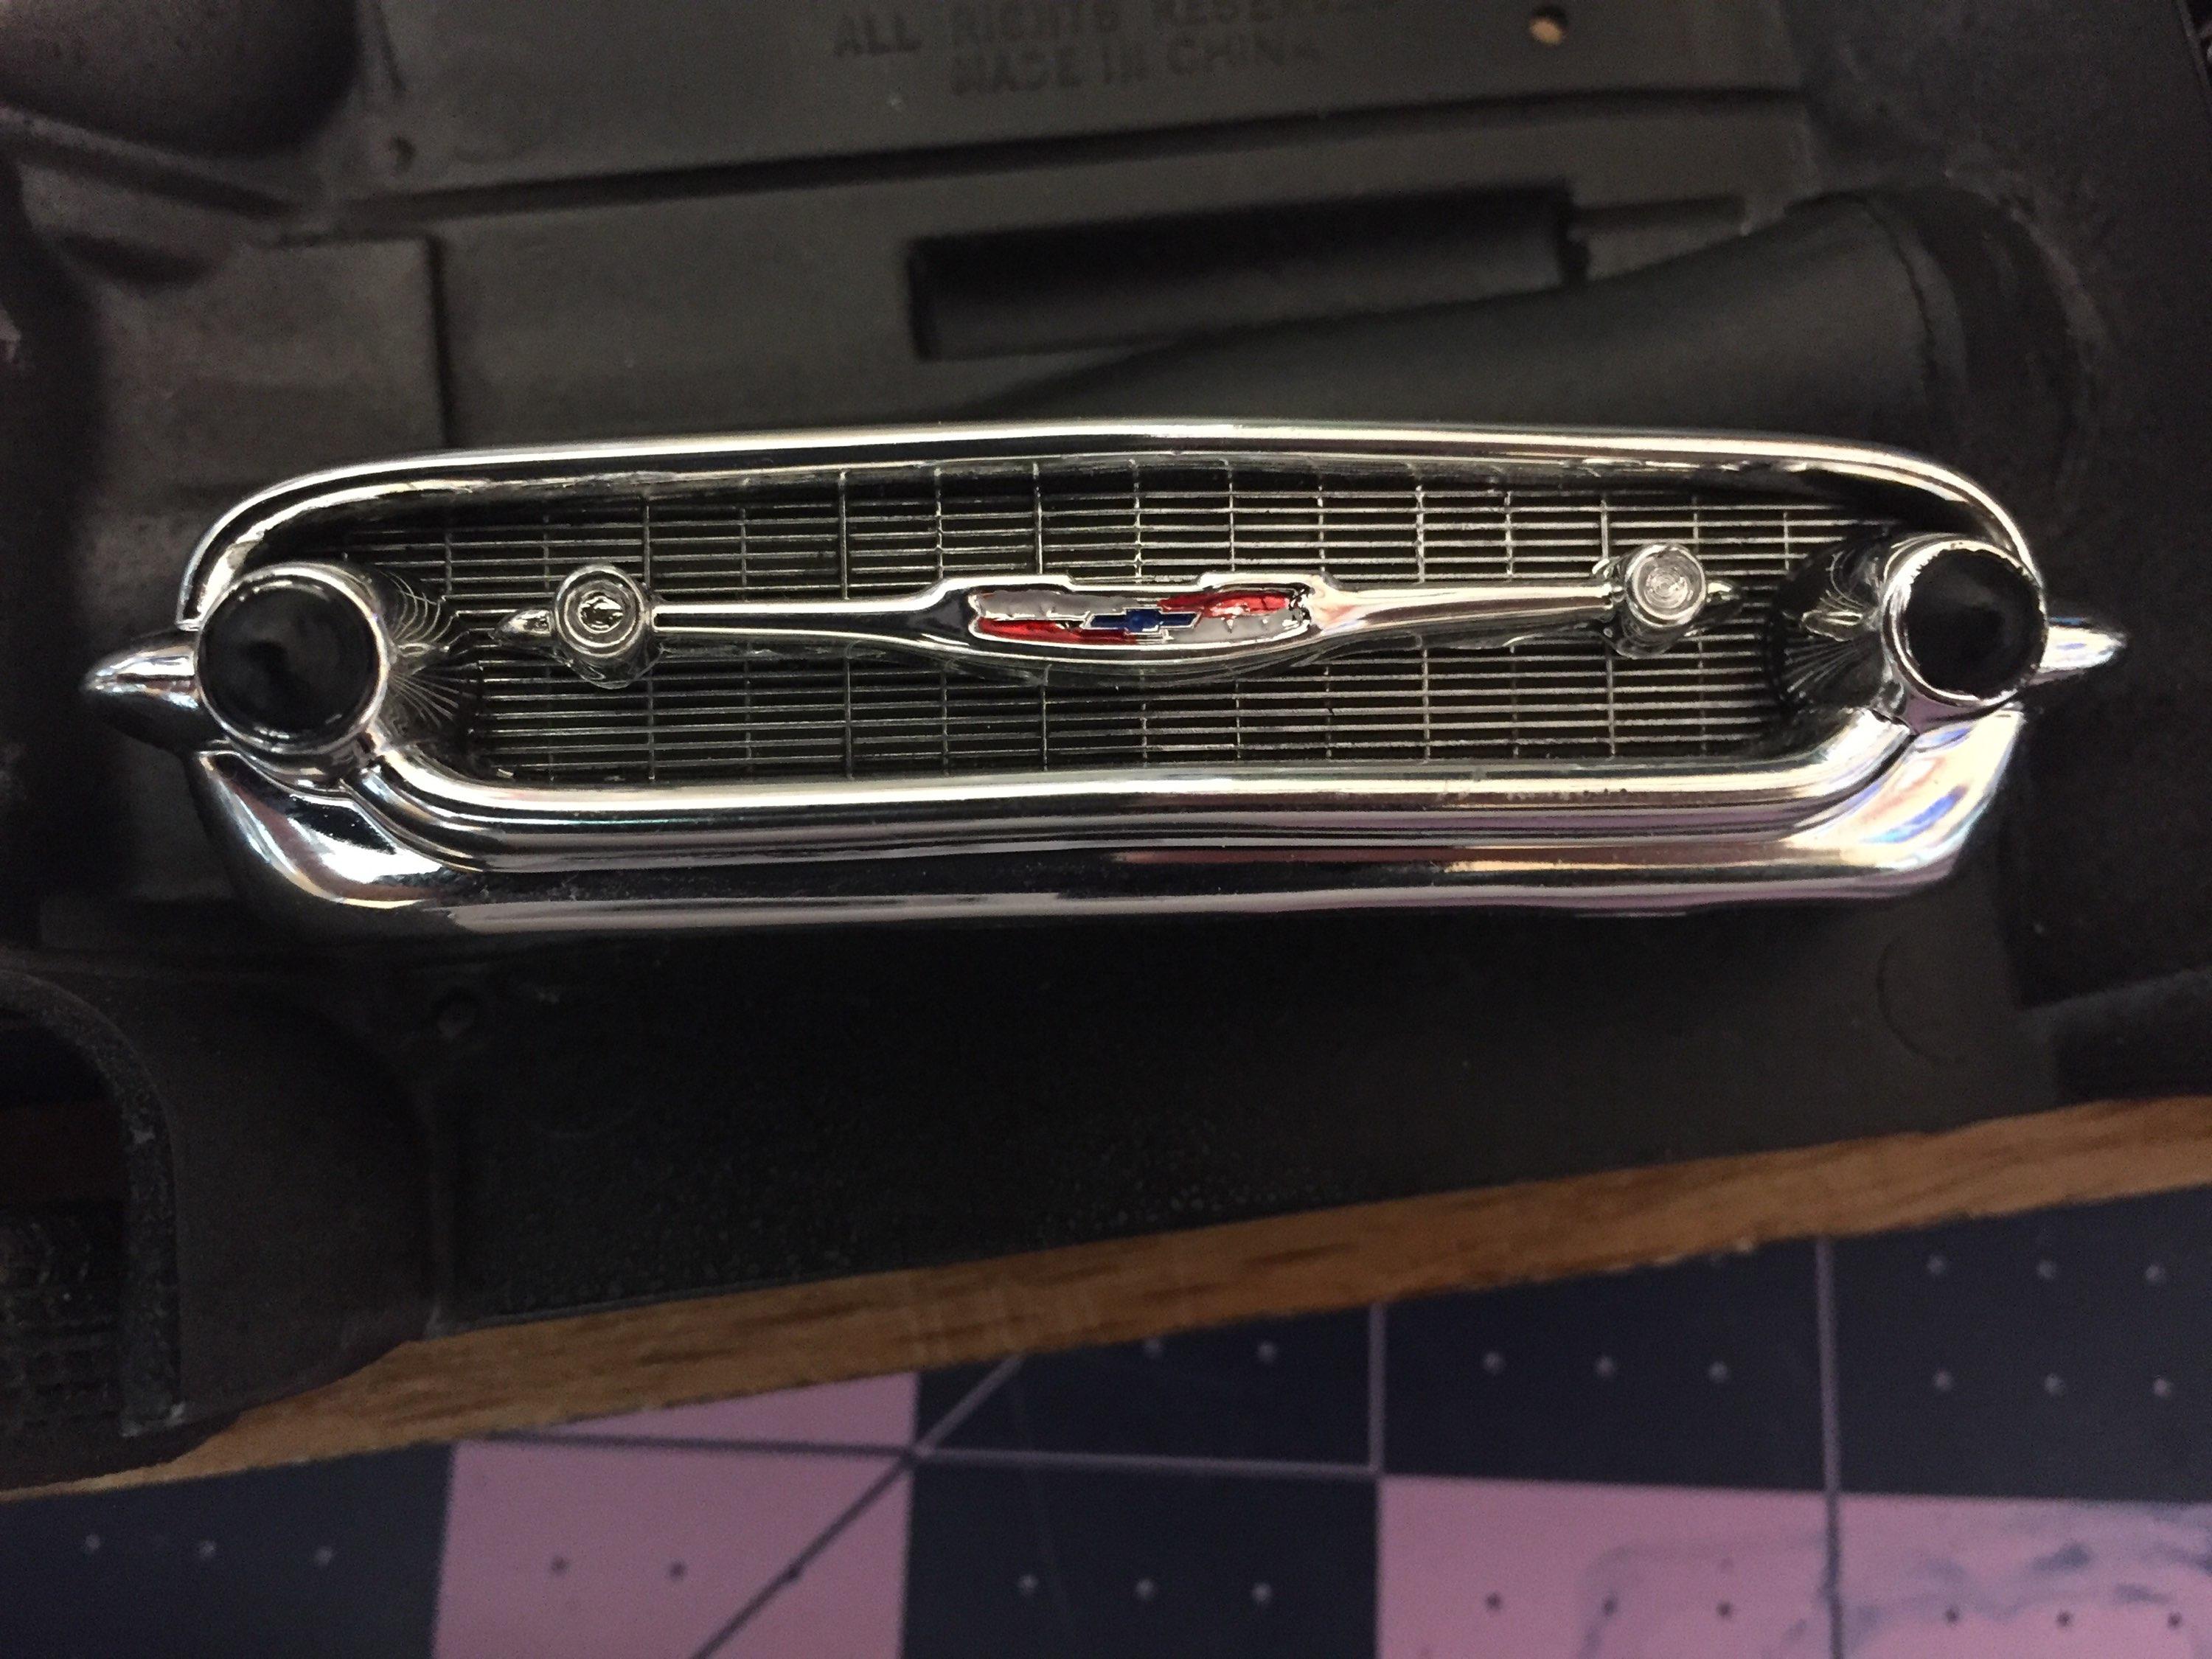
I figured I would do some detail stuff today, you know, odds and ends. When I got around to the grille, I checked the kit box photo to see how the grille emblem was painted (too lazy to get off my duff and get my tablet - big mistake) So I used the box art photo as my reference ? Later I was looking at reference photos for another reason and I spotted it ? The kit continues to fight me at every turn. I can't explain it. ?. And then there's the gold anodized mesh that I forgot about (no help from Monogram on this either.) Time for a do-over. ?
-
'57 El Nomado
customline replied to customline's topic in WIP: Model Trucks: Pickups, Vans, SUVs, Light Commercial
Yeah. It took me a while but those kit wheels..... naaah. I don't have much 1:24 stuff that I could adapt so they'll have to do. I'm tempted to just go ahead and swap the chassis with that Del Rey but there's too much work already on both of them. There is one small possibility..... -
'57 El Nomado
customline replied to customline's topic in WIP: Model Trucks: Pickups, Vans, SUVs, Light Commercial
I suppose it could, Dave. The big thing, of course, is how it mates with the windshield. I just my explore that. Thank you! It would be a very cool mod. I found the dash in an ebay buy of model A junk along with motorcycle fenders. A nice little junkyard ? -
‘55 El Camino
customline replied to NOBLNG's topic in WIP: Model Trucks: Pickups, Vans, SUVs, Light Commercial
Welcome to your new home, Greg. ? -
'57 El Nomado
customline replied to customline's topic in WIP: Model Trucks: Pickups, Vans, SUVs, Light Commercial
FOR THE RECORD THIS BUILD WAS A PASSENGER CAR, NOT A TRUCK. IT IS A REPRESENTATION OF A CUSTOMIZED STATION WAGON - A CAR. -
'57 El Nomado
customline replied to customline's topic in WIP: Model Trucks: Pickups, Vans, SUVs, Light Commercial
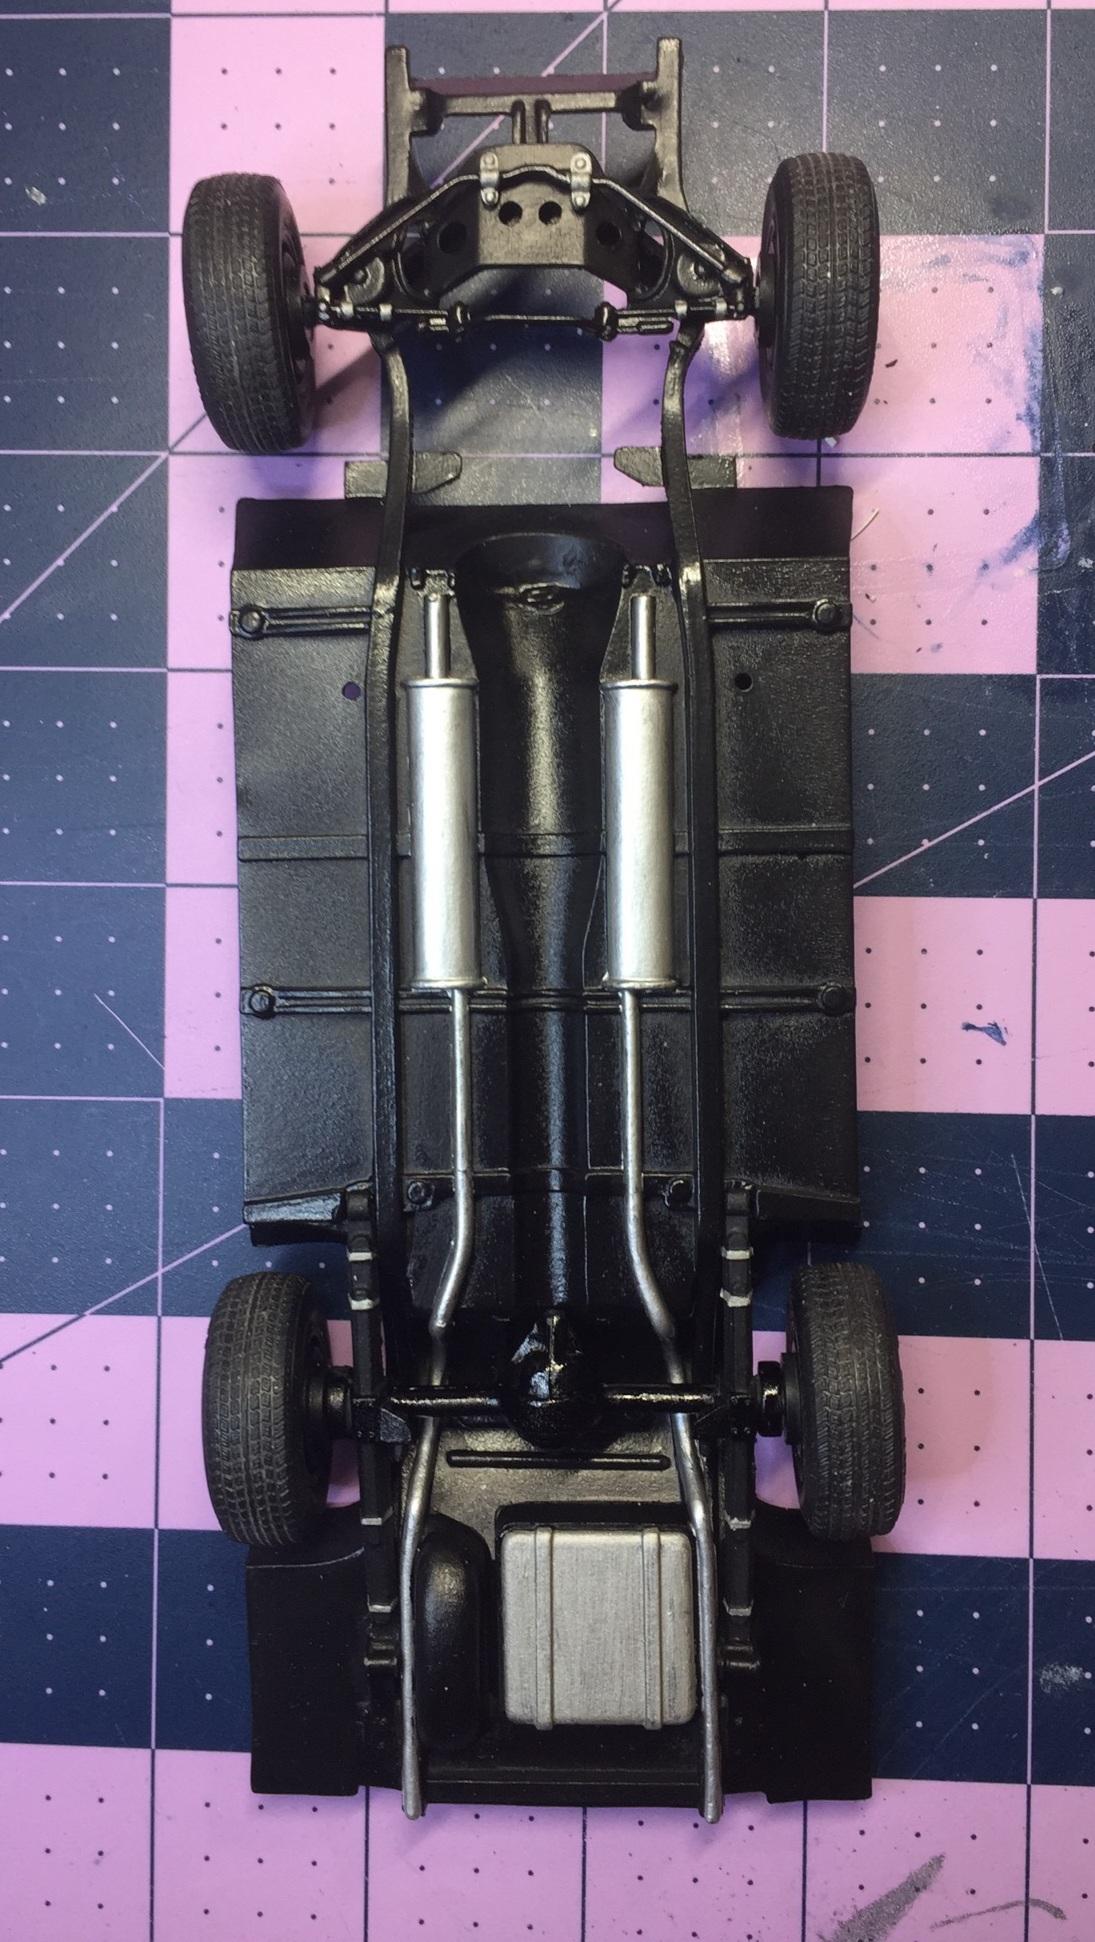
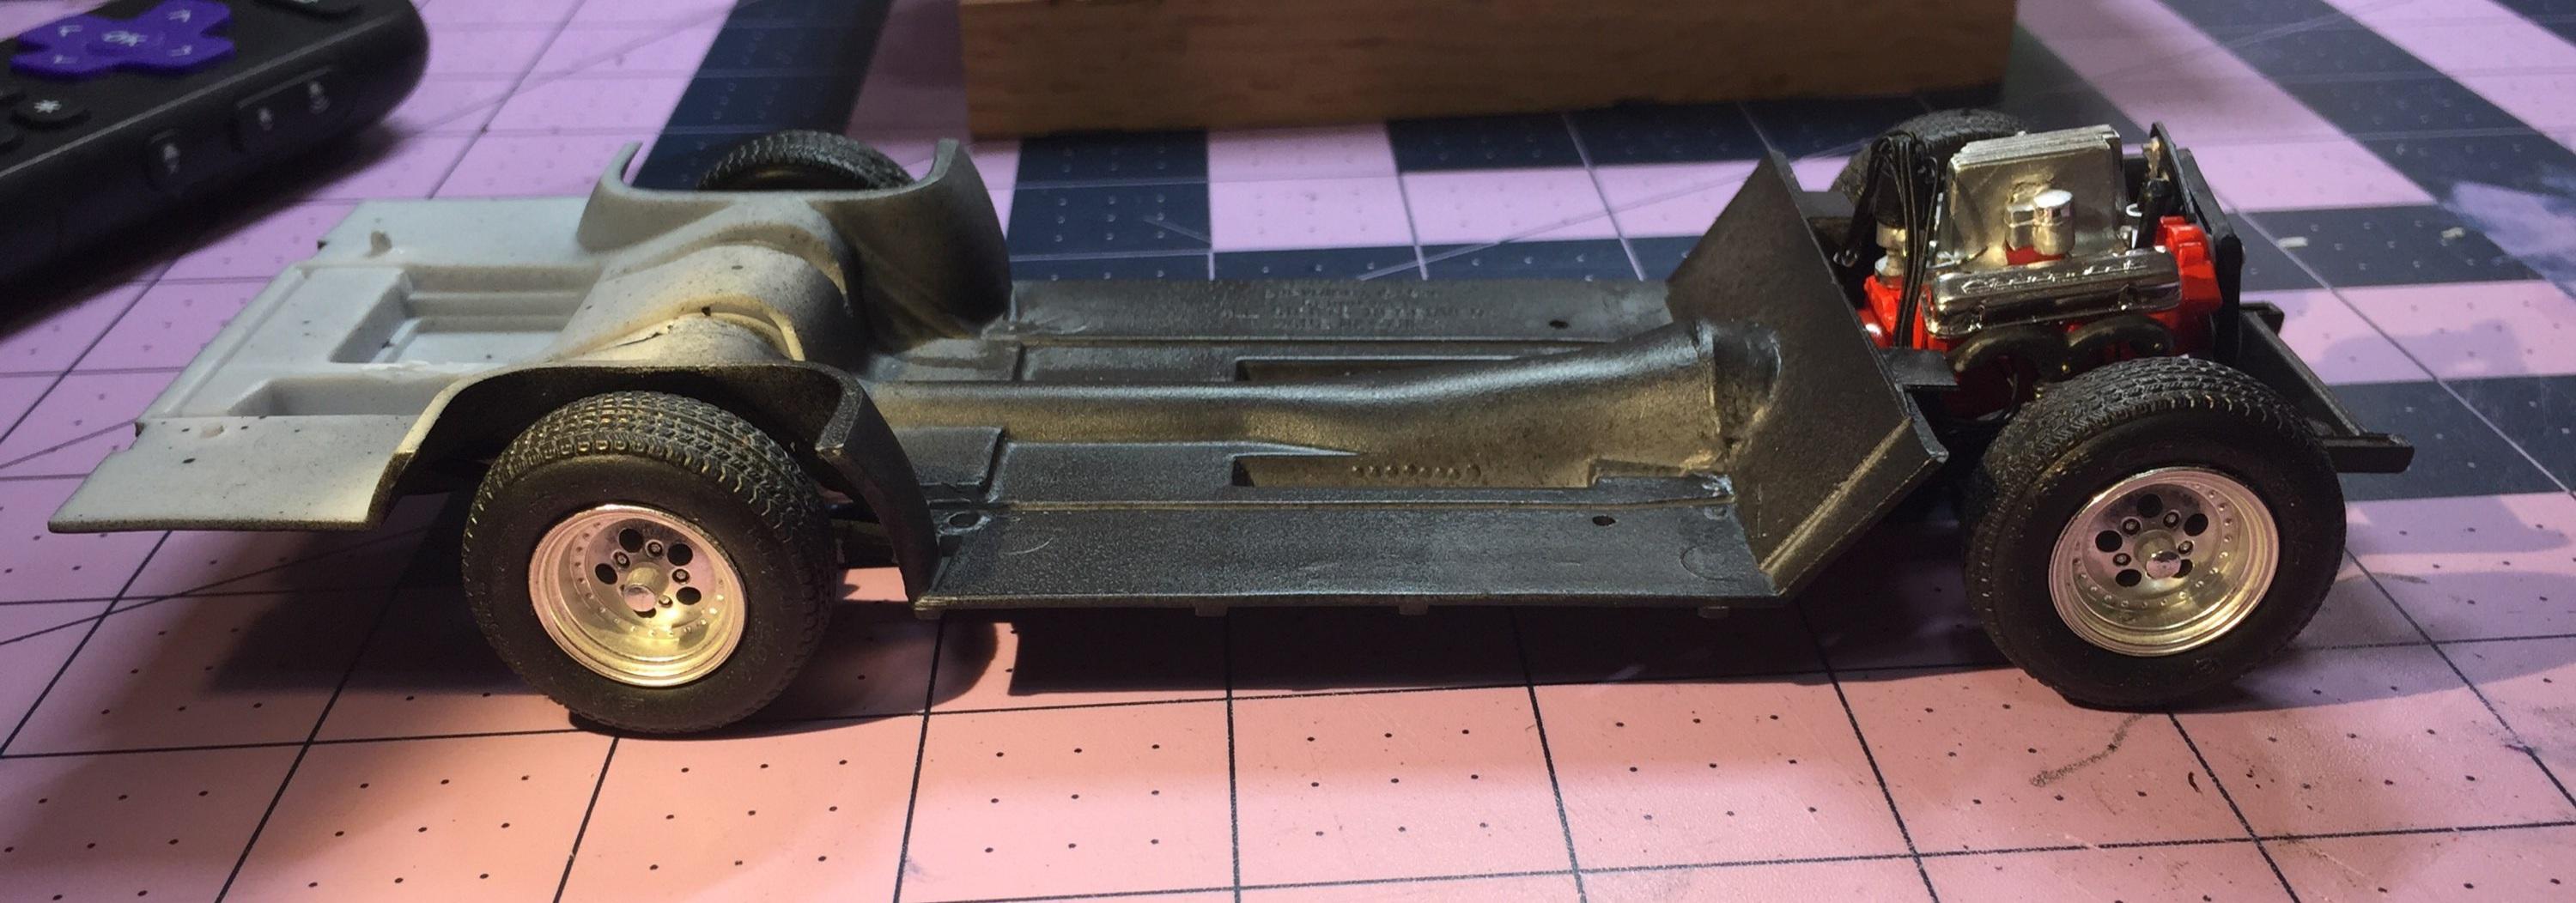
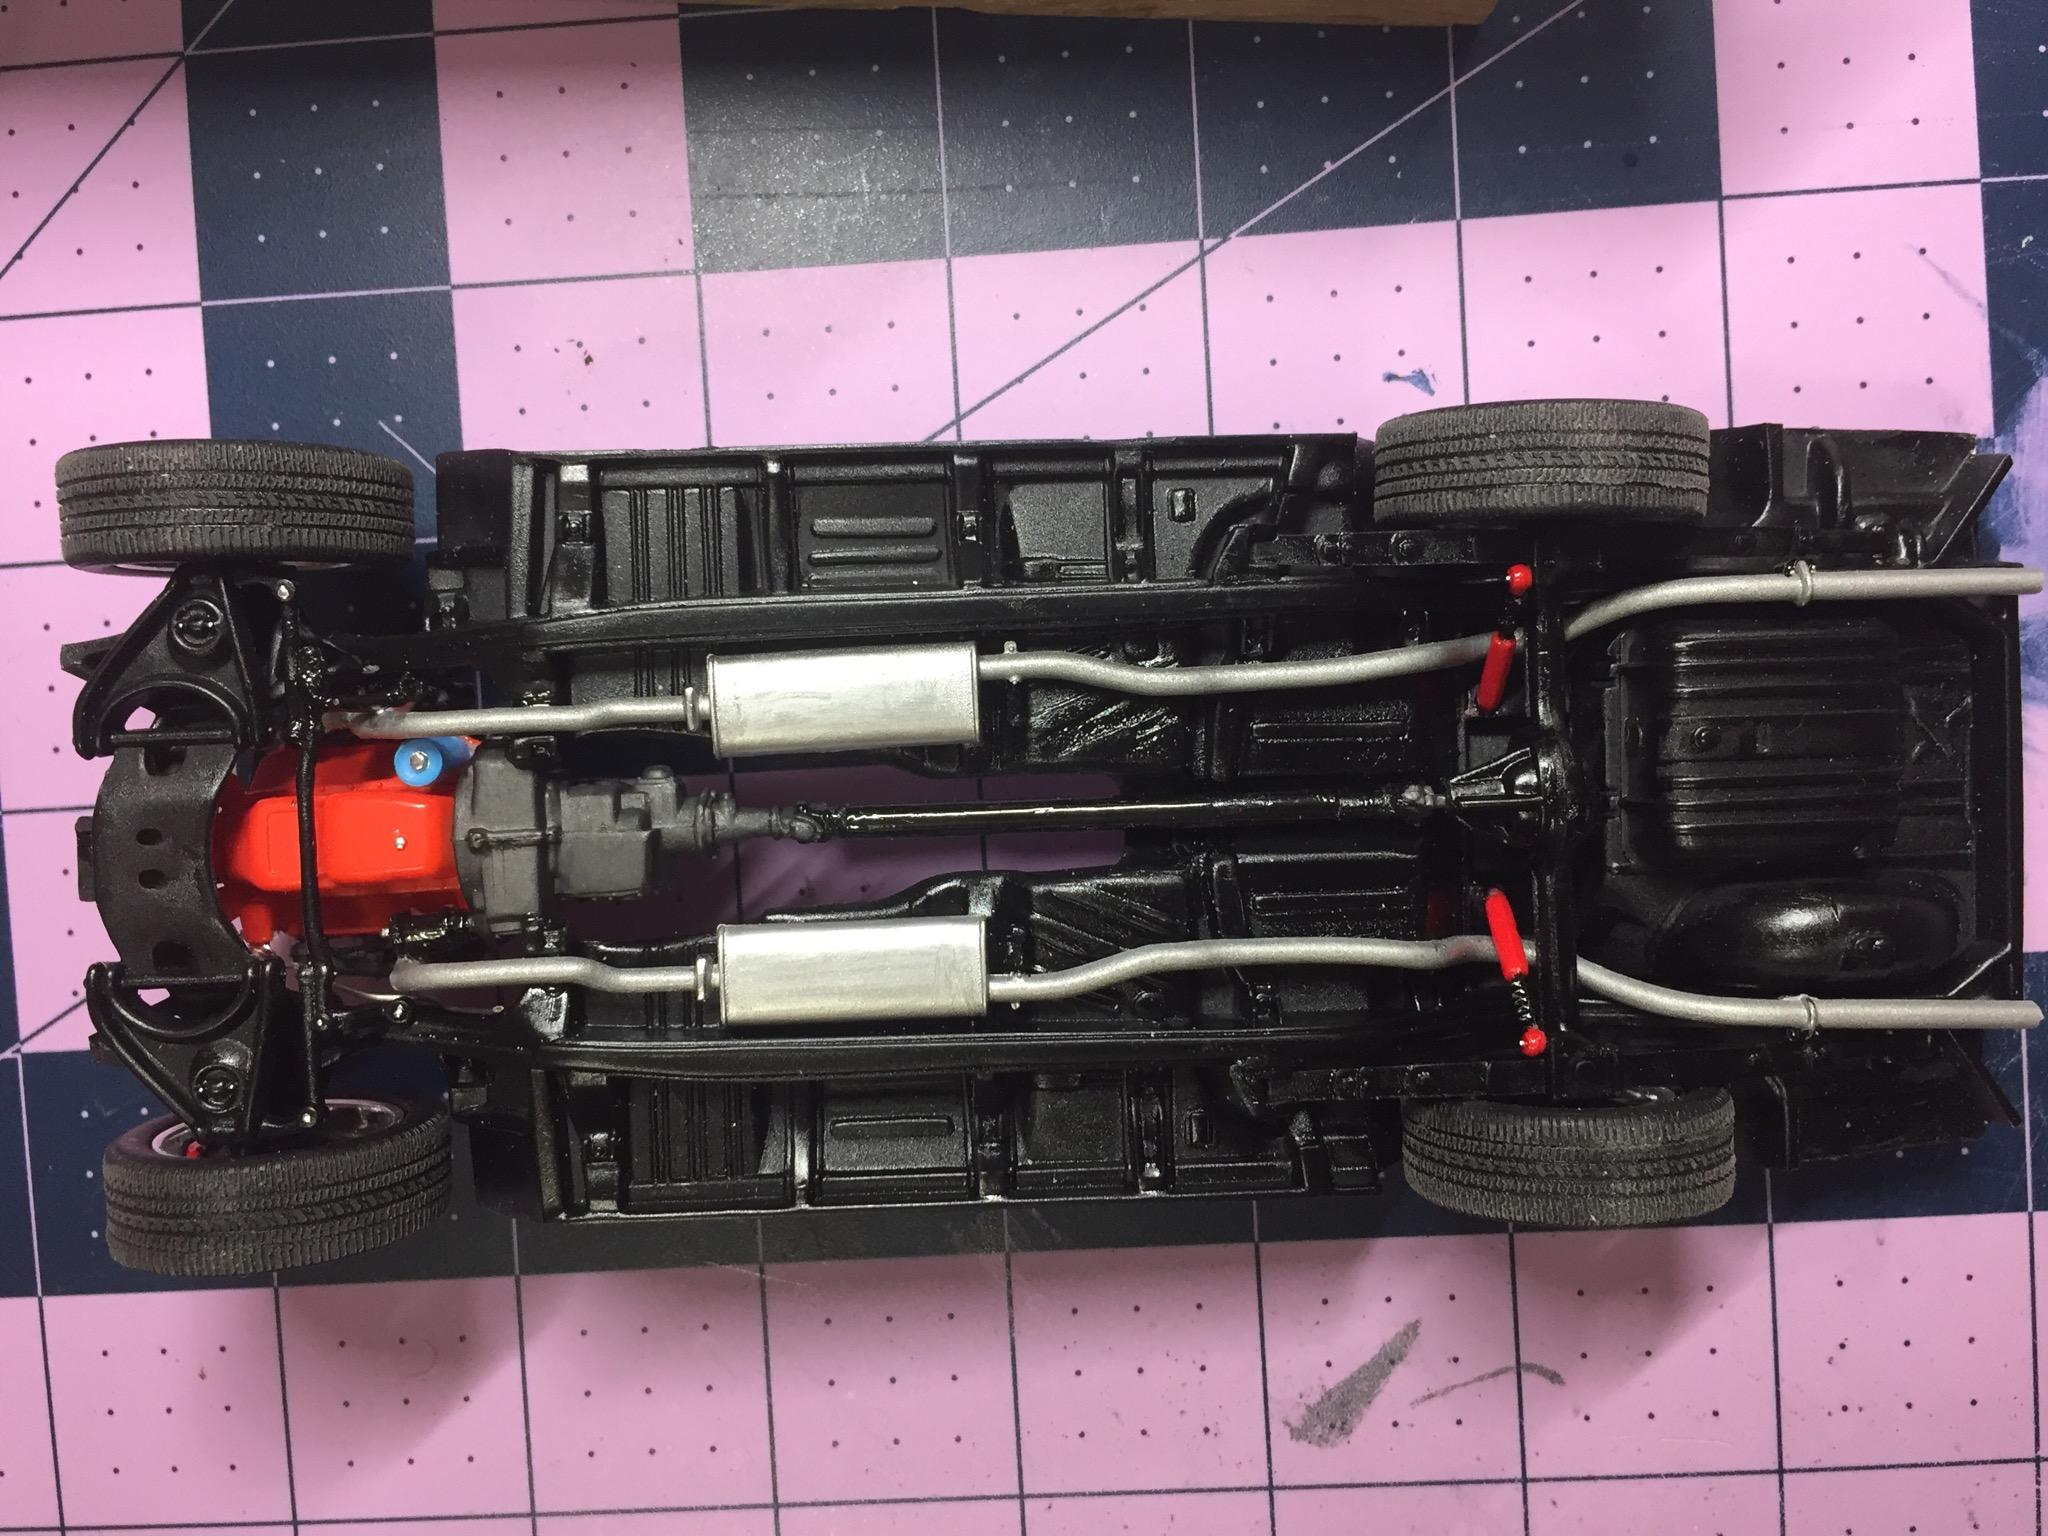
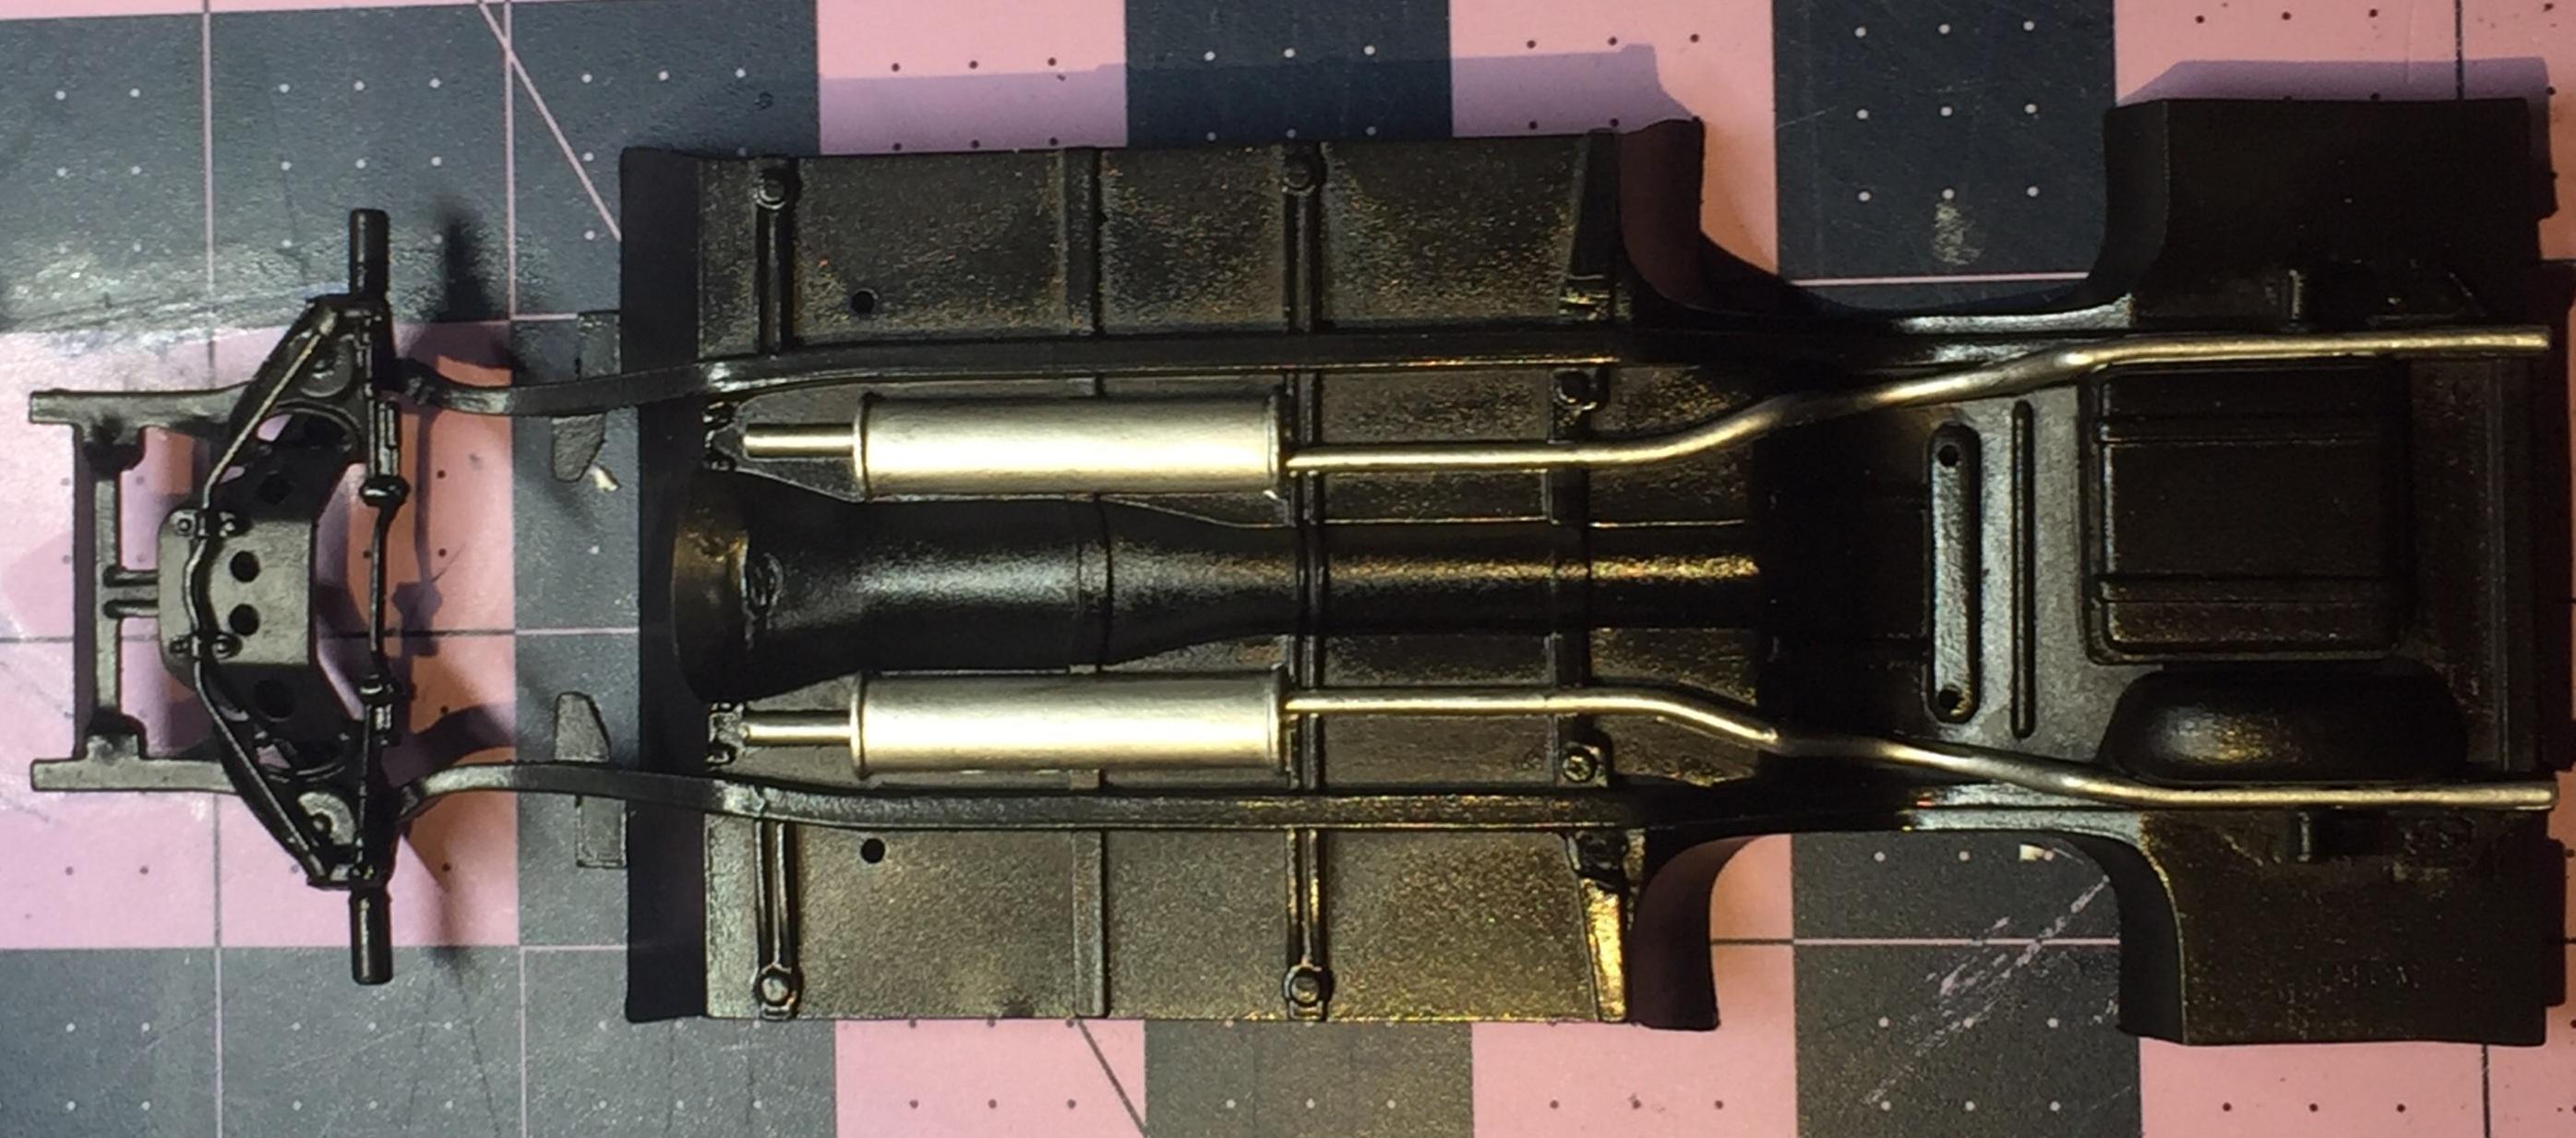
Thanks, Carl, this was my second attempt on a different chassis (I am using the chassis from a second kit - the first one went back in the box.) On my first attempt I used masking tape for the areas where I could actually put it but that was a total waste of time and patience. For the pipes and muffs I used Model Master metalizer "aluminum plate" which is a fairly thin lacquer. I used some acrylic satin black to fix all the goofs. The gas tank presented a problem due to the way its molded as just the bottom half of the tank sitting on a.... "foundation".... that we are expected to ignore, I guess. It was like "What do I paint?" Anyway, these days it's not easy for me, there's a lot of touching up. -
'57 El Nomado
customline replied to customline's topic in WIP: Model Trucks: Pickups, Vans, SUVs, Light Commercial
Thanks, Carl, but you're too late. It's a done deal. I waited for opinions on this but my poor taste won out. Moving right along, I used Wifey's card stock ( don't tell her ?) to make a template for the bed deck. The pictures, again, tell the story. This is not a done deal.....yet ?. I still have another trick up my sleeve. Thanks for looking and not saying anything until it's too late ☺️
-
'57 El Nomado
customline replied to customline's topic in WIP: Model Trucks: Pickups, Vans, SUVs, Light Commercial
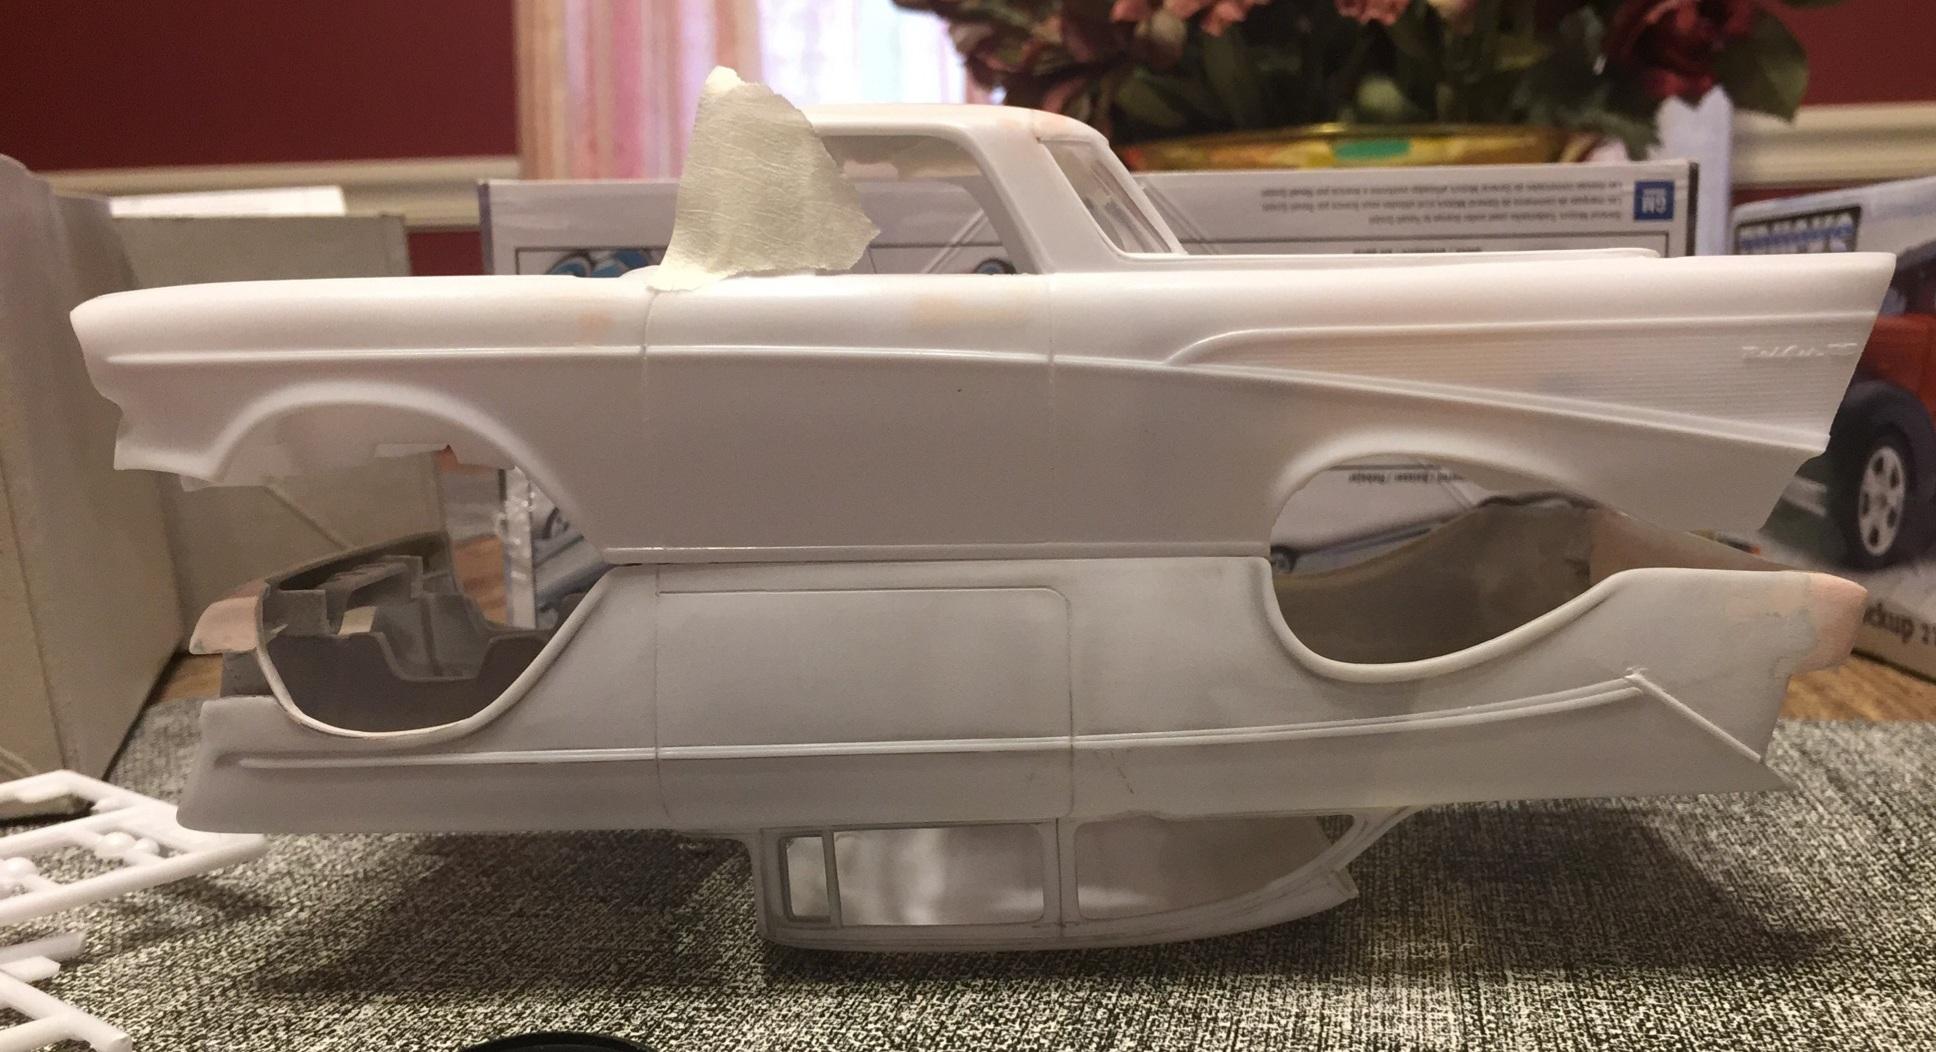
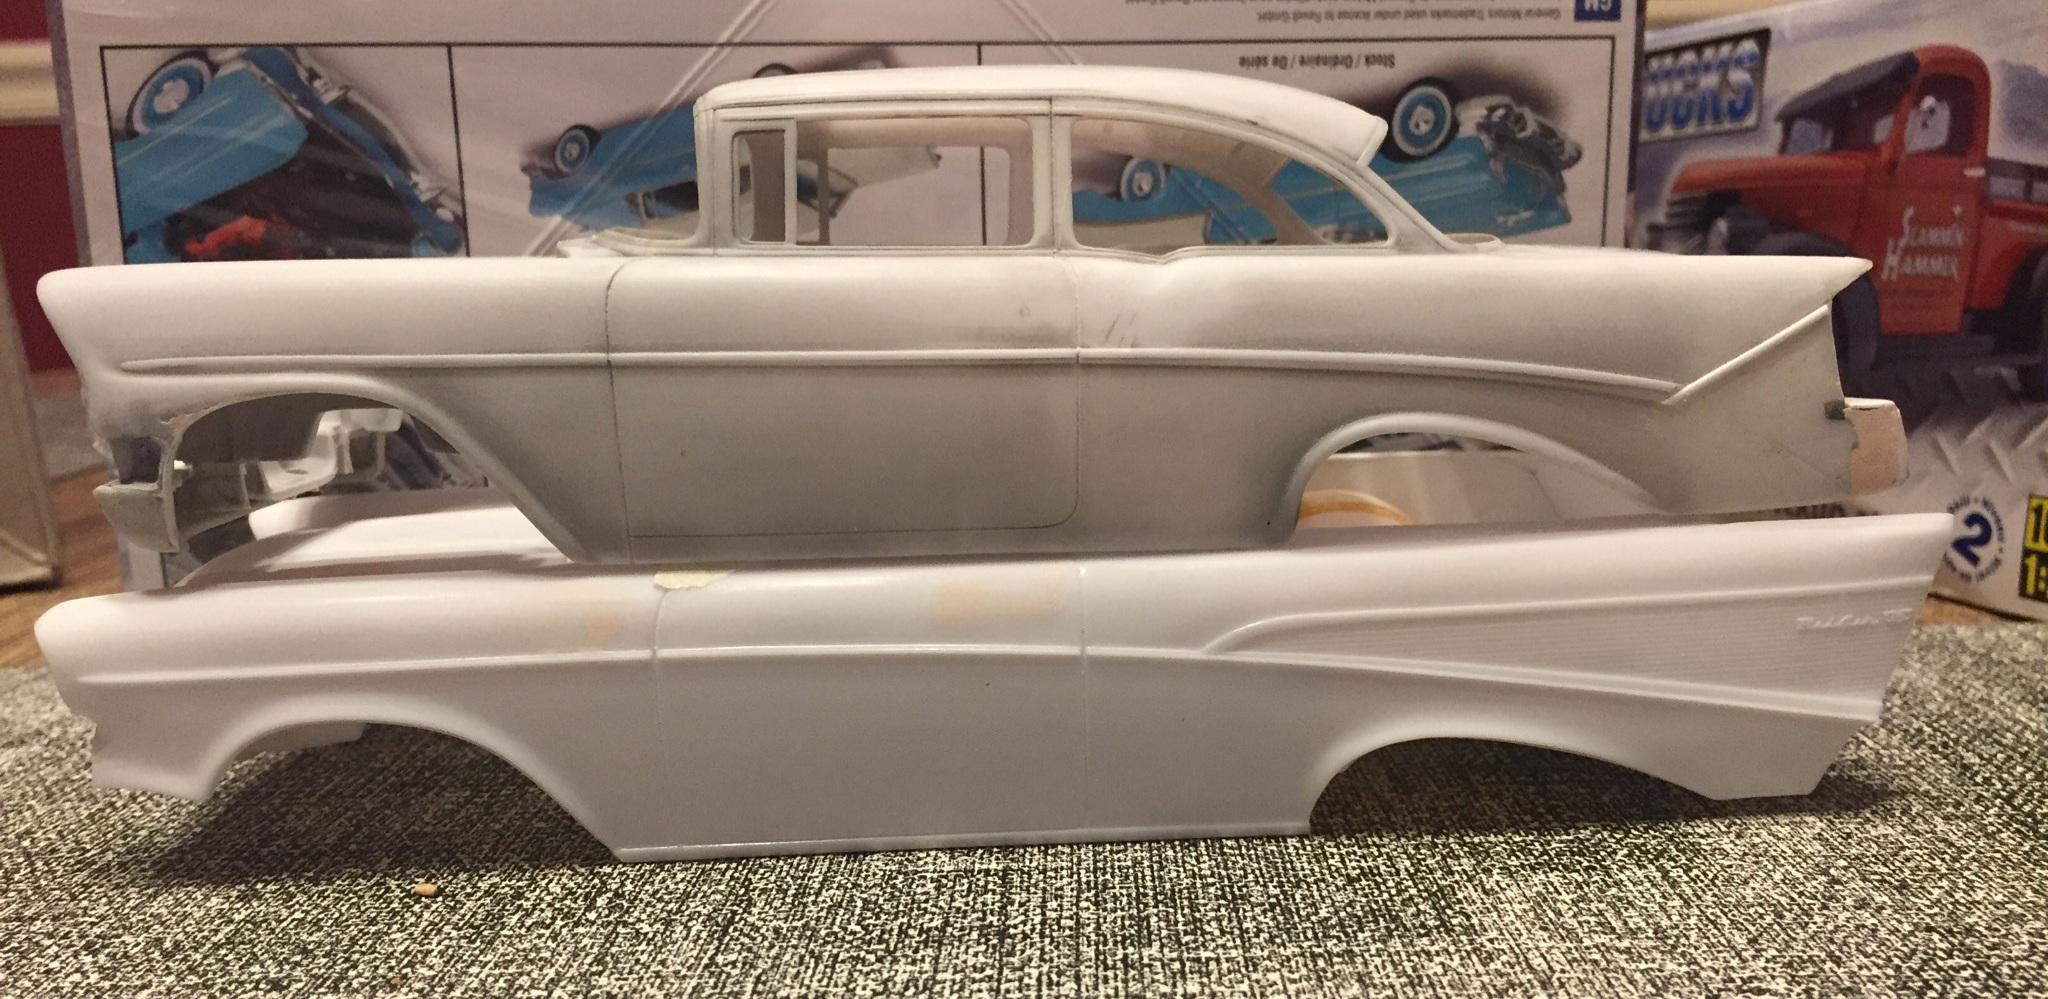
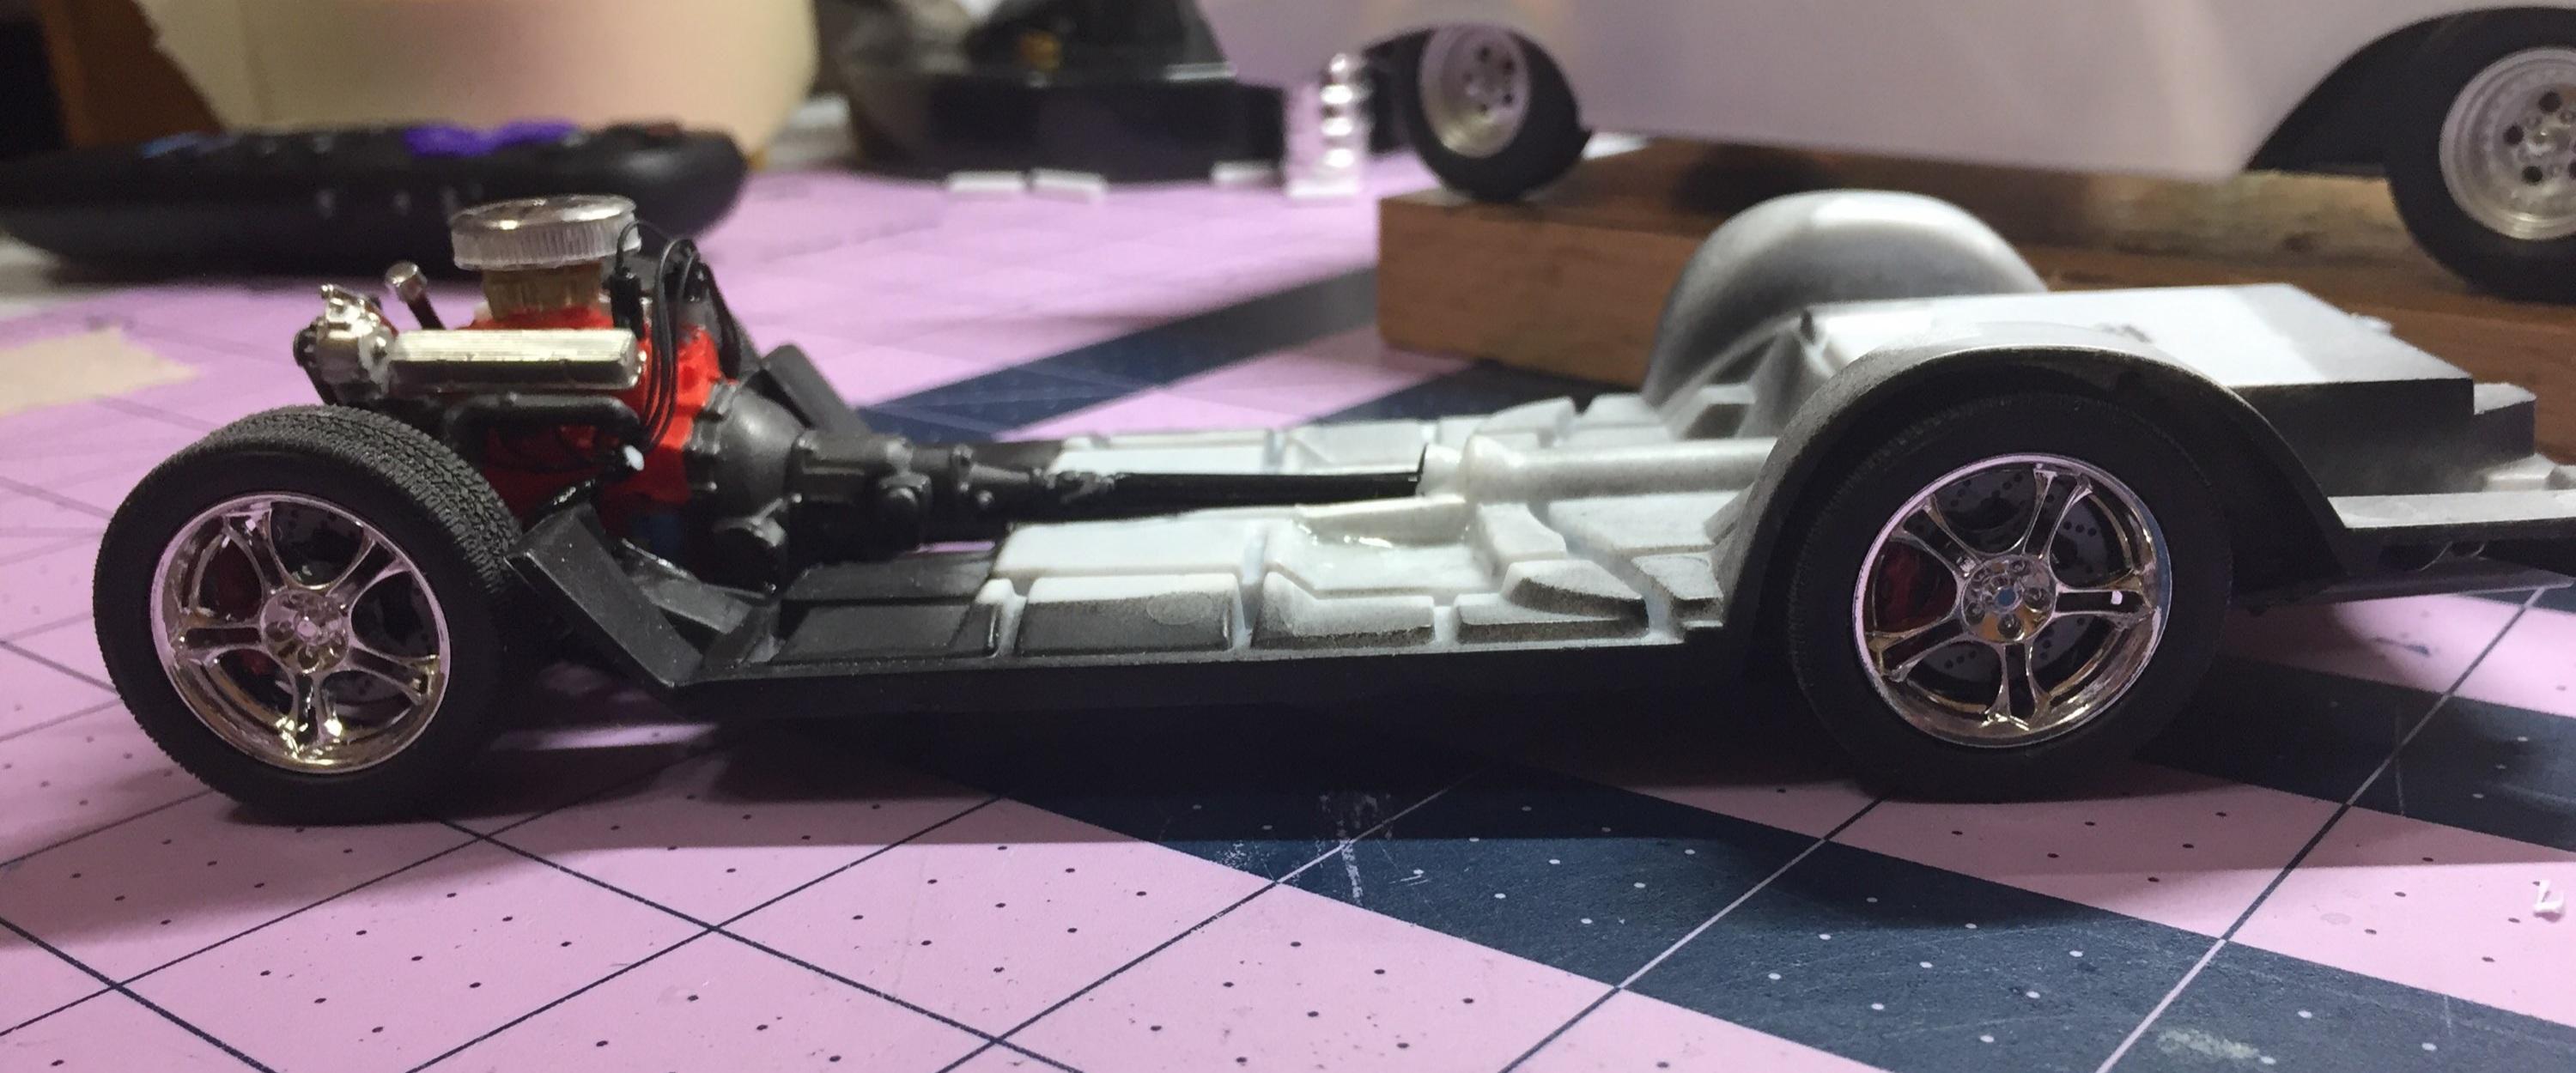
I was searching a few kits for wheel possibilities and came up dry. I did, however, find something interesting. I have a stalled build of a customized '56 Del Rey. It's a Revell kit as you all know and the box states the scale is 1:25. I was curious so I grabbed the "El Nomado" just to see if the Del Rey chassis might fit the 1:24 Nomad body. Because I had built a custom firewall into the Nomad, and the Del Rey's engine was glued in place I couldn't set the body down all the way but it seemed it could fit with very little modifications. Then I compared the bodies. The pictures tell the story. I believe you could combine these two kits to build a half-way decent '57 Nomad (if you frequent Ollie's, you probably have at least one of these) The width at the rockers was exactly the same and you can see the wheel base is the same or, if not, it's close enough. It appears the chassis, which has separate exhaust and some pretty cool wheels would easily fit. The only question is why would you bash the Del Rey? You figure that out. I'm just sayin'. ? if you must have a '57 Nomad, you can make a nice modern style street machine with a nice chassis and detailed engine and some other nice details.
-
'57 El Nomado
customline replied to customline's topic in WIP: Model Trucks: Pickups, Vans, SUVs, Light Commercial
Yes it ( the ? ) does, Mike, and continues to do so with surprising regularity ? -
I need to build some (particular) aircraft myself. I've been putting it off far too long. It would be a nice break from cars. That P-61 was a strange one. Looks like a challenge, certainly.
-
Yup, I get it. What you've done looks terrific, Dave. Do I see a WWII bomber between the the cars? What might that be?
-
I've been wanting to build a model A pick-up but haven't found a kit yet. Thanks, Bil.
-
I reeeeeeealy like that pick-up, Bil. what kit is that?
-
'57 El Nomado
customline replied to customline's topic in WIP: Model Trucks: Pickups, Vans, SUVs, Light Commercial
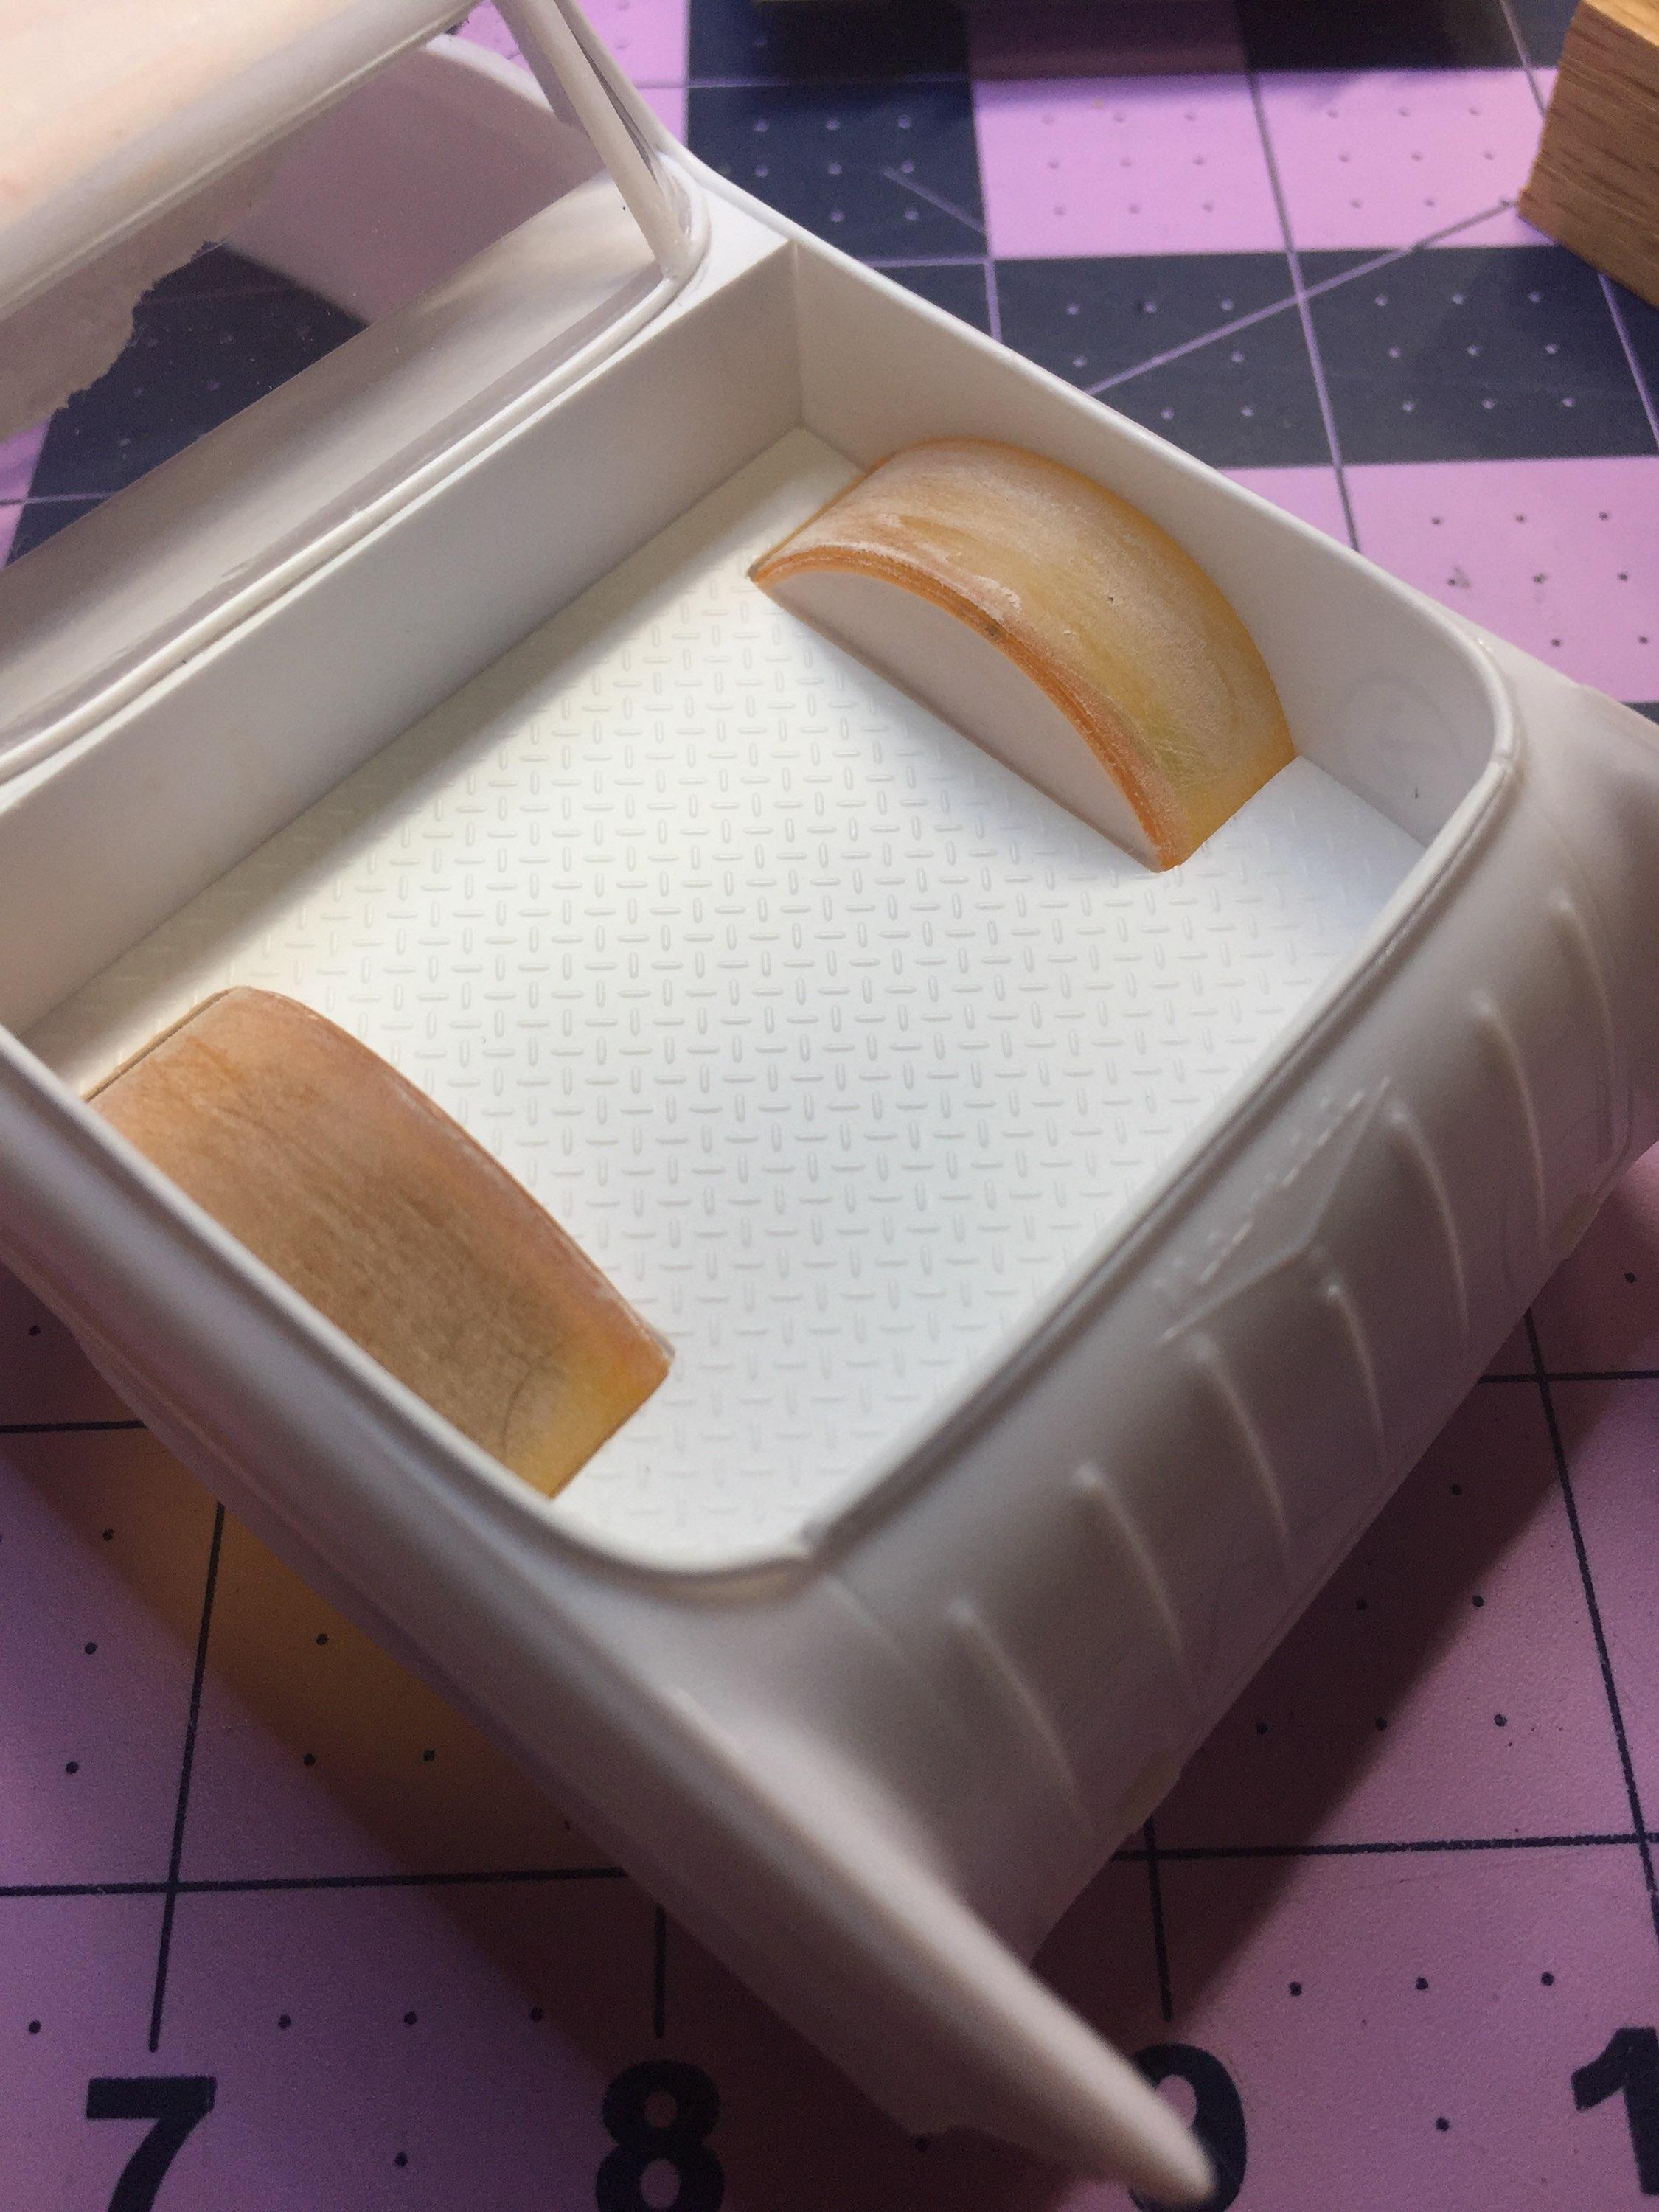
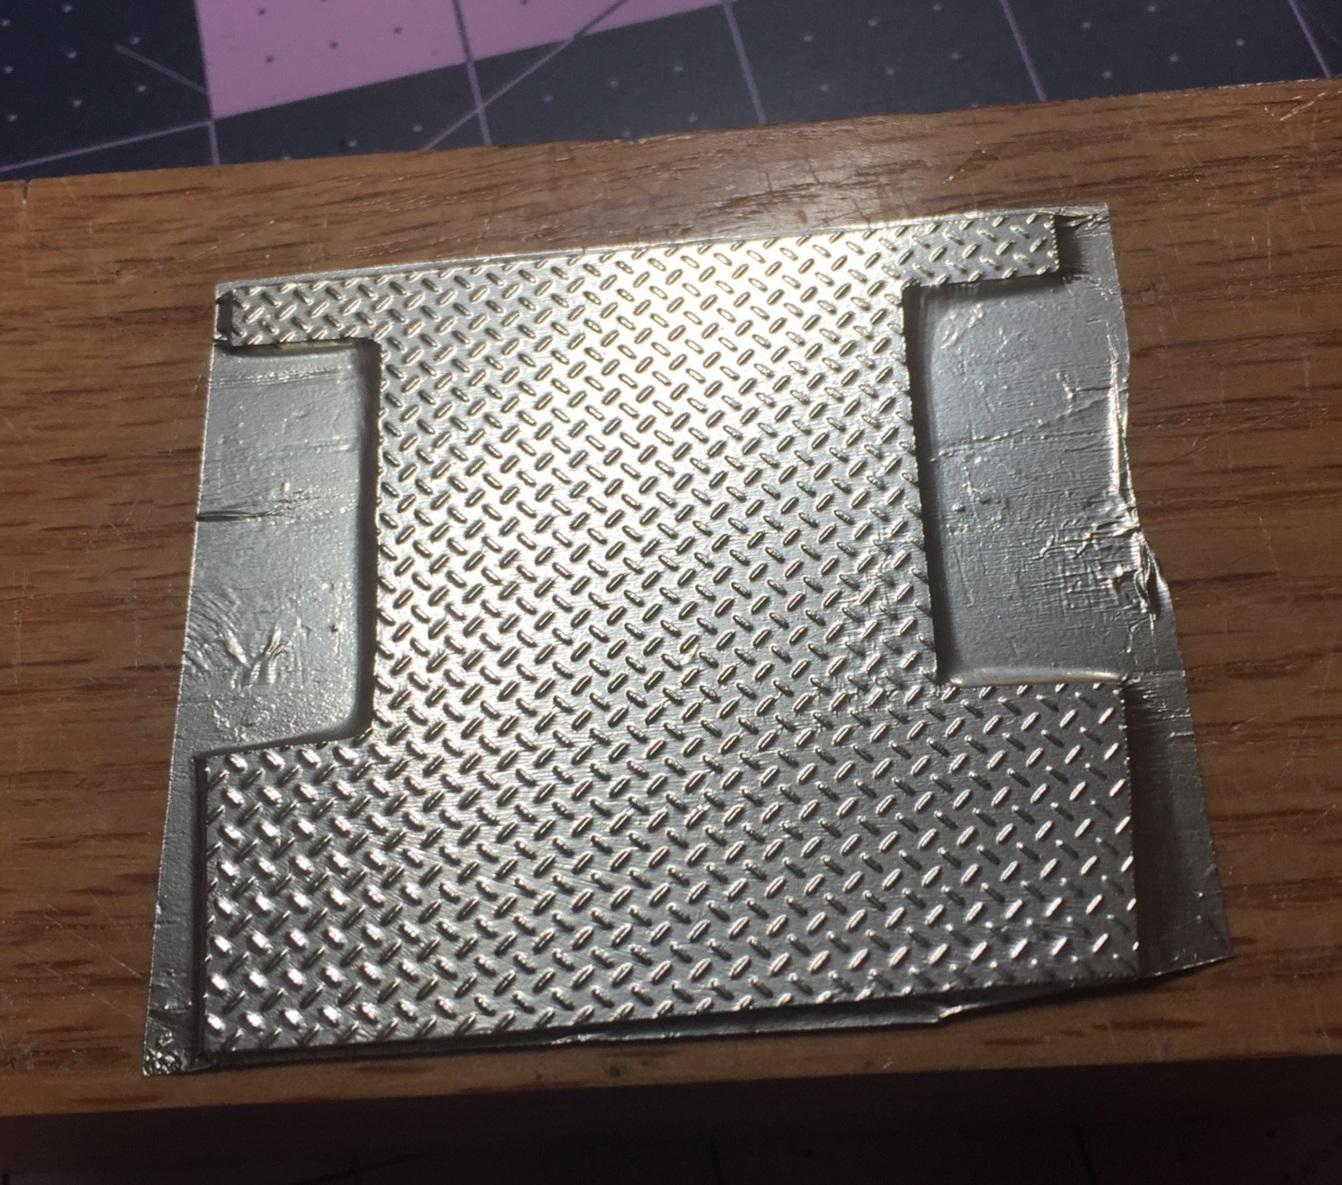
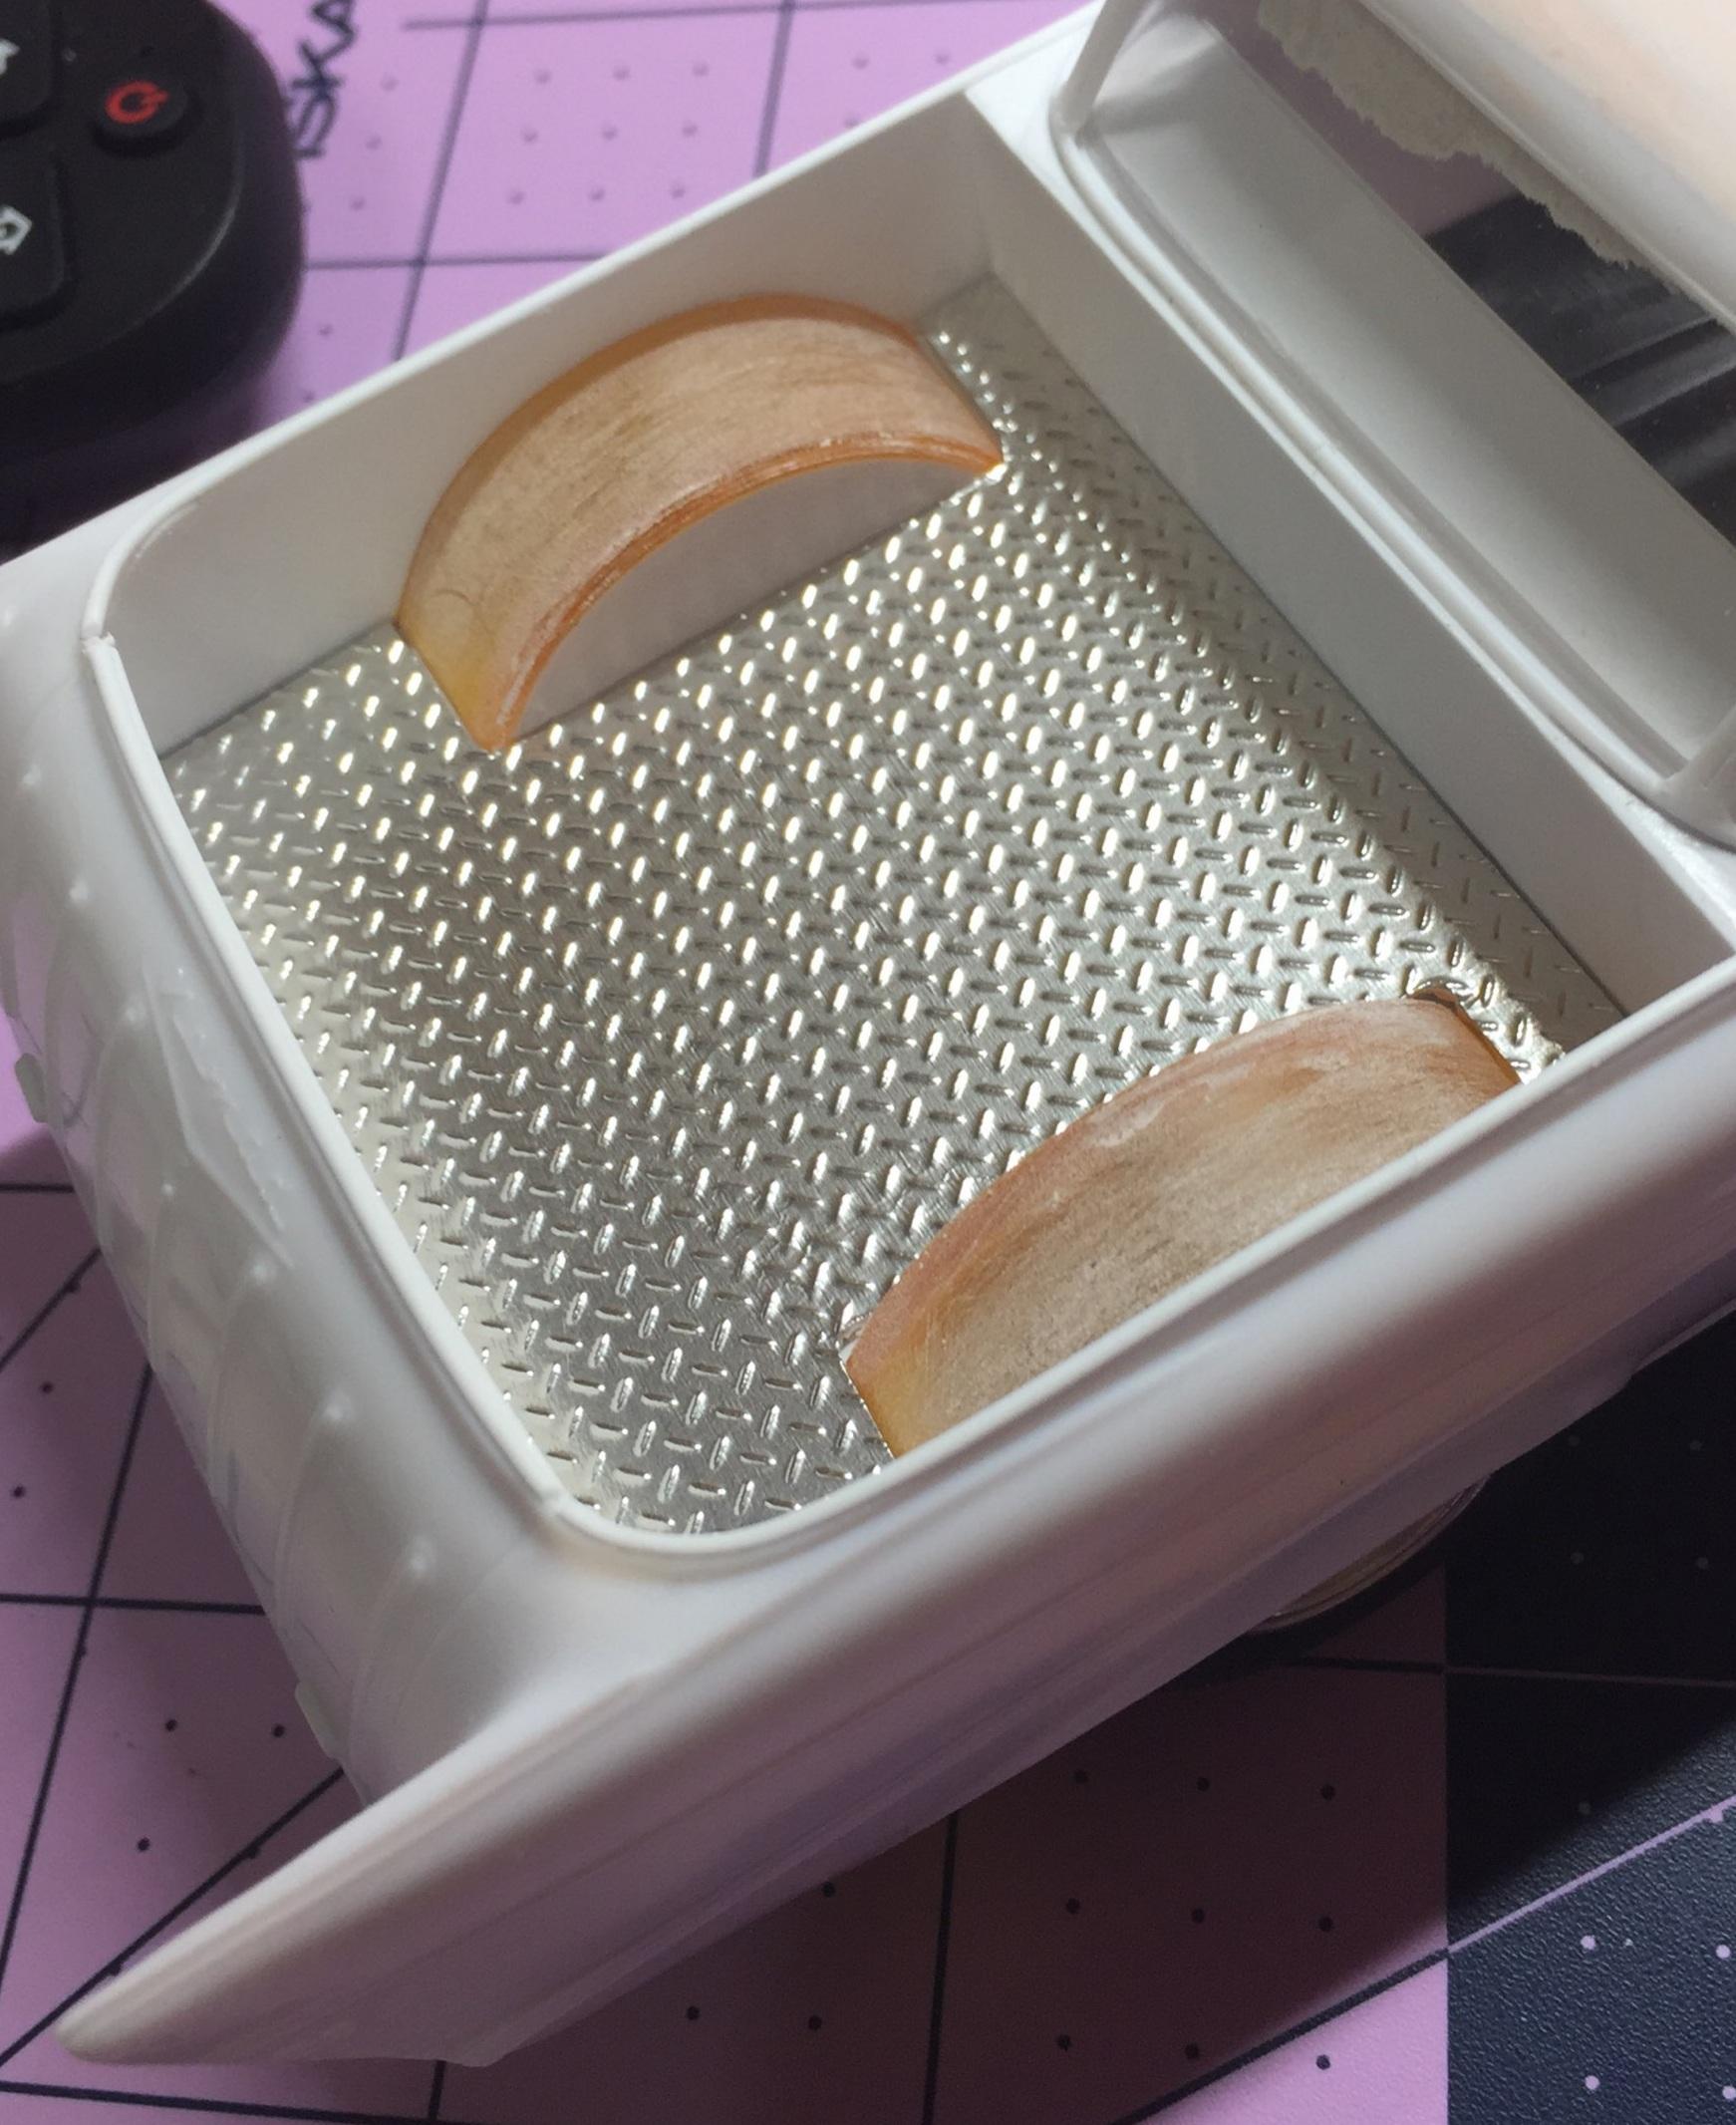
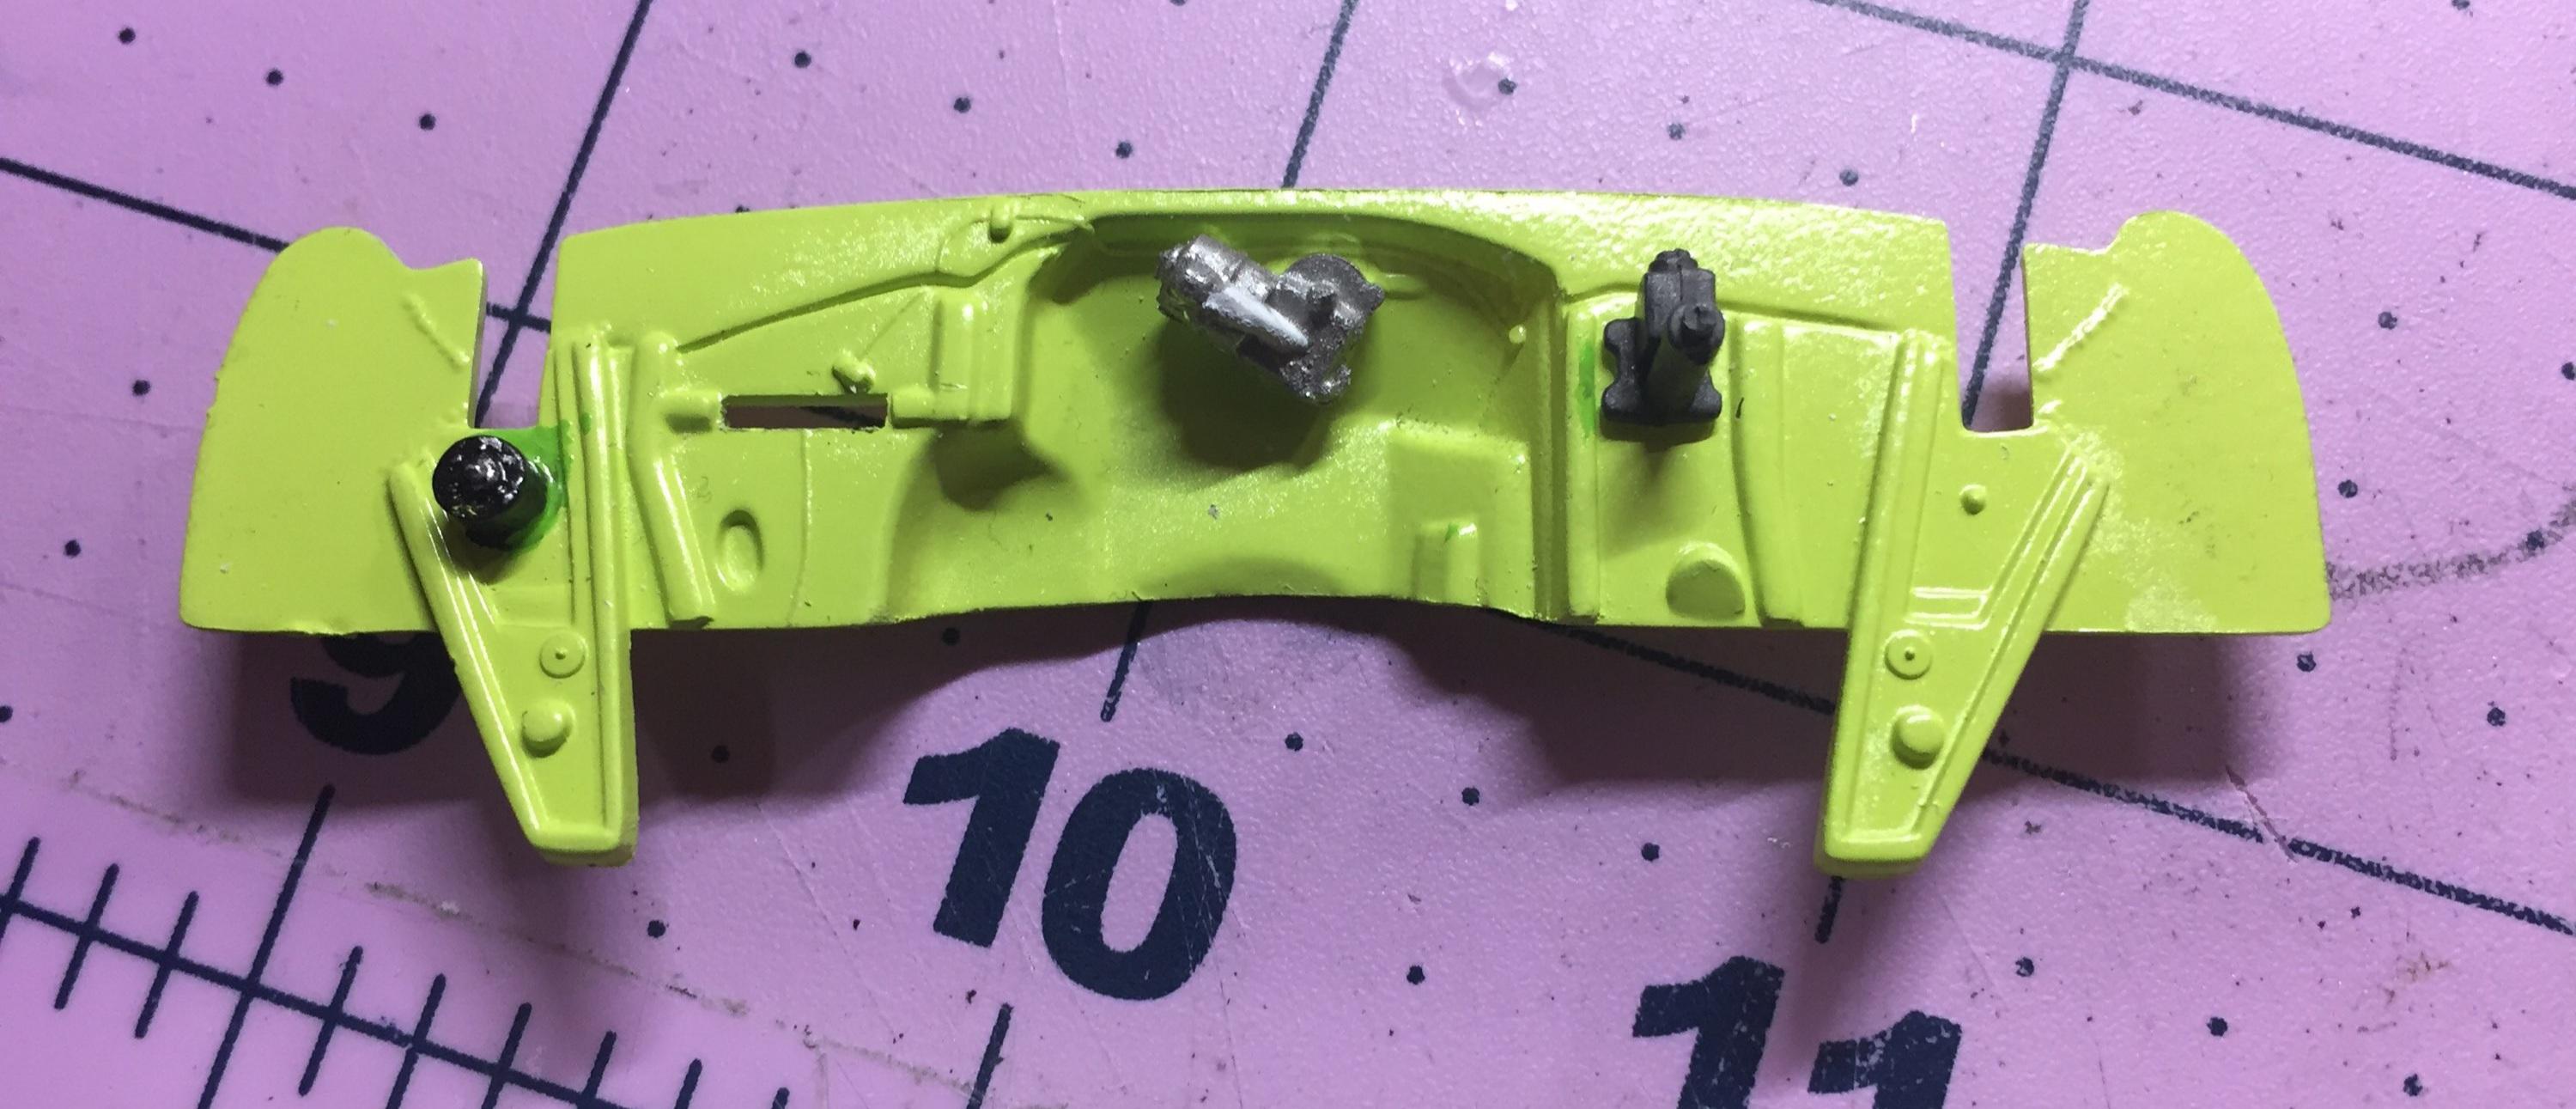
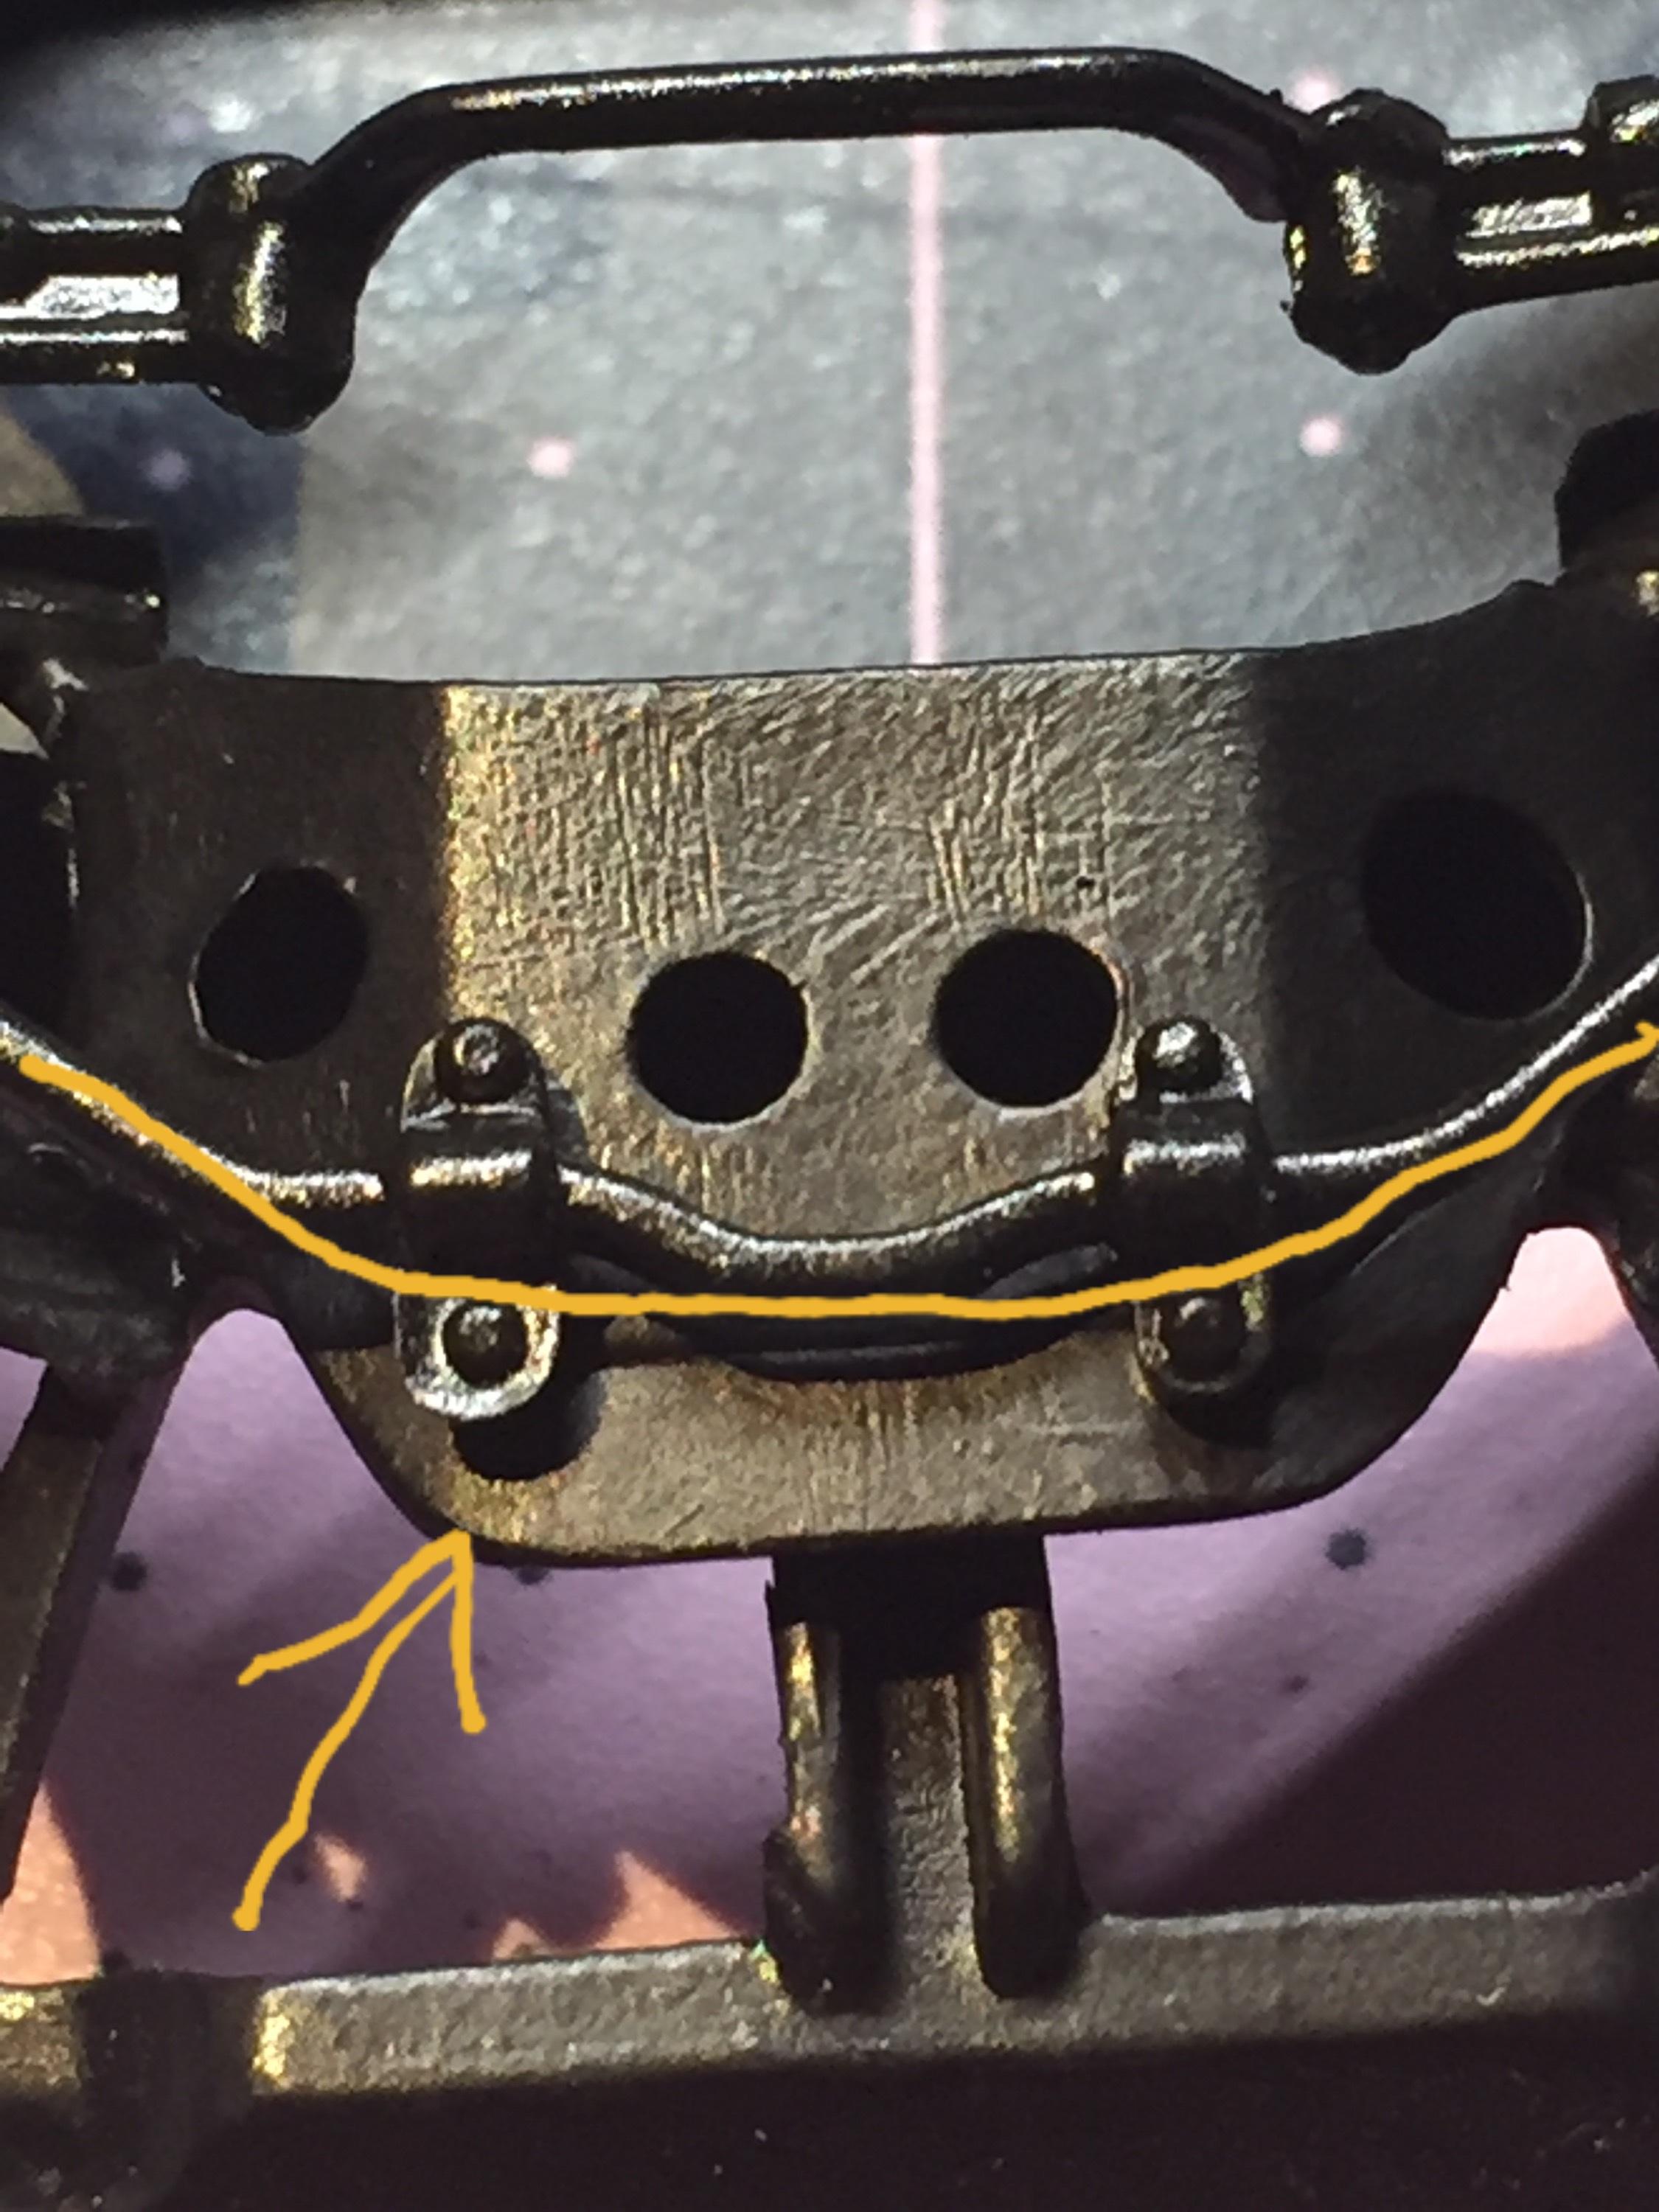
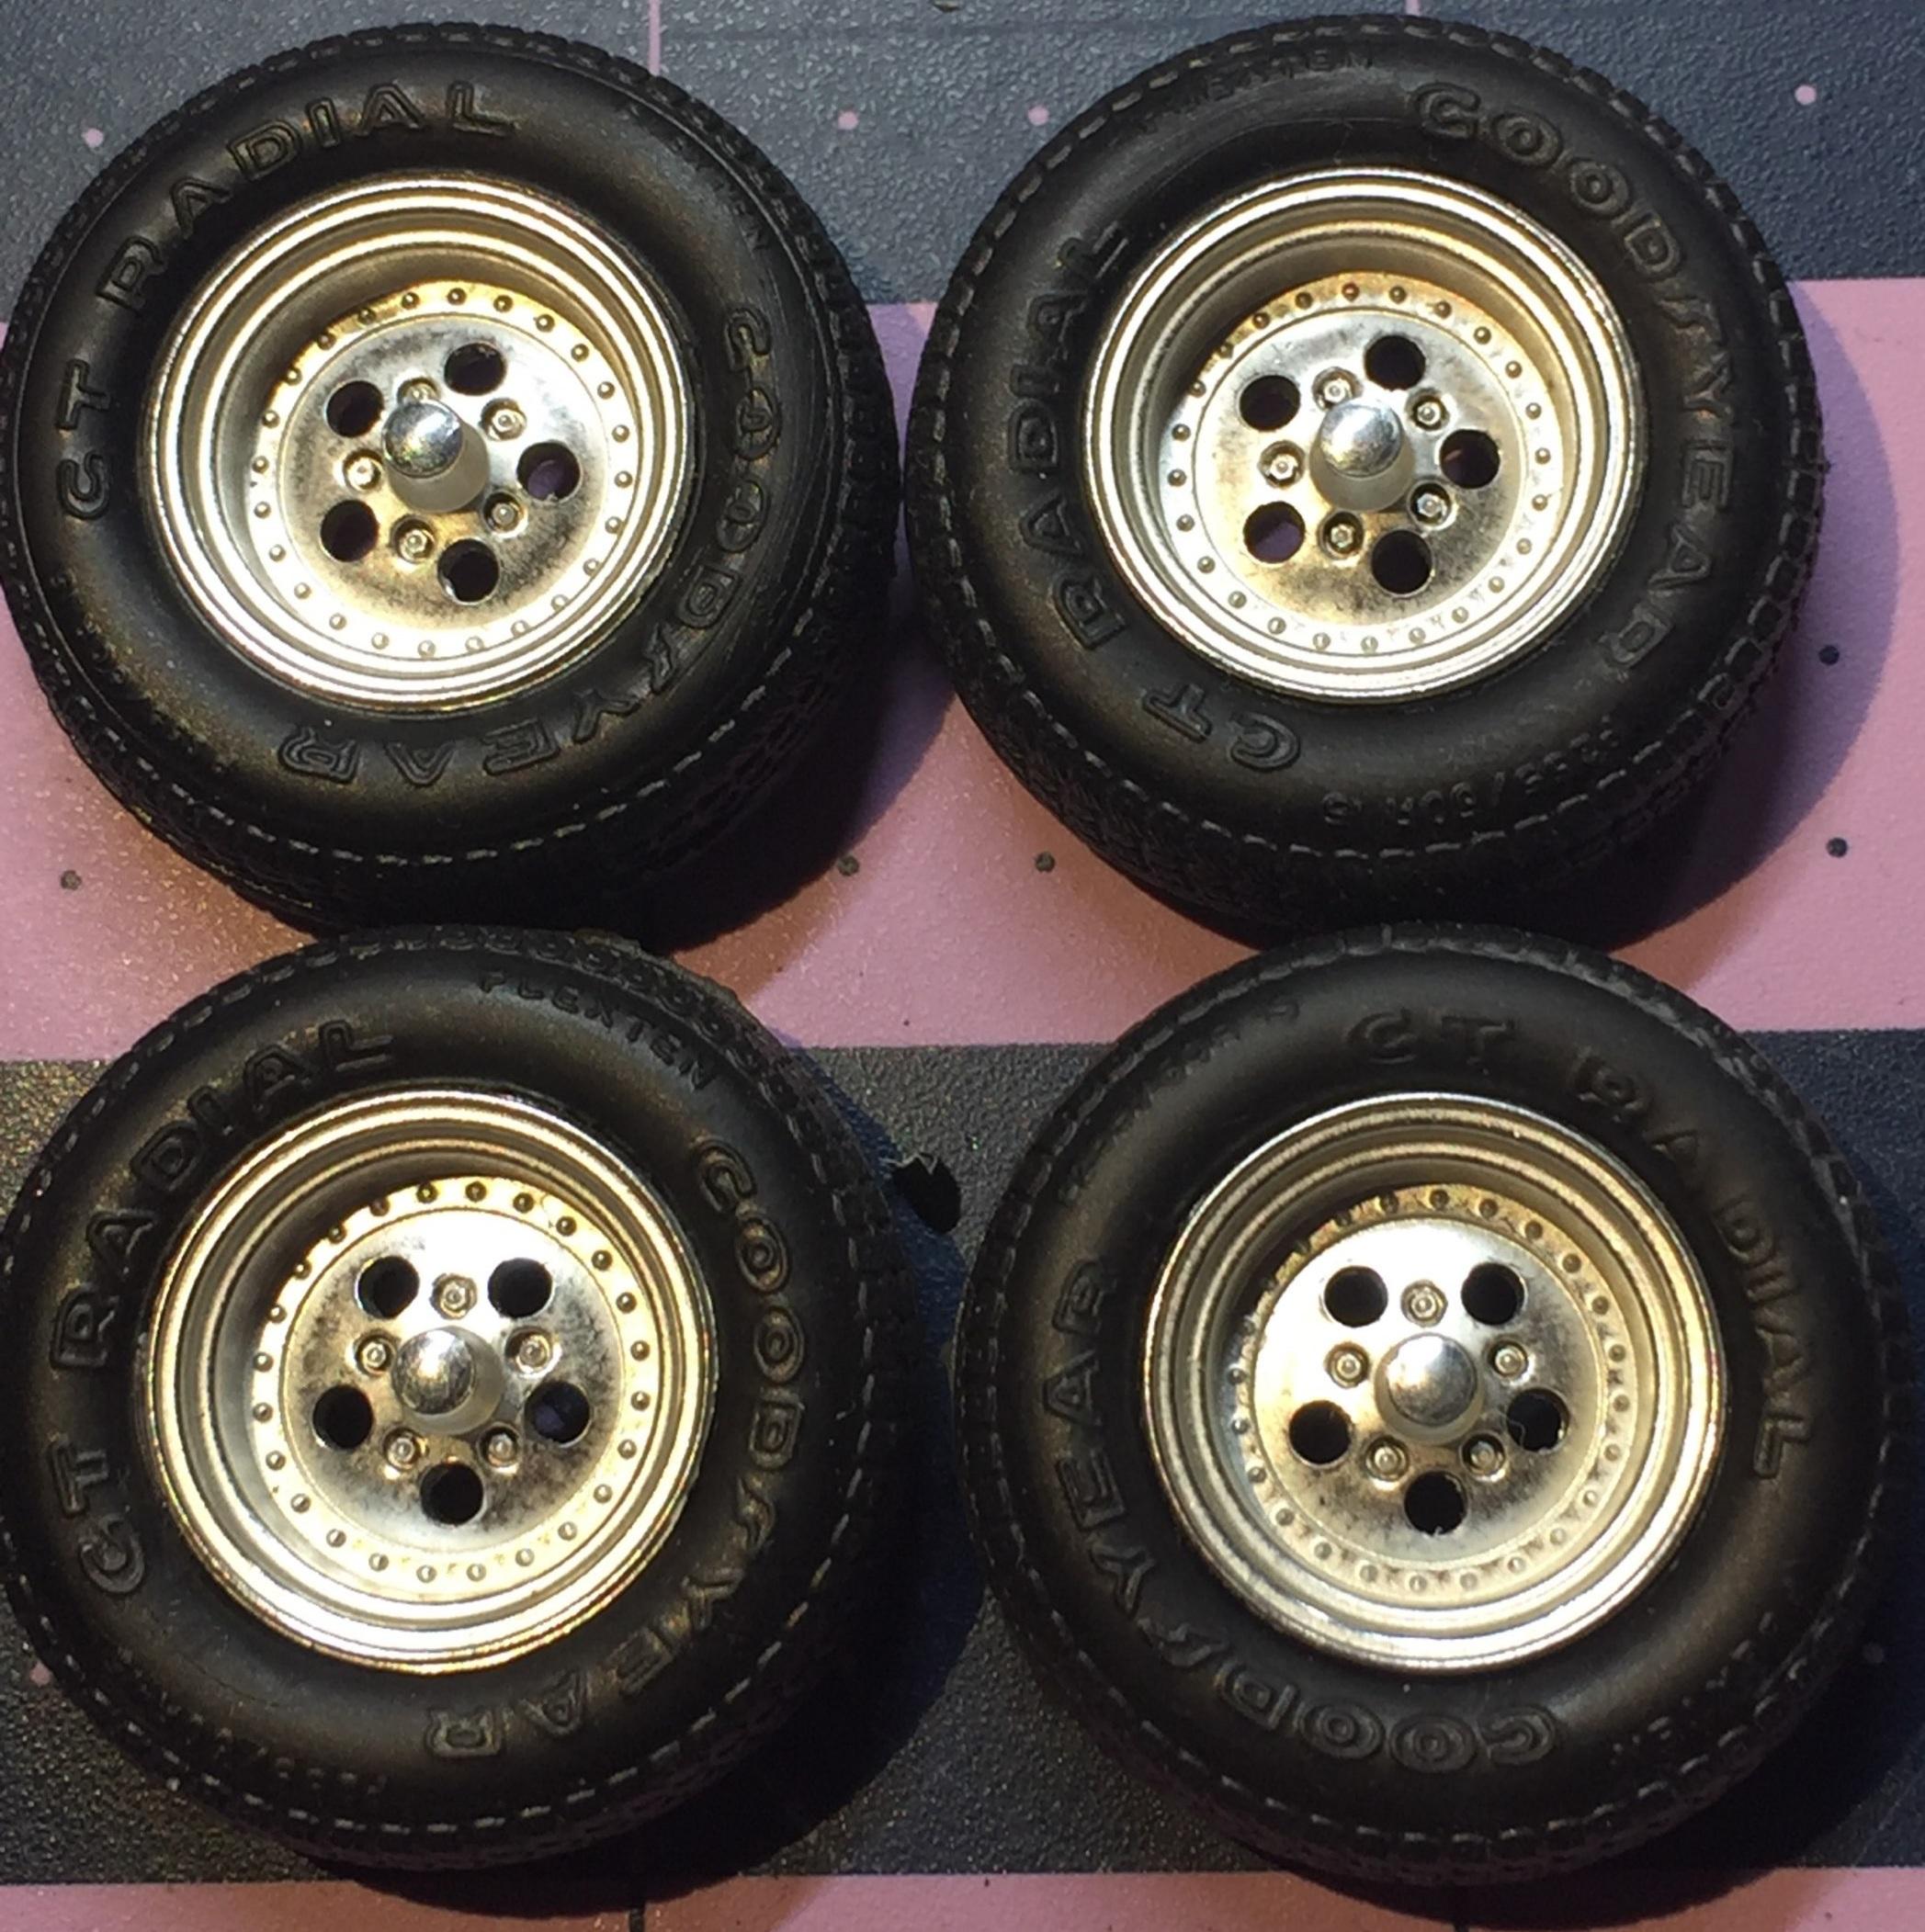
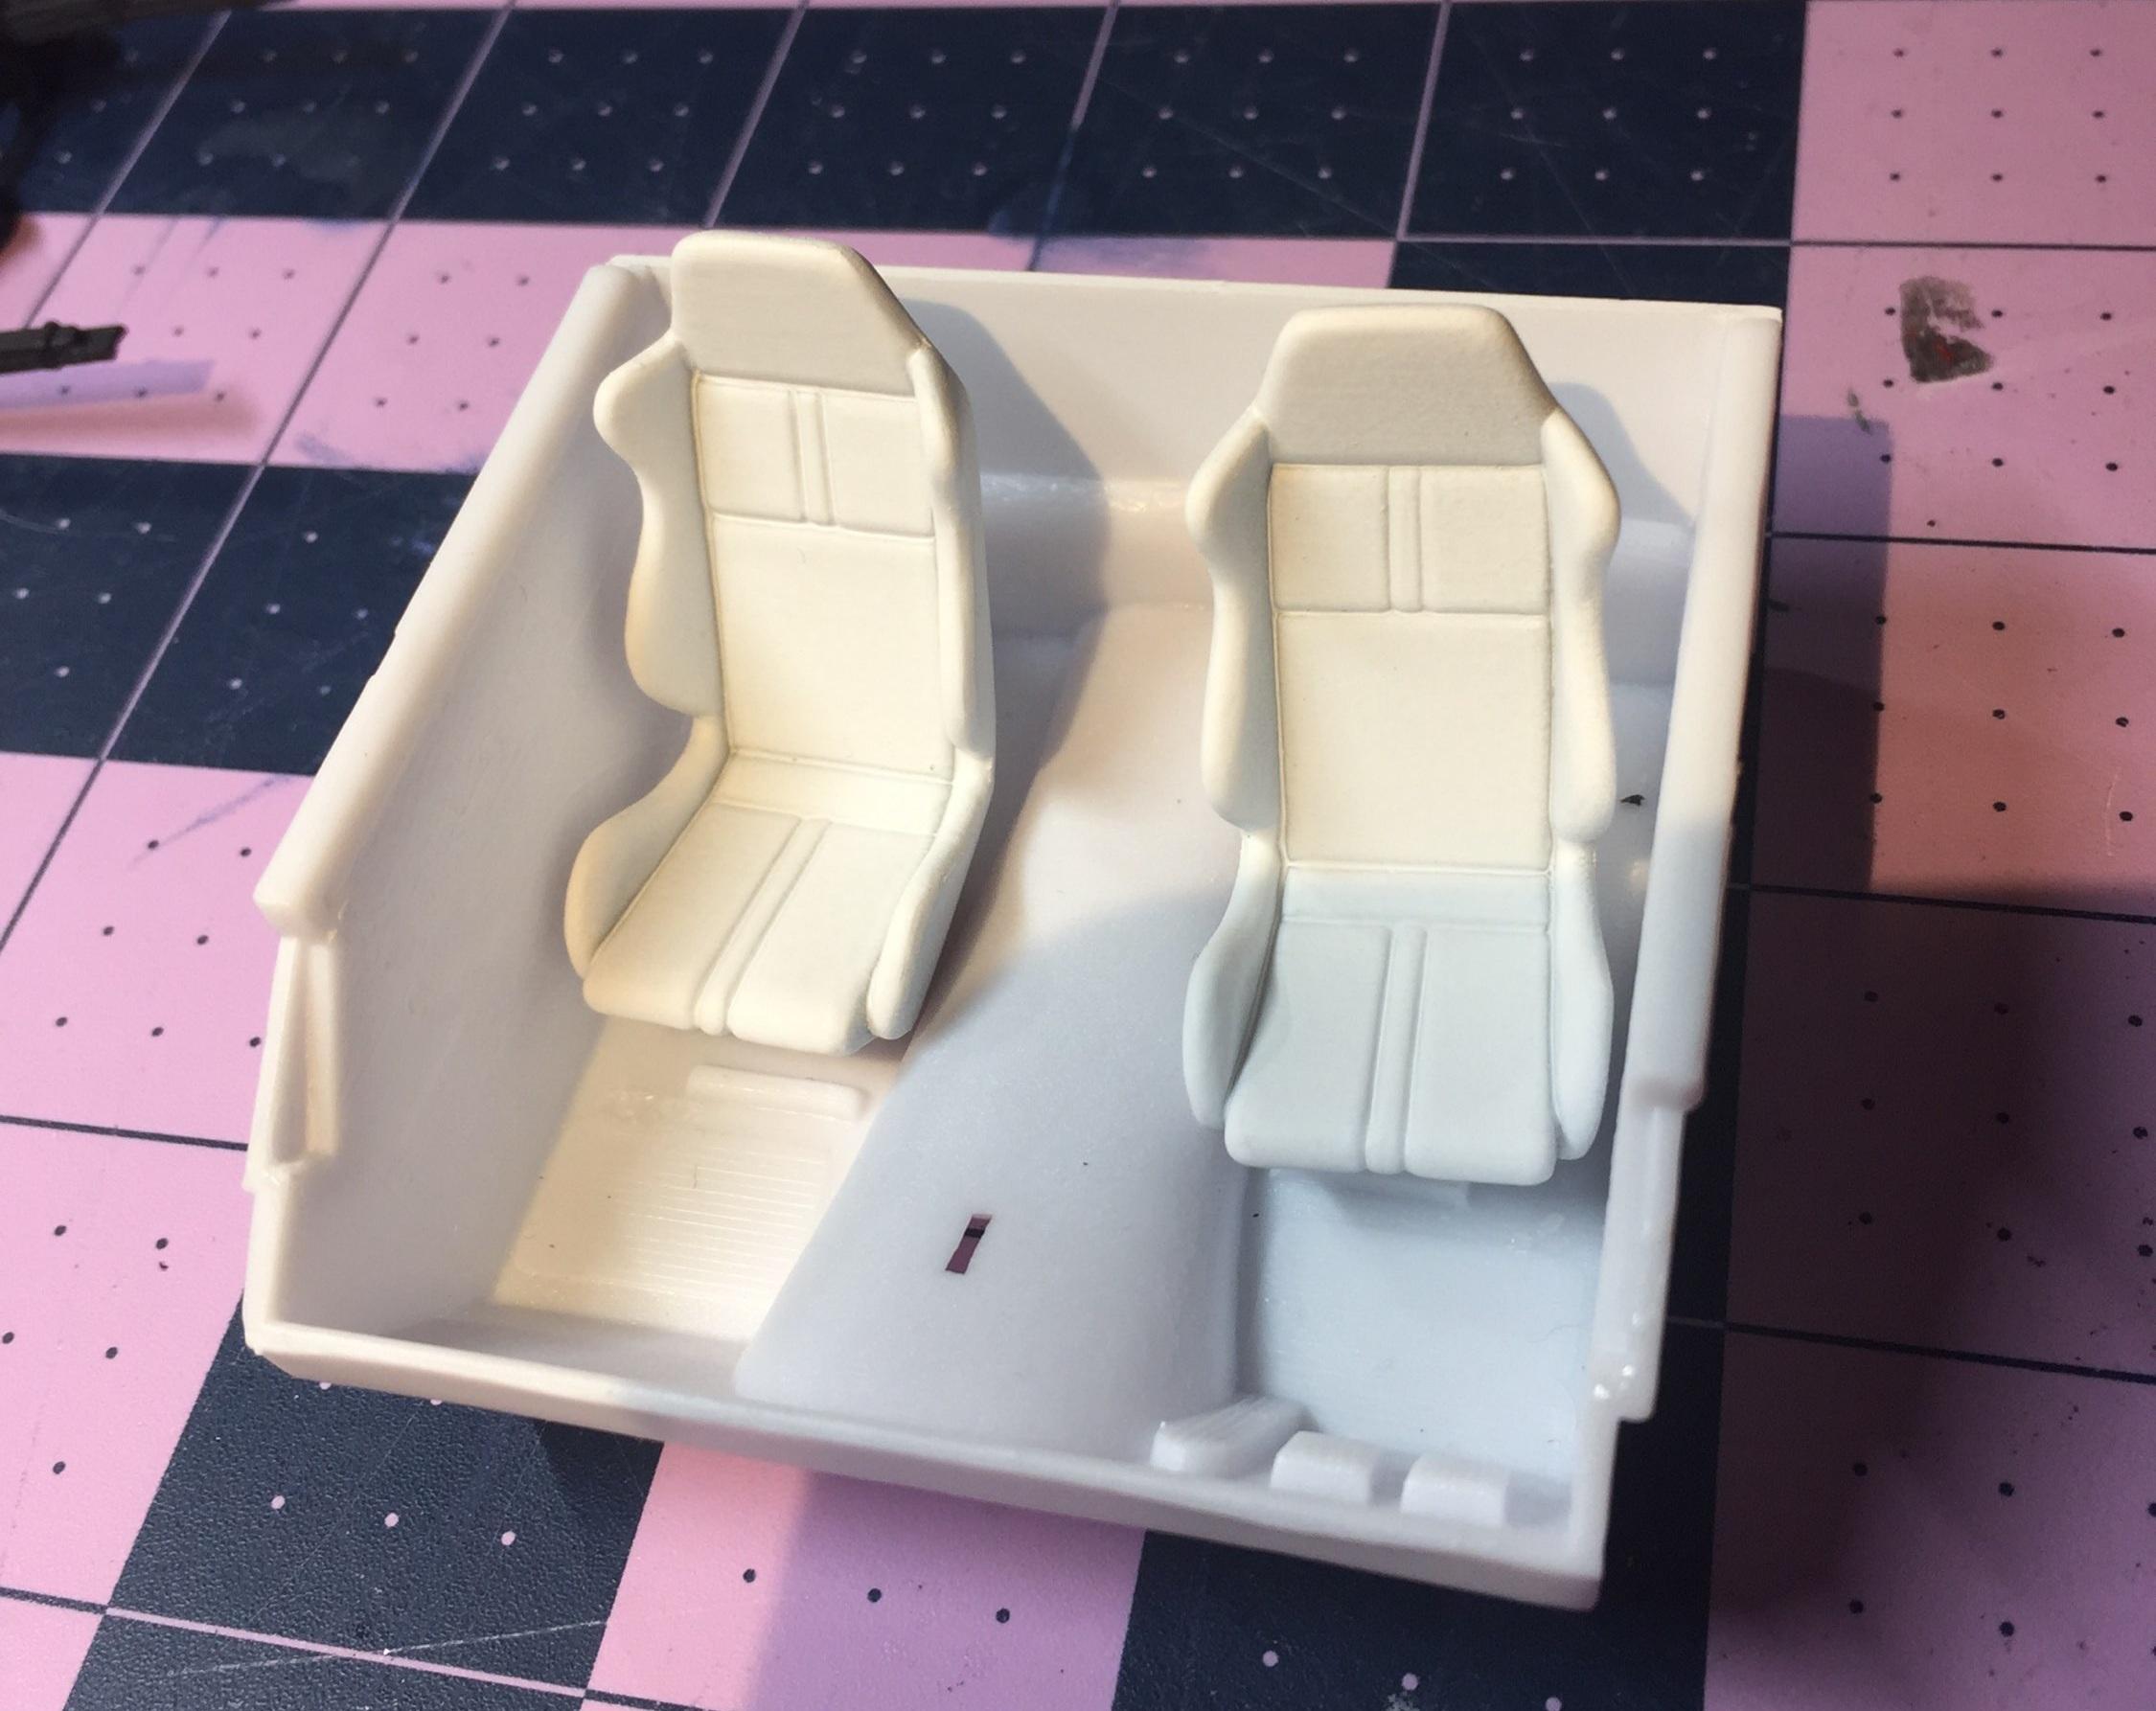
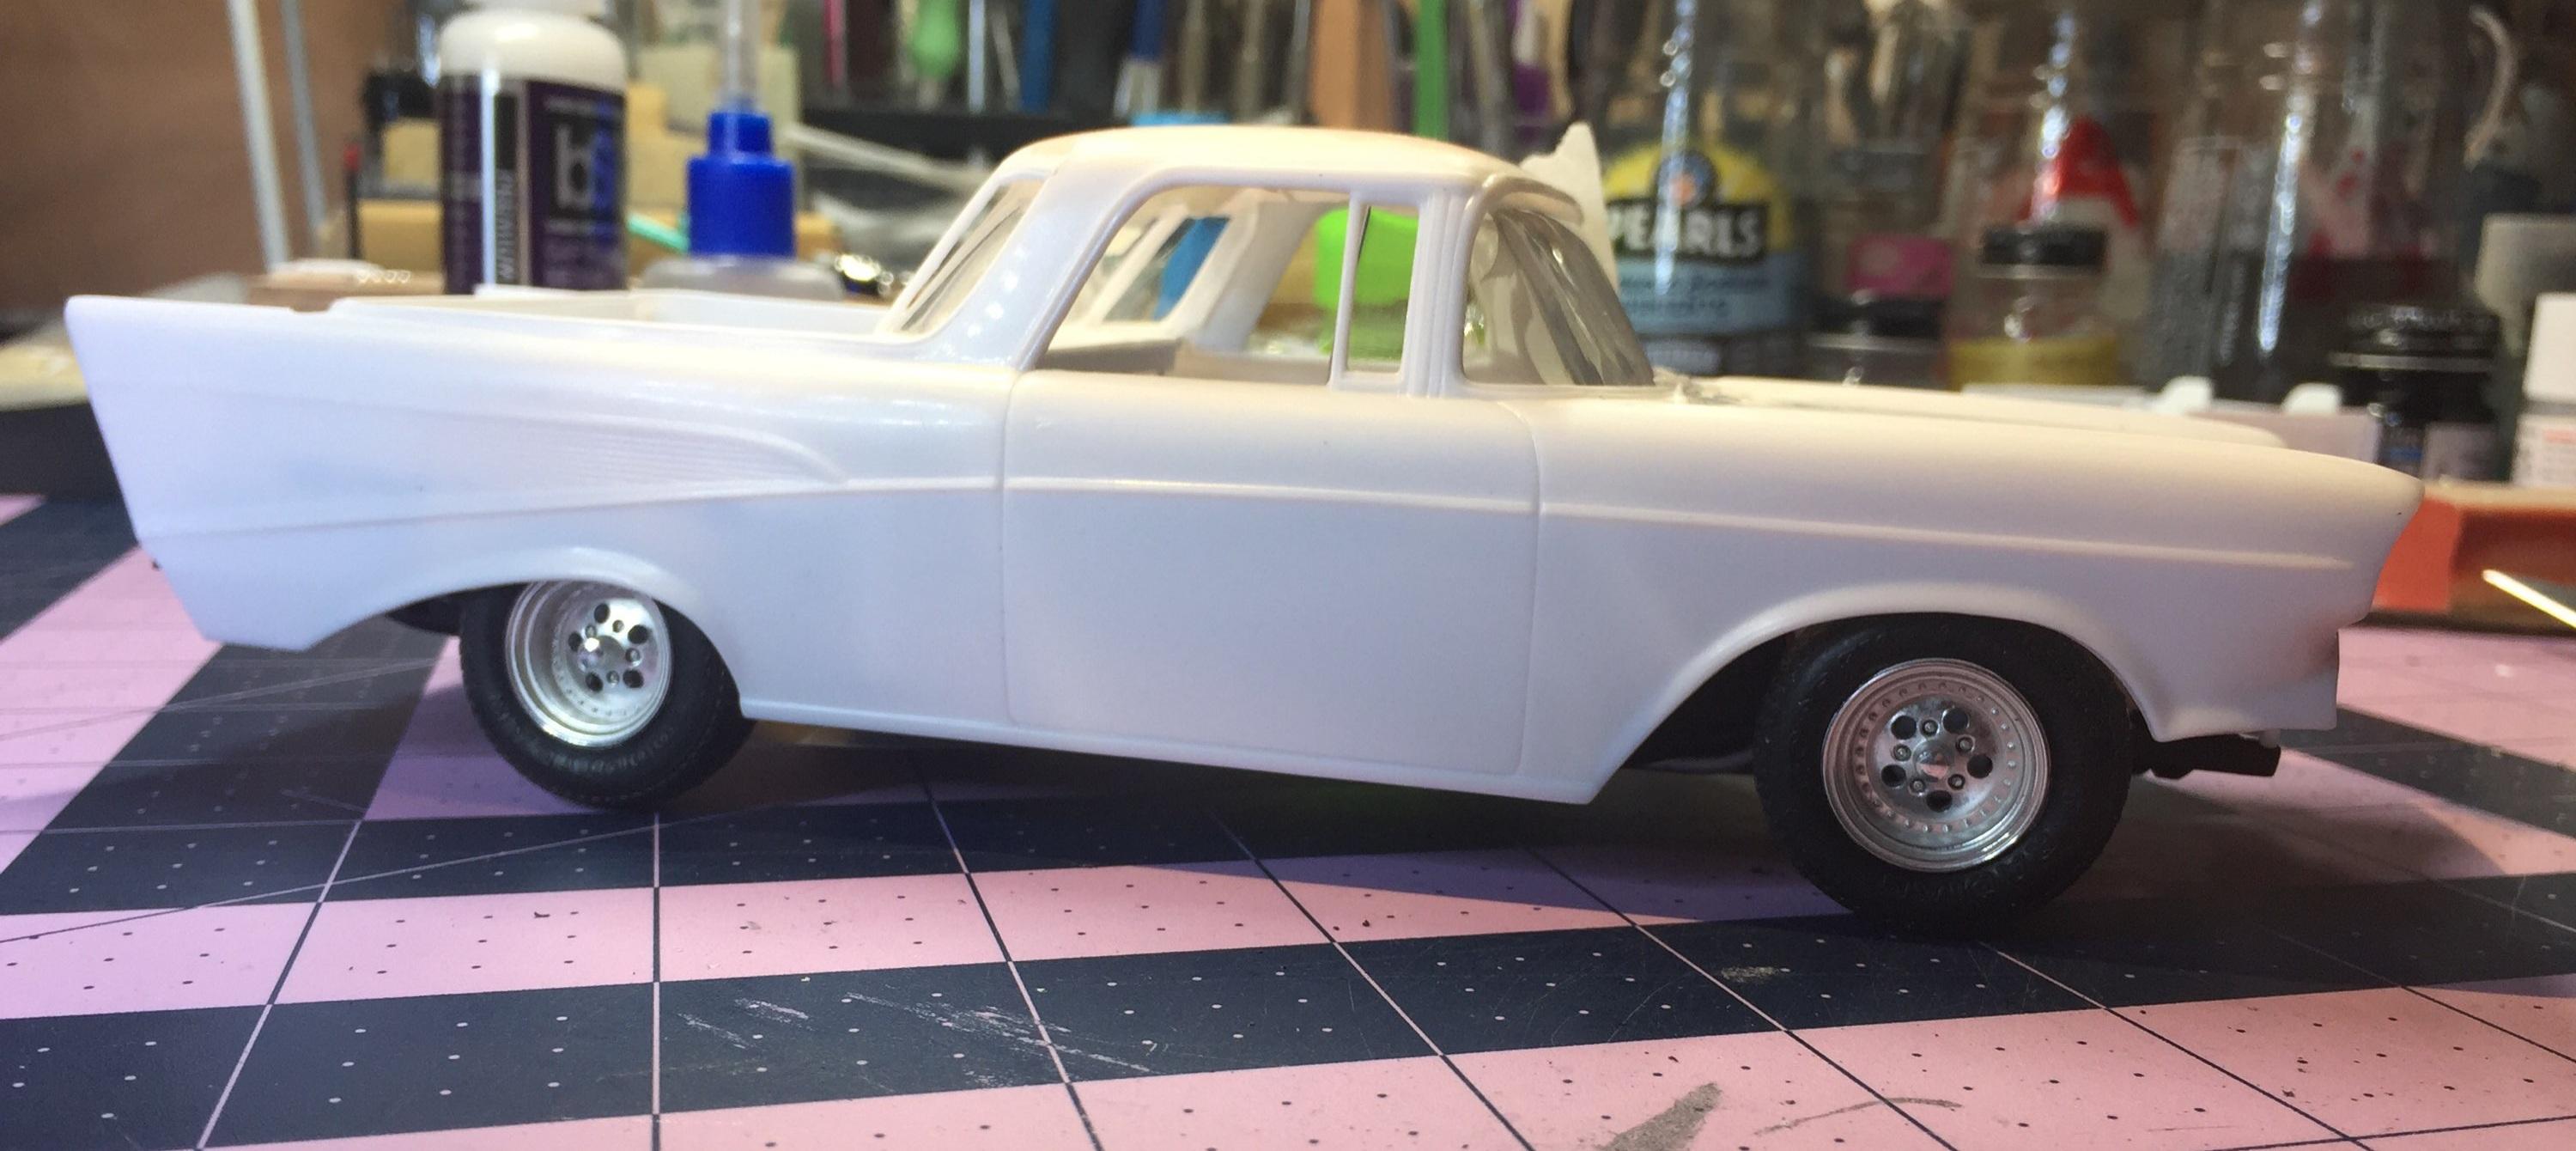
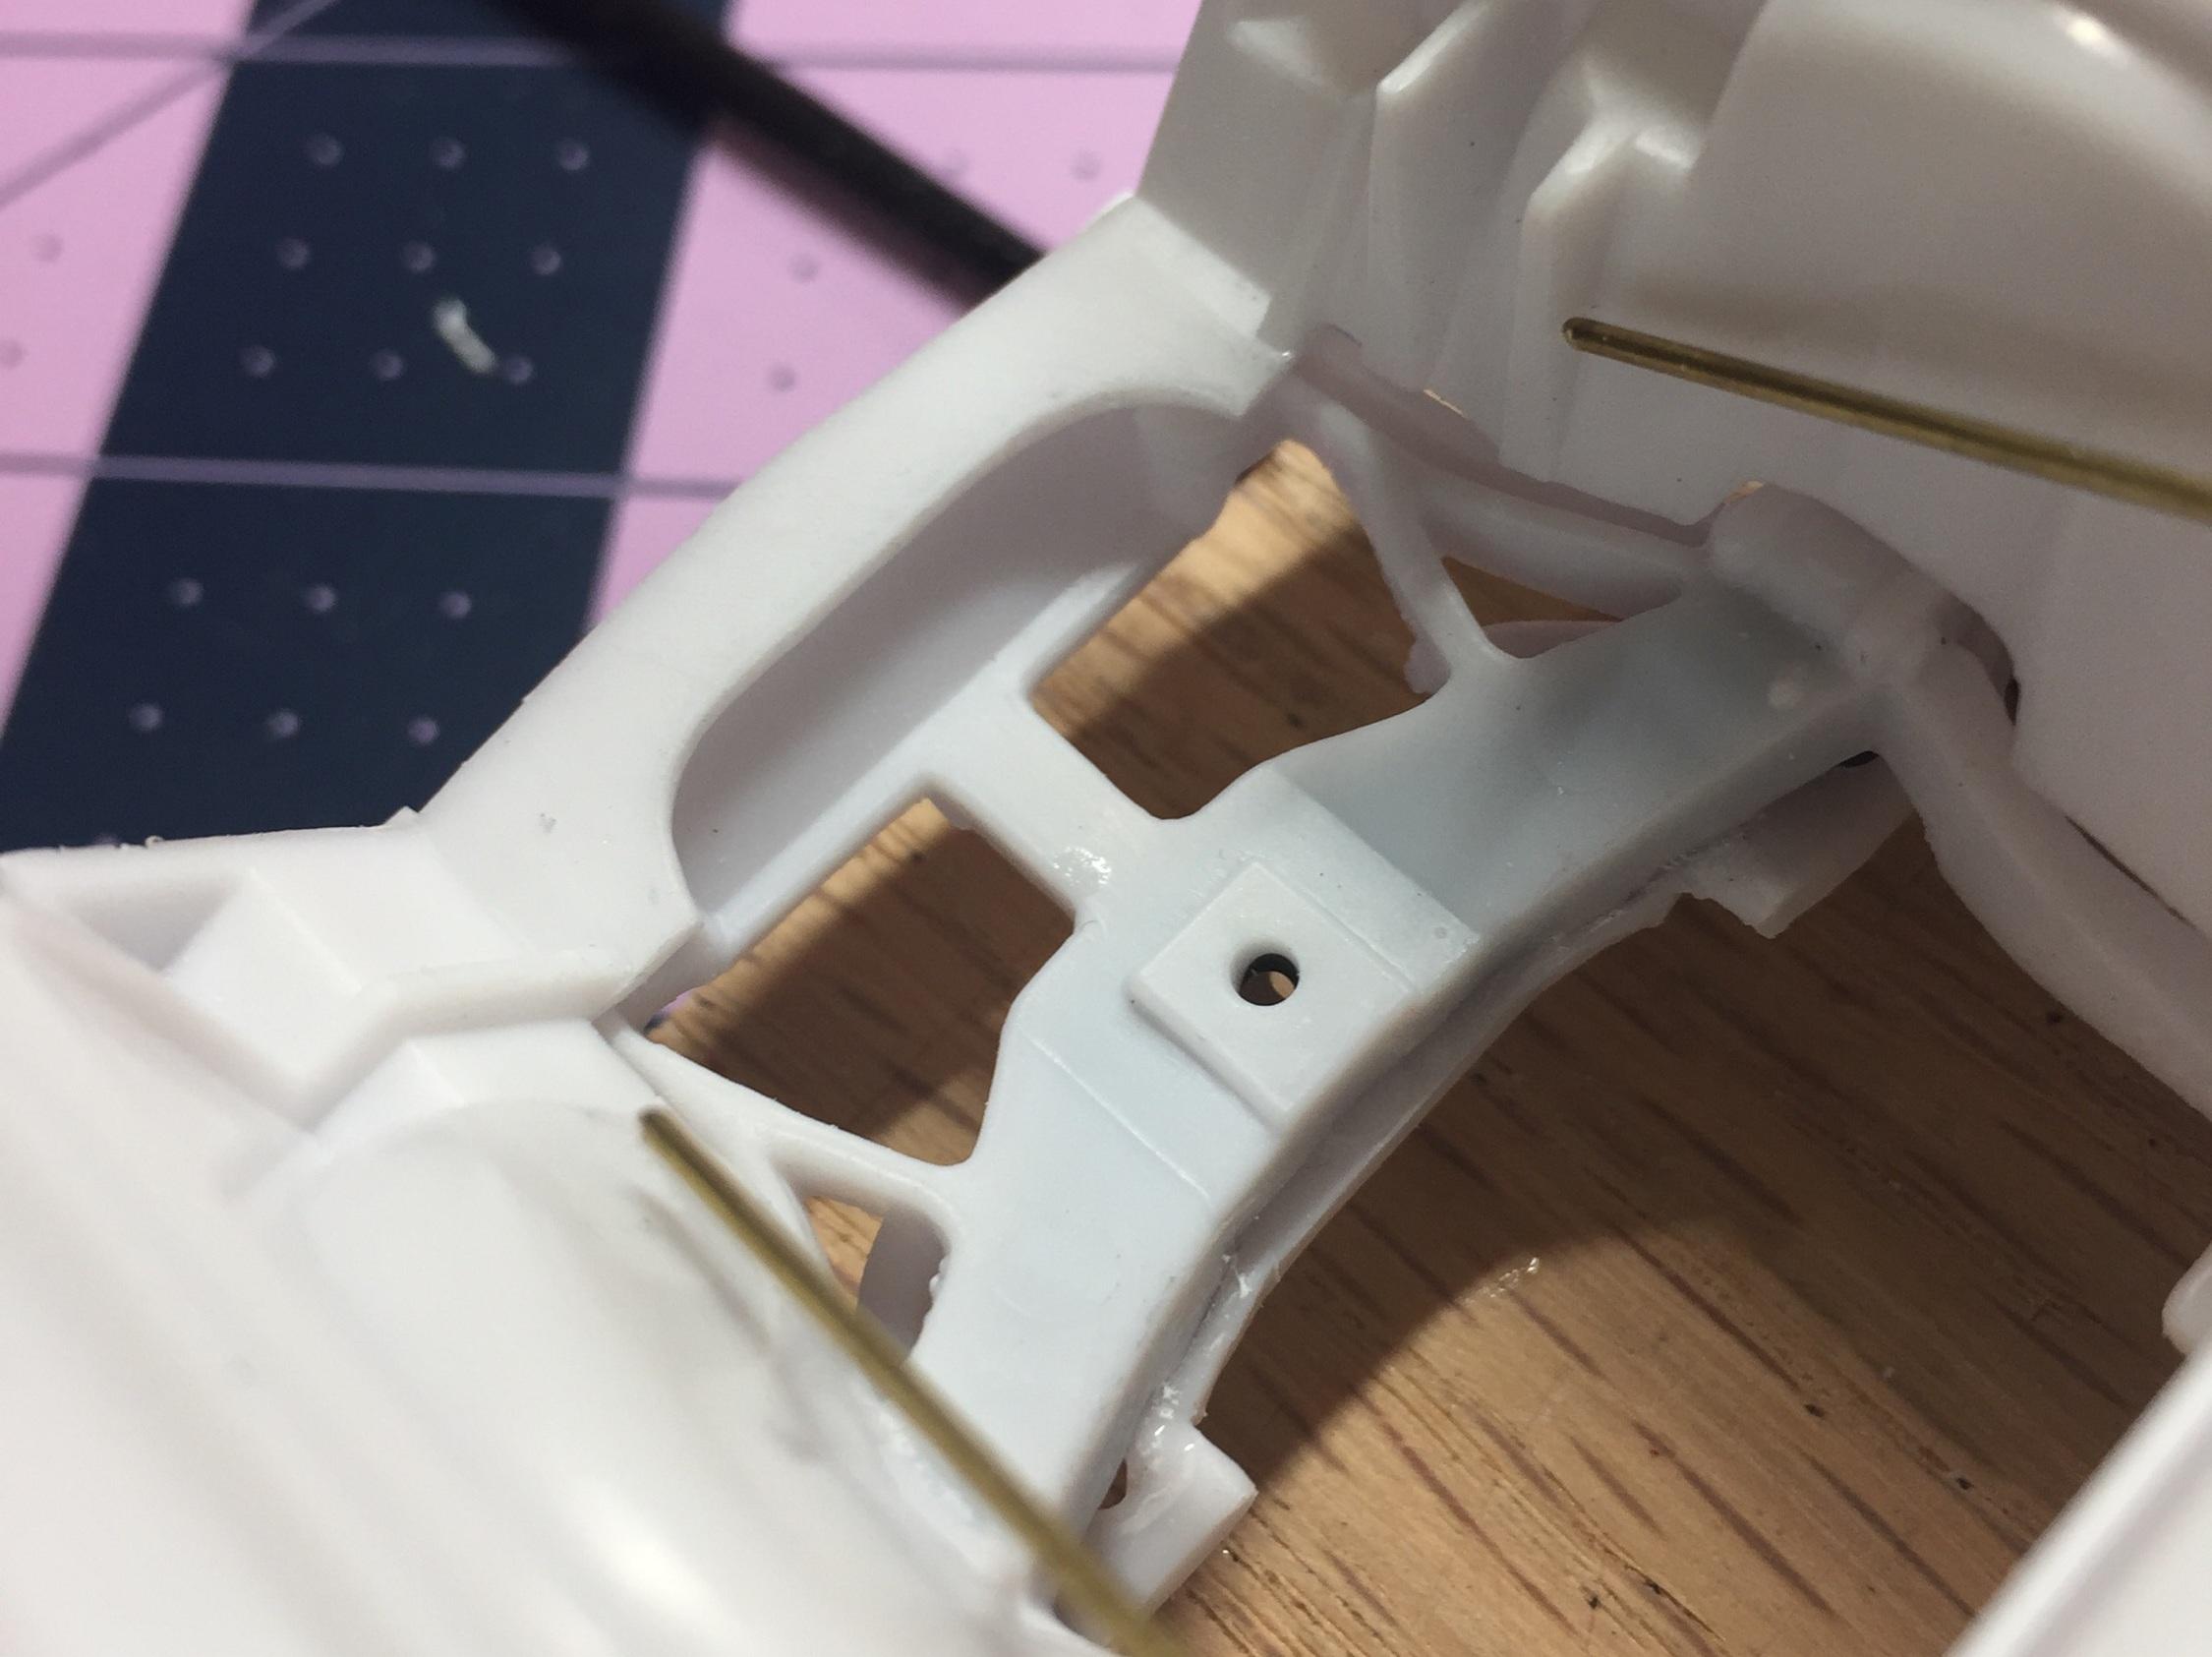
After painting the exhaust system, I attached the tie rod/sway bar to the cross member/control arms. I then discovered the sway bar hold-downs at the leading edge of the cross member were bolted to the ether. Of course I couldn't find this before I painted the chassis!.......? The yellow line approximately indicates the original leading edge of the front cross member. I added a piece of .030 sheet to give the sway bar something to hold on to and painted the whole cross member again with a brush. This is the worst kit EHHHHHVER ? I found another candidate for rolling stock. This set came off of a Monogram '39 Chevy coupe. The tires are better by virtue of the raised lettering. I tried to "stamp" some flat white acrylic on the letter's but I couldn't come close to making that work. I will use them but the rims are still undecided. I also found a pair of high-end custom buckets that would work nicely with this build. I also have a '59 El Camino dash that I would love to use but it's 1/25 scale and not wide enough. It's on my mind, though. ? That's it for today's efforts, thanks for stopping by.
-
'57 El Nomado
customline replied to customline's topic in WIP: Model Trucks: Pickups, Vans, SUVs, Light Commercial
Only if the paint job makes it that way, Mike. Thanks for your interest and the kind words. I just finished painting the molded-in exhaust system. When I went to attach the sway bar/tie rod unit to the cross member I got a little surprise. I'll put some pix up later on that. It's just been like that the whole way. -
'57 El Nomado
customline replied to customline's topic in WIP: Model Trucks: Pickups, Vans, SUVs, Light Commercial
Thanks, Bob, there's still plenty of work to do. -
'57 El Nomado
customline replied to customline's topic in WIP: Model Trucks: Pickups, Vans, SUVs, Light Commercial
-
'57 El Nomado
customline replied to customline's topic in WIP: Model Trucks: Pickups, Vans, SUVs, Light Commercial
Thanks, David. When I realized I had another thing to fix, I became a little despondent. And then I had a EUREKA! moment with my right palm smacking me square on my forehead. You had to be there ?. -
I have a thought, David! How about dark tinted glass for the quarter glass? I have a variety of colors that I use for the occasional gasser (and a customized T-Bird) I would be happy to drop a piece big enough to do all the glass in a legal size envelope and trust the USPS to get it to you hopefully before Labor Day.
-
'57 El Nomado
customline replied to customline's topic in WIP: Model Trucks: Pickups, Vans, SUVs, Light Commercial
Glad you made it, Bill, welcome to my mess. It's easier if you start with a decent kit. I didn't. More fun this way. ? -
'57 El Nomado
customline replied to customline's topic in WIP: Model Trucks: Pickups, Vans, SUVs, Light Commercial
Thanks, Robert. It's pretty standard these days for a vehicle of this nature. I'm in so deep now a few more fixes like this one are inevitable. It never ends with this kit. -
I think I would leave that tape removal mishap just the way it is. It's beautiful! I would try that elsewhere as well. It's a nice effect. ? . I would call it "perfectly peeling paint"
-
'57 El Nomado
customline replied to customline's topic in WIP: Model Trucks: Pickups, Vans, SUVs, Light Commercial
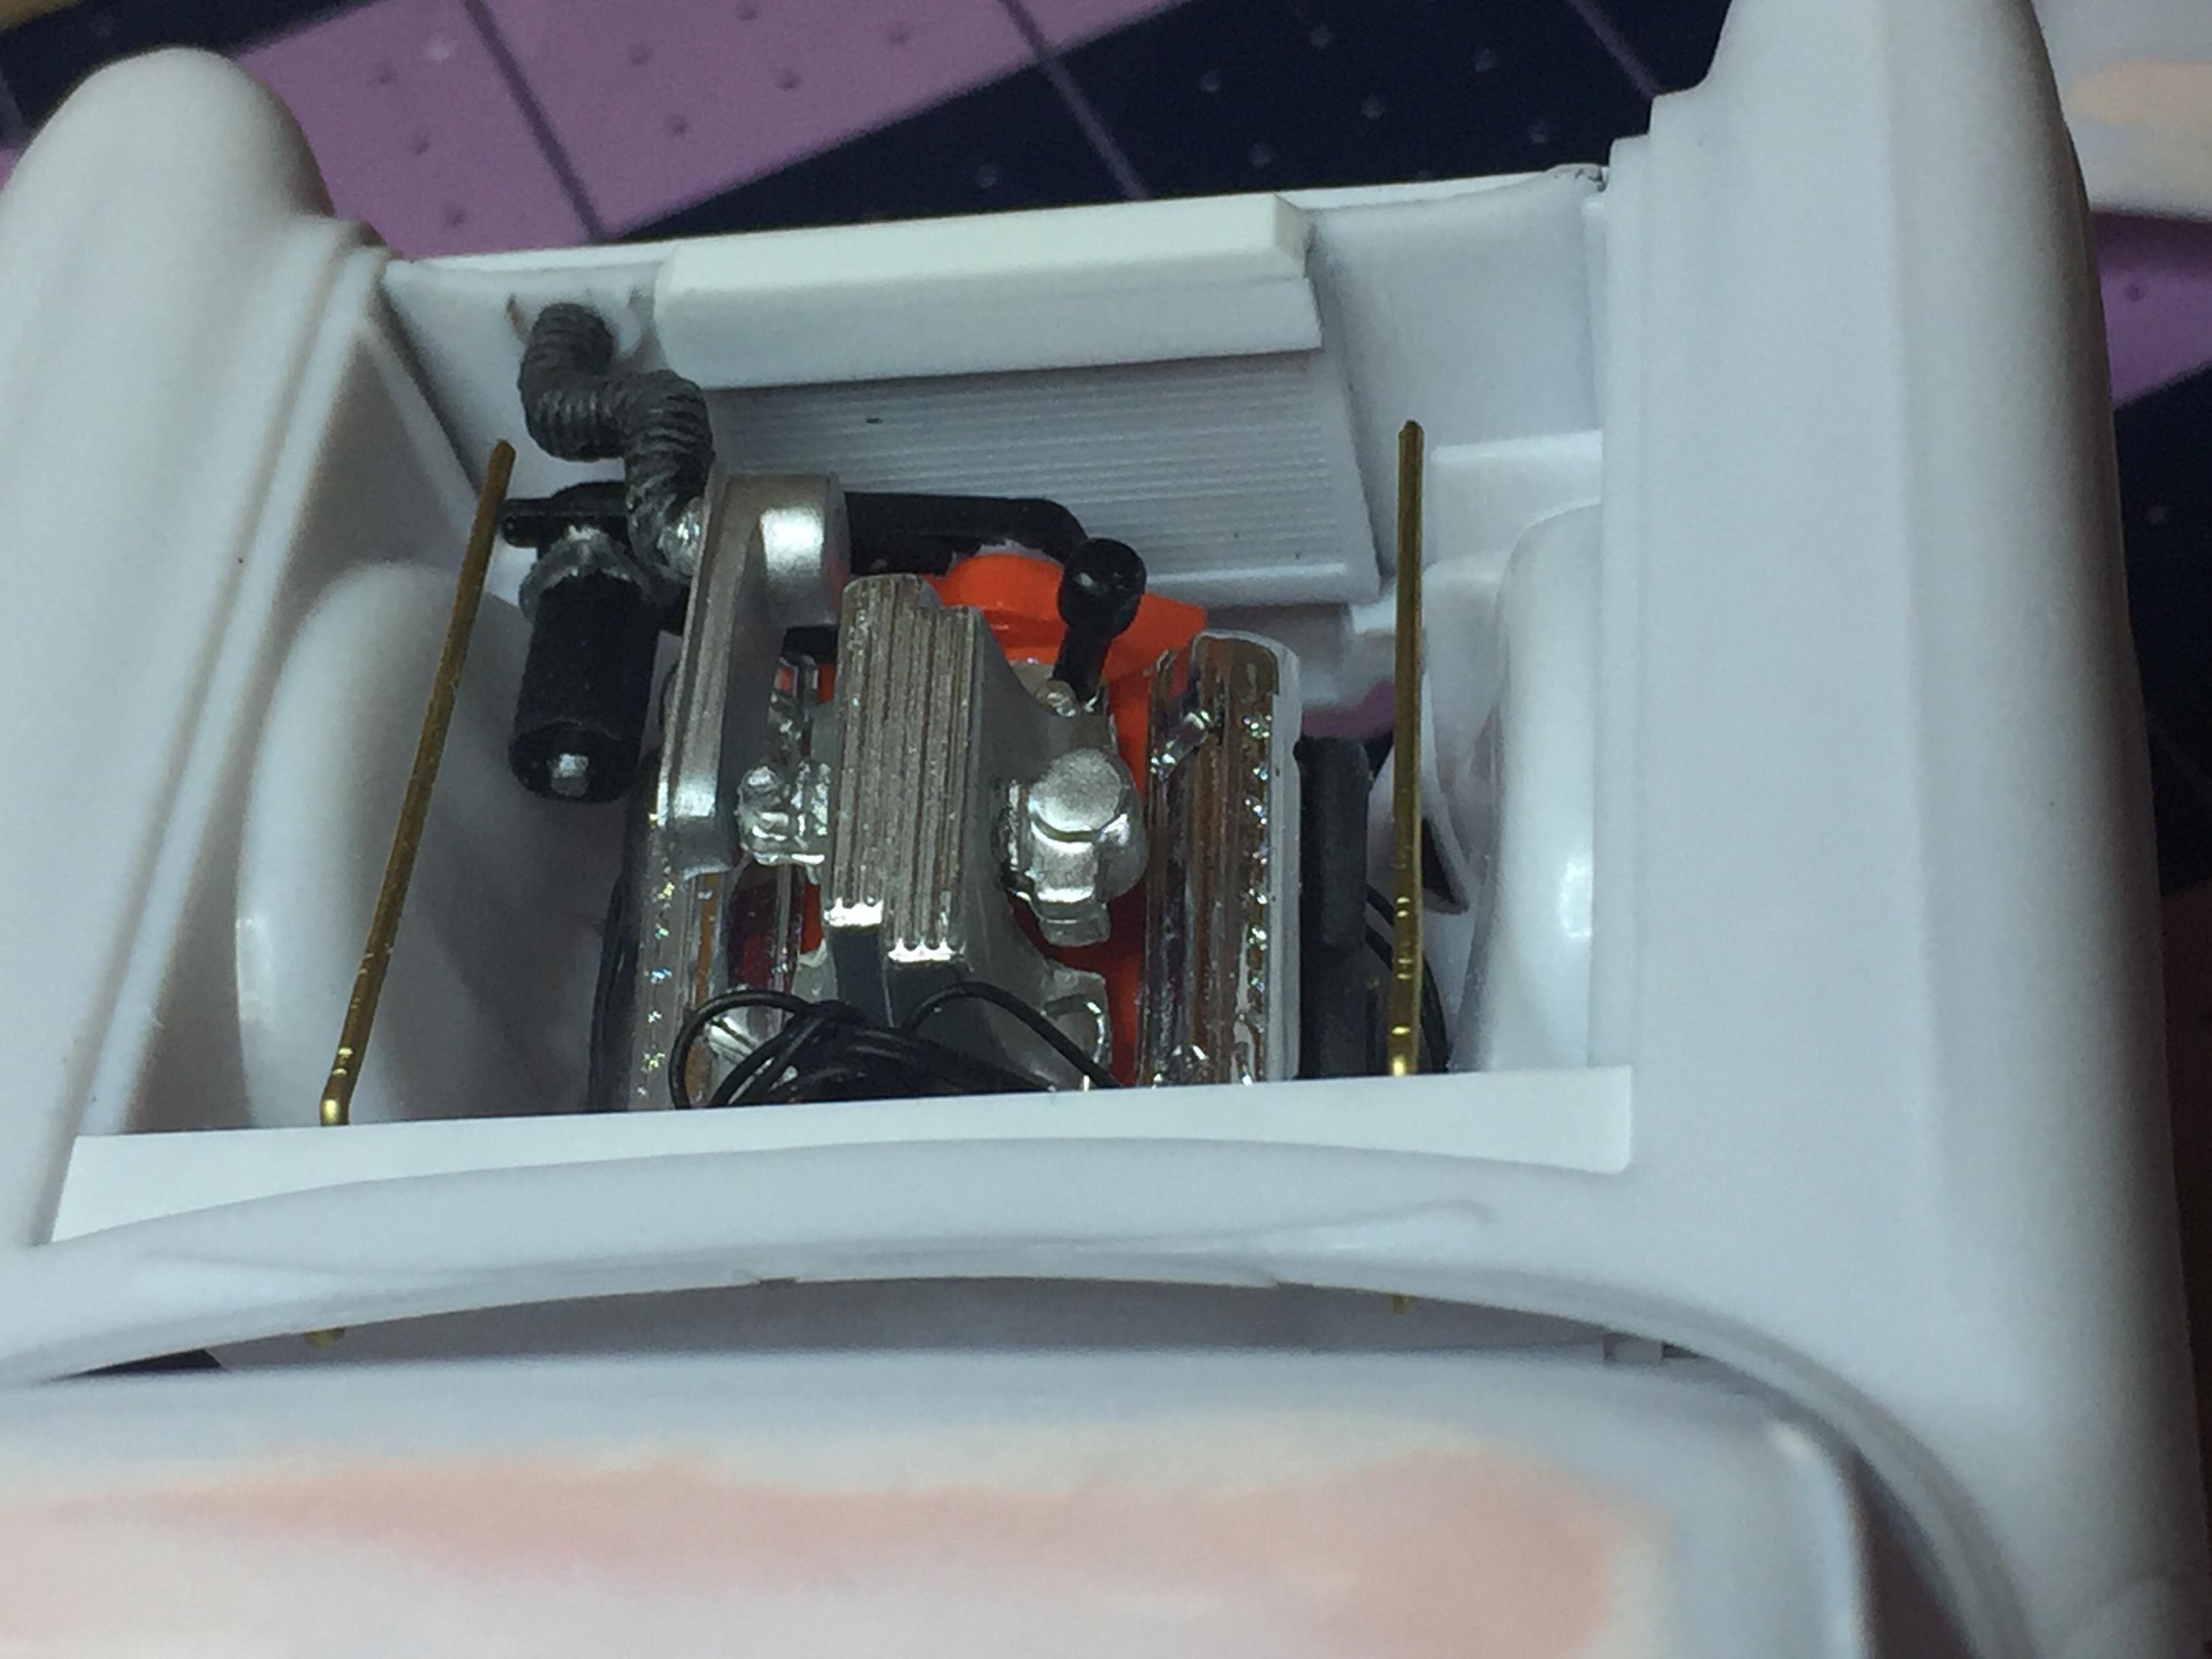
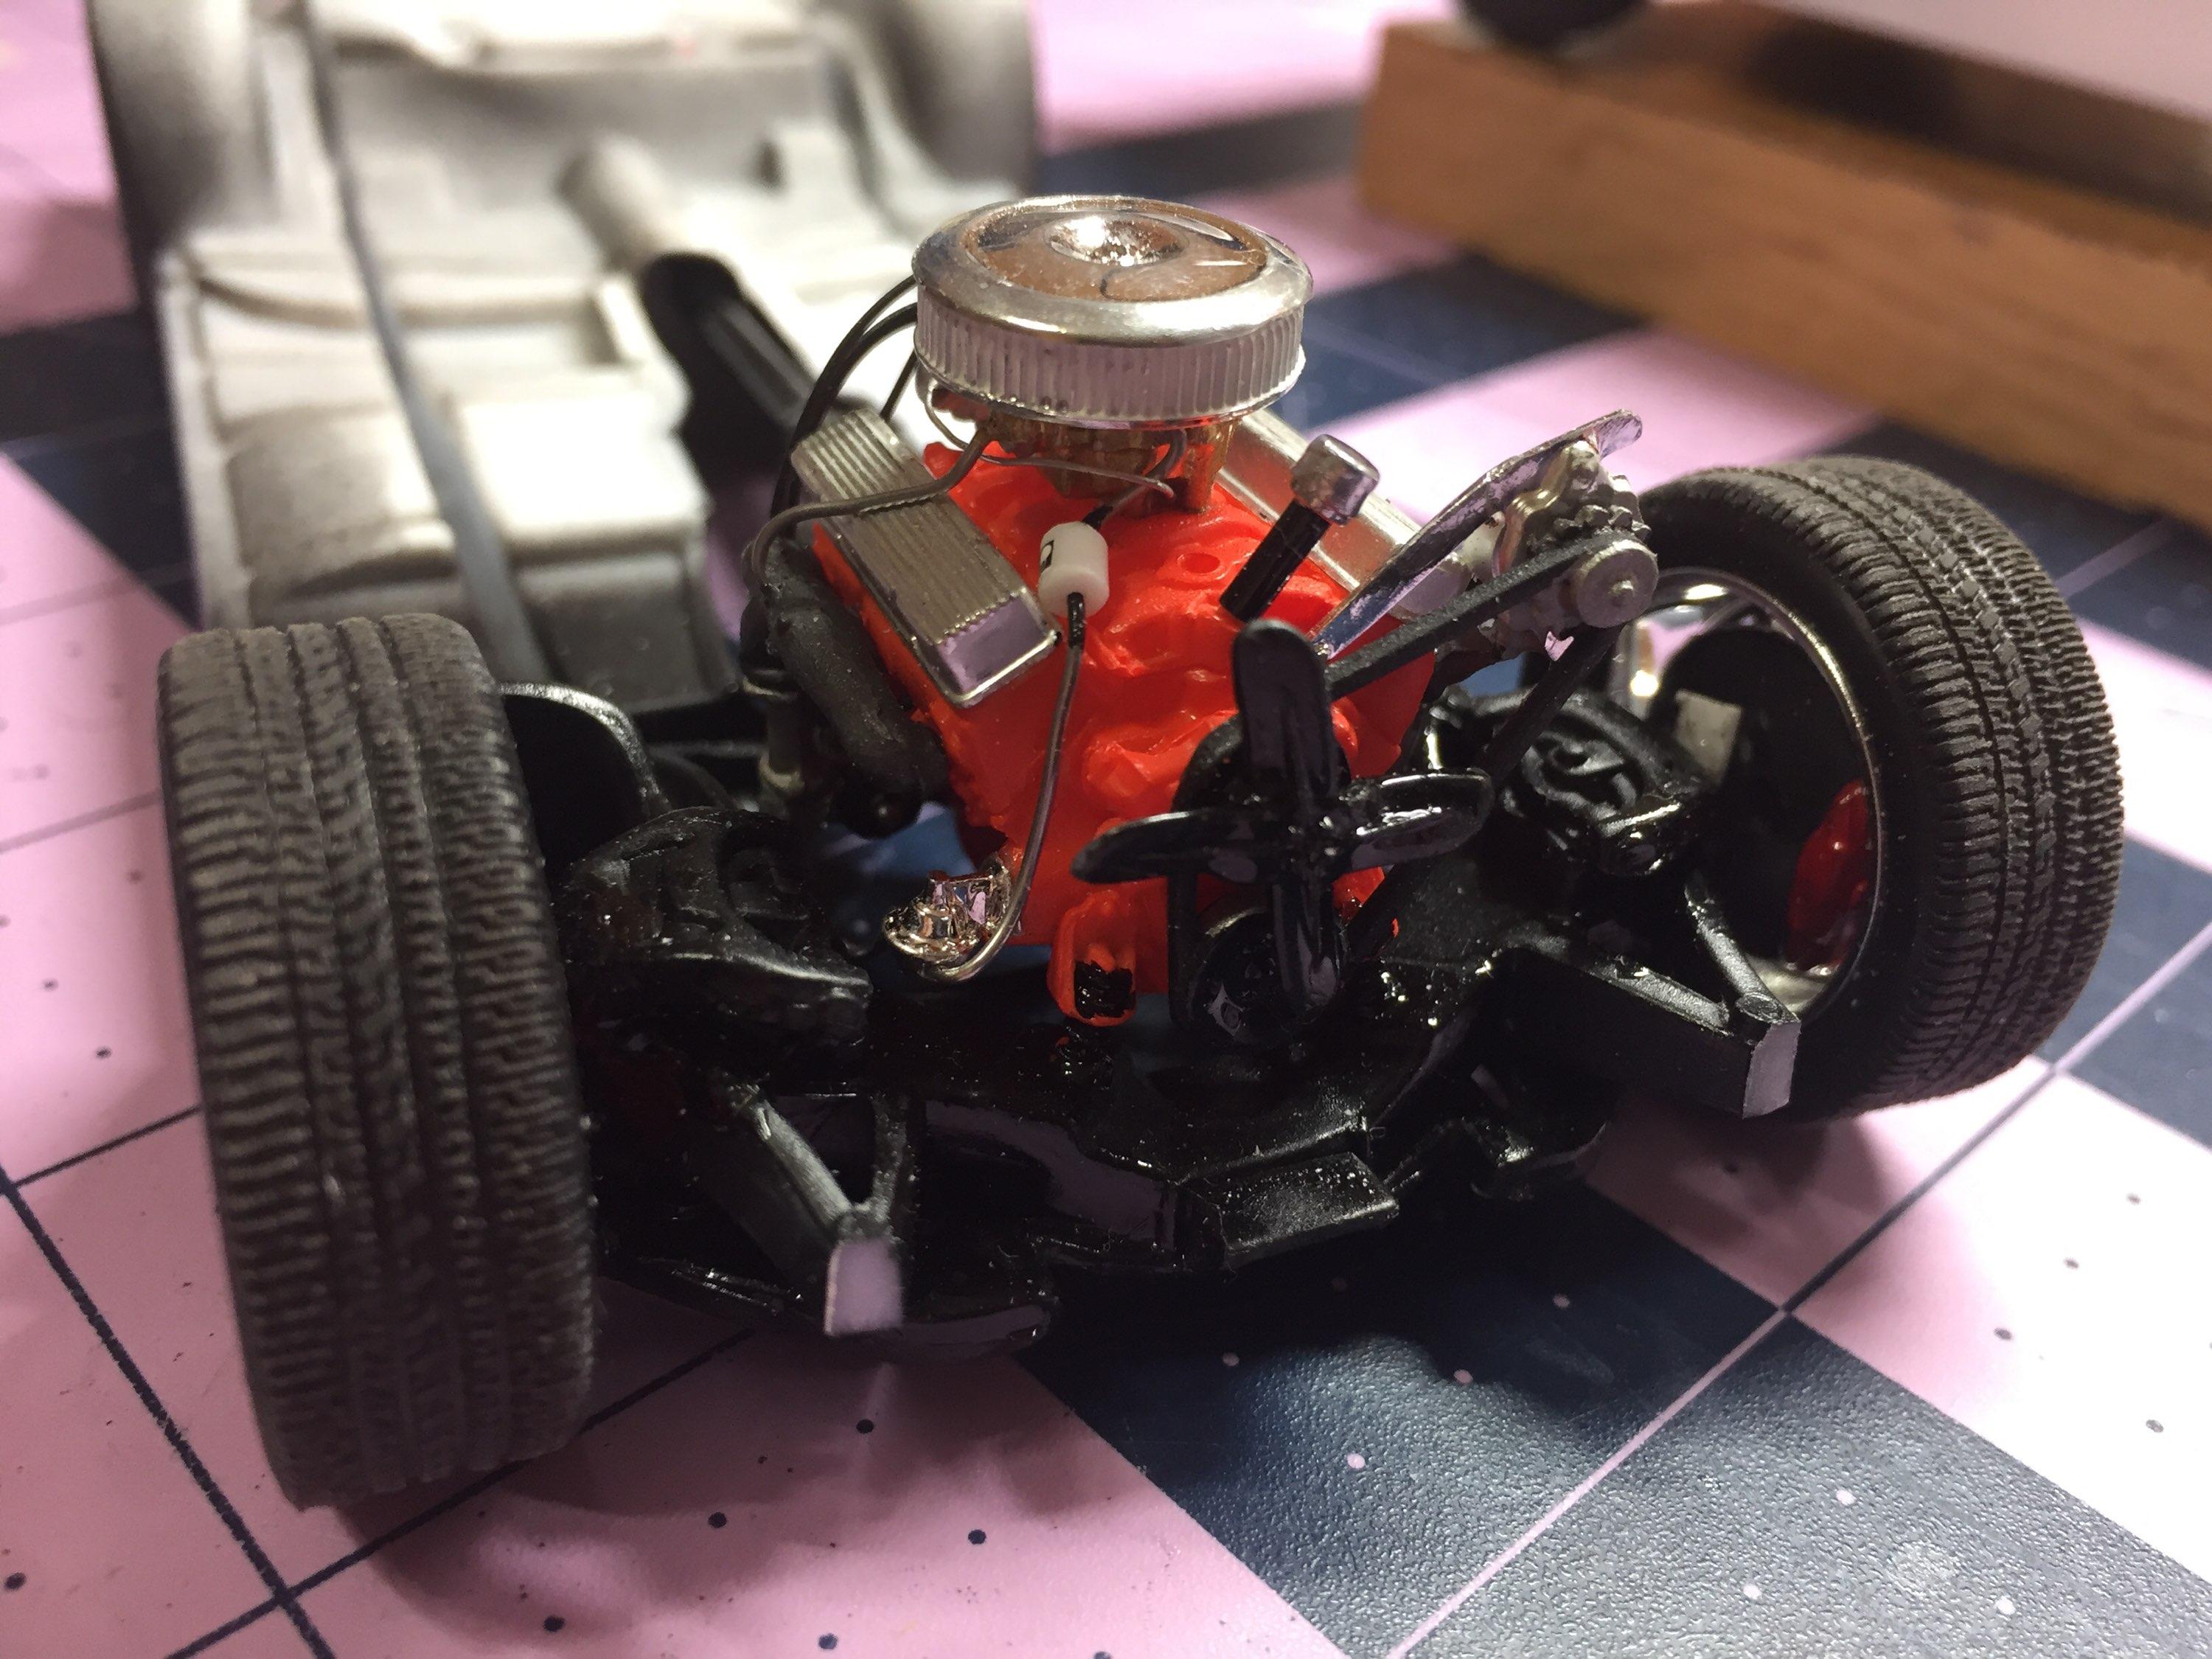
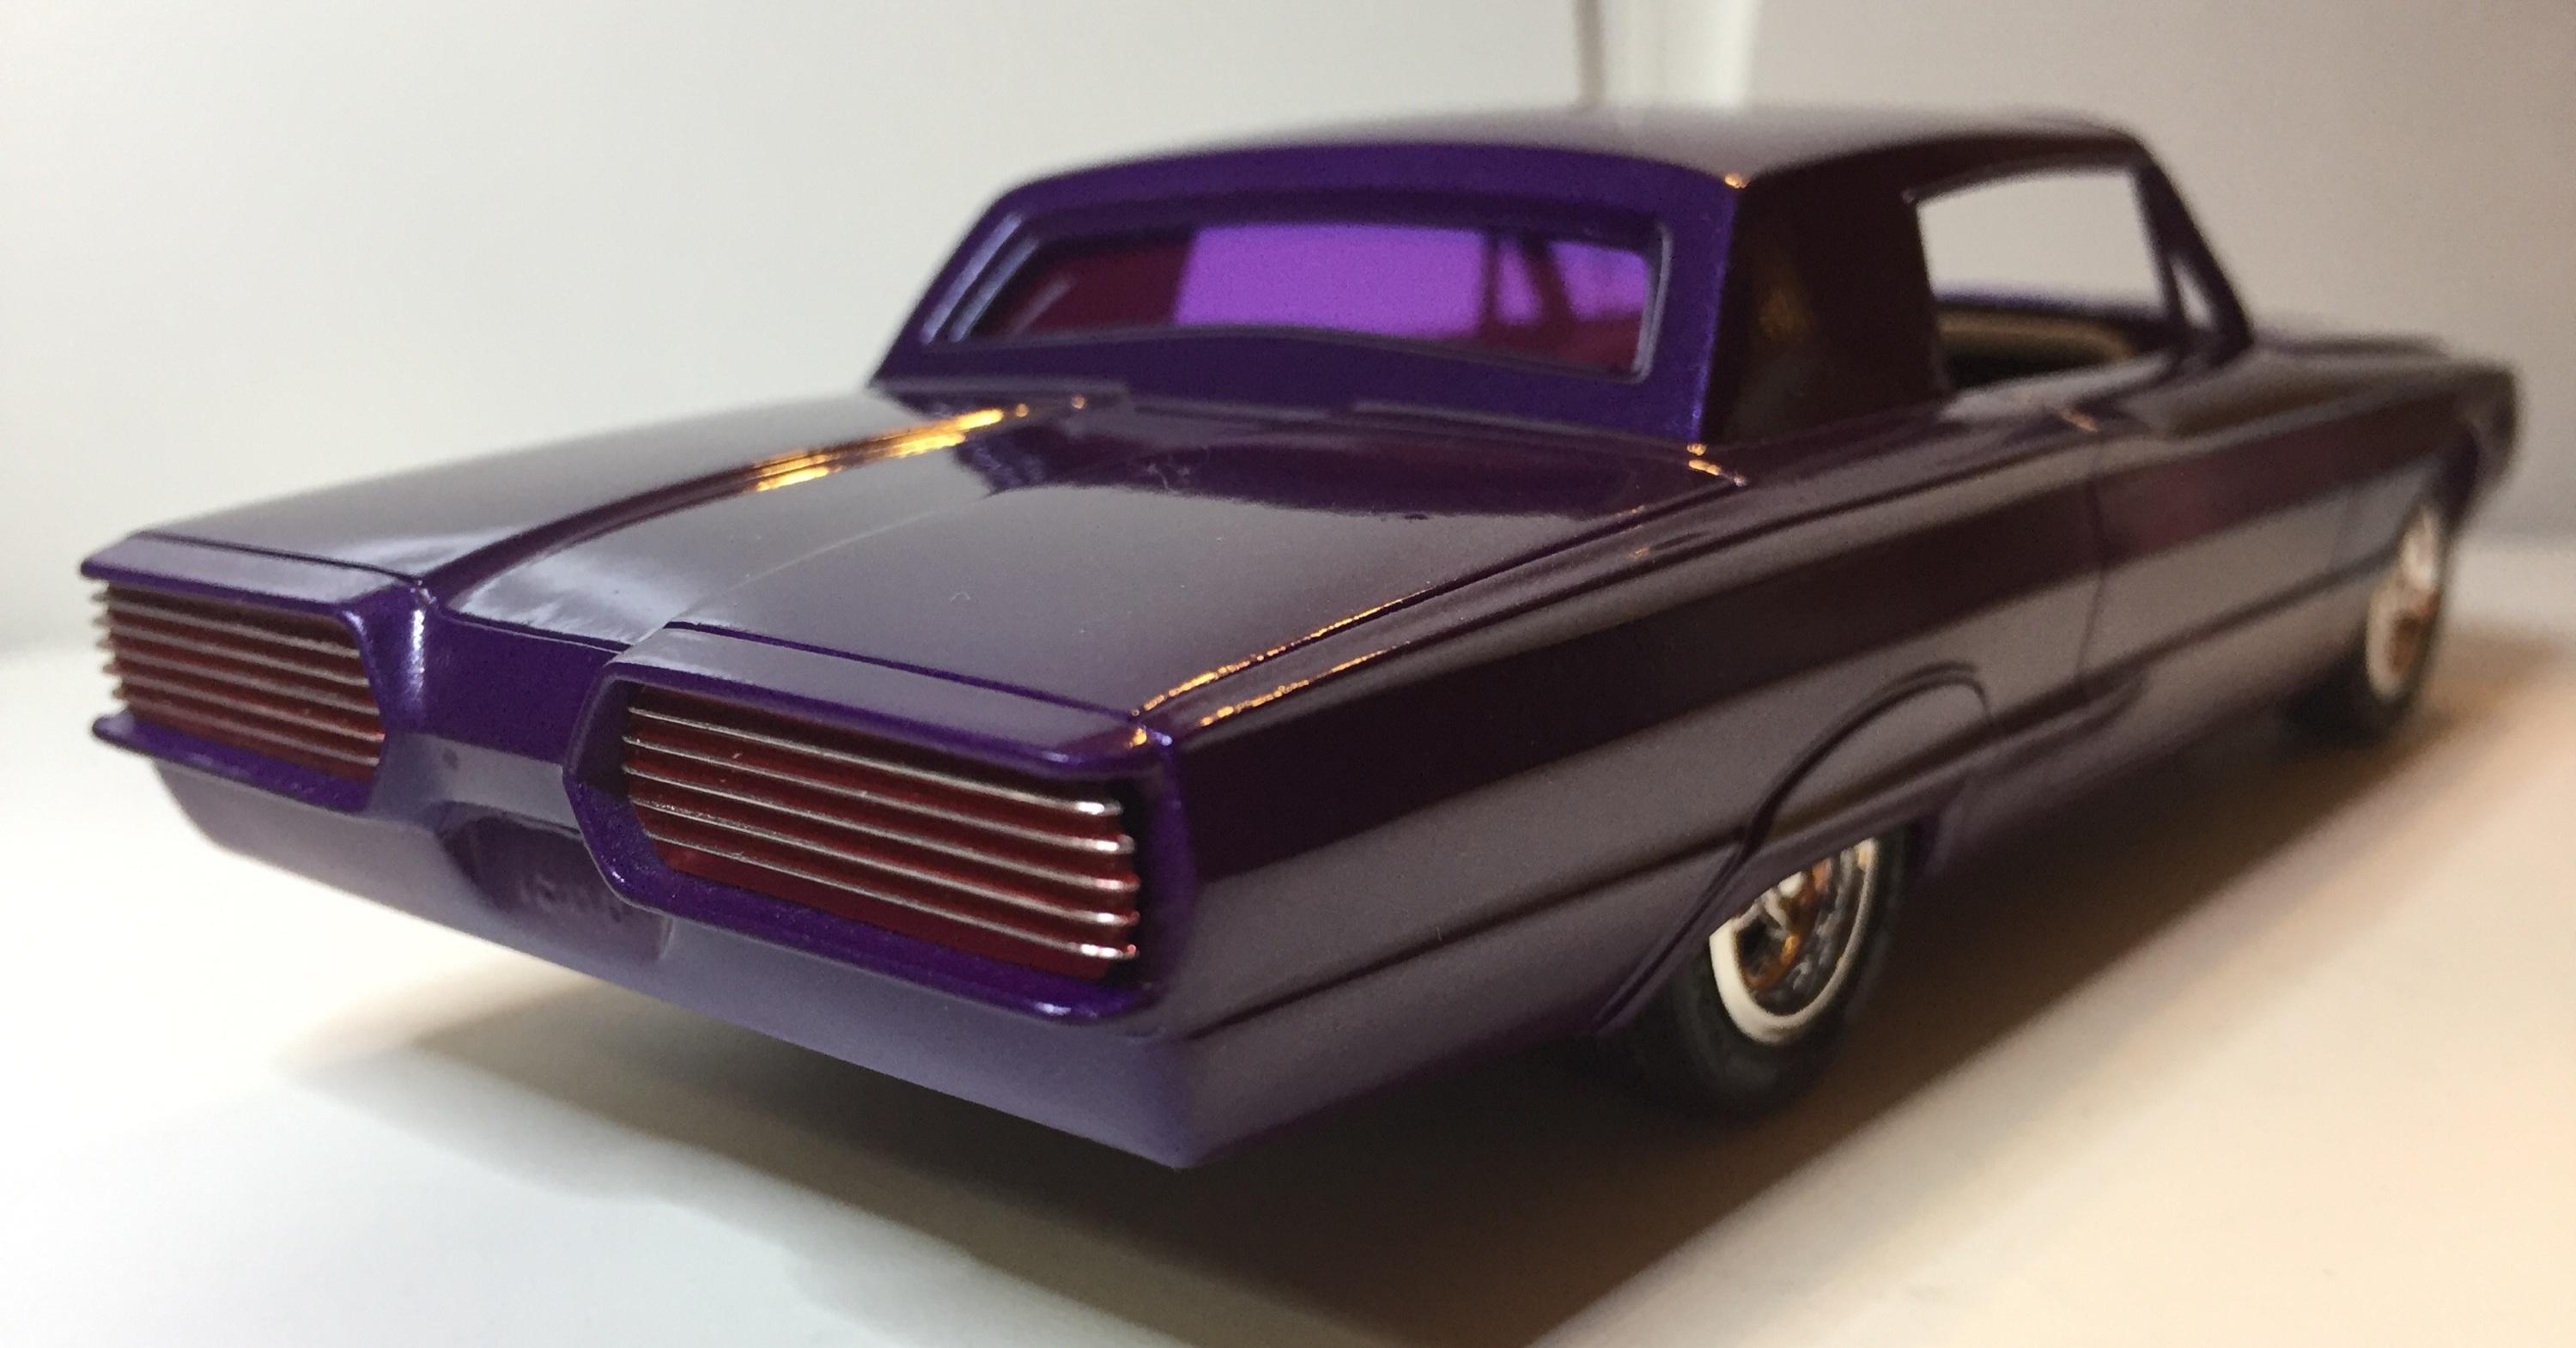
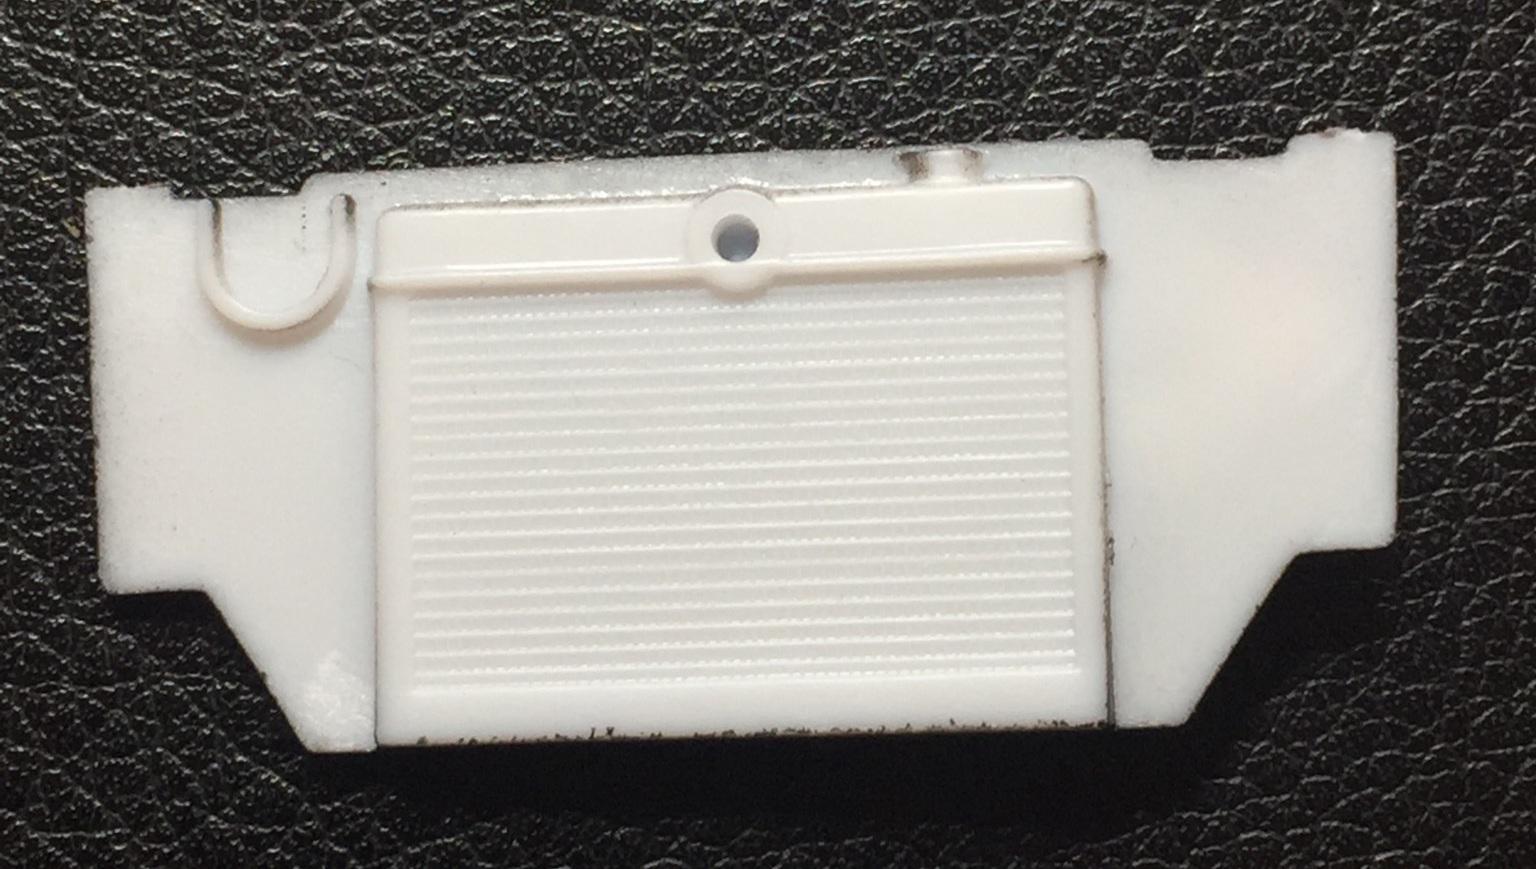
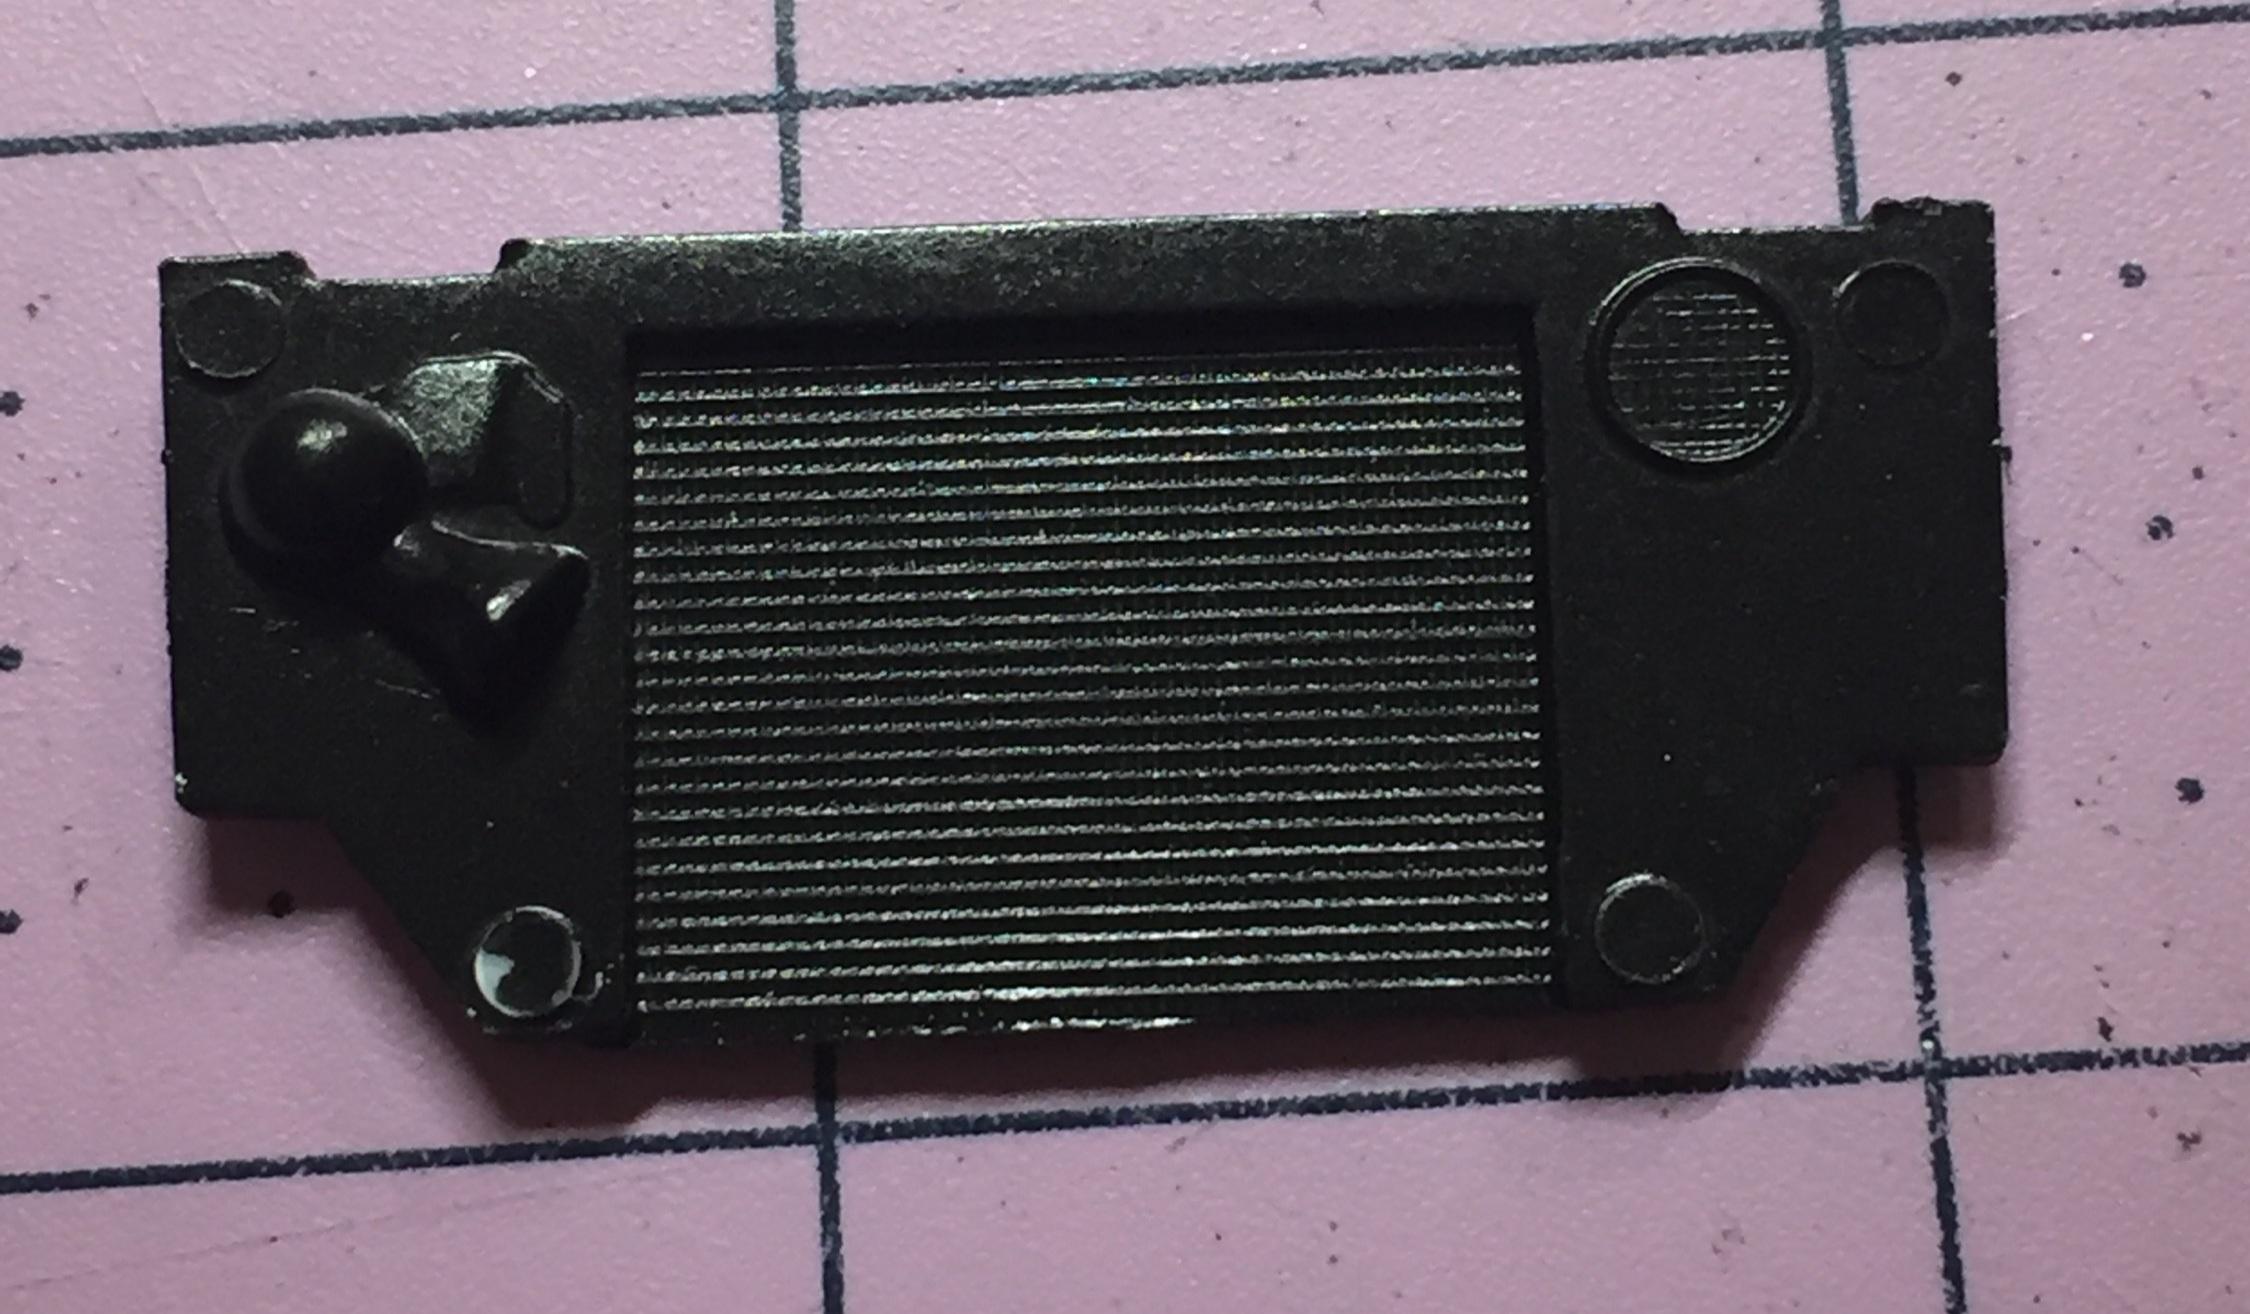
That little issue with the fan slicing through my top radiator hose was an easy one to fix. Monogram could have worked around it with an electric fan. That's okay, I did. And while I was at it, I figured a new aluminum radiator would be nice too. Here's the kit radiator ? Notice the molded-in horn and the half-a-pressure-cap. ? The electric fan I found in my "engine parts" drawer is a beauty. Not a clue where it came from but I'm sure glad I was able to find it. It fit the spot almost perfectly. The splash pan (?) had to be opened up a bit, enter Mr. Moto ? For the radiator, a little work with Mr. Moto and some scraps of Evergreen and I'm on my way to a nice new custom aluminum radiator! I removed the horn and air intake screen from the front side and veneered the support with .010 sheet to clean it up. I added a .040 x .040 strip across the top and some .060 angle for esthetics. Then I sliced off a piece of 7/32" tube and grafted it to a scrap of sheet that I cross-hatched with my #11. I glued some scrap strip pieces over the kit radiator tank and fashioned it to look like a custom aluminum item. I still have a can of MM Metalizer with a bit left in it so I'll hit it with that and buff up. An octagon cap will finish it off. oh... yeah.... and I cut the fan off the engine ? . Thanks for checking my work!
-
'57 El Nomado
customline replied to customline's topic in WIP: Model Trucks: Pickups, Vans, SUVs, Light Commercial
Thanks, Dave, I'm glad you're here now so welcome to the fun! The very first photo was not the trigger for the build. The idea of keeping the B pillar as the defining element was in my head before I found that photo. Seeing that 1:1 validated what I was thinking. Making it happen in 1/24 styrene didn't seem too difficult. But this kit has been fighting me at every turn. The lightweight Galaxy was a walk in the park compared to this one. The ride height is an important element and when a kit is an accurate representation in scale, the stance can usually be adjusted by the normal means. I know how to make that happen. The only way to get this puppy in the weeds was just way more than I wanted to do. But I now have a ride height and stance I can live with but the main thing is the overall impact of the phantom Nomad pick-up. All I need now is a good paint job and I'm going with non-metallic colors. I don't need another paint disaster, thank you very much. Paint is not my favorite thing. Stick around, Dave, I've got a ways to go and your attention and comments are appreciated. -
'57 El Nomado
customline replied to customline's topic in WIP: Model Trucks: Pickups, Vans, SUVs, Light Commercial
IMHO, if that's a rare, valuable kit just leave it be and pick up the newer one to butcher.


.jpg.0a512314dbf04a6460e2c399278e9f33.jpg)
.jpg.84e7c25eac9391b6d4271c71041d9e11.jpg)