k100
-
Posts
528 -
Joined
-
Last visited
Content Type
Profiles
Forums
Events
Gallery
Everything posted by k100
-
Thank you Steve , the bench was getting a little oily .LOL
-
Nice on the cab jack , the whole truck is just outstanding . Im thing of adding cab jacks on my K100.
-
Thank you Titino Thank you Brain I lost a few to the carpet monster LOL.
-
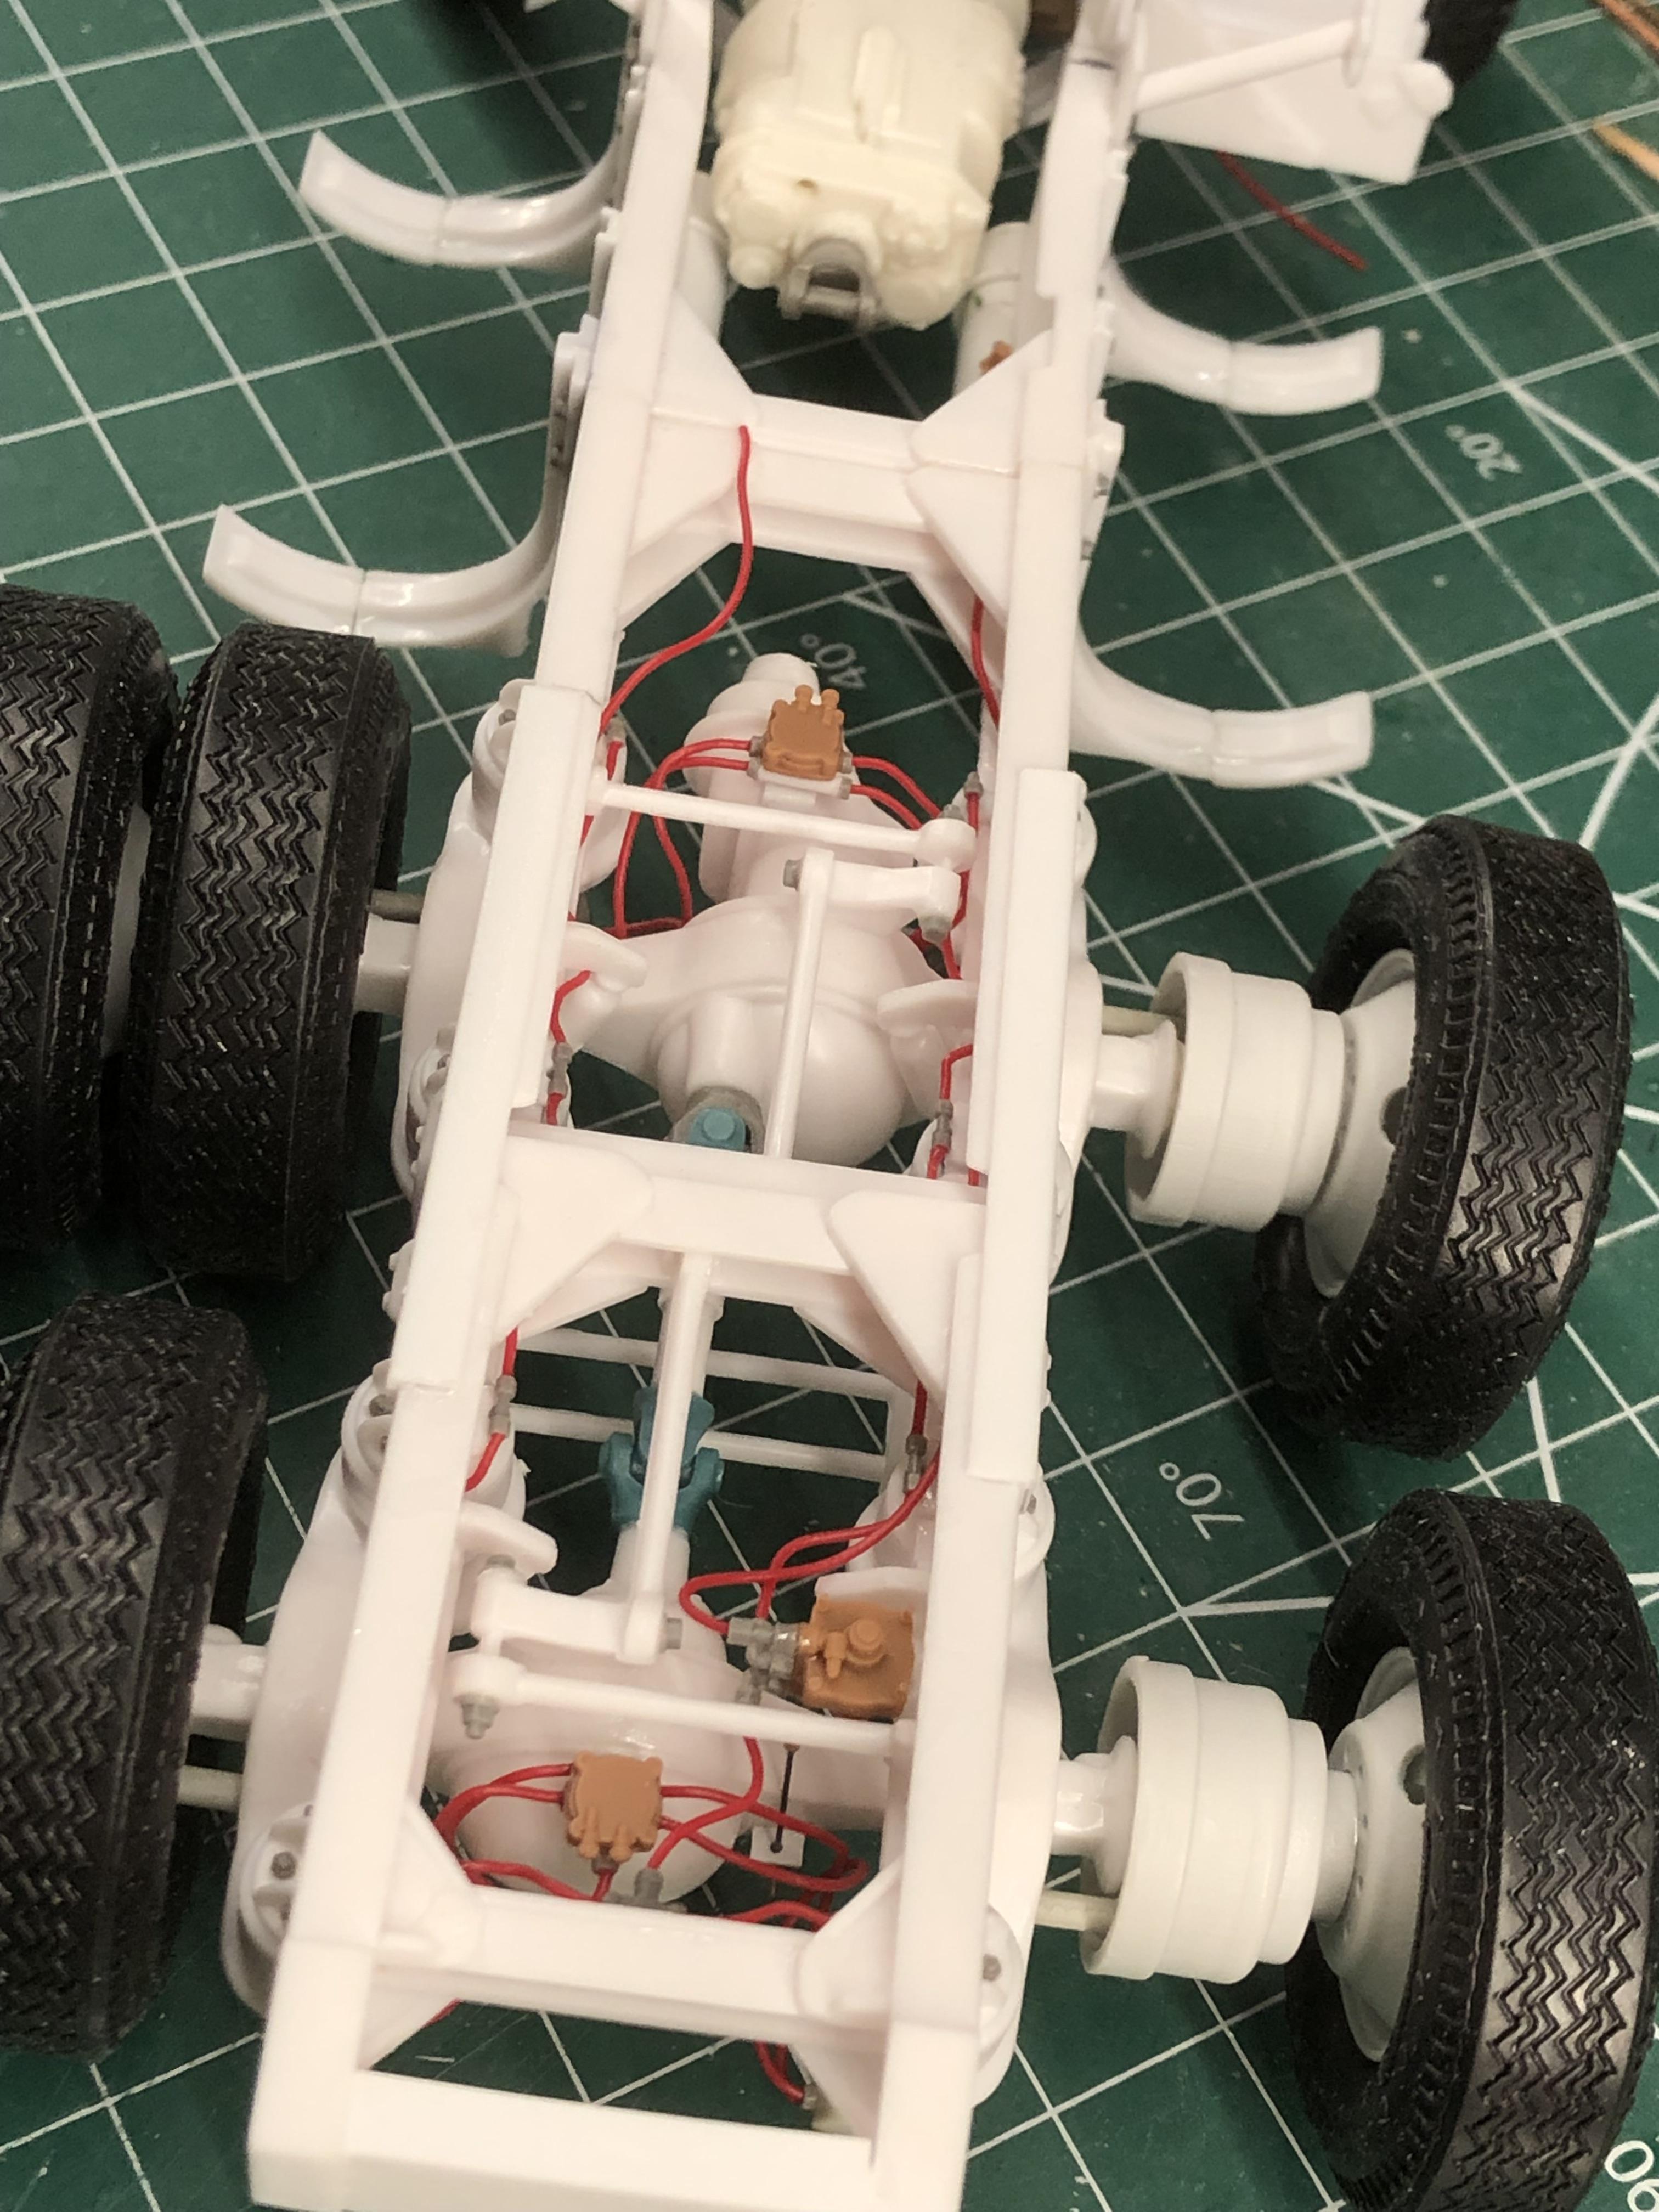
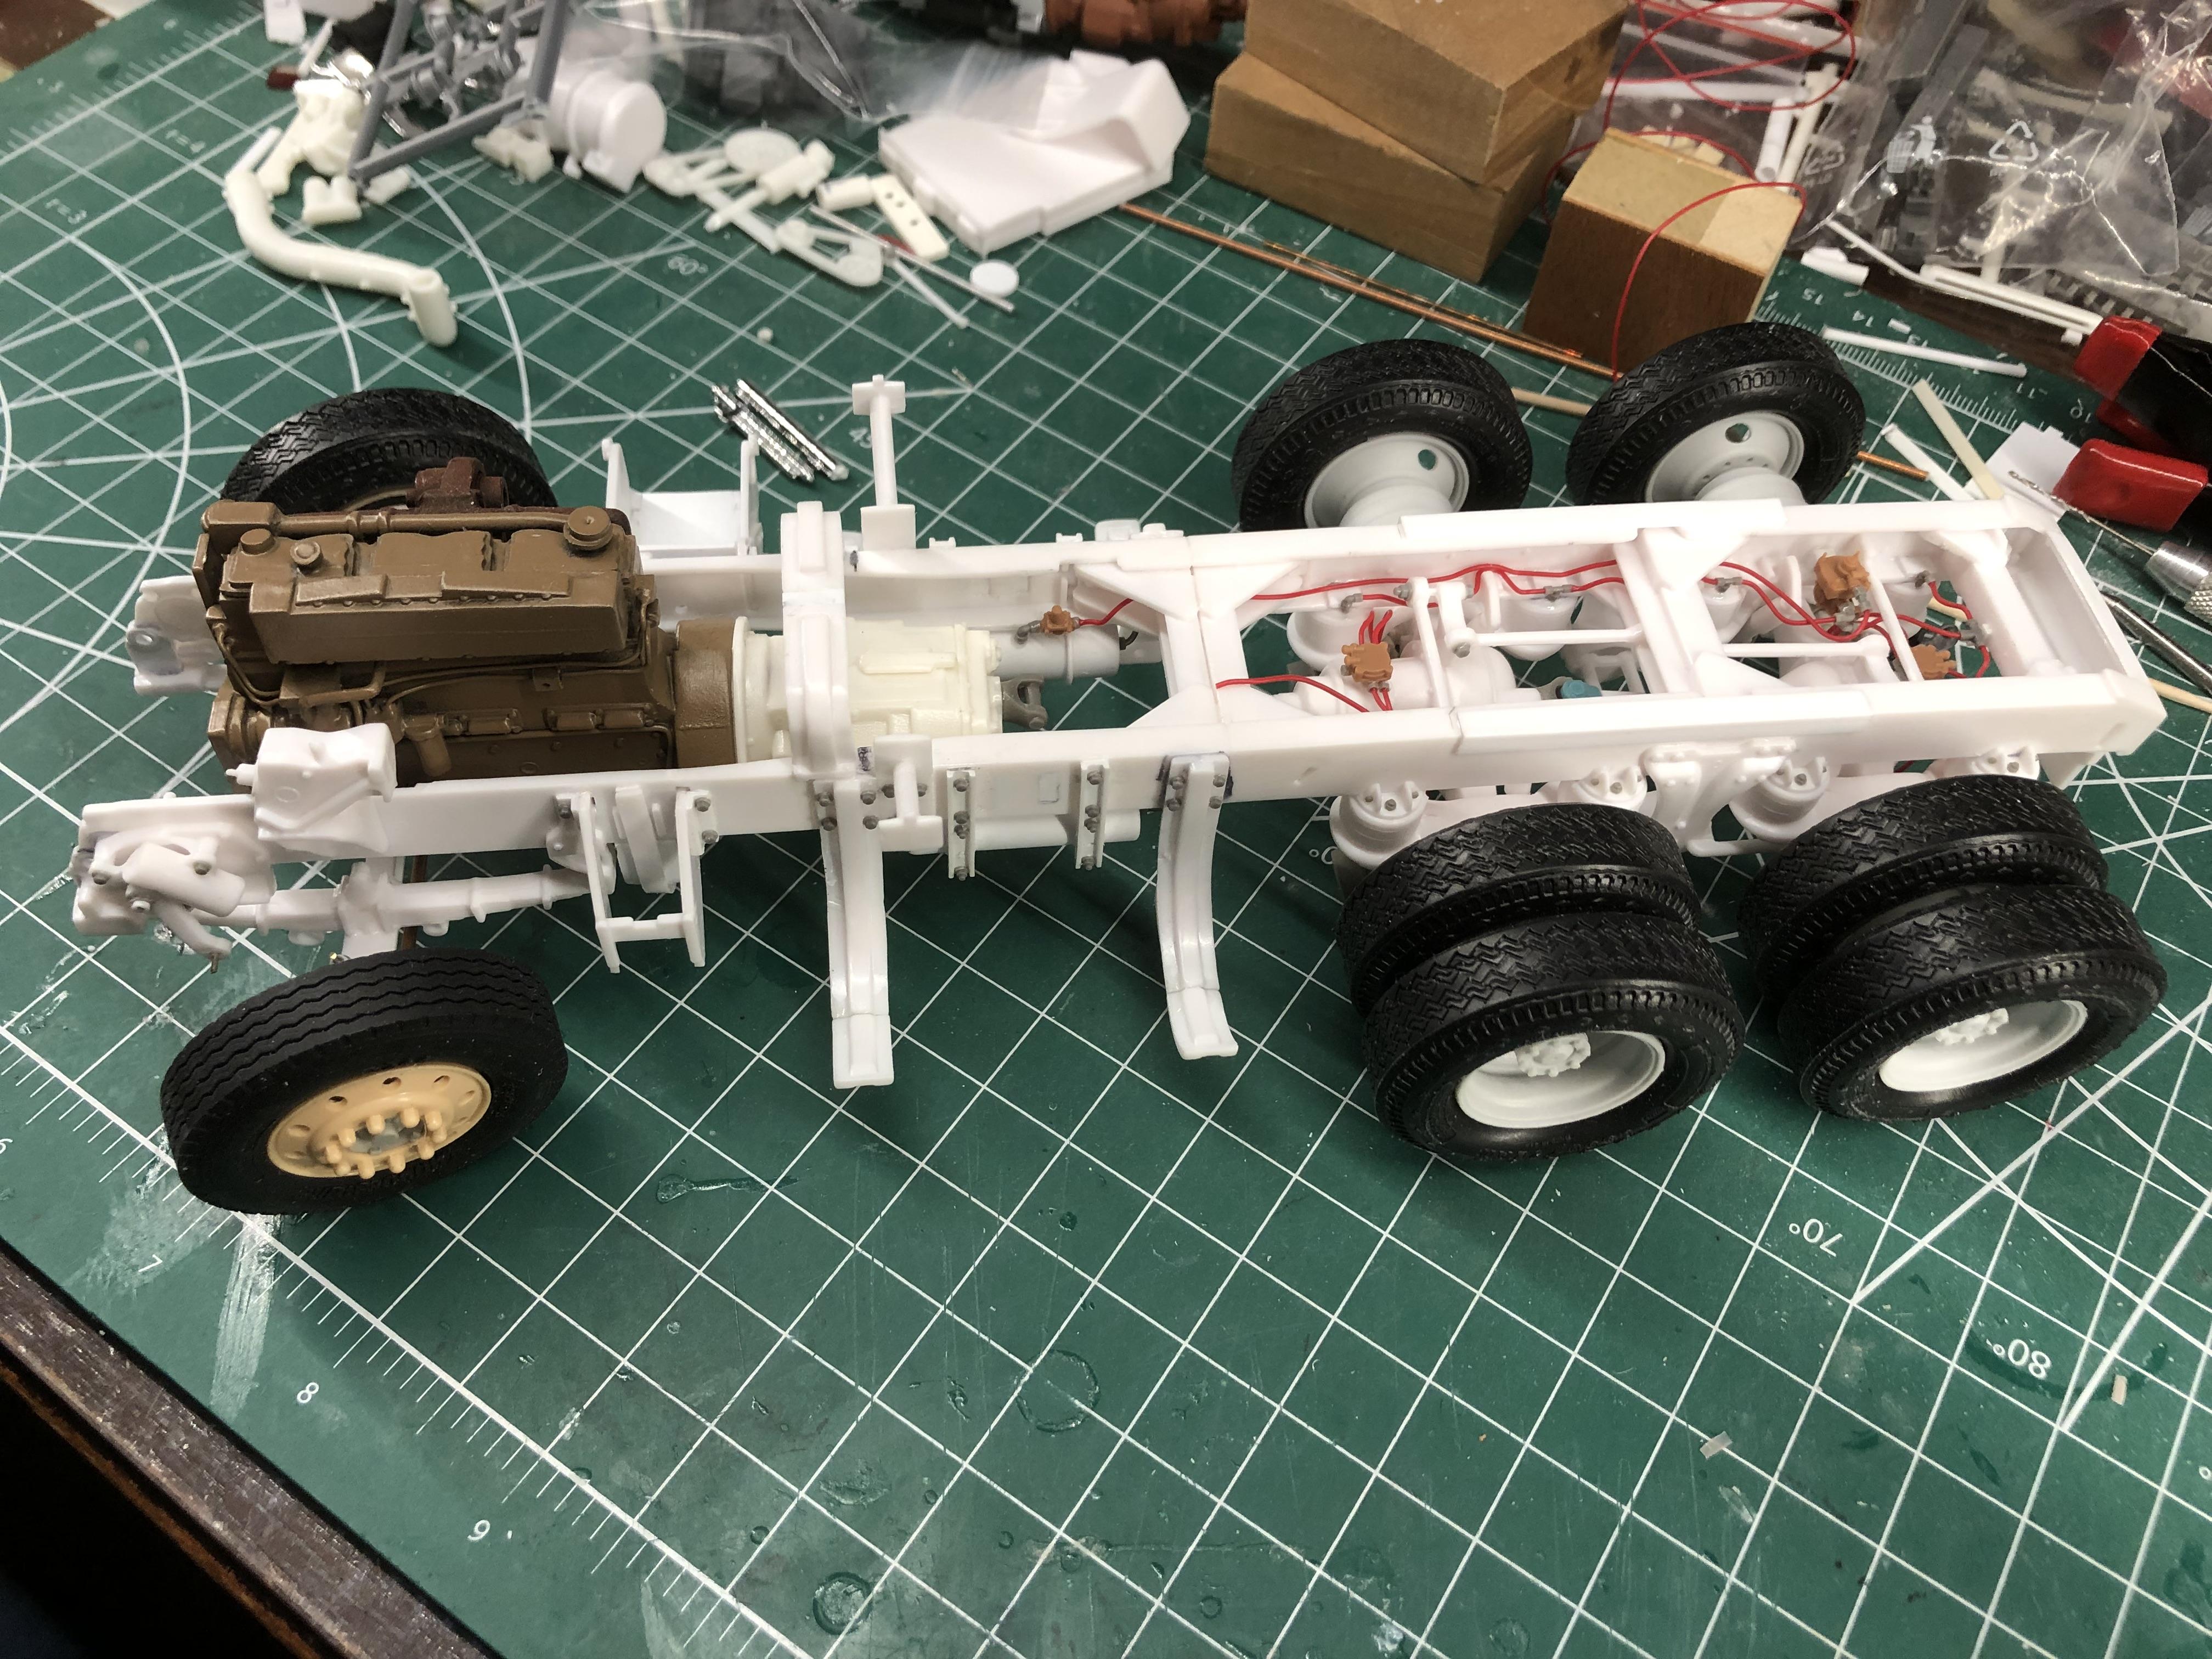
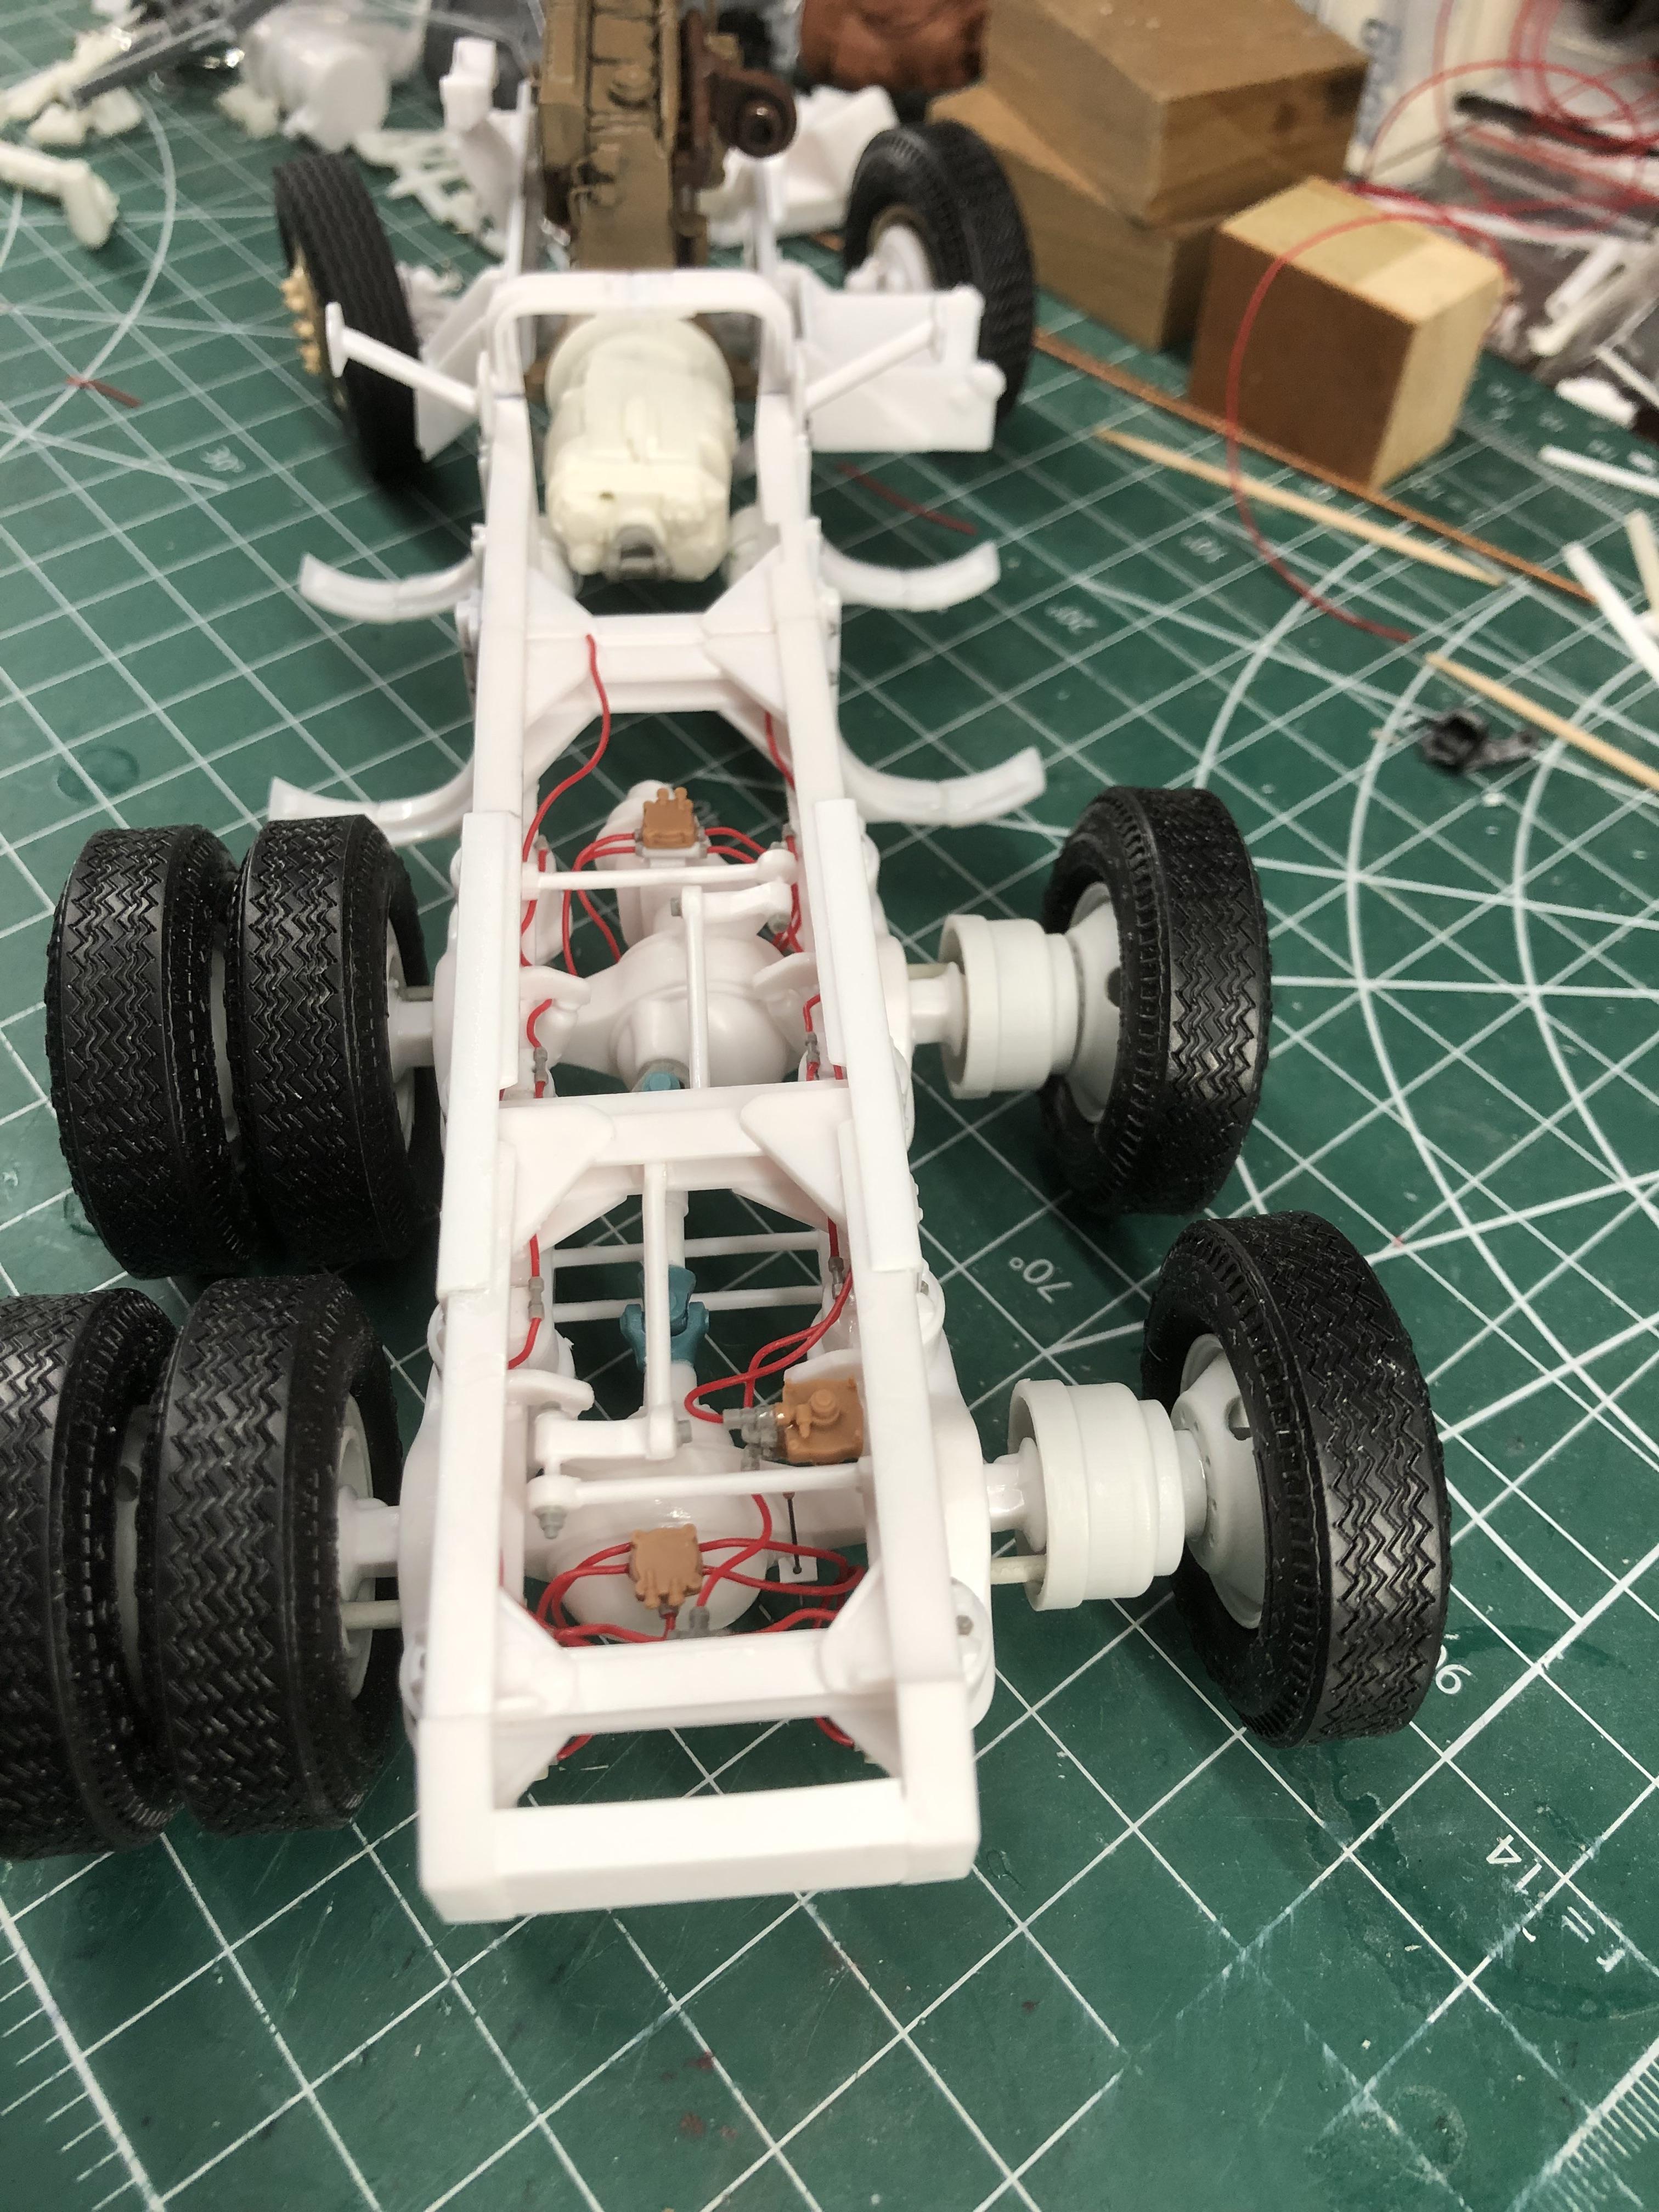
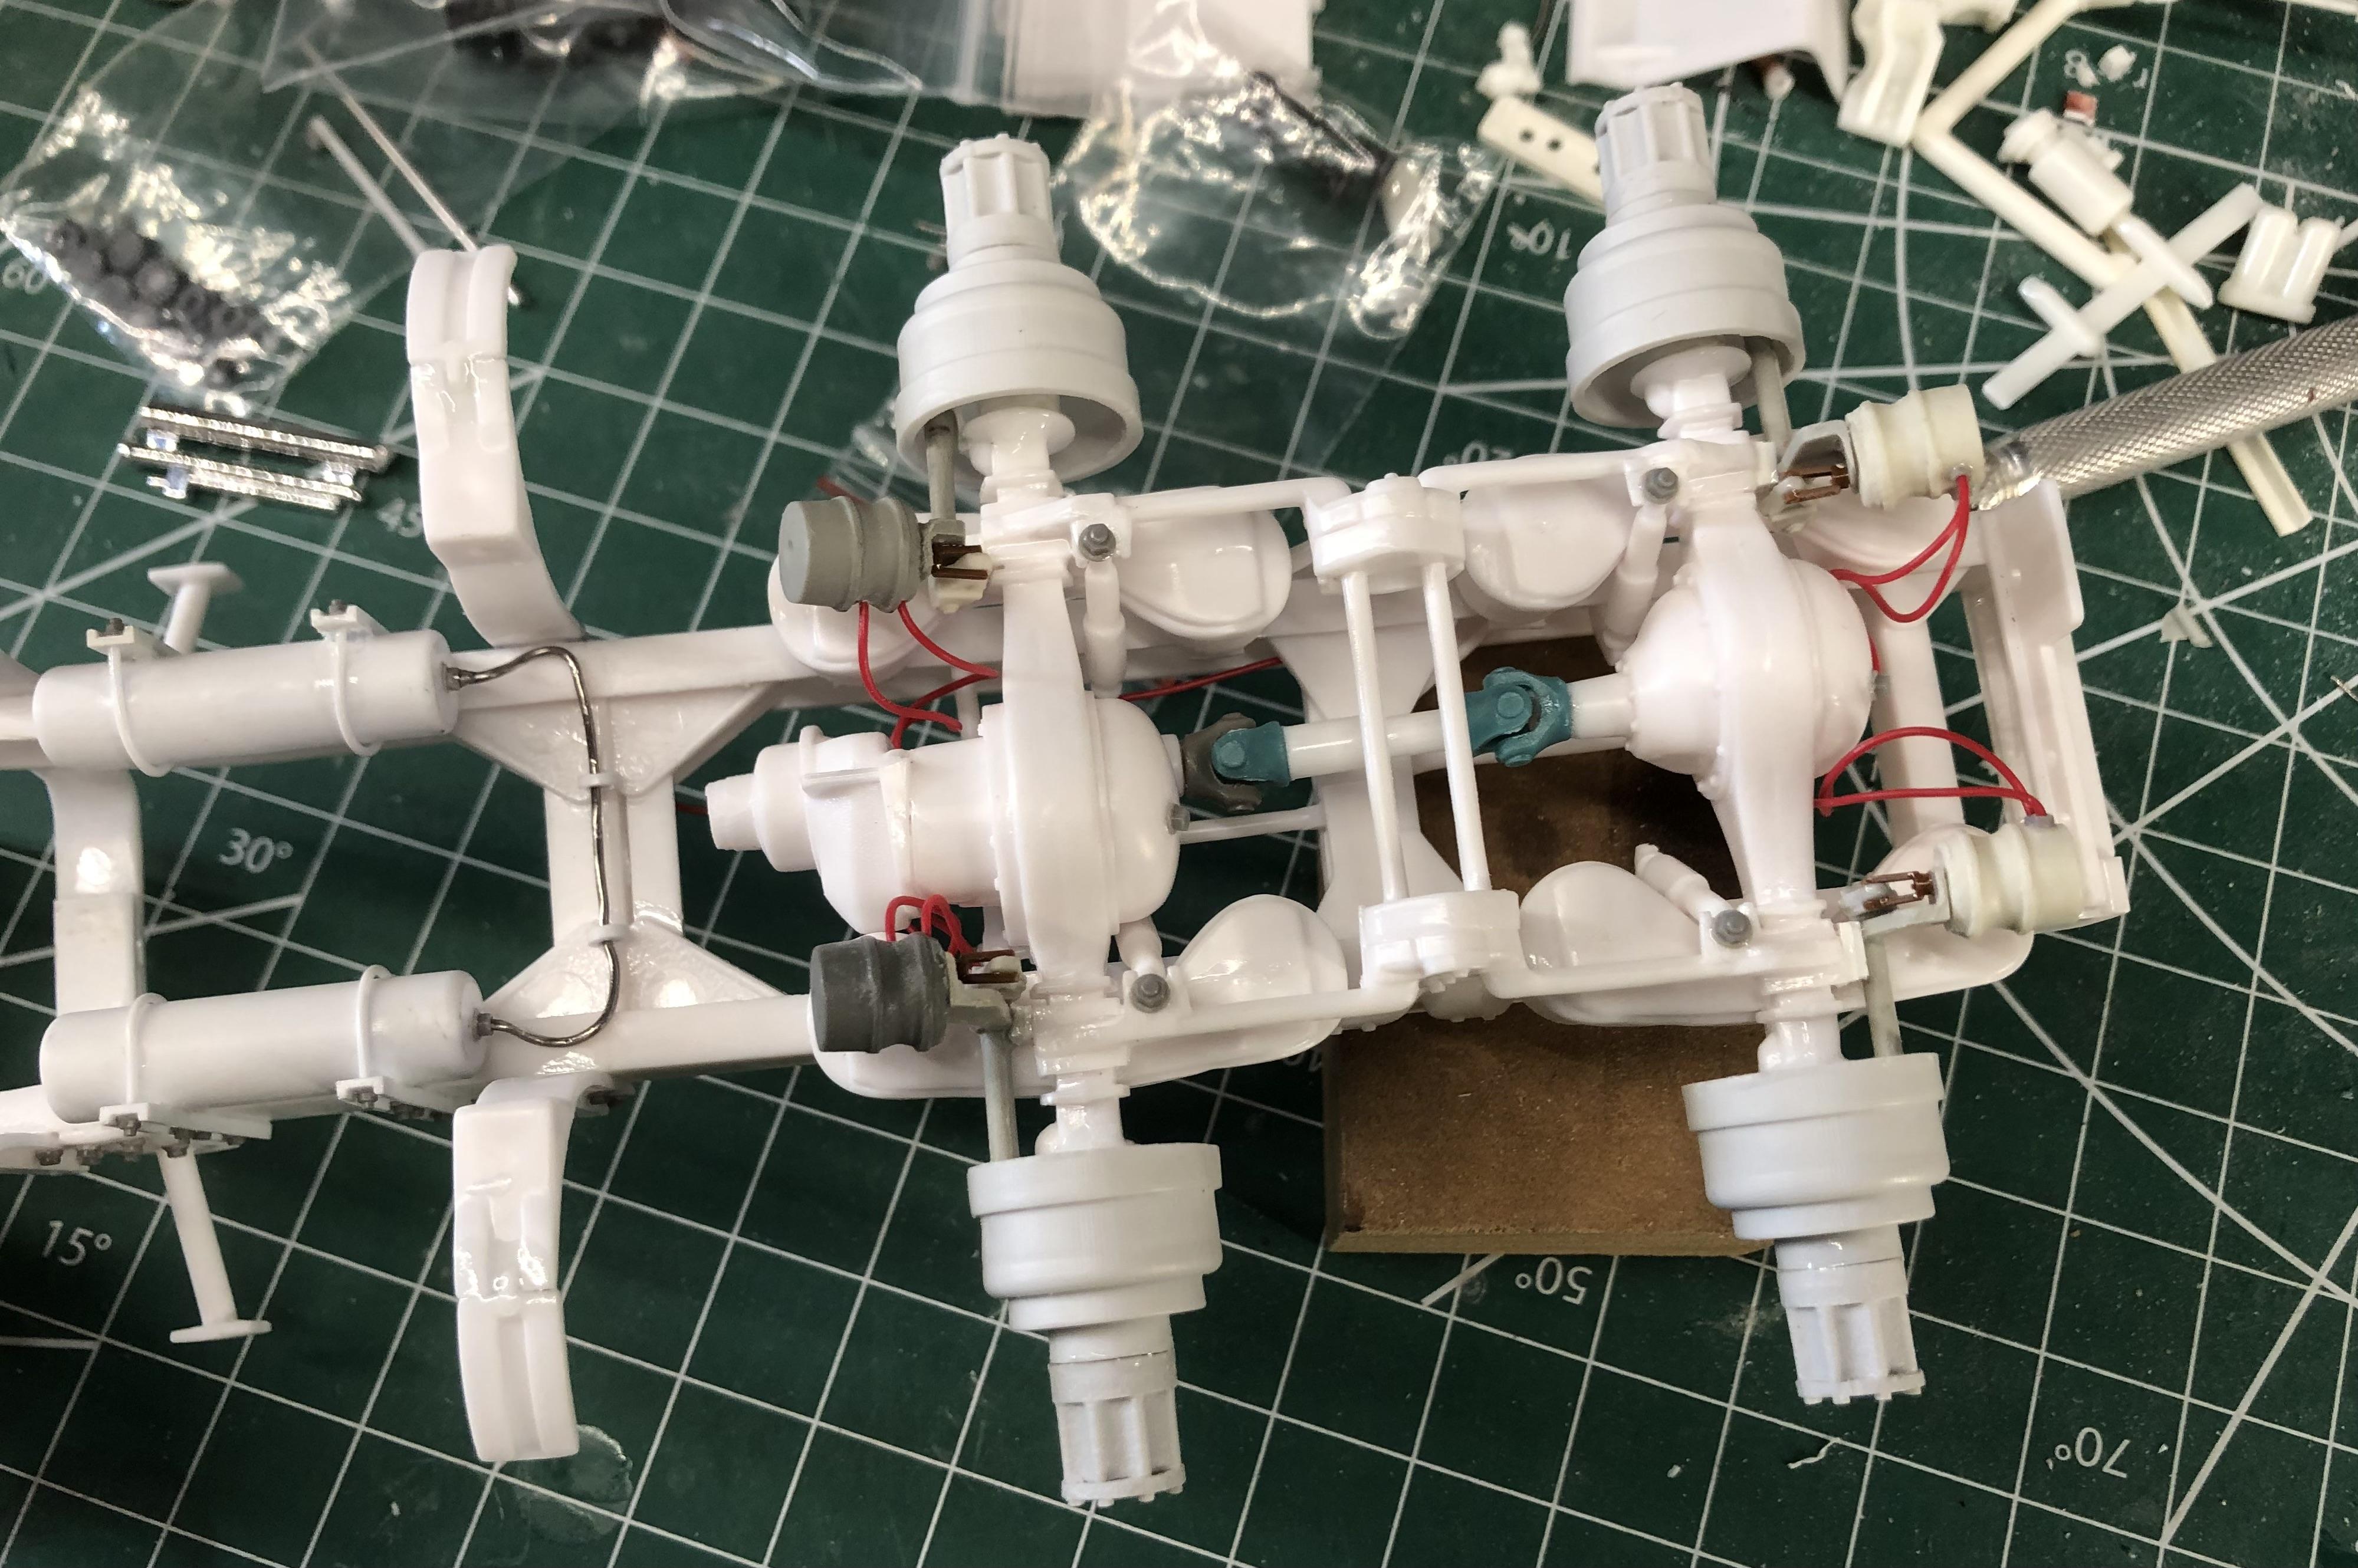
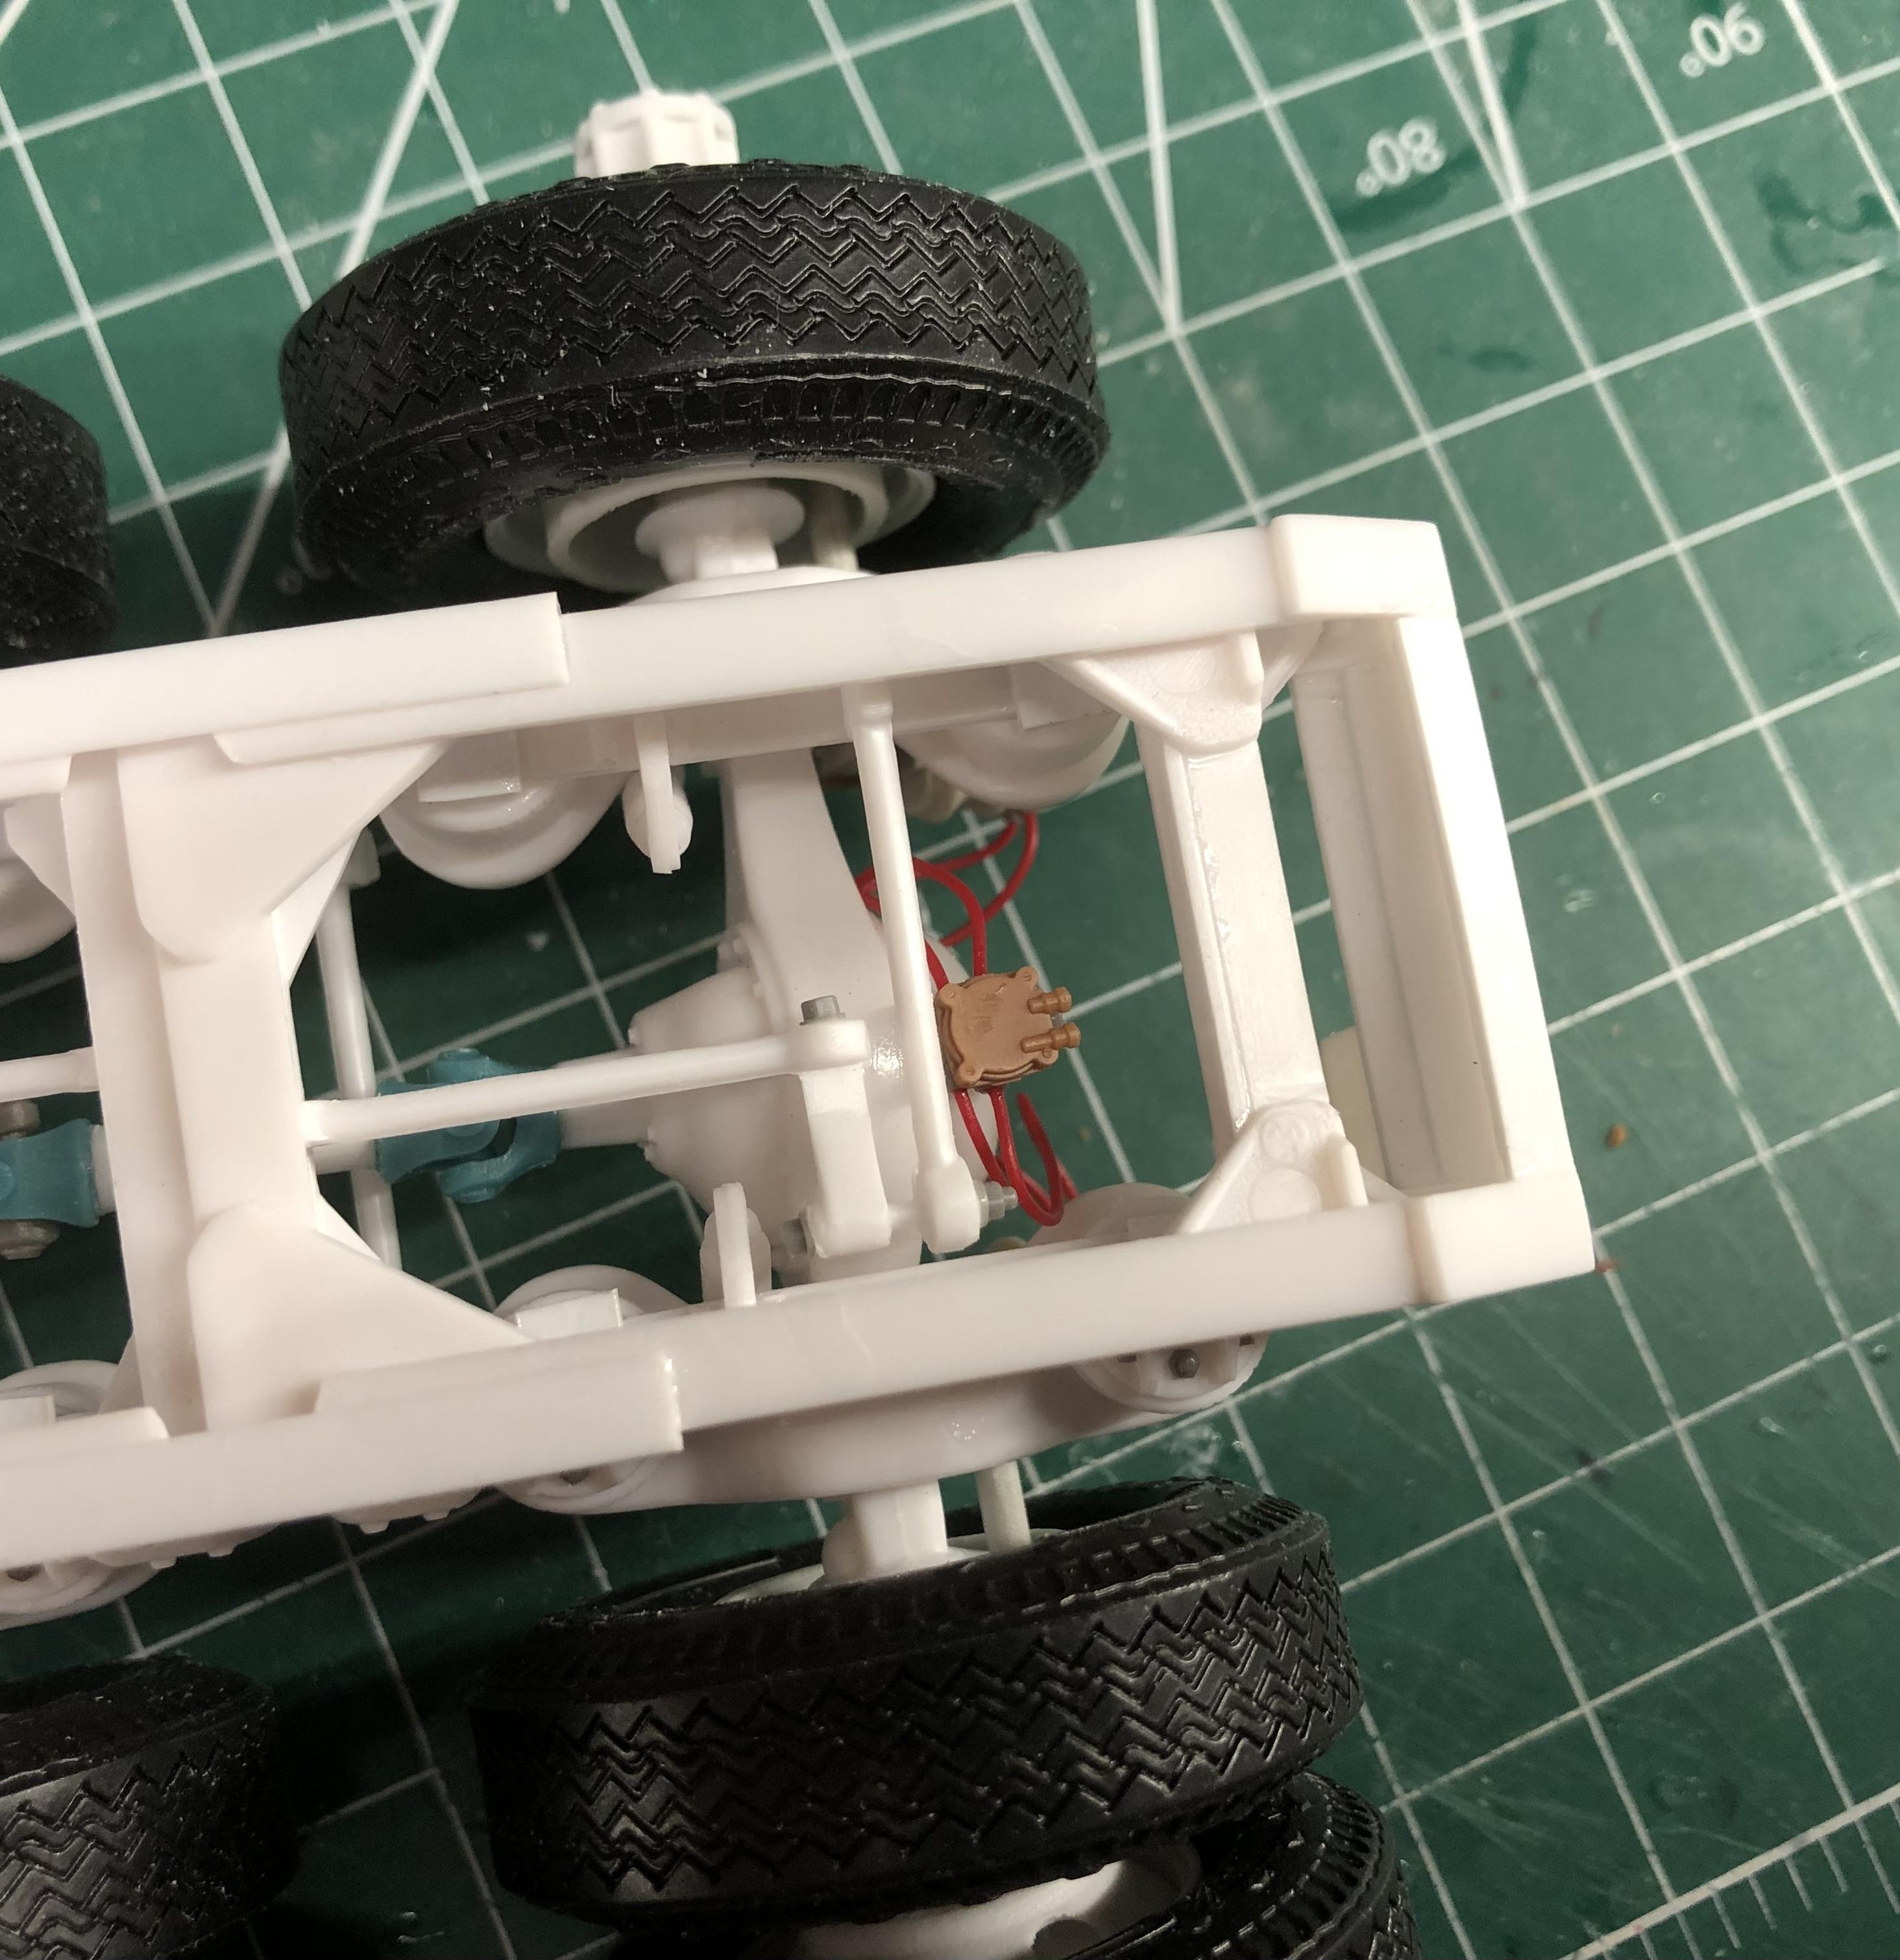
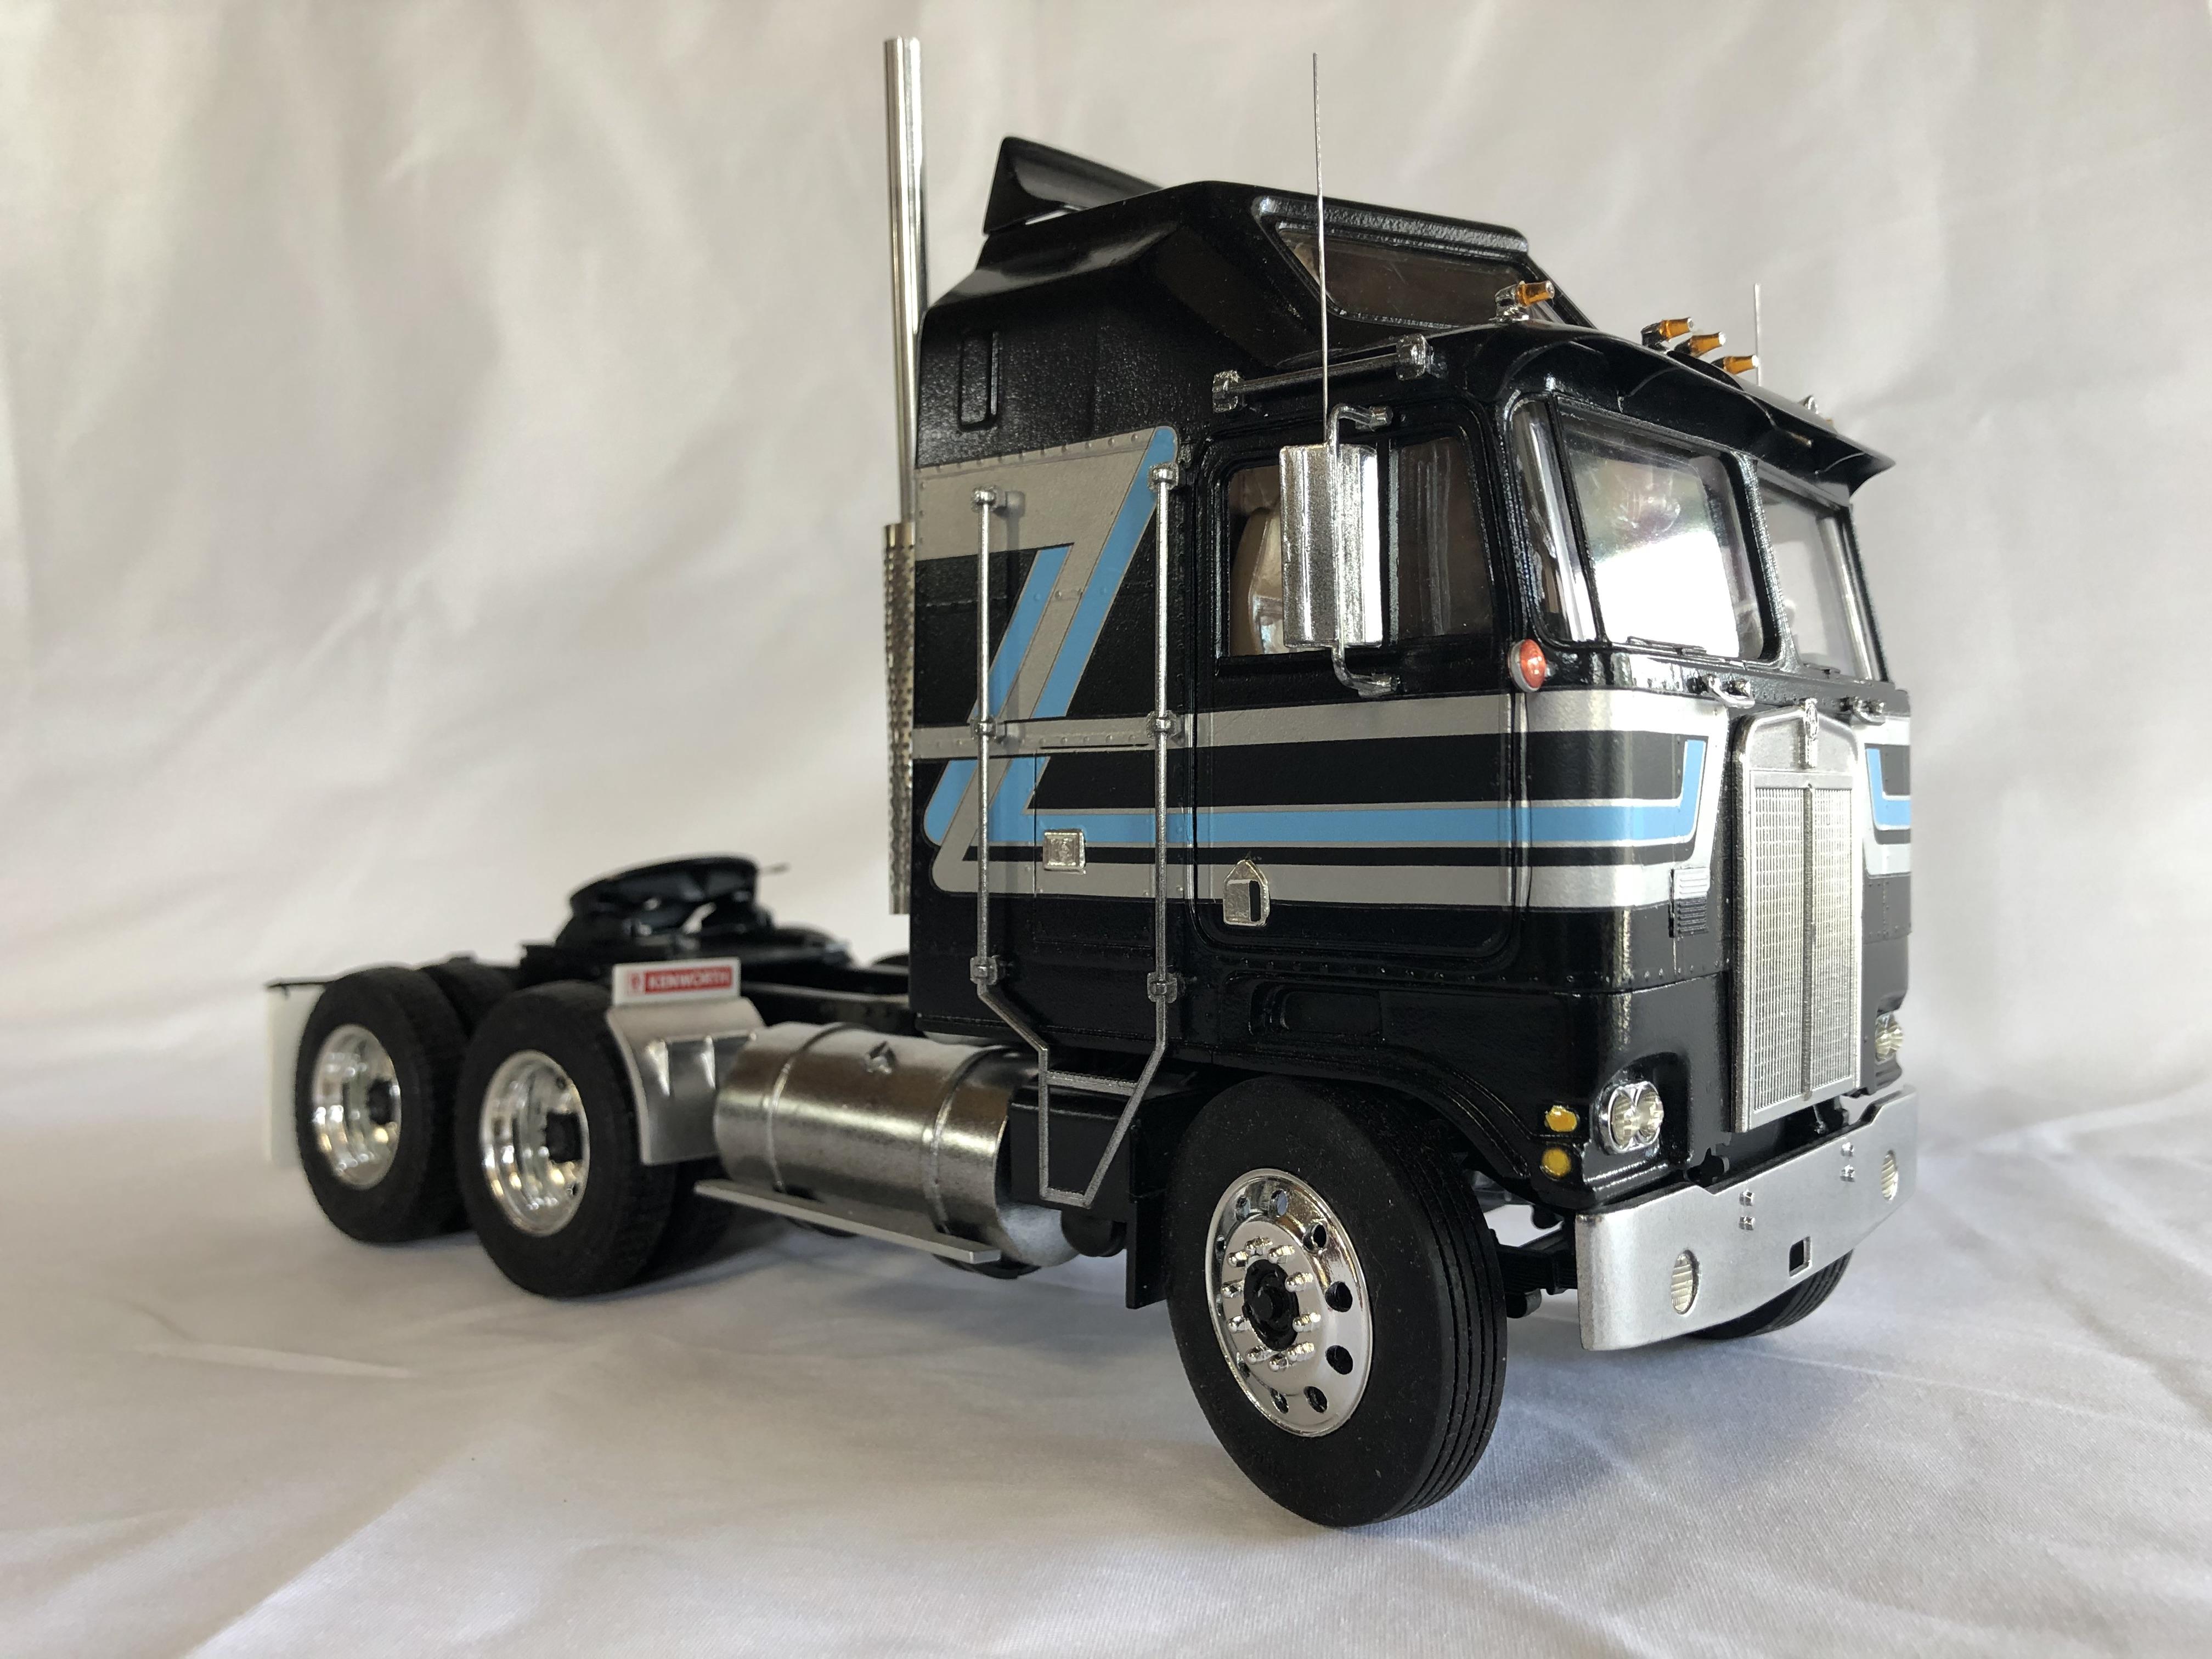
I want too Thank all you guys for the great comments .keeps me motivated. Nothing better to do on a cold icy , snowy Saturday than to finish up the rear air lines made a leveling valve plumed all the air bags have to finish pluming the air breaks .I know the pluming isn’t true to scale but it looks the part. I also decided to go with a Cummins instead of the Detroit I’ll save the engine for another project. Thanks for looking

-
Kenworth aerodyne cabover
k100 replied to Bronzekeg's topic in WIP: Model Trucks: Big Rigs and Heavy Equipment
Nice job Ken it’s good looking rig . -
Thanks for the guys for the information. I found a picture of the same truck online . It’s been a while sense I’ve been able too get to the bench . I got CTM new air valve set had to get the rear air break plumed up . Thanks for looking .
-
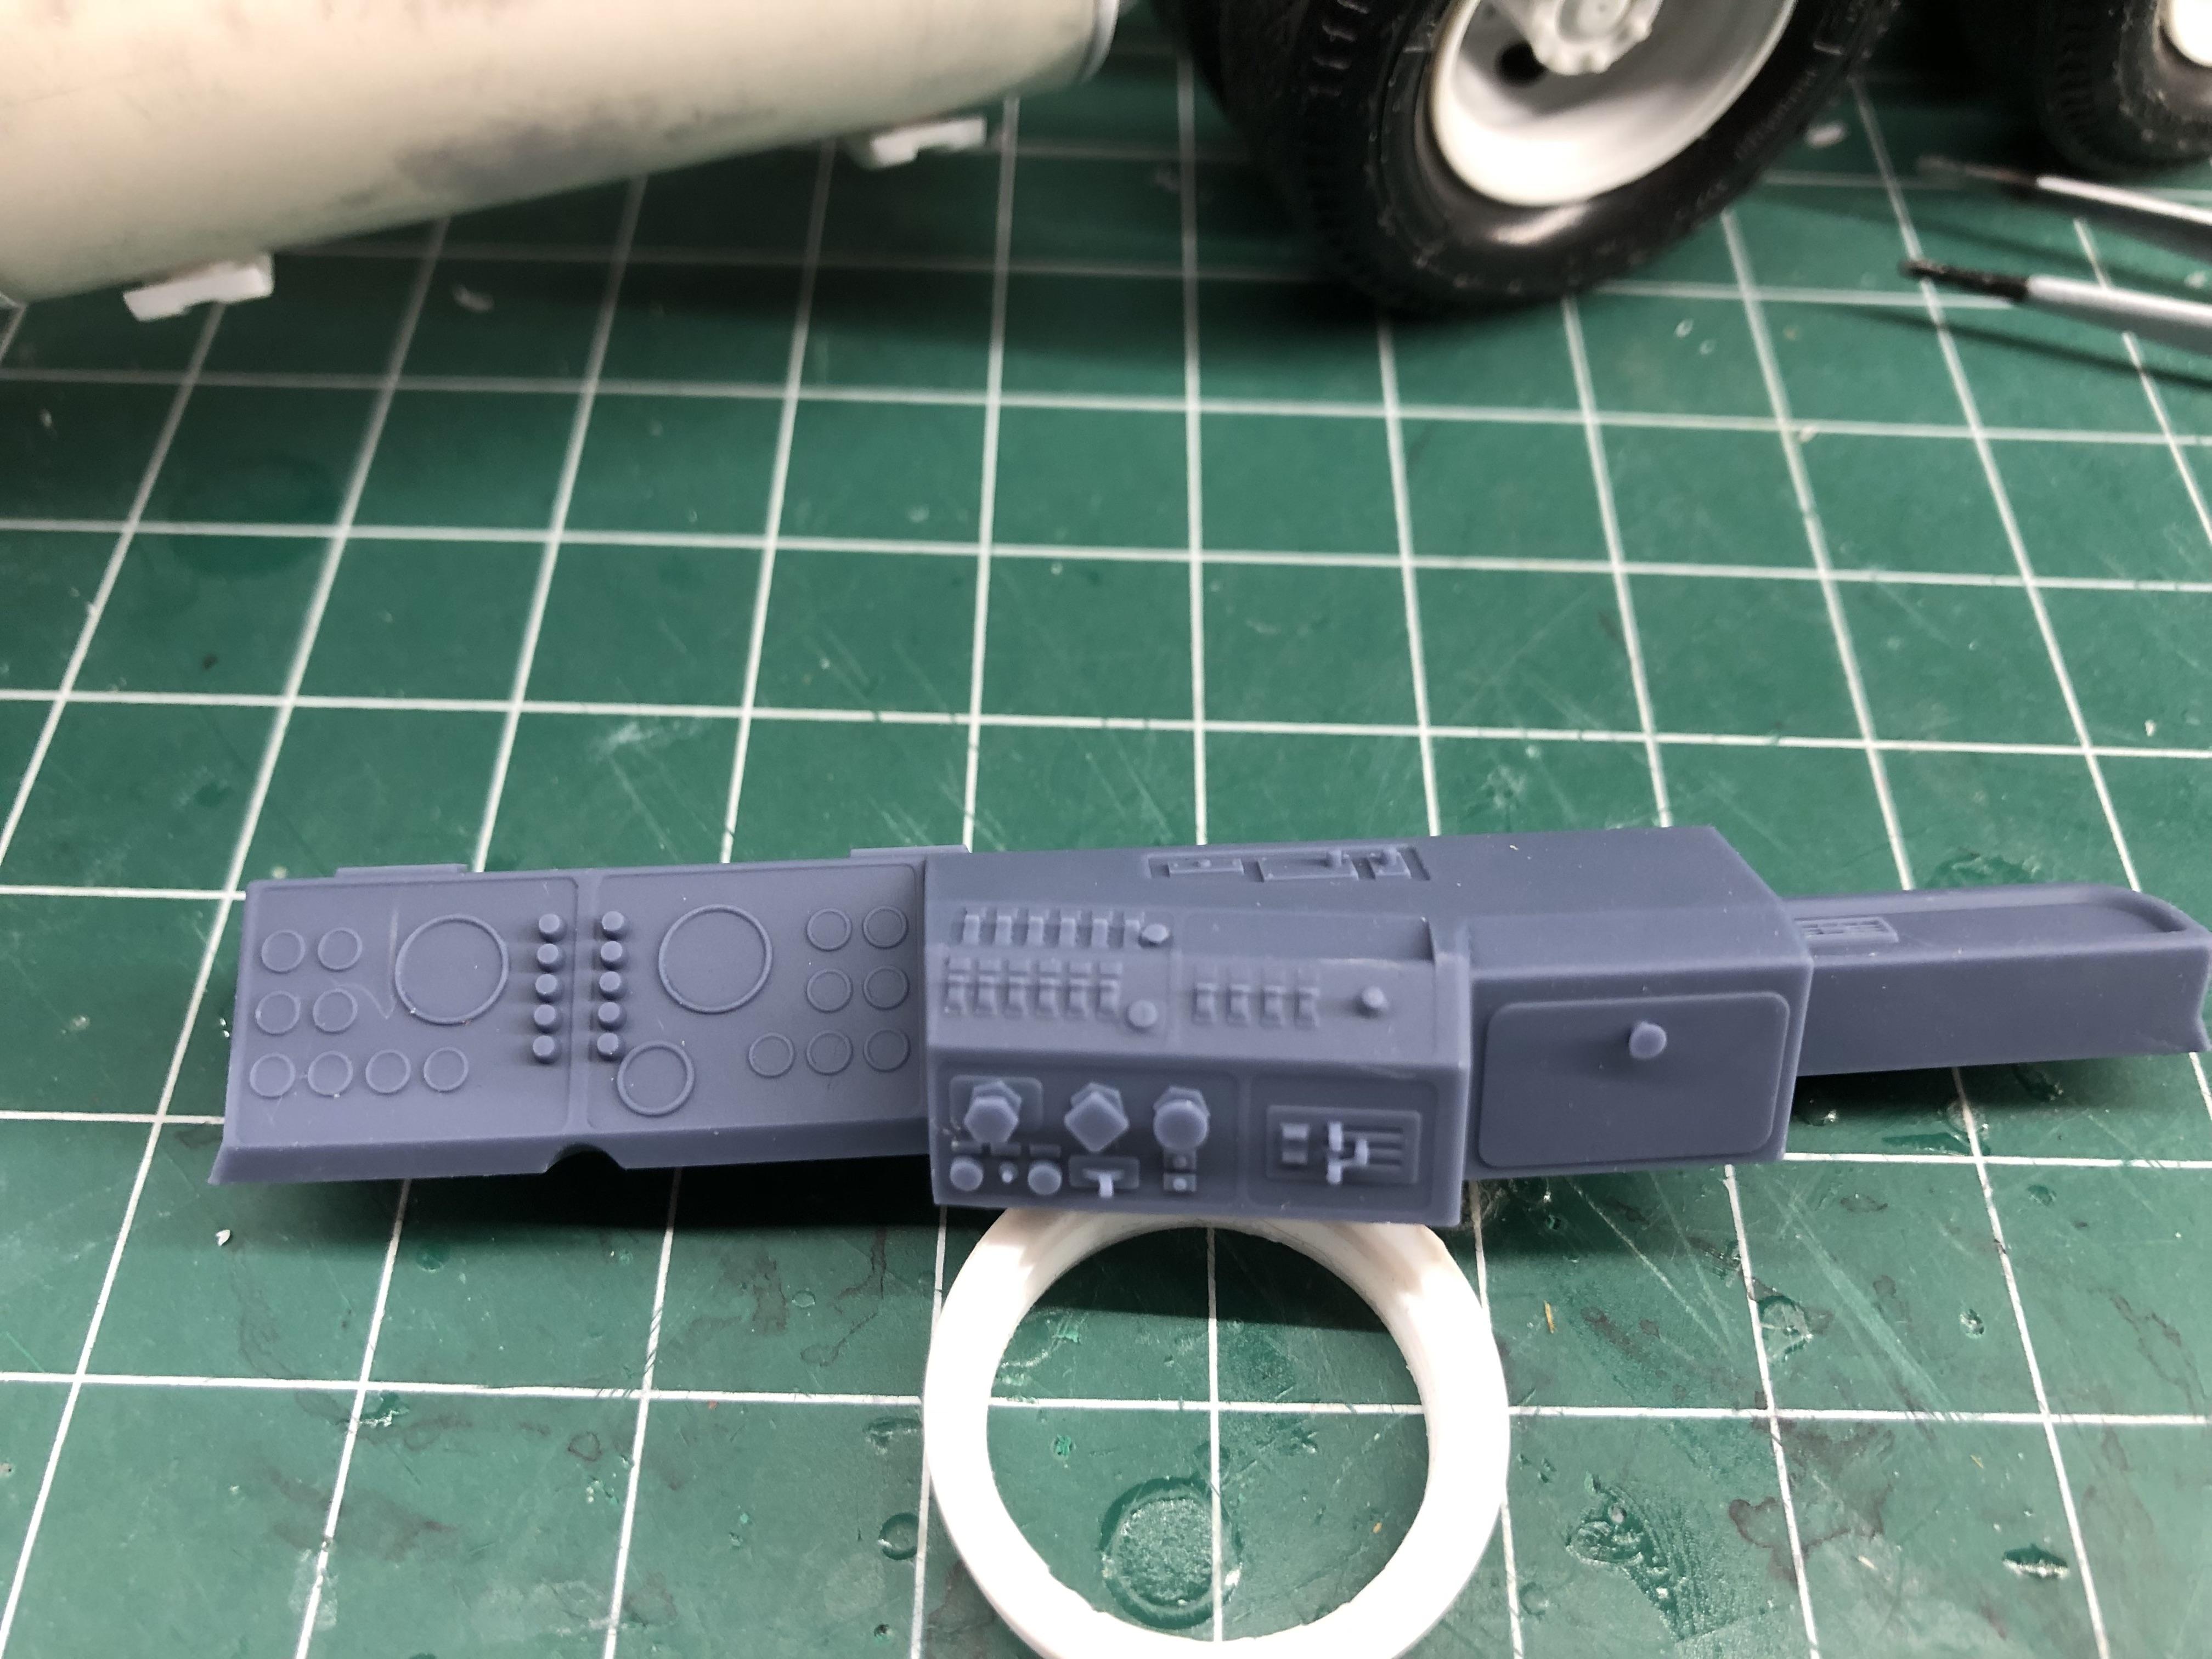
Thank you Lee. I order the K100 dash from Texas 3d Customs, it a Beauty . I made 2 air tanks and added some bolt detail that’s about it for now . thanks for looking .
-
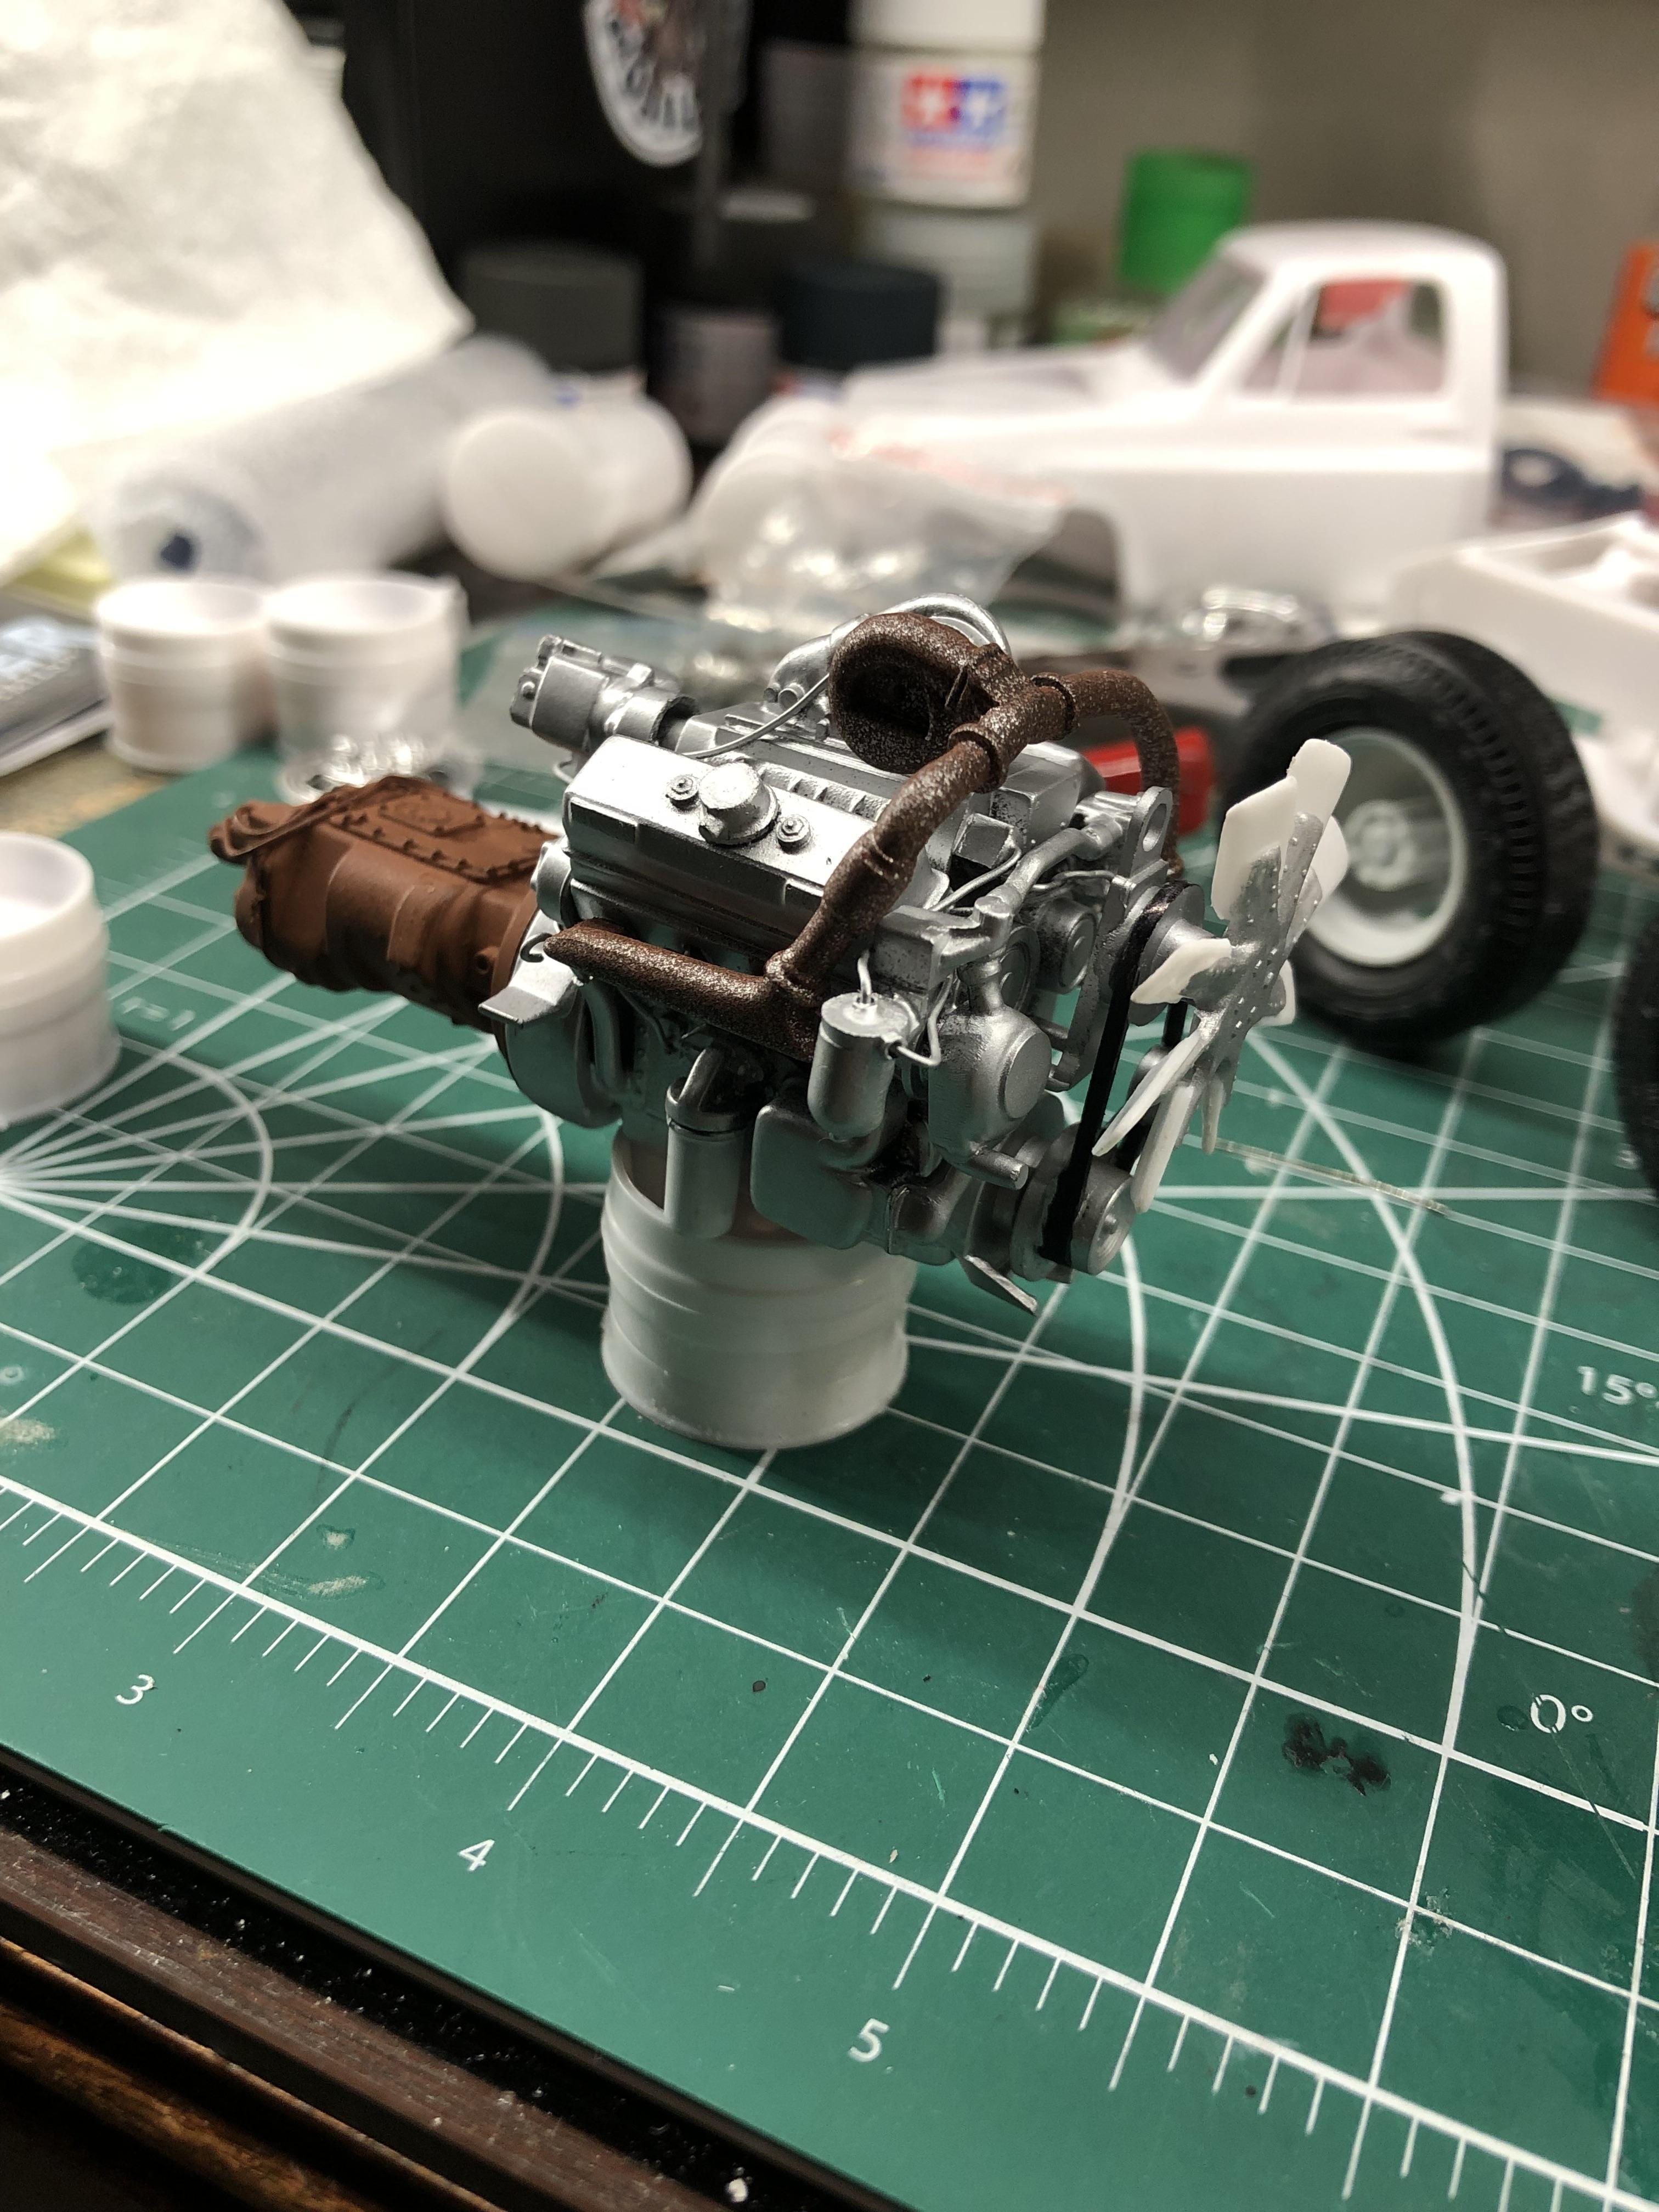
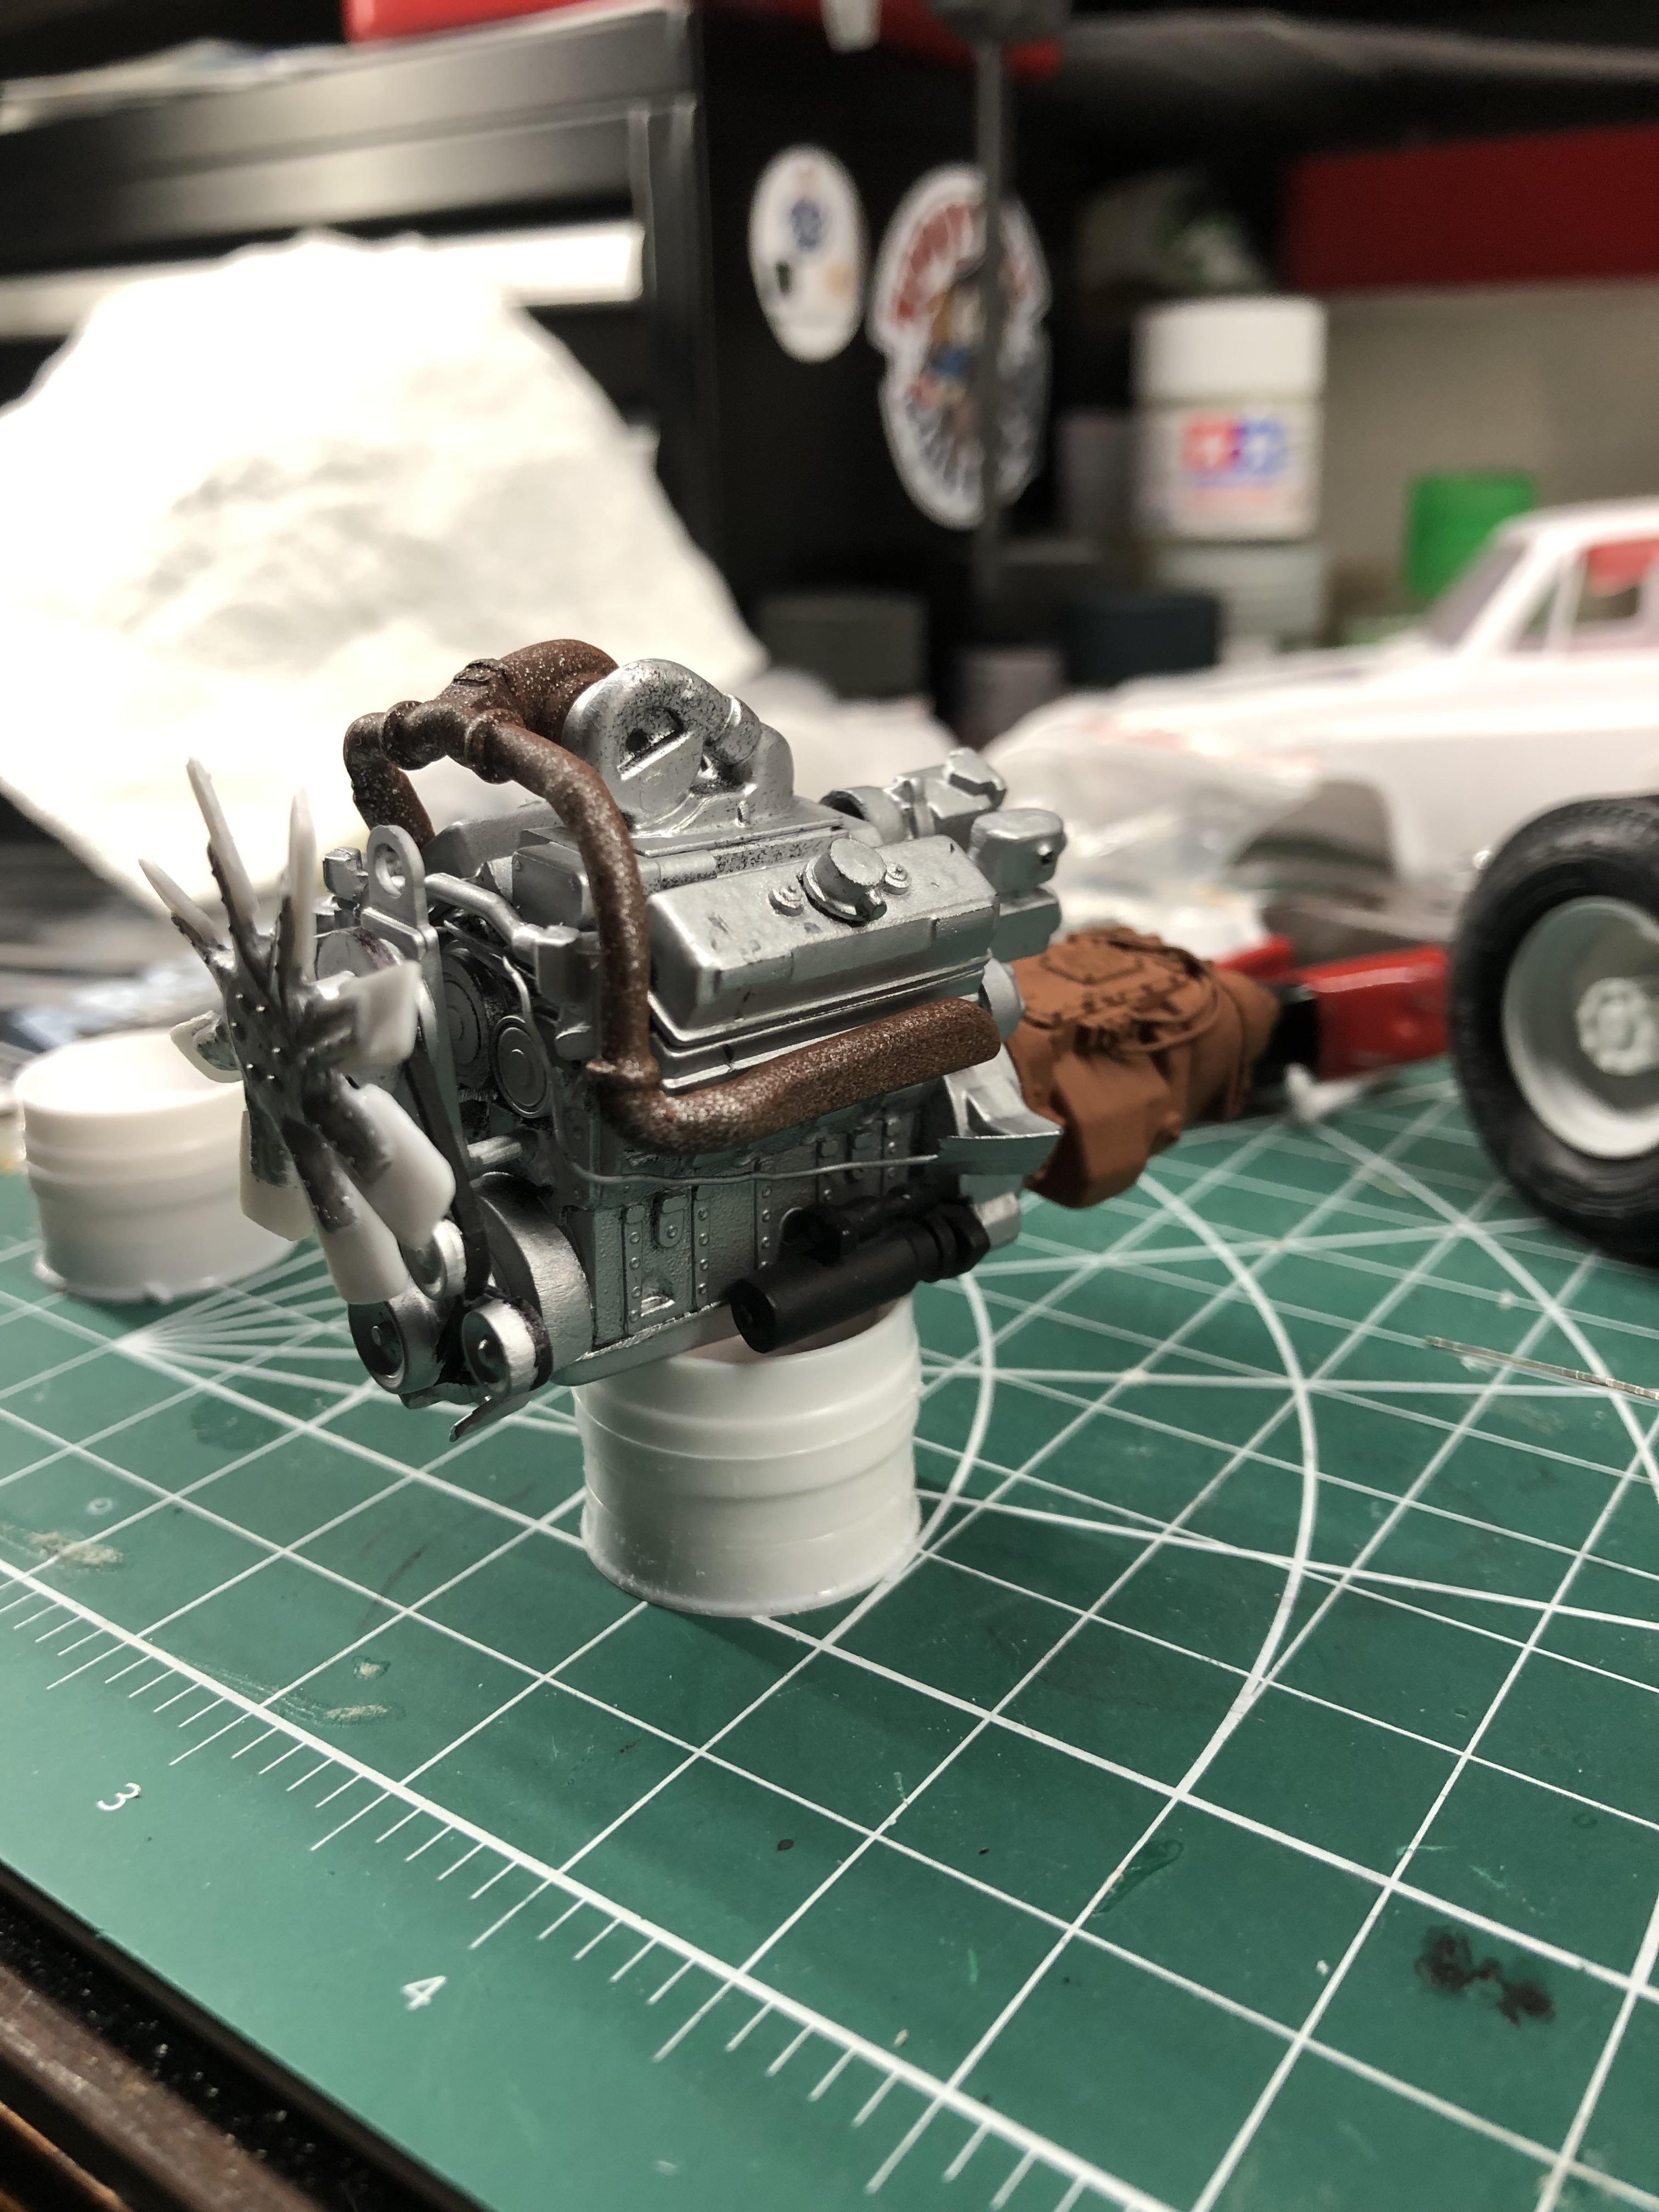
Thanks guys , I worked on getting the engine finished up just some basic pluming still have to do some weathering on it .
-
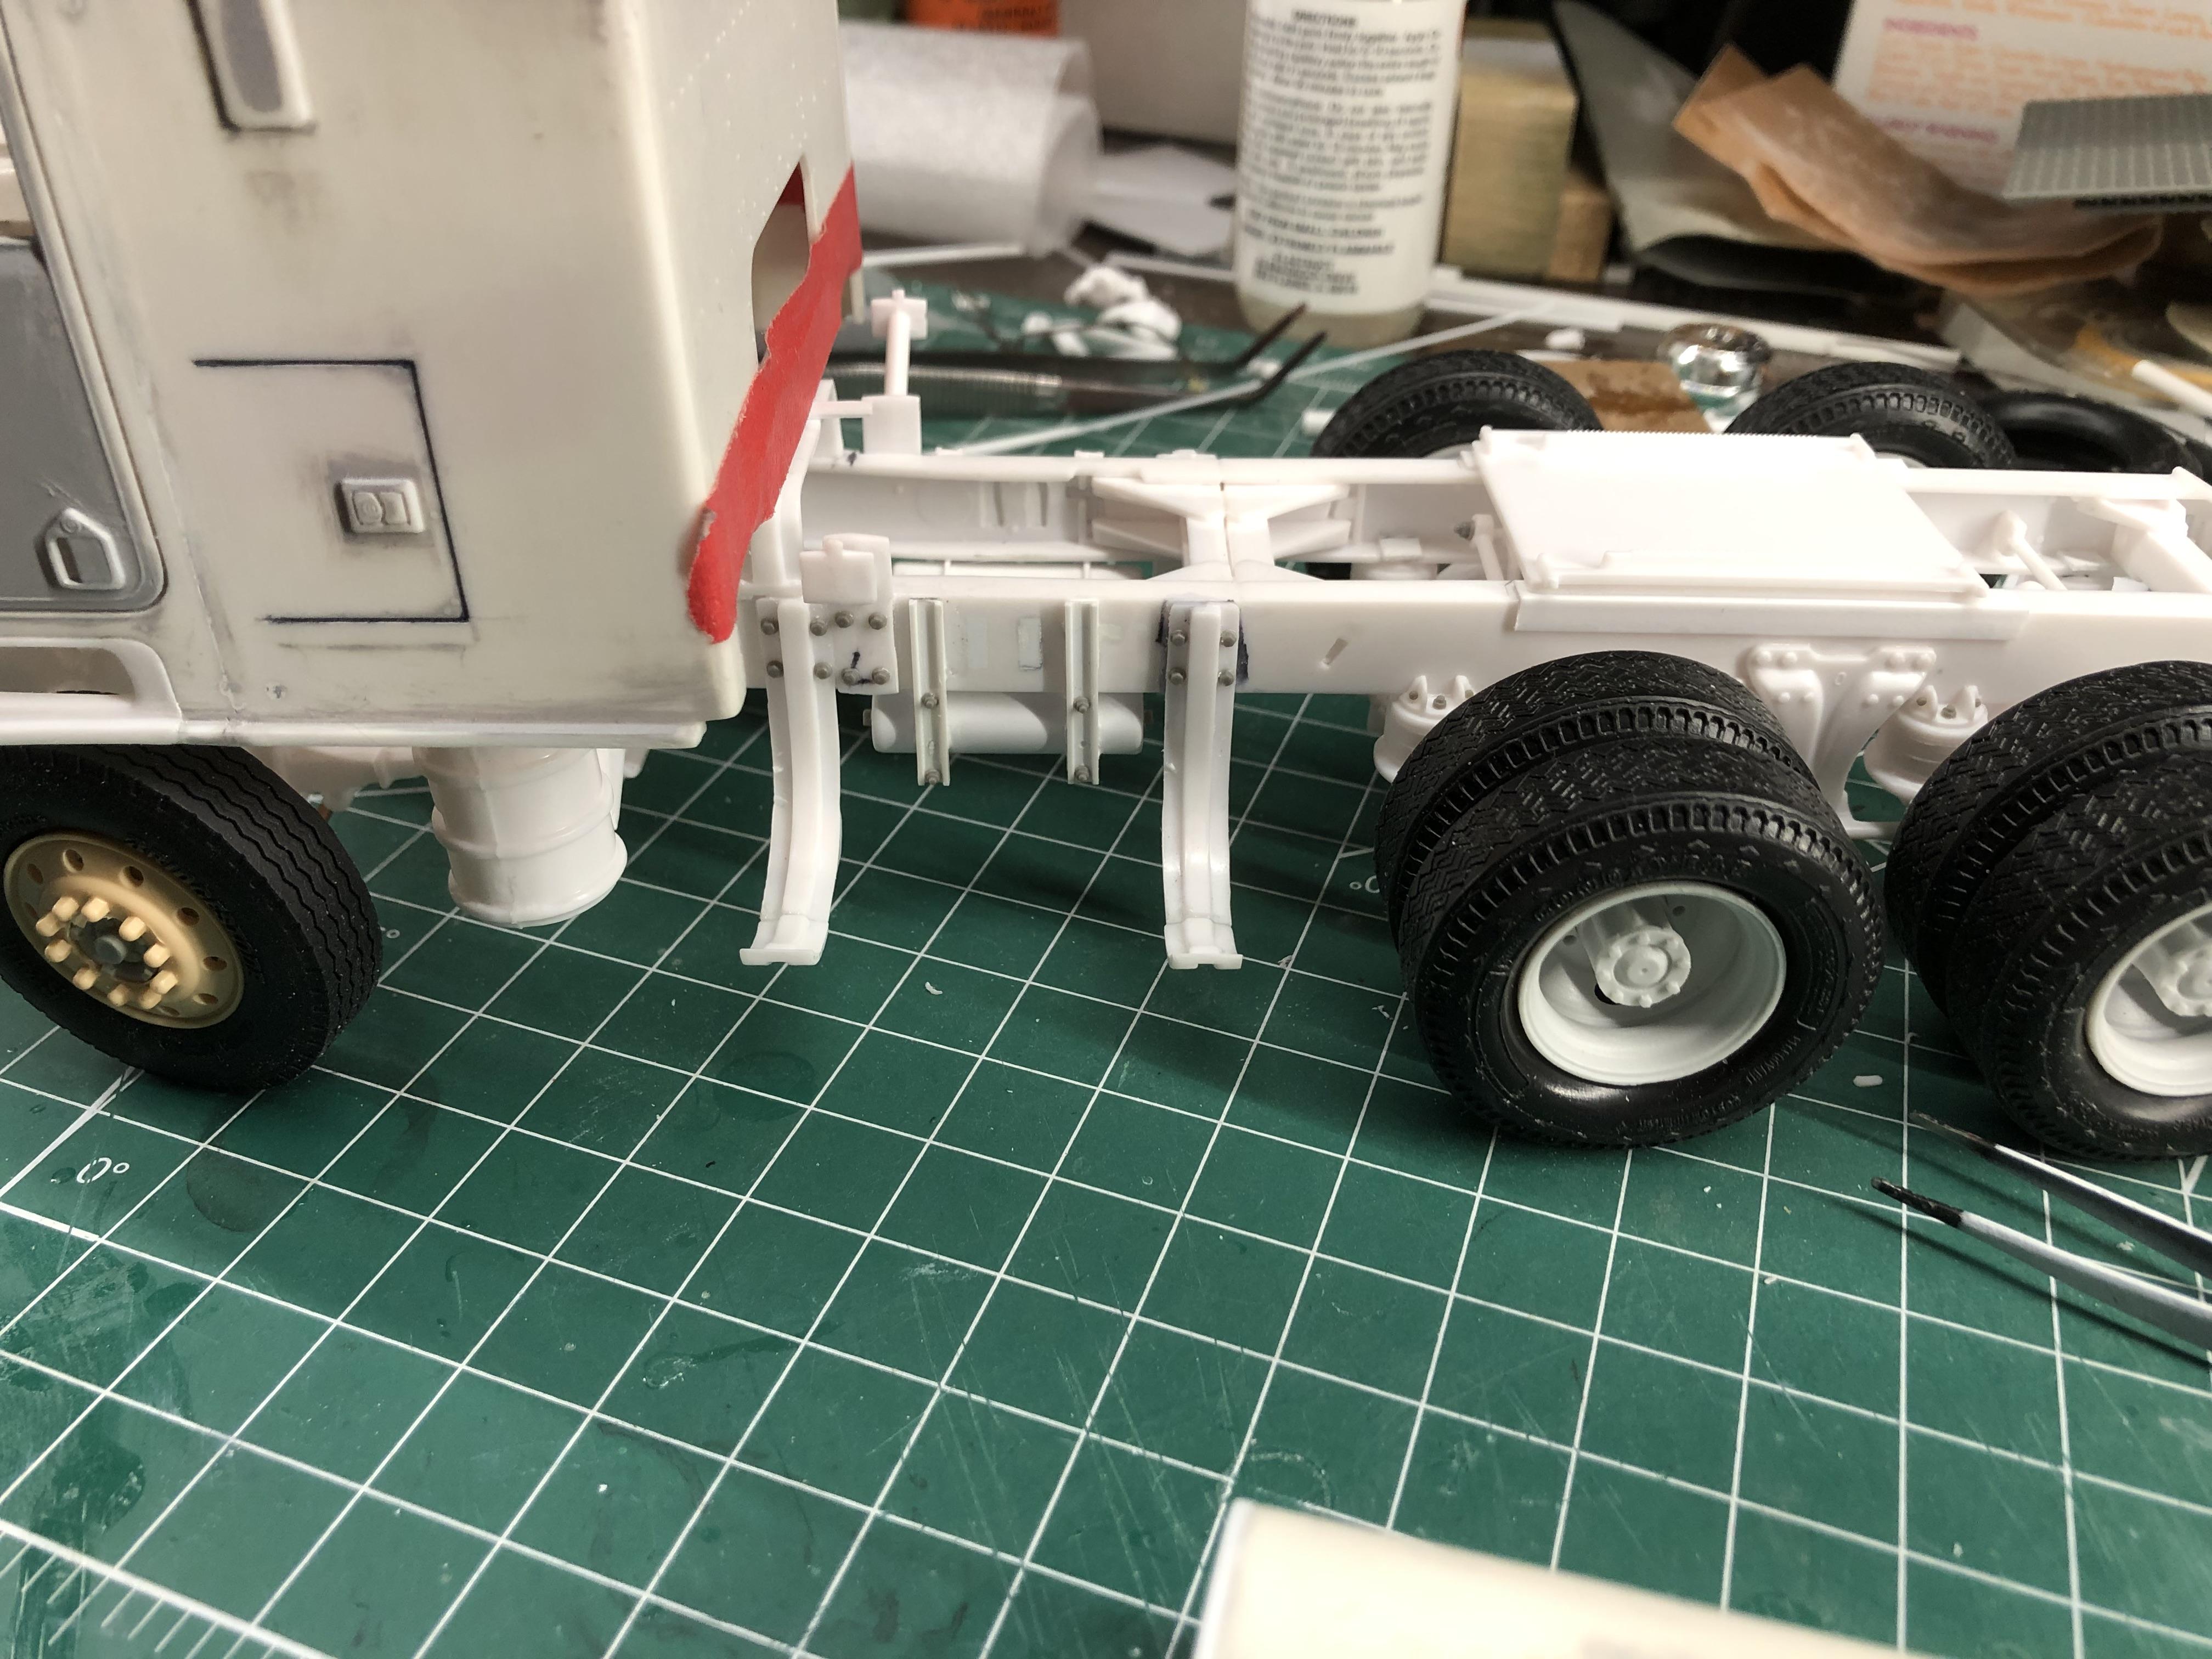
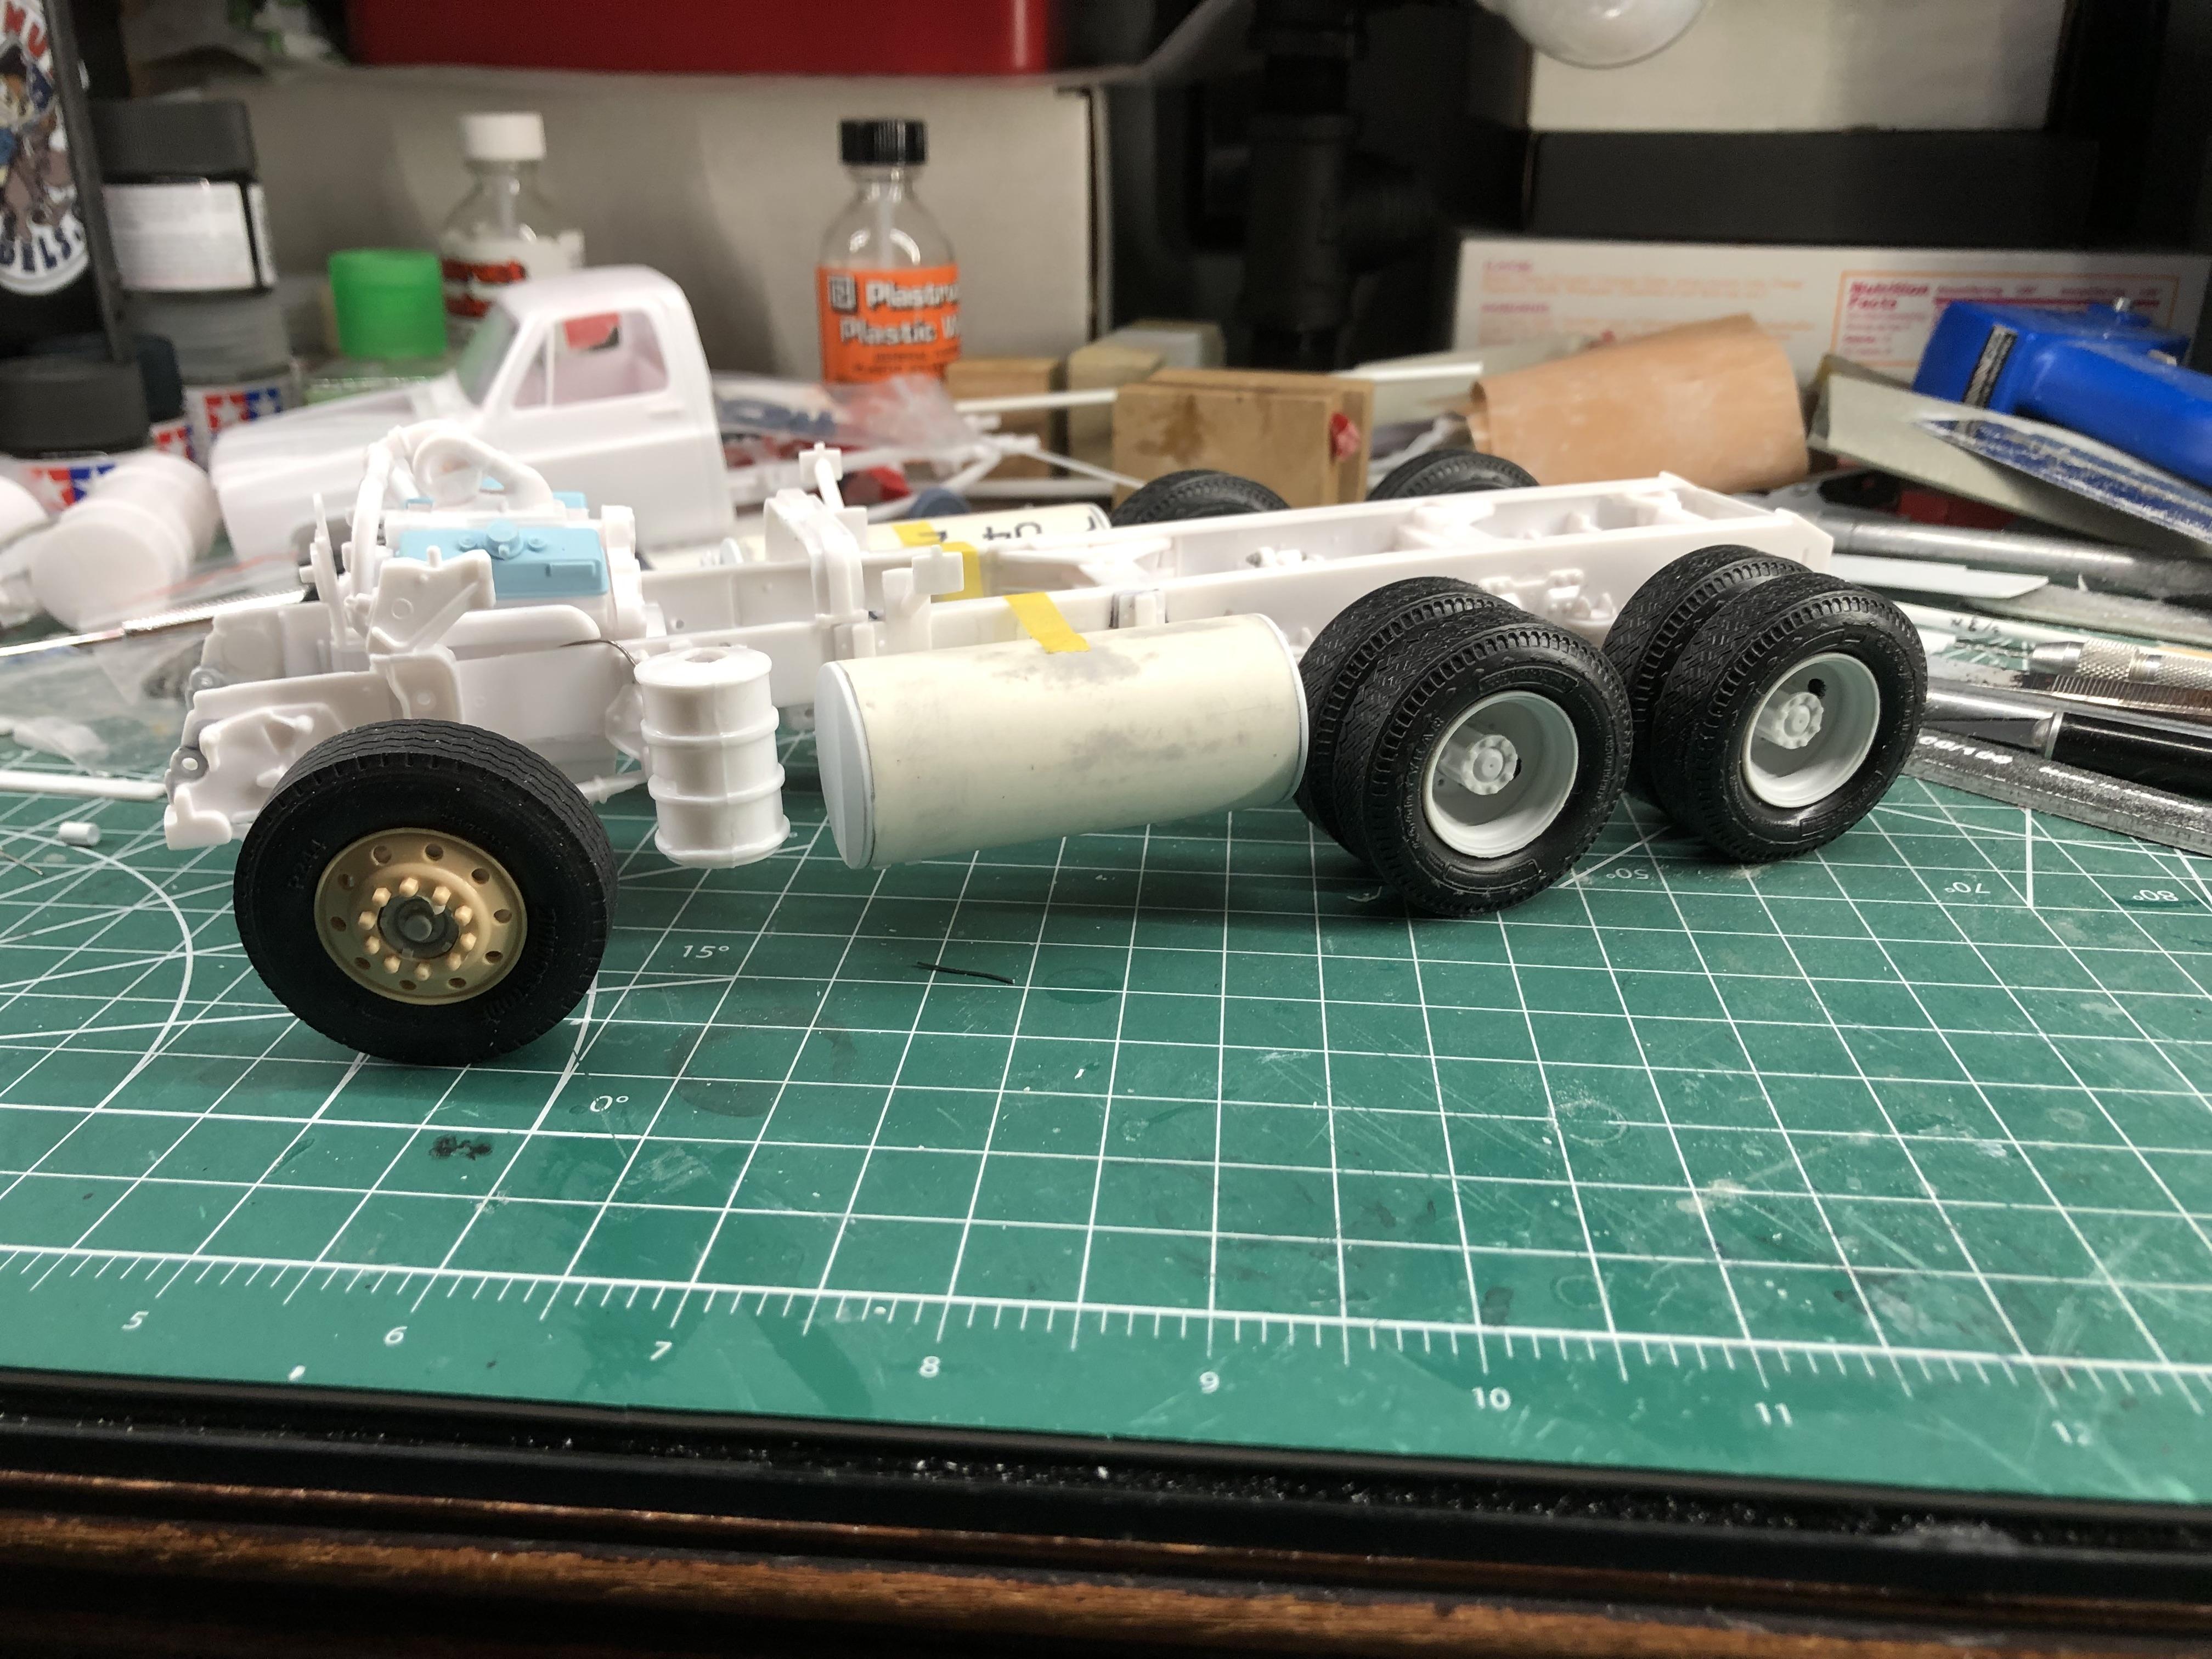
Thank you all for the comments. After the crazy busy holidays I was able to get a little model time today , I decided to go with the Detroit with Manuel transmission did alittle pluming on the engine , made new fuel tanks out of PVC, modified the battery box by cutting the molding in battery out and added plastic sheets to the bottom and back . I’m going with 2 hole Buds in the back from ST supply and 10 hole in the front from Jamie . thanks
-
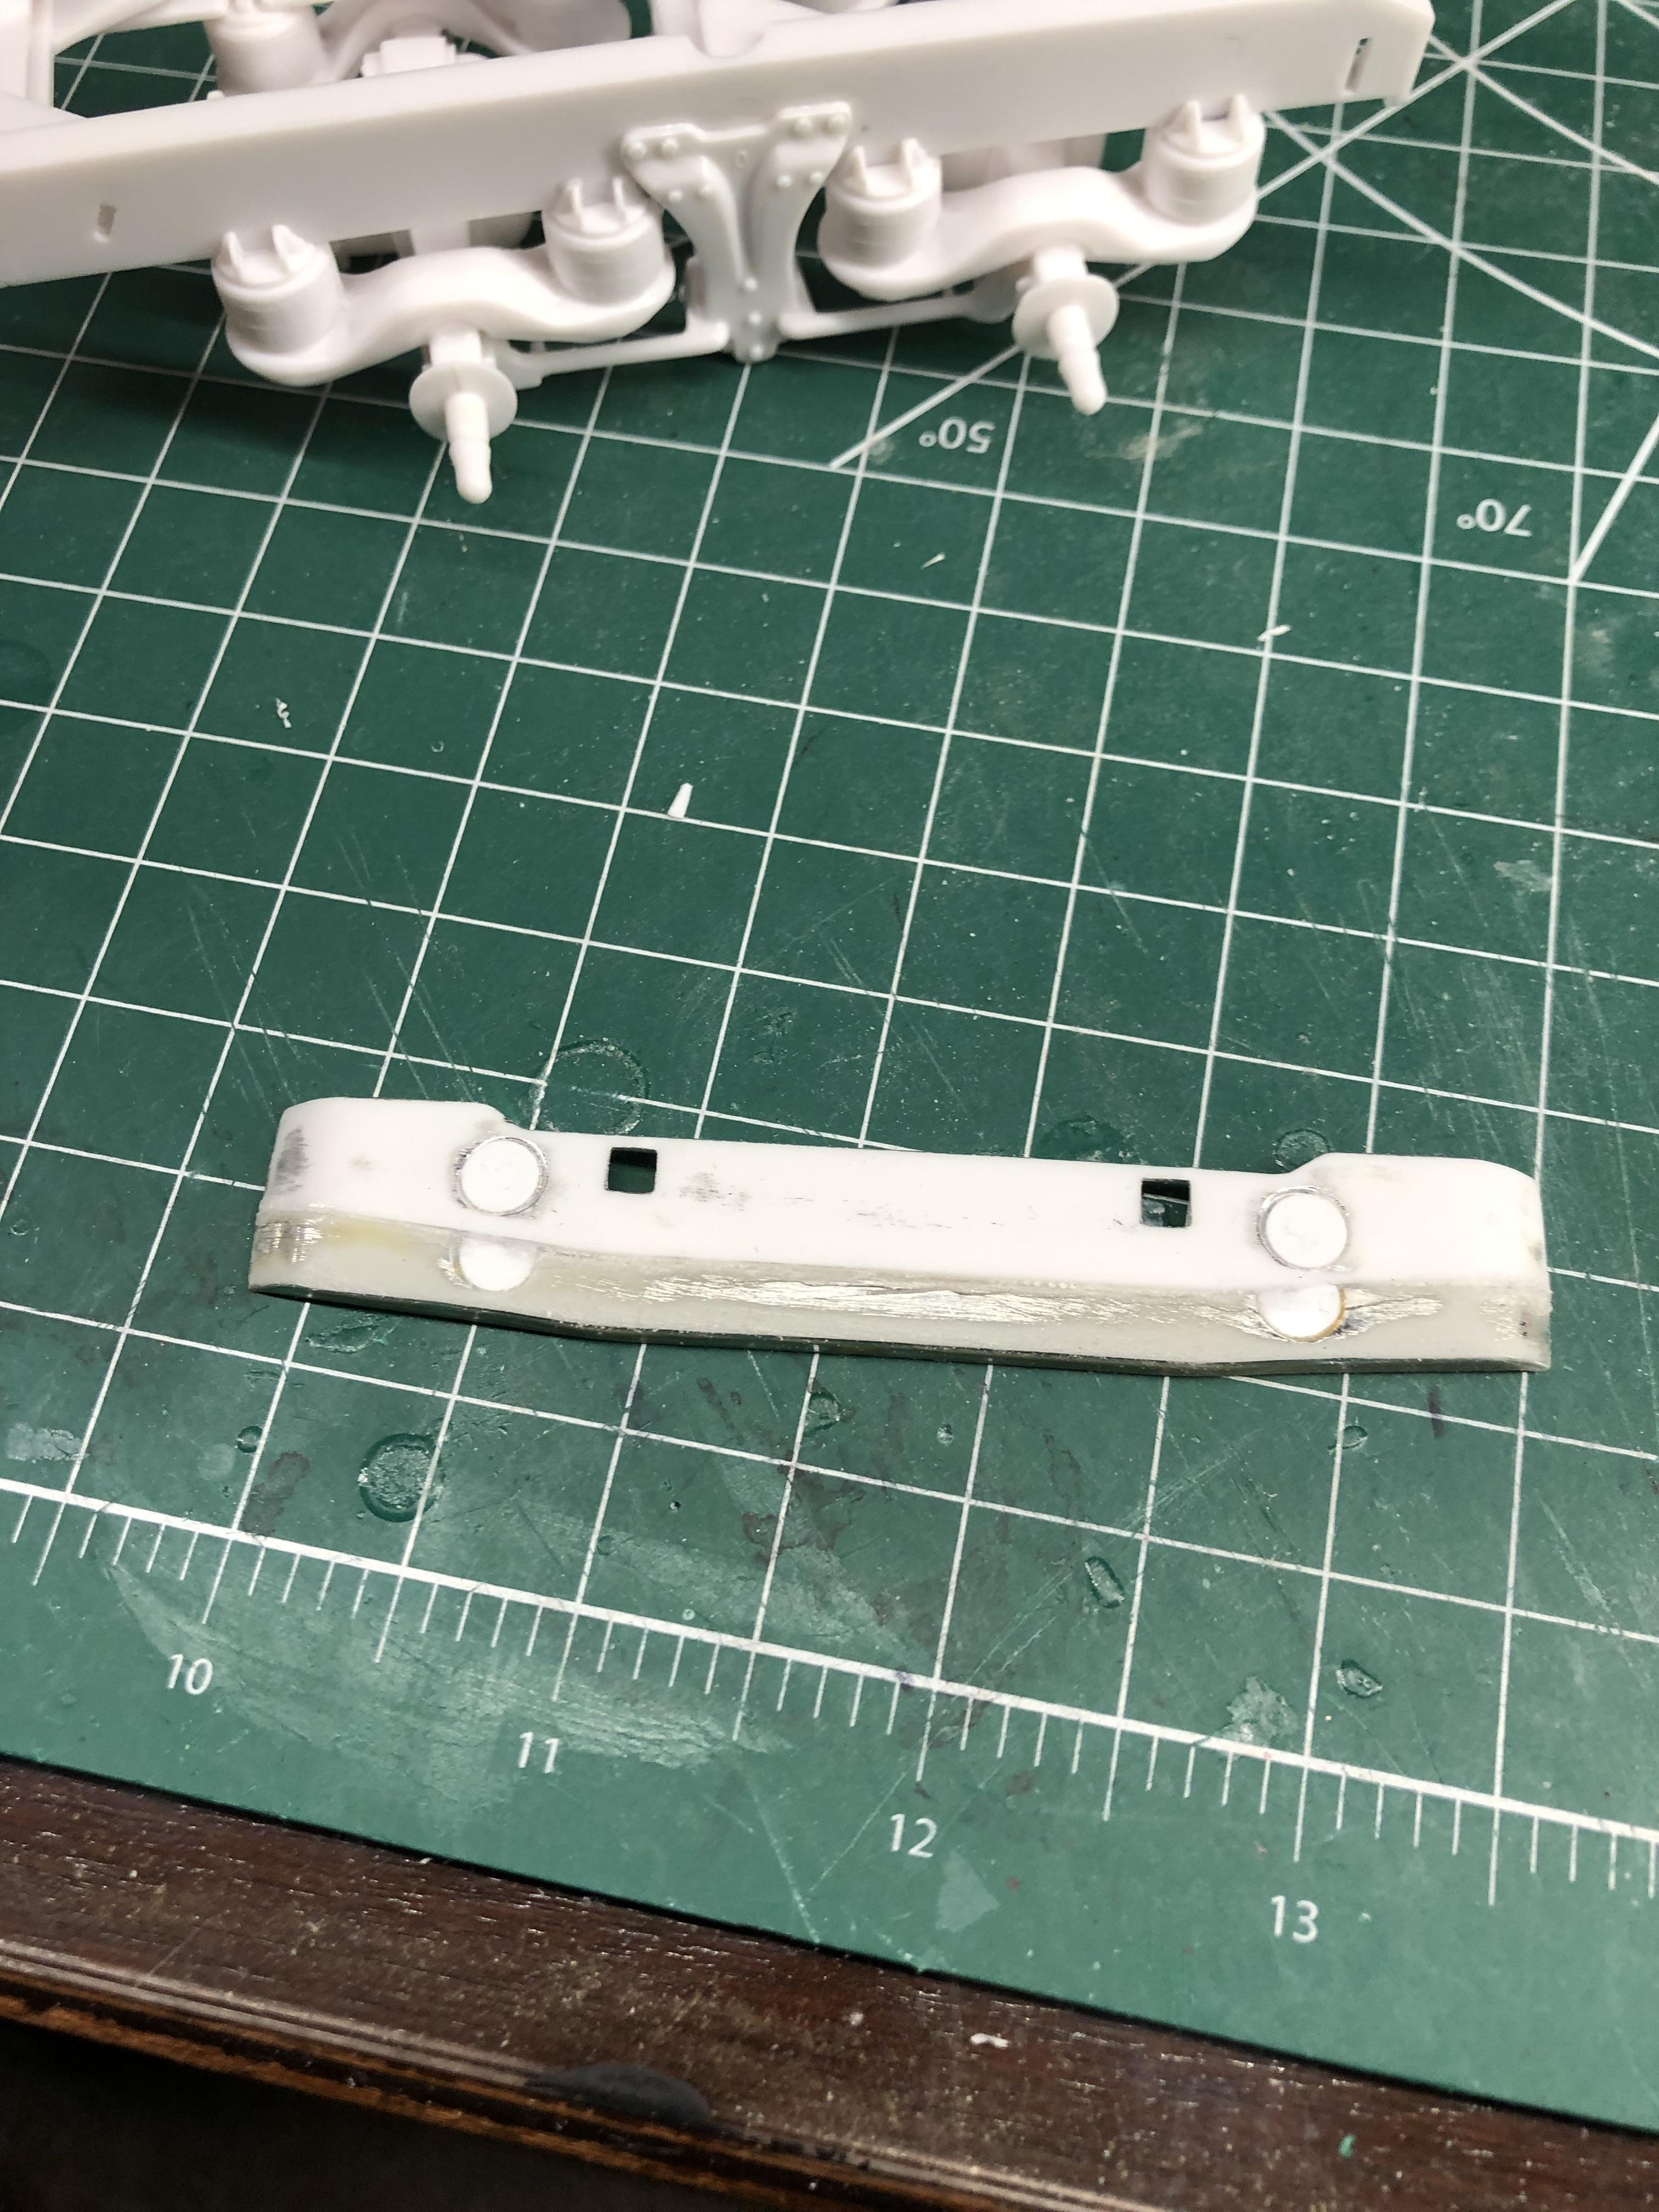
Thank you every one for the comments. Sean glad to see your back on the forum as well , this axle is one of the easier one to modify. Gray thank you Jeff I seen the square lights I like the old school round ones Juergen thank you. Steve thank you. Lee this my 2nd conversion , it was a lot easier this time , that’s nice looking Golden Nugget. Hakan thank you for all information . The mounting pins for the cab hinges are horrible I used some 1/8 styrene tubing glued to the frame and I used 1/16 aluminum tube for the pins (it will be shorten) . Got some of the rear suspension built. The front bumper is to narrow so I’m trying to make a wider one , we’ll see out it turns out . The last 2 pictures are of the first conversation I did a few years ago . I hope everyone has a Merry Christmas .
- 69 replies
-
- 11
-

-
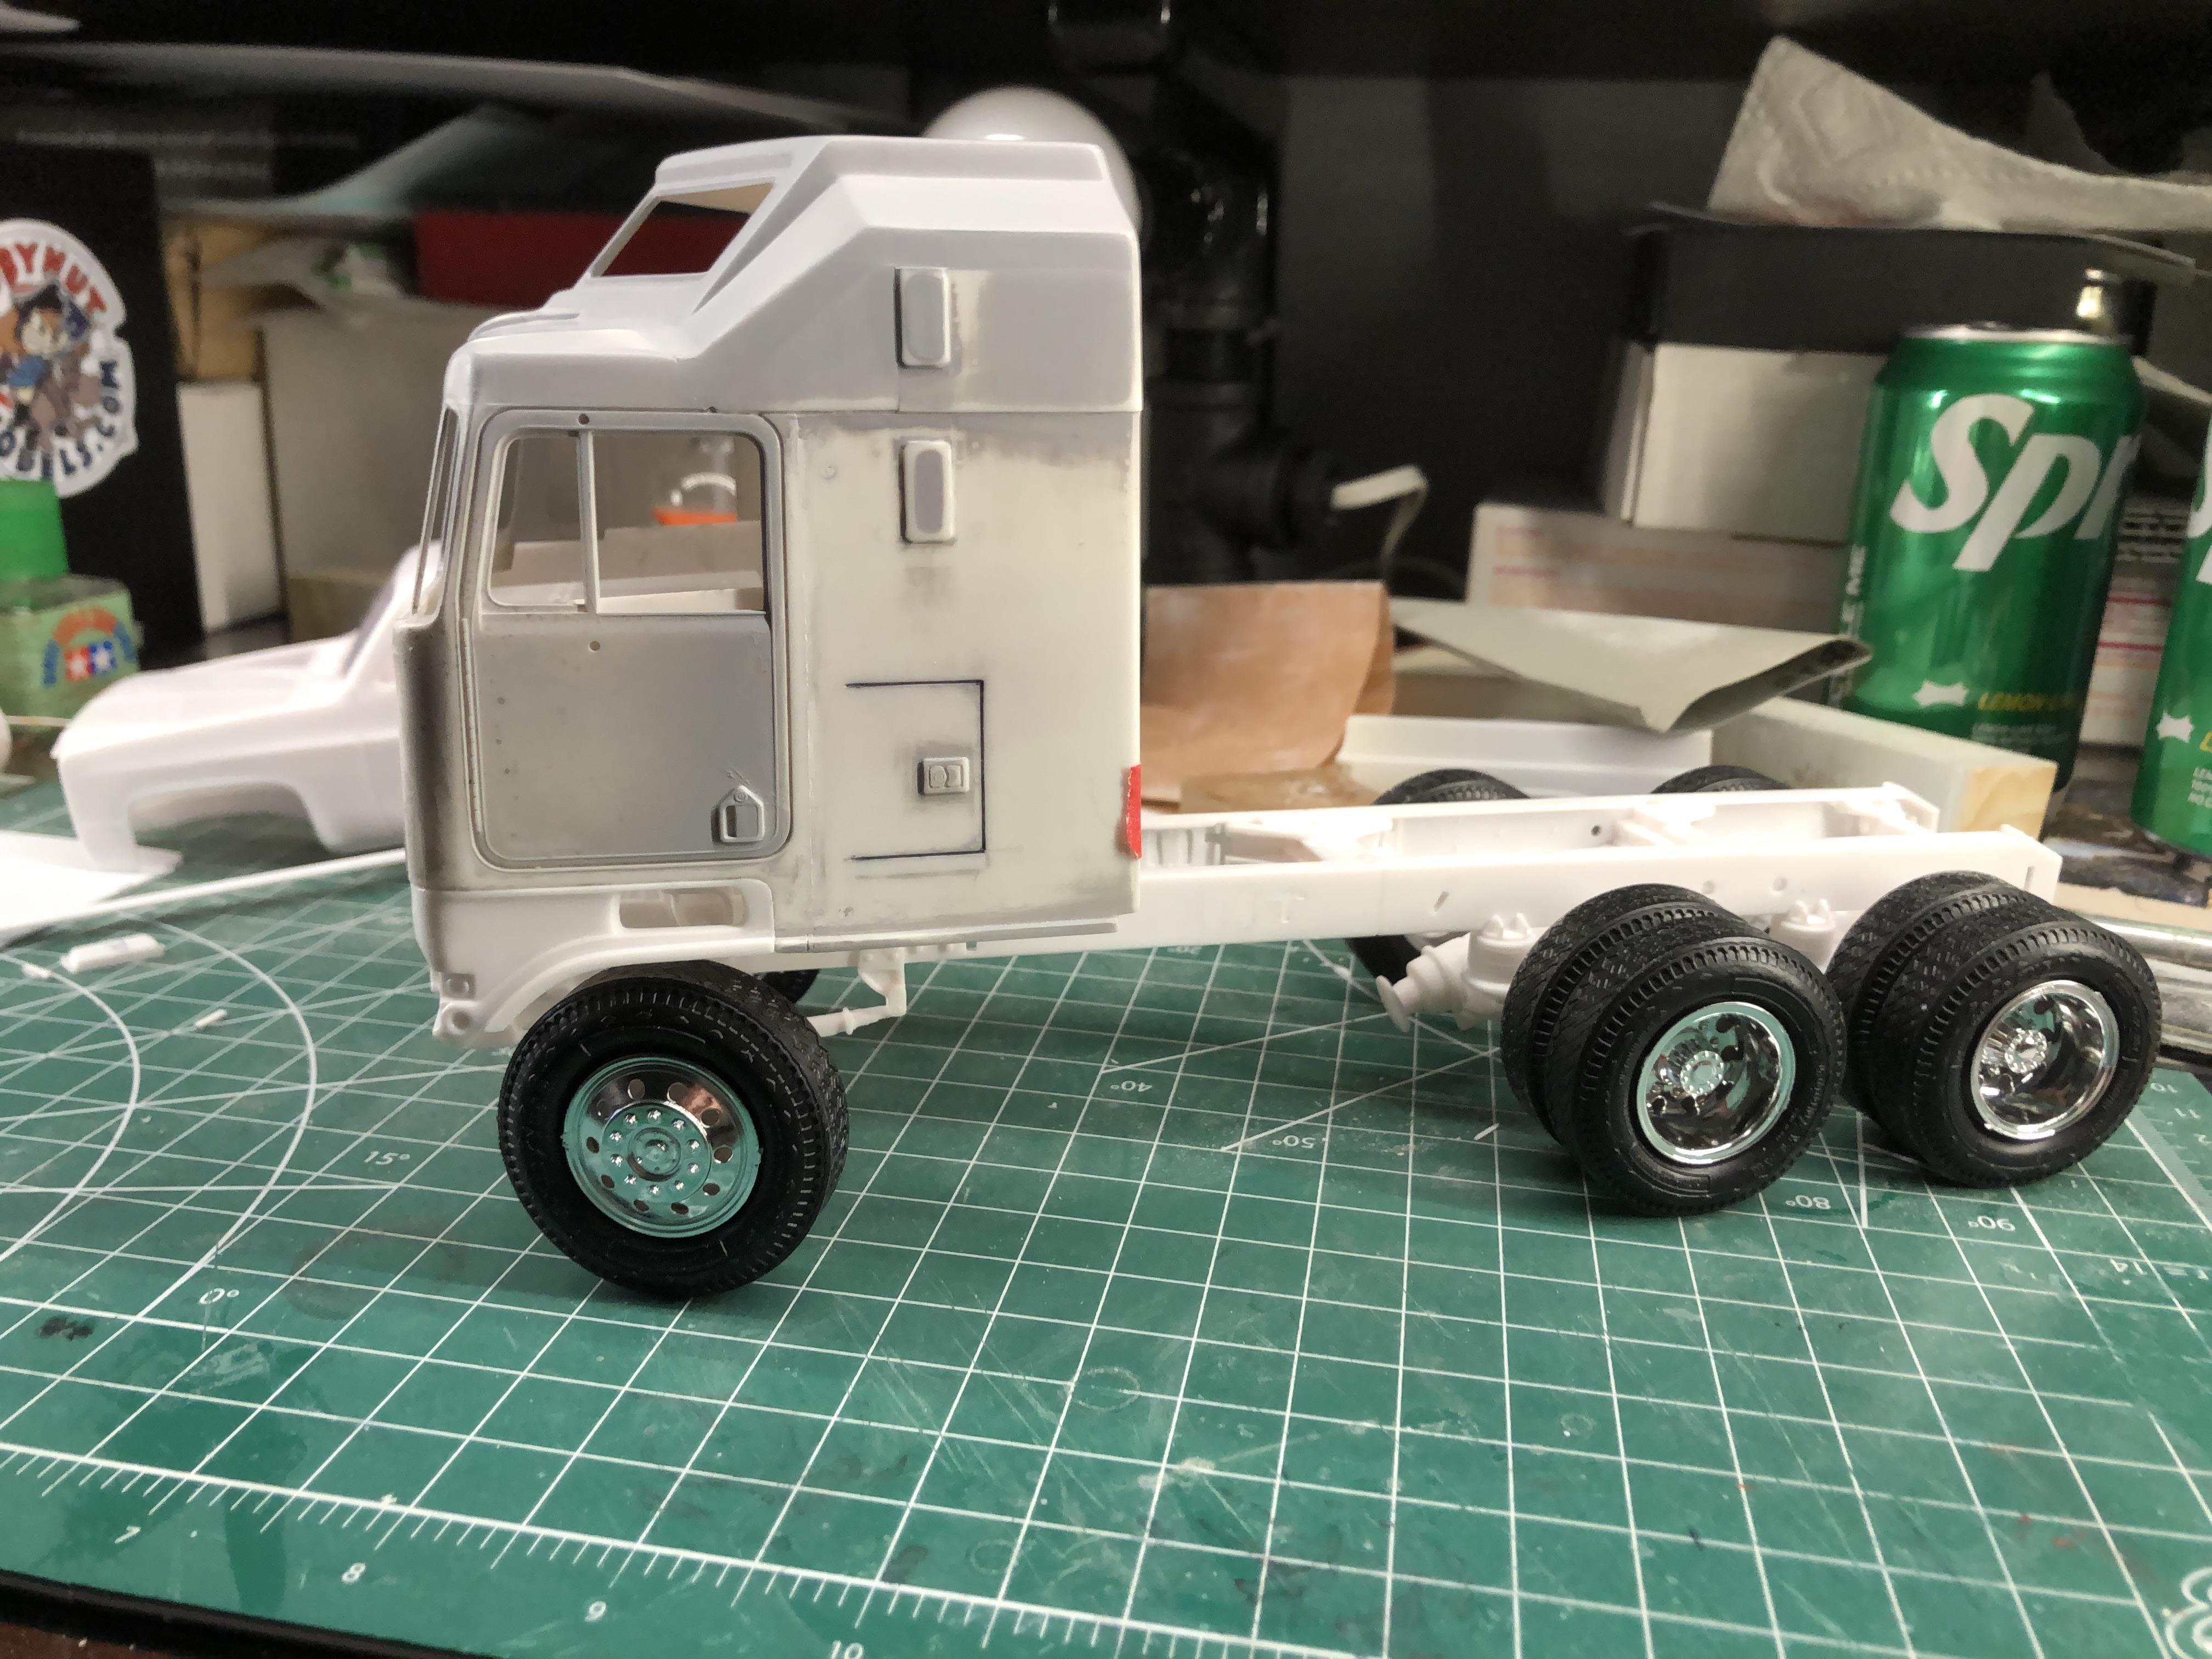
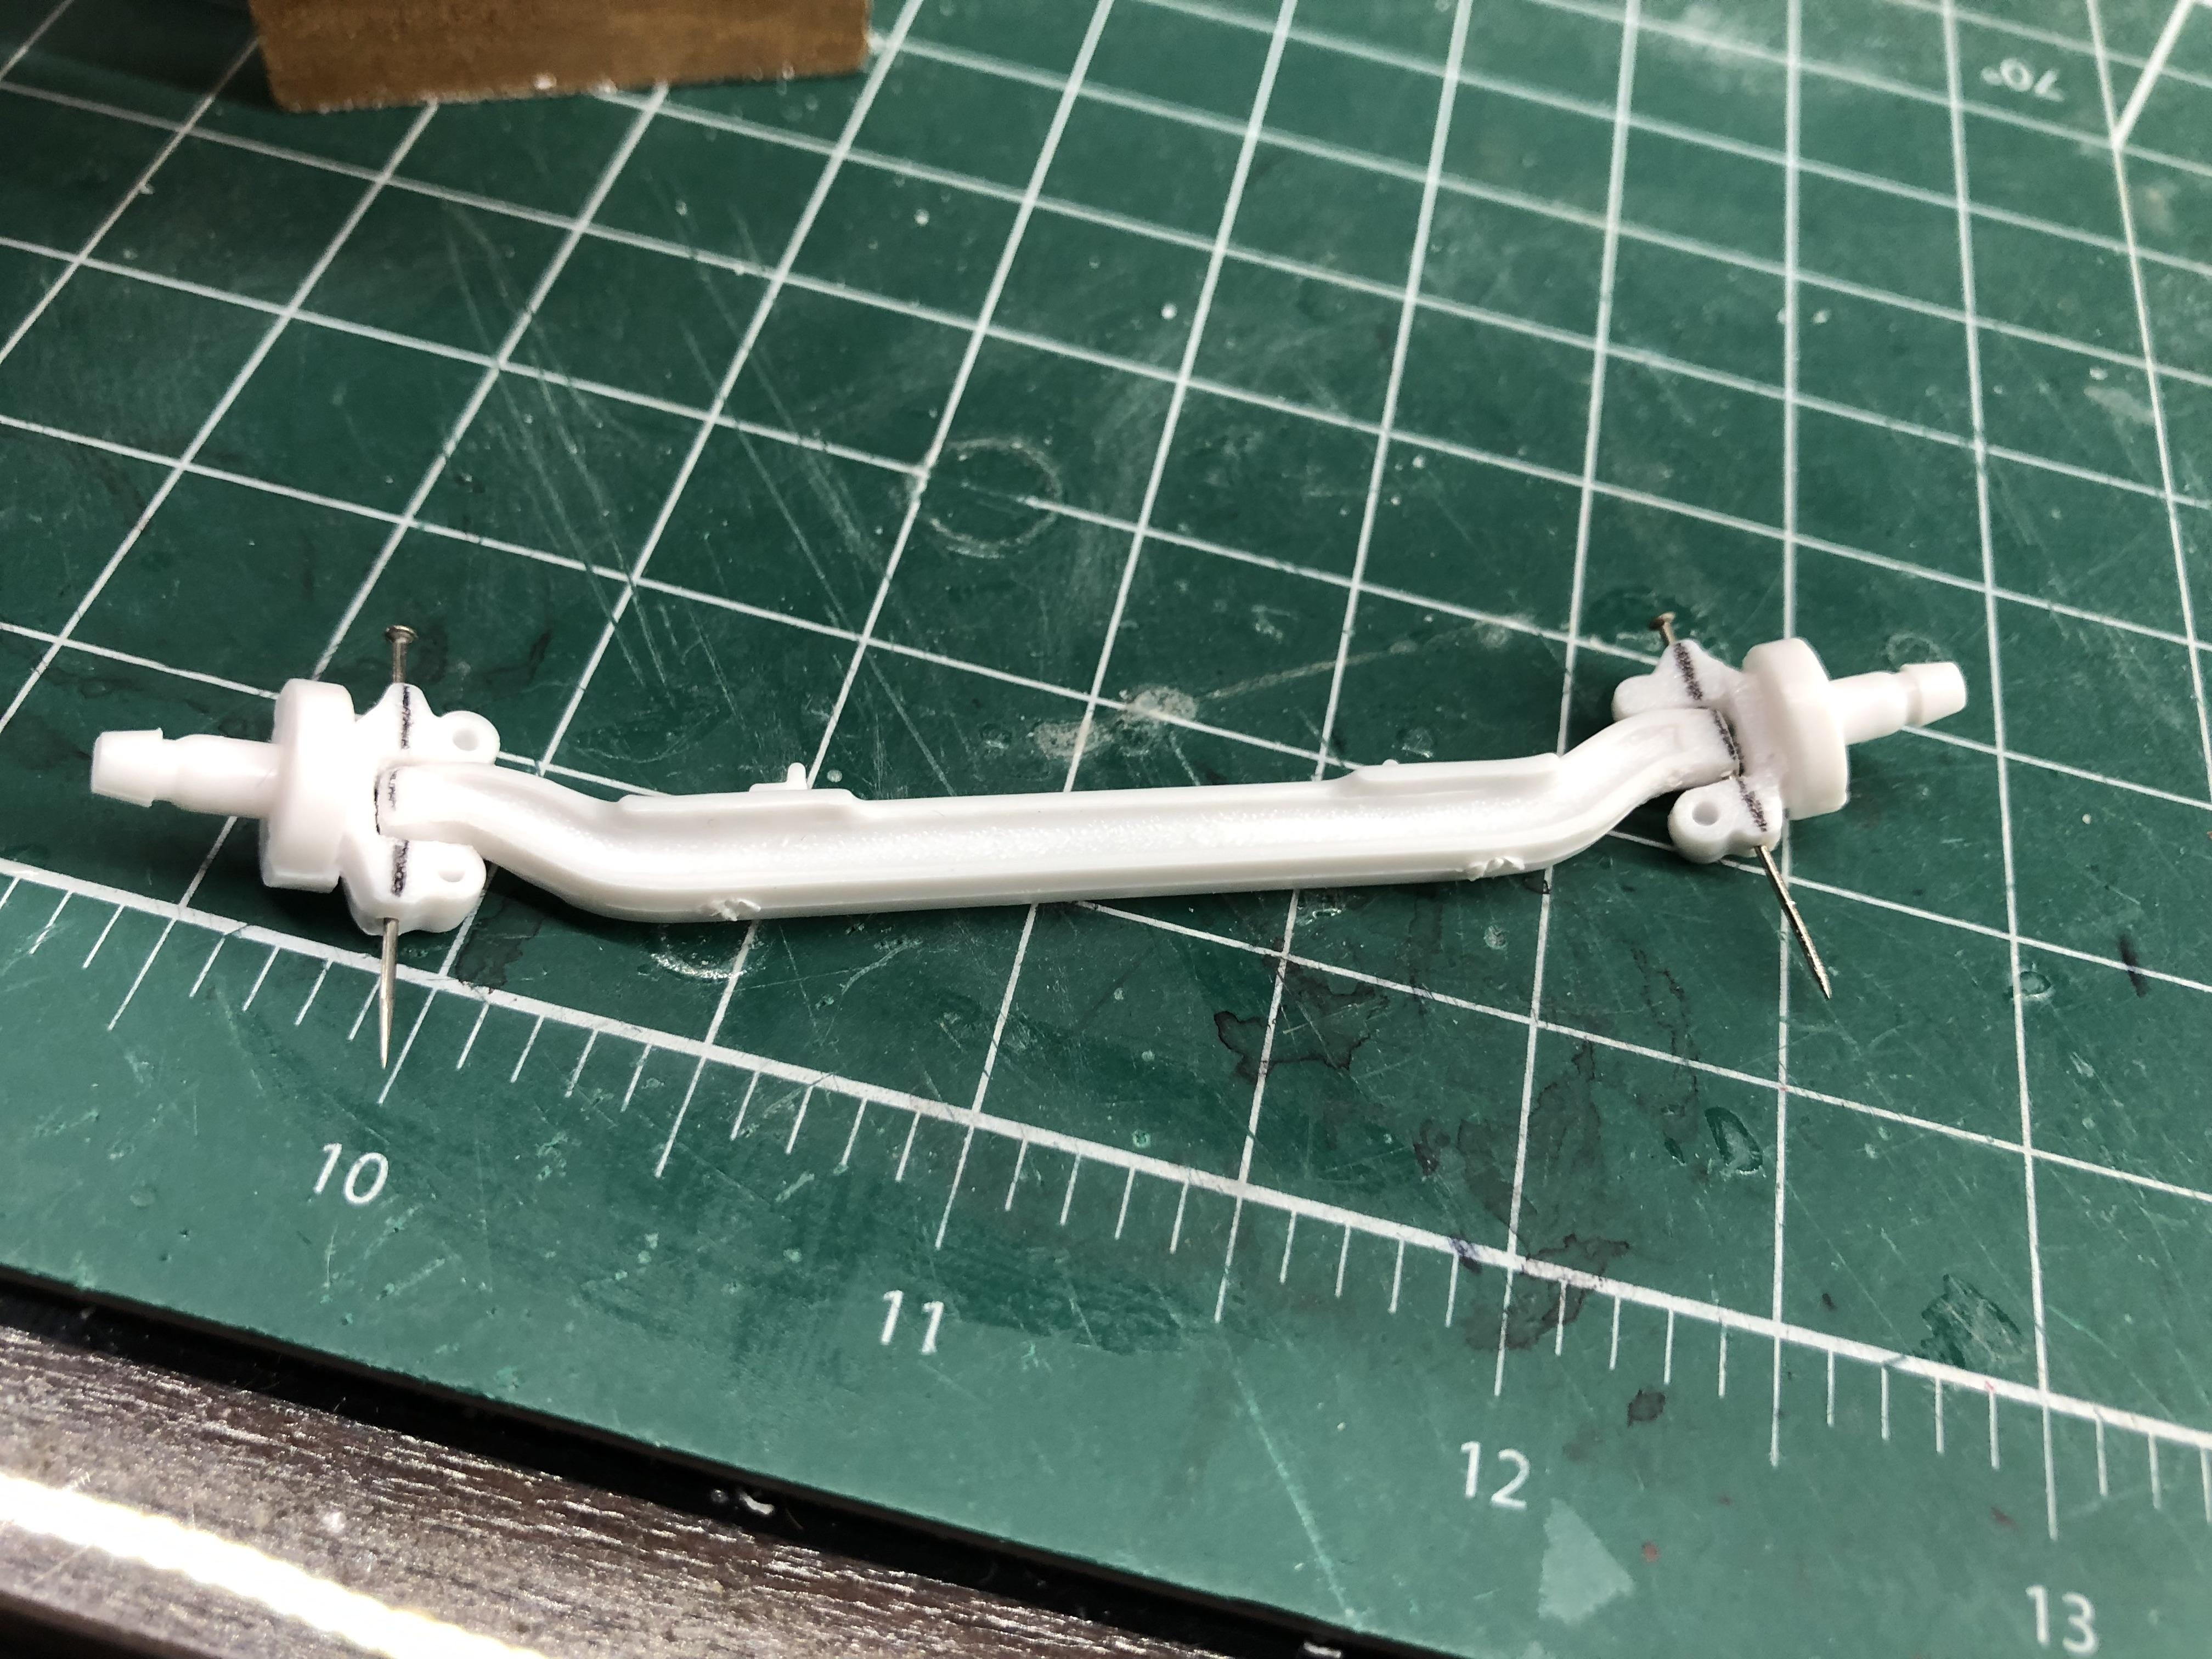
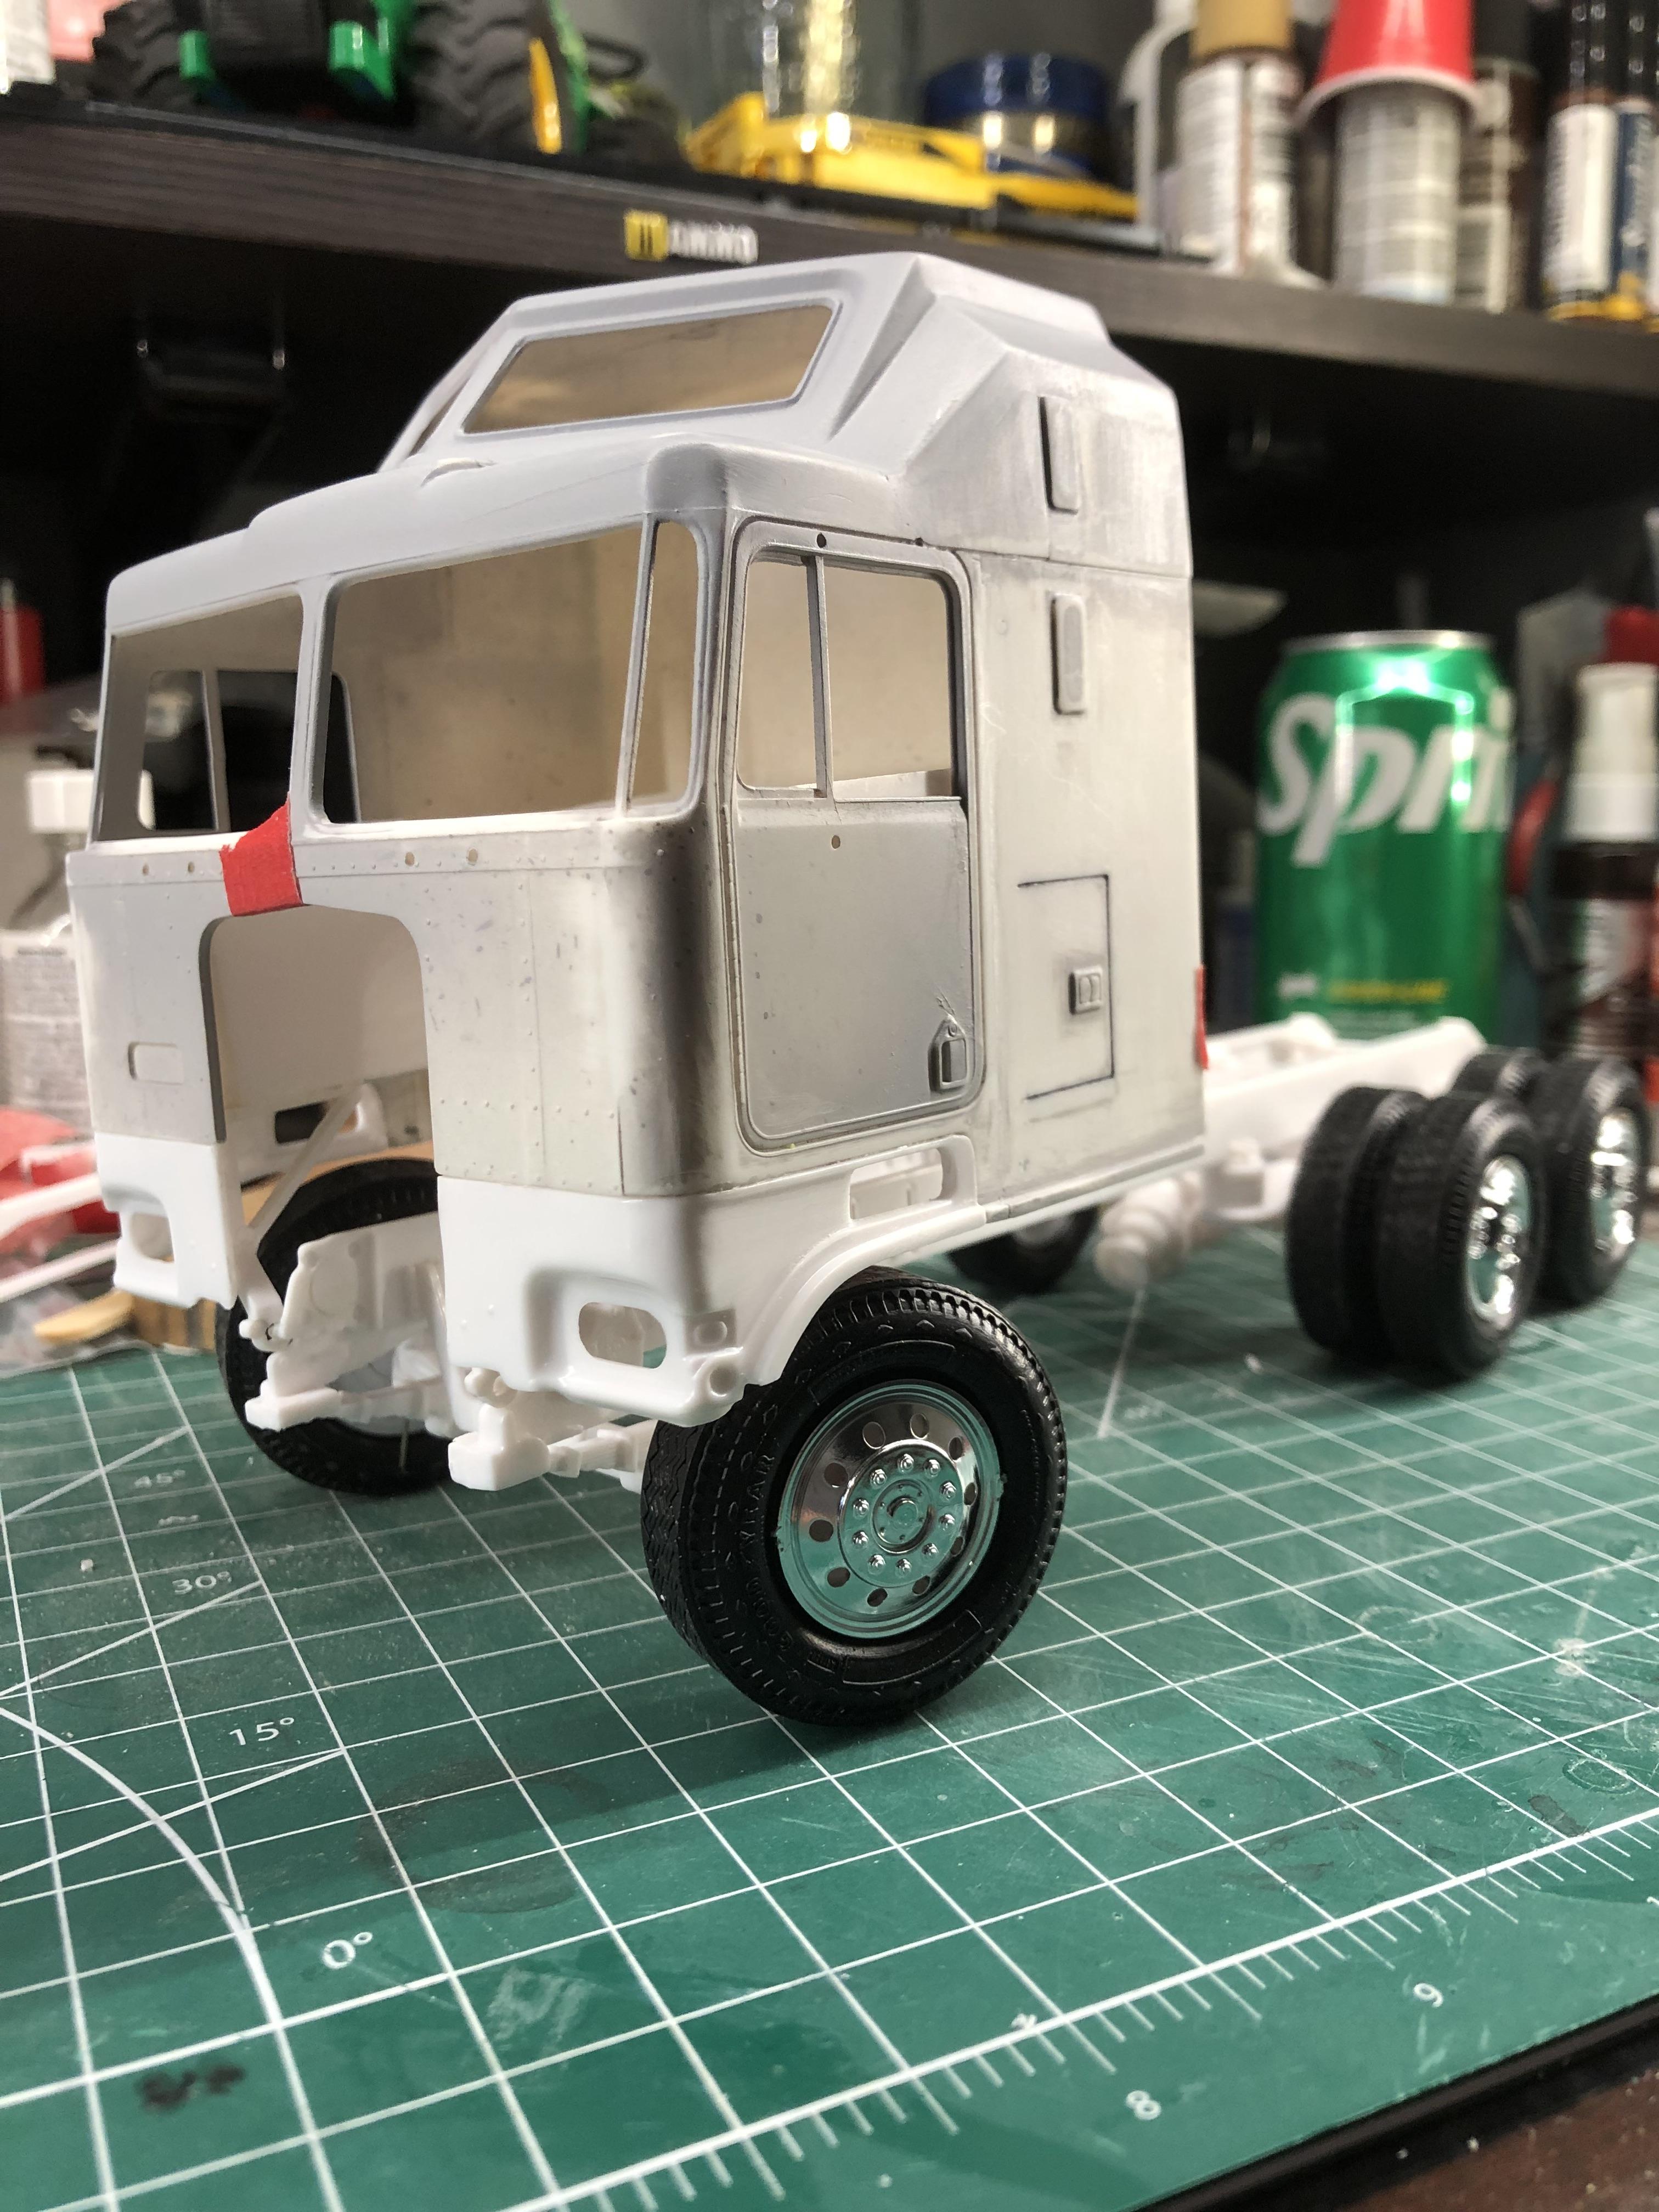
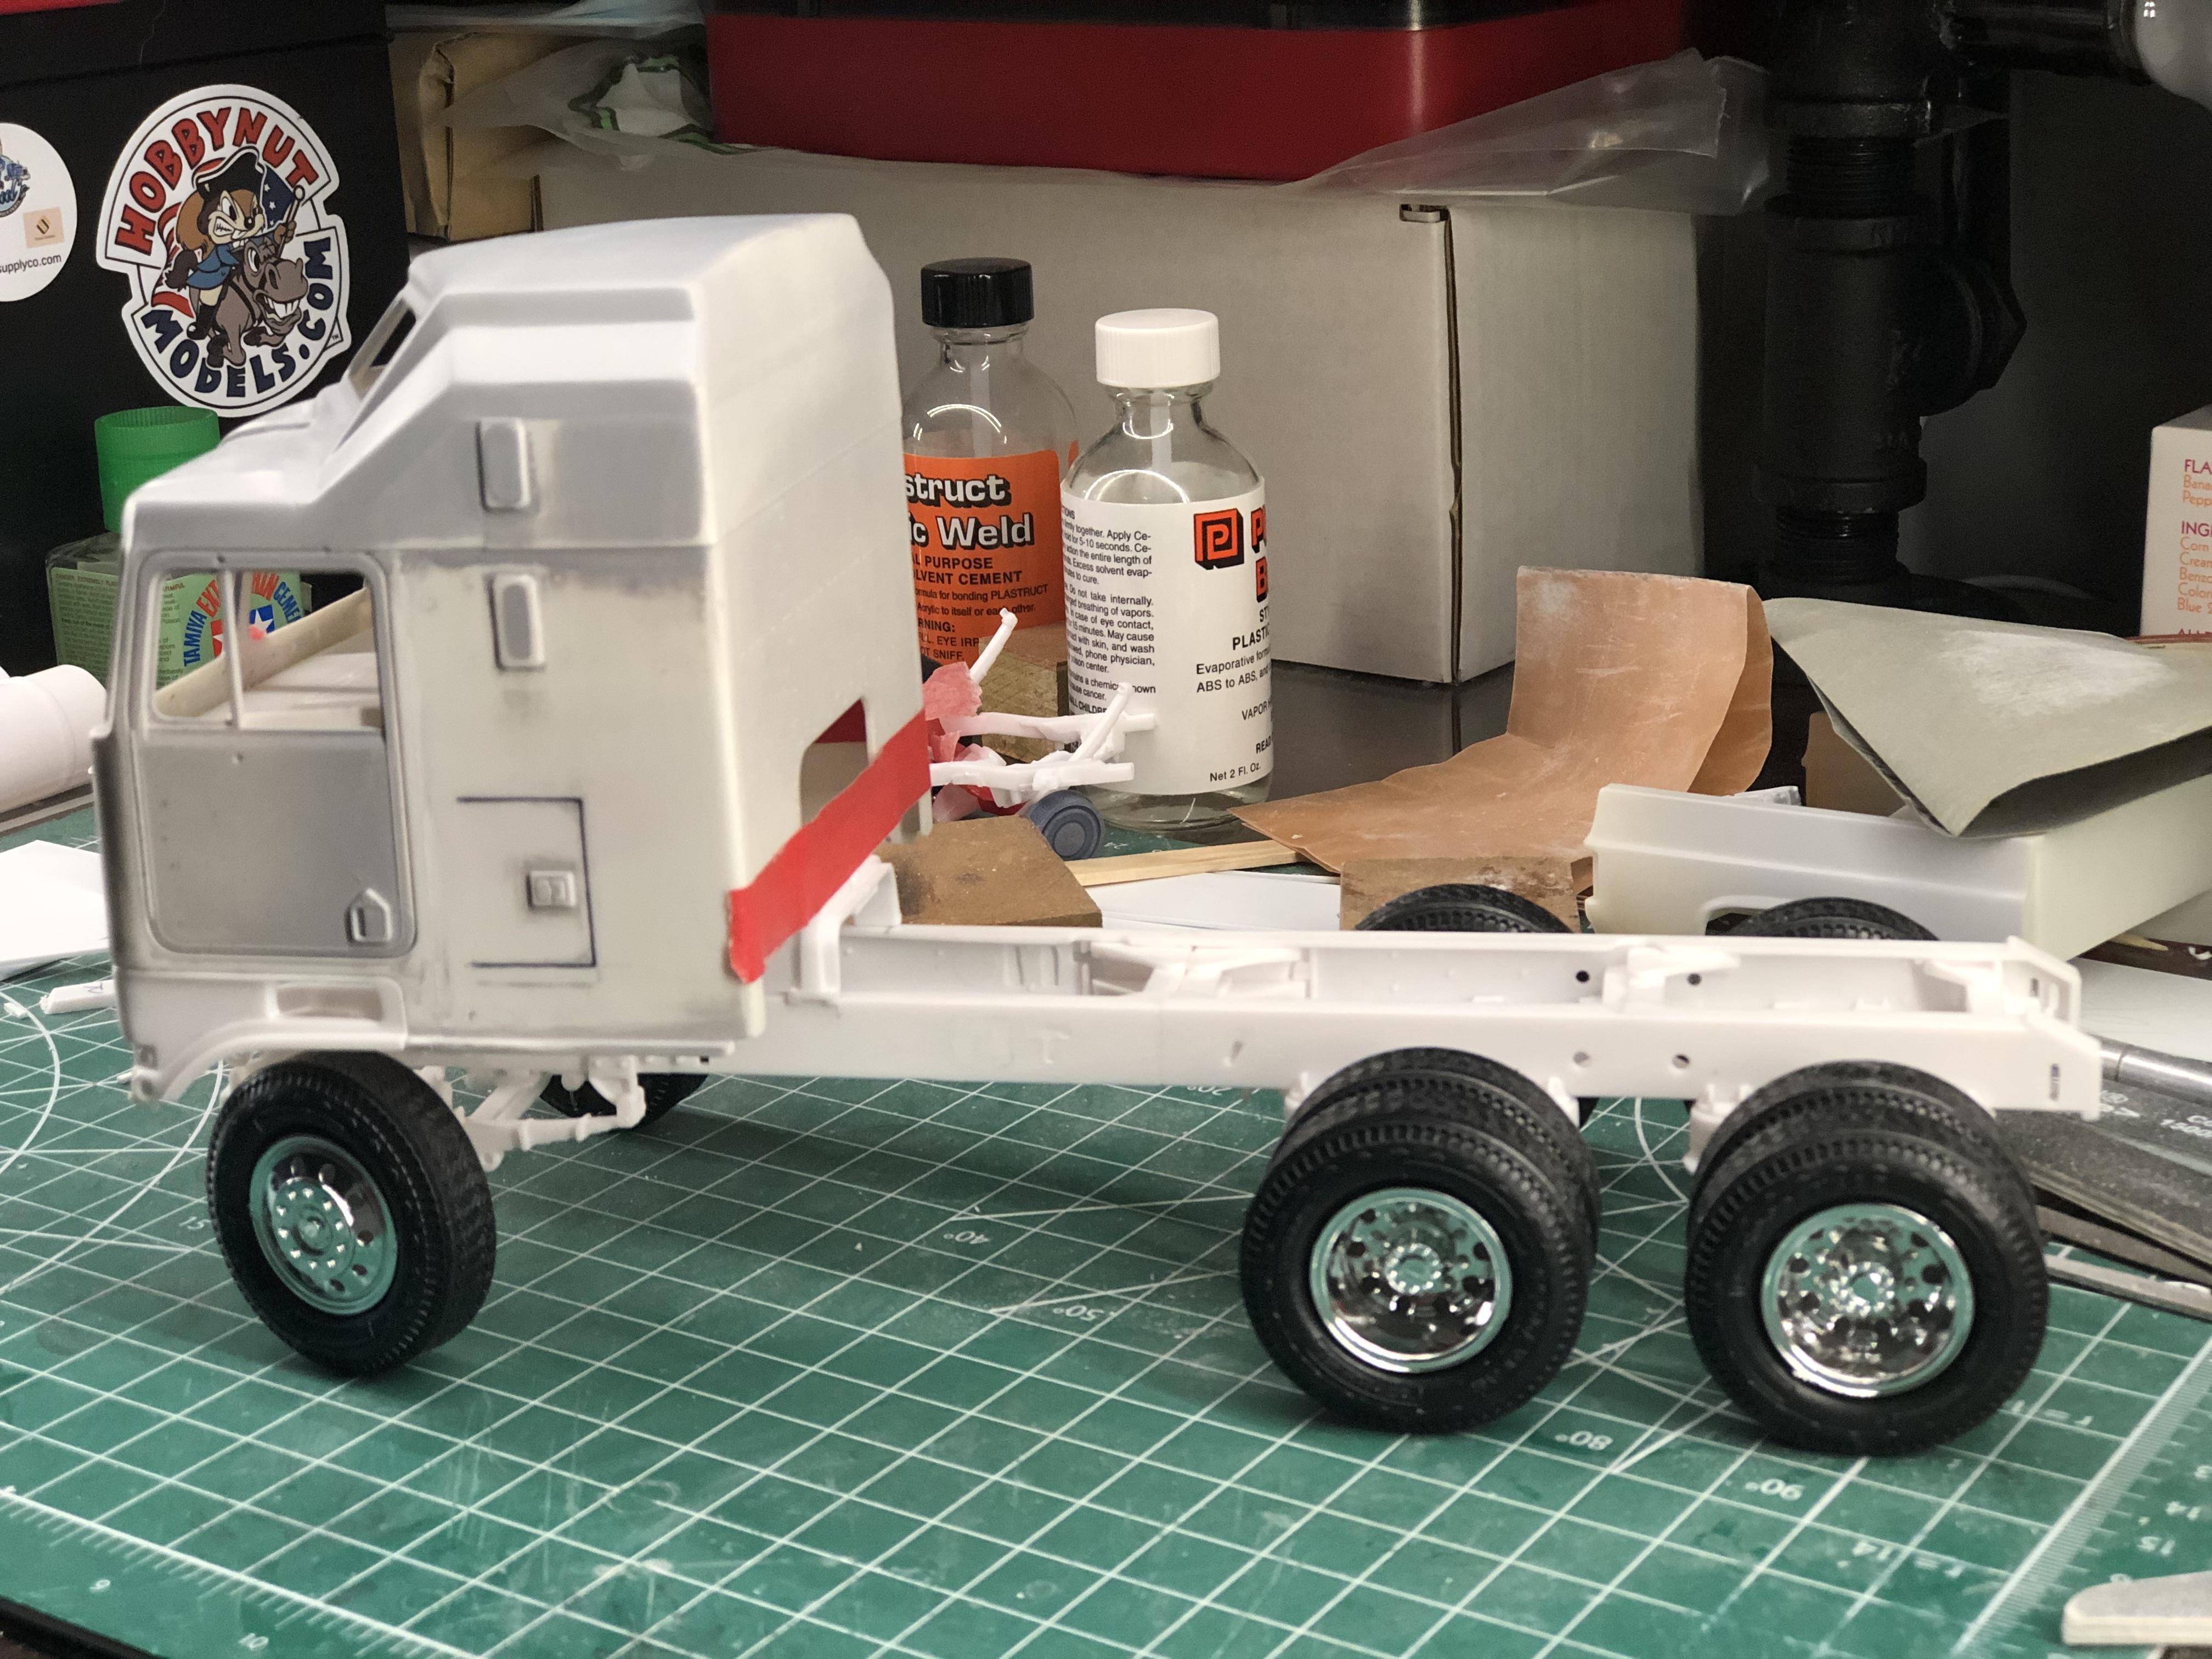
After being frustrated with International build I set it aside for now , I thought I would build another 86” Aerodyne got the cab cut apart and put back together , shorted the frame , made a steerable front axle , cut the step pockets off and removed the molded on KENWORTH letters. Here is a quick mock up . Thanks for looking
-
1984 Silverado
k100 replied to k100's topic in WIP: Model Trucks: Pickups, Vans, SUVs, Light Commercial
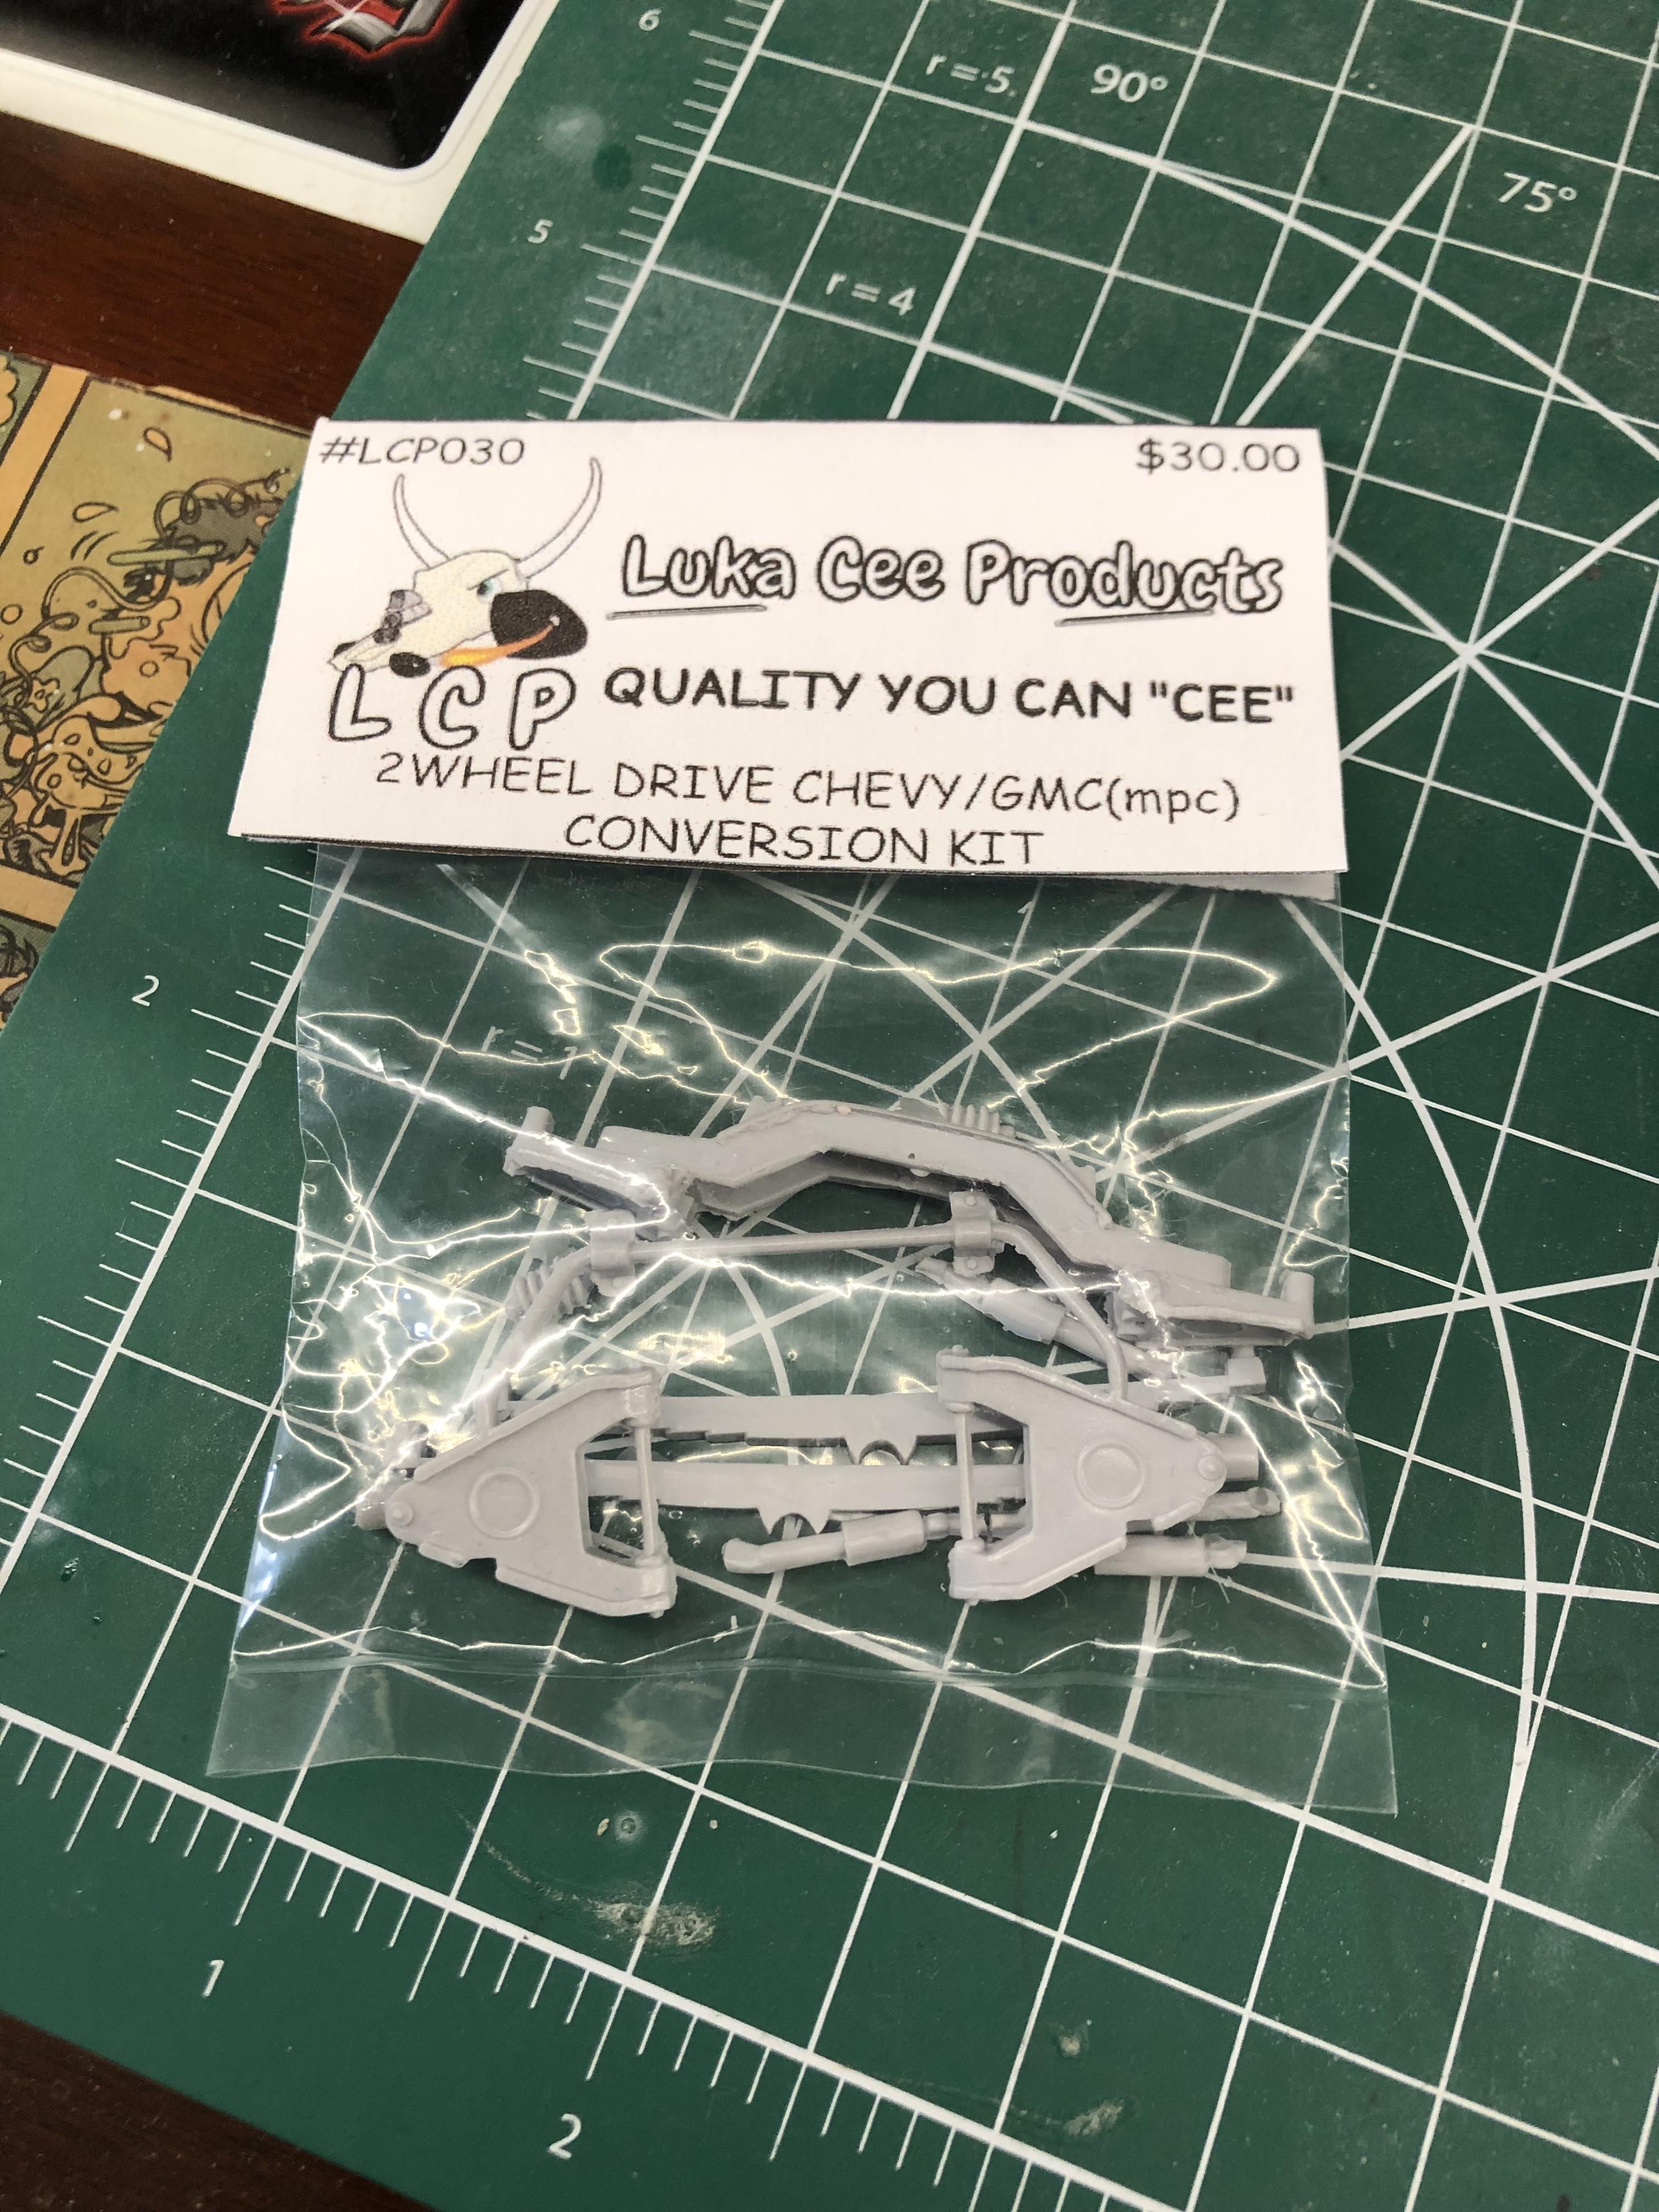
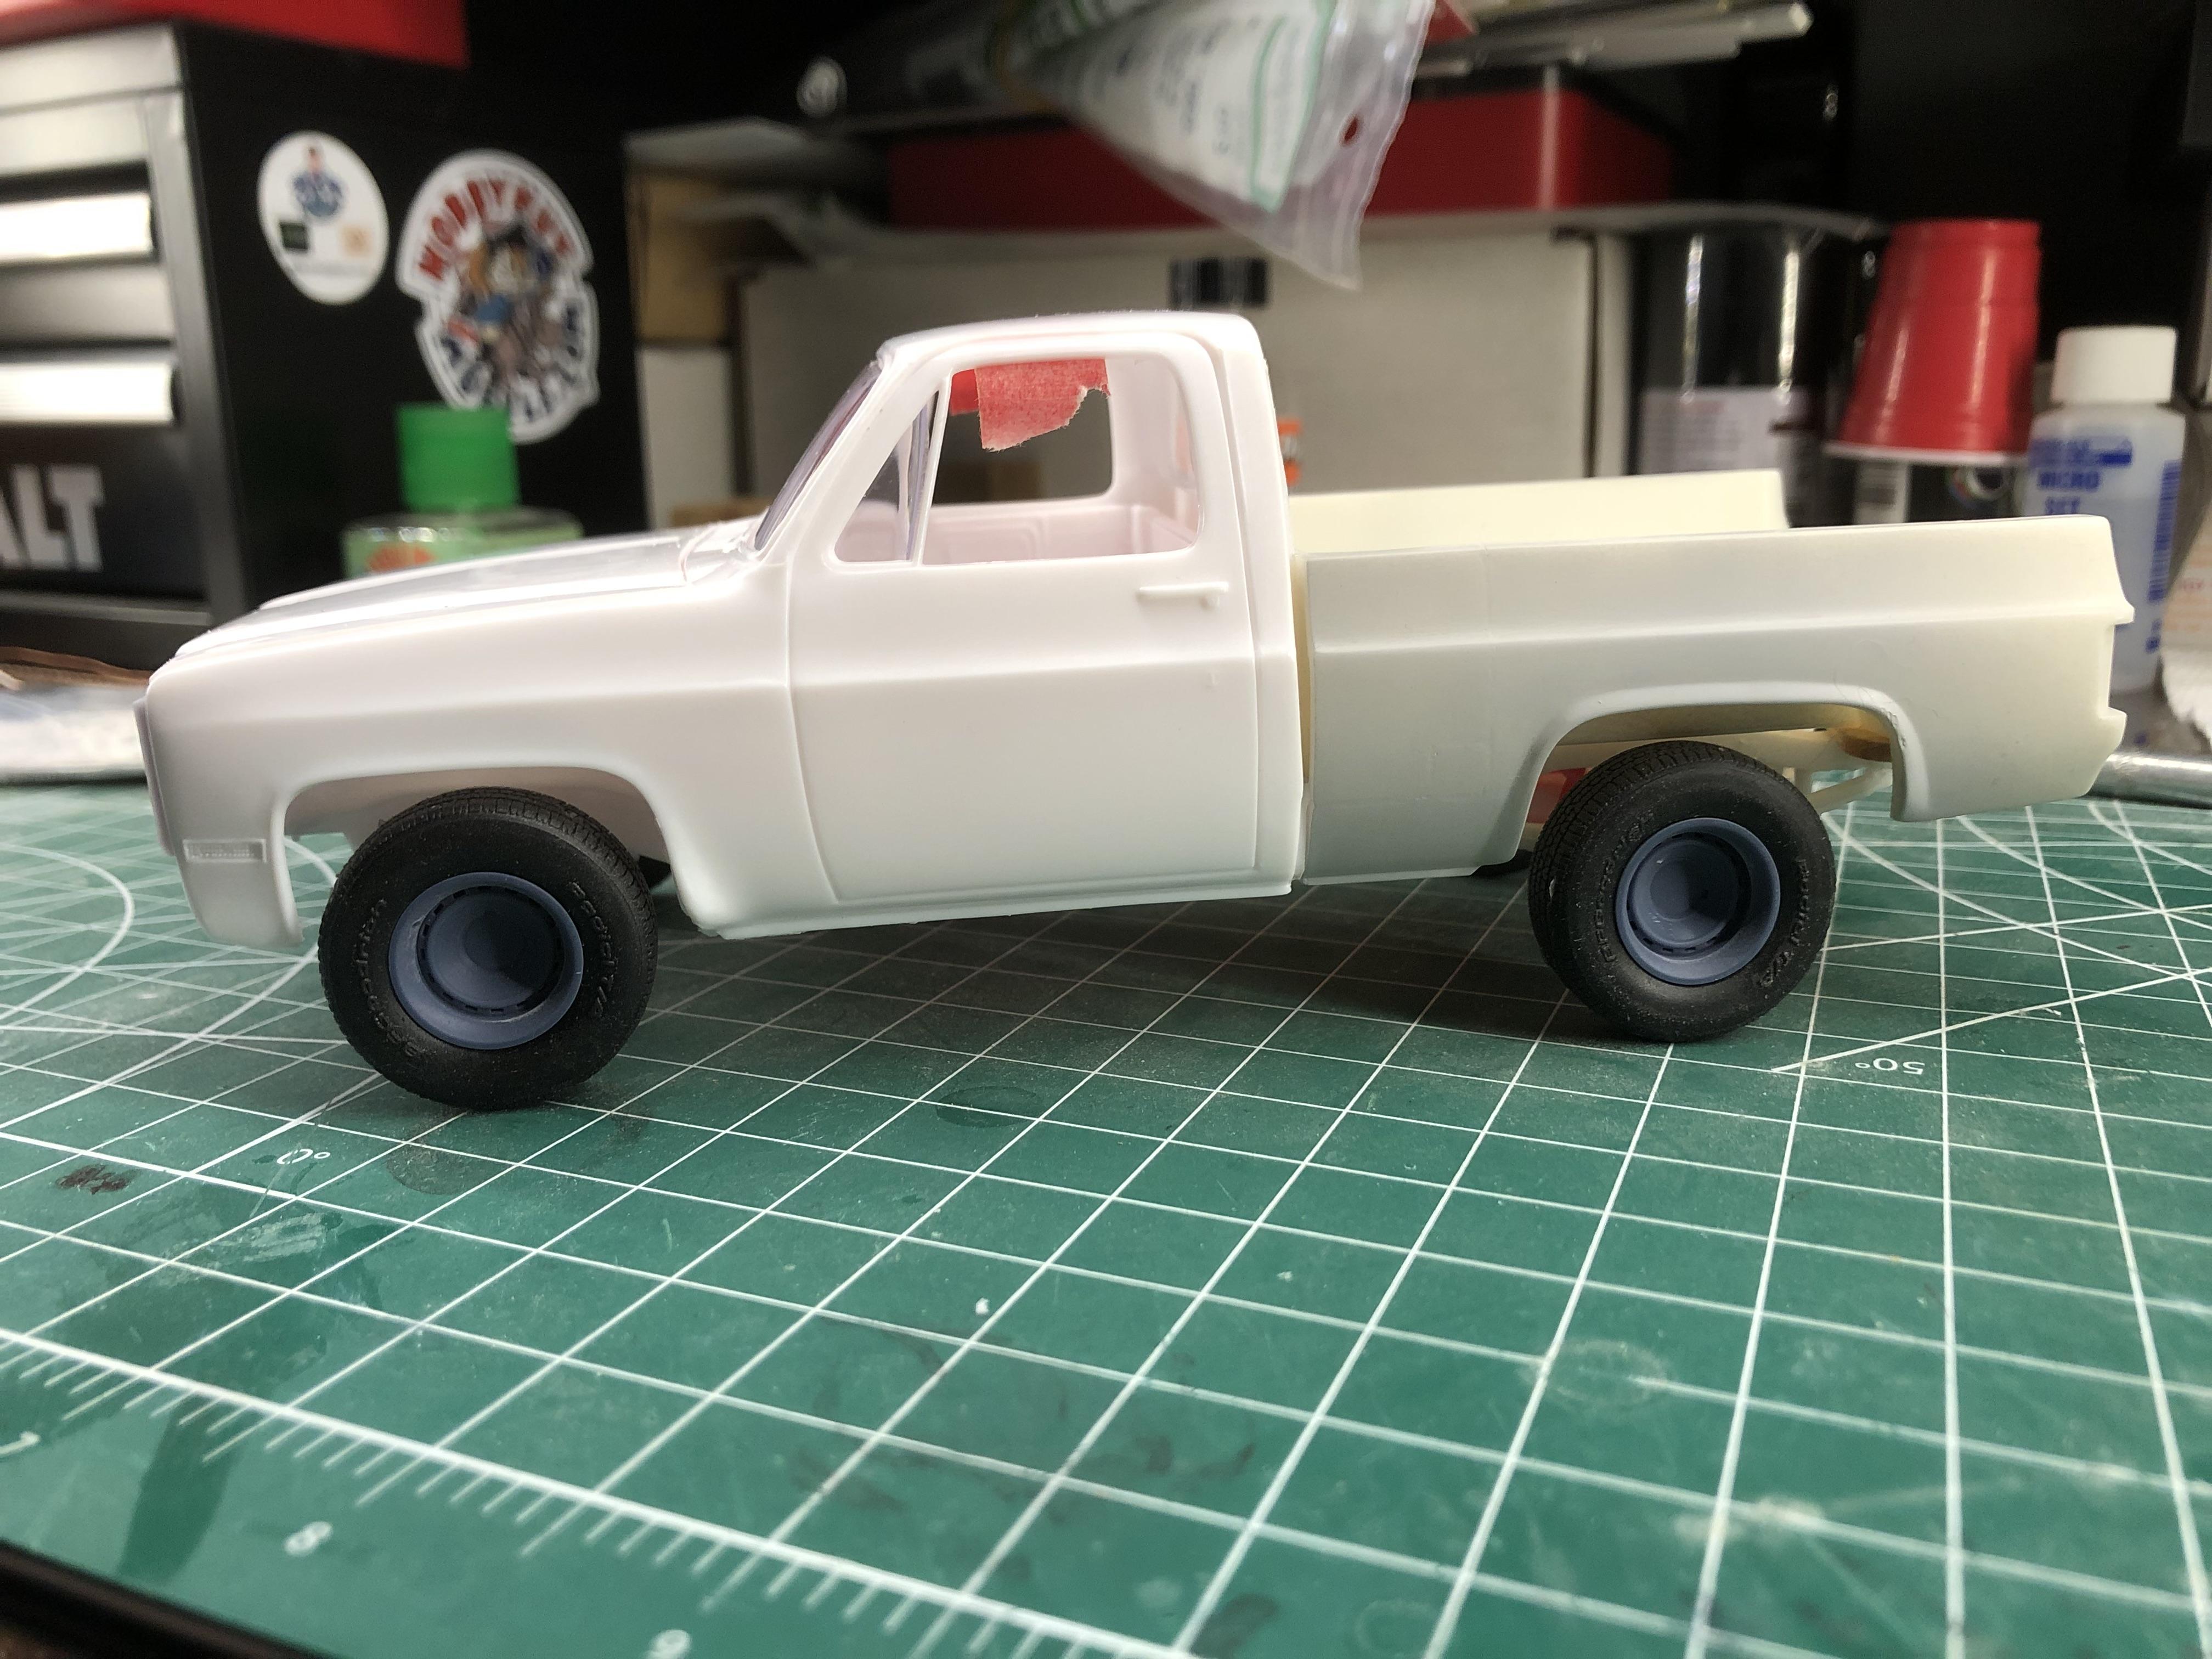
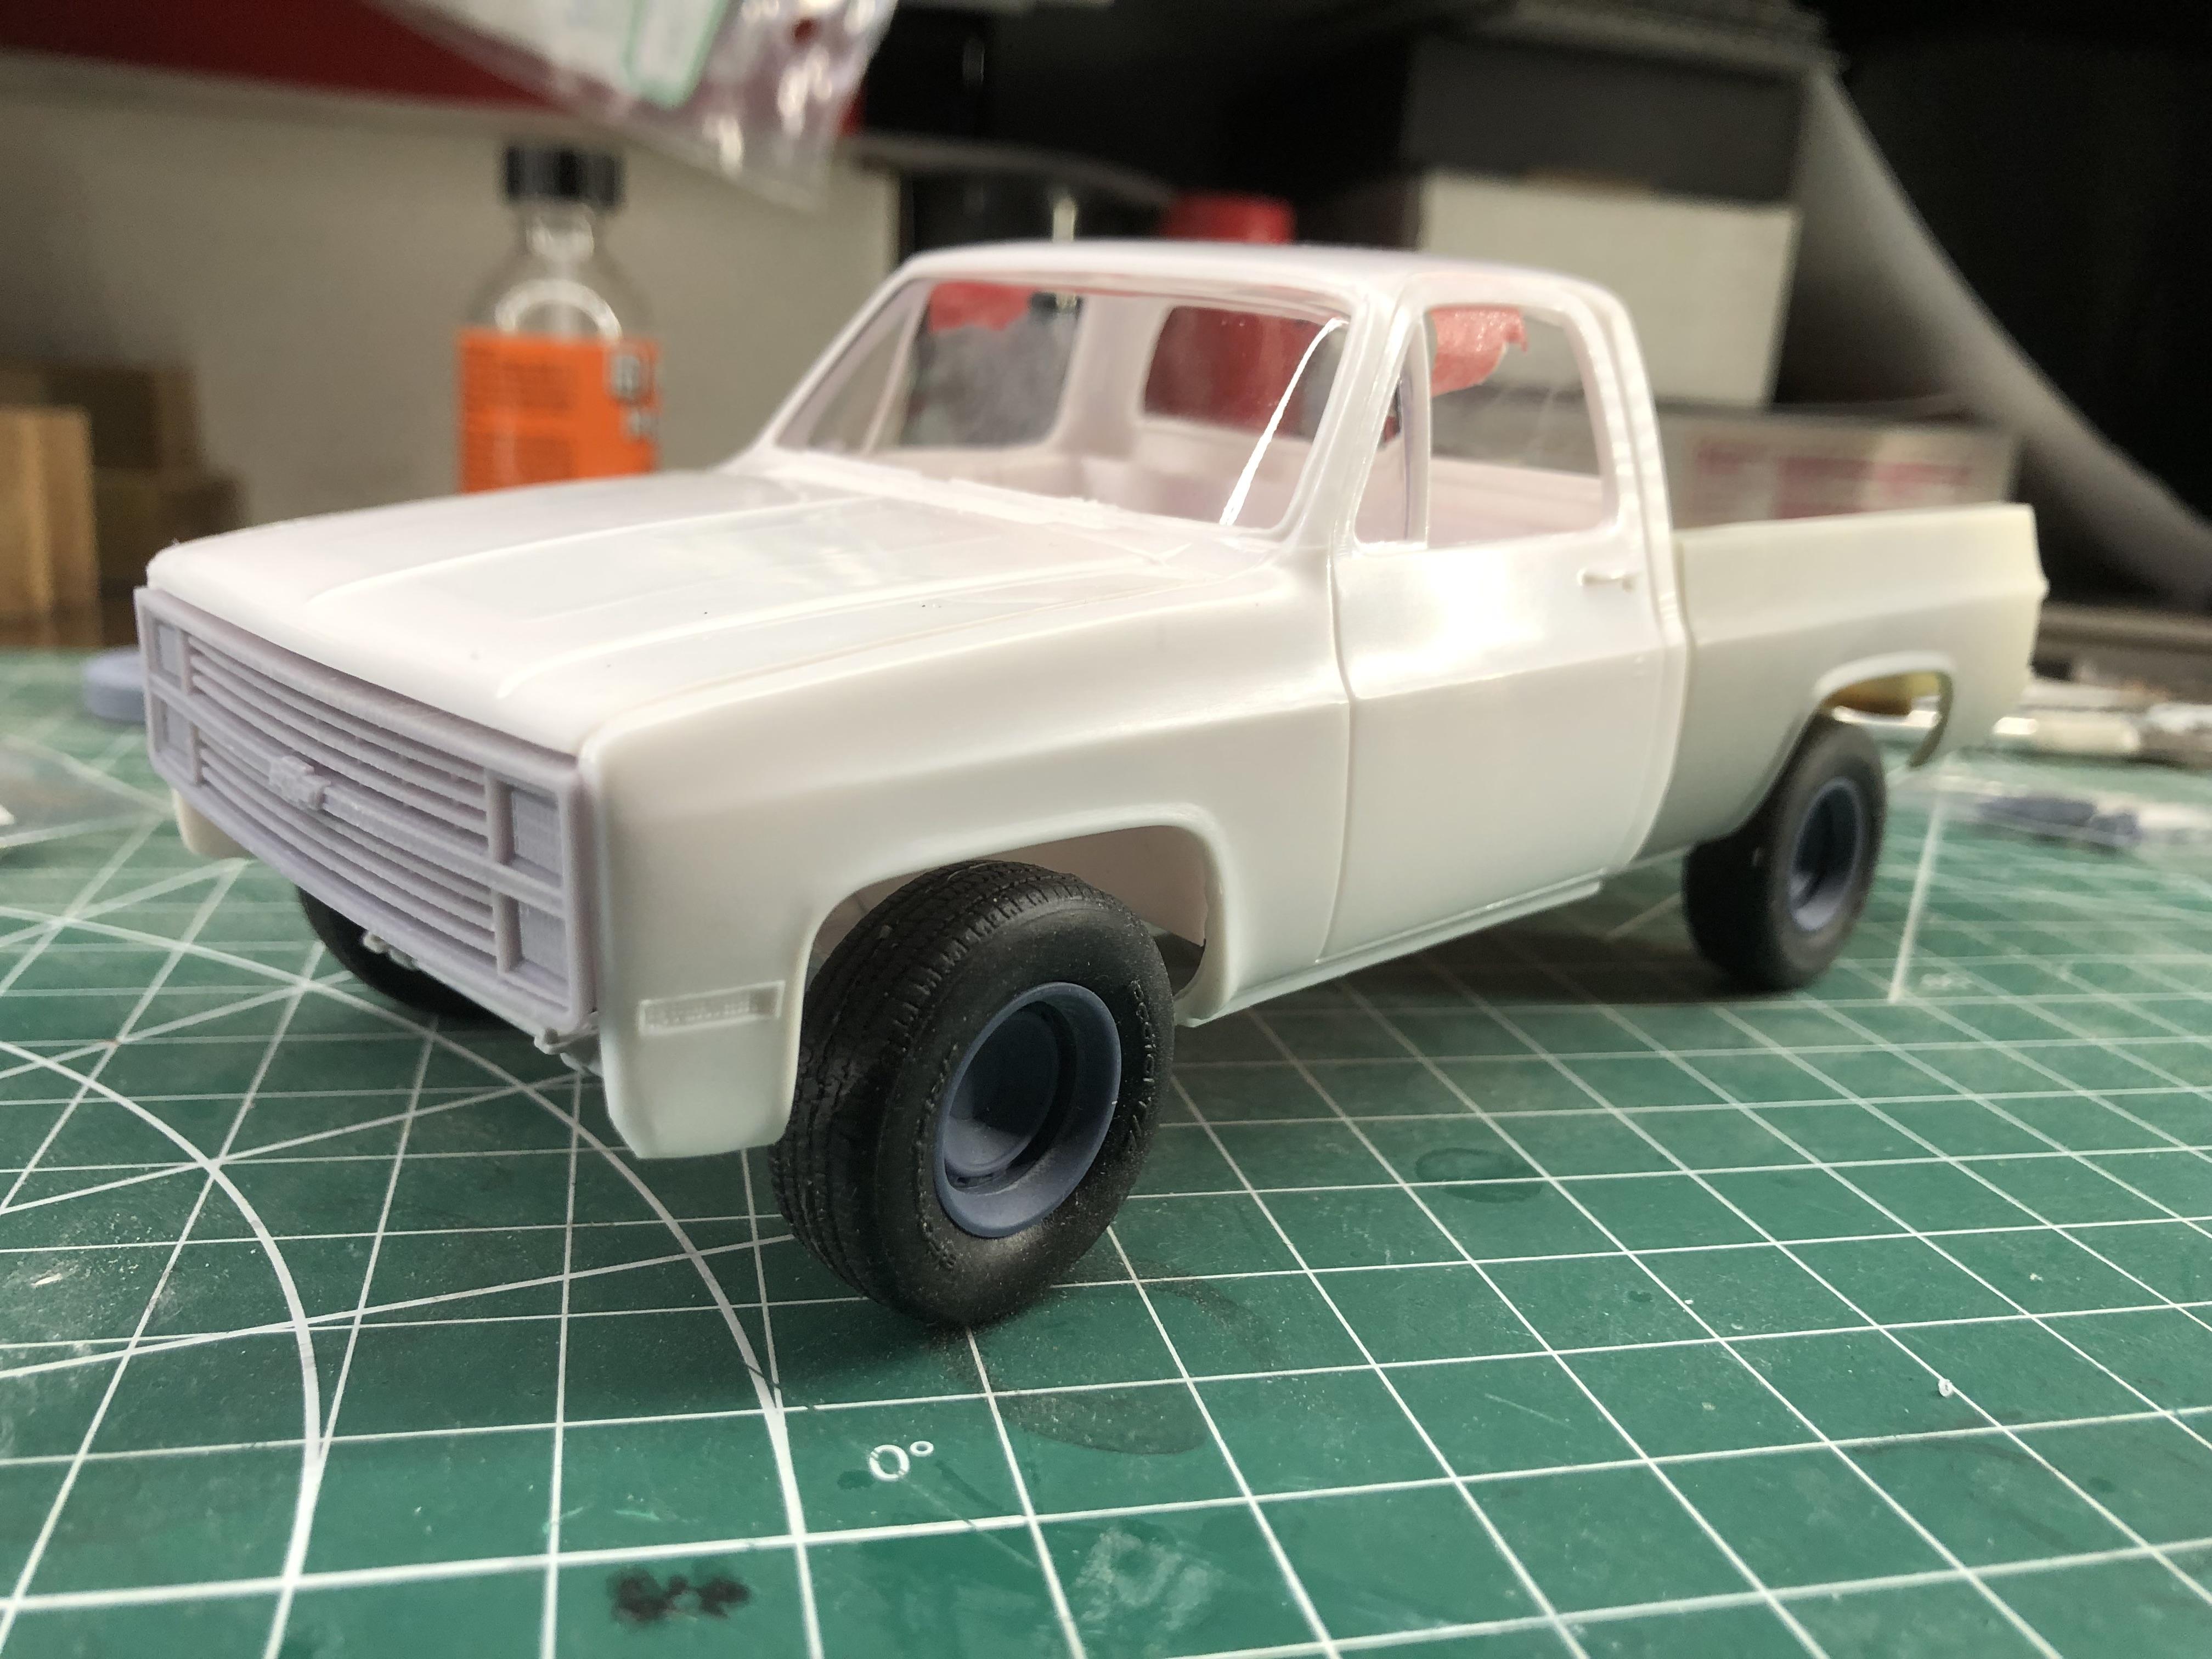
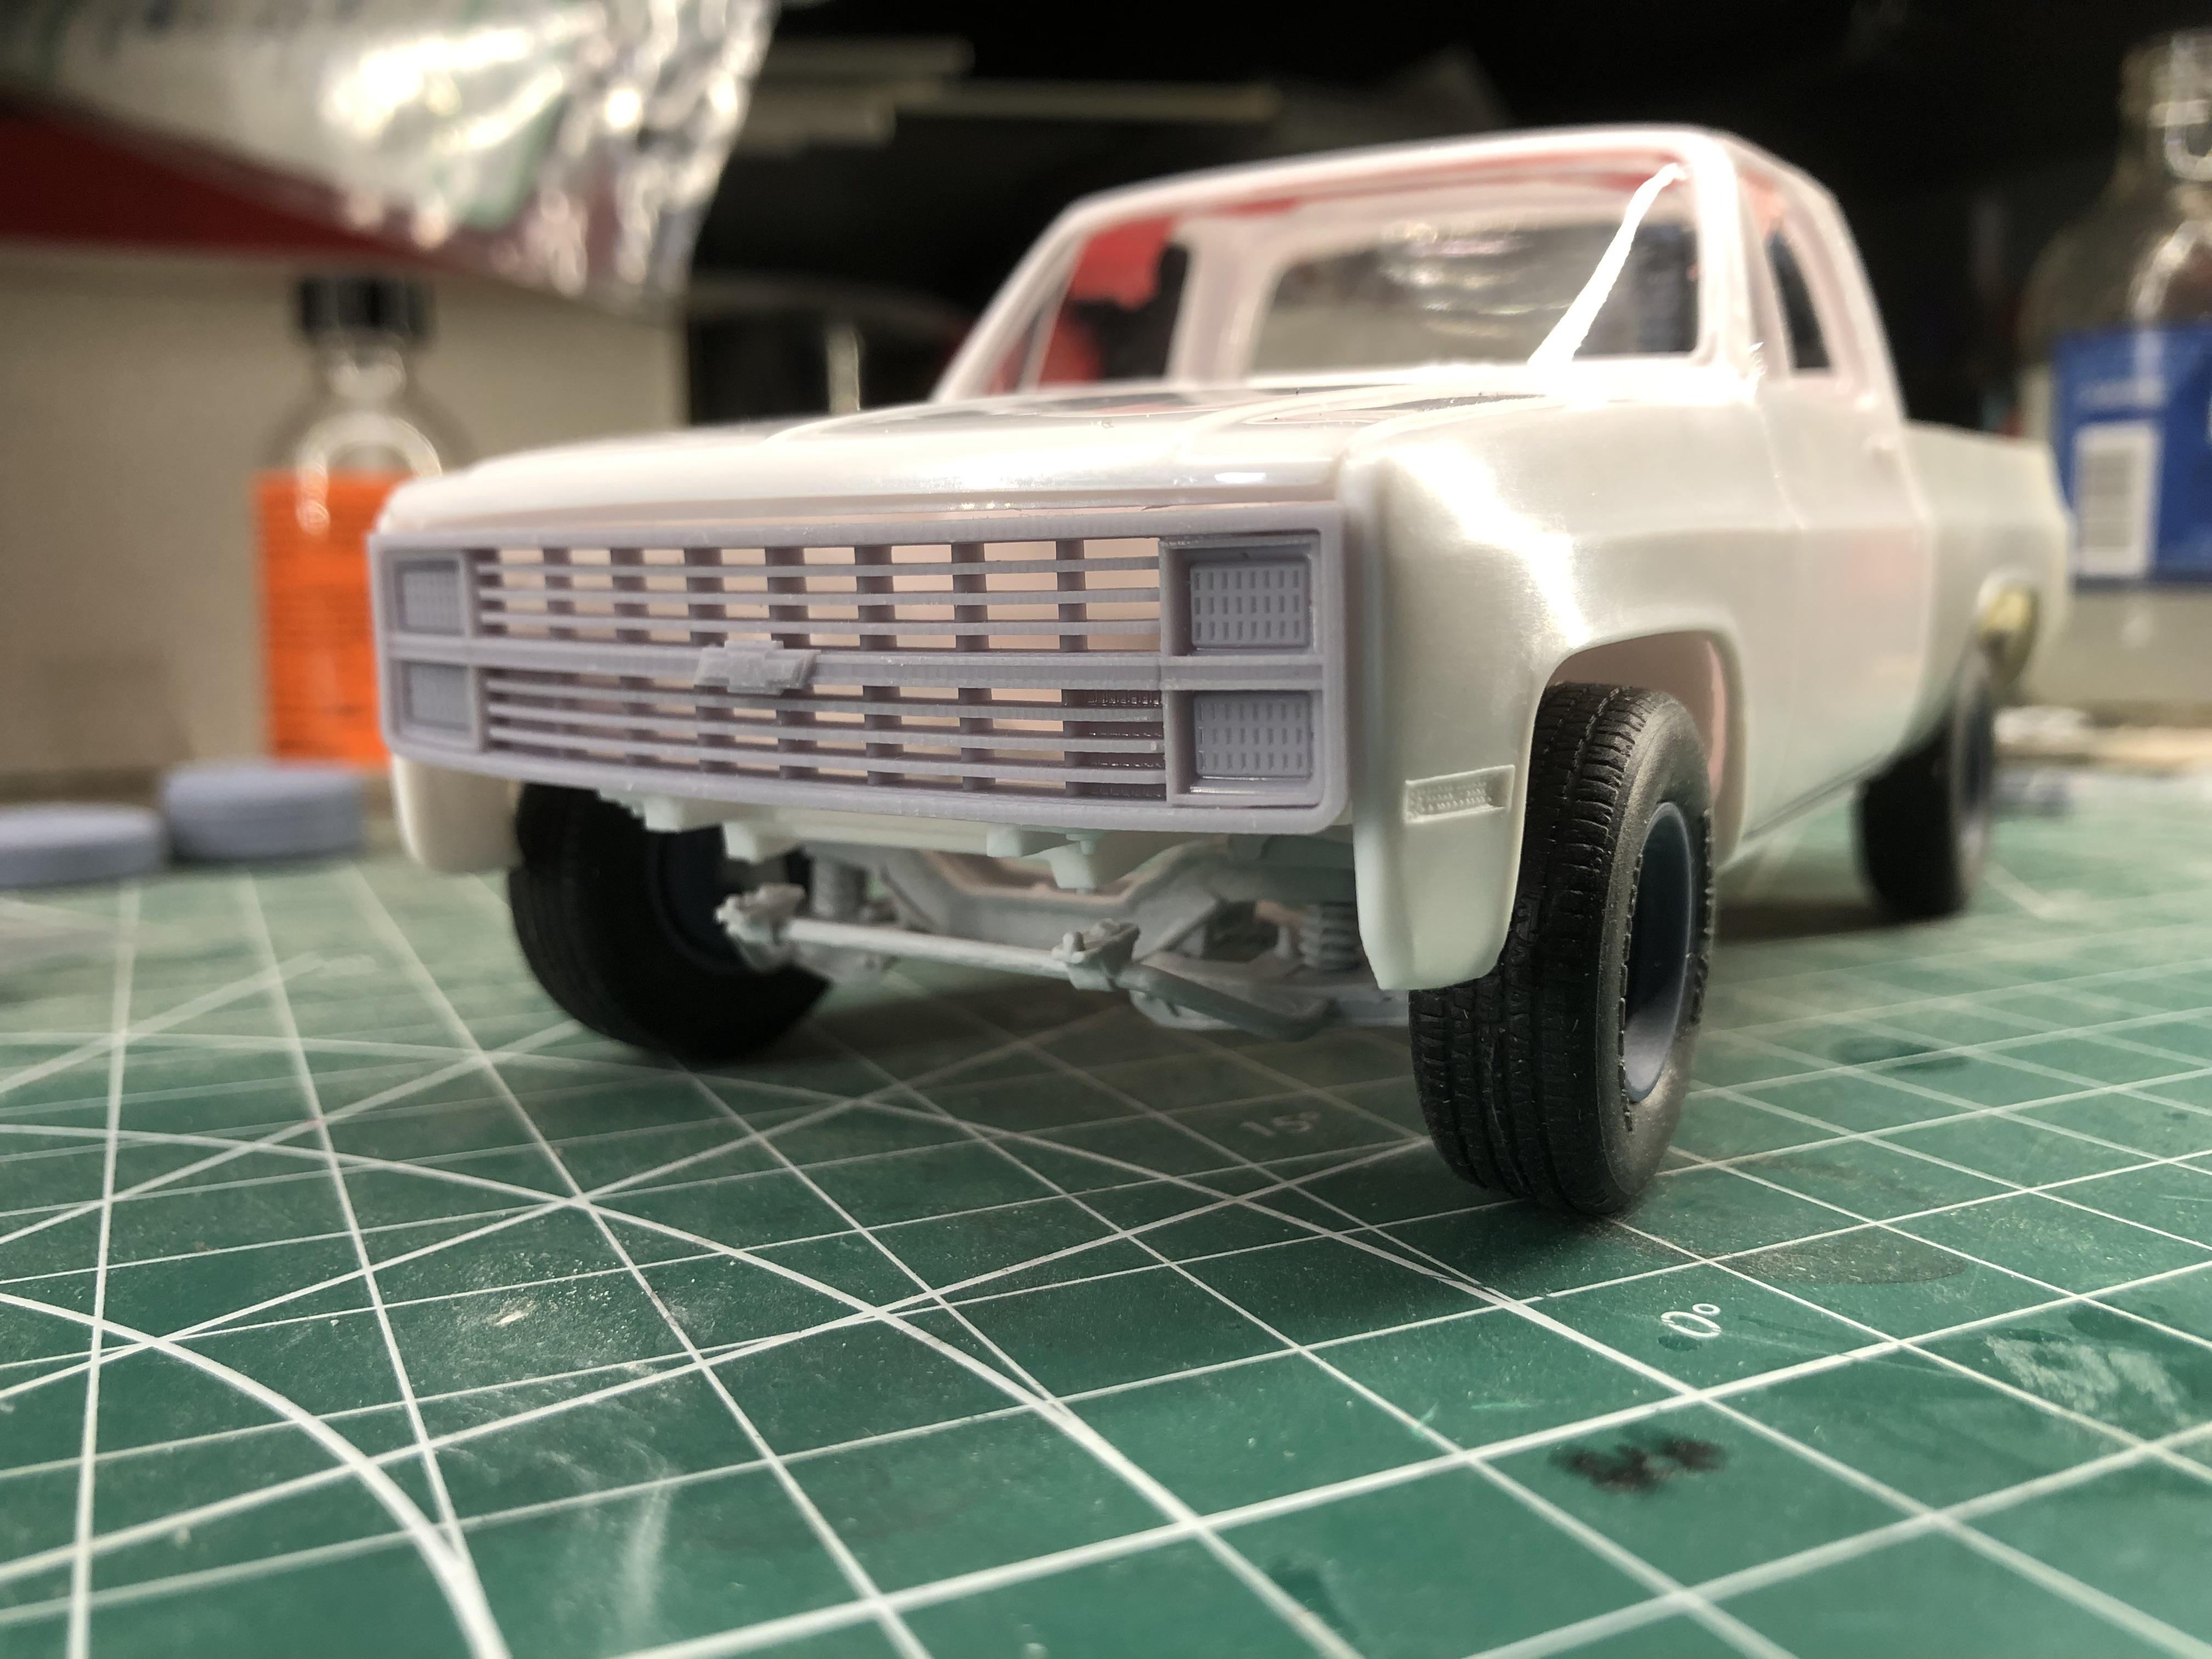
Thank you for the comments . Espo check out the video from Luka Cee on YouTube NEW Luka Cee Products Model Car Resin Available at Andy’s Hobby Headquarters andyshhq.com ( see picture) Titino I'm using the MPC Sod Buster Chevy 4x4 , it’s in 1/25 scale the bed is from the MPC Deserter GMC kit.
-
Back in 1984 I bought my first truck , it was a blue and sliver short bed,2 wheel drive a really nice truck , sadly it got totaled (not by my fault) after only having it 4 months never really got to do anything to it . This is going to be that 84 I never got to build . Im starting with the Sod Buster 4x4 I using a 2 wheel drive conversion from Luka Cee, Chevy truck rally wheels & tires from Fire Ball, and an 84 grille from Iceman. thanks for looking
-
IH Transtar 4300 converted to a 4200
k100 replied to k100's topic in WIP: Model Trucks: Big Rigs and Heavy Equipment
Thank you Jurgen I used Tamiya tape I’ve always had good luck with it , it’s been over 2 week since I painted it I don’t know what happen . Rockford , I was pretty upset about but it’s taking a purple bath right now and I’ll try it again . -
IH Transtar 4300 converted to a 4200
k100 replied to k100's topic in WIP: Model Trucks: Big Rigs and Heavy Equipment
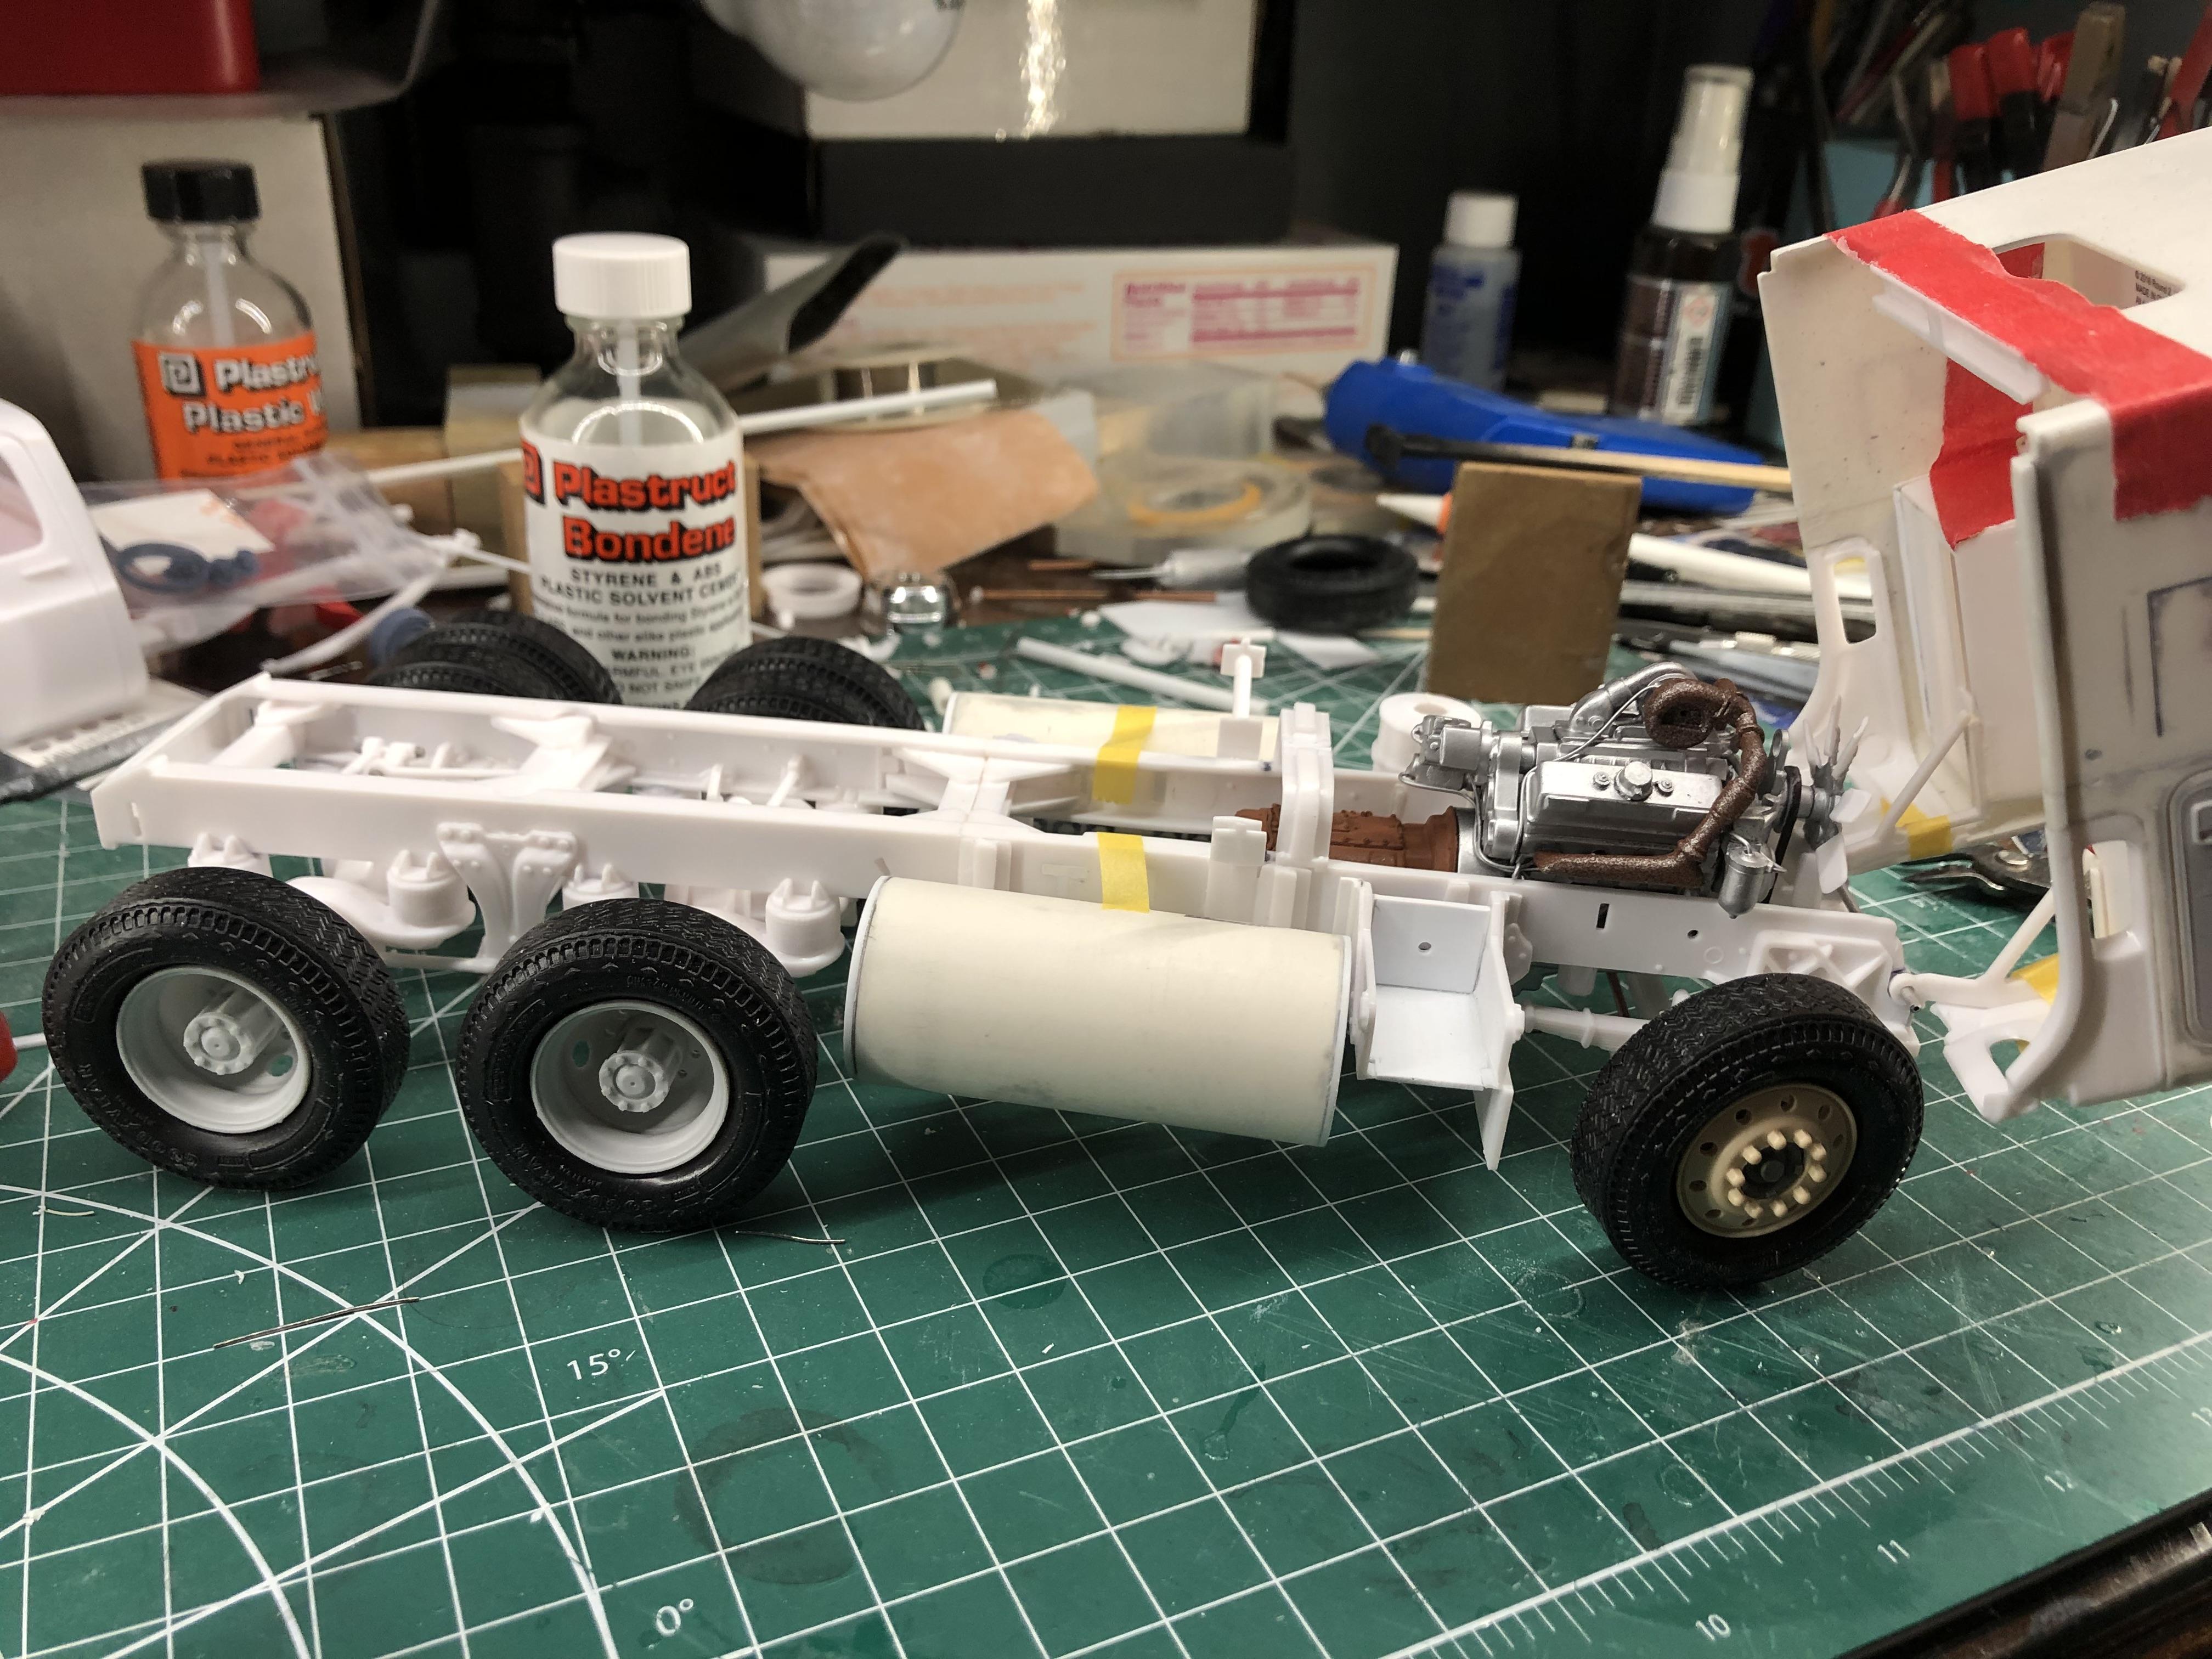
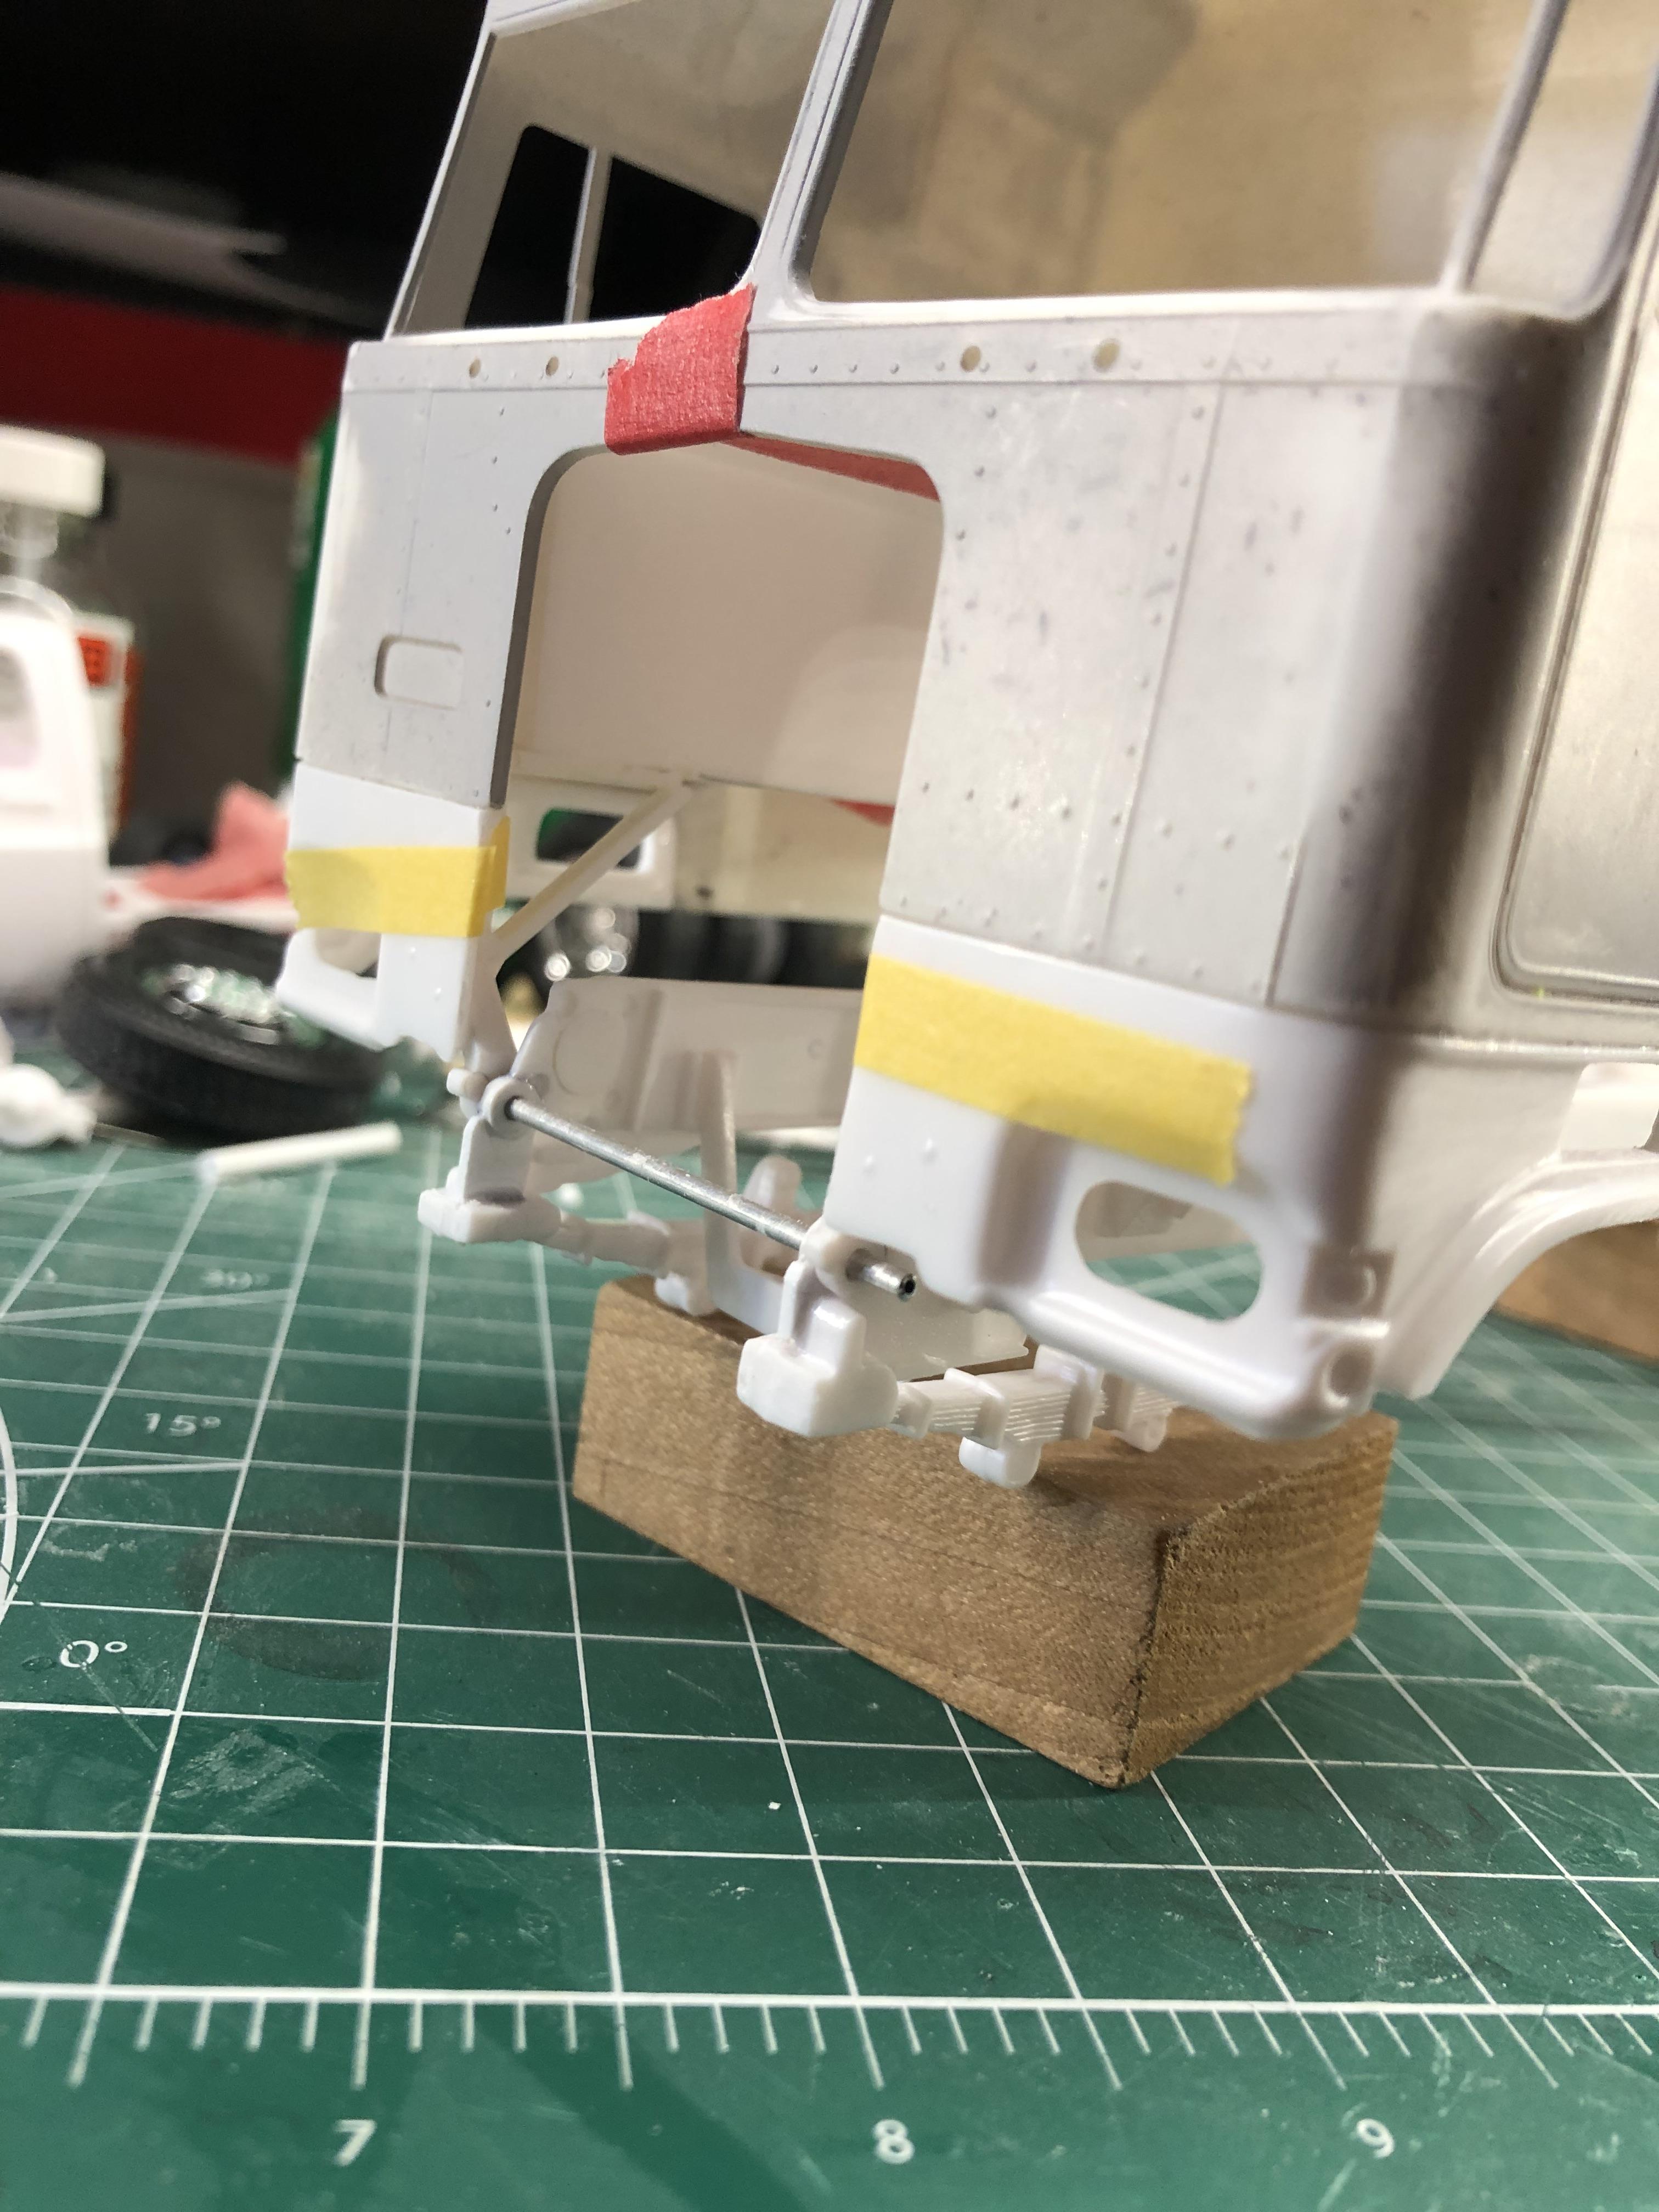
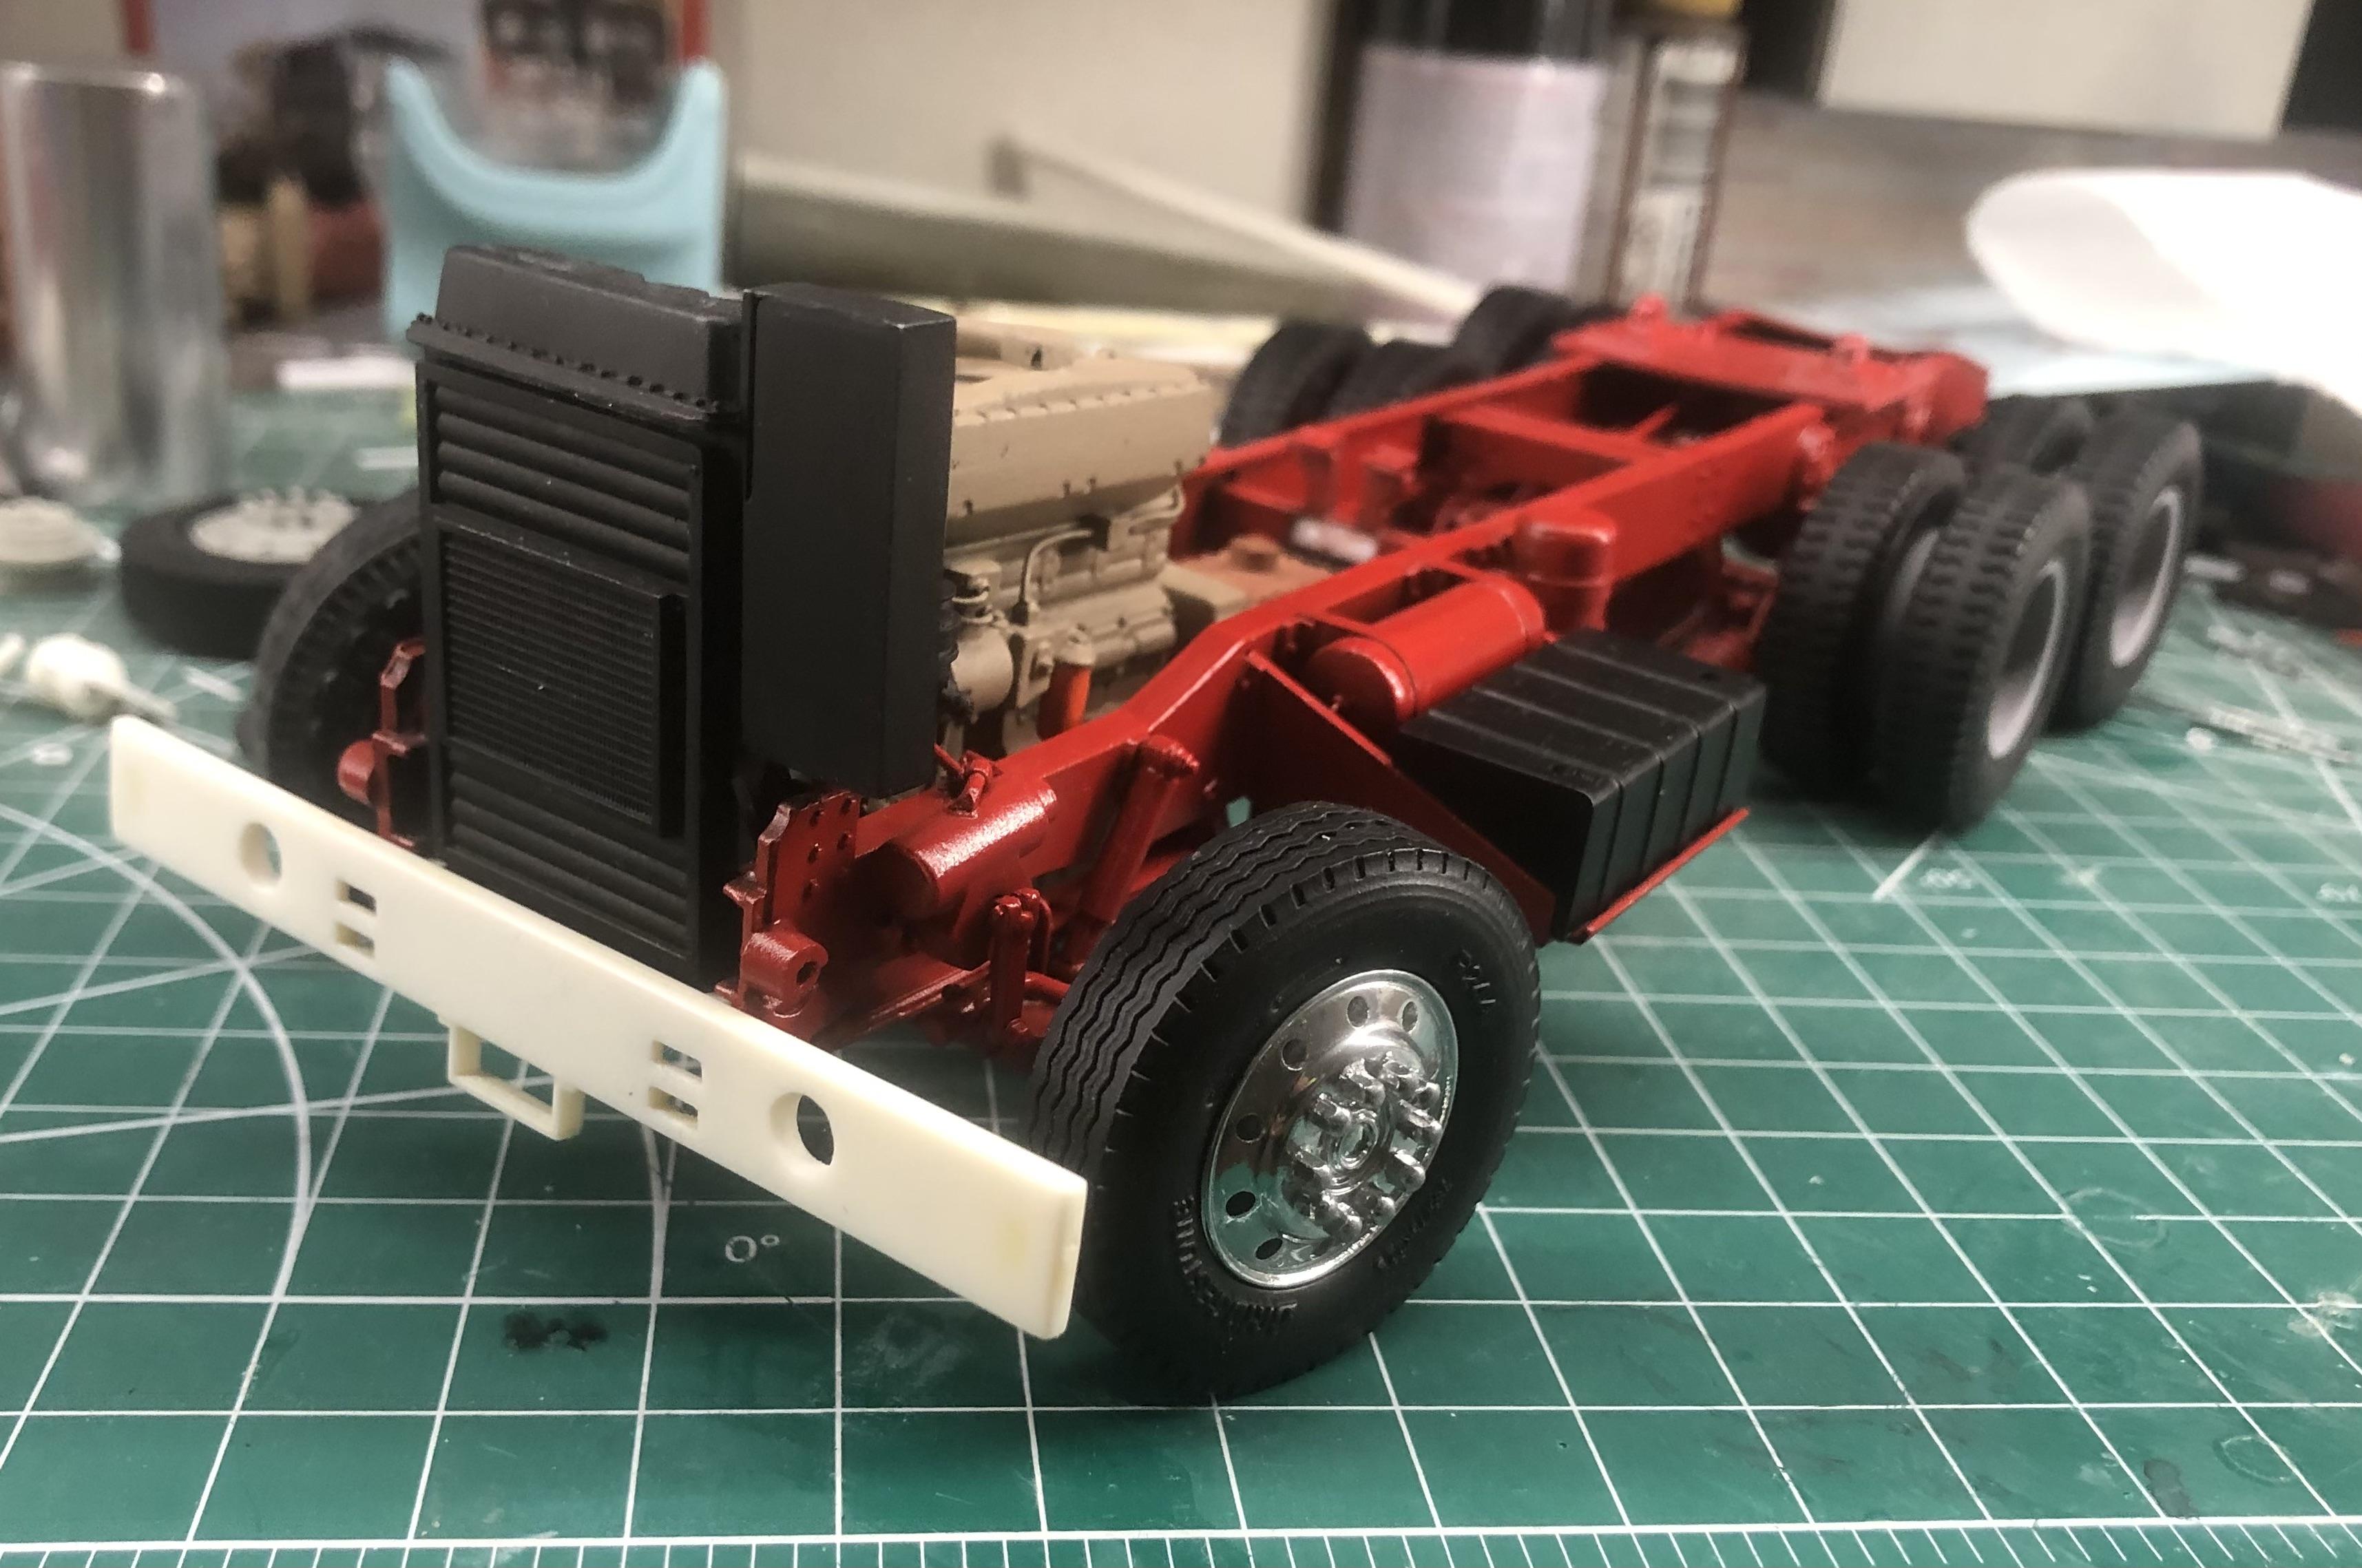
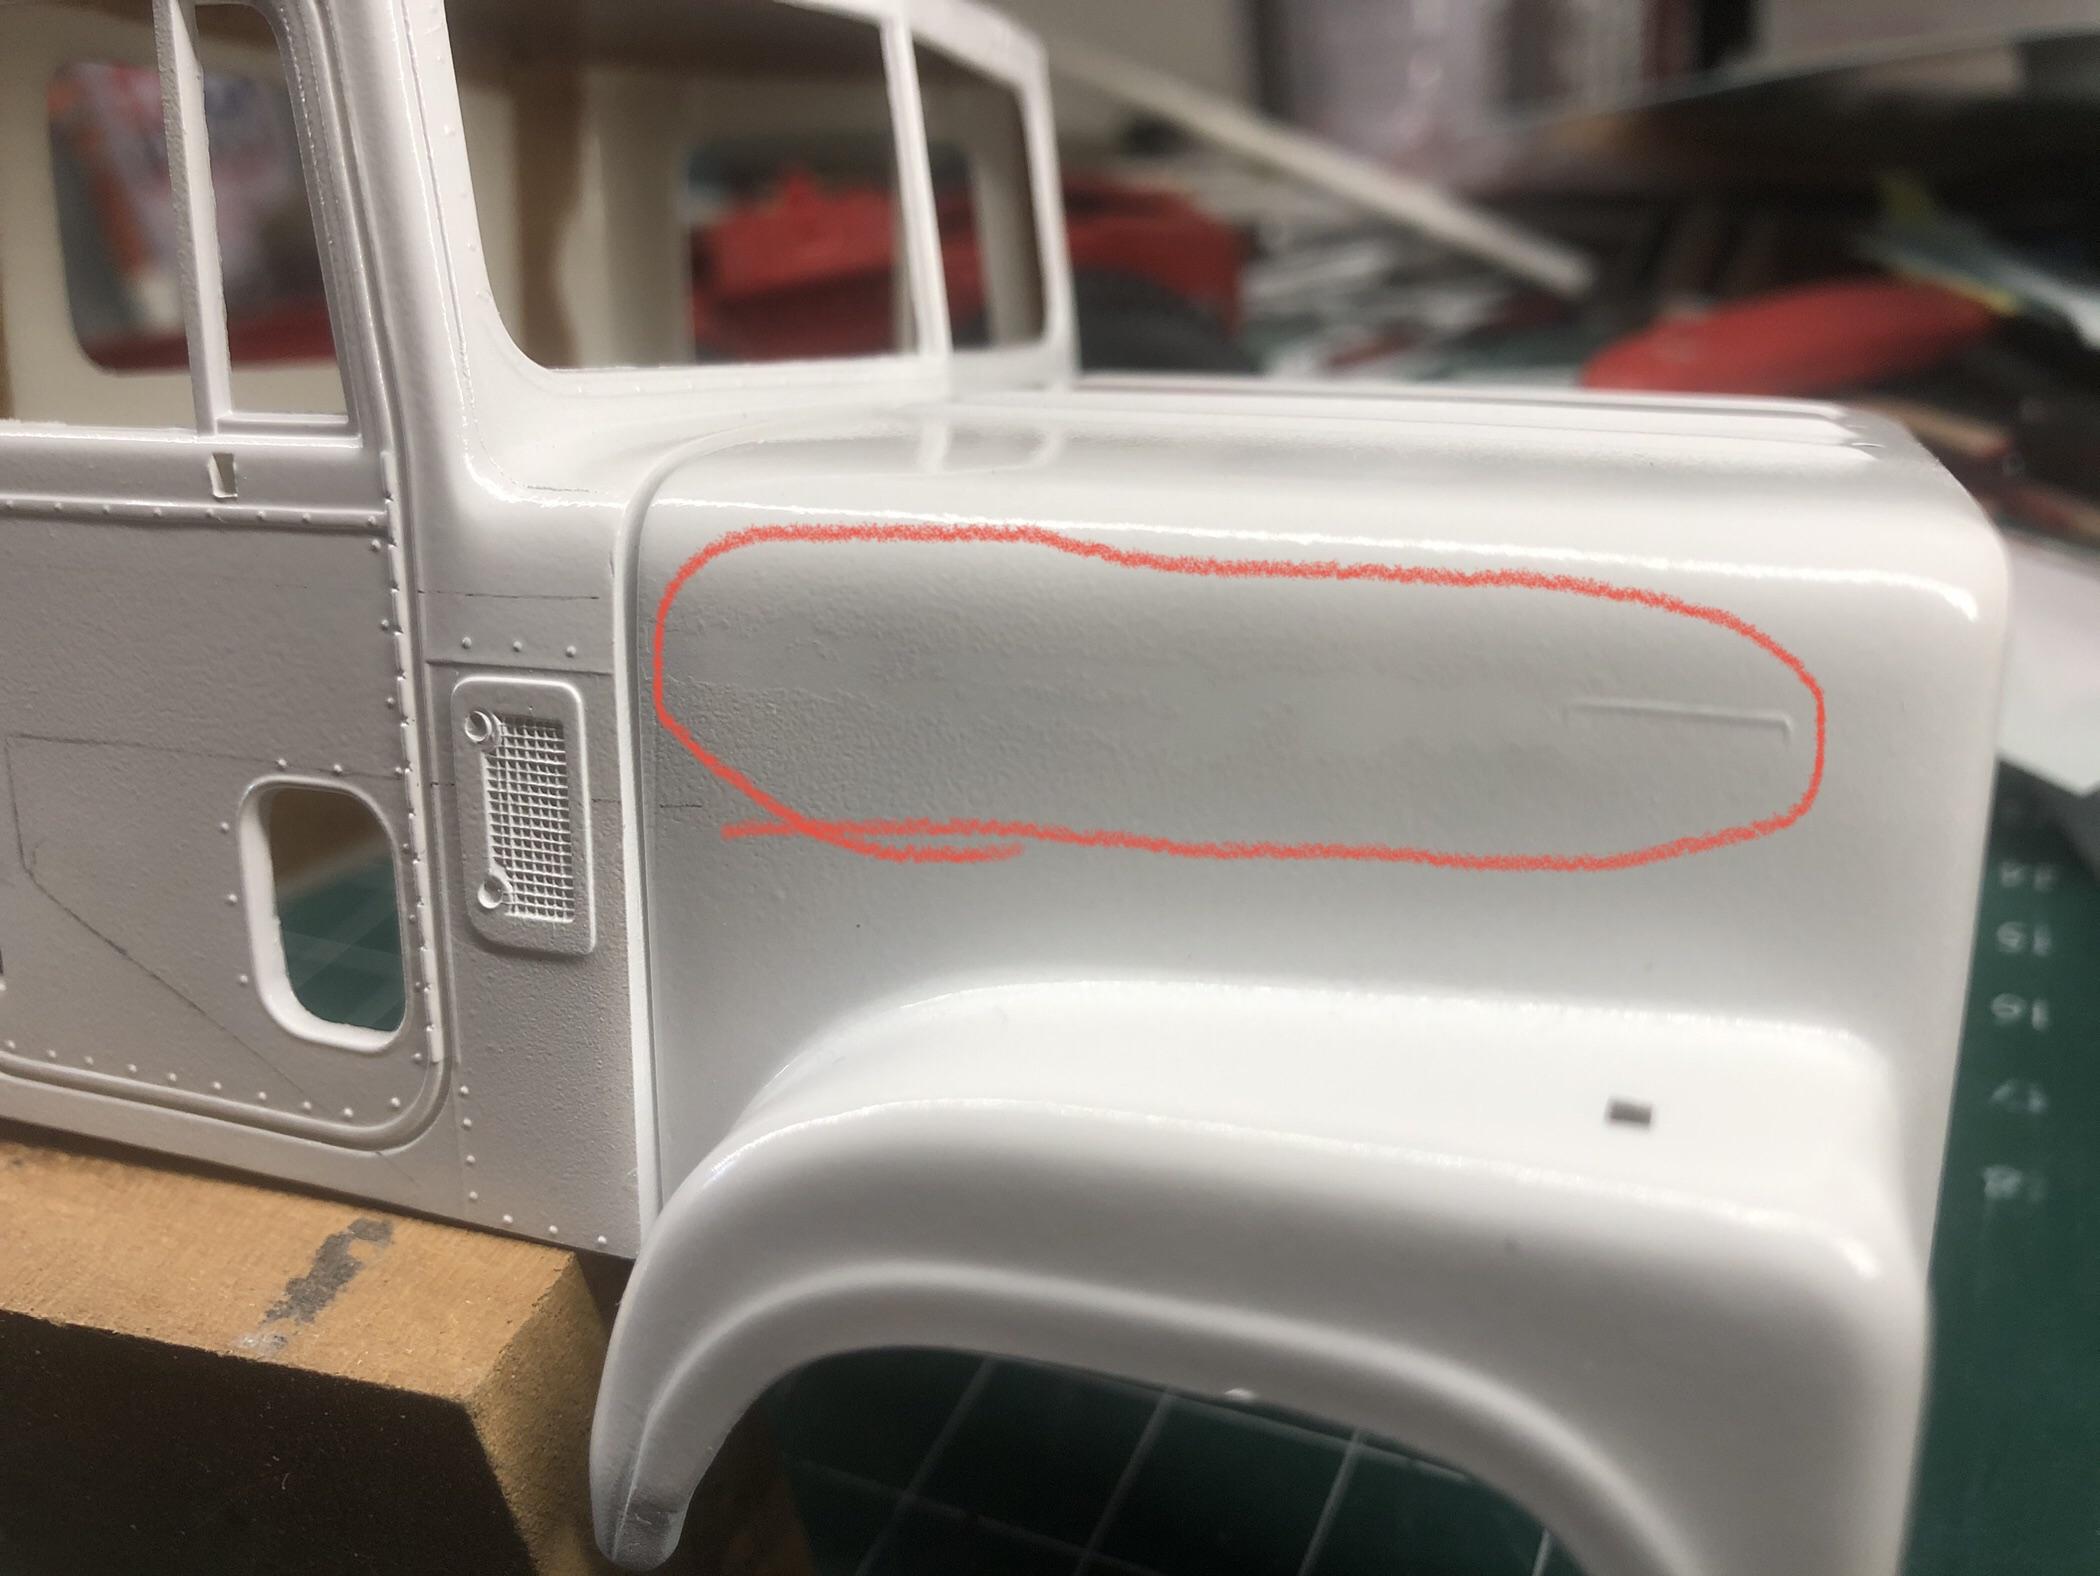
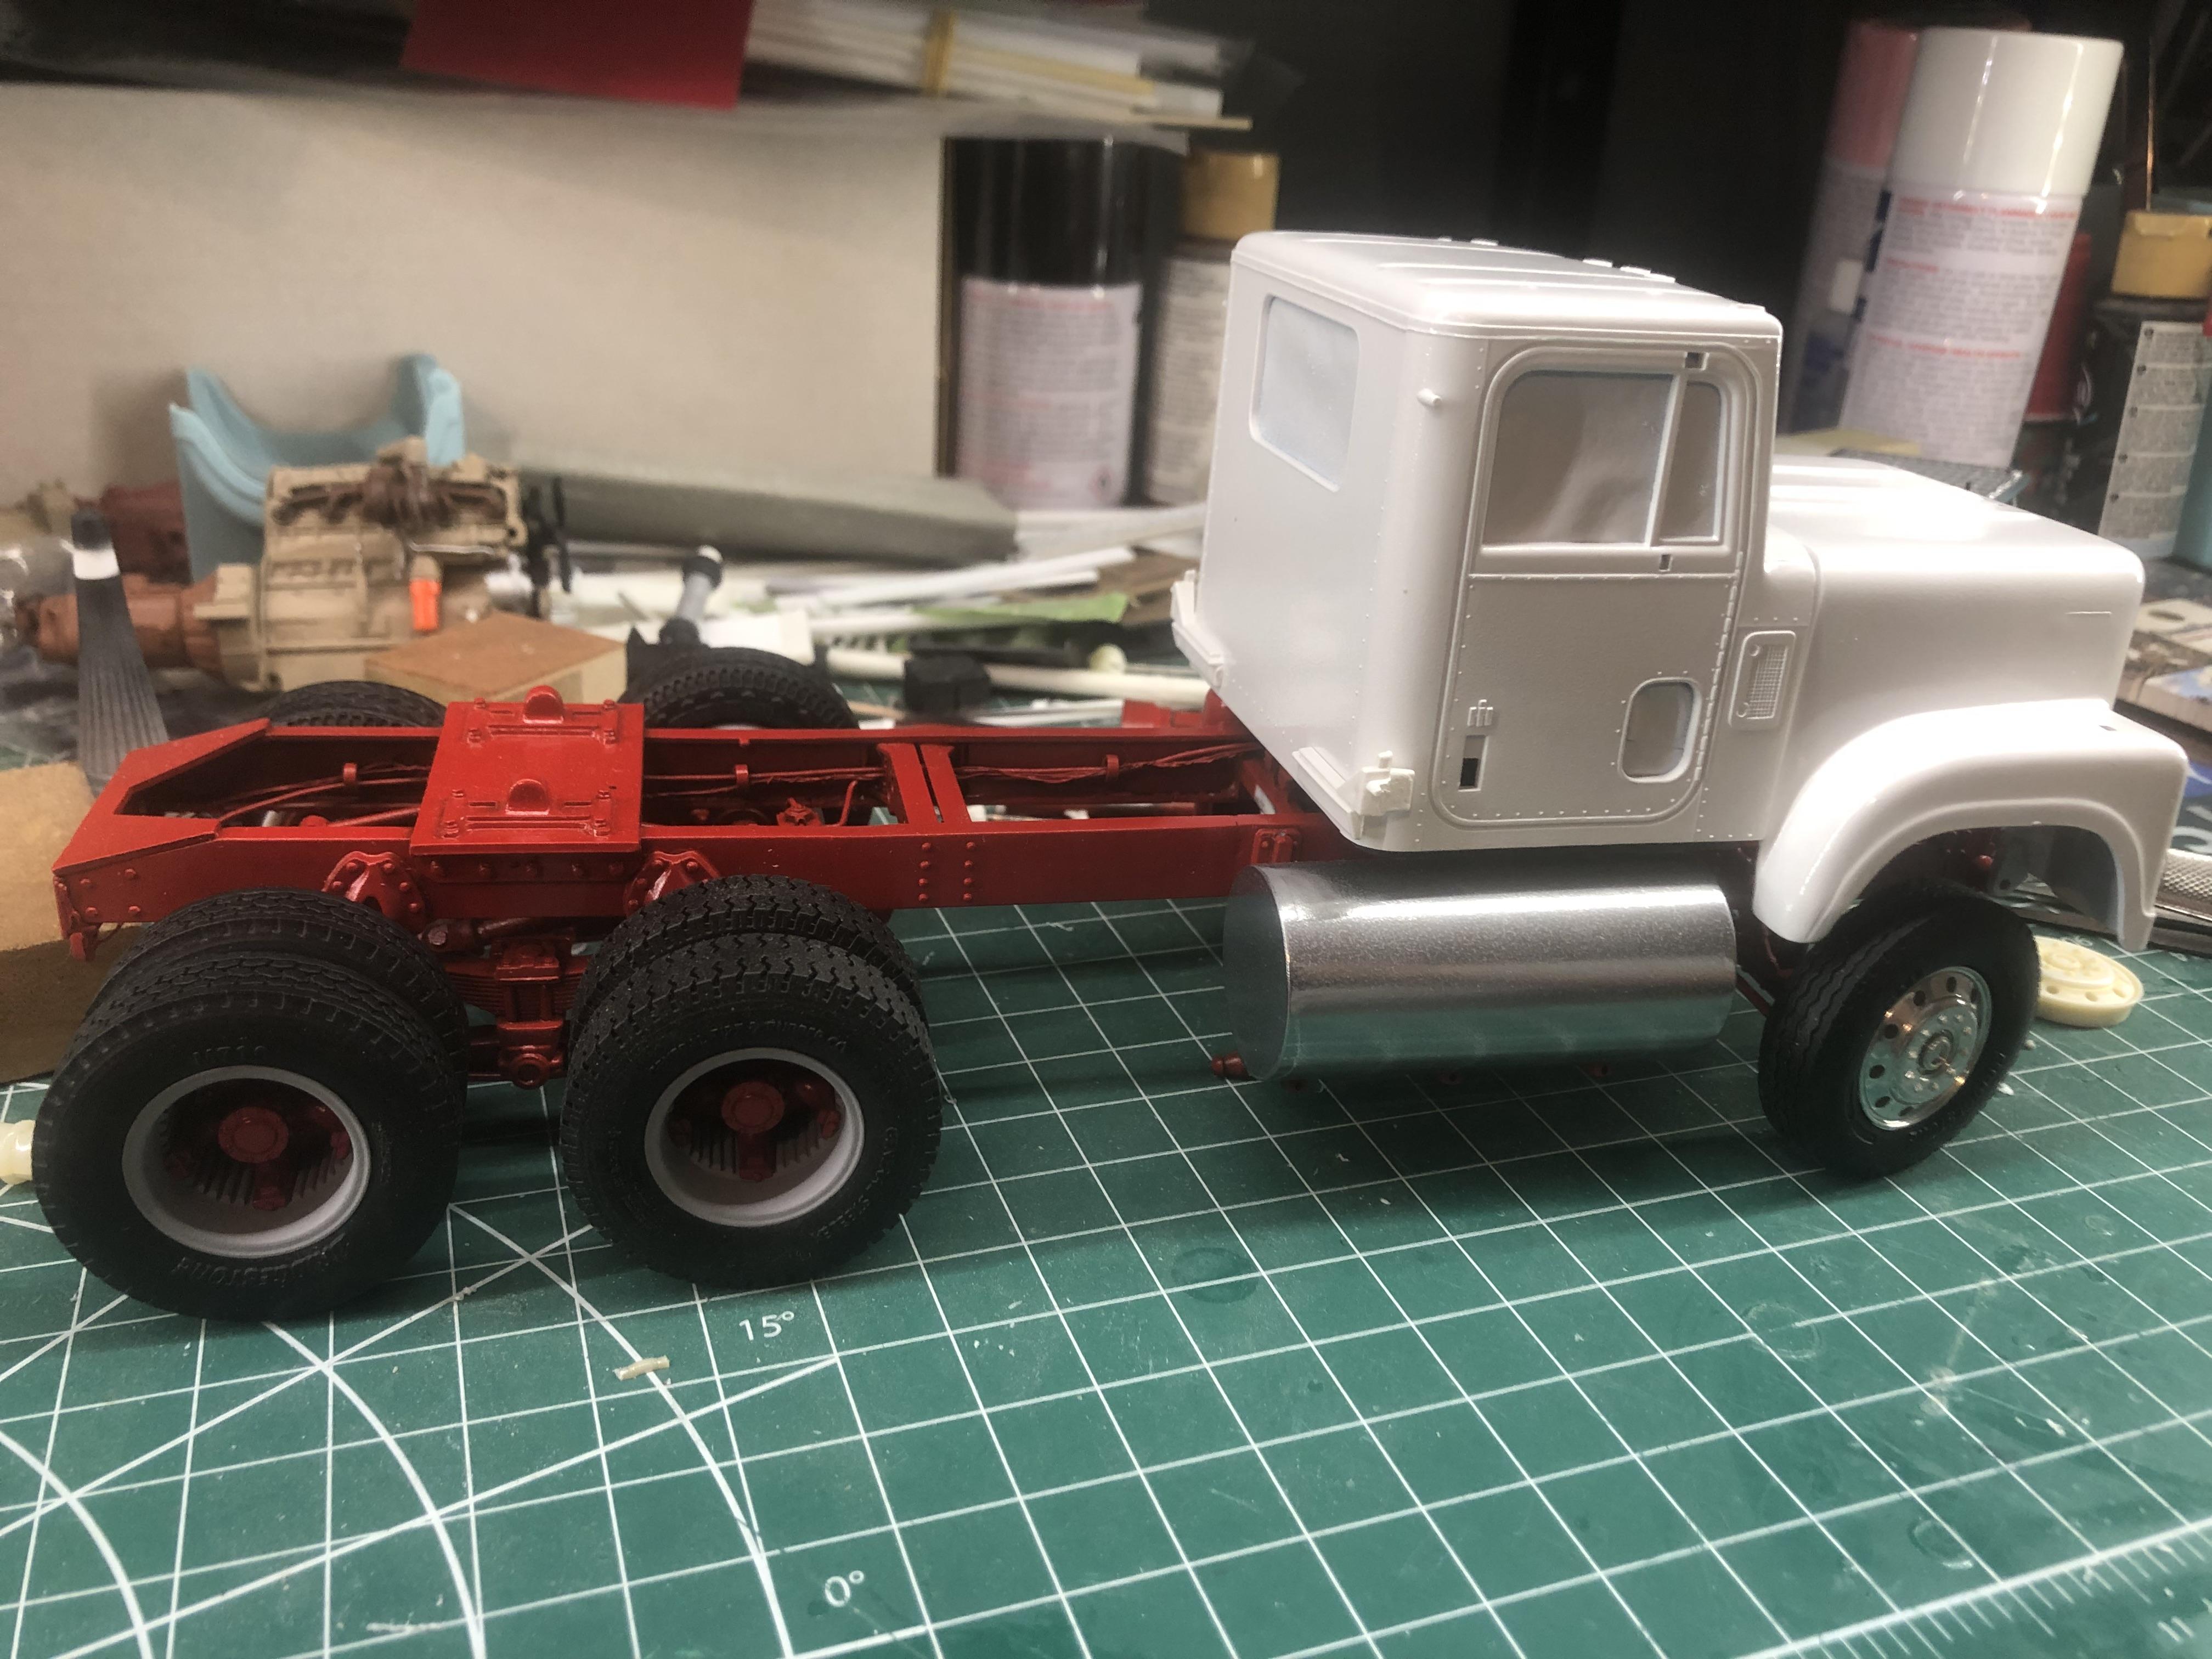
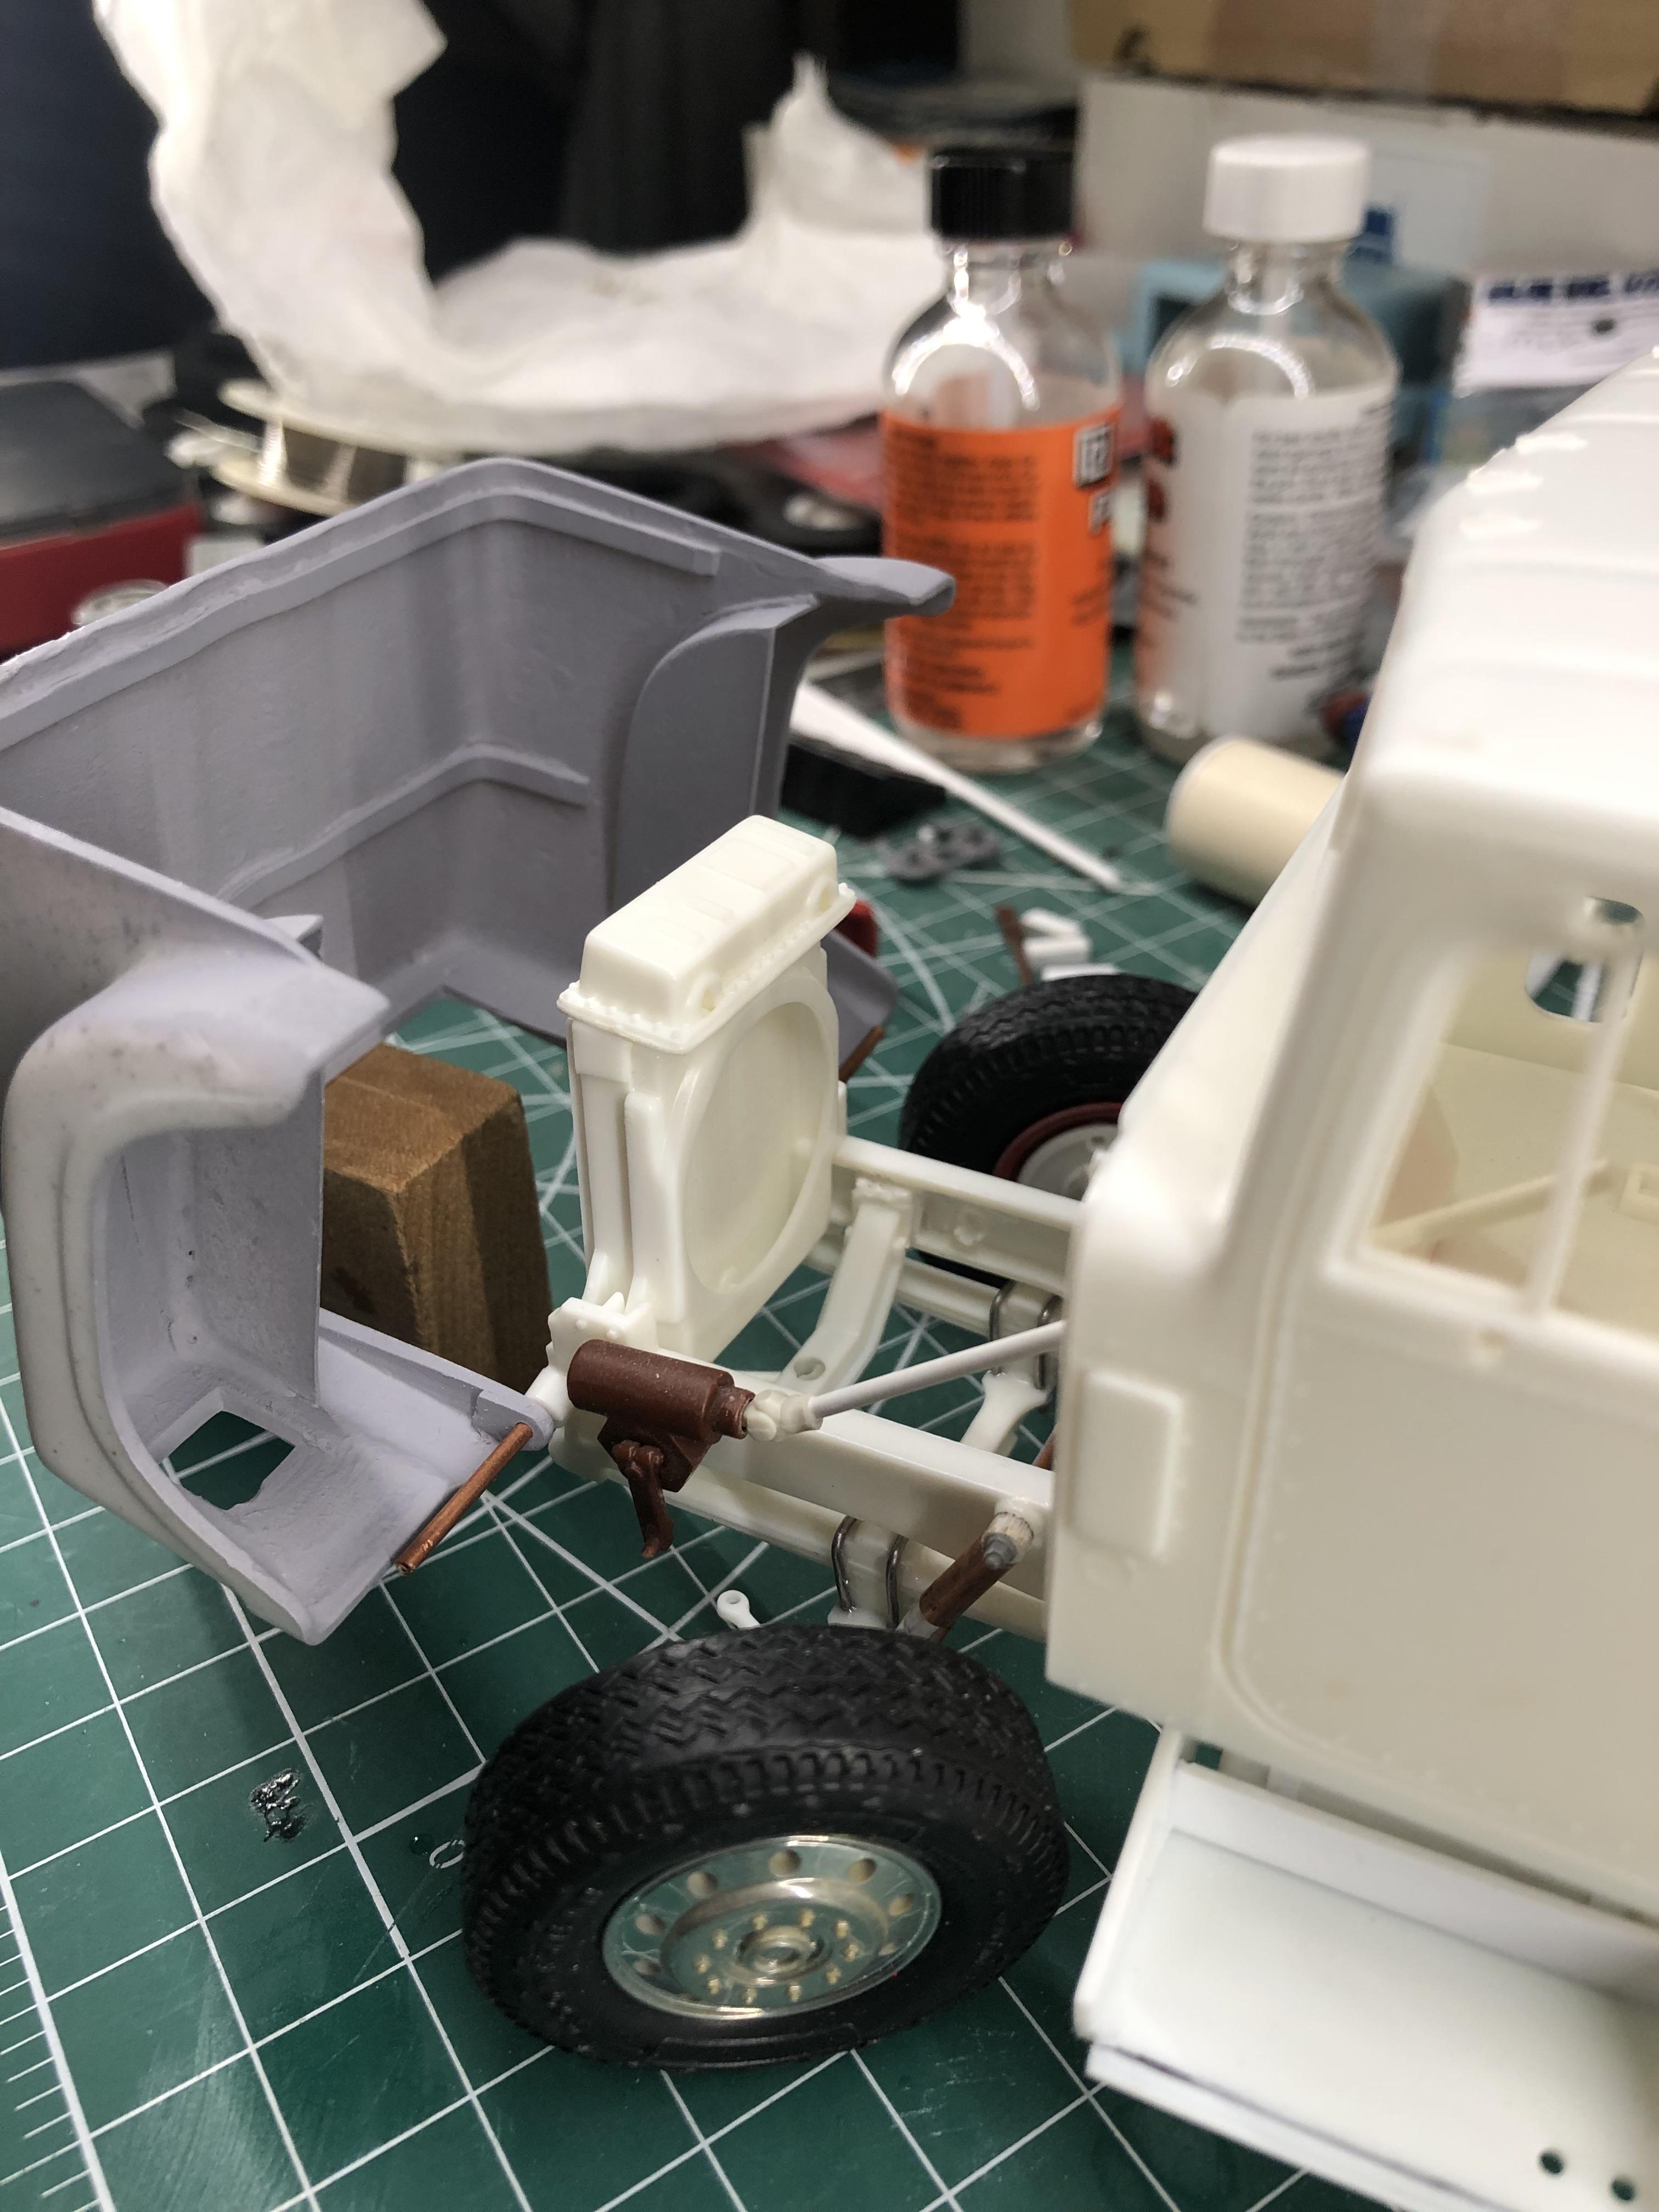
Thanks guys for all the comments. It’s finally on it’s wheels ,got the engine mounted still have do some pluming . Rework the kits front wheels added better lug nut detail , also did some work on the bummer drilled out the molded on lights to add more realistic lights . That’s the good stuff , the bad stuff is I laid out tape to paint the strips on but the tape peeled the paint off the hood ?. Don’t know what I’m going to do now . Thanks for looking .
-
IH Transtar 4300 converted to a 4200
k100 replied to k100's topic in WIP: Model Trucks: Big Rigs and Heavy Equipment
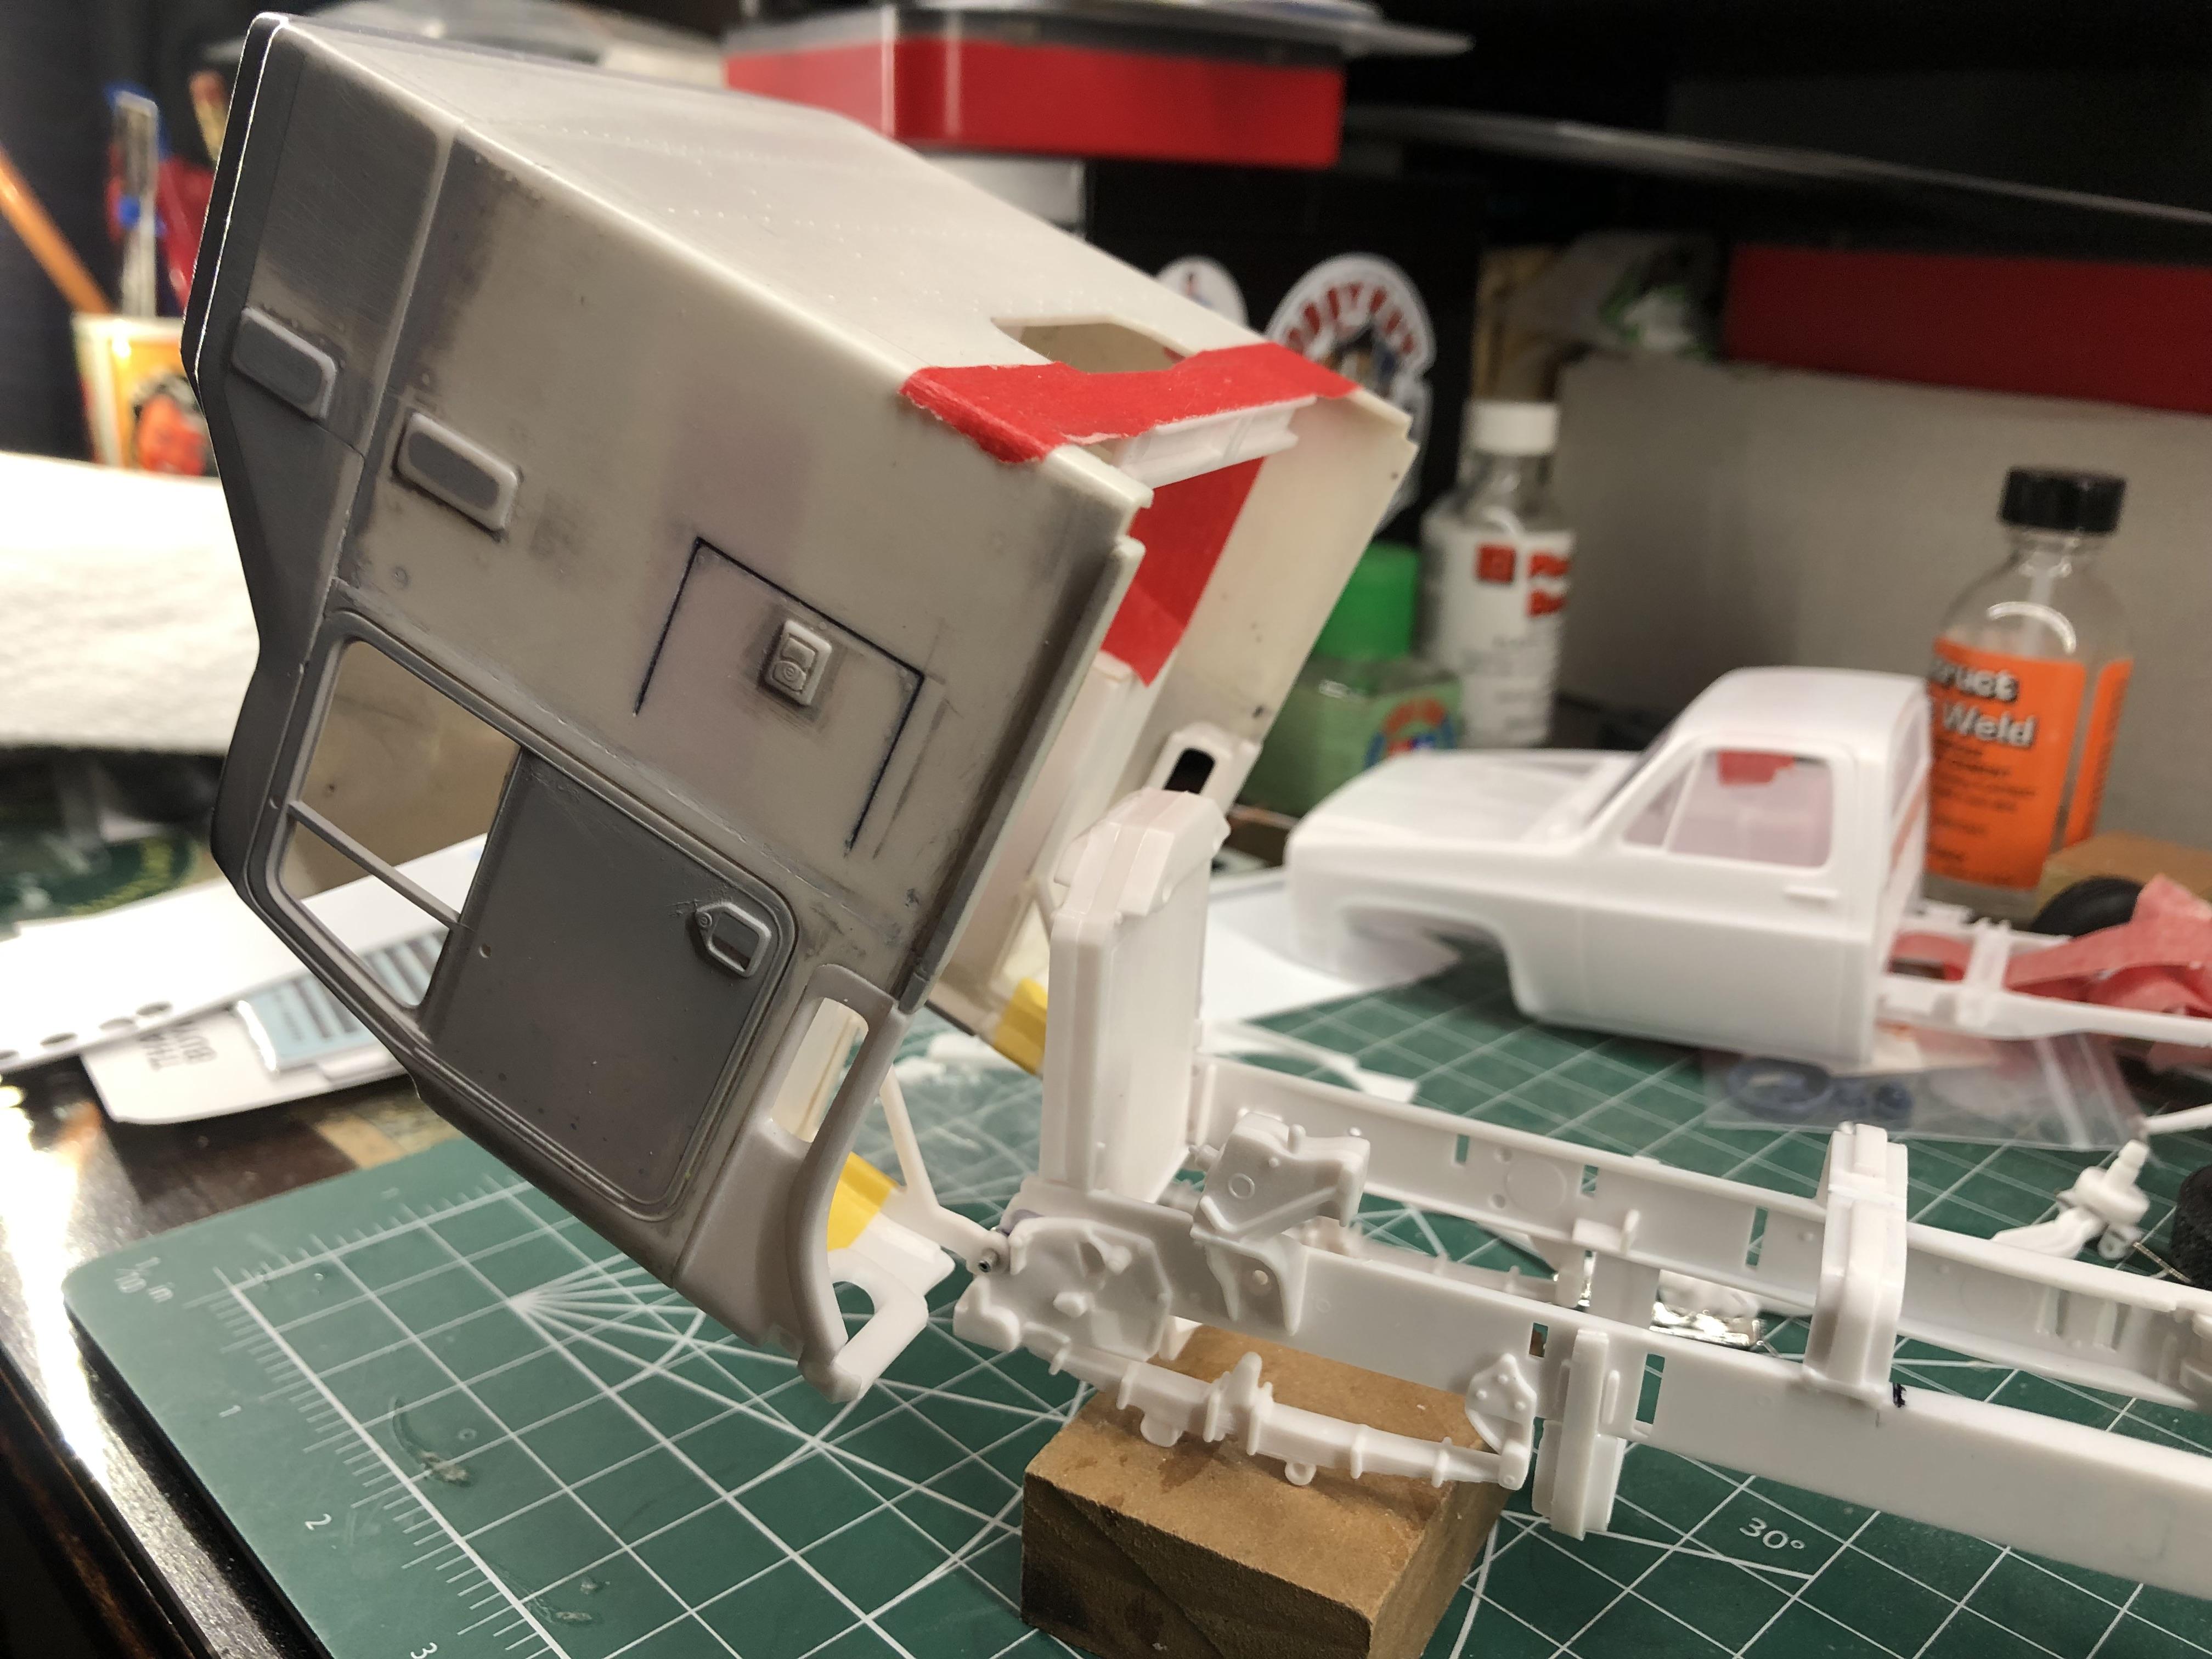
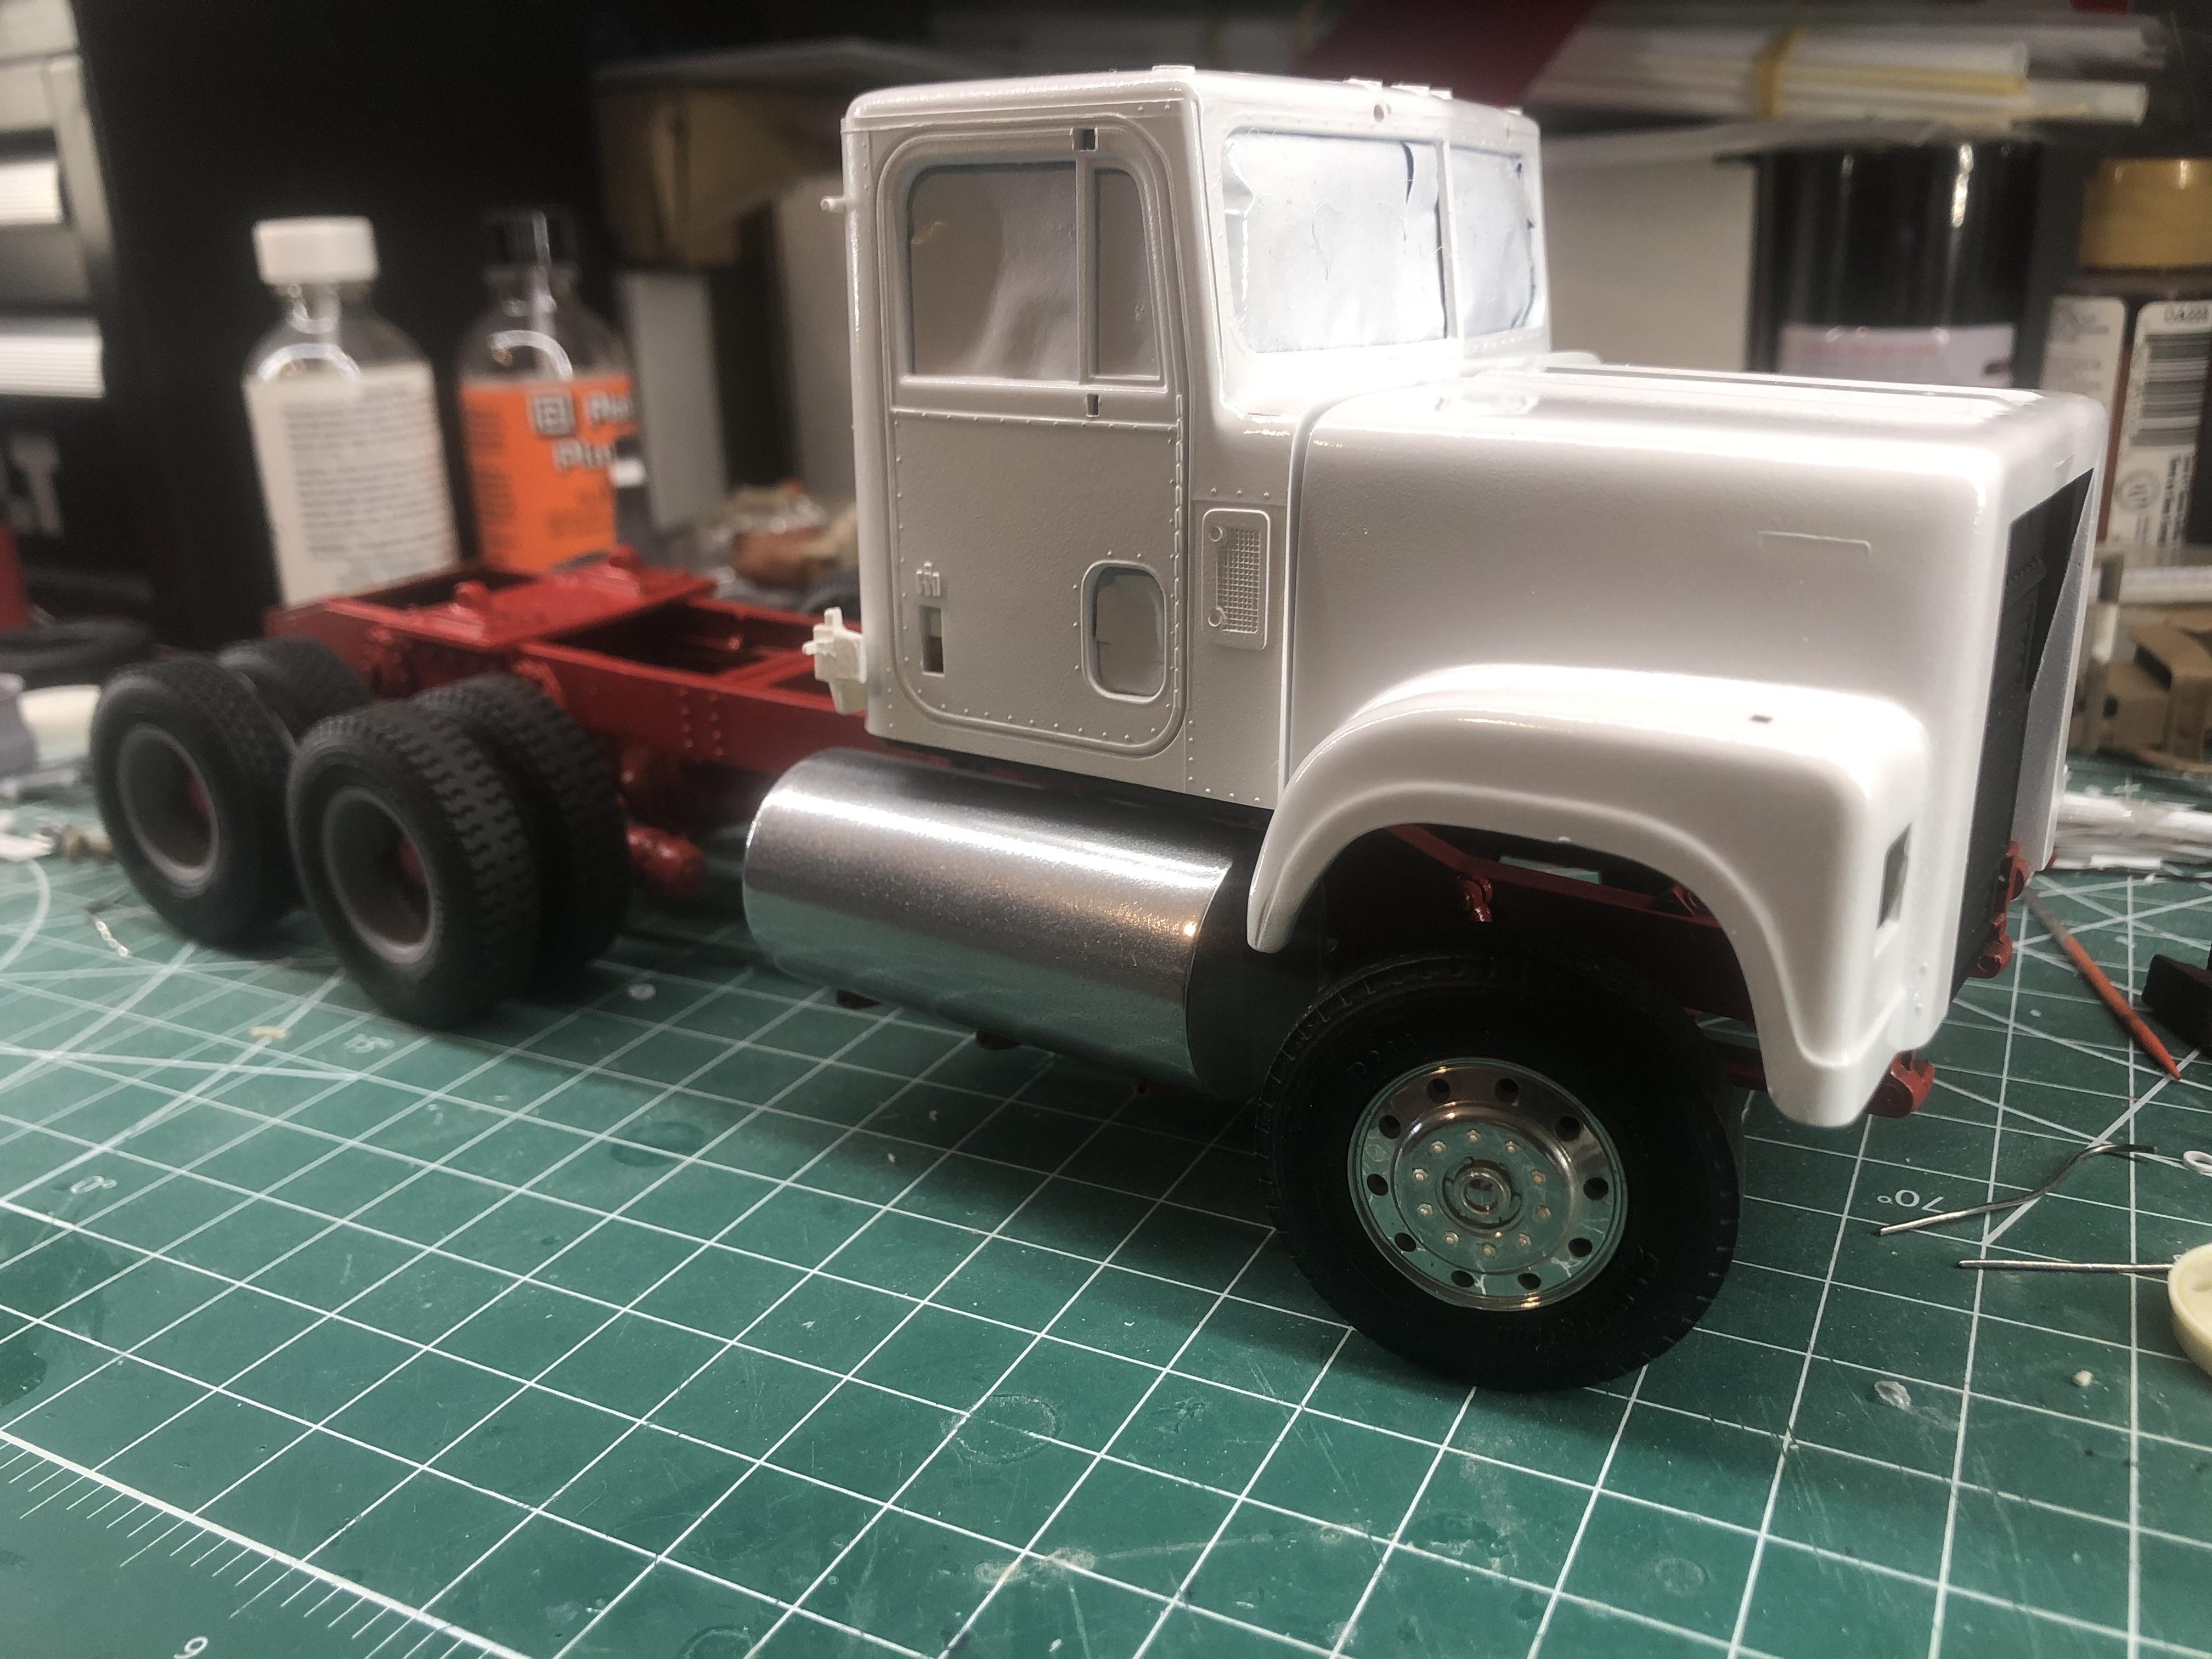
Thanks for all the comments , It’s been a while sense I’ve posted anything . I painted the frame , rear wheels and the fuel tank a couple weeks ago , today I painted the cab and hood ,had to do a quick mock up . Hoping to get the engine and transmission set in place tonight .
-
IH Transtar 4300 converted to a 4200
k100 replied to k100's topic in WIP: Model Trucks: Big Rigs and Heavy Equipment
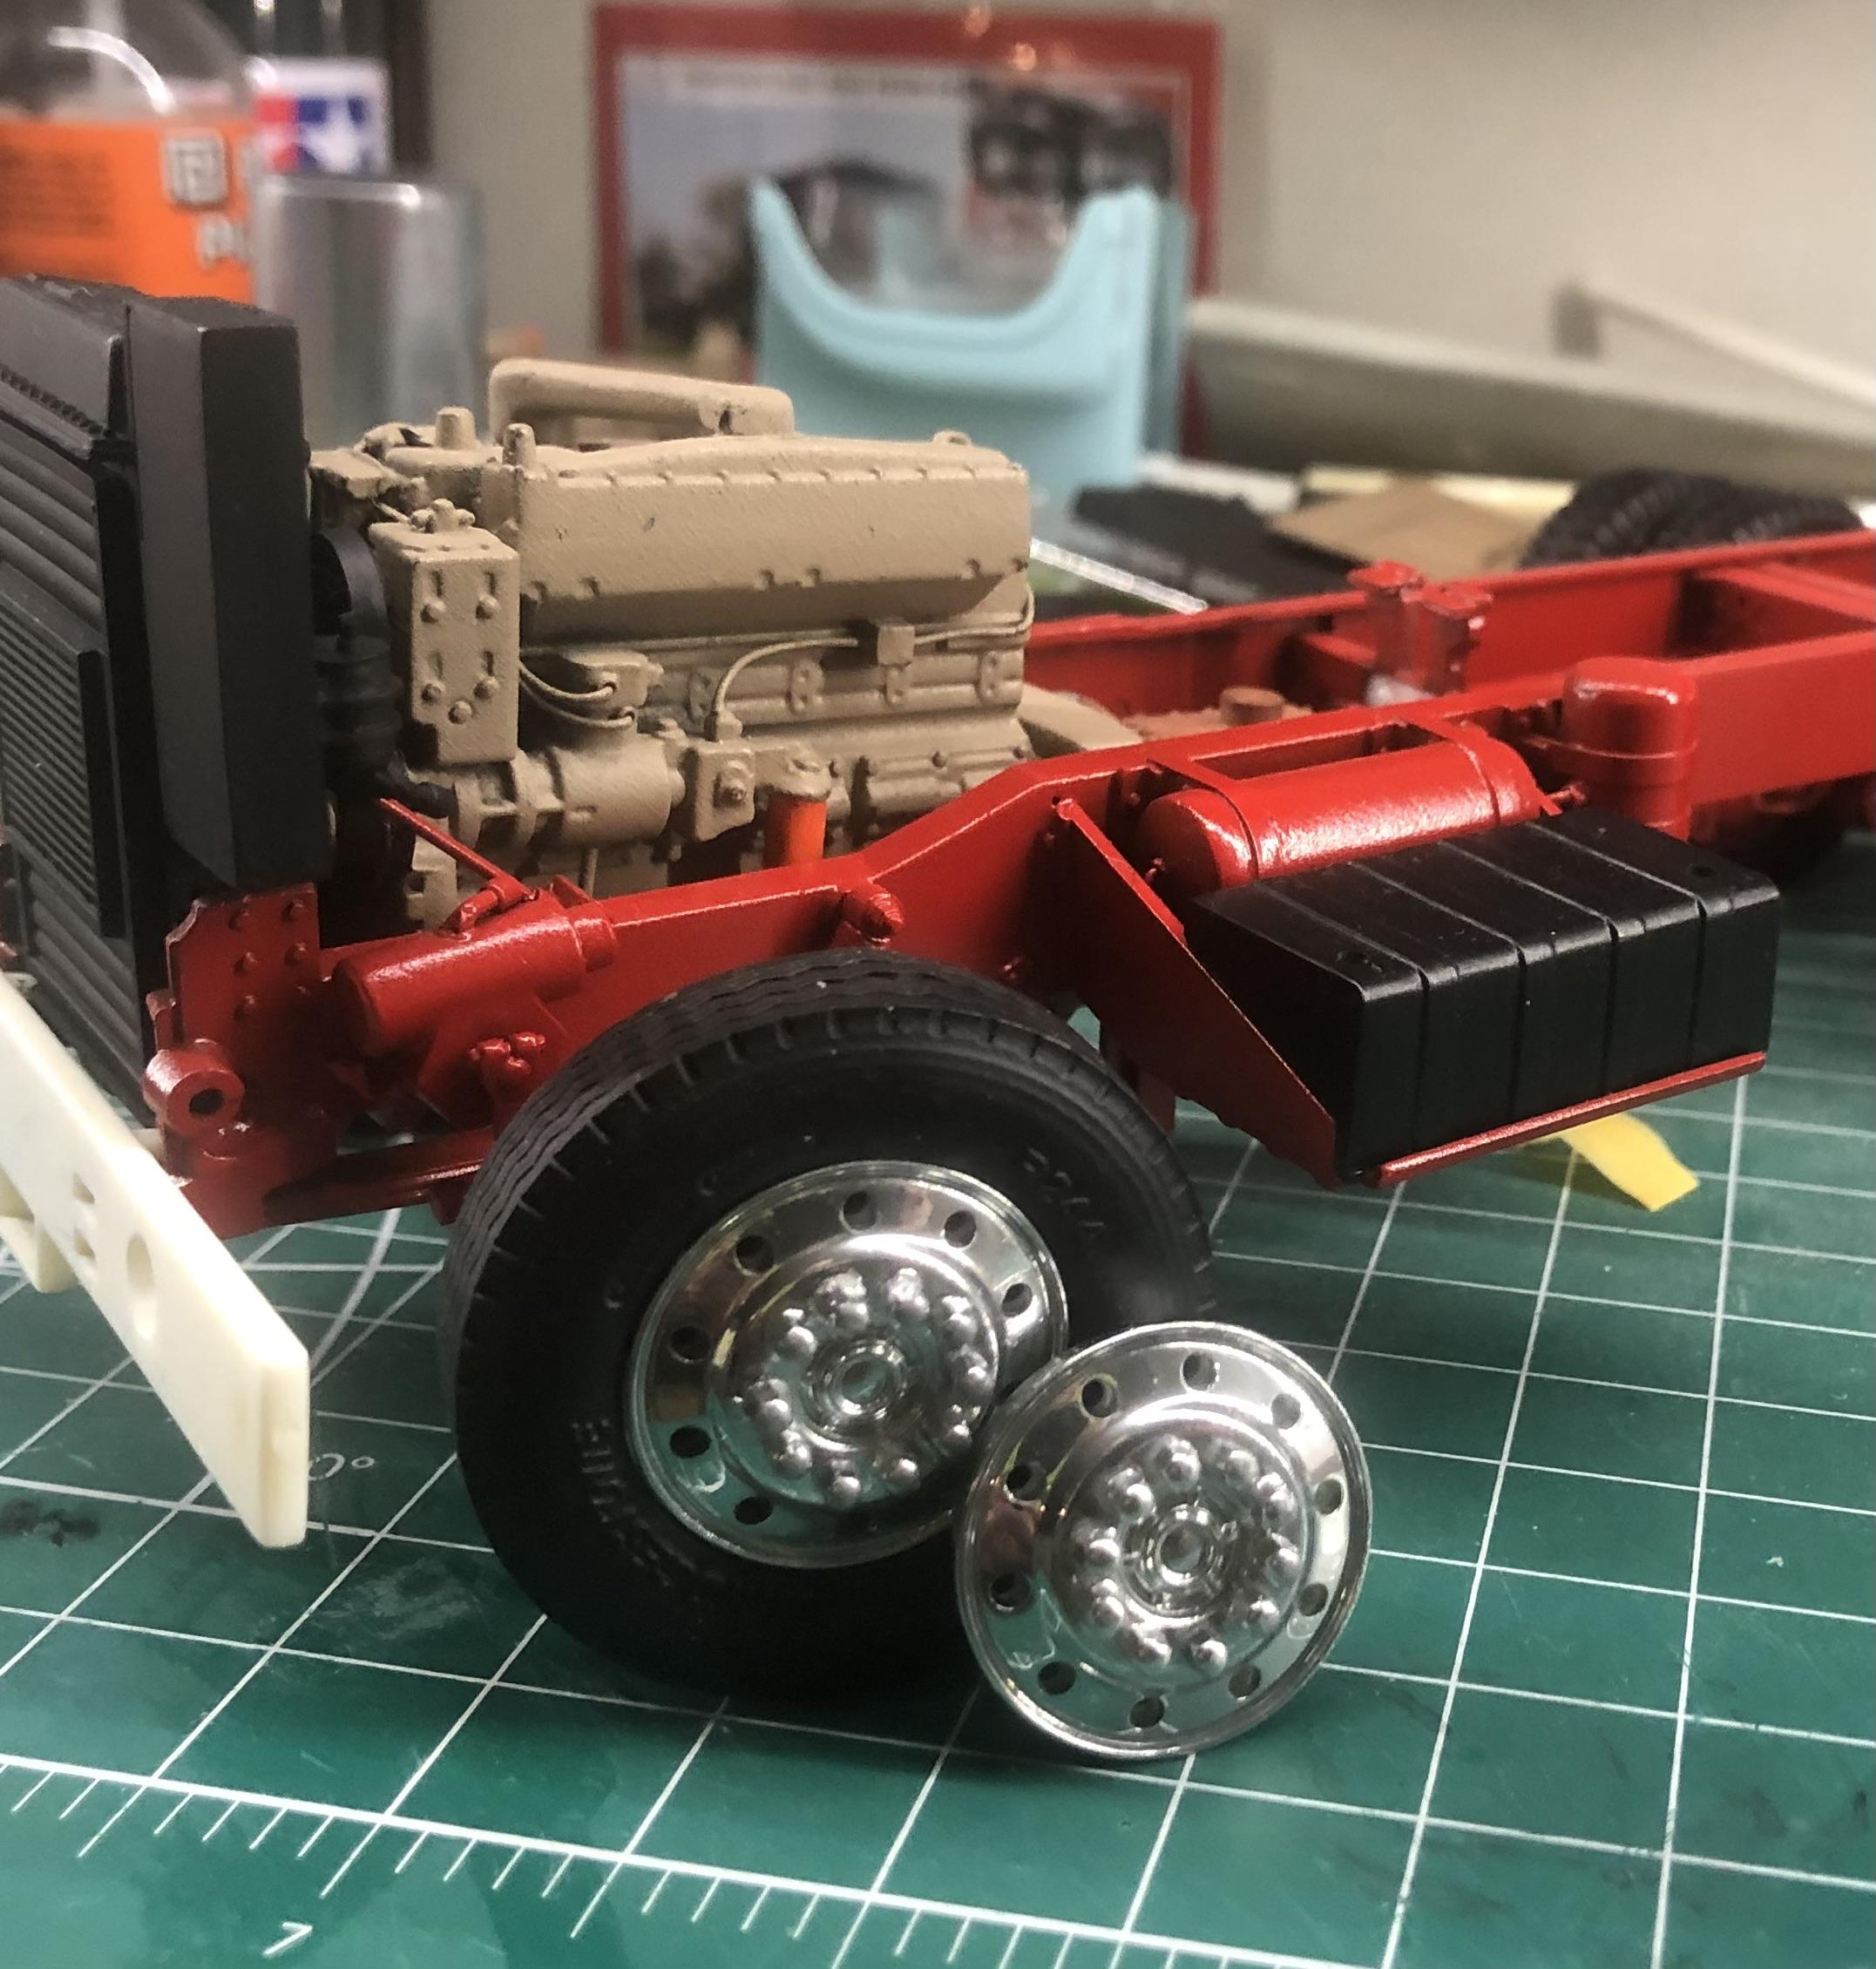
Thank you for all comments . It’s been a while since I’ve been able to get some bench time . Did some little things added radiator supports , made oil reservoir , and finished the air intake pipe , rubber connectors to the air filter box . thanks for looking .
-
IH Transtar 4300 converted to a 4200
k100 replied to k100's topic in WIP: Model Trucks: Big Rigs and Heavy Equipment
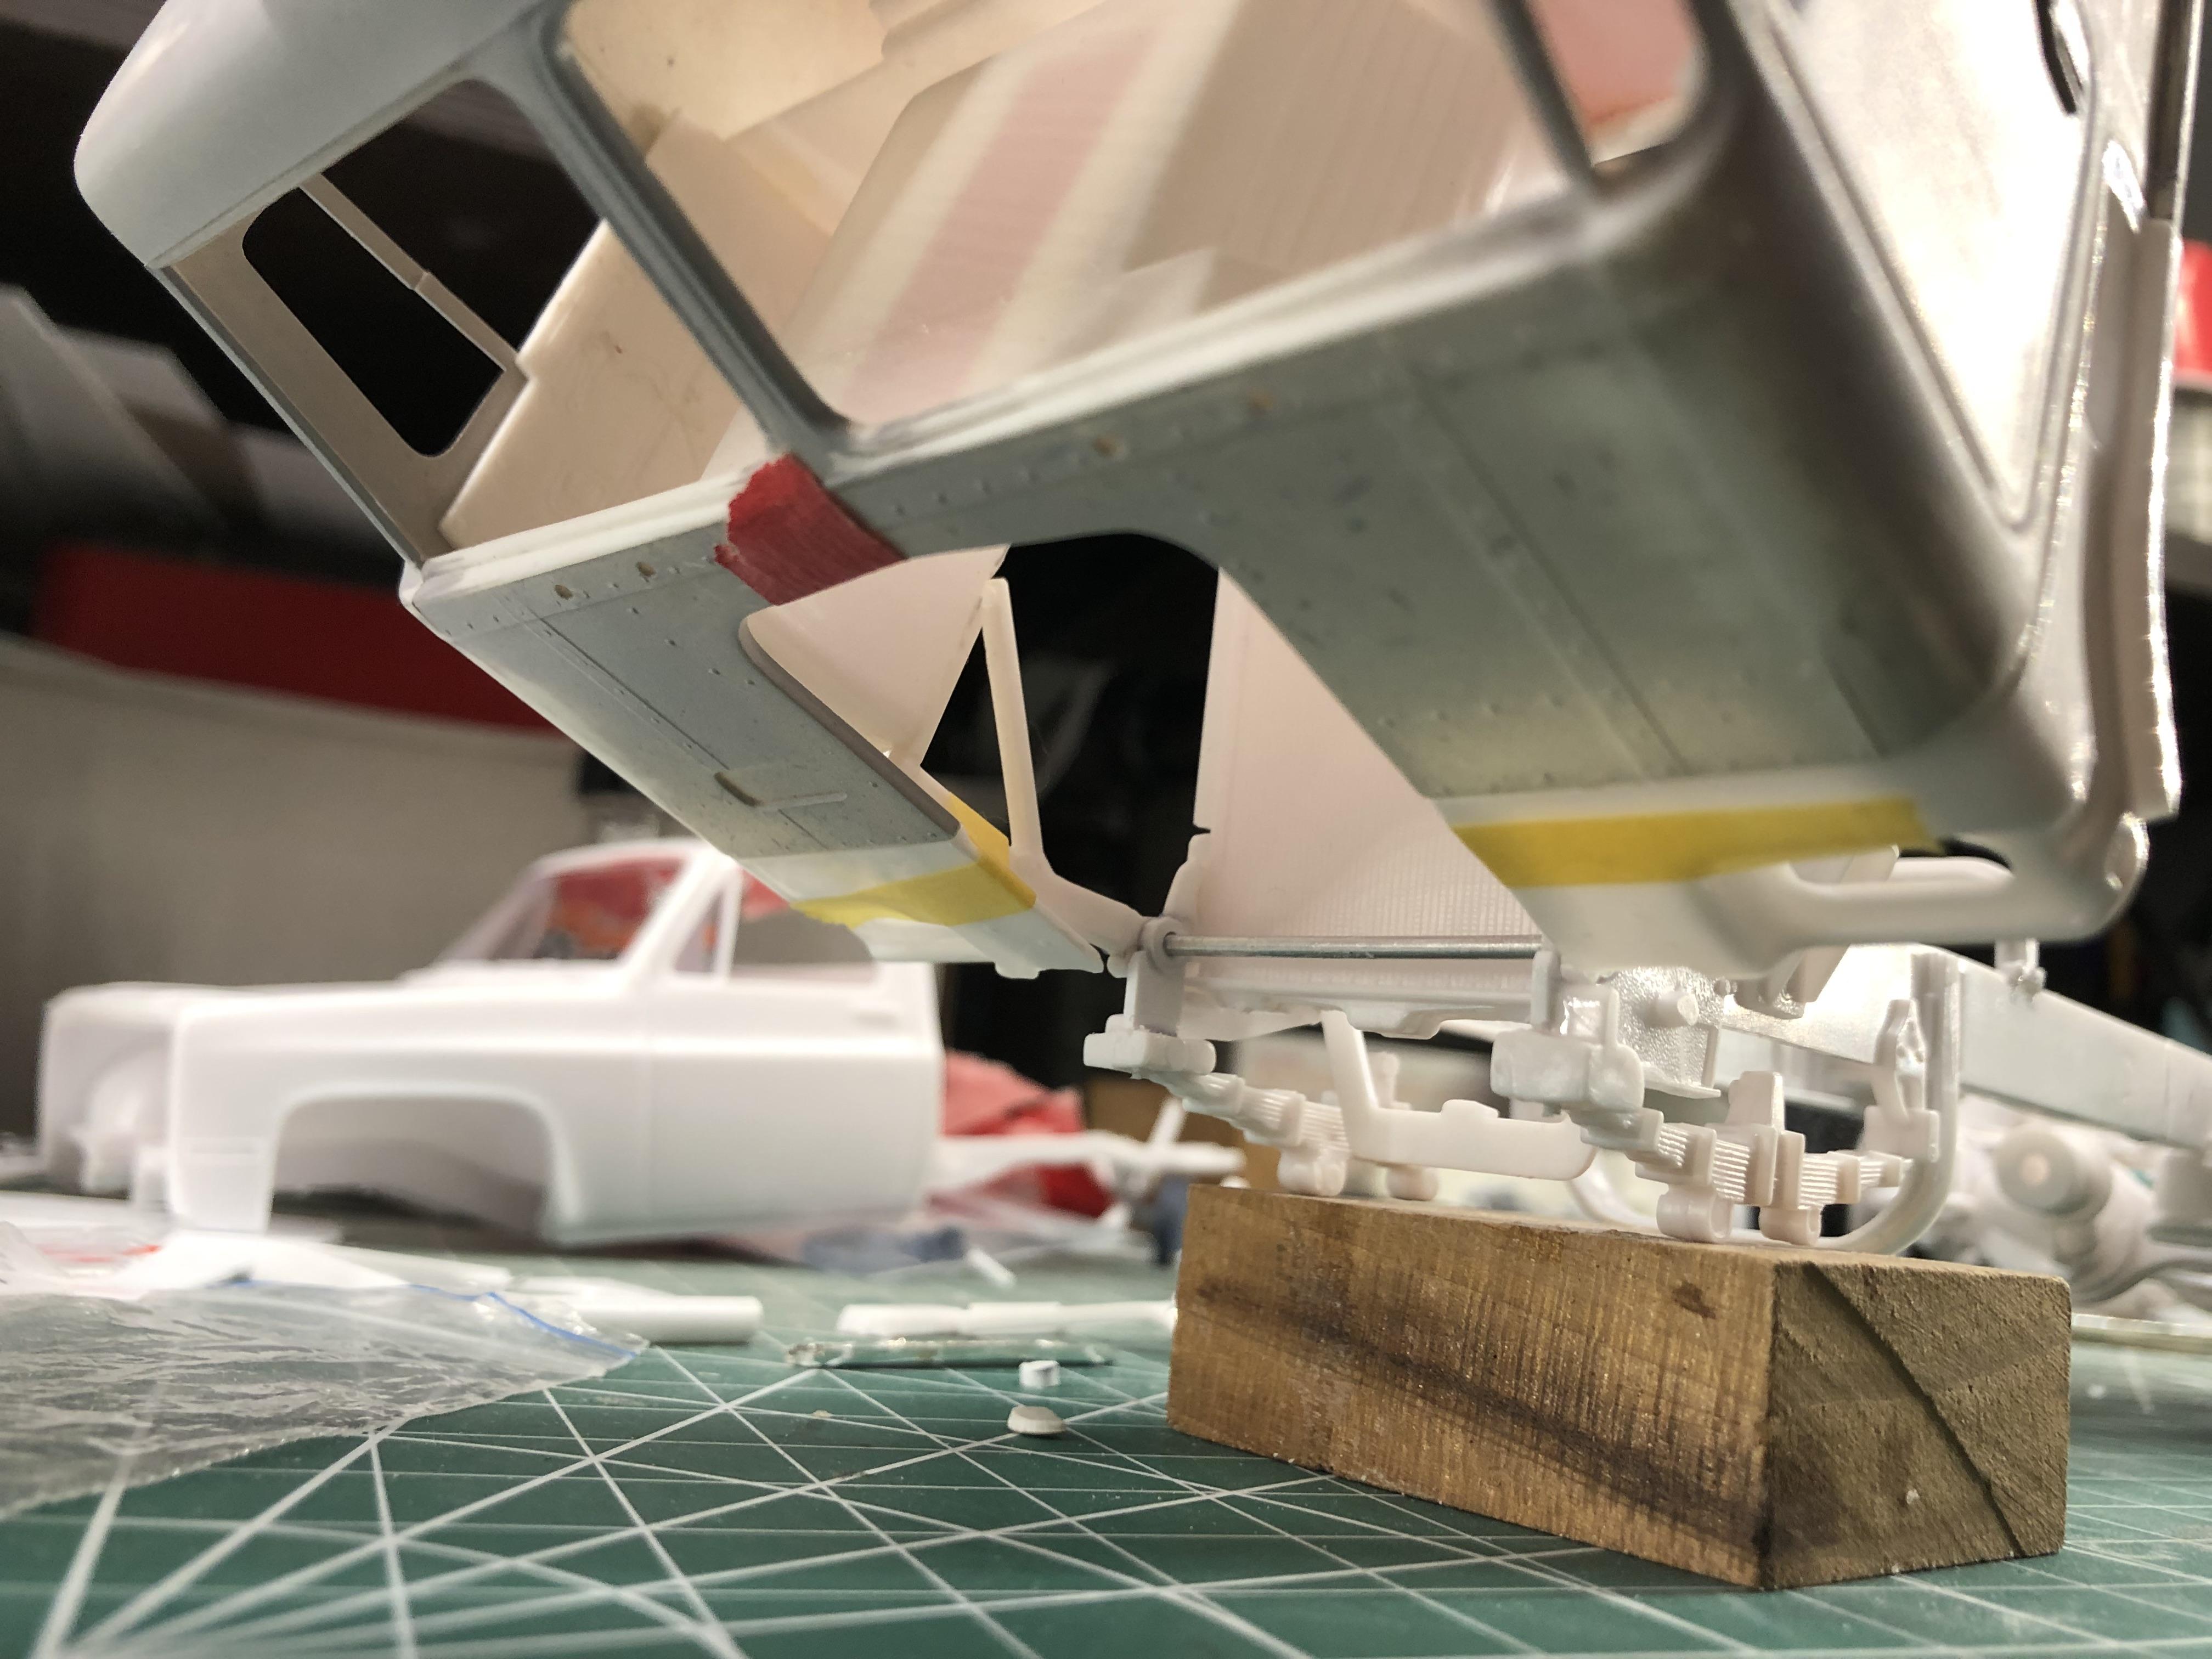
Thank you for comments Charles yes it help quite a bit, but still need to shim the front of the cab just a little . -
International 4300 tractor
k100 replied to Gary Chastain's topic in WIP: Model Trucks: Big Rigs and Heavy Equipment
Great looking truck , I’m digging the fuel tanks and mounts , what size tubing did you use ? -
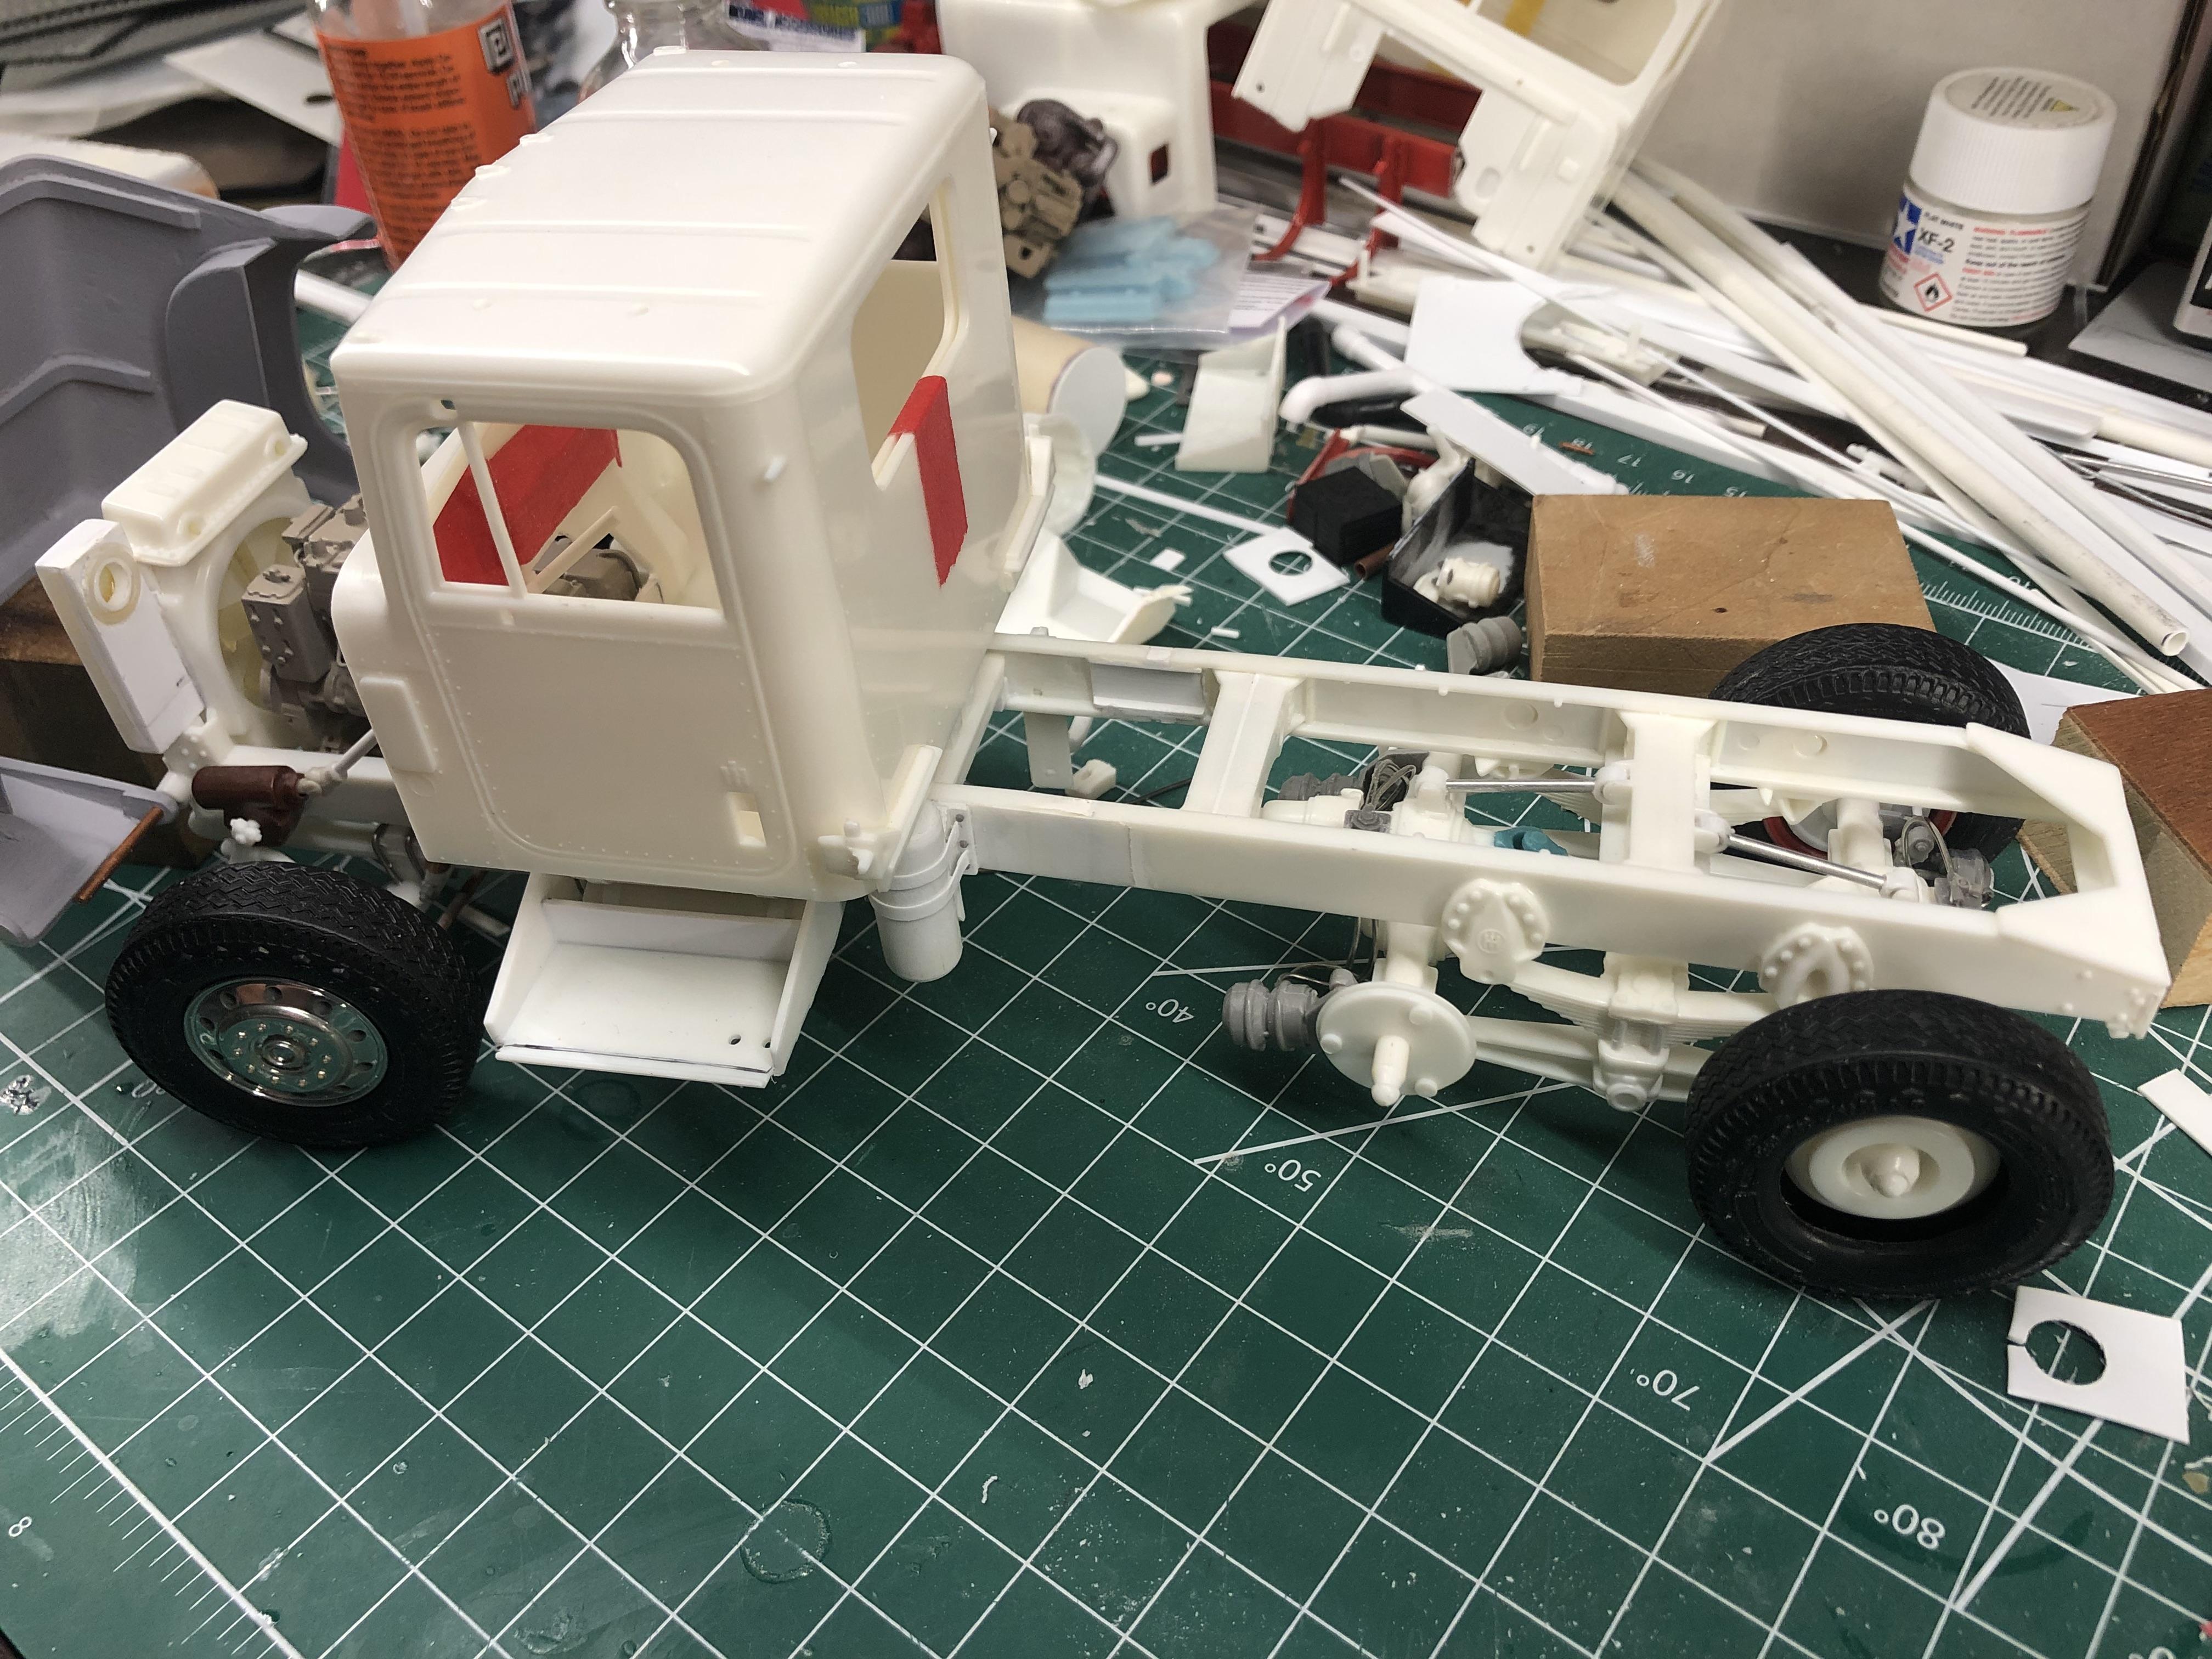
IH Transtar 4300 converted to a 4200
k100 replied to k100's topic in WIP: Model Trucks: Big Rigs and Heavy Equipment
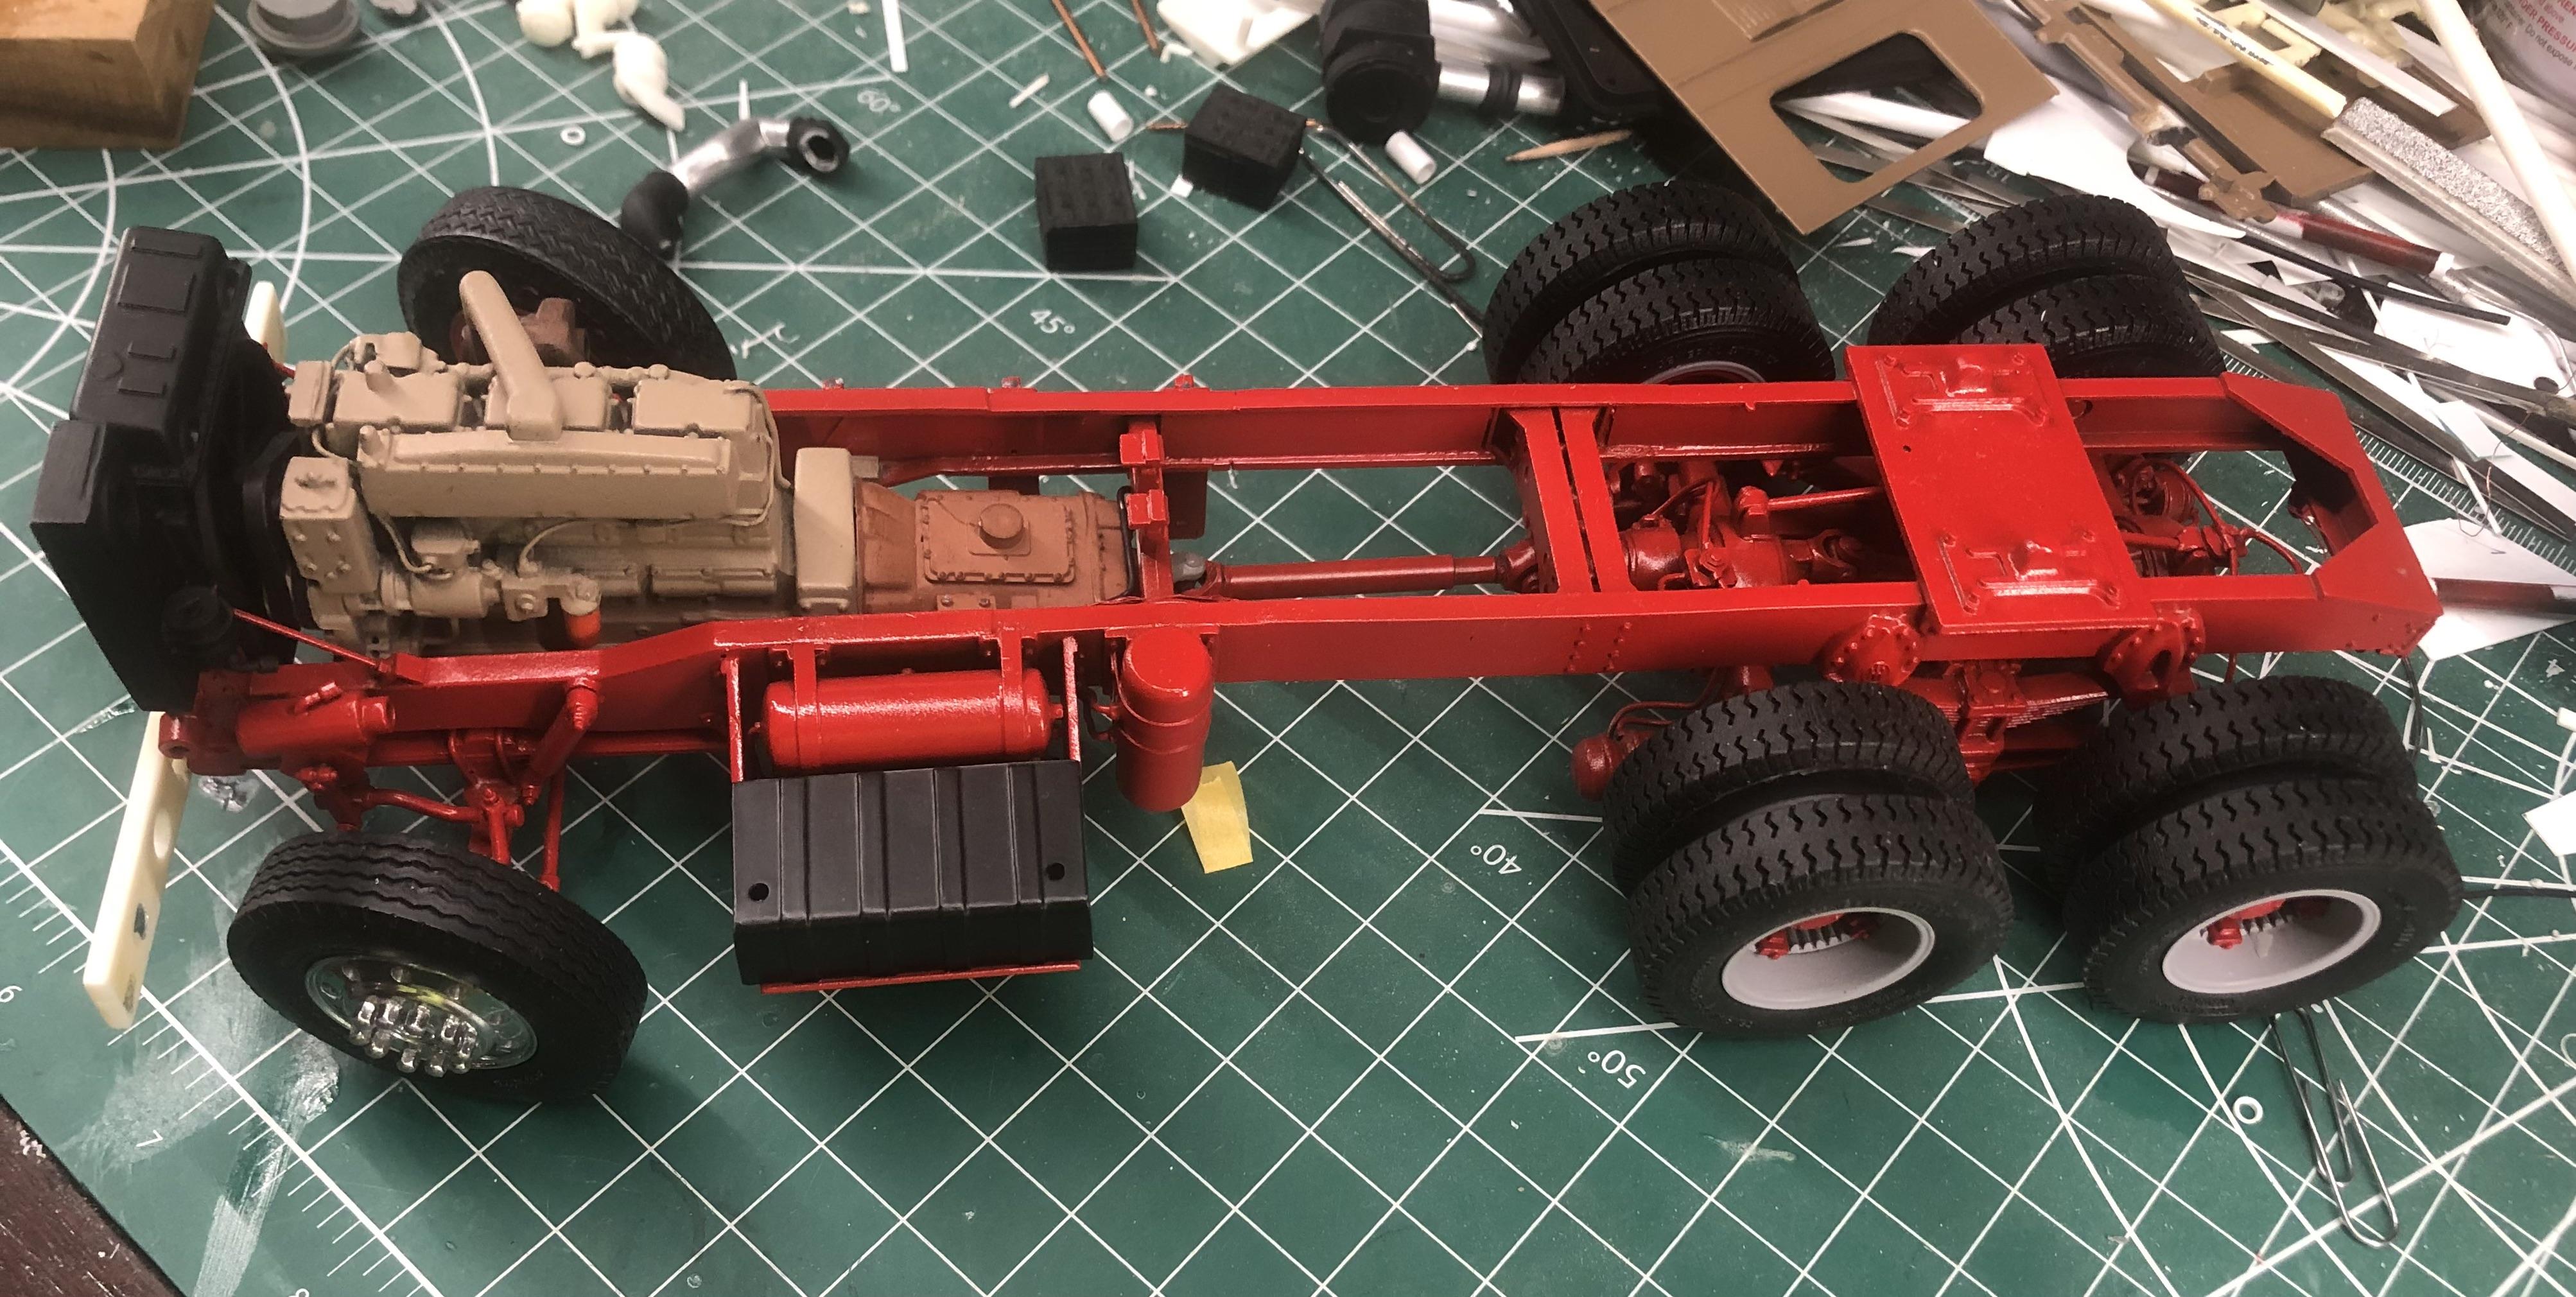
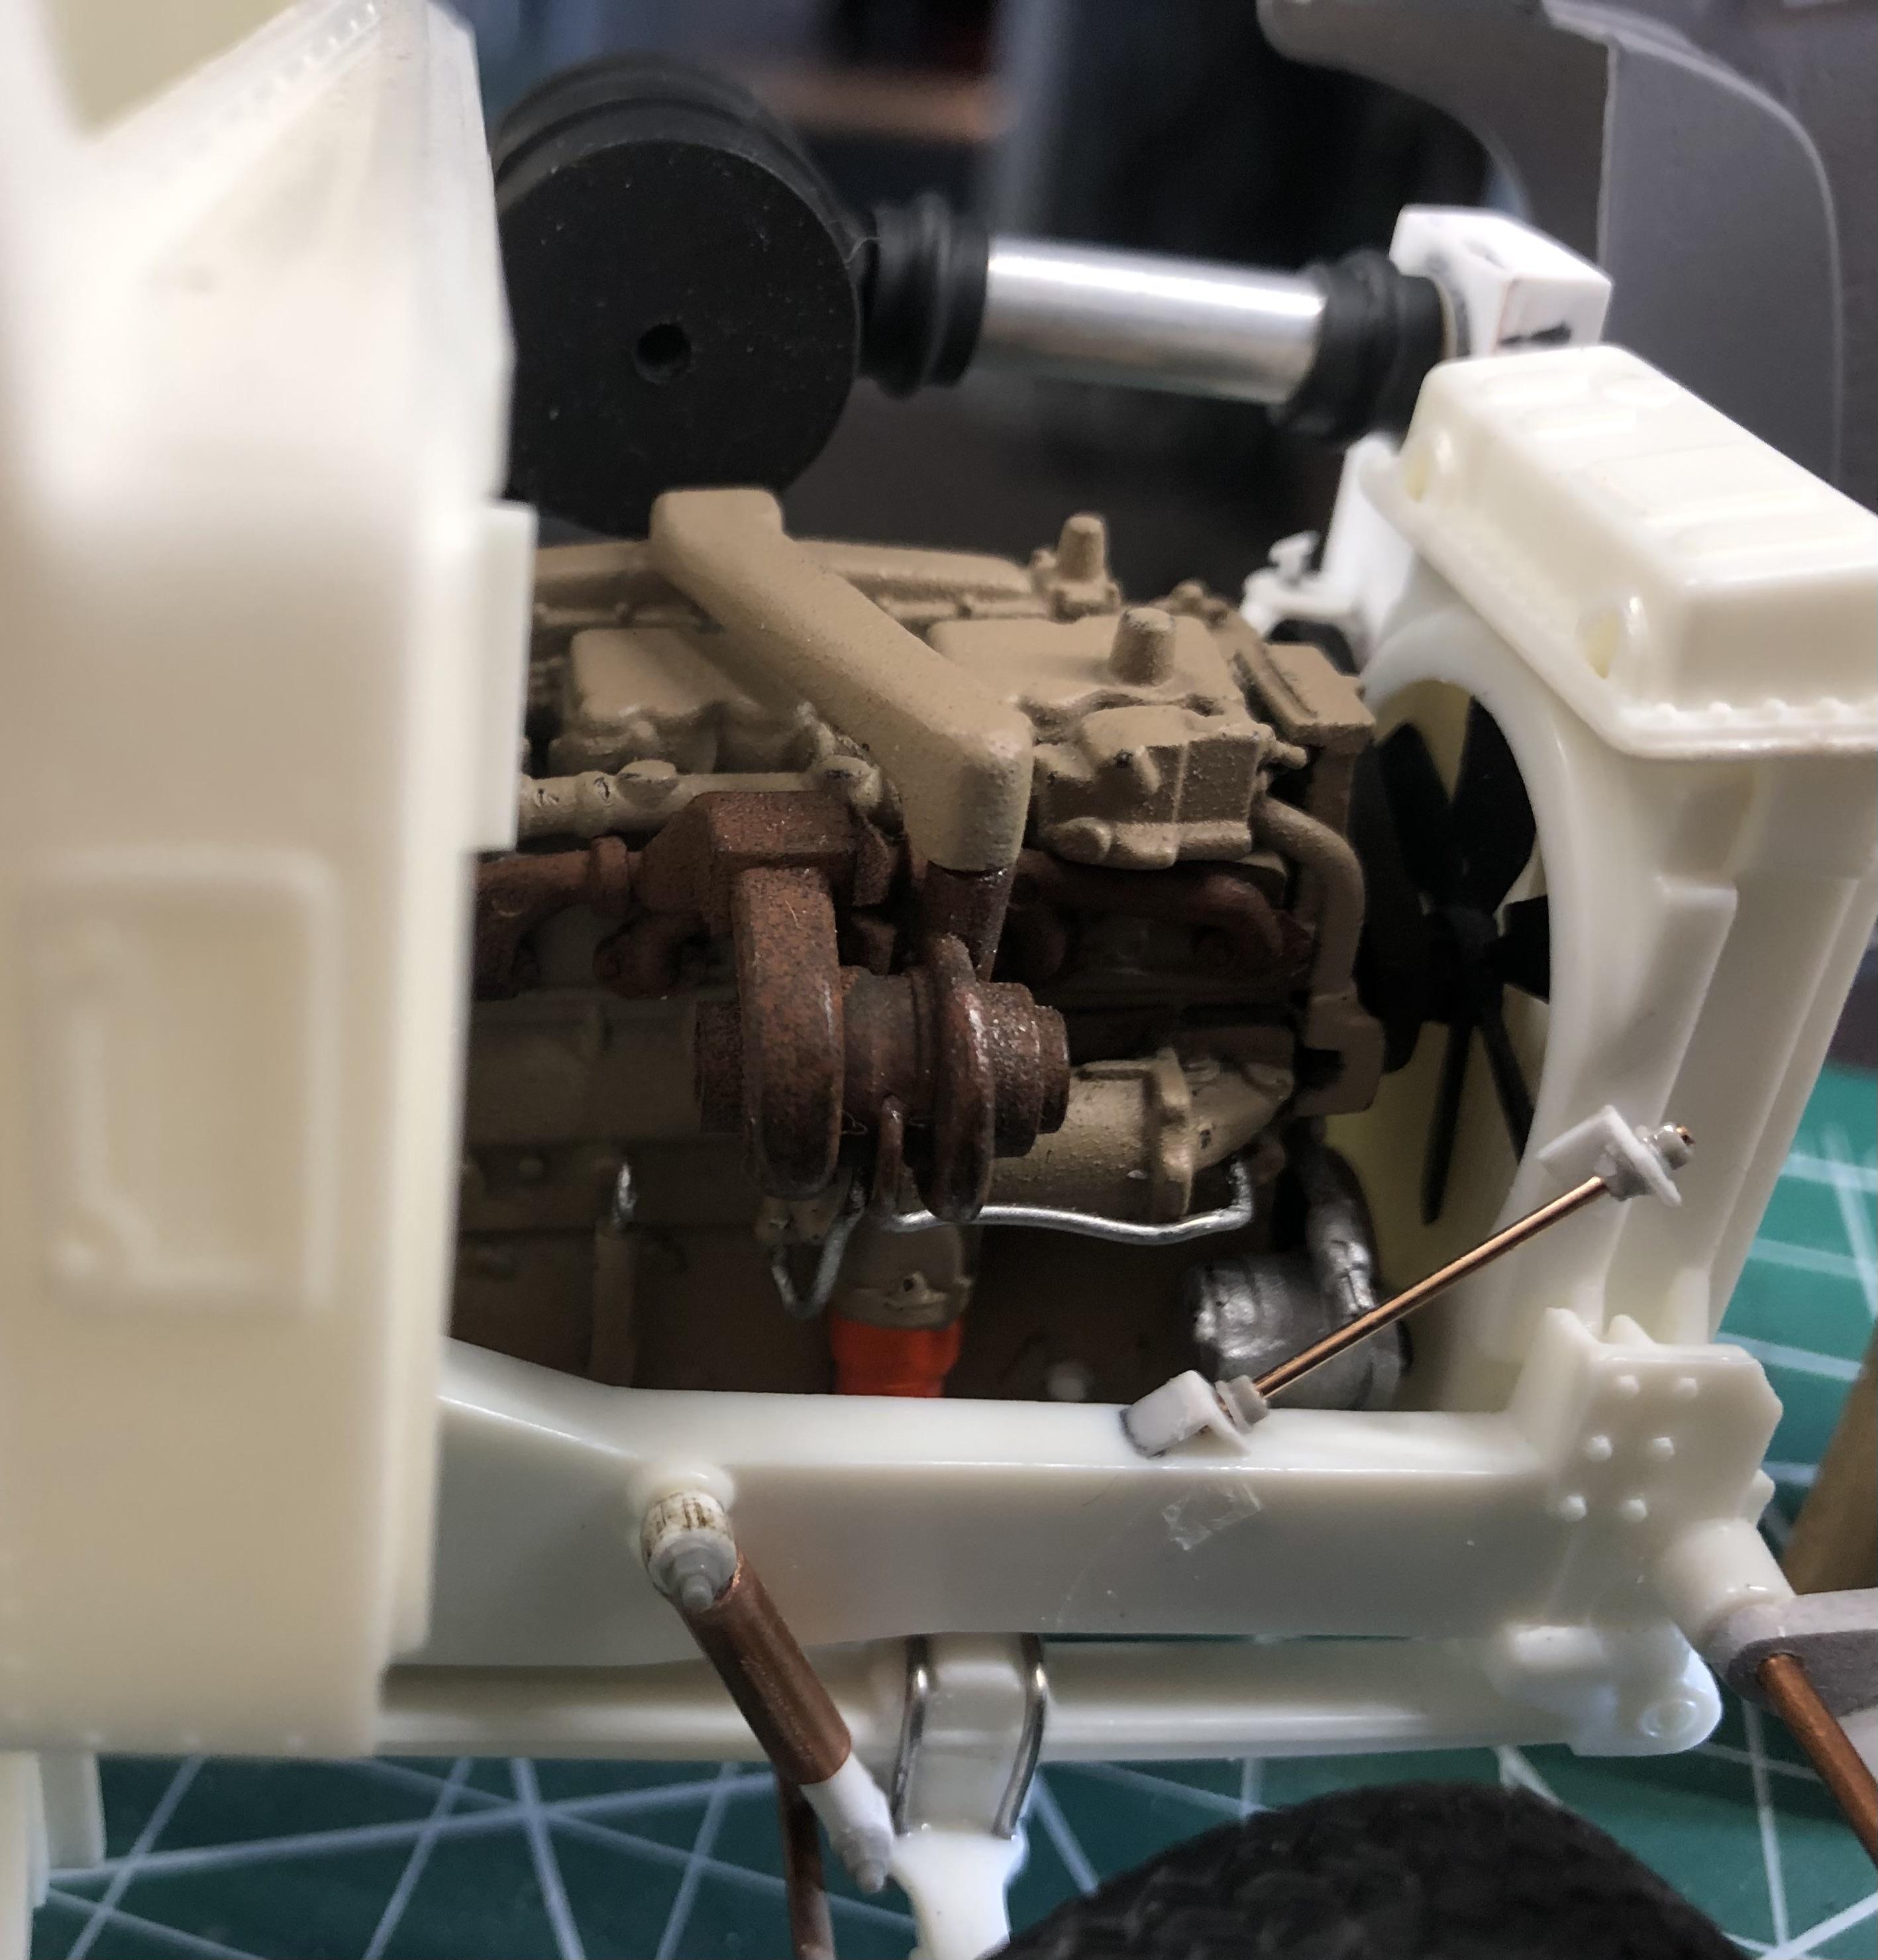
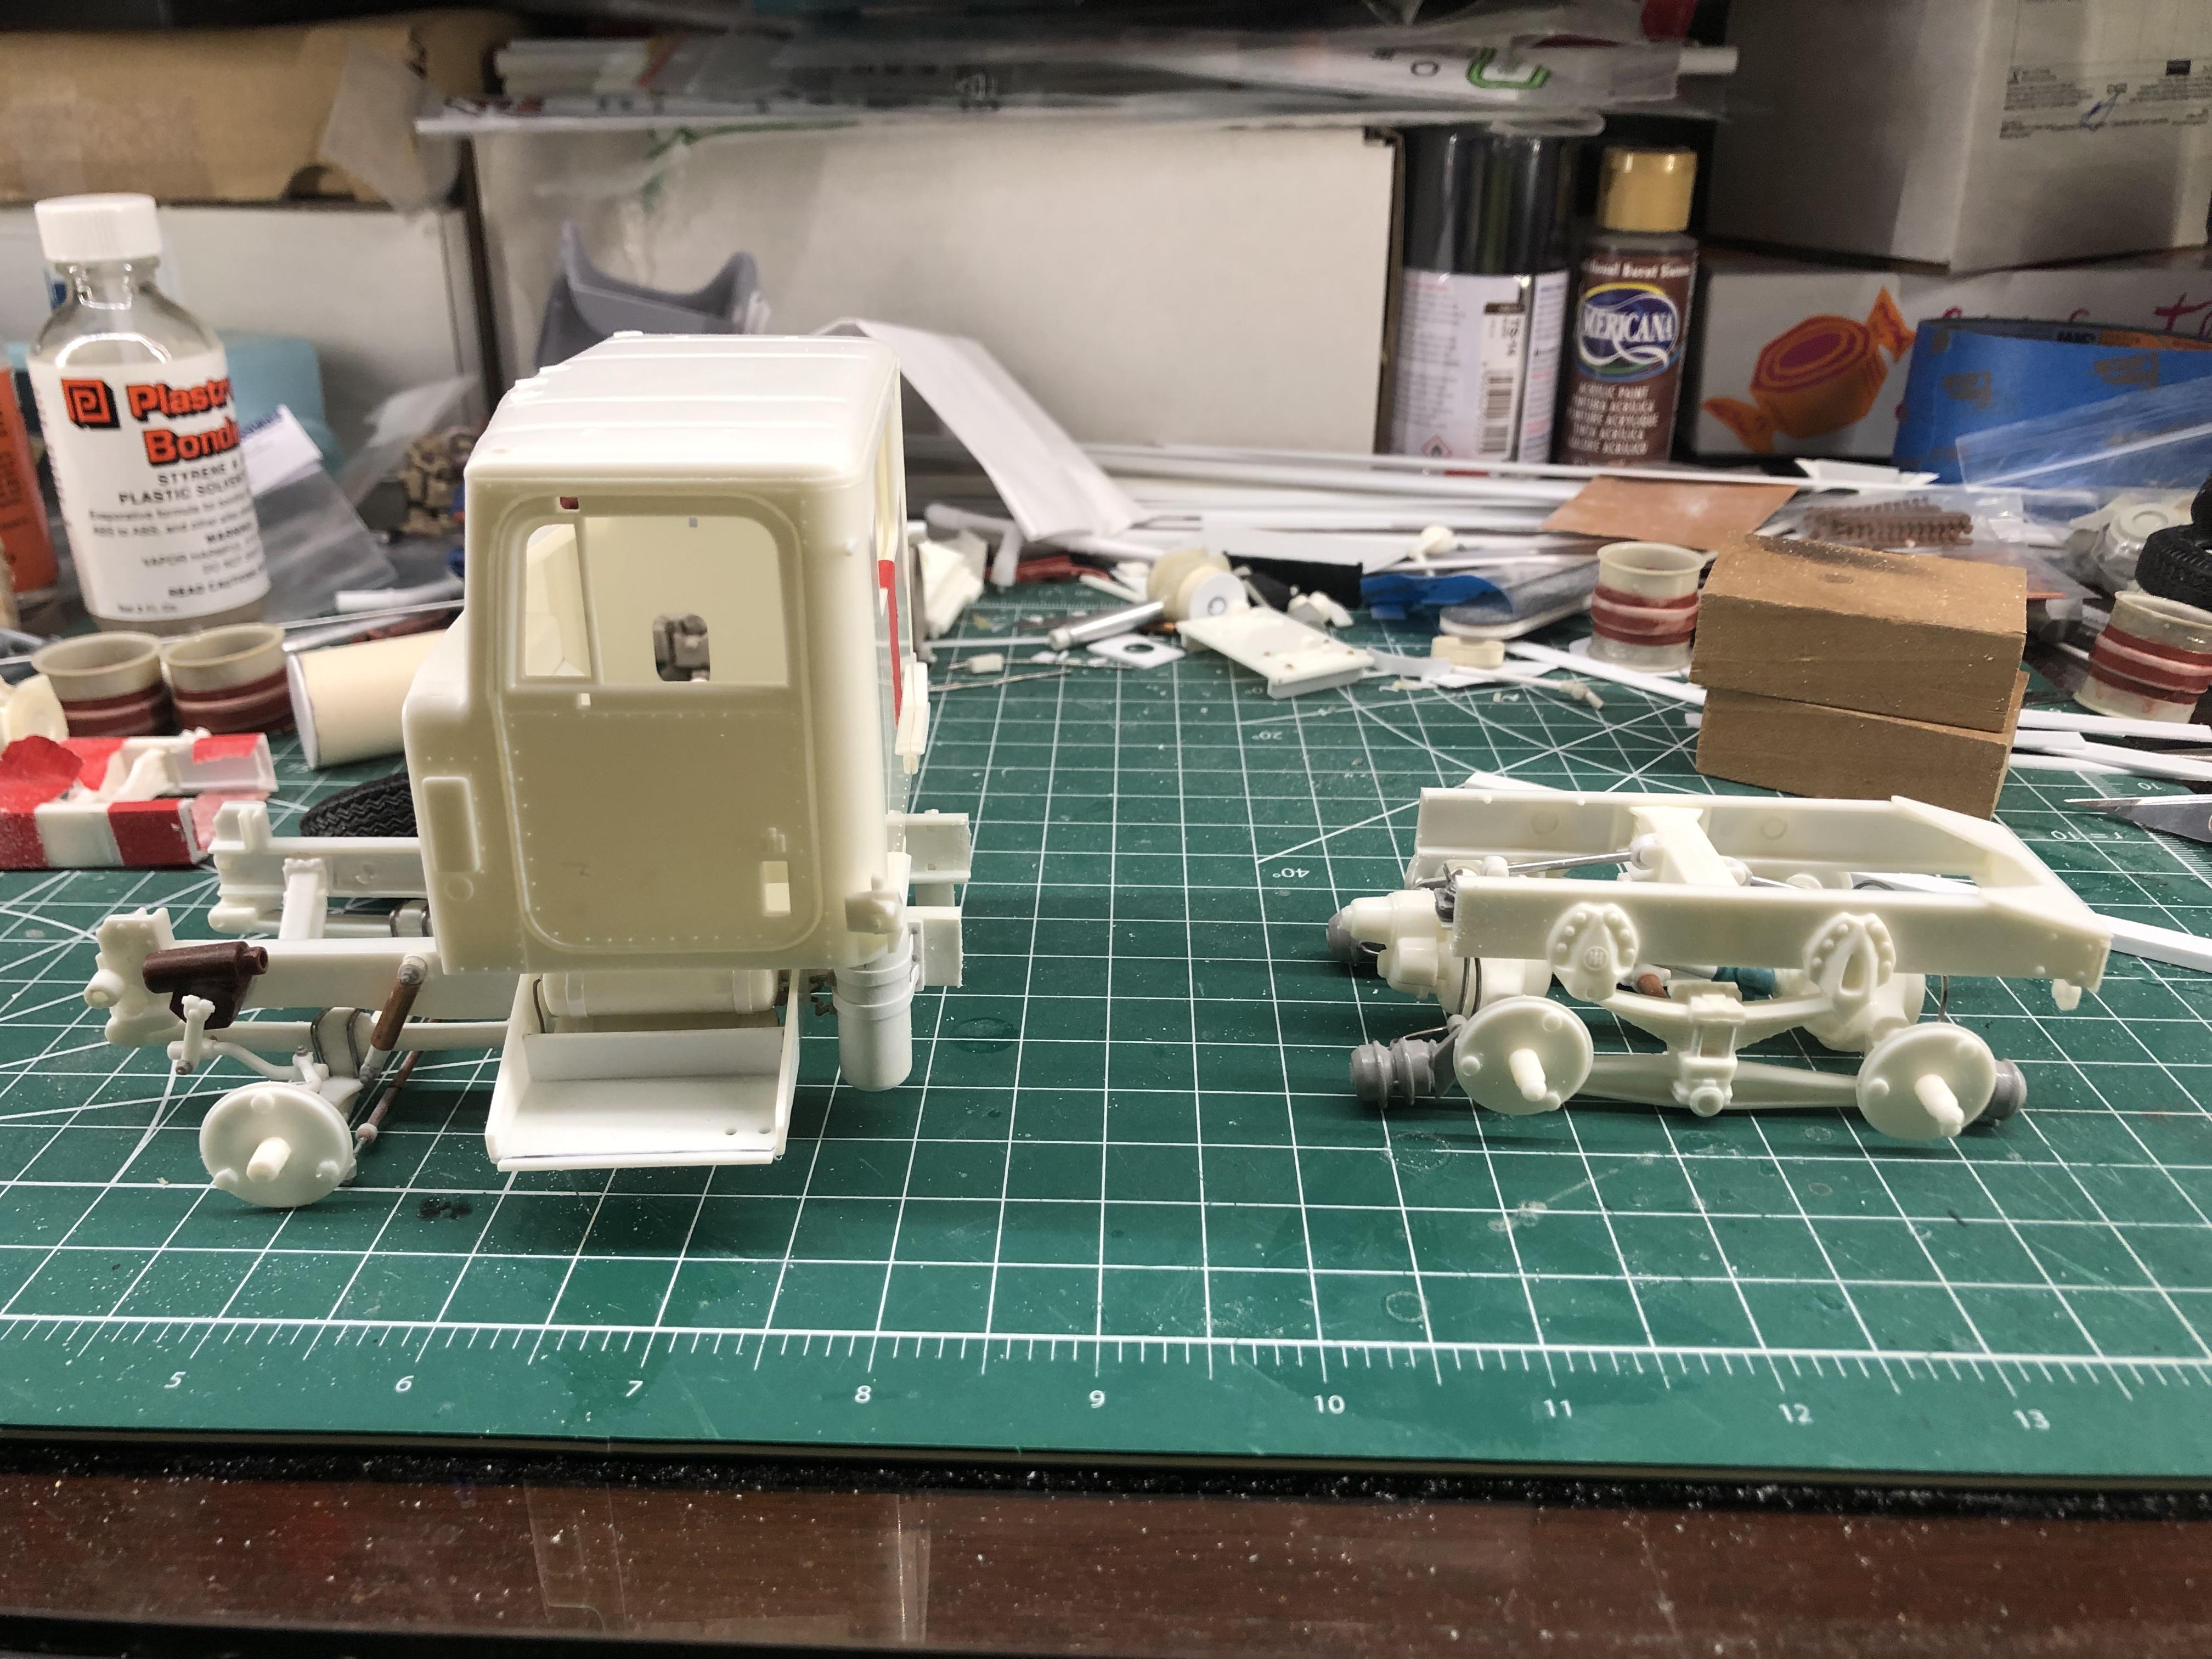
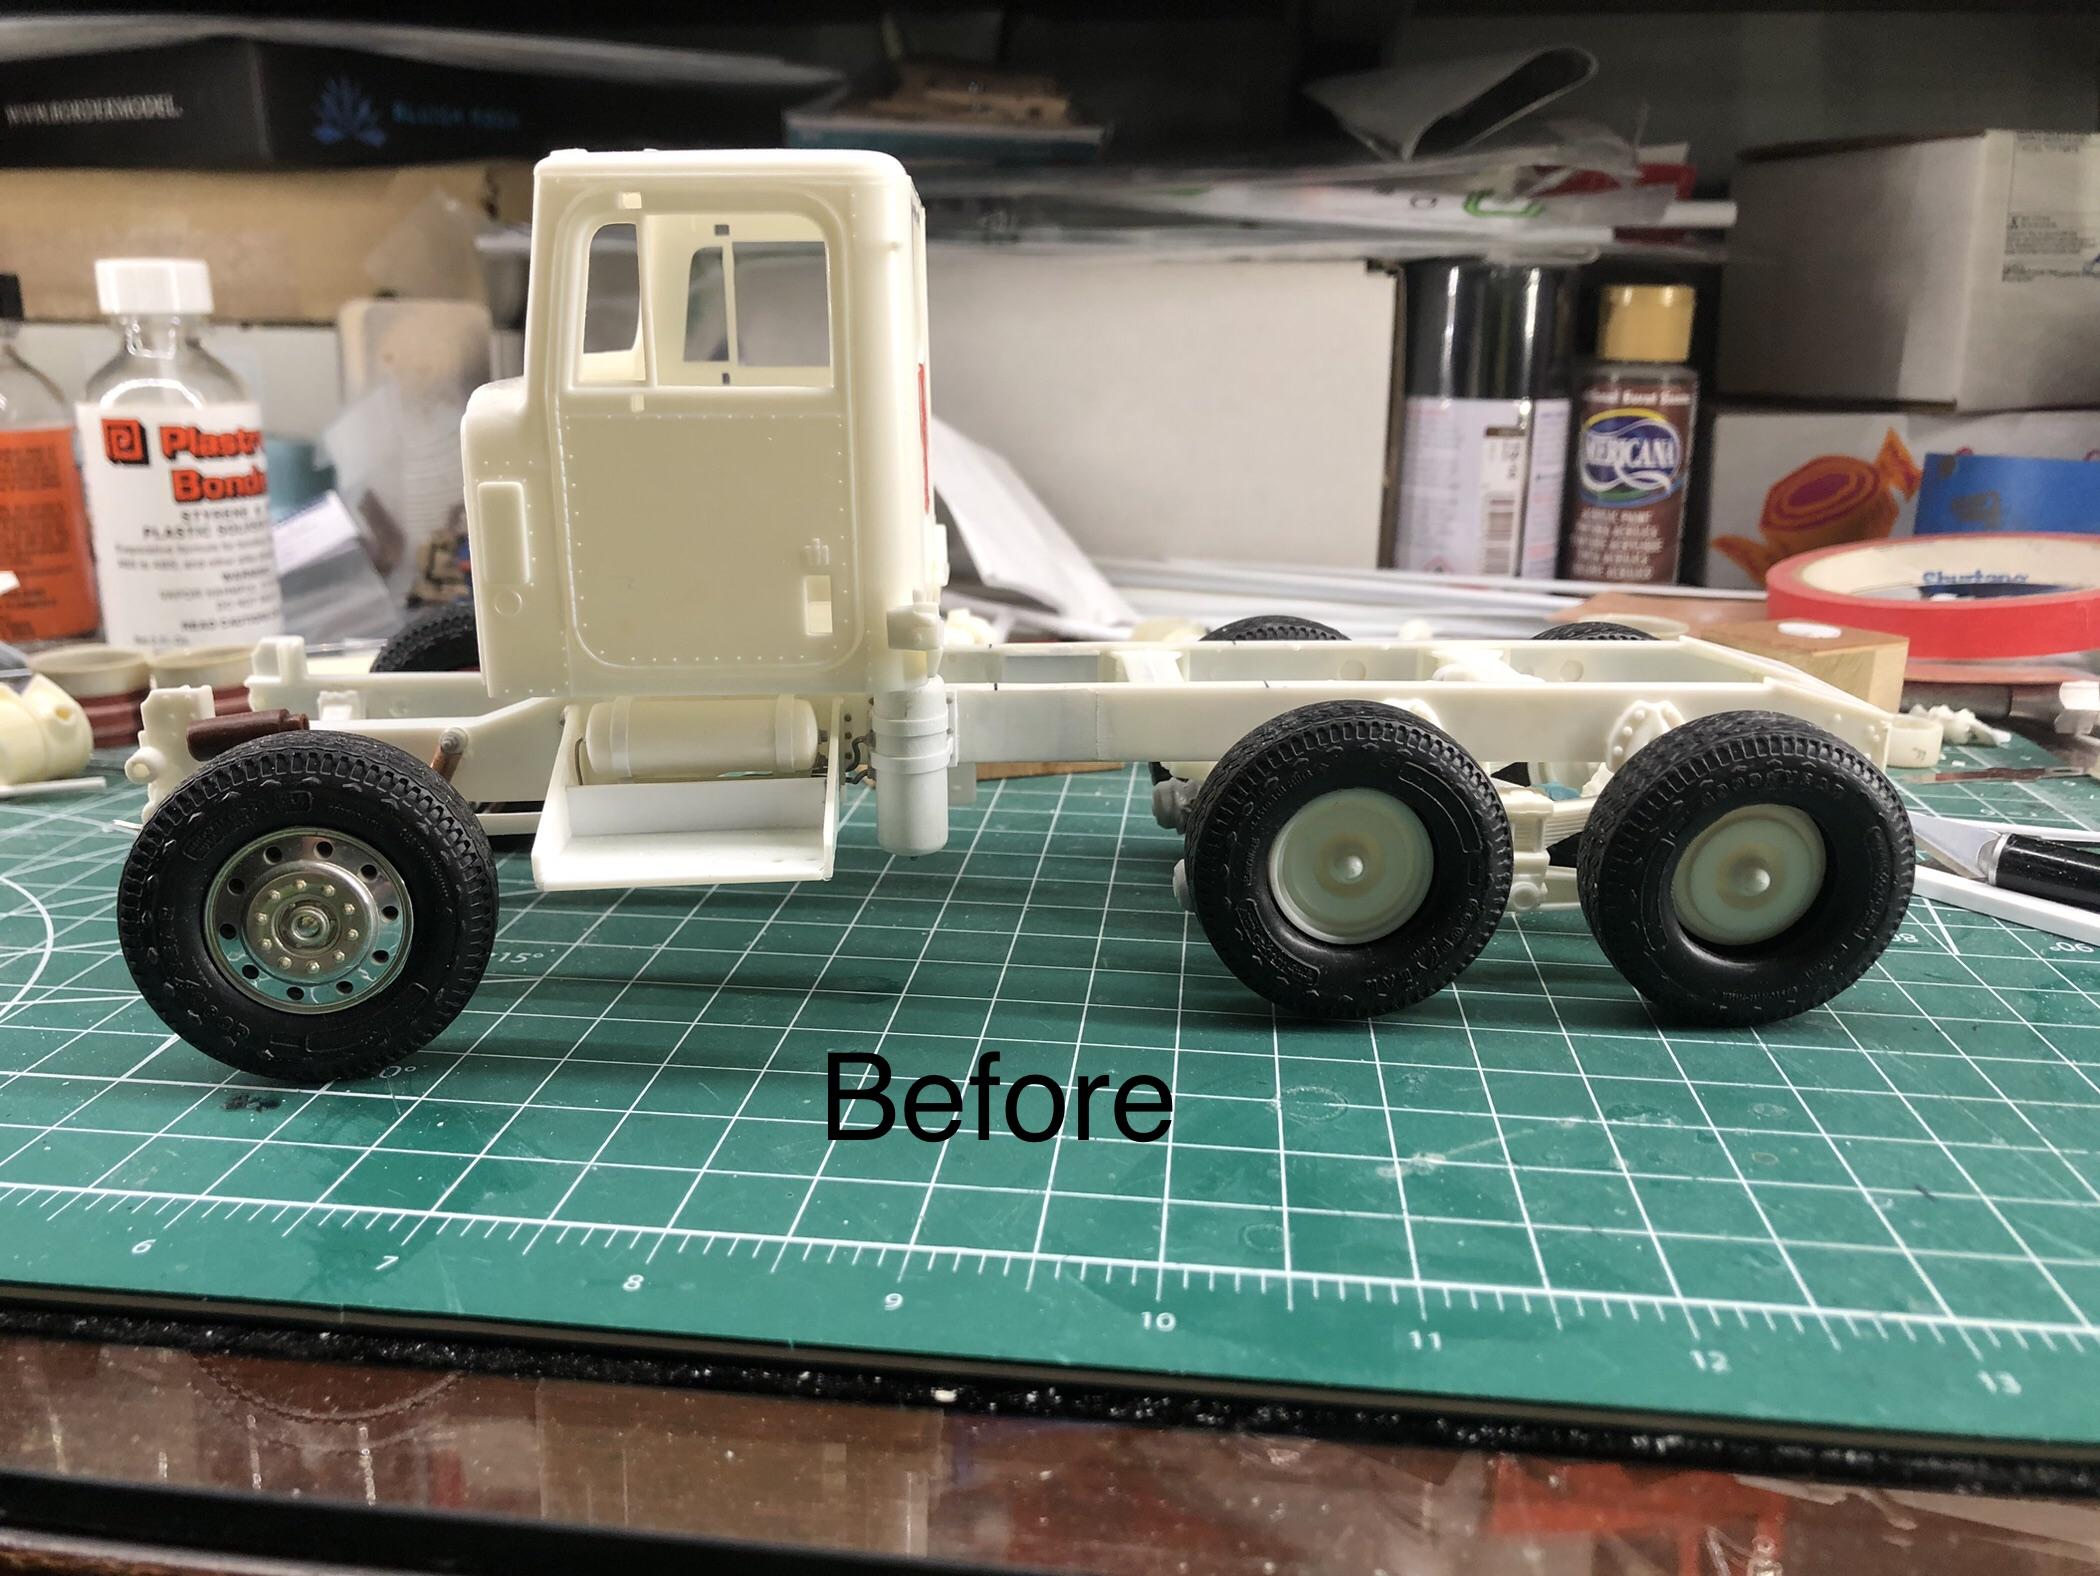
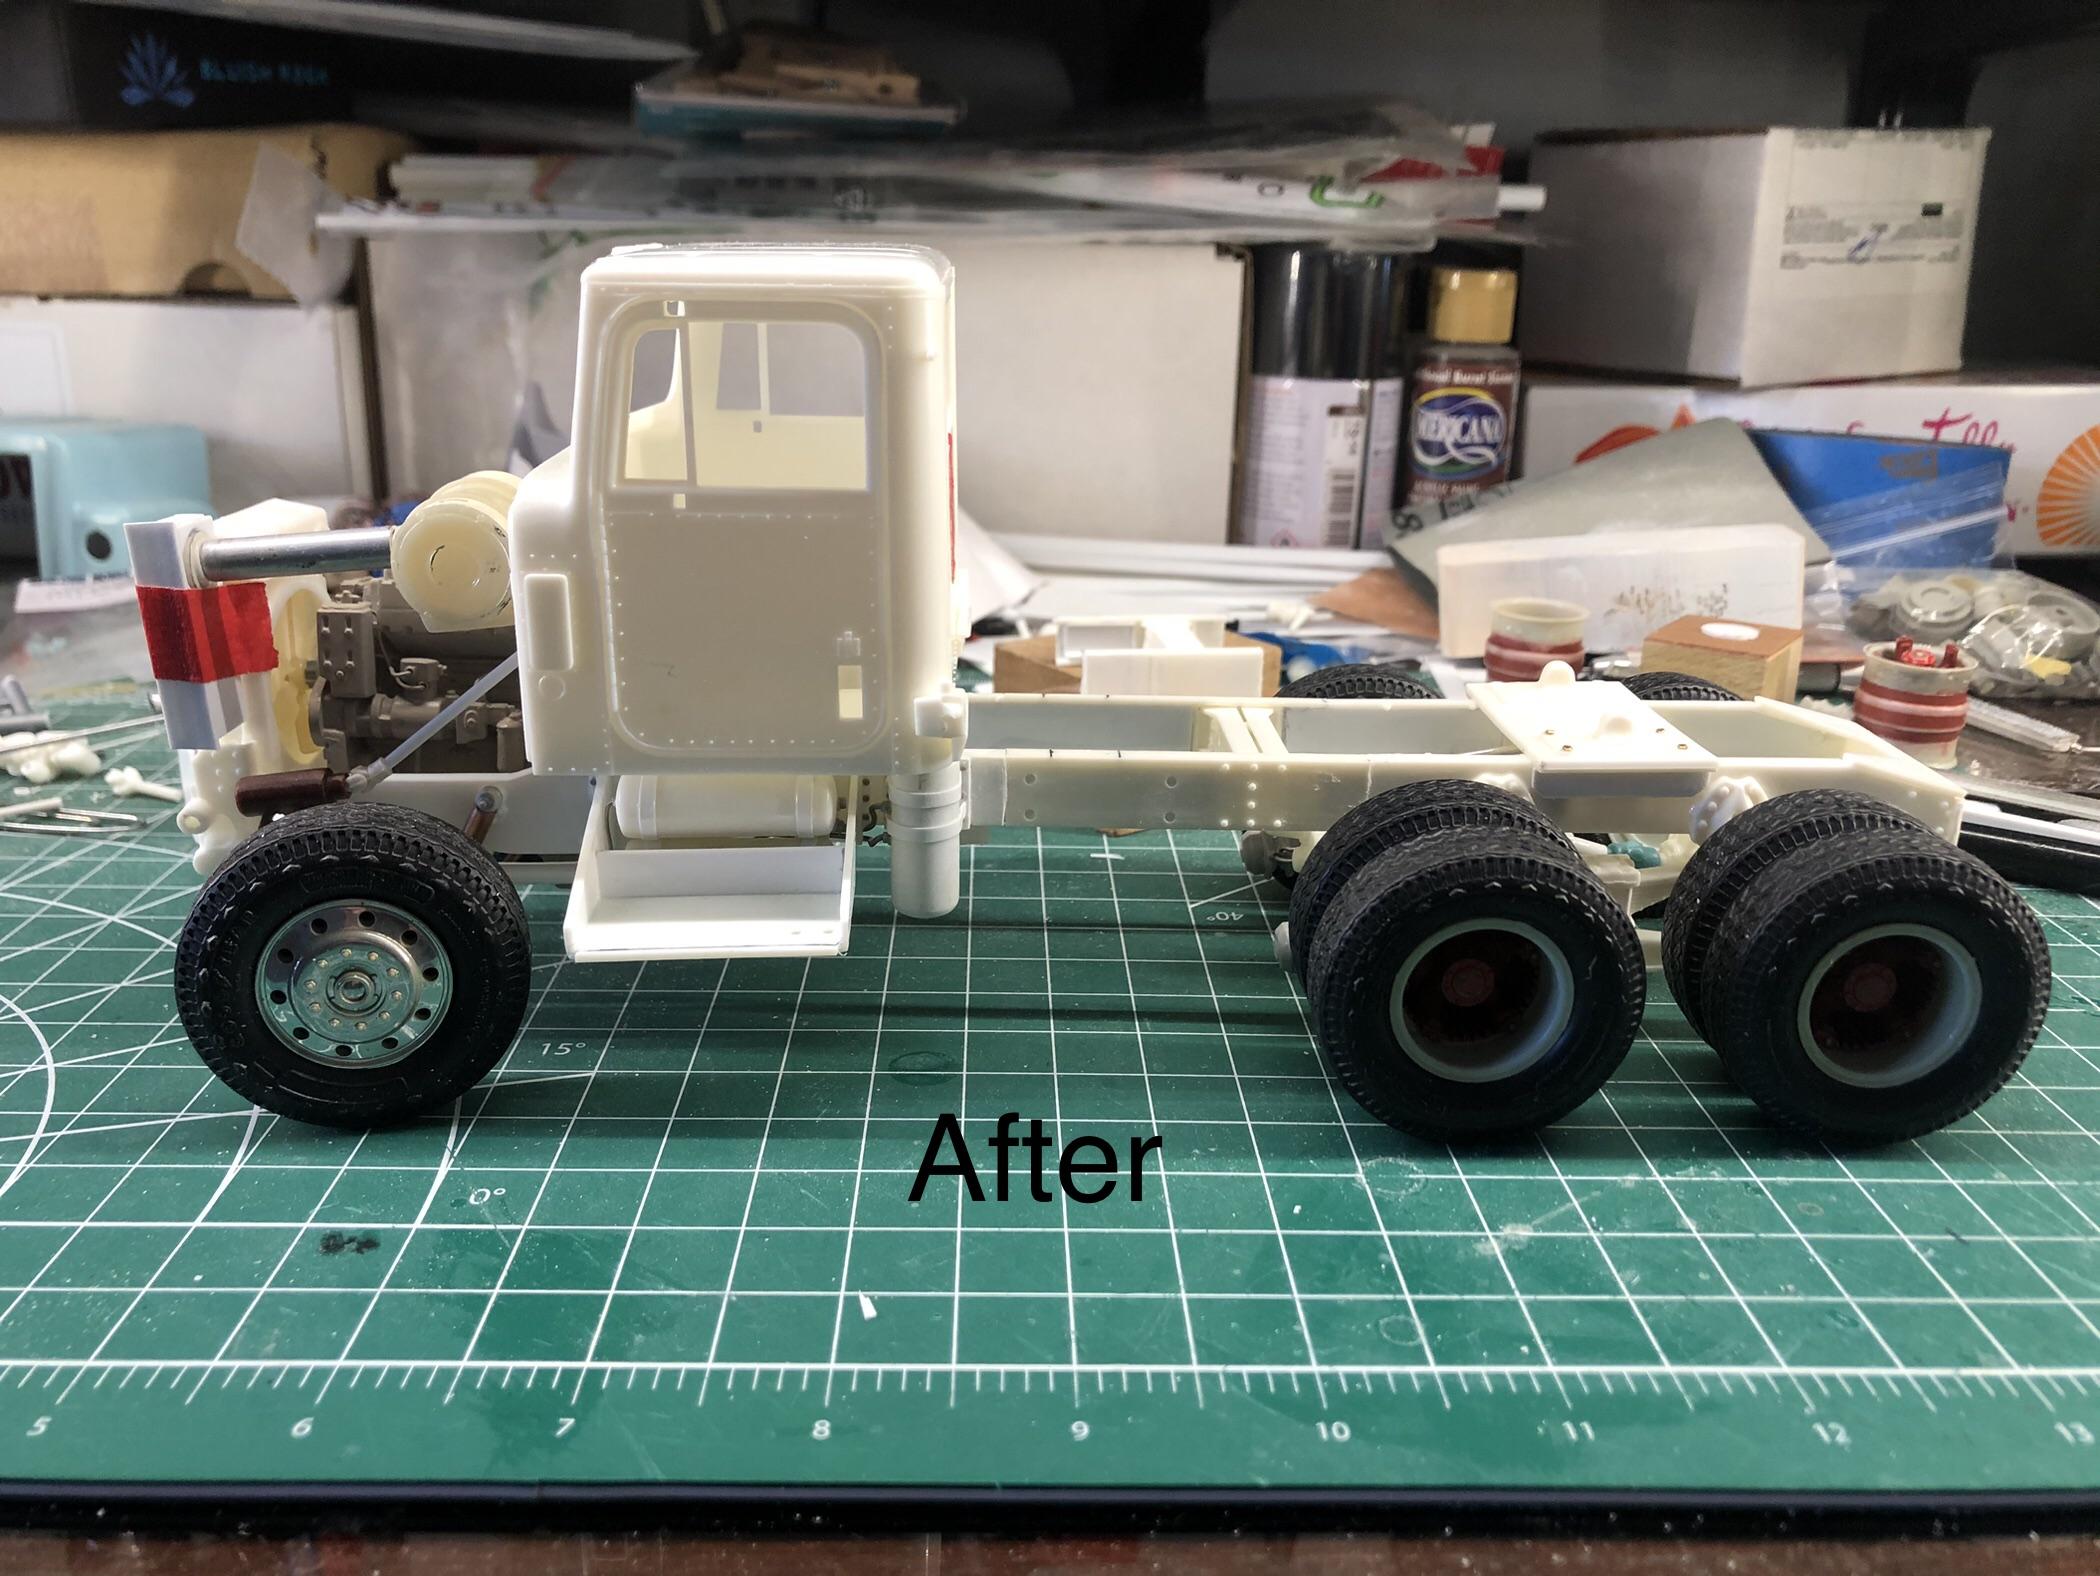
Hello It’s been a while sense I’ve been able to work the Transtar , I decided that frame was a little too short and I didn’t like the look of the cobbled mess of the old spliced area , so carefully cut the frame and added about 3/4 of an inch of frame , also reworked the fire wall area around the motor to make room for the Cummins , and reworked the air intake and filter box . Steve : thanks for the comment the brake Chambers are from a Revell Peterbilt 359 .
-
International 4300 tractor
k100 replied to Gary Chastain's topic in WIP: Model Trucks: Big Rigs and Heavy Equipment
Great job Gary I like look of the wider tries on the front . I was thinking the same way about doing the fuel tank on my 4300/4200 , I’m got a set of Photo etch steeps from Models by Dave I’m going to try those. -
IH Transtar 4300 converted to a 4200
k100 replied to k100's topic in WIP: Model Trucks: Big Rigs and Heavy Equipment
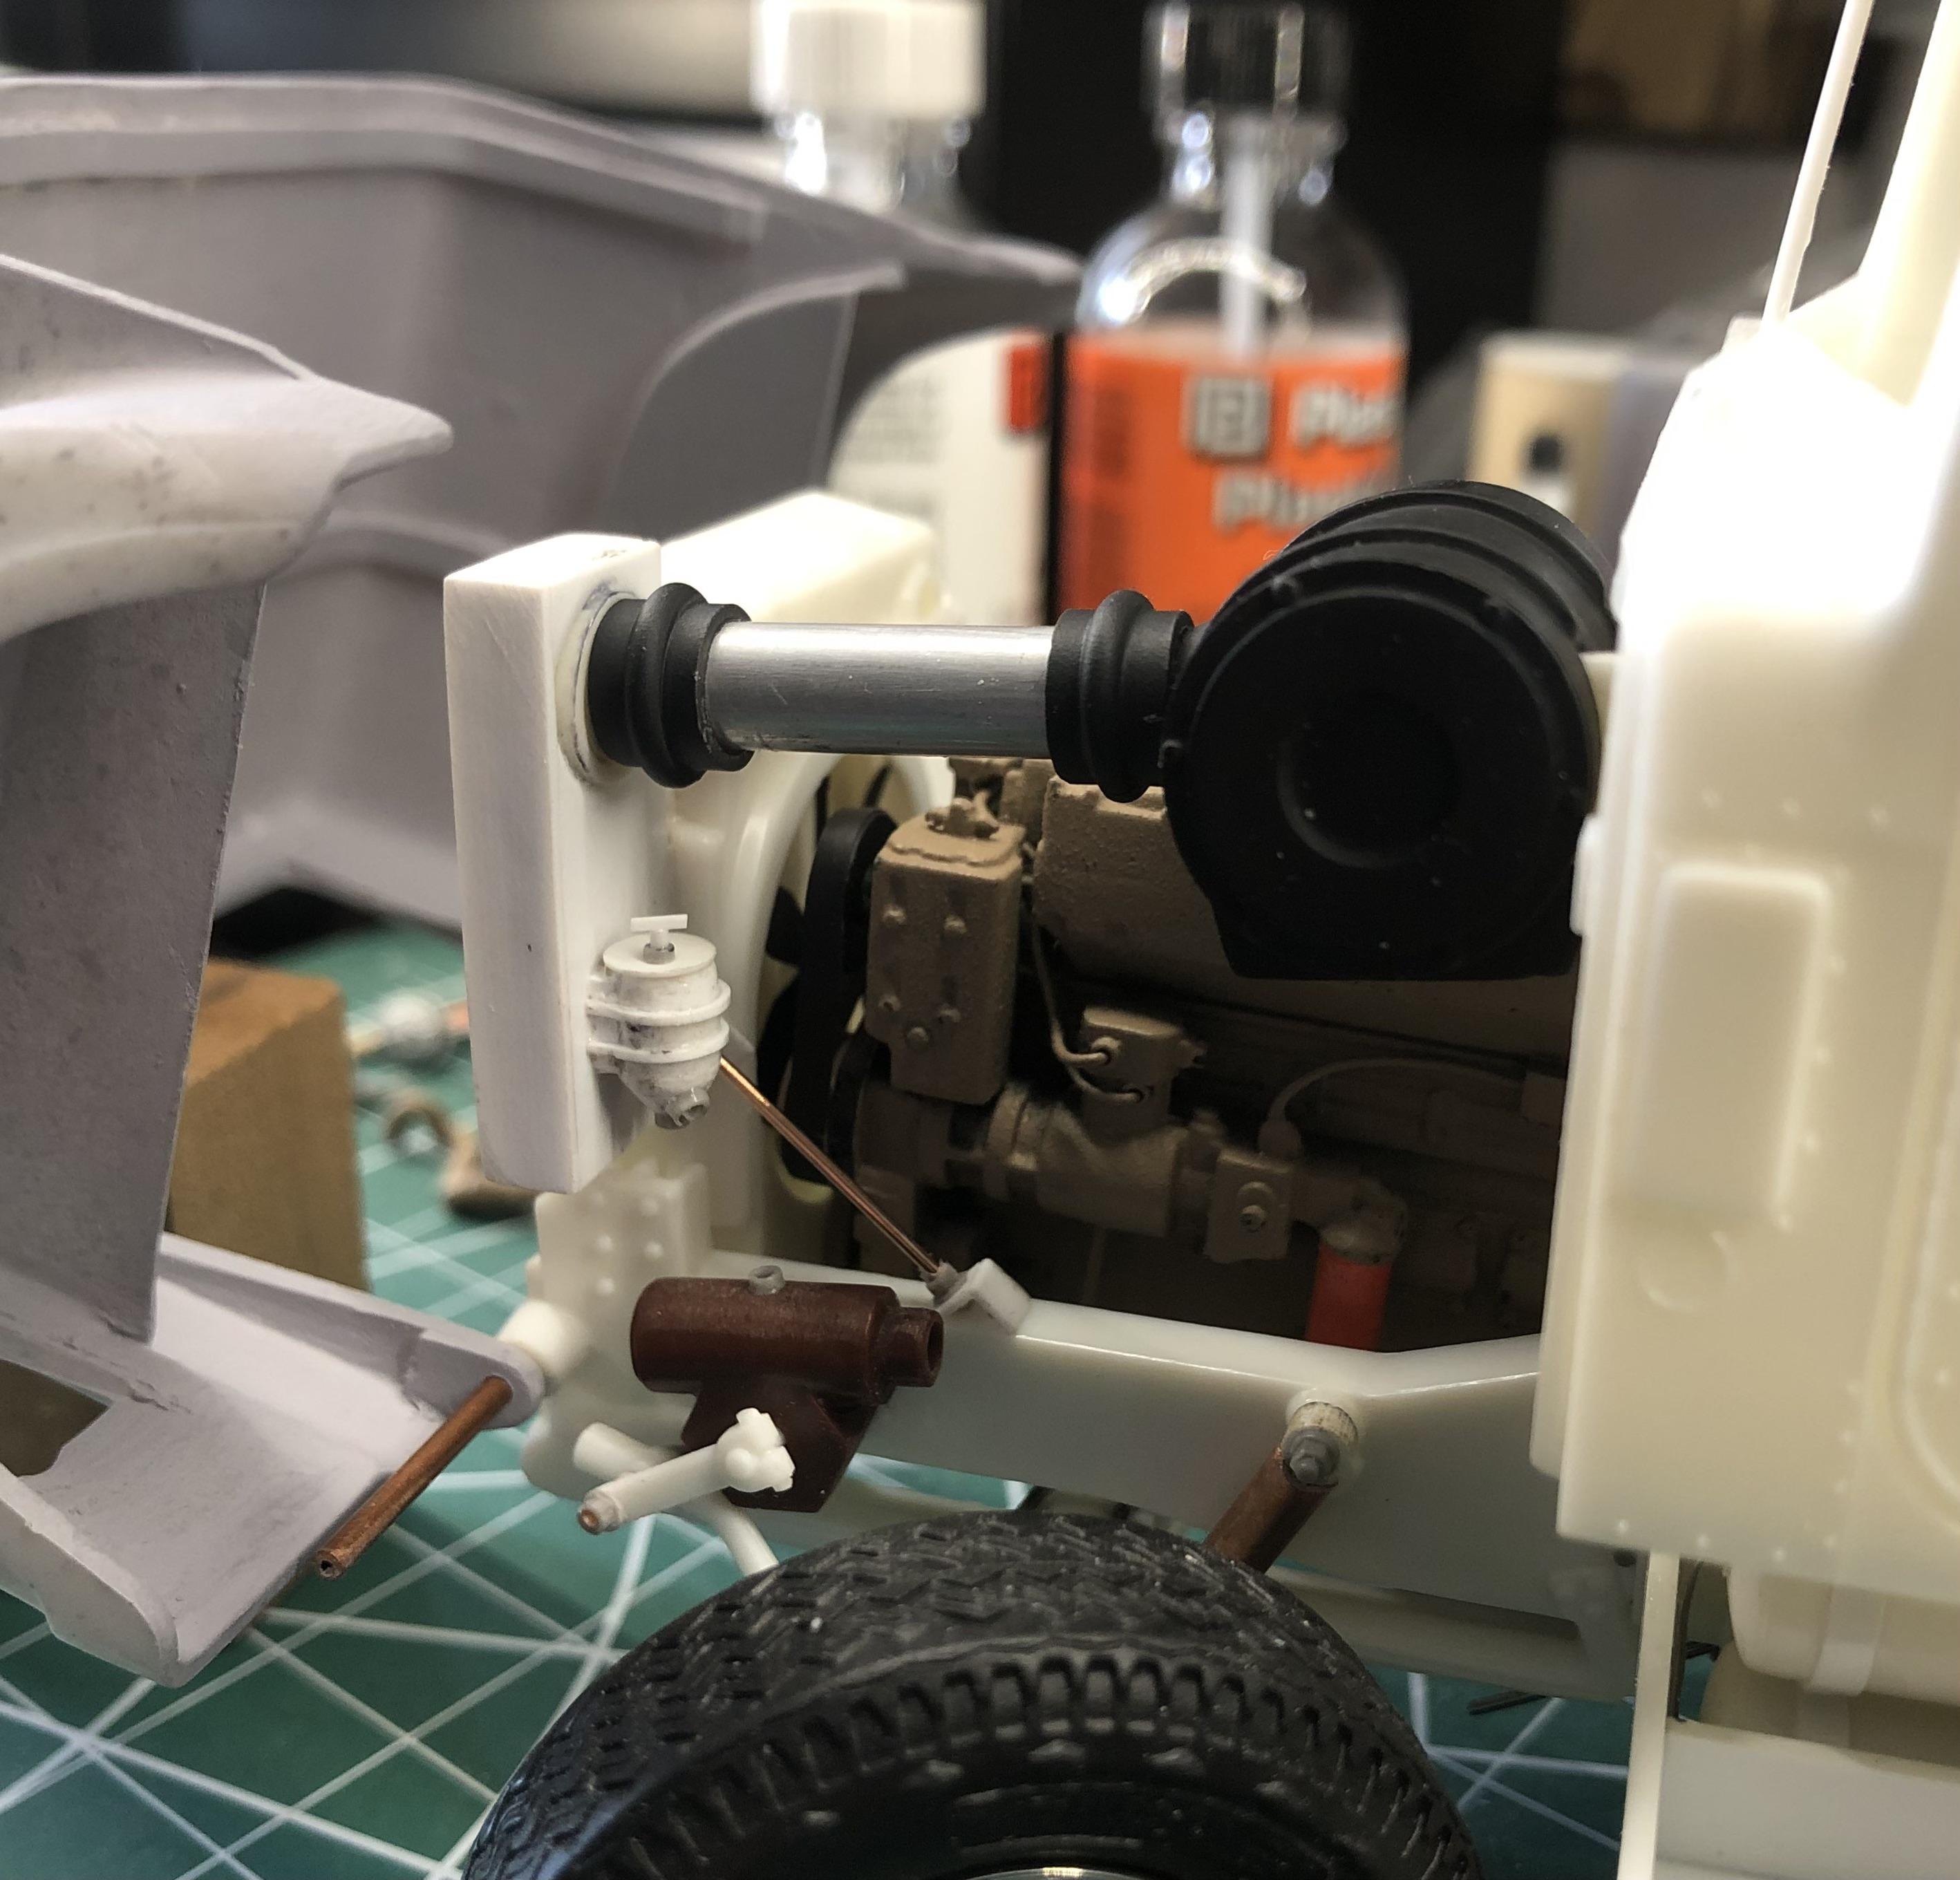
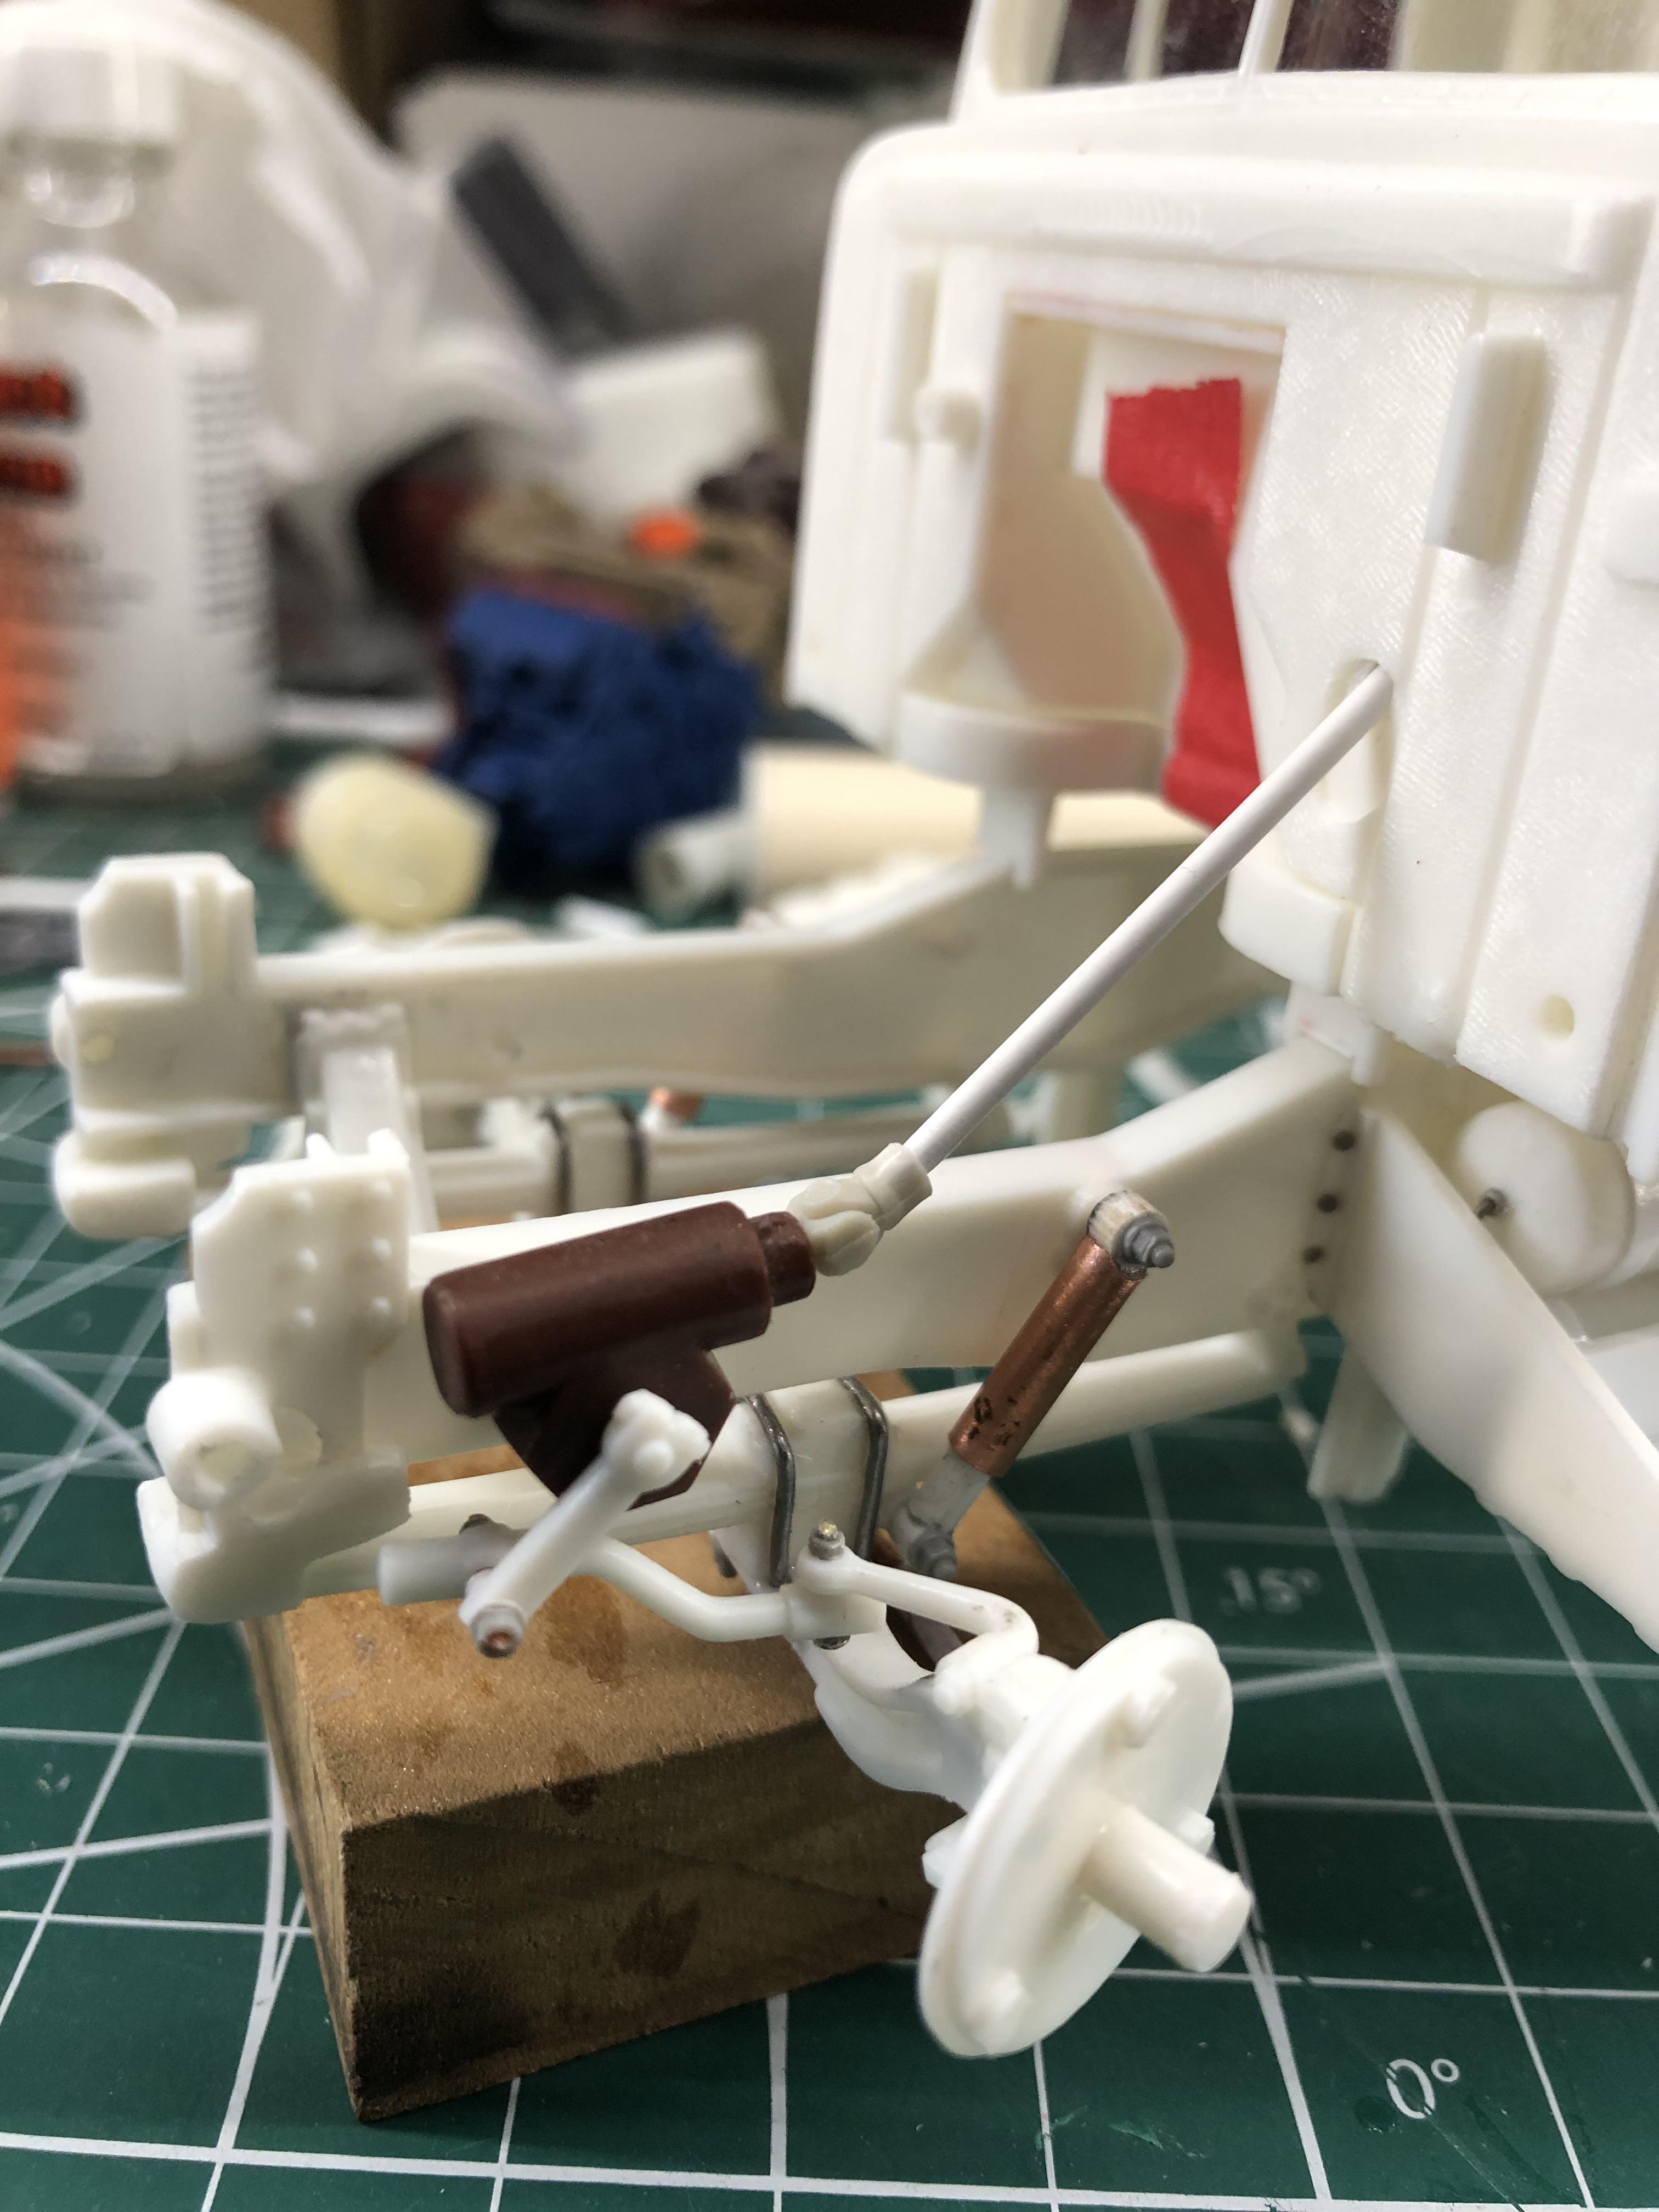
Thank you for the comments. I decided to swap out the IH Engine for Cummins it’s a tight fit but with some modifying of the fire wall it fits in well . Also got the rear suspension mounted and some air lines plumed in . Thanks
-
IH Transtar 4300 converted to a 4200
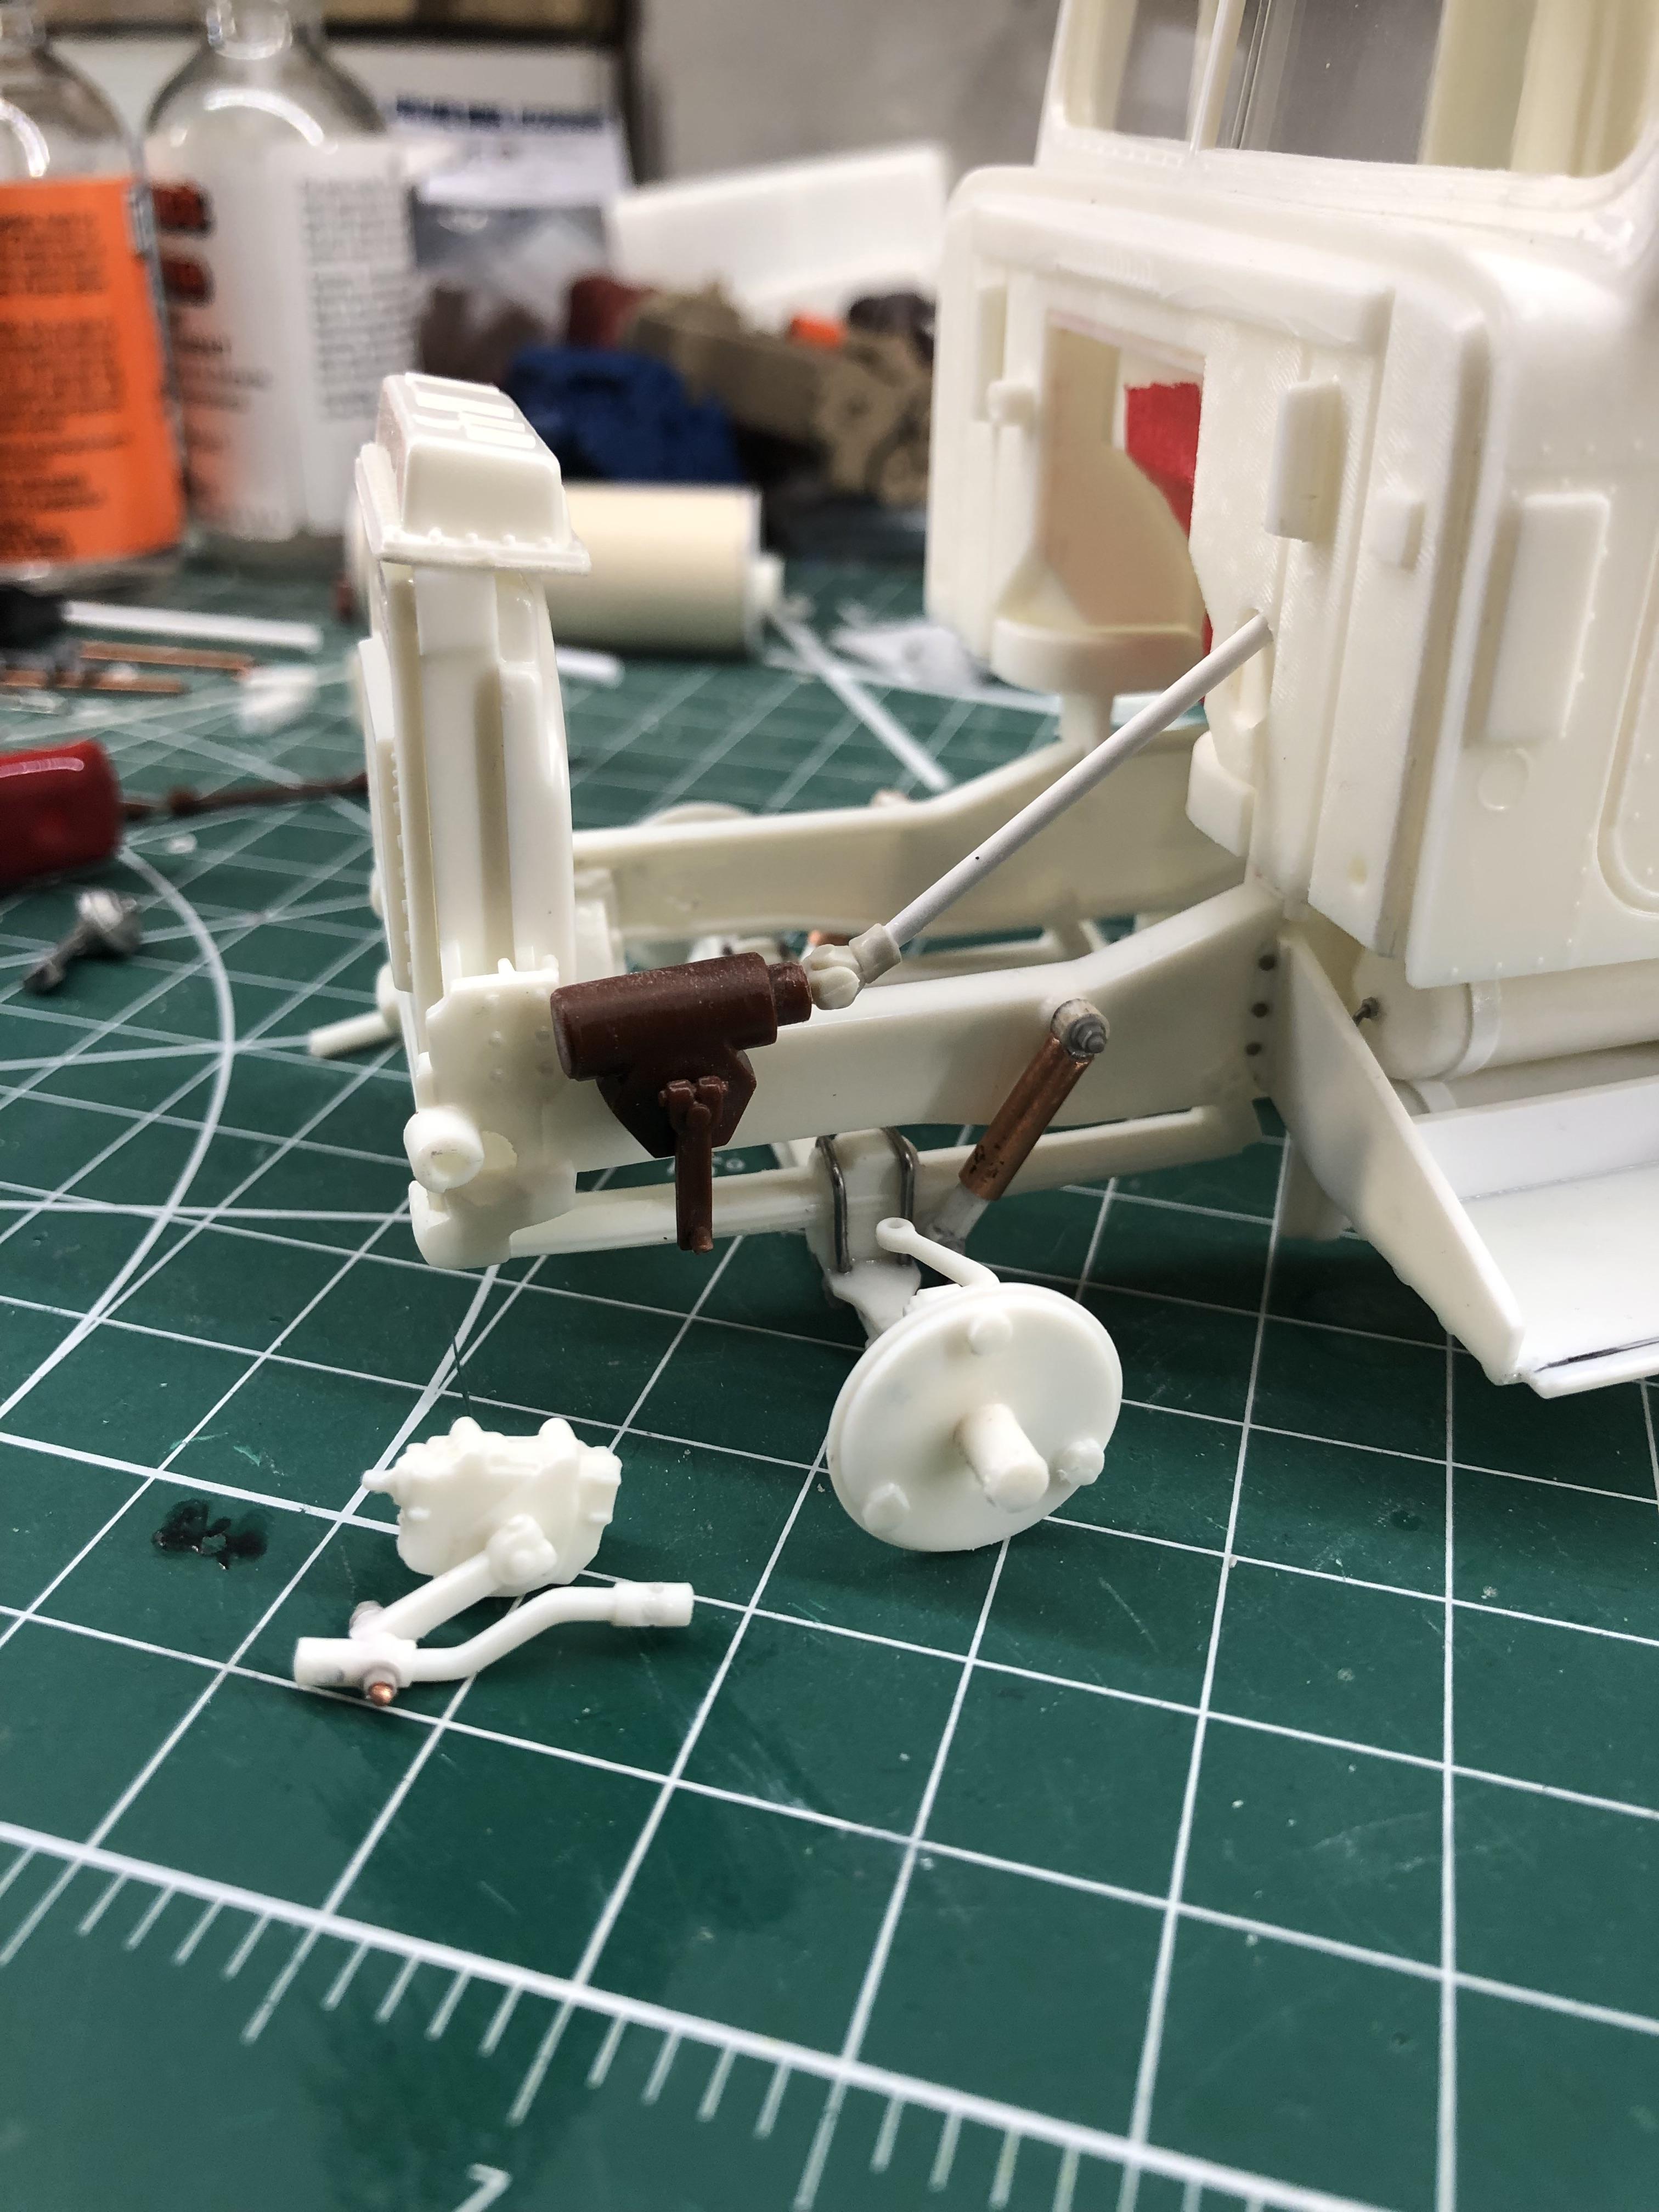
k100 replied to k100's topic in WIP: Model Trucks: Big Rigs and Heavy Equipment
Quick update I got the steering all connected it fell right into place with no modifications.
-
IH Transtar 4300 converted to a 4200
k100 replied to k100's topic in WIP: Model Trucks: Big Rigs and Heavy Equipment
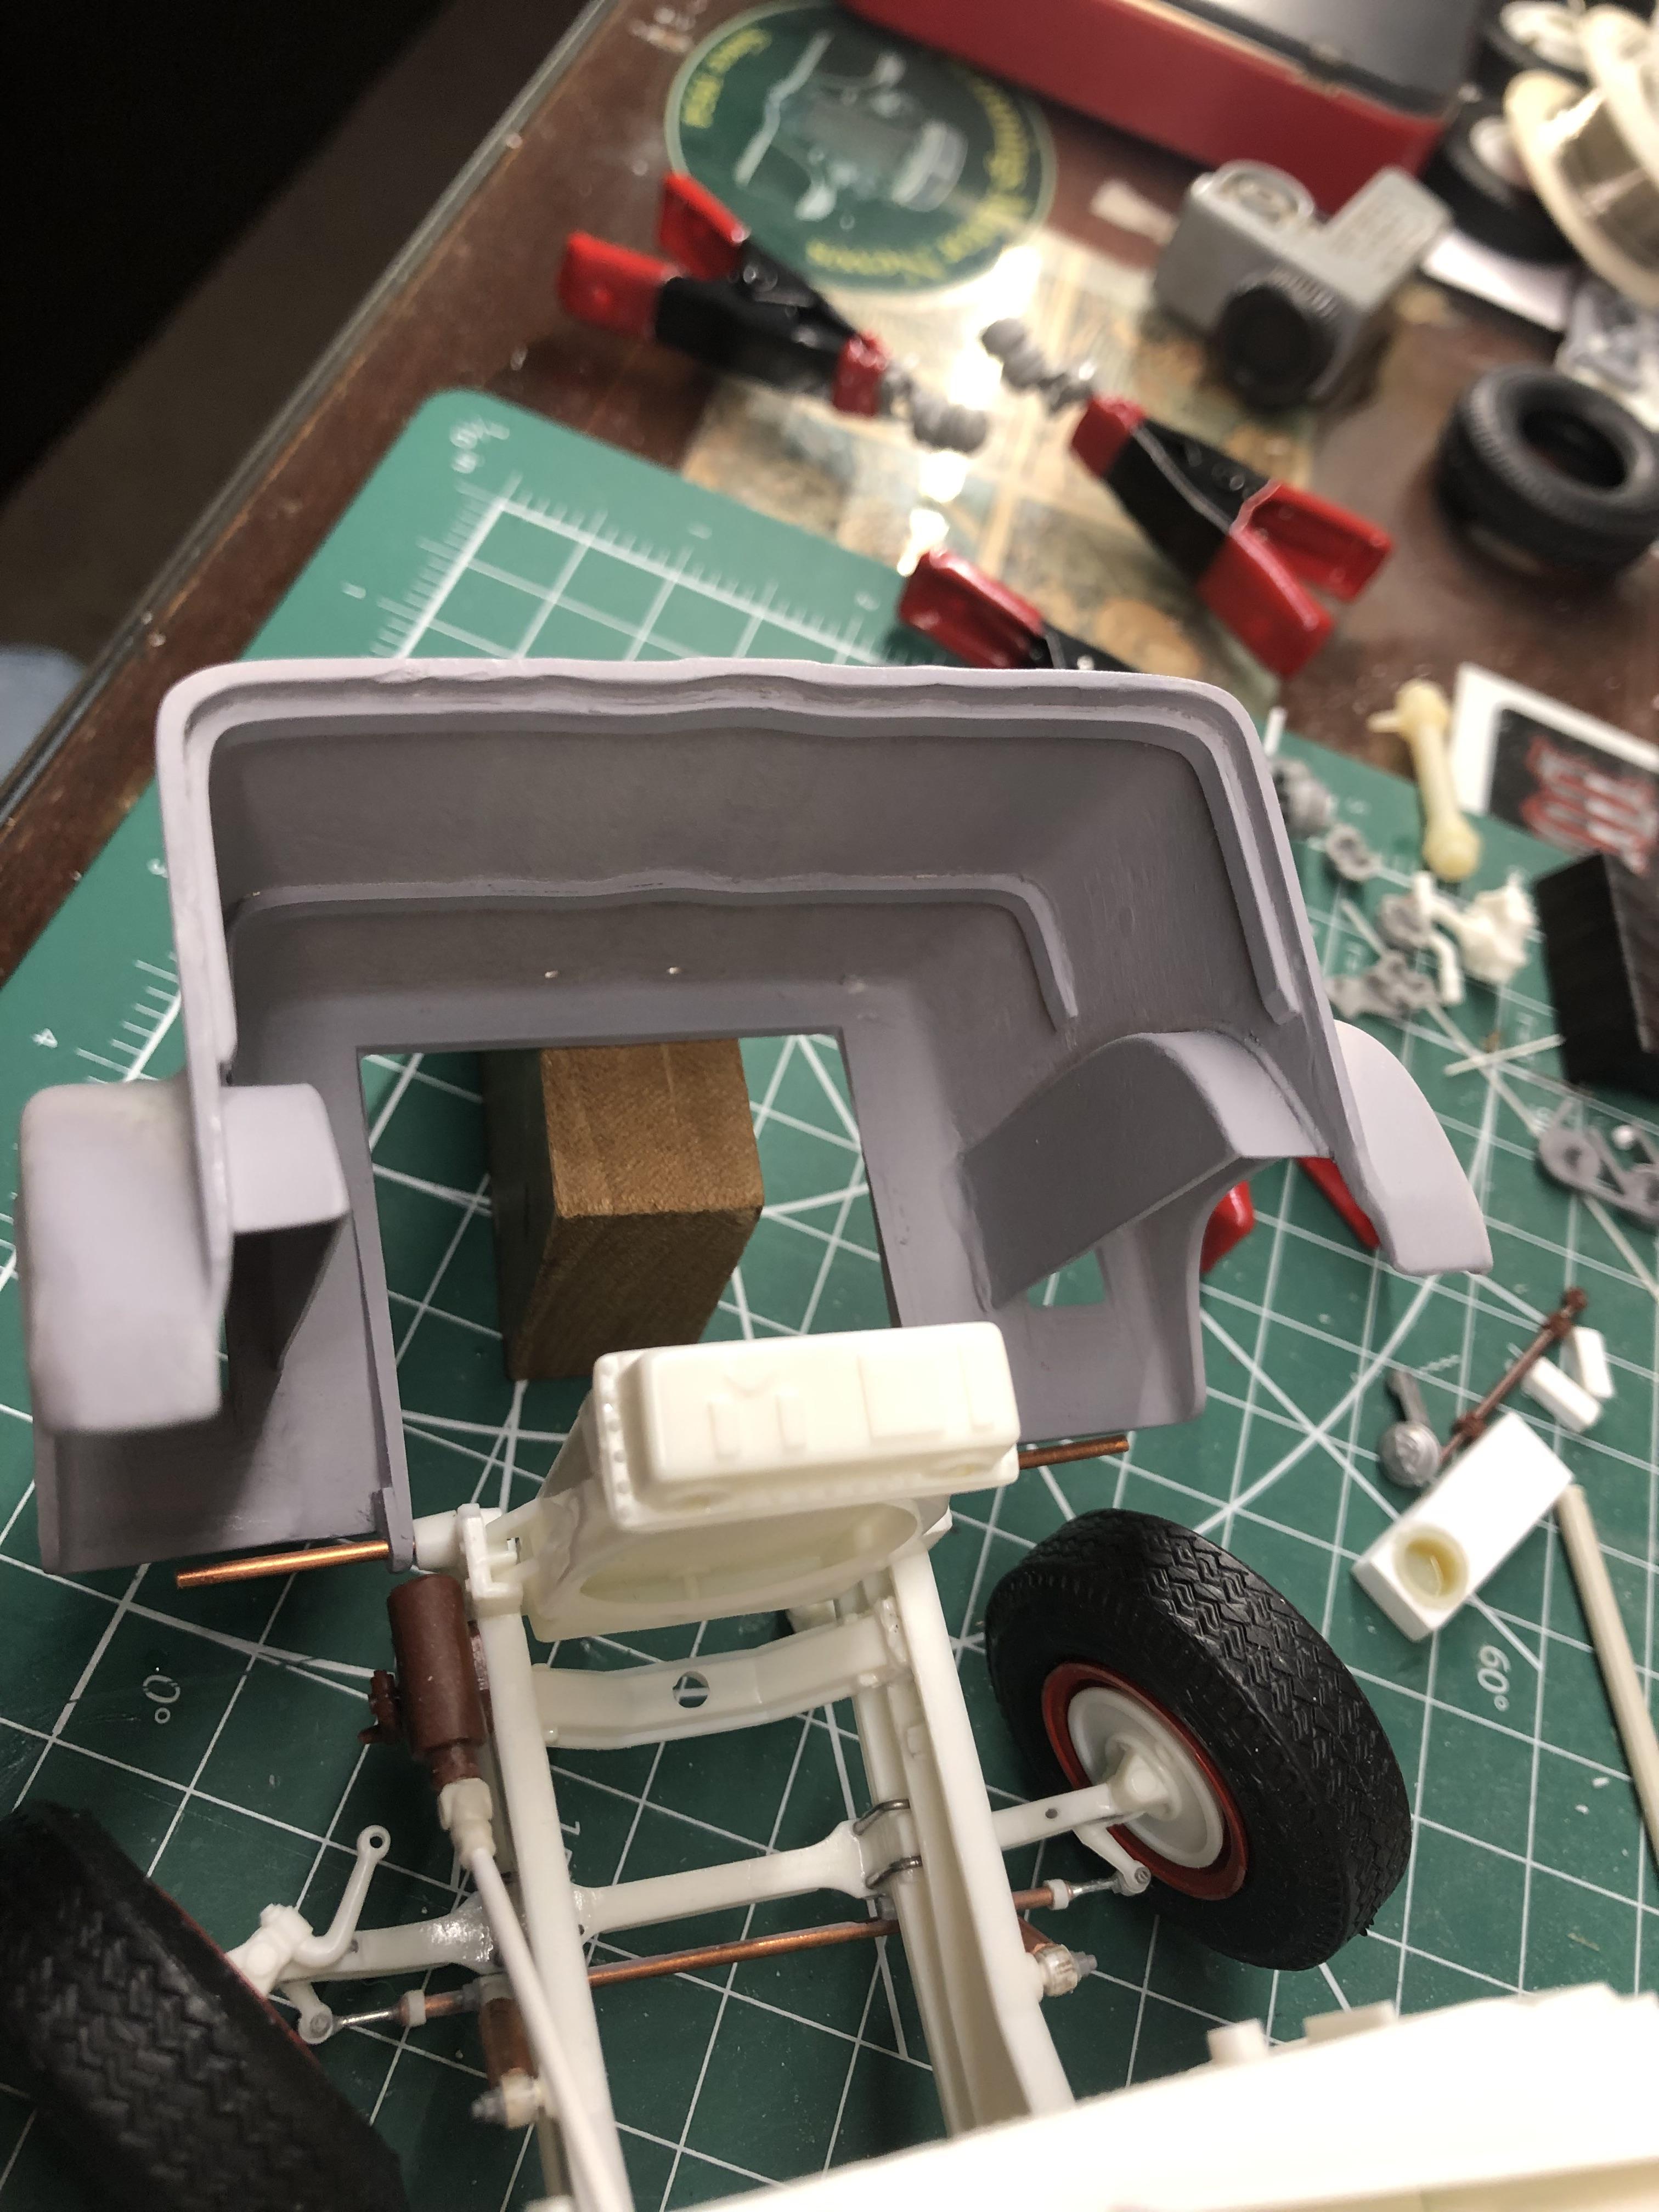
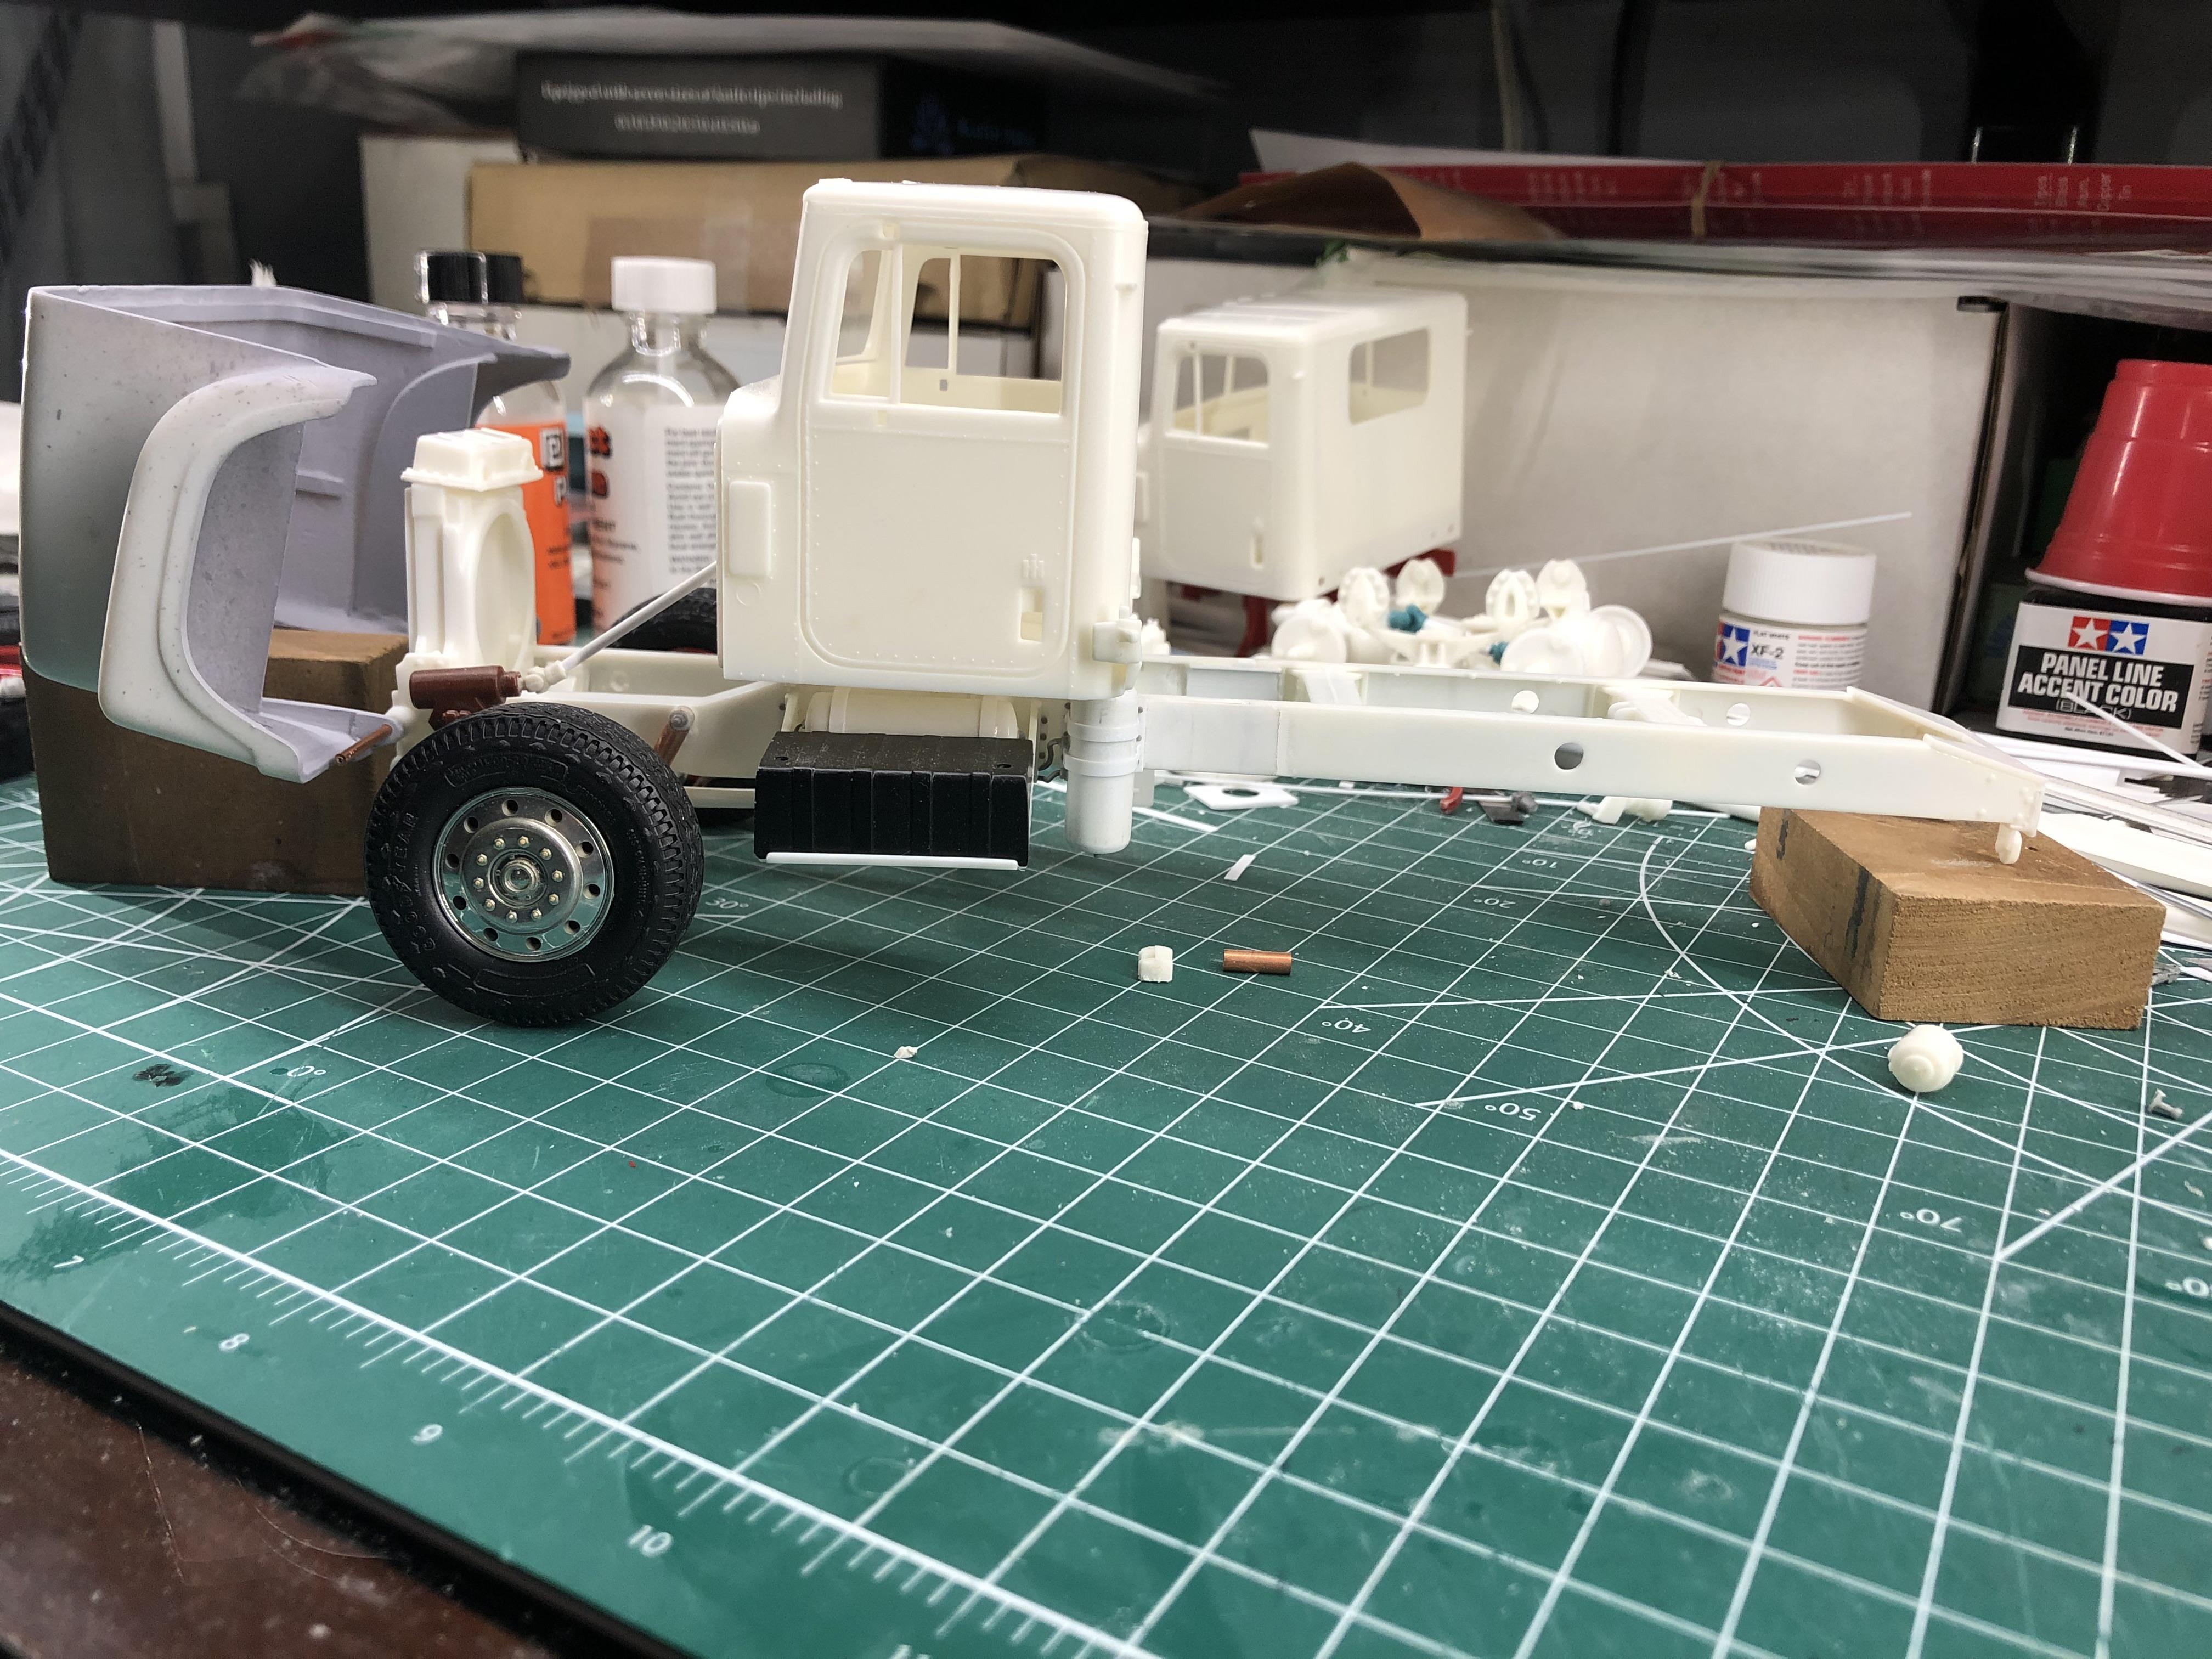
Thanks for the comments . Gary: yes I moved the cab forward about 3/8 of inch from the original mounting Location, as for the firewall just had to sand a little off bottom cab corners , it fits good off the frame I’ll need to do some shimming to get it fit good on the frame . Scott: I’m just using the kit motor in this one , I thought about swapping the motor out maybe on the next one I’ll do that. I got front axle mounted added U bolts & nuts , made new shocks , and mocked up the steering box and shaft , all the pictures I’ve seen online has this type of steering box not like the one in the kit, I have an old S- series in the parts bin I took steering box off that just to see if it would fit , I think it will work . The U joint is from a Moebius Ford pickup kit . The under side of the hood is finished it didn’t turn out too bad. The last picture reminds me of seeing Glider trucks setting in the lots when Intentional Harvester was still in Ft. Wayne . Thanks
-
International 9600
k100 replied to DRIPTROIT 71's topic in WIP: Model Trucks: Big Rigs and Heavy Equipment
Great looking International Brian