Futuramic LE
-
Posts
30 -
Joined
-
Last visited
Content Type
Profiles
Forums
Events
Gallery
Everything posted by Futuramic LE
-
Soo realistic! Nice Job! Reminds me of our family car my Dad took us over the cliff in back in '53.

-

1950 Olds fitting issues
Futuramic LE replied to John Pol's topic in Model Building Questions and Answers
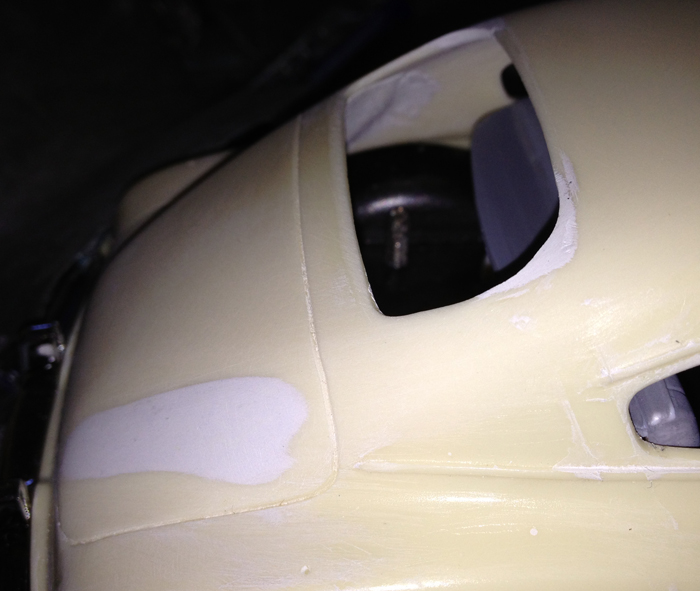
John, I noticed that the interior mounted windshield and windows will bind on interior side panels and dash. I had to grind off some of the top edge of the dash because it hit the windshield. Try to mount the windshield as high as possible. As for the quarter windows I actually notched the rear door panels a bit to move up so the front door panels lined up flush with the top door sills. I've also done a Promolite resin of the same car and it even takes a bit more grinding and trimming. Stay with it, you'll get it! Larry -
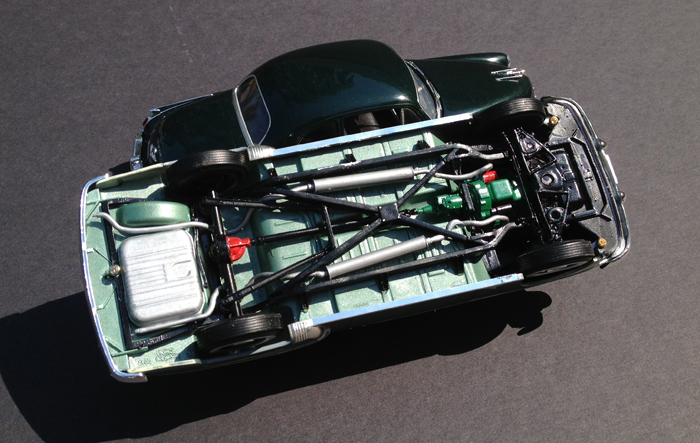
Beautiful job. Do you have any pictures underneath showing the Hydro, etc? $34,500? You might have that much in it based on your hourly rate. Don't take a loss,it's gorgeous!
-
Nice build, looks soooooooo real like you and your wife could drive off in it! What does she think?
-
Wow!, nice build. The wire wheels are fantastic. What an amazing job!
-
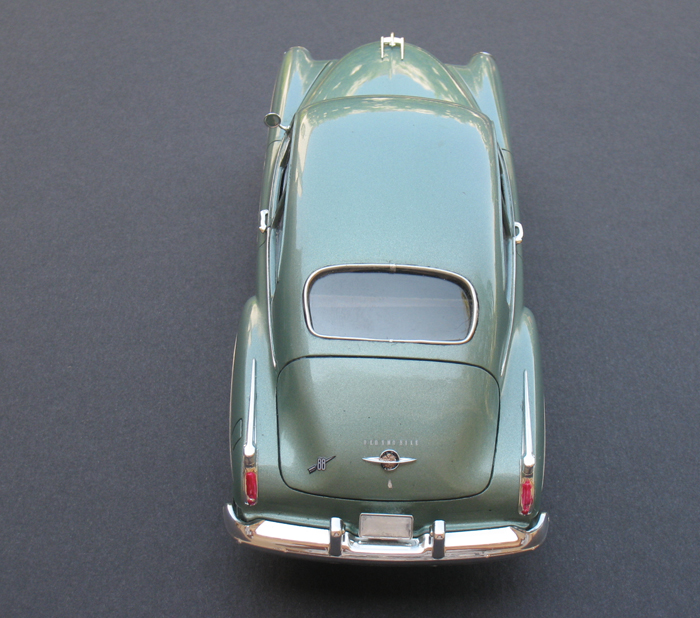
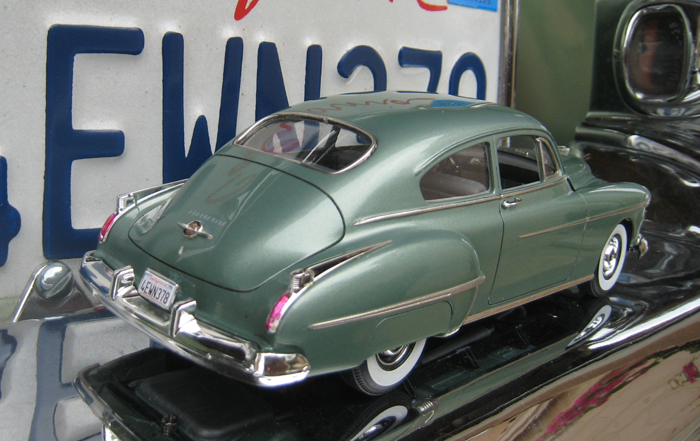
Shown resin from the back. Attached is my mod and also the real car.Promolite did modify the window from the '51 Chevy kit but not quite enough in my opinion. Larry
-
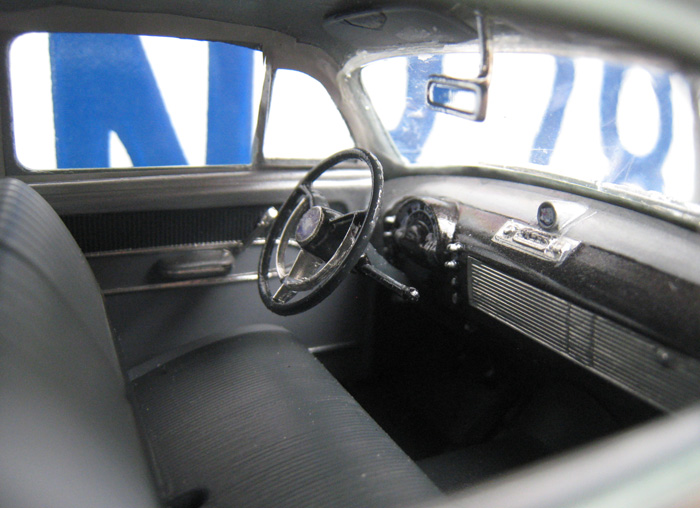
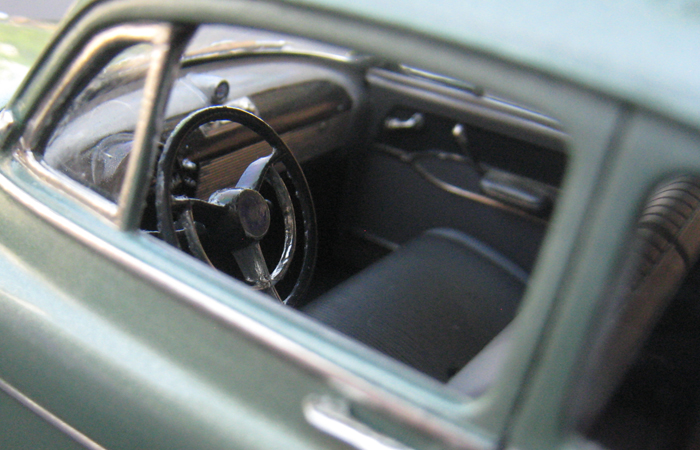
Here is a shot from the passenger side interior
-
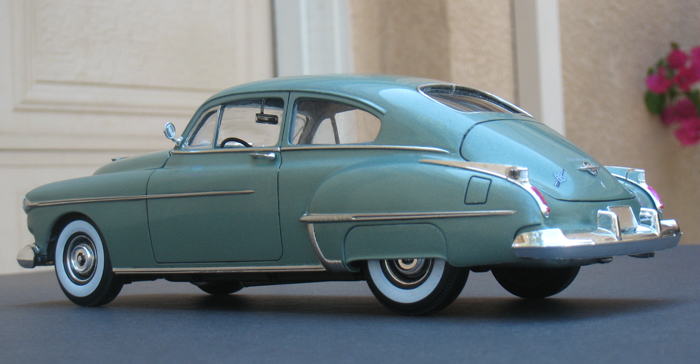
Yes the rear window and decklid are not quite right. From '51 Chevy which was wrong from the start but fixable.As the photo shows the arc of the upper window was added and more of a boattail trunk was ground out using Miliput on the inside.
-
I did the interior dark and light gray with a darker gray floor and foiled the door trim and handles. This shot isn't too good but I'll try to take some more. On my top view of both cars on the original post you can see the steering wheel etc.
-
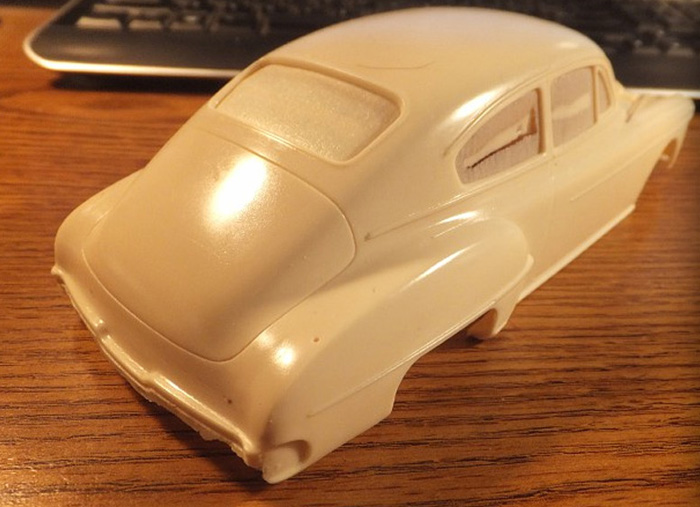
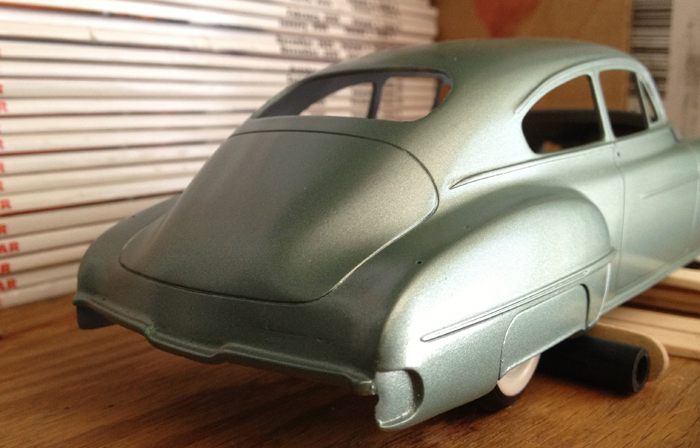
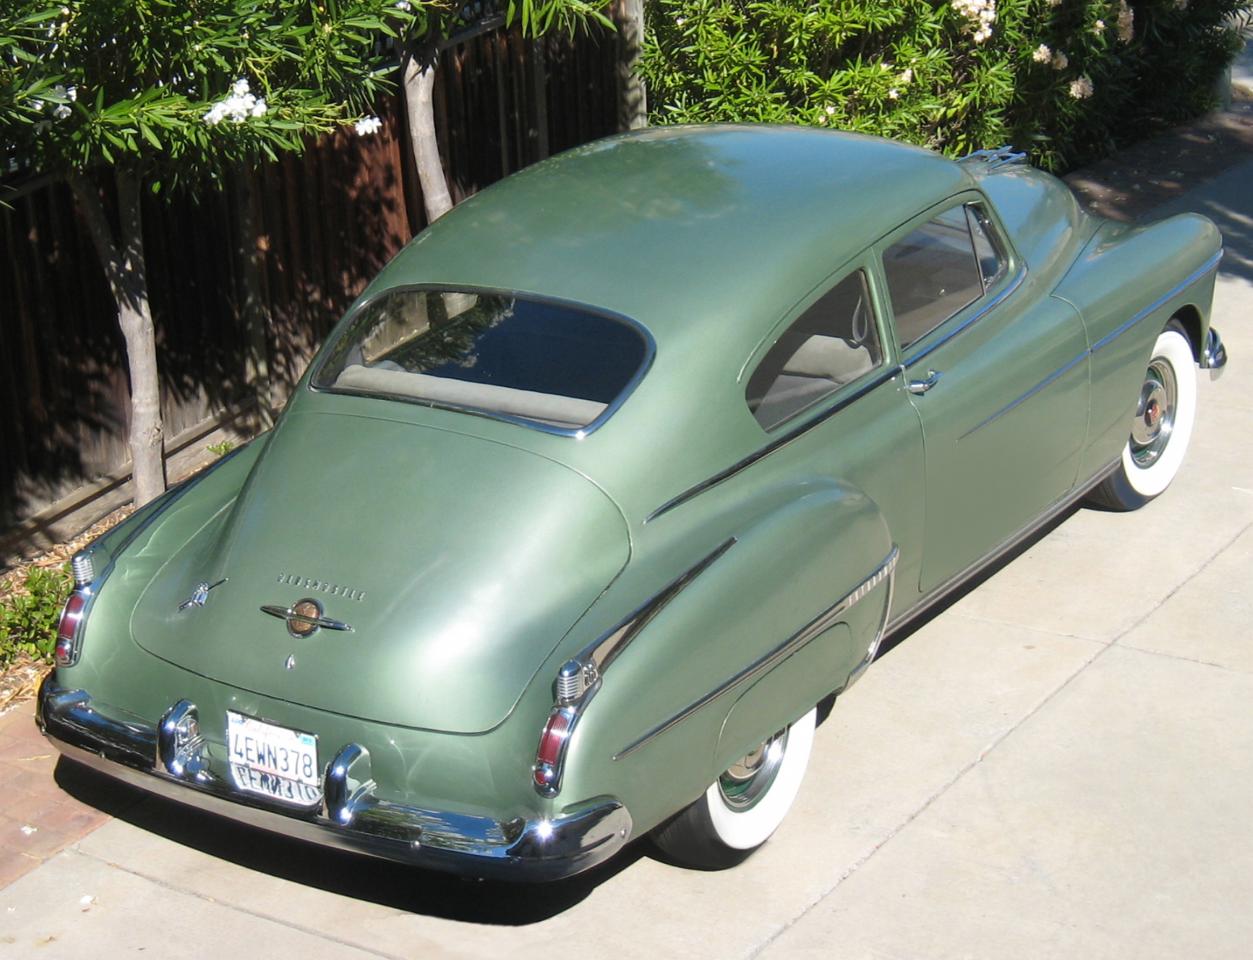
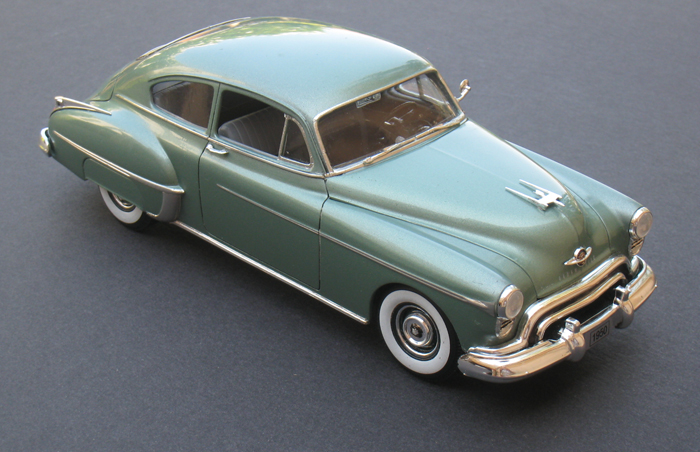
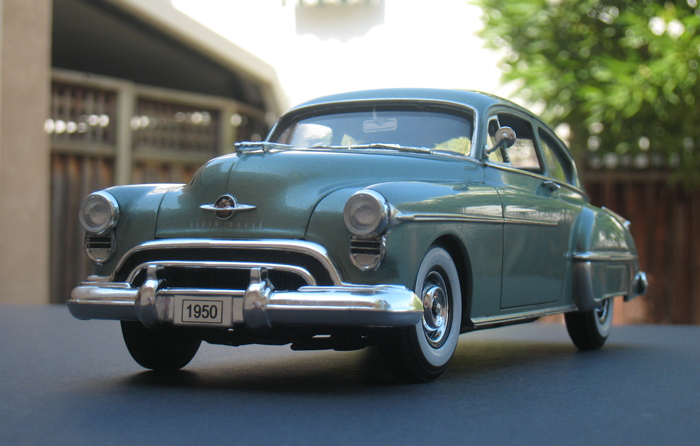
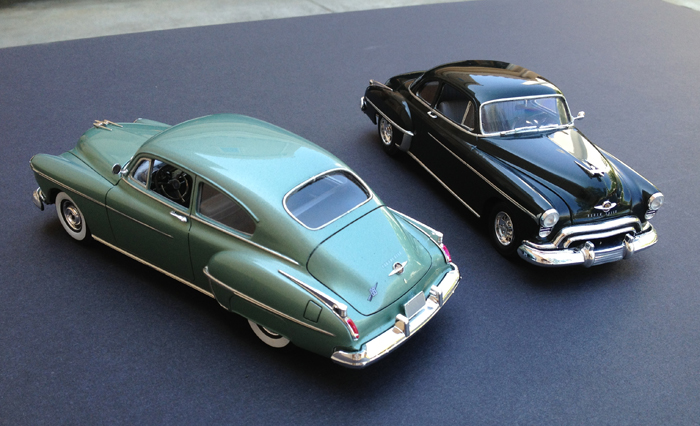
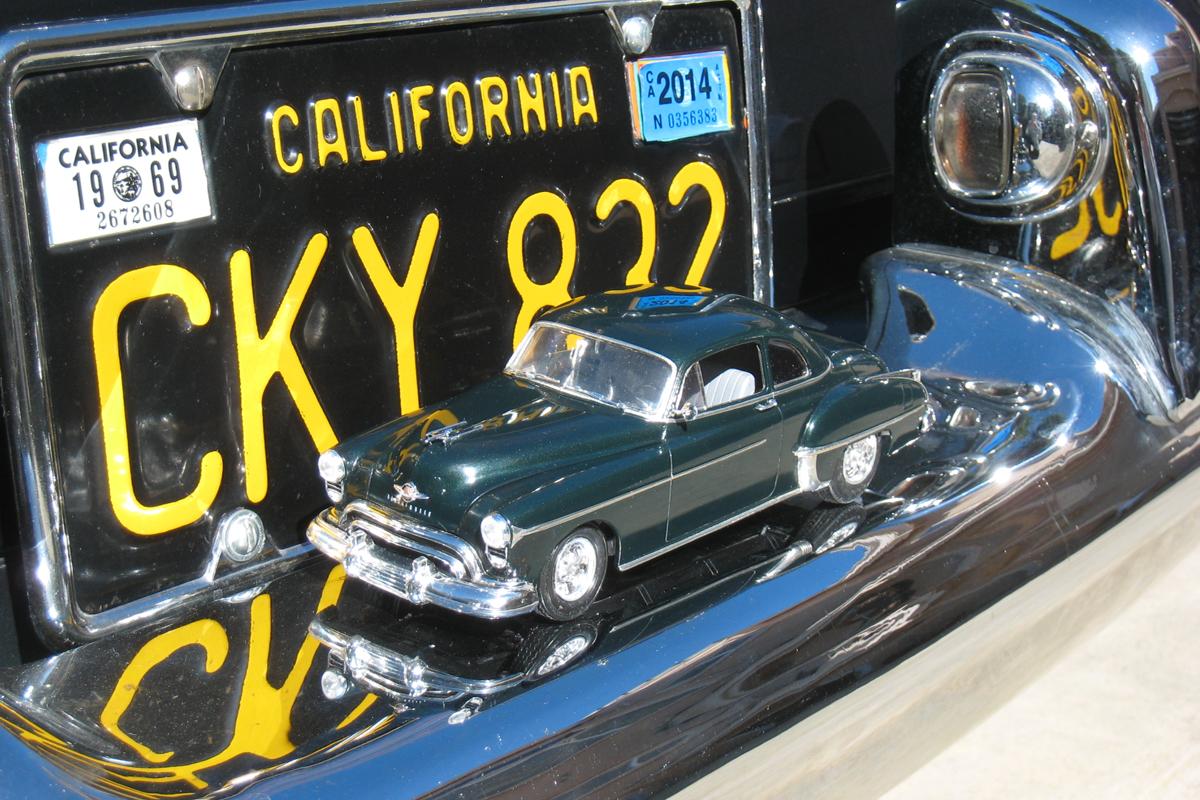
During the website shotdown I took the suggestion to finish my project. I am showing my near finished 1950 fastback resin I got from Tom Coolidge at Promolite. I reshaped the back window and the taper of the trunk. I added the Ertl front bumper and grille, added material to the front edge of the hood and peaked both front fenders all in keeping with my 1 to 1 car. The car is #11 Alder Green right from my local paint store. I painted this car 3 times before I got it right. (had to buy a cheap air brush kit). The white wall tires I got directly from Revell as I told them they we not in the kit as described on box. They had white paper rings that would not conform to the tire. I took material off the back of the small hubcaps and cut off the lower headlight buckets and fitted them into the fender like the real car.
-
Looking good, Thanks for putting the hood and trunk ornaments in the right place, as opposed to the box and instructions! Very nice build!
-
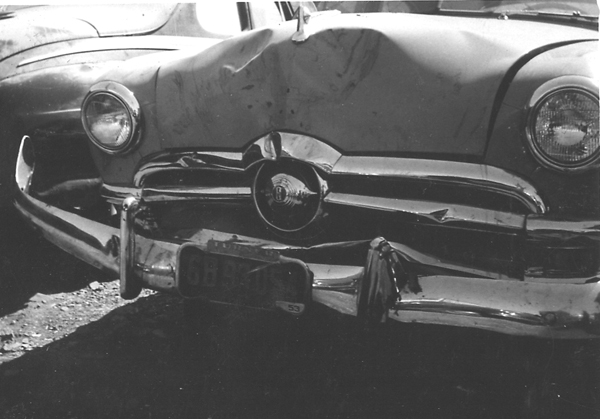
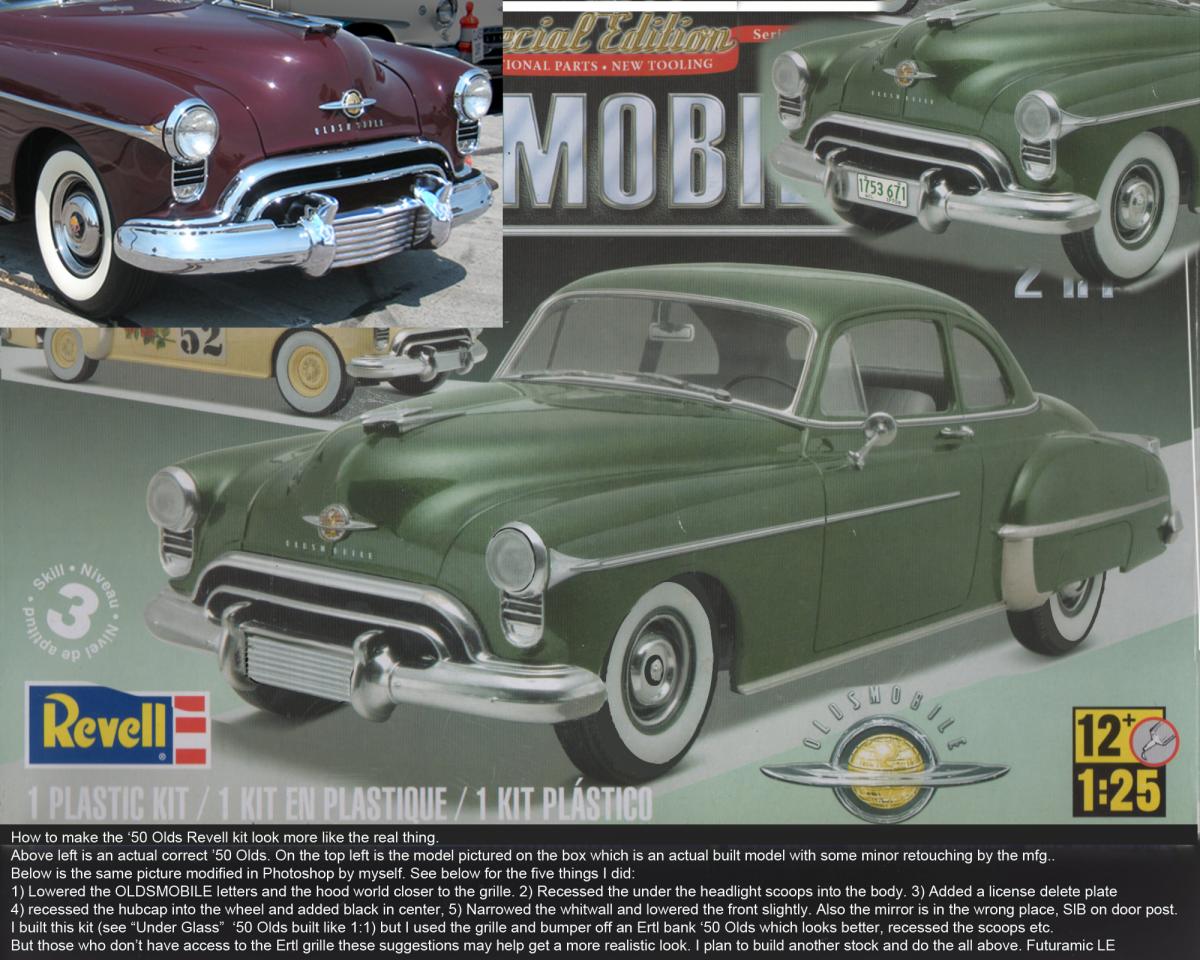
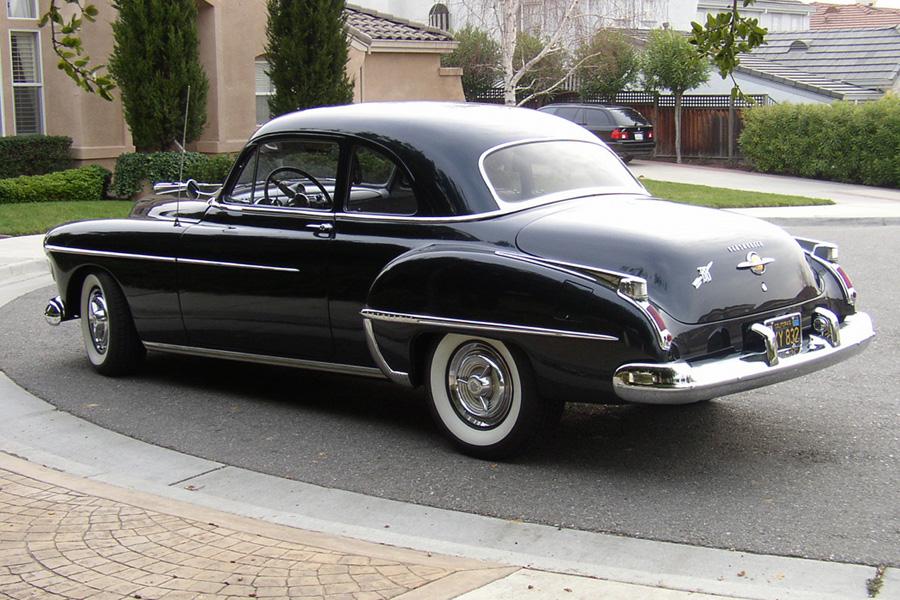
How to make the 50 Olds Revell kit look more like the real thing. Above left is an actual correct 50 Olds. On the top left is the model pictured on the box which is an actual built model with some minor retouching by the mfg.. Below is the same picture modified in Photoshop by myself. See below for the five things I did: 1) Lowered the OLDSMOBILE letters and the hood world closer to the grille. 2) Recessed the under the headlight scoops into the body. 3) Added a license delete plate 4) recessed the hubcap into the wheel and added black in center, 5) Narrowed the whitewall and lowered the front slightly. Also the mirror is in the wrong place, SlB on door post. I built this kit but I used the grille and bumper off an Ertl bank 50 Olds which looks better, recessed the scoops etc. (See first page) But those who dont have access to the Ertl grille and bumper these suggestions may help get a more realistic look. I plan to build another stock and do the all above. Futuramic LE
-
Beautiful job. The bright is superb. How did ya do it? I did mine and cleared over it but it looks no better that silver paint. Futuramic Larry E
-
Gluehead,Thanks for noticing! My experience is these modified cars are never done. The engine is coming out for better wires. The mags will be replaced by another style, thus the screws! Even the frame is screwed on! Just like the 1:1 it will change. Larry
-
Thank You Tom Dan Charlie and Dan for the compliments. I forgot the show the bottom as the dual exhaust and lowering was tedious. Larry
-
The Photobucket link on first post may be wrong. Try this one http://s120.beta.photobucket.com/user/Lbewing/media/Model%20Finish%2050%20Olds/RealCarDrFr.jpg.html
-
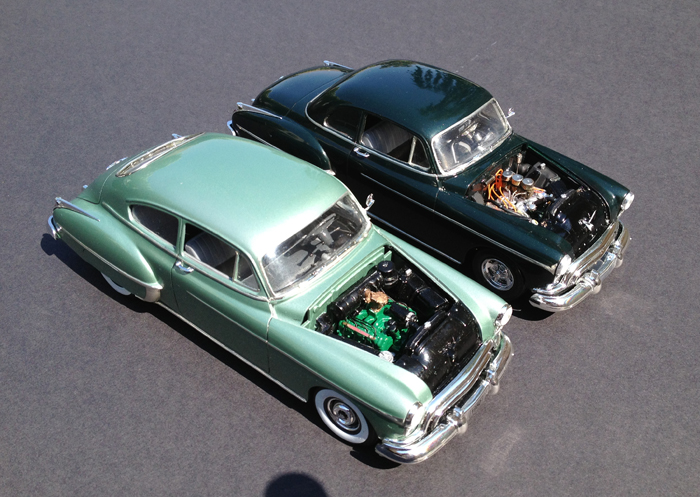
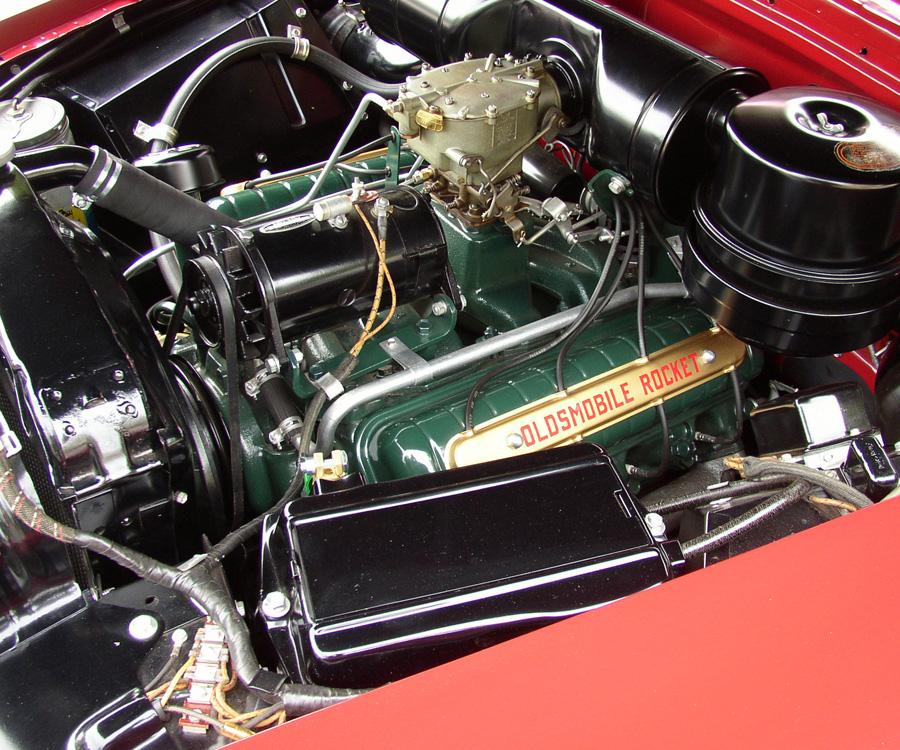
I took pictures today of my build. I have been working on this off and on for 2 months. I posted 1:1 pictures a while back and was bothered by the Revell front end, grille, bumper, scoops etc. So I took the grille and front bumper off an Ertl '50 Olds sports bank I had since 2000. When installed the hood was too short so material had to be added. The bumper is separate on the Ertl so it can be moved to the proper location. The scoops below the headlights were cut off the Revell kit and trimmed and inserted into the body like it is on the real car. I painted the body Boyds Dark Green Pearl over black then Testors clear. This is very close to my real car Black Emerald off an'87 Olds. This was a struggle for me as the Boyd paint went on very orange peely so heavy sanding necessitated another coat. Still marginal but the testors clear was wonderful. I almost left it with out rubbing out but i did it anyway. One tragic move was applying a Miguiers Final cut cleaner to the green and it ate right through to the white. Worked like paint remover. I often read the forum looking for ideas and techniques which was very helpful as I have not built a model since the '70. The engine was converted to 3 carbs and finned valve cover as on my 1:1. the carbs are tie wrap ends and the air cleaners are fuse ends. The wire I used are too fat! I made them up with 24 gauge but 28 or 30 is what I think I need . I put the car together with screws so I can remove the body and frame again when necessary. The mag wheels are off a '32 Ford roadster Revell kit and the front tire of of the Ertl bank. I start with my 1:1 car. http://s120beta.photobucket.com/user/Lbewing/libraryModel%20finish%2050%20Olds
-
Beautiful job Art! You have the engine down pat! Love your detail! I'm attempting to do the same but match my modified 1:1 car engine that has finned valve covers and 3 carbs. My question to you is what did you use for the ignition wires and the fuel line? Larry
-
Alan,Tom Coolidges recent build of the 2 dr sedan resin from the Revell '50 Olds Coupe will work for a 4 dr sedan. Tom did the major work by extending the top and shortening the trunk line. I'm 99% sure the 2dr sedan and 4 dr sedan use the same body/top as I know of a 1:1 car being converted from 4 to 2 dr. On the resin all you would need to do is move the B pillar forward and re-scribe the door lines. I have a 1:1 '50 88 4dr if you need ref photos. Let me know Larry
-
Thank you Skip,It happened just as you thought. It moved to 1:1 car. I've answered a number of questions on 1:1 car but now I need help with my model. I don't know if I need to start a new post or use this. I want to modify my 1/25 '50 Olds and incorporate the grille and headlight parts from the Ertl metal die cast car from 1999 as I believe they are more accurate. What I need to know is what fill product can I use to reshape to lower fenders? I also have paint questions for the forum..where do I go? Larry
-
Hi Lee,The link opened up to what they called a 1950 Olds coupe, power blue. It is actually a 2 door sedan, Crest Blue. A more informative link is http://www.norcalolds.com/ and click on Members cars. Larry
-
Jason,I posted 2 pix but they may be too small to see. I don't know how to post without defaulting into thumbnails. I need to ask the moderator or someone about this. In words this is how the heater hosed are routed. From drivers side two 5/8" hoses come out of the firewall right behind the left side of the air cleaner, model part #66. Hoses not visible in pix. of these 2 hoses, 1 goes straight down to the left rear of the head and joins a silver metal tube that parallels above the left valve cover and dumps into the front of the engine near the top of the water pump. The other hose goes across the firewall and returns into the heater (inside car) right below model part #137 at firewall. Above #137, to the right facing, a hose comes out of the heater and curves along the right inner fender, held on with 2 clamps and dumps into the engine right above the fuel pump on the right front of the block. In the photo there are 2 other hoses back at the firewall I can't identify. My 3 Oldsmobiles are plumbed as described above and don't have those 2 hoses. Good luck, Larry
-
Not only were the 4 windshields for a A body cars there were also 3 more because they were offered in split and full on all but wagons. Not to mention the 98 series their variety of windshields. I think one reason there were so many, this body was shared buy Chevy and Pontiac which upped the unit volume to maybe justify the variations.Back to the Revell model: I noticed in preparing the body there are no peaks on the front fenders. This is an Oldsmobile distinction which is easily sanded into the model. I used masking tape on the outer edge and sanded the inside to get the desired peak. See photos attached of fender of 1:1 car. It's subtle but there. Larry