-
Posts
21 -
Joined
-
Last visited
Content Type
Profiles
Forums
Events
Gallery
Everything posted by Geeti
-
Thanks for the comments!
-
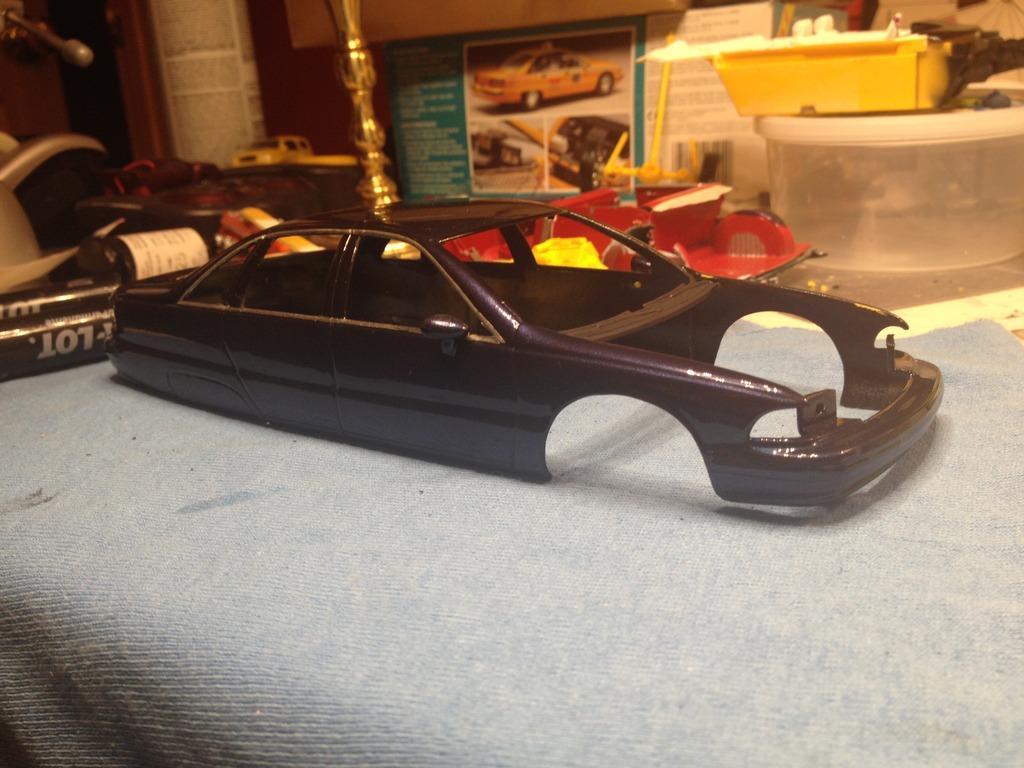
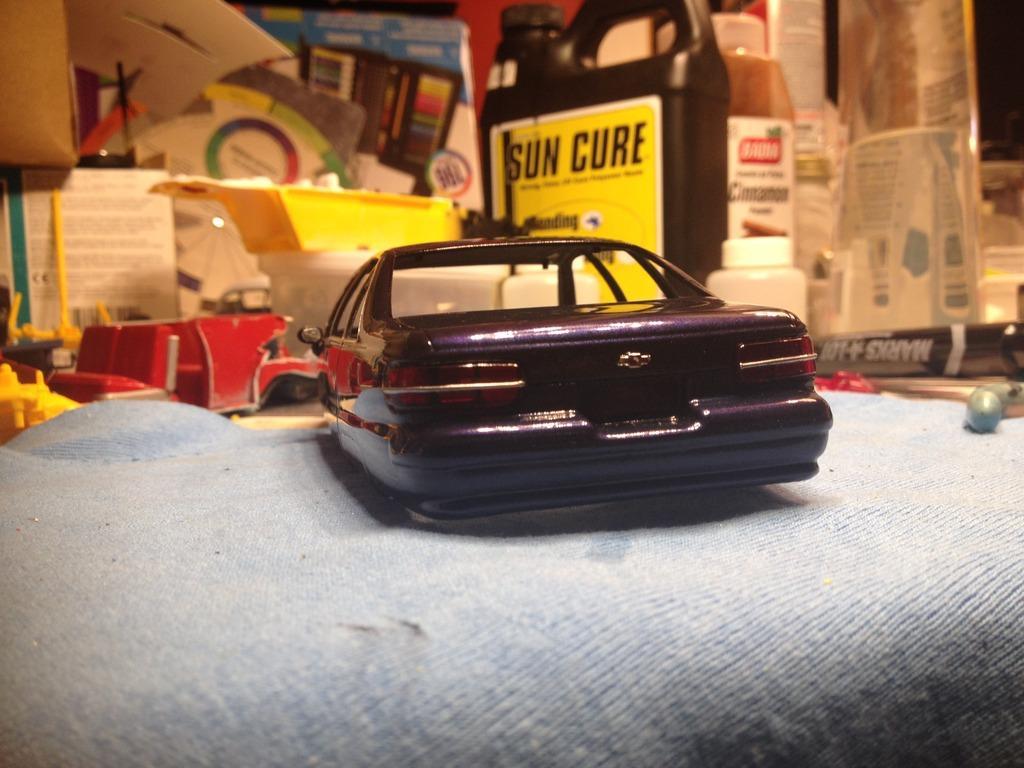
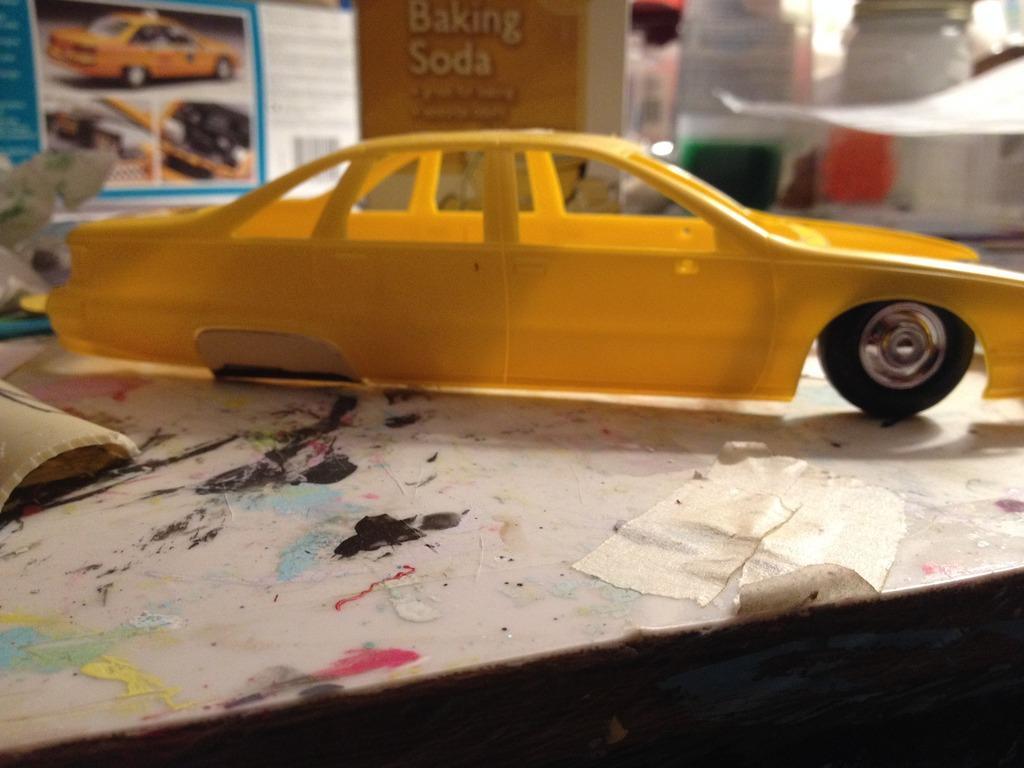
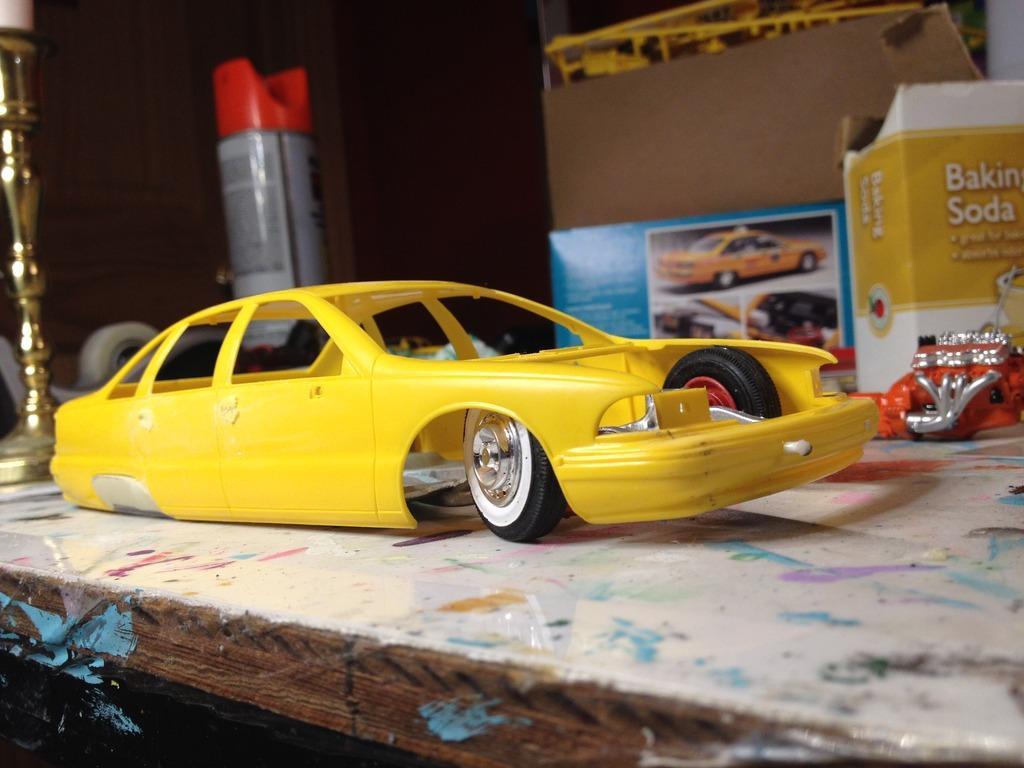
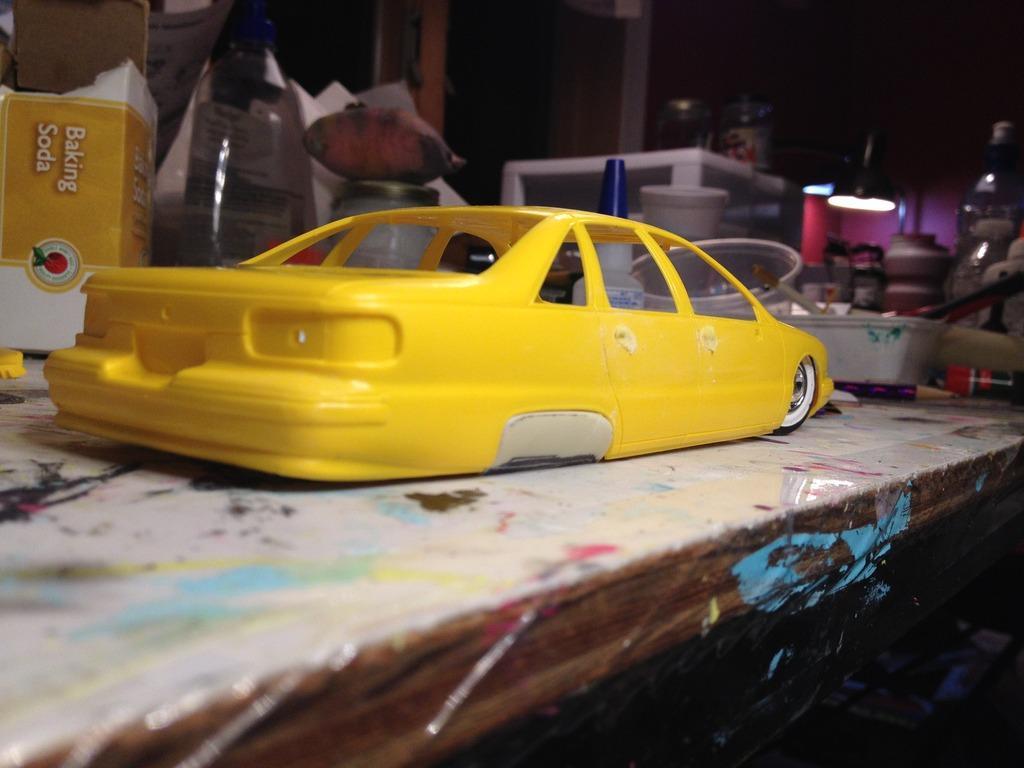
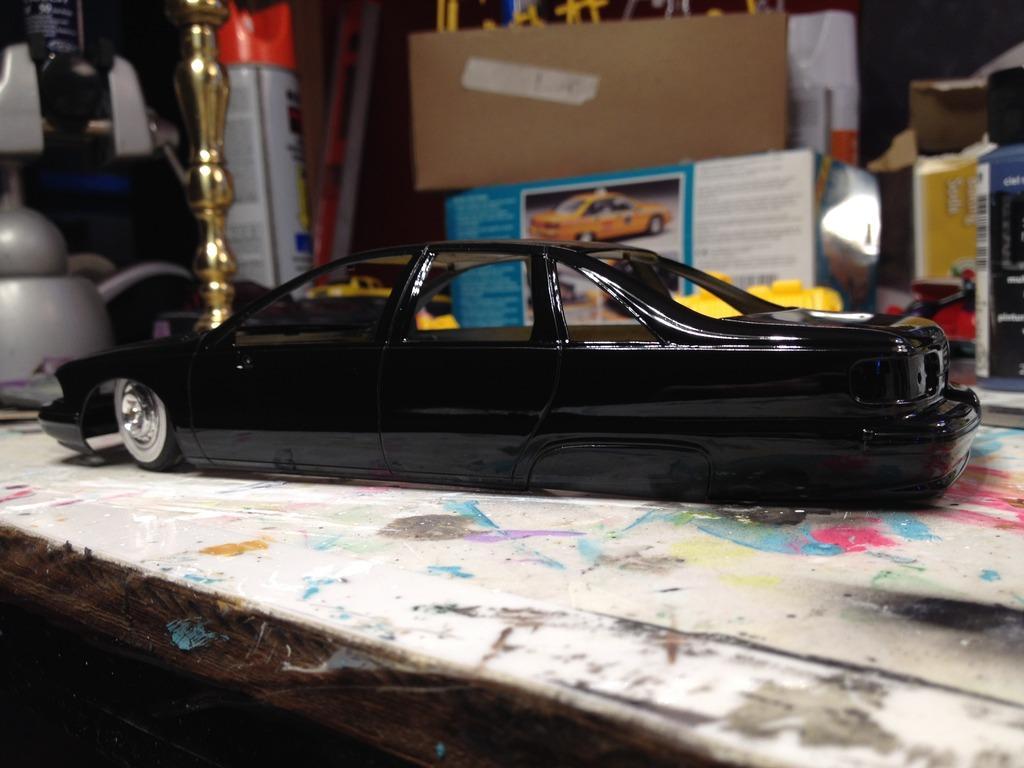
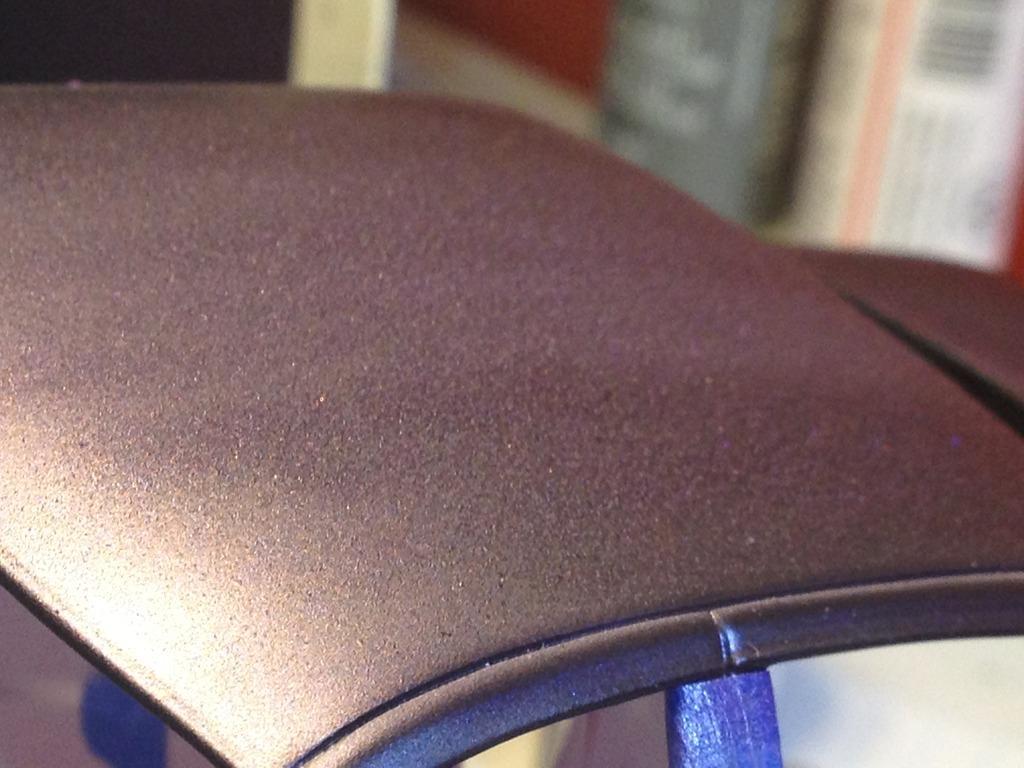
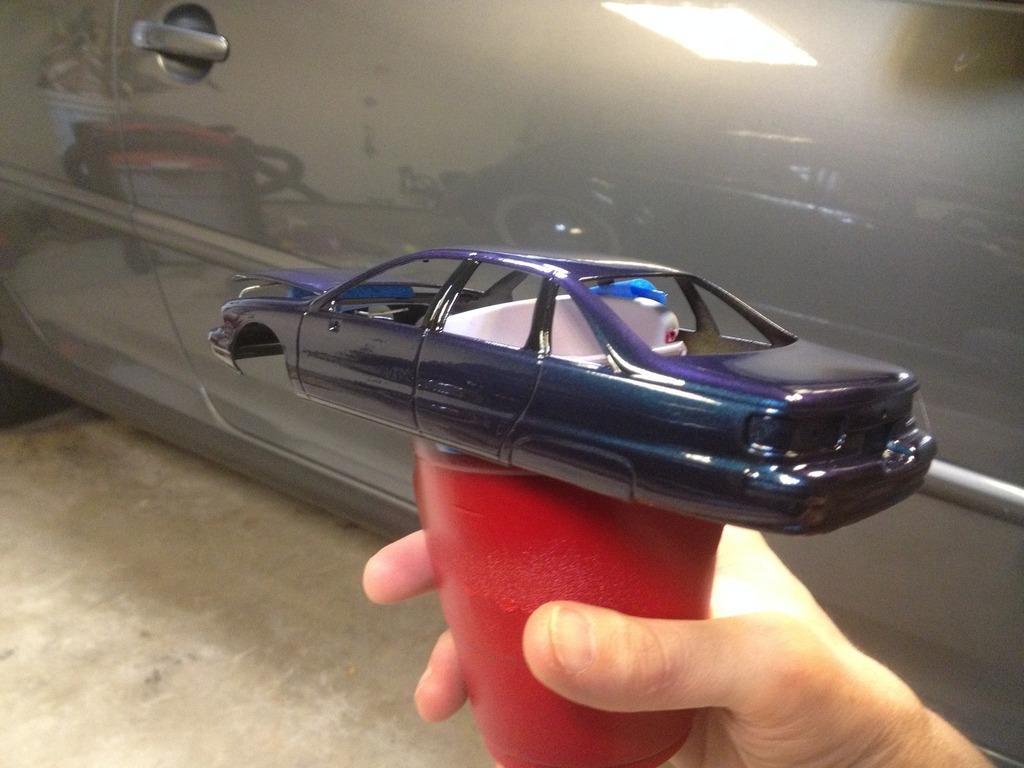
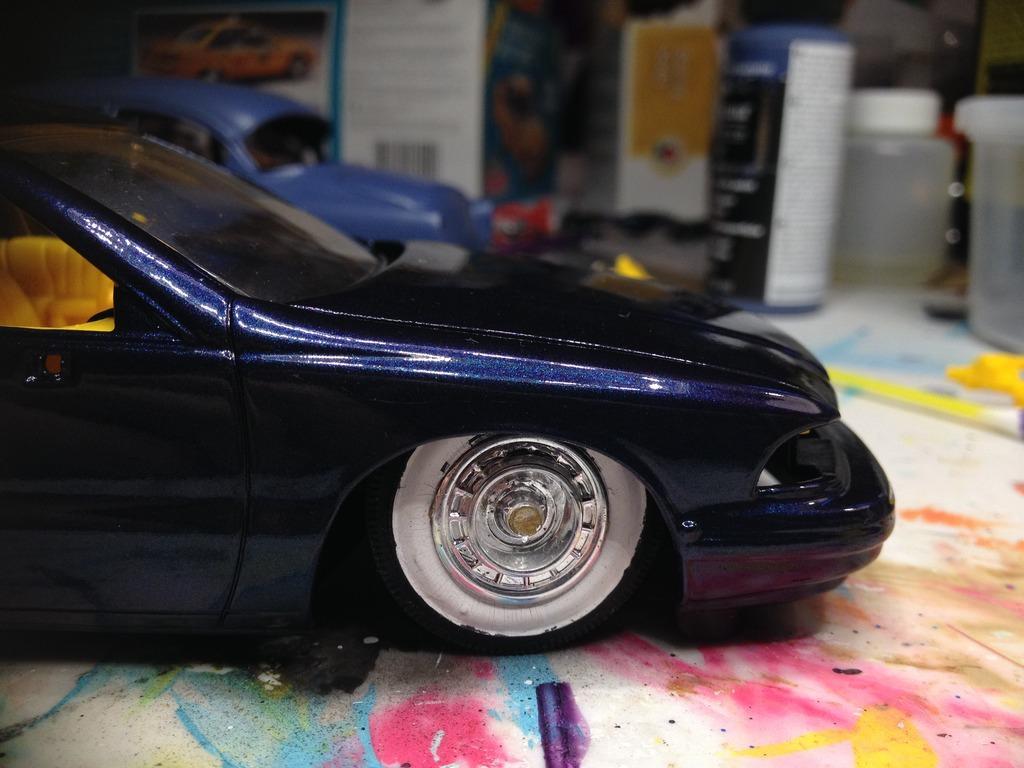
(I'm calling this one done for now) Here's my take on the 'modern day' Lead Sled. It's a curb sideLowered (let's just say it's on air bags), Skirts, Wide Whites & vintage hub caps, Reverse Rake. Shaved Door handles. 'Paint!' Here's my Build thread Here's some shots from today: Here's the Purple effect when the sun hits it at the right angle! : It was a fun build. I learned a few things. It's not perfect, but I think it has the 'feel' I was shooting for. Thanks for Looking Comments welcome
-
Nice job (nothing like a lowered Bug )
-
I'm calling this done. for now...? Gonna post over in the Under Glass section link http://www.modelcarsmag.com/forums/topic/105947-1992-chevy-caprice-lead-sled/ :-)
- 25 replies
-
- airbrush
- nail polish
-
(and 2 more)
Tagged with:
-
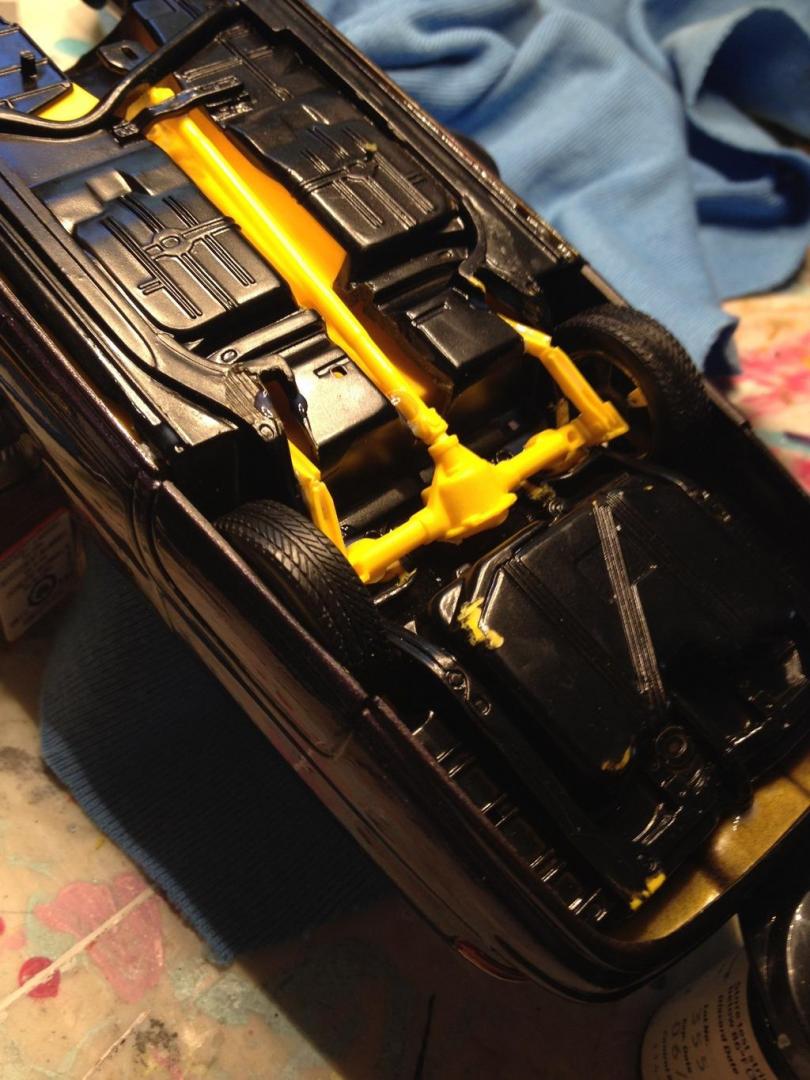
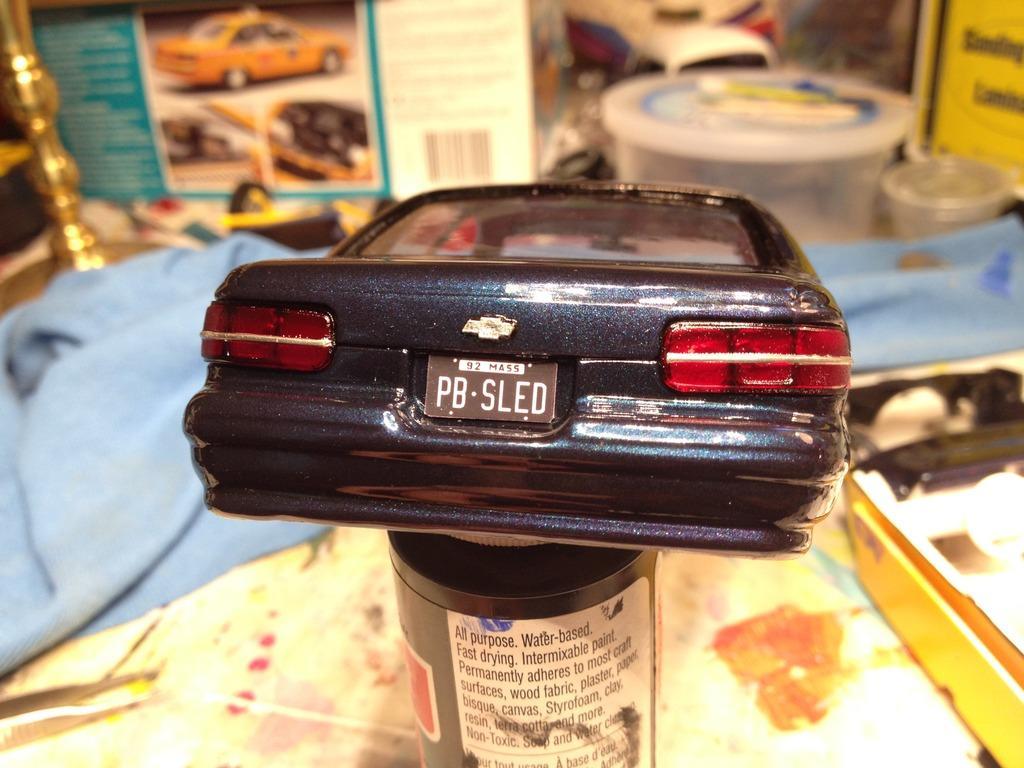
Just finishing up some of the details on this. Here's a gory detail of the rear suspension (remember, I'm building this as a low stress shelf model, so engineering realism (or paint on the ground scraping underside!) isn't where it's at. A little tip to the past vintage look vanity license plate (I used this website ( http://www.licenseplates.tv/license-plates.html?= ). Screen grab + a little photo manipulation for the year Printed on photo paper & glued in place. Final ride height was set & glued with a slight reverse rake... It's not perfect, but I think it gets the styling points across, low & long for the modern day sled. ( yes, Michel, It does look a "mile long") ( I still need to do some final tweeks here & there & take some final shots.) Thanks for lookin'
- 25 replies
-
- airbrush
- nail polish
-
(and 2 more)
Tagged with:
-
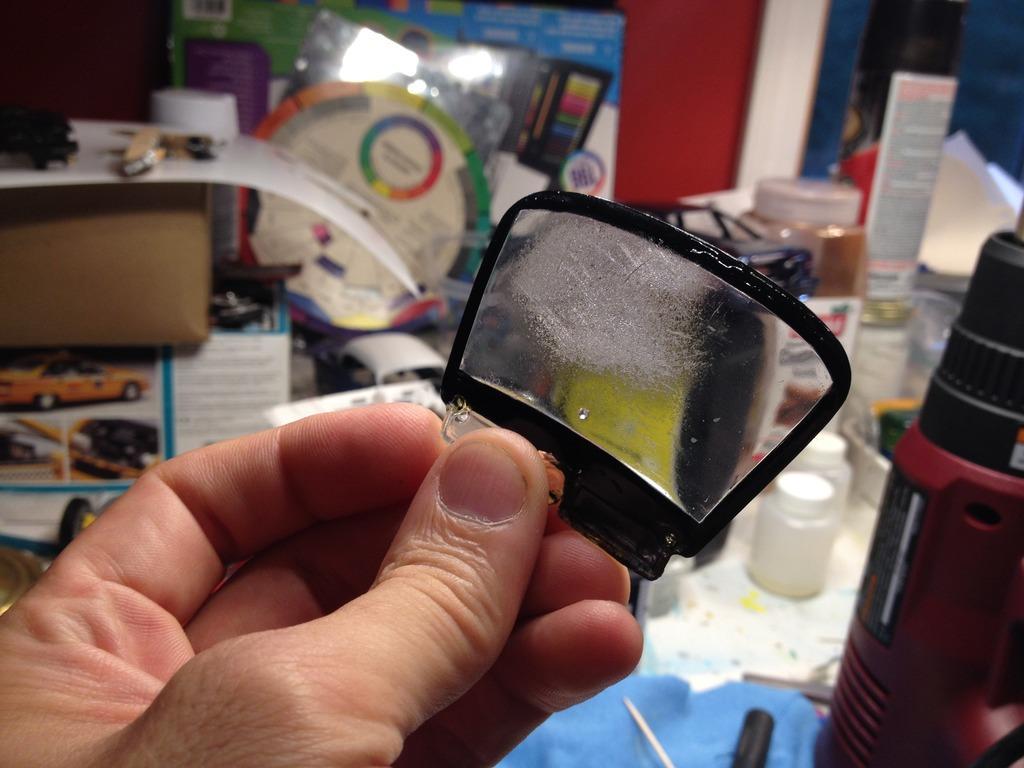
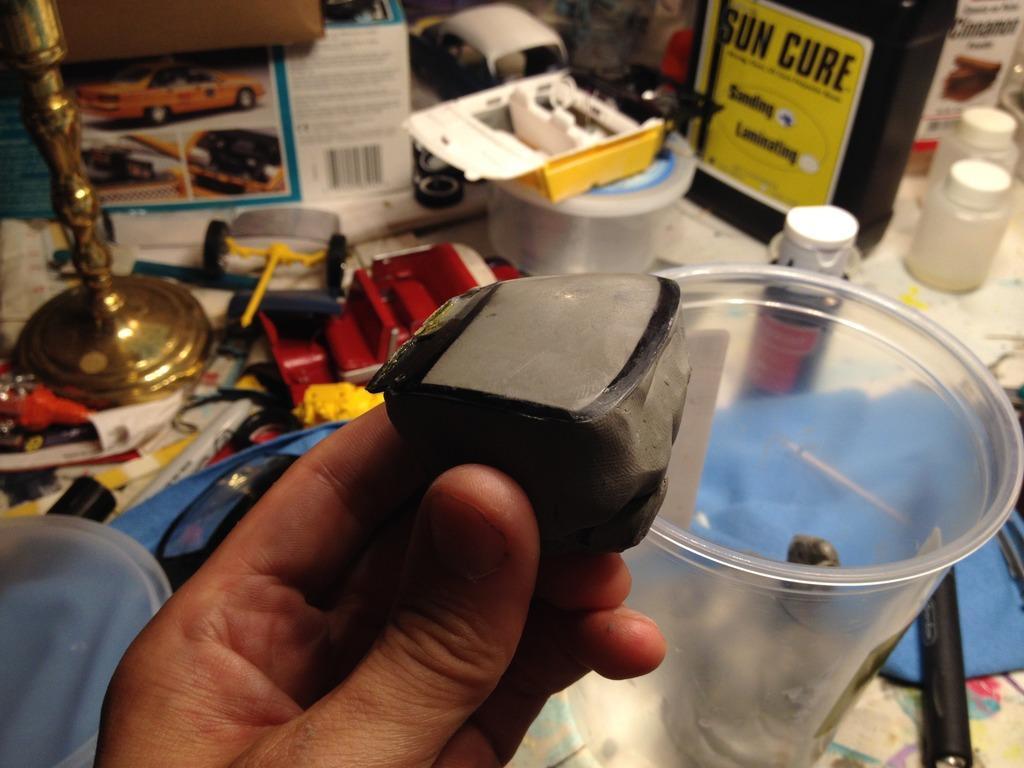
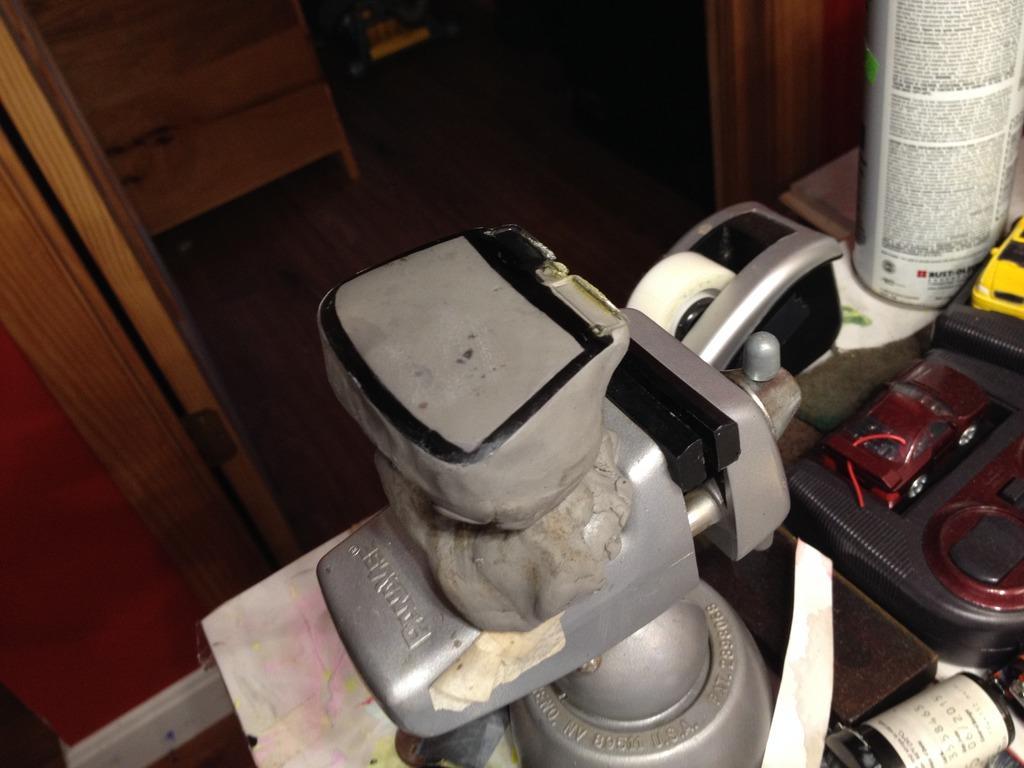
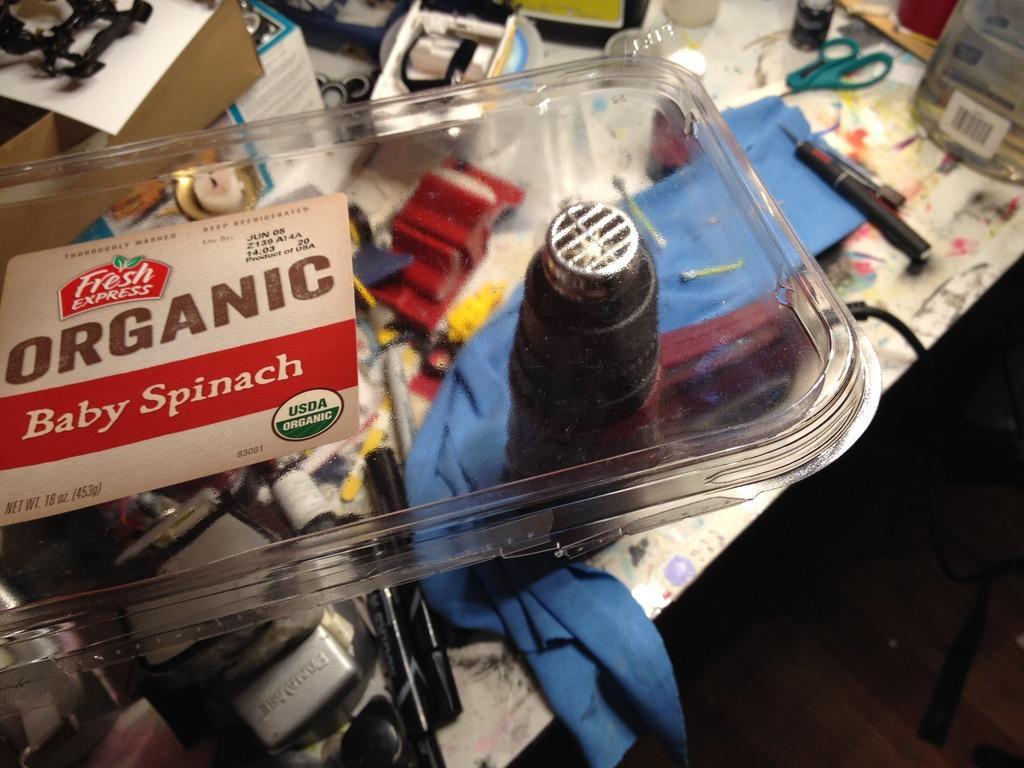
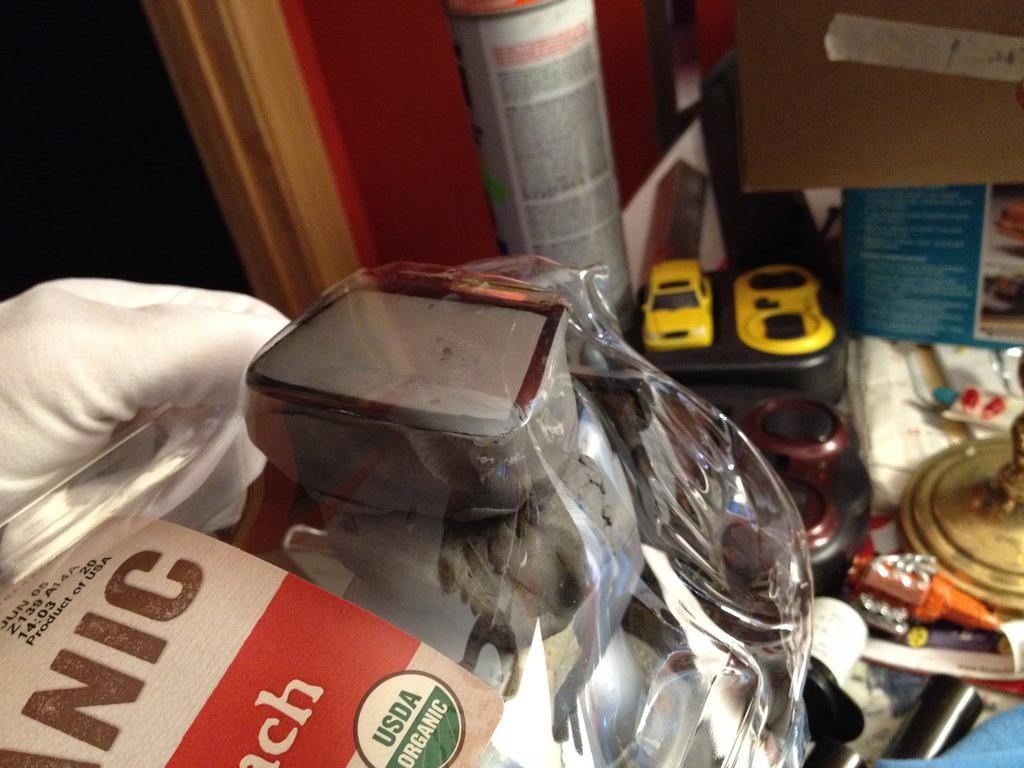
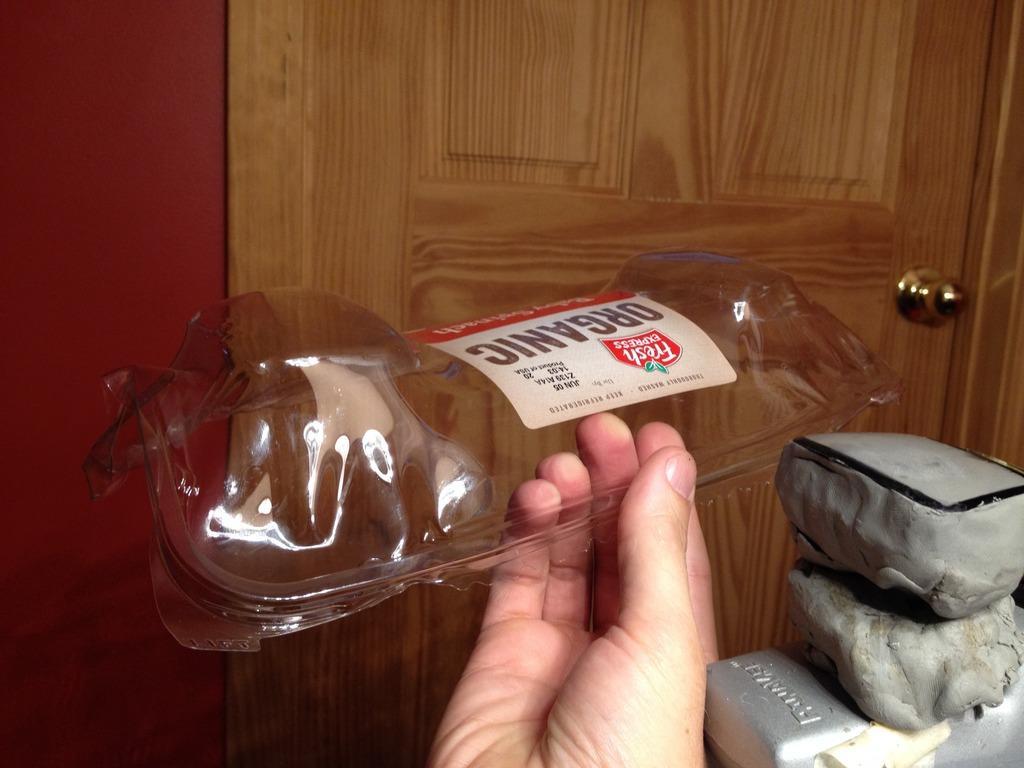
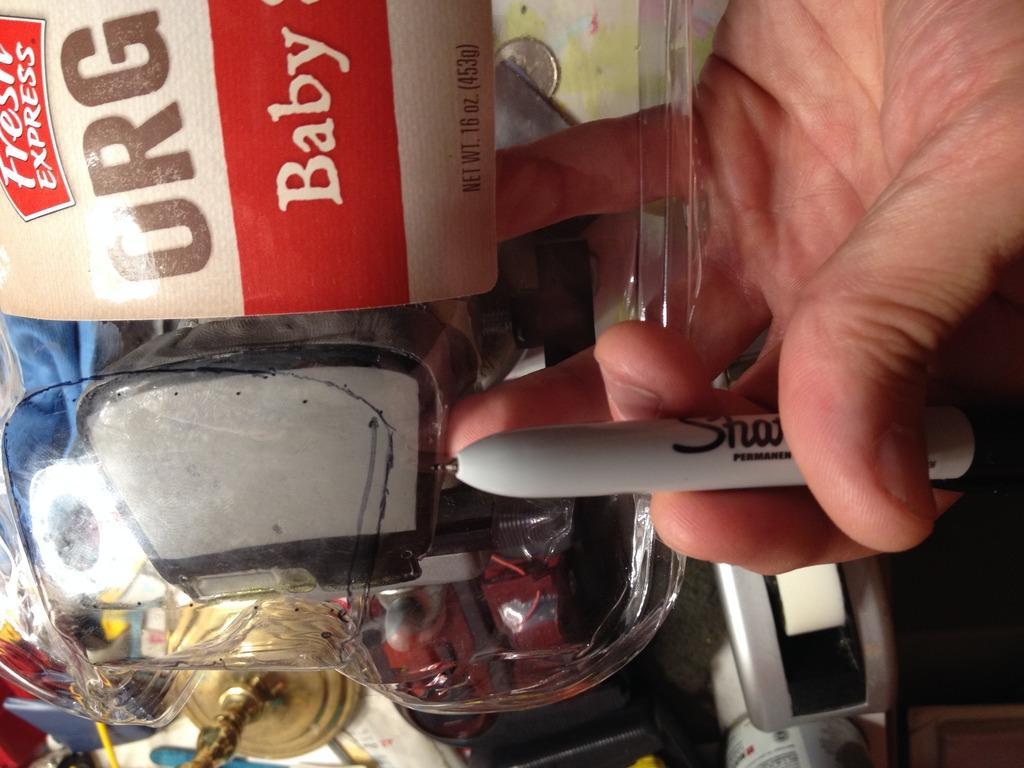
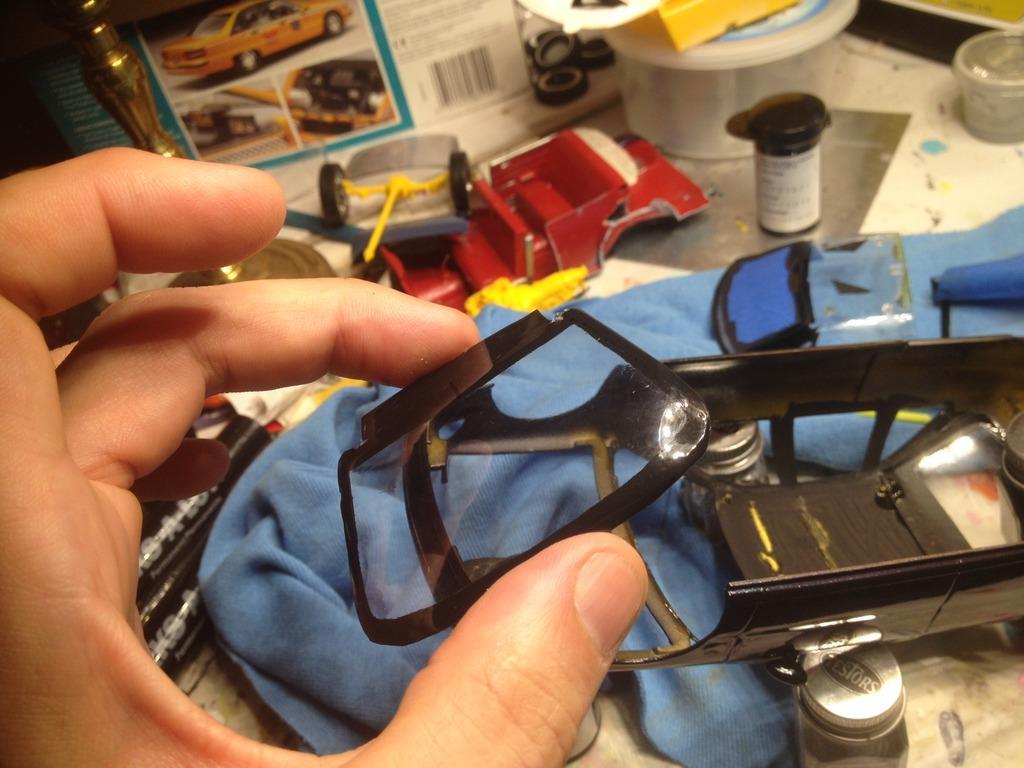
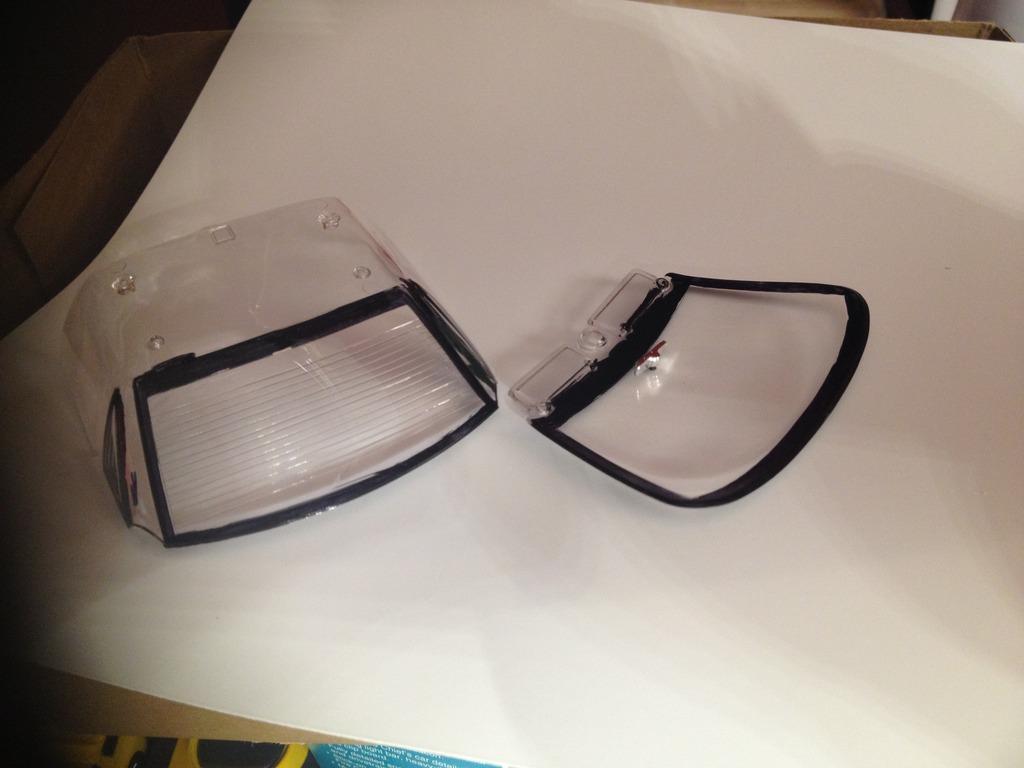
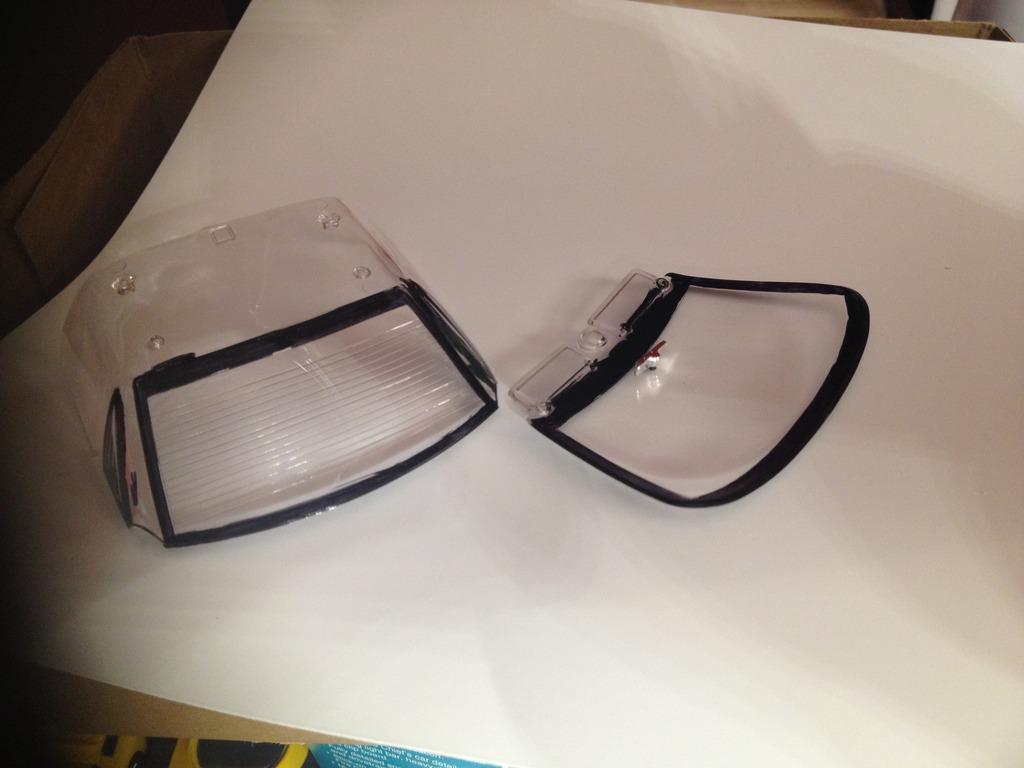
I got around to making new glass....here's how I did it. (You can see the craZed kit glass from my paint touch up fiasco... First, I backed up the glass with some modelling clay. The clay is meant to evenly support the glass to act as a form / buck. Put it on an elevated base so you have room to 'stretch beyond'.... I used my heat gun to heat the plastic lid up. This is Time & temperature dependent (I think I set my heat gun to ~750°F for about 10 seconds @about 12" away....your results may vary. I experimented a few times...you want the plastic to be somewhat stretchy, but not too much heat or it could blister & bubble. I held the lids with gloves when I heated it...then quickly brought it over to the glass & stretched the lid over the glass. Carerful..Firm pressure & keep it steady for a few seconds until it cools. I did it again on the other end of the lid...you know, just in case Hold the glass inside & trace to give some cut lines, (I had the black surround, so I traced that to give me a positioning for the mask... After some trimming & masking & needing my backup ( )....& a quick shower with some Future Floow Shine, I ended up with this! Better than bad! (I remember all those finger print-y glass installs I did in my youth (ugh )....if I had only known then what I know now (Ha!) Alllllllmost there.....Here's hoping there are no surprises waiting. Thanks for the comments & thanks for looking.
- 25 replies
-
- airbrush
- nail polish
-
(and 2 more)
Tagged with:
-
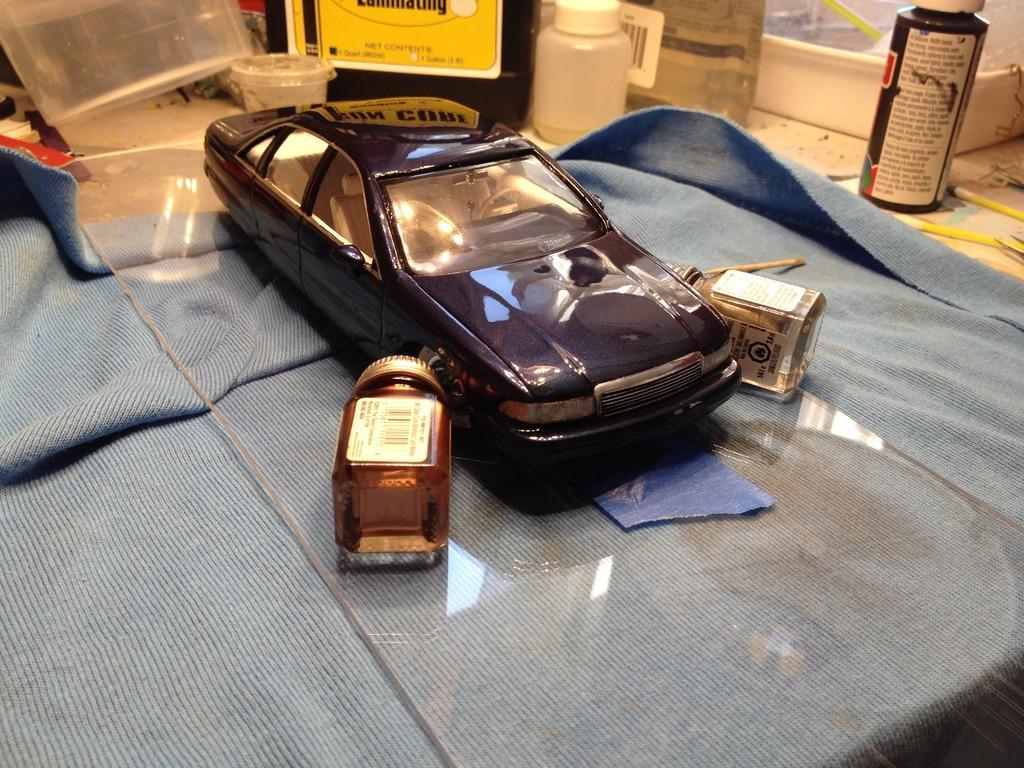
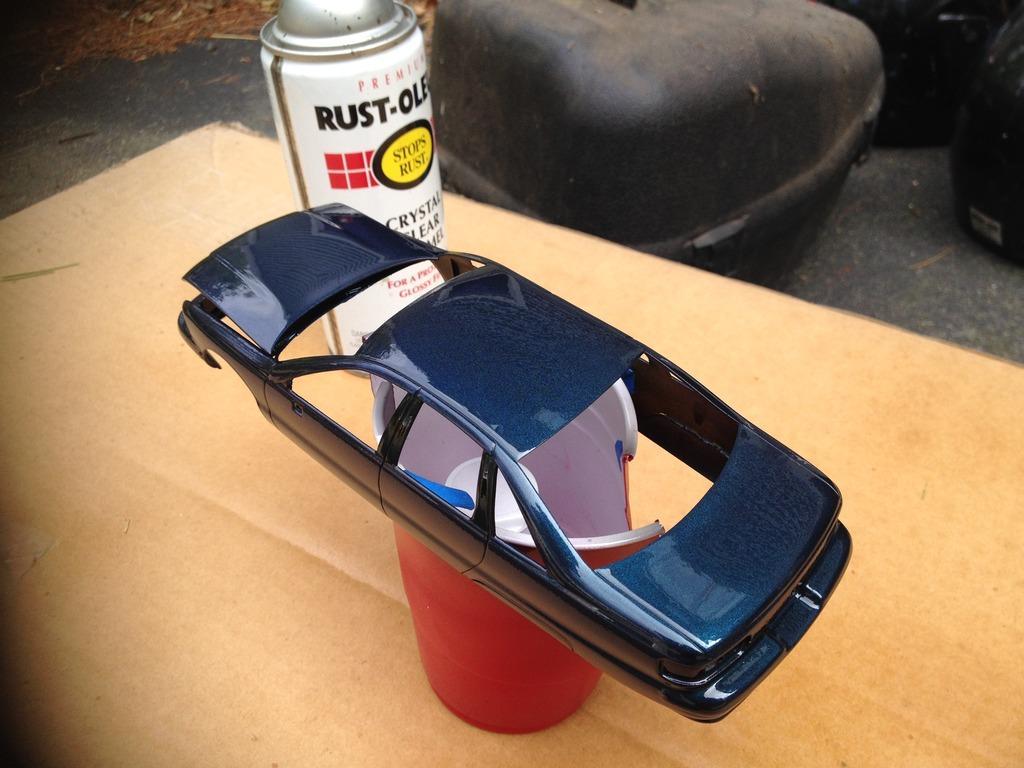
Thanks for the comments, Russ I had a chisel tip marks-a-lot marker laying around, so I used that. It worked OK, but it wasn't giving total coverage - still some streak voids, so I touched up with some black acrylic (both on the back side of the glass). as for the airbrush & nail polish... nothing worked well, paint would go on dry (high pressure ~40 psi, low pressure ~25 psi. 50% thinner to paint ratio ('milk viscosity' ), I kept adding dropper fulls into the cup, ~75% thinner to paint? (It was the stuff that Walmart carries.) it never came out 'wet'. :-/ it was almost like the metal flakes were sticking out of the surface (not pretty)! as a Hail Mary, I gave it a light sanding with 600 grit sandpaper and BURIED it with coats of clear. That clear was the saving grace for this paint job. The gloss brought the color flip metallic to life. More than I ever expected. As a matter of fact, I had to throw yet another coat on tonight. This was after I marked the (still soft , un cured!) roof surface while using clothespins to help hold the glass in yesterday :-( ...and to fix that, i thought I could mask just the roof area...which I did, & it came out fine...BUT the windshield & rear windows fogged with a craze reaction of some sort (grrr!) (2 steps back, 1 step forward?!?!?? This thing is gonna bump up a few scale sizes with all the clear layered on it !!!! lol. no surprise it was still soft. ) The body is looking better Now I'm making new windows out of clear plastic vegetable container lids. (Back window done...I'll try and photo my technique when I get to the windshield). Still moving forward! :-)
- 25 replies
-
- airbrush
- nail polish
-
(and 2 more)
Tagged with:
-
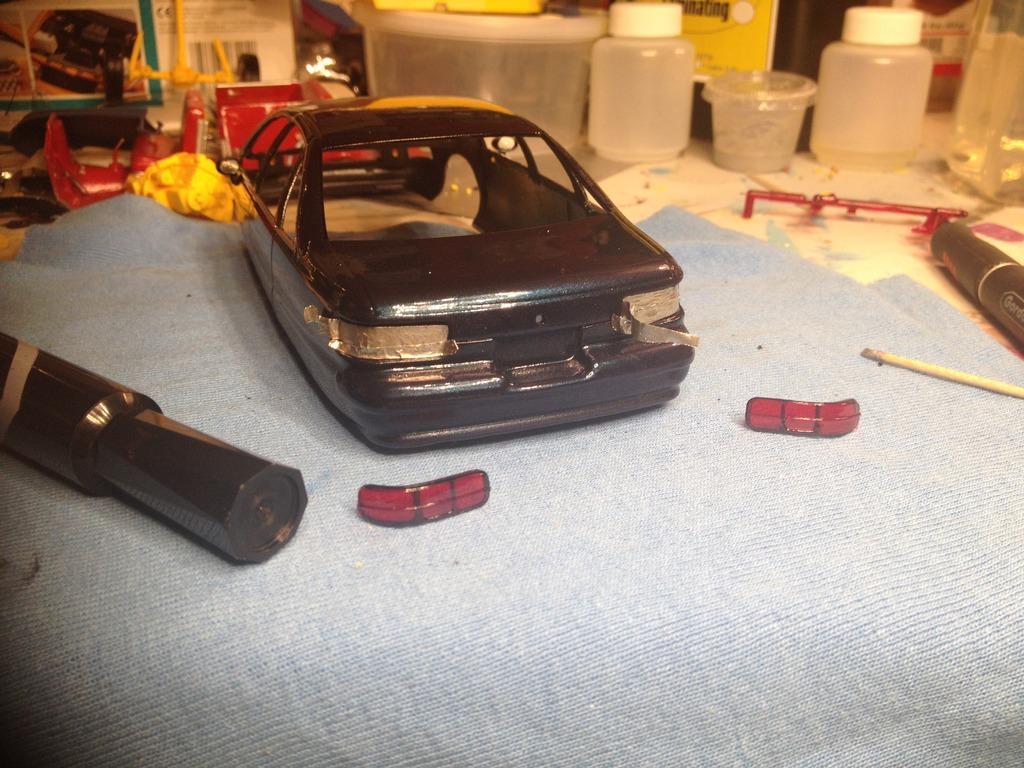
Thanks for the comments, fellas! still making progress...glass trim (this is black marker in the photo, but I hit it again with black acrylic to get better coverage). glued the side mirrors on ...& worked on the tail lights ( I highlights the raised ribs on the back of the lenses & added bare metal foil to the body behind them. I also added some BMF to that center strip, too. (Looks a little too 'bold' / out of scale...but I might just leave it..... It's getting closer!
- 25 replies
-
- airbrush
- nail polish
-
(and 2 more)
Tagged with:
-
Hit songs that are actually covers (that nobody knows are covers)
Geeti replied to Harry P.'s topic in The Off-Topic Lounge
The Orginal & (the one I didn't know was) the cover. -
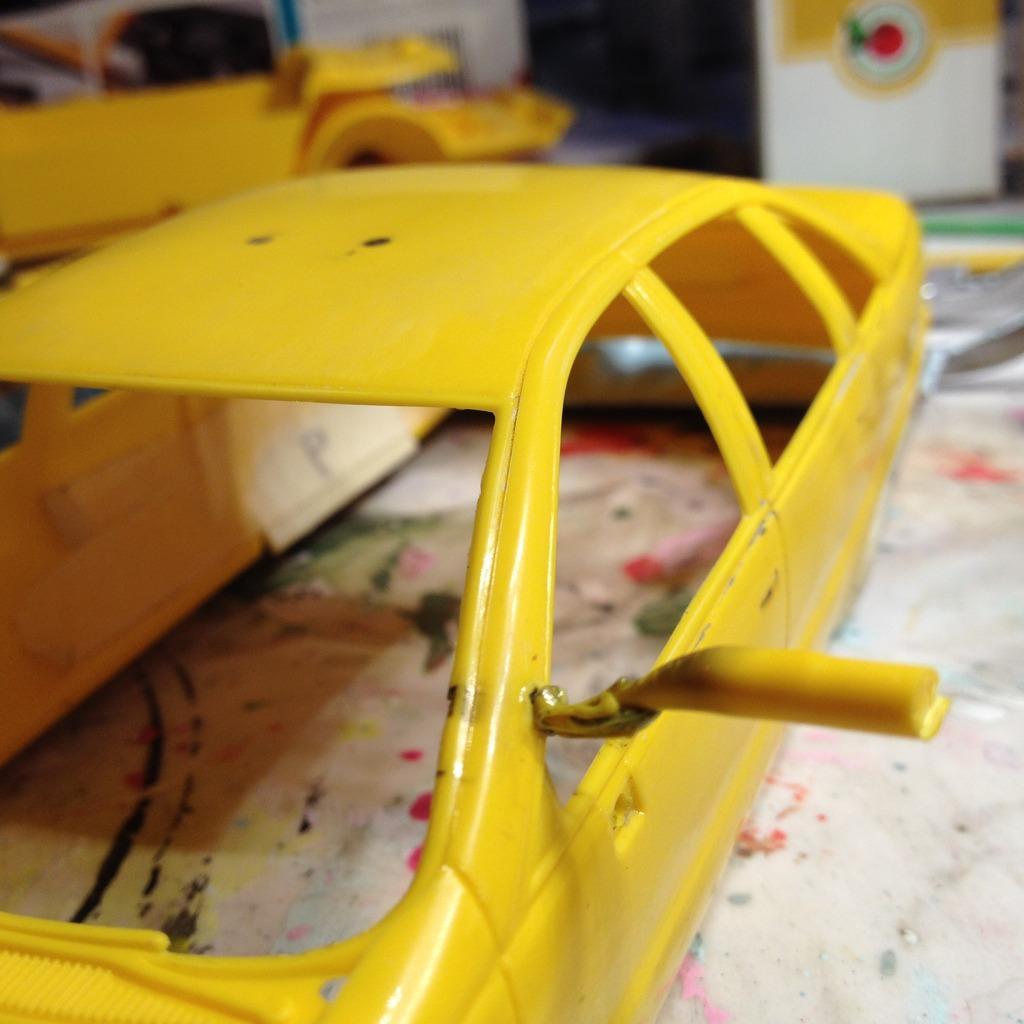
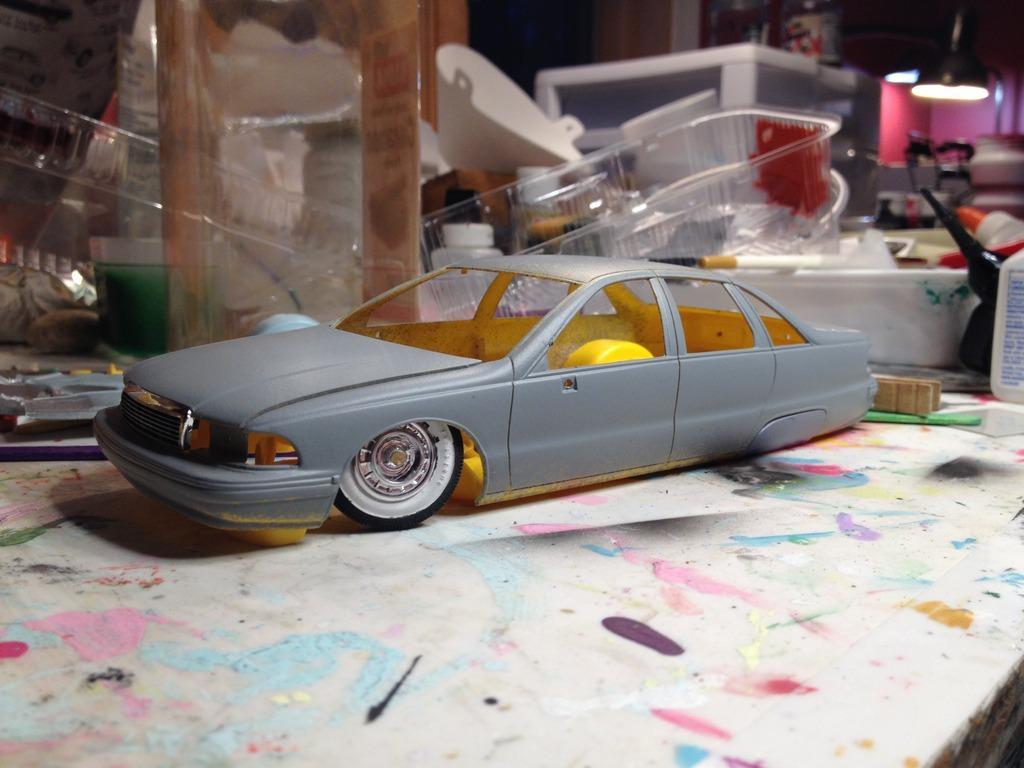
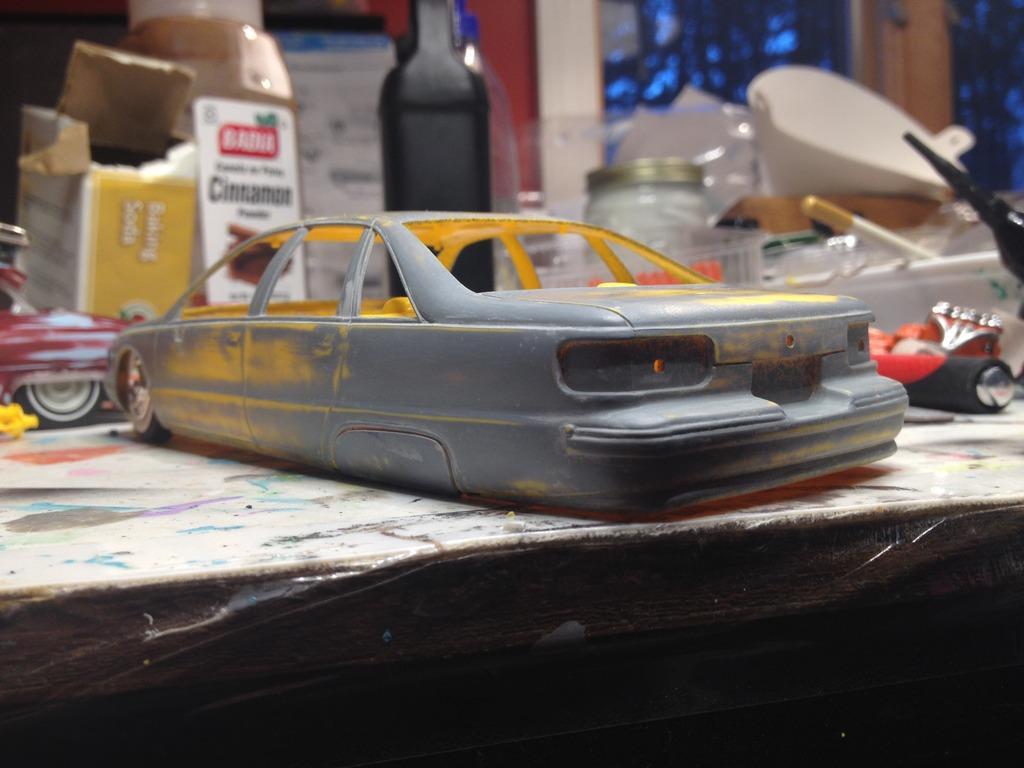
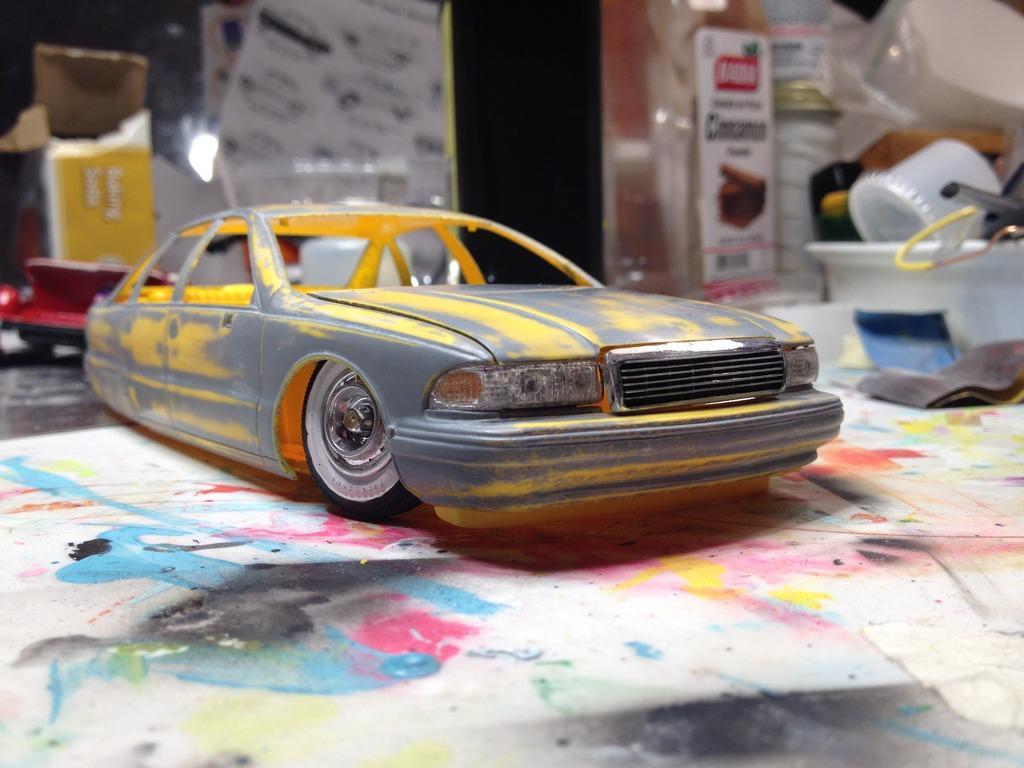
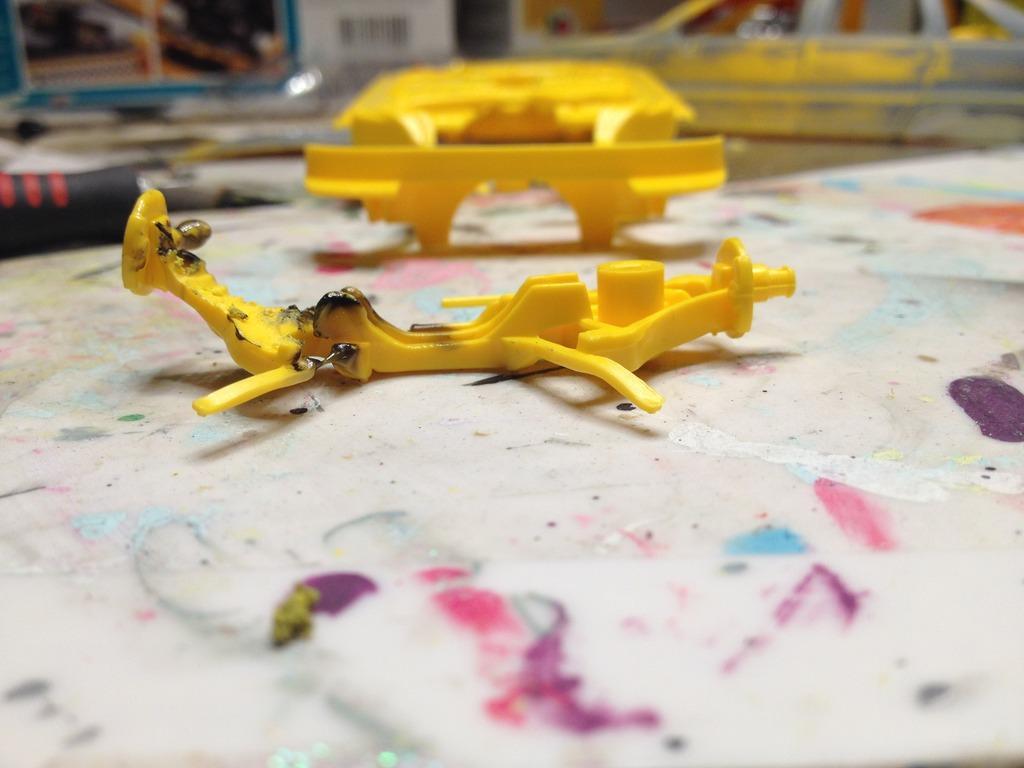
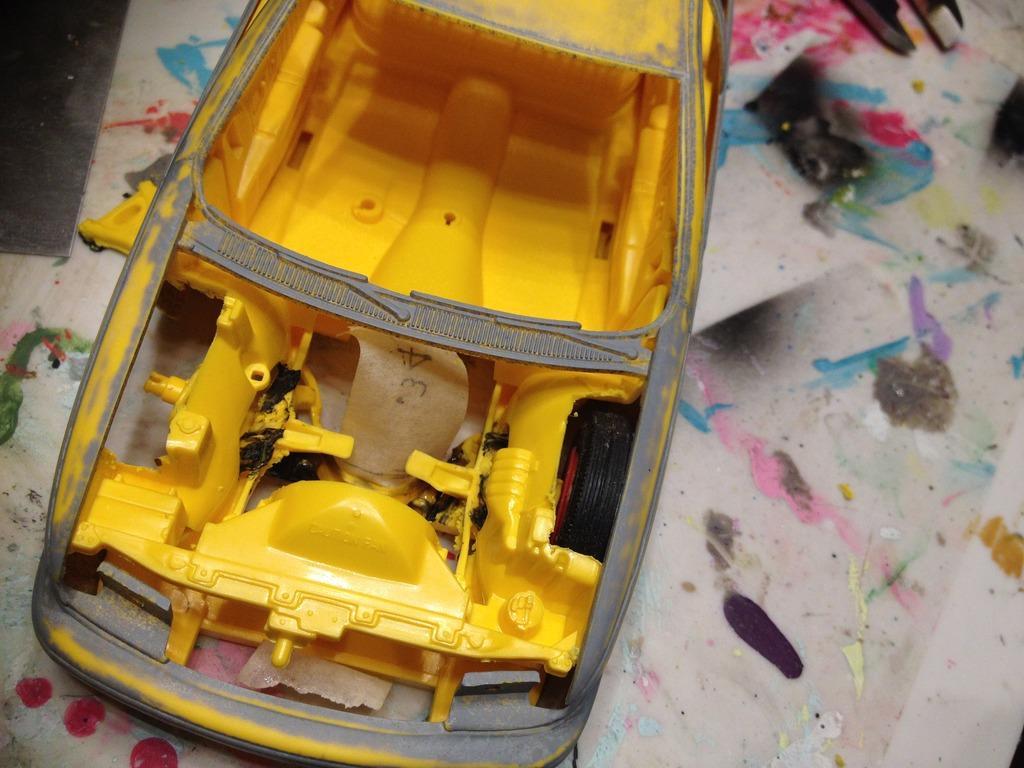
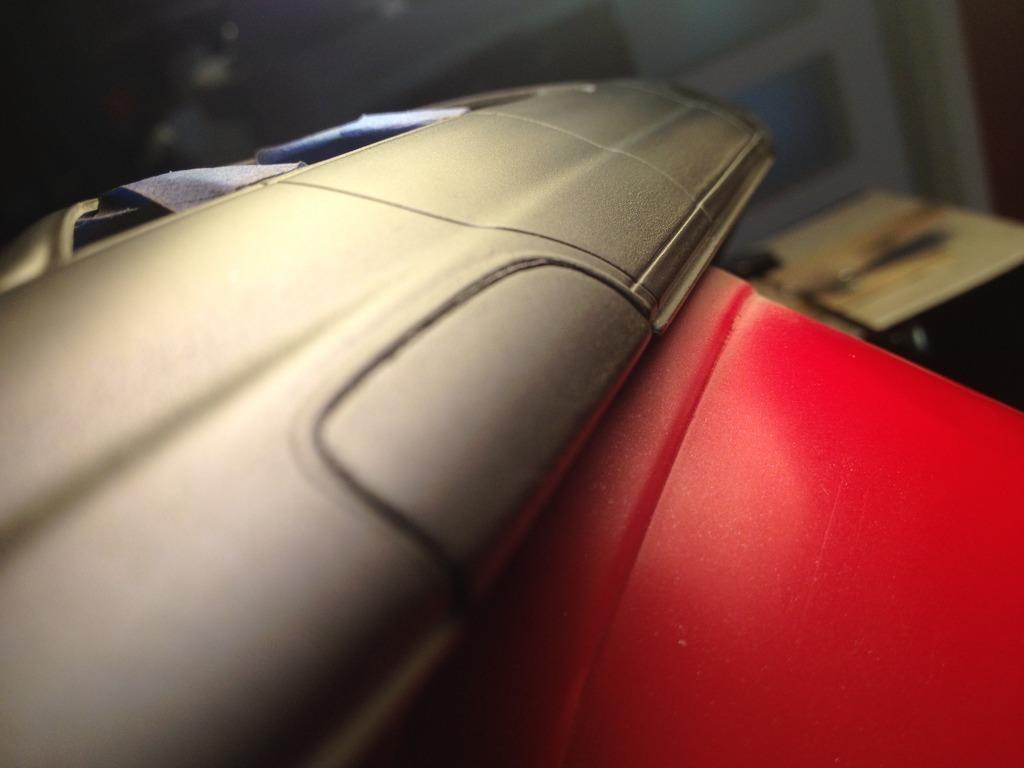
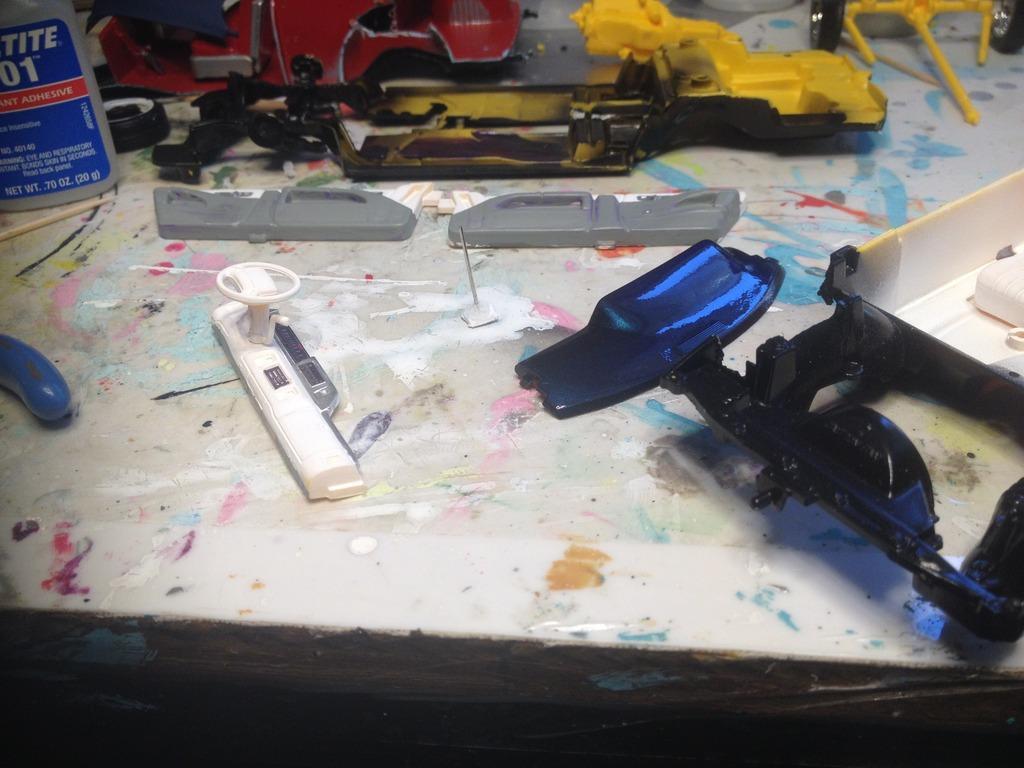
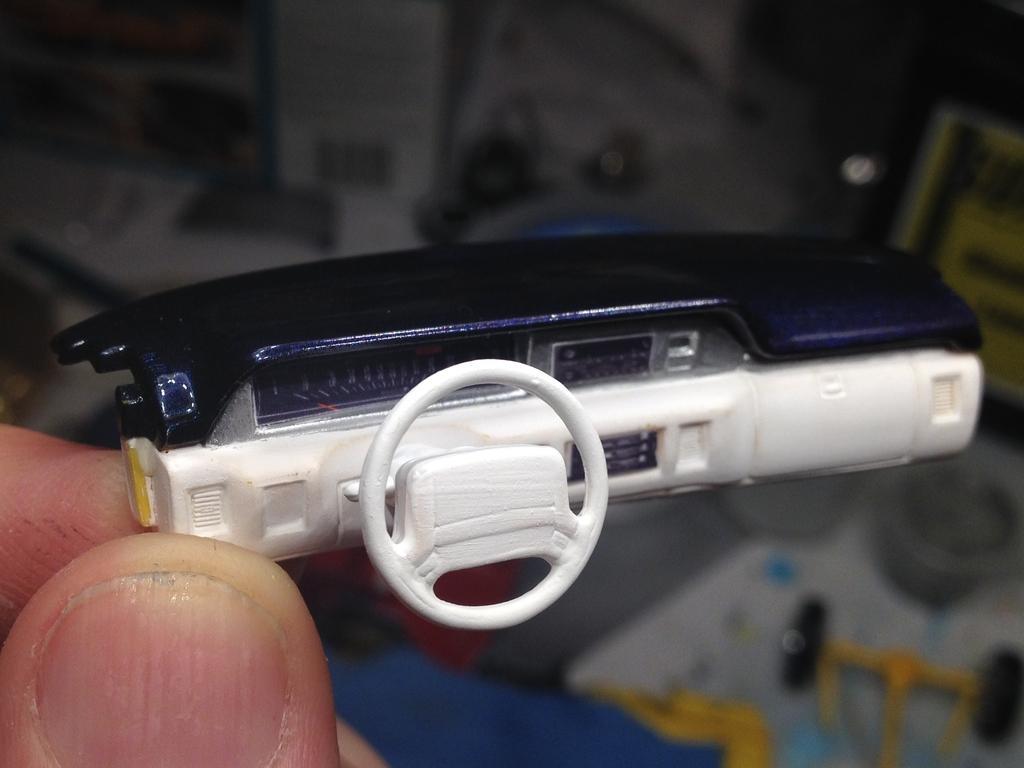
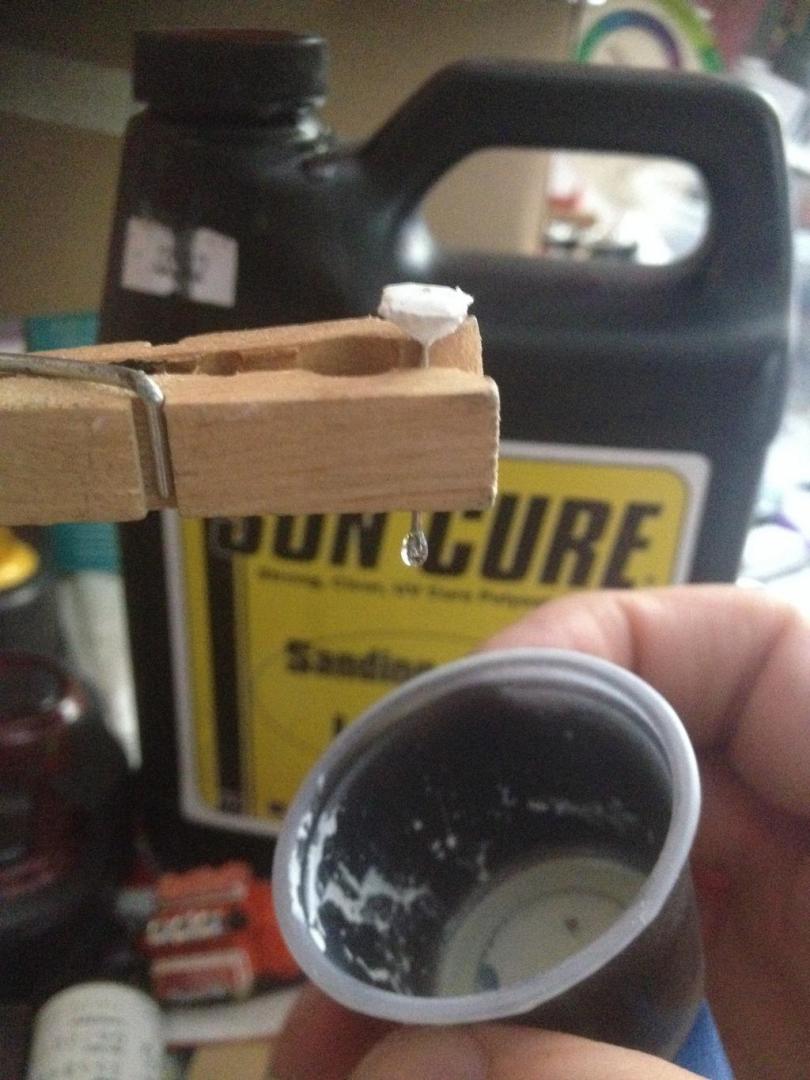
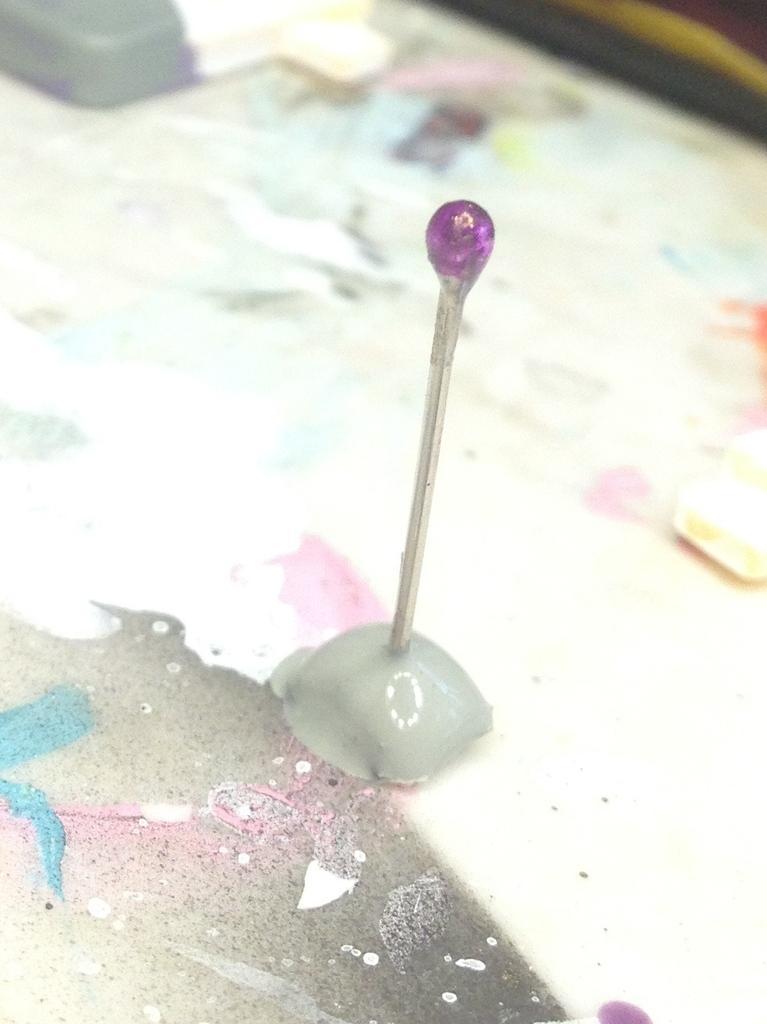
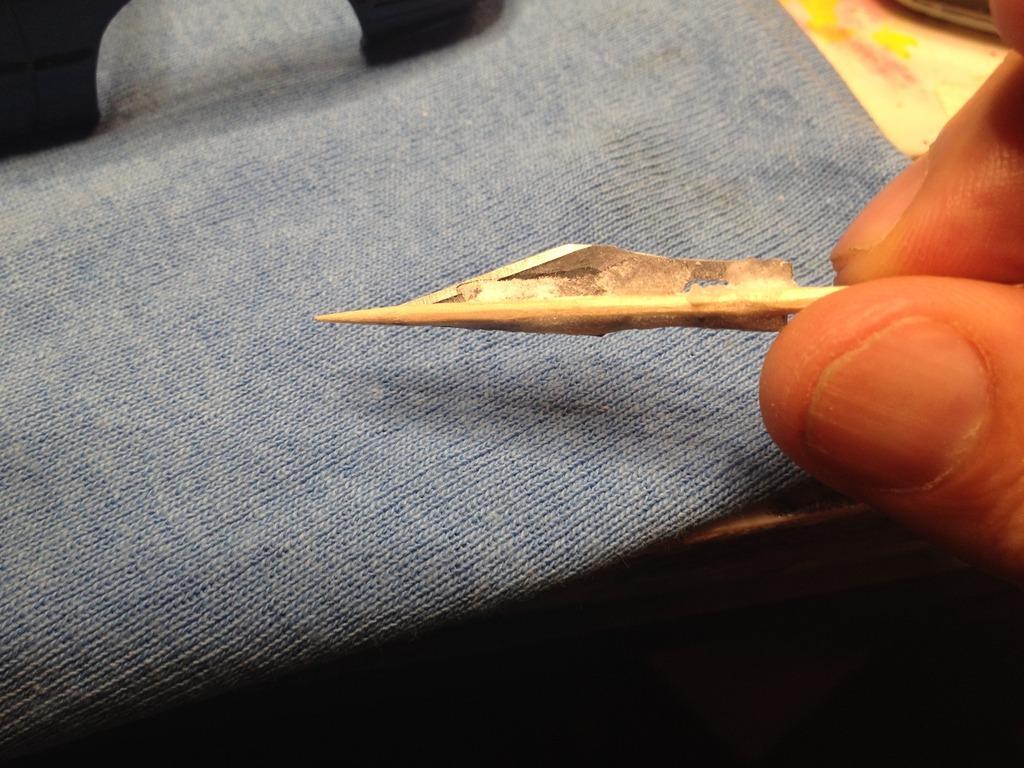
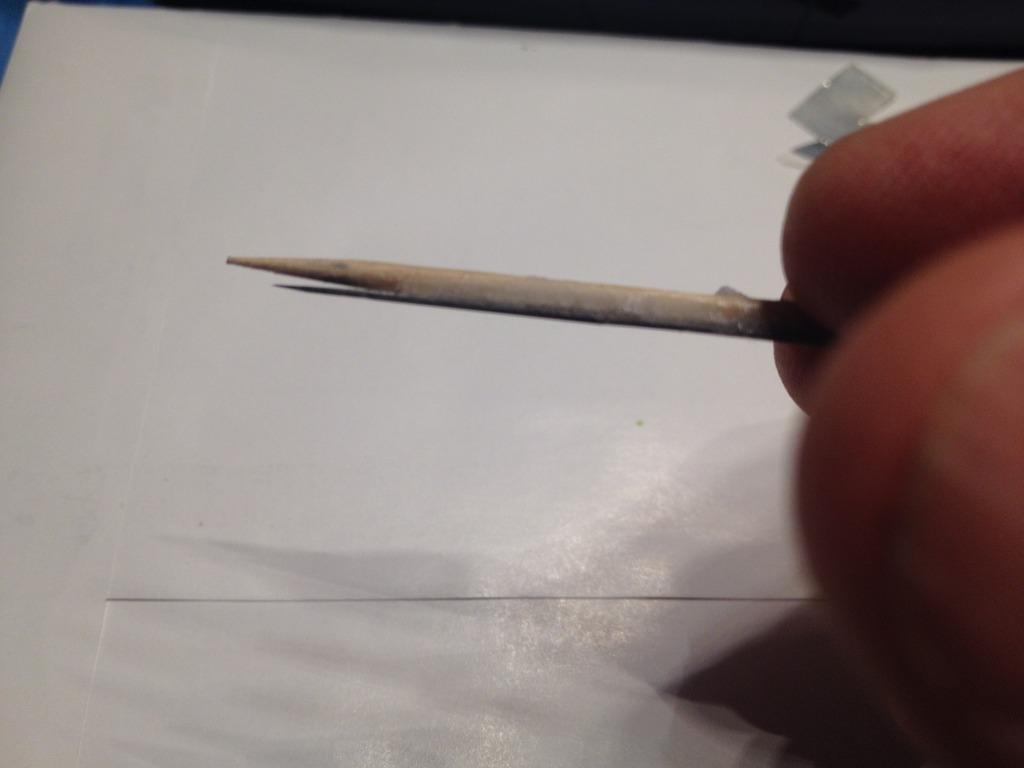
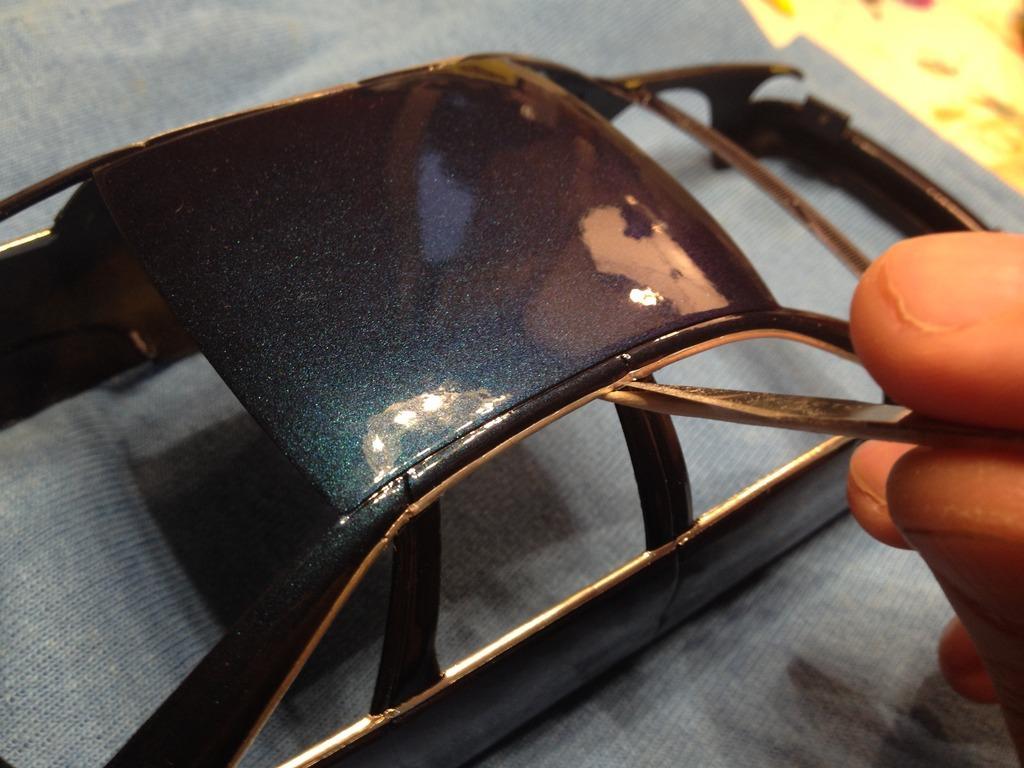
Hi All, I don’t post much but just got back into the hobby a couple years back (after a 30 year hiatus! ). I like browsing the forums here because they inspire & educate along the way. I thank you all for that. So I’ve tried to apply some of those tips & techniques into this current project. Here’s my take on the 1992 Caprice Taxi / Fire Chief car with a twist. I’ve always thought these Caprice’s could lend themselves to the old Lead Sled / Kustom look from the ‘50’s. After I came across this Revell SnapTite kit at a swap meet & thought I’d give it a try! (Easier & cheaper than doing a real car !!! ) Features I wanted for the ‘look’ was low suspension, fender skirts, wide whites w/ retro hub caps & shiny paint. (And...since I wanted to keep this achievable & the stress level low, I figured on a simple curb side build, (the engine & suspension can be left to your imagination!) (Please excuse my messy work bench (it just means I’m working! For the fender skirts, I made them from some 1” diameter styrene tubing; Cut out & sanded edge to match that weird Chevy fender shape & glued in place…. Using a mix of styrene sprue &/or the superglue & baking soda method, I filled all the extra holes that I didn’t need & shaved the door handles…. I took a progress shot; First prime ended coming out (dry) & bumpy, (I ended up sanding most of it off...). Those wheels & tires are from an old ‘58 Impala I had in my parts bin…. more sanding & smoothing… headlights & grille set in to test Warning, these next photos are not for the squeamish or perfectionists! Here’s a shot of the lowered suspension! (A little chop, heat & bend (FIRE!) on the left side) (nip & tuck & cut the inner fenders away!) (but hey, No one will see it when it's on the ground...Let’s just say it’s on airbag suspension, ok? It Needs to be low ) Paint has always been my biggest challenge & I wanted to try something a little different by using an airbrush w/ nail polish (ugh!)...but I marched forward. First I sprayed some Walmart gloss black (which looked pretty good as is… But I didn’t want to stop there, because I found this neat blue-to-purple color-flip Nail polish at the Dollar Store. I figured I'd try out the airbrush technique. Even after playing with the thinner ratios, it still went on dry & flat looking… (before a light sanding with 800 grit) But after some clear coat (& more sanding & more clear coat!) it started to look nicer… & another coat (or 2) of clear. You can see the purple color flip come out where the edges roll away from the sides (C-pillar area, etc.) (always gotta do a mockup to keep me inspired ) ...Still need to repaint those white walls. Interior is just white acrylic & painted accents (I did smooth the dash top & spray it body color)... and since my son lost the decal sheet that had the gauges on it ...I figured I’d improvise a bit. I searched Google for a suitable images of a gauge panel (& retro heater controls and radio). Then saved these JPGs to my computer, Scaled them to size using a free graphics program (Inkscape). Then printed on photo paper & used white glue to keep them in place. Not finished yet, (as I need to smooth out the steering wheel paint), but I think the glued on pictures look pretty convincing. Here's another trick, I didn't want to use the column shifter, so I made a tall floor shift lever. I used a sewing needle glued onto a styrene base 'boot'. For the shift knob, I wanted to try out a technique, so I dipped the end of the shift lever (needle) into some UV set resin. Let the drop set up in the sunlight for a minute, then re-dipped (for a larger “ball”. Colored it with a purple sharpie (then dipped into some Future floor shine for extra gloss) & ta da! Custom translucent purple resin shift knob…! (not perfect, but not bad for ~10 minutes worth of work ) Now onto the Bare Metal Foil for the window trim, something I haven’t attempted until now. Since my (many) clear coats had filled in the molded in trim line, I was a little concerned about trimming it to a consistent width. Here’s a tool I made to score the BMF trim to a constant width. You can see I superglued (& use baking soda for reinforcement / quick set) an X-acto blade to a round tooth pick. (and by positioning the blade along the length of the tapered end, you can set the width of the cut line. Position closer to the tip, the trim would be wider / closer to the shaft, the trim cut would be narrower.) Carefully position the blade tip to the foil & the toothpick to the inside window opening then drag around the perimeter of the opening(s) here it is in a posed “action” shot to show technique. (I had to connect the straight cuts between the windows, but the edge cuts turned out pretty well. Still need to smooth out some of the areas. That’s where I’m at now, more to come Thanks for looking
- 25 replies
-
- airbrush
- nail polish
-
(and 2 more)
Tagged with:
-
Awesome work ! ! ! ! ! ! ! !
-
-
Watching
- 16 replies
-
- VW Karmann-Ghia
- Slammed Blue Boom
-
(and 2 more)
Tagged with:
-
I ‘sanded down’ some tires for the front (aka, I chucked them onto my dremel and spun them on some sandpaper to reduce the diameter for the big/little tire look. I may rebuild some things on this kit, like cut the front side windows out of it & maybe try and do the white rim barrel on the wheels to add a bit of contrast in the wheel area (BRMs would be nice, but I don’t have any in my limited stash ). Thanks for looking, lemme know what you think
-
too many brush strokes, but whatever... oil leaks, of course :laugh: There was a place for them molded onto the body, so I made some bumper overrider braces out of the .03" rod. My bug model I built in 1984 is on the left, 2013 on the right (similar???!!!! HA!) I entered it in a model show, just for the heck of it. Didn't place, but had fun
-
Test fitting... Getting there... I couldn't figure out a way to make the rail clamp until I saw noticed the profile of a 'to-go' plastic container from the recycling bin. Not exact, but close enough, so I glued it in place :laugh:
-
Hi all, This is my first post here on the scale model forums. I’ve been getting back into the model building hobby after a few years absence (~30 year hiatus ) Since the last bug model I build back in the mid- 80s, I decided to give the Tamiya '66 Beetle a try (lowered, just because ) It’s not perfect, but it was a fun little project. Here are some pictures. Me & paint still don't get along too well! It’s rustolem Garnet Red (the can I had was having spray problems ! !! ). I coated that with some Pledge Floor Wax w/ Future shine over it. Tamiya’s licence plates appear too big, so I filed 'em down [ Side notes: other things that I couldn't 'fix' from the Tamiya kit: this kit appears to be an adaptation of a Right Hand Drive Beetle, the wipers are 'parked' on the wrong side of the car (internet pix of real LHD cars don't lie ) & the mirrors are on the wrong side (the round mirror represents a LHD drivers side mirror!)....this bugged me a bit, so I just used the pear shaped one as a drivers side & chopped the passenger side mirror off...'cuz I couldn't correct it.! ] Interior coloring is incorrect (should be a black steering wheel, etc.), but I was playing with mixing acrylic paints to come up with these colors. Since the paint on the roof didn't come out as nice as I would have hoped, I decided to make a roof rack to 'cover it up'. . I tried to copy the rack on my real bug. I drew it up in CAD and printed the 'plans' out at 1/24 scale.

