majel
-
Posts
862 -
Joined
-
Last visited
2 Followers

Recent Profile Visitors
10,196 profile views


(1).thumb.jpg.e371d4579f83ee021ff22f9ad4b79bbc.jpg)


majel's Achievements
MCM Ohana (6/6)
-
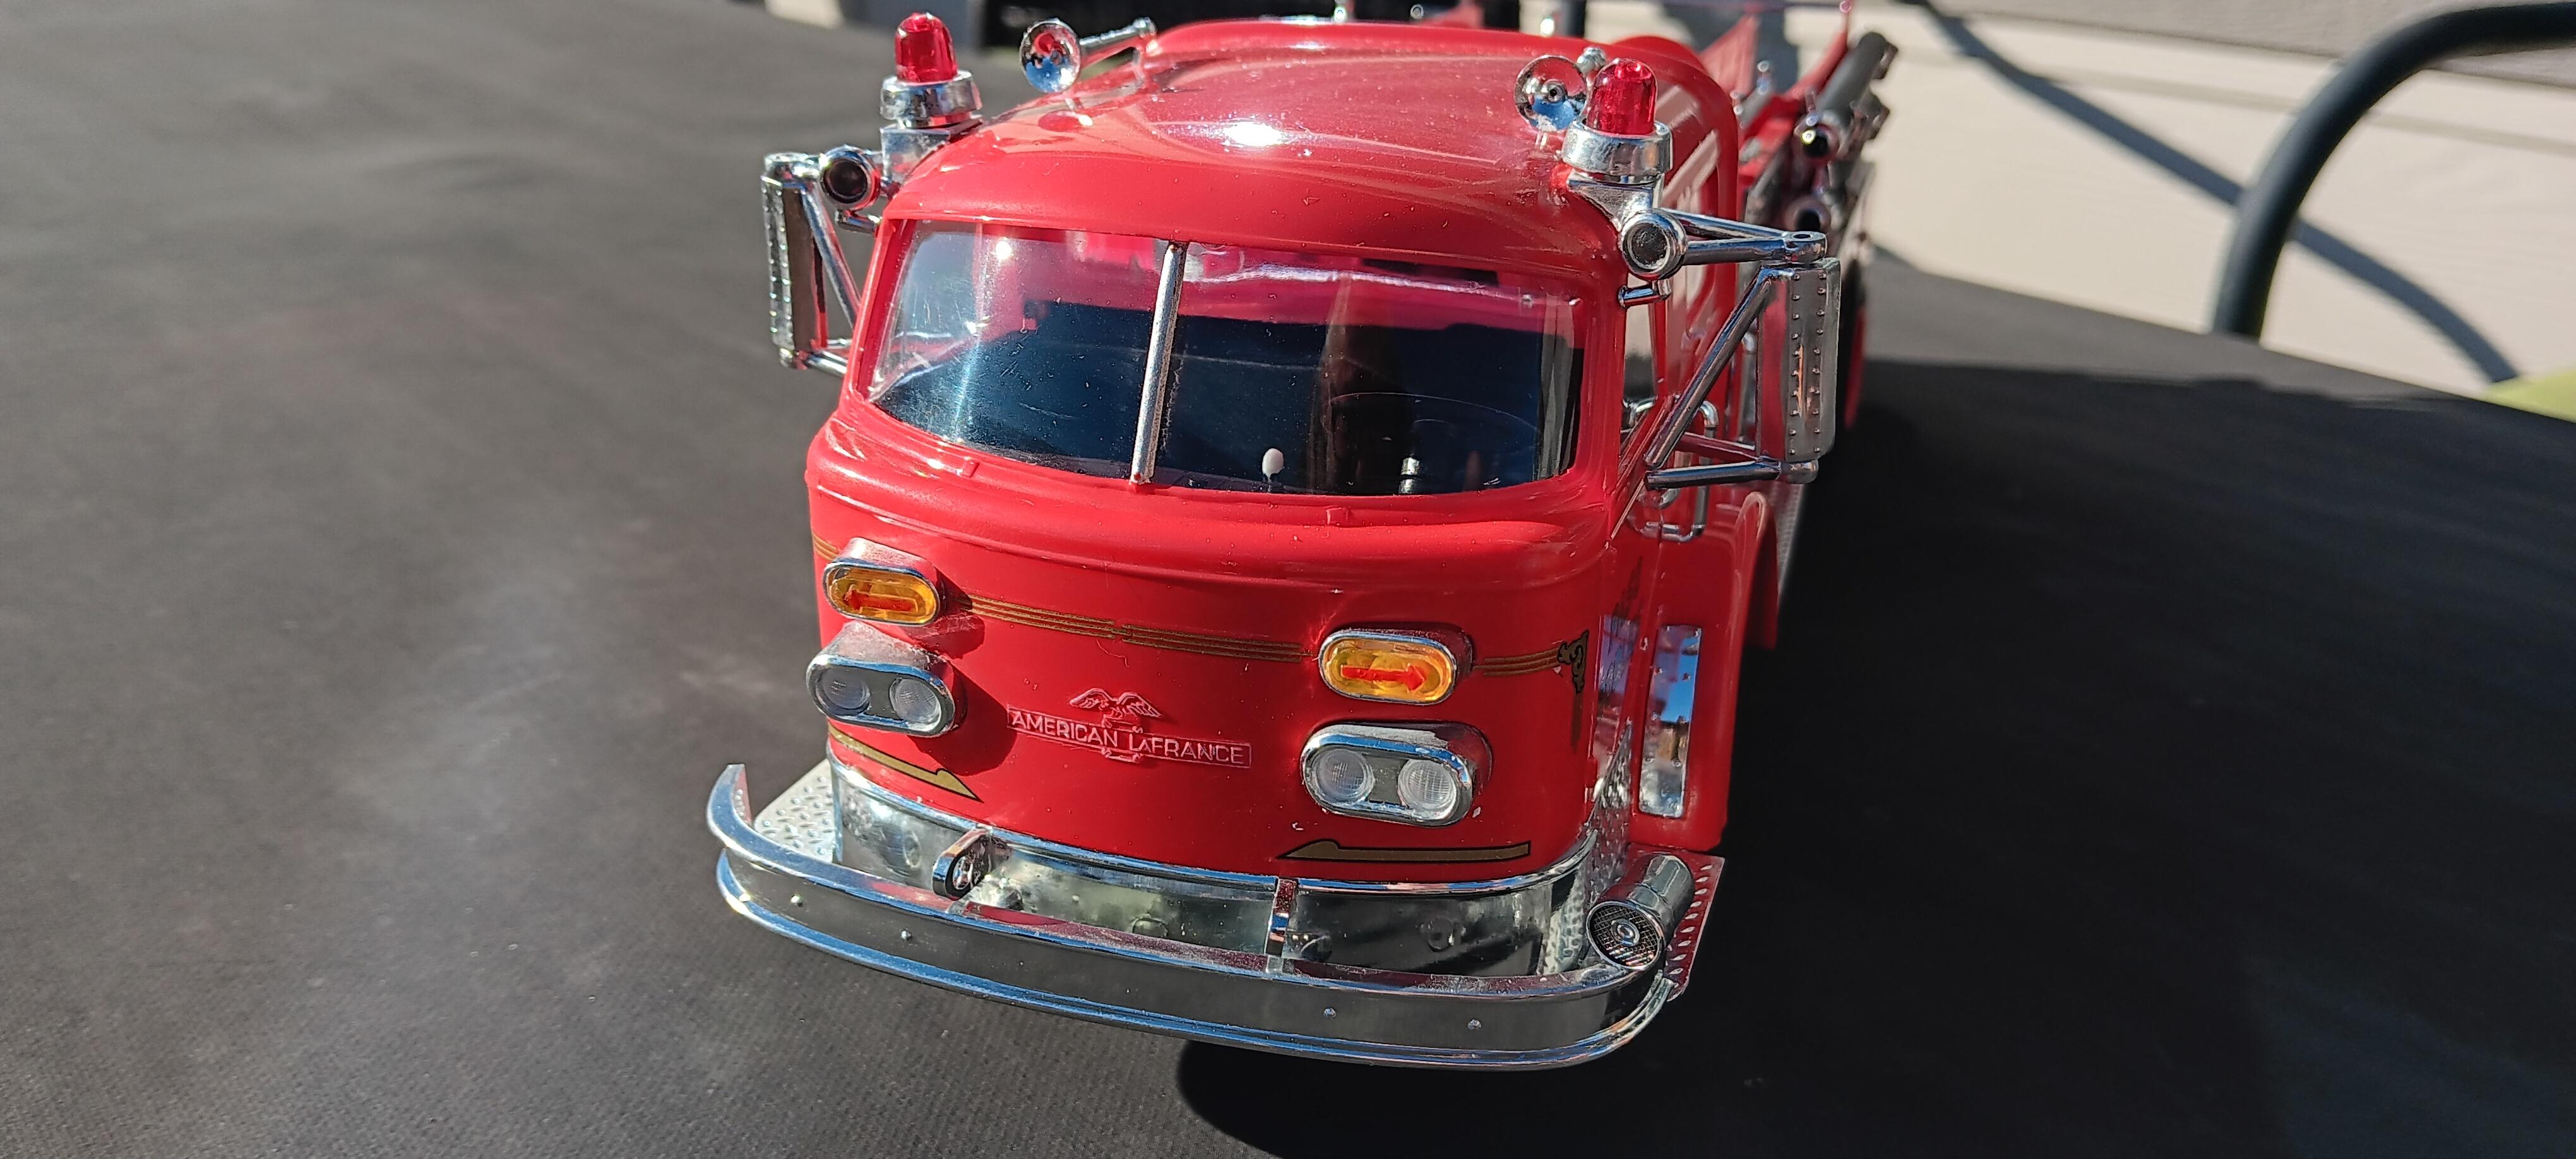
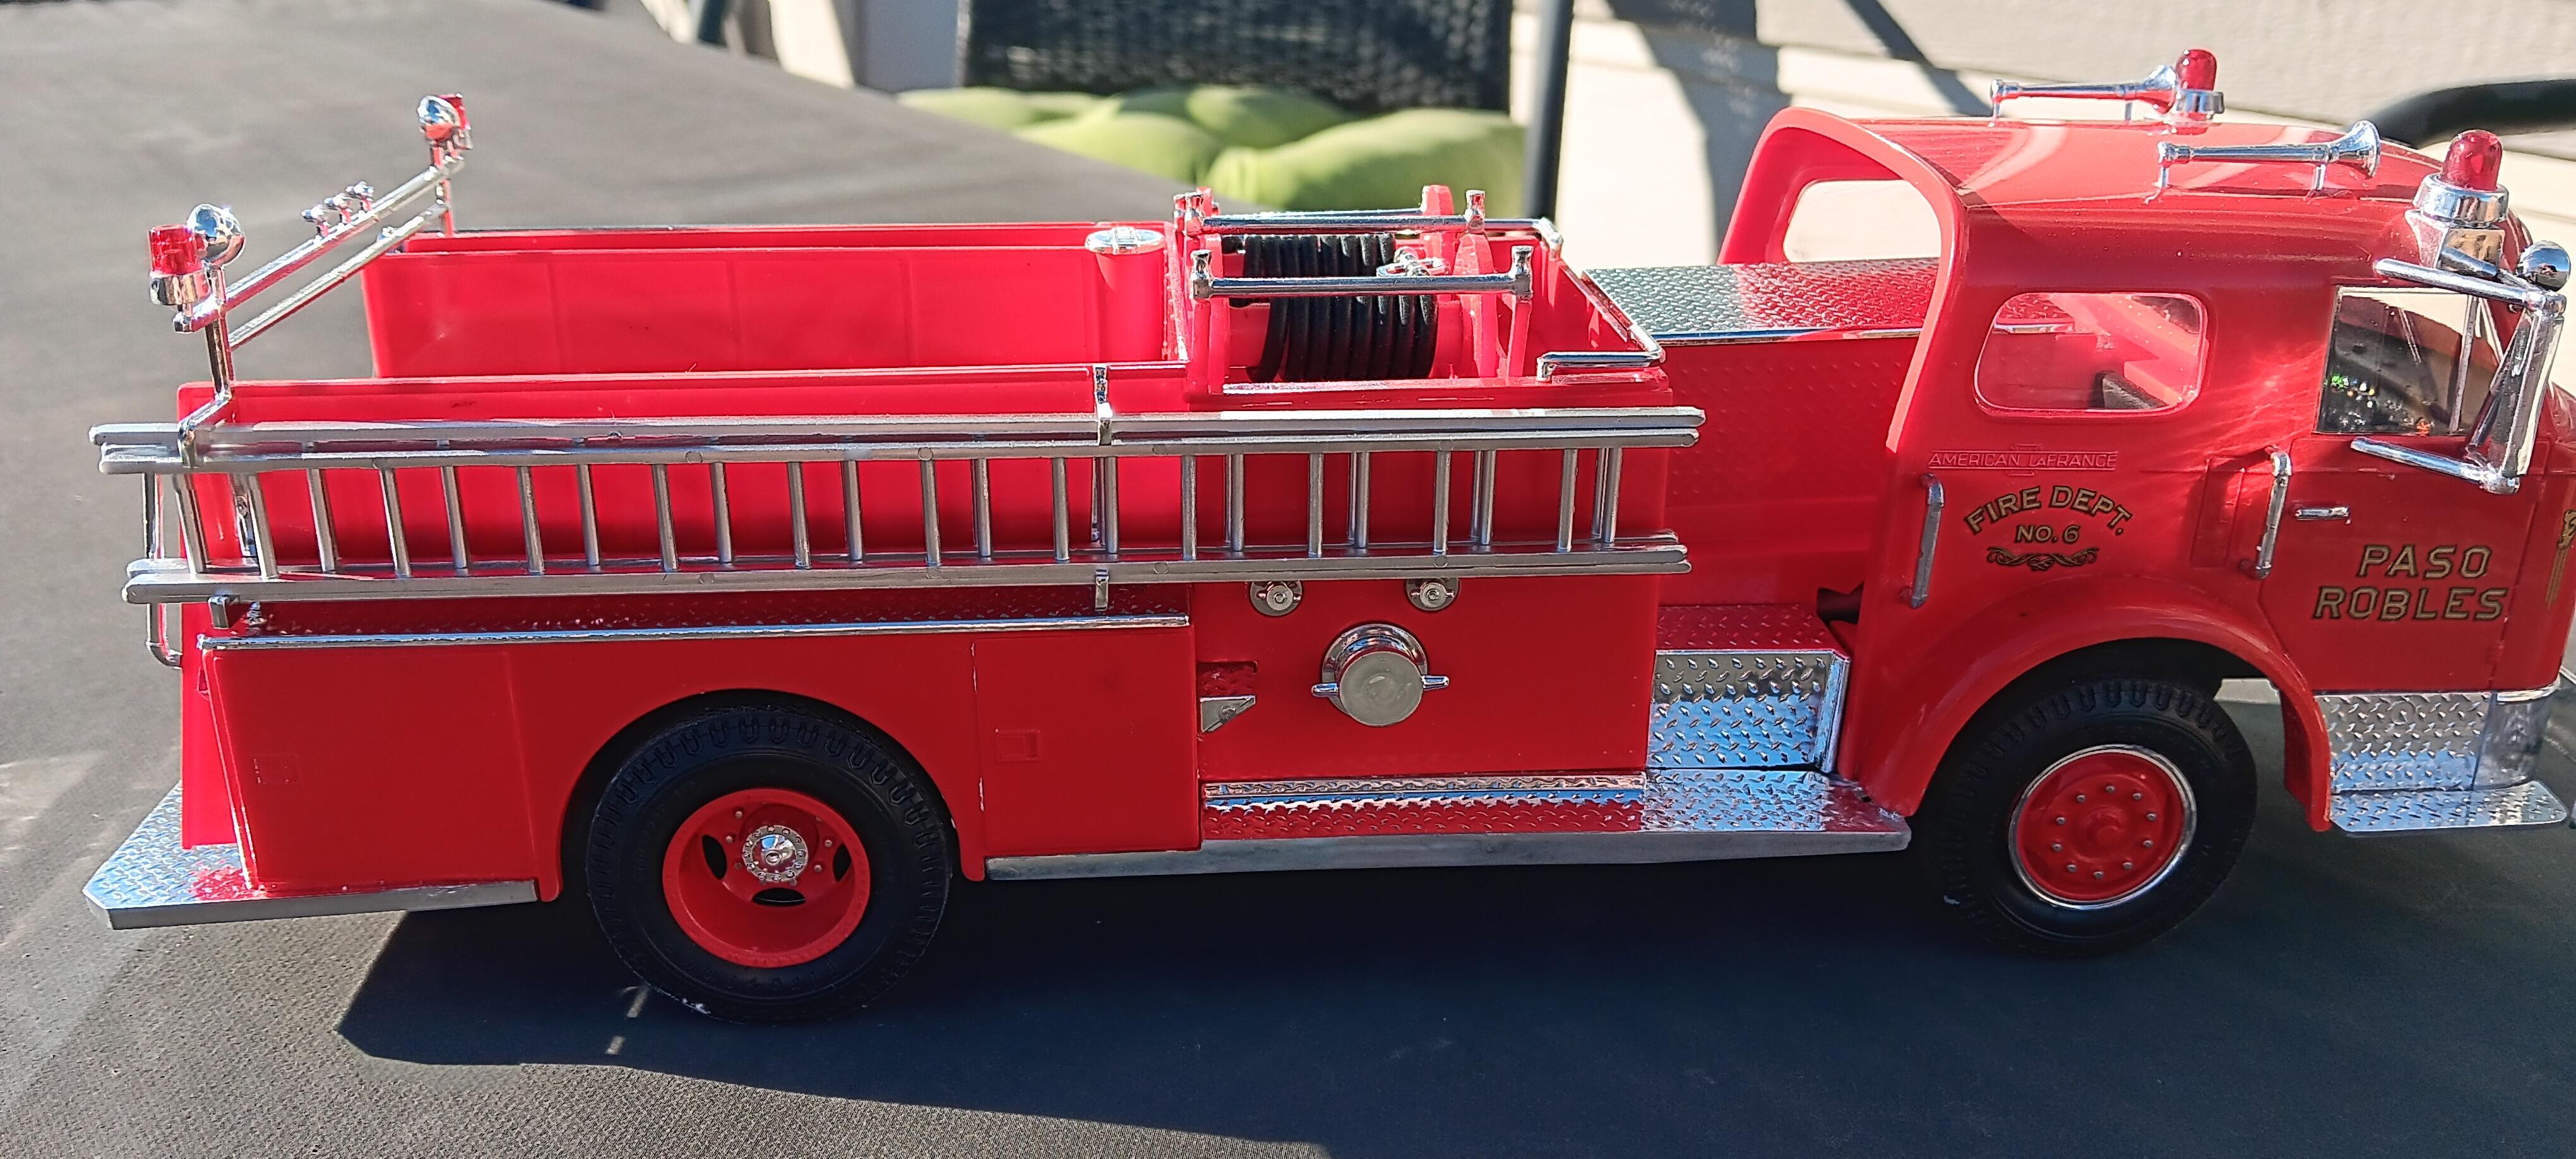
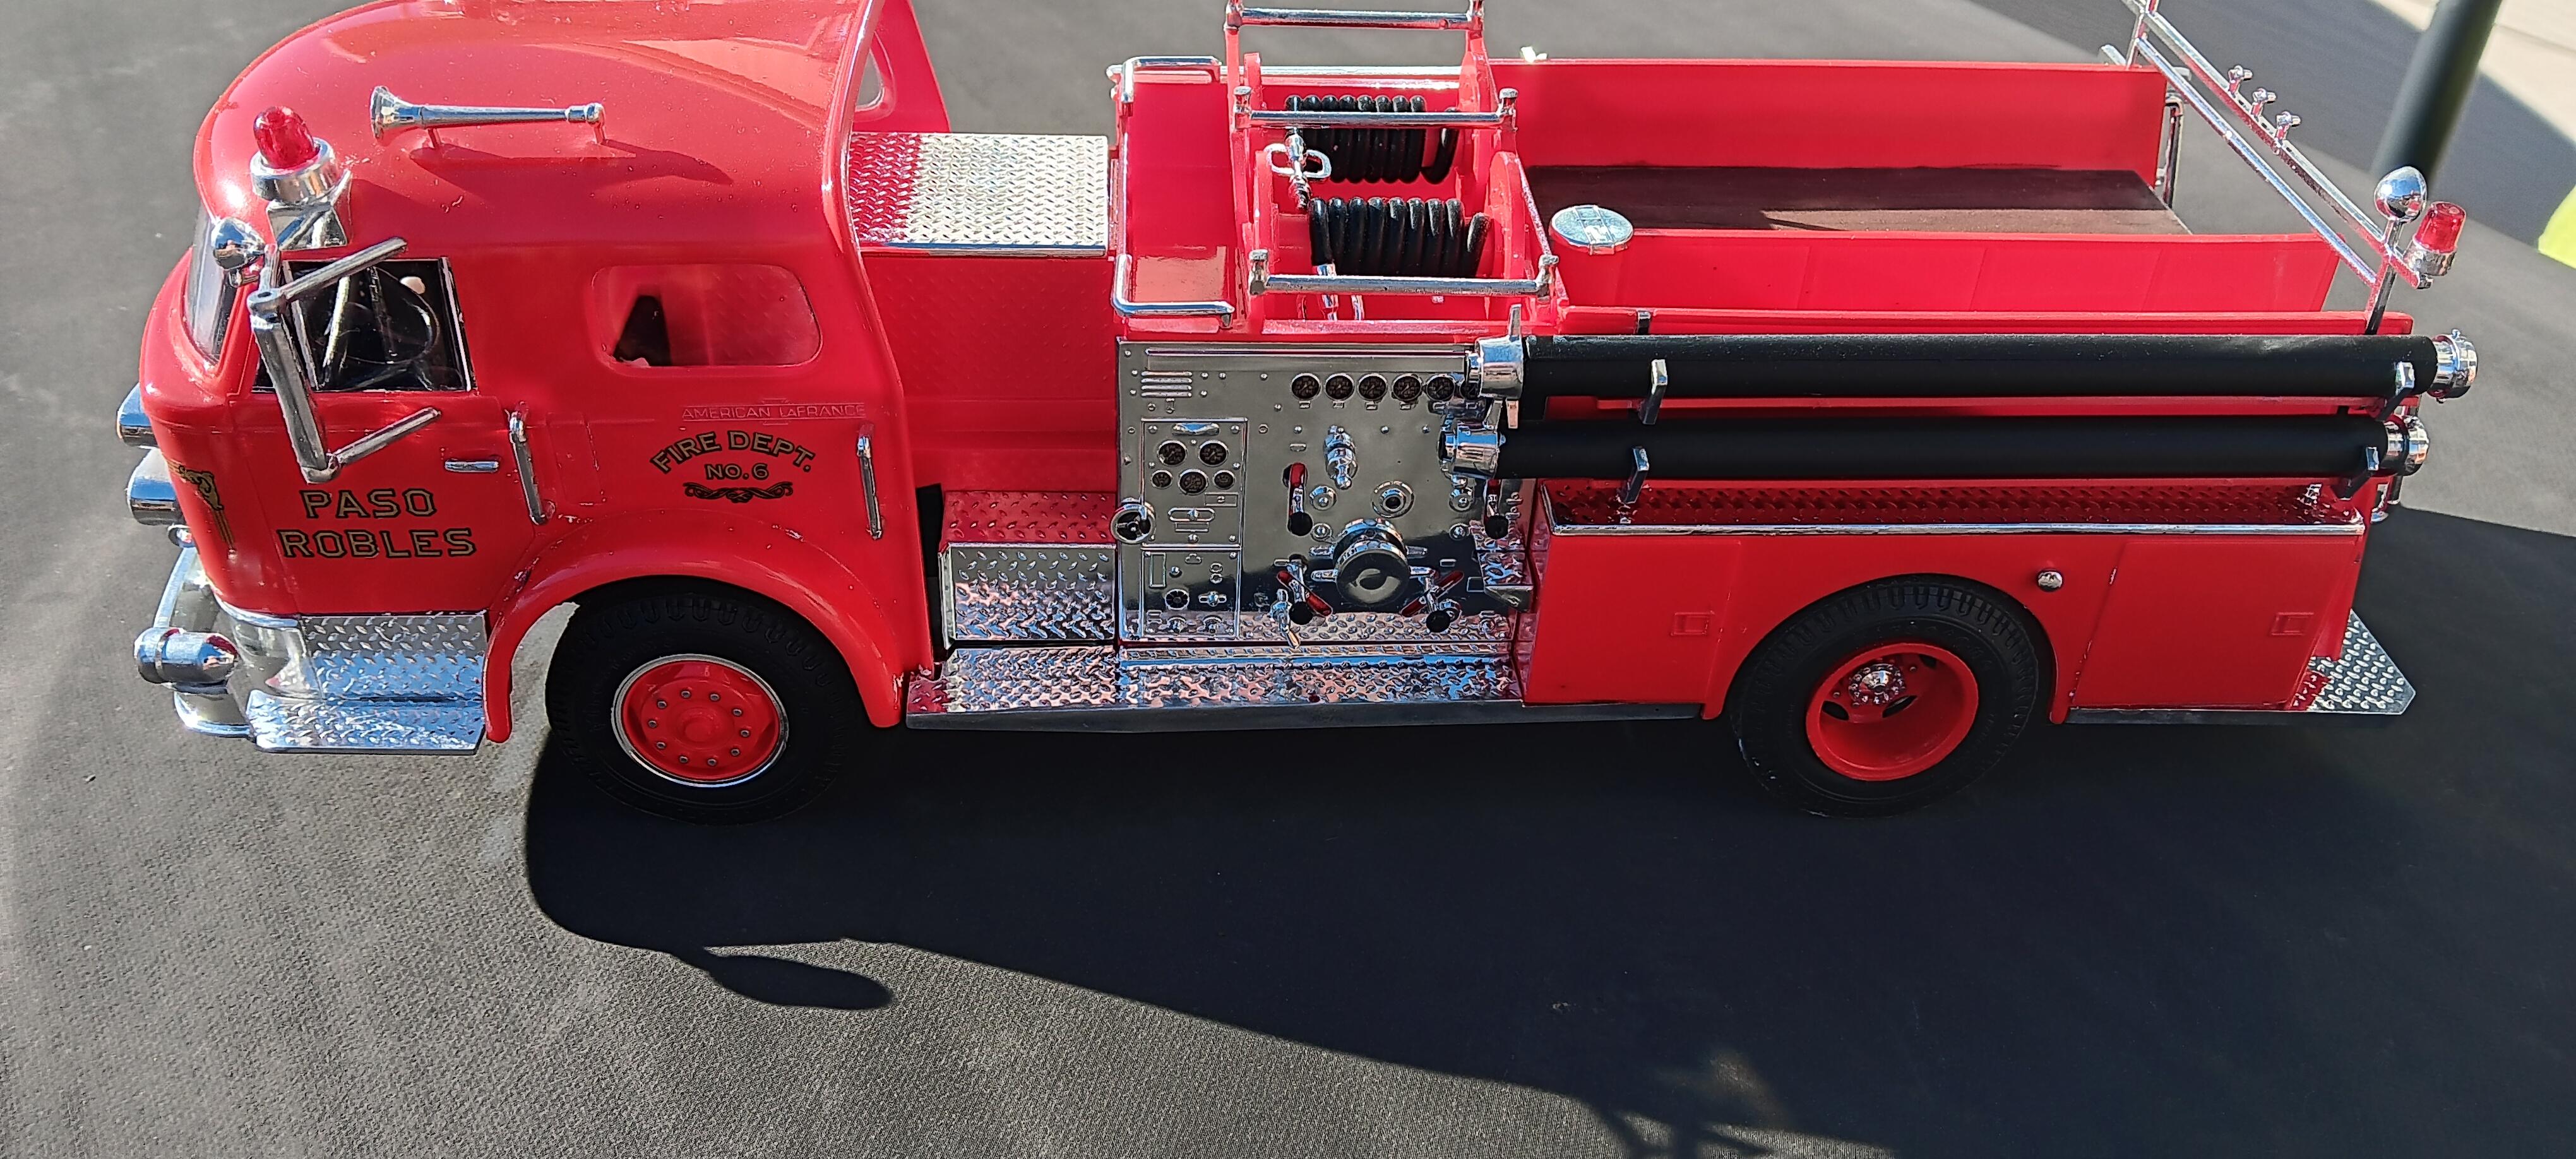
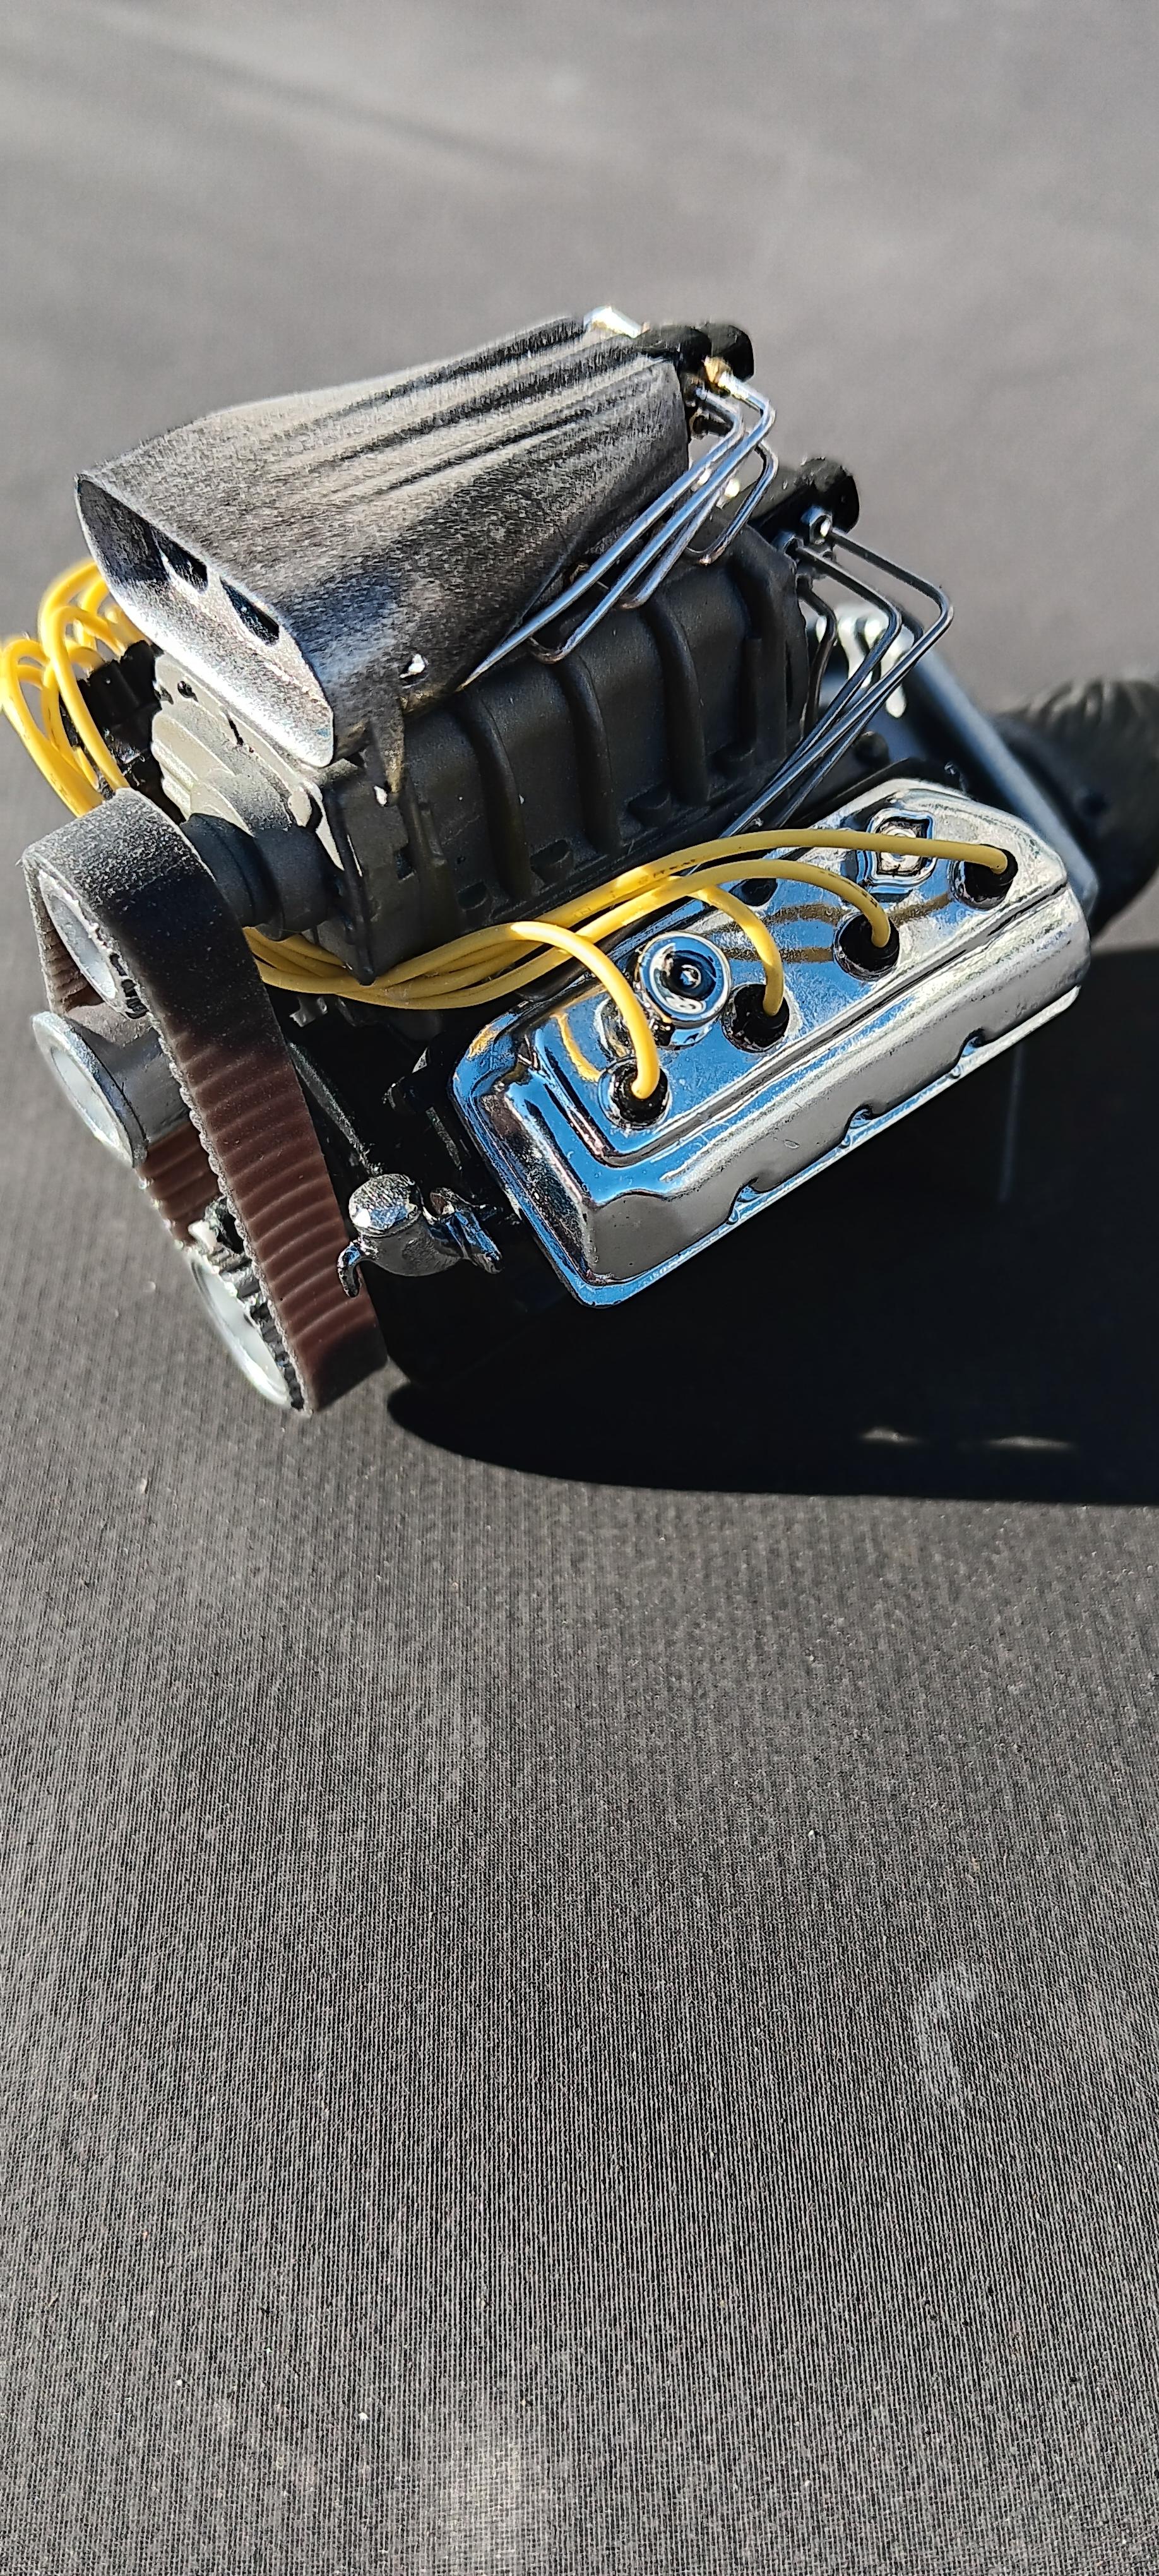
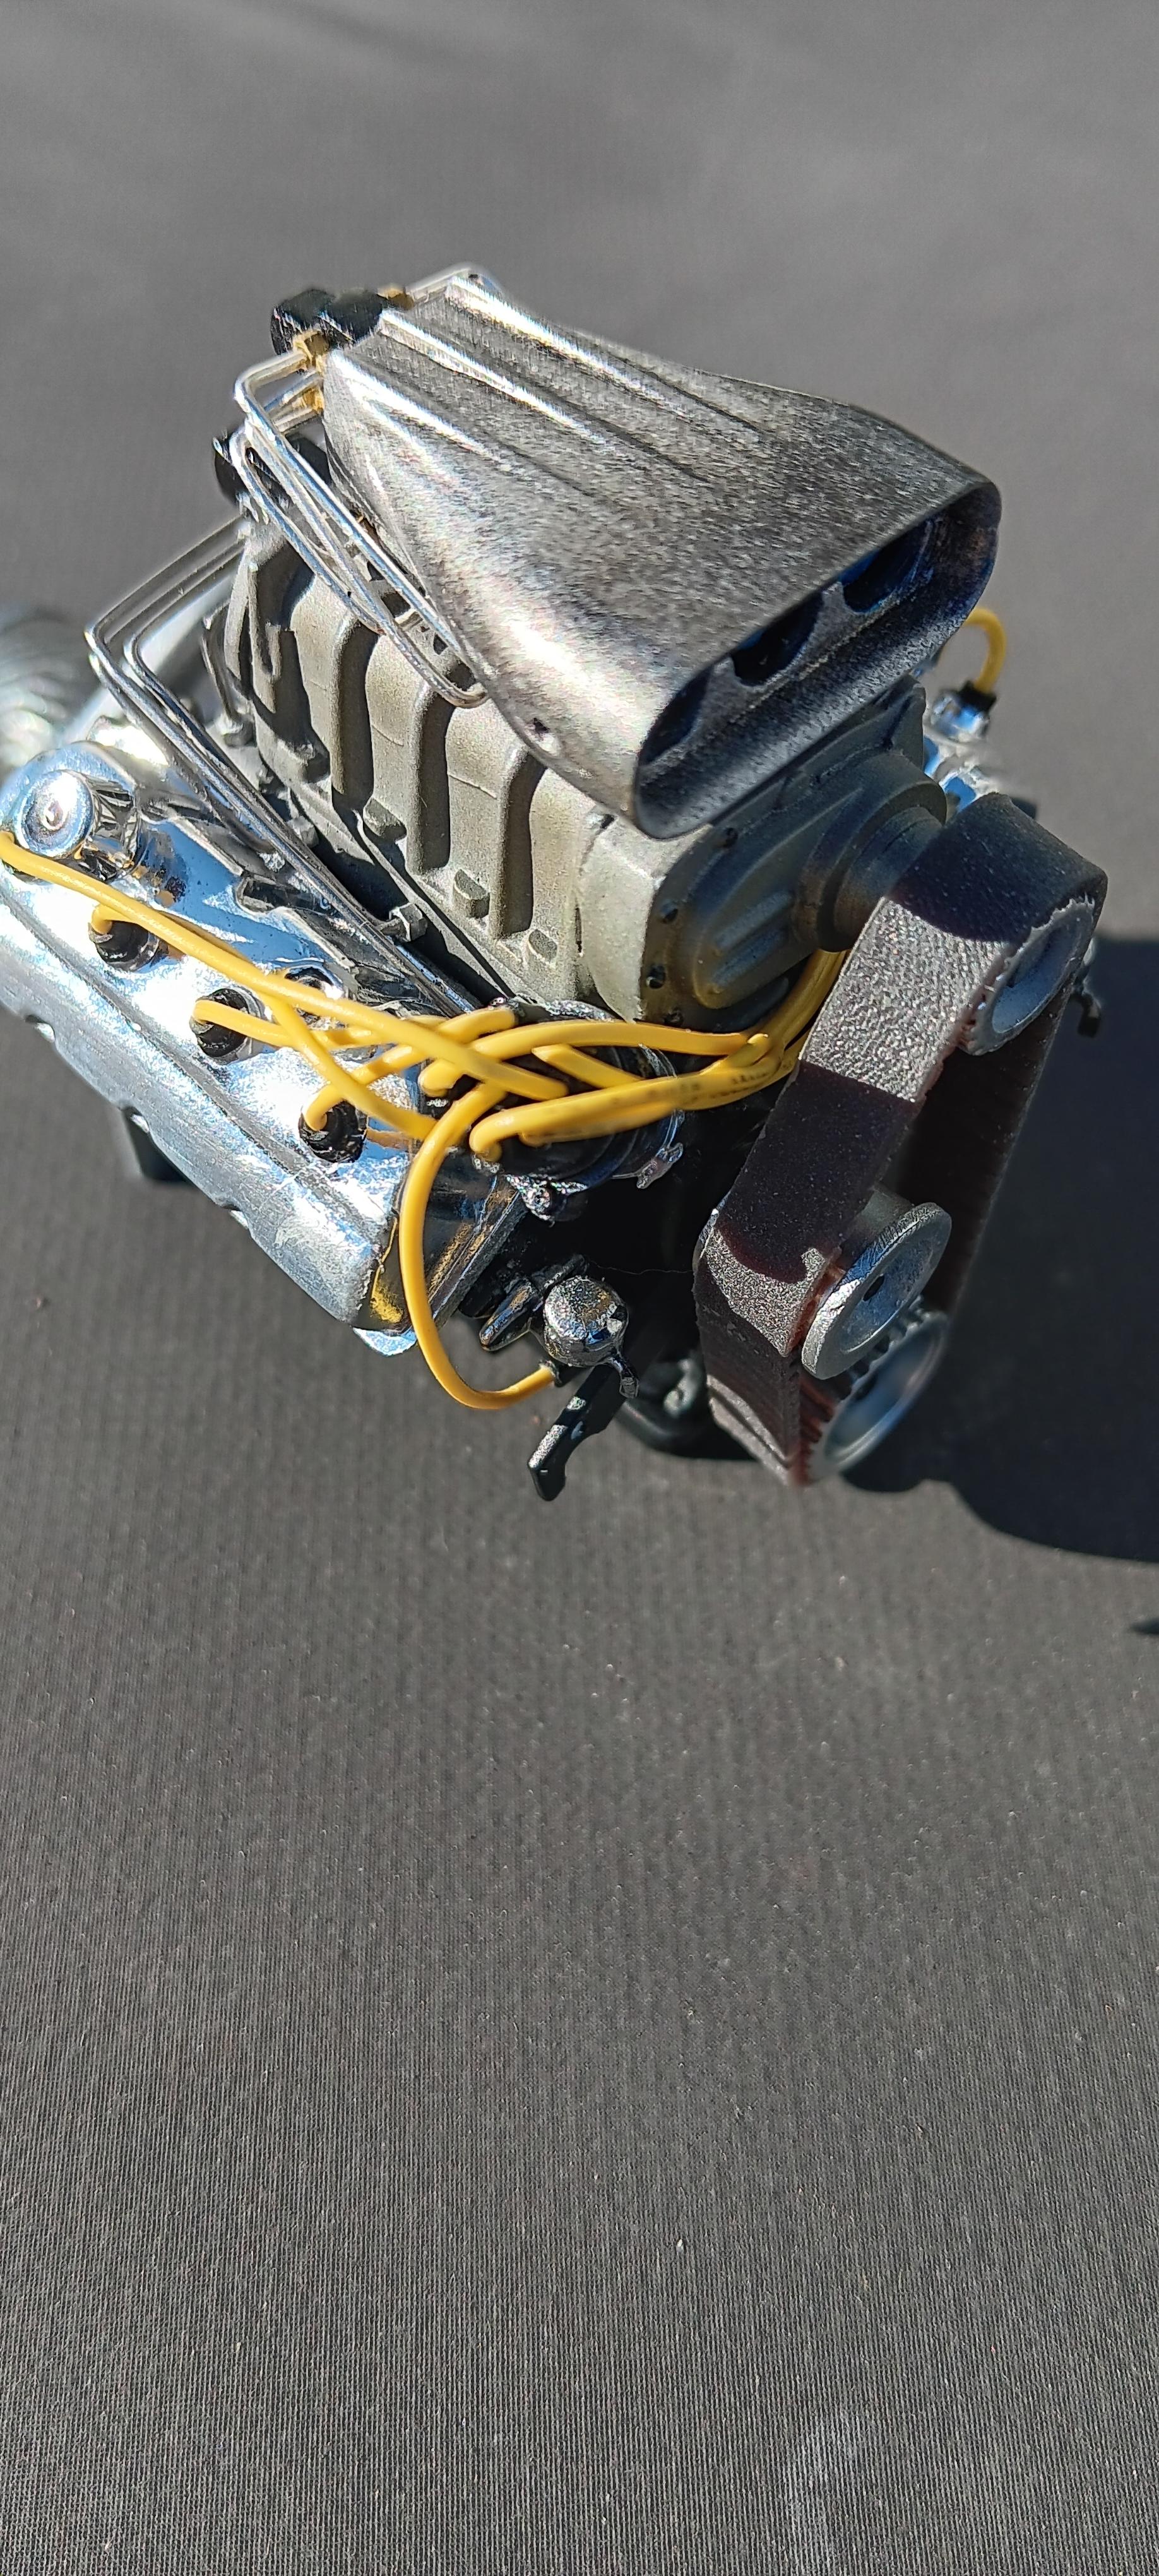
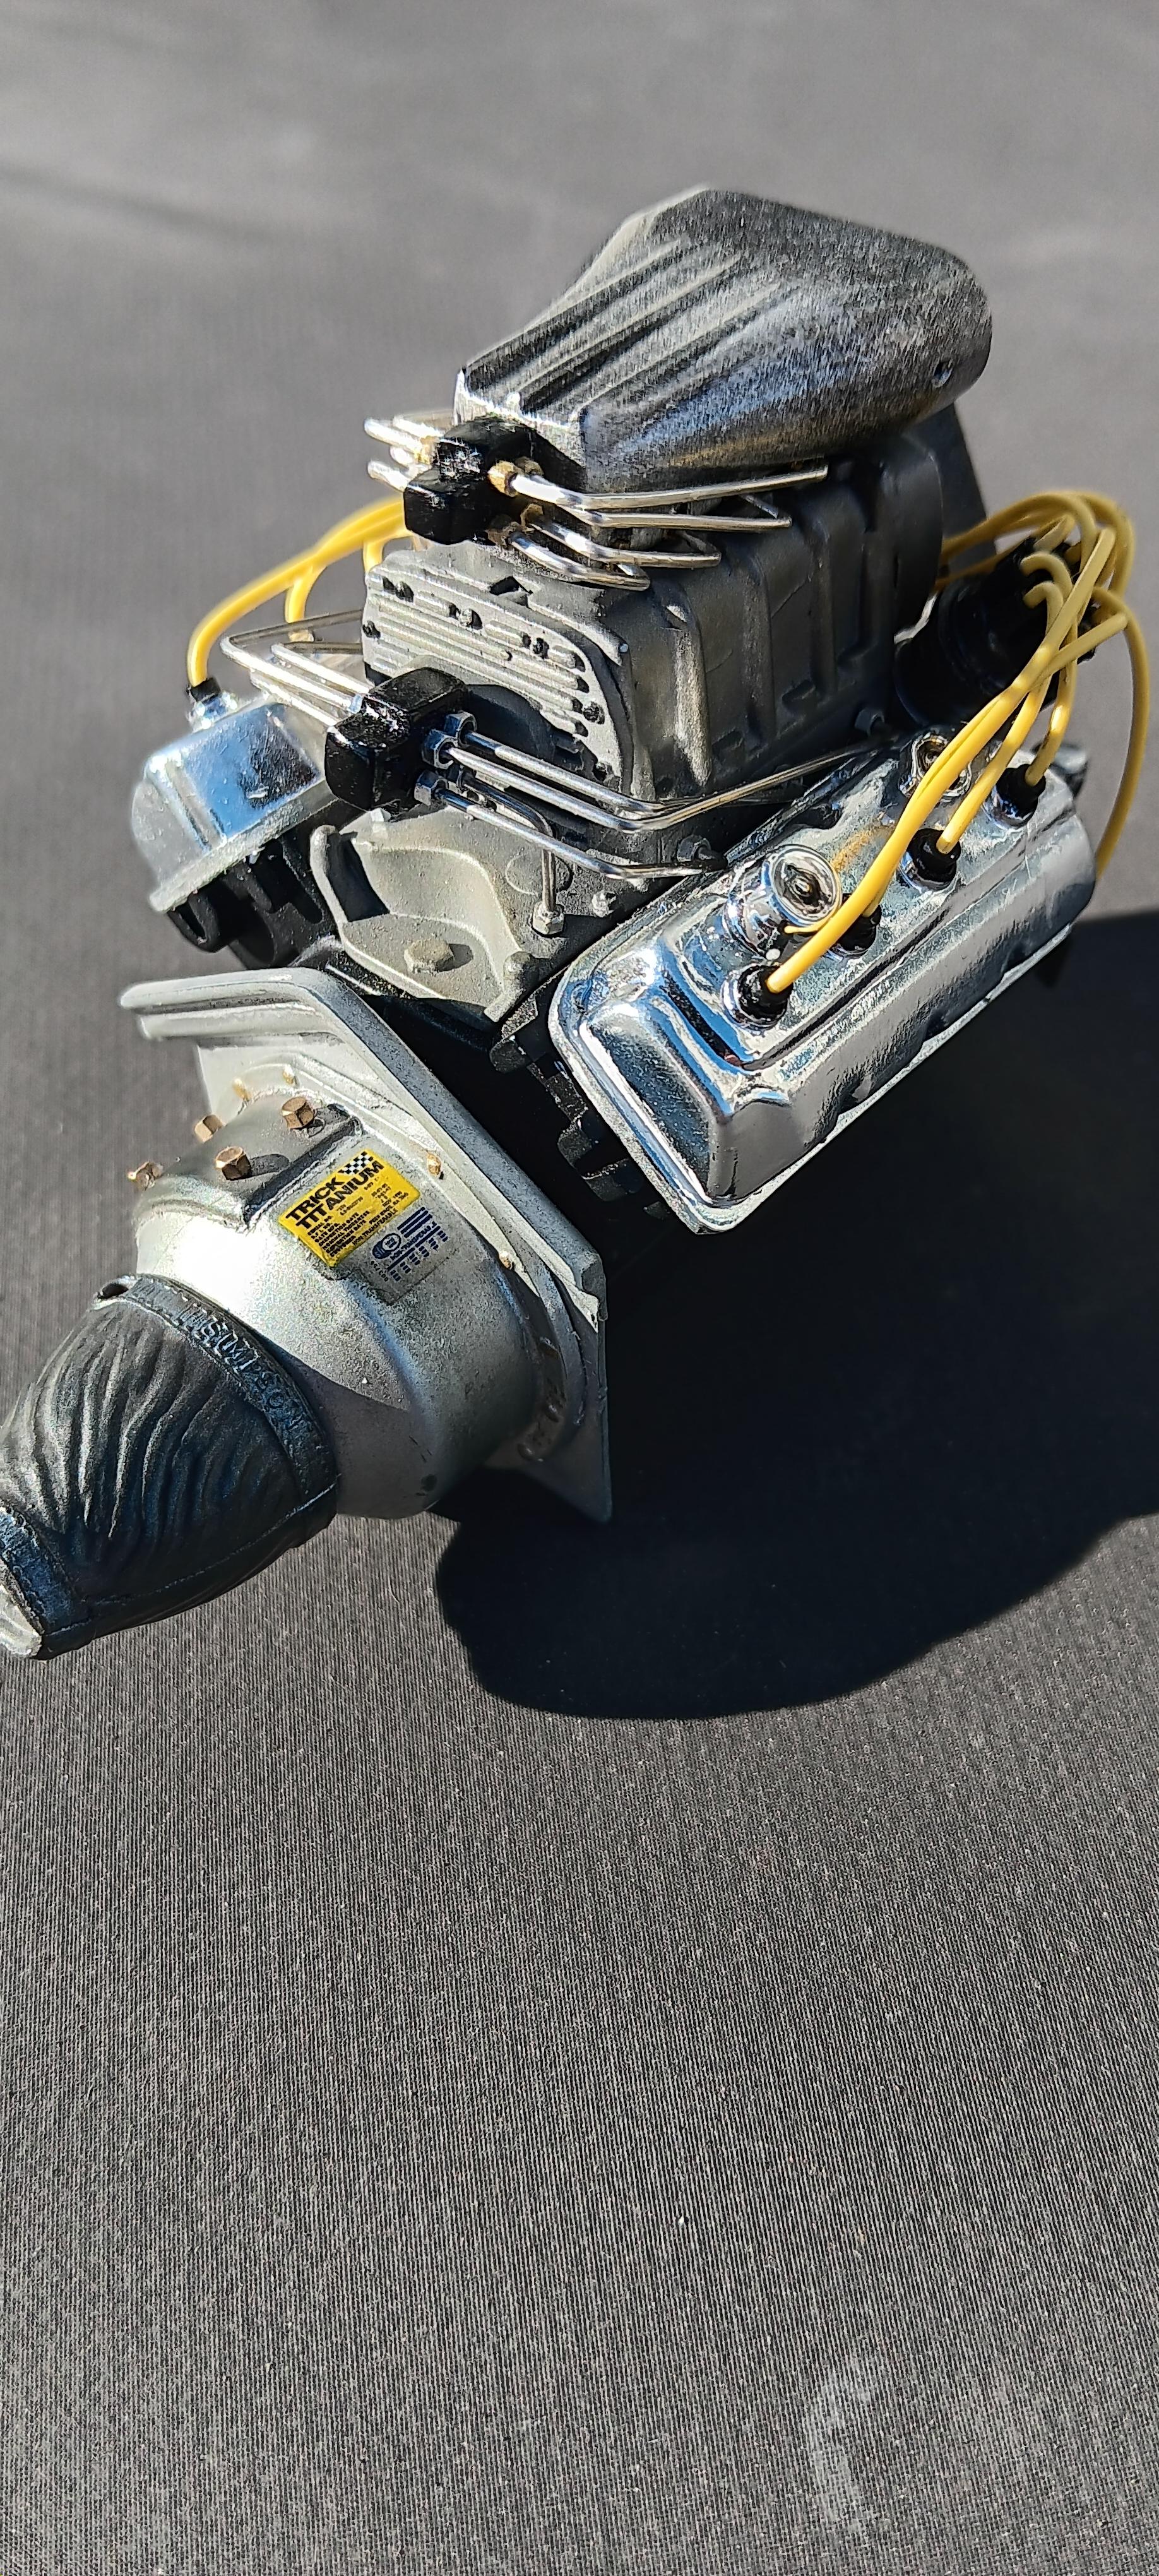
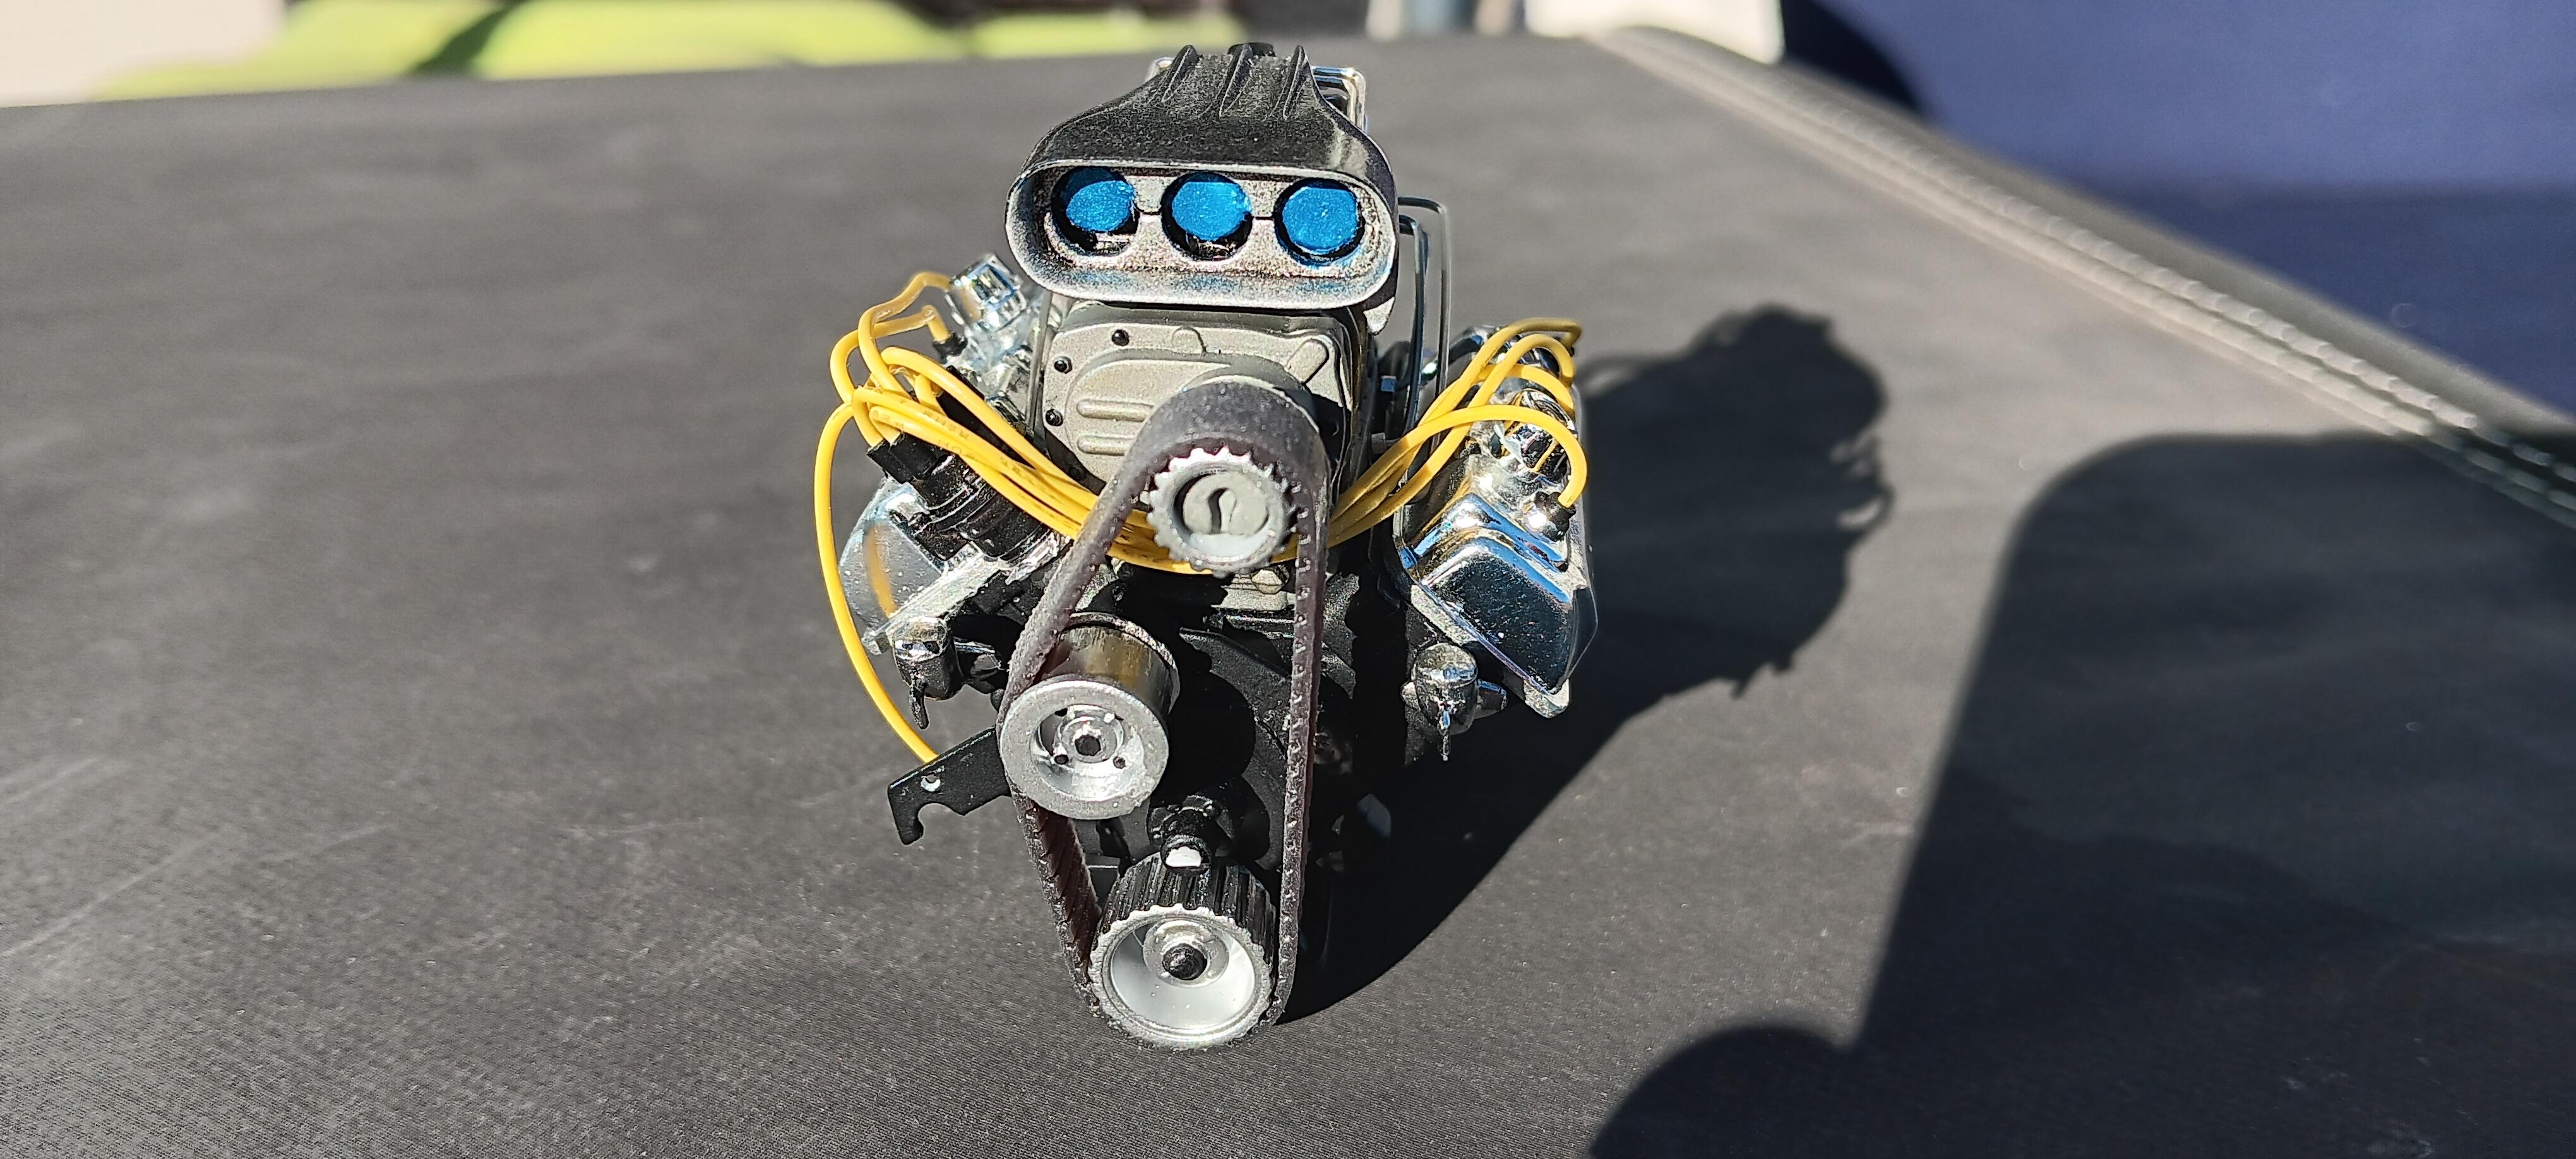
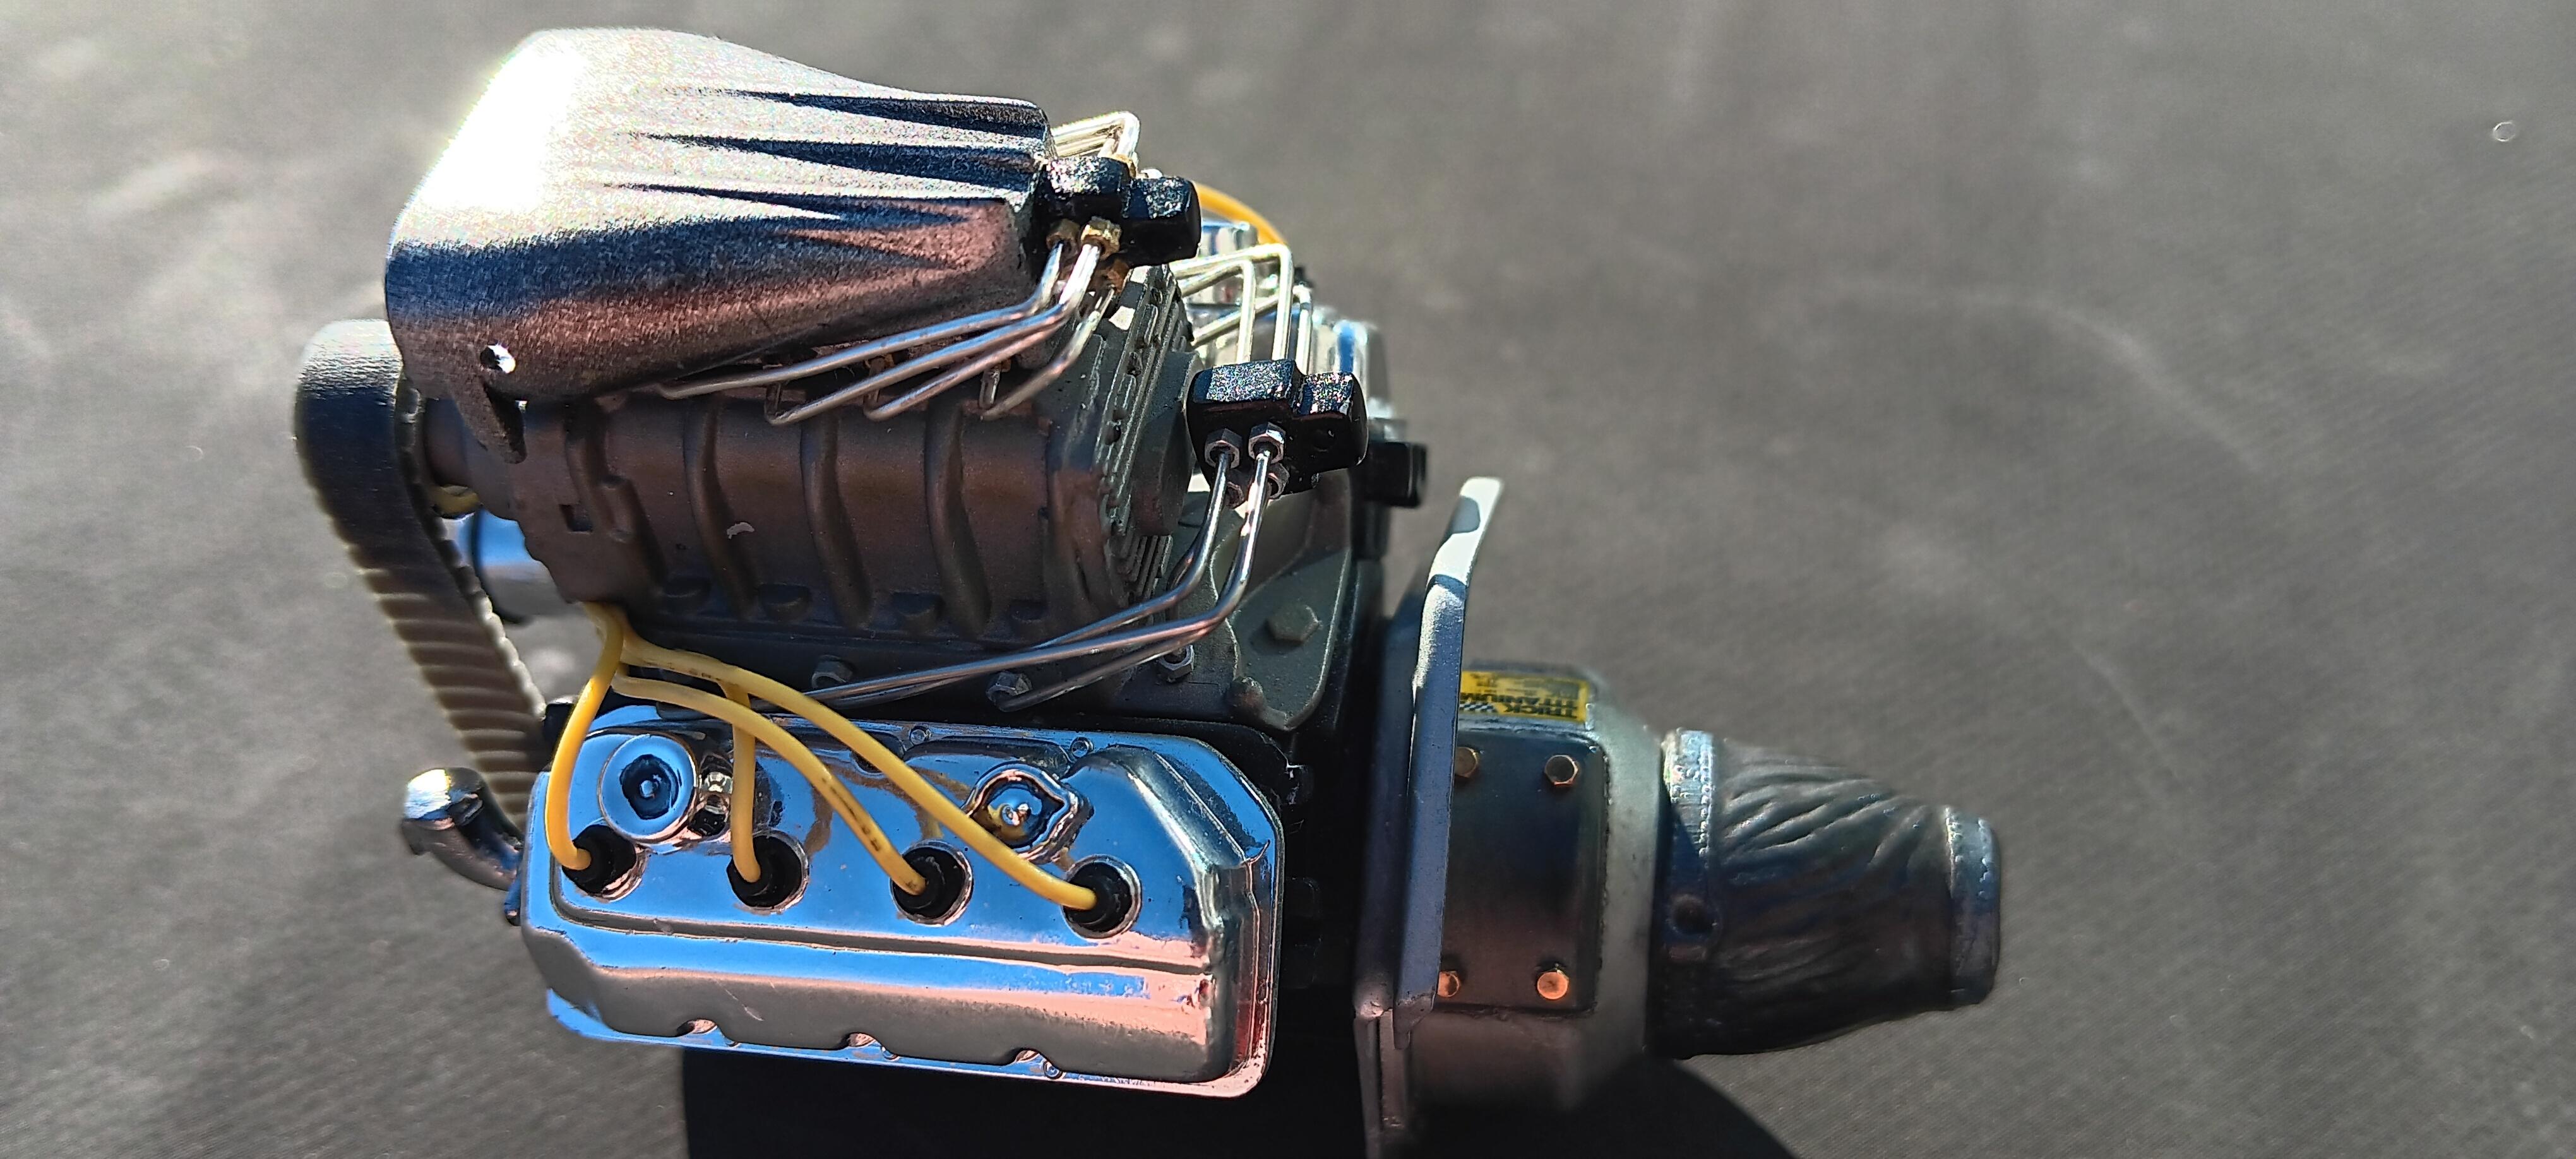
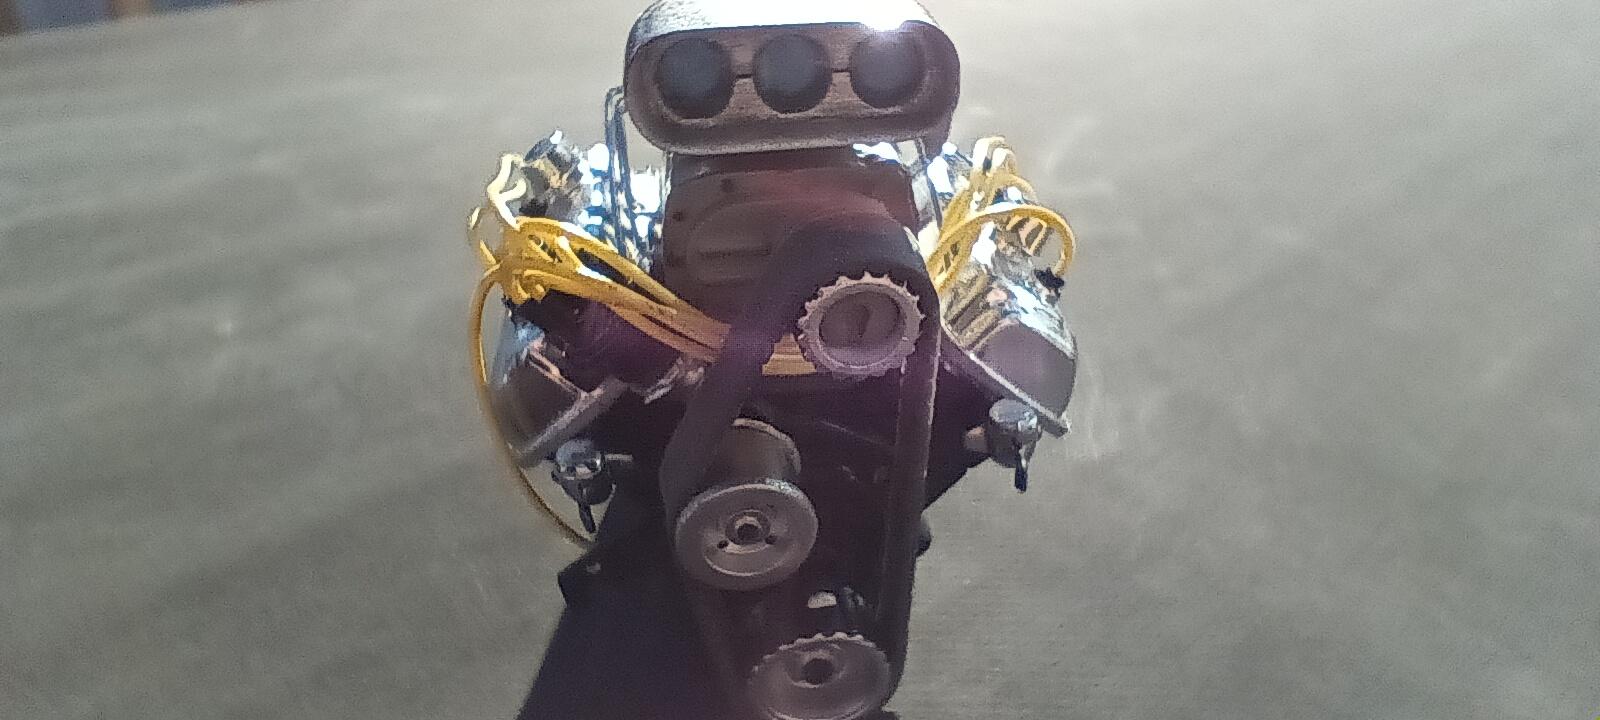
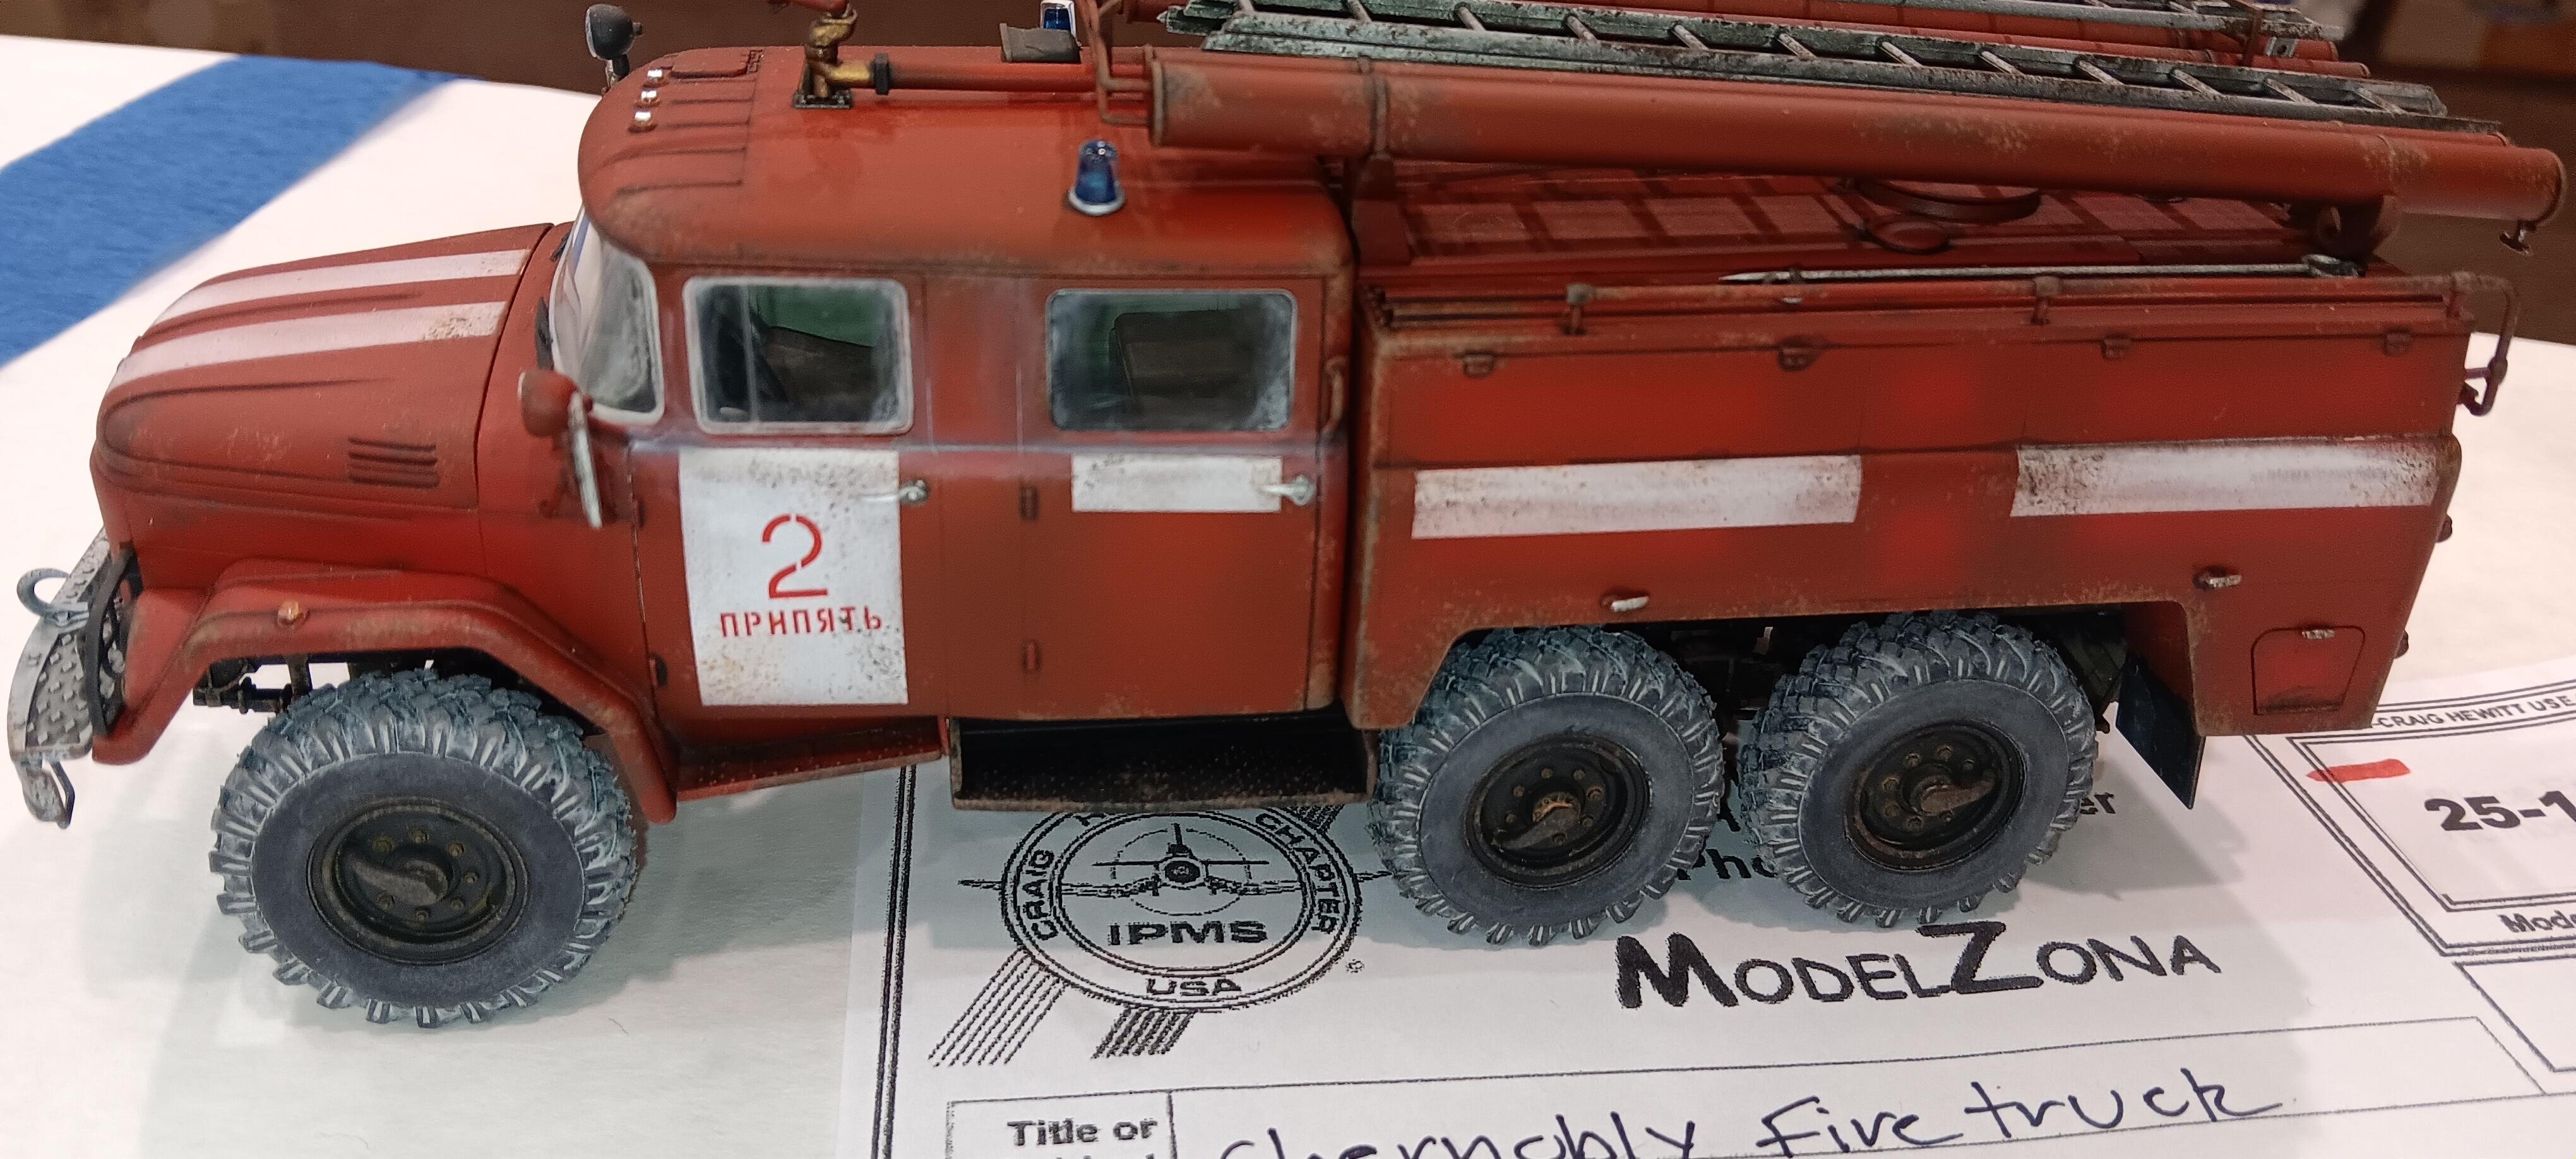
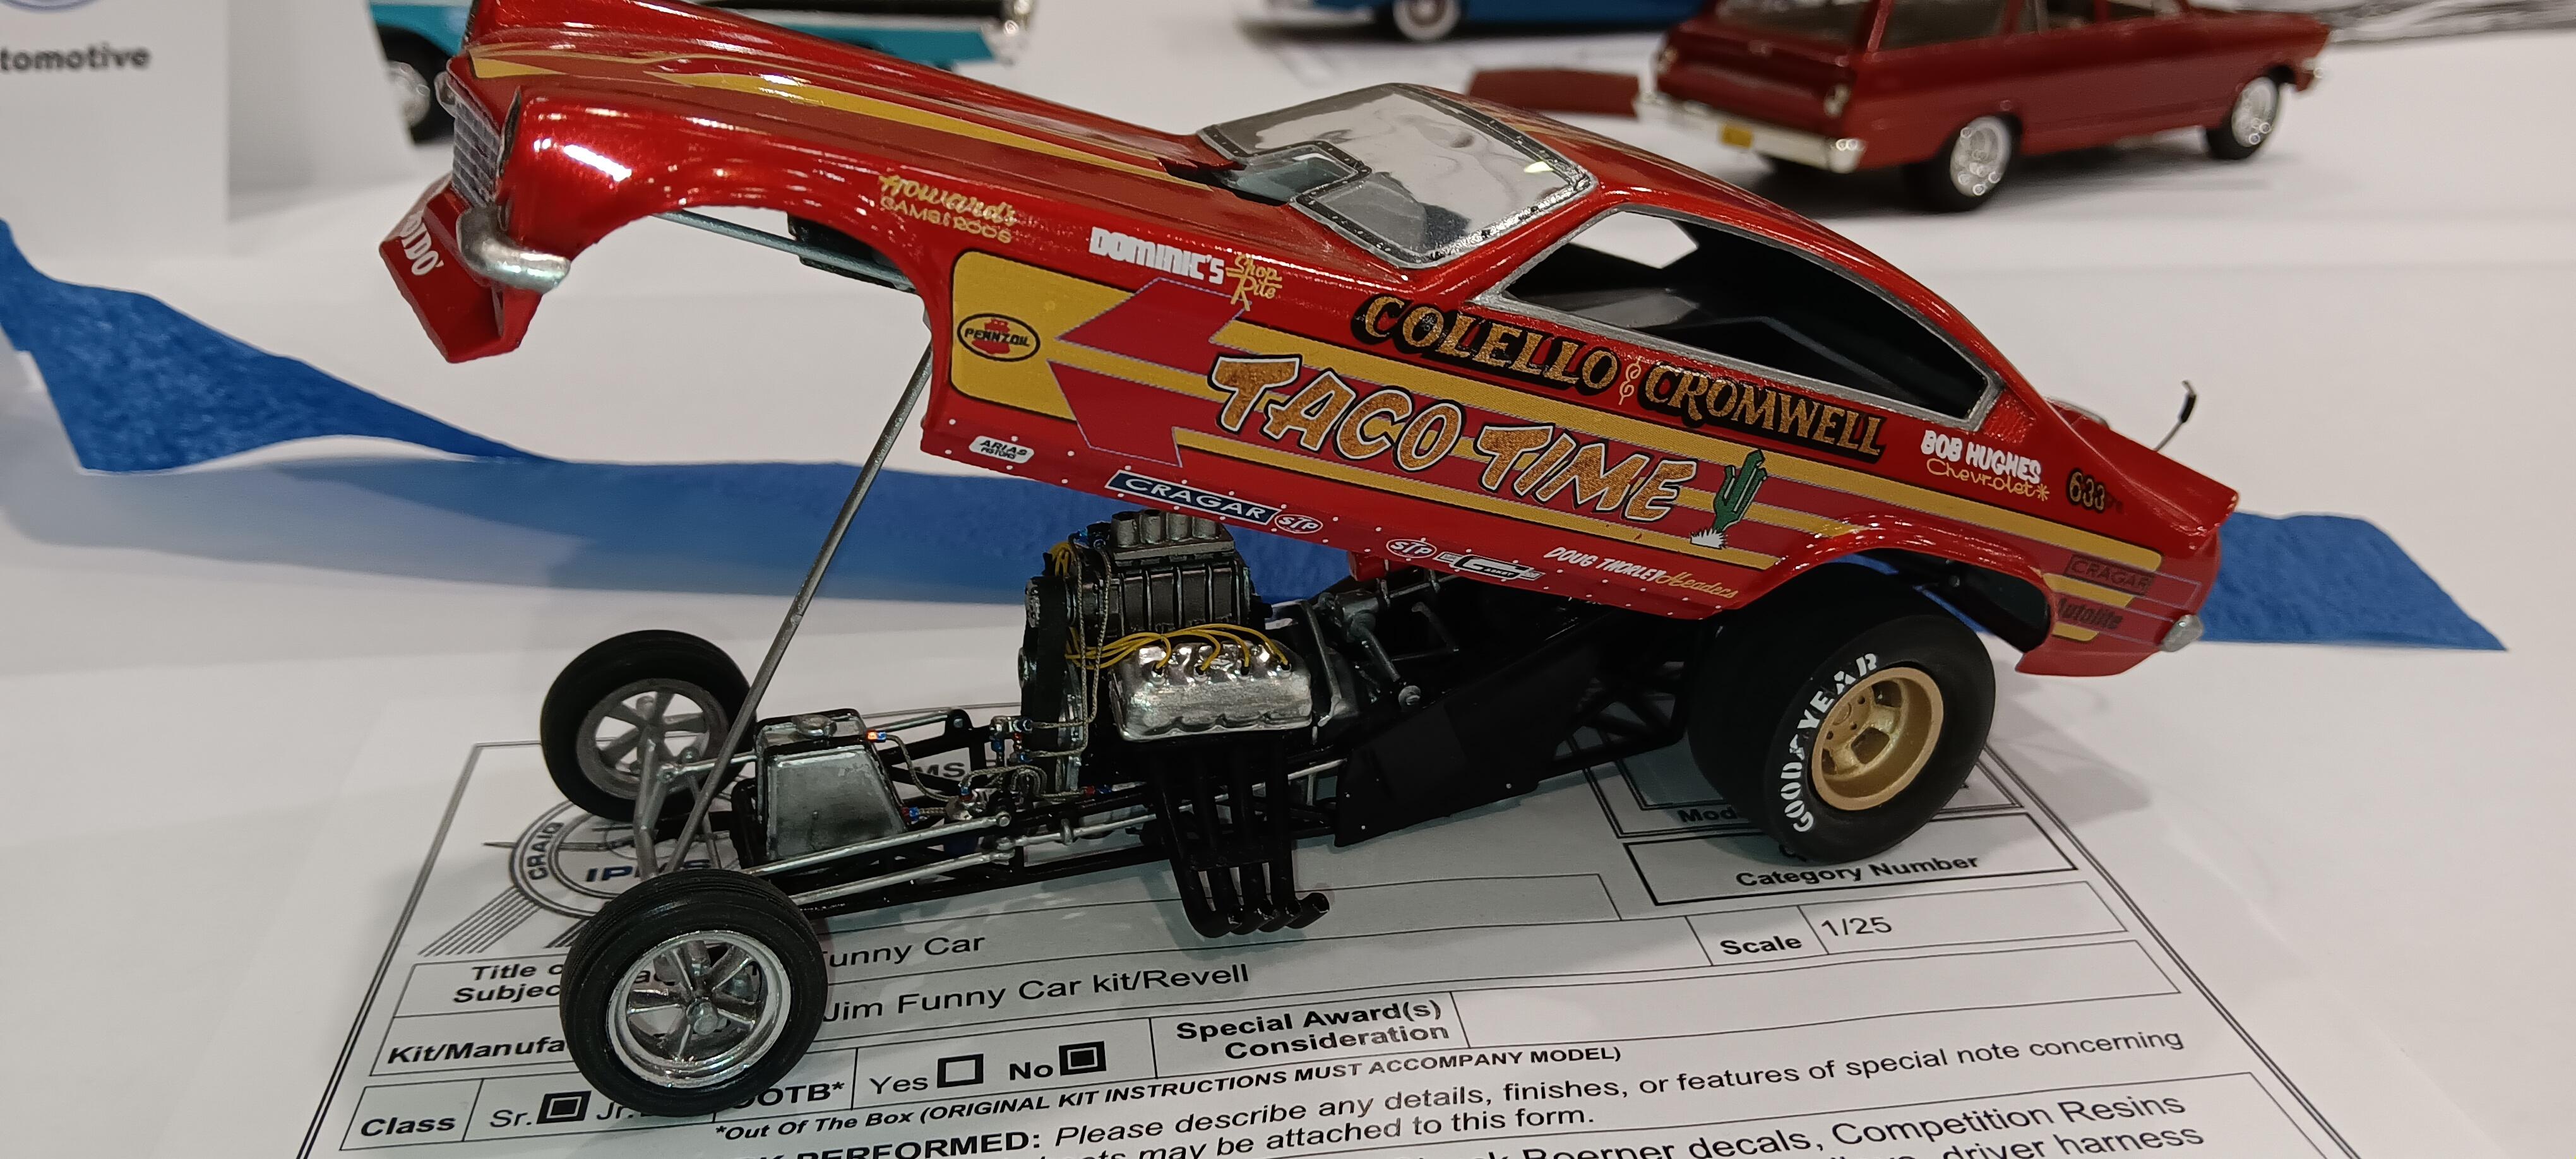
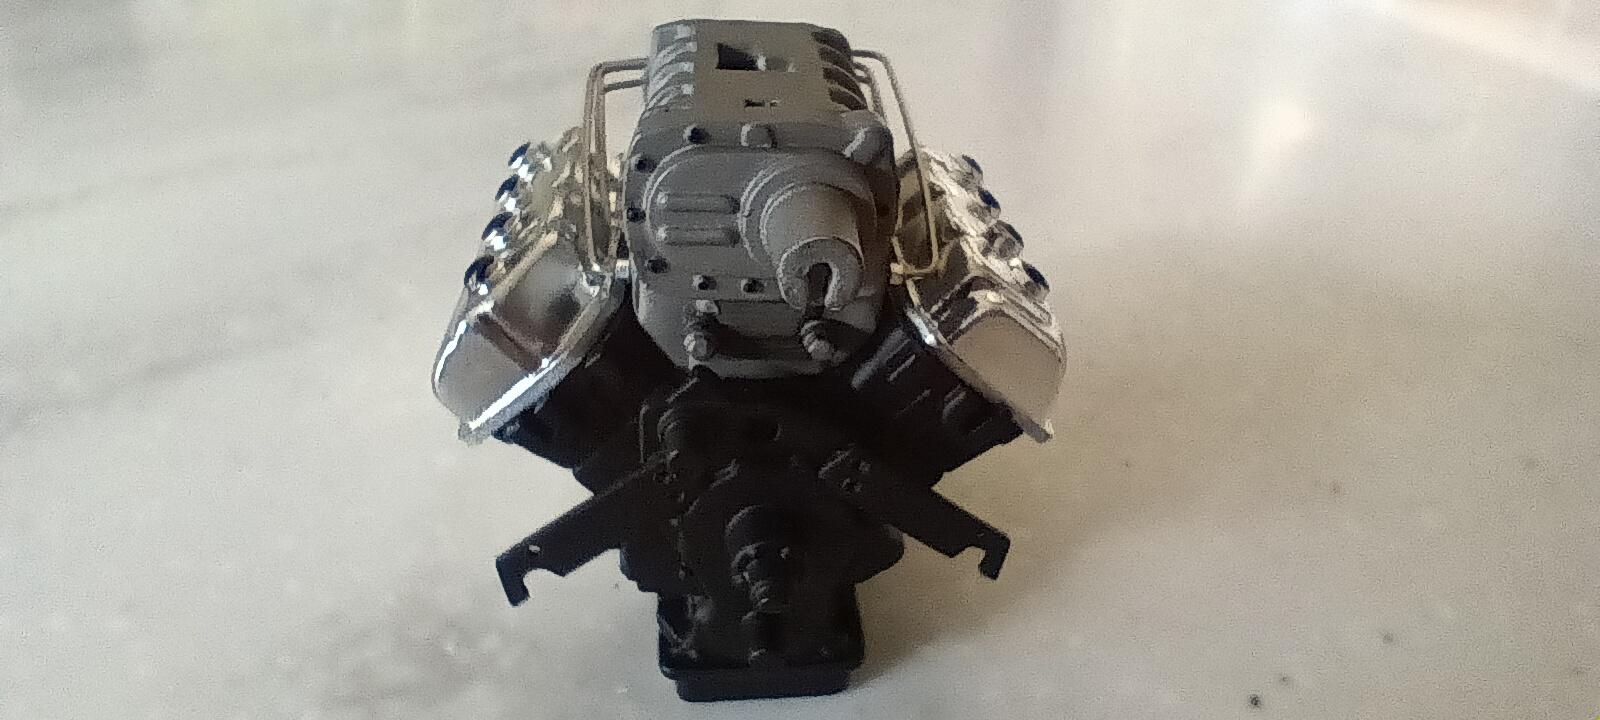
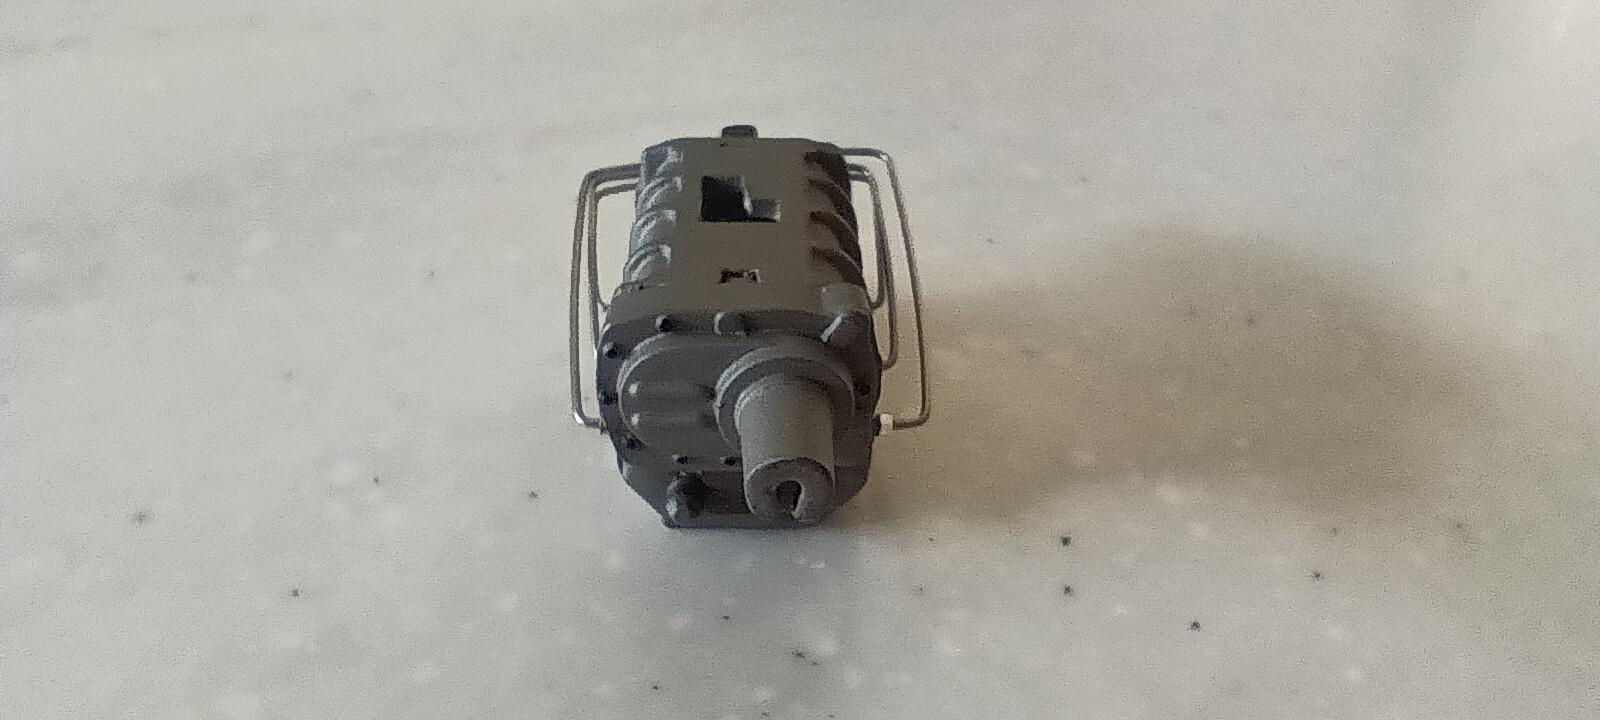
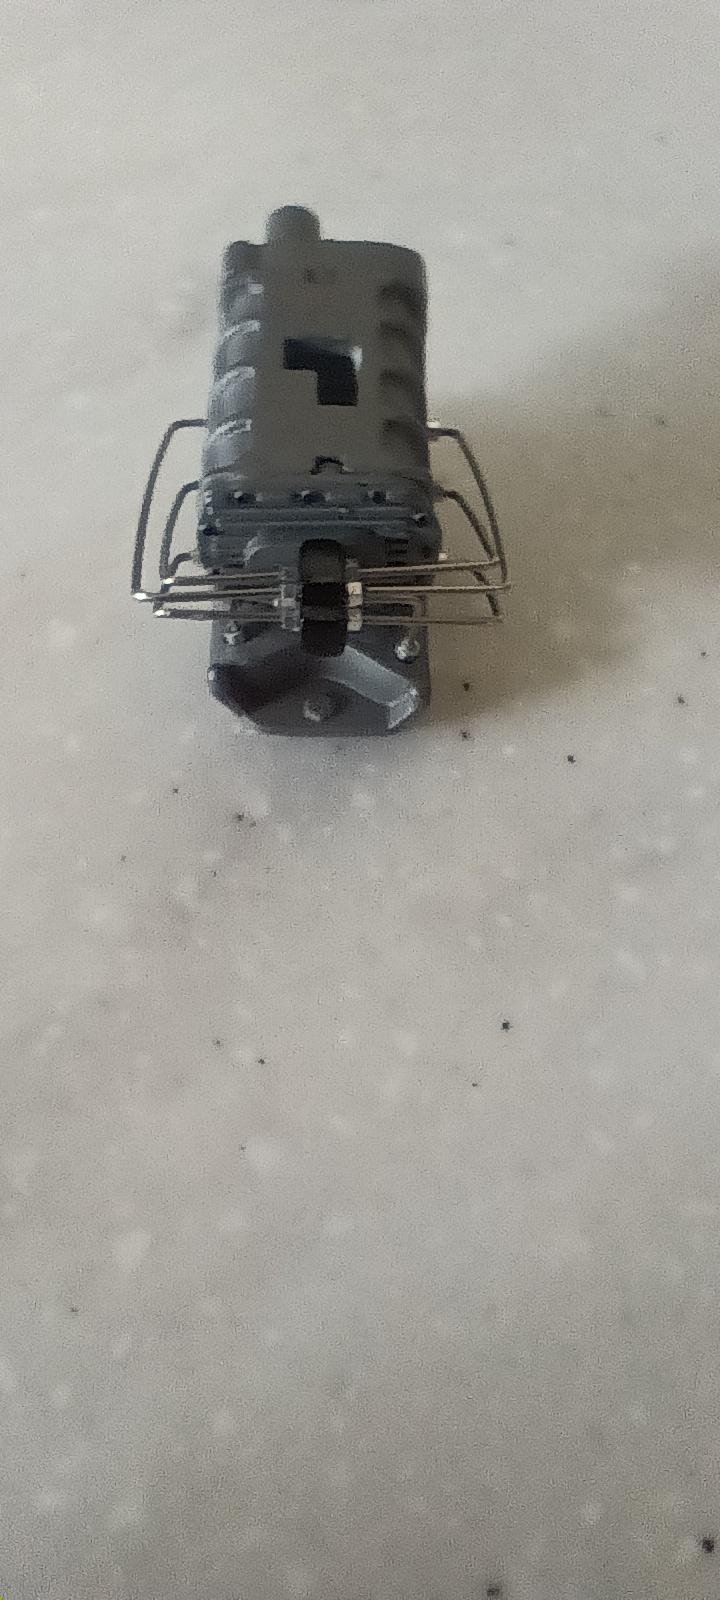
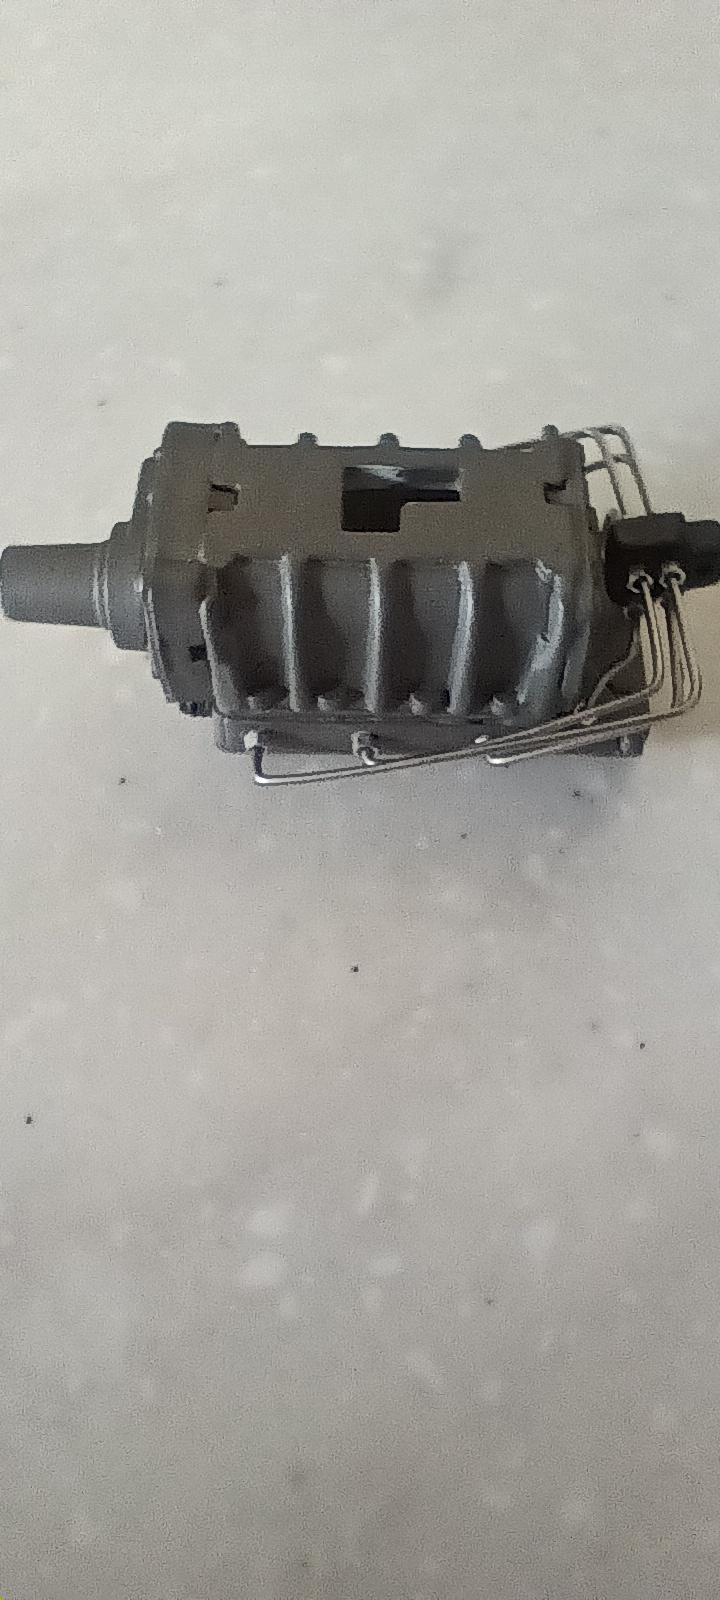
OK, so it's been a long time since I've done anything on this model. That's because I had to build a fire truck for a model show we had in Paso Robles, CA honoring war heroes and first responders. After that i was able to get back on the funny car and made some progress. I got the bell housing and safety blanket painted and installed and used Scale Hardware bolts on the bell housing inspection plate. I've got the engine wired and unfortunately broke off the top right engine mount for the second time so i will be making another one for the third time! The cogged blower belt is from futurattraction and is a great piece. I need to find a decal to finish off the belt. Next I'll be working on the rest of the fuel system and oil lines too finish up the engine.

-
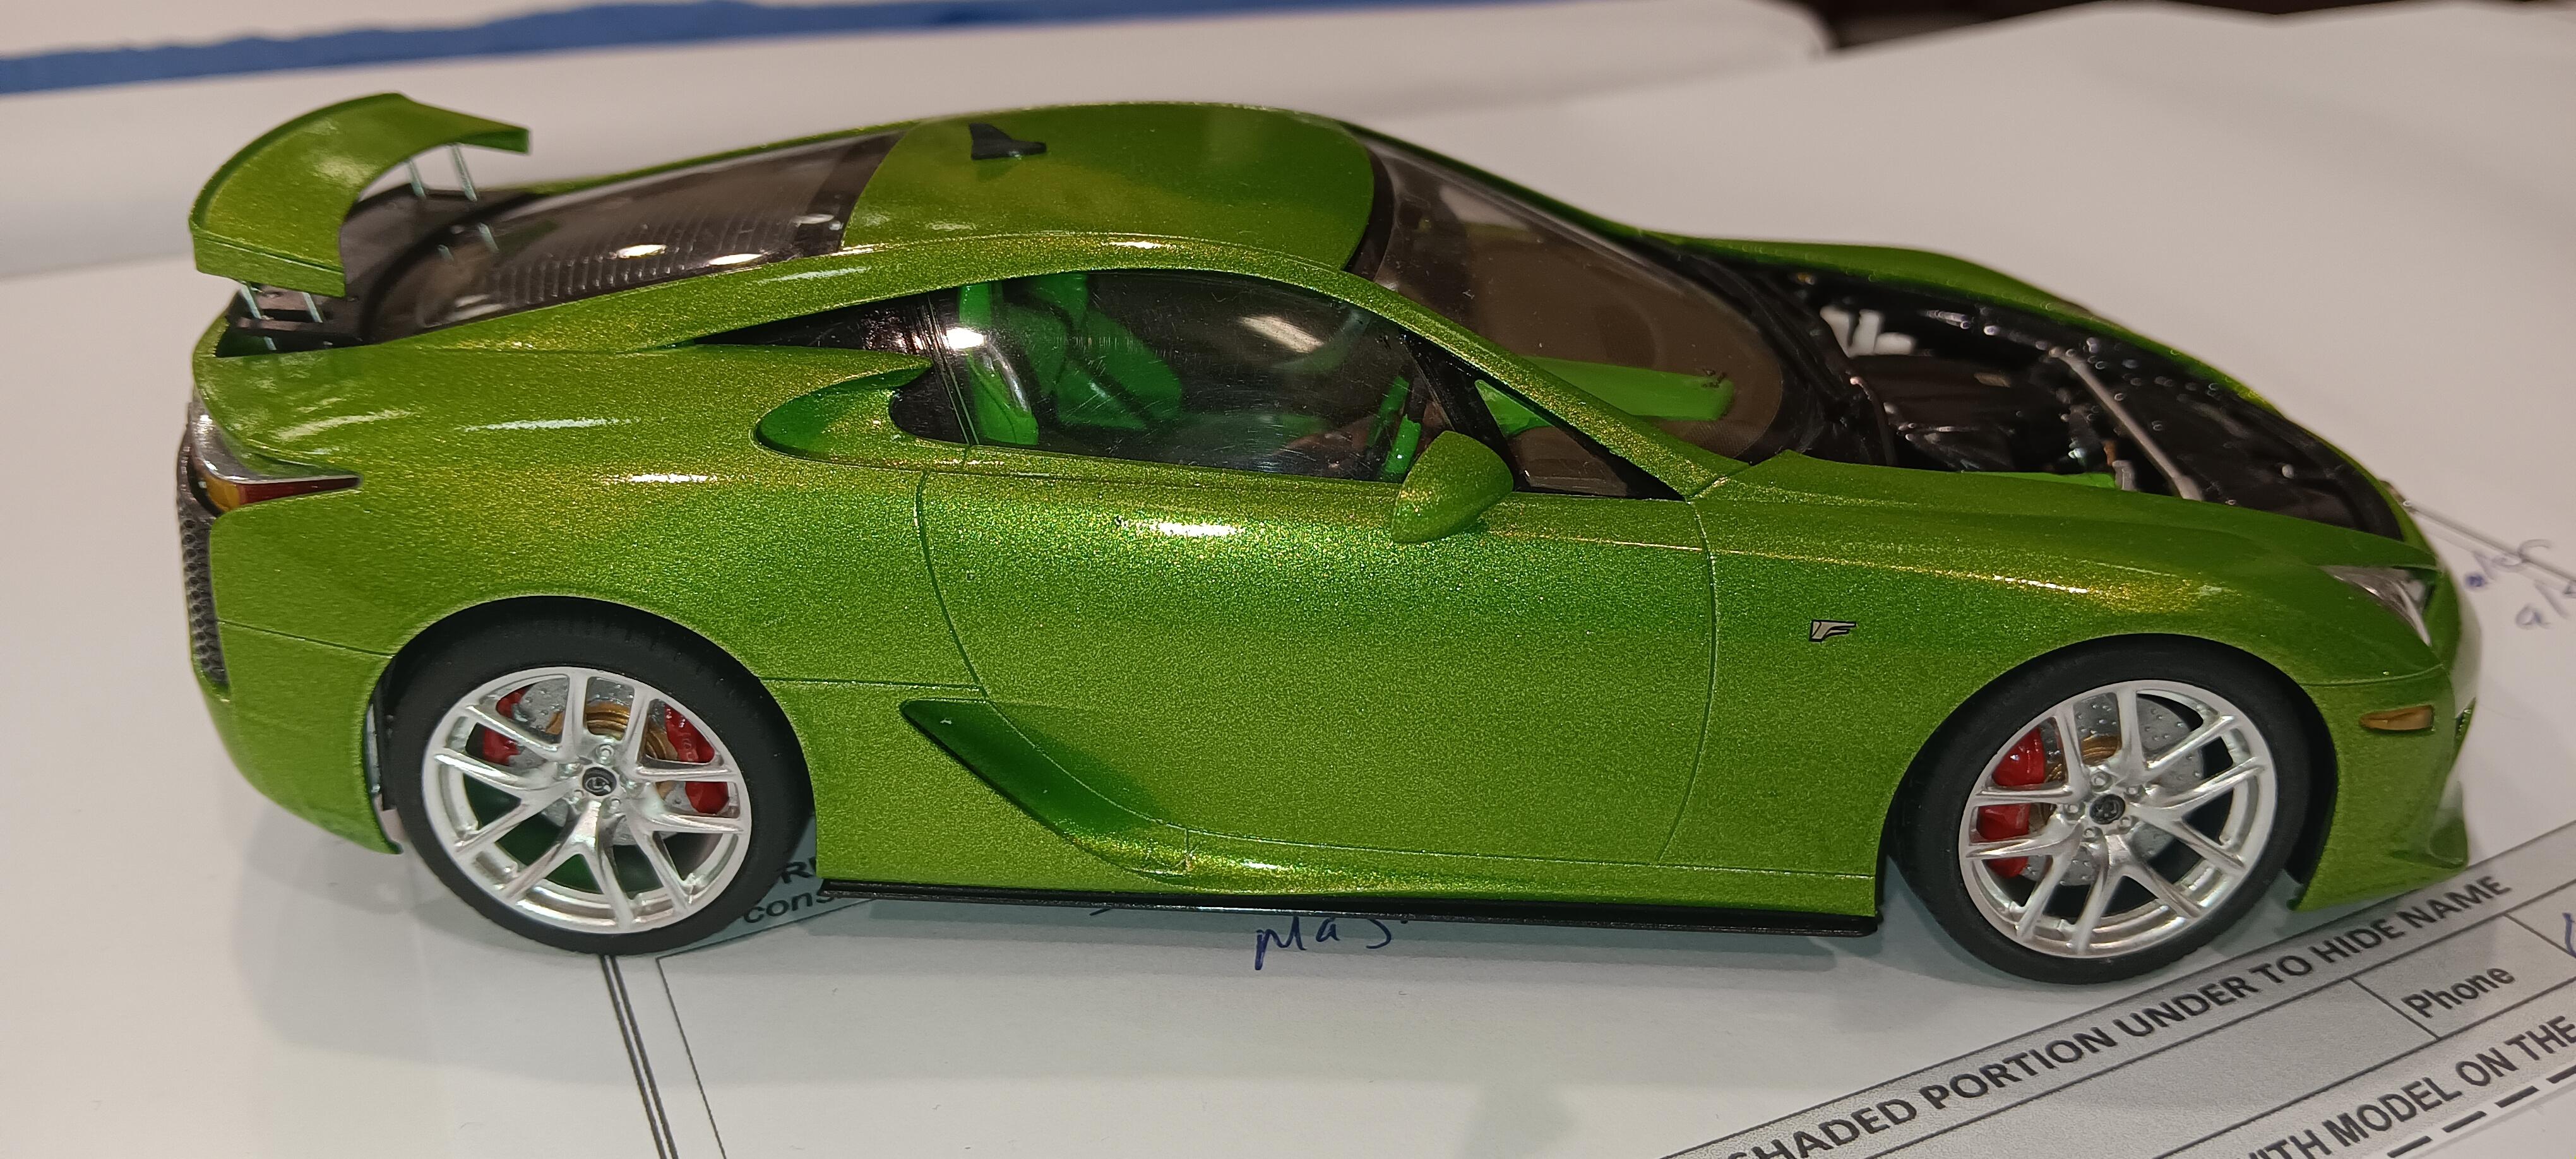
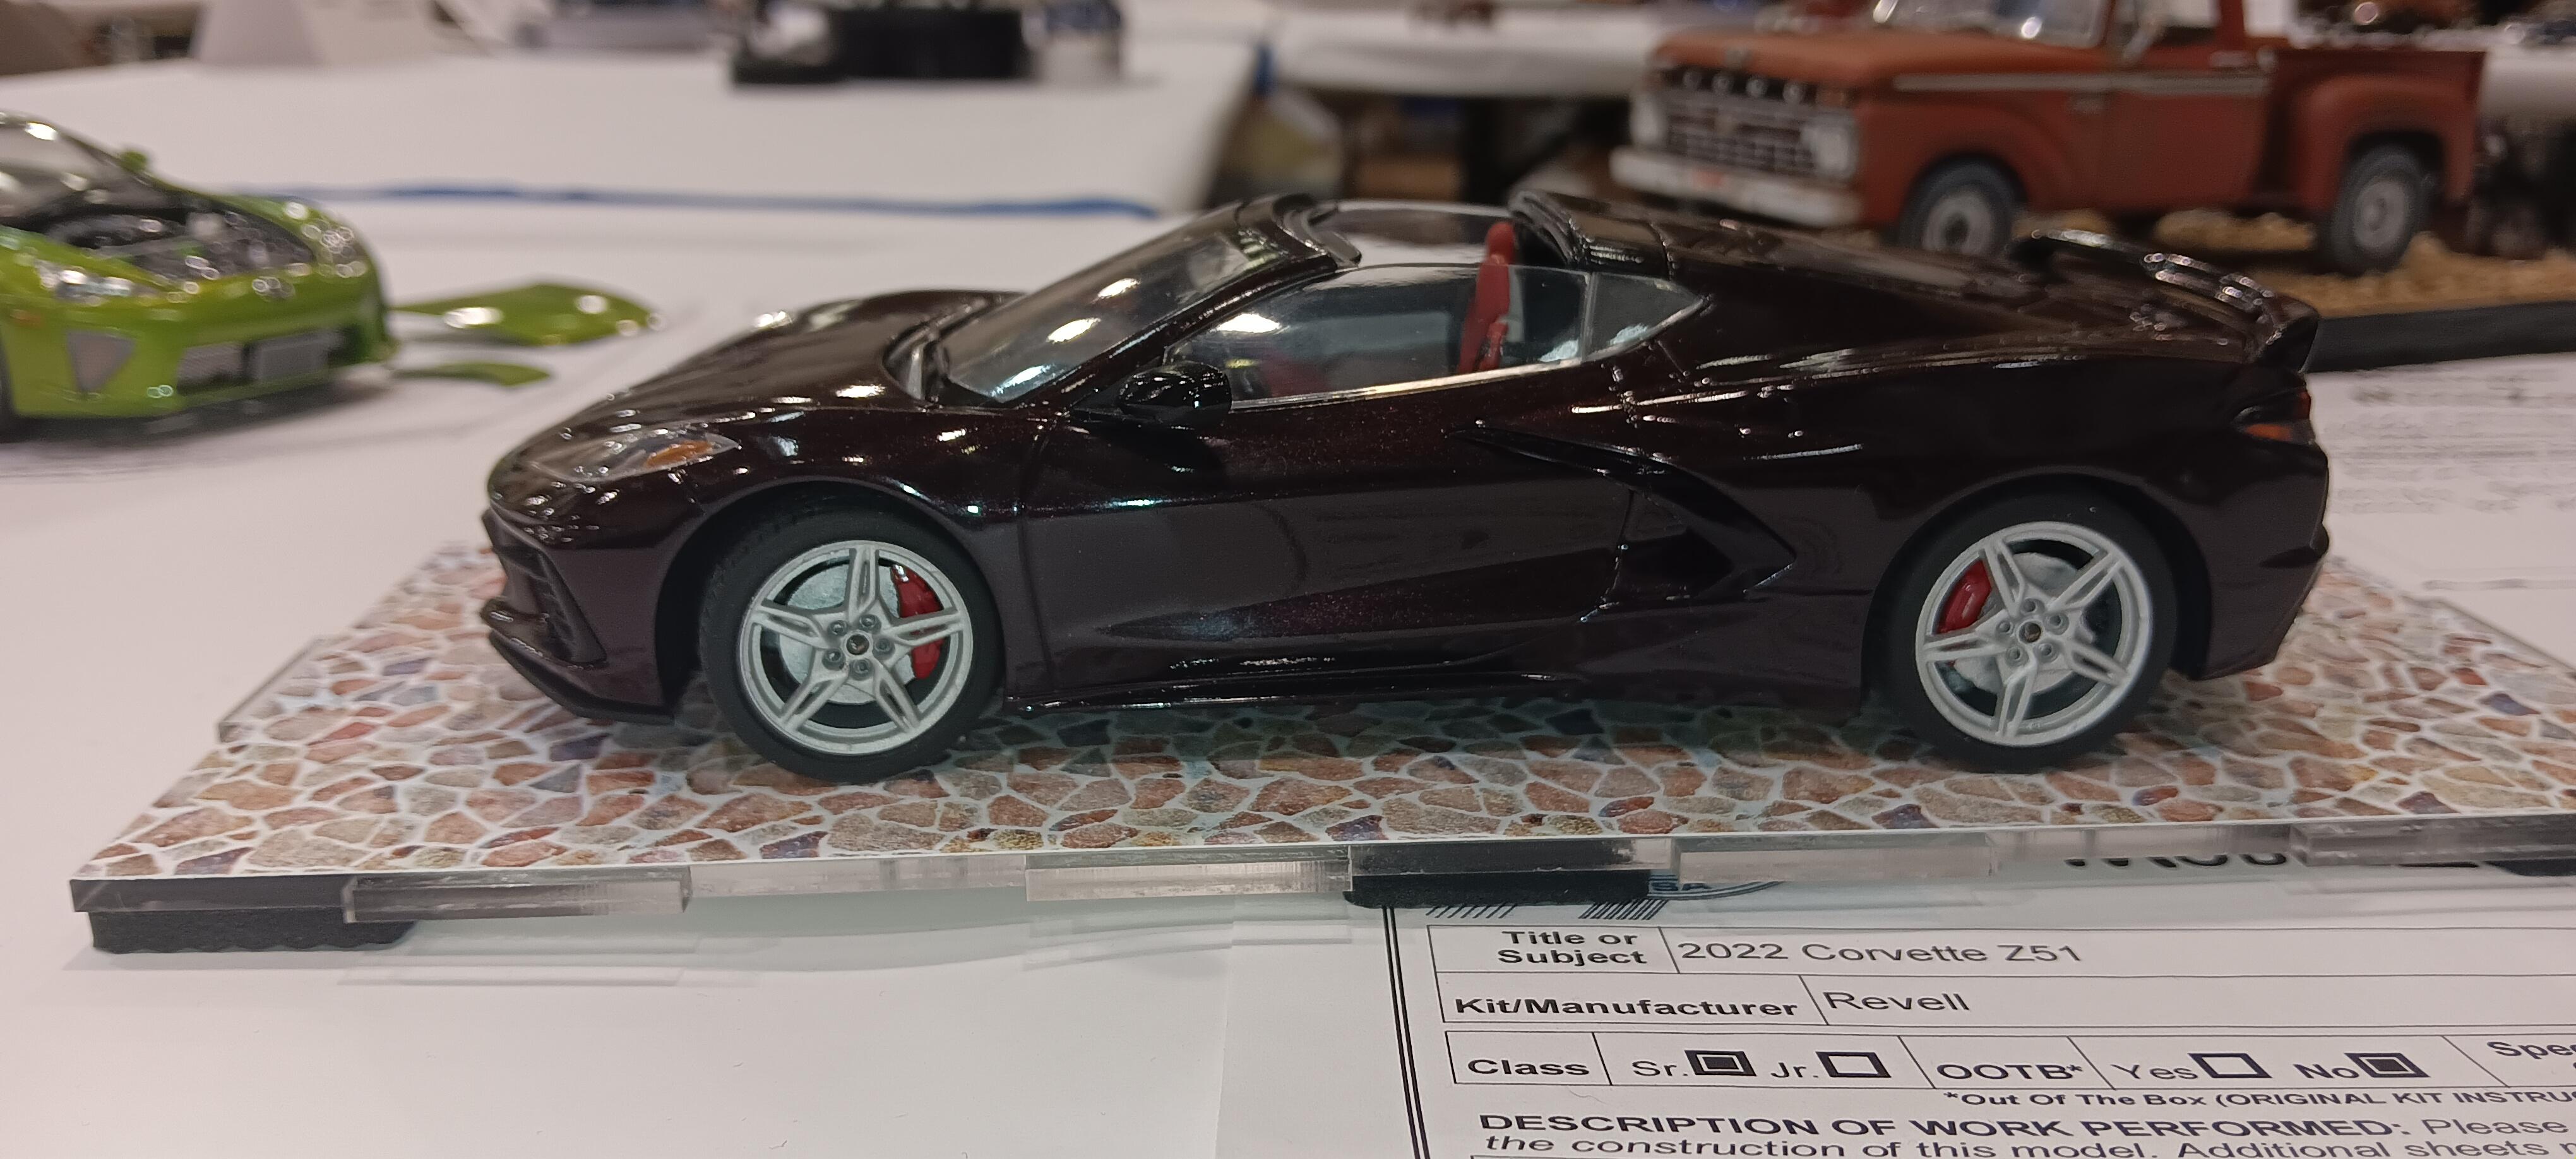
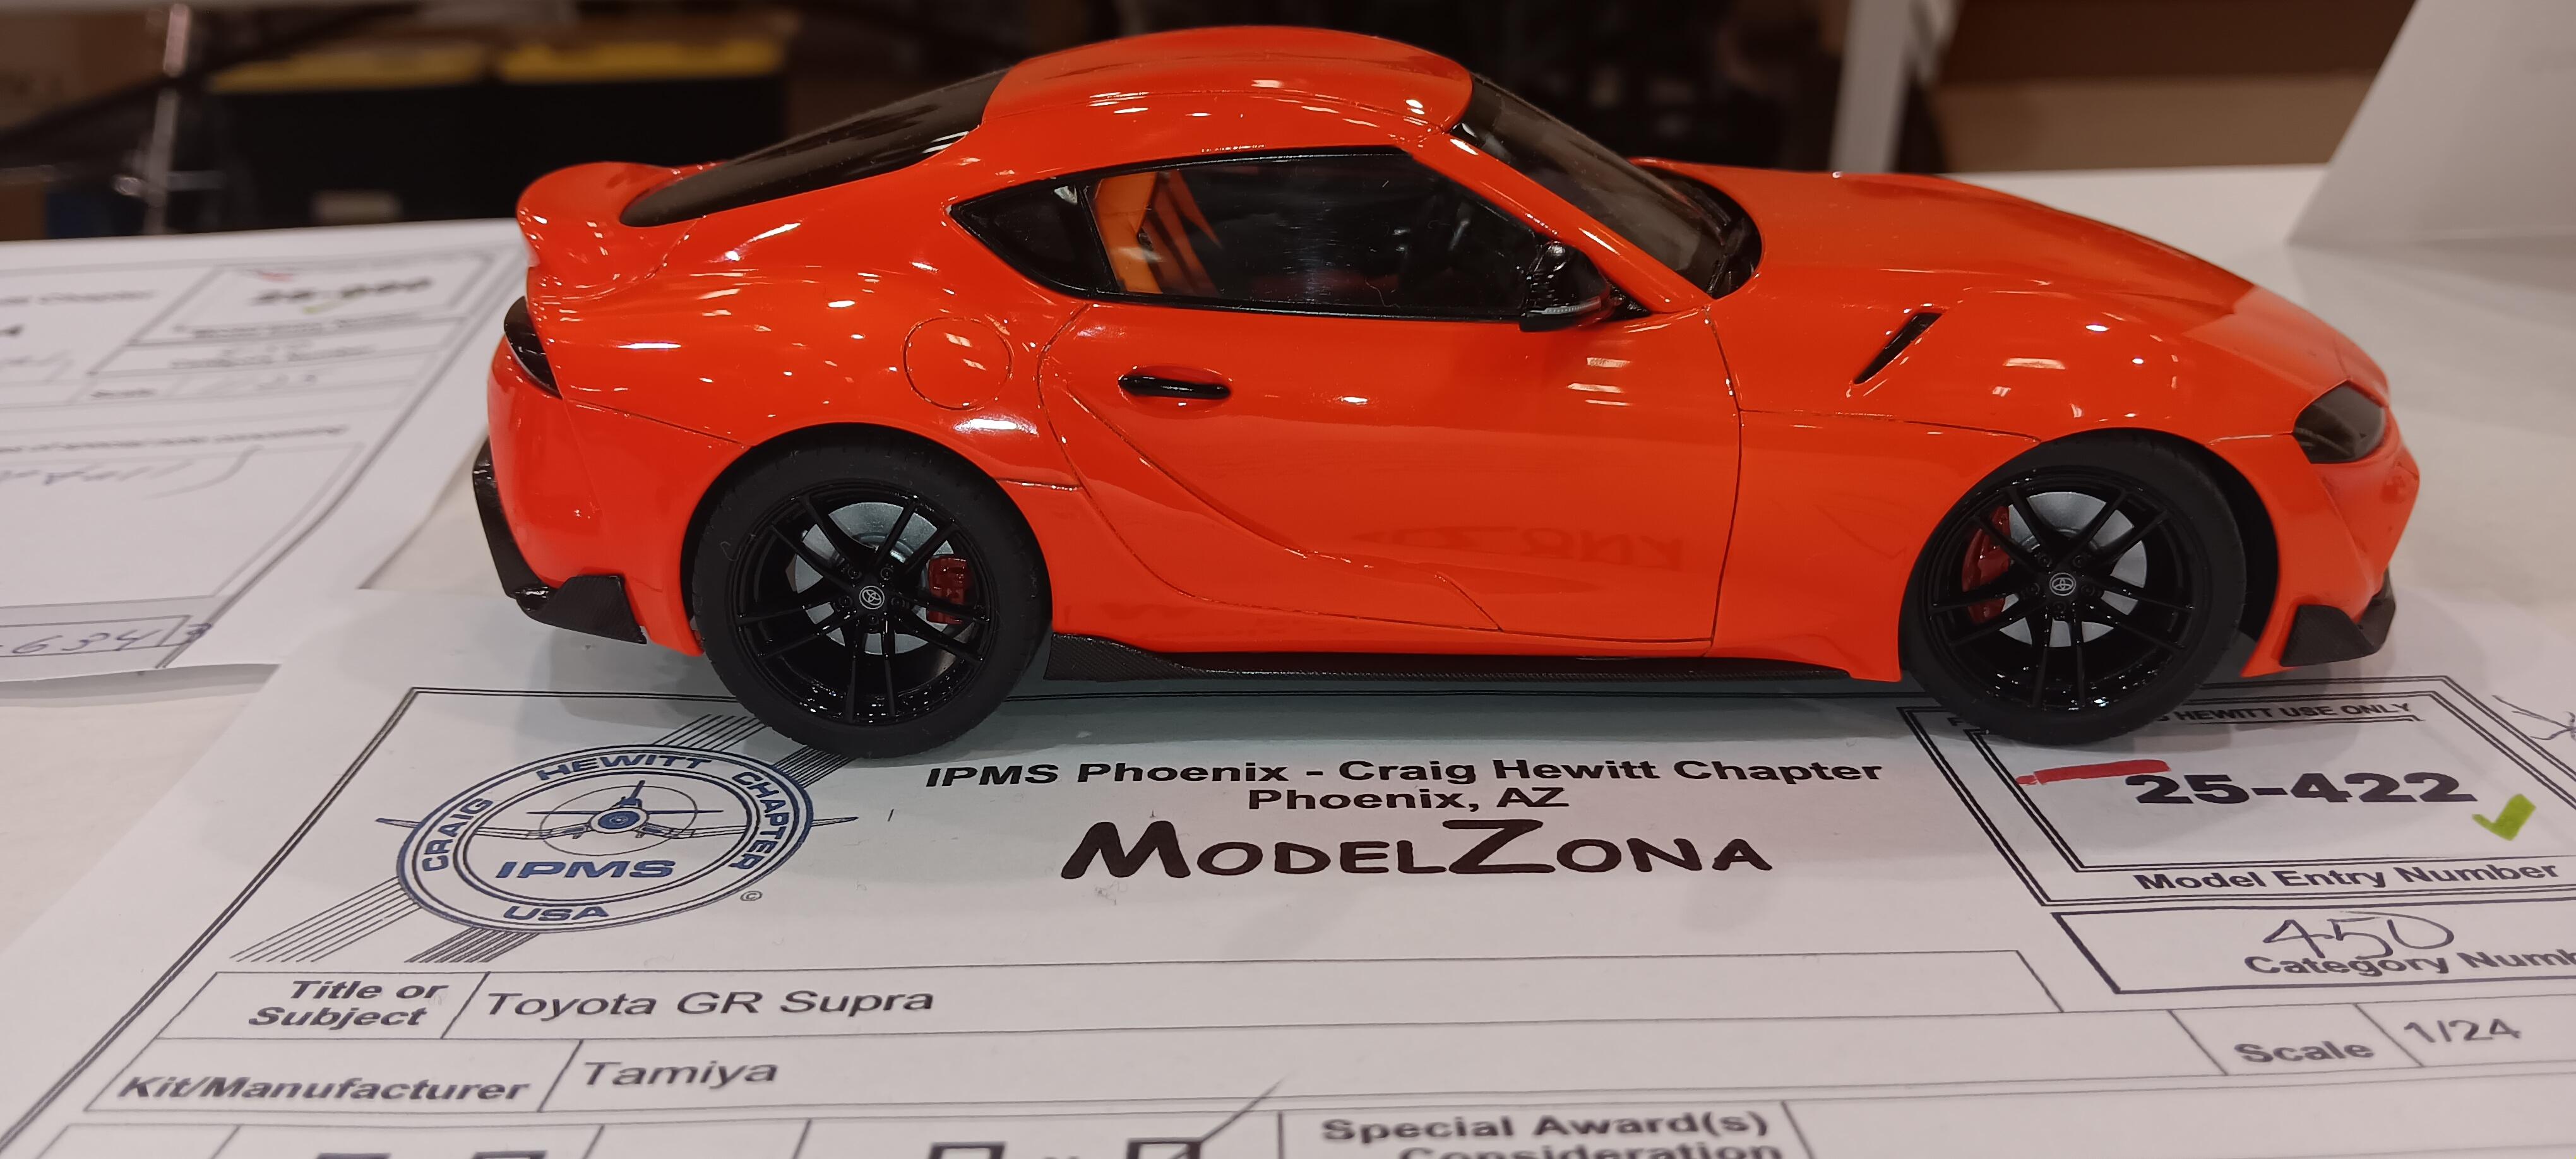
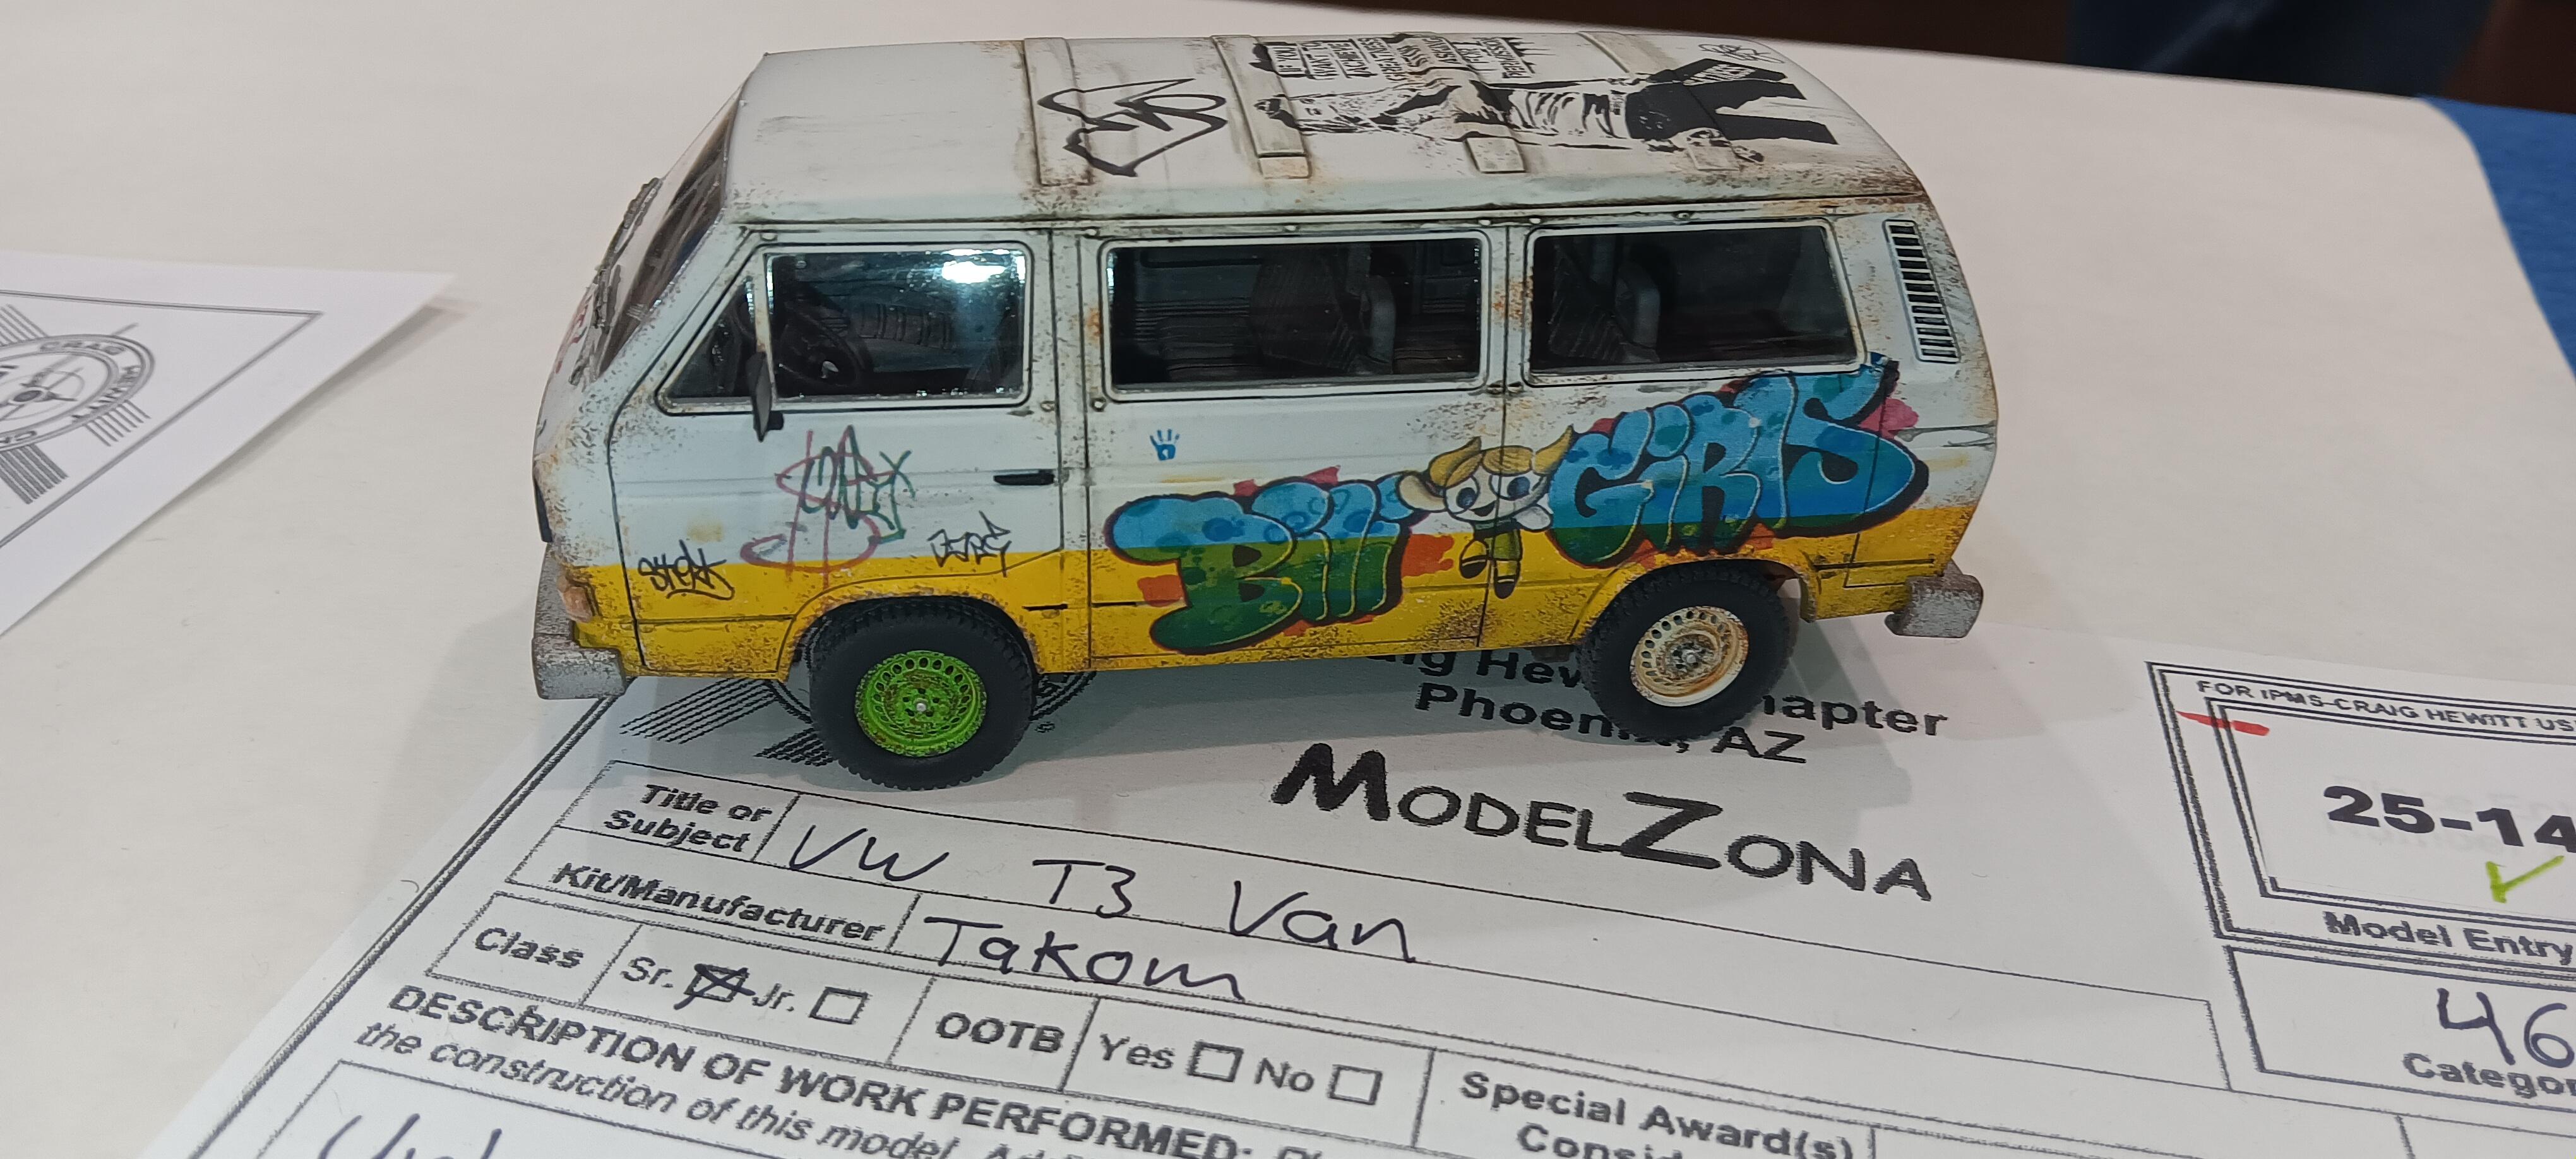
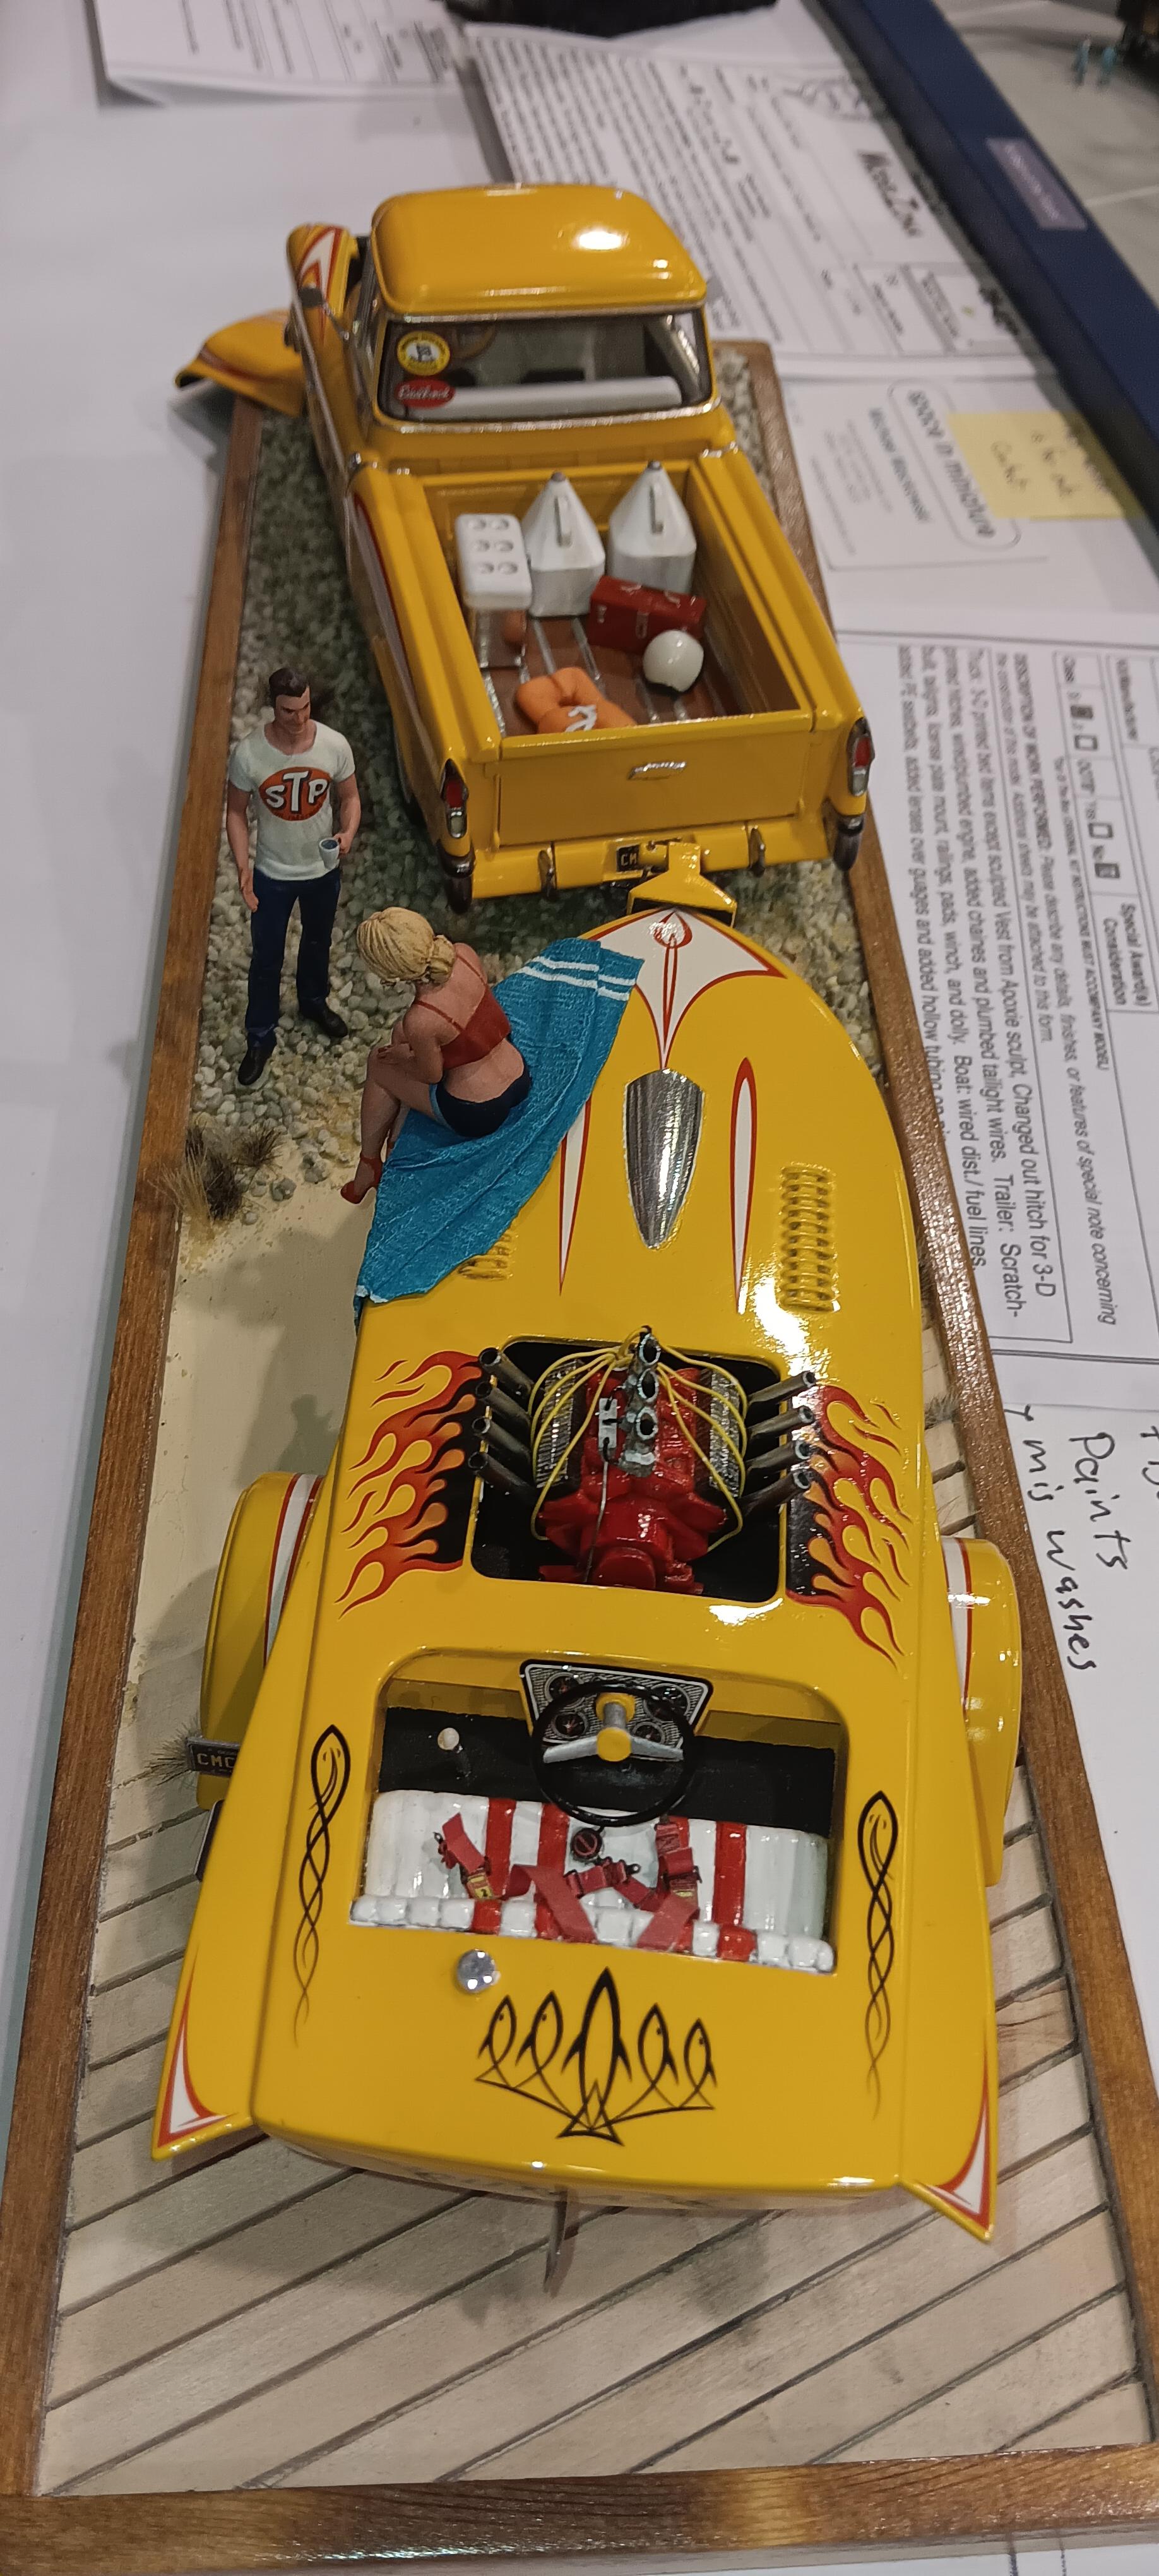
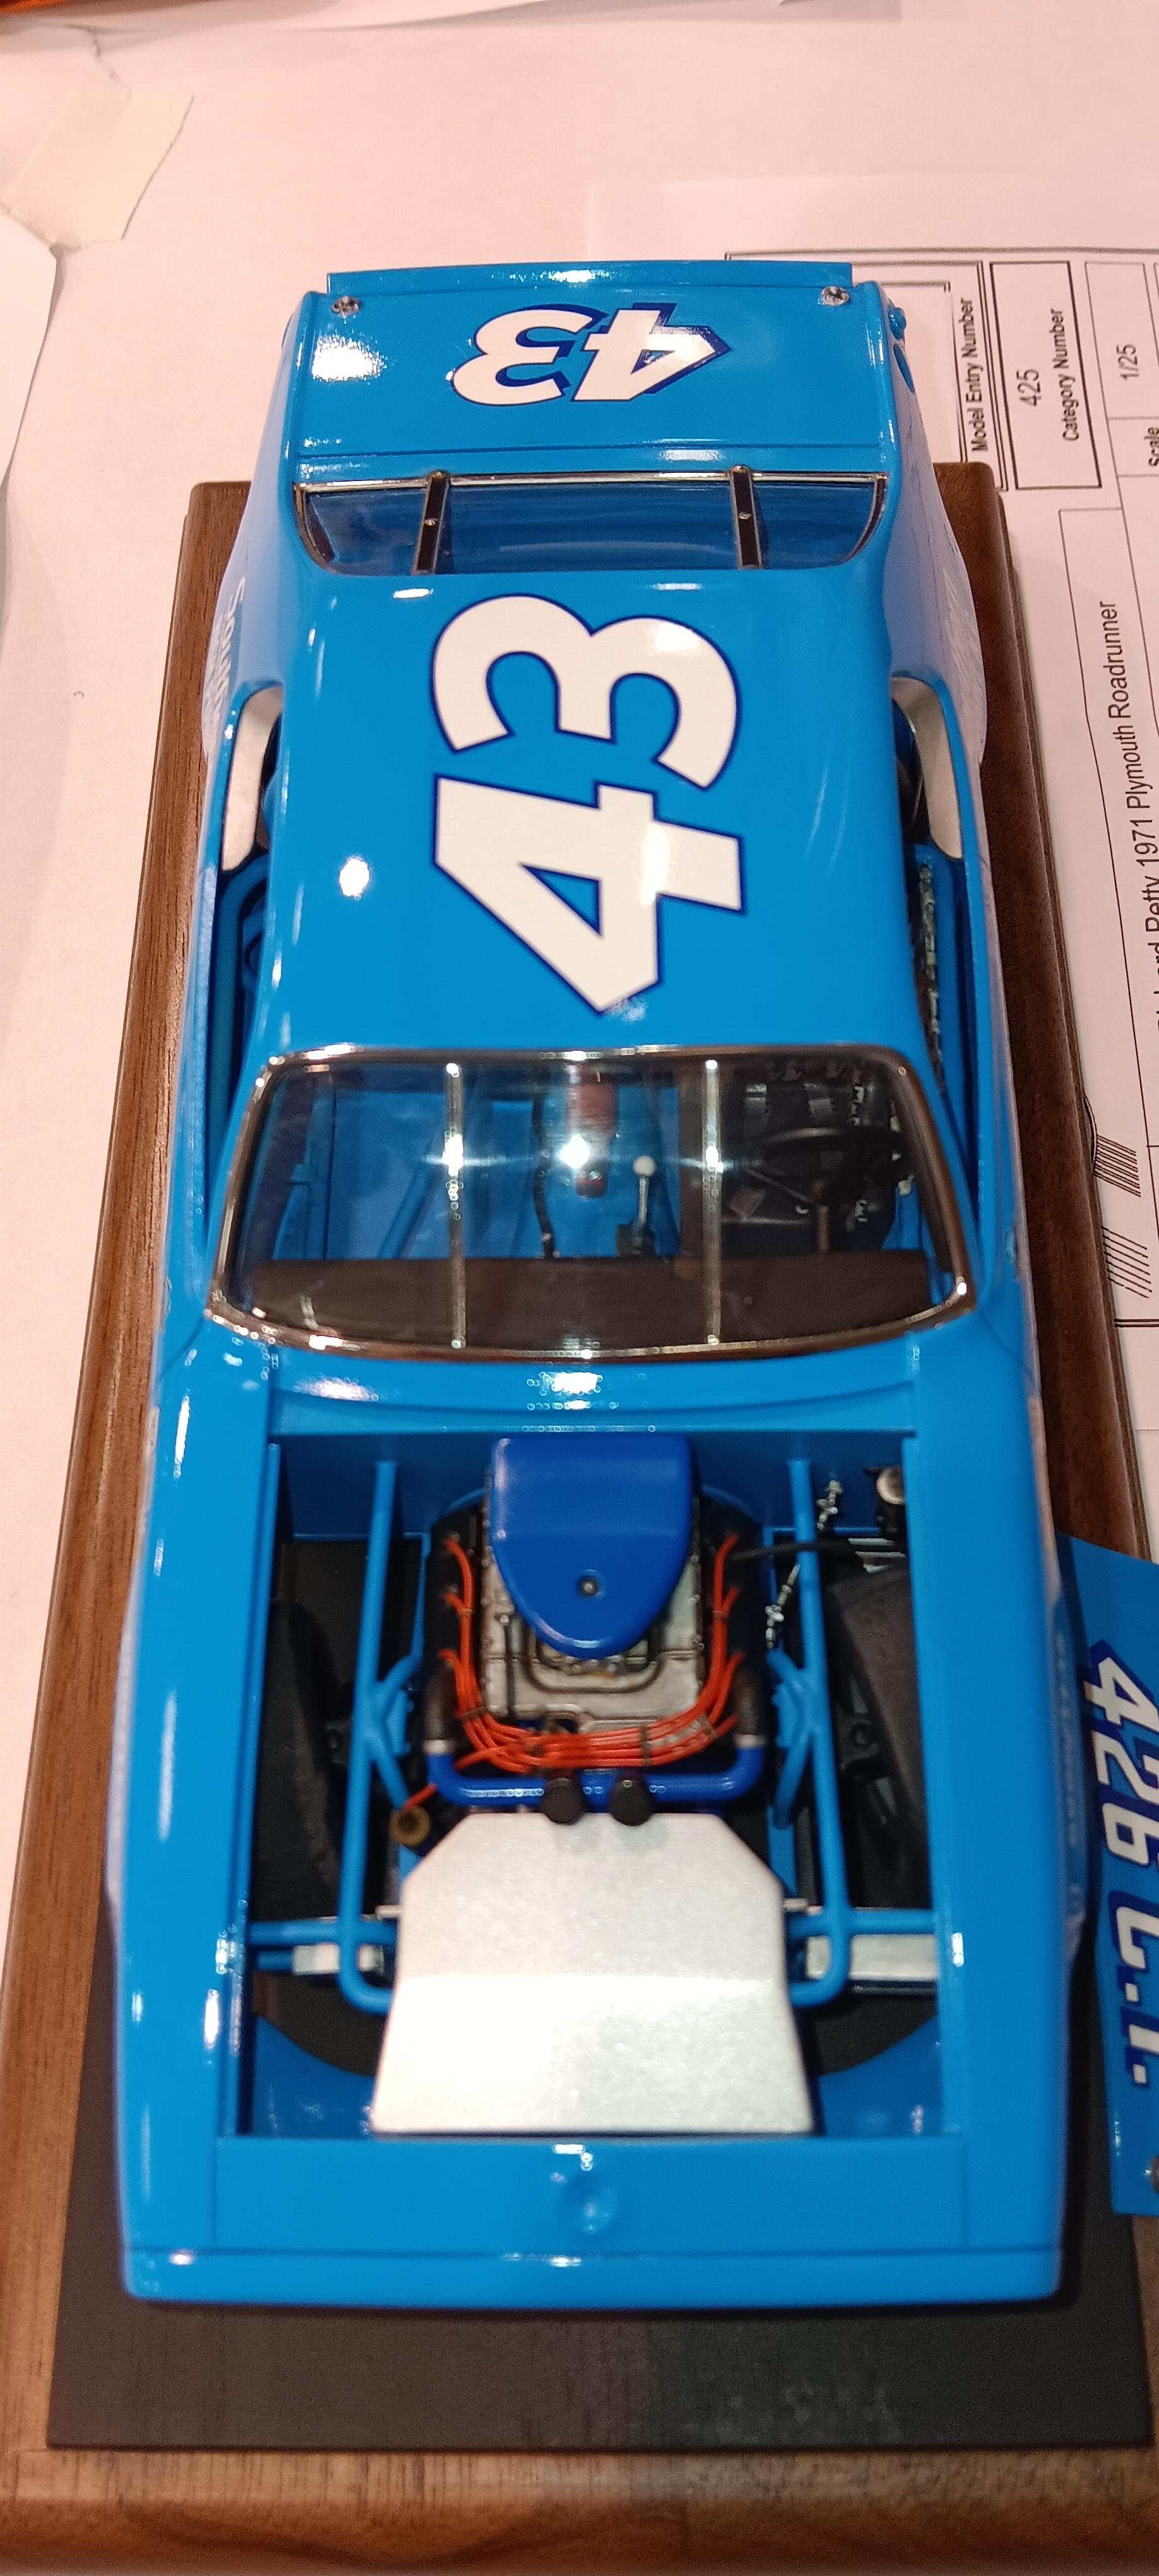
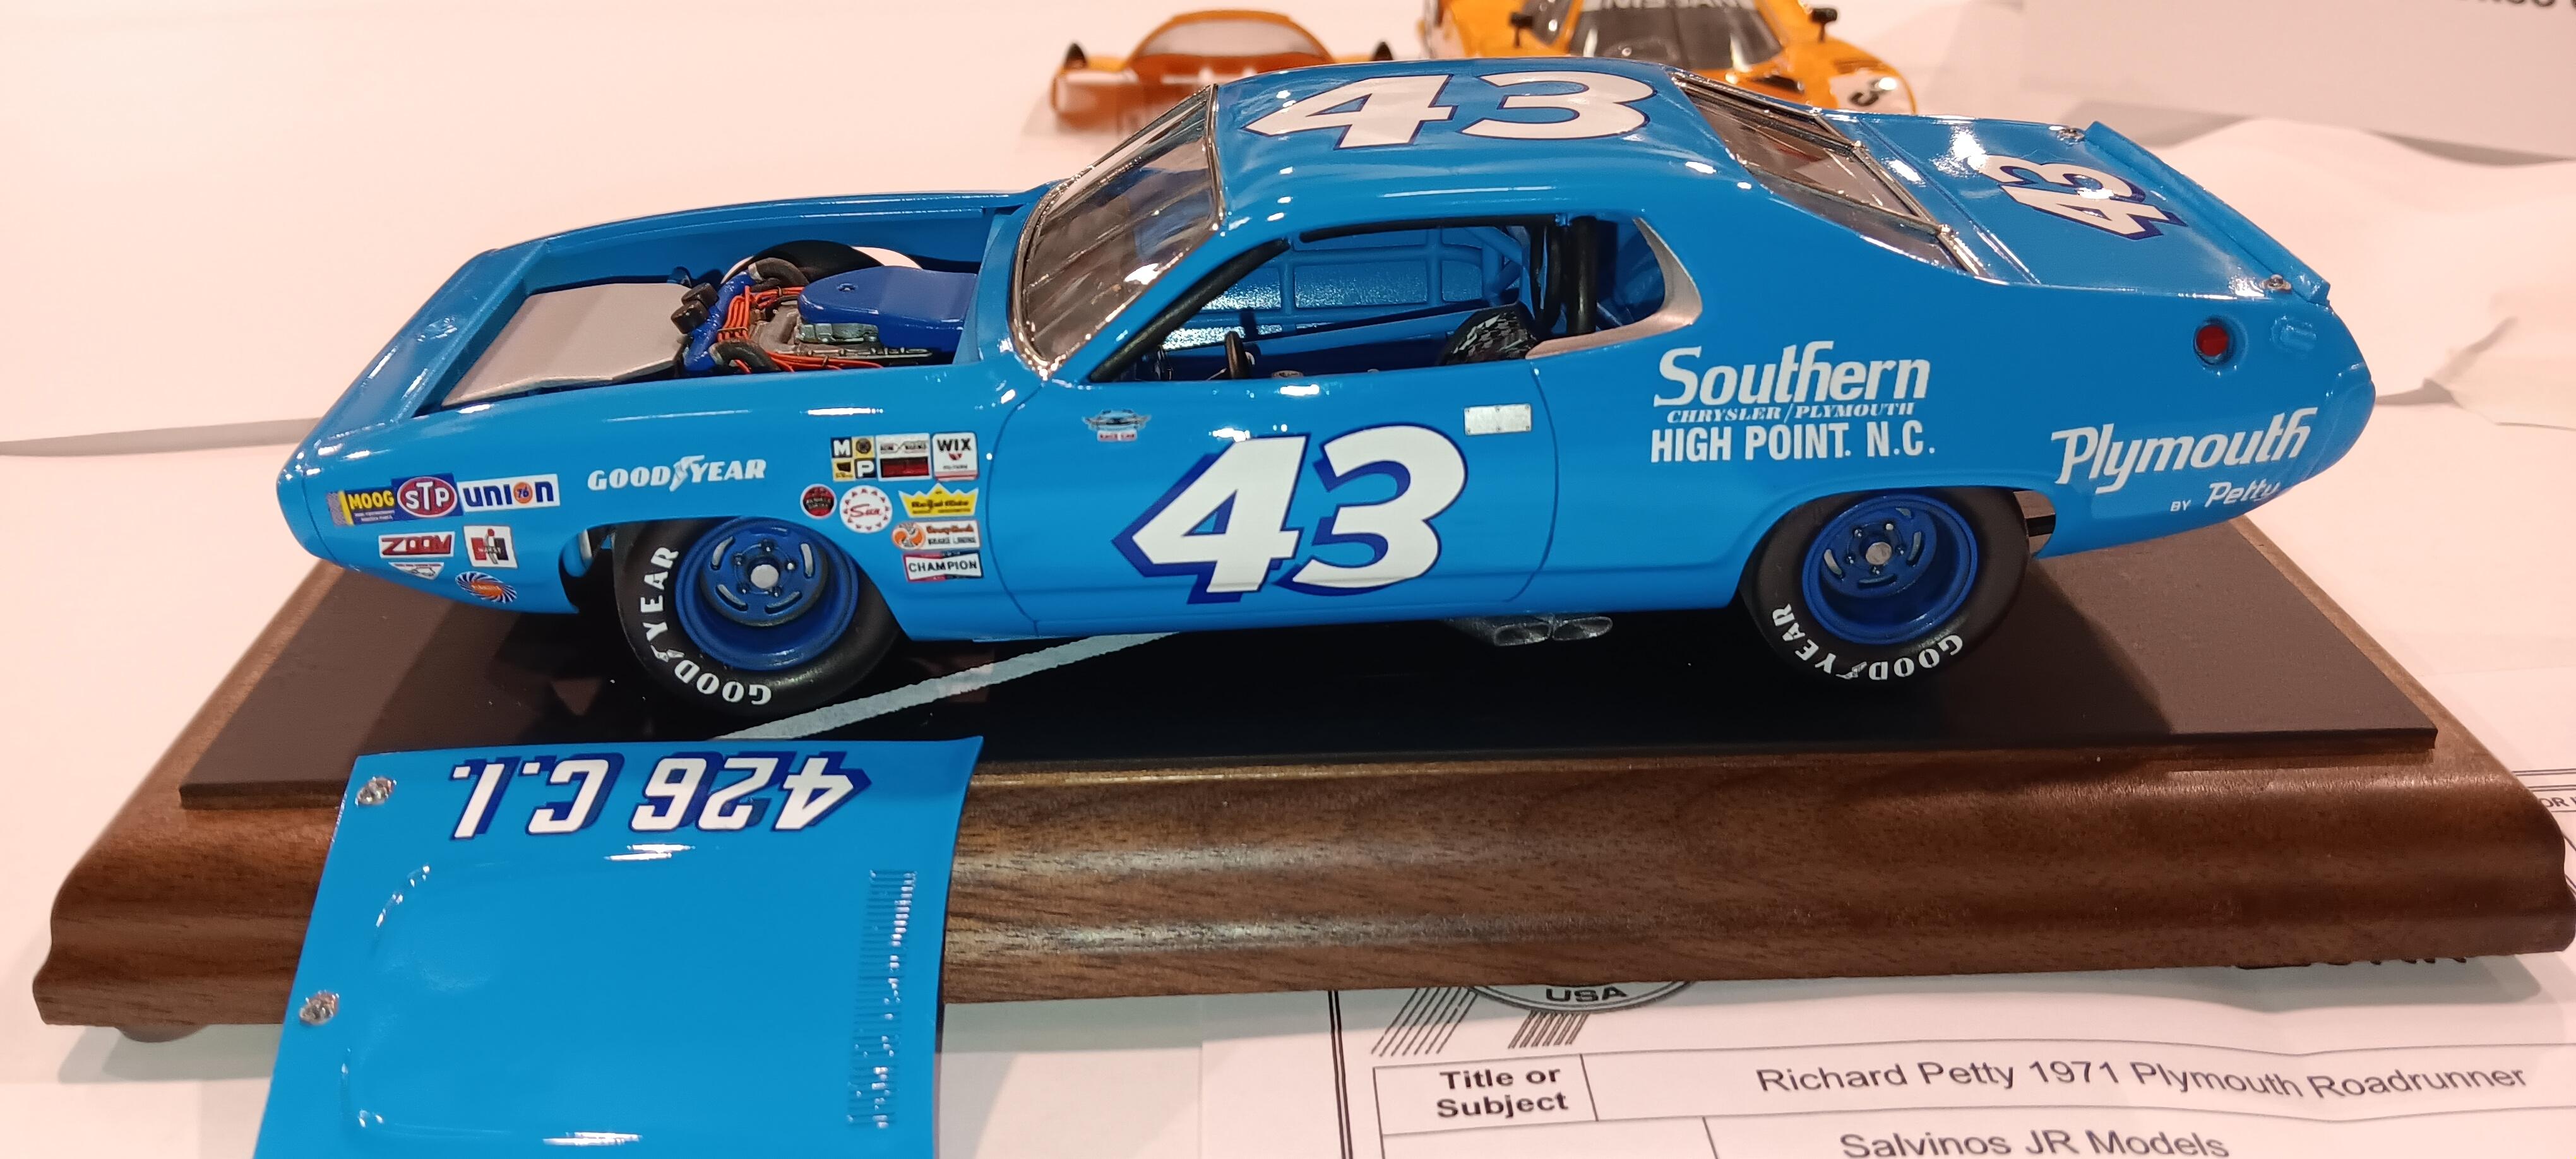
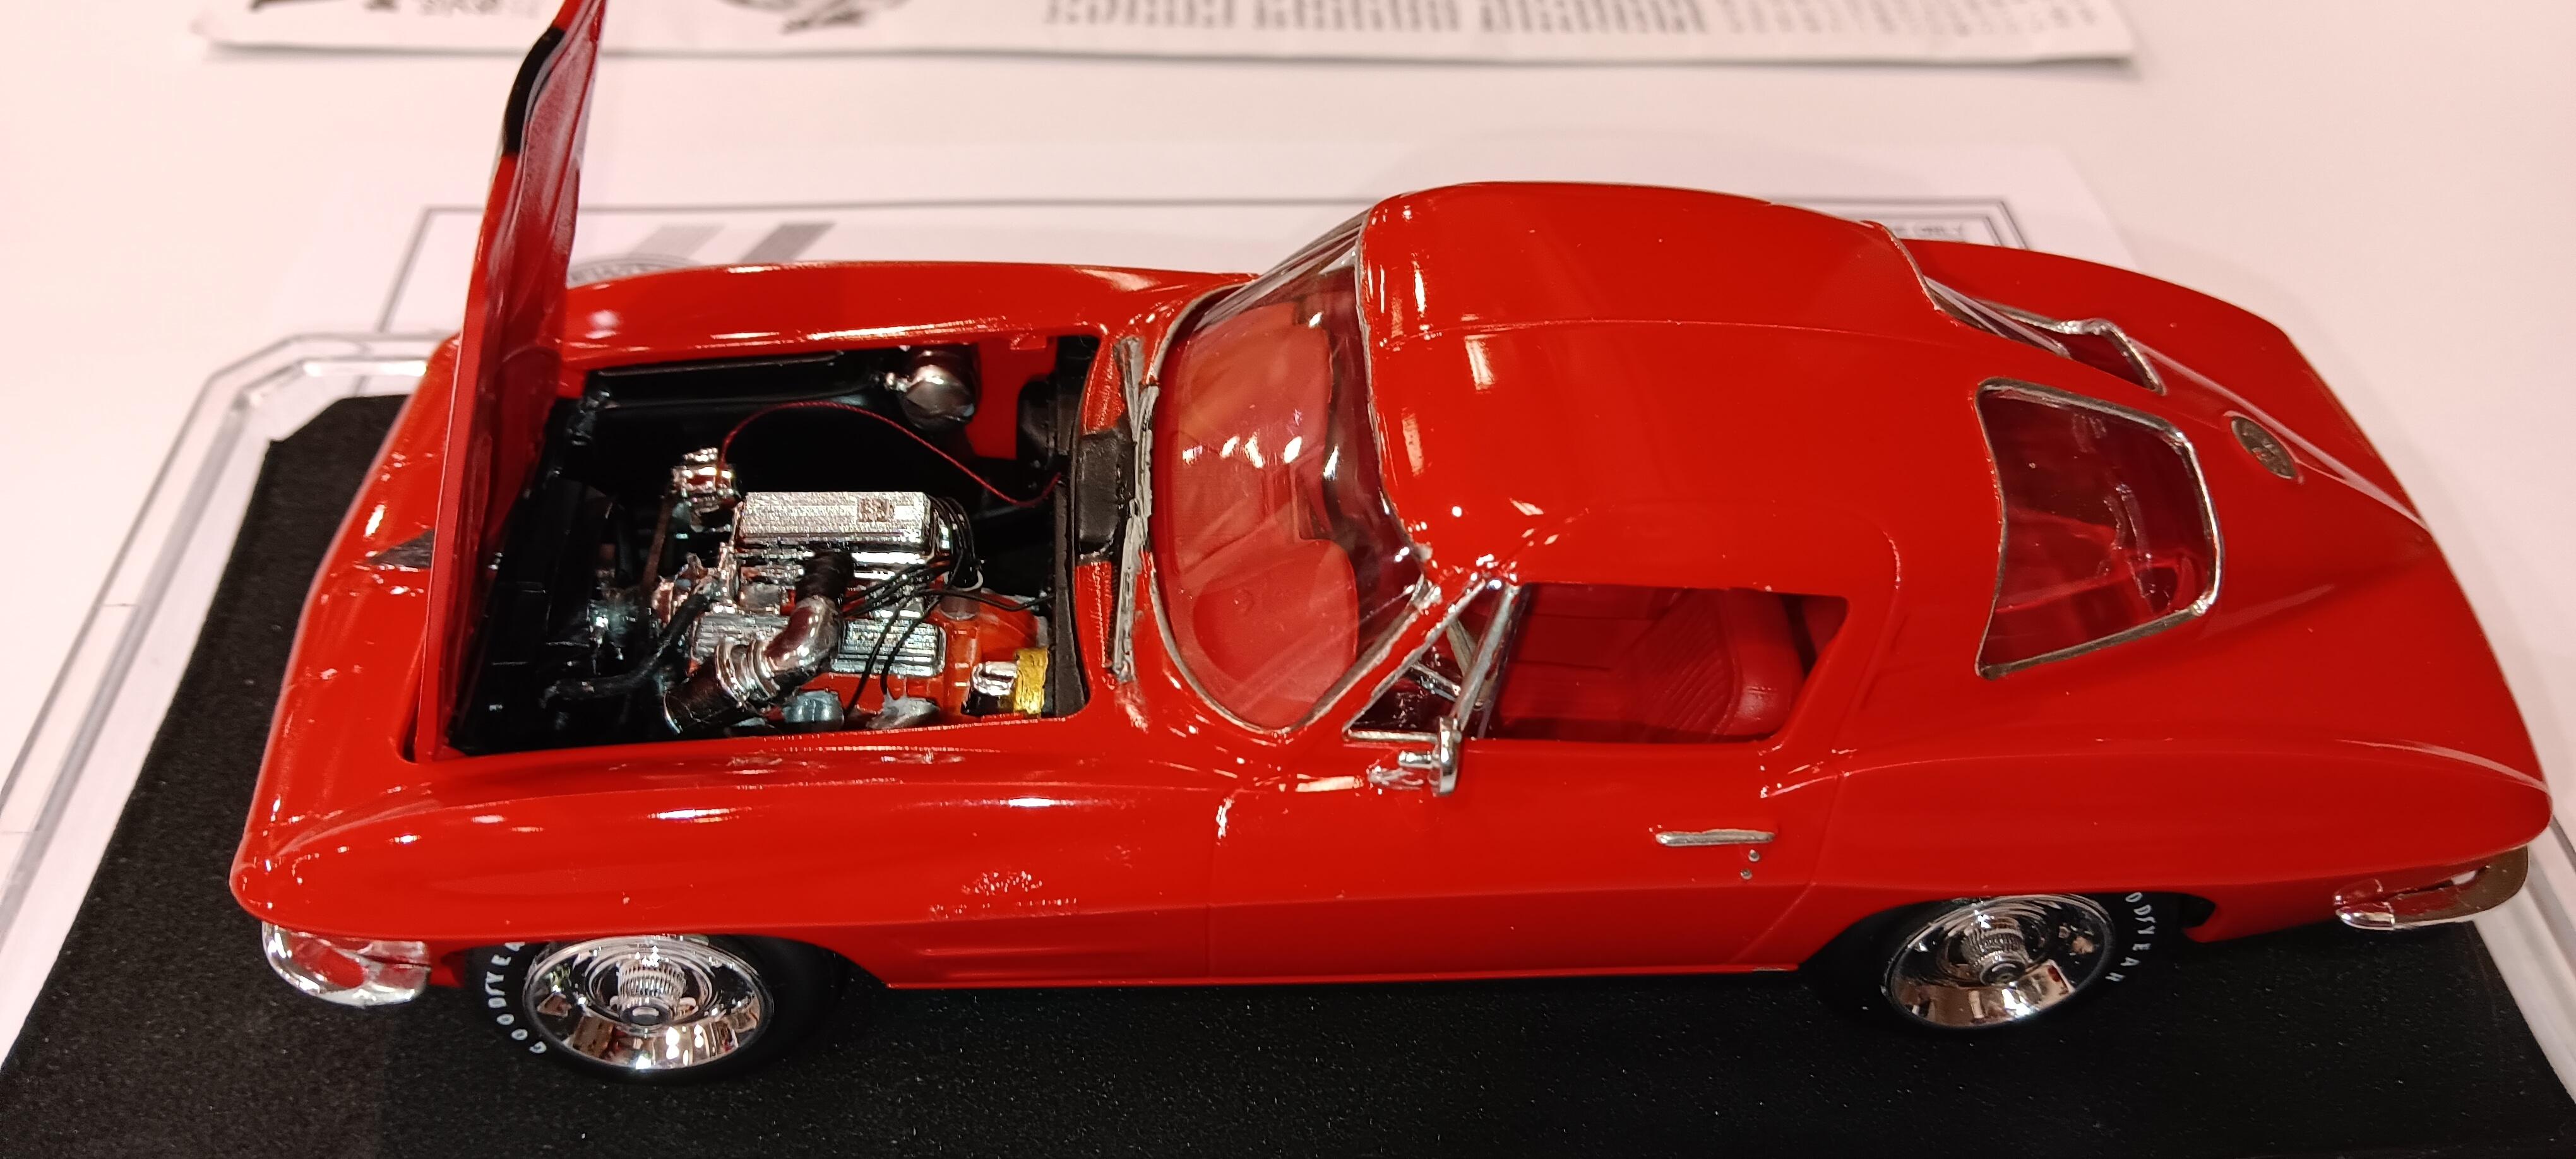
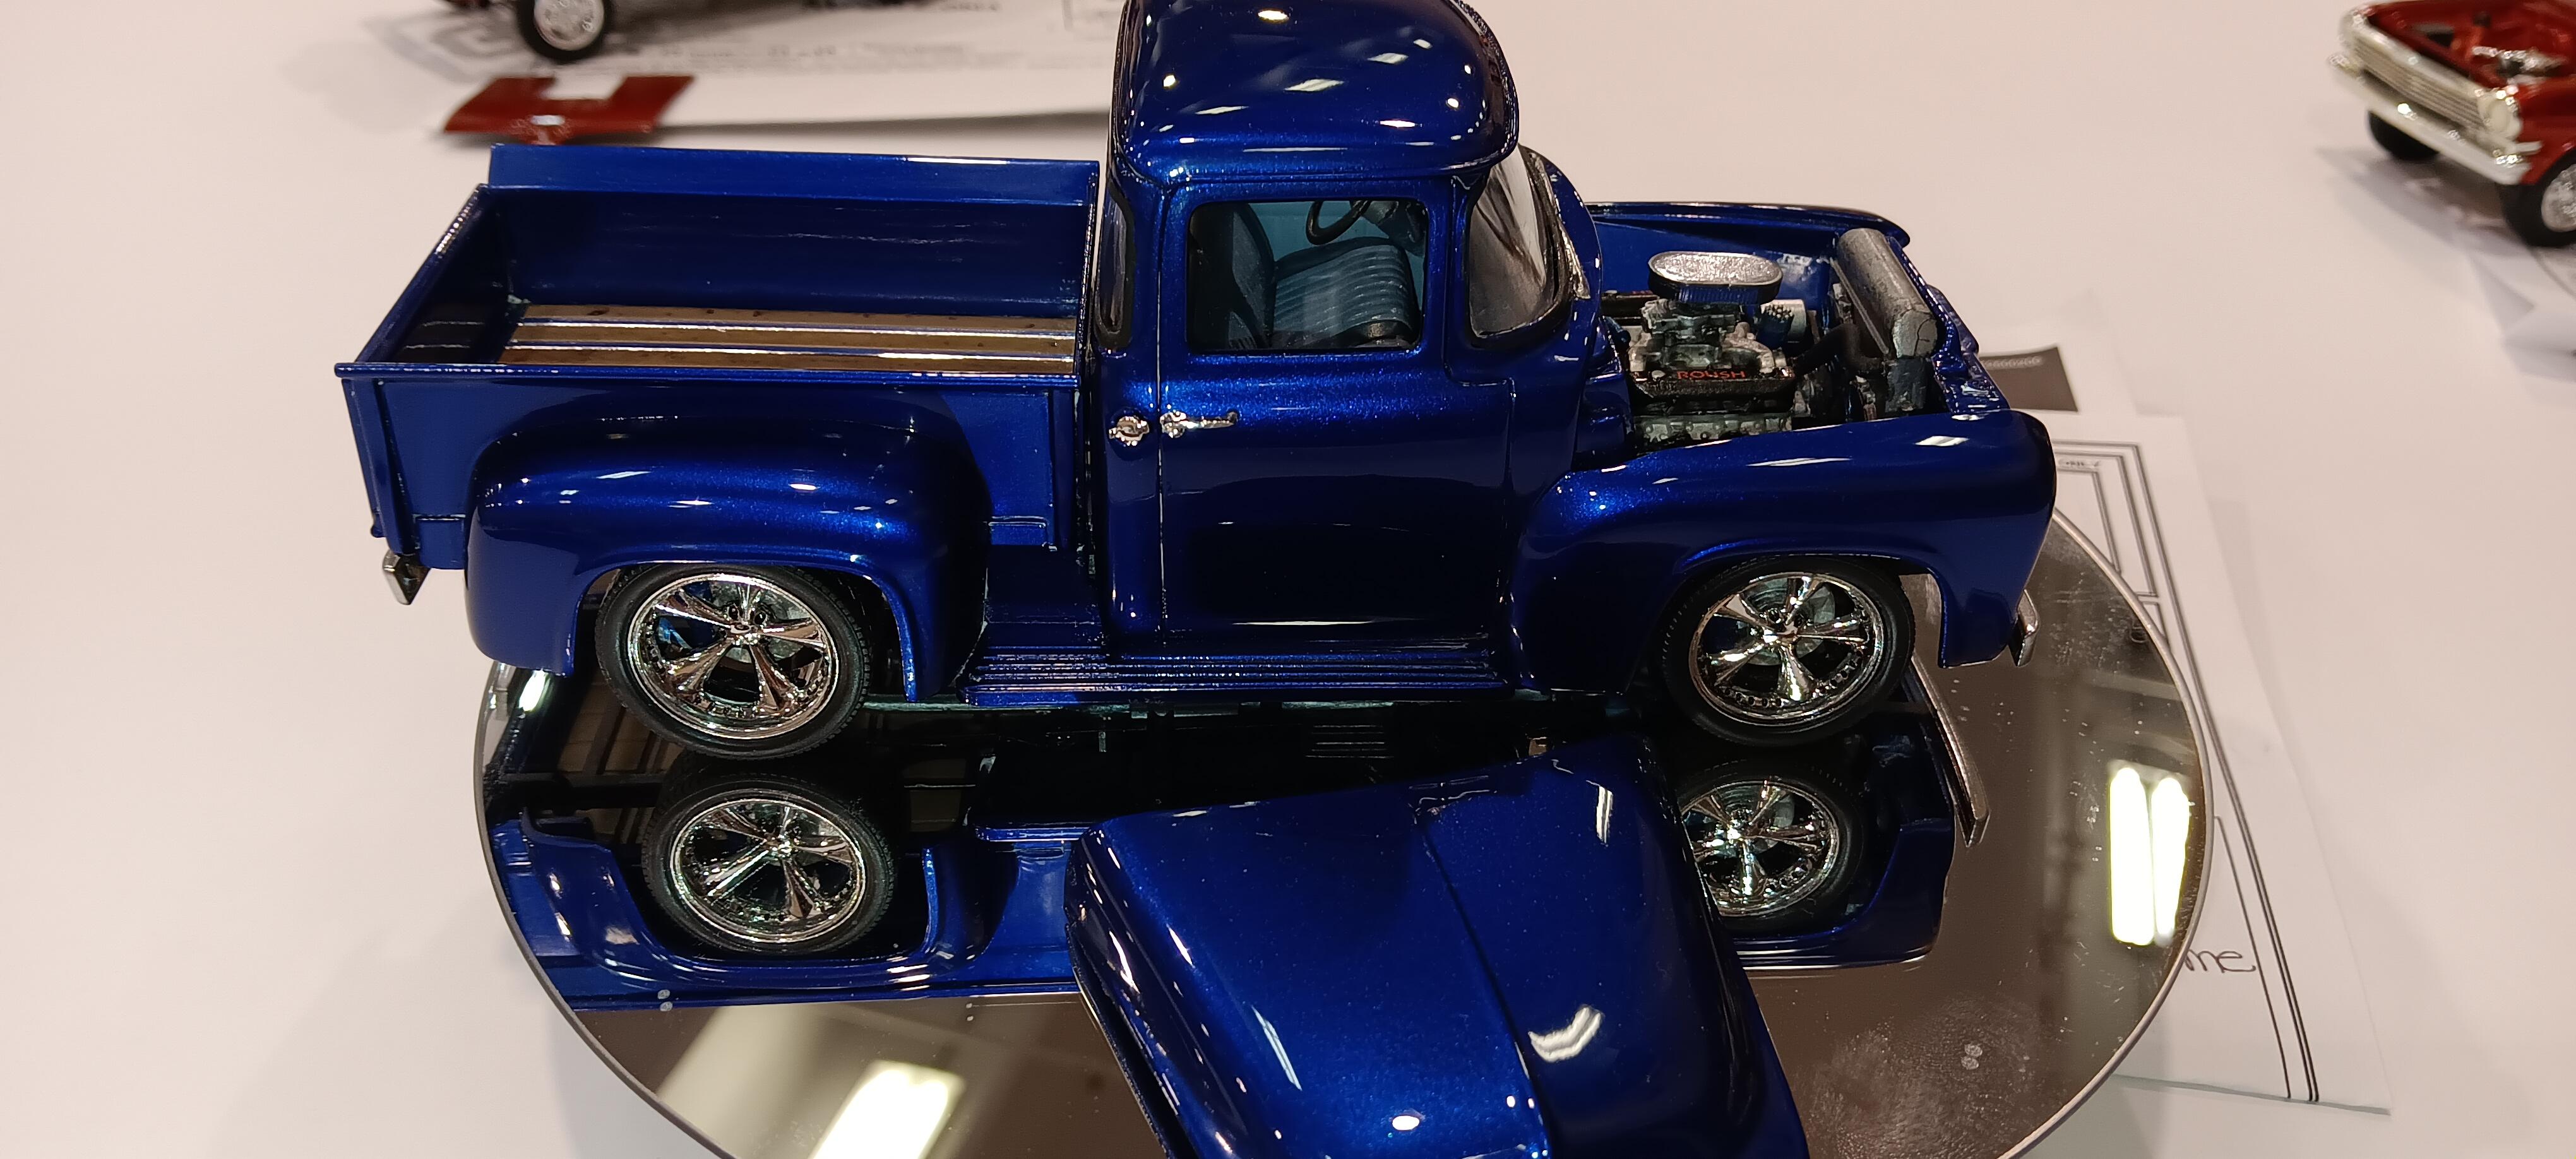
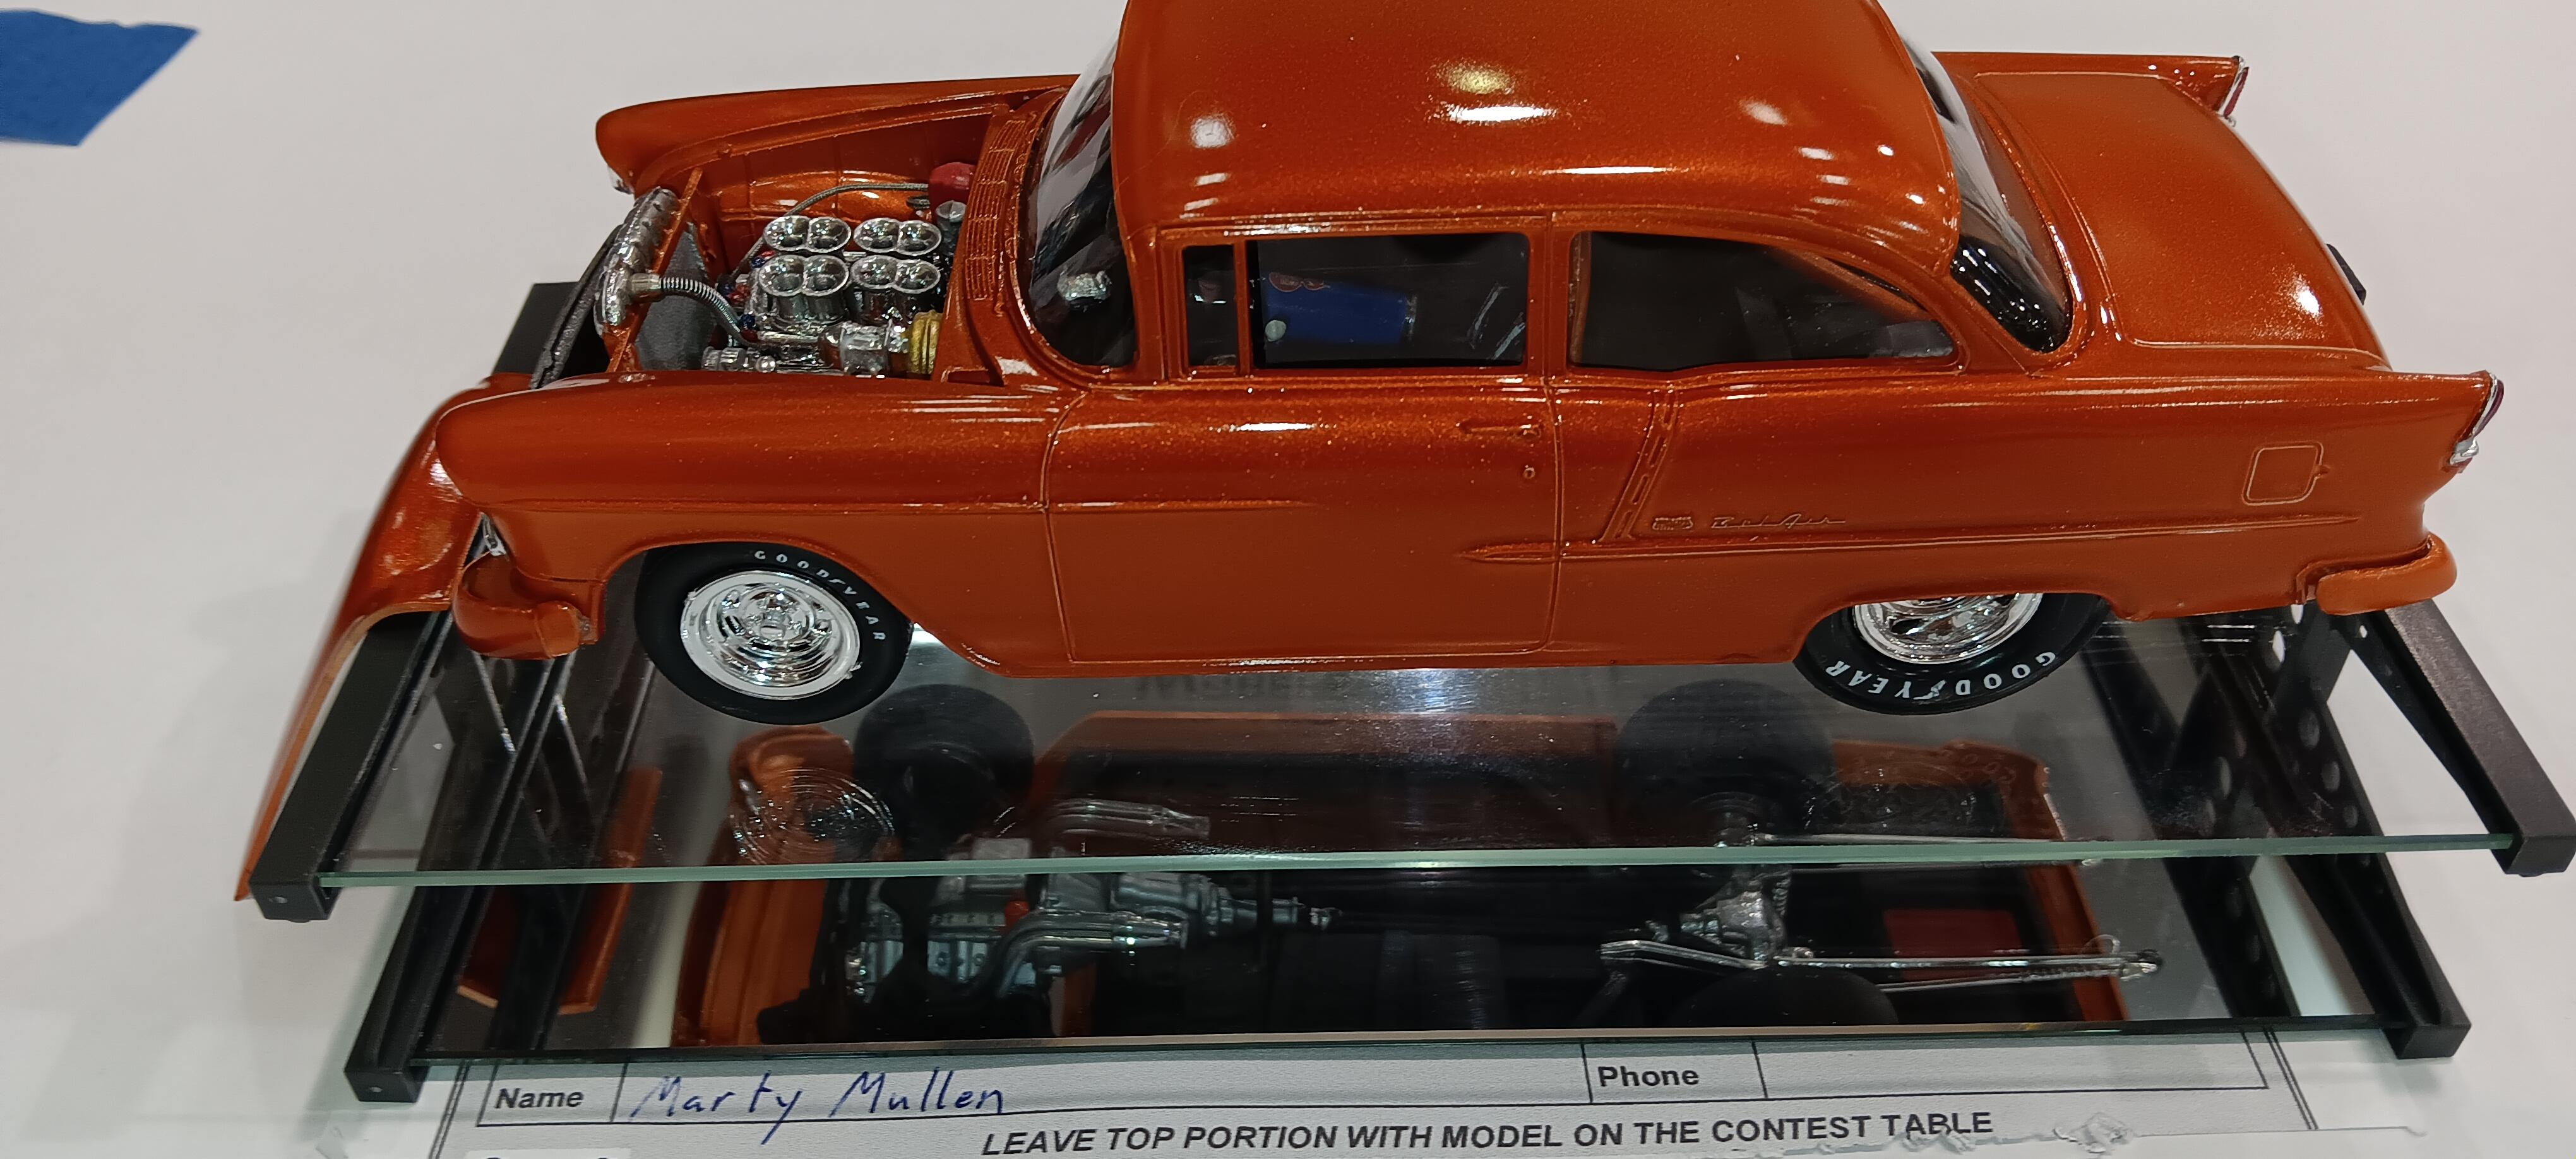
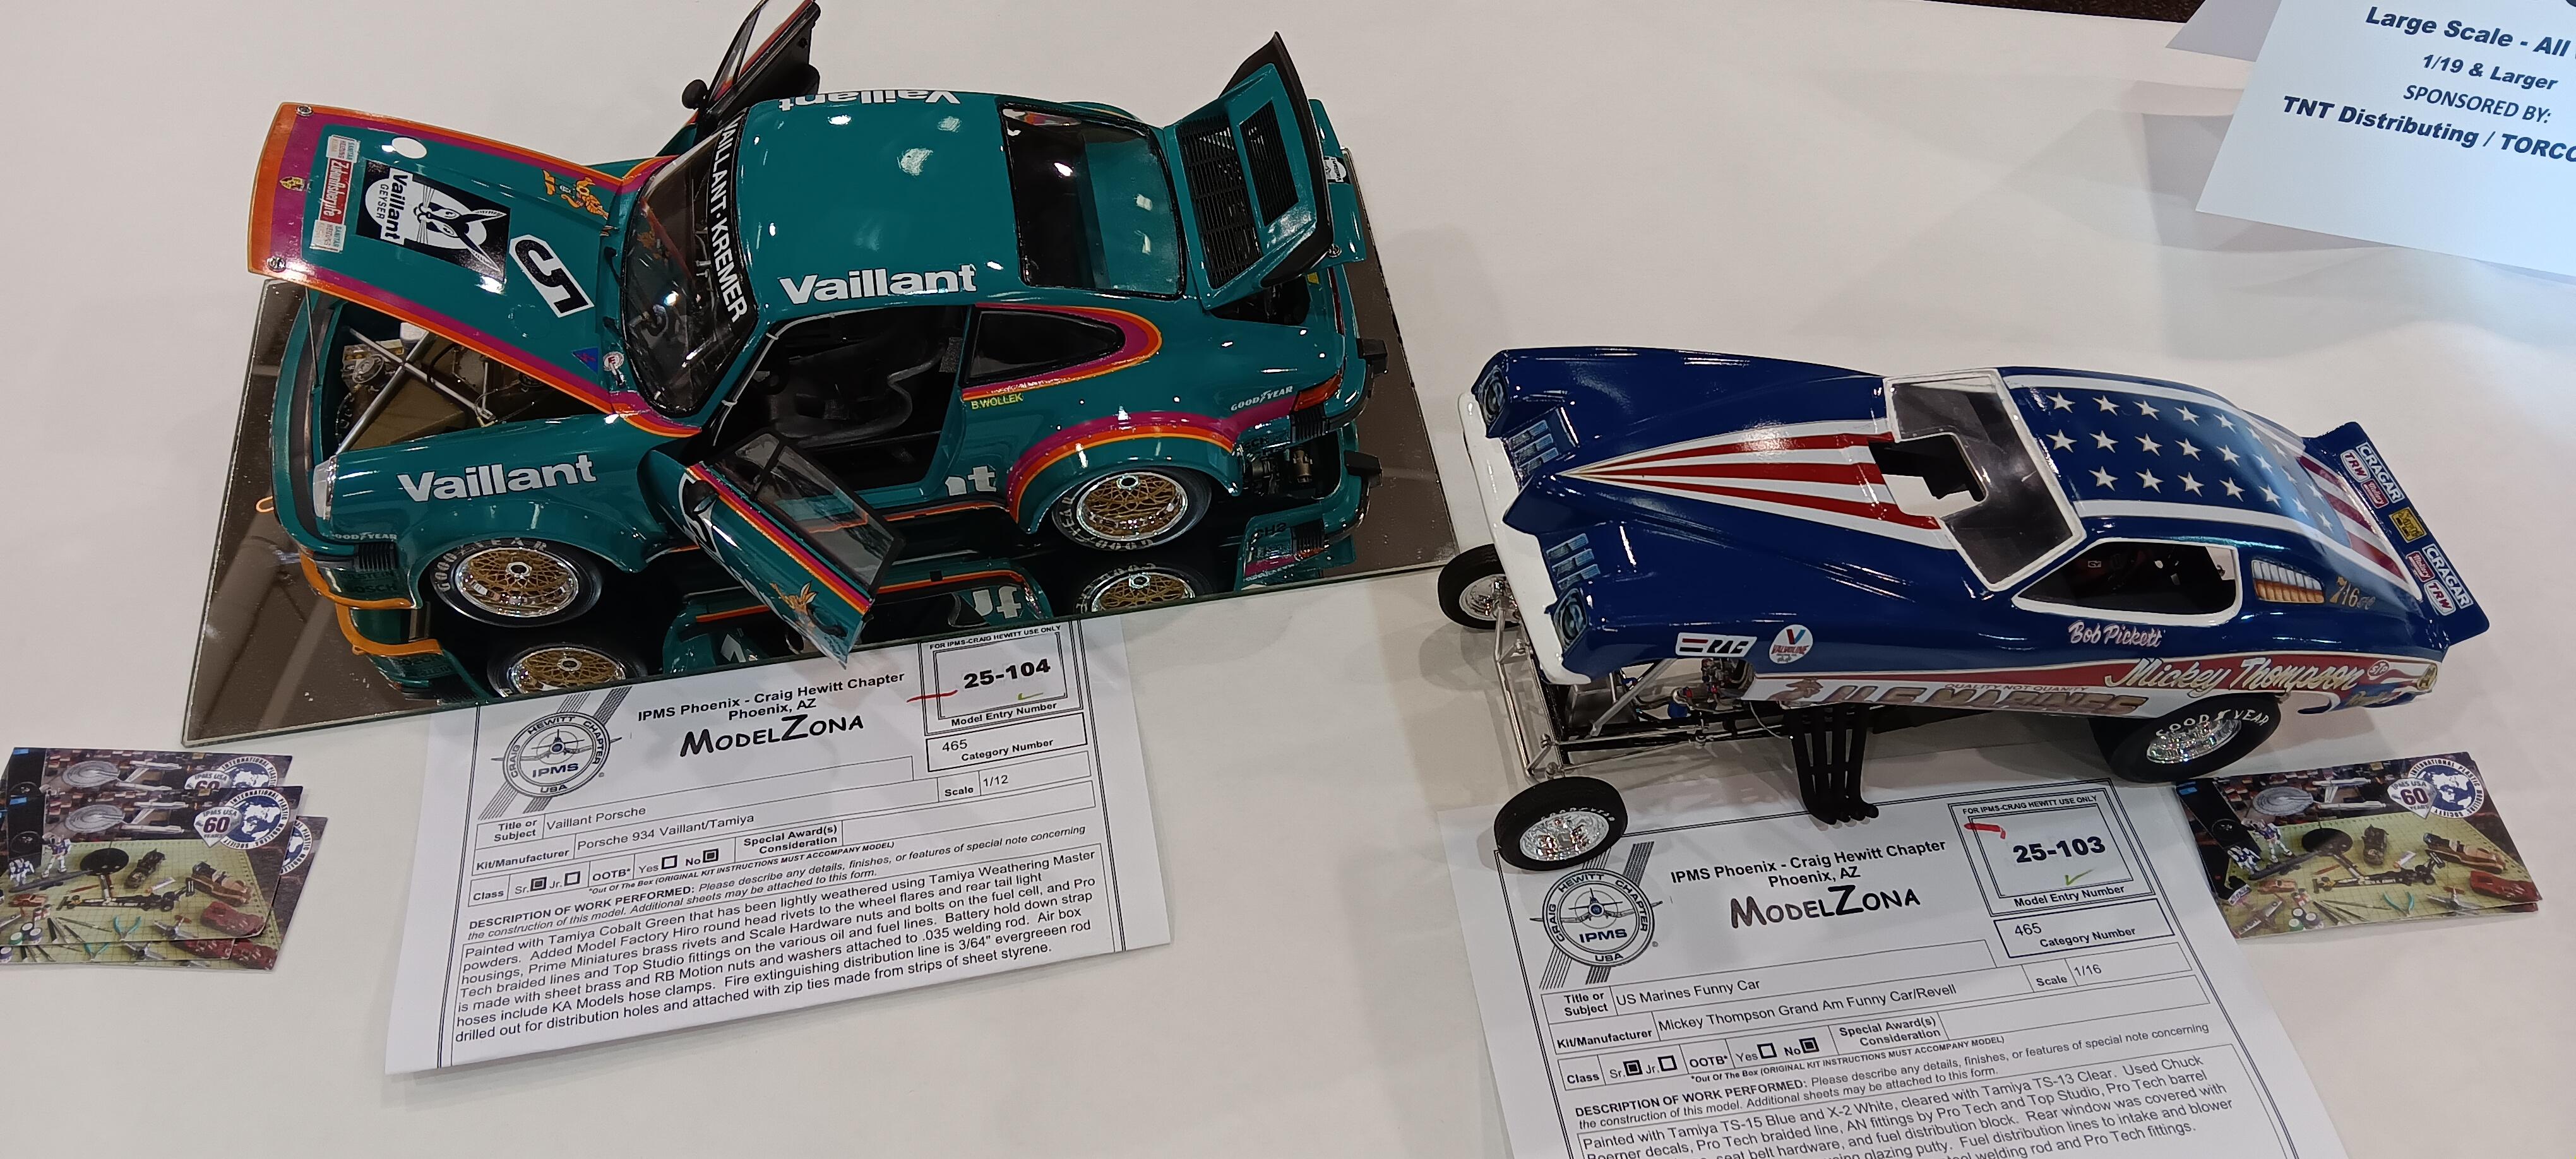
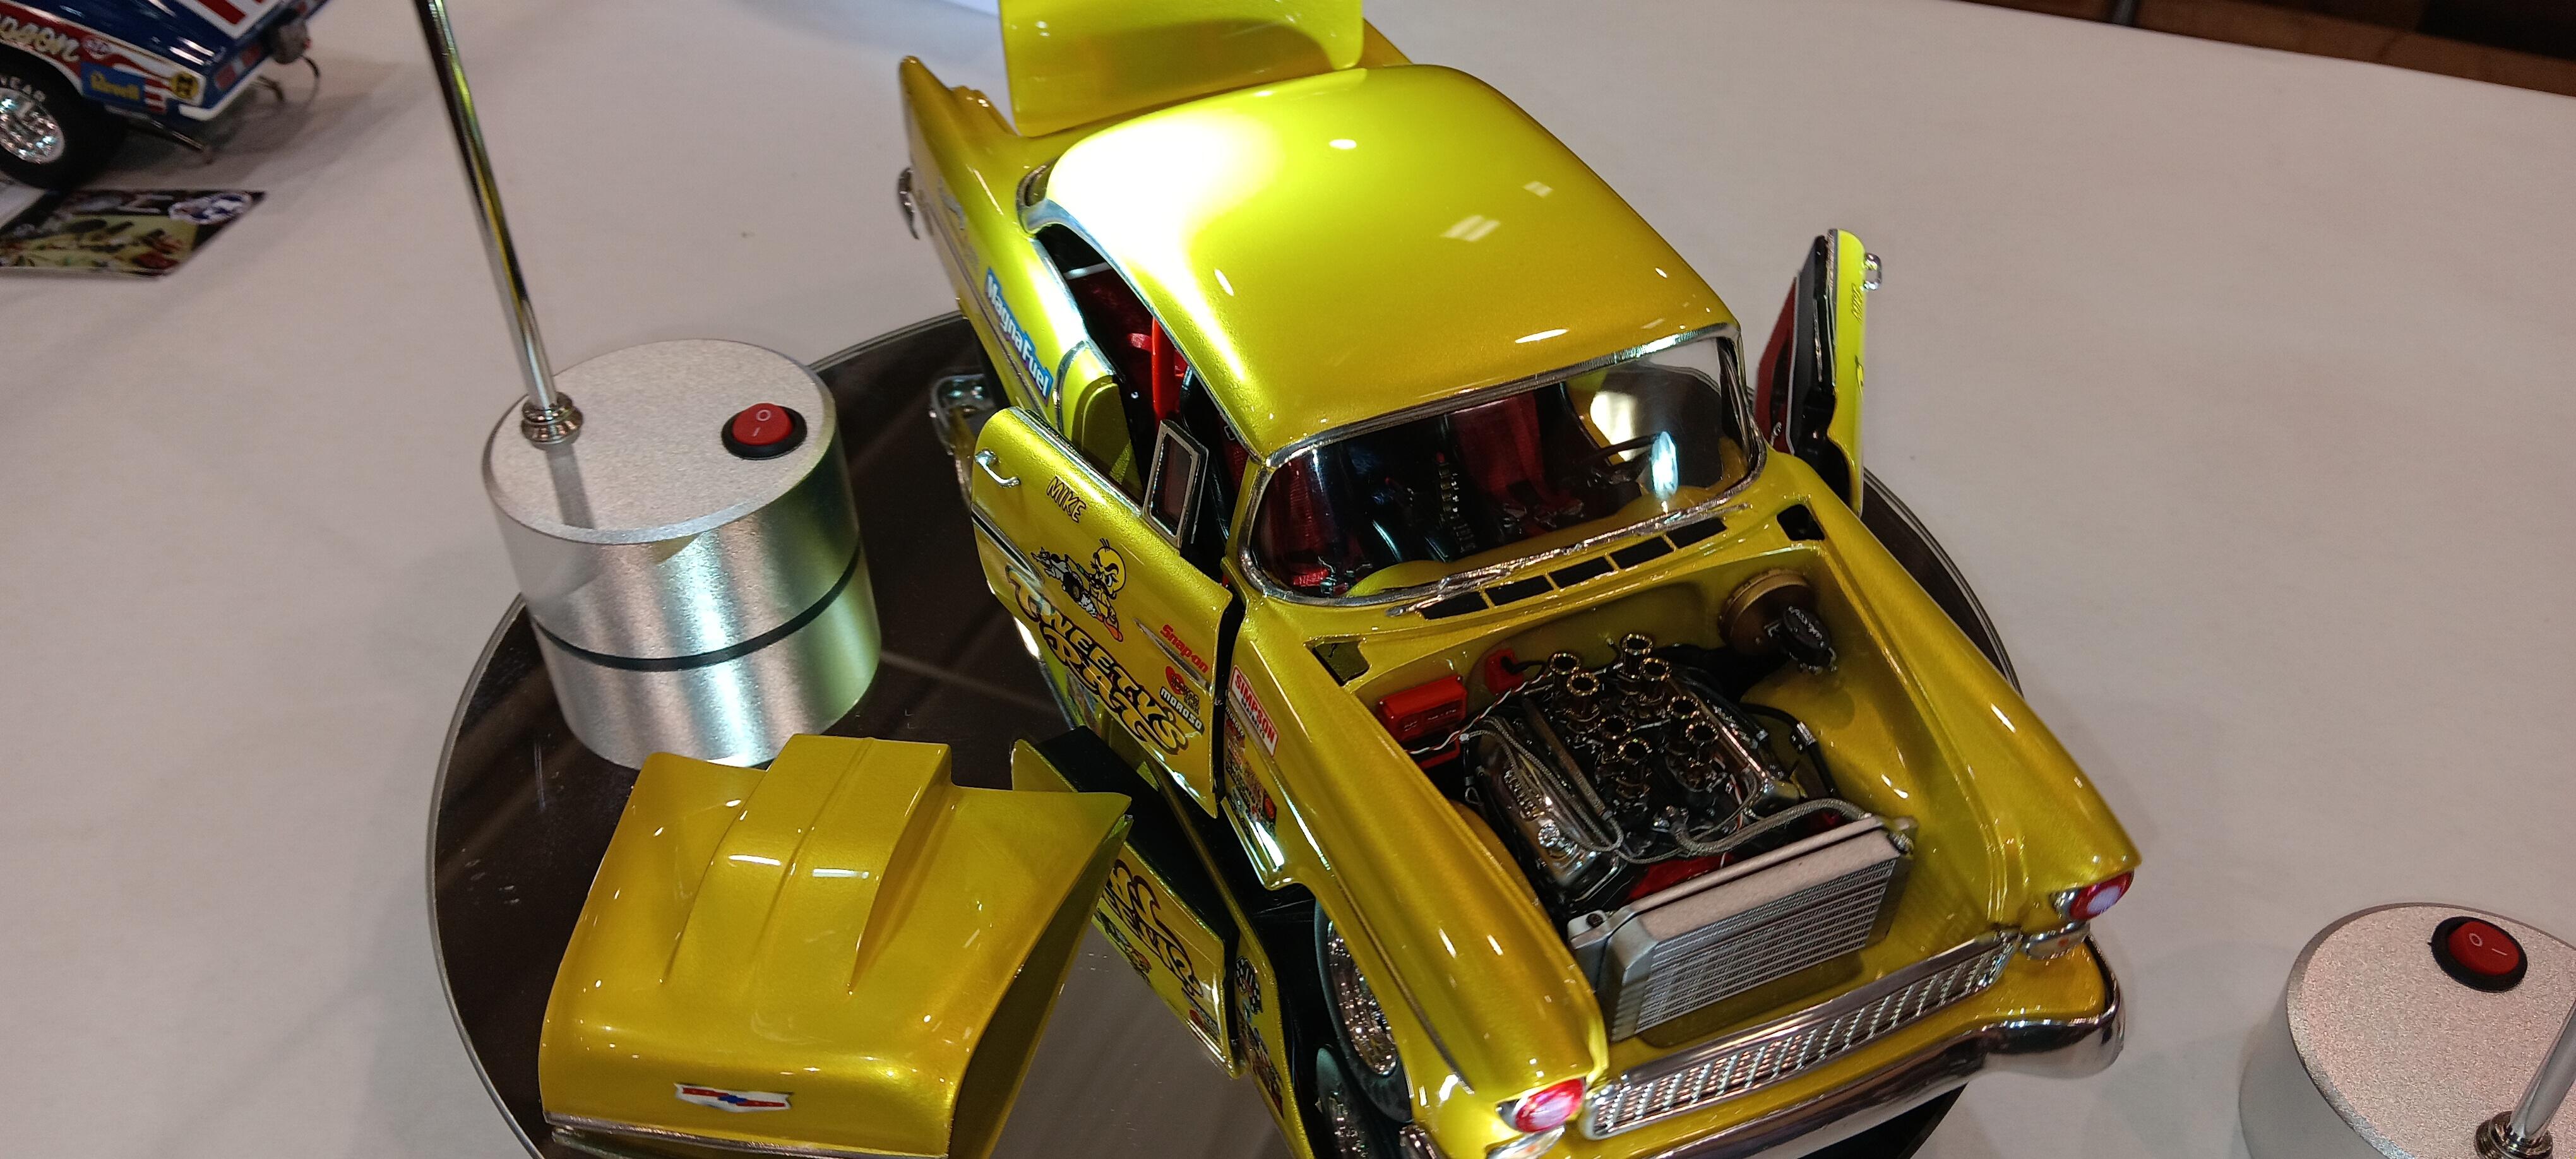
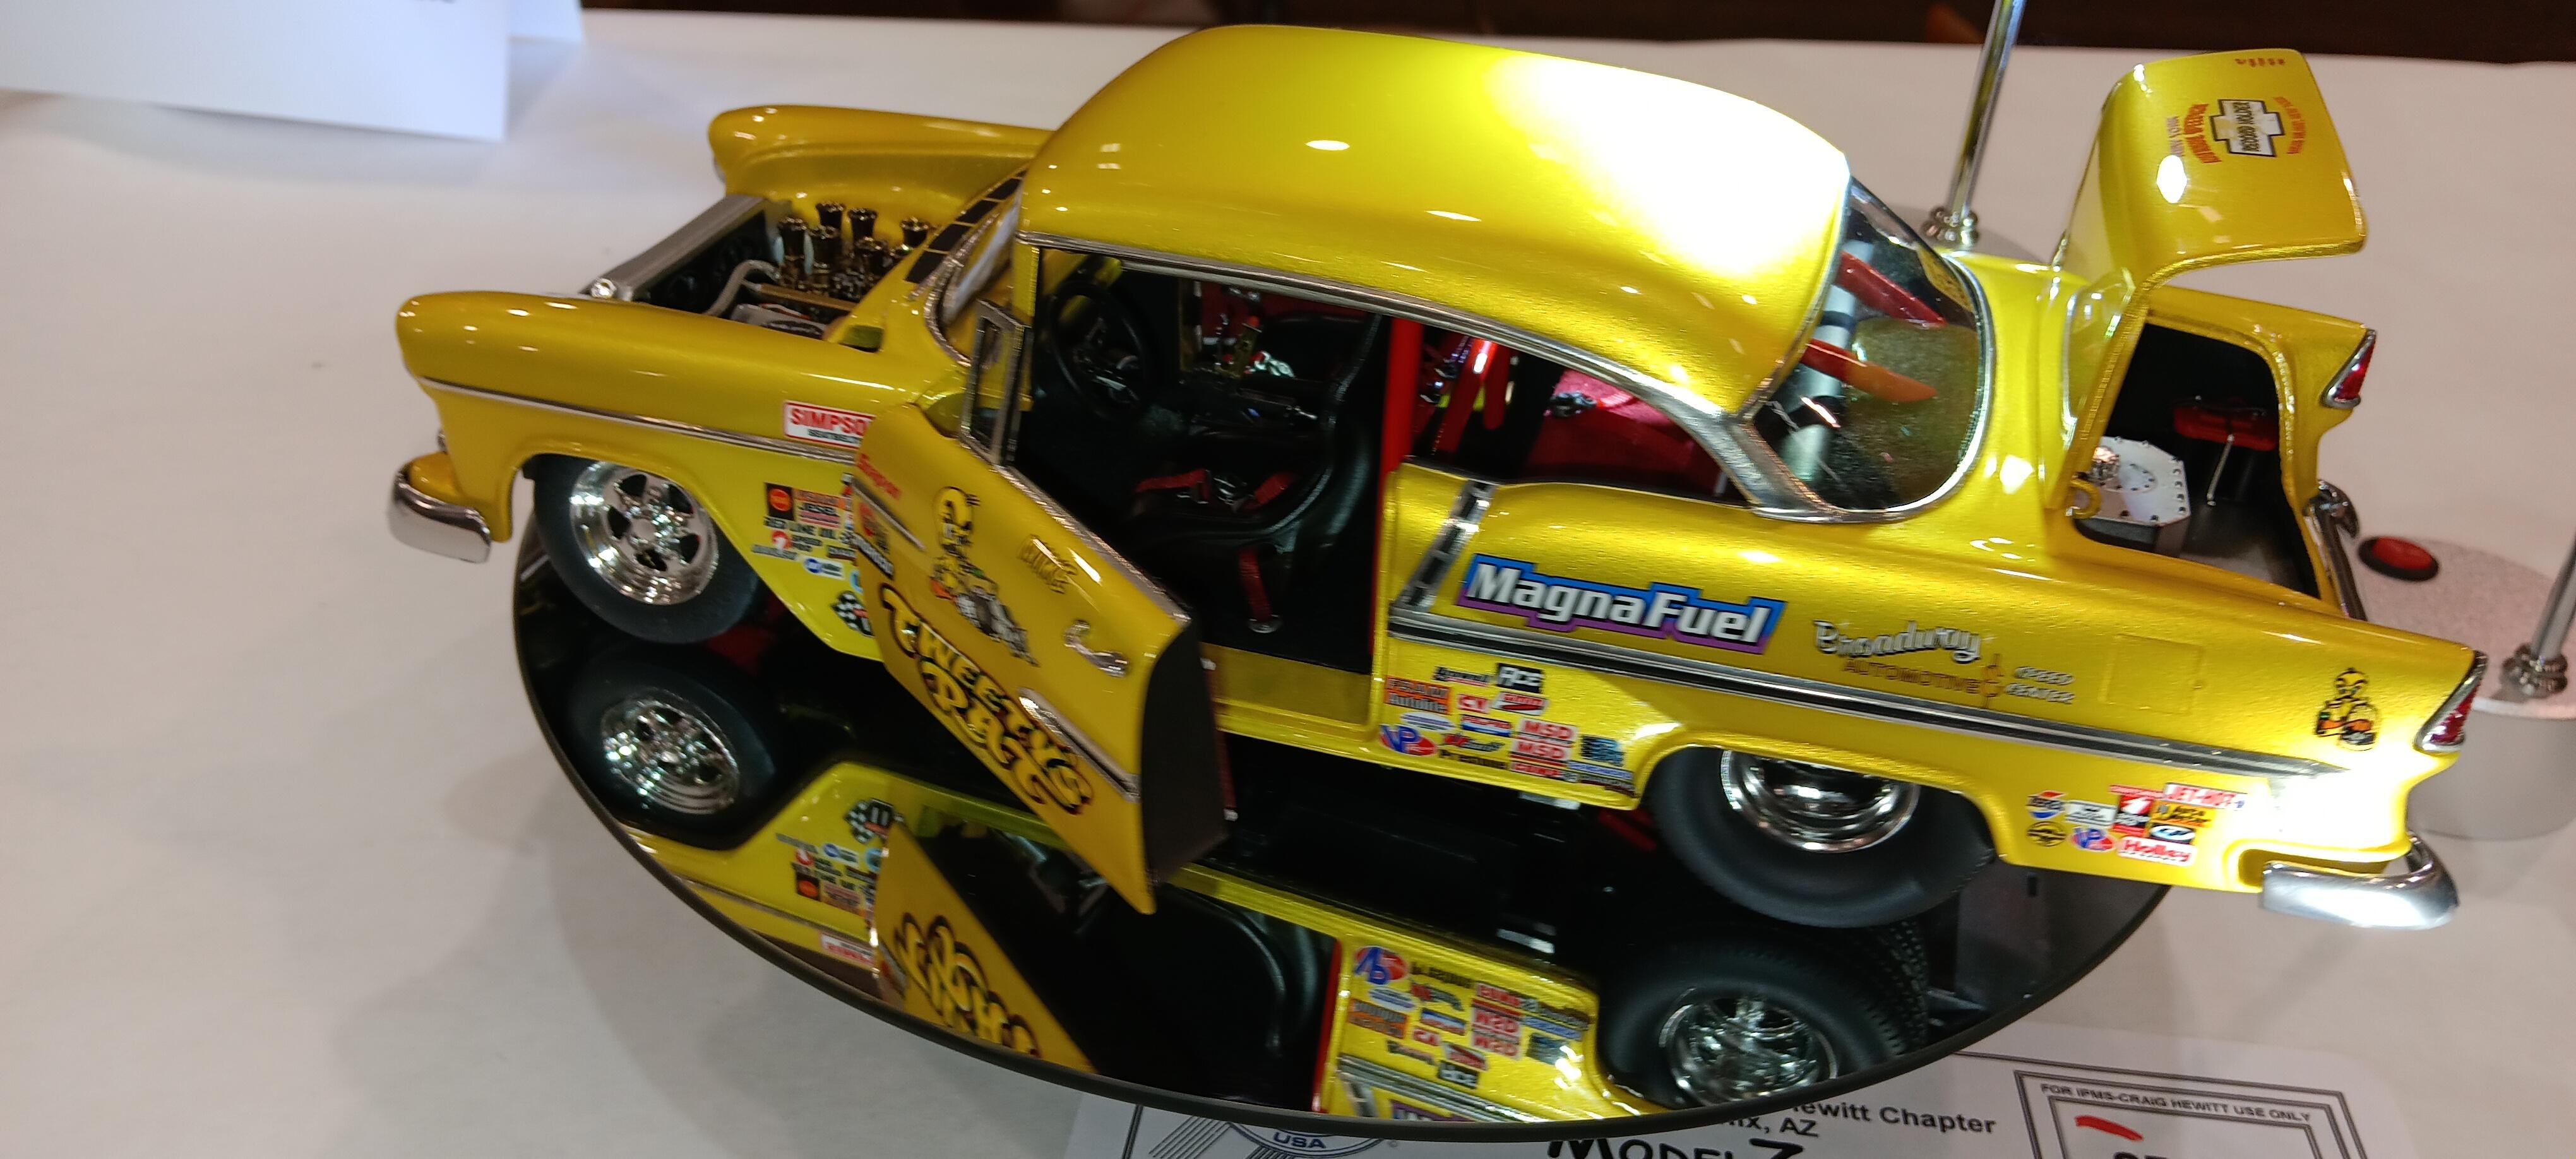
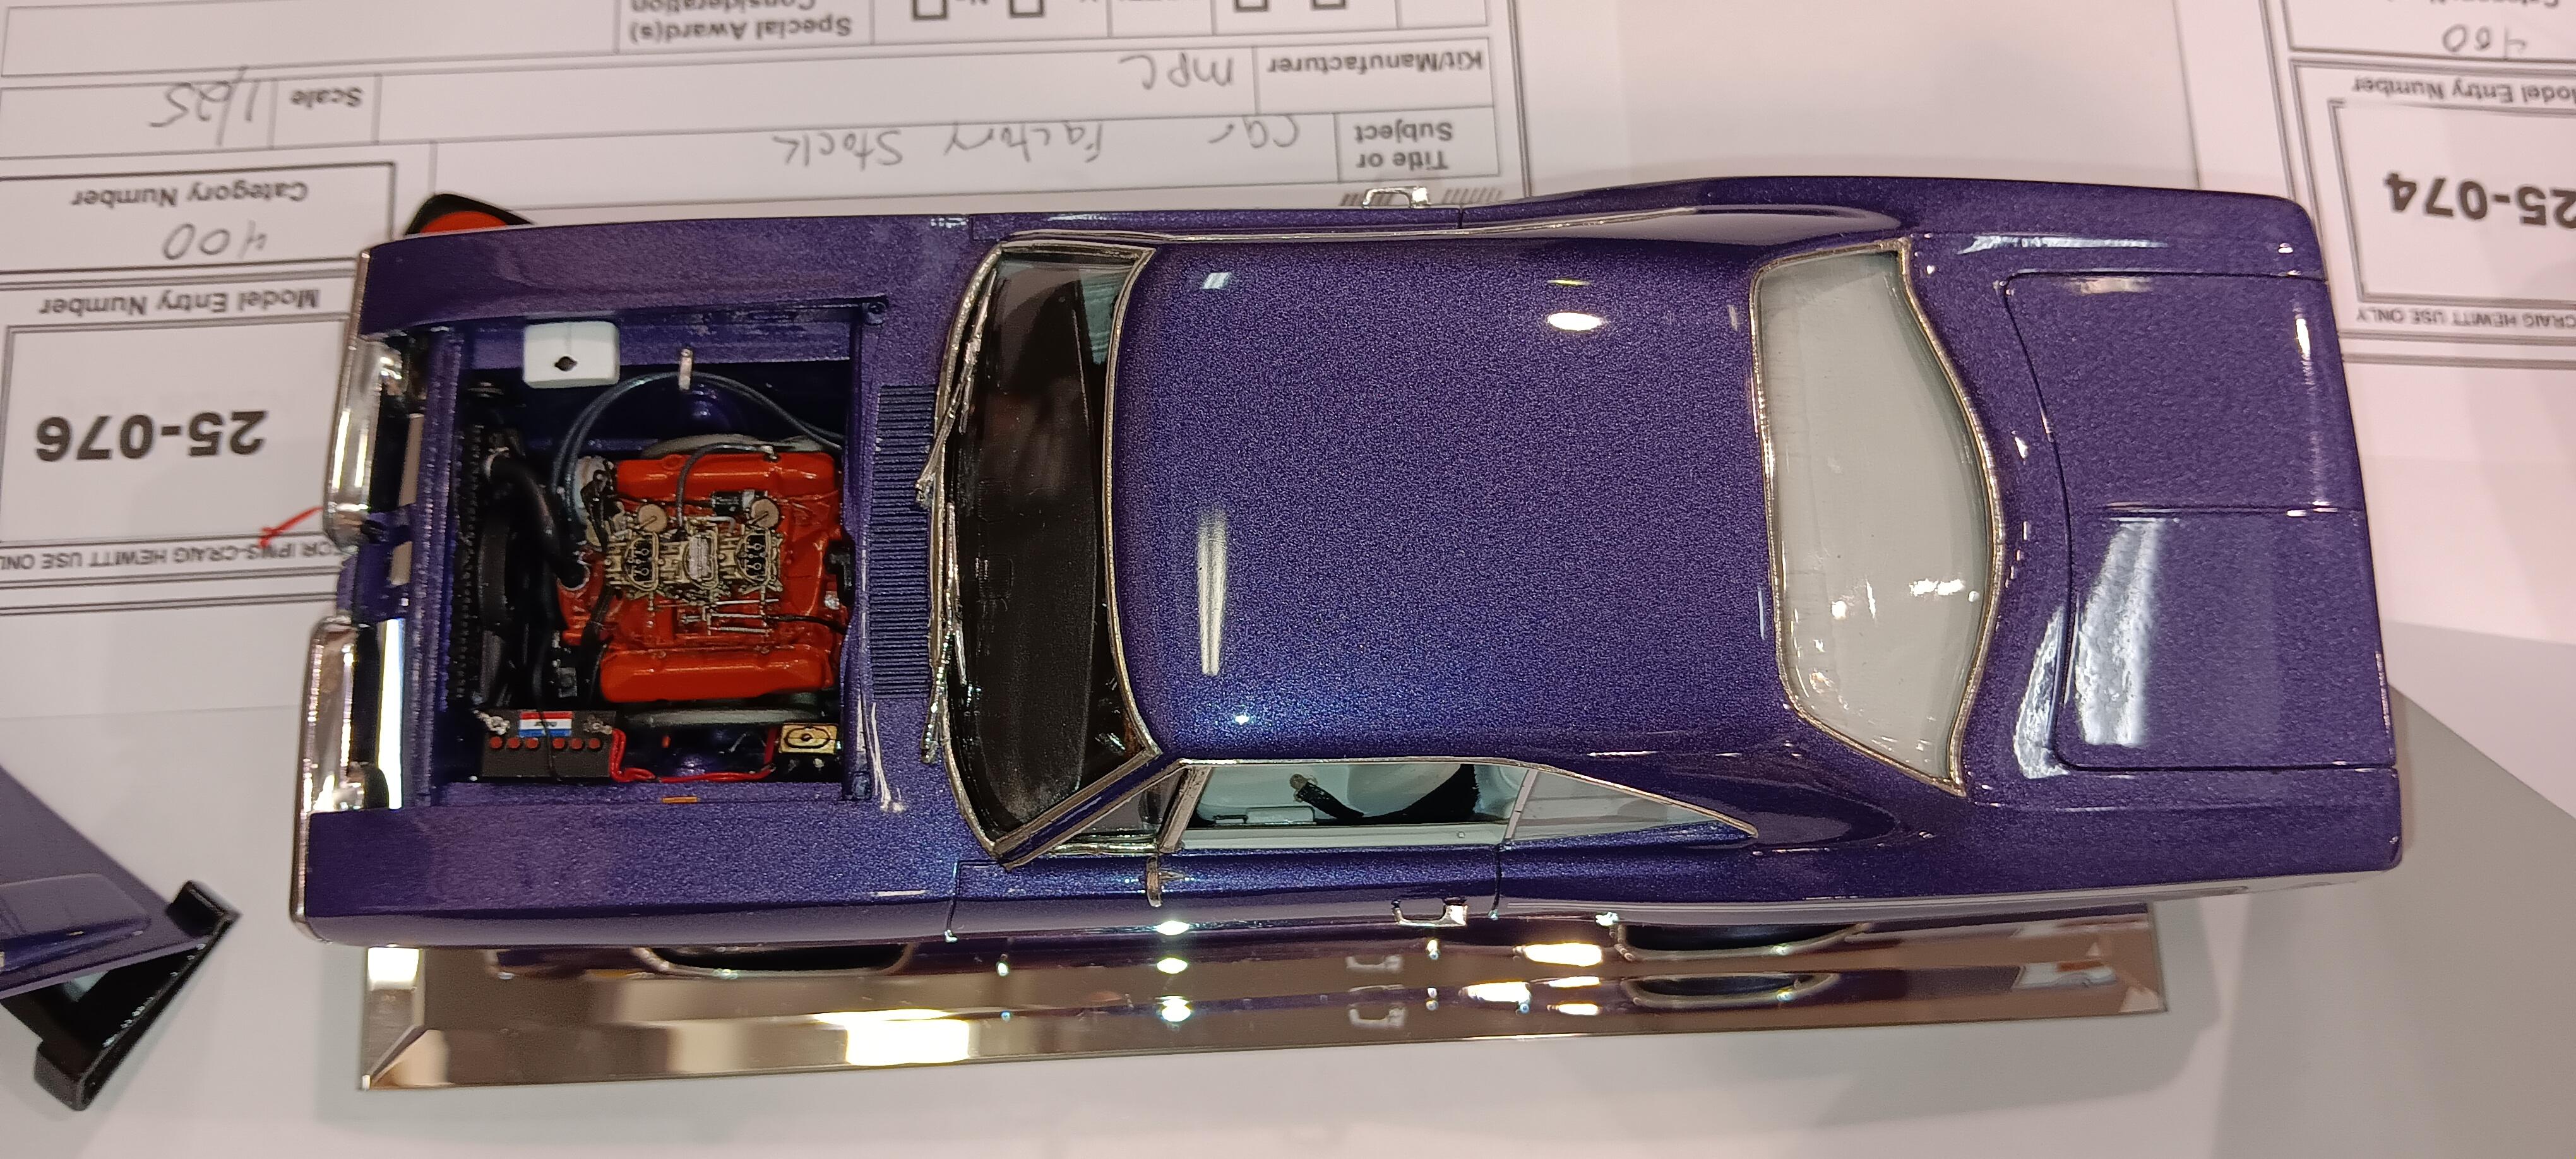
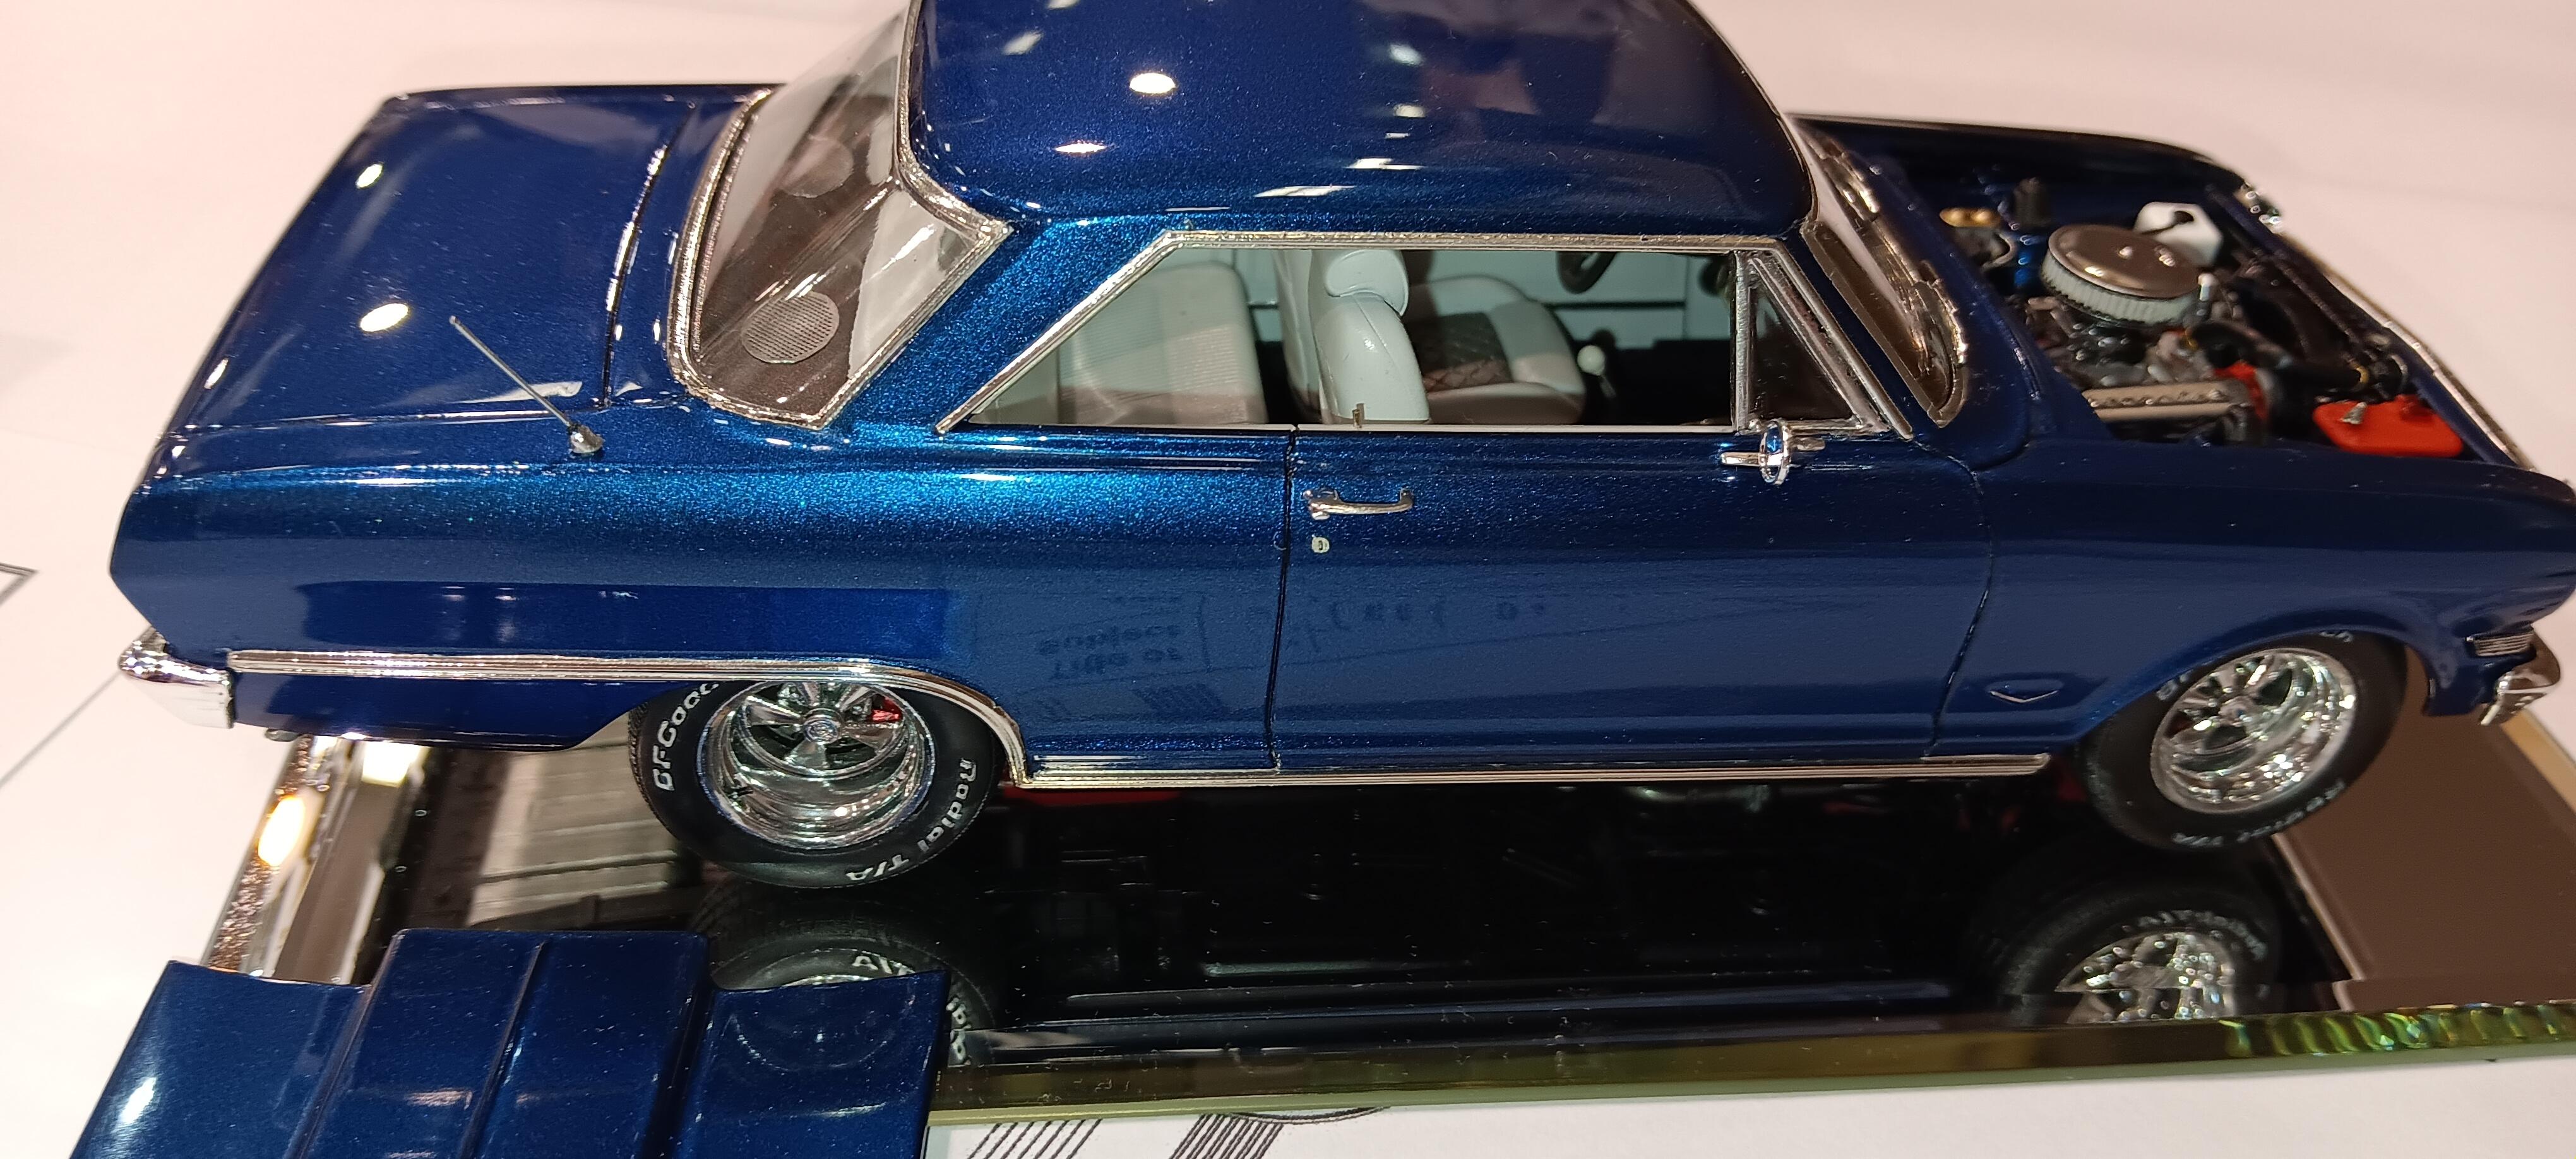
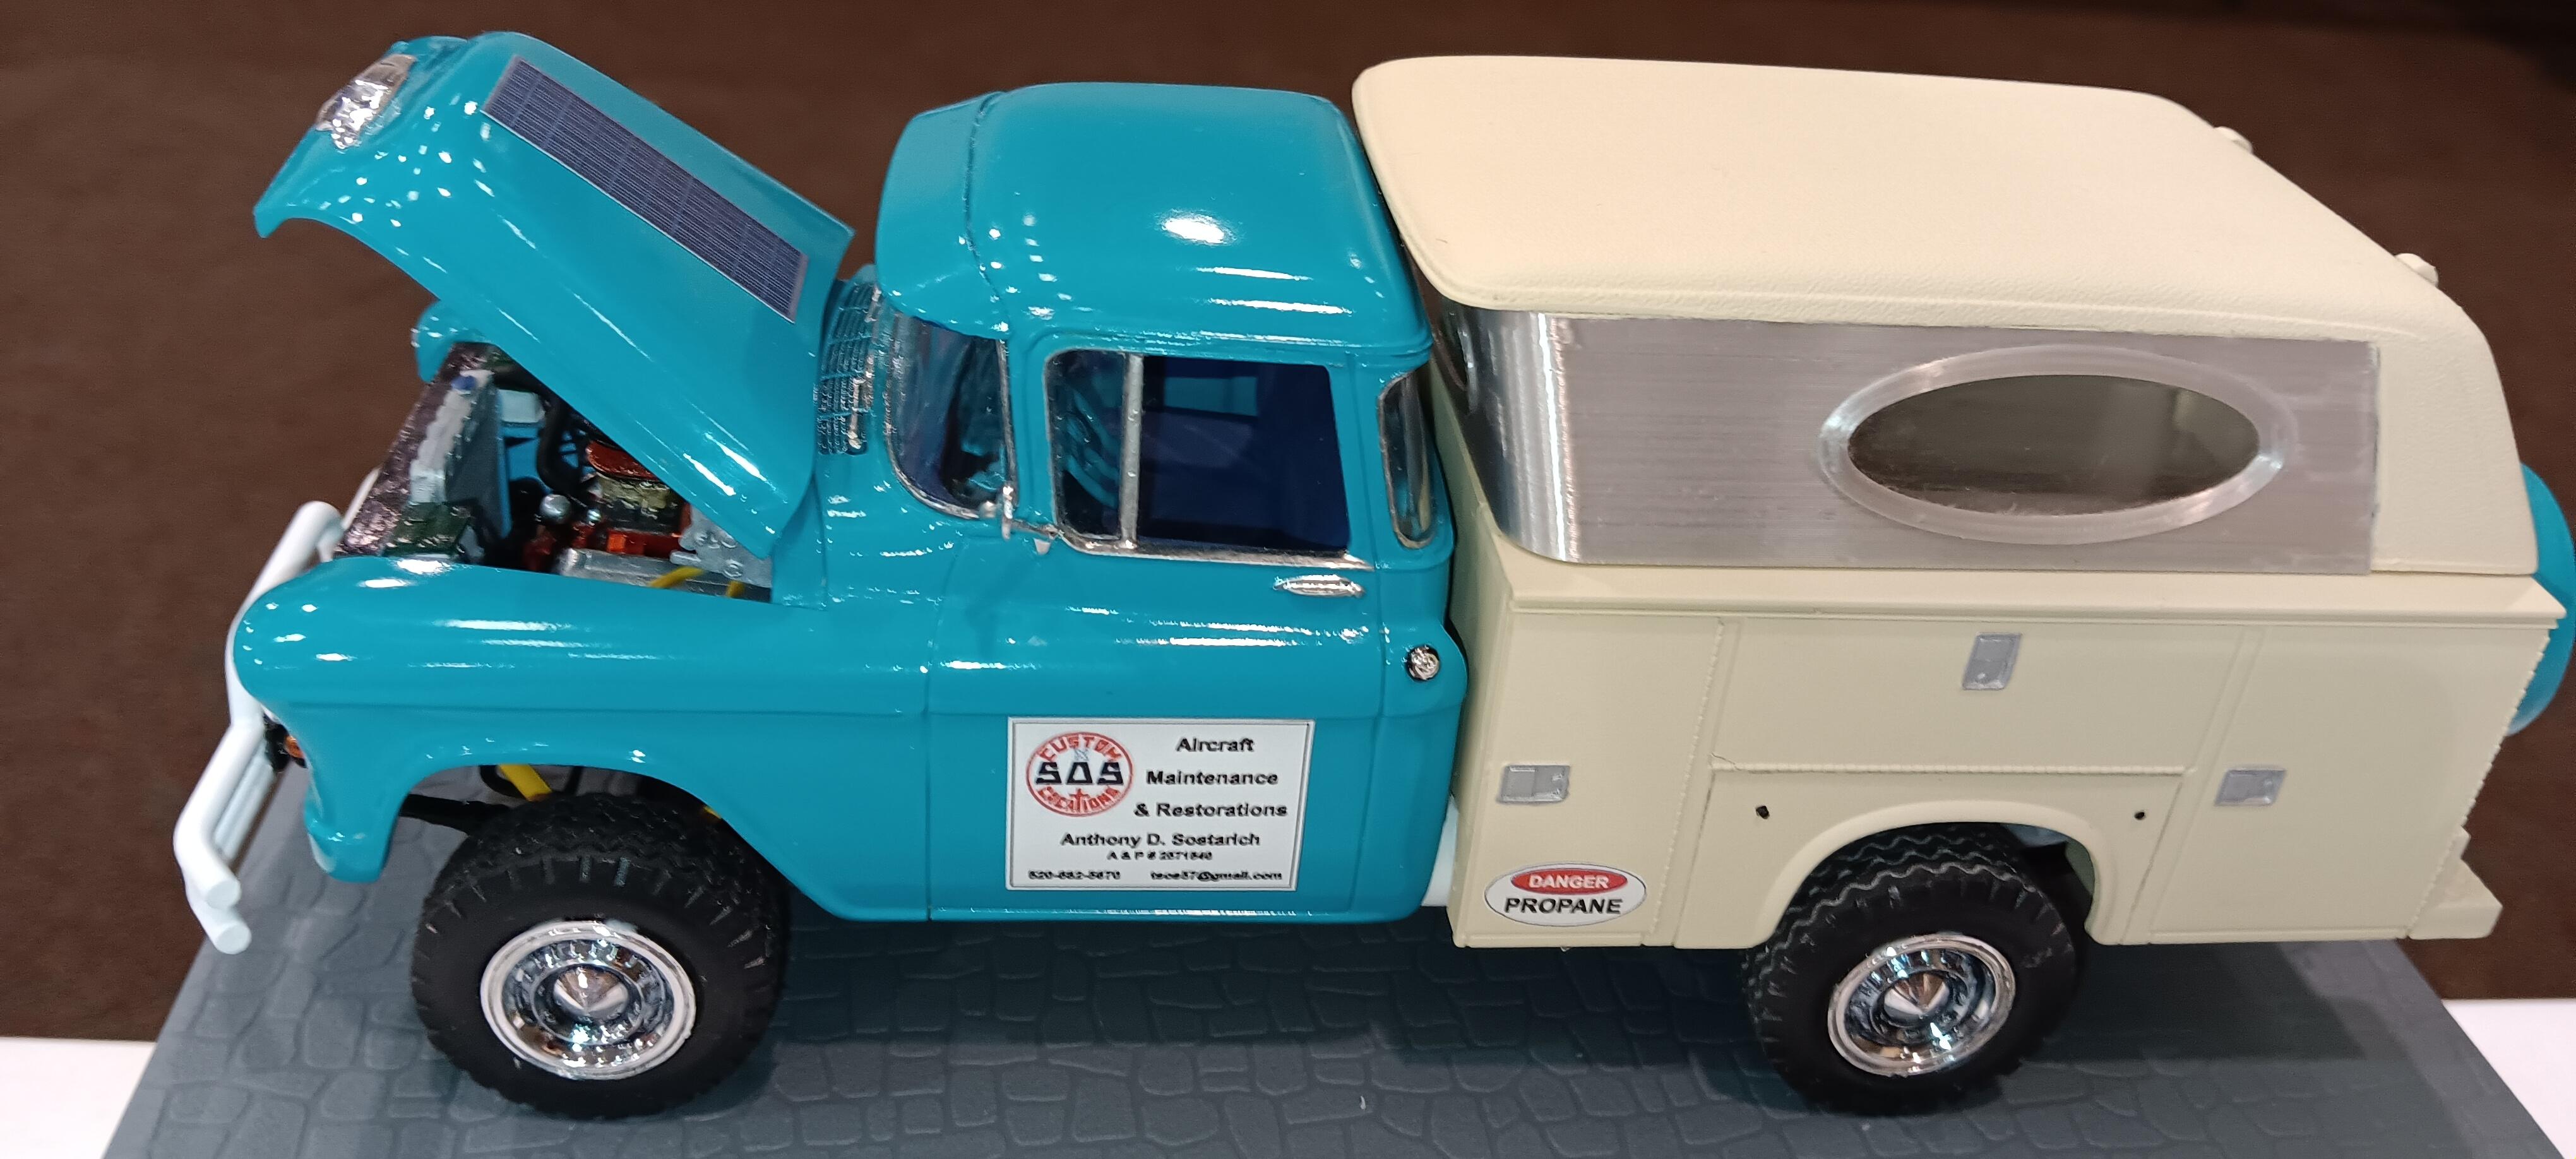
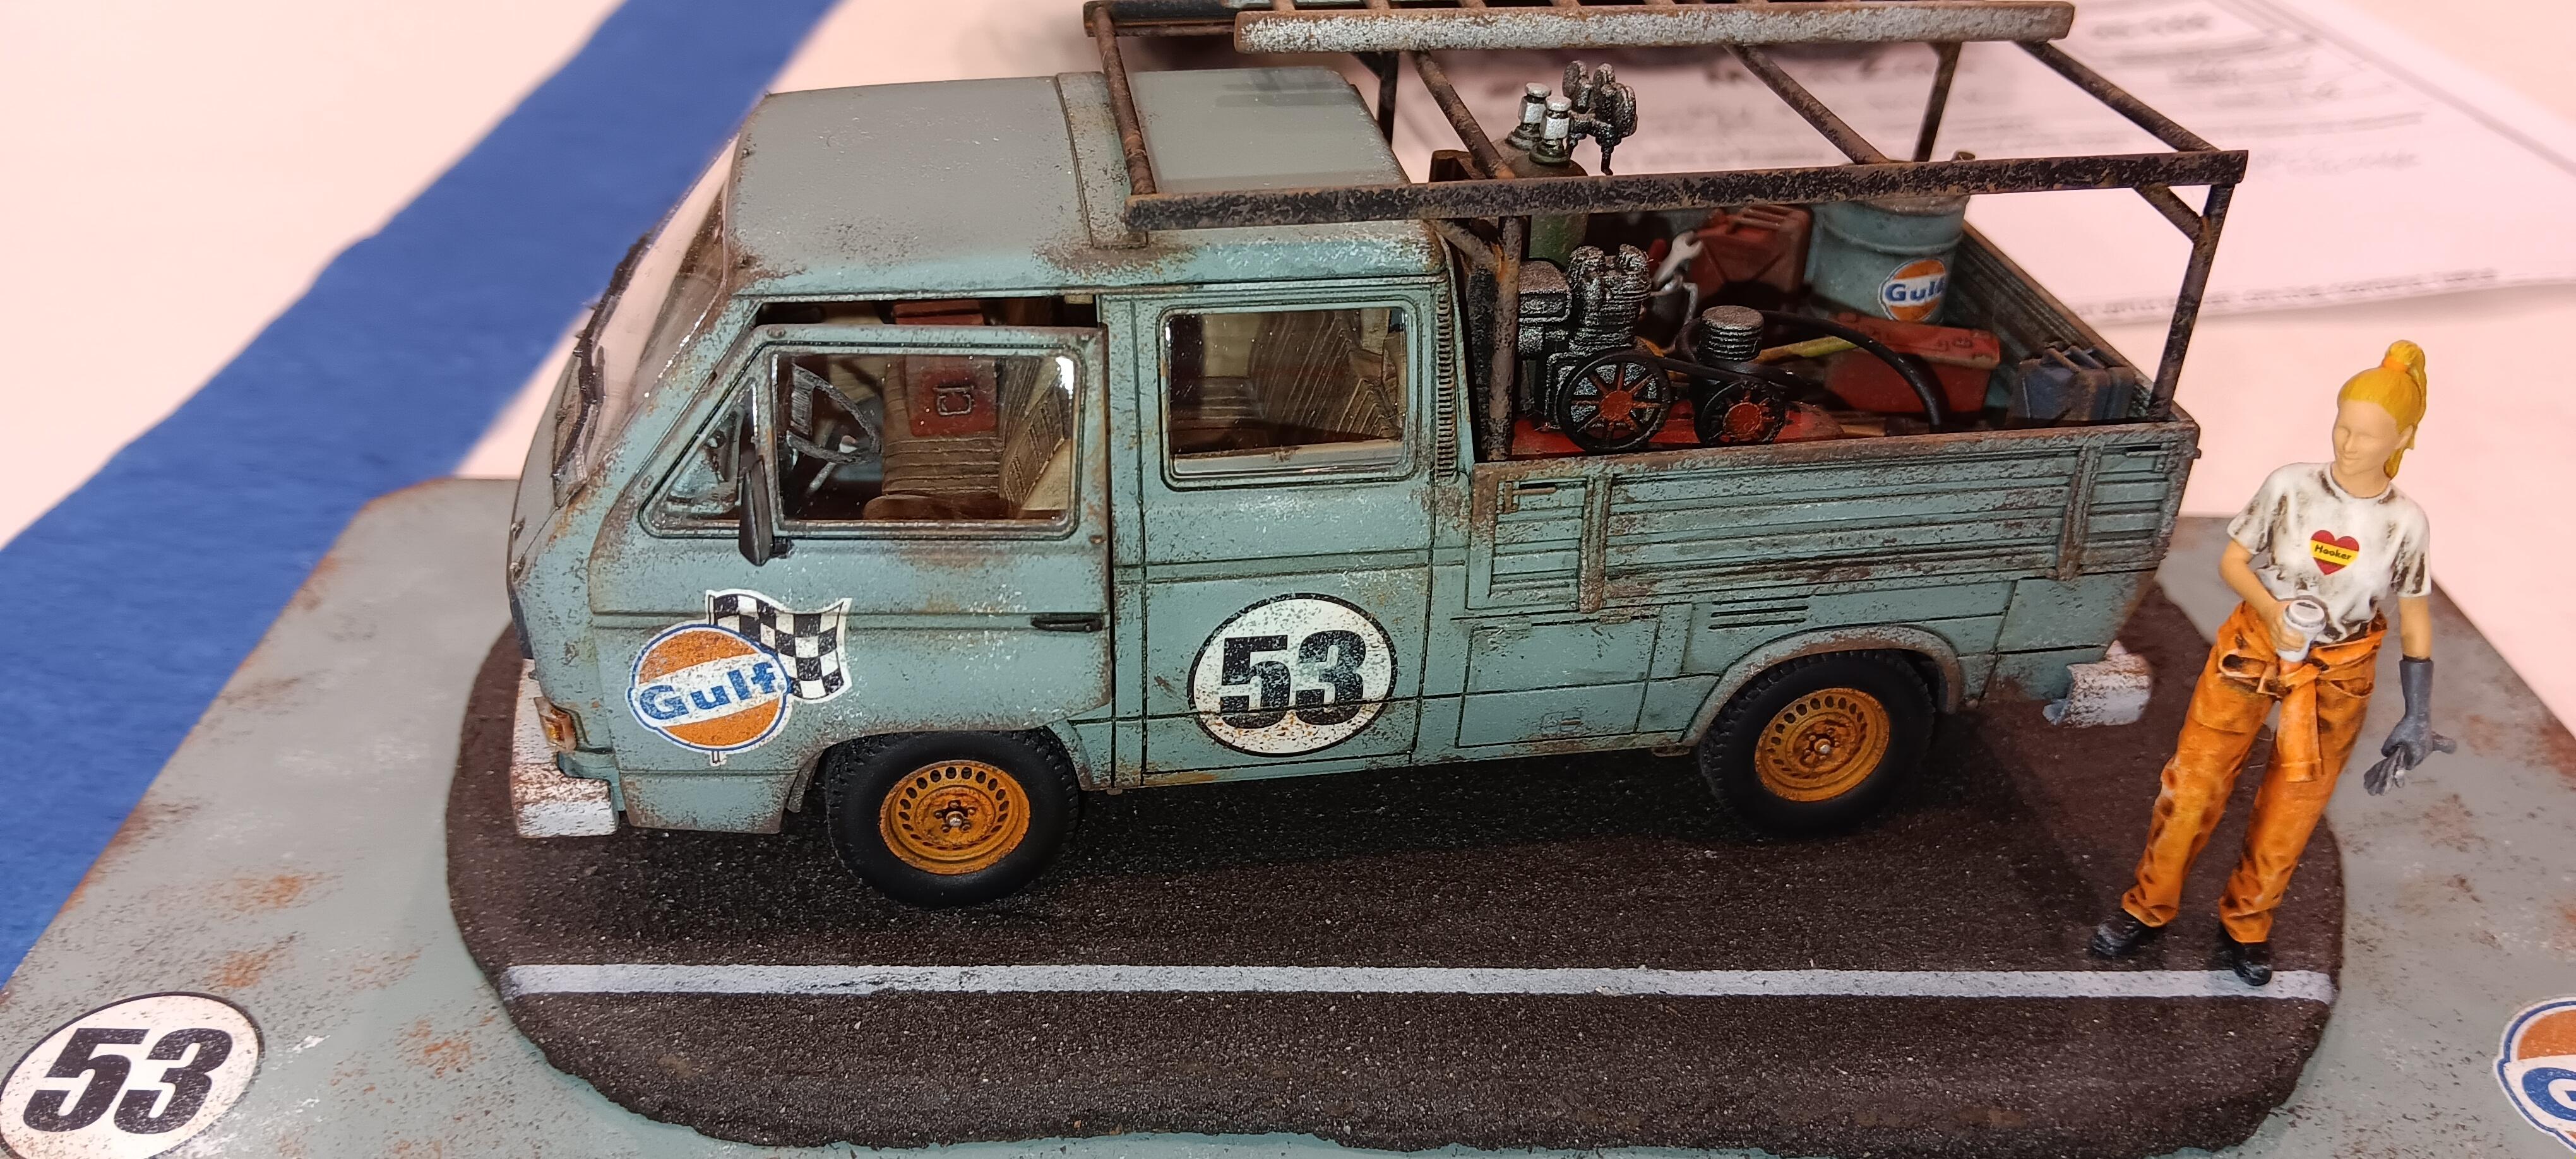
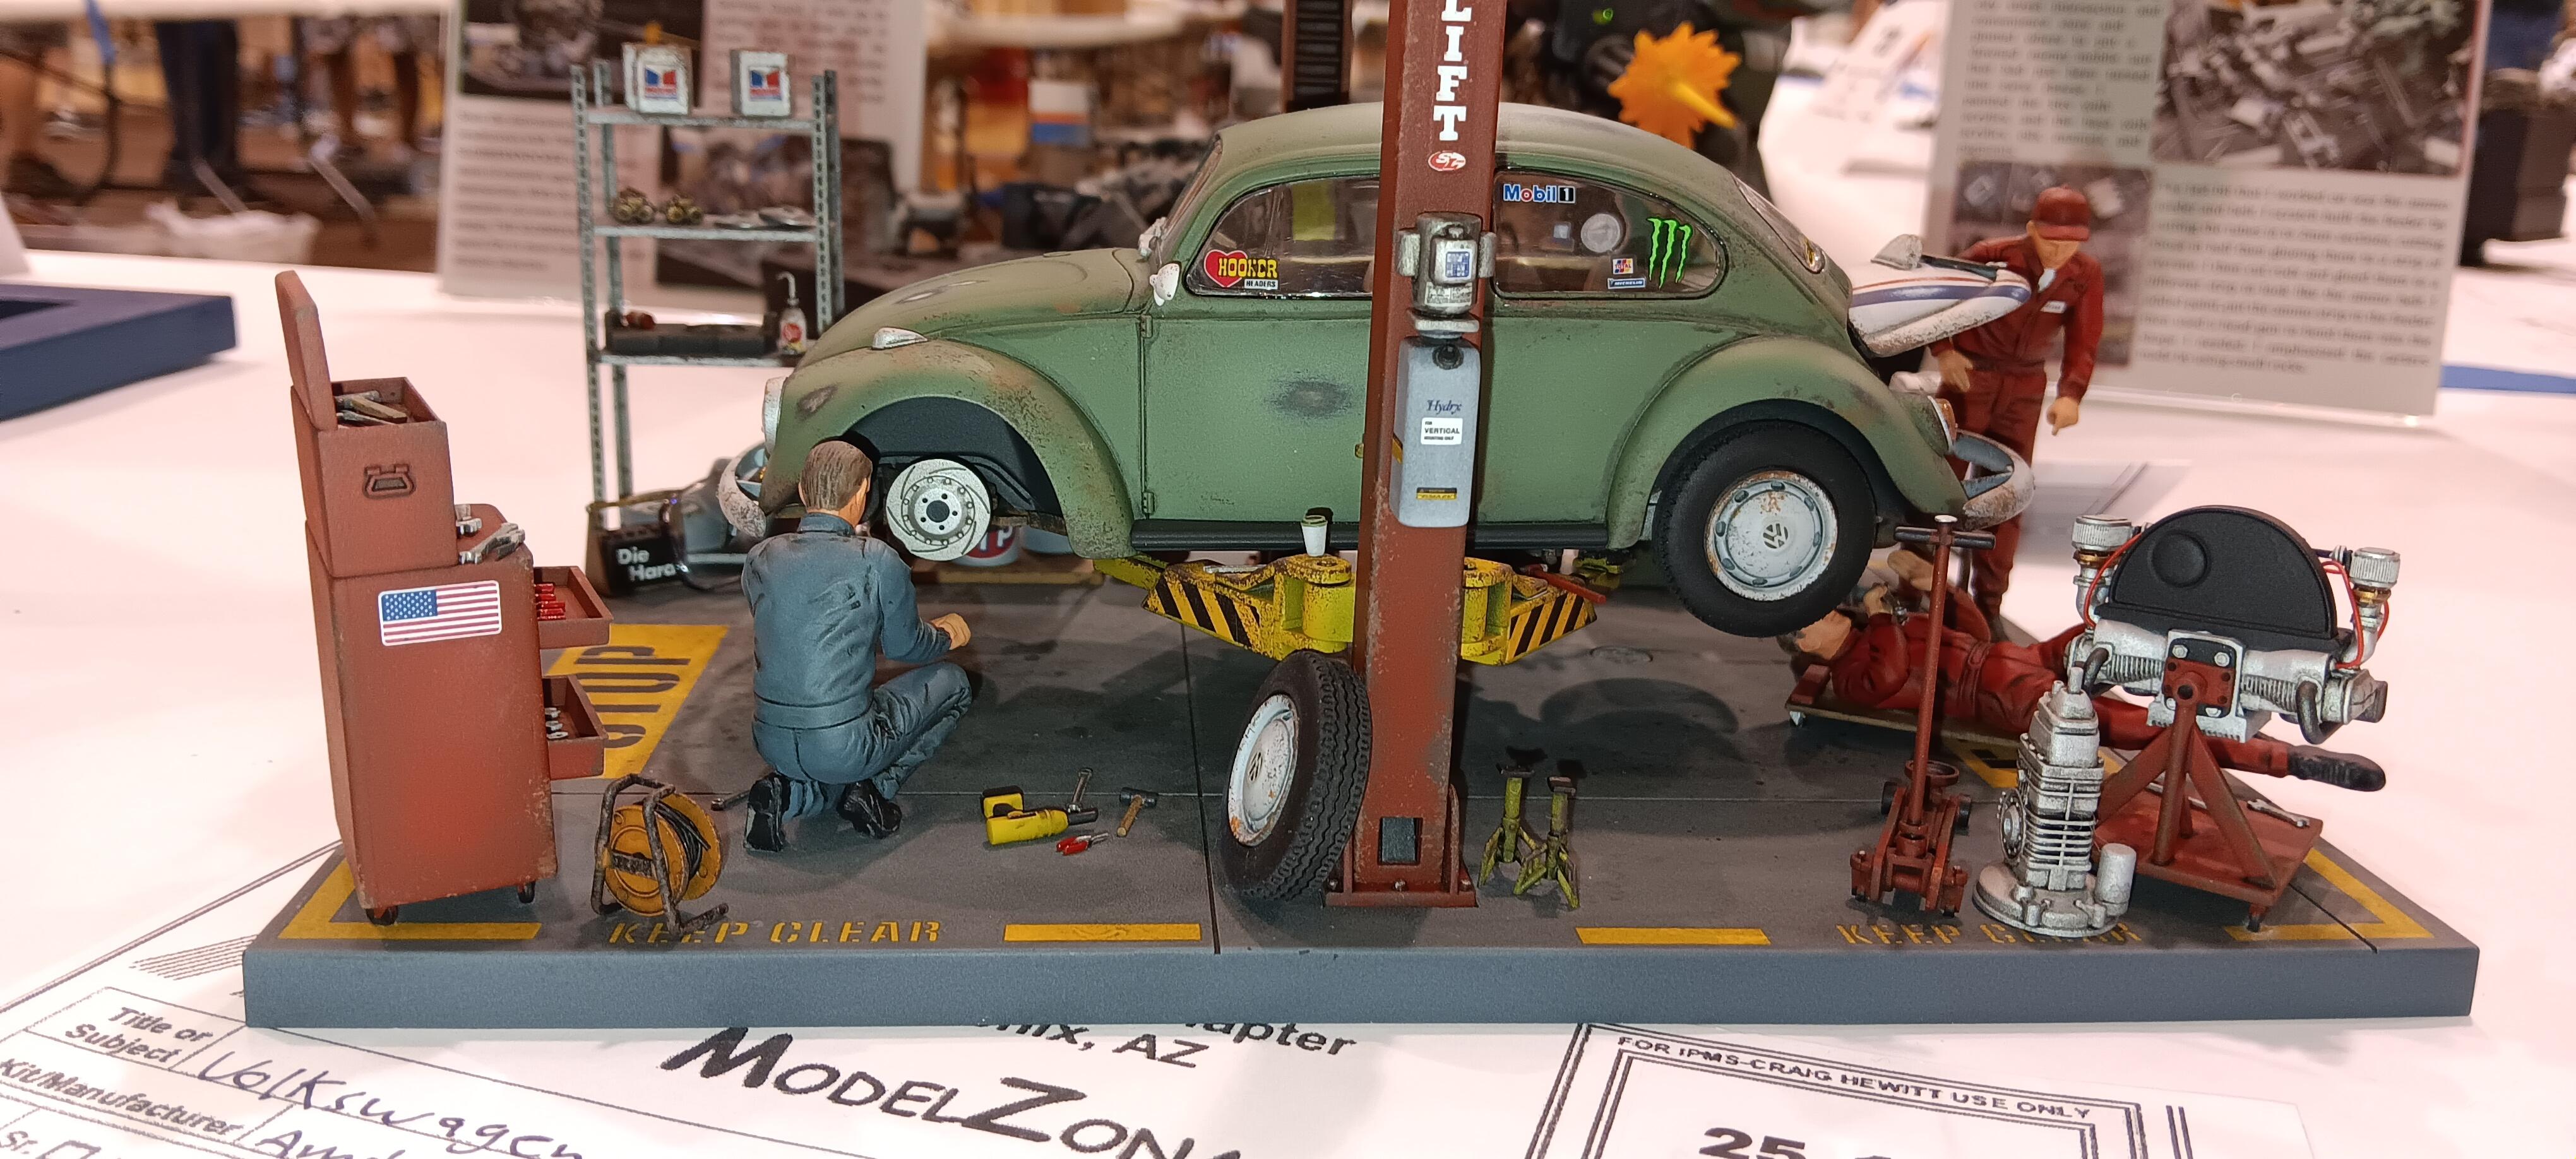
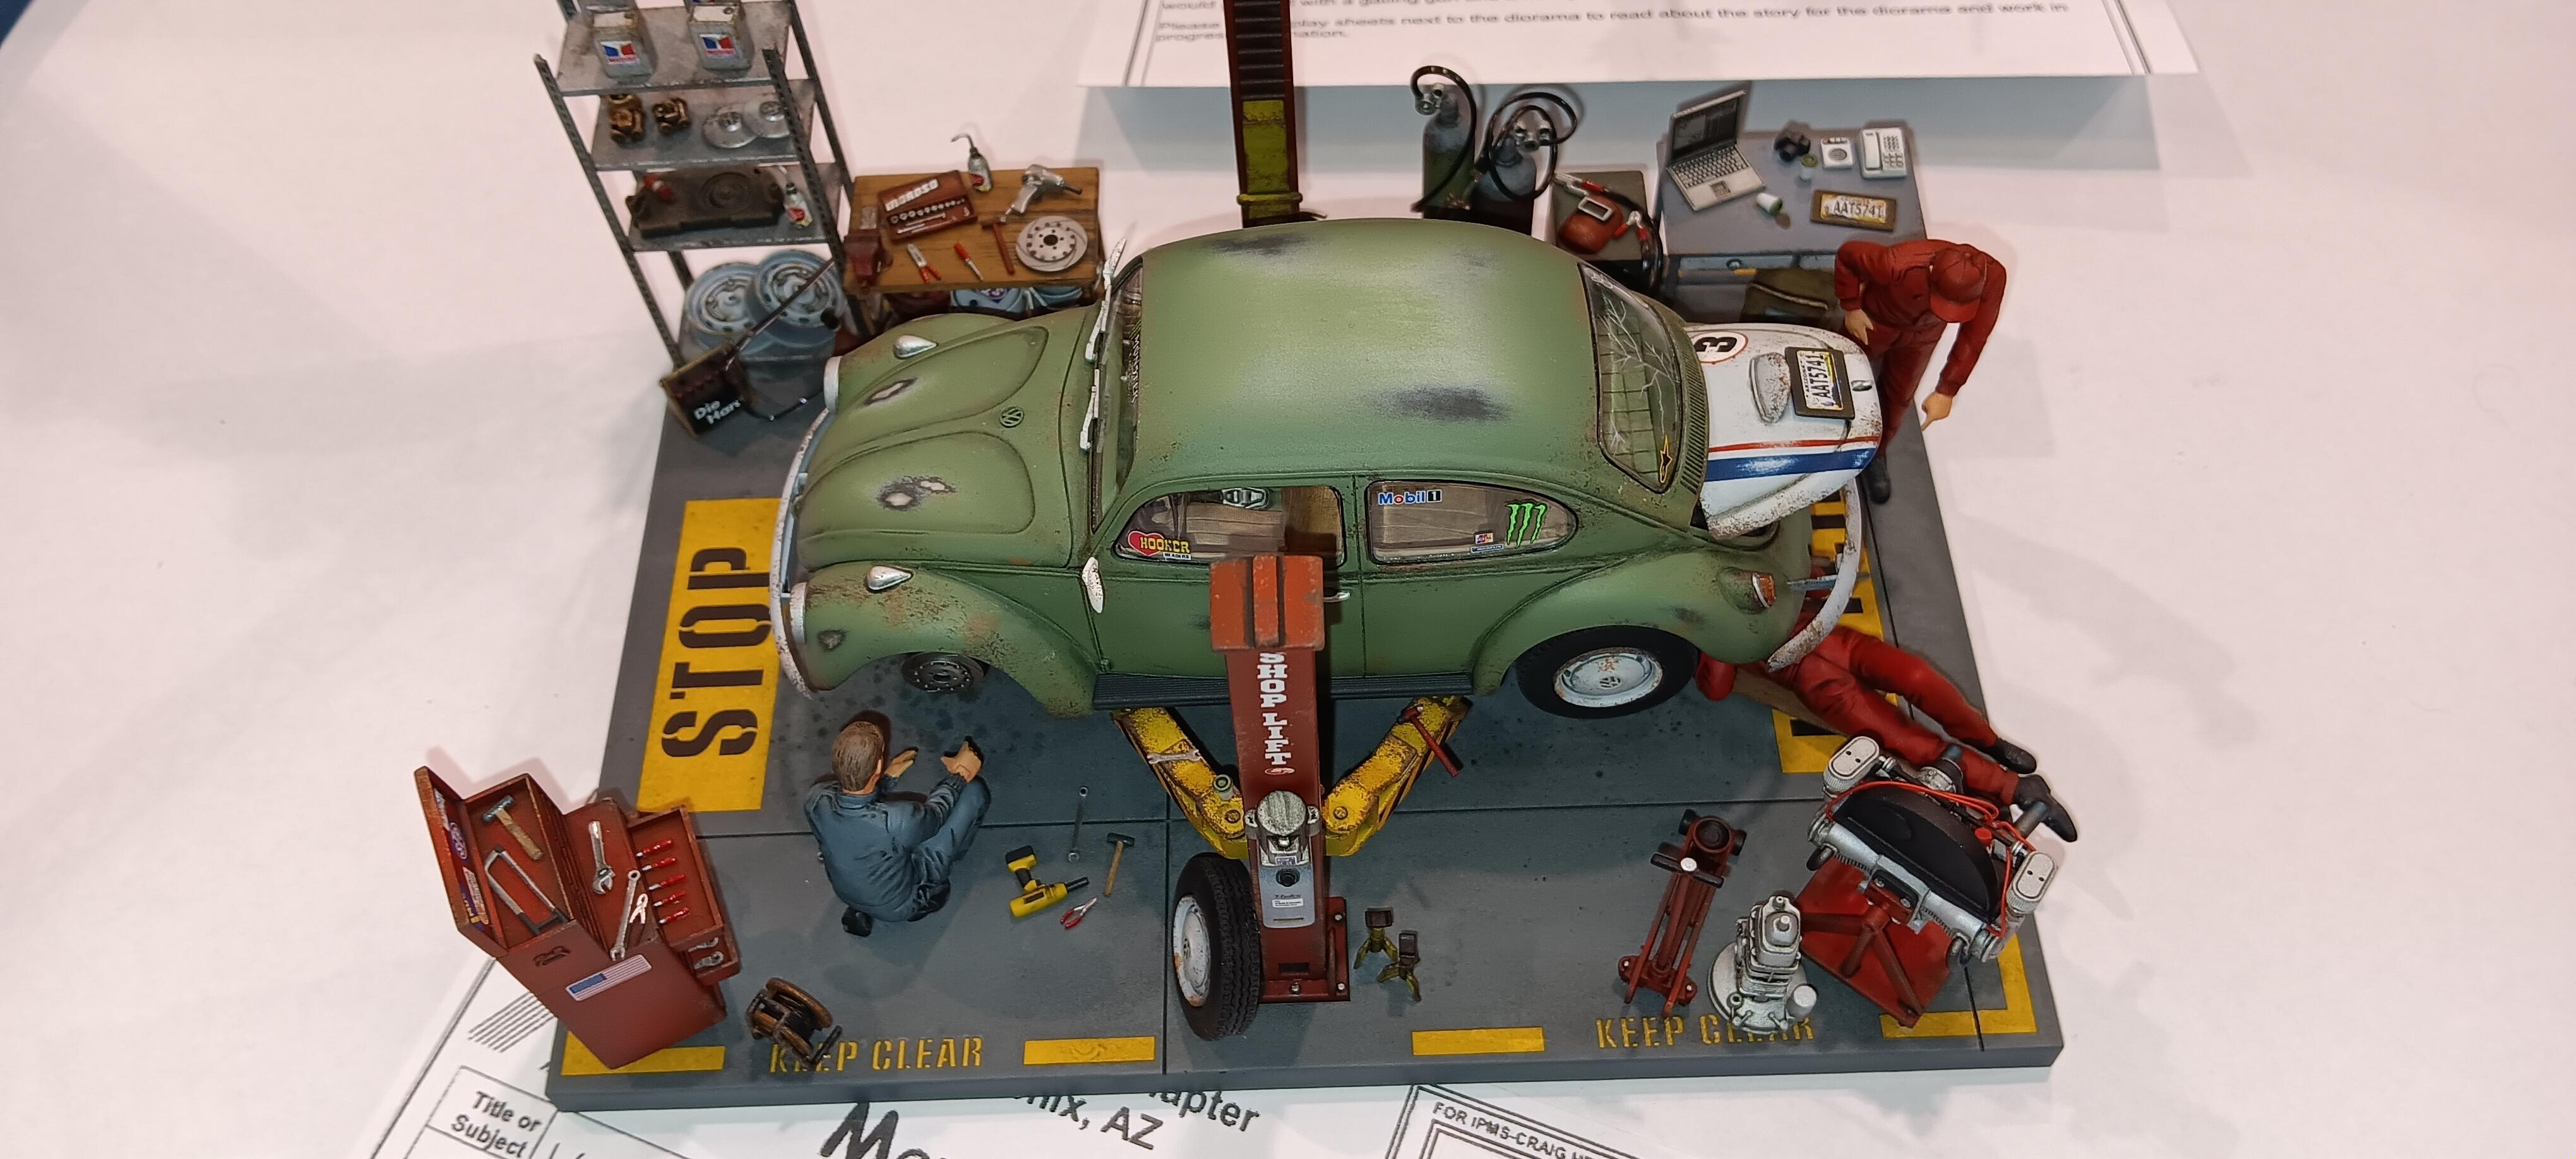
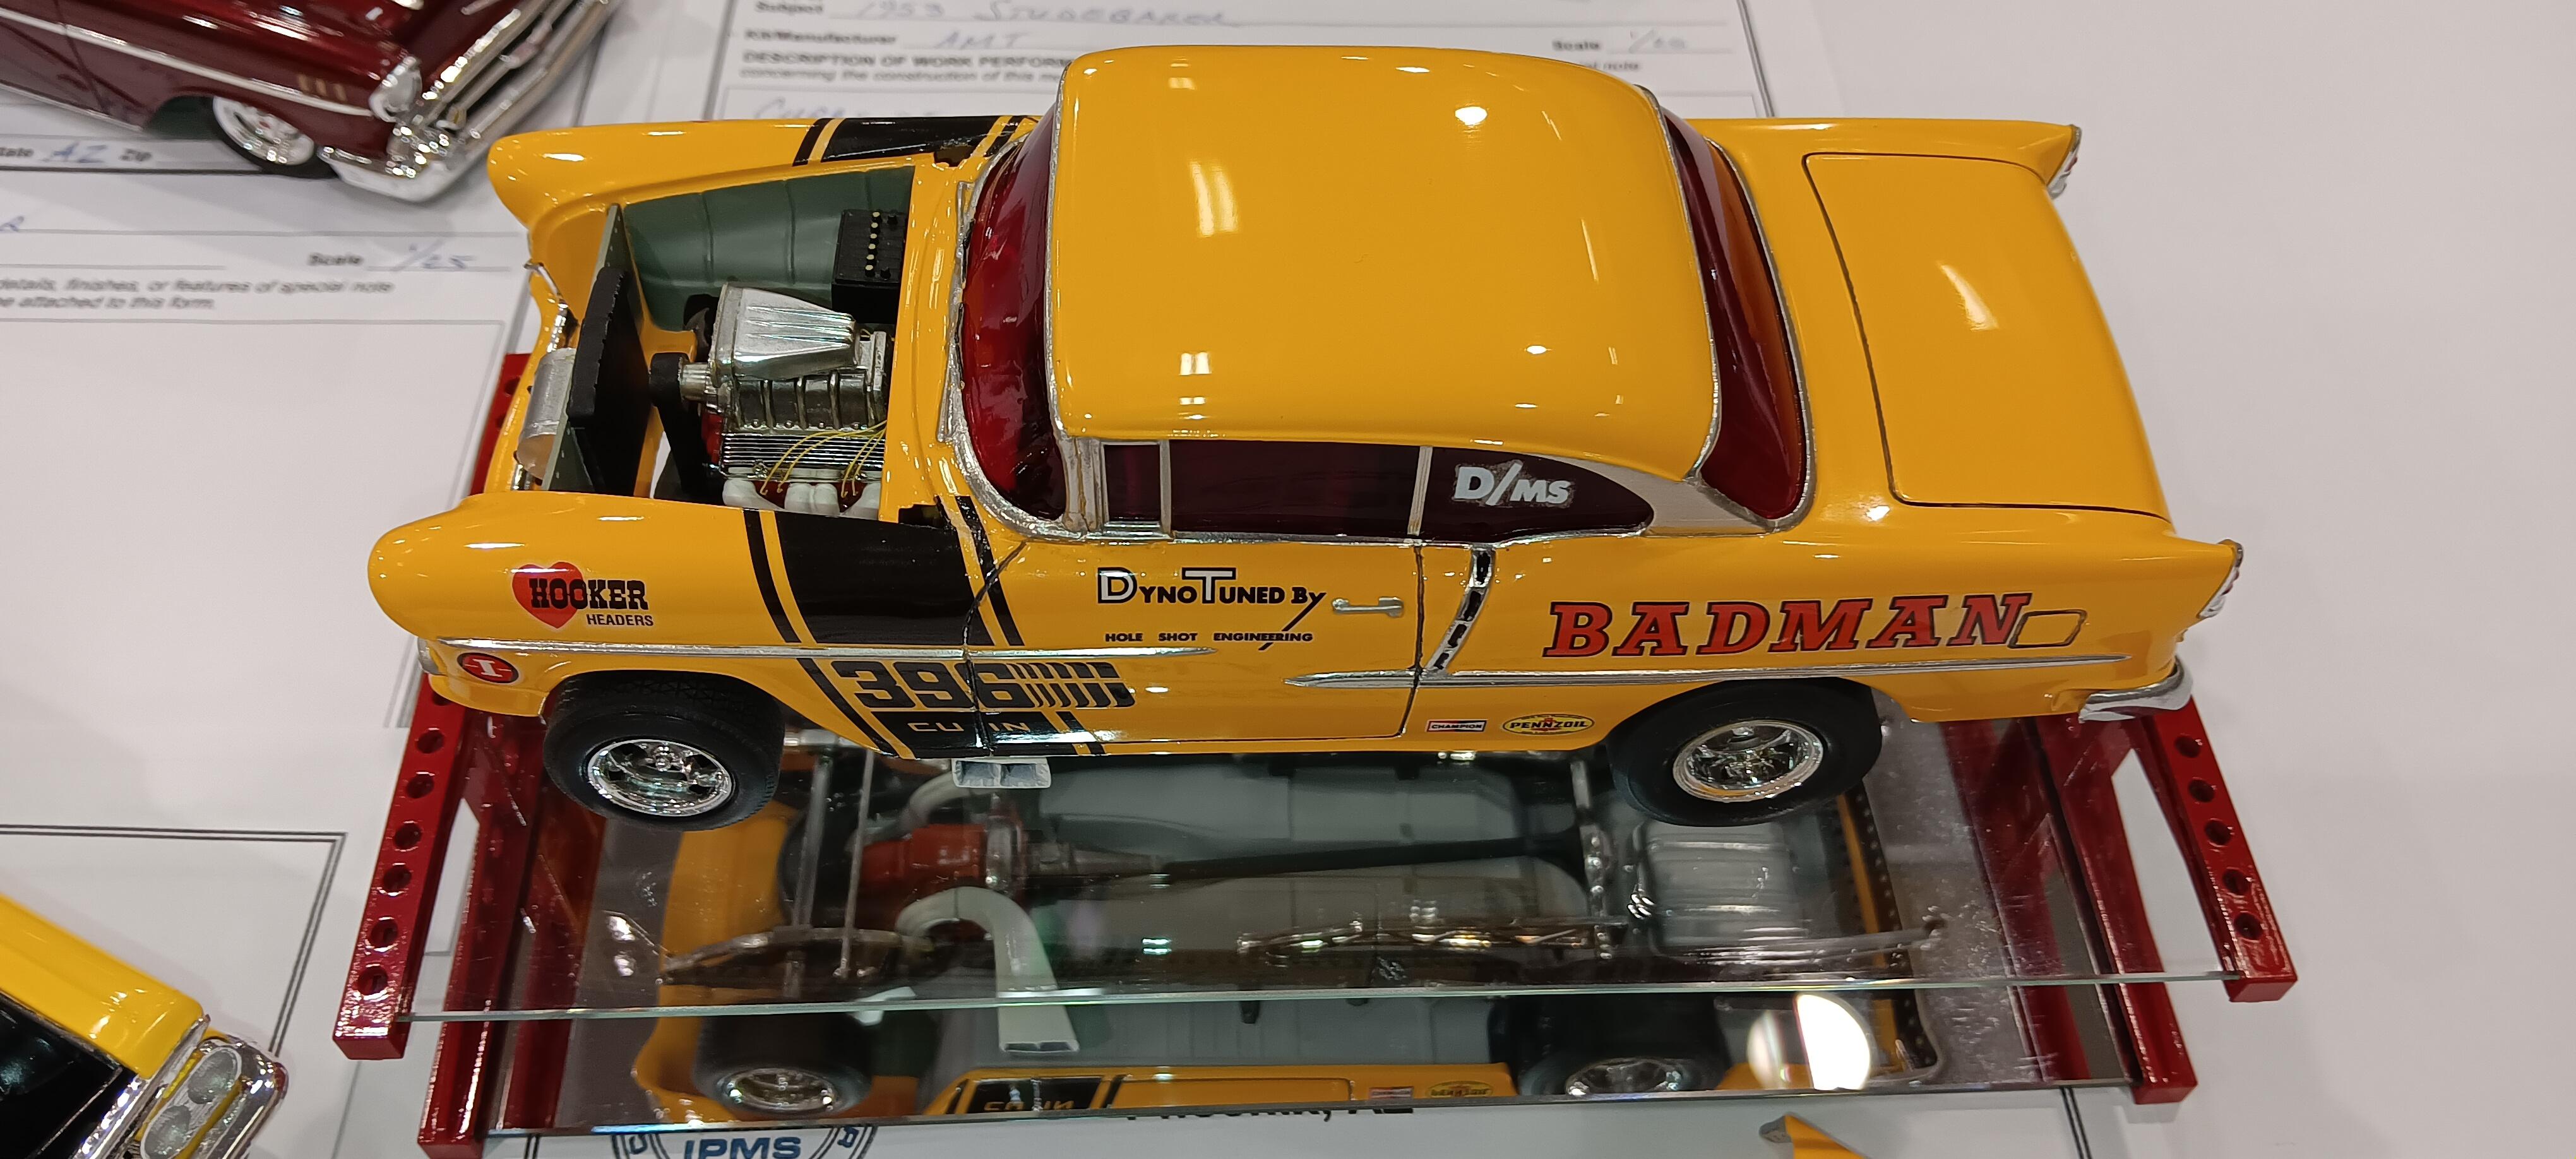
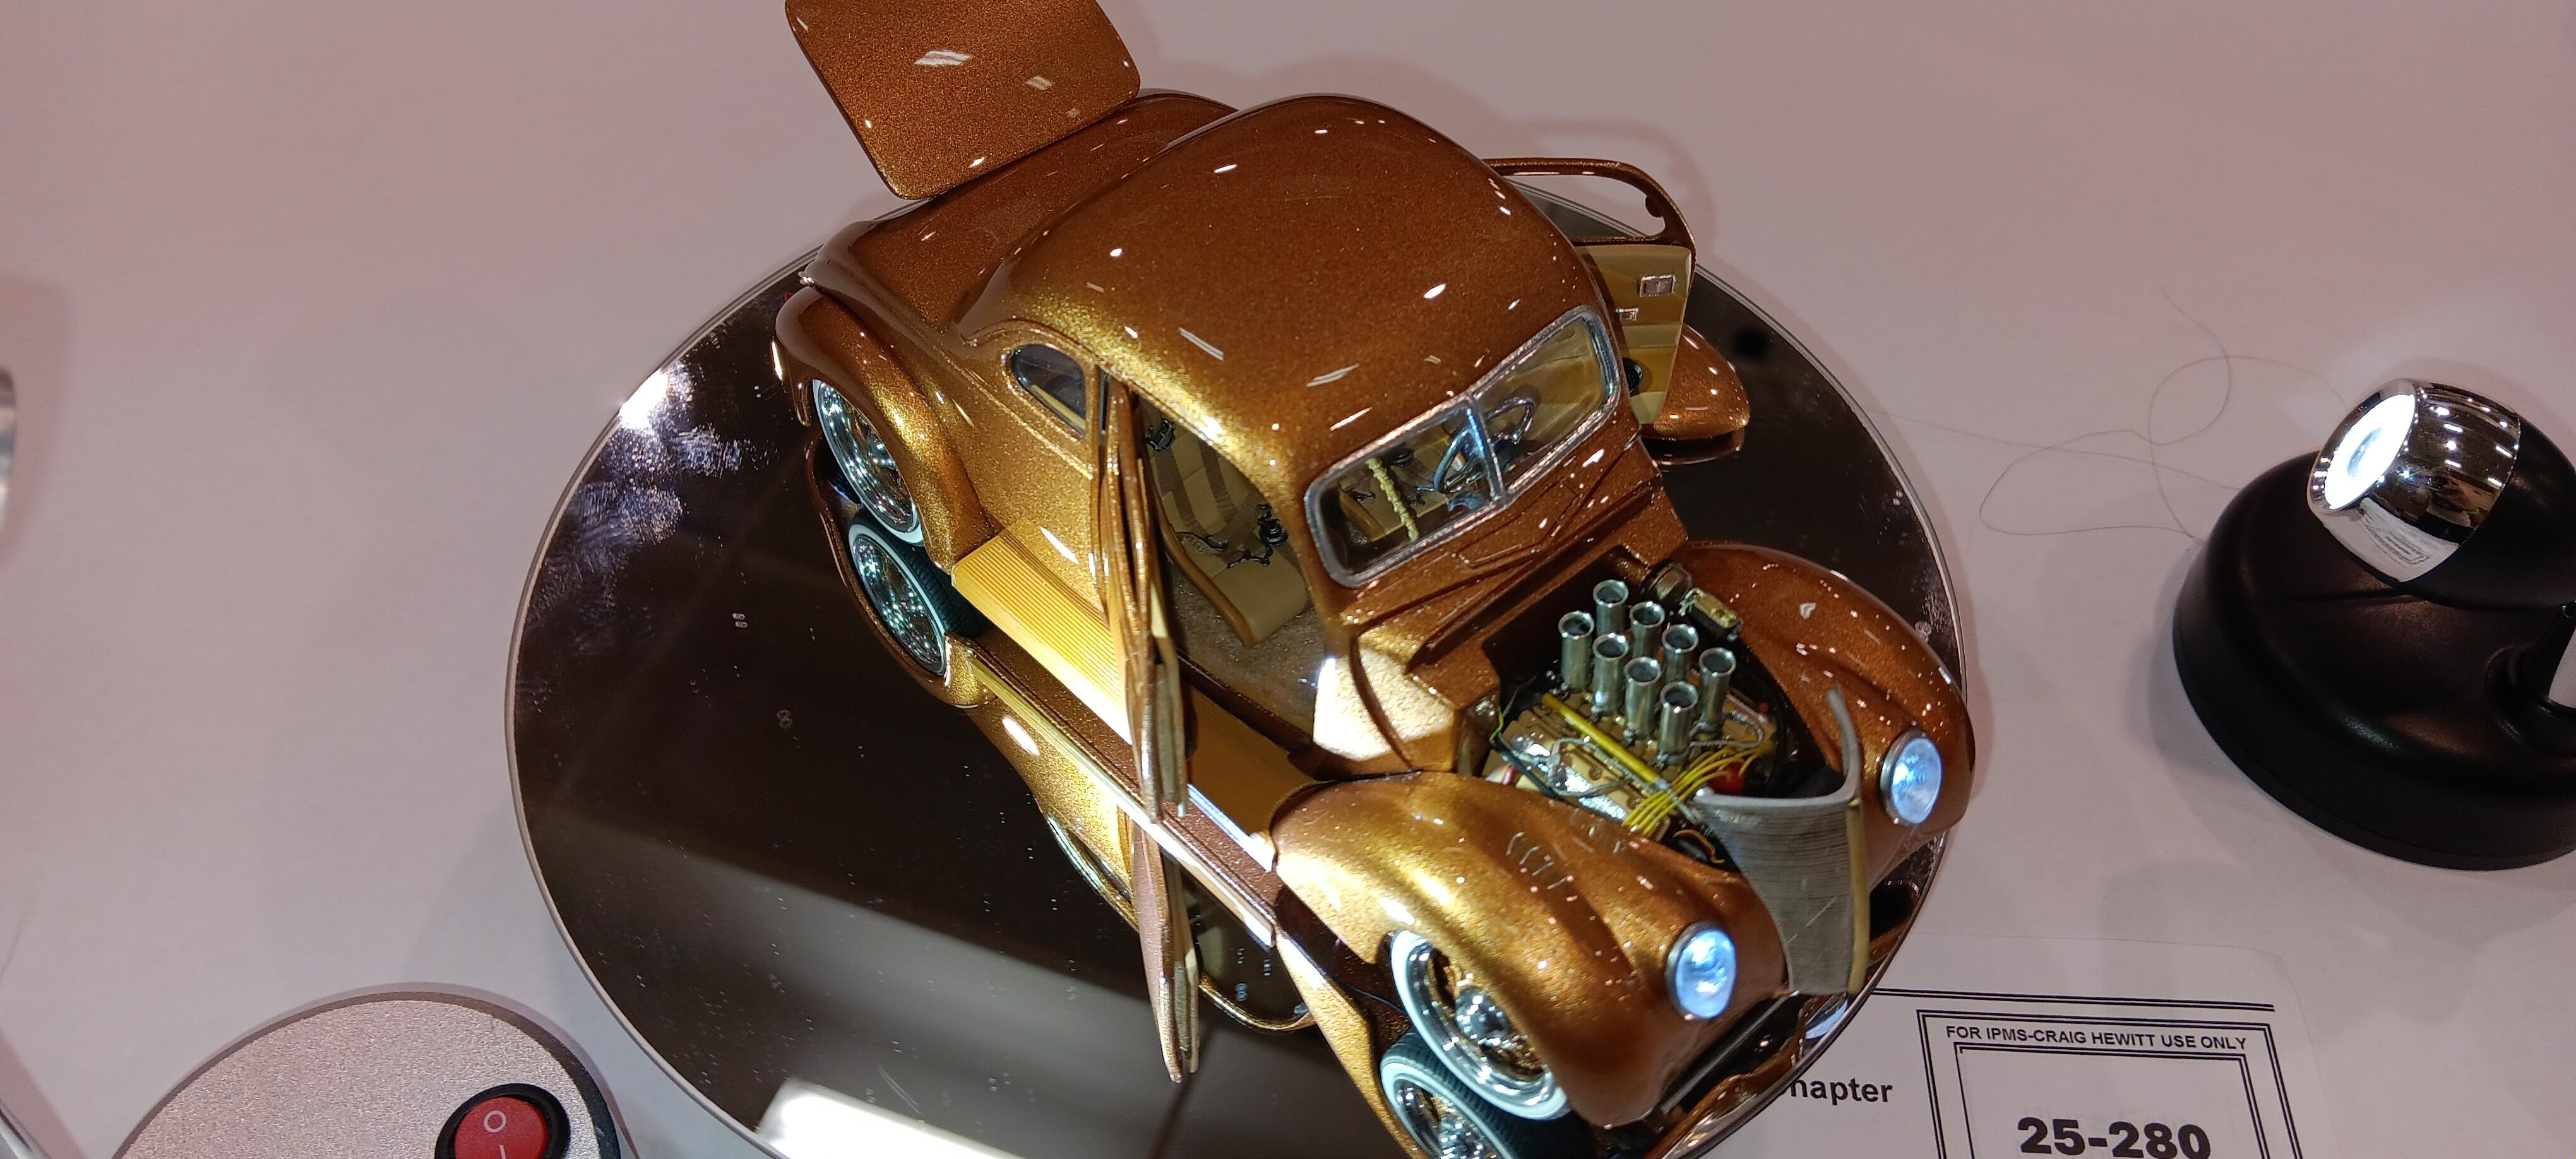
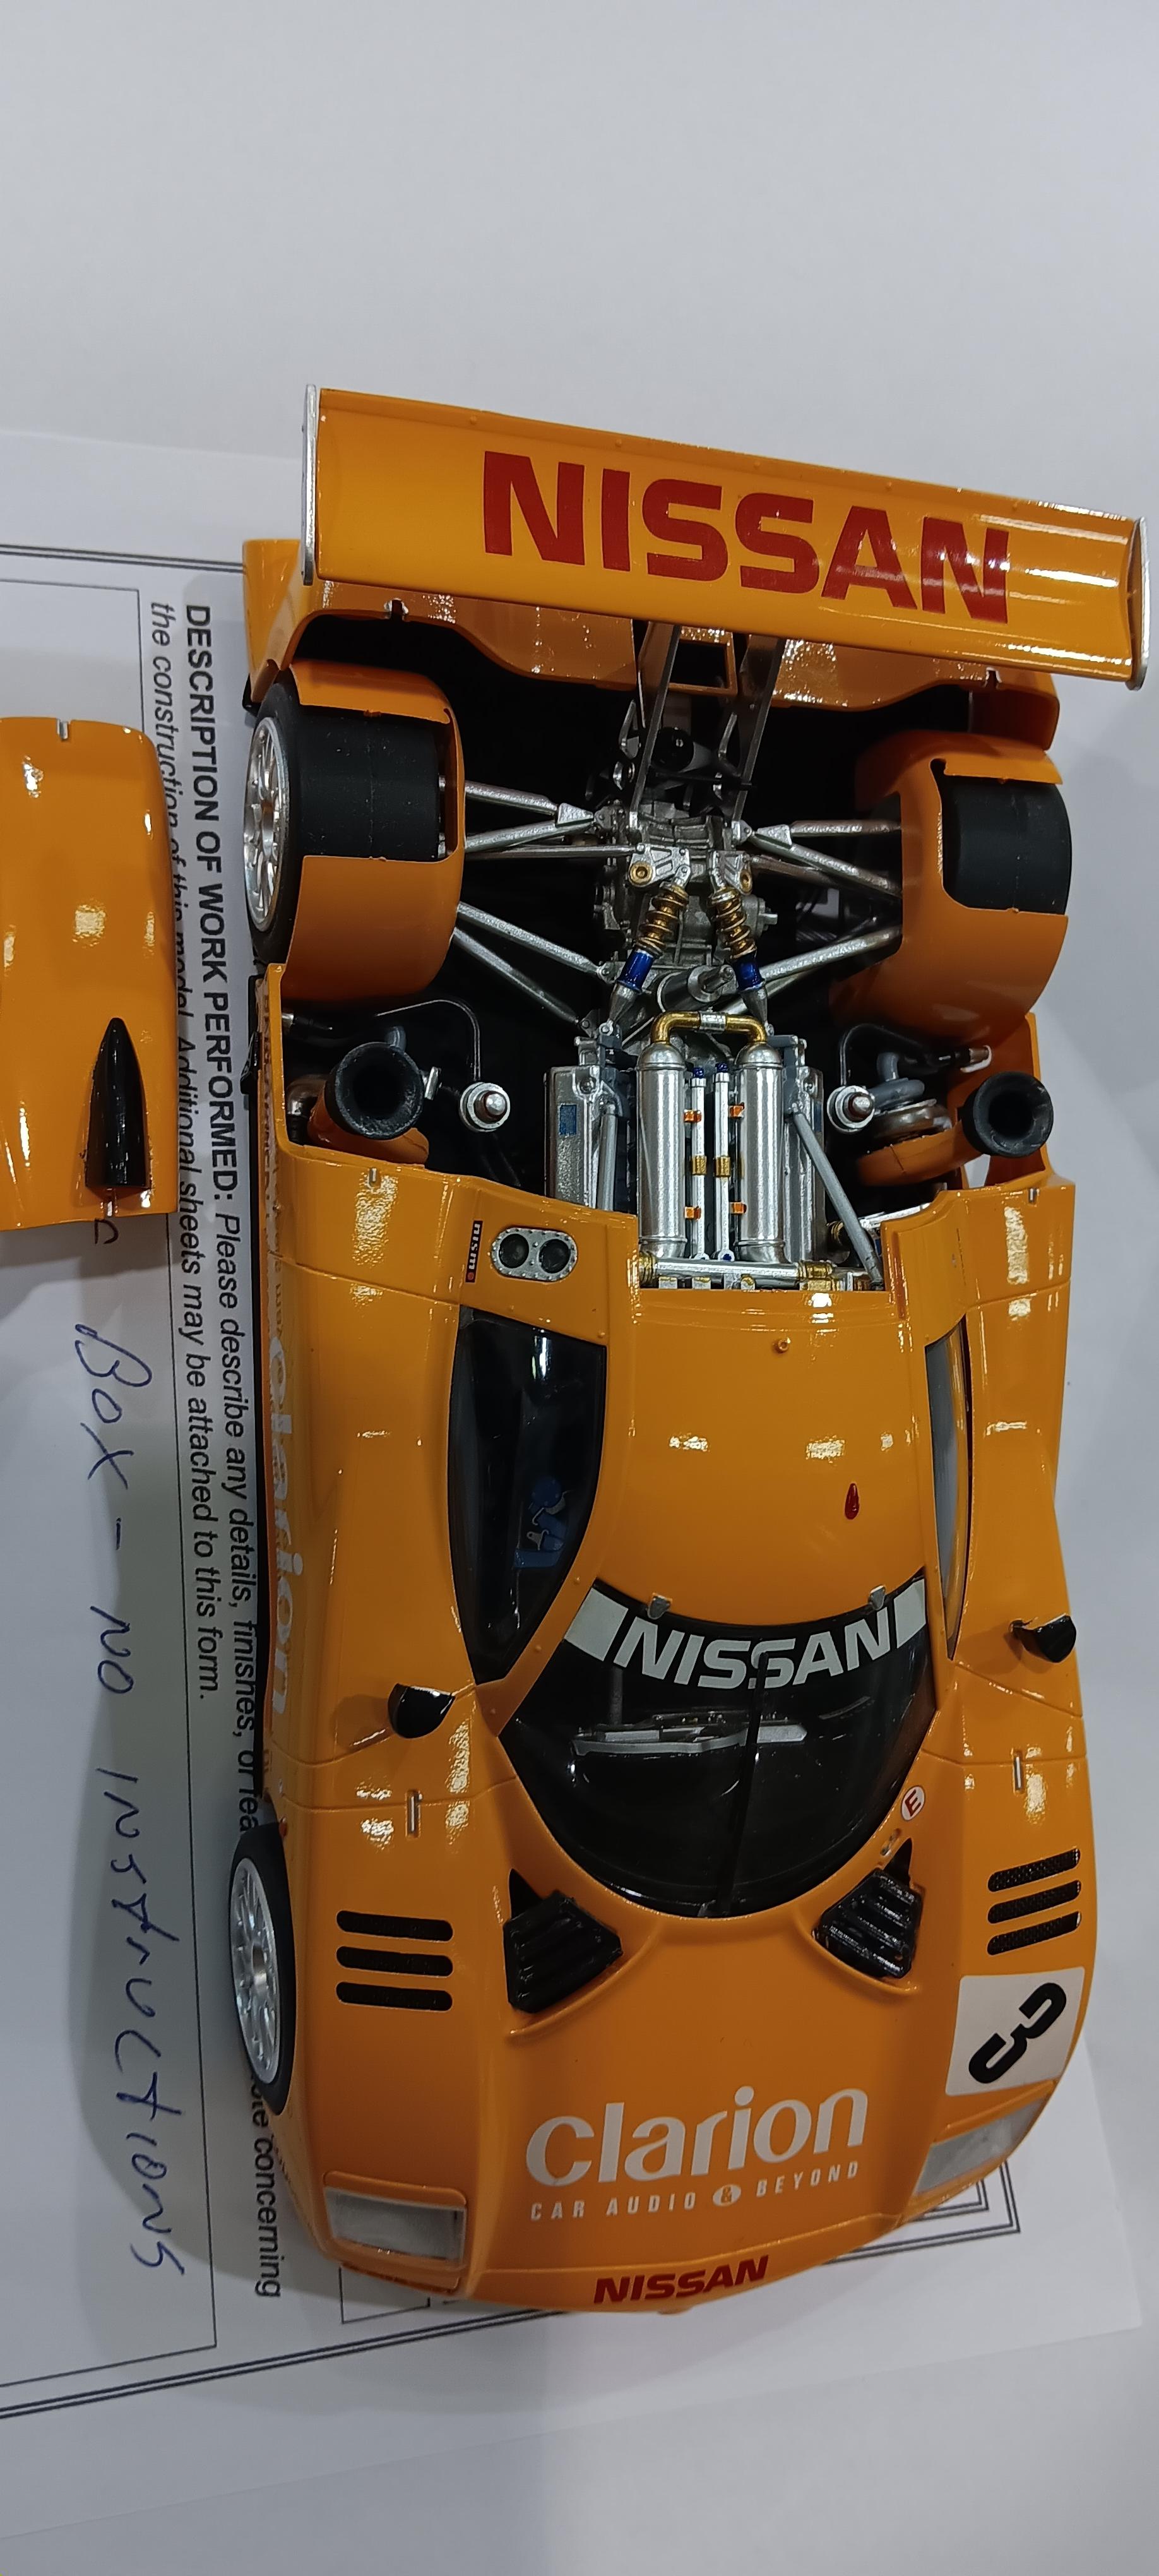
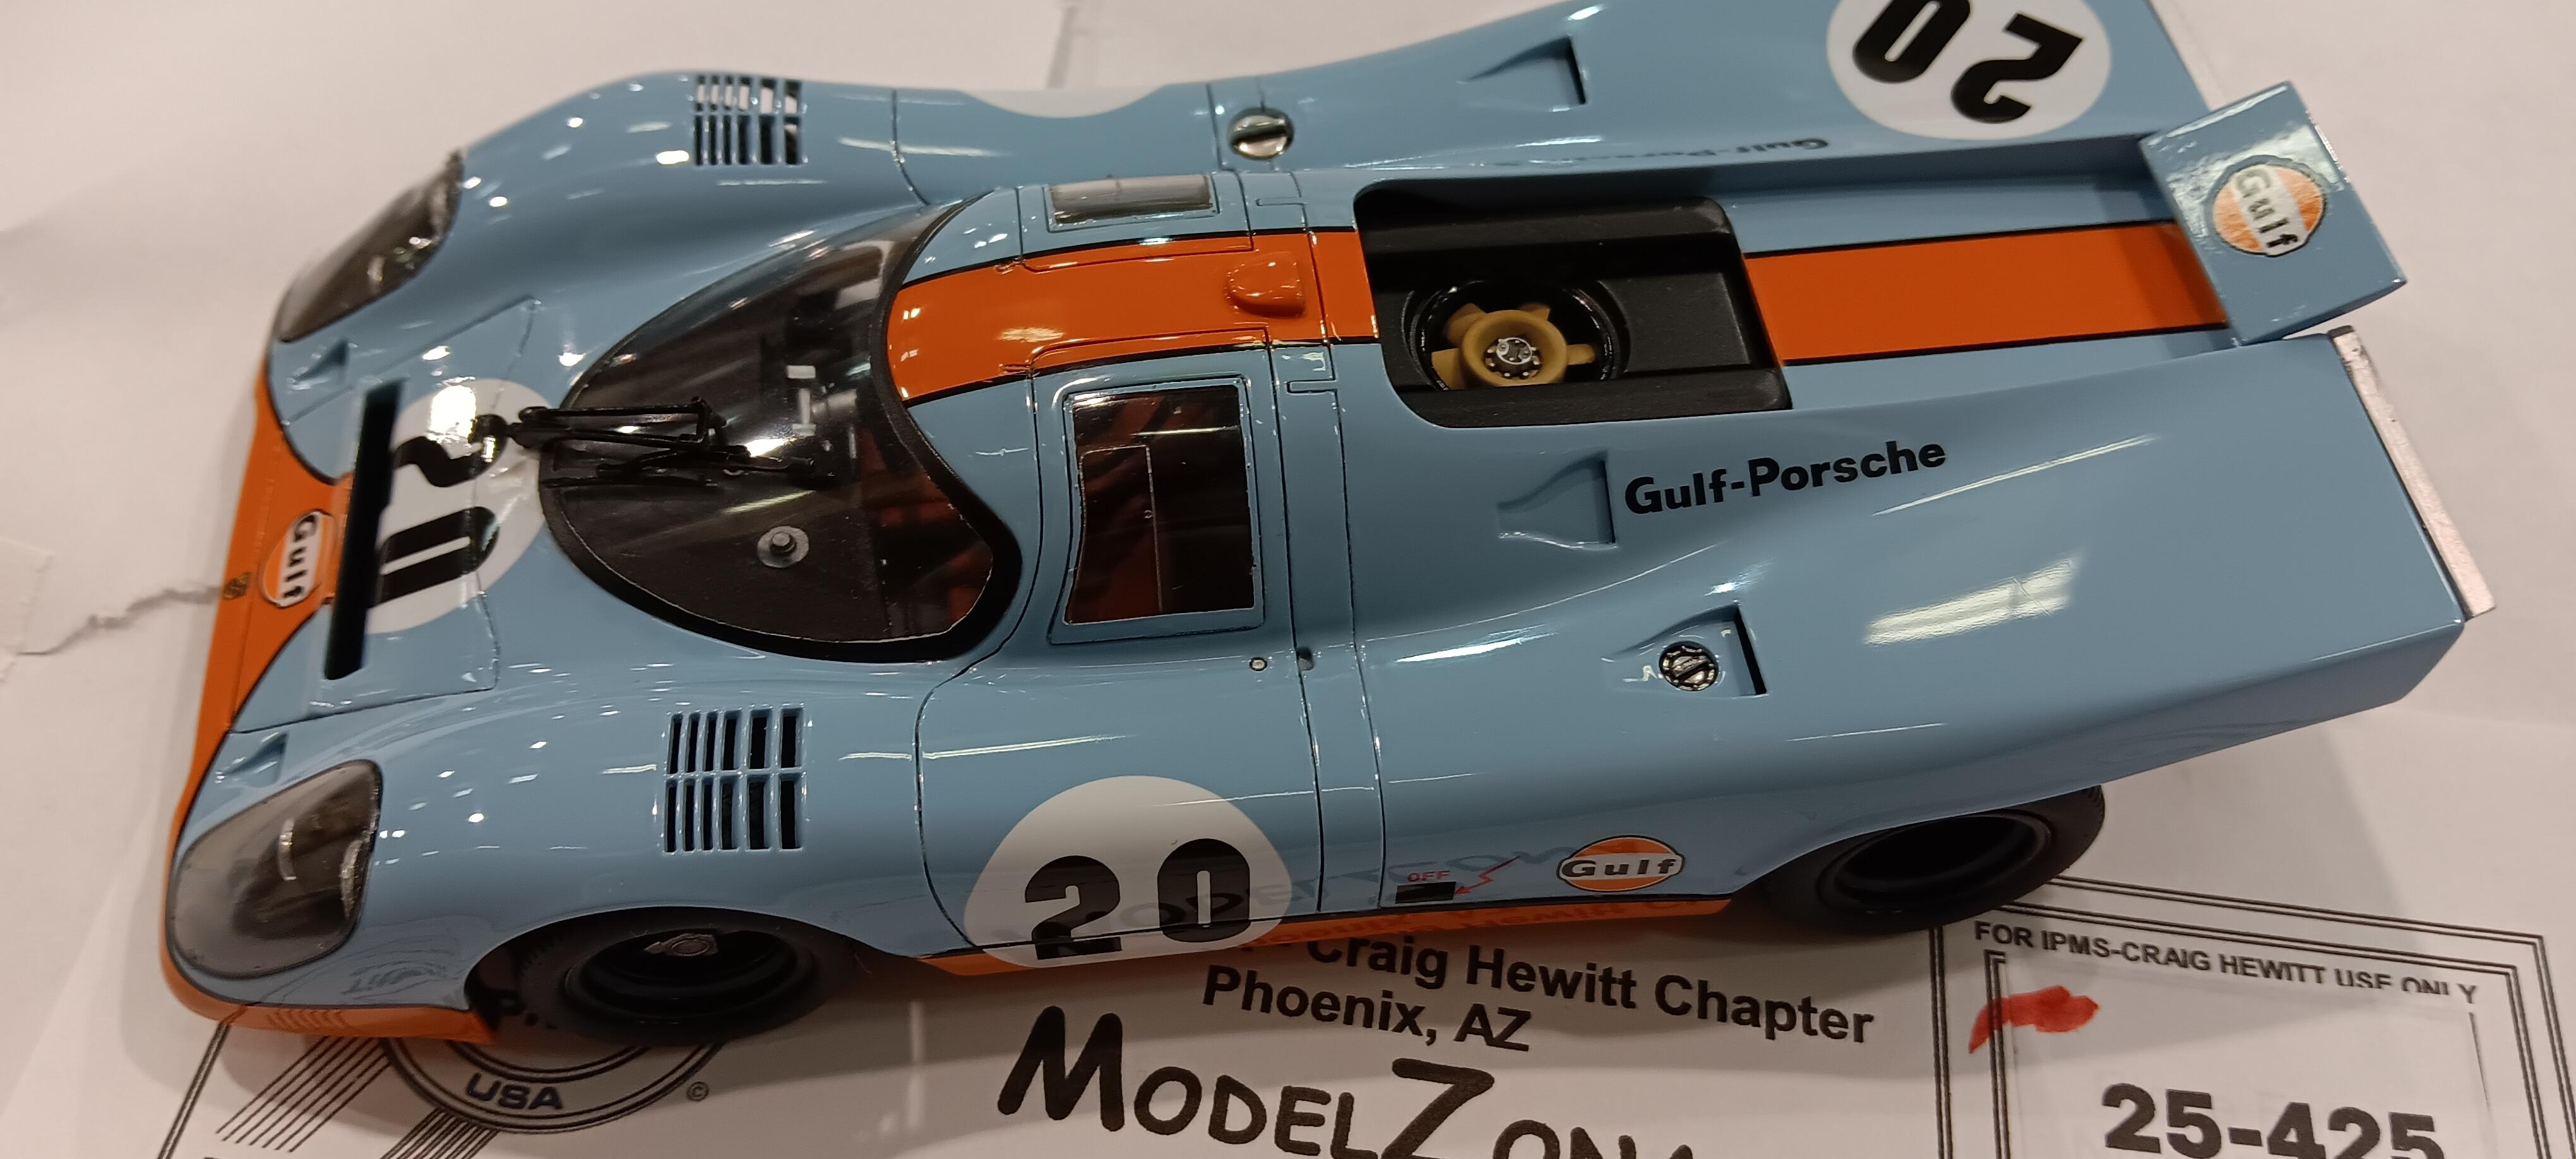
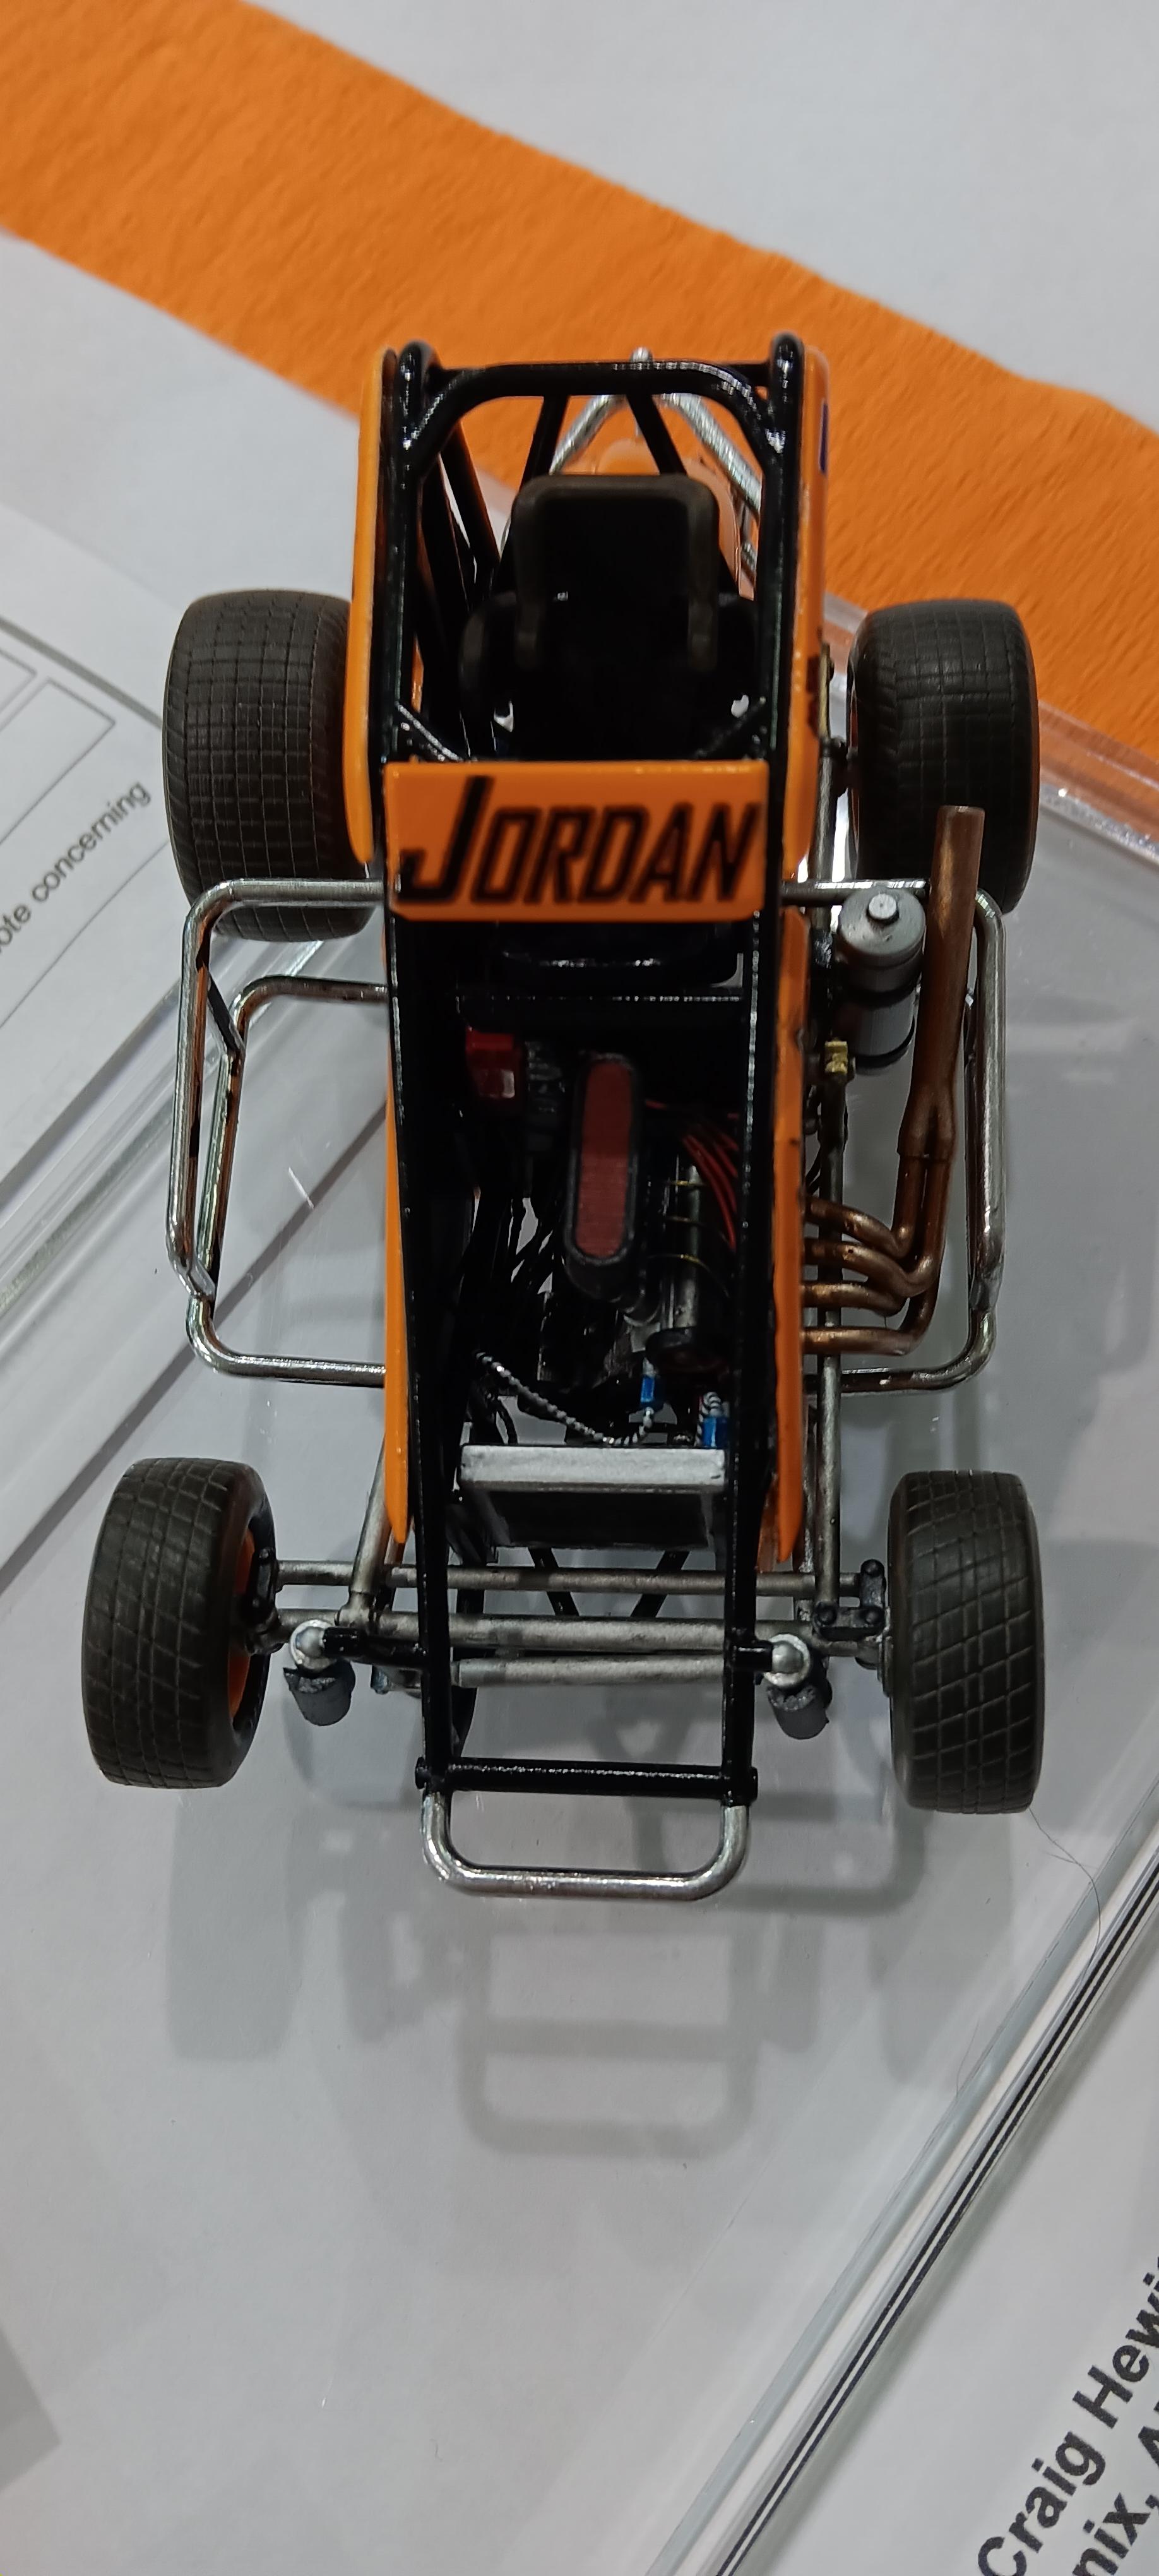
Here's pictures from the IPMS Modelzona show in Phoenix today. The car modelers were well represented in the show.
-
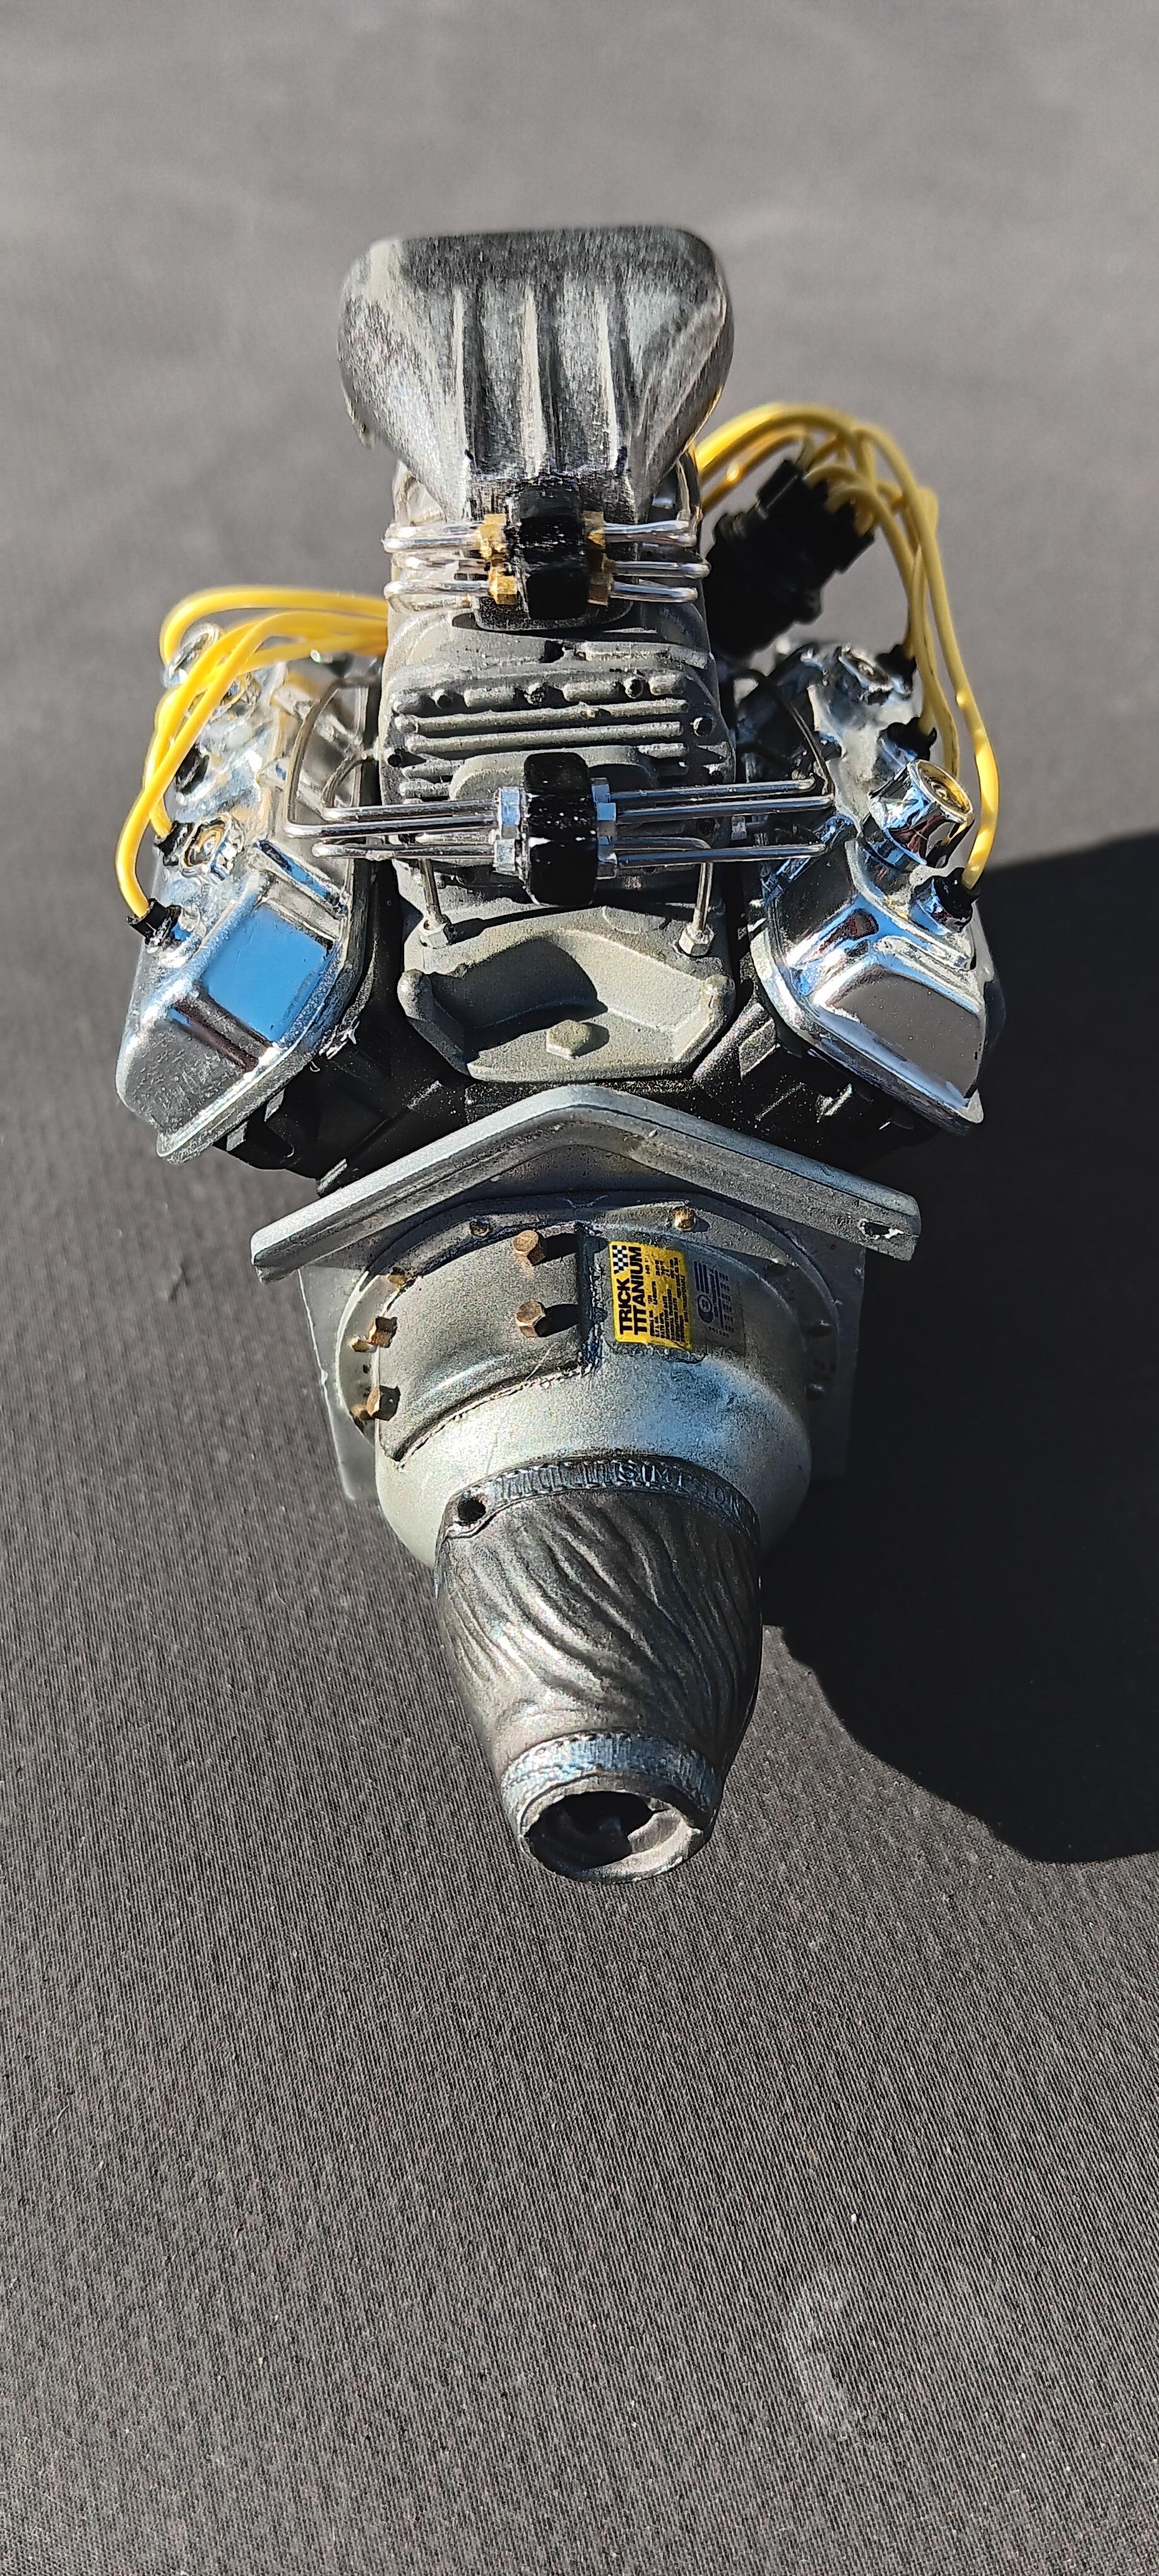
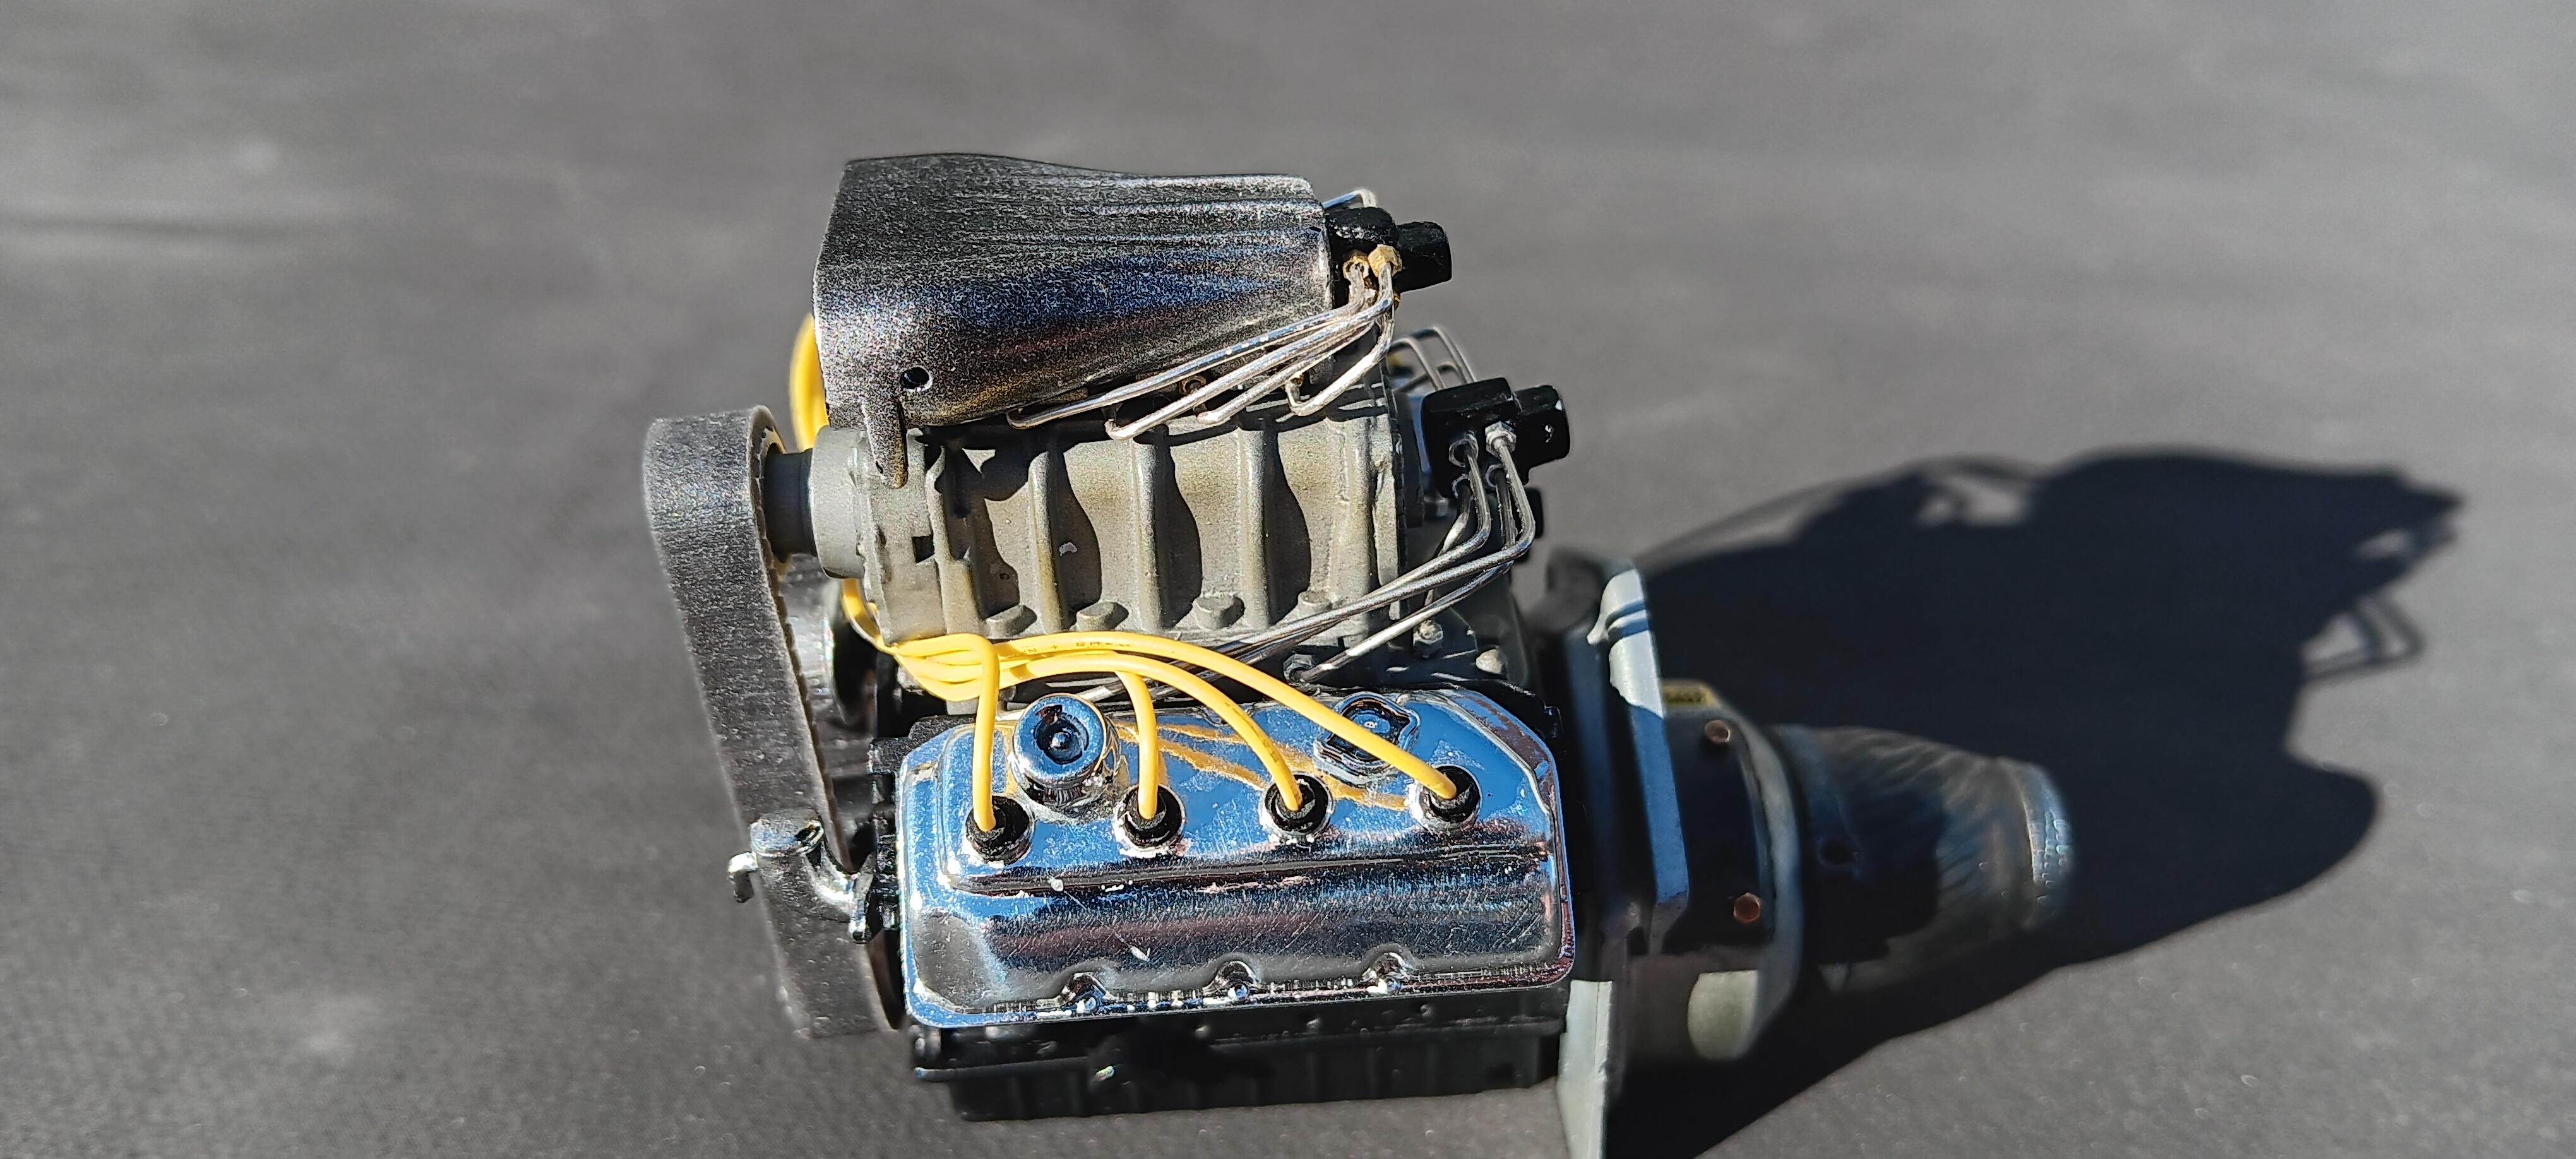
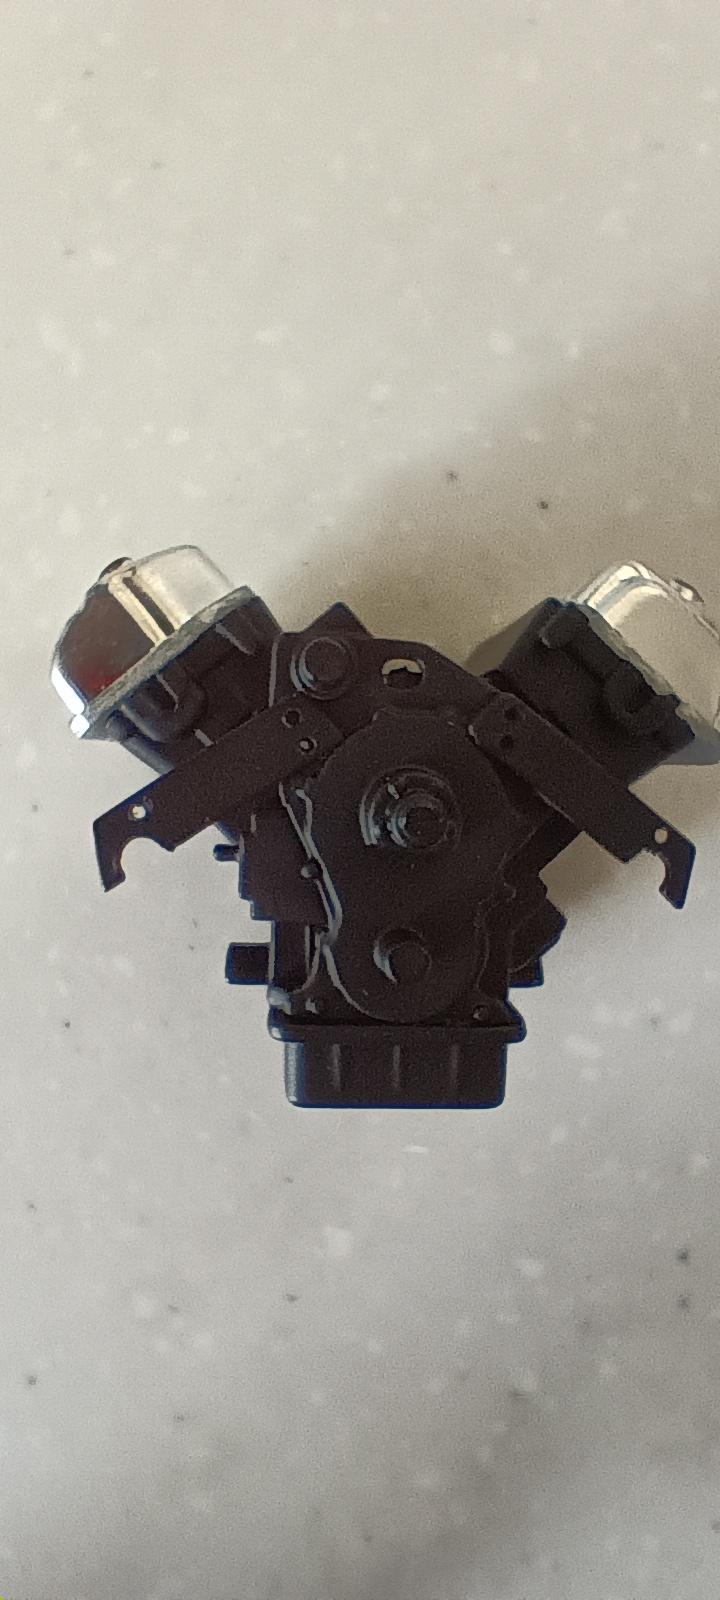
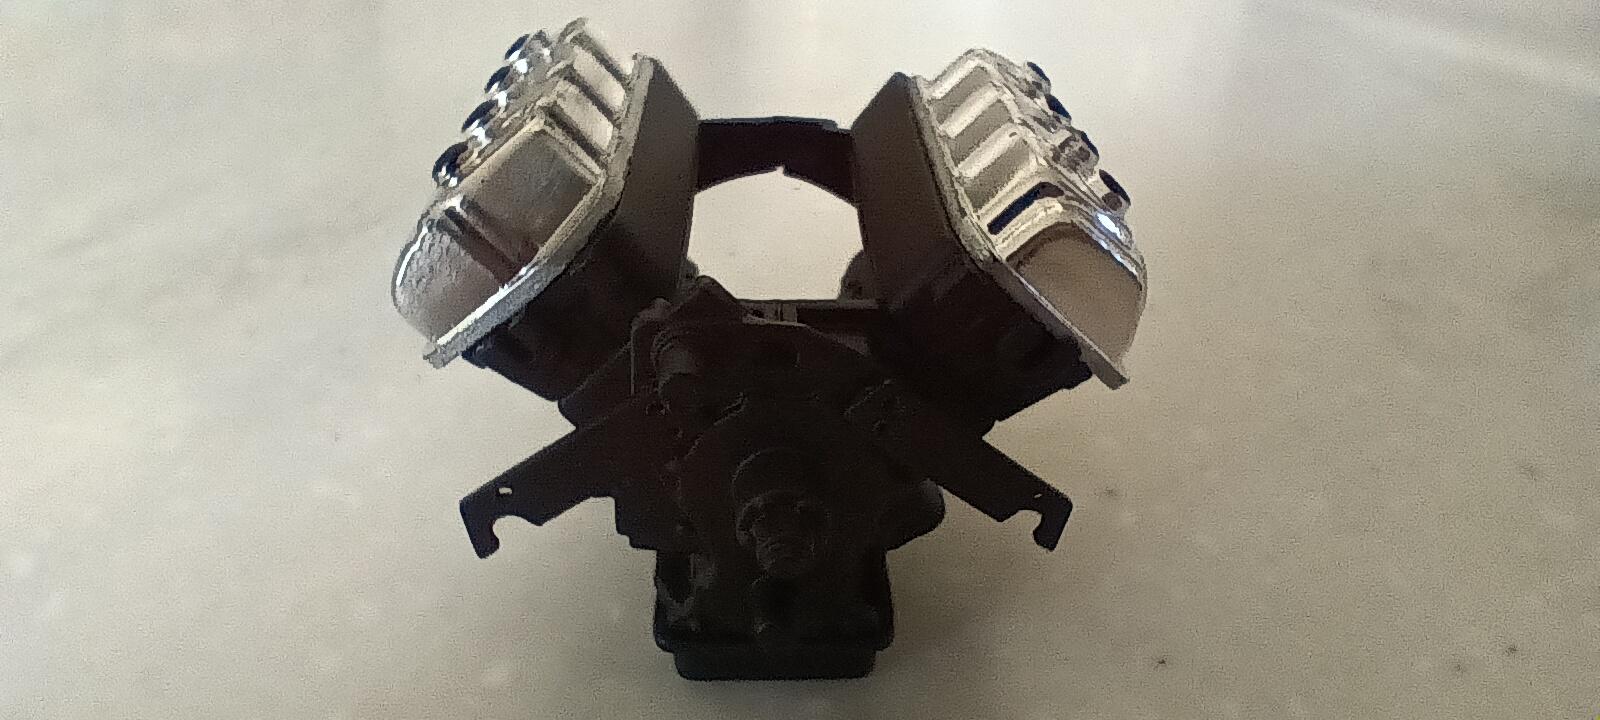
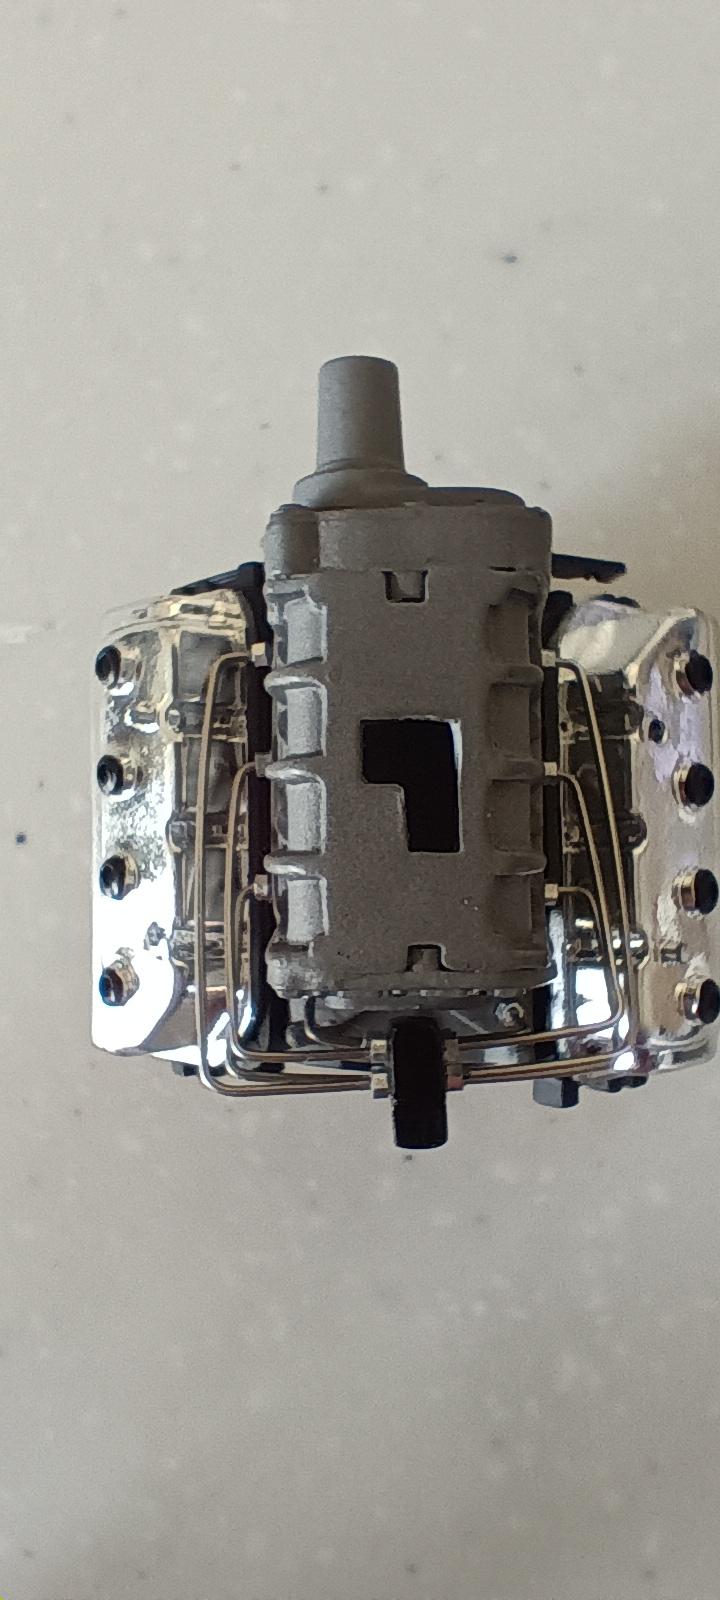
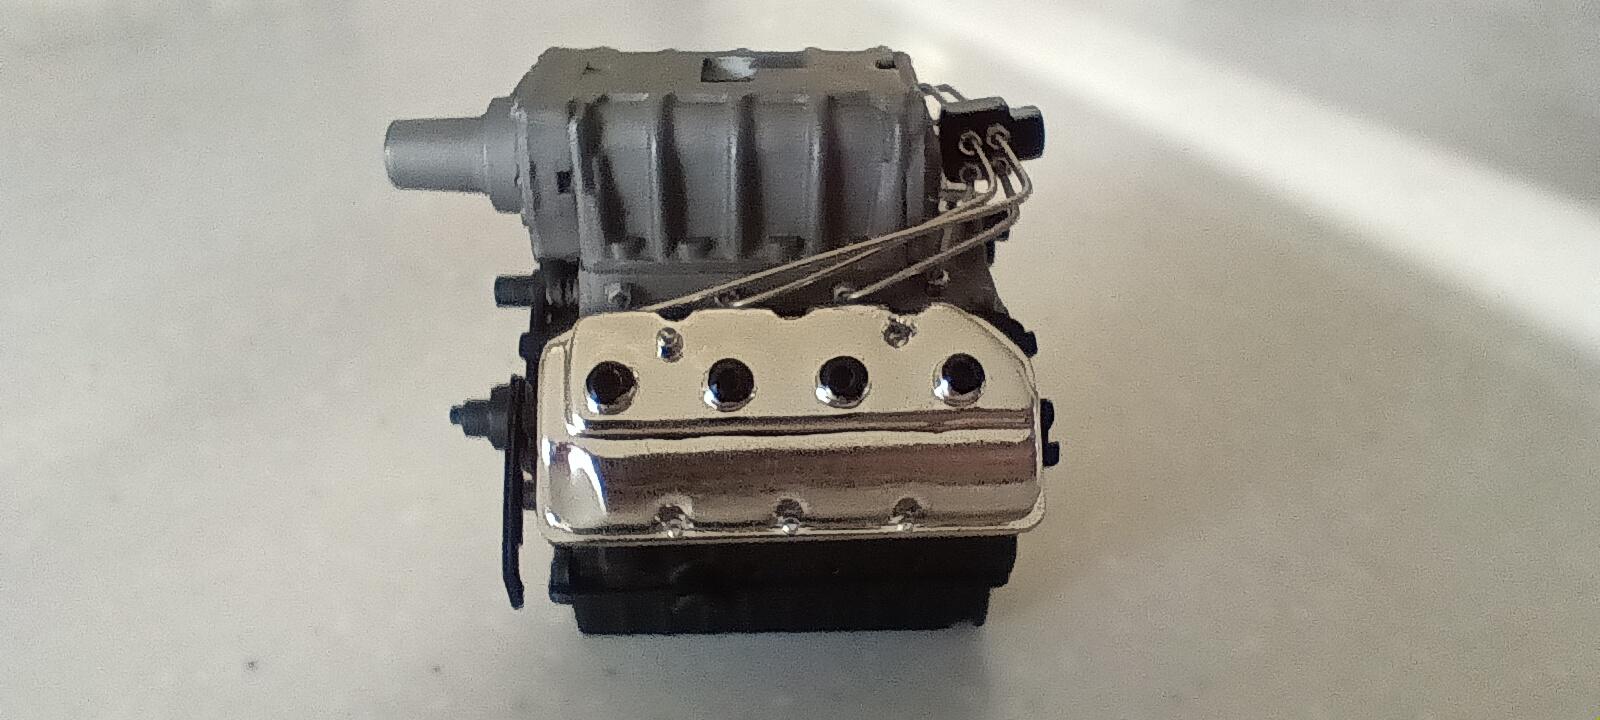
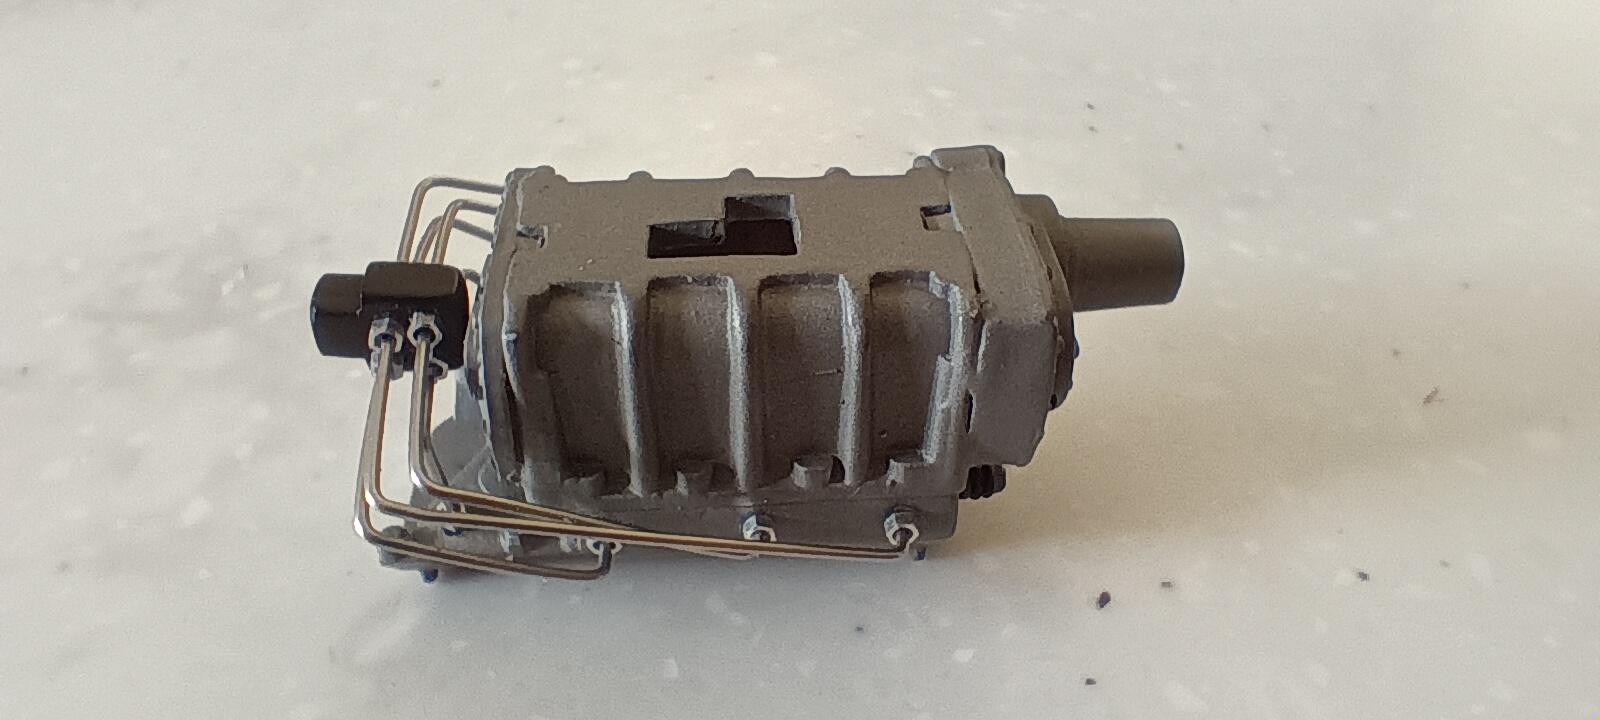
IGetting started on the engine. Made front engine mounts out of sheet styrene along with the corresponding frame brackets. It took me three attempts to make the intake fuel lines. The first time I used beading wire which didn't straighten enough and wasn't stiff enough. The second time I used welding wire but made the lines too tall, they interfered with the valve covers and made the intake and blower sit too high. Finally the third time I made them out of .025 stainless welding wire and used Pro Tech hex nuts for fittings. I made the fuel block out of two pieces of Evergreen square rod. I'm still not thrilled with the way the fuel lines came out but I am going to live with them and be happy!
-

PRO BUM : A 2006 STREET CAMARO TRANSFORMED IN AN AGRESSIVE PRO-MOD
majel replied to Claude Thibodeau's topic in Drag Racing
That's a wild Pro Mod! Fantastic detail work. -
Very nice work, excellent build!
-
Looking forward to being there!
-
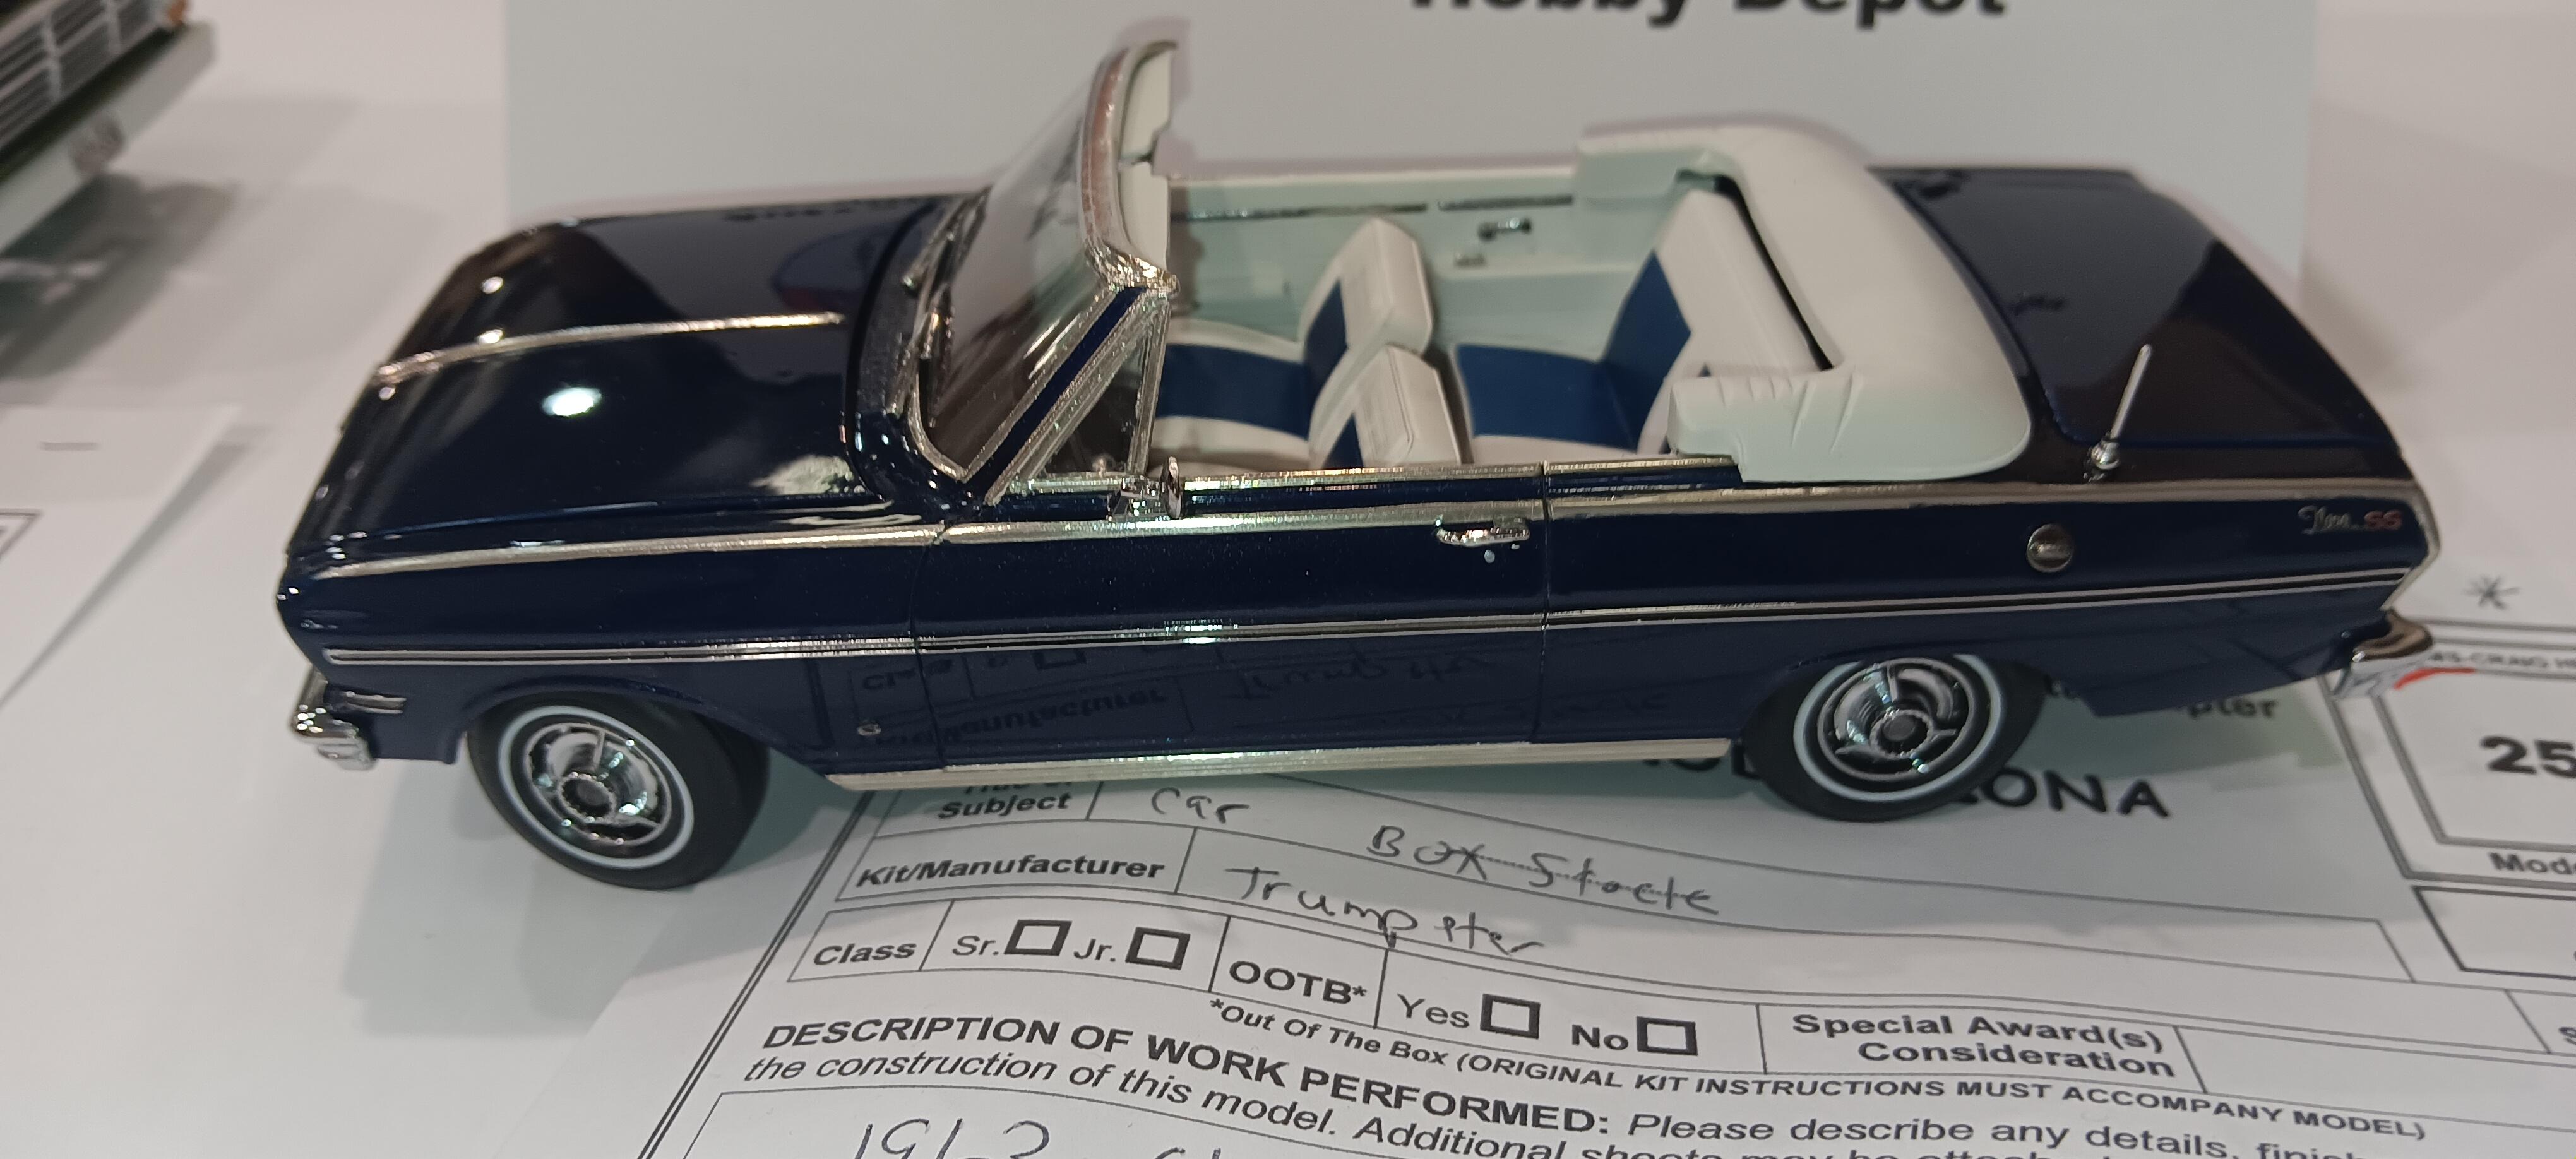
Very nice build of an iconic car!
-
Thanks! Yes I did raise the brackets and will also cut material from the rear hinge panel which also will help lower the body.
-
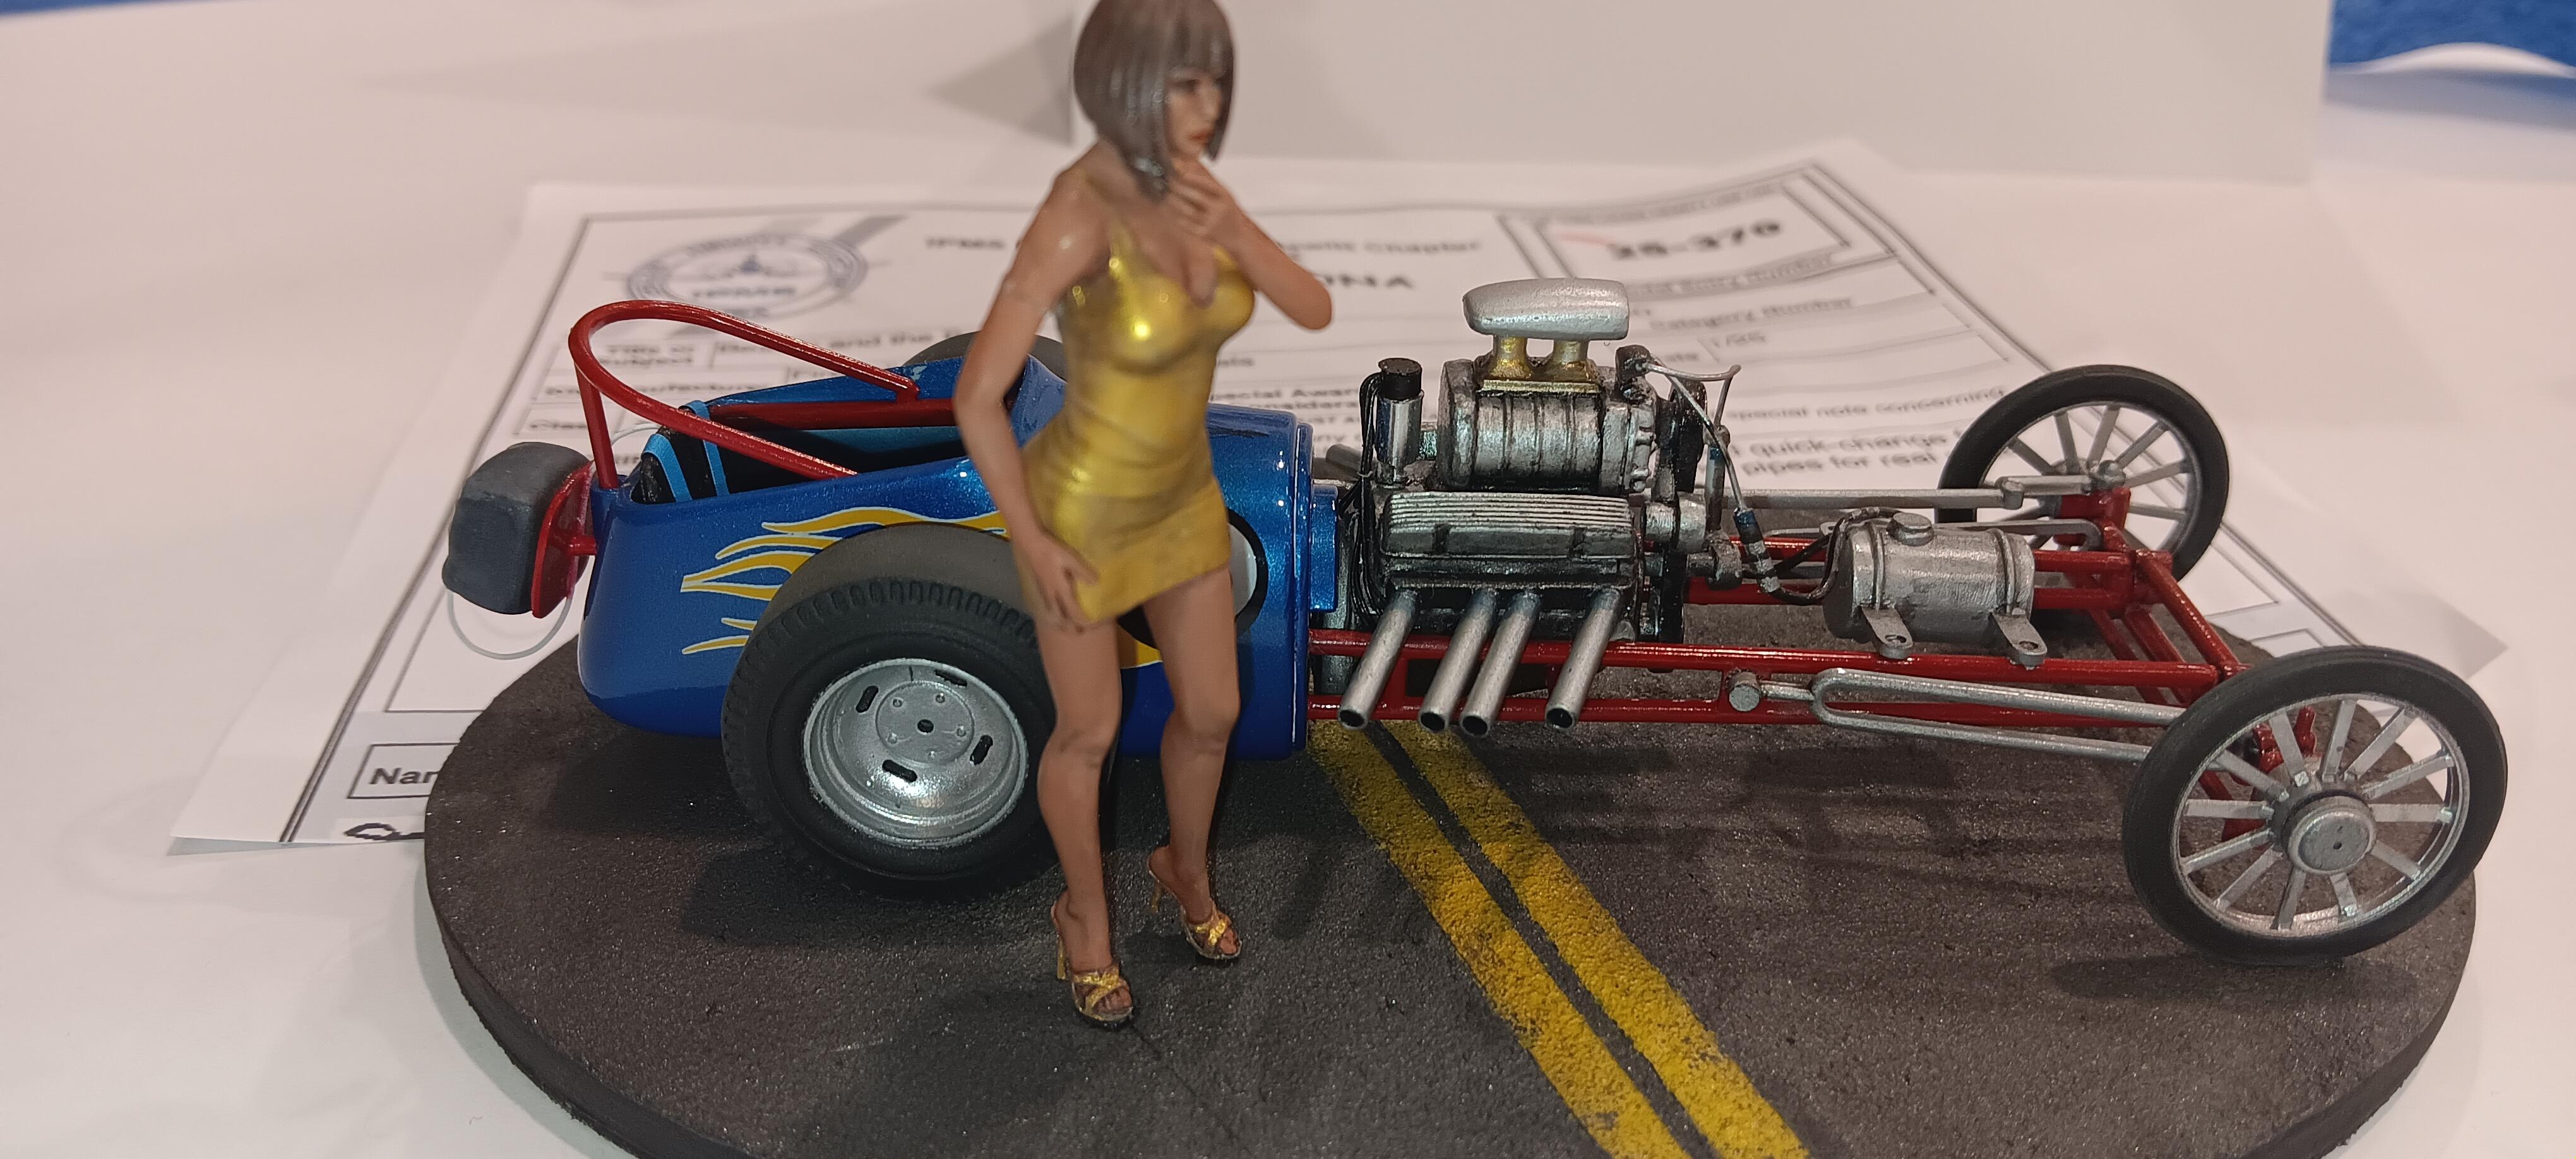
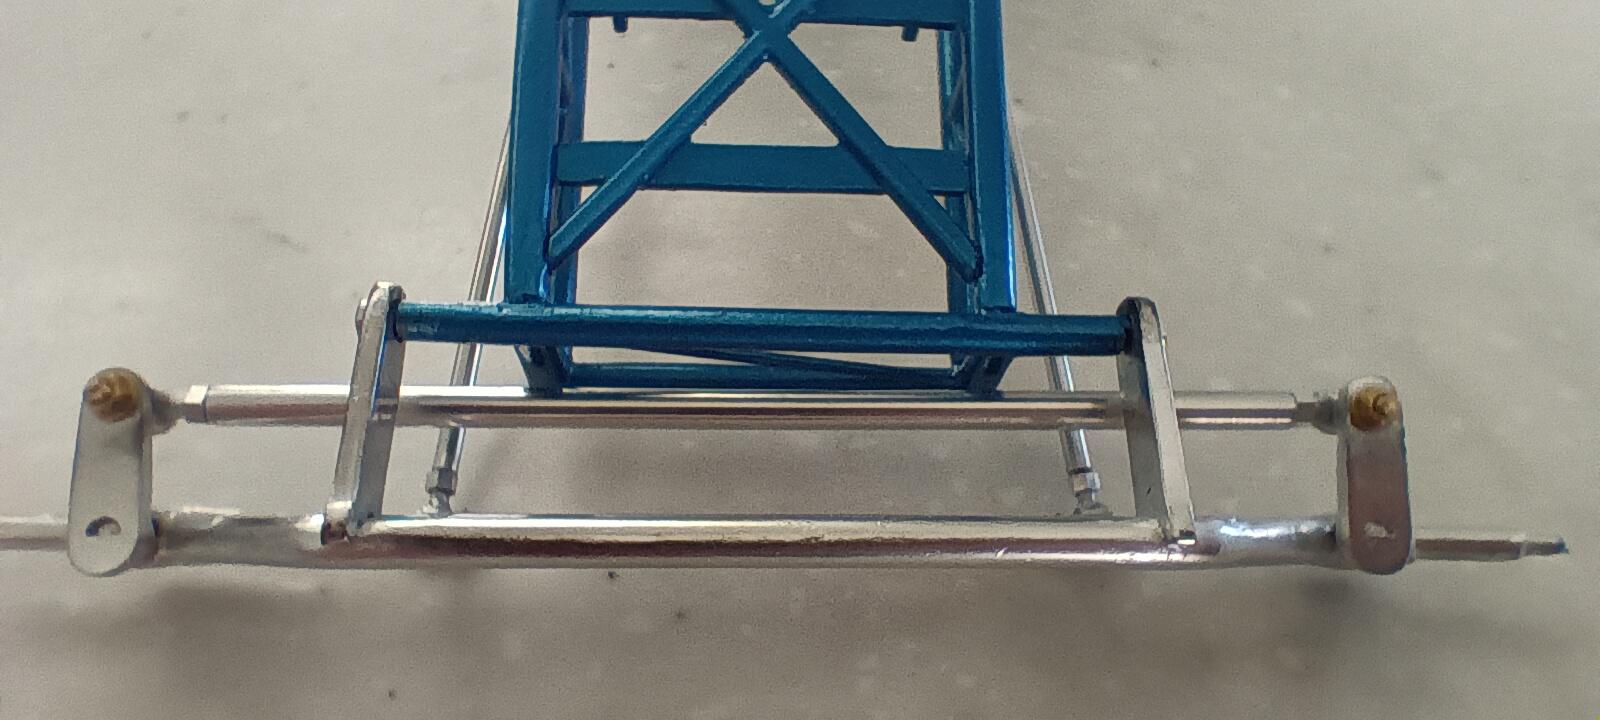
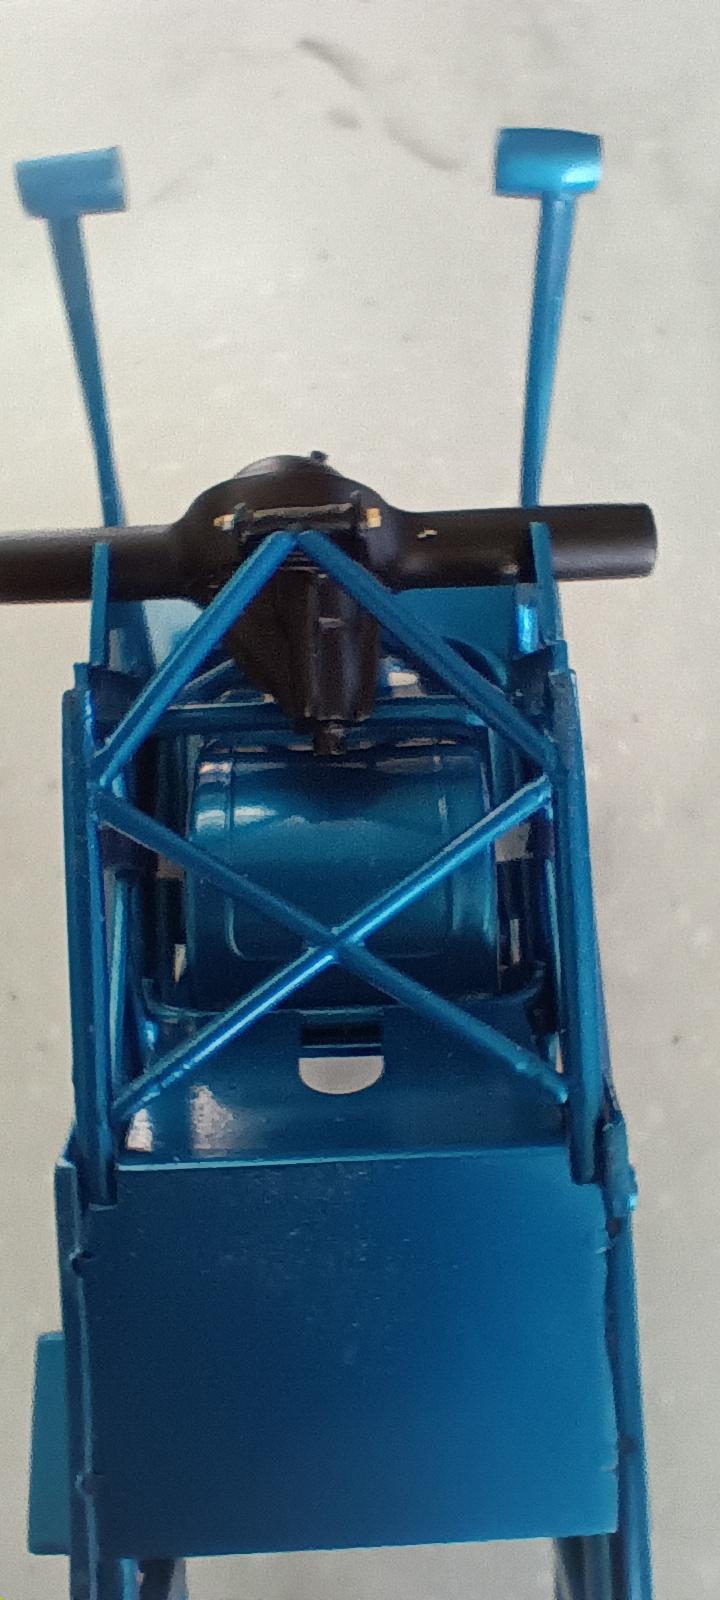
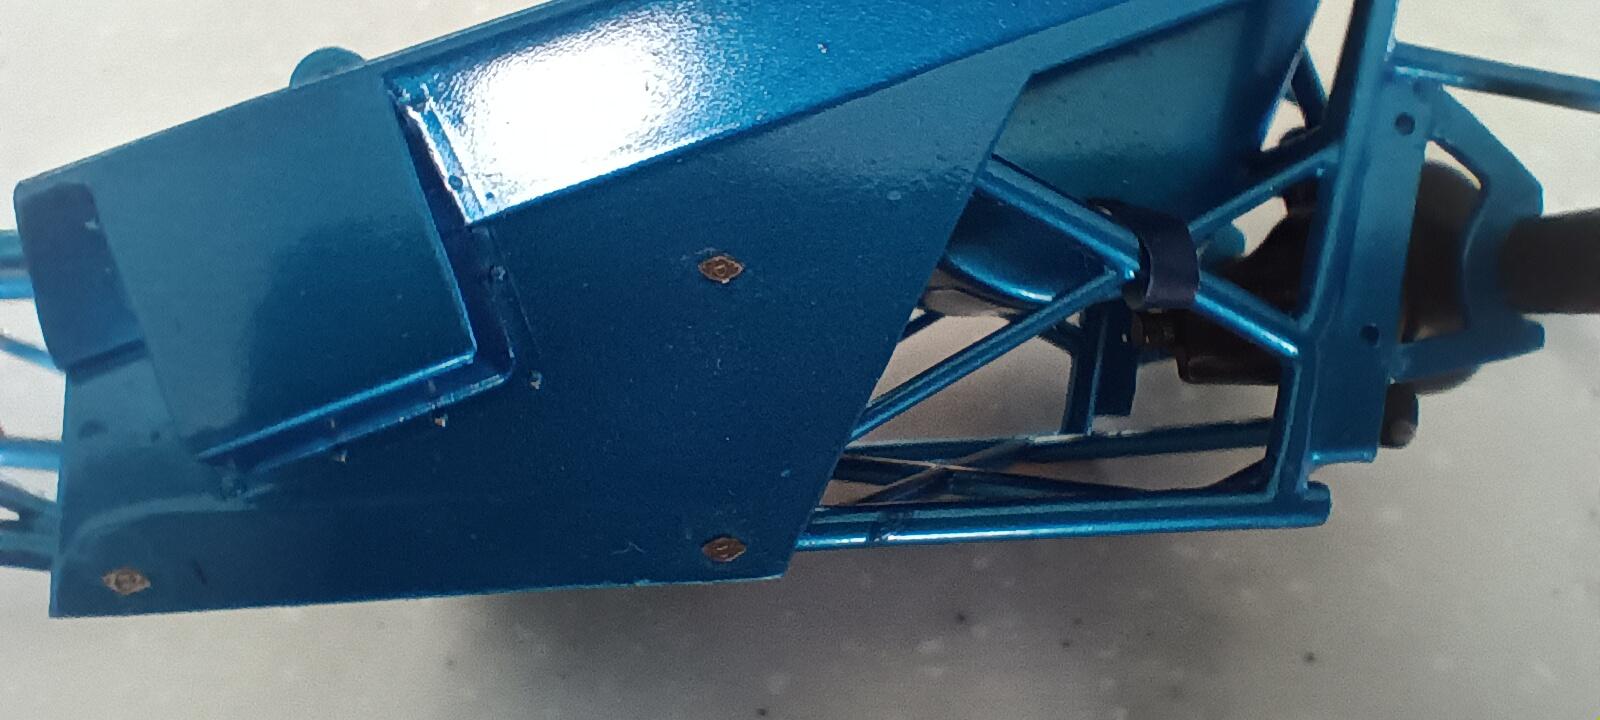
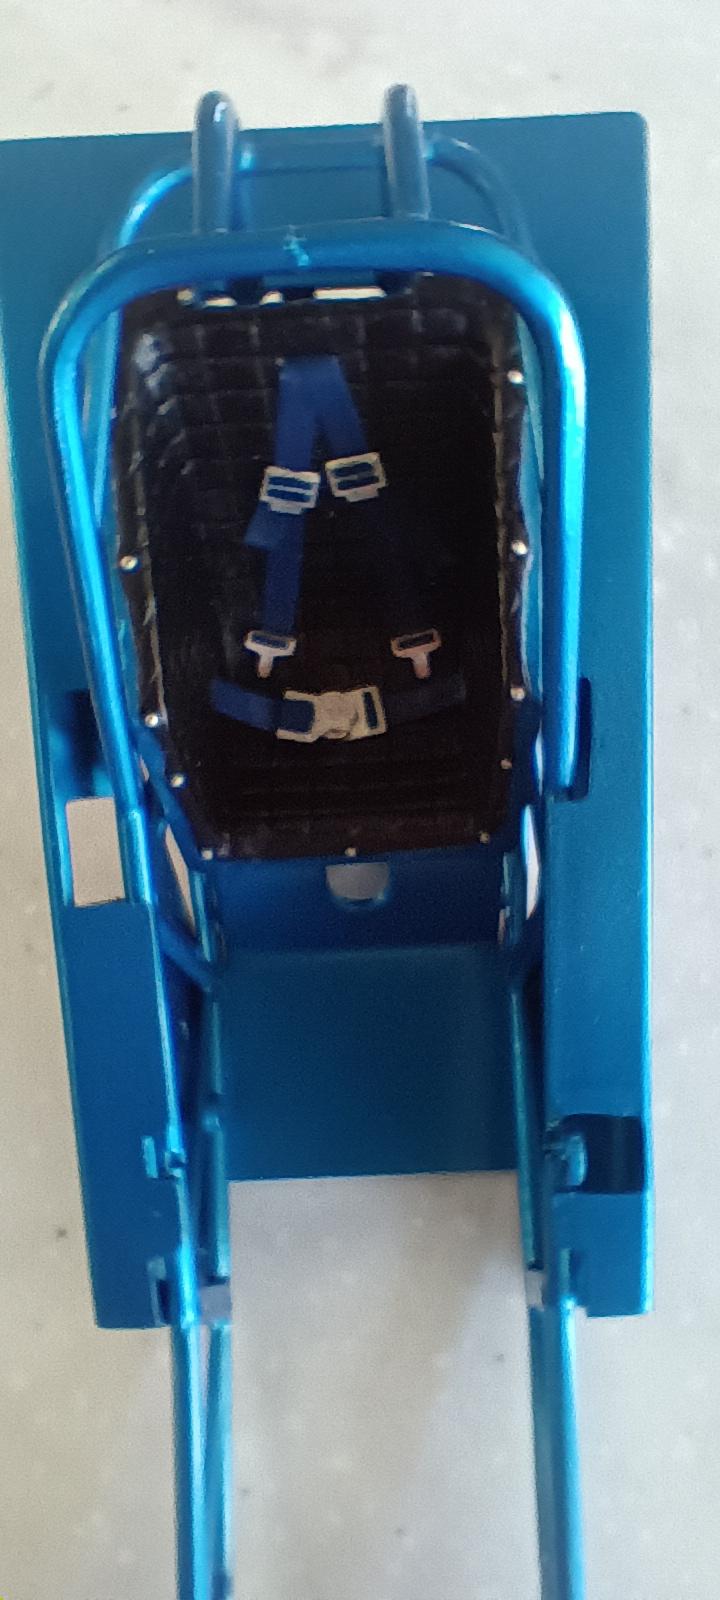
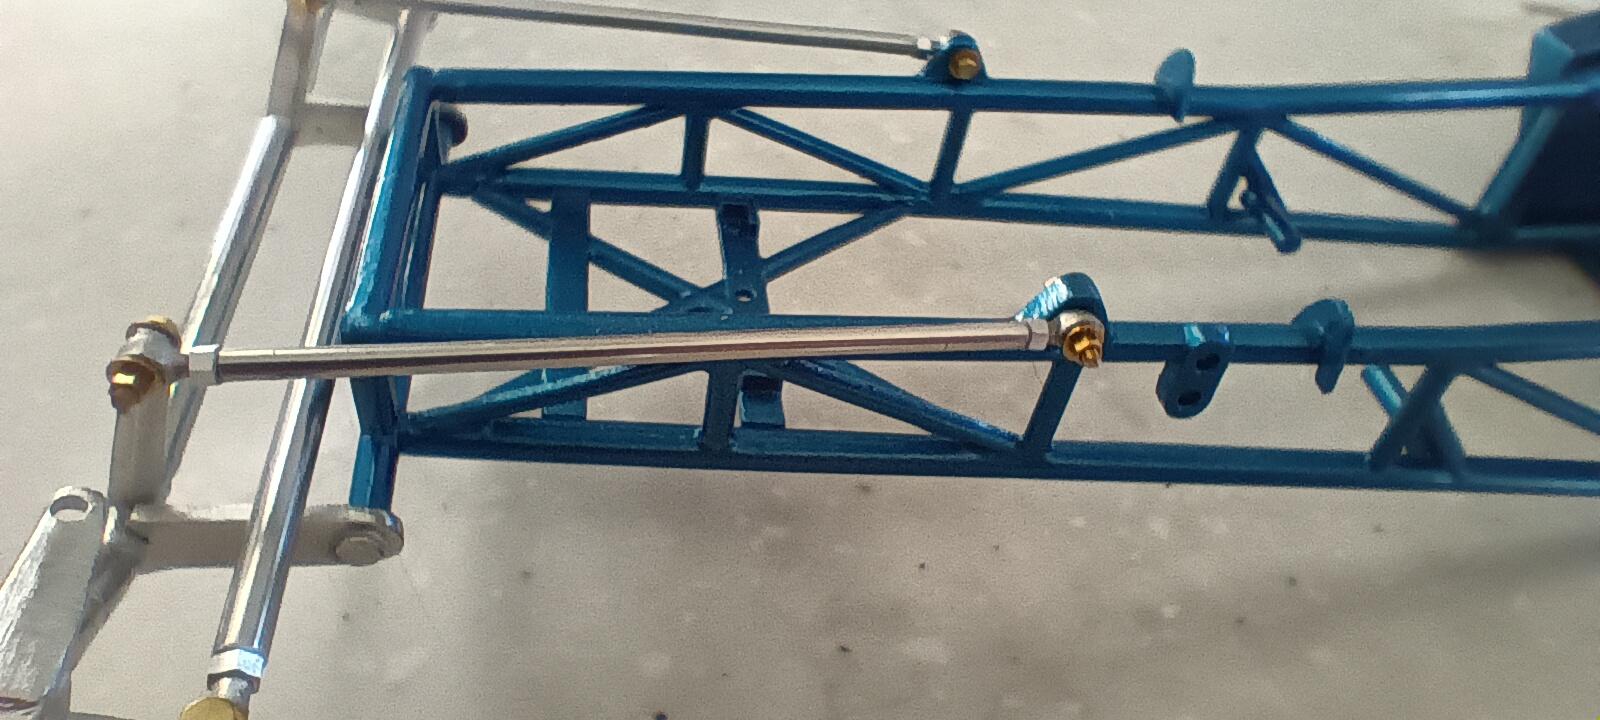
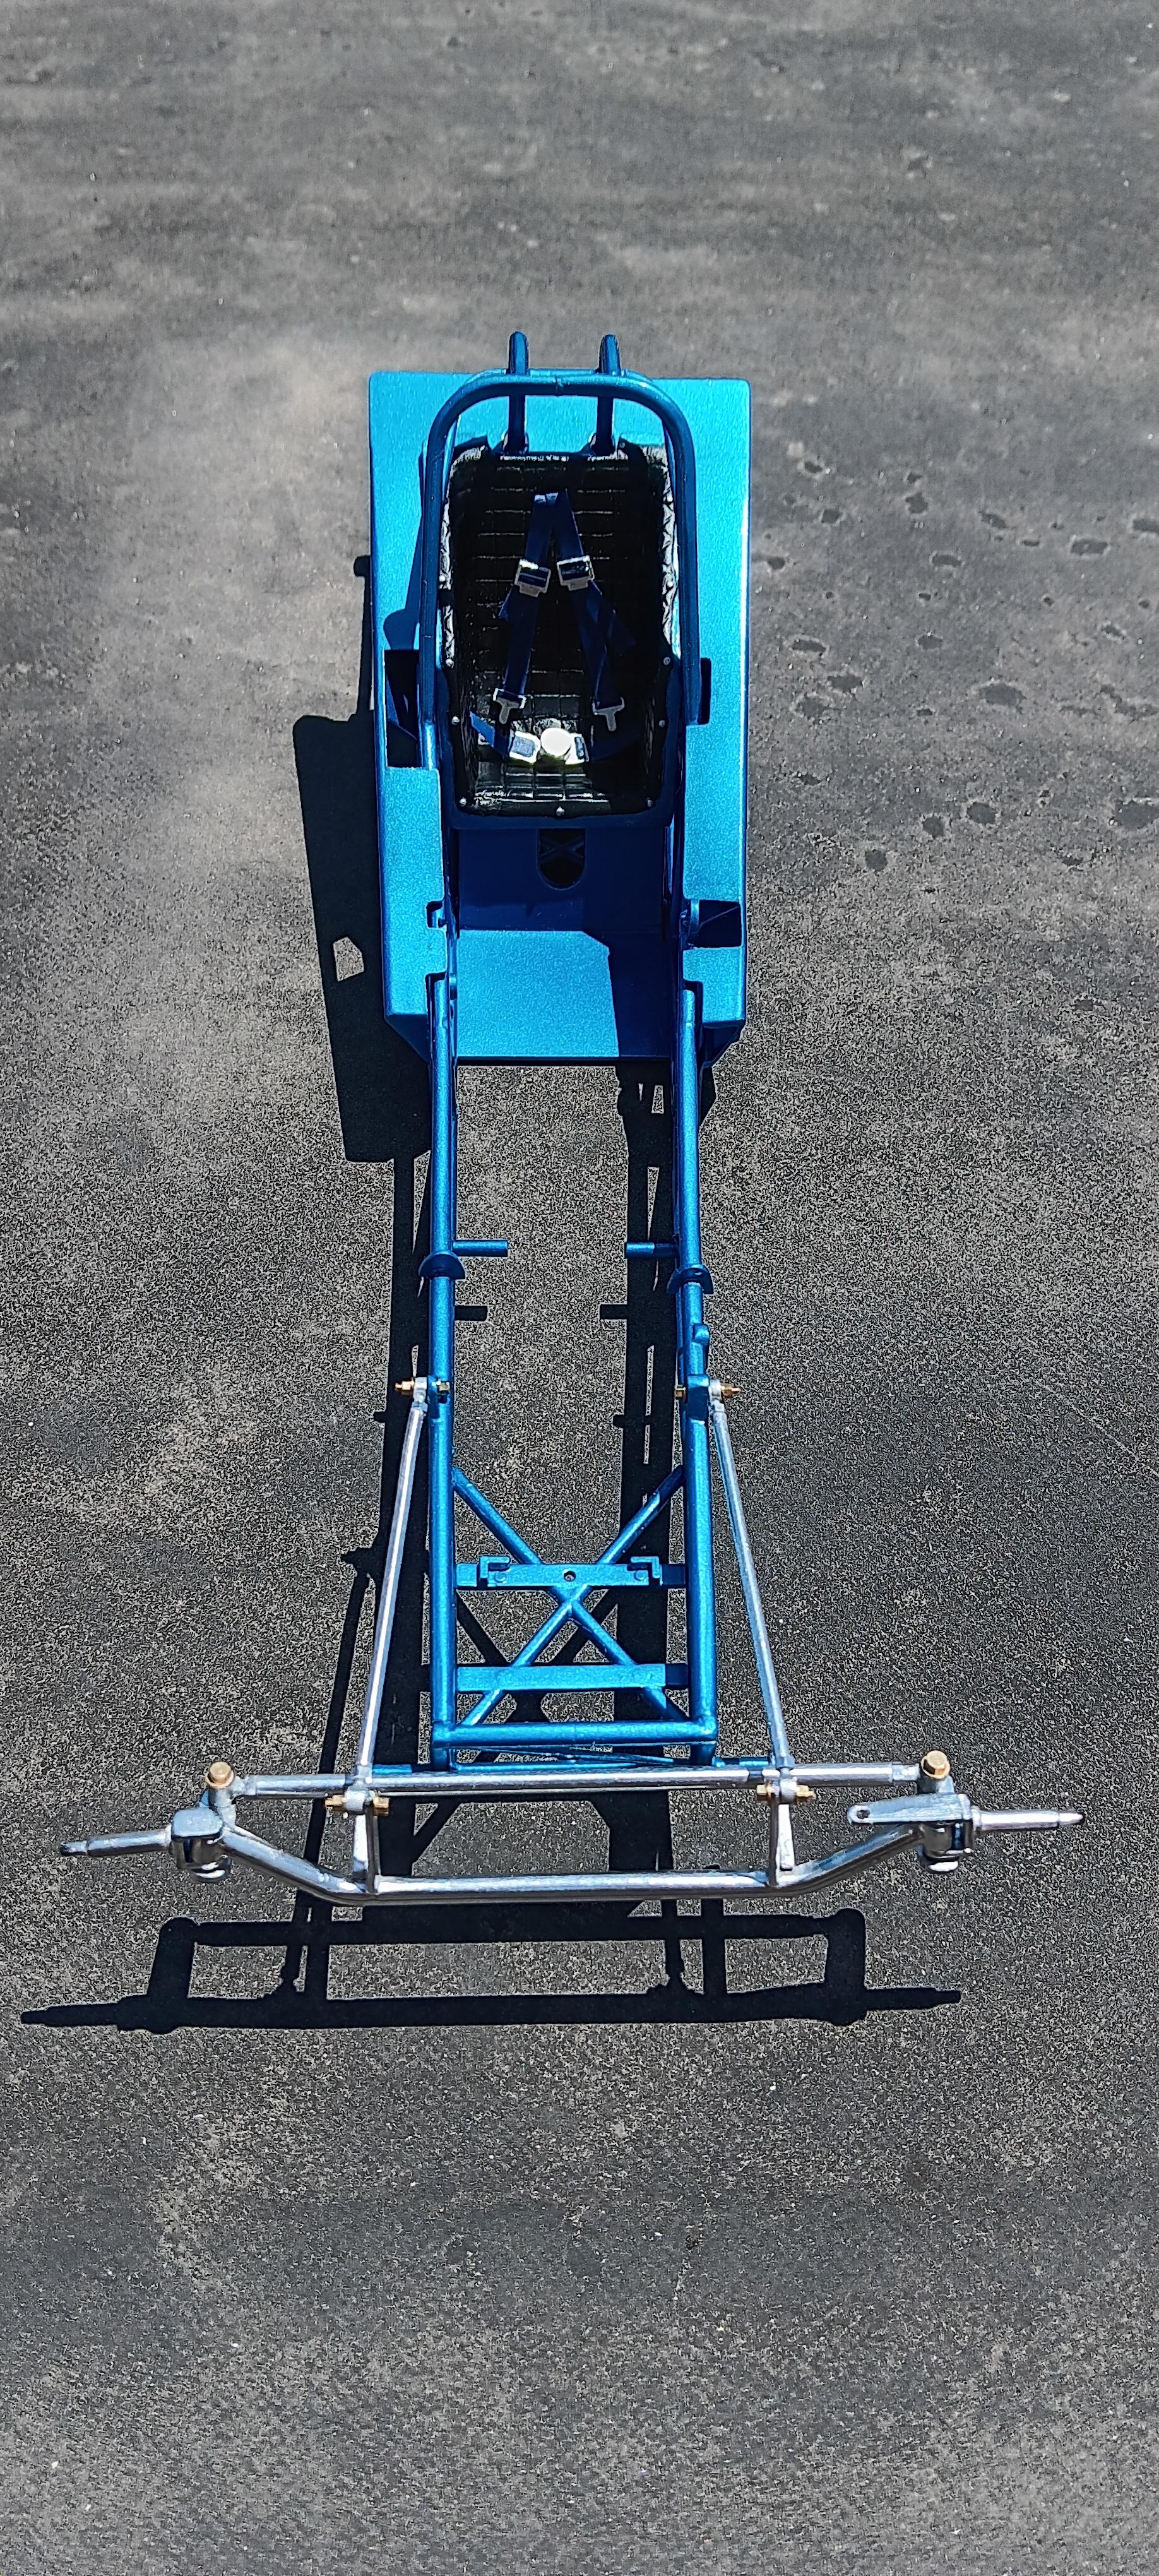
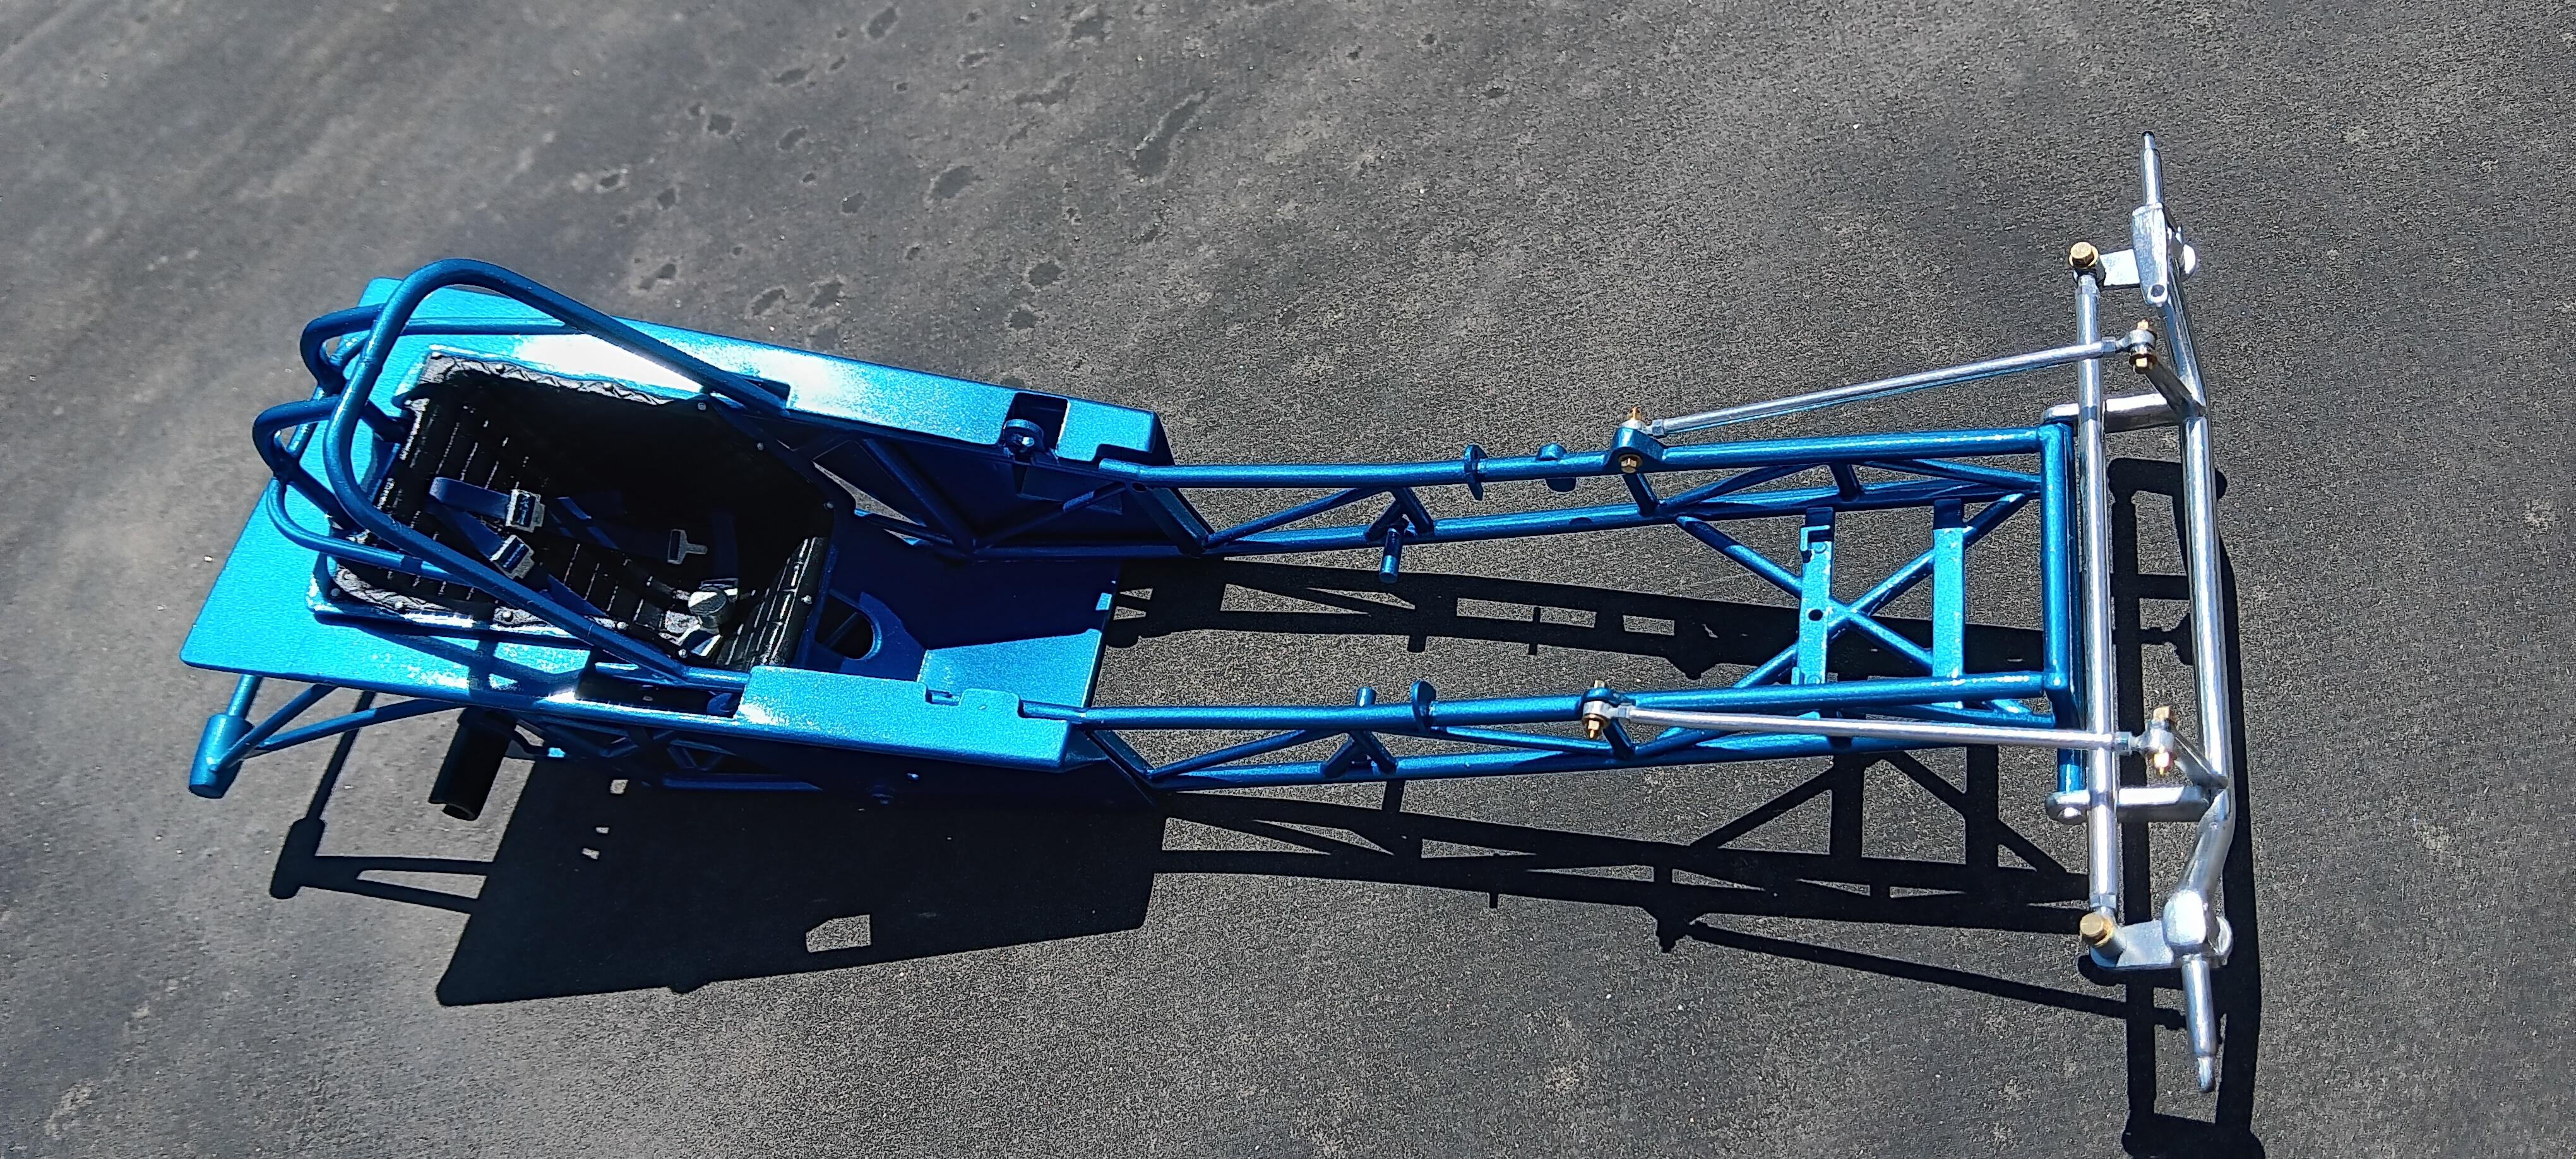
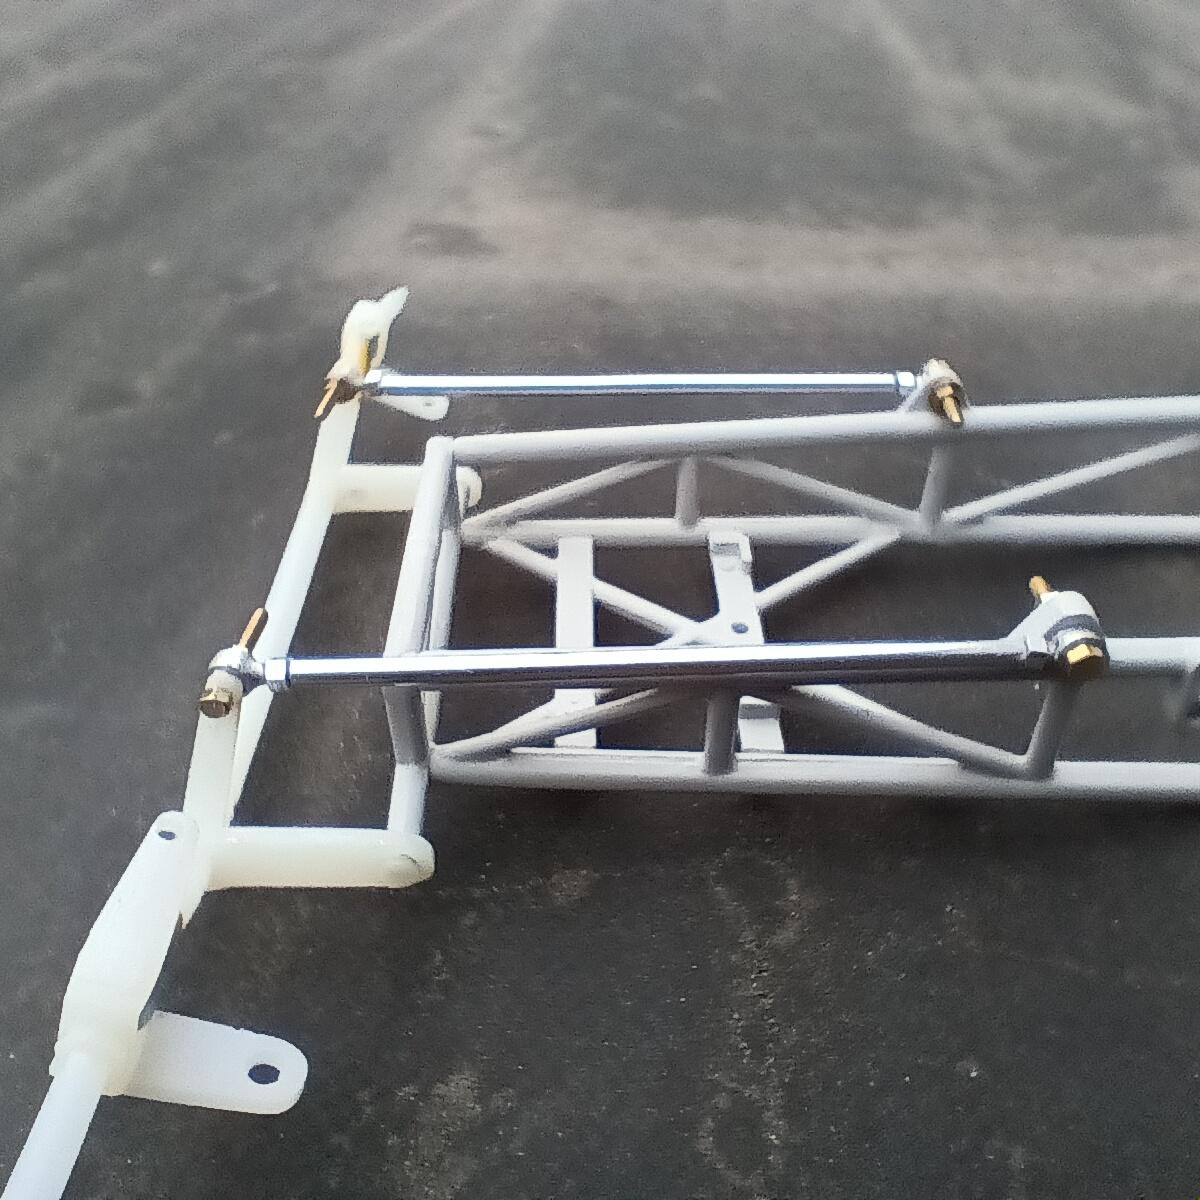
It's been a while since my last update, but I have been busy trying to get some building done. I painted the frame with Tamiya light metallic blue and the front axle with Spaz Stix chrome. The seat was painted with Tamiya matt black and i drilled holes for, and installed, MFH round head rivets. The tie rod and radius rods are permanently installed now using Scale Hardware 1.2 mm and 1.0 mm bolts, washers, and nuts. The bolts are all 8 mm long and had to be cut after being installed. The rear axle has been permanently installed. The dzus fasteners are 1/20 scale photoetch items from Automotive Photoetced Line. I'll be moving on to the engine next.
-
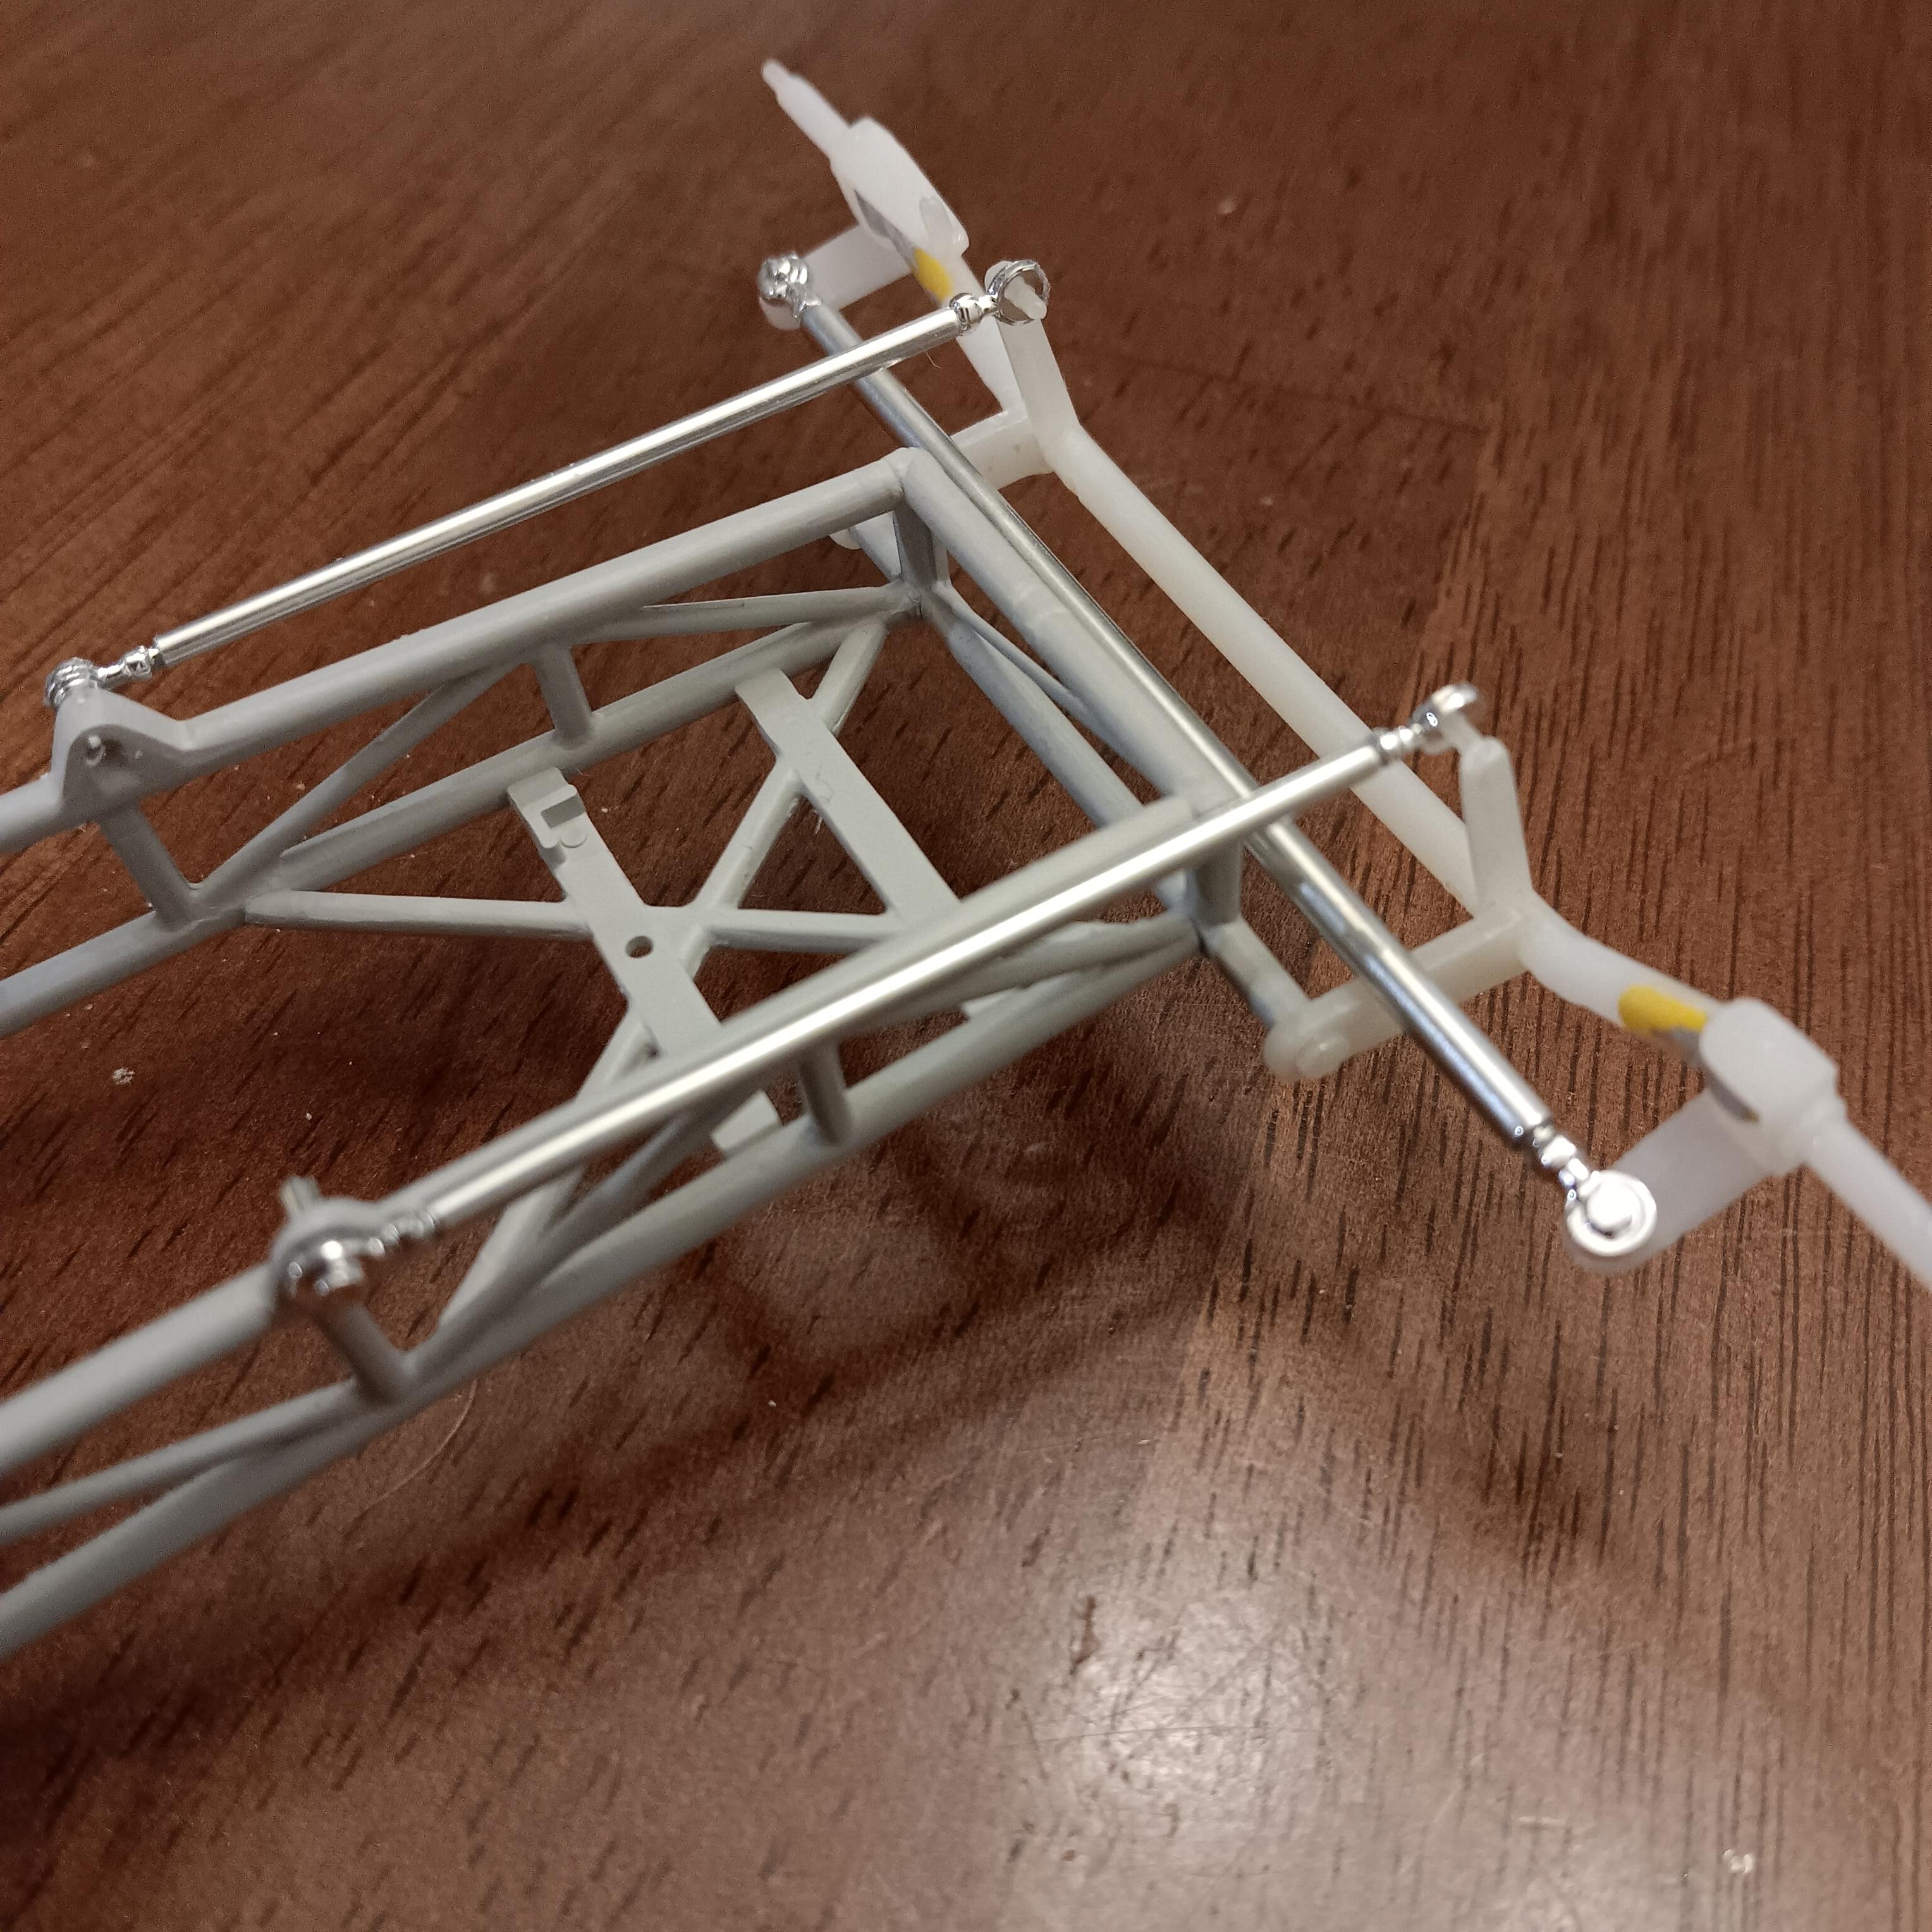
Just a small update. I got rid of the kit parts for the radius rods, so I used K&S aluminum rod, Evergreen rod, aluminum rod and Pro Tech hex fittings for the heim joints. They are mounted to the axle and frame with Model Motorcars nuts, bolts, and washers. I'm going to leave the nuts, bolts, and washers brass after the axle gets chromed. I will also cut the bolts down after final installation.
-
That is a really nice build, good job!
-
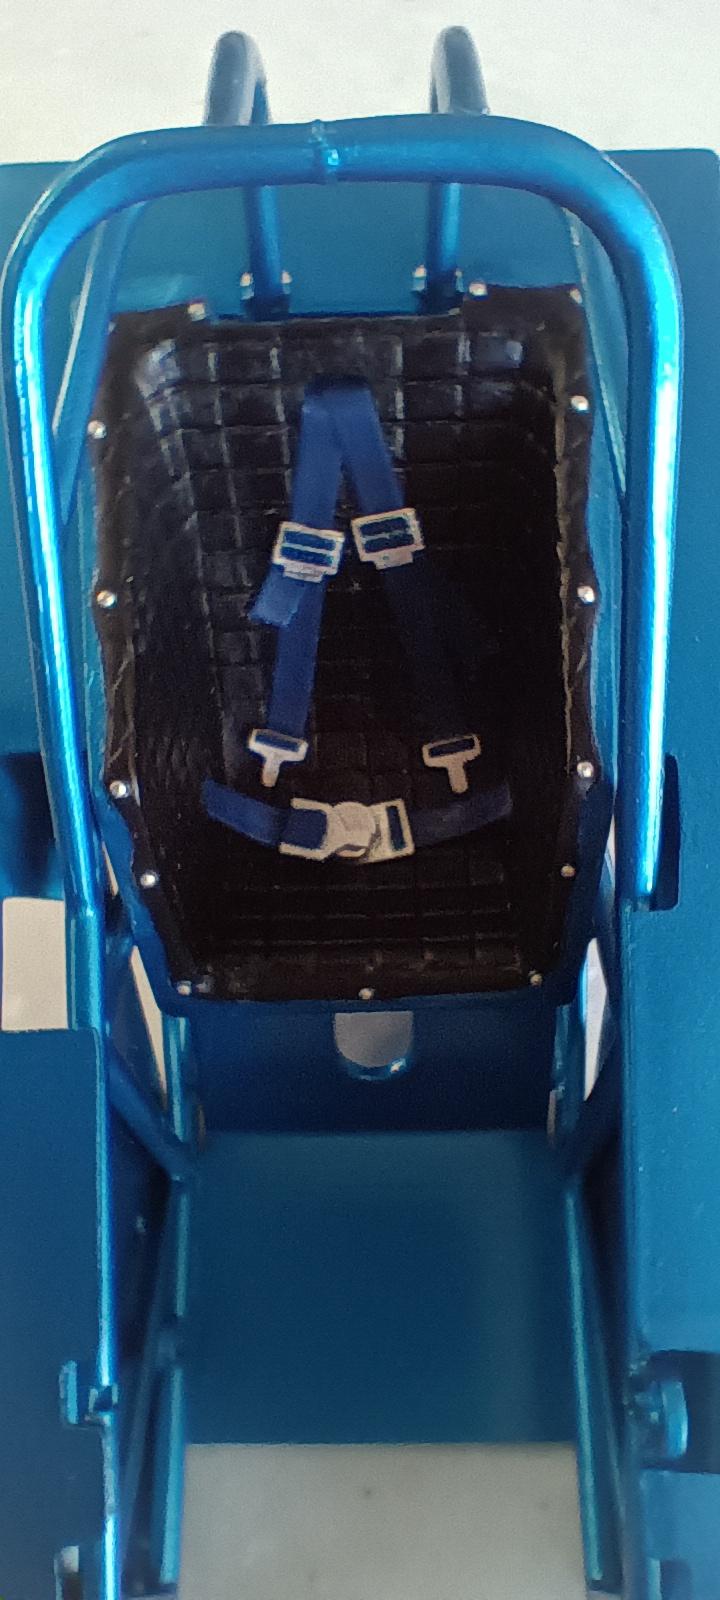
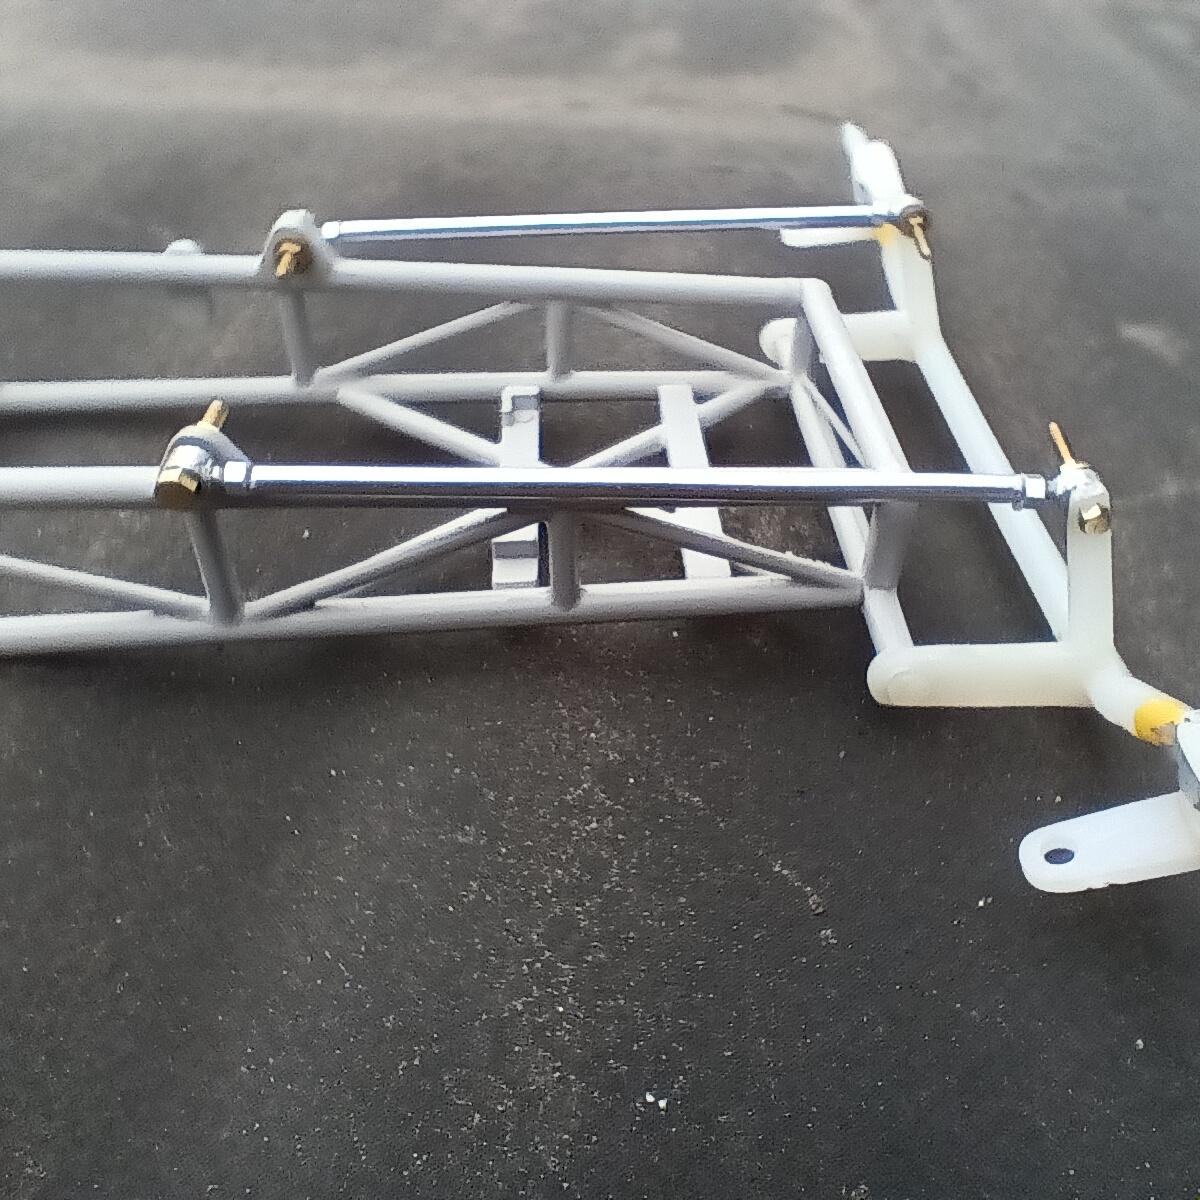
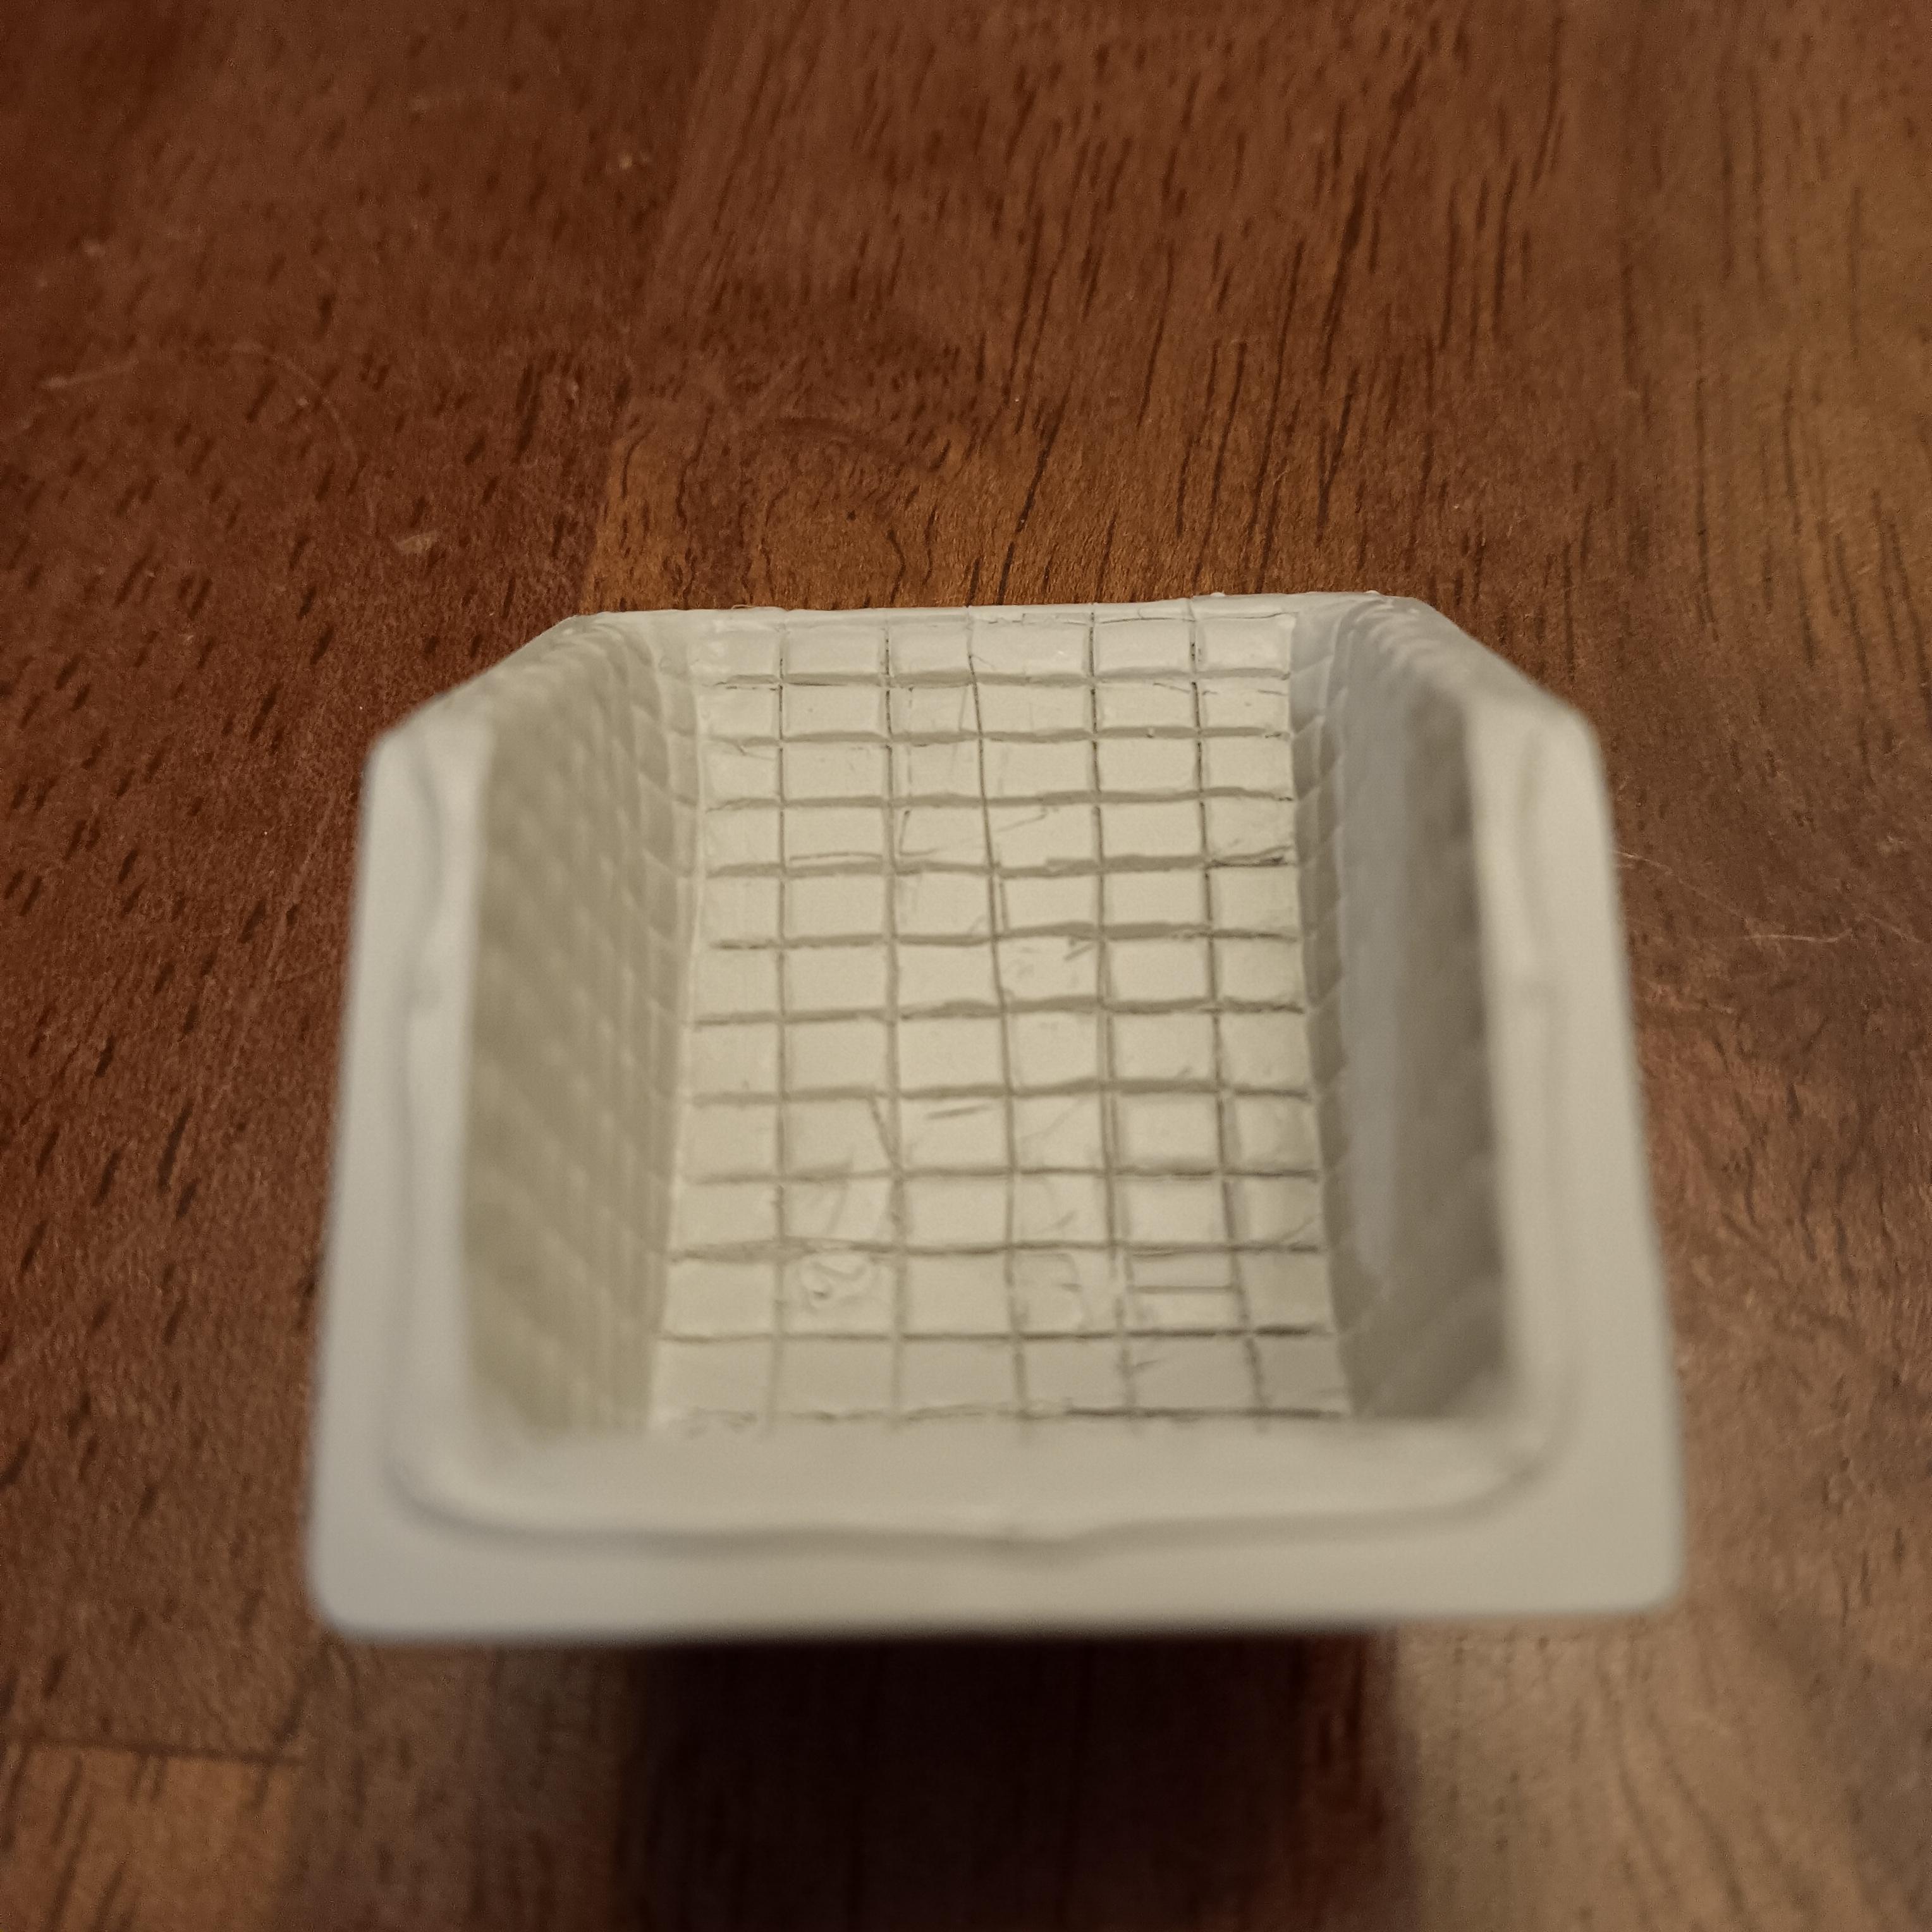
I spent a bit of time trying to remove the molded in racing harness on the seat. I was able to get most of it removed but haven't been able to get rid of the main buckle yet. If anyone has any good ideas I'm open to suggestions. I used the kit rod ends for the tie rod and the radius rods but the rods themselves are K&S aluminum rod. I think it looks more realistic than the kit rods. I put the side panels and the top panel together and used putty to remove the seam between the top and side panels. The frame and side panels are primed and just about ready for paint.
-
I'm starting on the 1/16th scale Pabst Blue Ribbon Charger using the Revell Hawaiian kit. Got most of the frame put together and primed along with adding extra bracing for the rear axle. Also added a bolt for the rear axle gear oil inspection plug. Not totally happy with the way the extra bracing came out, it was a pain in the butt!
-
Great job, that is a really nice looking box stock model.
-
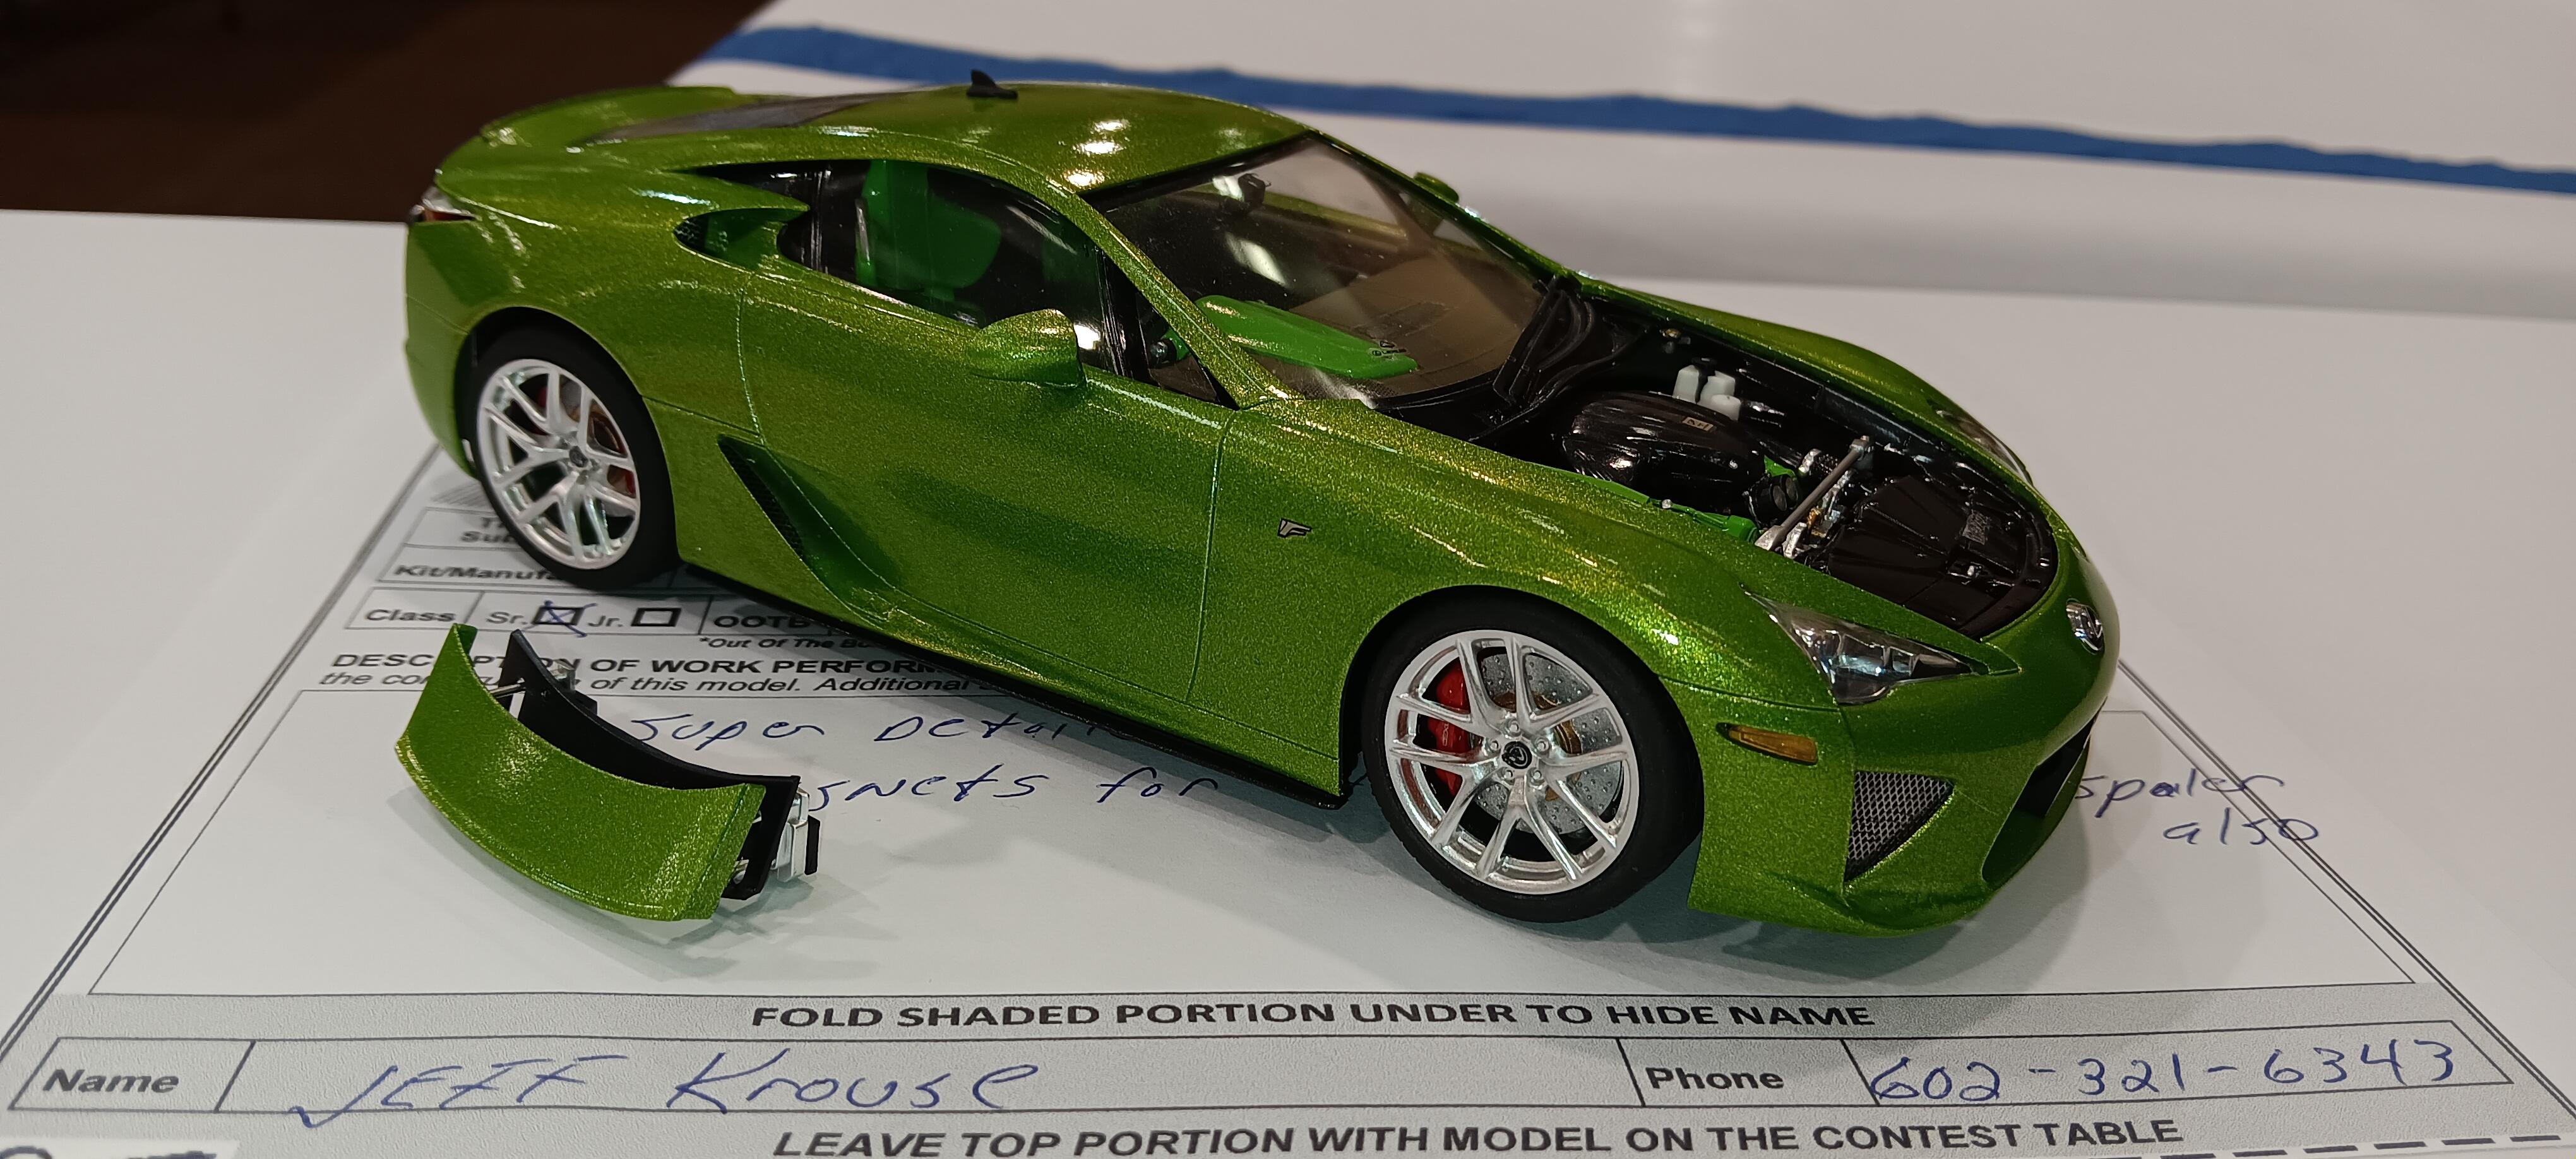
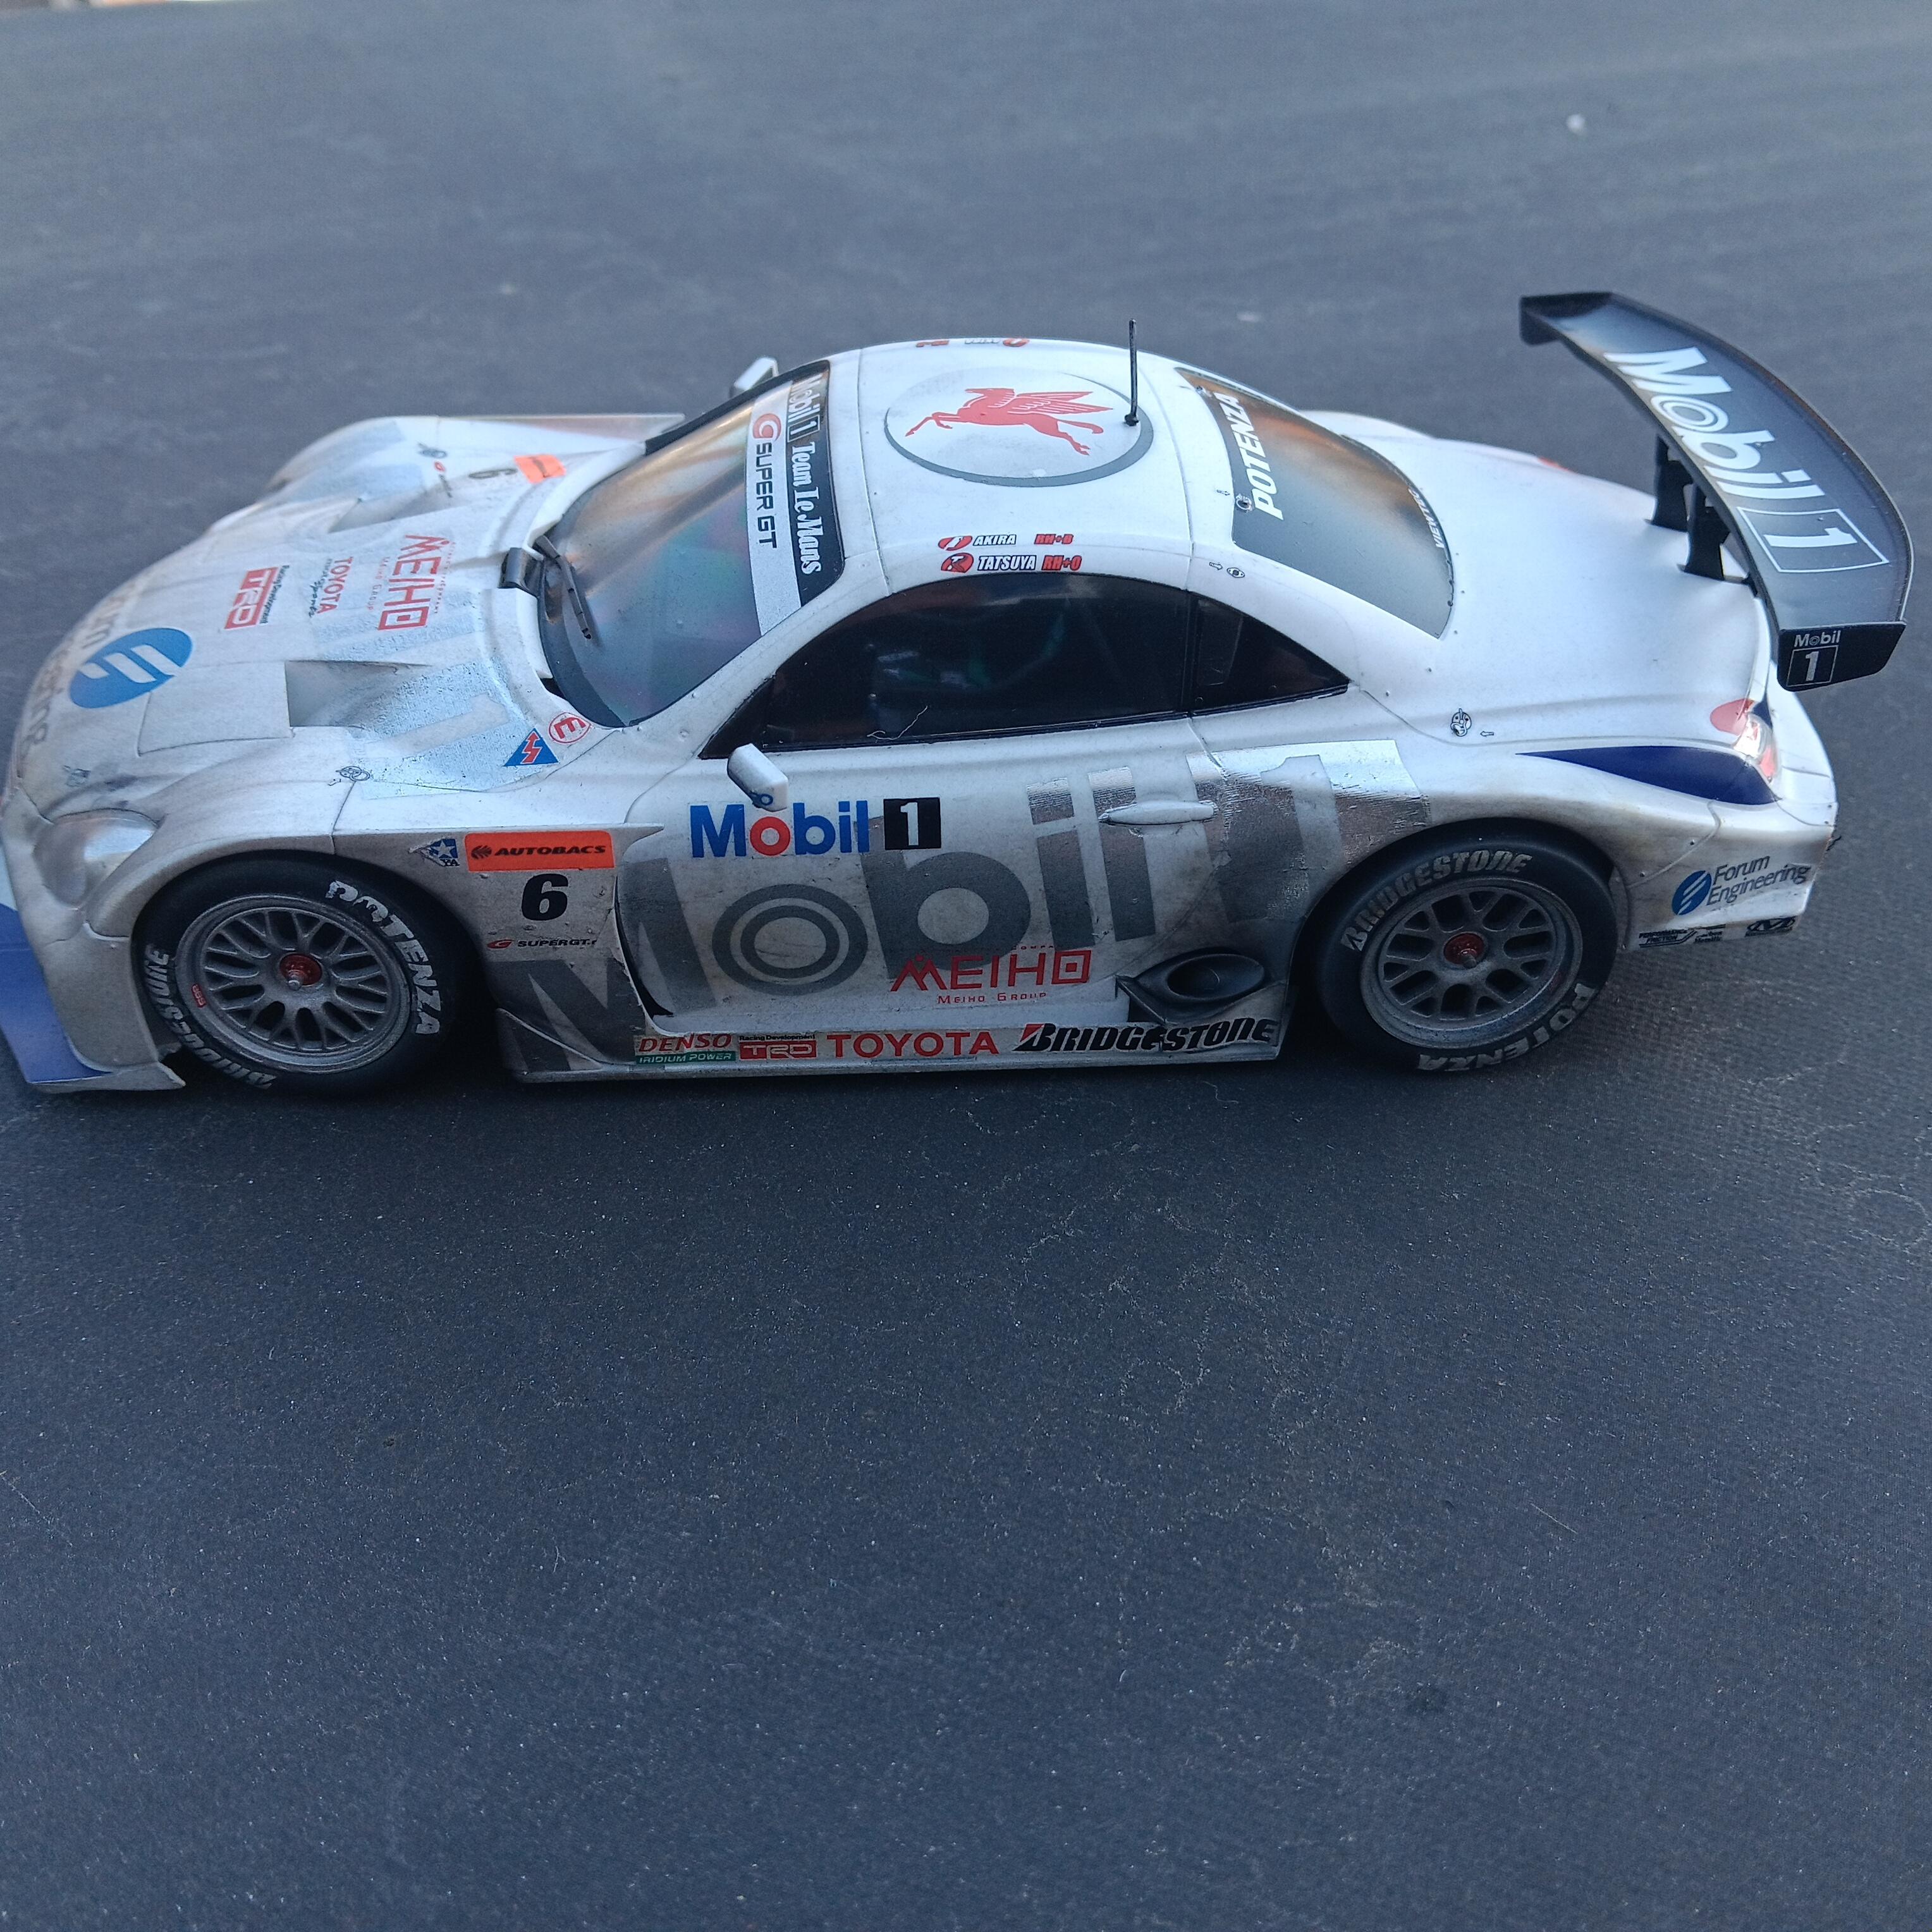
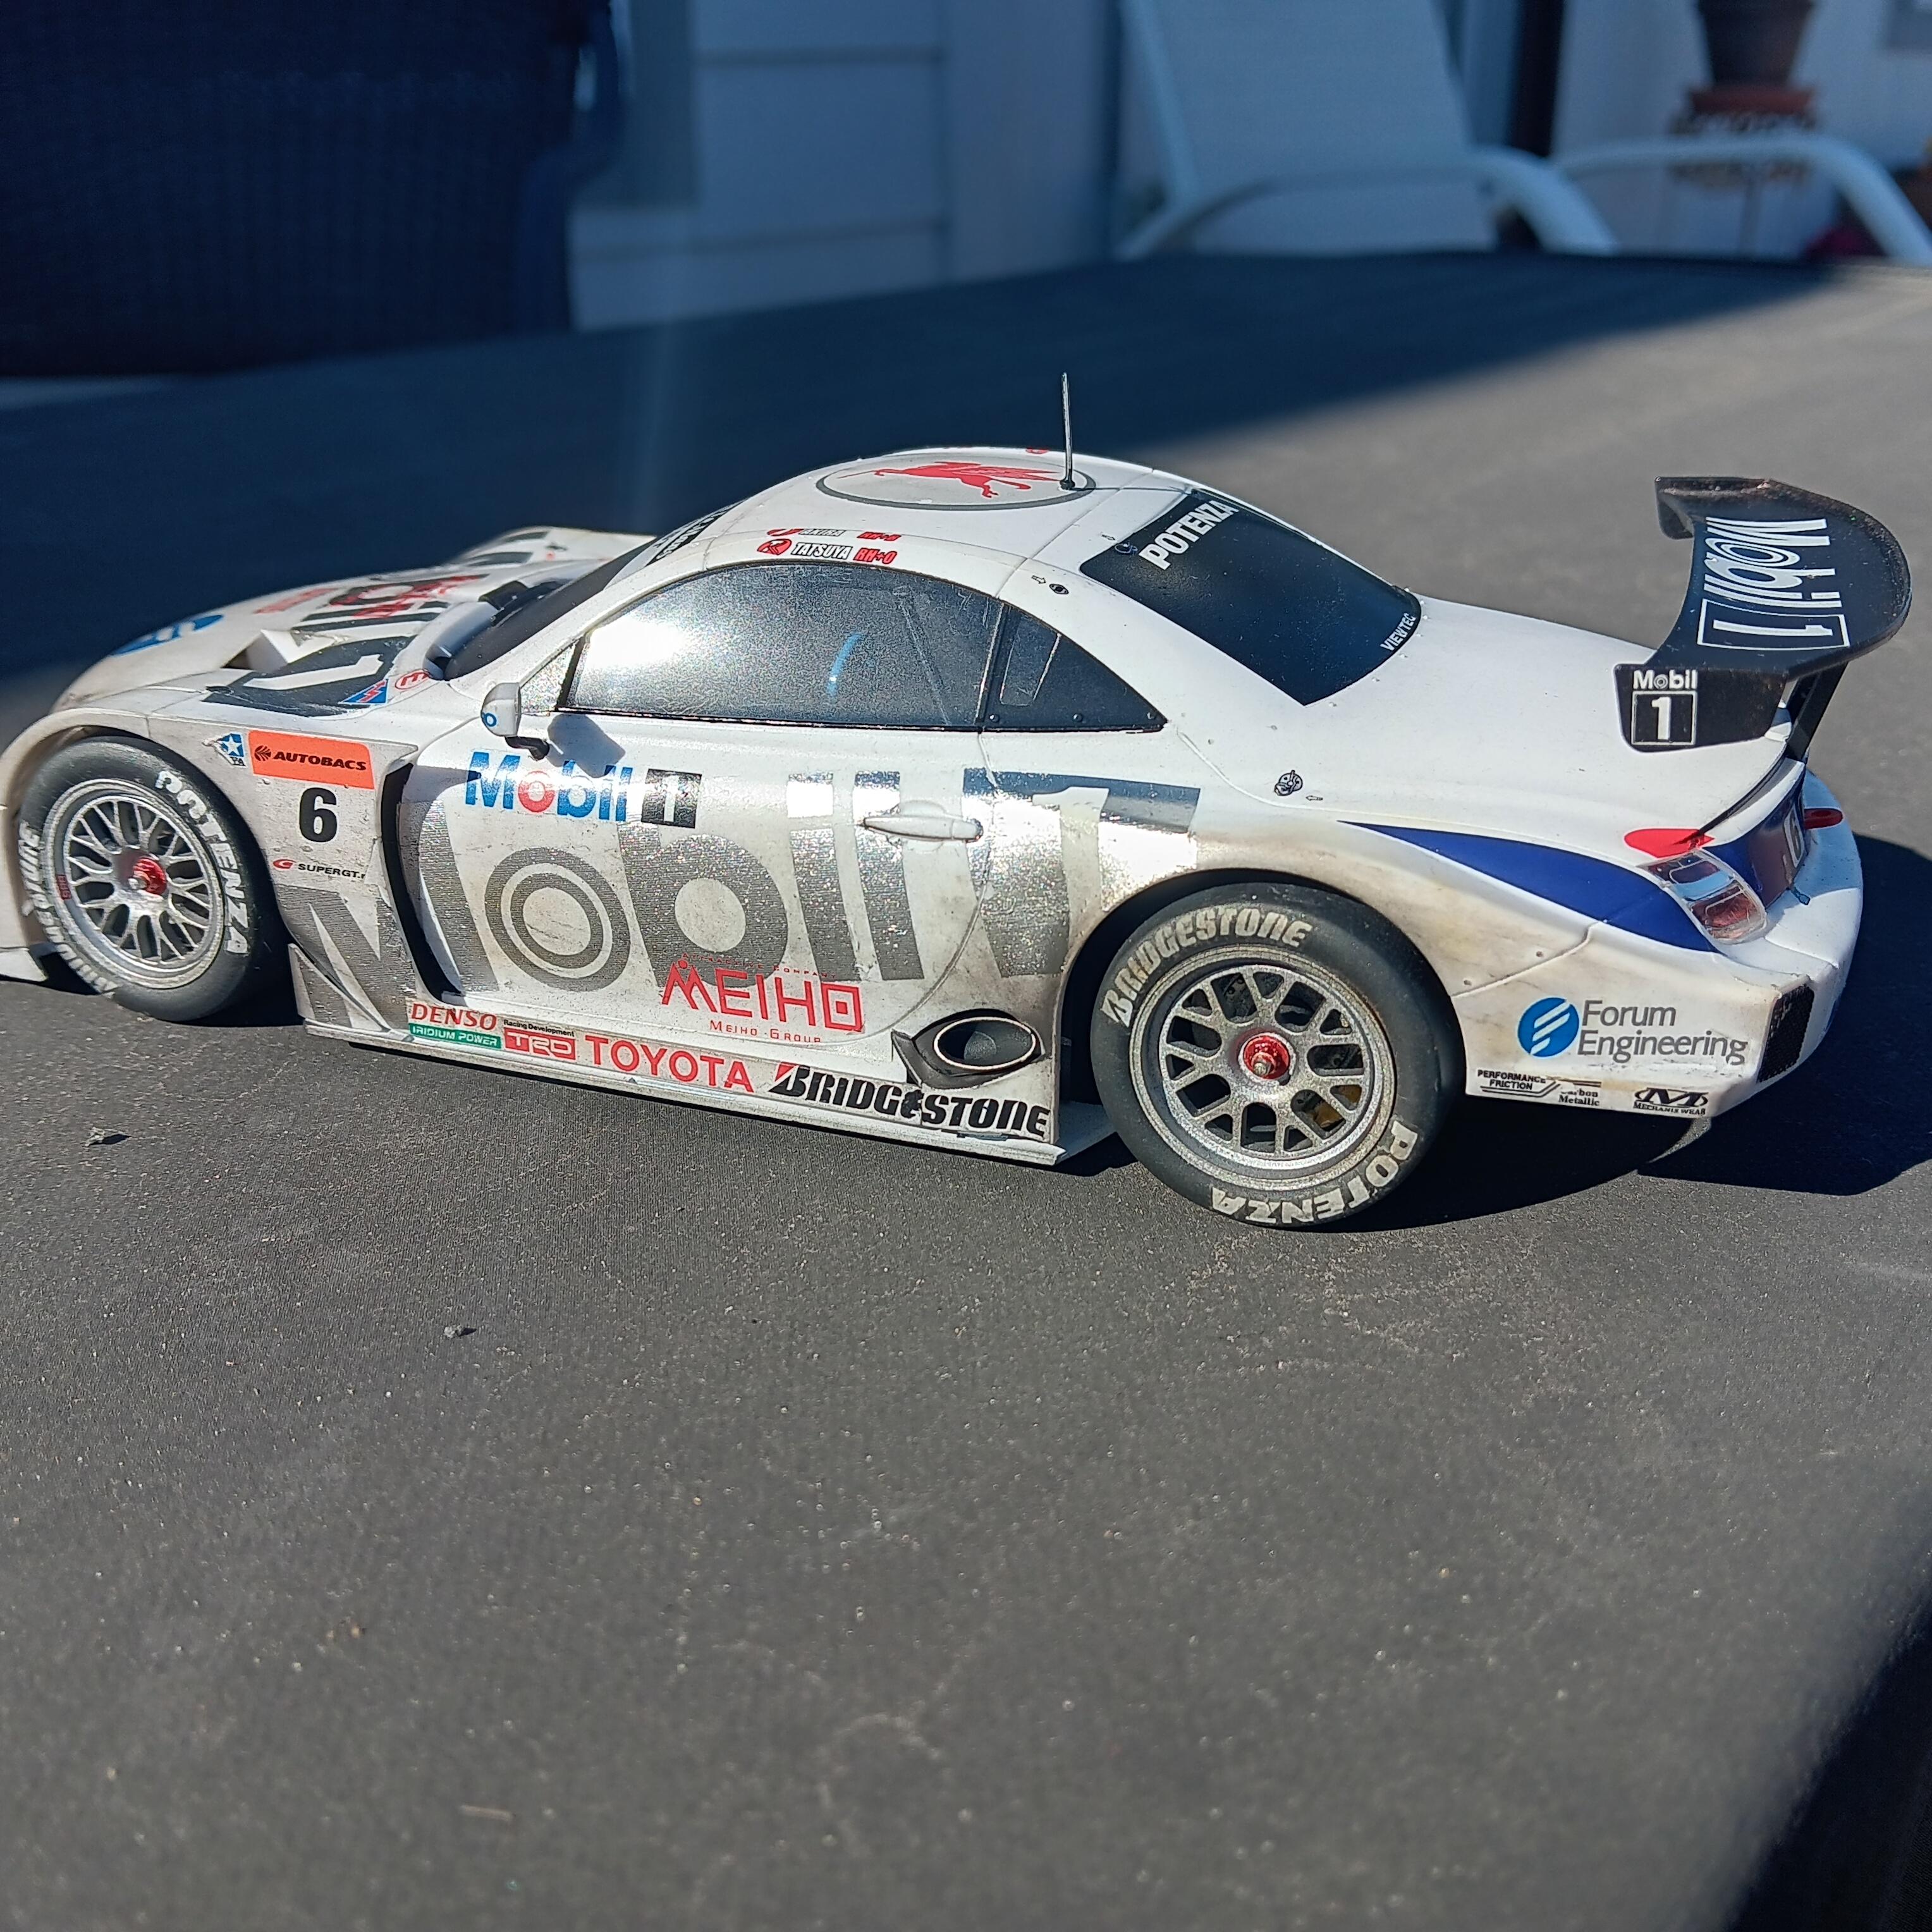
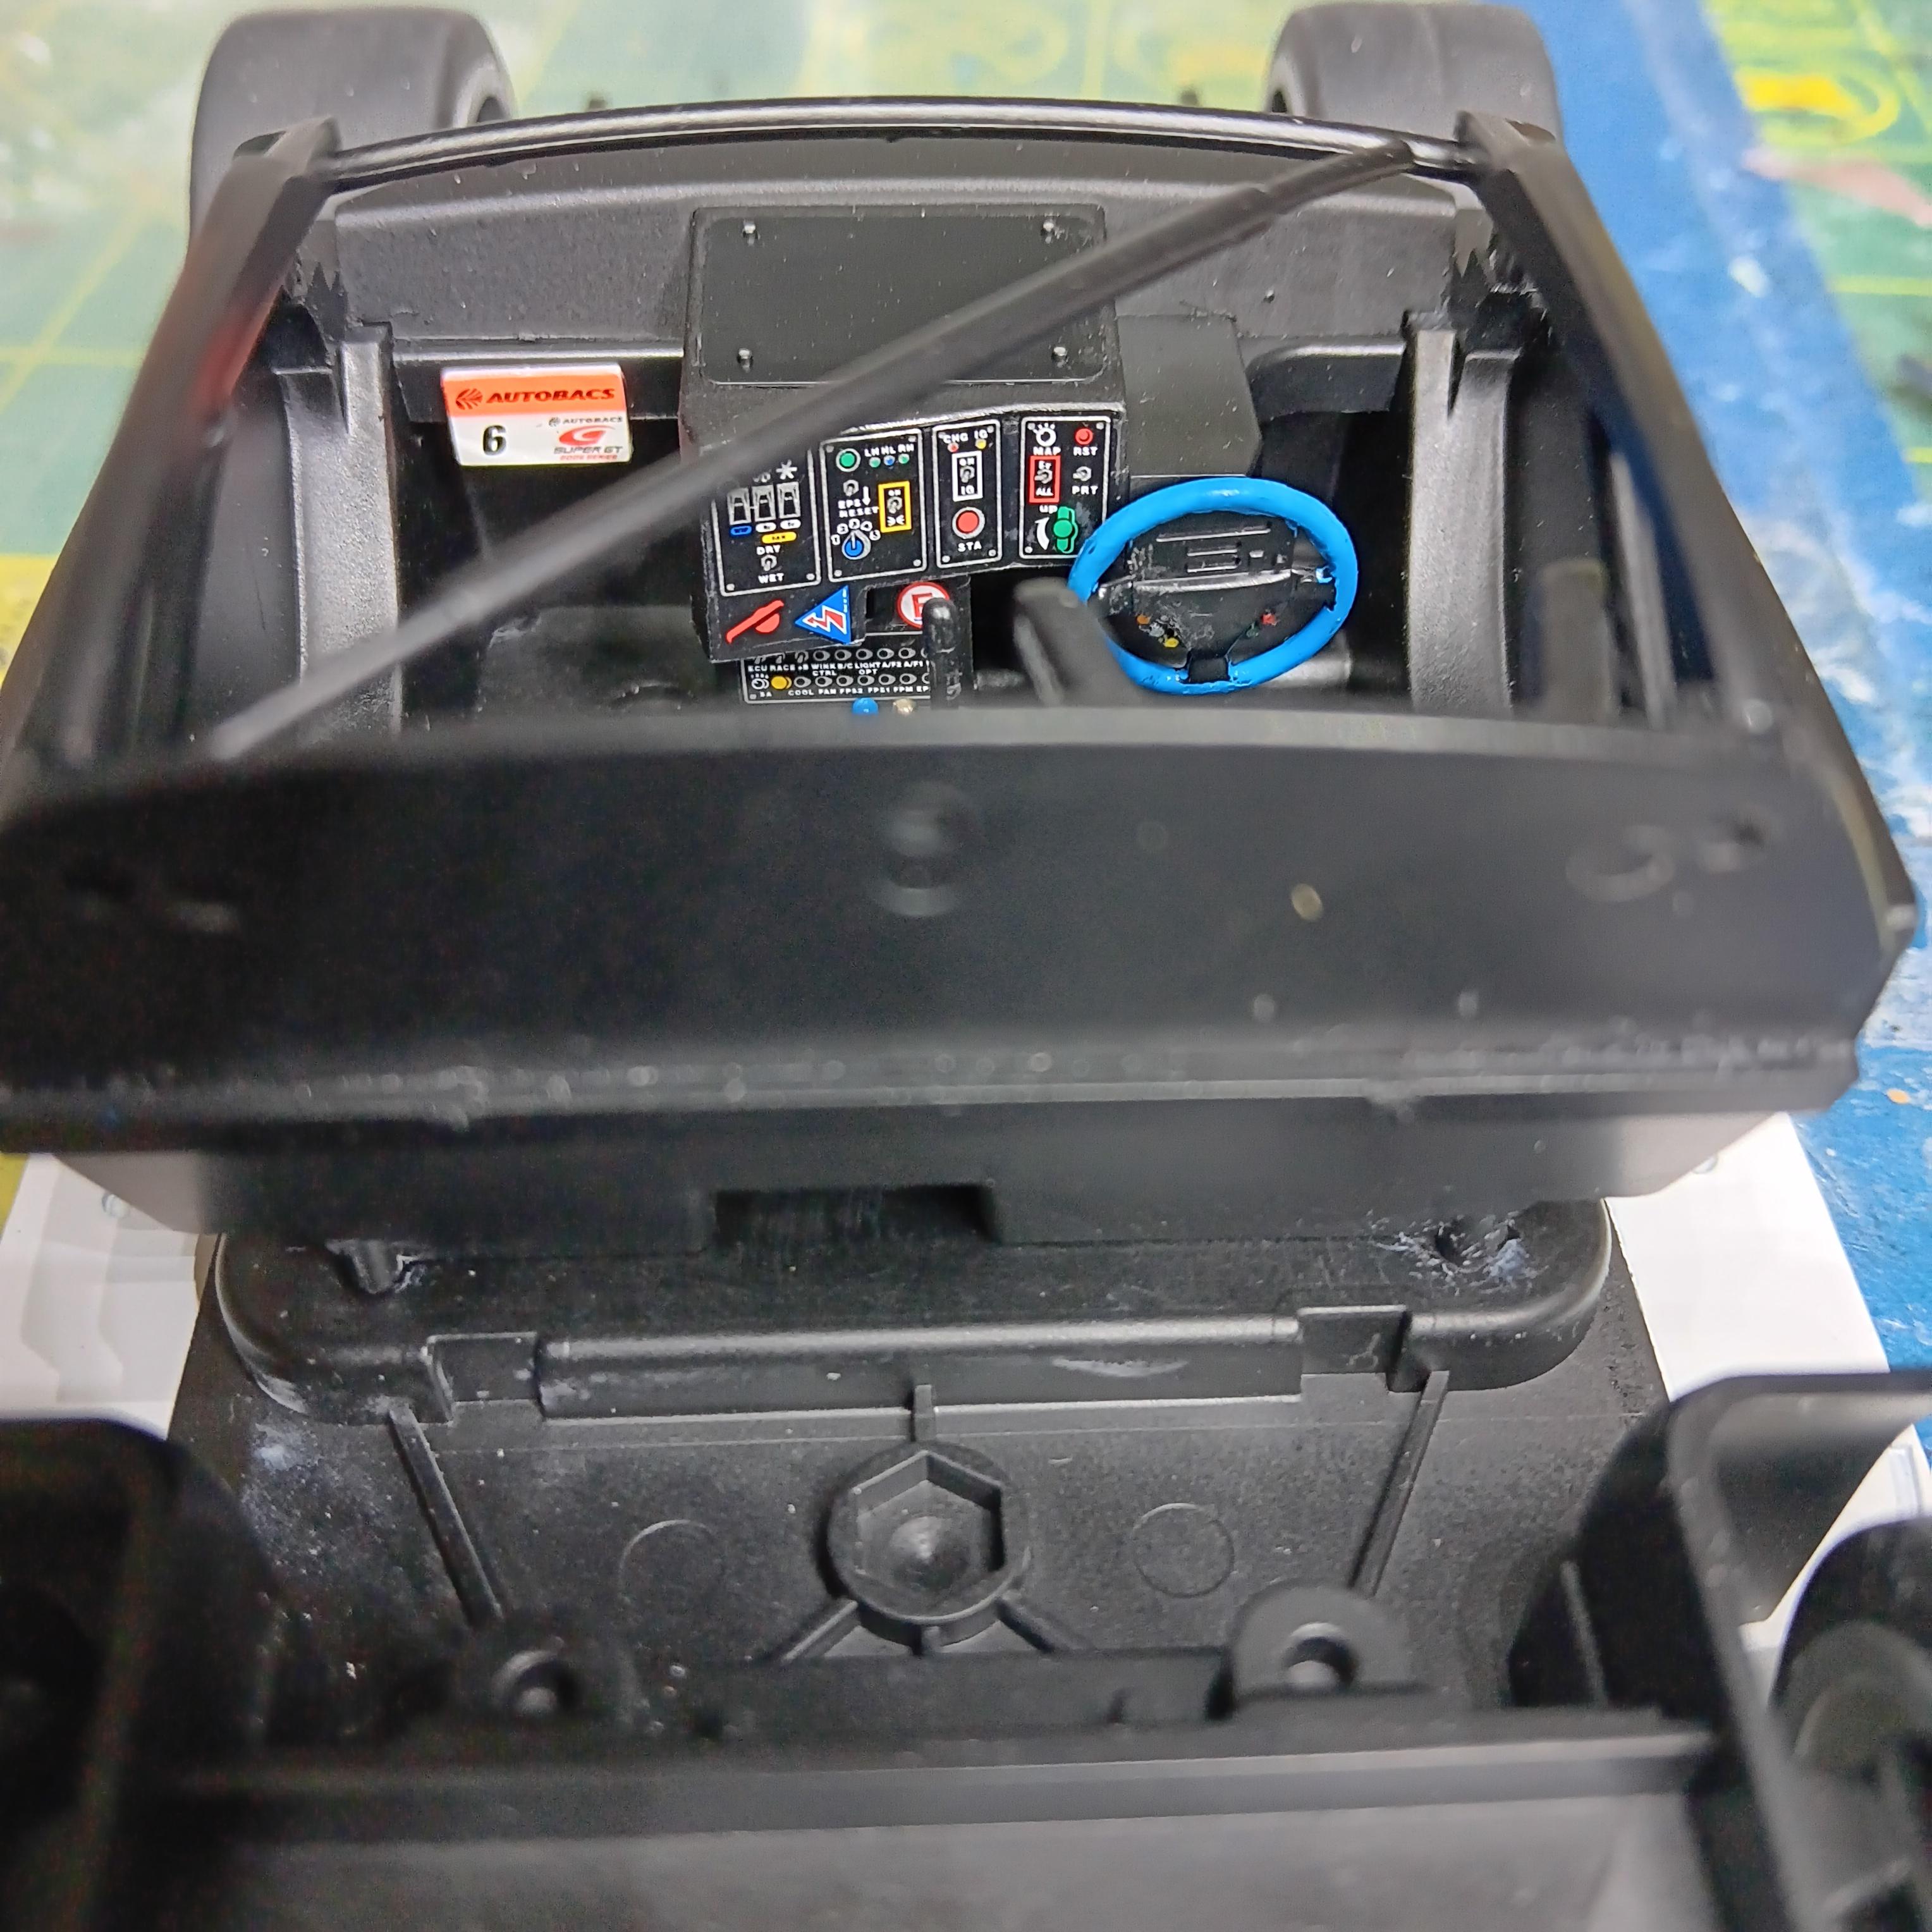
When I purchased the Tamiya Mobil 1 SC Lexus SC430 I didn't realize it was a curbside, my bad for not looking closer. So I was disappointed when I opened it up and found no engine, but I figured it could be a quick (for me) build. As usual it was a typically well engineered Tamiya model and went together with no issues. I think the model had as many decals as it had parts, there are over 90 decals! I weathered it using Tamiya weathering master and thinned paint. The body wasn't painted, just cleared with semi gloss clear coat before weathering. Not my best job, but I'm happy with the results.