
Blown03SVT
-
Posts
450 -
Joined
-
Last visited
Content Type
Profiles
Forums
Events
Gallery
Posts posted by Blown03SVT
-
-
So I was poking around on that social media website on the interwebs. I had found on the Testors page they make a suggestion of using Paper Correction Fluid as a light filler. Hmmm, something similar to Mr. Surfacer but cheaper and more accessible? Anyone use Wite Out as filler? If so which variety as thier are several, and what would you thin it with? Thanks

-
IIRC Anne was taking a slight hiatus to go back to playing guitars for awhile...
-
... which is essentially a stock floor pan with a too small 7.5" axle and ladder bars. Pretty sure by that point the cars were back halved and partially tube framed from the firewall back. You could try Scale Modeling By Chris for a four link set up with the 9" ixle for the rear.
-
not quite what I was expecting but funny none the less
-
I expect this kit will be a knock out the the aero sedan. Looks great in the pictures!
-
Not always Danno, I guess it depends on who you ask
-
The different types and uses have been covered pretty well by the guys who commented in this thread. Maybe sometime I will break out that old tube glue and use it to build one kit for nostaglia and to remind myself how well I have it now compared to when I was a kid. FWIW, the first model I ever build was built with that useless lemon oil smelling Testors non toxic stuff. When I was finally allowed to use the orange and white tube I thought it was the good stuff... I suppose back in 1986 it was the good stuff. Welcome back to building.
-
Jeremy, look for a harbor freight around your parts. Get a coupon online and a digital caliper is less that $10. I also bought my flat files and jewelers files there for cheap and they work awesome. For less than $20 in tools you can dramatically open new building possibilities
-
Just be sure to double check the thickness of the wires with a caliper to make sure they are close to accurate size for plug wires. Alot of my detail wire comes from throw away electronics.
-
Ever seen a block bust in one of those cars? Not pretty thing to see.
Nope, in the almost 10 years of playing with 4v Ford motors never seen one split. The old 302 small blocks I have seen split through the lifter valley and along the mains like a watermelon.
-
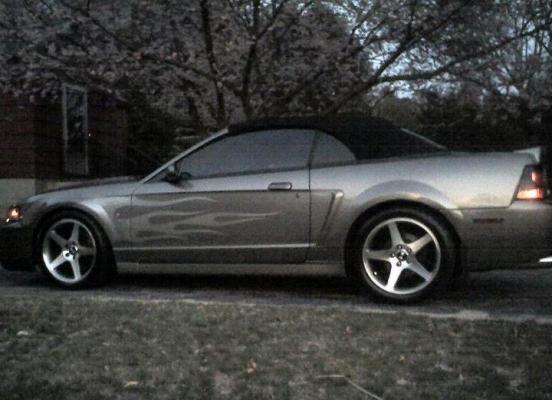
My 1:1 toy is factory supercharged, and the blower over spun with a smaller pulley to the tune of about 16lbs of boost. I agree Mark, proper tuning is very important
-
AMT Duster and 71 Charger
-
I dig this thread, when I was a kid I wanted to make the finished product look as much like the box art as possible. Awesome work guys!
-
... we are all on the same page now
LOL! -
Nitrous with no extra fuel makes melted pistons...
-
The moral of the story in the end that I am taking from this, is the exact reason why I build... STRESS RELIEF.
-
Easiest way to interpret what happened is airing up a bicycle tire until it explodes. Only some much pressure can be contained based on the expansion of the gas. Once that threshold has been passed...BOOM. The high temps insode the car caused the n2o to expand past the designed pressure limits of the n2o bottle.
-
That looks REAL nice! I have contemplated picking one of these up. Not a fan of the big inch wheels in the kit. With that combo you have right there I can see this one dressed up with some Pegasus chrome reverse rims, or the astro supreme replicas they make. The scallops and flames has a very west coast 60's vibe to me. Thanks for the inspiration, and great work!
-
This should be interesting the stance and wheel and tire combo give this car a menacing look. So nice to not see an old Mopar with the peg leg look with the Magnum 500's and the narrow tires.
-
That idea for the front is brilliant and rates in the "why didn't I think of that?" category. I had this kit as a kid, I ended up getting it about 75% complete and gave up. Looking forward to see modern techniques and skills to turn this rock into a gem
-
BTW, you guys ever see what an acetylene tank will do to a car
Best looking Cavalier I have ever seen, I am diggin the lambo doors
-
I know they're polished on the 1 to 1's ( I have a set on my streetcar) I thought the only way to replicate polished wheels is to chrome them in 1/24 and 1/25. what is aluminum buffing plate metalizer? I have a set of weld prostars that I thought I would have to find a company that will chrome plate them for me but if theres a closer match to polished aluminum I would love to know!
link here:
http://www.modelcars.com/model-master-metalizer-lacquer-aluminum-plate-spray.html
-
Should be very cool, awesome story behind it! I am wondering how youre going to get the draglites chromed?
They are polished in 1:1, I would think aluminum buffing plate metalizer shined up with a q-tip would be a closer match to the 1:1. Looks like the start to a very cool project!
-
I try to buy them while they are new, so I don't get caught up in collector prices later. The stashing is an unfortunate circumstance of life interferring with my build time.

 not quite what I was expecting but funny none the less
 LOL!
LOL!

Correction fluid as filler?
in Model Building Questions and Answers
Posted
Actually we as modelers have adapted a lot of building materials and tools from other places. Auto body, jewelry making, art, household cleaners, even medical and dental tools.
Anyhow, I honestly I would have had no intention to use it for anything other than spot filling errant scribe marks like Art was discribing. And yes glazing putty will work but is a bit of a pain to mix such a small amount correctly. CA glue and baking soda or micro balloons only works so-so for such small touch ups. Mr. Surfacer would probably work great but it's not super accessable and a little spendy. As for the green stuff putty.... I try to avoid using that all together. Thanks for the feedback guys. If I feel froggy I might actually try it and see how it goes. I suppose the worse thing that could happen would be to have to do it over the right way.