

gotnitro?
-
Posts
4,185 -
Joined
-
Last visited
Content Type
Profiles
Forums
Events
Gallery
Posts posted by gotnitro?
-
-
Love these kind of builds !
-
 1
1
-
-
-
Looking good! It tends to annoy me having to fuss around modifying parts to fit, a little more work before offering for sale would yield a better product.
-
12 hours ago, Mopar - D said:
Looking great Jeff! What are you using to make your bends they look perfect.
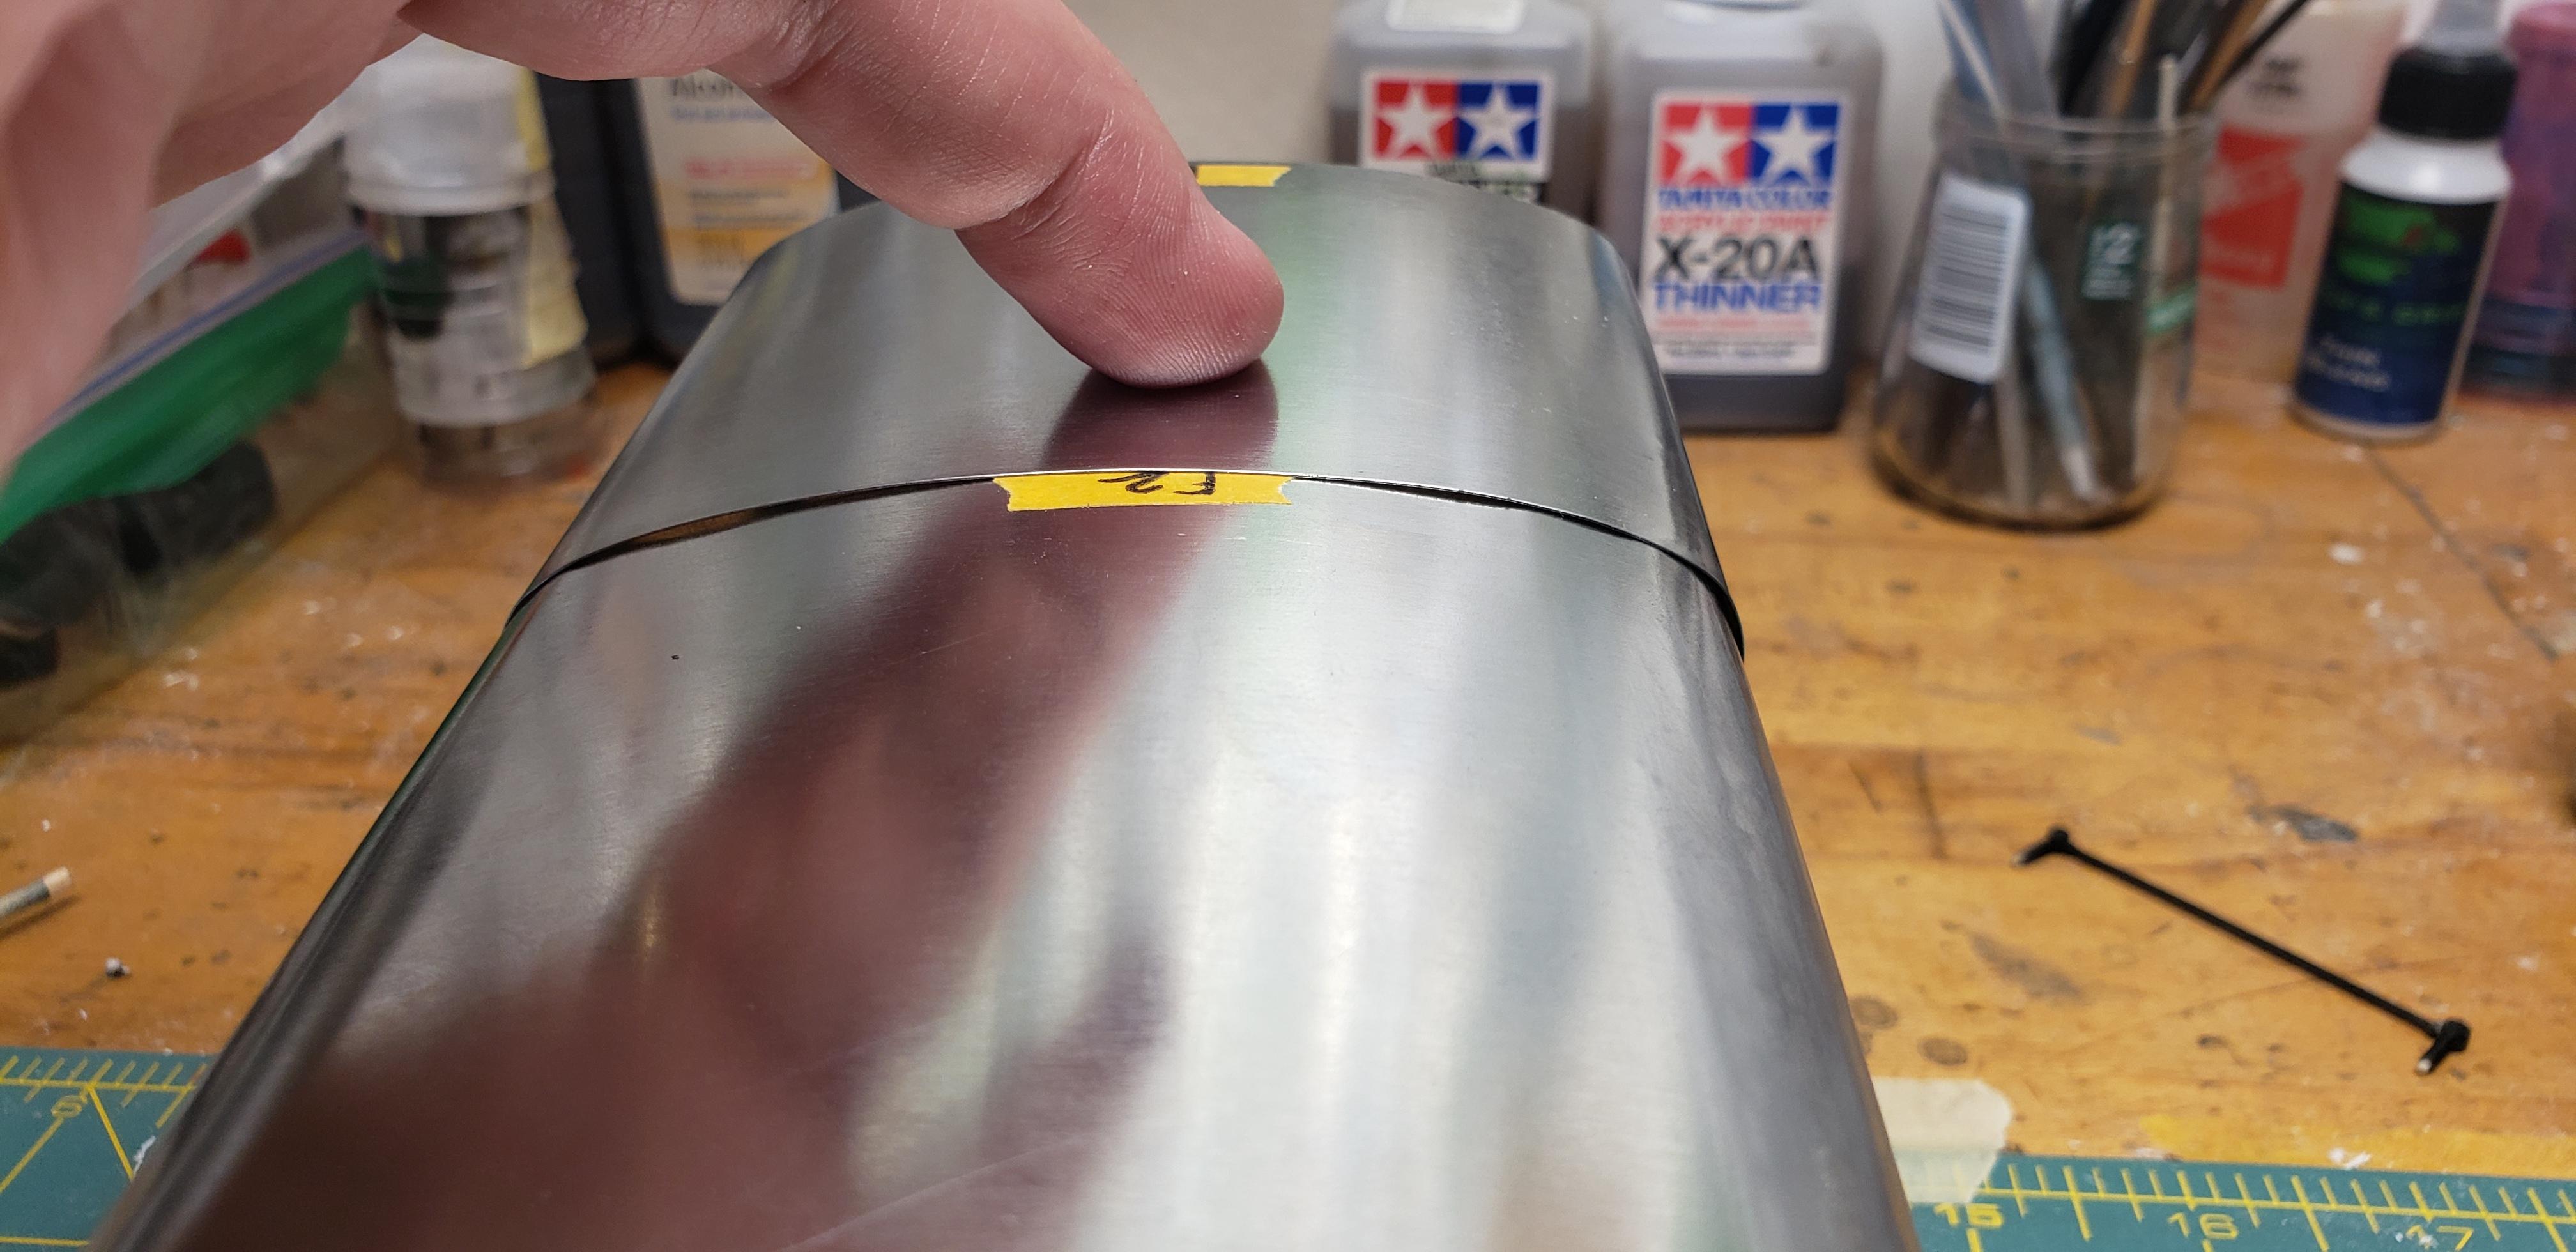
The middle of the roof is bent using a tamiya rattle can. The tighter edges I've been bending using a 1/4 styrene tubing. The tin bends (kinks) very easy, so I'm trying to ease the shape into it. Most of the time its resting on my leg while slowly rolling the edges.
I found a neat trick for measuring the width before bending...by using a piece of string to lay over the body. Then transfer that to the ruler! Very little excess after bending
-
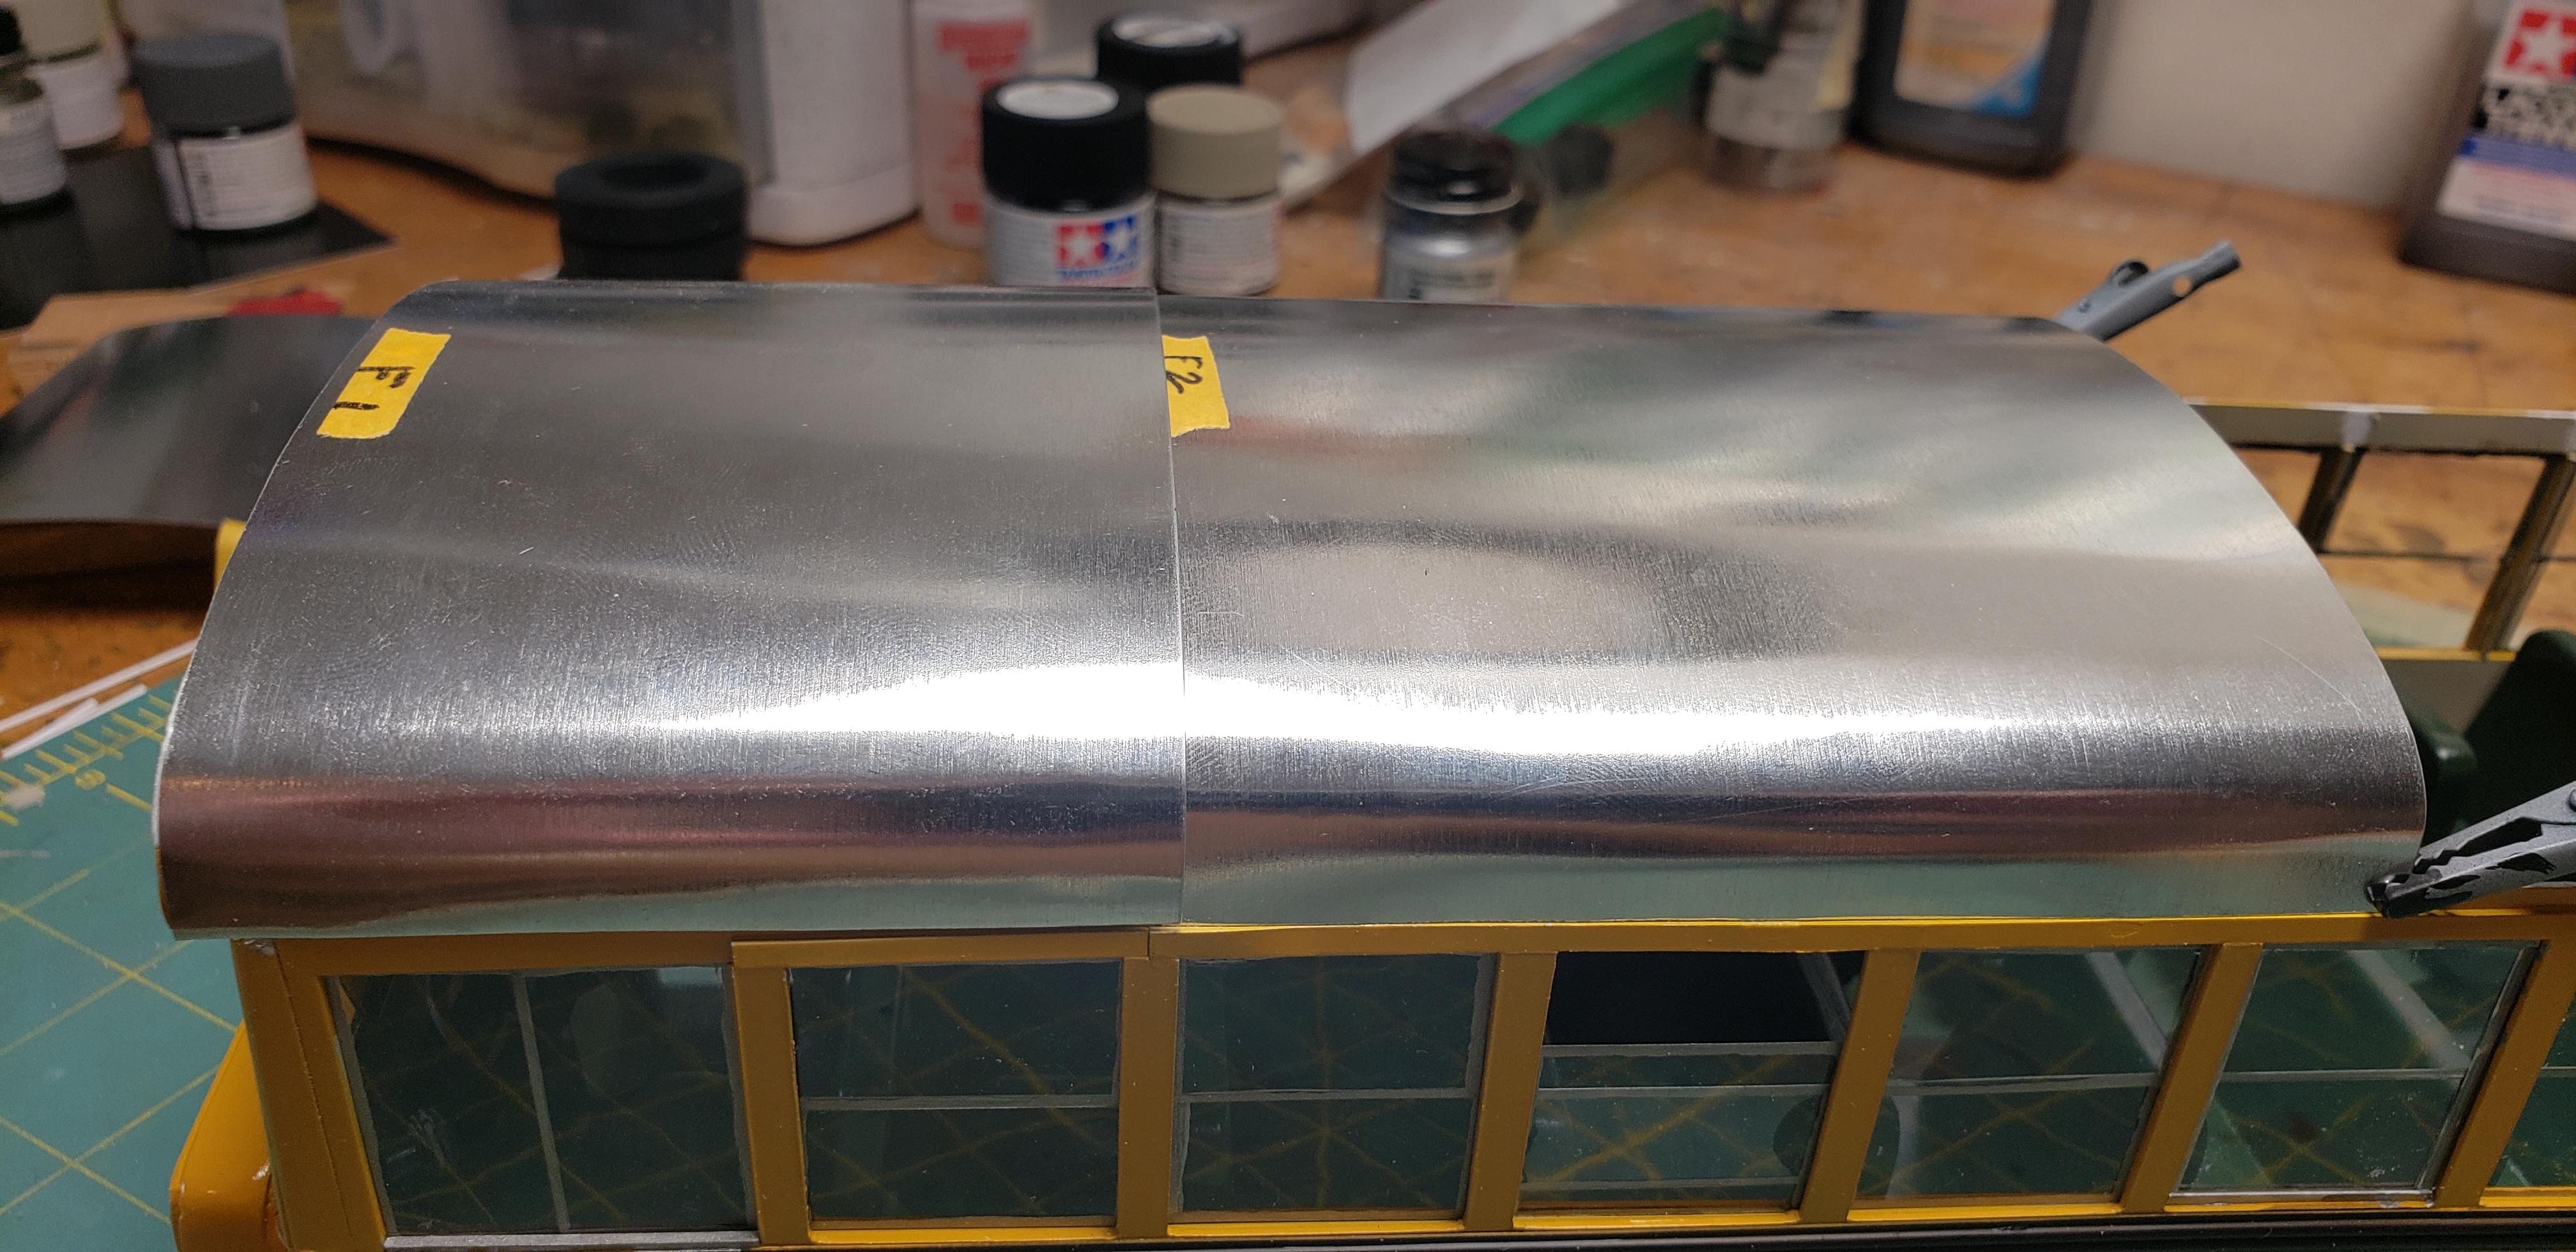
The rear roof went on this morning, and I'm really pleased with how tight it fit.

The middle section is underway. I wanted to finalize the shape, but had to take daughter out delivering girl scouts cookies..yummy
I want all the panels to end at a window frame, then after paint apply the Archer rivets
Any feedback welcome!
-
4 hours ago, Chariots of Fire said:
What is the plan for rounding off the front and rear edges of the roof?
Haha guess I forgot about those. These will end up squared off oops
15 hours ago, DZ7581 said:I was thinking about using a brass sheet myself for the roof. I want to see how your's turns out.
I had both options, the tin is working well.
@DRIPTROIT 71- thanks ! Having a couple windows open should keep temps down too
-
Nicely done so far
-
2
-
-
Excellent work!
We had a 71 Cutlass Supreme convertible a few yrs back, you've nailed the engine bay
-
Looks great after the repaint !
-
Nice work on the tool boxes
-
13 hours ago, Mopar - D said:
Jeff I think you are going to be pleased with the tin roof. Your first piece is already looking good. Your ribs look like what mine would look like lol.
Thanks Dan , the ribs were an ugly mess. I'll keep pecking away at the tin
@peteski- no idea about thermal reactions.
-
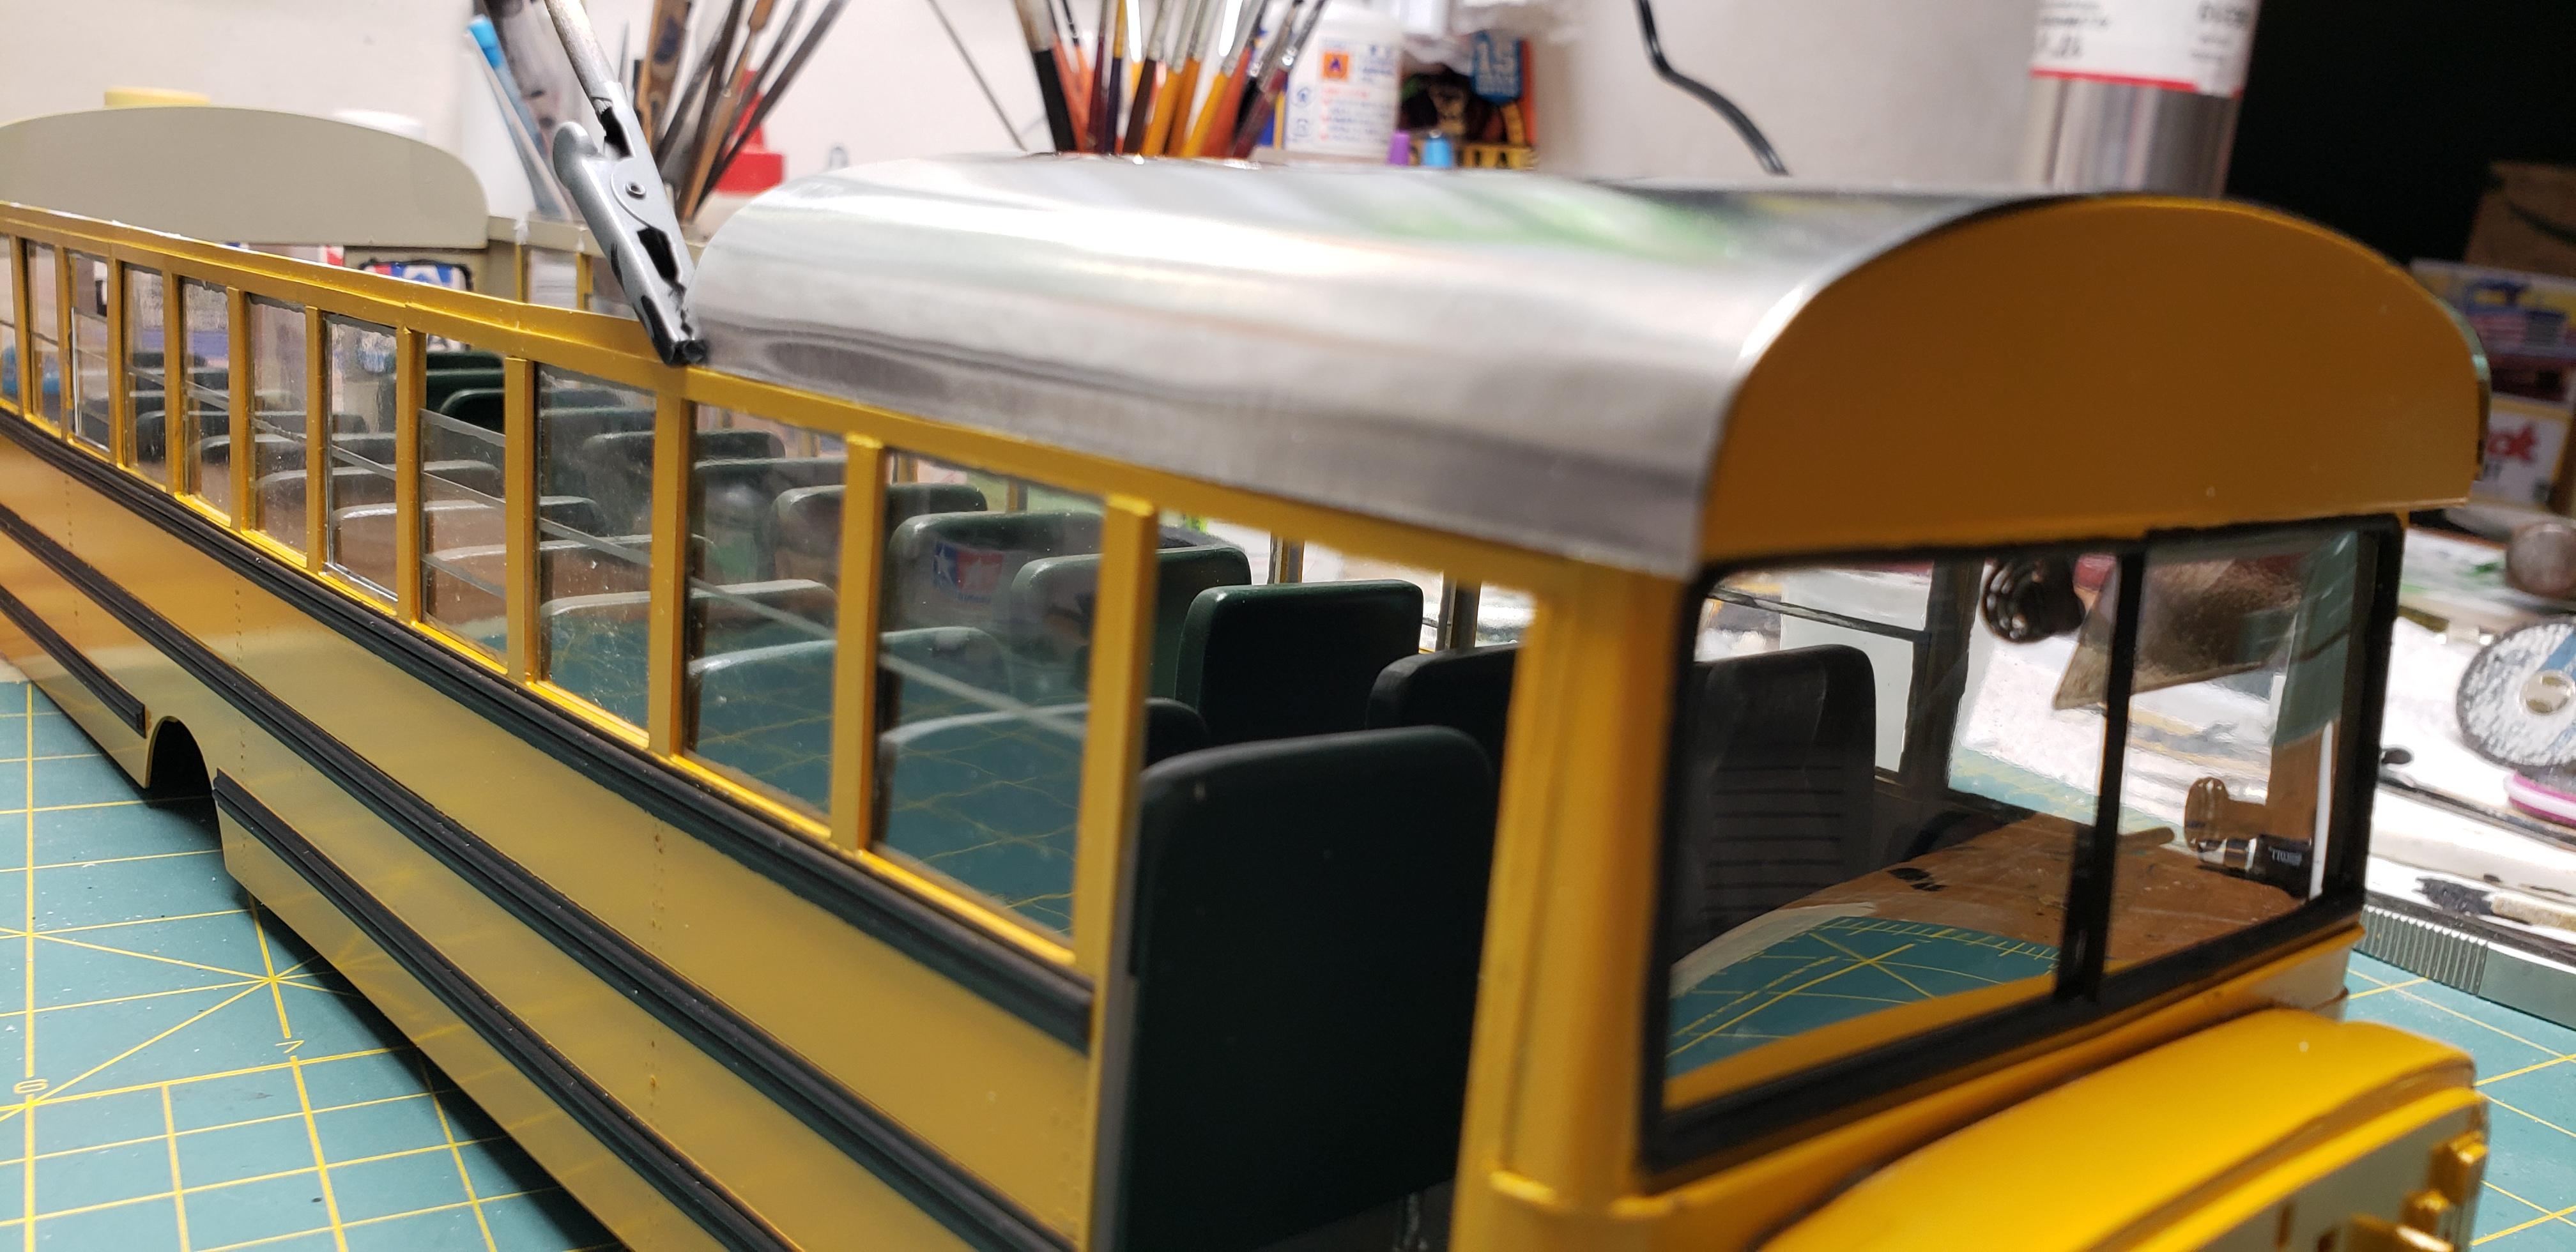
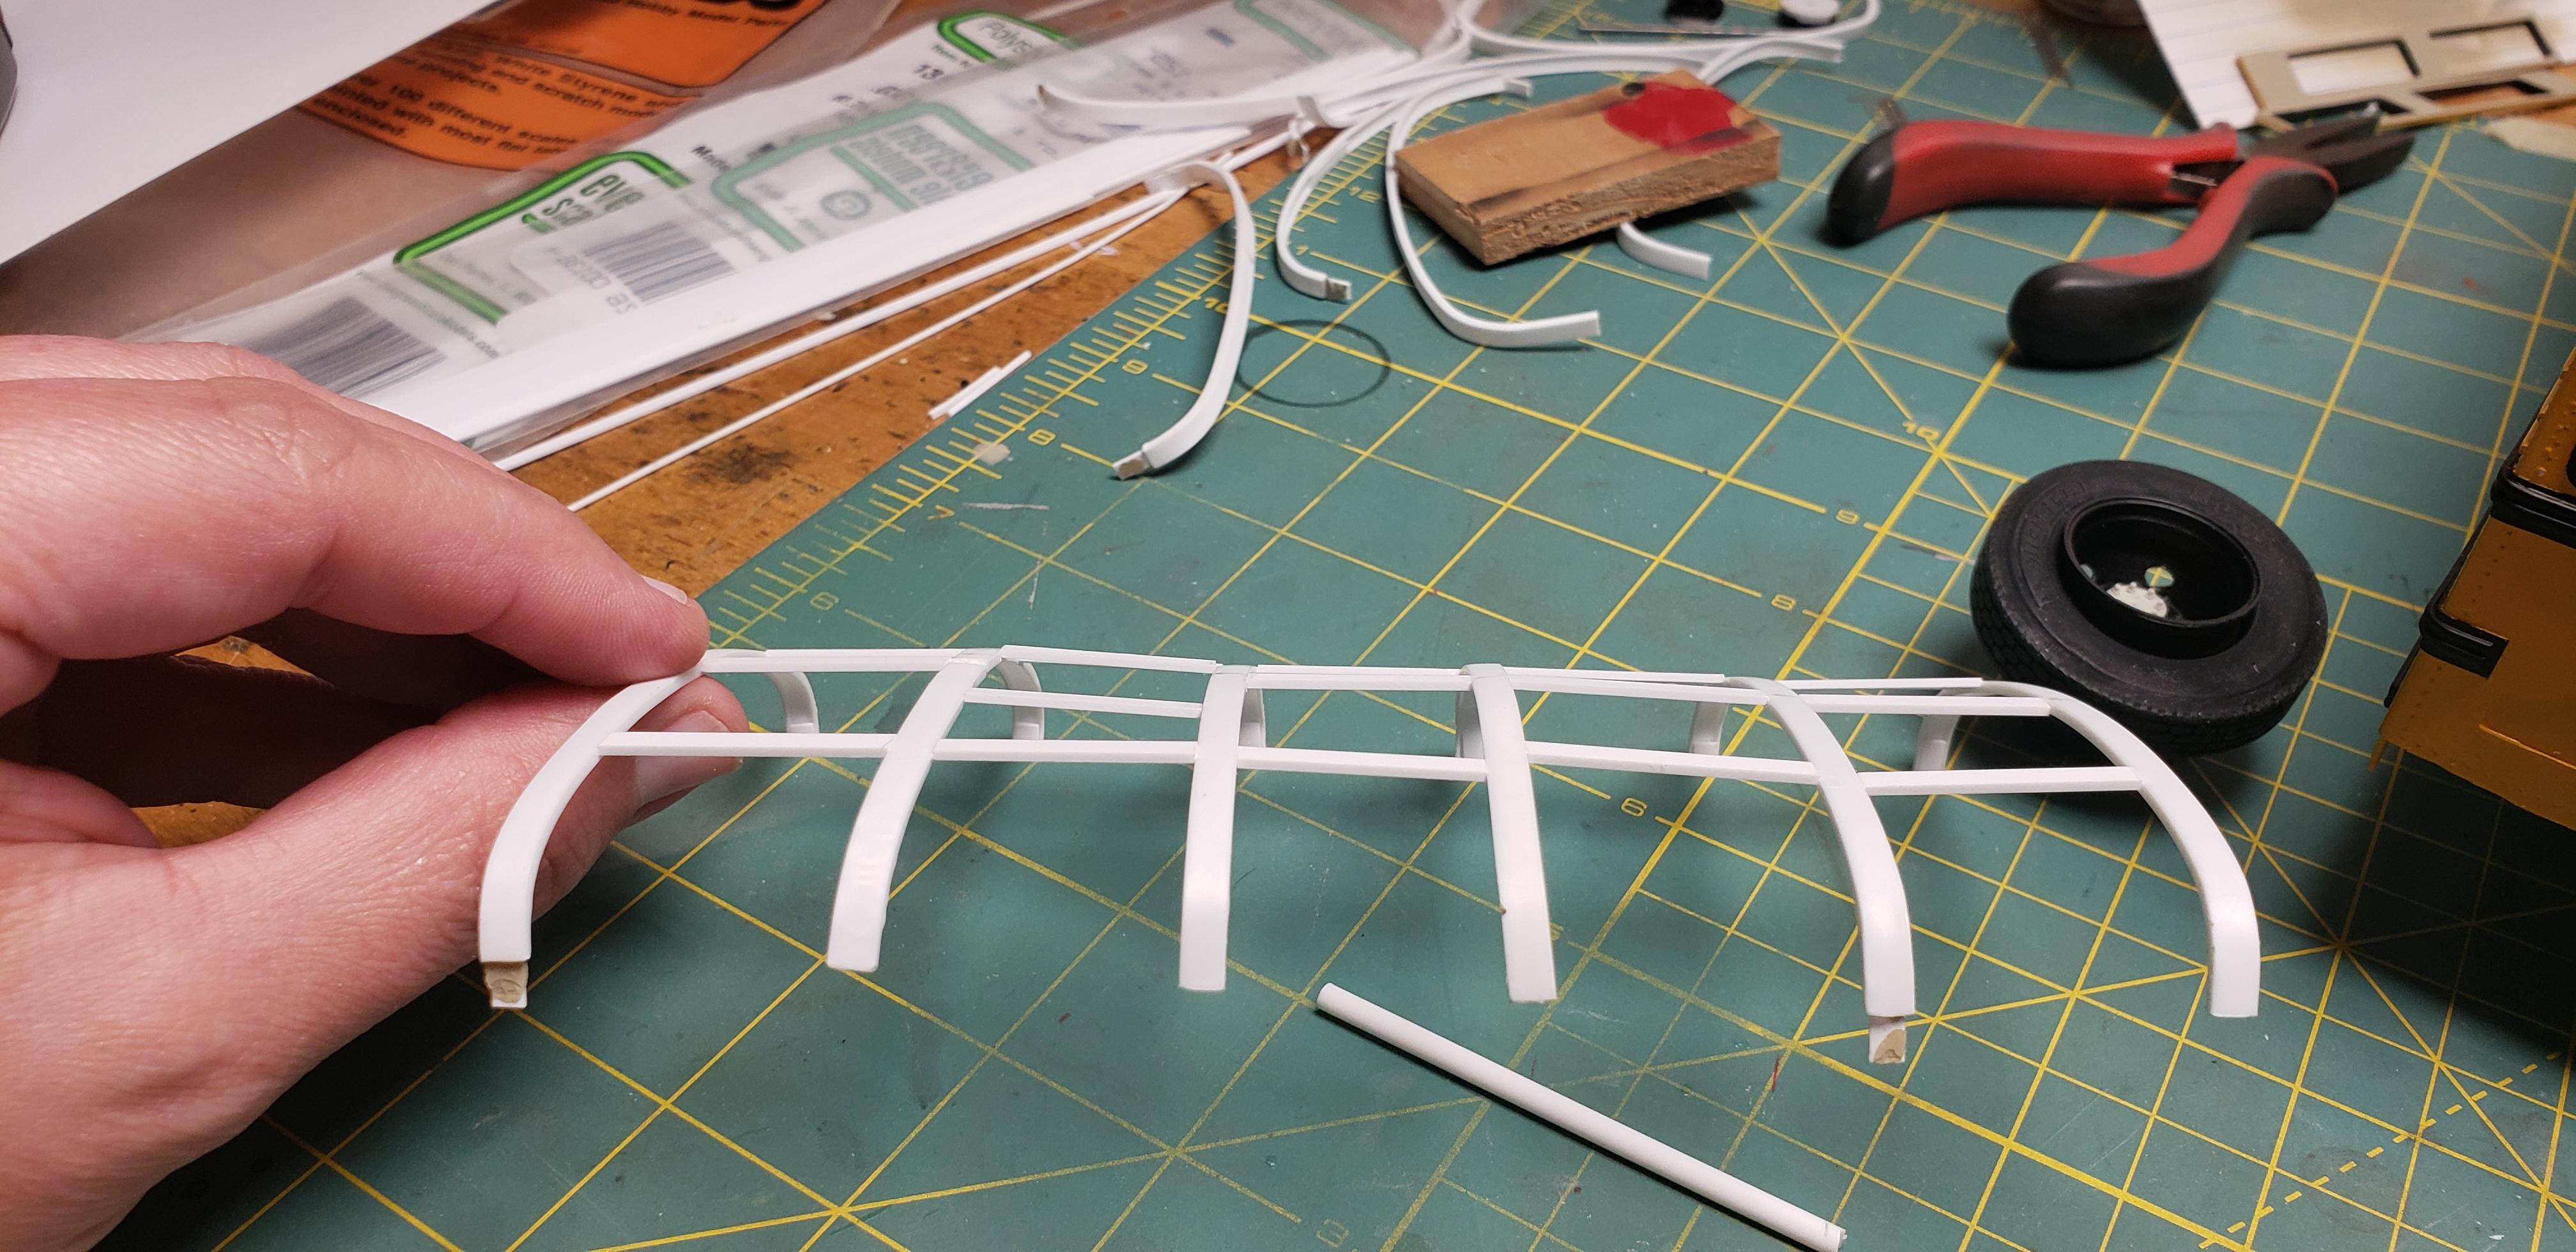
I finally found a method for the roof that seems to work. My plastic ribs didn't work out being uneven, so a tip was suggested about metal flashing. KnS sells thin tin sheet, so I thought I'd try it. This is just a guinea pig test piece, but looks promising.
Here's what my attempted ribs looked like..so embarrassing . Even using a jig to create them, every one was slightly different
-
12 hours ago, DZ7581 said:
How did I miss this? I have wanted to do a bus for a long time. Looks like you have done some instructions of sorts. A few questions if I may ask, how far from the bottom of the panel to the floor did you go, and how did you do the corner radius?
Welcome aboard! Thanks for following along
I was using an enlarged drawing for the layout I found browsing photos. Office supply store enlarged the drawing for me.
The front corners were formed using the cowl off the Paystar kit. I added a filler strip to make both sides fit the drawing. The rear corners are just sanded, where the 2 sides met. I'll have to check the height from floor to bottom, but its close to 1/2 an inch if memory serves
Any other questions please ask, I'll try to help
-
Excellent work. Really good color combo
-
Wow properly busy looking air lines you've done ! It looks amazing
-
1
-
-
On 3/25/2023 at 8:30 AM, Dutzie said:
Great detail items. The rubber mats look awesome!
Thanks! I didn't mix the paint very well it turned out really streaky...but looks worn
10 hours ago, Mopar - D said:Jeff you’re making sure that you don’t miss any of the little details on this project! They all add up and it shows on your awesome build. Looking forward to seeing you finish this one up. Any ideas for your next project yet?
Thanks ! I've been working all wknd trying to finish the interior, so I can start the roof. The next project....you never know what the squirrels will find lol.
-
beautiful work so far, she definatly looks like the iconic 80's car we had posters of plastered all over
-
The kids have plenty of places to hide their chewing gum now...all 22 seats are installed. Half way thru I realized my ca glue wasn't holding..figured it was time for another fresh bottle, this ones retired to the bin.
A few looked lopsided after peering thru the glass, so adjustments were made. Overall I'm pleased
Once those were set, I started hashing out the details up front. A pair of 3d printed fans from moluminum, scratchbuilt fire ext, and garbage can round out the current parts. Heres the bin before paint..and yes it'll have a bag lol
Thanks for following
-
2
-
-
excellent job so far
interesting about the engineering making the frame split for transporting.
-
looks fantastic ! The white frame w the root beer work really good together
-
1
-
-
Job well done on the airlines
-
1
-
-
Nice work so far !
That flashlight looks familiar..wonder if mine still has the filters
-
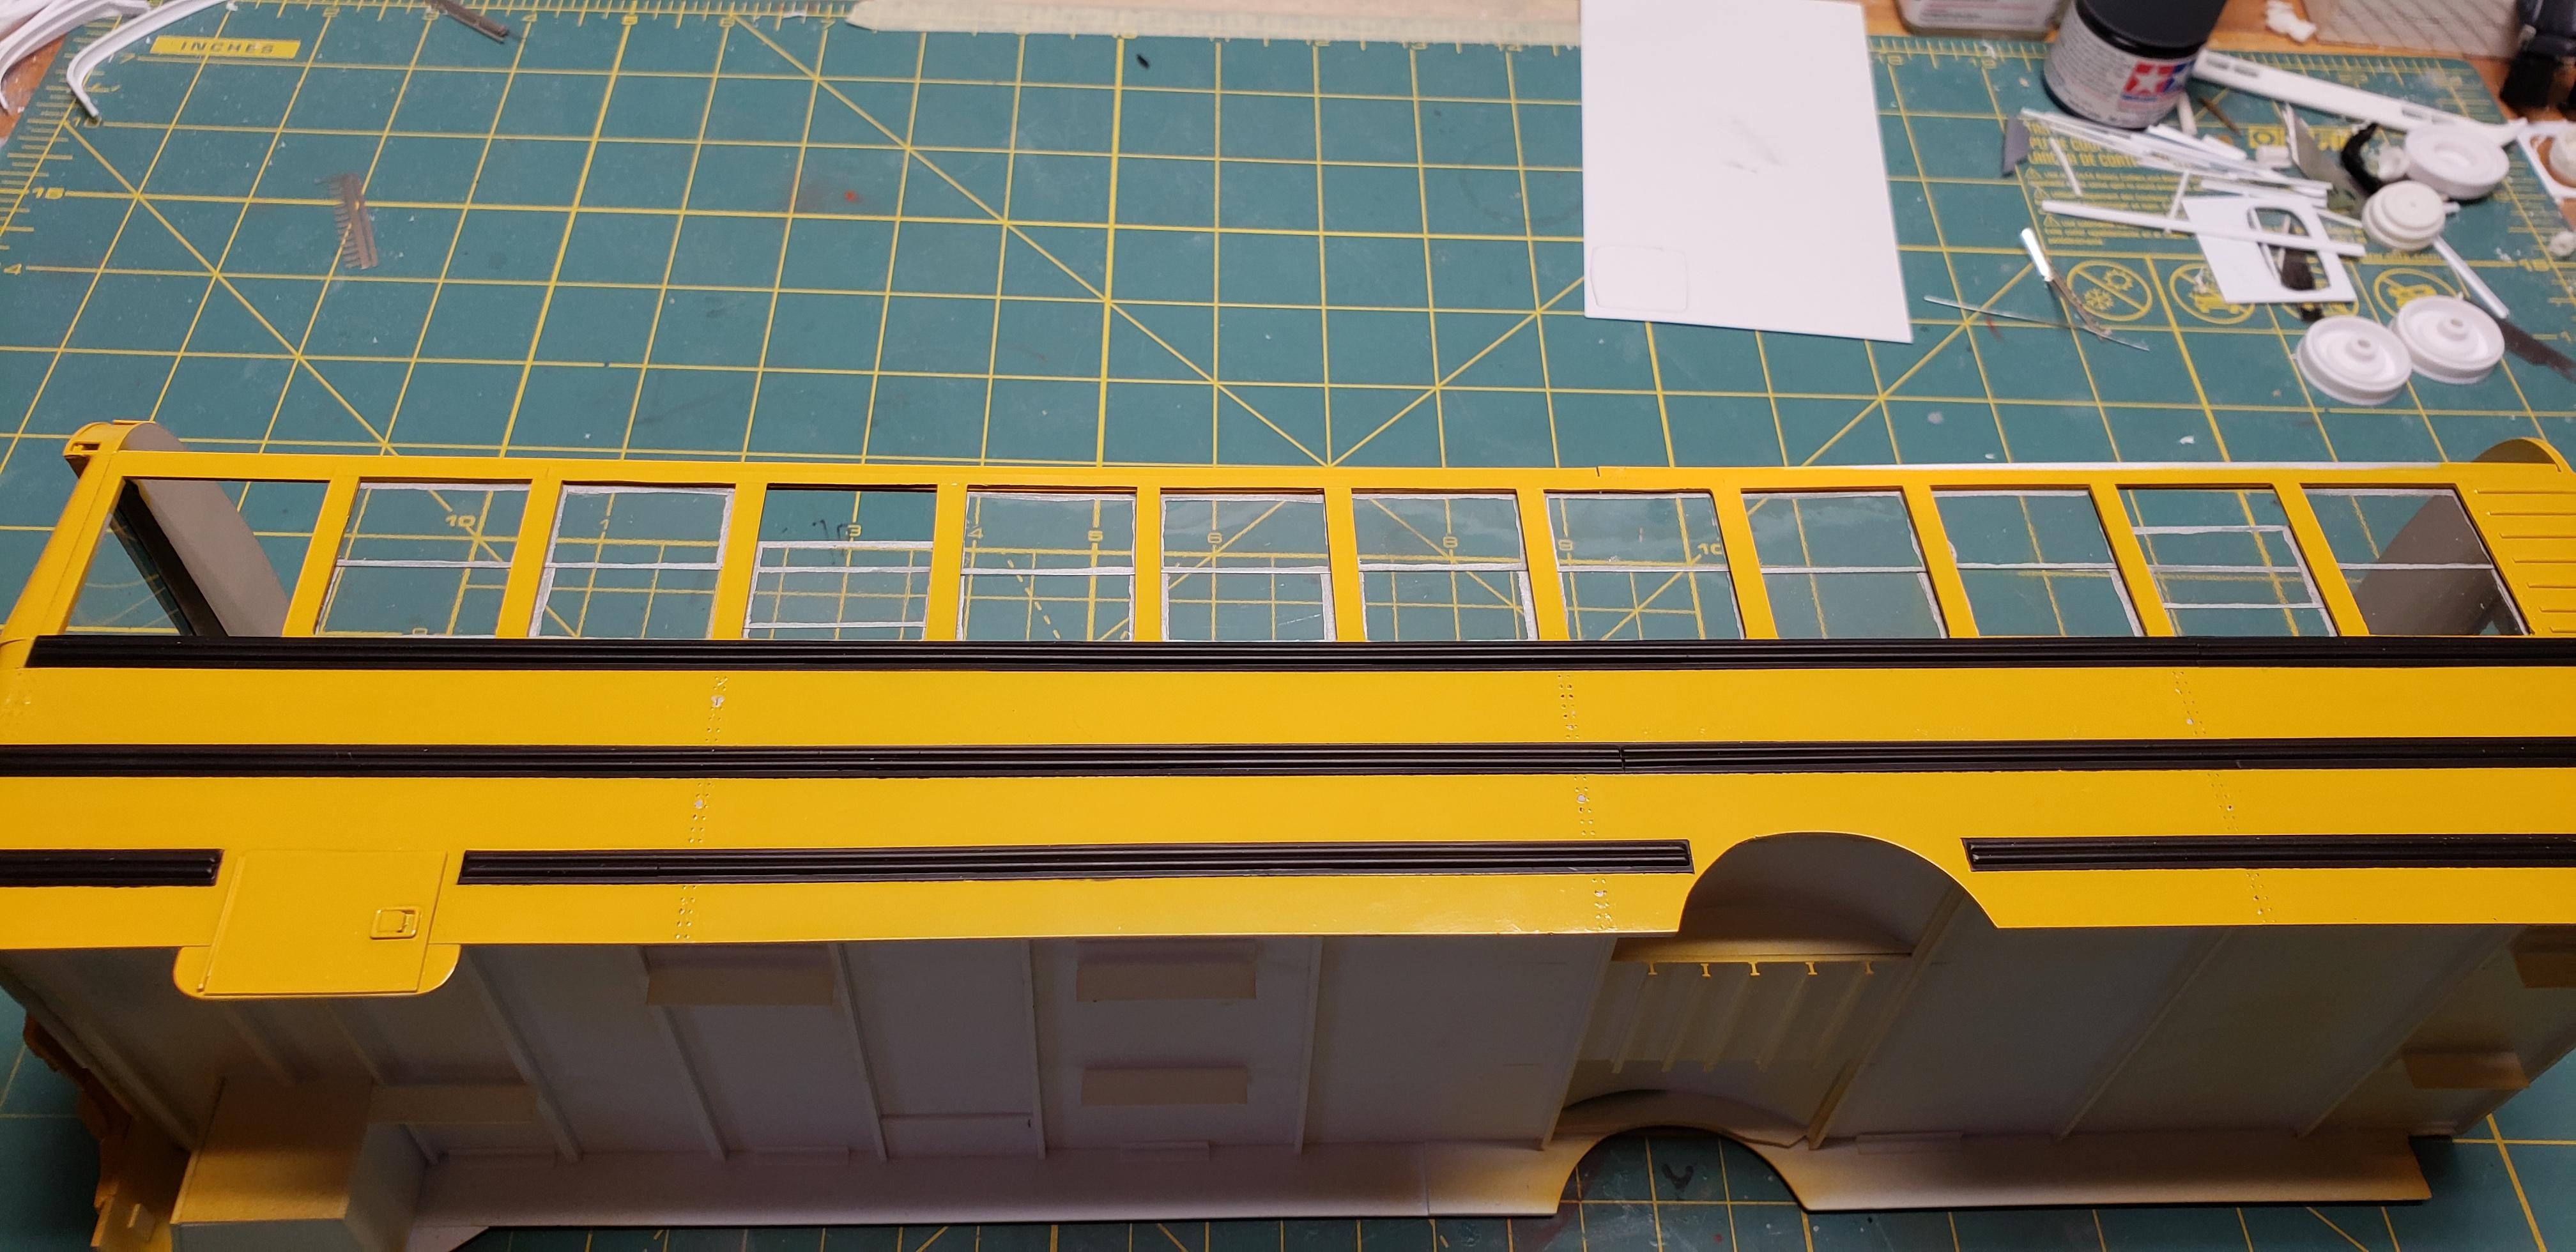
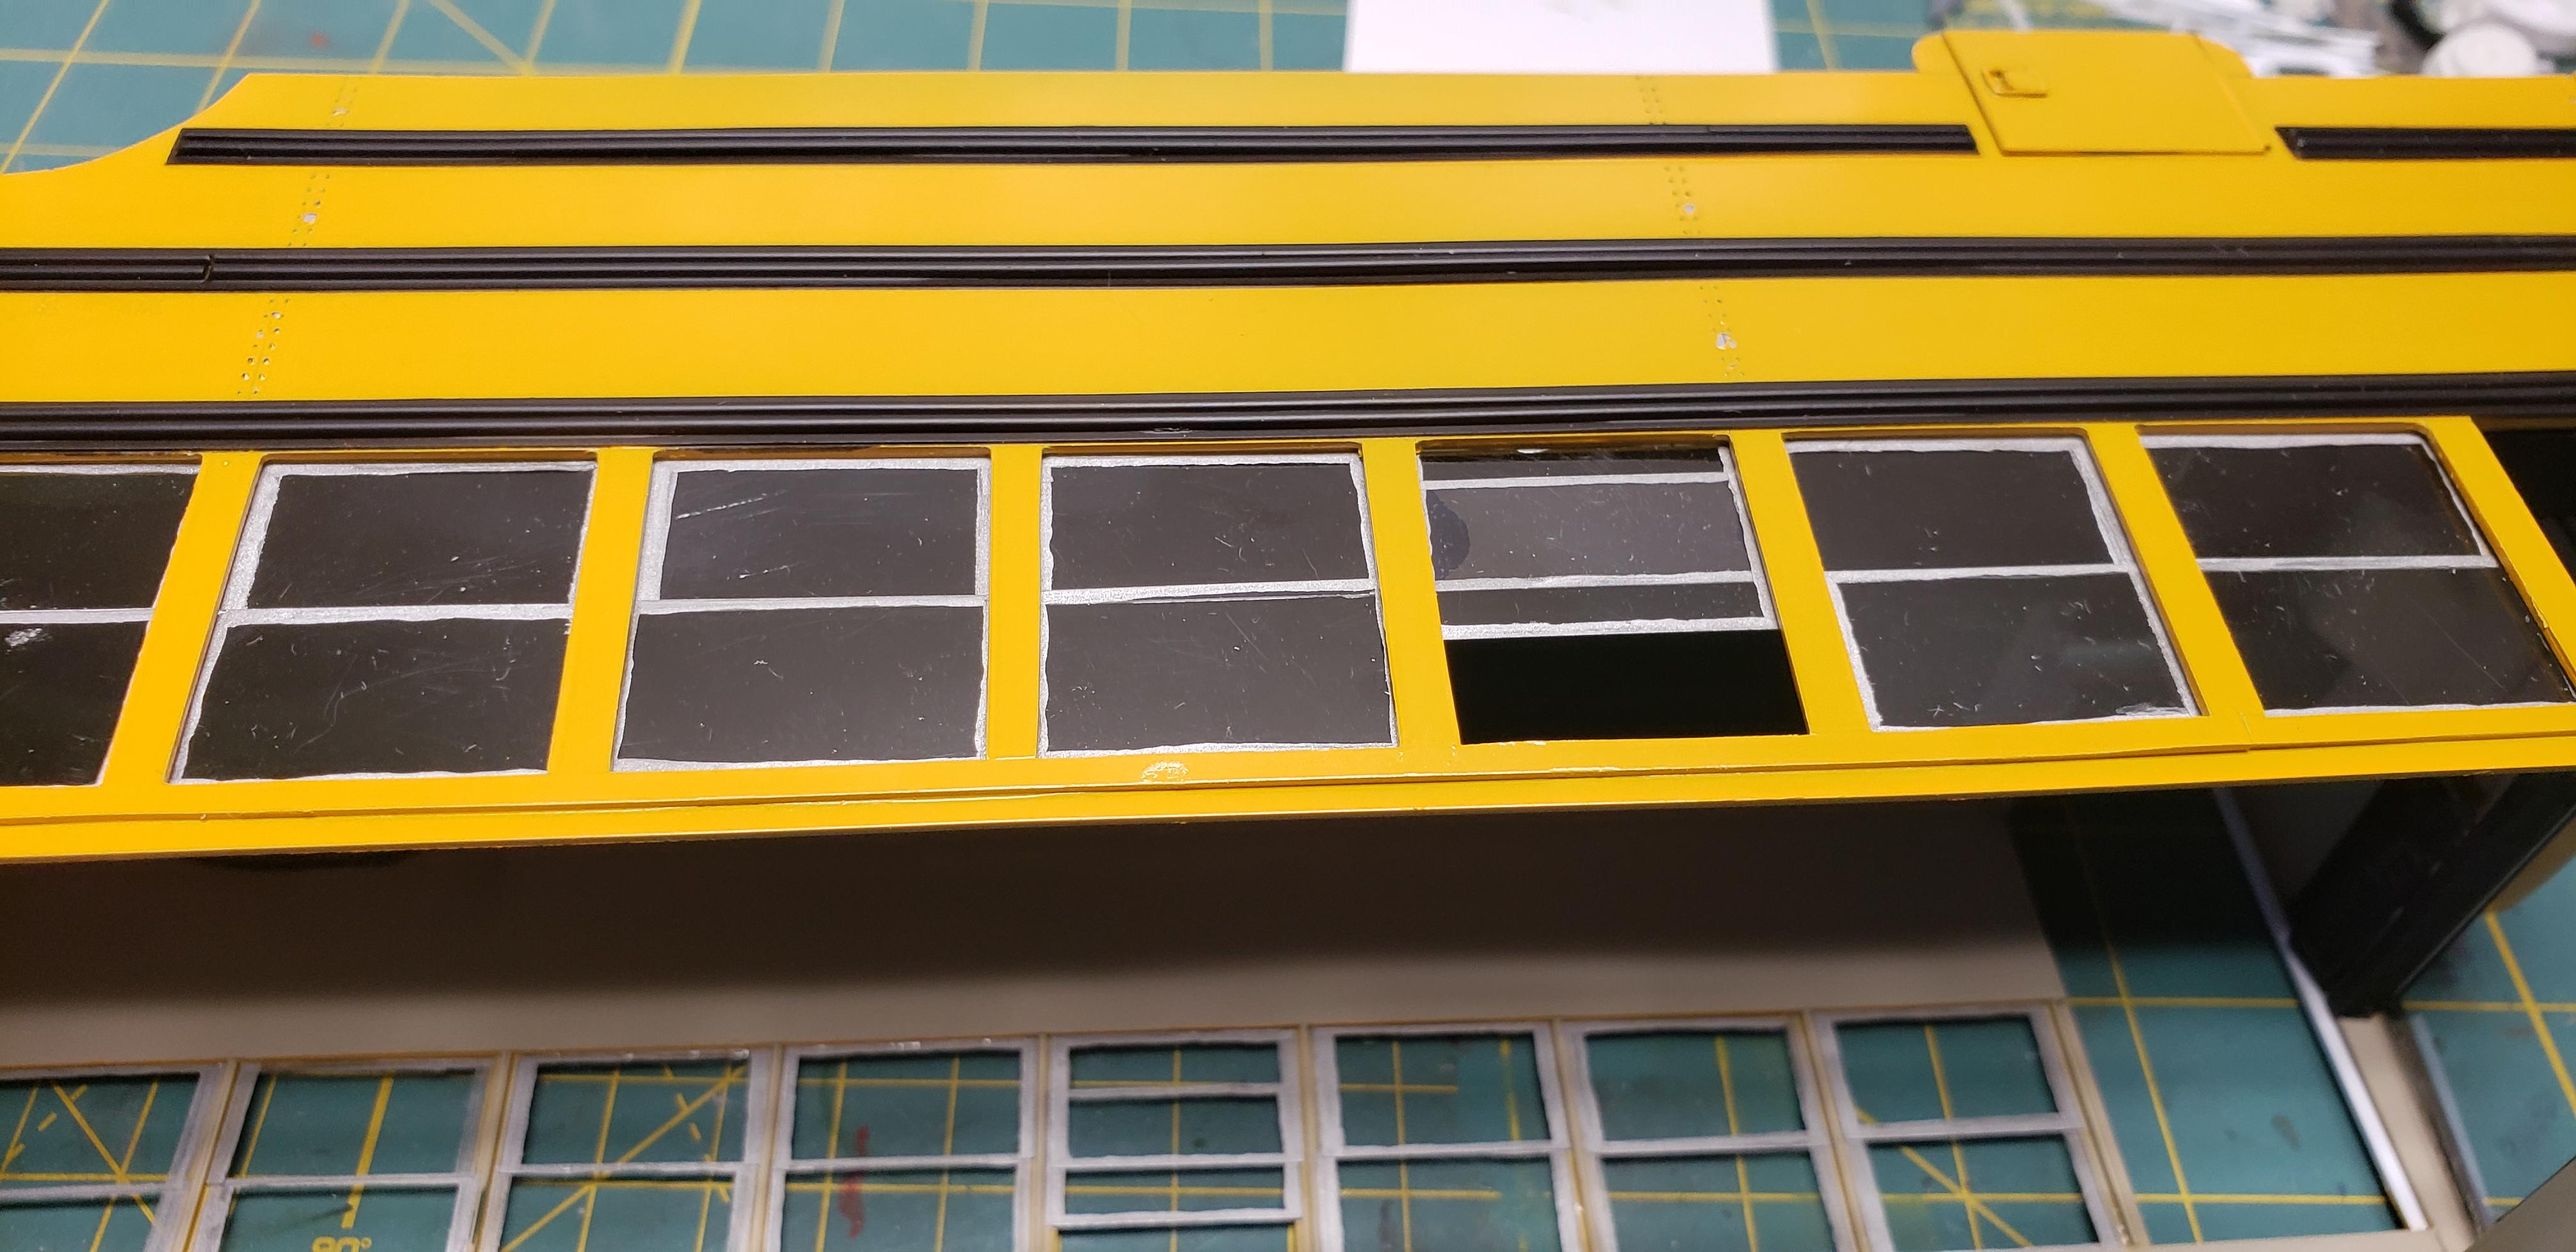
The glass installers arrived early today and didn't waste any time. Evergreen .005" clear sheet was chosen for the windows, and I ended up stacking several strips into my Chopper to avoid bending. This made a pile of windows very quick.
I painted the edges w steel ..seems I'm out of aluminum paint. Once they dried, they were quickly installed w testors canopy glue. The kids left a couple windows open I see.
There's a few paint tweaks to the frames yet, then a light brushing of Future to fill the mild scratches.
Now the seats can be installed!
-
1
-
-
Coming together now!


1969 Peterbilt 359
in WIP: Model Trucks: Big Rigs and Heavy Equipment
Posted
Nice work so far