dougwintz
-
Posts
347 -
Joined
-
Last visited
Content Type
Profiles
Forums
Events
Gallery
Everything posted by dougwintz
-
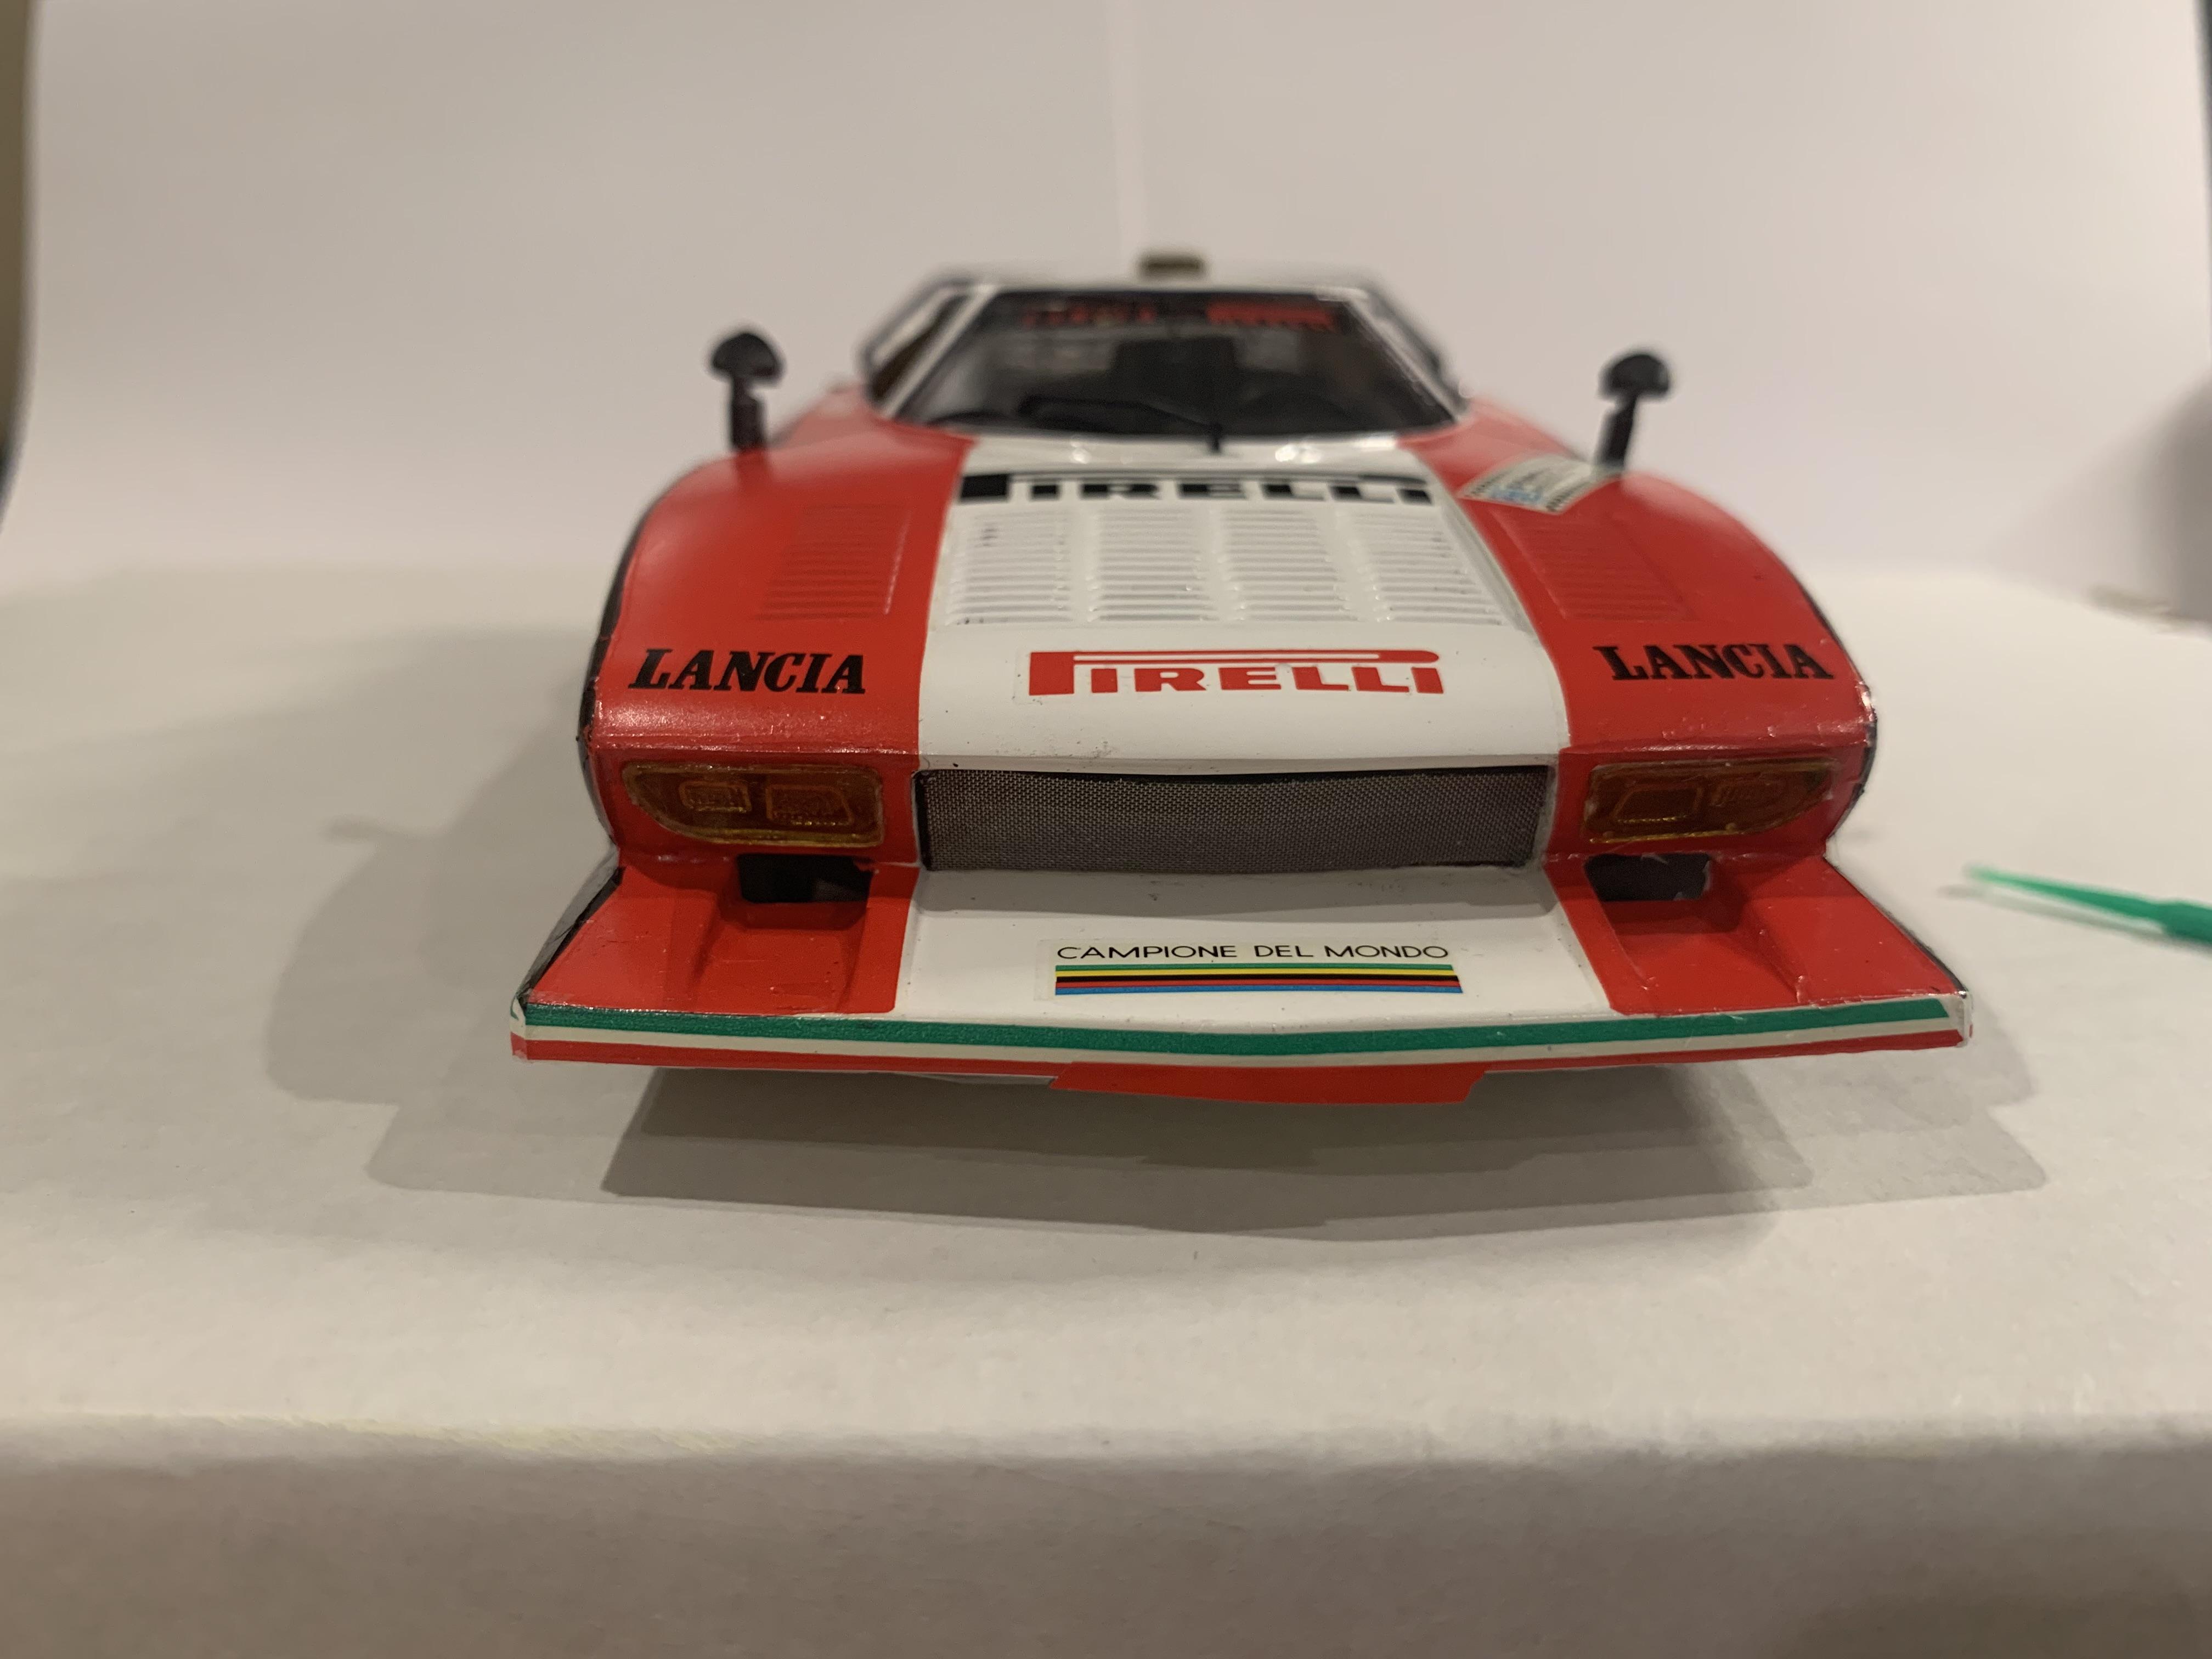
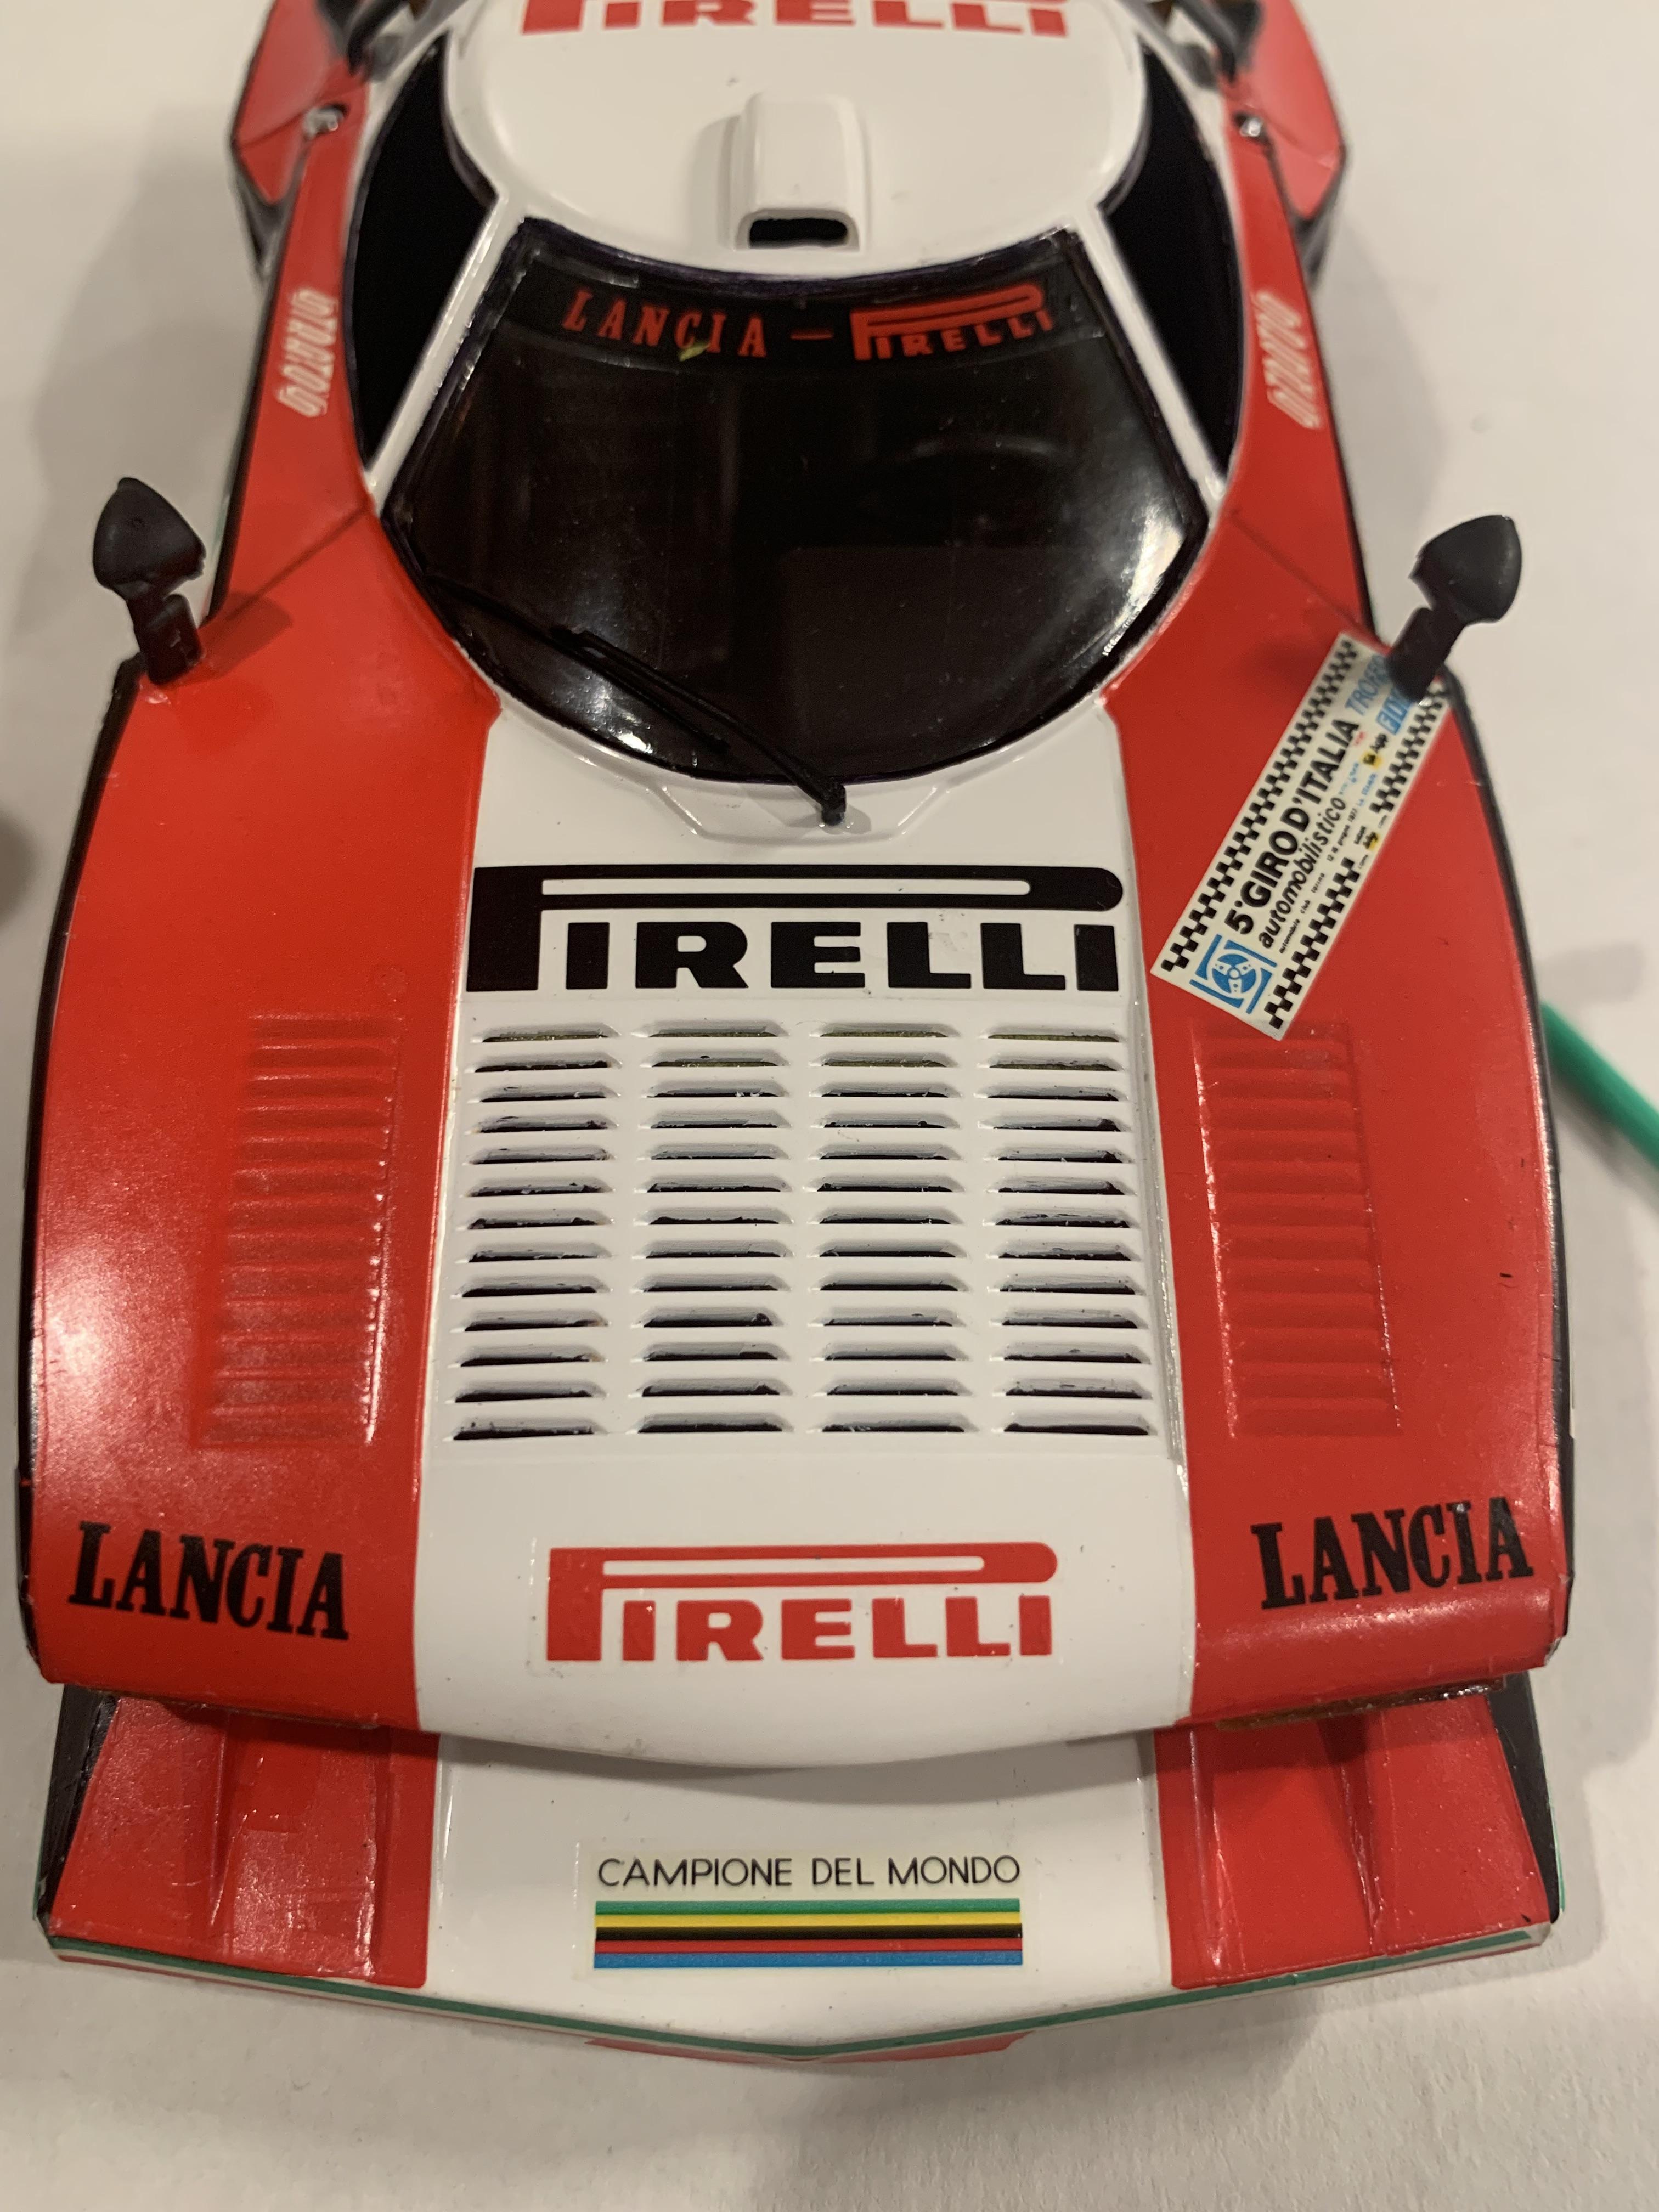
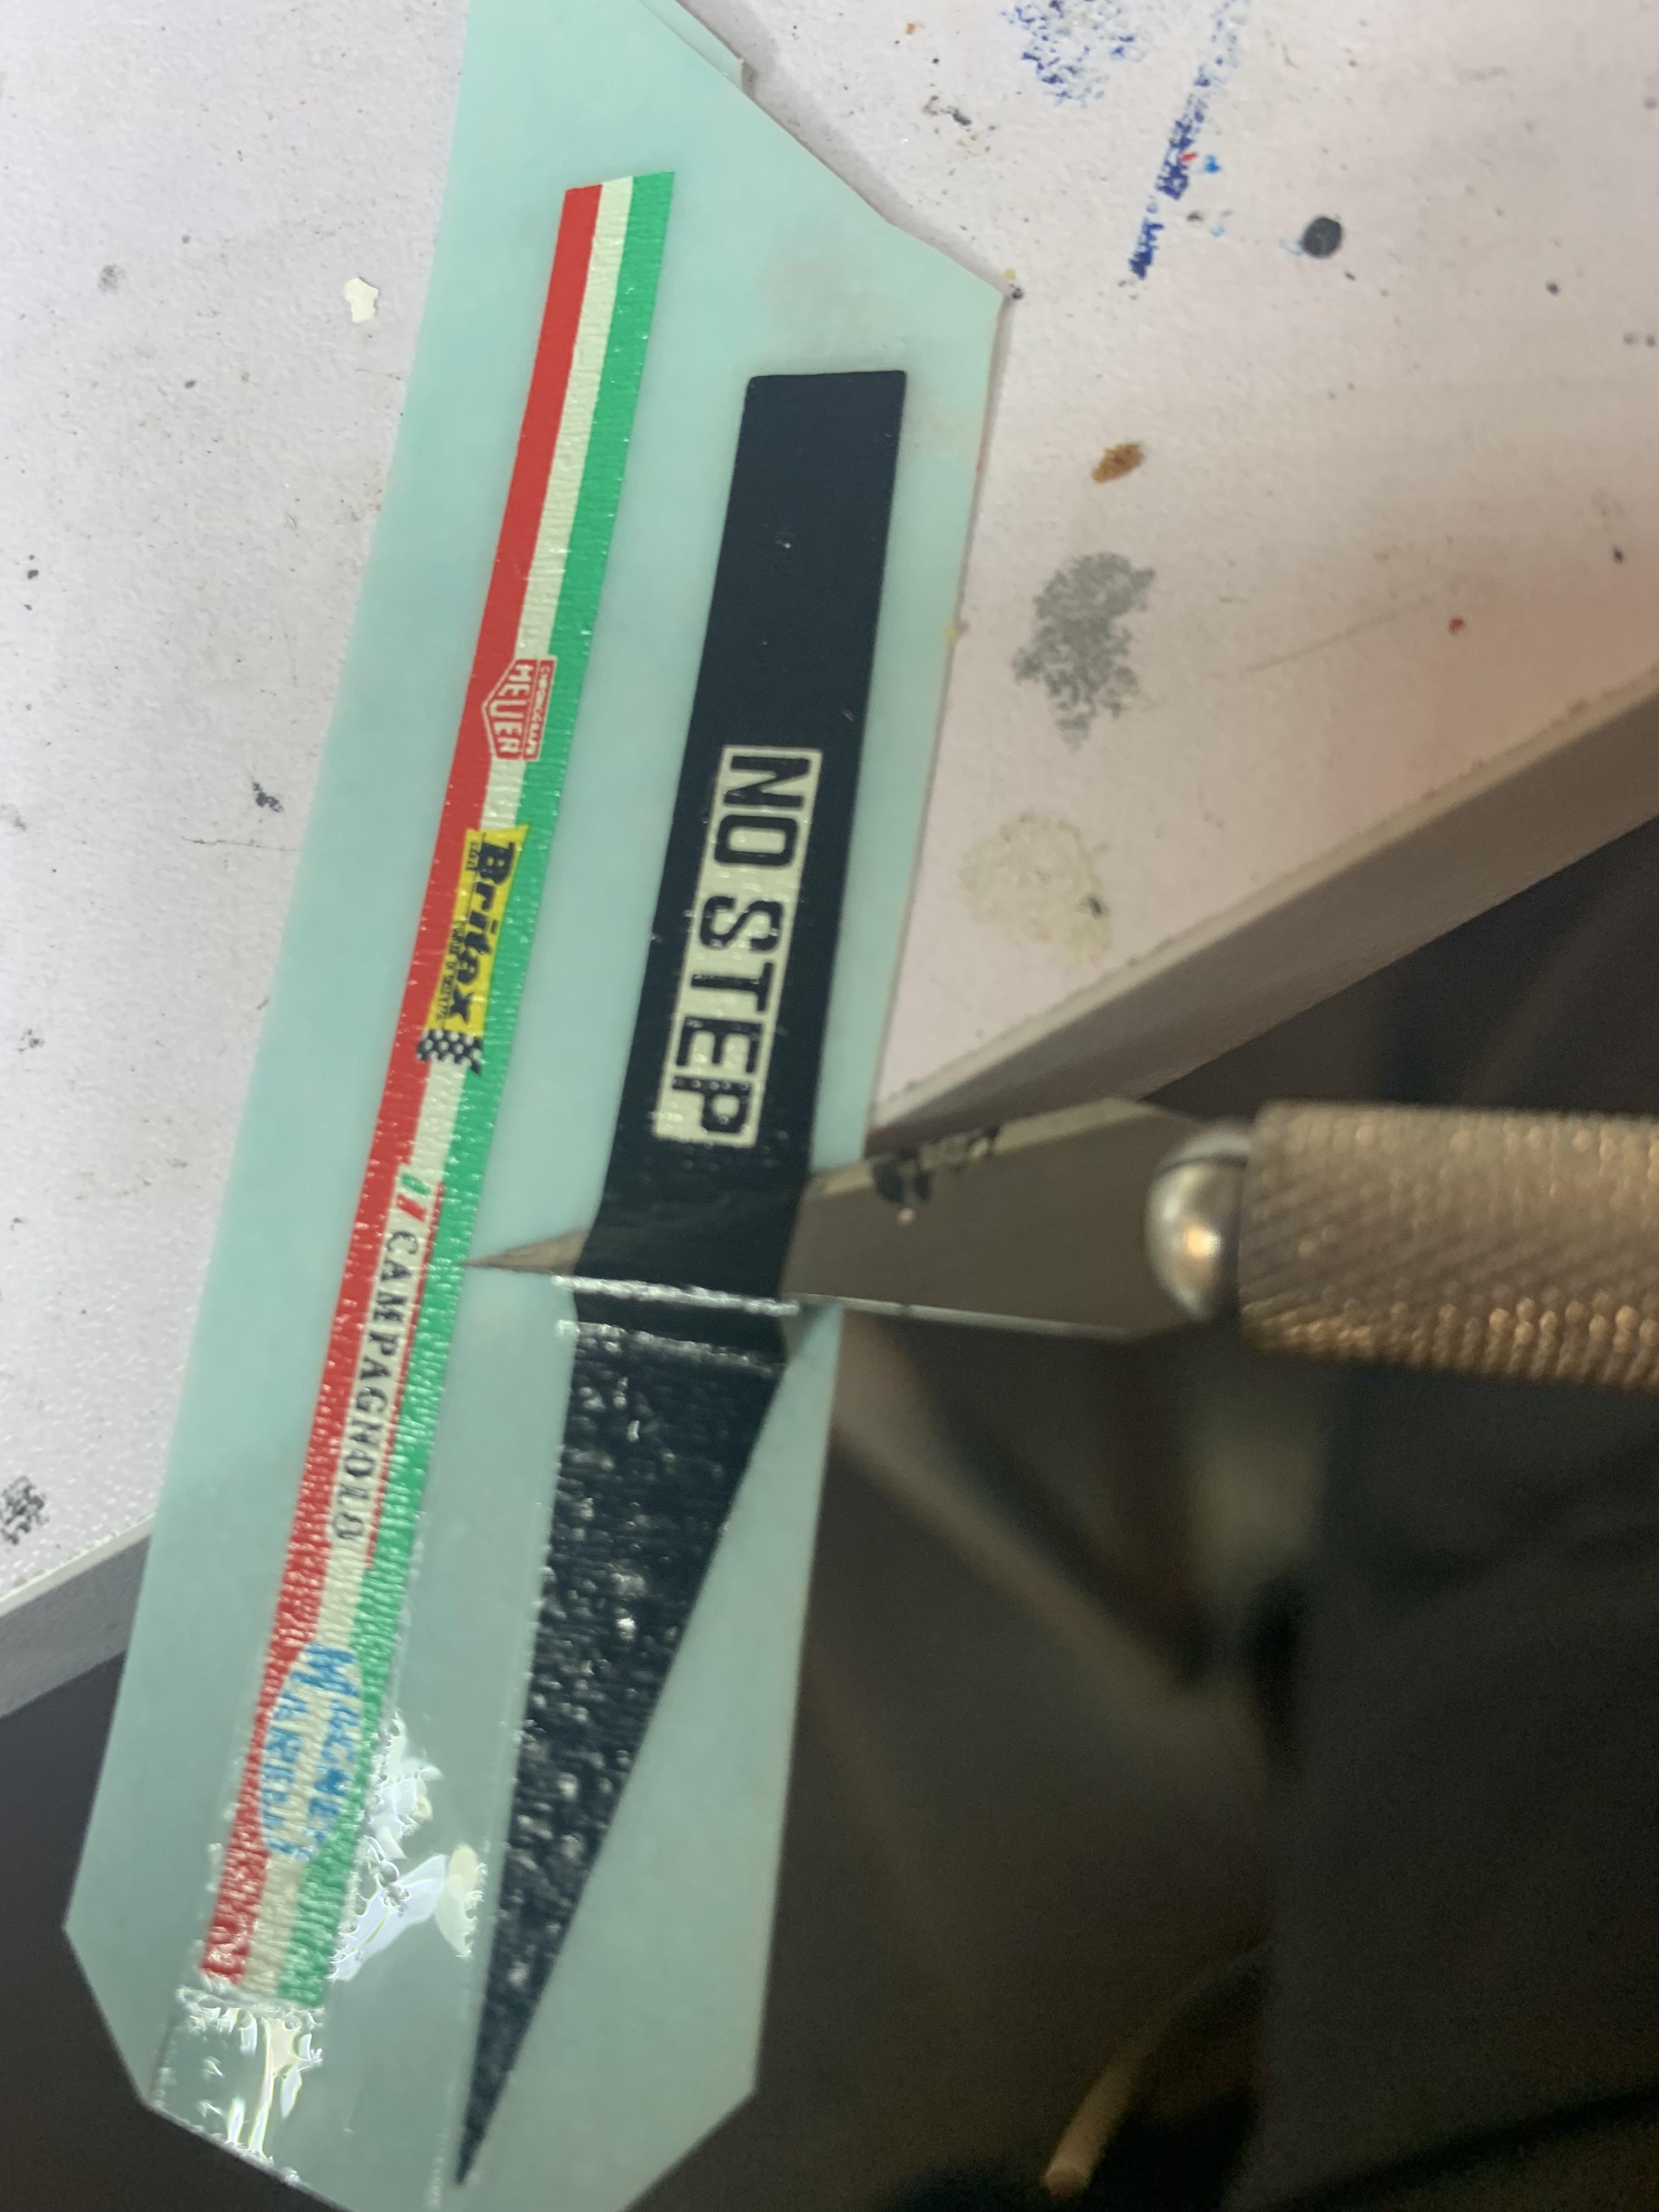
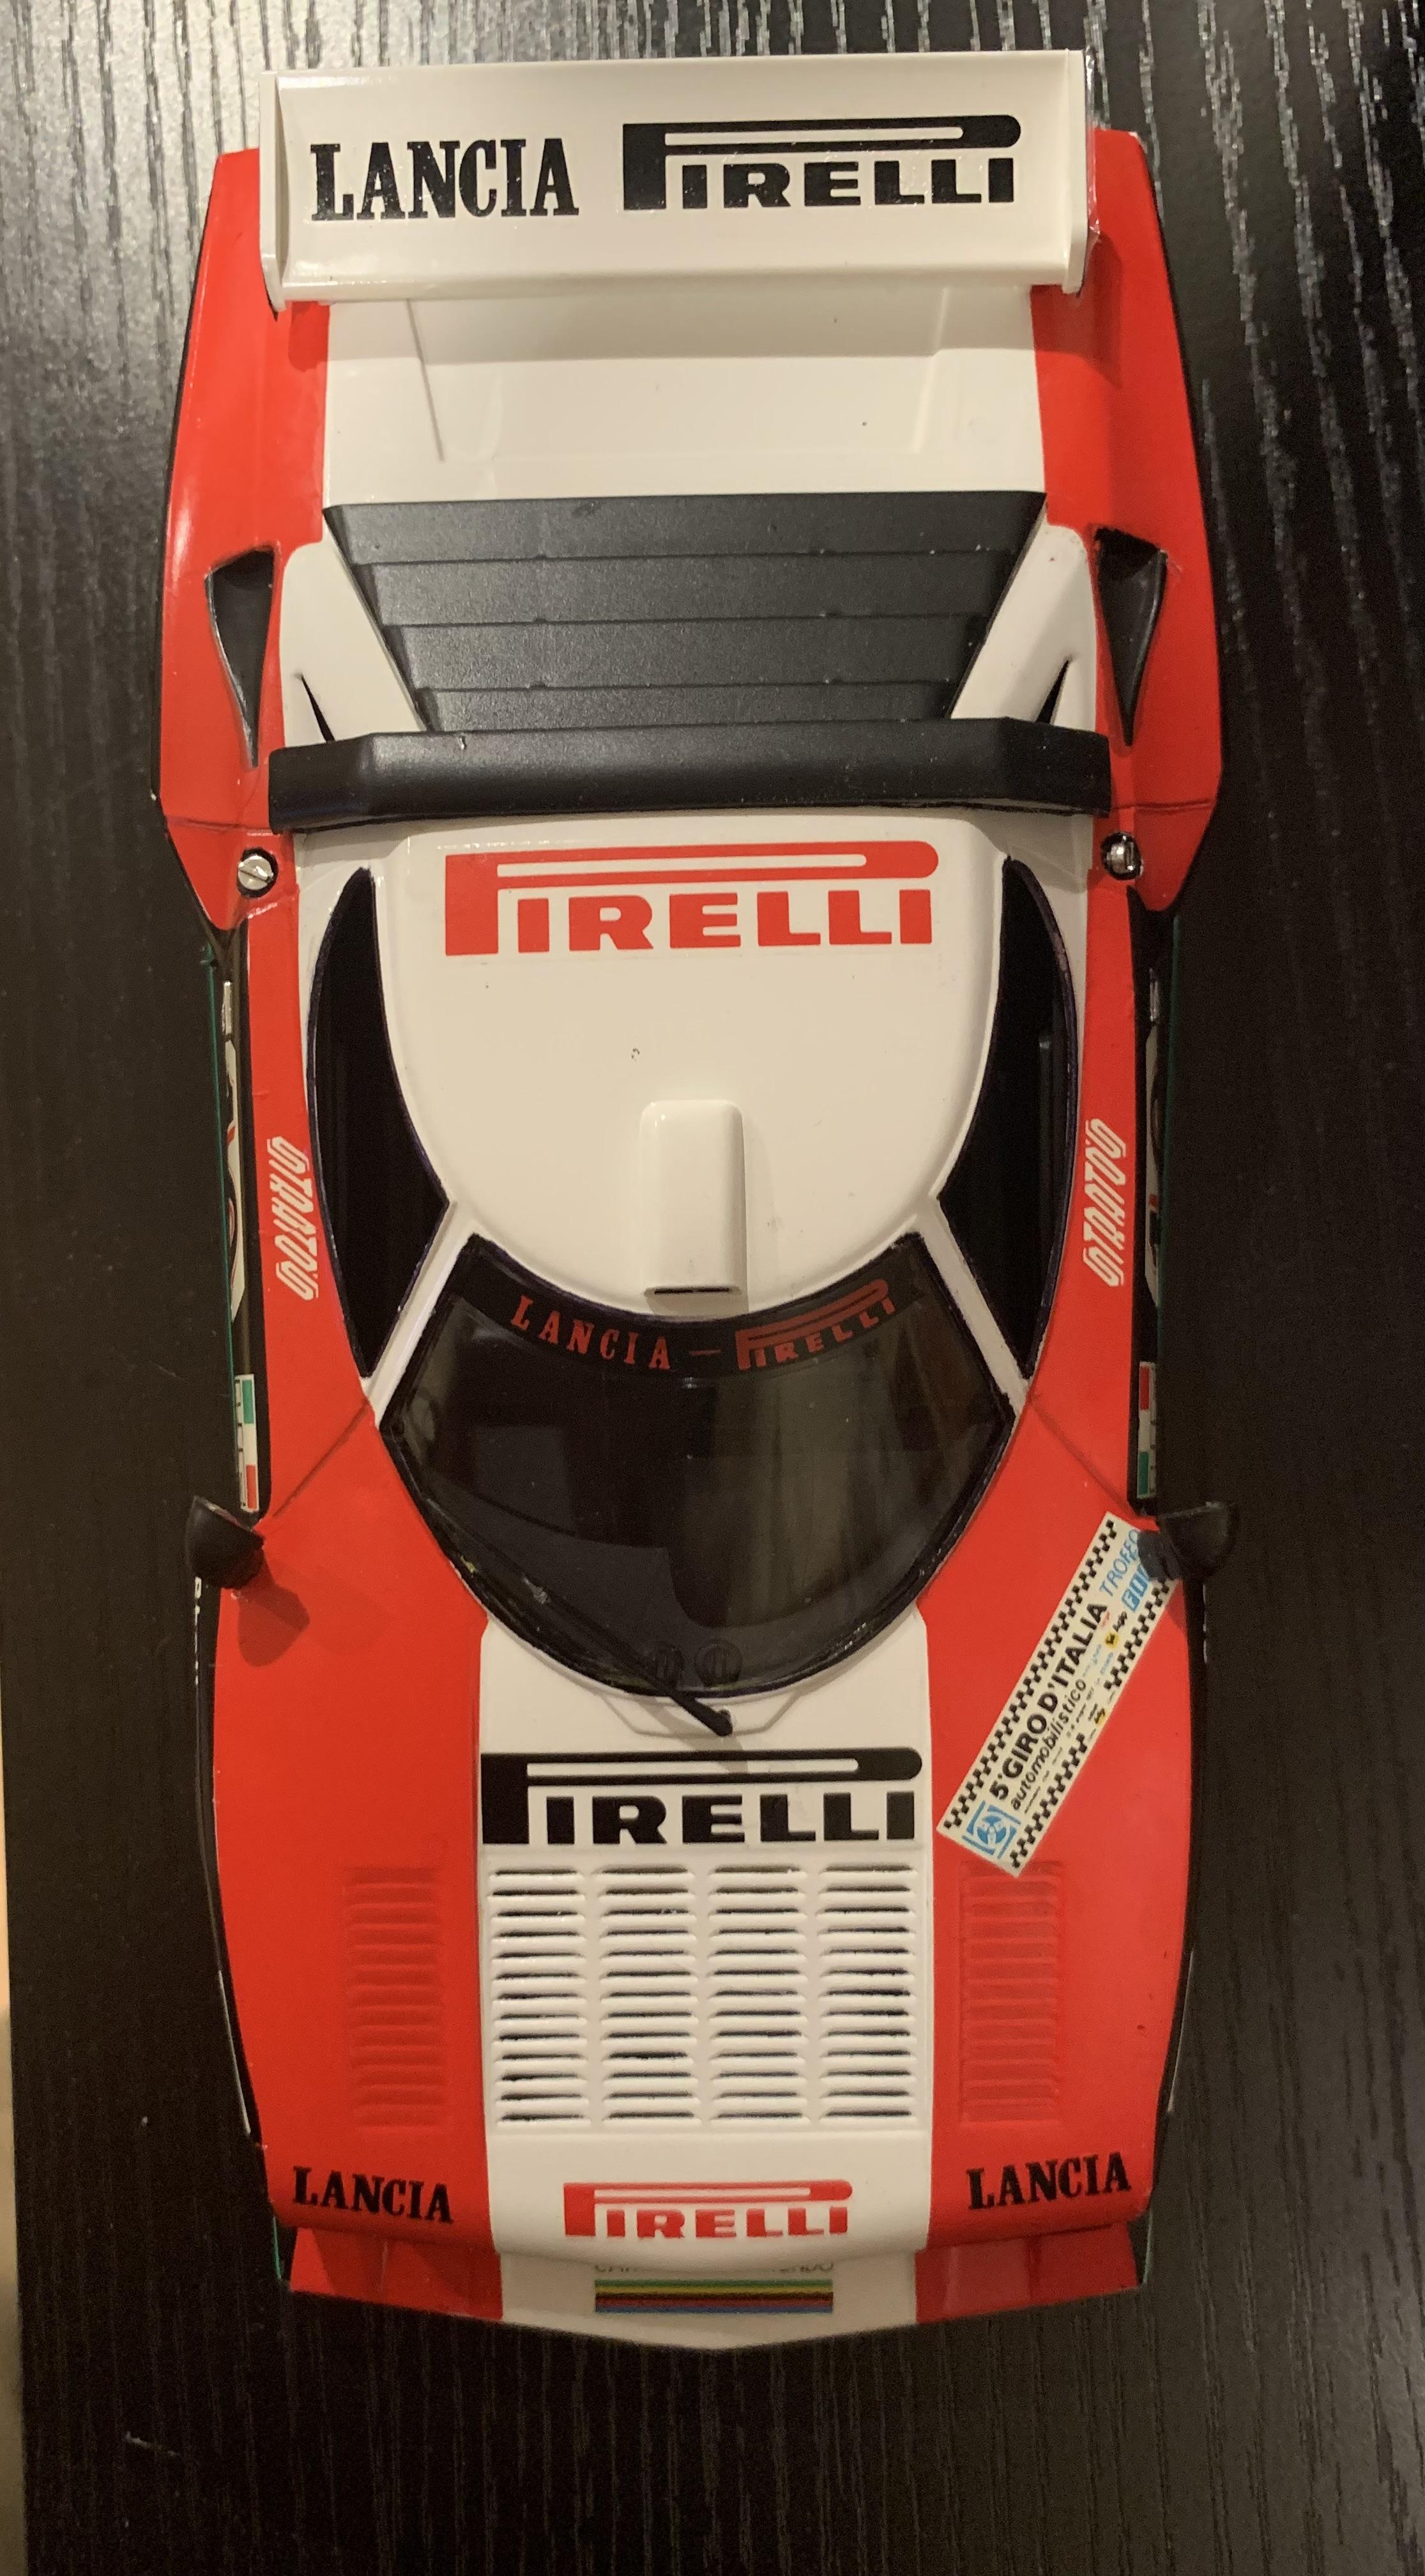
Interesting kit. Looks like it was originally created to house a battery. No engine. Decals were from 1998 and I couldn’t get them to slide off the paper. I had to slide an xacto knife under the decal to separate it. Nerve wracking!

-
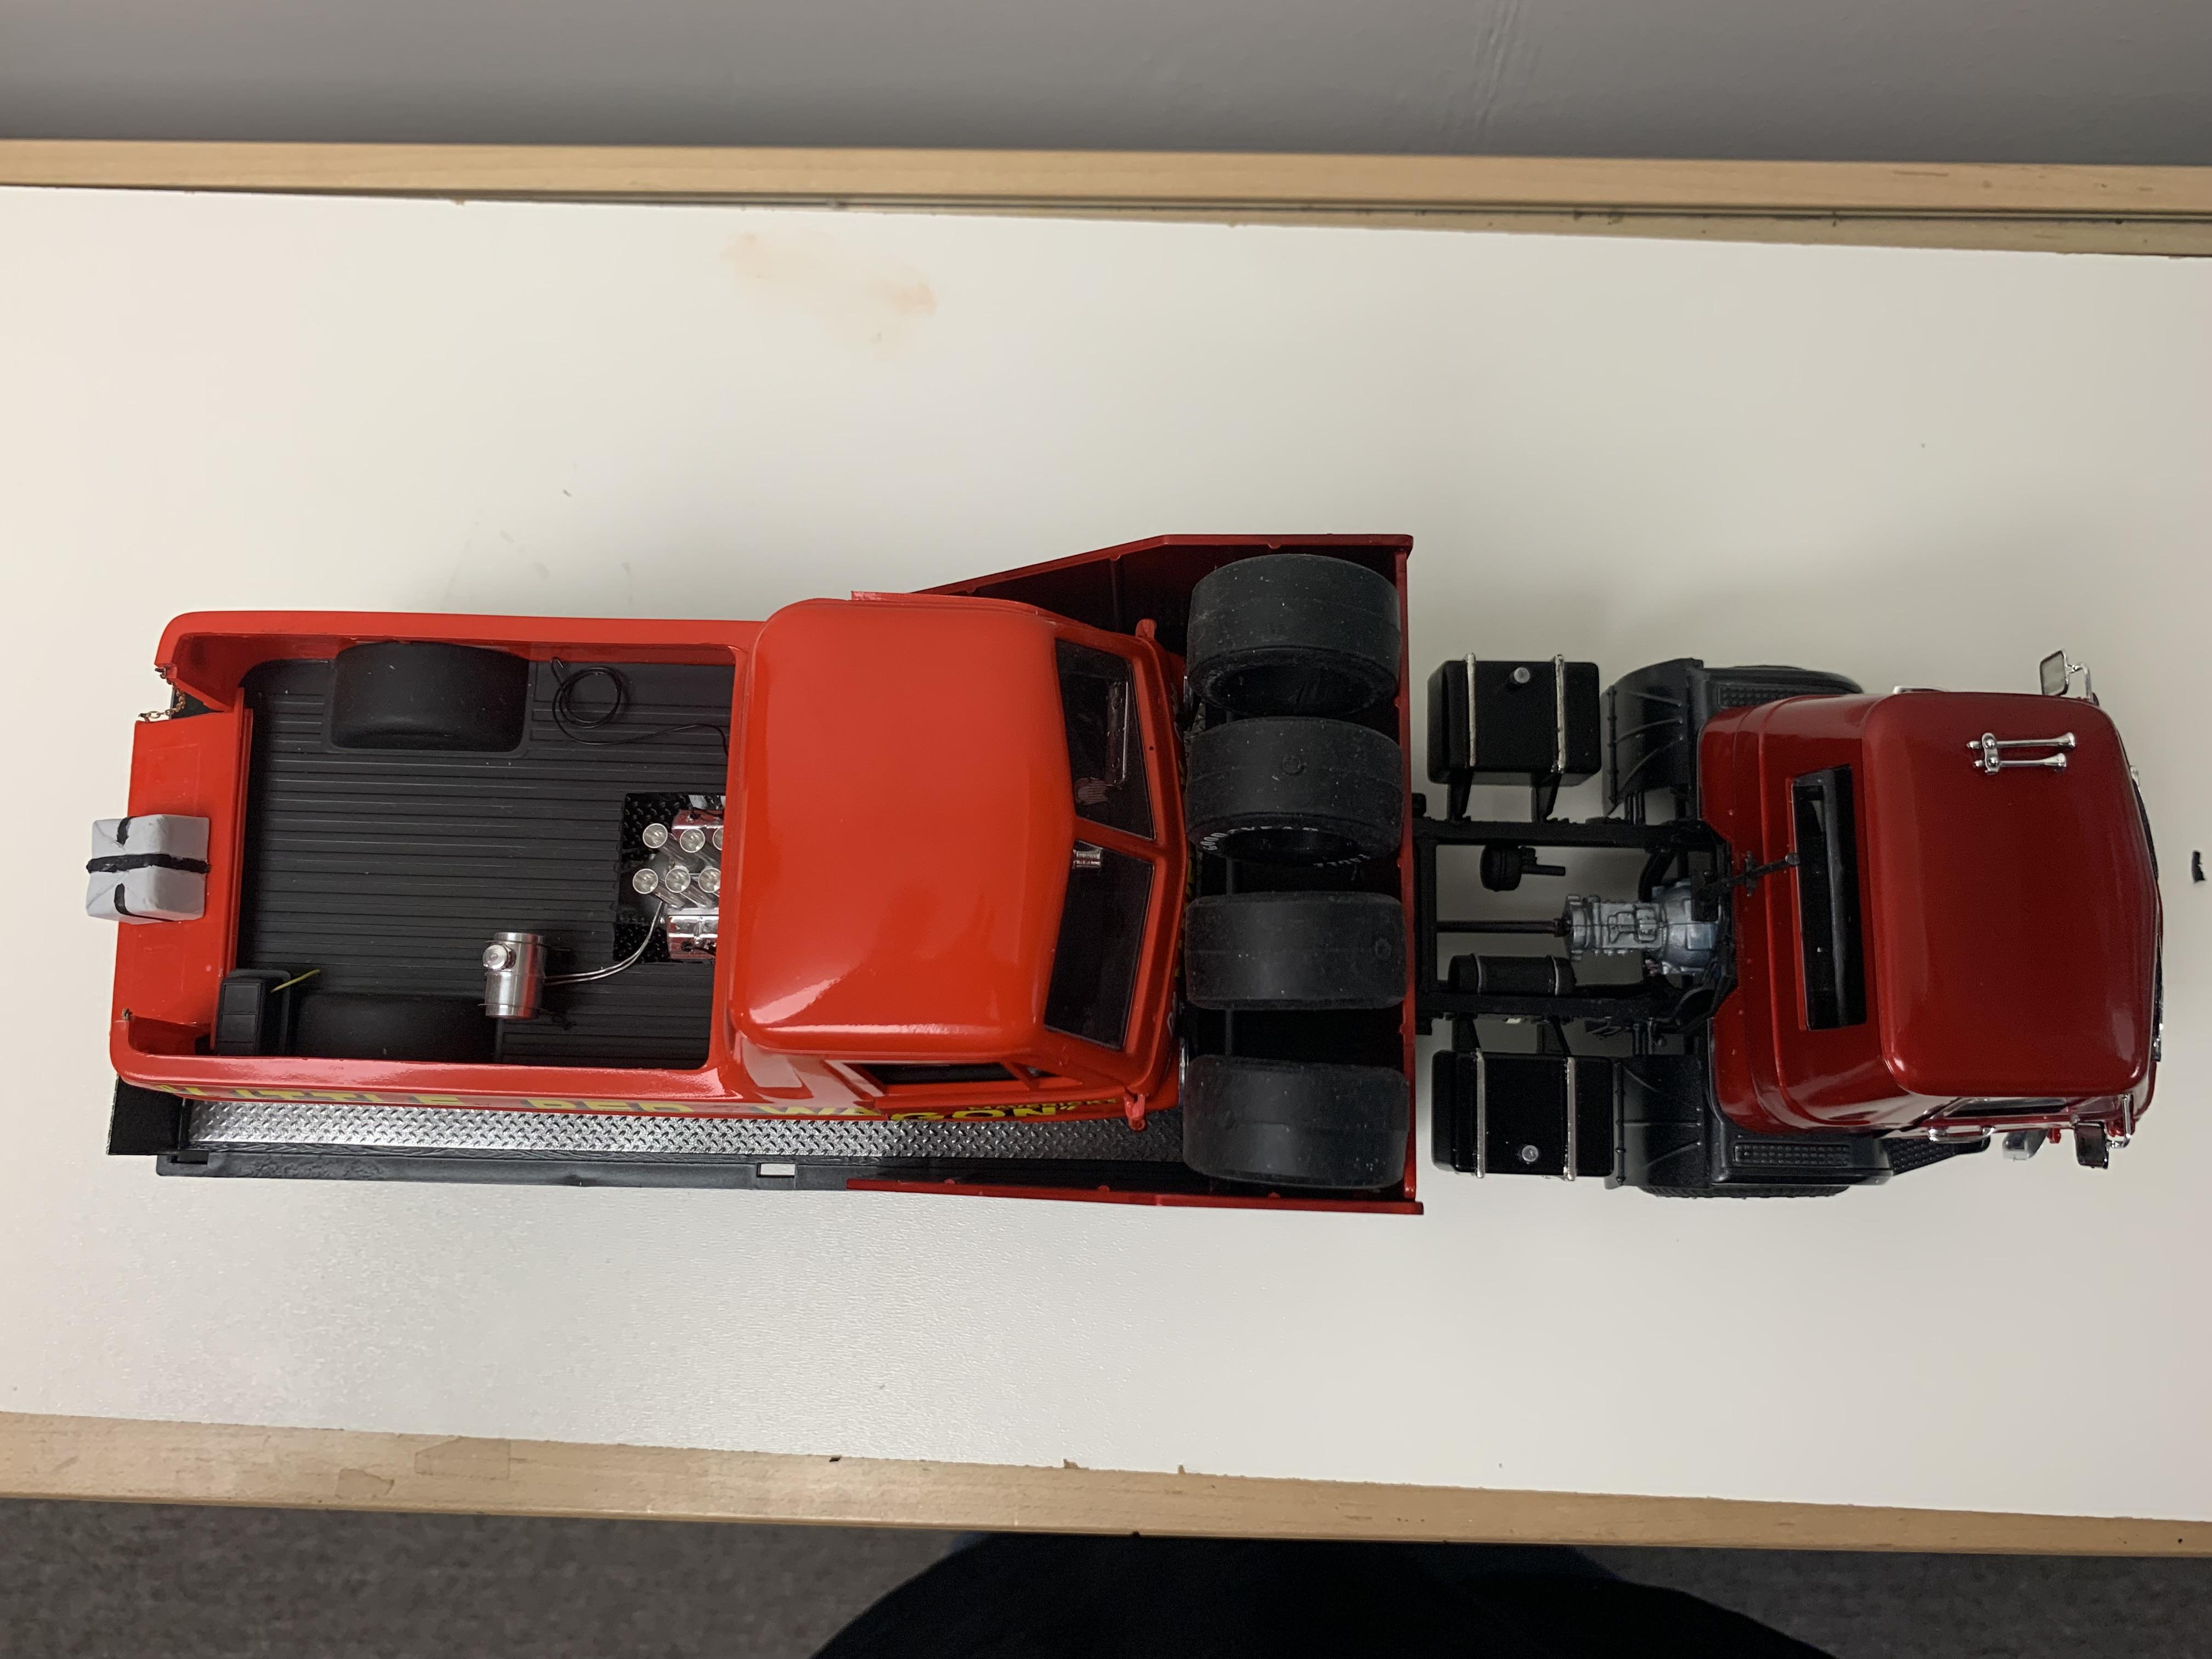
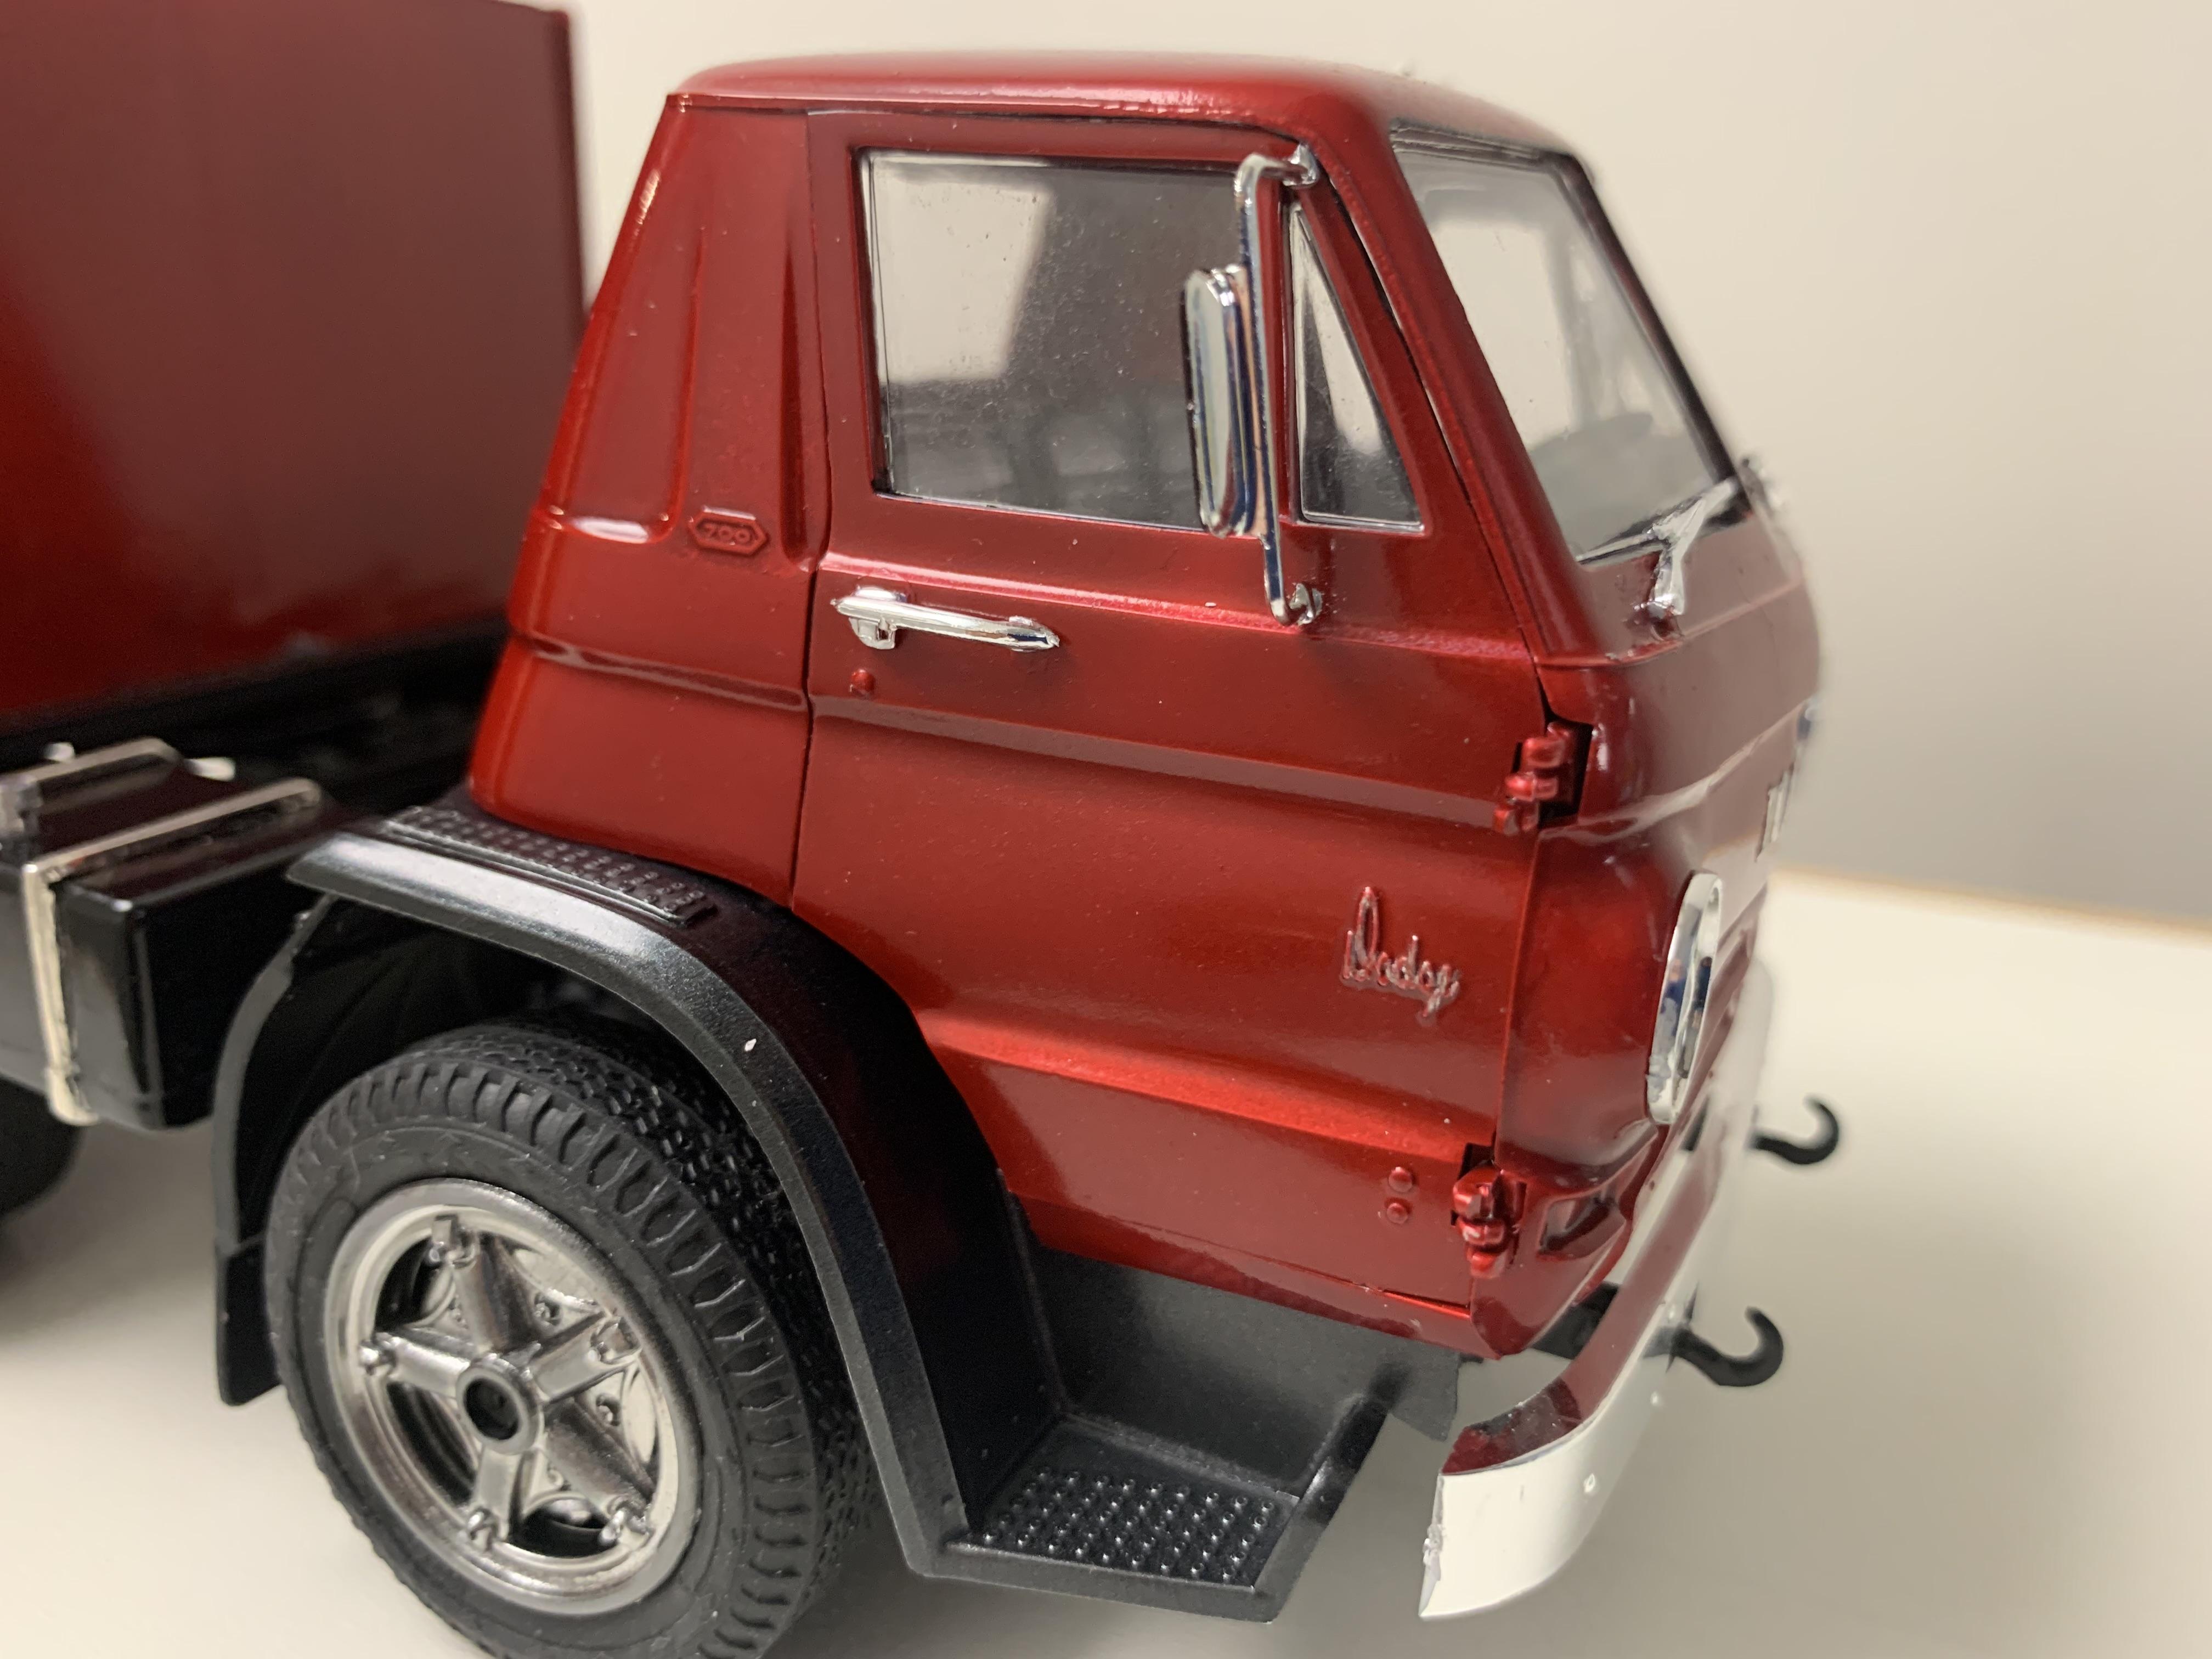
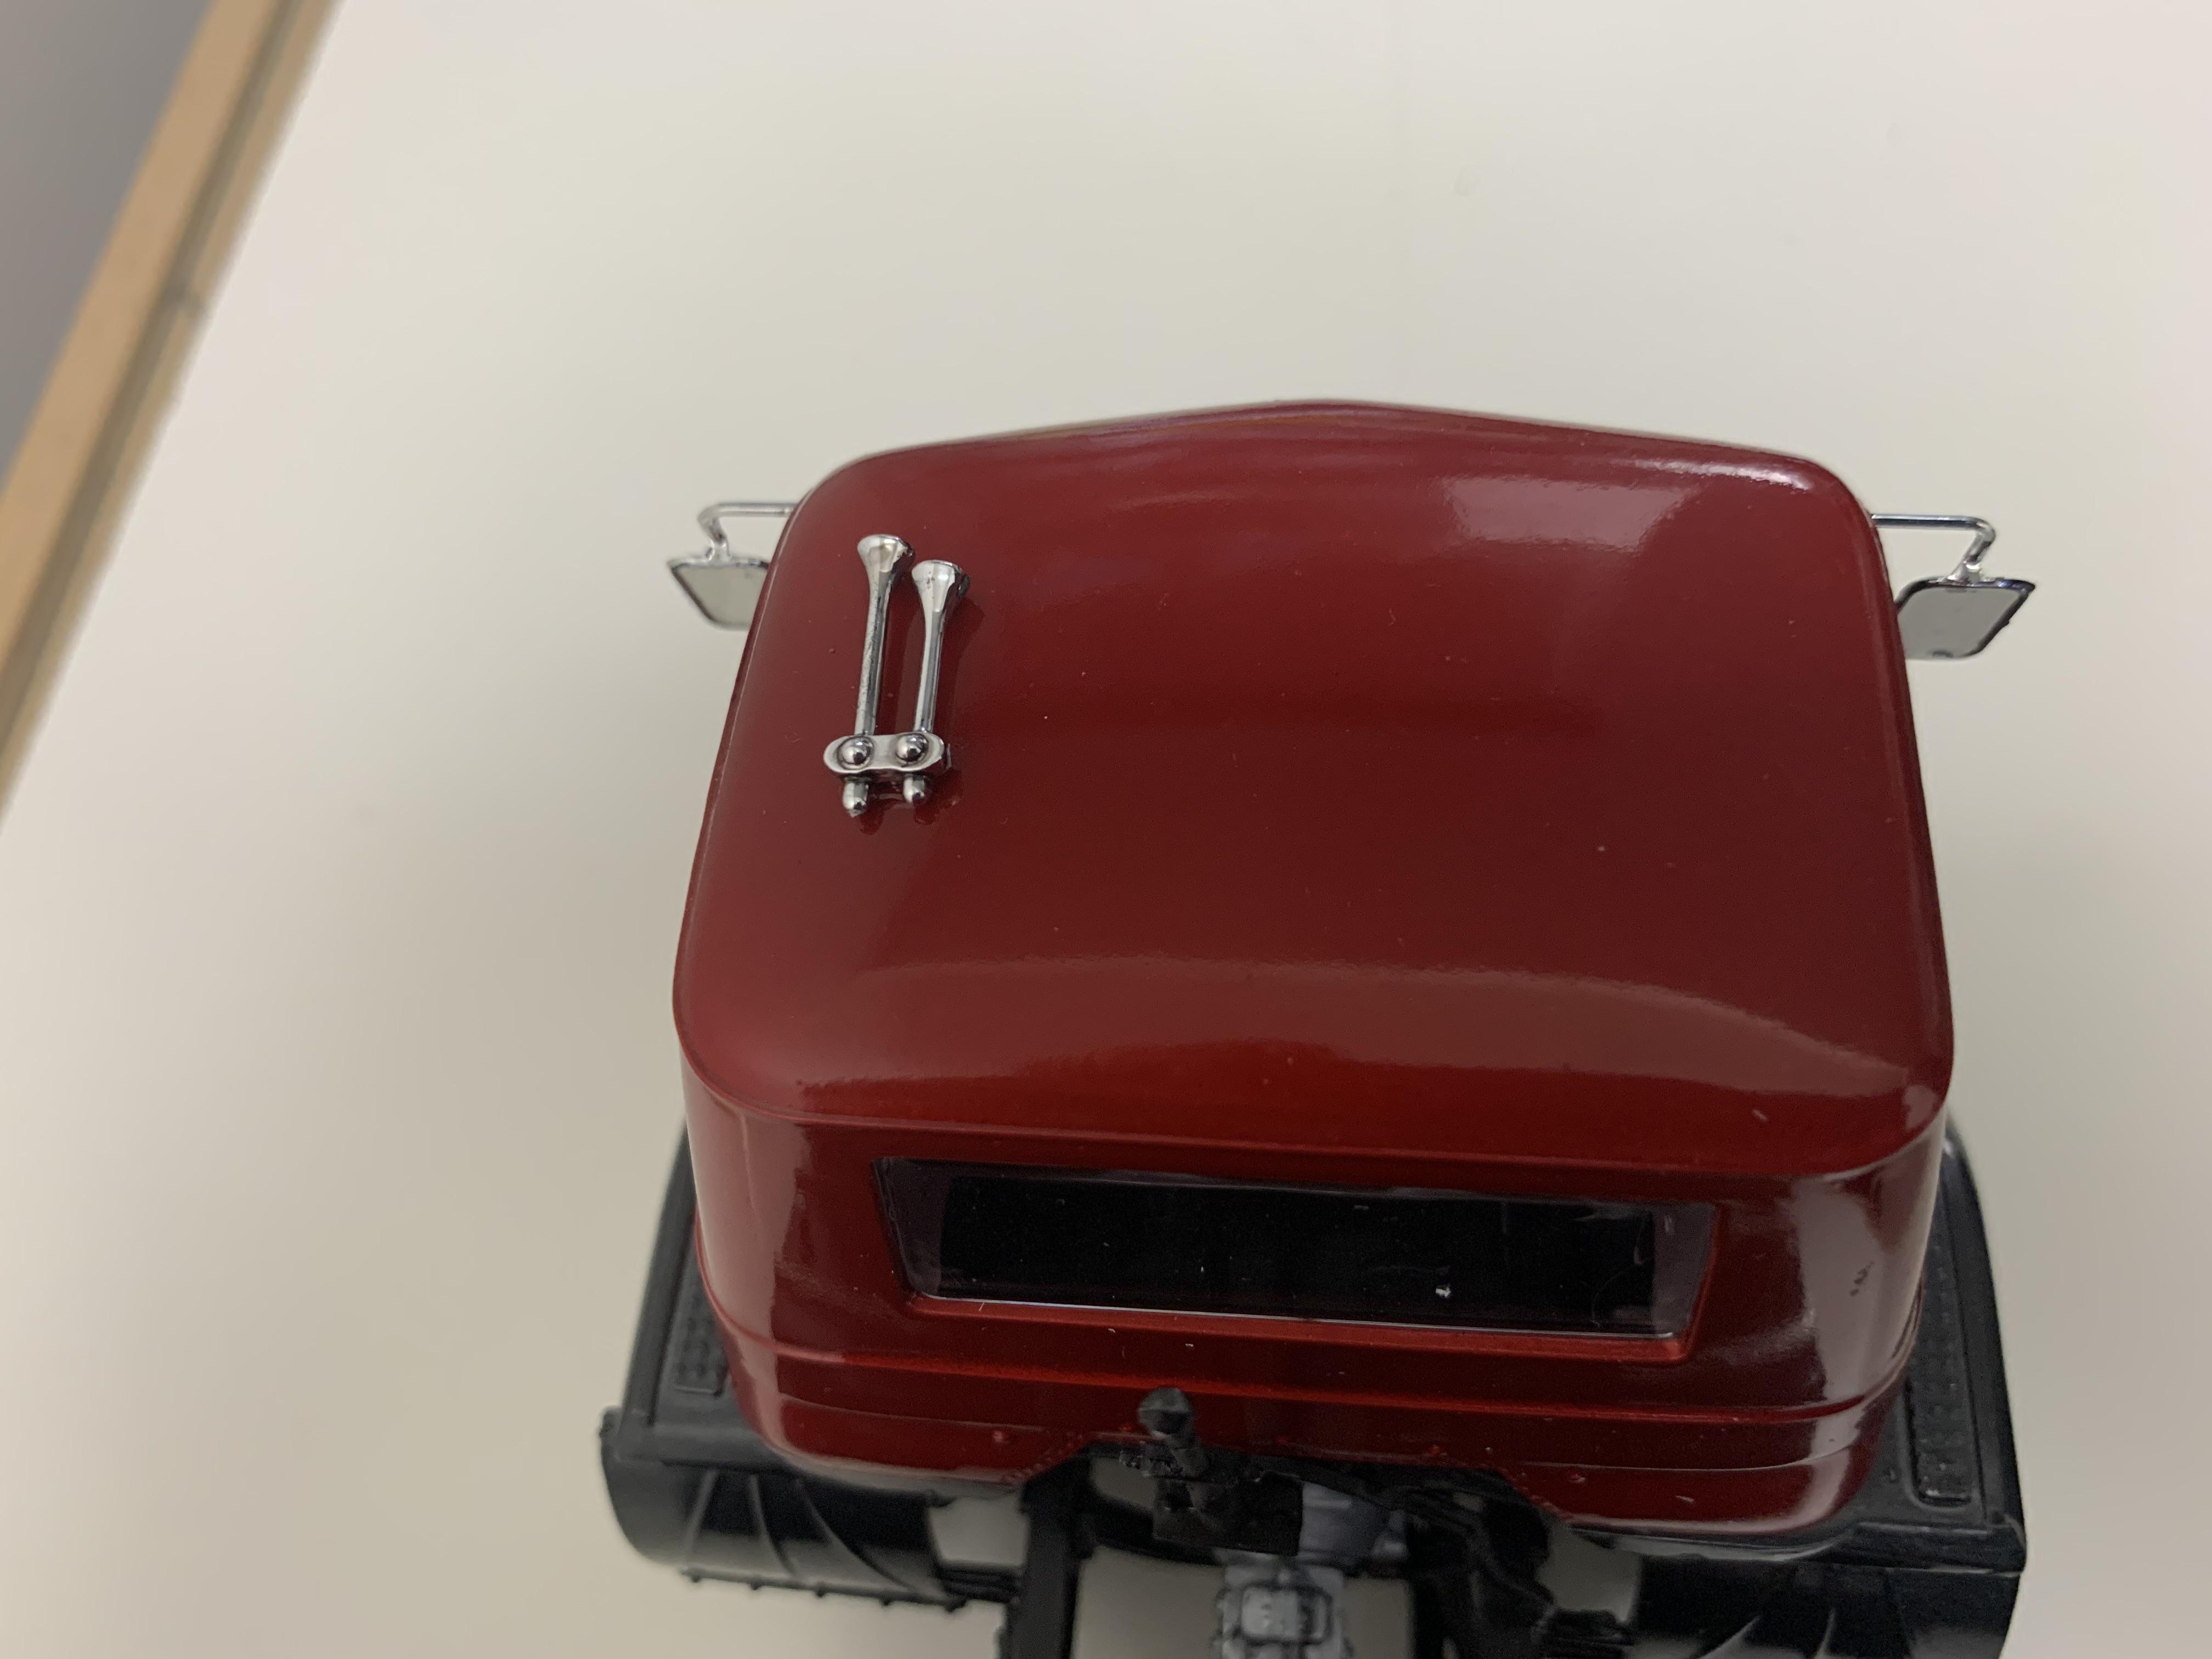
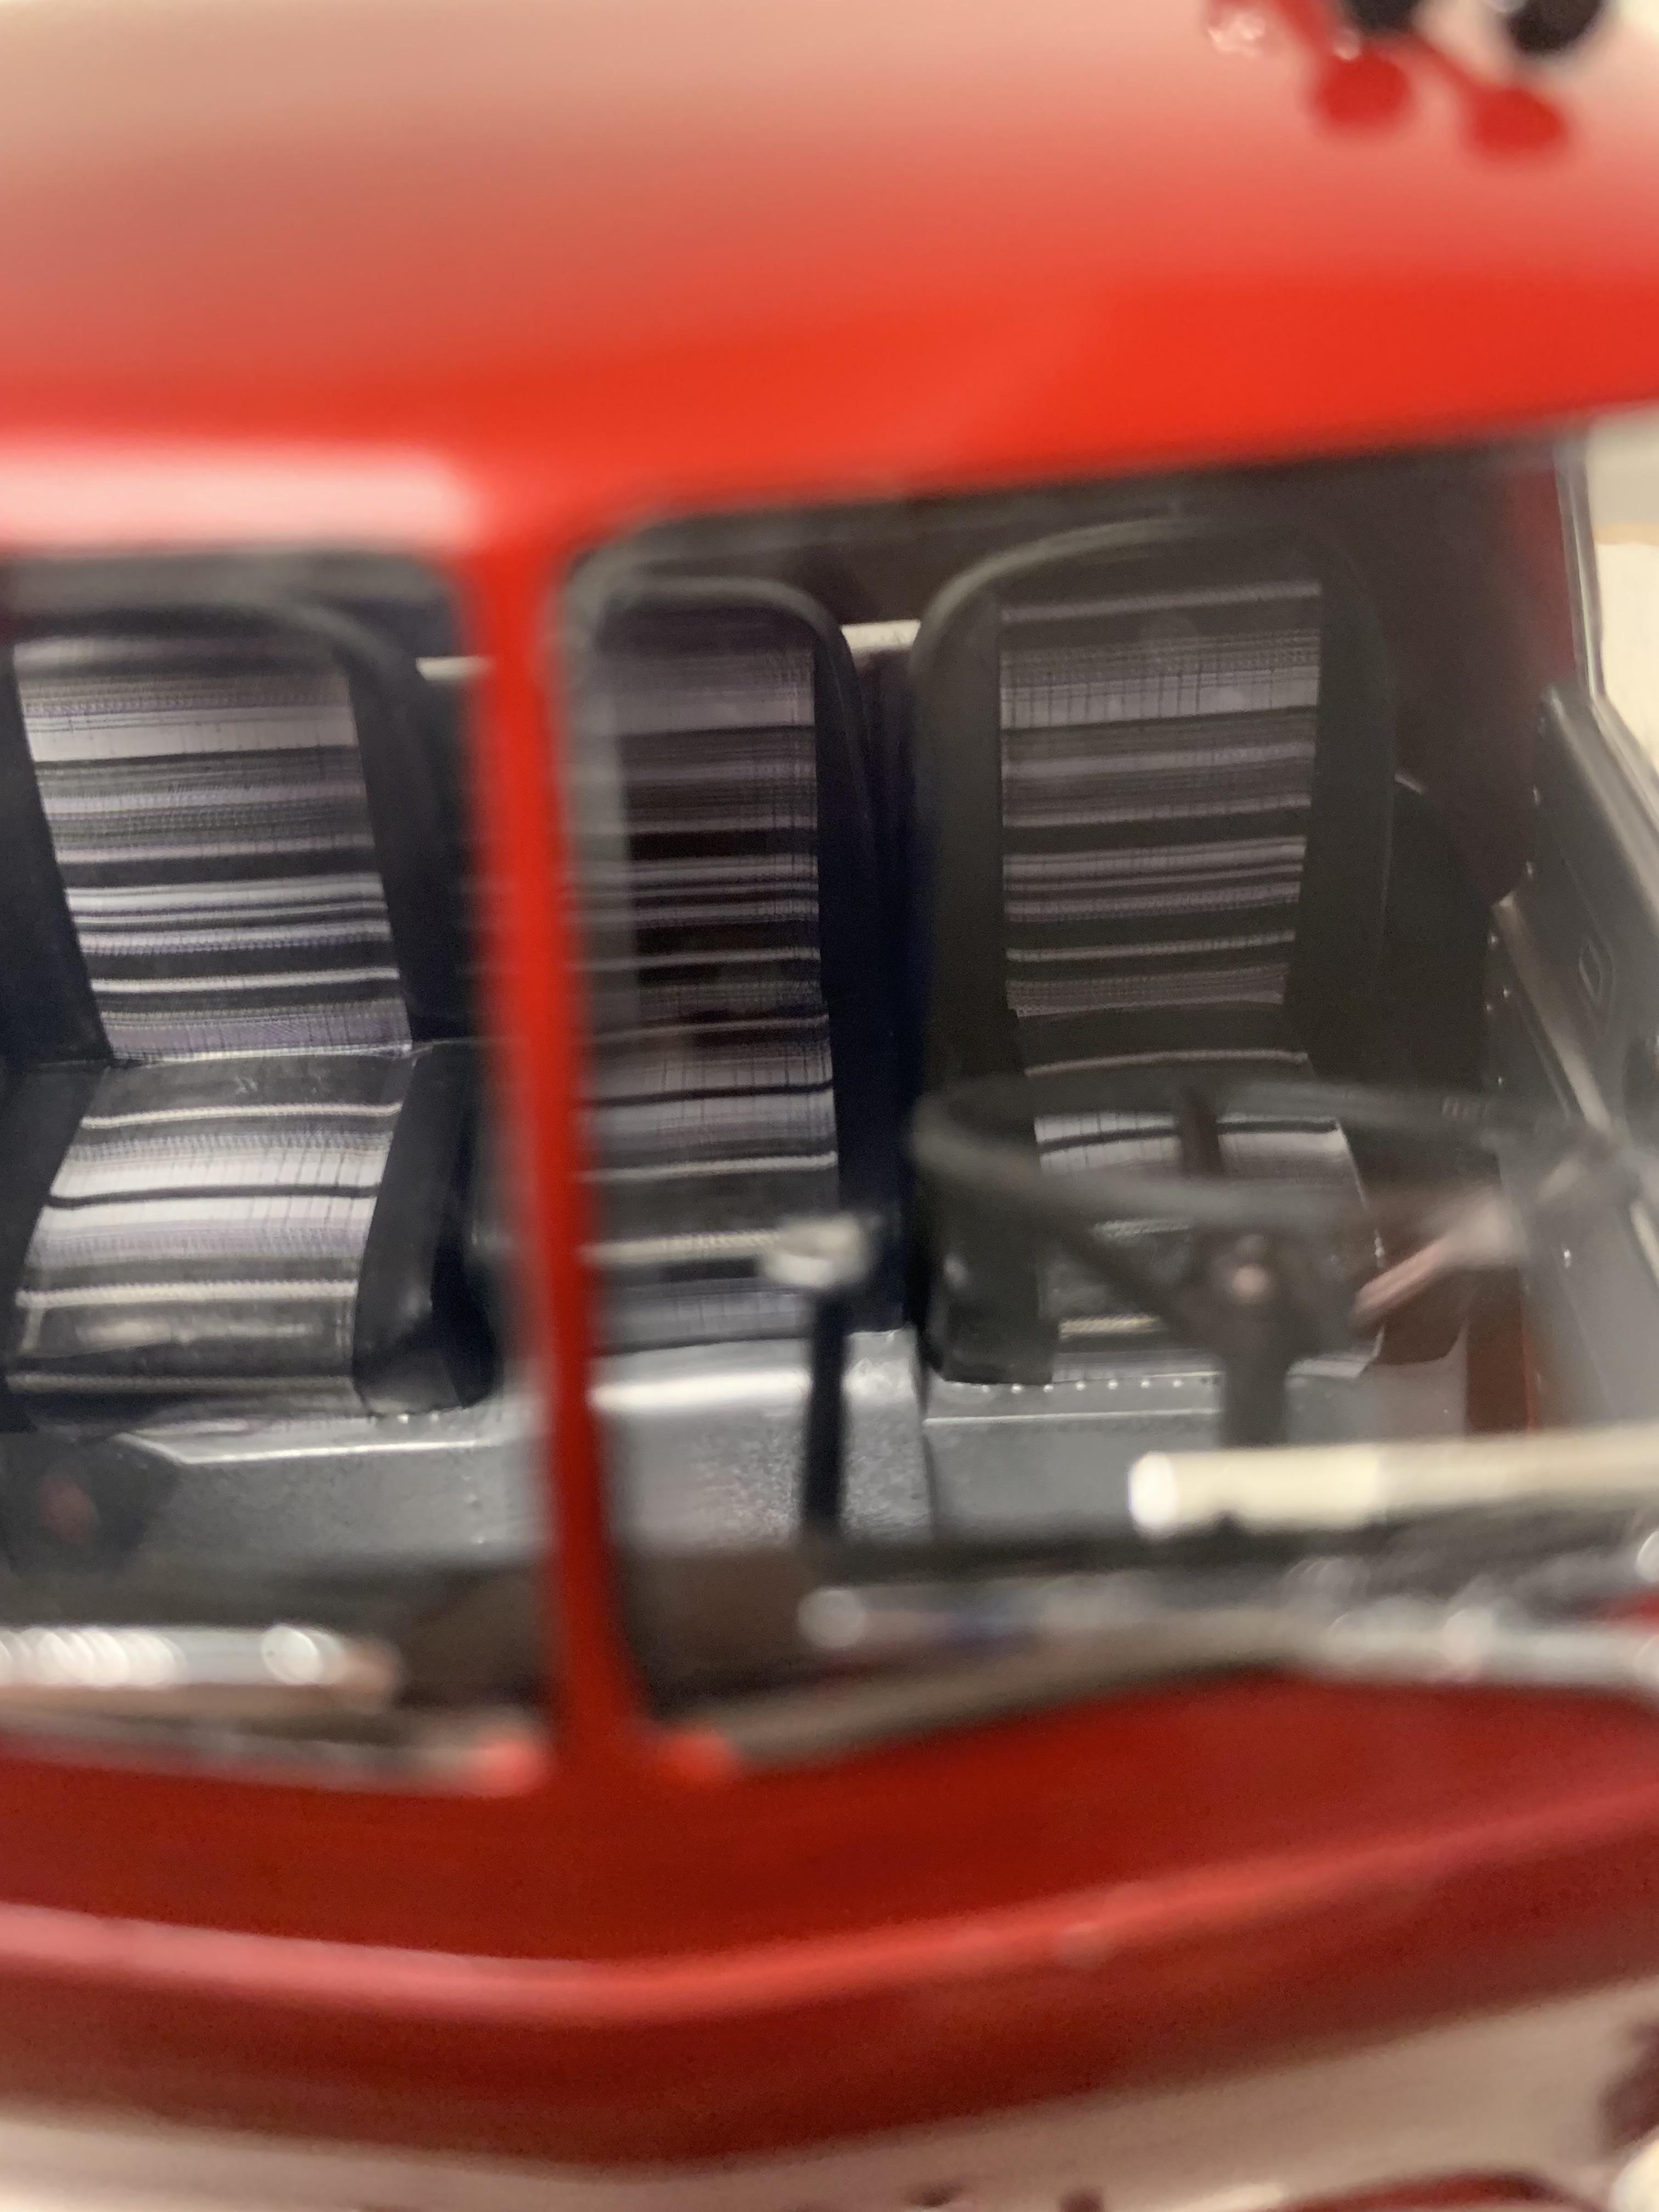
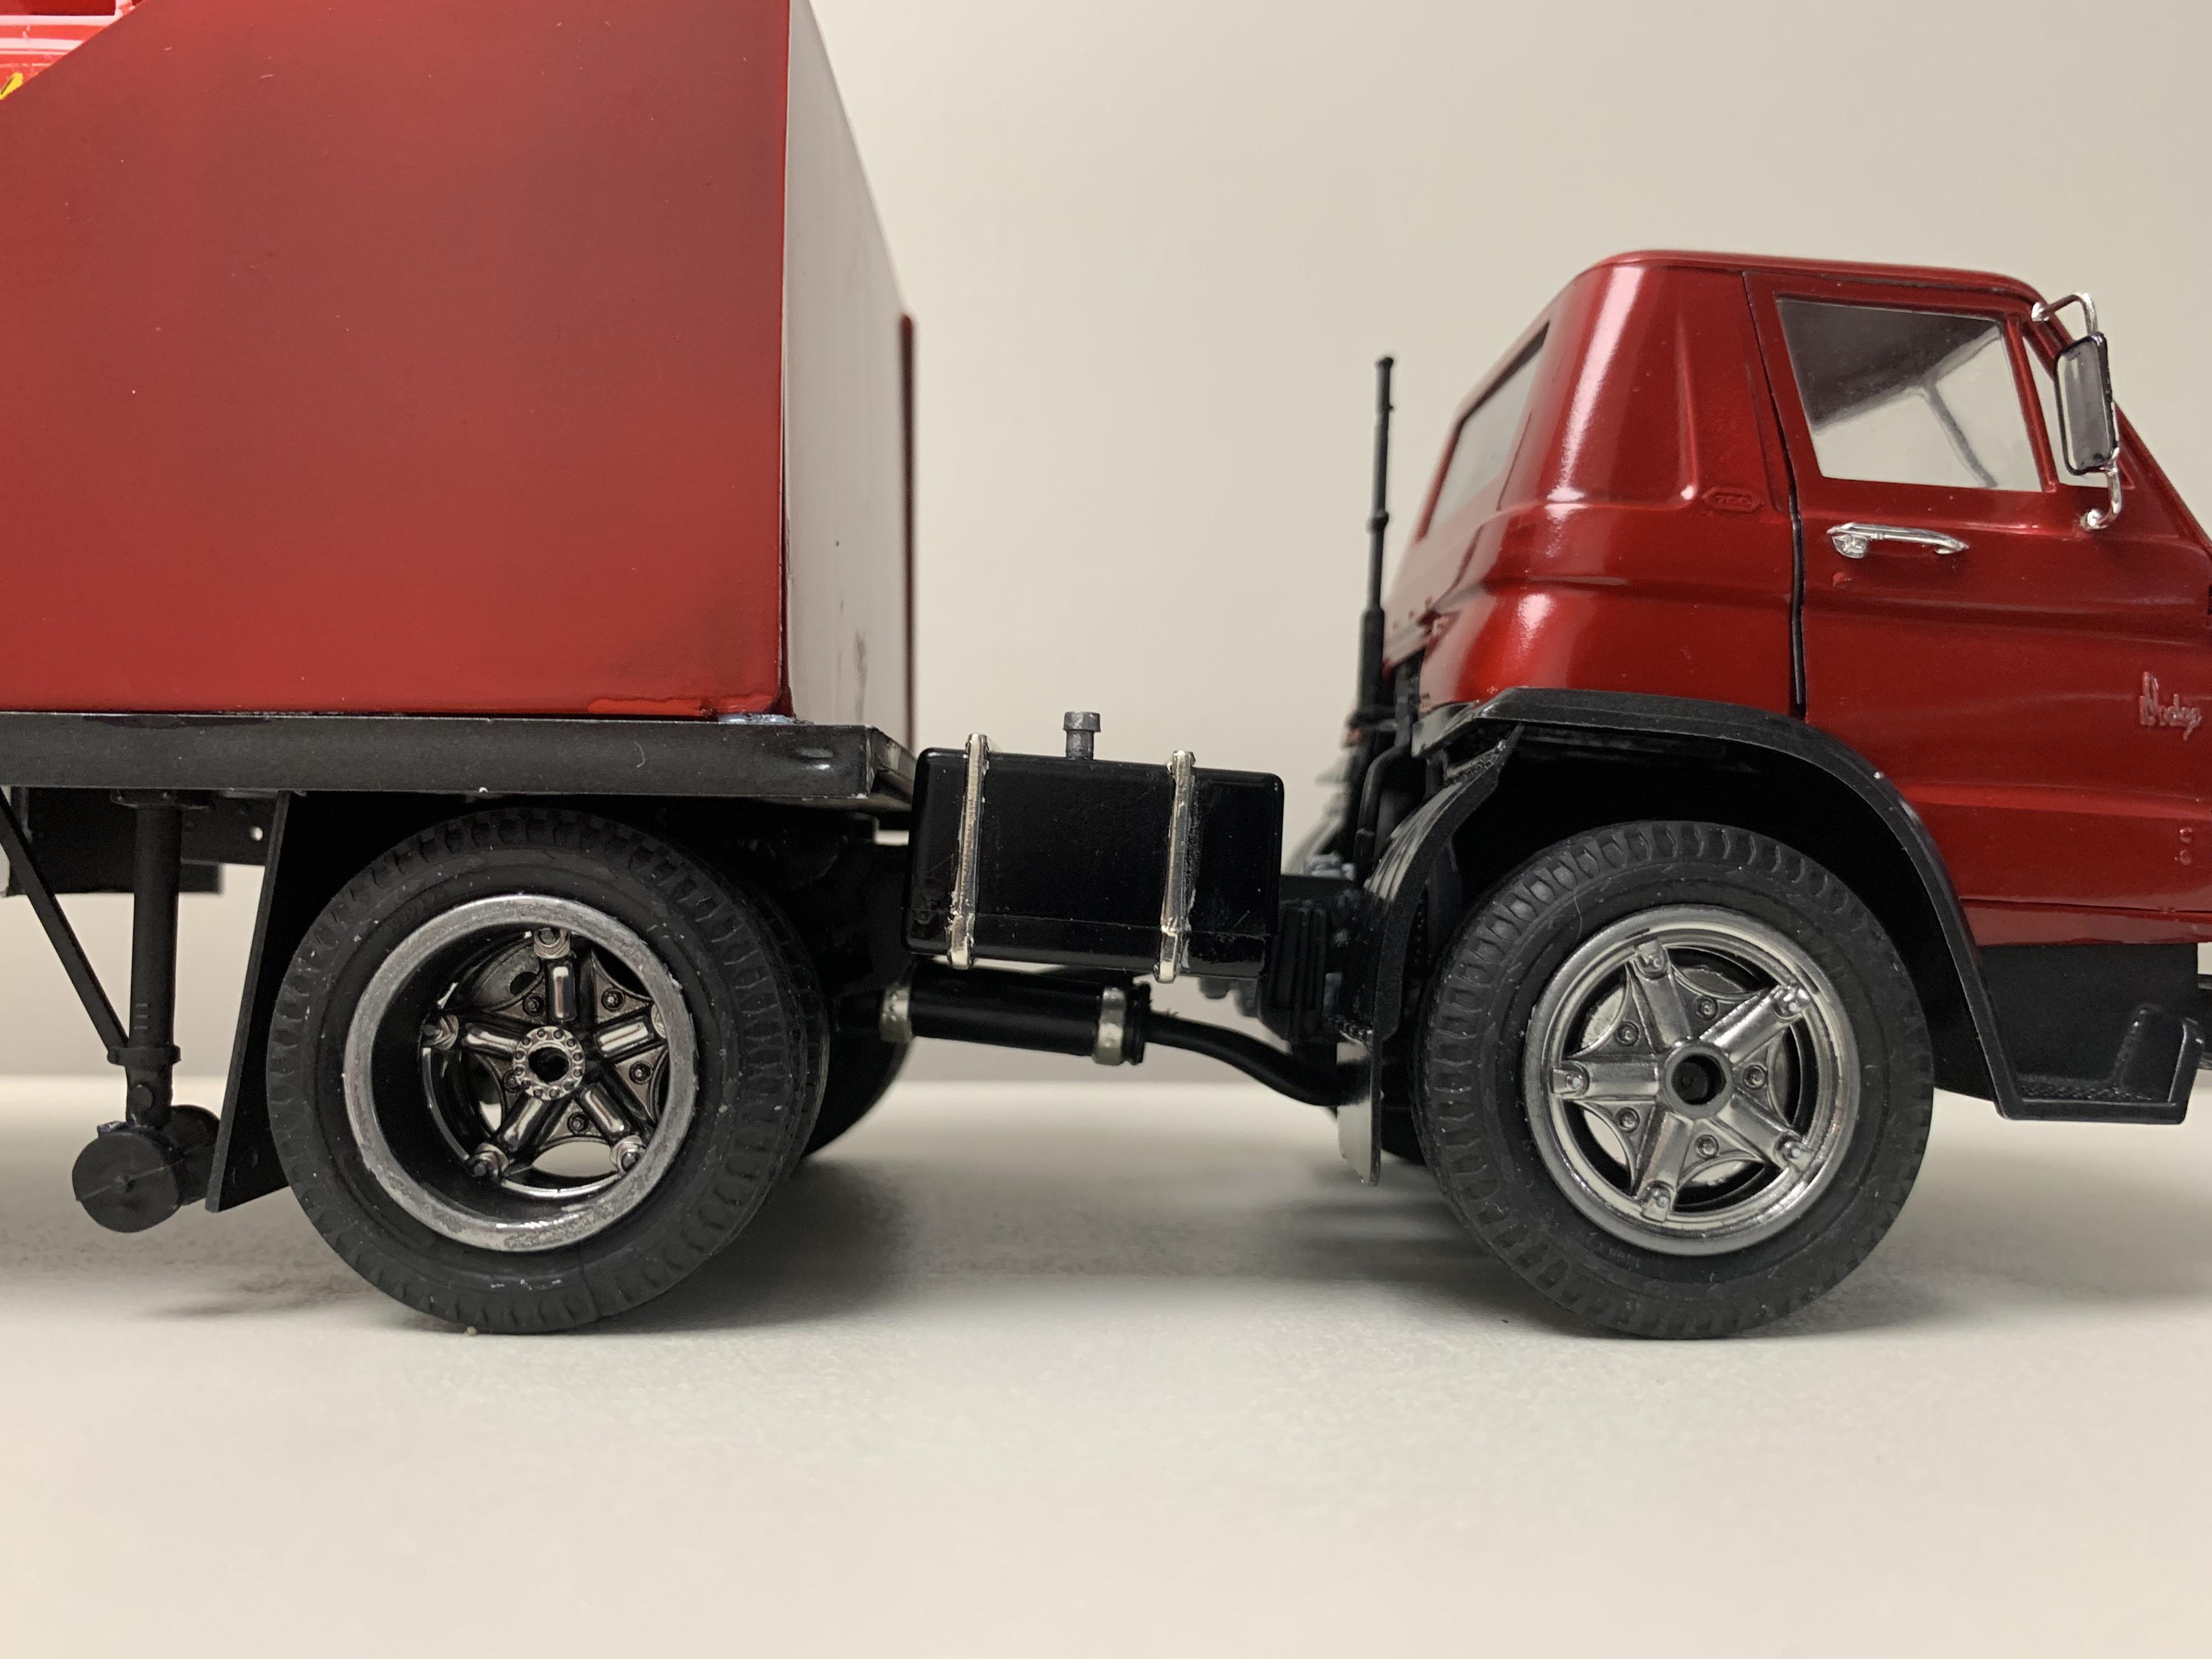
Dodge on Dodge!
dougwintz replied to dougwintz's topic in Model Trucks: Pickups, Vans, SUVs, Light Commercial
Thanks for the nice comments, guys -
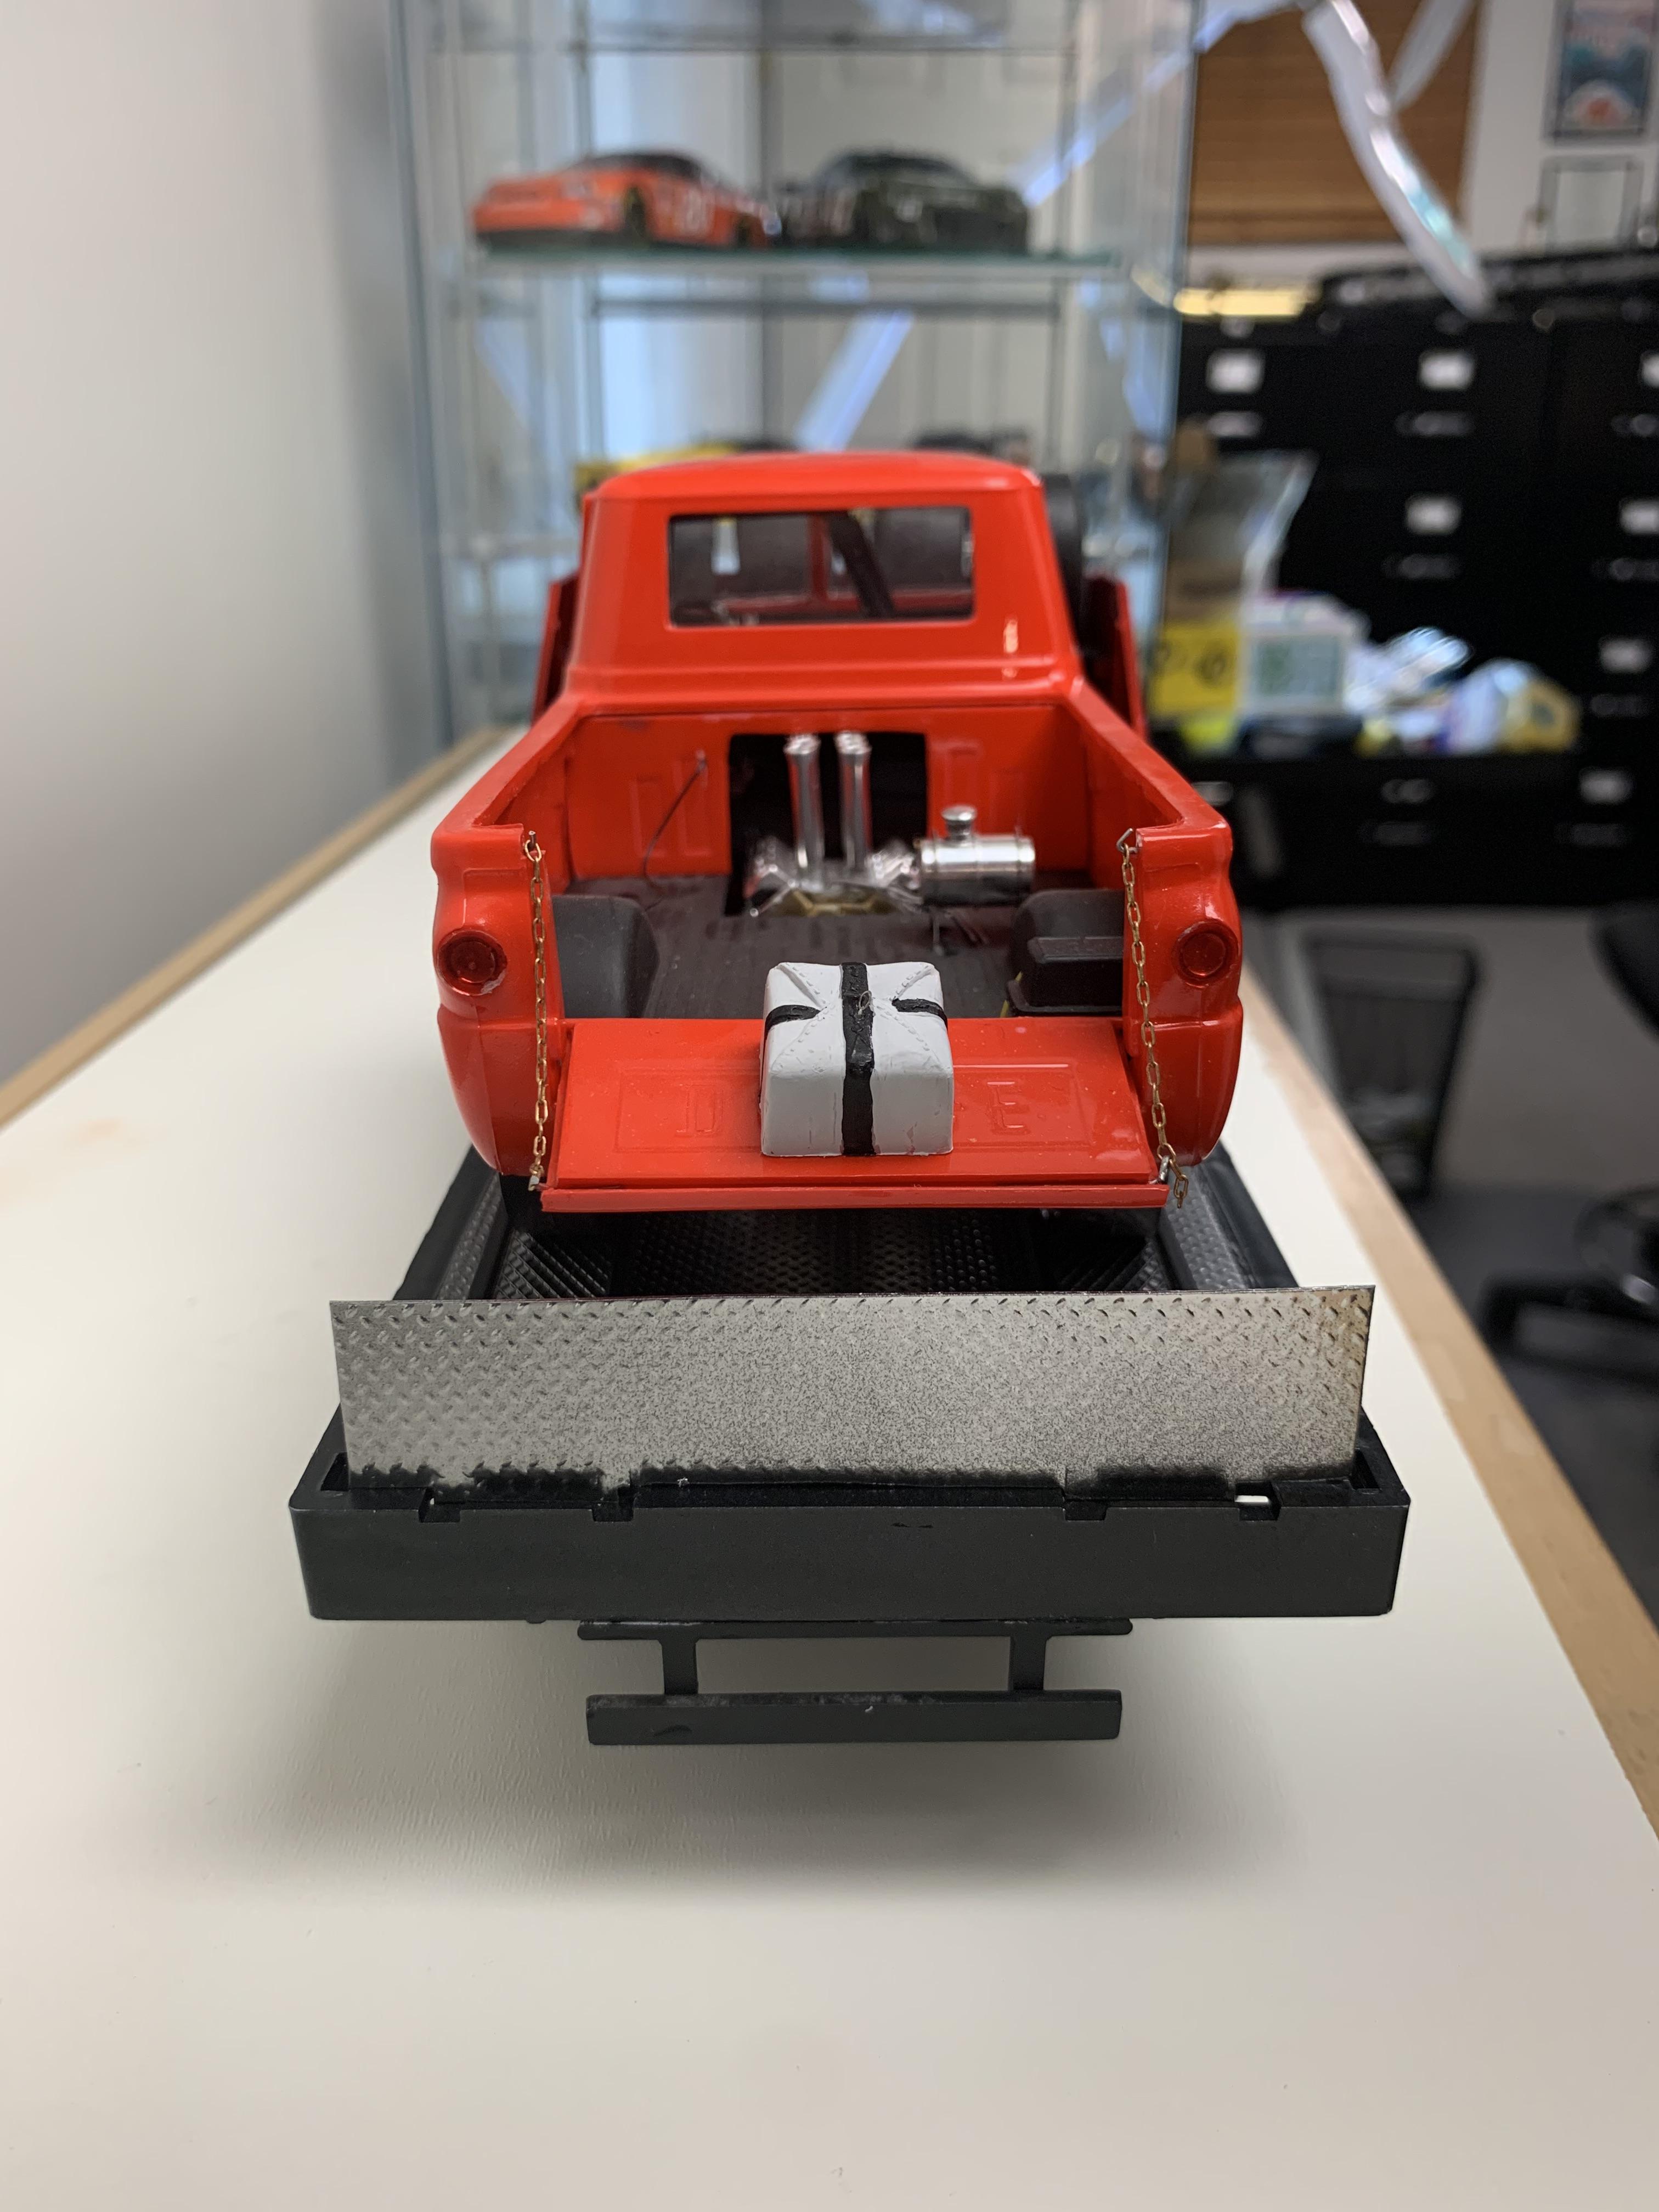
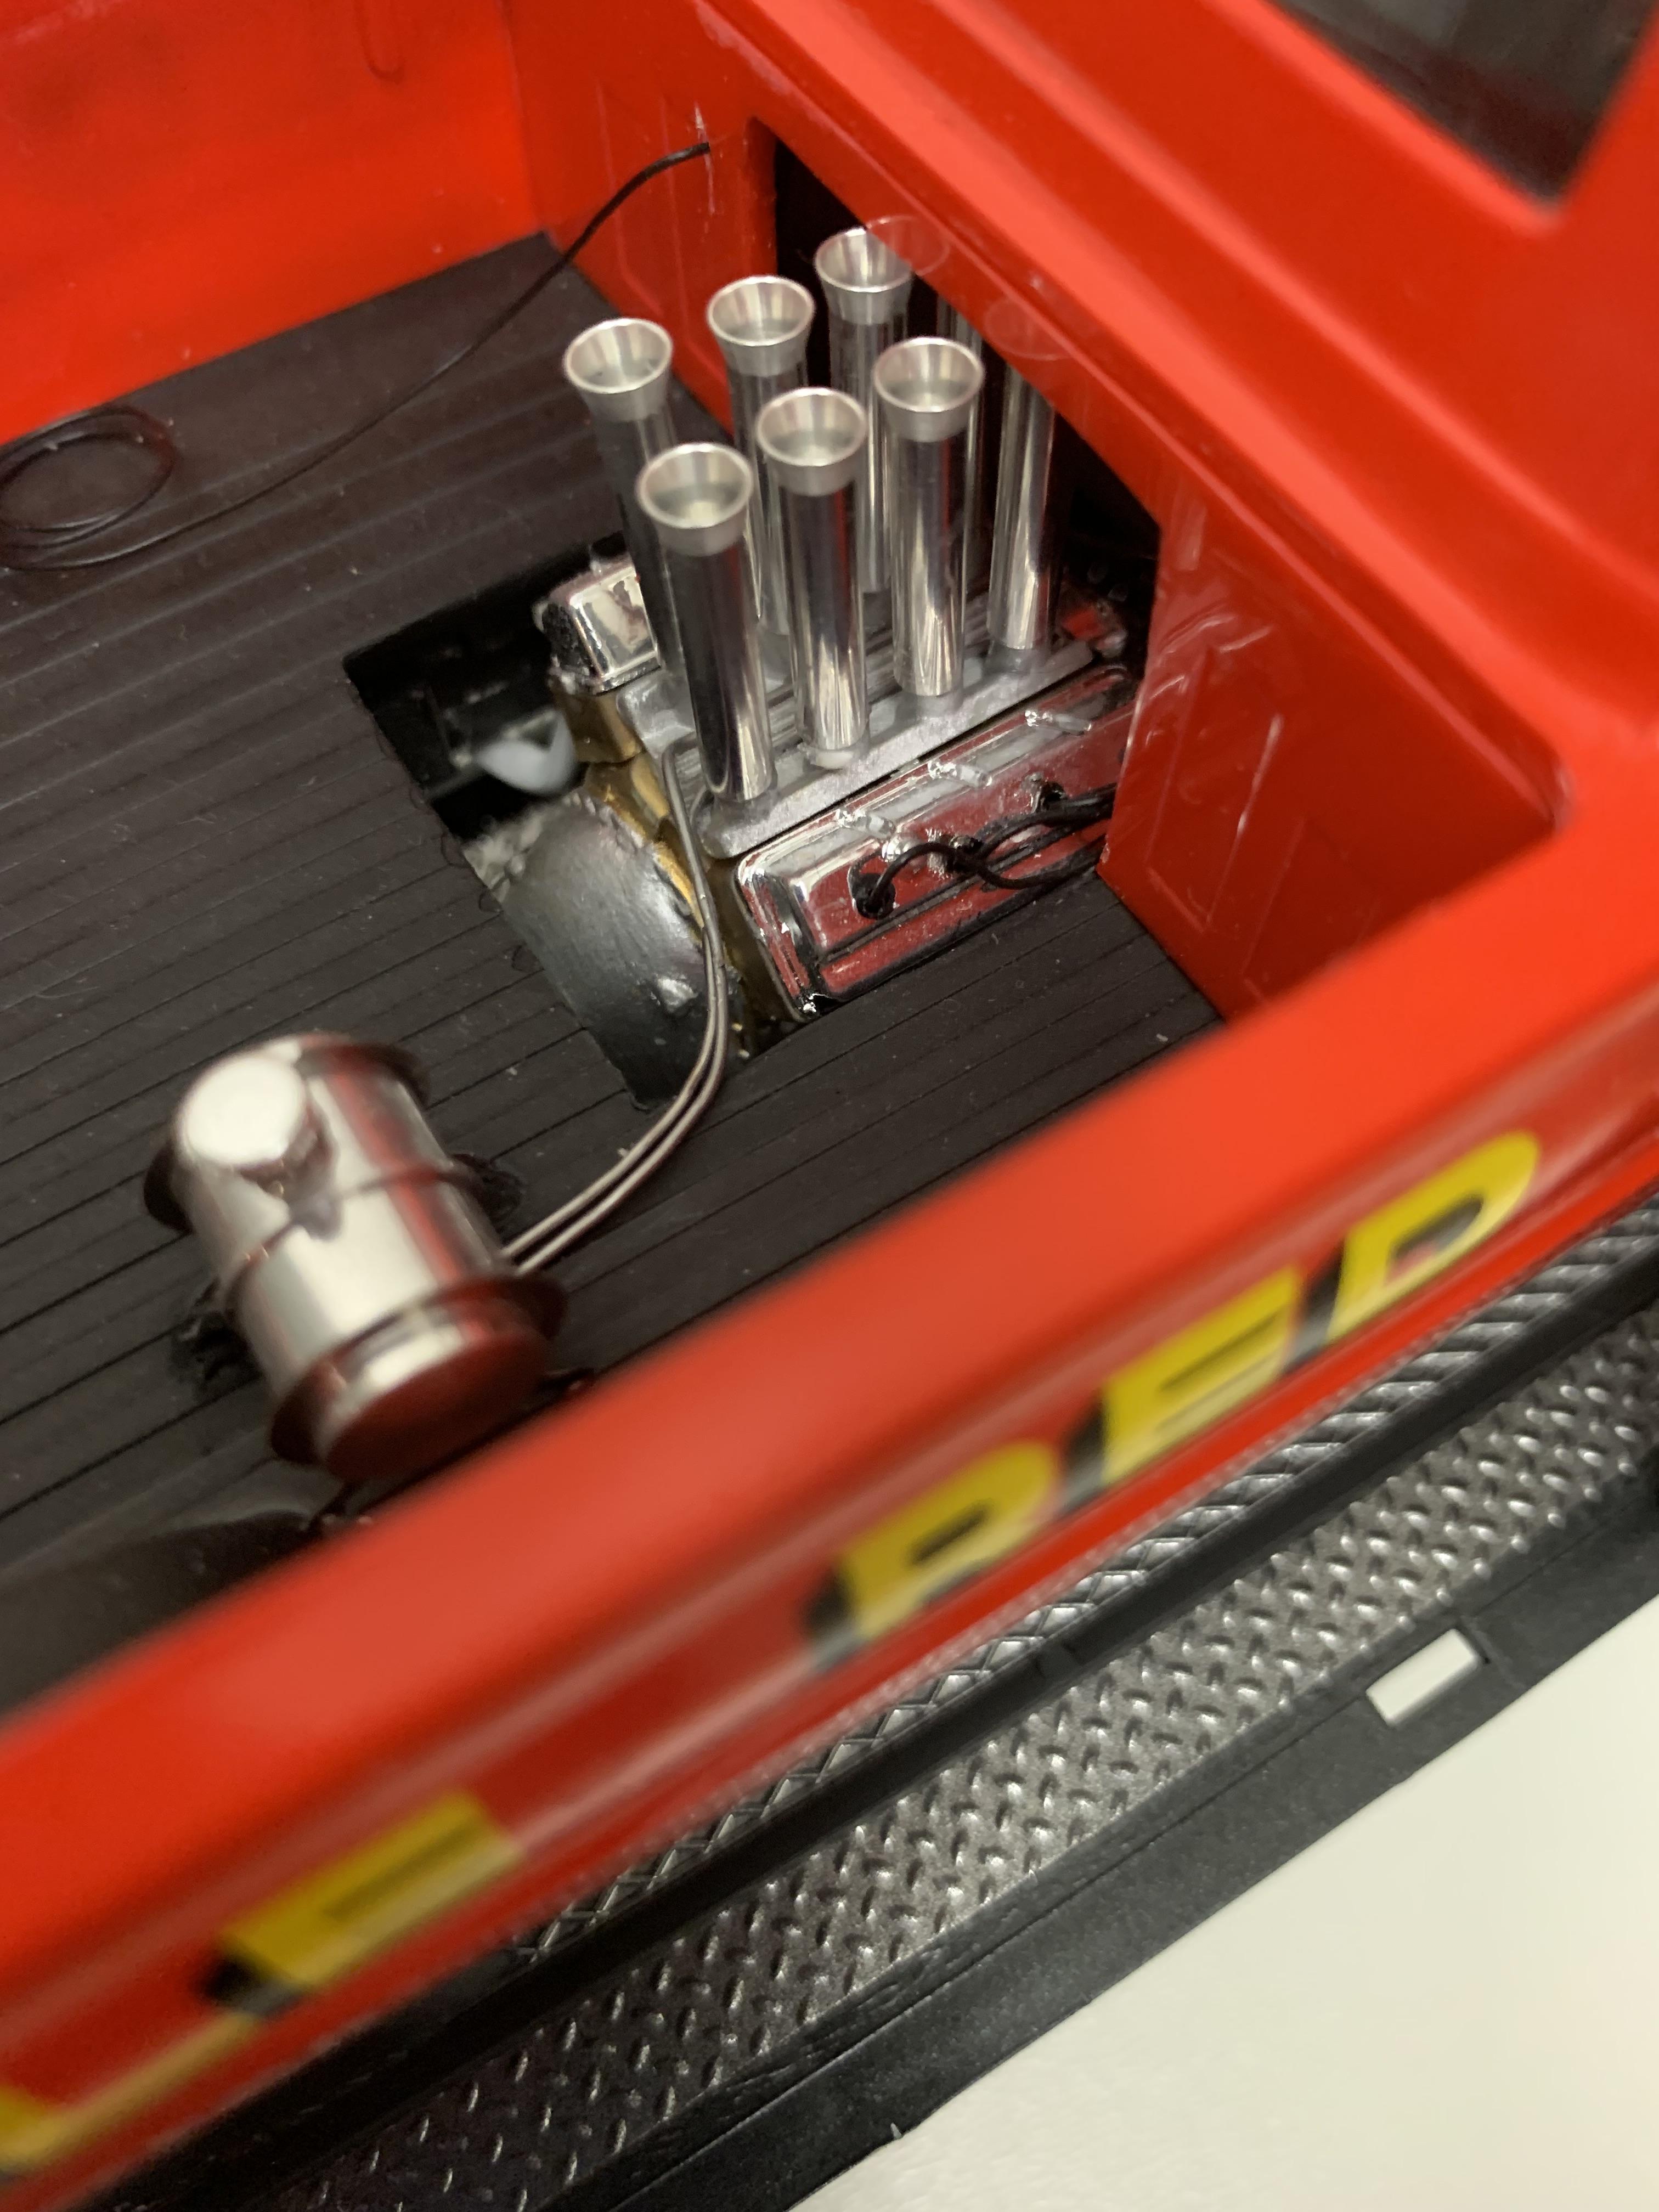
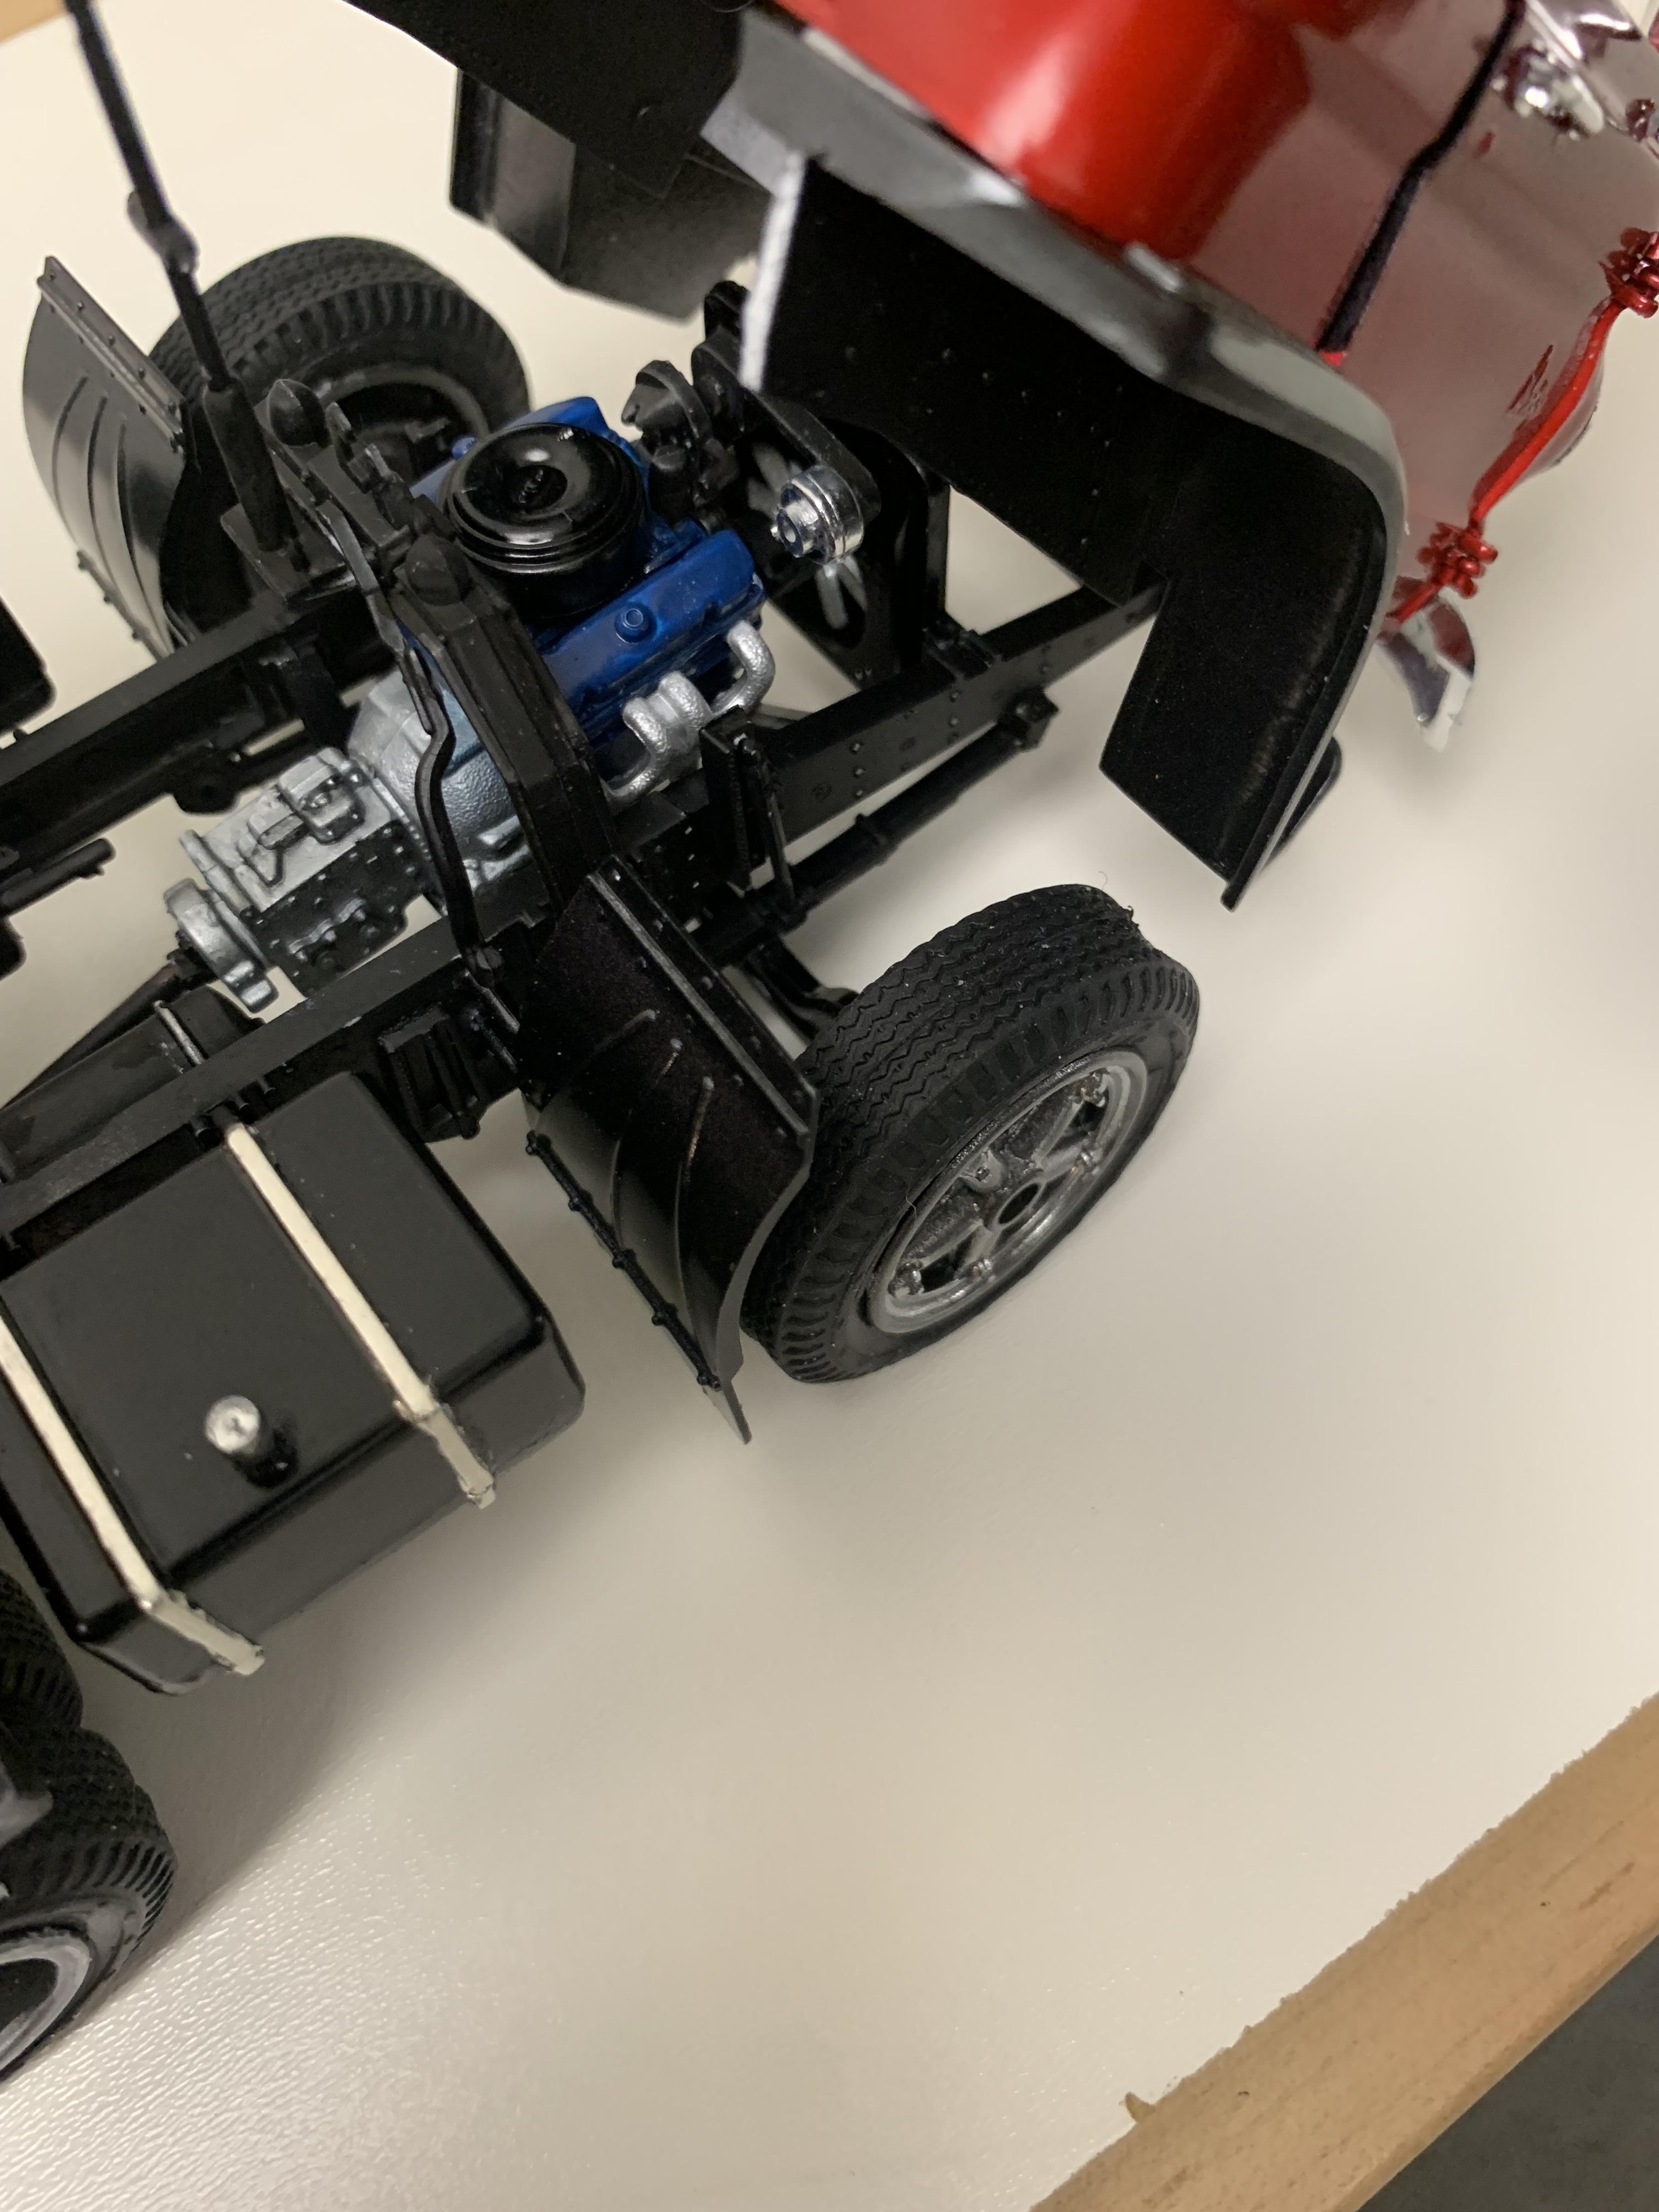
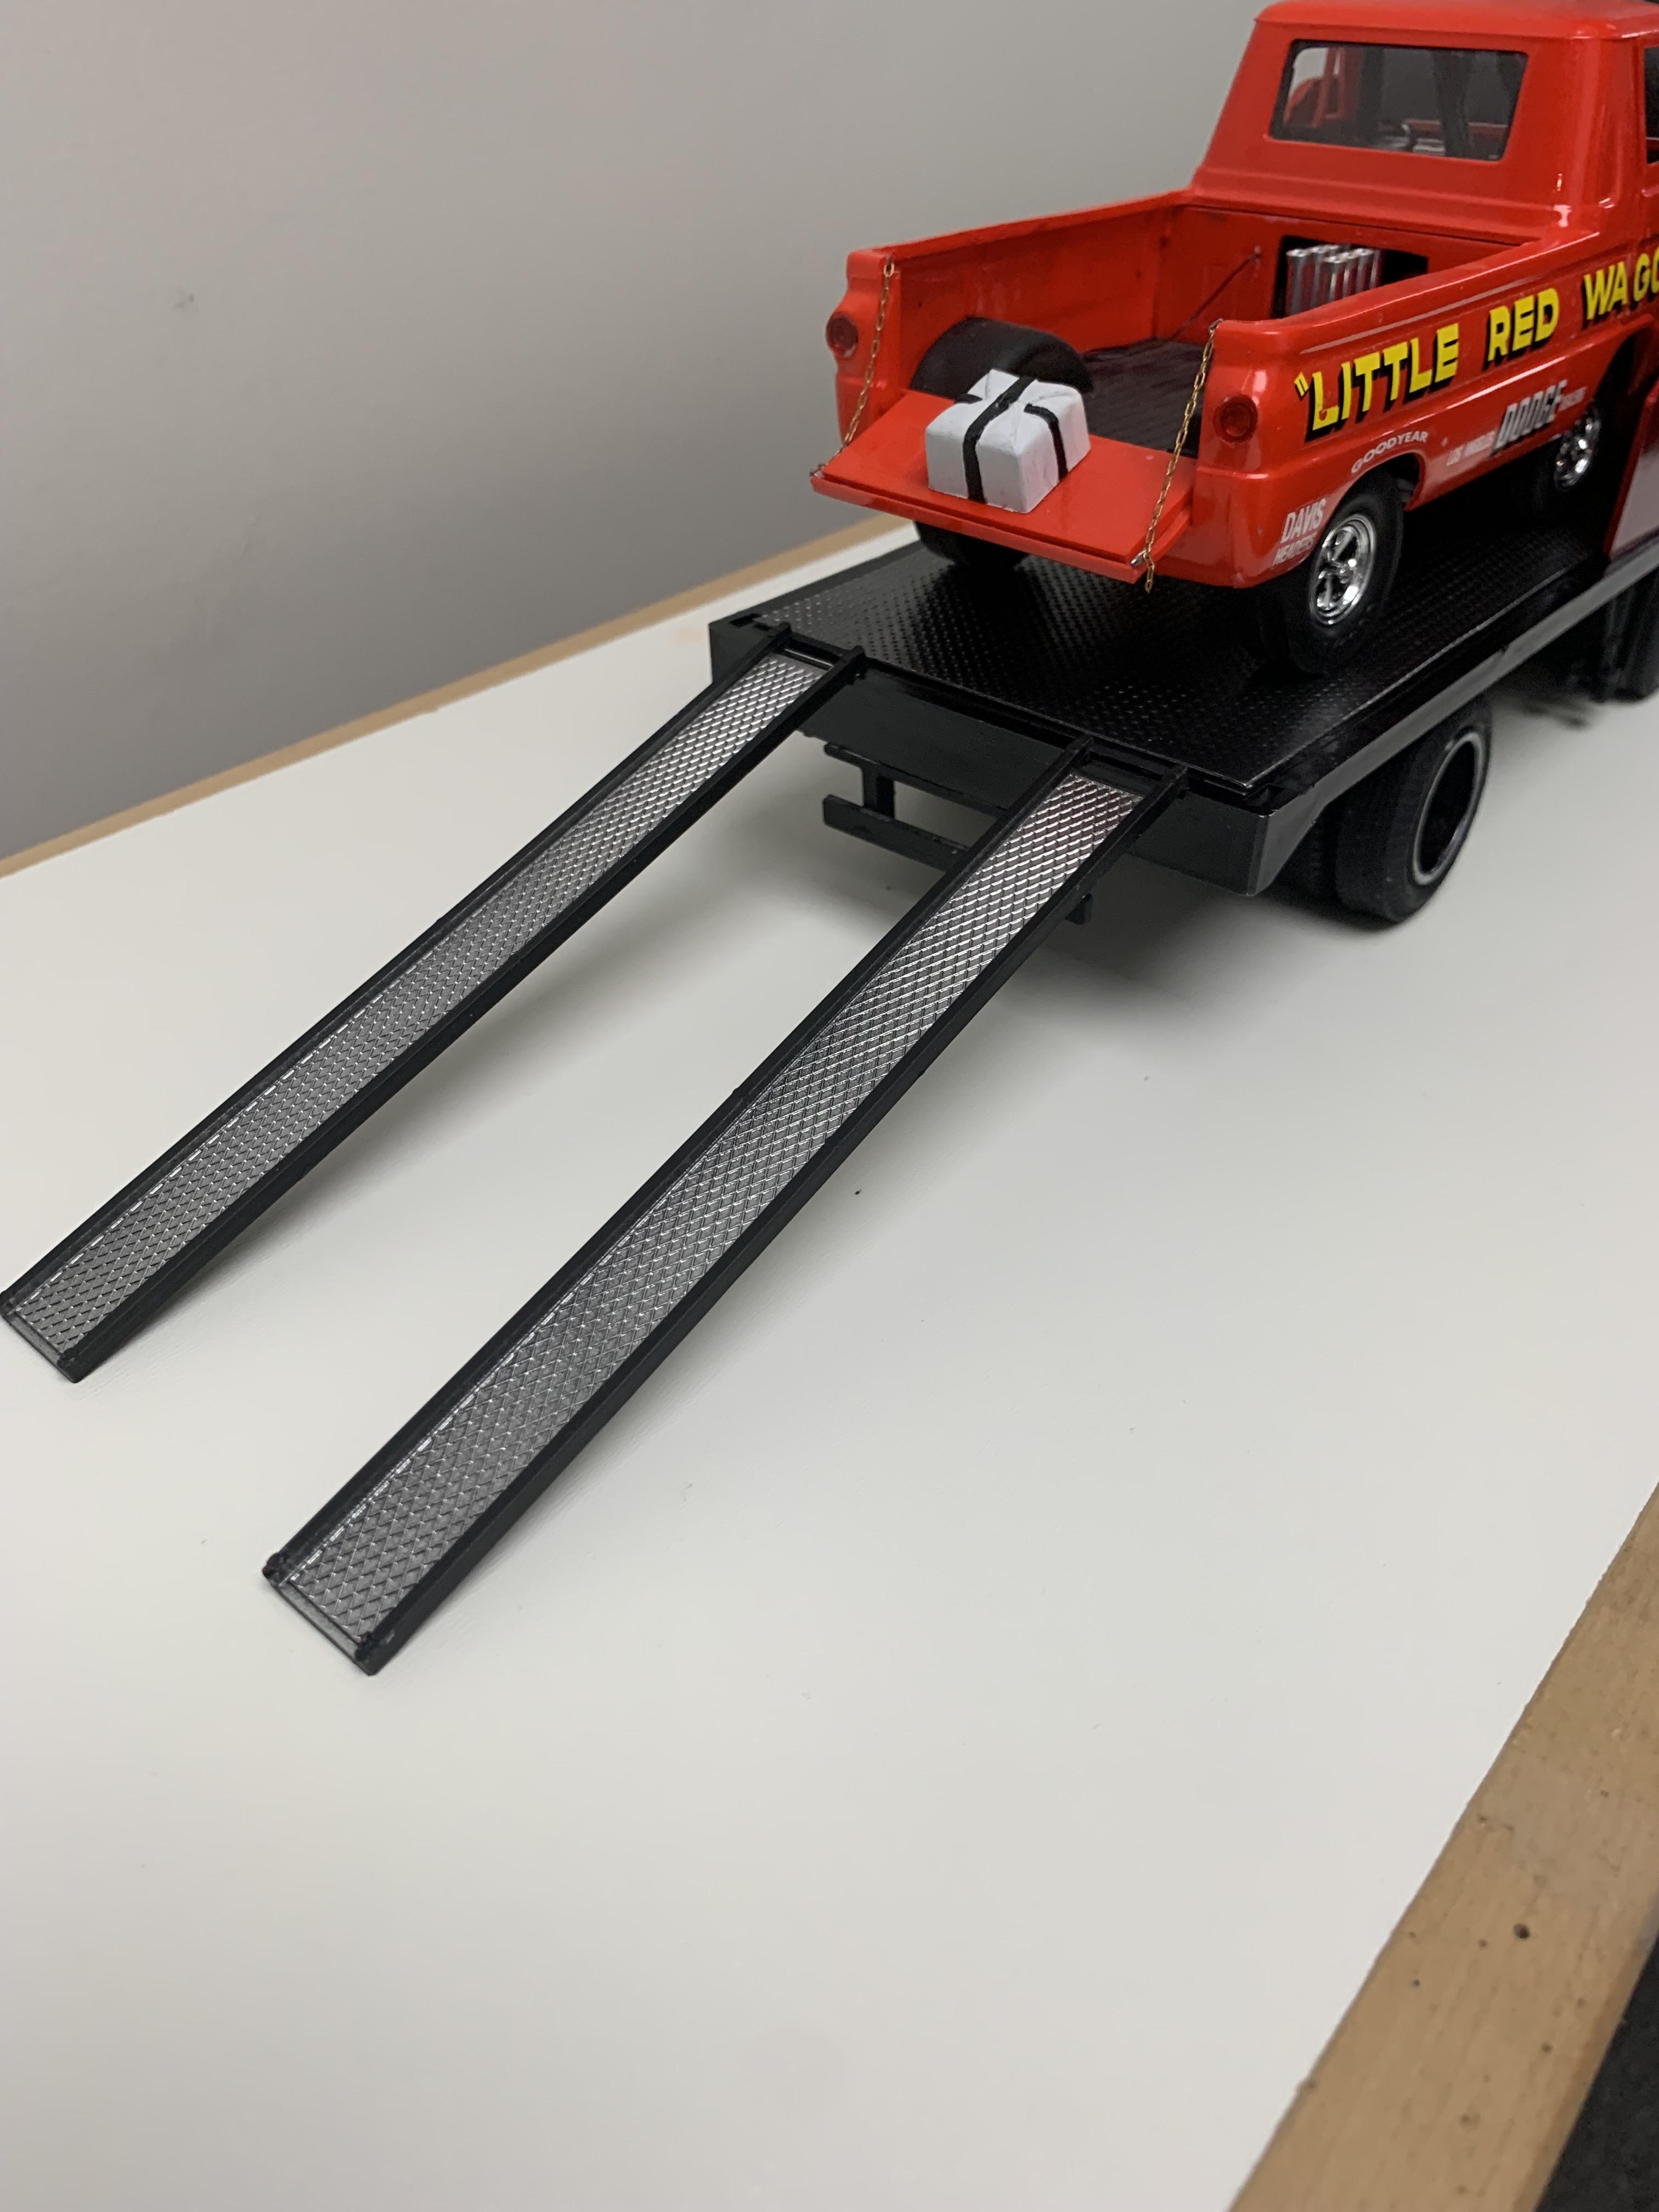
I was trying to put this in the right category. Is a truck with a race car on it? Or a race car being carried by a truck? Whatever! This is the AMT 1966 Dodge L700. I'm assuming its an old mold because the fitment and instructions are pretty sketchy. I only did some minor modifications. I put down some scale tread plate on the bed and used Revell's chrome over flat black. Same paint treatment on the wheels. The side mirrors are from my spare parts box, as I did not like the kit mirrors. Aftermarket decals for the seat fabric. The only thing I would add would are taillights for the truck bed. The Little Red Wagon has a set of aluminum velocity stacks and gas canister.
- 14 replies
-
- 10
-

-
Whoooo!!!
-
Thanks for all the nice comments, guys
-
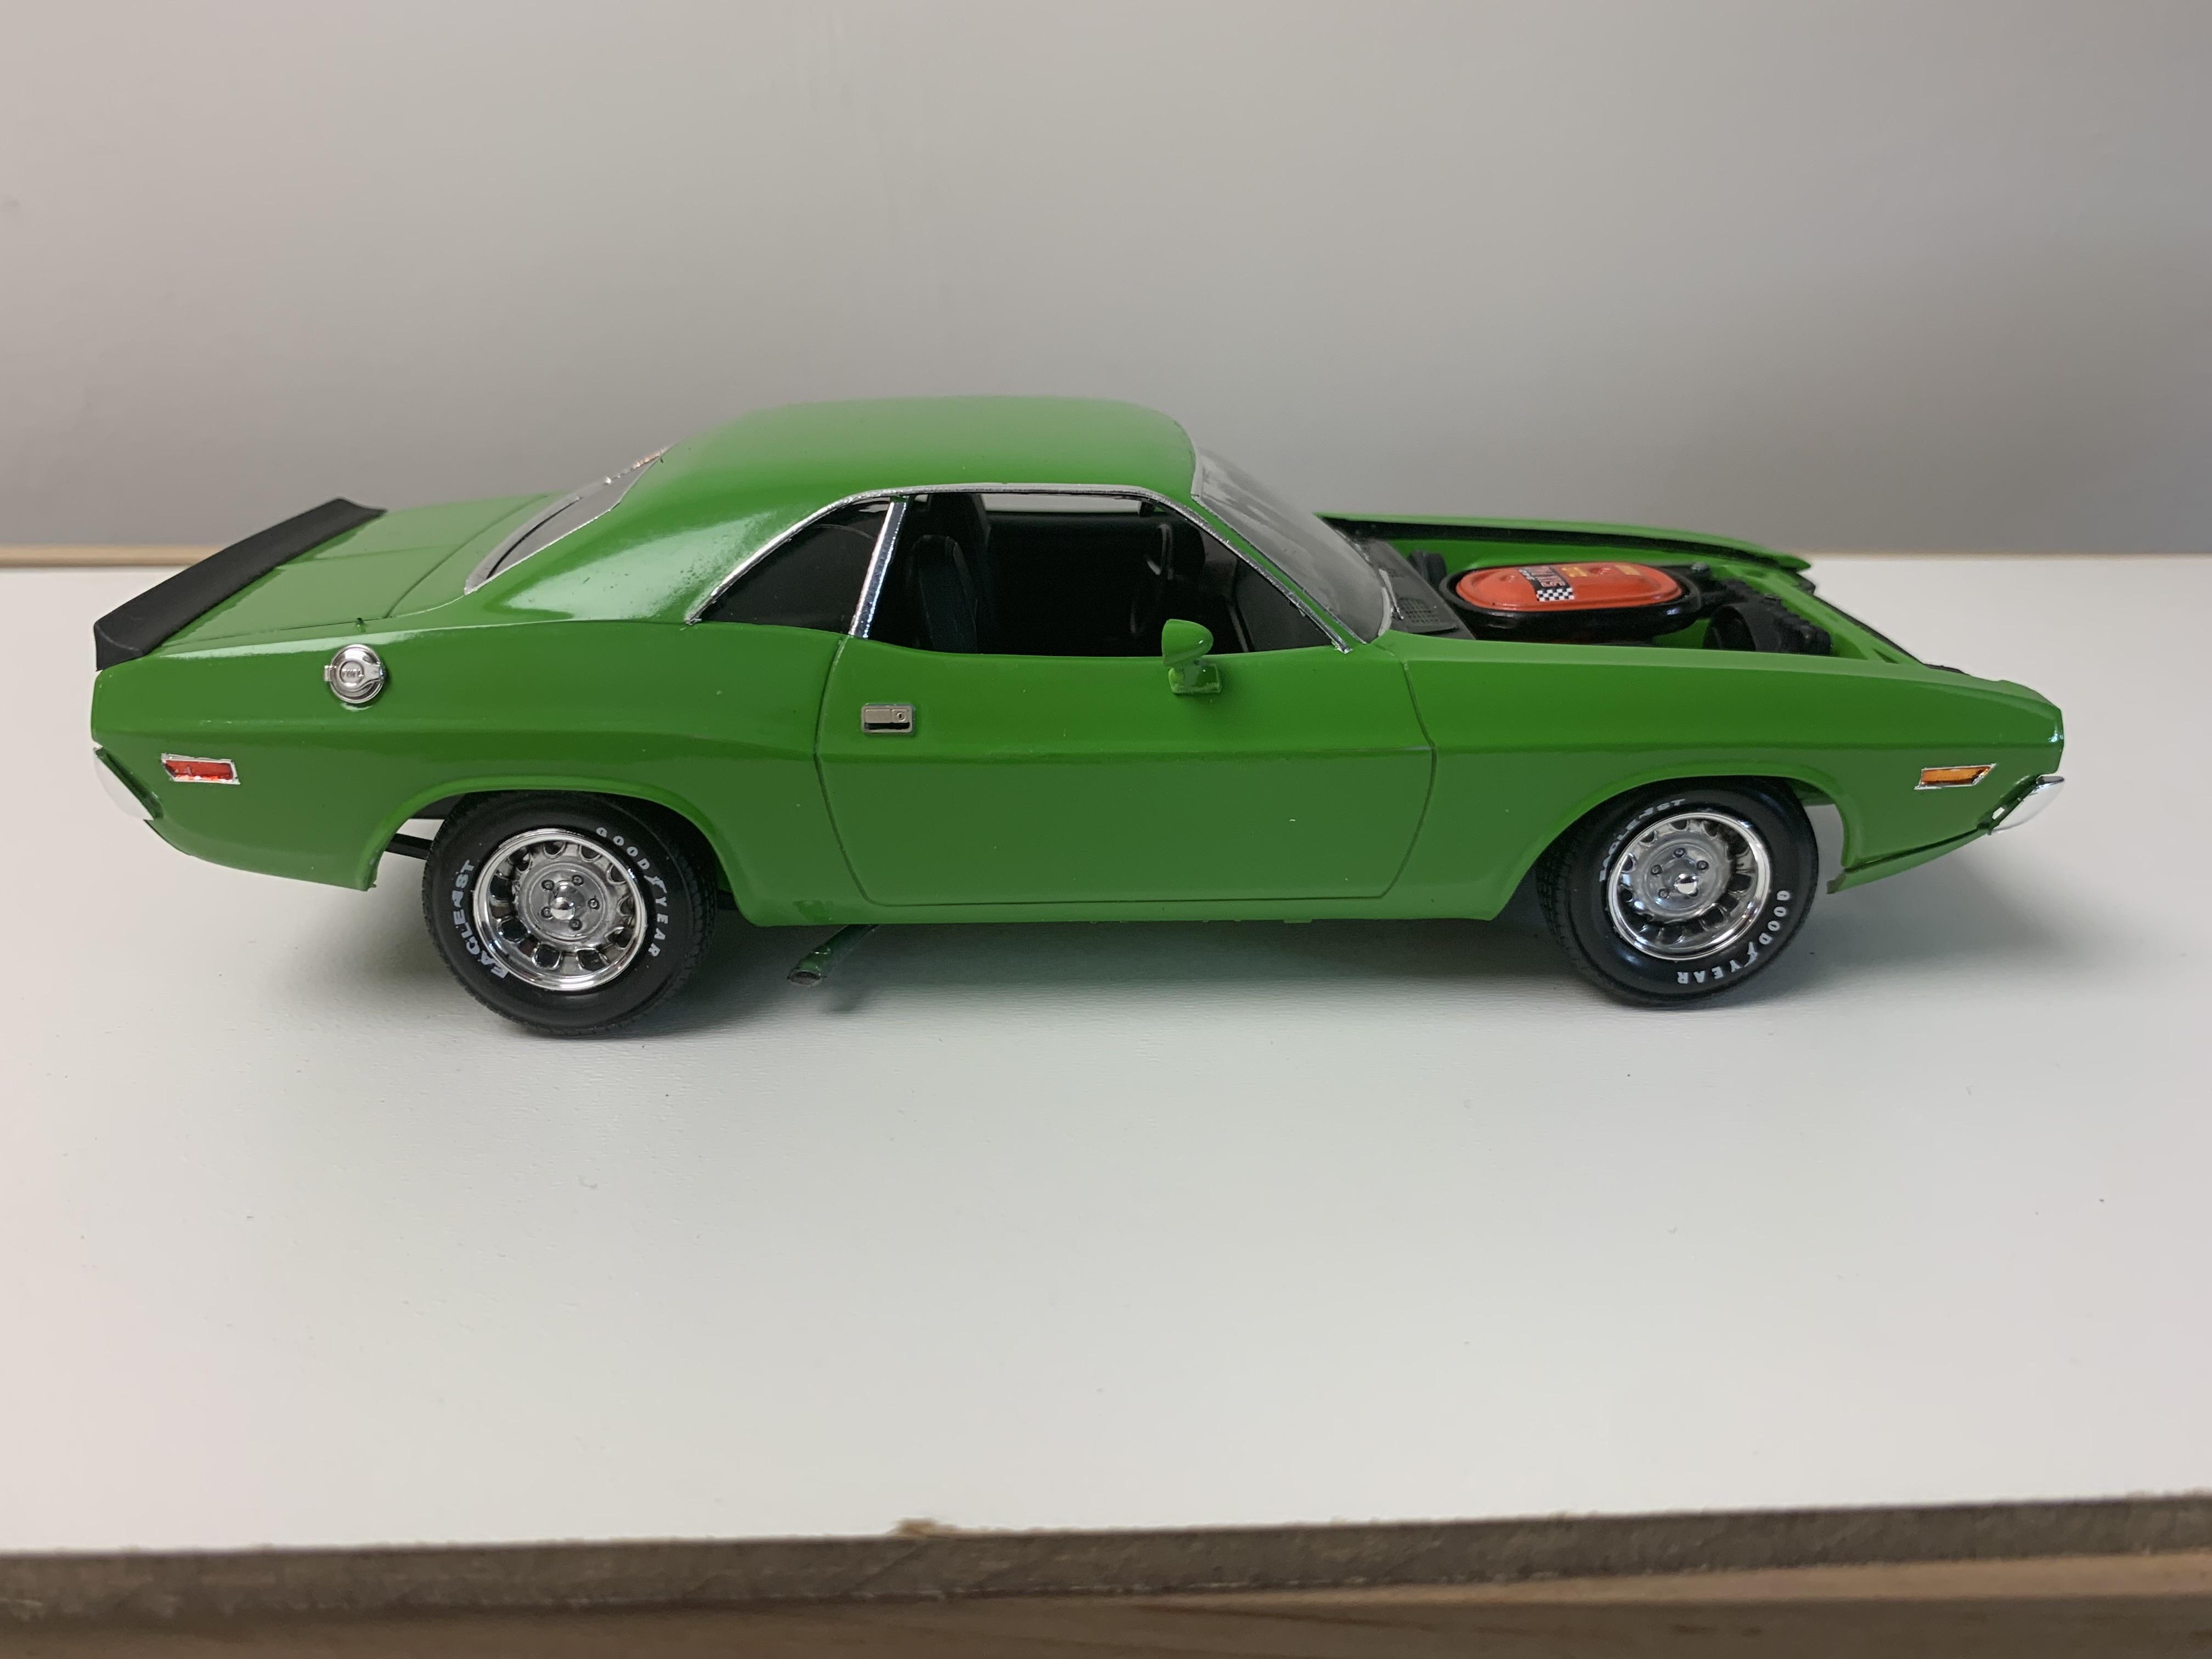
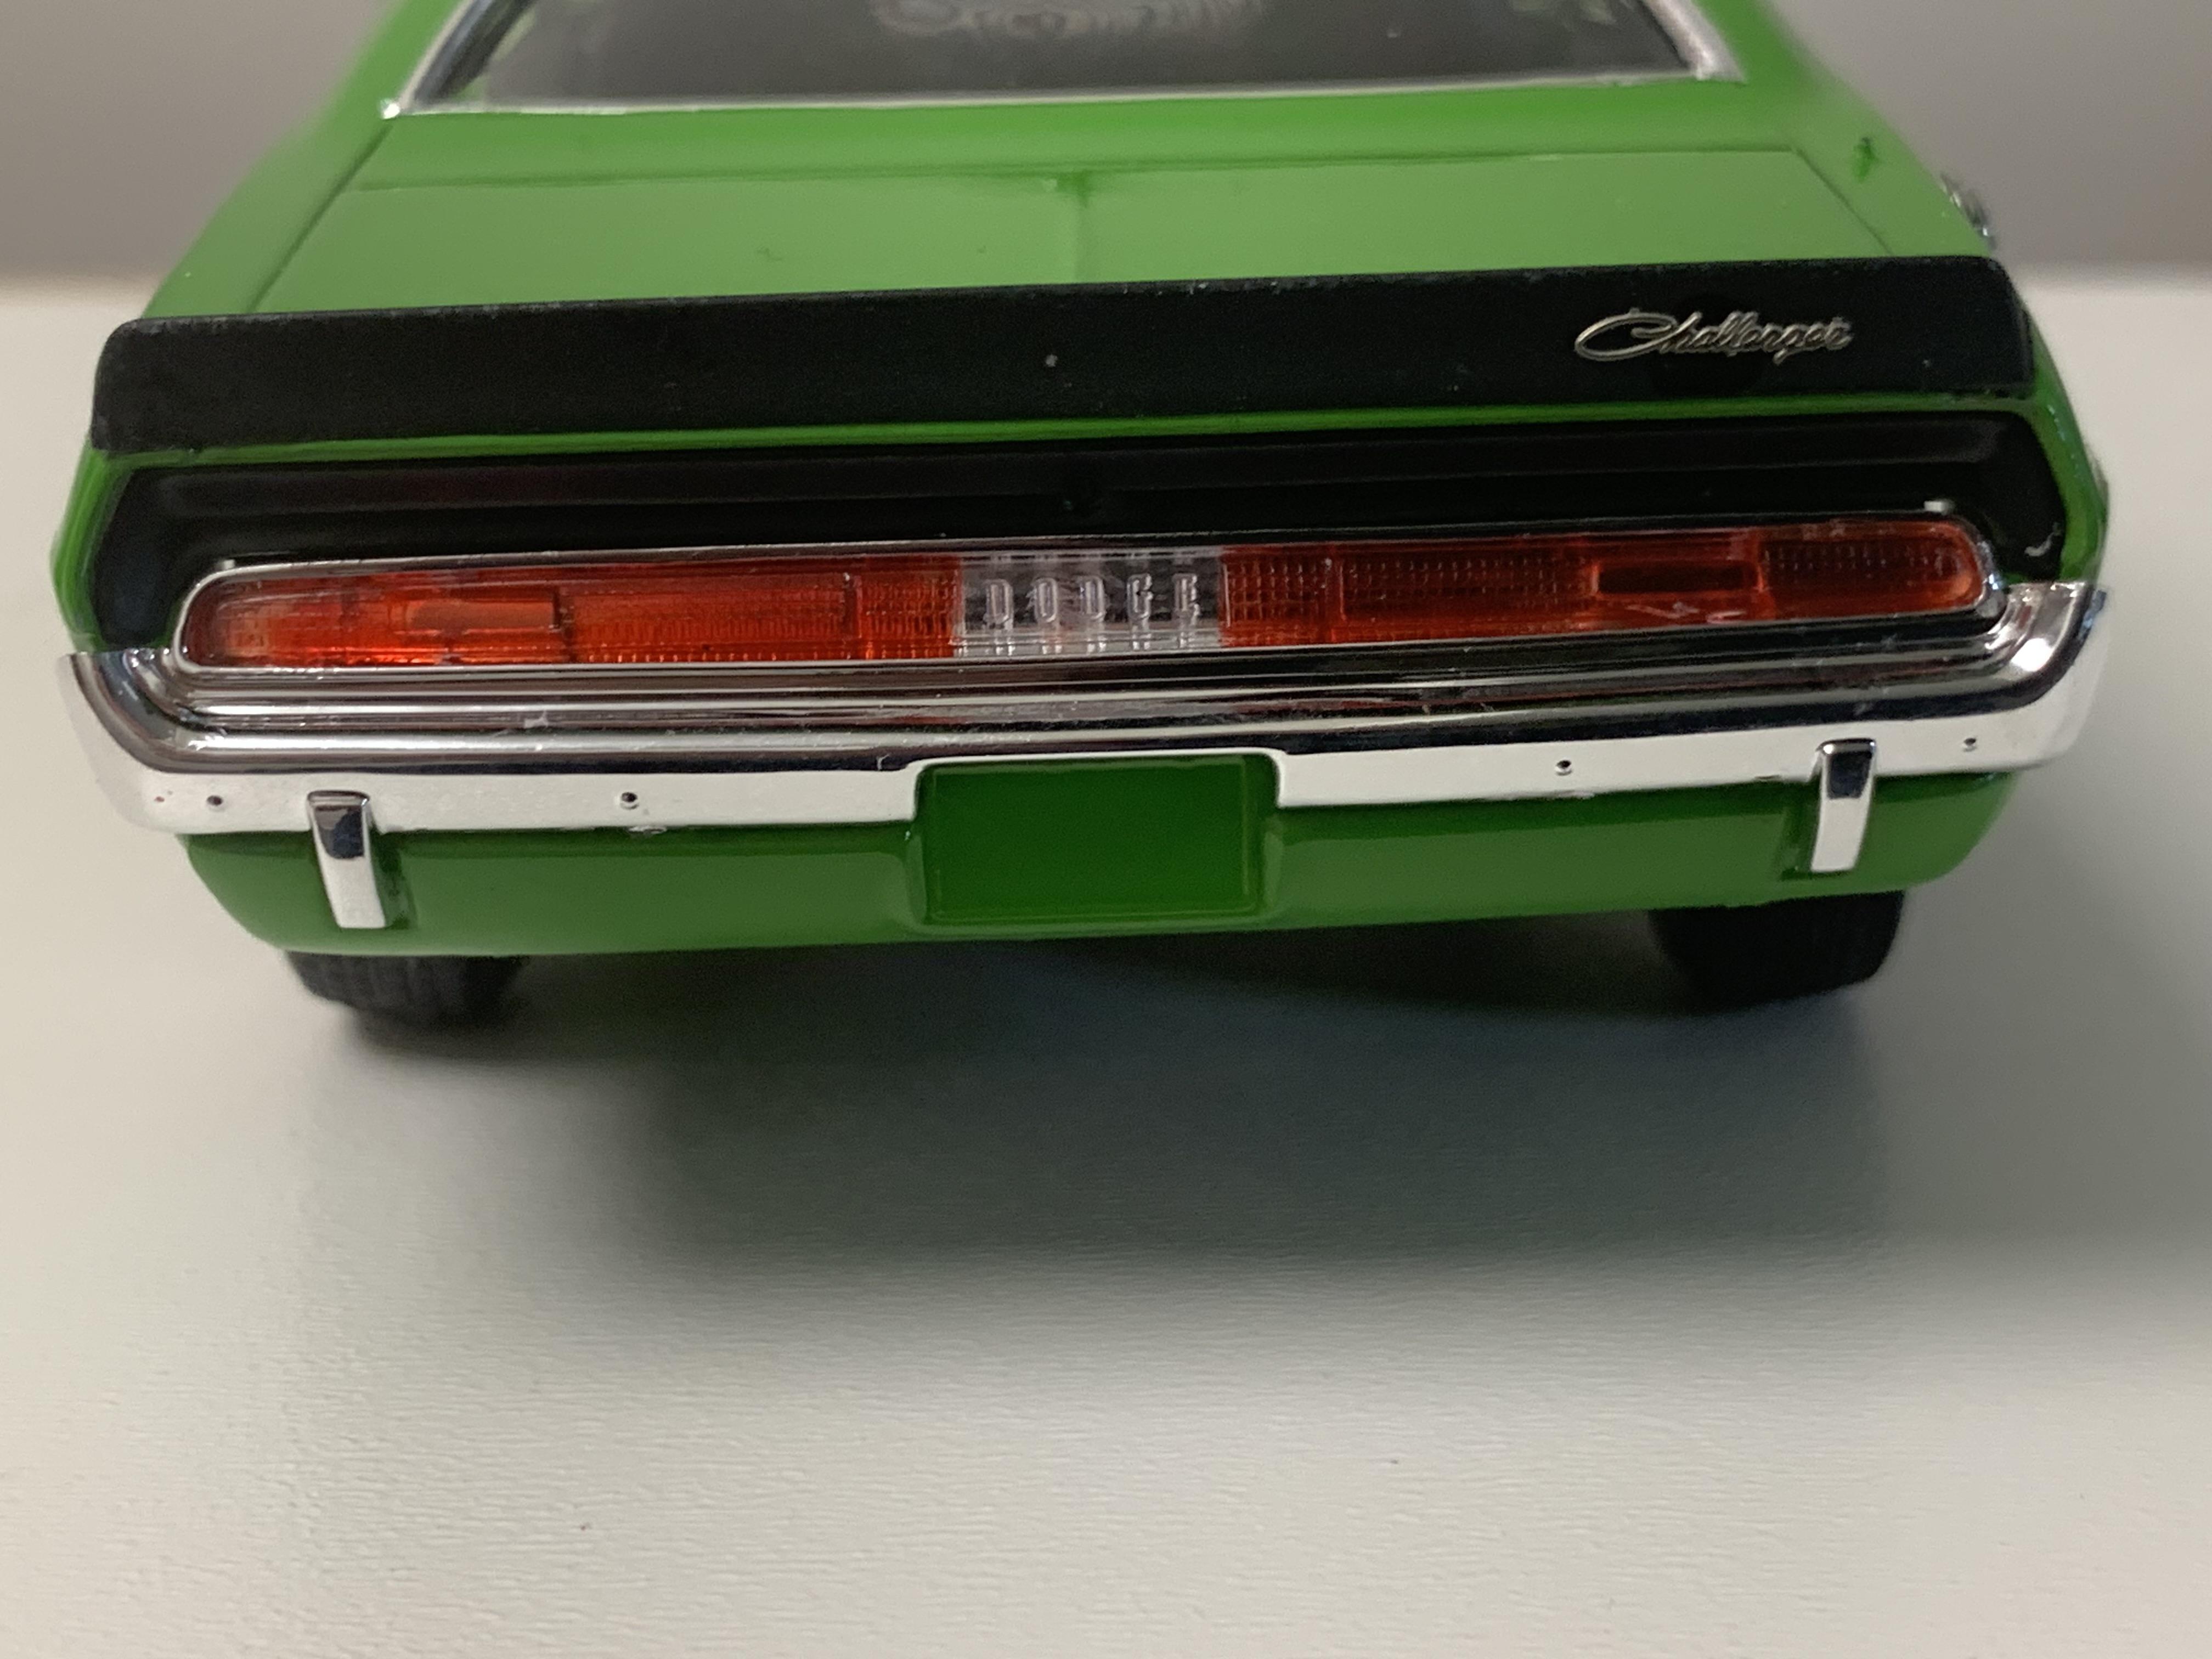
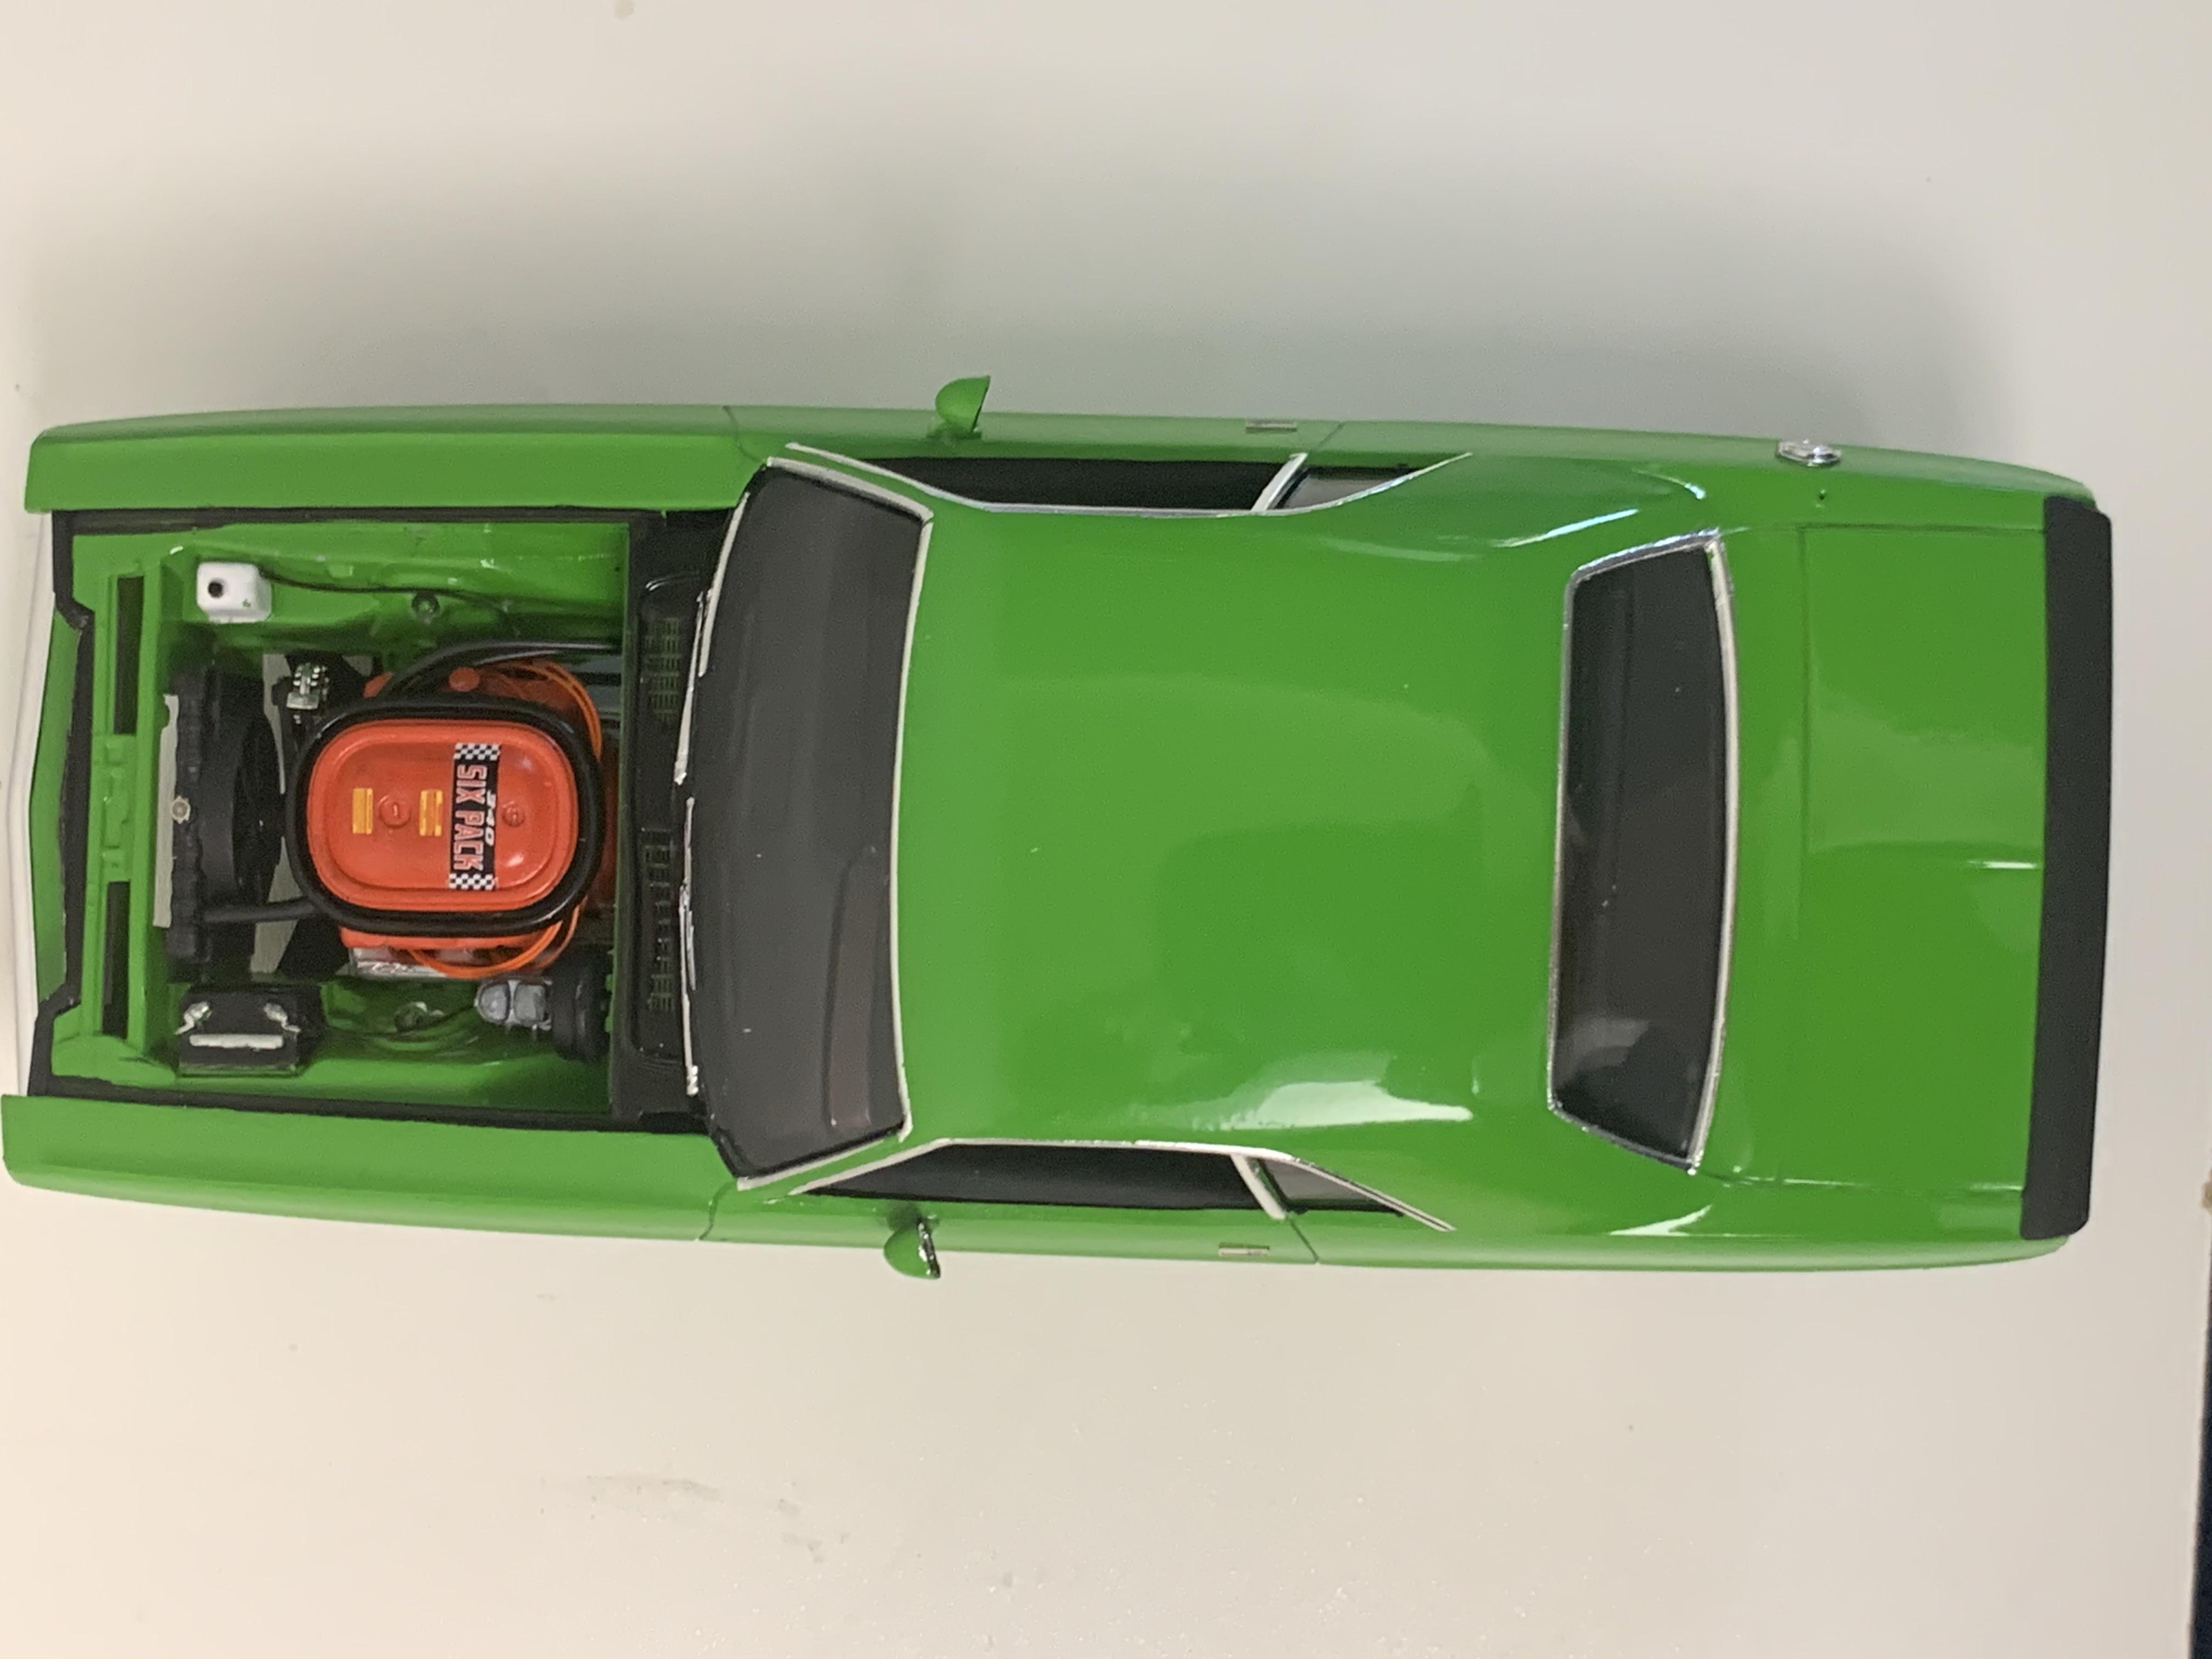
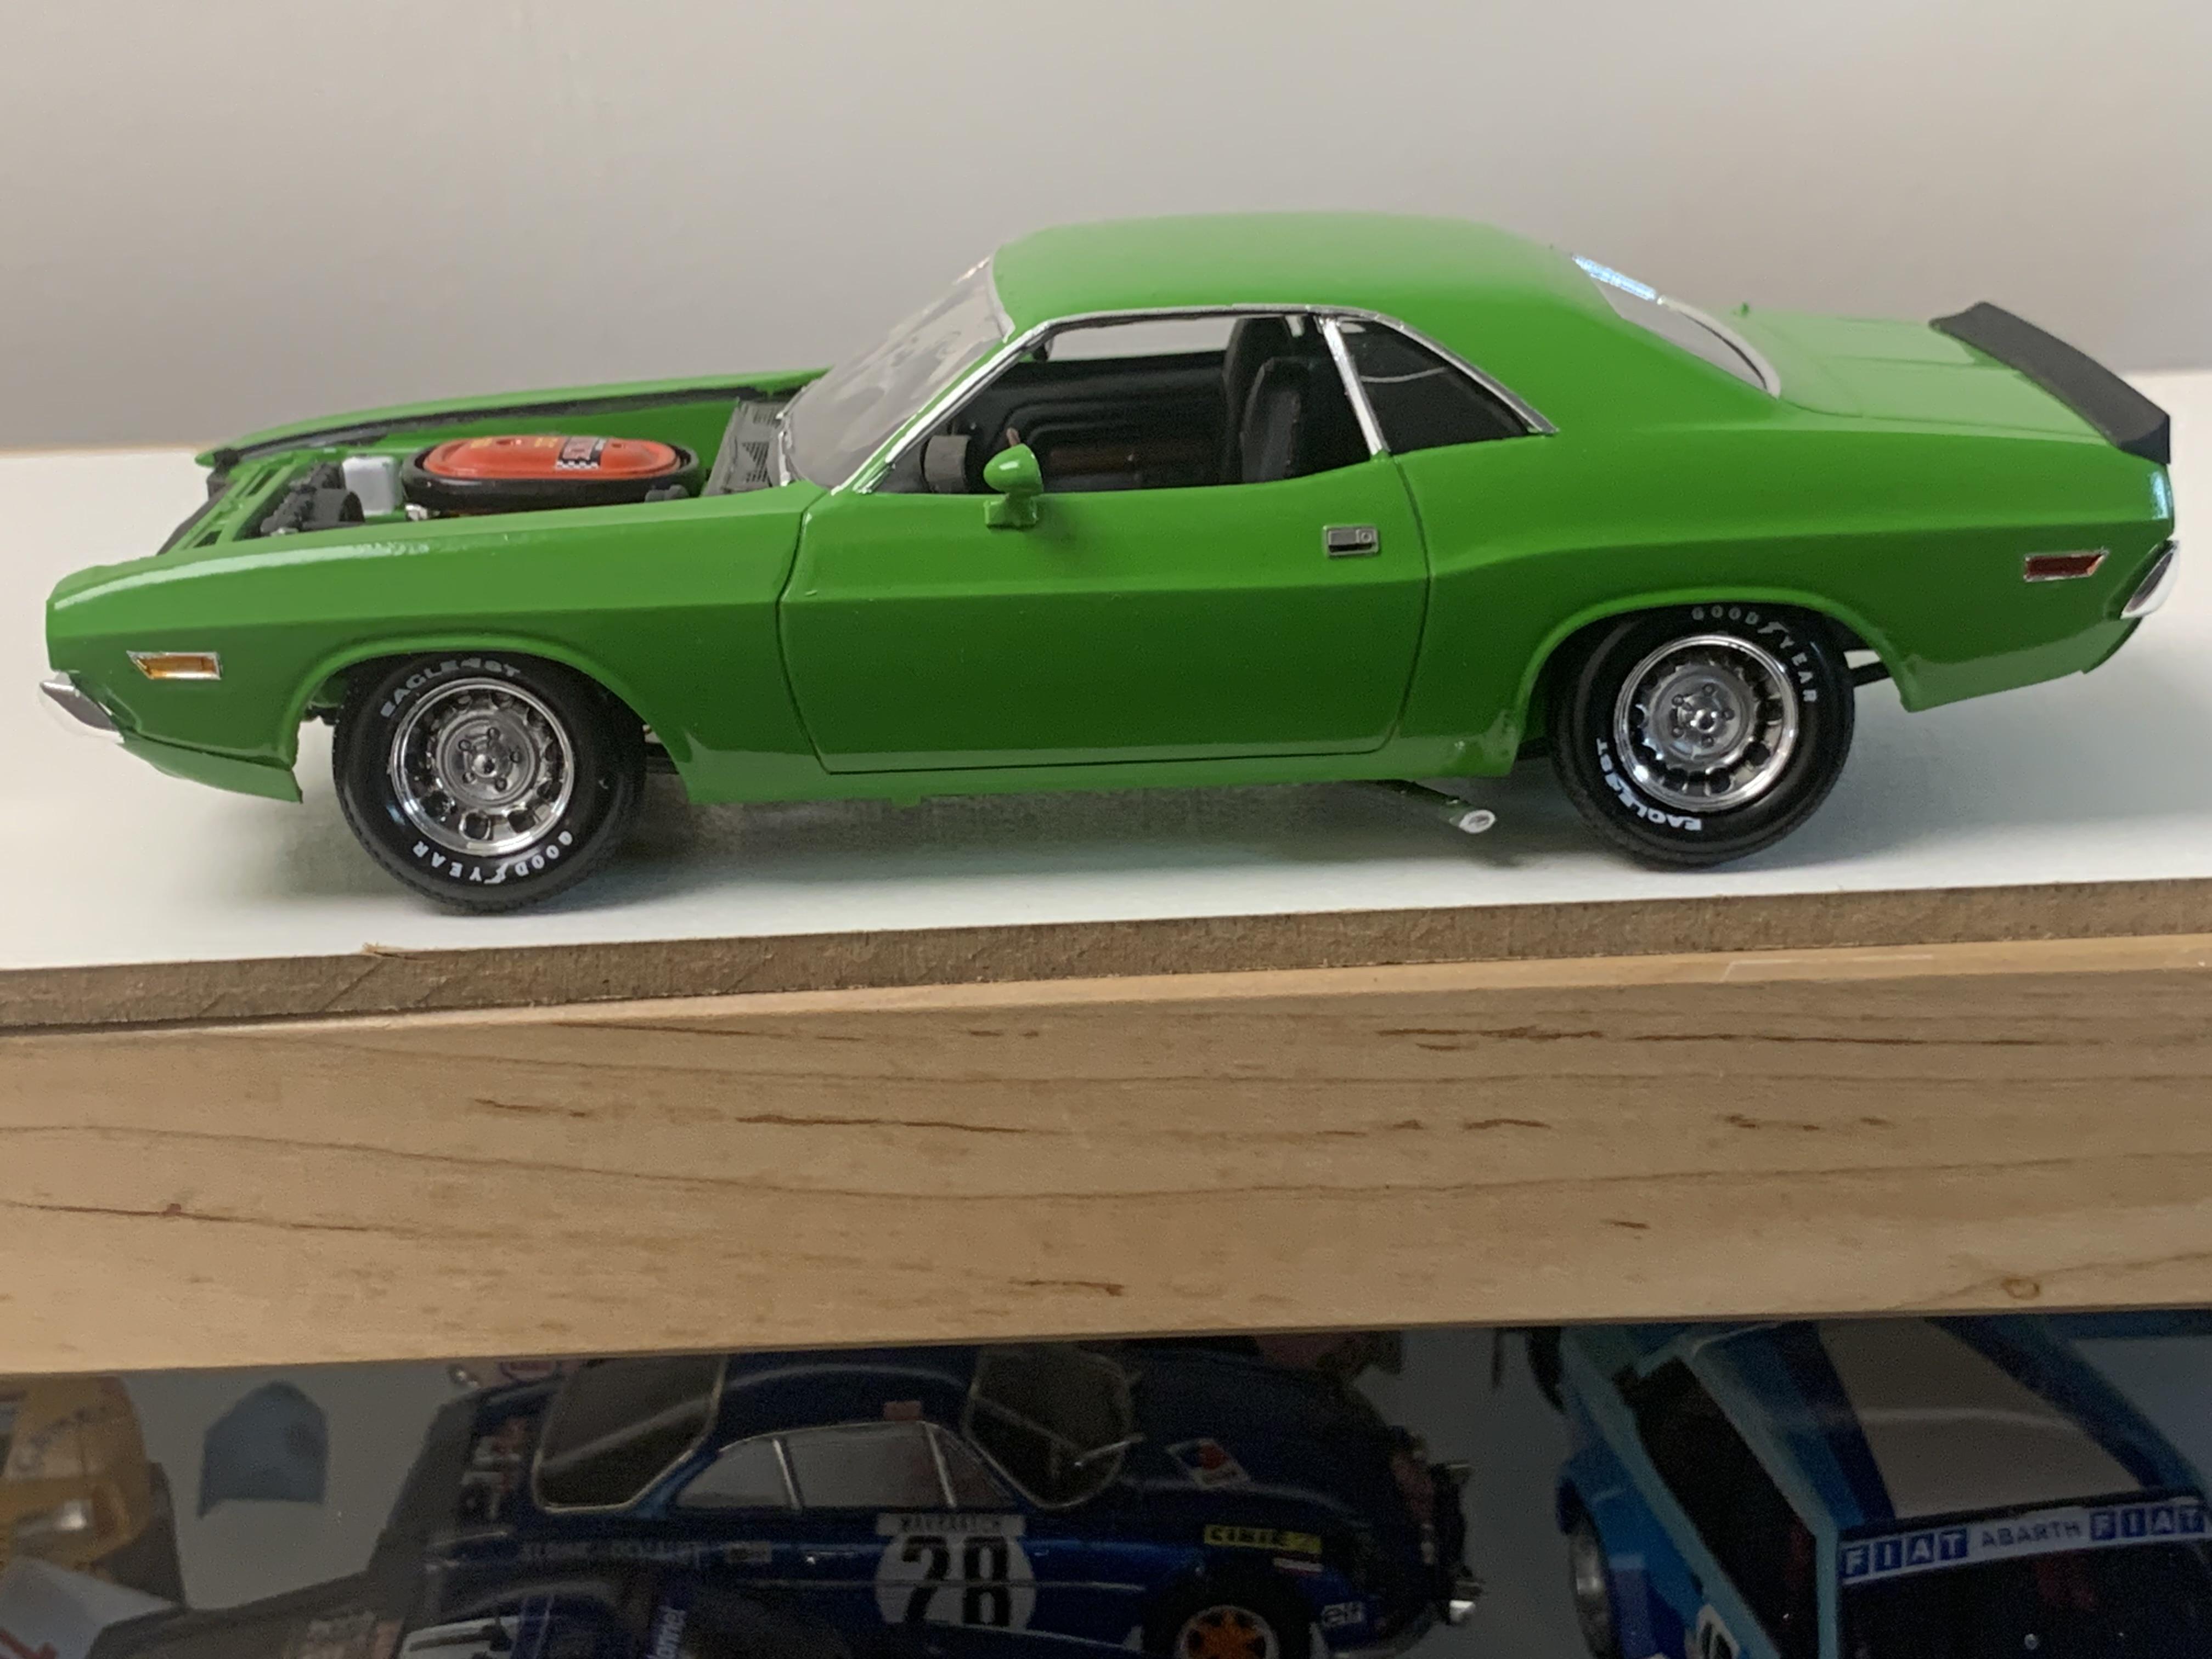
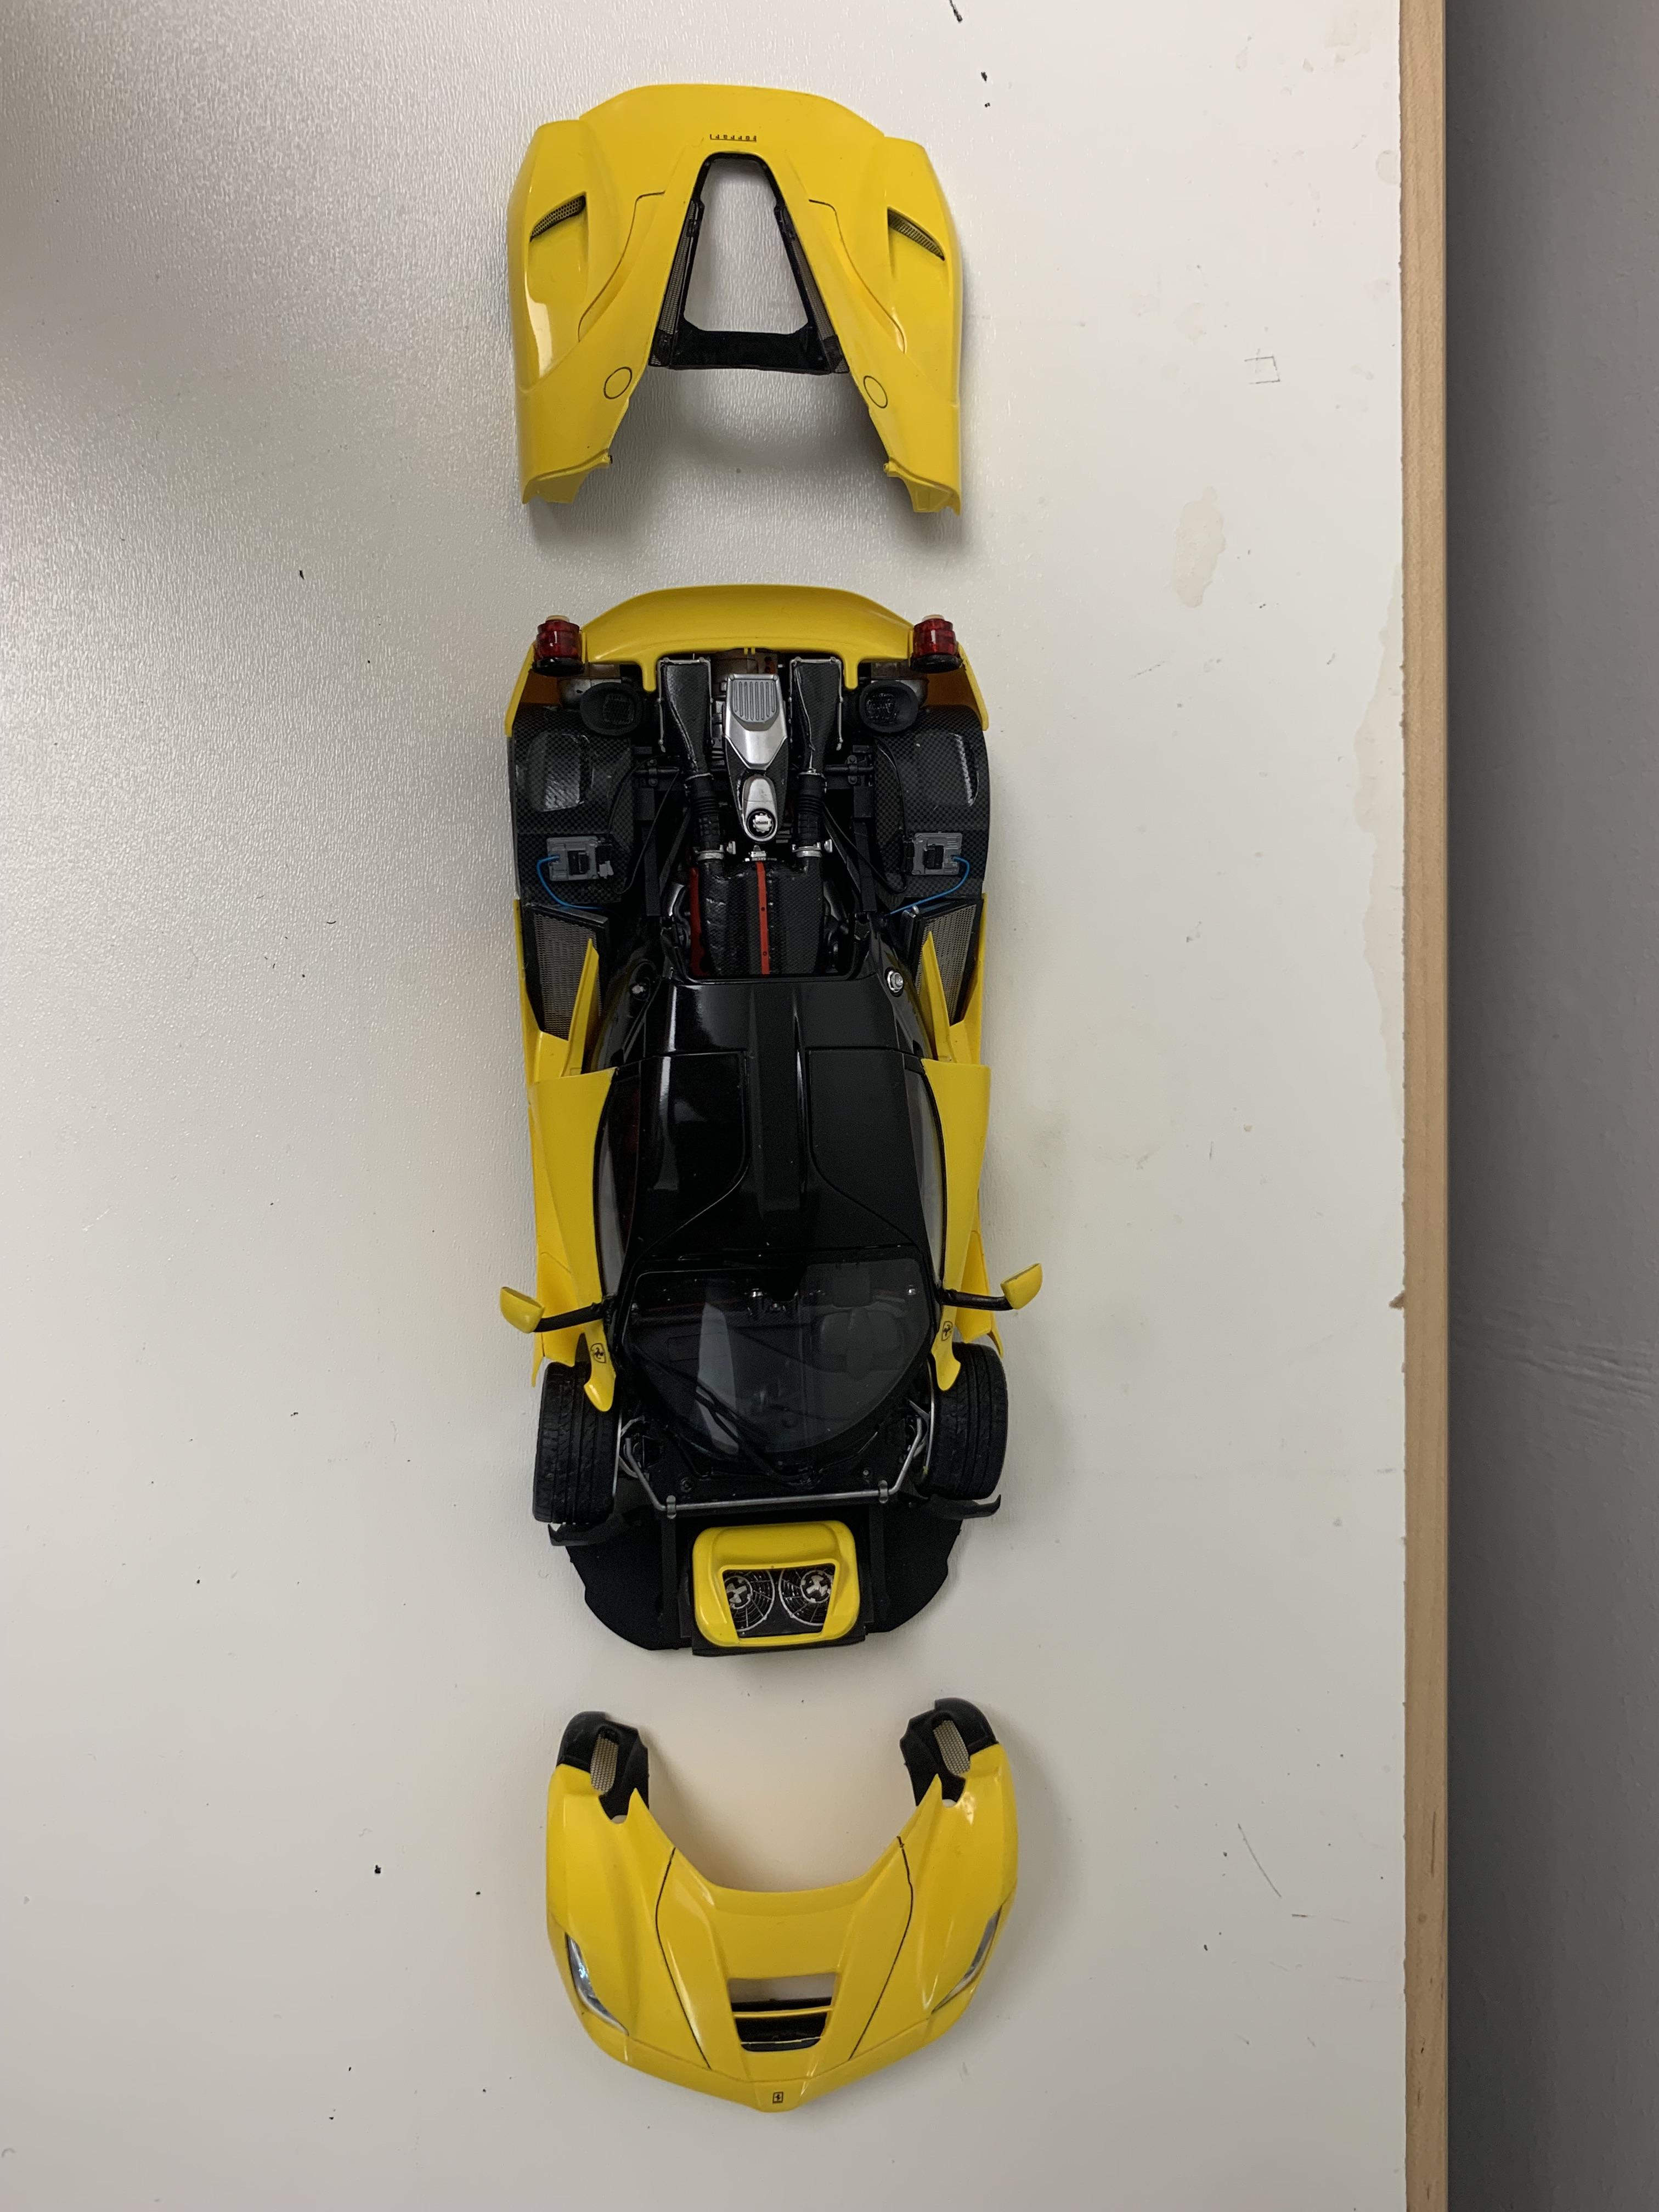
This kit was definitely a challenge. With all the clear window pieces and many body panels - it would be so easy to turn it into a glue bomb. So it took a long long time. Another kit I'd like to build again - but on to the next!
-
Belkits MG Metro 6r4
dougwintz replied to dougwintz's topic in Other Racing: Road Racing, Salt Flat Racers
Thx for all the nice comments, guys -
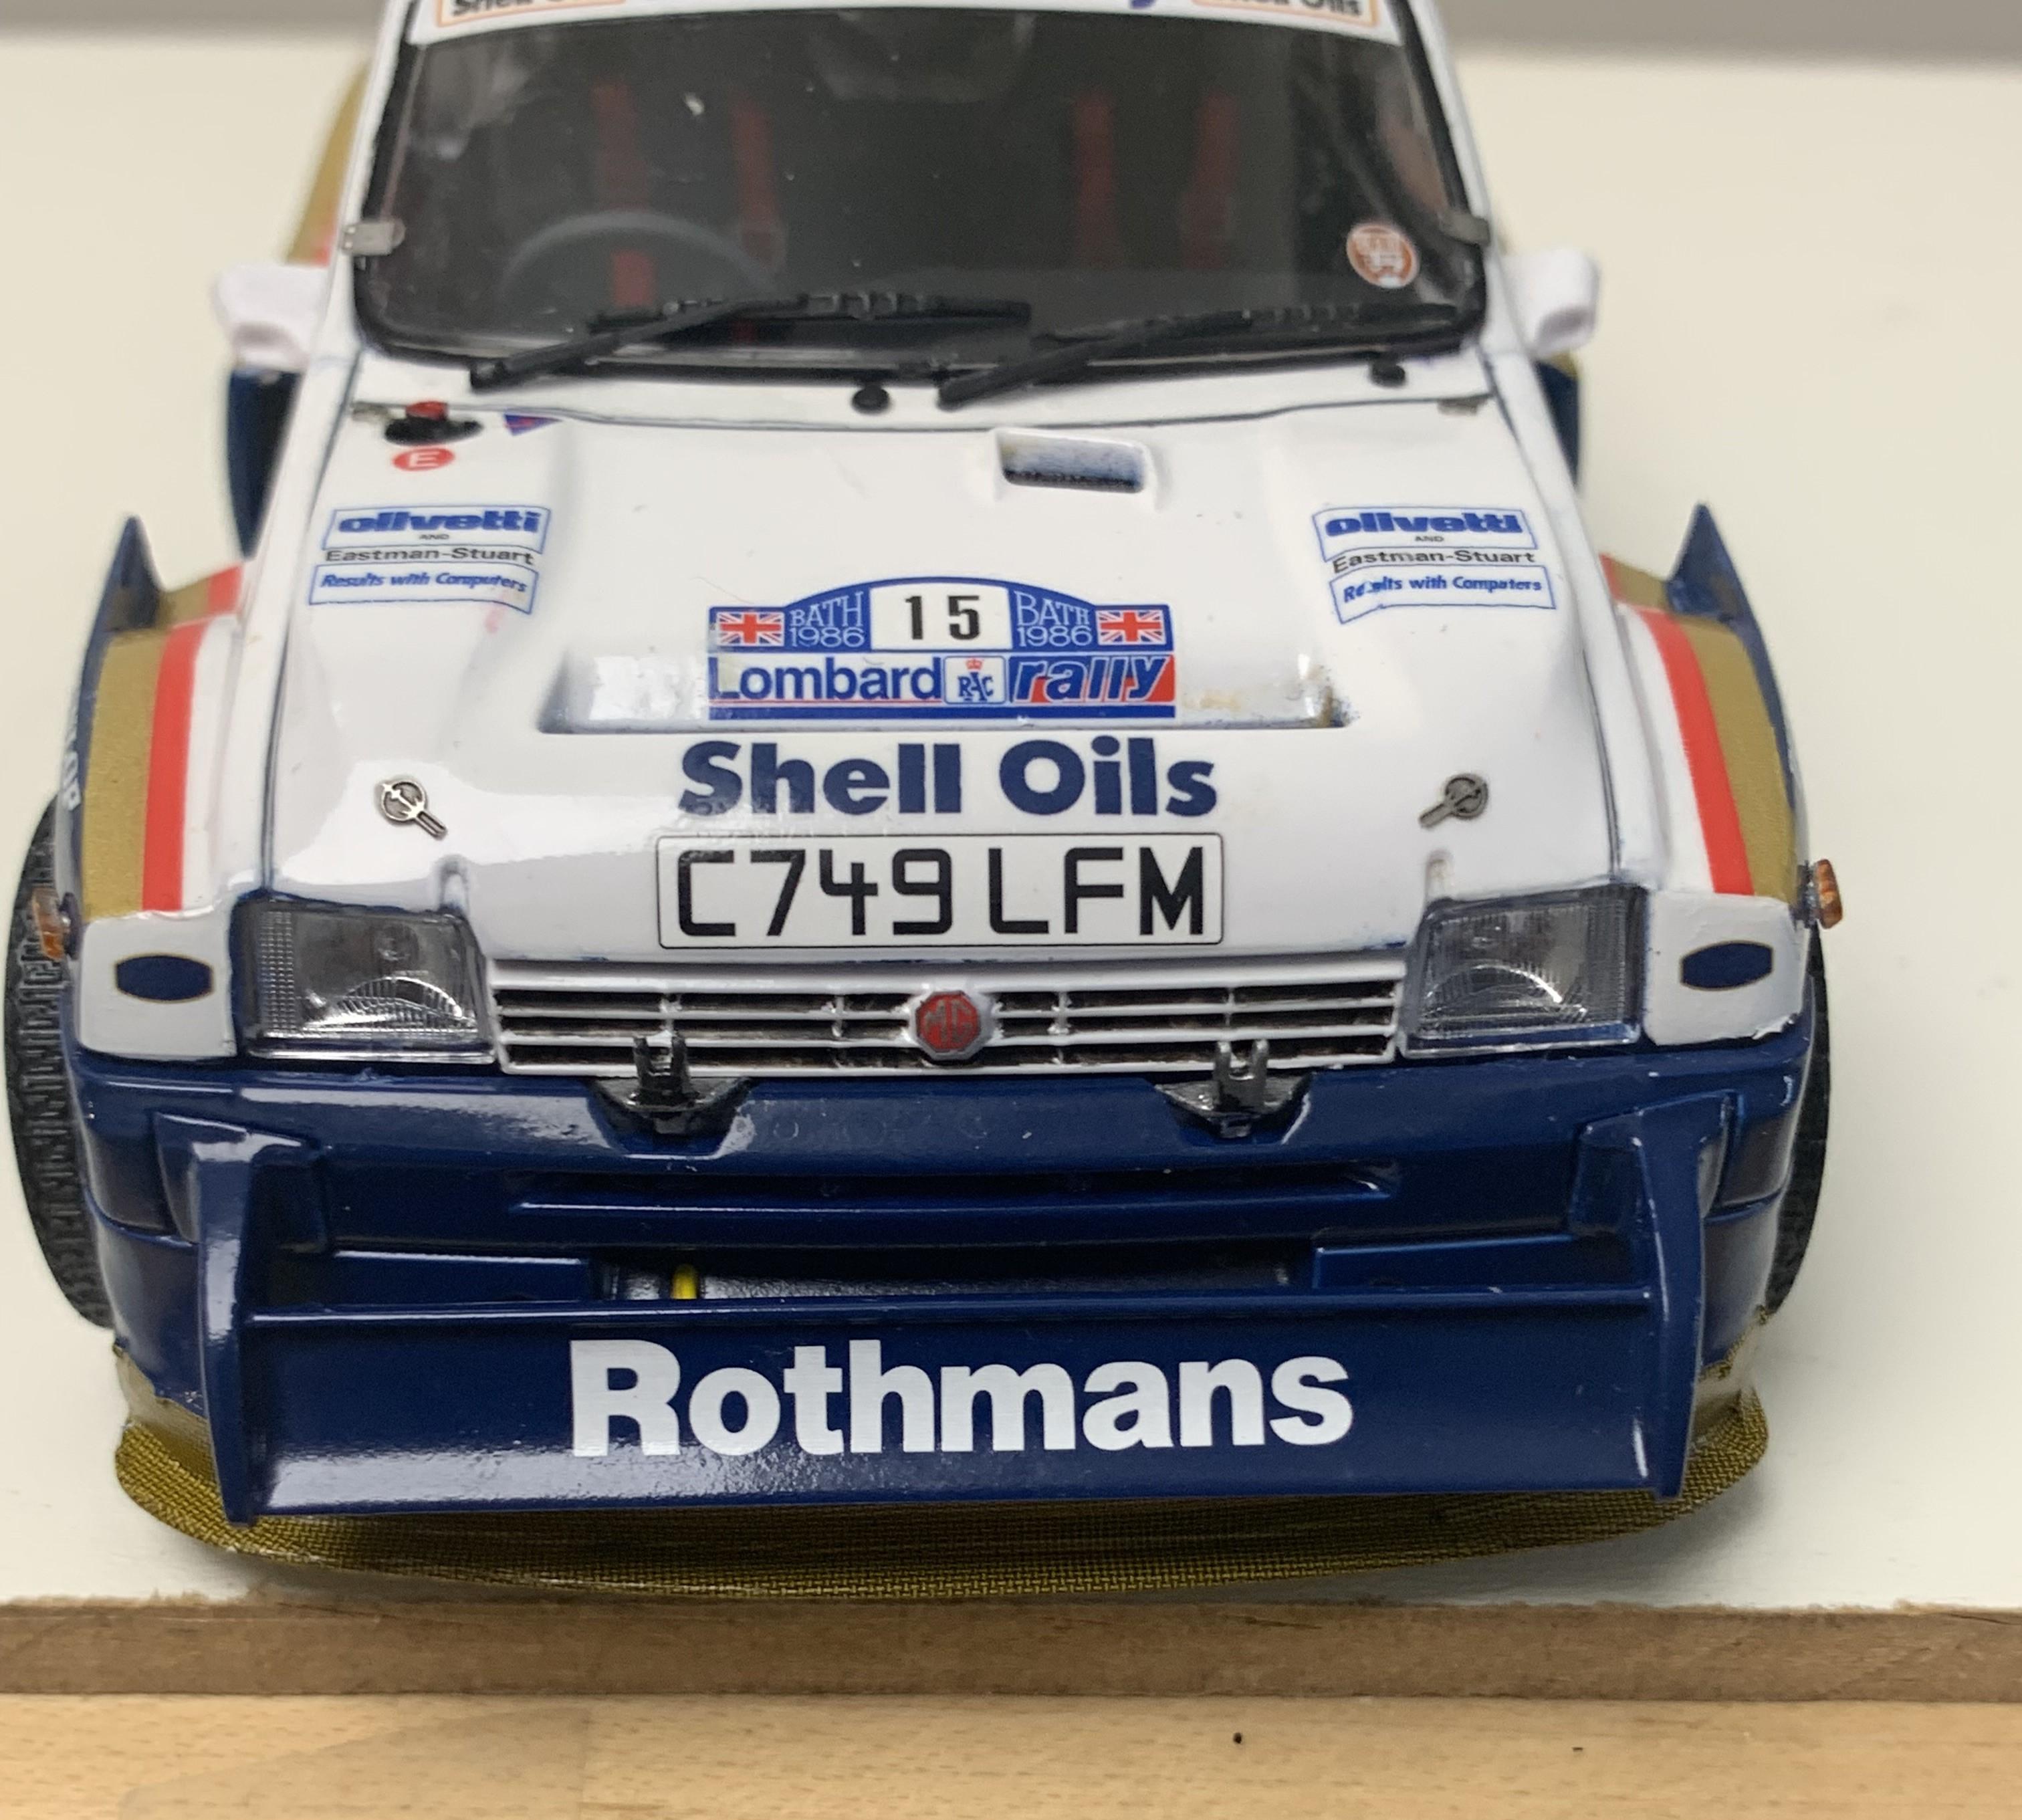
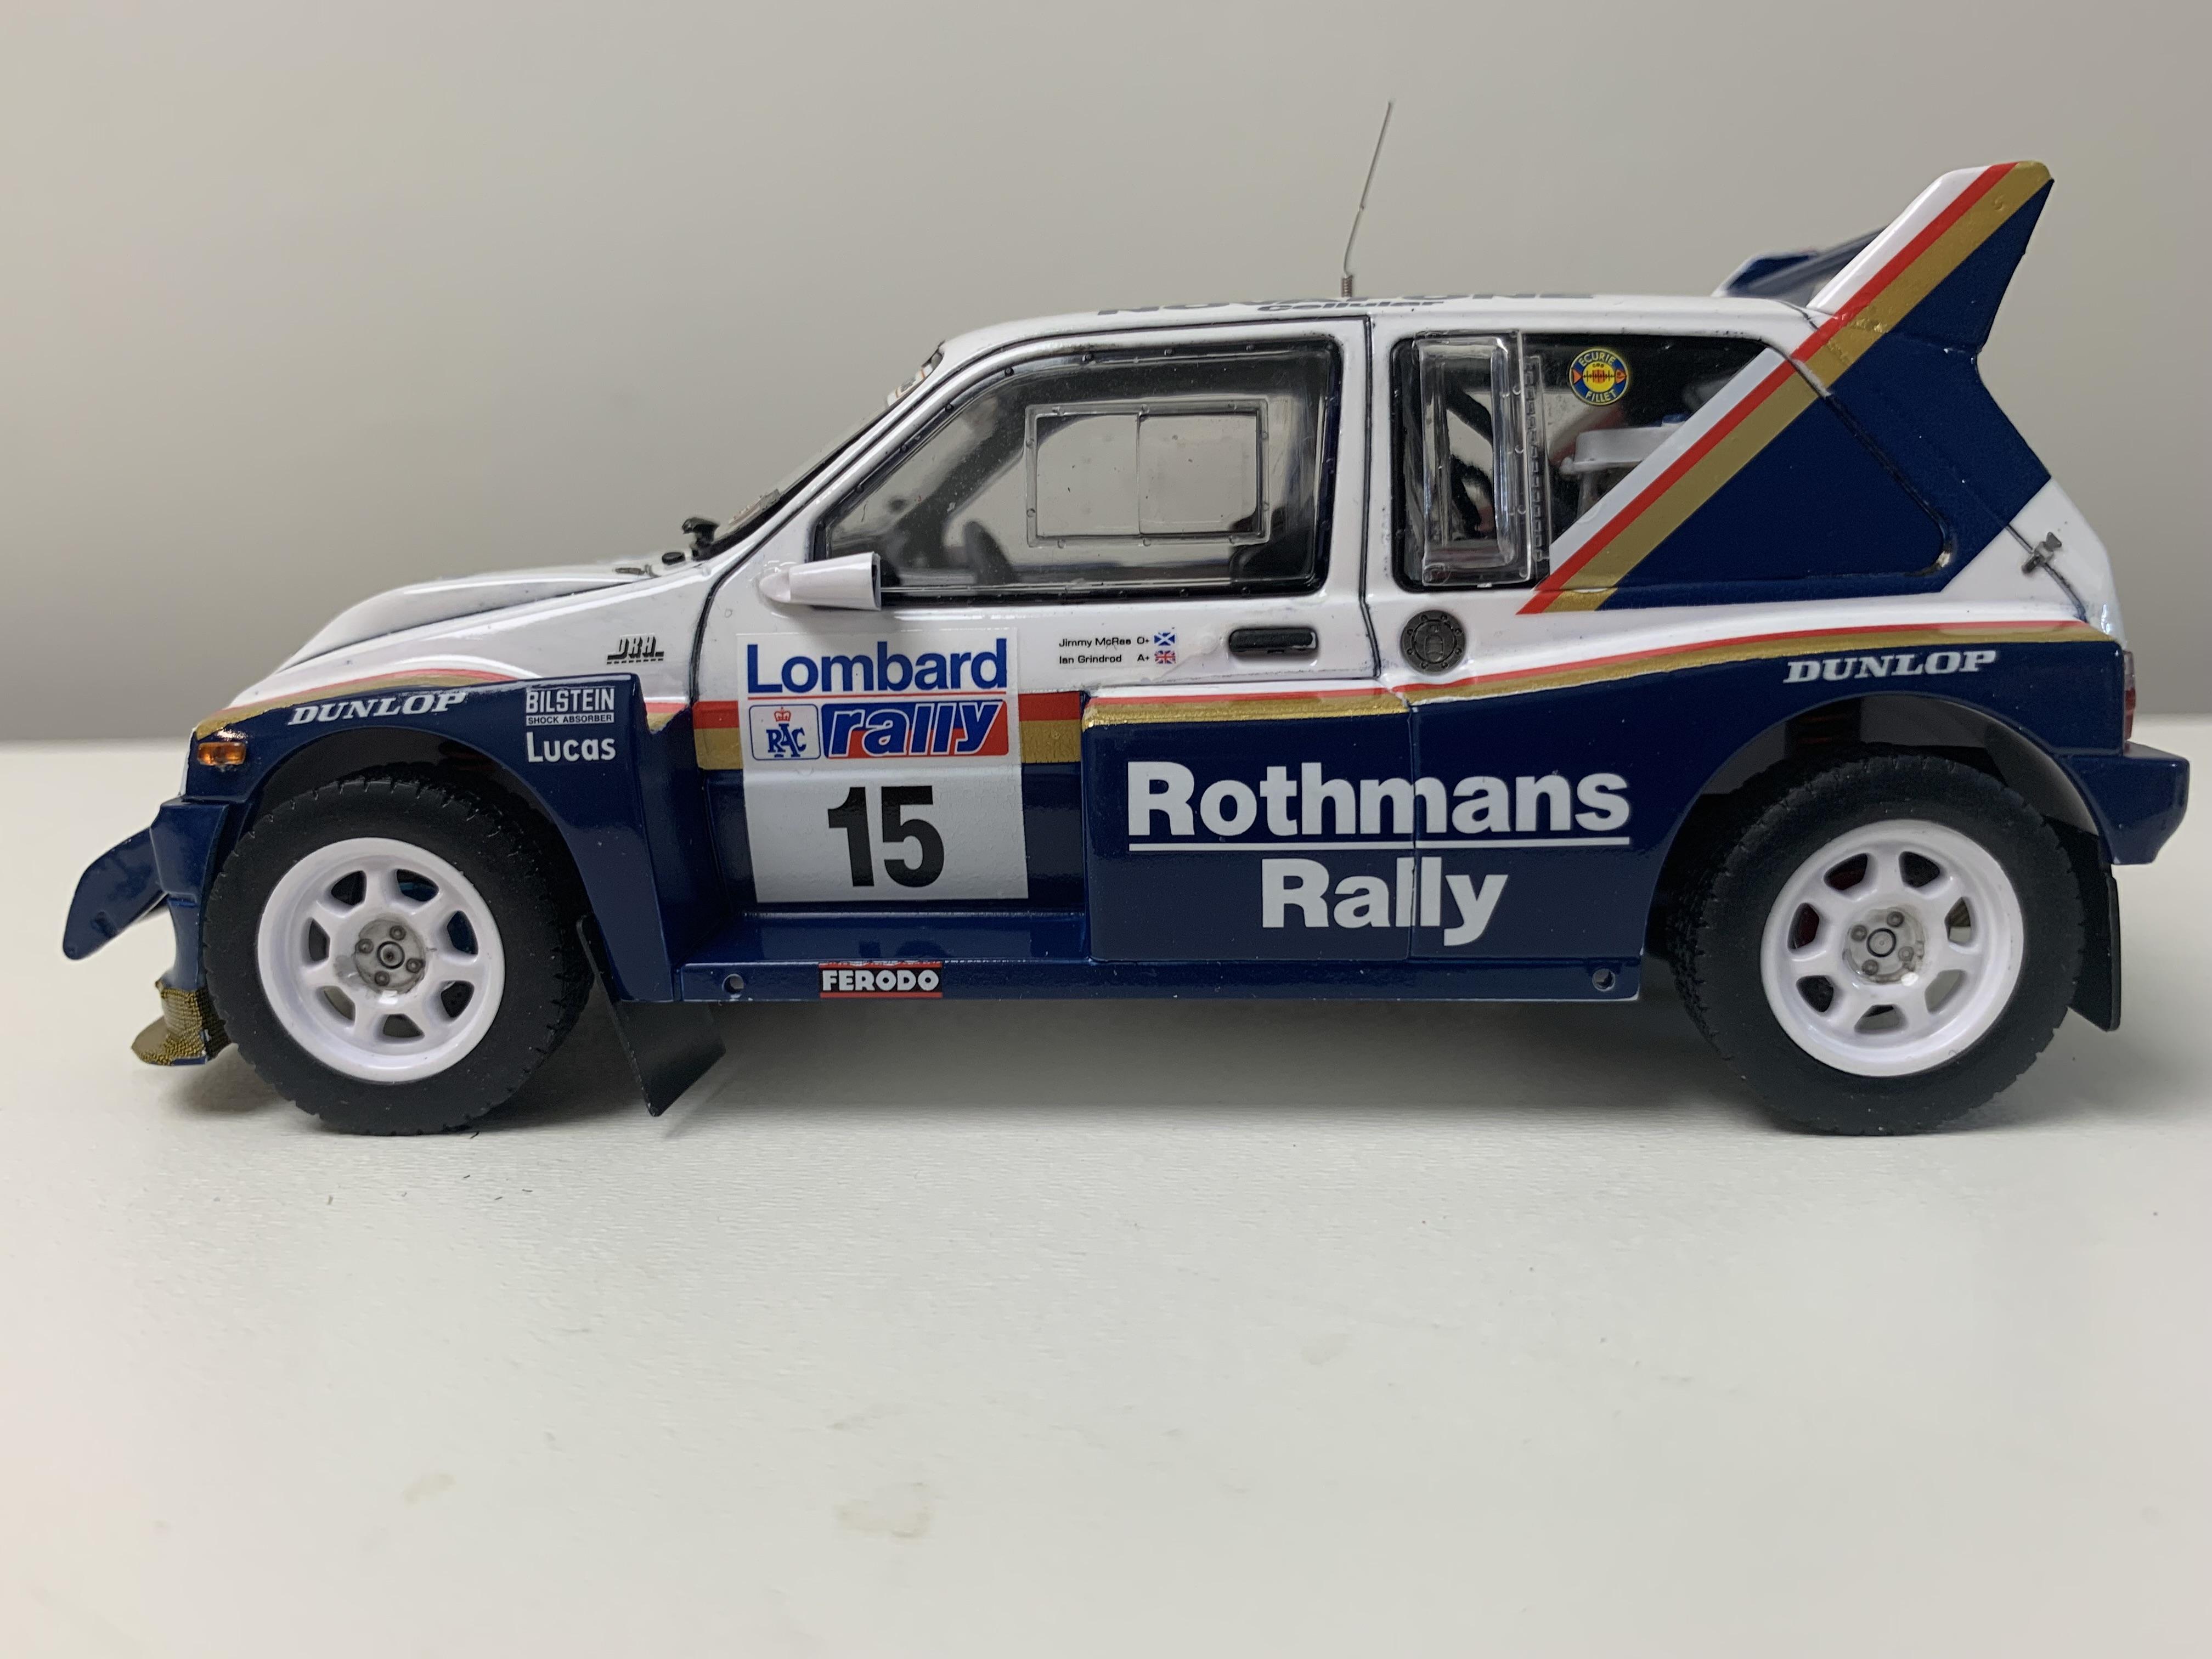
As you can see by the first picture, my patient was in intensive care, with about 6 clamps holding it together, but it eventually came out ok. This is my first SalvinoJr car. Very challenging, but props to the company for putting out a lot of new, current product, instead of the recycled stuff from the other U.S. model companies. Great decals. This makes me want to build a few more of these. The next time I would like to 1) detail the interior with wiring and have the body detachable so show the inside 2) add seatbelts 3) use aftermarket brakes 4) add some 3d printed parts like the brakes 5) pay more attention to the snorkel and intakes in the engine bay. Its also the first time I sprayed matte clear over decals. I feel like I had to stand 6 feet away so I didn't destroy the decals but it worked out.
-
Belkits MG Metro 6r4
dougwintz replied to dougwintz's topic in Other Racing: Road Racing, Salt Flat Racers
That guys for the comments -
Belkits MG Metro 6r4
dougwintz replied to dougwintz's topic in Other Racing: Road Racing, Salt Flat Racers
WIP pics
-
Belkits MG Metro 6r4
dougwintz replied to dougwintz's topic in Other Racing: Road Racing, Salt Flat Racers
Usually don't clear over decals, but trying more often
-
Belkits MG Metro 6r4
dougwintz replied to dougwintz's topic in Other Racing: Road Racing, Salt Flat Racers
...and now I see some smudges that need to be cleaned...happens every time -
This kit is very well detailed out of the box. Unfortunately, a lot of details are hidden once it is put together. I took a couple of WIP shots to show. Many photo etched parts come with it, as well as engine wiring. Belkits did a good job with it. Maybe next time I'll open up the back so the engine can see the light of day.
- 22 replies
-
- 11
-
-
Hi. Does anyone know where you can get 1/24 logos for the Dodge L700 kit. The lettering on the front of the cab, and the script on the side of the truck. Tried Model Car Garage and some other searches. No luck yet. Thanks!
-
Thanks for the positive feedback, everyone. After I posted my photos, I noticed some of the bare metal foil was ripped off - seems like I always see things to fix after I post! Anyway, fixed now. Next model is the Belkits MG
-
Inspired to pick that kit up. Nice job
-
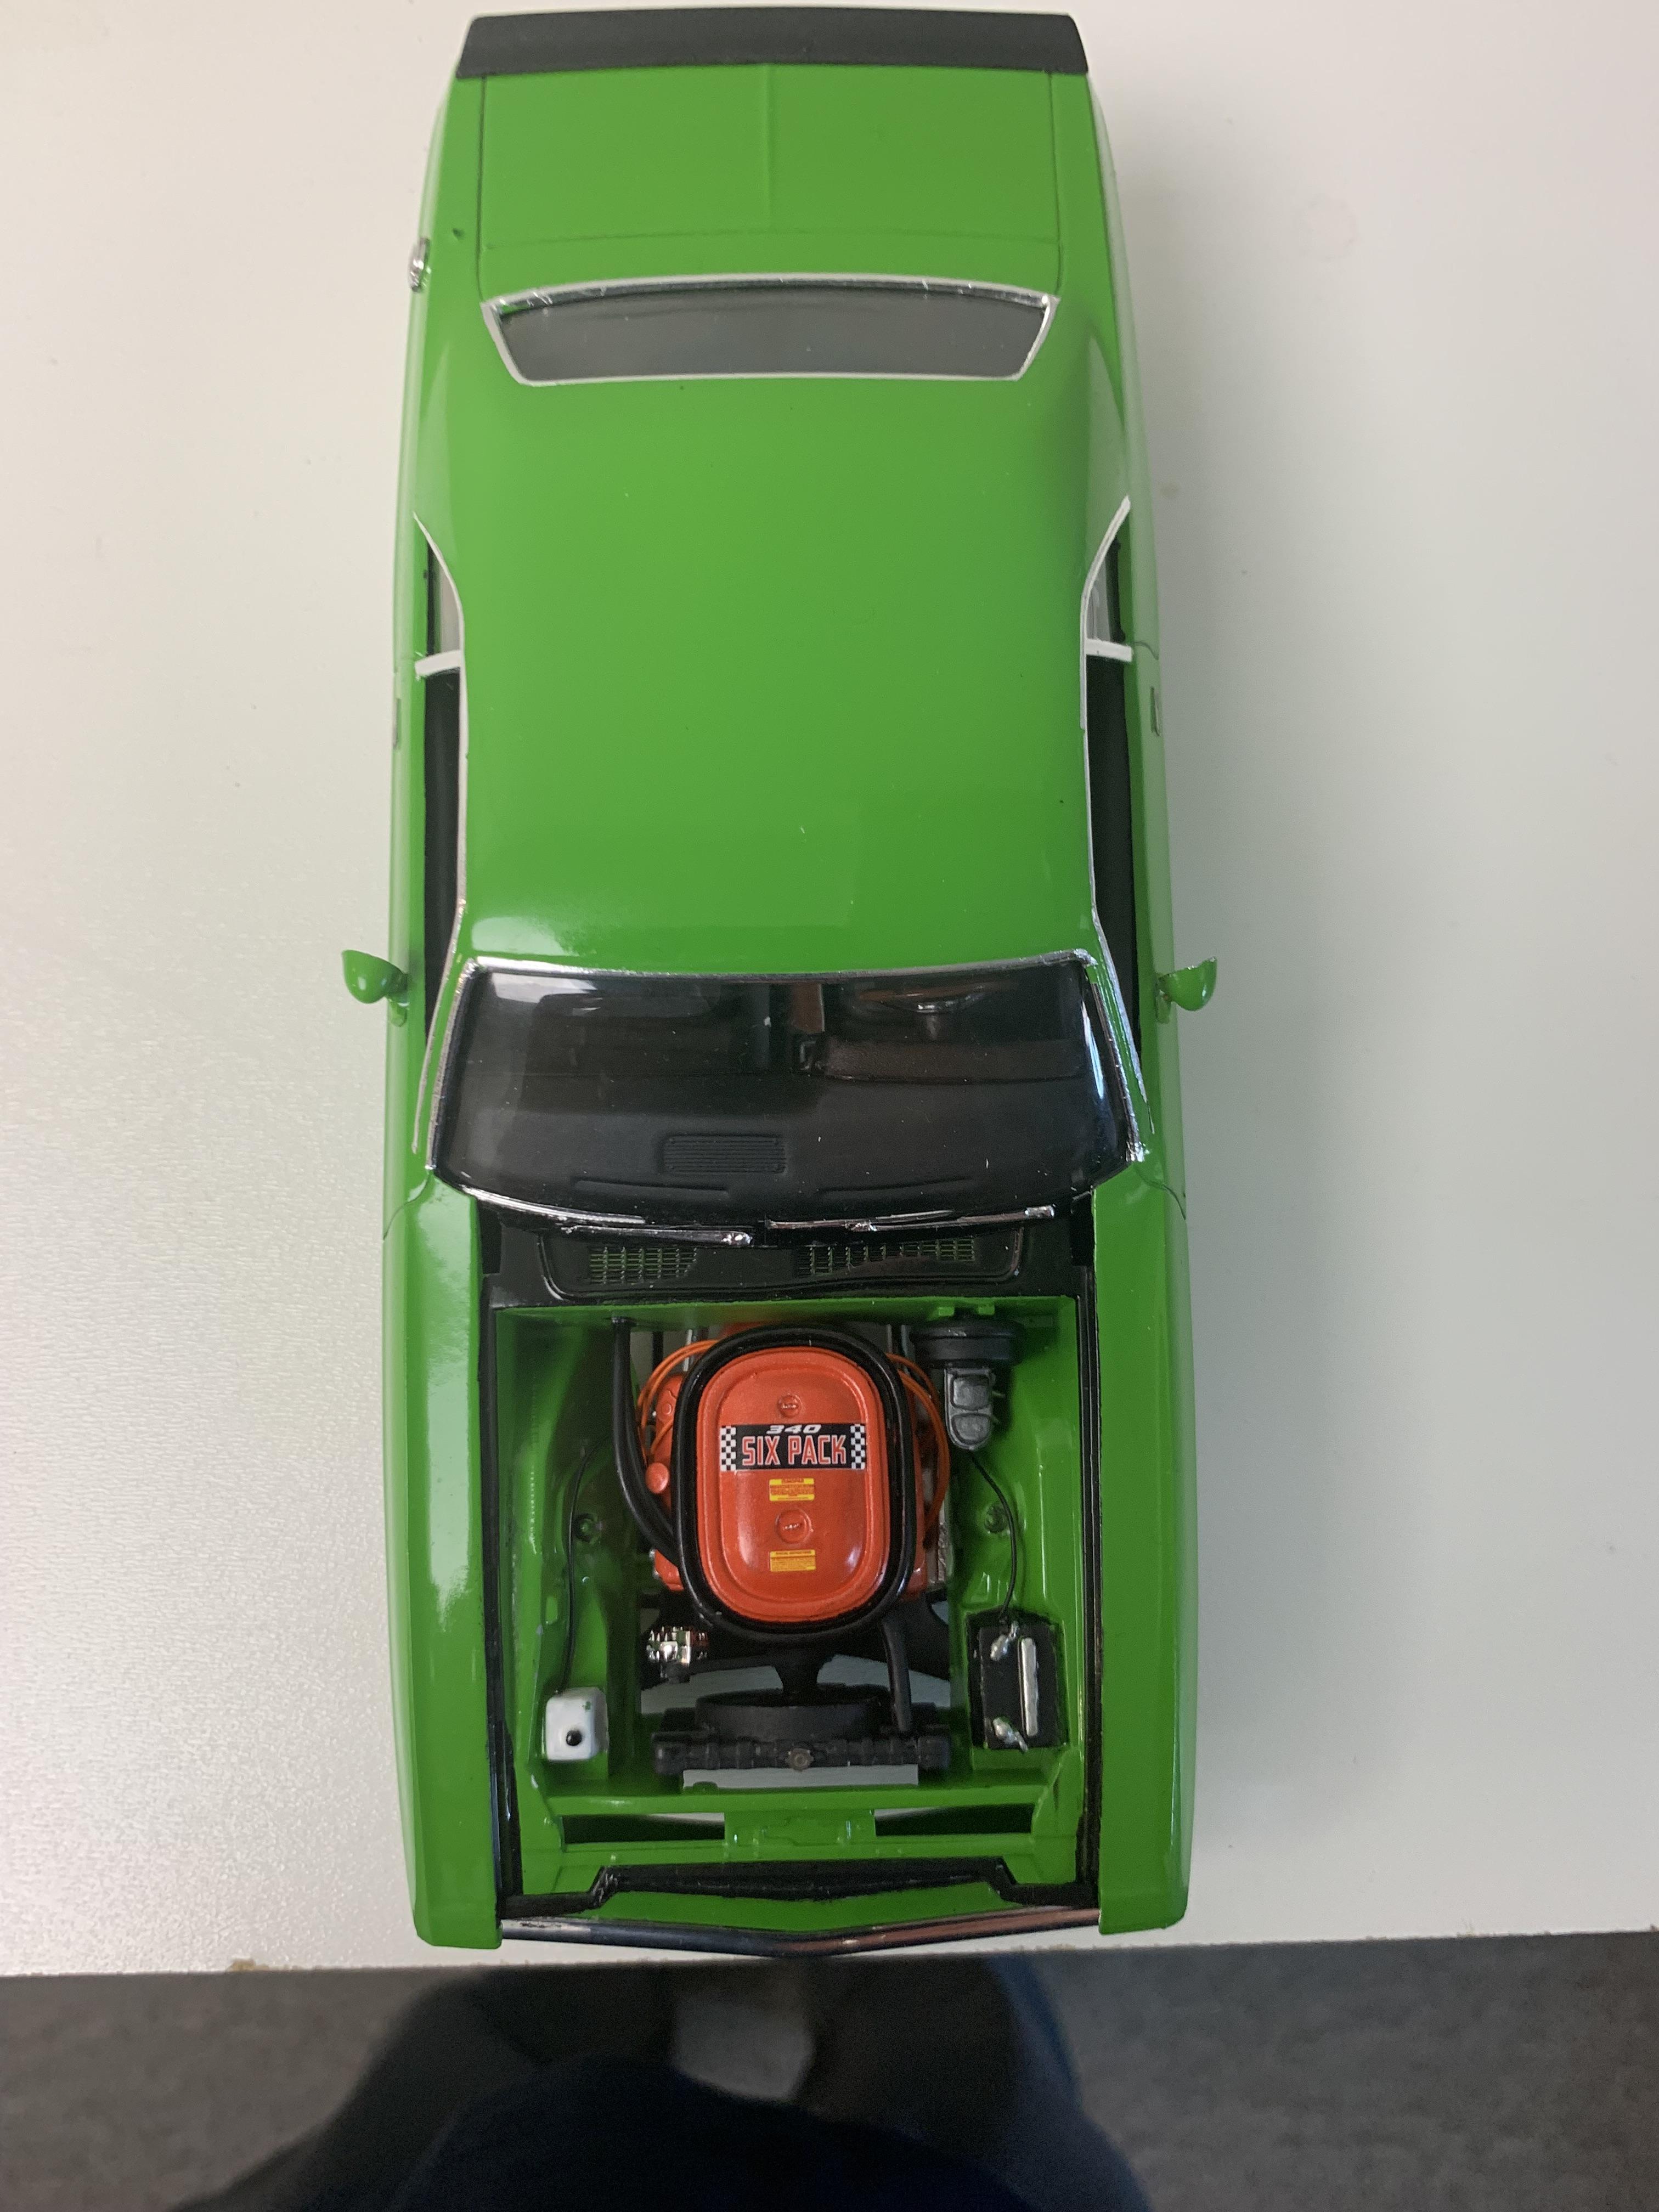
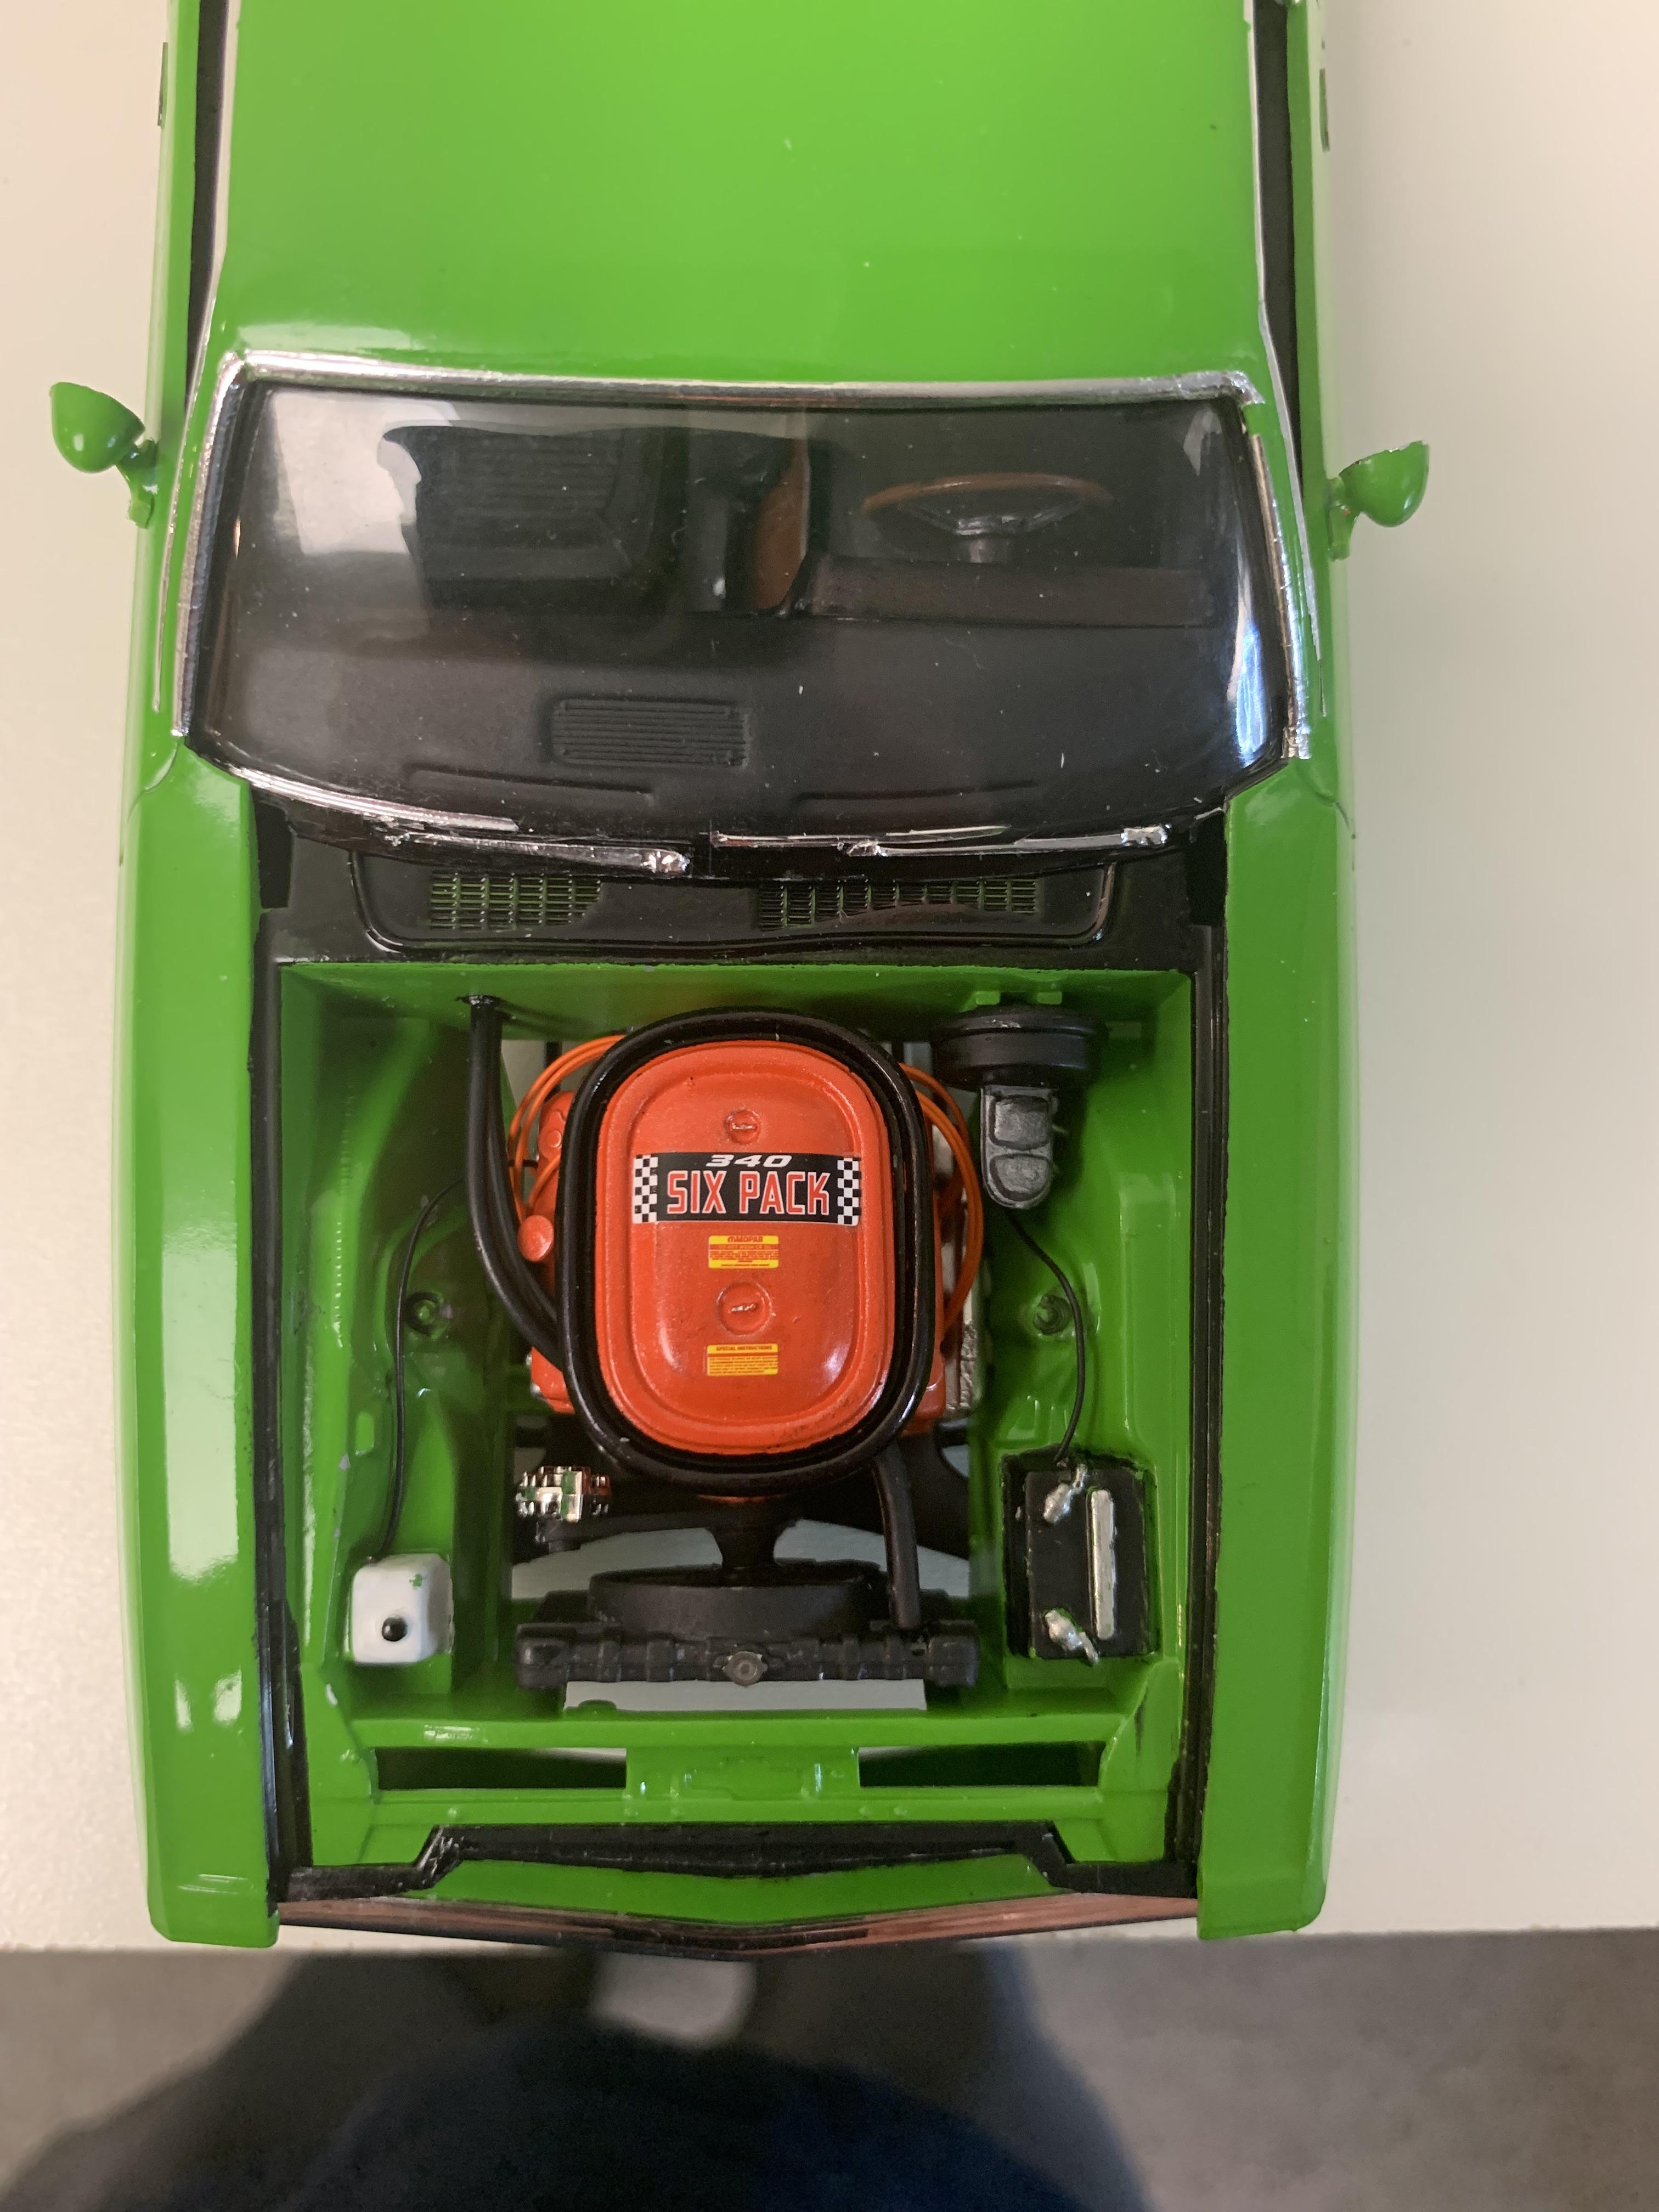
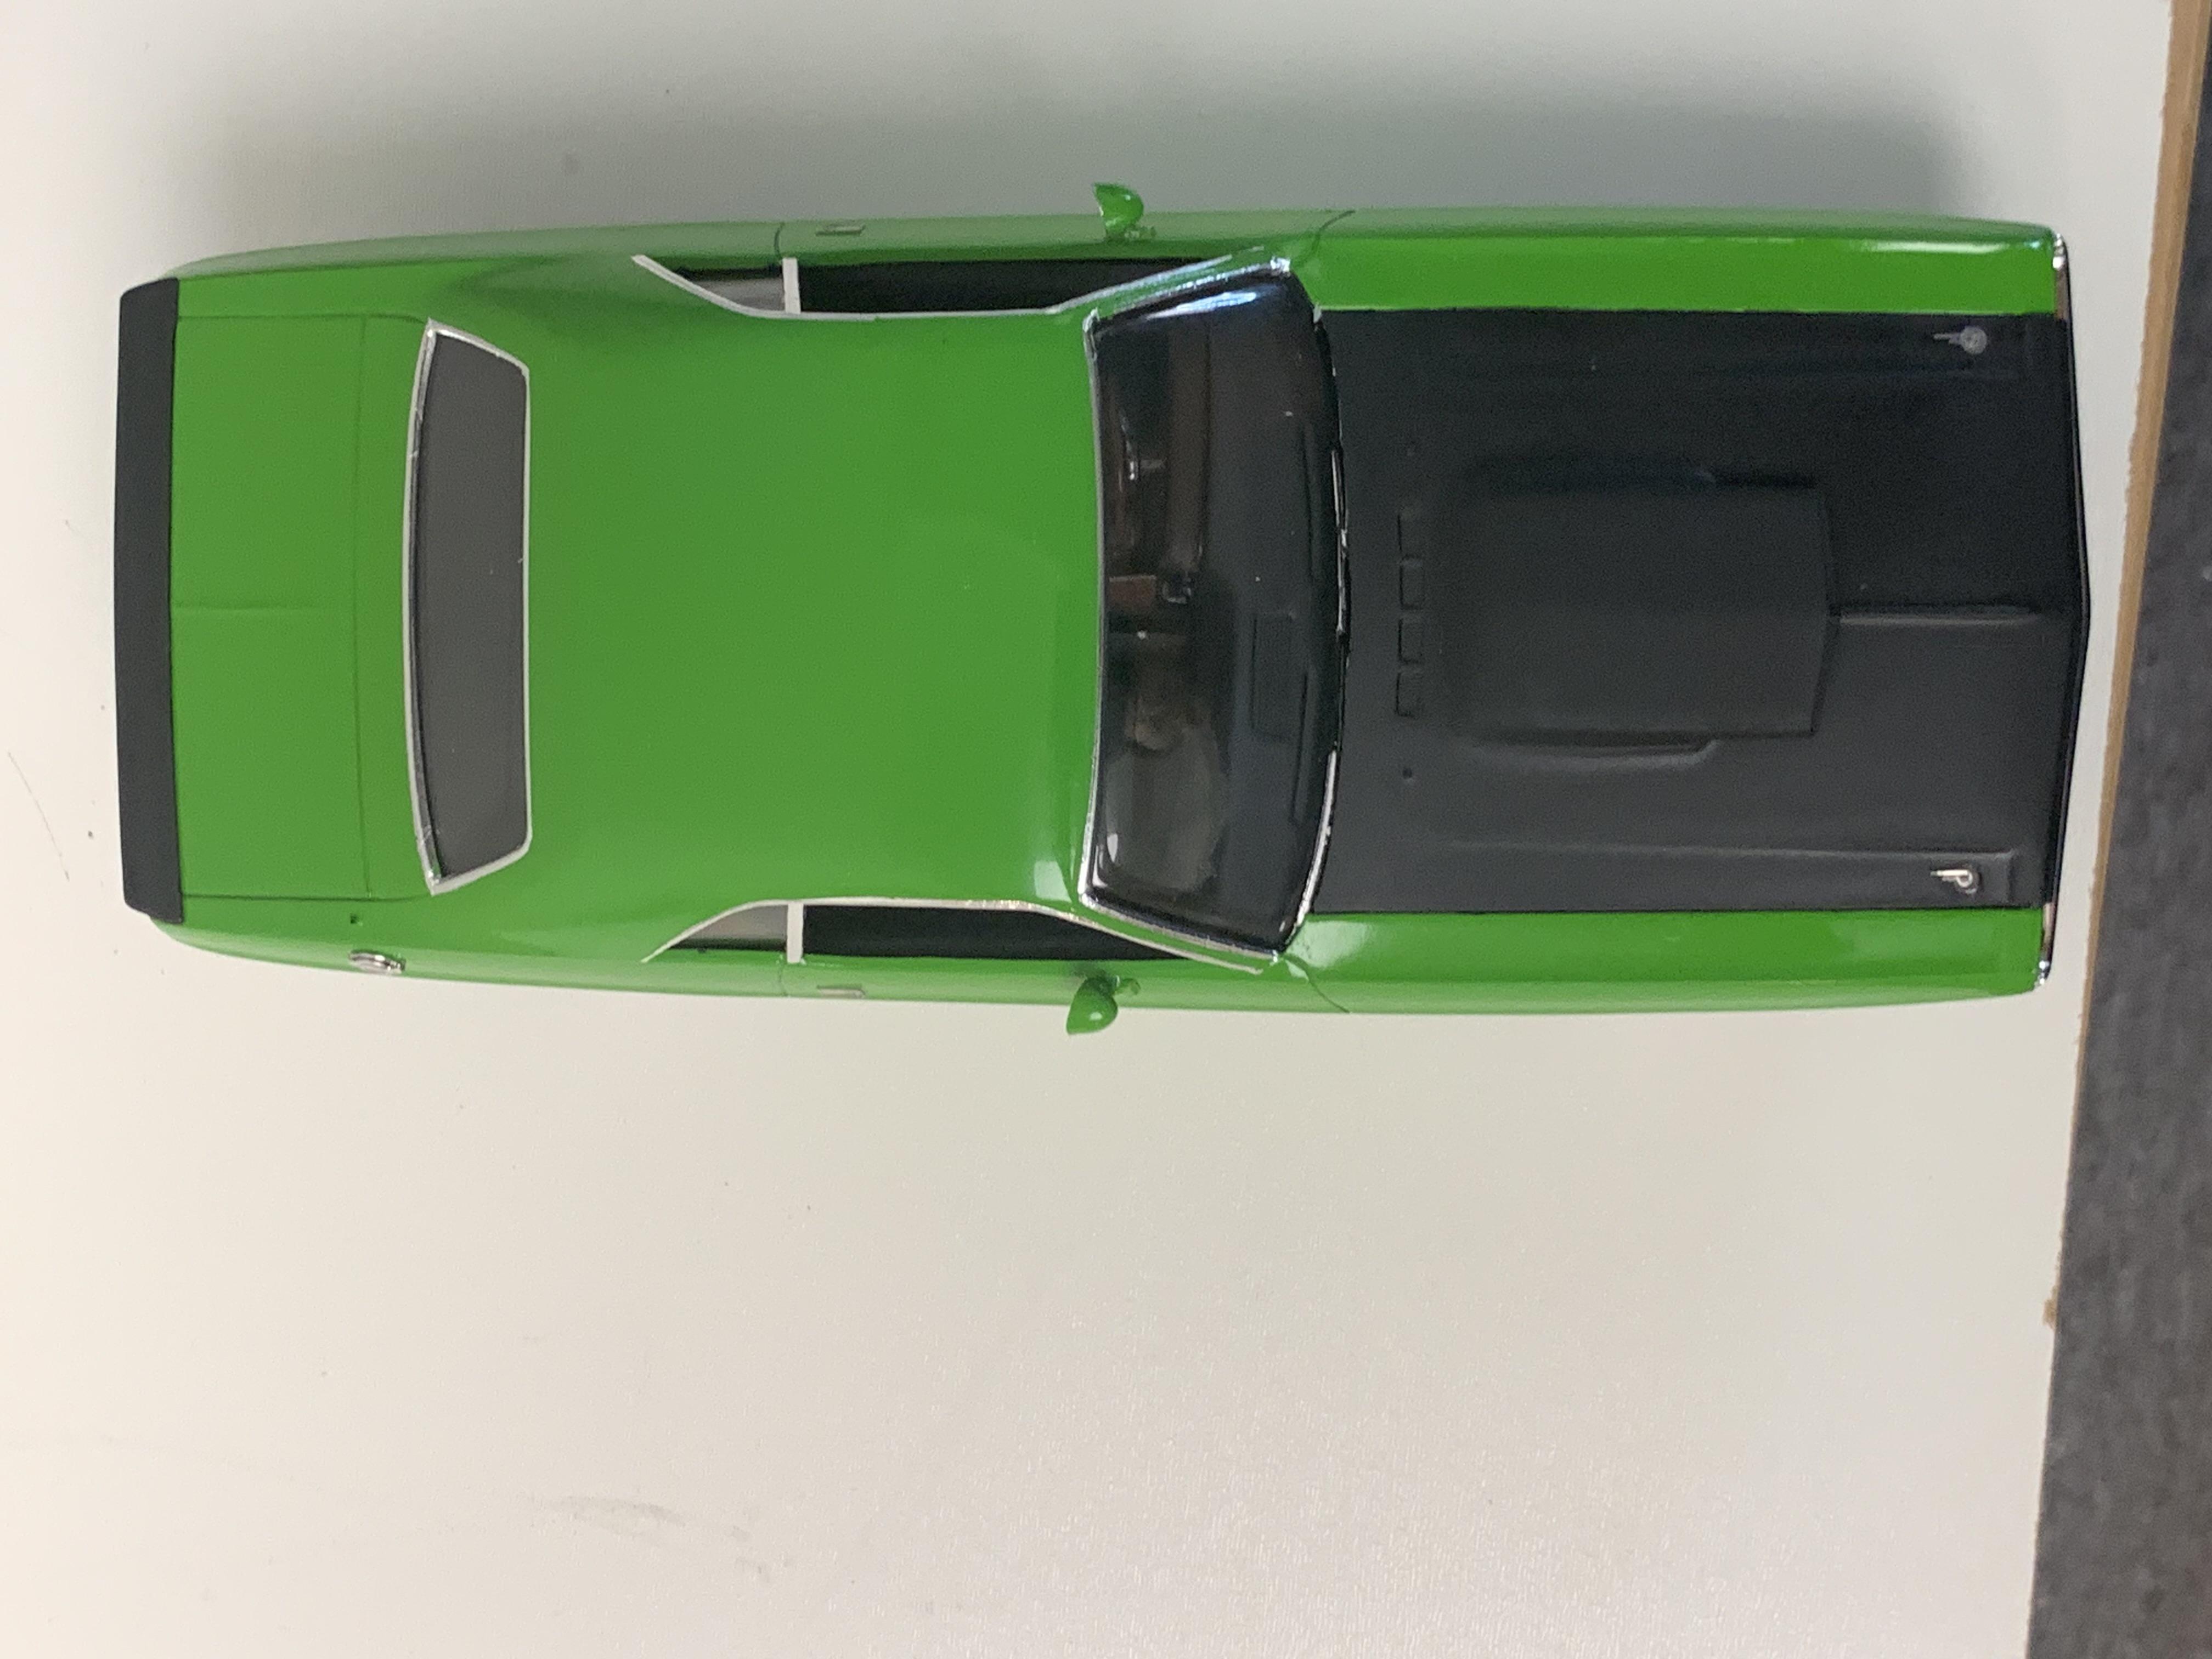
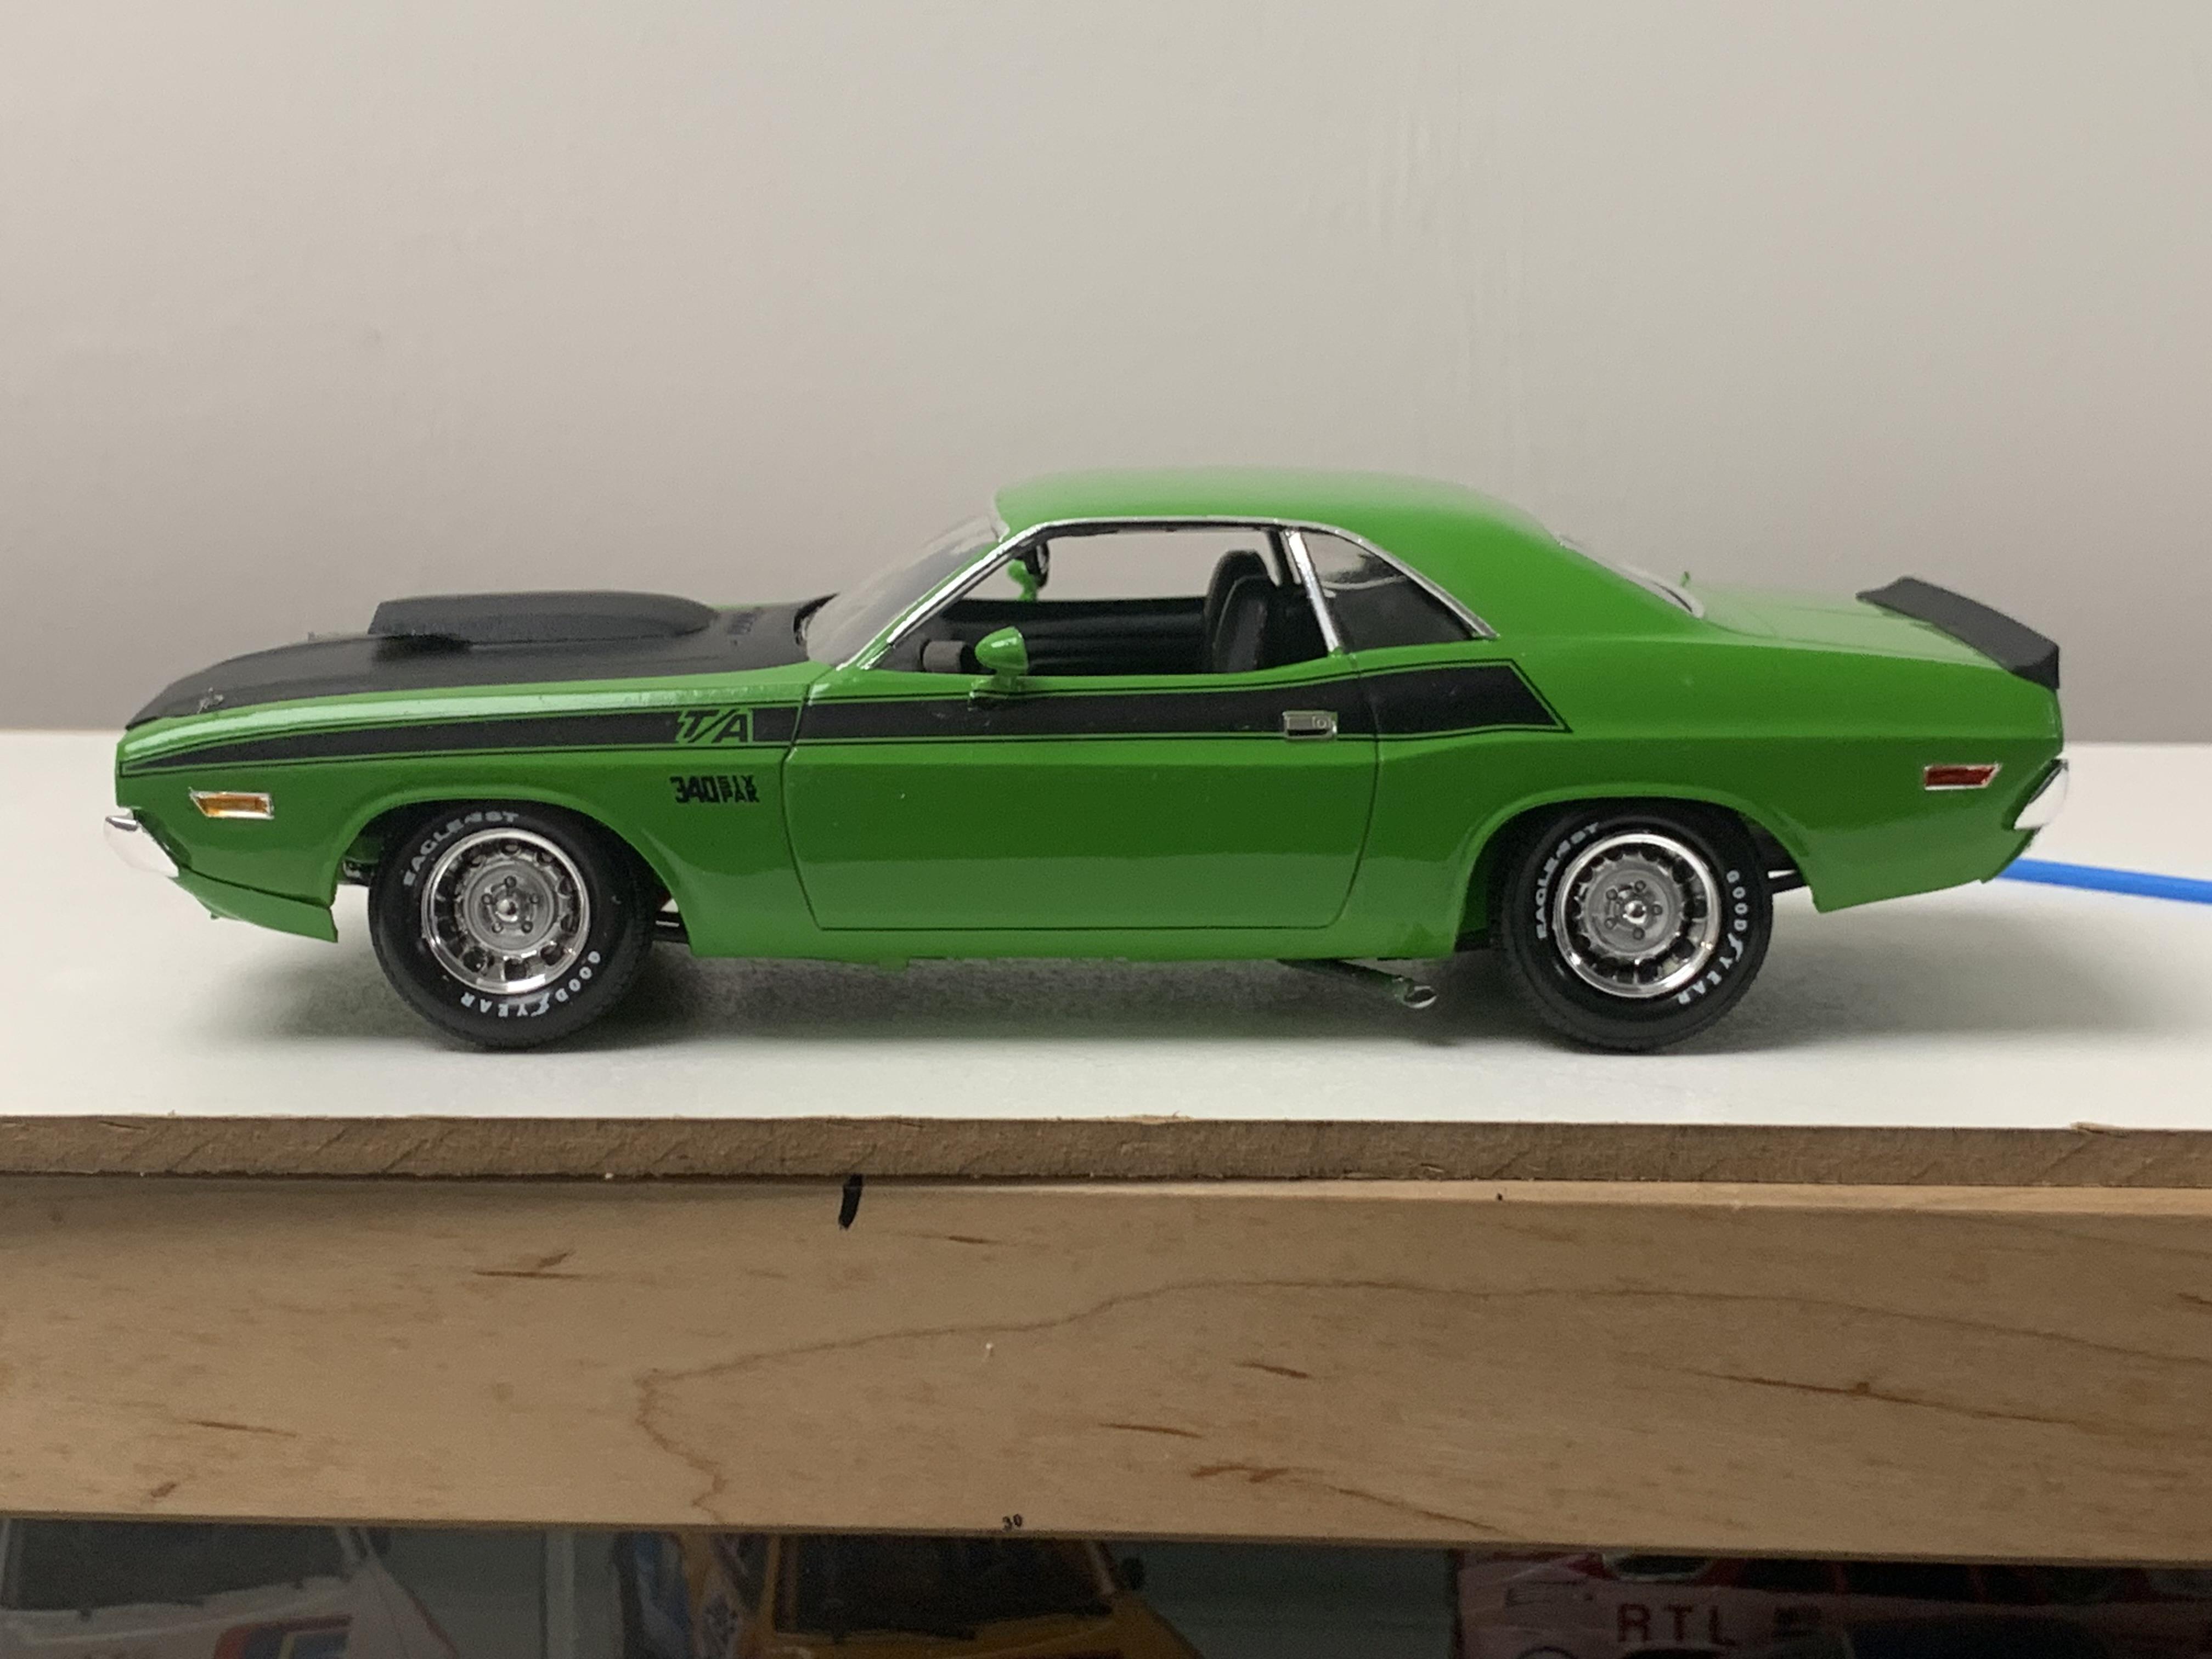
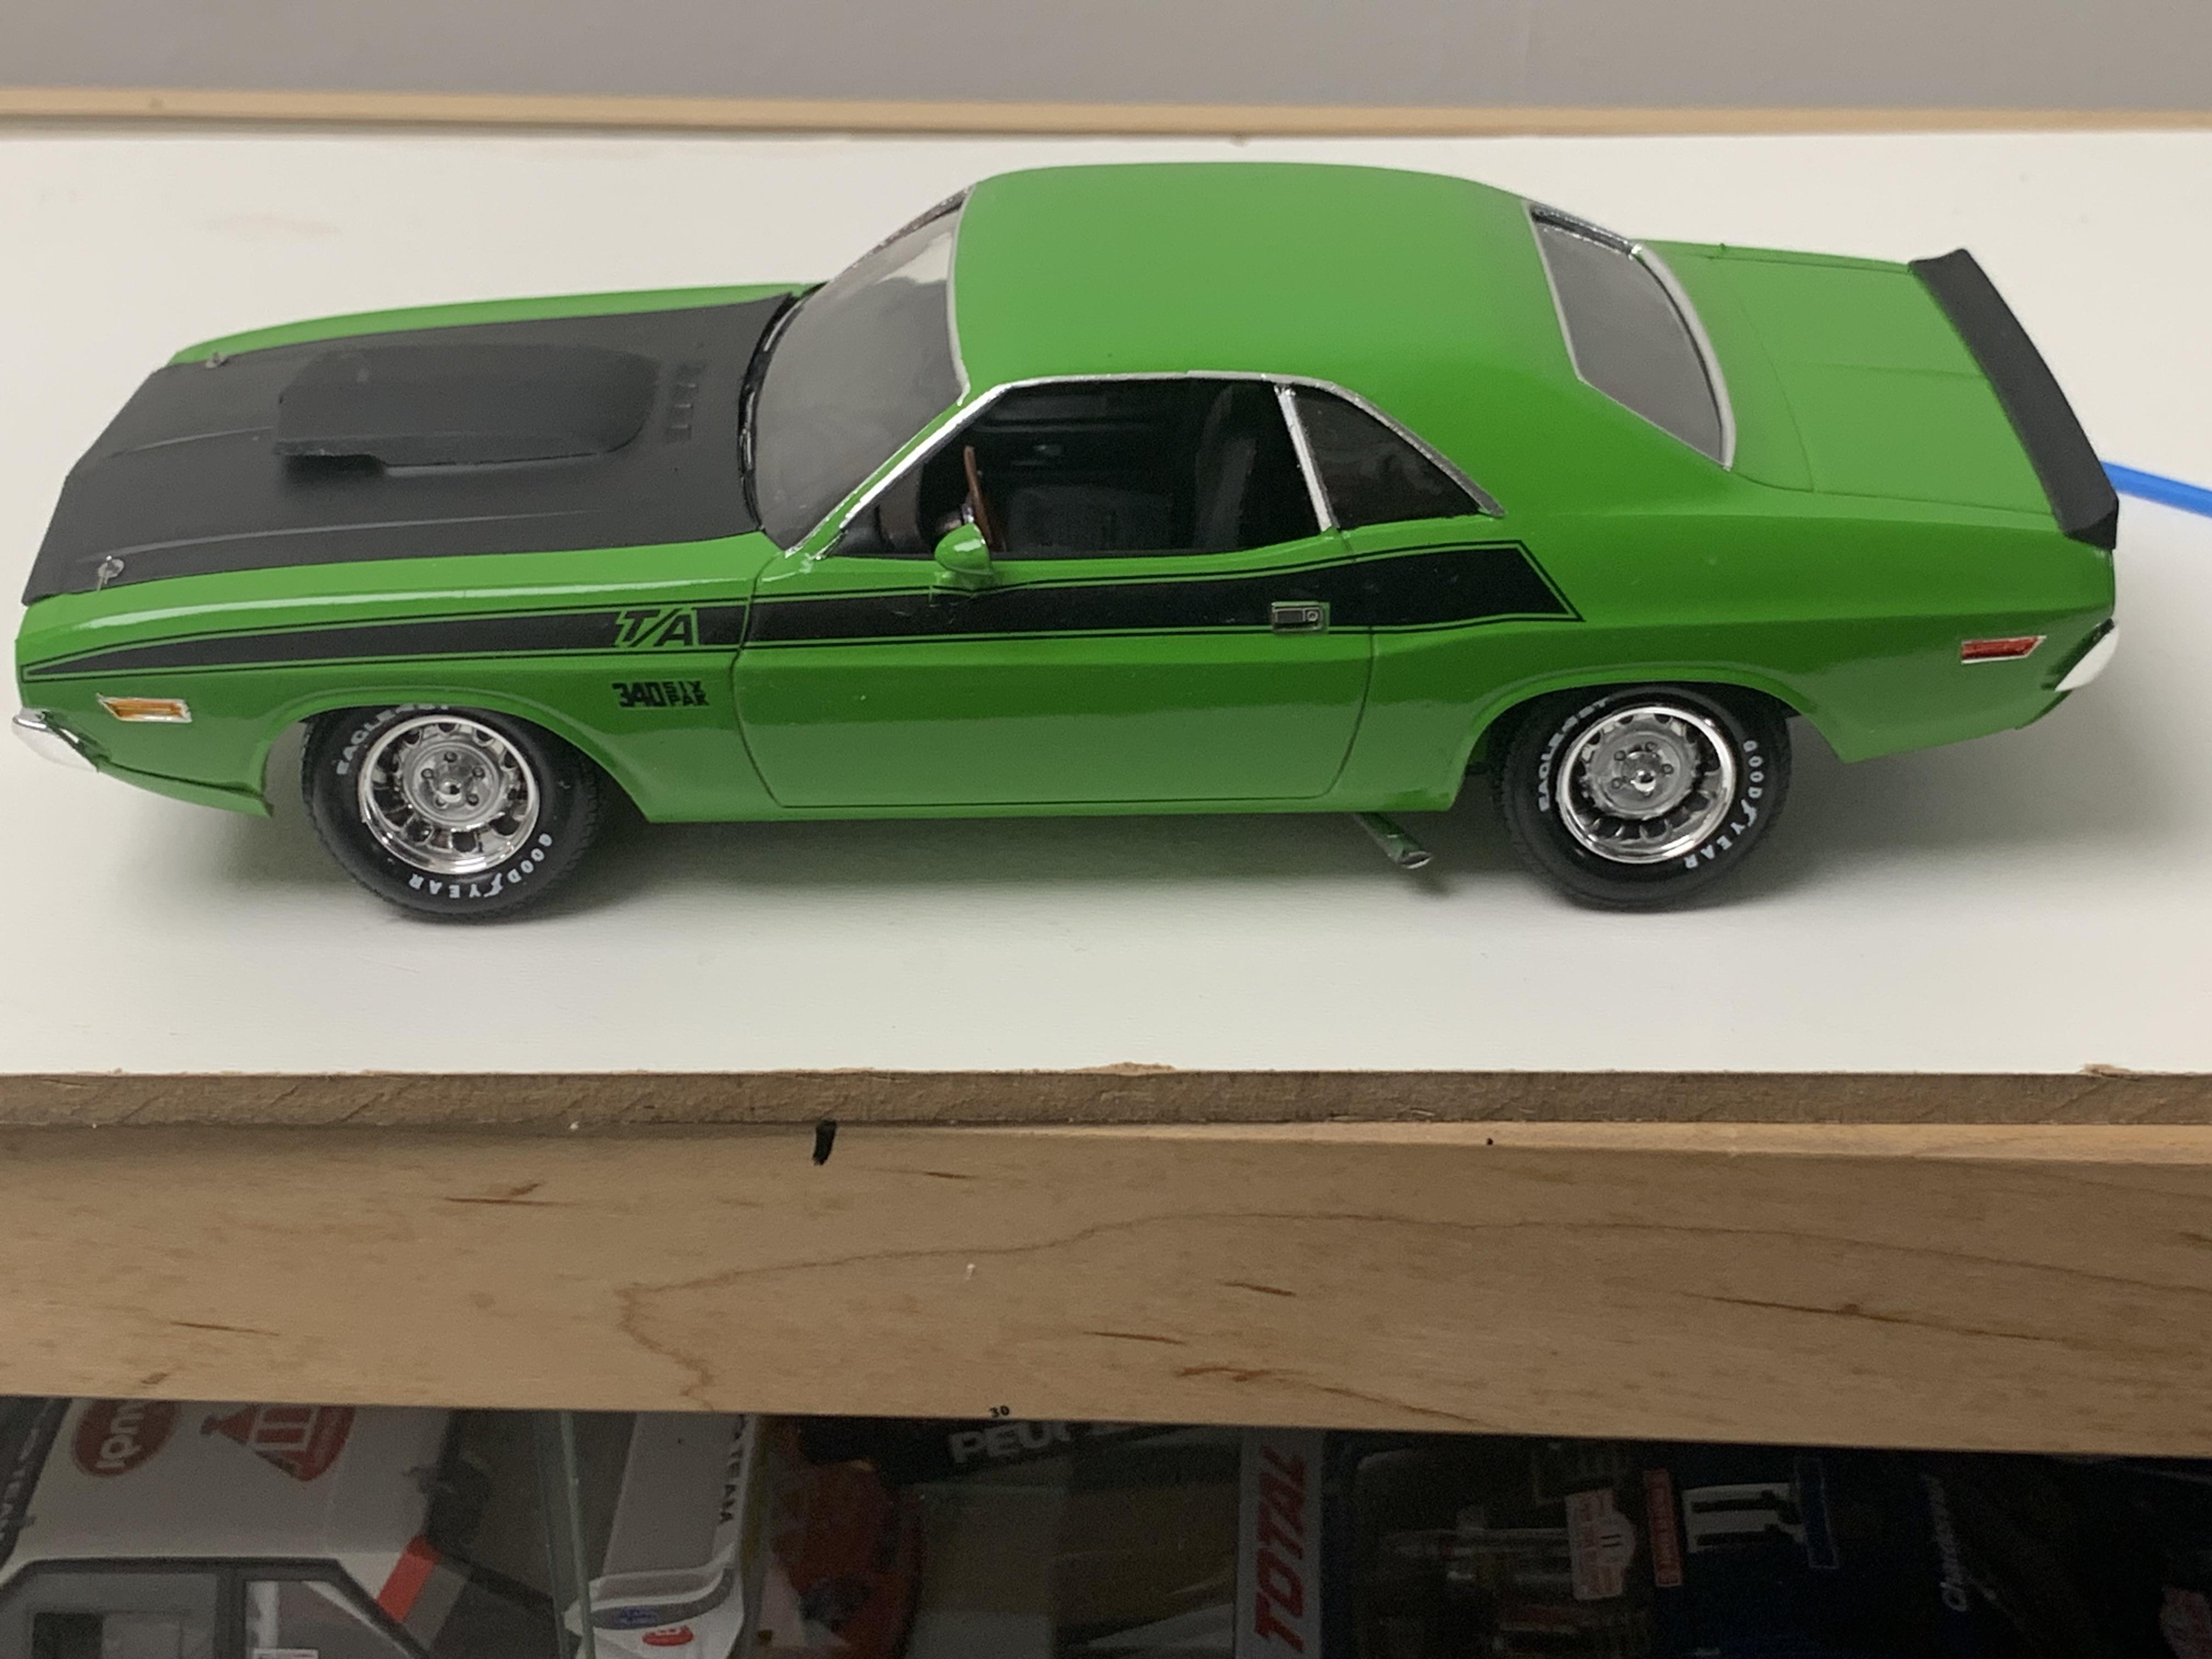
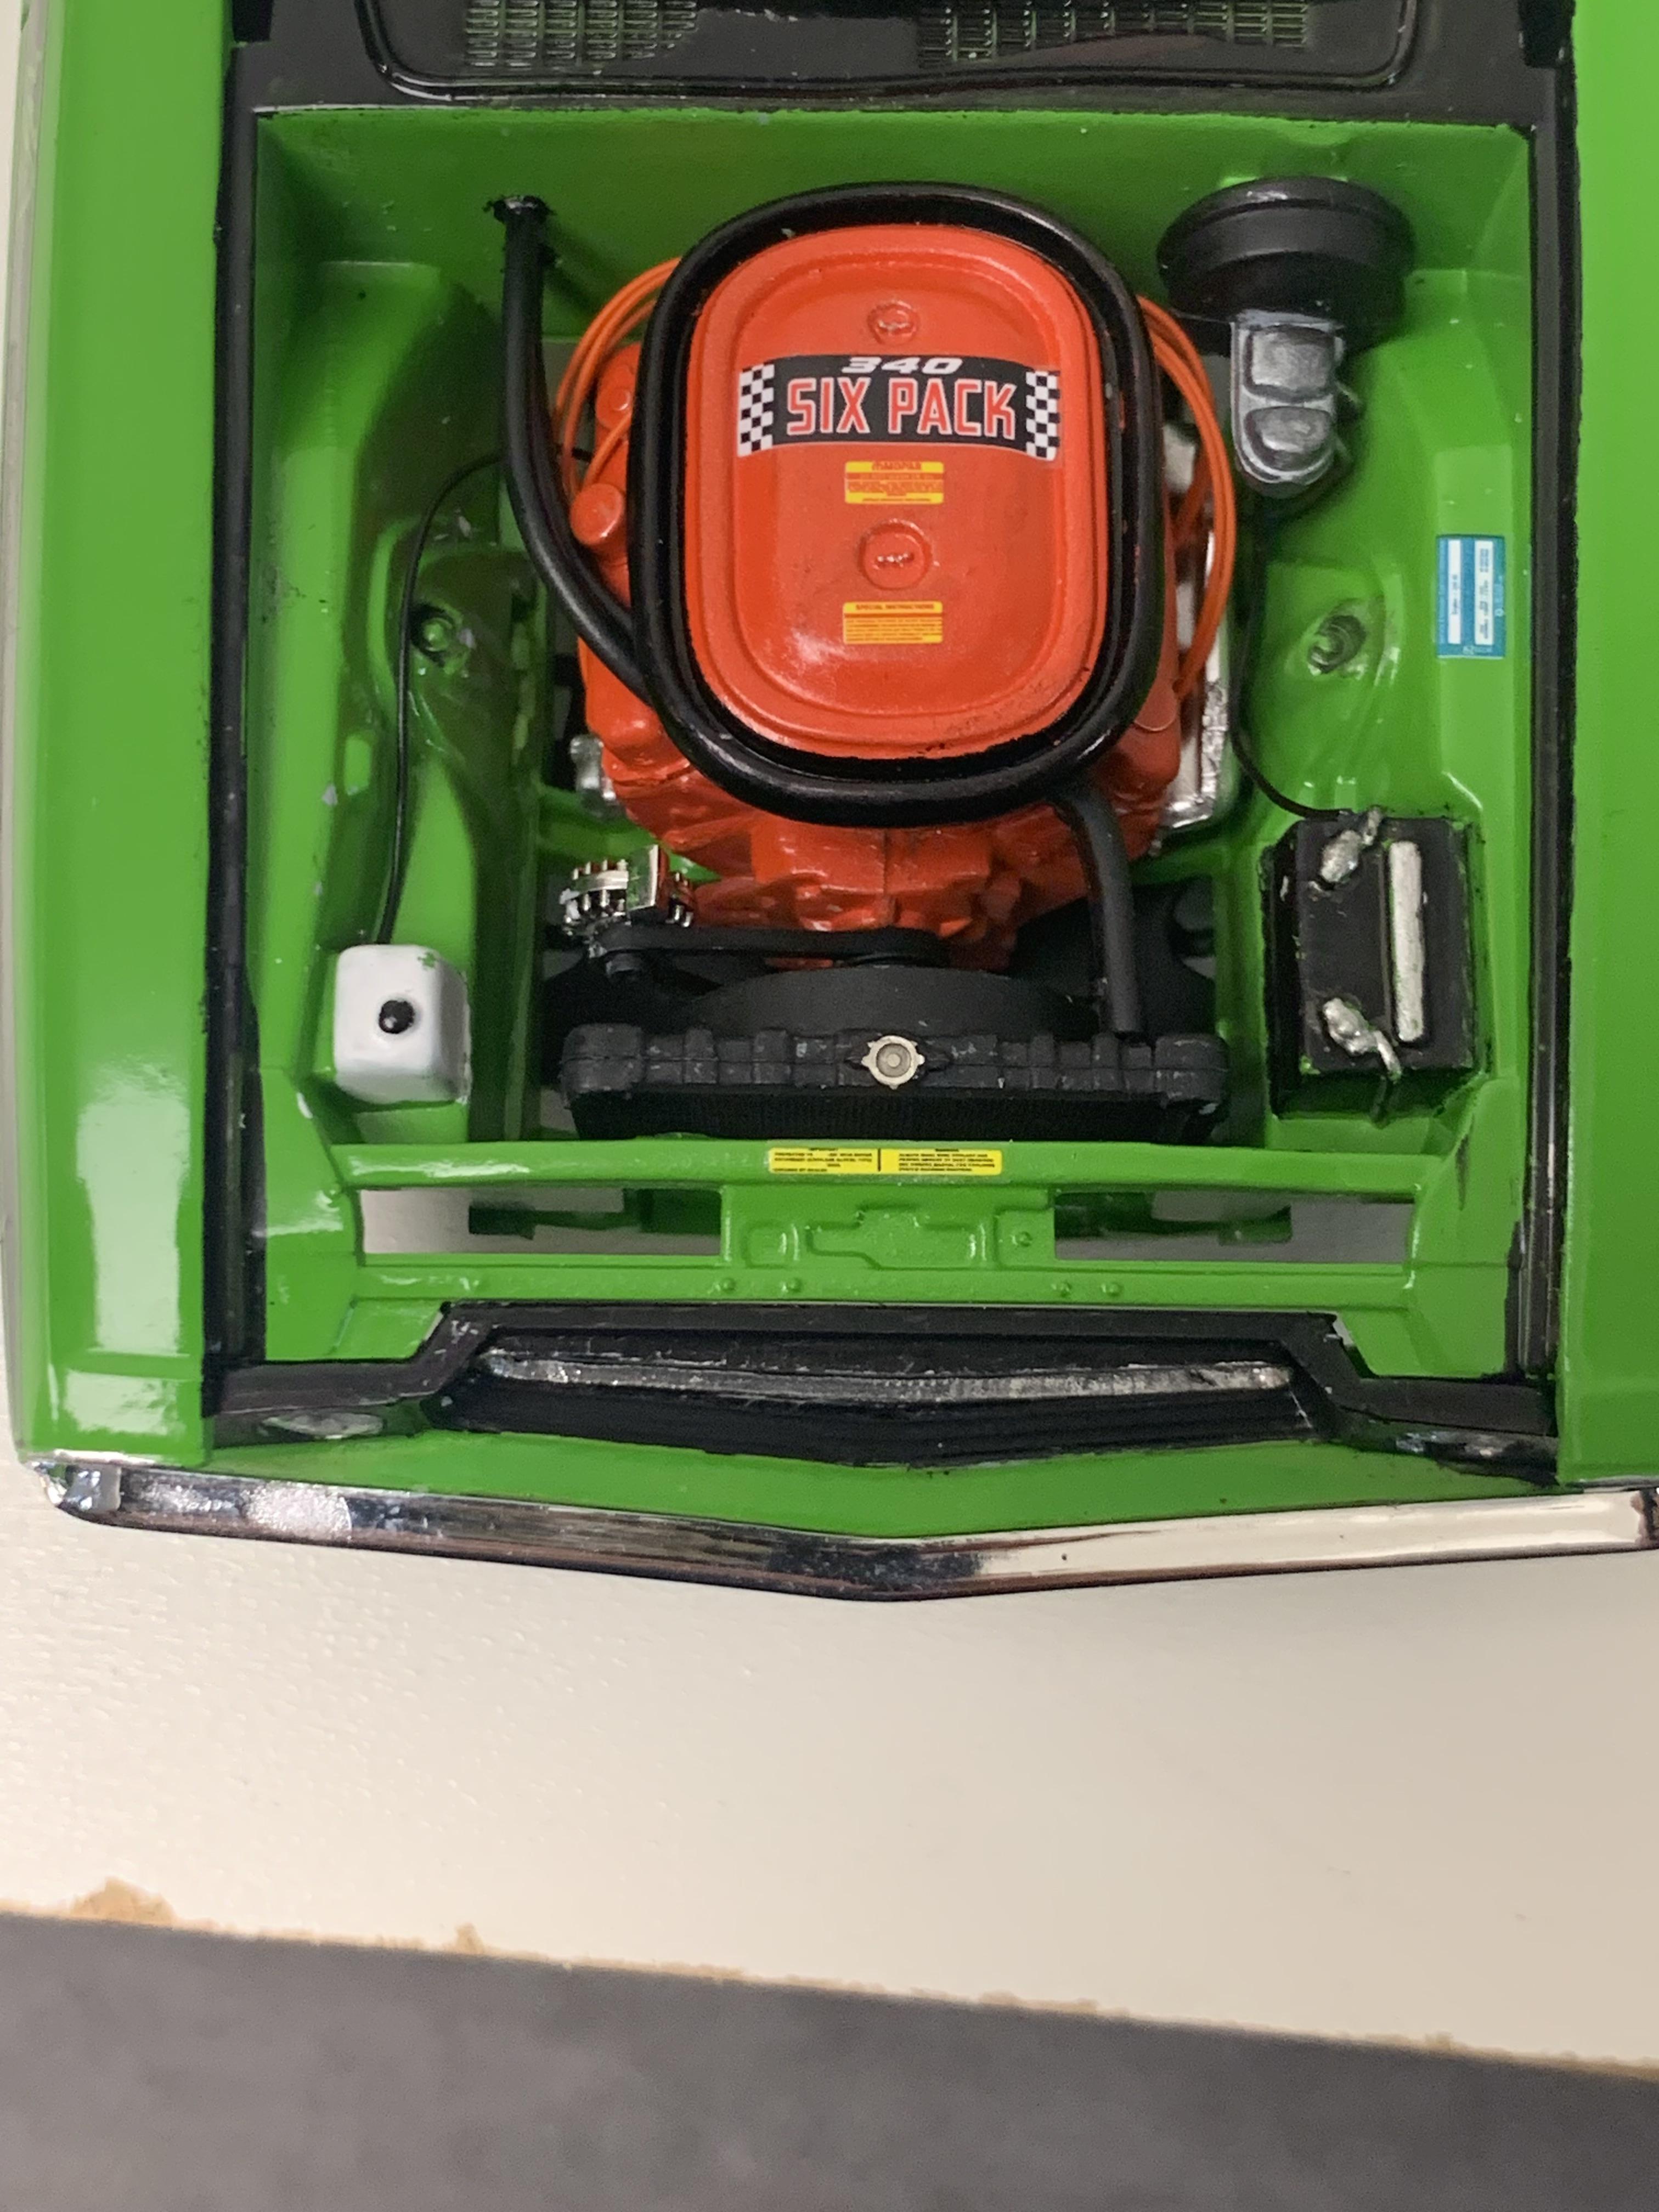
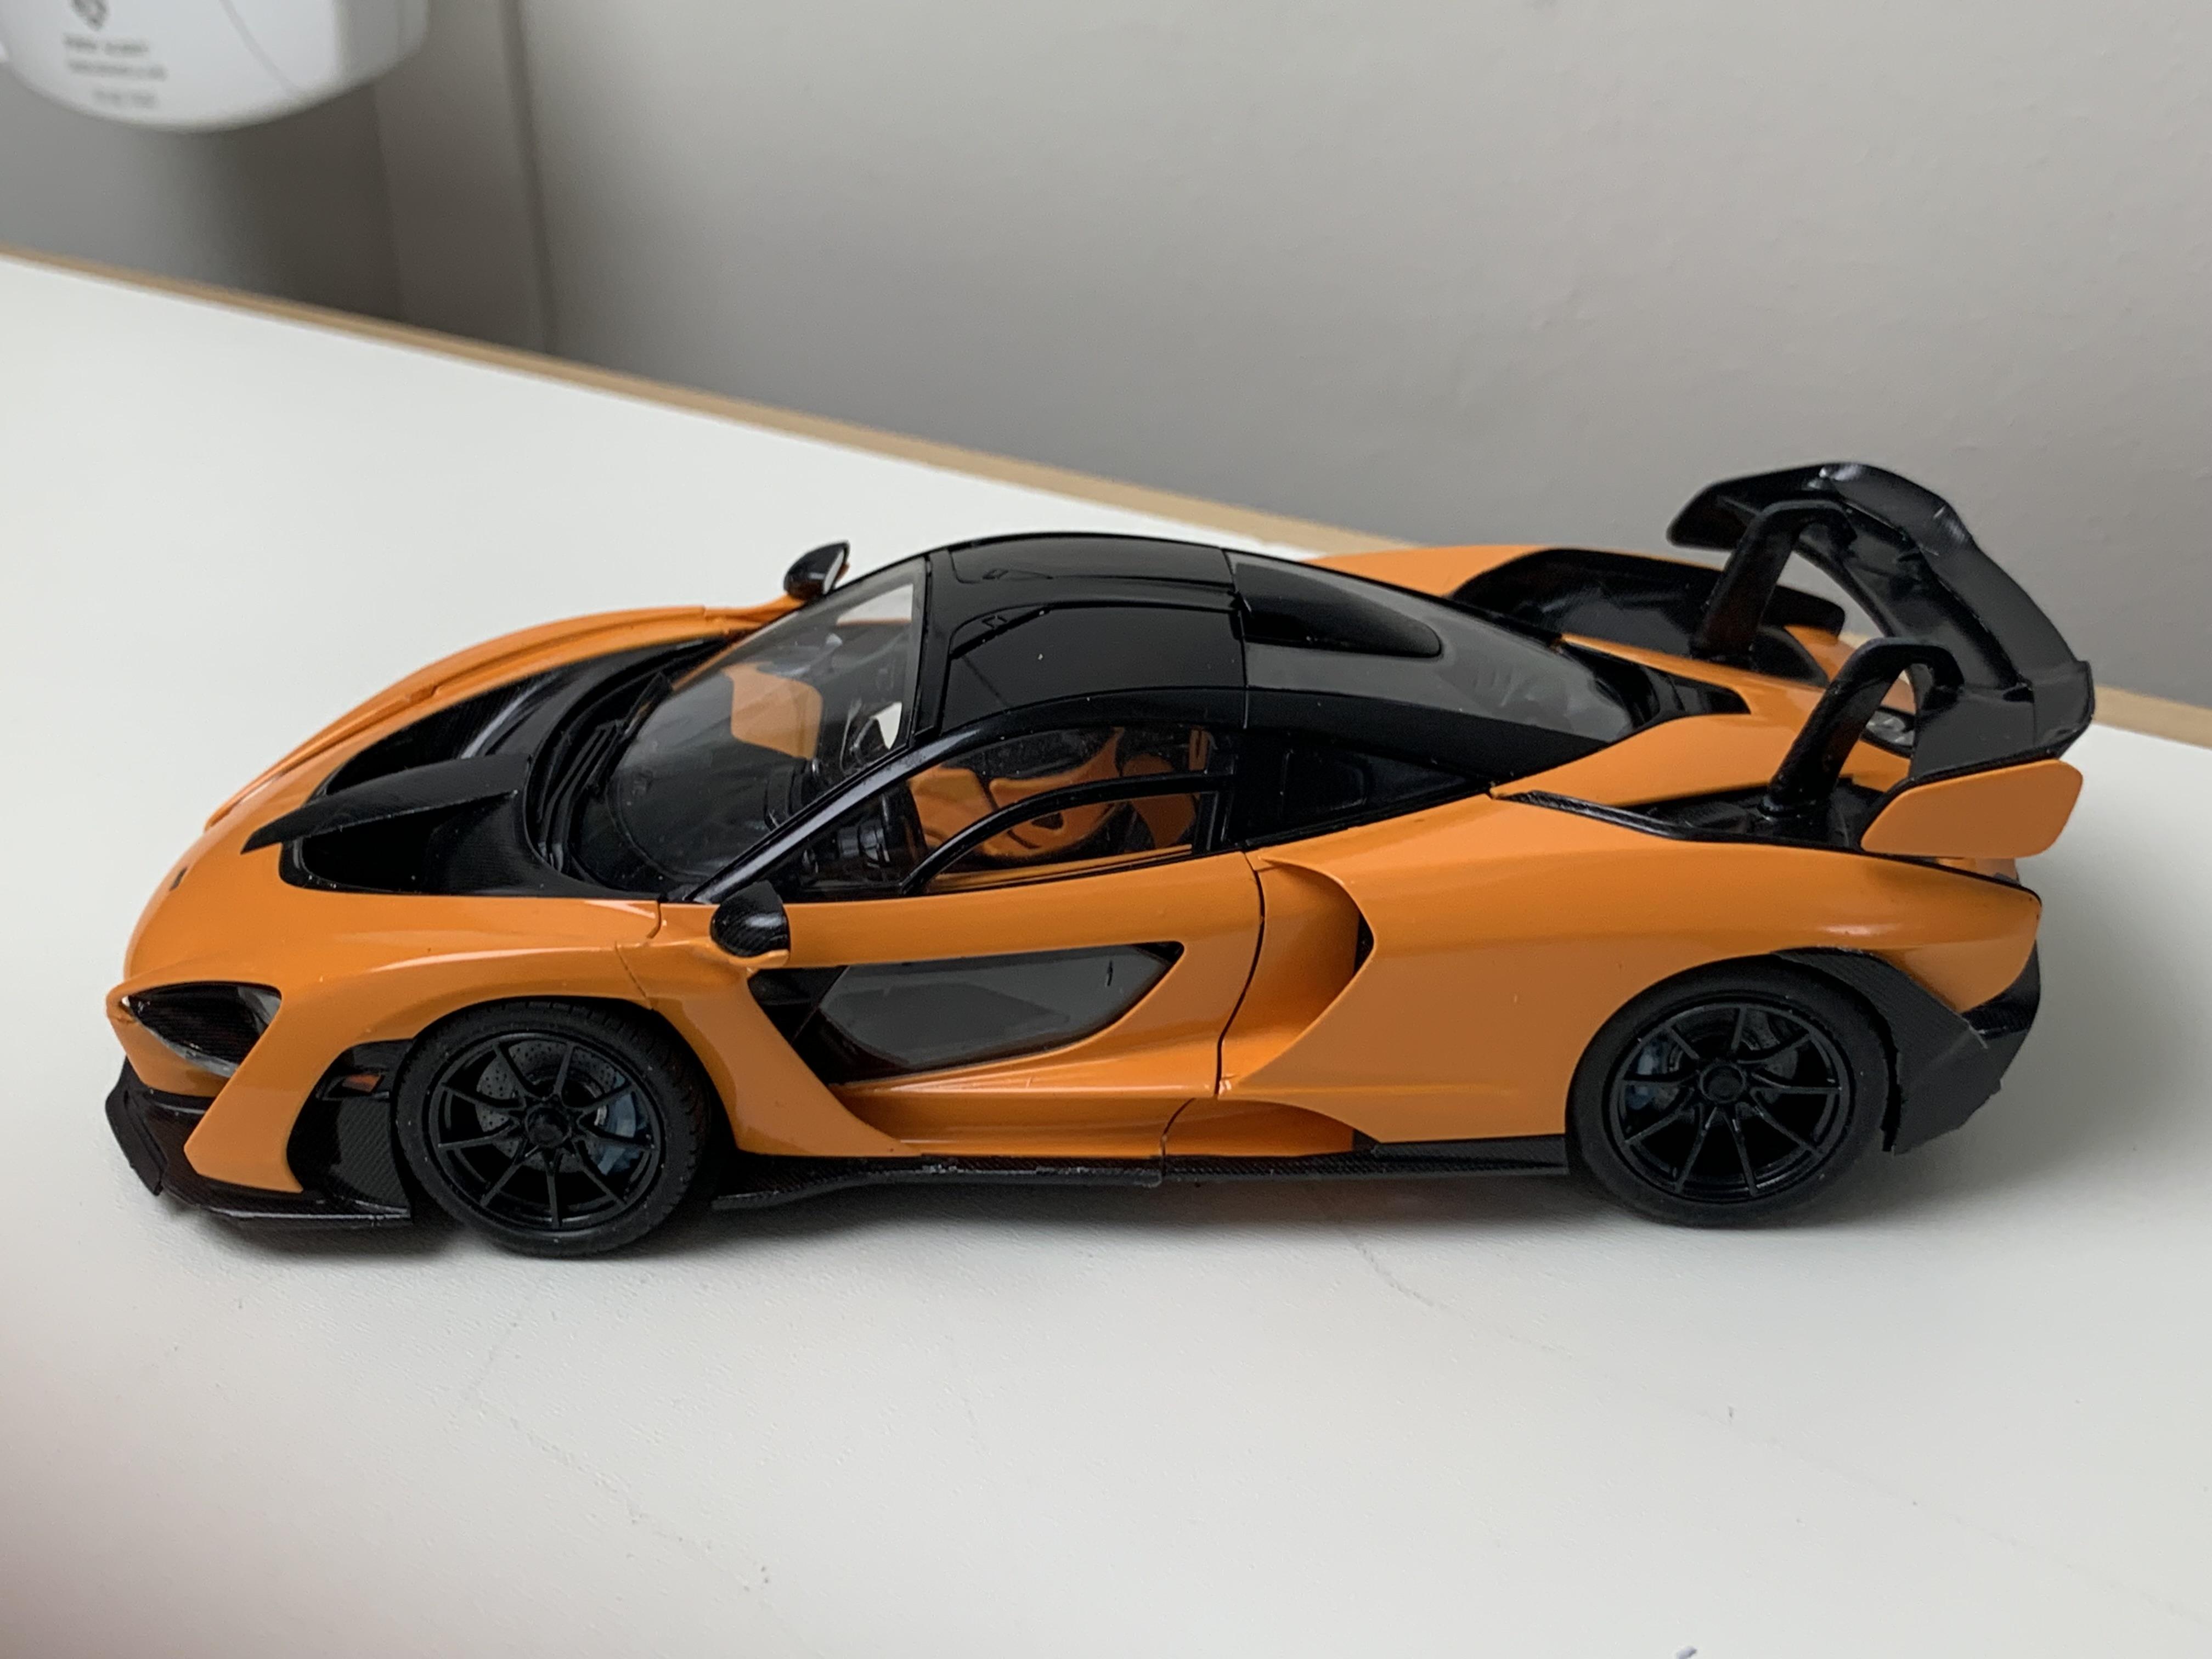
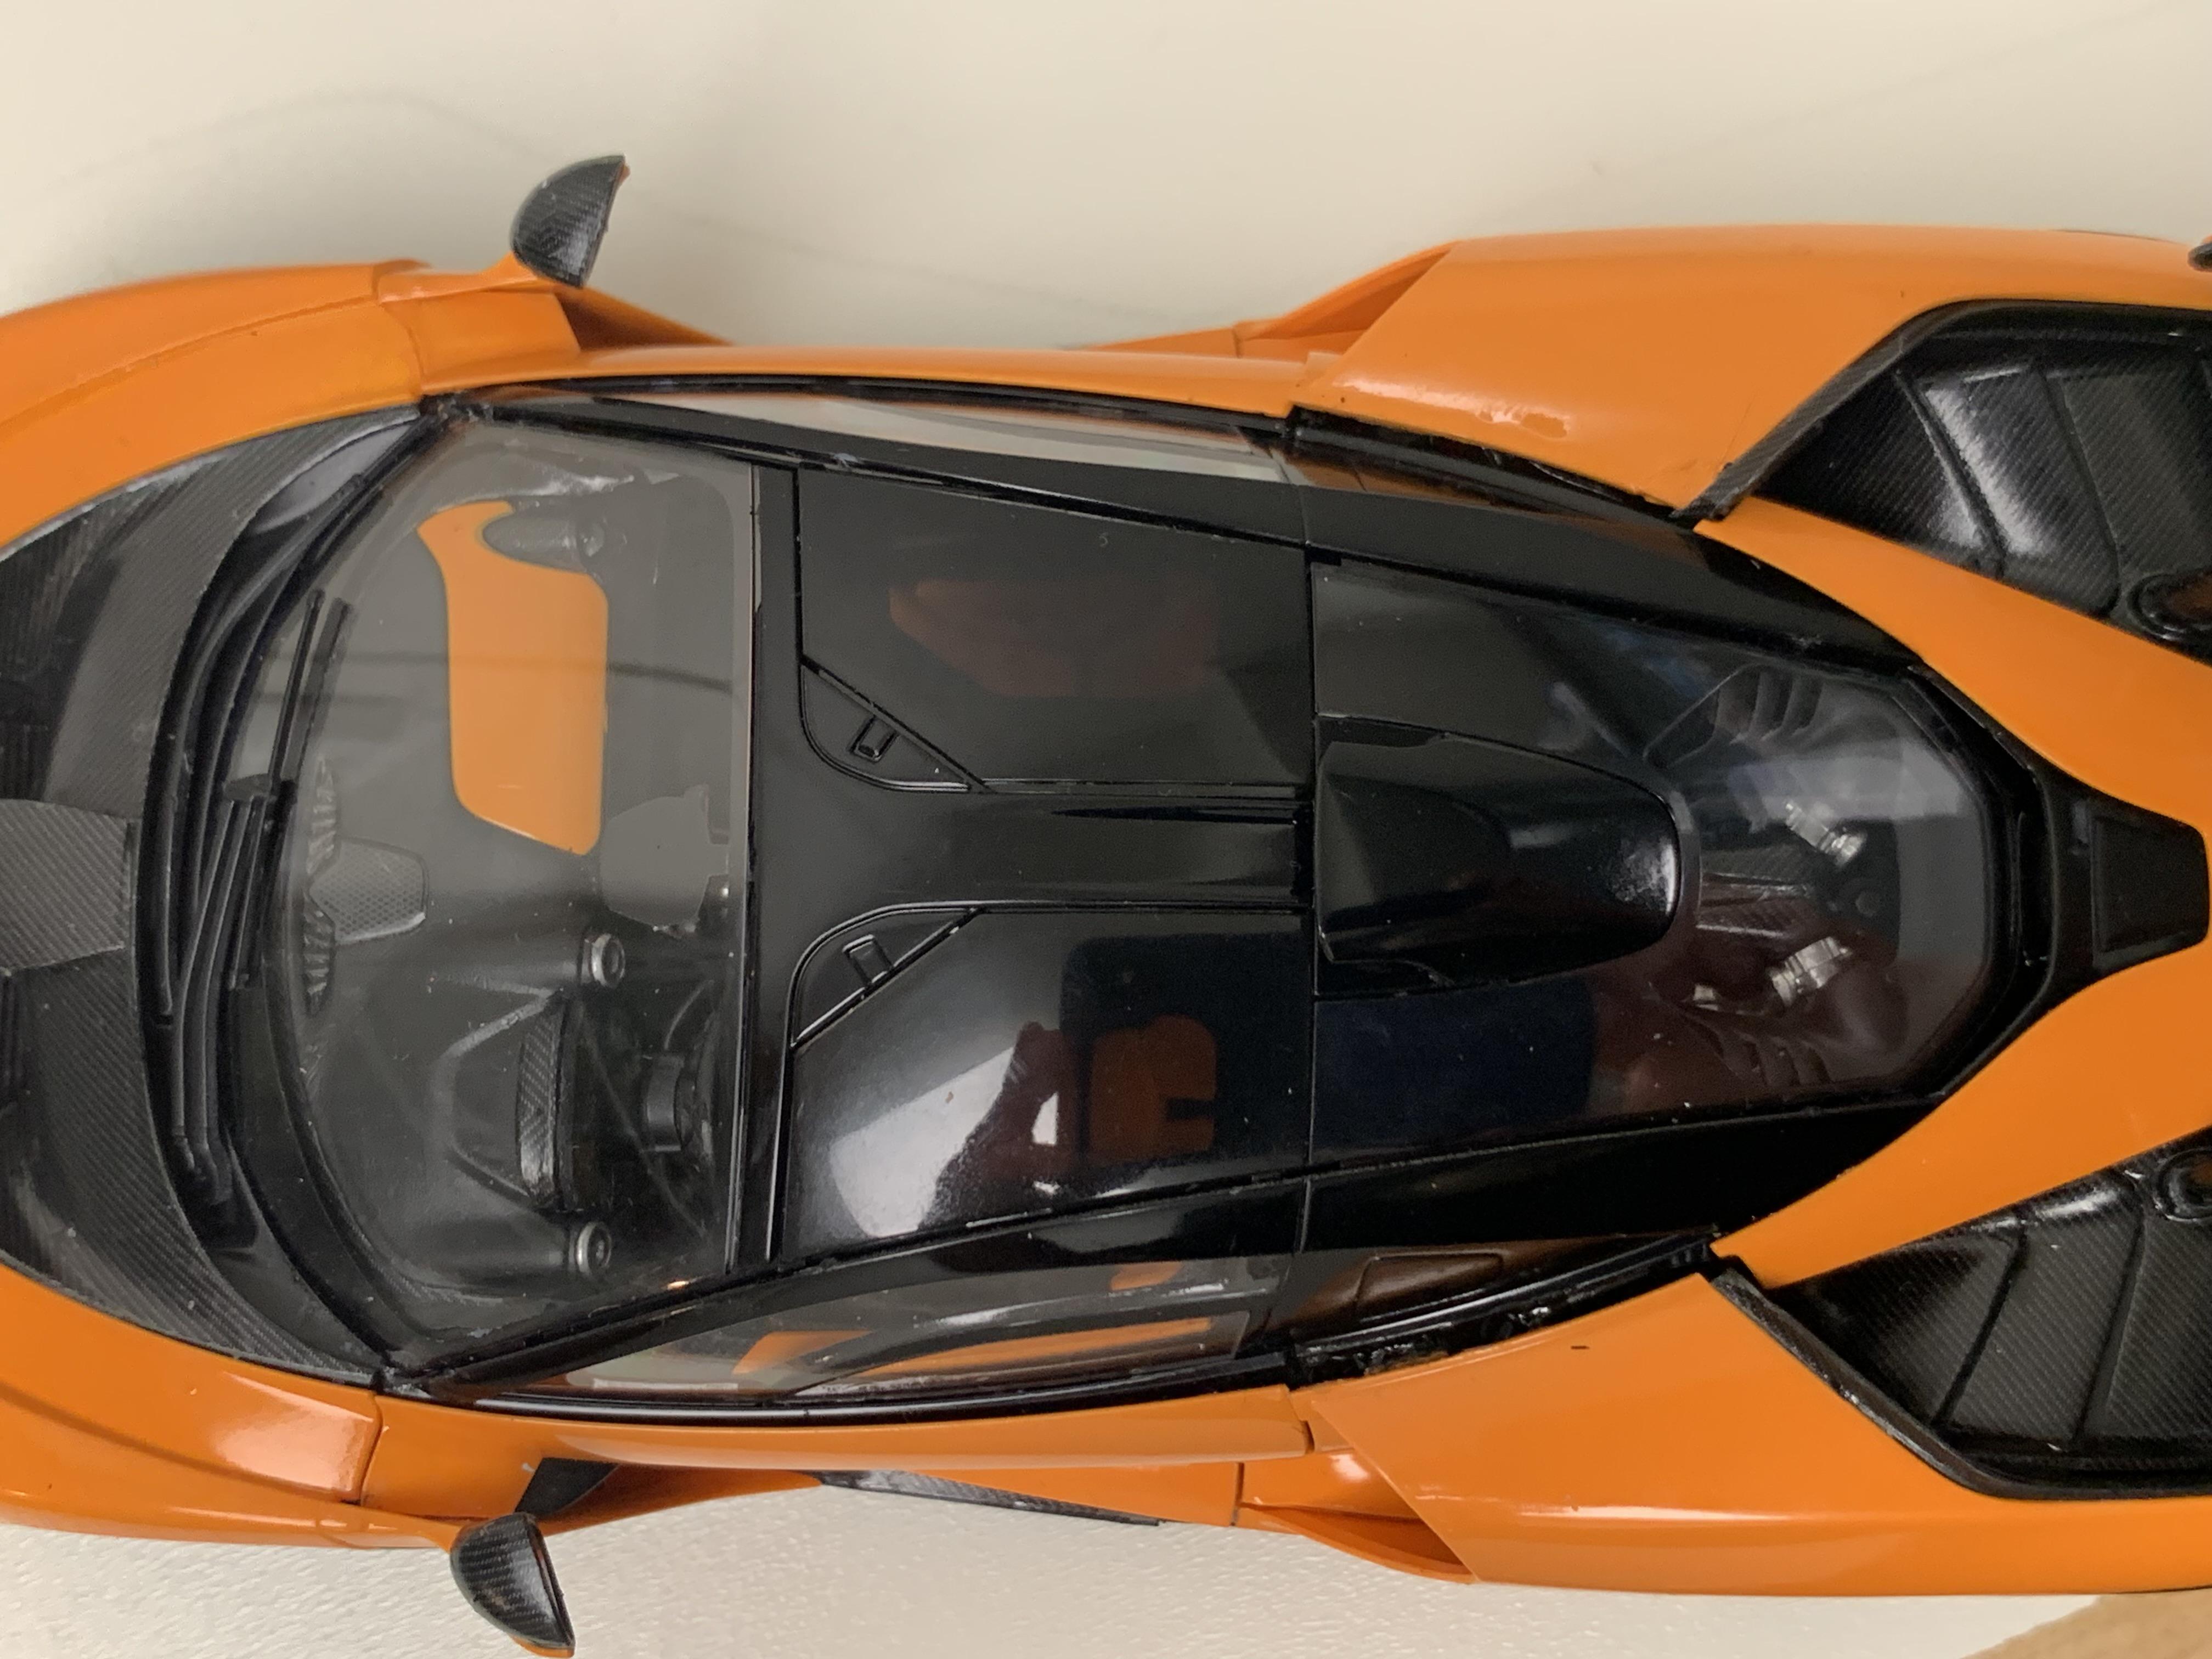
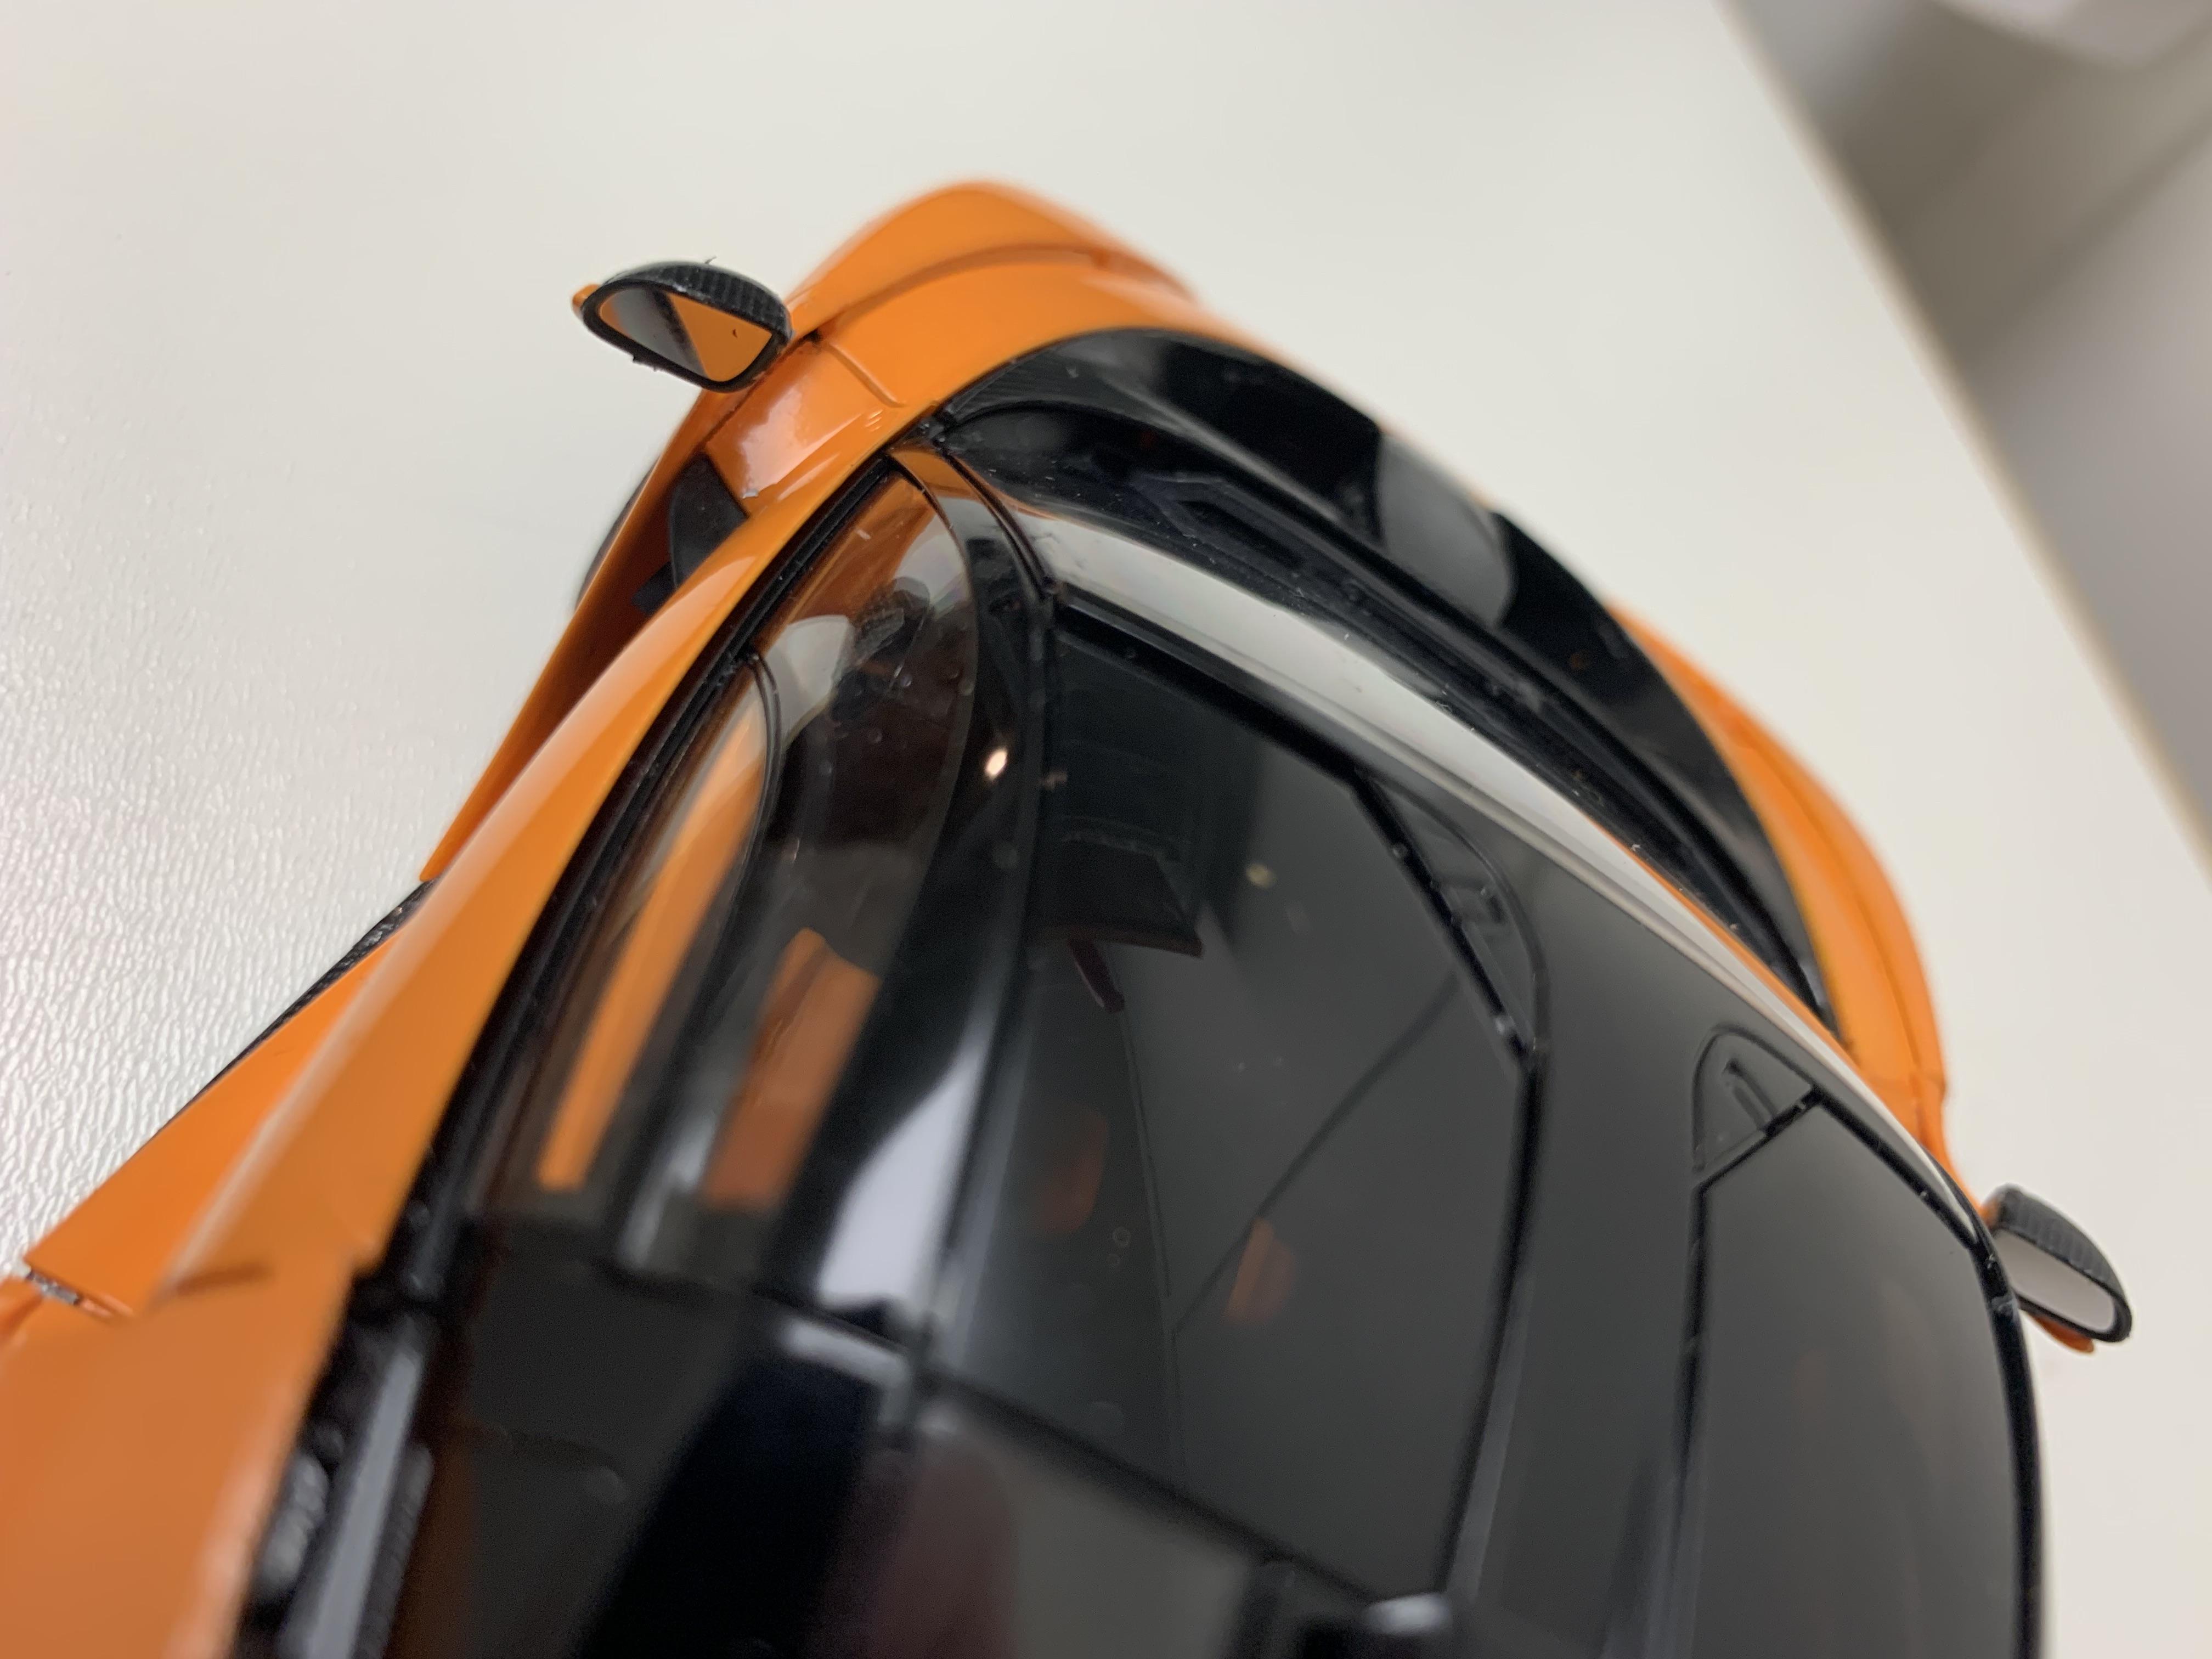
This is the Revell kit. It's been sitting in my stash for a few years. After spending a lot of time building rally, lemans and GT cars, this was a nice change. I used some Model Car Garage bits. I took pictures before and after decals.
- 18 replies
-
- 10
-
-
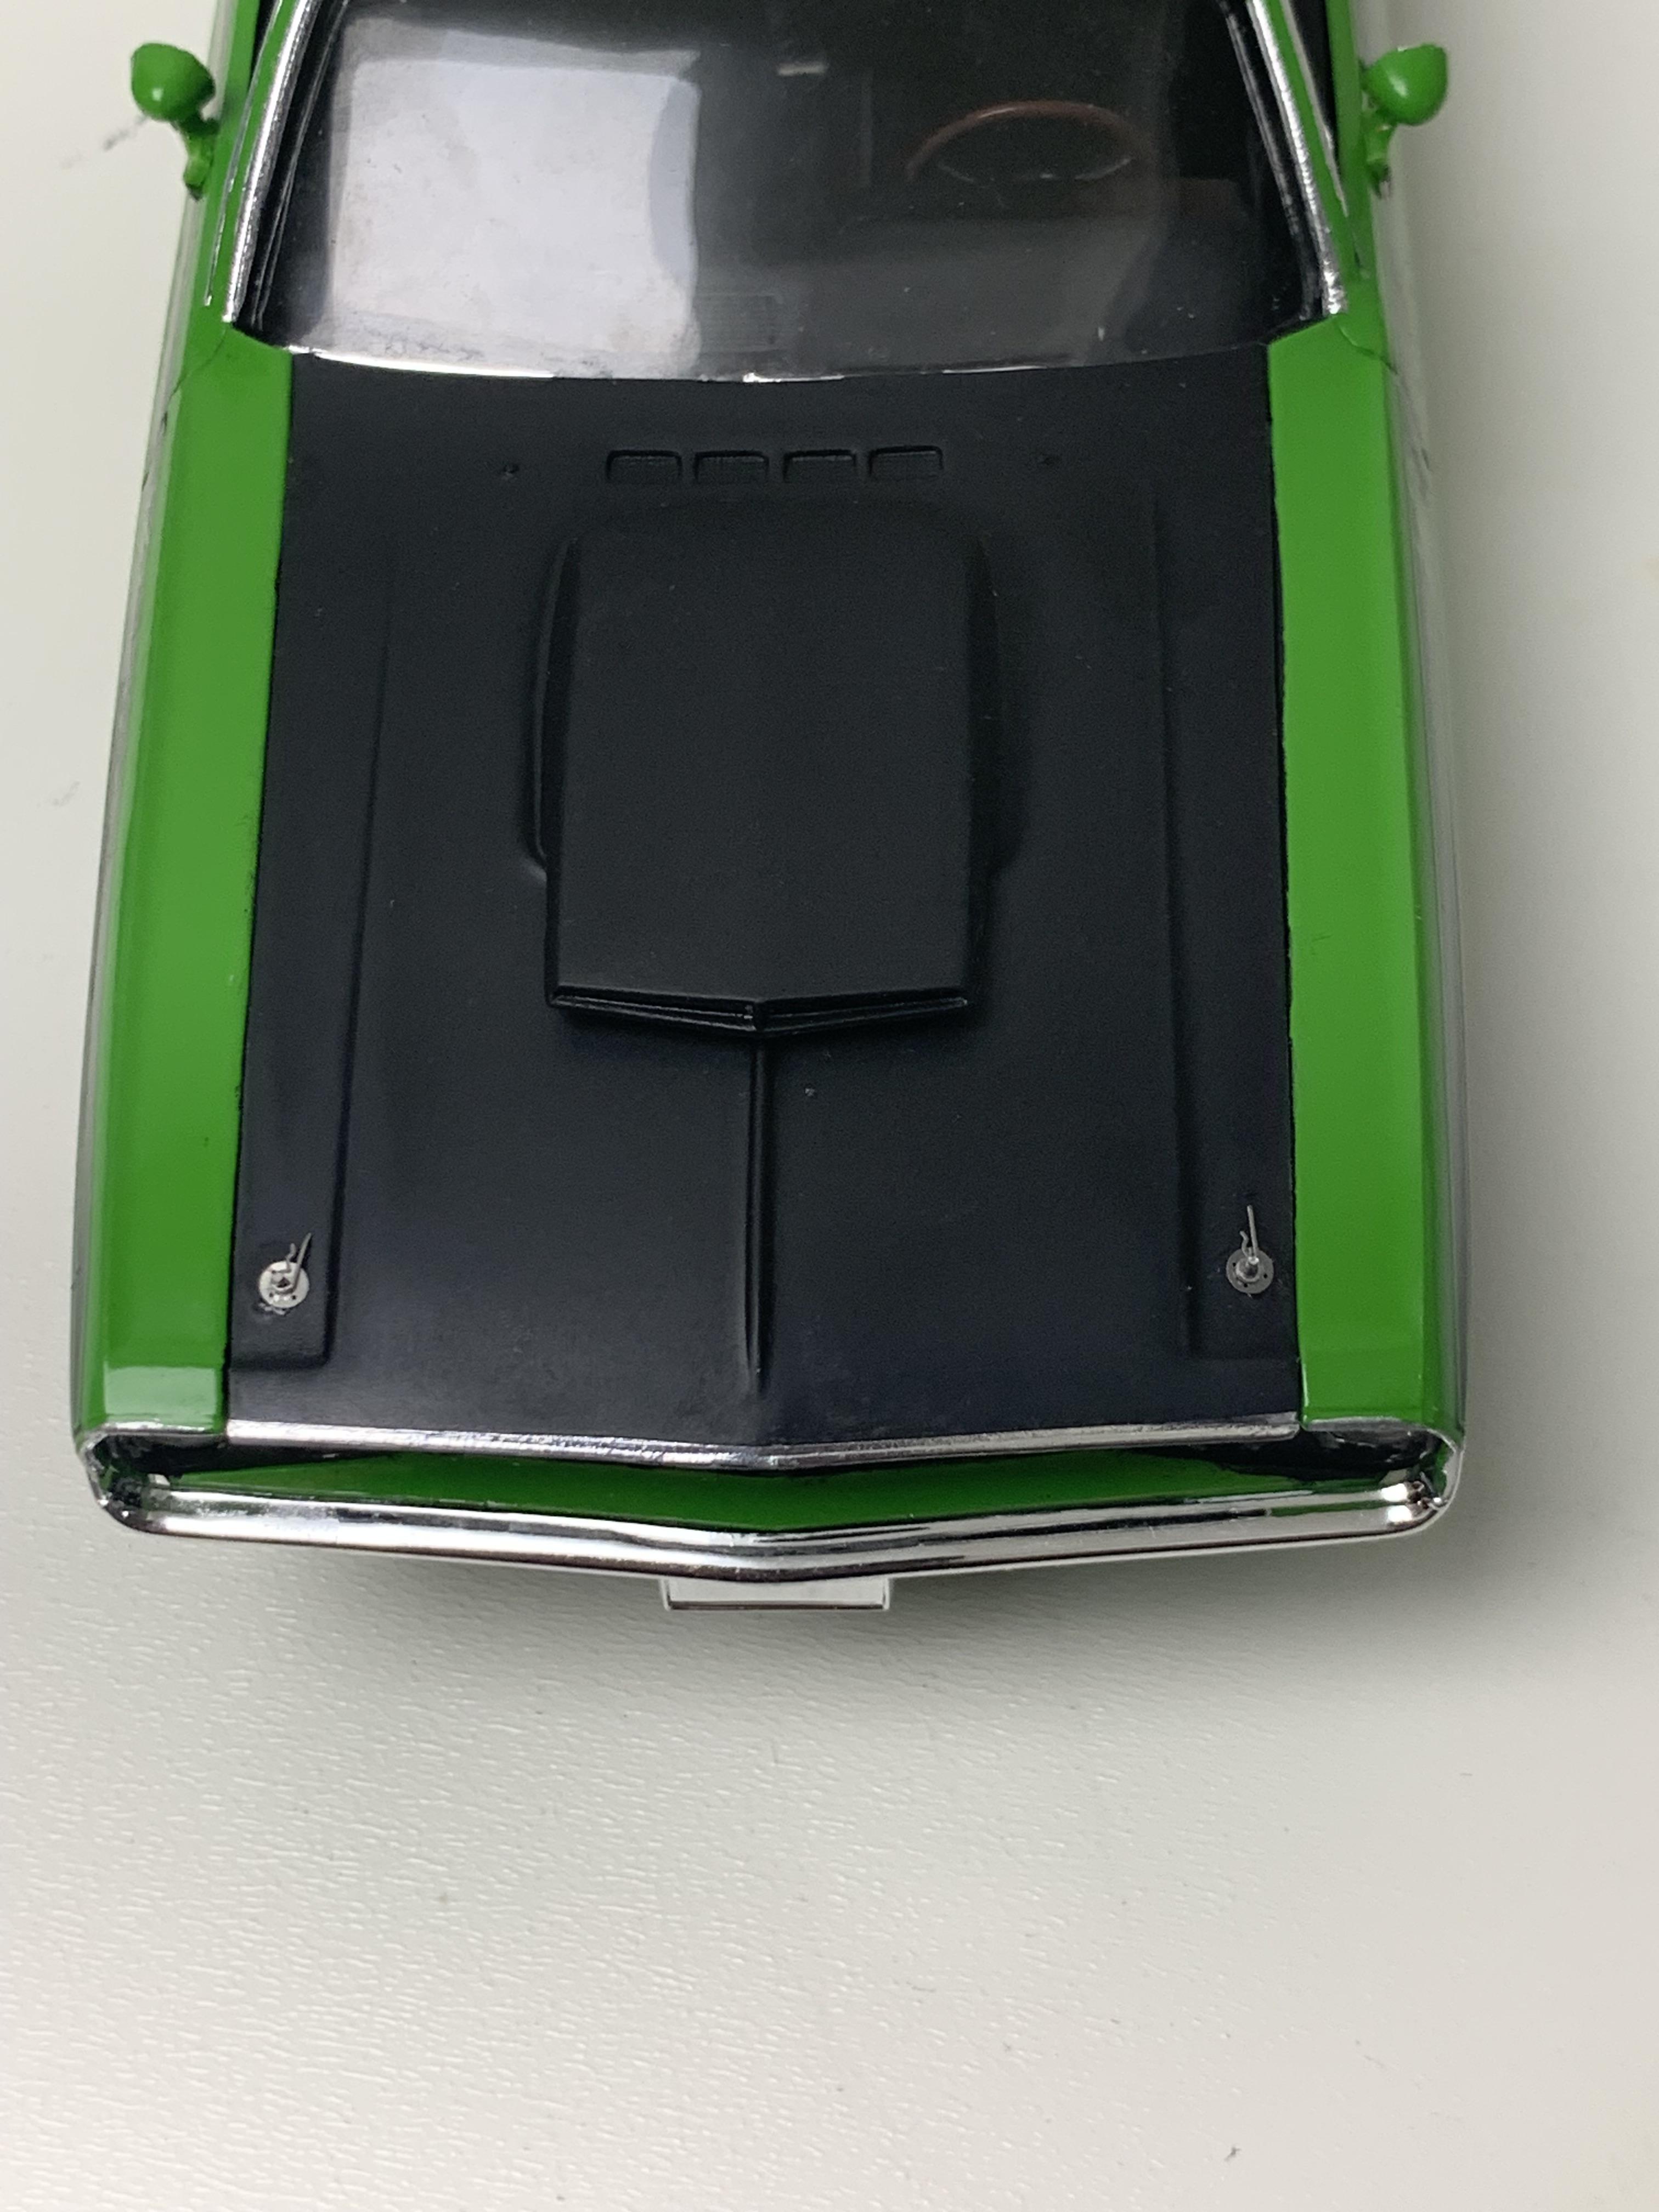
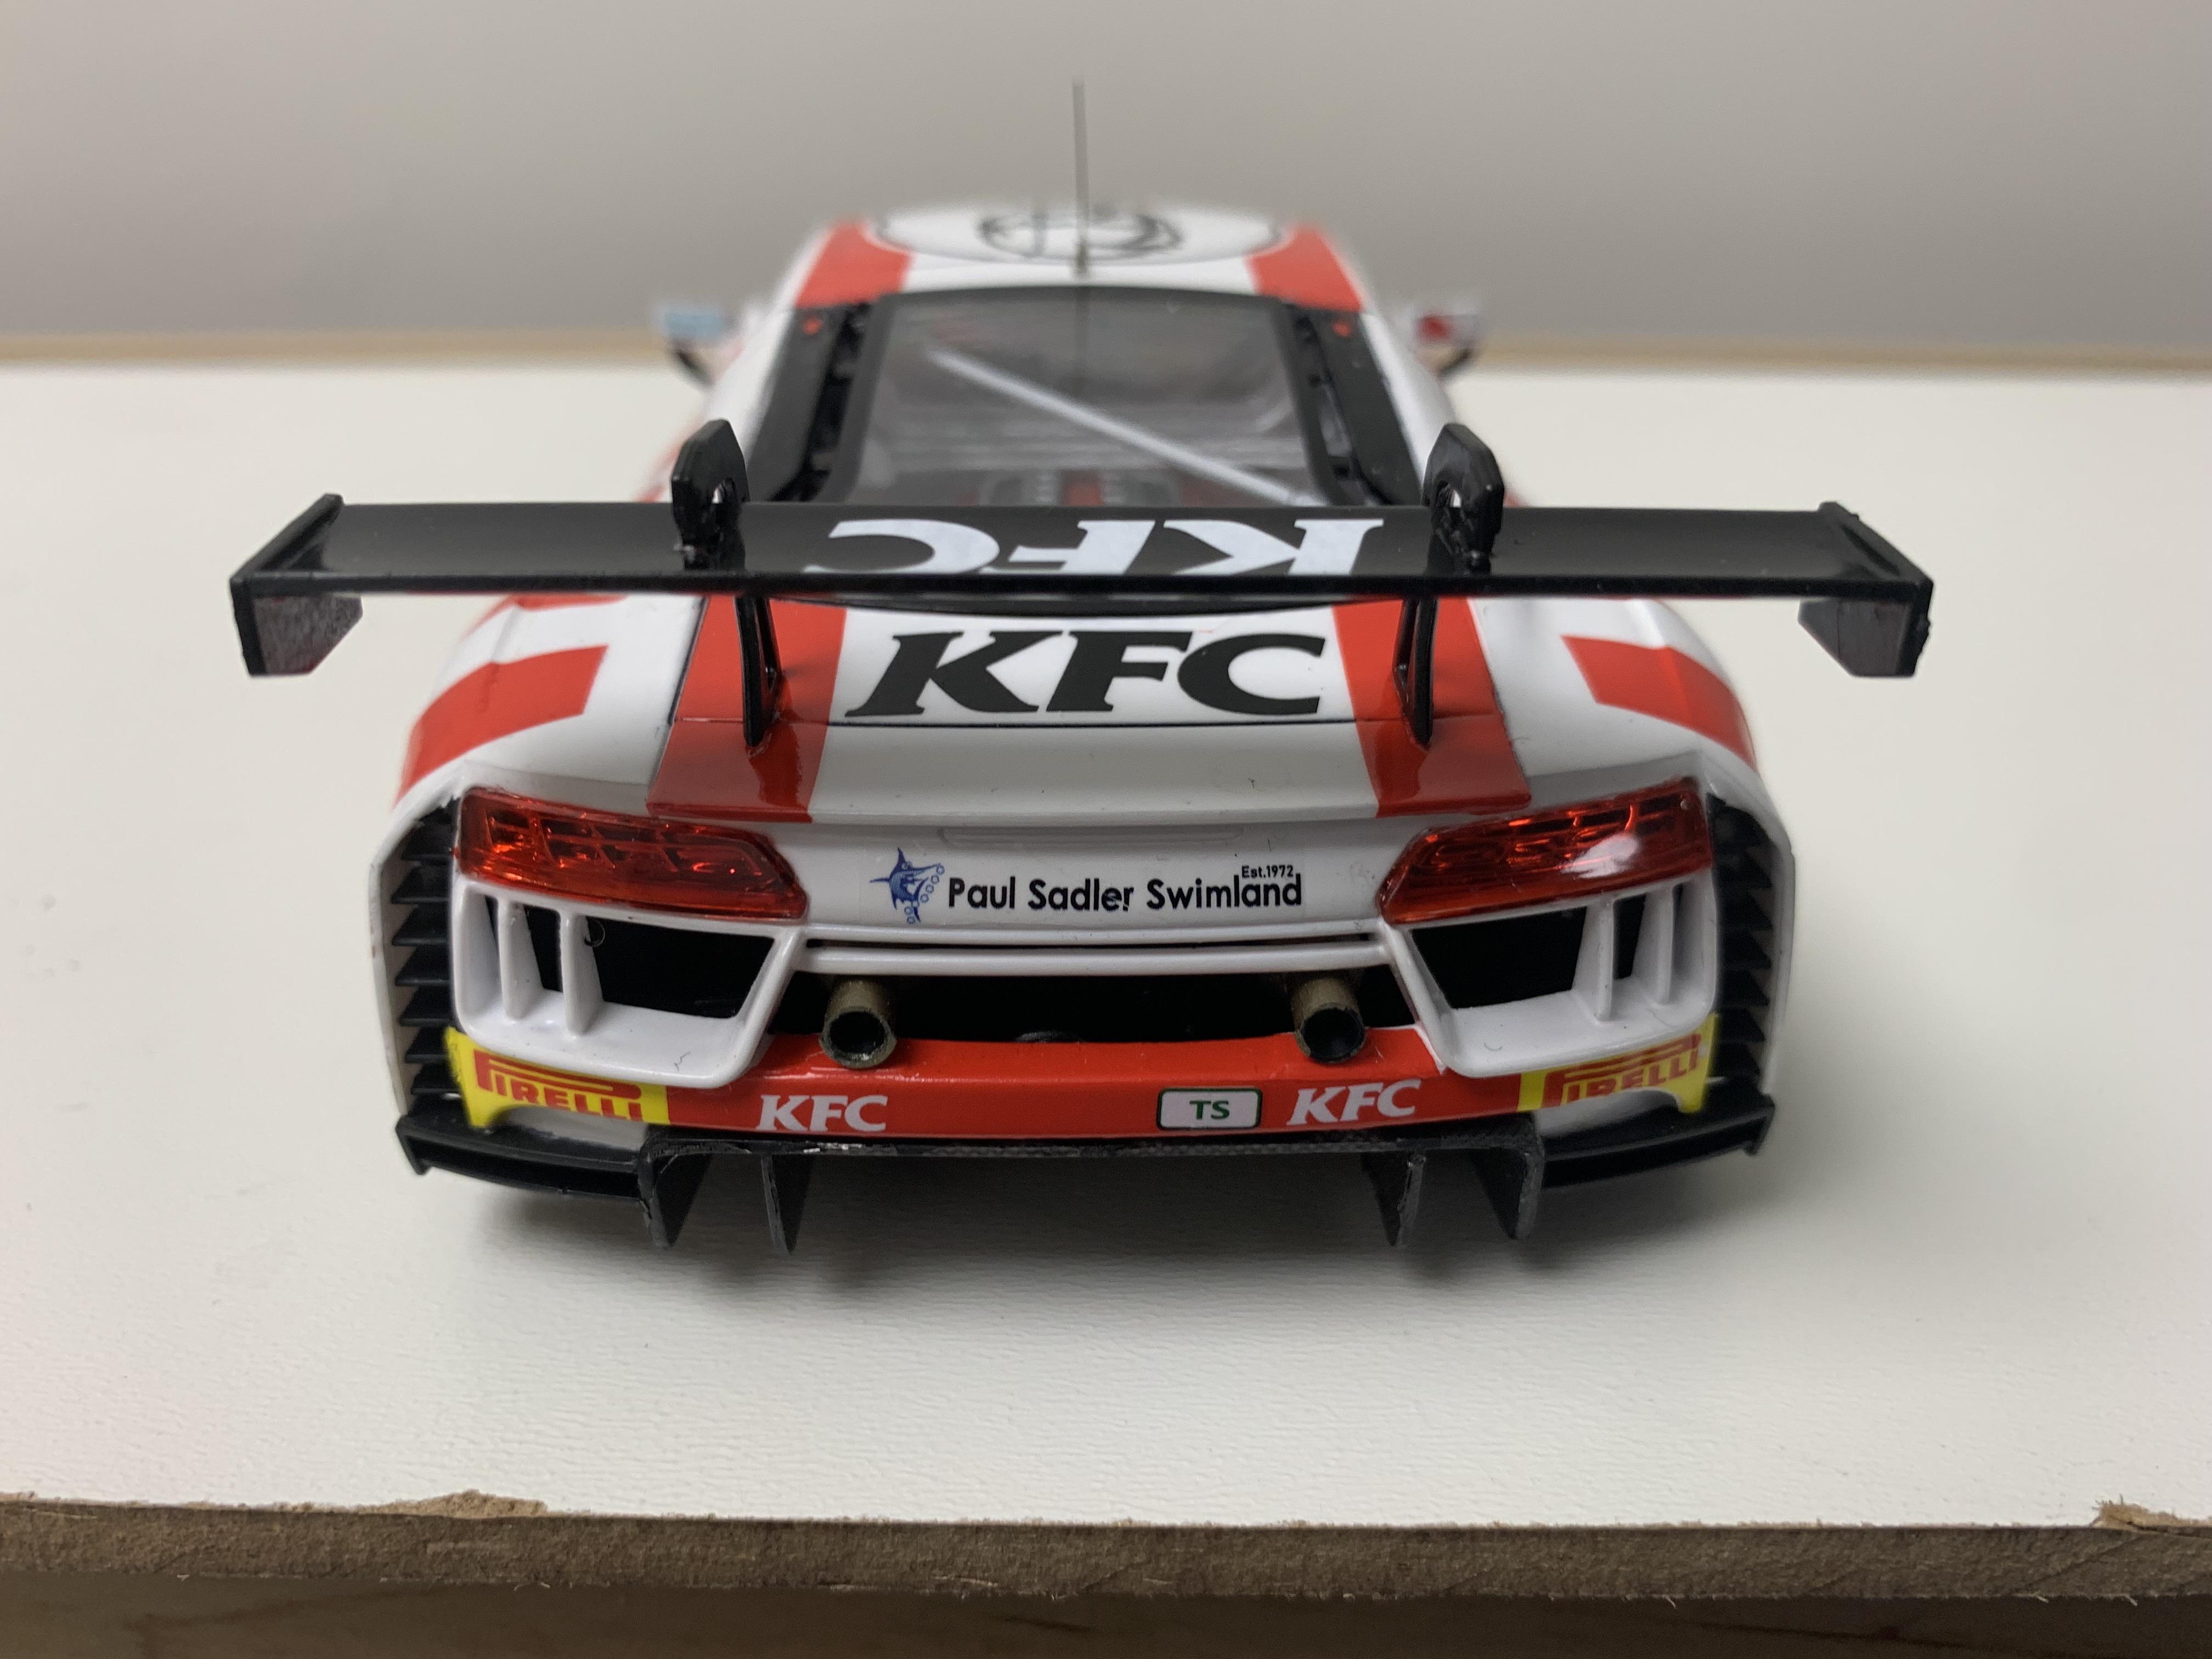
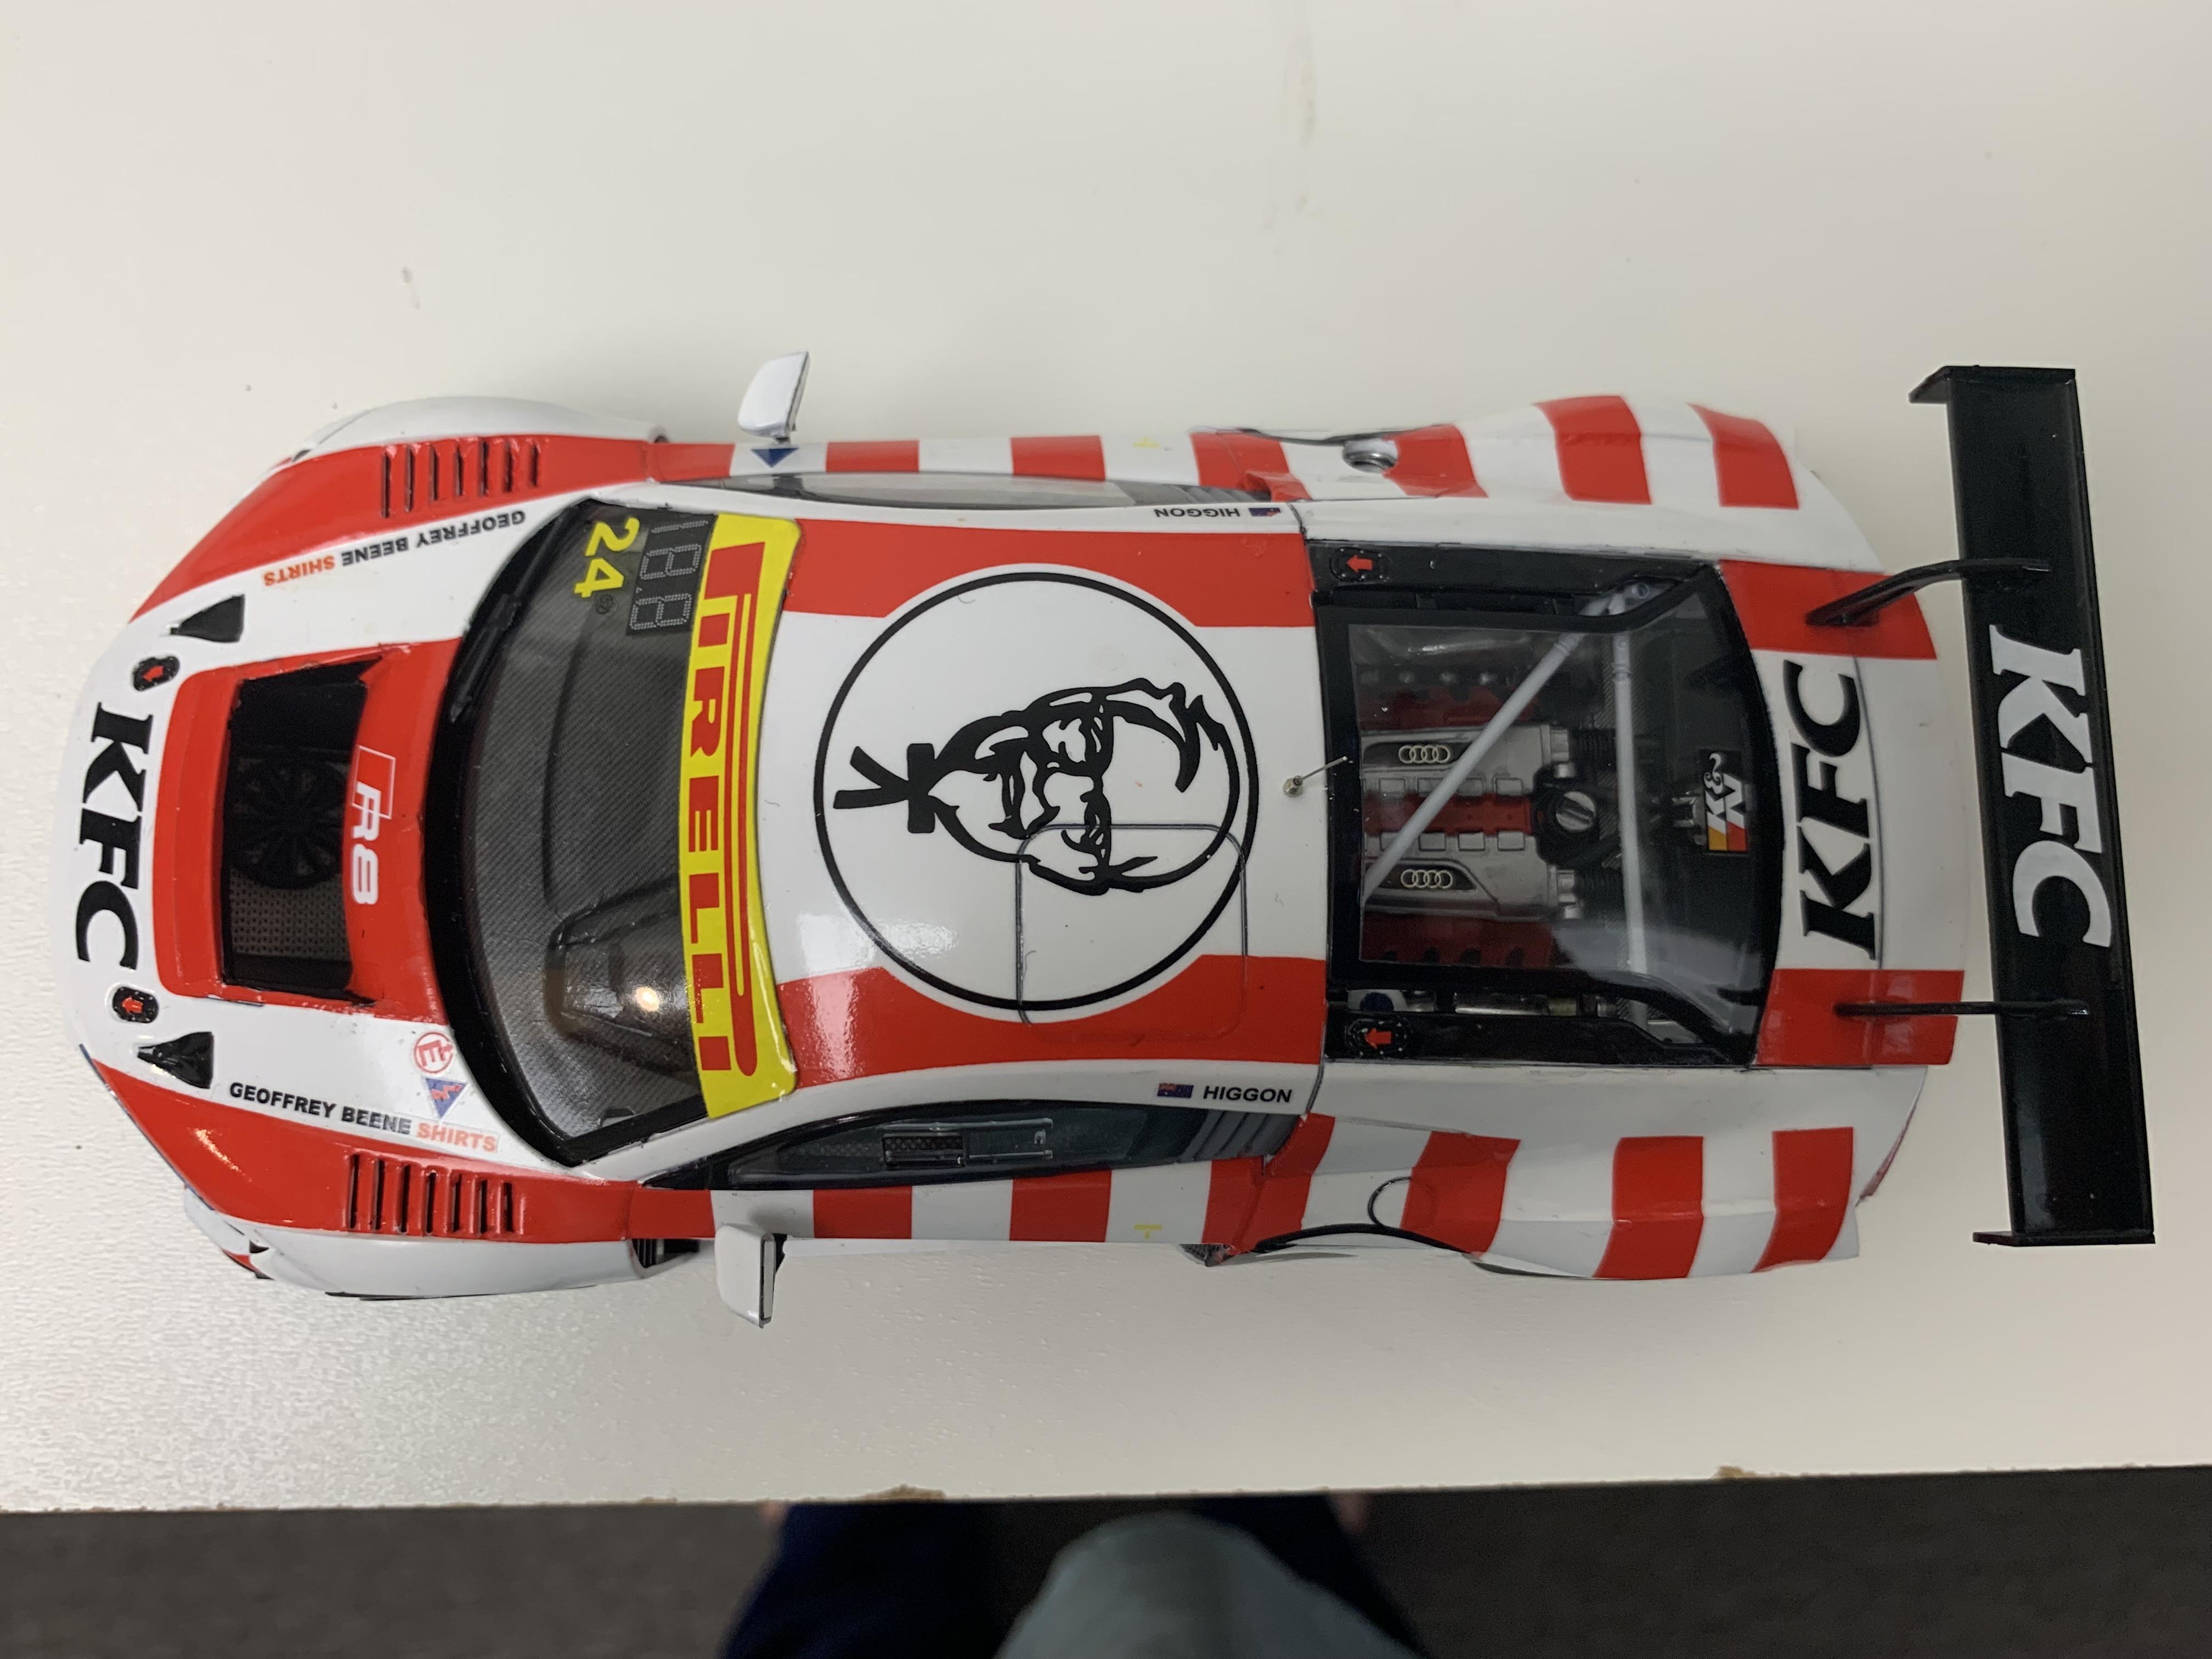
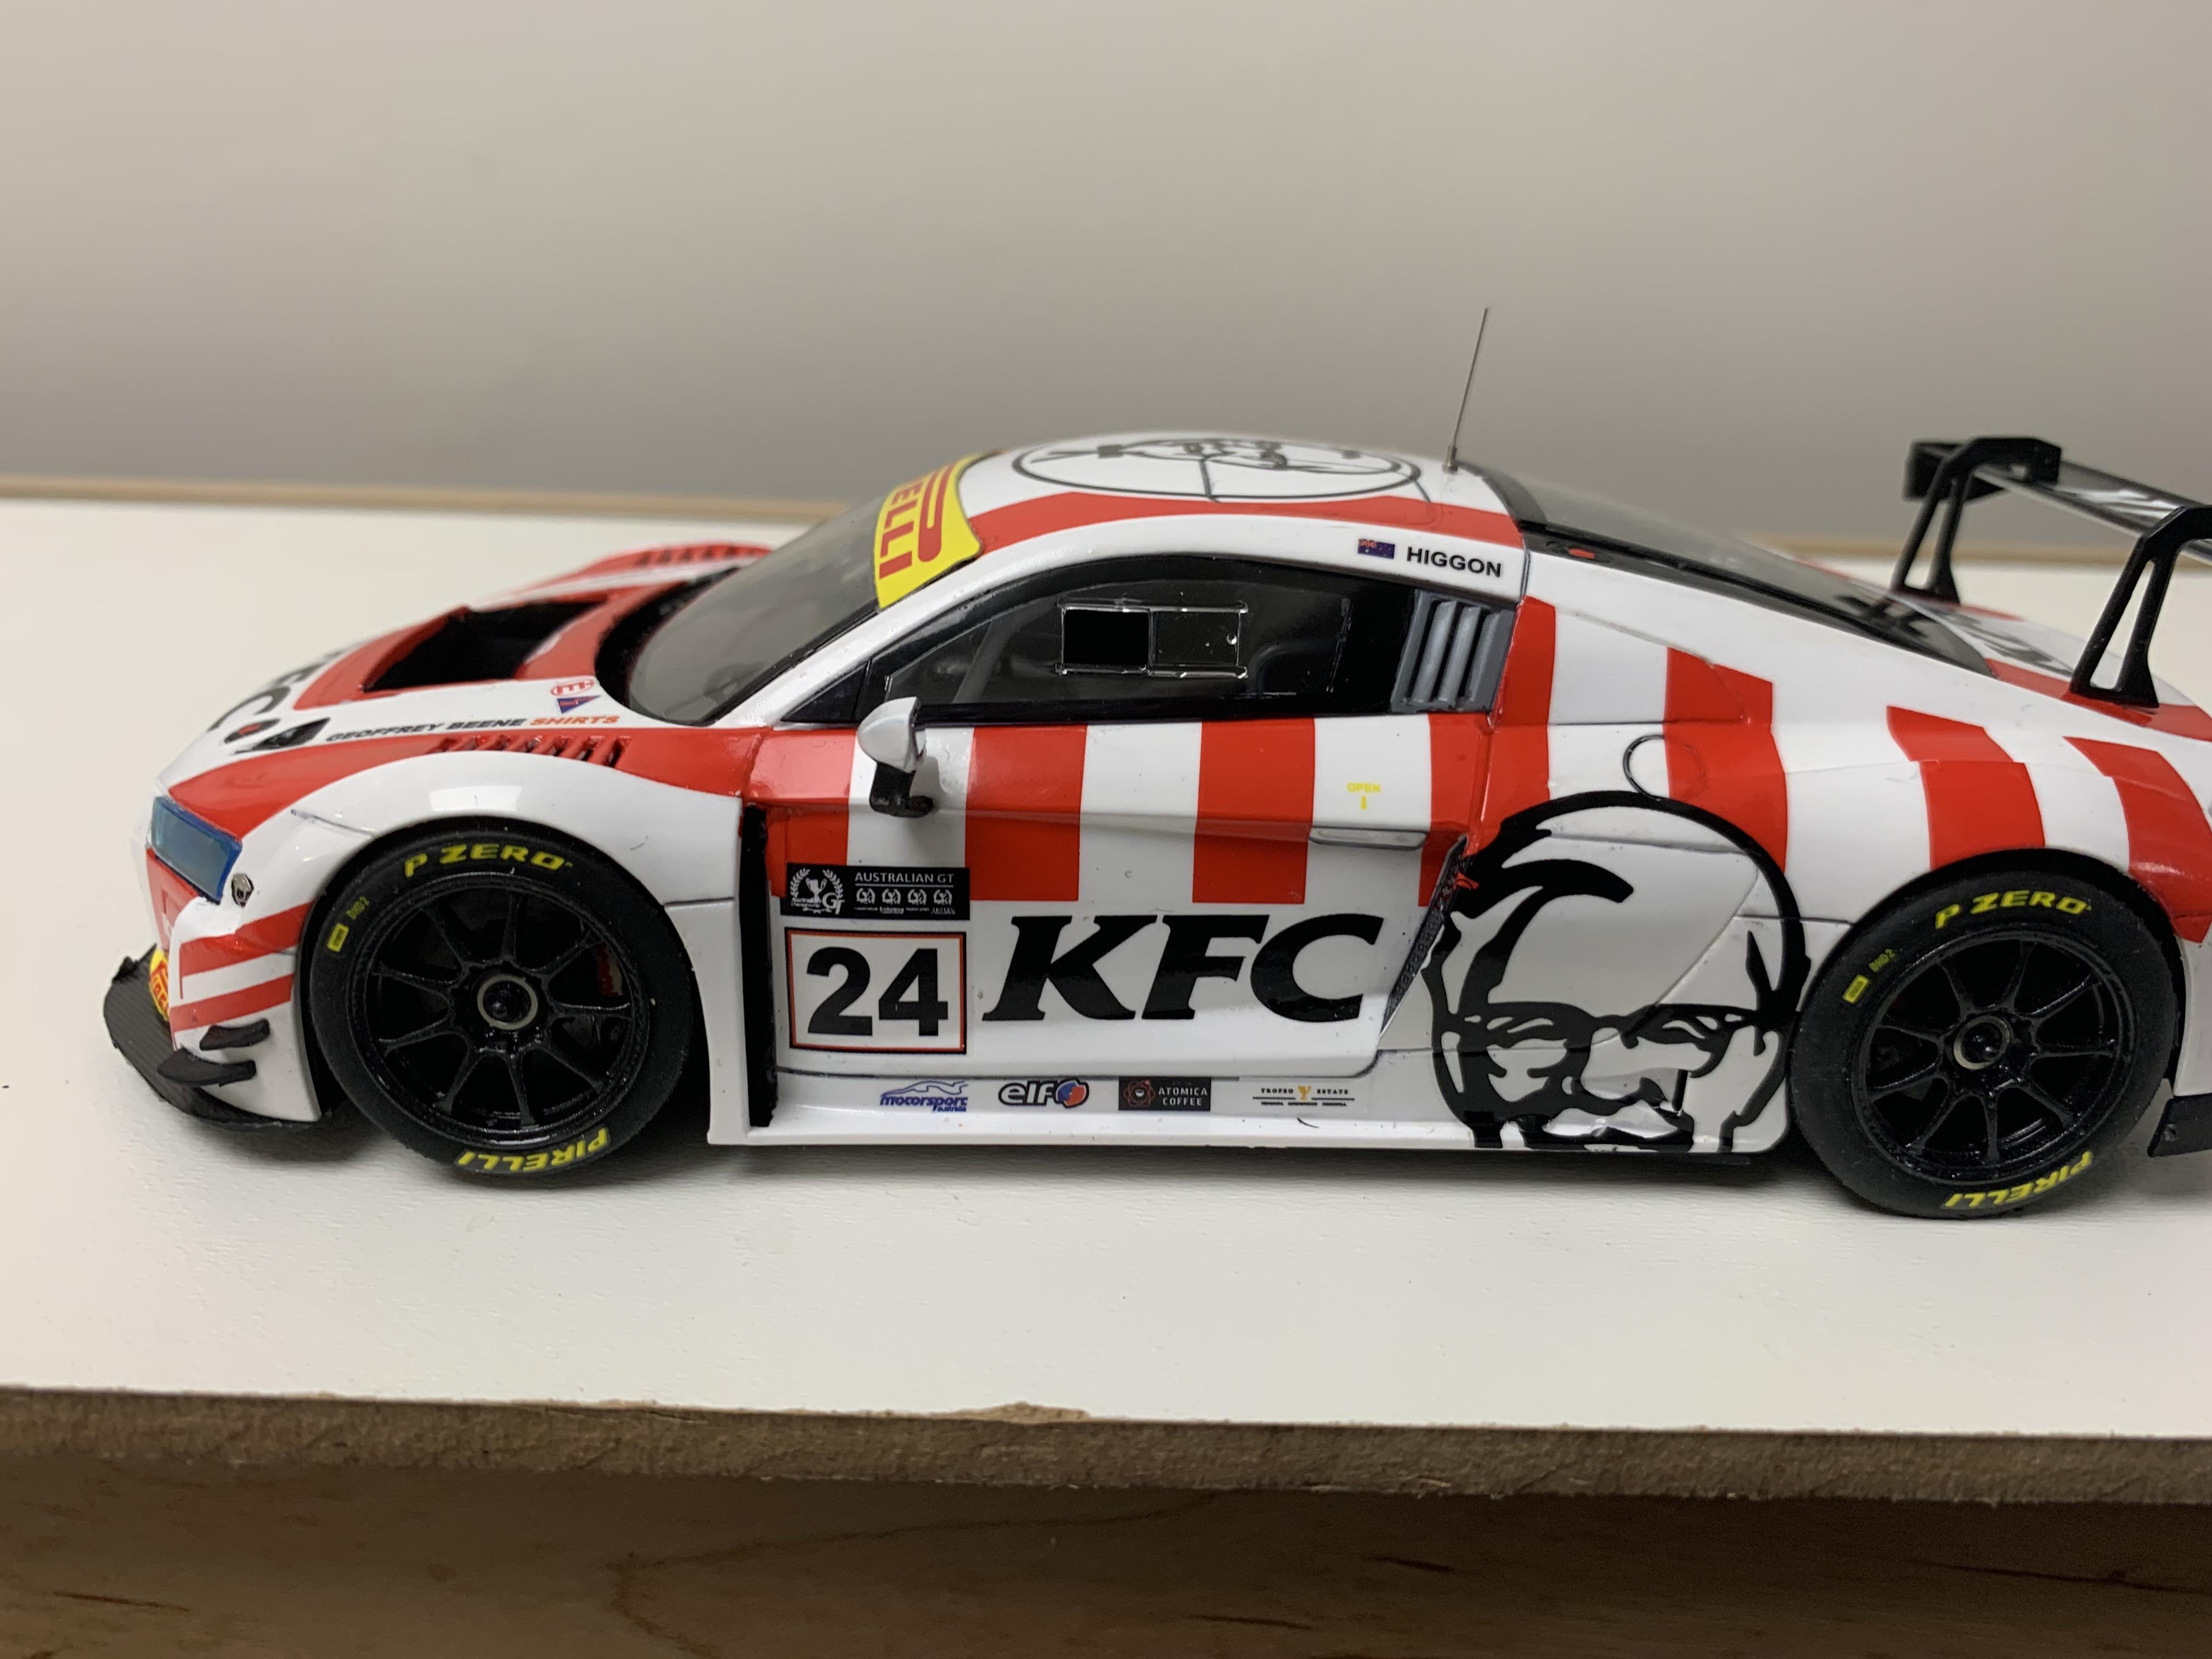
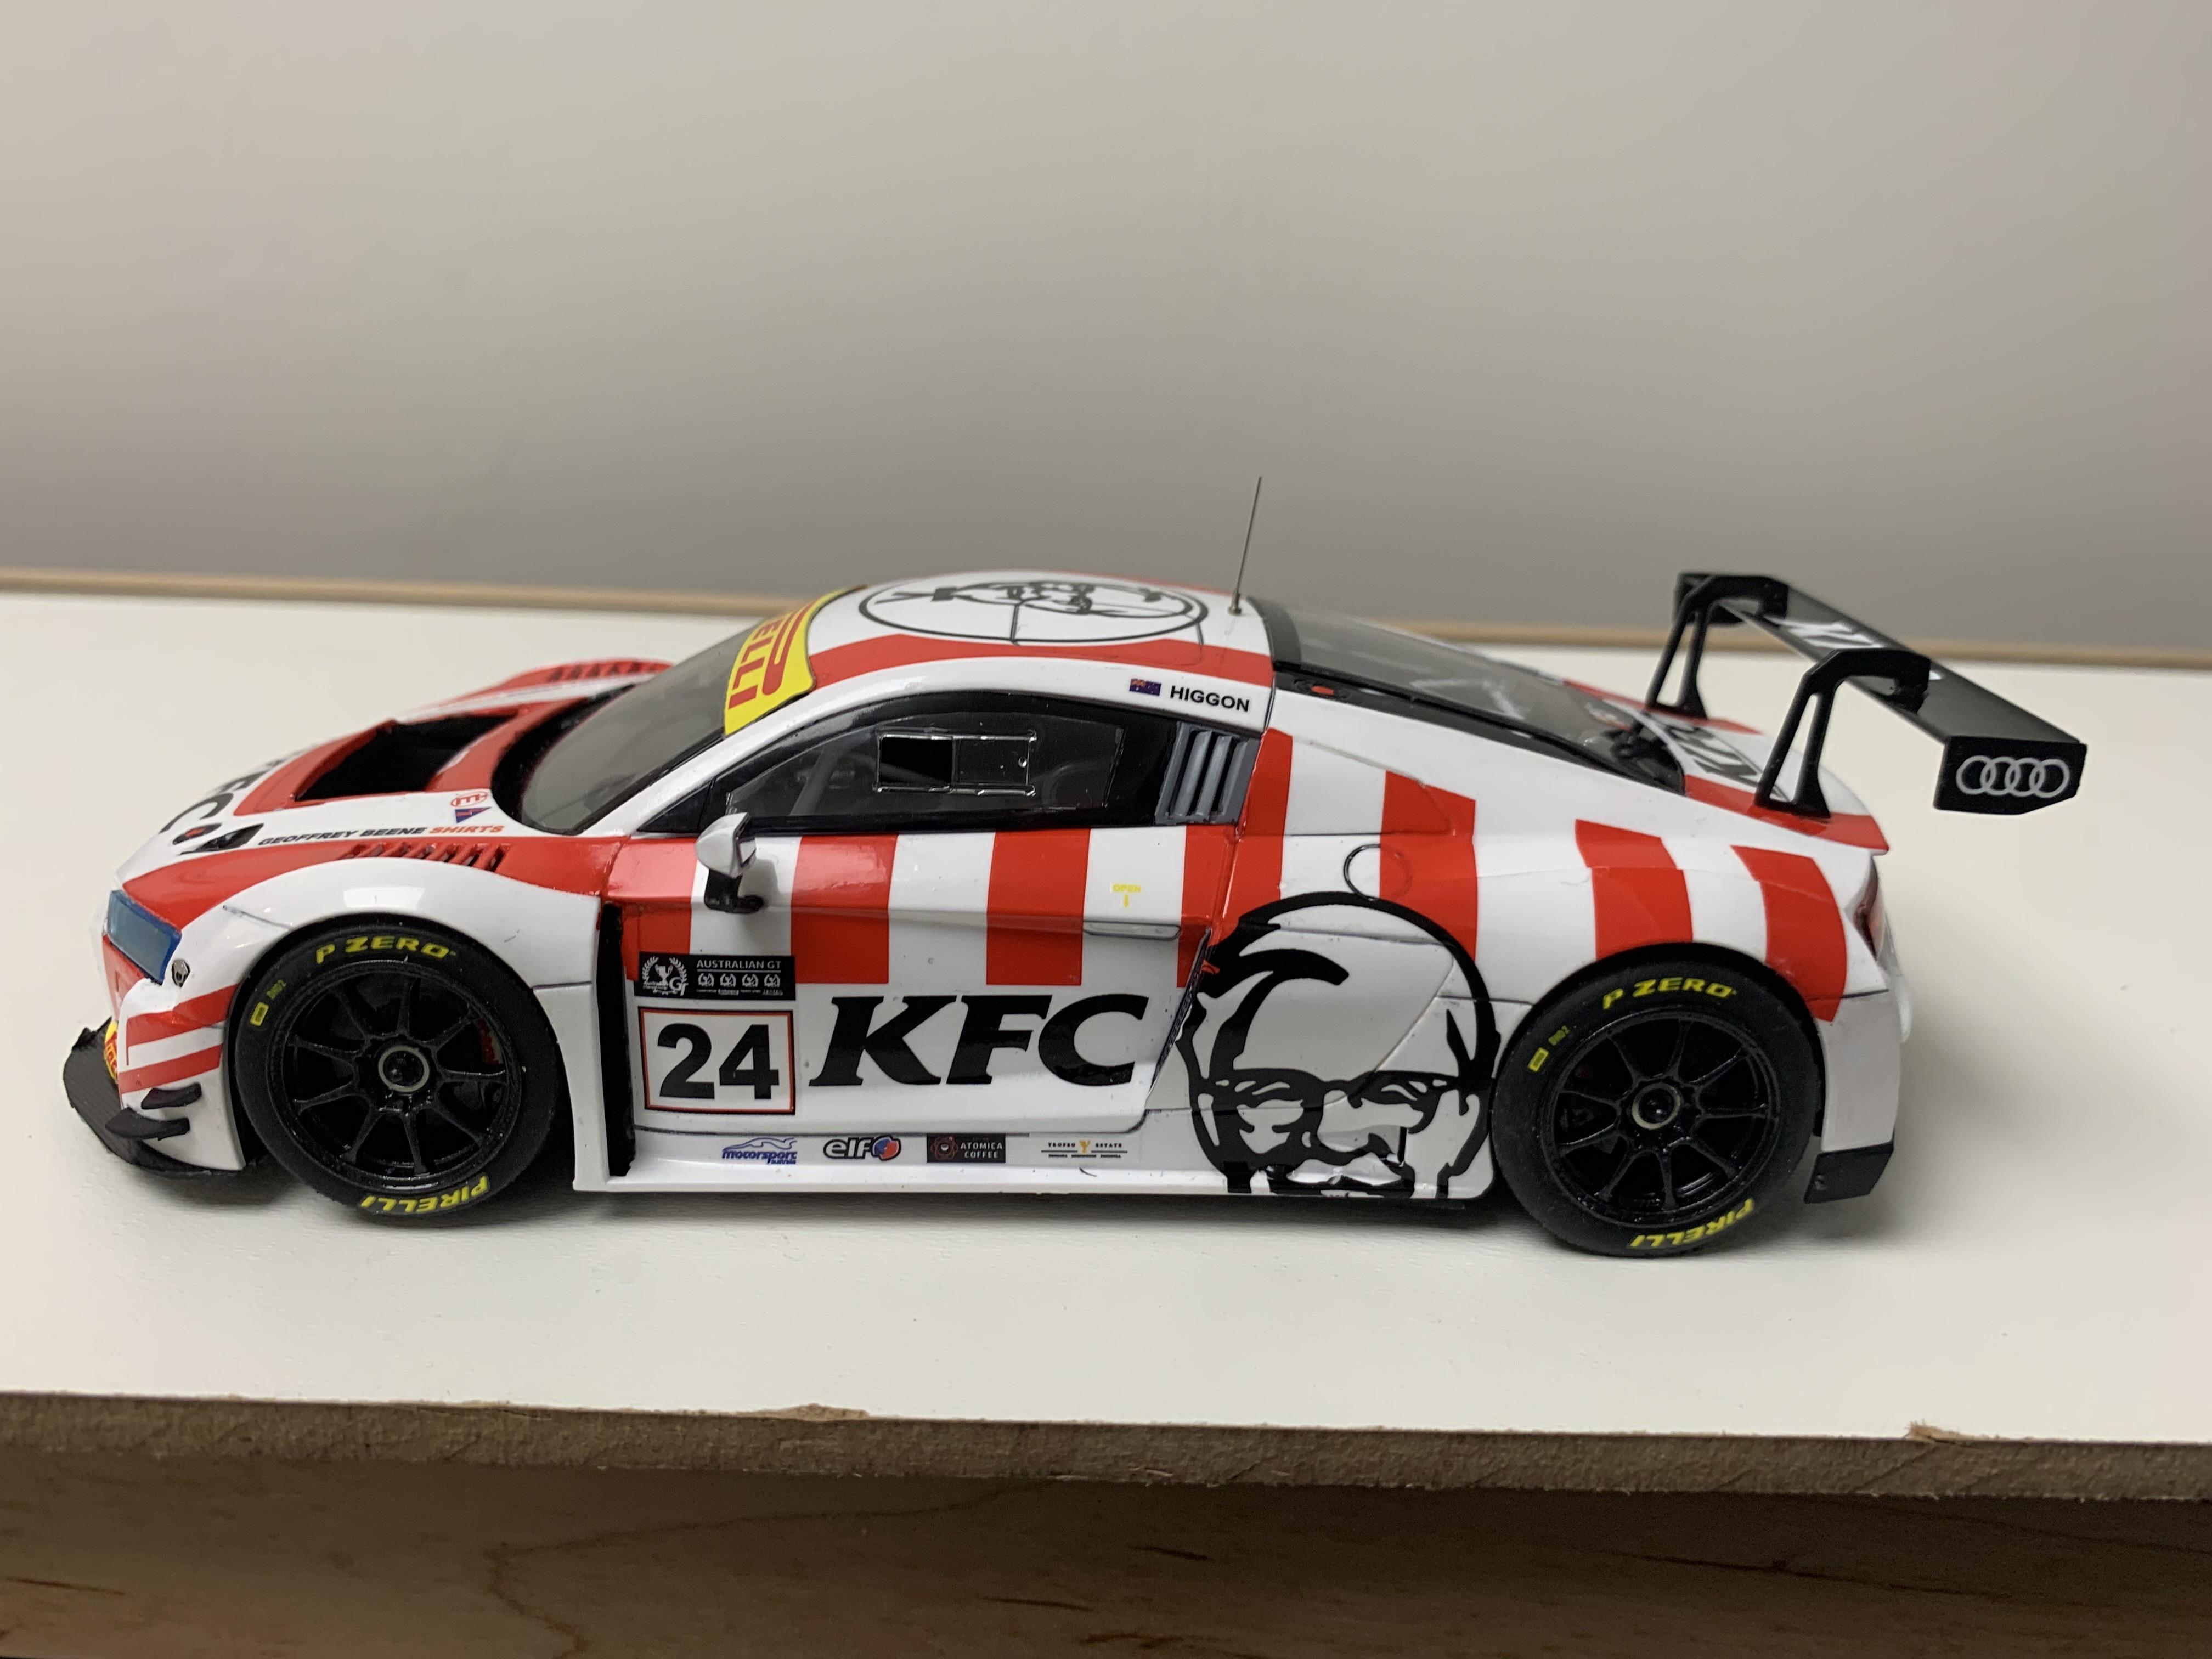
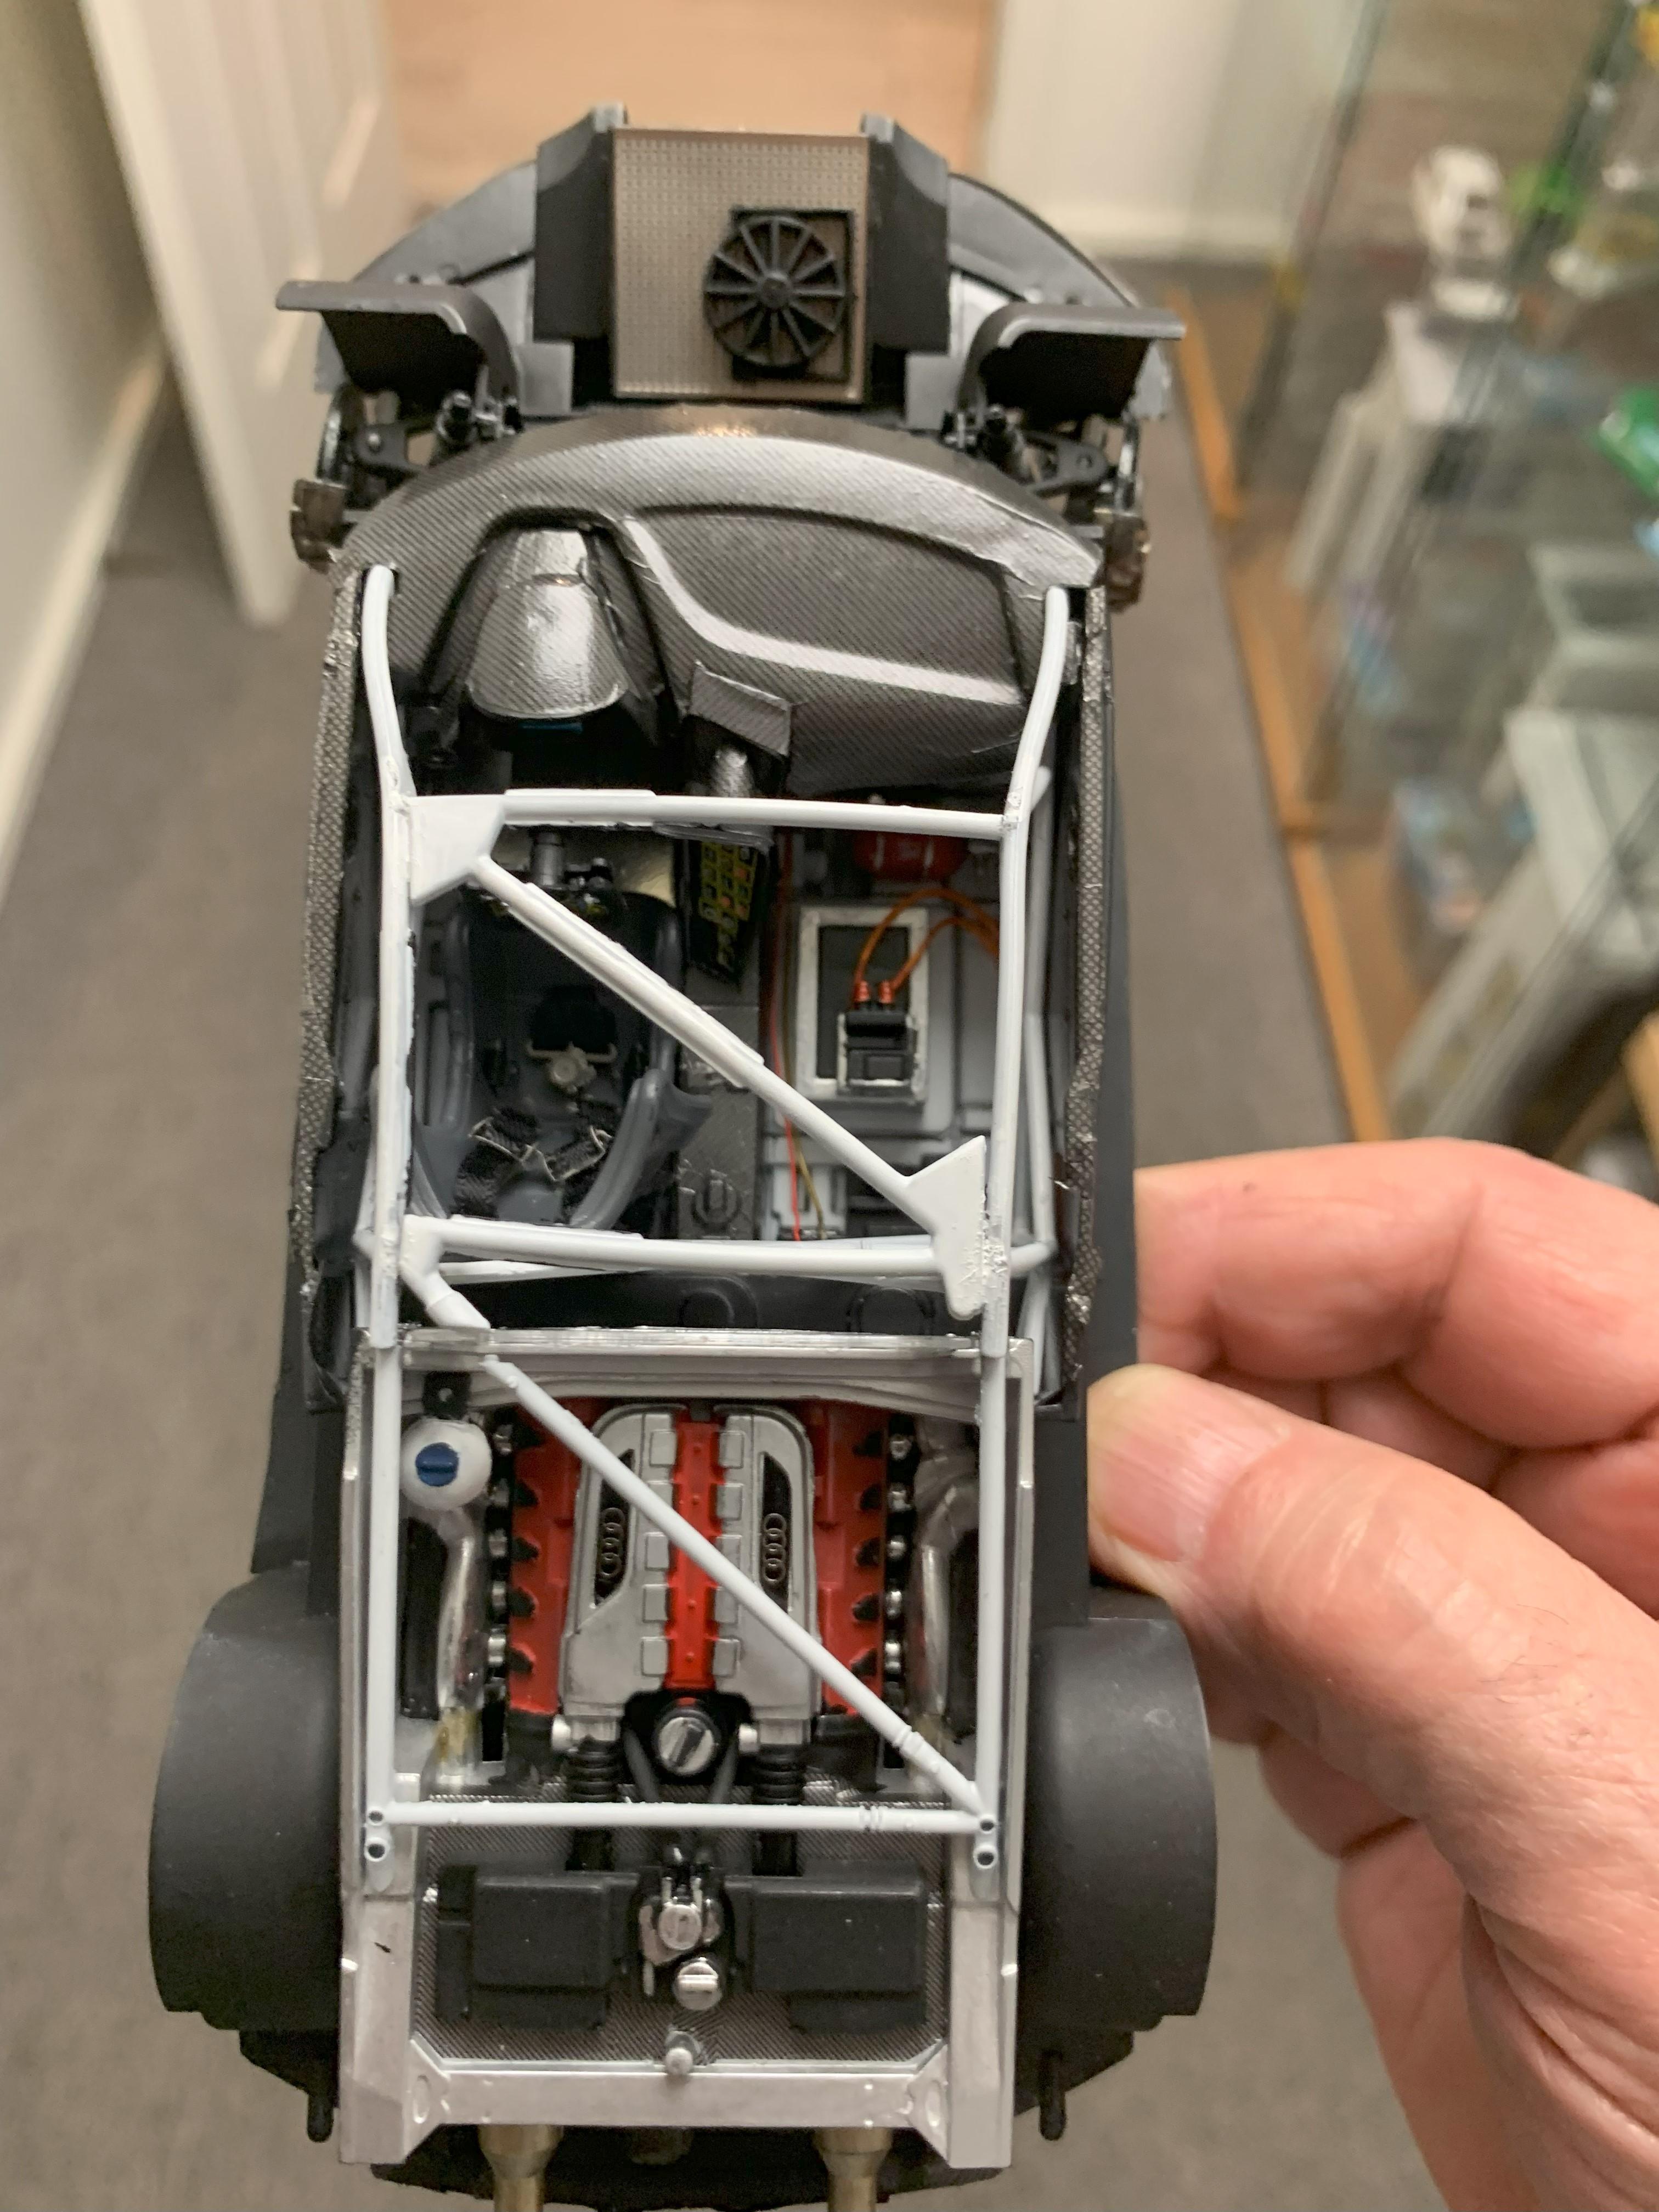
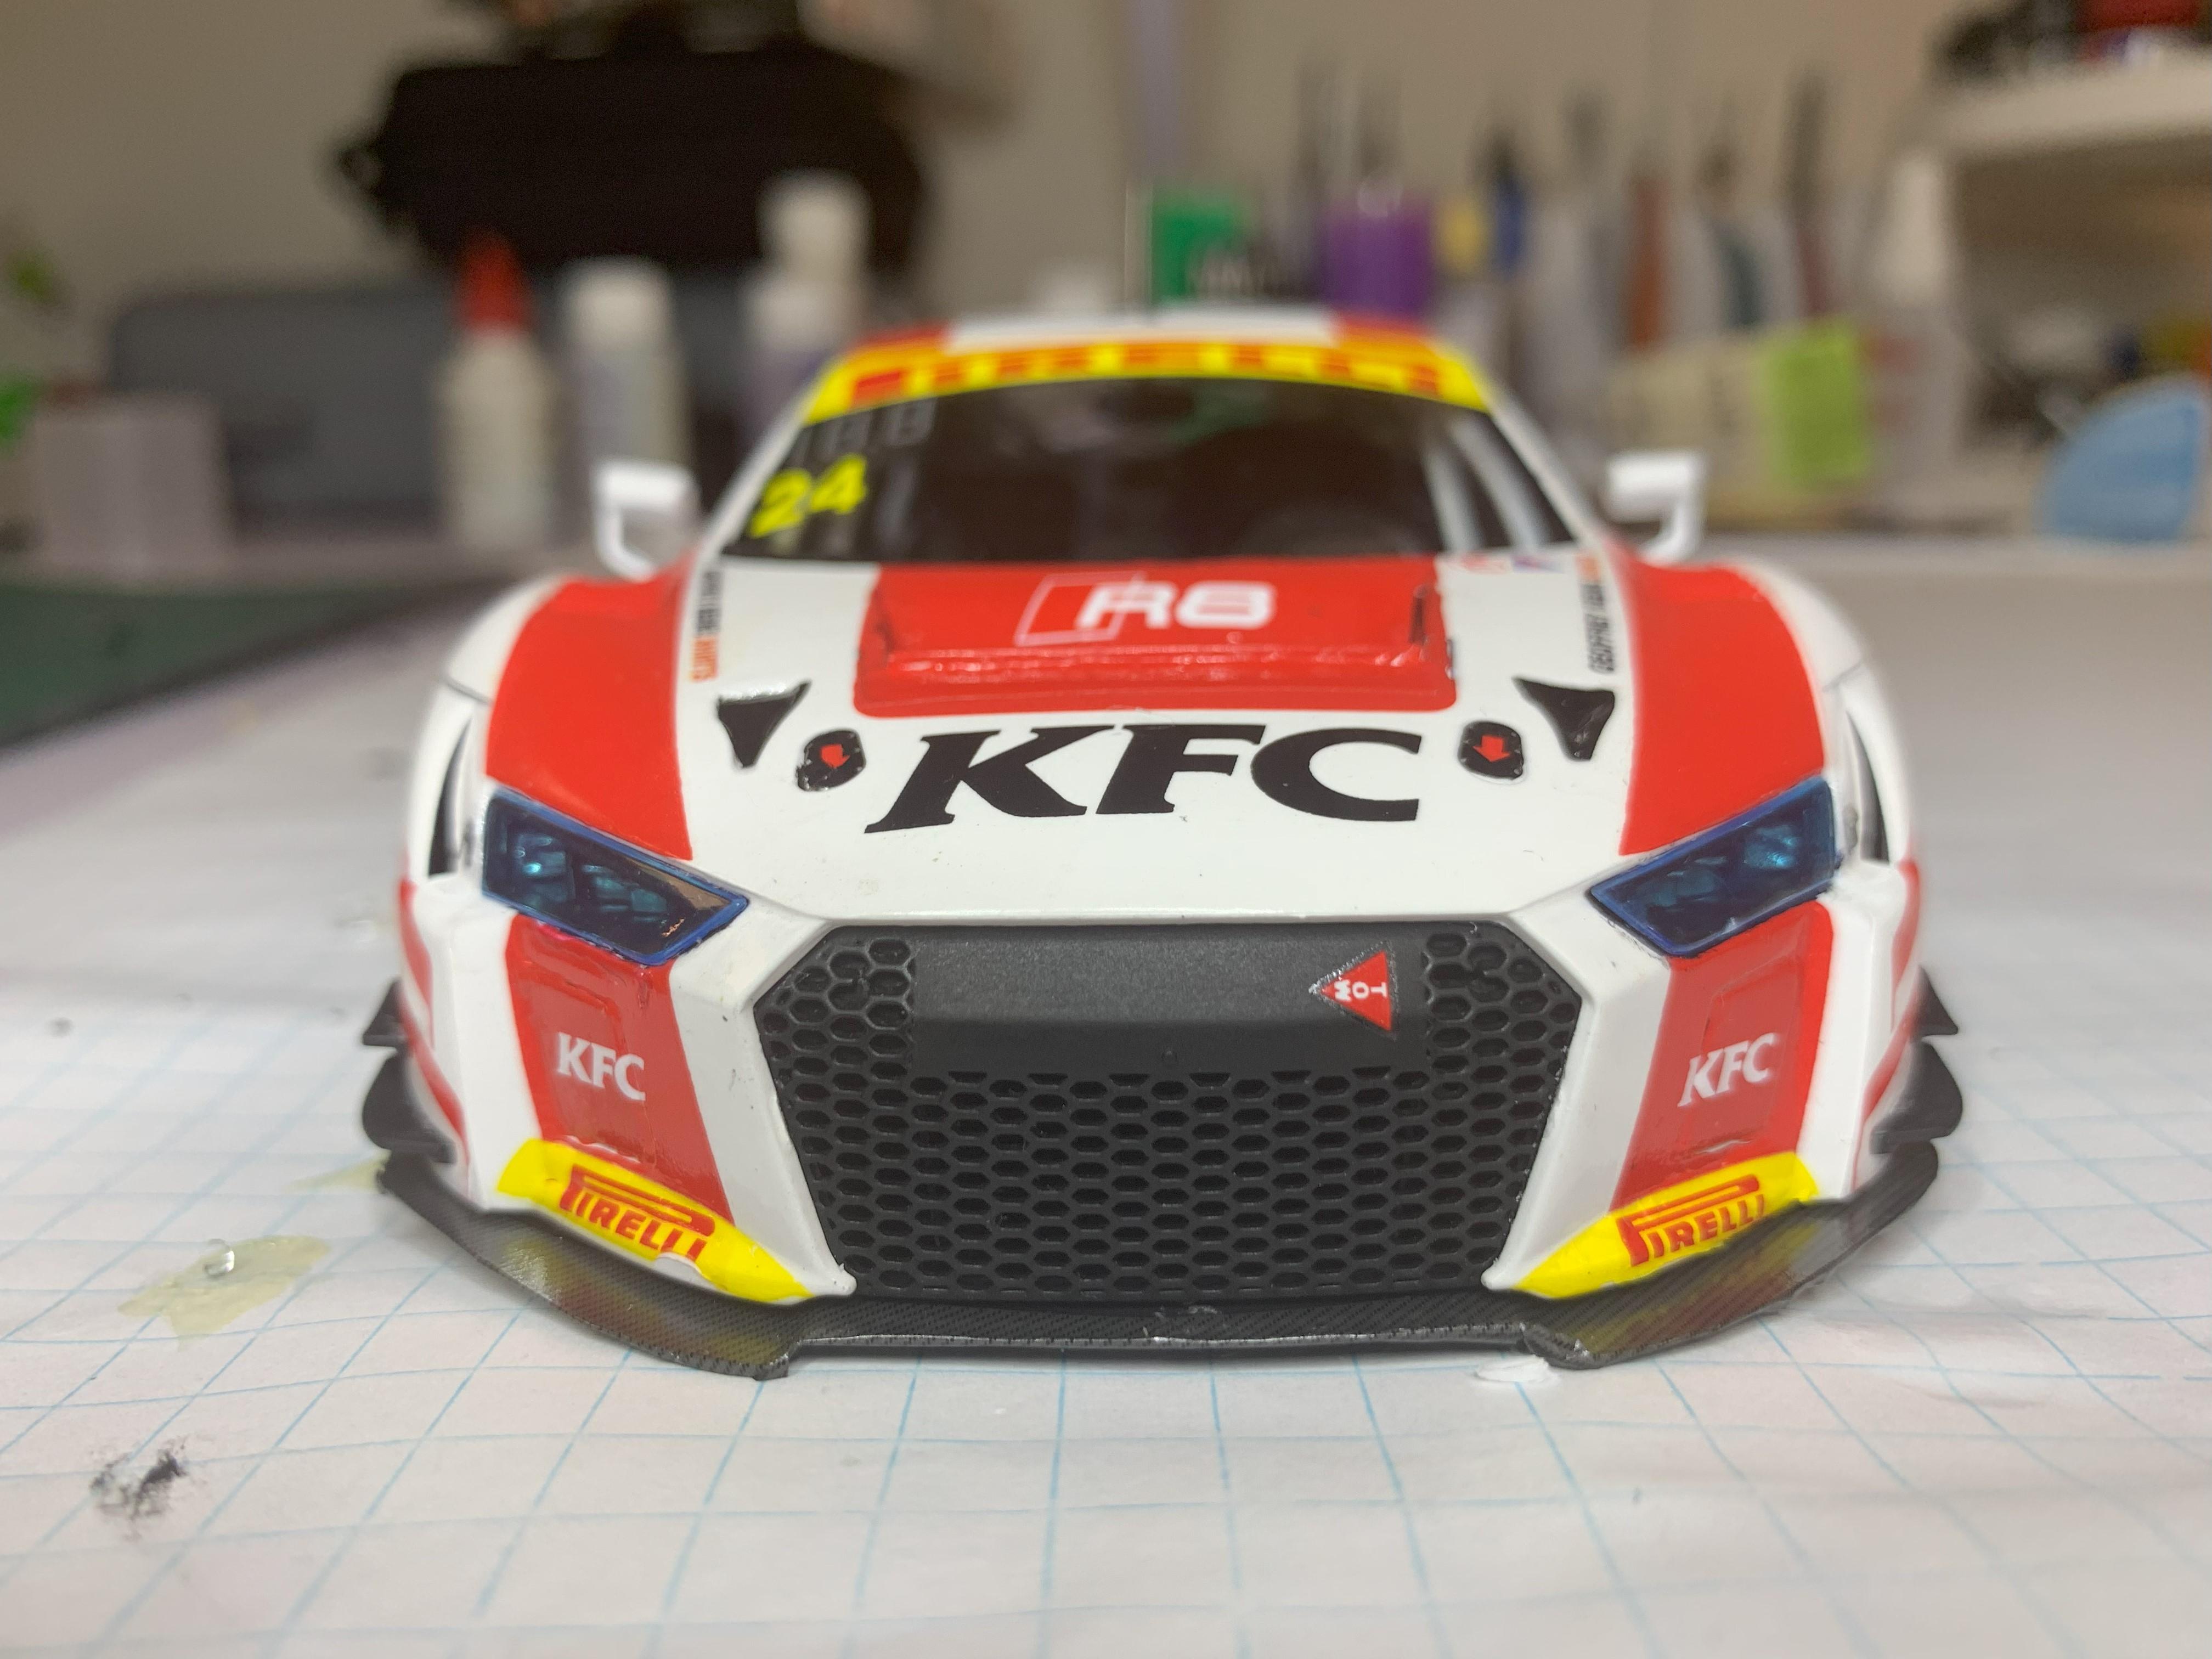
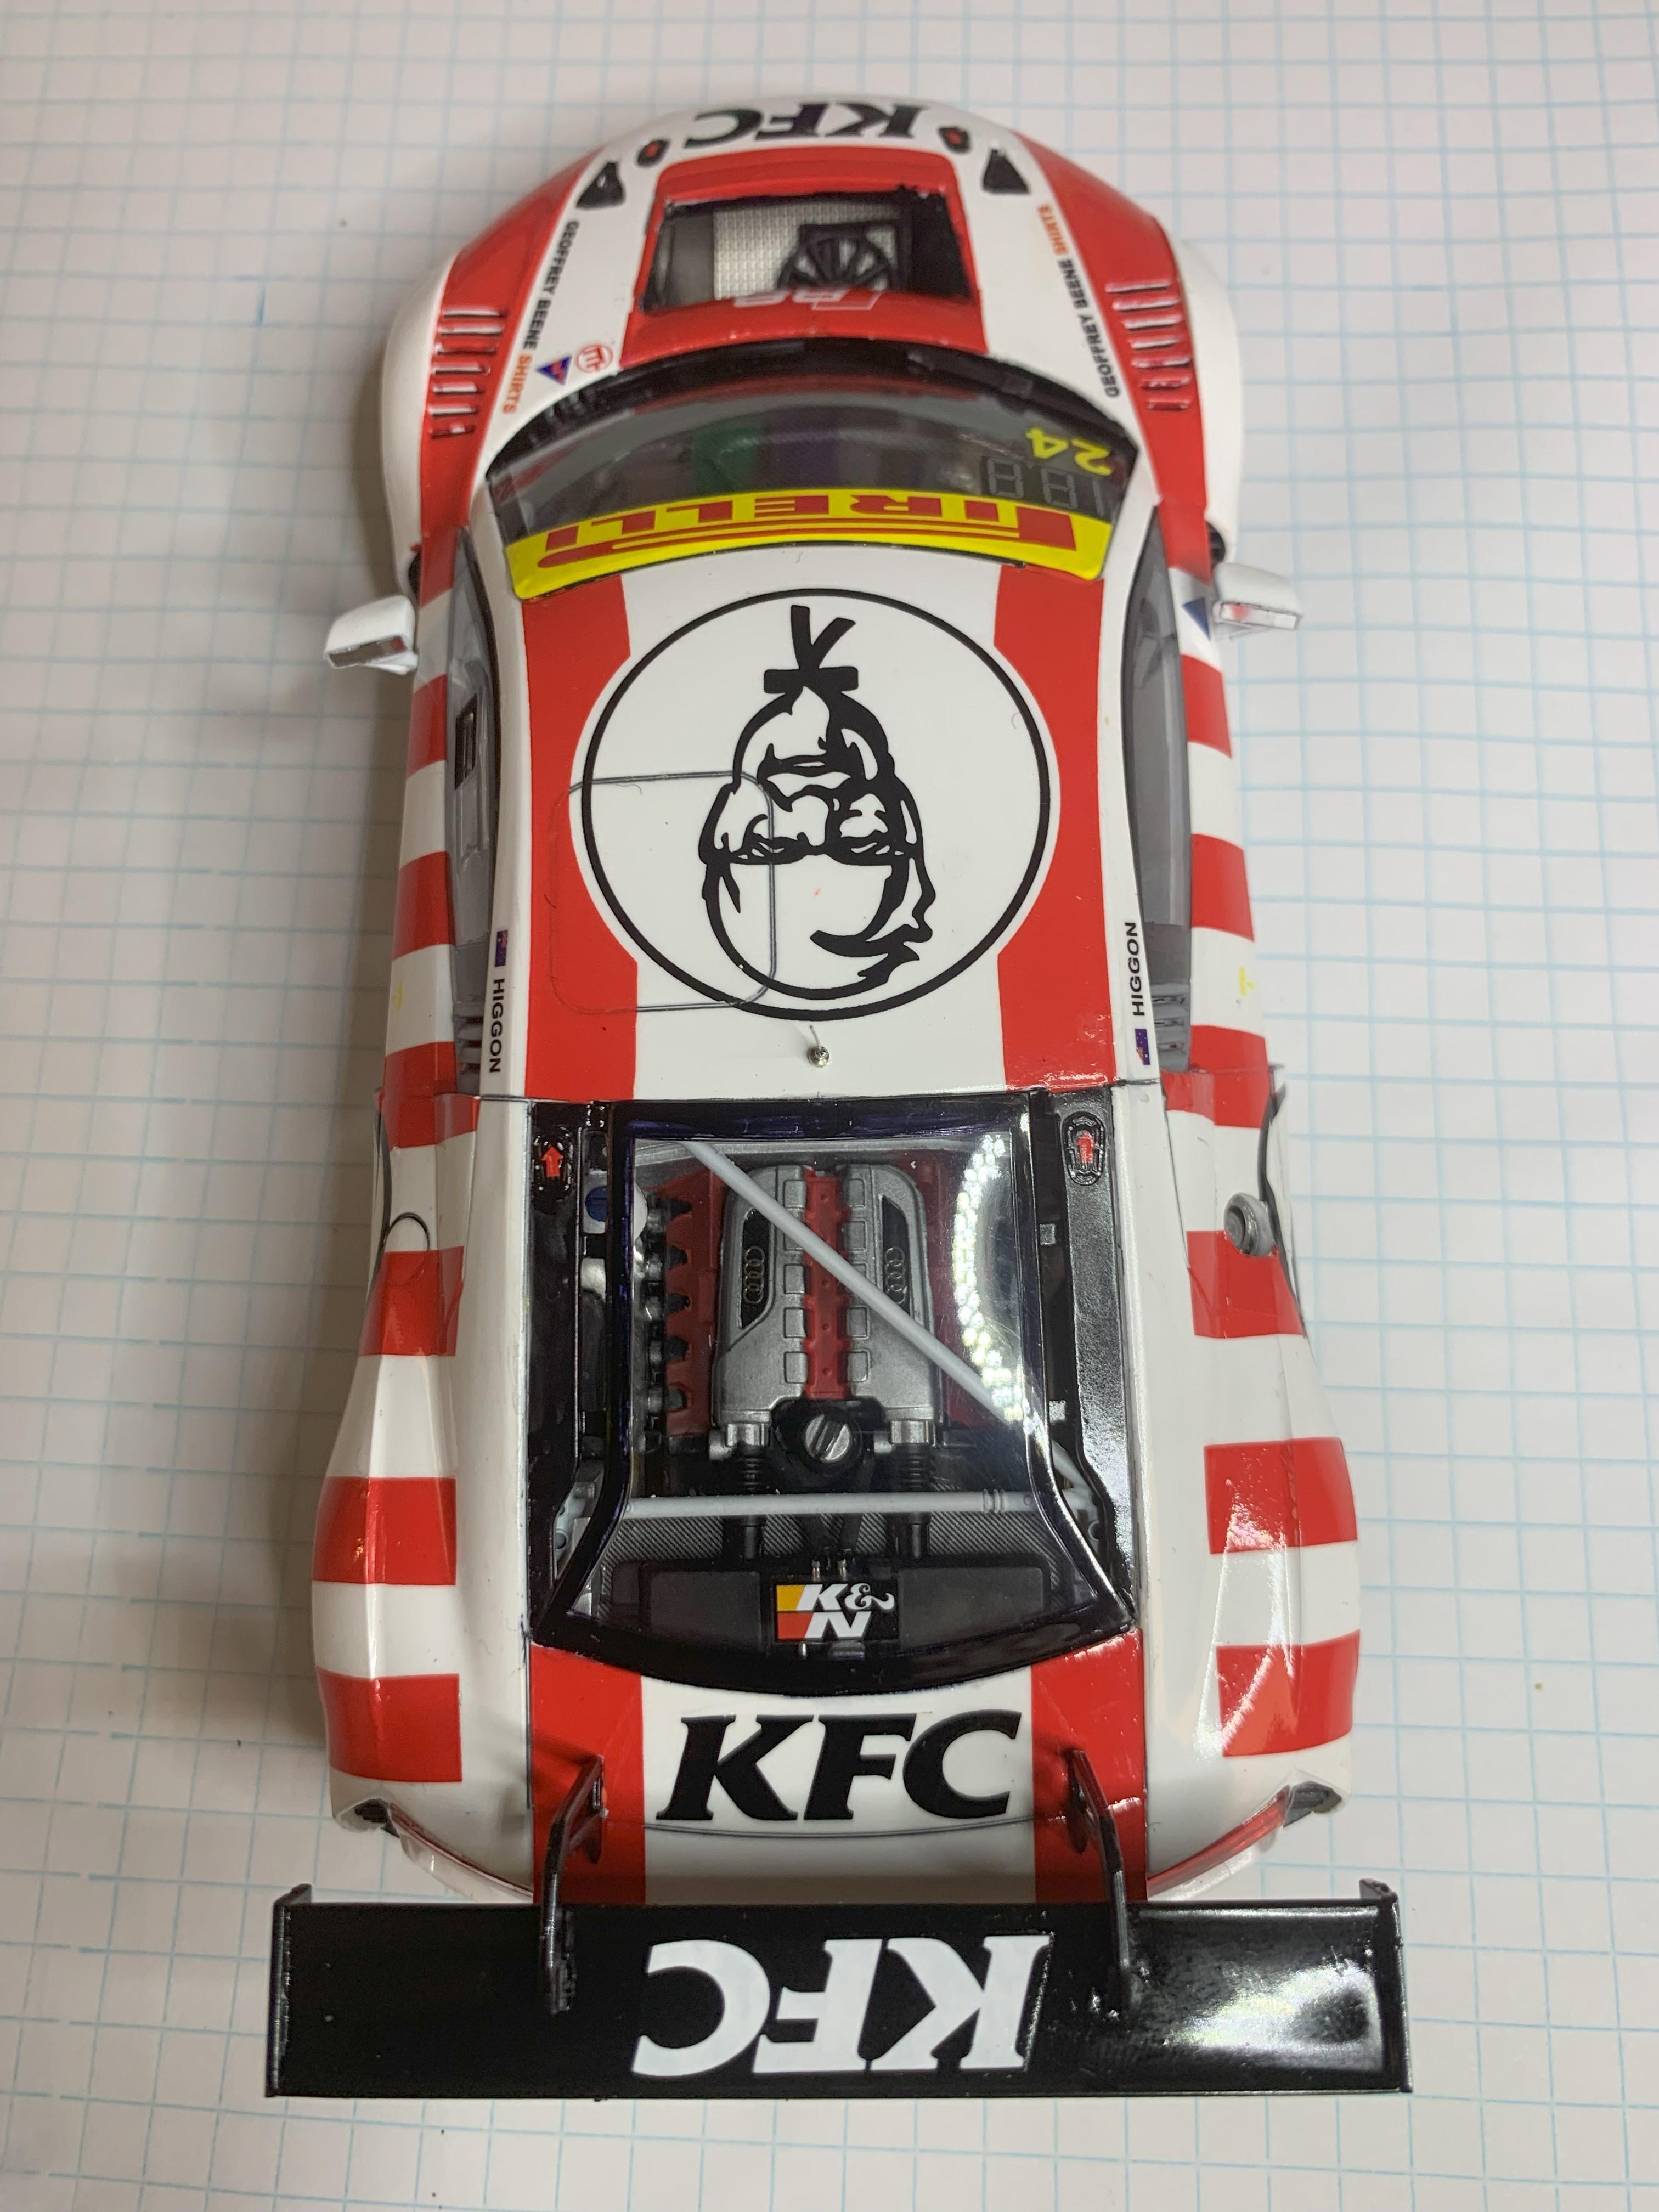
RS8, KFC AU edition
dougwintz replied to dougwintz's topic in Other Racing: Road Racing, Salt Flat Racers
-
I've seen a couple of the NuNu RS8 kits with KFC livery. Liked them so much I decided to build my own. My first time using clear over decals, and I'm on the fence as to the results. Probably could stand some more polishing. update…I did some additional polishing and added photos. Better now
-
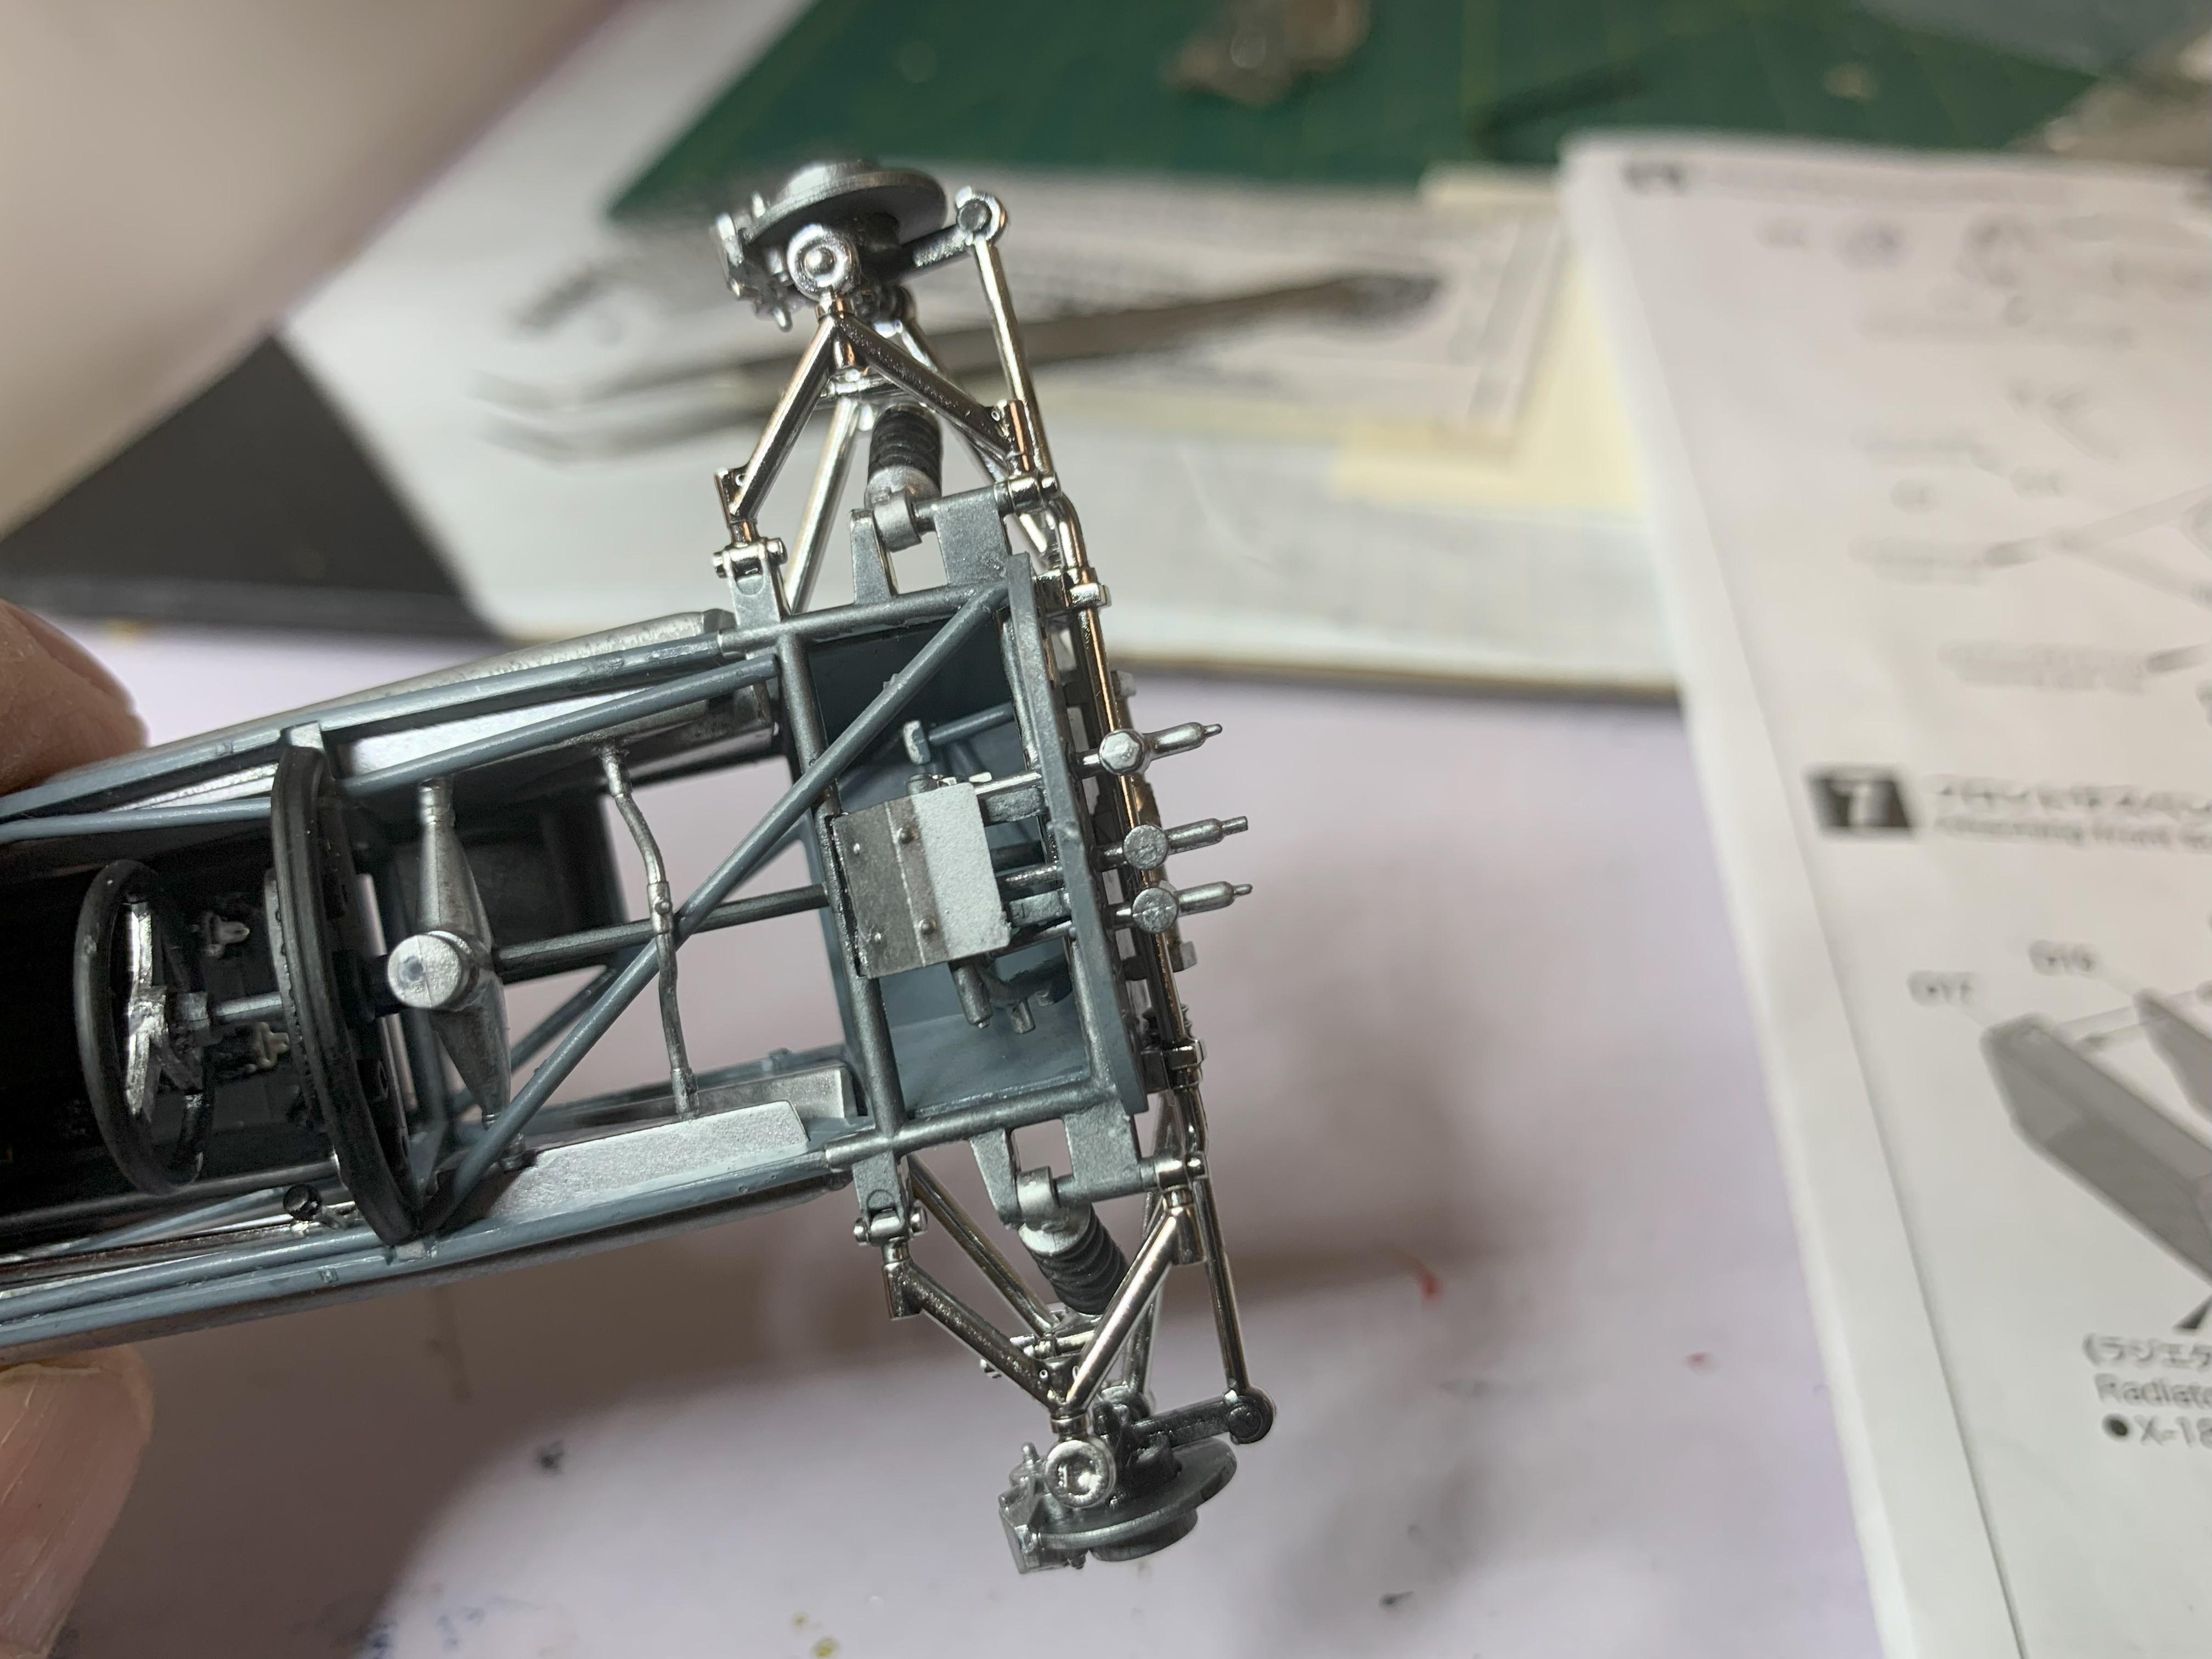
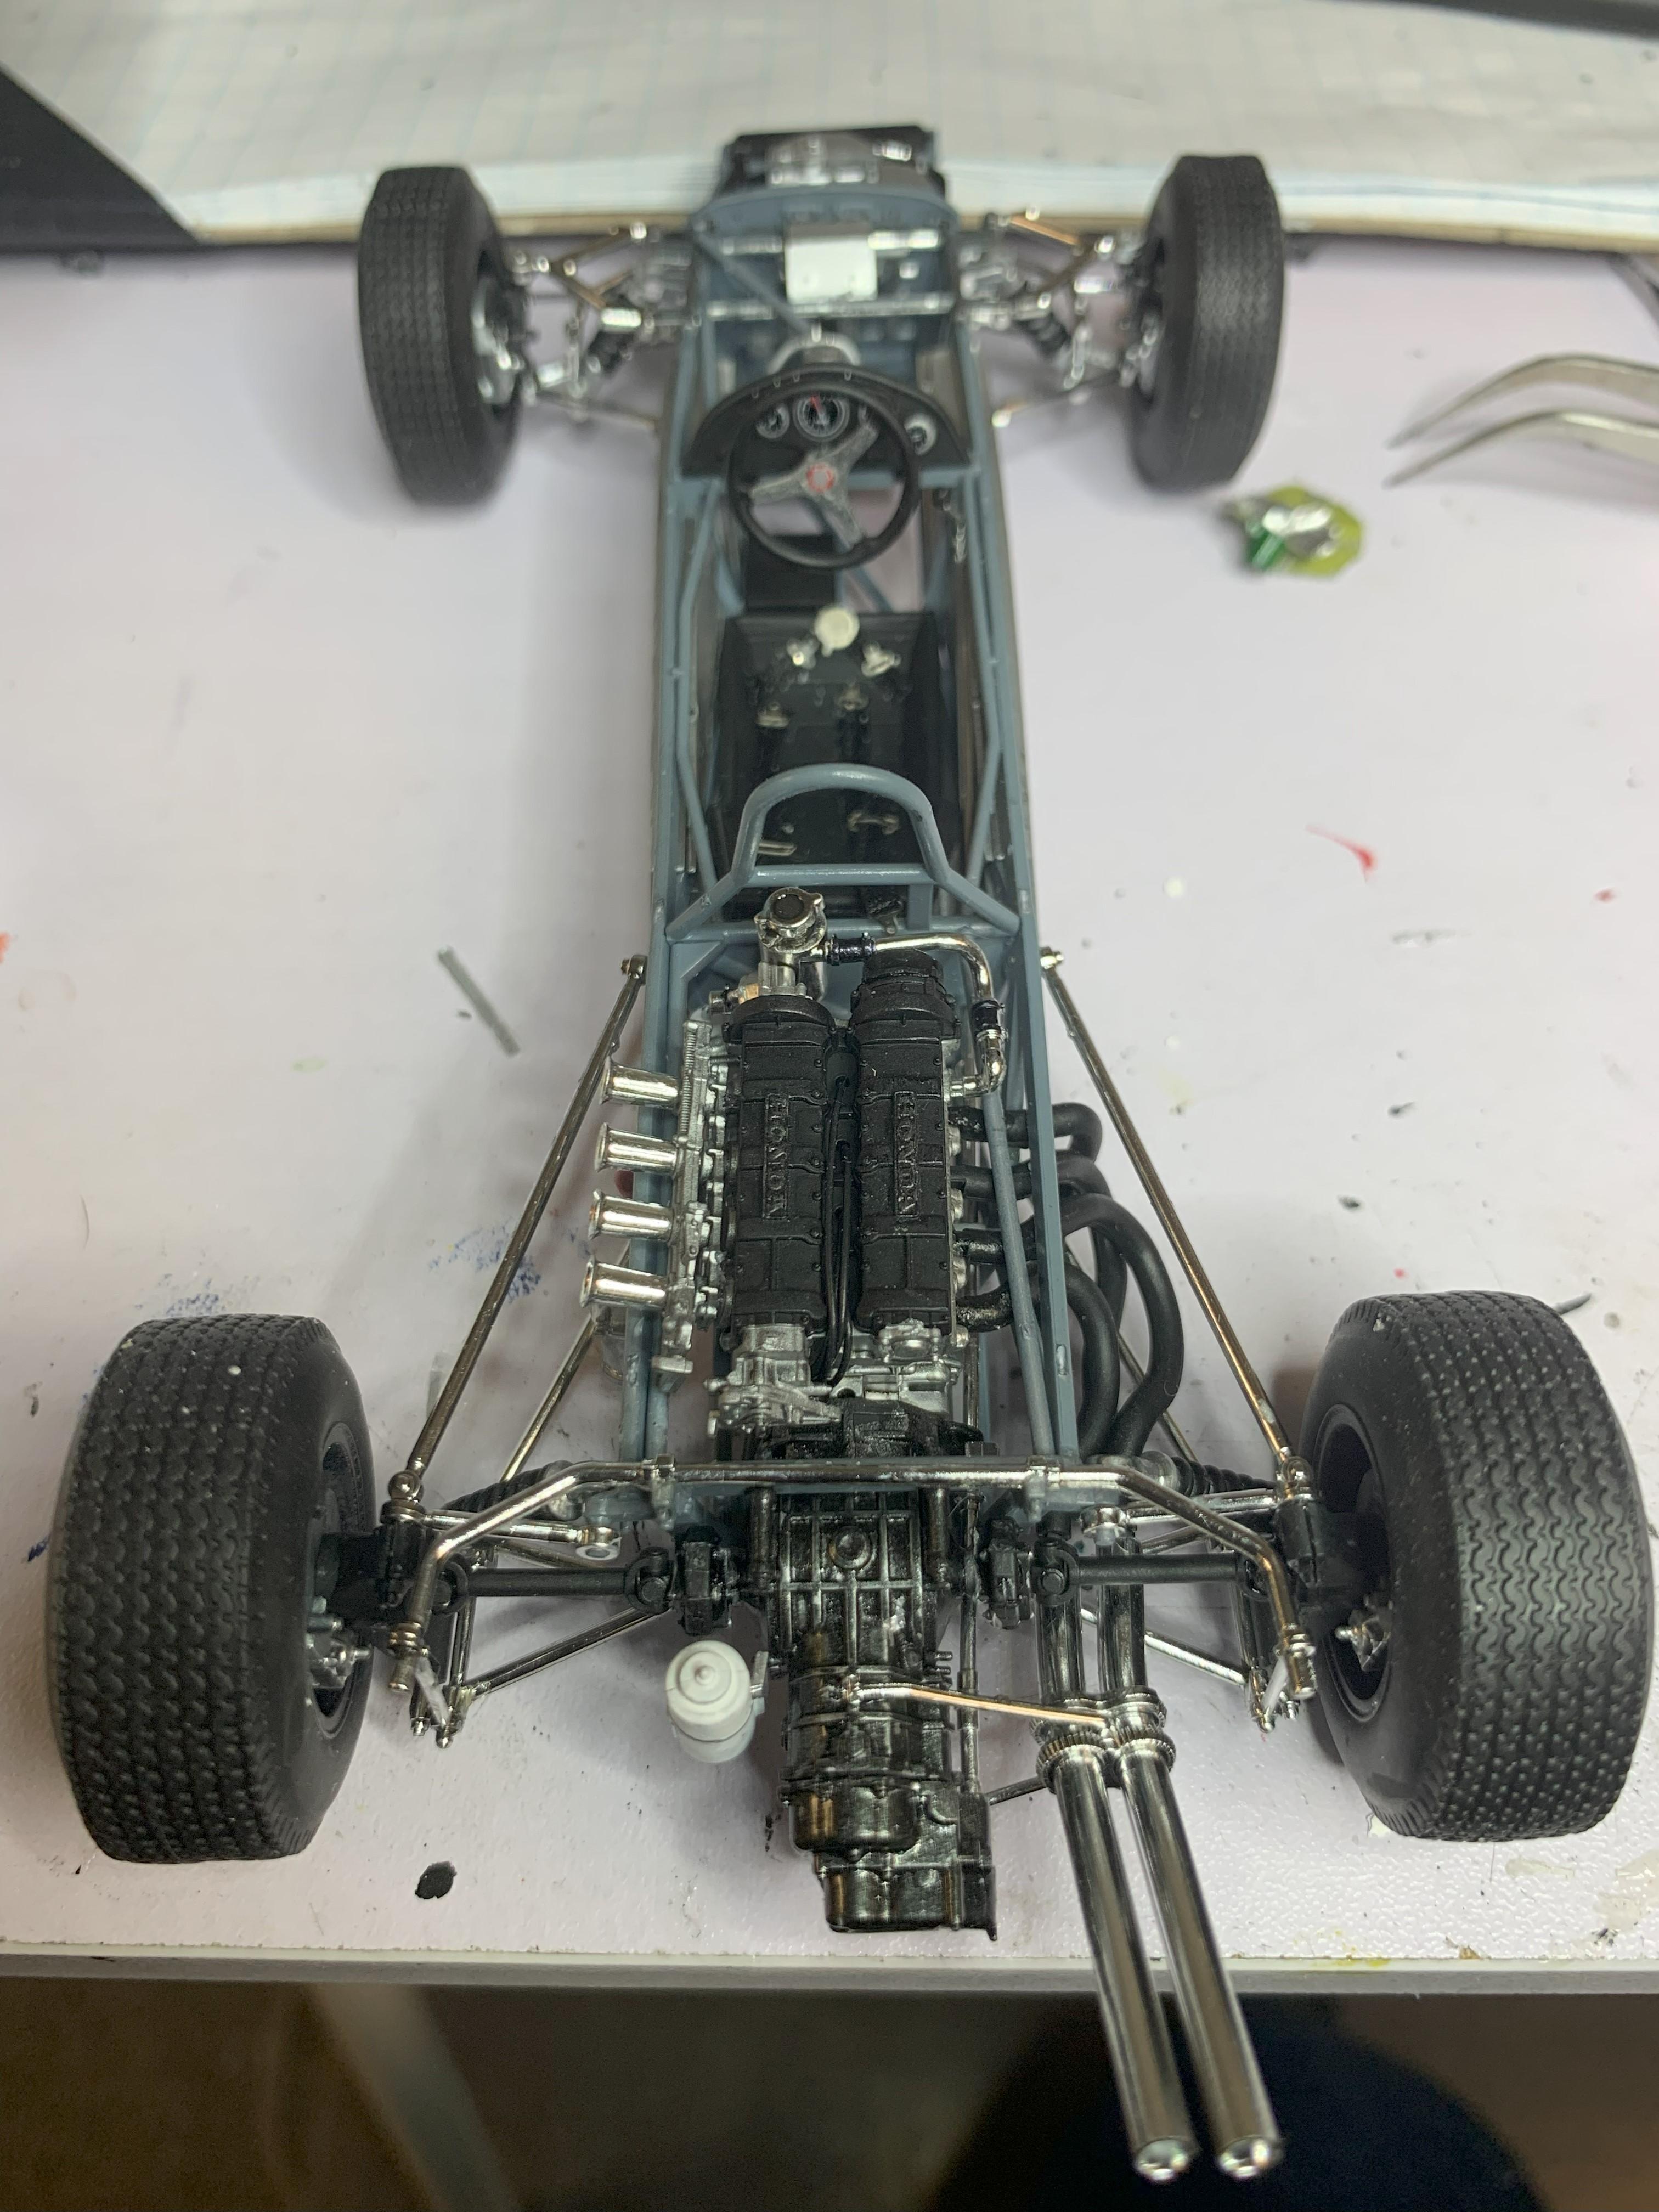
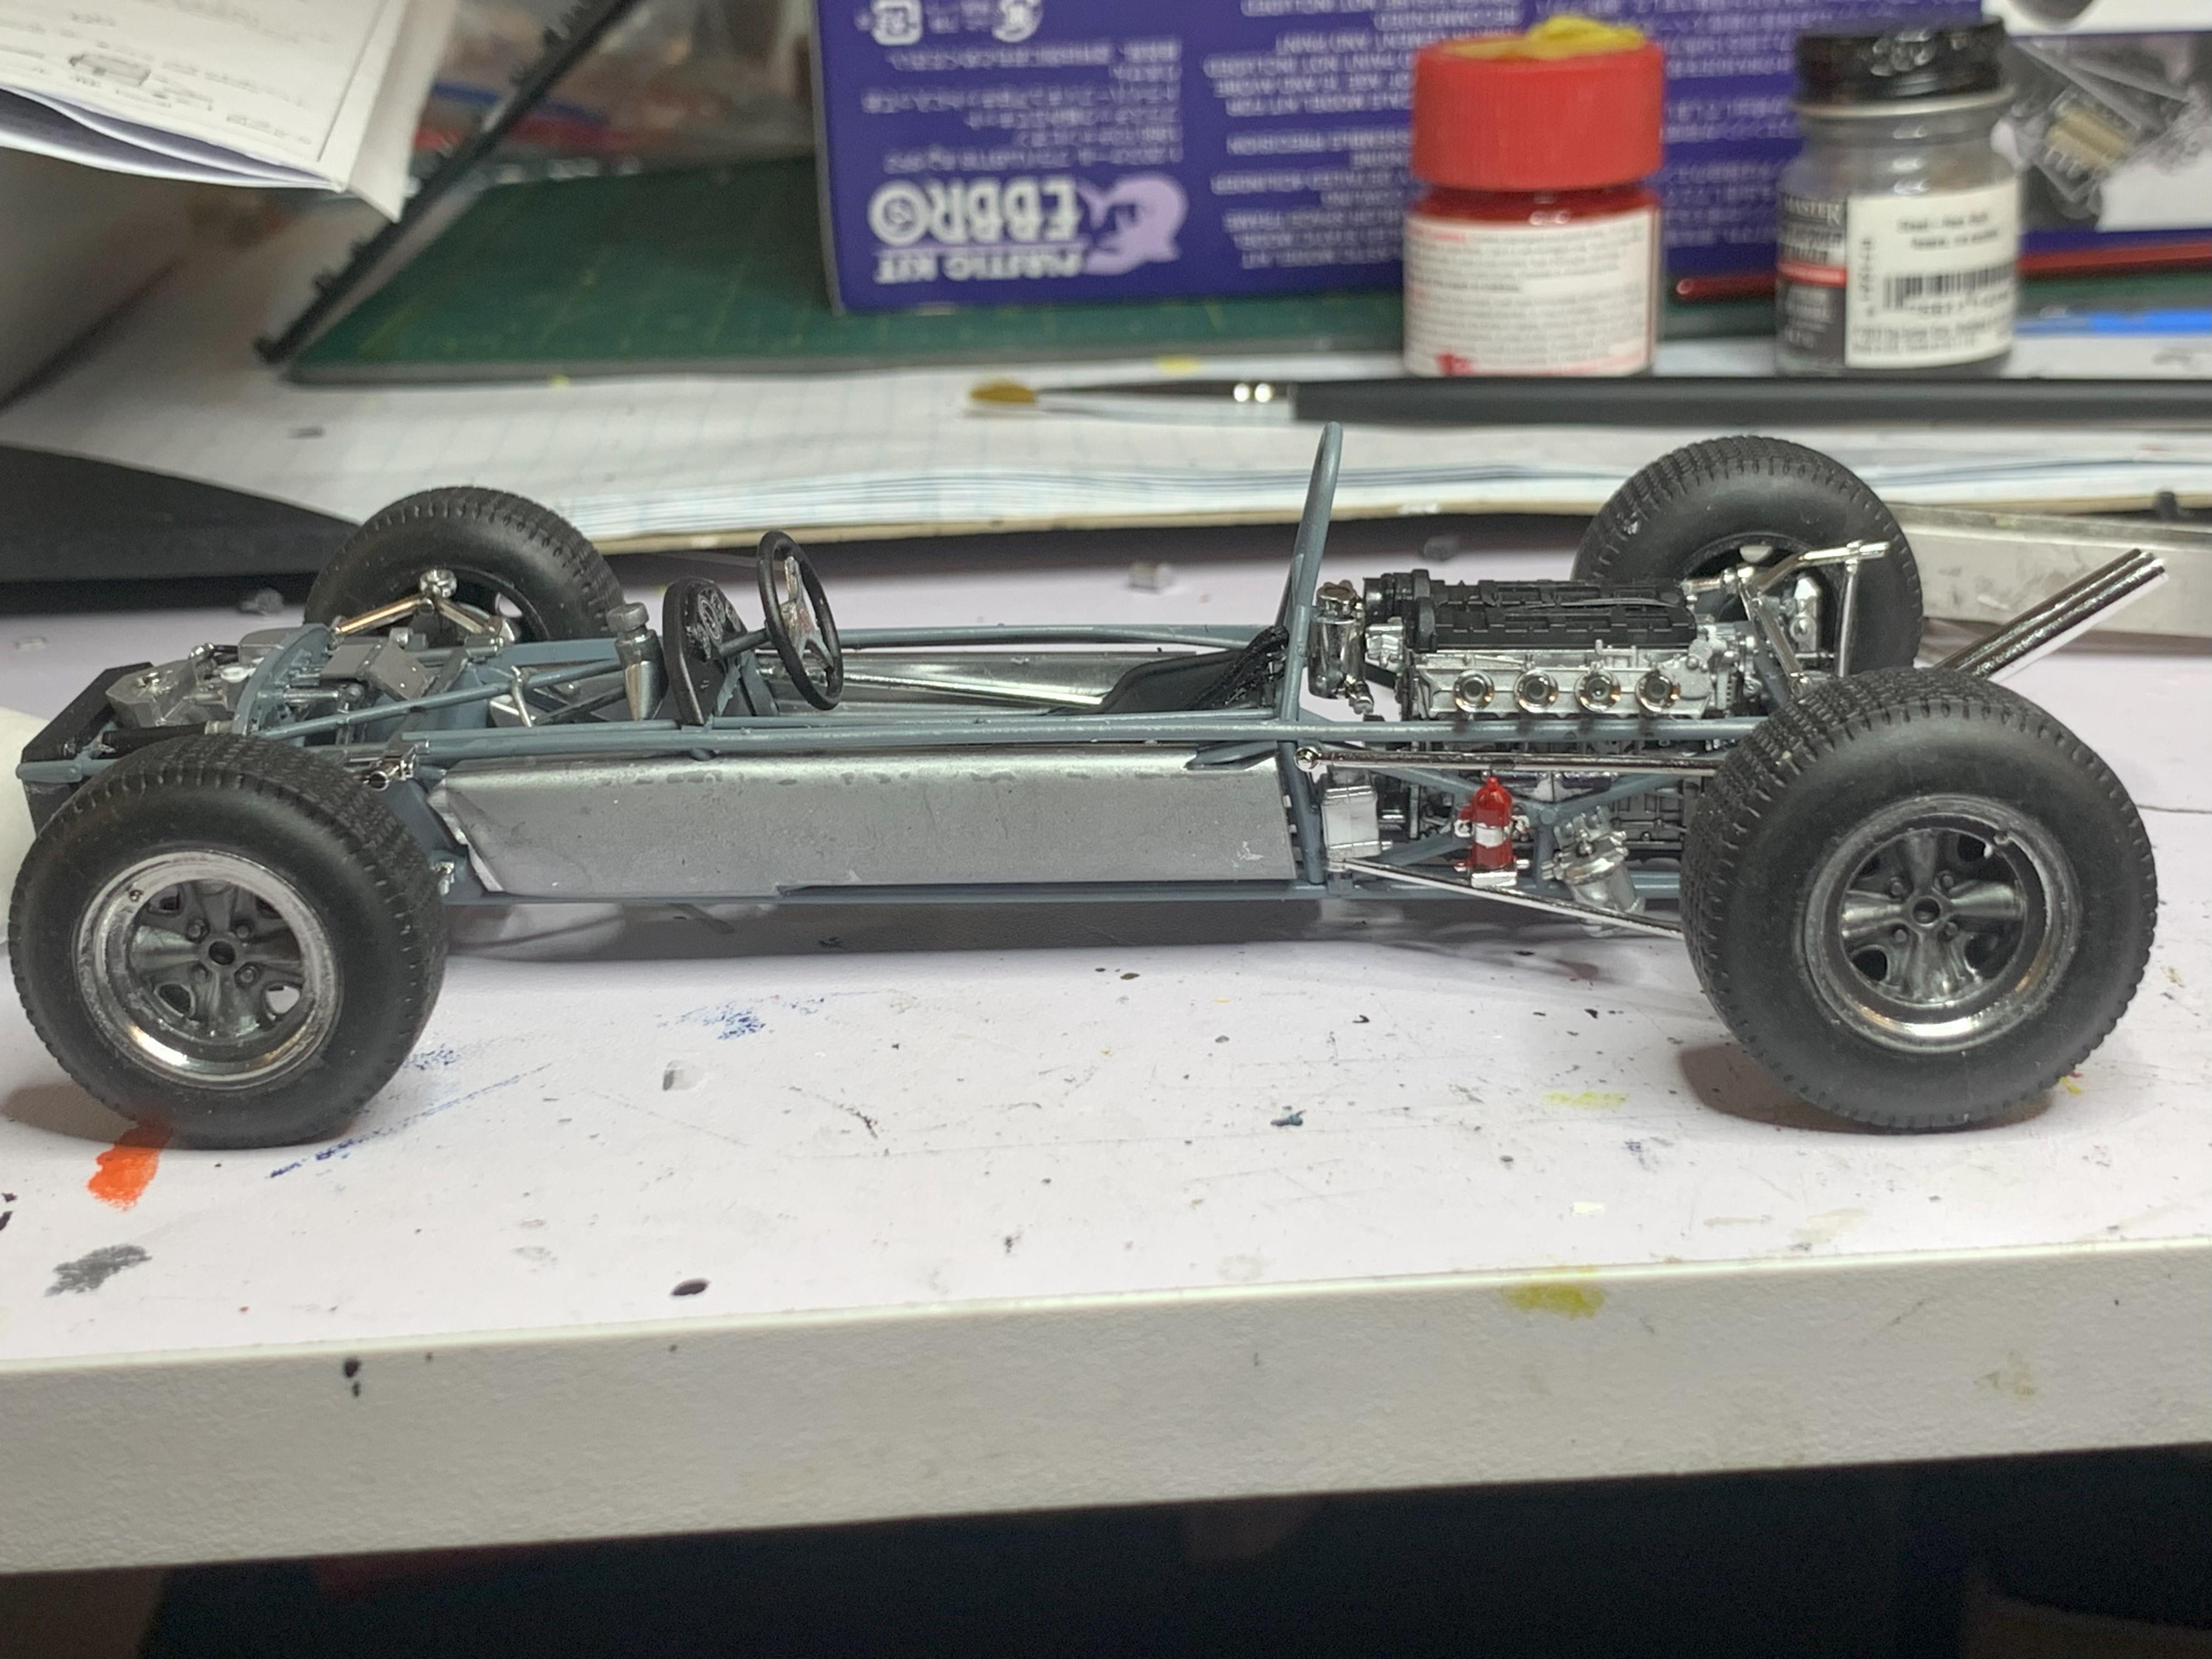
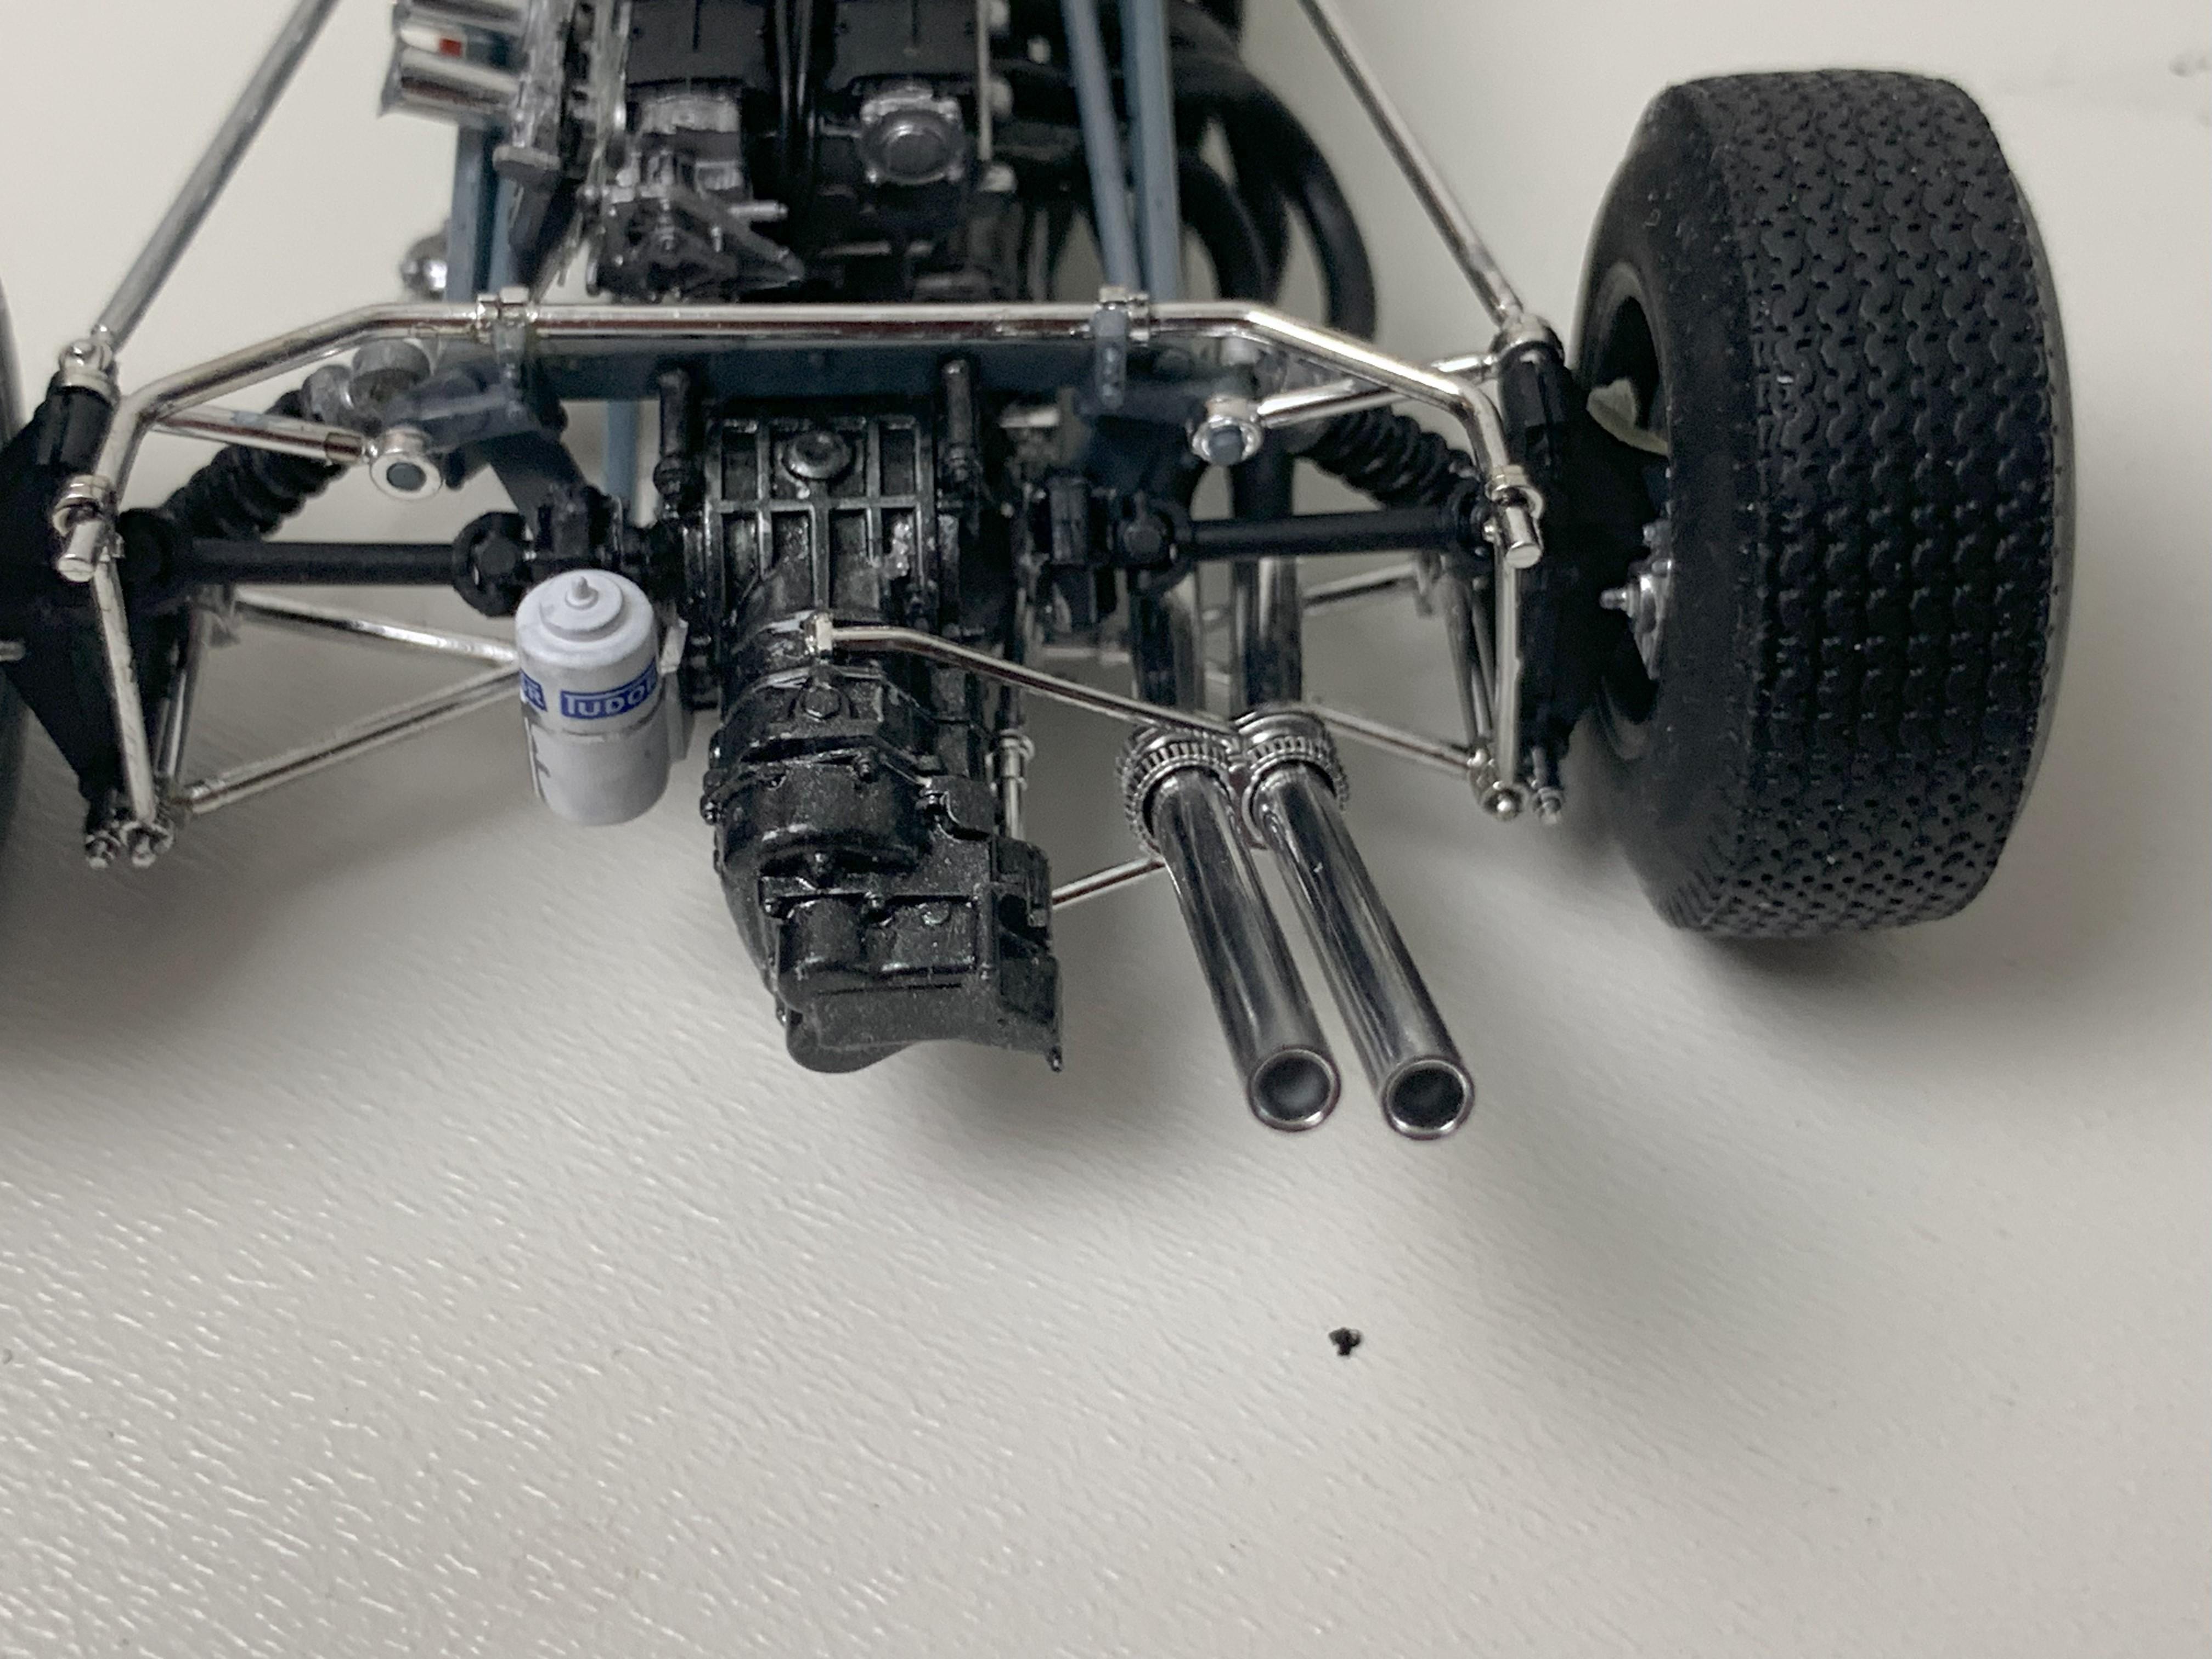
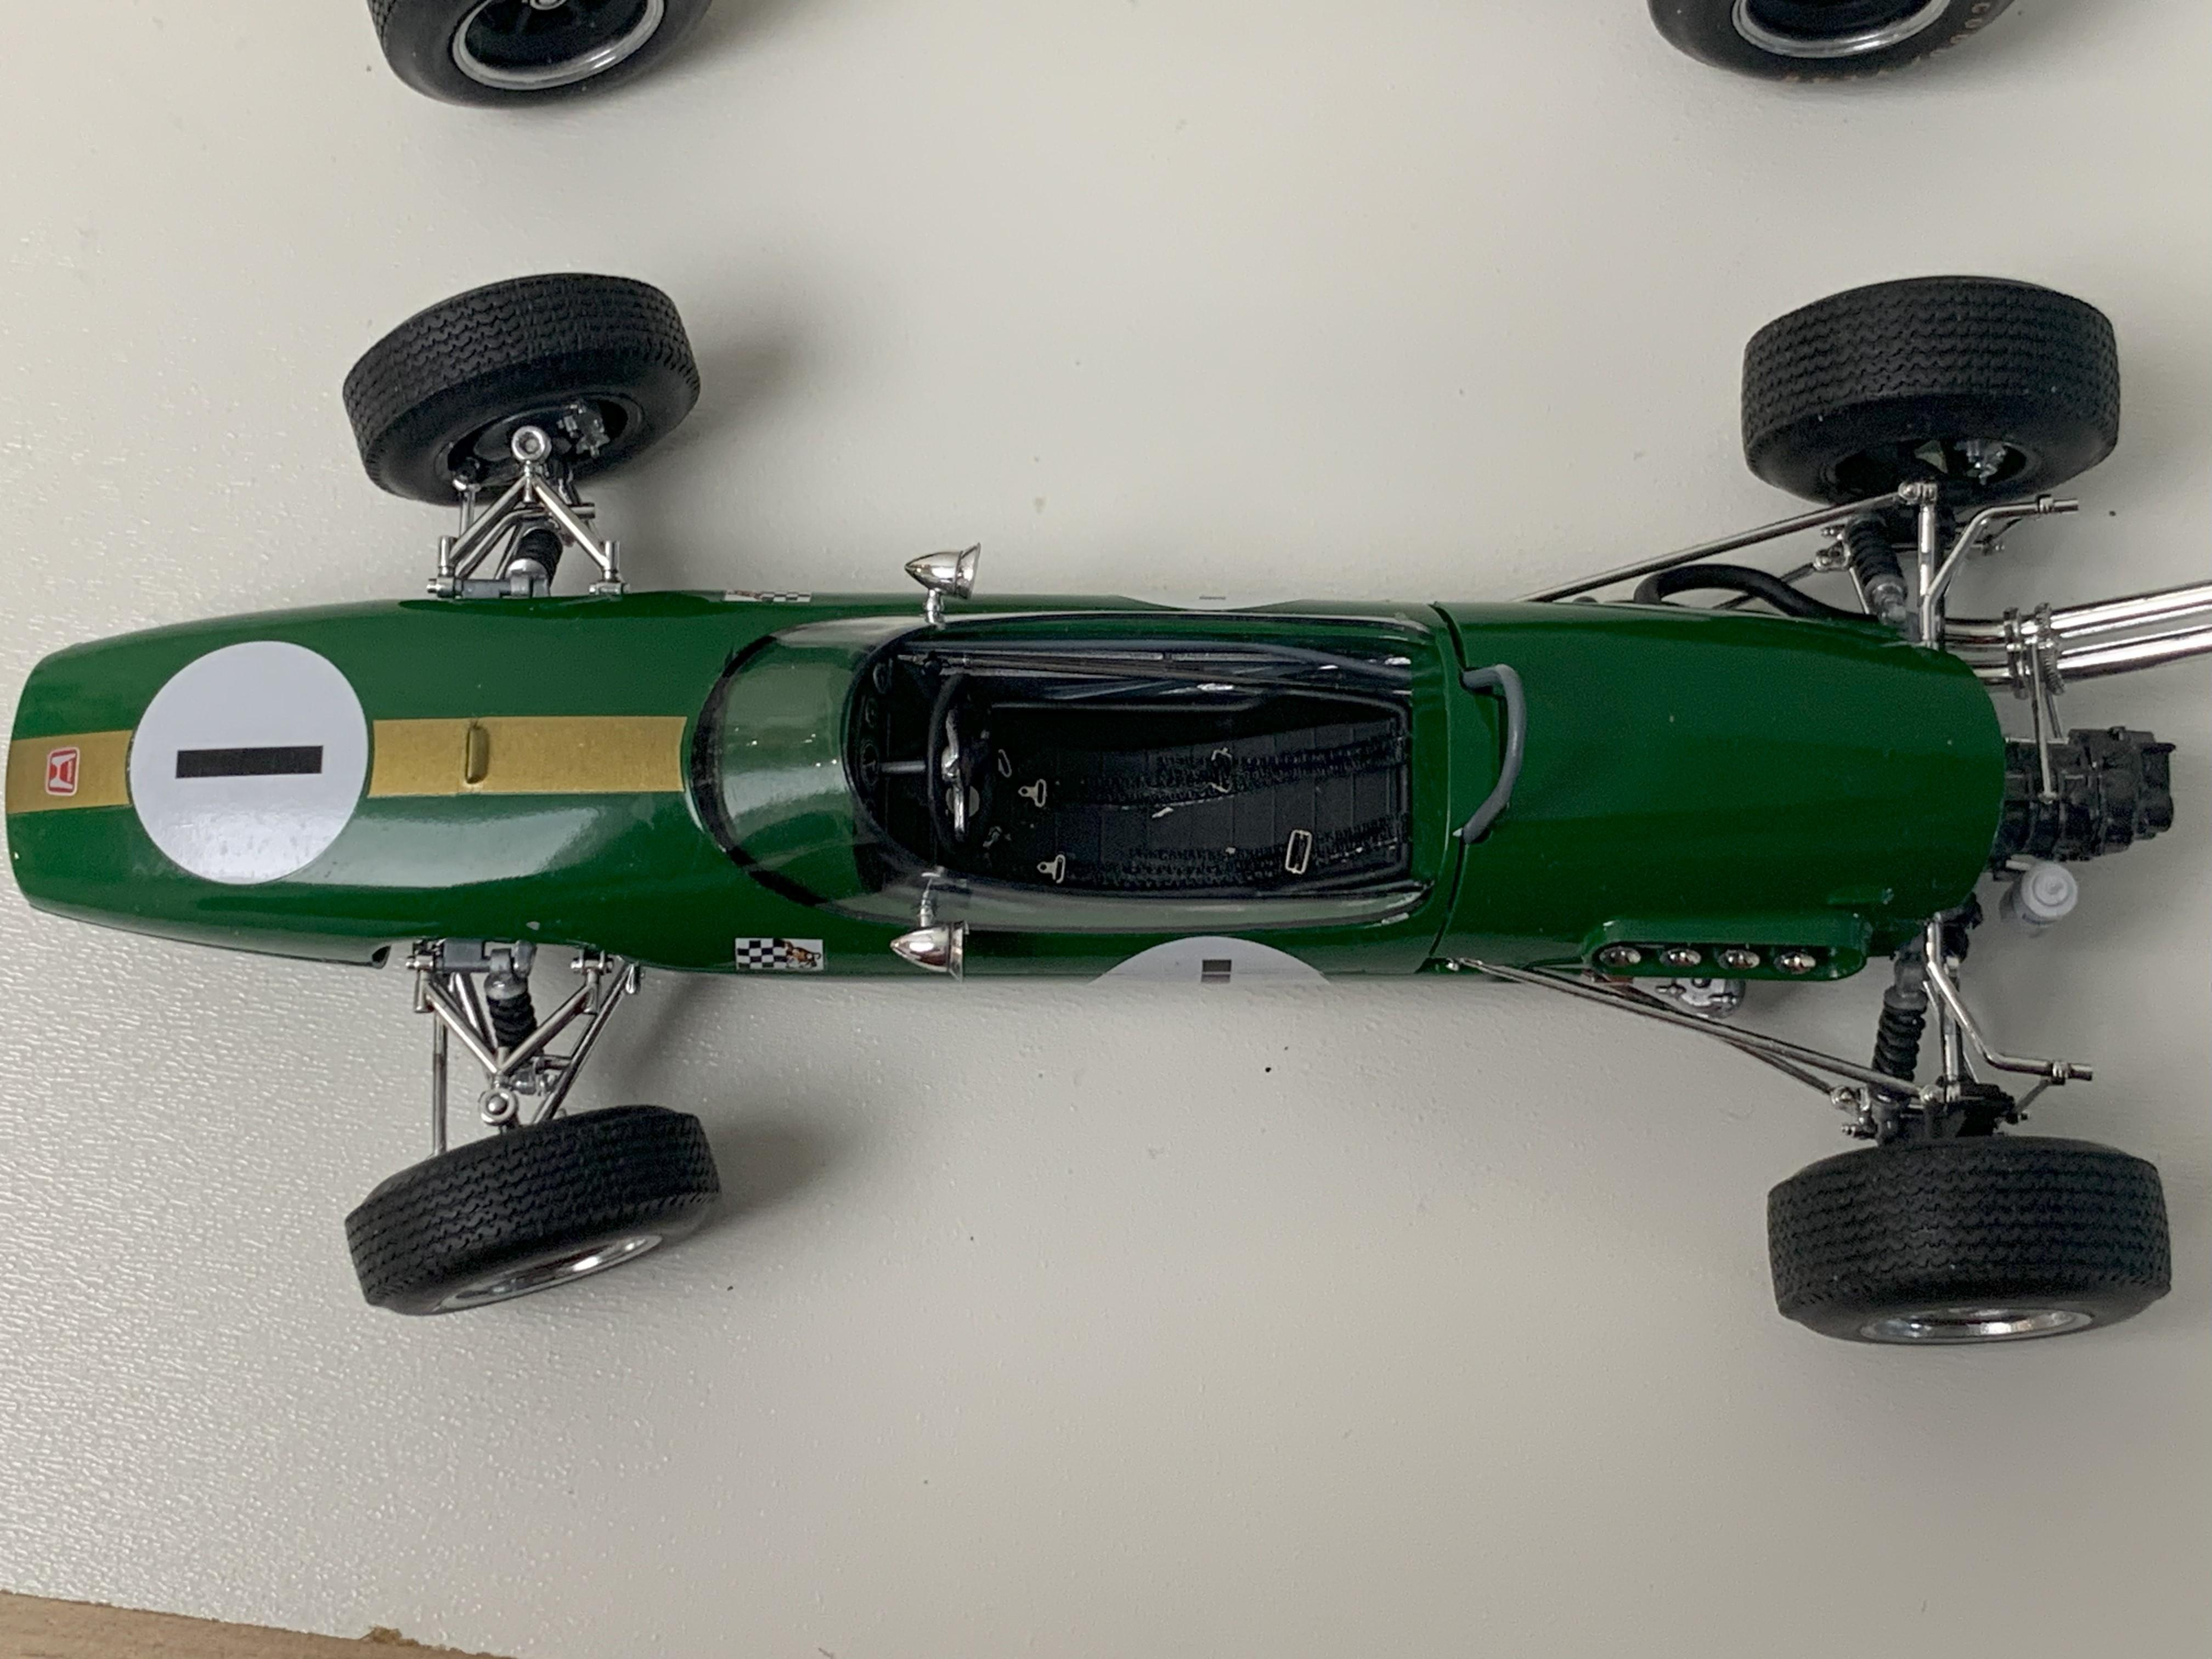
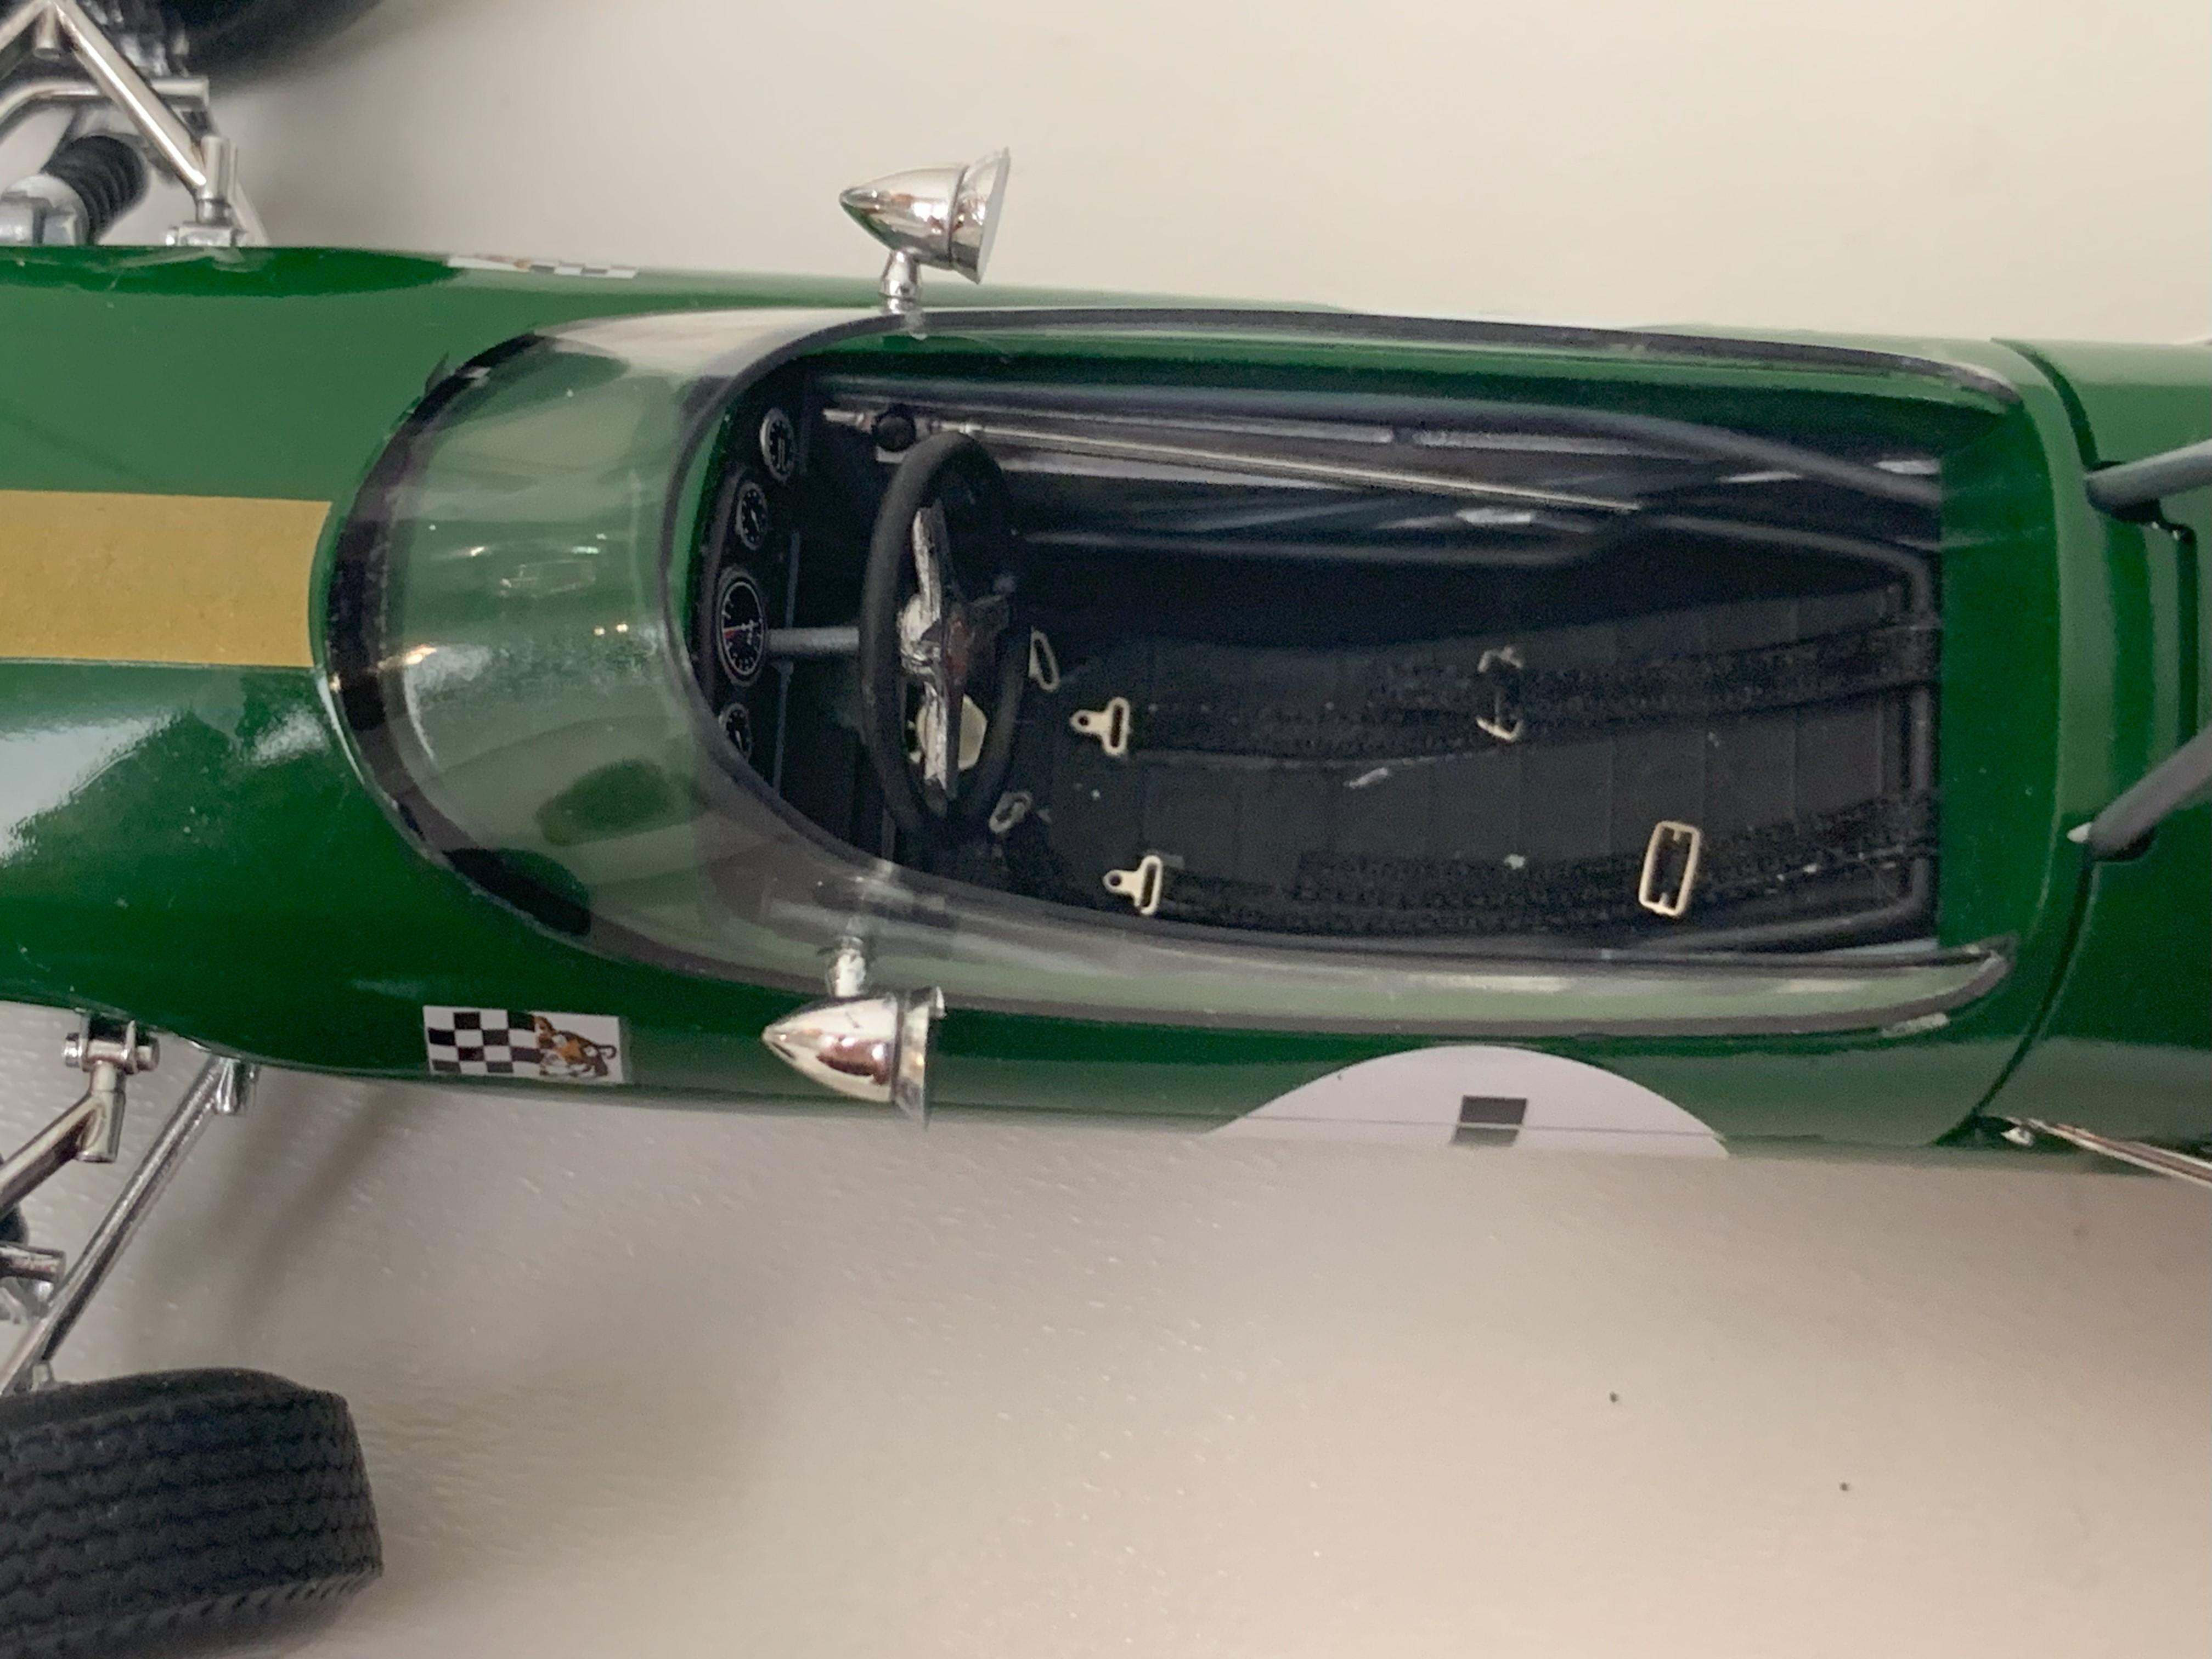
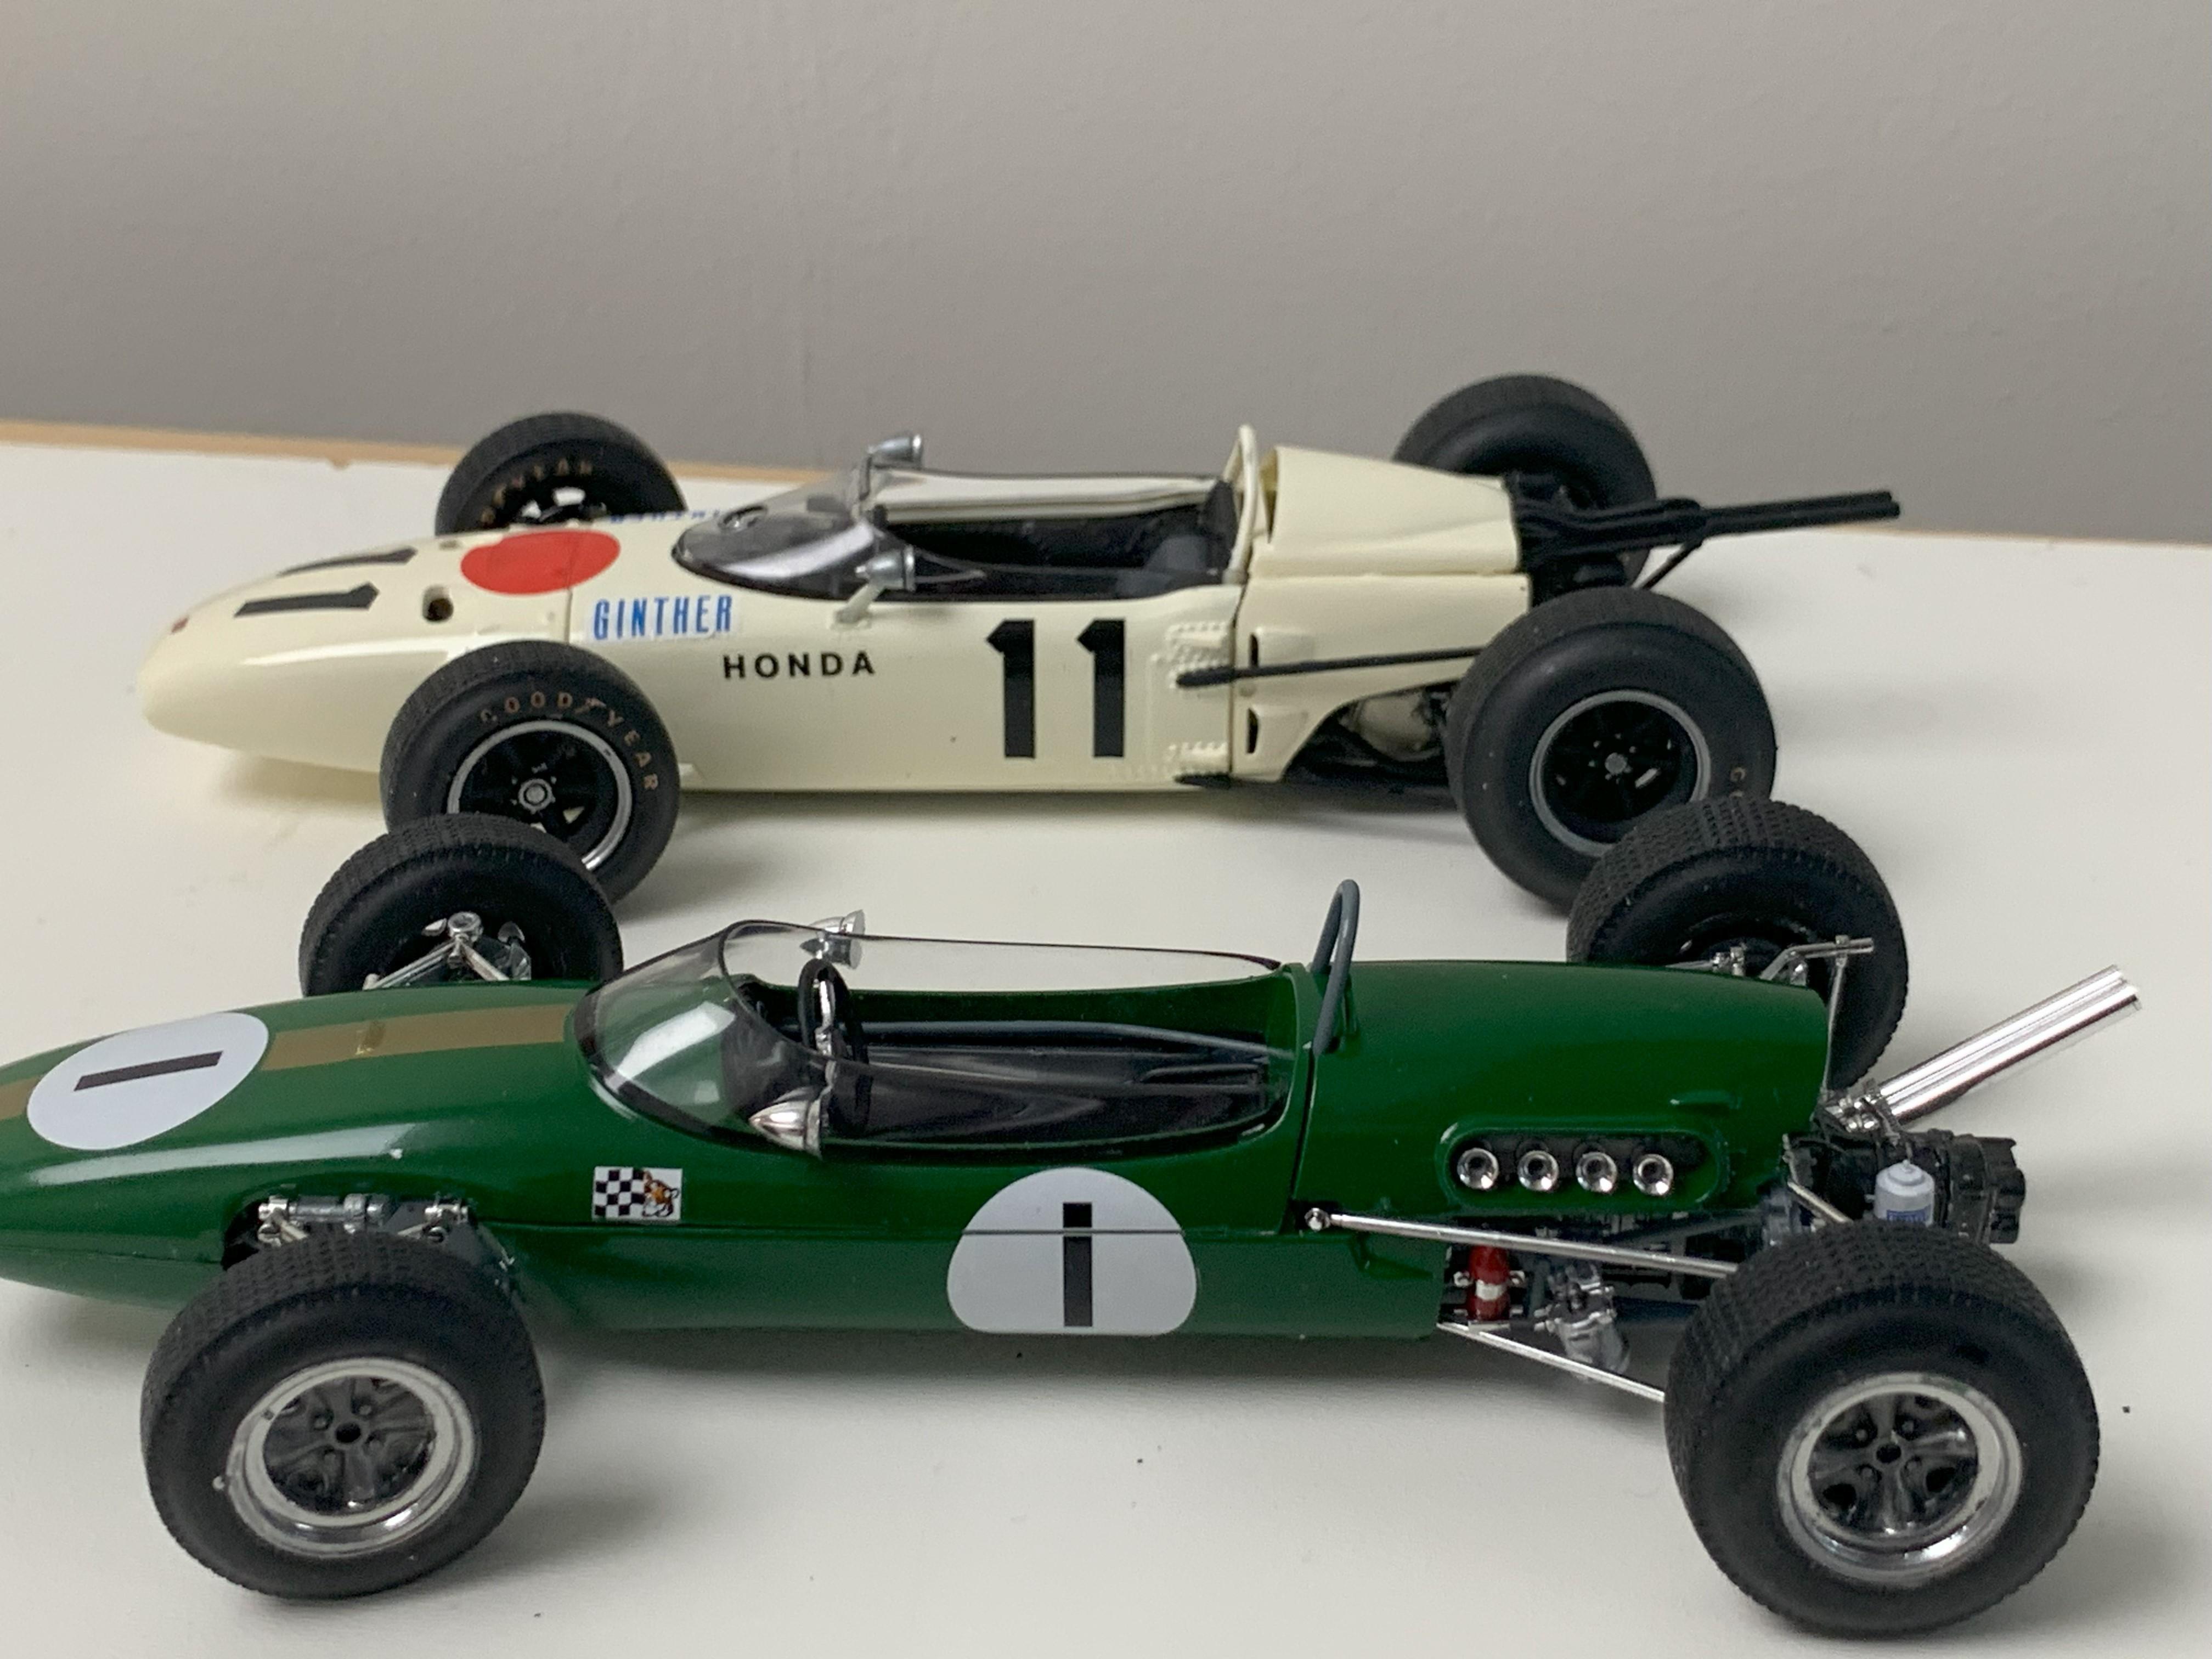
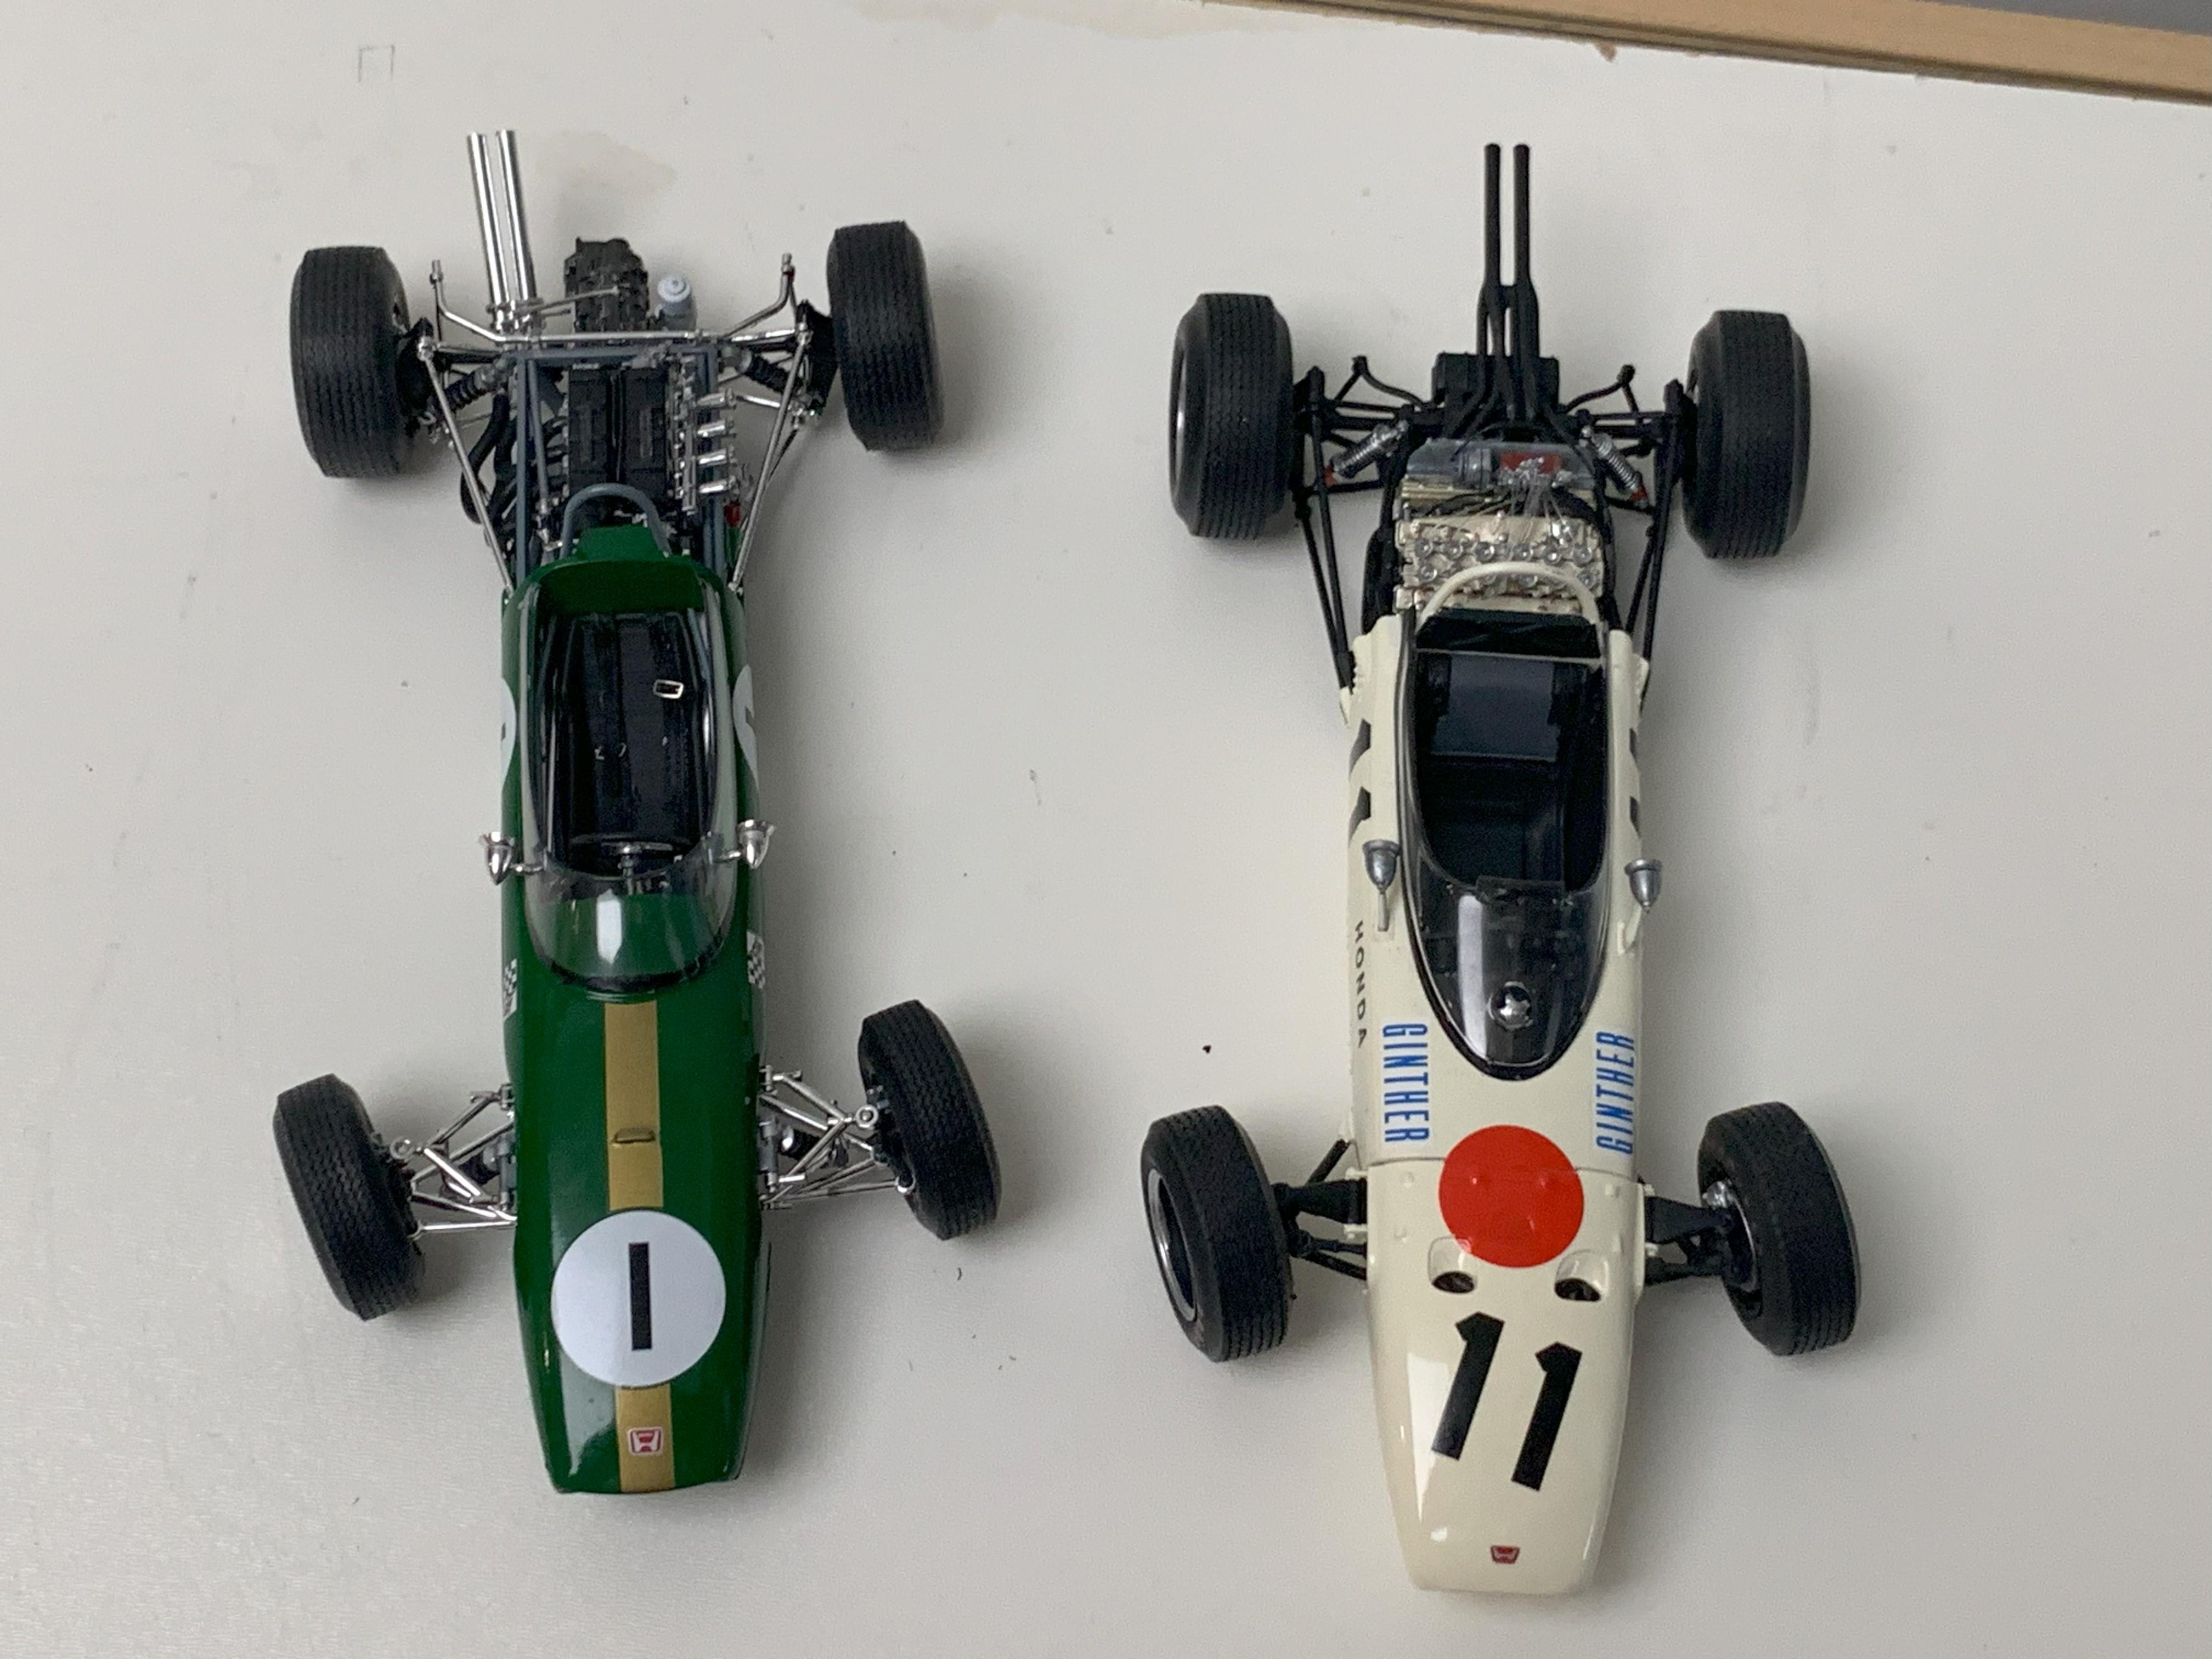
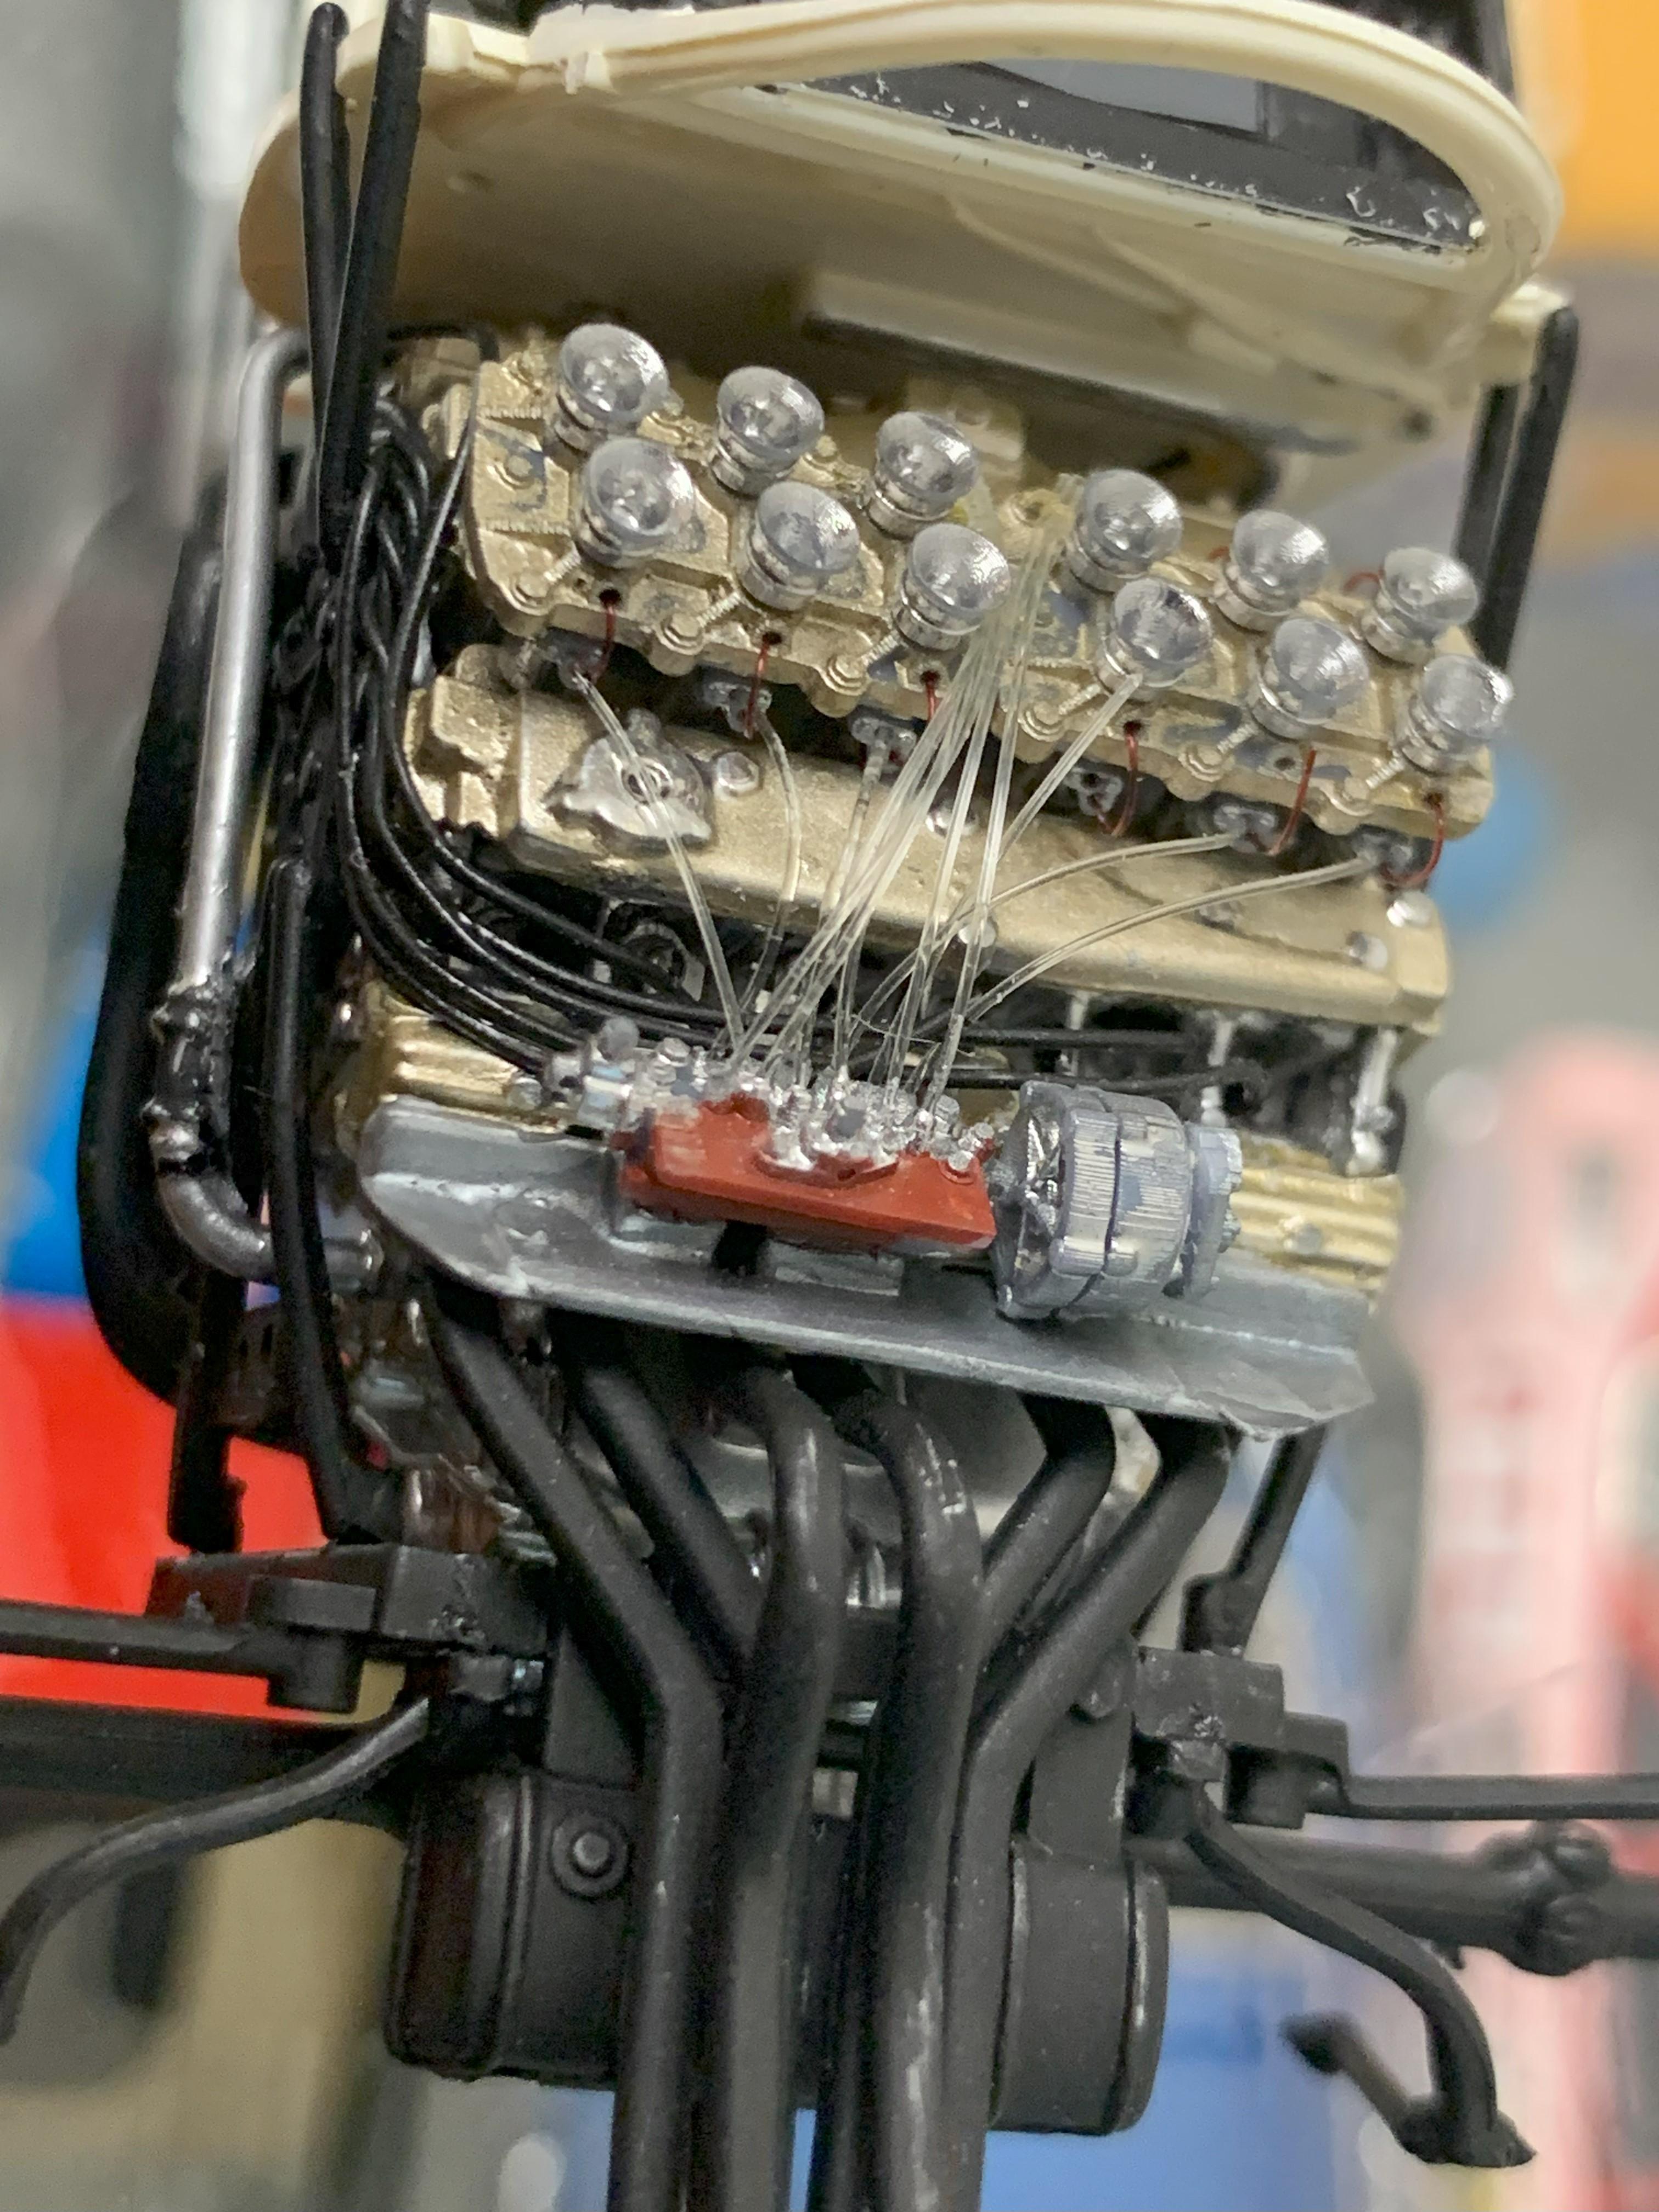
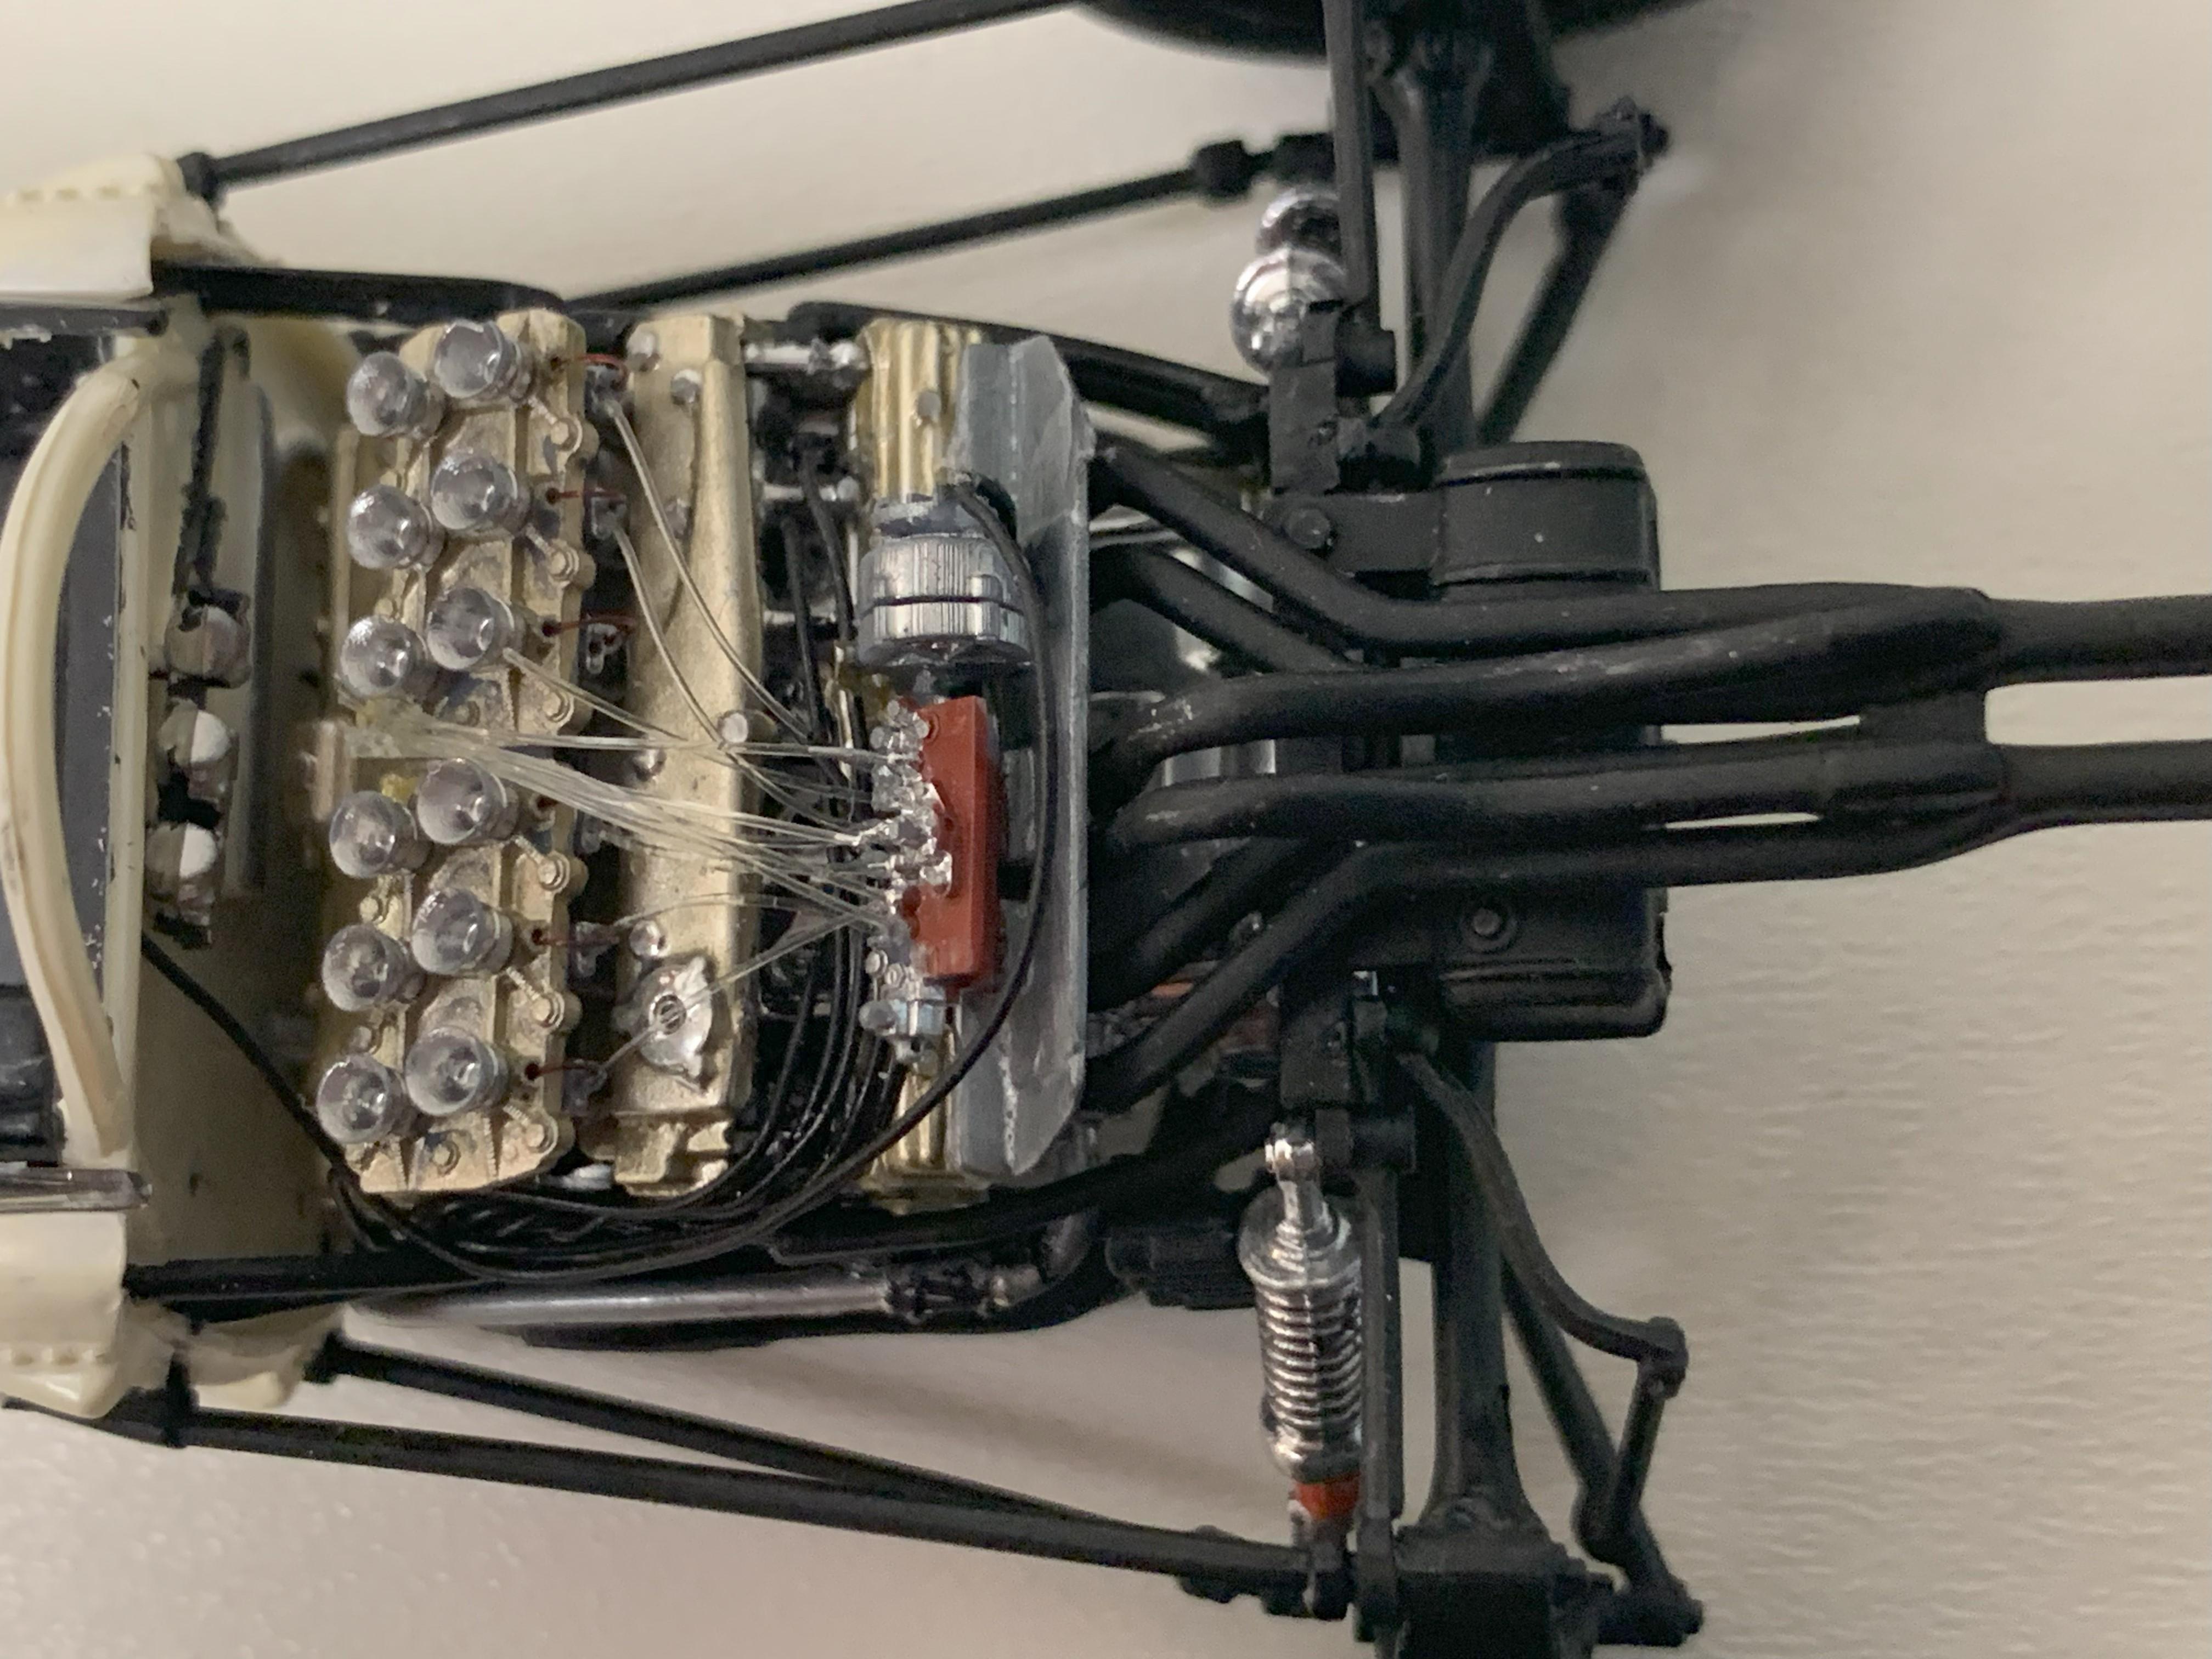
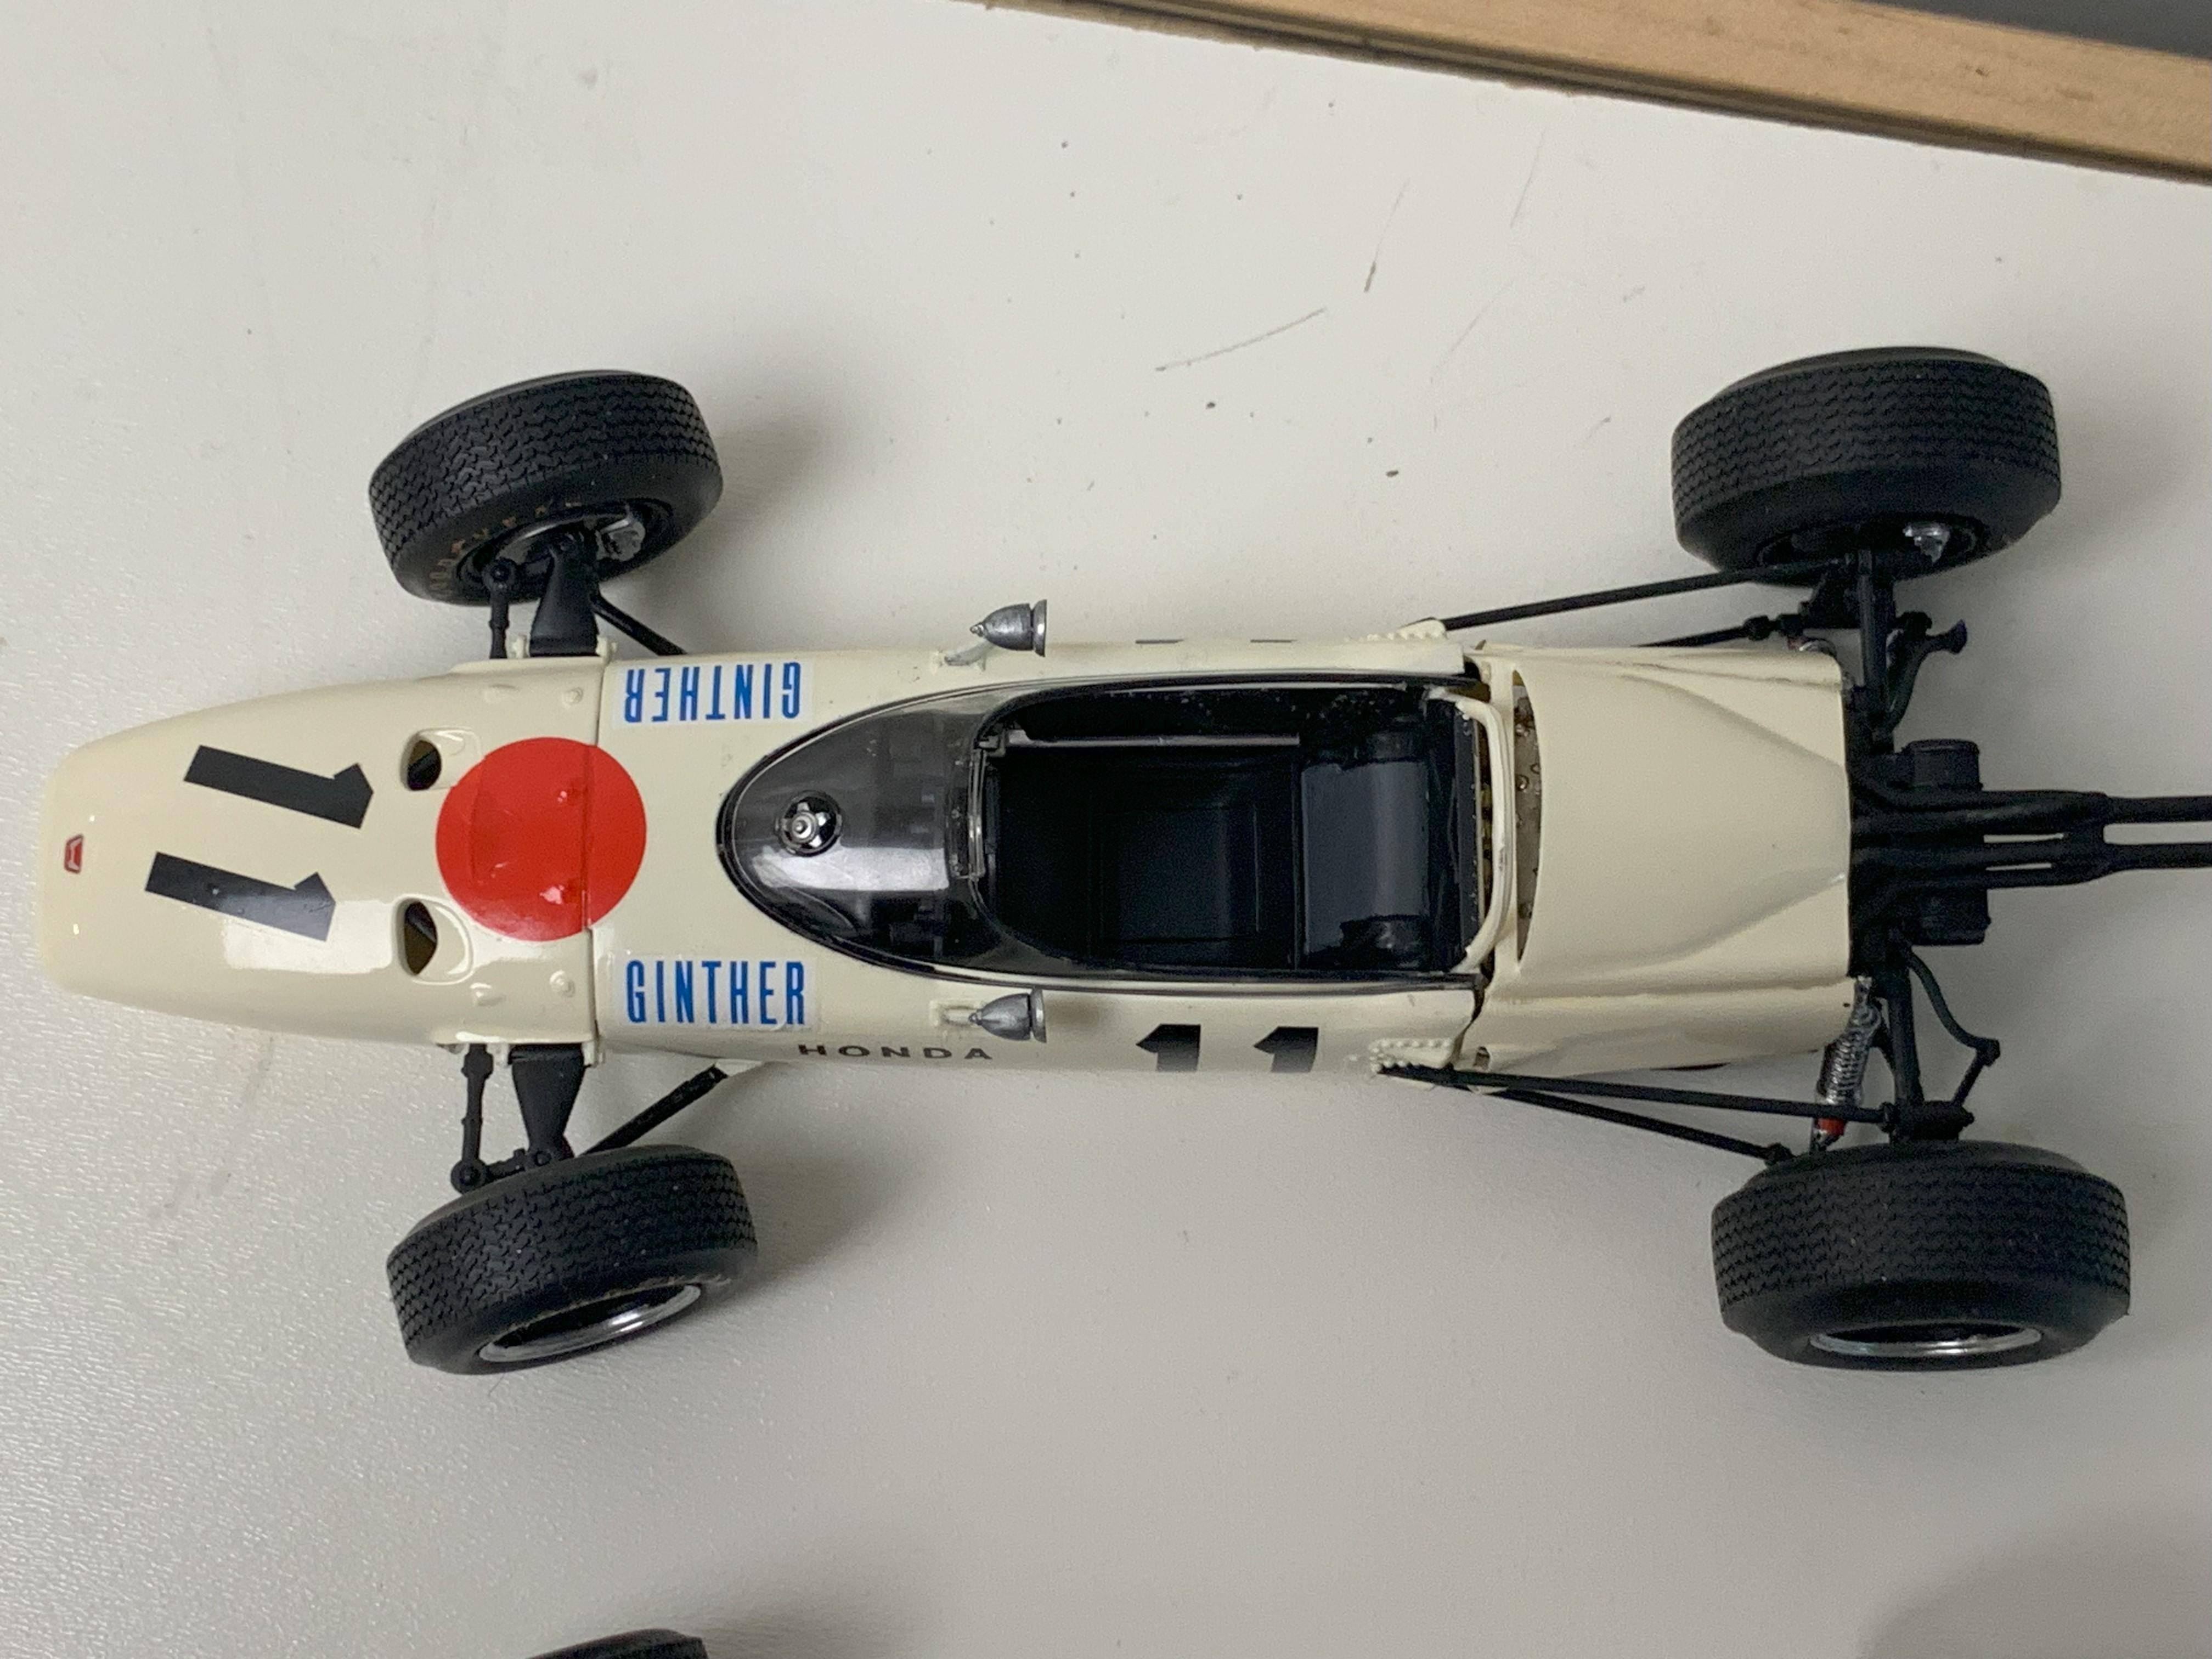
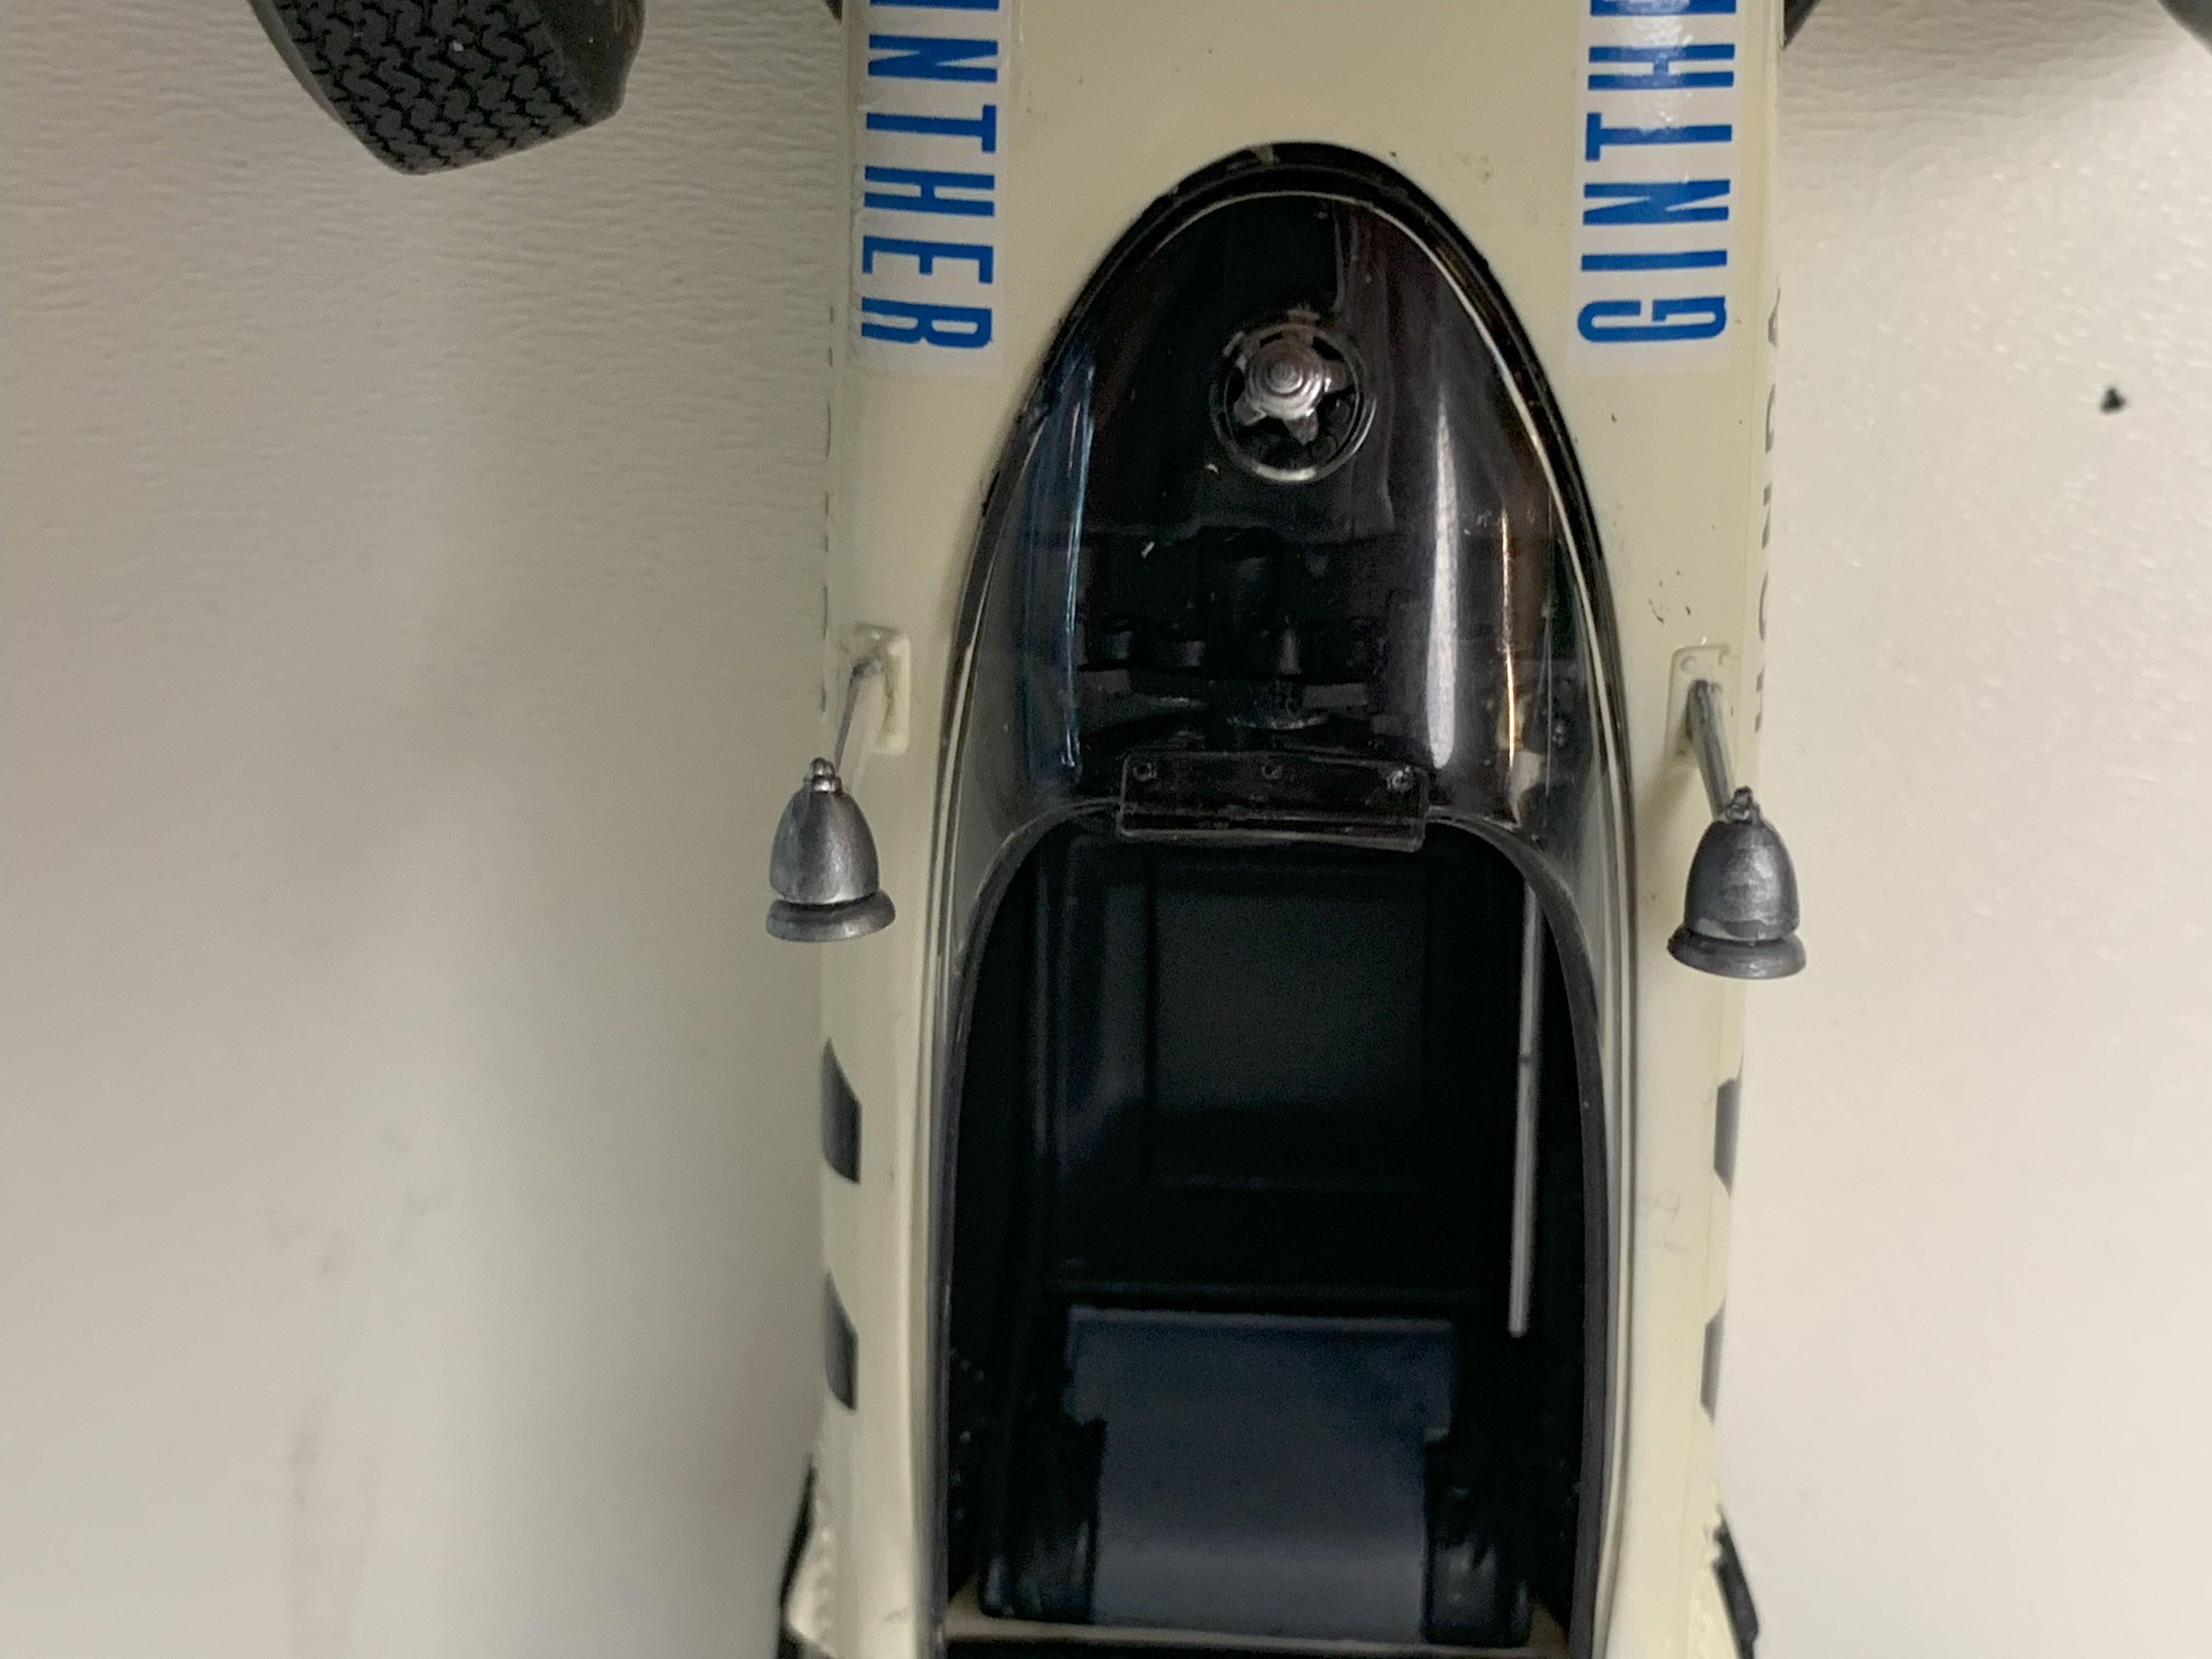
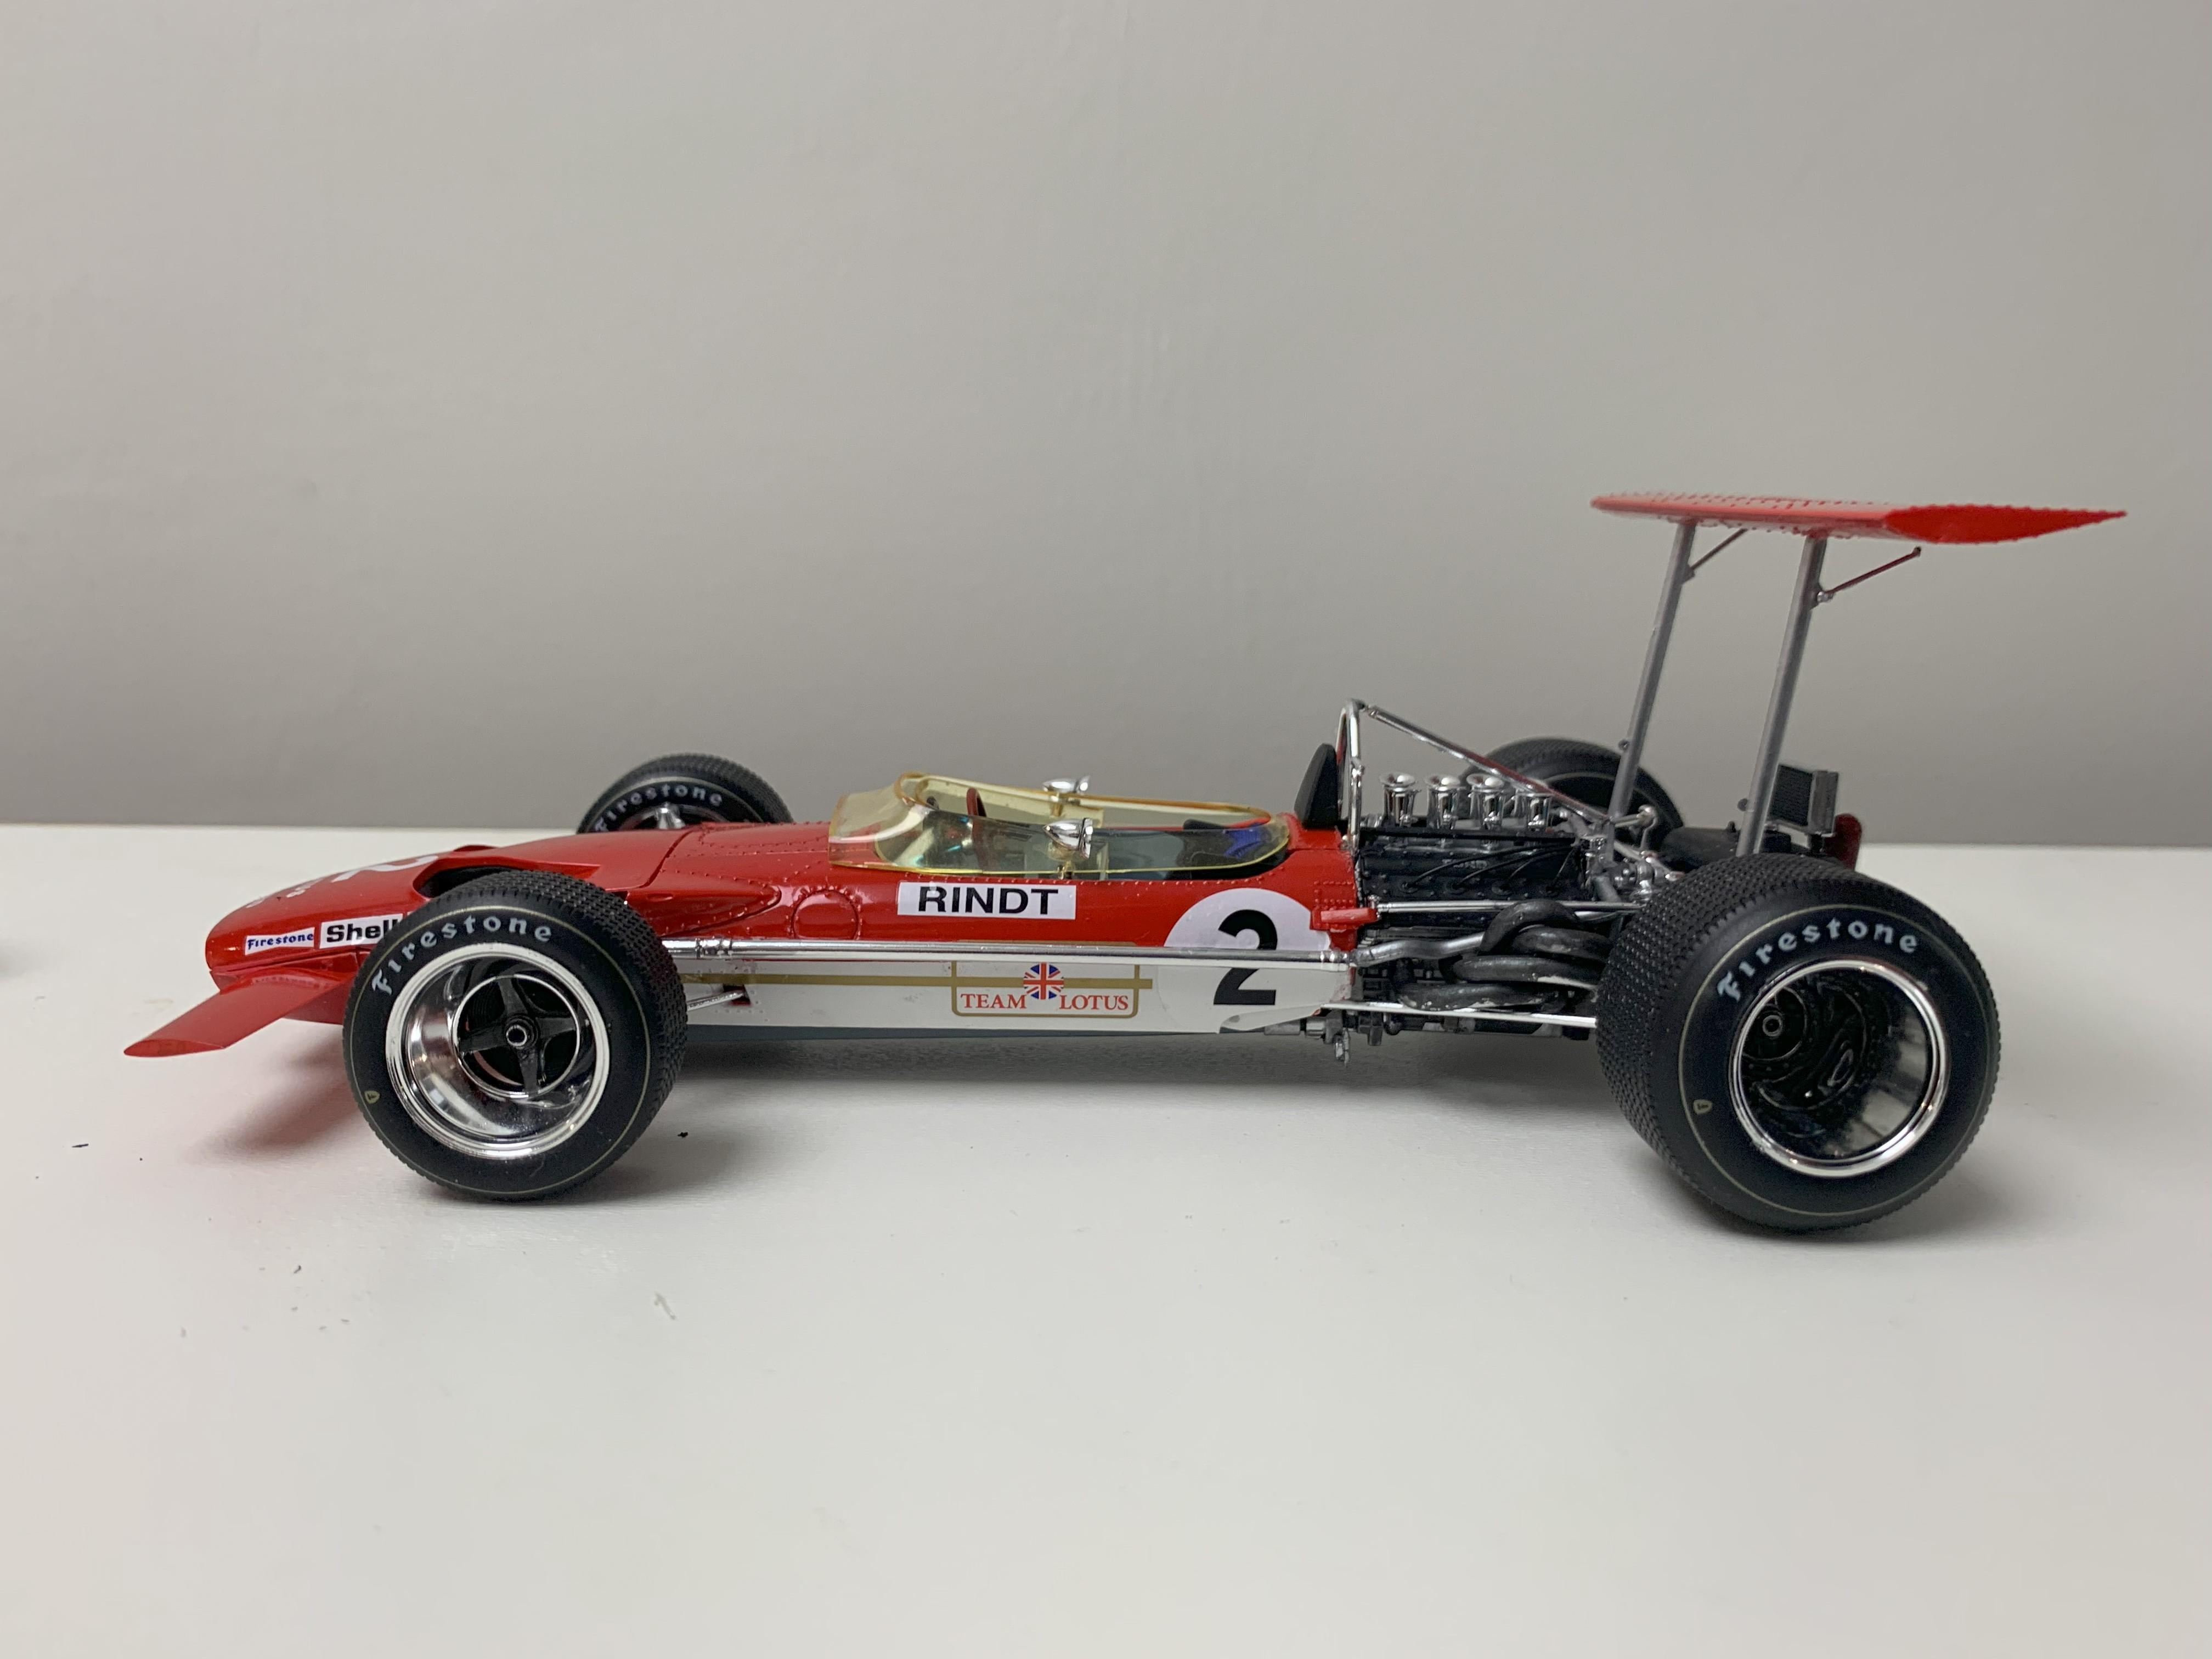
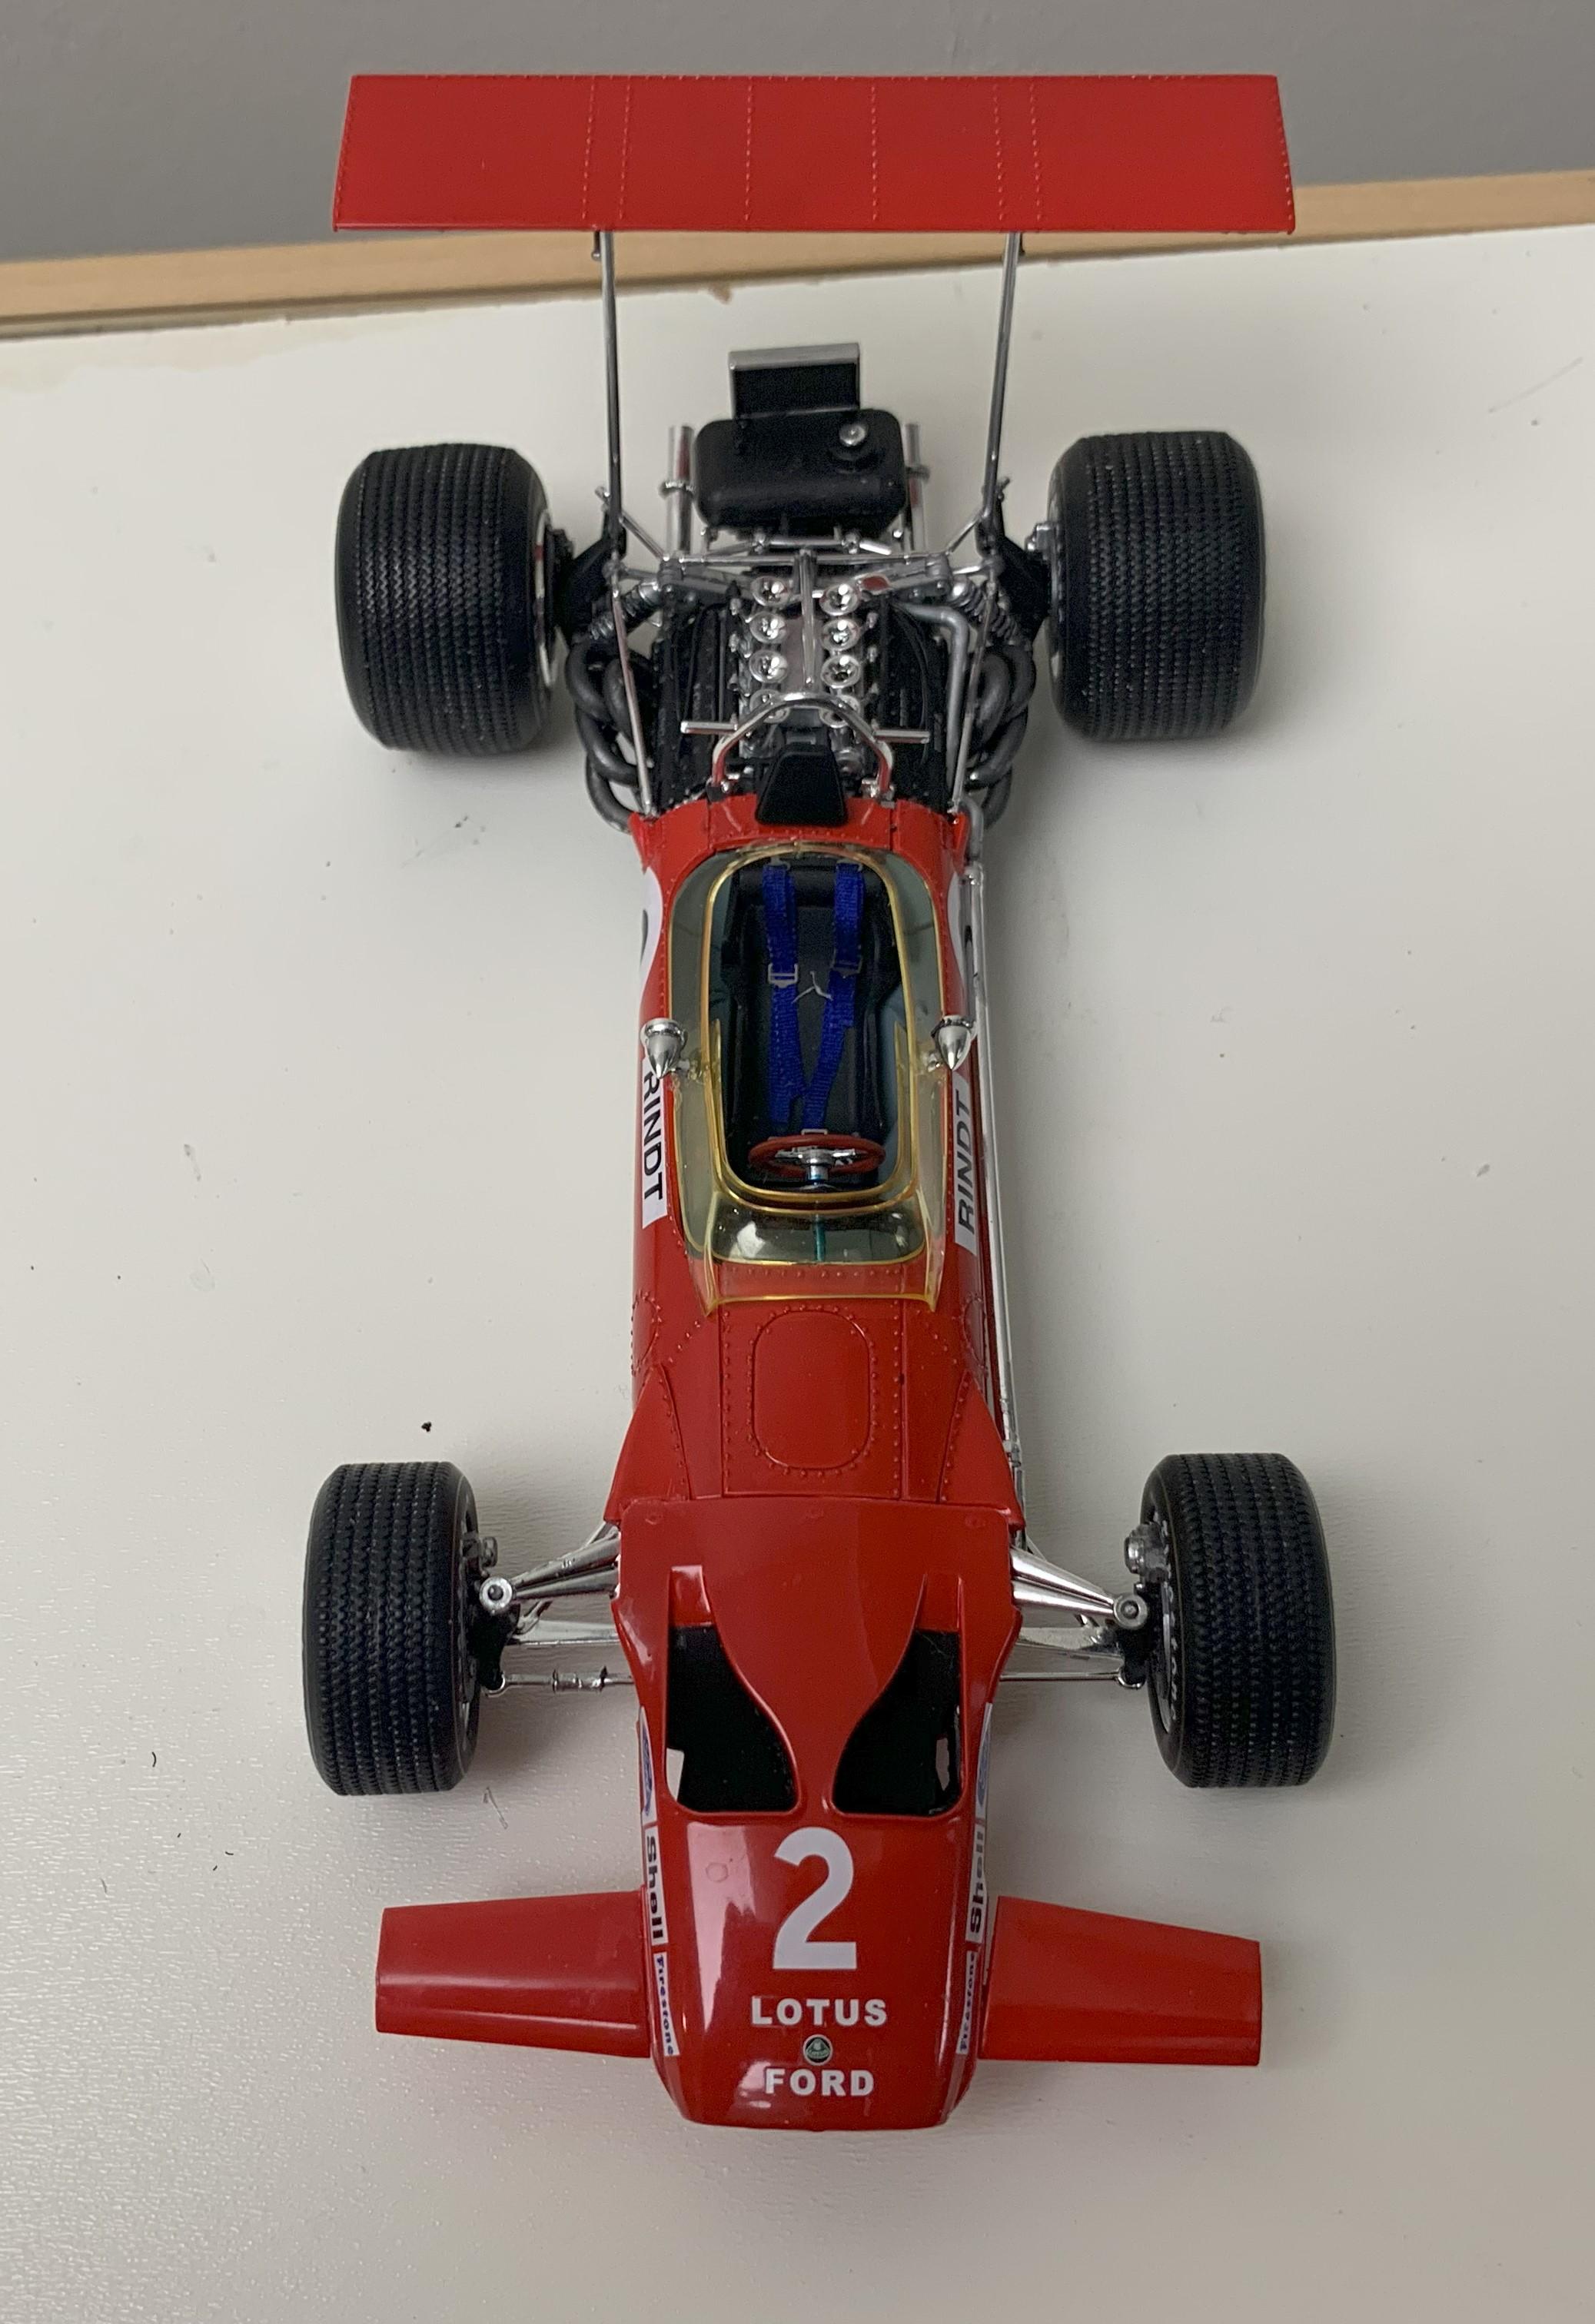
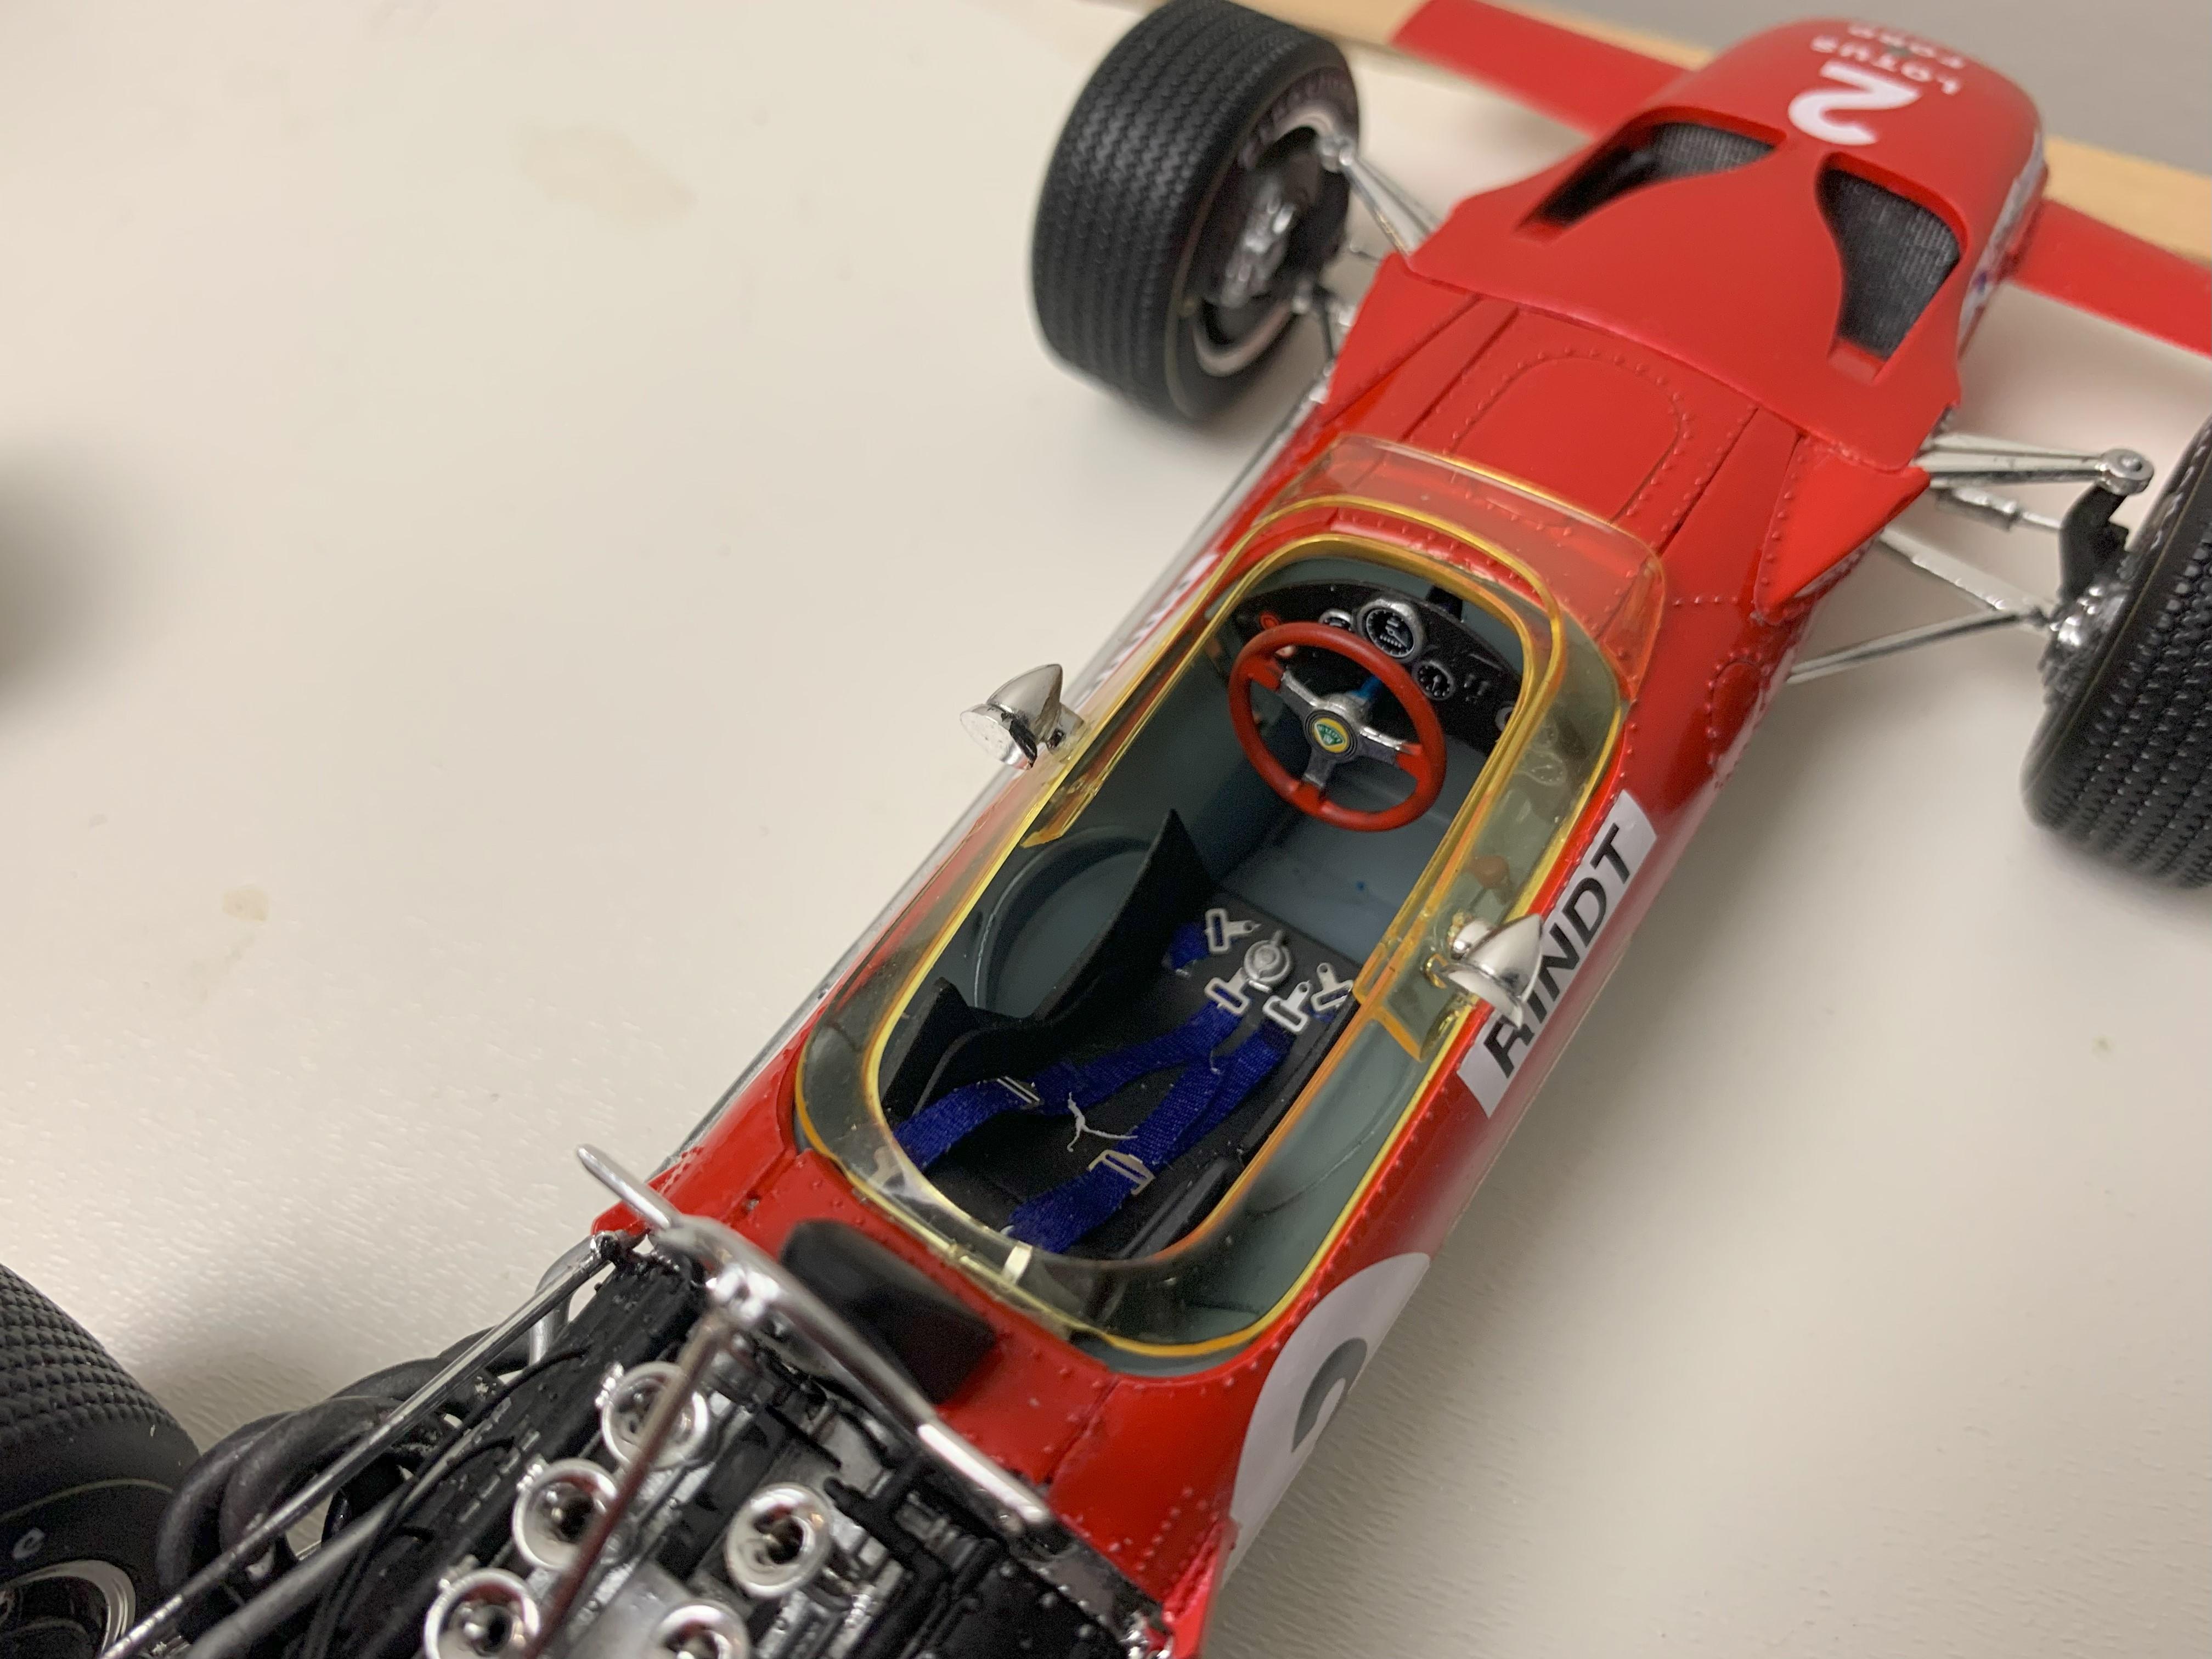
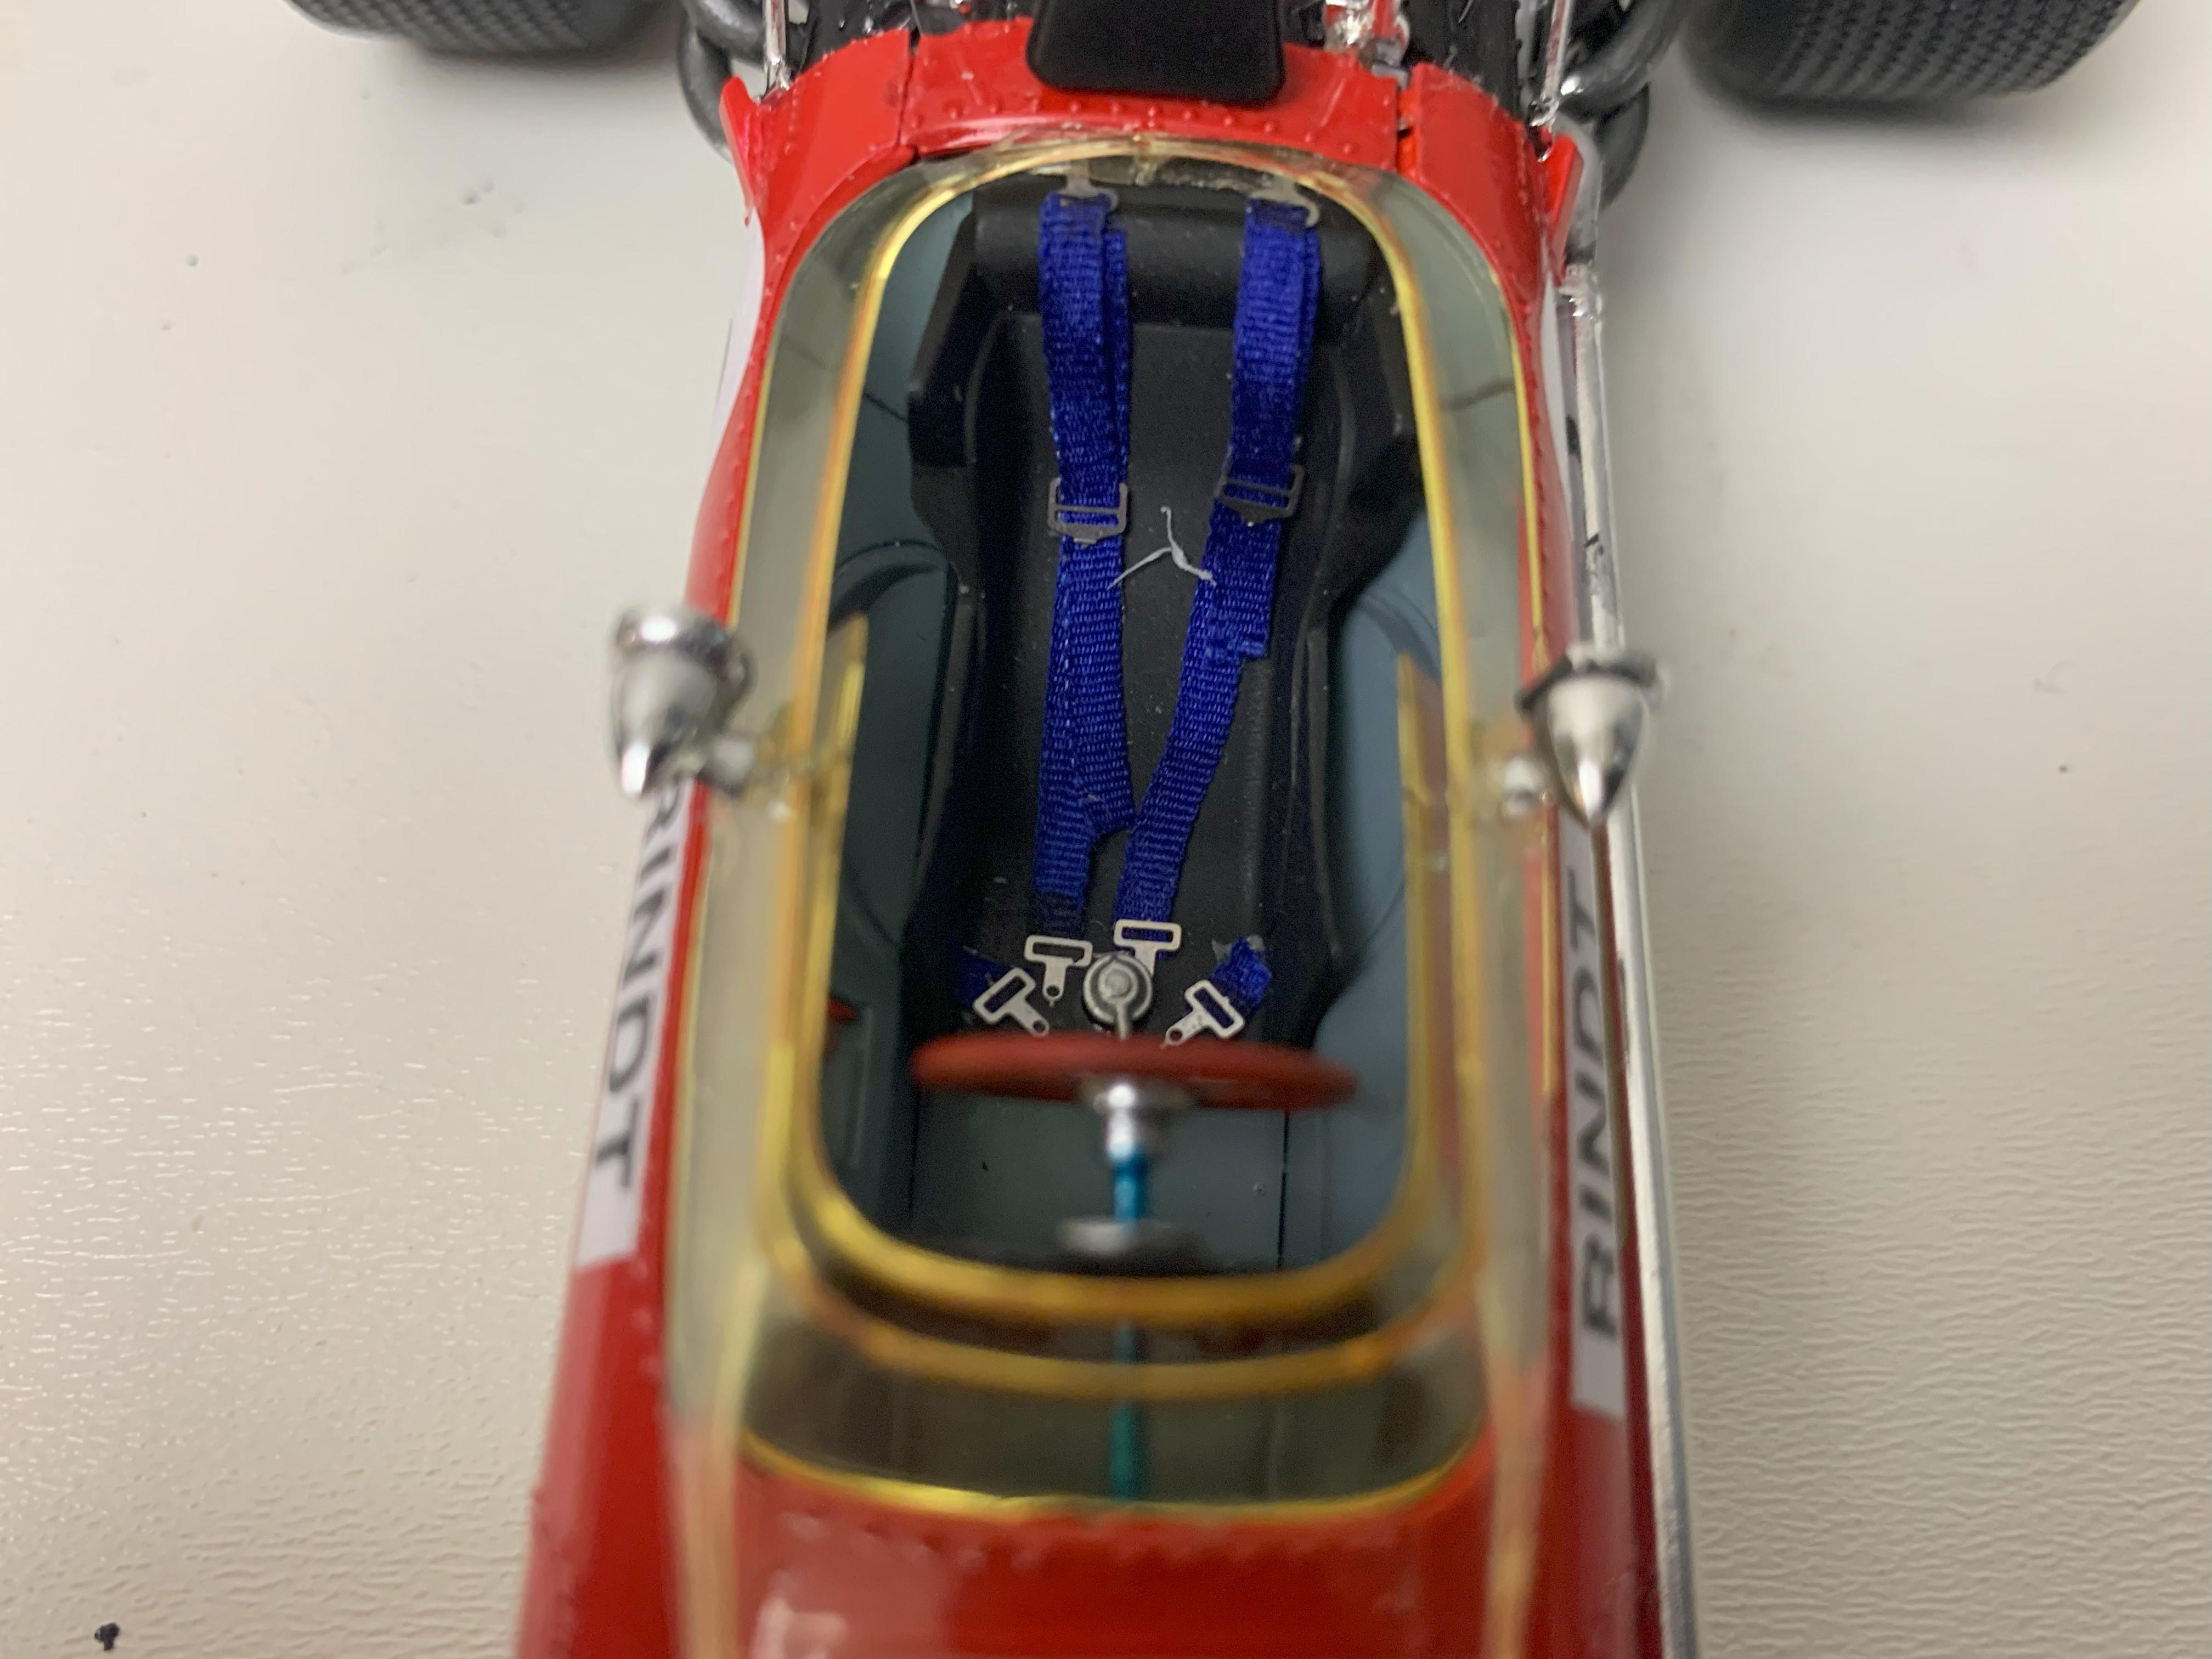
Spent some time building these kits, the Ebbro Brabham Honda F2 BT18, Lotus 49B Ford and Tamiya Honda RA272. Salute to Rich Chernosky who did a similar series and a great set of builds. Some things I learned. It's a shame you can't see all the suspension parts once the car is built because there's a lot of great detail. The Ebbro kits are for me, very, very difficult. I found that dry fitting the pieces first (especially suspension), then applying a small about of glue while they were in place worked best. I put the tires on to the brake drums first, then glued that unit to the rest of the suspension. That way I didn't destroy the work I already put together by trying to press the tires into brakes. I ran out of patience with the gold decals on the Lotus - I should have painted that detail. So you are looking at a version that never existed. I'm going to build this car again sometime and do that. Always something to learn.
- 13 replies
-
- 12
-
-
Bobby Issac Ford Torino
dougwintz replied to dougwintz's topic in Stock Cars (NASCAR, Super Stock, Late Model, etc.)
Hi Stephen. It's actually a decal from Mike's Decals https://www.mikesdecals.com/sta-power-bobby-isaac-torino-powerslide-048-p-113.html -
Two Lotus 49's, 67 Clark, 69 Hill
dougwintz replied to Rich Chernosky's topic in Other Racing: Road Racing, Salt Flat Racers
Really great work Rich. I searched on this topic because I'm building the same Ebbro kit, the Gold Leaf version with the high wing. I have encountered a lot of fitment problems and working through them. Front suspension, engine mount, etc. Looking forward to getting this one out of my system. -
Thanks for all your comments. I'm done. As usual, some lessons learned, but overall rewarding.
-
....and once again, the photos show I need to do some clean up on the paint!
-
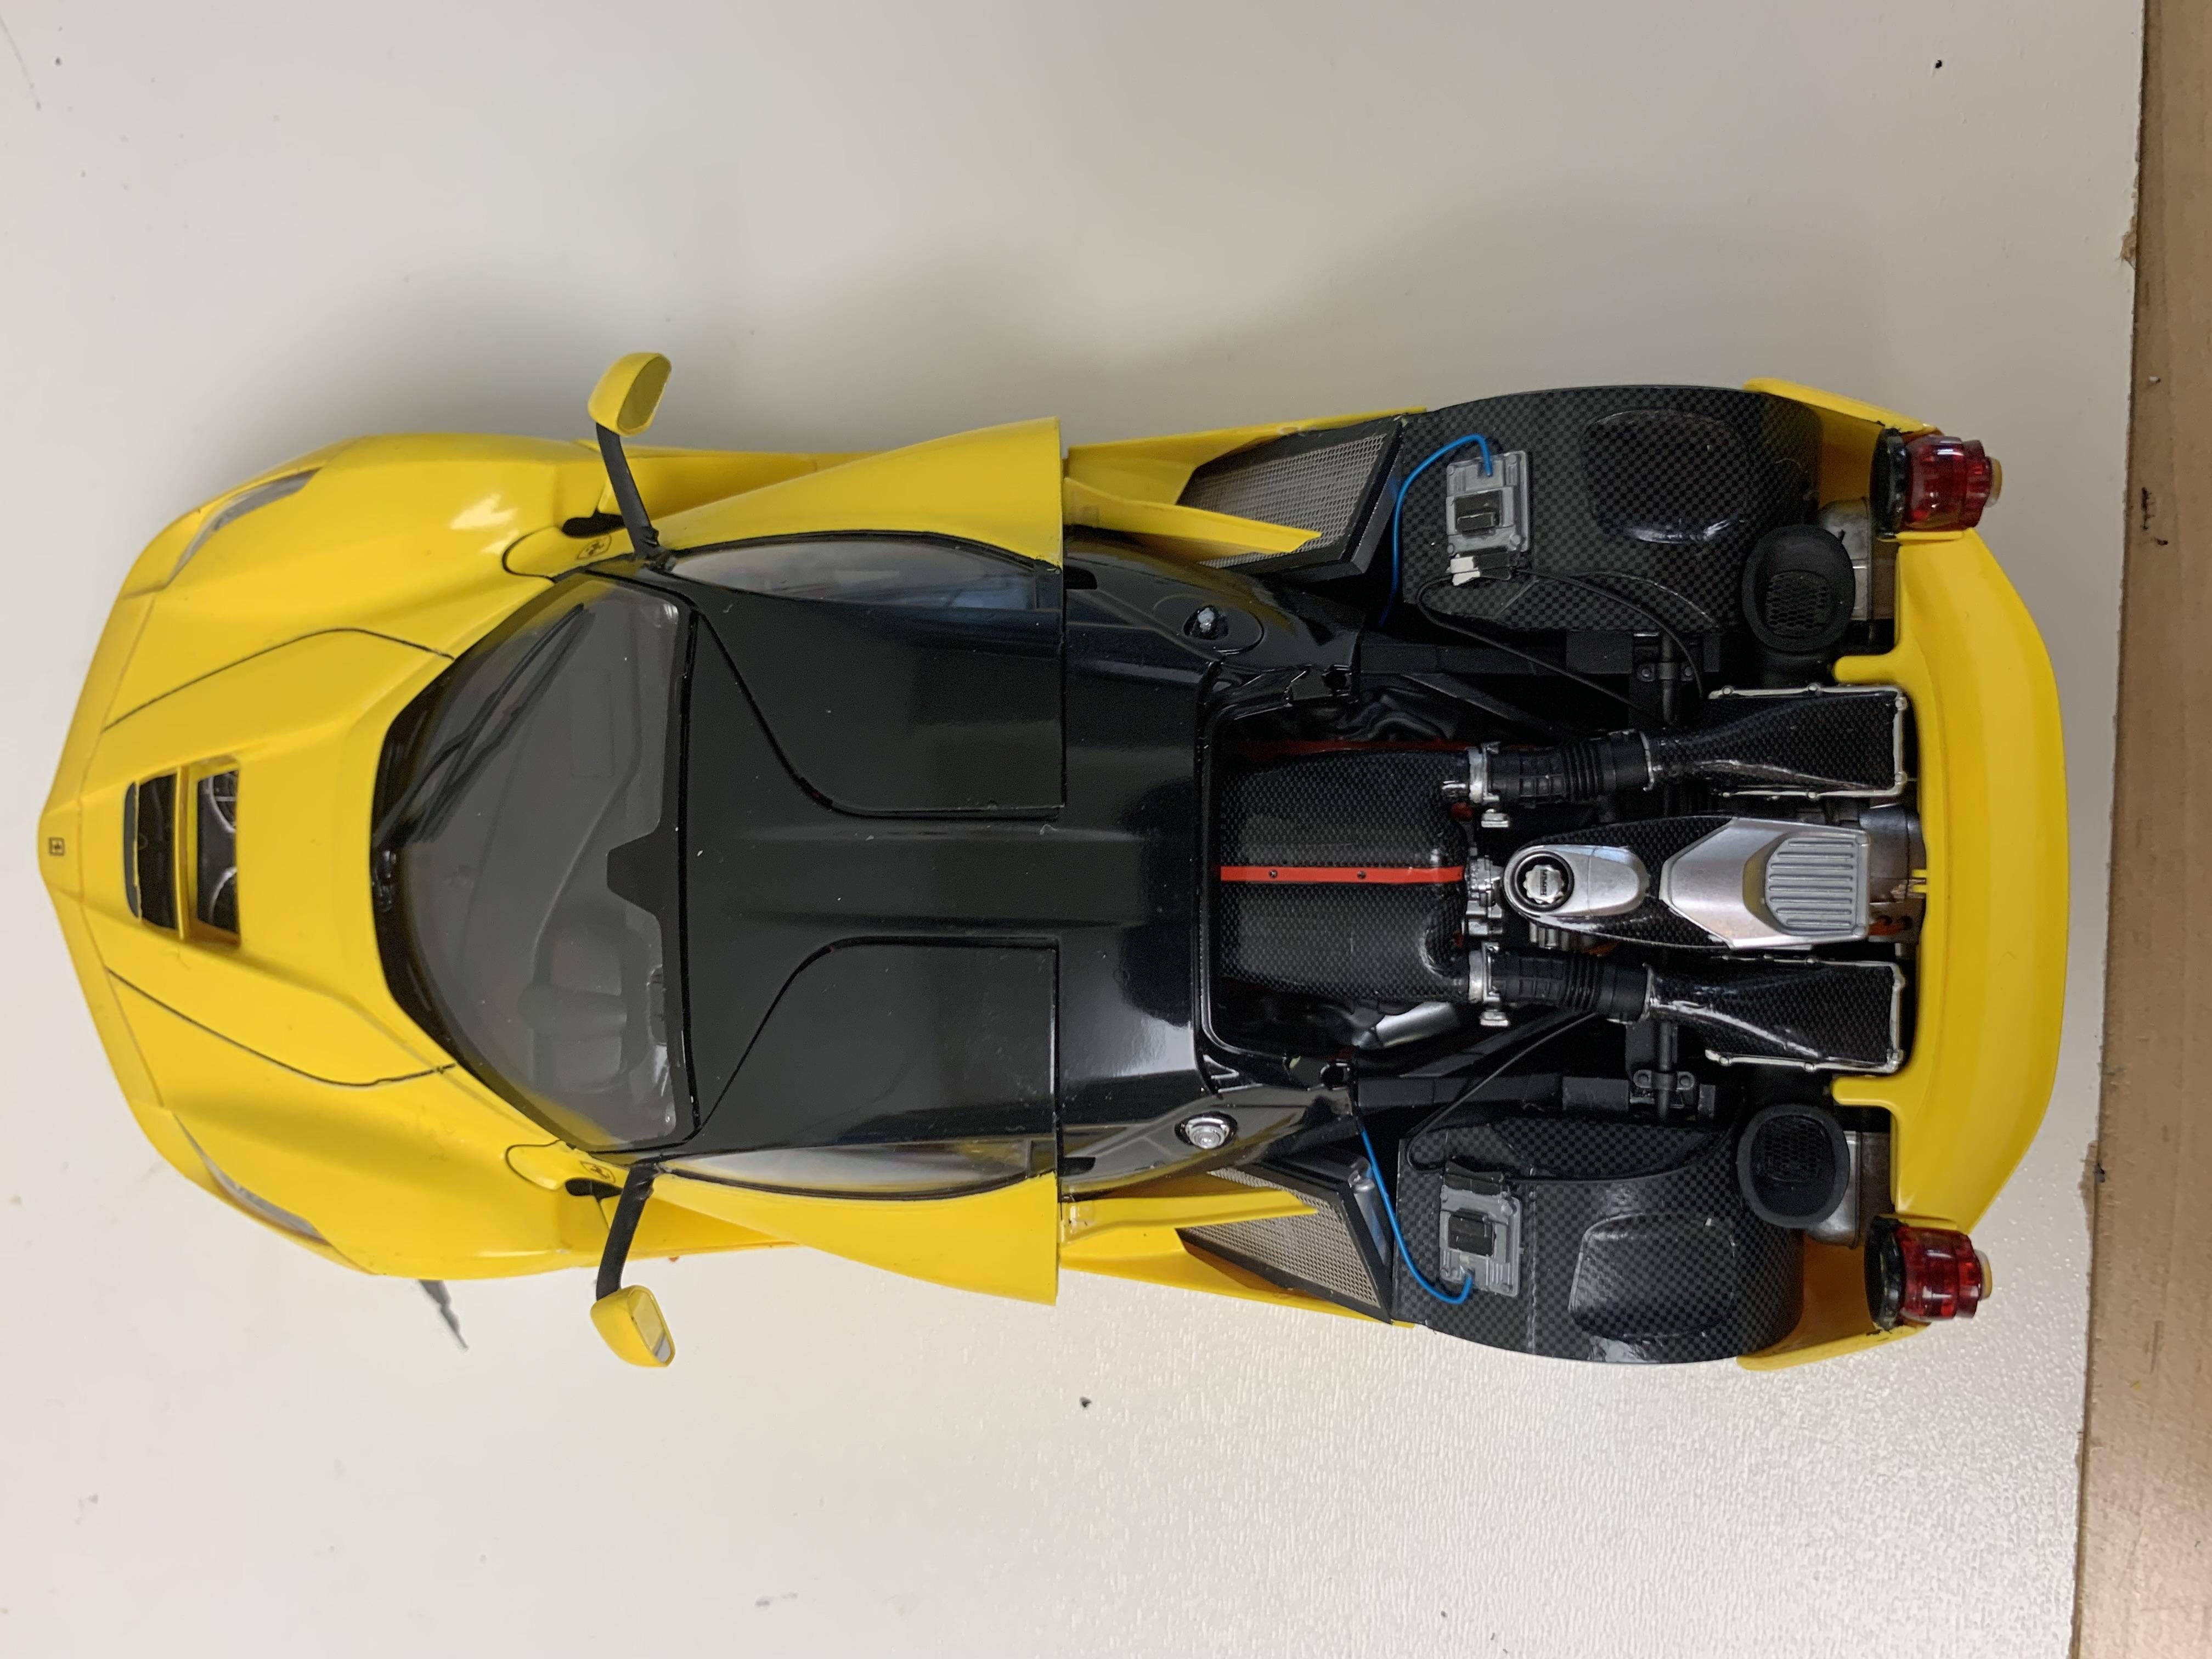
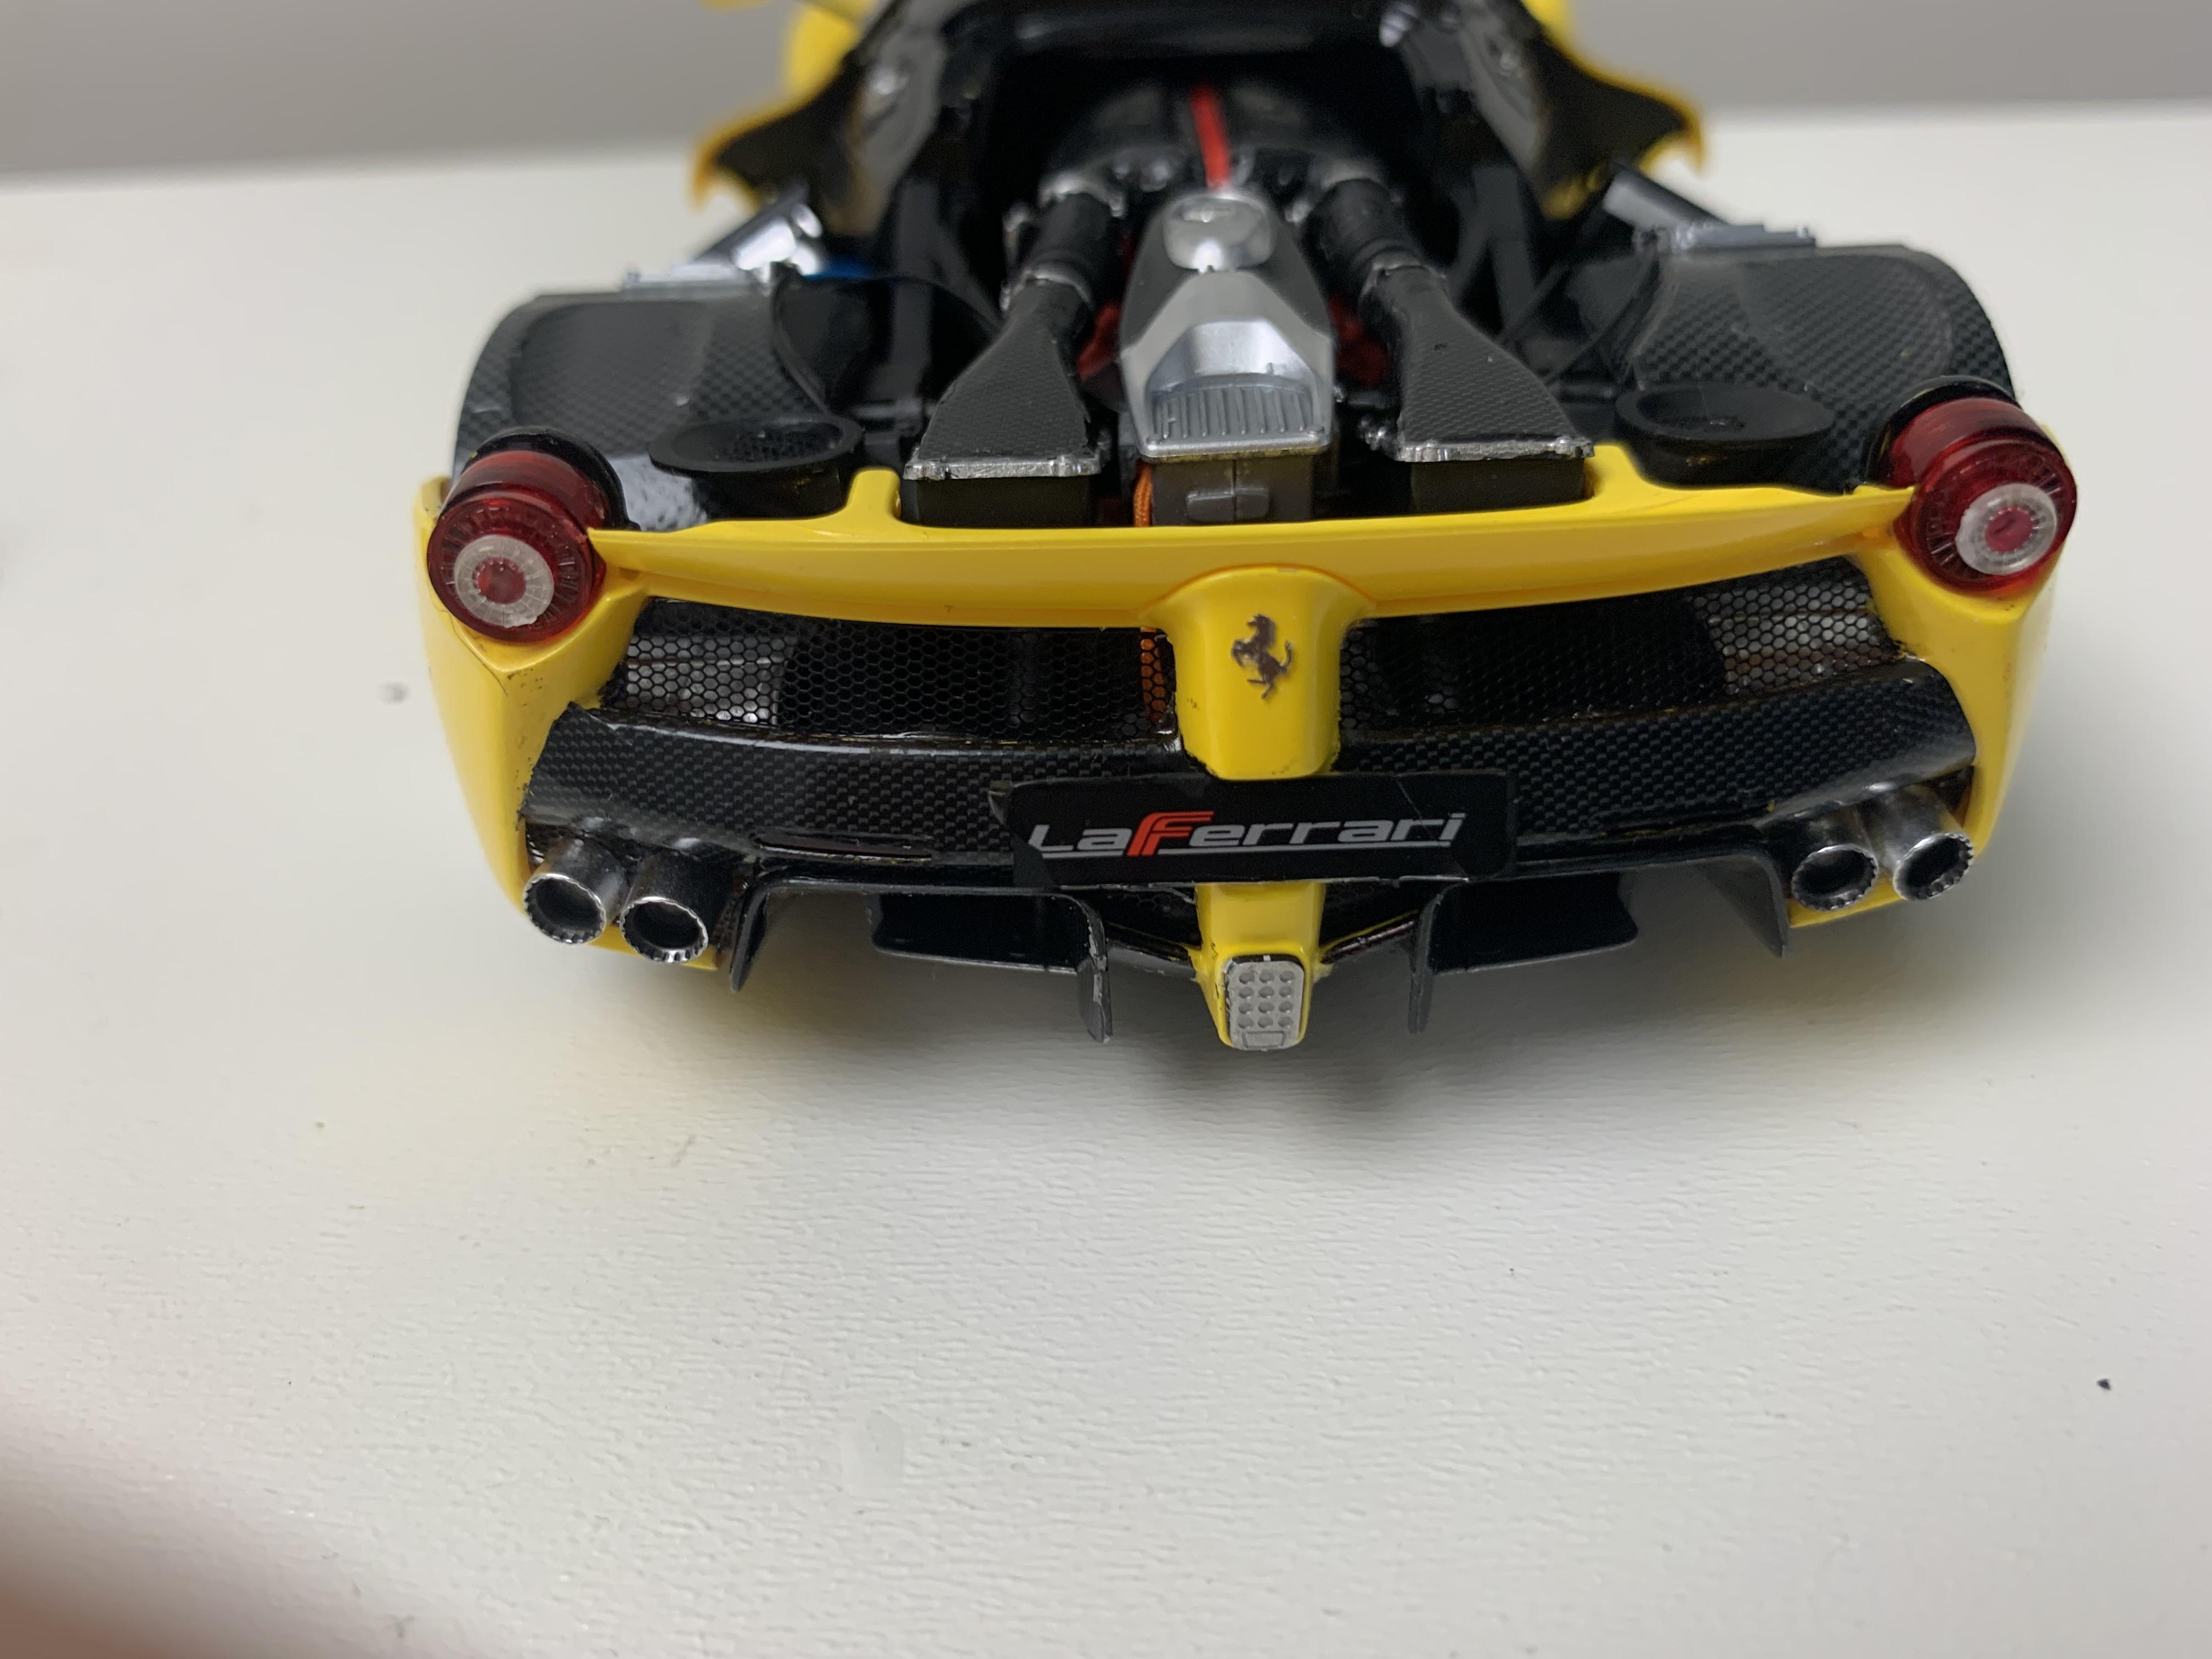
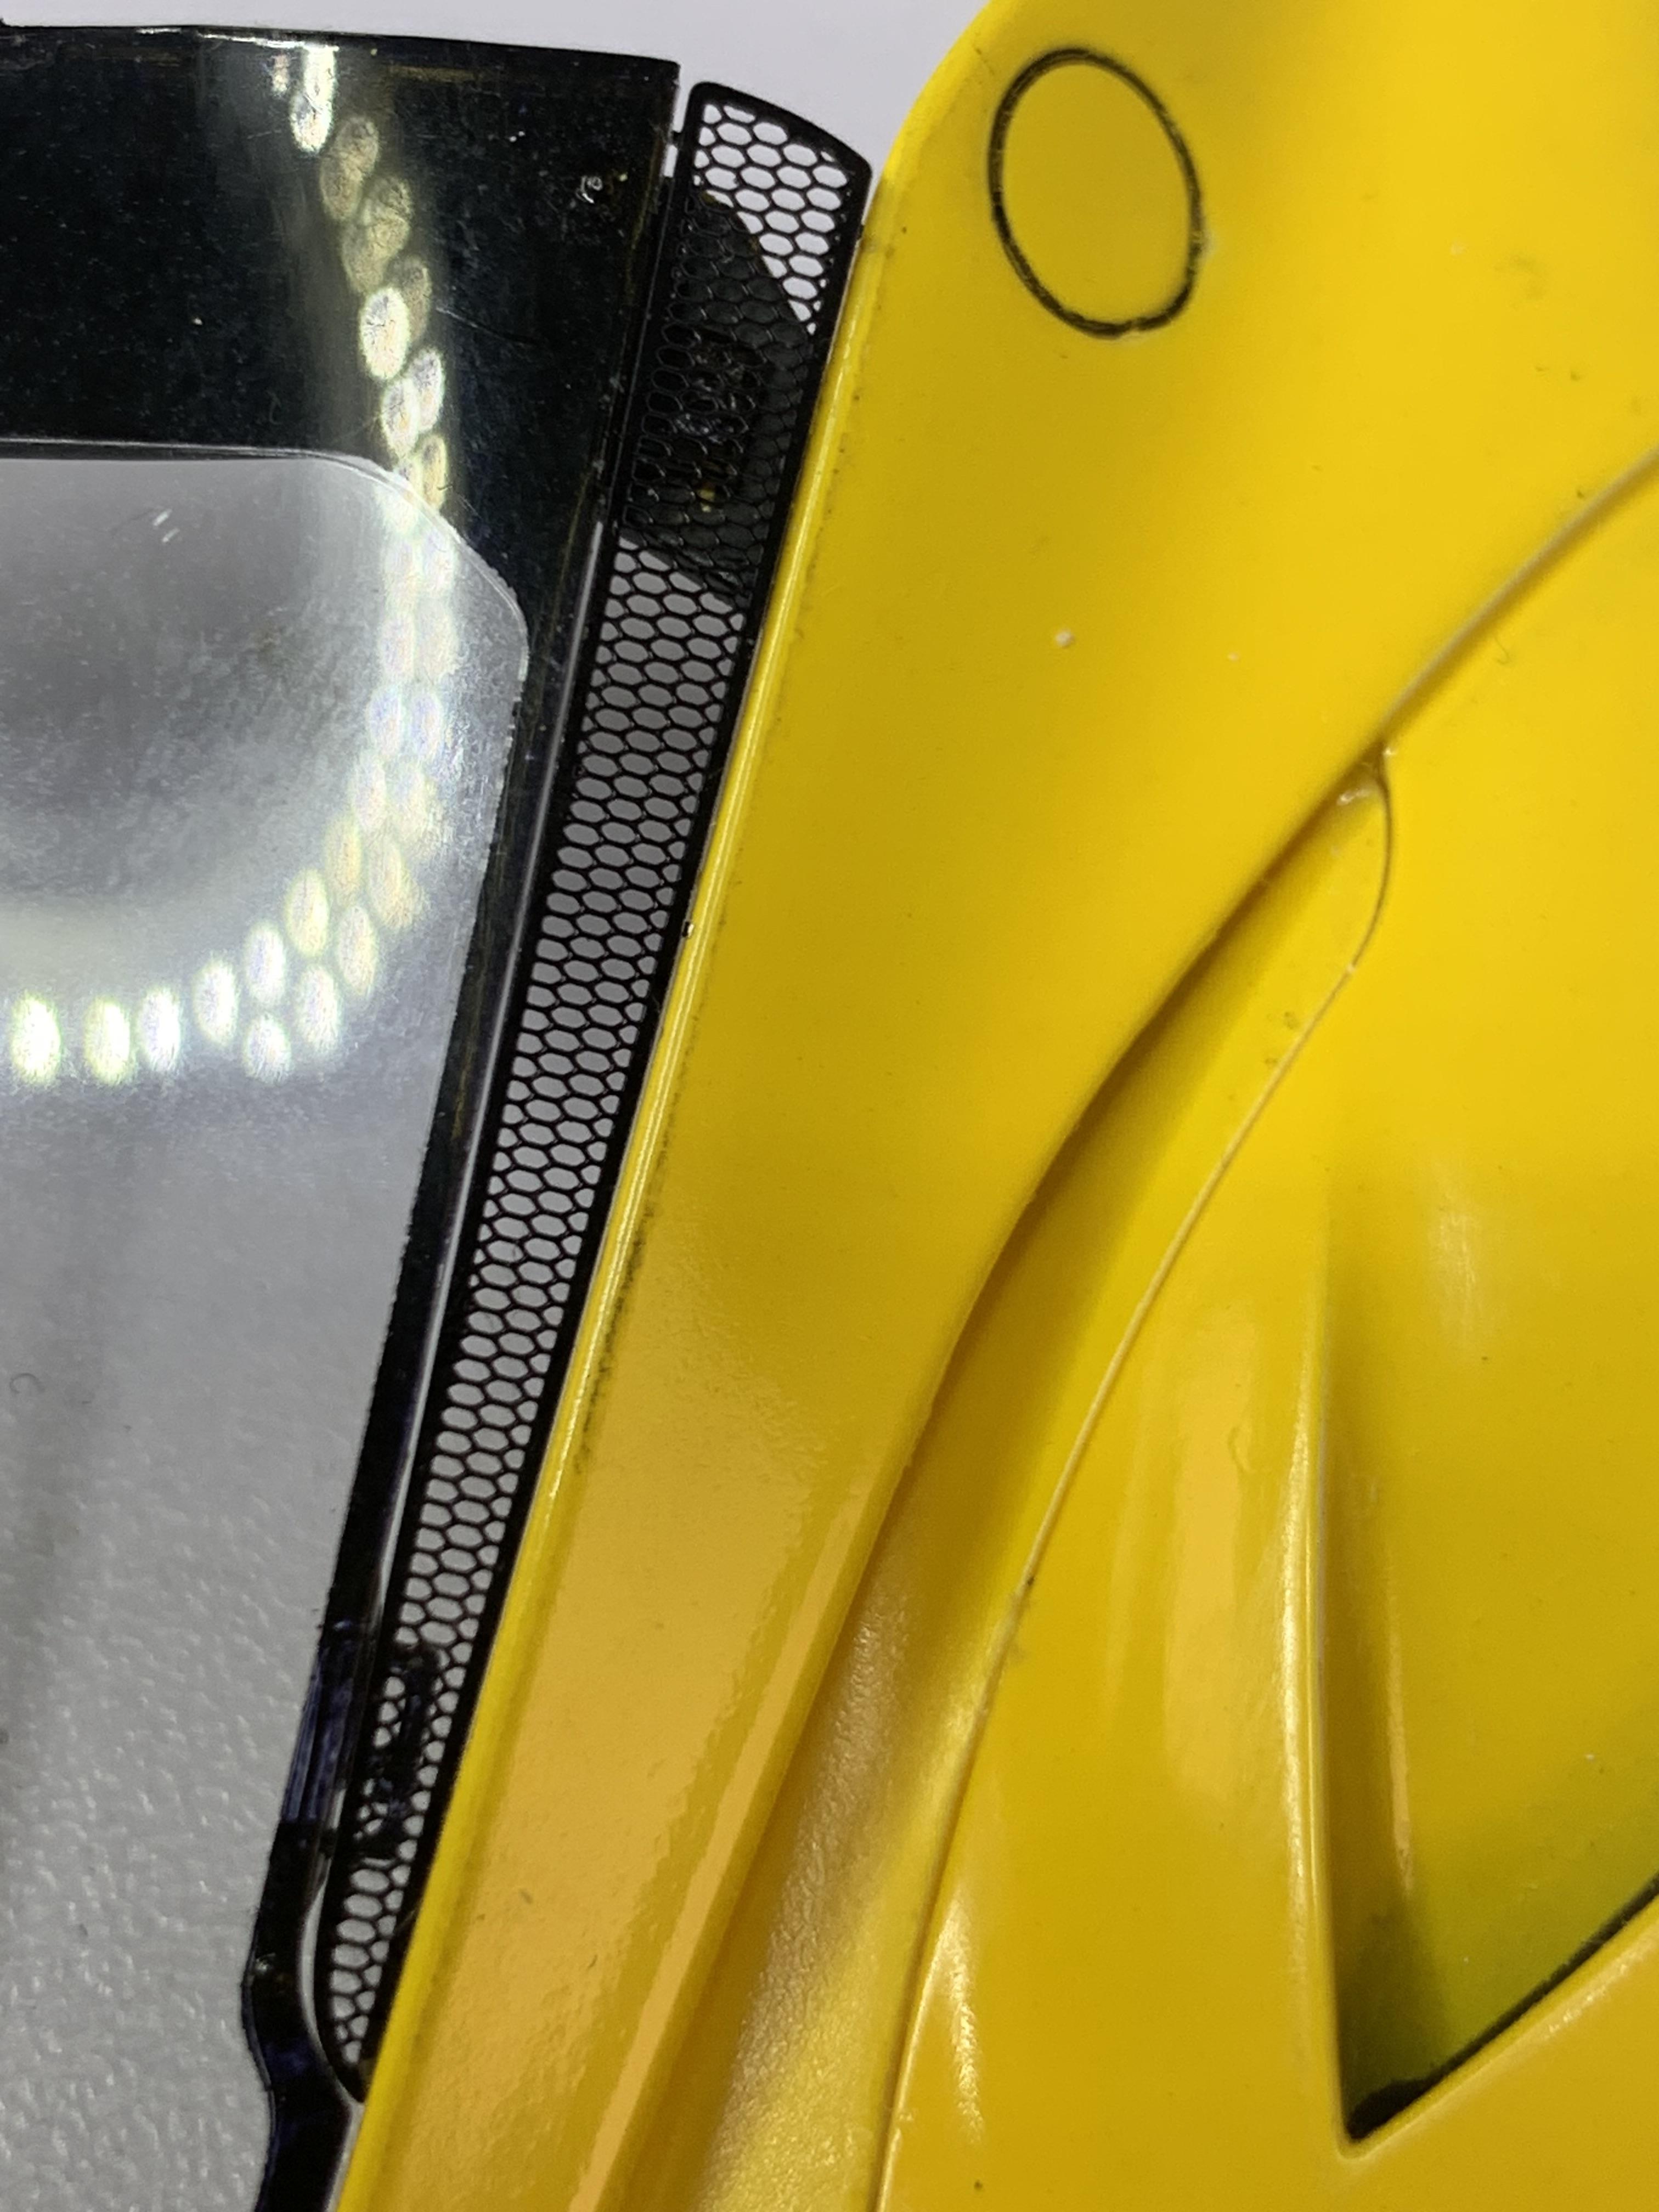
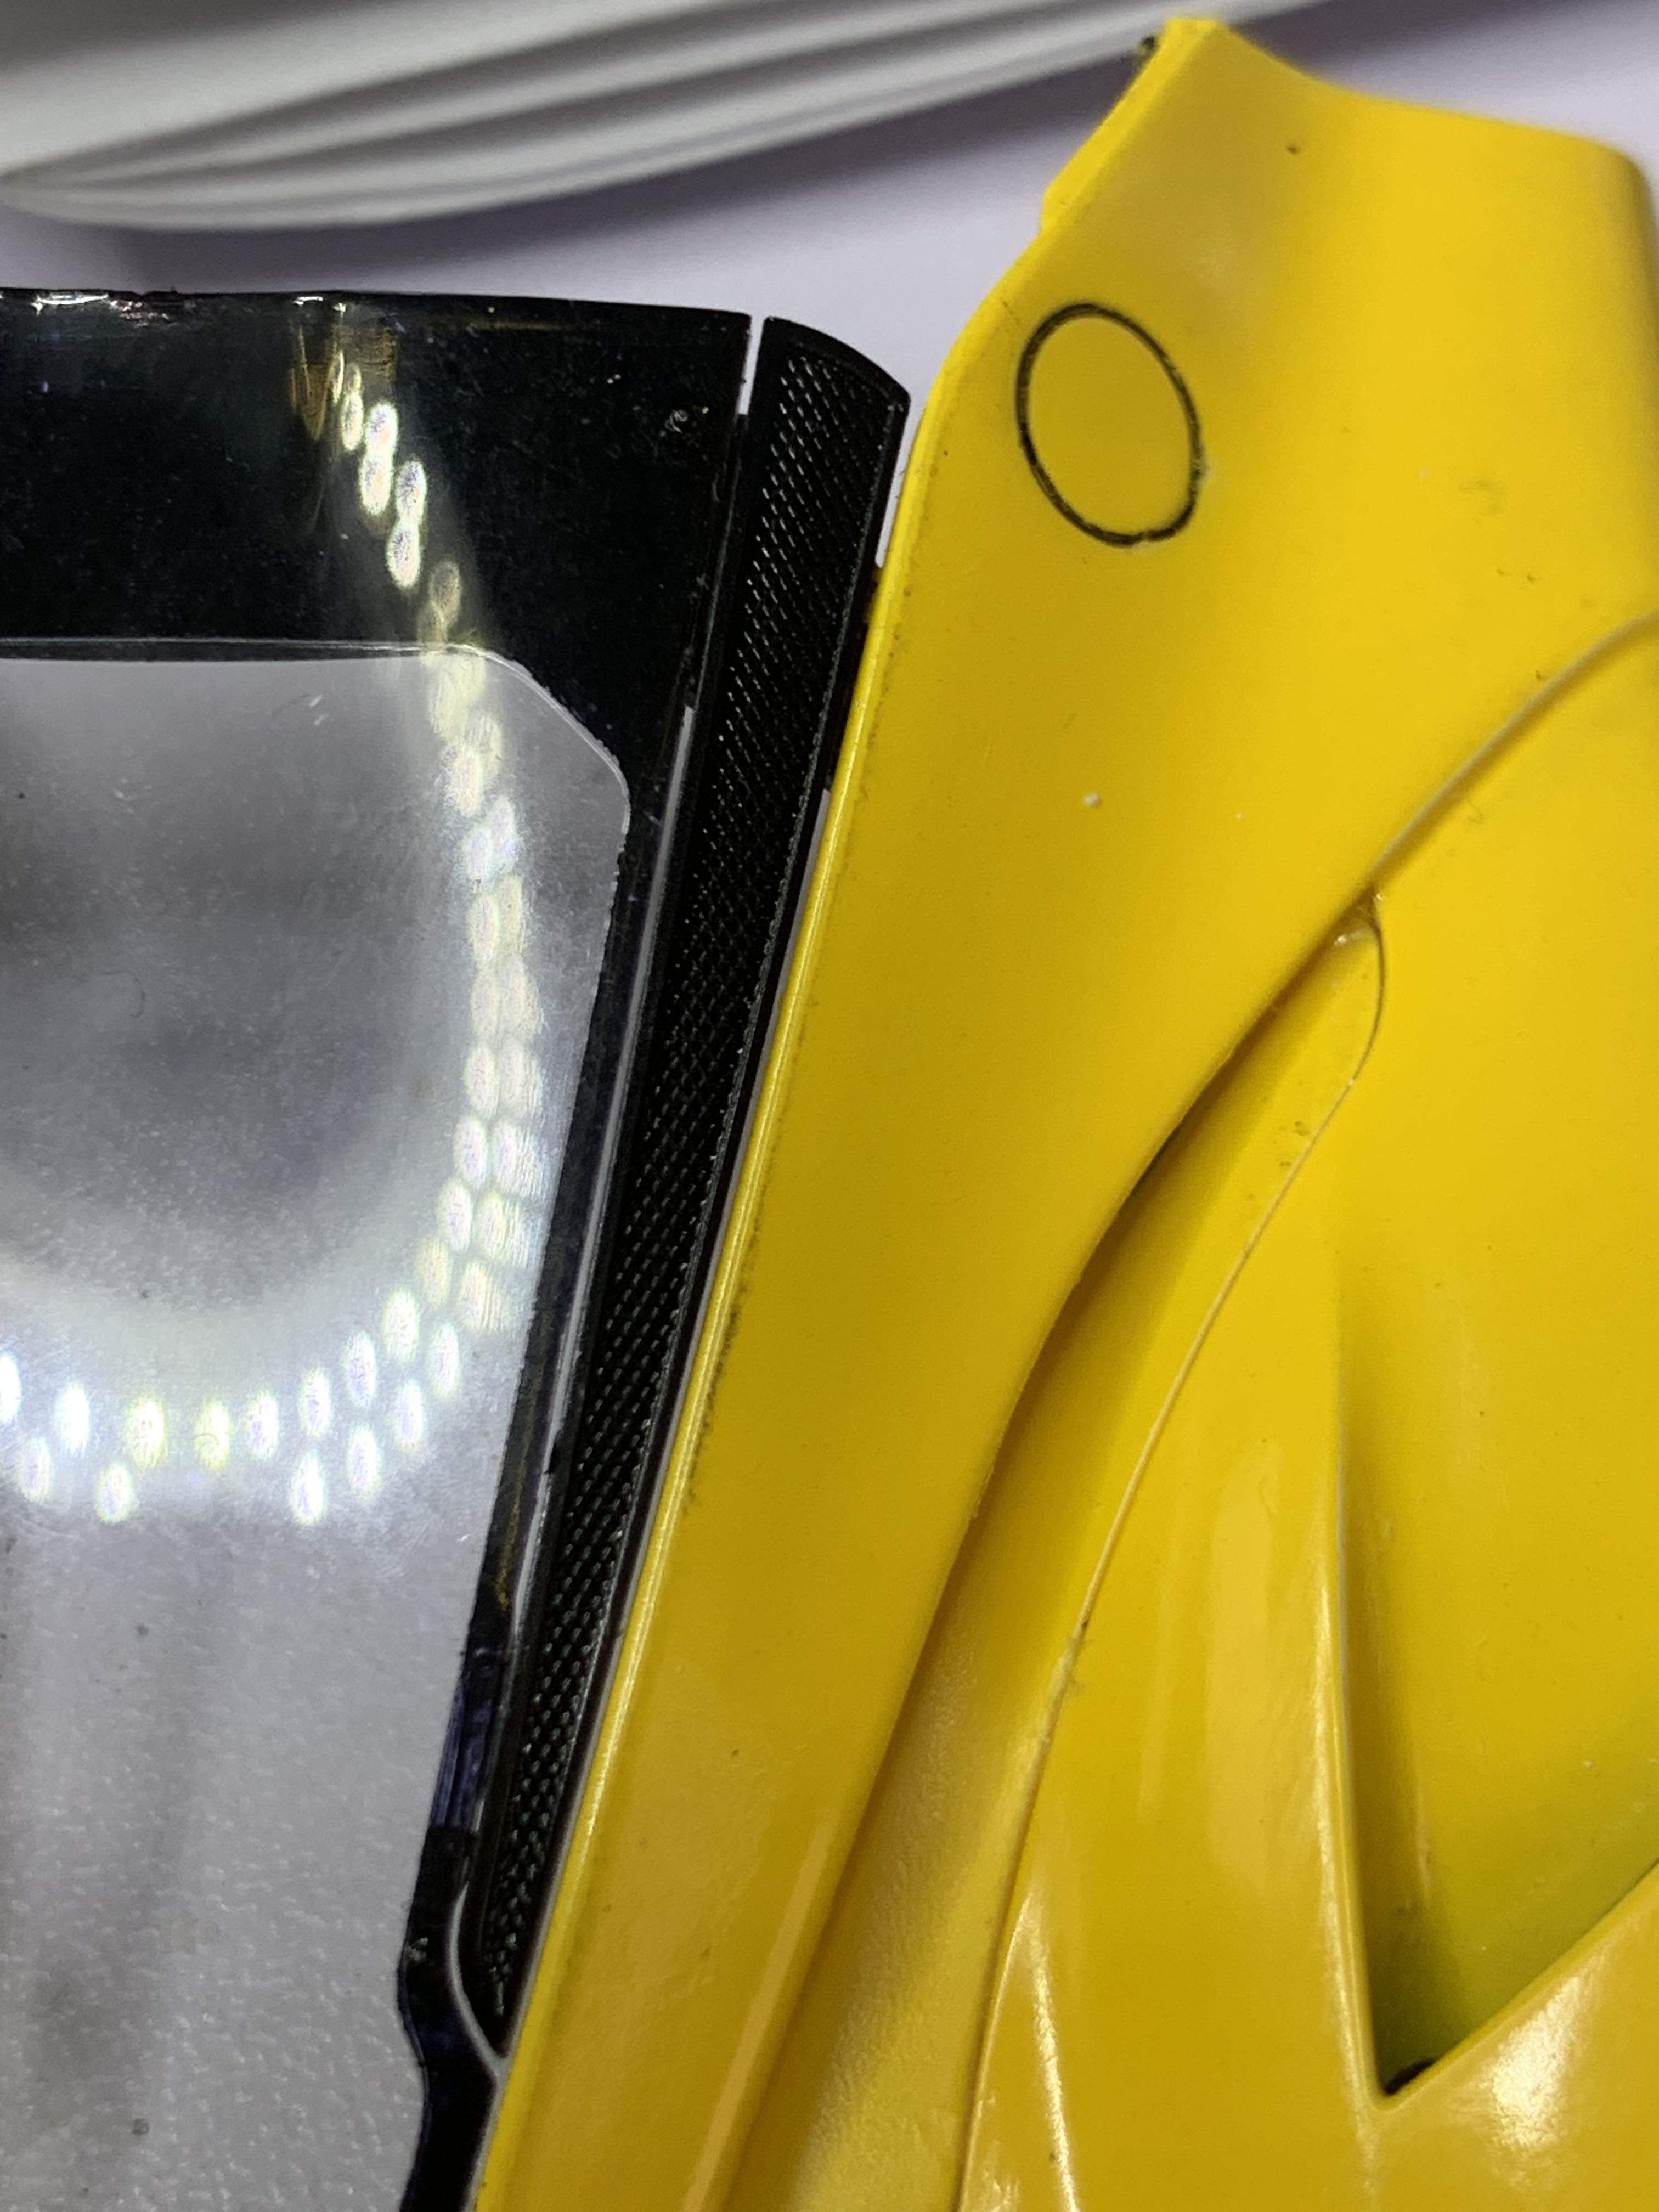
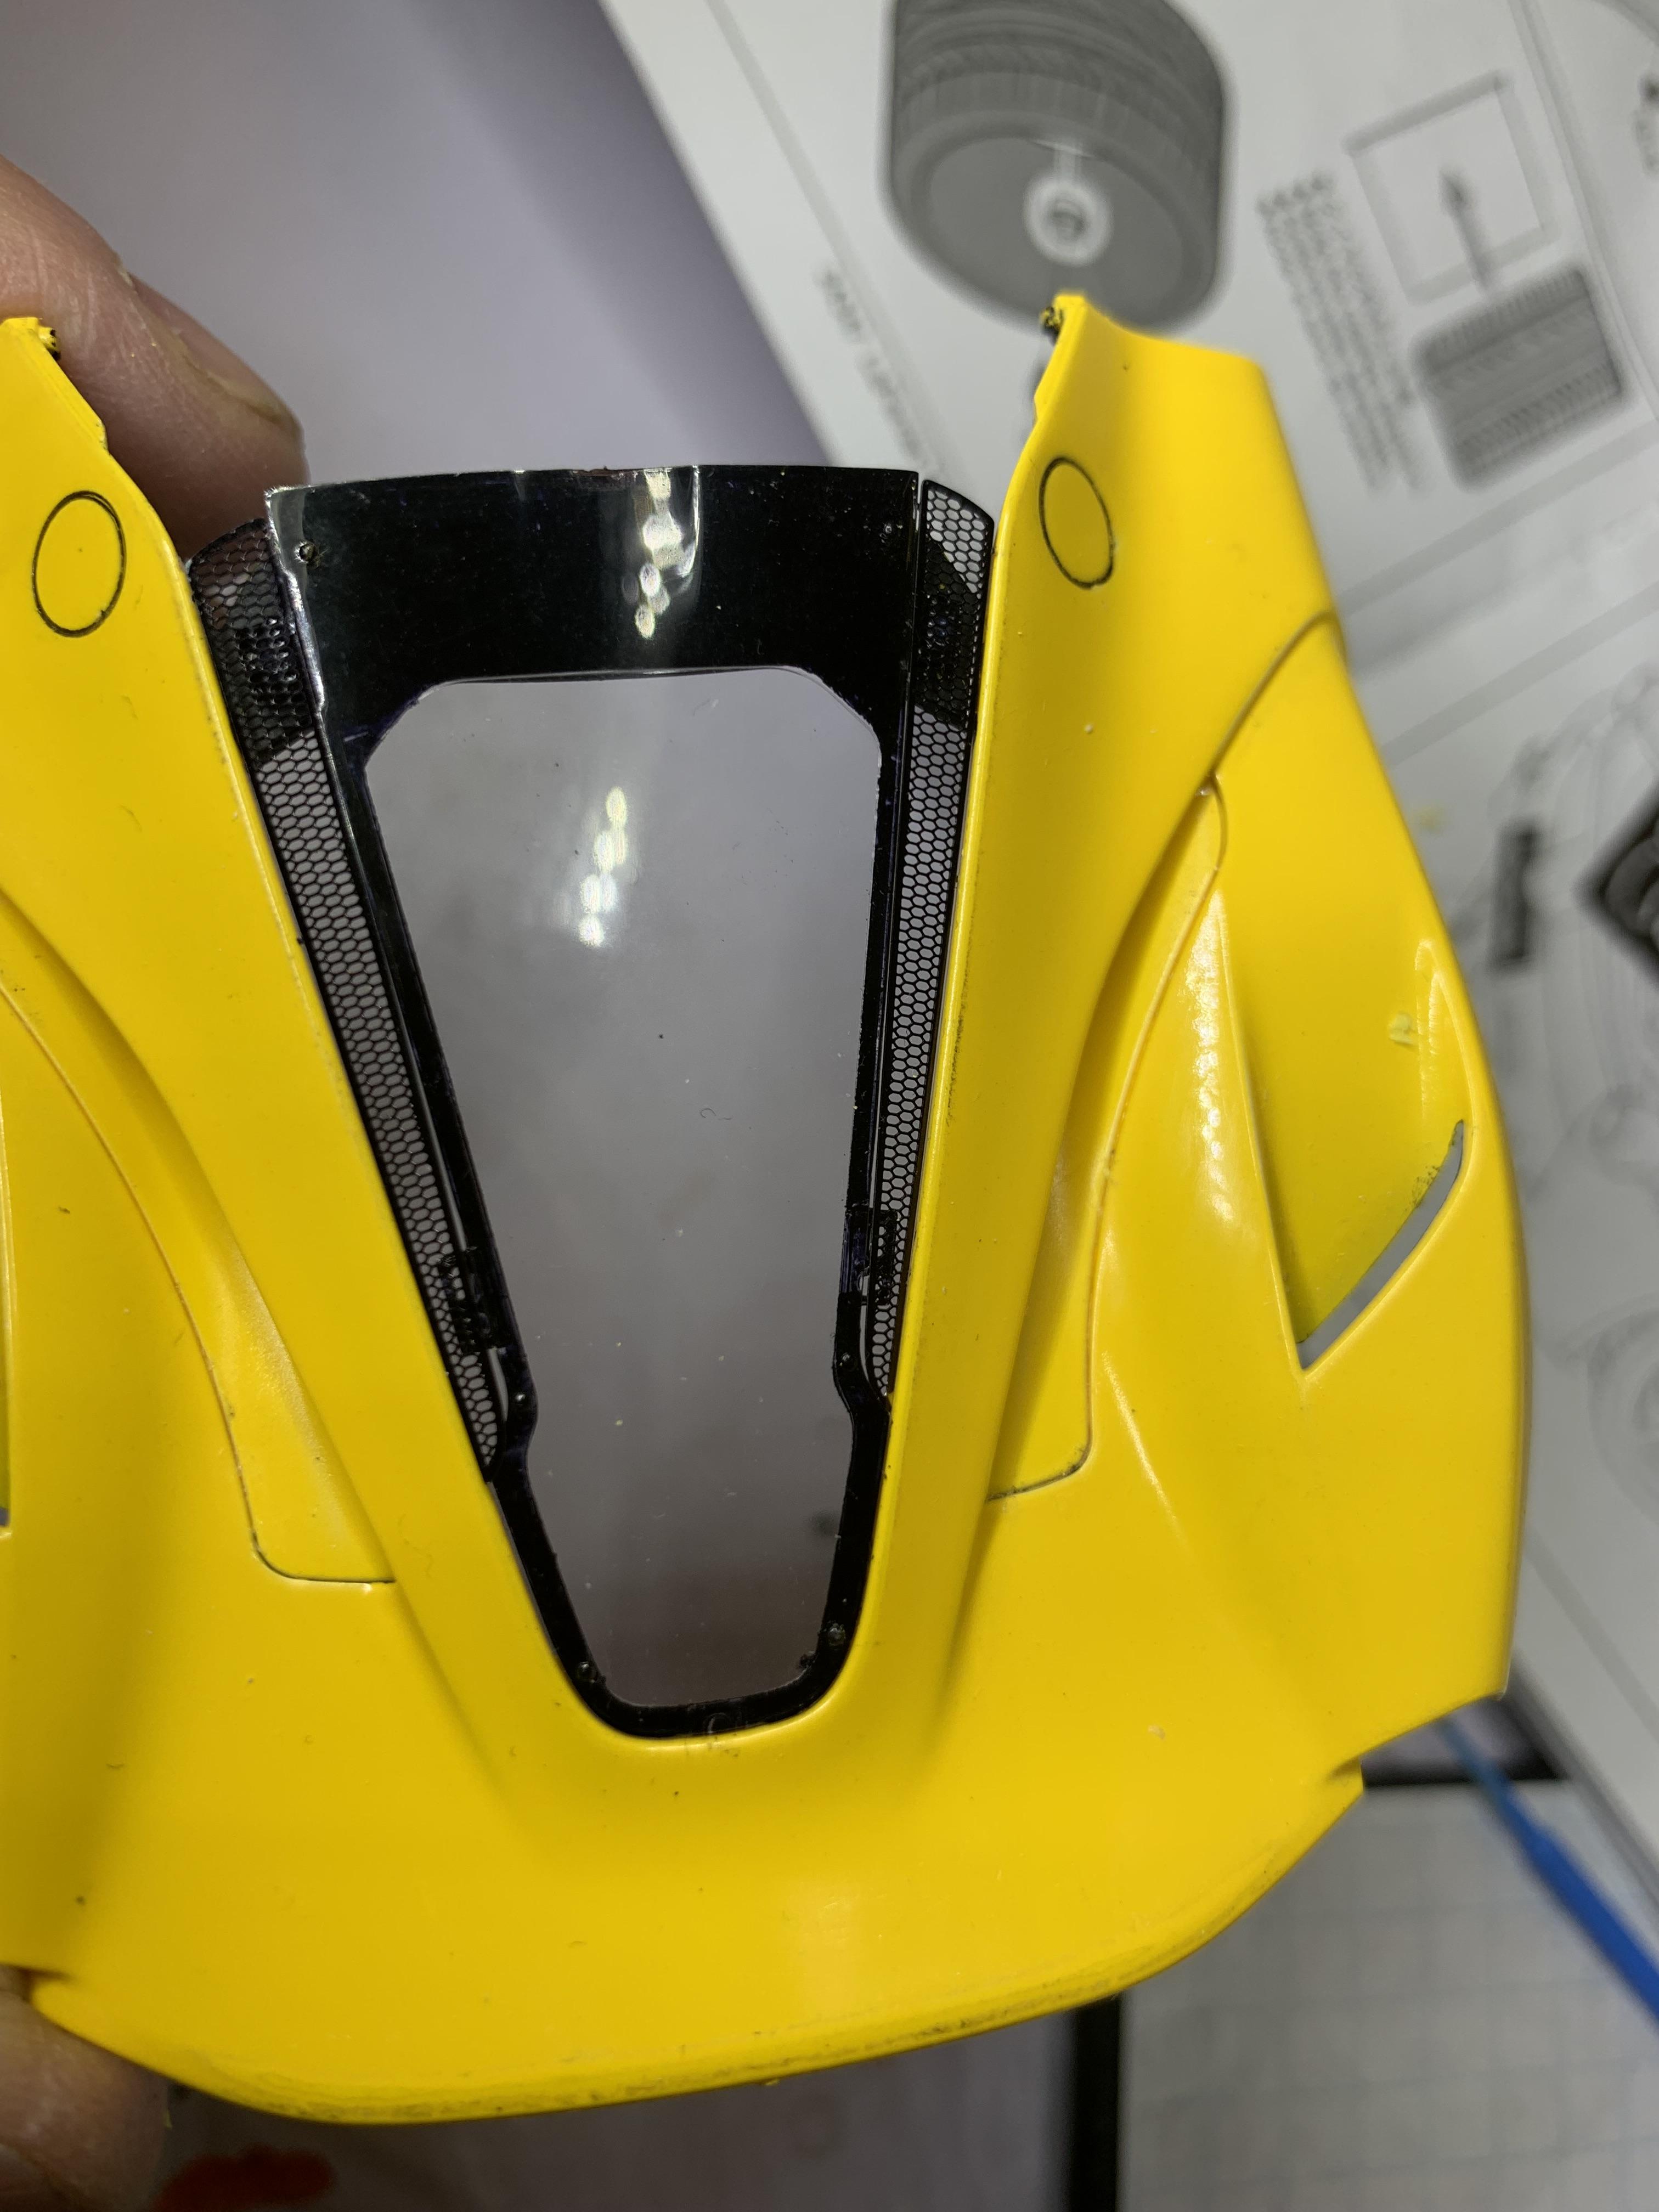
I had to make a decision on the vents that sit alongside the back engine cover. The parts in the Tamiya kit are solid plastic. The parts in the Hobby Design detail kit are mesh. I took a picture of both, and decided to go with the mesh. I'm always divided on how useful some of the photoetch kits are - I seem to only use about 50% of them.


.jpg.25671a87167e3e19e555659e3e50fc95.jpg)


.jpg.037812e92f5f6ad9211ce50b756a8a50.jpg)