-
Posts
269 -
Joined
-
Last visited
Content Type
Profiles
Forums
Events
Gallery
Everything posted by harti20
-
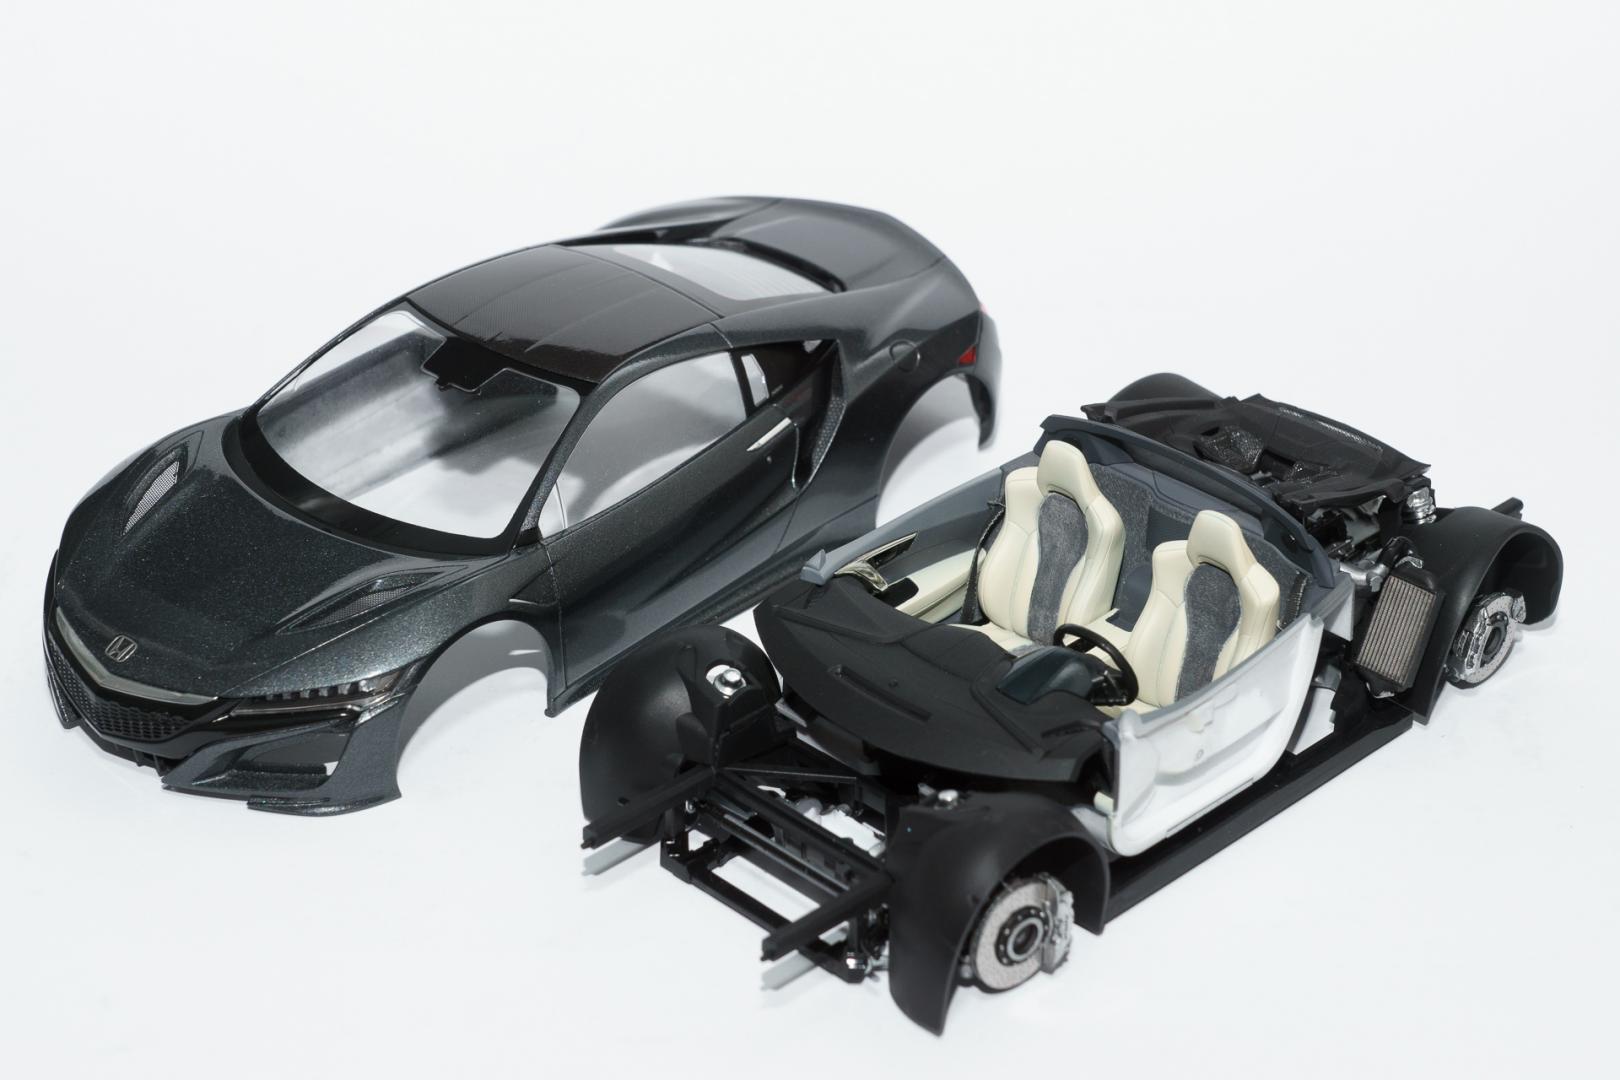
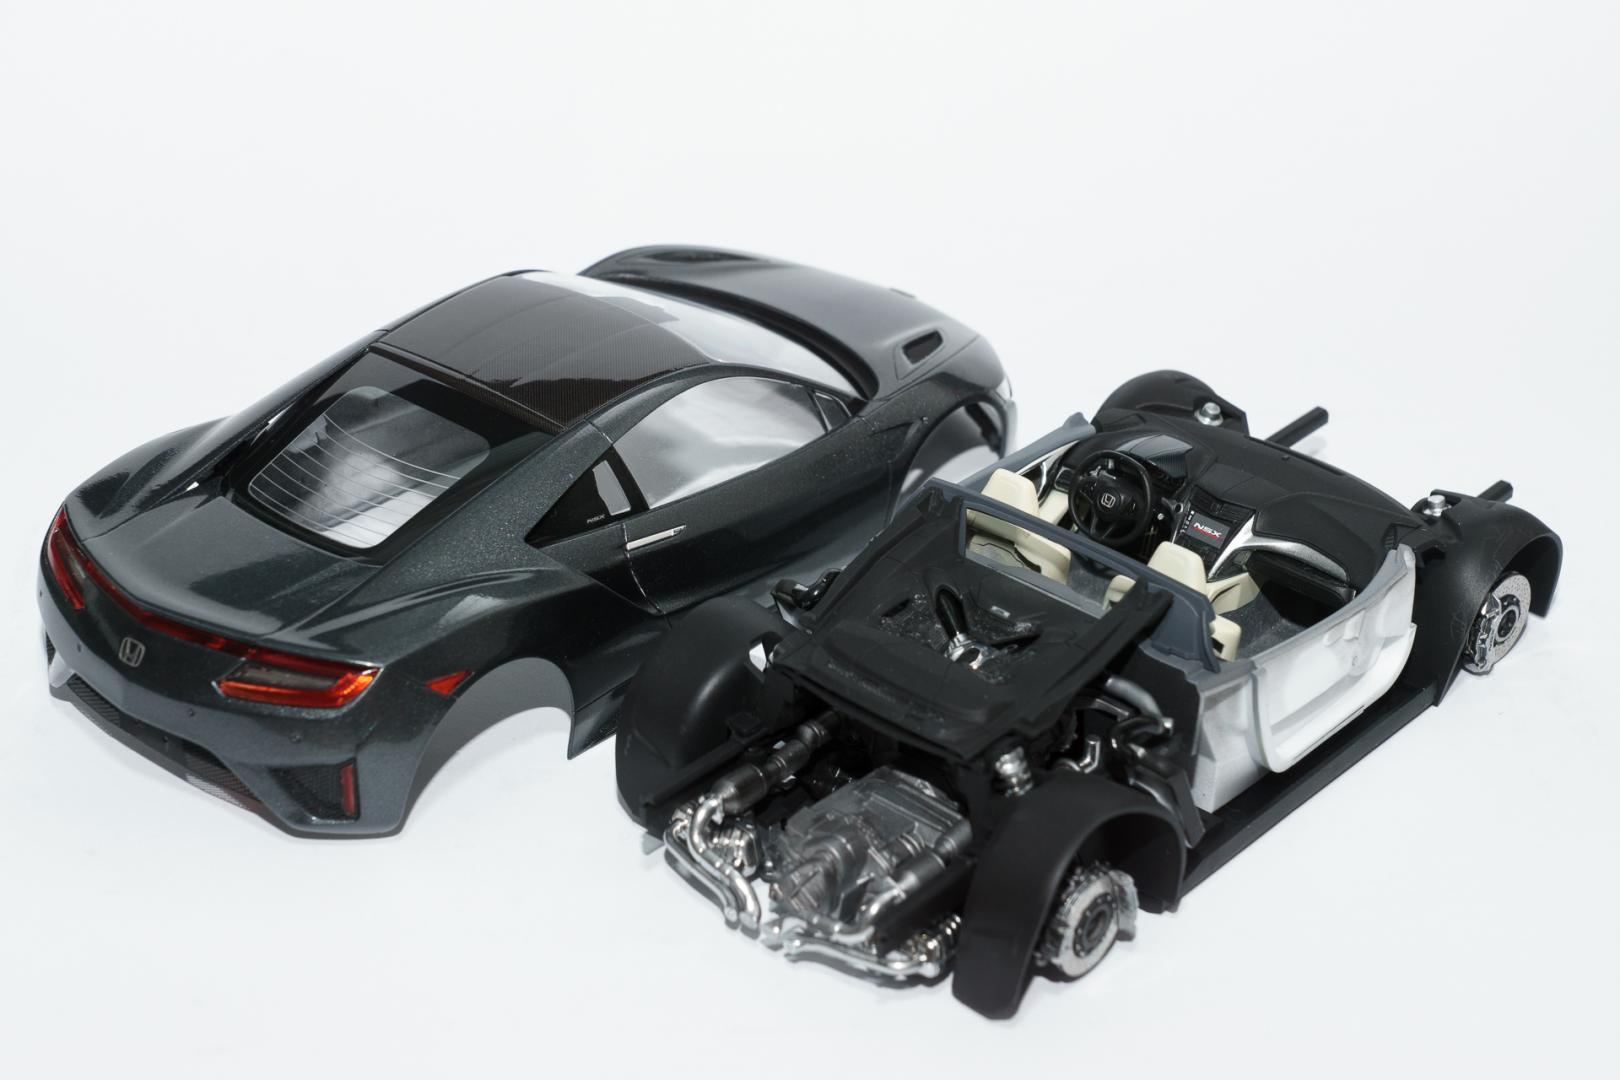
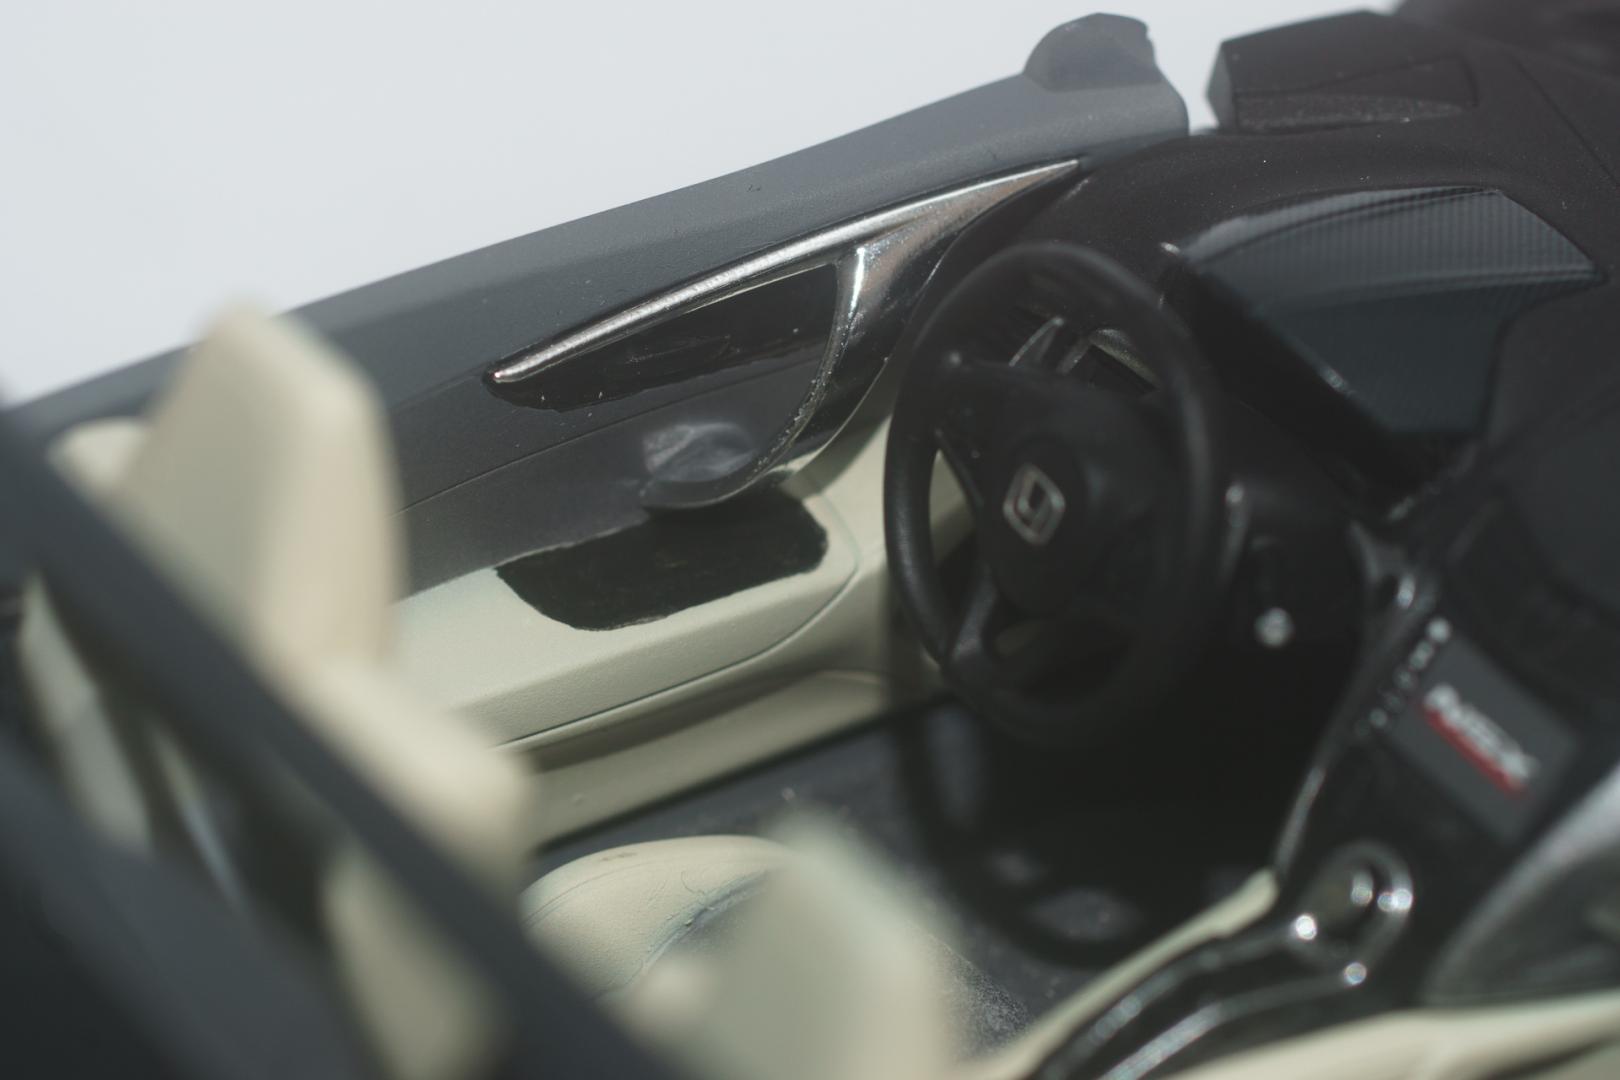
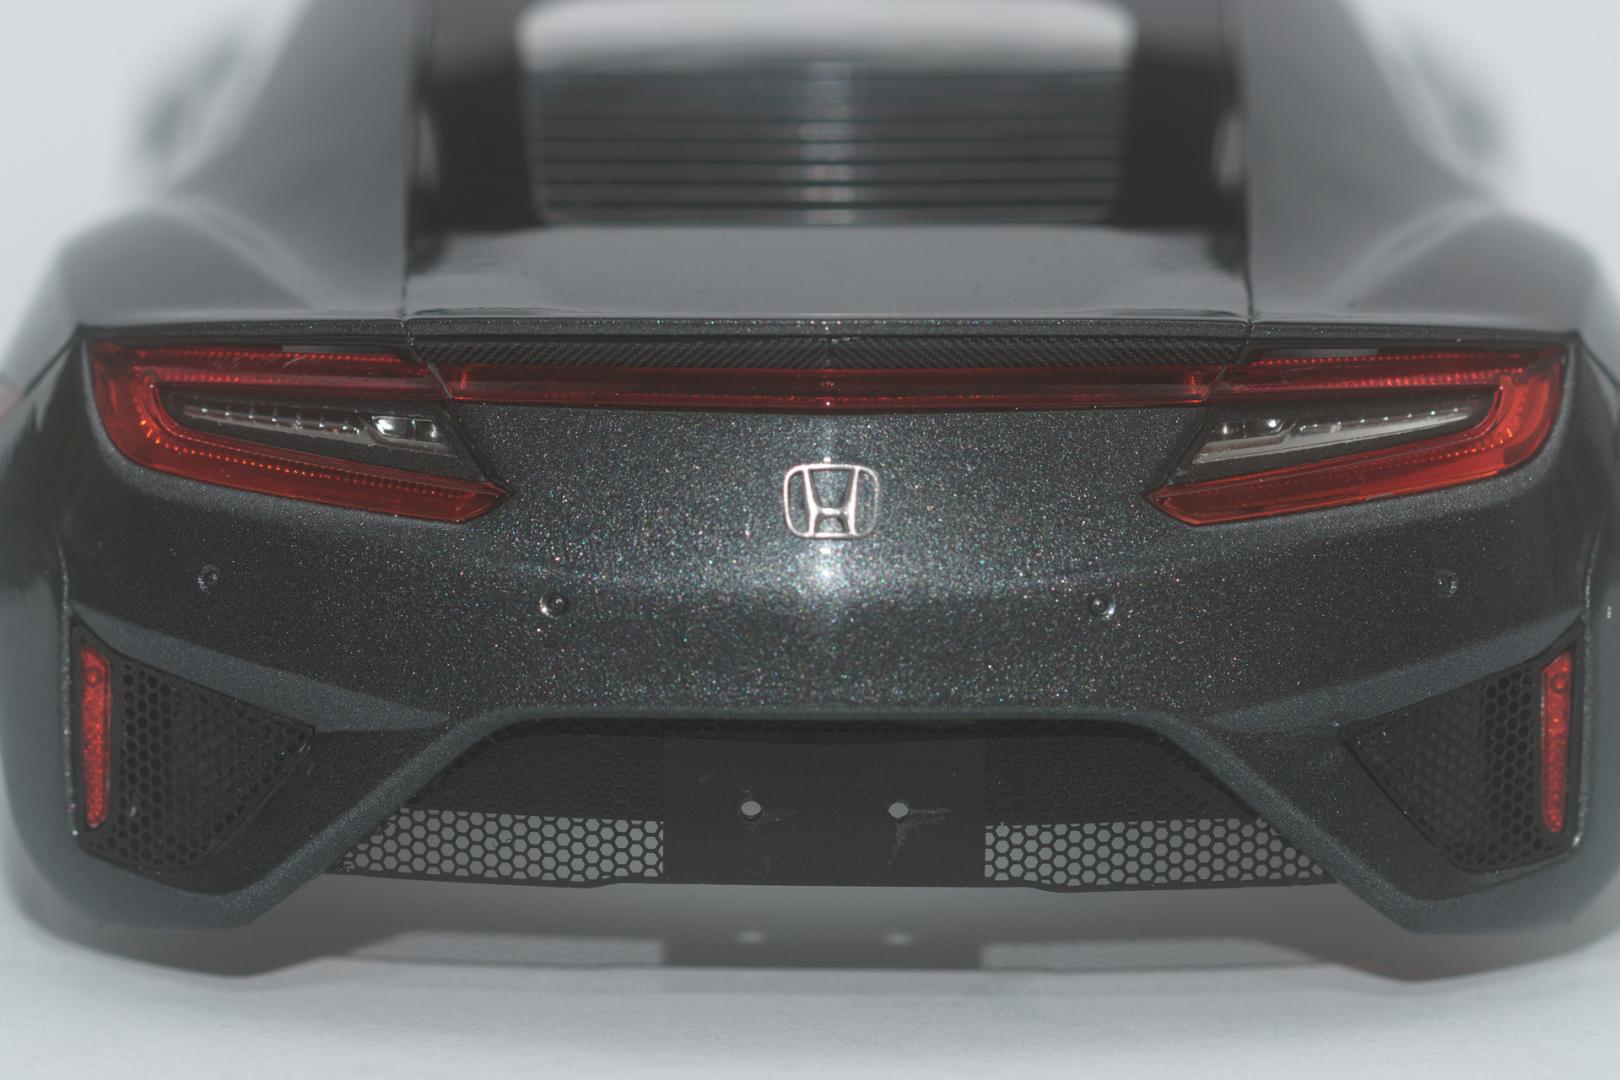
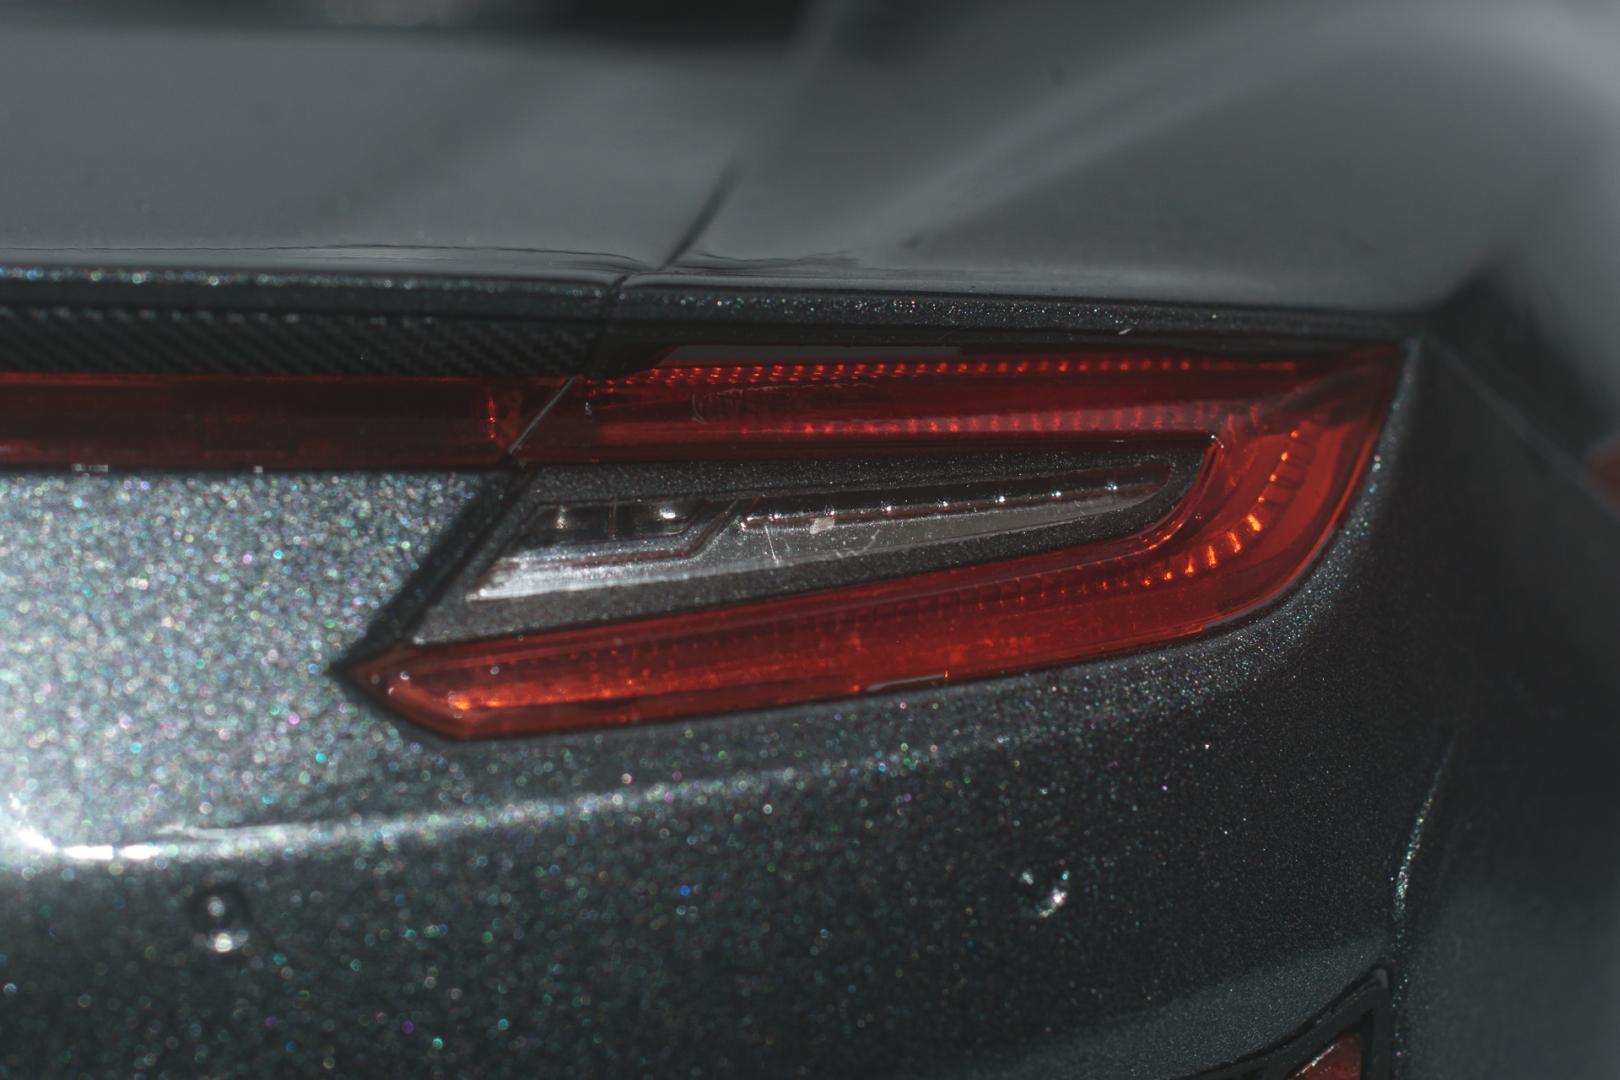
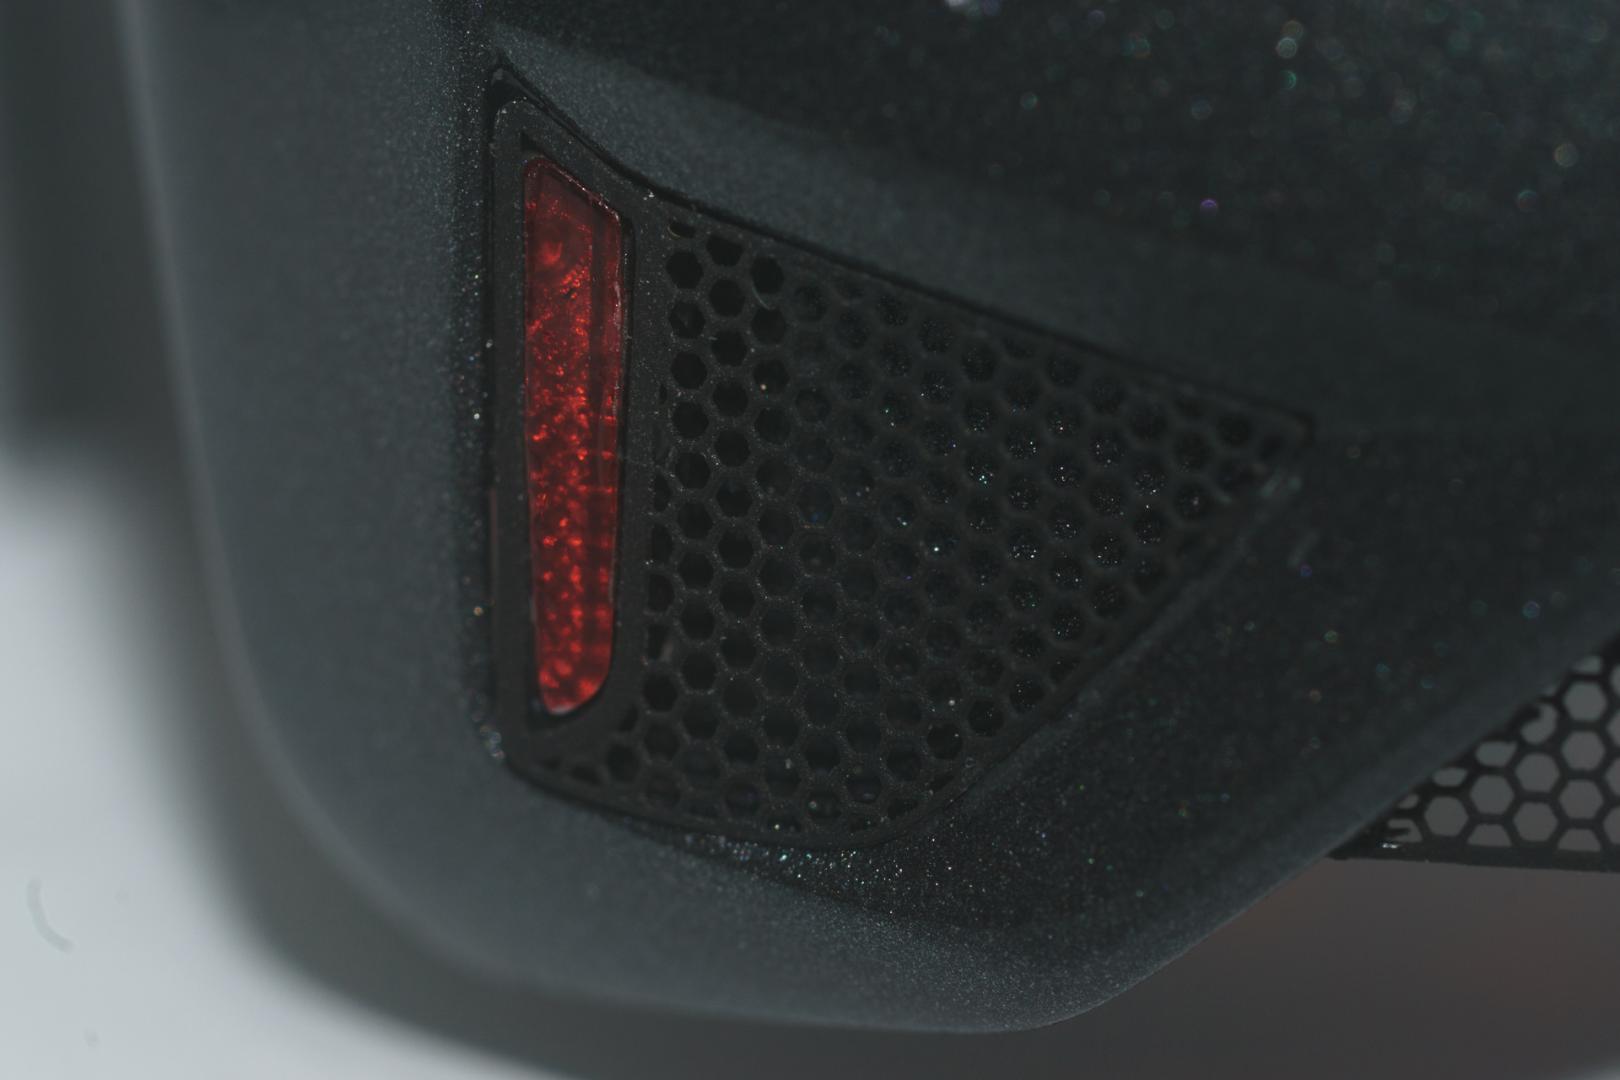
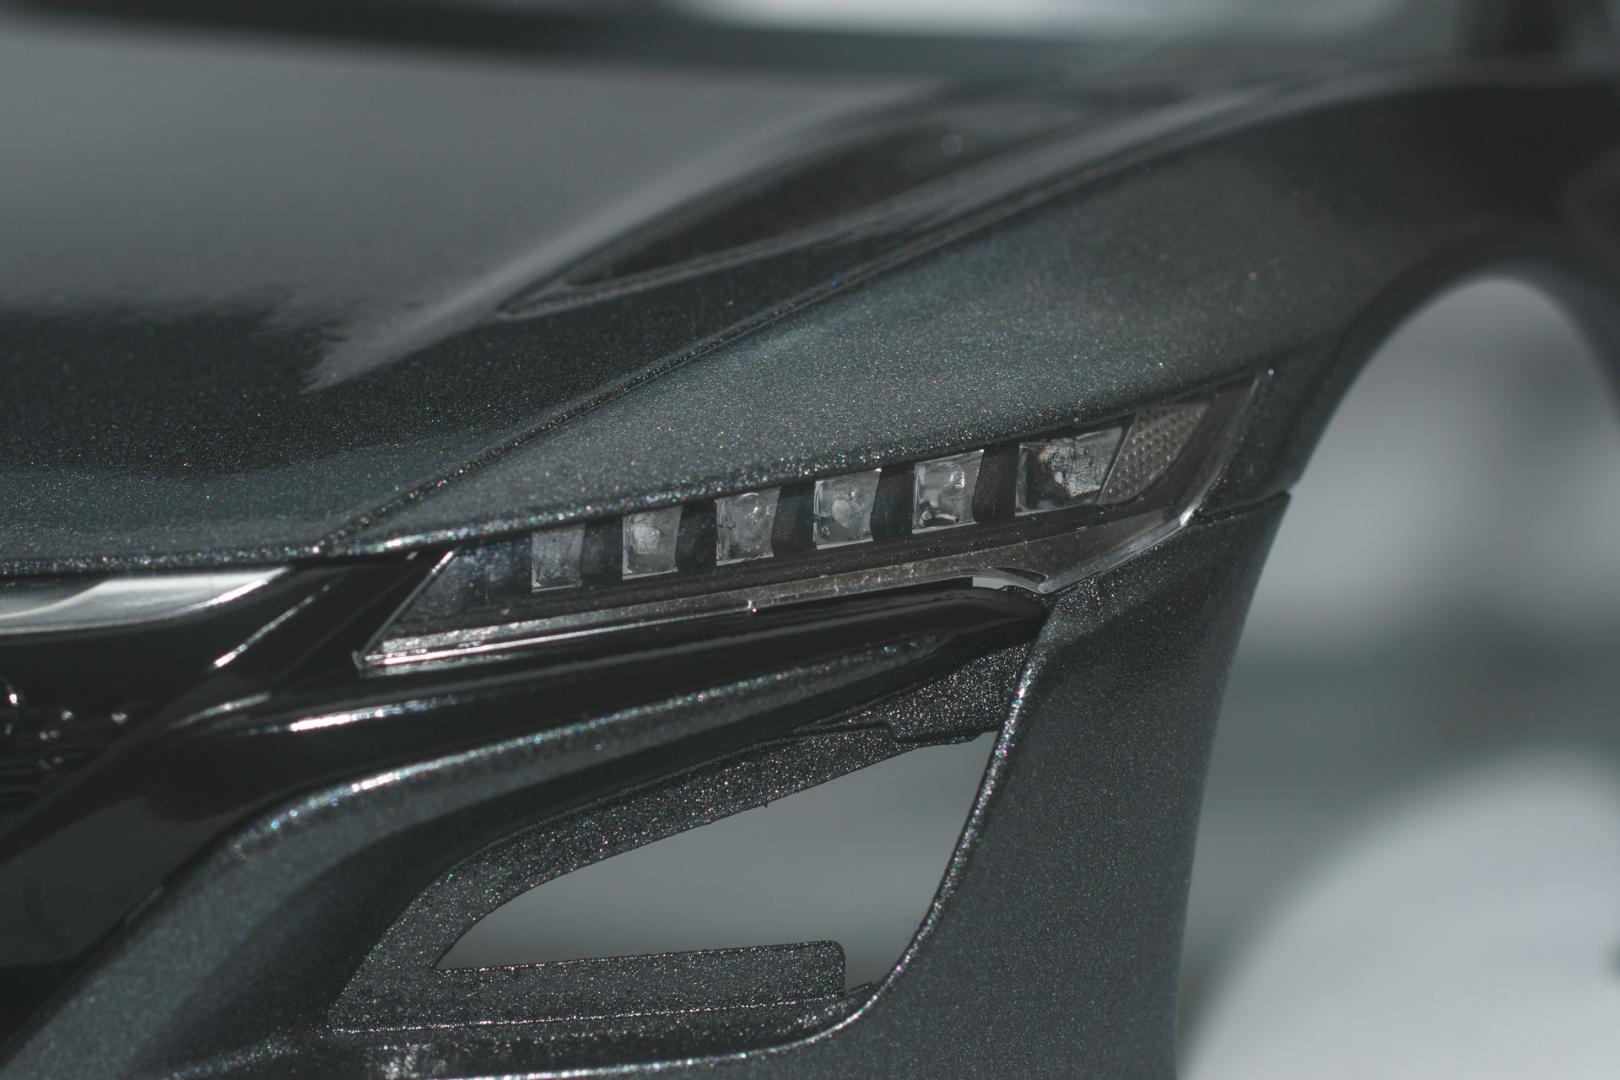
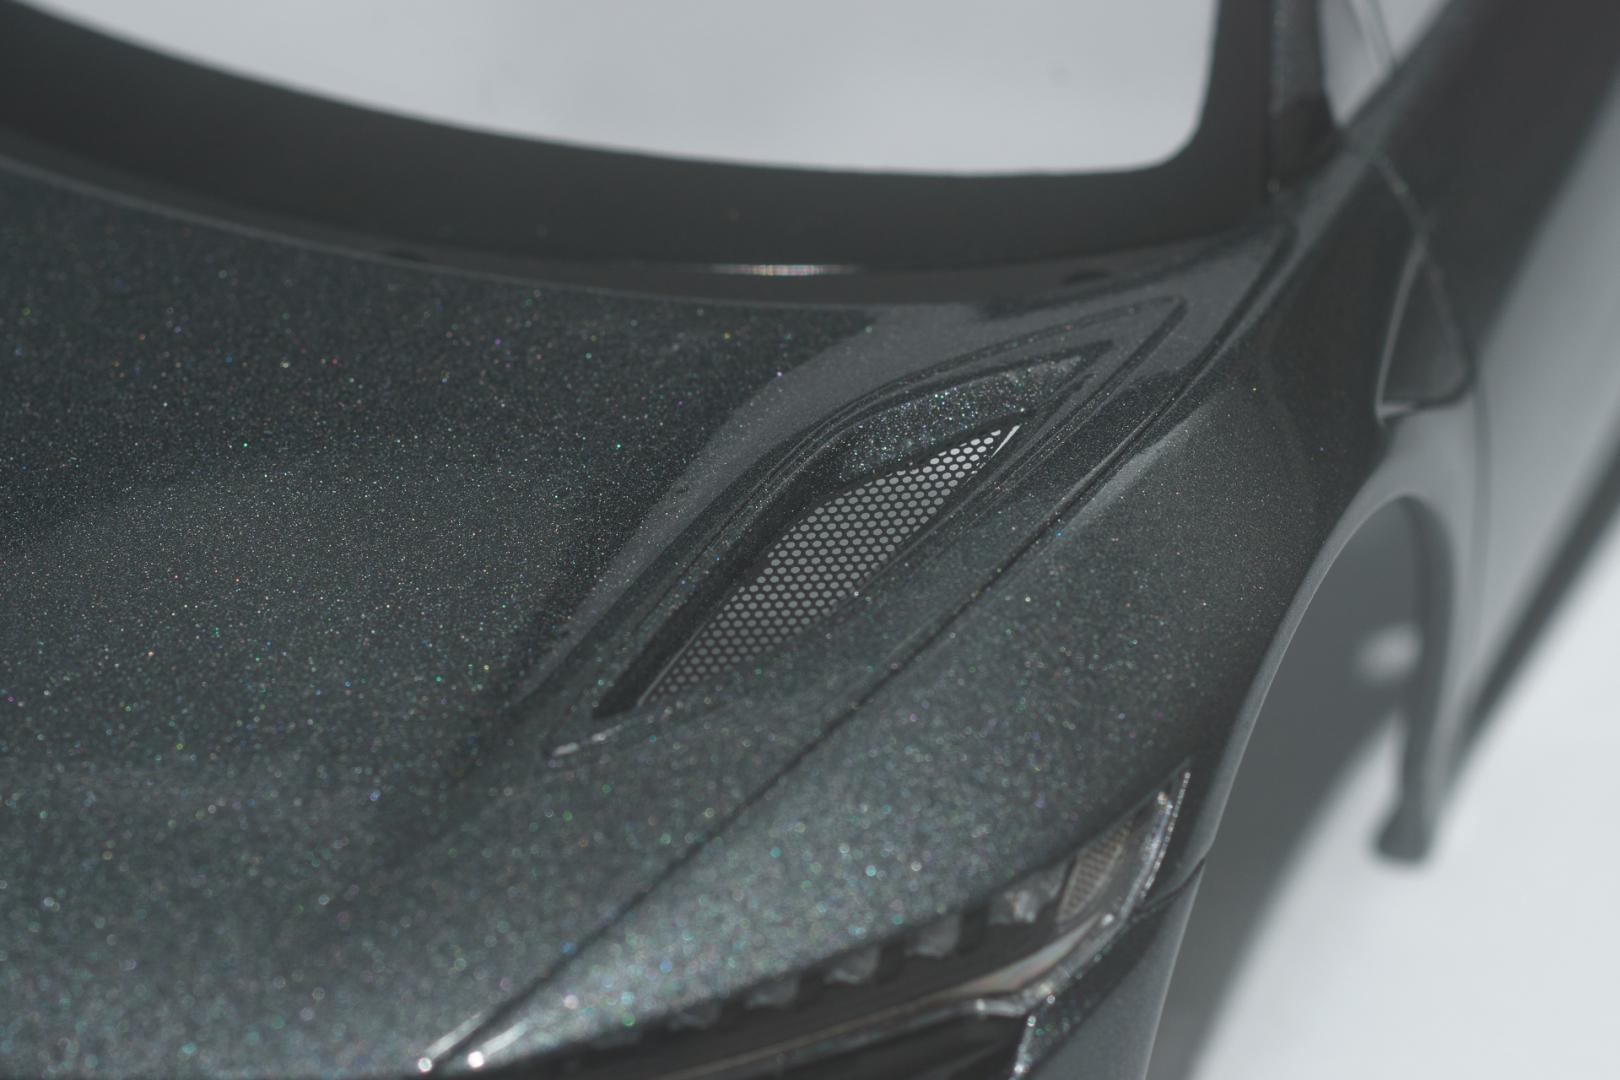
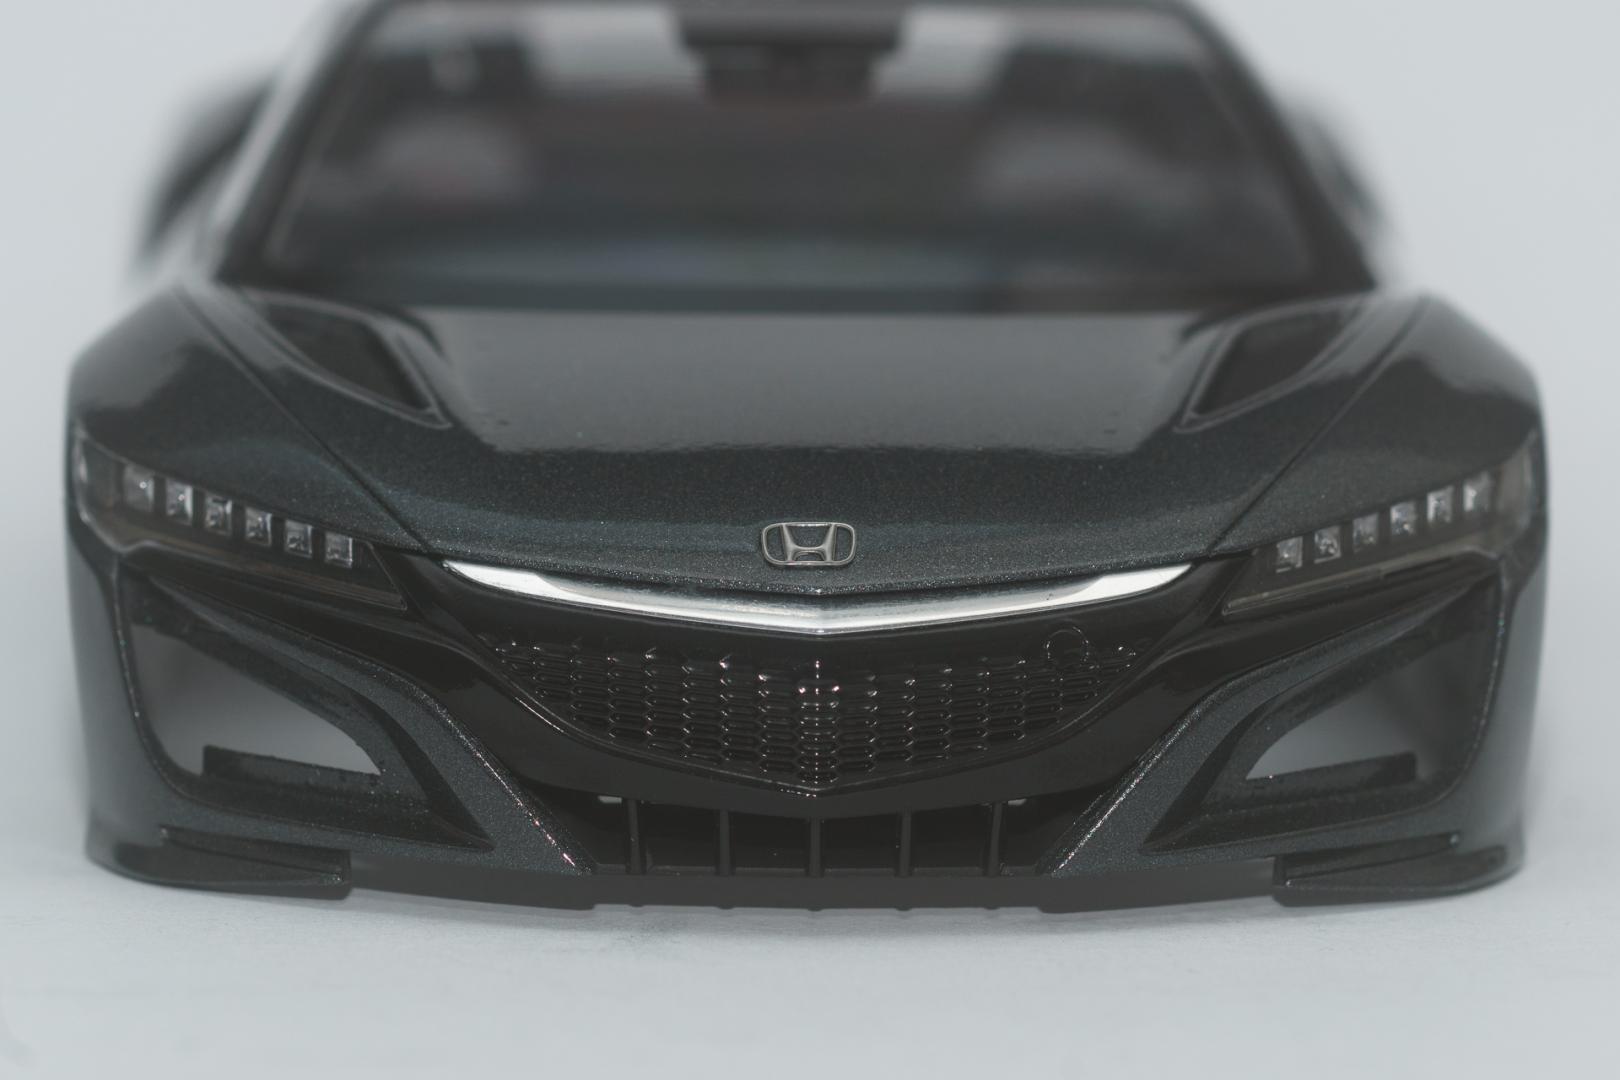
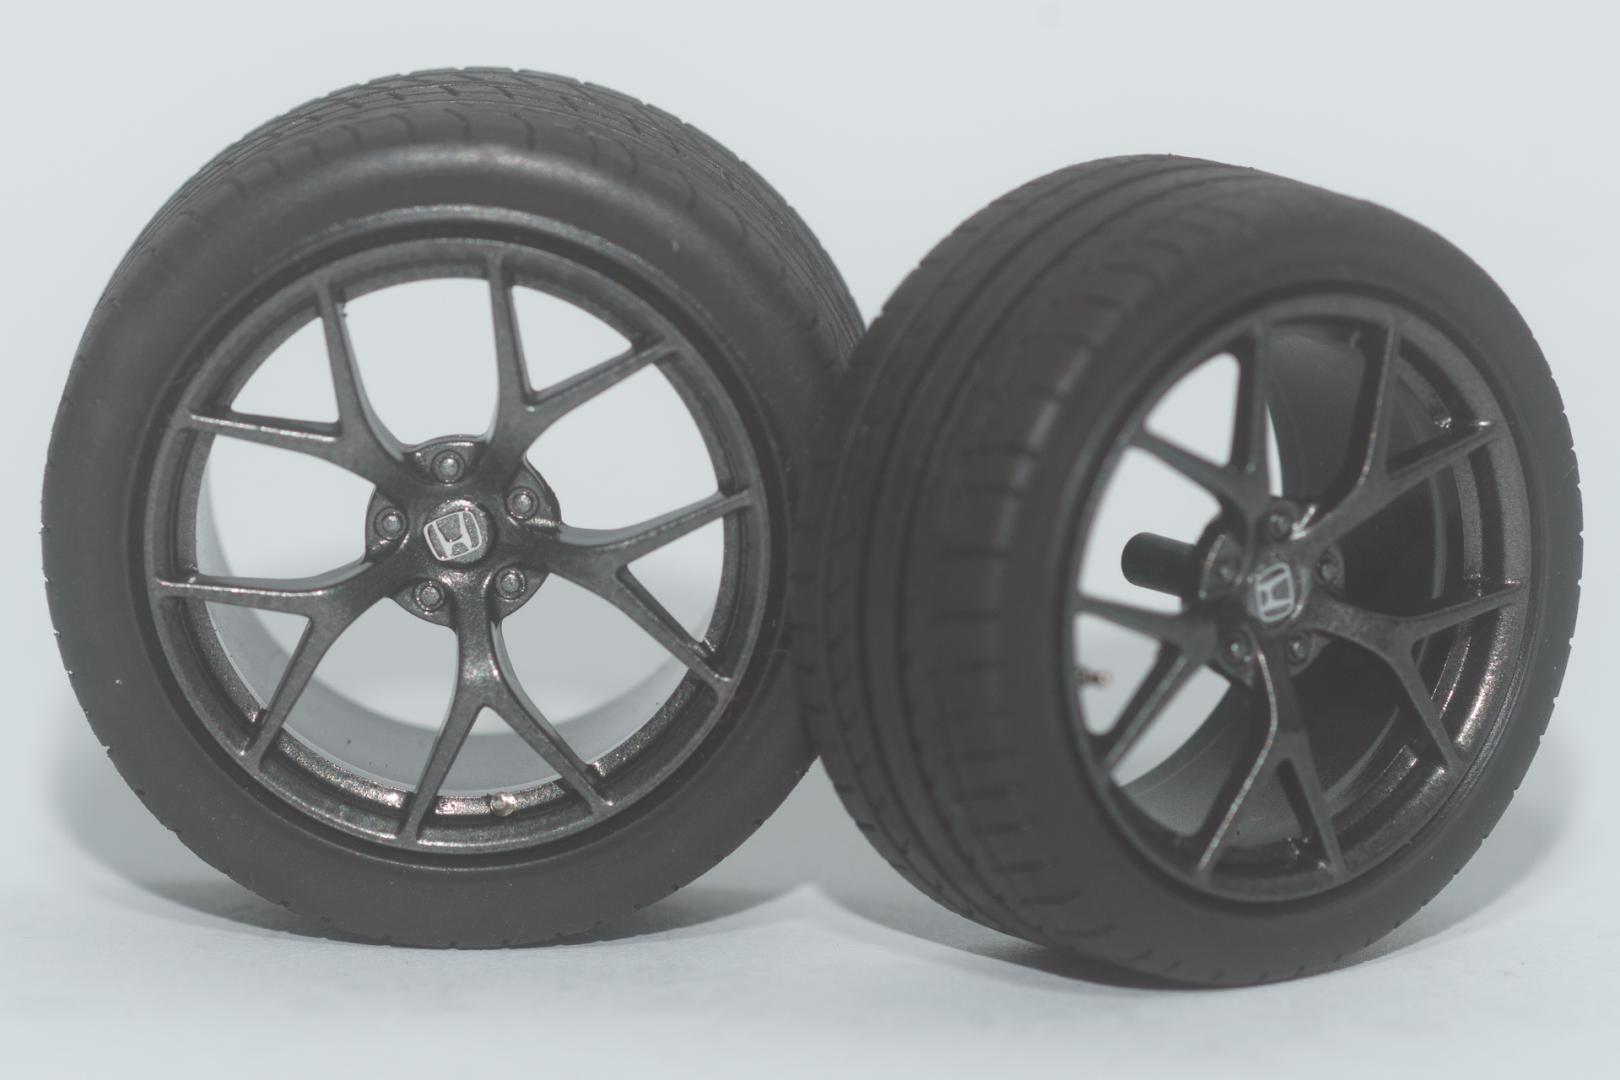
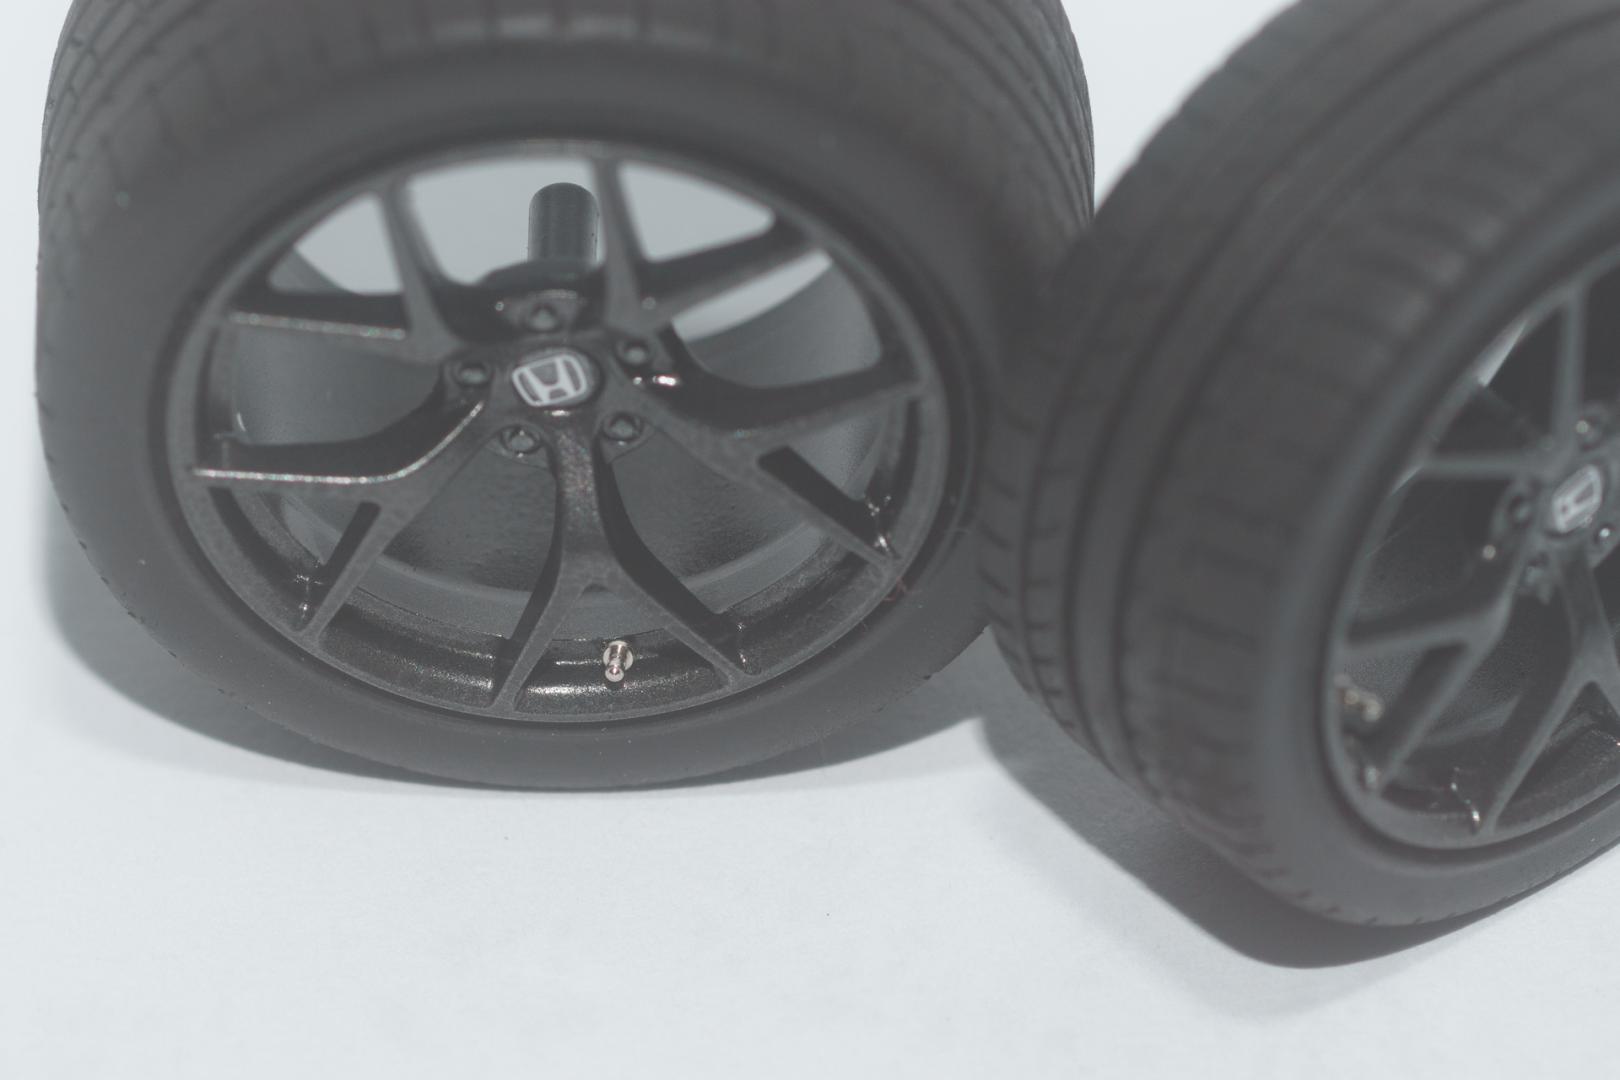
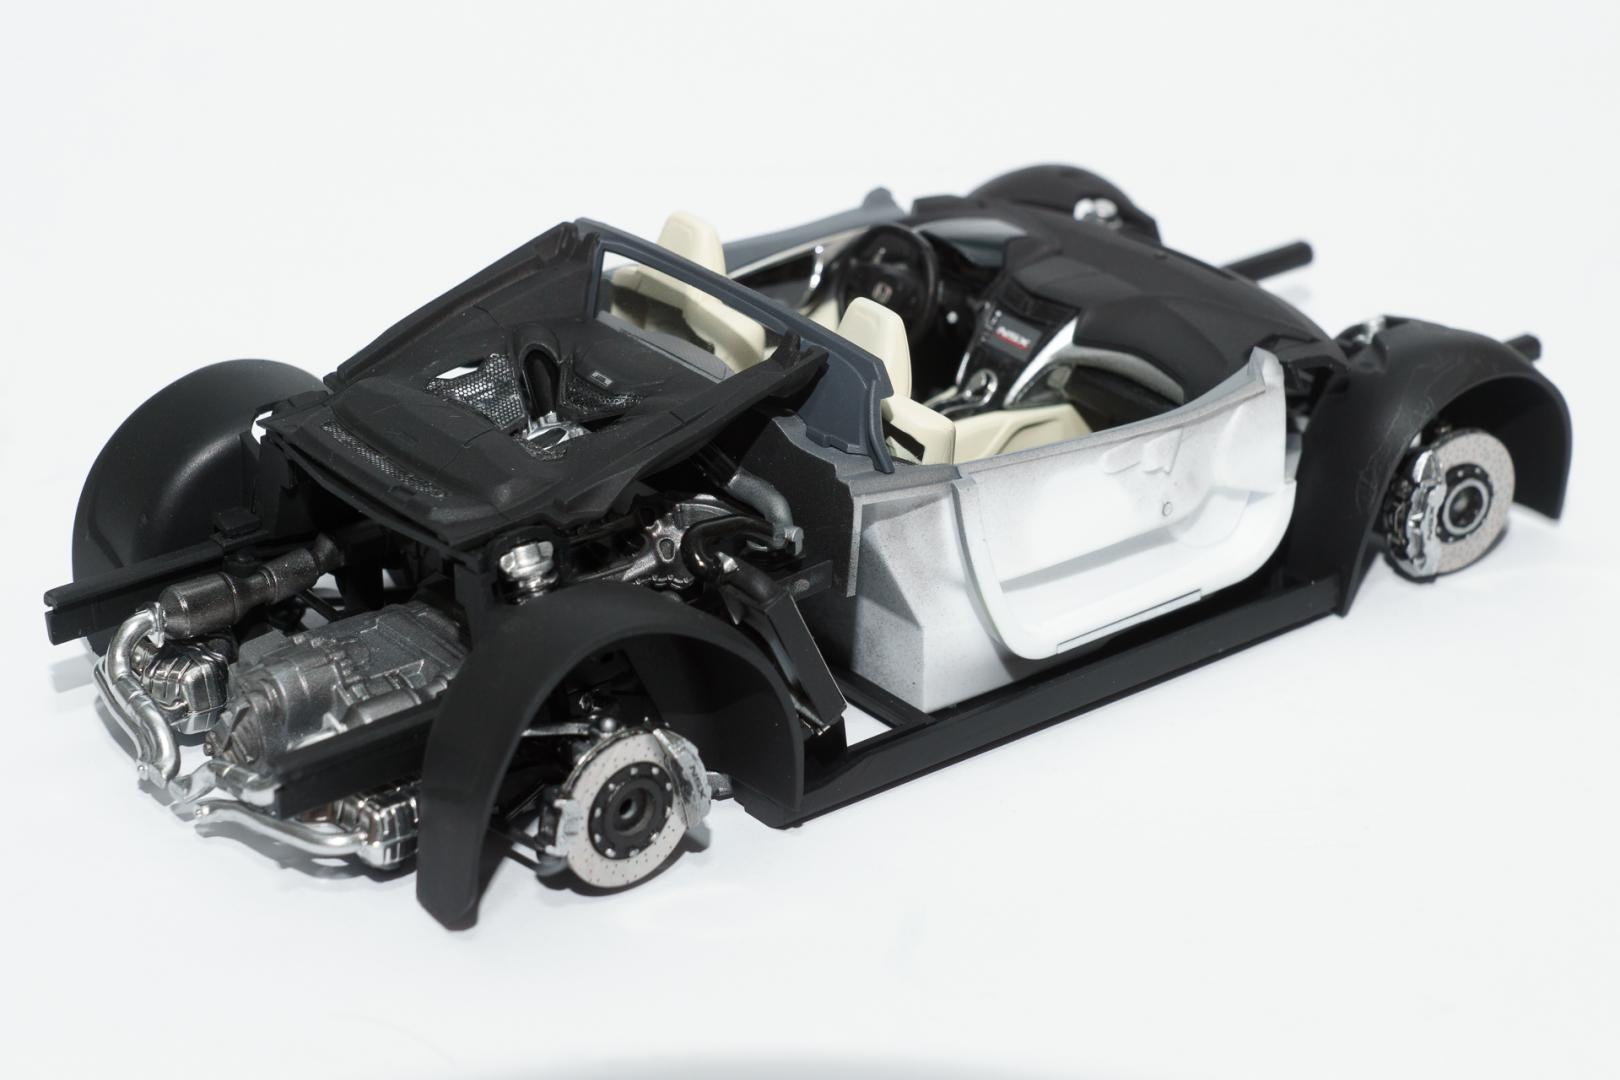
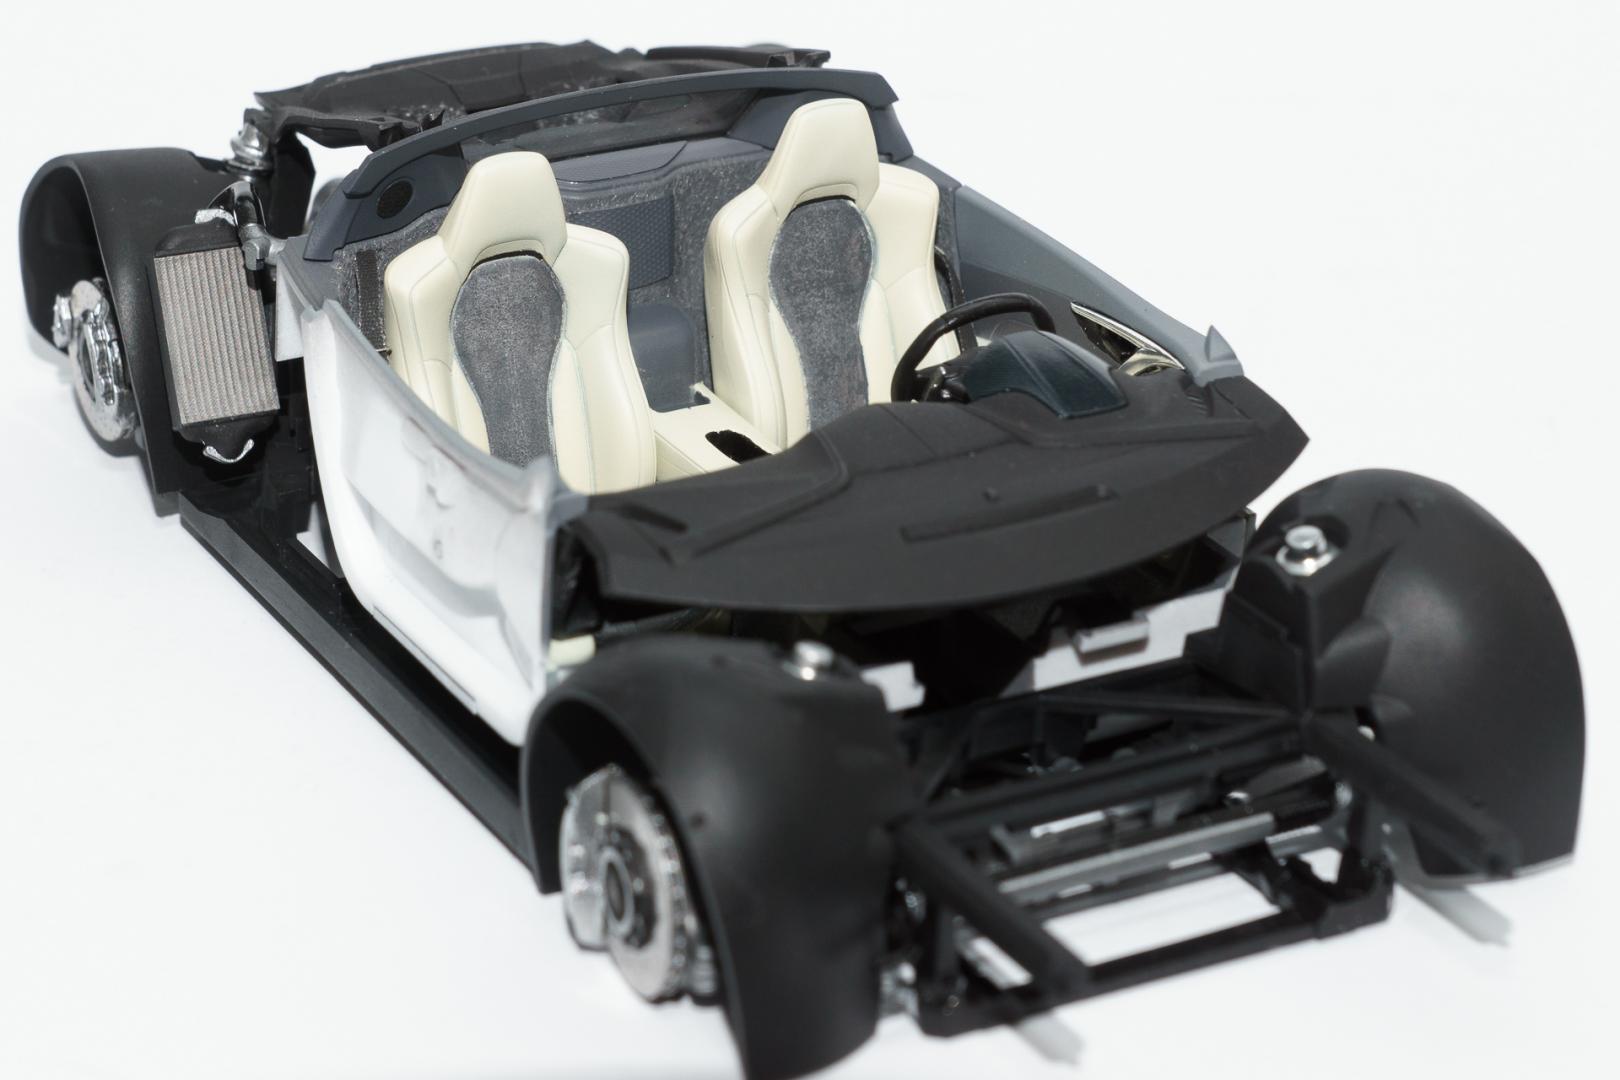
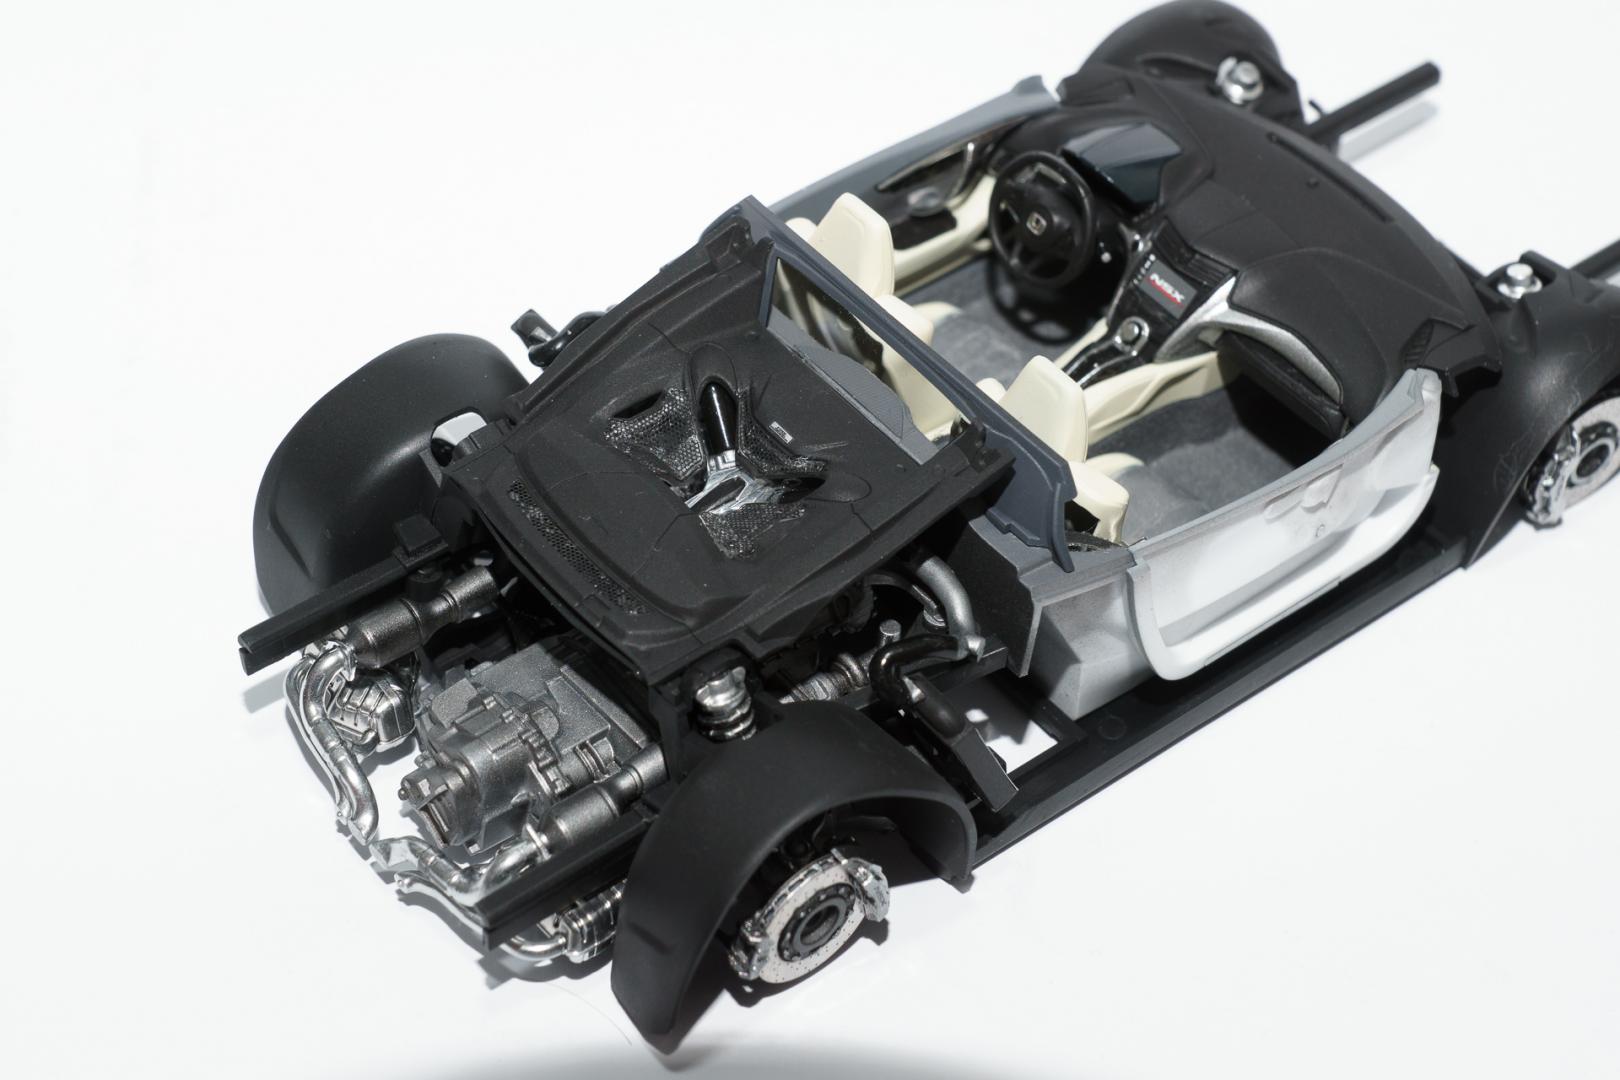
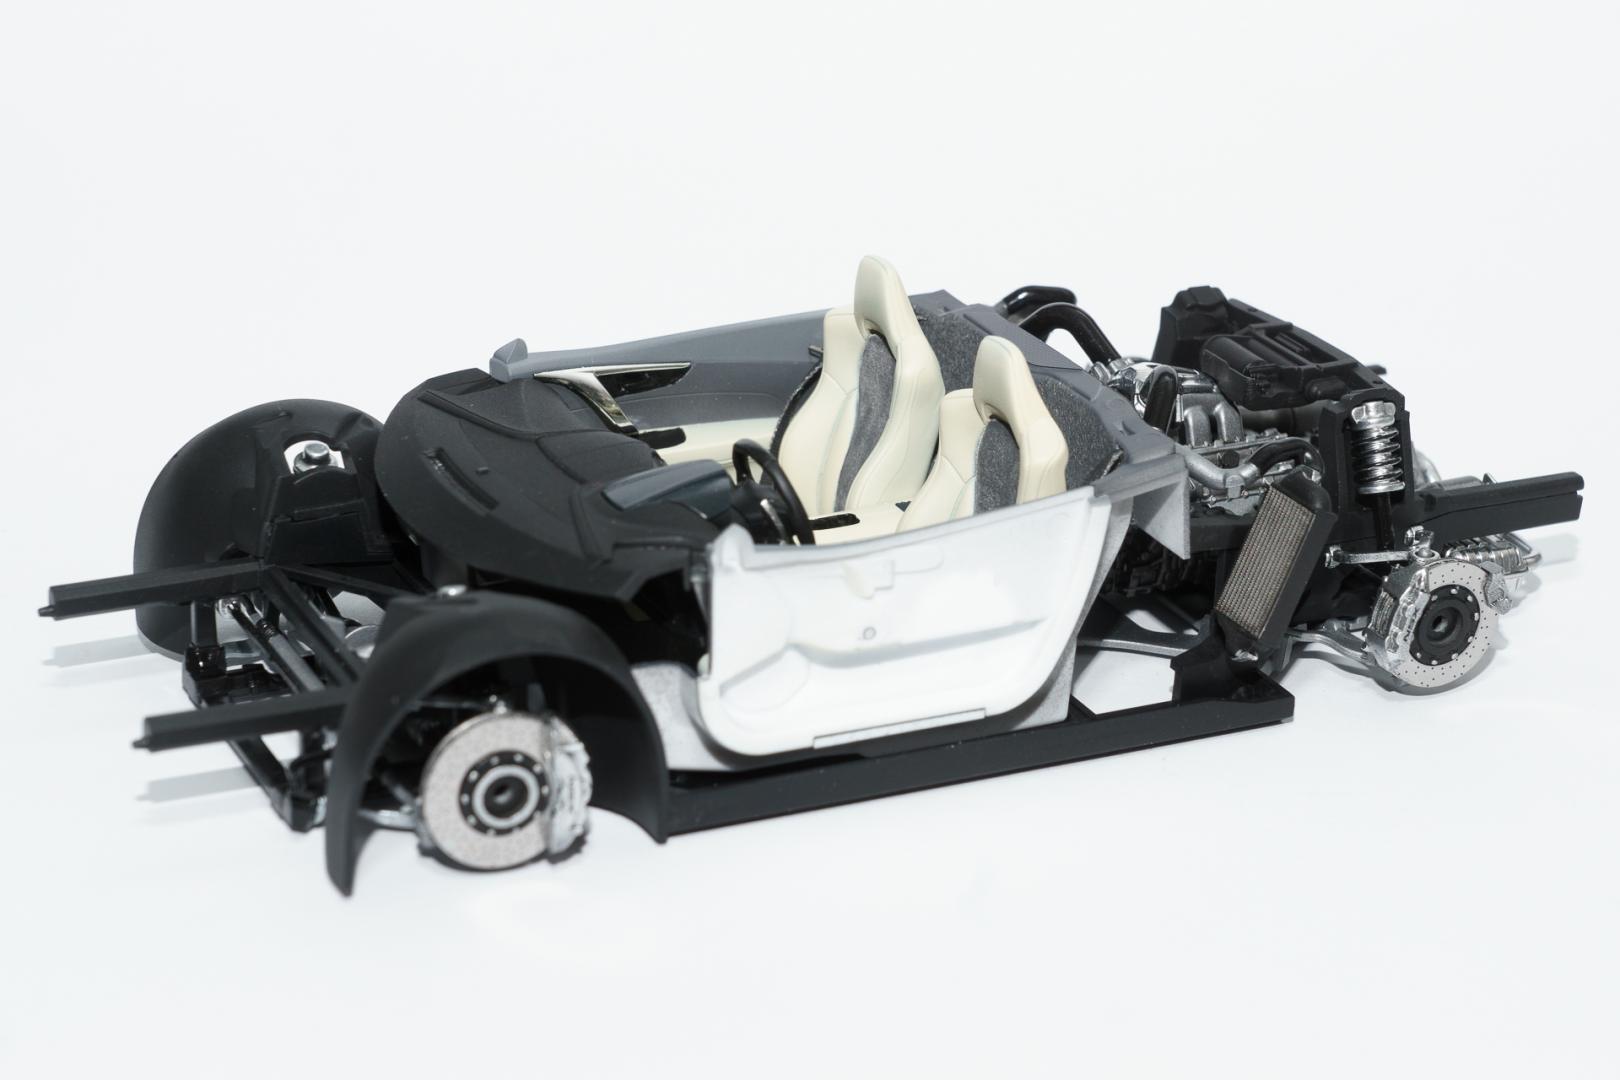
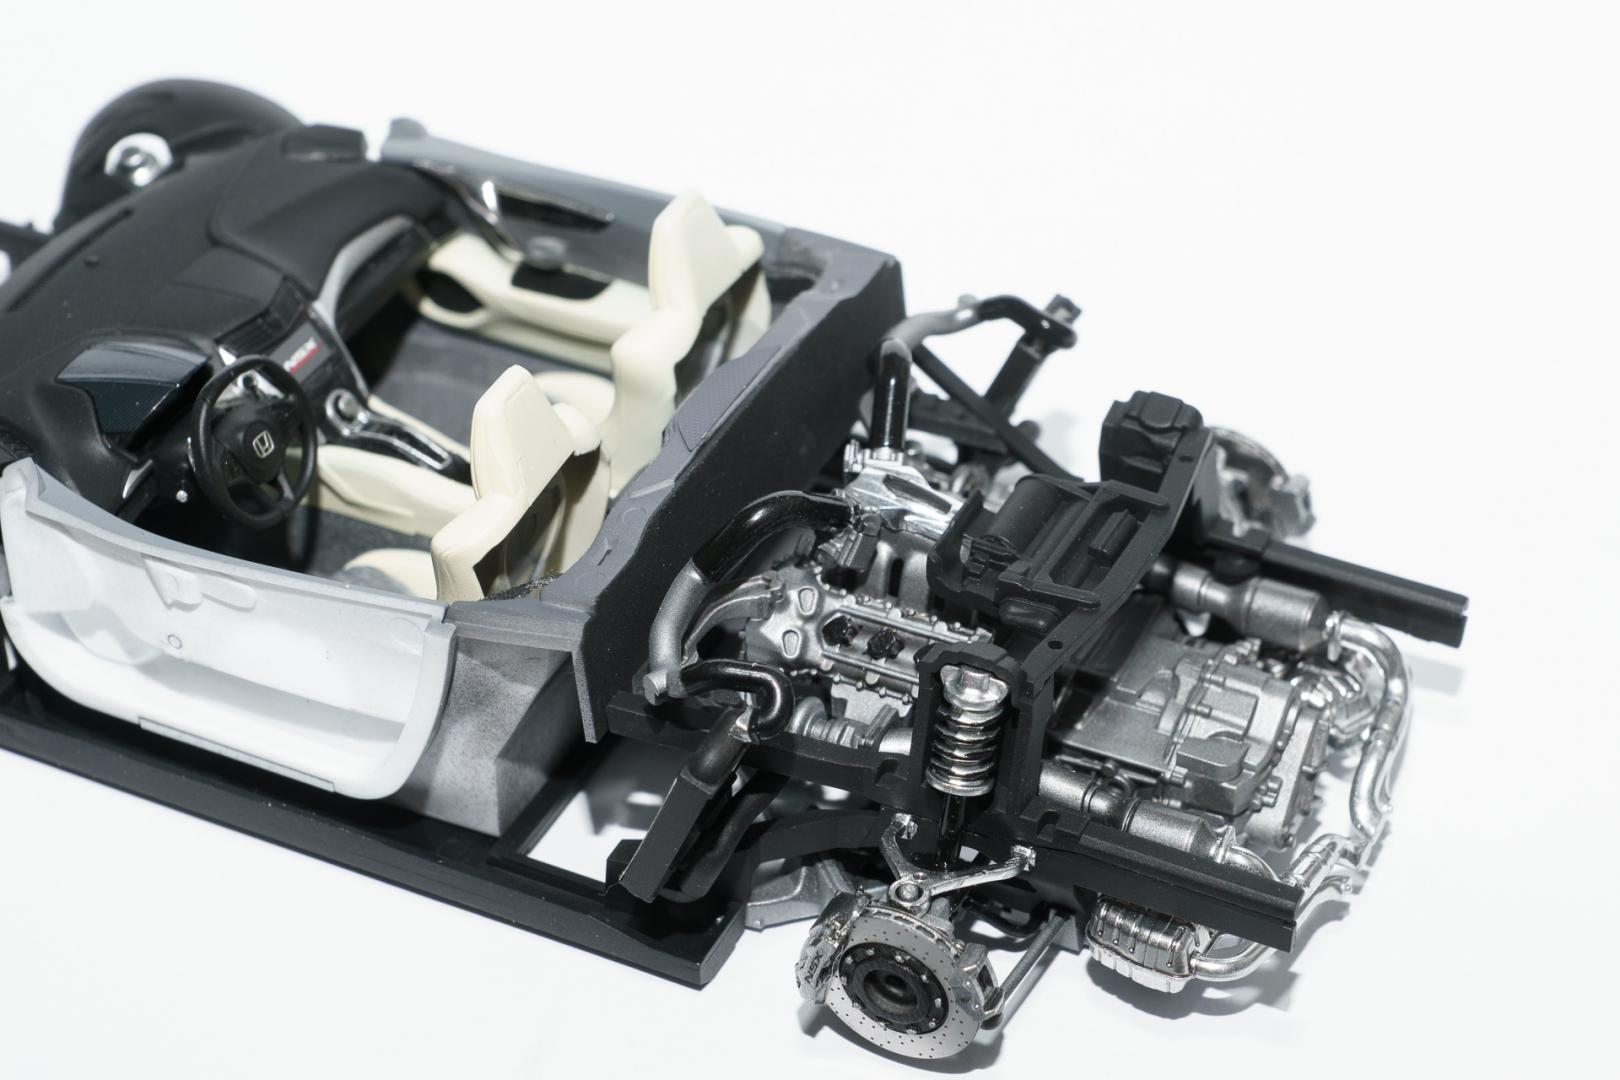
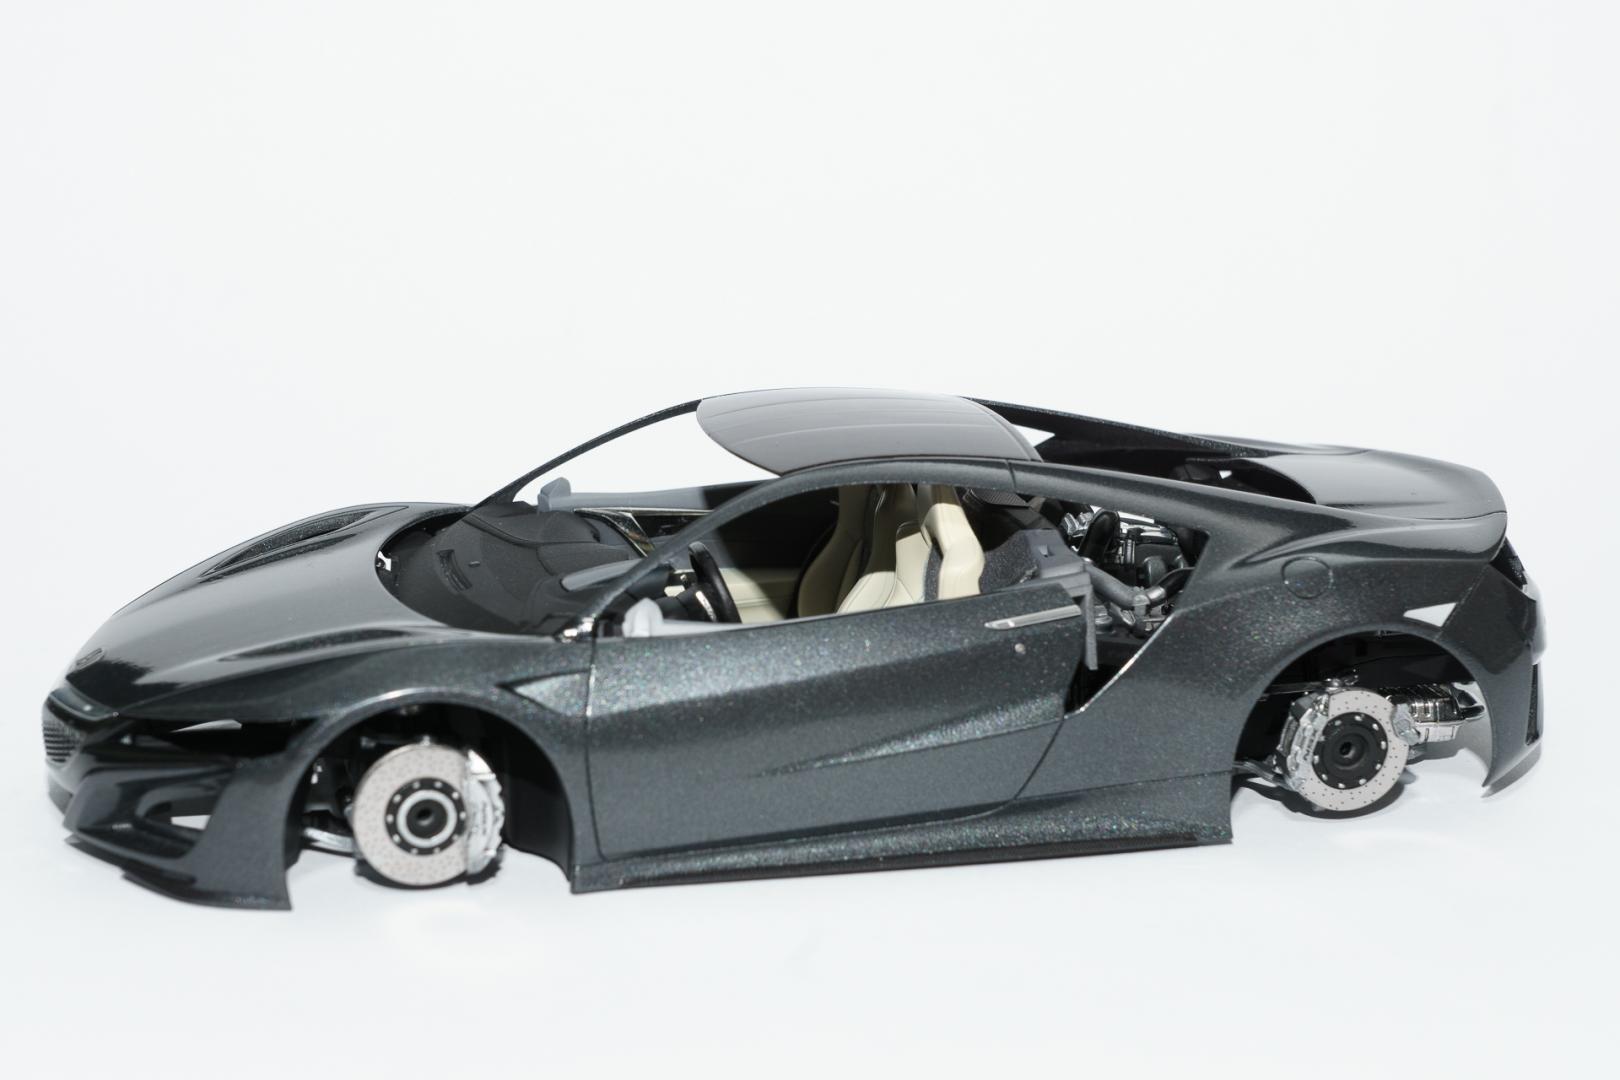
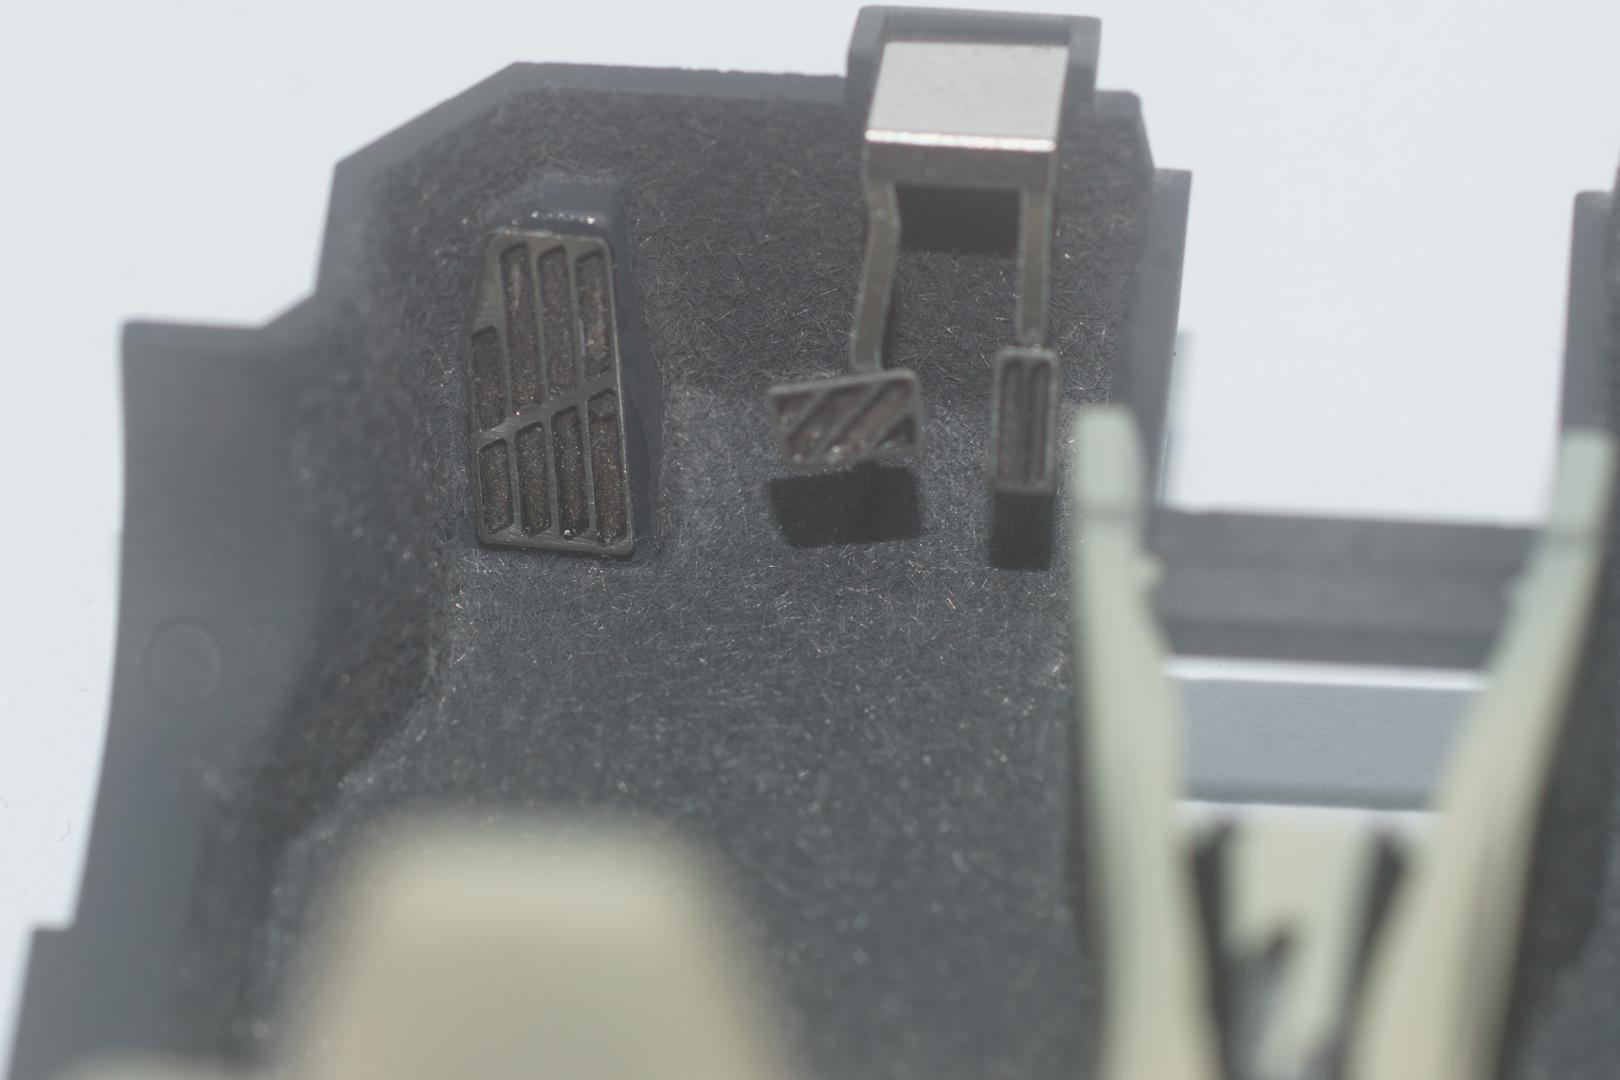
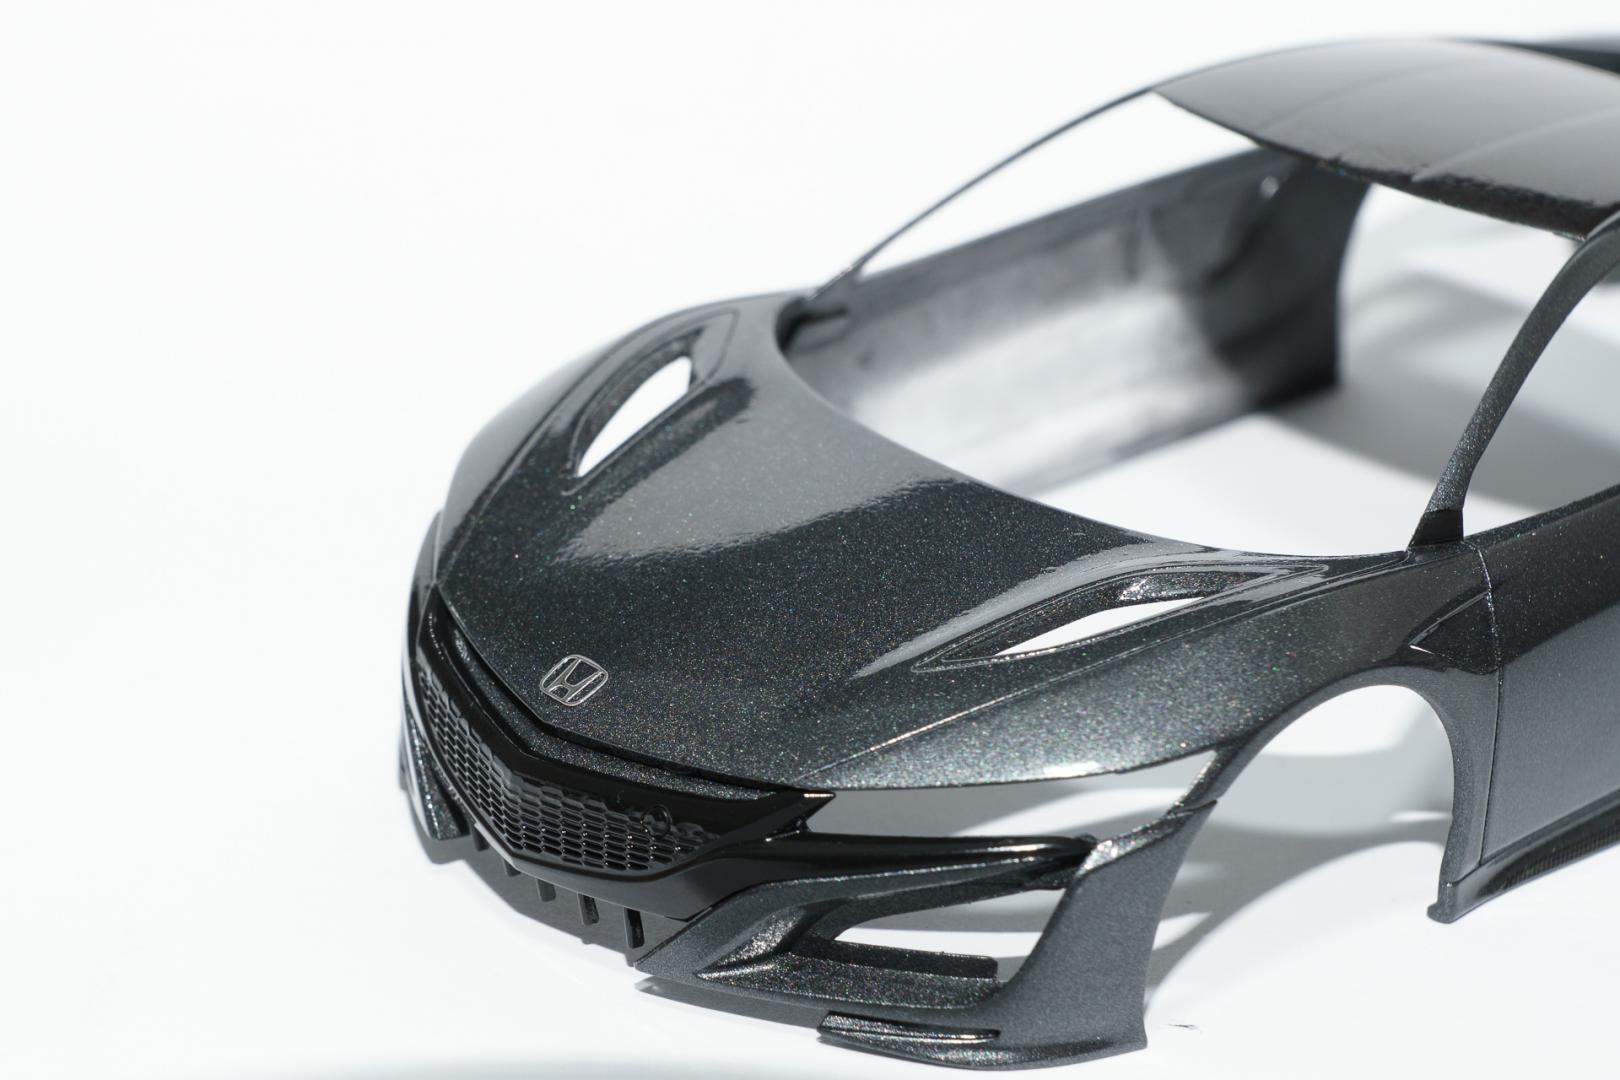
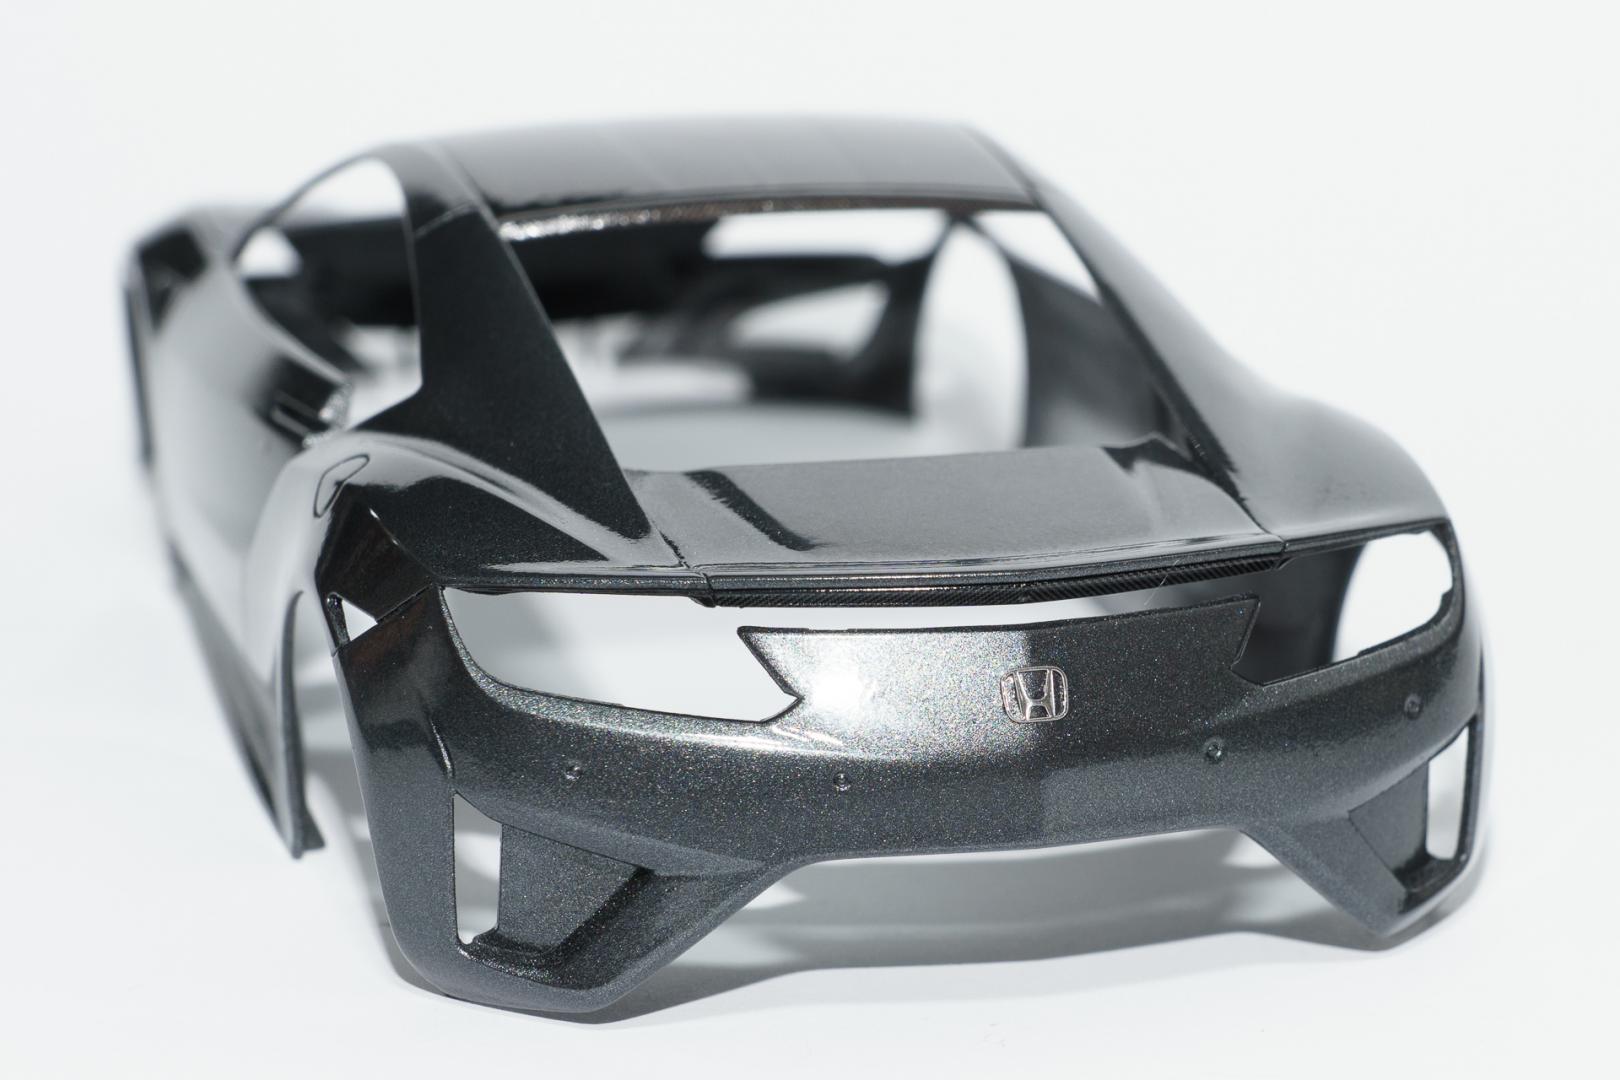
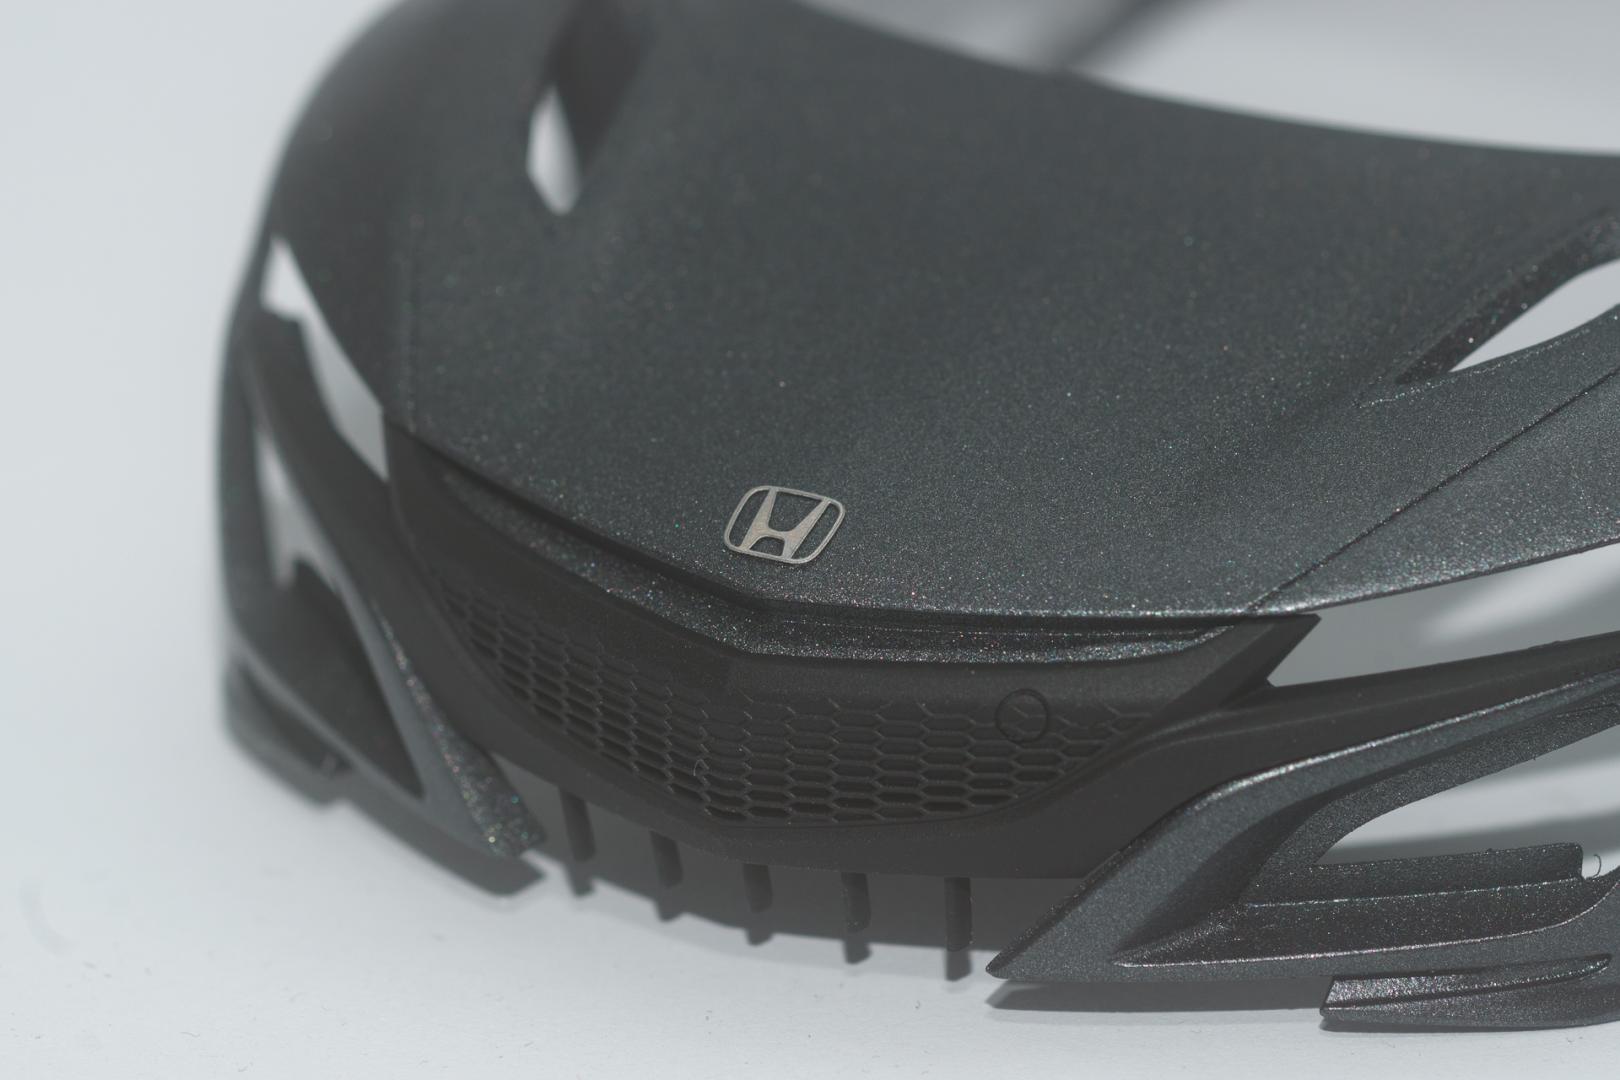
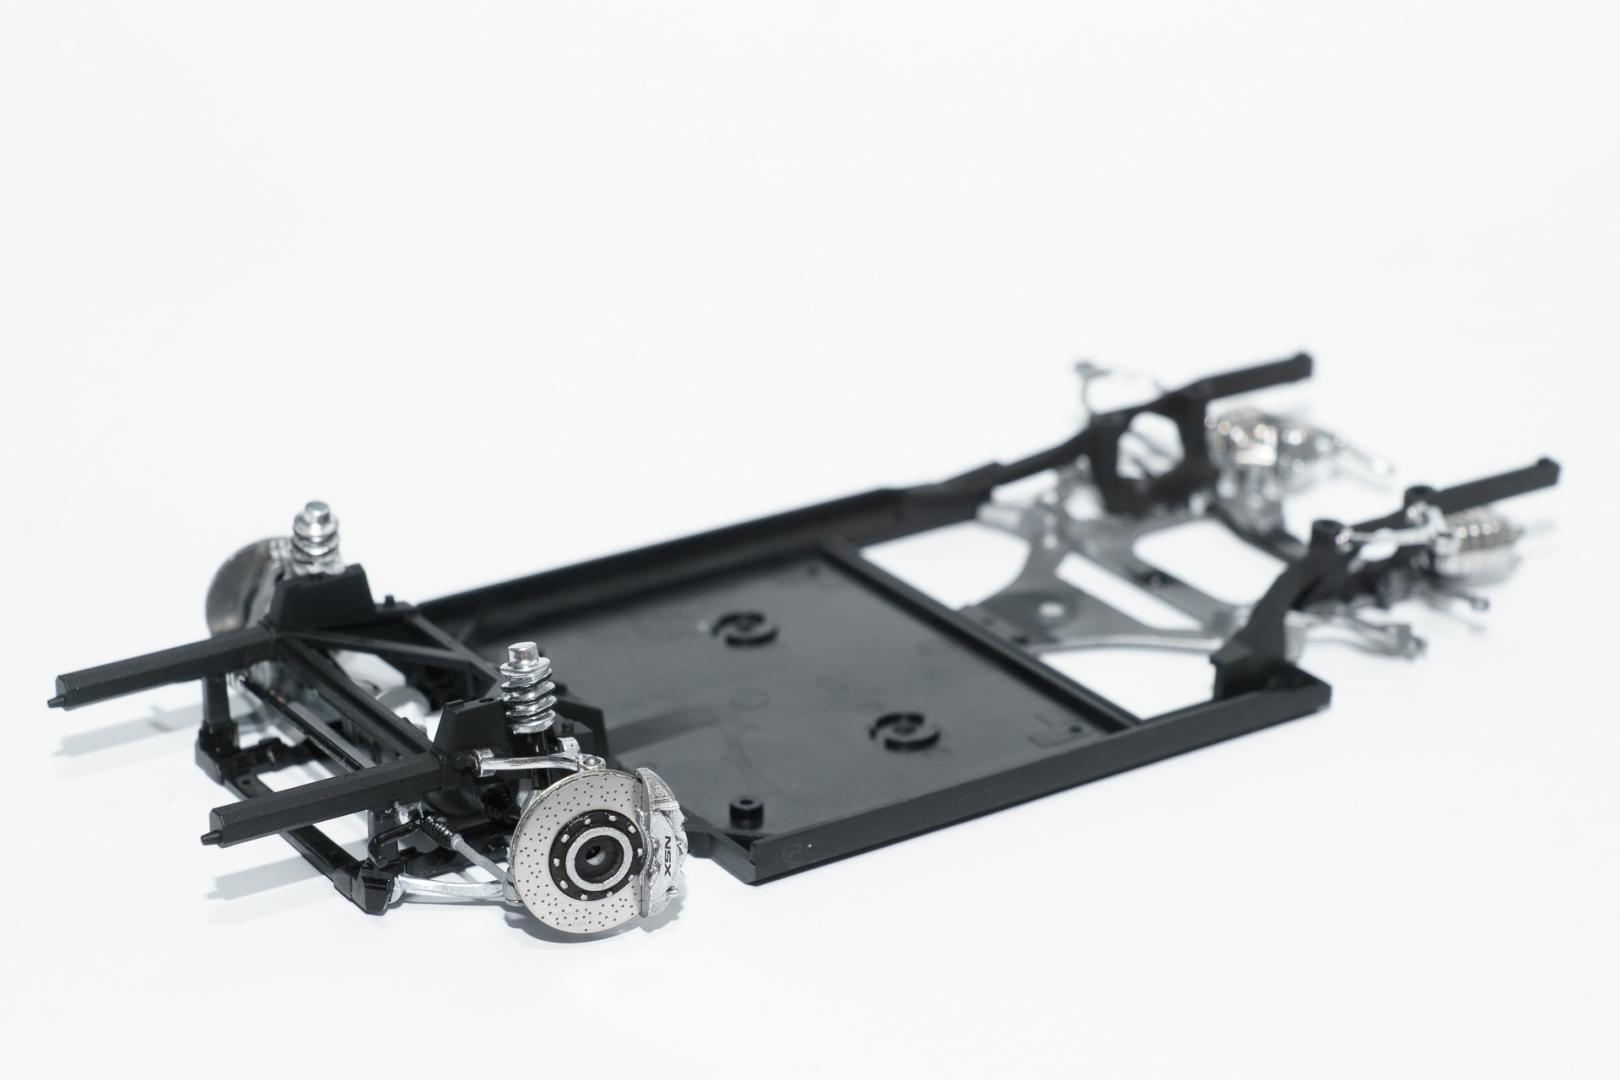
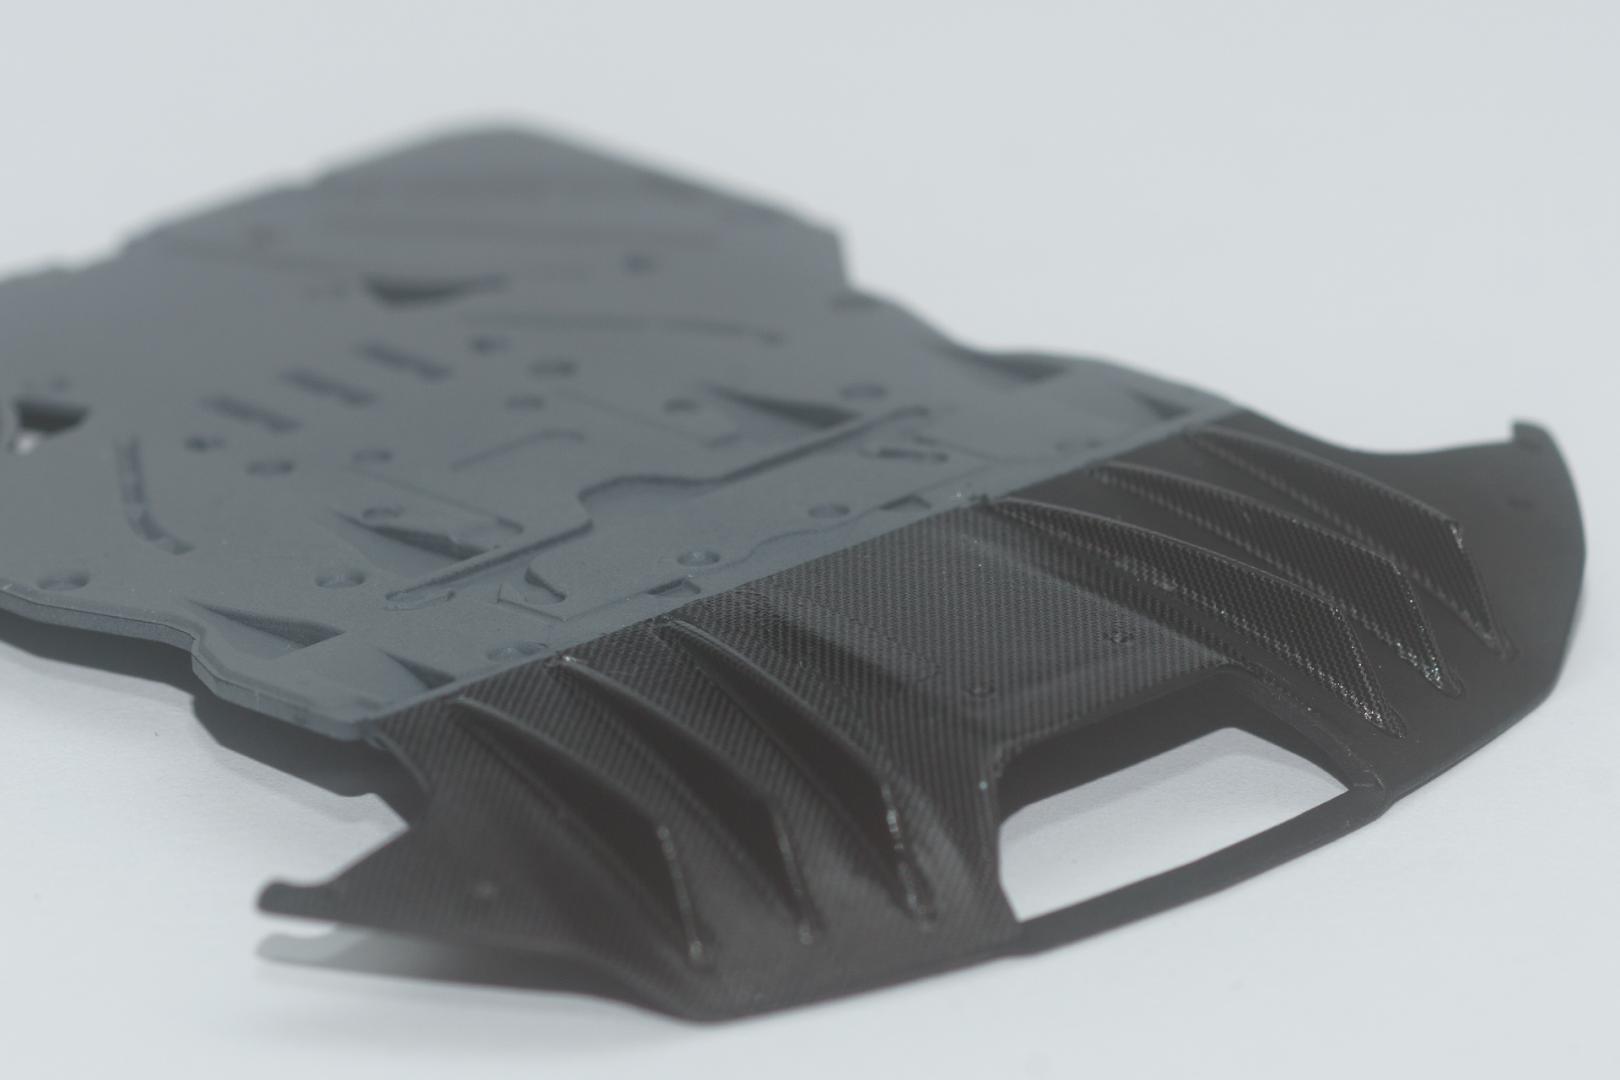
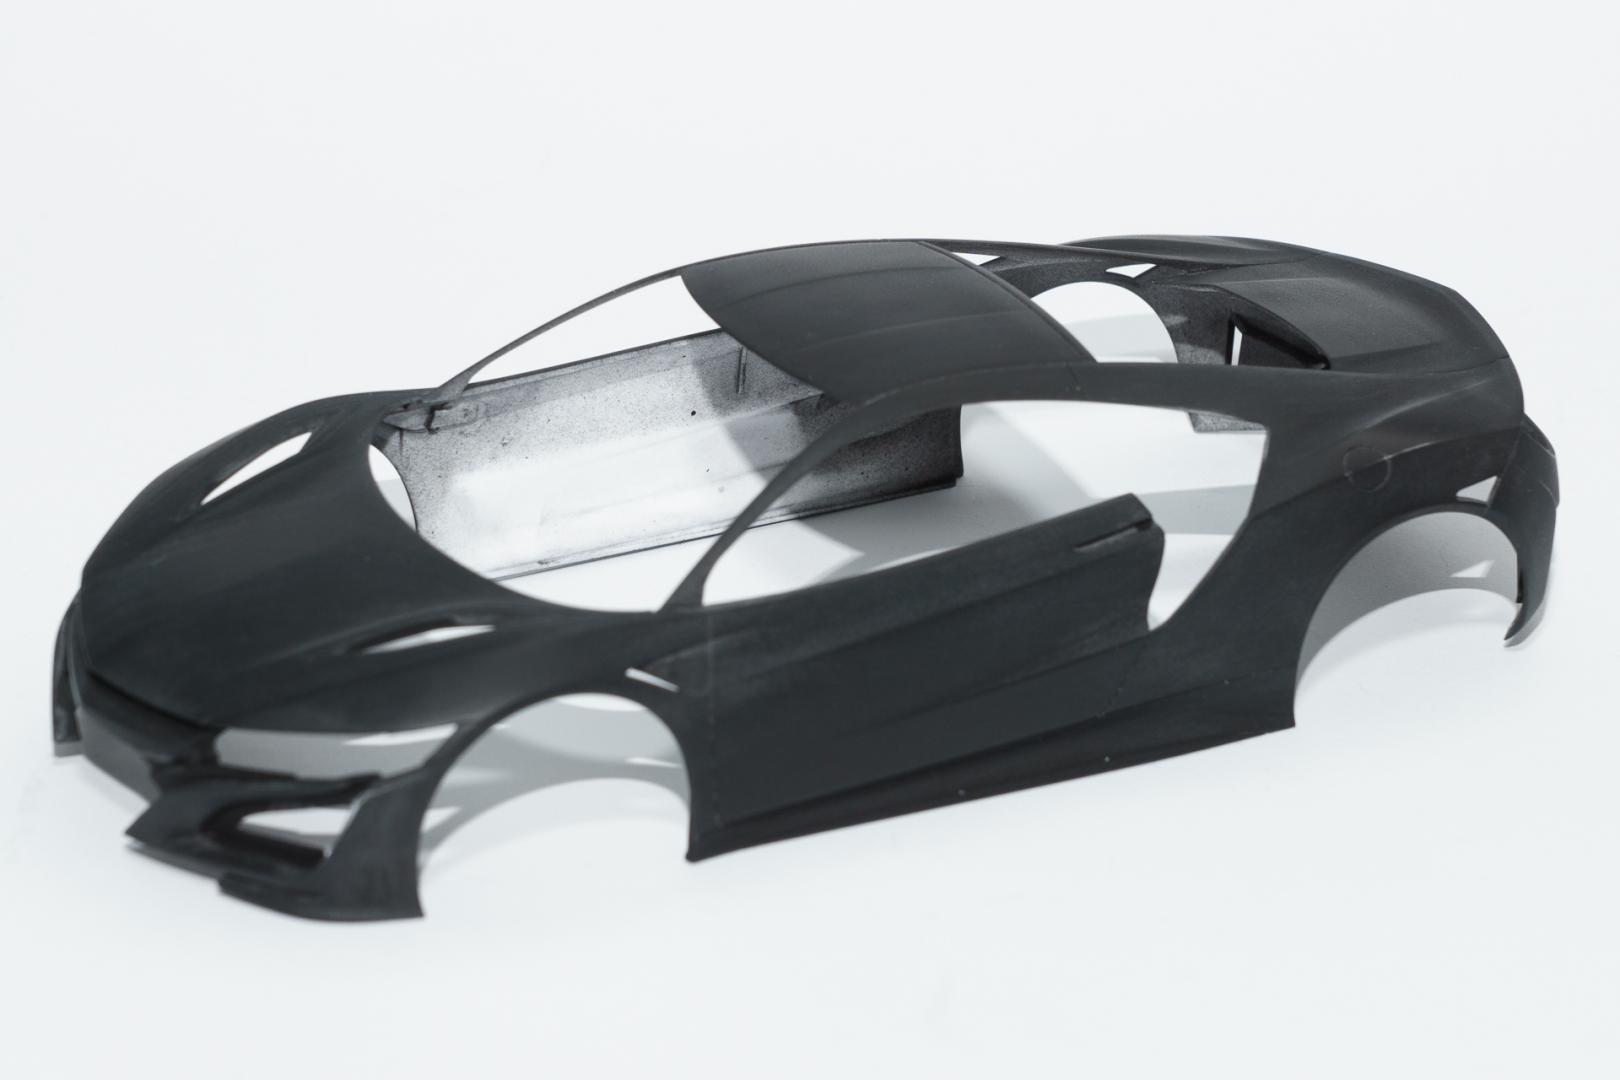
Hi all After a week where I could hardly do anything on my model (most likely because of my usual almost-done-blues), I continued work today and got the NSX almost done. First body and chassis were prepared for their wedding Before the interior gets inside and won't ever be seen, I've made some detail shots The rear end got finished with its rear lights and some grids from the PE parts Also the front got mostley completed. Some PE parts are still missing and will be added next time I'll return to the working bench And finally the wheels are ready and even got some air valves This evening, body and chassis came together. When I added the underbody, the large grid on the center of the rear got loose again. As this part is glued in from the inside, it will be kind of tricky to get it in place again. But I'm sure, somehow it can be solved. For the moment my plan is to take two metal rods, bend them and carefully stick them through the two holes where the rear licence plate is supposed to be attached to. Once they're inside, I will add some glue to the area of contact and carefully pull the grid towards the body. Once the glue has settled, I will remove the rods and everything should be fine again. Afterwards, I will only have to be very careful when attaching the licence plate. Because I will really have a problem if the grid gets loose again once the licence plate is on... I wish all of you a nice and relaxing weekend. Urs
-
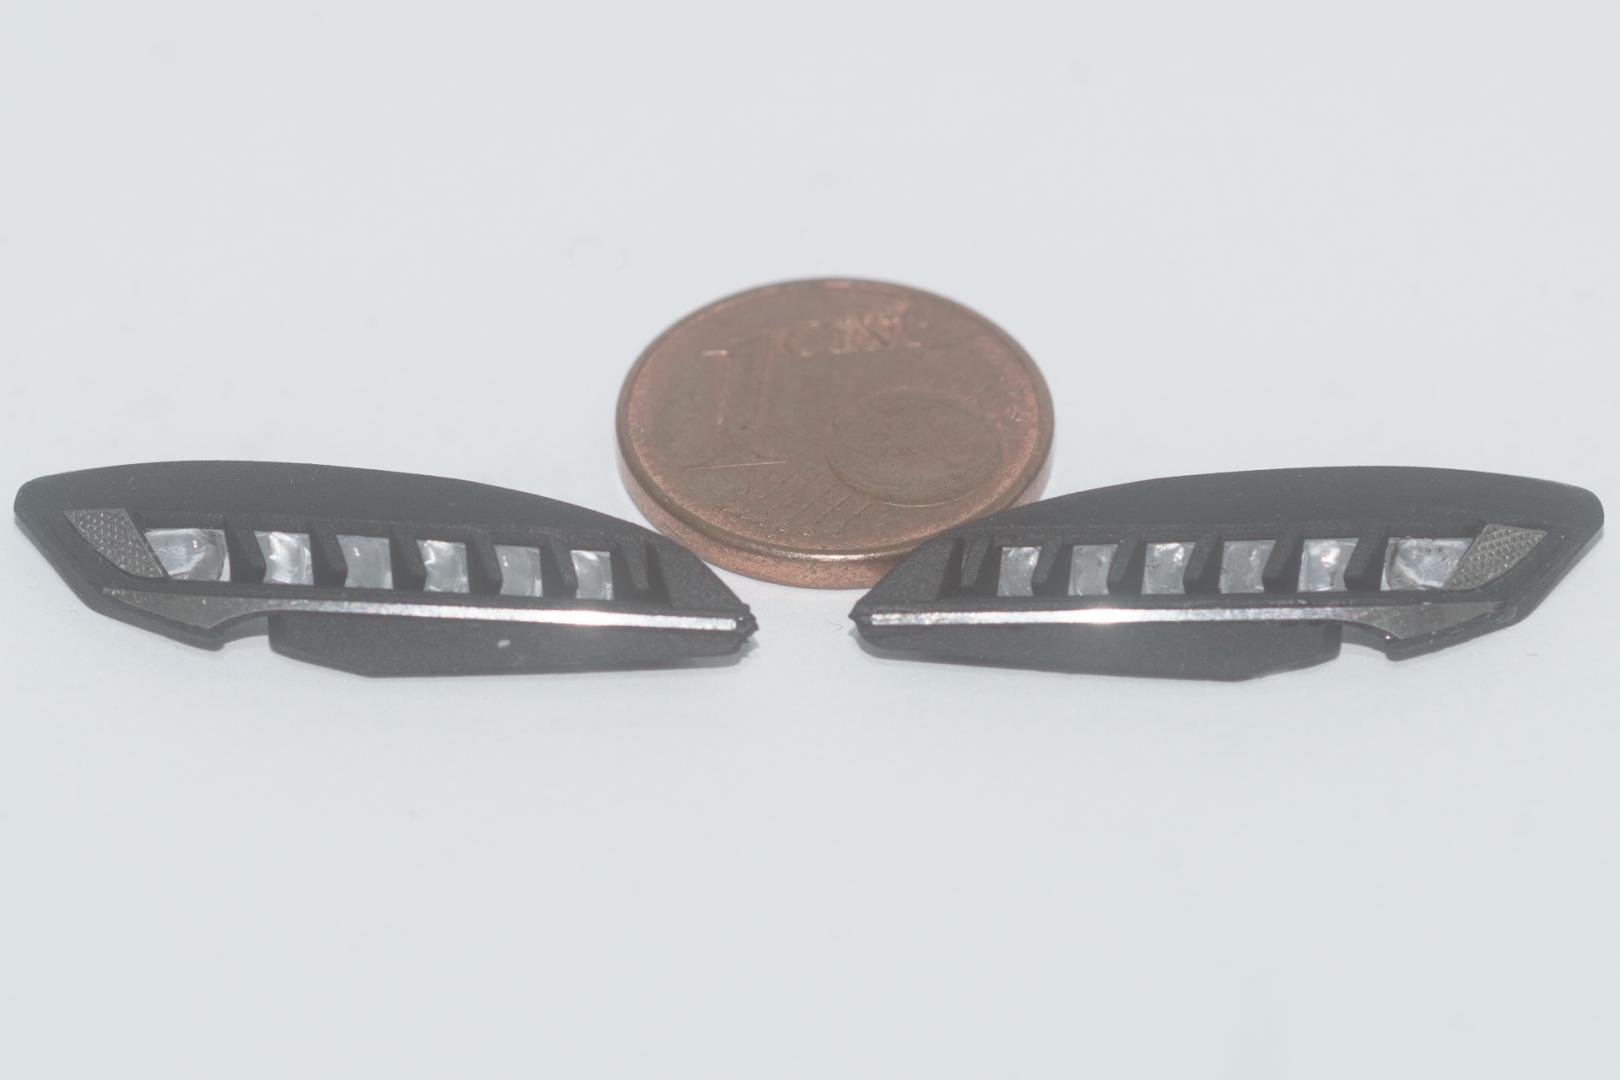
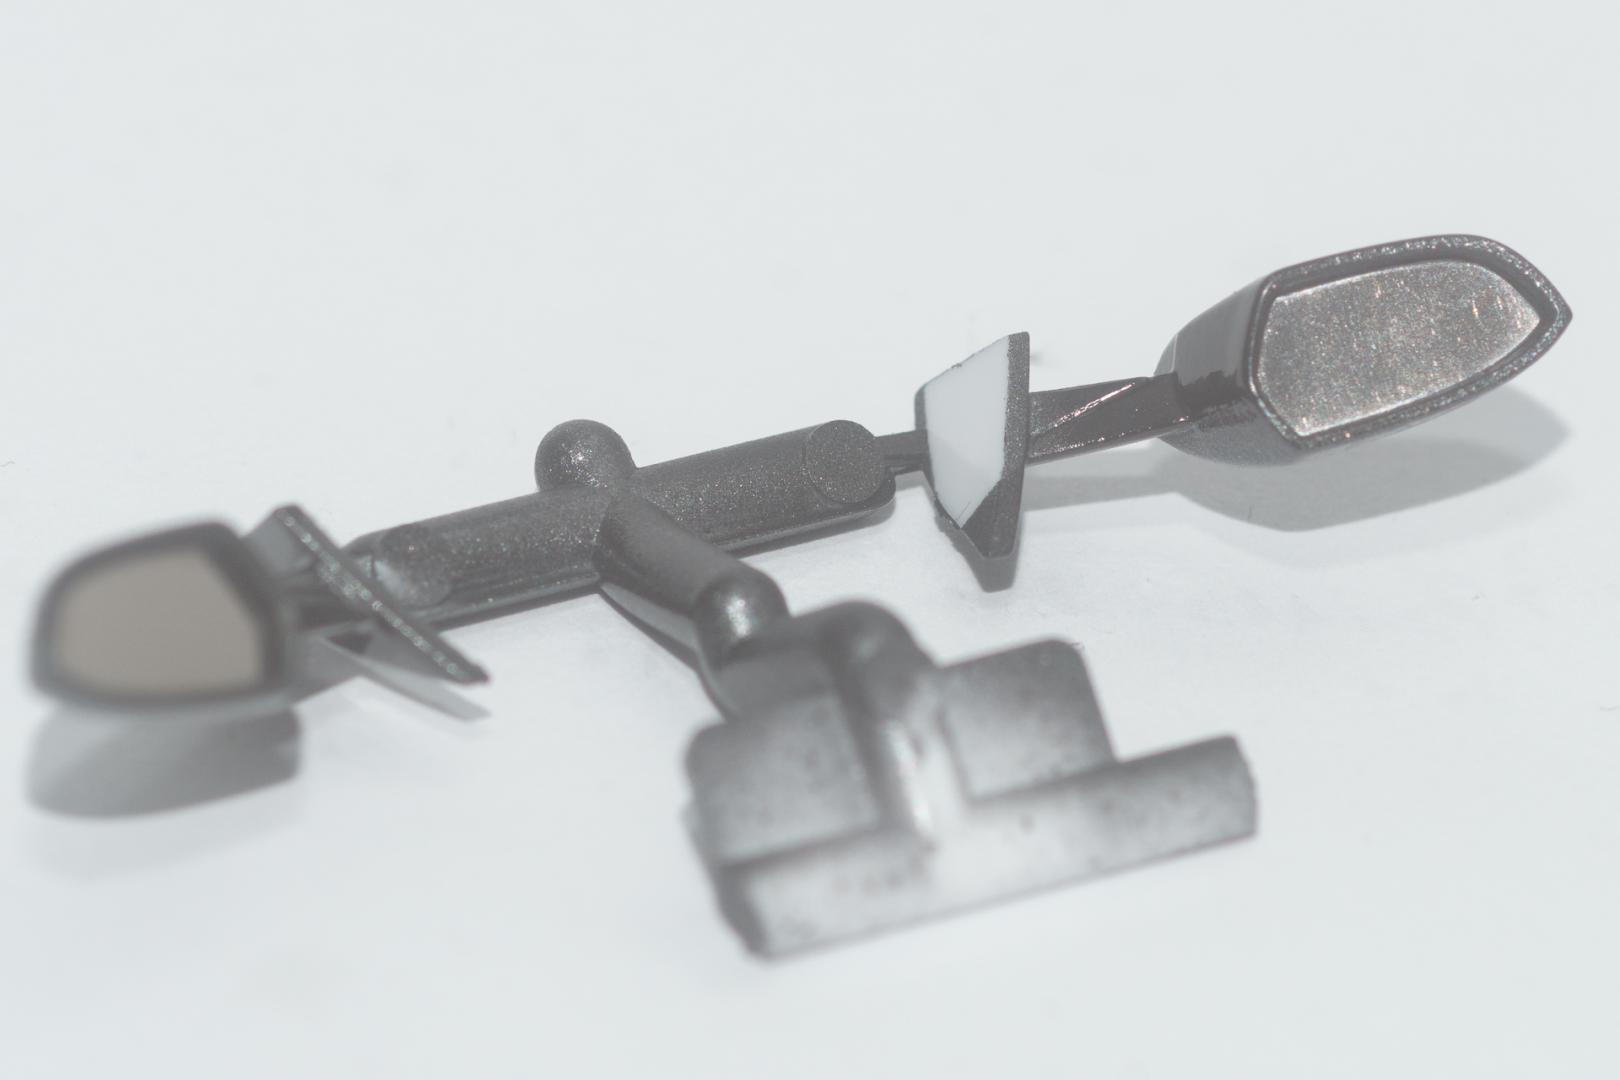
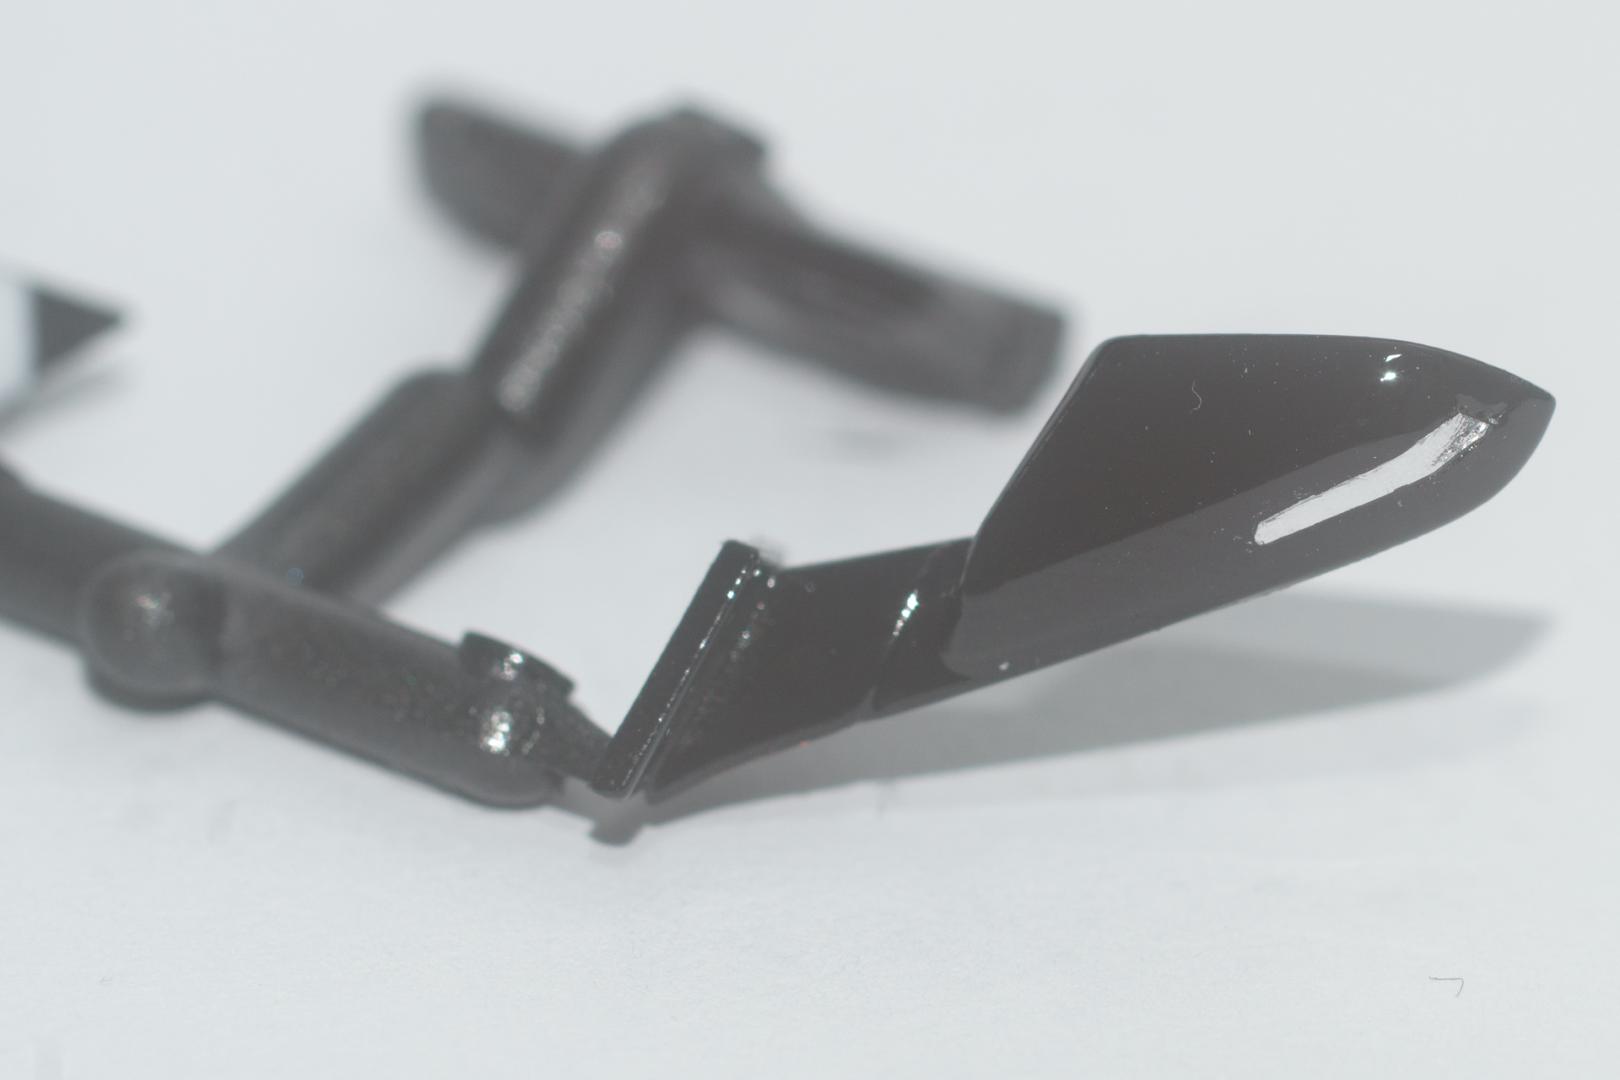
Hi all Today I finally worked on the headlights which got their PE parts. The mirrors got their PE parts as well. According to Tamiya you were supposed to paint a small stripe on the lower part of each mirror white. On the images I found online, I got the impression that on this particular spot there was something reflective behind a glass. So I decided to apply a small piece of BMF before clear coating. Also the engine compartment has been finished. Tamiya provided decals to make it look like some grid. As there was some real grid in the PE set, I decided to use these parts instead. I don't think I would do it this way again, if I was about to build the NSX a second time, as I couldn't manage to glue them in without making a mess... The body got its missing parts behind the doors as well as the transparent parts and the two "taillights" on the side of the rear body. That's all for the moment. I wish you all a nice weekend Urs
-
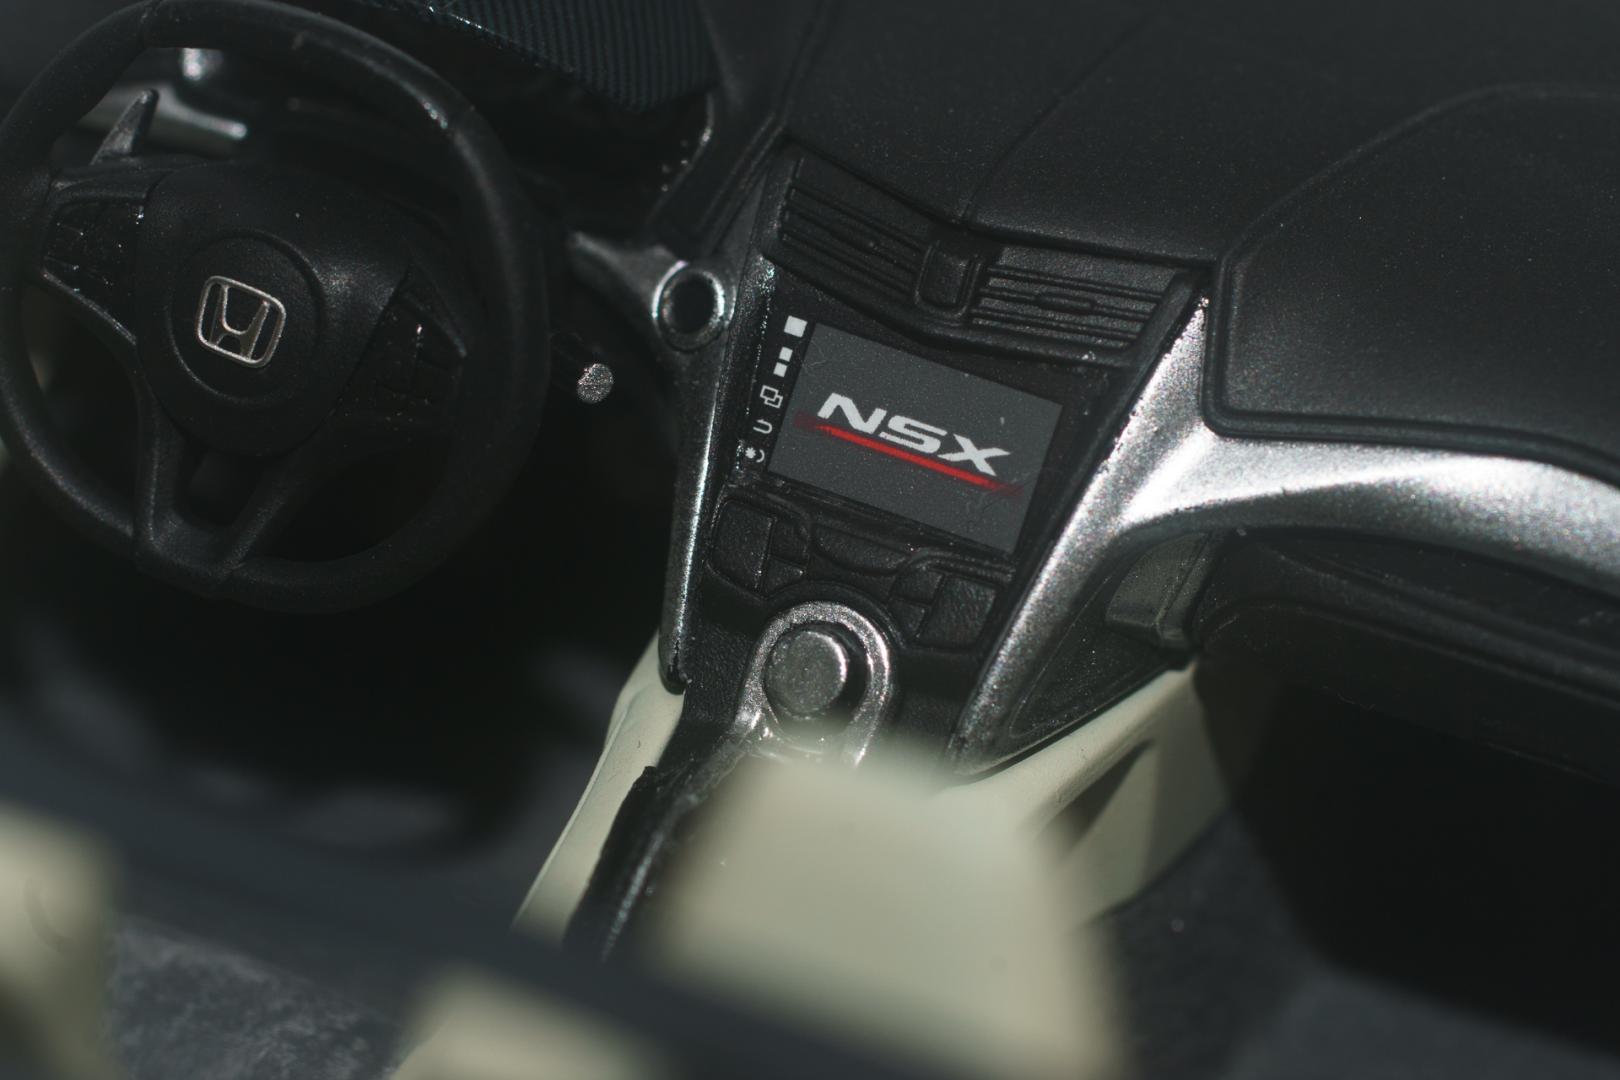
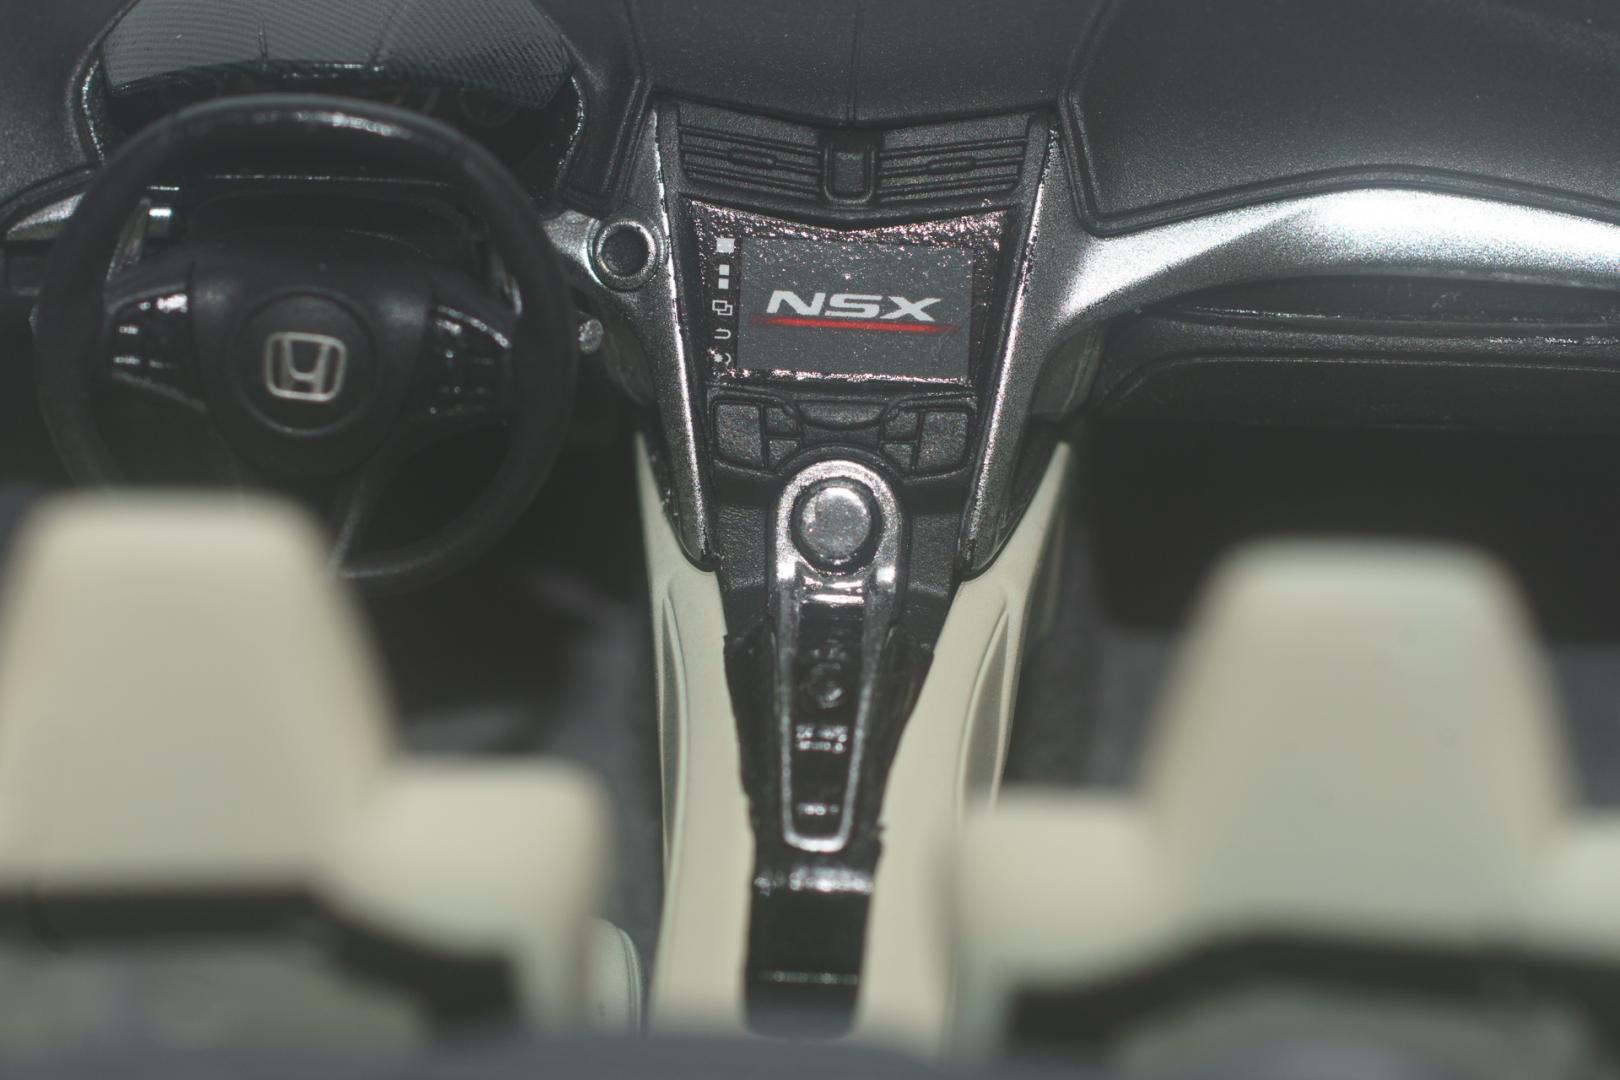
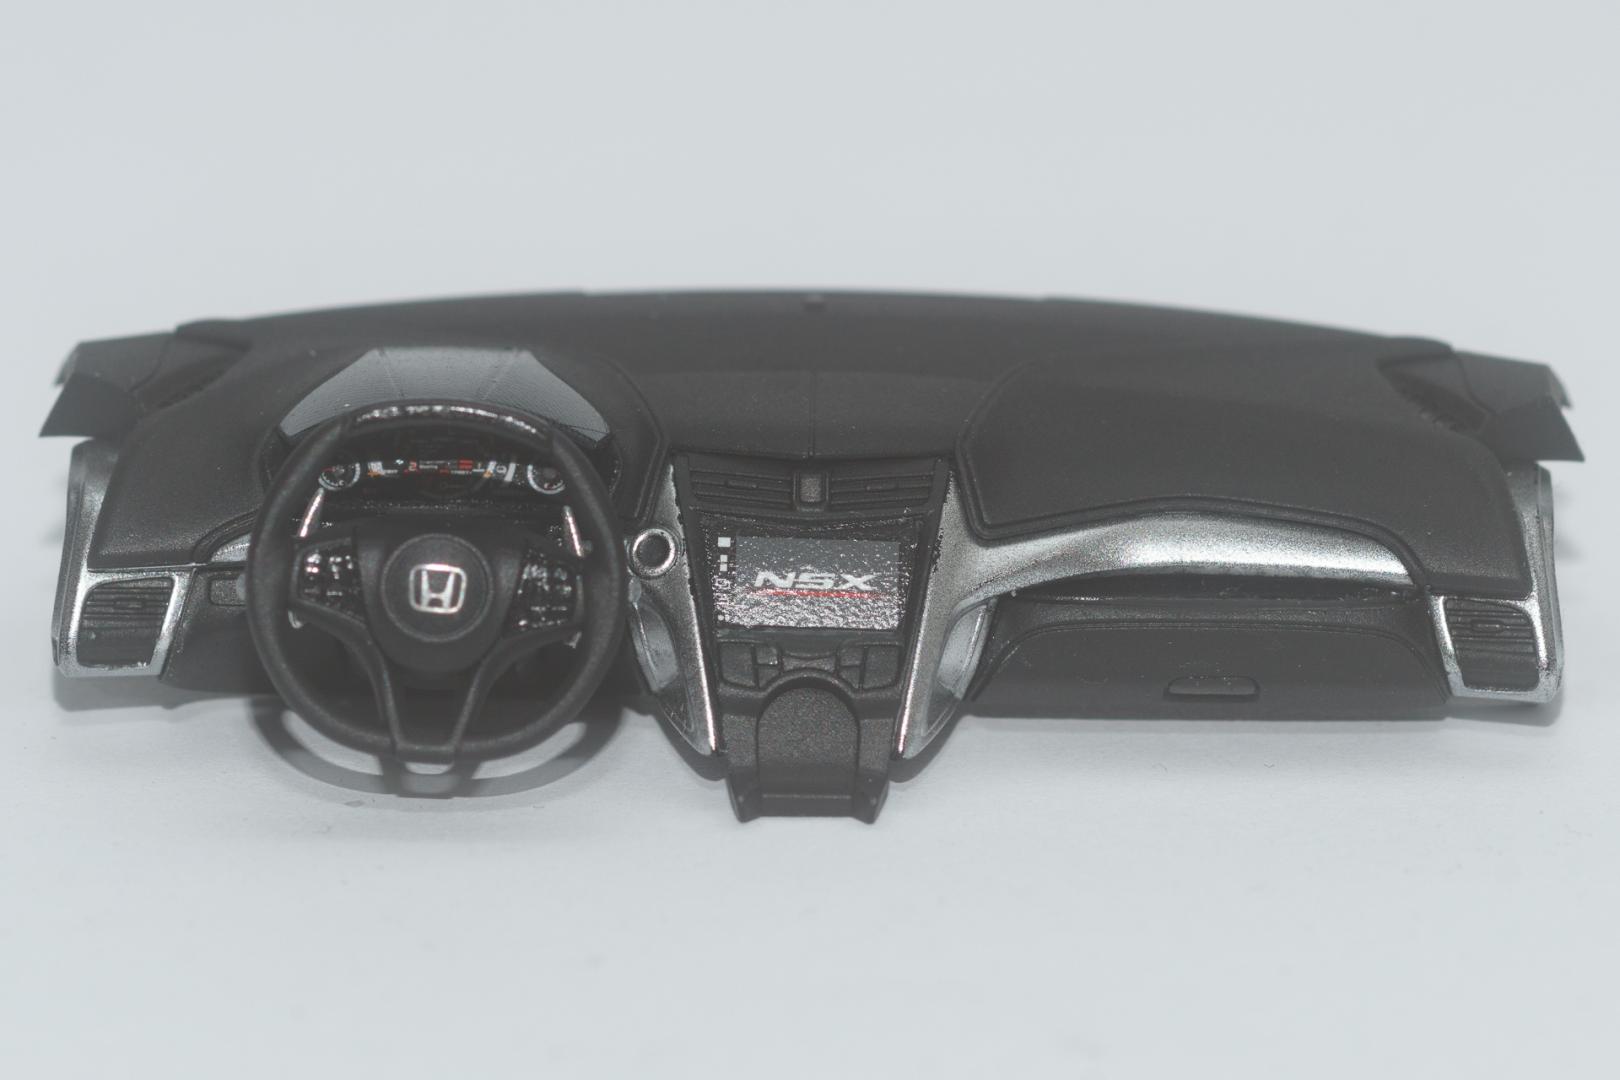
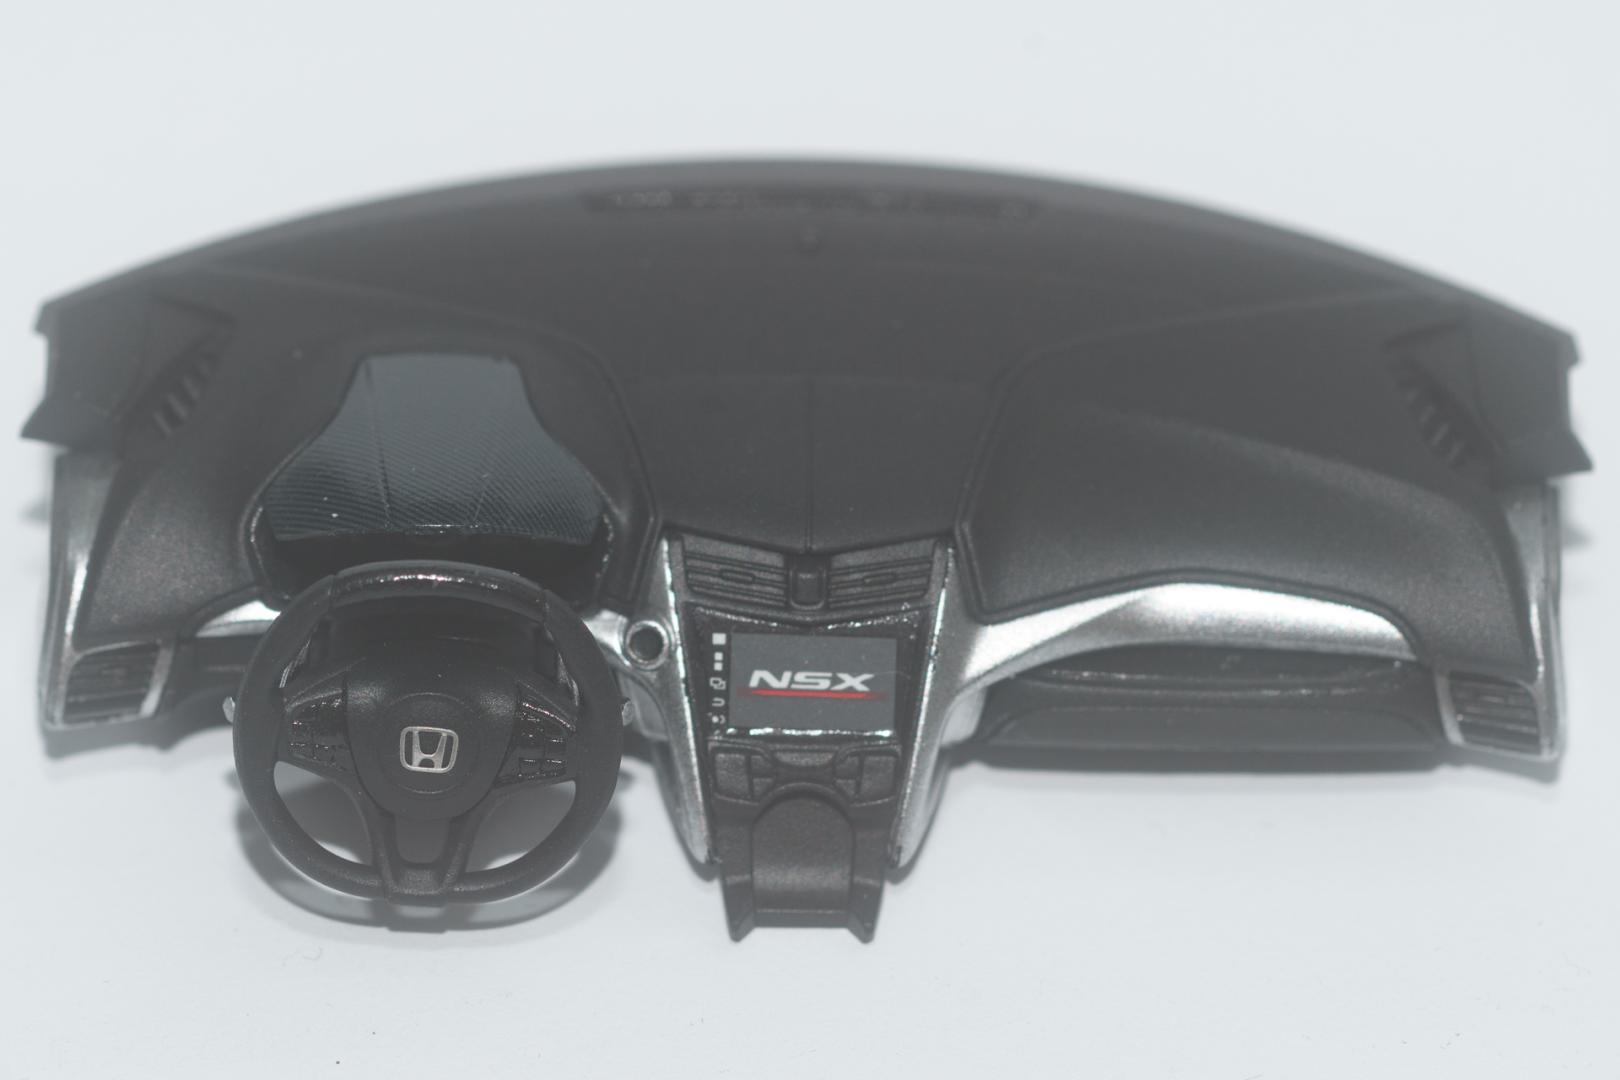
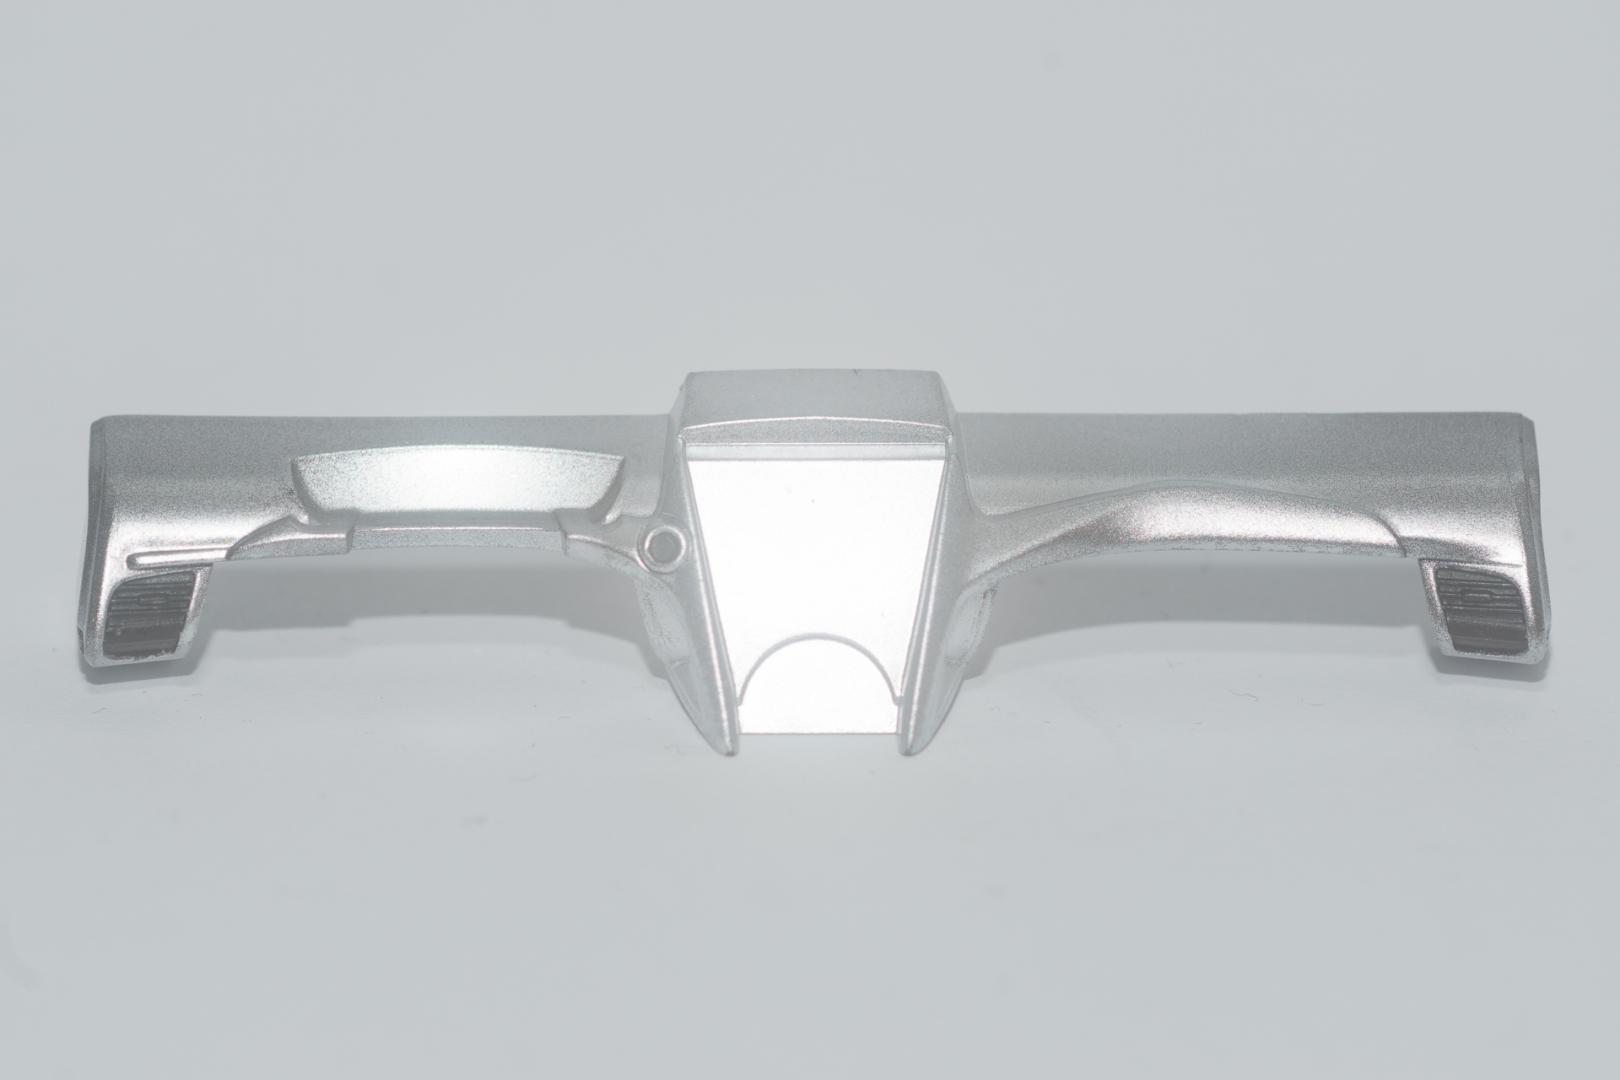
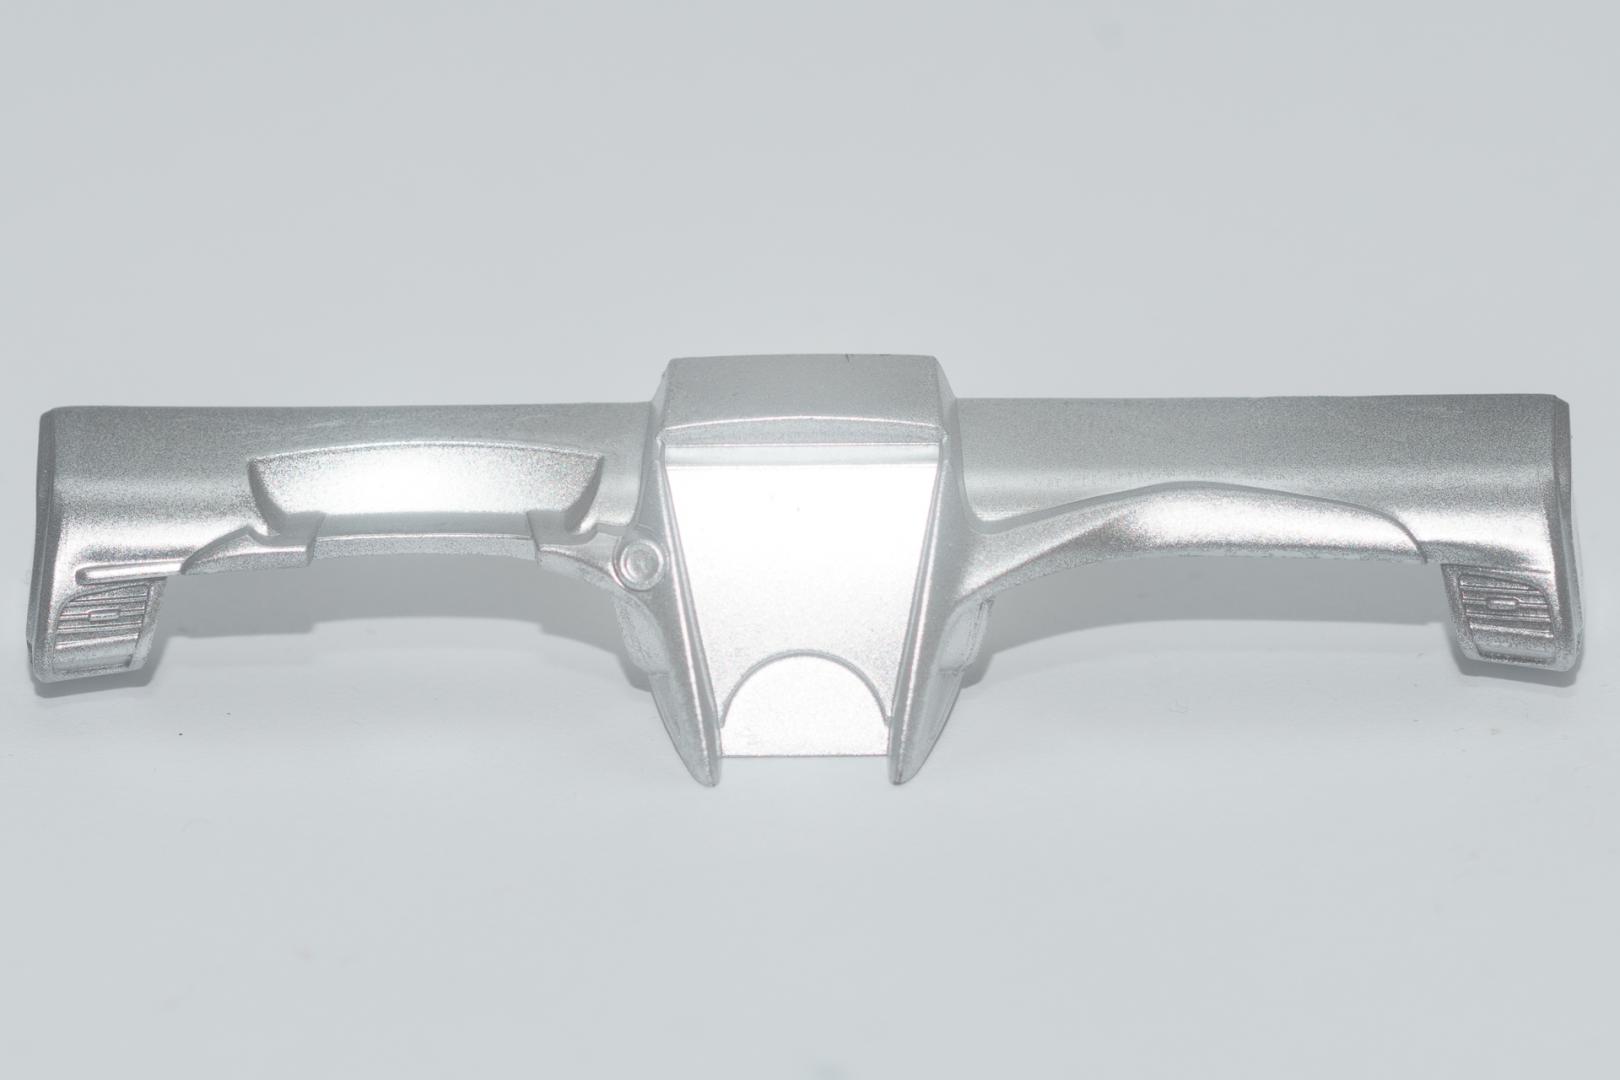
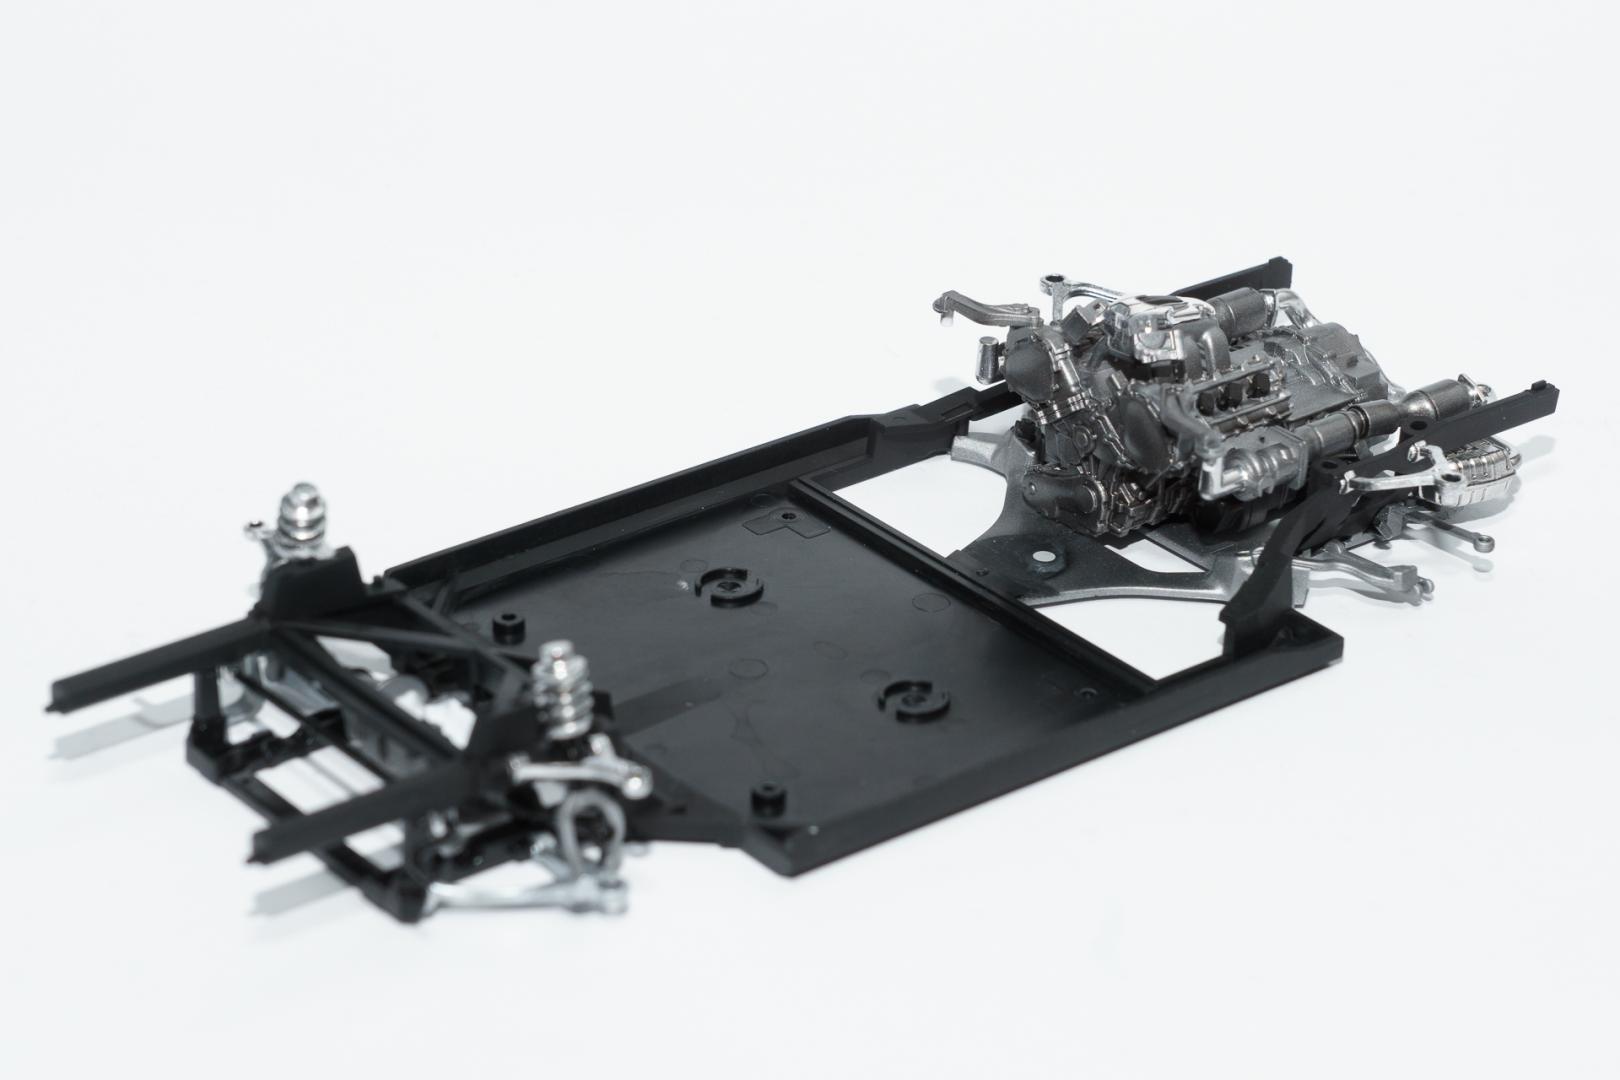
Hi all Thank you very much The passenger side and the front hood have been sanded (from 2000 up to 12000 grit) and polished a second time but with no big difference to the rest so I decided to leave the body as it is now. After adding the chrome parts, the body has been waxed with Tamiya's Modelling wax. Apart from the PE parts, the windows and the mirrors the body is almost complete now. Only one part on each side is missing (directly behind the doors). These parts have been prepared today, now I'll let the glue dry and tomorrow they will be added. The engine and the rear suspension were put into place. Once again the high quality of this kit showed when all the parts just slipped into position without any problems. Another test fit of body and chassis to see where the journey is about to end. Again everything comes together nice and smooth. I think for the final assembly absolutely no glue will be required. Before the interior gets inside and won't ever be seen, here a detail picture of the dashboard and the center console. I think I'm entering the home stretch of this build. So far it was a fun build without any problems whatsoever. Urs
-
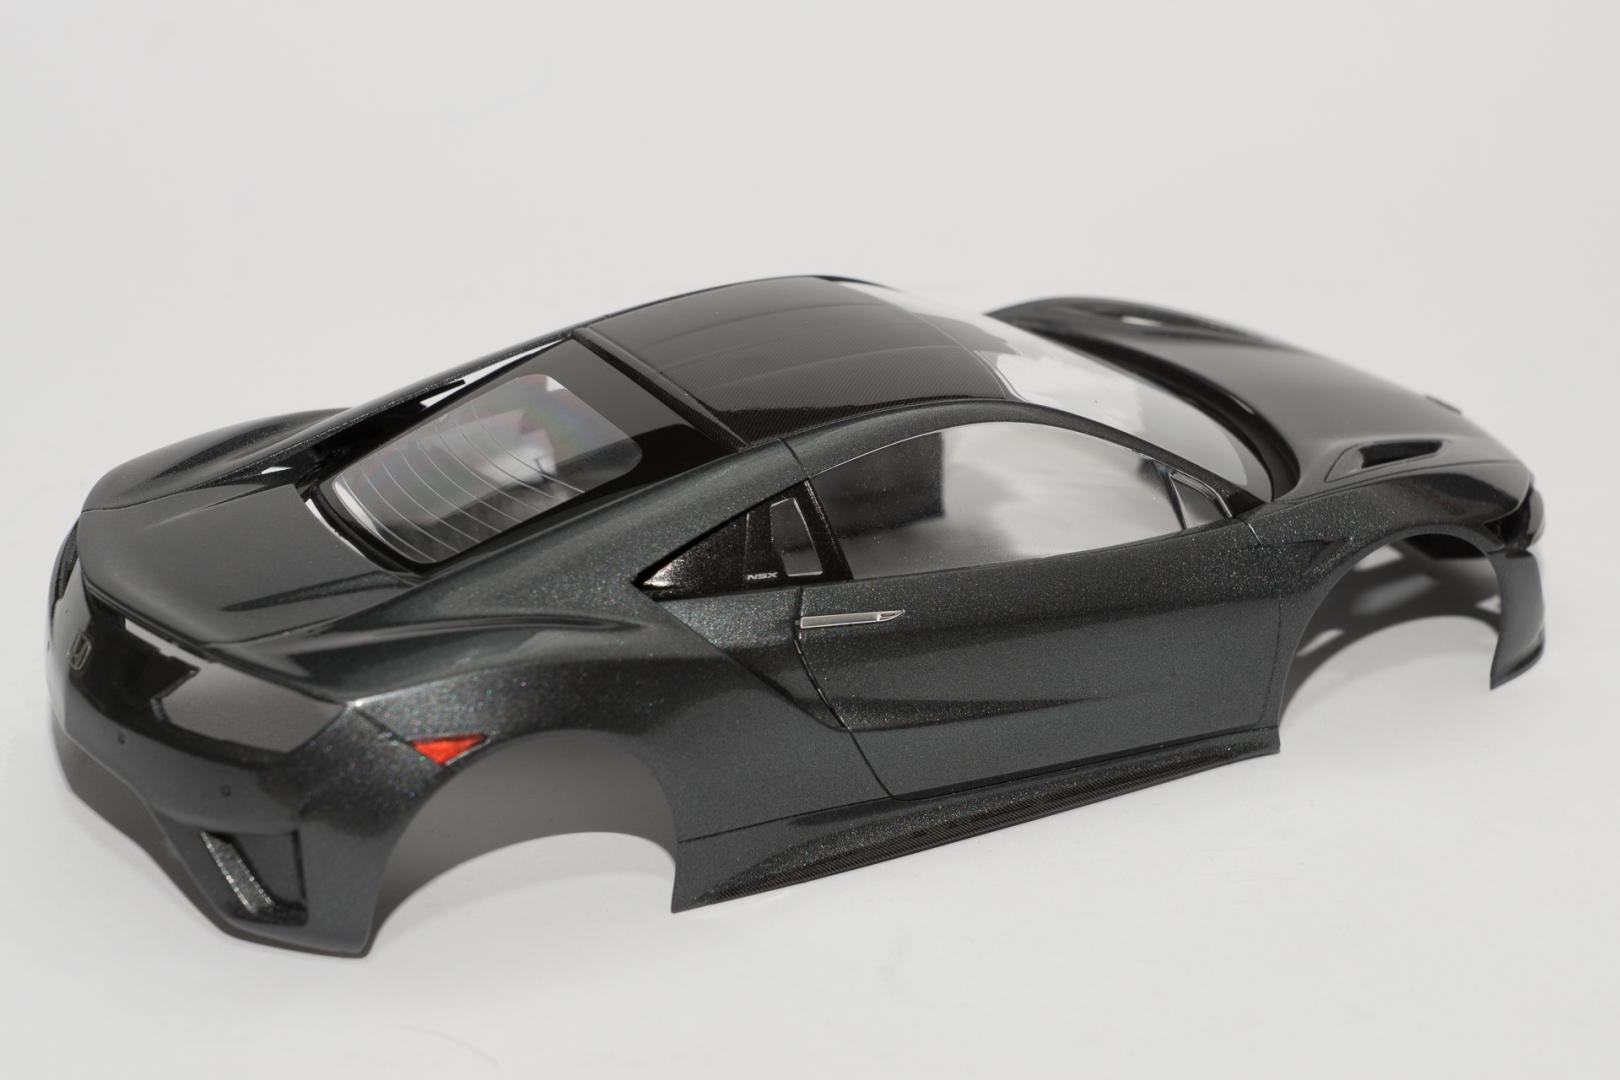
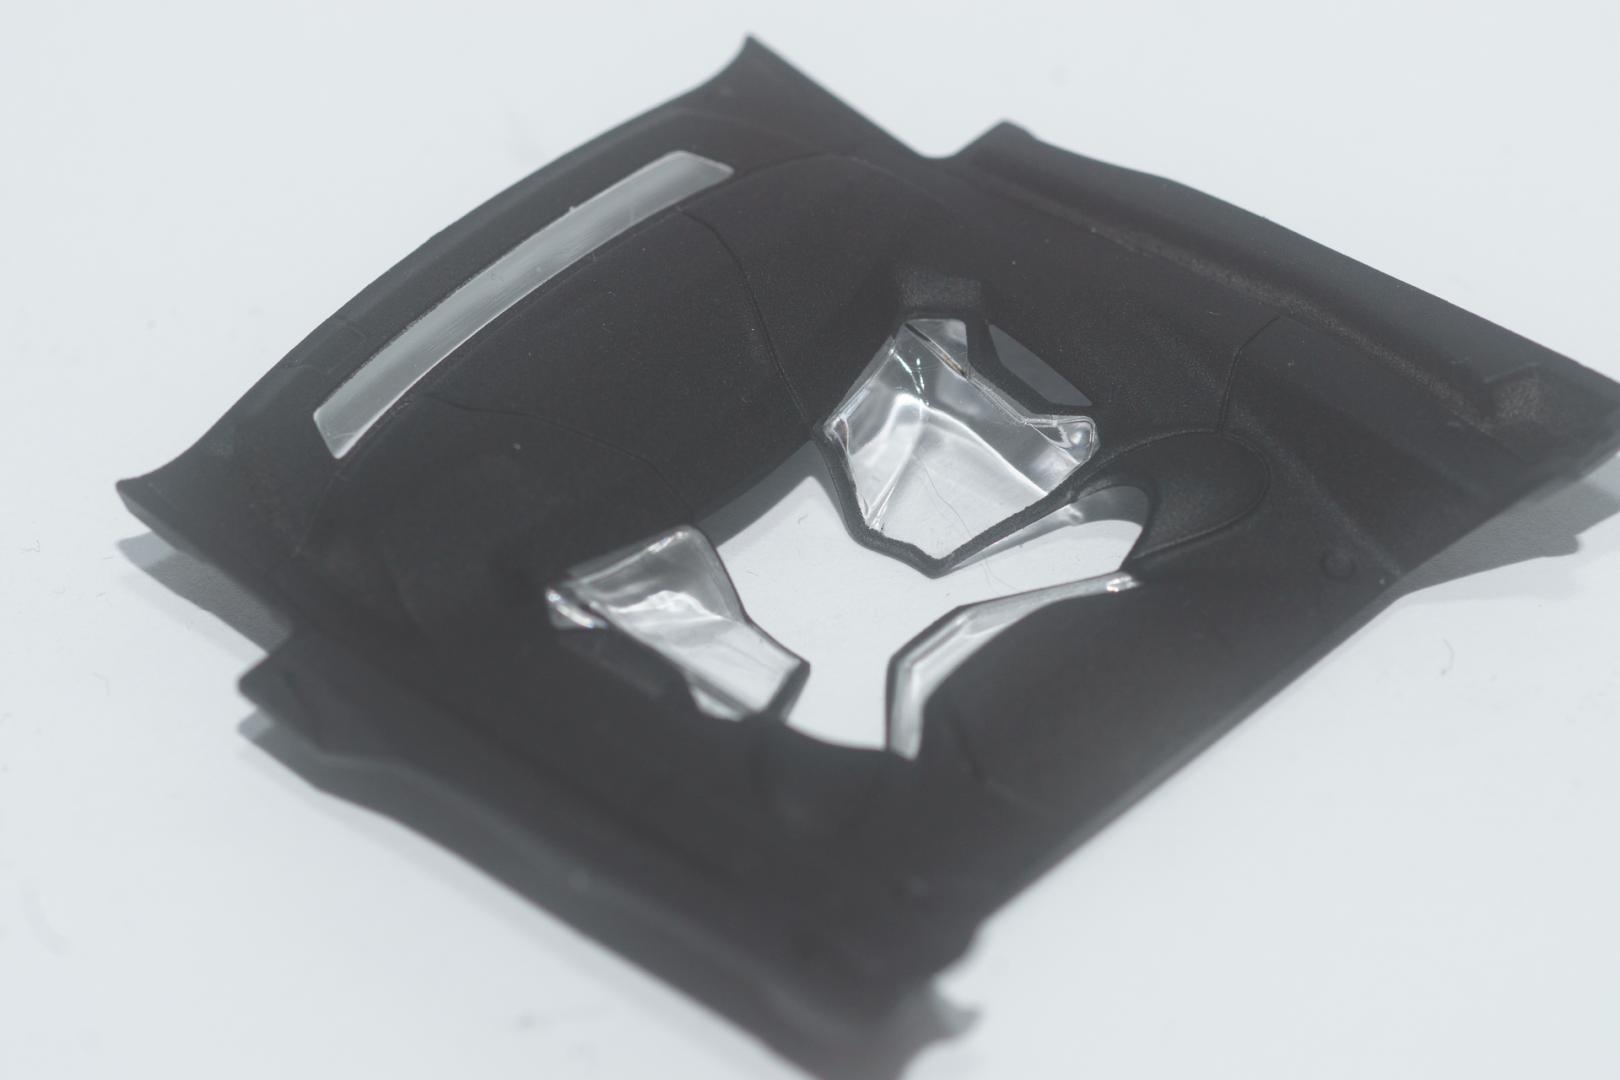
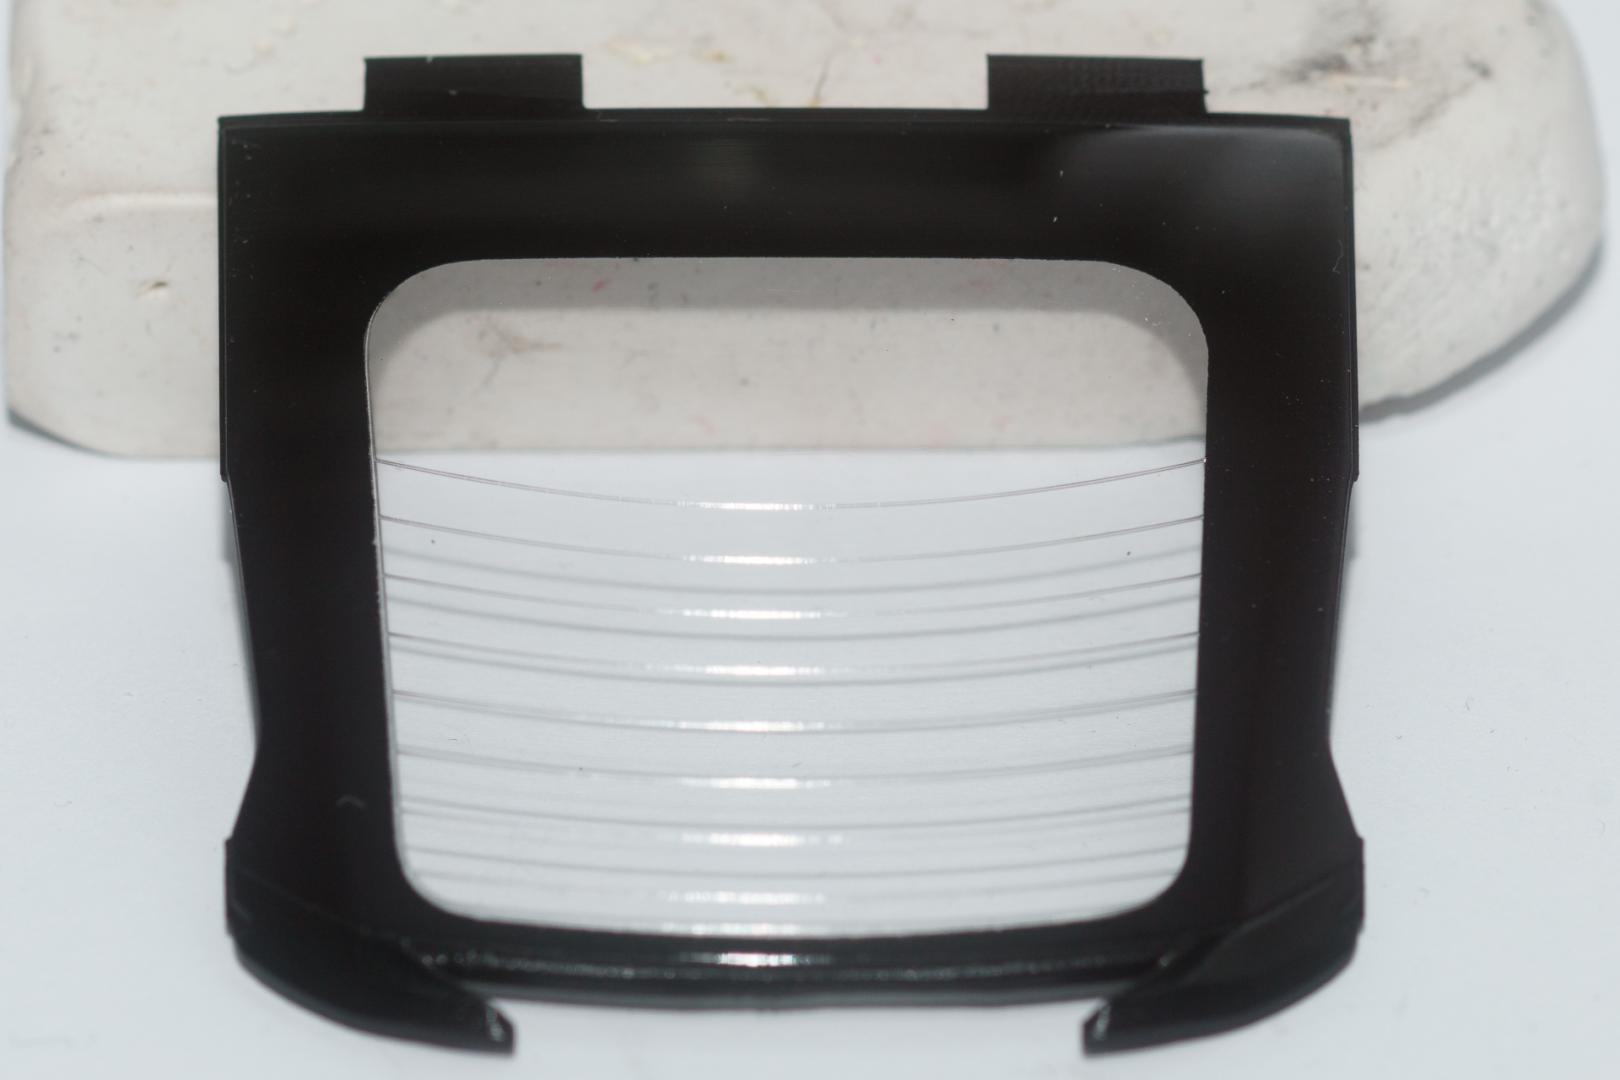
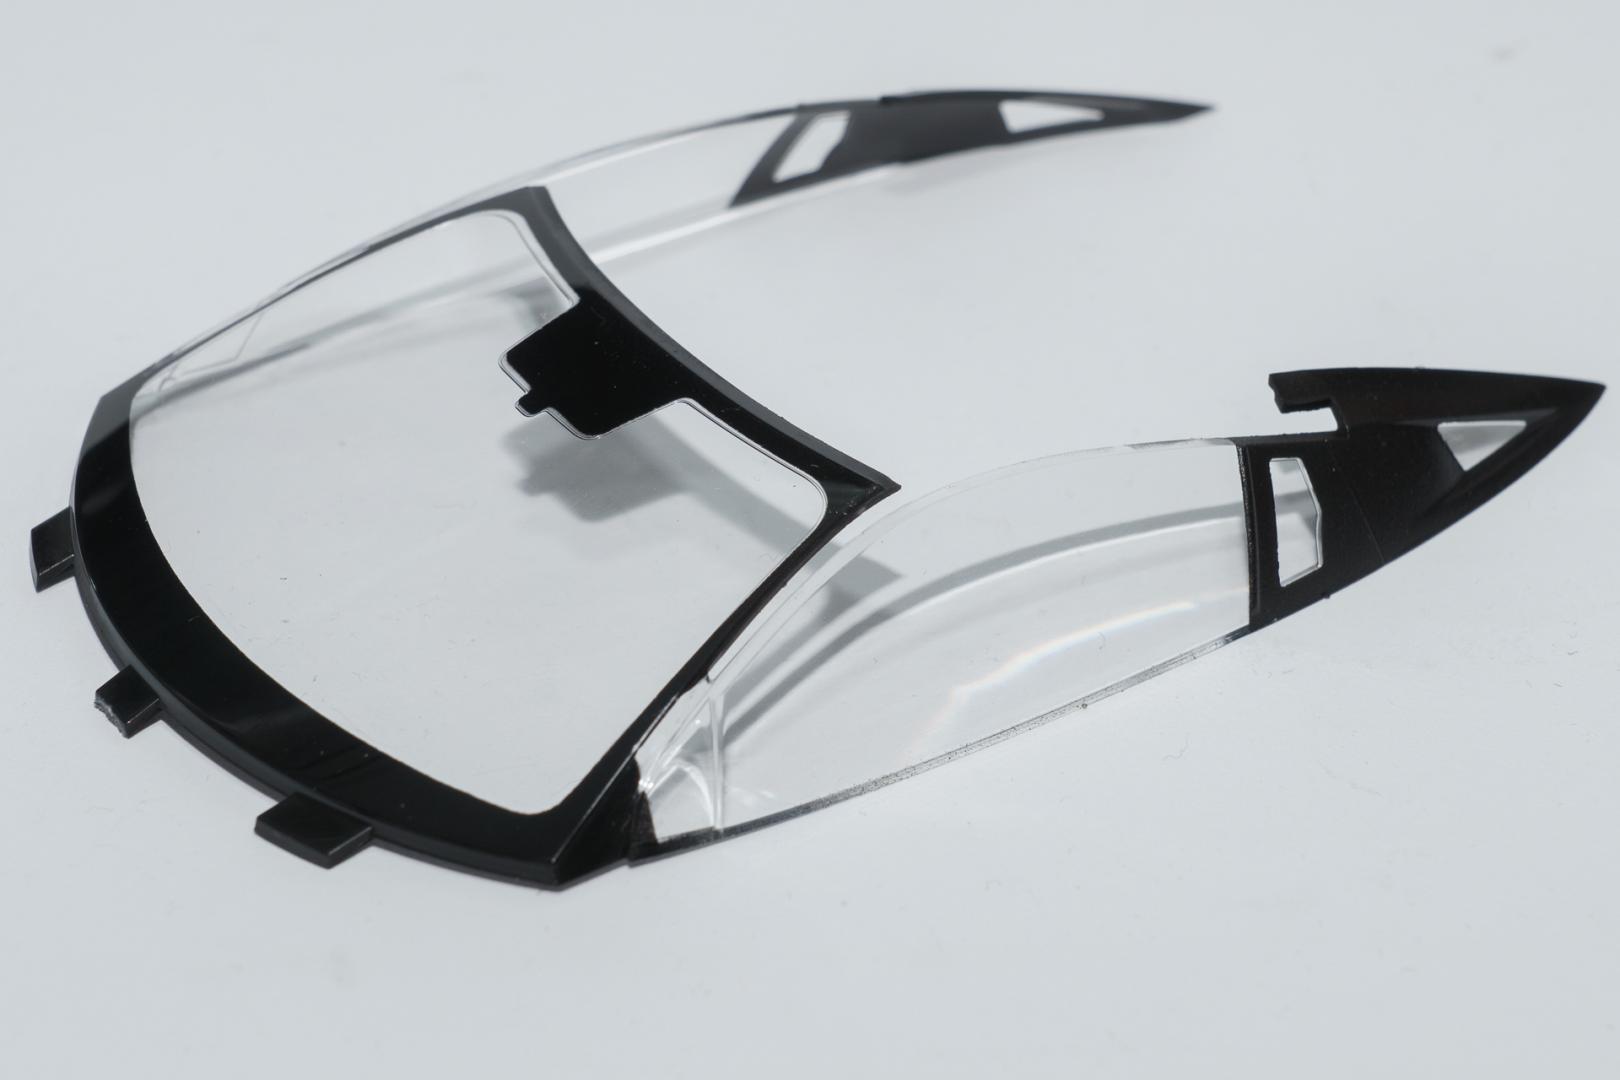
Hi all Thank you for your kind replies. That made at least two of us then. As announced in my last post, friday was clearcoat-day. Unfortunately the clear did not come out as smooth as I wanted it to be. So today I spent the whole evening sanding and polishing the body. All the time I was unsure whether there was still some orange peel left or whether it was just an optical illusion because of the metal flakes in the paint. After having made the pictures for my WIP, I know there is still quite heavy orange peel. I did not decide yet, whether I will go on with that or whether I should start over sanding and polishing. At least the interior comes together the way it is supposed to And finally the clear parts got their black paint That's all for today. I wish all of you a nice sunday Urs
-
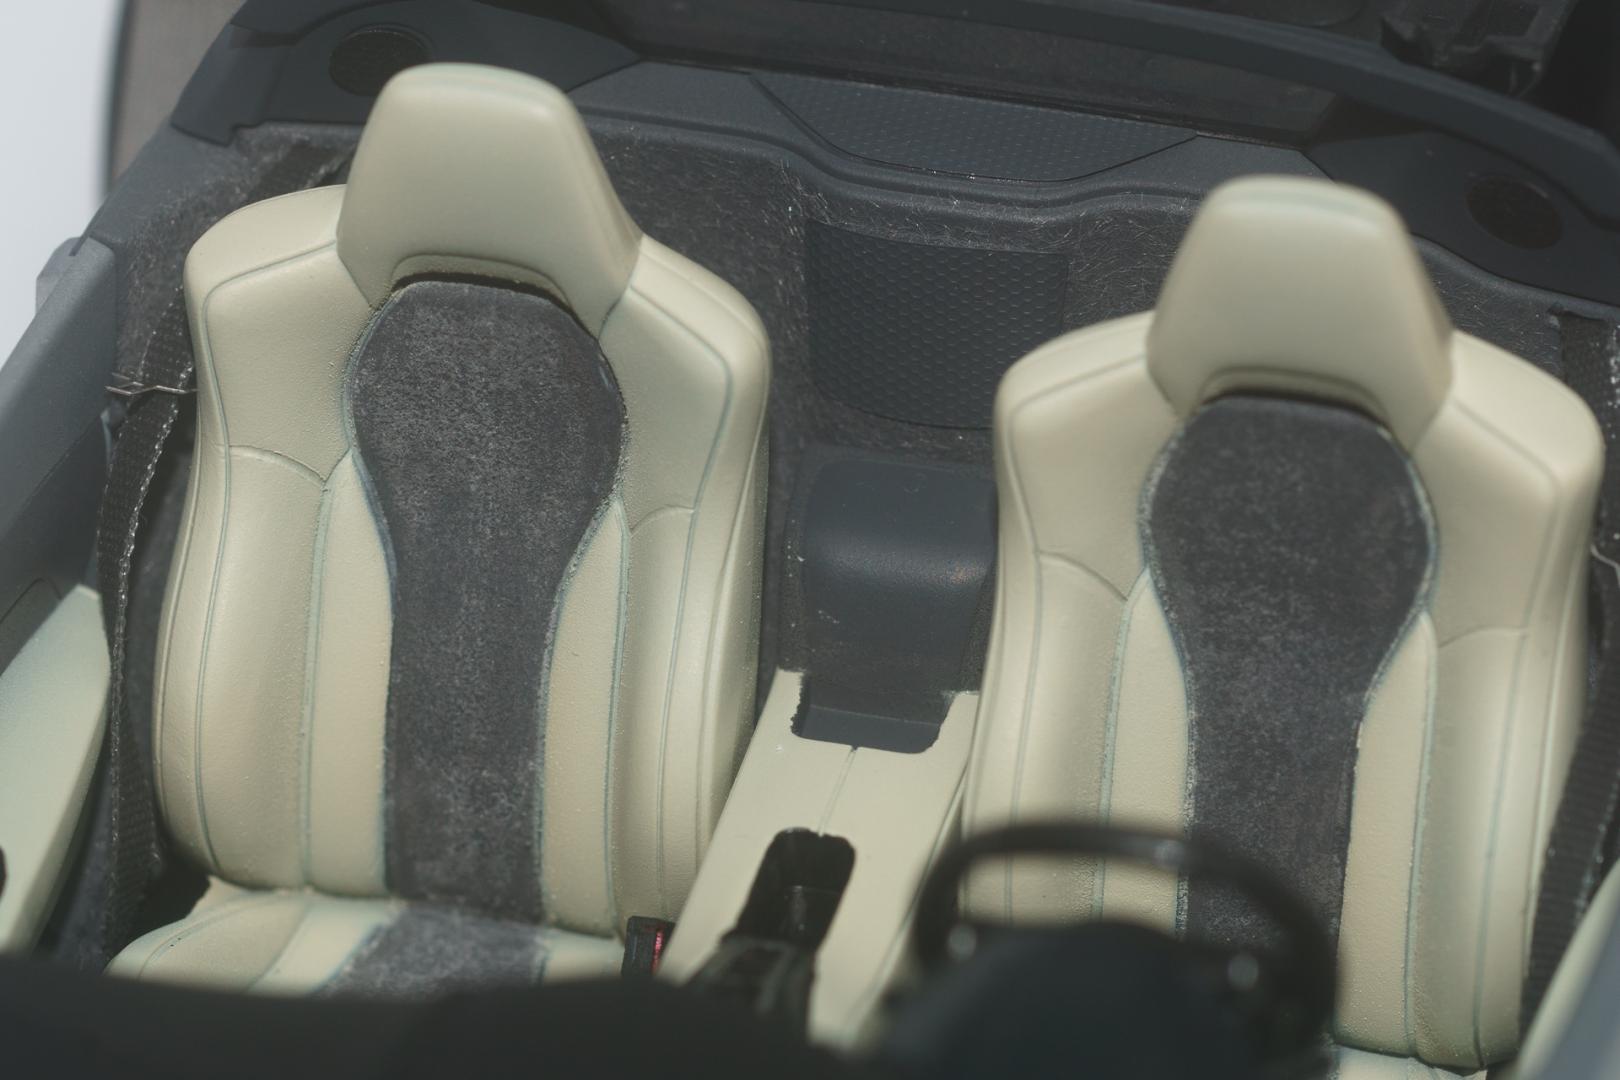
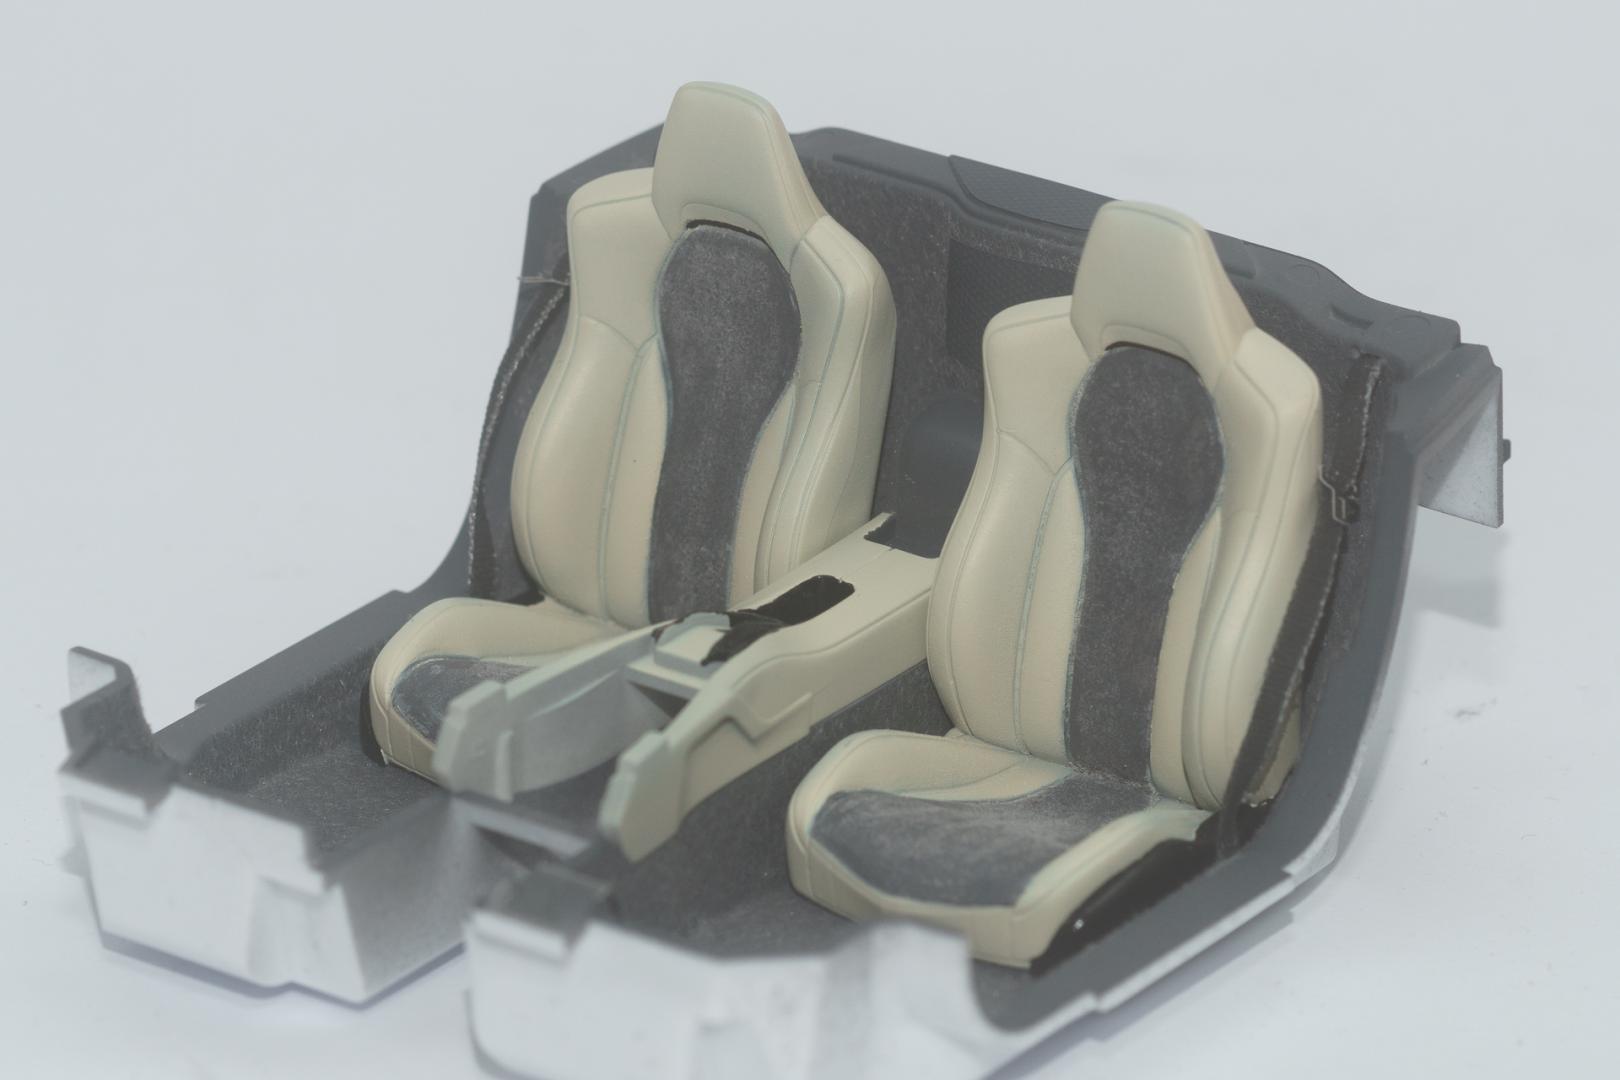
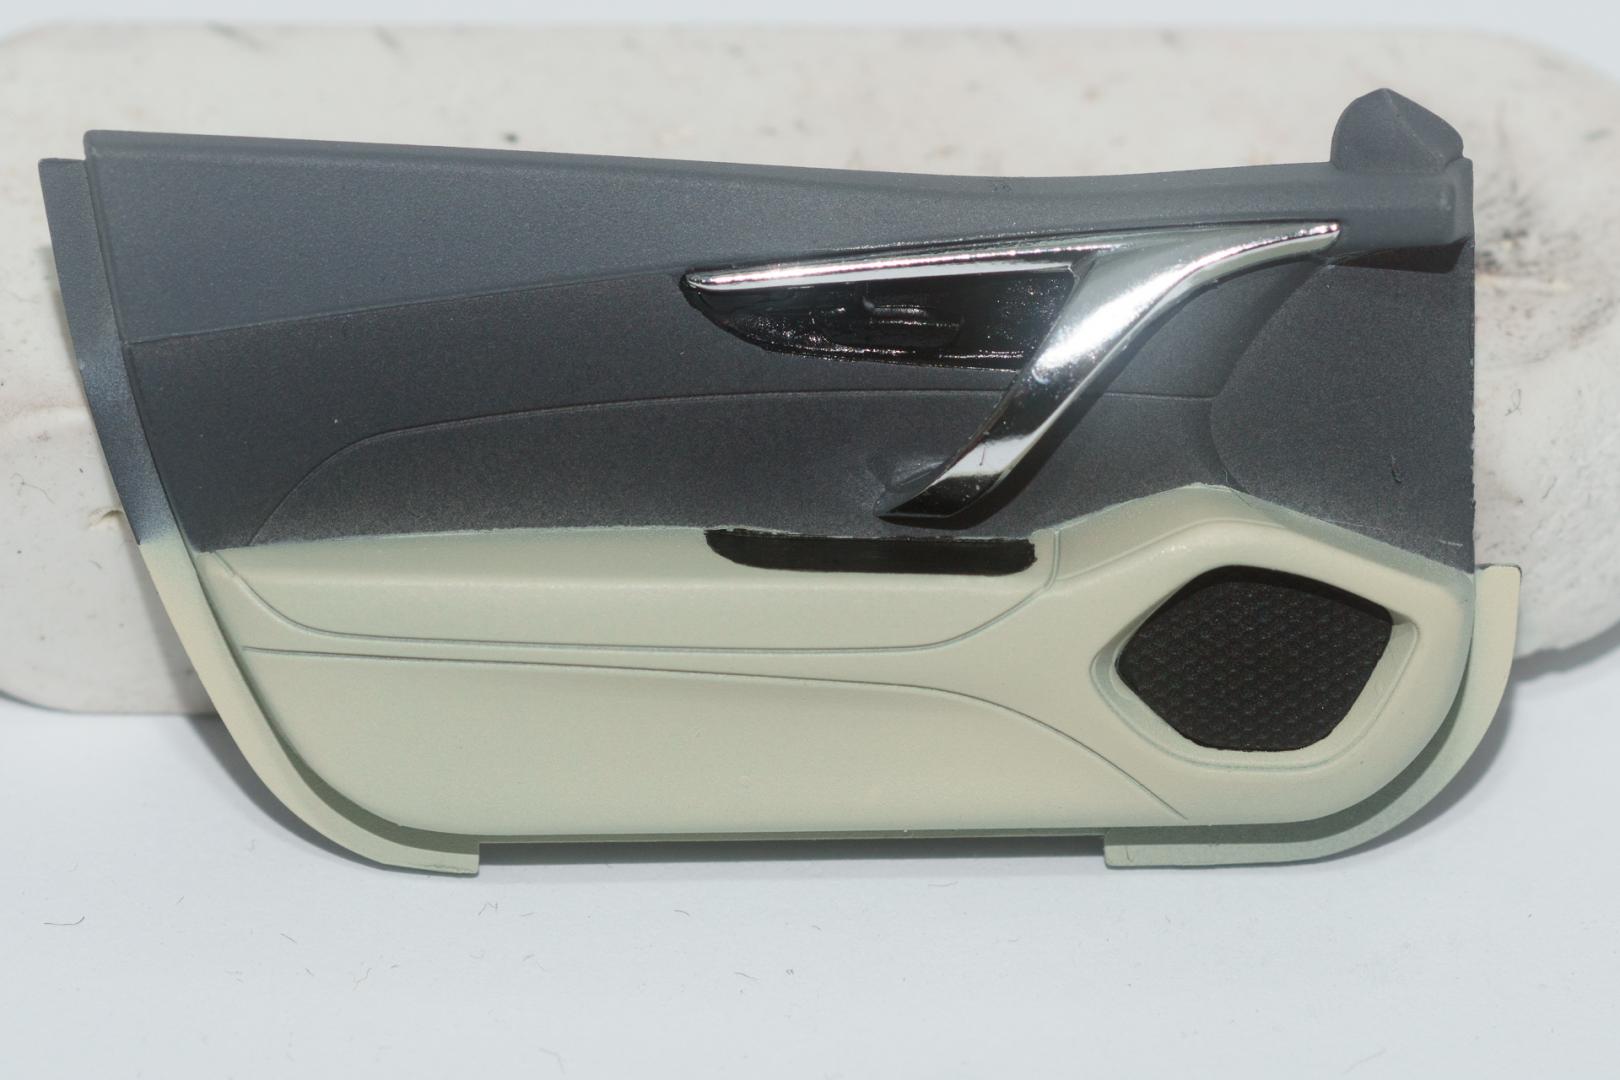
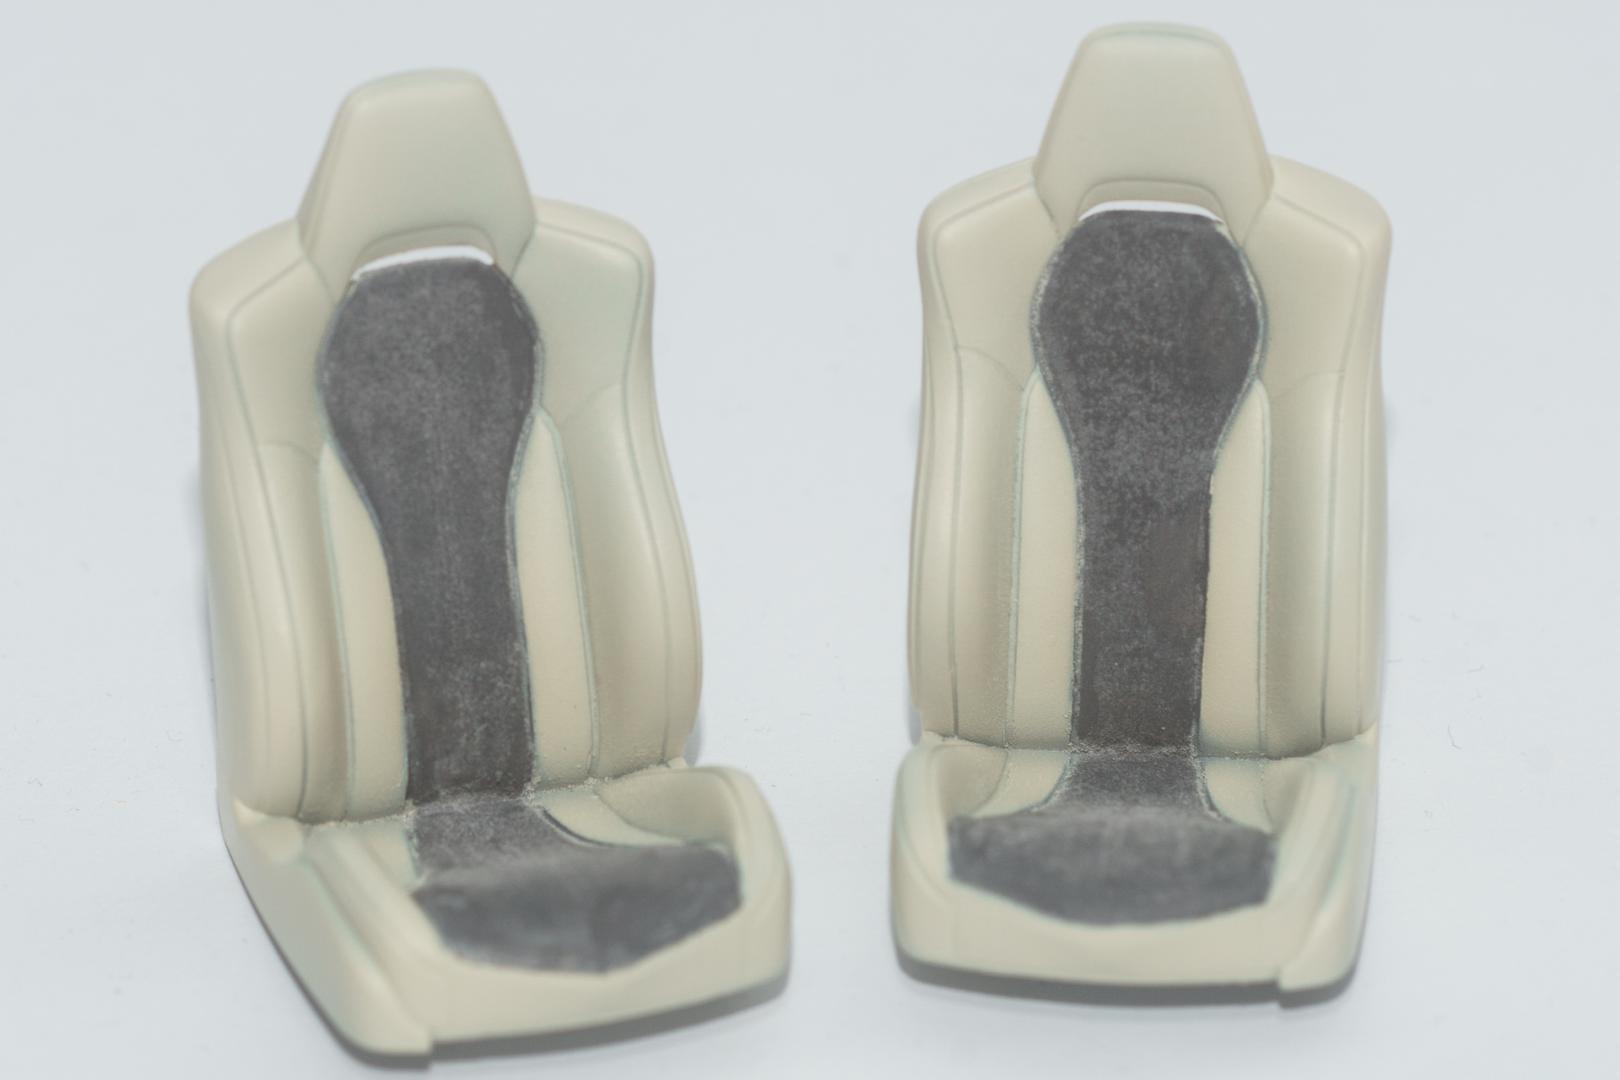
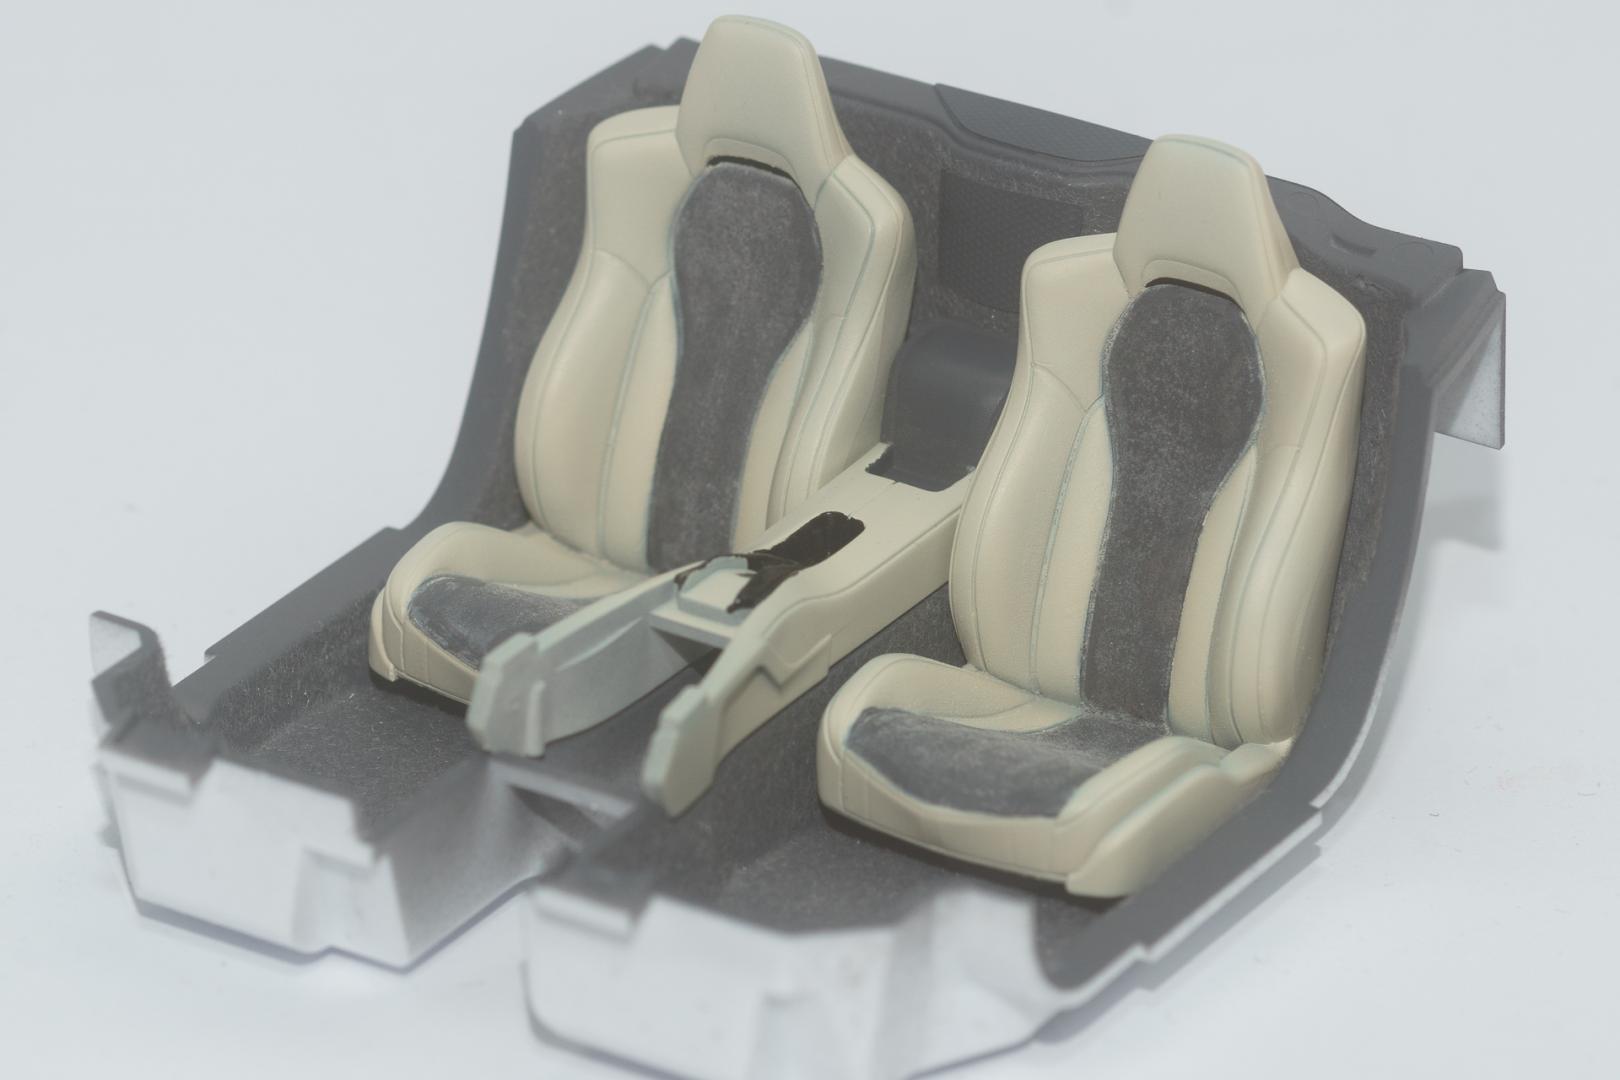
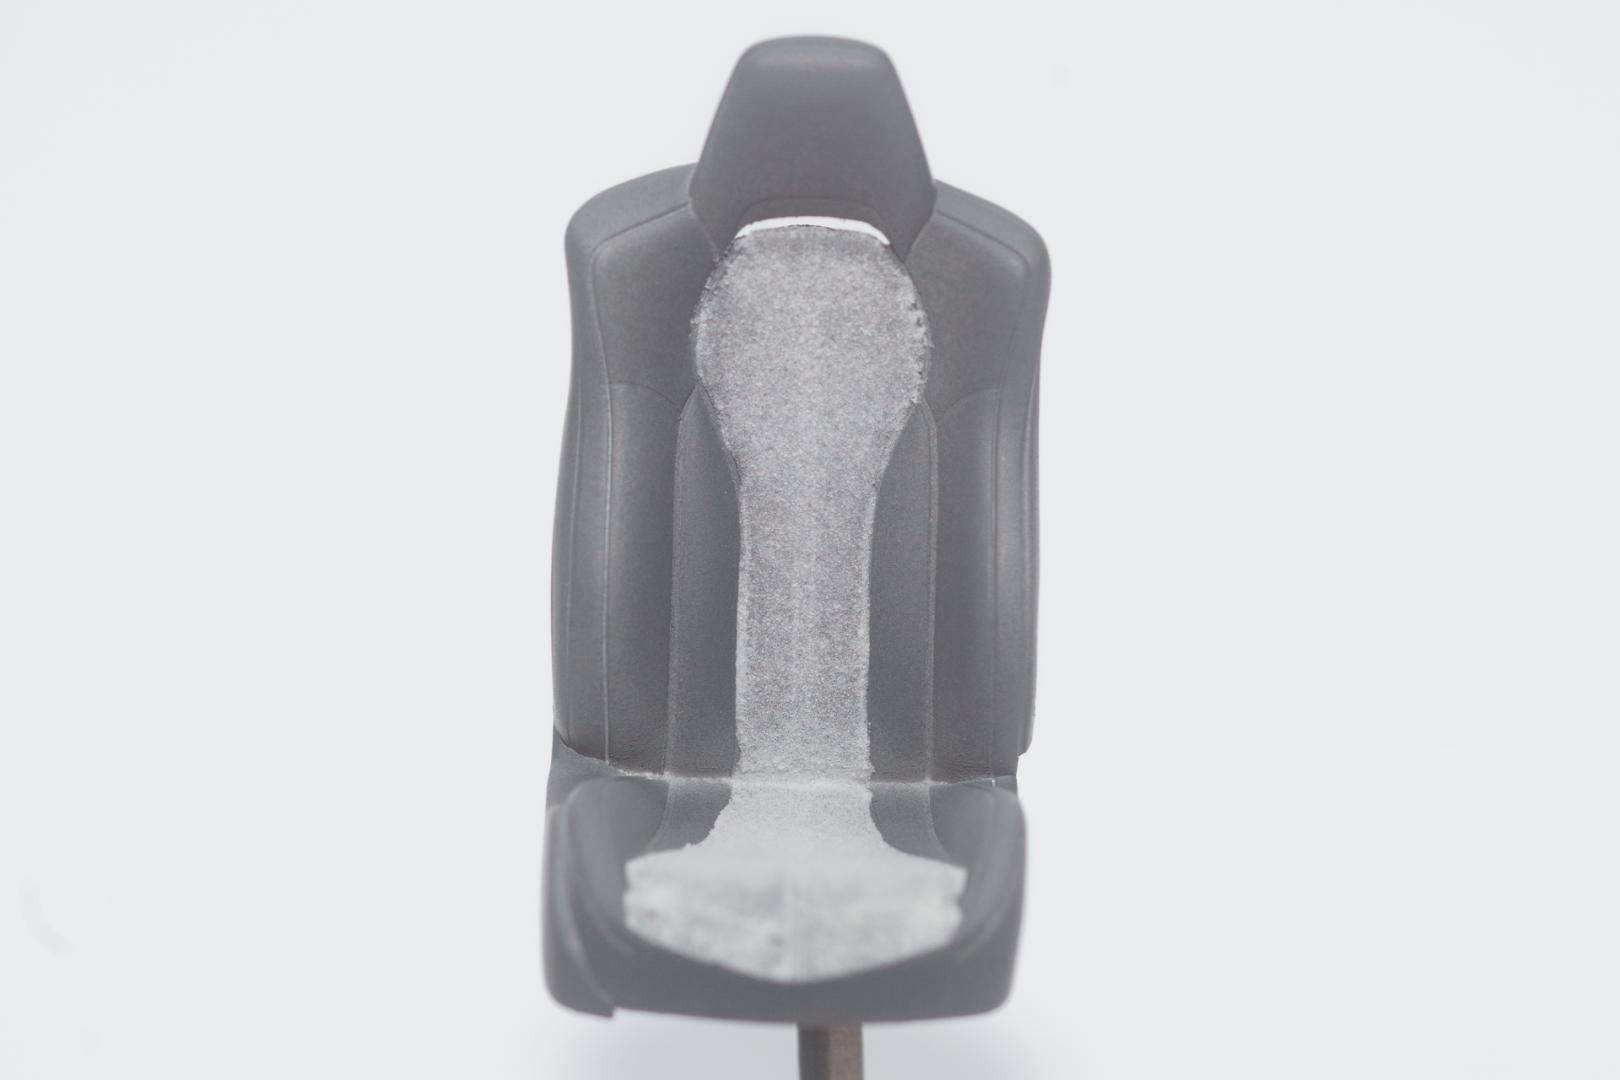
Hi all Over the past weekend I found time to continue with the interior. The Cream interior color by Zero Paints turned out to be much more yellow than expected, but in my opinion it fits quite well with the body color, so I will leave it as it is First I (almost) finished the seats. When masking off the middle part I was afraid, the microballons would come loose when removing the tape. But to my surprise they stick really good to the seats. I only had to touch up a few spots I already had some problems with the adhesion before masking. In these cases I just put on some new microballons and applied Zero Paint's interior color by brush. By dabbing it on it worked out quite well The dashboard has been completetd as well, as far as I could put it together already. The interior got its PE parts and another light coat of color Test fitting the interior parts. They're only put together without glue yet. And finally the front of the body was completed, so I can put on the clear on friday. That's all for the moment. I wish you all a nice week Urs
-
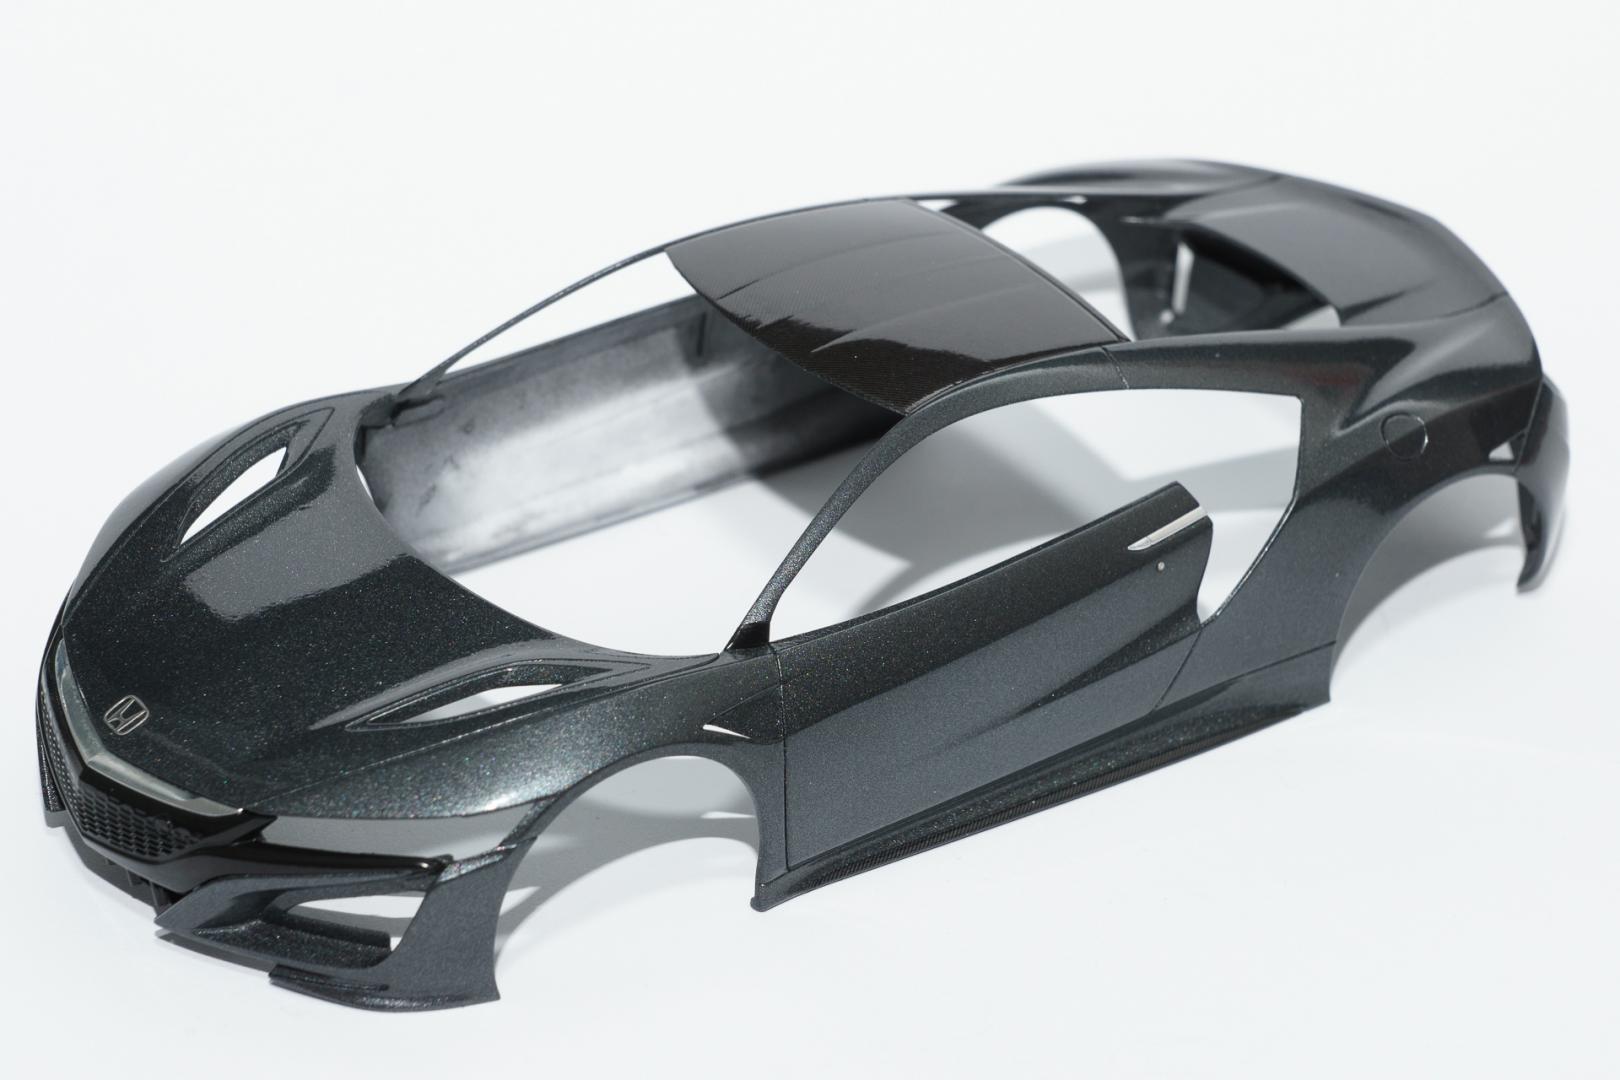
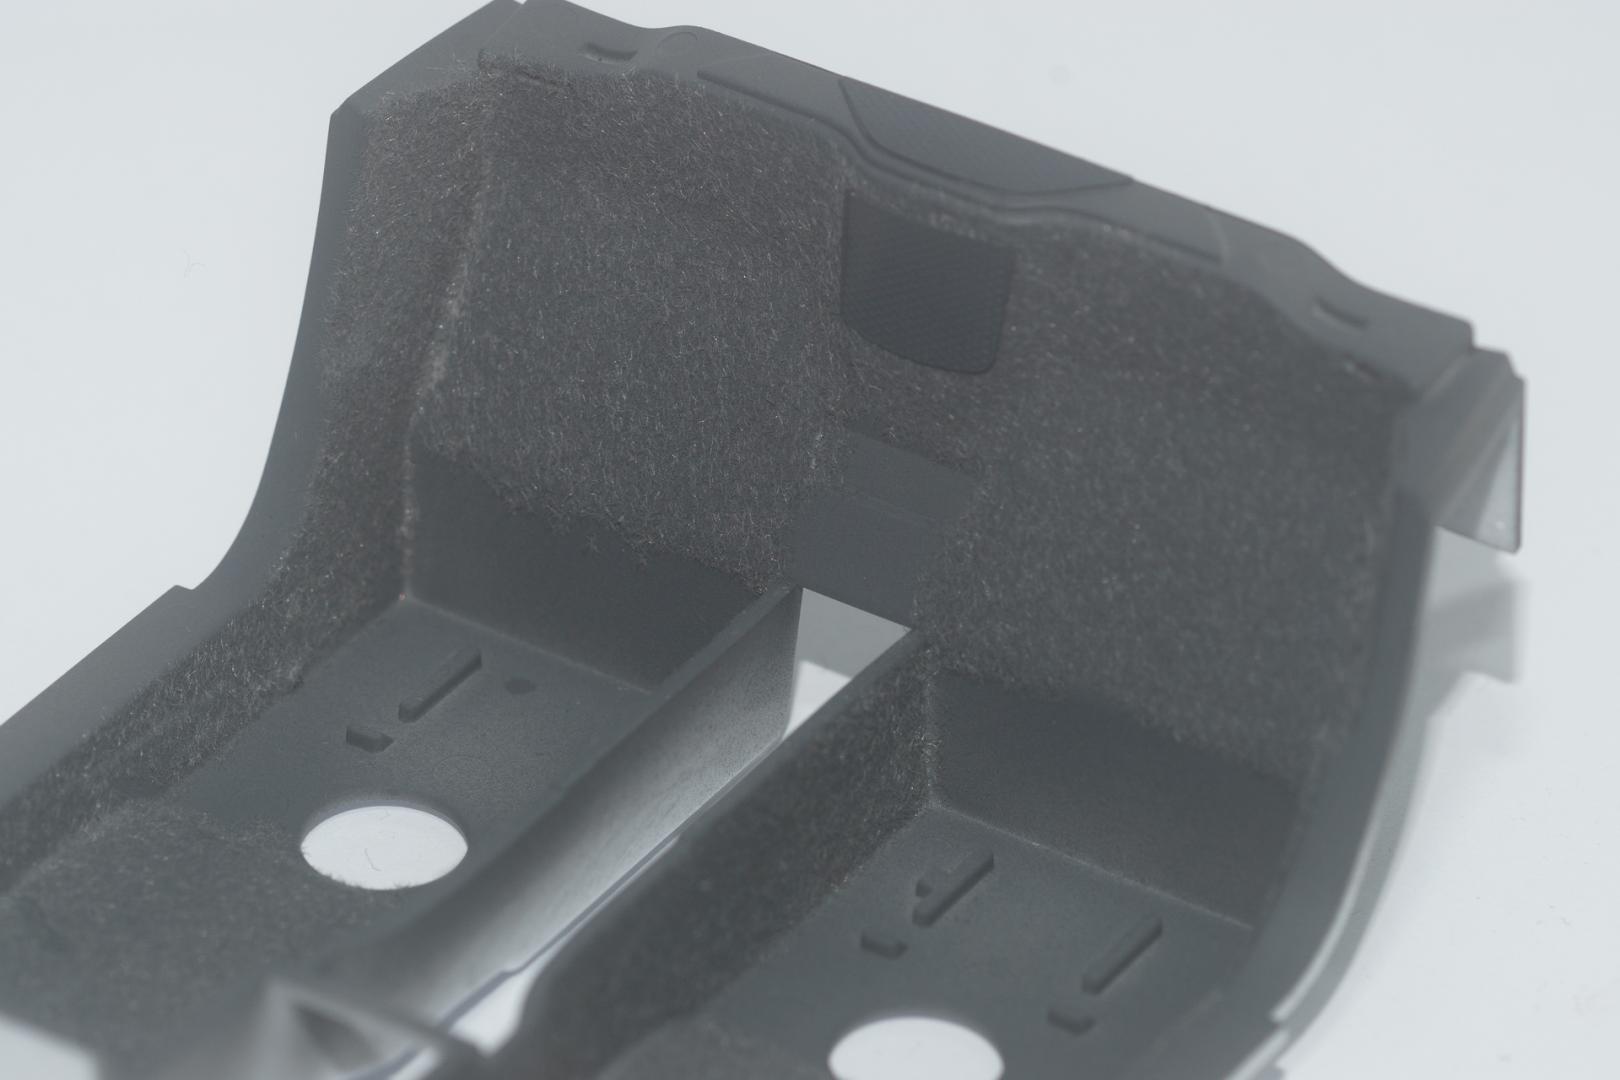
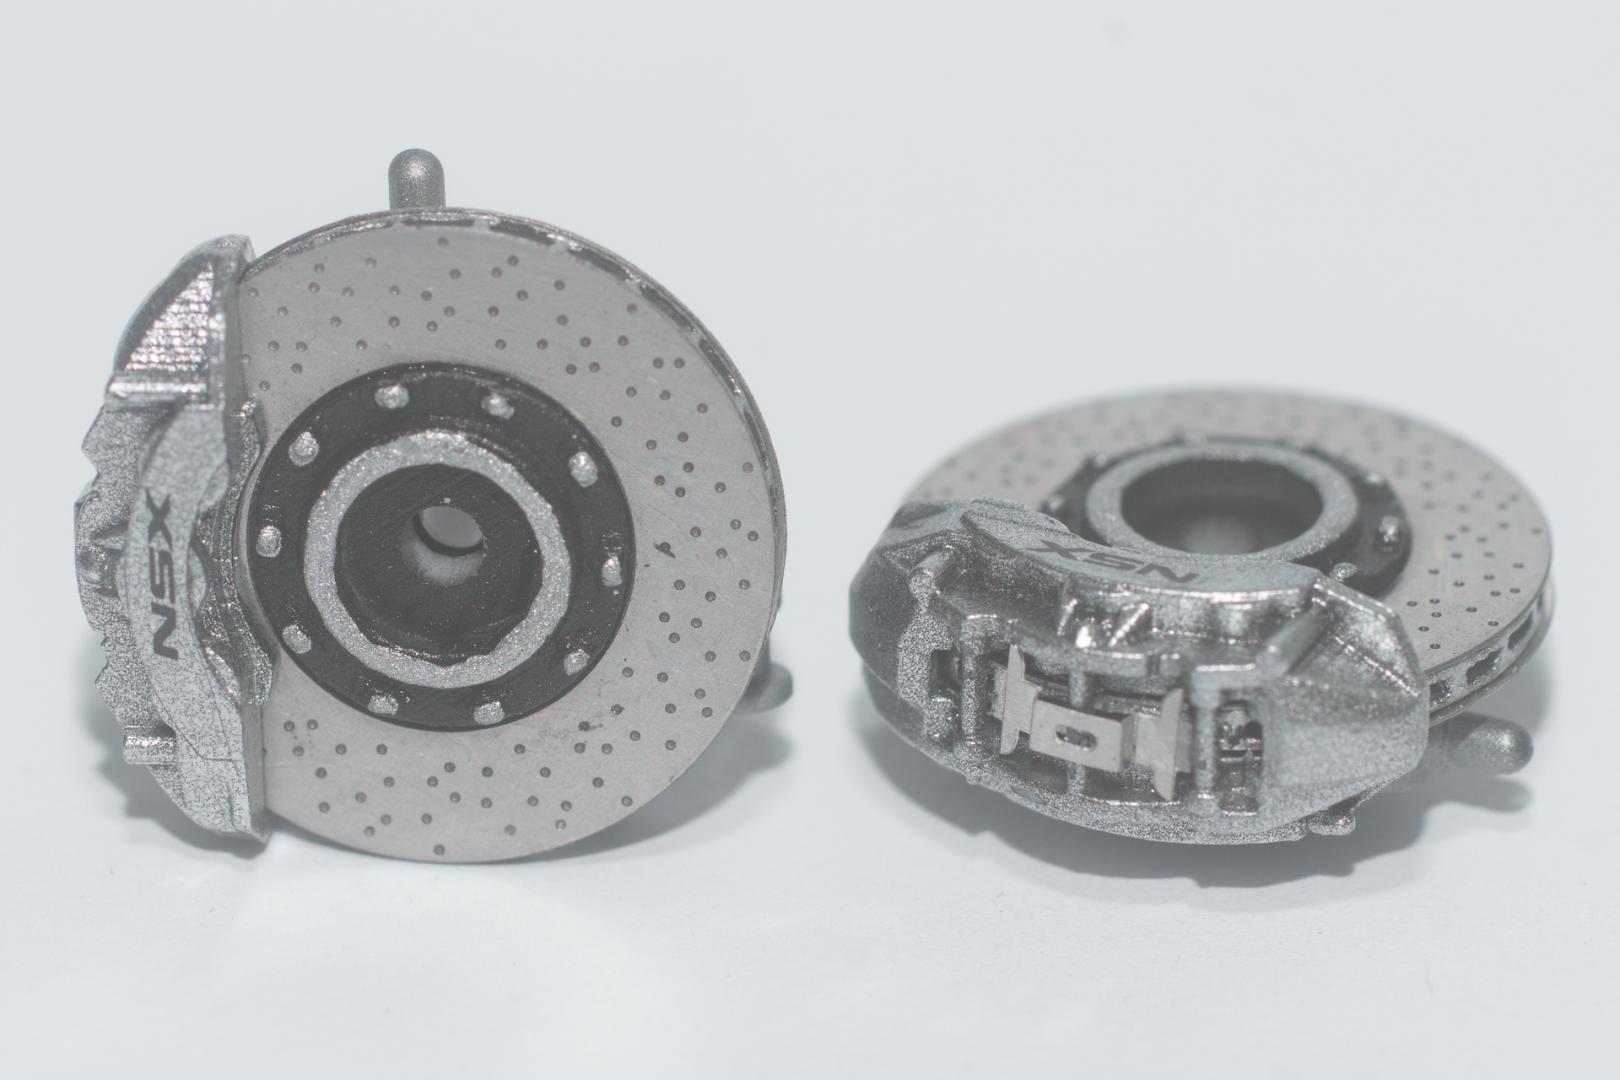
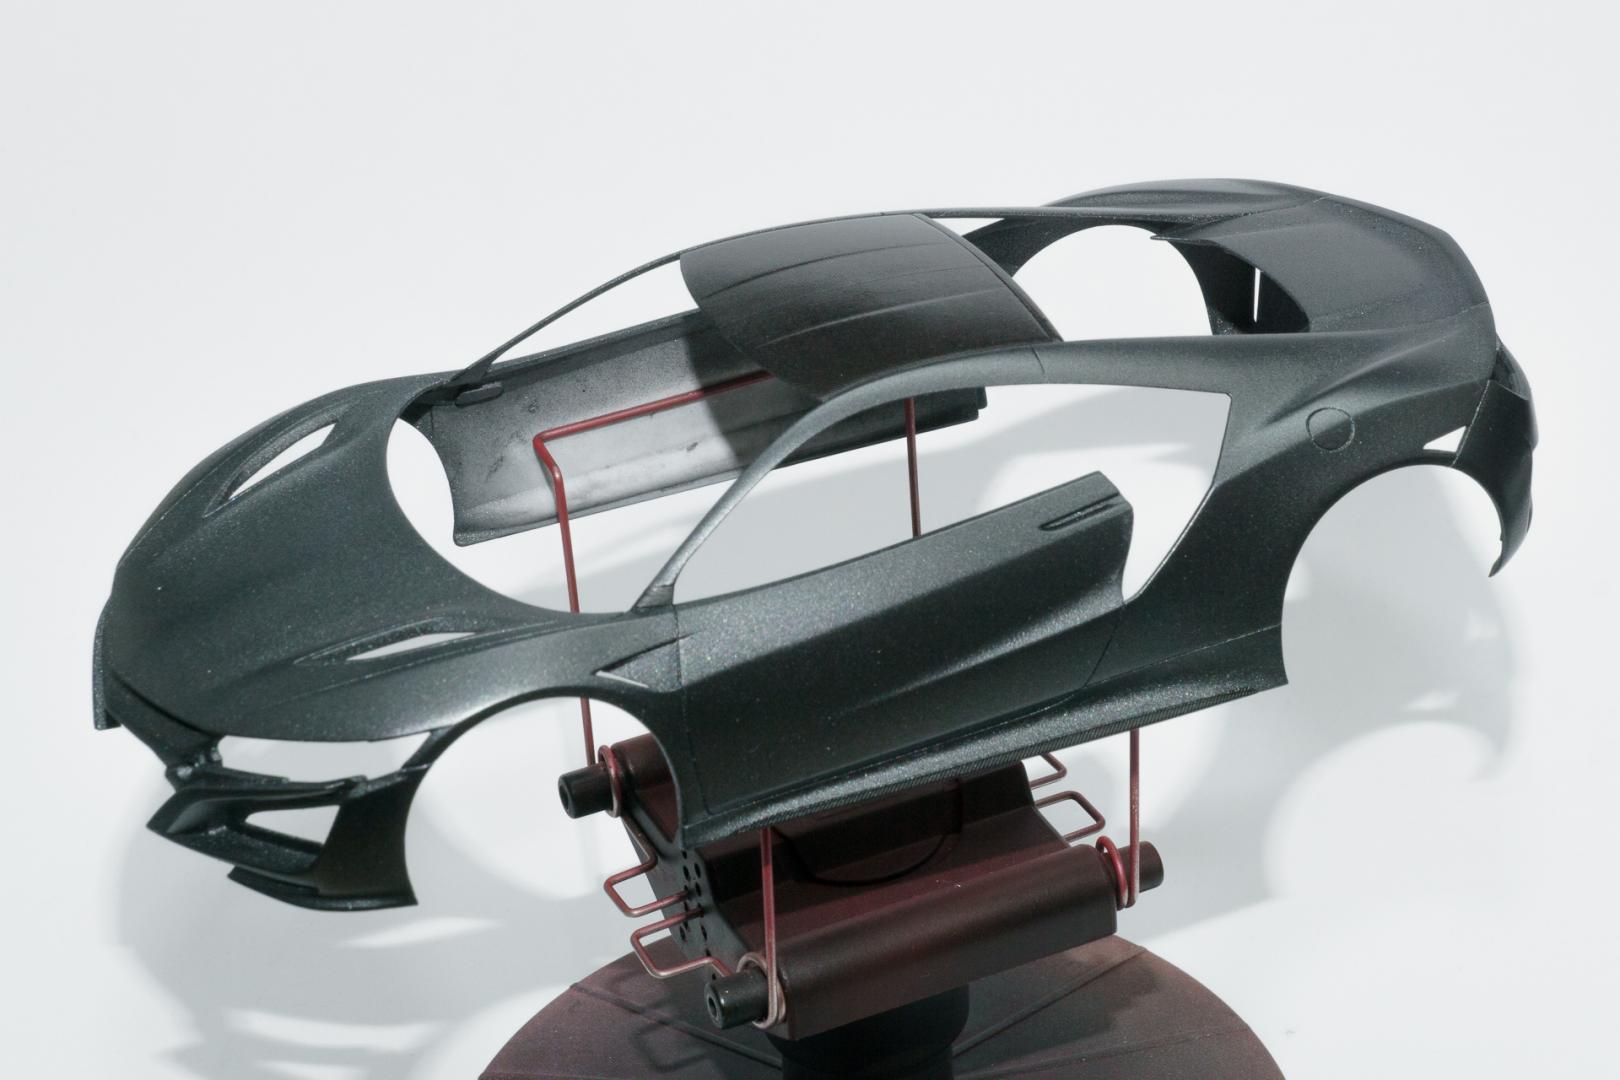
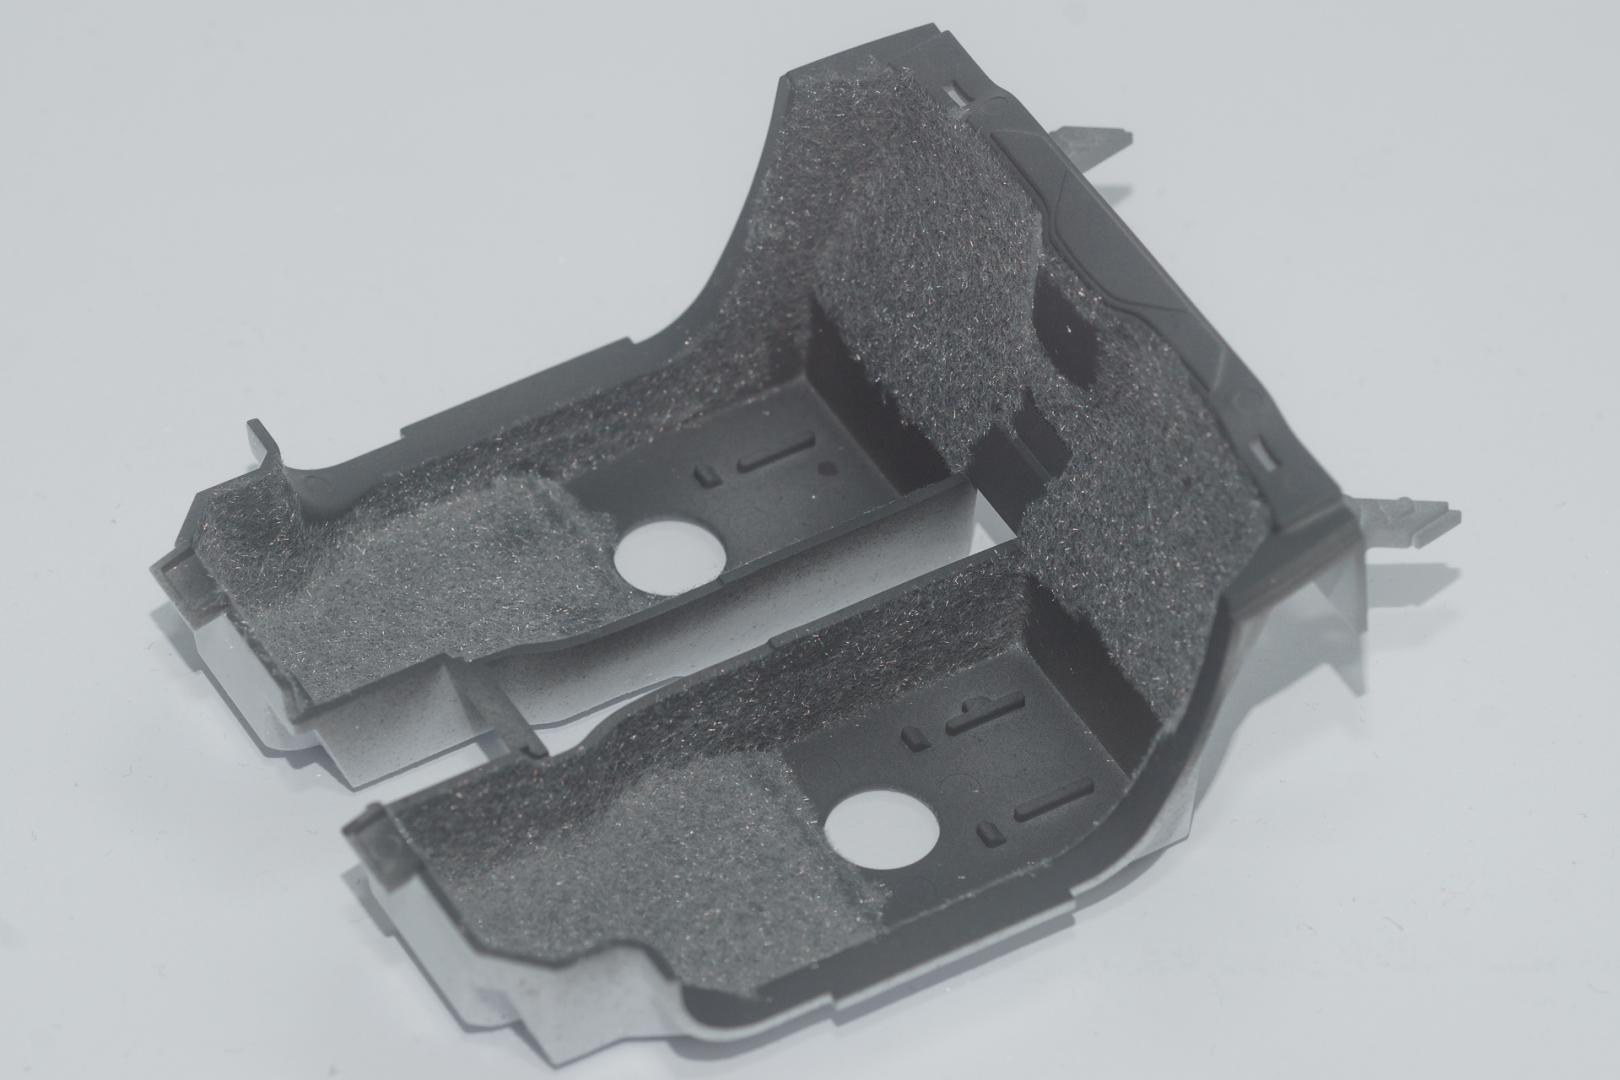
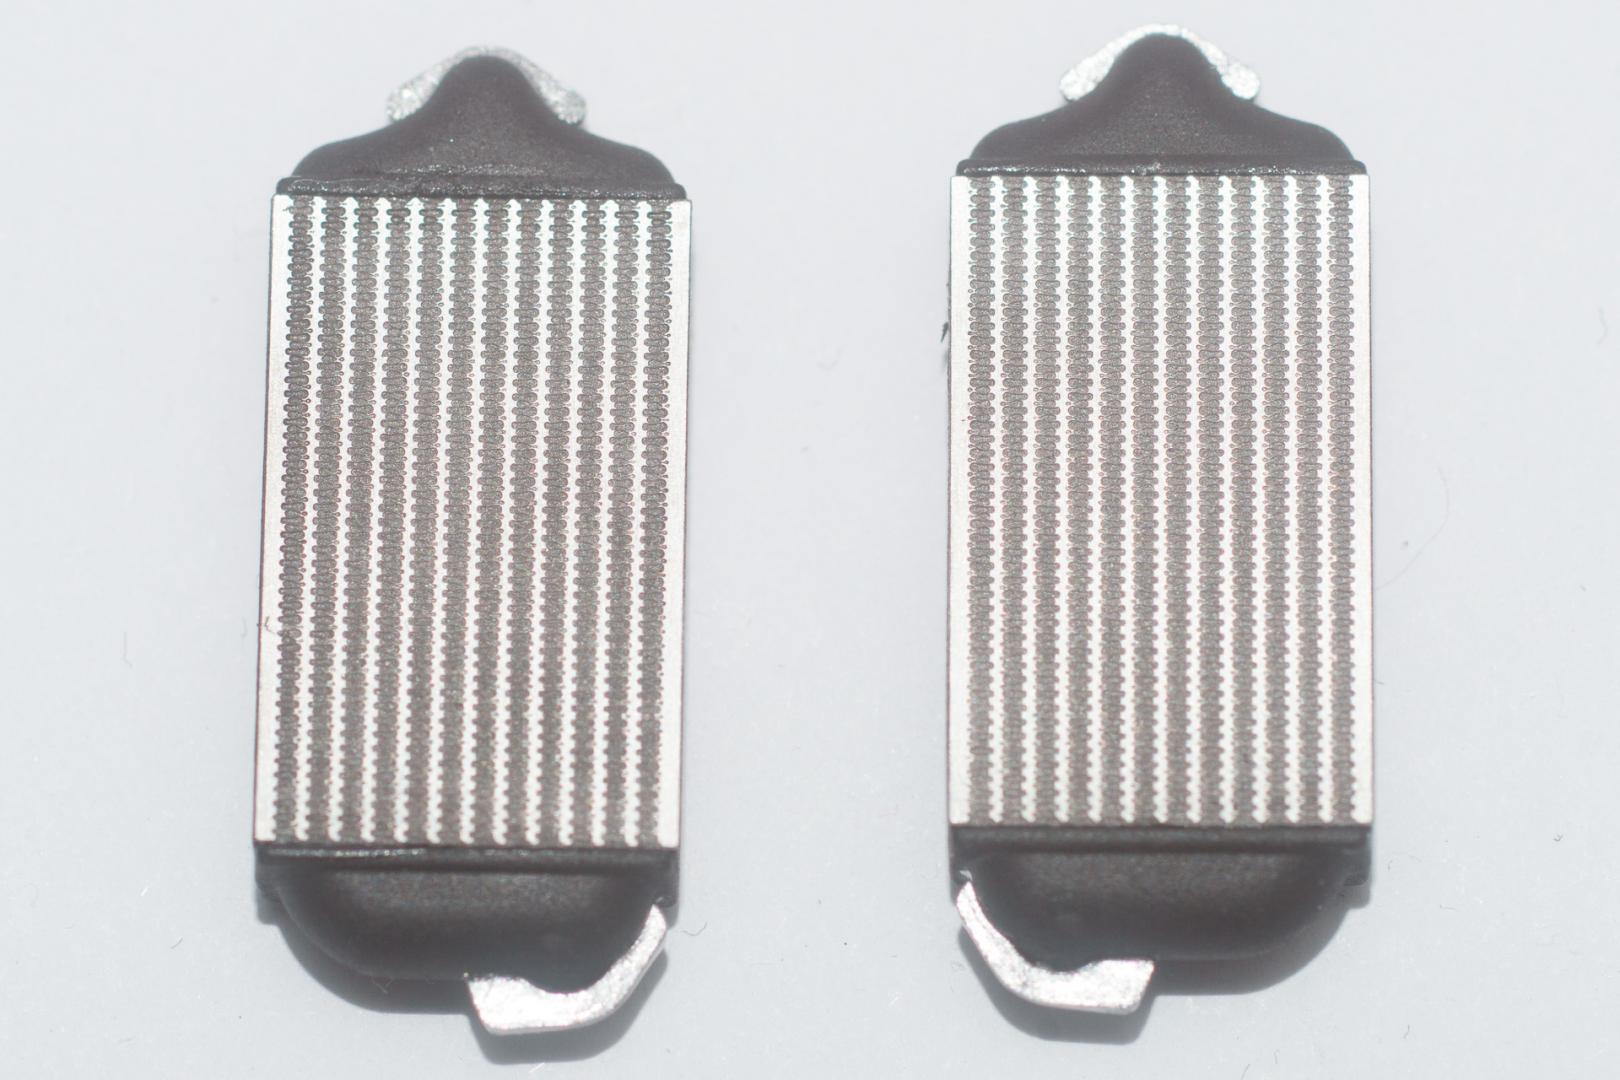
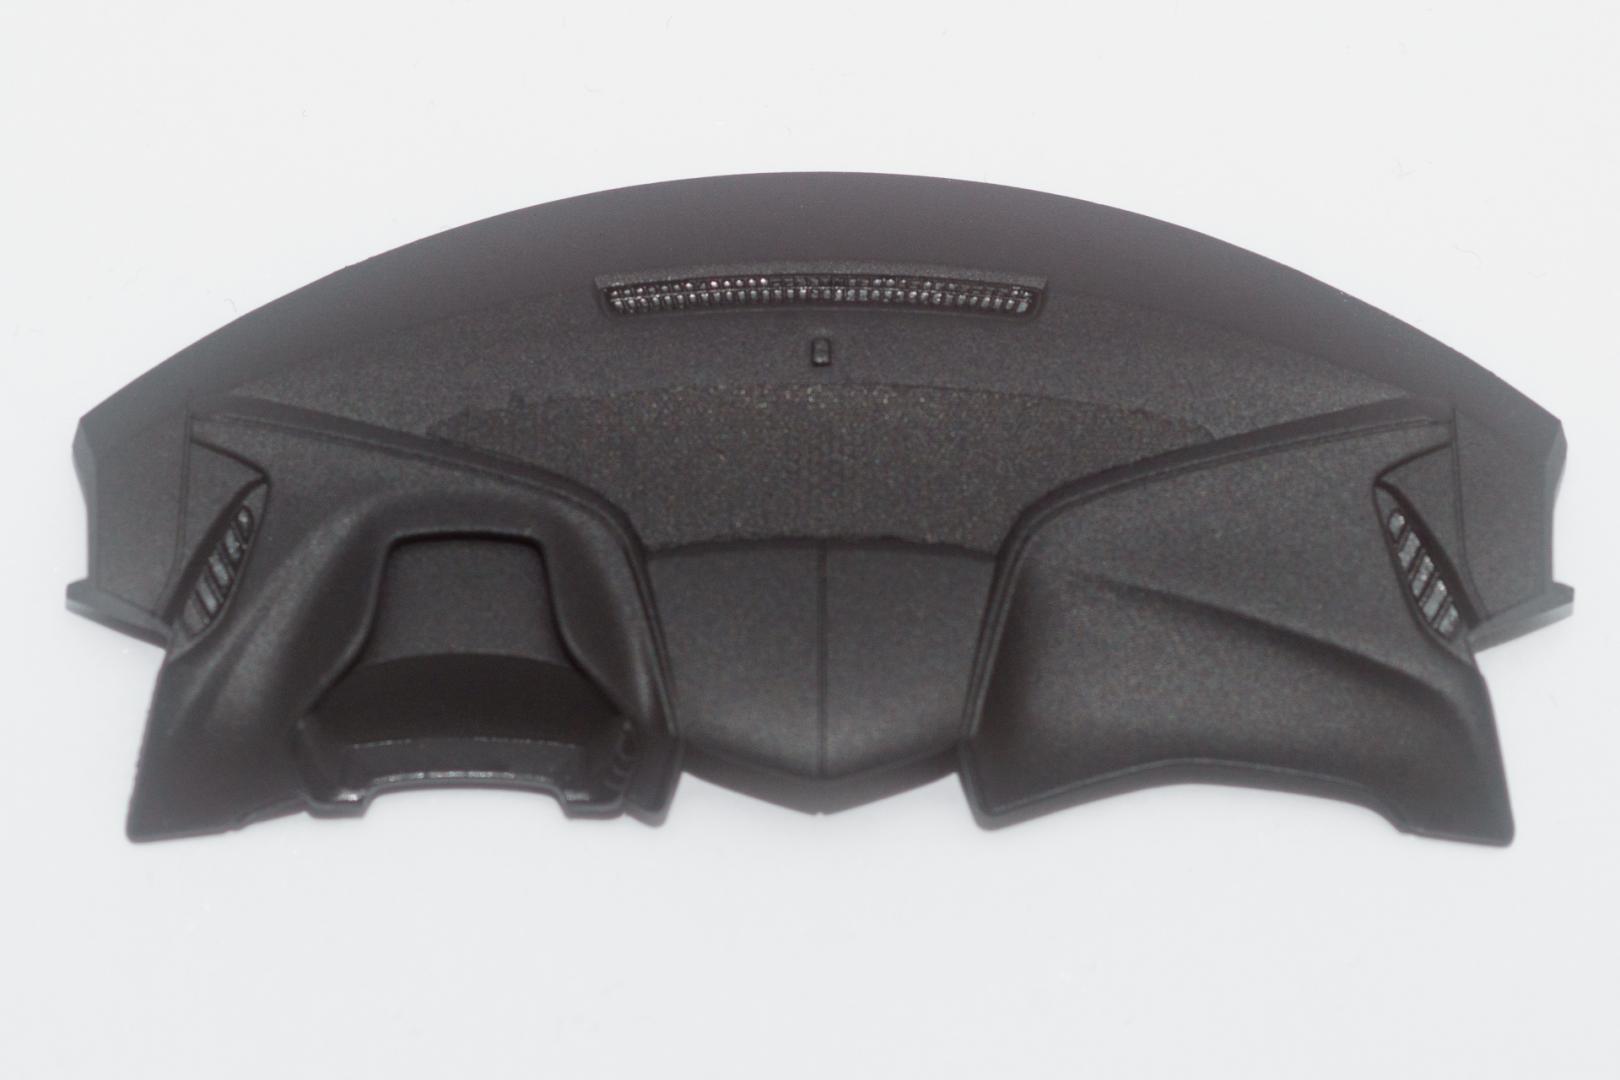
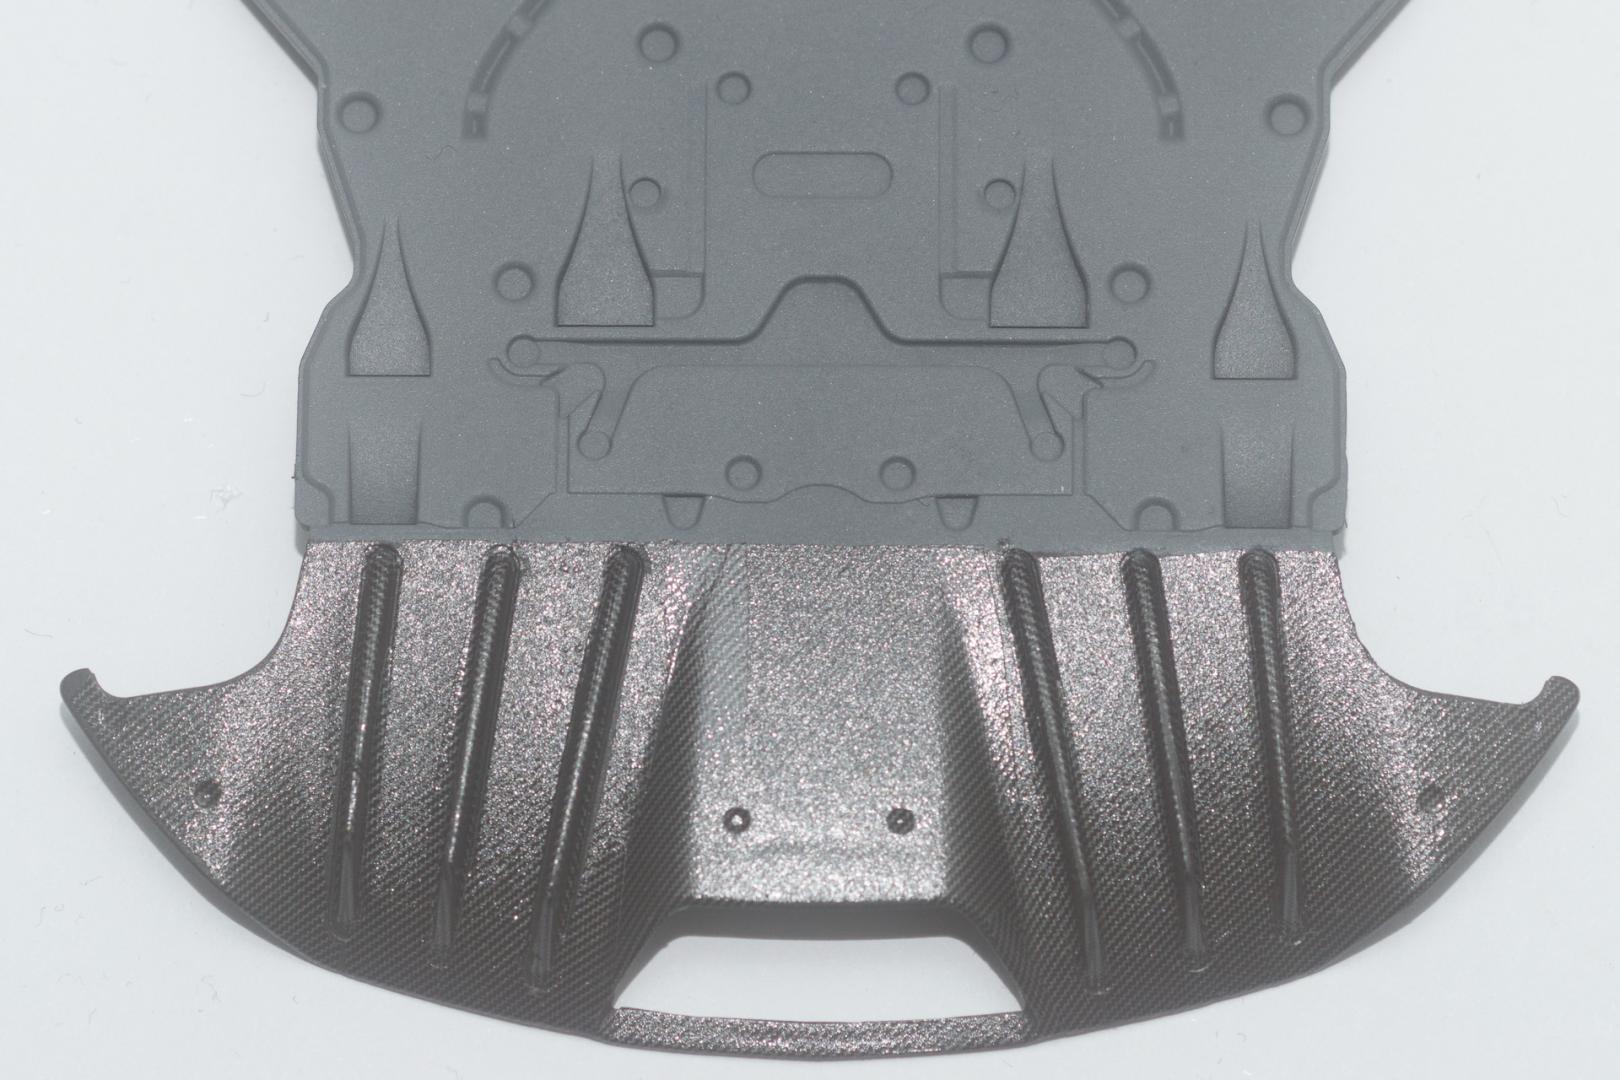
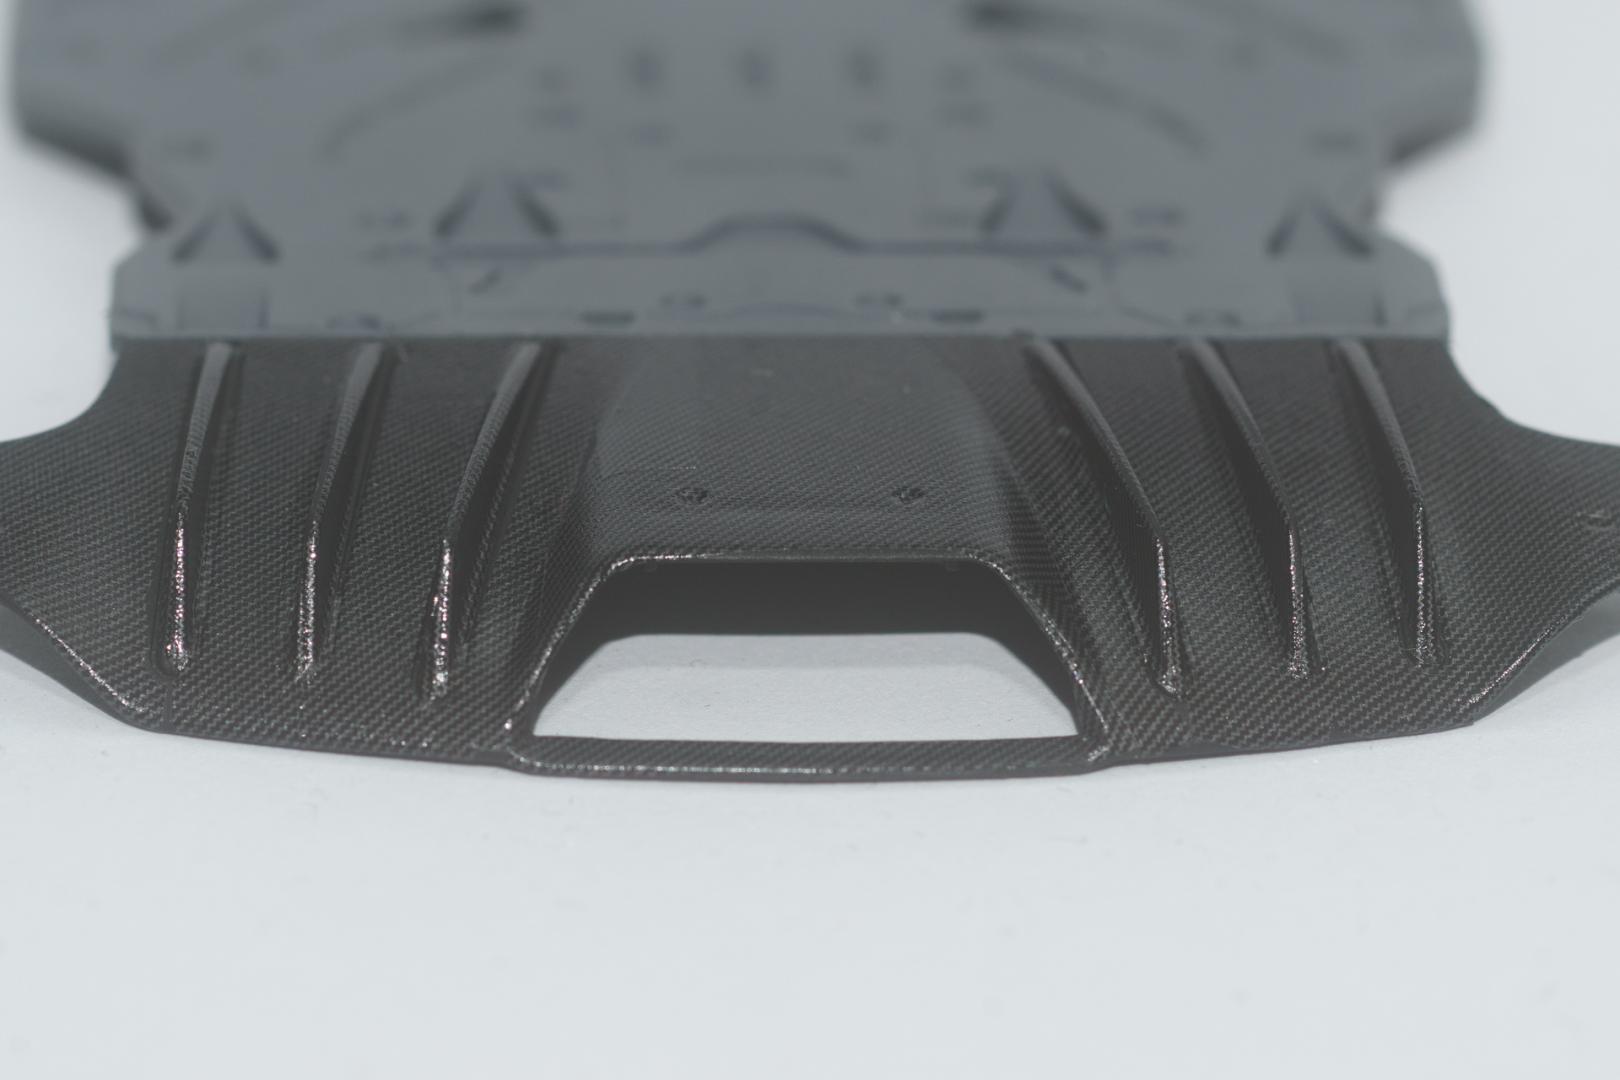
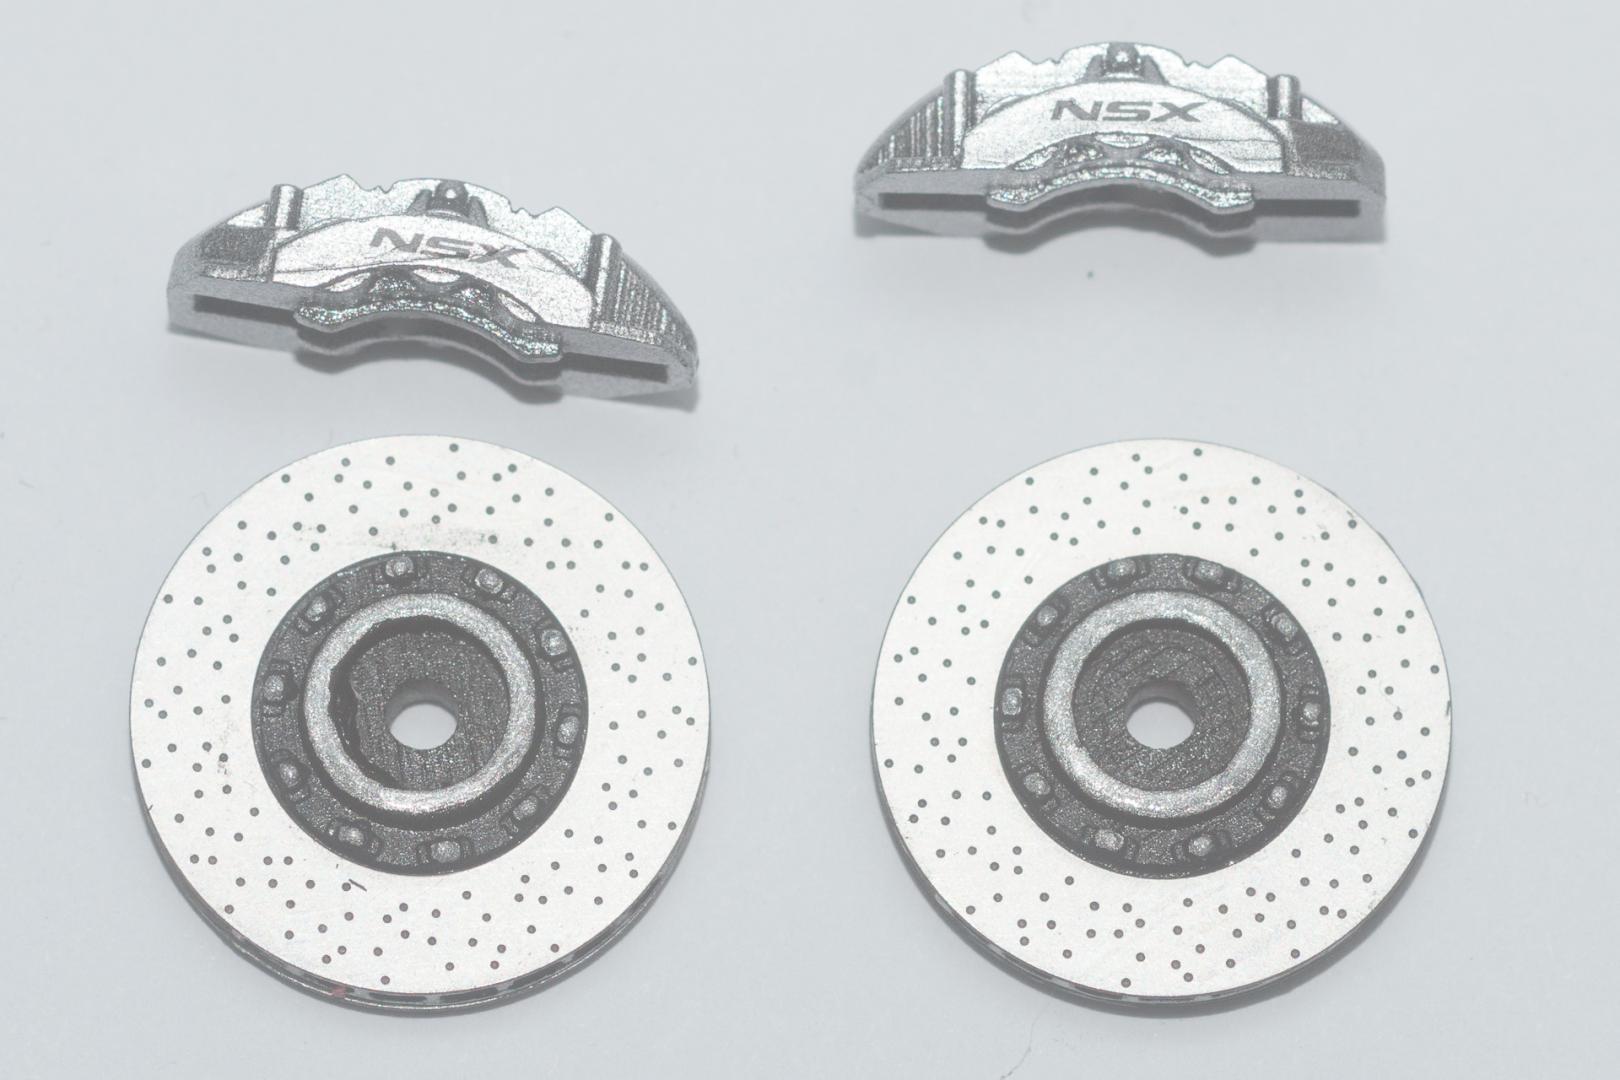
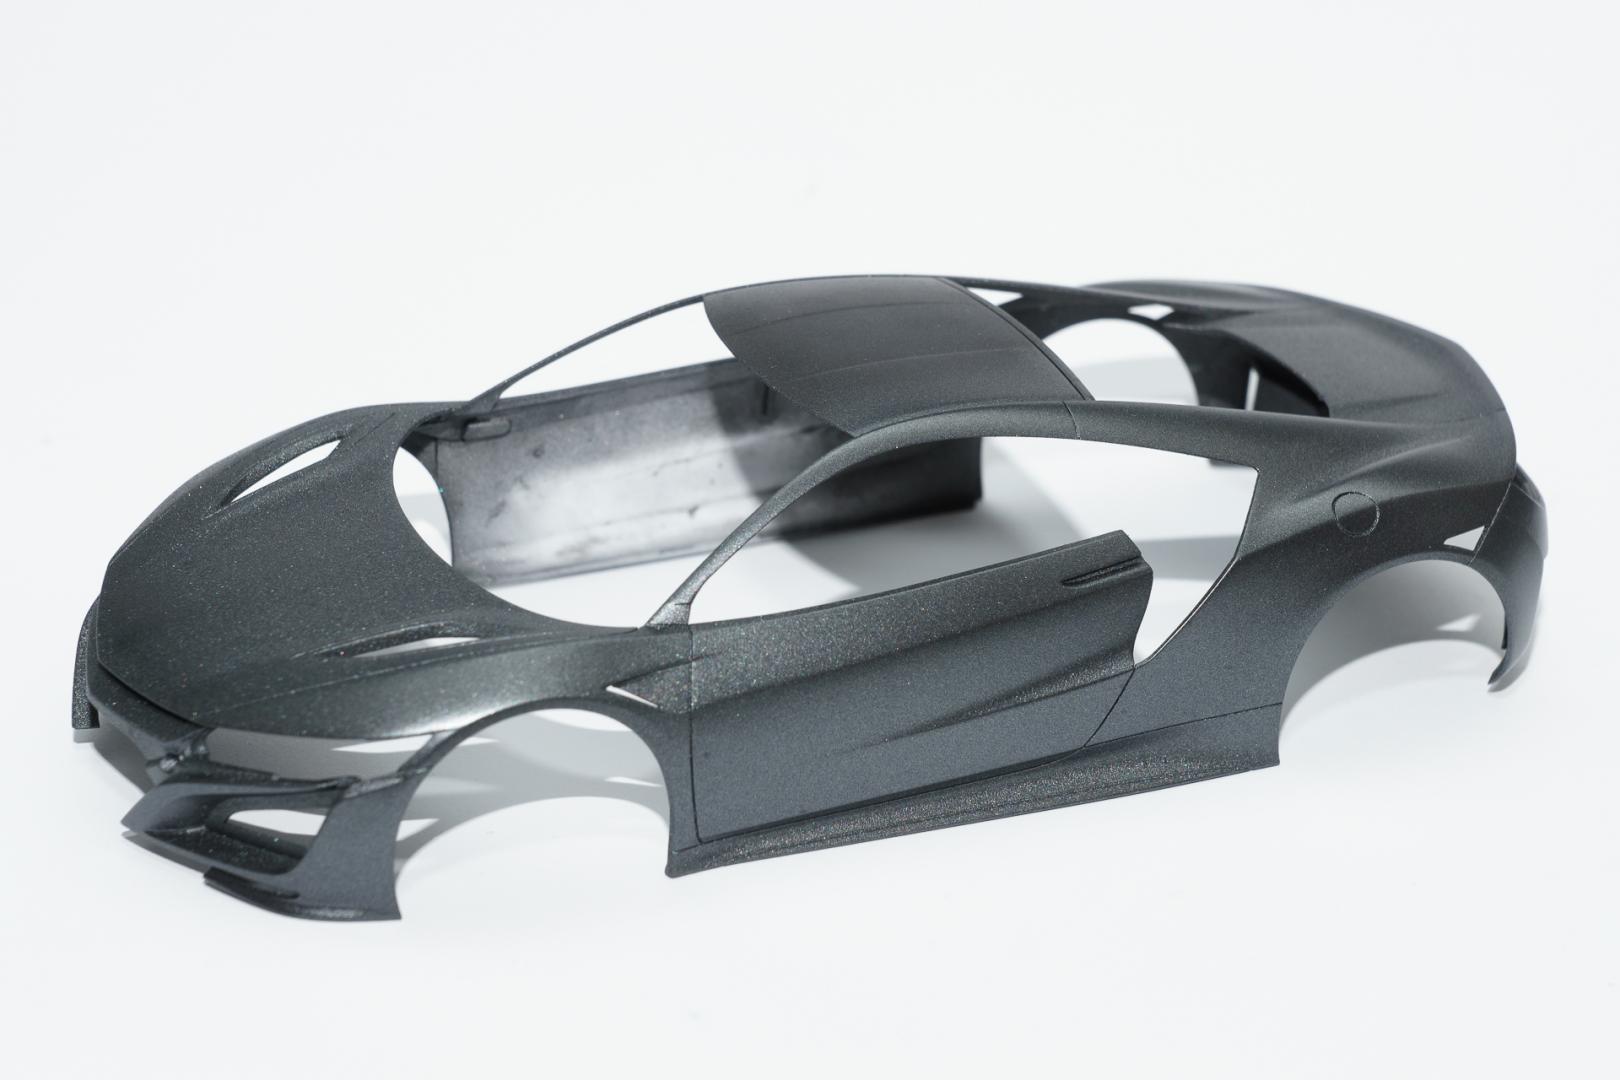
Hi all Finally I received the paints for the interior. But before switching to the progress made on the inside, let me first show you the body. After 16 thin coats of color, I decided to call it done. So I added the carbon decals on the roof and on the sides. Next friday I will apply the clear coat. Now you can sometimes already notice the greenish tint, as you can see in the following picture. Somehow I just got the right angle of light to make it show (the white spots visible here and there ist most likely just dust I didn't remove before taking the picture): Also something already mentioned in my previous post are the front brakes which have been finished and put into place. The intercoolers got their pe parts followed by a light washing. The last carbon decals have been applied to the diffusor. That was definitely not my best carbon job, but as it is on the underside of the car, nobody will ever see it again, so I don't care that much. Some detailing on the dashboard. Today the interior tub has been primed and laquered. Afterwards I tried some flocking. Usually I have several nervous breakdowns when it comes to this point, because I never seem to get it right. But today, for the first time in my modellers life, I am really happy with the outcome When the glue has thorougly dried, I will mist another coat of the interior color. Because the flocking went so well, I thought I could spin the wheel of fortune and try applying some micro ballons on the seats. Somehow this must have been my lucky day That's all for this week. I wish you all a nice weekend with enough time to do what you like most Urs
-
Oh, I won't I'm quite sure, the paint will change after clearcoating. And I like the way it looks, even in case the greenish tint won't show, so I will be happy anyway.
-
Thank you Matt, that seems to be the problem. There was some part of a sentence that the forum-software didn't like for some reason... Best, Urs
-
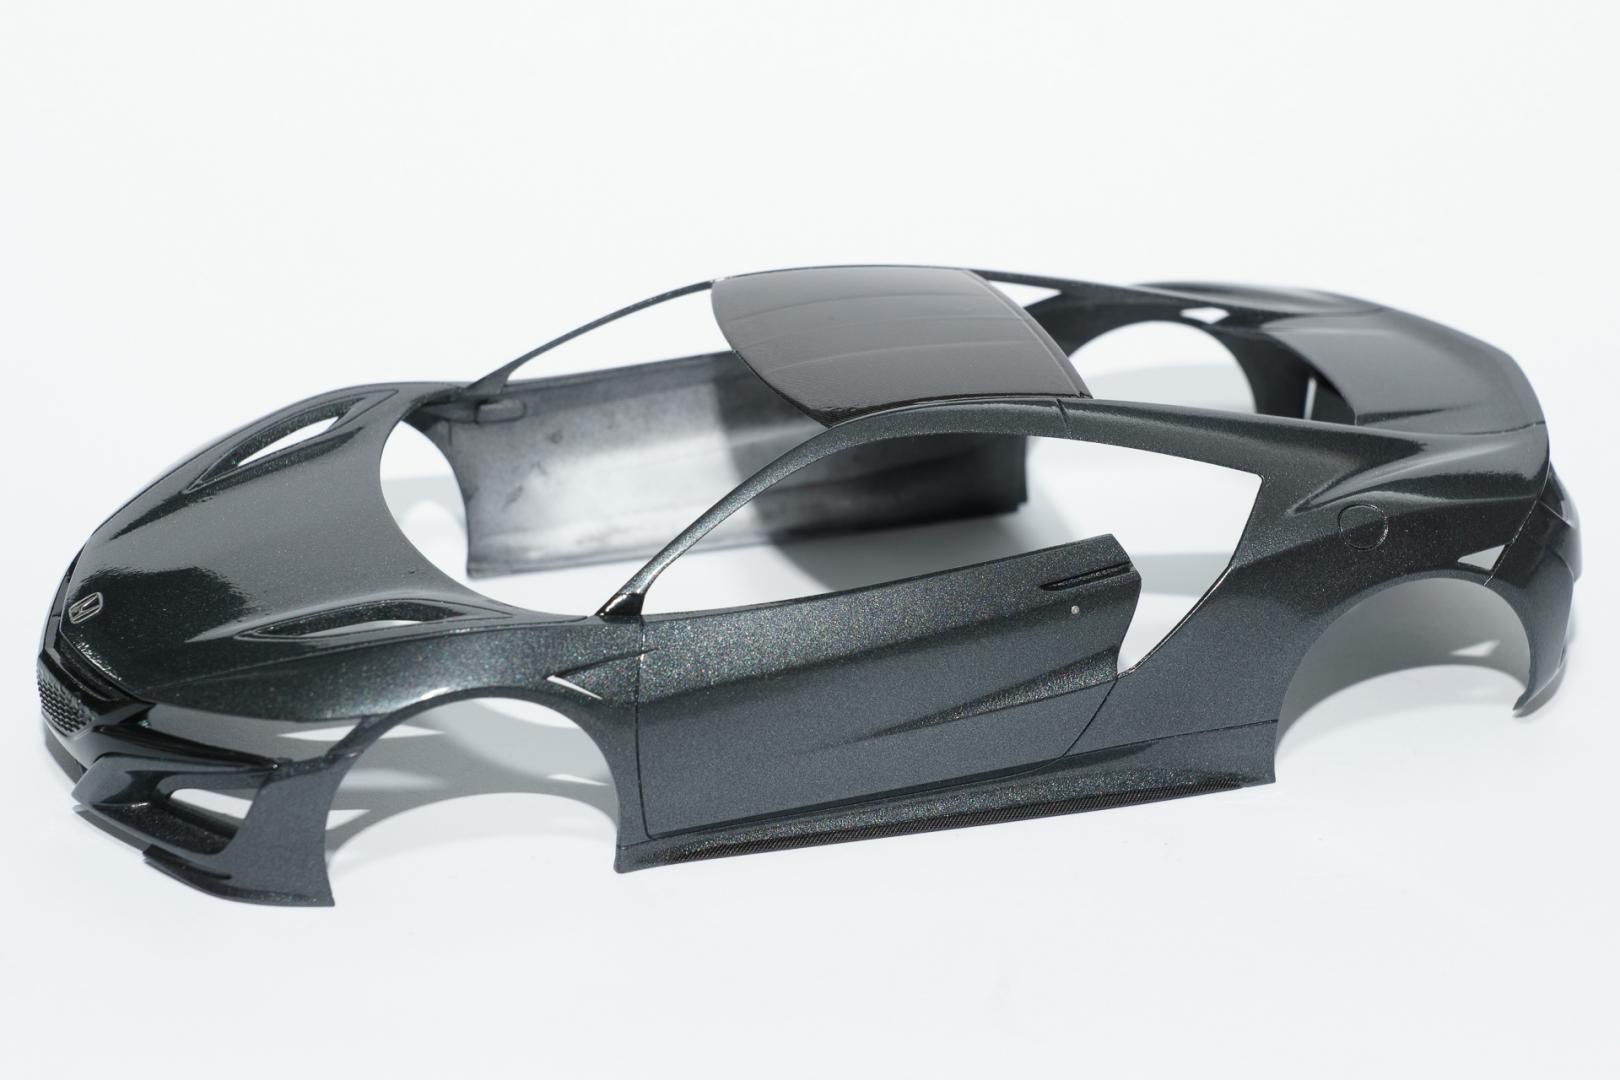
Hi all New posting attempt... Thank you Dann. Looking at your Lambo this means a lot to me Some progress has been made. Although first there were several steps back. After the first few coats of paint I noticed on several spots that I missed sanding the surface to a flat apperance. After sanding there were so many white spots where I came through to the bare plastic, that I decided to remove all paint and start over. The paint is Nord Gray Metallic by Zero Paints. First I was quite disappointed, because on the 1:1 car the paint looks quite green depending on the angle of incidence of the light. Here I only got a dark gray metallic color. But after about 10 thin layers the greenish tint started to show. Currently there are 14 thin coats applied an sometimes you can already see the desired effect. Unfortunately I didn't manage to capture it in my picture. You will just have to believe me Than I repainted the lower part of the dashboard. Some detail painting will still be required though. The diffusor got some carbon decals applied. As you can see it is not yet finished. In the back I will have to make new stencils to cut them out, as the way I planned on doing it didn't work that well in the front part. Finally I took the brakes out of the detail set and put them together. Sadly, the paints for the interior did not yet arrive, so I'm on a halt as most of the things I could do without the interior have been done. But I hope, they will arrive soon, not that I have to search my WIP on page 725 when continuing That's all for the moment. I wish you all a nice weekend. Urs
-
Hmmm... I don't know, what I'm doing wrong. I just wanted to update this WIP and every time I hit the submit button I am redirected to a 404-page saying, the page I was looking for could not be found??
-
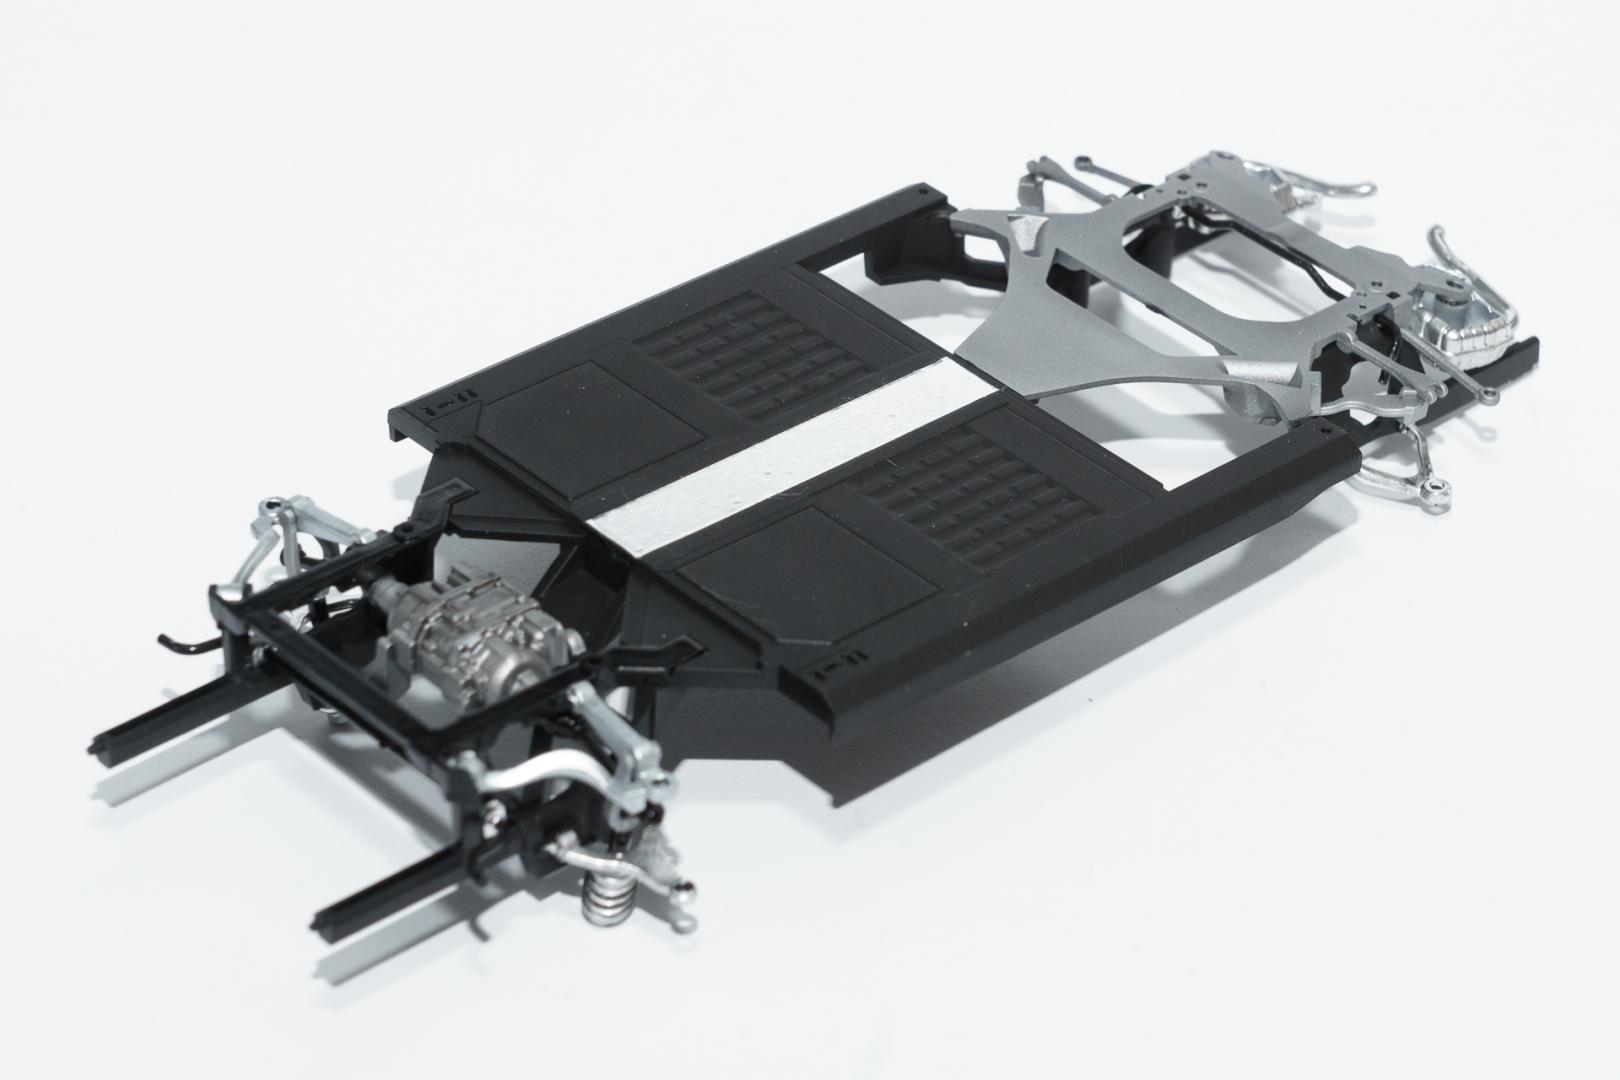
Thank you for your feedback Meanwhile I got some more progress to show. First, I finished the engine as far as I could before mounting it to the frame. Then I finished the underbody(?). The engine has not glued on yet, as it has to be mounted to the interior tub, which I didn't even started with. The stripe on the underside has been made by usual aluminium foil. Than the body parts got their first coats of primer. Here you see the result after three coats of primer and some wetsanding with a 3000 grit sanding sponge. Today I applied another coat of primer on these spots where I managed to sand through. This evening I will start painting it. So much for the moment. Urs
-
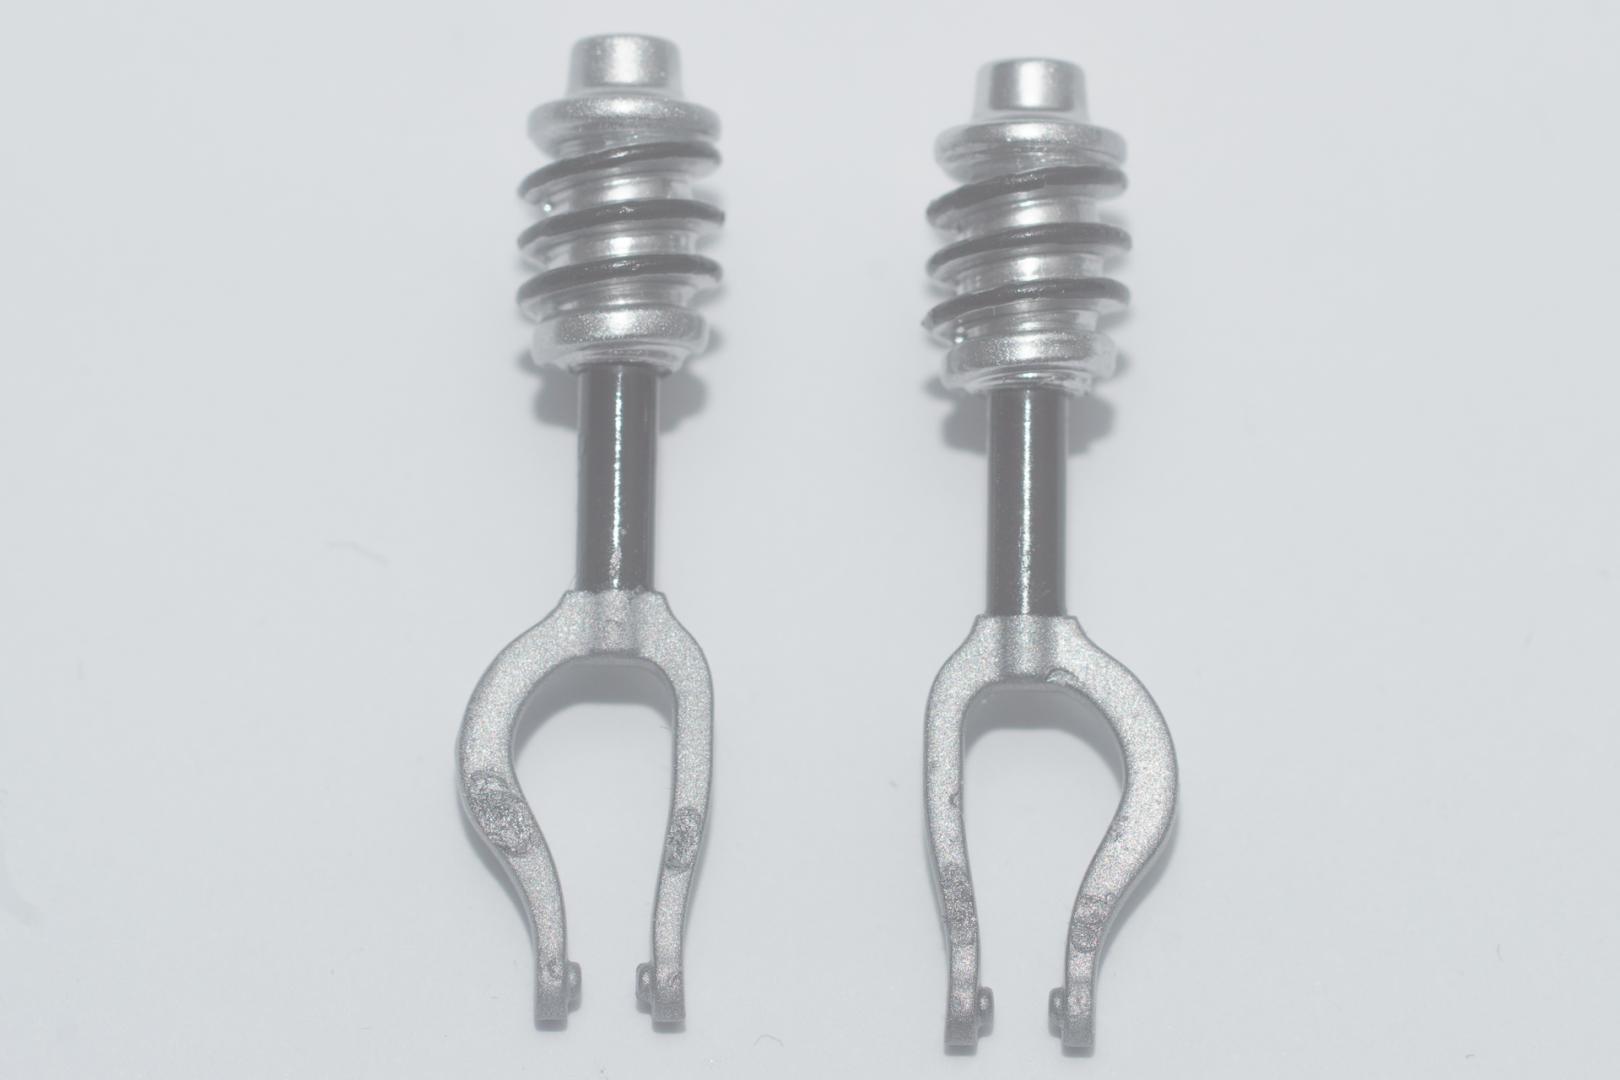
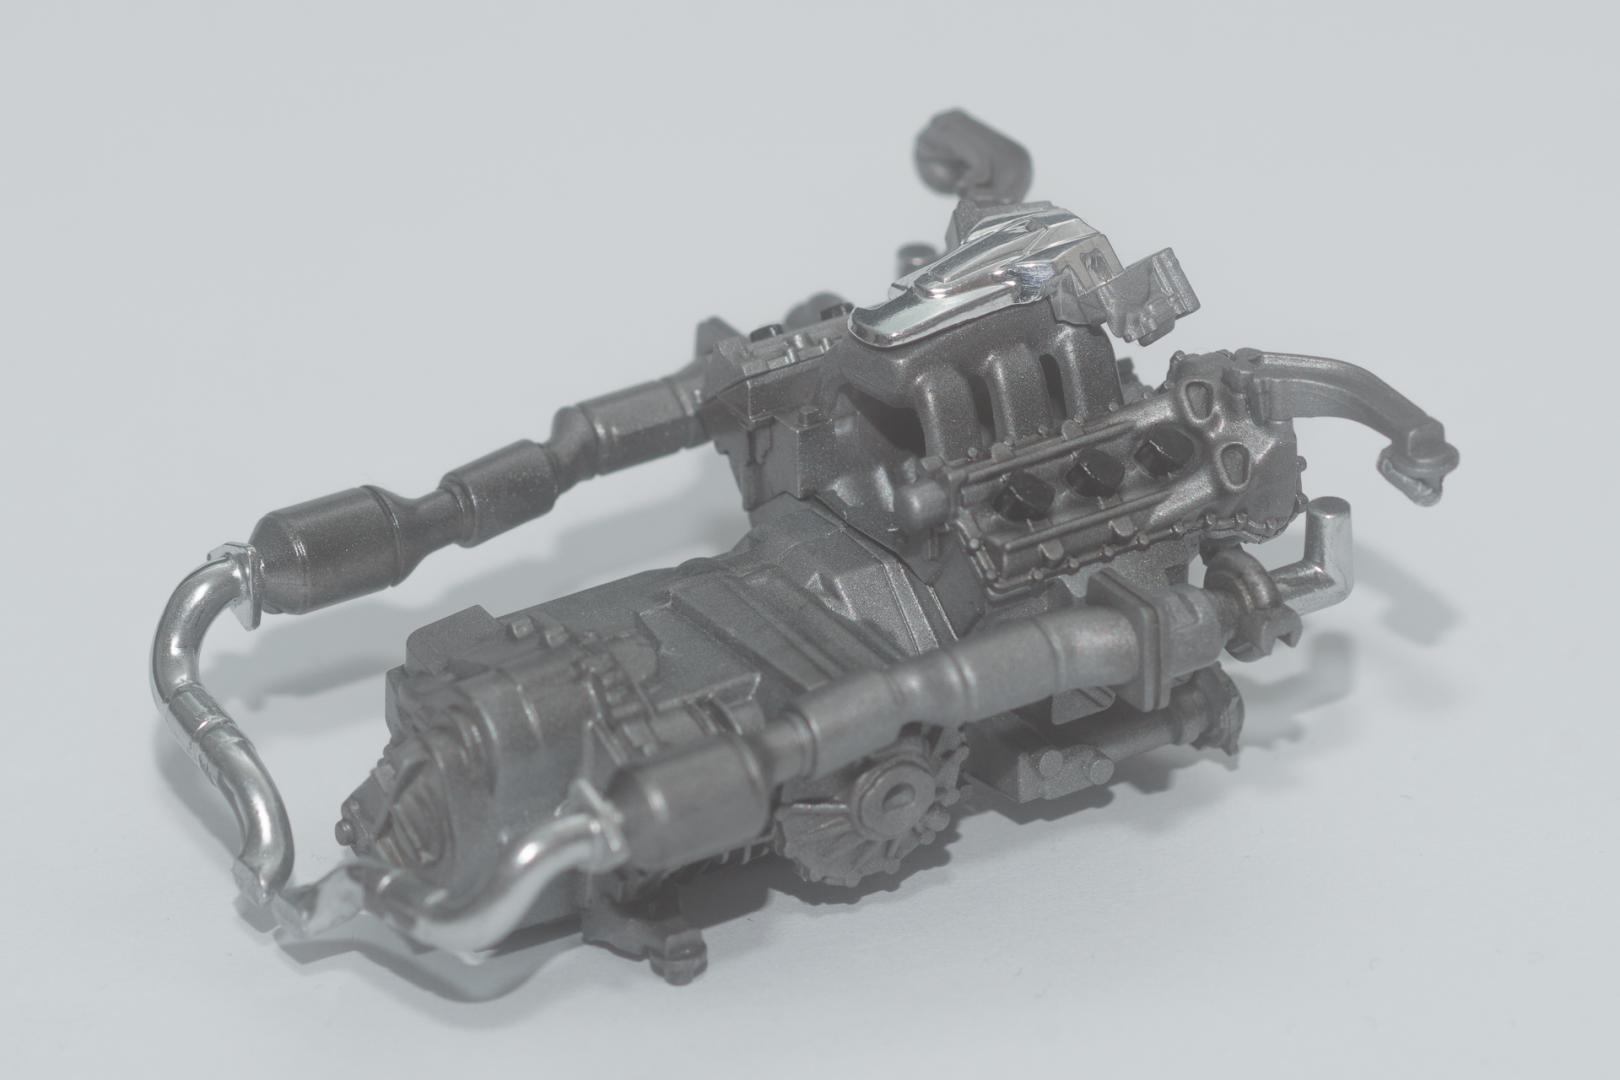
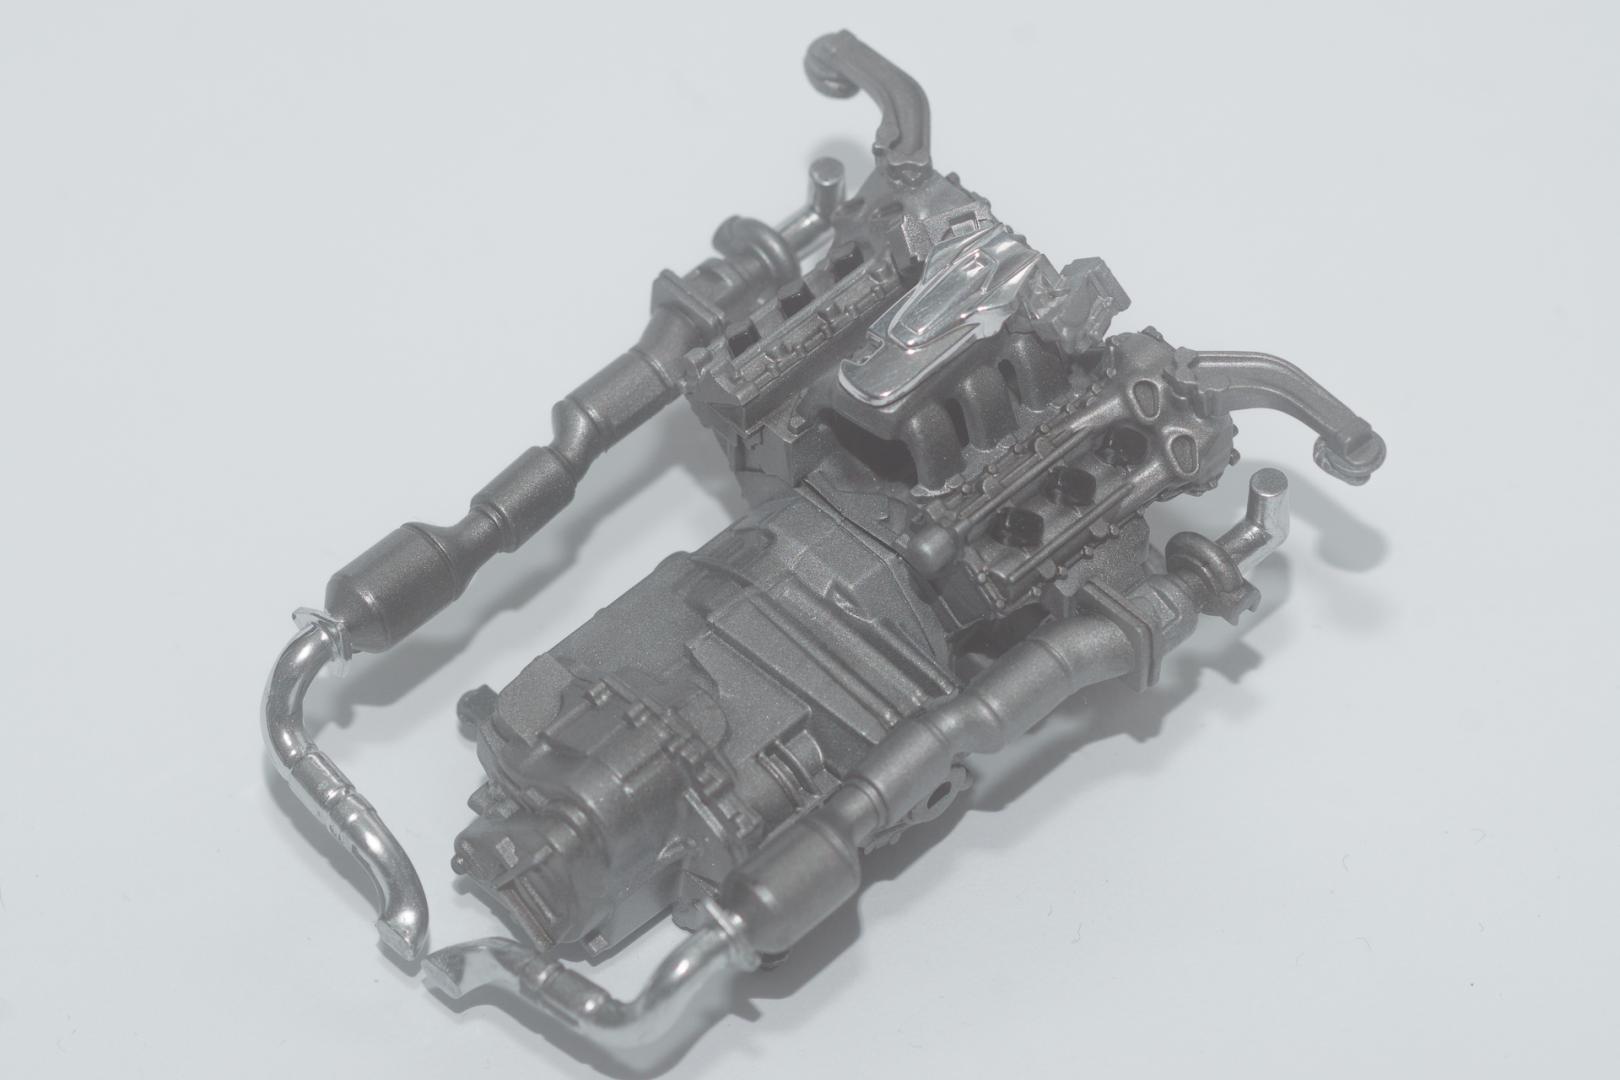
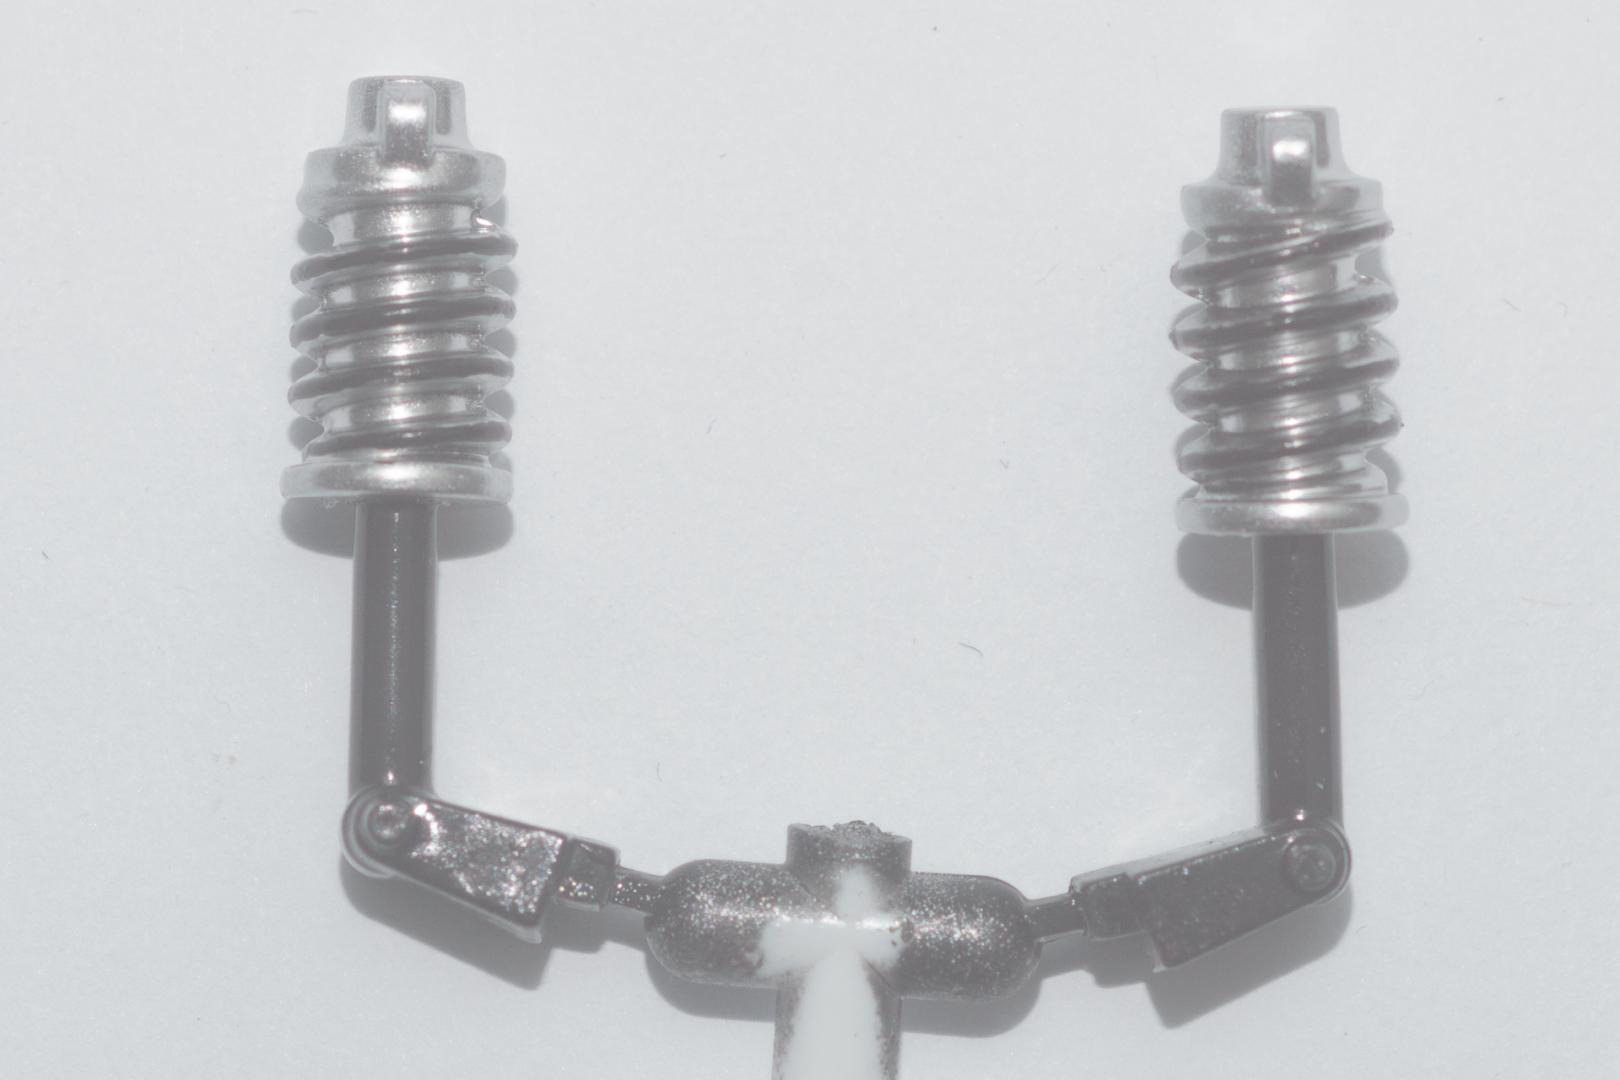
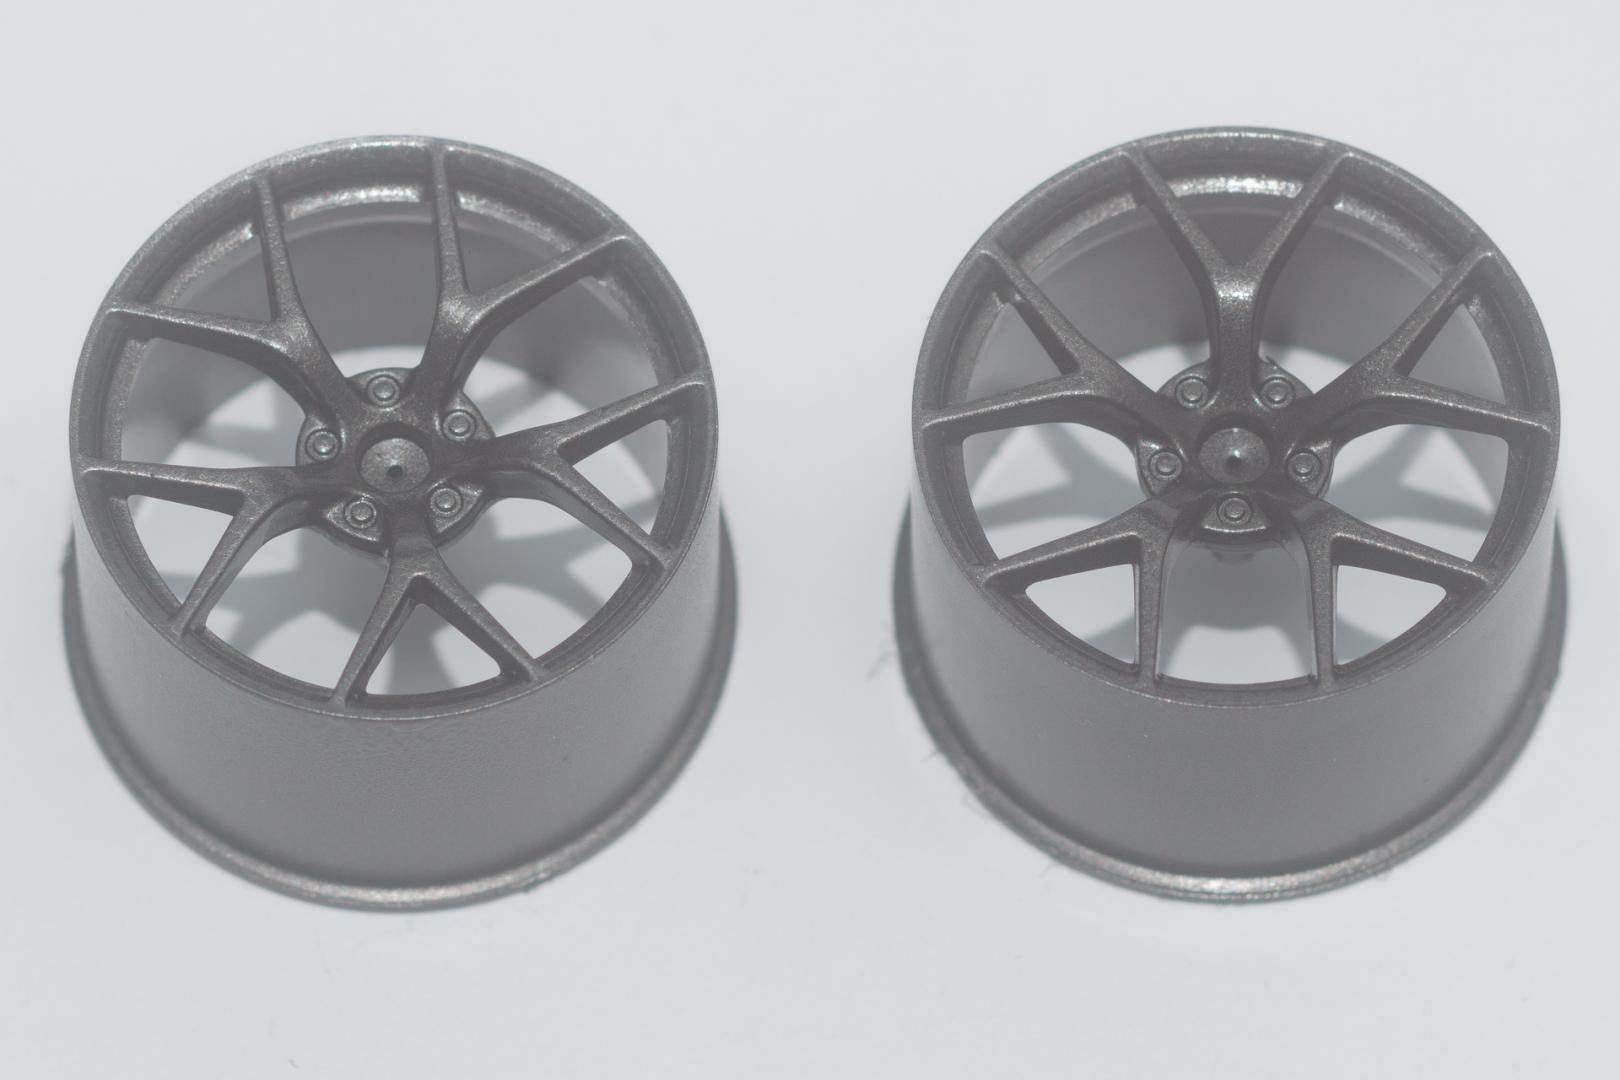
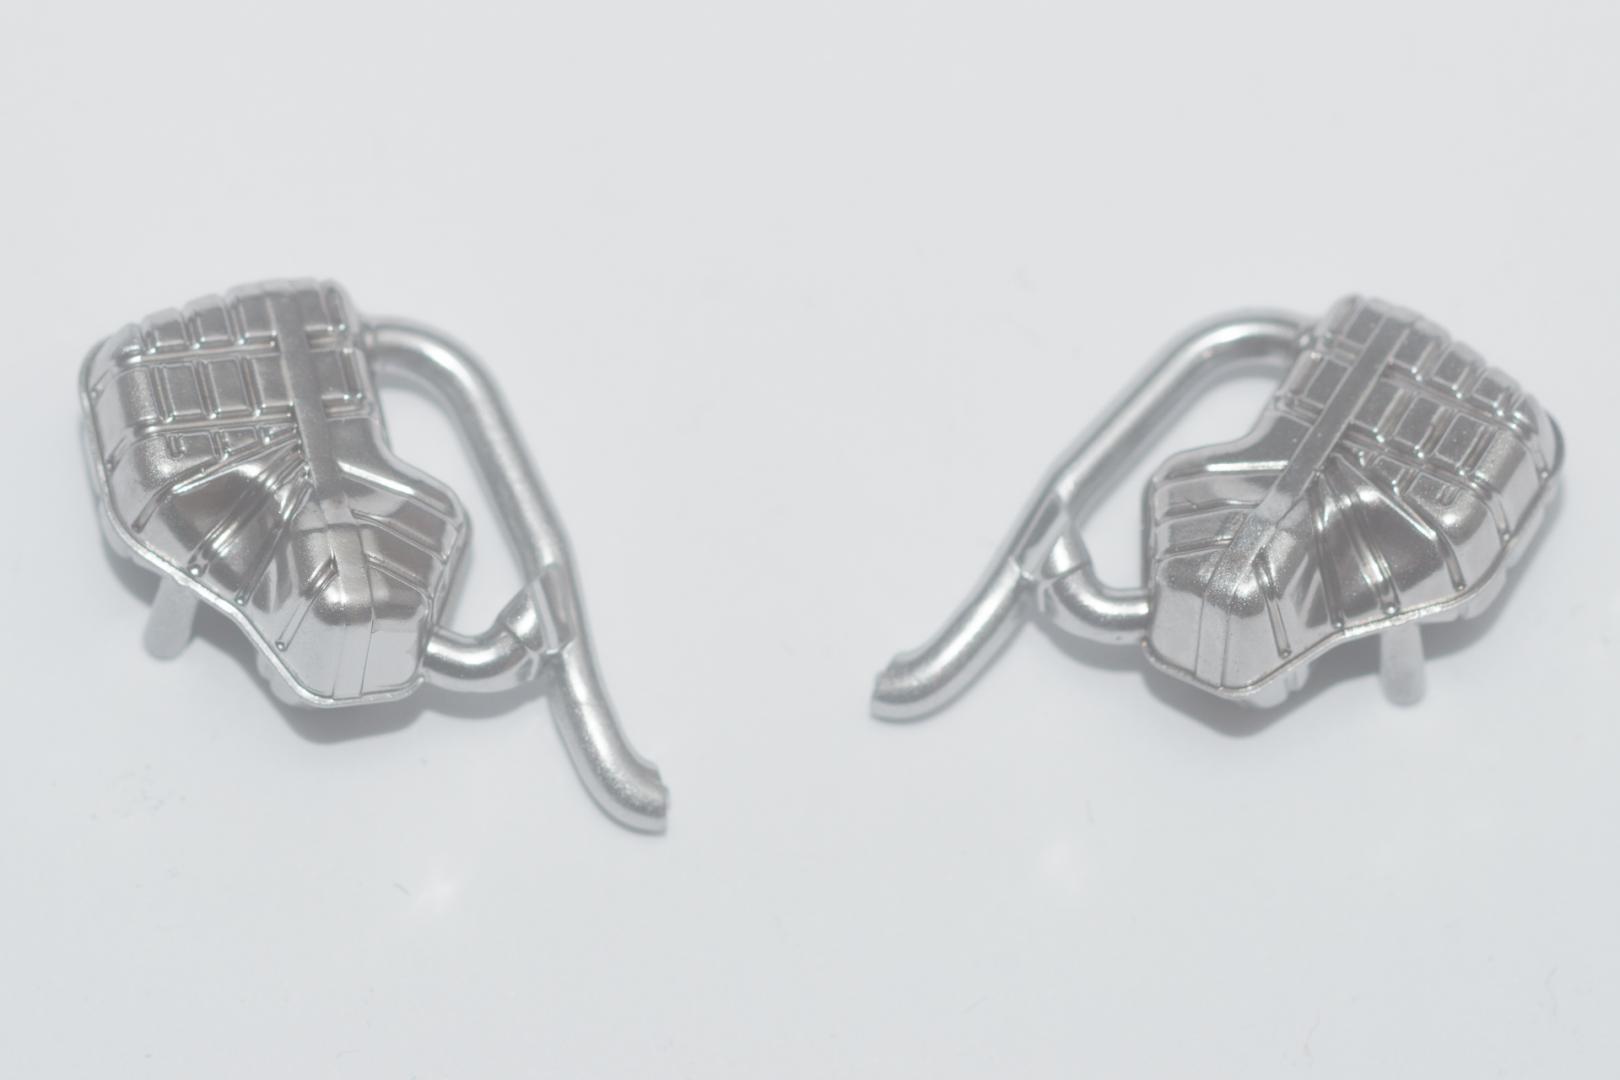
Hello After a long time mostly reading, I decided, it was time for my first WIP here on modelcarsmag. As english is not my native language some things might sound somehow strange or even rude. But stay assured, if something sounds rude, it is in no way meant that way As soon as Tamiya launched it's kit of Honda's 2016 NSX I knew, I wanted it. For a long time it sat on my shelf waiting for its build and finally I picked it out. The kit will be completed by HobbyDesign's detail up set. As I am still waiting for some paints I ordered, I decided to start with all the things I already could do, so don't wonder if the progress does not match with the order of the steps in Tamiya's building instructions. First I started with the shock struts. The front ones I will have to redo in the aluminium colored part as there was a mishap when holding them to get the chrome paint on. The engine has been assembled and painted in dull aluminium. The valve covers and the chromy thing on top are not glued on yet. The rims have been painted in gunmetal gray. I'm not absoluteley sure, whether they will stay like this. This will depend on the final color of the body. I won't tell you yet the exact color, but I think not all of you will like it Some parts of the exhaust system have been airbrushed with Molotow's Liquid Chrome and sealed with Alclad's Aqua Gloss before getting a light wash. That's all for the moment. I hope to have piqued your interest. Urs
-
Thank you all for your kind replies
-
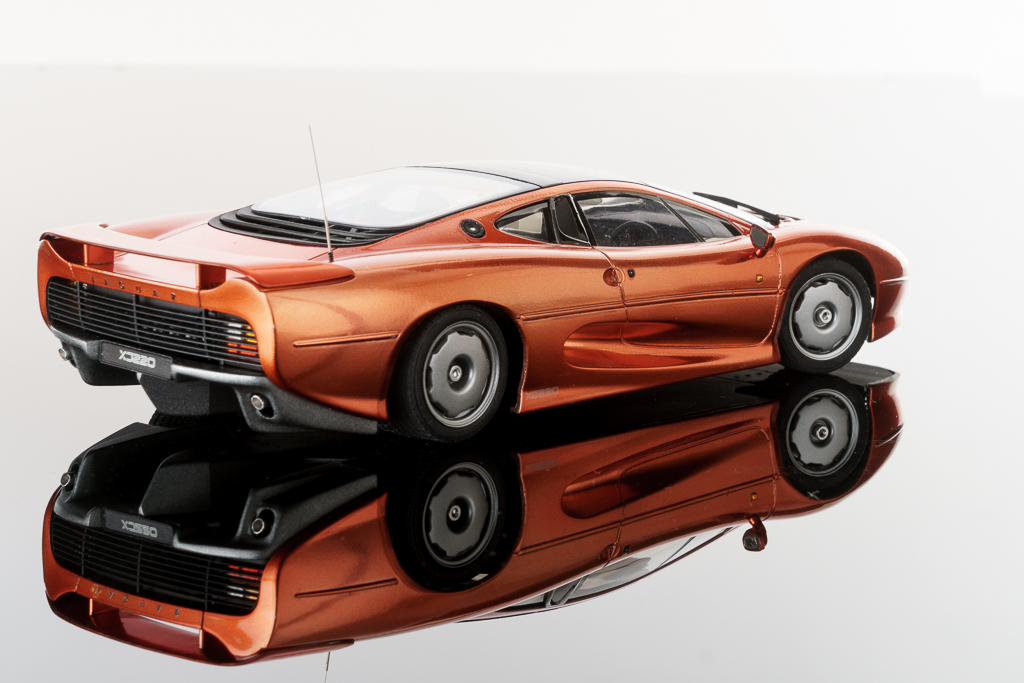
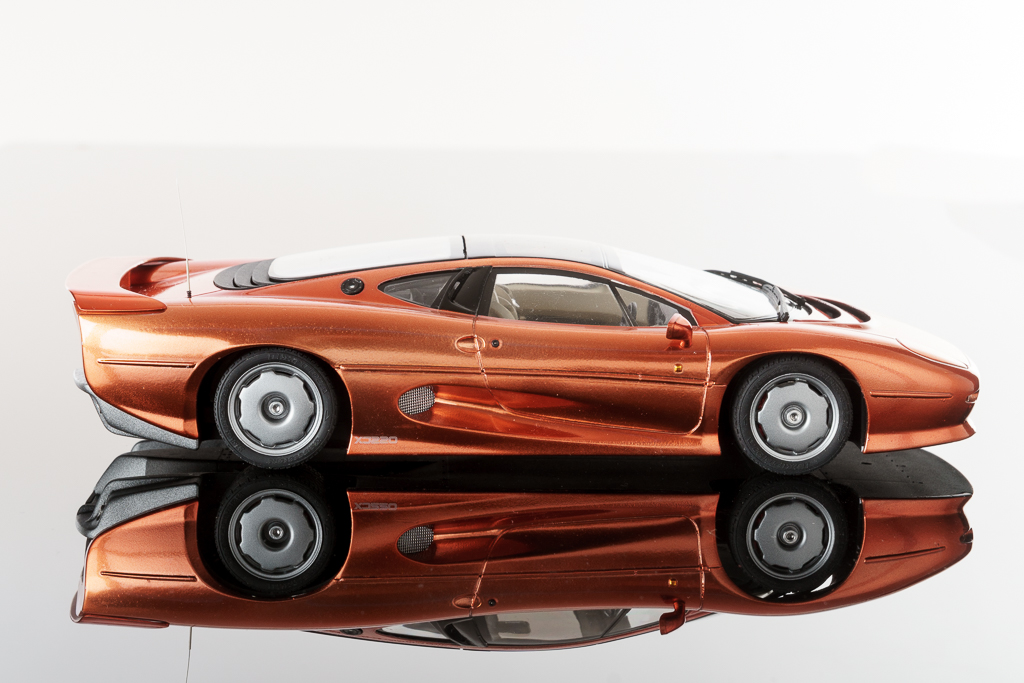
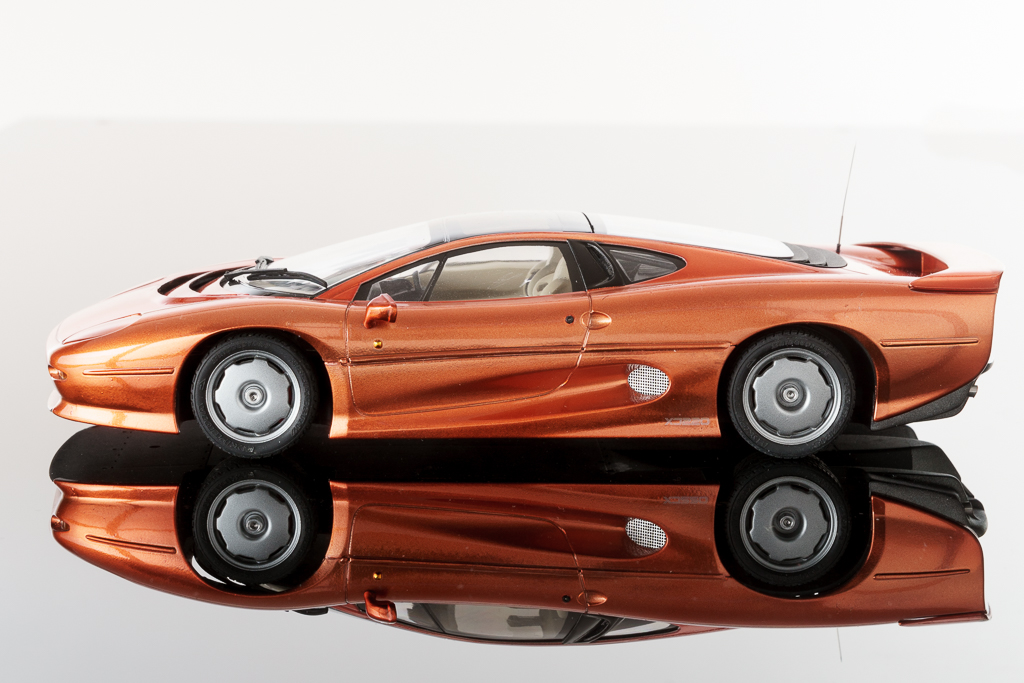
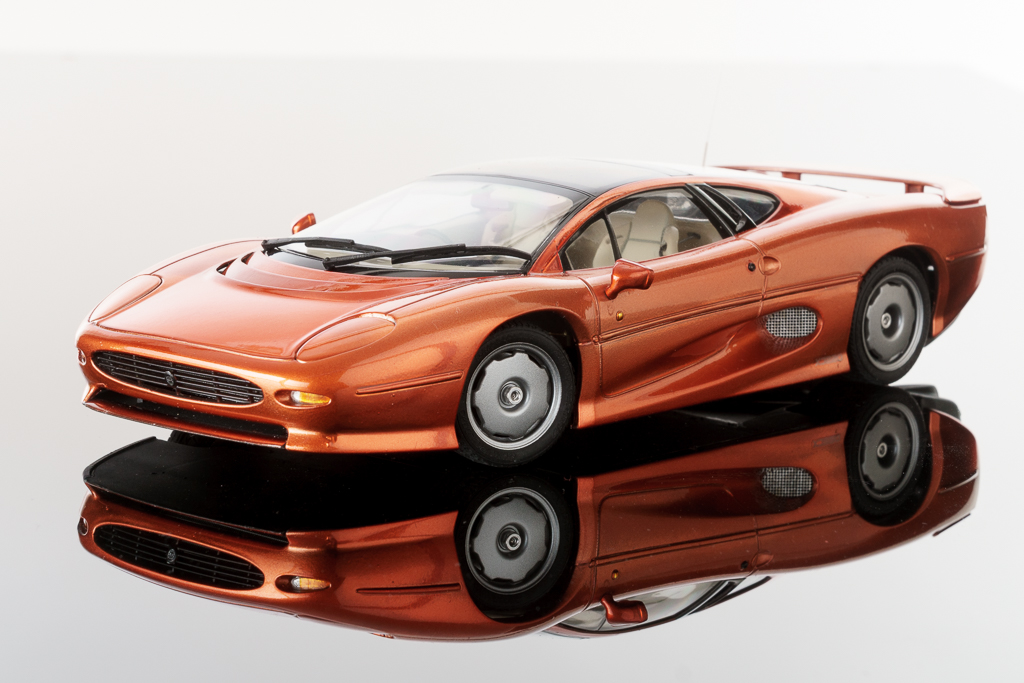
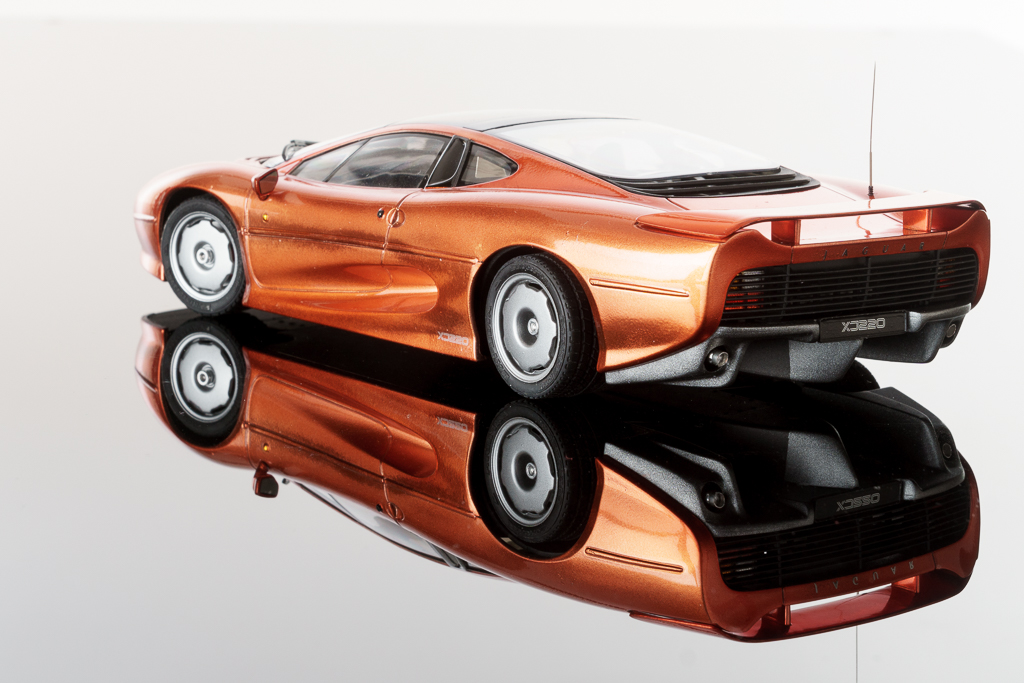
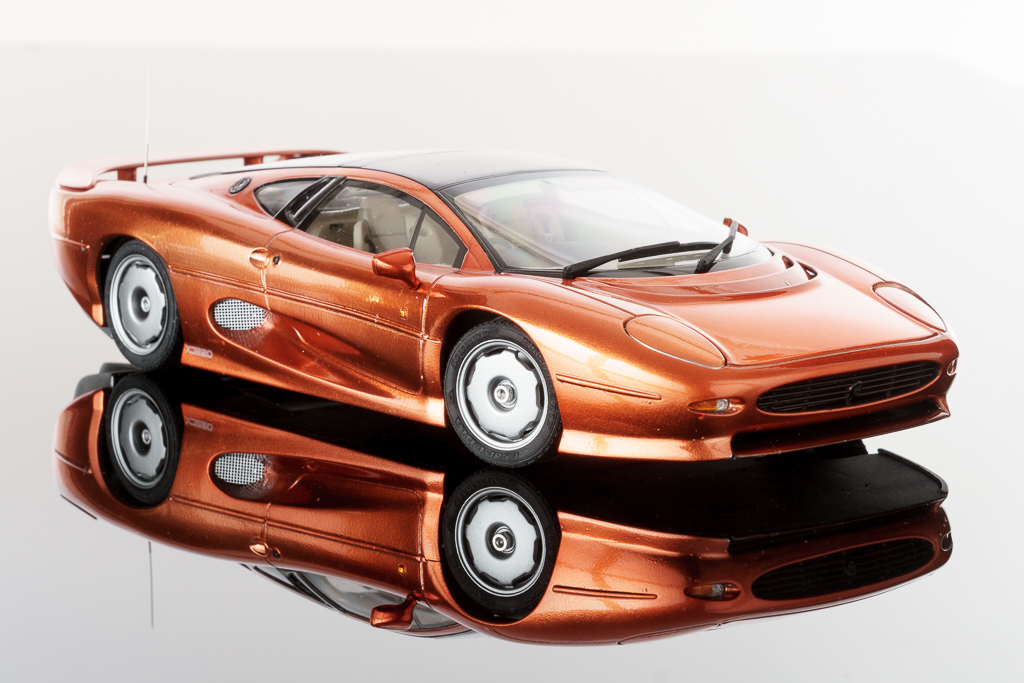
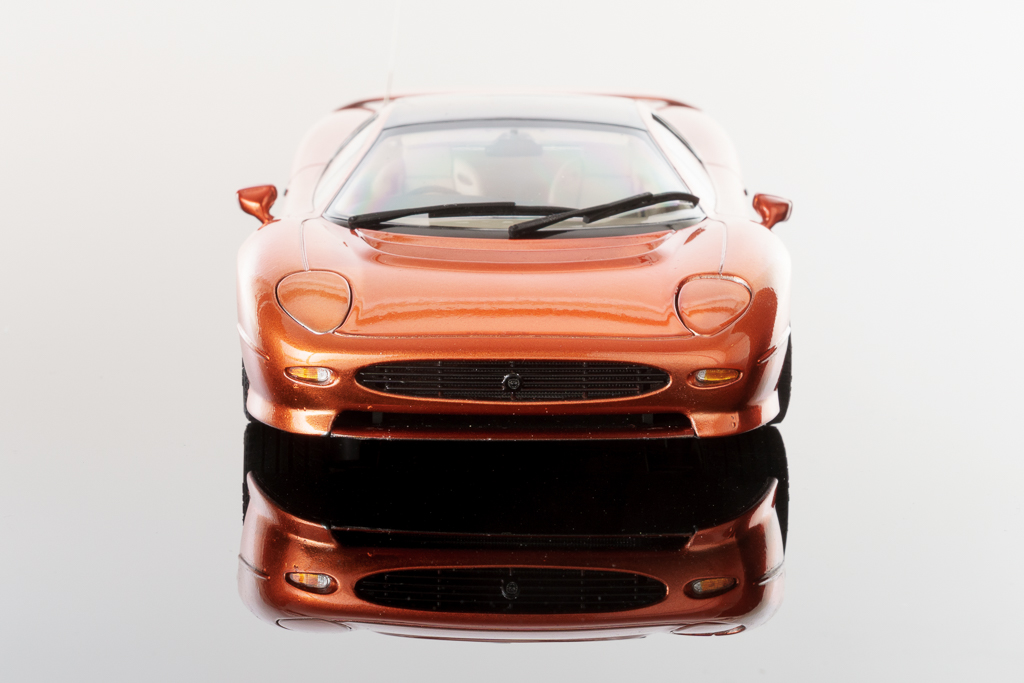
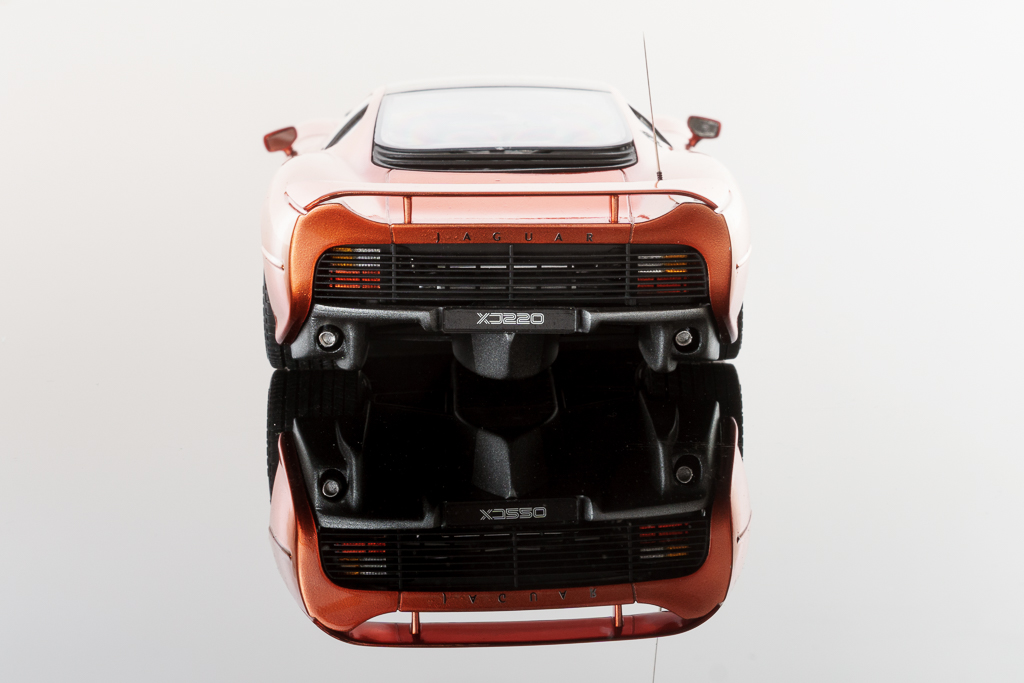
Hi everybody Here are the pics of my Jaguar XJ 220 I finished last automn. It was the Tamiya kit which was just pure fun to build. Urs
-
Tank you all for your kind comments Soon I'll show some other cars I took to the studio the same day
-
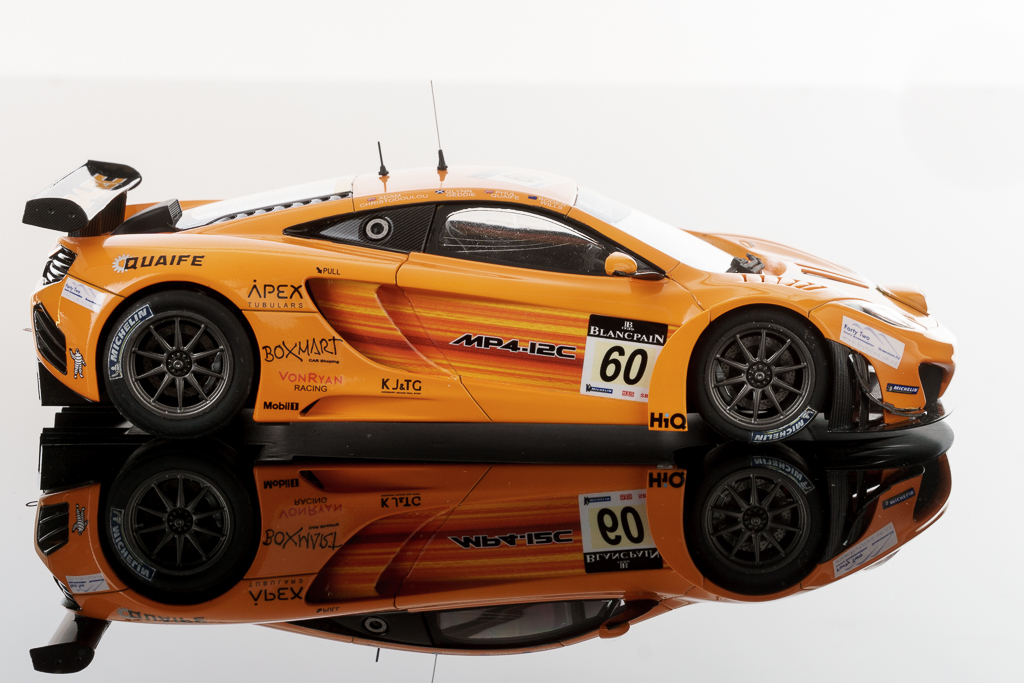
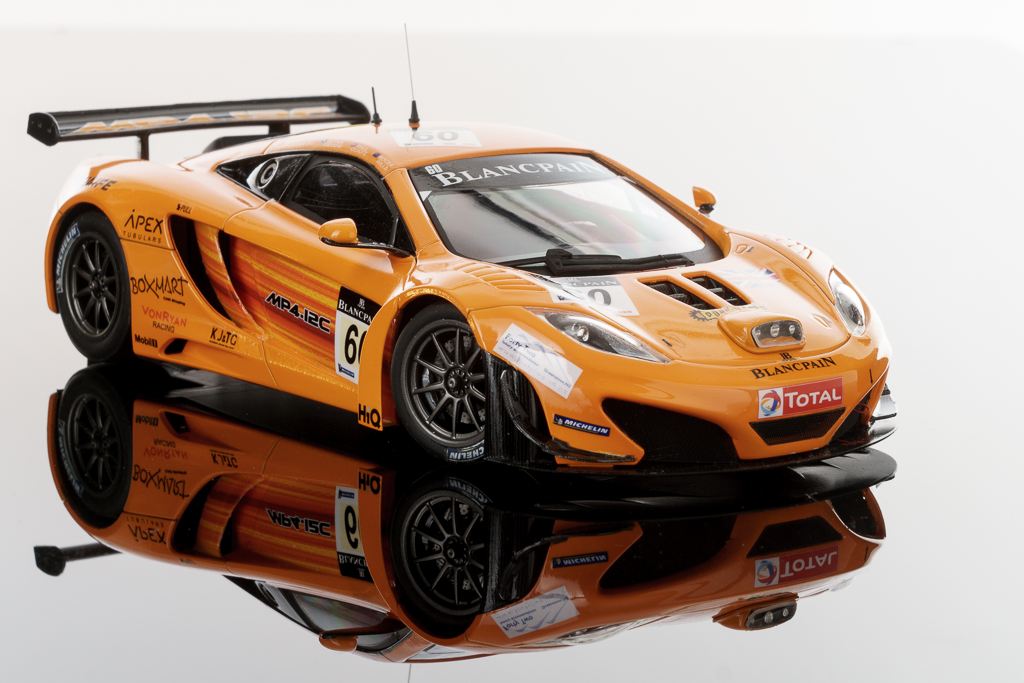
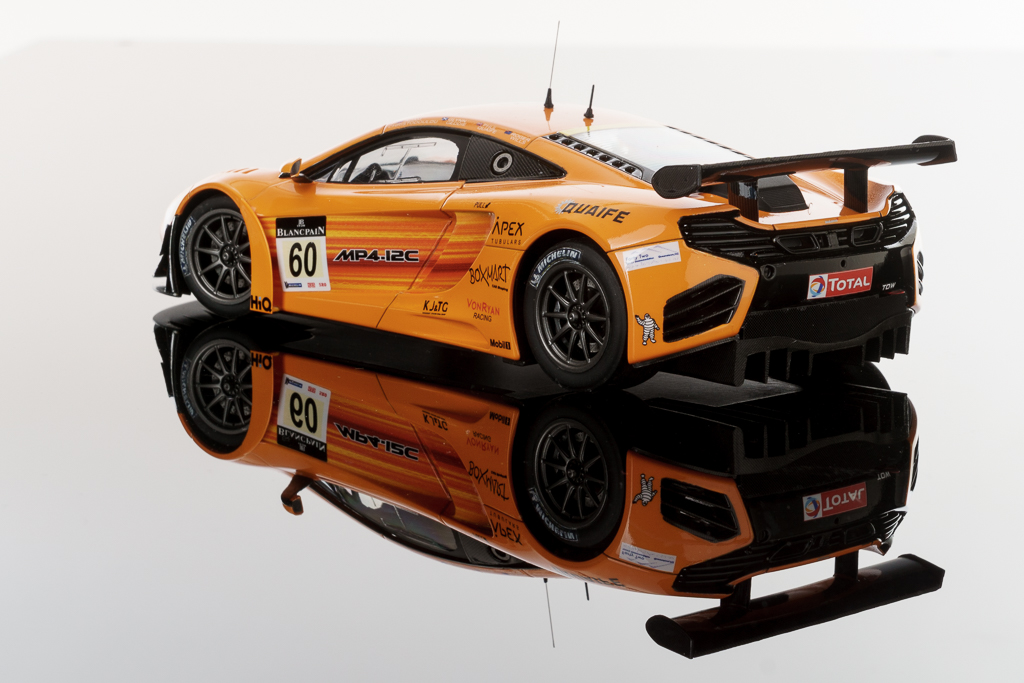
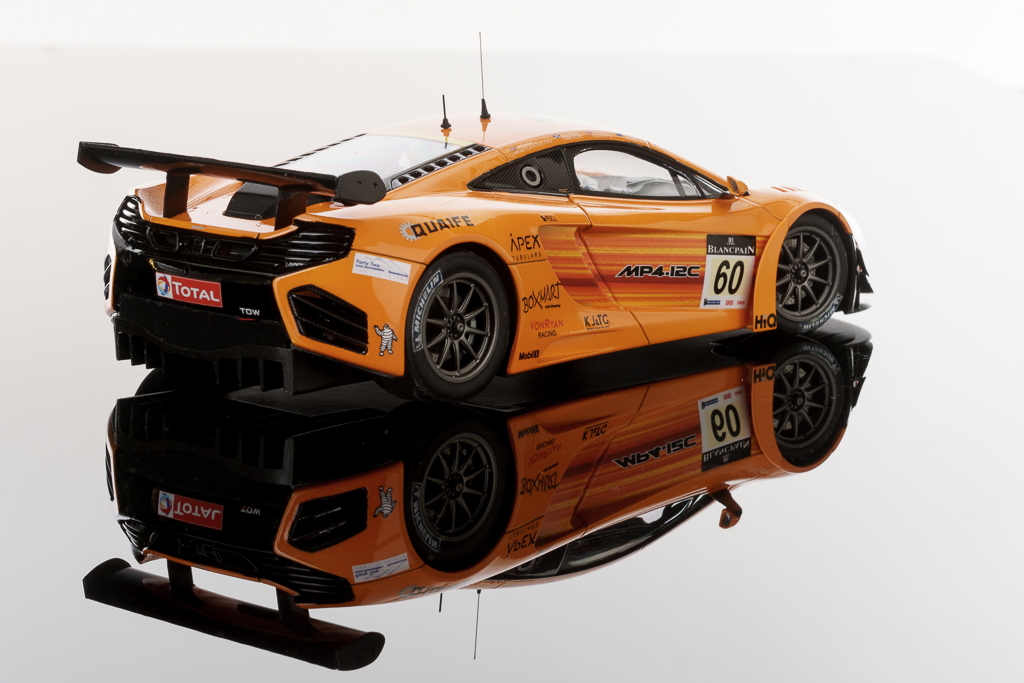
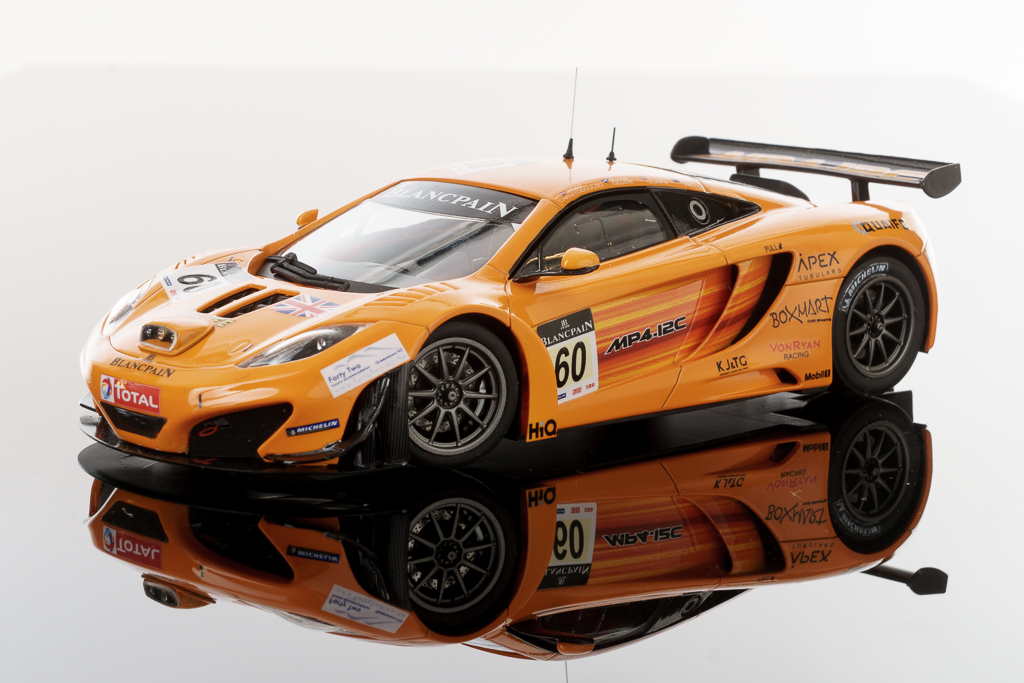
Hello I just noticed it's a long time I last posted something here... Let me show you my latest build. After having built several "normal" cars, this was my first racing car. Some parts were quite fiddly and the racing seat didn't fit inside the rolling cage, so I used the seat from the street version instead. Cheers, Urs
-
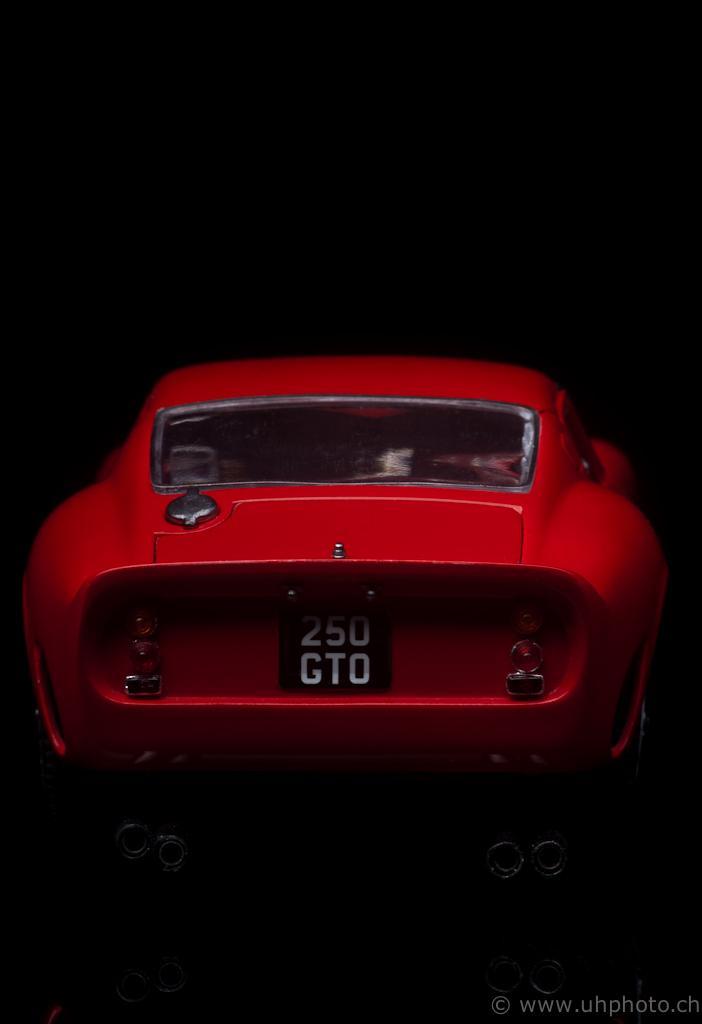
Hello everybody Thank you for your replies. I'm glad you like my GTO Yes, I have found some from the WIP I made. (For those who are interested, you can find one here in german).
-
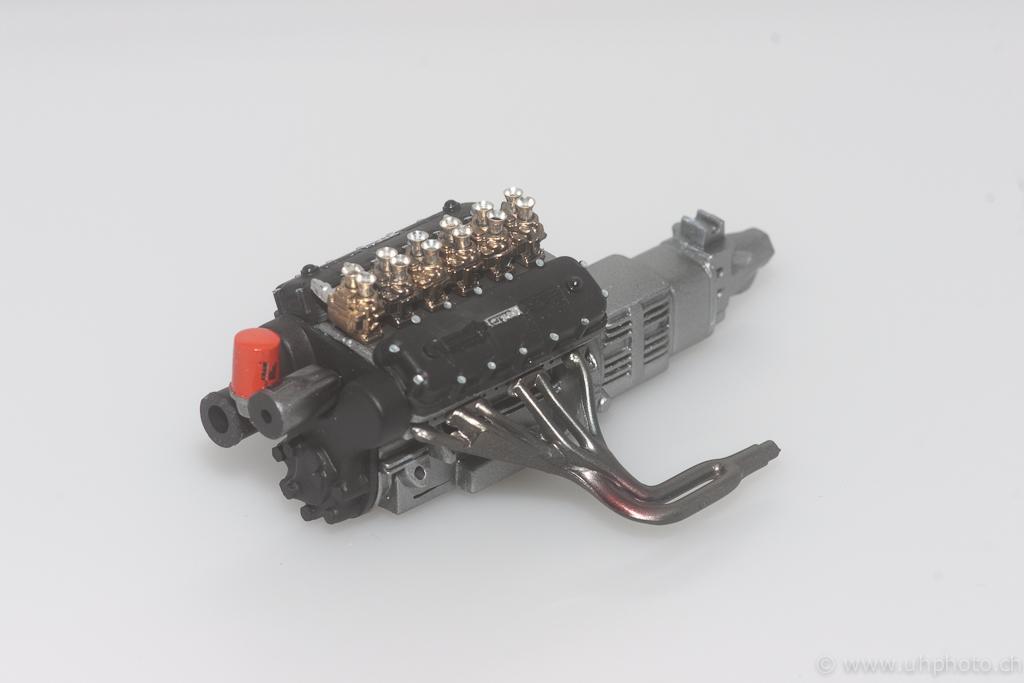
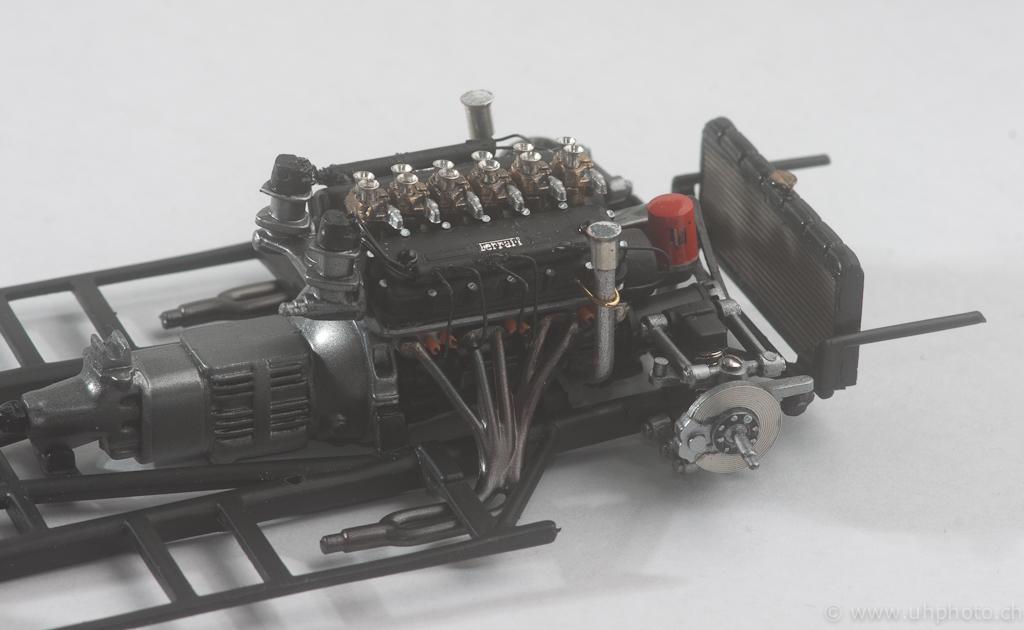
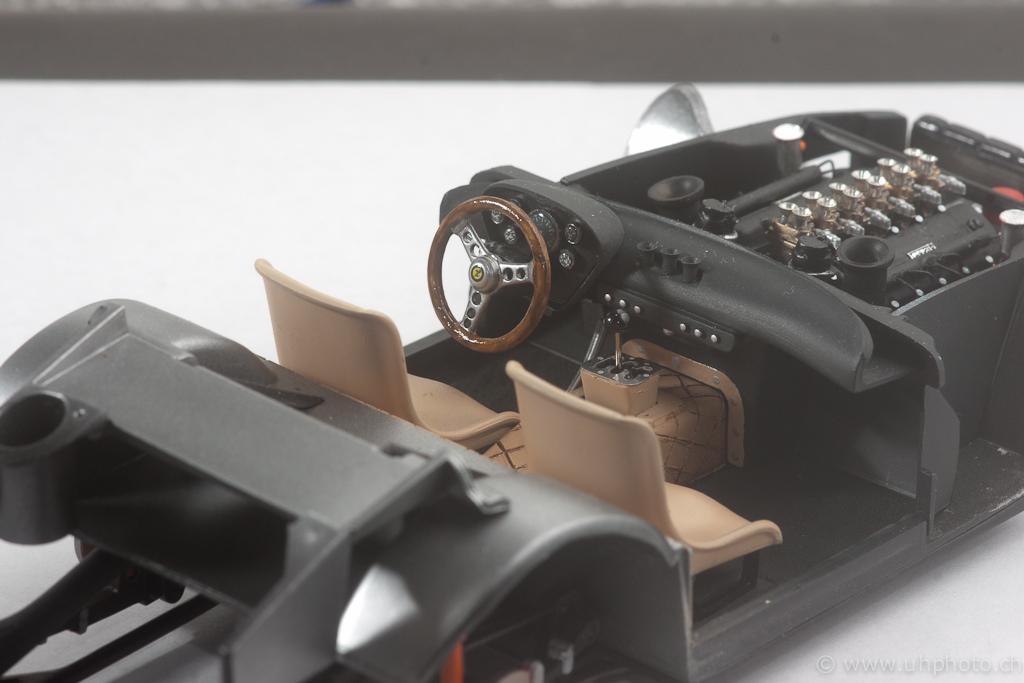
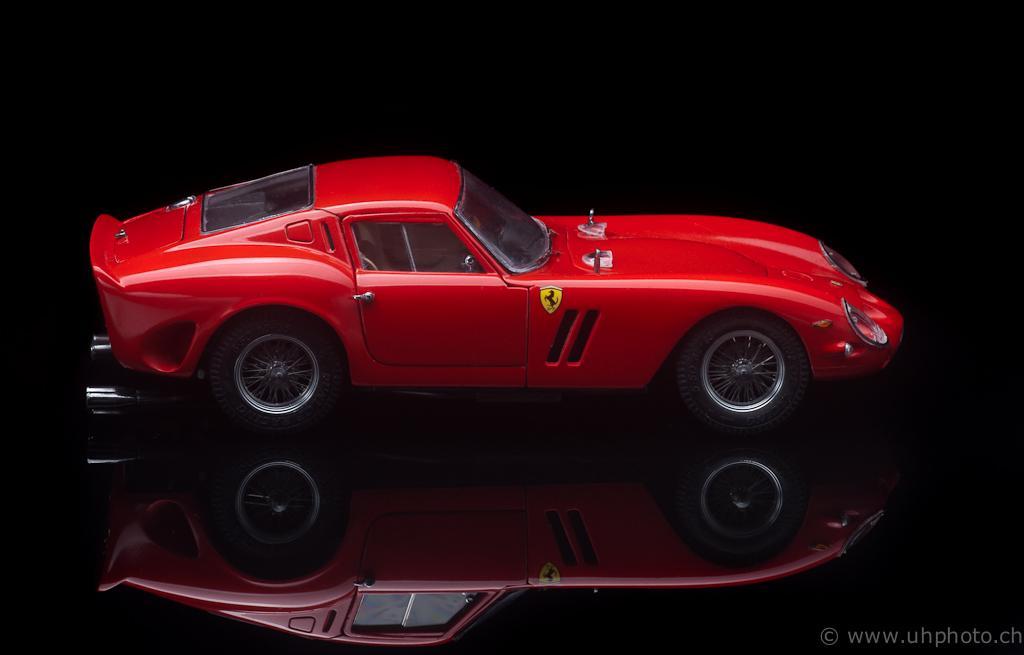
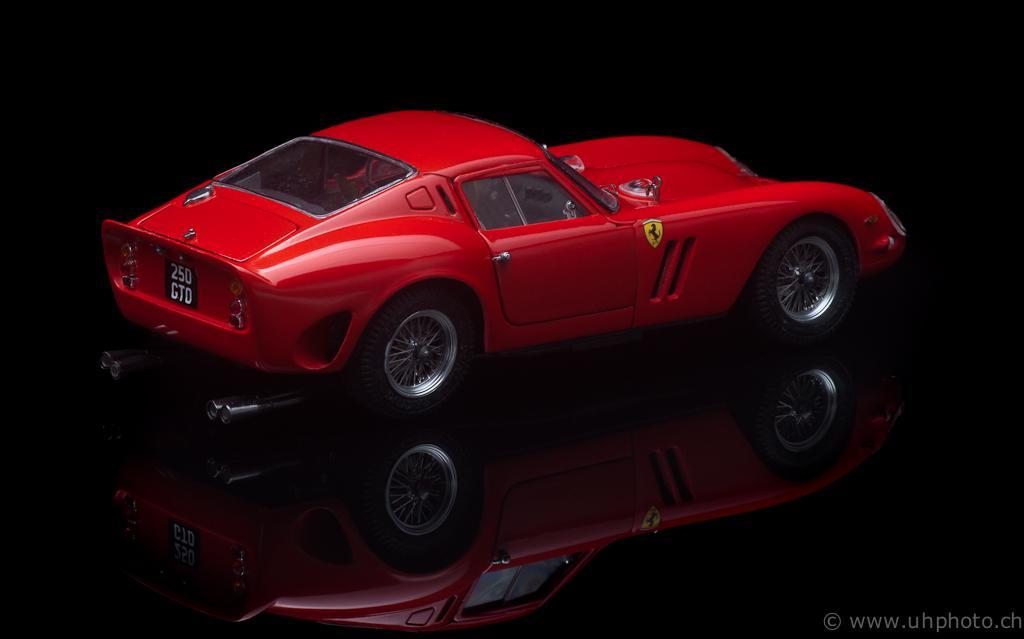
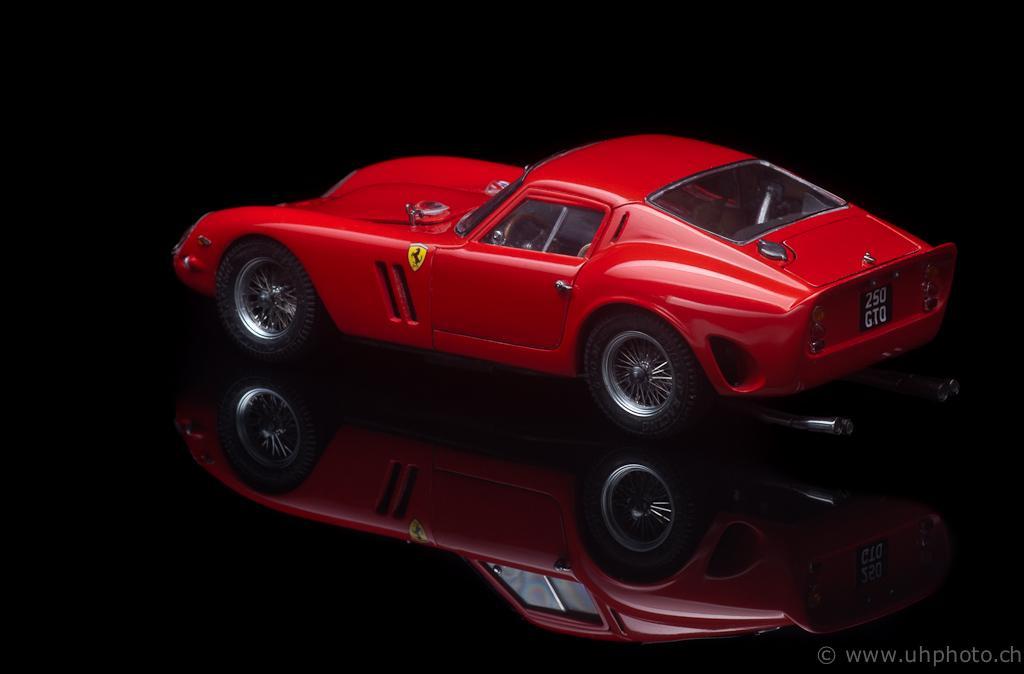
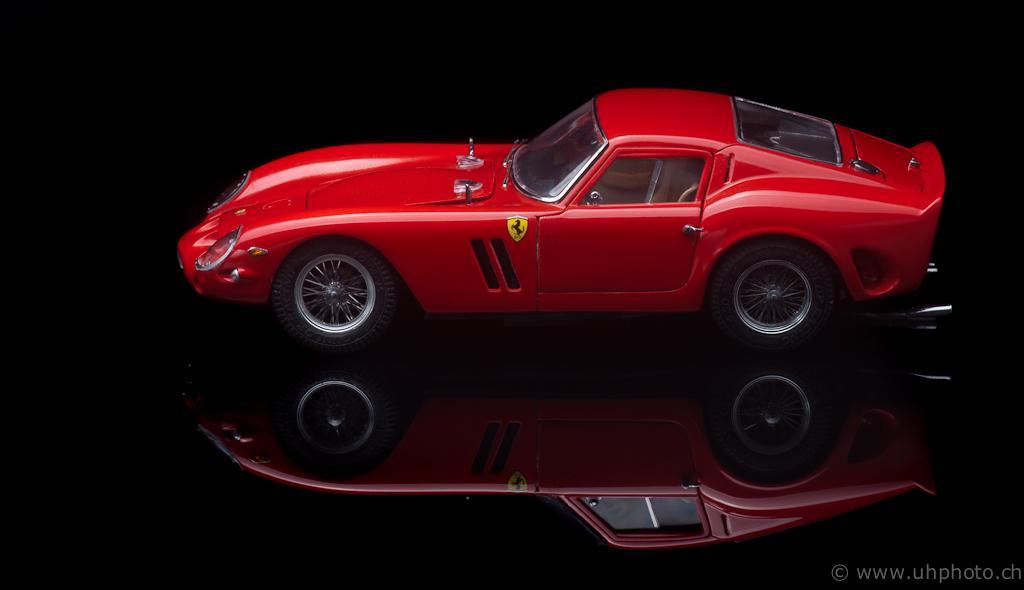
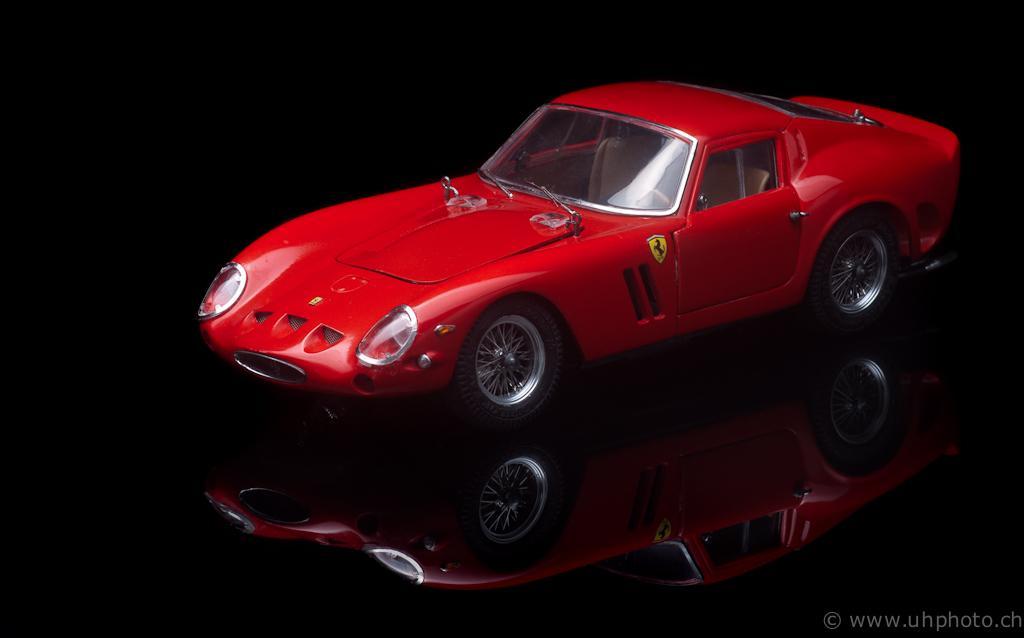
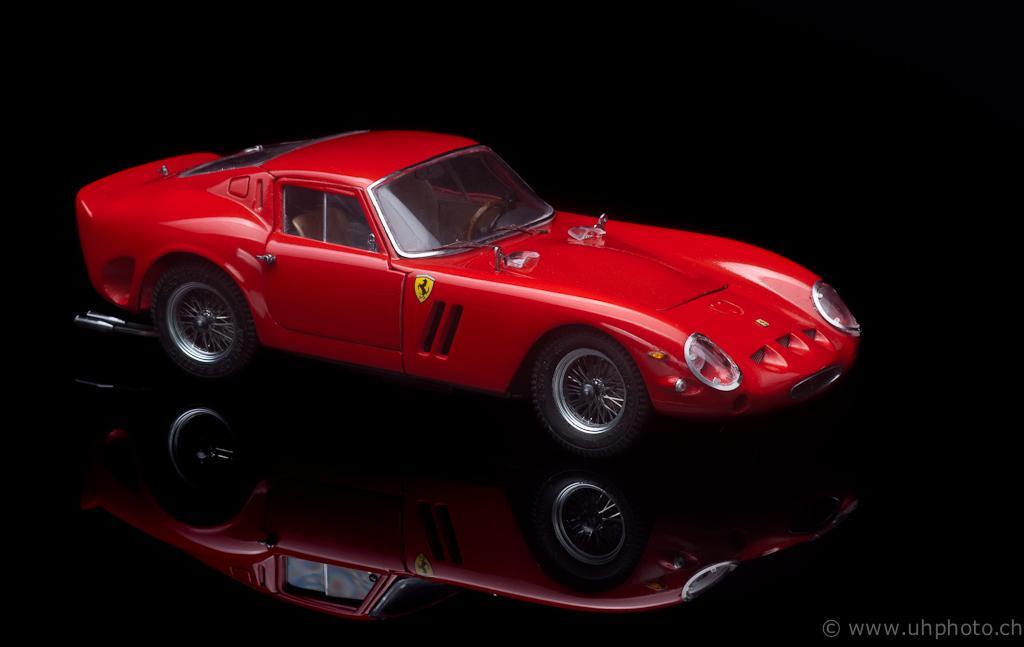
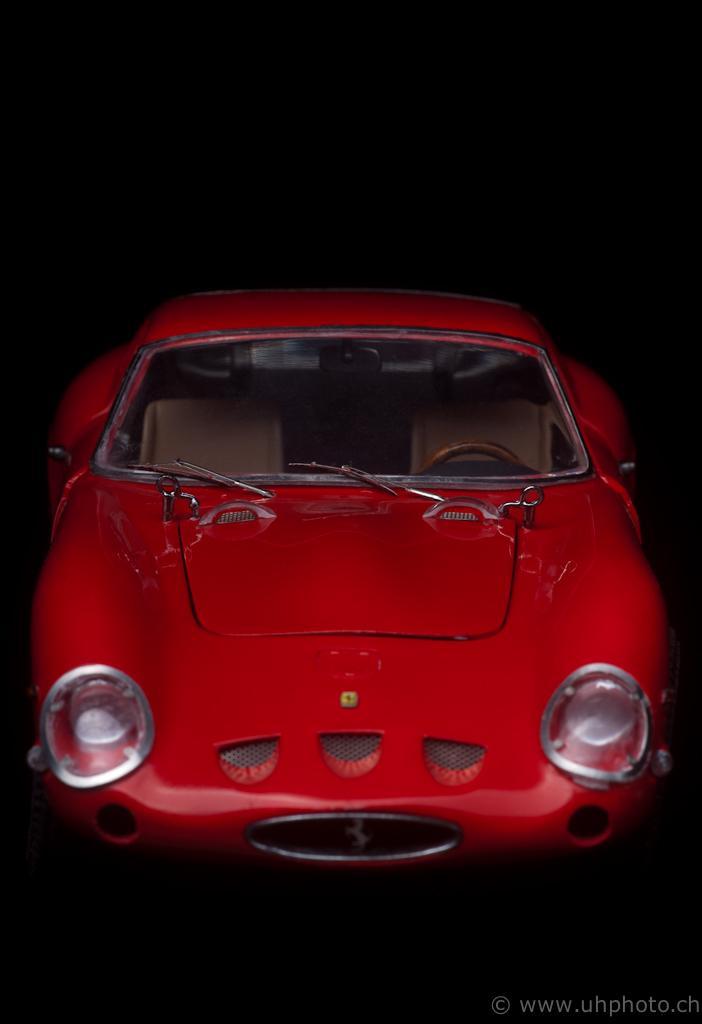
Hello This is my first contribution to this forum. It's a Ferrari 250 GTO by Revell with the PE set by HobbyDesign and Hasegawa's Spoke Wheel set for the Ferrari 250 Testarossa. Building took about one year, as dealing with PE parts was completely new to me. Regards, Urs
-
Revell Ferrari 250 GTO Questions
harti20 replied to Len Colombo's topic in Model Building Questions and Answers
Yes, I have. You can glue the piece to the main body, but you'll have to shorten the two rods on part 30 which should fit in the holes in the front part of the body. They're not really needed to fit and as long as you don't cut them completely, it can't be seen.

