addicted2modeling
-
Posts
94 -
Joined
-
Last visited
Content Type
Profiles
Forums
Events
Gallery
Everything posted by addicted2modeling
-
Thank you!
-
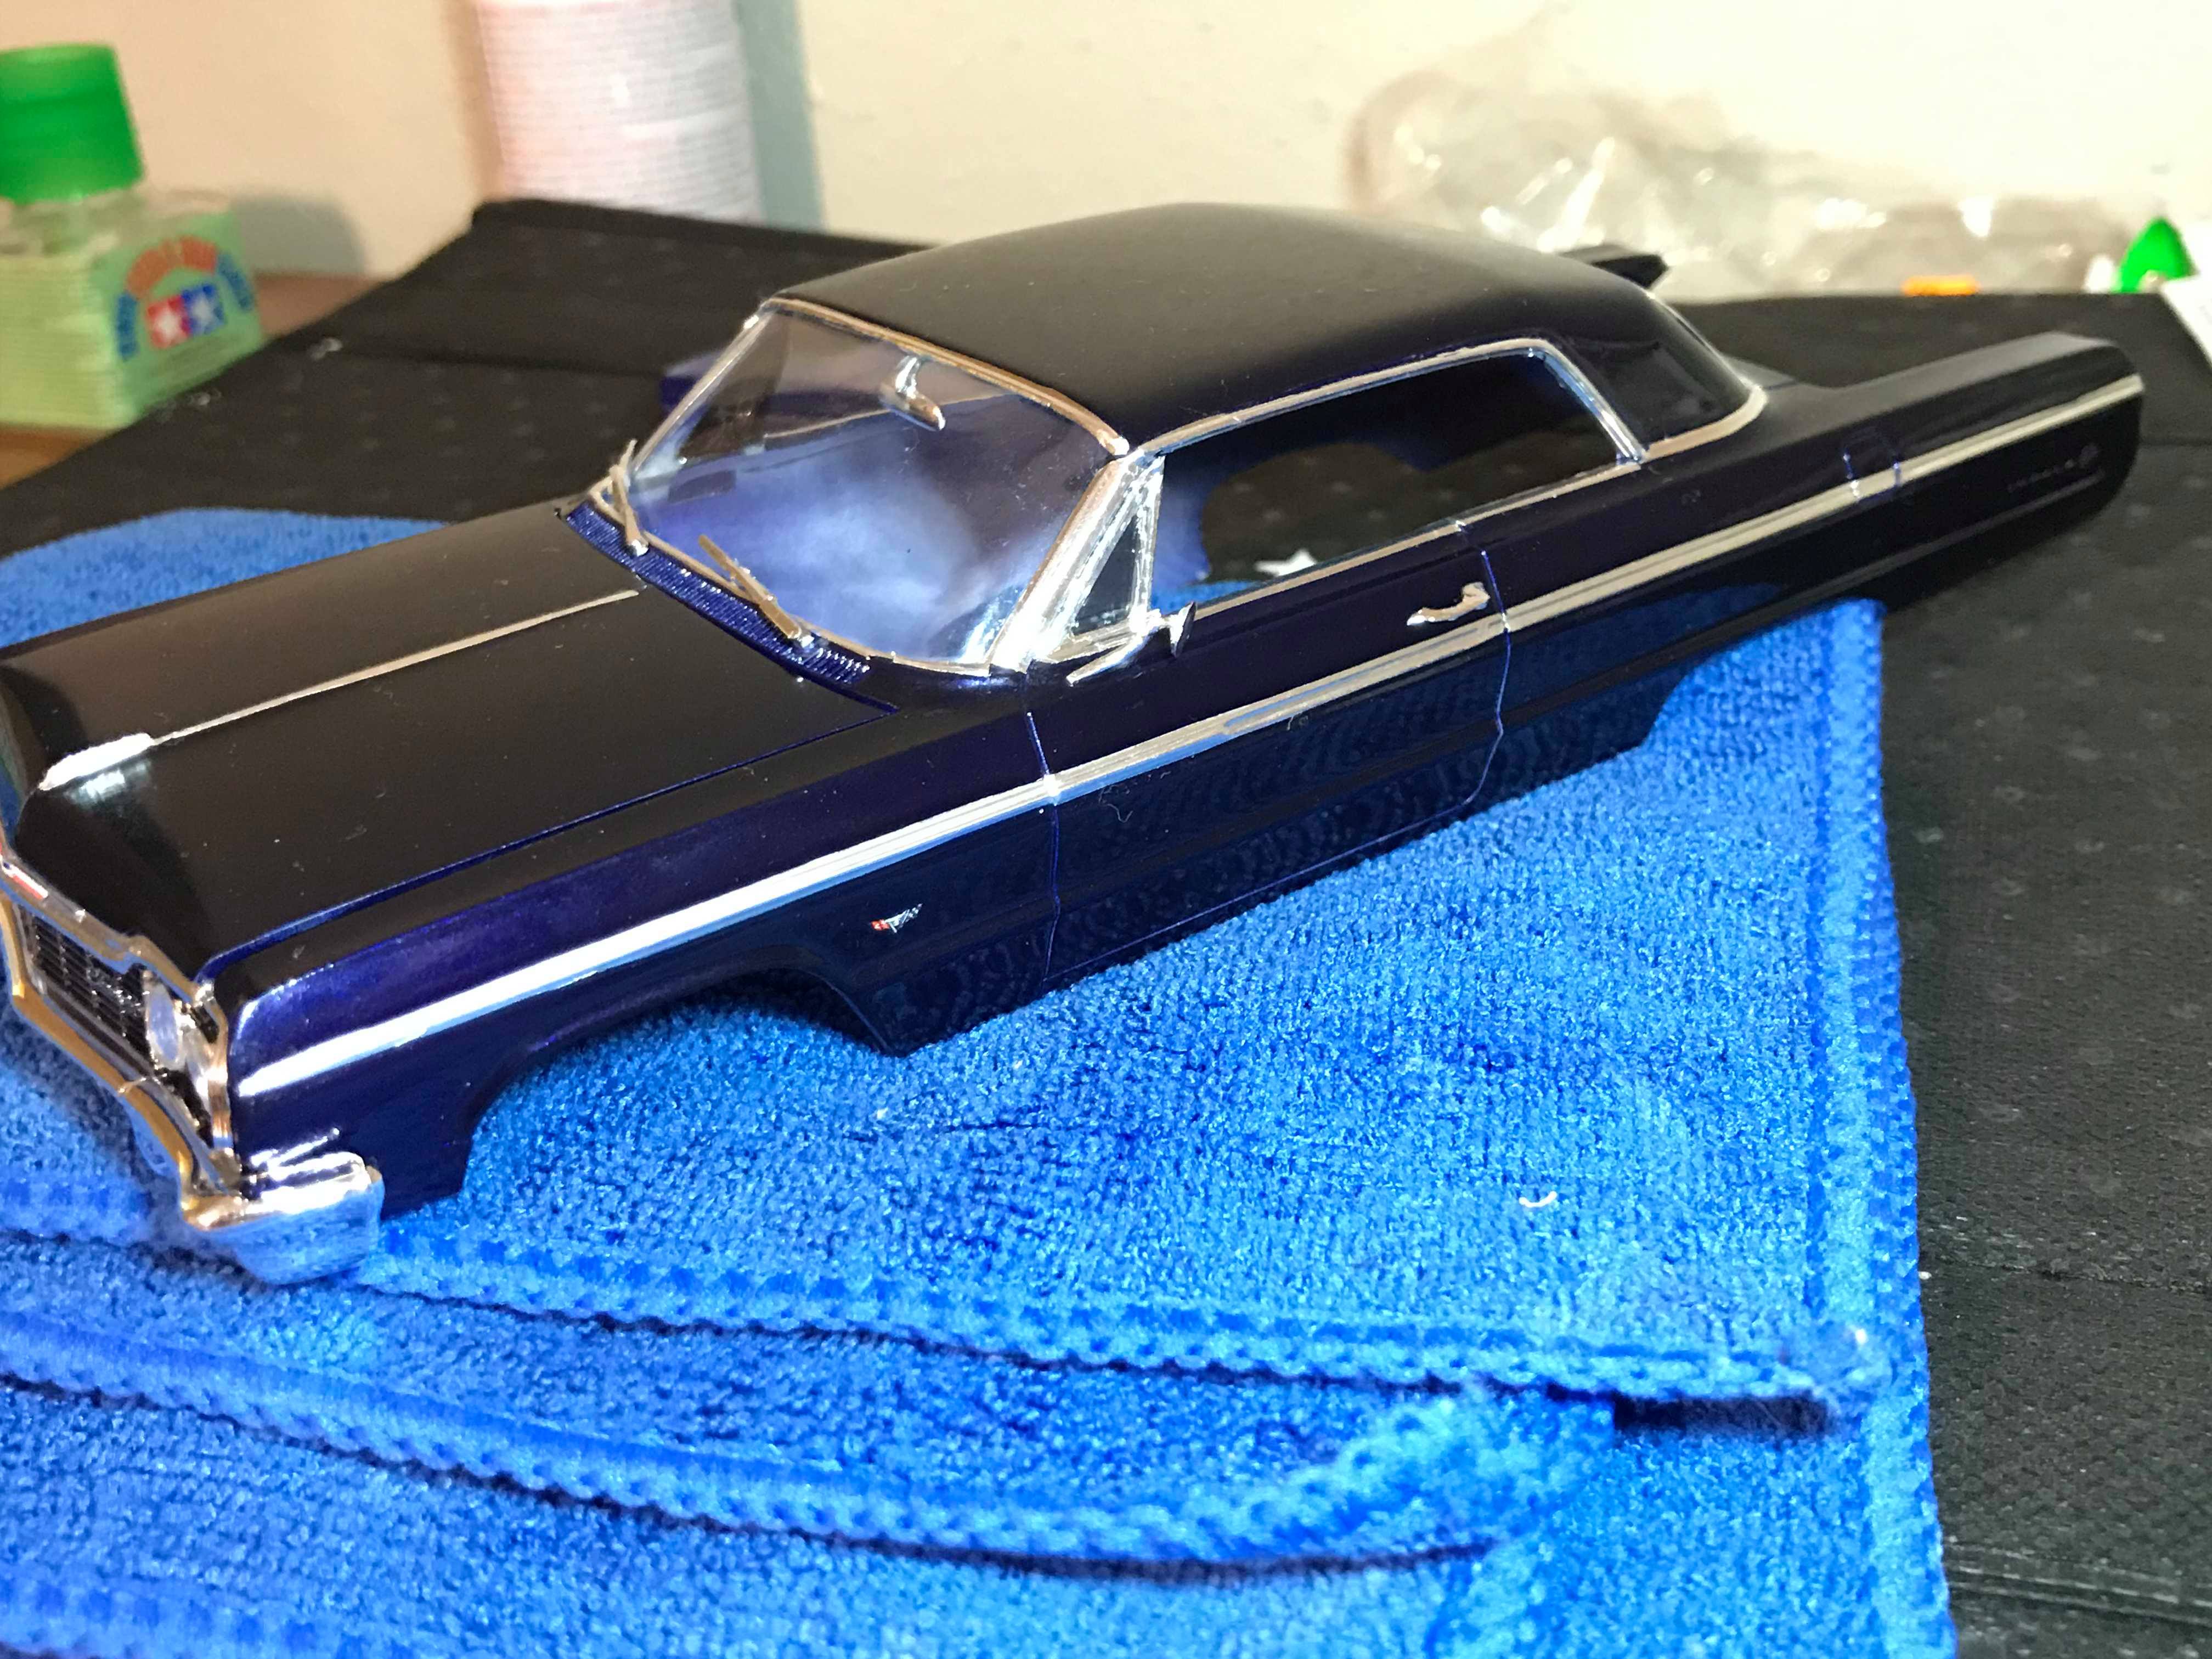
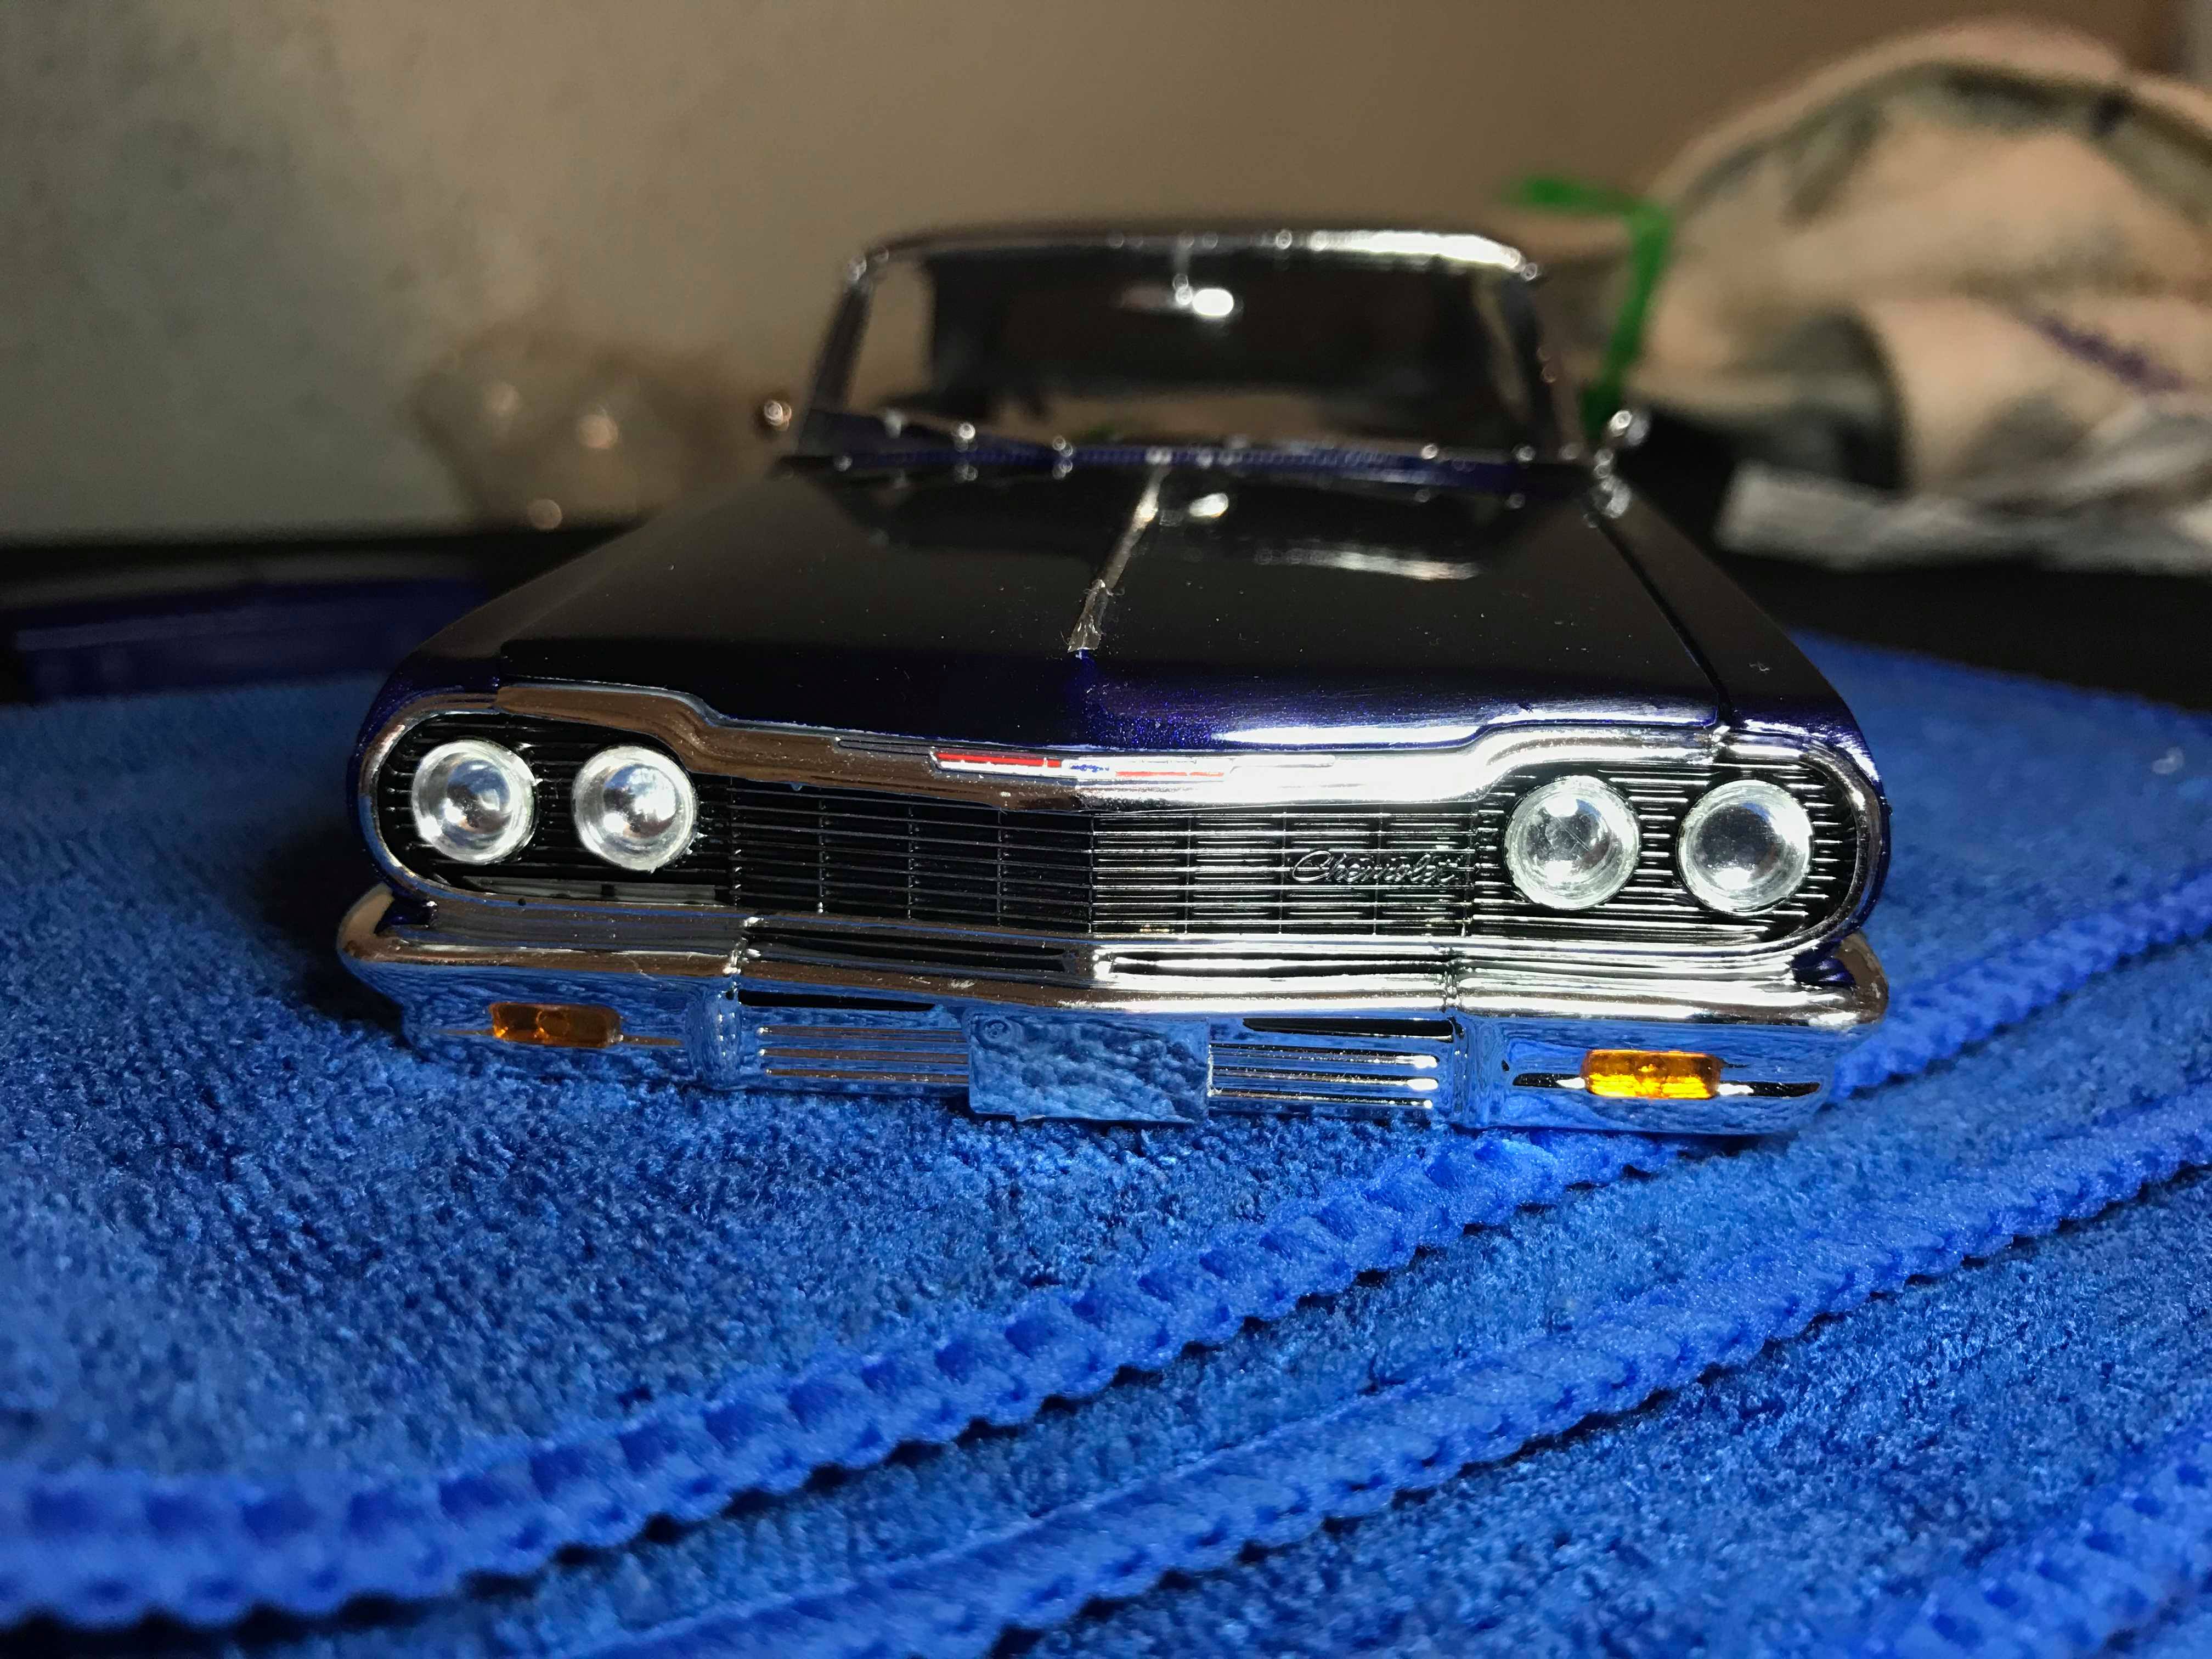
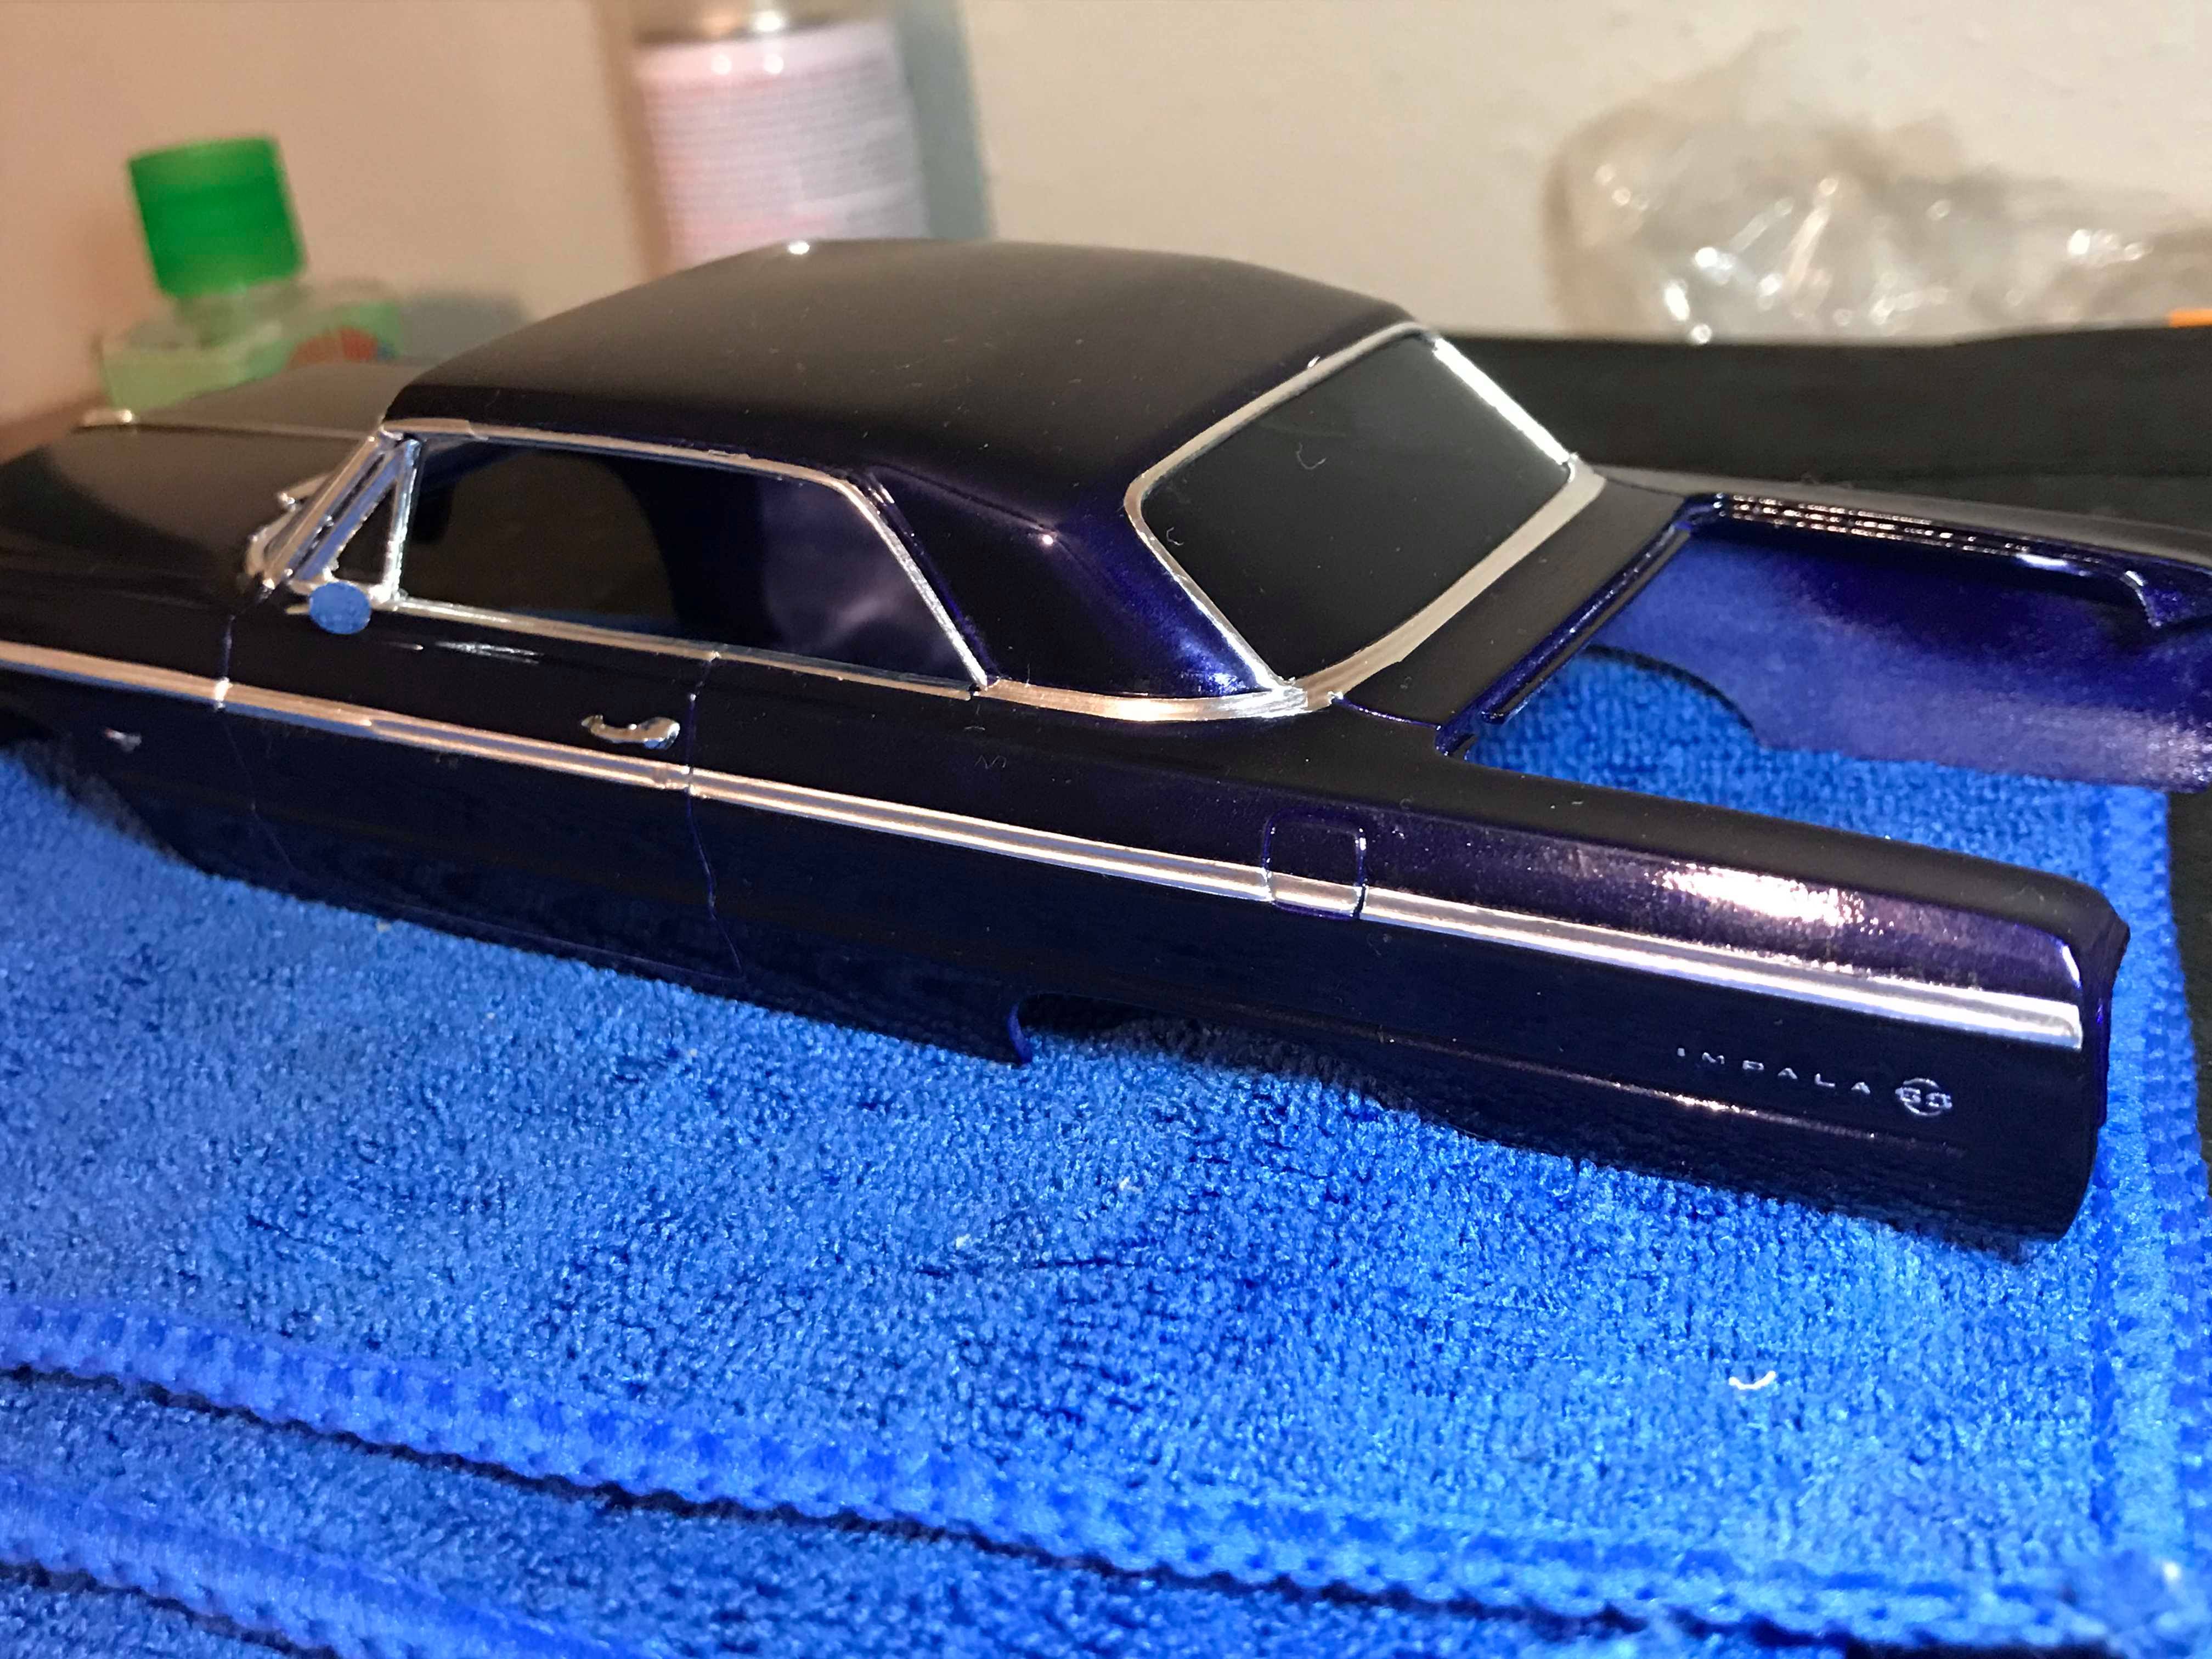
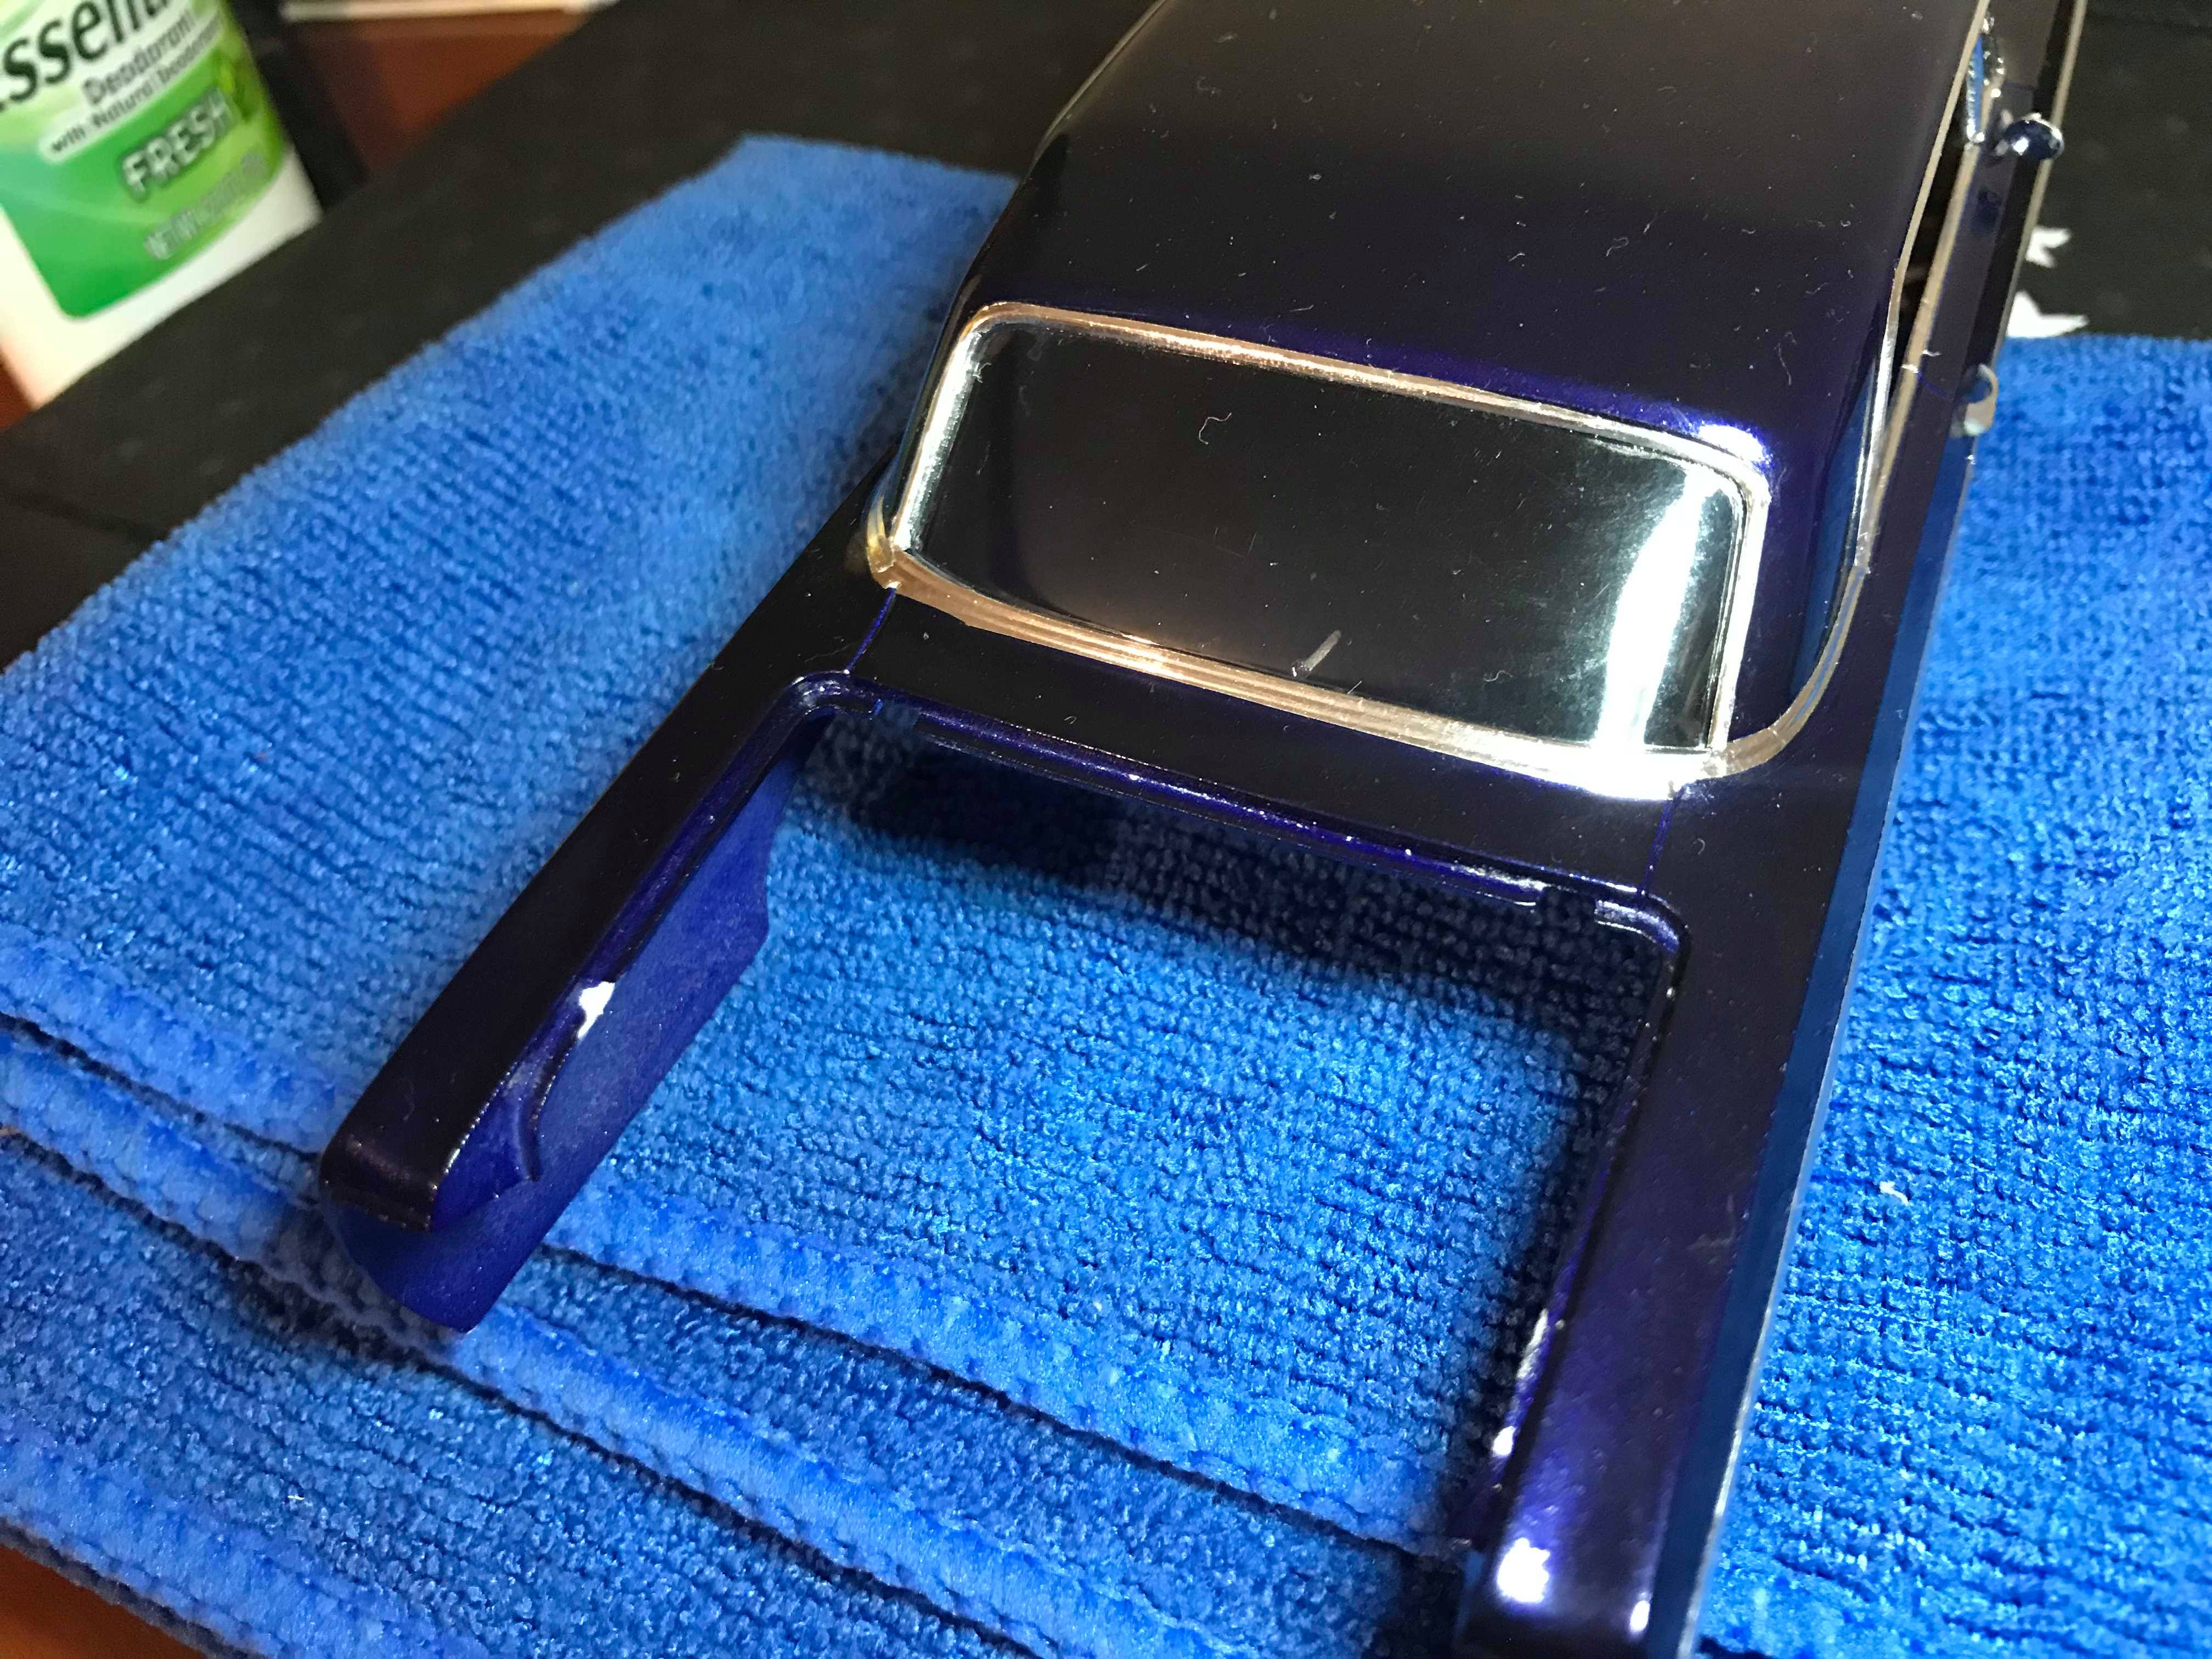
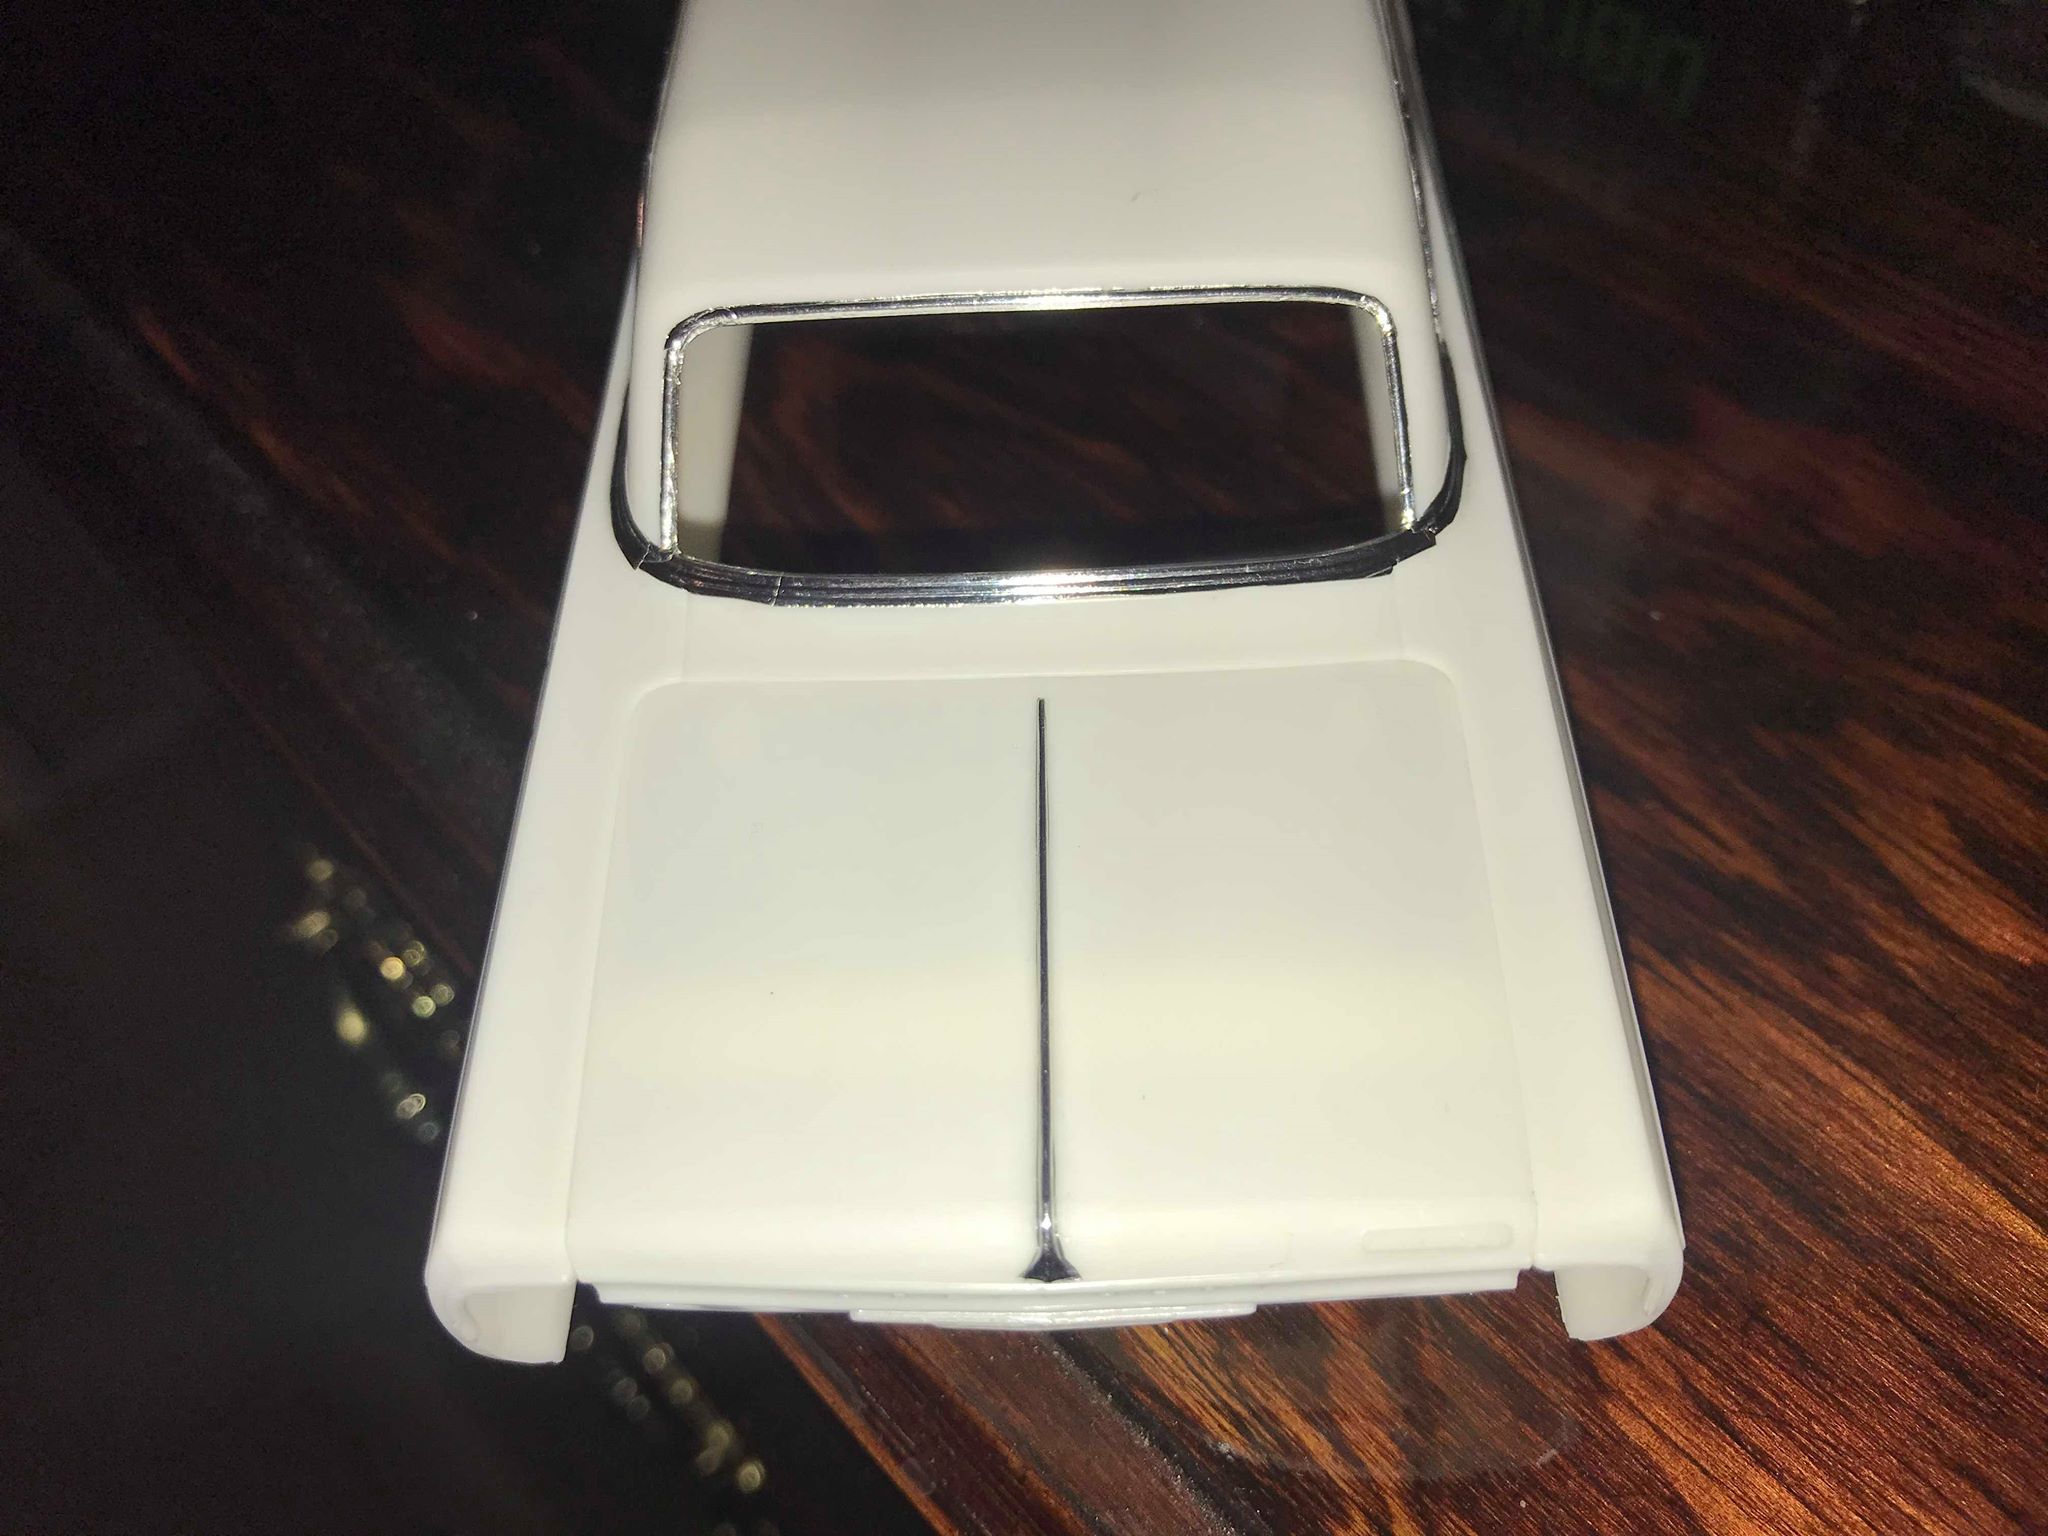
Current progress as of 3/31/2019 on my Revell (USA Made) 1964 Chevrolet Impala SS model kit. Body, hood and trunk trim is complete. Painted, clearcoated, polished and BMF'd. Currently awaiting good weather to finish painted the trunk and looking for some nice Pegasus 1/25 scale wheels to go along with my model car. I used an extra chrome mirror piece from the previously bought 64 Impala SS model kit that was made in China for the passenger side mirror.

-
THANK YOU!!
-
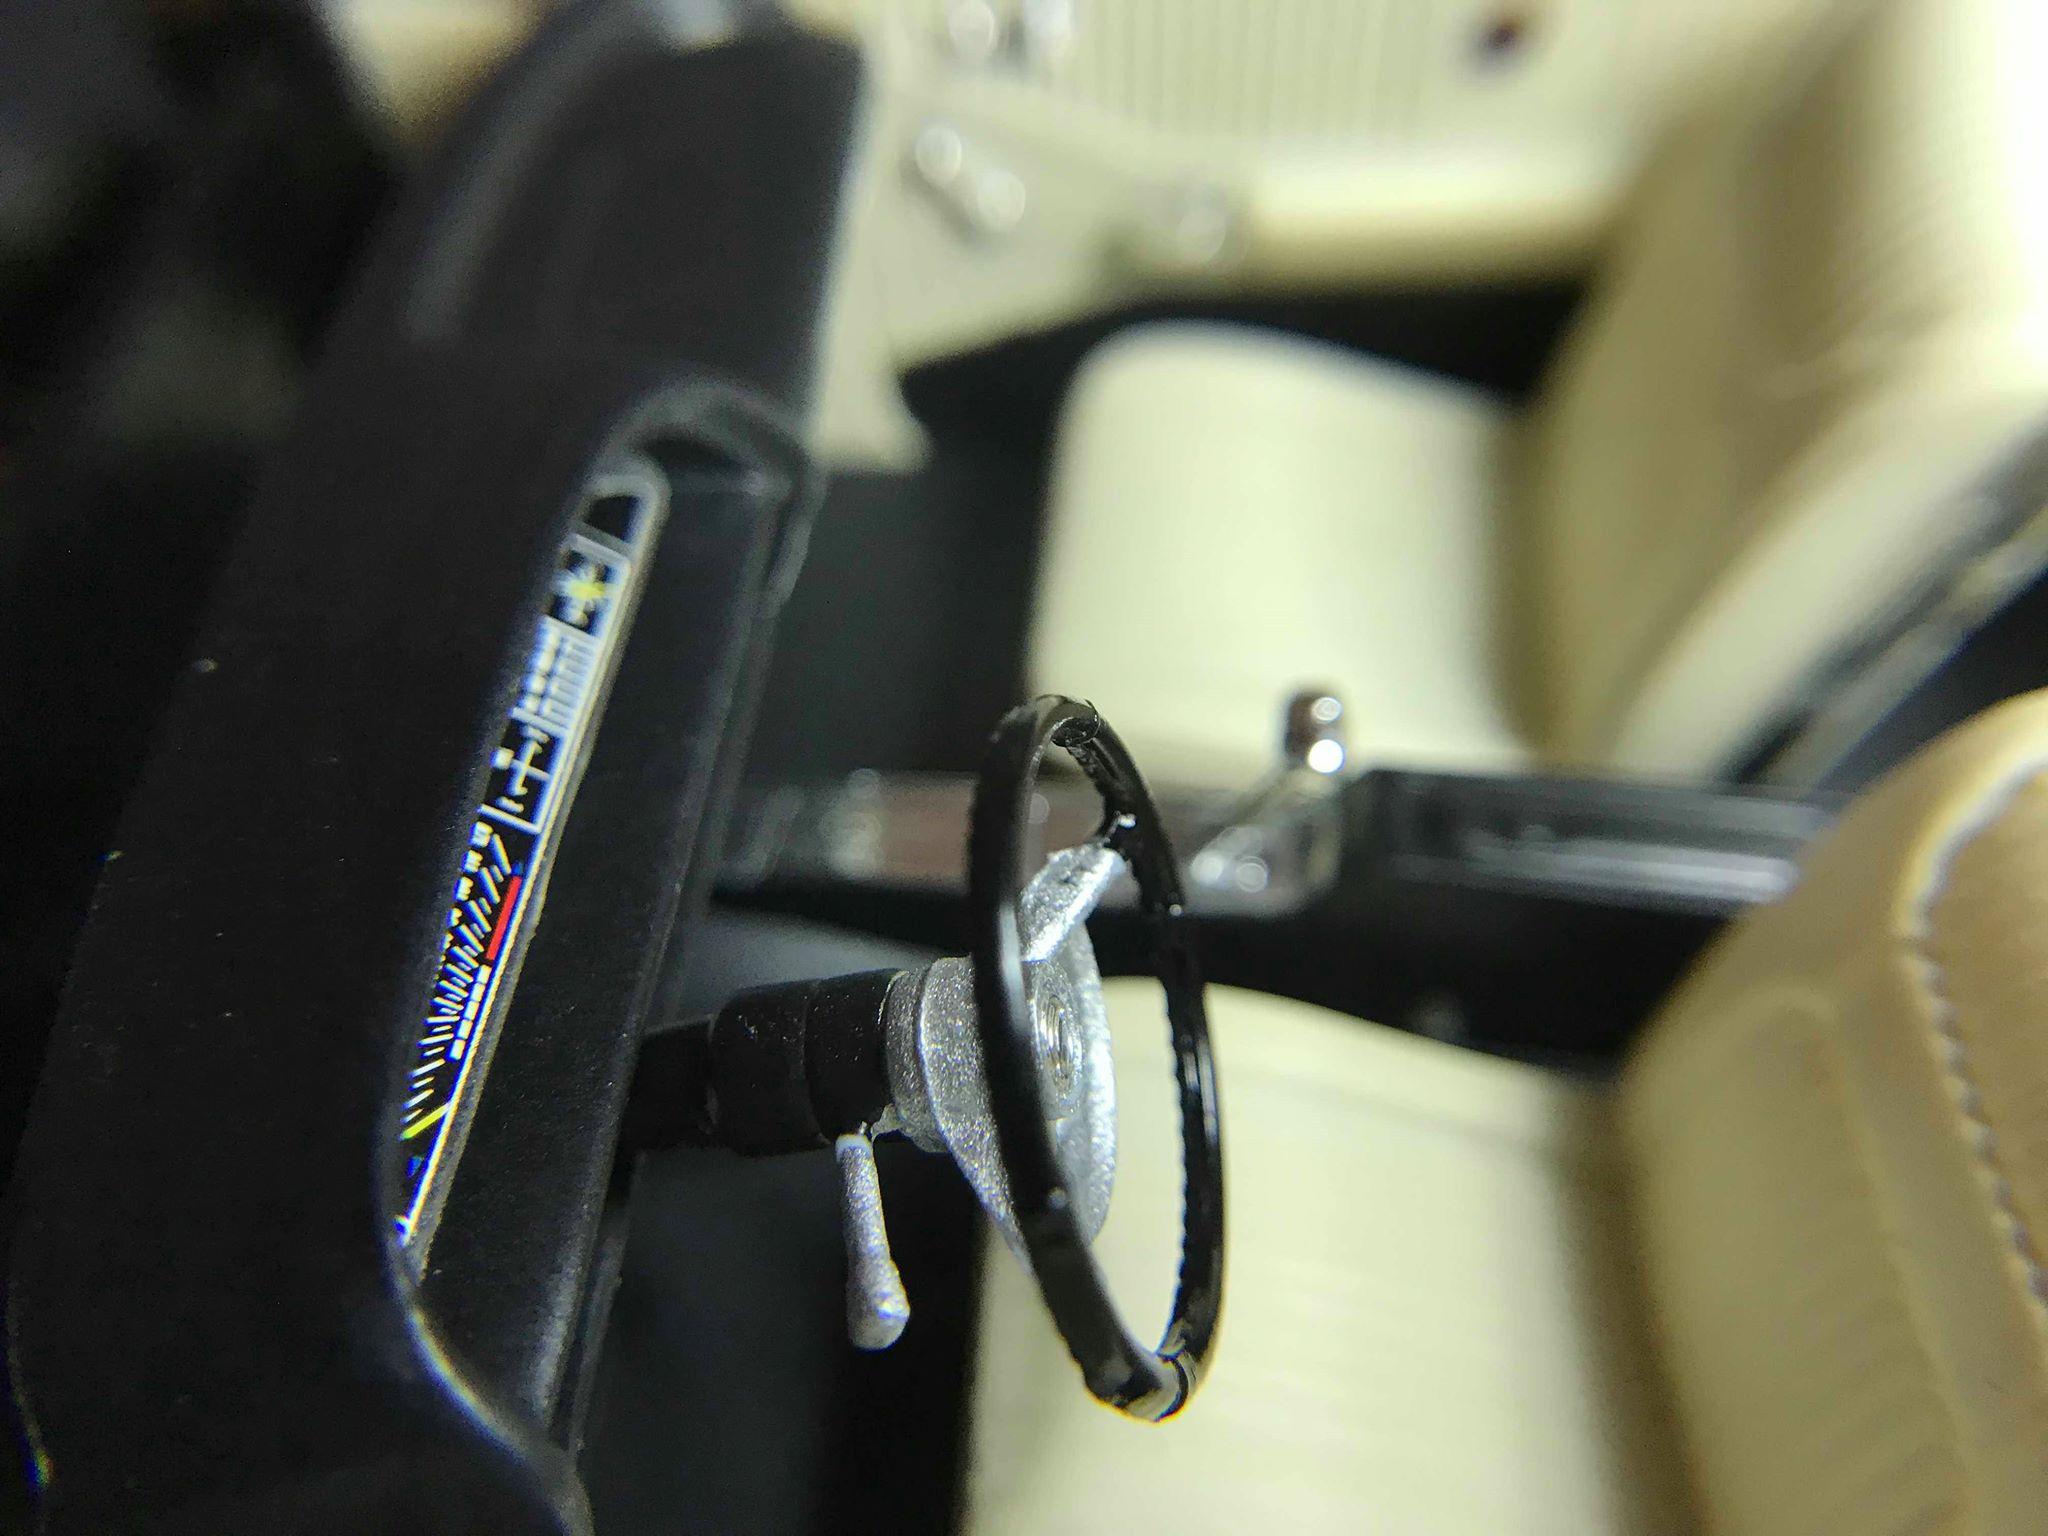
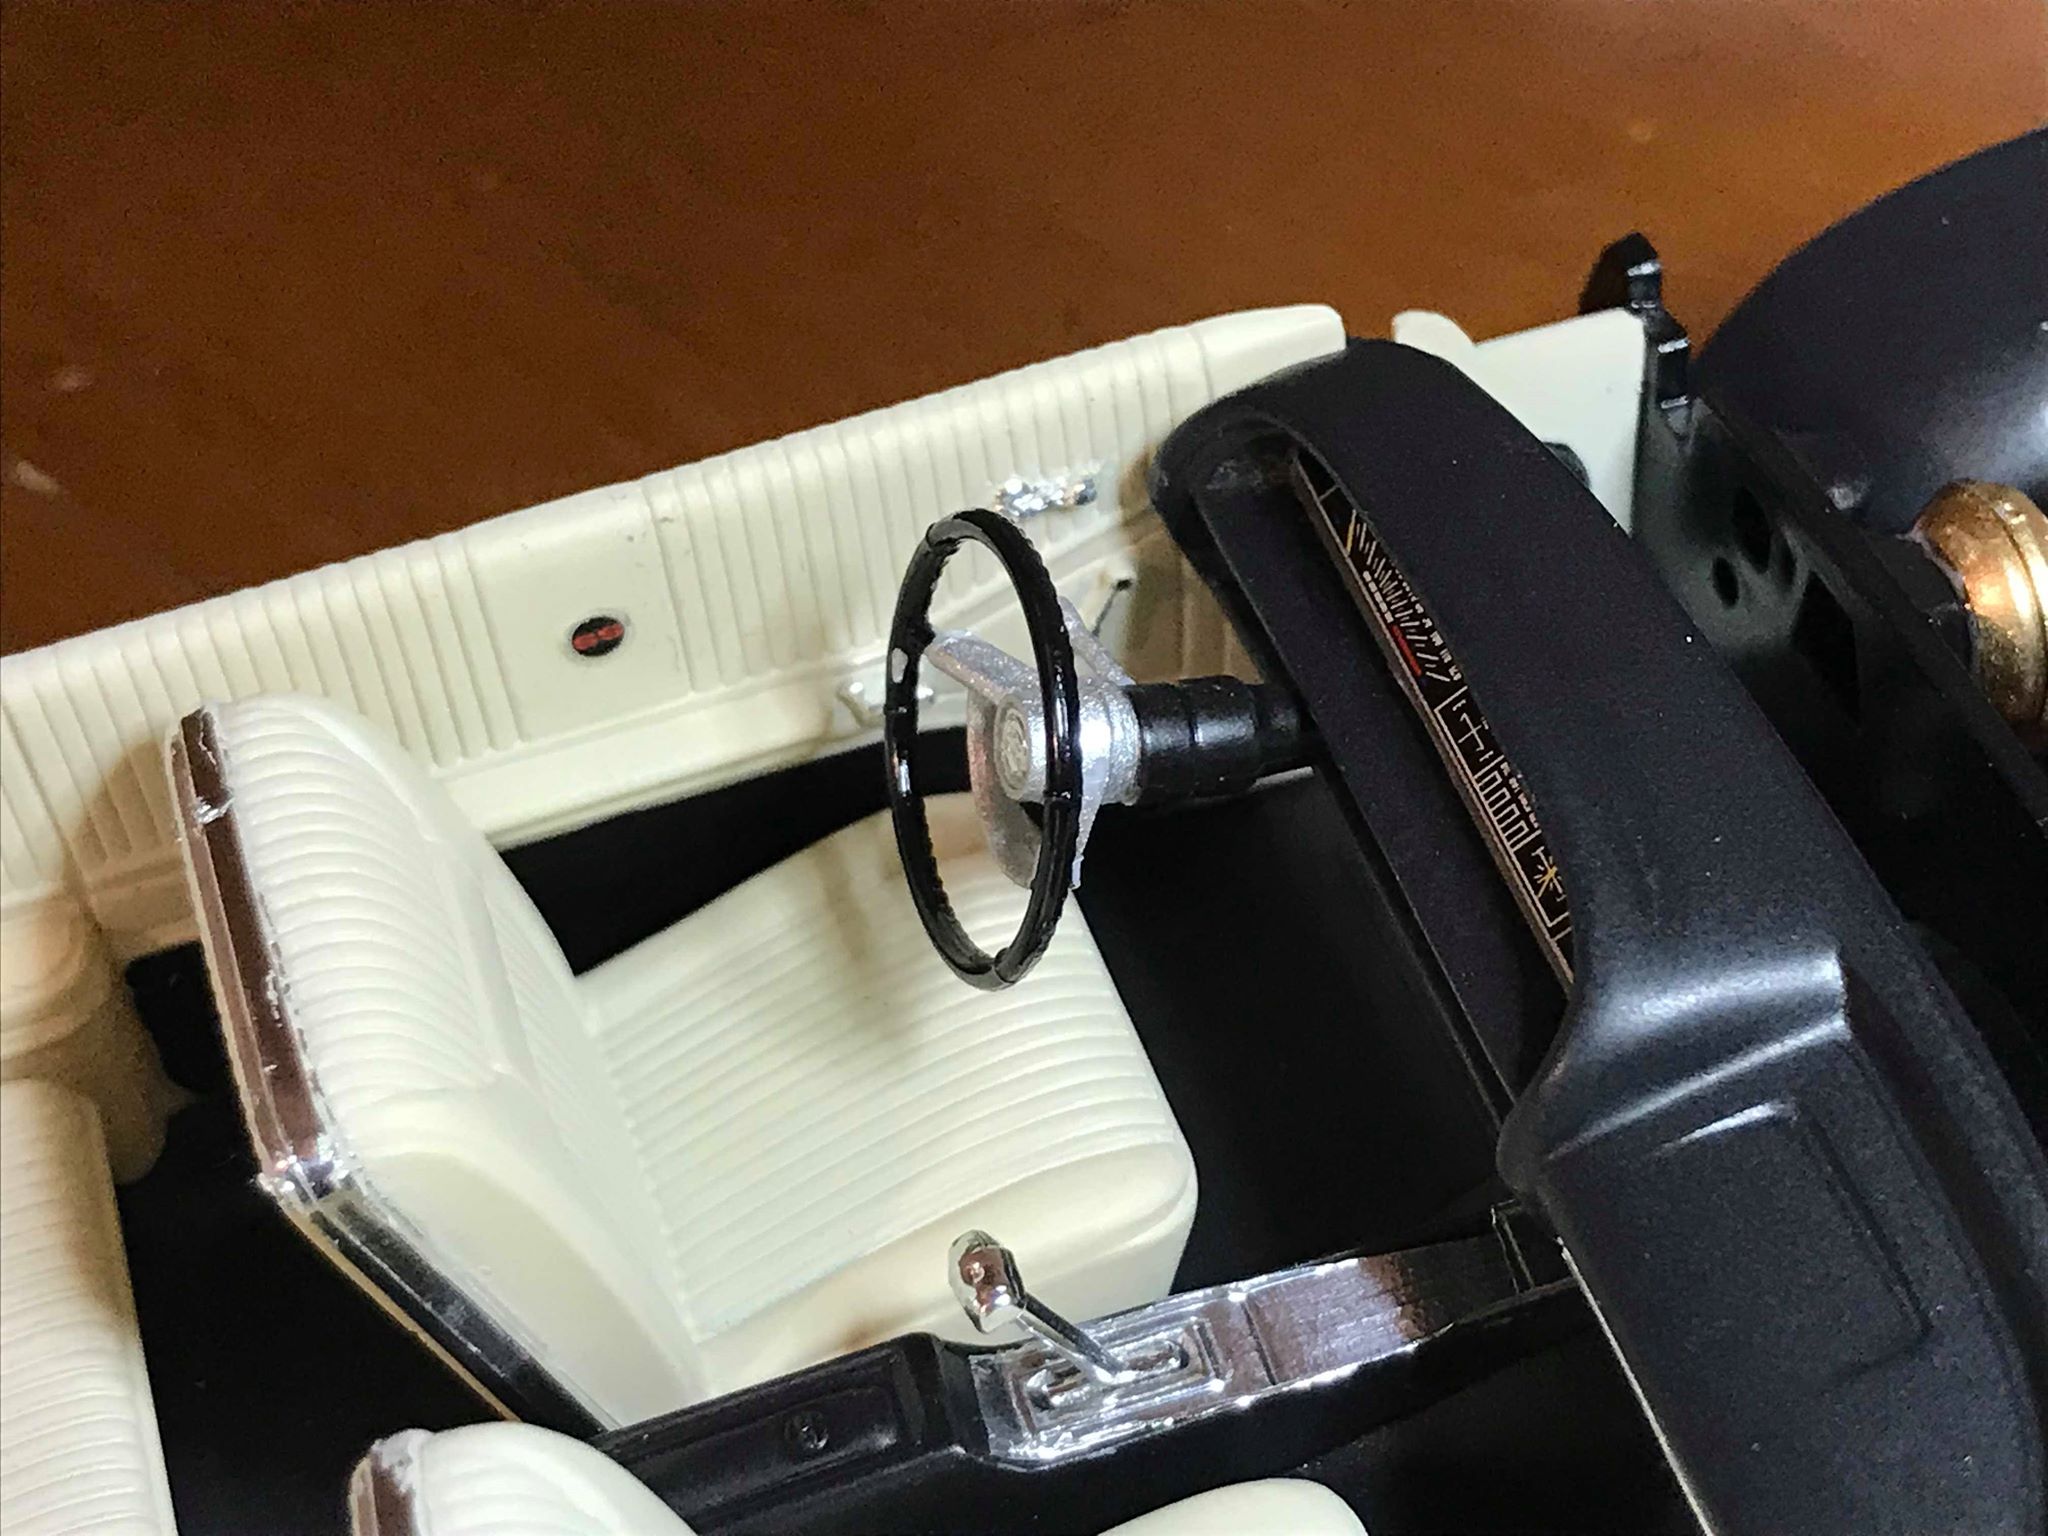
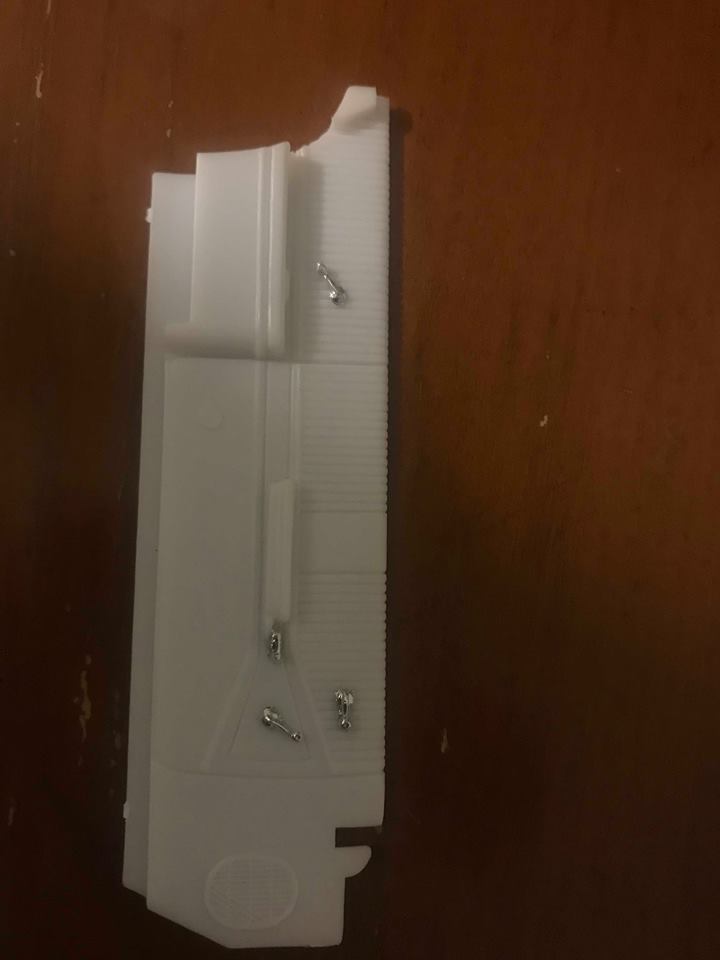
Current update as of today. interior assembly complete.
-
Current progress as of now. Just painted the seats in a custom mixed paint. I used Model Masters flat white acrylic and sand. I kinda overdid the mix of sand which gave a yellowish hue to the white since I want offset the white to make it look oysterish. BMF'd the seat trim and center console. But anyway, enjoy!
-
Wow, Bill, I truly admire your perservereance to your craftwork! Me, I have to be completely retired and collecting a pension to have such talent to build models where they are very functional. I just build em as fine office display pieces with closed doors and opening hood and trunk.
-
I was gonna buy the AMT 64 Impala but seeing the A pillar window vent wasn't angled correctly as the real thing, I went with the Revell kit better. The AMT kit makes the Impala look more like a 64 GTO. Thats good! Do you have a posting of that 59?
-
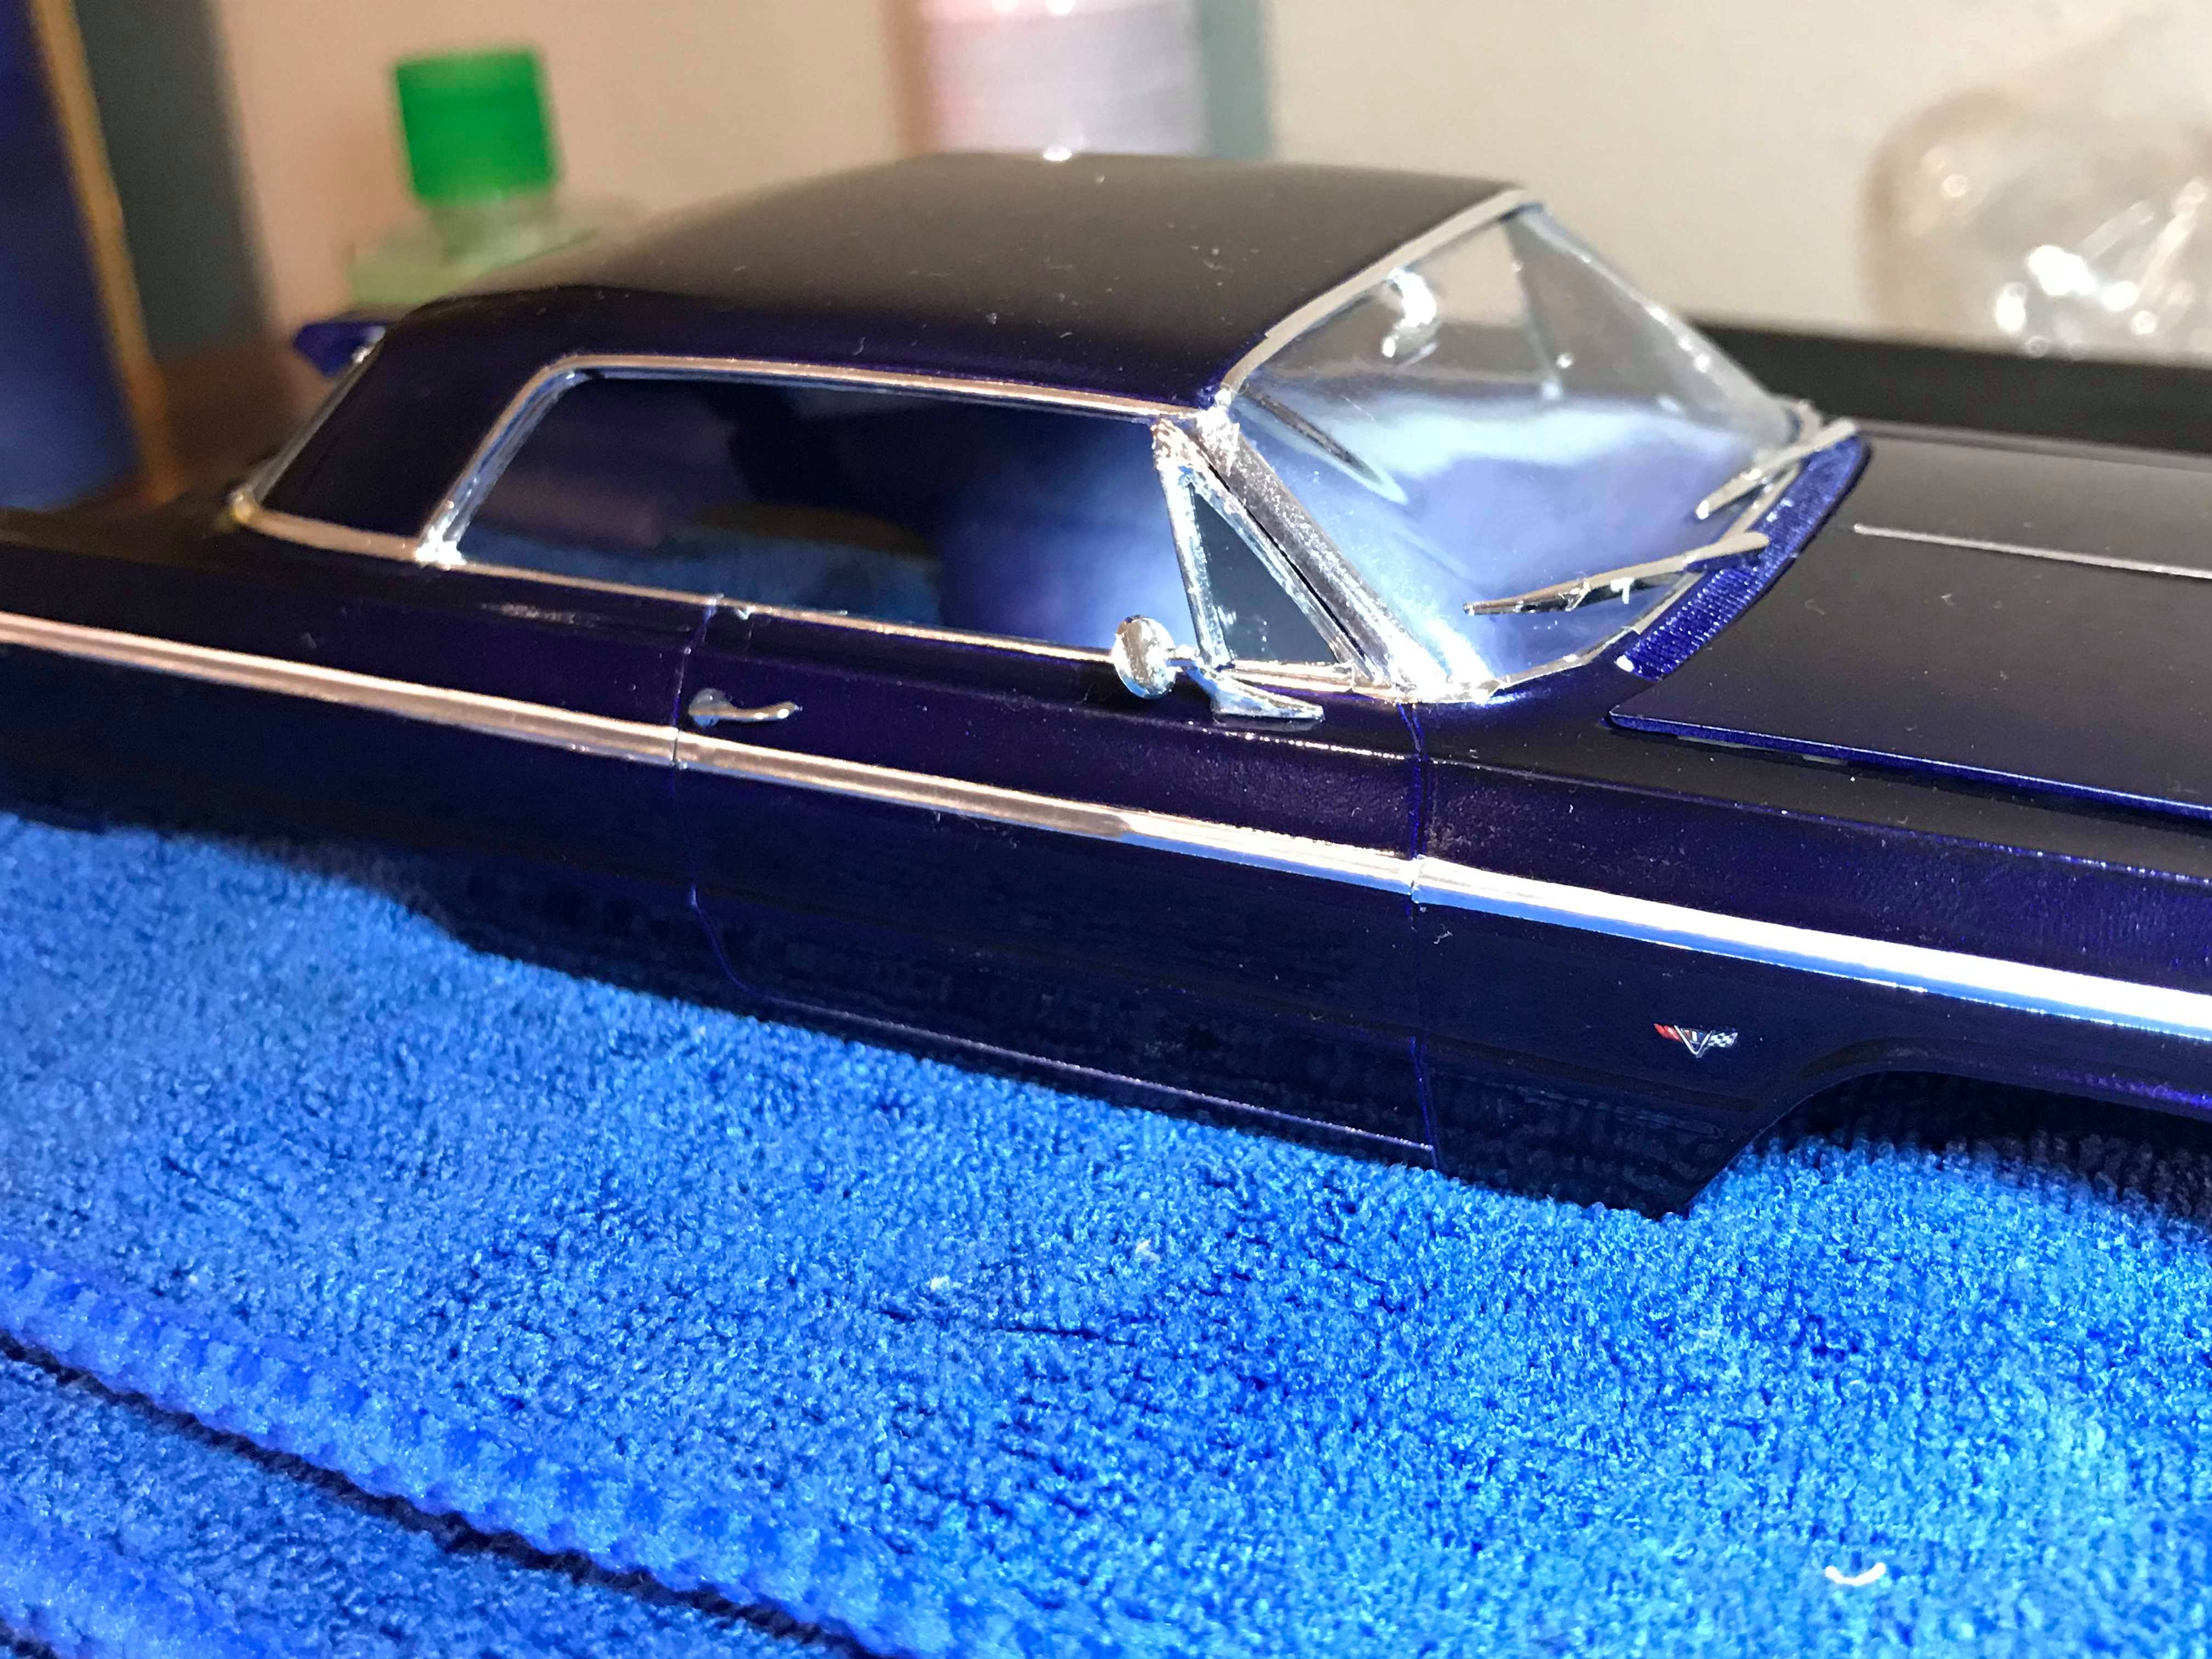
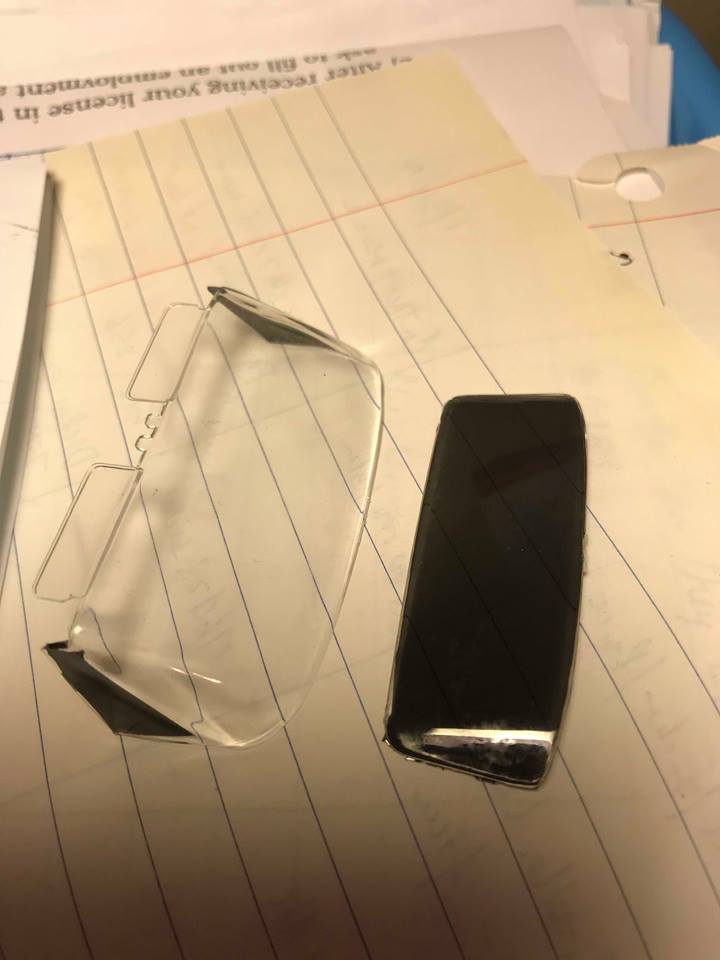
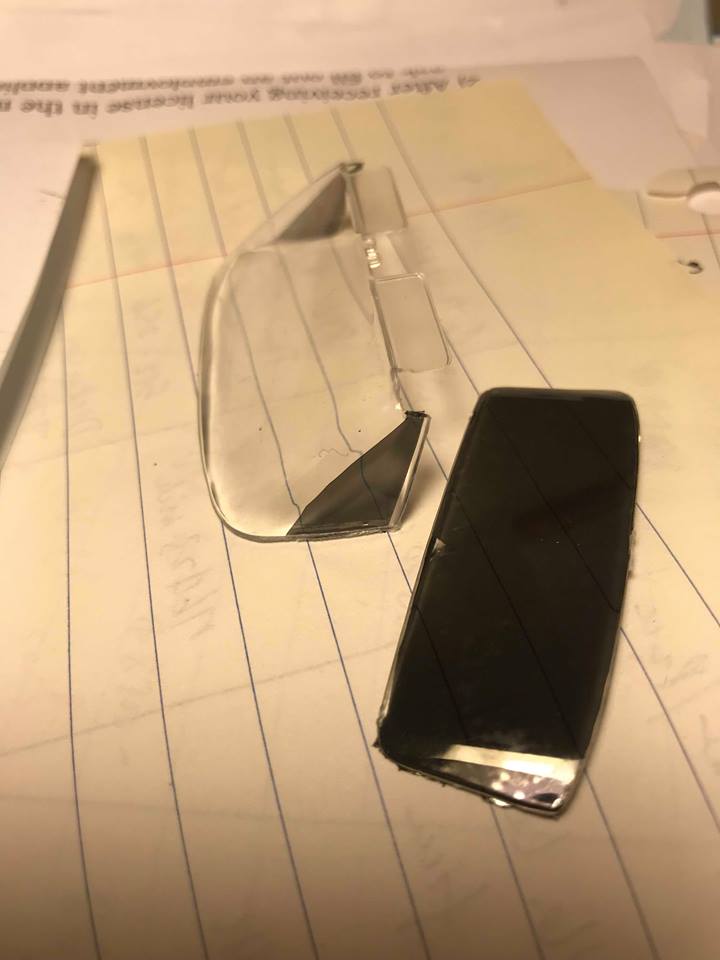
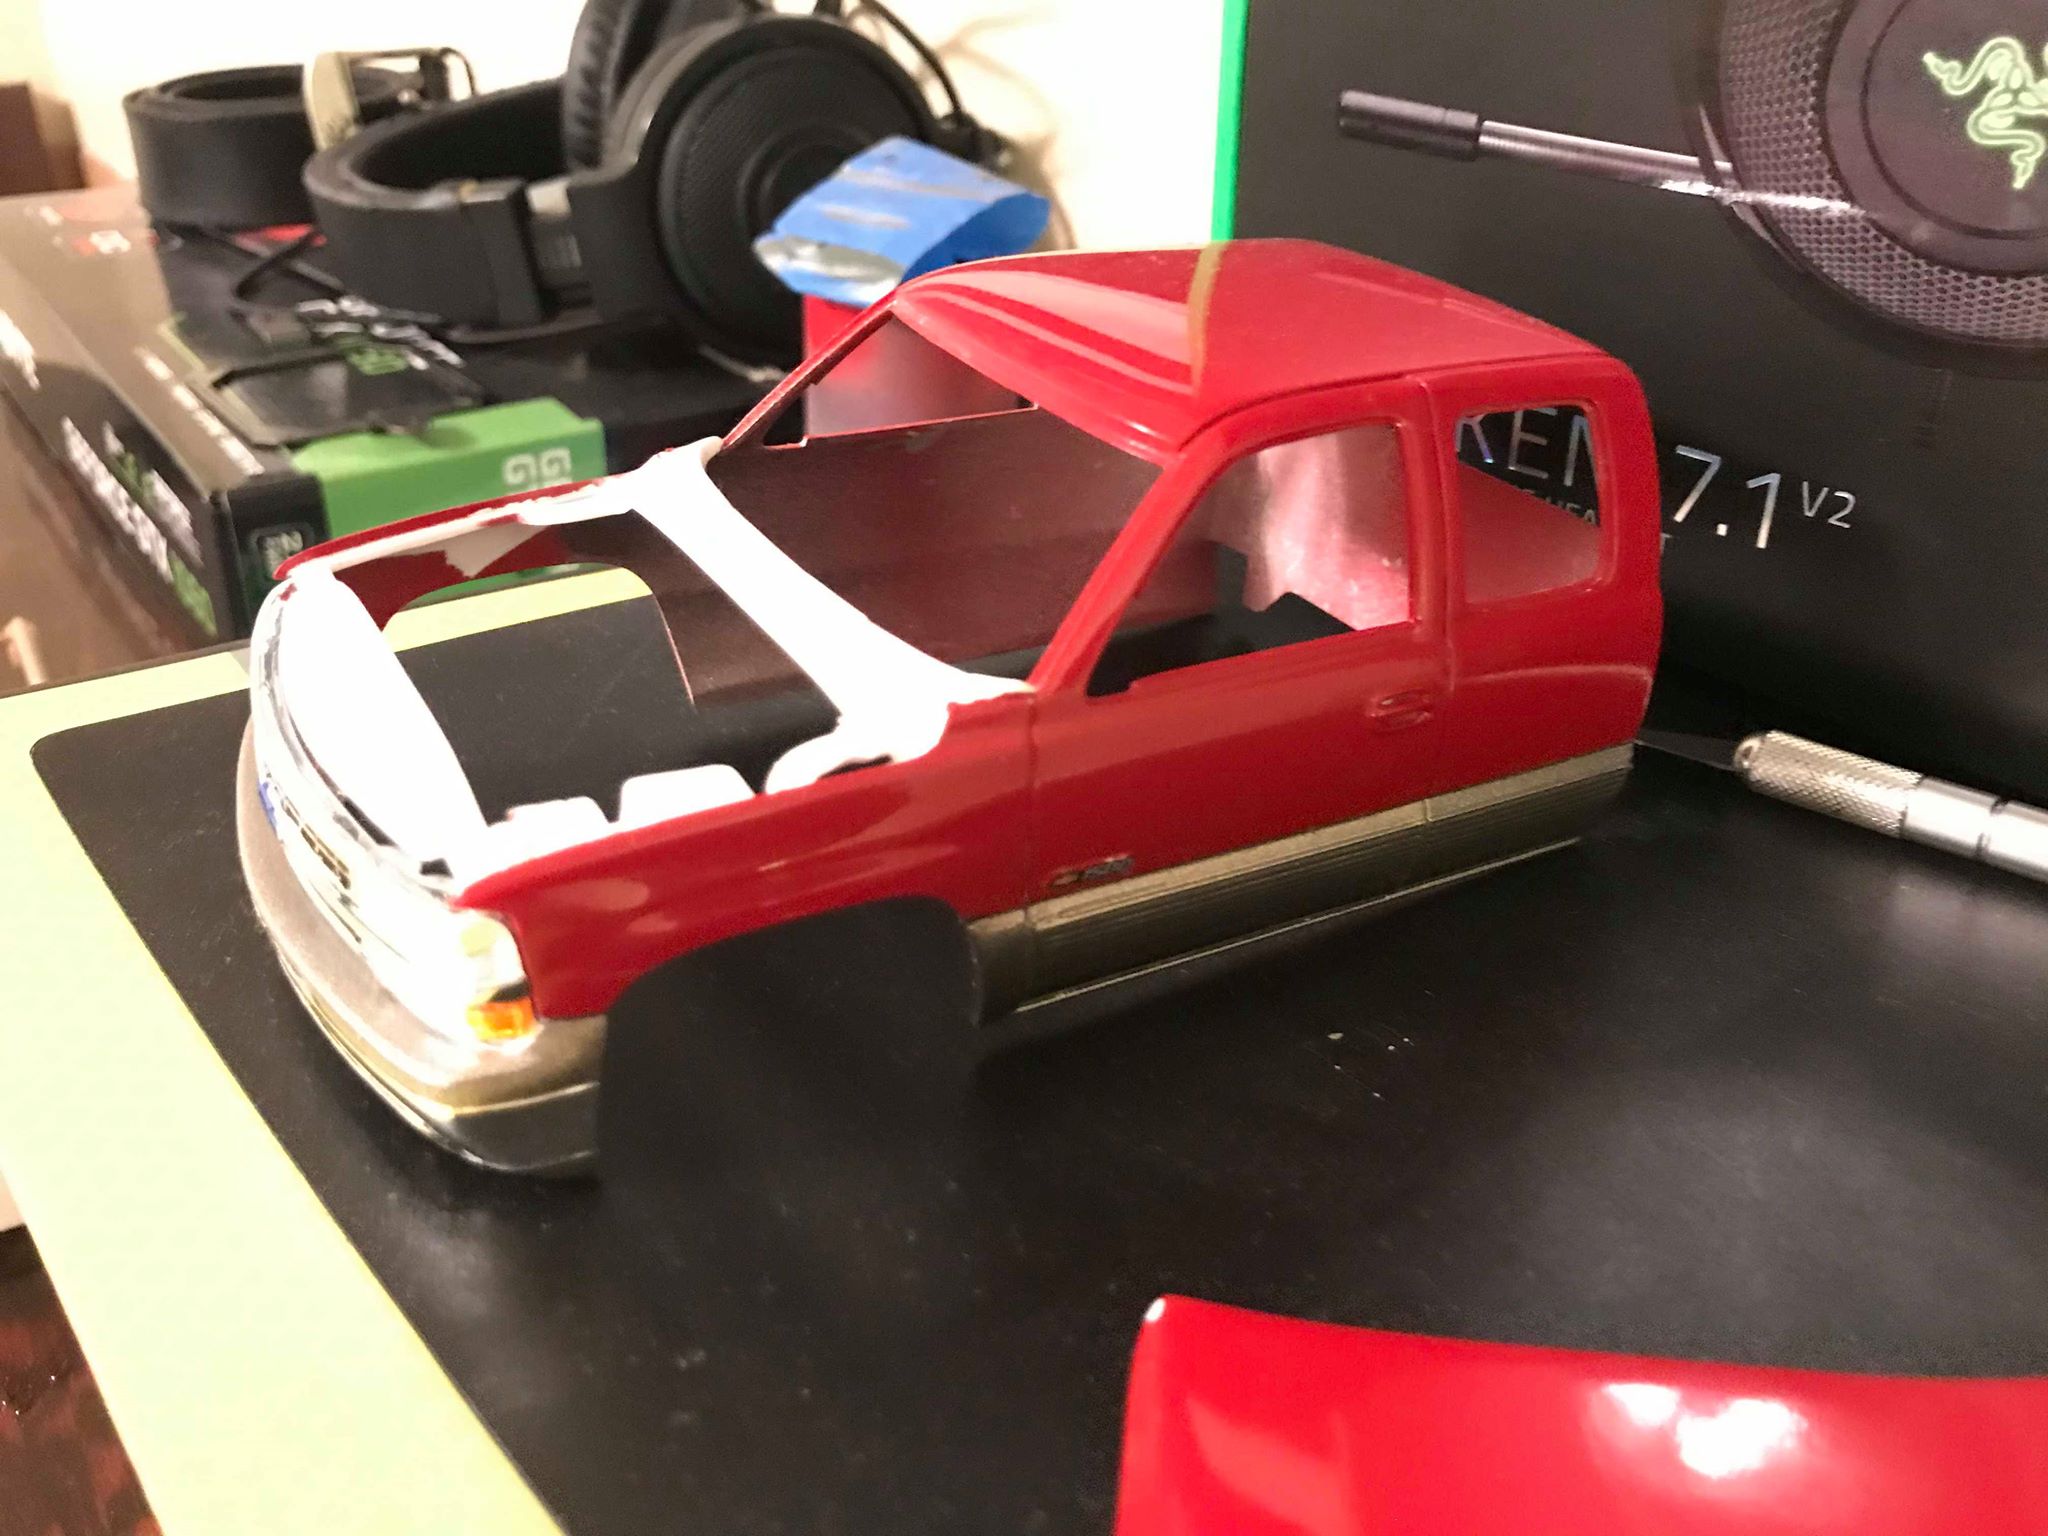
Current progress as of today. Tinted the front vent windows and rear windshield with my 3m 20% VLT film. The rear was a challenge to do because of the curve, but I did the best I can. My build isn't going to a competition so..BMF'd all the top trim and windshield trim. Will do the body and trunk trim as soon as my matte aluminum BMF arrives in the mail..I BMF'd before painting and priming. Yeah I might expect some flack for doing it that way, but I'm sure I can make it shine through the paint.
-
Personal reasons that are too taboo to discuss here on this forum. Let's leave it at that.
-
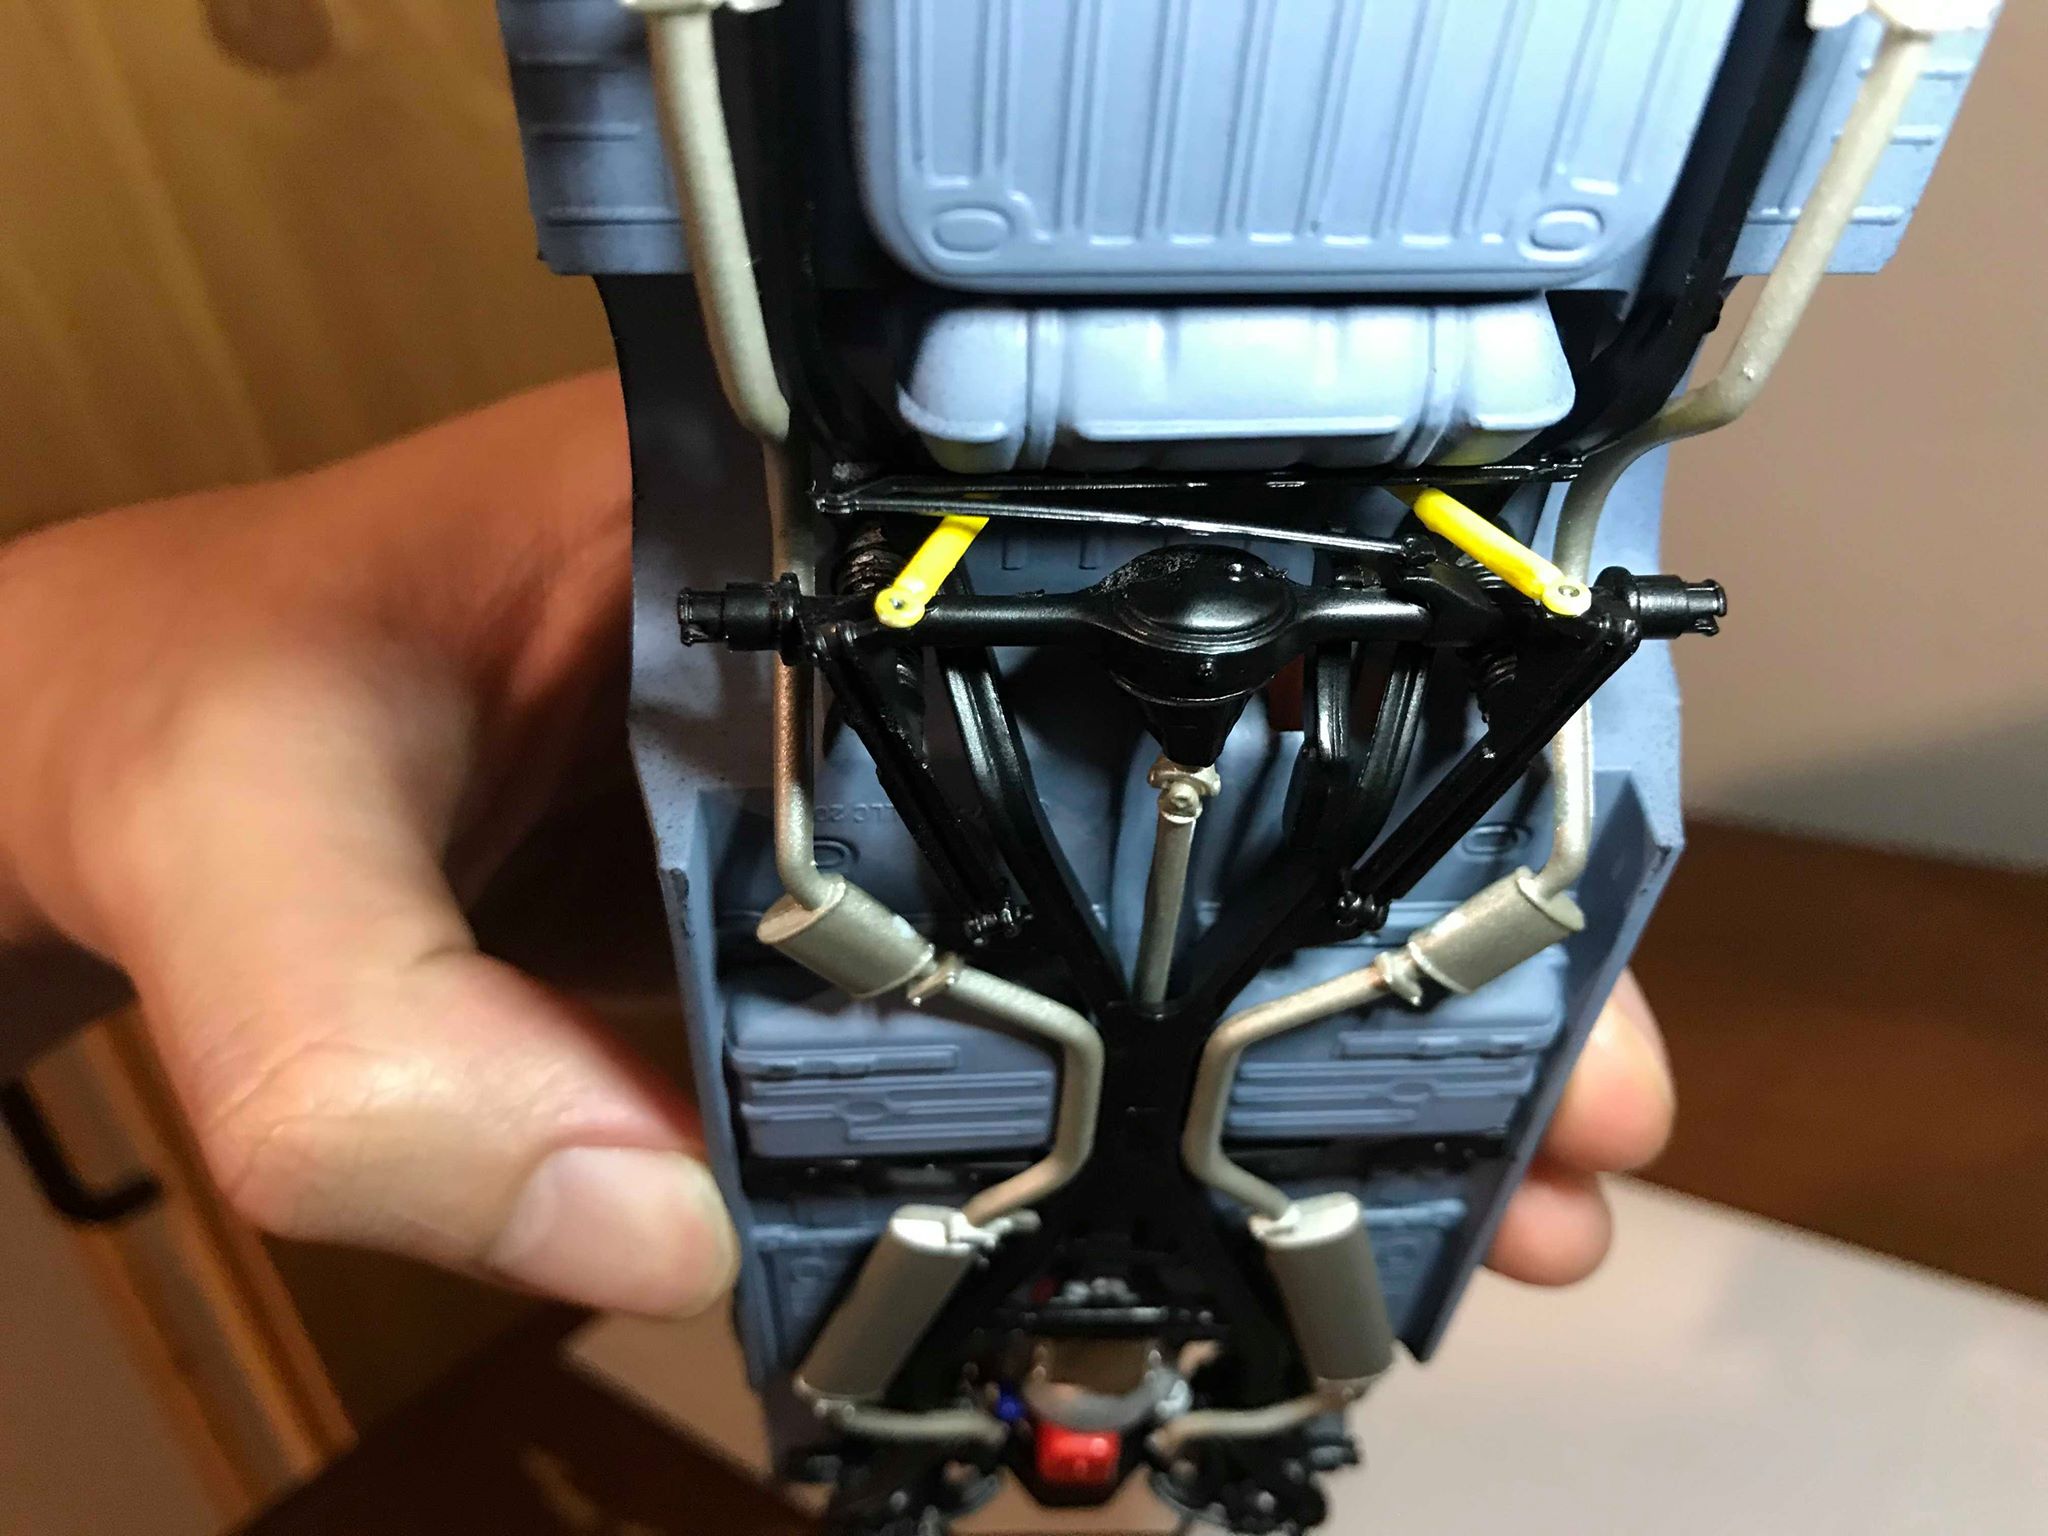
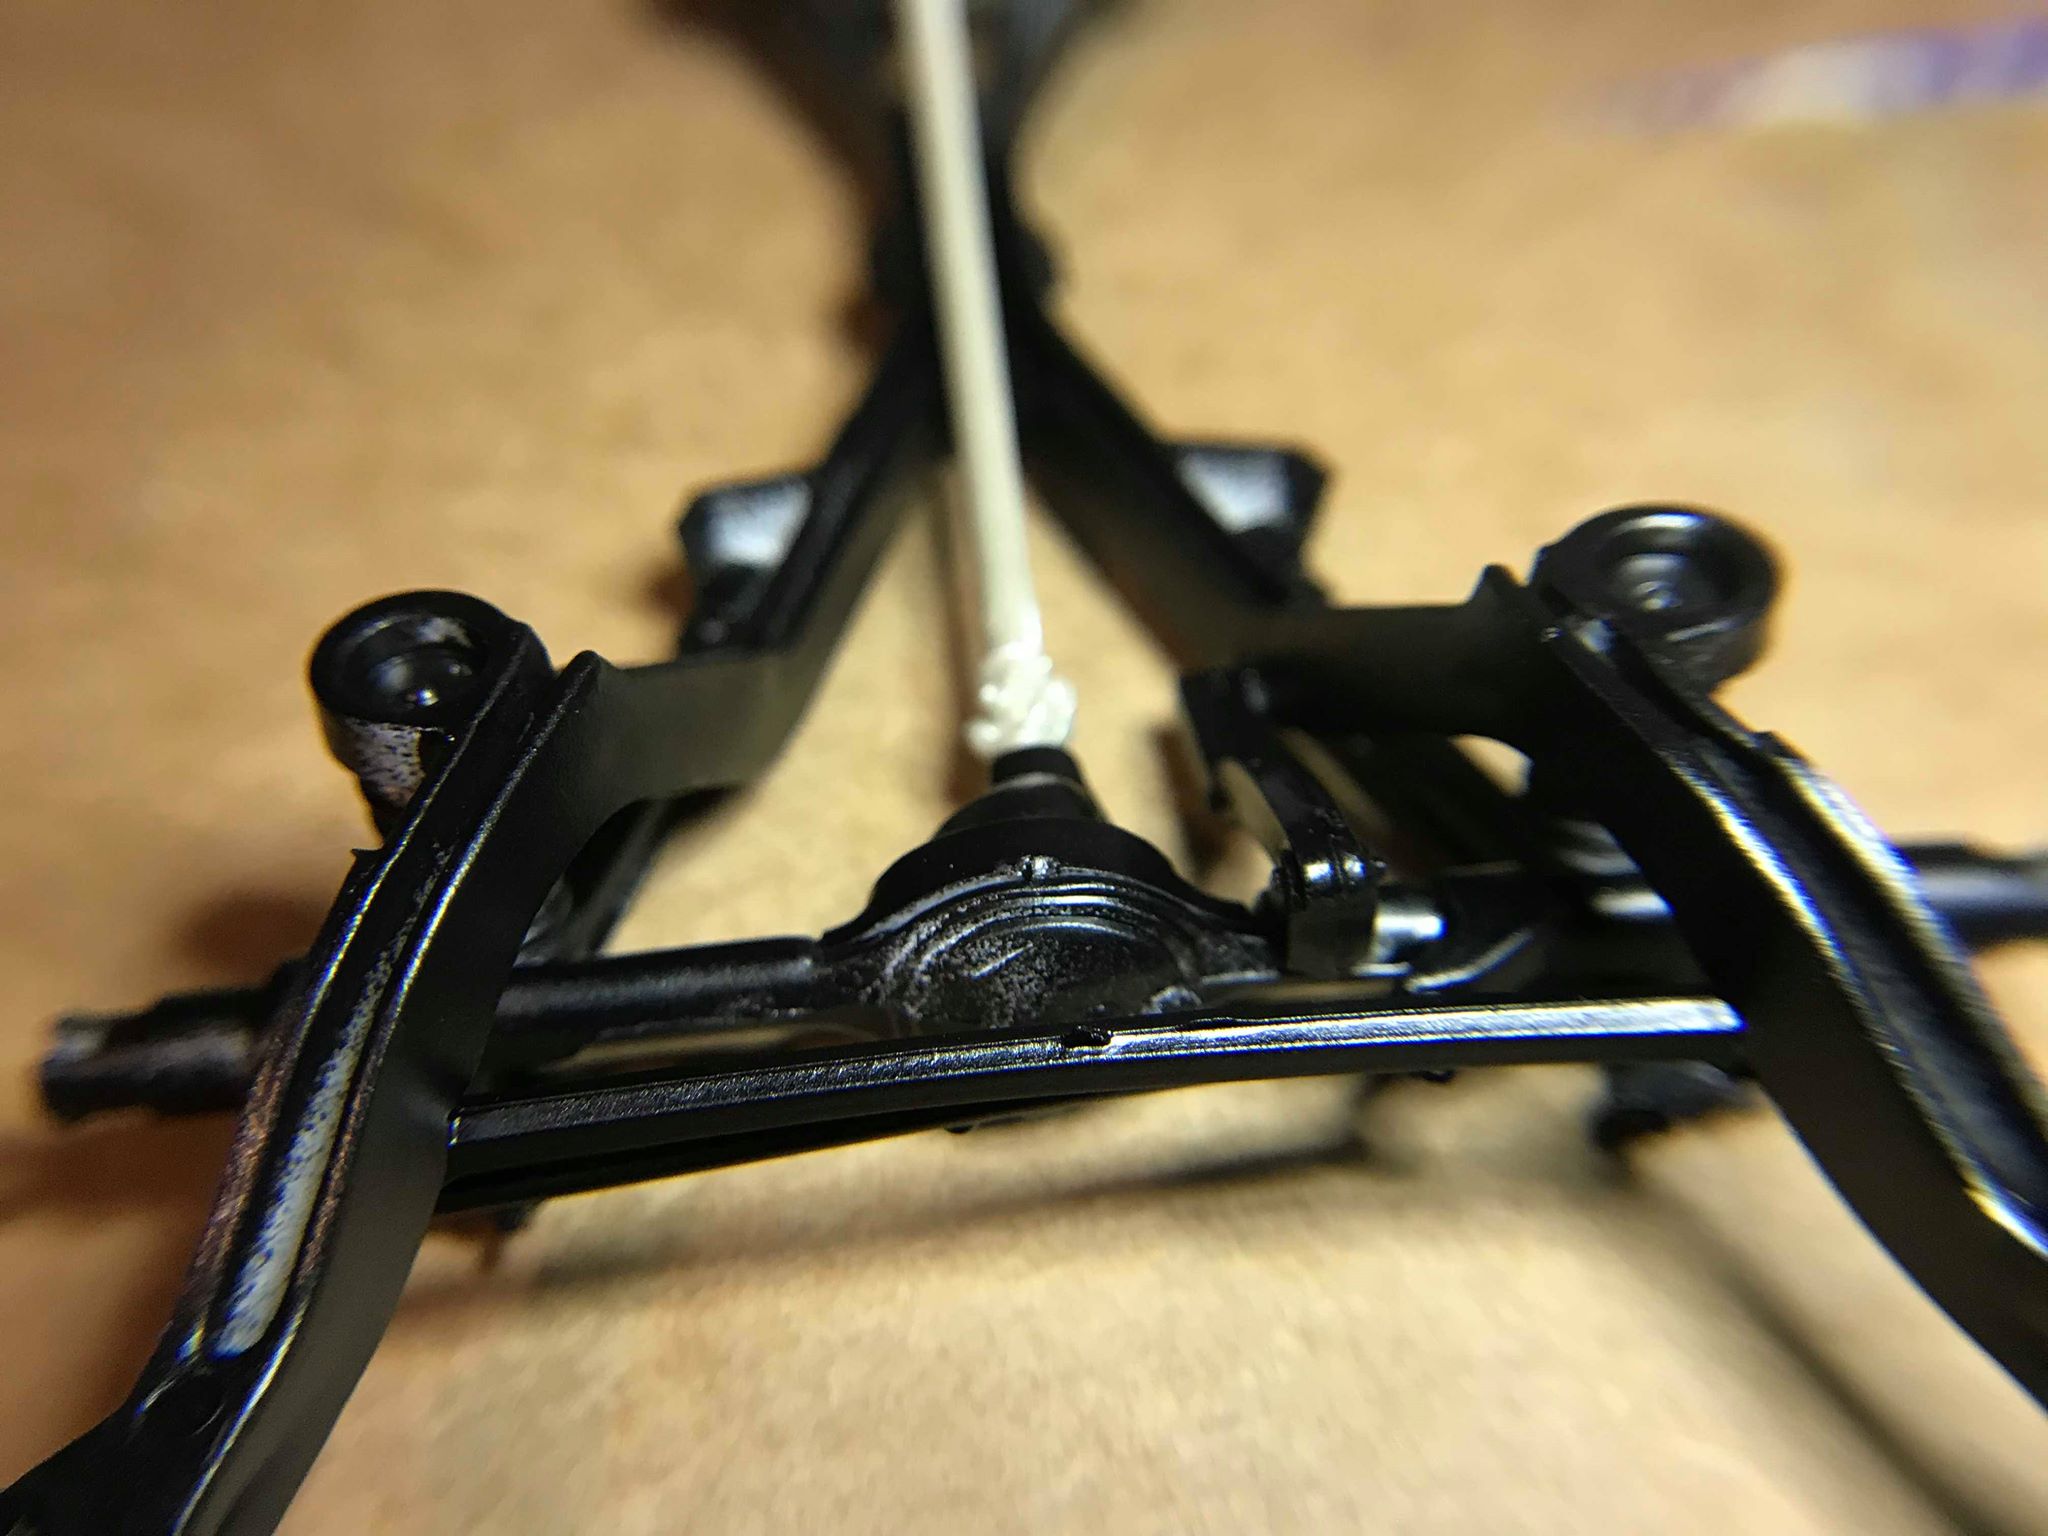
No, I went with the stock suspension. Since I couldn't find the appropriate place to mount the top part of the shocks and the instructions didn't gave me a clear place to put it, I settled for those holes. Well, thats what the instructions looked like.
-
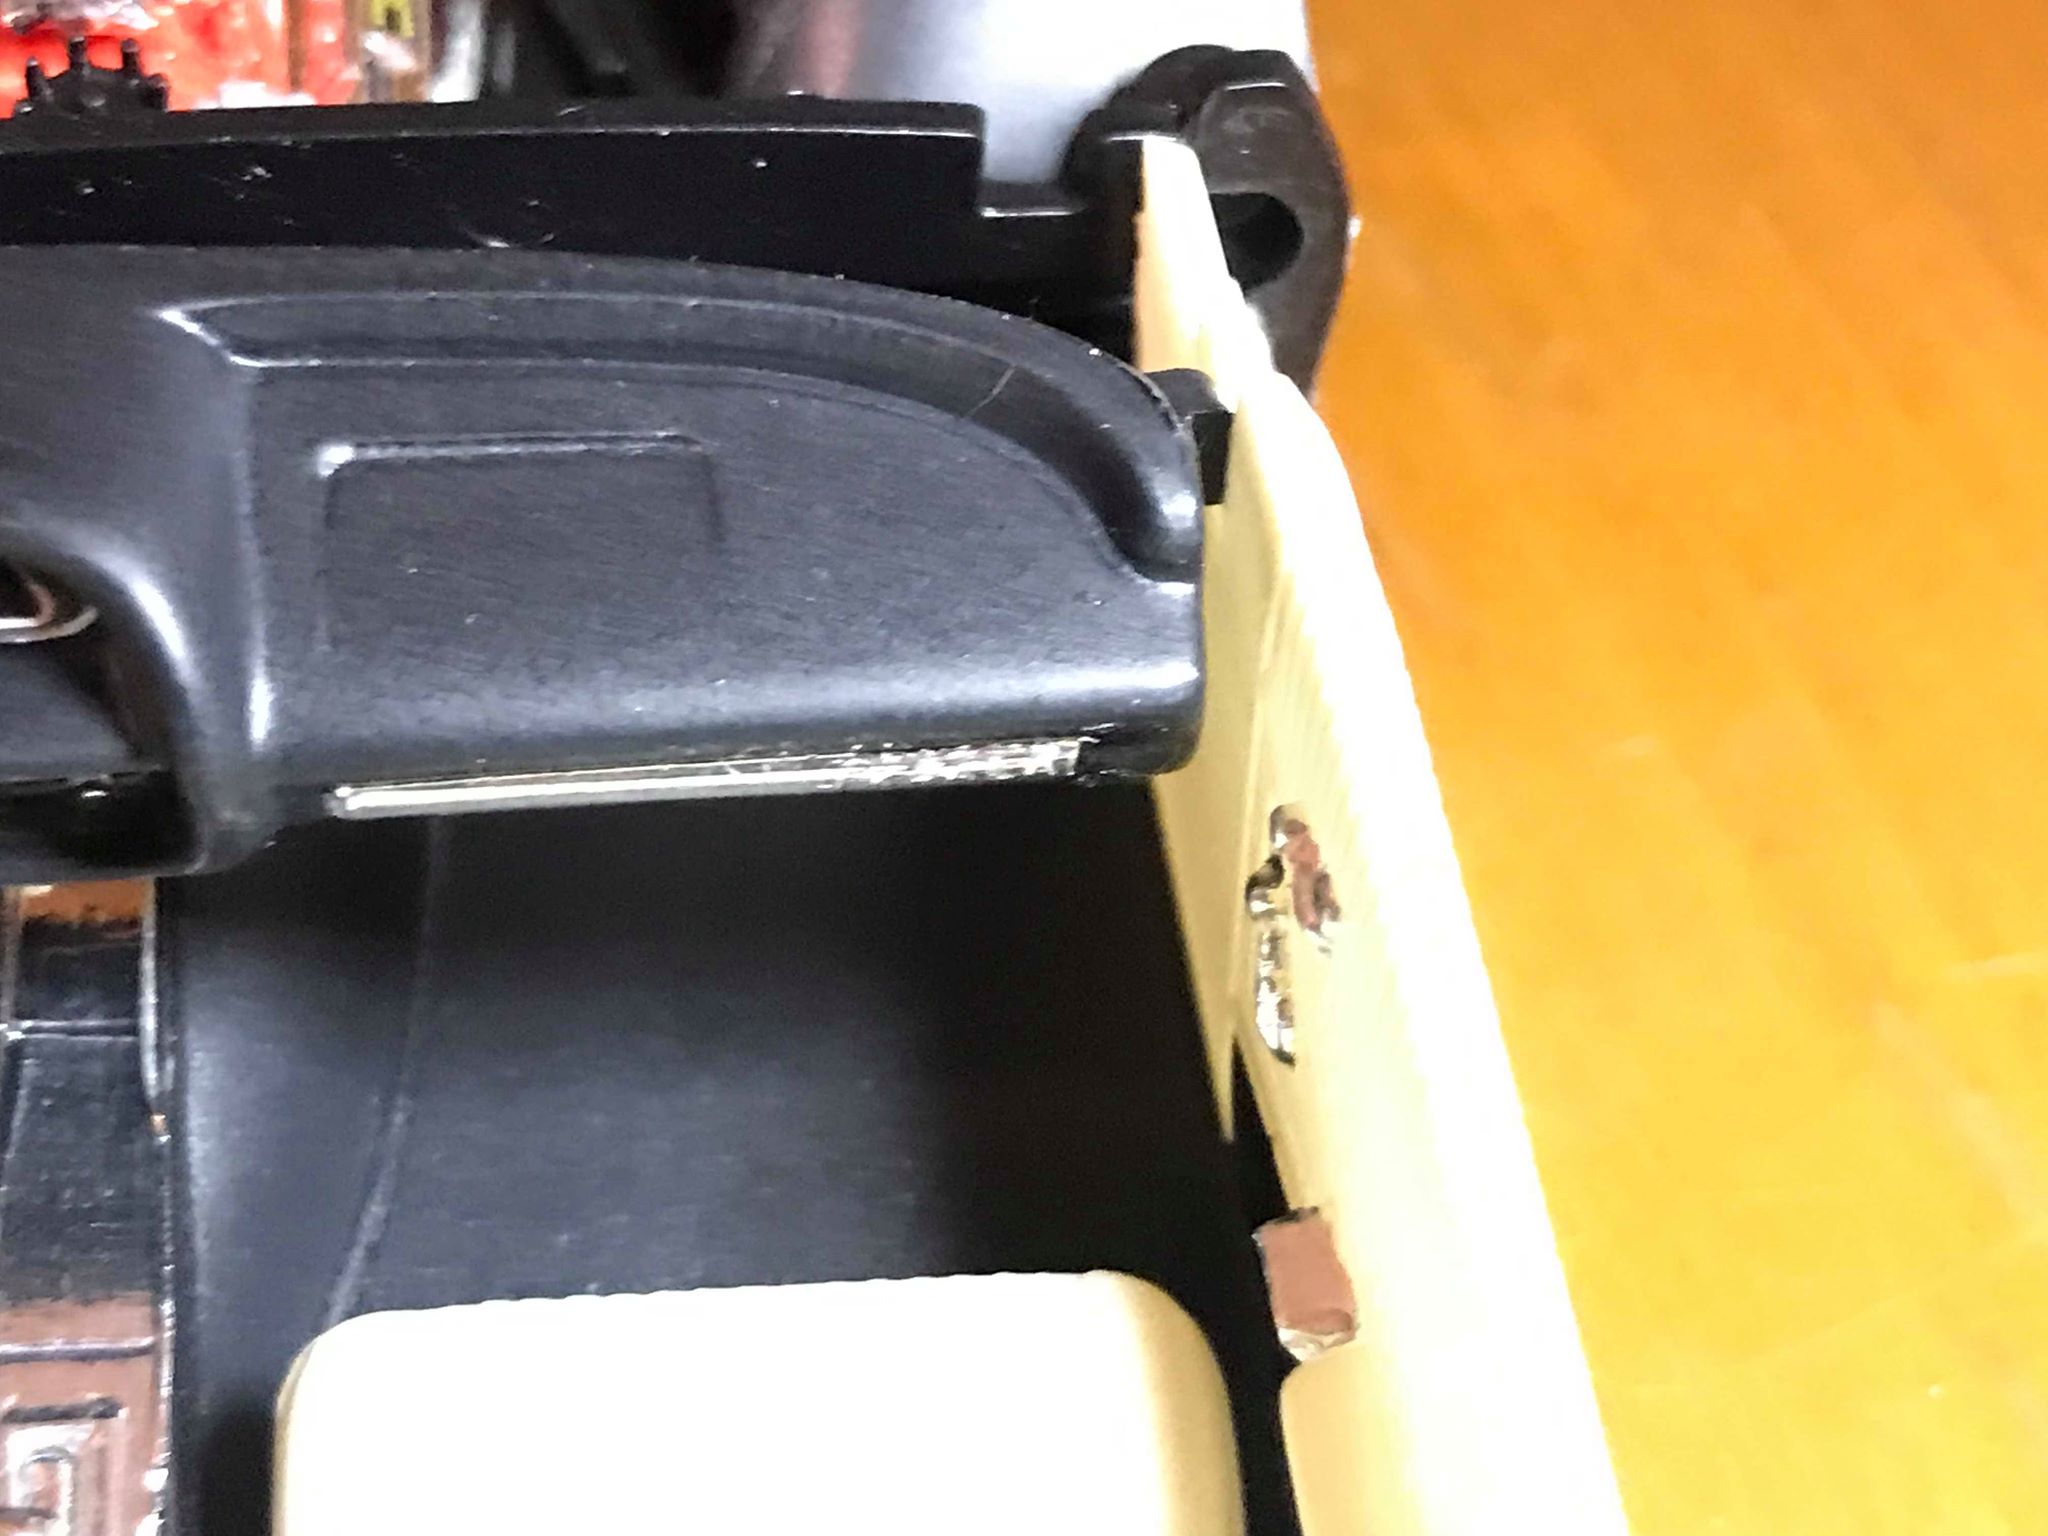
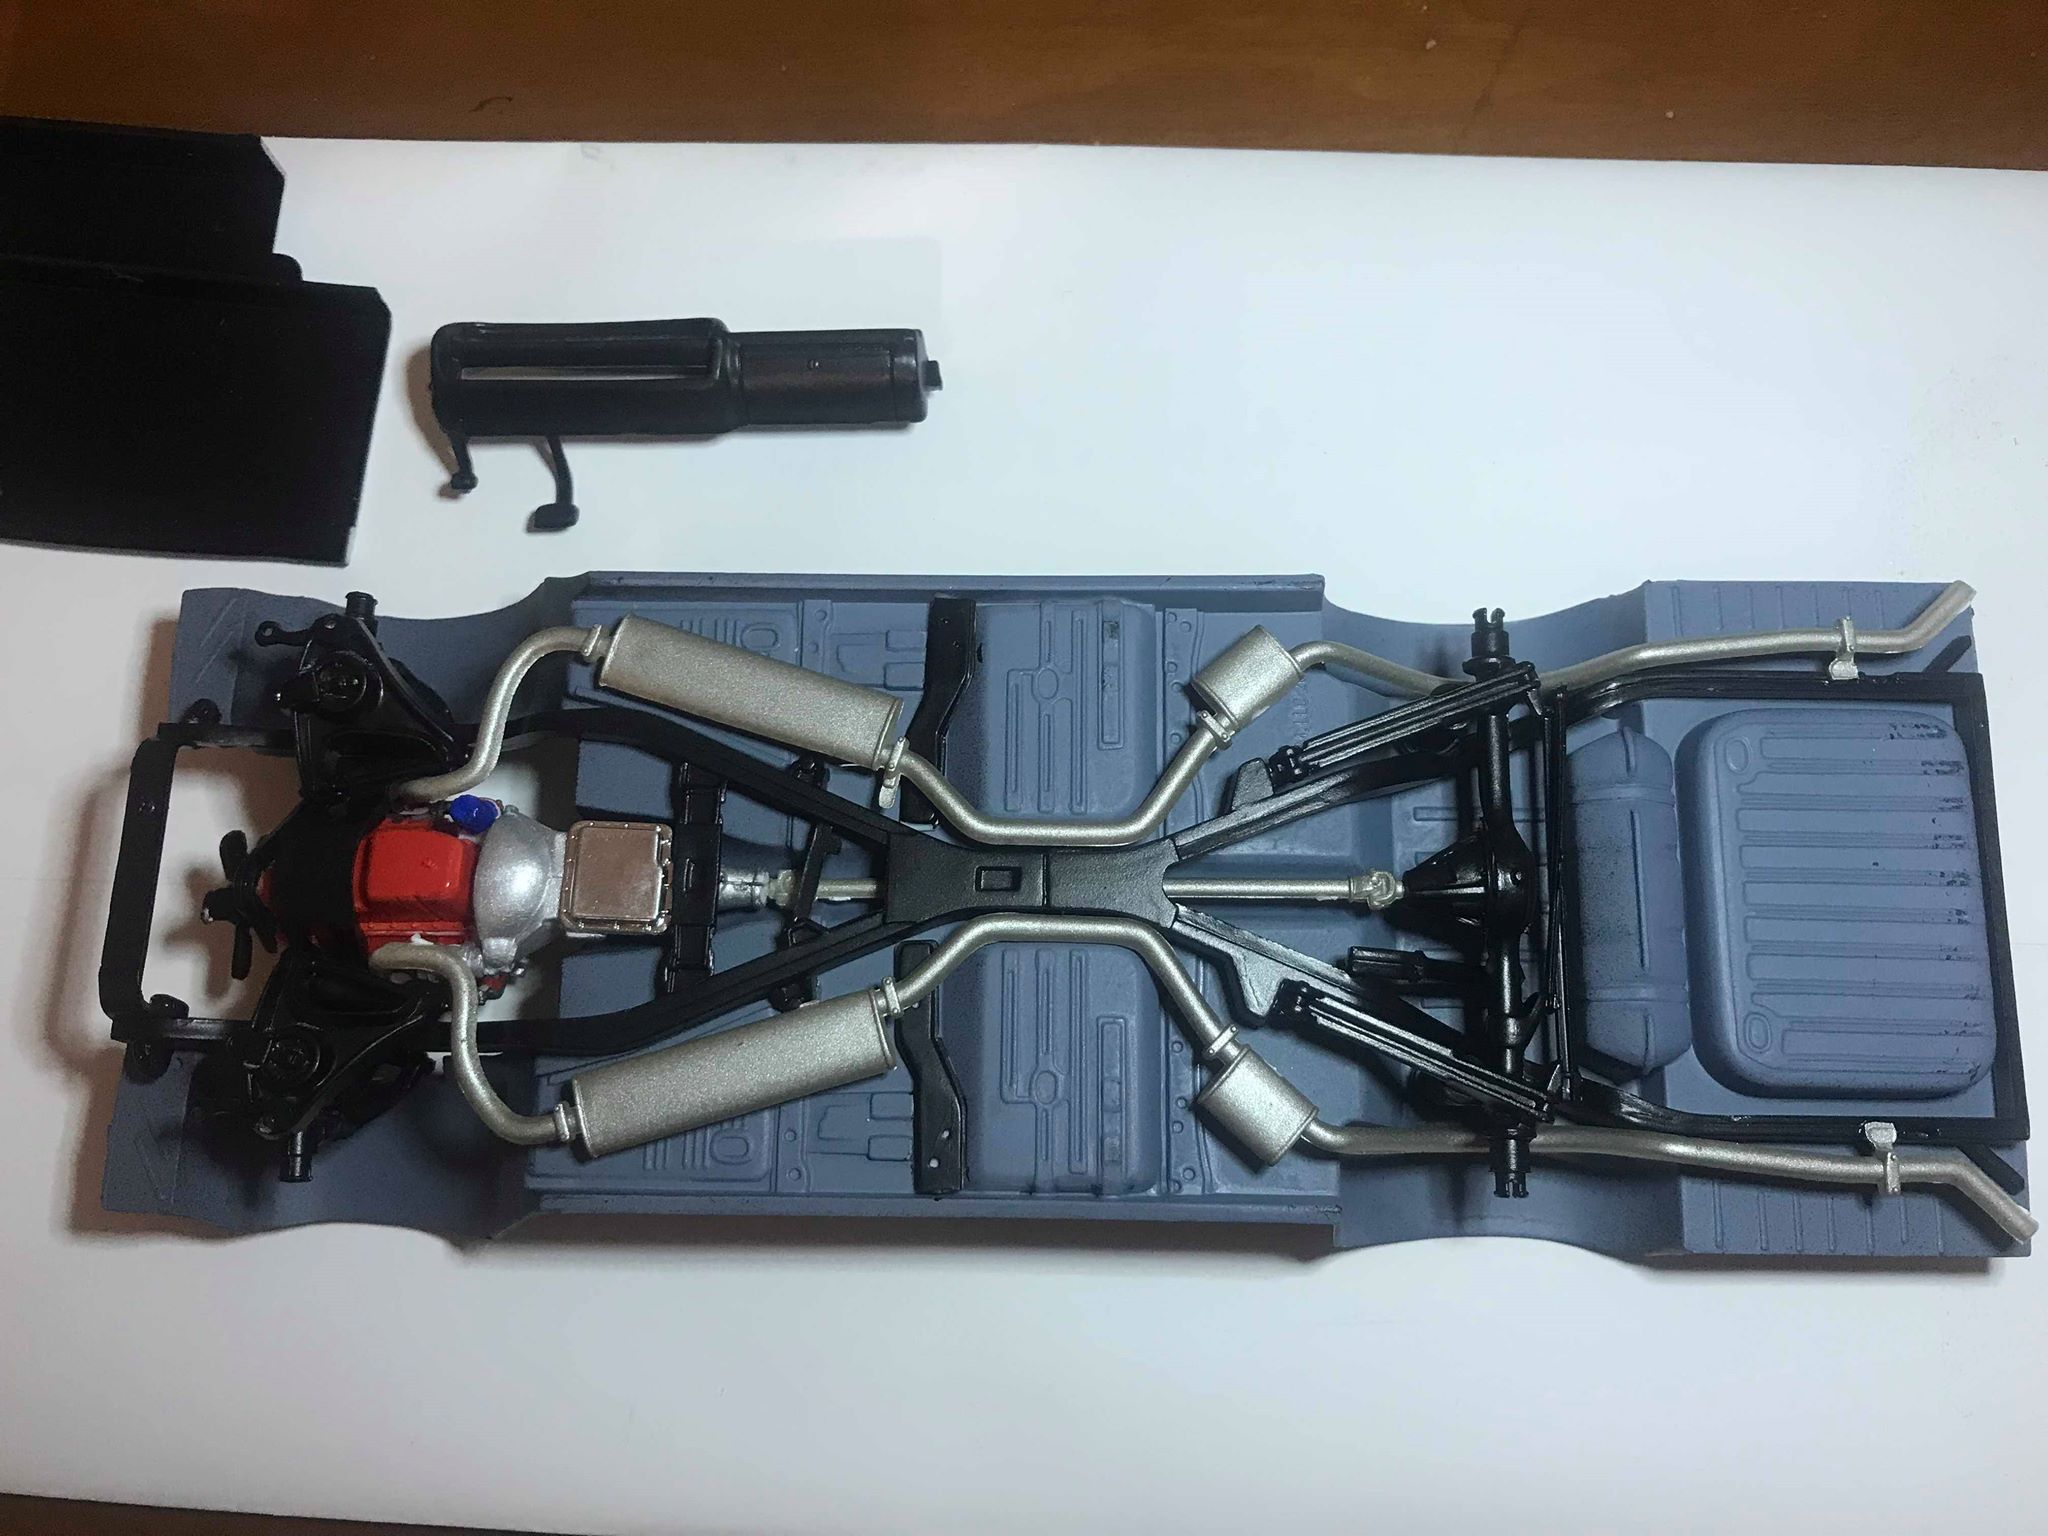
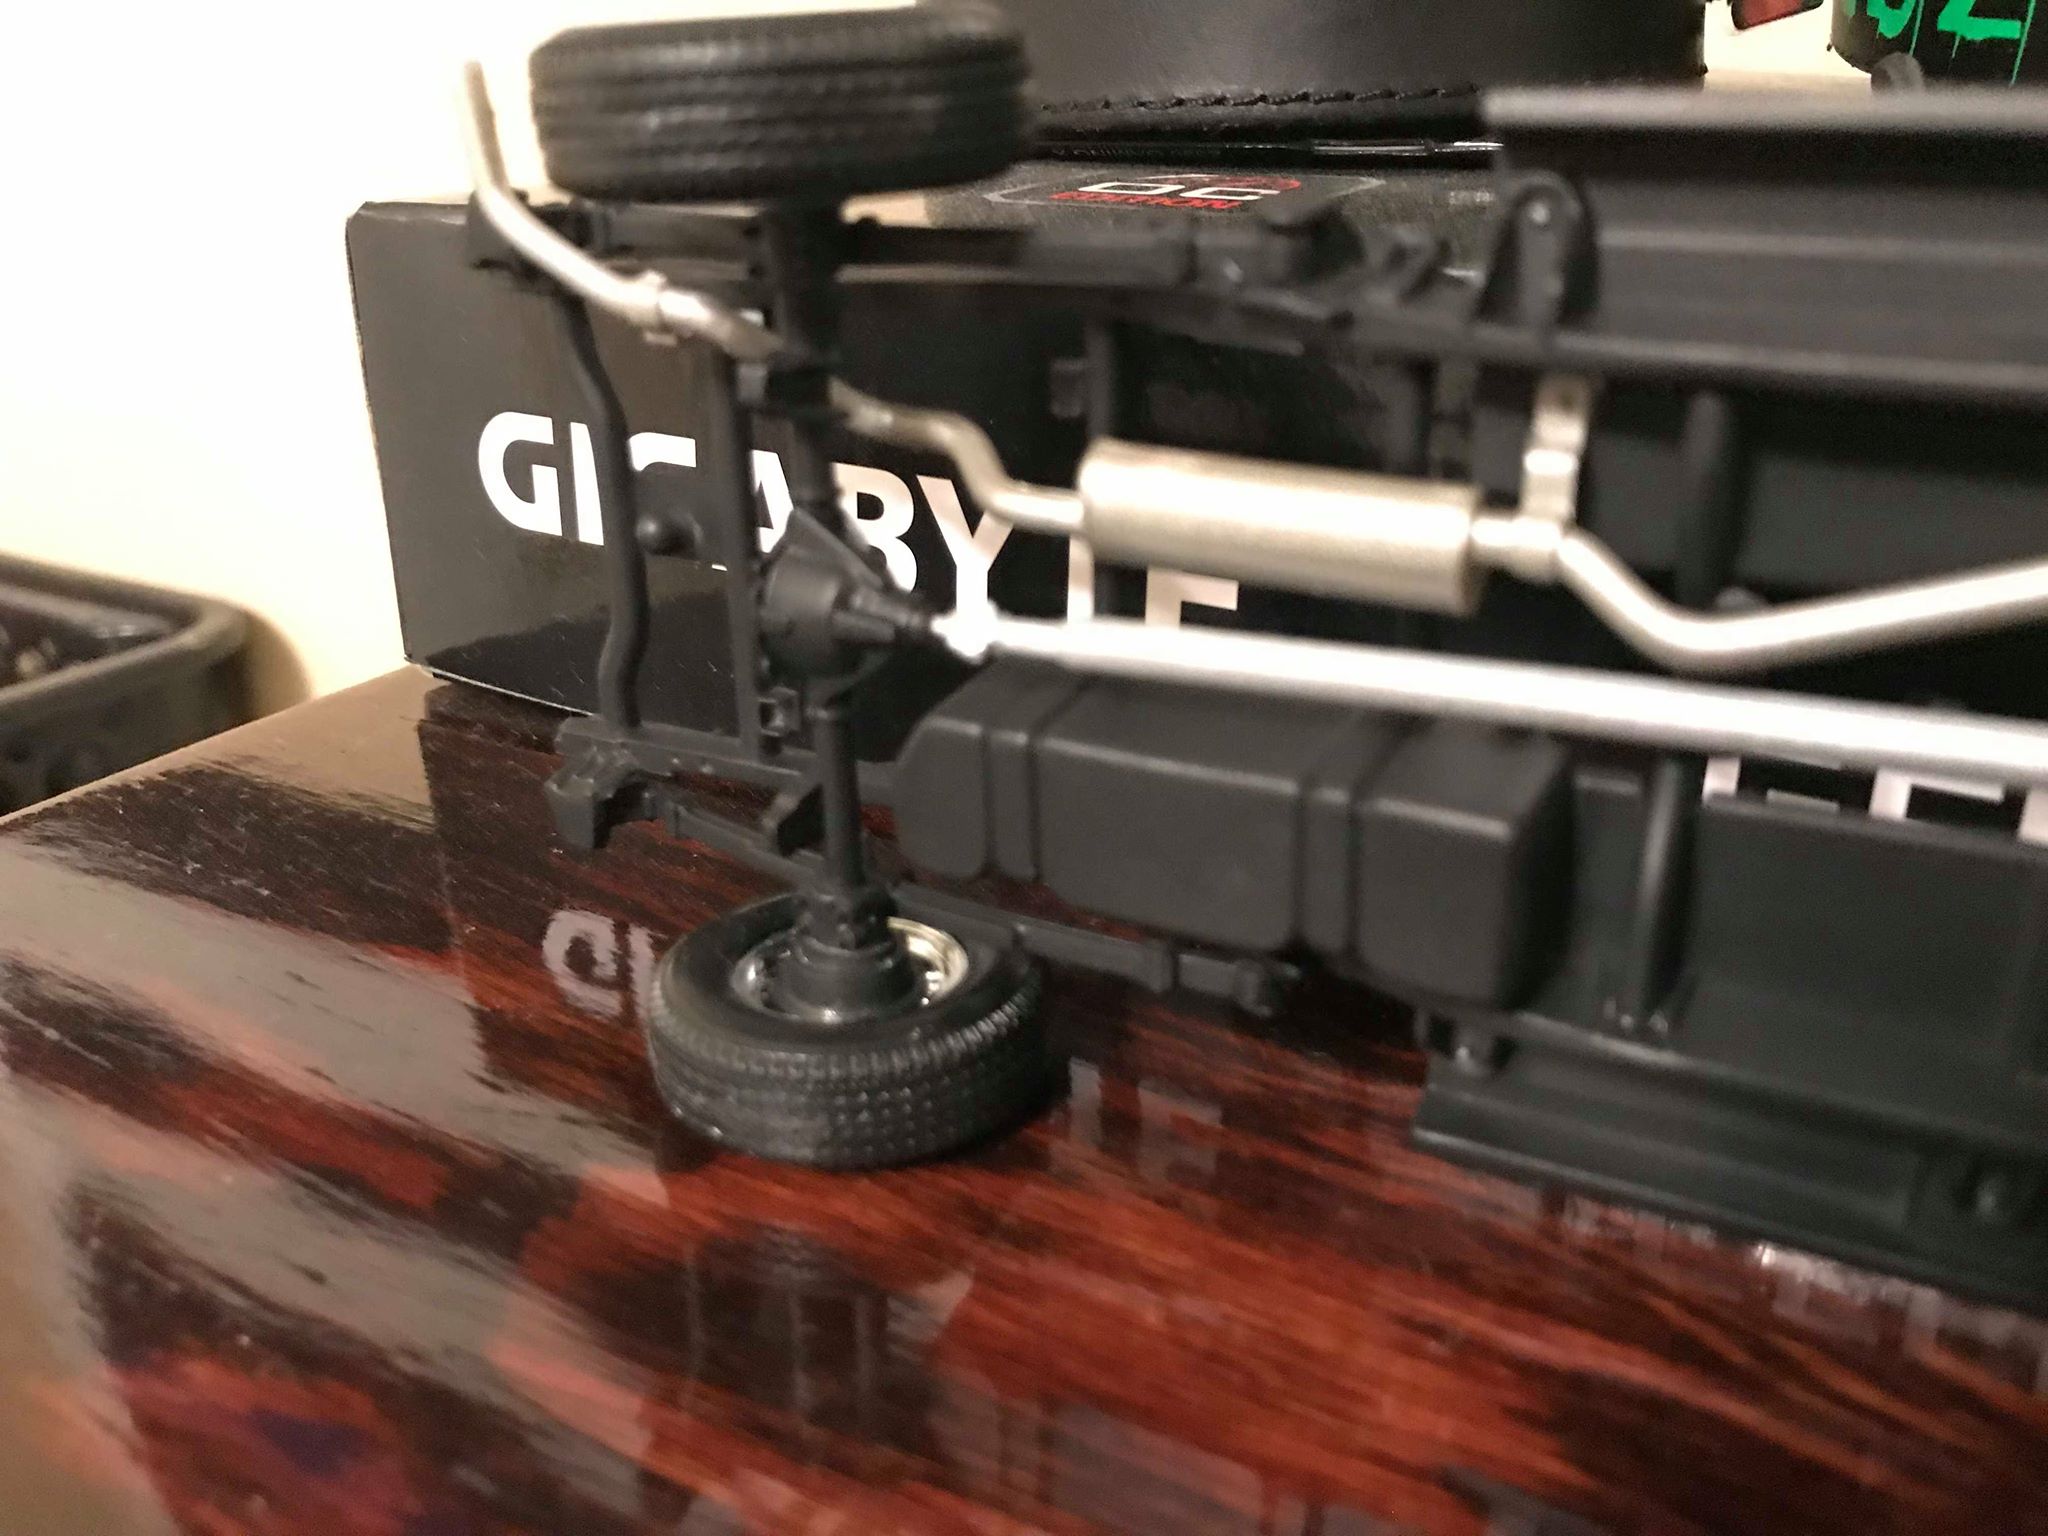
Current build progress as of March 11, 2019.. Assembled the chassis on to the floor pan, painted the floor pan dark grey. Interior floor, console, inner wheel fenders and firewalls painted in a custom mixed gloss black with little semi glass black left with dark gray to make a dark charcoal black. Door panel had details BMF'd, did the best I could. Hasn't been painted yet. PS, I used the Testors amazing airbrush set with gas cylinder. Sure beats the heck out a $250 professional airbrush set!
-
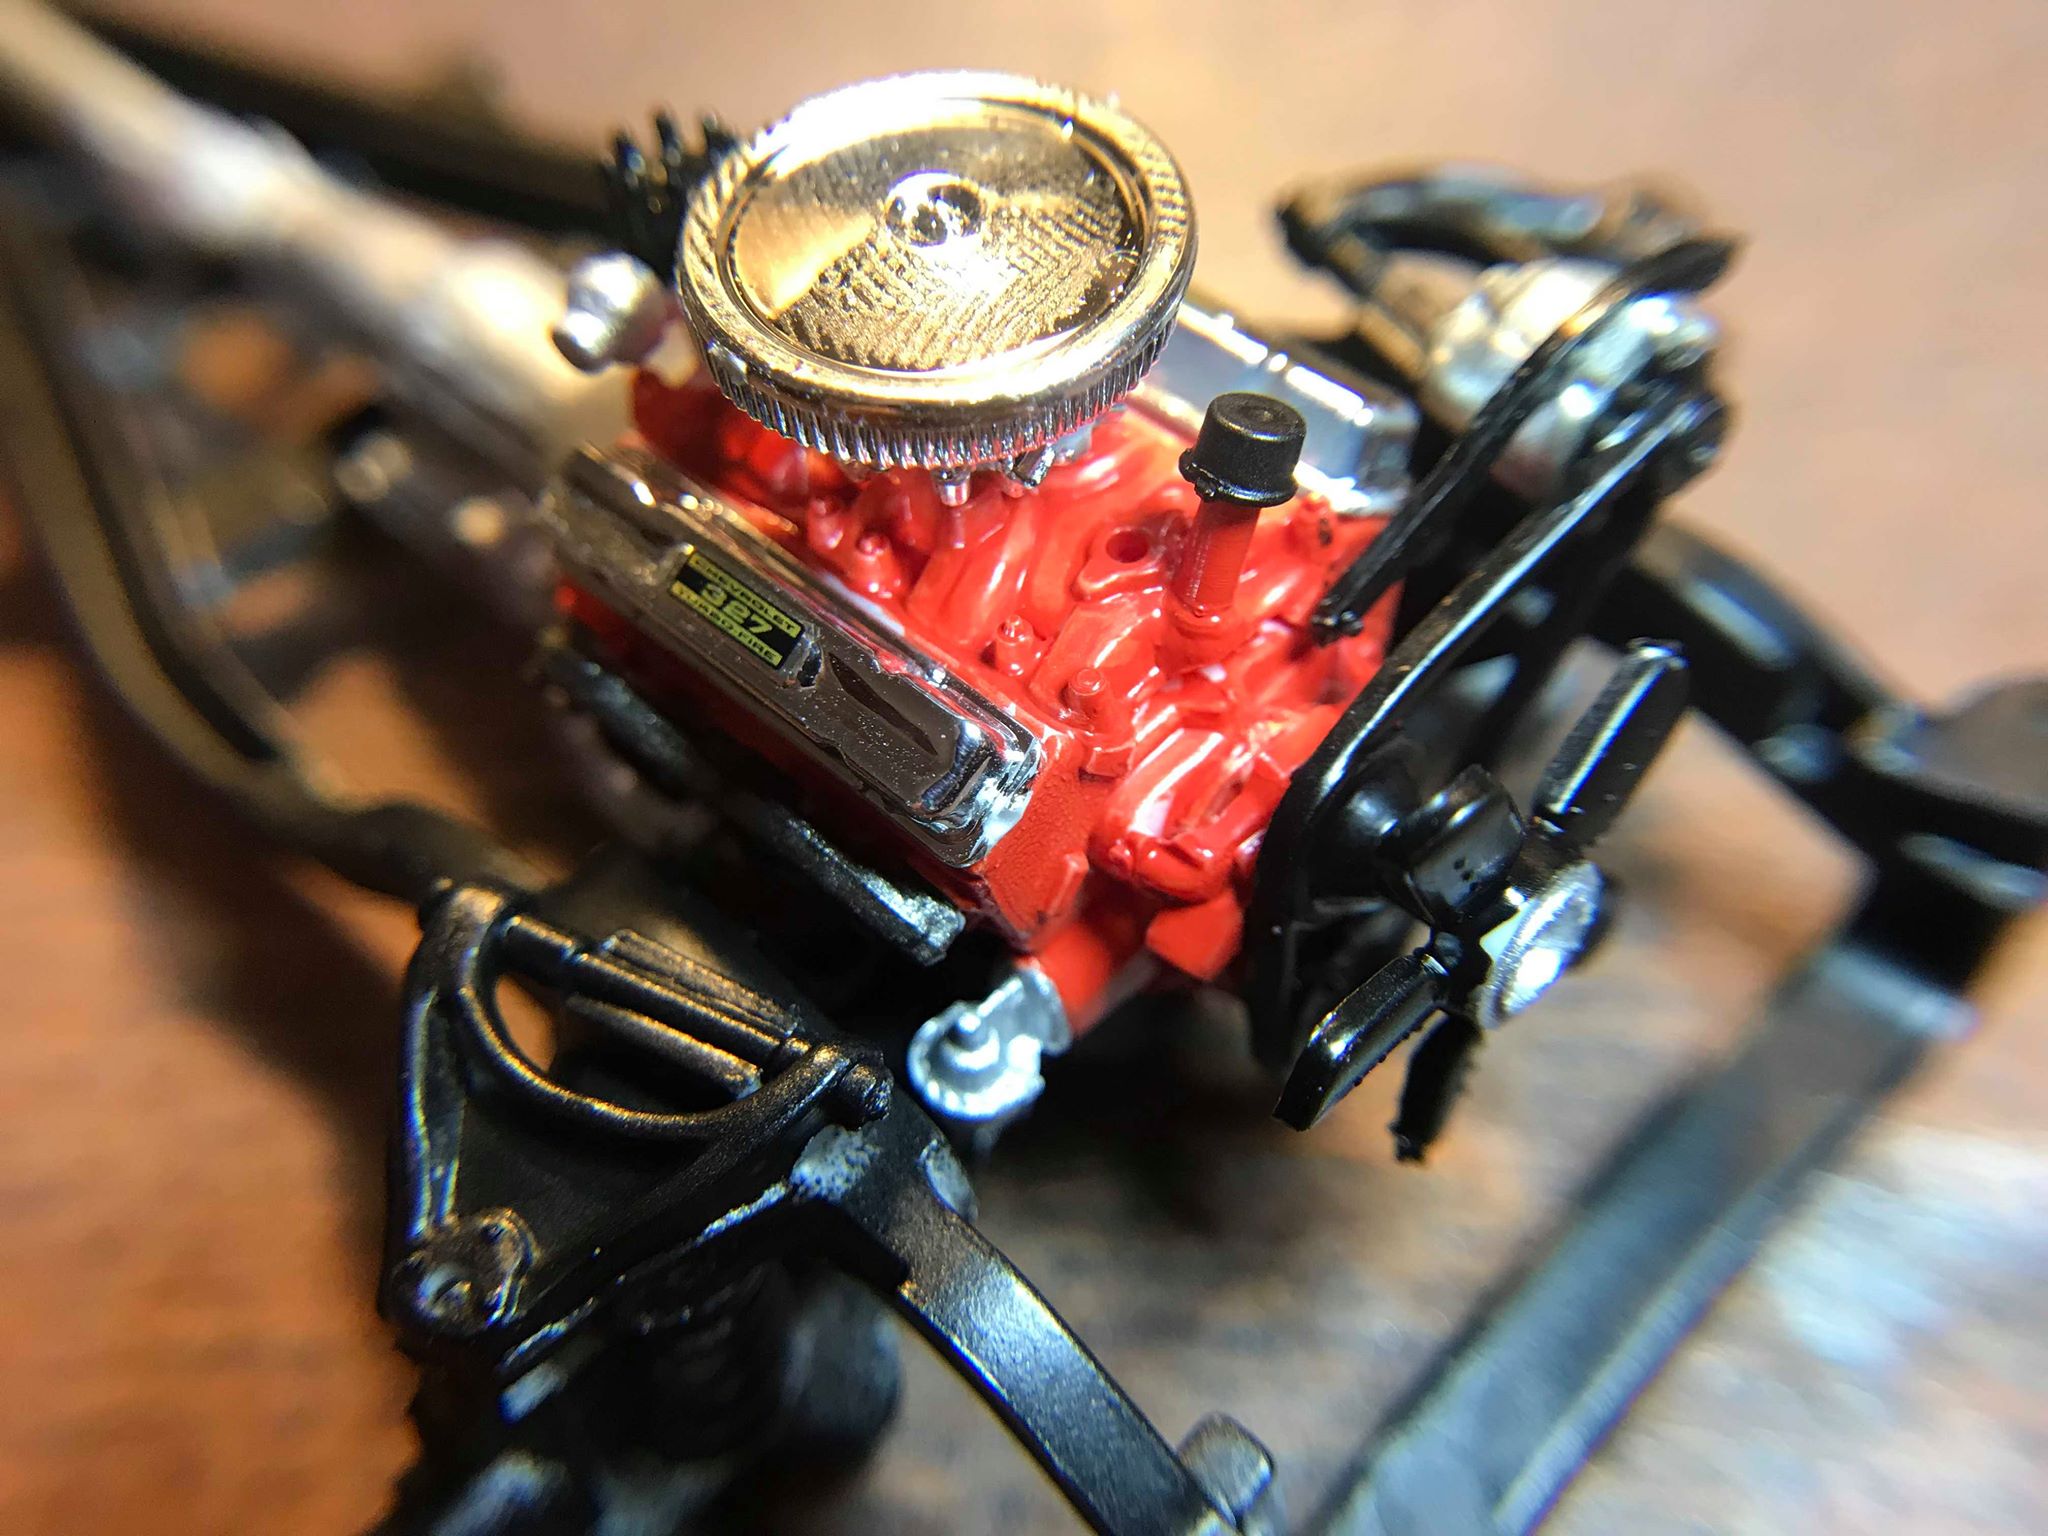
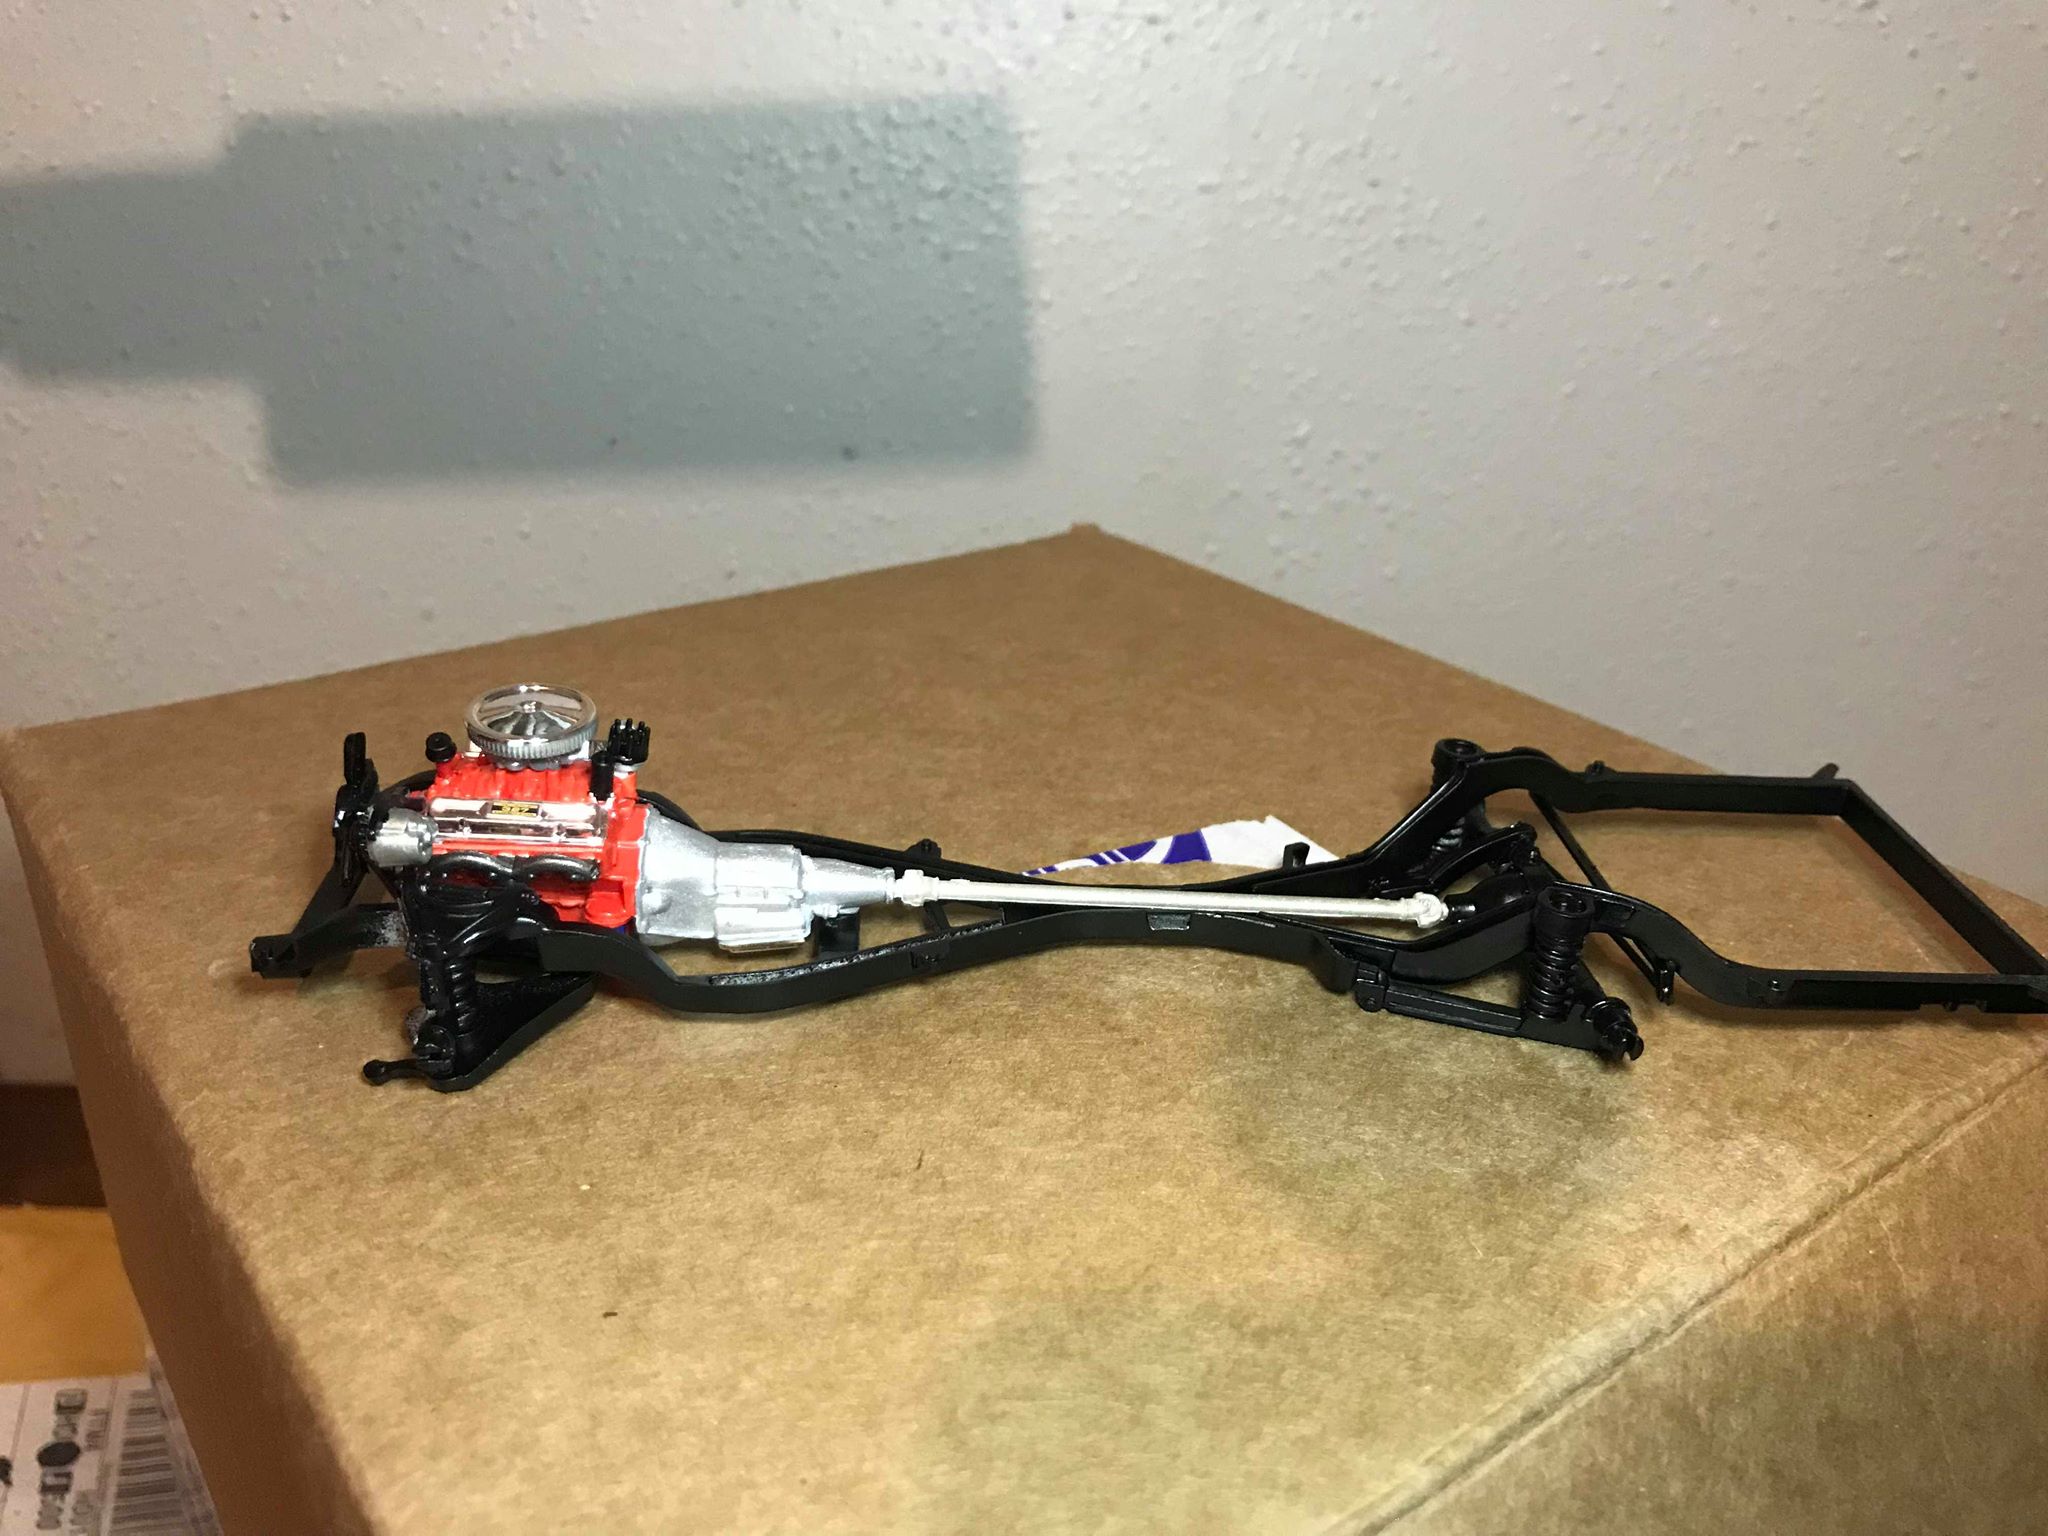
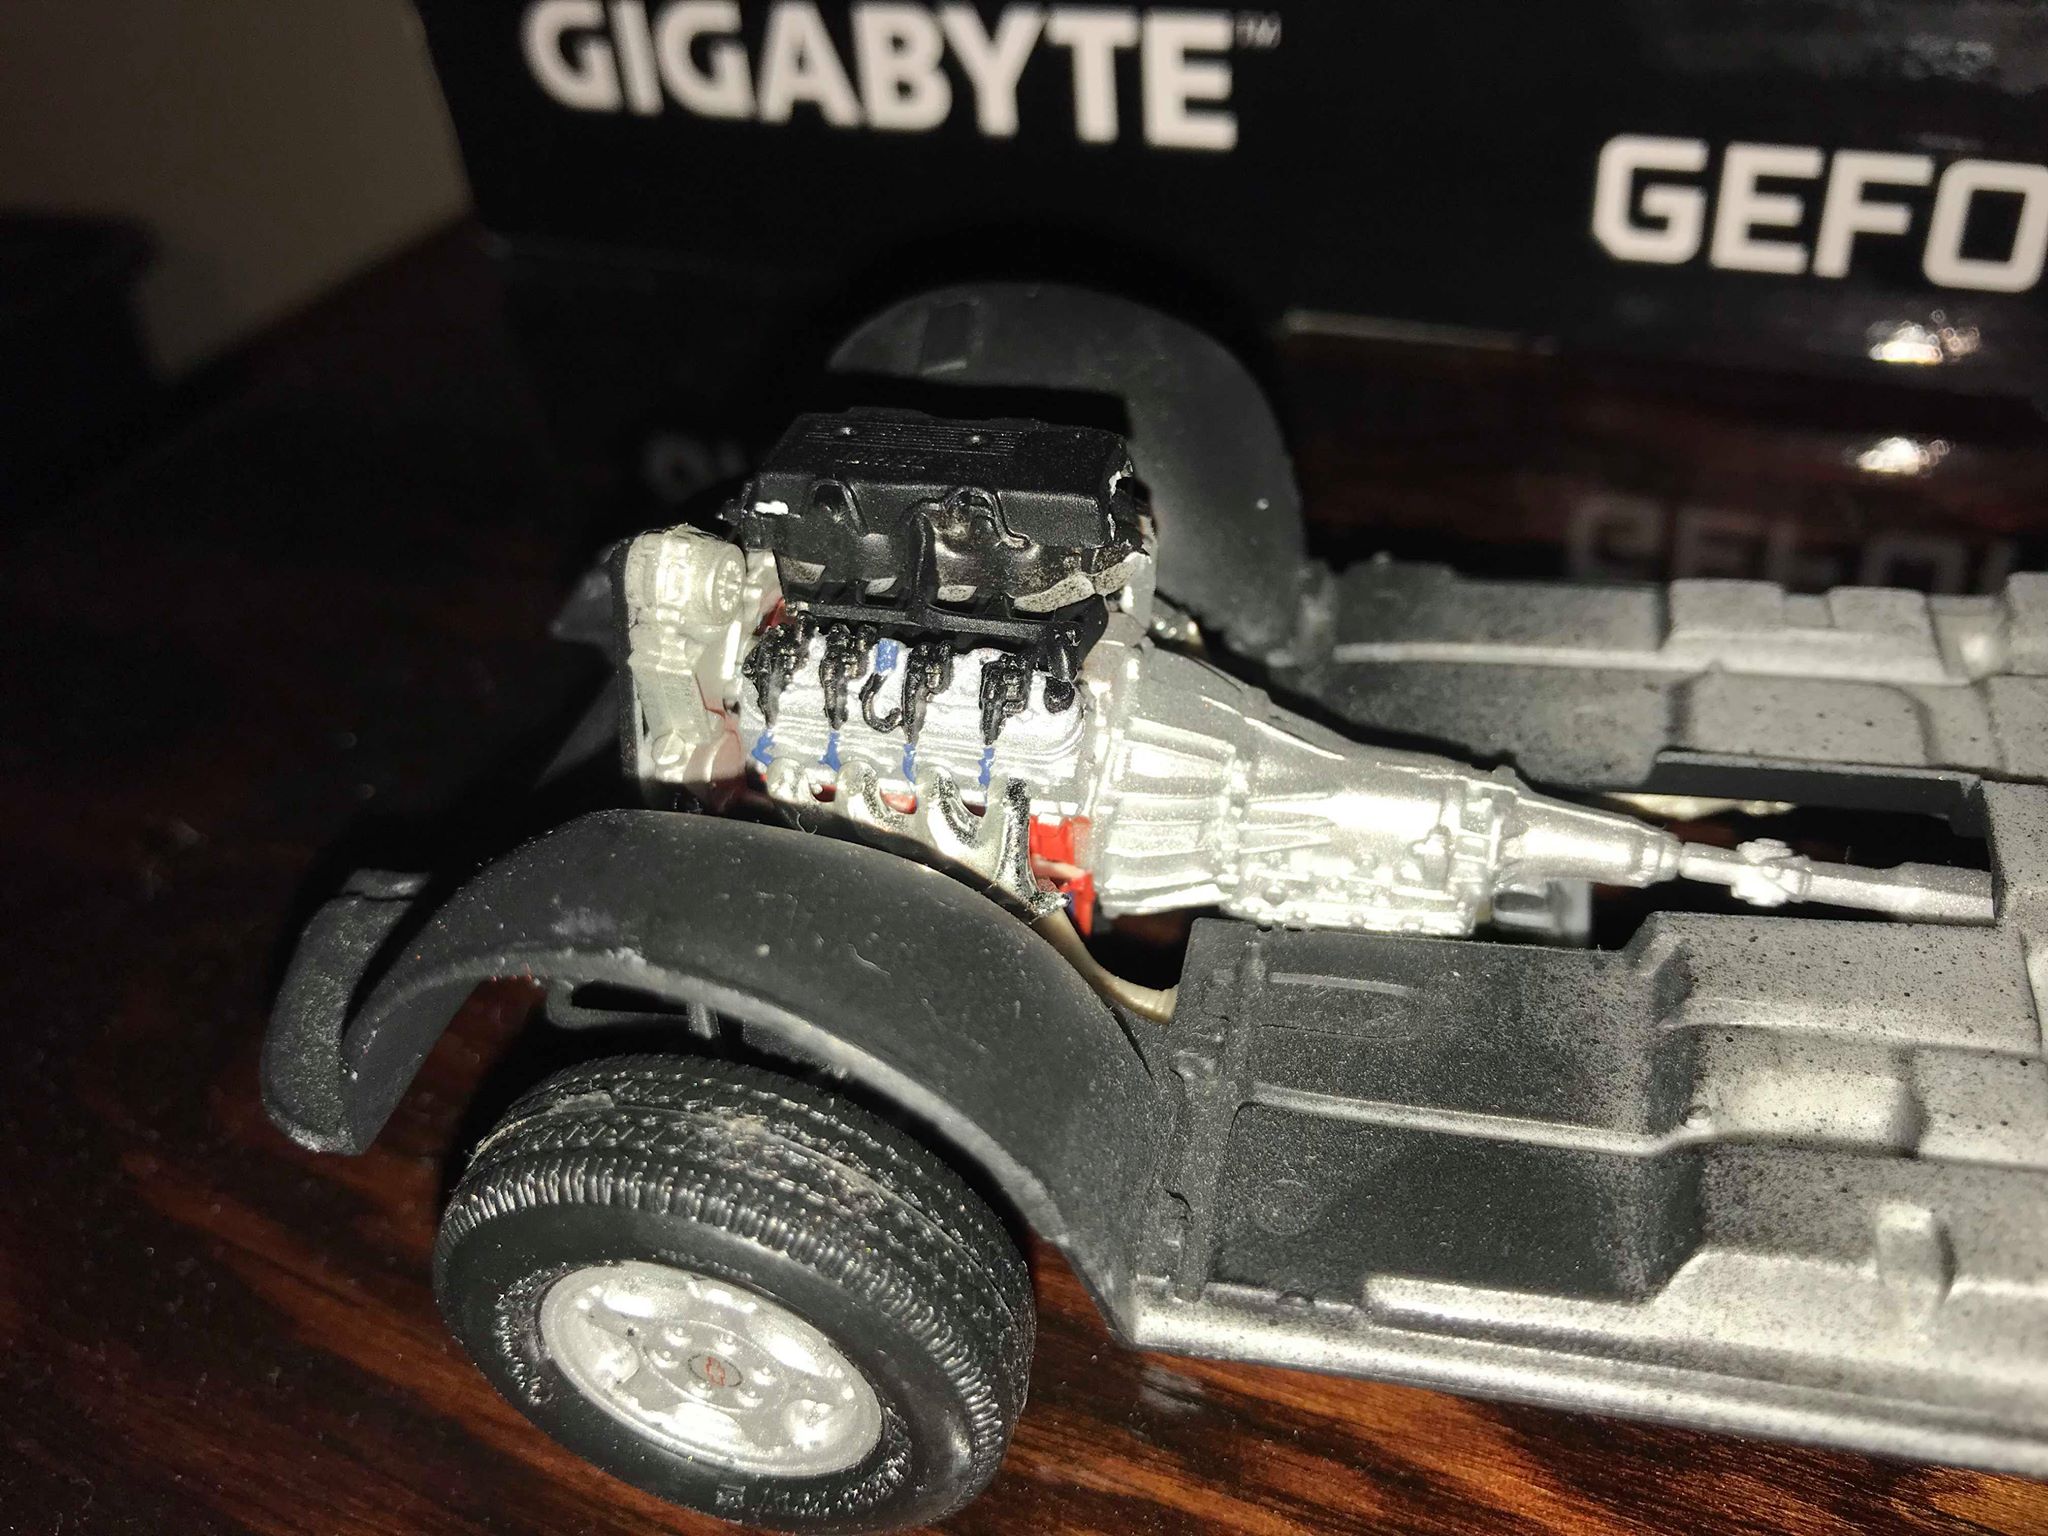
So, I semi-trashed my first Revell 1964 Impala SS (China made kit) build and rather would build it differently than what I had originally intended to. I stripped off the paint from it and will paint in another color, possible a Chevy aqua marine color. So that kit is shelved and stopped for now. So, I decided to buy another 64 Impala model kit, but this time is made in the USA. I much rather have the USA made Revell model kits. With that being said, the USA made version will be here to stay and the first one I bought will be built and sold on ebay. As of right now, I have completed the engine build and chassis assembly. I'm waiting to go buy Pegasus 1:25 custom rims for my 64 Impala so its sitting on ground lol. Details on the build: Engine is painted in full red Chevrolet red orange from intake to oil pan. I left valve covers chrome and added "327, 300HP" decals on them. I used the custom intake with the Holley Carburetor and the chrome air cleaner that was meant for the lowrider built, but I am going with stock with a few extras Transmission is painted in aluminum paint along with the starter, distributor vacuum advance unit, fuel pump and clutch hub on the cooling fan. I painted the oil filter dark blue mixed with some white to make it as close as possible to a real AC Delco oil filter. Without further ado, enjoy!! More post coming in the near future! PS, I know I missed some spots with my brush, but eff it, its gonna put under a car body permanently so no one is gonna judge it with a magnifying glasses lol and also its not going to a model building contest!
-
Excellent build dude! I like it that you're building out of the ordinary and make something better! keep up the good work!
-
Bare Metal Foil question.
addicted2modeling replied to addicted2modeling's topic in Model Building Questions and Answers
Thank you guys for your replies! -
Hey y'all, I'm in the process of building my revell 1:25, 1964 Chevrolet Impala SS model. It's the 2n1 kit where I can either make it a lowrider or stock from the factory. As someone who isn't in the low rider culture, I went with stock. I painted the main body in Duplicolor, Perfect Match primer and then base coated with Tamiya TS-53, deep blue metallic paint. I did 2 thin mist coats on it and one wet coat. It has been over 24 hours since that final base coat has dried. I tried installing the "Impala SS" decals on the rear quarter panel, but it failed. Both decals are disposed of and I have the flag fender decals installed perfectly. However, I am considering using BMF for the Impala SS quarter panel marking. Ok, here is the question..Should I put the BMF on the model in it's current stage or after I have clear coated it?
-
Oops I forgot. I have also glued in my bumper. Now allowing the Tamiya extra thin, aka green cap cement to weld it.
-
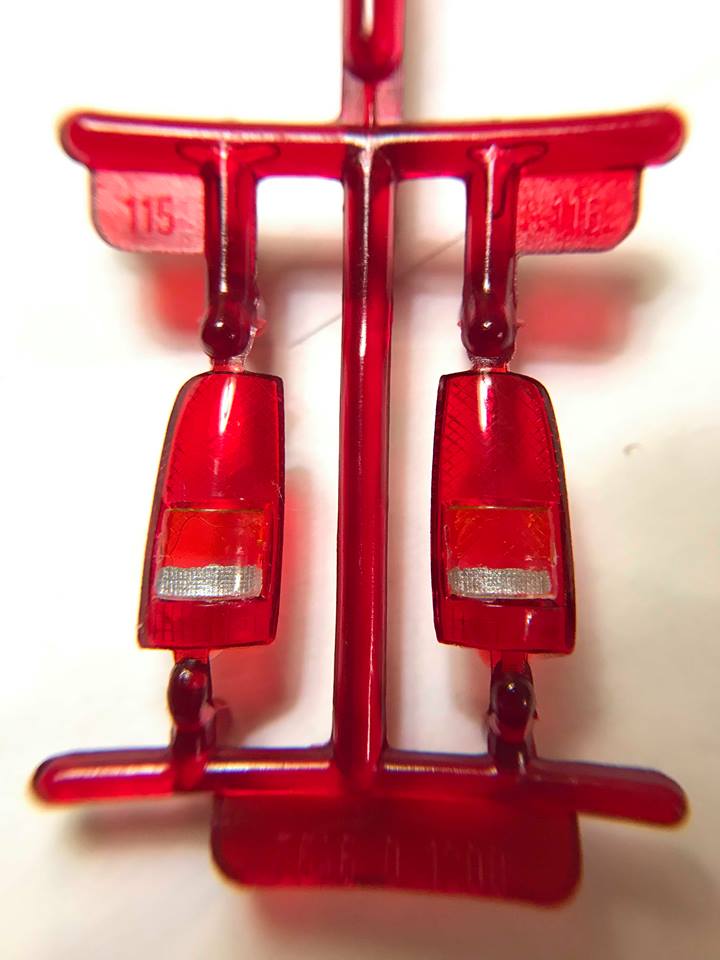
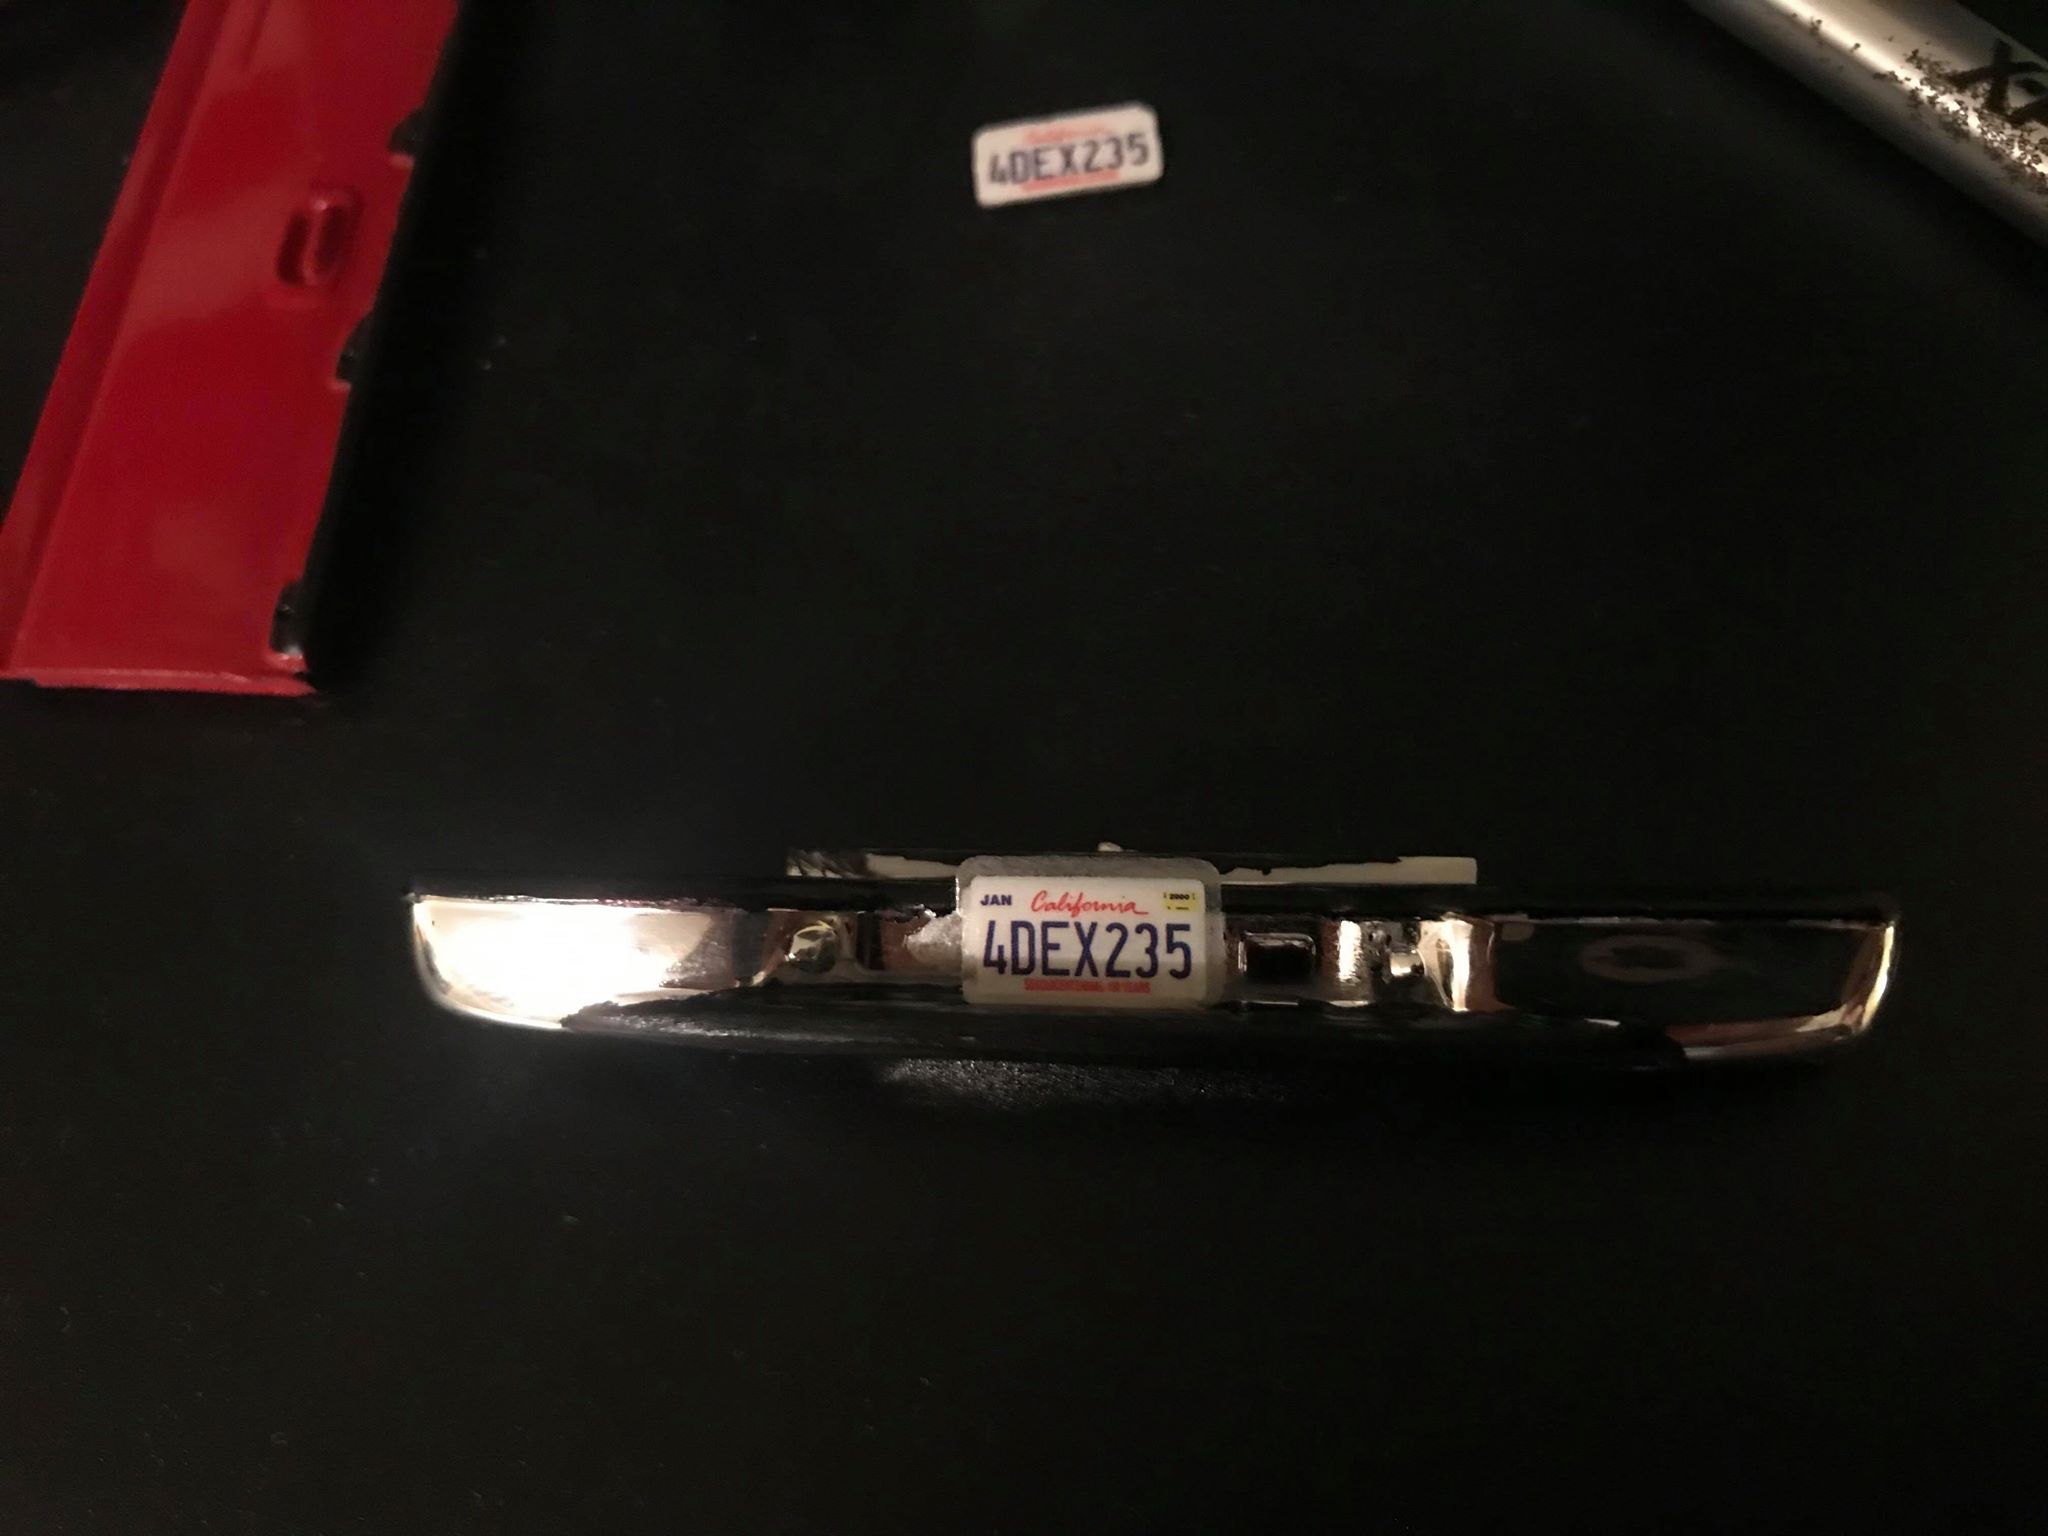
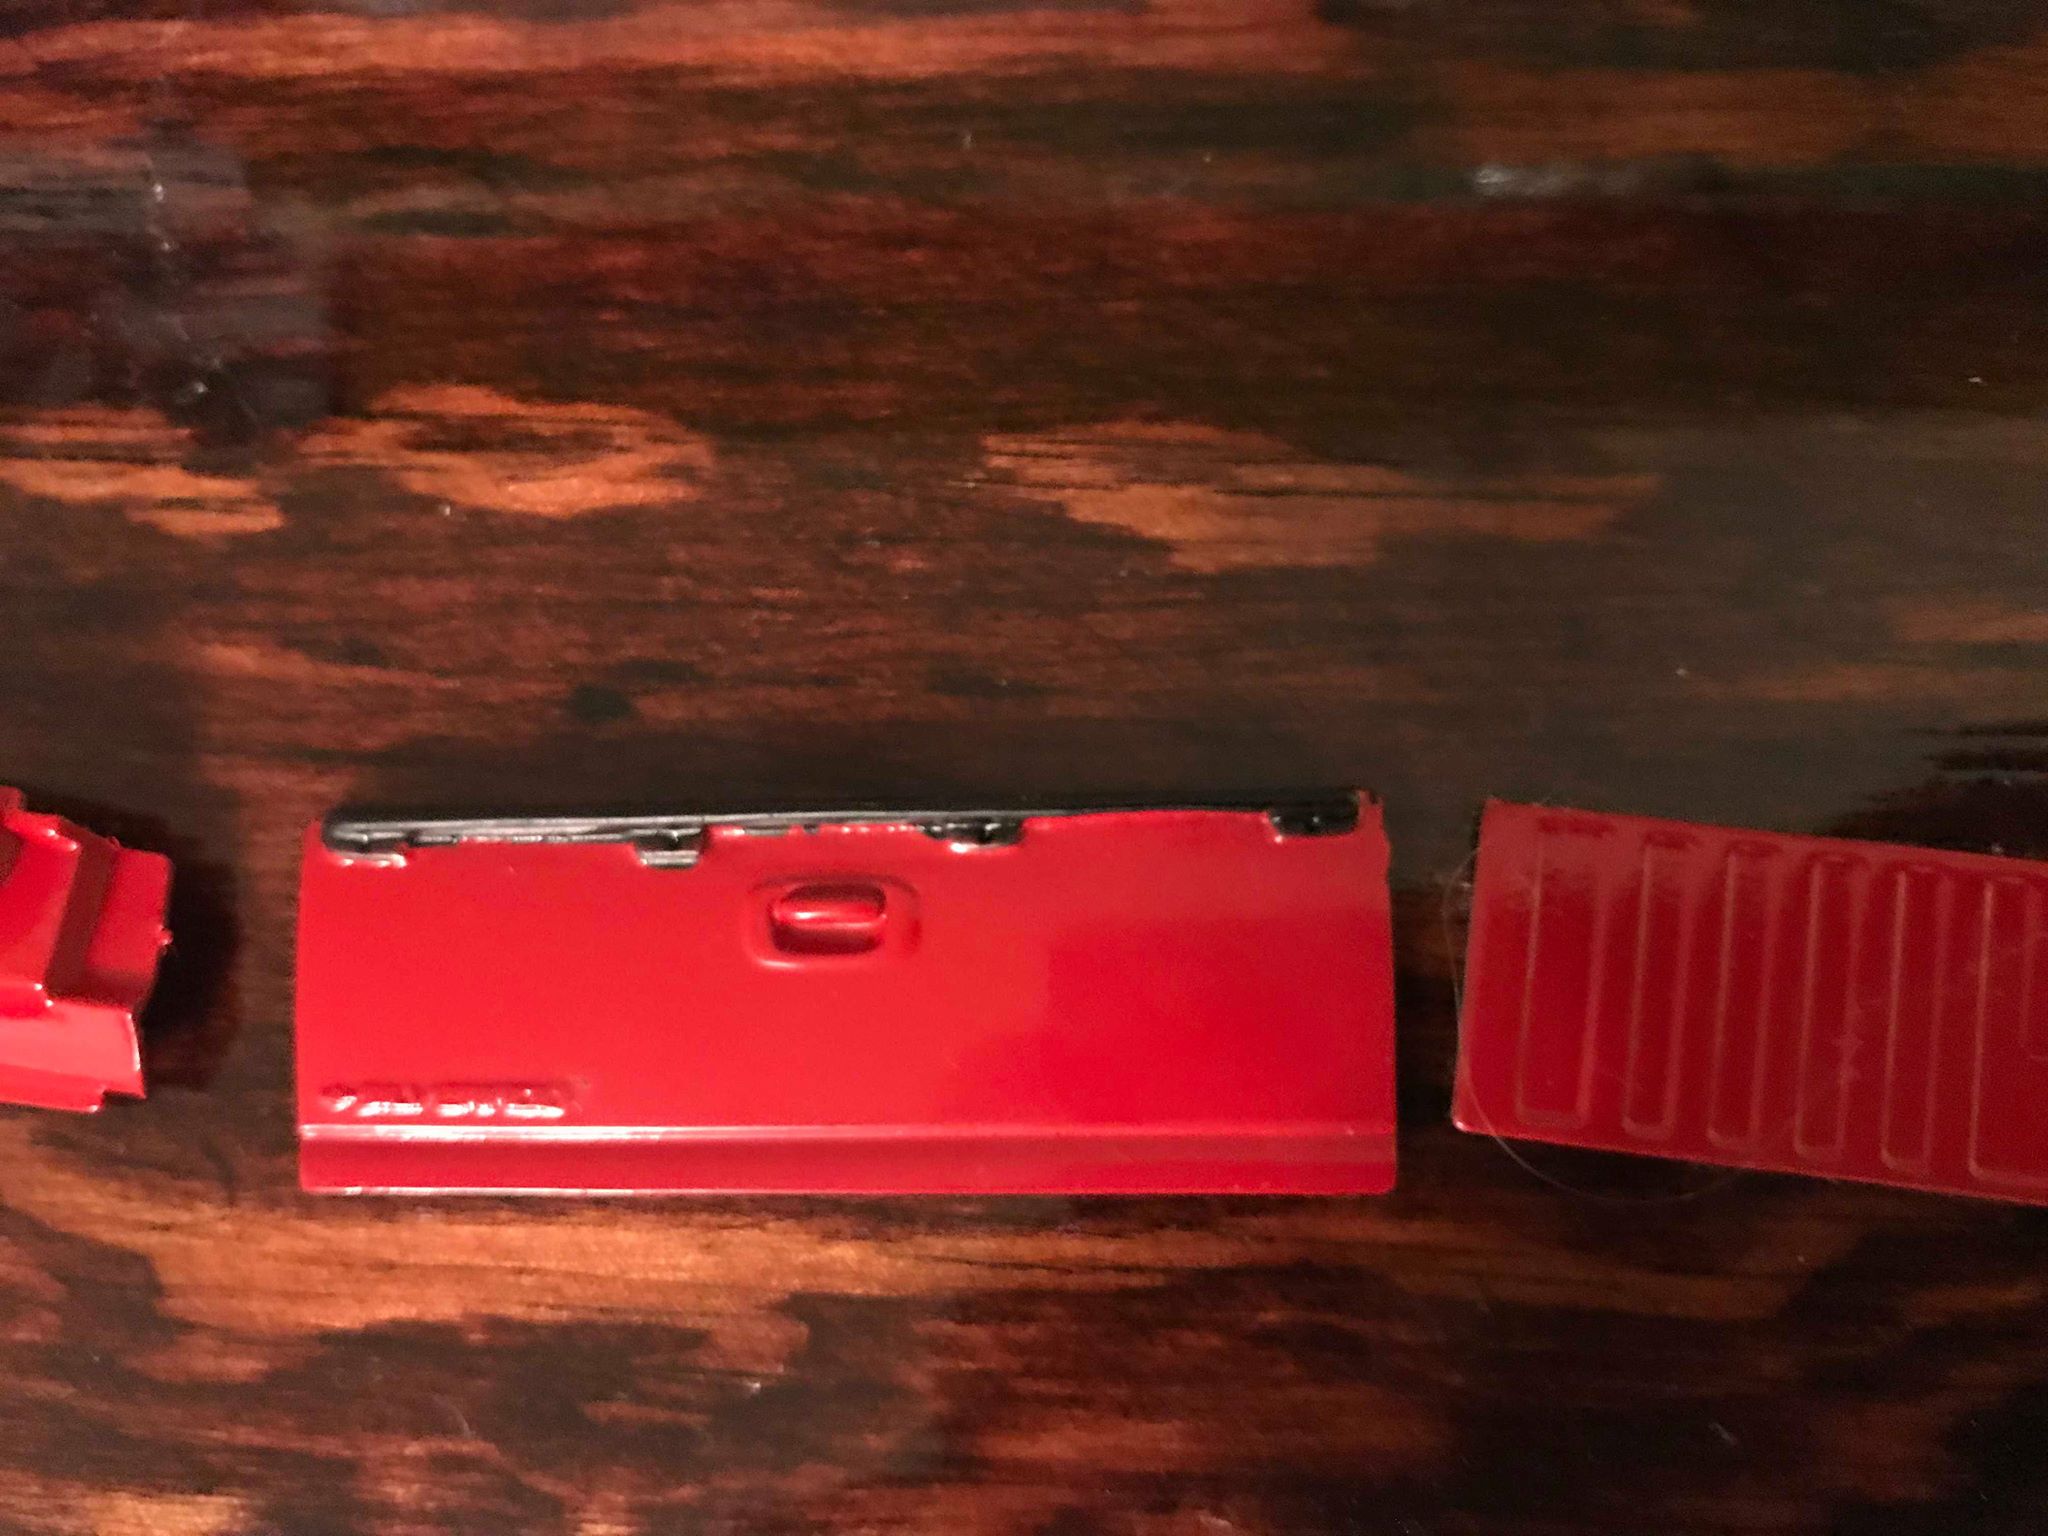
Current progress update as of 12/29/2018. Assembled and painted taillights with Tamiya Acrylic aluminum paint and clear orange. The clear orange is barely visible whilst glued to the red tail lights. I should have went with turn signal amber instead But anyways, did the best I could. Taking advice from the Testors clear cement that it would take an hour to dry, I gave it 3 hours, doesn't appear to be case on the LH side of taillamp as you can see a smudge of glue inside that still ain't dried yet. I also installed the rear license plate frame with the stock California plate. 20 years really can do some serious aging to these water slide decals as I had to cement it on the plate frame. And I glued on the high mount brake lamp. Lamp was painted with Tamiya clear red acrylic and aluminum to simulate reverse light shade. LOL instructions clearly said silver but aluminum is the same color anyways.
-
They are nice! I want to get the 2018 Centennial edition Silverado in 2023 so that way I save a TON of money. Thank you for the compliment on my WIP. I really want to finish it soon. I started this build in mid October of this year, but cold weather and rain hasn't made it easy to do the job so I had to wait my turn to paint.
-
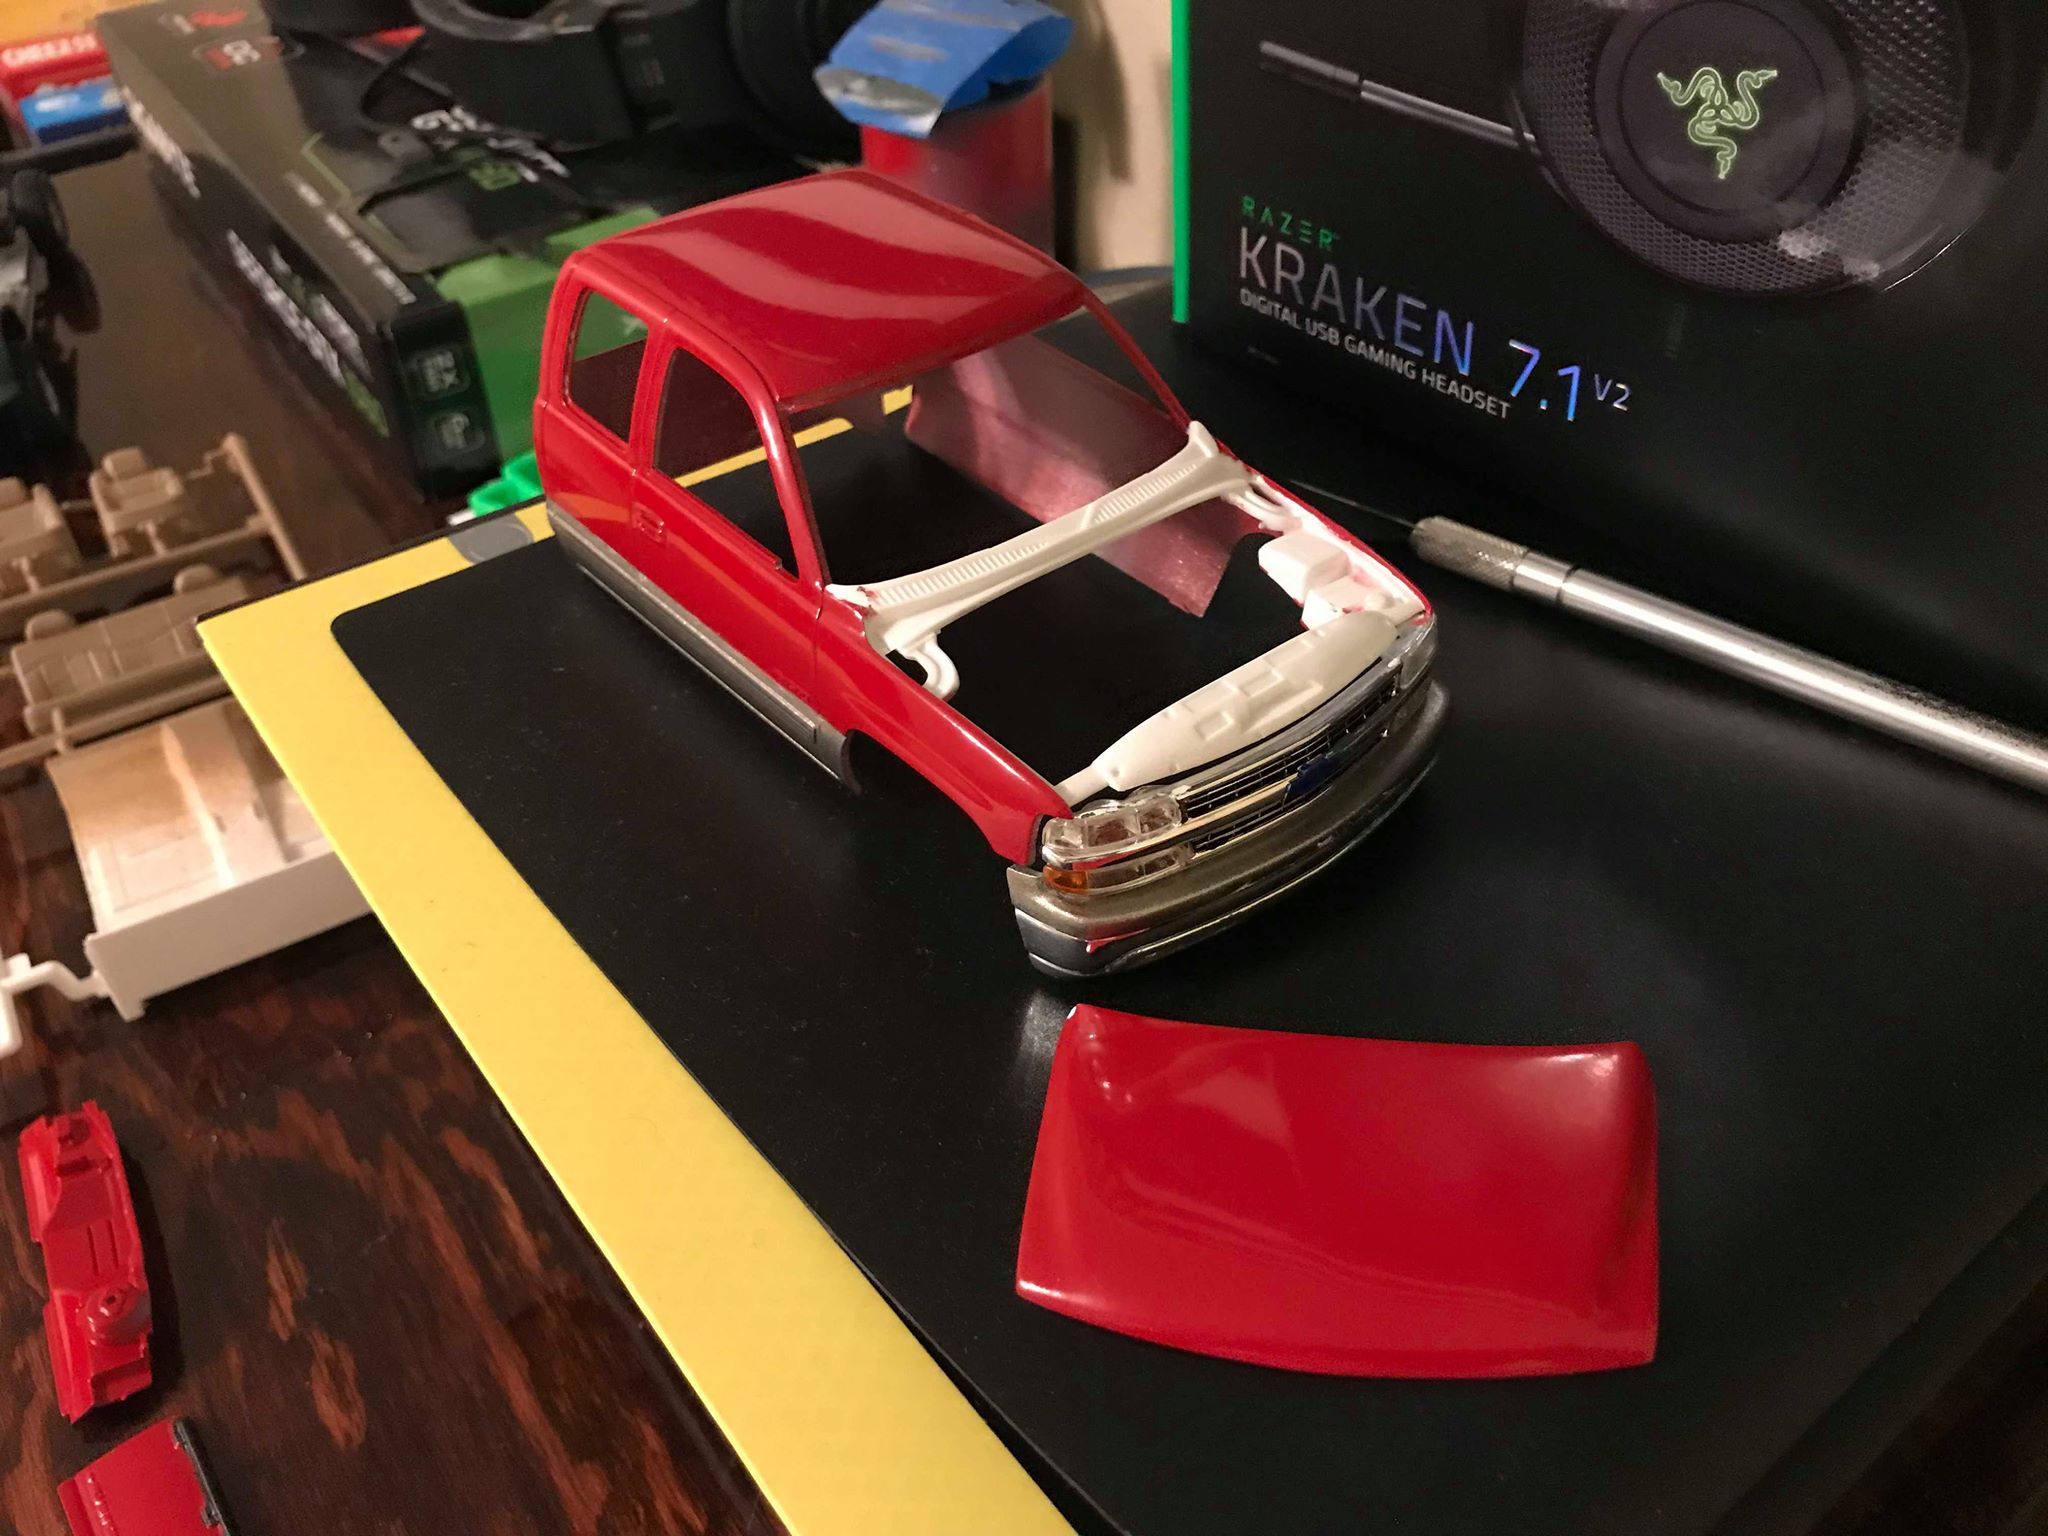
Hey y'all: I've been away for 4 years from this website that I forgot it even exist! I first posted my 99 Silverado build that was in GM factory color, two-tone option. Victory red over pewter metallic. I sold that model kit 2 years ago on ebay as I wanted to make money. I sold it for $20, which I felt was too cheap especially the time and effort put into it. Since I missed that model truck that I've built, I have decided to build another one. Sadly, I have about 3-4 99 Silverado model kits that I have messed up on that were models I was going to build and sell but, I feel it was not worth my time, however, if y'all want me to sell ALL the salvageable parts including painted cabs and bed assembly, I'll sell it all for $45. Anyways, my rebirth of my first successful '99 Silverado model build is a work in progress. So far the engine assembly has been completed and the cab, hood and tailgate assembly. Pictures are included in this post! Engine and chassis assembly: The engine assembly I have painted the block and oil pan to Chevy orange red to pay homage to Chevrolet's 20th century heritage. I'm sure in 1999 this real Vortec 4.8 or 5.3 was not painted in that color from the factory, but since this is my model kit, LOL what the heck, might as well do it. Transmission painted in factory silver as most are with the pan left in stock chrome plated. Might as well flaunt it hhaha. Engine details are painted in flat black and semi gloss black. Flat black for the coils and flat blue for the wires to indicate I have put on NGK wires on it lol Accessory drive assembly where you have the alternator, A/C compressor, etc are painted in flat steel. I used the cheap Testors aerosol air brush starter kit that costs $35. Sure is way cheaper than buying those $300 air brush kit that I really don't need. The chassis assembly was pre-built in 2016, when I was working on 99 Silverado that I had painted in GM's indigo blue metallic paint. That project was scrapped, but I used the chassis from that build as I messed up the new chassis by trying to undo the front suspension assembly to make it leveled. Rather than trying to fix, I just used the pre-built chassis. Cab, tailgate, and hood assembly. Painted in Victory red over pewter metallic just like I did in late 2014. However, more skilled painting was done and sanding and polishing to make it look much better than the first build. Unfortunately, my "1500" right side decal and "Silverado" decal wasn't clearcoated right and it fell off. I wish I can order a 99 Silverado decal set on the net. On the tailgate, since I really like the 2006 version, where they removed the "Chevrolet" badge off the right side and also used a tabbed tailgate spoiler, I trimmed the tailgate spoiler to resemble it, which in my opinion is a B+ grade, because I only used my Xacto hobby knife for the job. I don't have a hobby router. Without further ado, please enjoy my work in progress! Original post over 4 years ago:
-
you mean the washable clear school glue from Elmer's?
-
Thank you! The only problem im having is trying to glue the windshield on. I used the Testors' Clear Parts cement to do the job but I can't get the windshield to go in flushed with body. I did let the glue do its job but the windshield left a tiny gap.
-
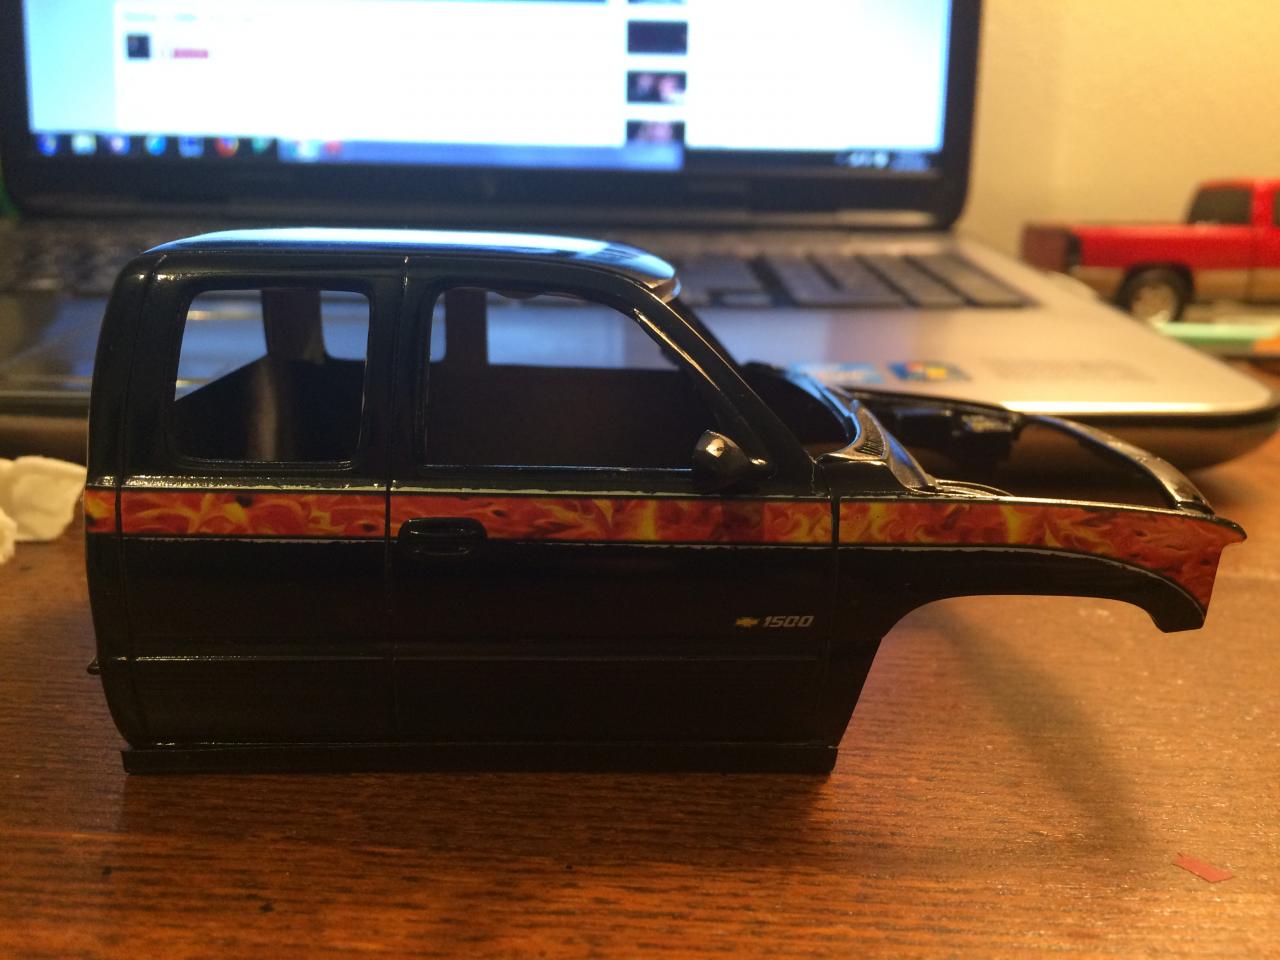
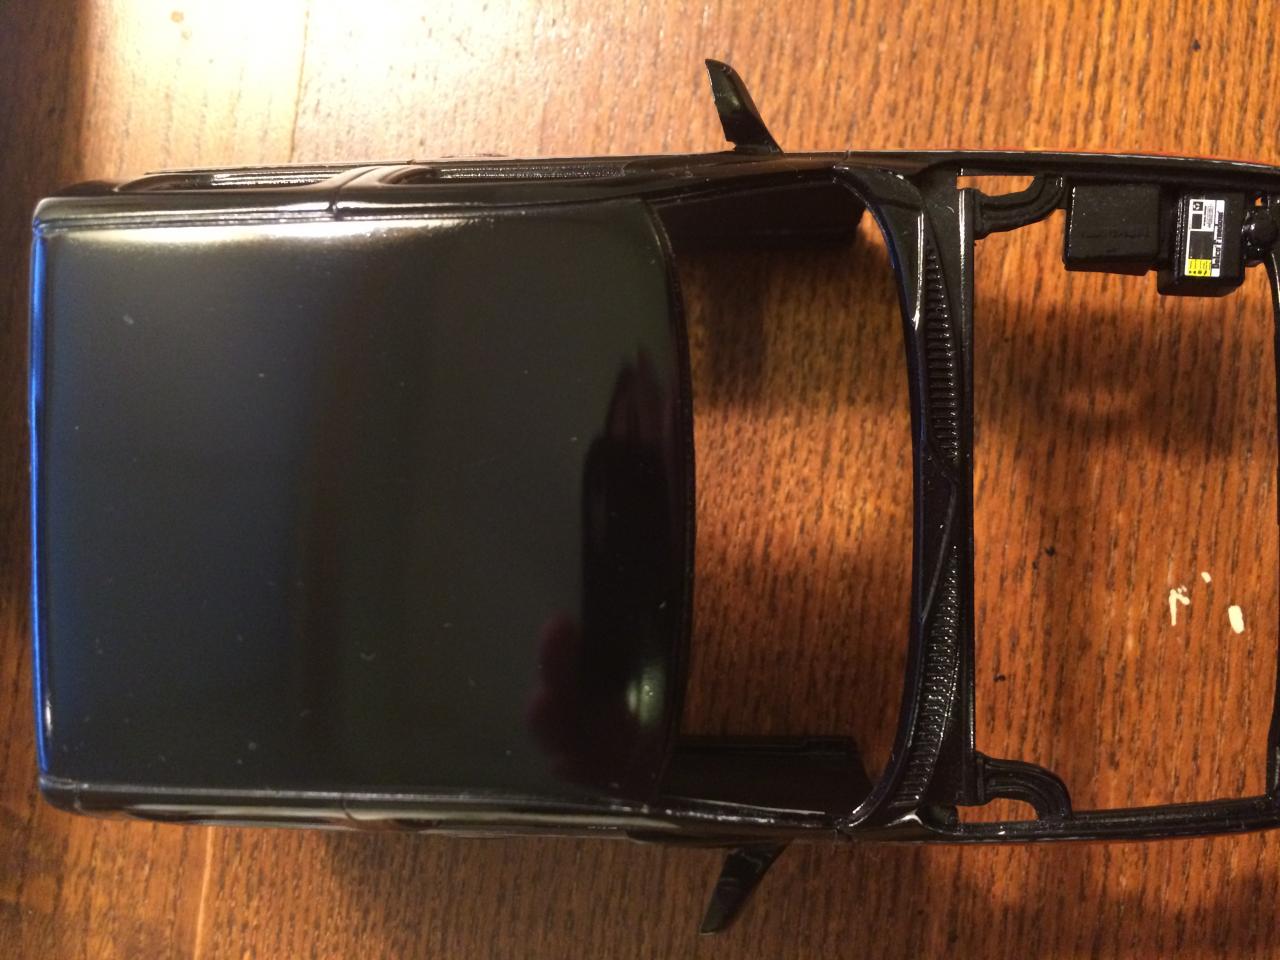
I just want to present my "work in progress" '99 Silverado custom edition from Revell that is being built for a friend of mine. He wants it in black over medium gray interior. So far, I have completed the chassis and cab so far, but I just want to show the completed cab for time being. It was painted in Dupli Color Universal Black and clear coated with Testors Wet Look clearcoat. I polished the body with Meguiar's Ultimate Compound and waxed it with Meguiar's Ultimate Qwik Wax. I applied the decals after clear coat and polishing due to the decal's tendency of lifting off as the clear coat was being applied from the previous truck model.
-
Thank you! The next one will be much better!
-
It has paid off and also I have learned a lot from this truck model as well. I'm working towards one more factory style Chevy Silverado but in indigo blue metallic from Duplicolor. The next will just be like this one here also in medium gray interior.
-
That's fine, you're entitled to your own opinion. Thank you!