addicted2modeling
-
Posts
94 -
Joined
-
Last visited
Content Type
Profiles
Forums
Events
Gallery
Everything posted by addicted2modeling
-
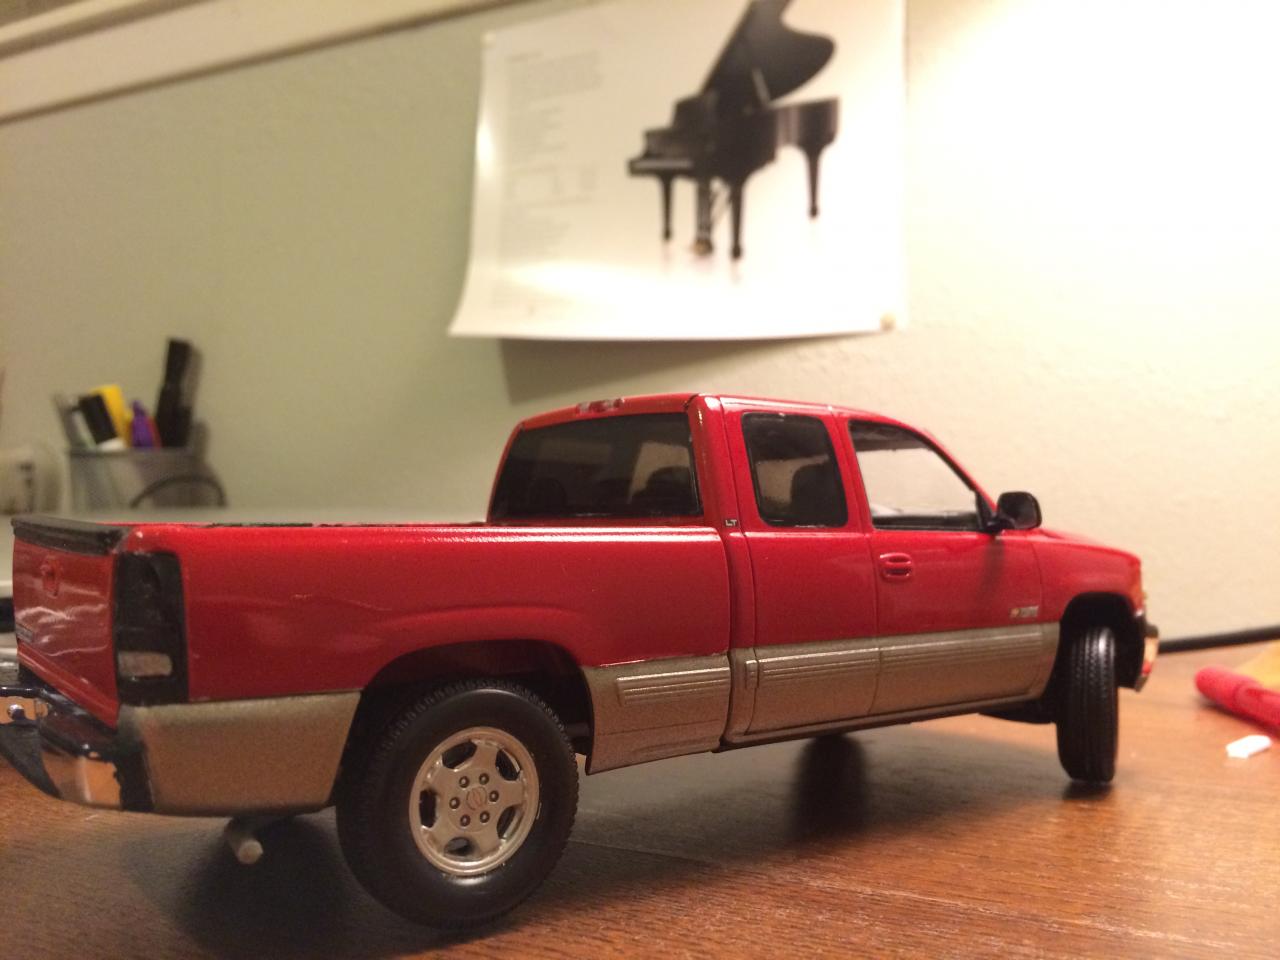
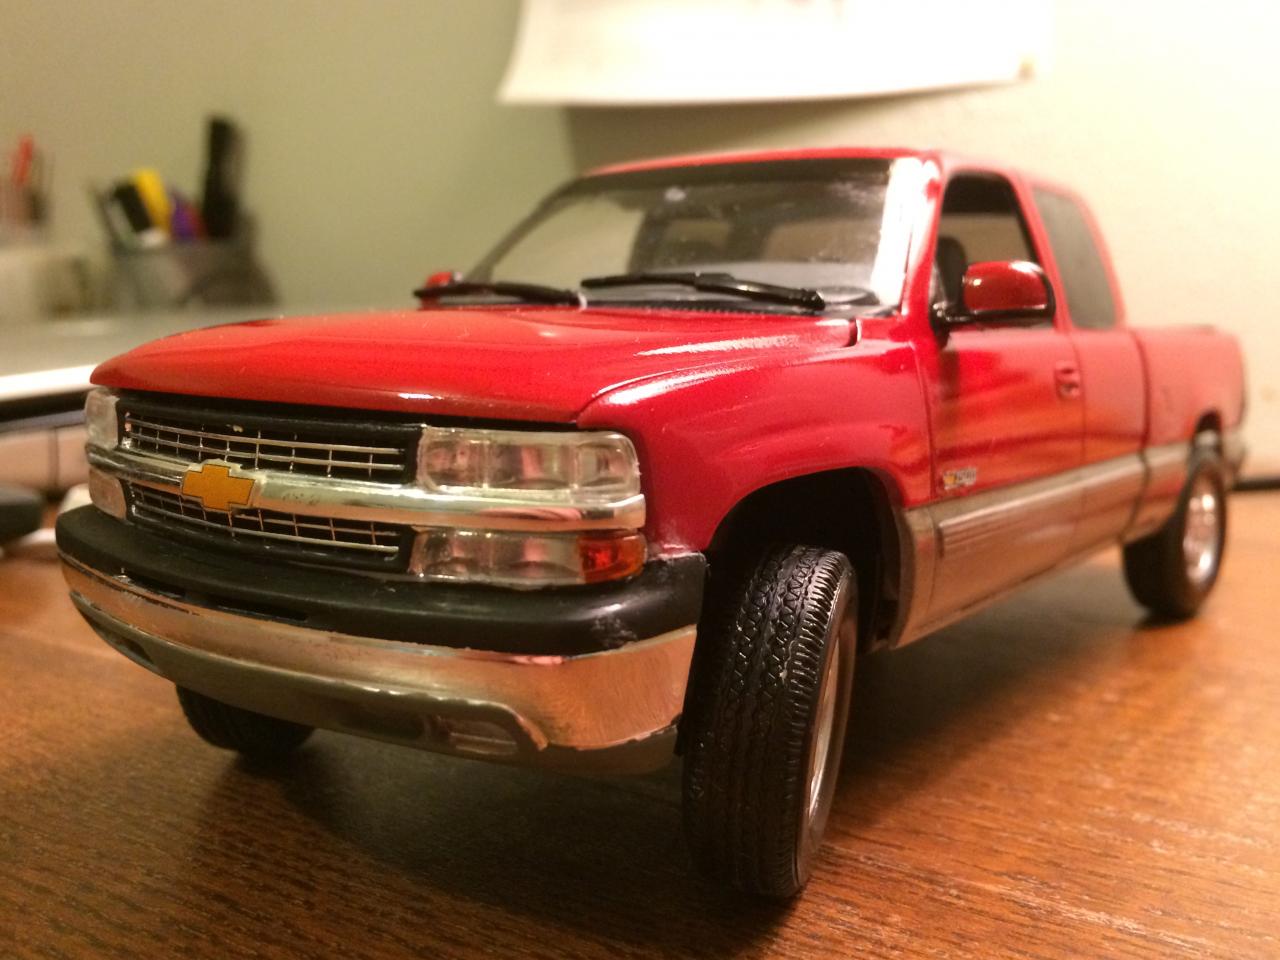
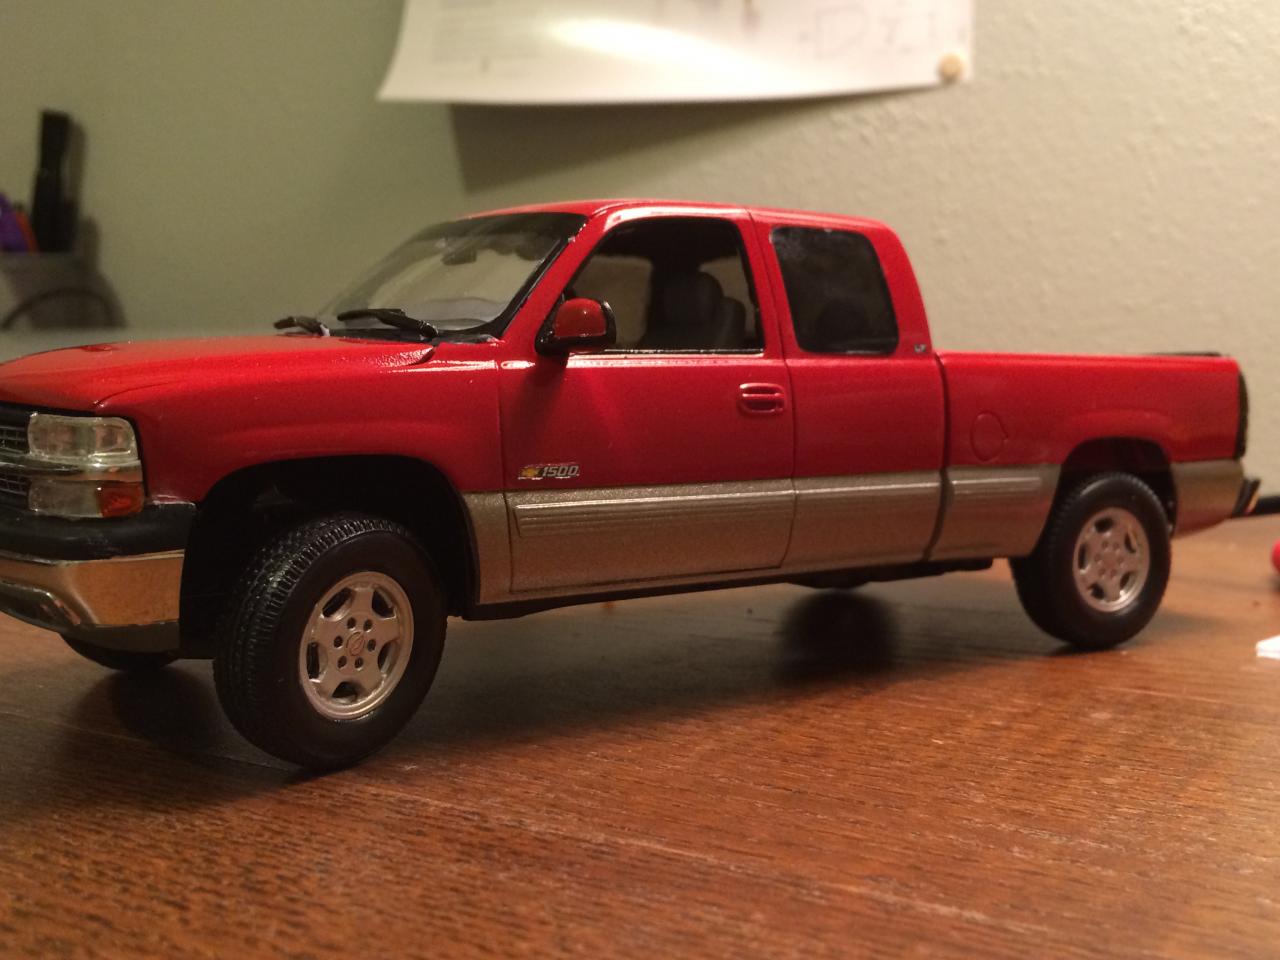
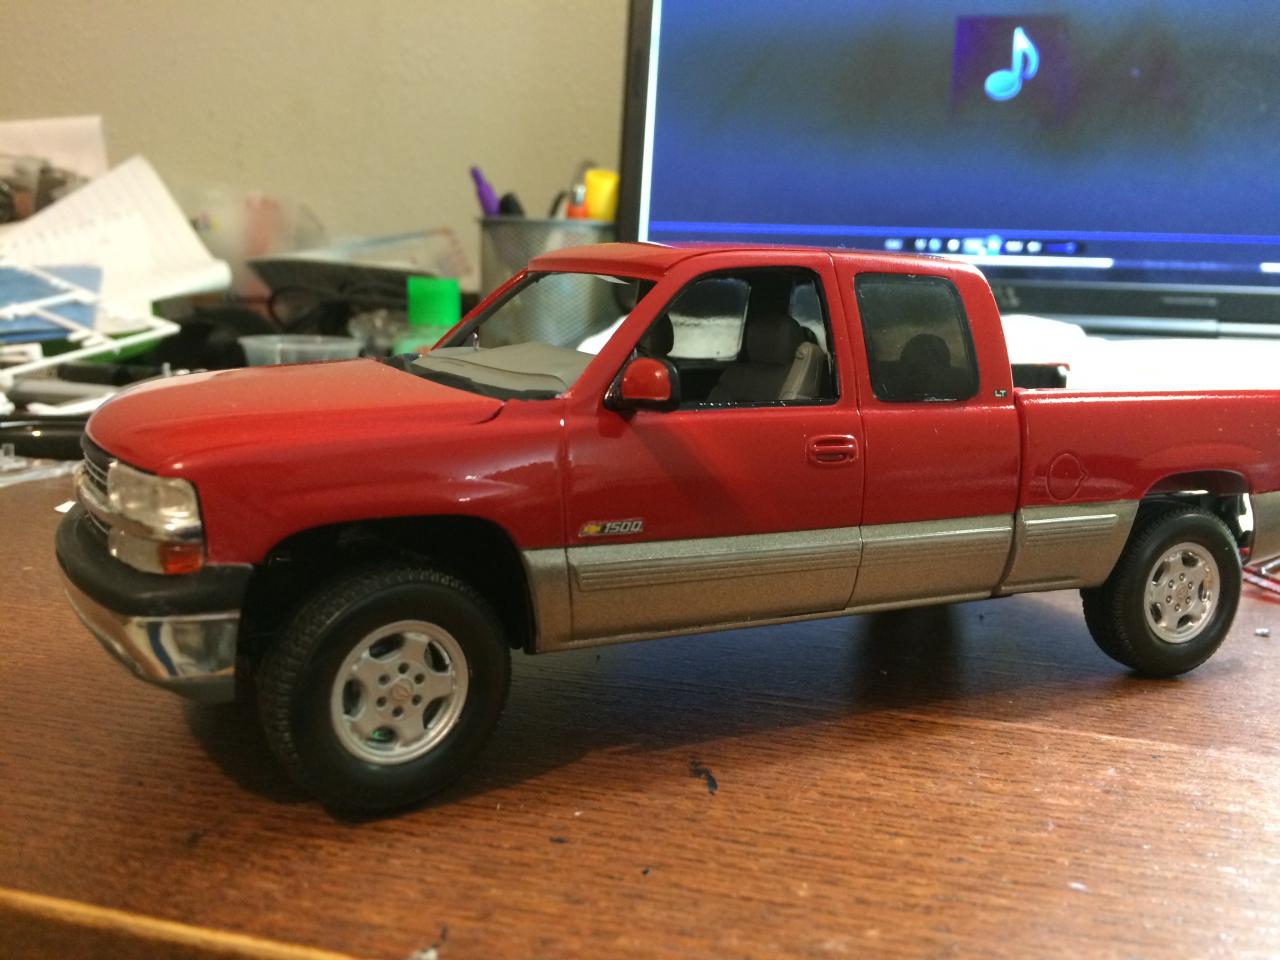
After 2 agonizing months of work, it is finished. I say its a B+ grade, but nonetheless, it is finished!

-
here is the link to my model on video..
-
Thank you! This is a "guinea pig" truck to me meaning that I have lived and learn on it and I wouldn't deem this model as show worthy, but nonetheless, it's as good as it gets.
-
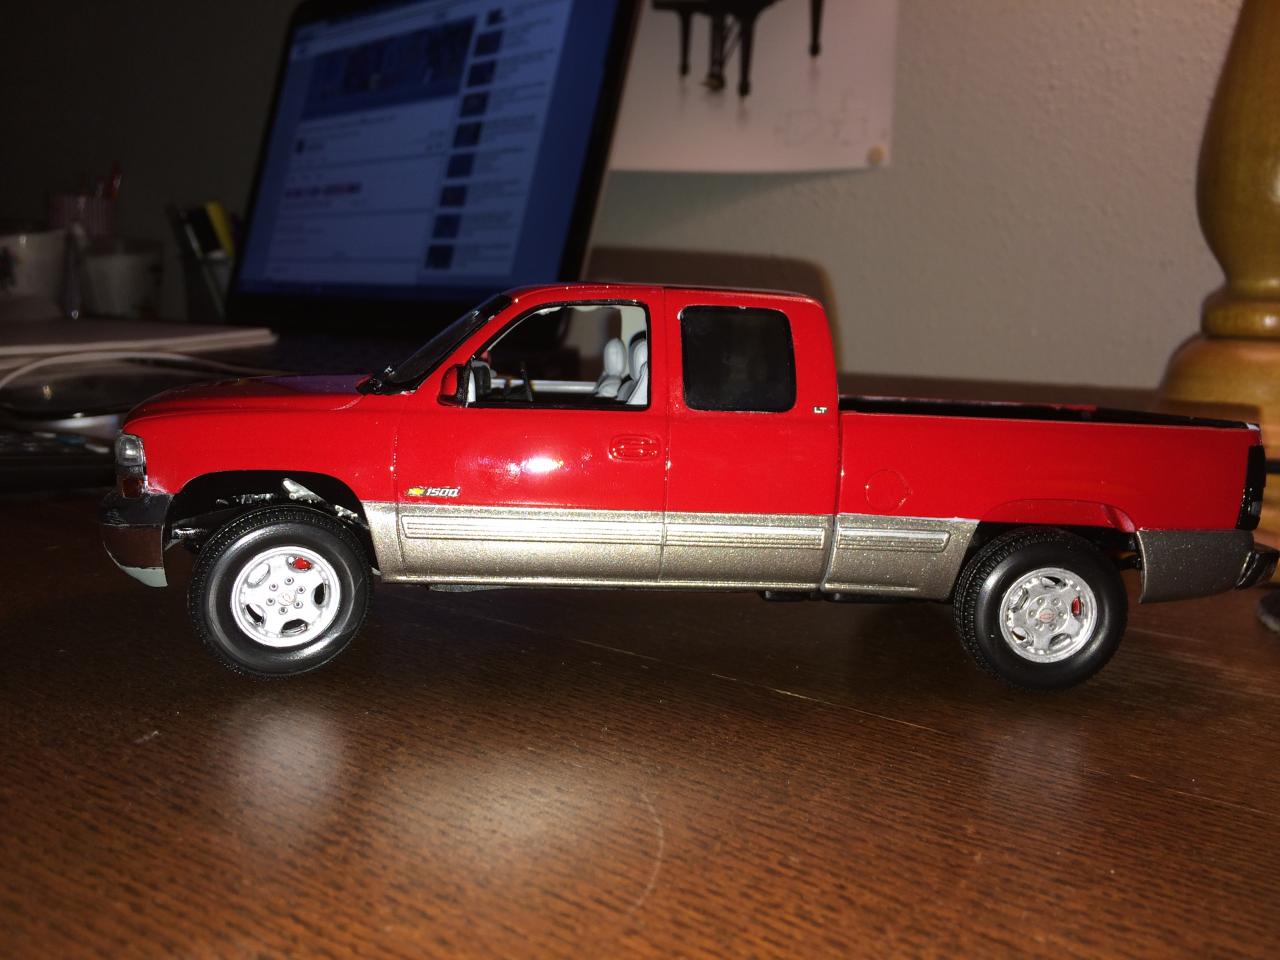
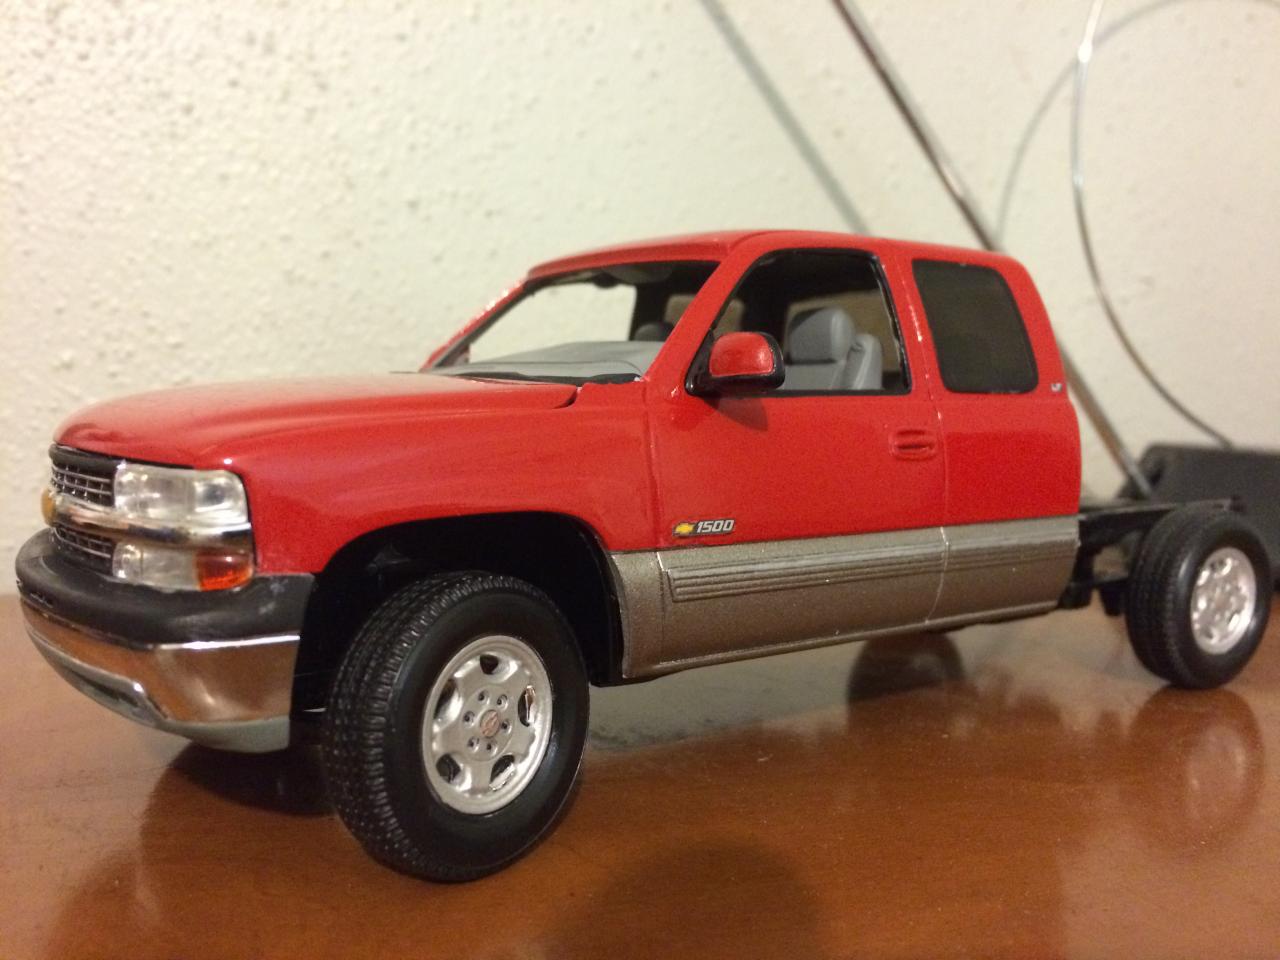
Oh and I failed to mentioned that I painted the chrome rims in Tamiya's acrylic flat aluminum. The door handles and mirror caps were painted body color as inspired by the Chevy Tahoe and Suburban LT line from 00-06; The Silverado trucks never had body colored handles and mirror caps, only the SS.
-
Thank you guys..I believe it looks good too! After going through the hardships of this project, I believe the next will be even better since I have learned alot from this model truck here. Really? Your instructor has a truck looking like my model kit?
-
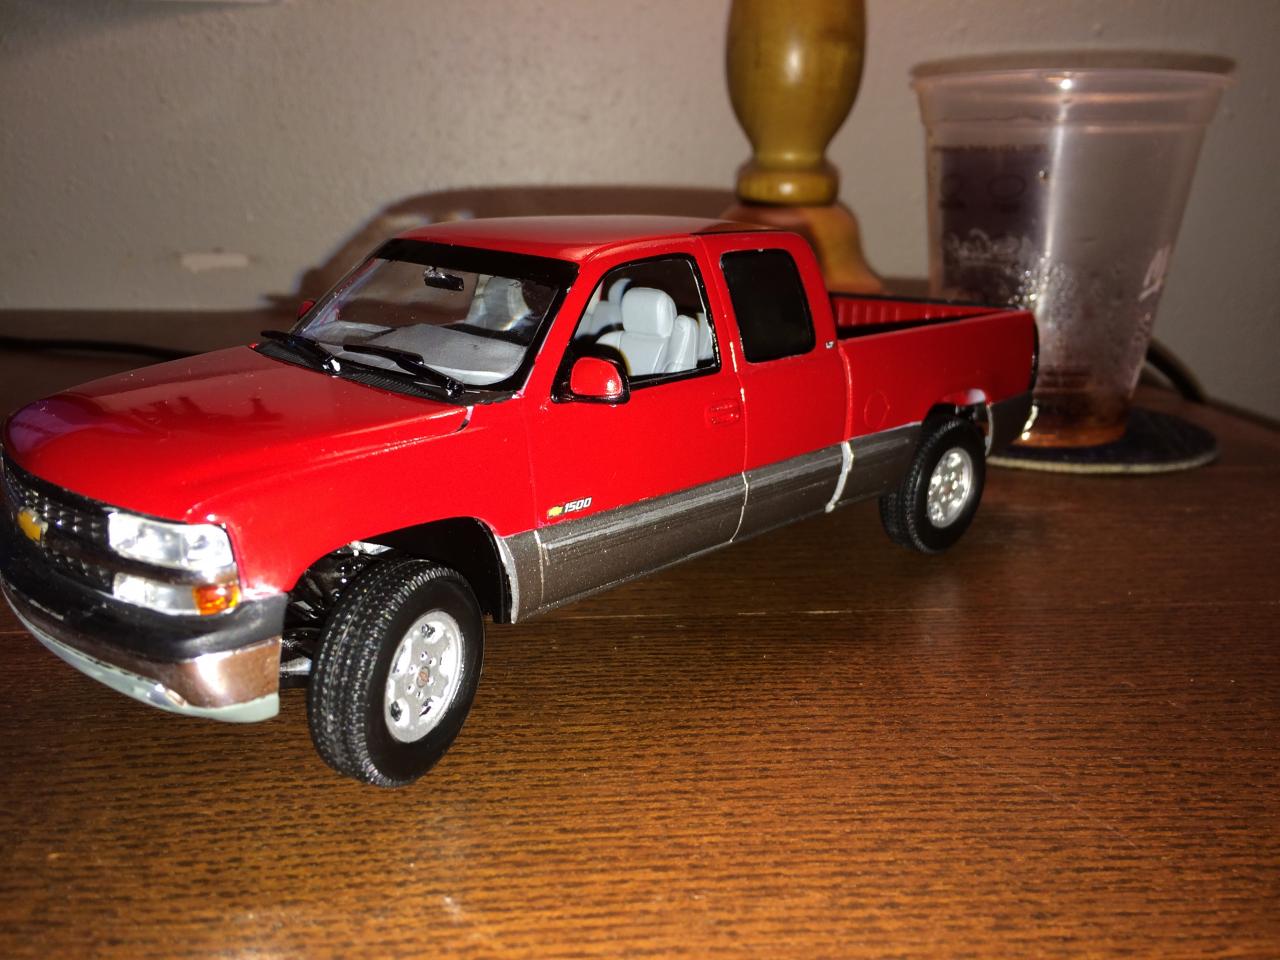
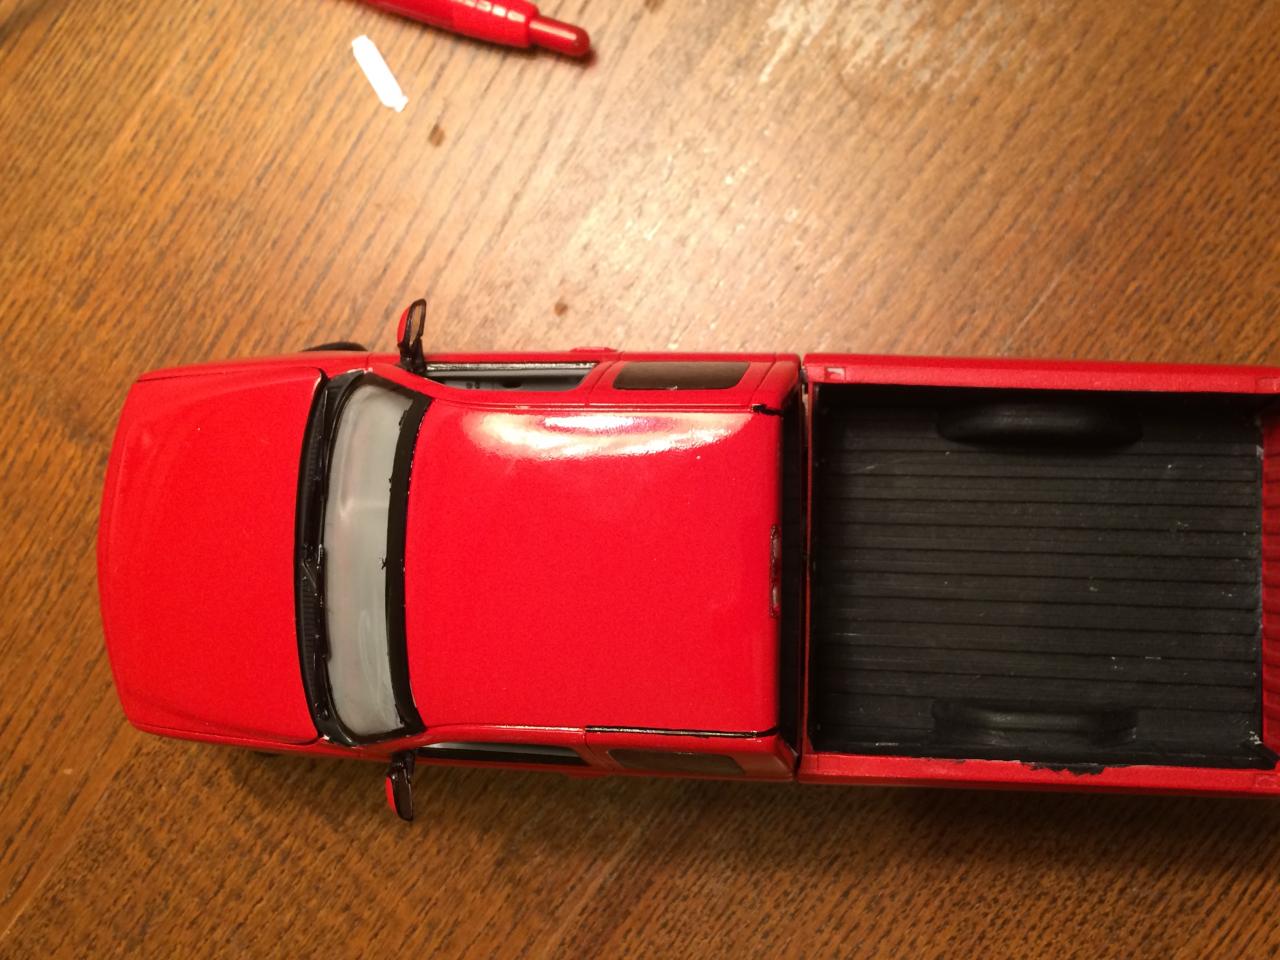
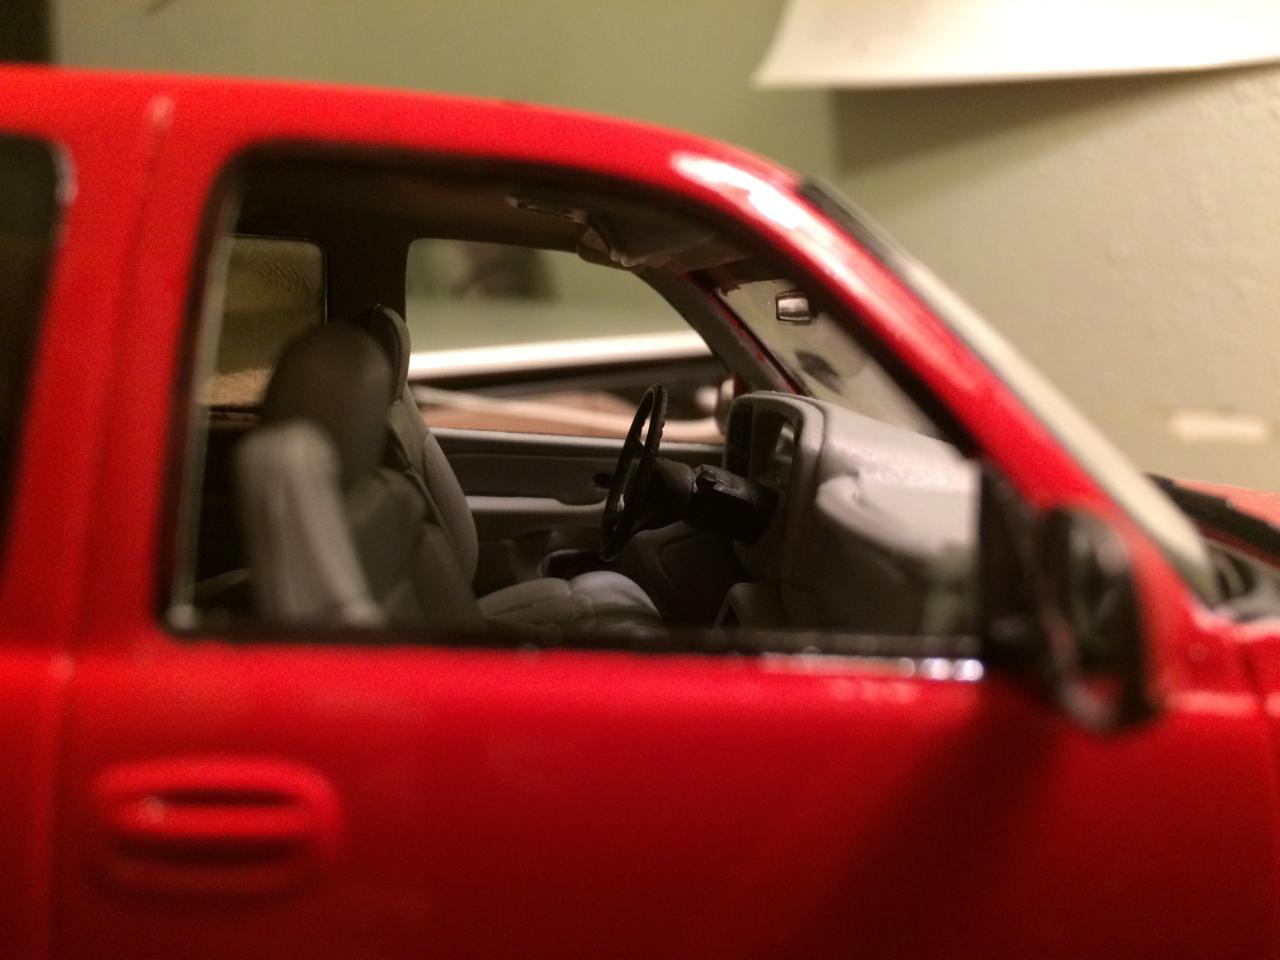
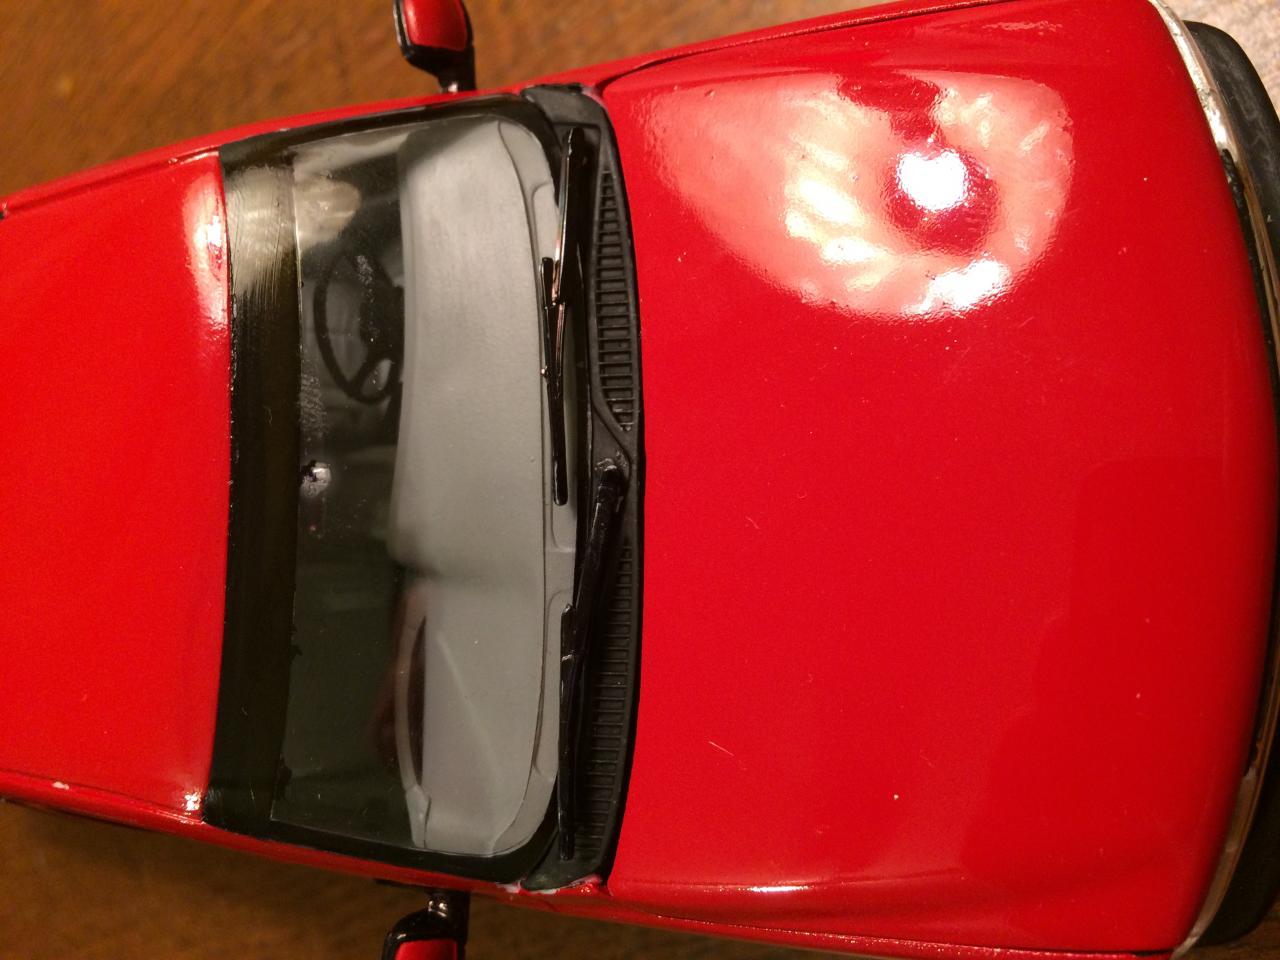
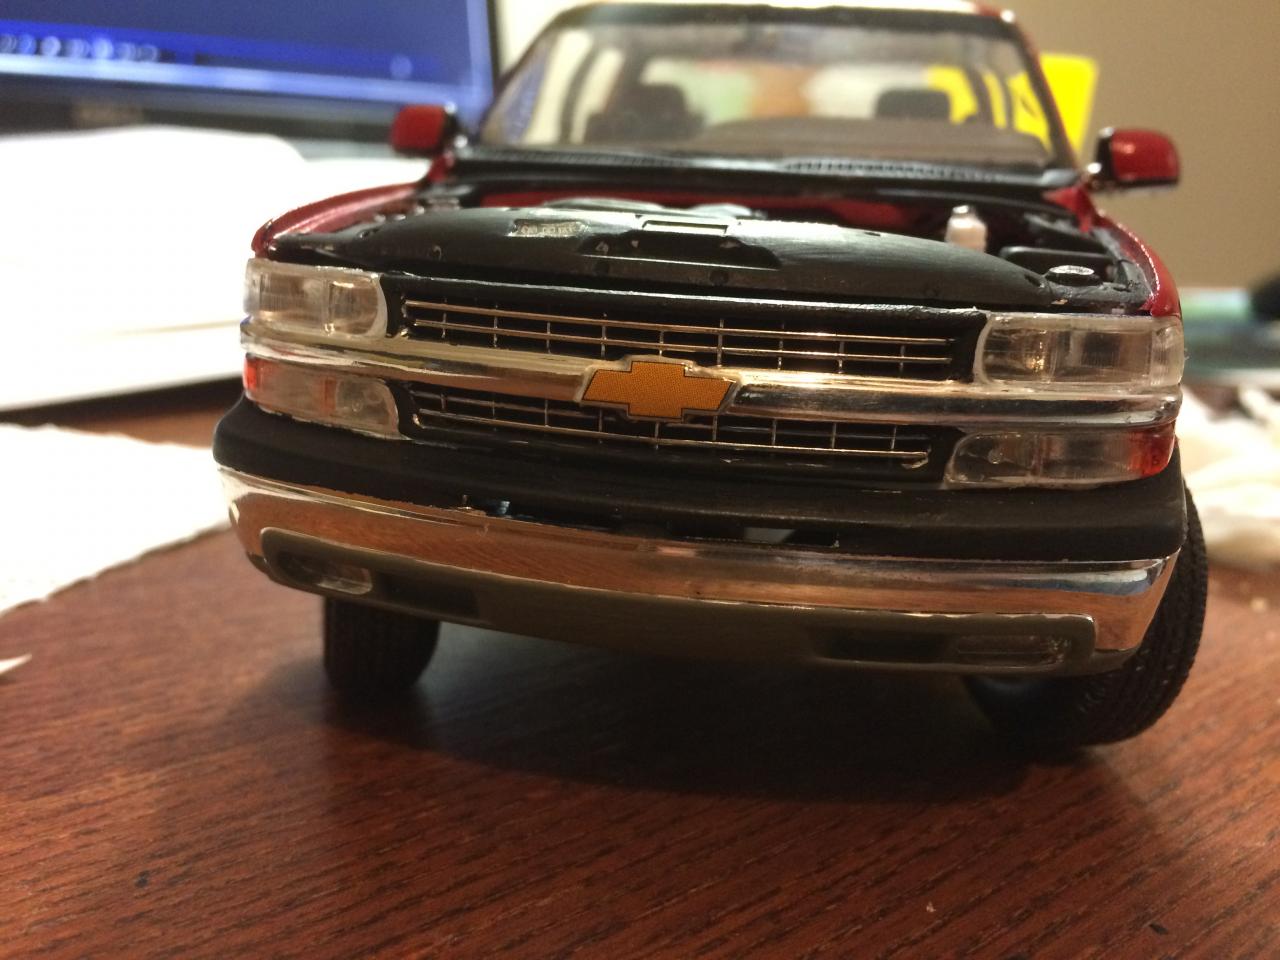
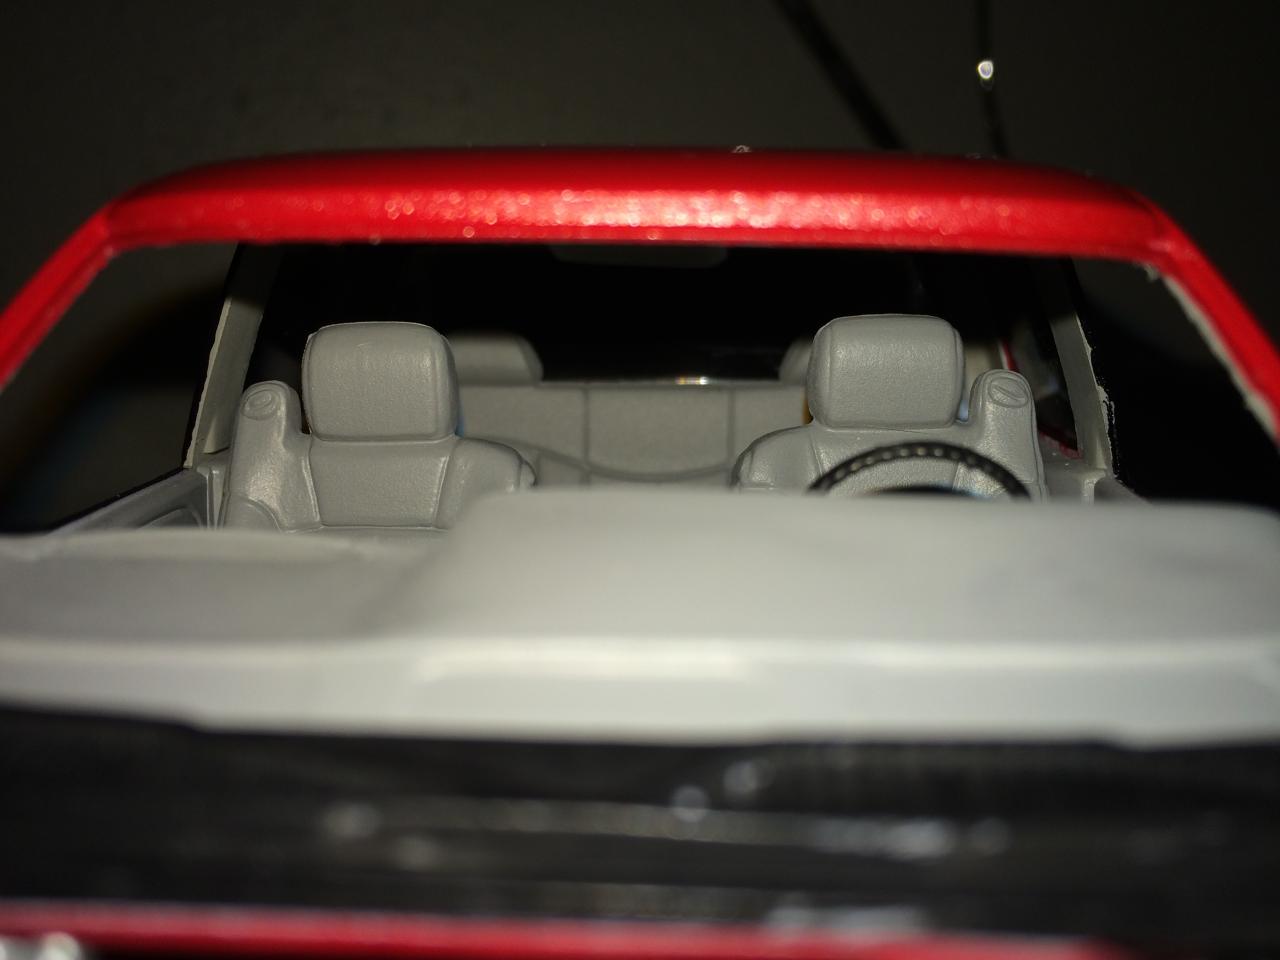
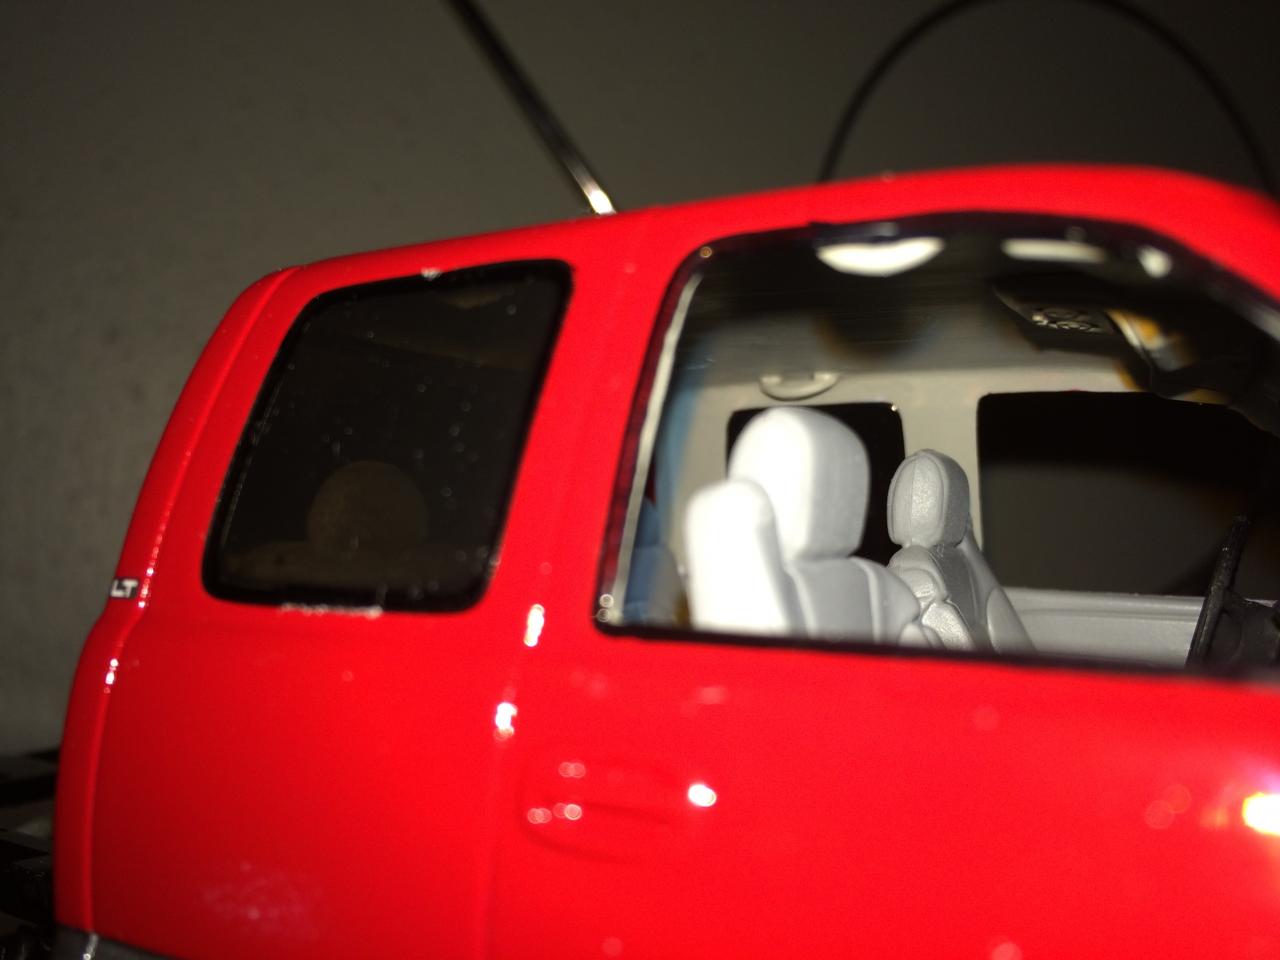
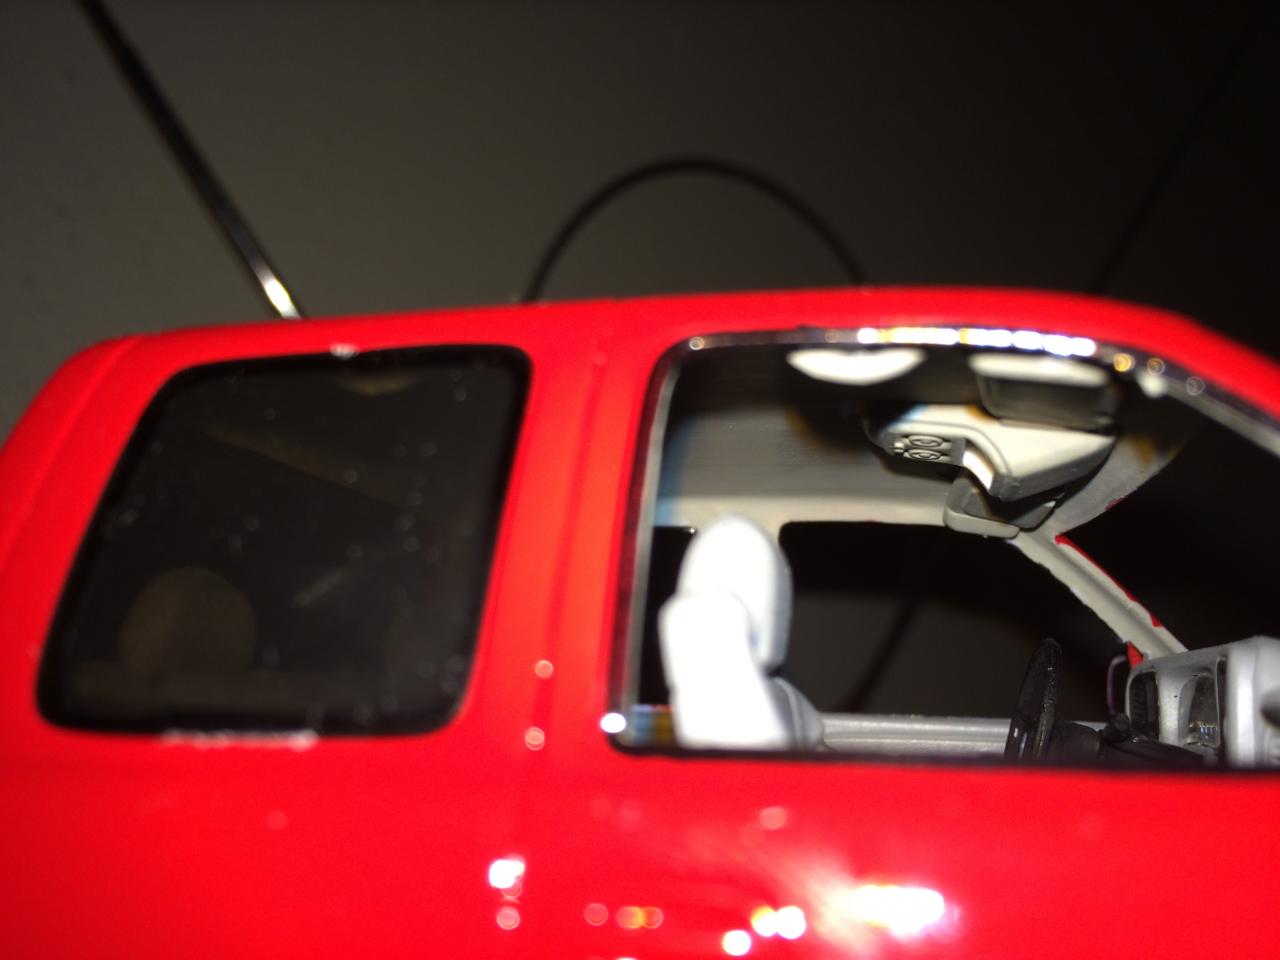
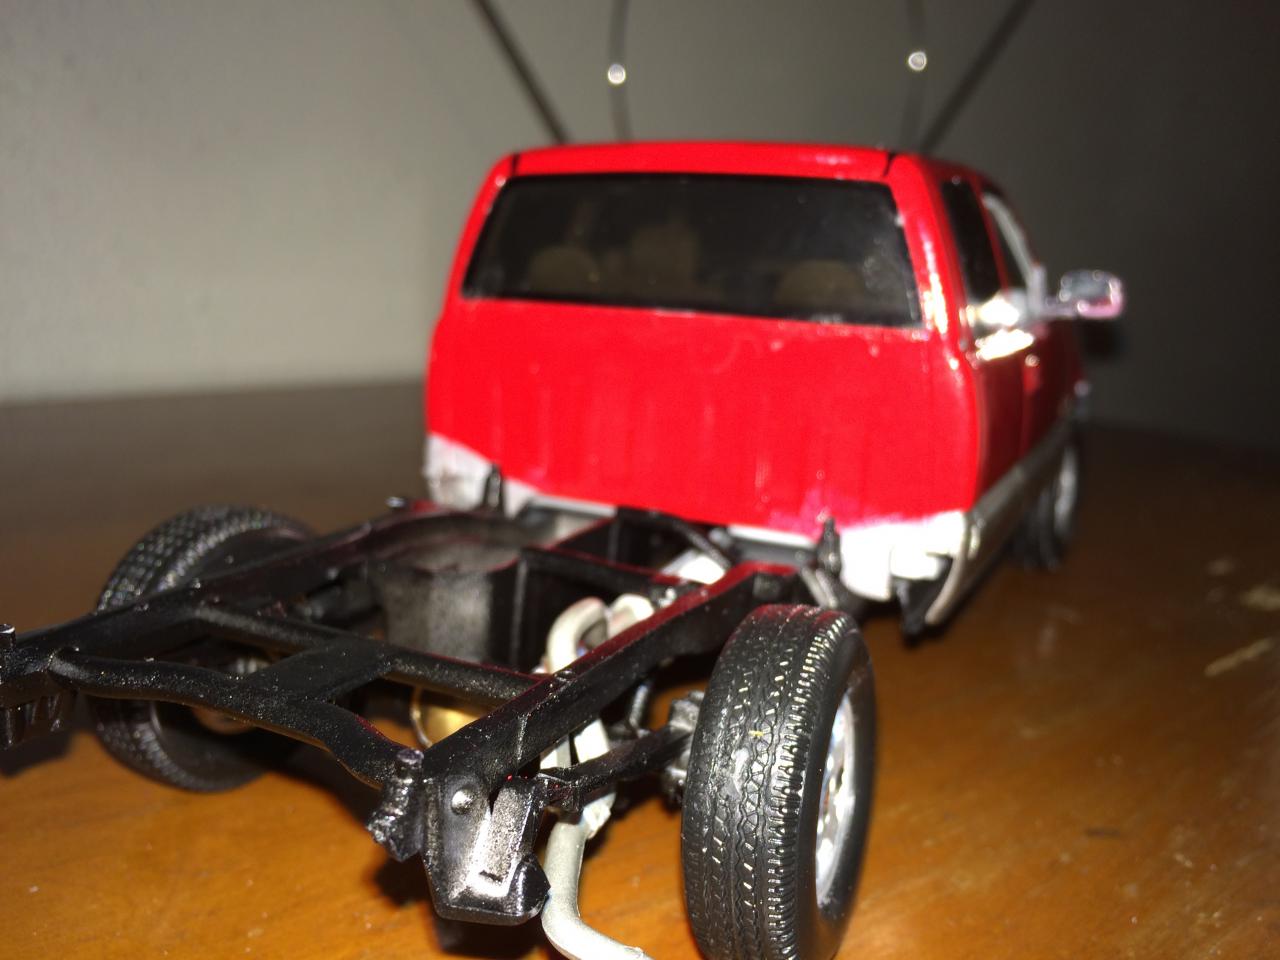
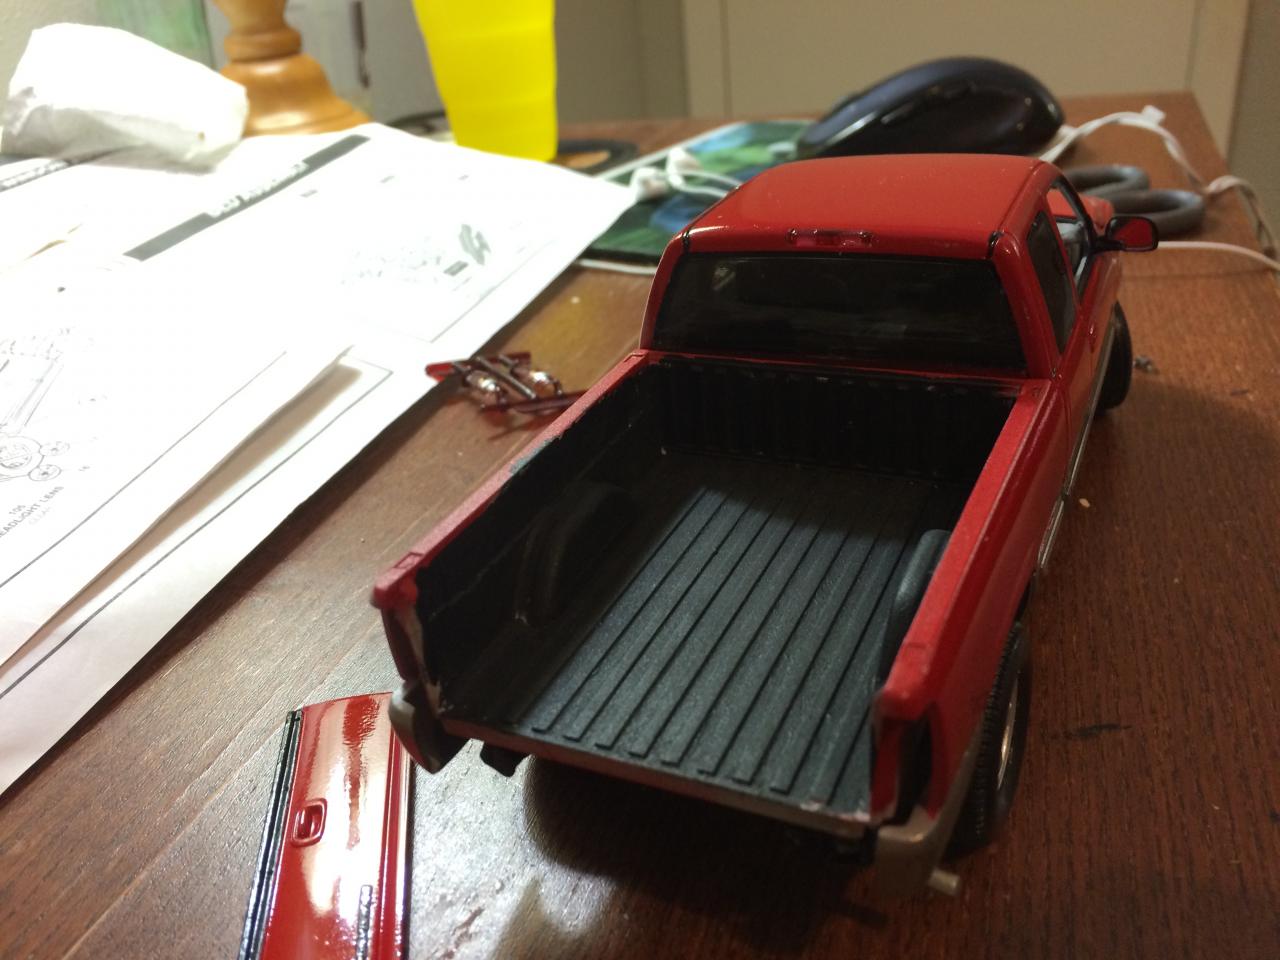
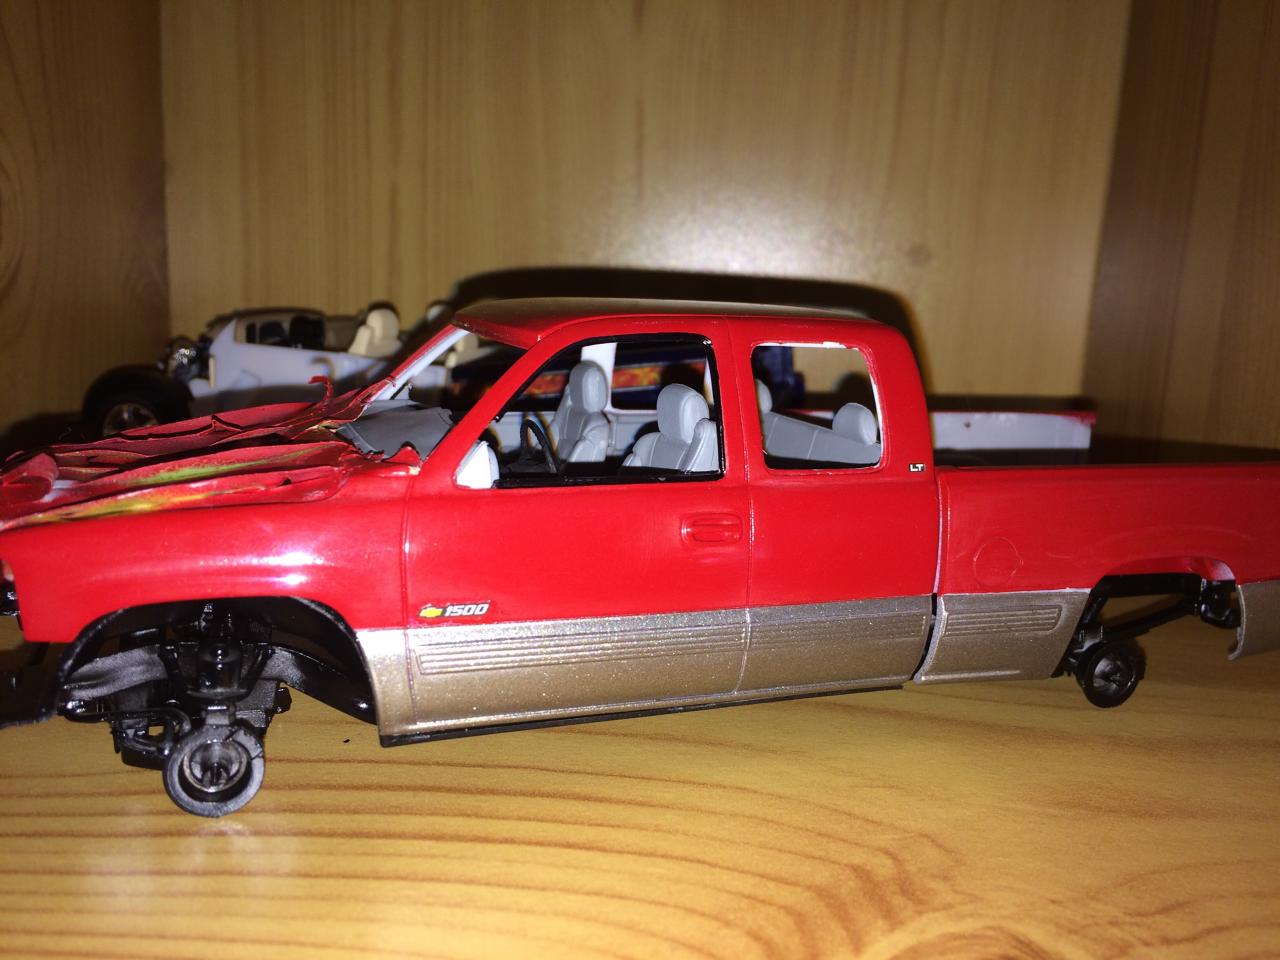
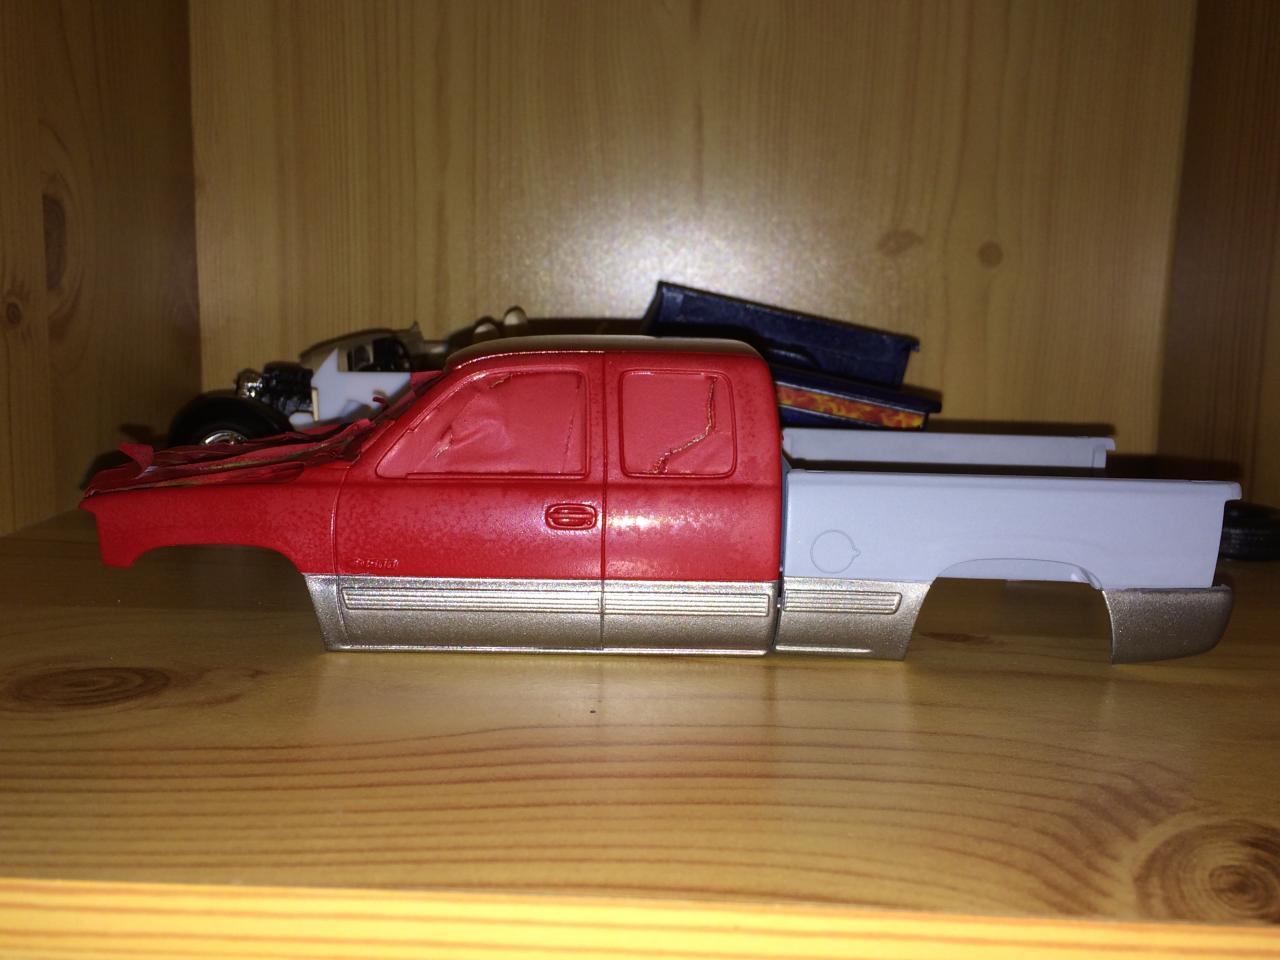
I'm about 90% done with my 99 Silverado model kit. It took me more than 2 months to complete due to my very busy schedule and waiting for those "perfect painting weather" days to show up in Houston. I spent almost $50 for all the things, tools, and paints I've used in this project, but like they say "you gotta spend some money for the best" Anyway, I've done many many trials and errors on this truck. I've painted, sanded, and stripped it all off just to redo the whole thing. After all this time, I am happy to say that the whole 2 month frustration was worth it. My truck model was clearcoated in Testor's Wet Look clear, the windows were tinted with Tamiya's clear smoke color and the body was painted in Duplicolor's VIctory Red and Light Pewter Metallic to closely mimic the REAL truck. Furthermore, the interior was painted in Neutral gray spray paint from Tamiya and the headliner, pillars, overhead console was brush painted with Tamiya's medium gray acrylic. Since the bed was stripped and leaving some old primer on the bed, I've decided to paint over it with flat black to mimic a sprayed-on bed liner, but I brush painted it instead. Anyway, tell me what you guys think. Remember, a LOT of hard work was put into it.
-
When you did the Testors Wet Look clear coat application, did you do it in 2 light mist coats then 2 heavy coats?
-
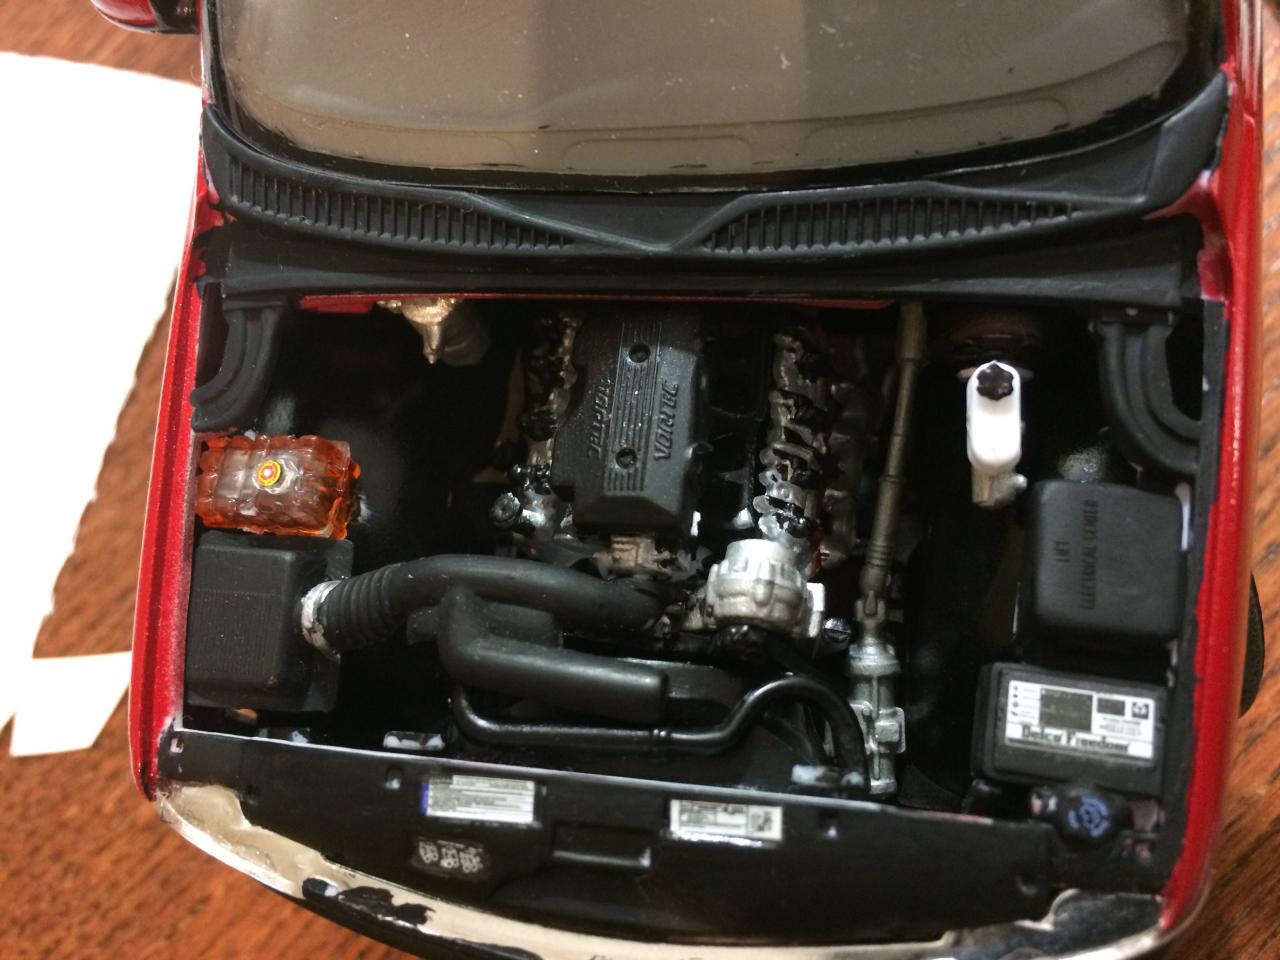
Thank you! It's 95% done all it the whole body needs is a gloss clear coat and the hood to be painted then clear coated. After that, I got to paint the small details like the engine, wheels, etc..
-
i am about to apply clear coat on my model truck with Testors WL and i want to know if I should apply just one wet coat or do light coats and then a wet coat?
-
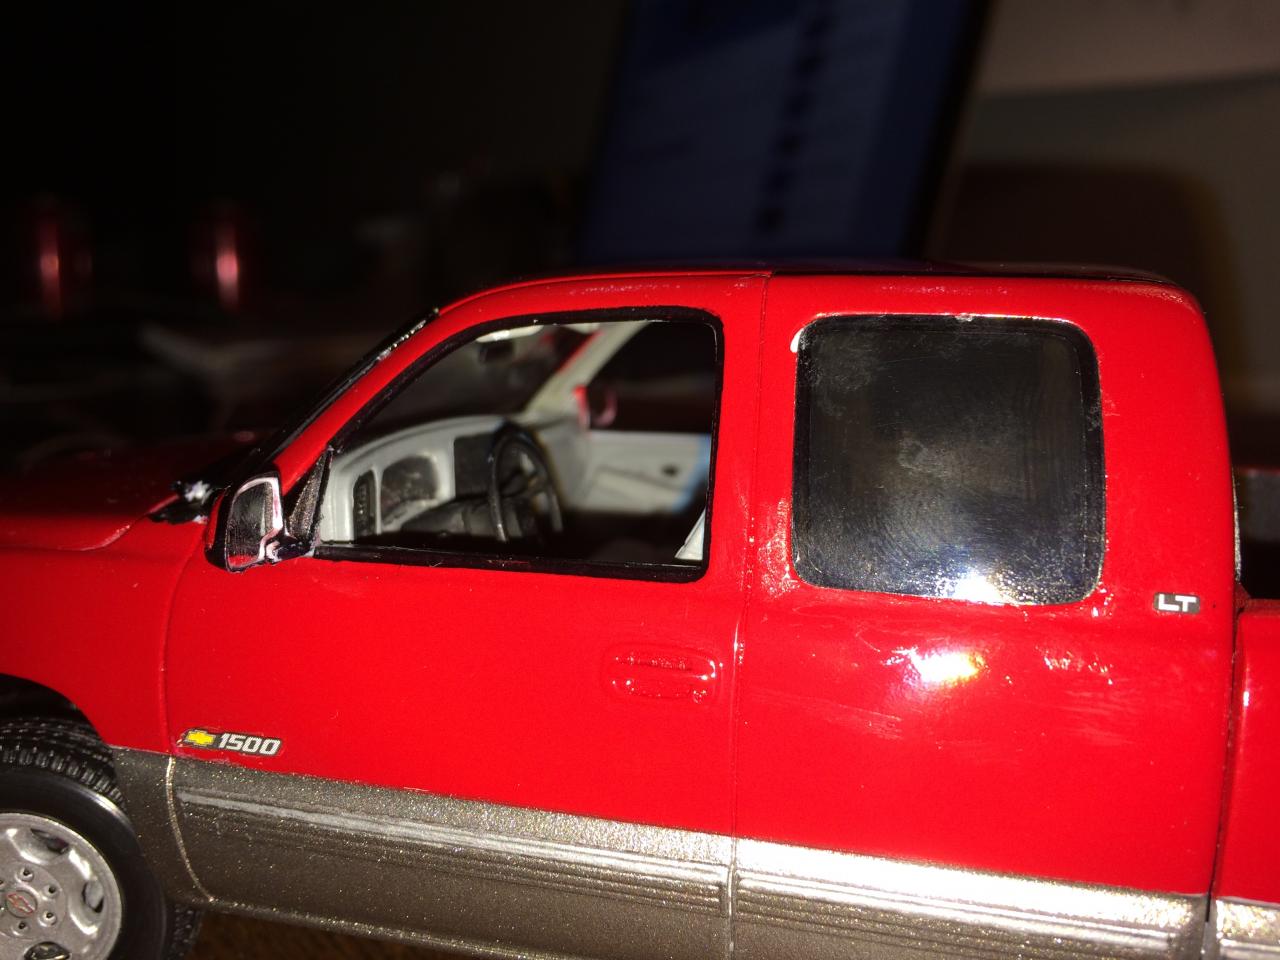
Here's a much better preview..the cab is at it's last color stage..so a multi-step sanding polishing should do fine along with 2-3 coats of Testors' Wet Look.
-
I can't wait for mine's to be done this week..
-
That looks sweeet!
-
Nope, but it's a learning experience. It takes several failures to make one success..
-
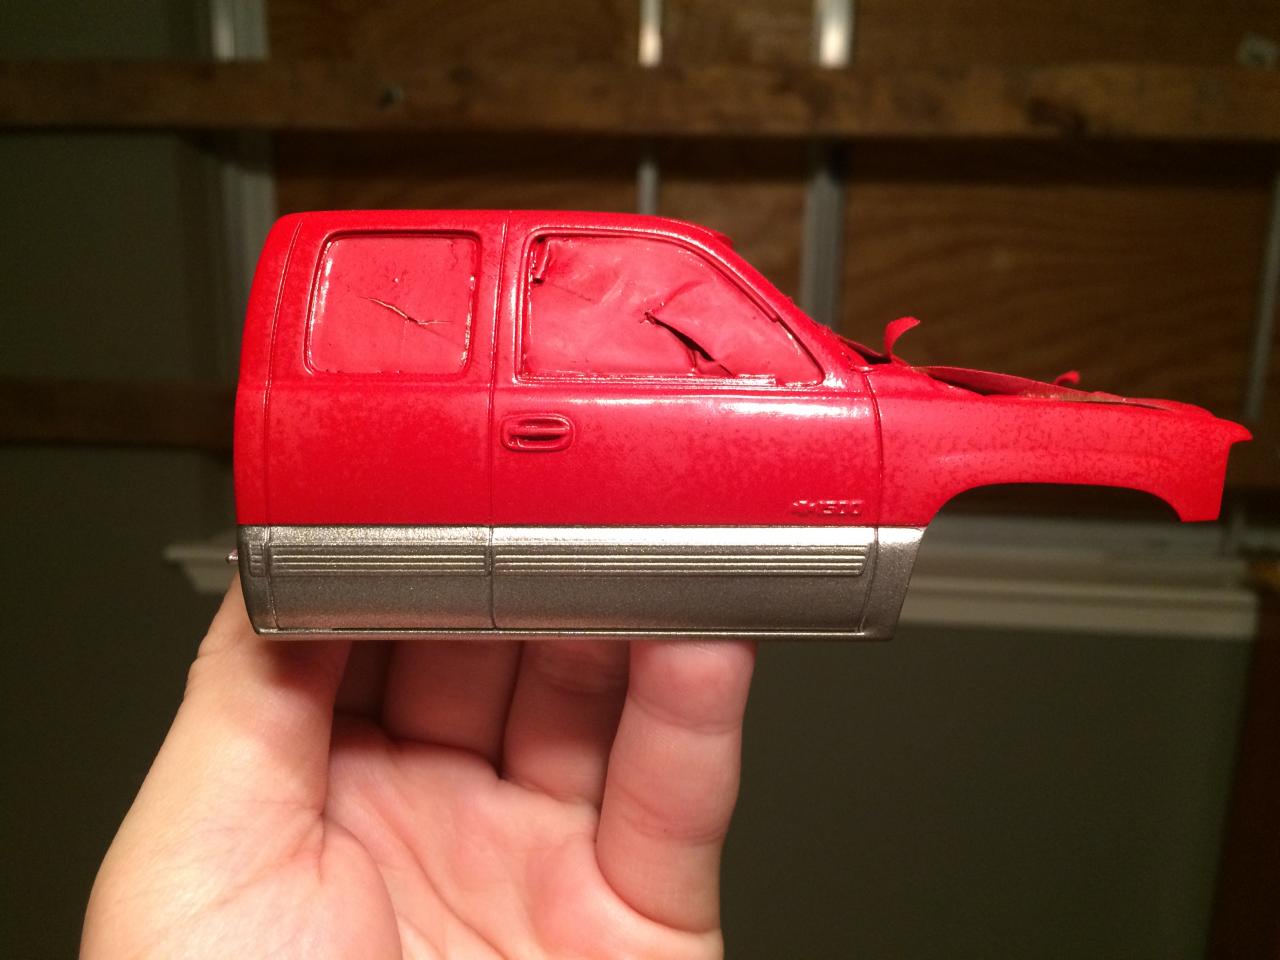
Here's a little preview of my project so far. Thank you guys for the tips I appreciate it so much. Right now all I need to do is shoot one more wet coat of victory red, then polish it and clear coat it with Testor's Wet Look. Right now it is almost done after I have wet sand the cab with 600 grit to remove the nasty orange peel it had. I removed the lower end masking tape because it was wet and coming off due to the wet sanding.
-
Thanks for tip! It works!
-
I'm gonna use Meguiar's Ultimate compound and yes you're right it is a metallic color from Duplicolor. It's the GM pewter metallic color.
-
And what should I polish it with? If I have to use sand paper to do the polishing what grit must I use?
-
Humidity was under 70% and temperature was around 70F temperature.
-
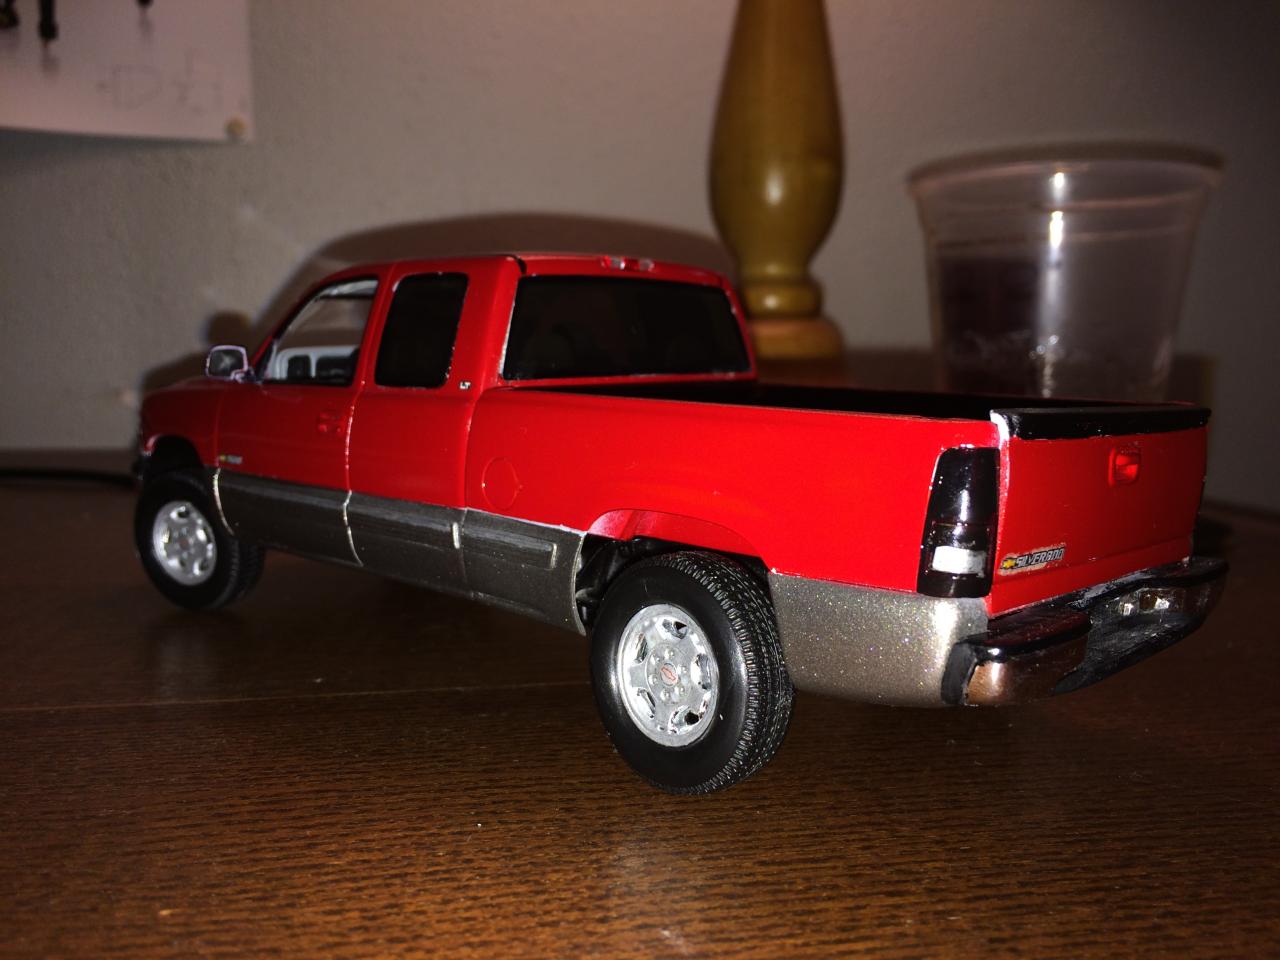
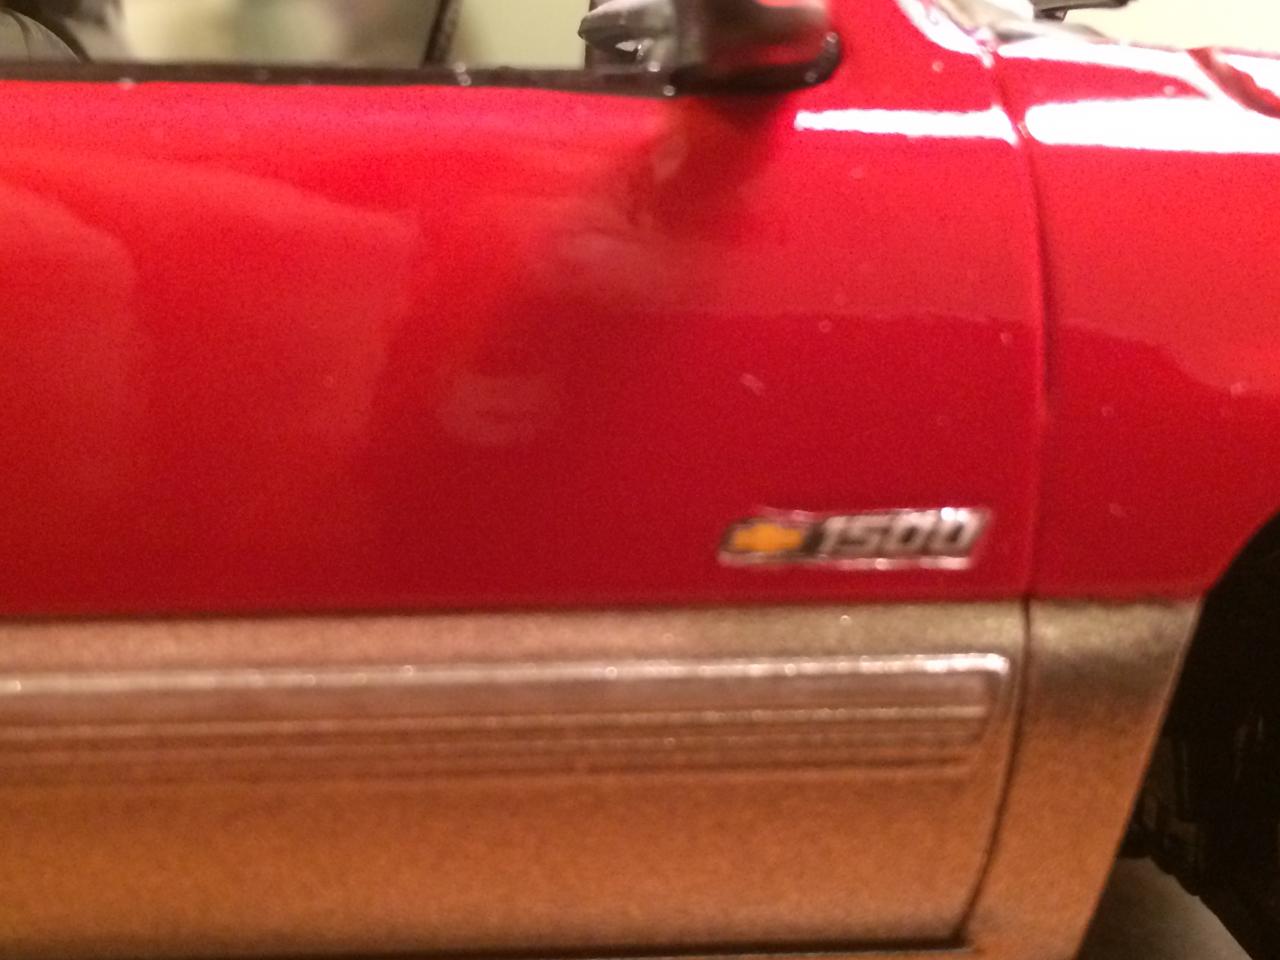
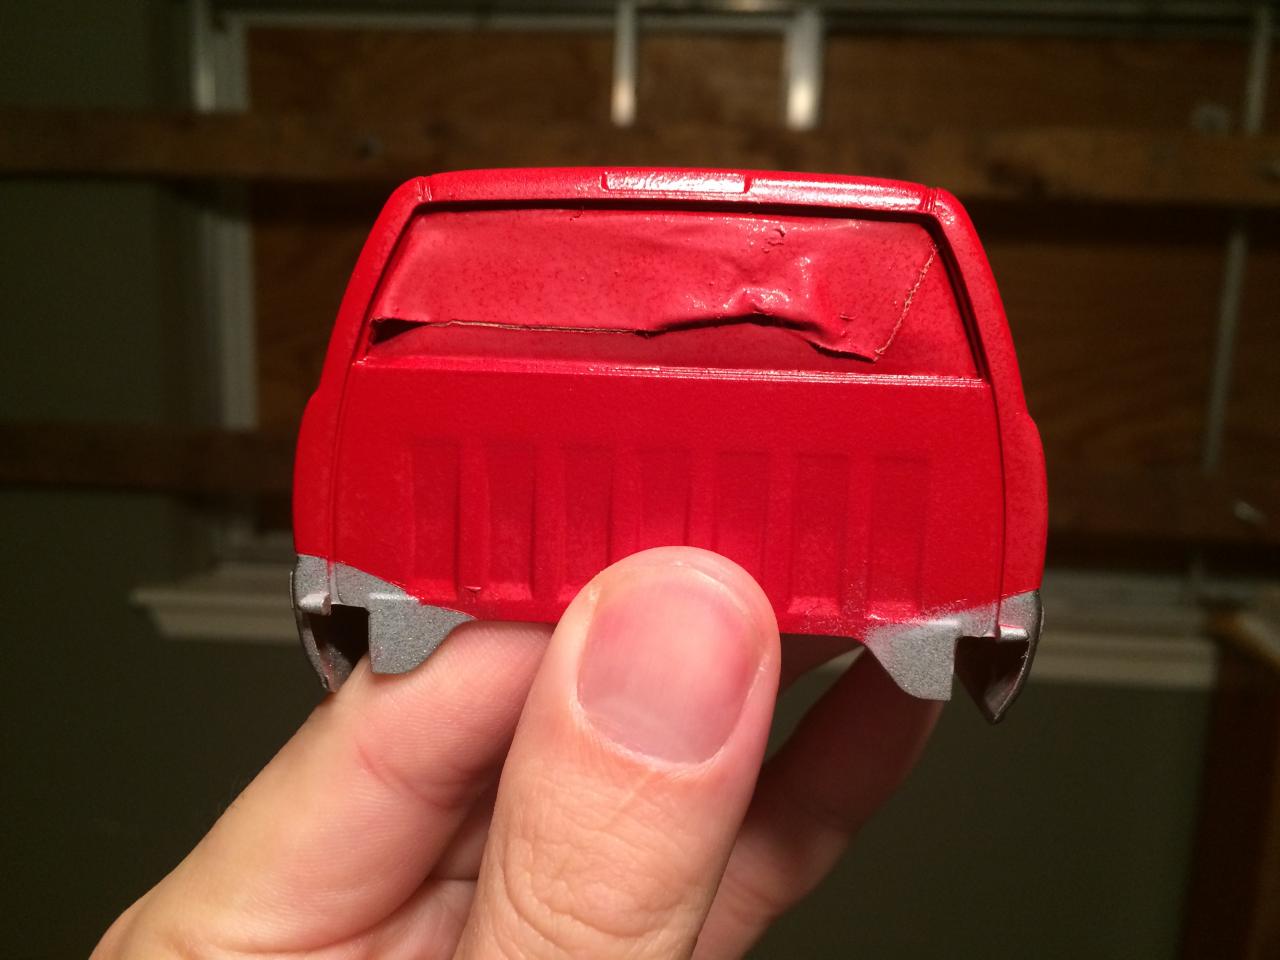
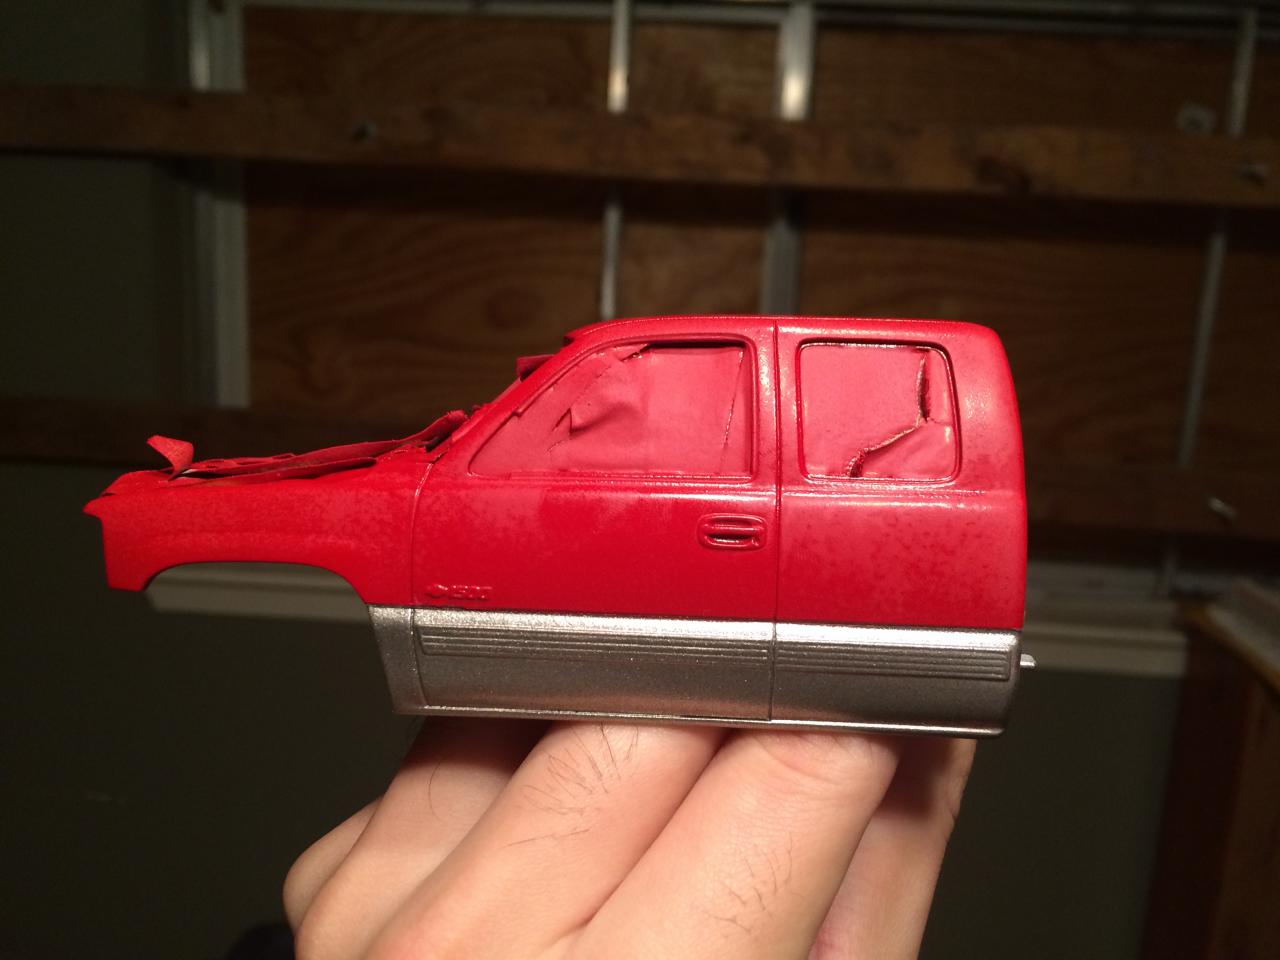
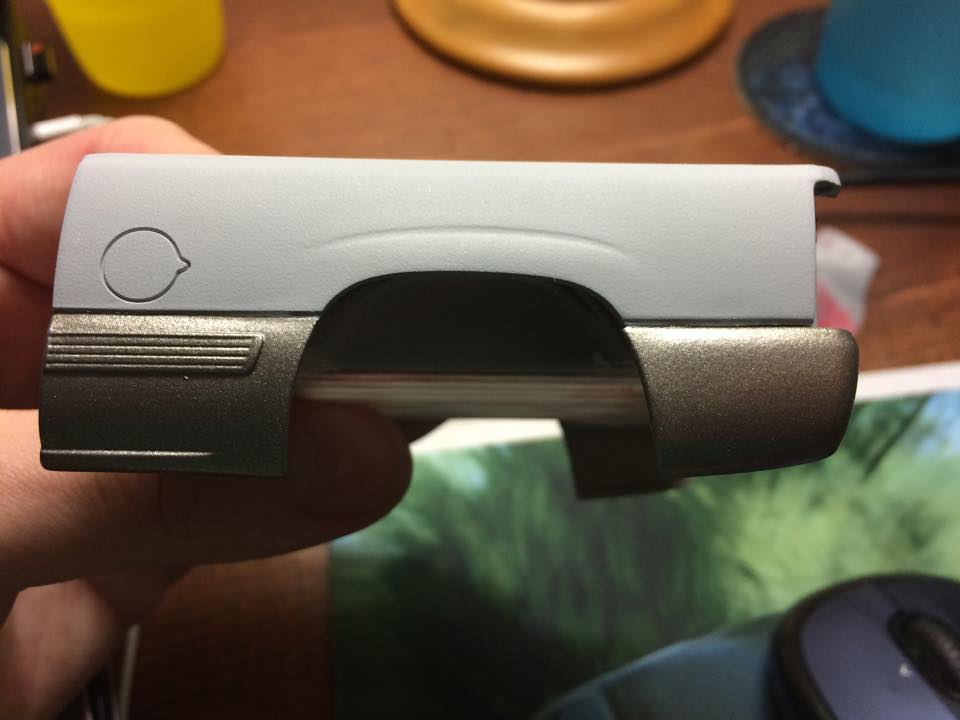
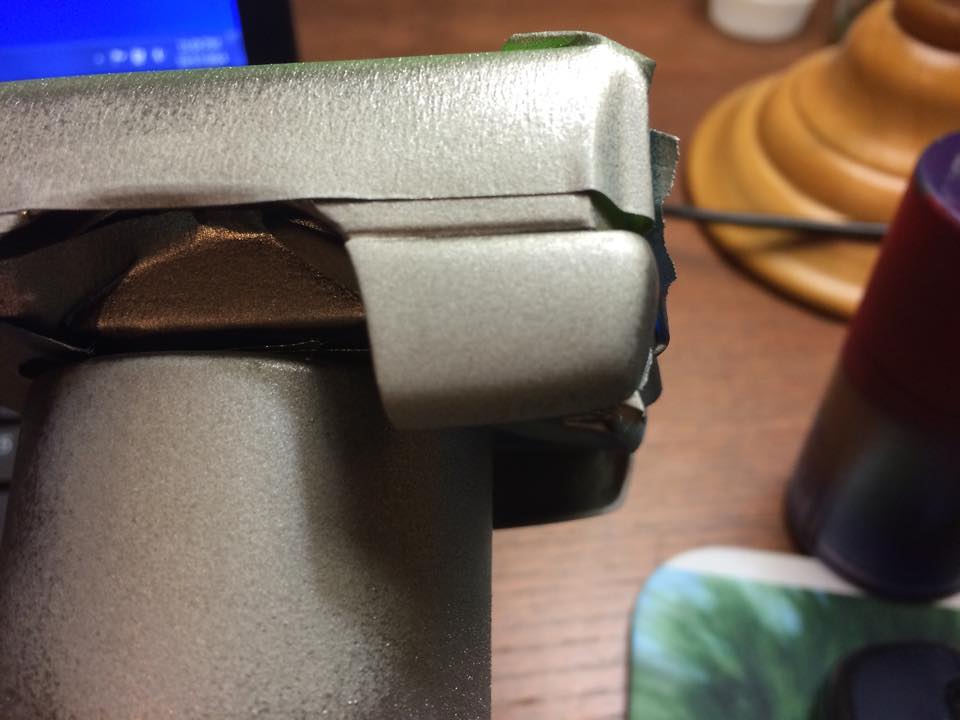
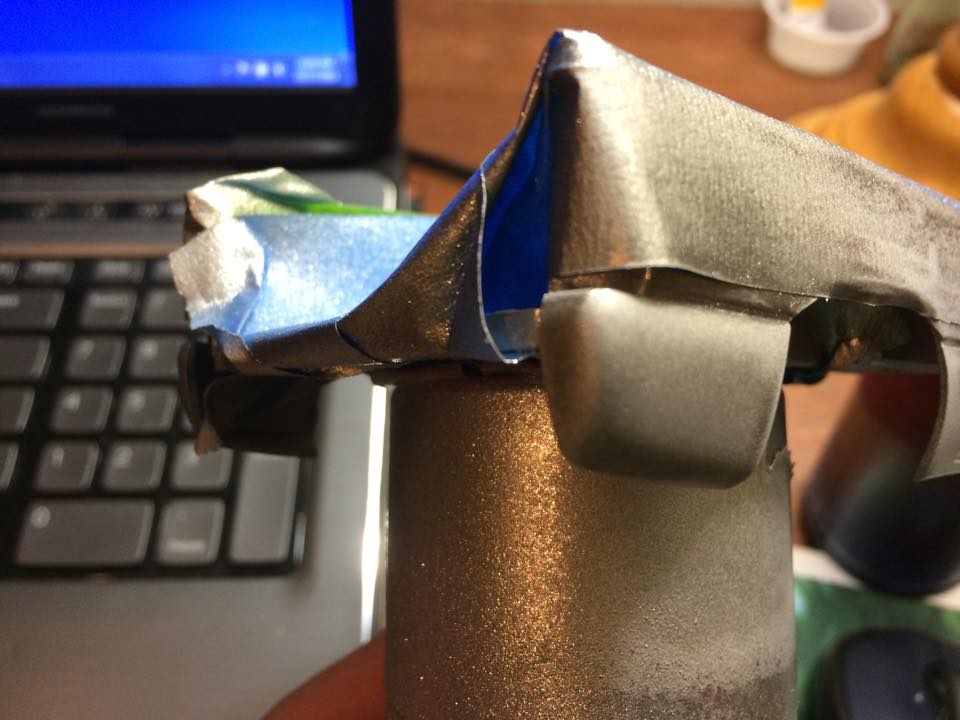
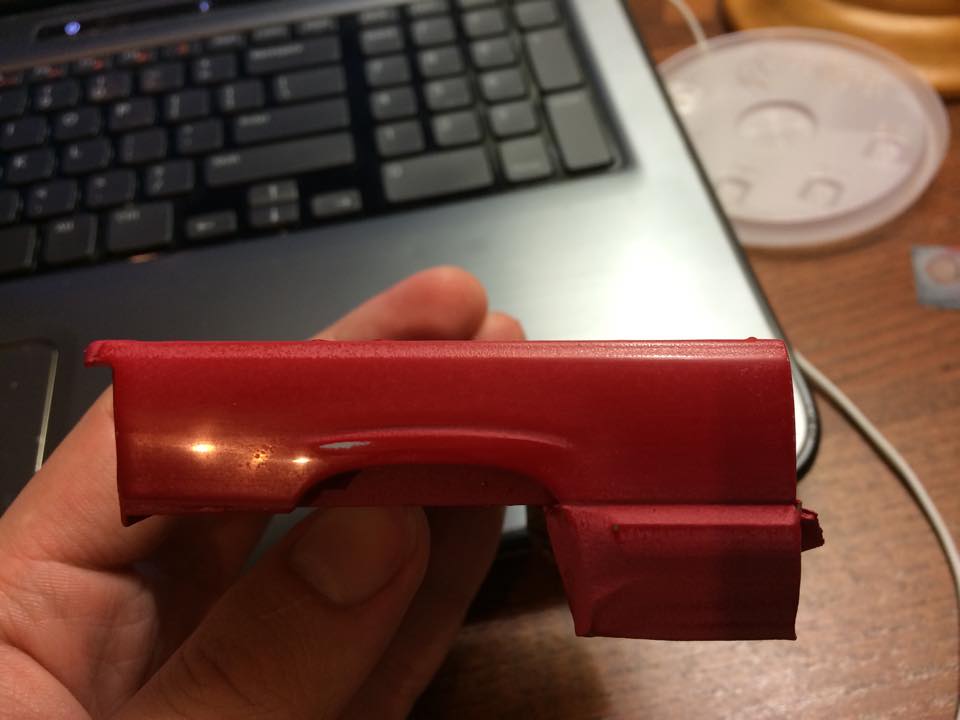
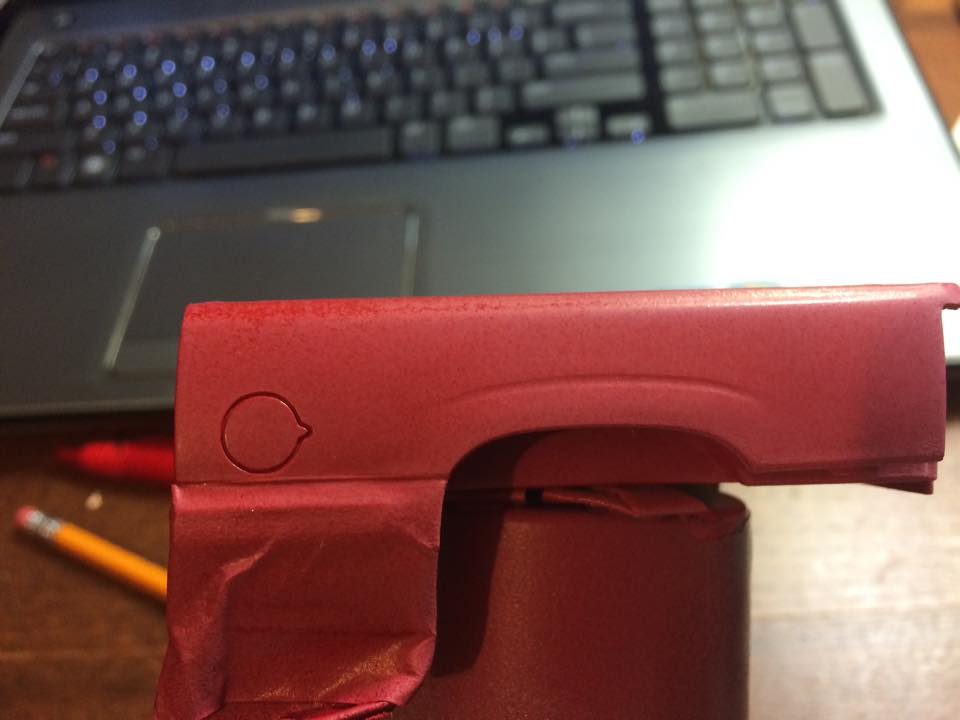
Ok, I painted the lower portion of bed after stripping the paint down, wetsand it and priming it. I did 3 LMCs and 2 wet coats. The problem is that i have a dull, kind of cloudy appearance in the paint. What should I do? Check out the pictures. I took them with my iphone 5s so don't expect a perfect quality out of them.
-
So it's ok to use a 2000 then 4,000 grit on the basecoat? What grit should be used for sanding the primer if needed?
-
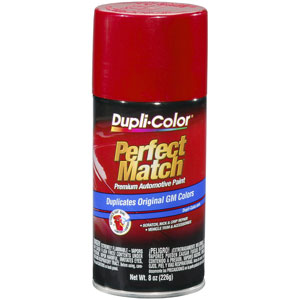
But unfortunately, theres only ONE brand that uses that OEM GM victory red color and that's Dupli Color. Since, I have a preference for all original, I would probably sand it down without water, paint it with some light mist coats and then give it a heavy coat. But this time I will warm up the can in warm water, hopefully that will give it a good paint flow.
-
SO i did a polishing by sanding discs and not much improvement. I used a 600 grit sandpaper and then use the multi step fine grit sanding discs from the Turtle headlight restoration kit to do the job but not much improvement was noticed. Hmm, should I restart all over again?
-
No, I just used the regular Dupli Color Victory Red paint just like this one here. and no, I didn't warm the can.
-
Or could I just sand the read of the air BLAH_BLAH_BLAH_BLAH with the most coarse sandpaper and then maybe use a hot soldering tip to cut it open or heat up a knife blade?
-
Ok I know you guys must be getting pissed off as much as I am on this project, but I guarantee you I did everything according to proper protocol. I washed the bed in dish washing soap, let it dry over night, sand it off with 600 grit sandpaper, primer it with Duplicolor Gray primer, one LMC, then one heavy coat. I did 3 LMC with the Victory Red paint and 2 HC in good under 65% humidity level at temperature below 90F..I noticed the nasty orange peel on the first heavy coat so I wet sand it down with a 480 grit sandpaper and then paint it again, but the paint comes out flat and pinkish..Is there something I am doing wrong? I shook up the can one full minute, spray a couple of test sprays before shooting on on the model. Should I just deal with it? FYI the paint is brand new, I bought it yesterday.