addicted2modeling
-
Posts
94 -
Joined
-
Last visited
Content Type
Profiles
Forums
Events
Gallery
Everything posted by addicted2modeling
-
Im sorry i word it wrong. I need help in cutting out a hole in the air dam section where the foglight normally is, not the grill.
-
I want to cut a hole on my grill where the "tow hook" is normally on, what is the best way to cut out a precise hold without having to destroy the separation line of the bottom air dam?

-
Here is the tailgate part of my truck. I 06'd the tailgate, meaning I scraped off the "Chevrolet" badge and leave the "Silverado" badge intact like the real 2006 Silverado has.
-
Thanks!! I think I'm gonna buy Frog Tape to mask off the bottom portion just to be very safe. I got Tamiya's 6mm masking tape and Scotch's blue painter masking tape.
-
My work is pretty good, don't you agree?
-
I don't have an airbrush.
-
So far I painted my bed's lower half in pewter metallic as I wanted. I used Scotch blue painters tape, and Tamiya's masking tape for the edging. It came out really nice! I used 3 LMC and then one wet coat, which I will stop at there.
-
the 1:1 scale 99 Silverado does have it but its really hard to apply it for sure on the model kit.
-
and how do I apply future floor polish?
-
hand washing soap..the one that has a premixed lather.
-
Primer is brand new too.
-
It was brand new when I bought it at Advance Auto parts. Its a duplicolor victory red.
-
What kind of masking tape did you use to separate from the top and bottom?
-
Ok, we all know that old saying: "At first you don't succeed, try, try again". Anyway, I messed up big time, I have start all over from scratch. But now that I must do this all over, what should I have done differently that what I did at first? To start this discussion, I will describe what I did first. First I washed the cab in lukewarm water and with Dial soap. I rinsed it completely and let it air dry. I wet sand the cab with a 1000 grit sandpaper and I applied 2 coats of primer, one light mist coat and one wet coat. I wet sand the cab with a 600 grit sandpaper to smooth out the body and then hit with a 3 light mist coats, which I did at night after a rainy day, which I know was my mistake. Even though it was nice and cool and no rain, the humidity still lingers, in fact I avoid painting late at night because I checked my phone and the humidity gets as high as 91%, despite a dry day. So after the light mist coats, which came out kind of pinkish, I hit it with 2 wet coats. It came out red like I want it but was rather dull, flat and lusterless..So bad that when I applied Meguiars polishing compound, I noticed some orange peel. I fixed that problem with the Turtle's Headlamp restoring kit, which contact a multi-step fine grit sand discs. It made it look a whole lot better, but there was still some rough spots. Also since I want to make this a two-tone color truck, I decided to paint the bottom end first then mask it off and proceed with the top end when I strip off all the paint of this cab. Enough with my side of the story, what is yours? Could you guys give me a better tips since most of you guys are very experience in modeling? That picture you saw enclosed was caused by applying that Tamiya masking tape and then removing after only 45 seconds of application..Looks like I have a big problem.
-
I'm about to mask off the top end. I have Tamiya's 6mm masking tape, a roll of Scotch's automotive performance green masking tape, and a Scotch blue painter's tape. Which of these is better to use to mask off the top part of the truck so I can paint the lower half. I don't want to remove the masking tape and find some red paint chipping on the tape when im finished.
-
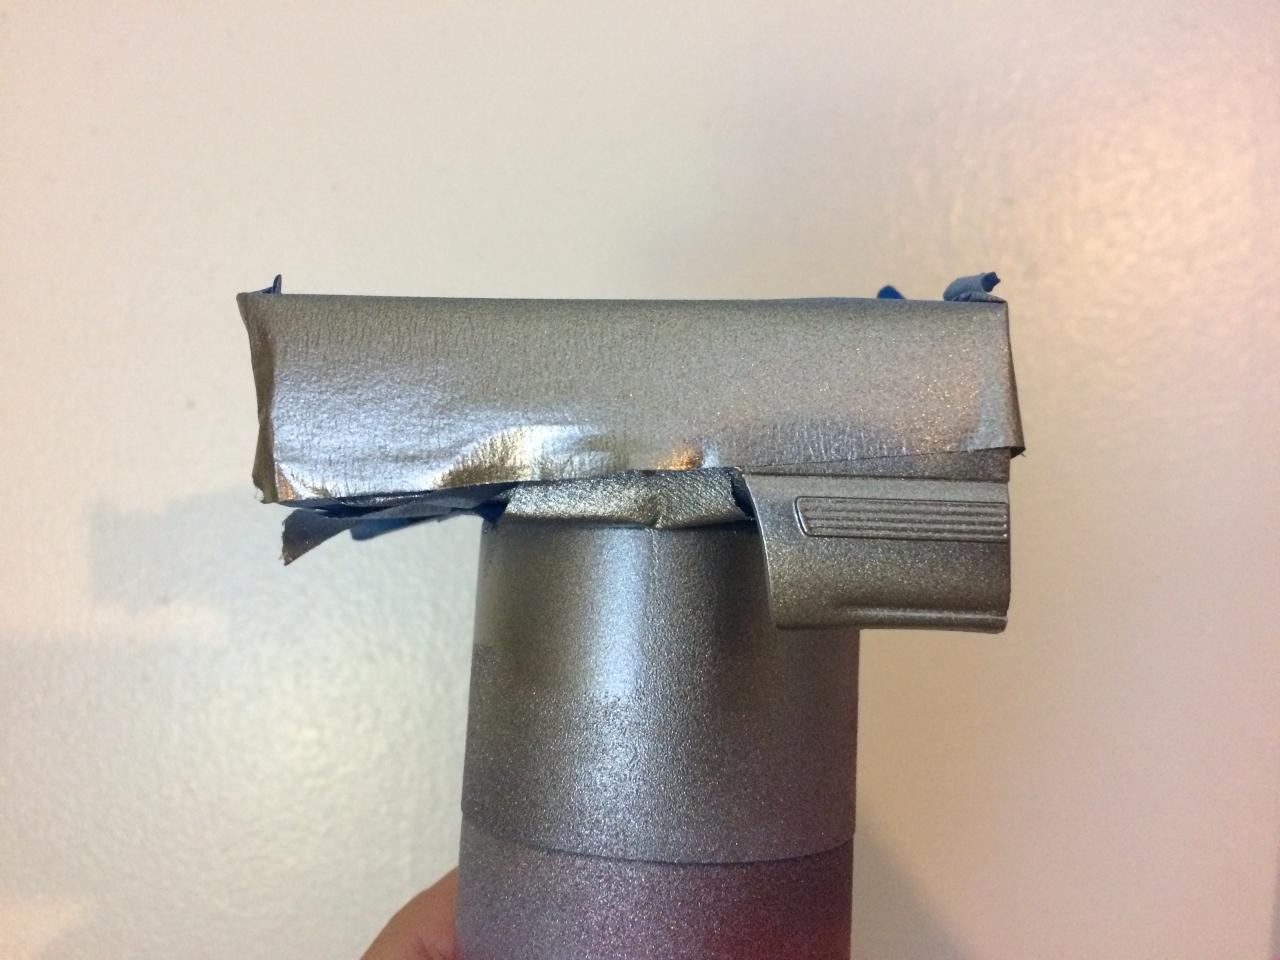
I have primed the bed and masked off the top with Scotch blue painters tape and fine edge curve between the bed and lower front bed fender with Tamiya masking tape. Before it was primed, I wet sand the bed with a 1000 grit hobby sandpaper. I applied one mist coat and one wet coat of Duplicolor primer. I just painted the lower half in Pewter Metallic. This is just the first LMC (light mist coat) at 11 inches.
-
ehhh, I did used Tamiya's 6mm tape for the project. I'm by the Northwest side of Houston by US 290.
-
In that case, I'll start on the bed..The cab is coming out pretty good! But since this is something I don't do for a living, I cannot expect showroom quality, but I can tell you this: I've learned my lesson in when to paint, how to paint, and let time pass by.
-
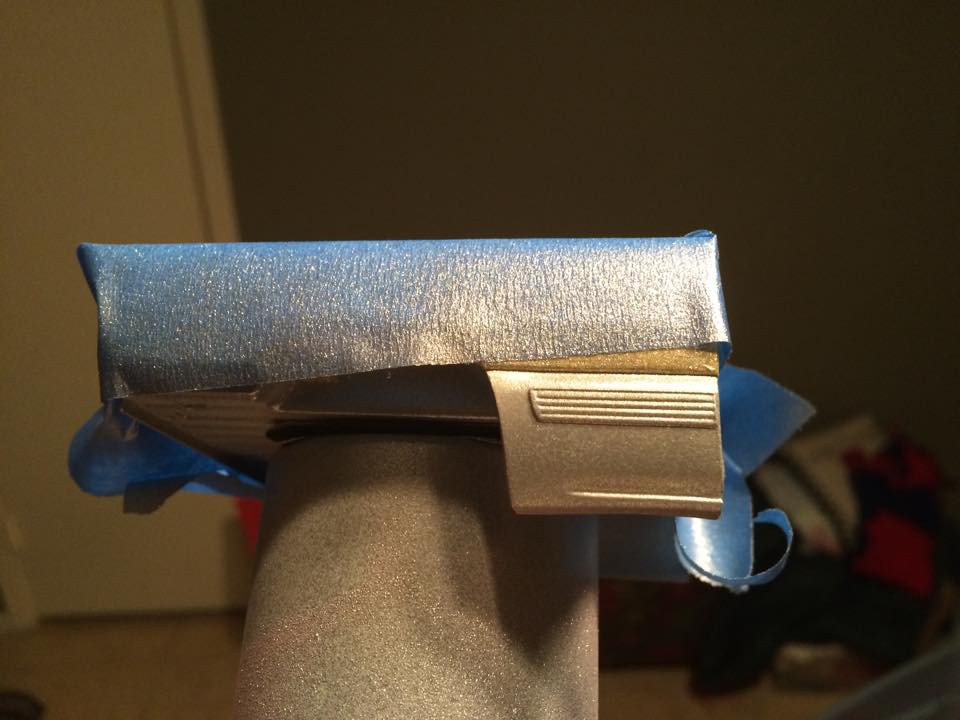
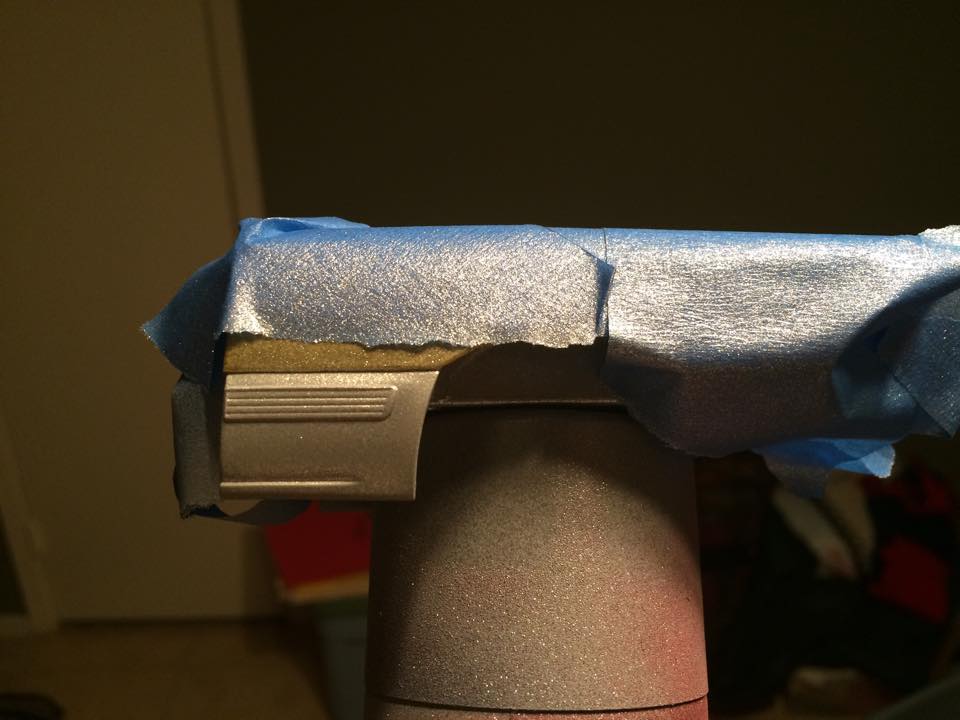
As I peeled off the masking tape to work on the lower end, some bits of primer was peeled off along with the tape. Since this is primer, and its not too much of a concern for me, but since this incident happened, I am worried that if I mask off the top end to paint the lower, it can happen. How do I prevent this?
-
I just performed a multi-step polishing with fine sanding discs to repair the orange peel pain from my truck. So far, it looks very nice but there is some small "rough spots" which are hard to take care due to their size. They noticeable on molding lines like the fender. Anyway, since I have me such a nice finish, is clear coat needed or not? Since I will paint the lower half in a metallic color to give it that two tone finish, should I reconsider using a clearcoat? Here is my cab so far.
-
nevermind, problem solved. I used the Turtle brand headlight restoring kit that came with 3 pieces of fine sanding grit discs and it made my truck look shiny as a new plastic spoon. It removed the orange peel!
-
That is one smooth paint job! What brand of paint was that if you don't mind me asking? Cuz I used Dupli Color scratch filler primer on my Silverado model kit plus Duplicolor Victory Red it comes out dull.. http://www.modelcarsmag.com/forums/index.php?showtopic=93874
-
Tamiya sure have a very good primer. Did you have to sand the primed cab as well? If you did, what grit of sandpaper did you used?
-
Should I sand the body down till its dull and redo a heavy coat twice? If so, what grit of sandpaper is recommended for that?
-
that primer looks good bro! Which brand did you used?