Twokidsnosleep
-
Posts
2,528 -
Joined
-
Last visited
Content Type
Profiles
Forums
Events
Gallery
Everything posted by Twokidsnosleep
-
 I am planning on visiting in 2028. It means visiting relatives😱 Talk about taking one for the team
 -
Oh that’s sad news RIP thank you for informing us
-
Oh wow The master is still at work on this project 😎 Even photobucket couldn’t outlast this thread. Fantastic work , fantastic
-

-
Indeed. Would be much easier
-
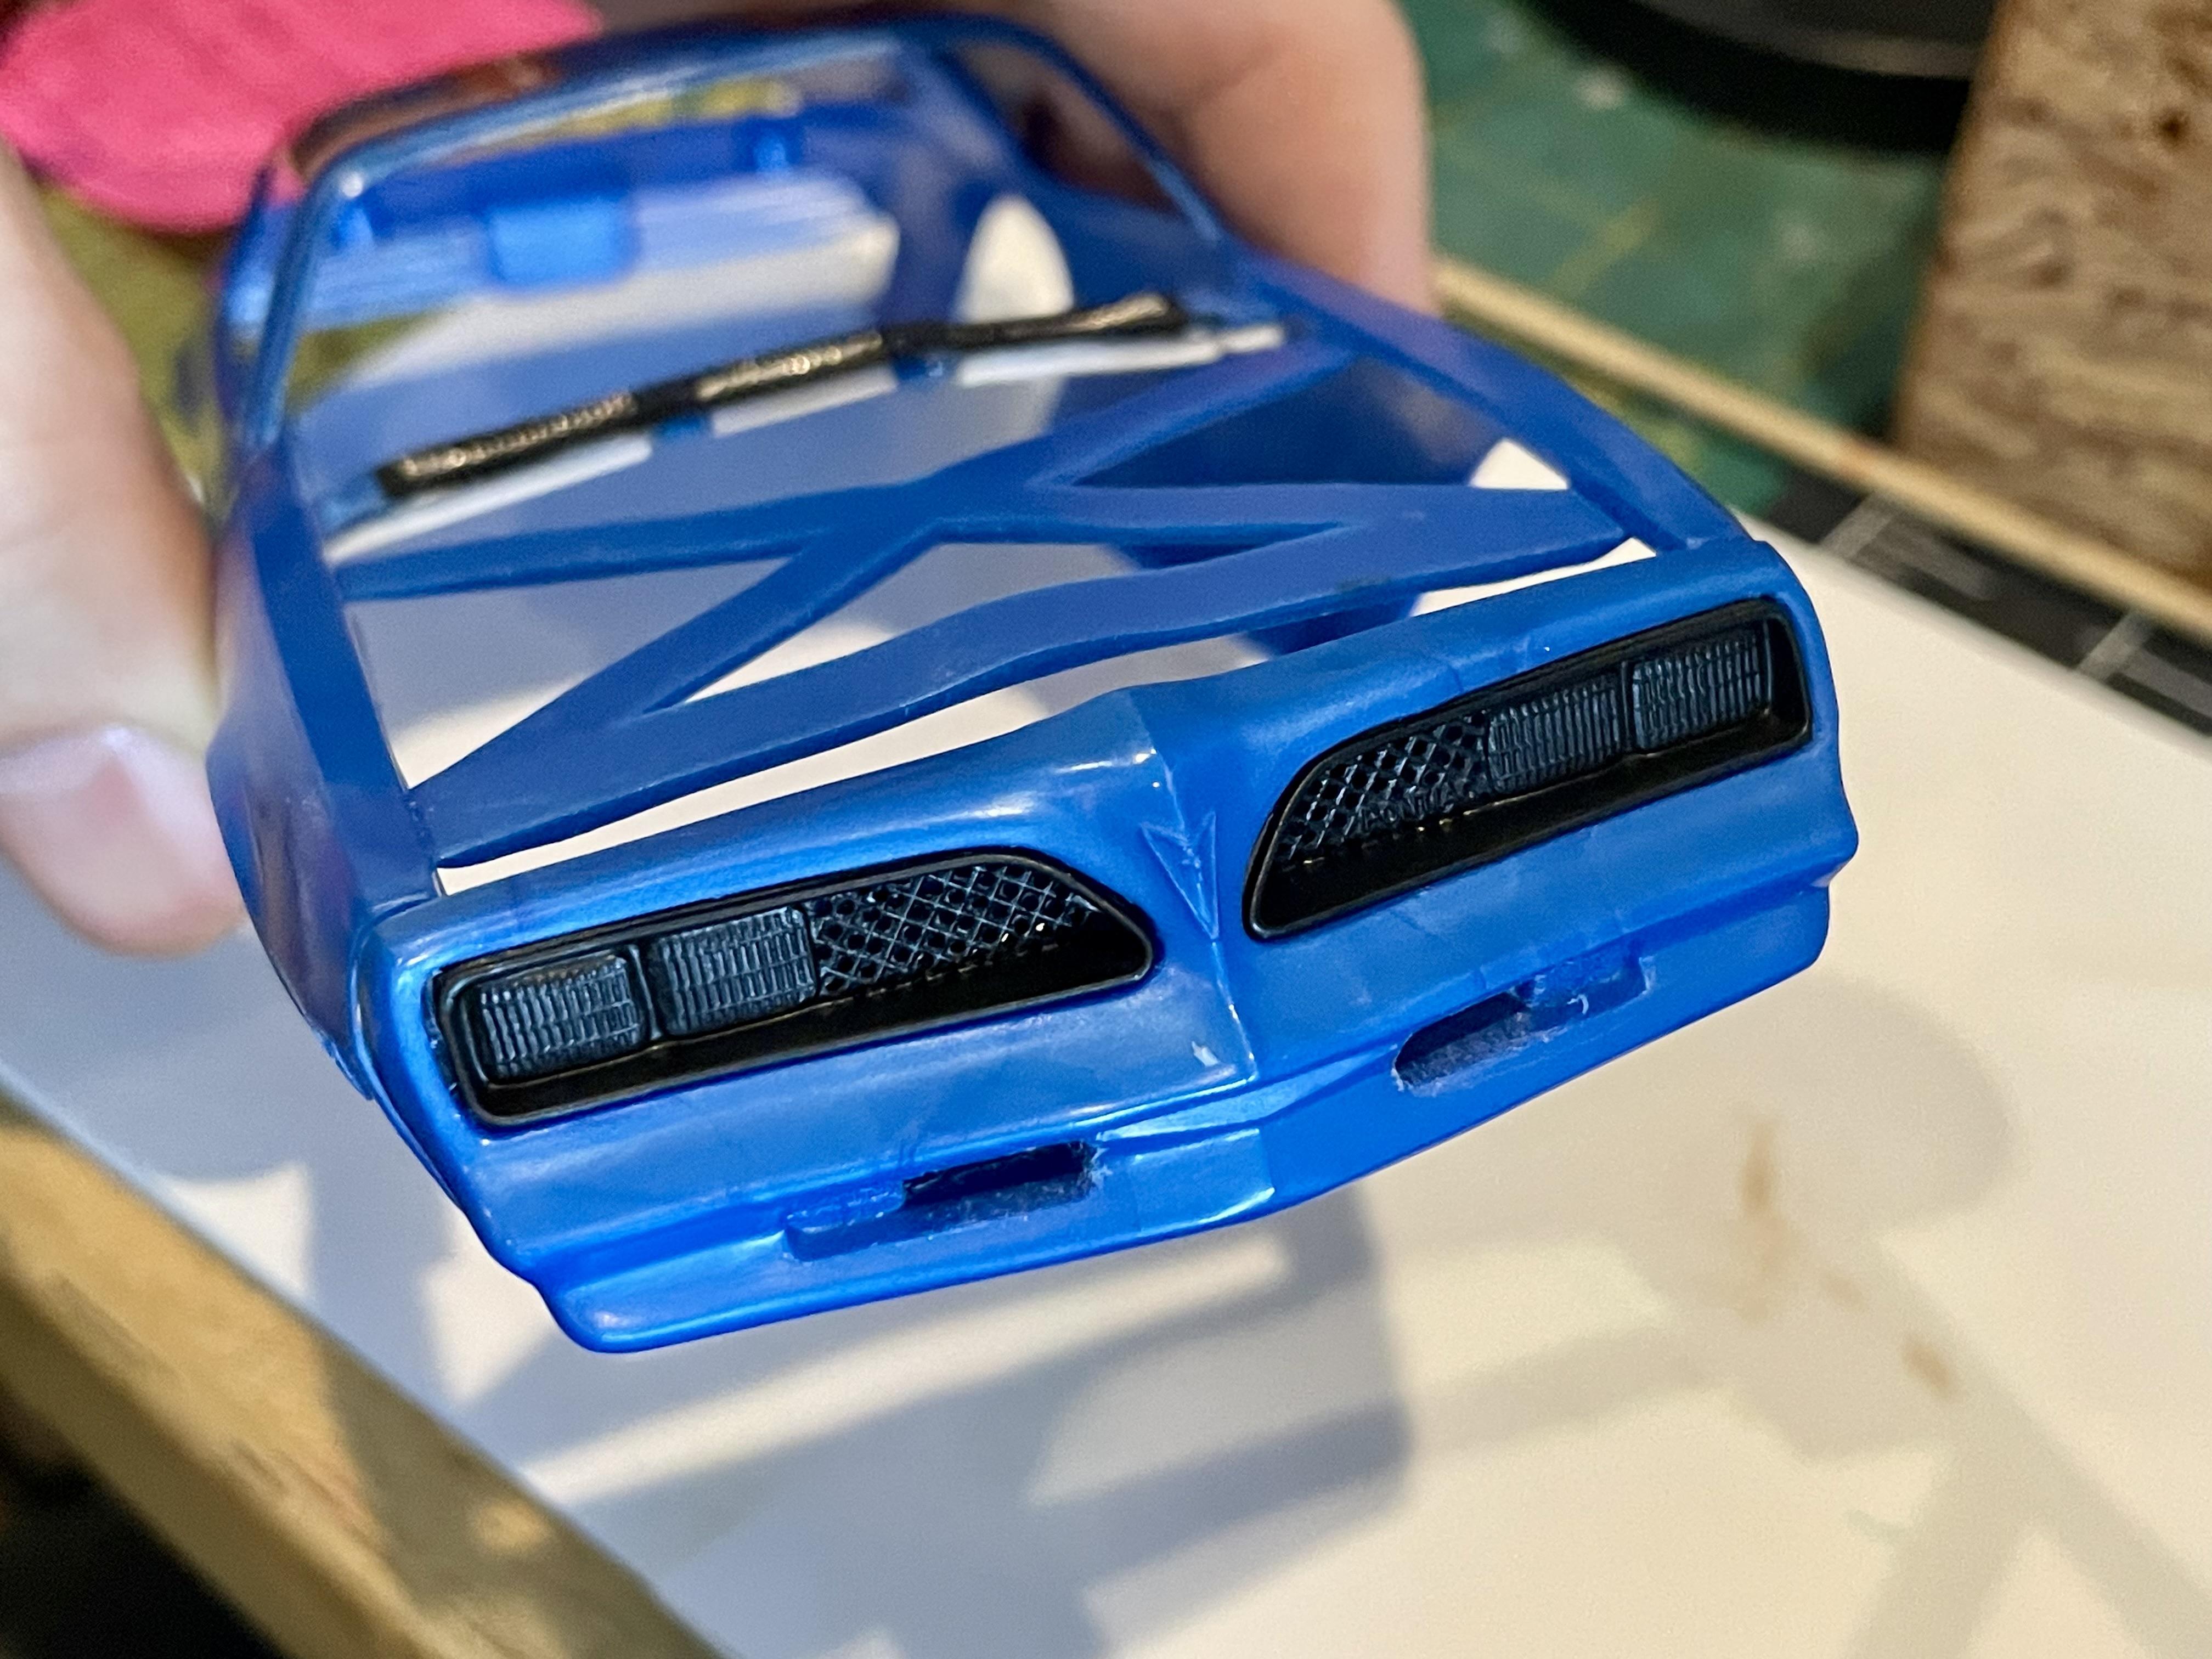
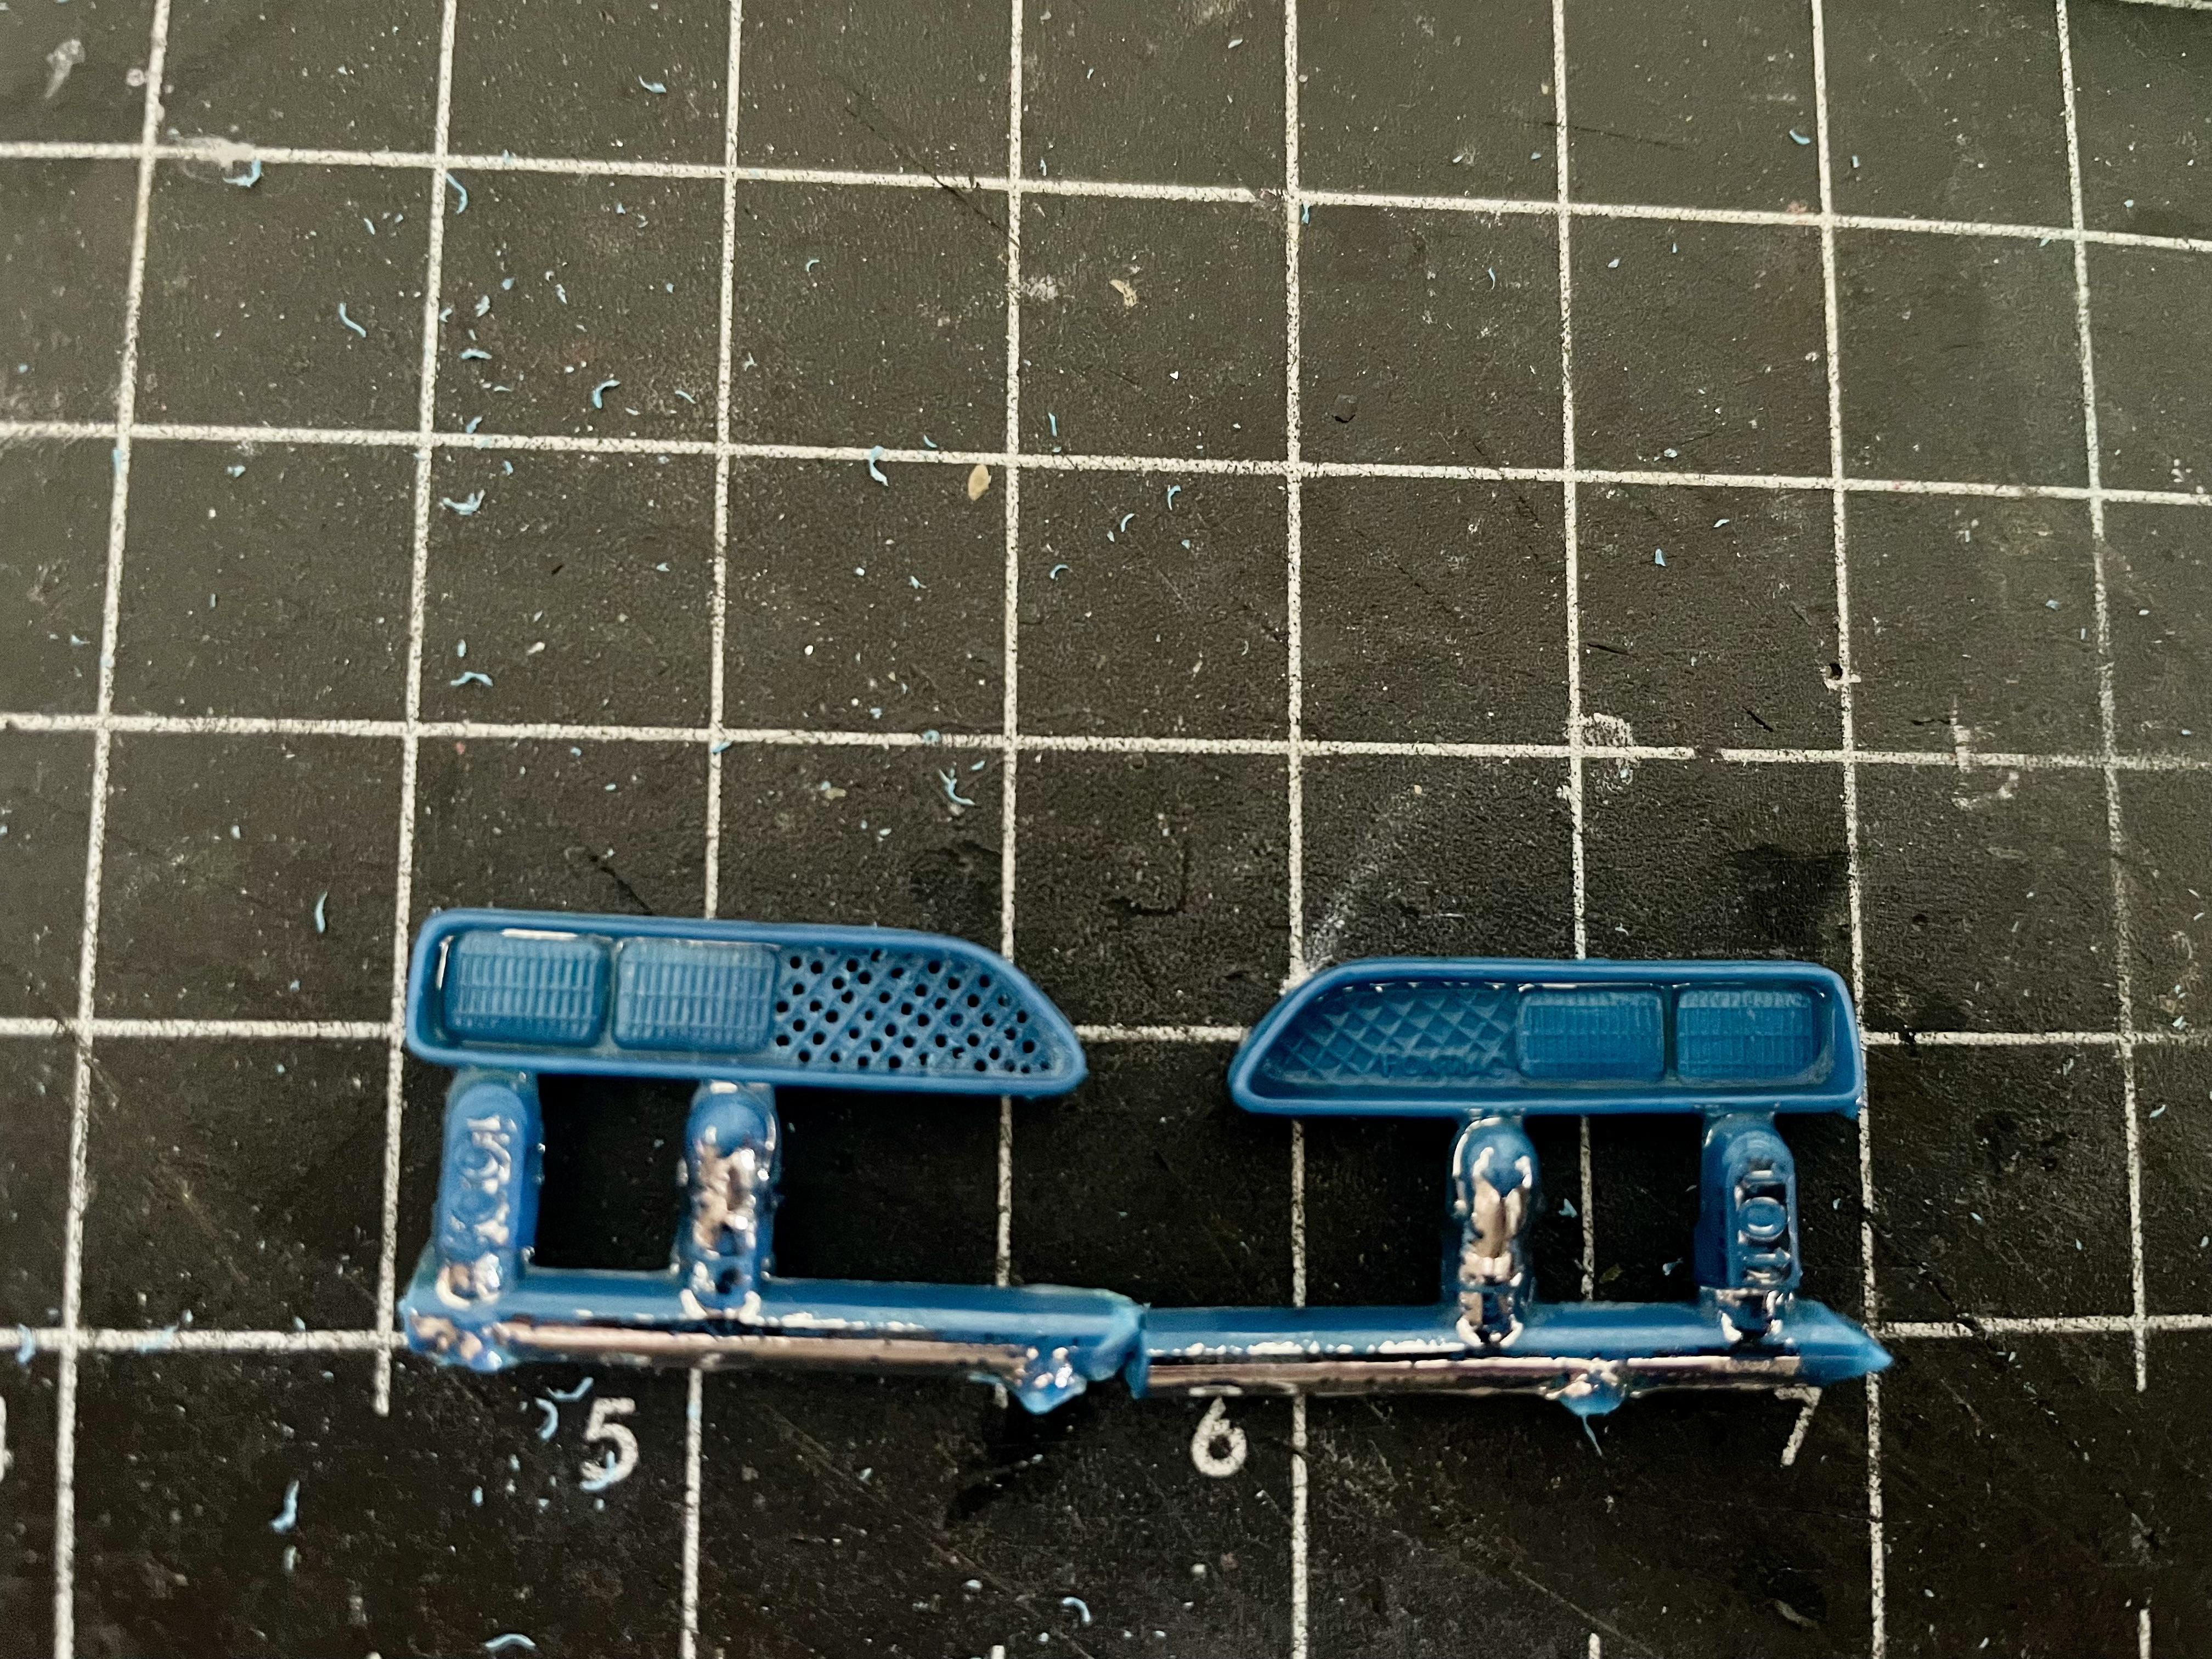
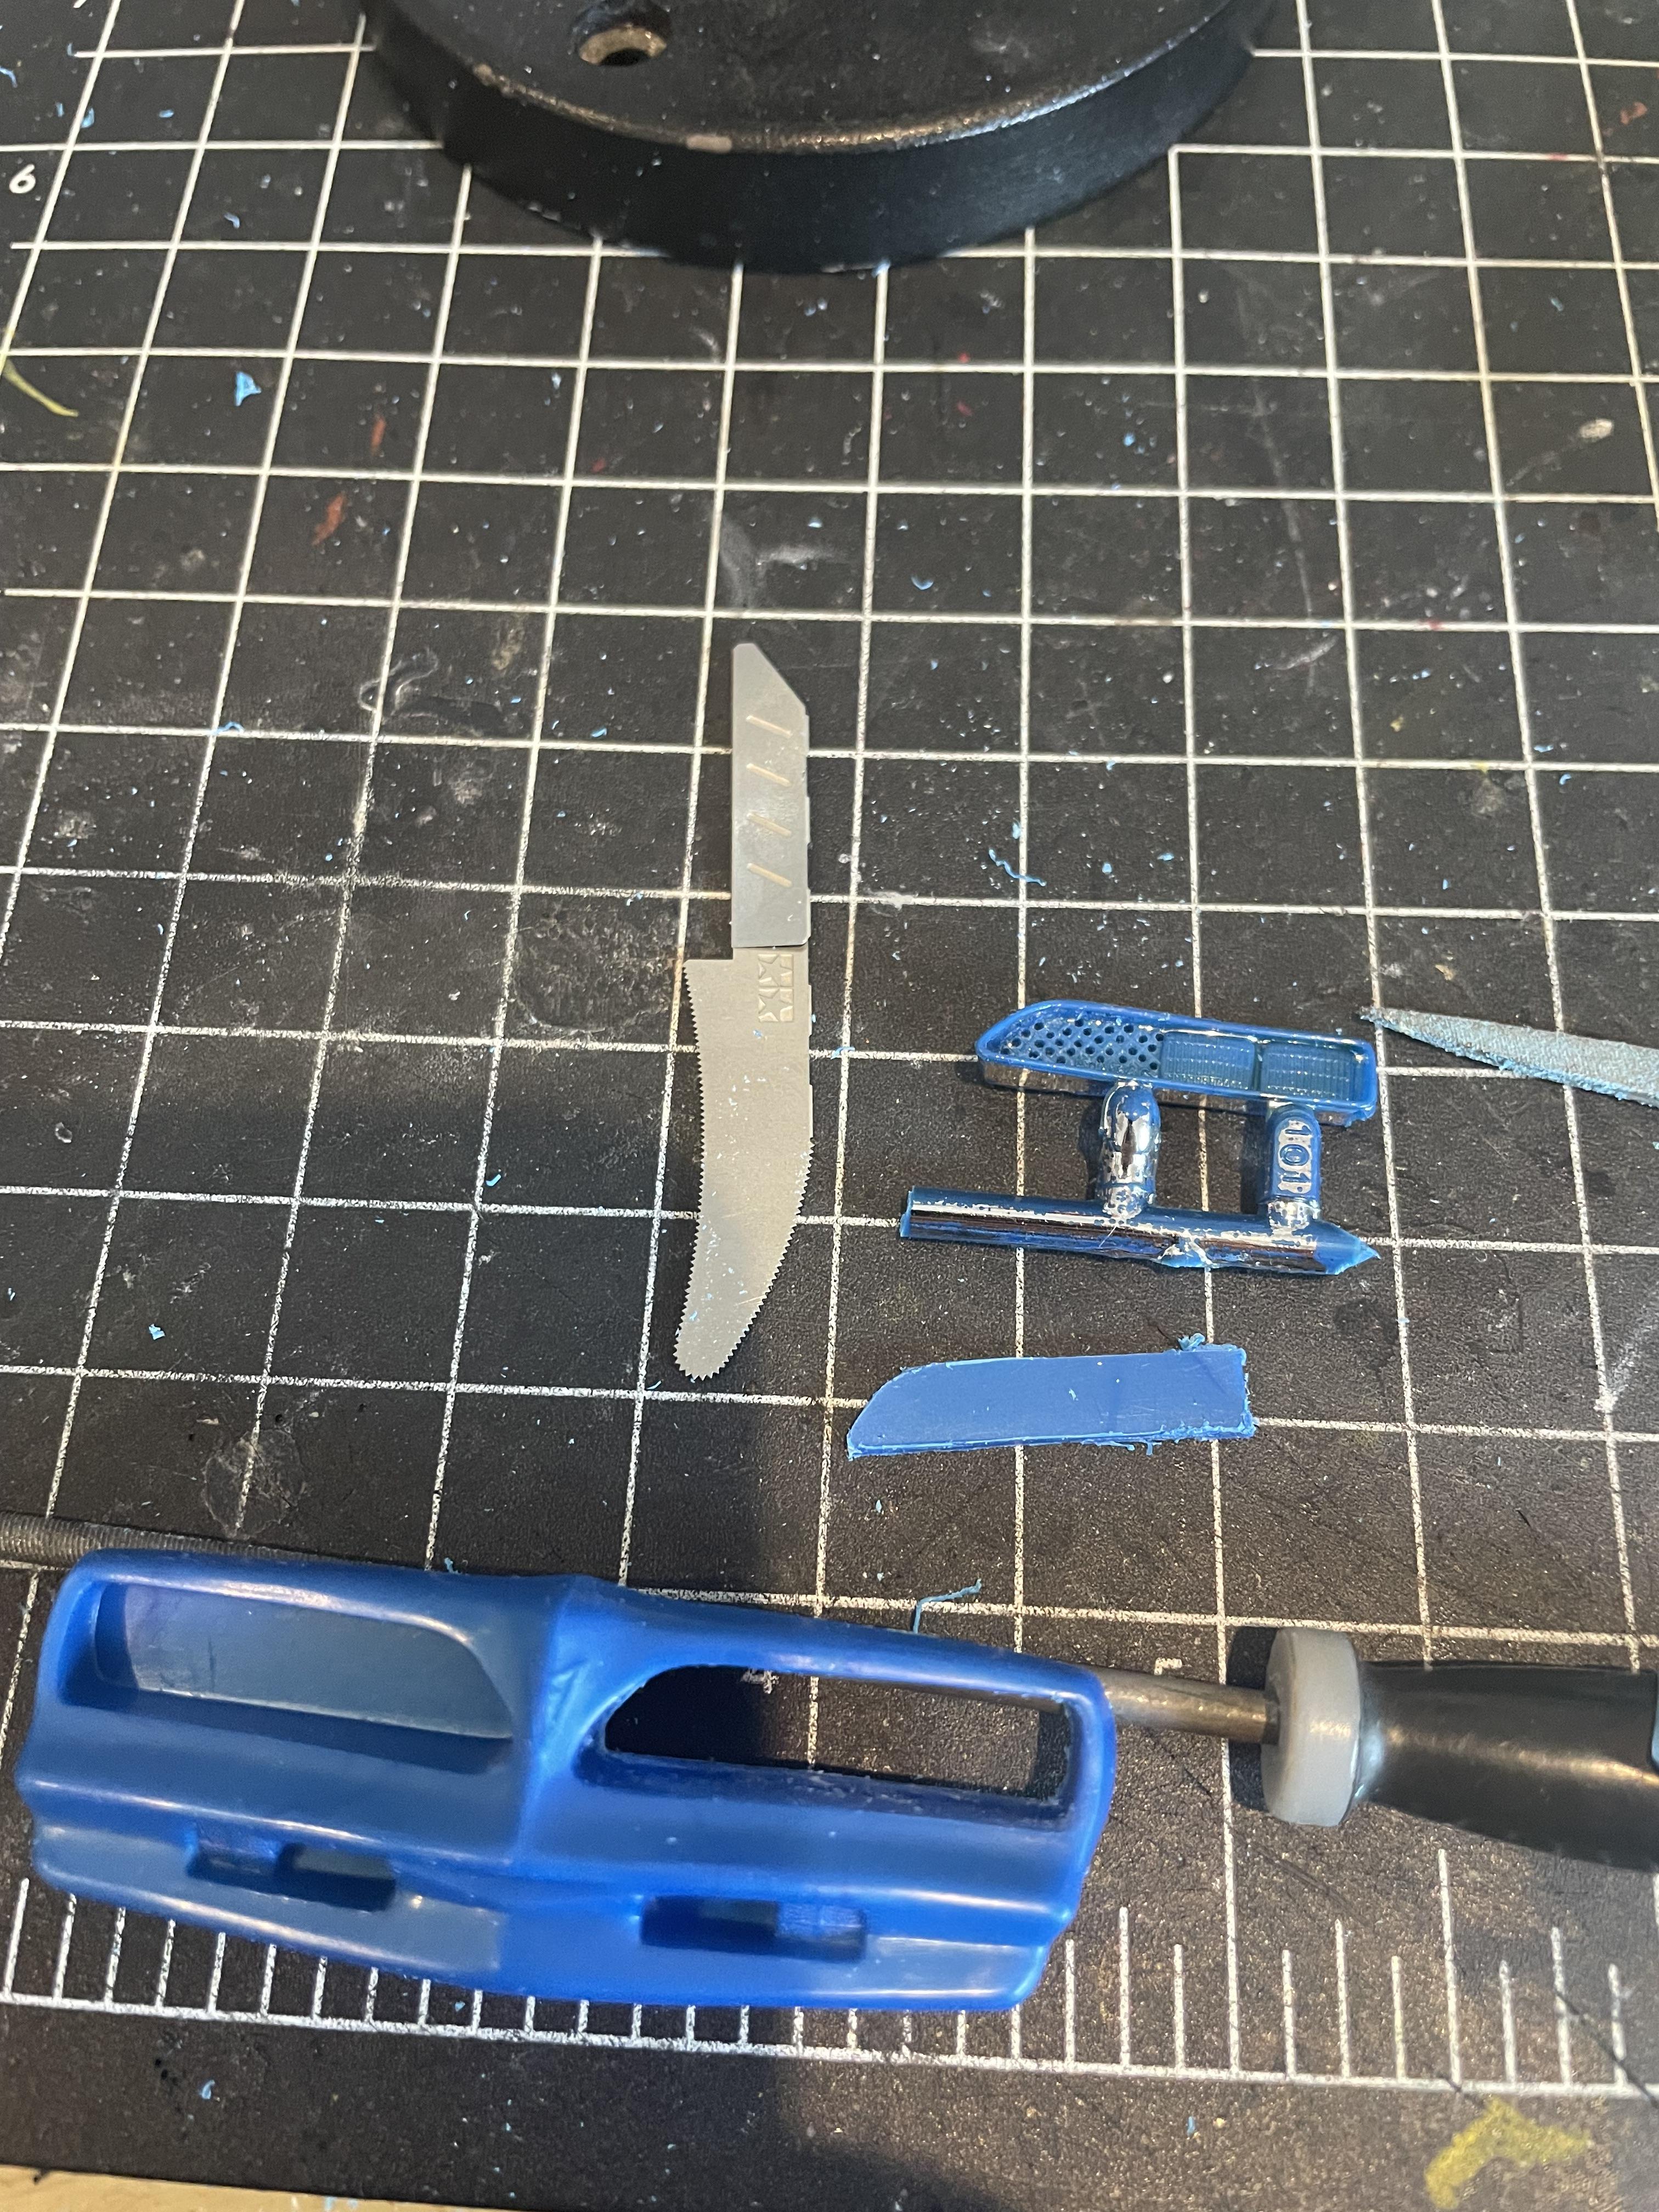
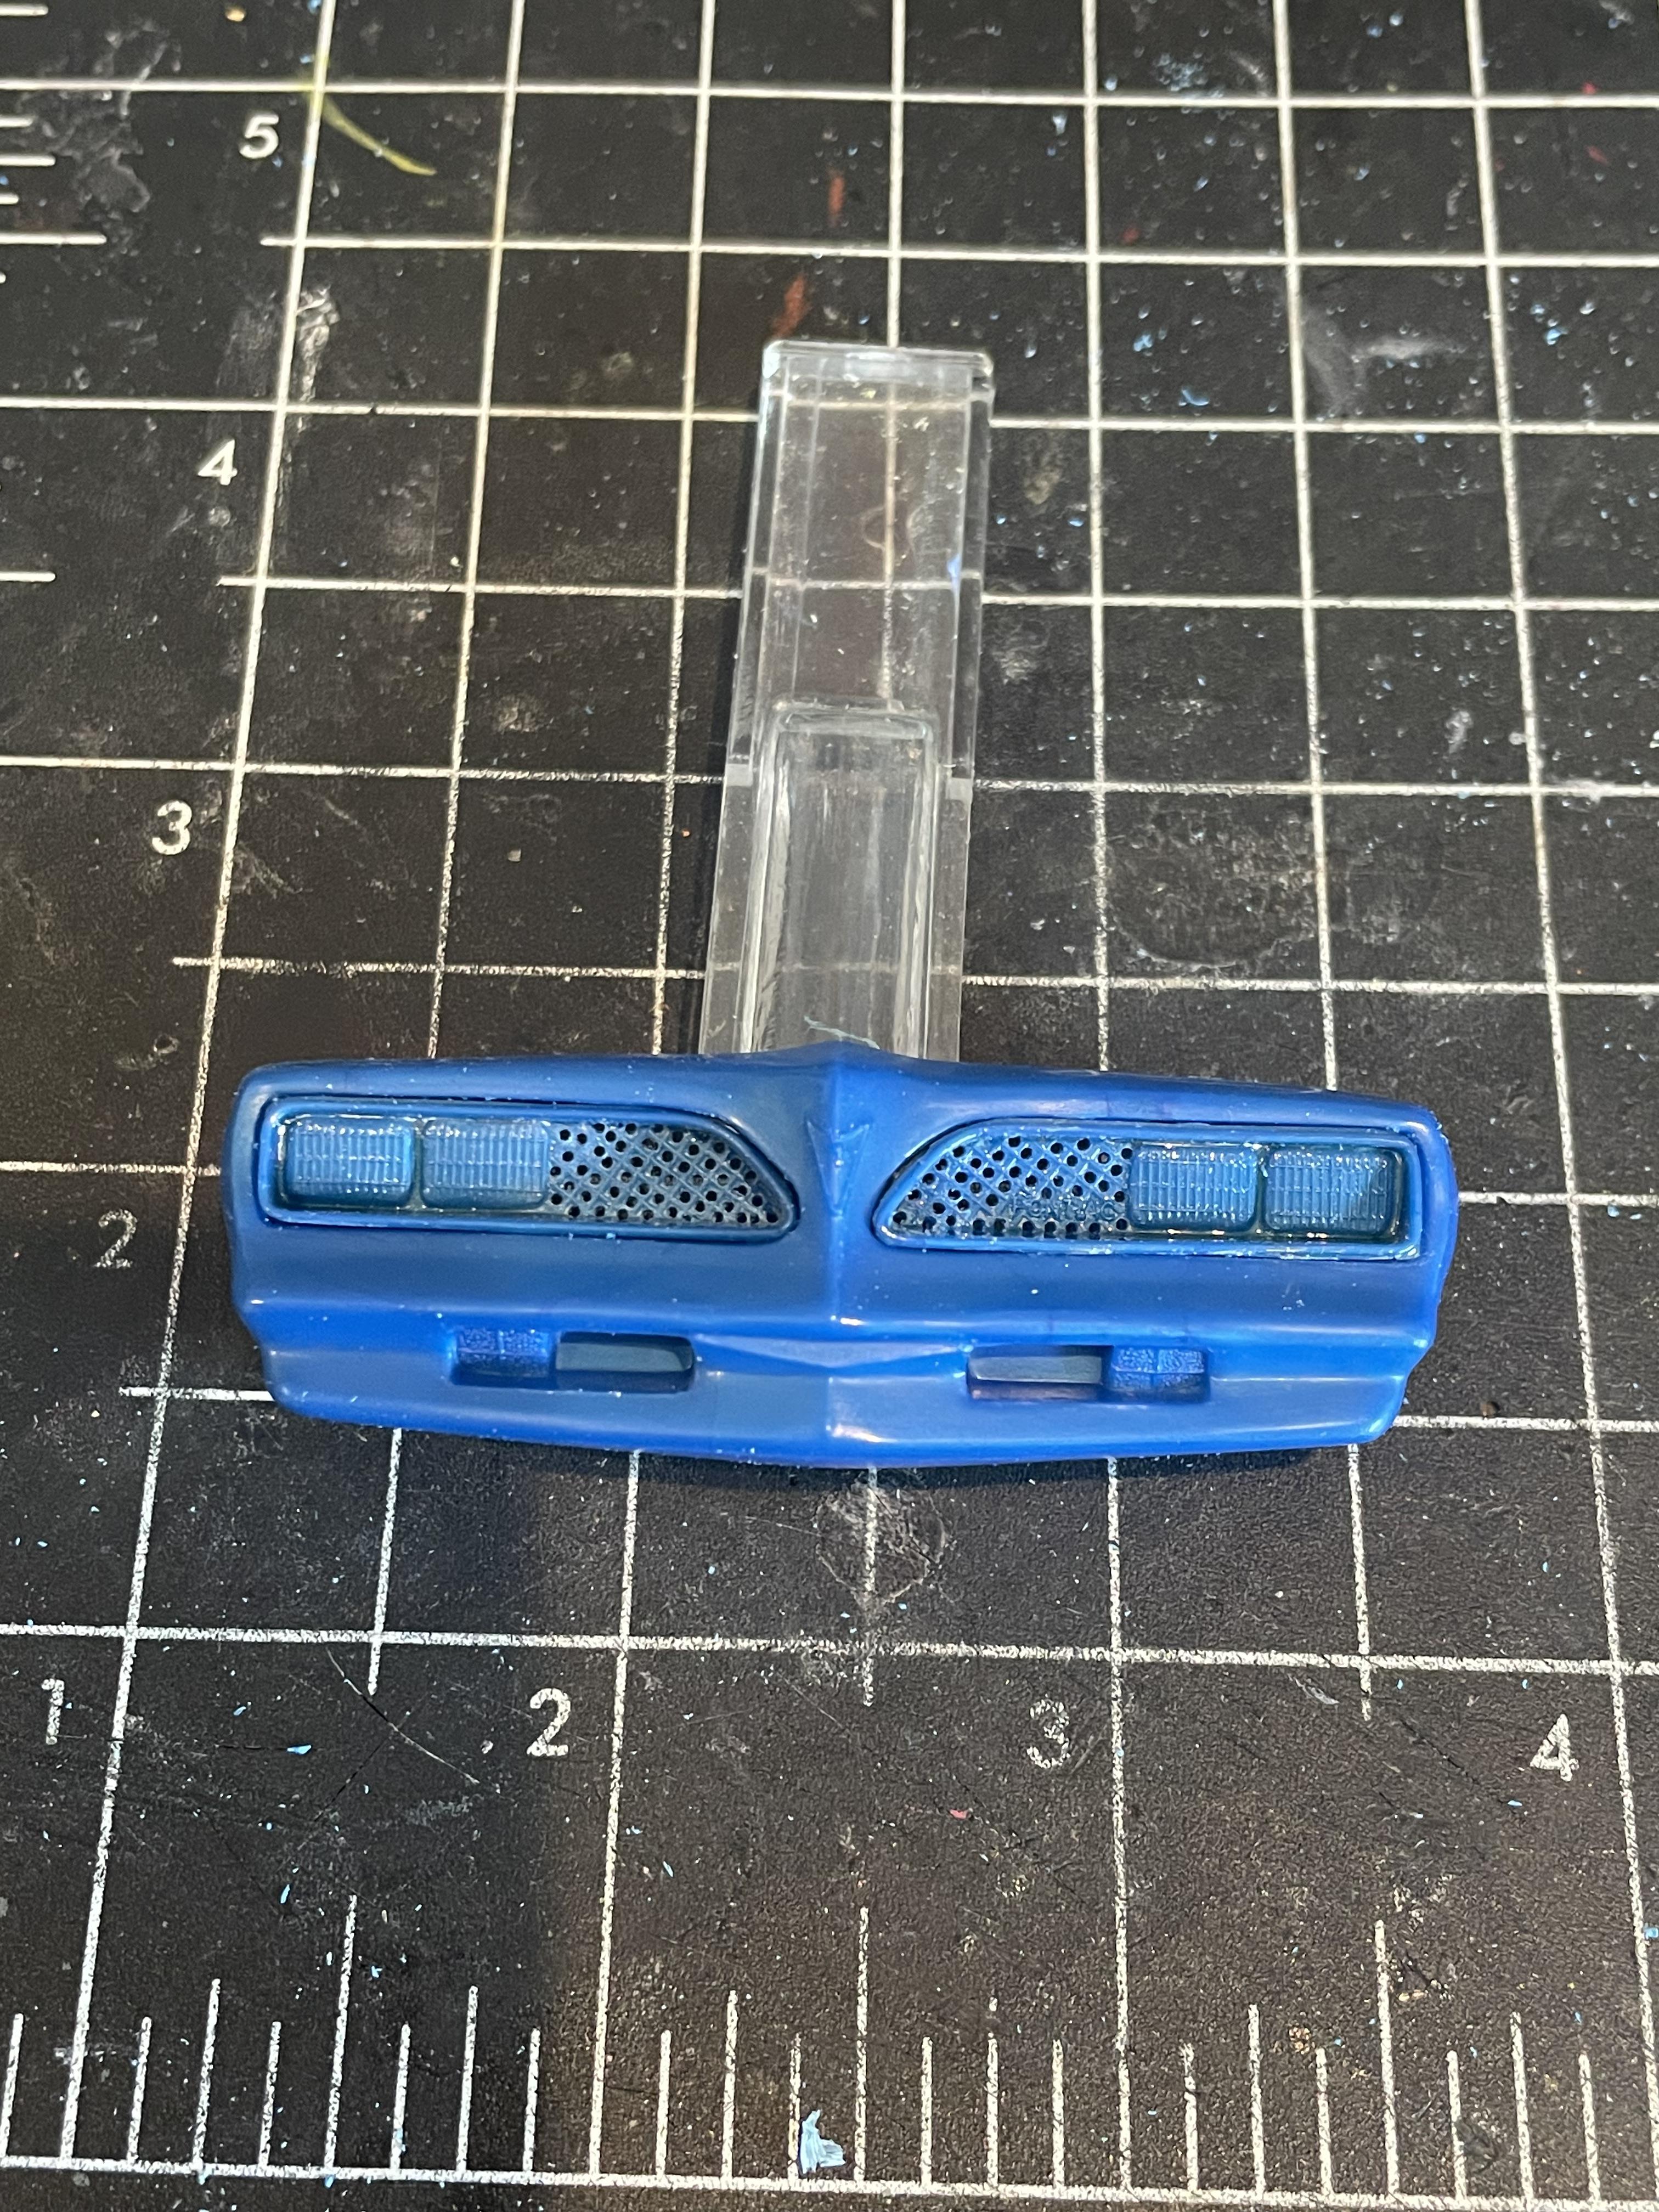
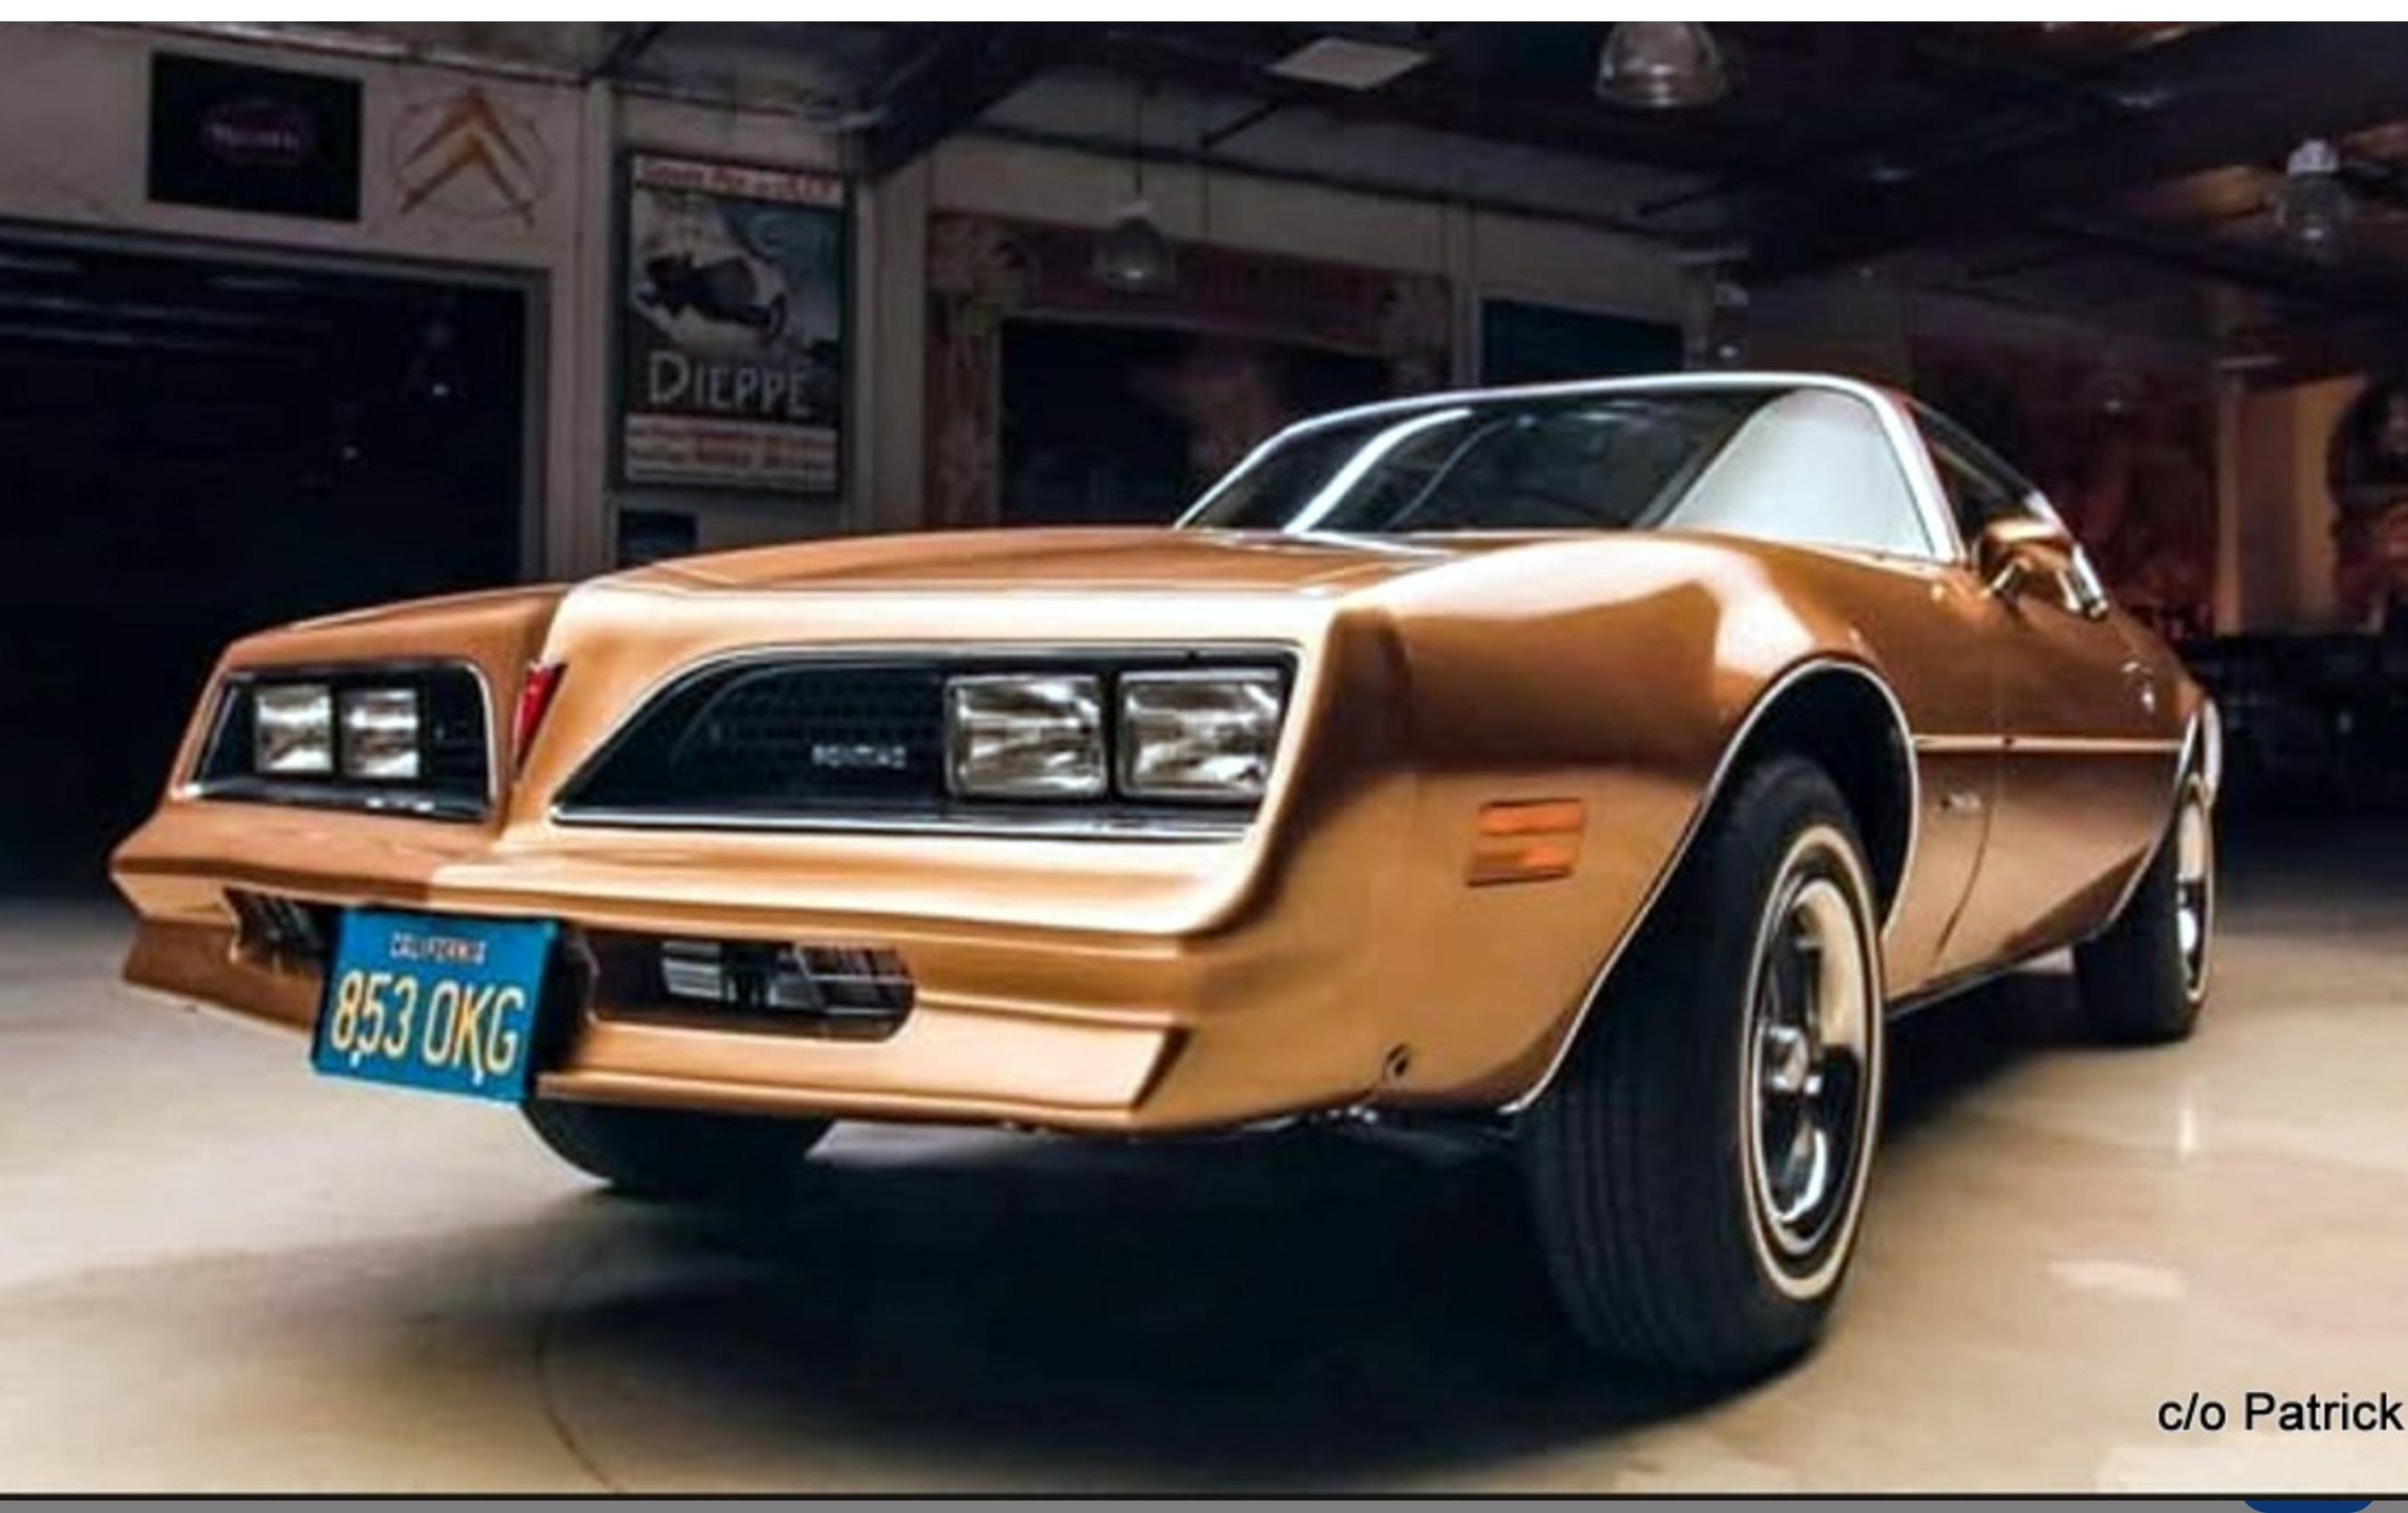
One of my features is the black headlight package on the ‘77 Opening up the grills and the nose inserts. Drilled open vs replace with mesh as that Pontiac logo hard to duplicate
-
Hope you are on the mend and getting better. Hang in there. Best Wishes😎
-
Who doesn't love a mock-up? Let's see yours!
Twokidsnosleep replied to Belairconvertable's topic in WIP: Model Cars
-
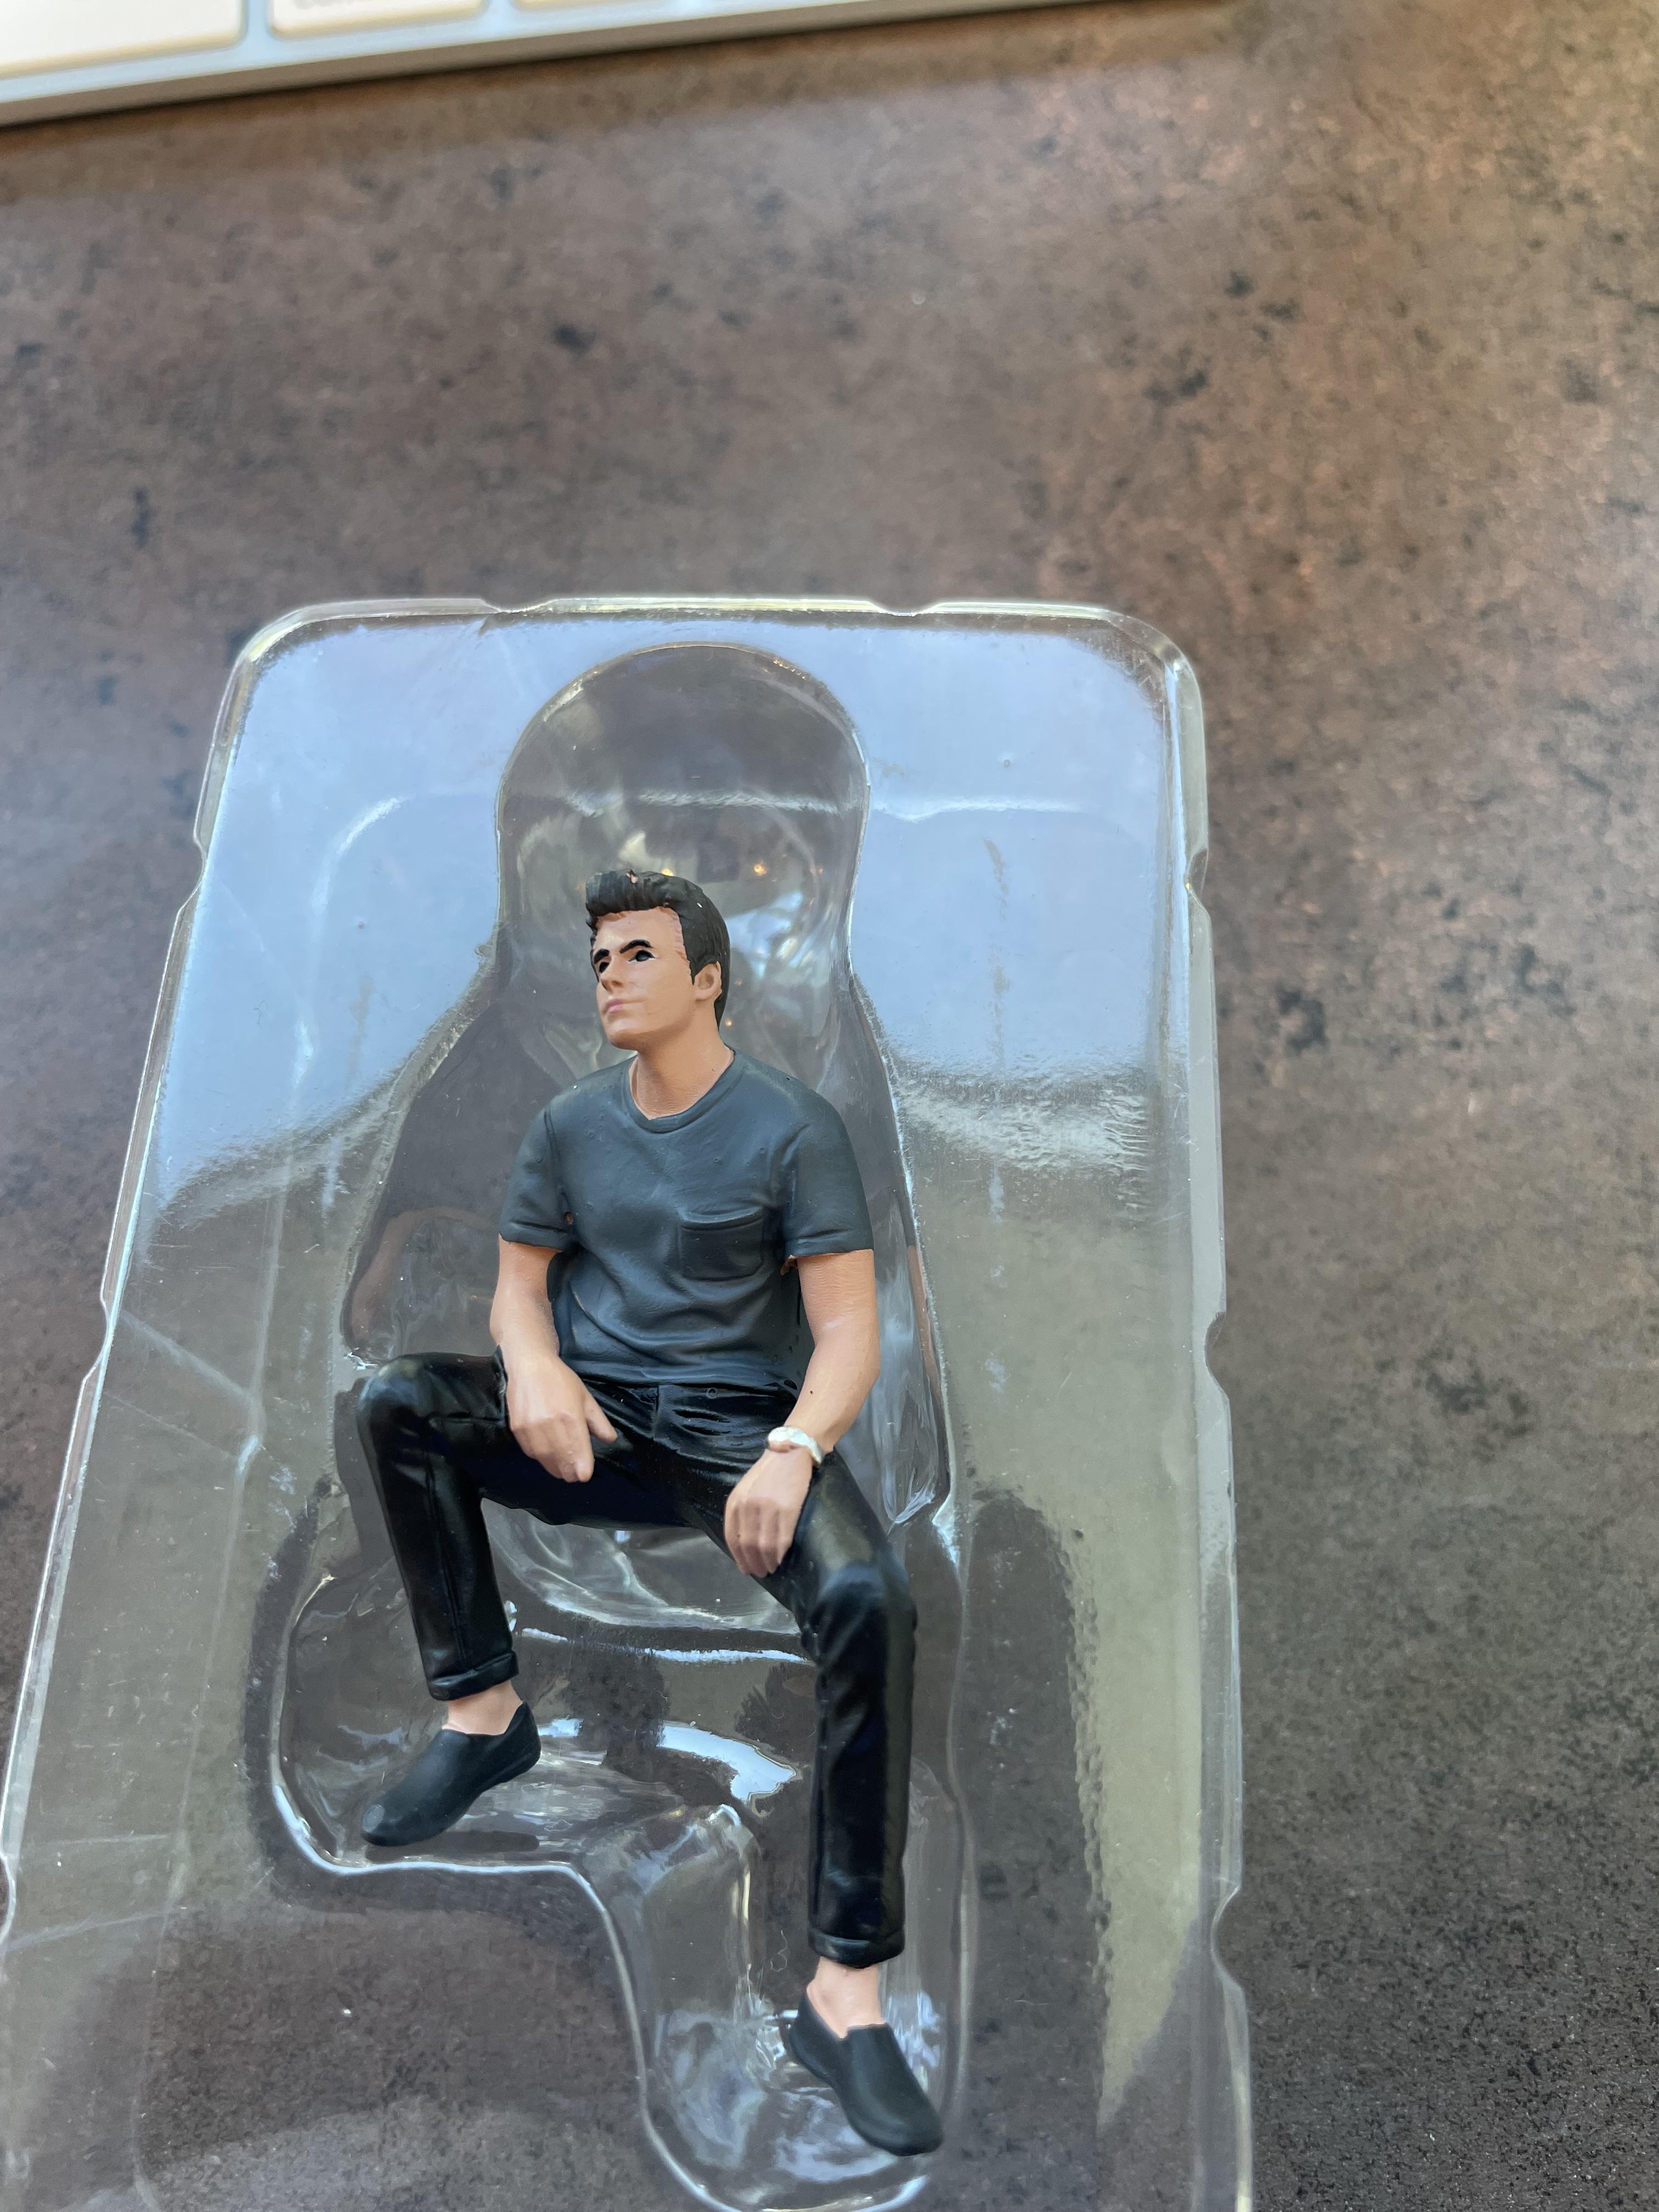
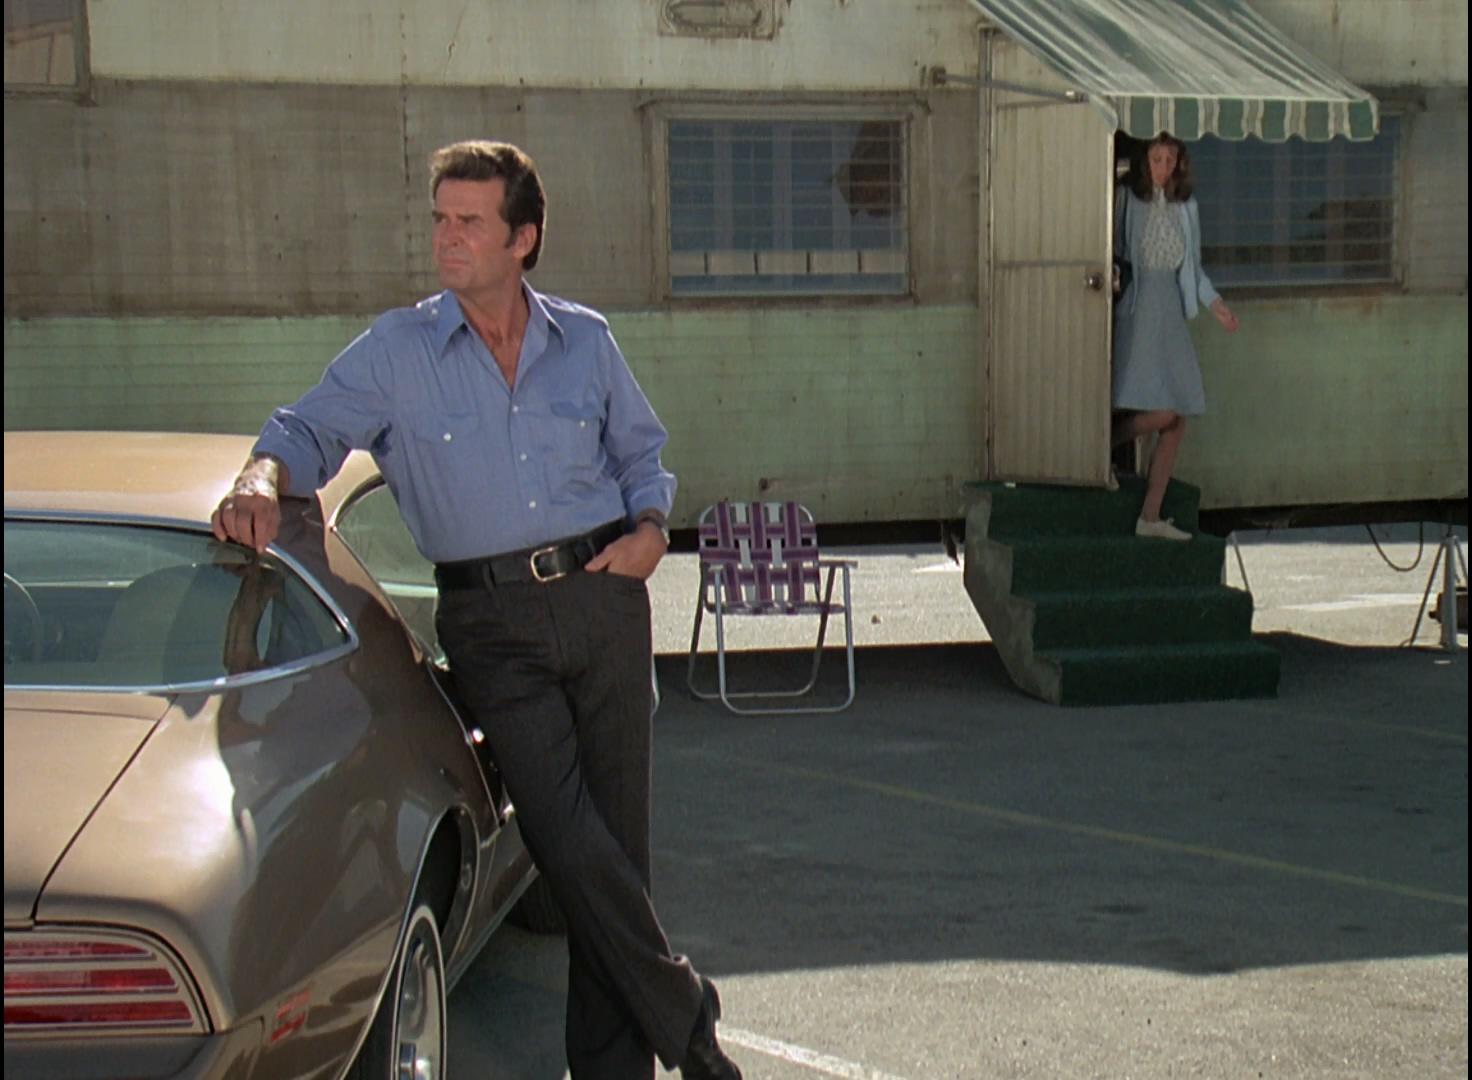
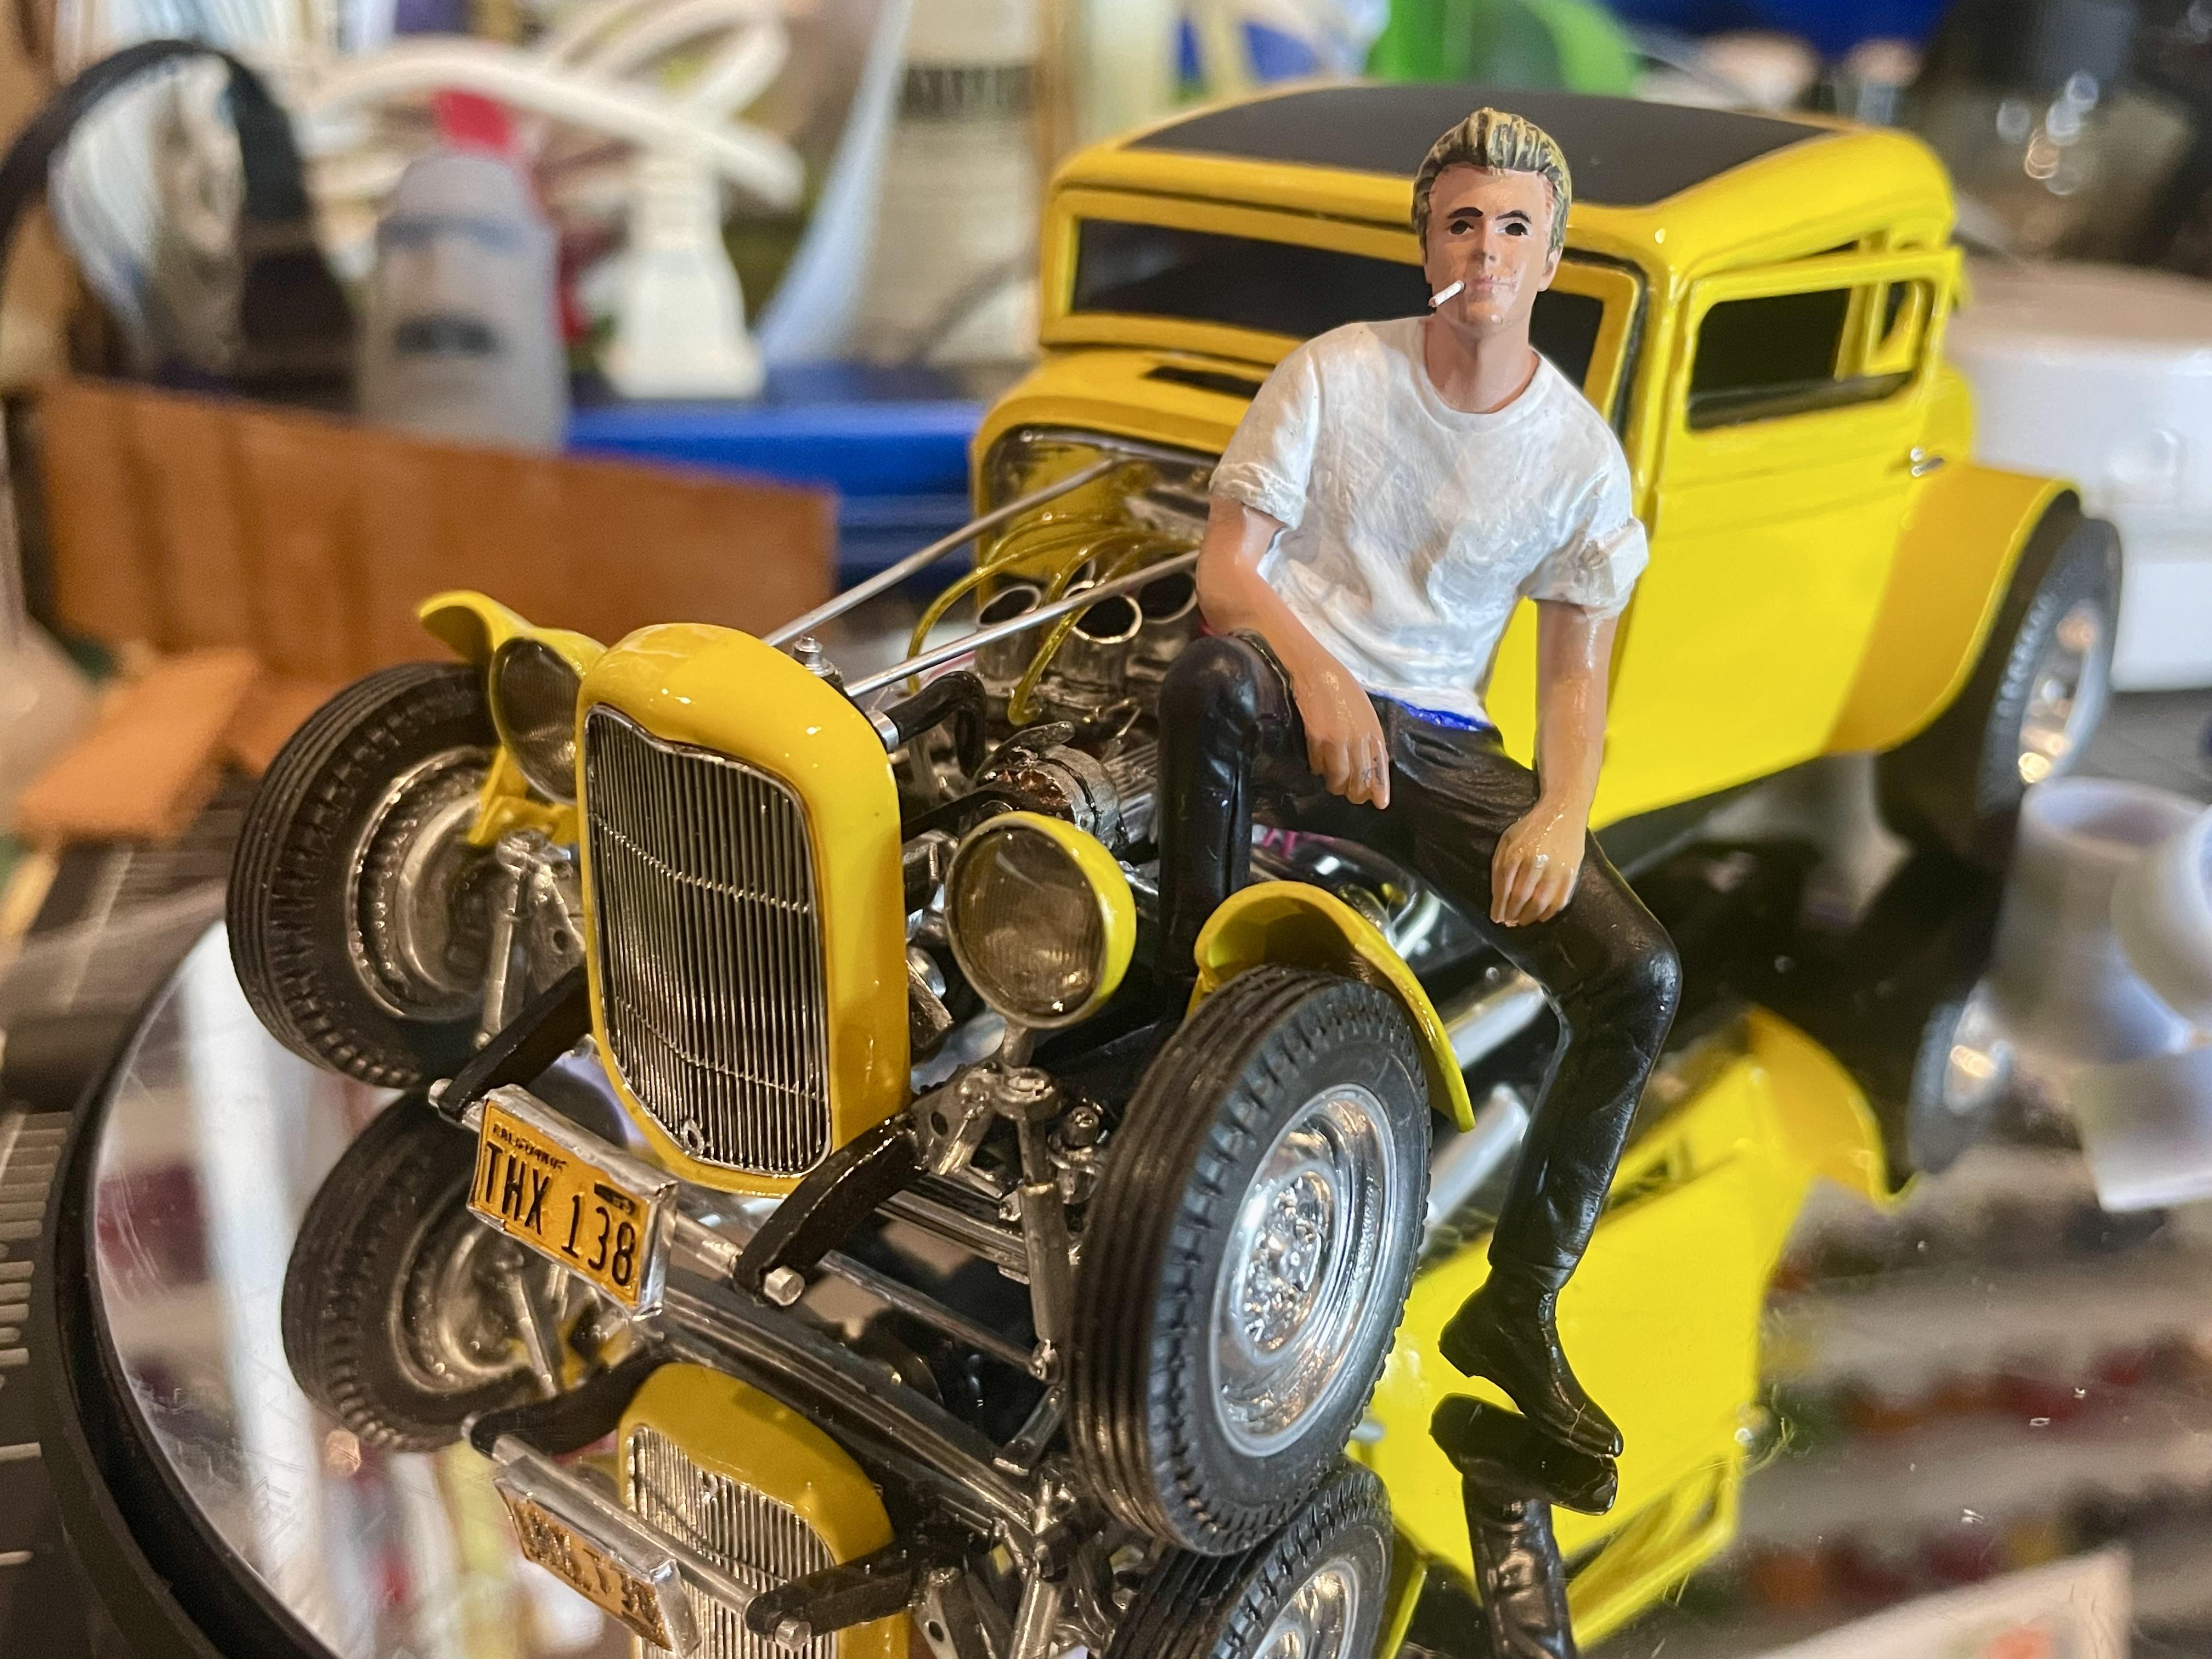
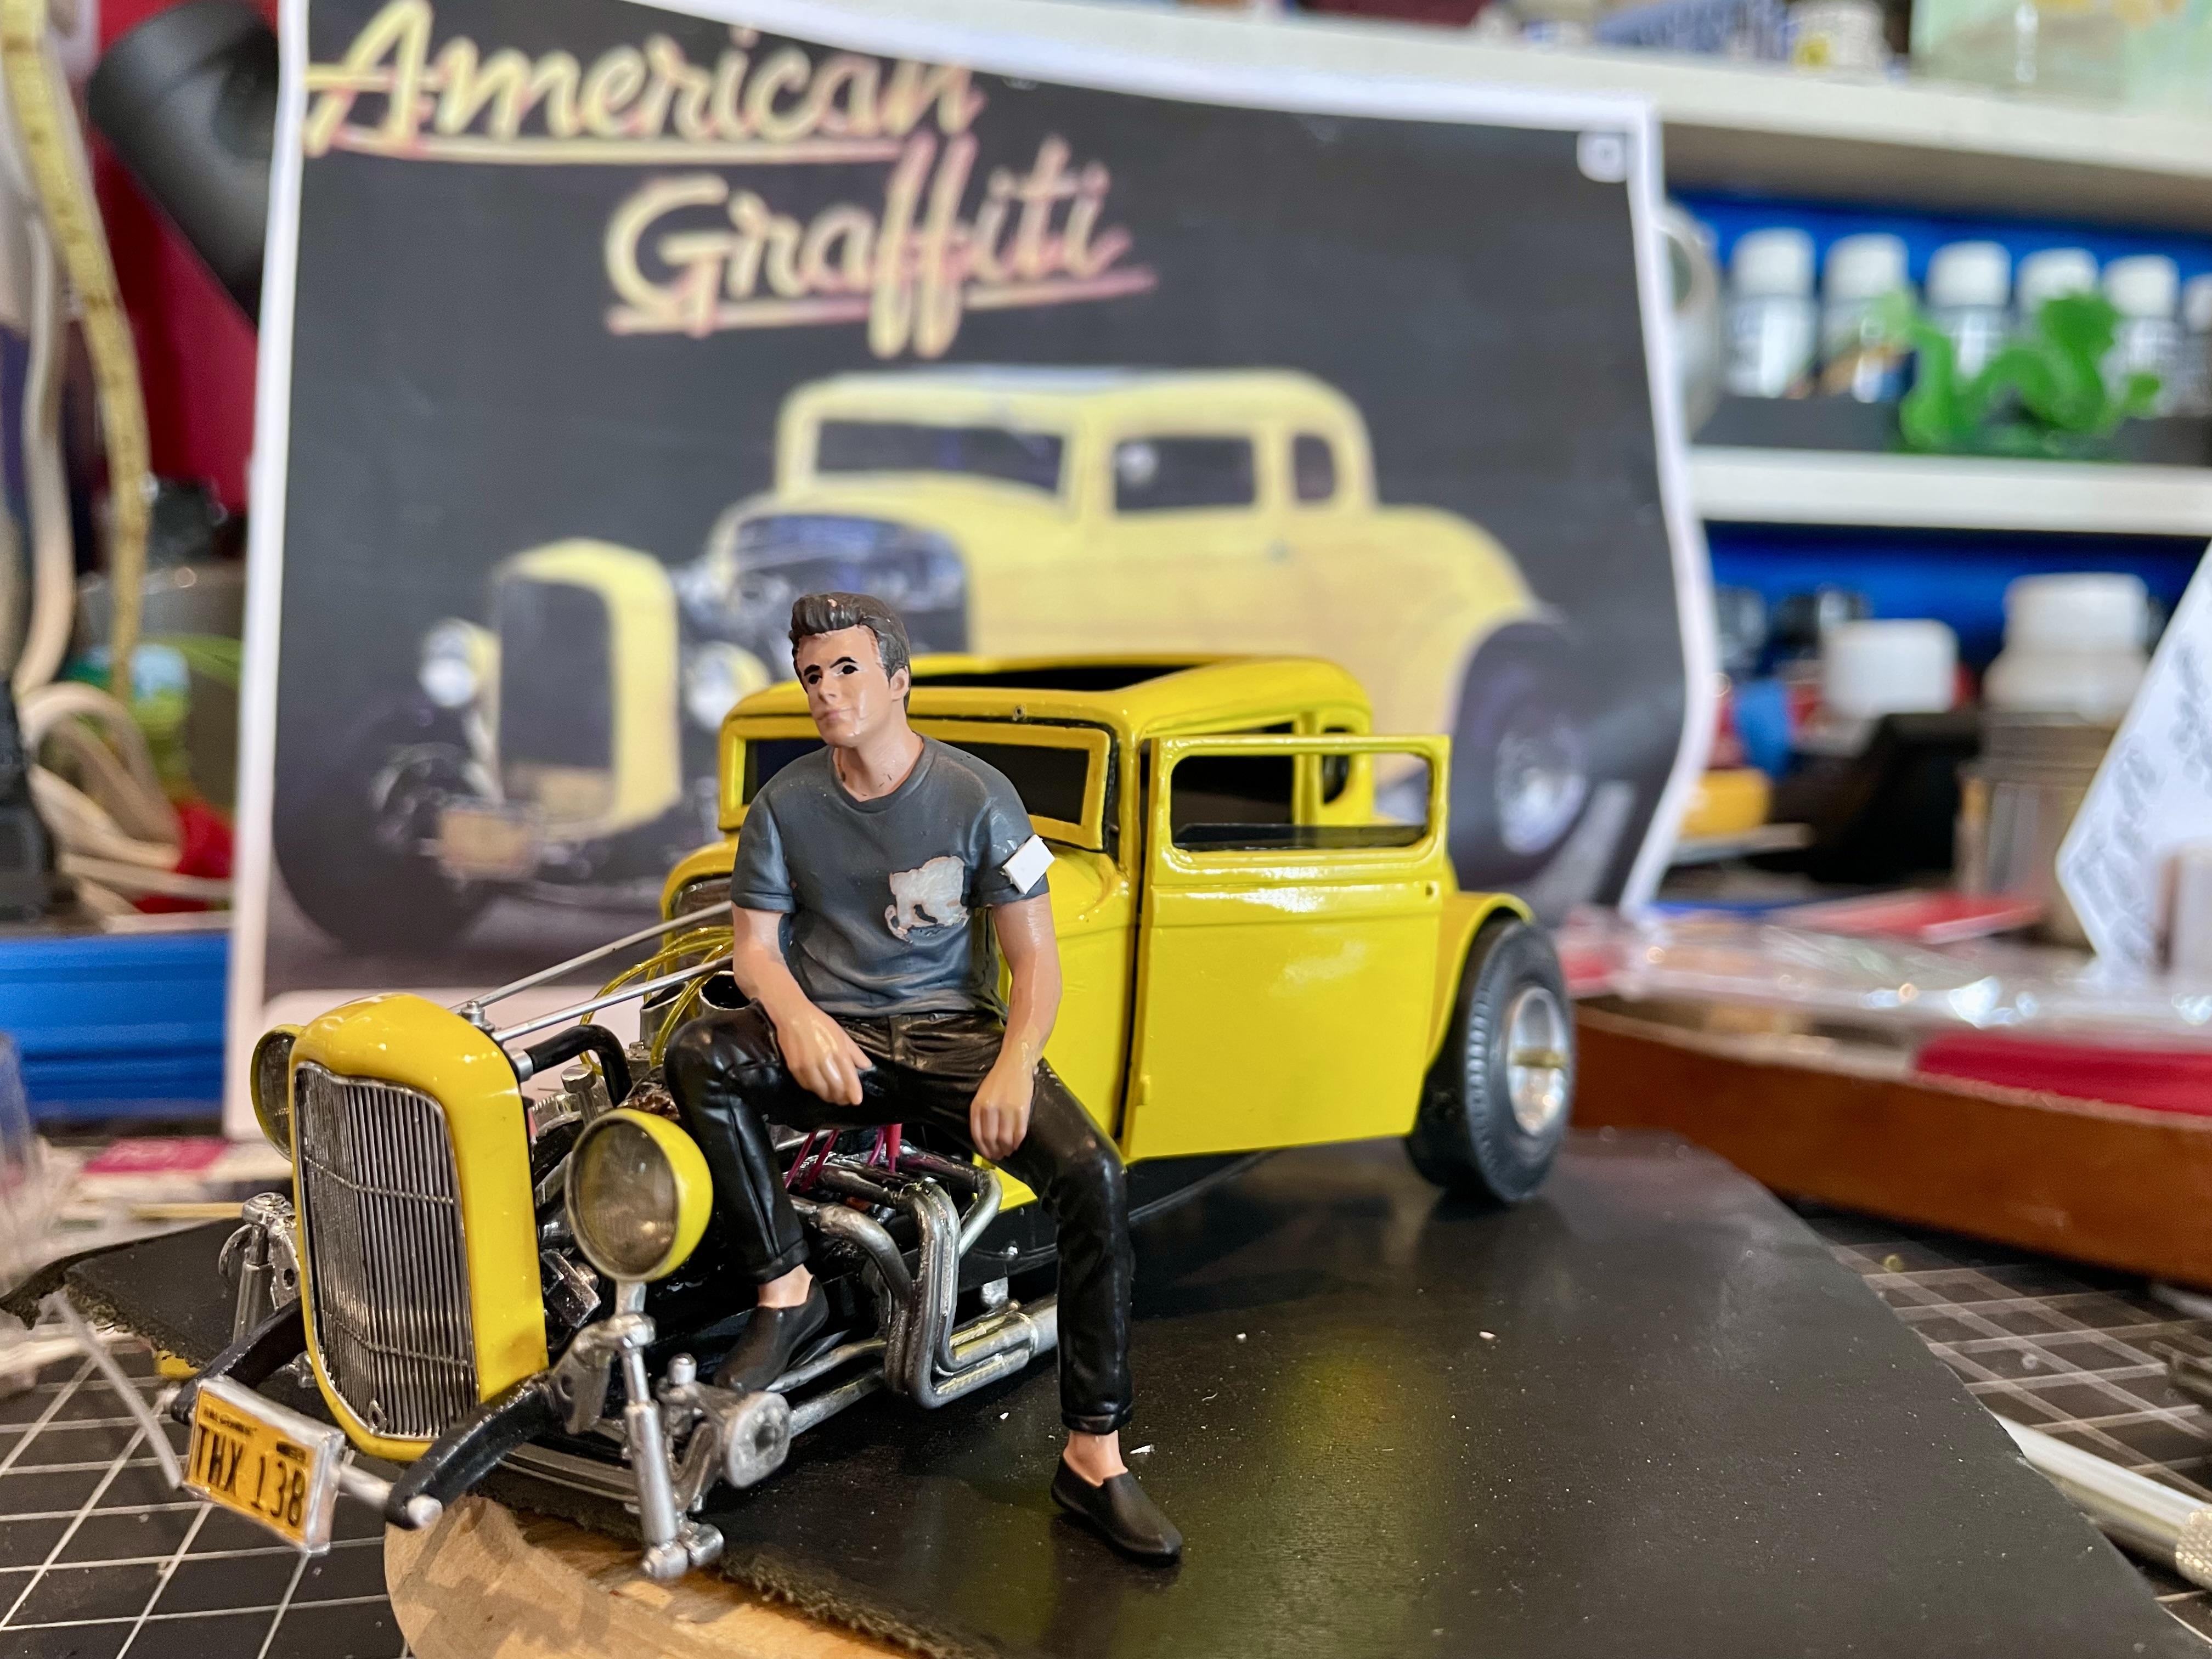
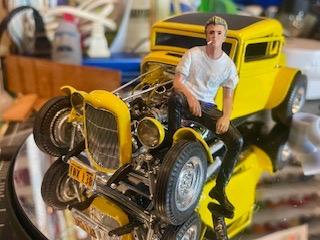
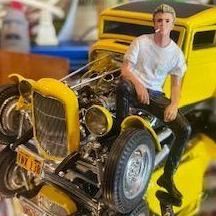
Thanks! Milner was an eBay figure I found randomly. I liked the pose and converted him a bit
-
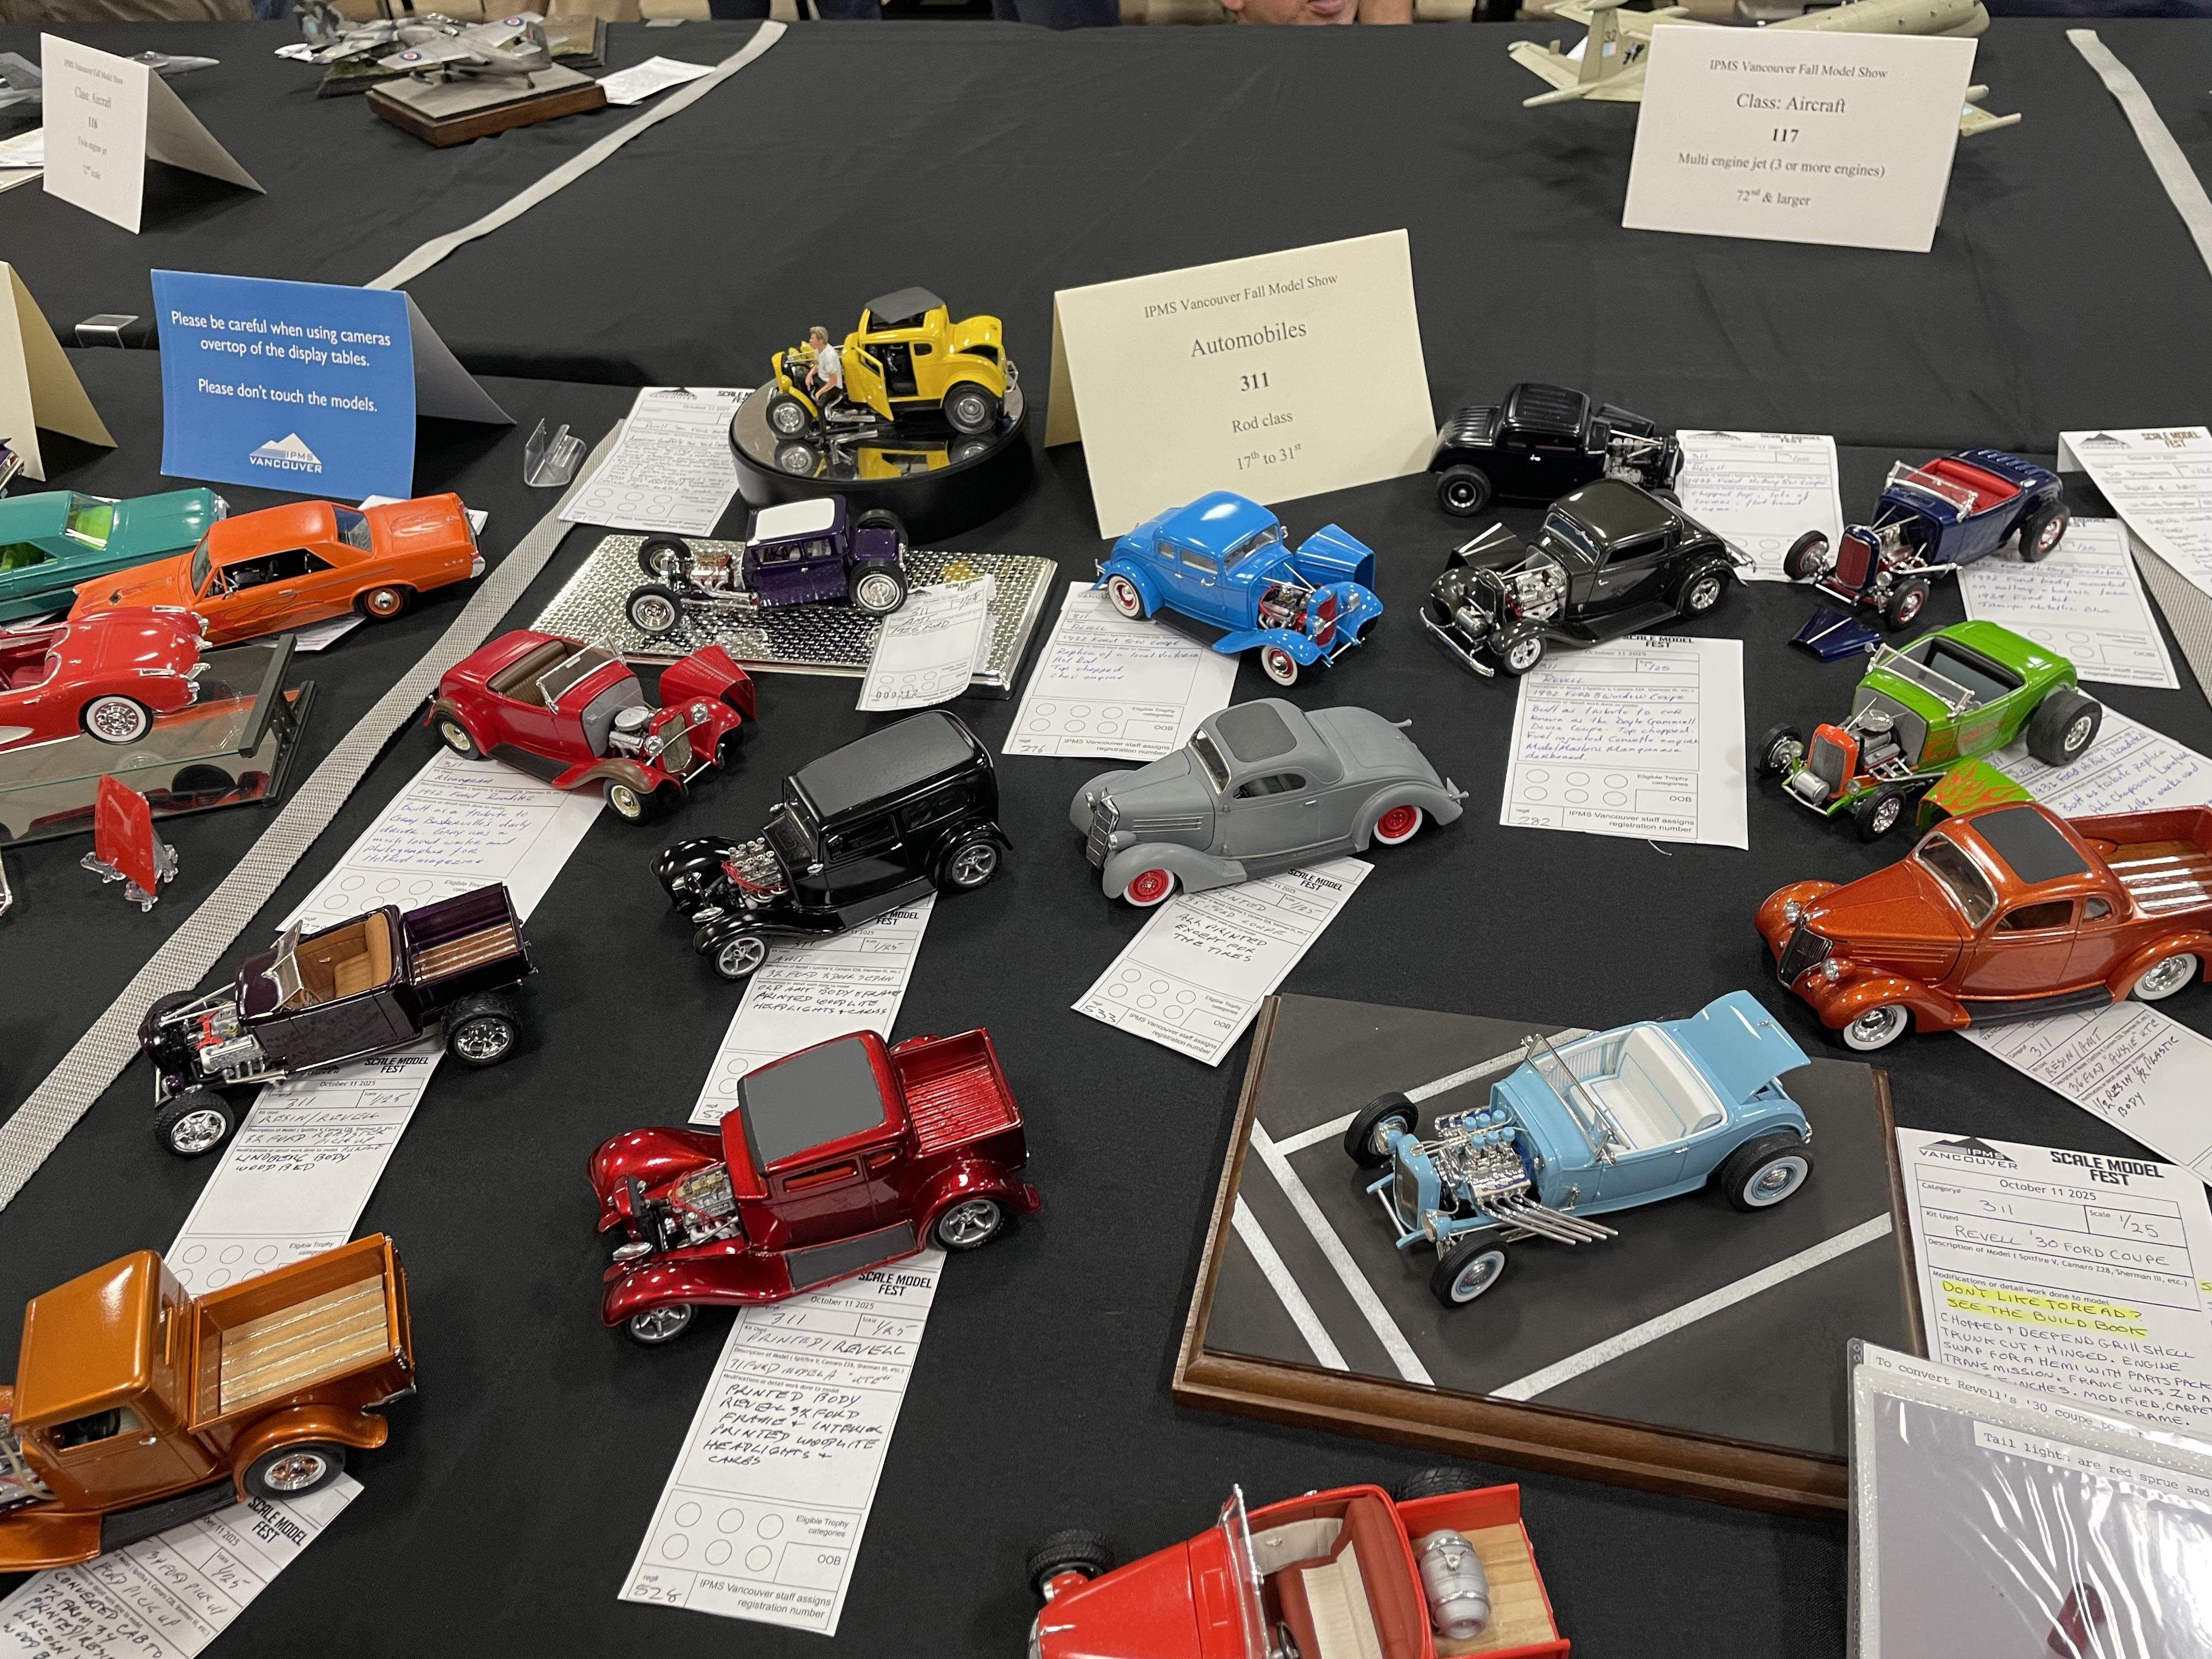
I would be the worst judge as I think everything is awesome. Judging has a set of parameters, often not fully clear, are supposedly subjective, but are not, and its often who you know or your reputation that helps place you and individual subject biases. If you put a gun to my head, I would go with the grey '30 Ford as the best of those.
-
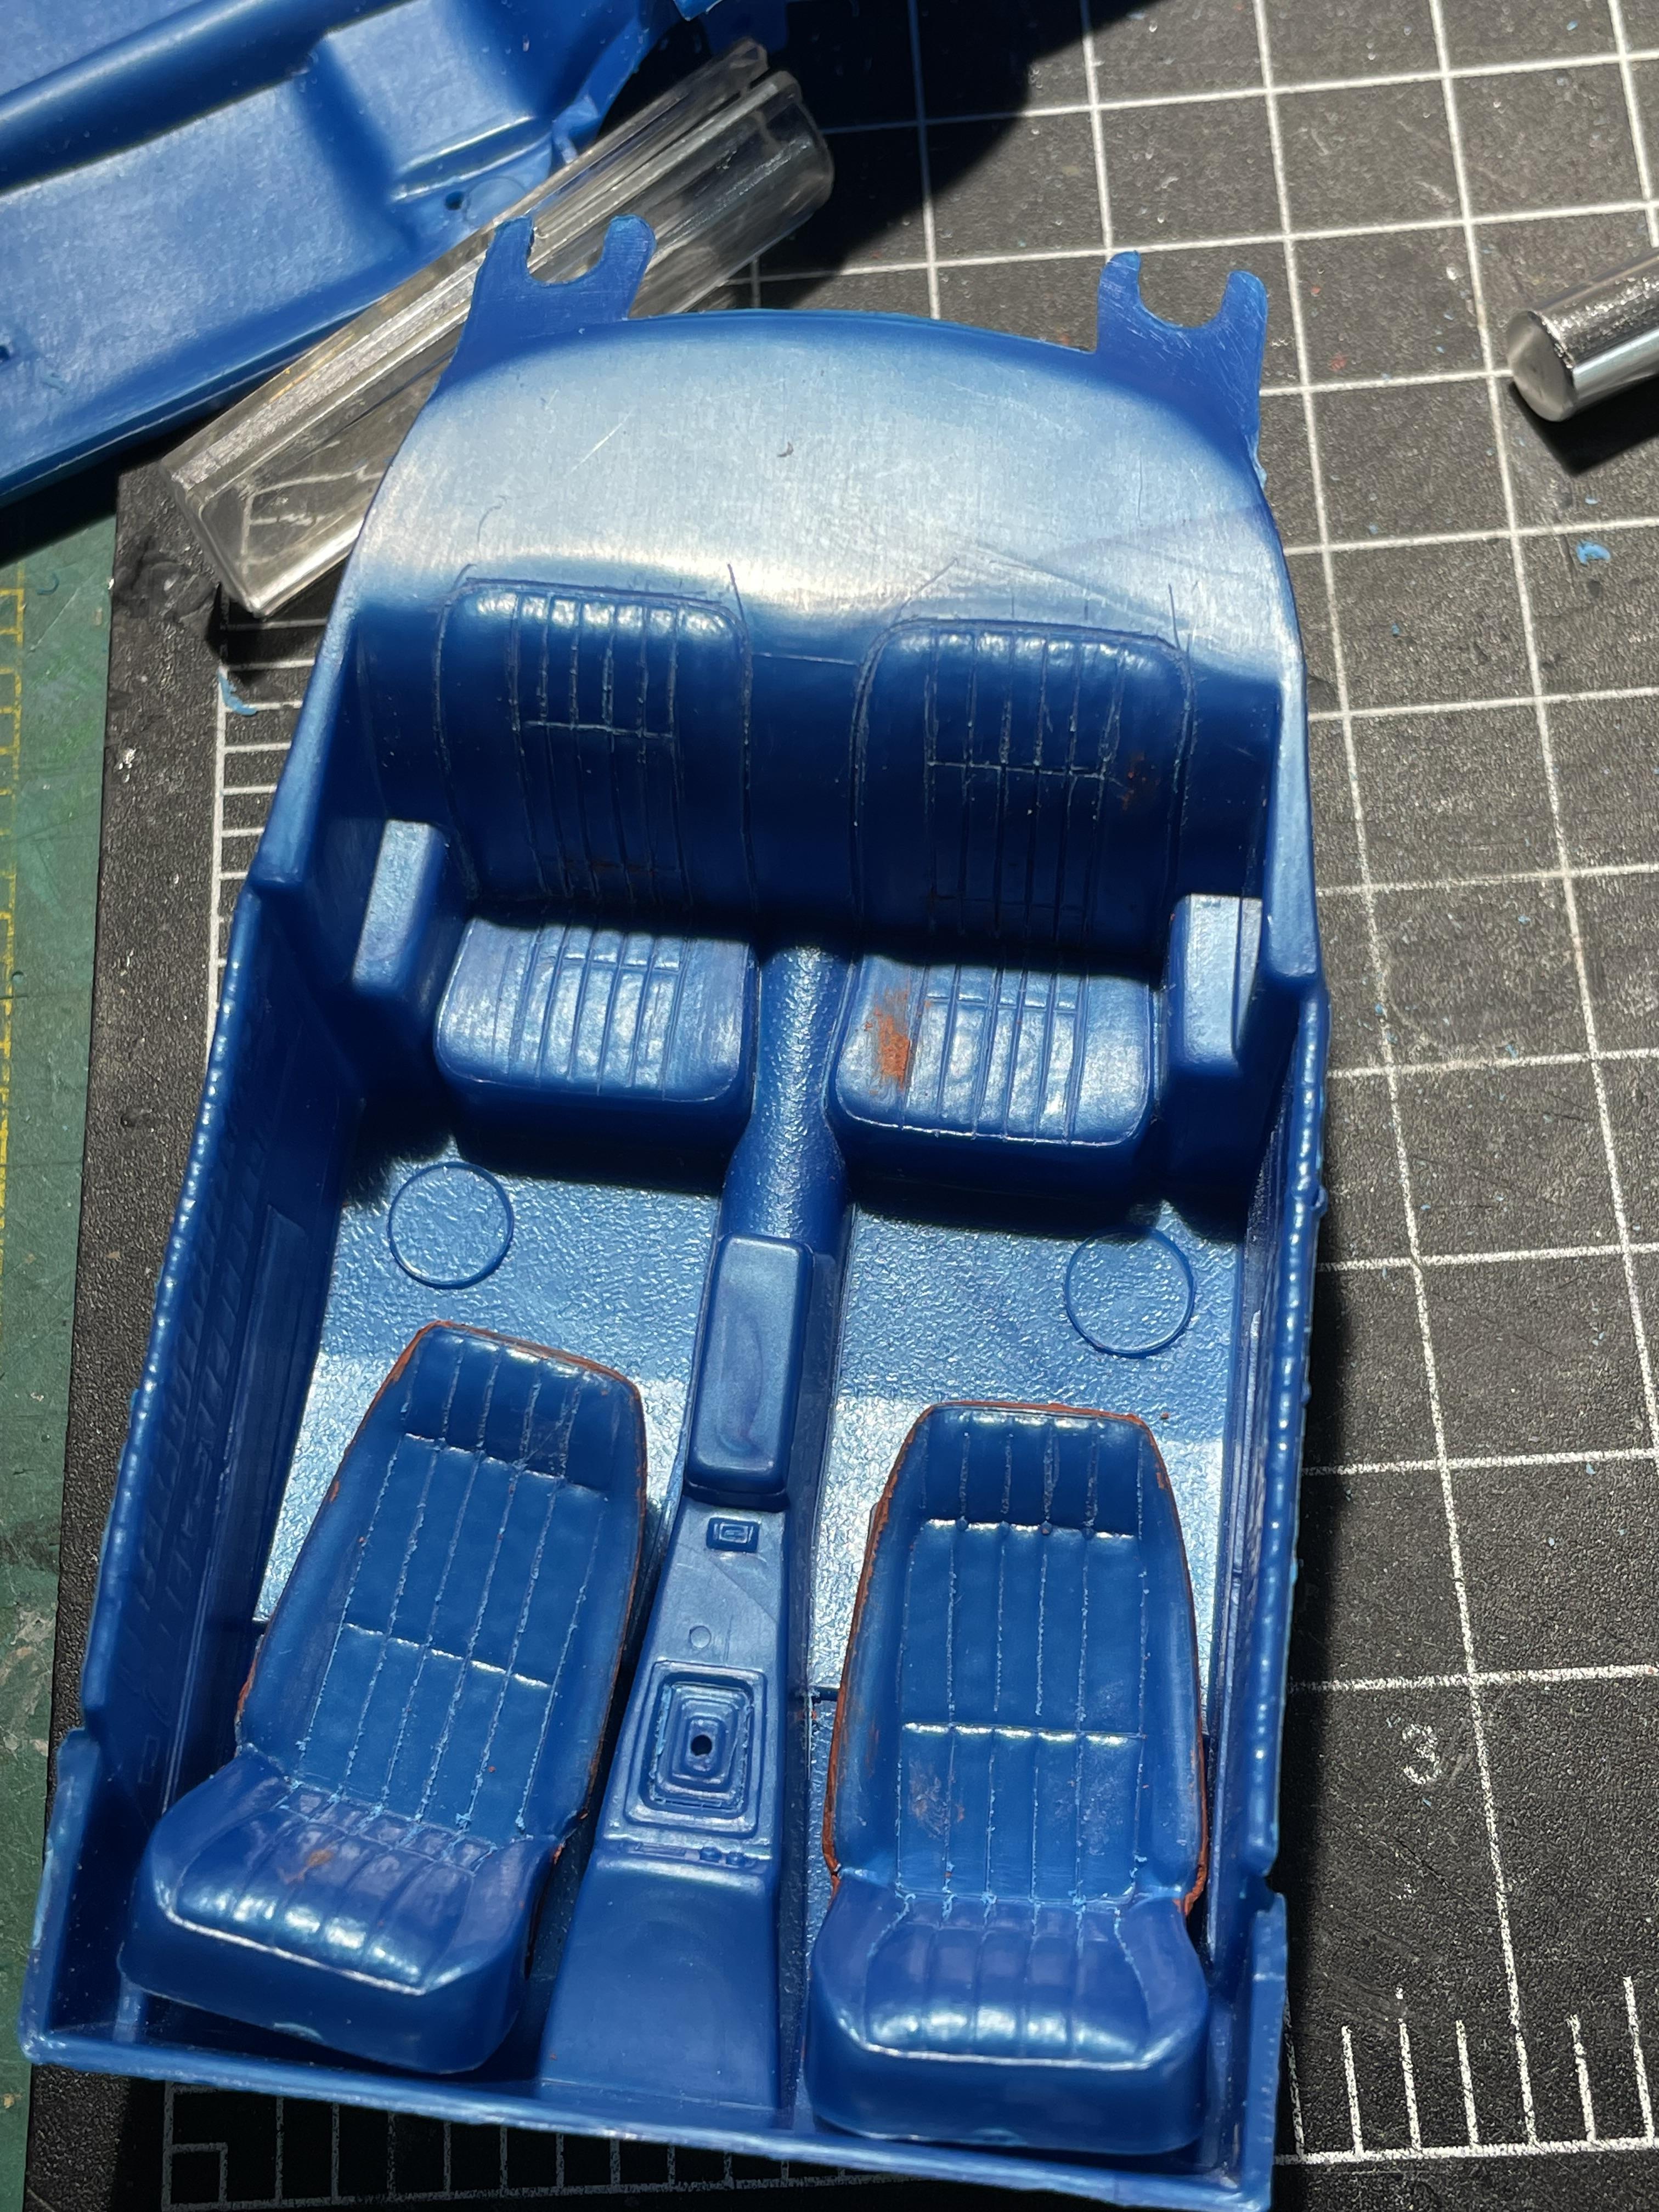
Working on the seat cushion separations by scribing them out Then I cut out the manual transmission gate and will extend the automatic a bit farther back, tapering past that circle
-
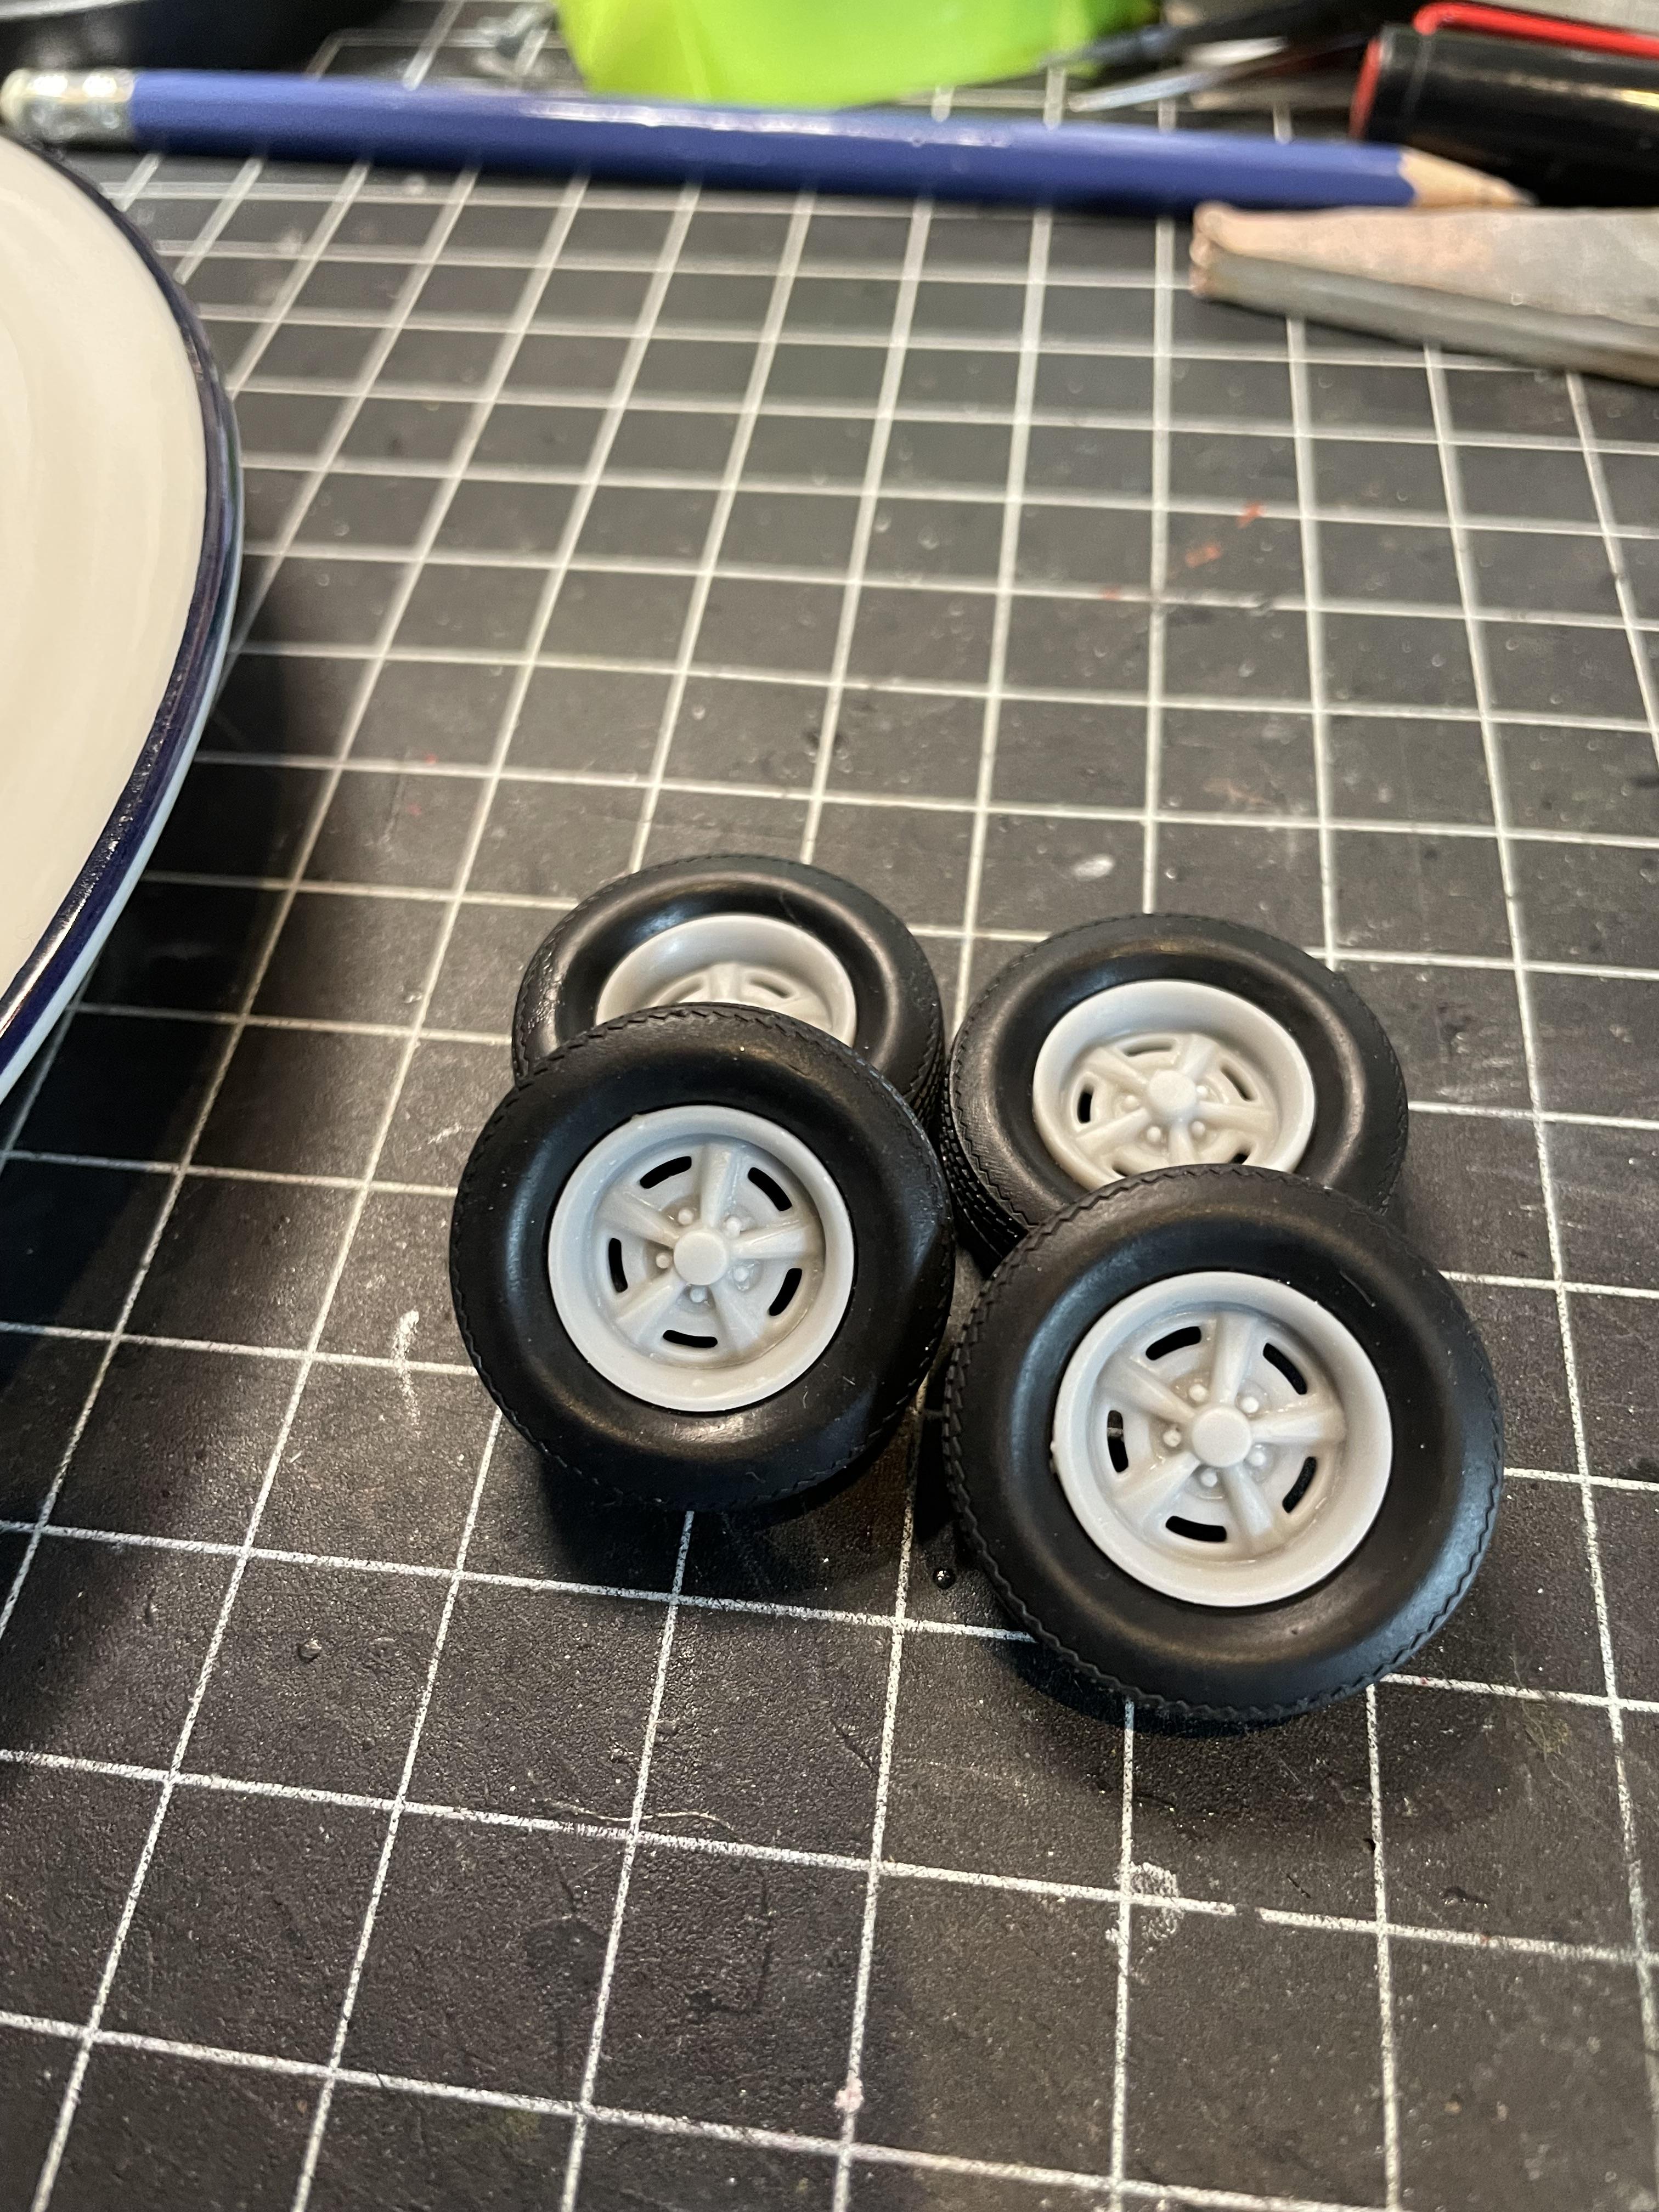
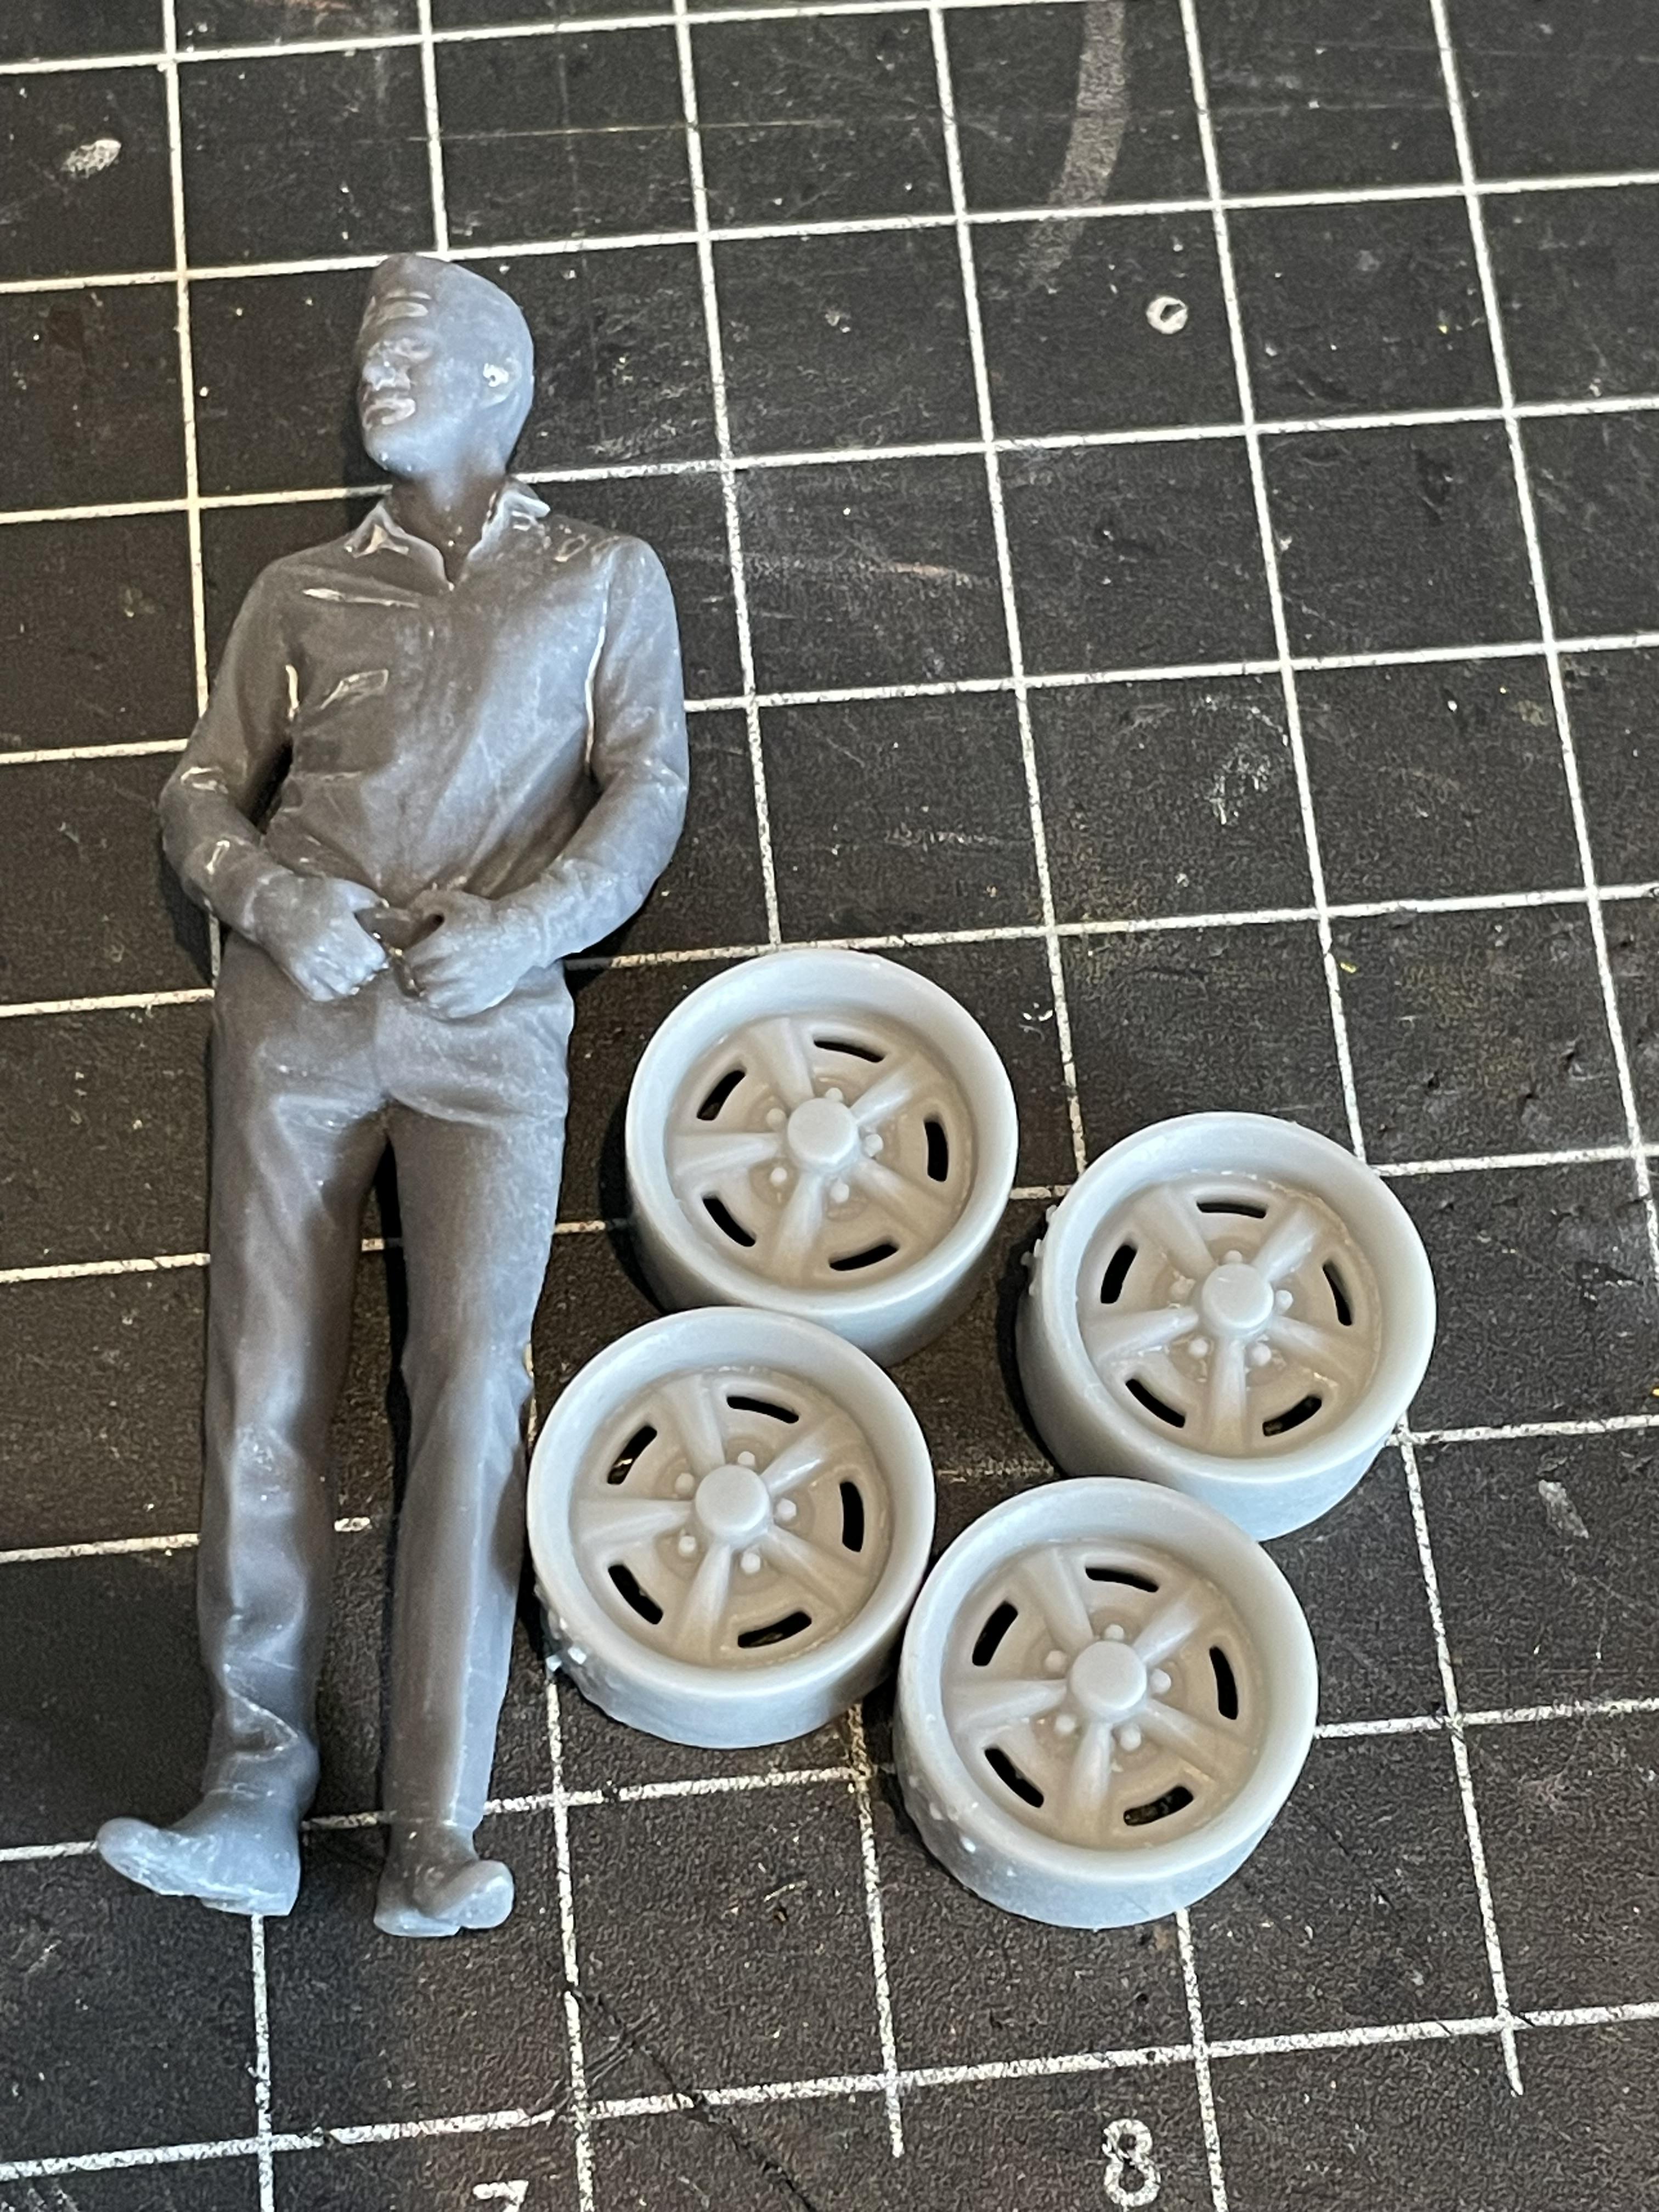
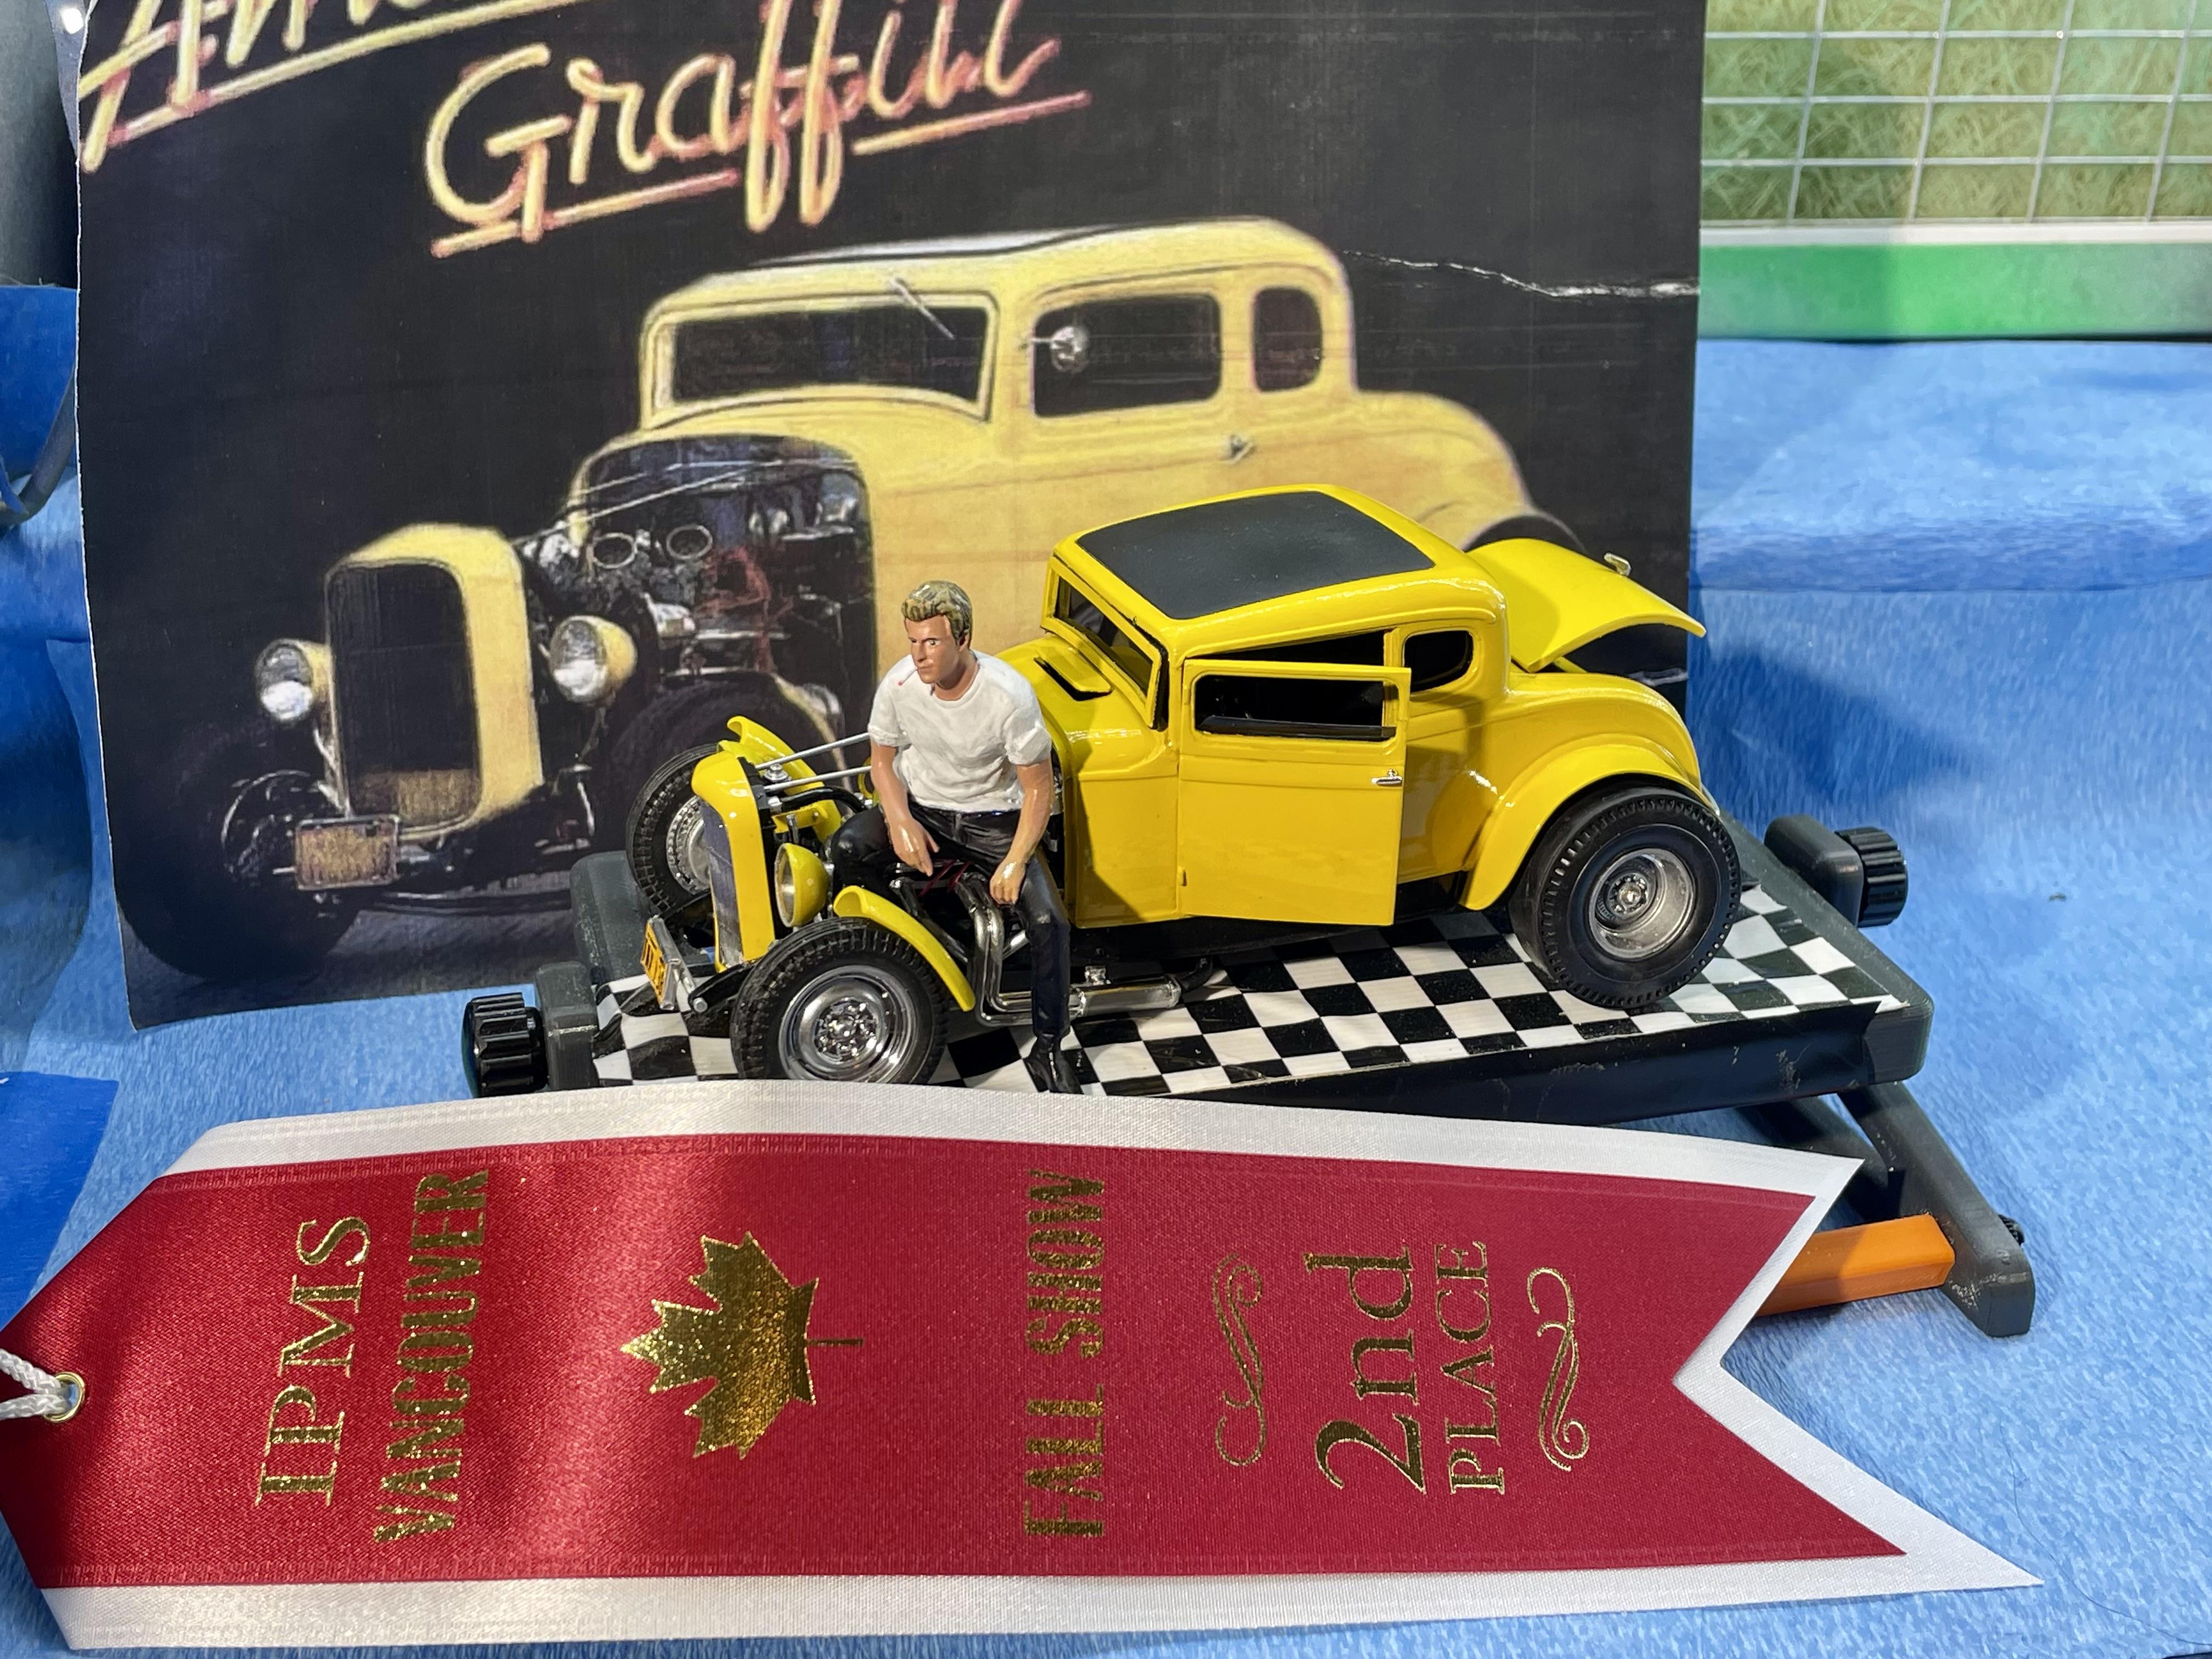
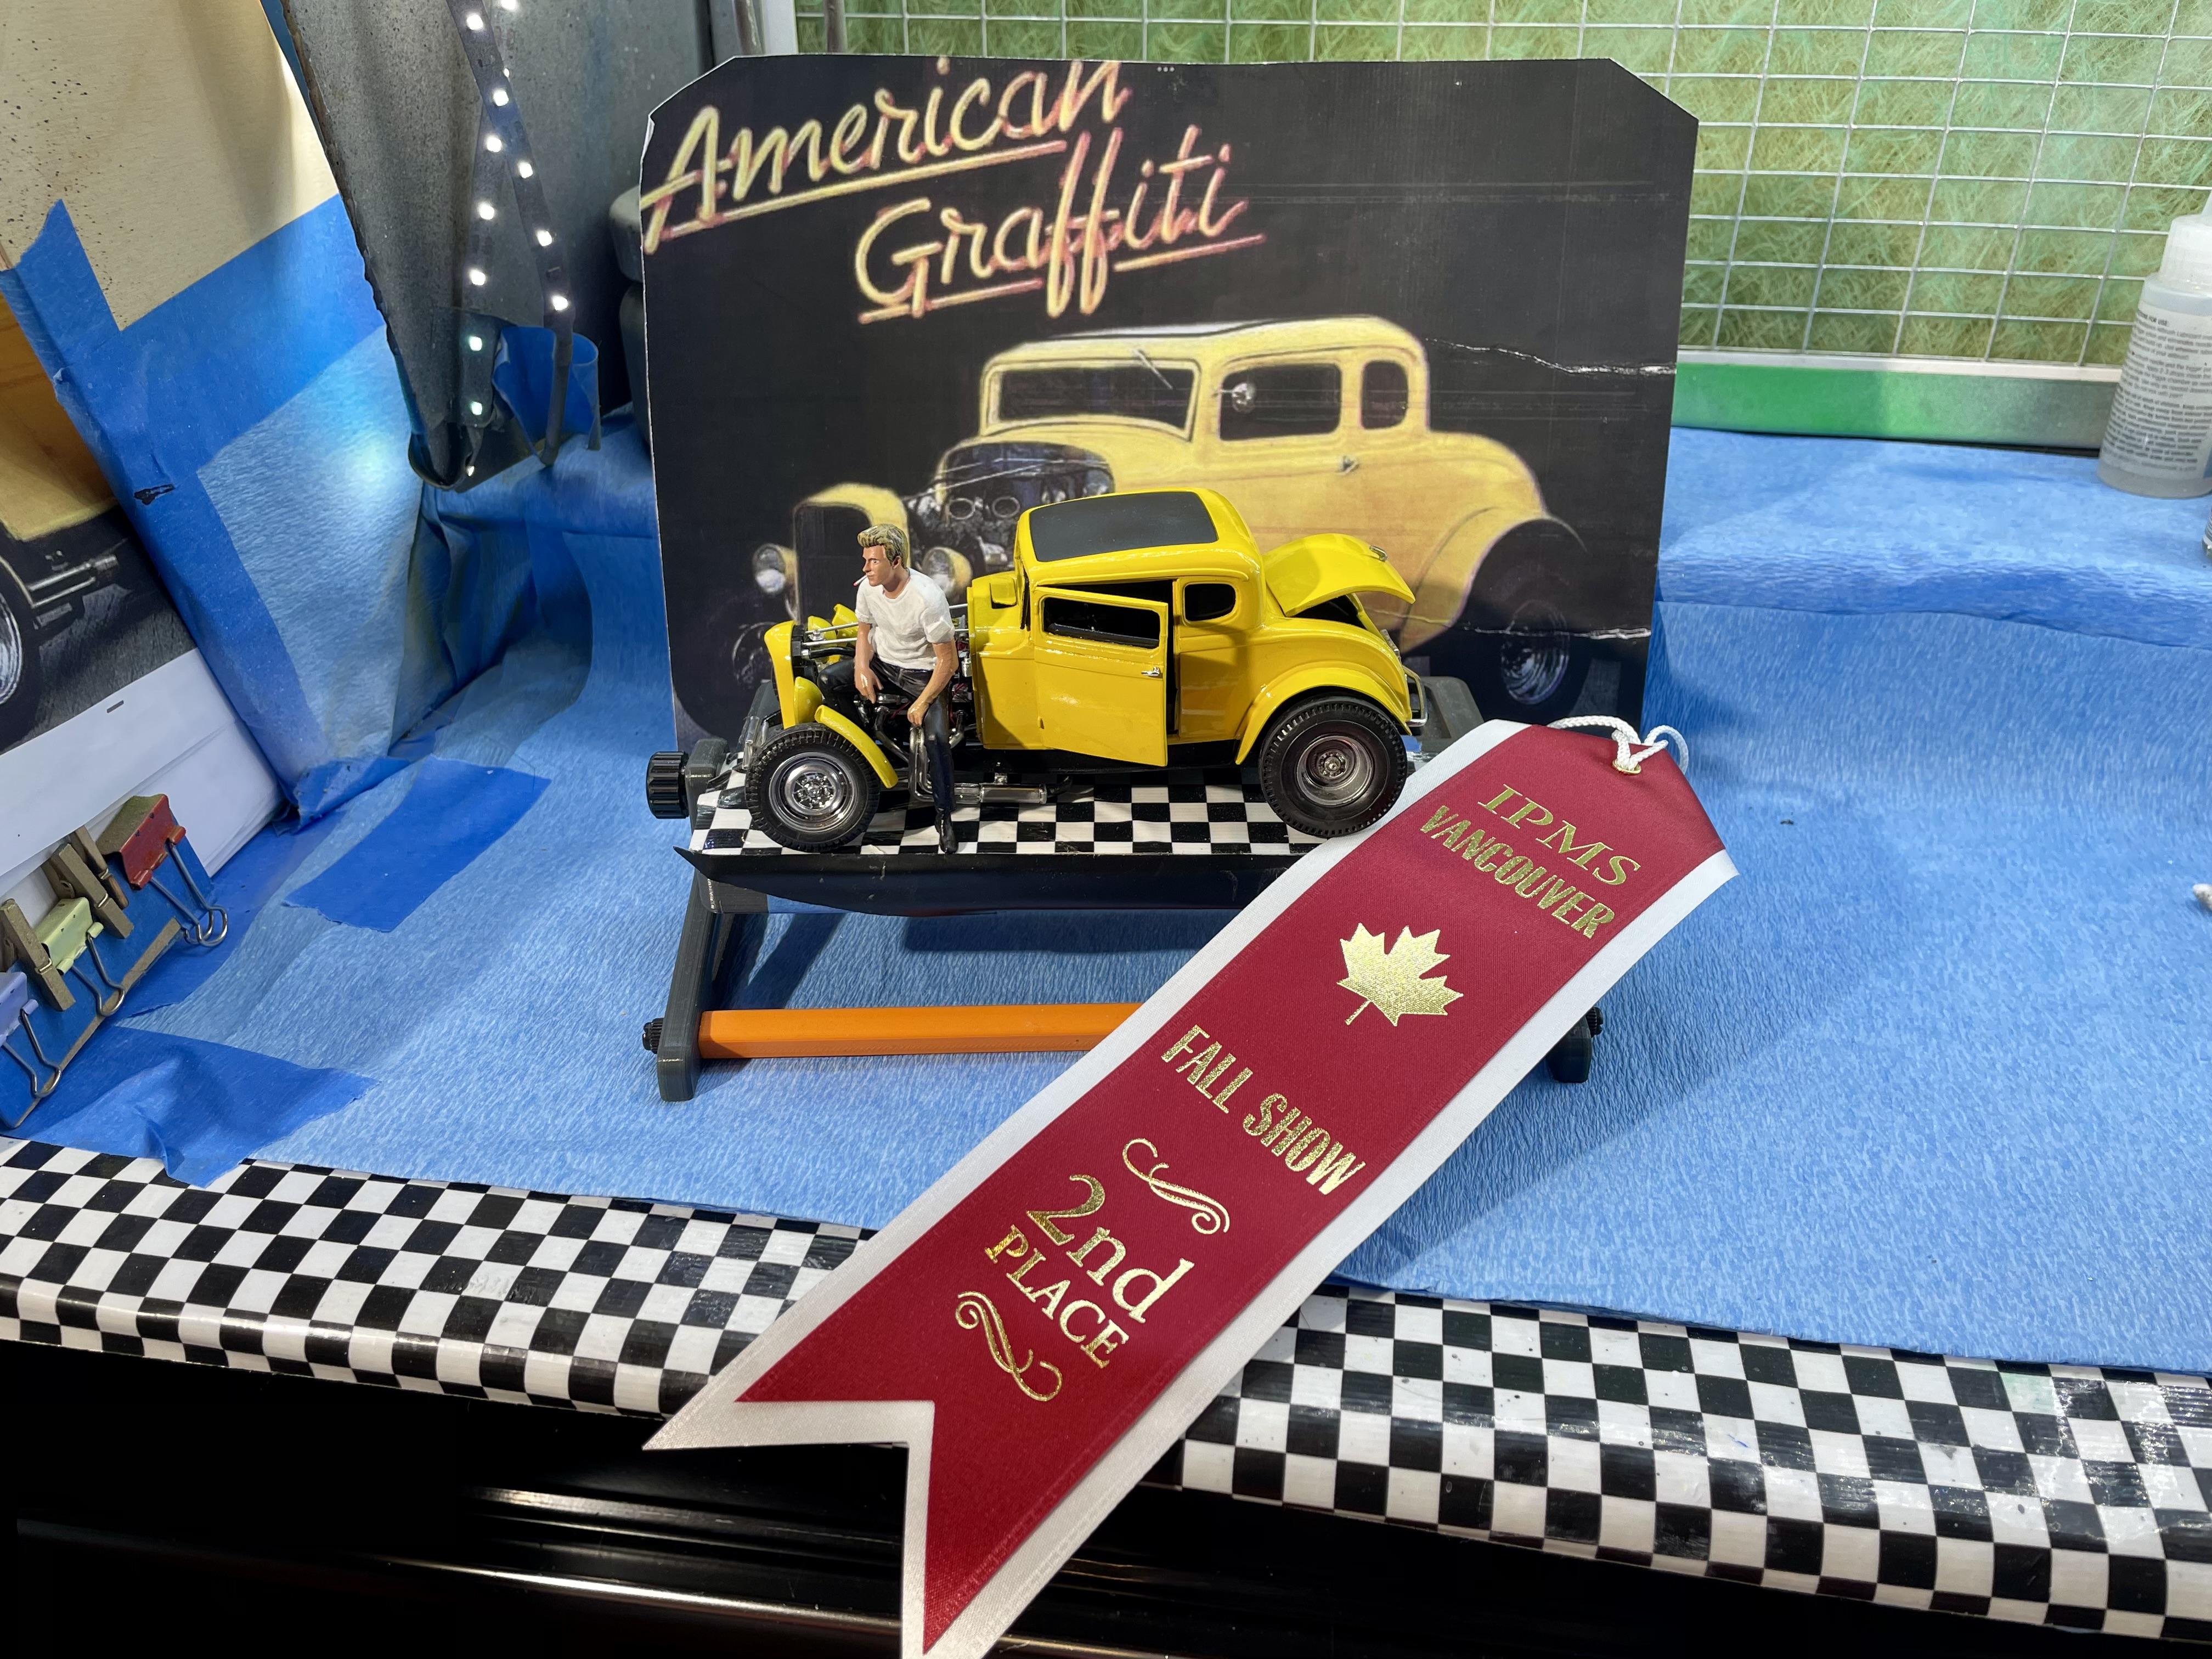
And then today October 11th, ‘25 I found some Pontiac wheels and a figure I can make into Jim Rockford at the Vancouver IPMs show So now we are all caught up
-
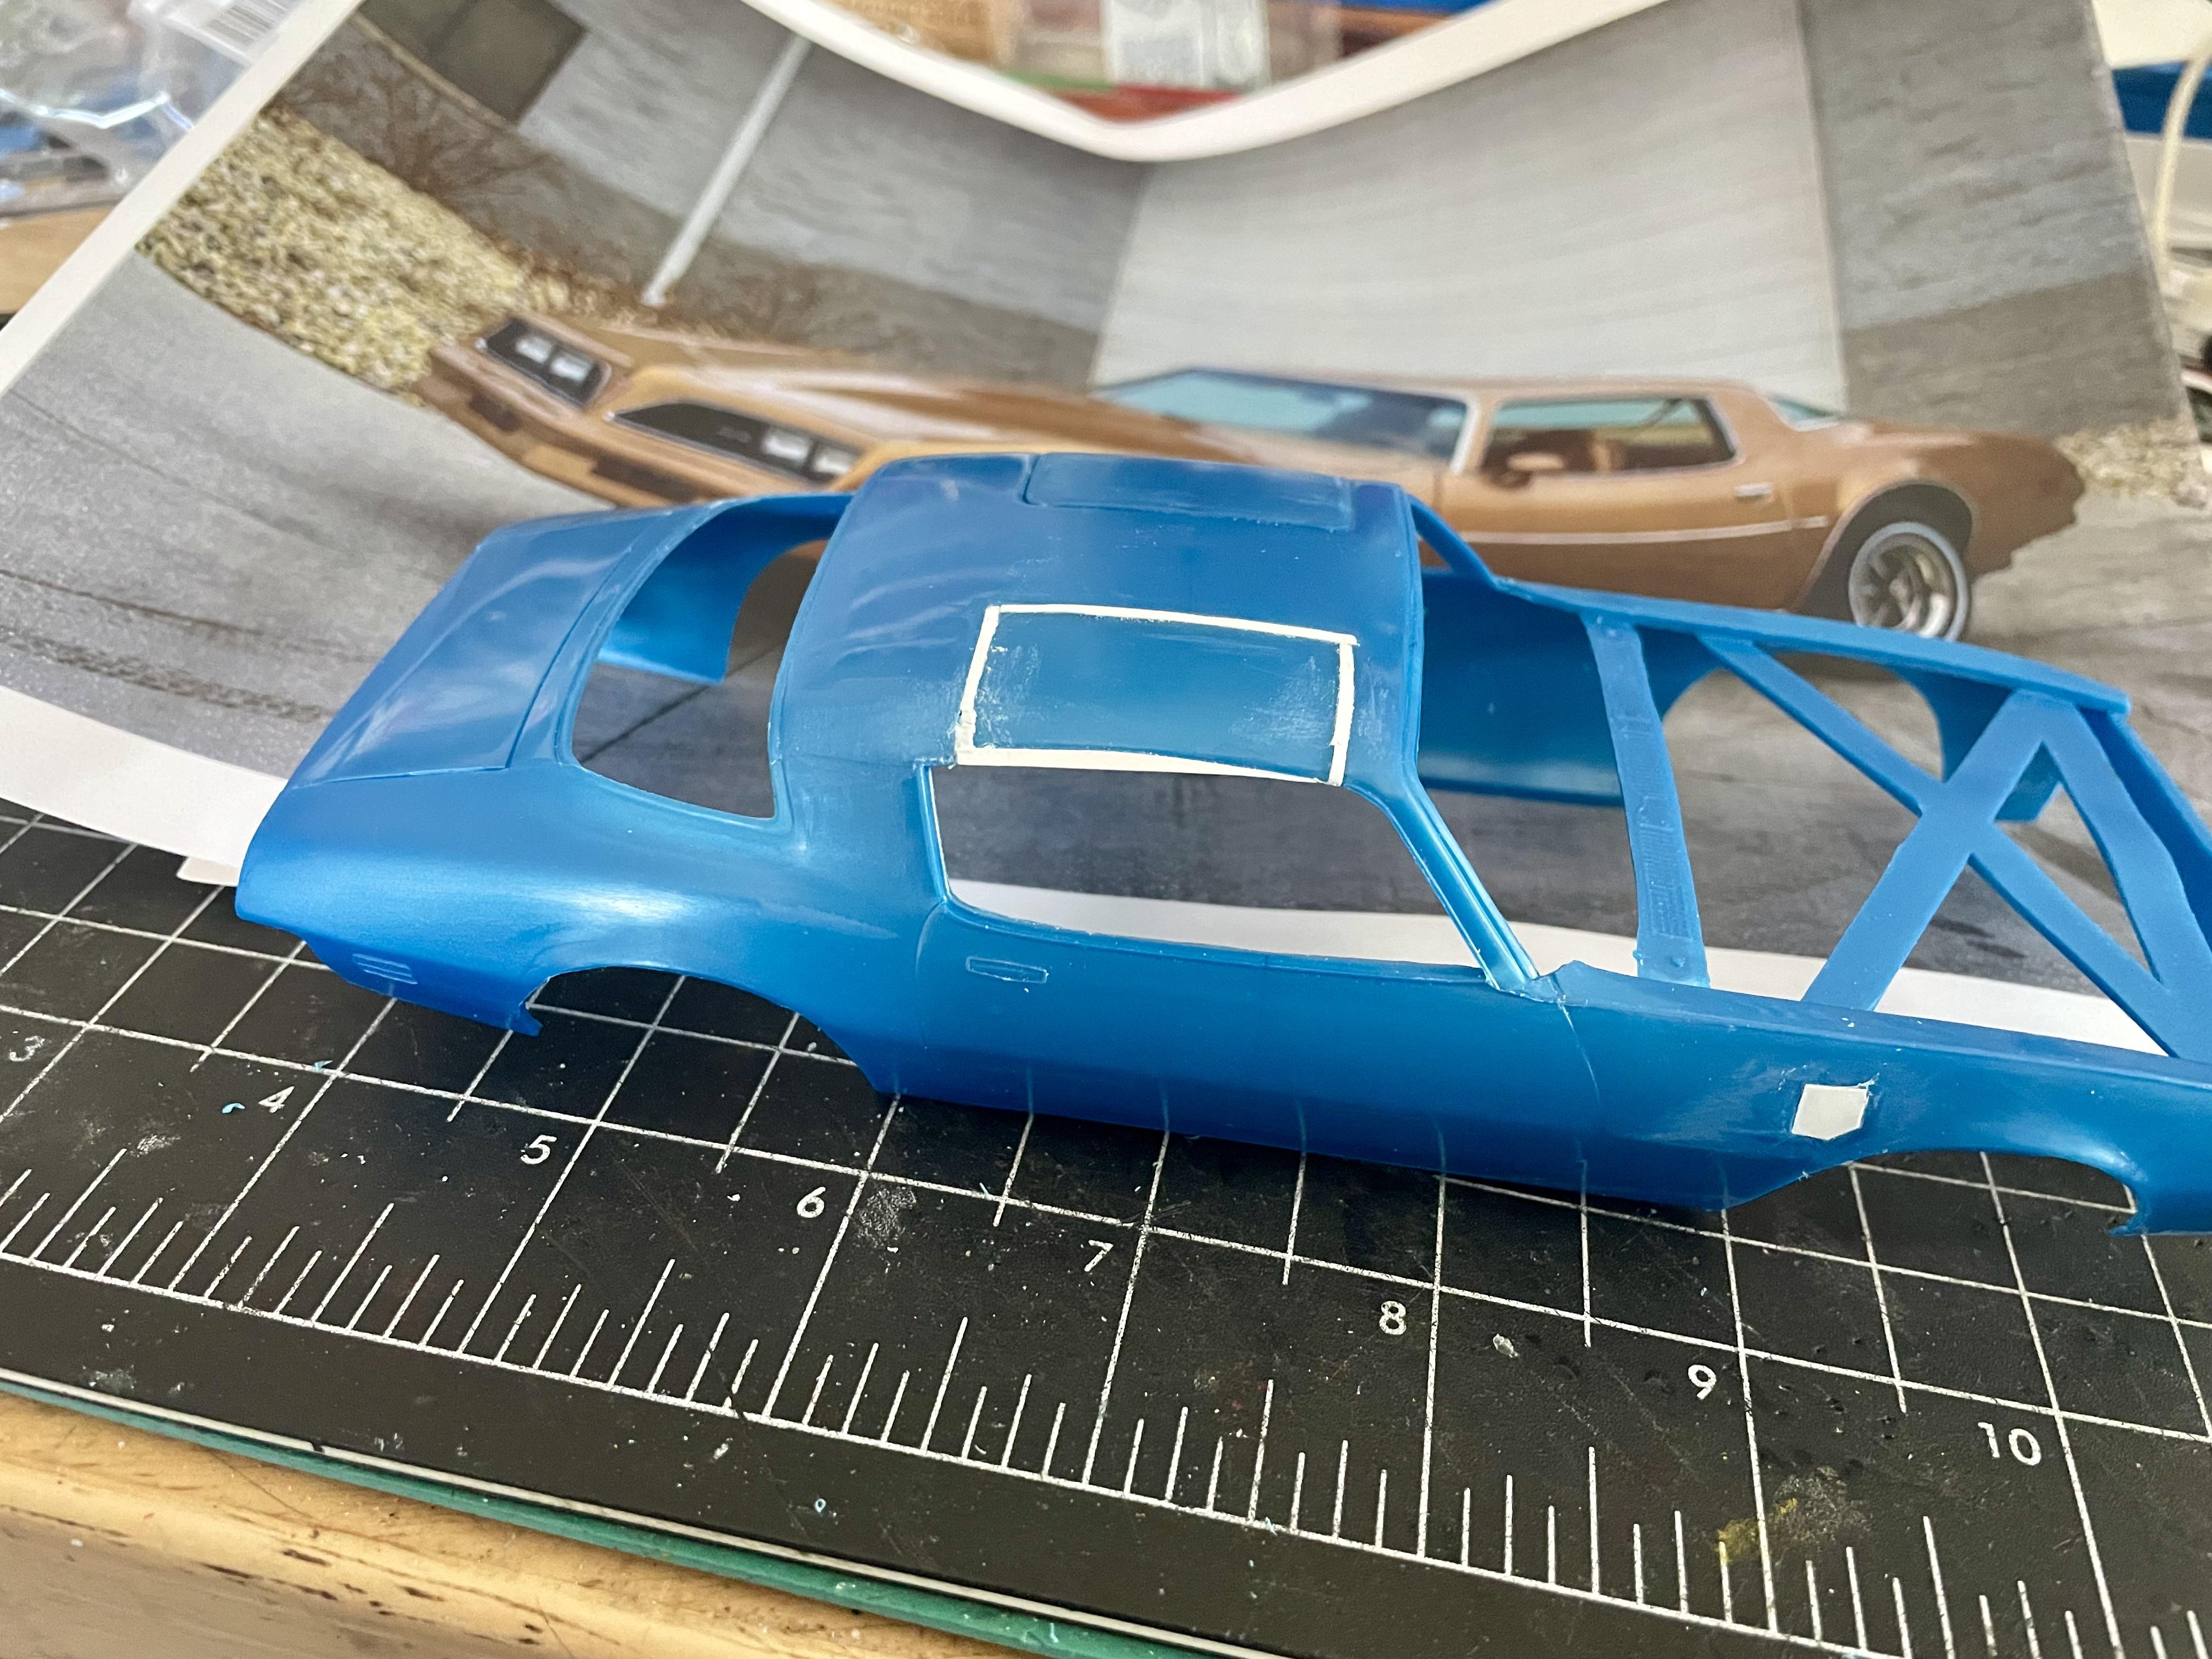
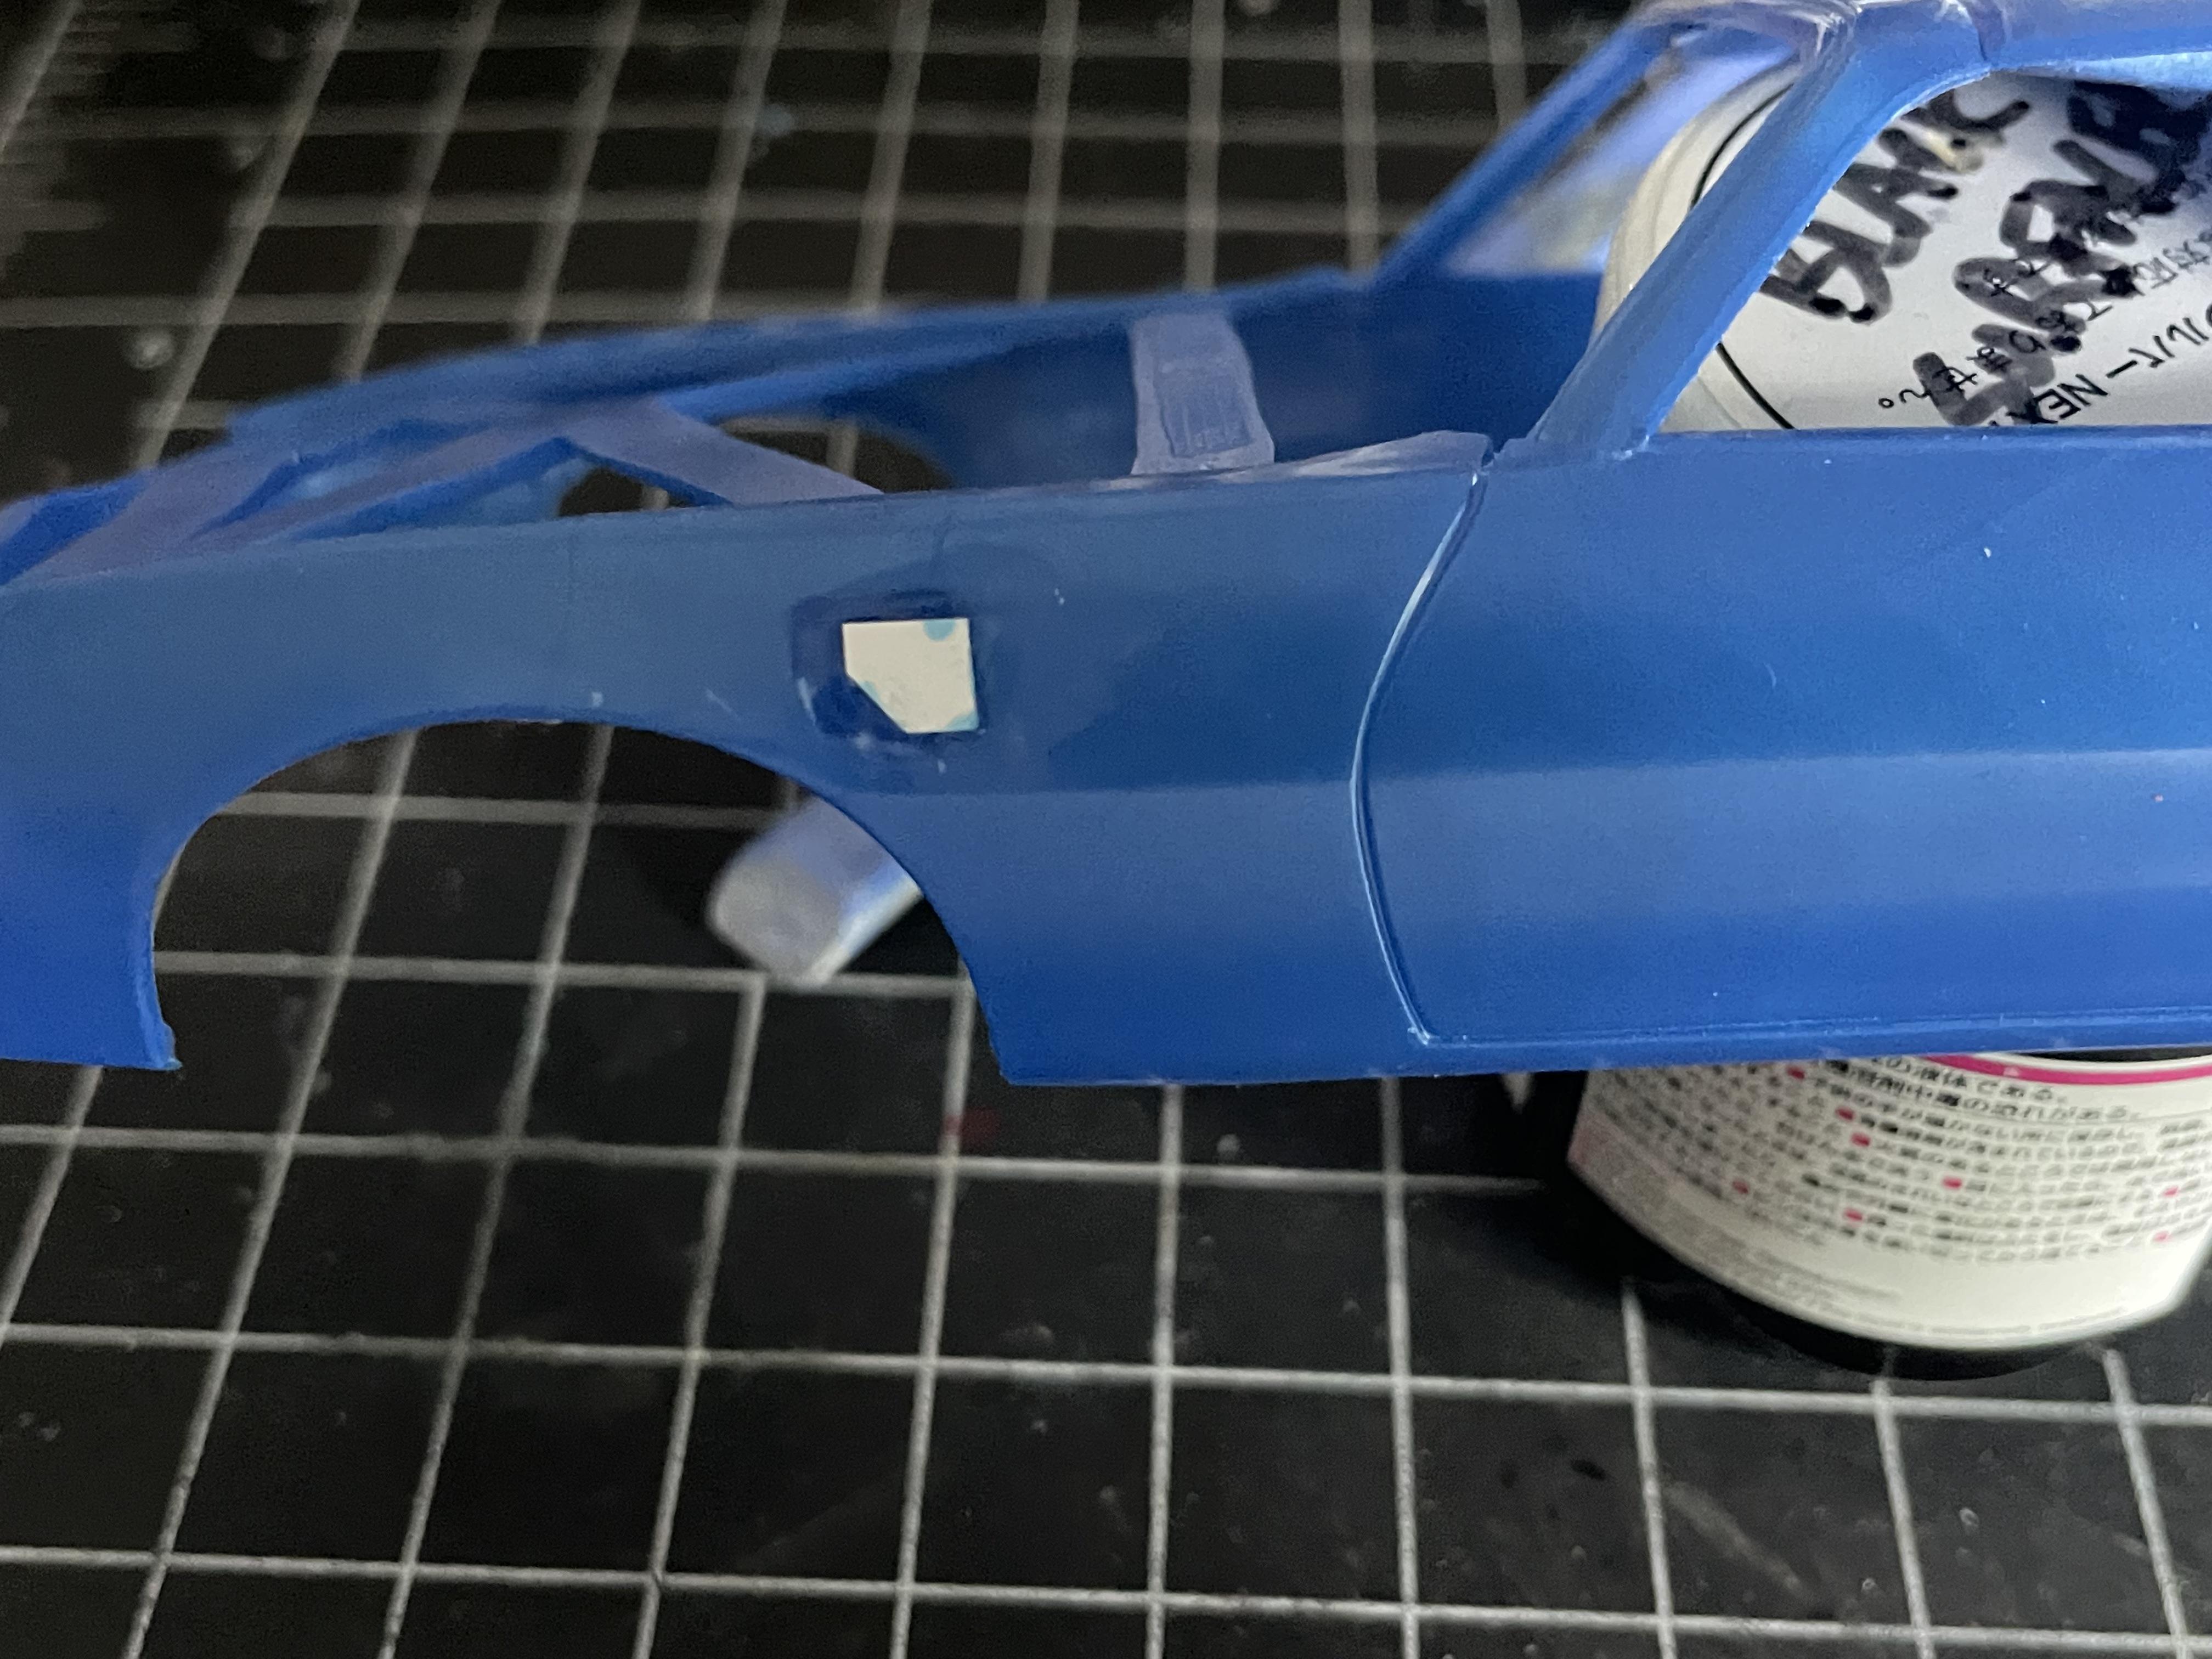
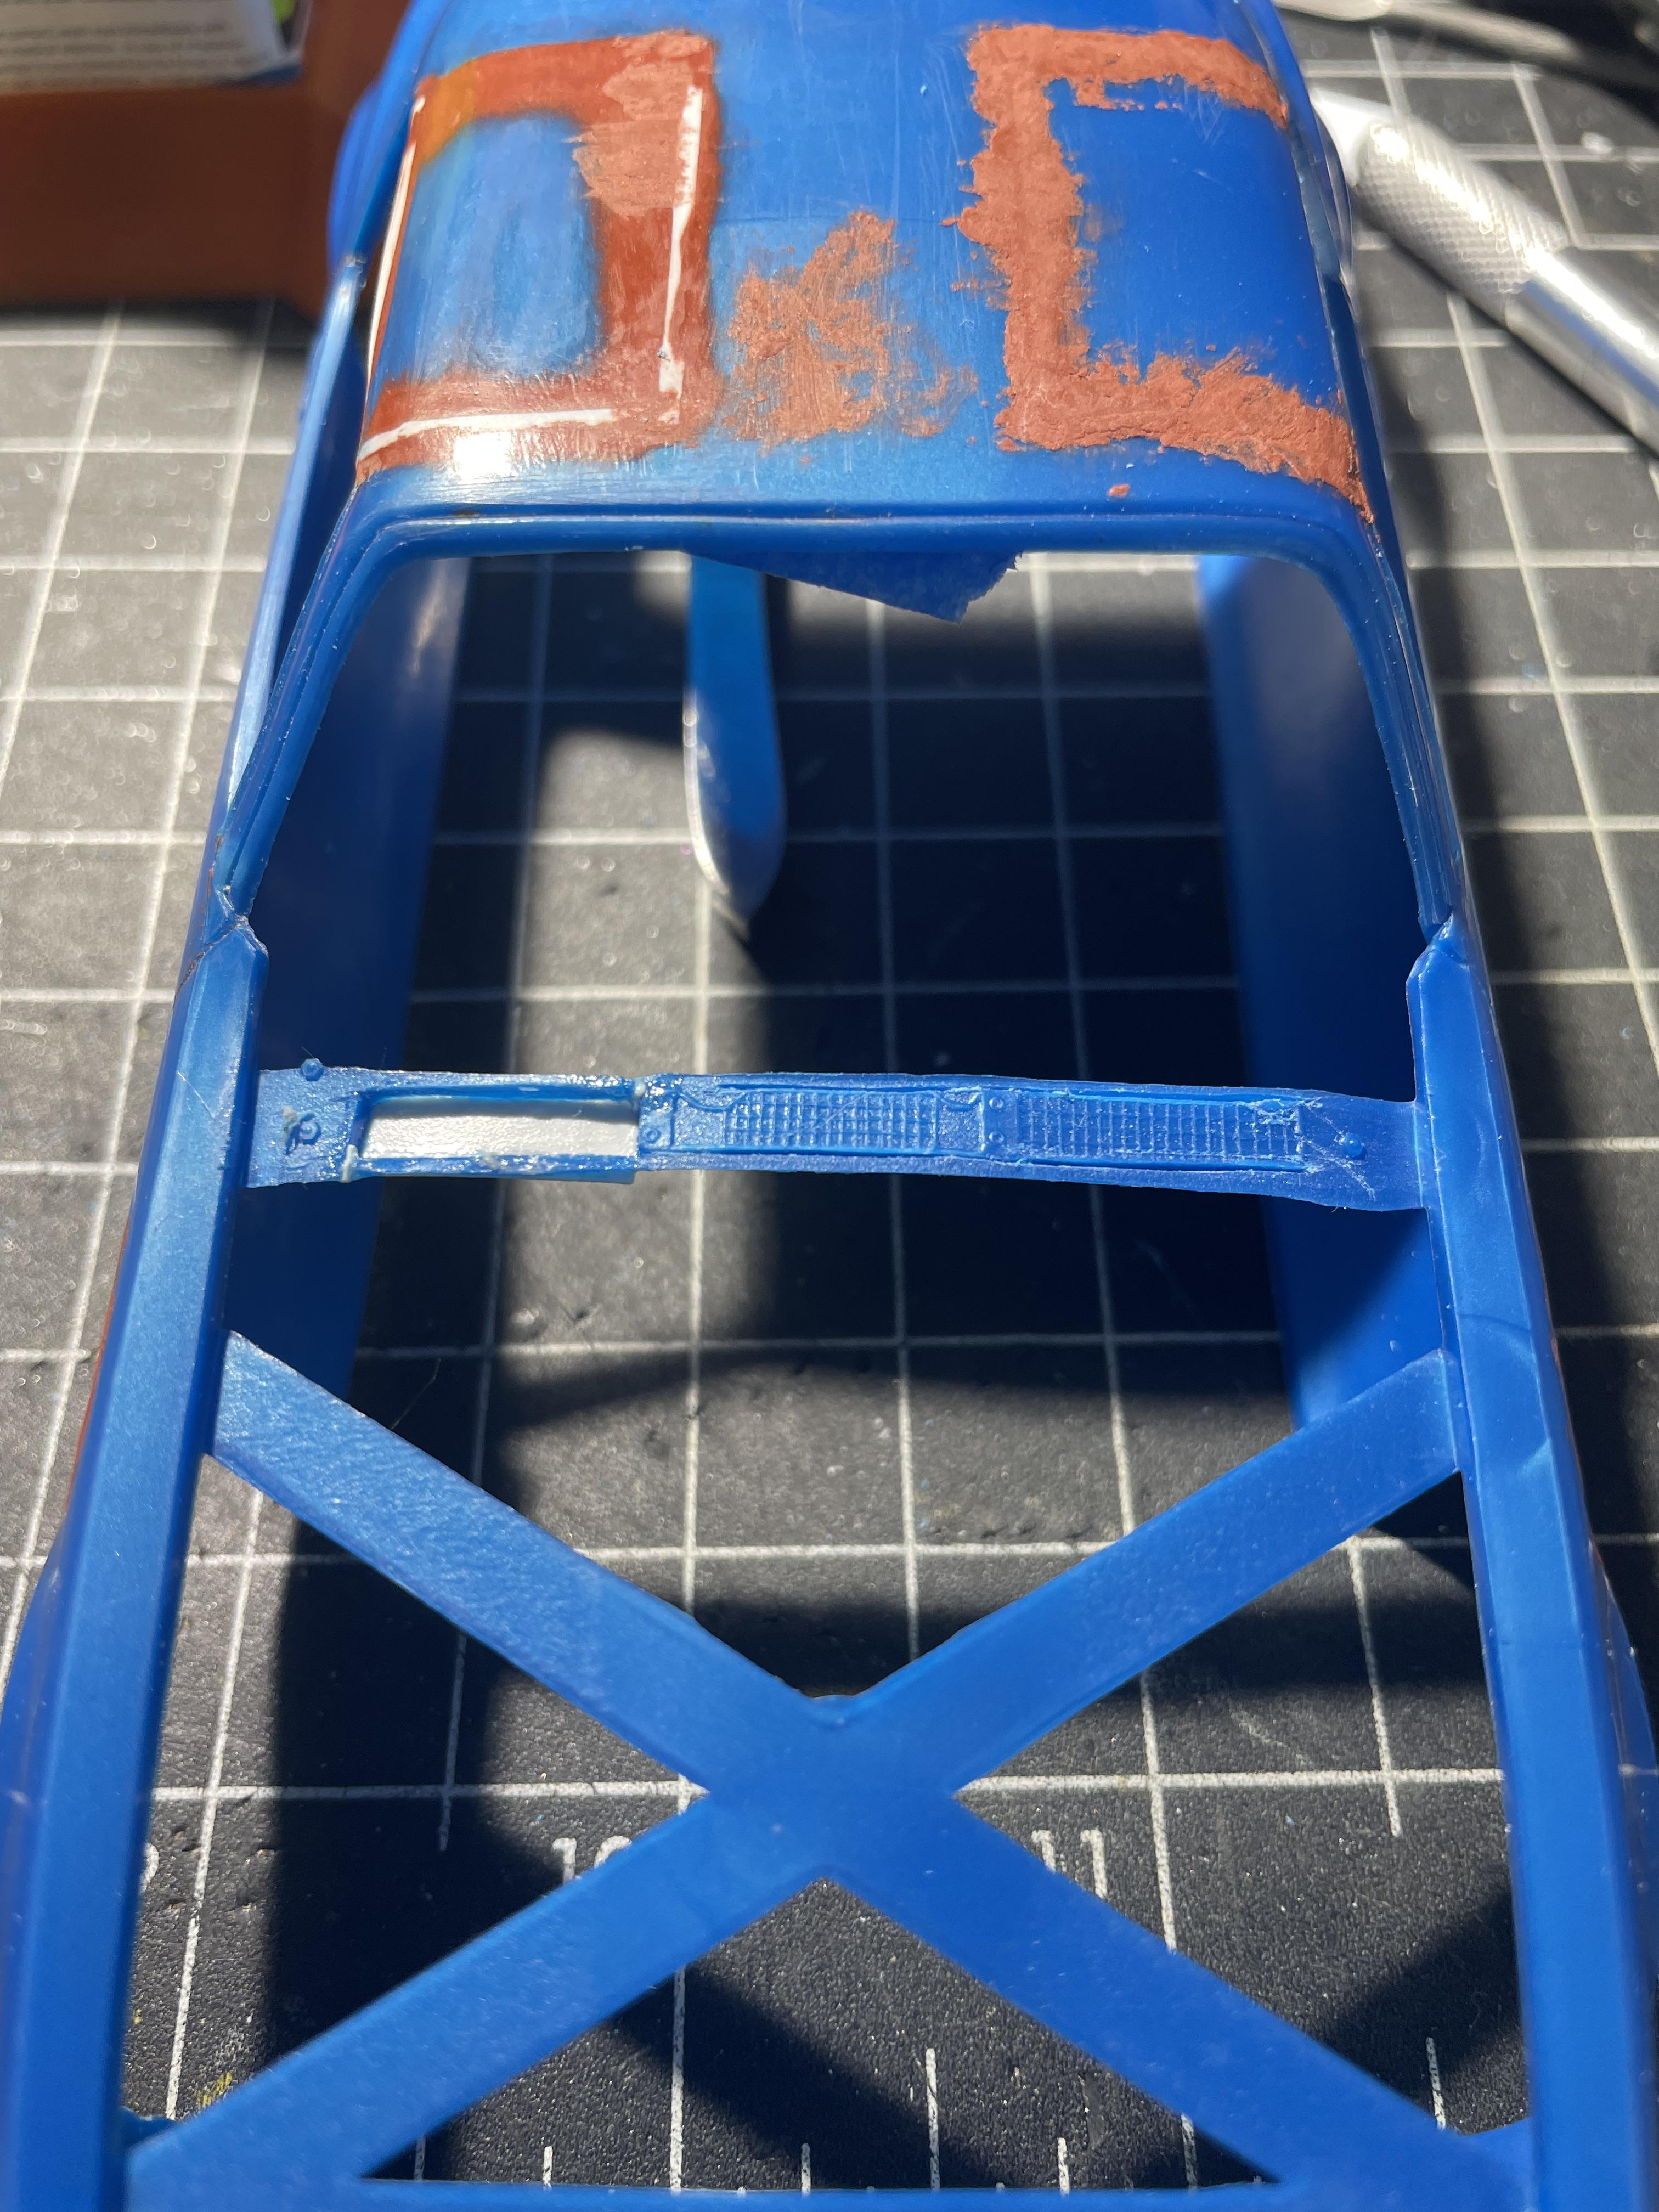
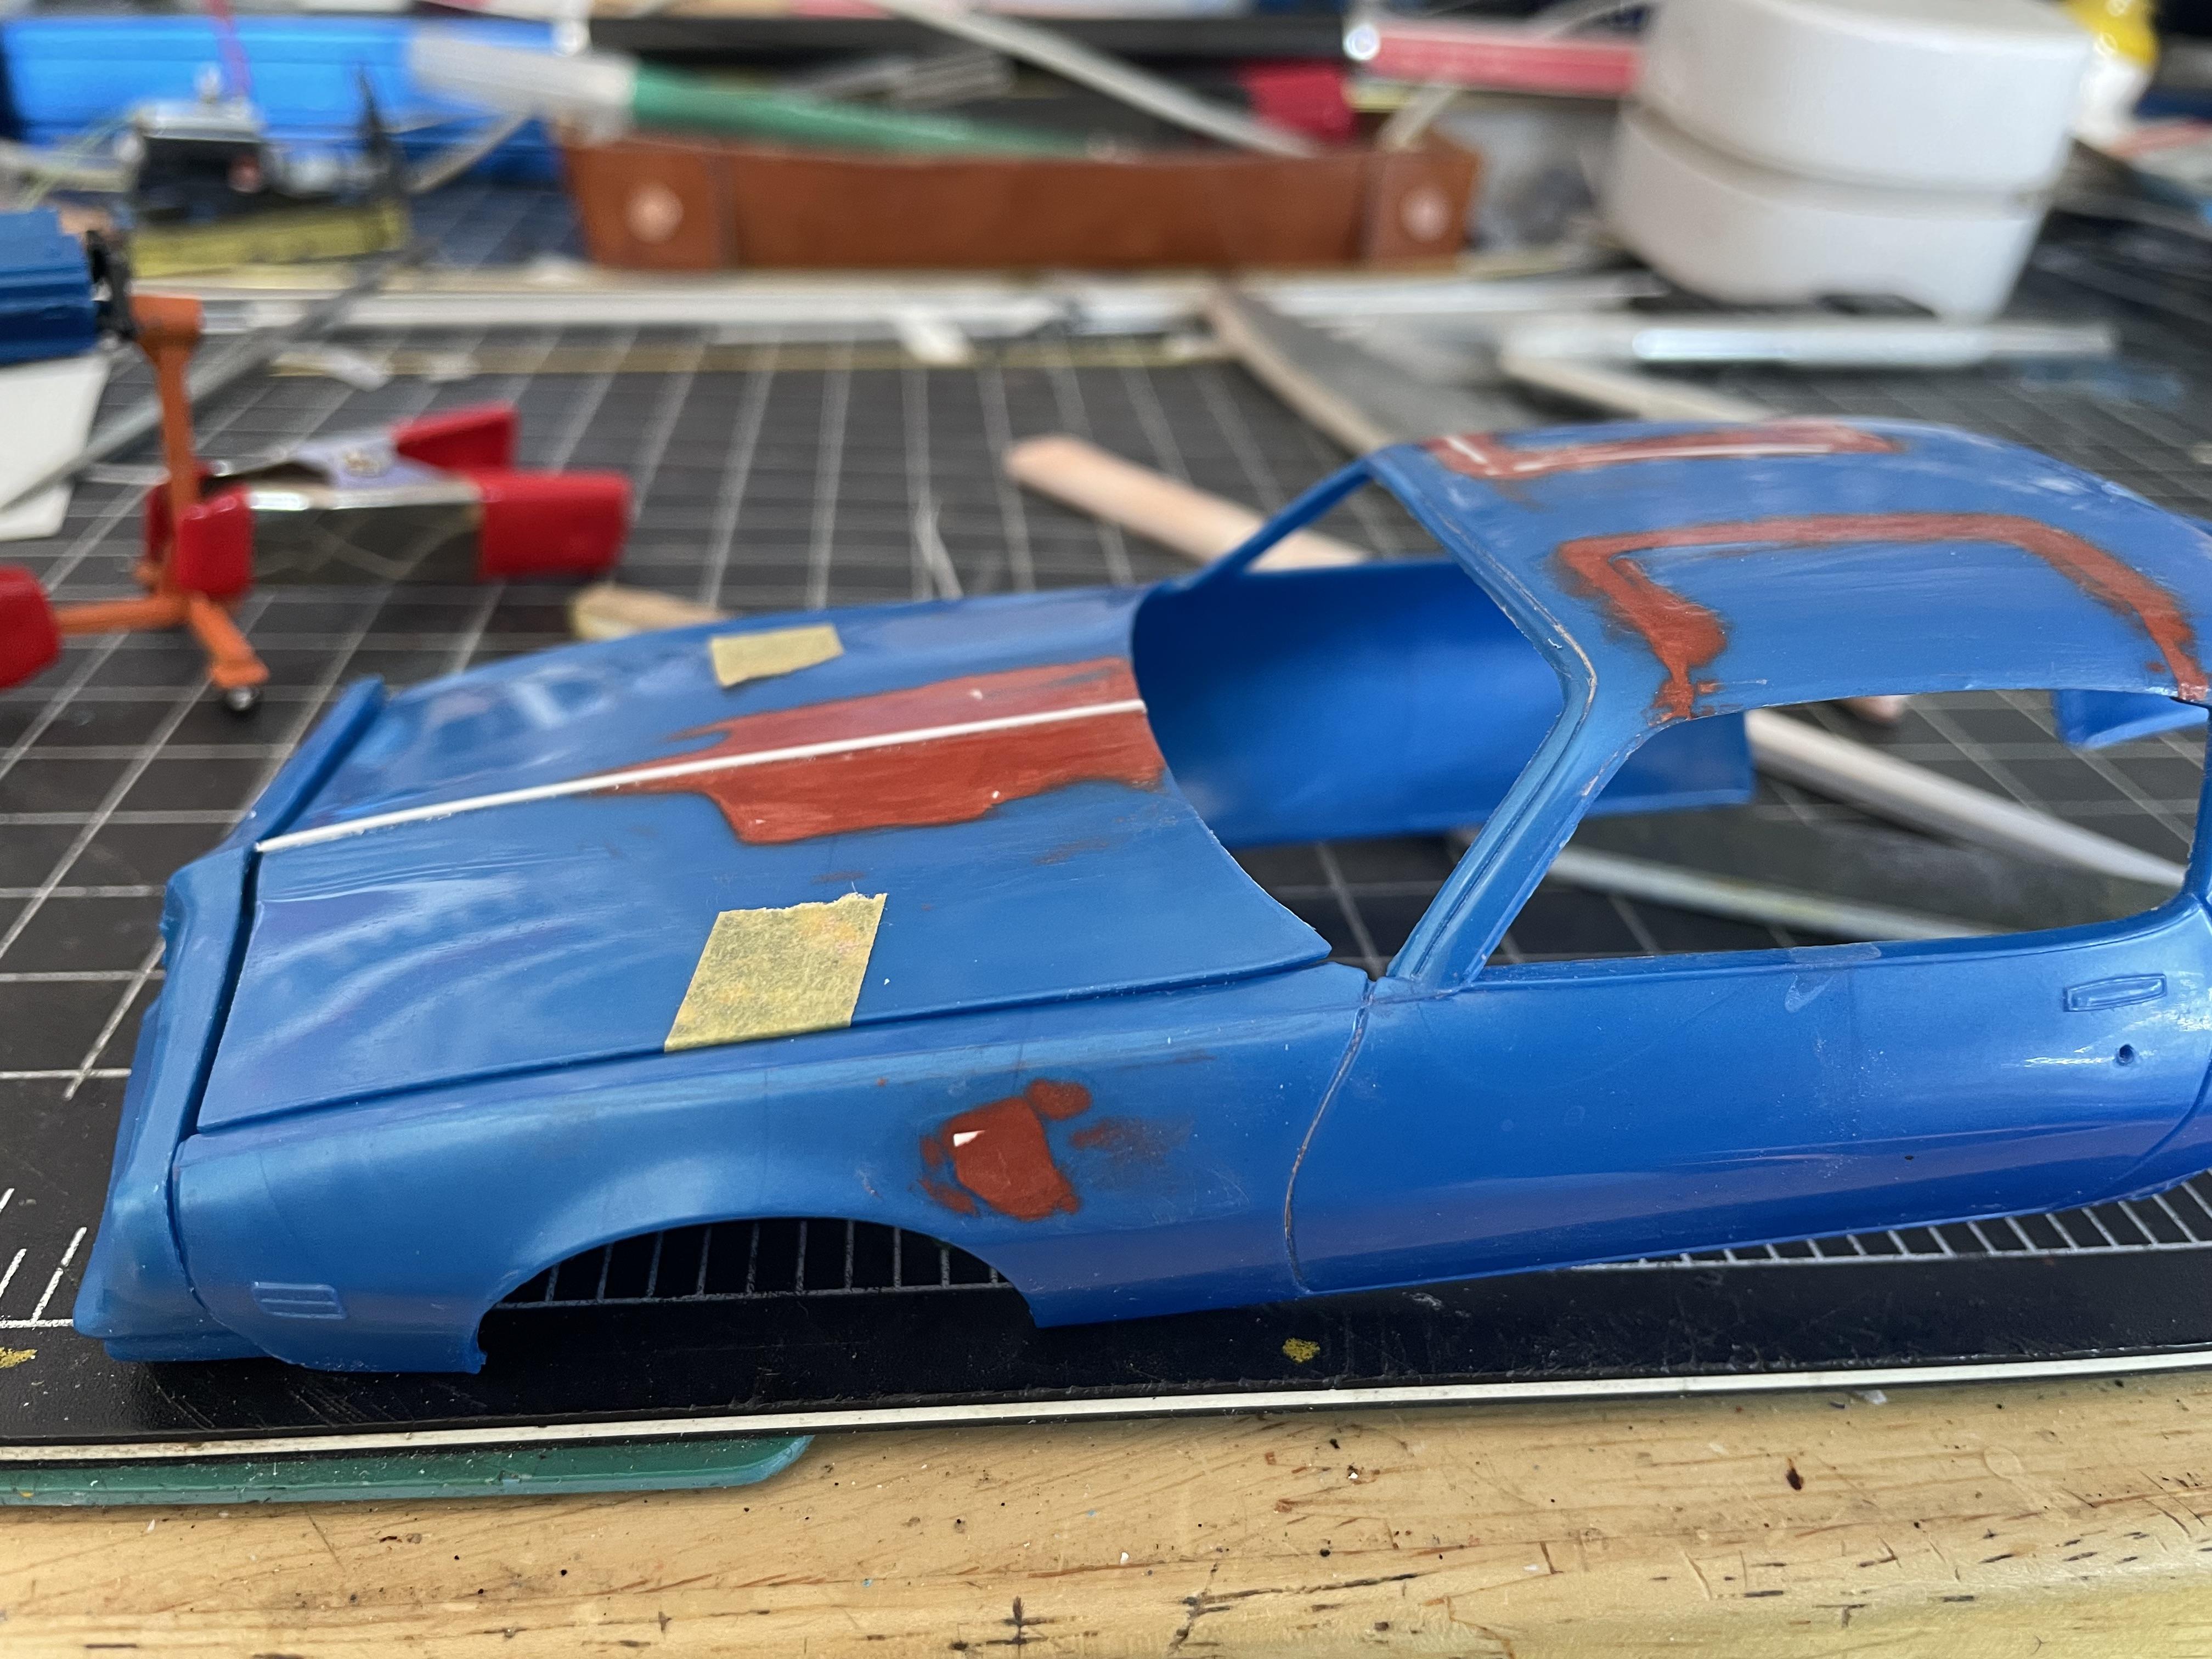
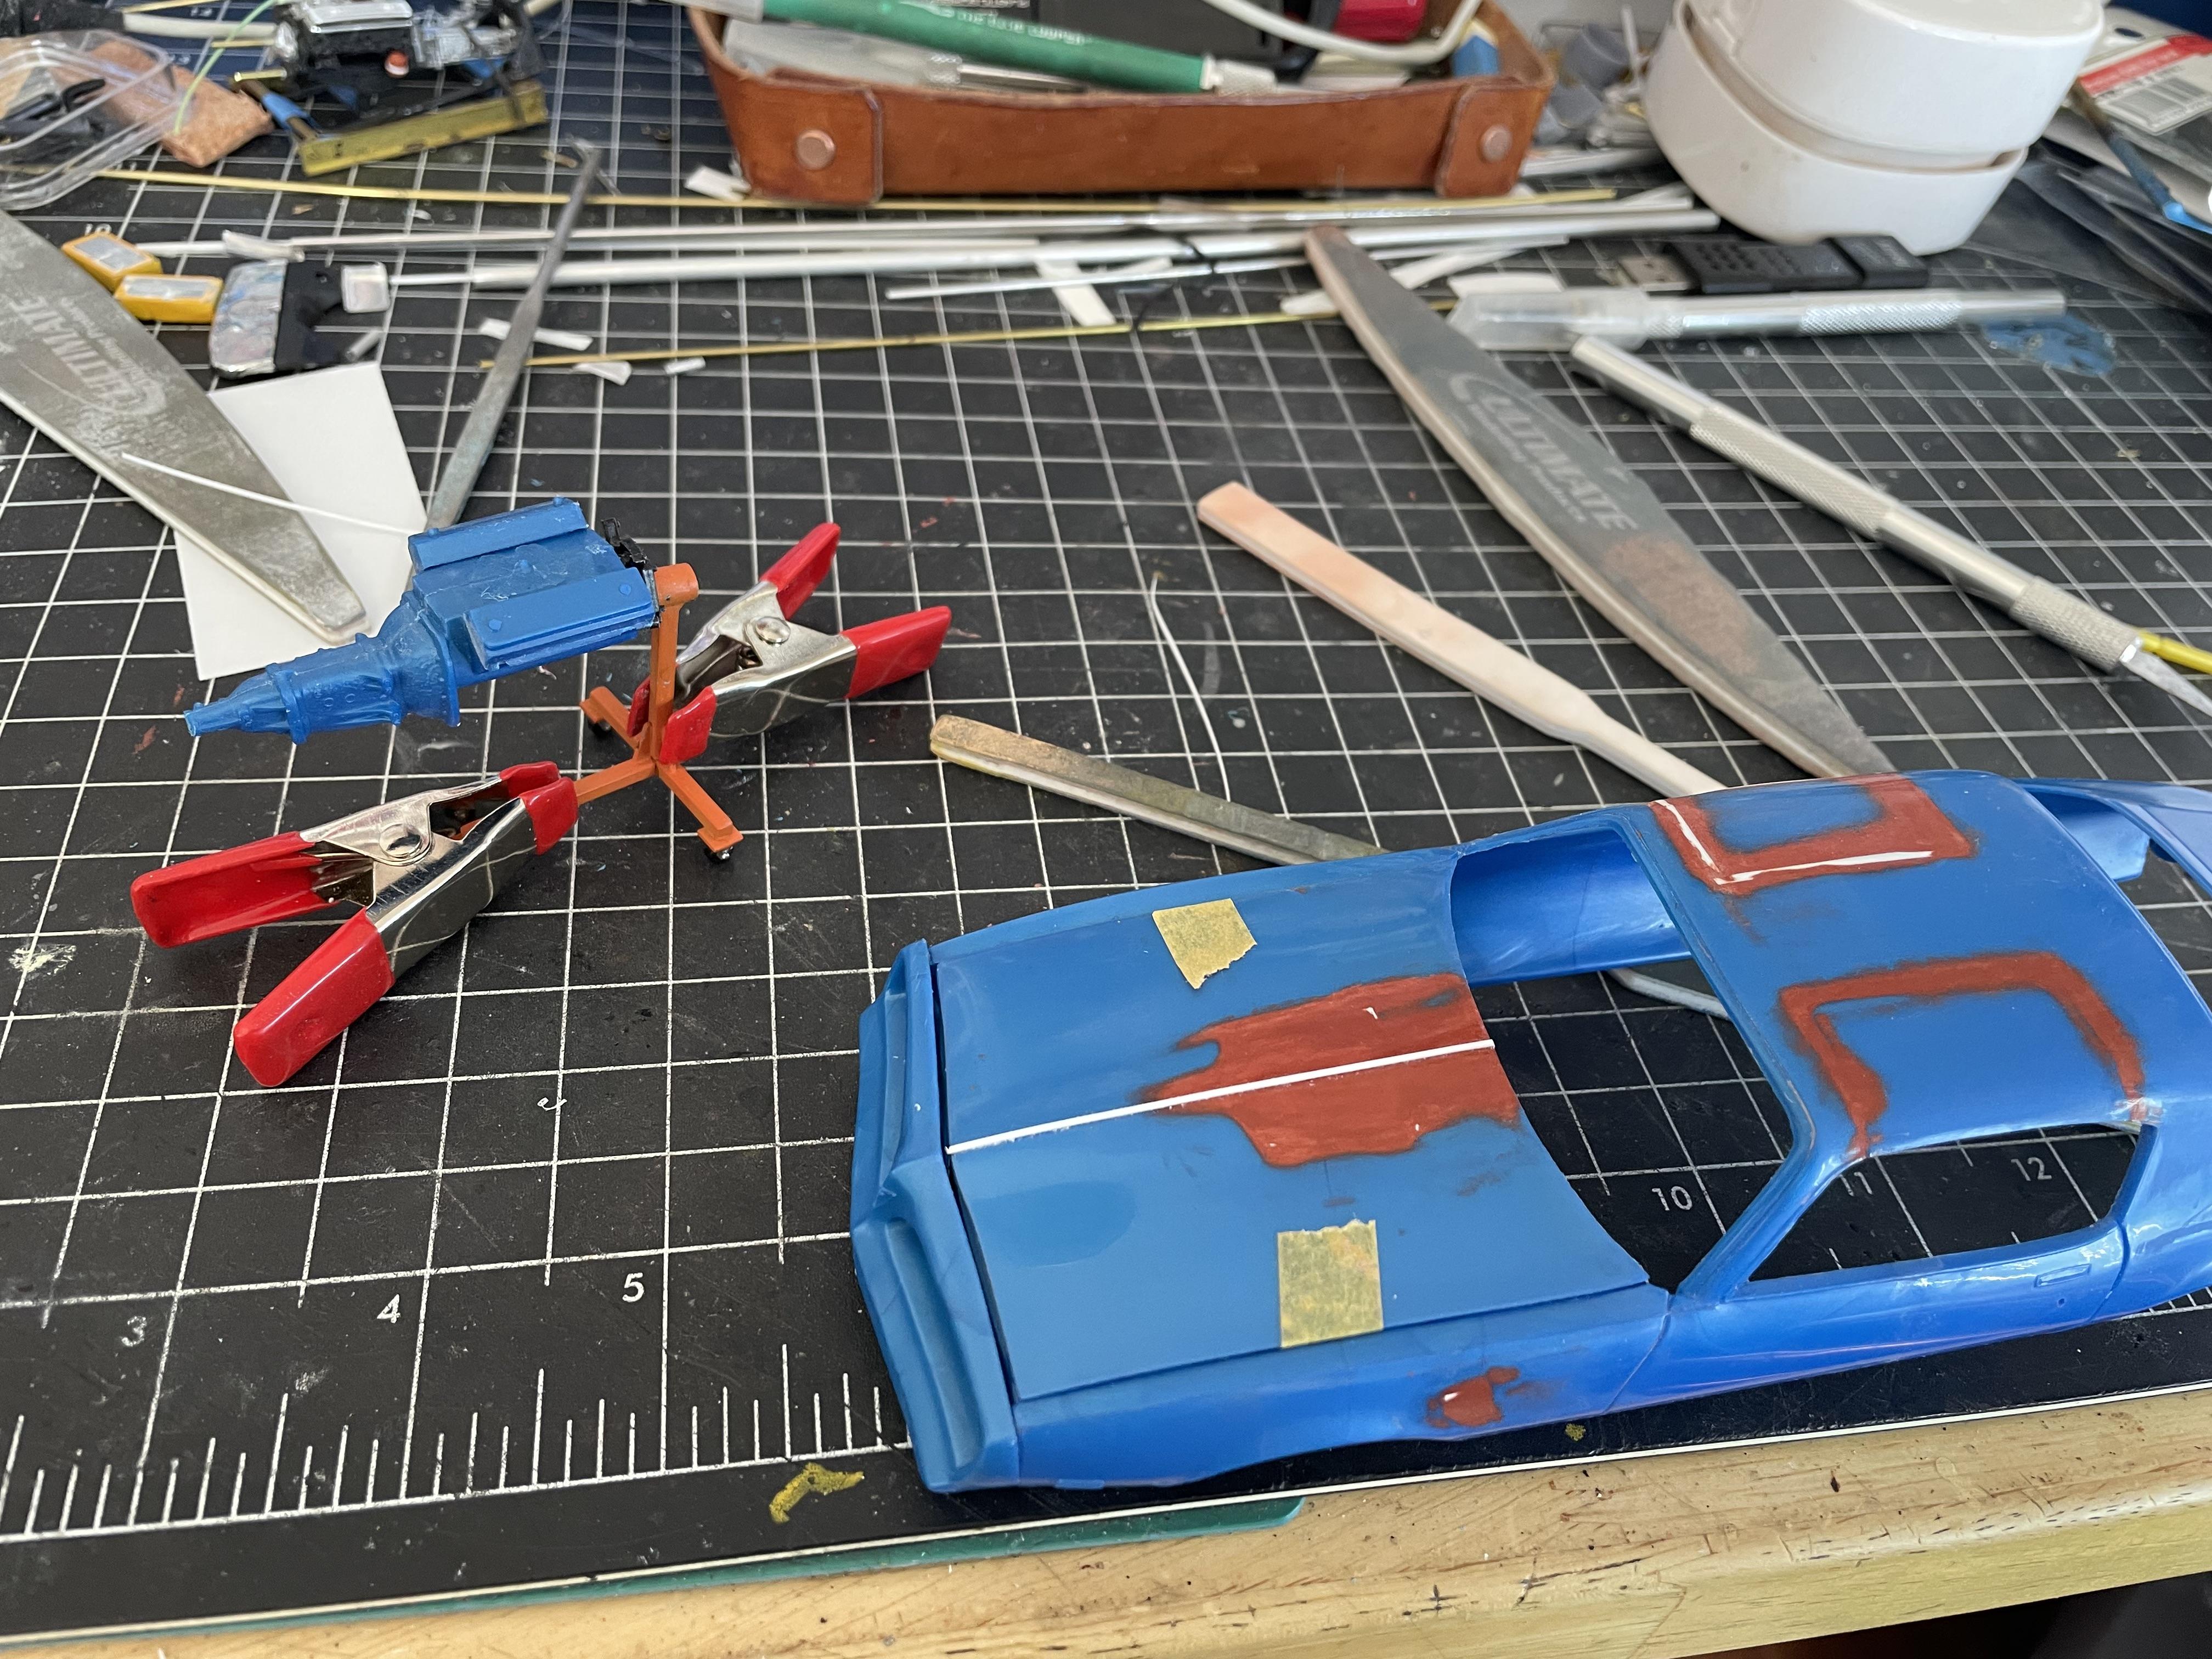
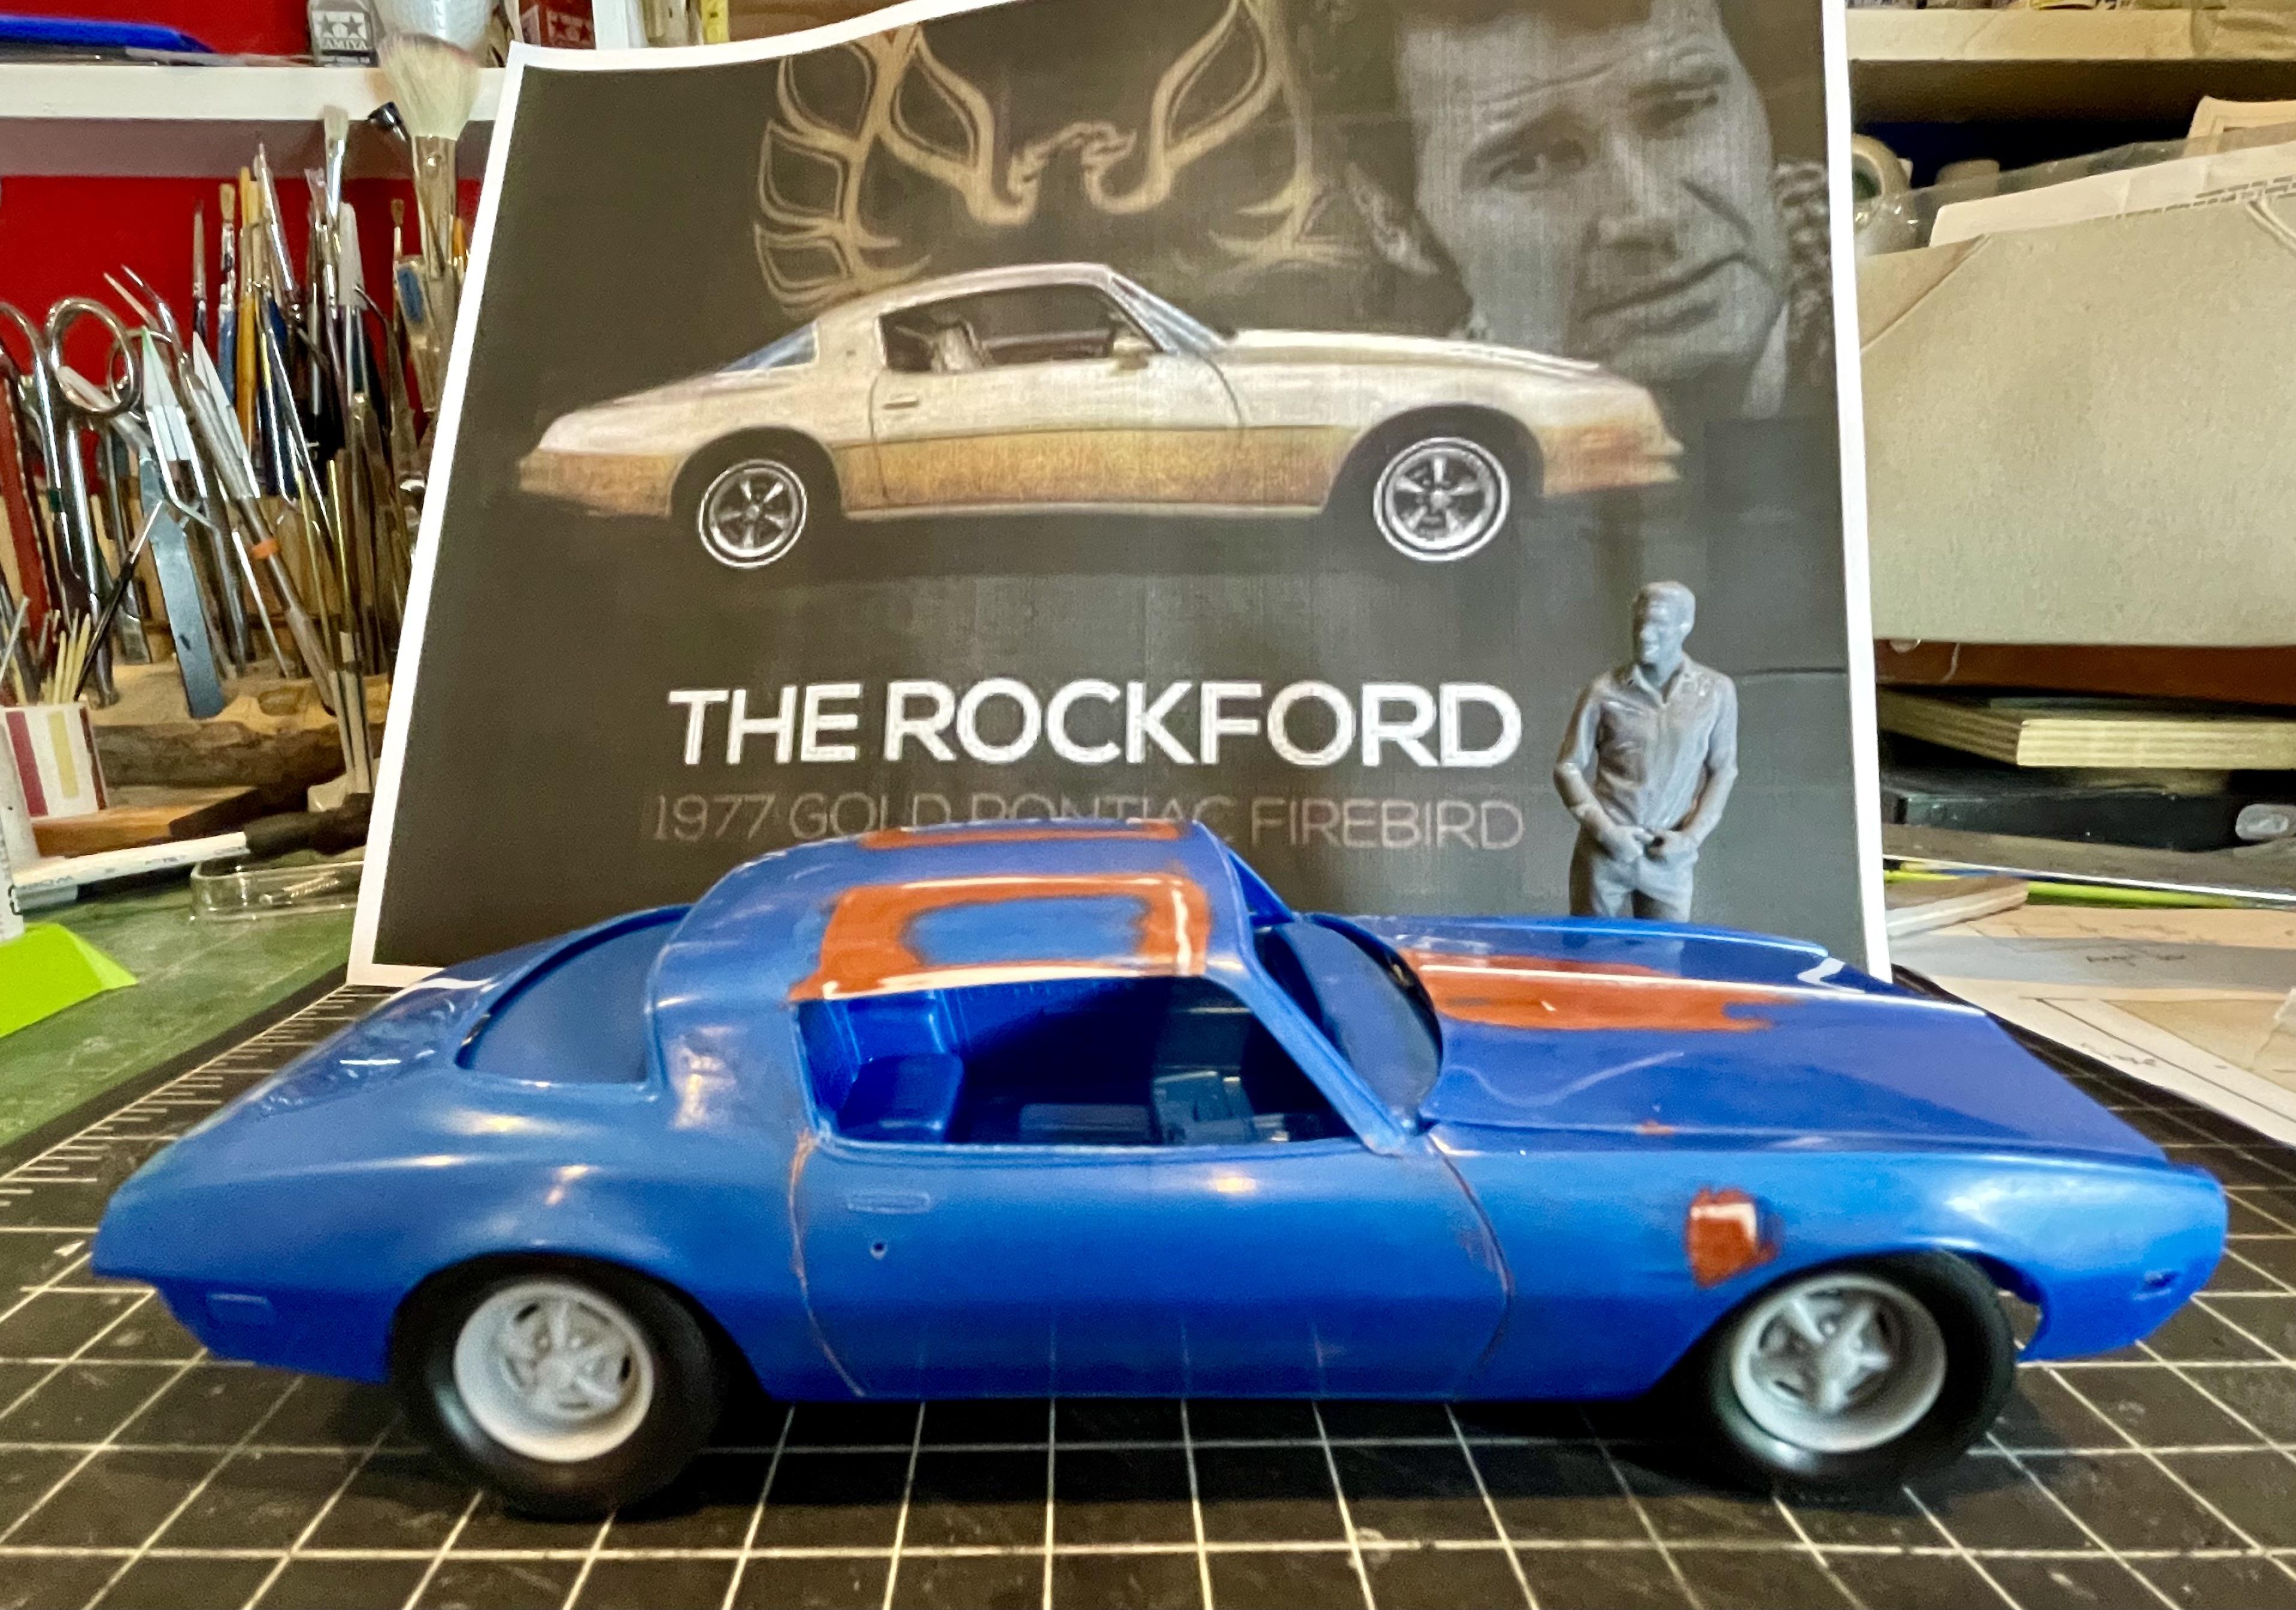
Body work was done to close in the T-tops, the side scoops and the hood scoop
-
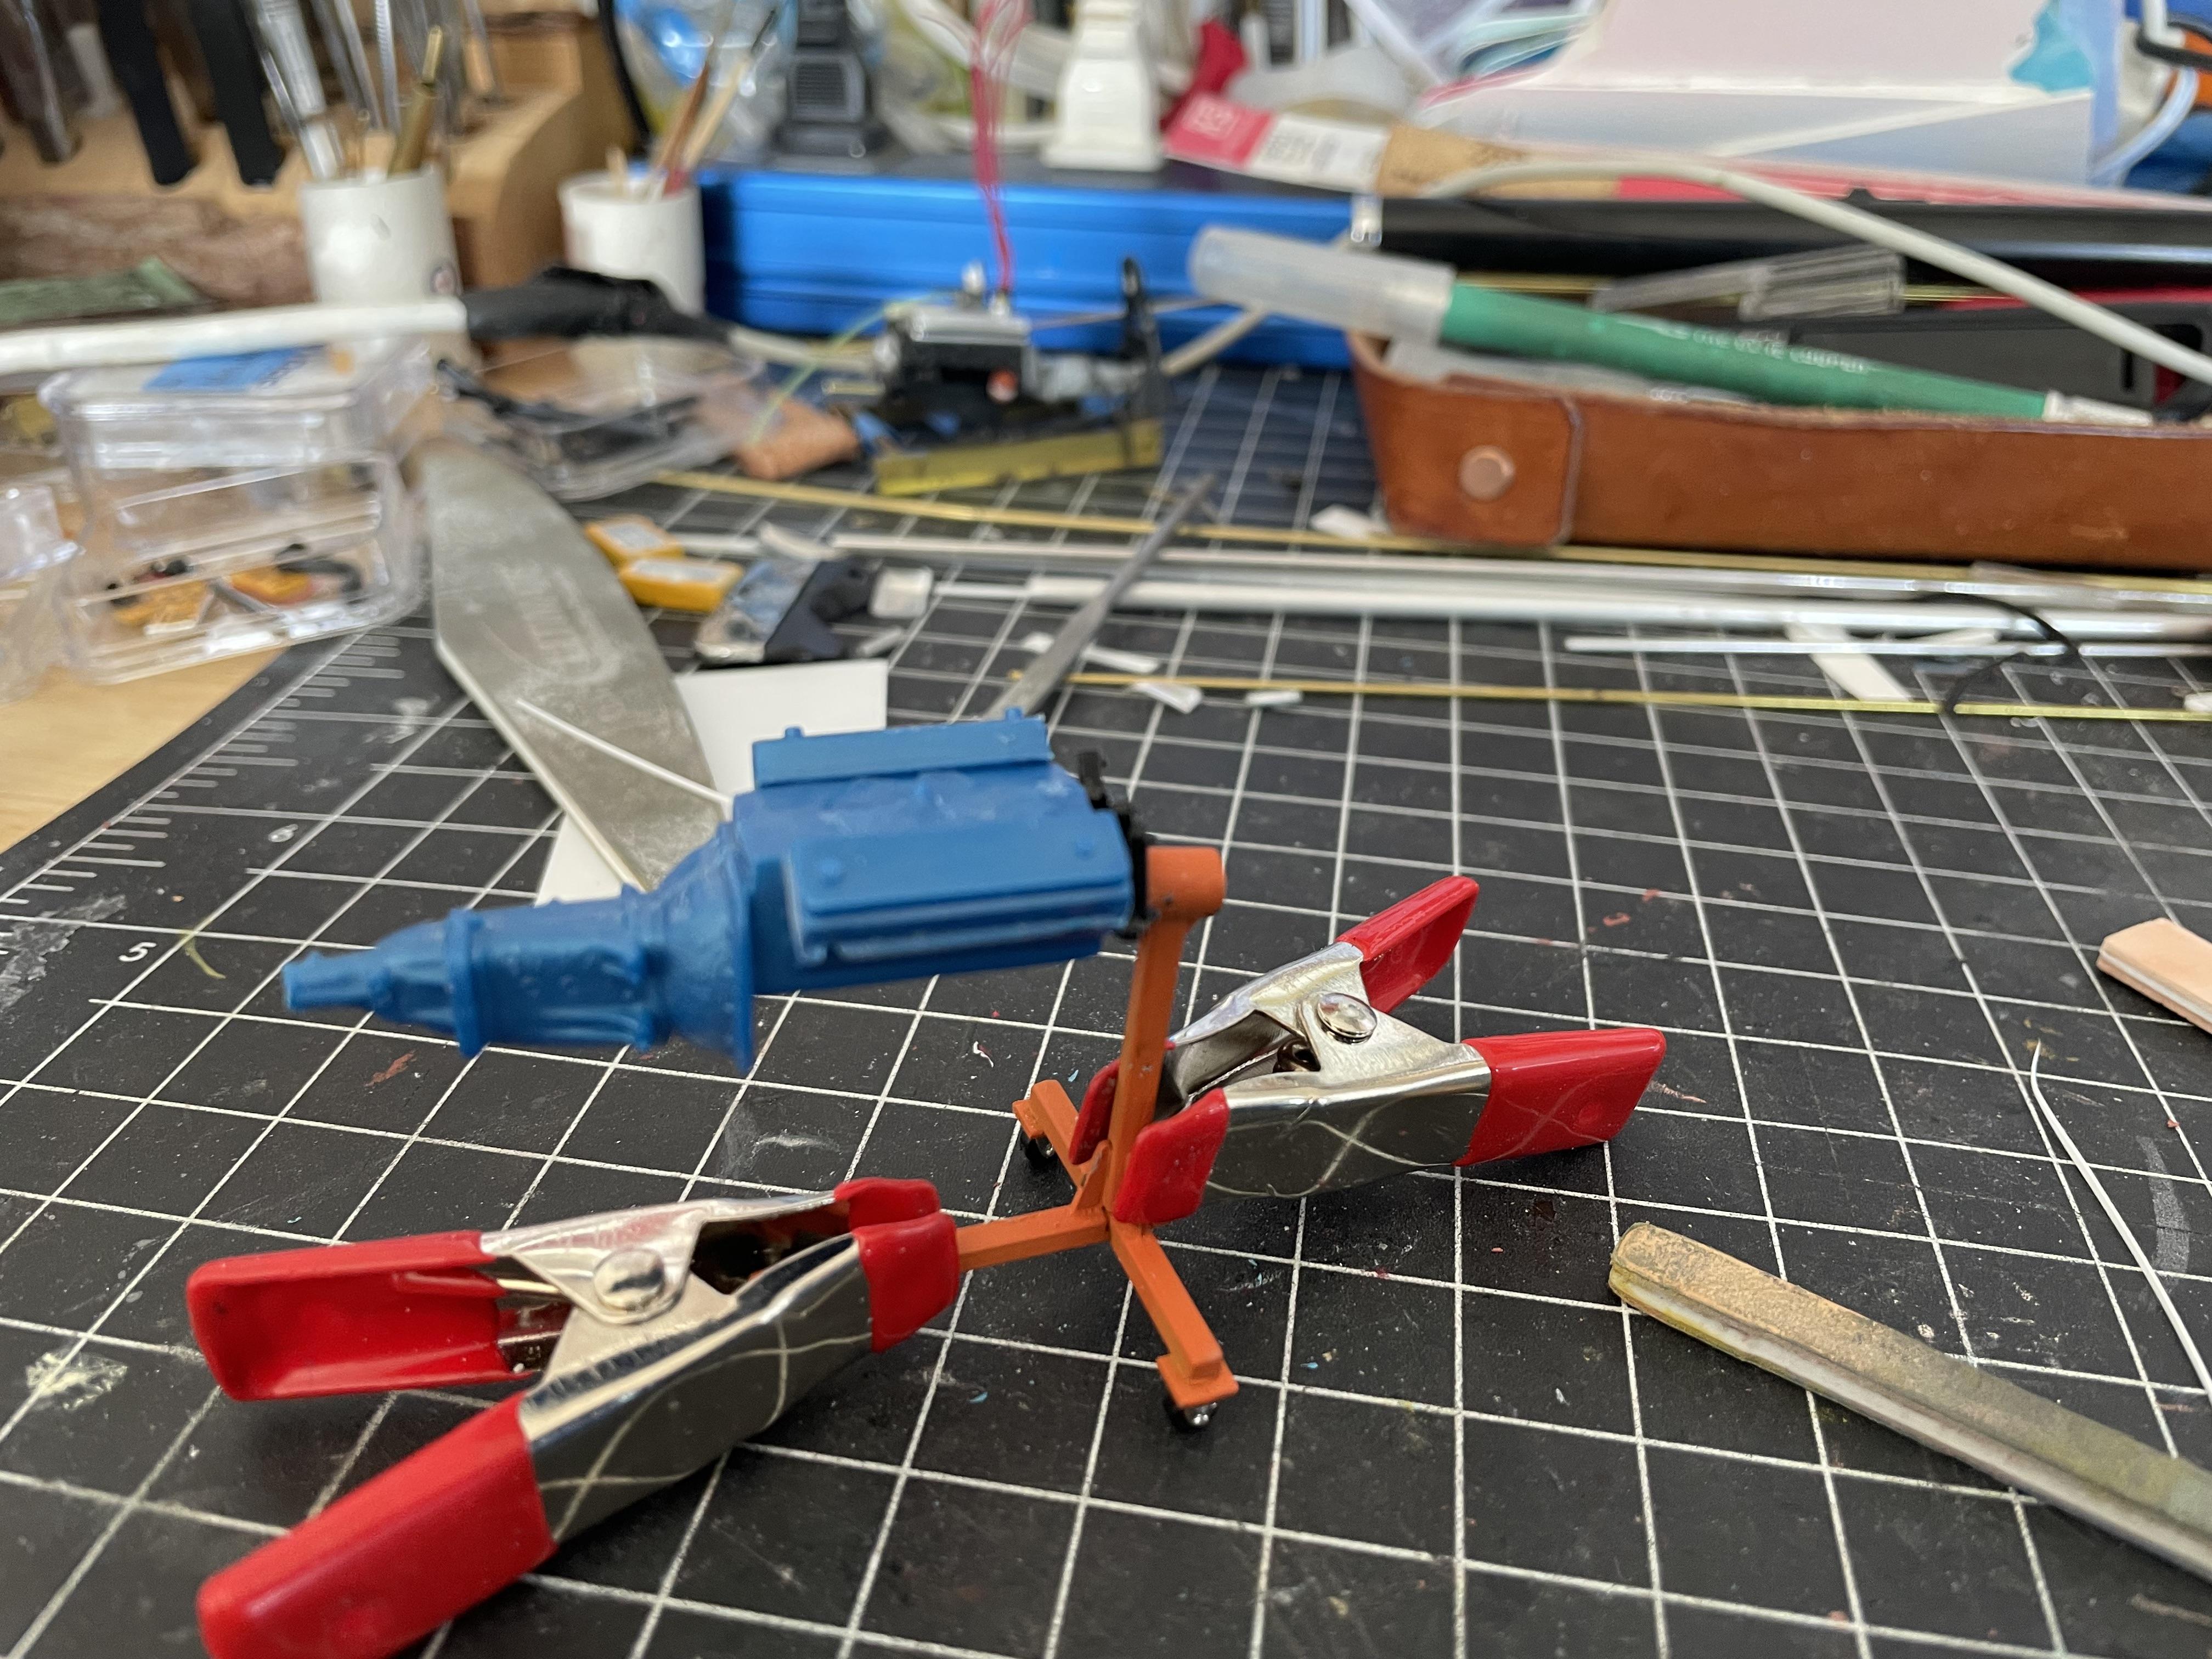
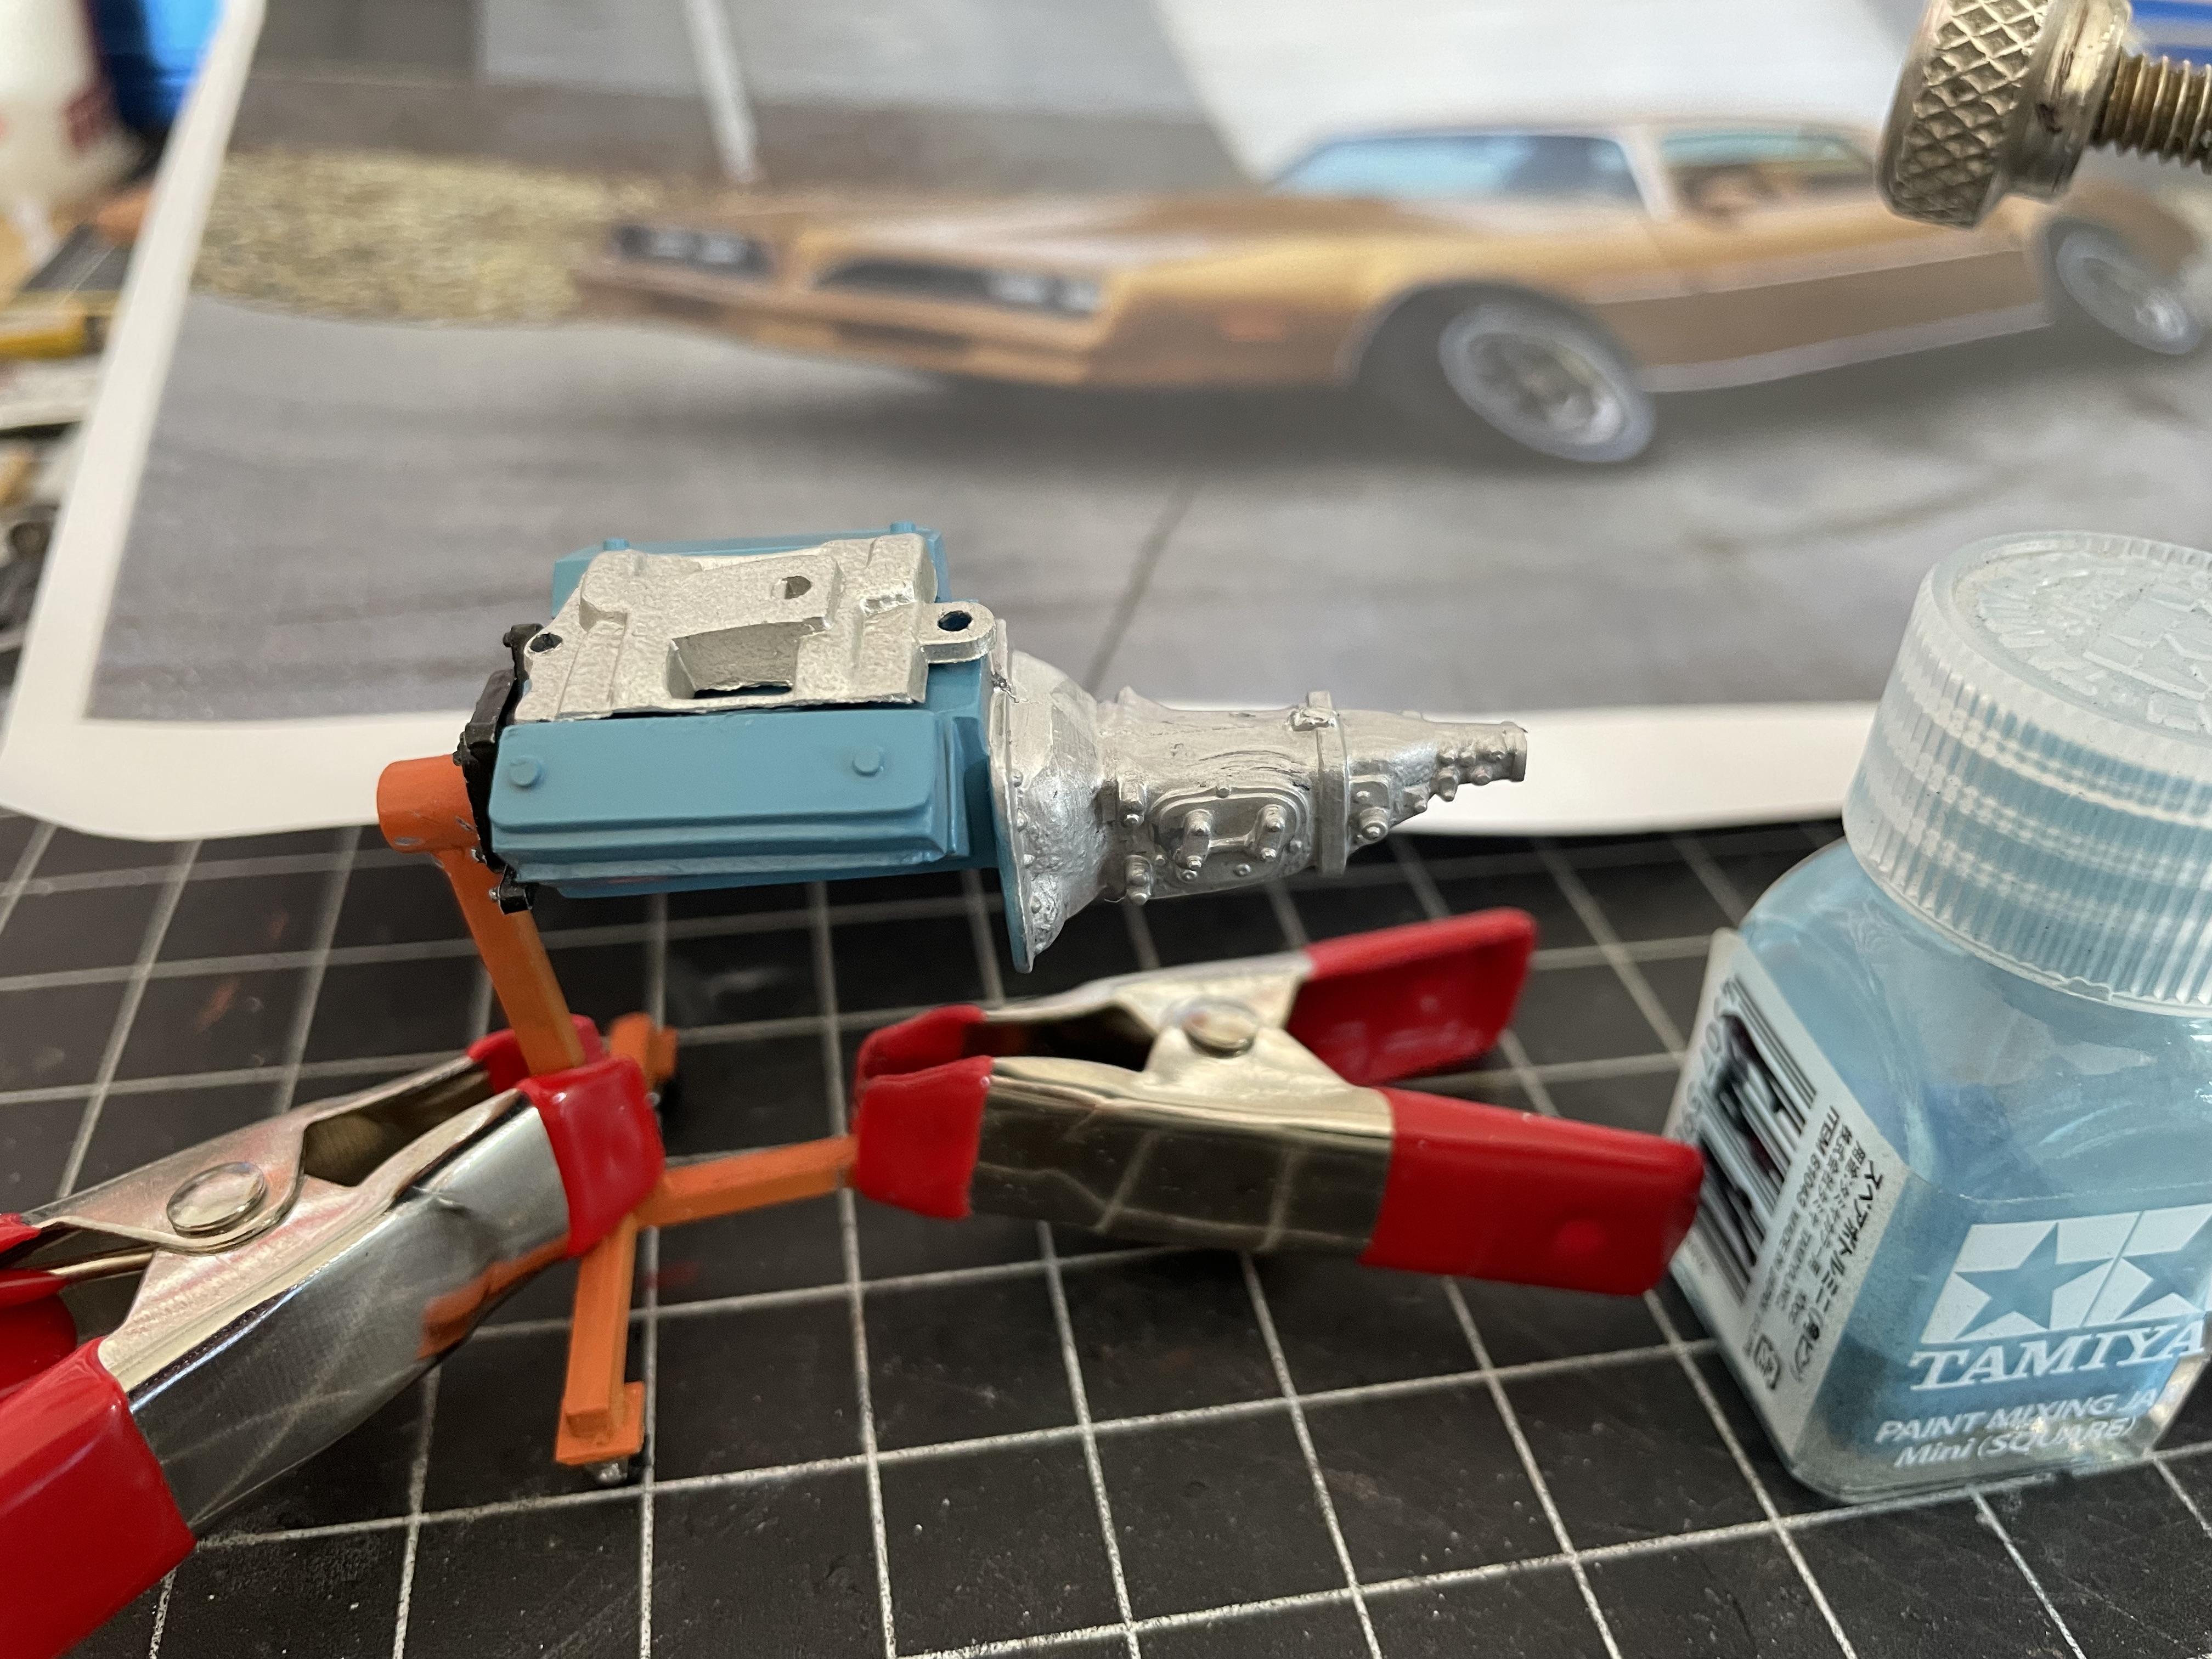
Little engine work, Pontiac blue
-
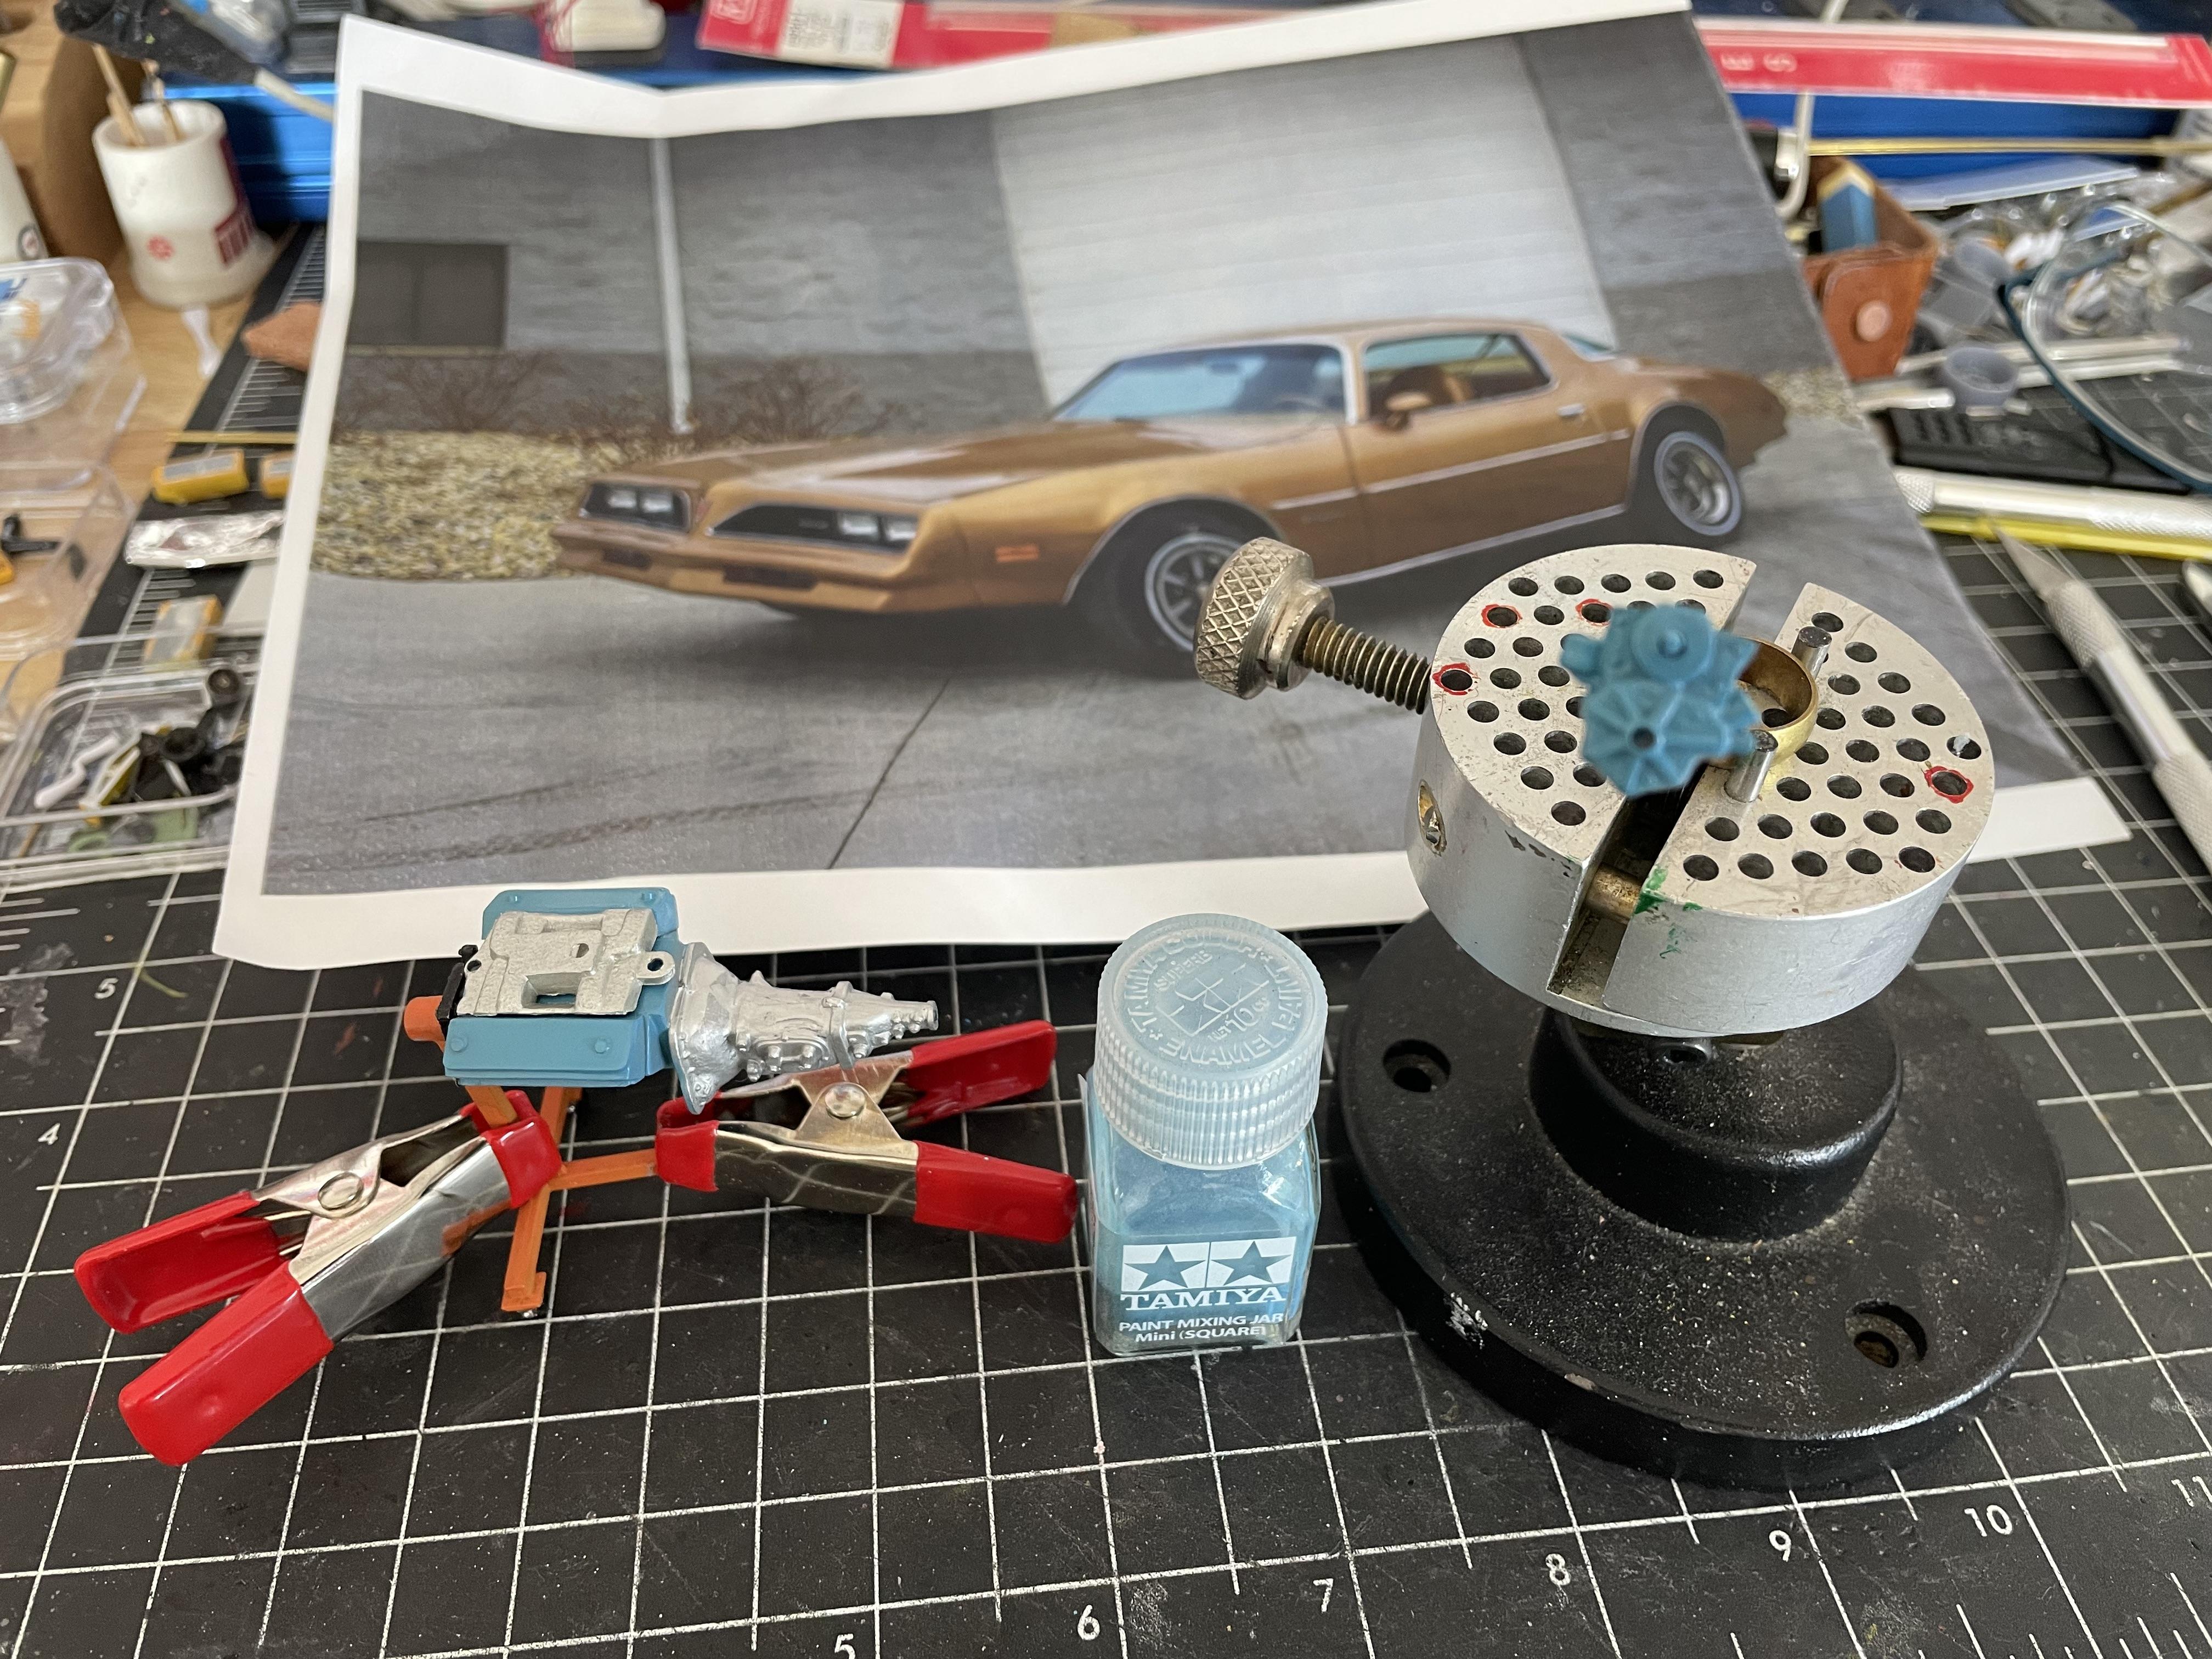
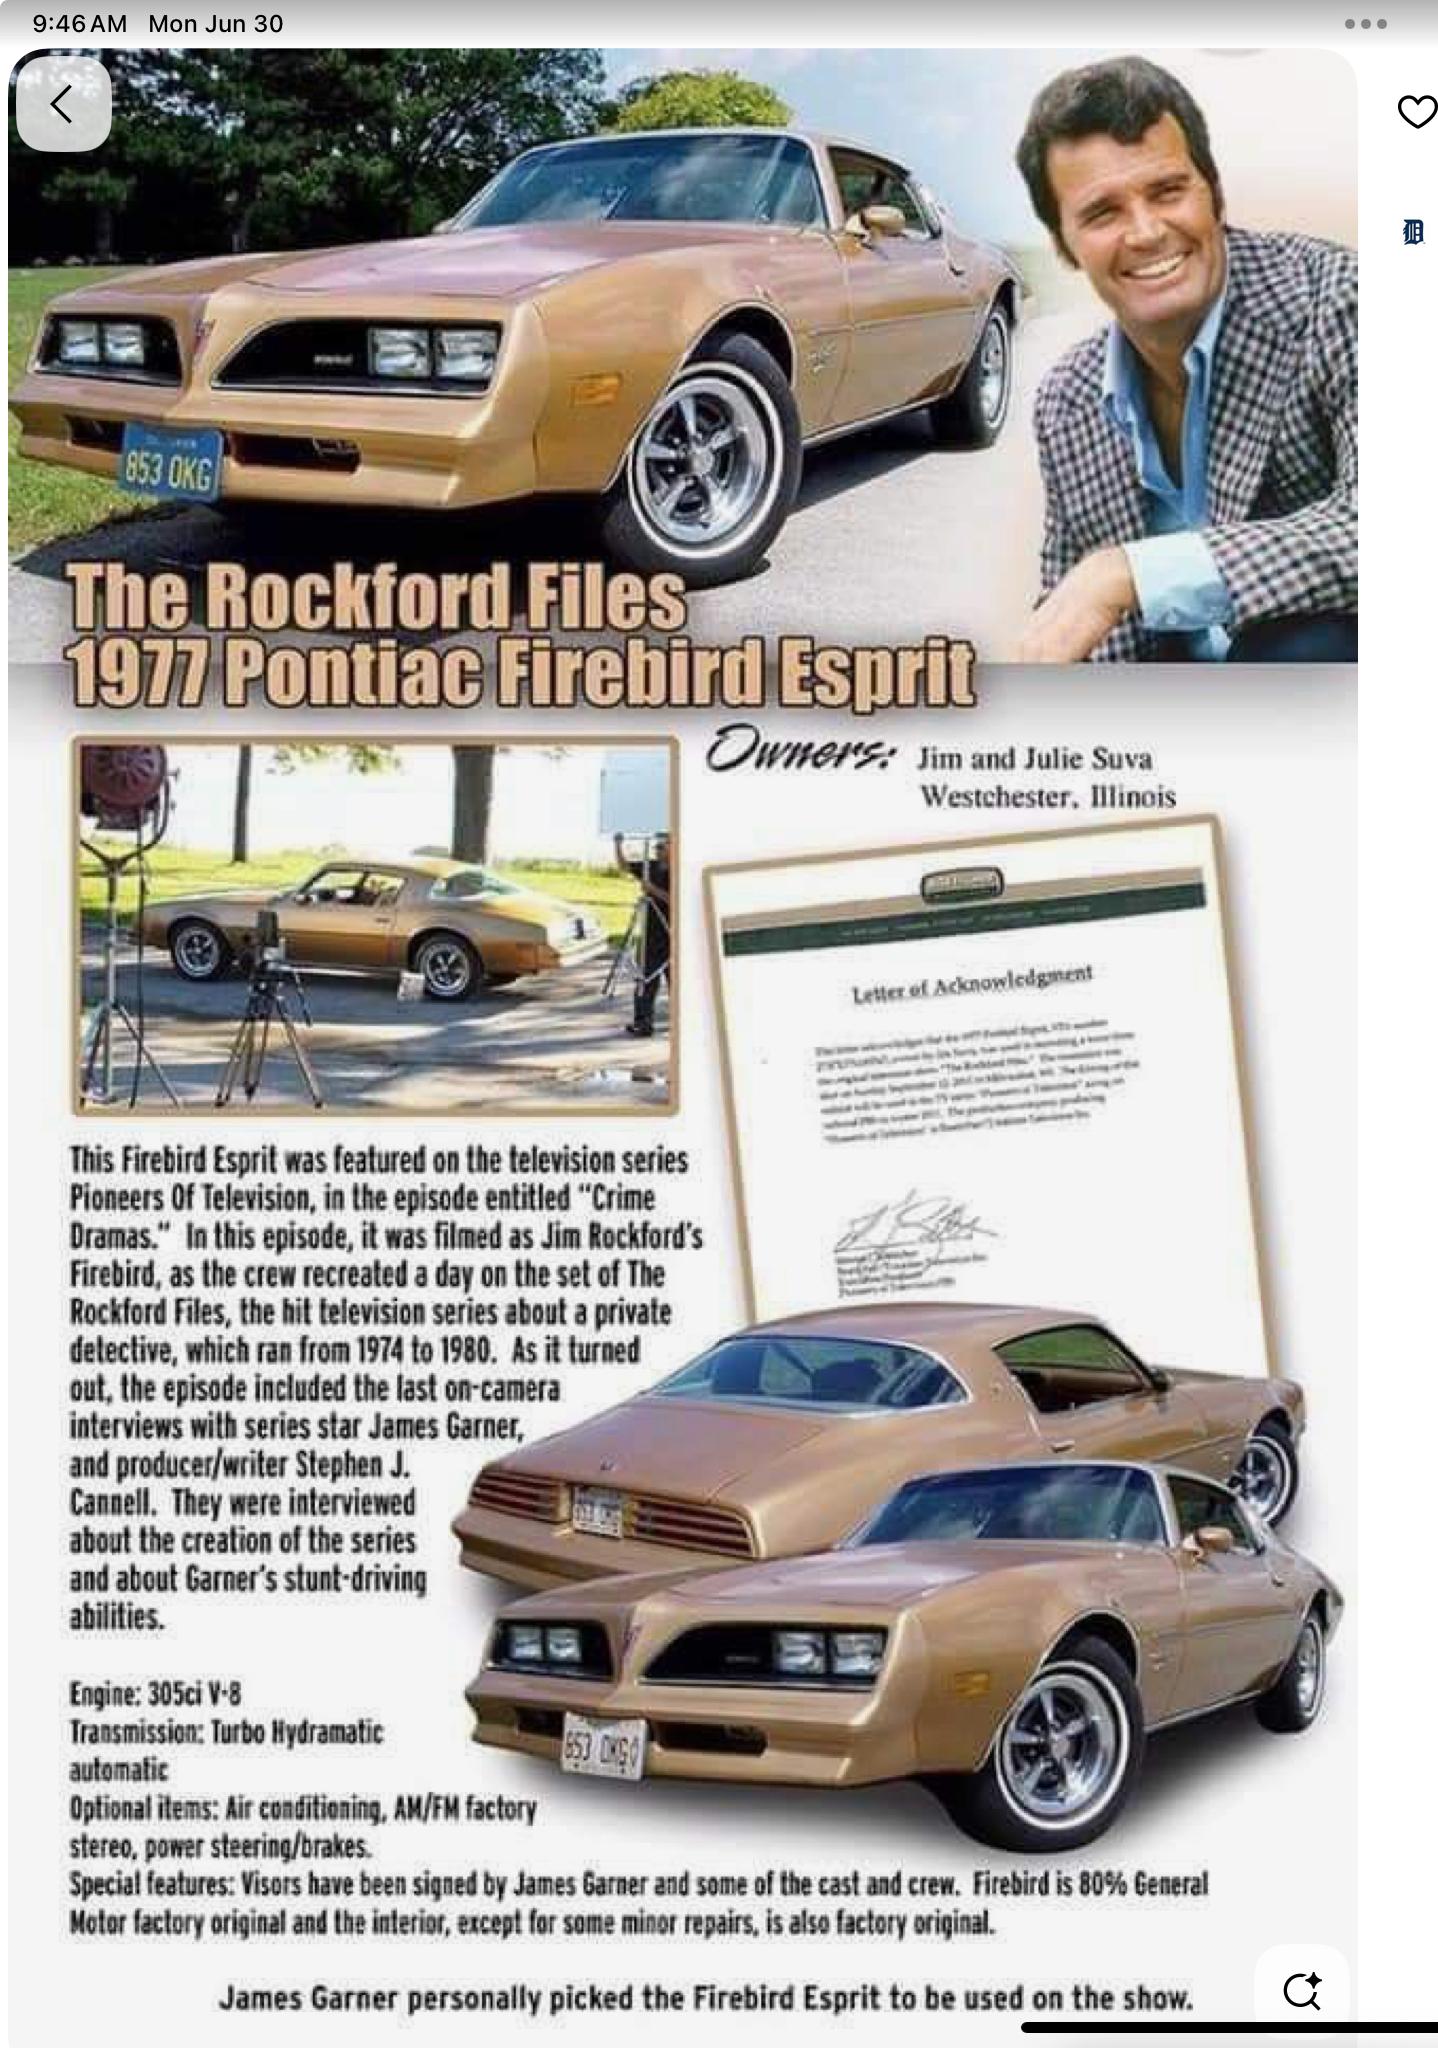
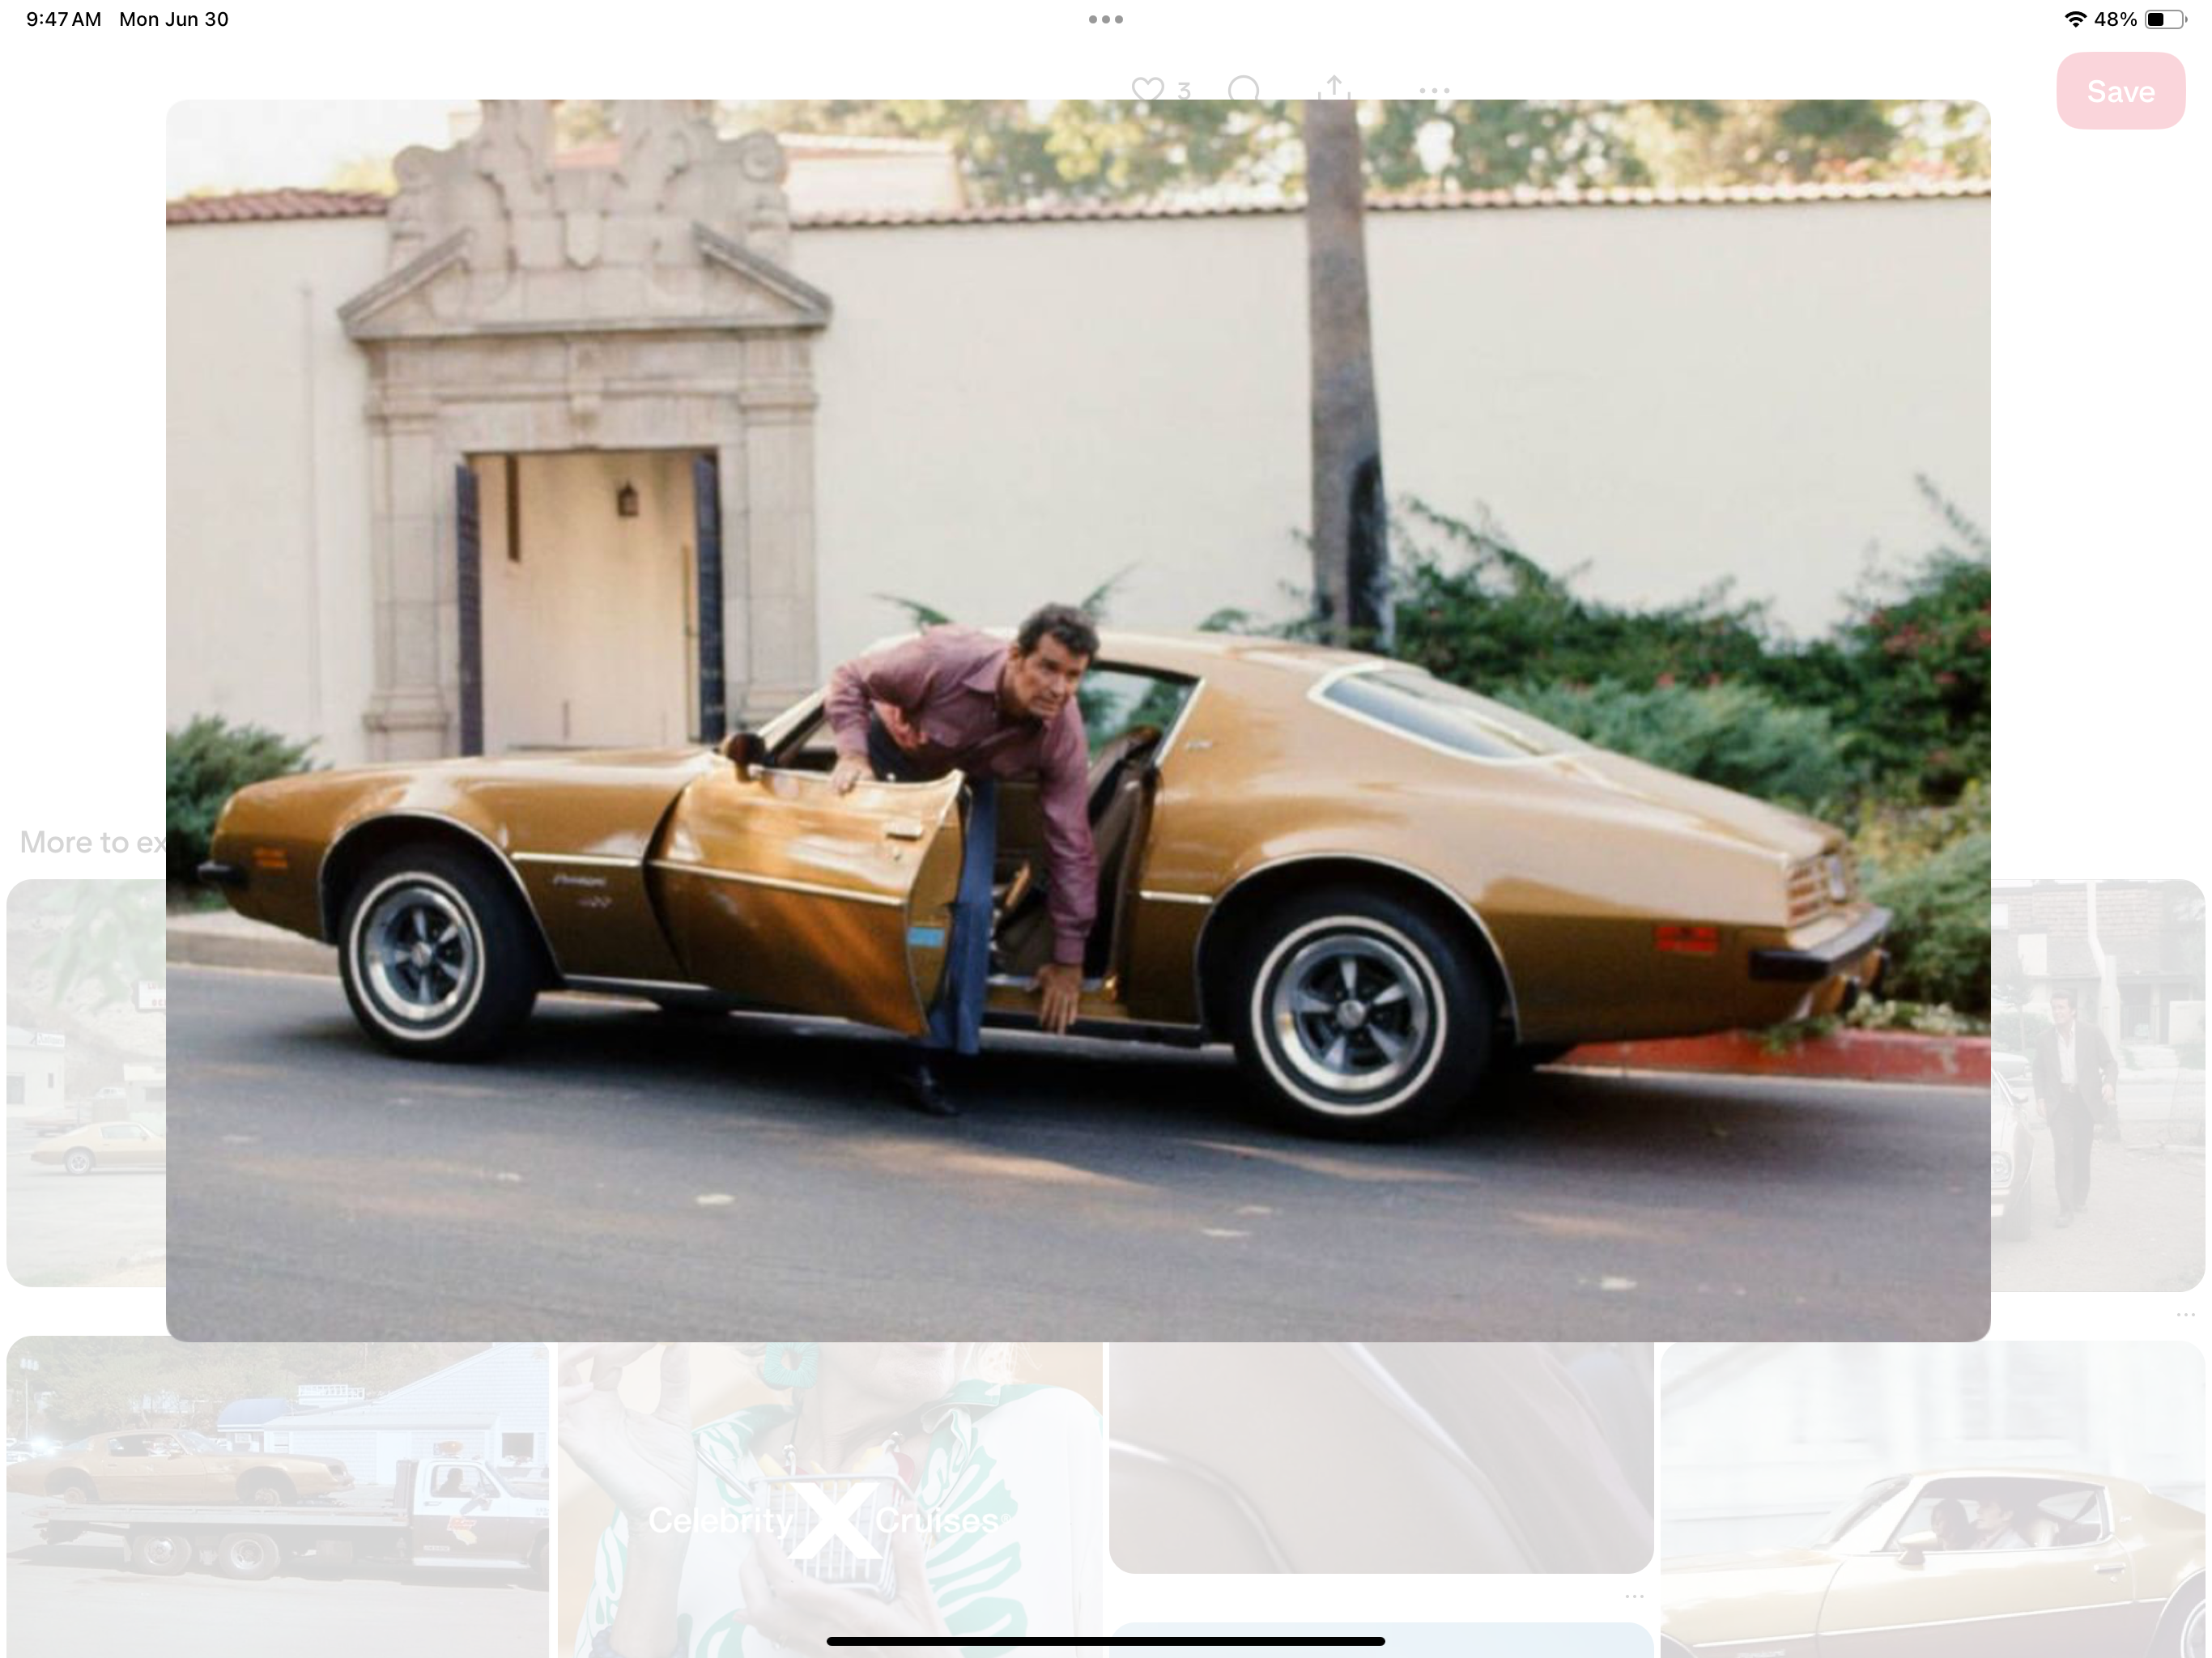
There have been other builds on here that explain all the info on why James Garner chose the lower end car vs the T/A for his working class Pi character. This Formula/Esprit Firebird has custom sierra gold paint and a nice Pontiac v8. I like the ‘77 year of headlight cluster so this is my favourite Firebird used.
-
For my next trick… I have been hinting at messing with a Firebird Trans Am to dial back down into Rockford’s ‘77 version while doing my last build. So now this is an official build. Jim’s been waiting…
-
Cheers, thanks for your support I am an outsider, non IPMS member and don’t know a soul there, so I consider that a big win! some really amazing models displayed
-
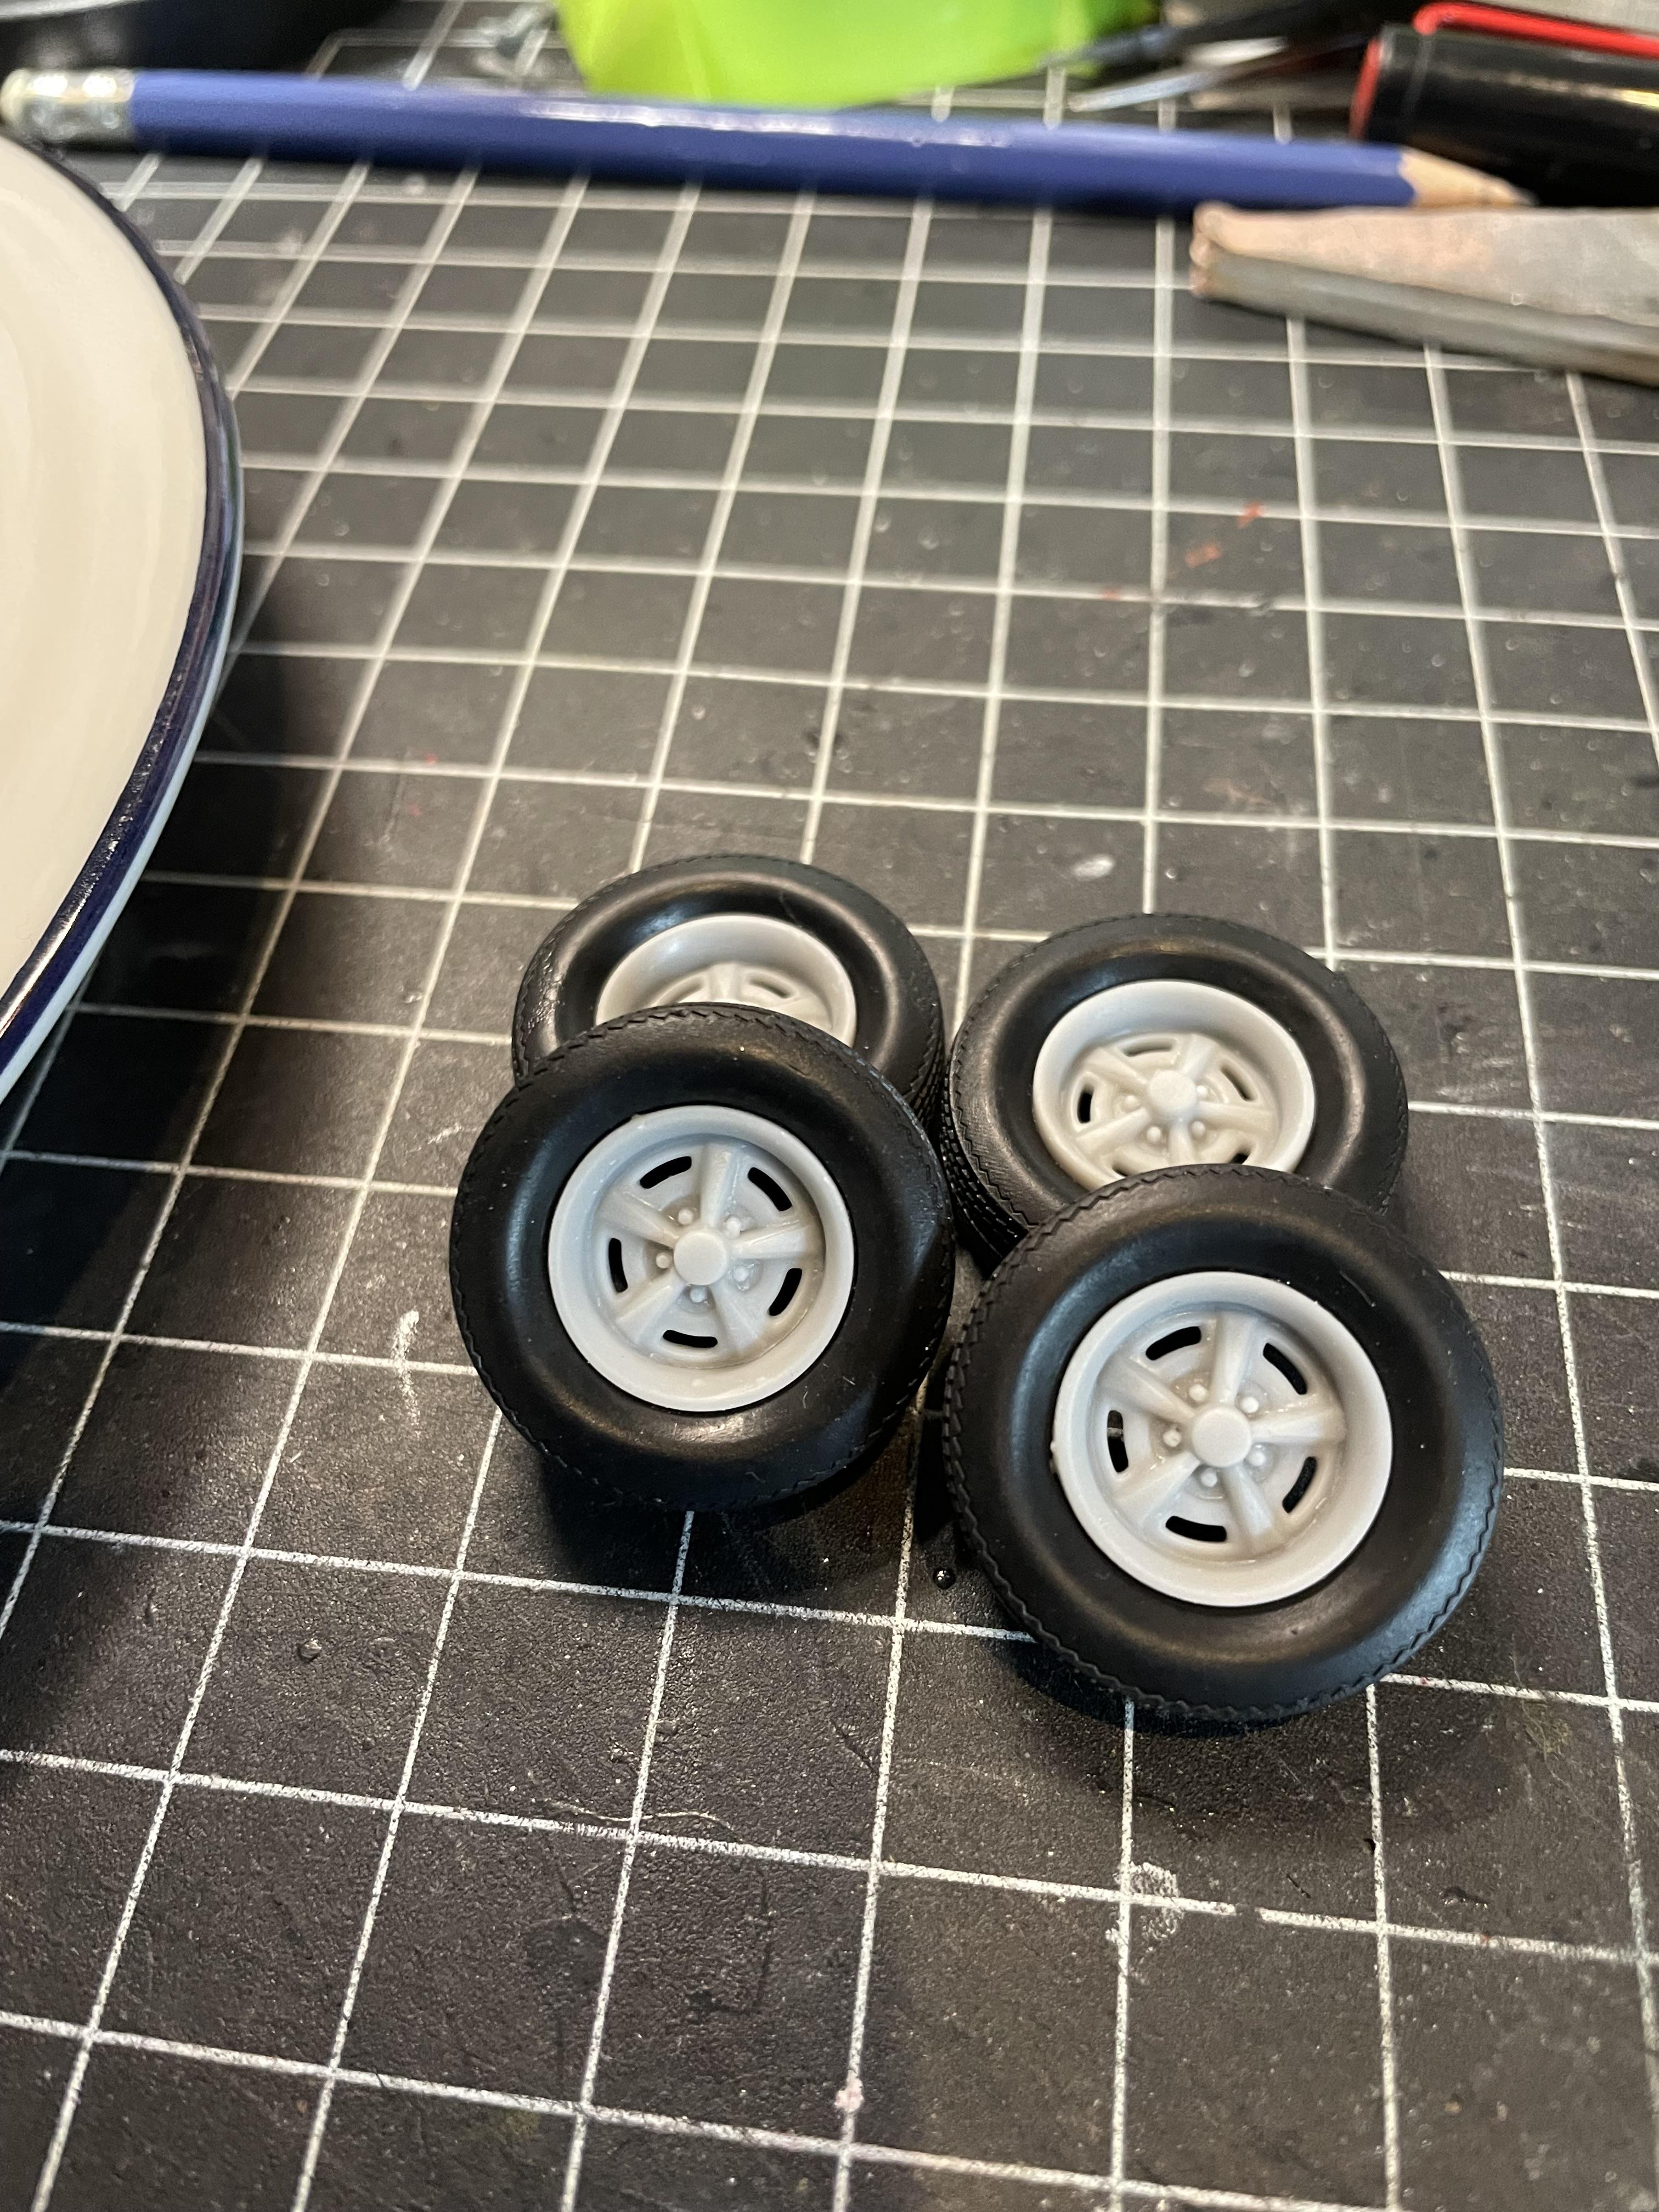
I got three things at IPMS Vancouver show today A figure that I can make into Jim Rockford and the proper Pontiac Firebird resin wheels for his car. all For $10, that is a good deal! Oh, and I got a wibbon
- 39,121 replies
-
- 10
-

-
- johan
- glue bombs
- (and 1 more)
-
IPMS Vancouver today I got there just in time for entry so in the back
-
Of course now Those look REALLY good
-
-
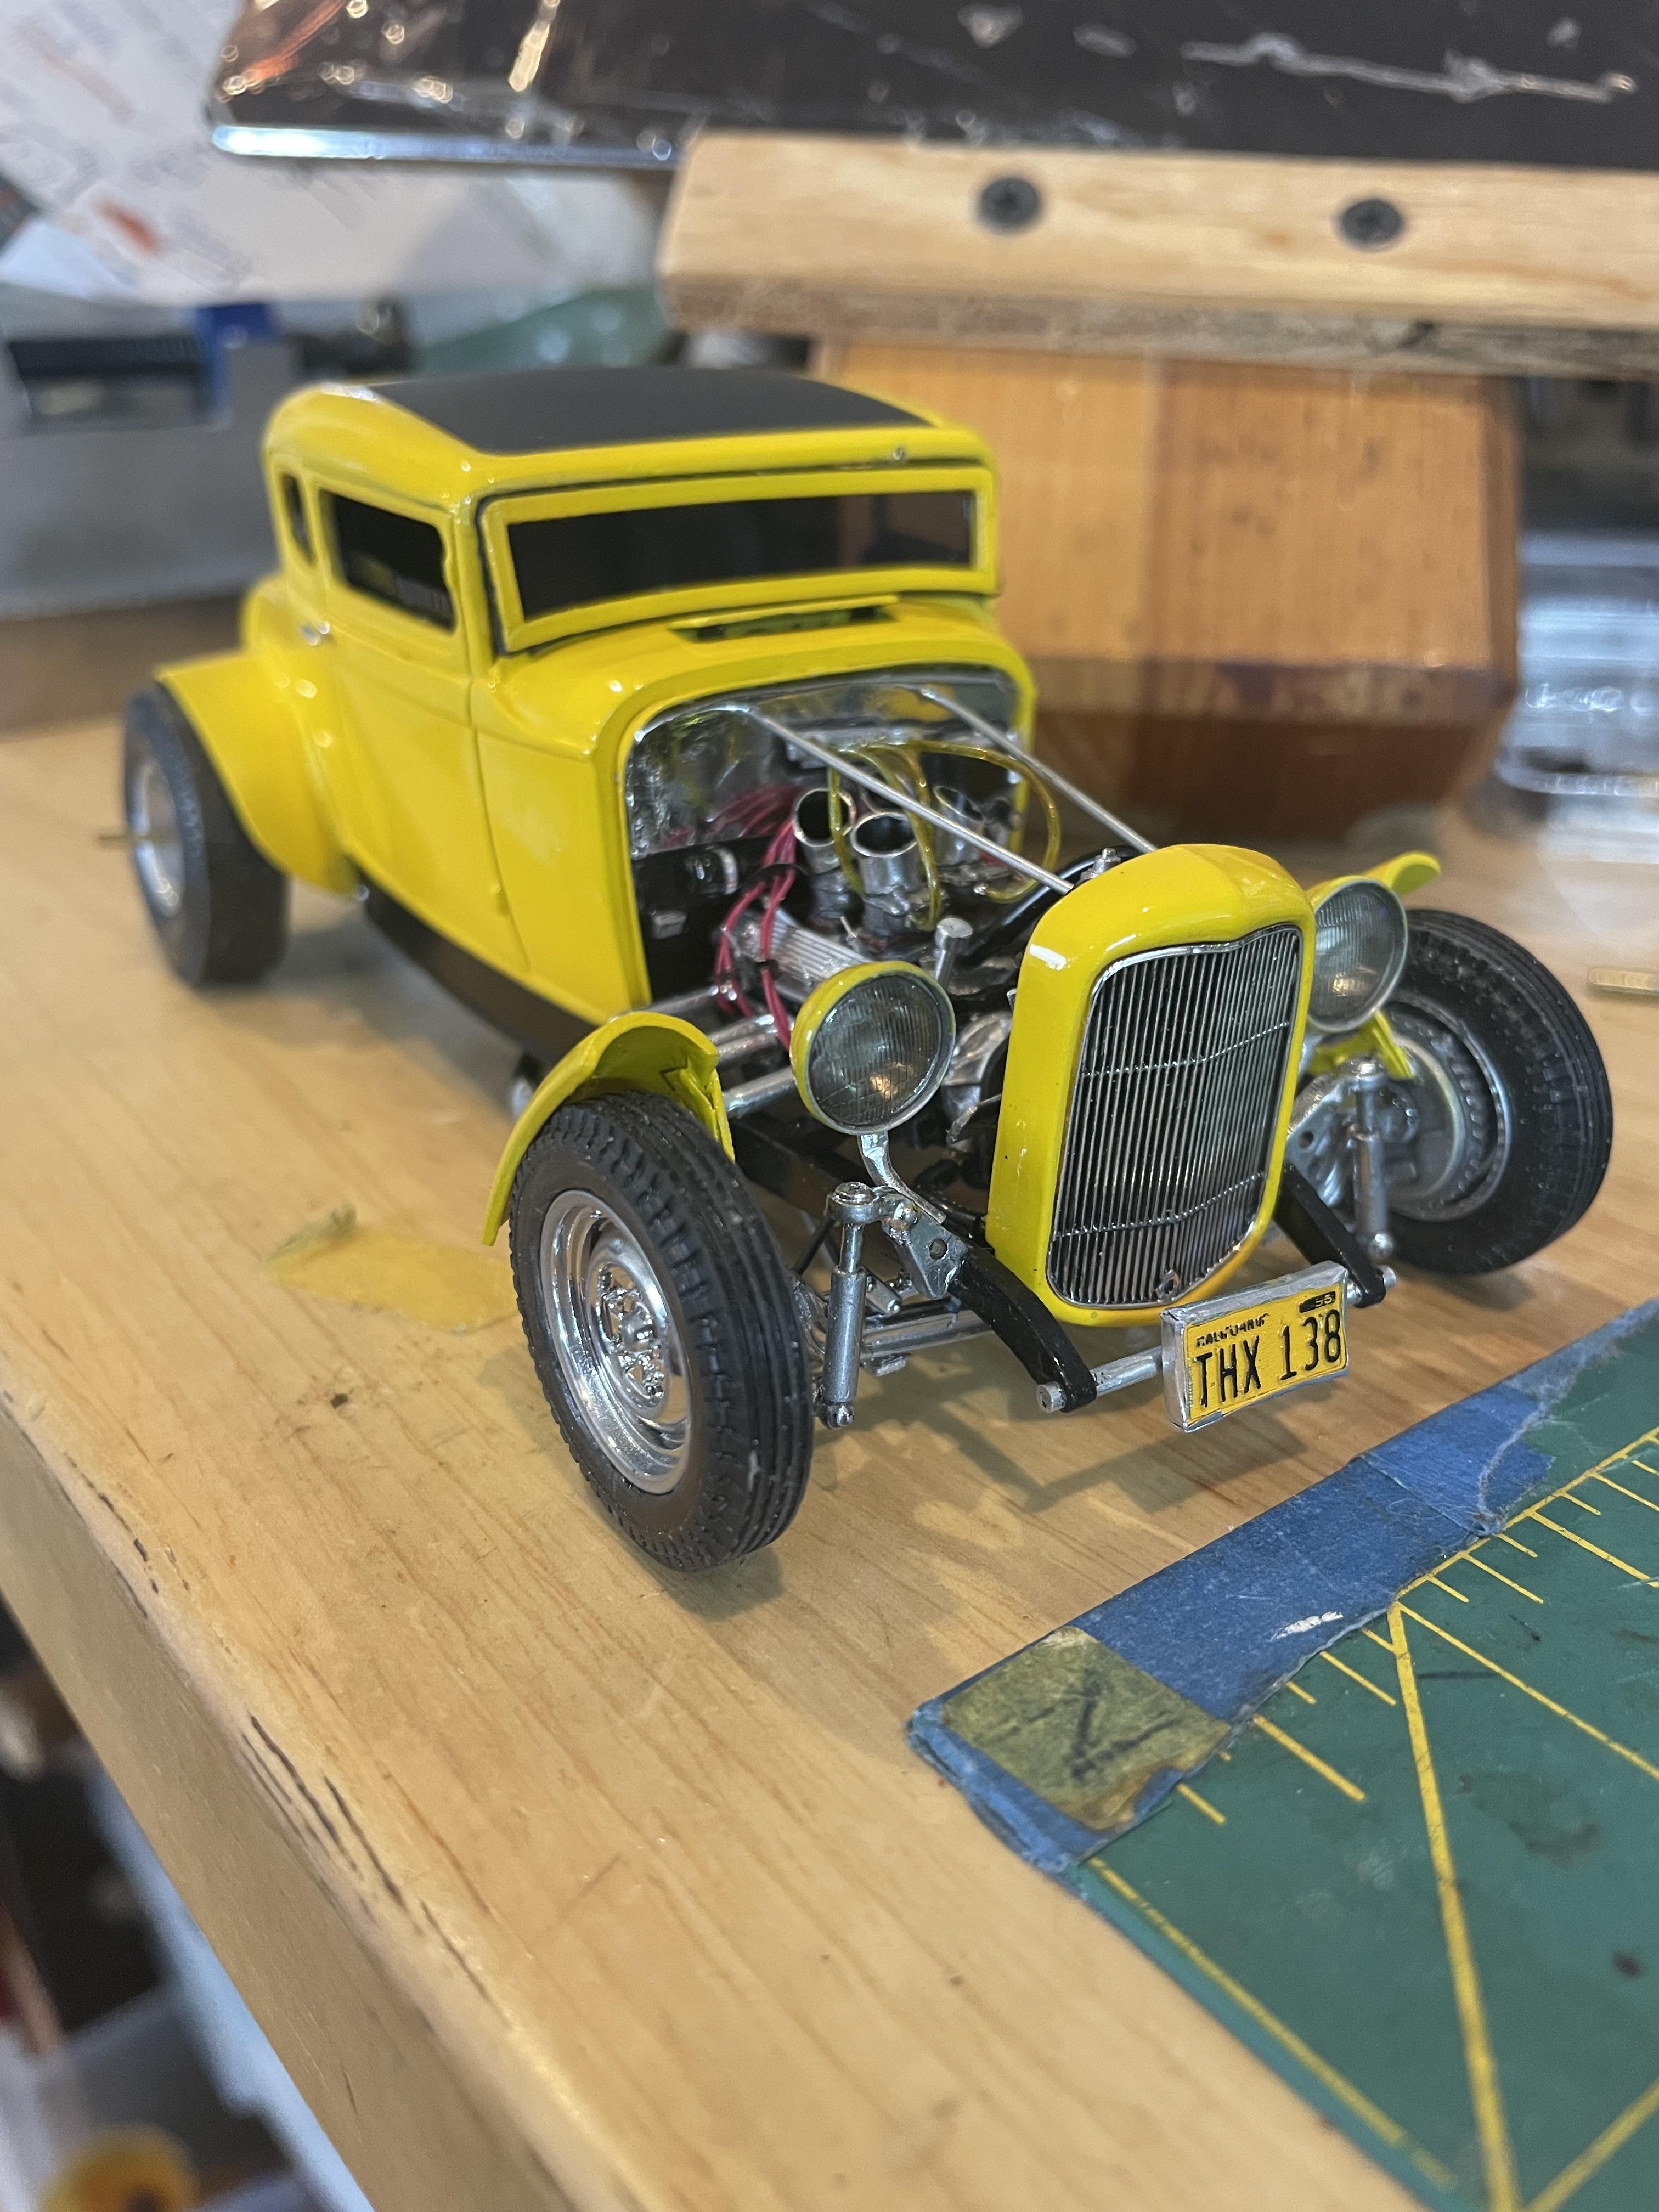
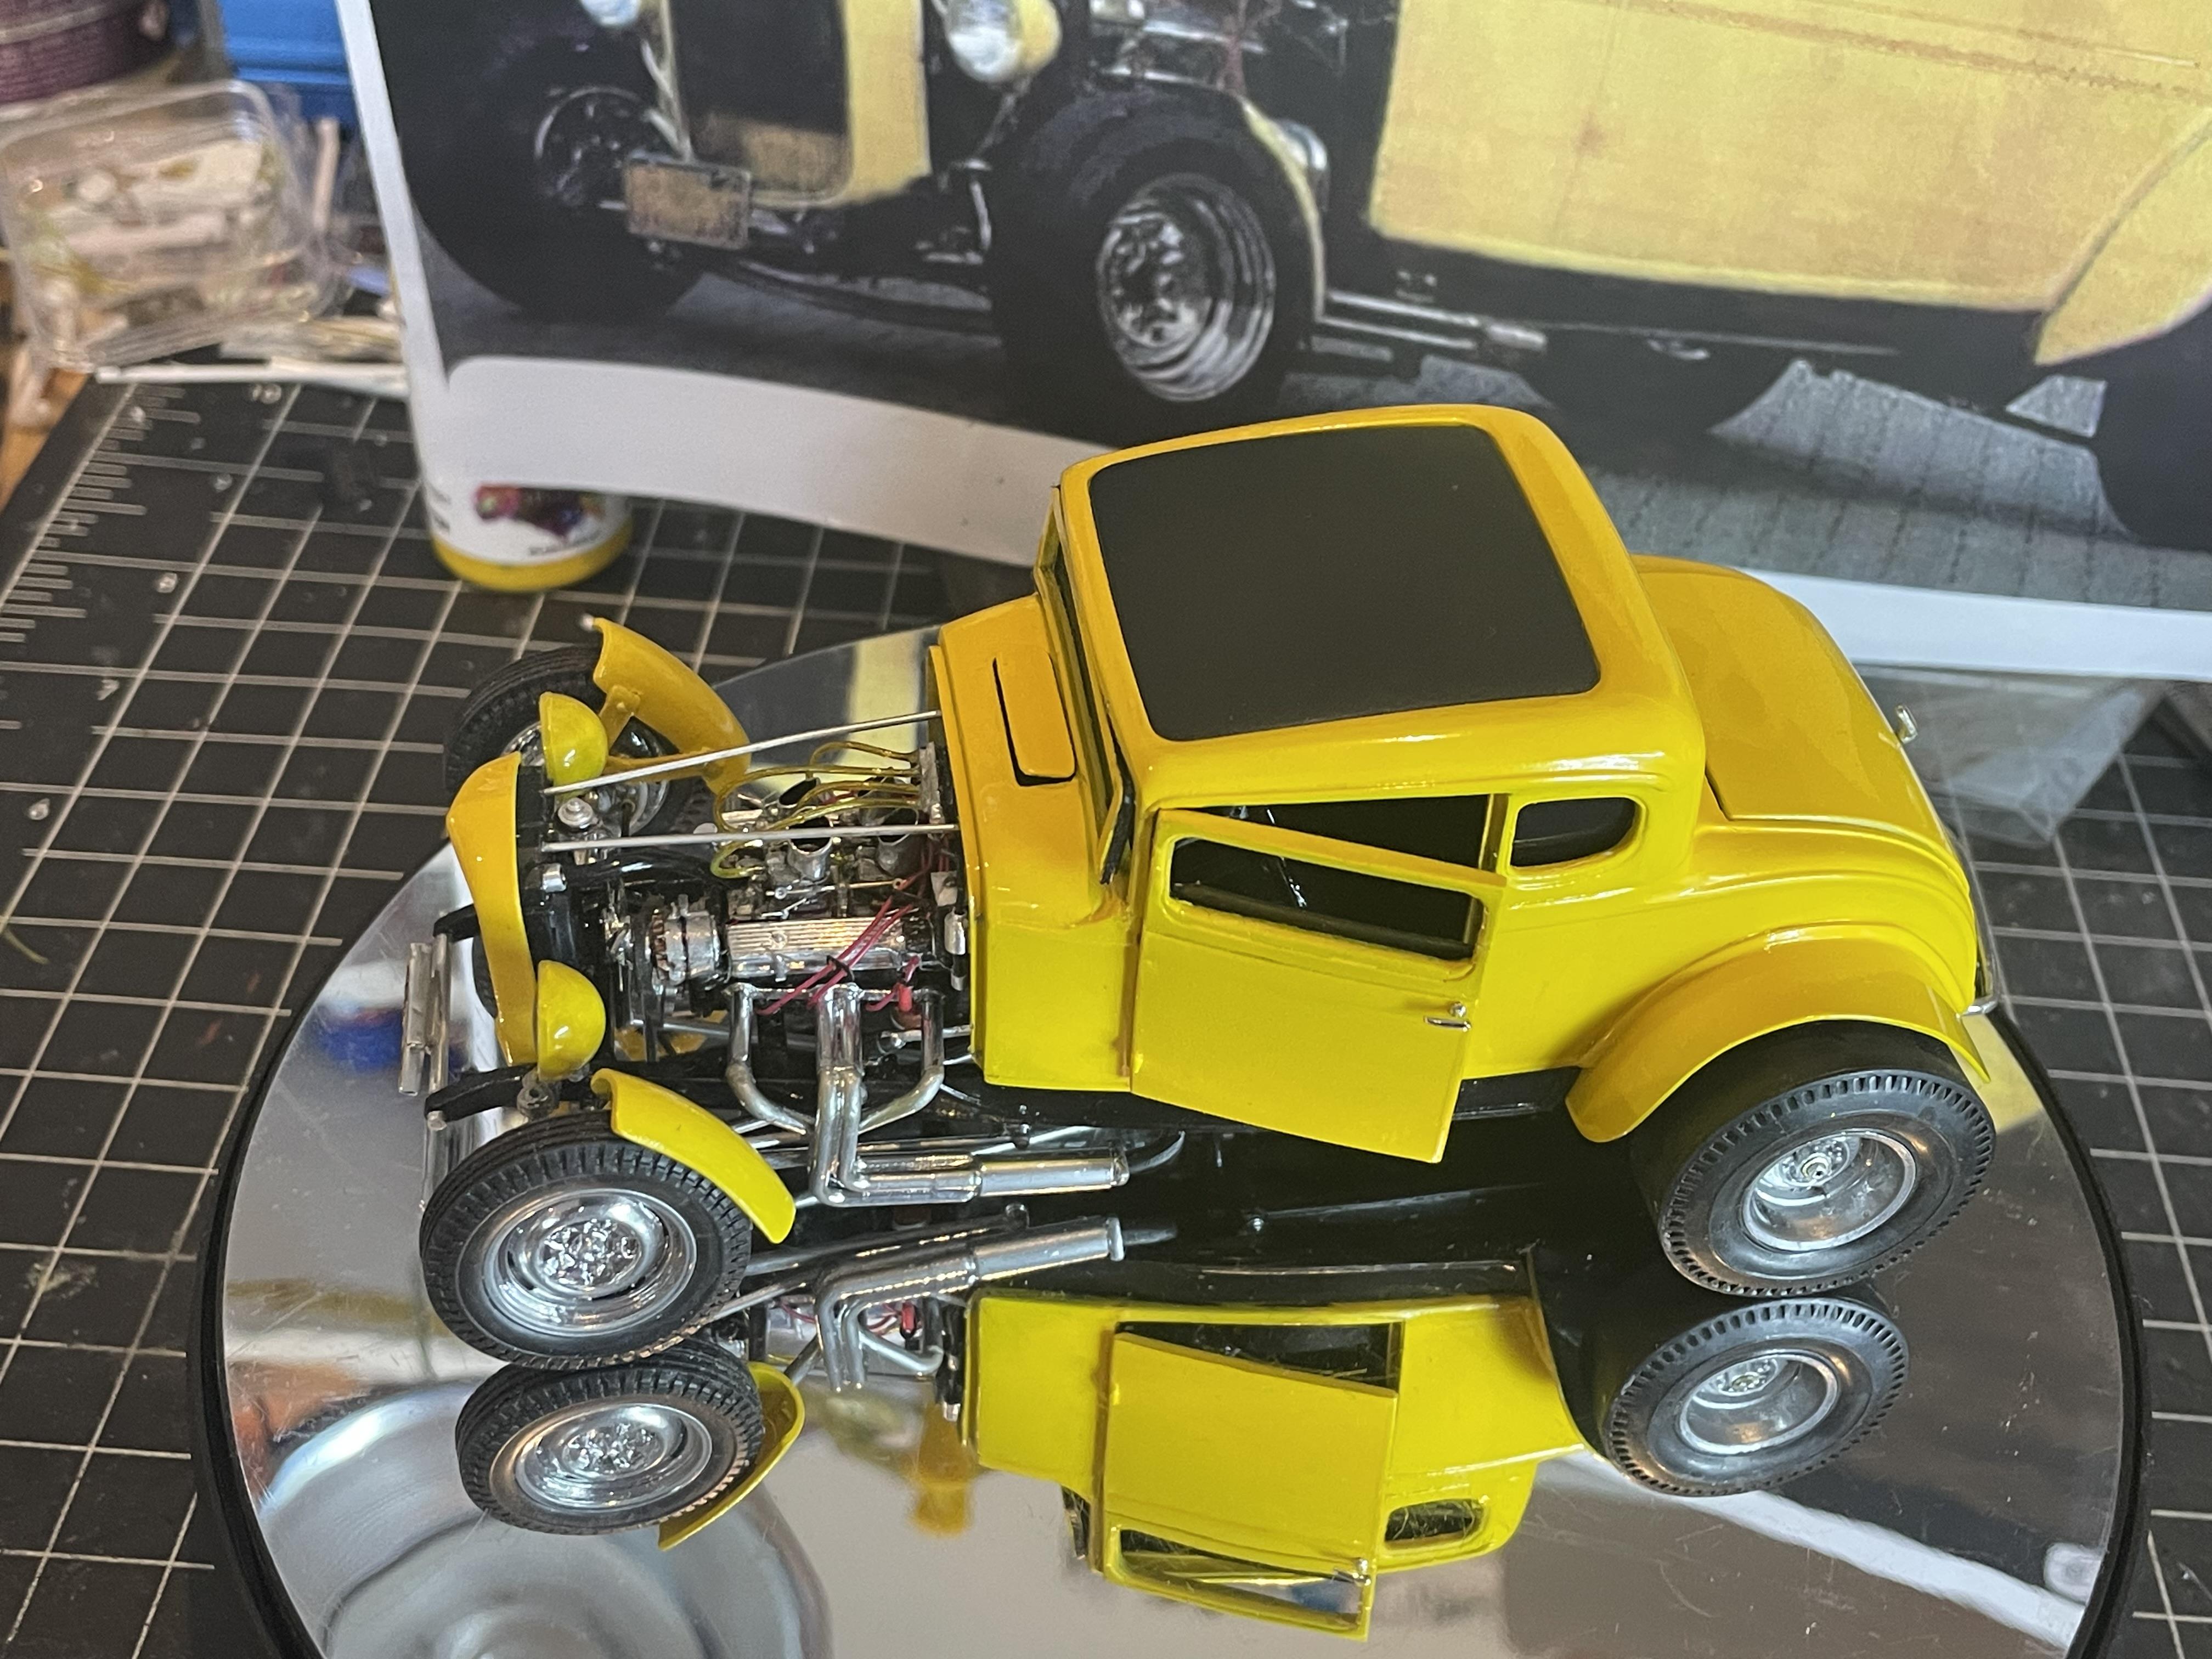
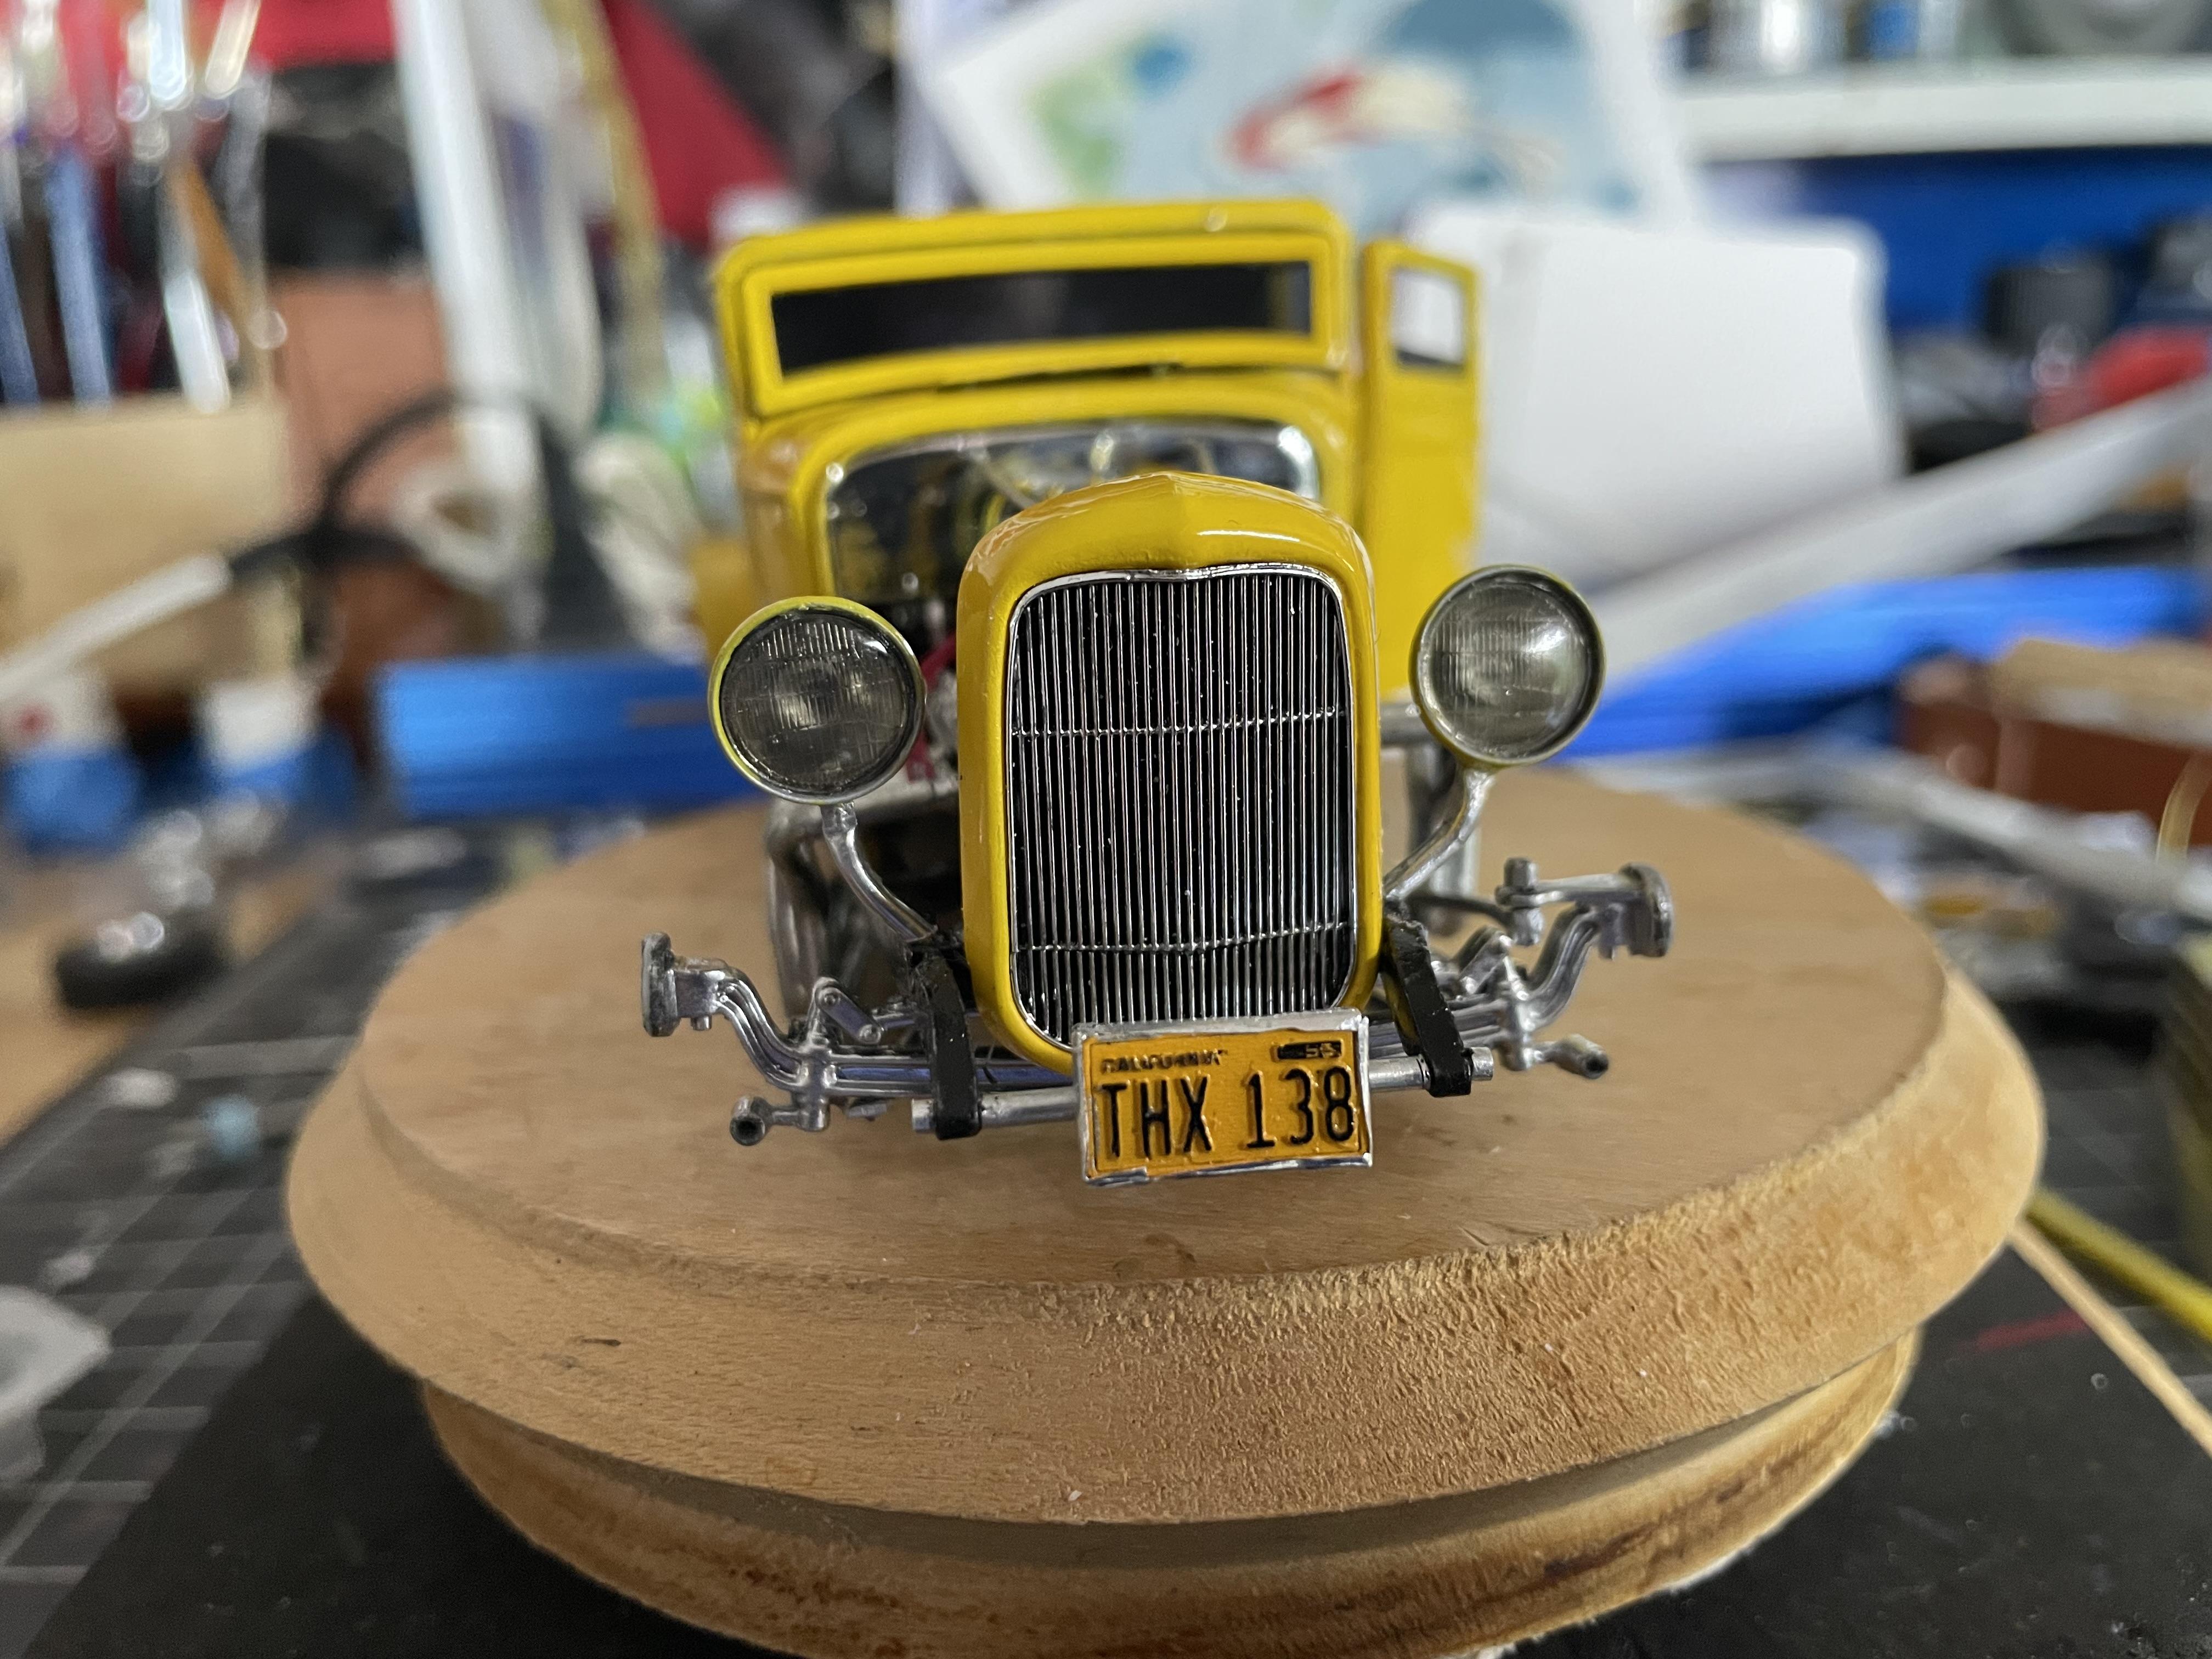
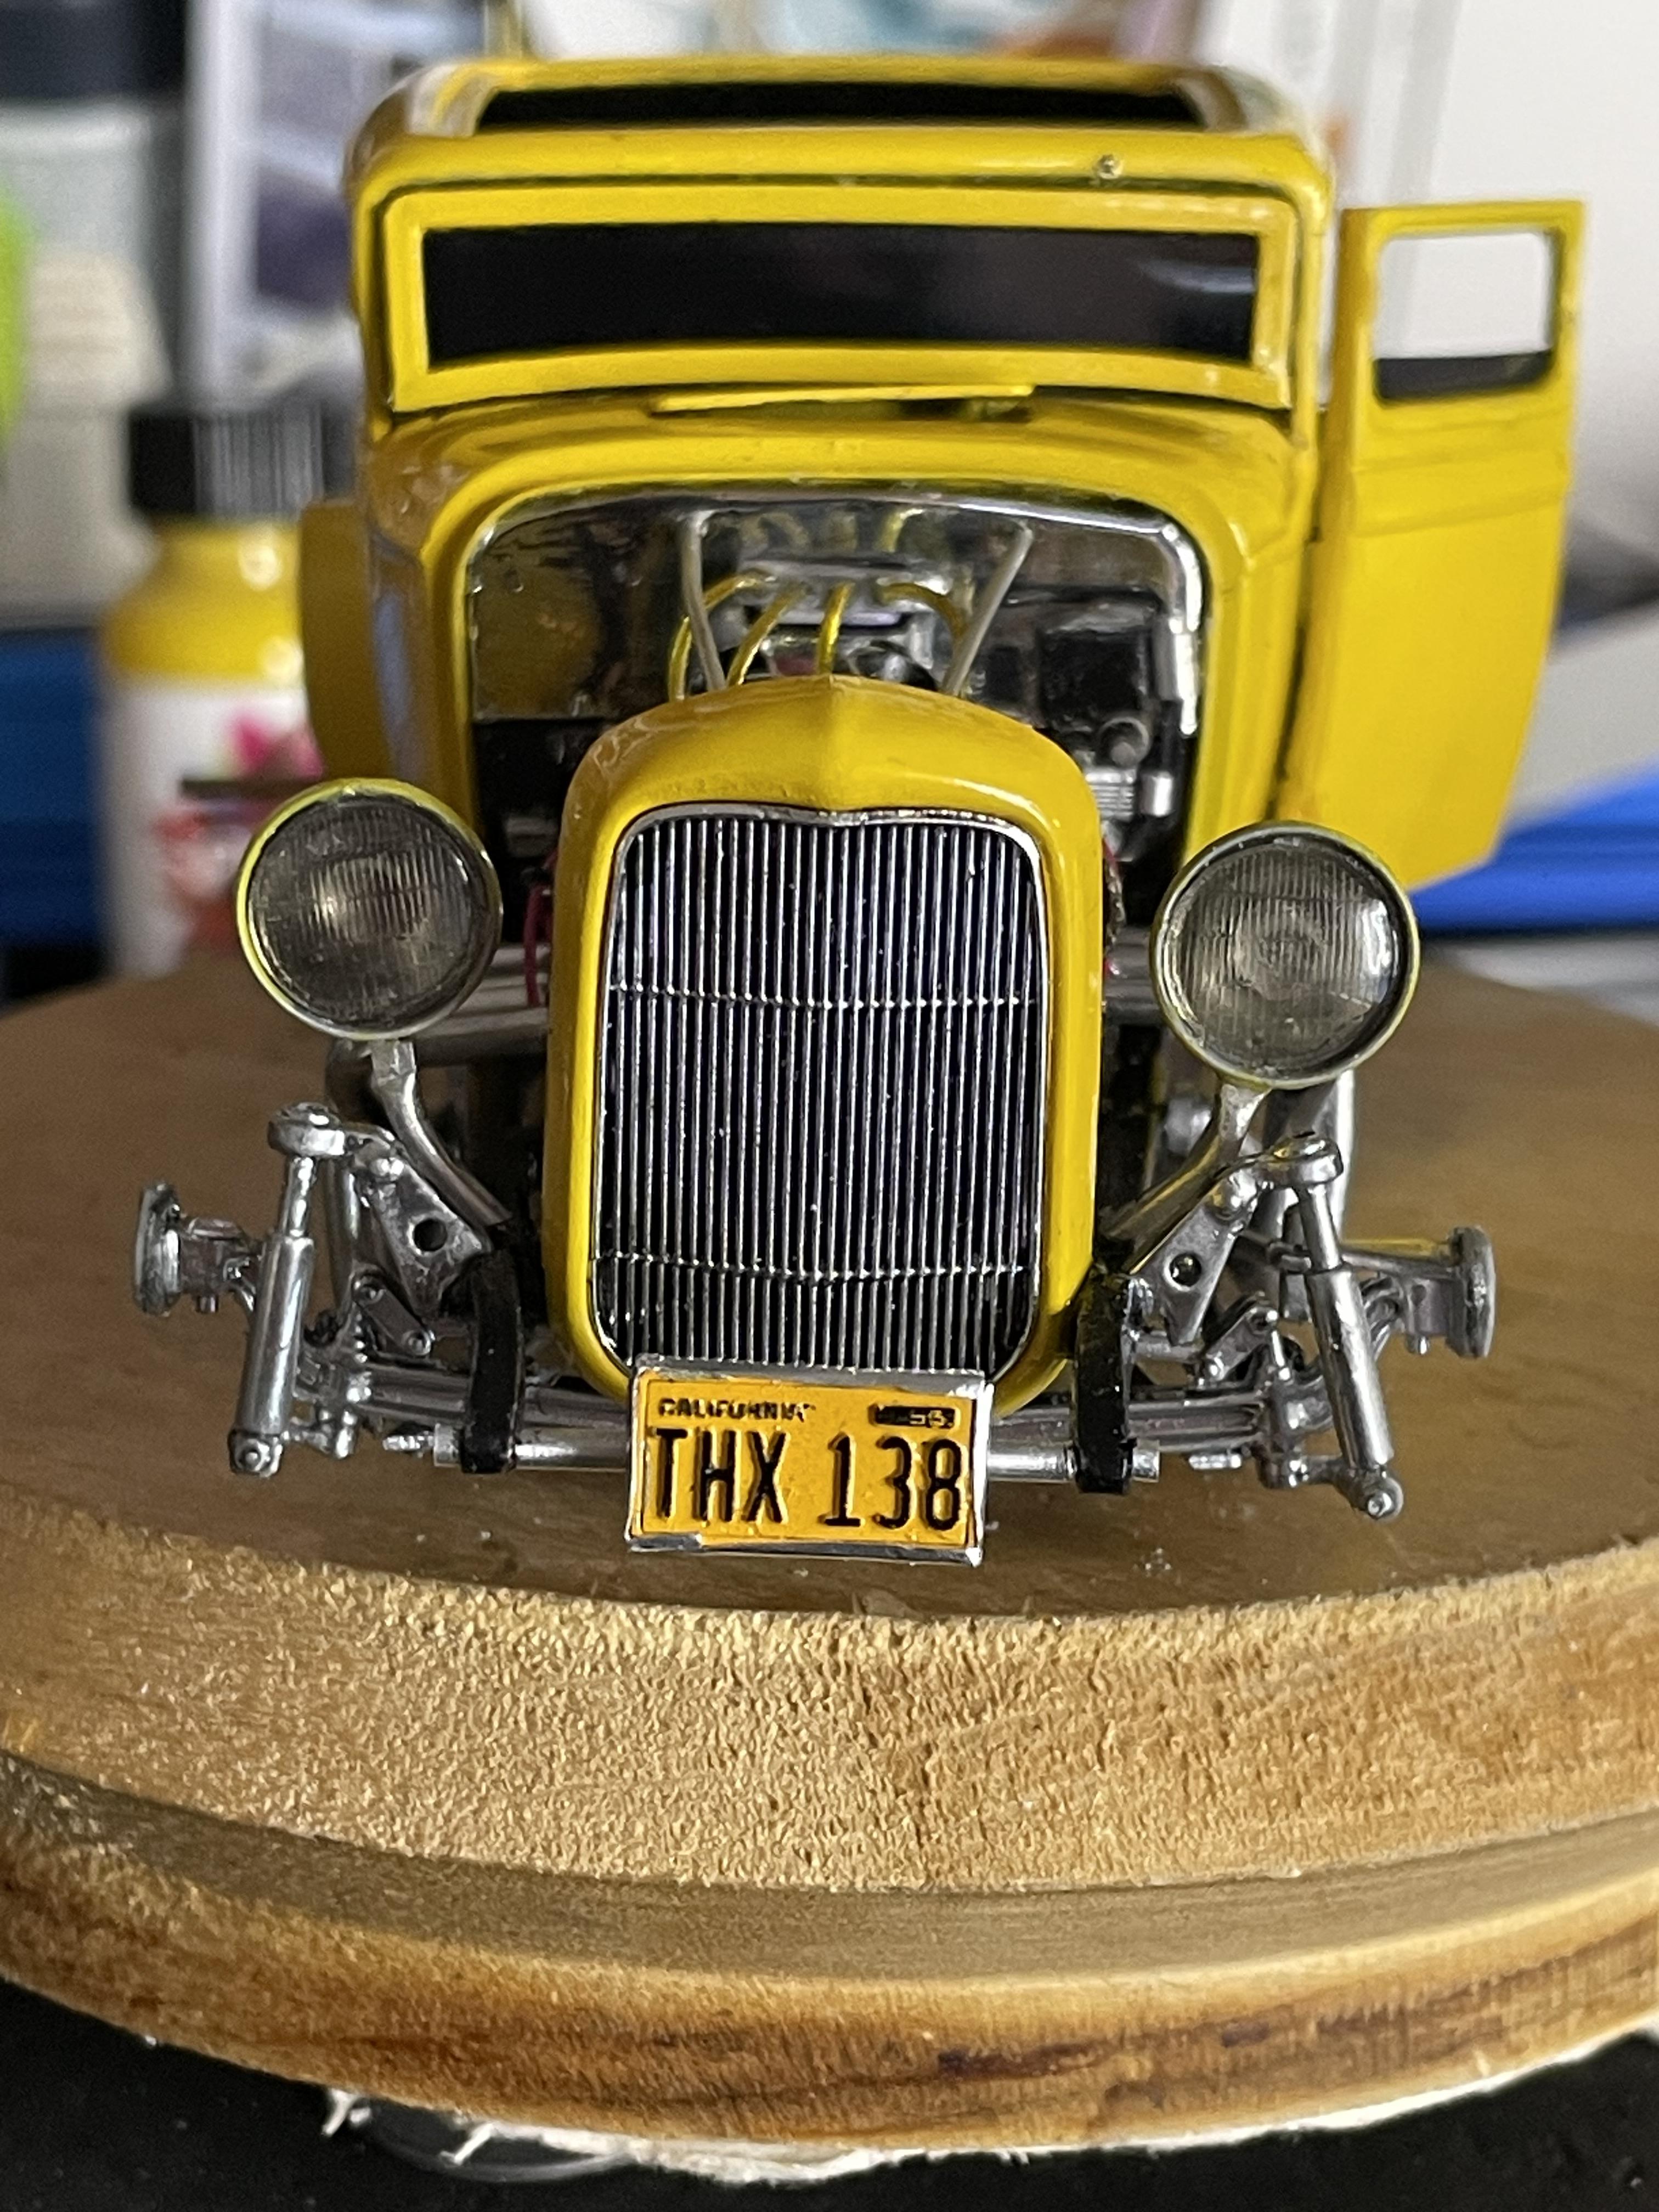
Figure and base to complete, but the car is done
-
-
So got a figure today. With some paint and mods I want to convert him into Melner Cigarette, no watch, boots, lighter hair, white t shirt with a cigarette pack in arm. That's the plan.
-
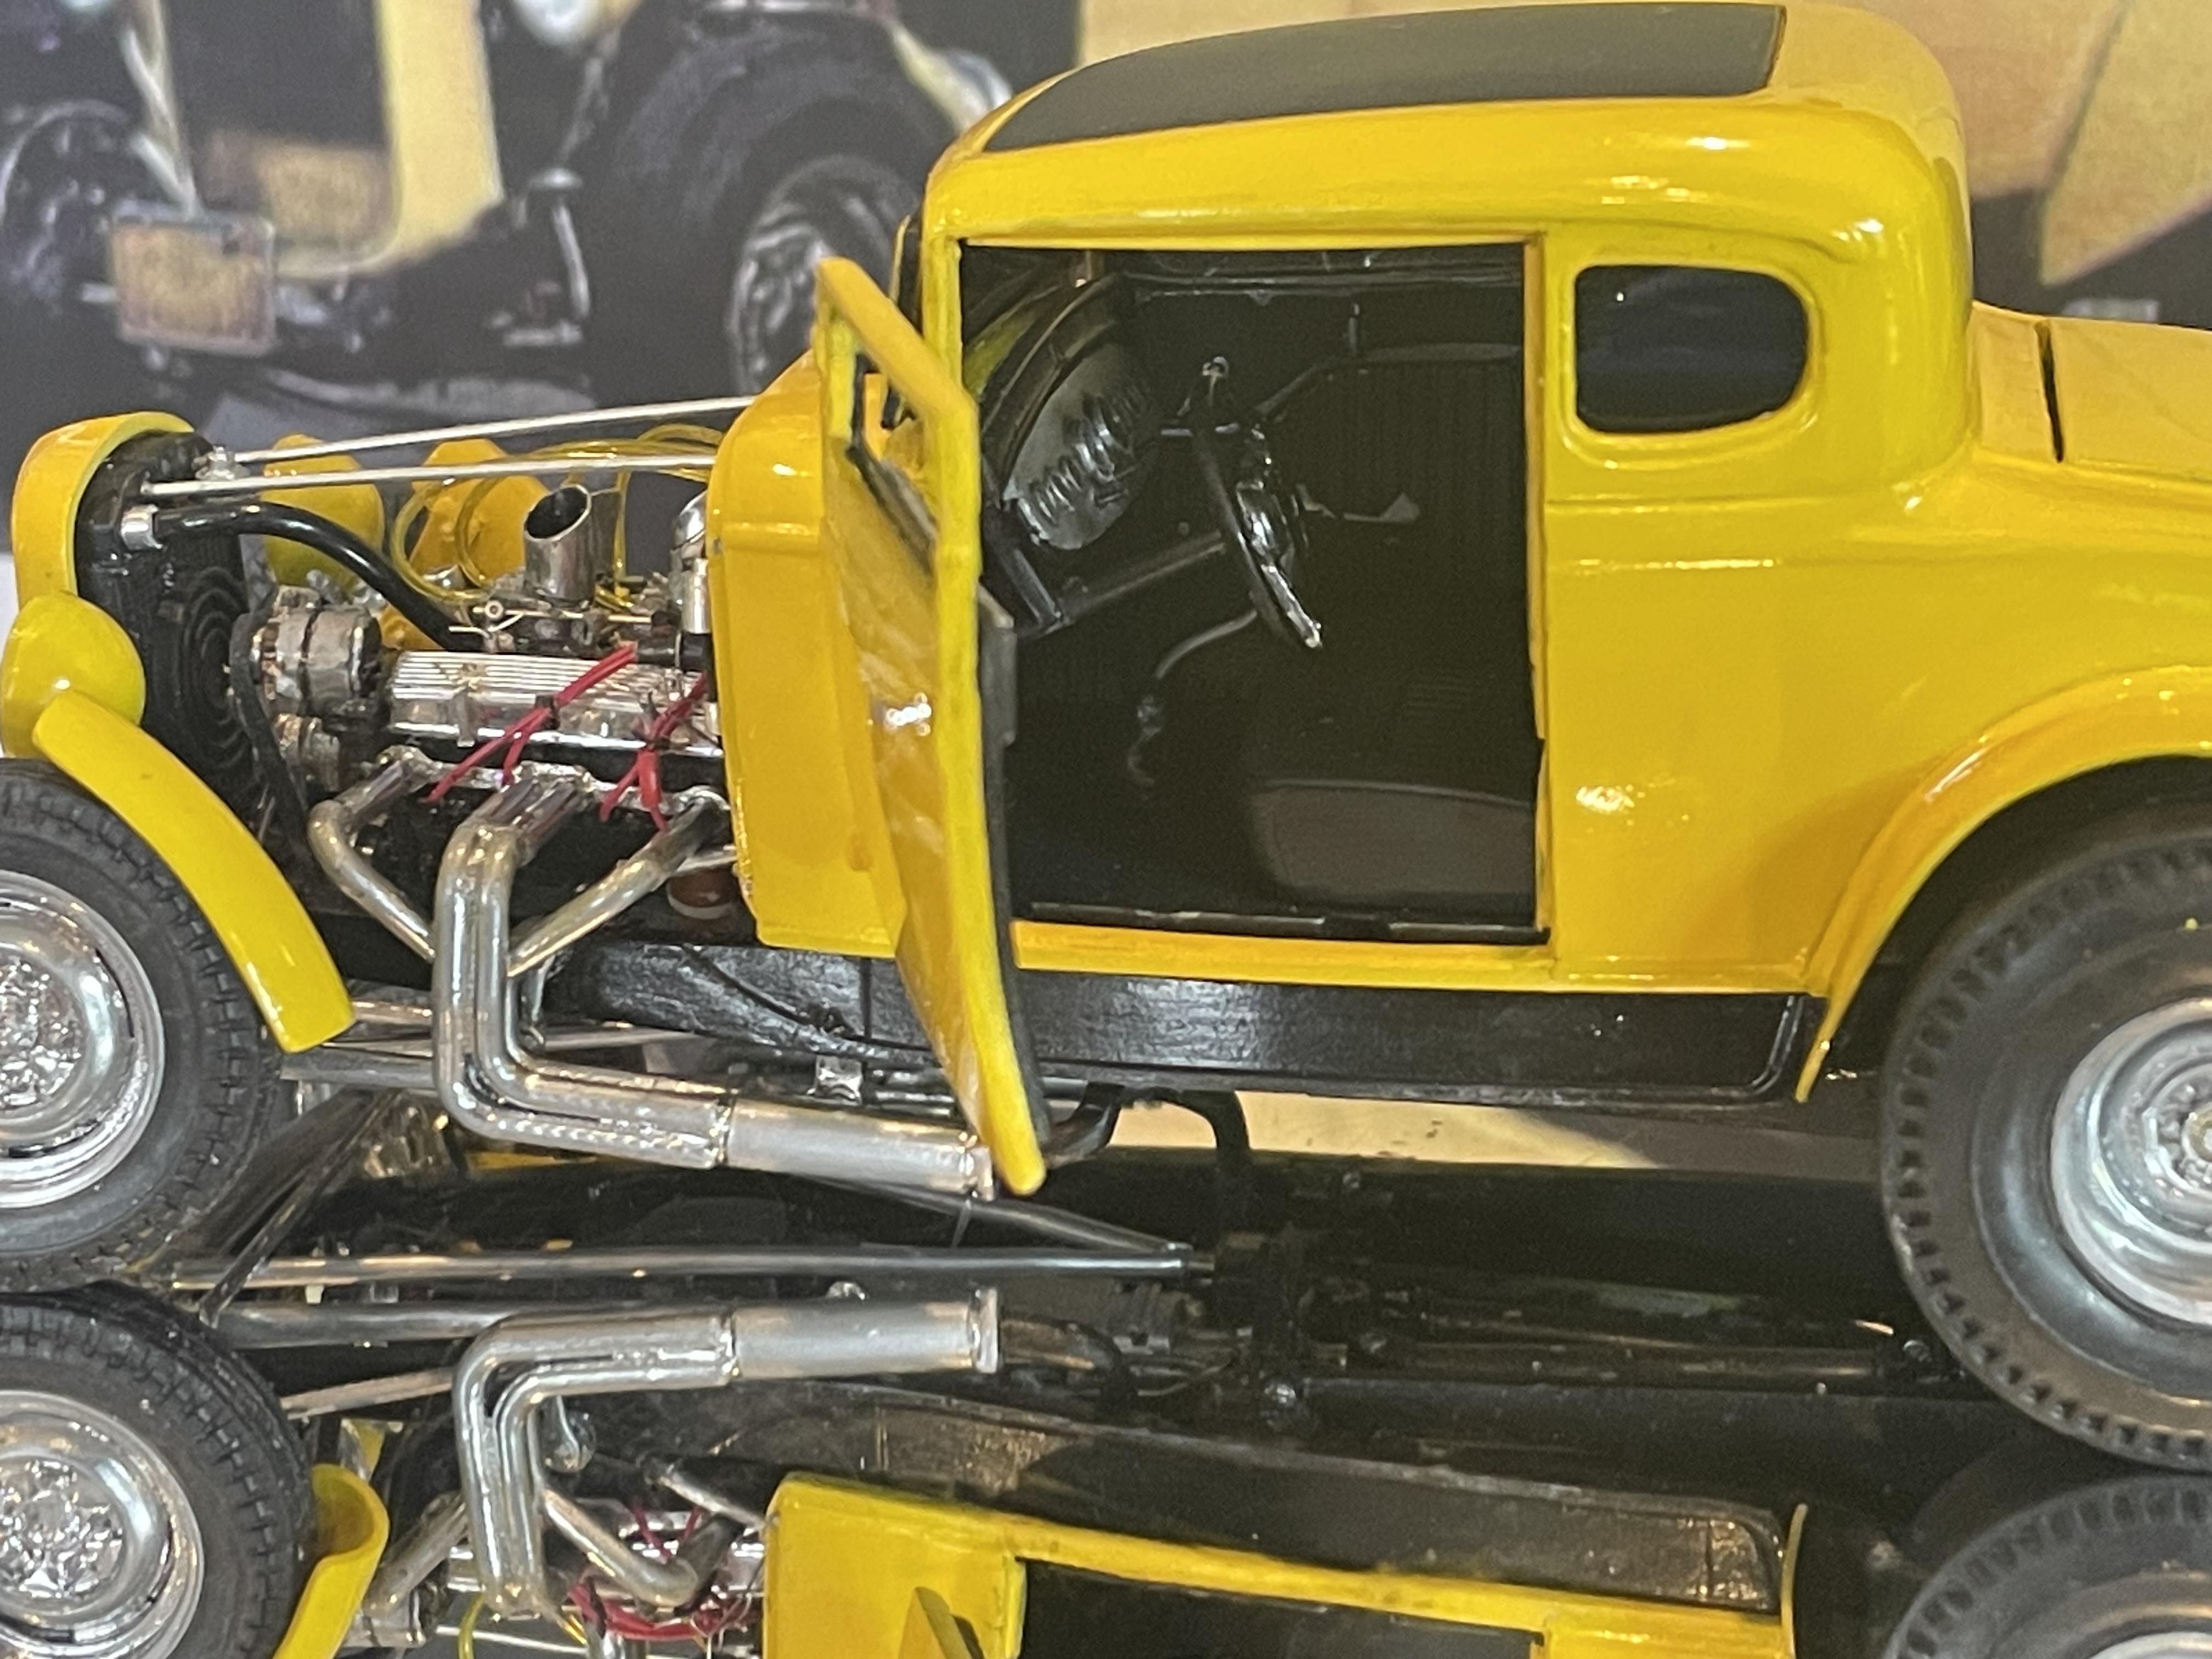
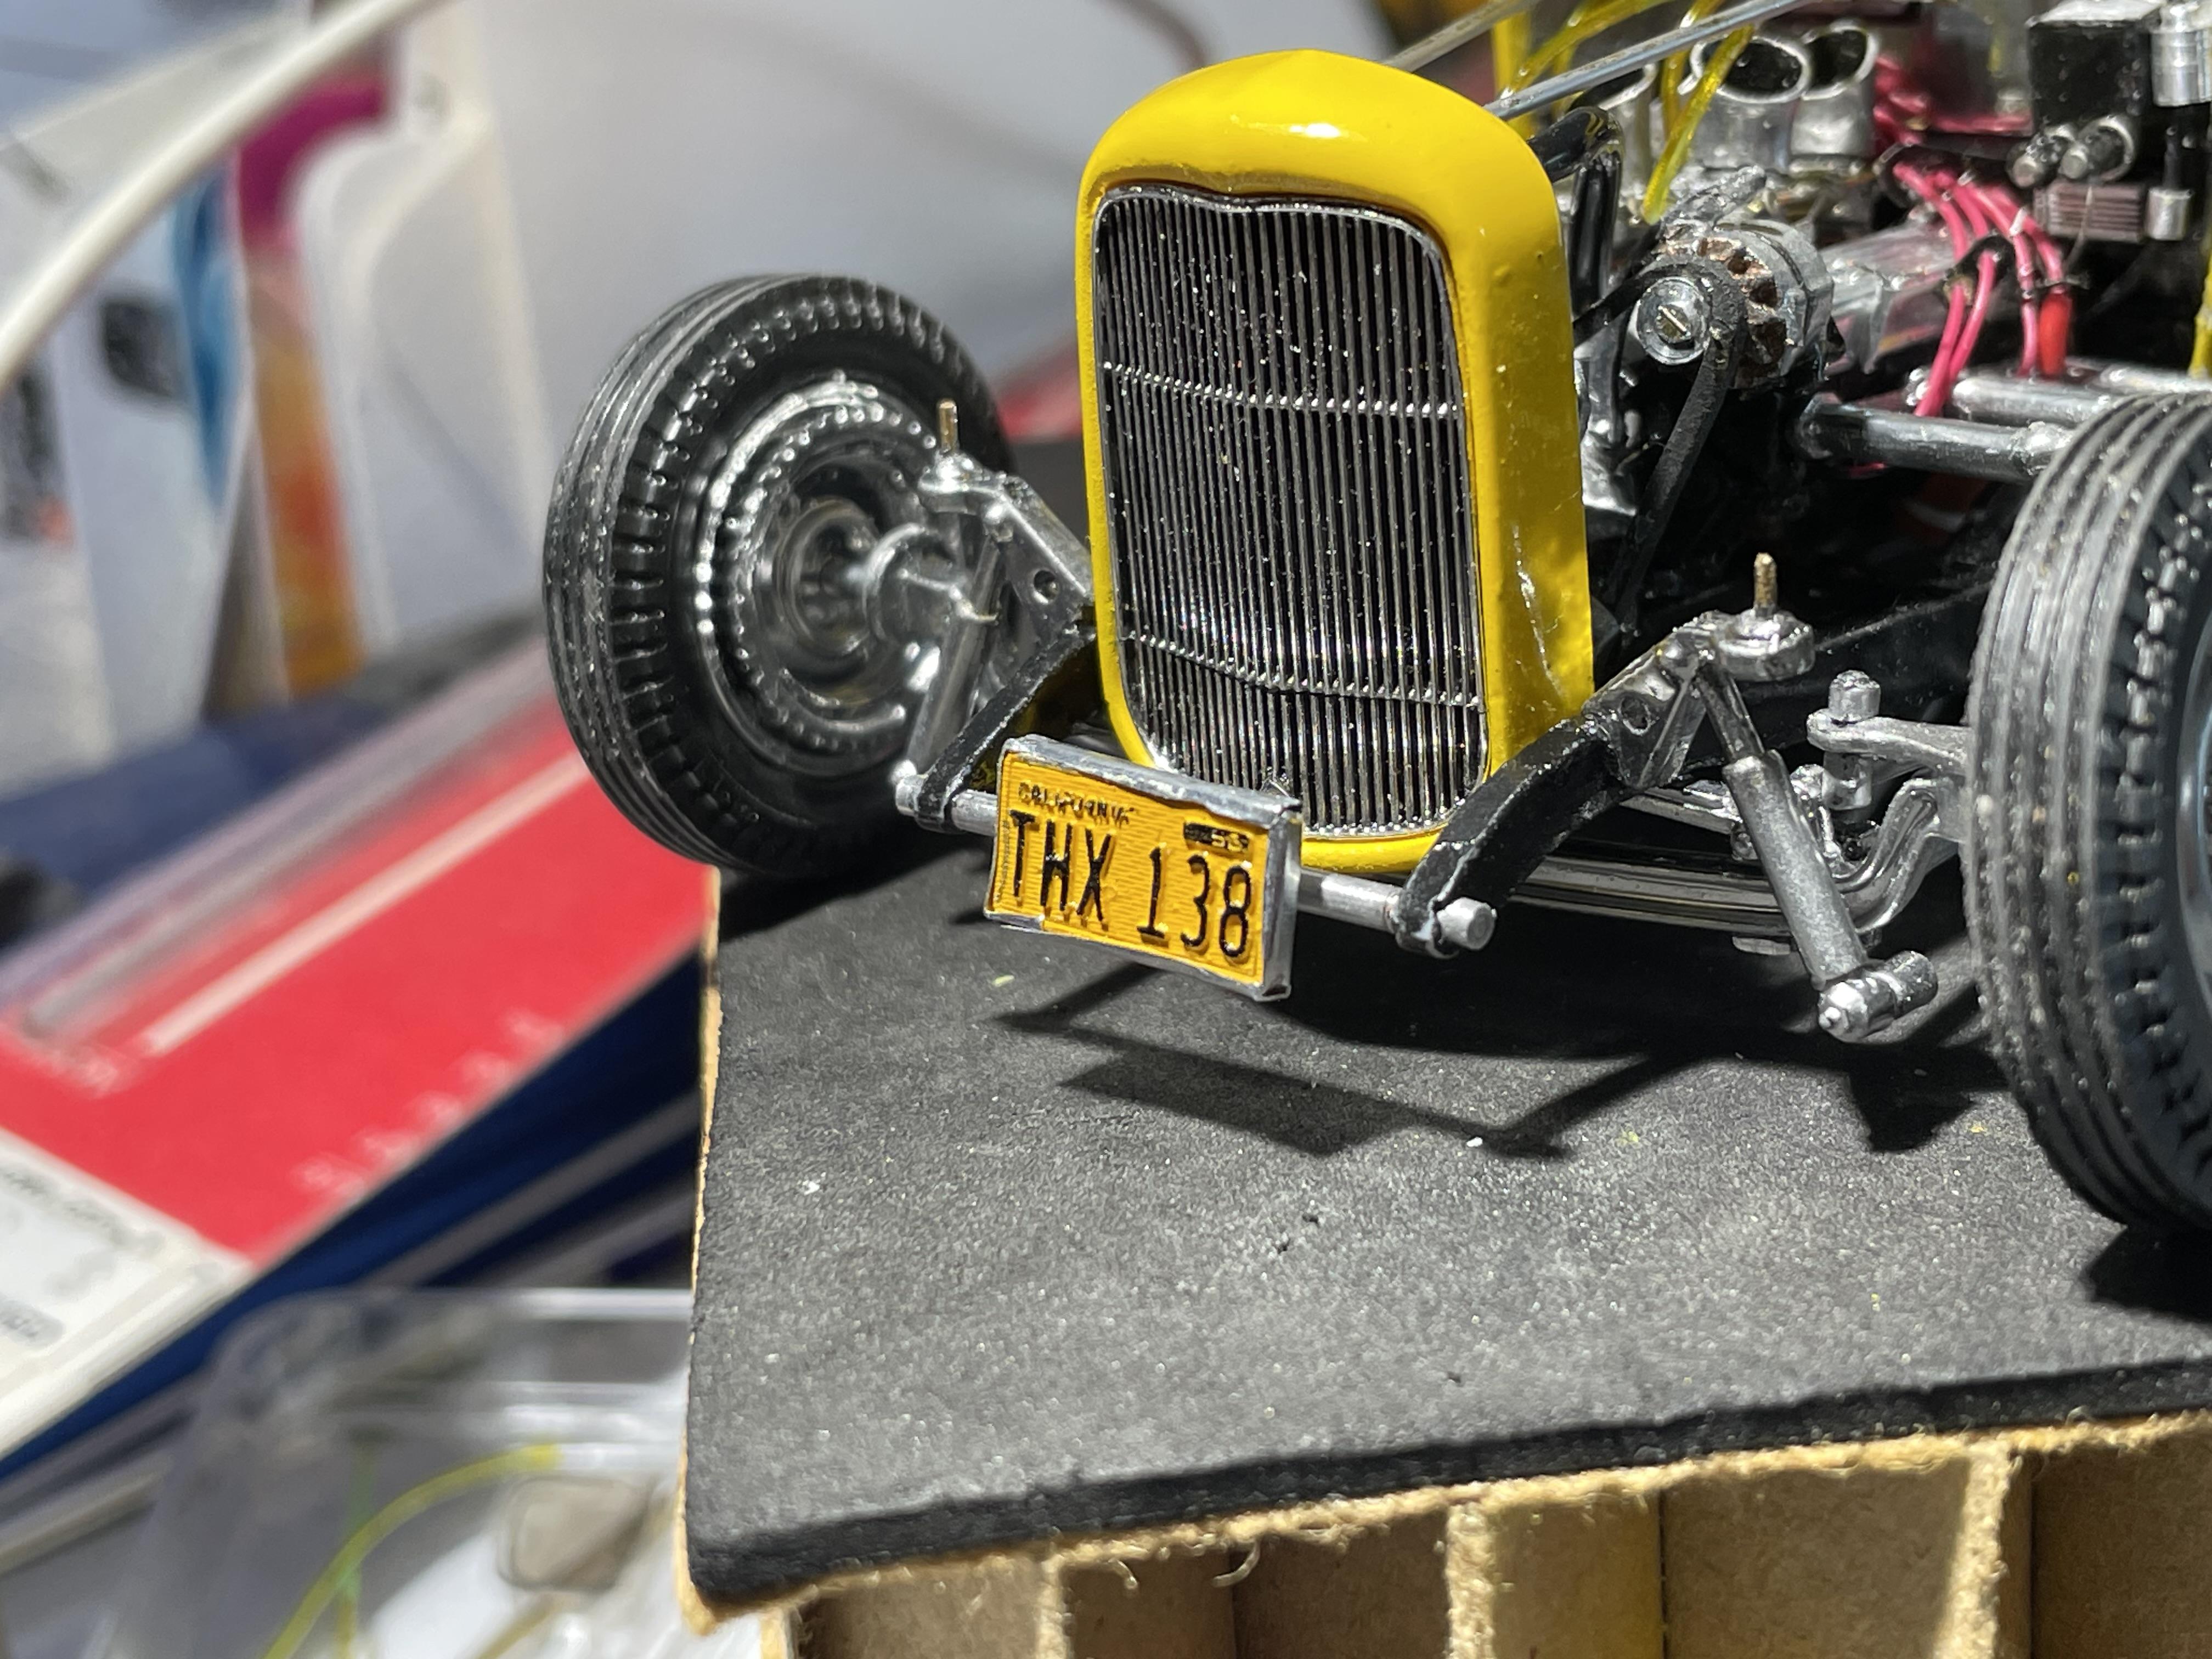
Have the last yellow parts painted and cleared, just waiting for the 2k to set up fully. revamped the front shocks removing the light mounts from the shock with light mount on top to… Lights with their own stalks as per the movie car. Took some time to get those lights level.