road
-
Posts
10 -
Joined
-
Last visited
Recent Profile Visitors
749 profile views

road's Achievements
MCM Member (2/6)
-
Geeesh us what a cool build ! inspiring to say the least.... very nice work
-
" Snakey " " past times "
-
197...5?...Ford Pinto?...Sedan Delivery?
road replied to Fabrux's topic in General Automotive Talk (Trucks and Cars)
what A waste..... of time. -
half a dozen 69 camaro's *new pic's 3-8* all 6 complete!
road replied to tbill's topic in WIP: Model Cars
Wow , Great work. I started the same idea 20 years ago , never did finish it. same trailer kit , with a variety of Camaros, Baldwin, Copo, Stock, Yenko, They will look great with the dealer window decals too. following this one... -
1/12 Camaro Pro Street and Twin Turbo Touring 69
road replied to Ralph Torres's topic in WIP: Drag Racing Models
Thanks for the info. -
1/12 Camaro Pro Street and Twin Turbo Touring 69
road replied to Ralph Torres's topic in WIP: Drag Racing Models
Wow, just WOW ! a few questions .. 1 ) where did you get the seats in the pro touring car. 2 ) Are you making the dog dish rims, seats, hoods in resin for sale ? 3 ) love your cages , Brass ? soldered ? details on those please 4 ) the big blocks.. where did you get these ? pls add a link. I am building 2 - 69's 1 will be mild street w /stock small blk 302. the other I want to build like a COPO A-Mazing work ! -
"St. Peter don't cha call me, cuz I can't go"
-
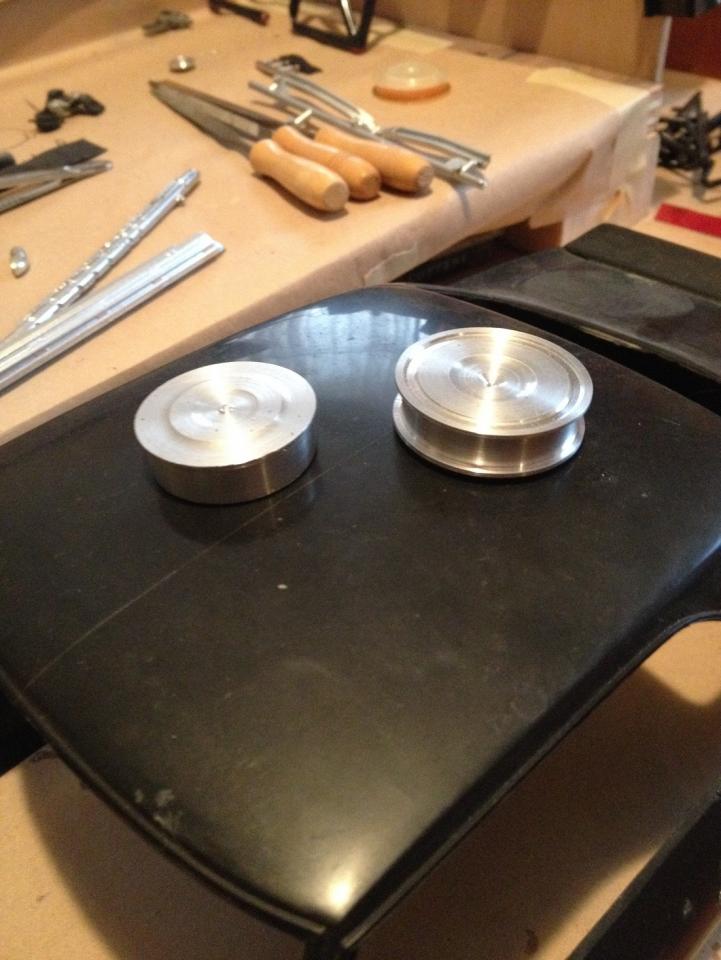
Thanks all, I'm in Hamilton I should also mention I build large scale Gas r/c boats. I am also a hobby machinist . Here is a photo of a couple of 1/12 air cleaners I made.

-
New member here old time builder. I recently started to build an original 1/12 camaro. I found the body was badly warped. the front left corner was 1/2" up. This has worked for me in the past thought I would post it I will warn that extreme caution is need here. I have used the method on polystyrene bodies both old and newer and a 1/8 scale Monogram IROC rear window. Not sure about resins So here is what I did. I made a set up board from 3/4" plywood 10" wide x 2ft long with a bolt in the middle for holding it in my vise. This particular body was twisted at the left front corner and opposing windshield post to the rear quarter. I set the board up flat in my bench vise. I markered a few straight reference lines on the board with a sharpie. I took a few measurements of the body as it sat on the board with a steel ruler noted these on paper. I set the body on the board and made a note of the alignment to the lines on the board Next I used a Mastercraft heat gun on High setting. Slowly warming up the body from about 6 " away. When the body was warm enough to feel the heat from the plastic a few inches away. I started to correct the warpage by re-twisting the body gently by hand. Then quickly tapped it to the board. Then I used compressed air to cool it. I repeated this process until I had the warpage removed . Noting along the way as I used my sharpie lines and measurements for reference. Once the body was acceptable to me I then tapped it down again and cooled it. The final step was to untape the body leave it on the board. I began to reheat the body again with my heat gun. As the body gently warmed up again it settled to near perfection with out touching it. One last blast of cooled air It was saved. I hope this may help
-
Hey all, It been a long time since I have done any modeling. I was heavily into building in the 80's - 90's even won awards at a couple of local contests. Life got rough so I sold everything I had almost 200 kits + kitbashing parts bins and All my tools , airbrushes air booth compressor. Boy do I regret that move ! I built mainly 1/25 most were domestic muscle, pick ups, hot rods, a few f1 cars, indy cars. a few large scale revell kits, I gave a few built kits away as gifts to friends but I kept a few too. 4 Monogram 1/12 69 Camaro's. an old MPC chevette, a new reissue Revell 41 willys. just as my personal favorites. I decided to jump back in and build 2 of the 69 1/12. ( I have 4) Wow ! How things have changed. Road