-
Posts
5,117 -
Joined
-
Last visited
Content Type
Profiles
Forums
Events
Gallery
Posts posted by CabDriver
-
-
Glad to see this one back in rotation!
Fabbing exhausts is about a -1 on a scale of 1-10 of things I enjoy, but you always do a nice job of that-
 1
1
-
-
Next car kit from Atlantis, presumably…posted on their Instagram today:

-
 5
5
-
-
On 2/24/2024 at 6:43 AM, David G. said:
Then I'll probably build this one as a hearse.
Convert the ambulance kit back into a surf wagon 😂
This is looking great David - enjoying this build! Nice work on the little details
-
This is coming together nicely! Nice work!
-
On 2/25/2024 at 8:29 AM, Ace-Garageguy said:
I never knew those existed - but they’re cool! I need to pick up a set of those…thanks for alerting me to their existence!
I assume there’s no detail on the flipside?
-
That looks like a great base for the color!
-
 1
1
-
-
On 2/24/2024 at 12:24 PM, StevenGuthmiller said:
a bright yellow street machine called "The E-Lemon-ator"
Oh man, now I GOTTA build that 🍋
-
 1
1
-
-
On 2/24/2024 at 7:00 PM, TarheelRick said:
Really enjoying watching this build come together. If this kit is anything like the "Flower Power" kit, you probably scraped off enough flash to cast another body. Anyway, your choice of colors and the way you added them is excellent. Not really too keen on the cambered look, but as you said that is pretty much the look of the day. Also really impressed with your 3D printing and lathe work. Keep those updates coming.
Yessir, there was definitely some flash to deal with. And I’m with you on the ‘cambered look’ - a little on a racecar is cool, but the ‘flattened’ look isn’t my favorite. That said, I’m going with it on this one, because that’s kinda what happens with these things I guess if you really dump them down - the rear in particular, due to the suspension geometry. I did a heavily-lowered Beetle a couple of years back and did it in such a way that the extreme-camber thing DIDN’T happen, then every show I took it too, someone told me I forgot the camber 🤪. Oh well 🤷♂️
12 hours ago, David G. said:What a fun build! I love watching you pull all this together; all the cool details you add.
David G.
Thank you sir!
A little more progress today…
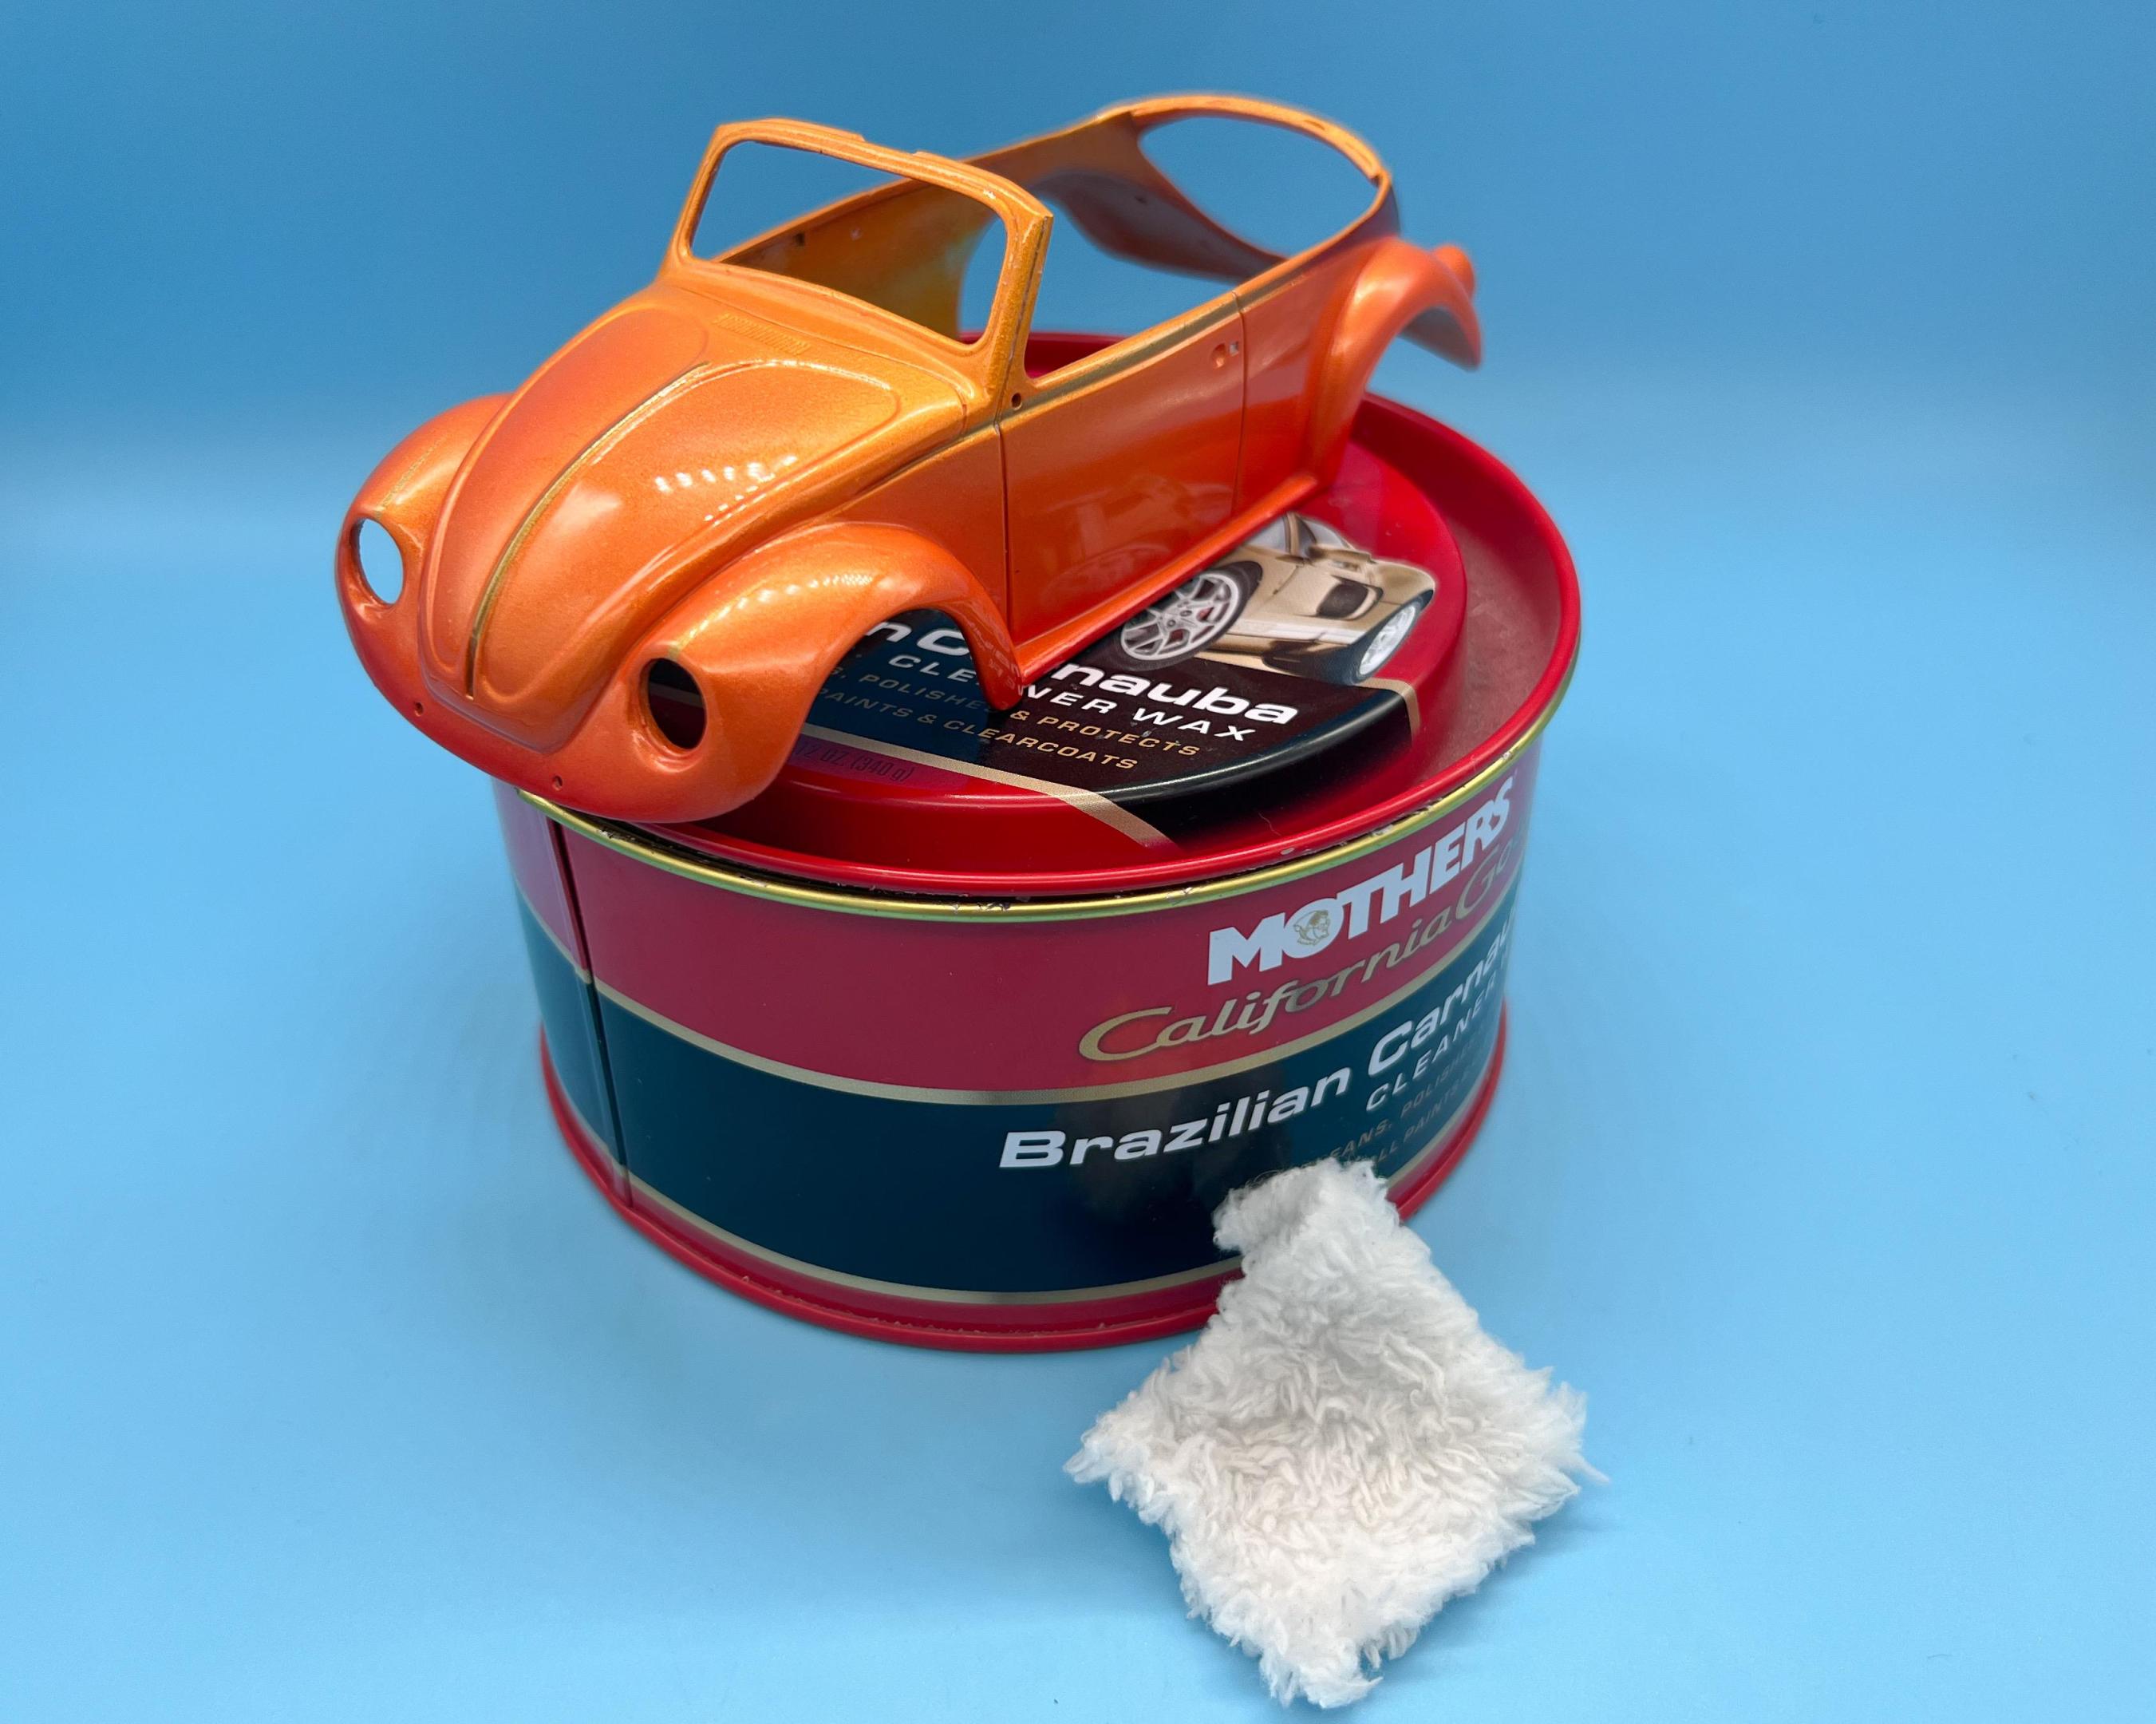
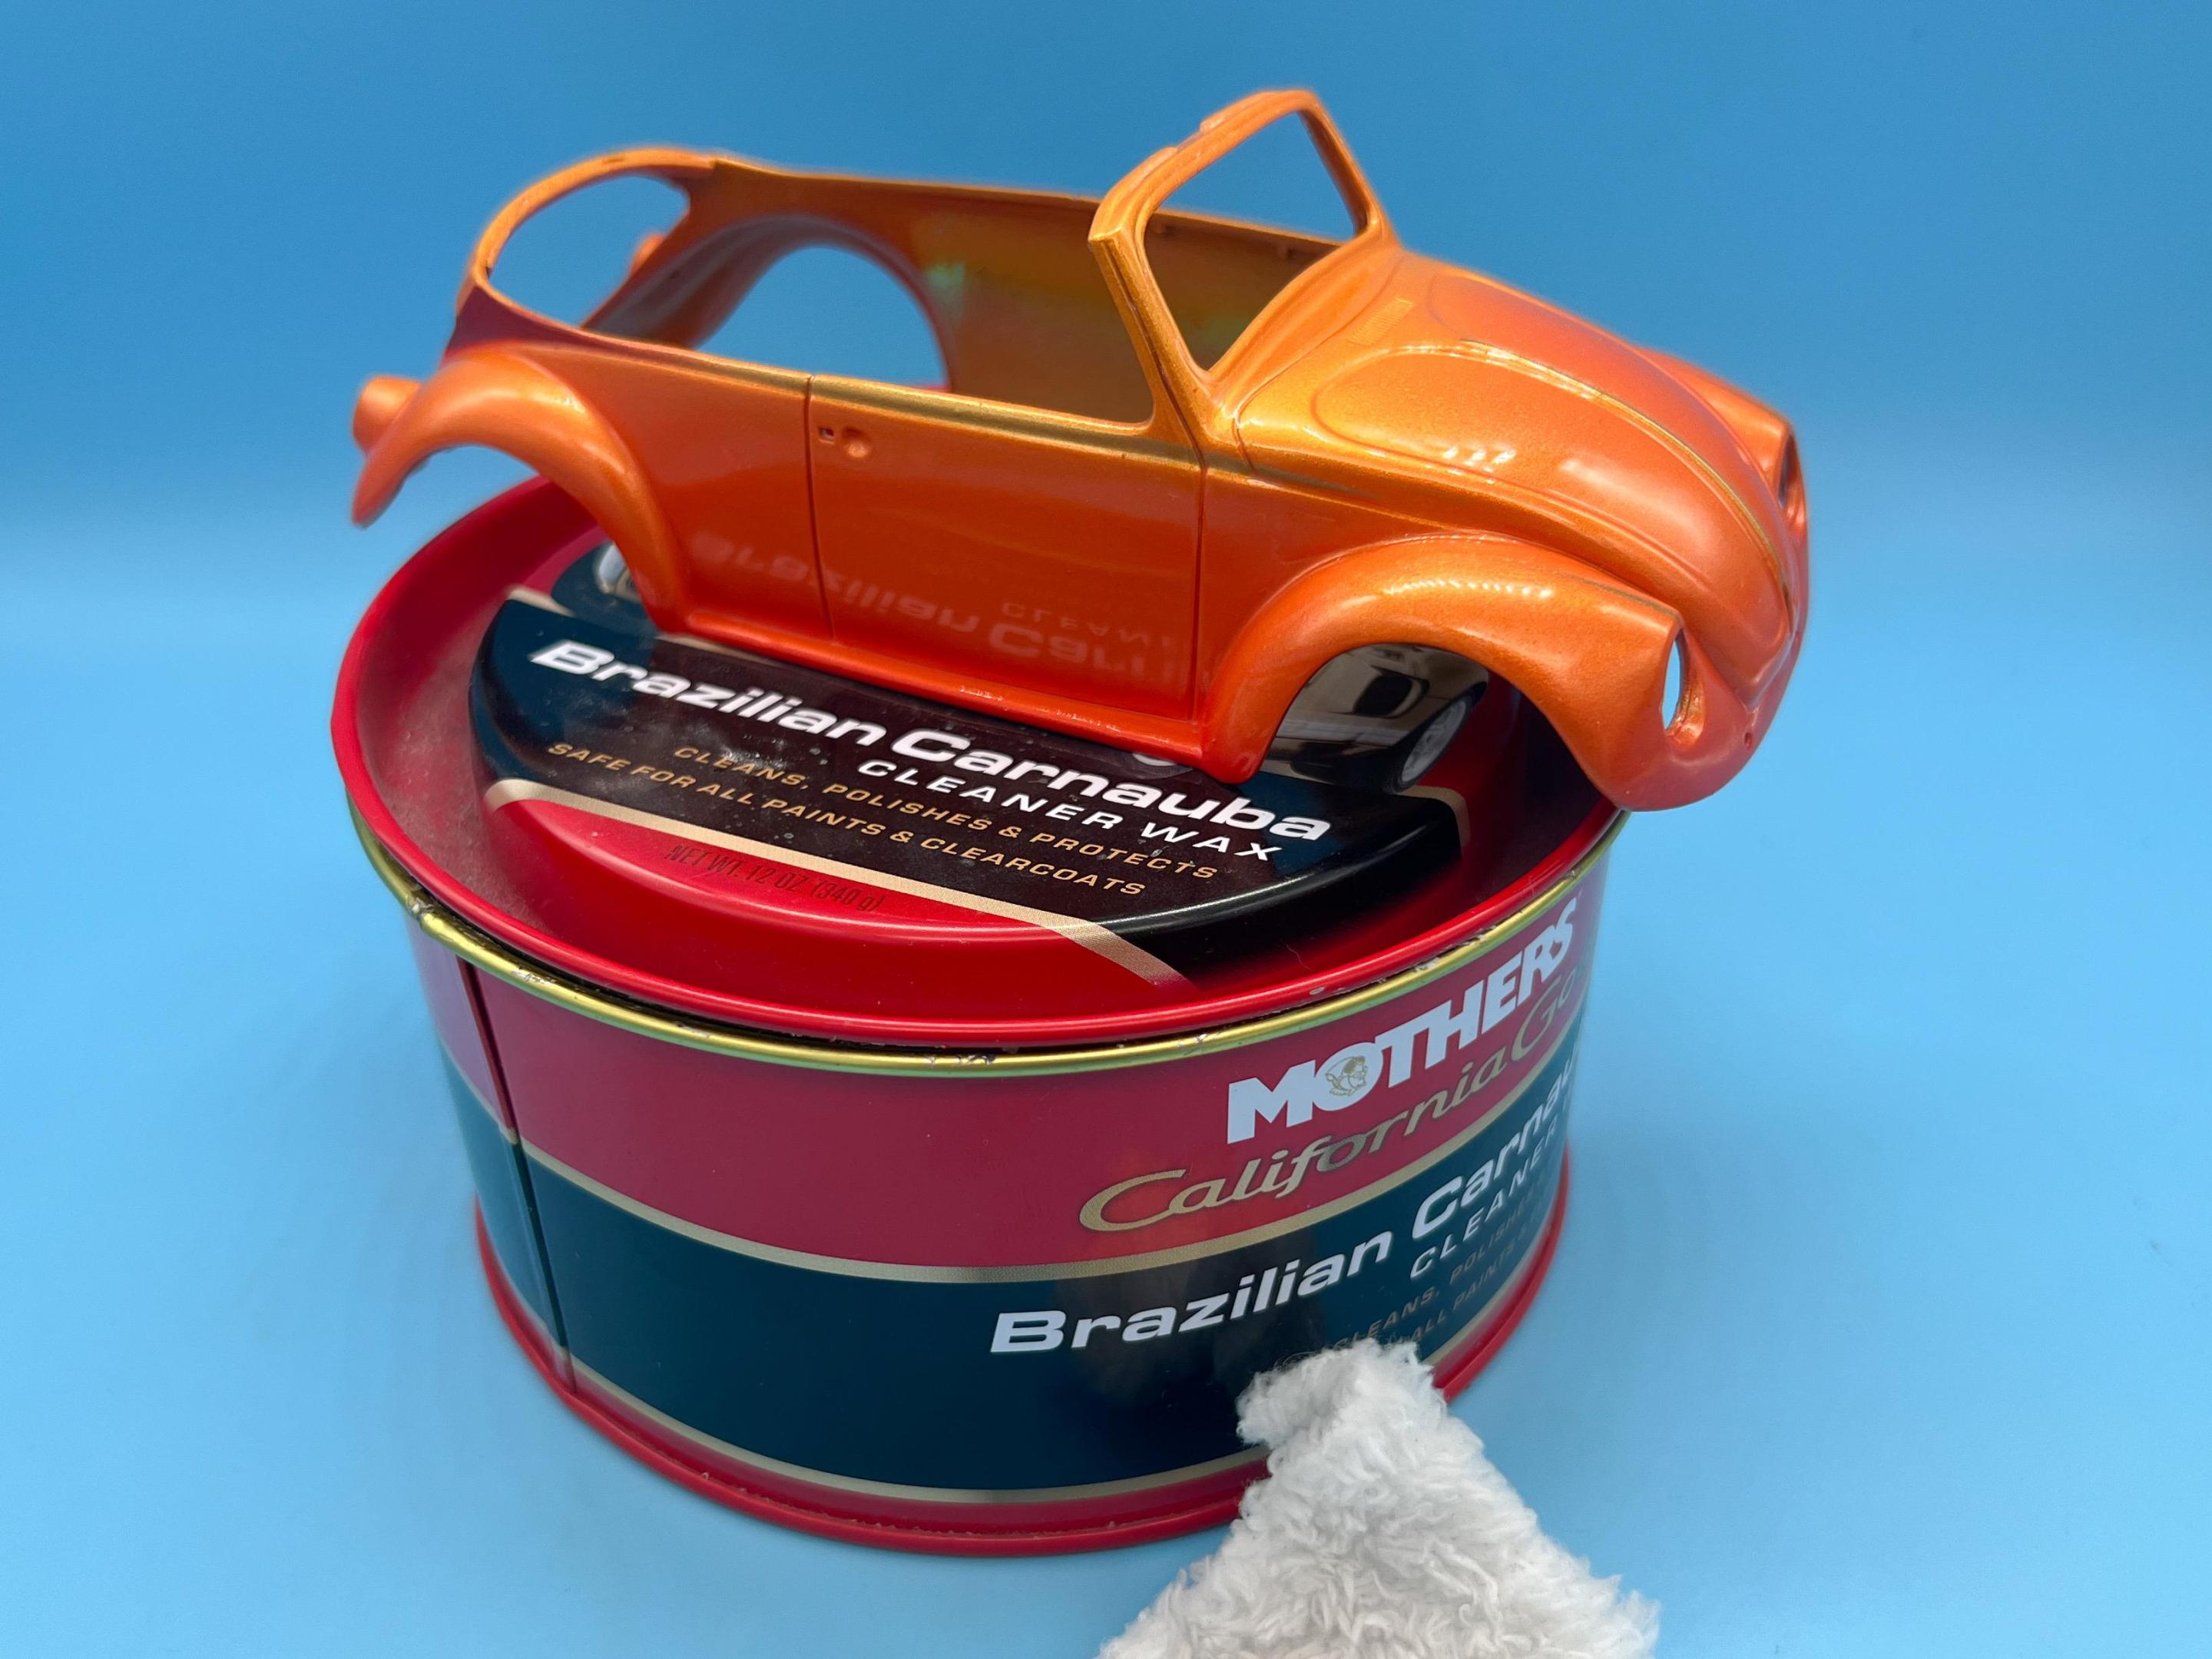
Got the body mostly polished out and waxed:
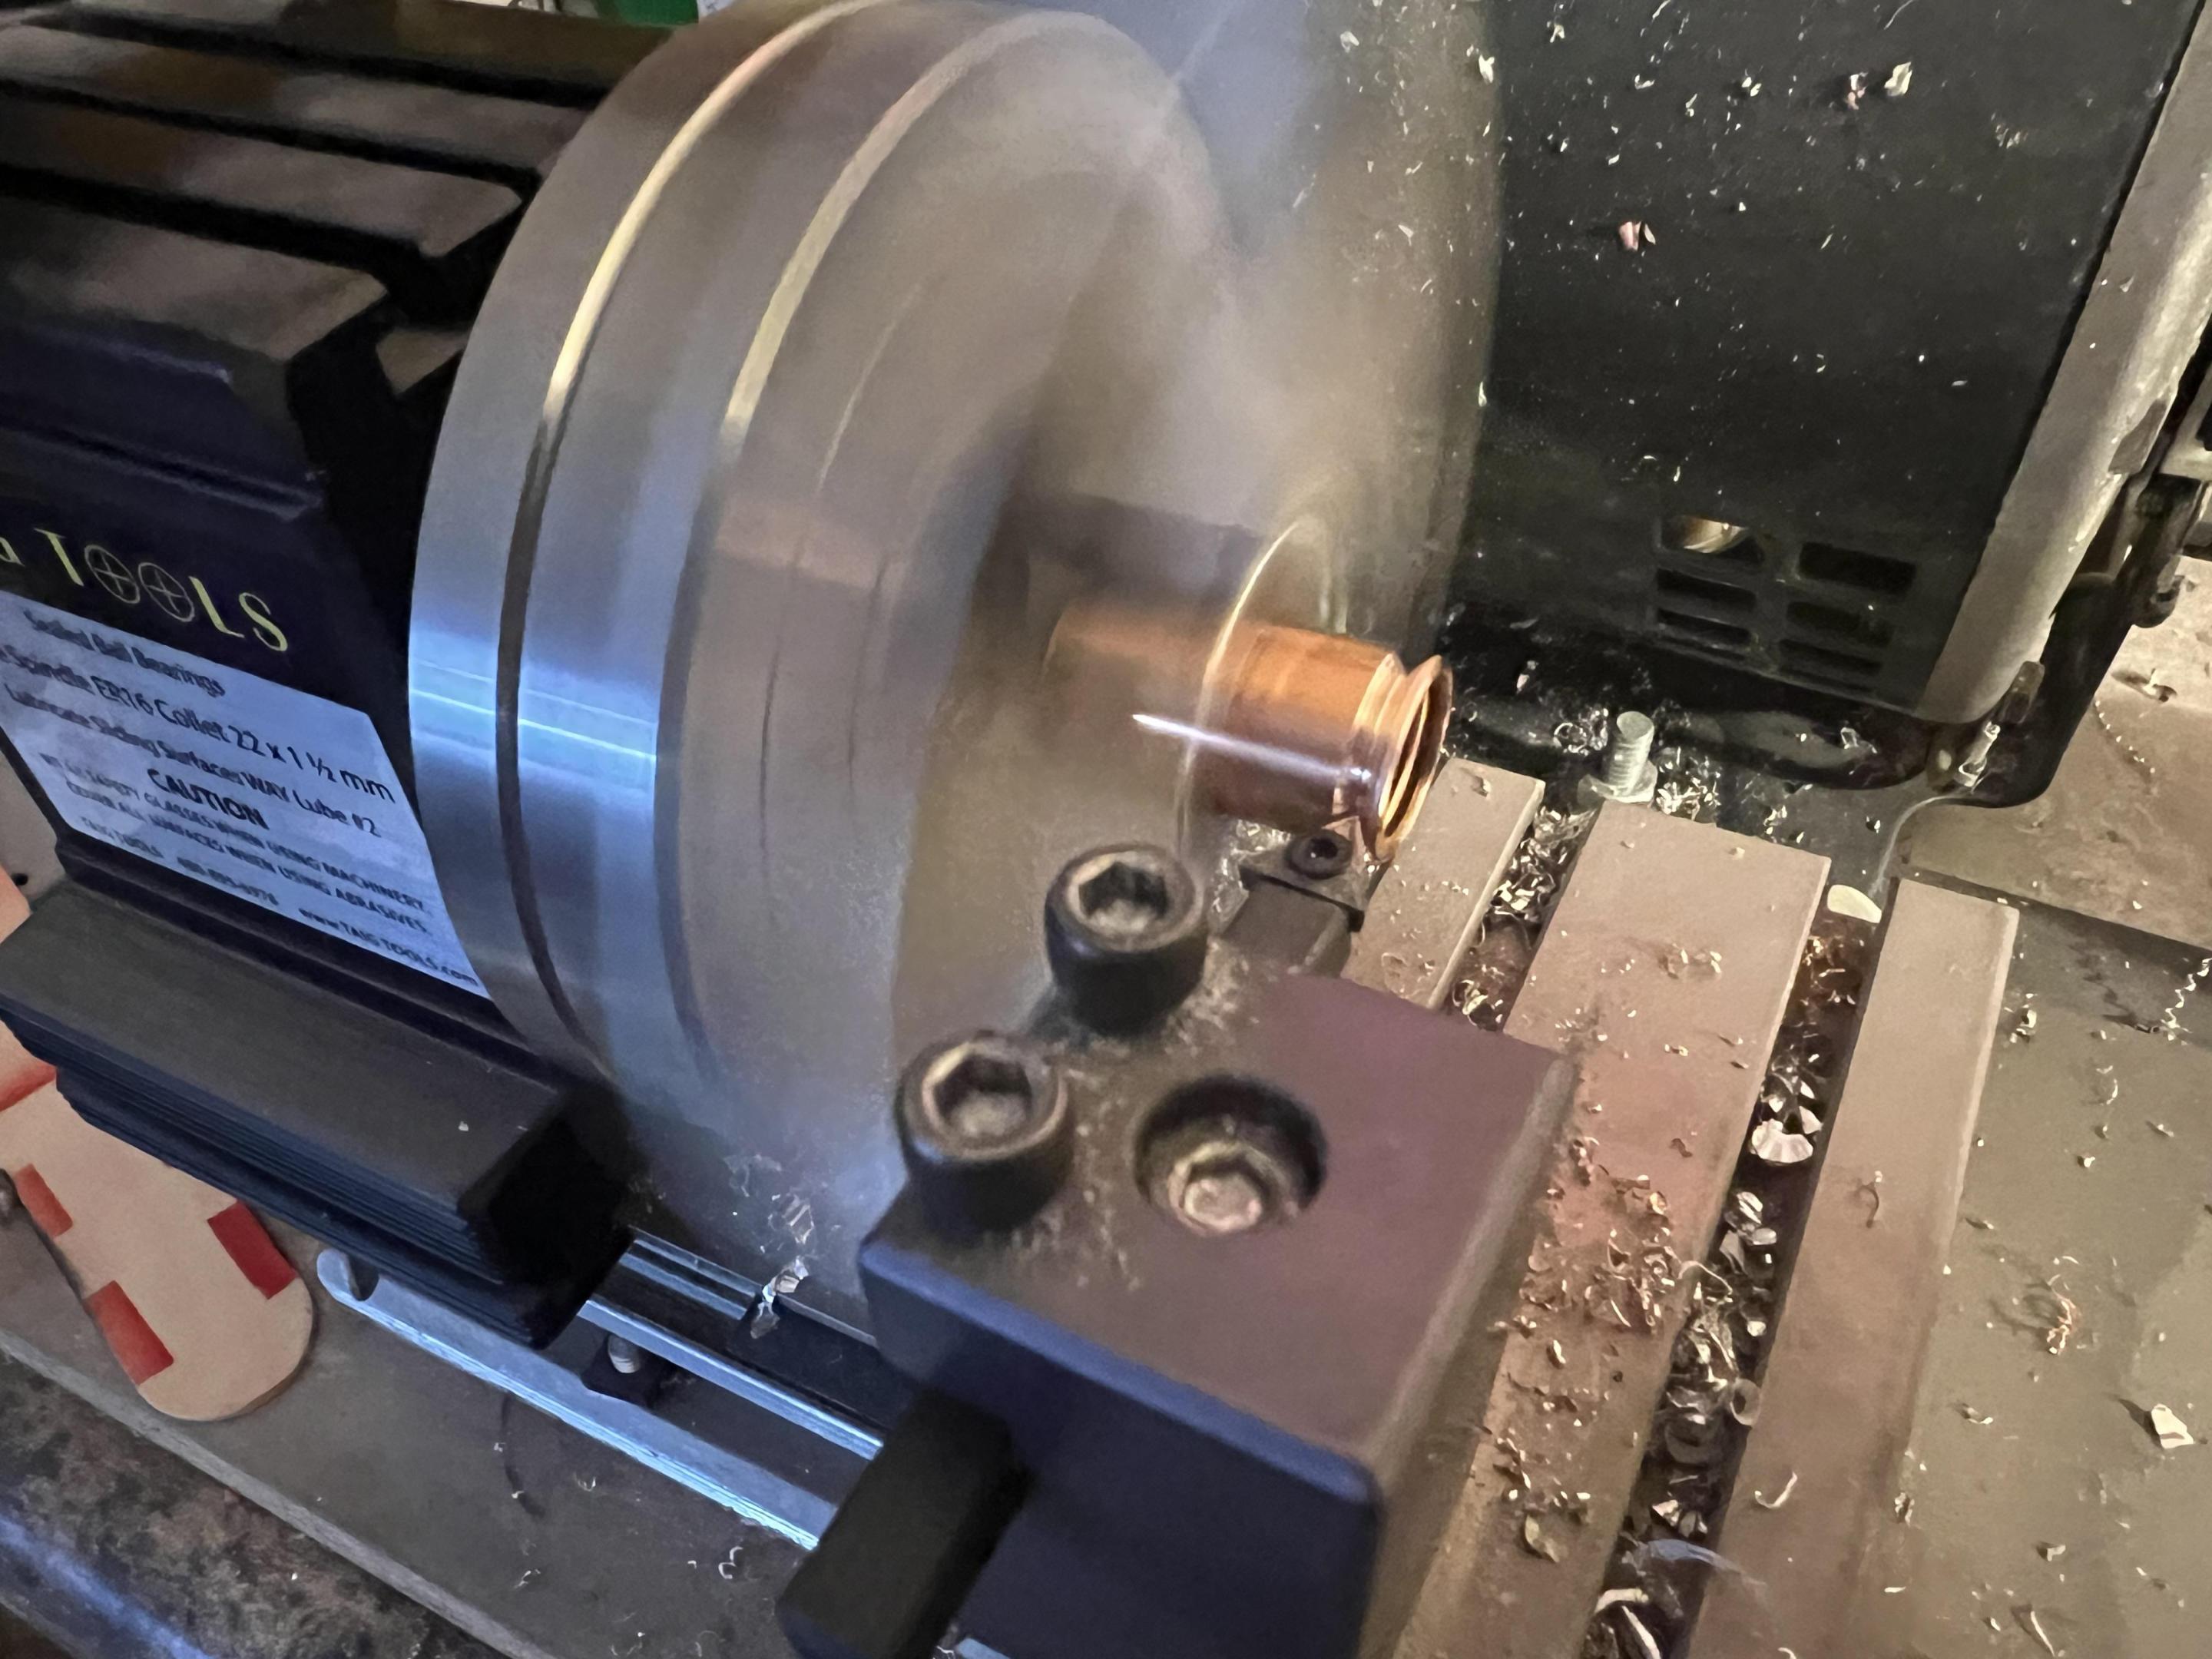
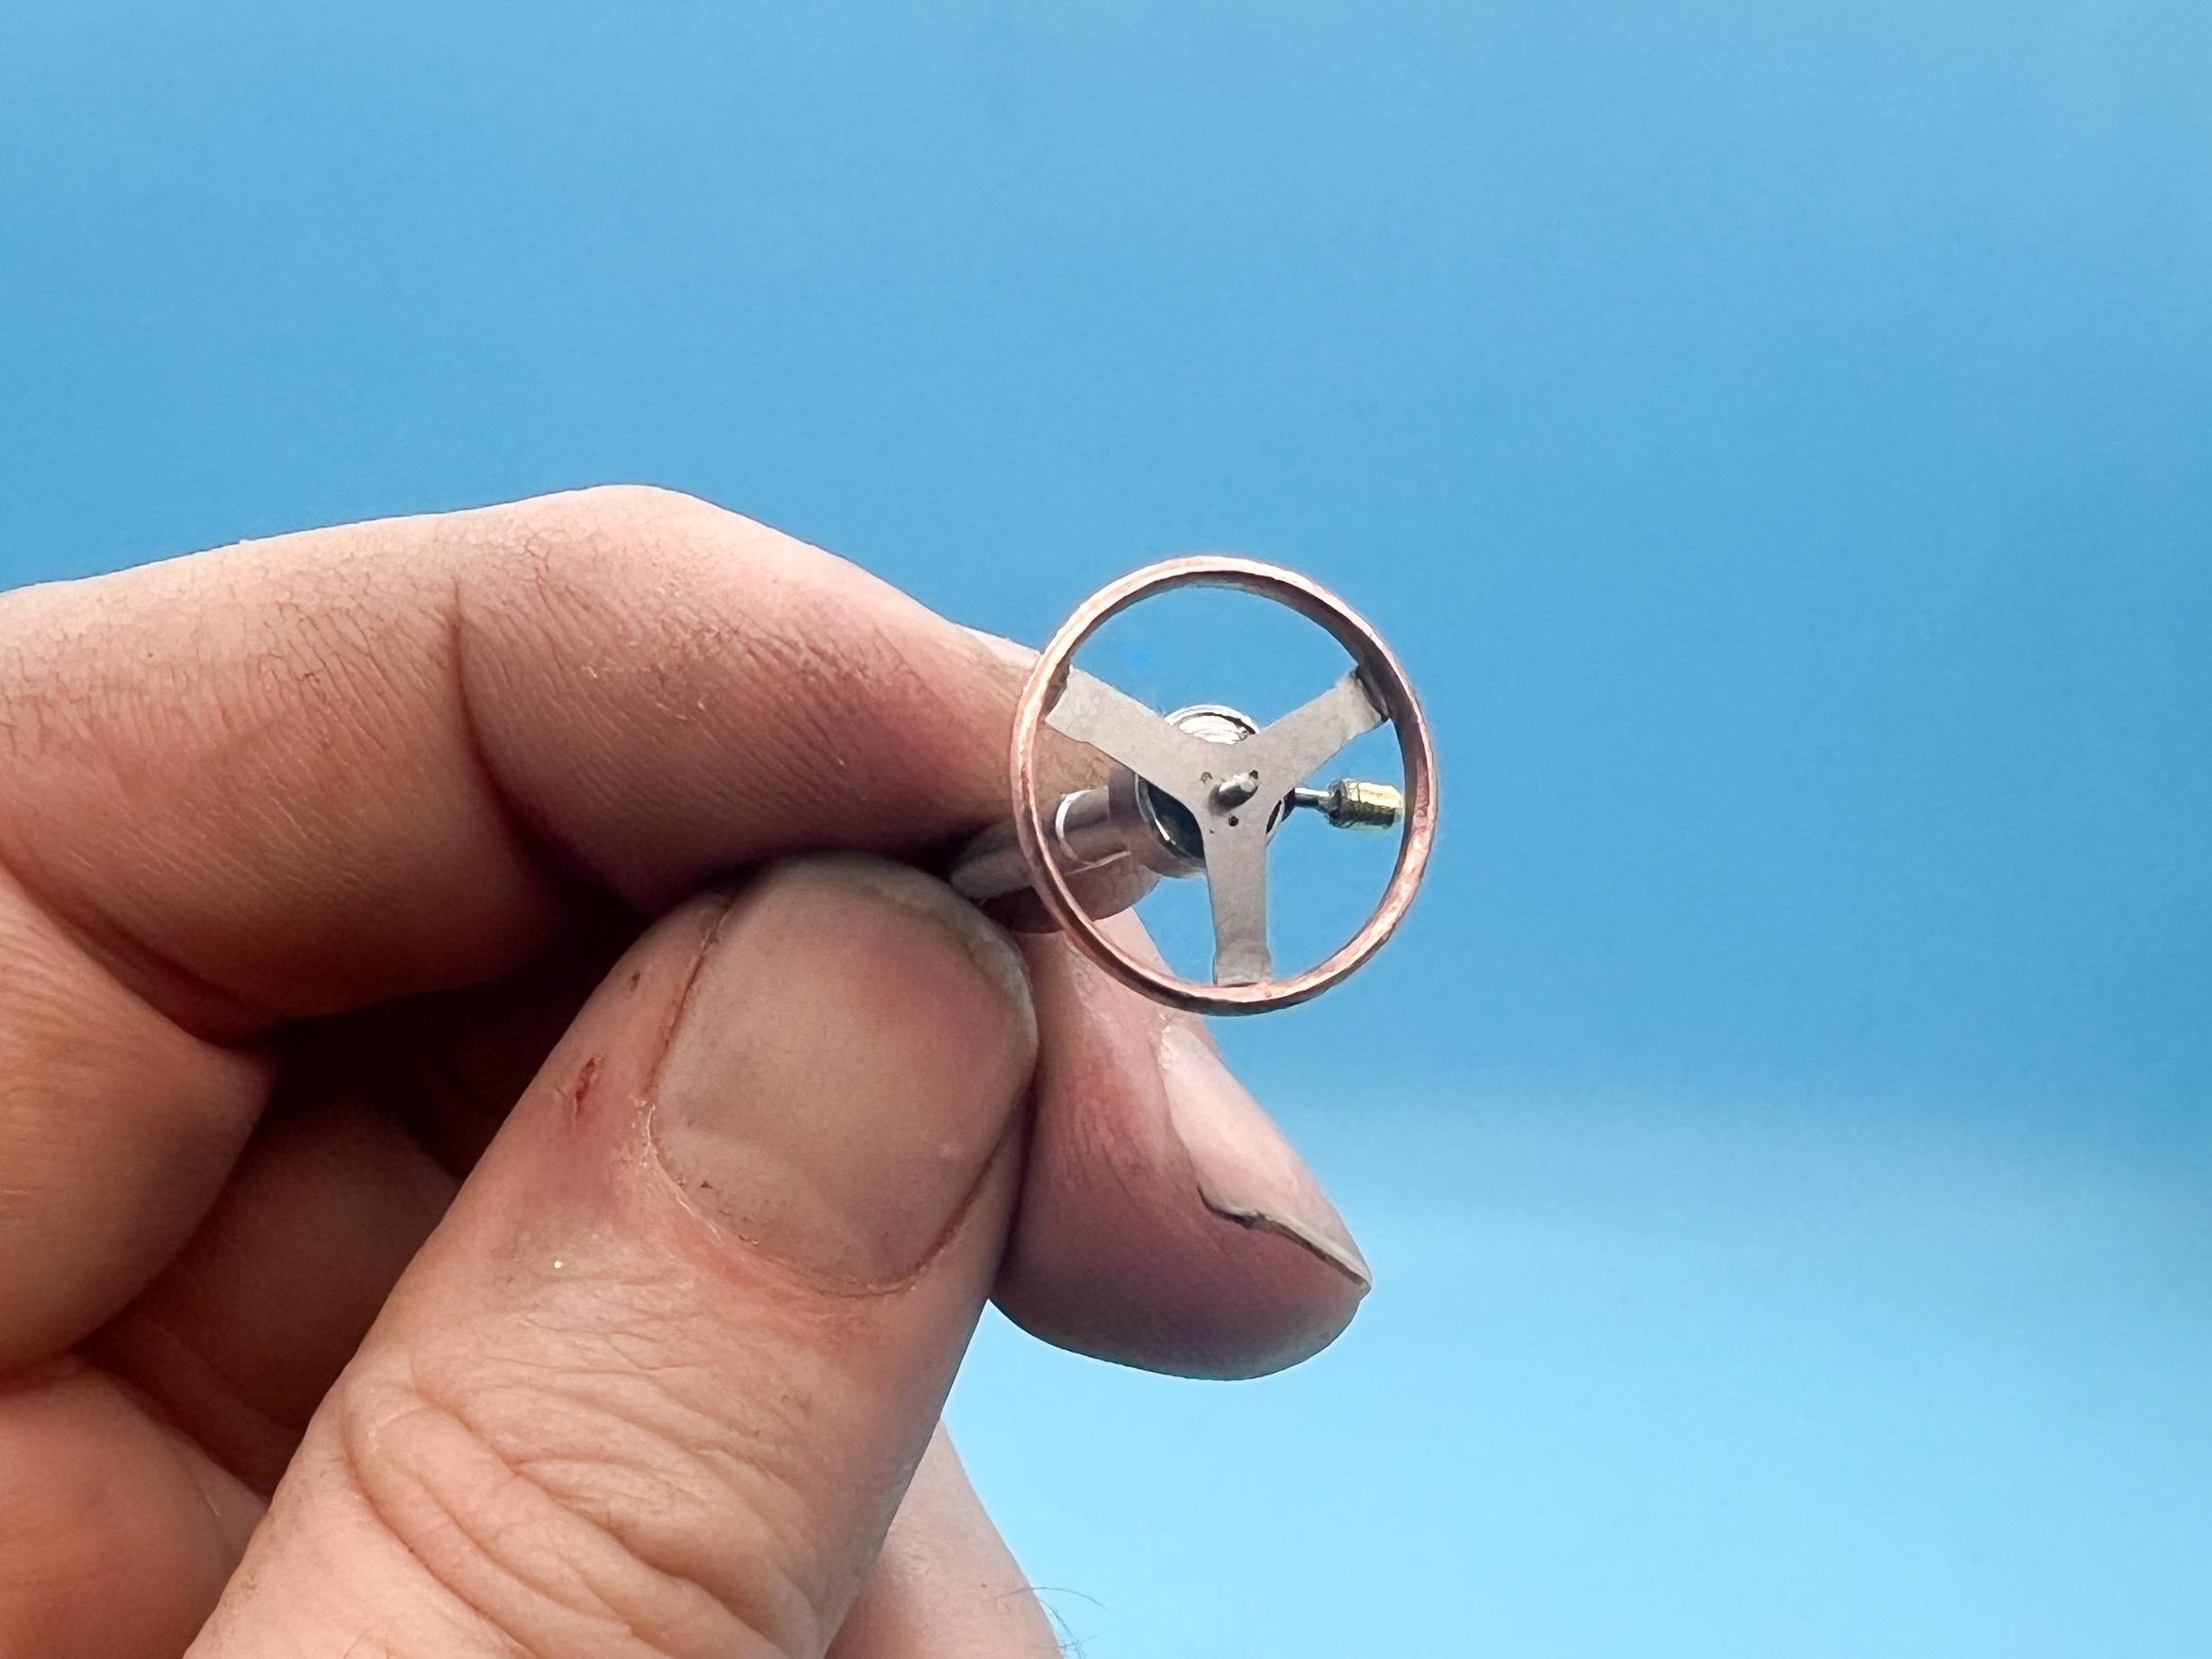
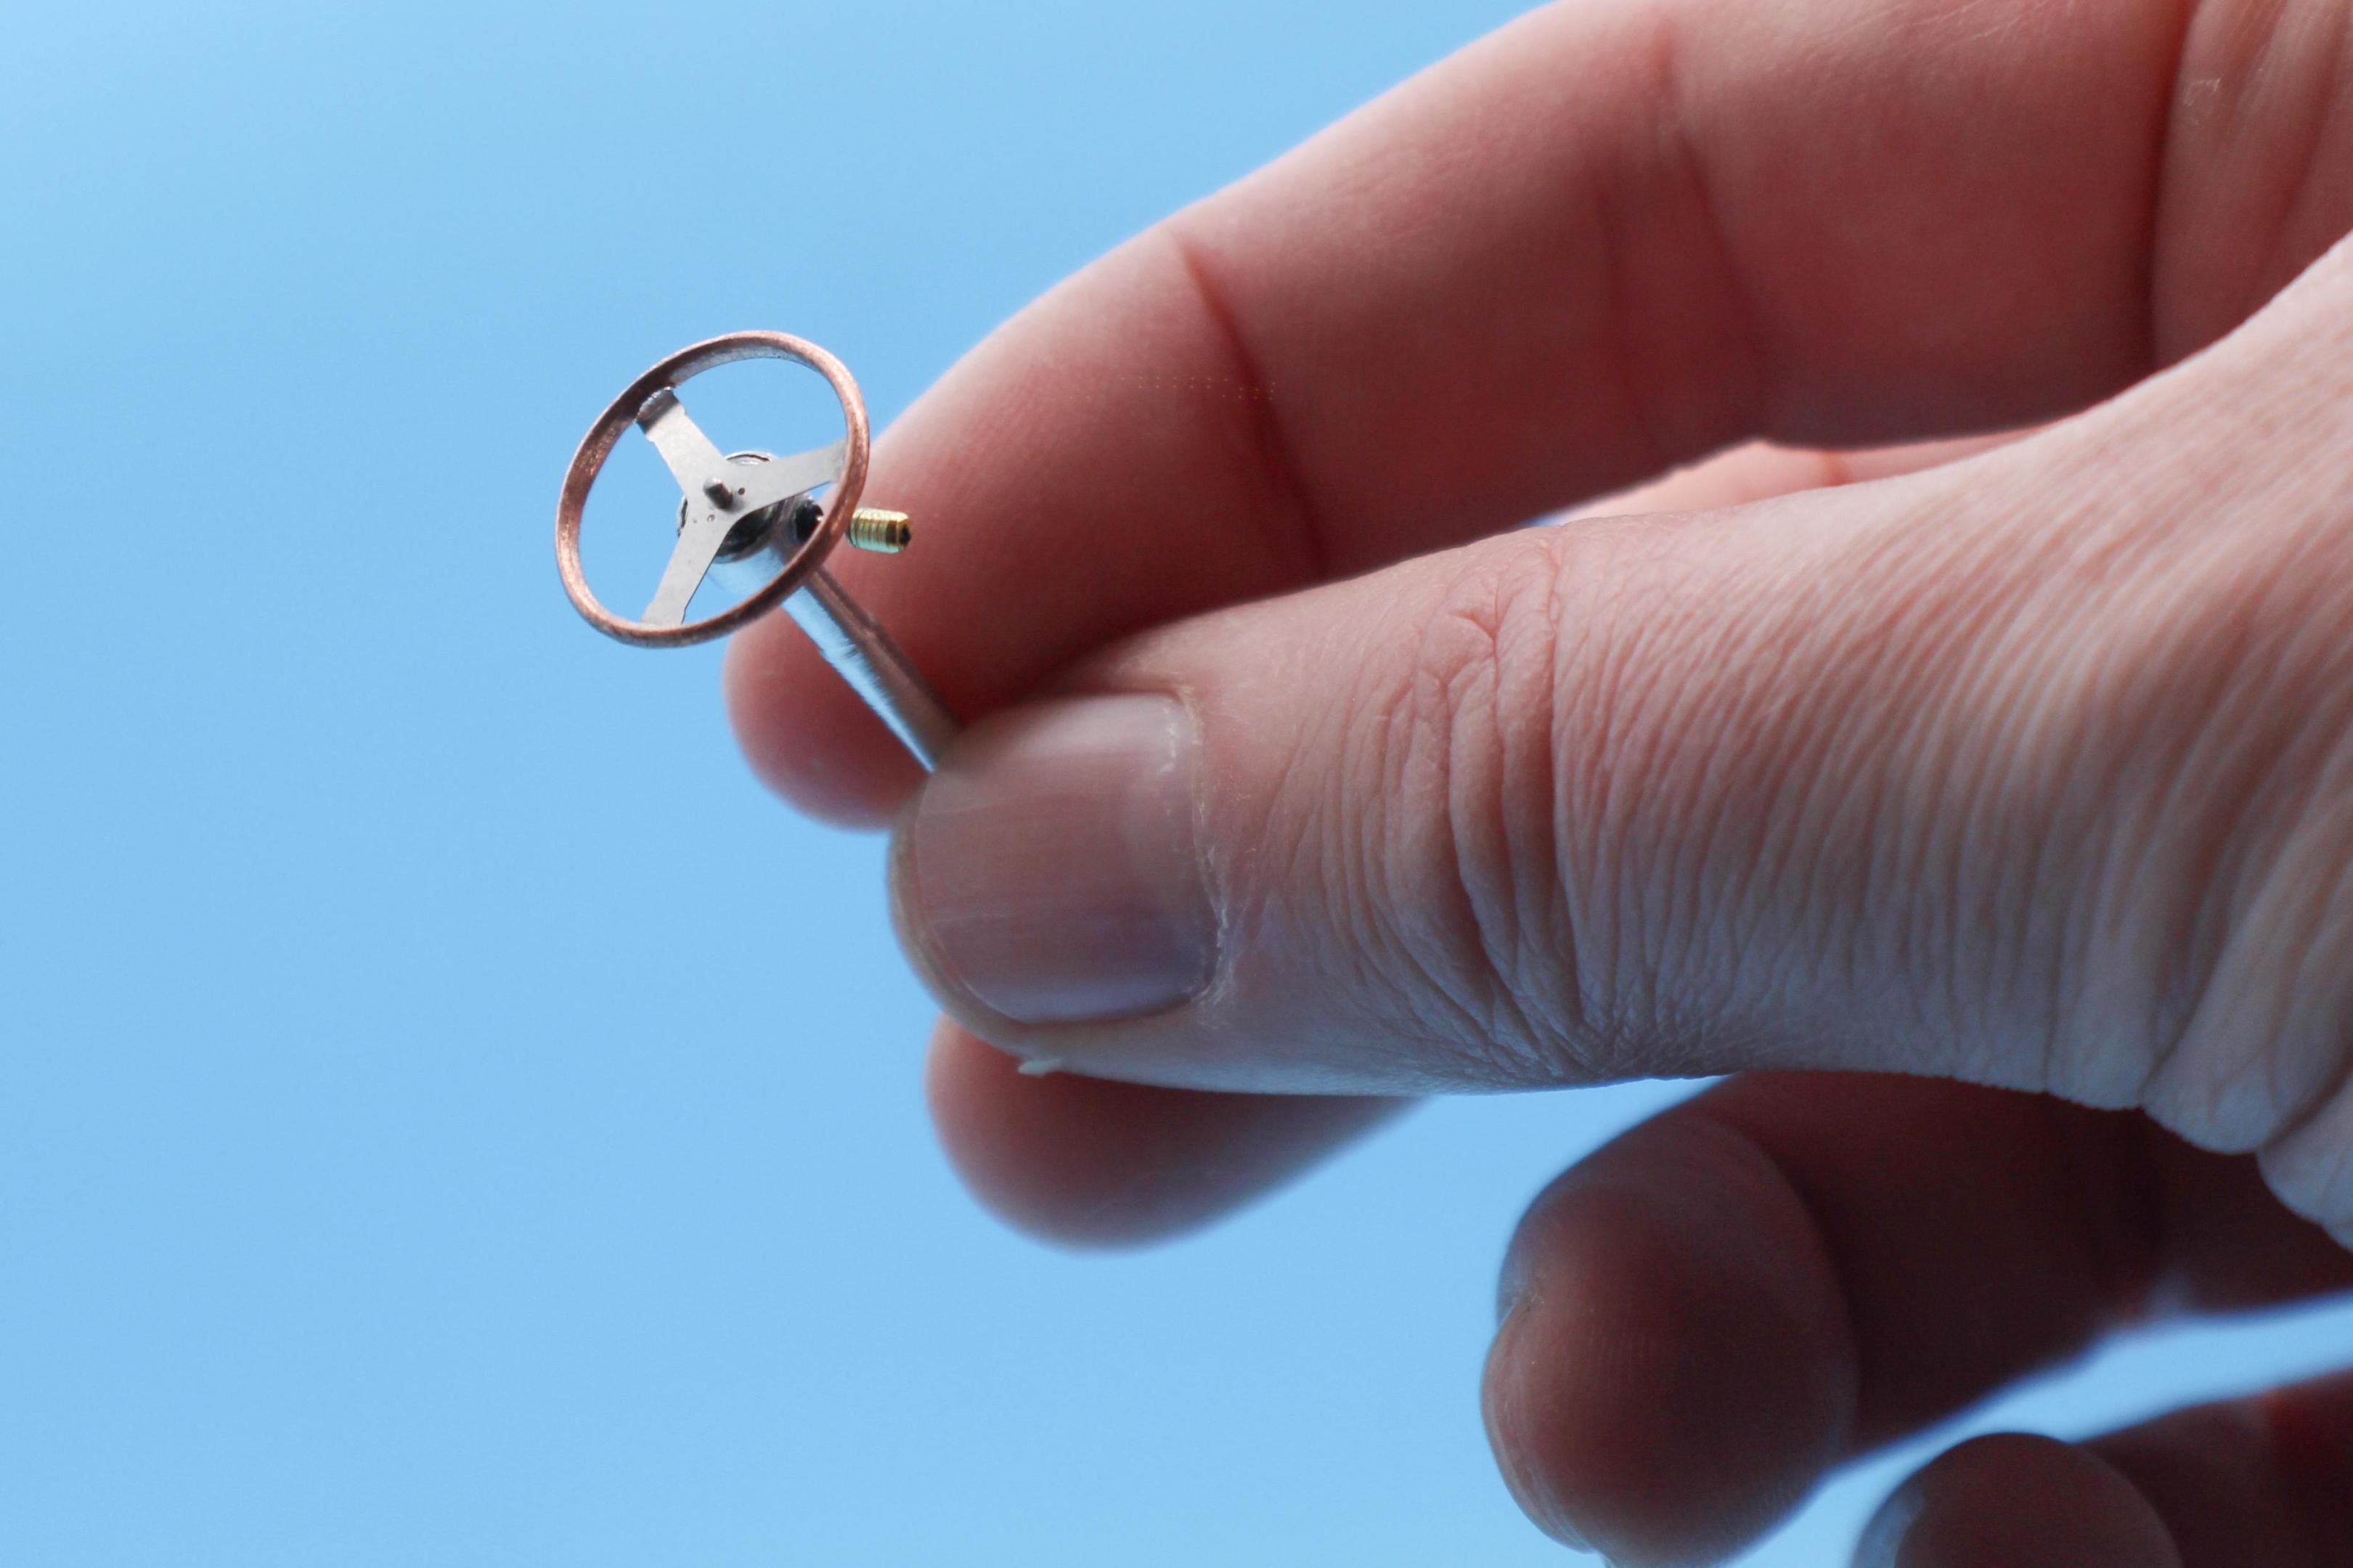
I was determined to use a photoetch center section for the steering wheel, but couldn’t find a spare hoop that would work…decided to fire up the lathe:
And just made one…

I was planning on painting it, but the color of the copper DOES kinda work well with the theme…need to decide on what to do with the center cap too…right now it’s just a little threaded bar that the wheel spins onto…
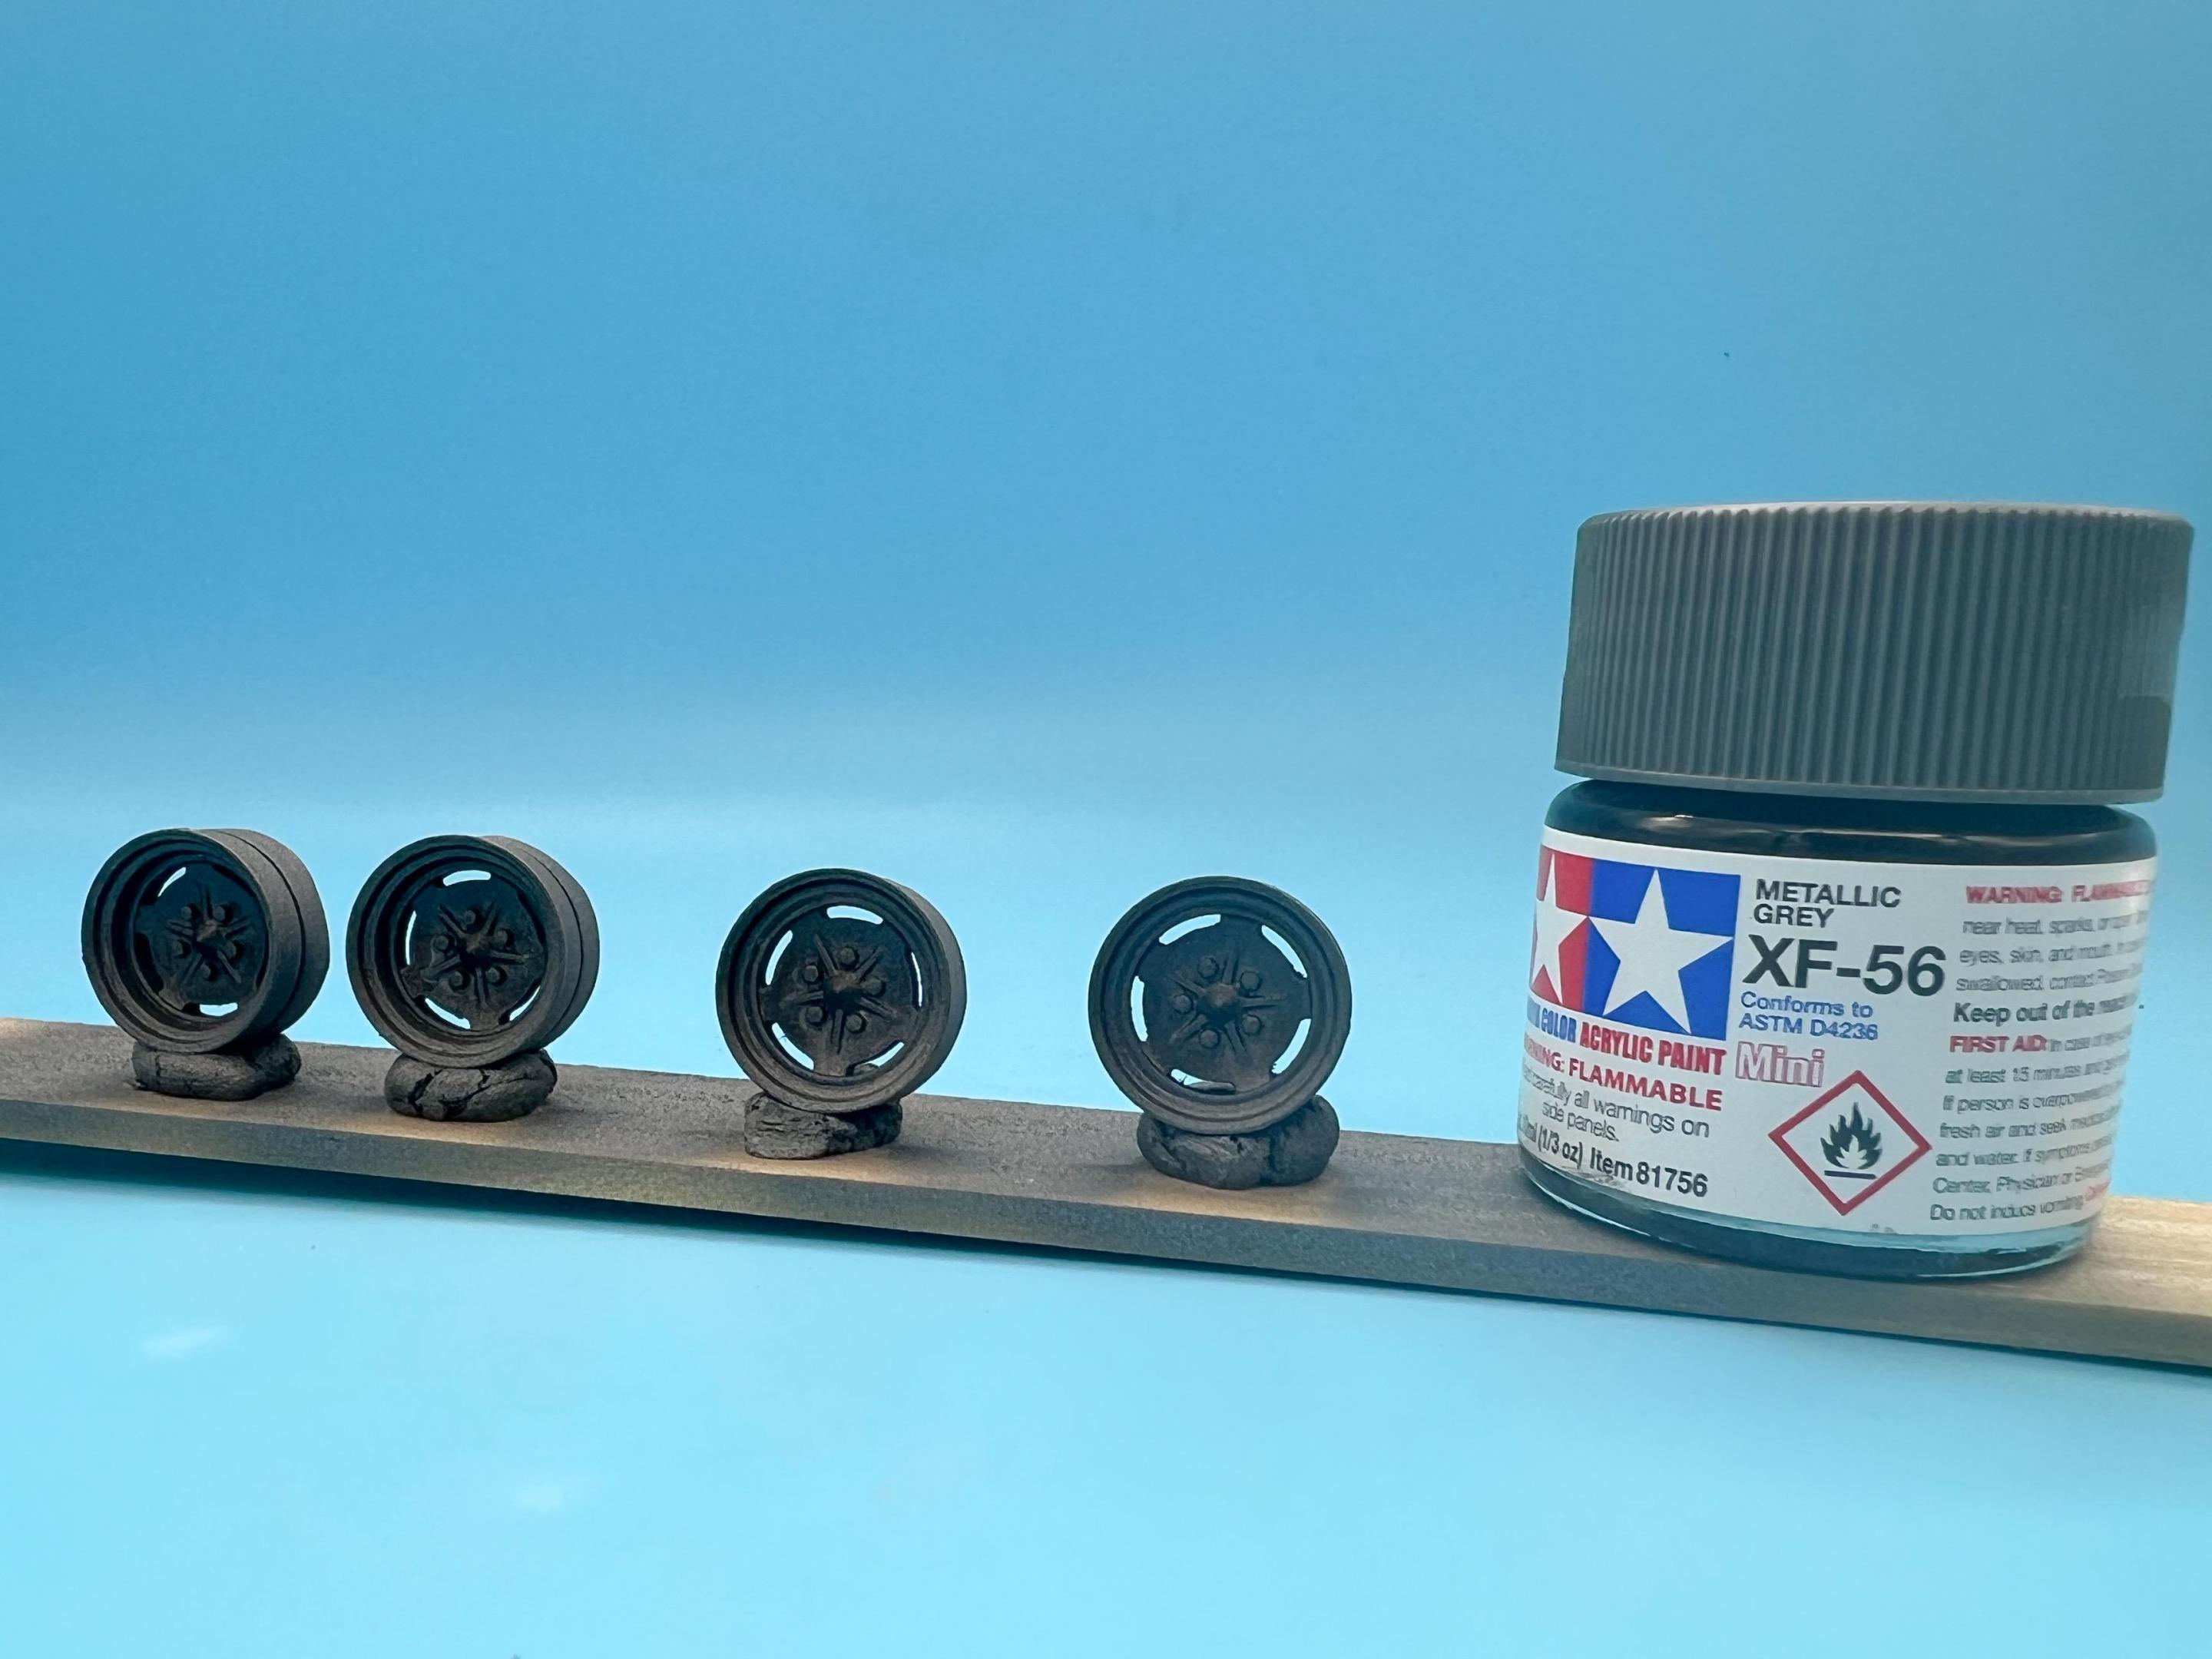
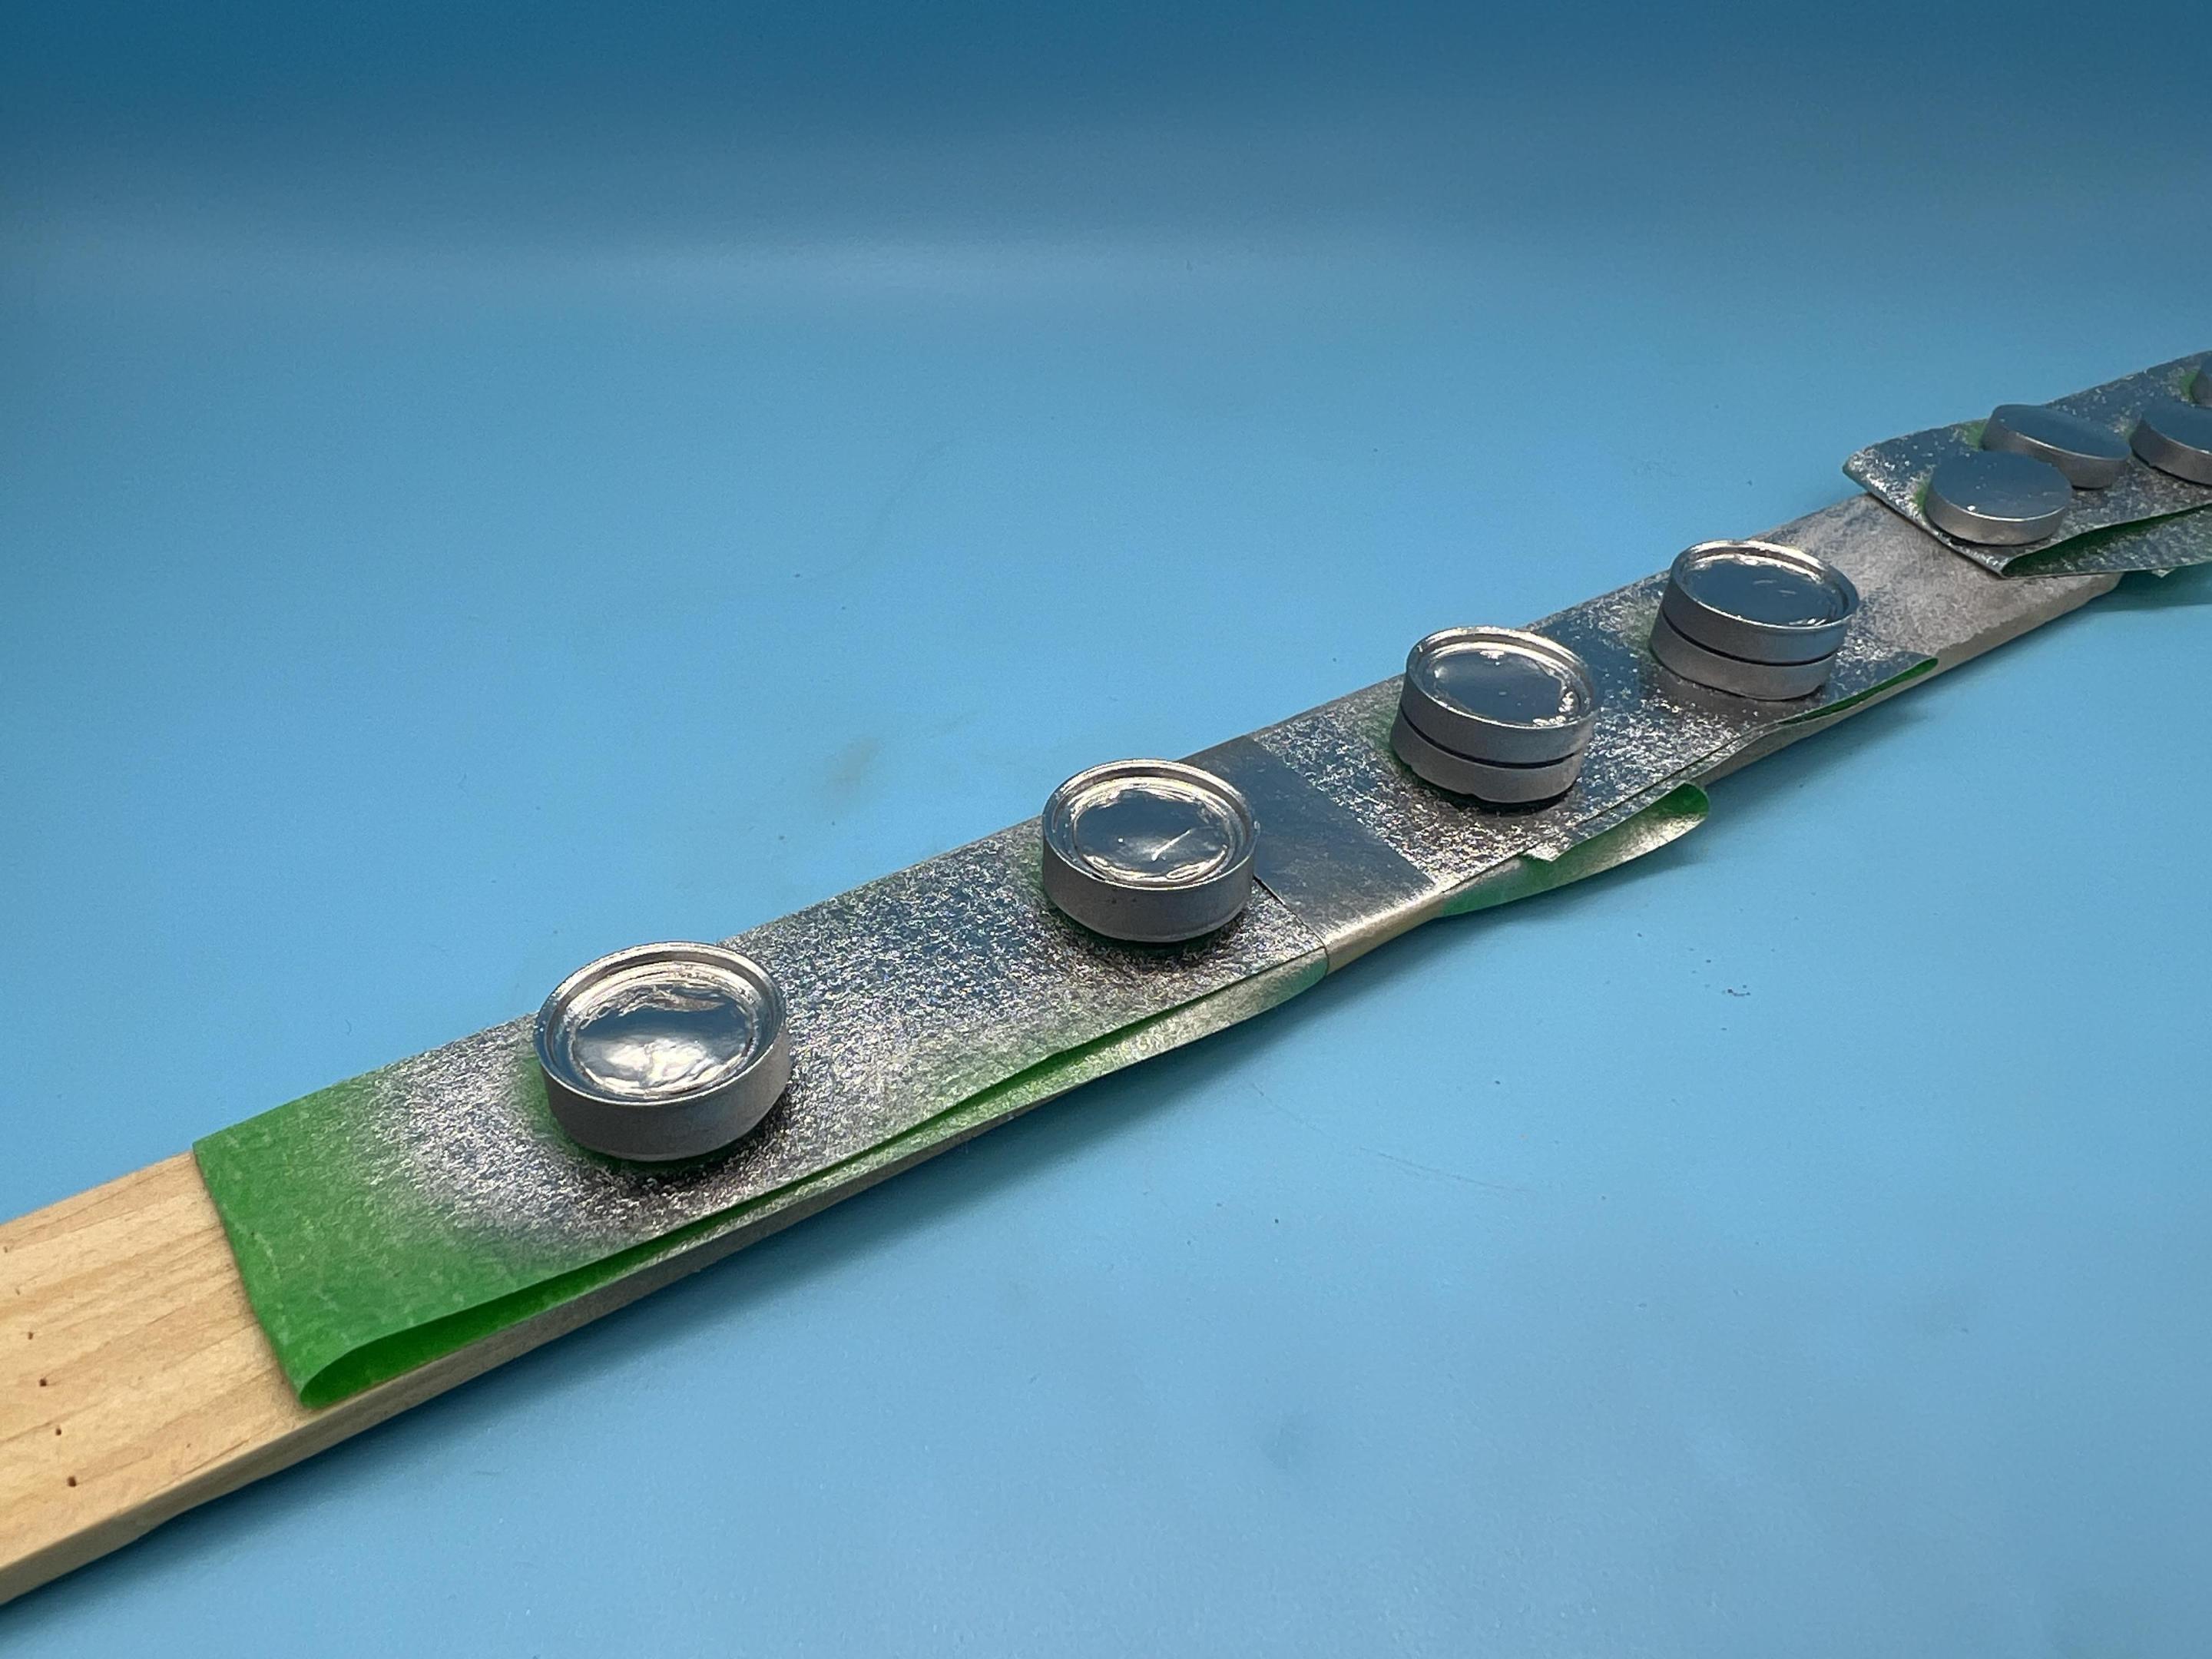
Speaking of wheels, I wanted a gunmetal center for the wheels with a billet-looking outer, so I shot some Tamiya acrylic…
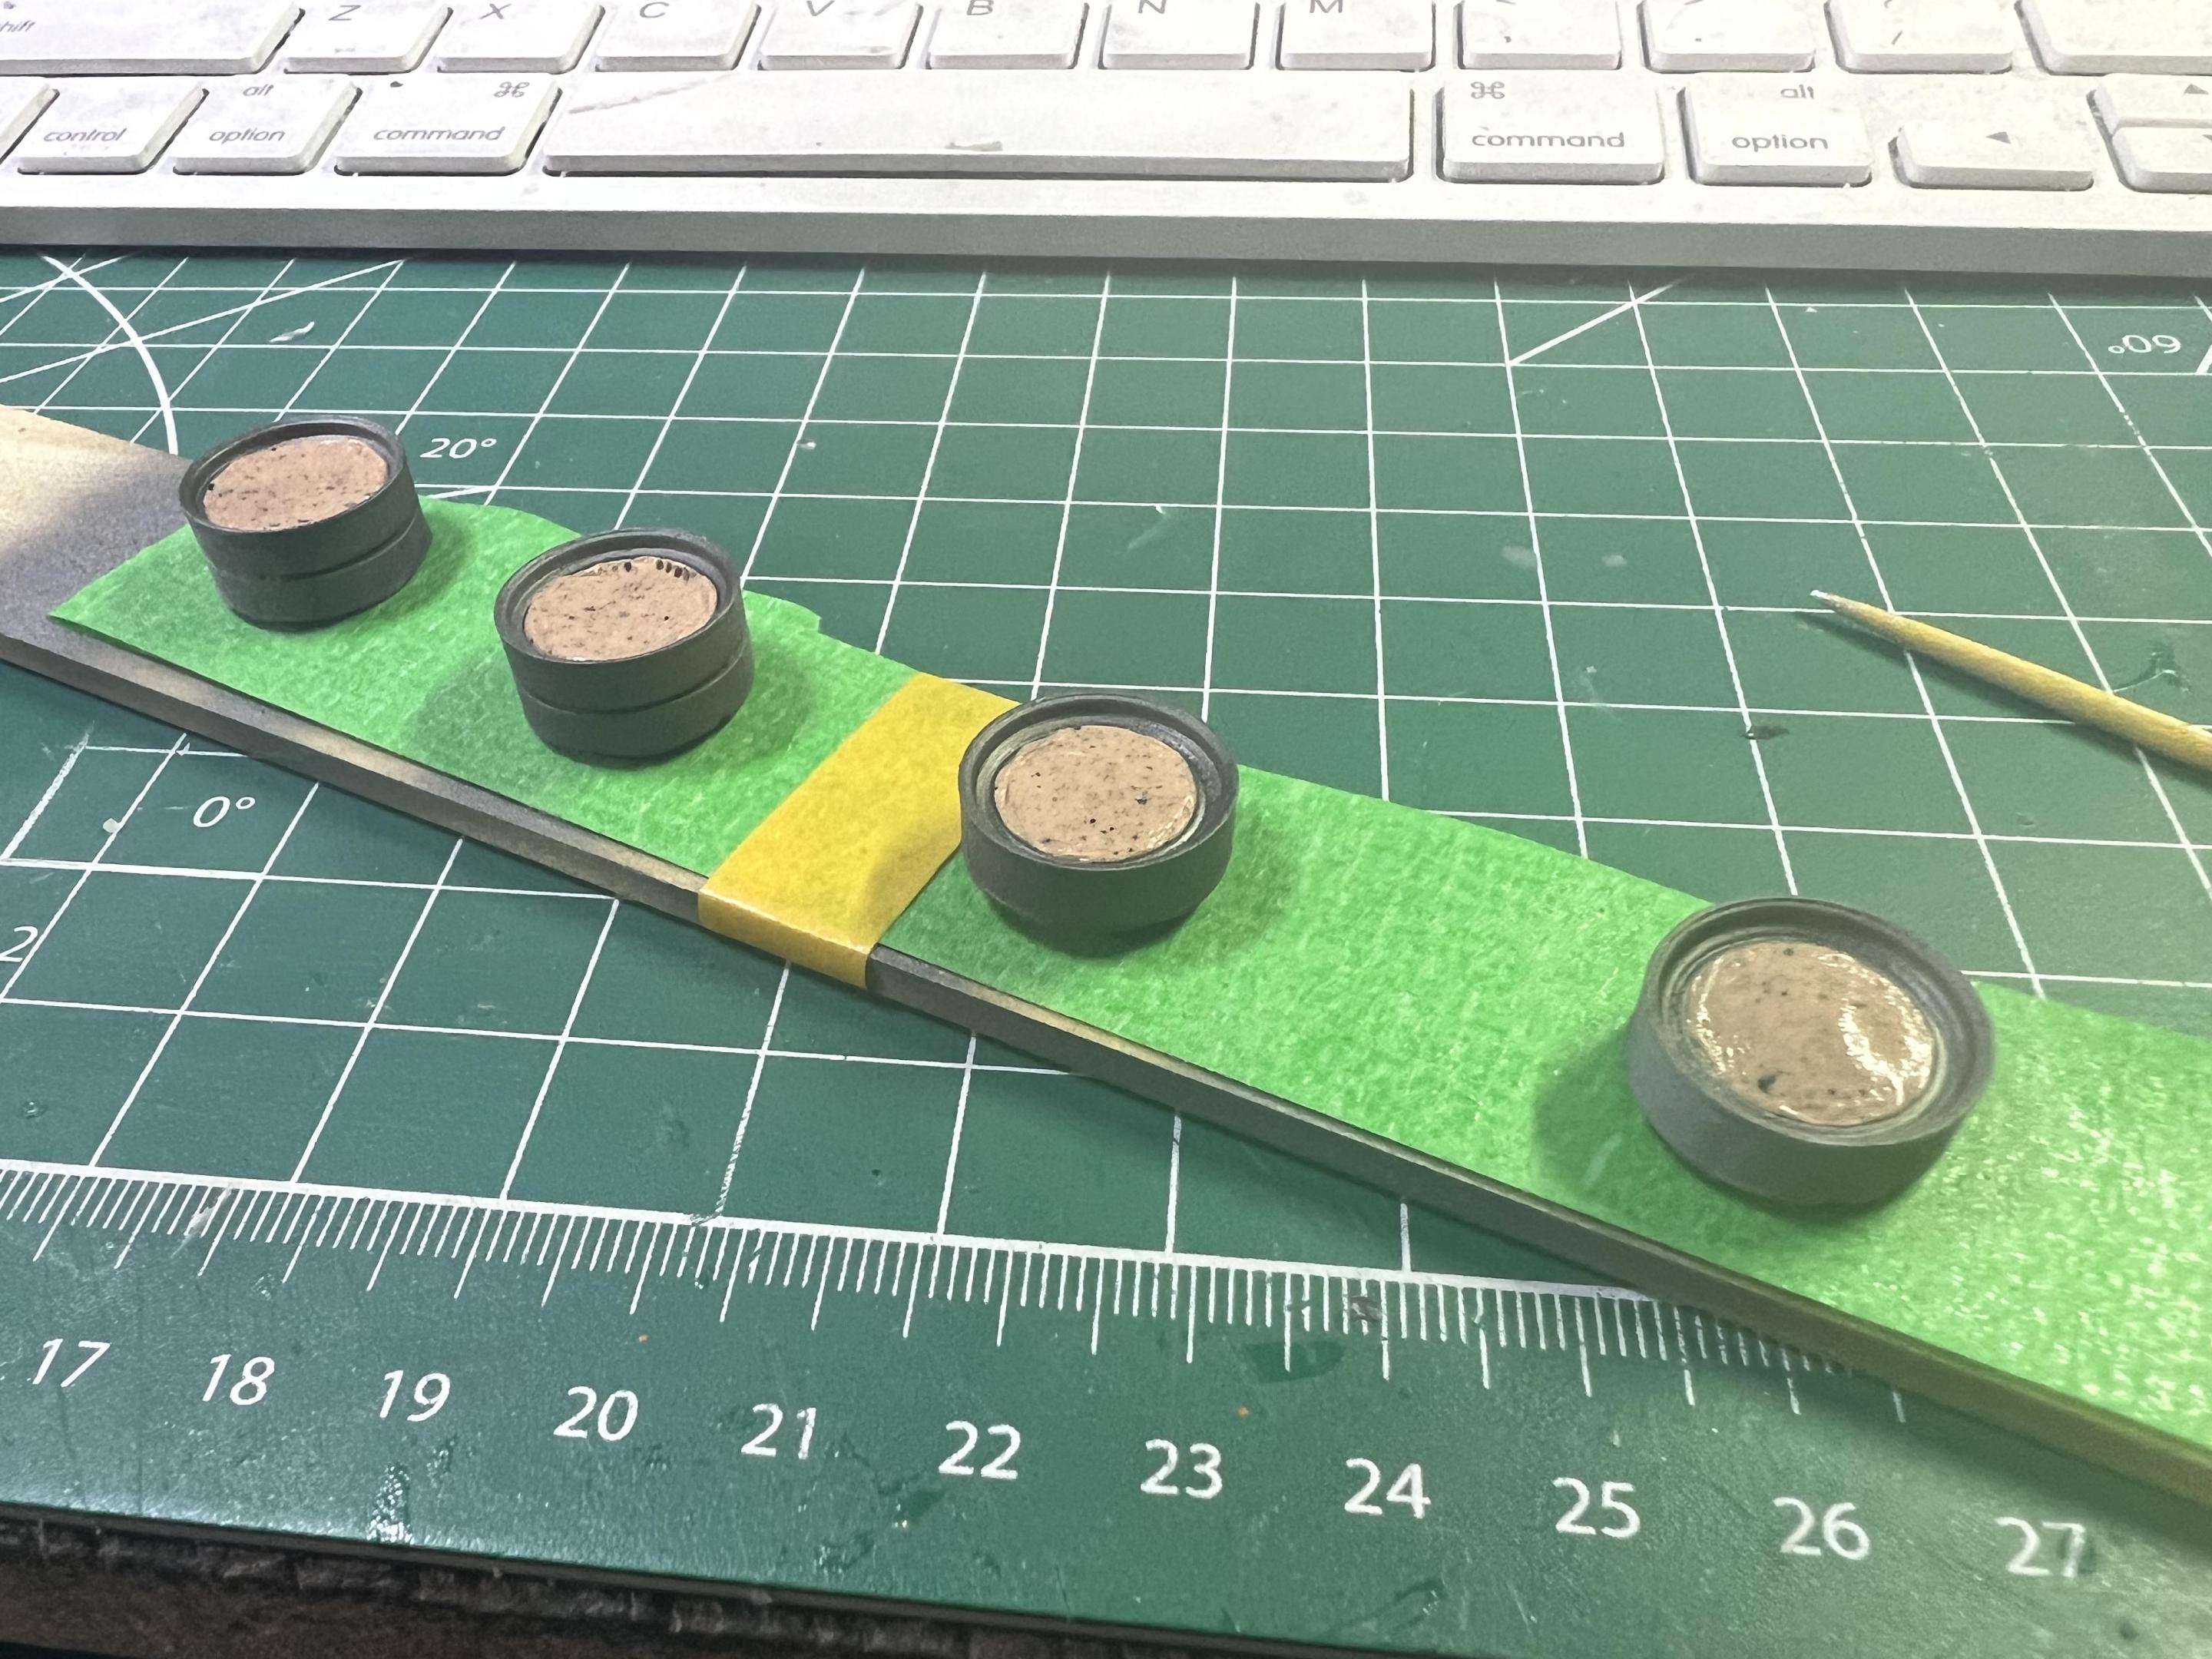
…then a coat of intercoat, then masked with some Silly Putty:
Note: if you leave Silly Putty for a few minutes it’ll start to flatten itself out and seals the edges really nicely…
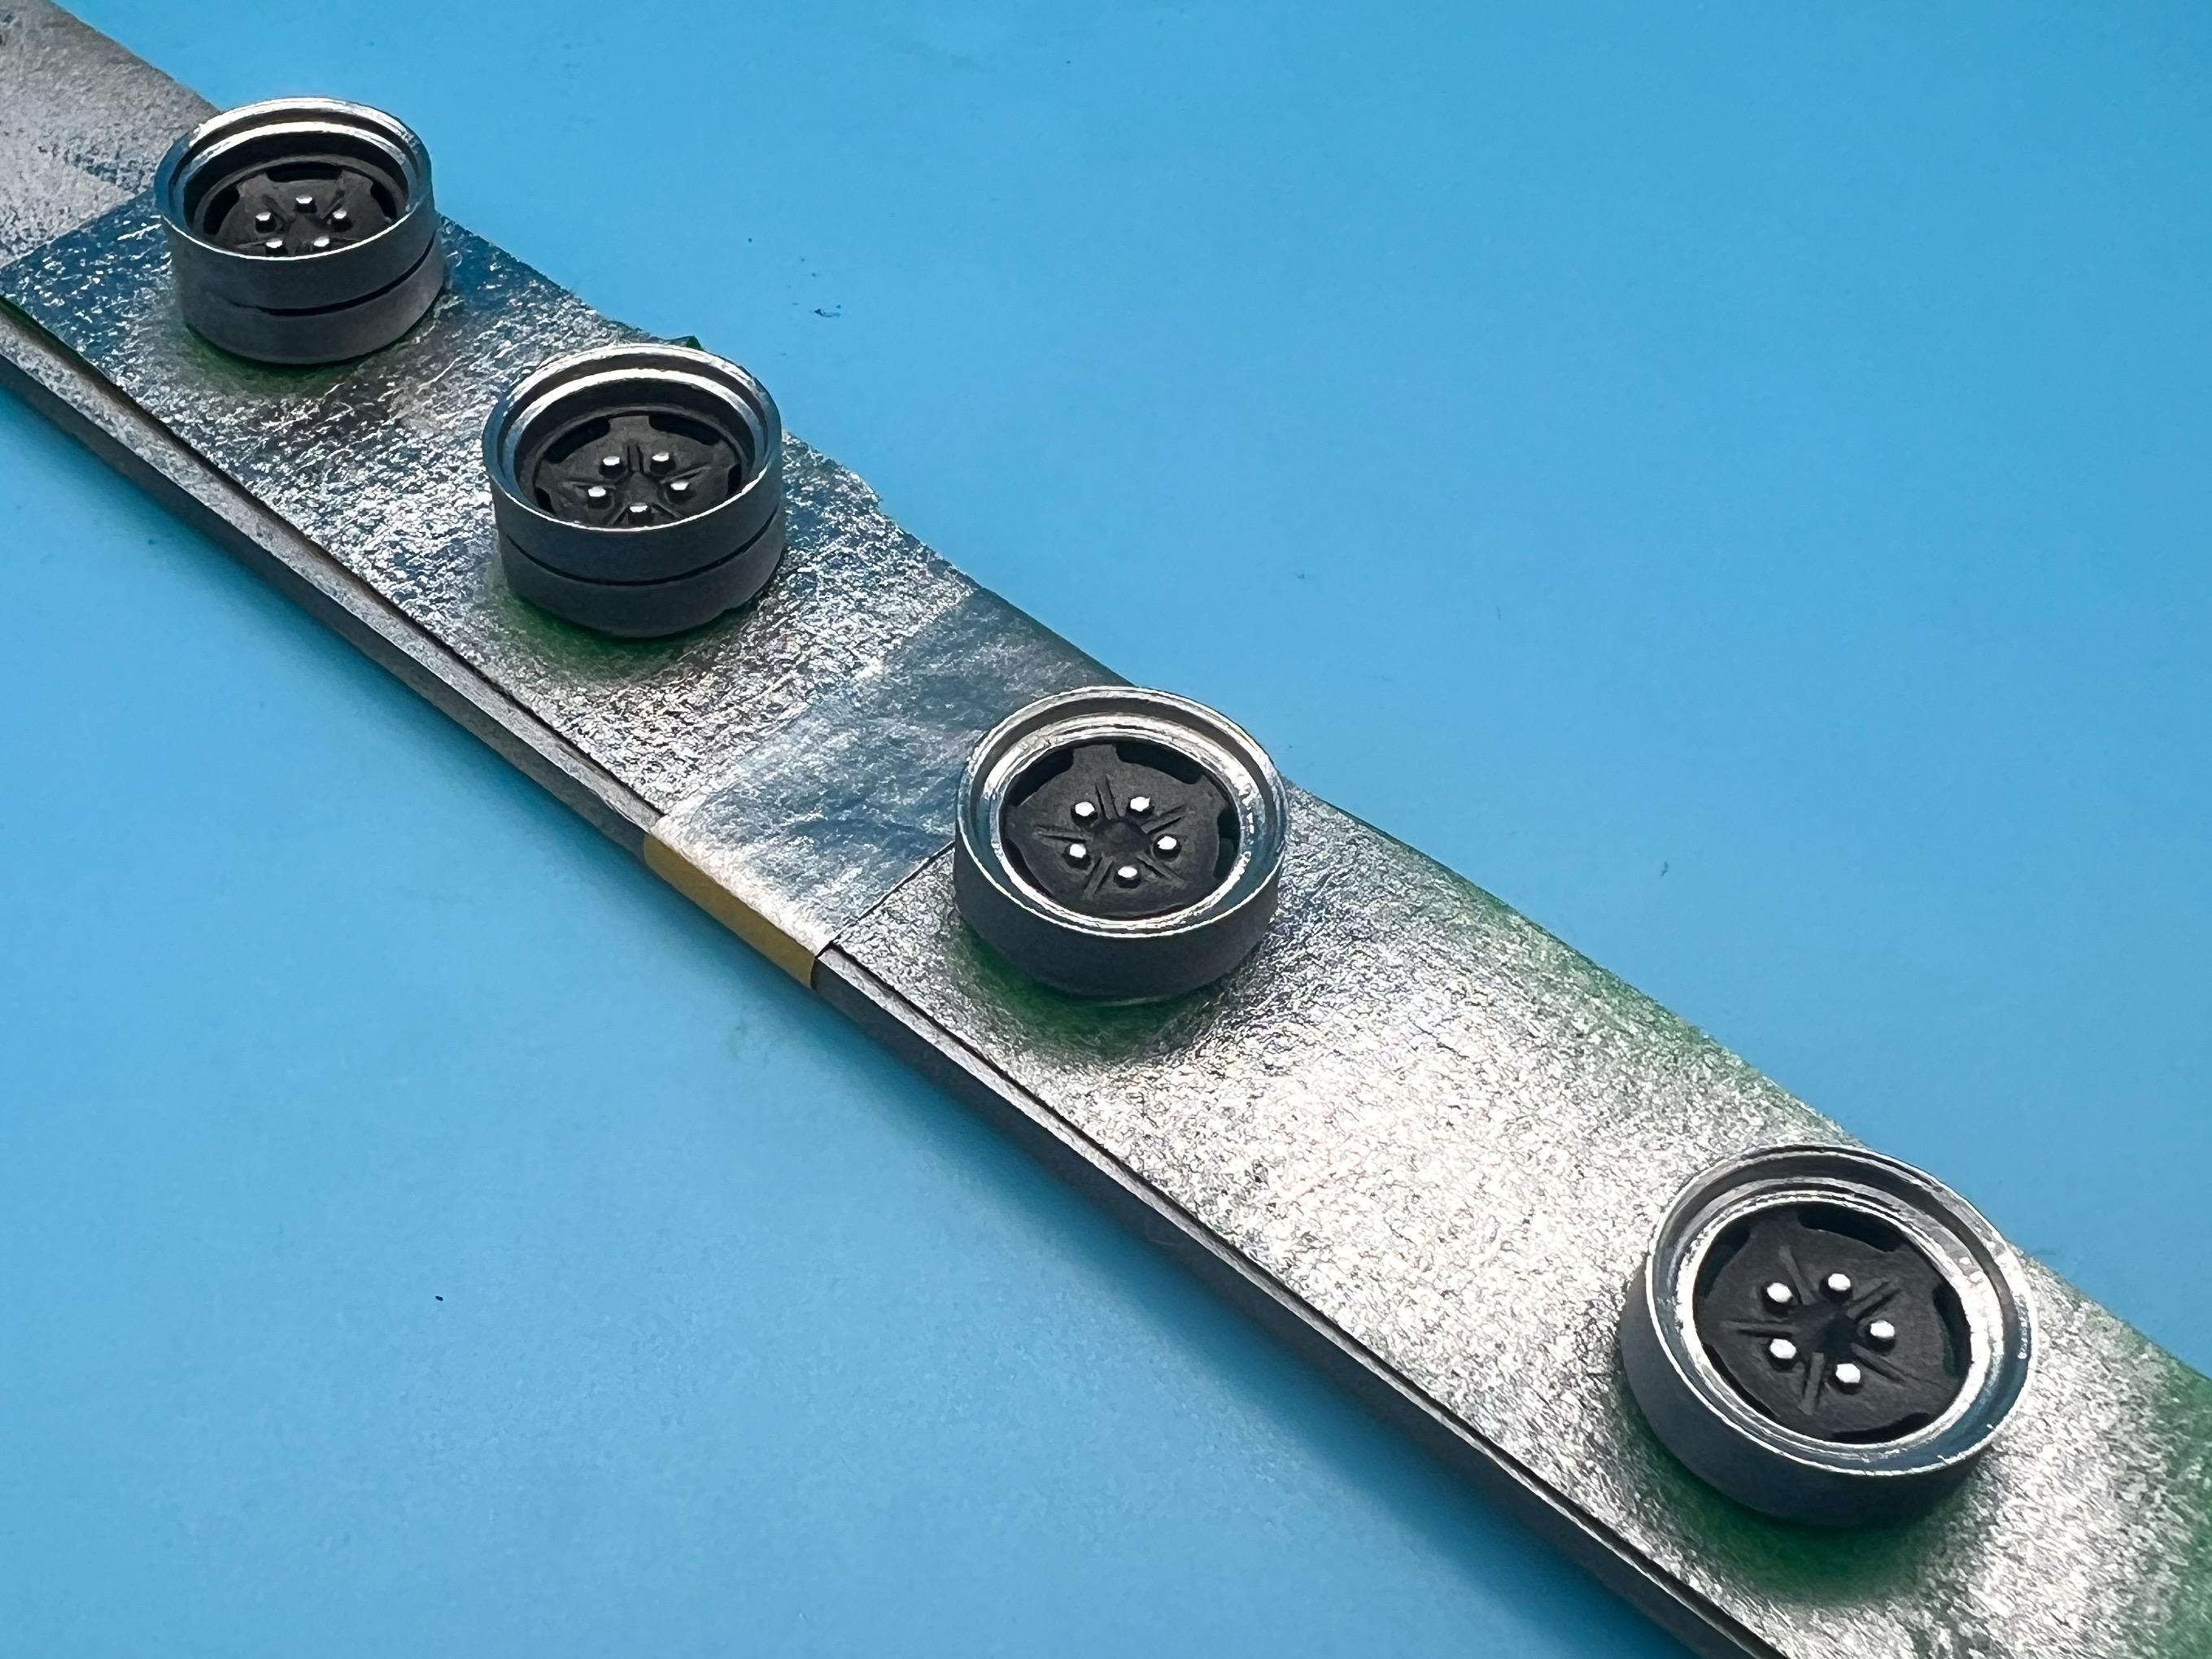
Next some Hyperchrome over the satin silver:
And some careful de-masking…(and a silver pen for the lugs…)

Still some work to do on these, but I shot the 3d-printed tires today too so that I’m ready with those…
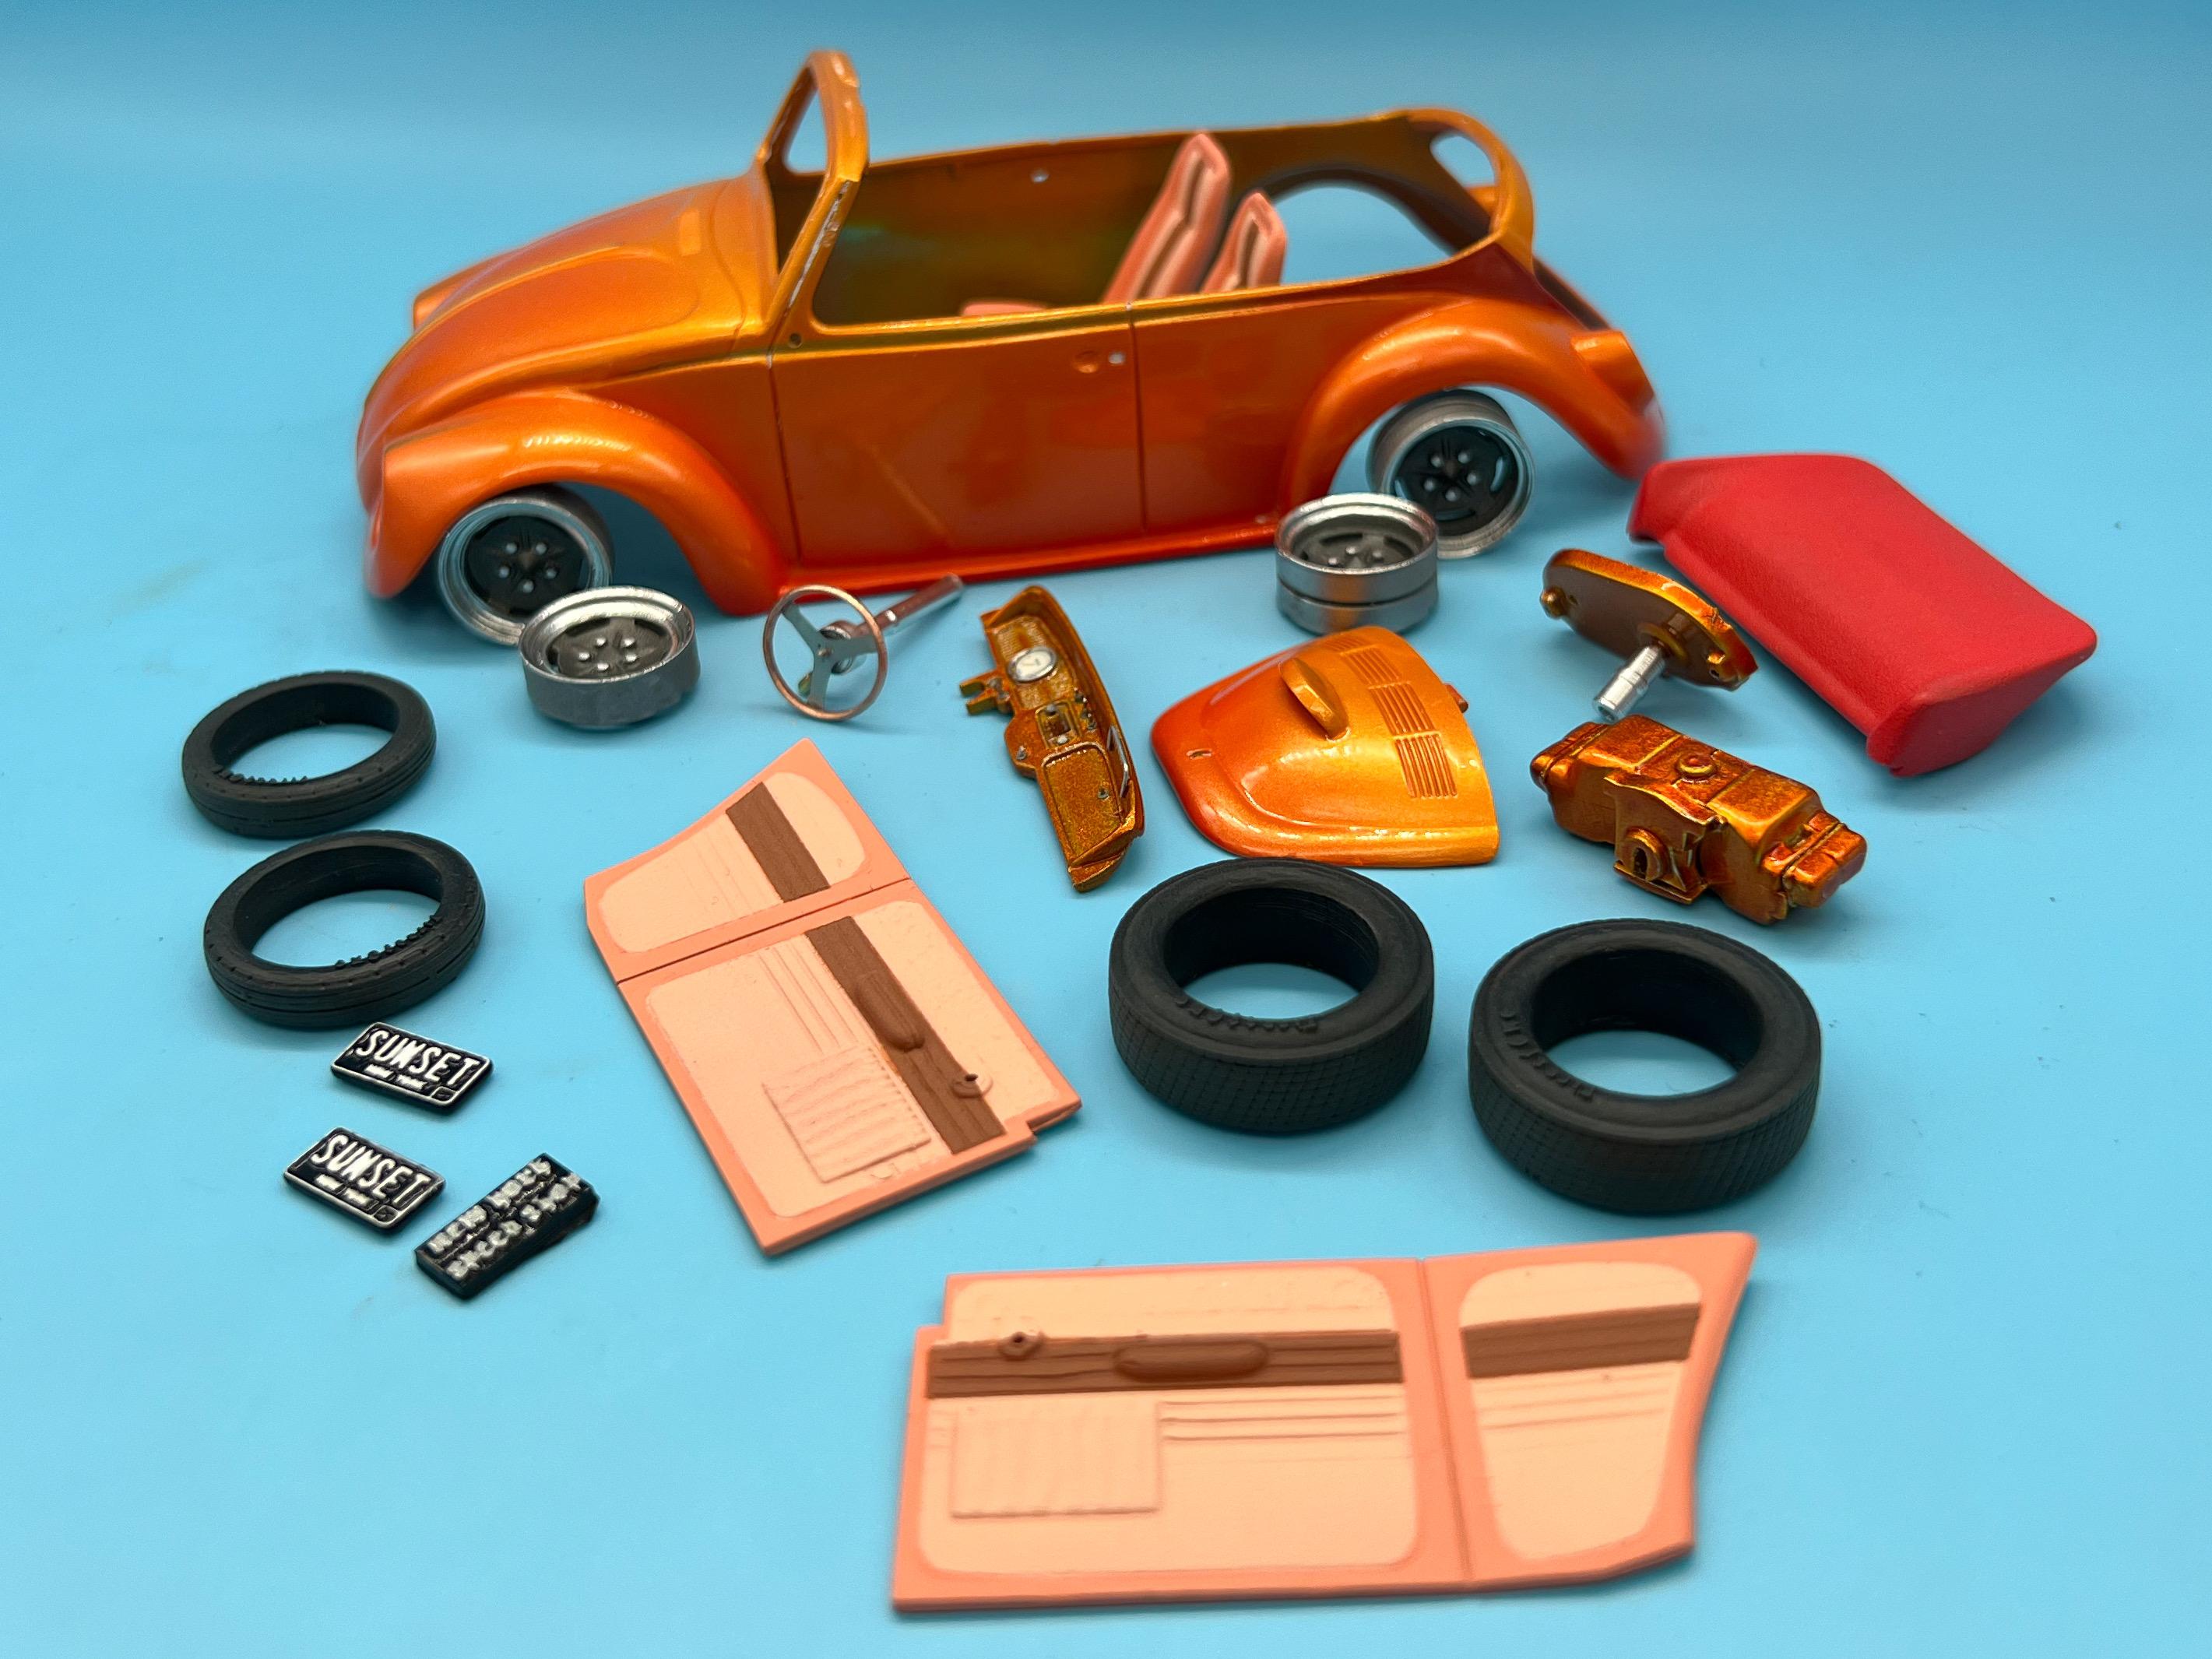
The pile of ‘finished’ bits is starting to build up now…

Pile of unfinished bits is still pretty big tho 🤪.
More soon, soon as I’ve done more, thanks for looking!-
 1
1
-
-
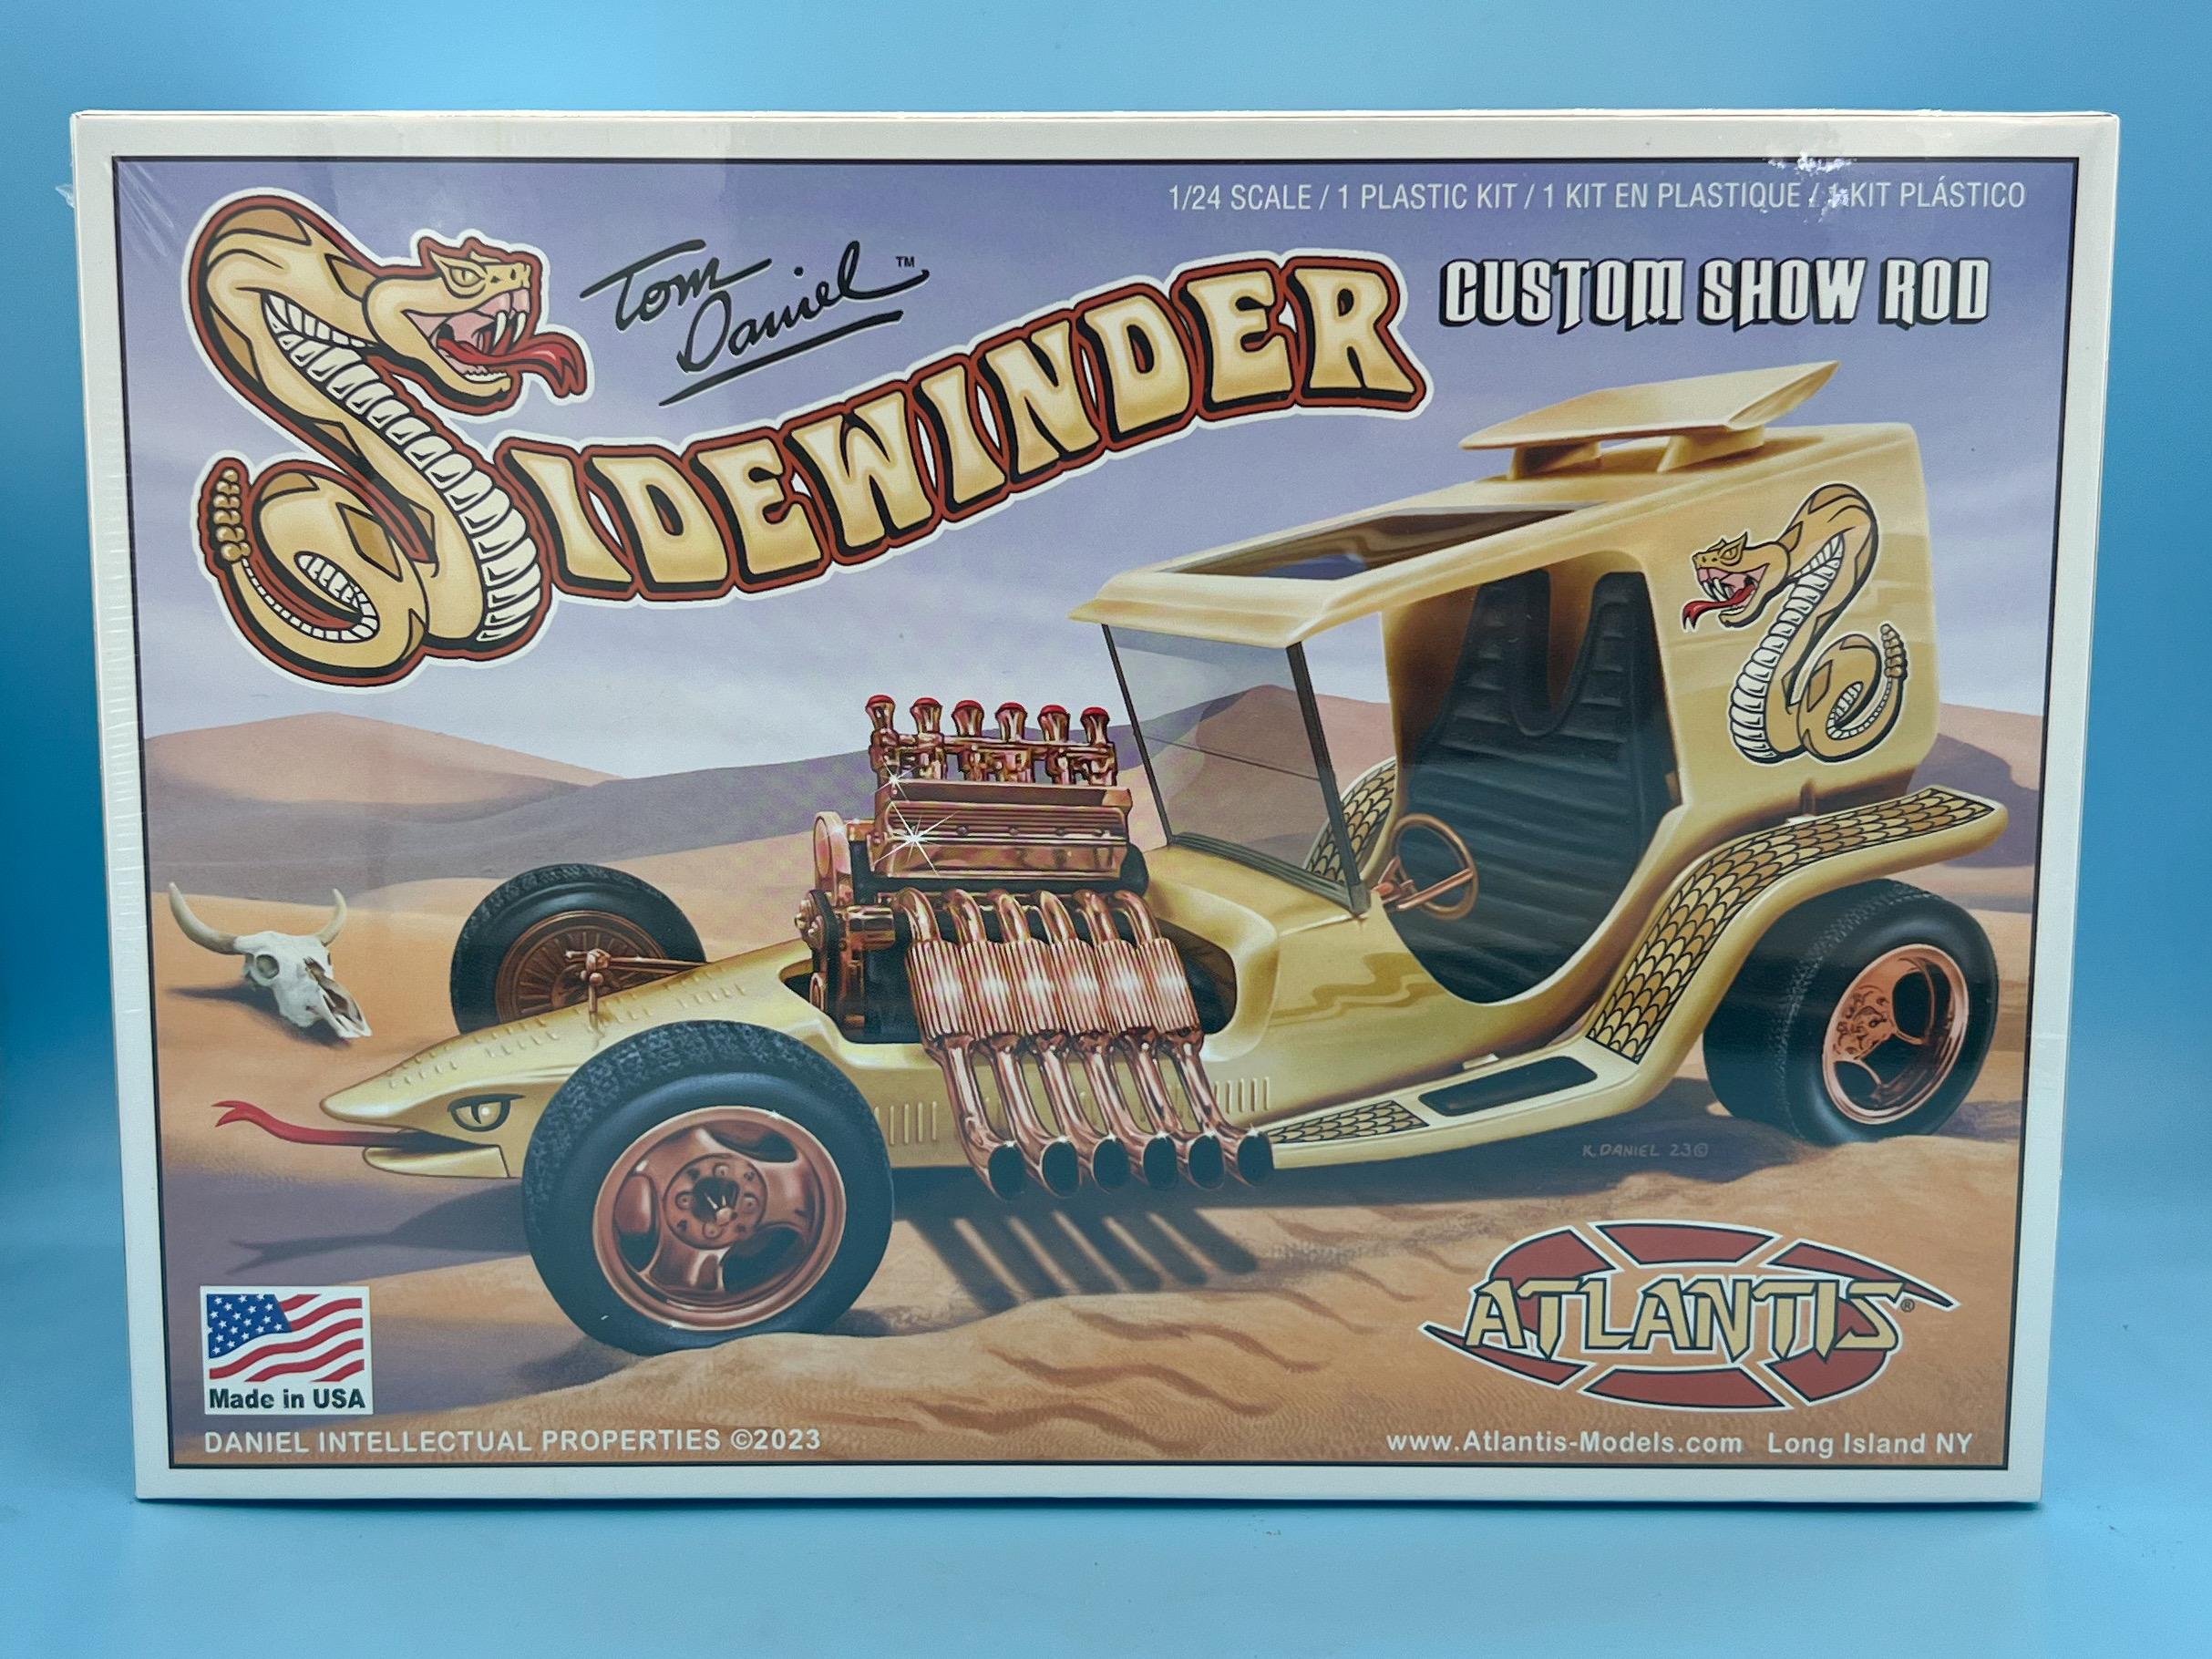
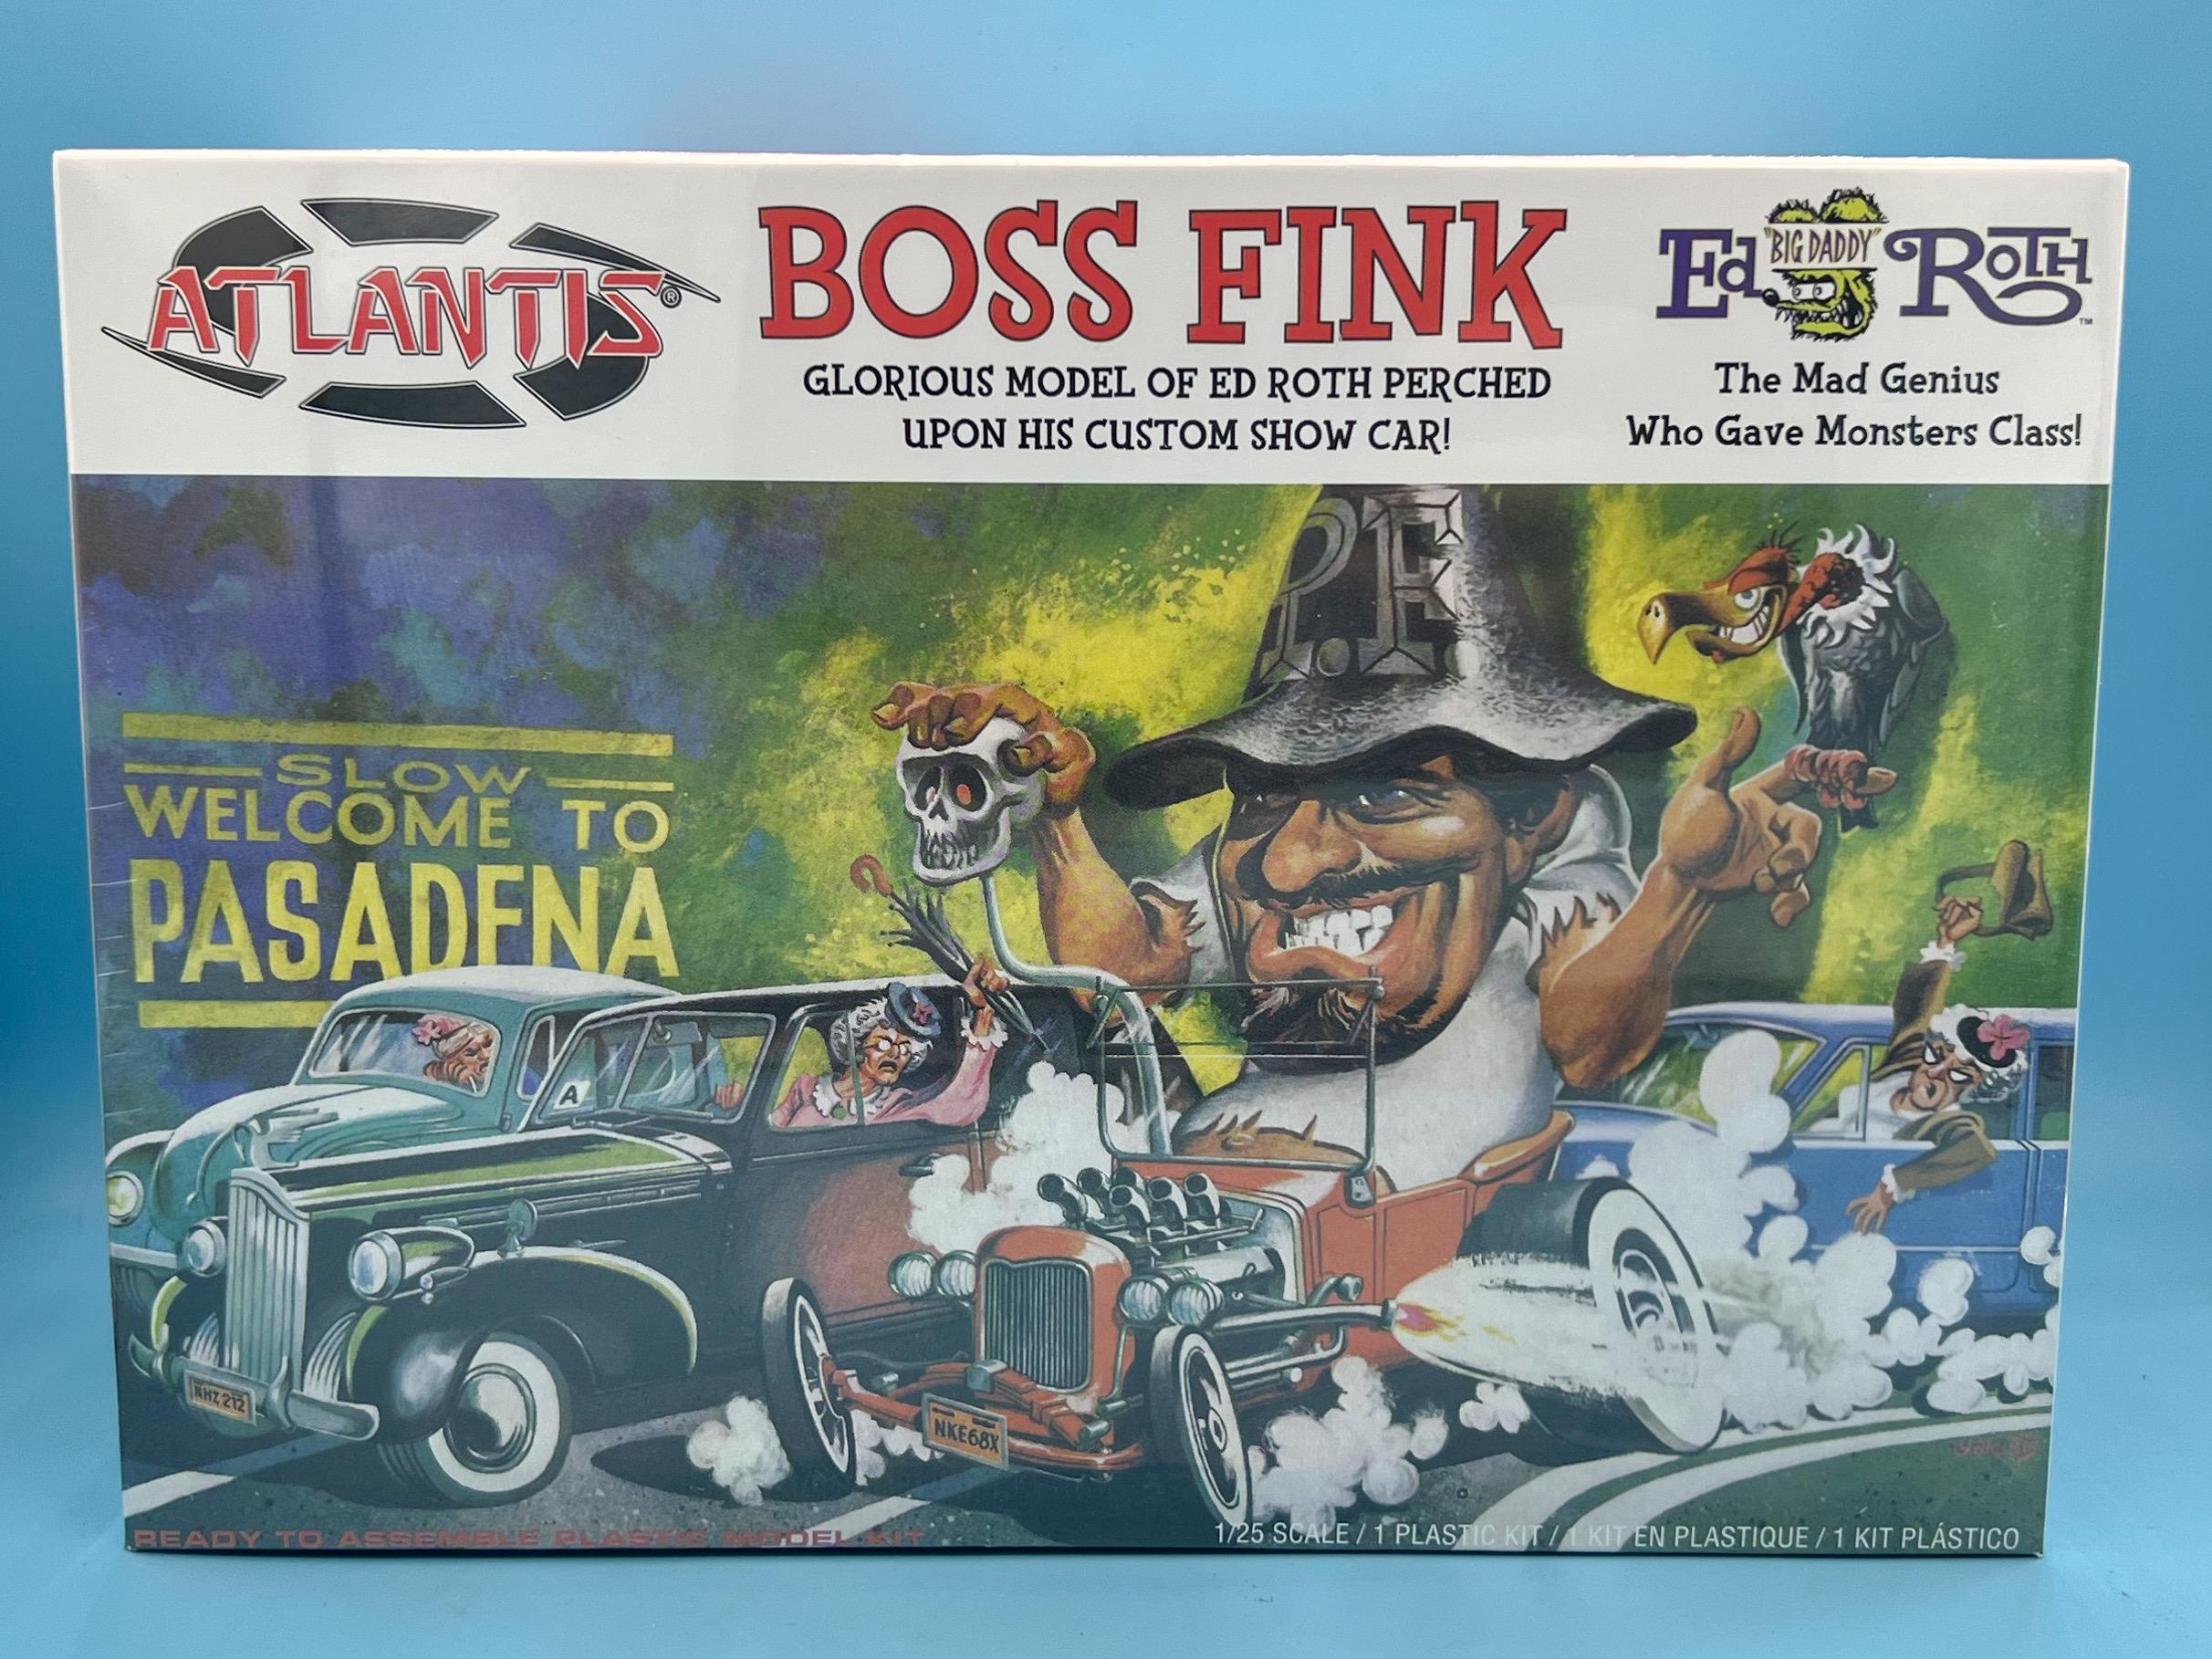
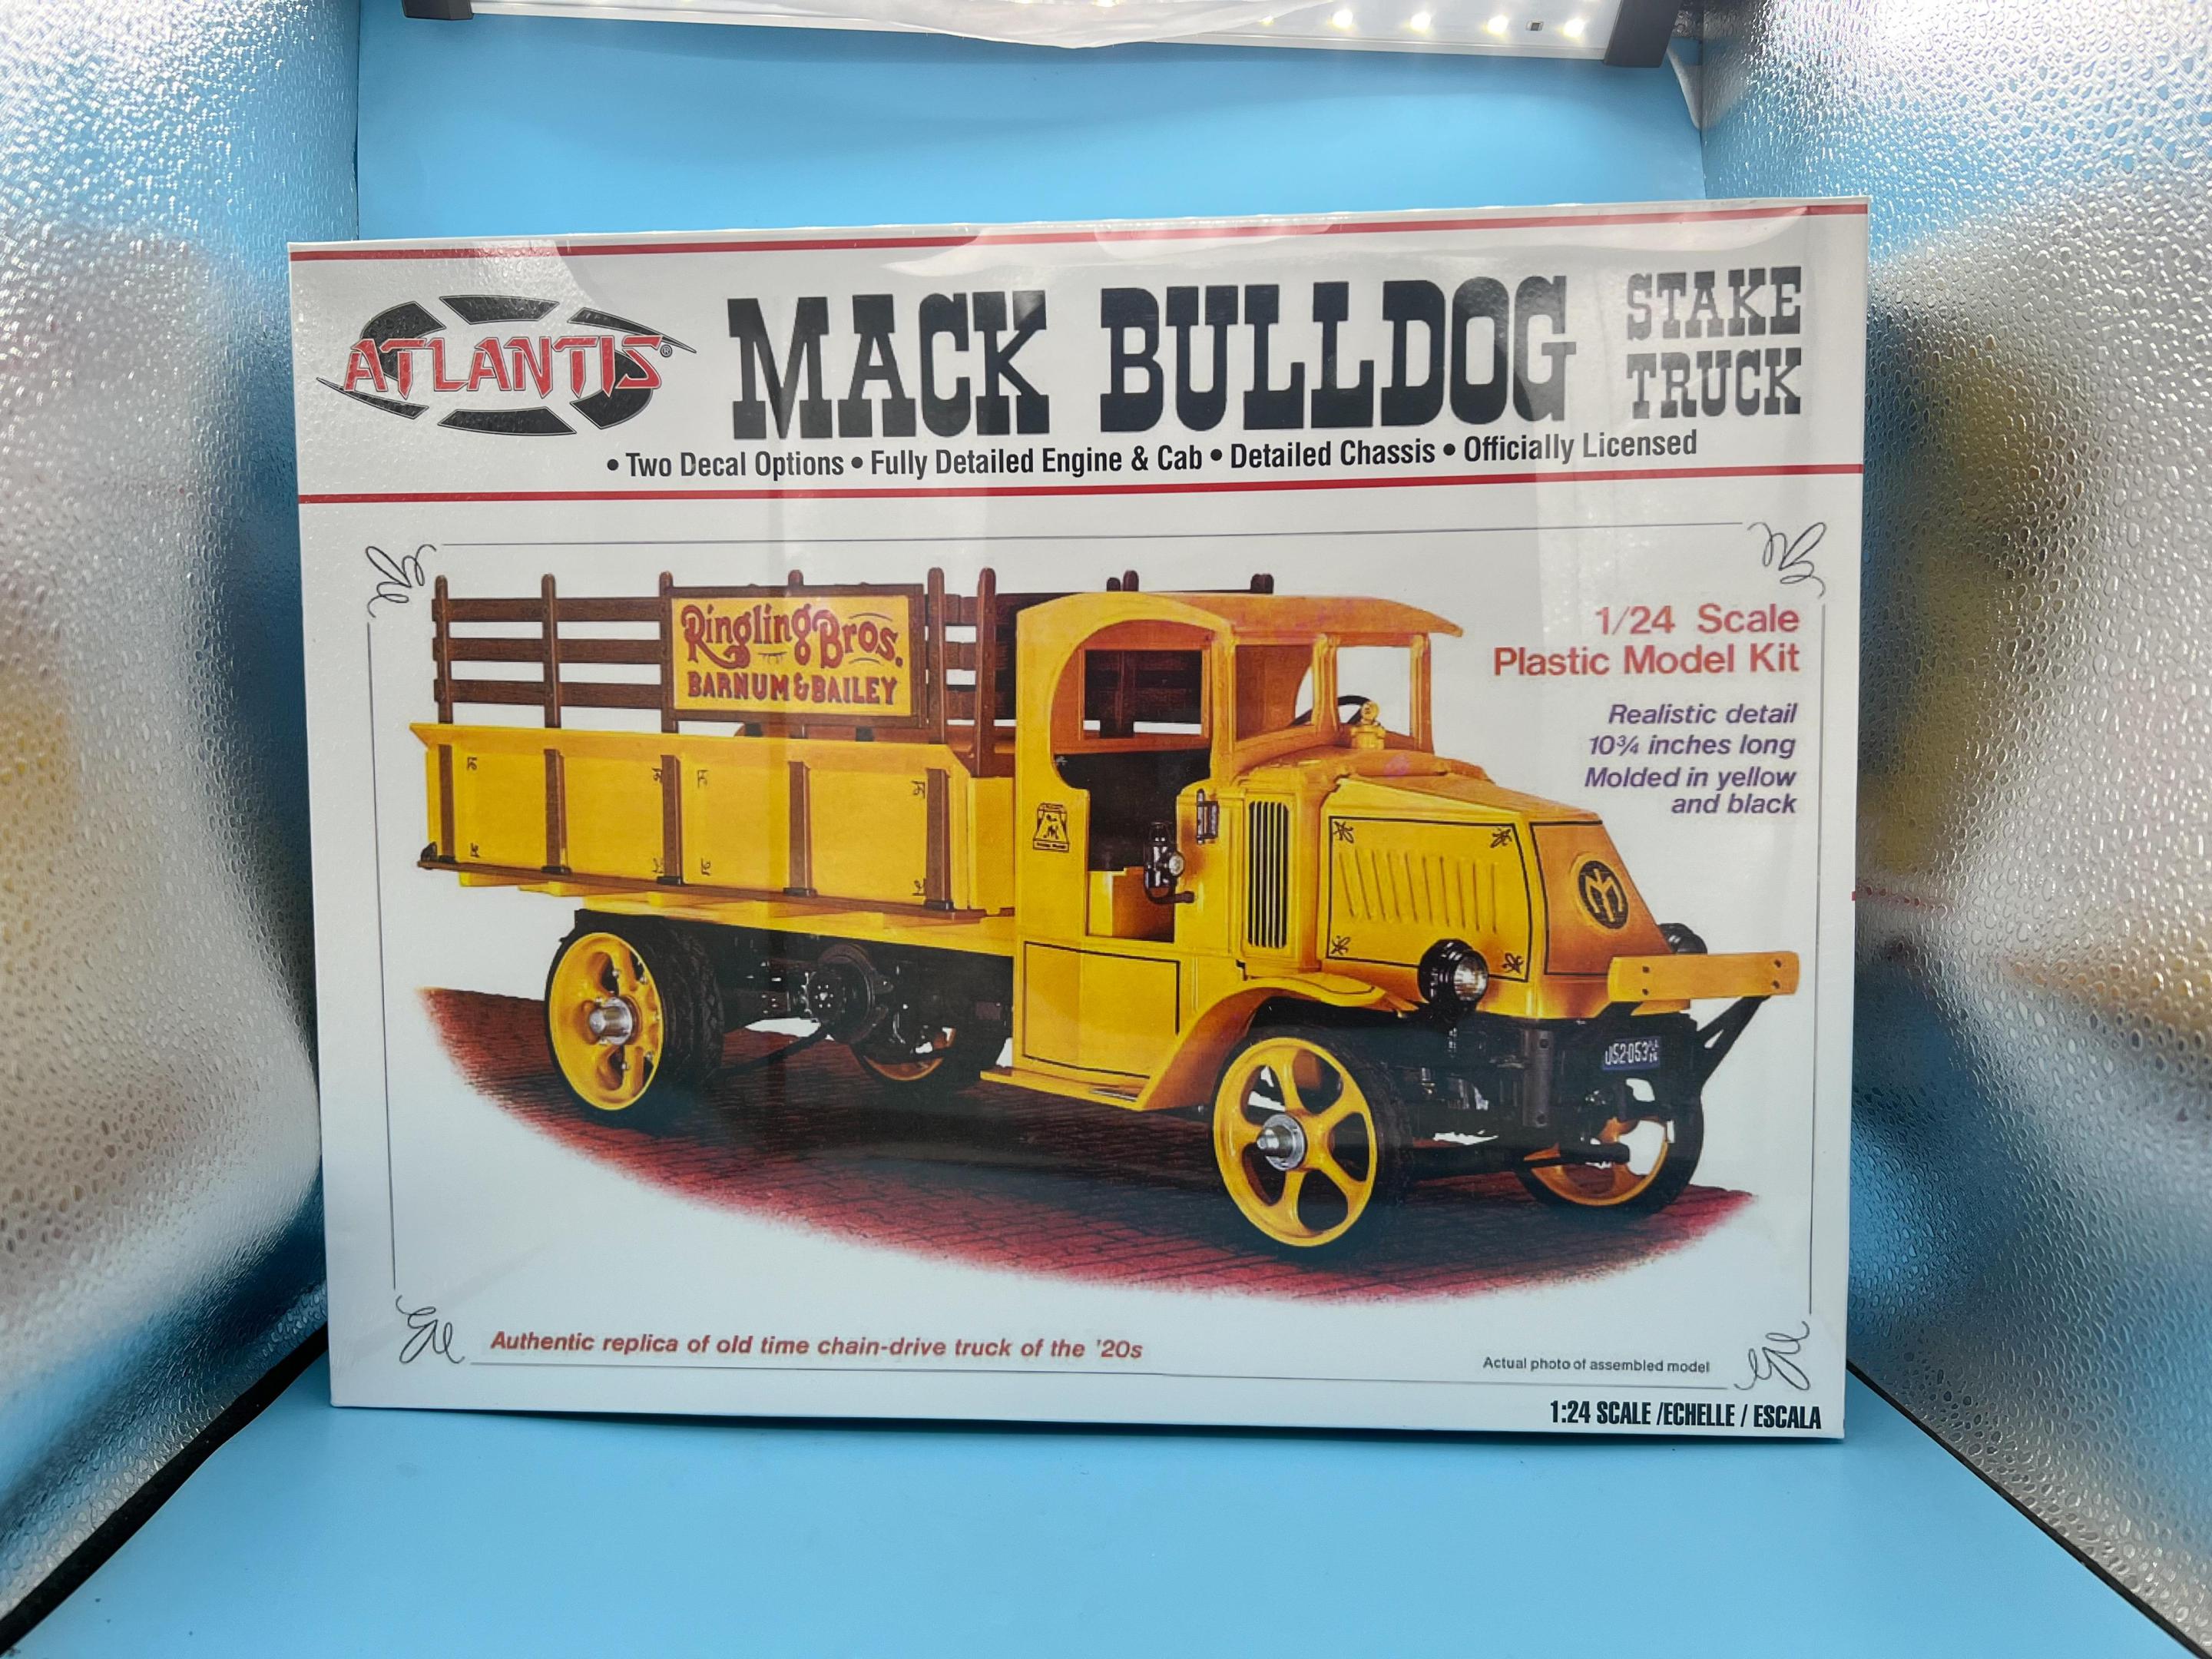
Atlantis had a 20% off sale last weekend, so I took the opportunity to grab some kits I was missing from my collection…


And this one only barely fit in the photo booth…
I’ve got all their 1:24 / 1:25 kits that they’ve issued to date now…just need to actually build them 🤪.
NOTE: I got the Boss Fink kit because as best I can tell it’s basically the Roth Tweedy Pie minus the wheels and tires but with a big Ed Roth, and I want to build a ‘conventional’ Tweedy Pie replica…-
 4
4
-
-
Thanks fellas!
On 2/19/2024 at 5:28 PM, milo1303s said:Can we see a pic of the up top on the car in that color please ?
Great build !!
Thanks Bob! I didn’t actually paint it yet - need to make sure it fits the body ok…
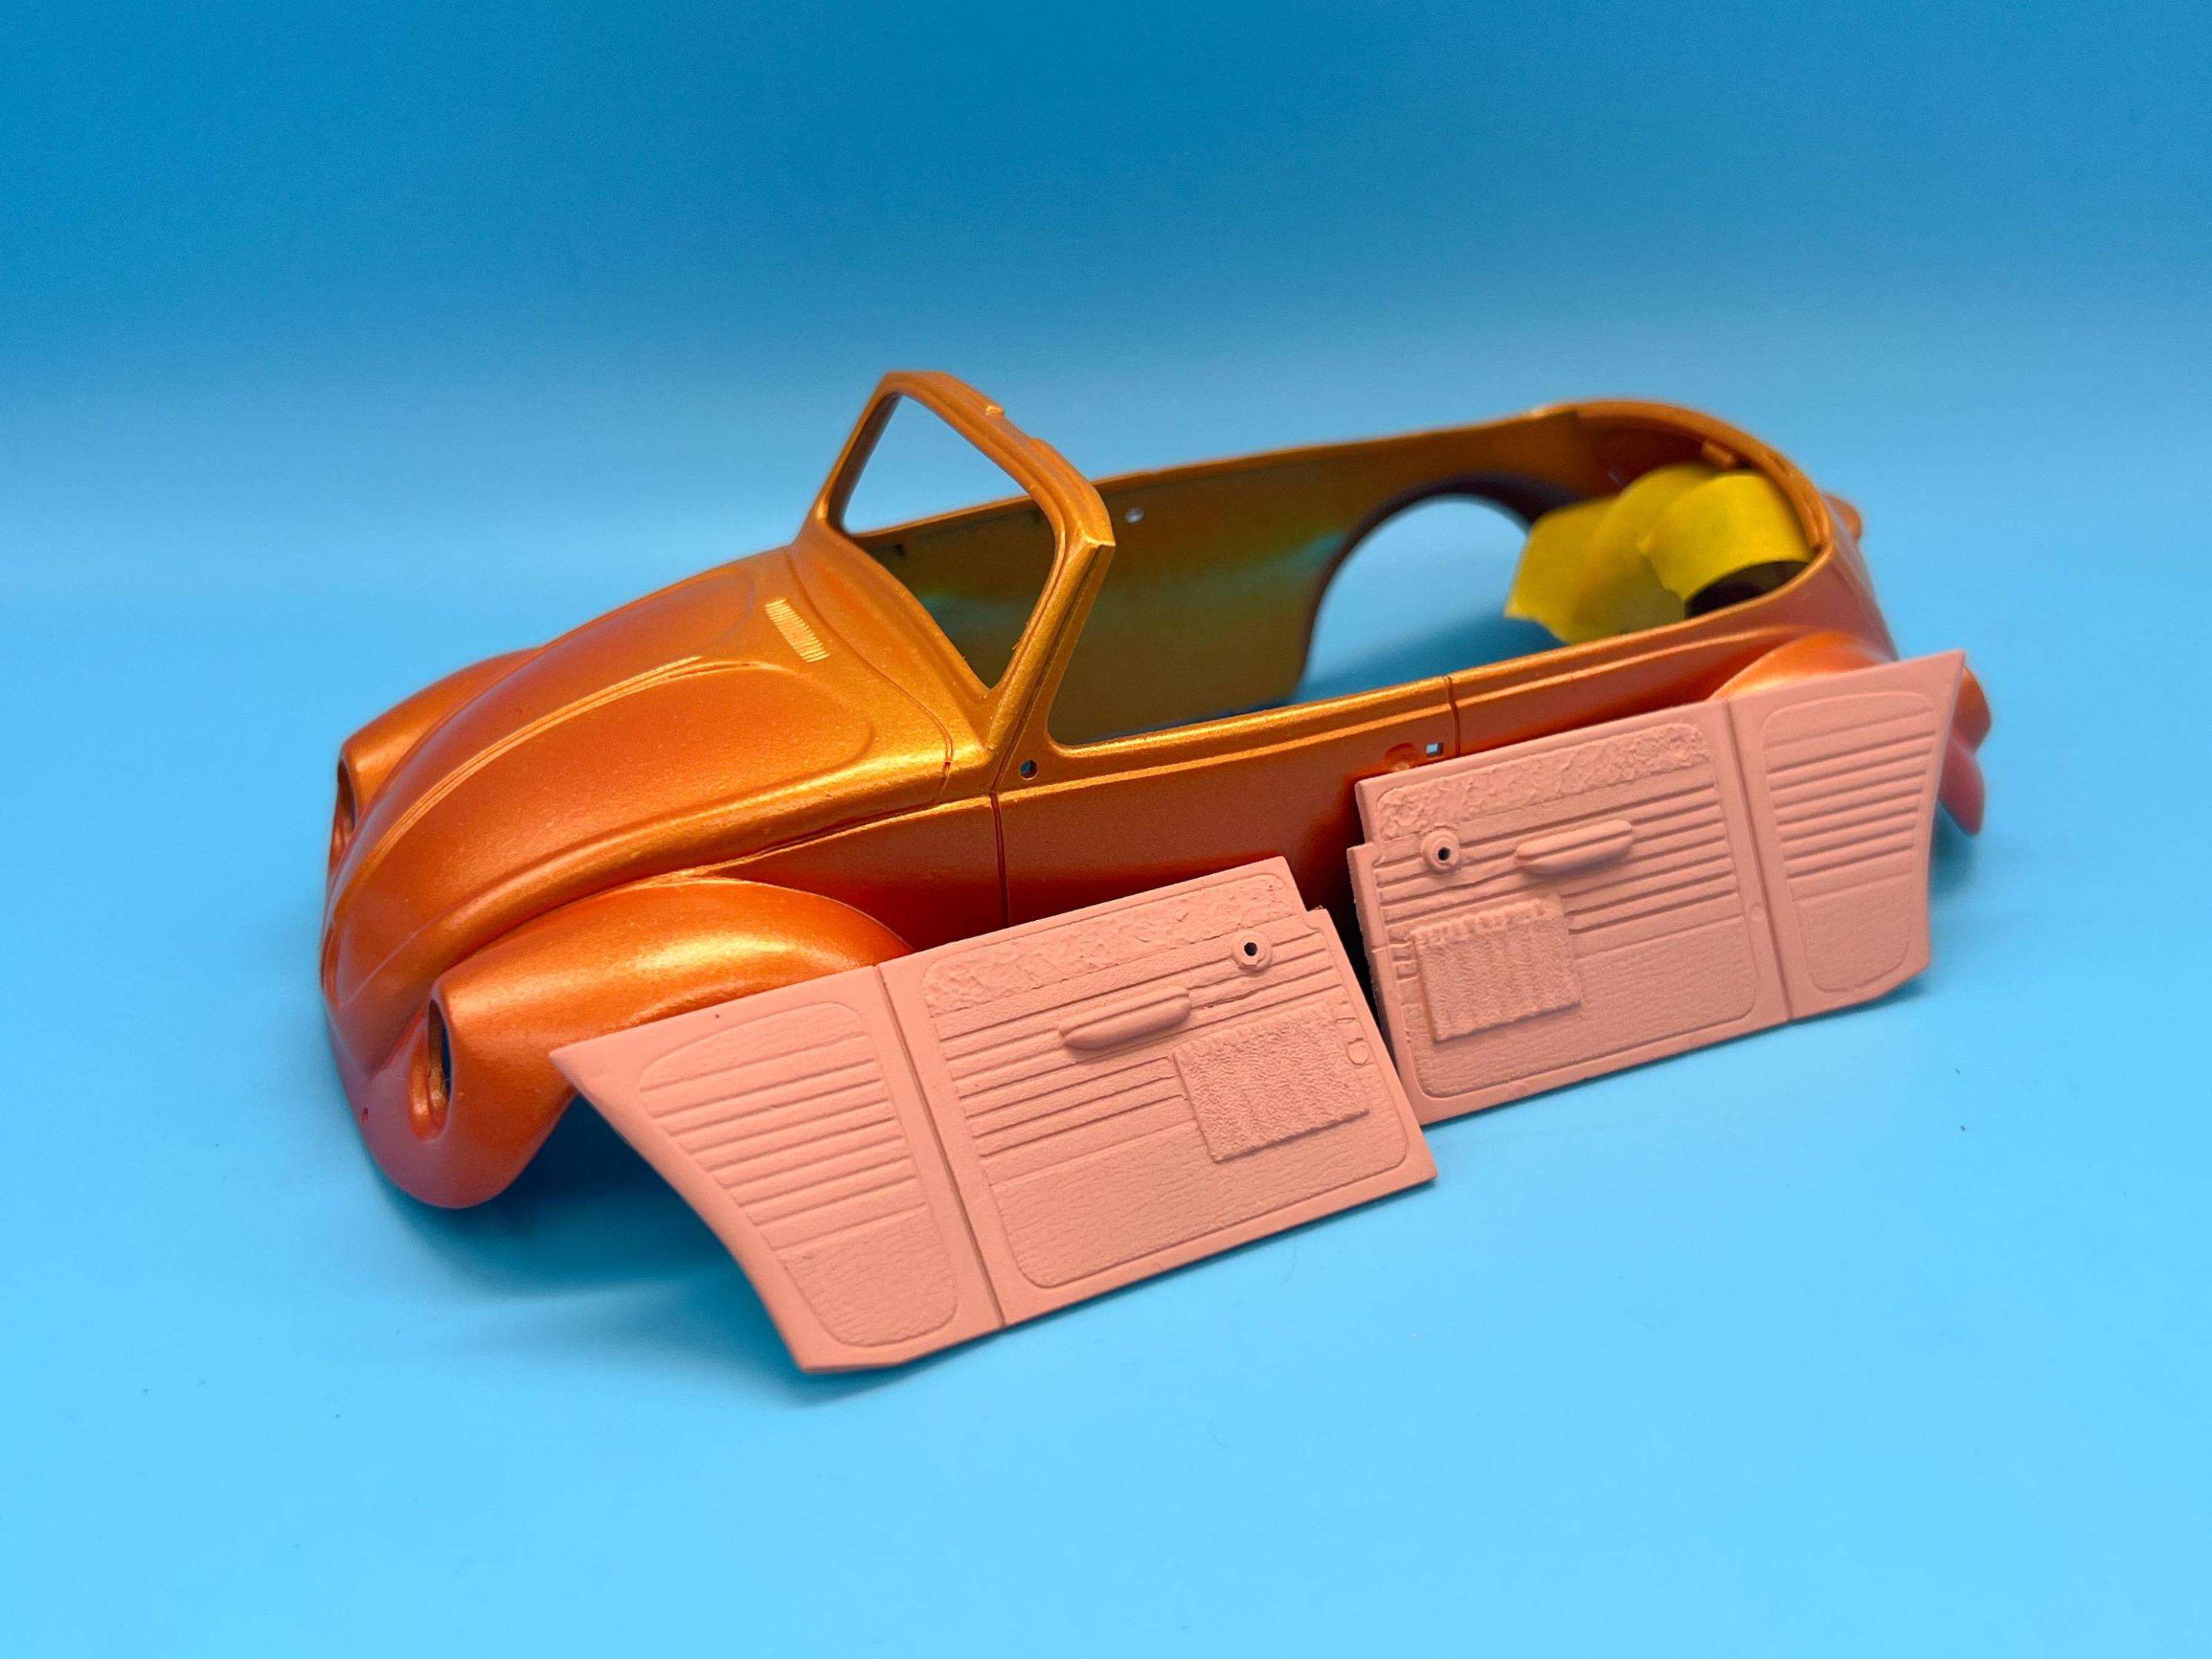
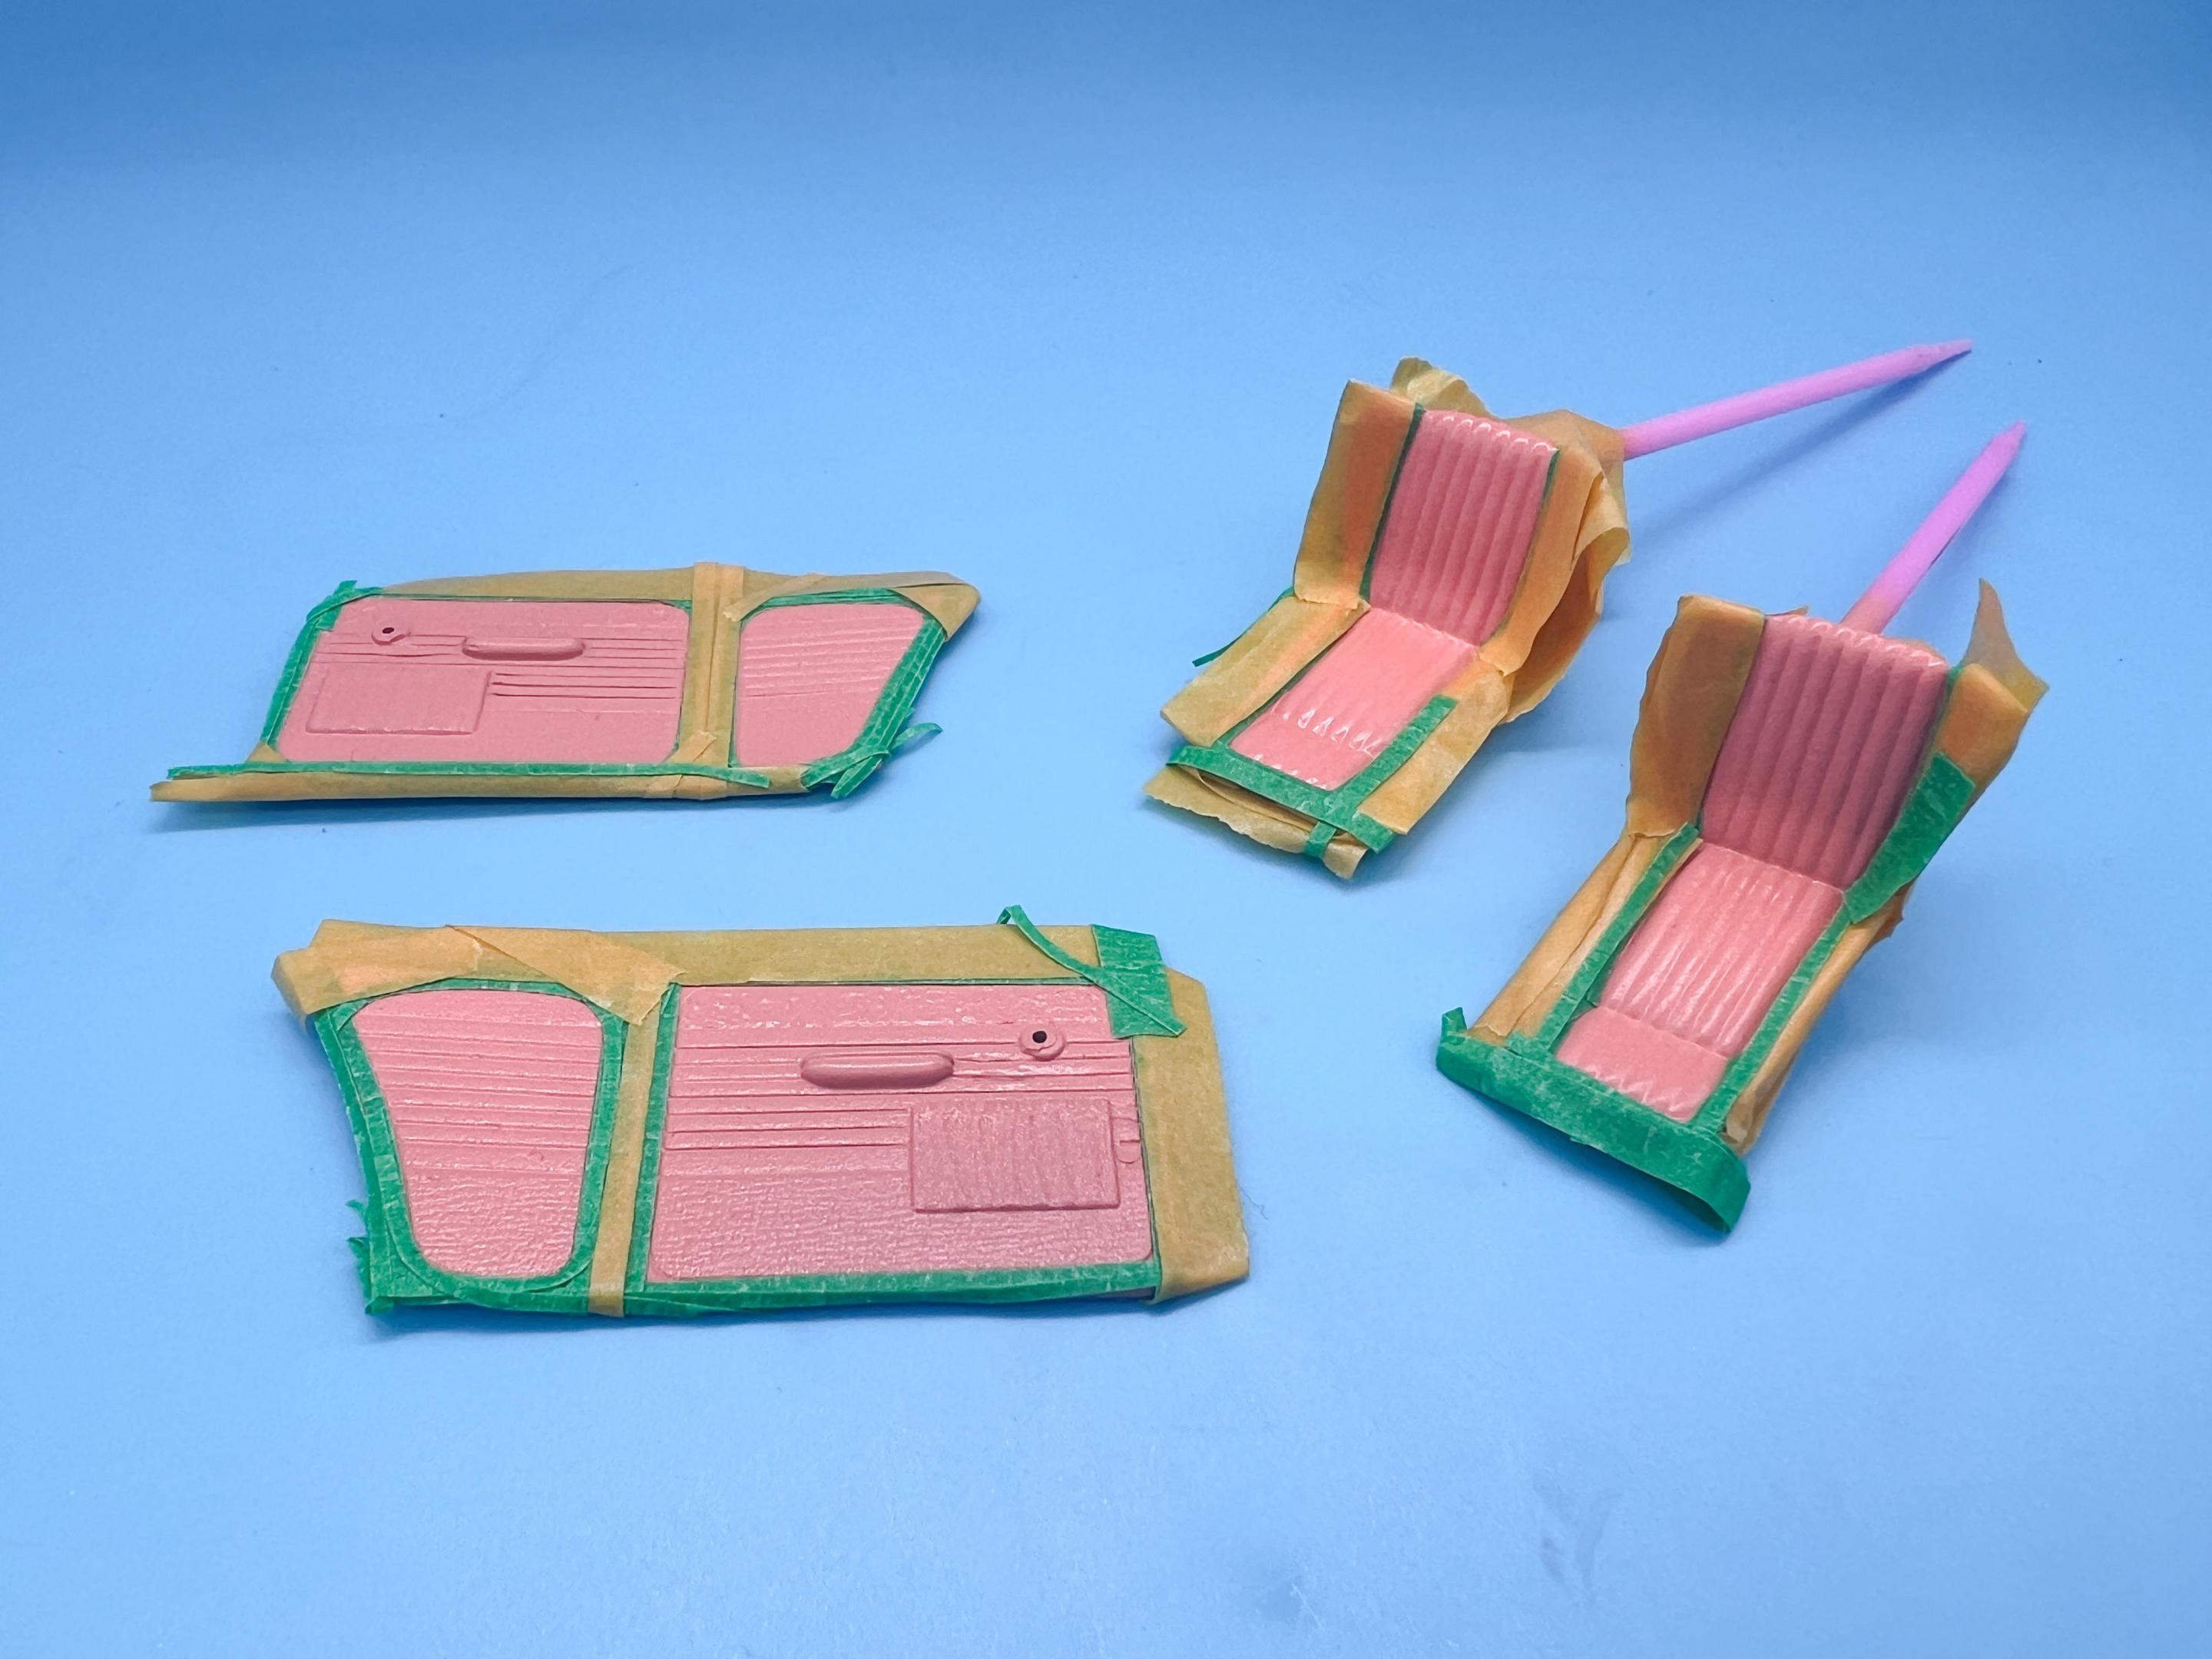
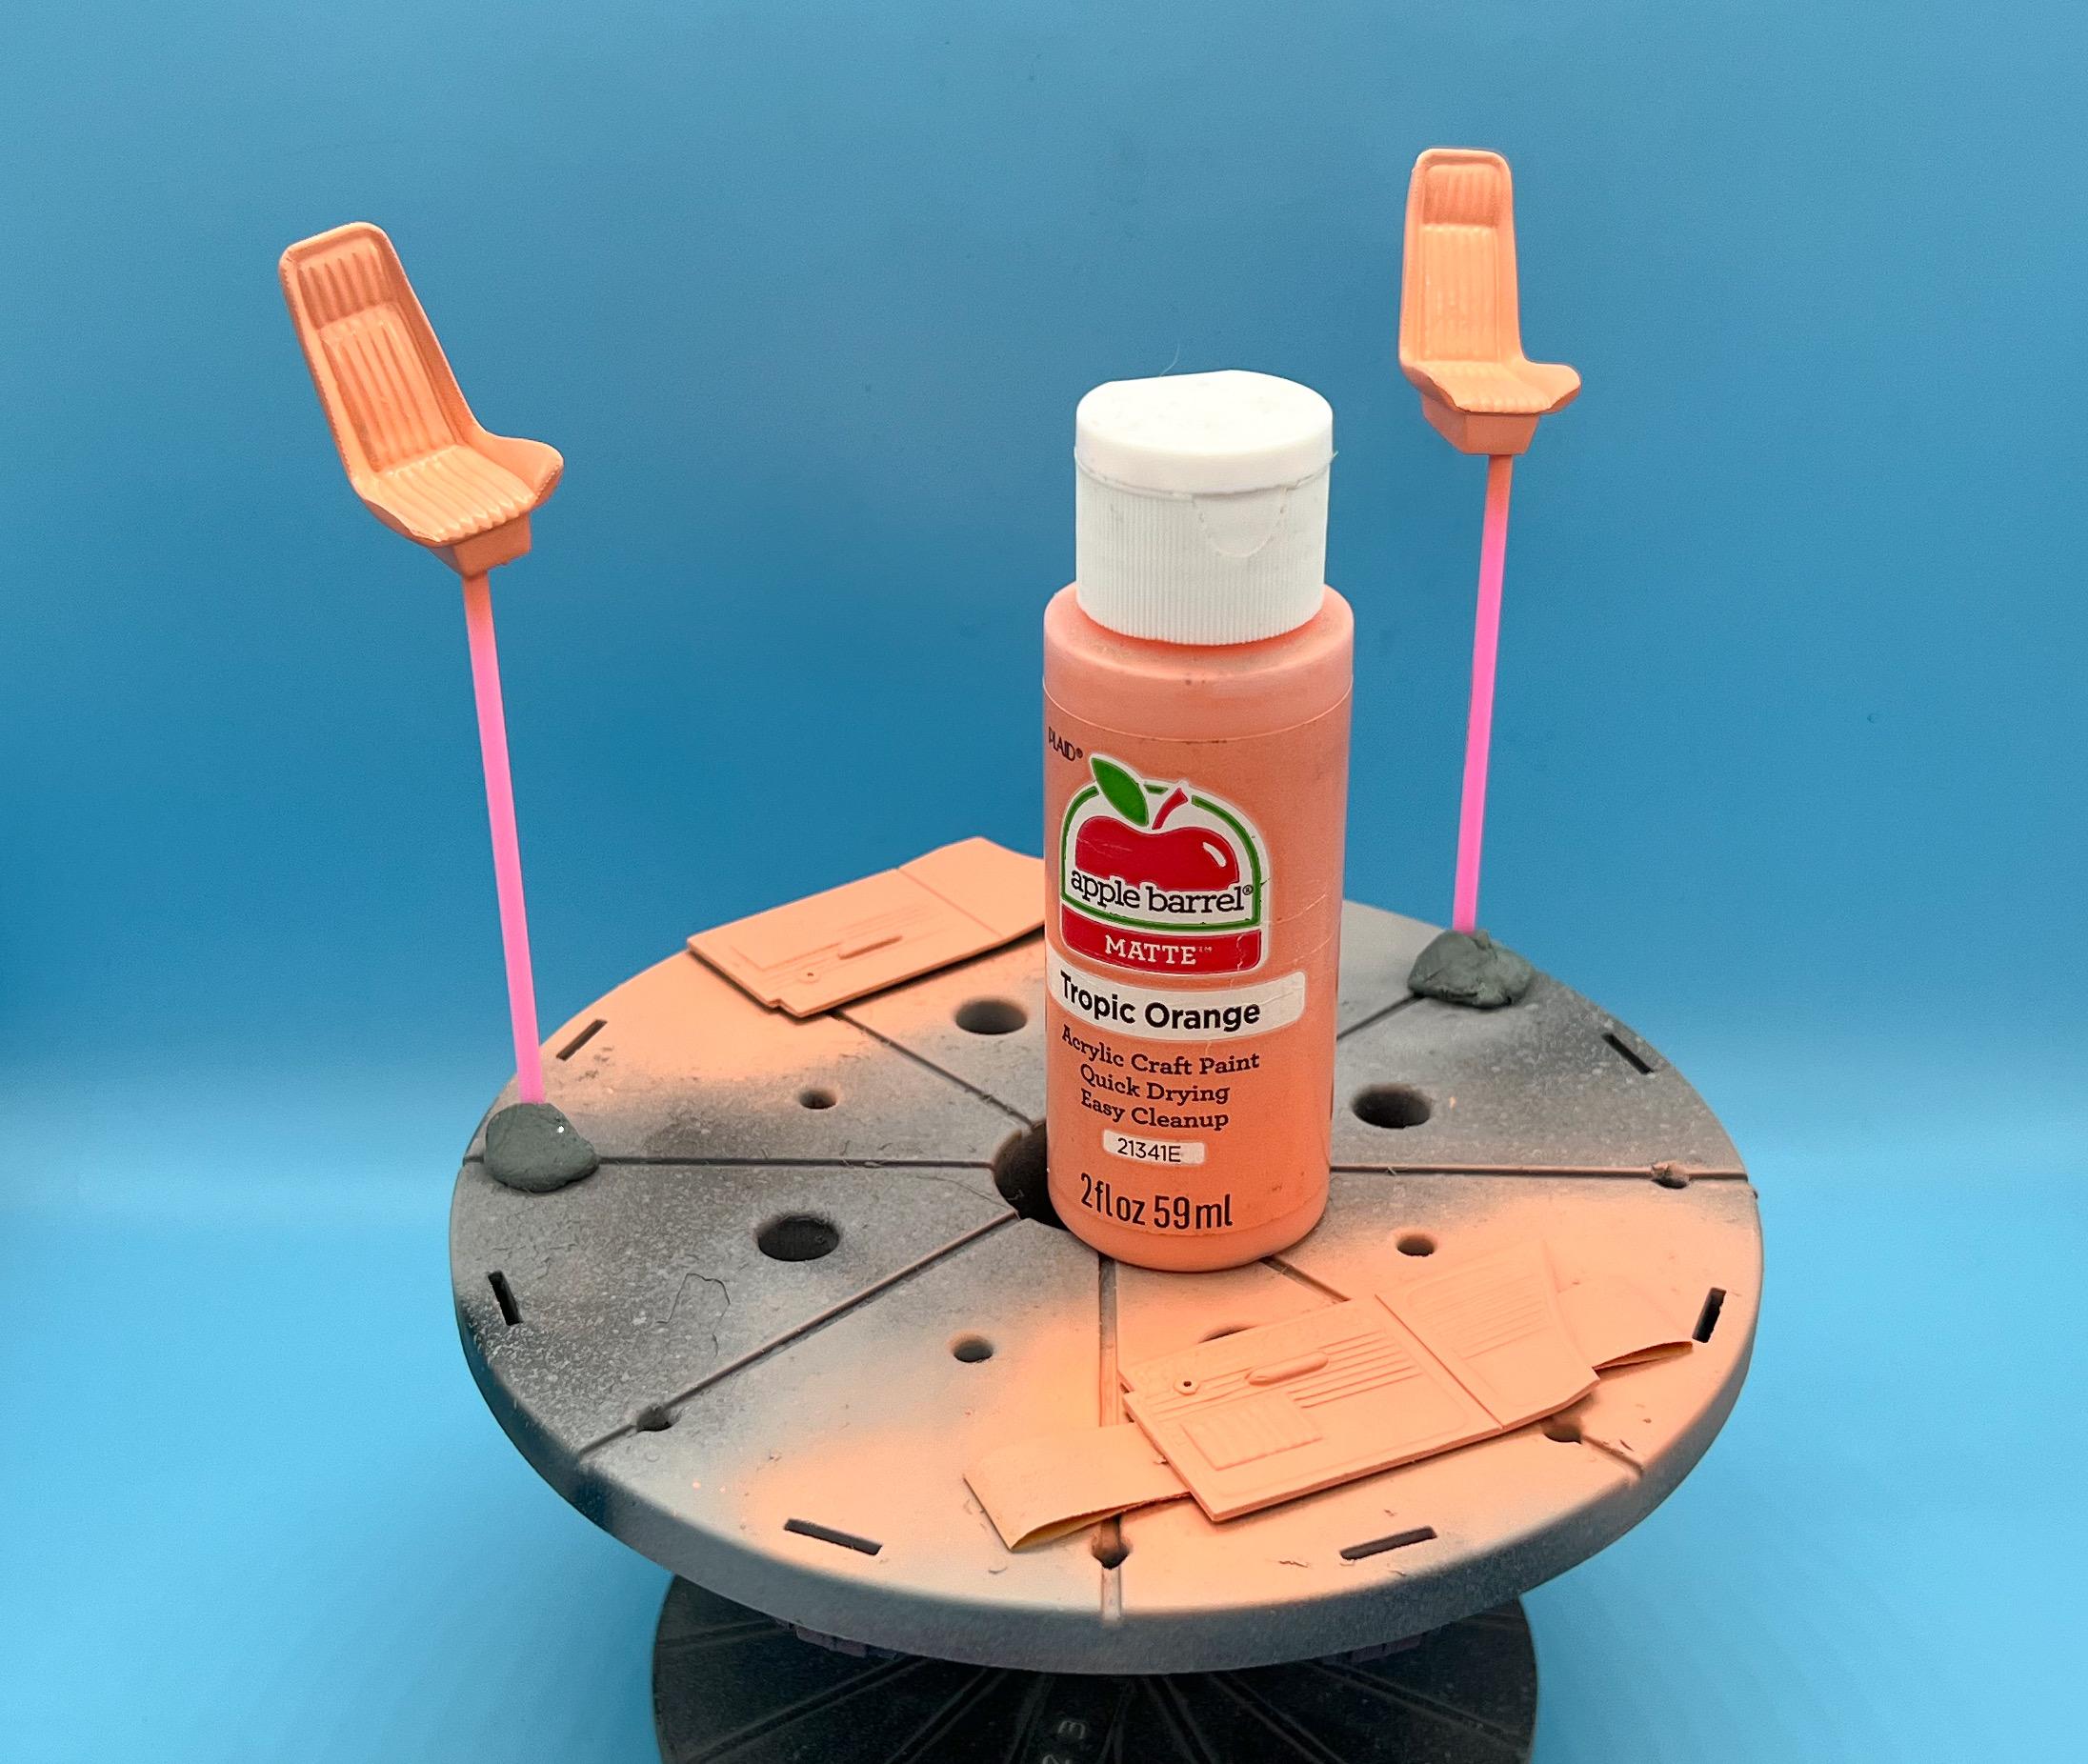
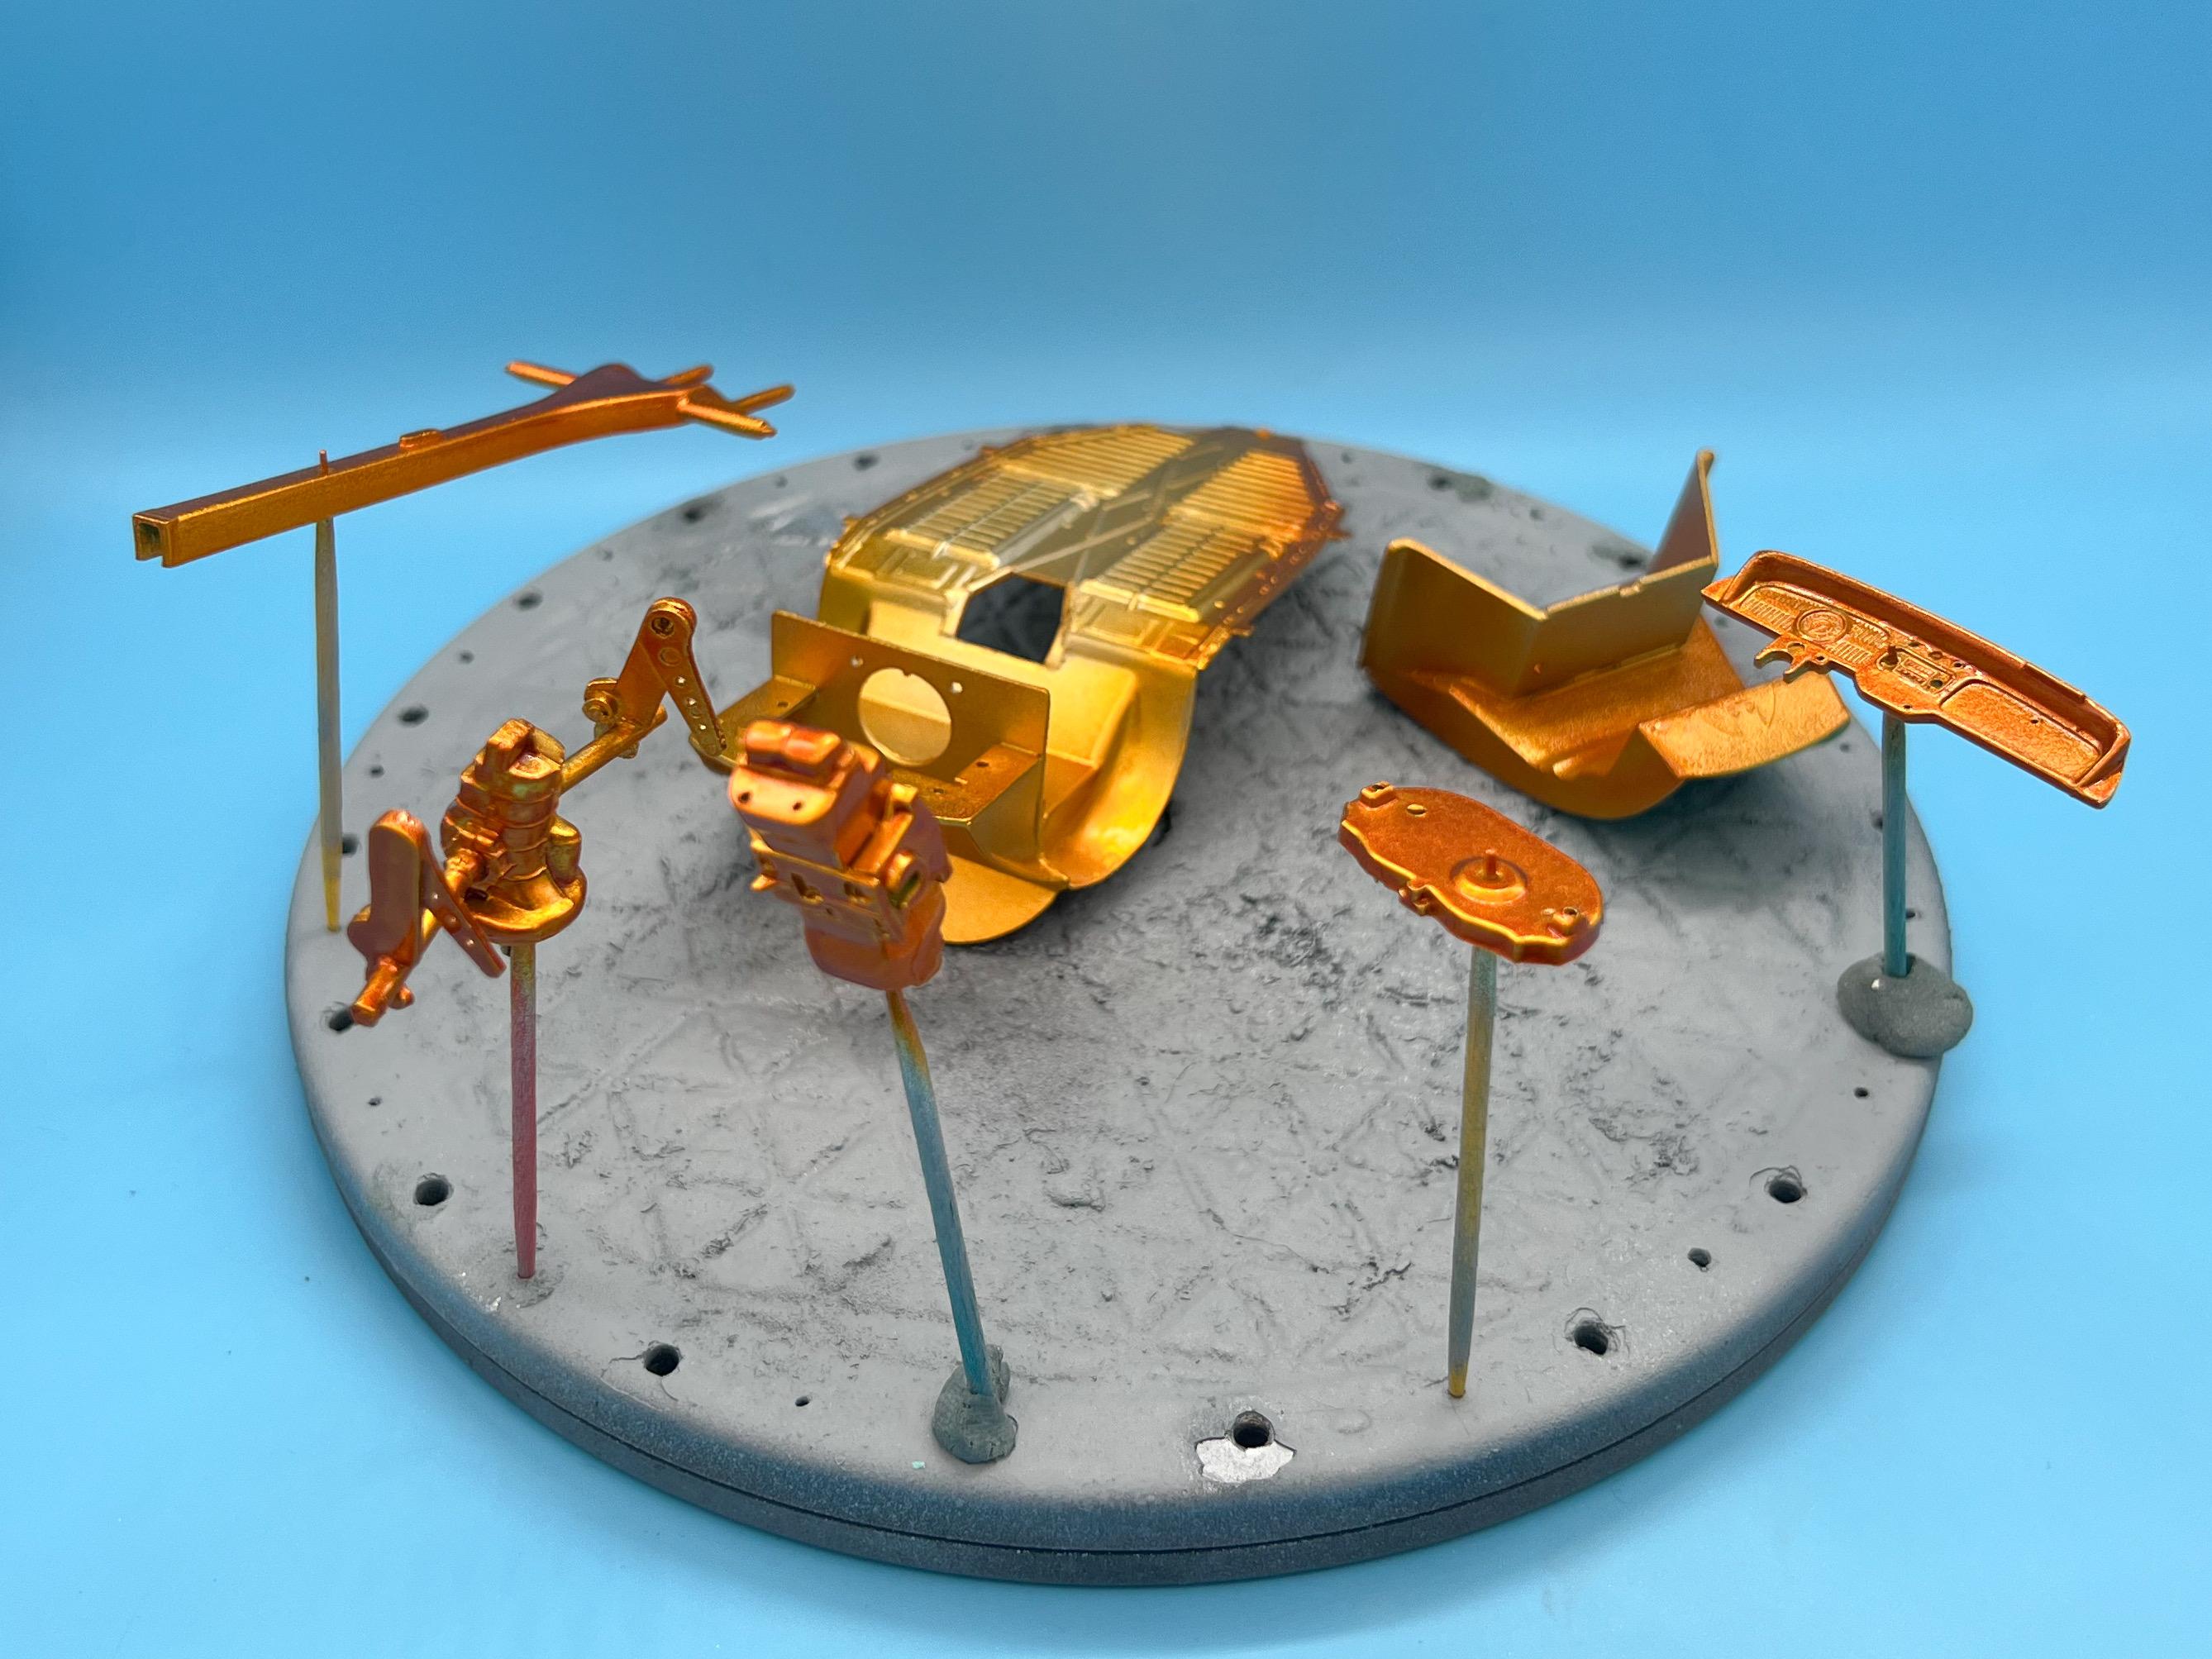
It’s paint week here - working thru tonnes of little parts and prepping them for base colors…did some slightly more fun stuff too tho…Painted the interior panels…they started off peach:
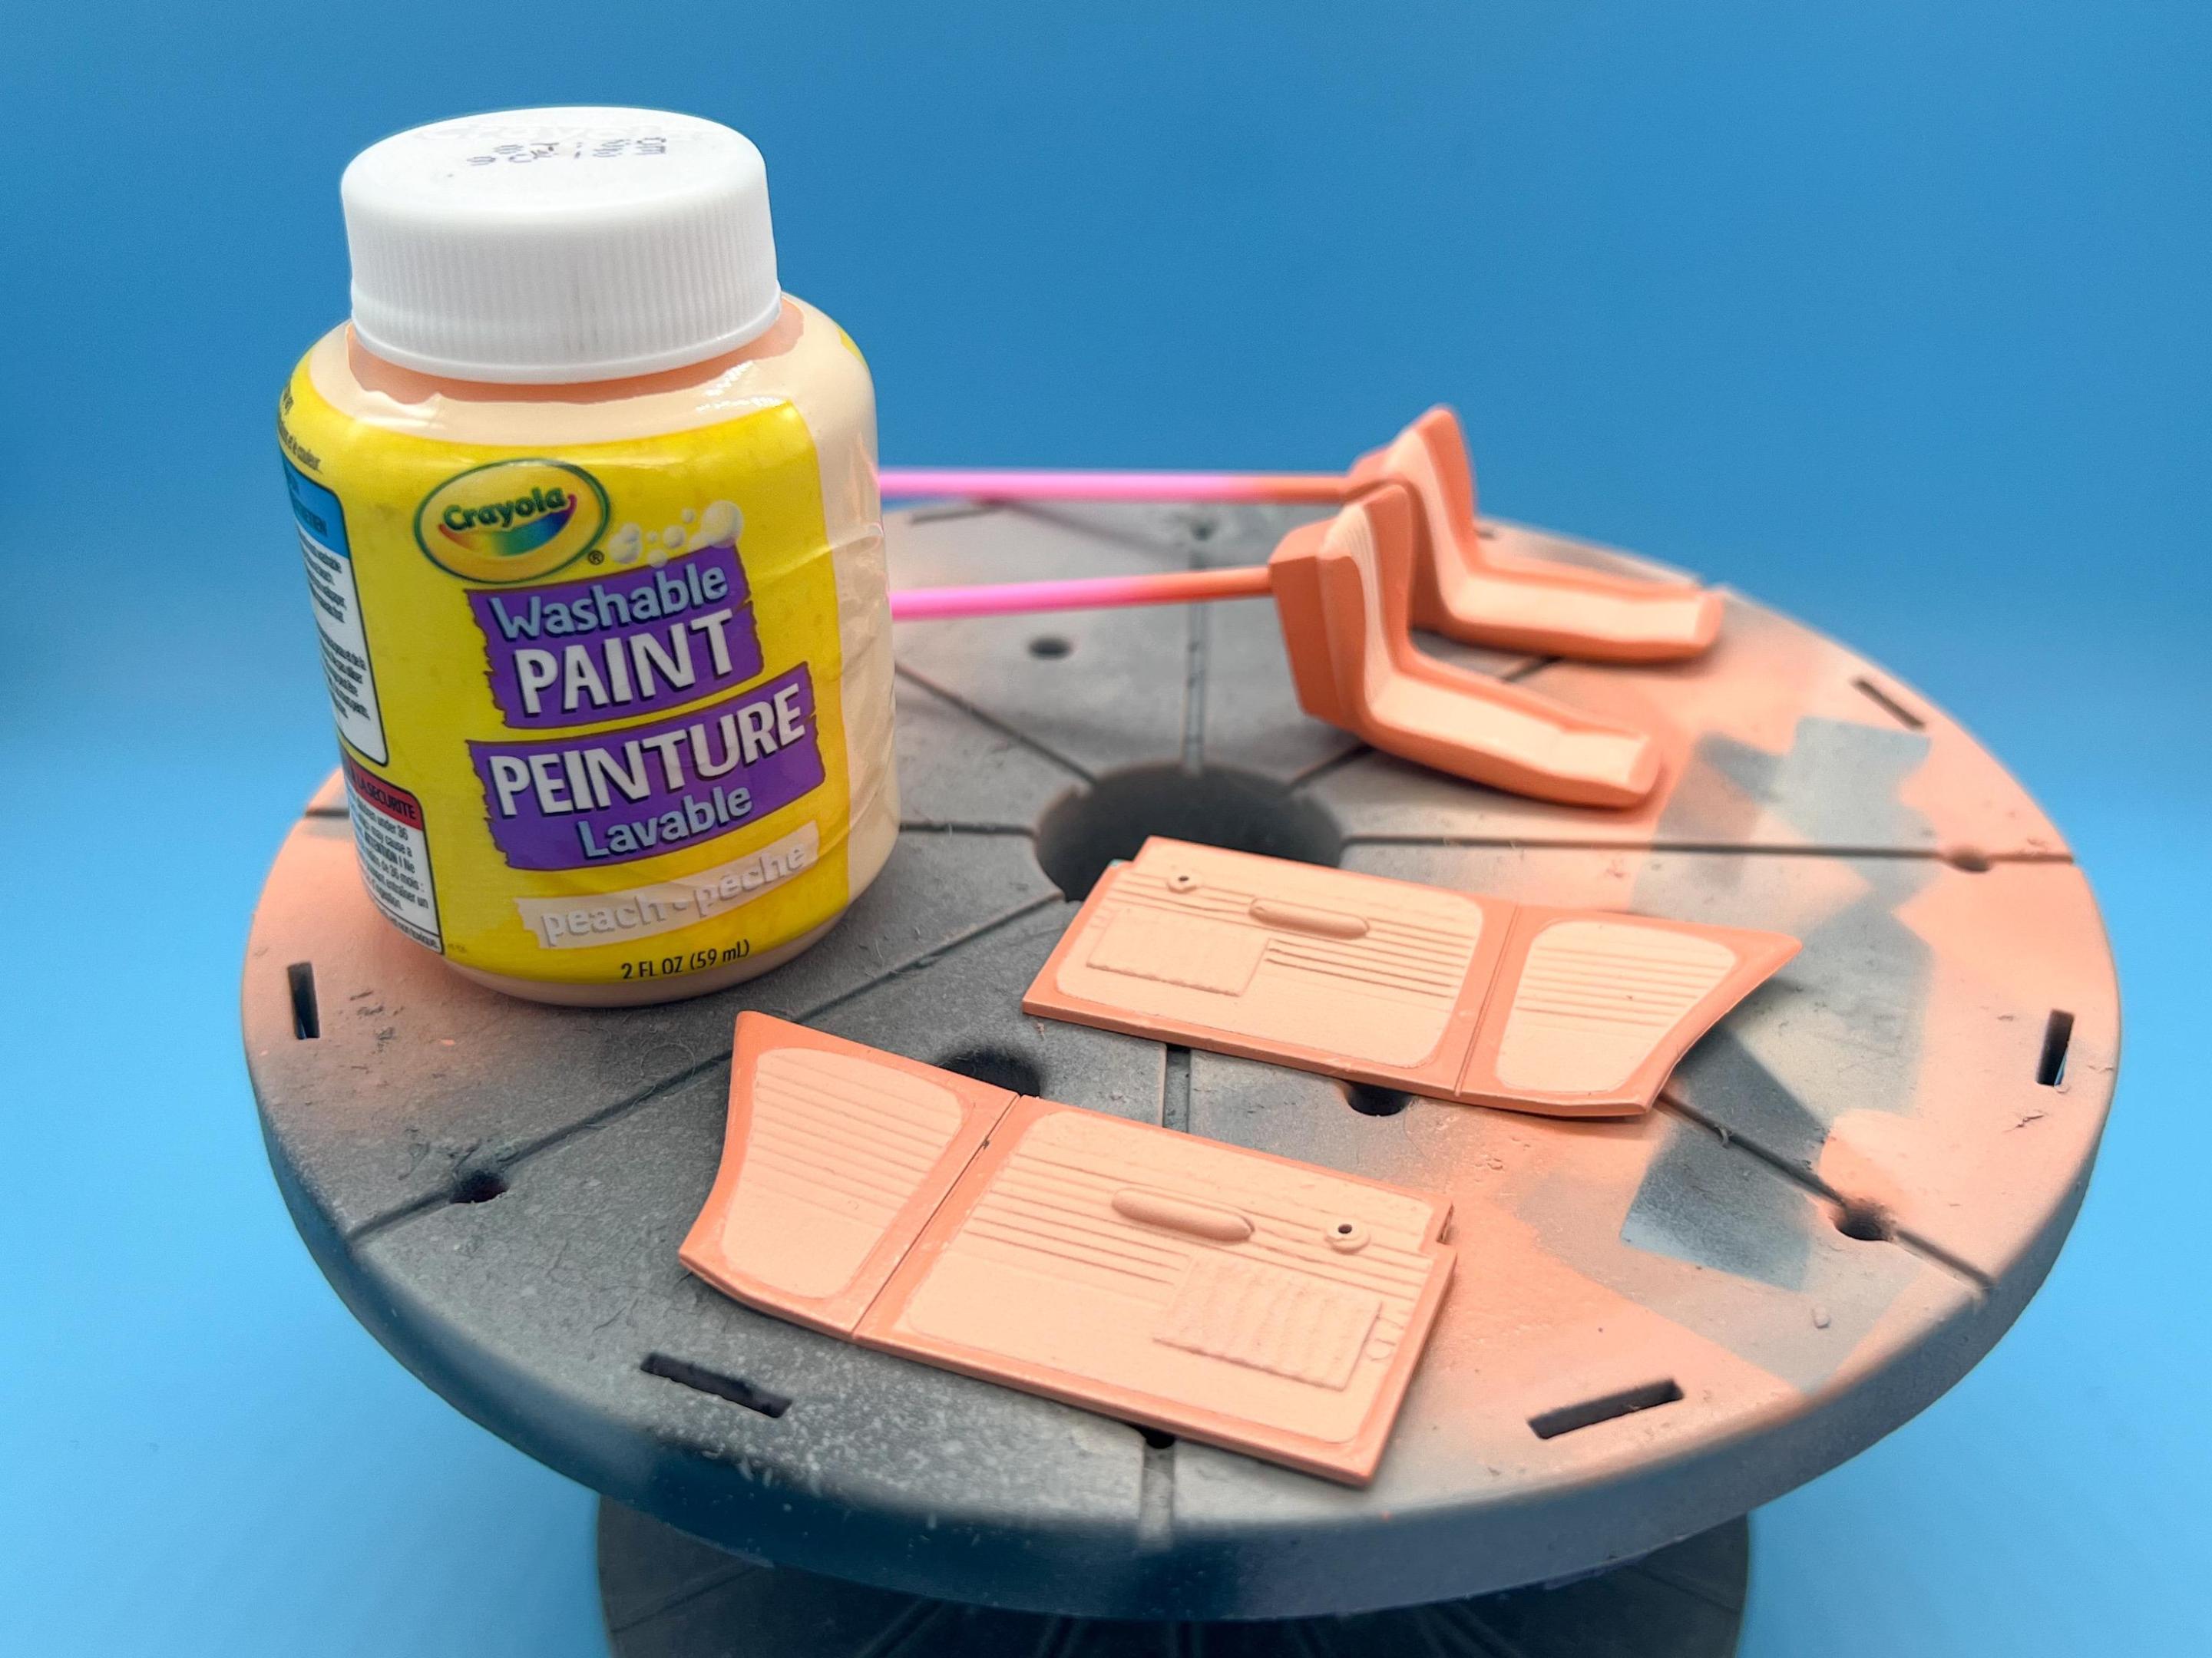
Masked them for the second color of the three I had in mind…couldn’t find the exact color I wanted in ‘regular’ paints, but this Crayola paint worked well 🤪
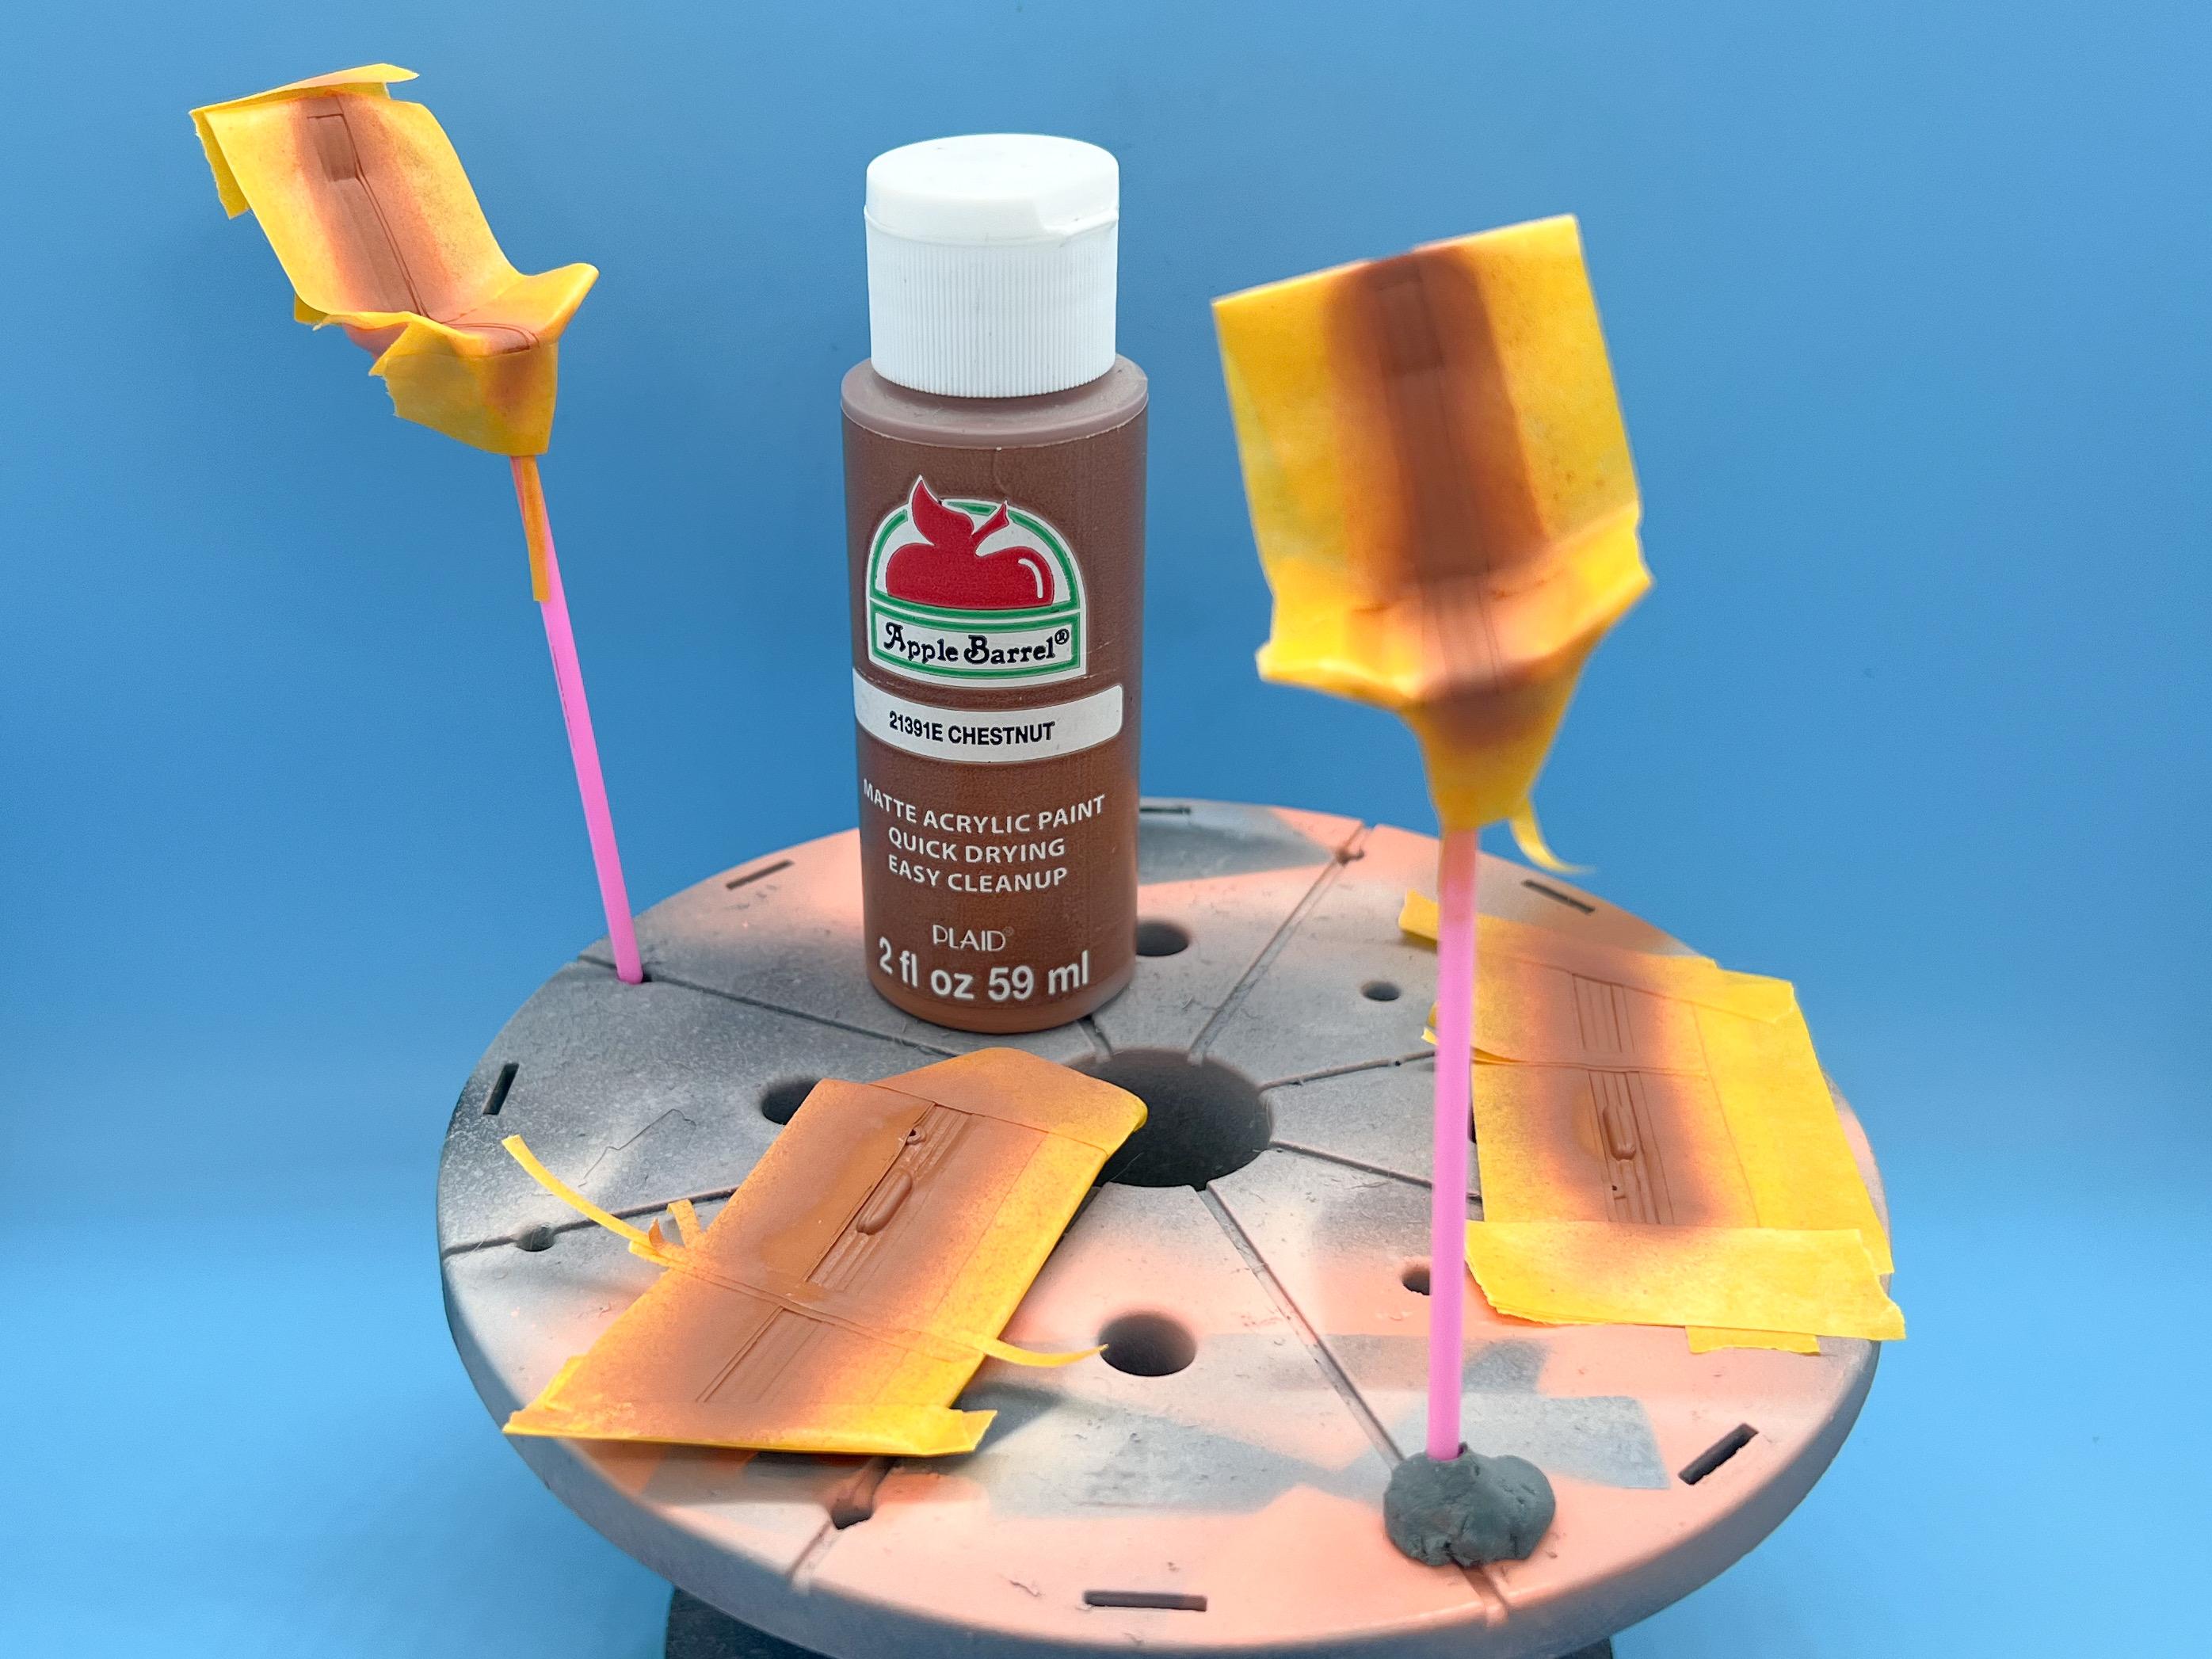
Then, shot a coat of intercoat and then remasked for the third color:

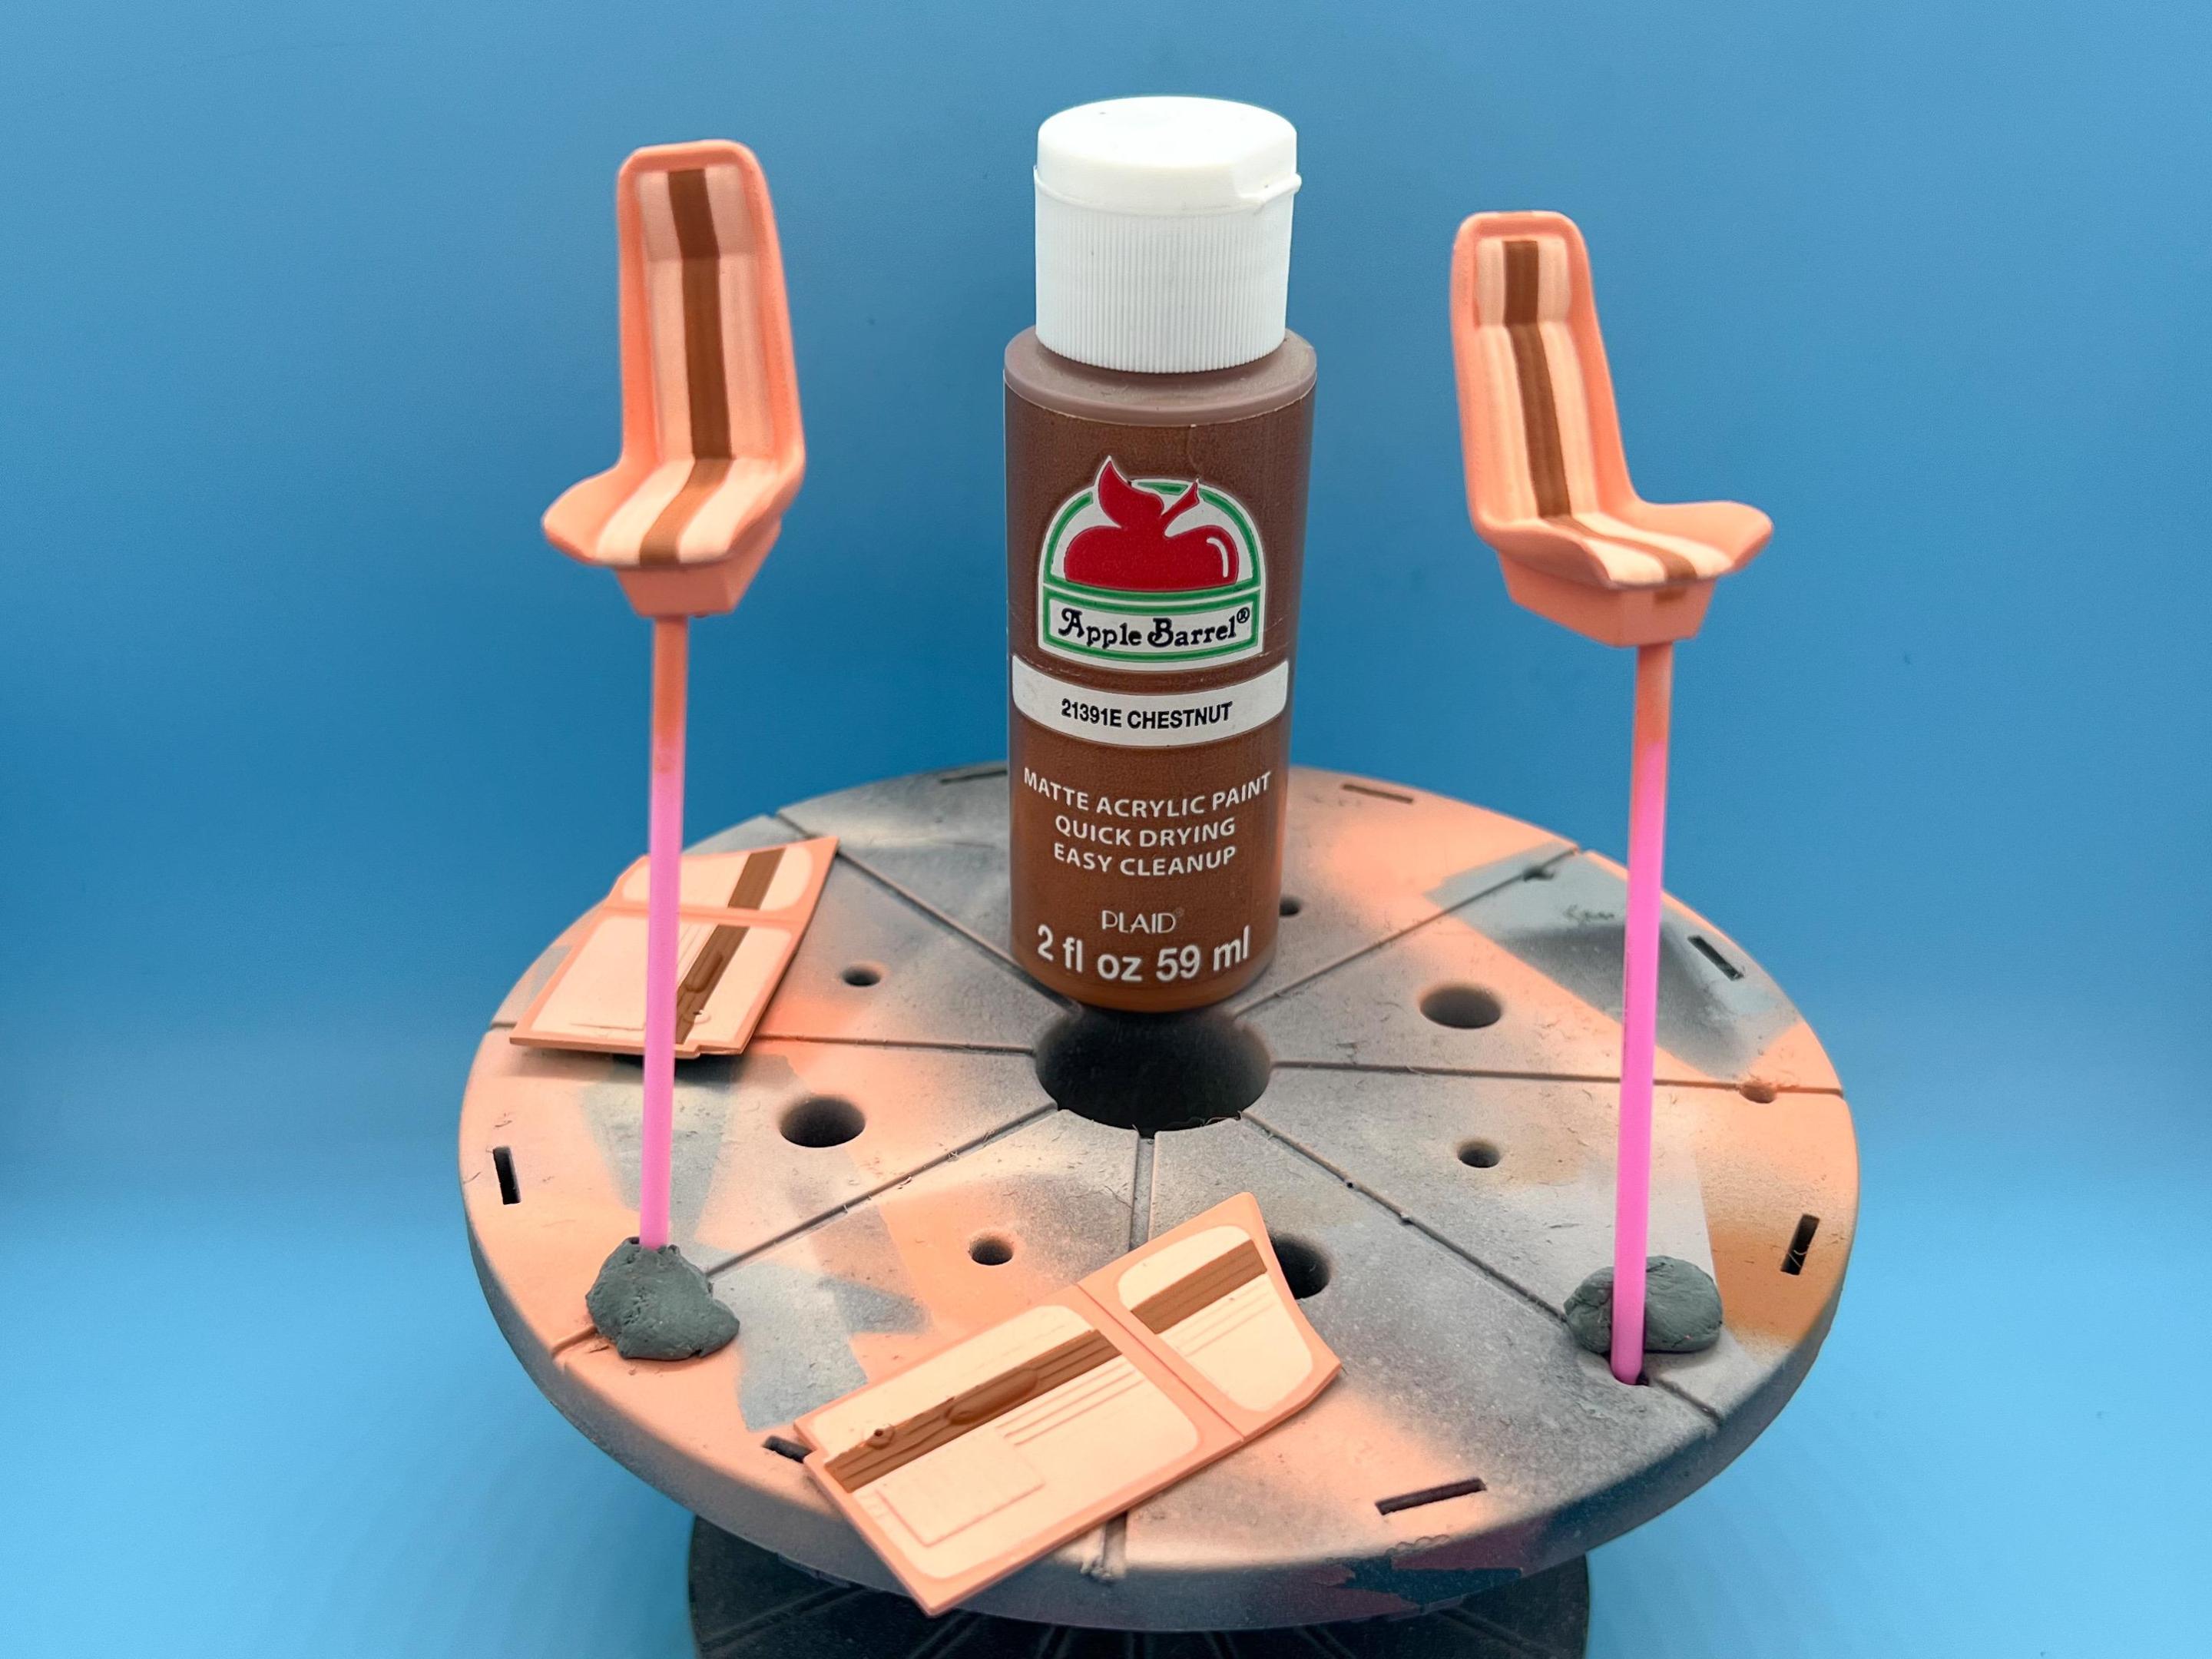
Then de-masked:
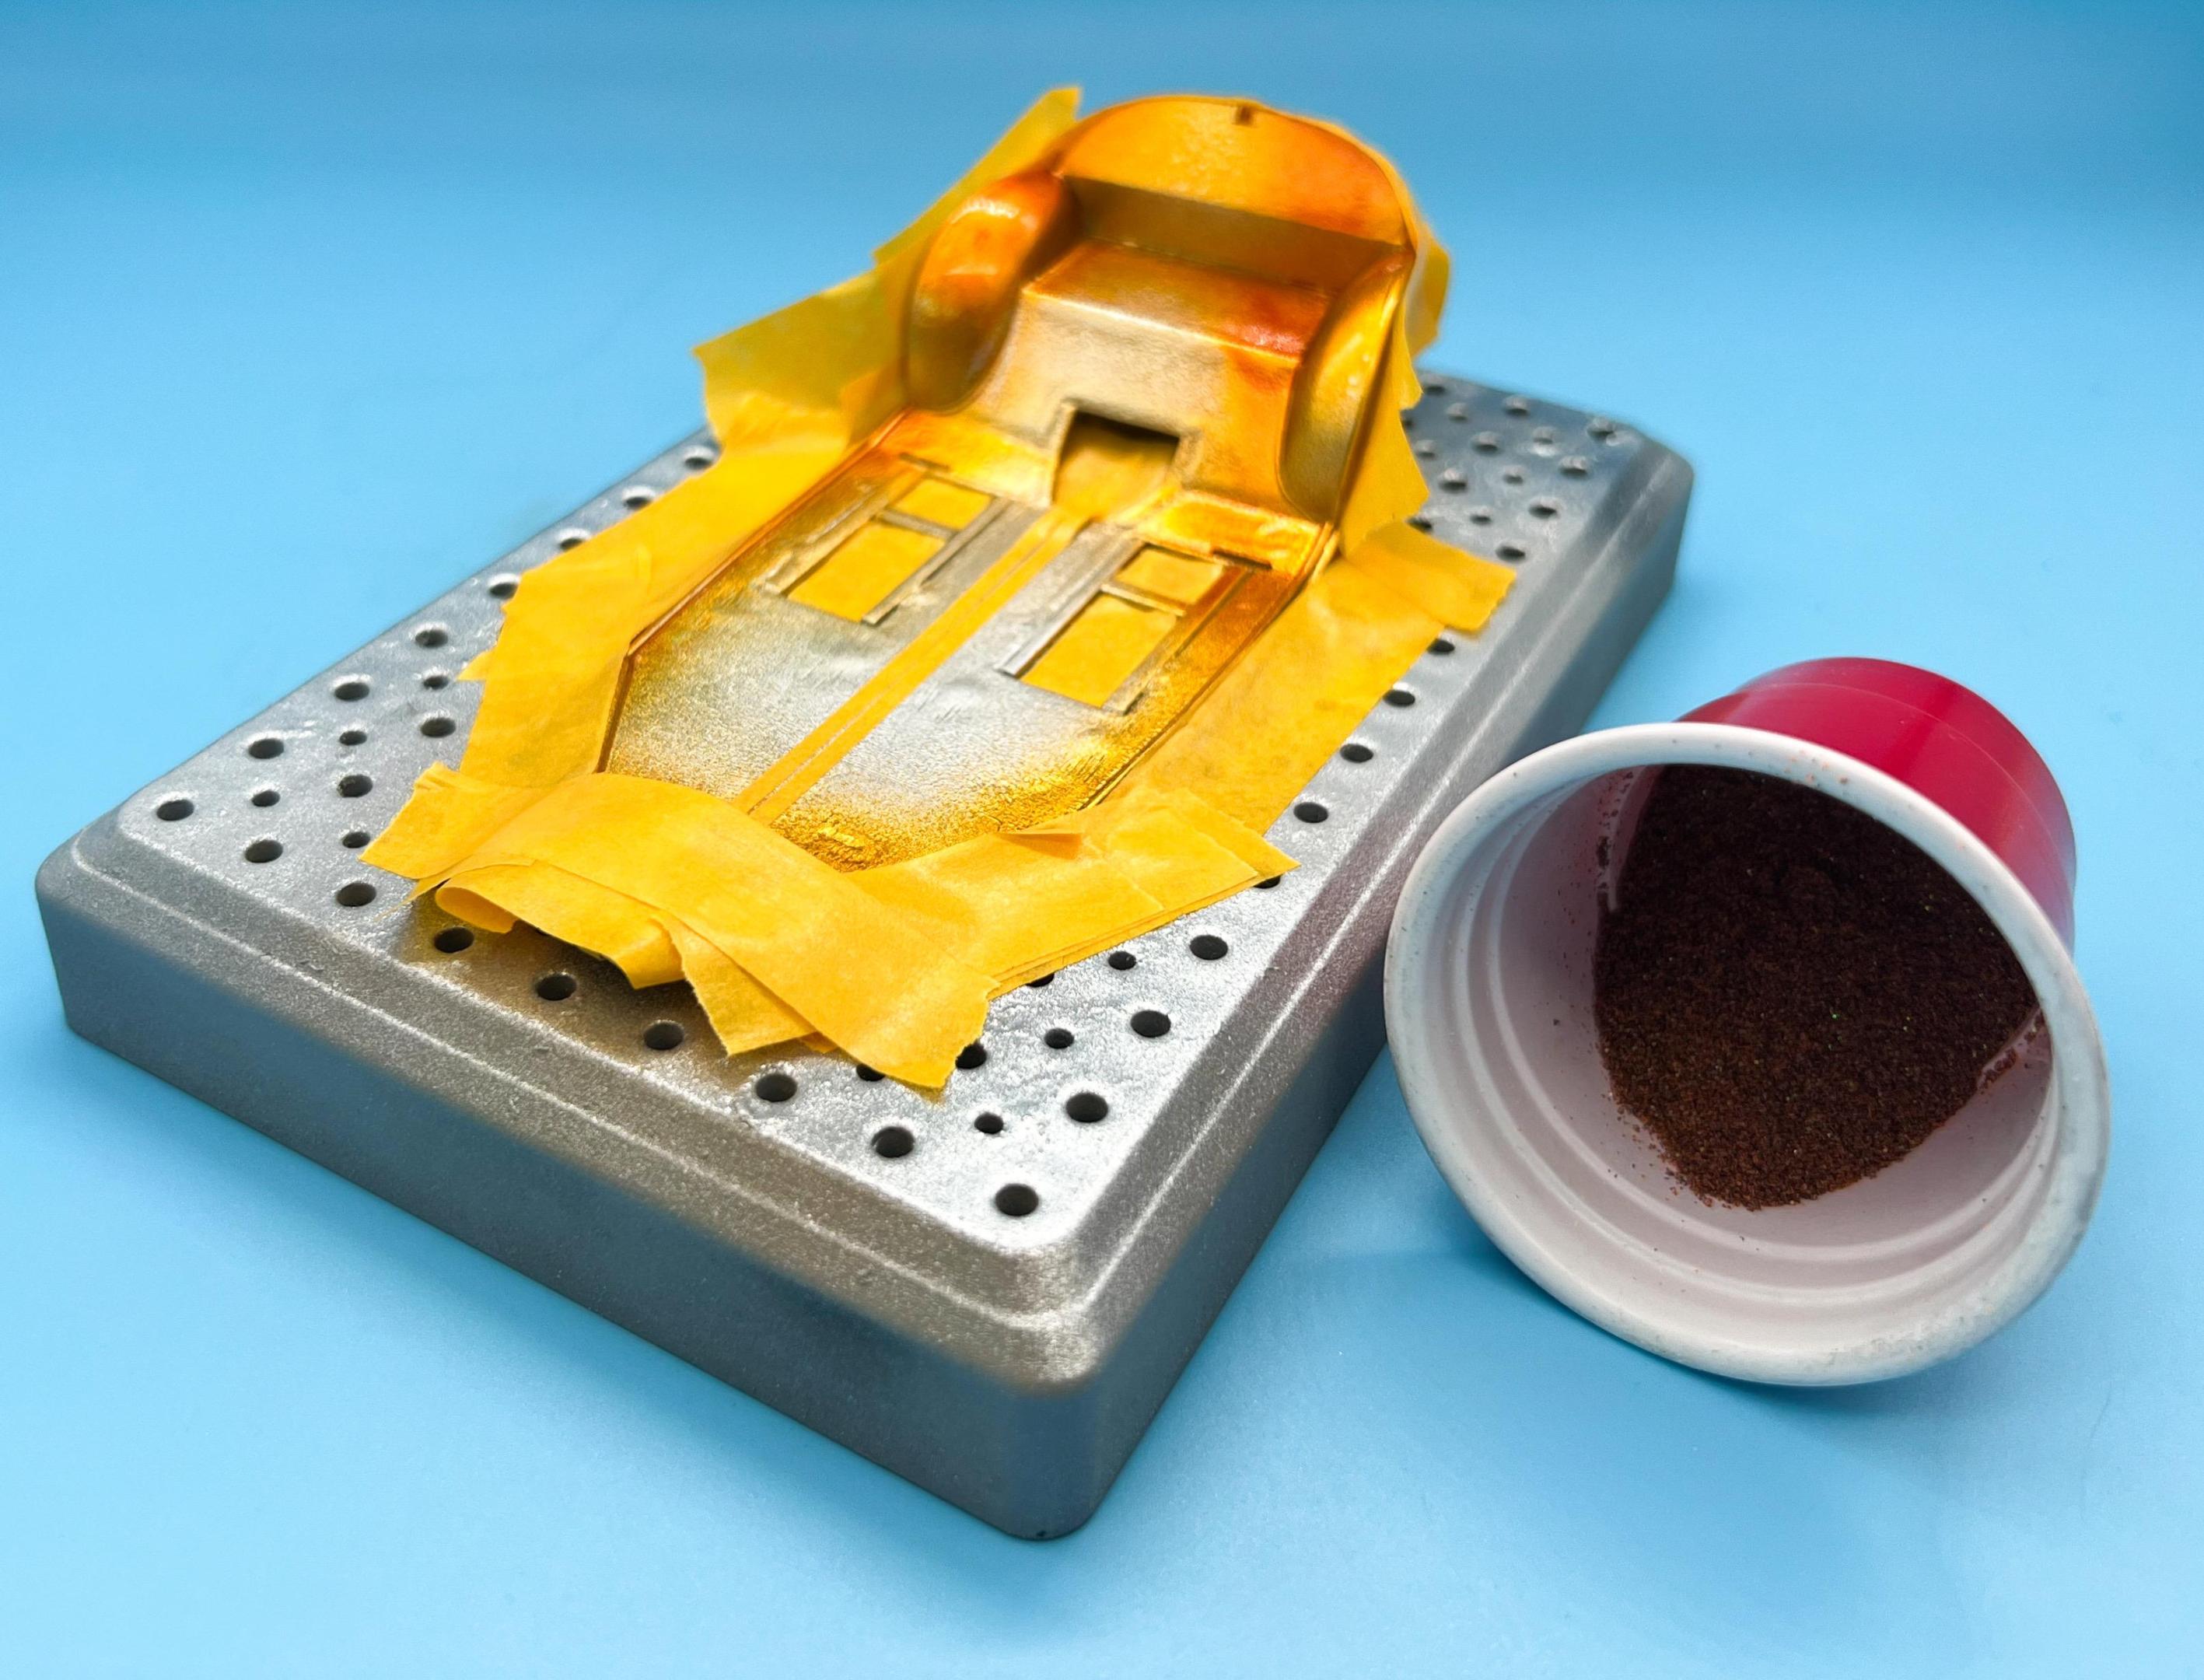
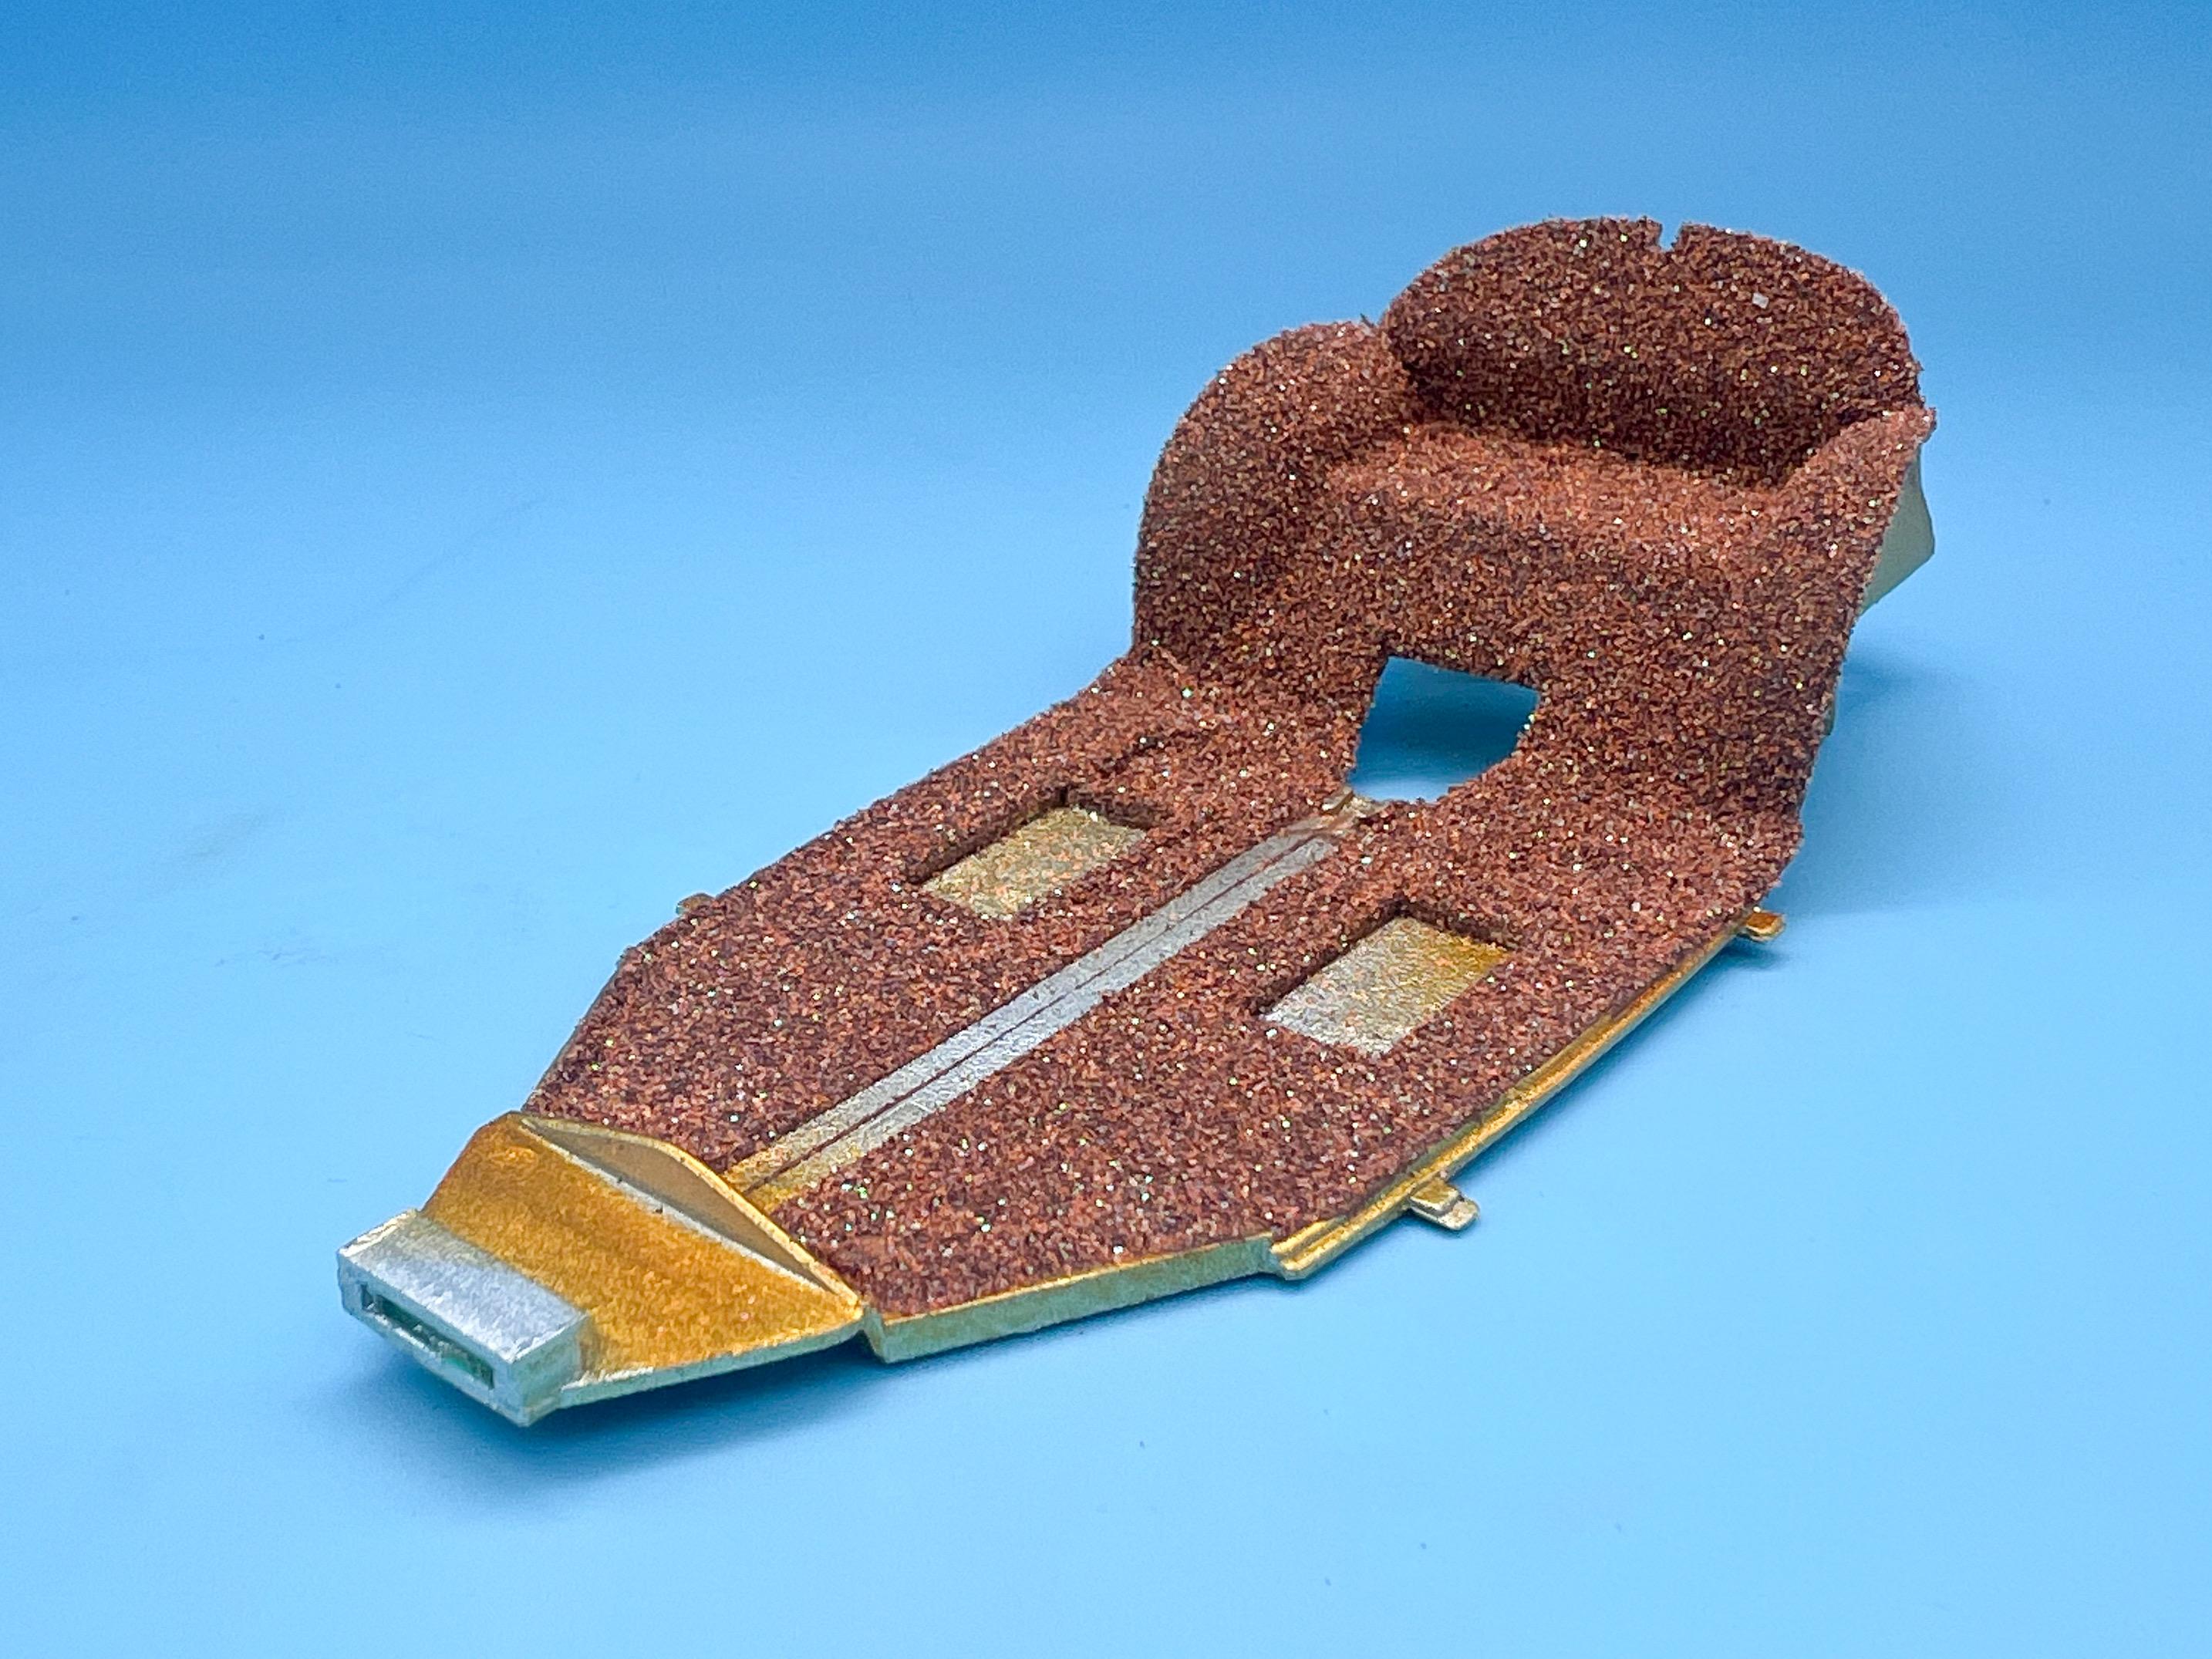
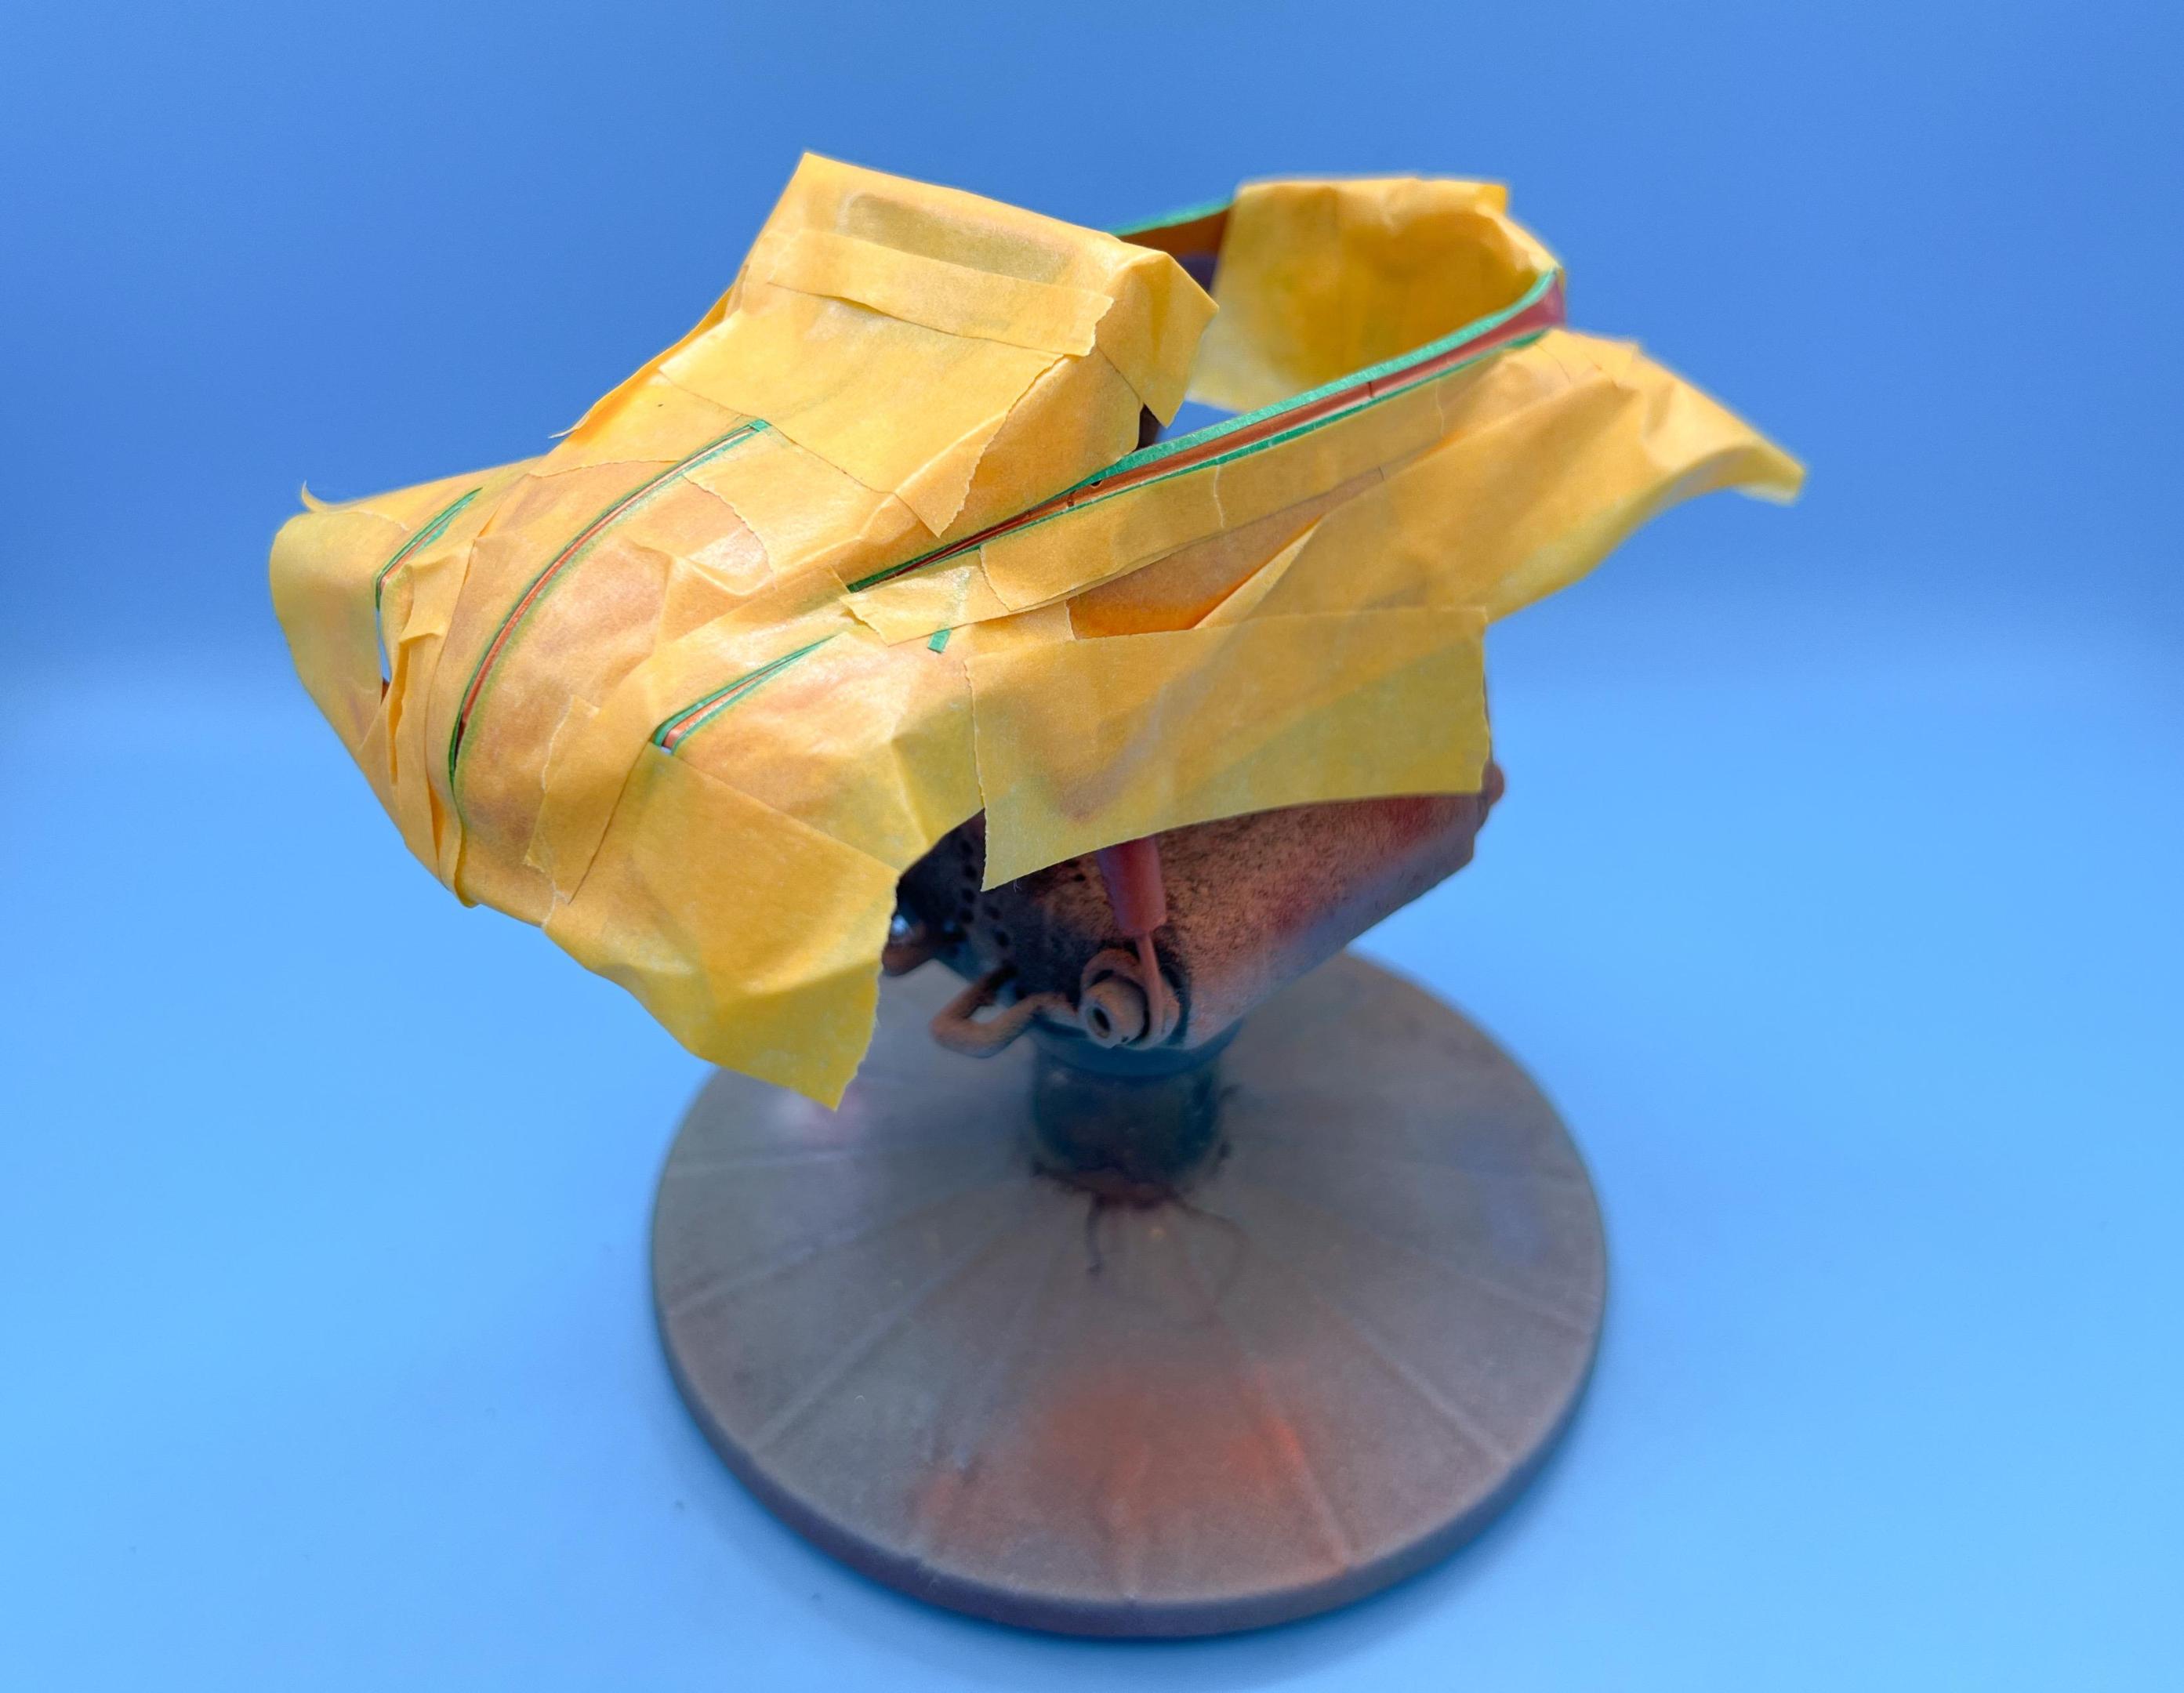
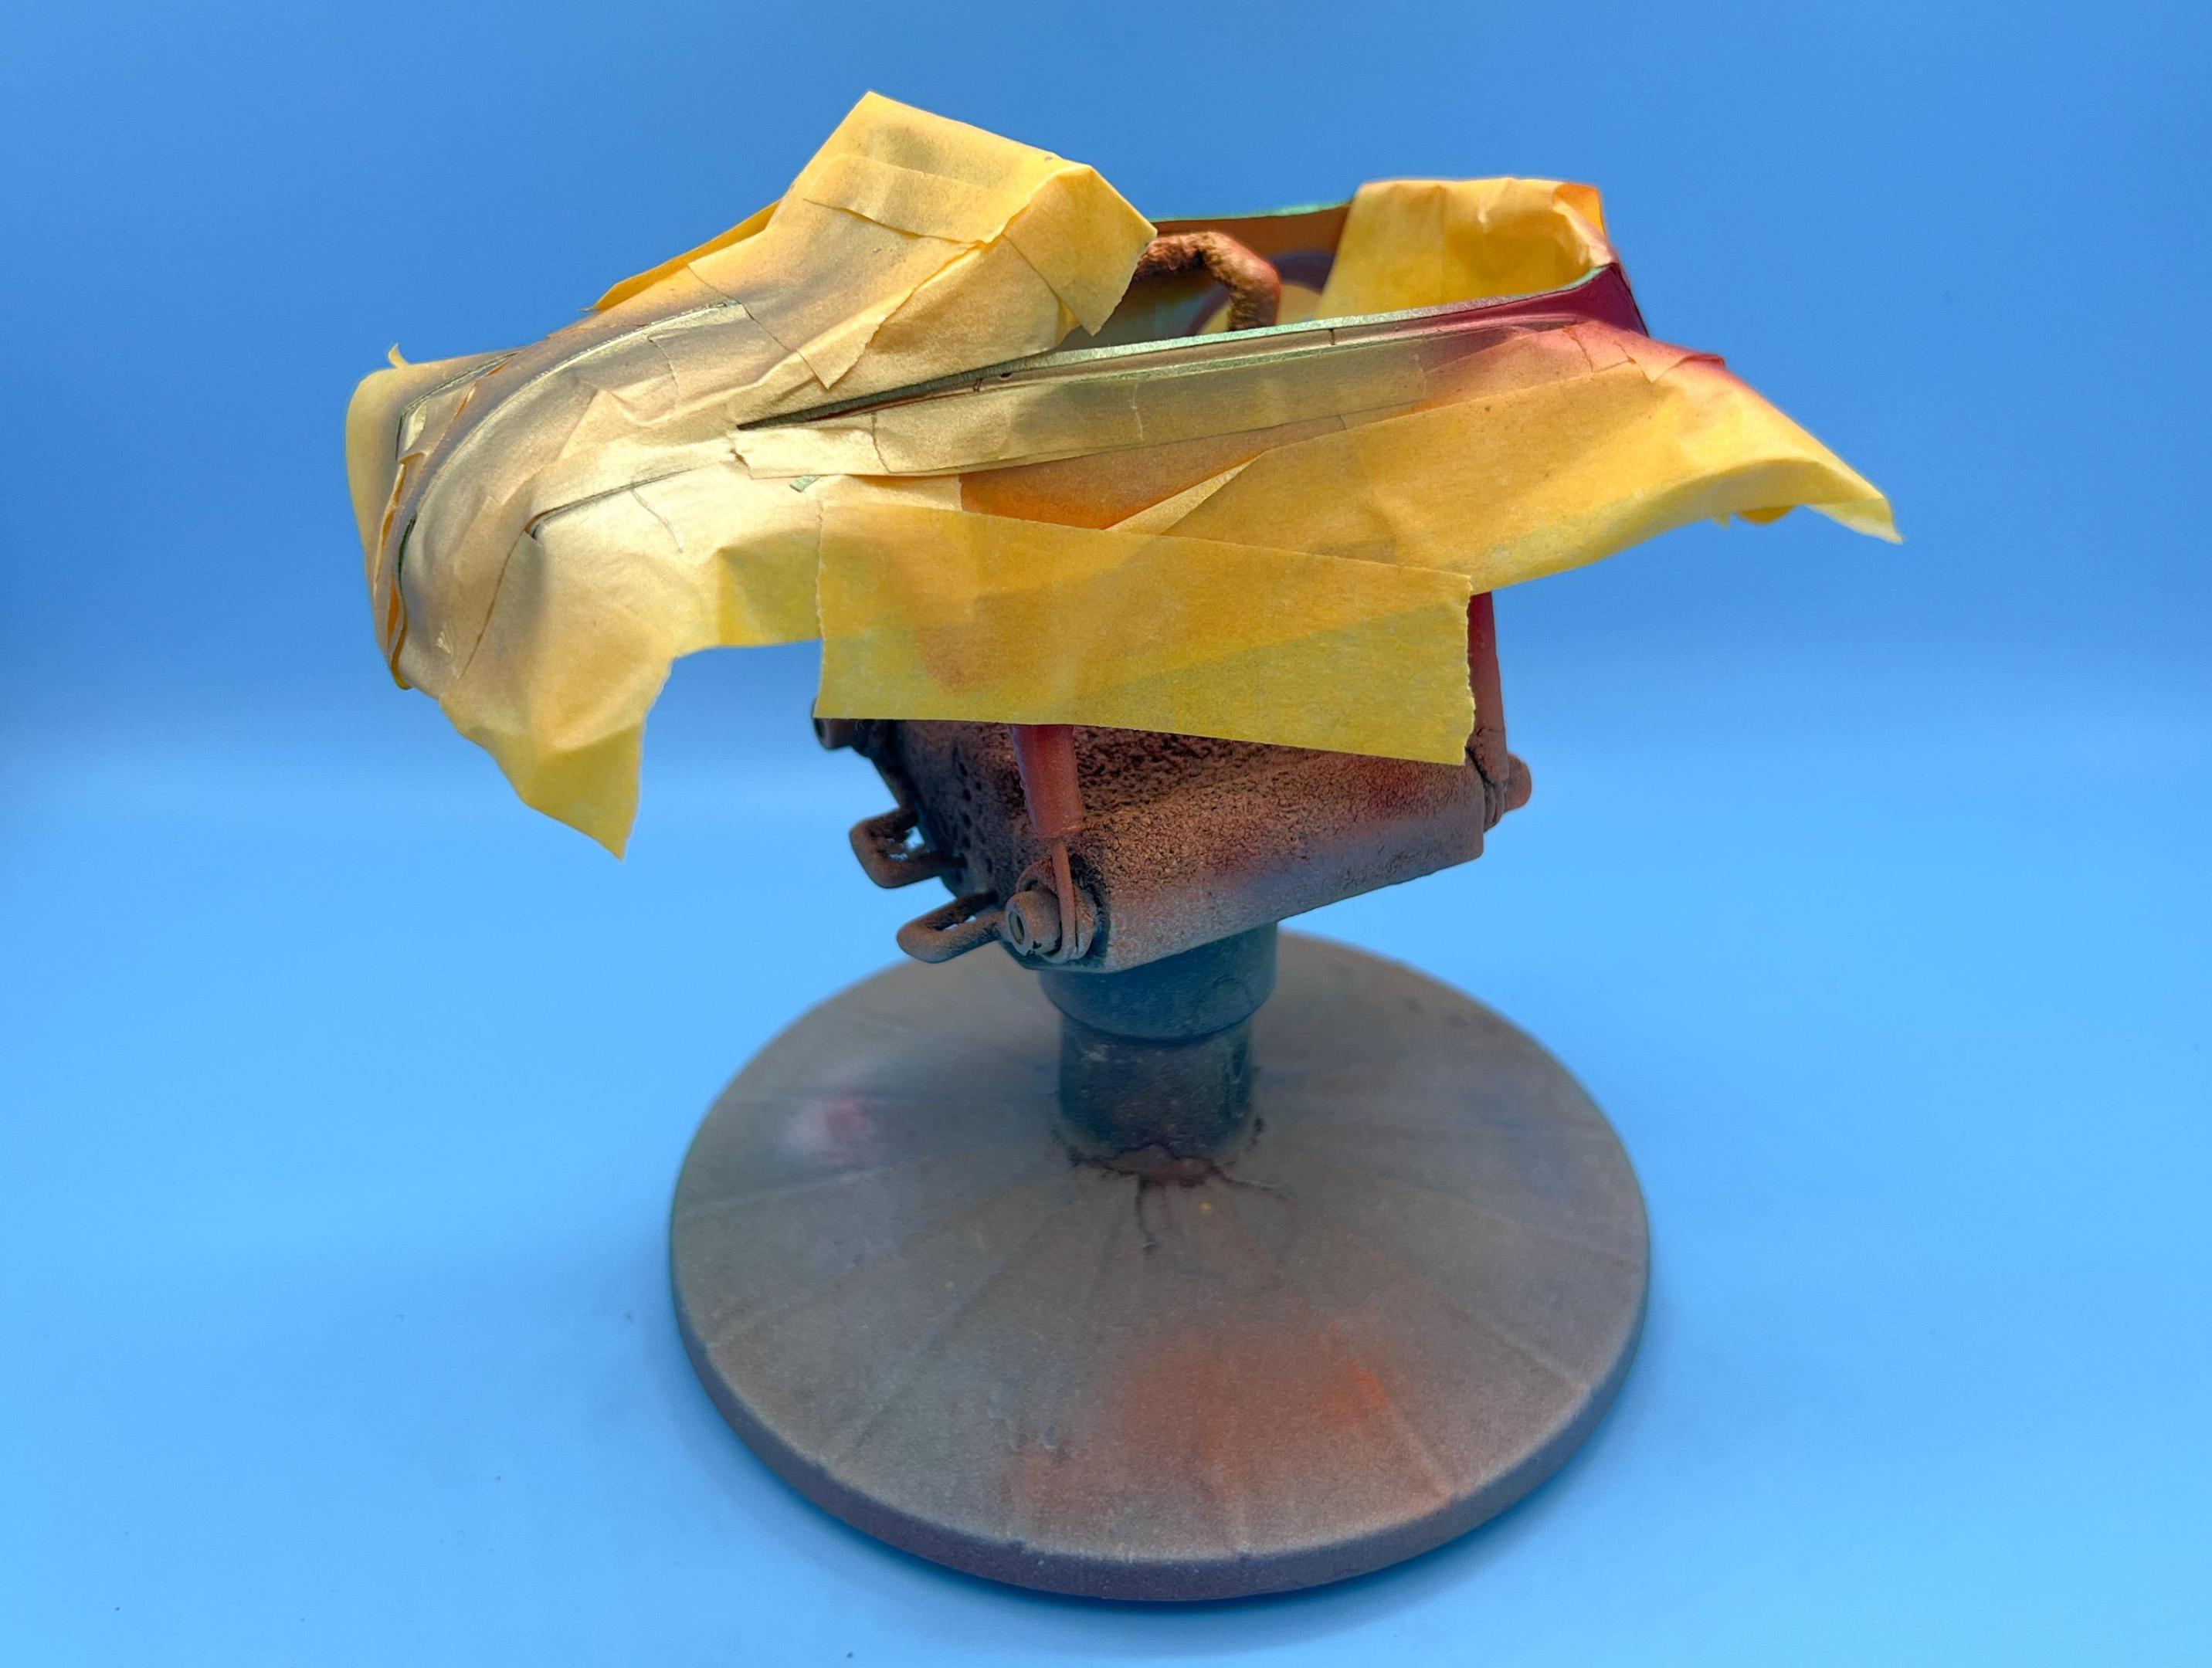
Carpet color will be brown, so that’ll tie together the orange tones and the brown on the interior (hopefully)…masked the chassis for embossing powder:
Applied some custom mixed powder over Testors brown enamel:

I’m excited to see the interior all together…
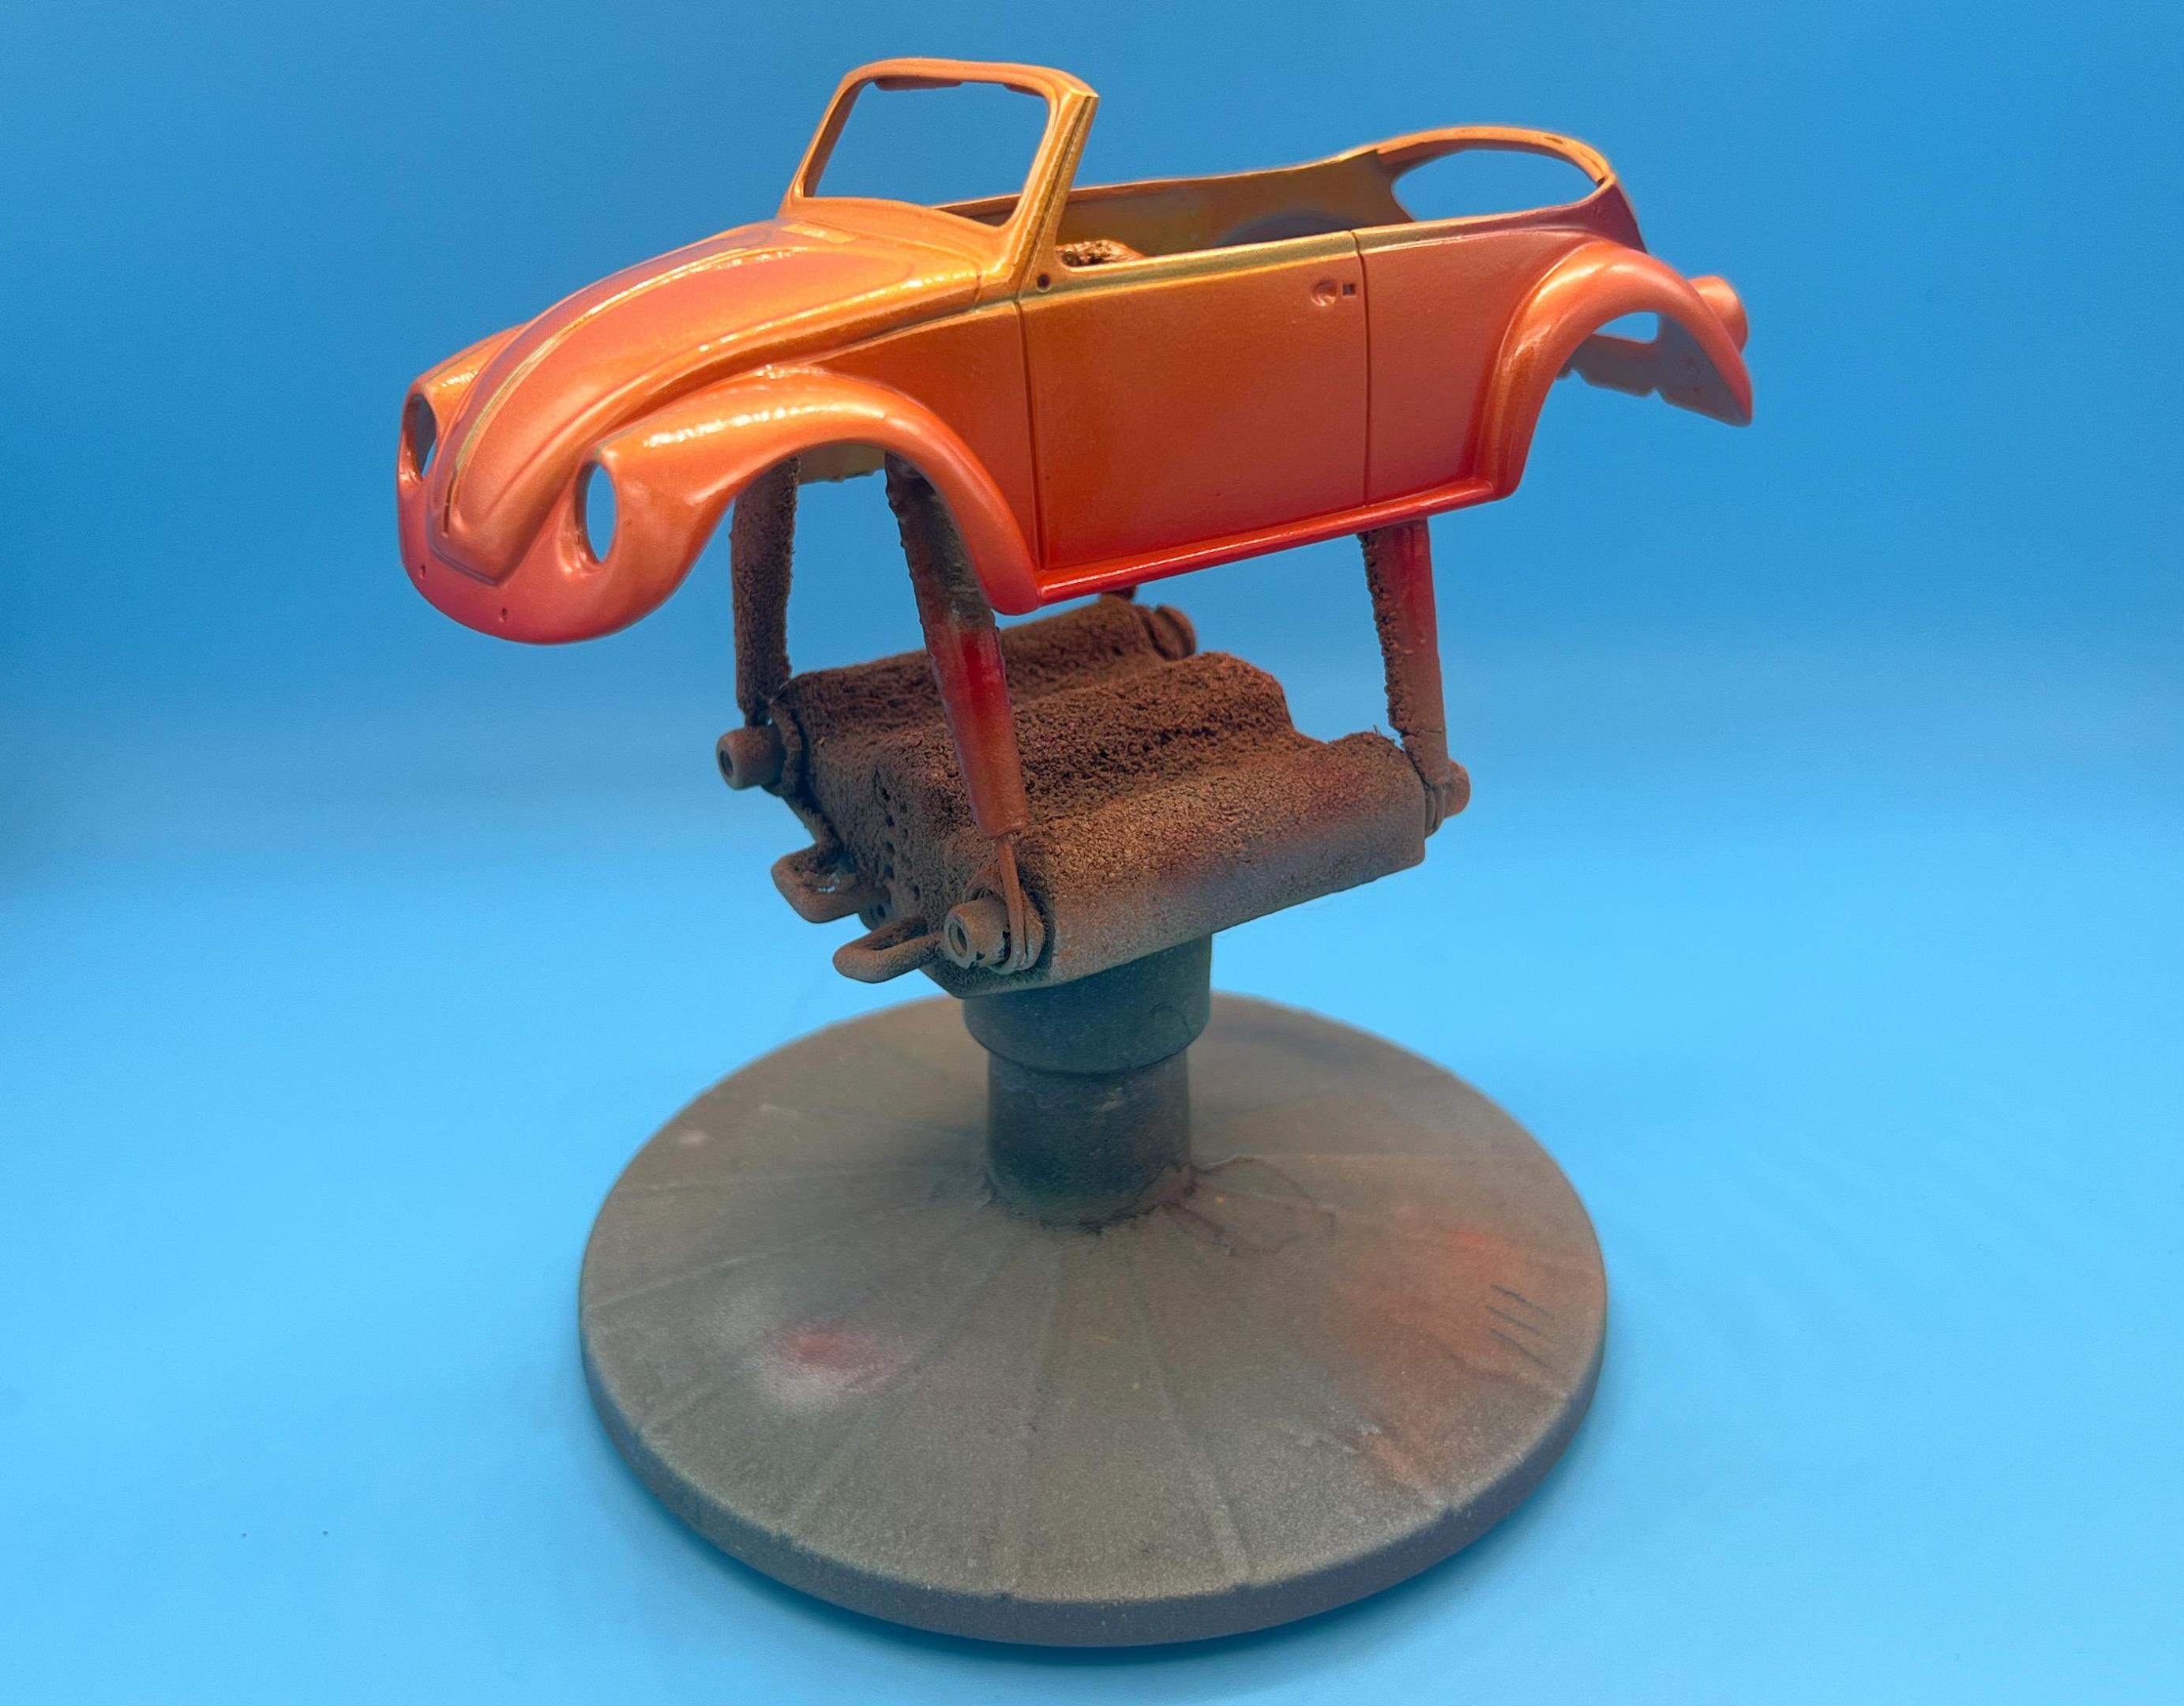
Meanwhile, have been clearcoating the body - this is coat five of seven:
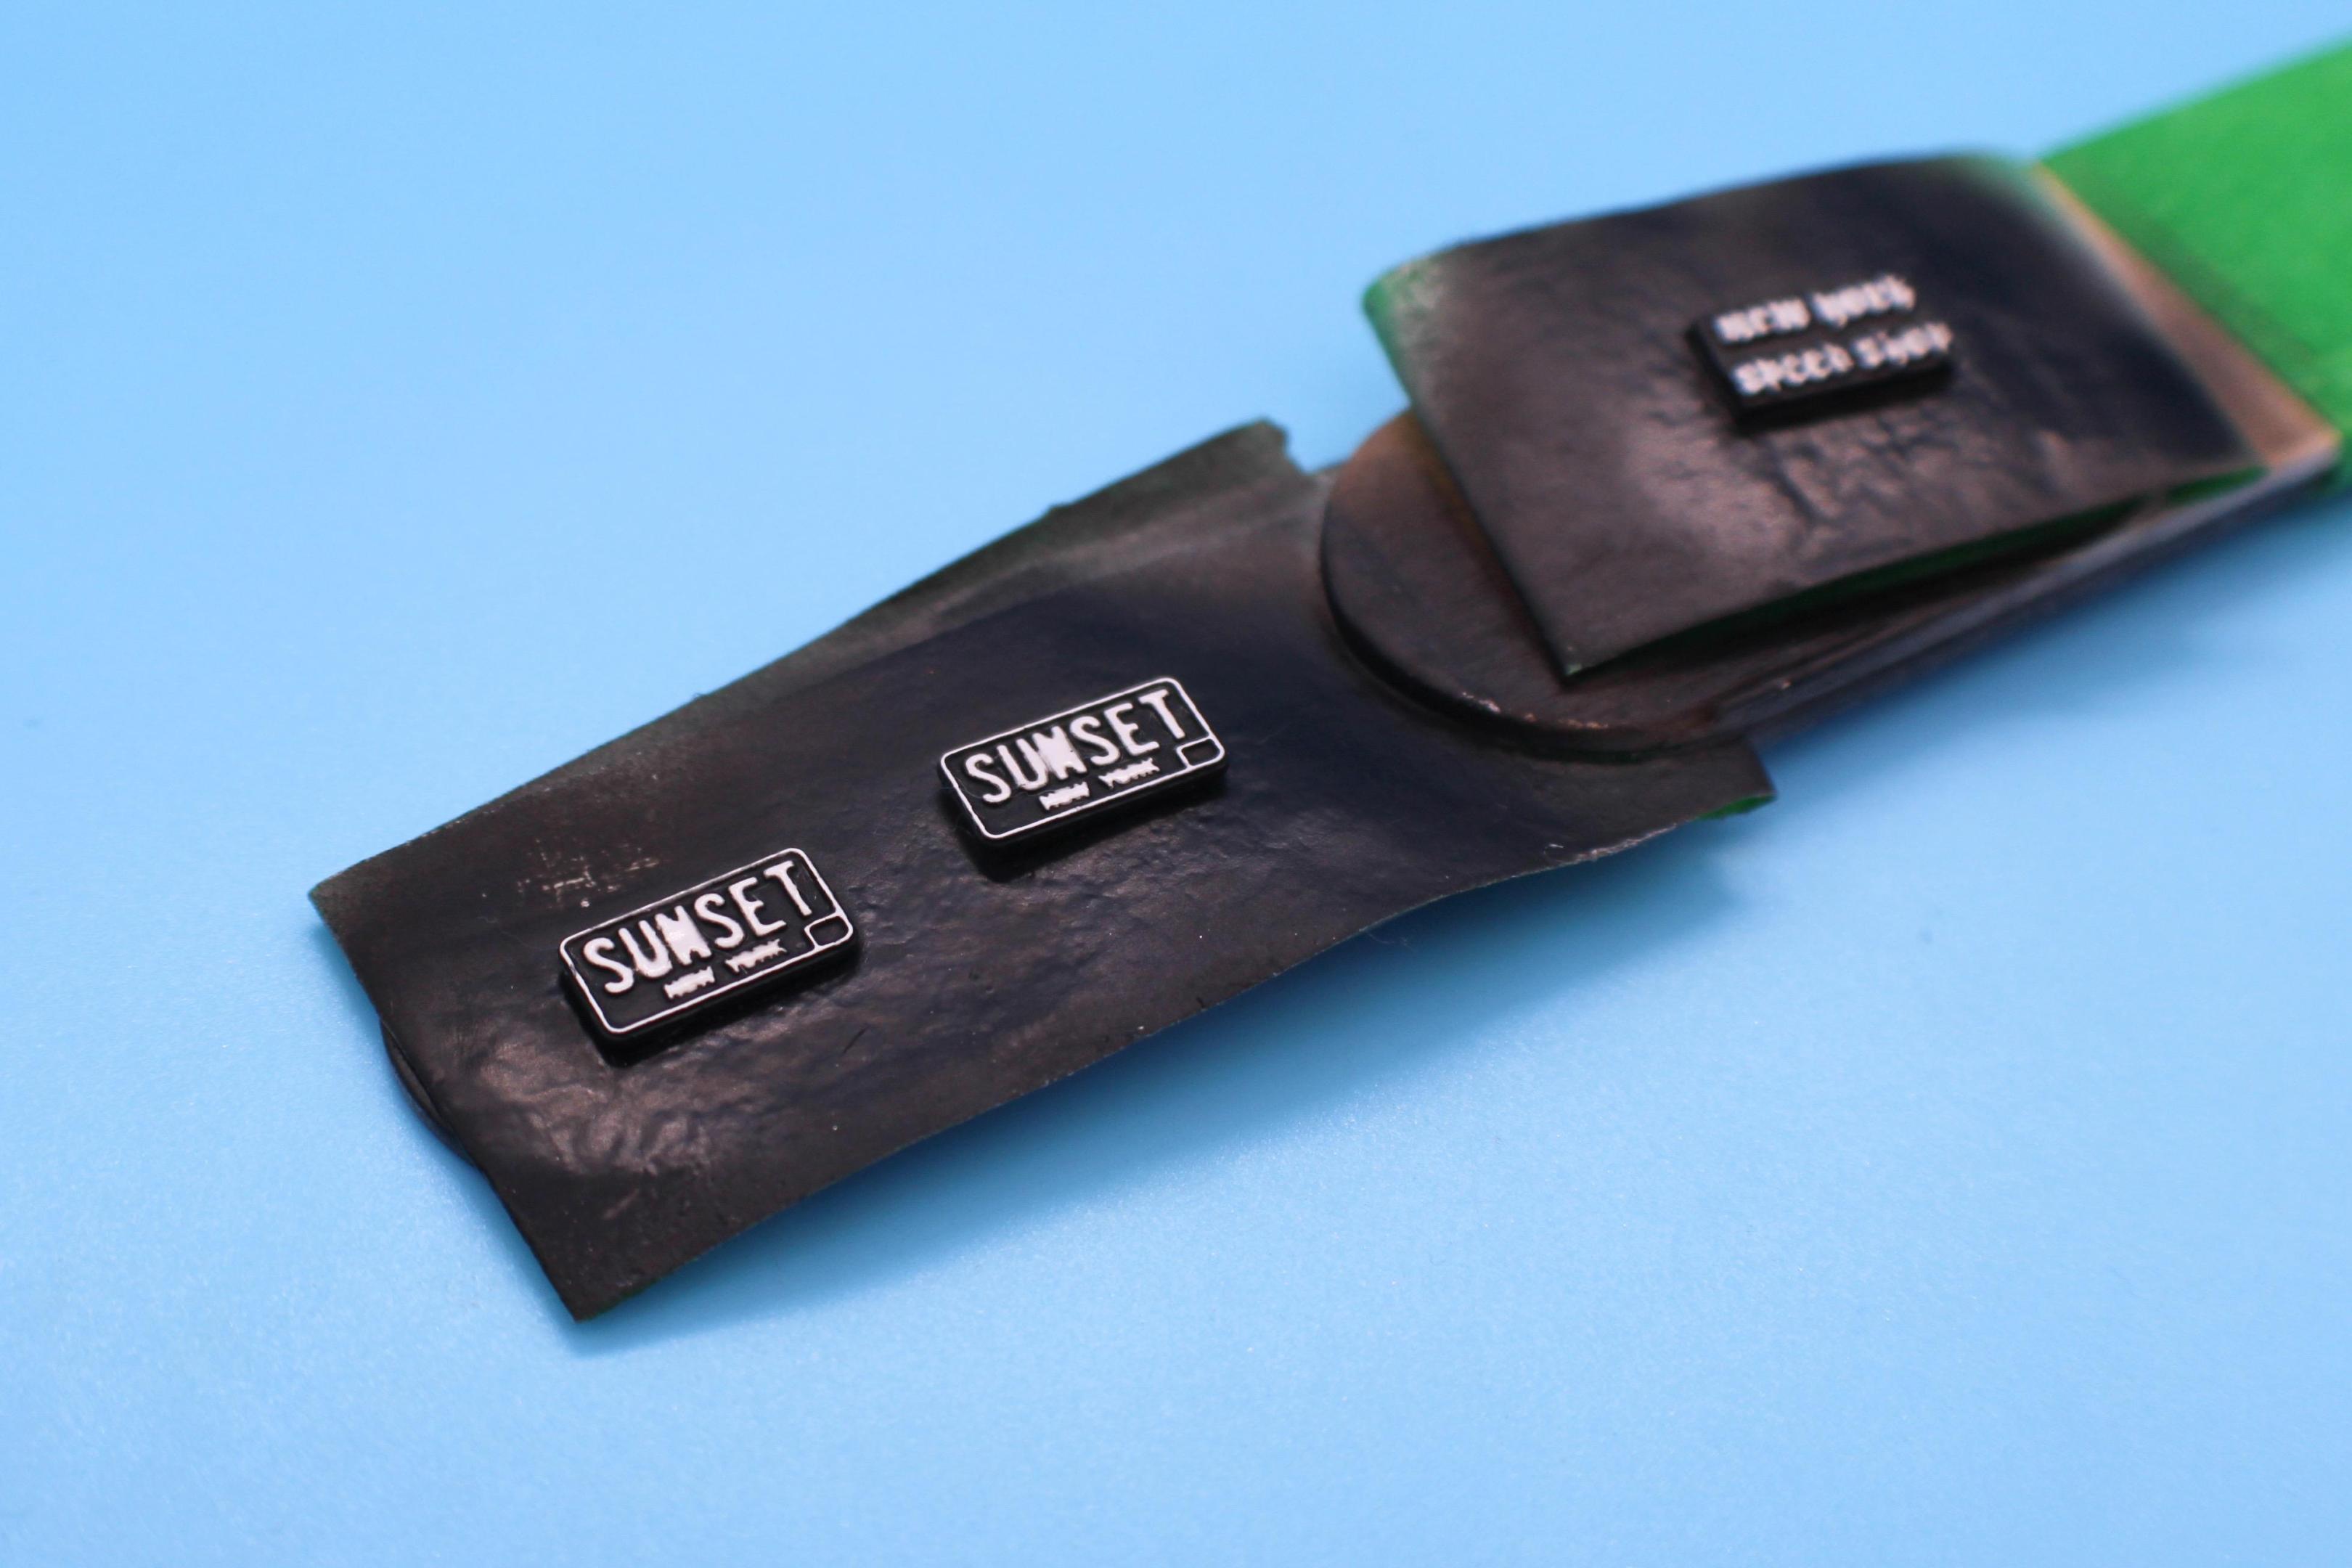
Painted the license plates, first with white, then clear lacquer, then Createx black - you can remove the Createx with an alcohol wipe, leaving the white copy and border visible:
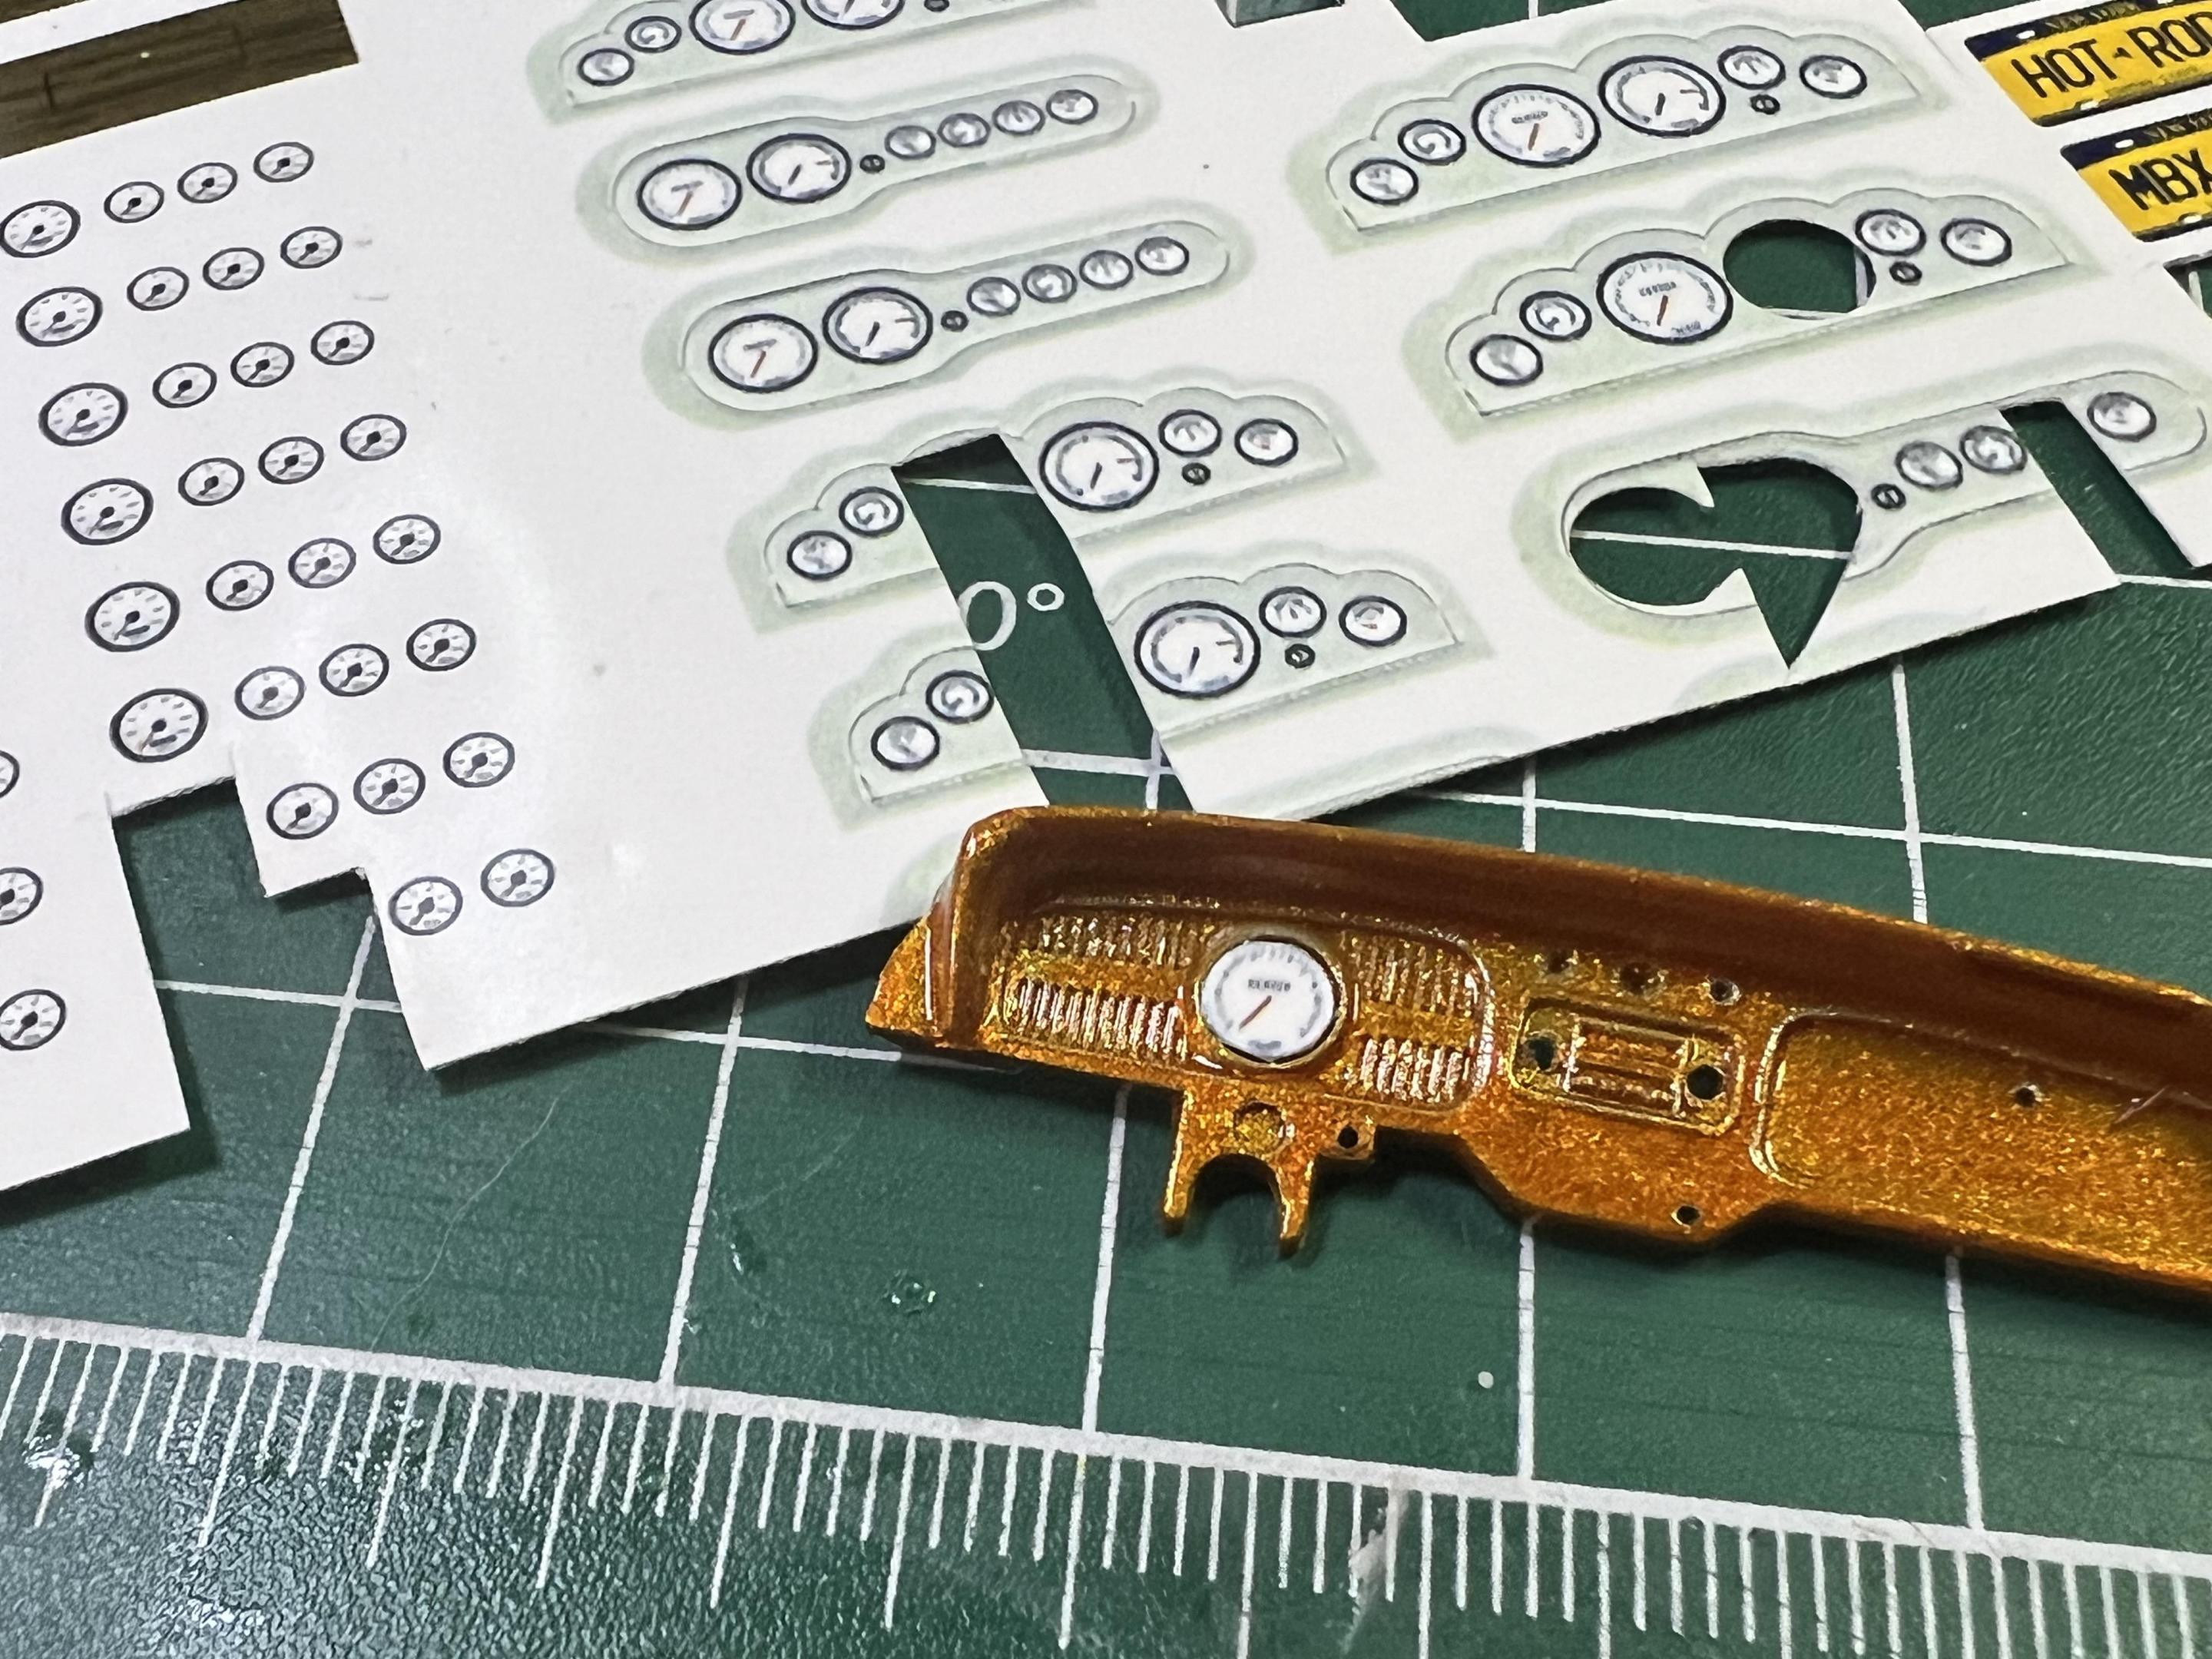
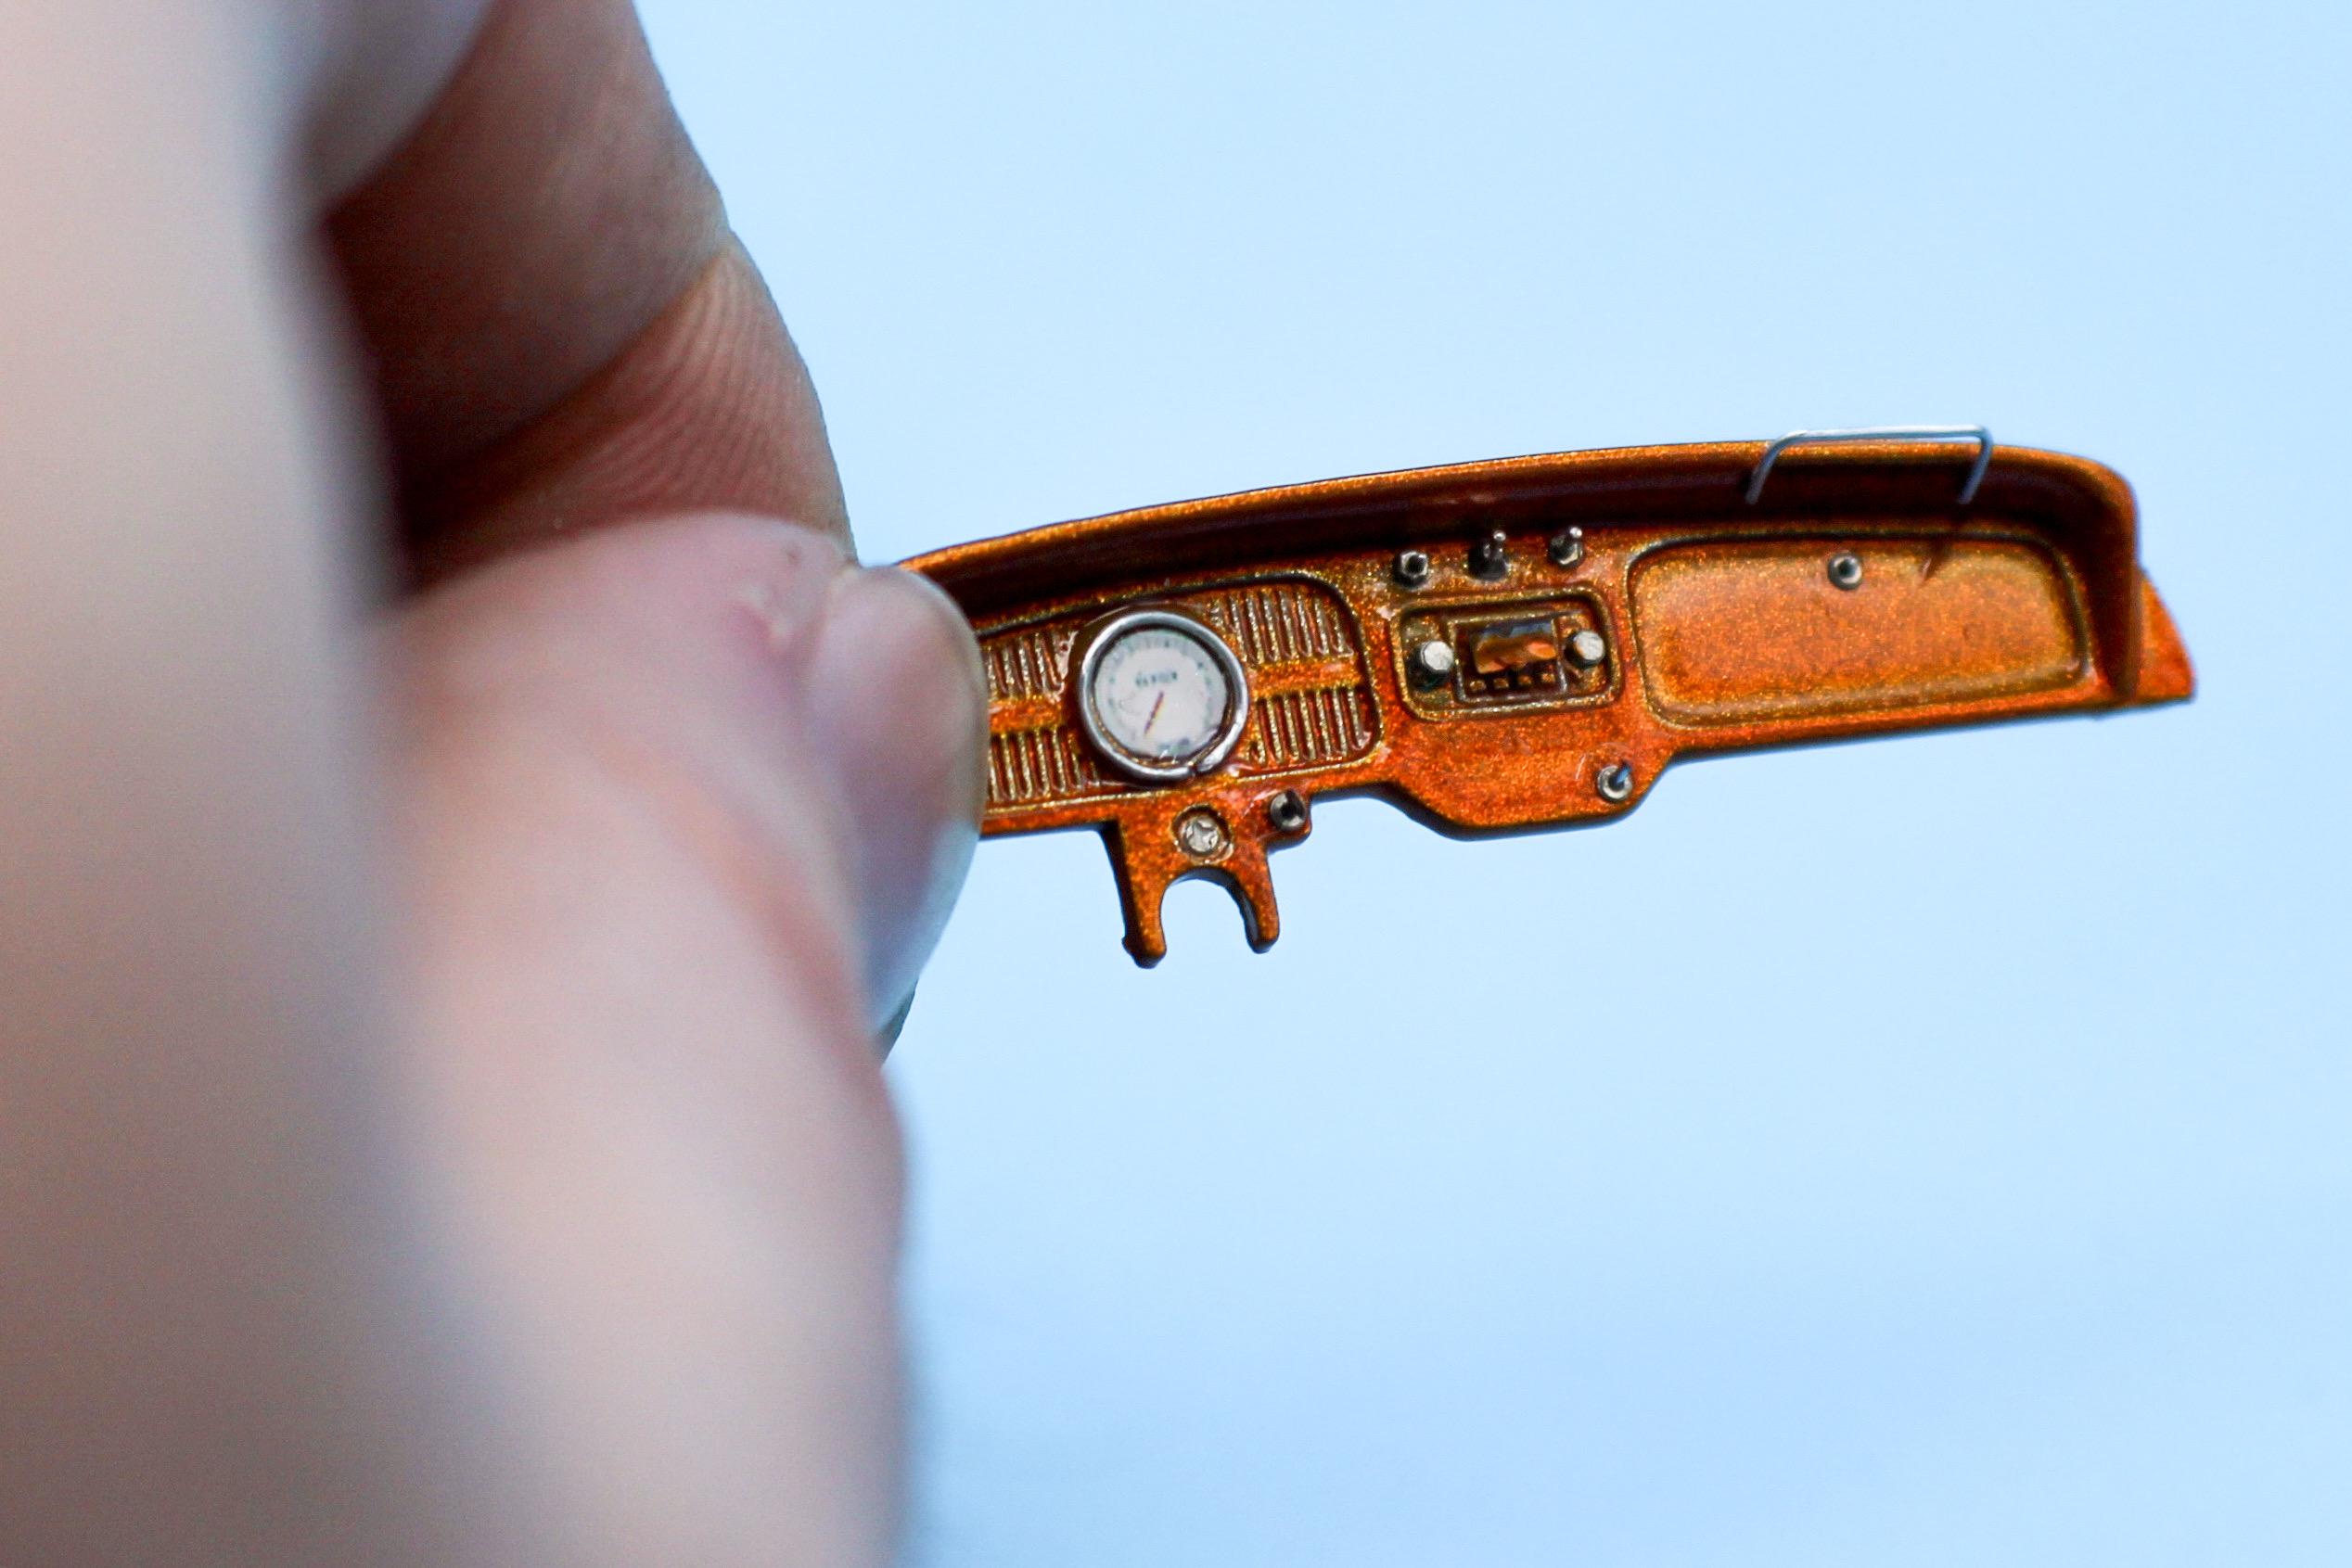
Found a gauge face that would work for the dash - it’s not super high resolution, but it’s better than the ‘no gauge face’ the kit comes with…
Then went thru the dash and started adding switches, a ring for the speedo and some photoetch…not quite done with this yet, but the little metal switches really catch the eye and add some nice detail when you see it in real life:

Still PLENTY to do, and the way this kit assembles doesn’t really encourage building sub-assemblies so it’s touch to get any ‘big stuff’ together, but hopefully that means it’ll come together quickly at the end…thanks for looking - more soon, soon as I’ve done more!-
 2
2
-
-
-
I was constantly looking for something just like this, but really cheap, for mixing up paint, glue, epoxy…any kind of liquid I’d use at my bench.
Picked up some tattoo artist’s mixing cups - they’re REALLY cheap, come in a few different sizes and you can pick up handy dandy little stands or racks to hold them if you need such a thing:
-
-
This is absolutely outstanding work - and the weathering you did on the underside is first class. THANK YOU for sharing!
-
On 2/17/2024 at 7:36 AM, Zippi said:
I'm having a hard time getting this one over the finish line for some reason.
That’s a GREAT looking build Bob, and you’re so close!!!
I’d love to see this one completed - this kit is on my to-do list too…git ‘er done! -
I was thinking today about how, in literature, they have the ‘canon’ - a list of books that are considered must-reads and important works that have stood the test of time.
That got me to thinking…what are the must-build classic kits that a builder attempting to know kit history and consider themselves ‘well read’ should build in their lifetime? Not necessarily just easy to build kits that fall together, or kits that we personally could build often, but ones that are important somehow to the landscape of scale modeling? I’m thinking, say, the Red Baron (probably one of the best selling kits of all time), or maybe the Revell 32 Fords, or the AMT 40 Ford or the old Revell double kits or…. 🤷♂️
I’d be interested to know which kits people here consider to be not just GOOD kits, but CLASSICS?
-
 2
2
-
-
15 hours ago, Zippi said:
It's starting to come together. Nice looking air filter.
Thanks Bob!
14 hours ago, David G. said:Dang Jim, you're just marching along with this build. Lots of pretty little details!
David G.
And thank you David! I’m only getting a lot done because it’s the weekend 🤪
A little more today…felt brave enough to mask on the body so I laid down the next few little bits of detail painting…I’m not going WILD on this one, but had a couple of little touches I wanted to add…
All masked and ready:
All I’m doing here is adding a couple of little highlights…a couple of small scallops coming off the top of the headlamps, painting a stripe on the hood and adding a little strip of gradient along the sides…
Paint shot!
And some careful de-masking later…
Nothing too crazy, just a couple of little touches…
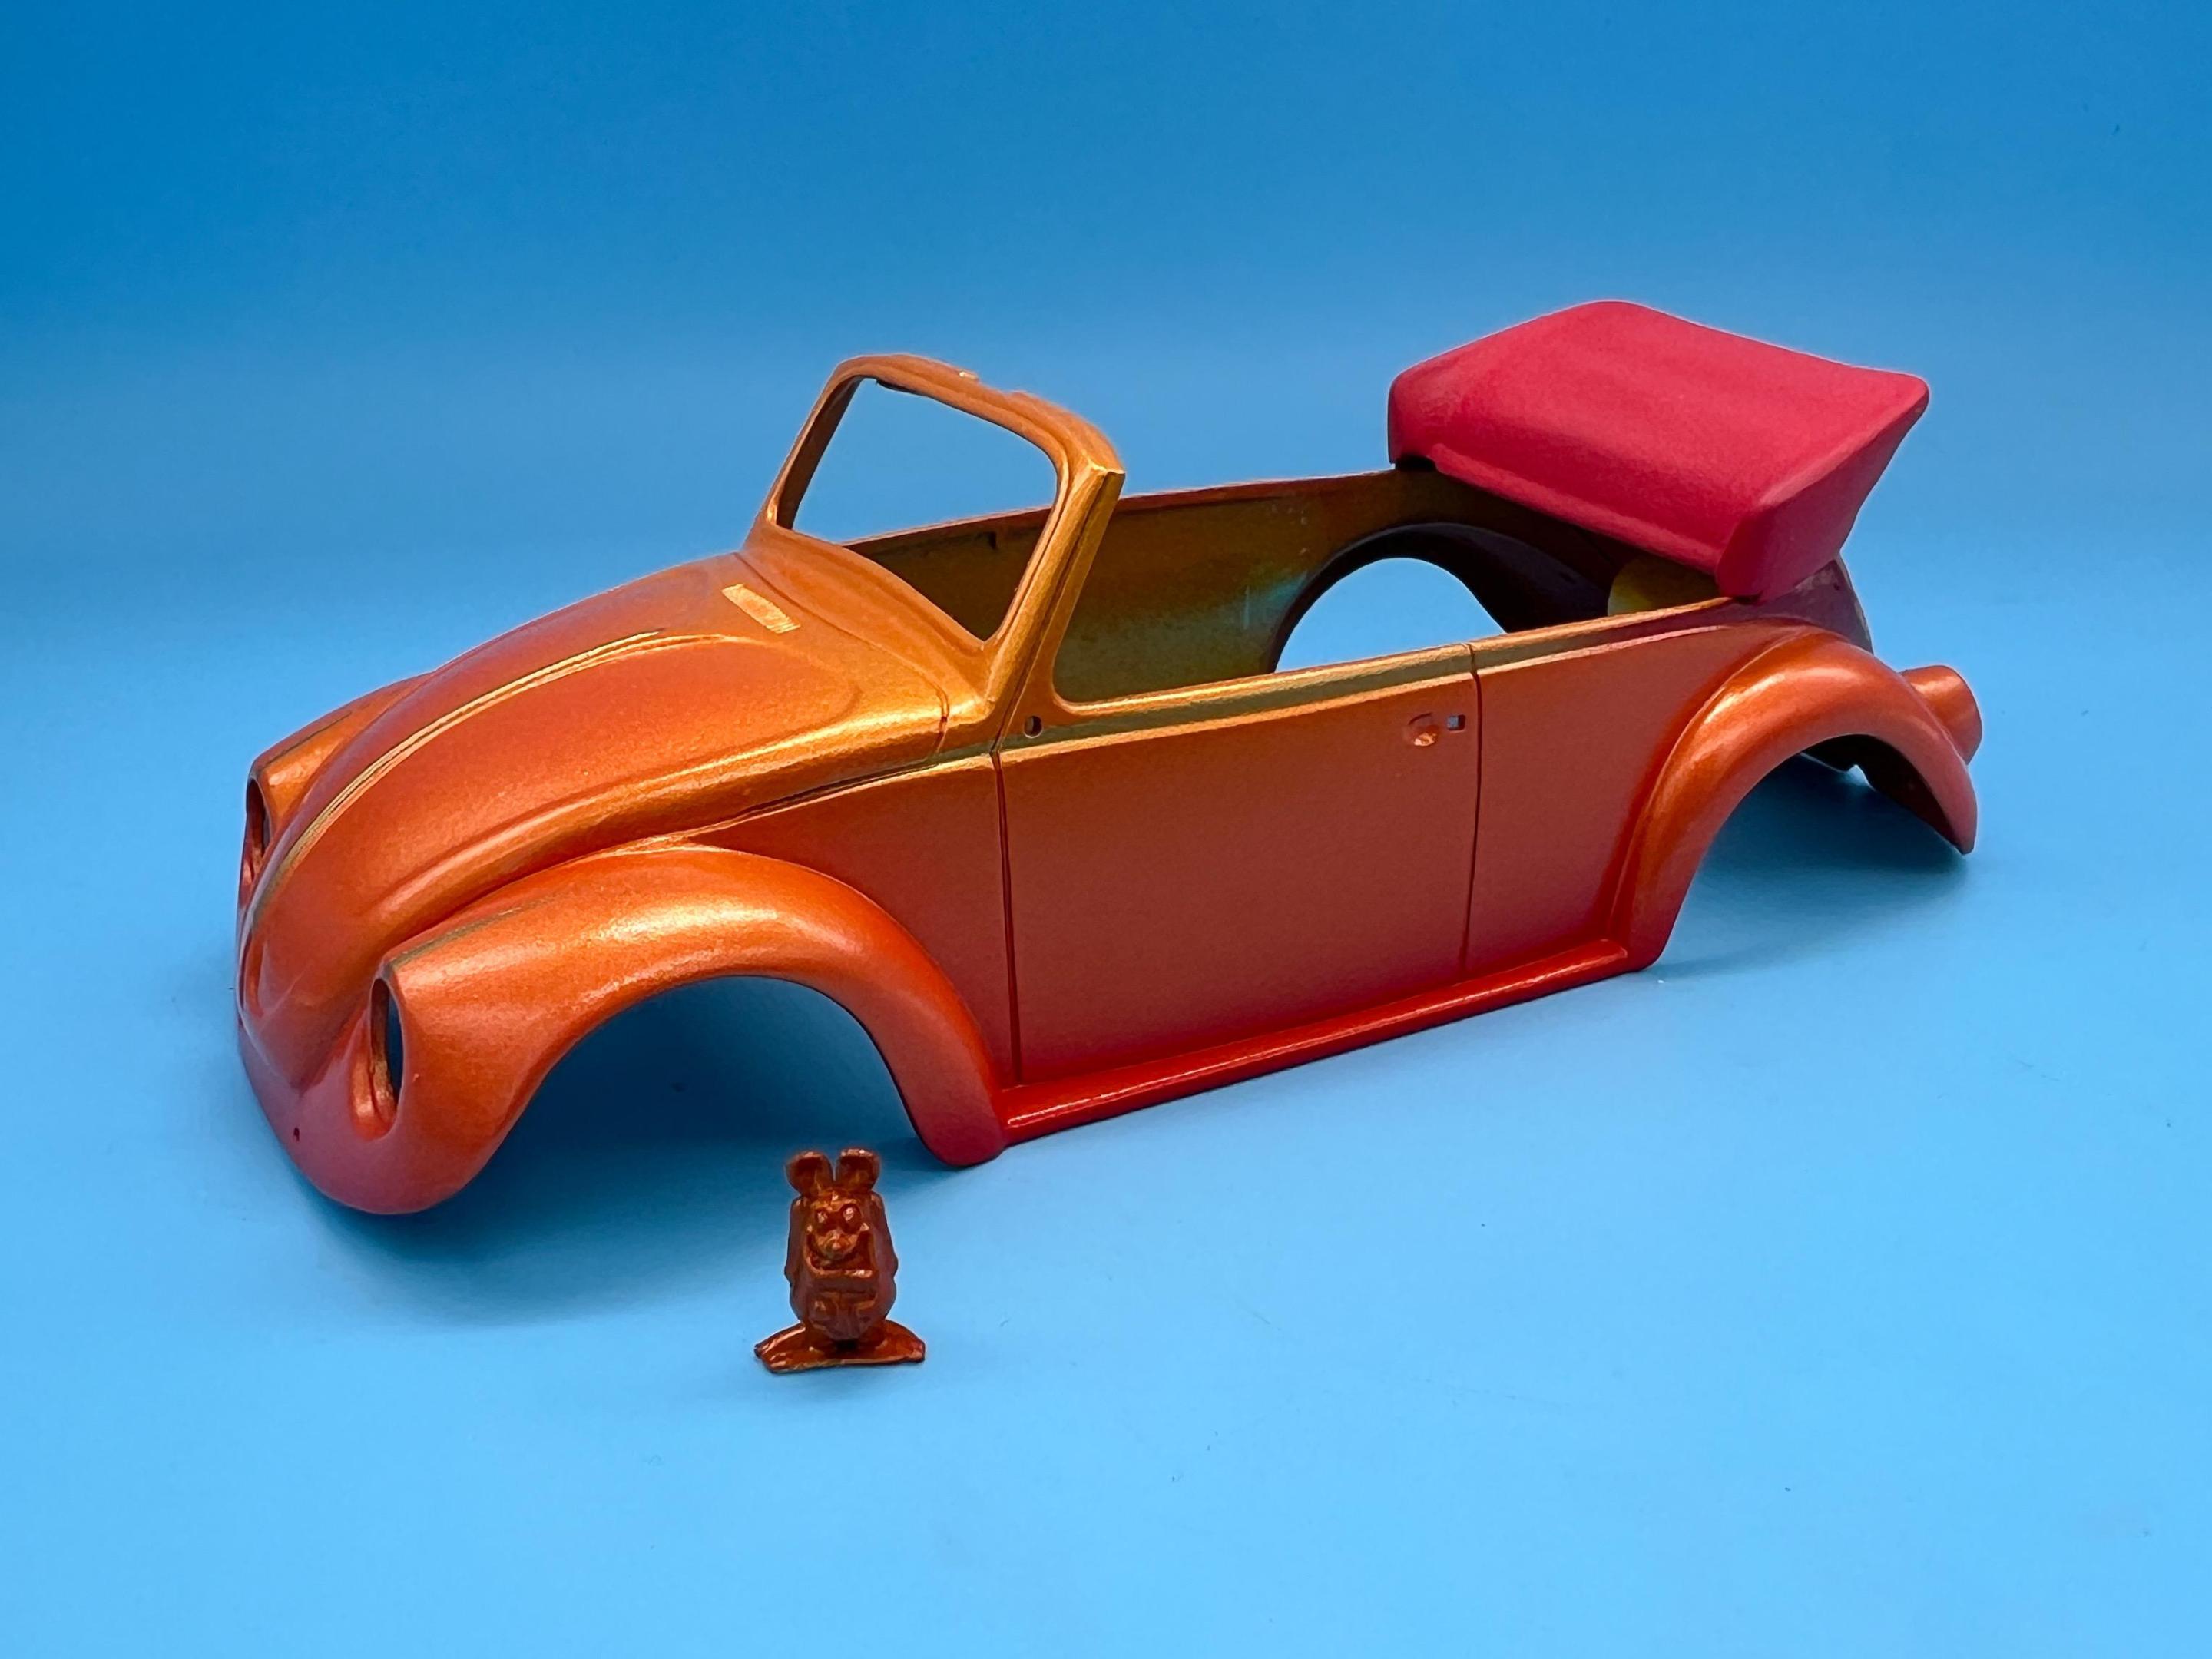
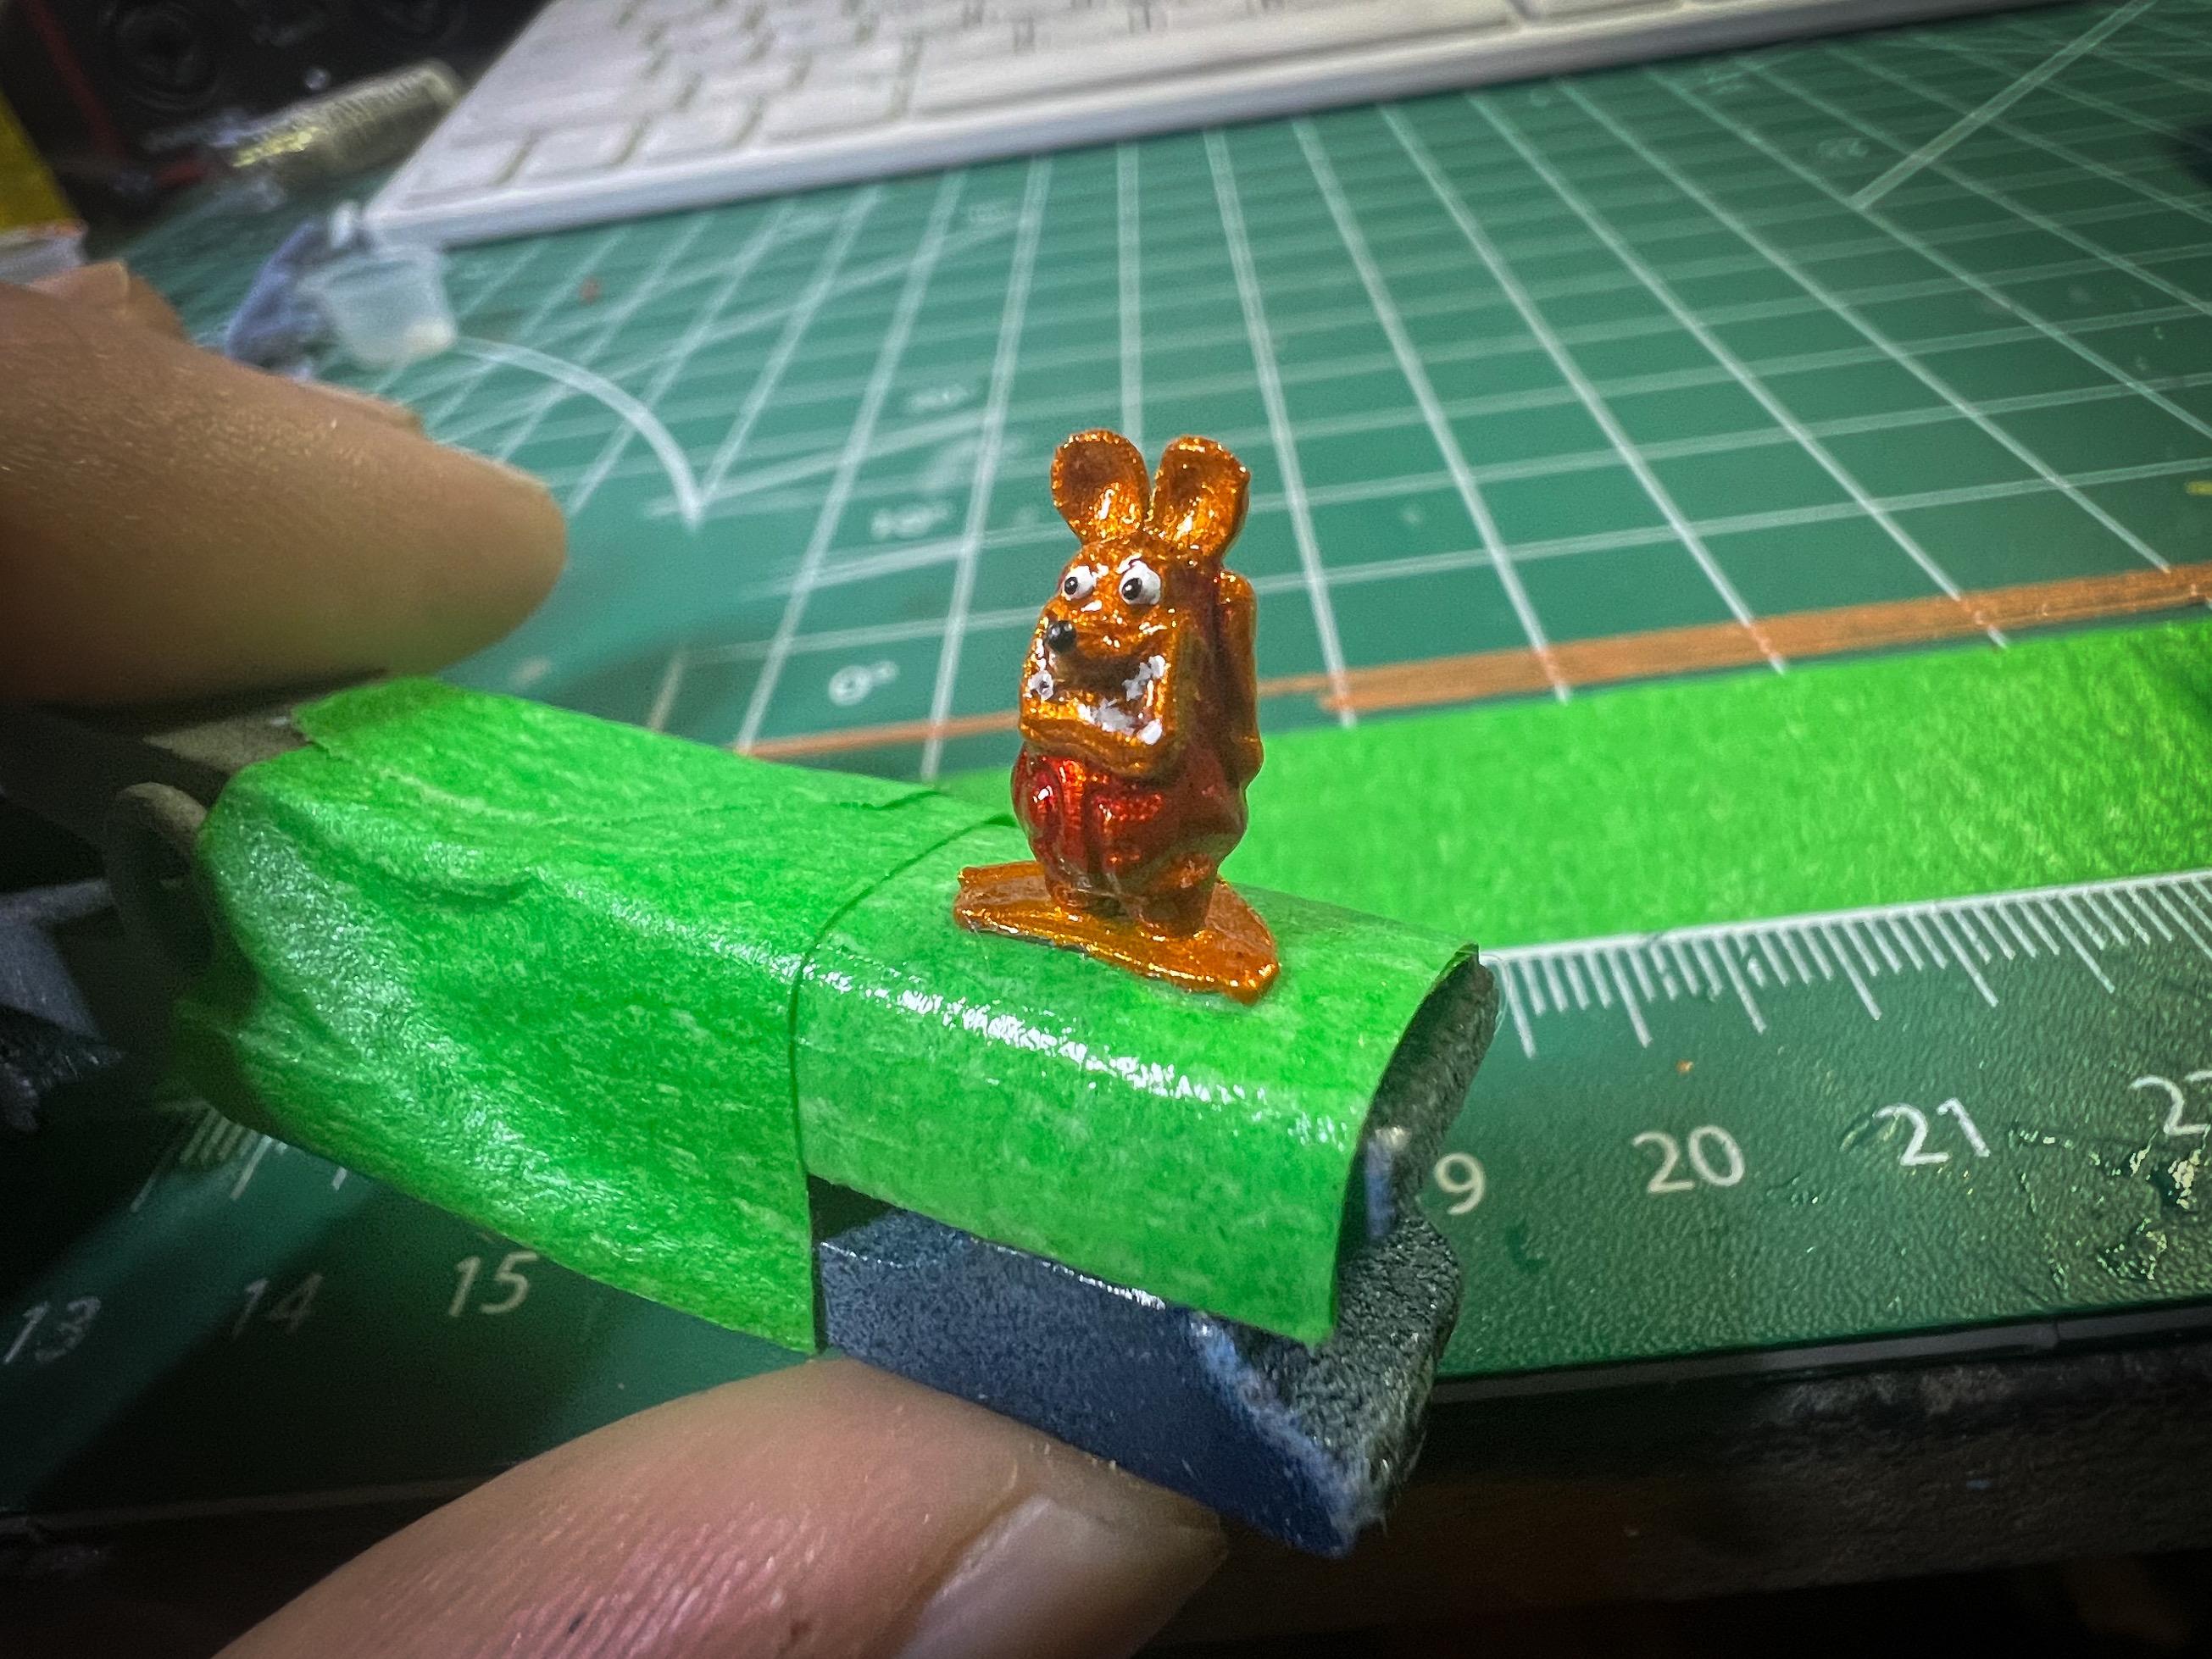
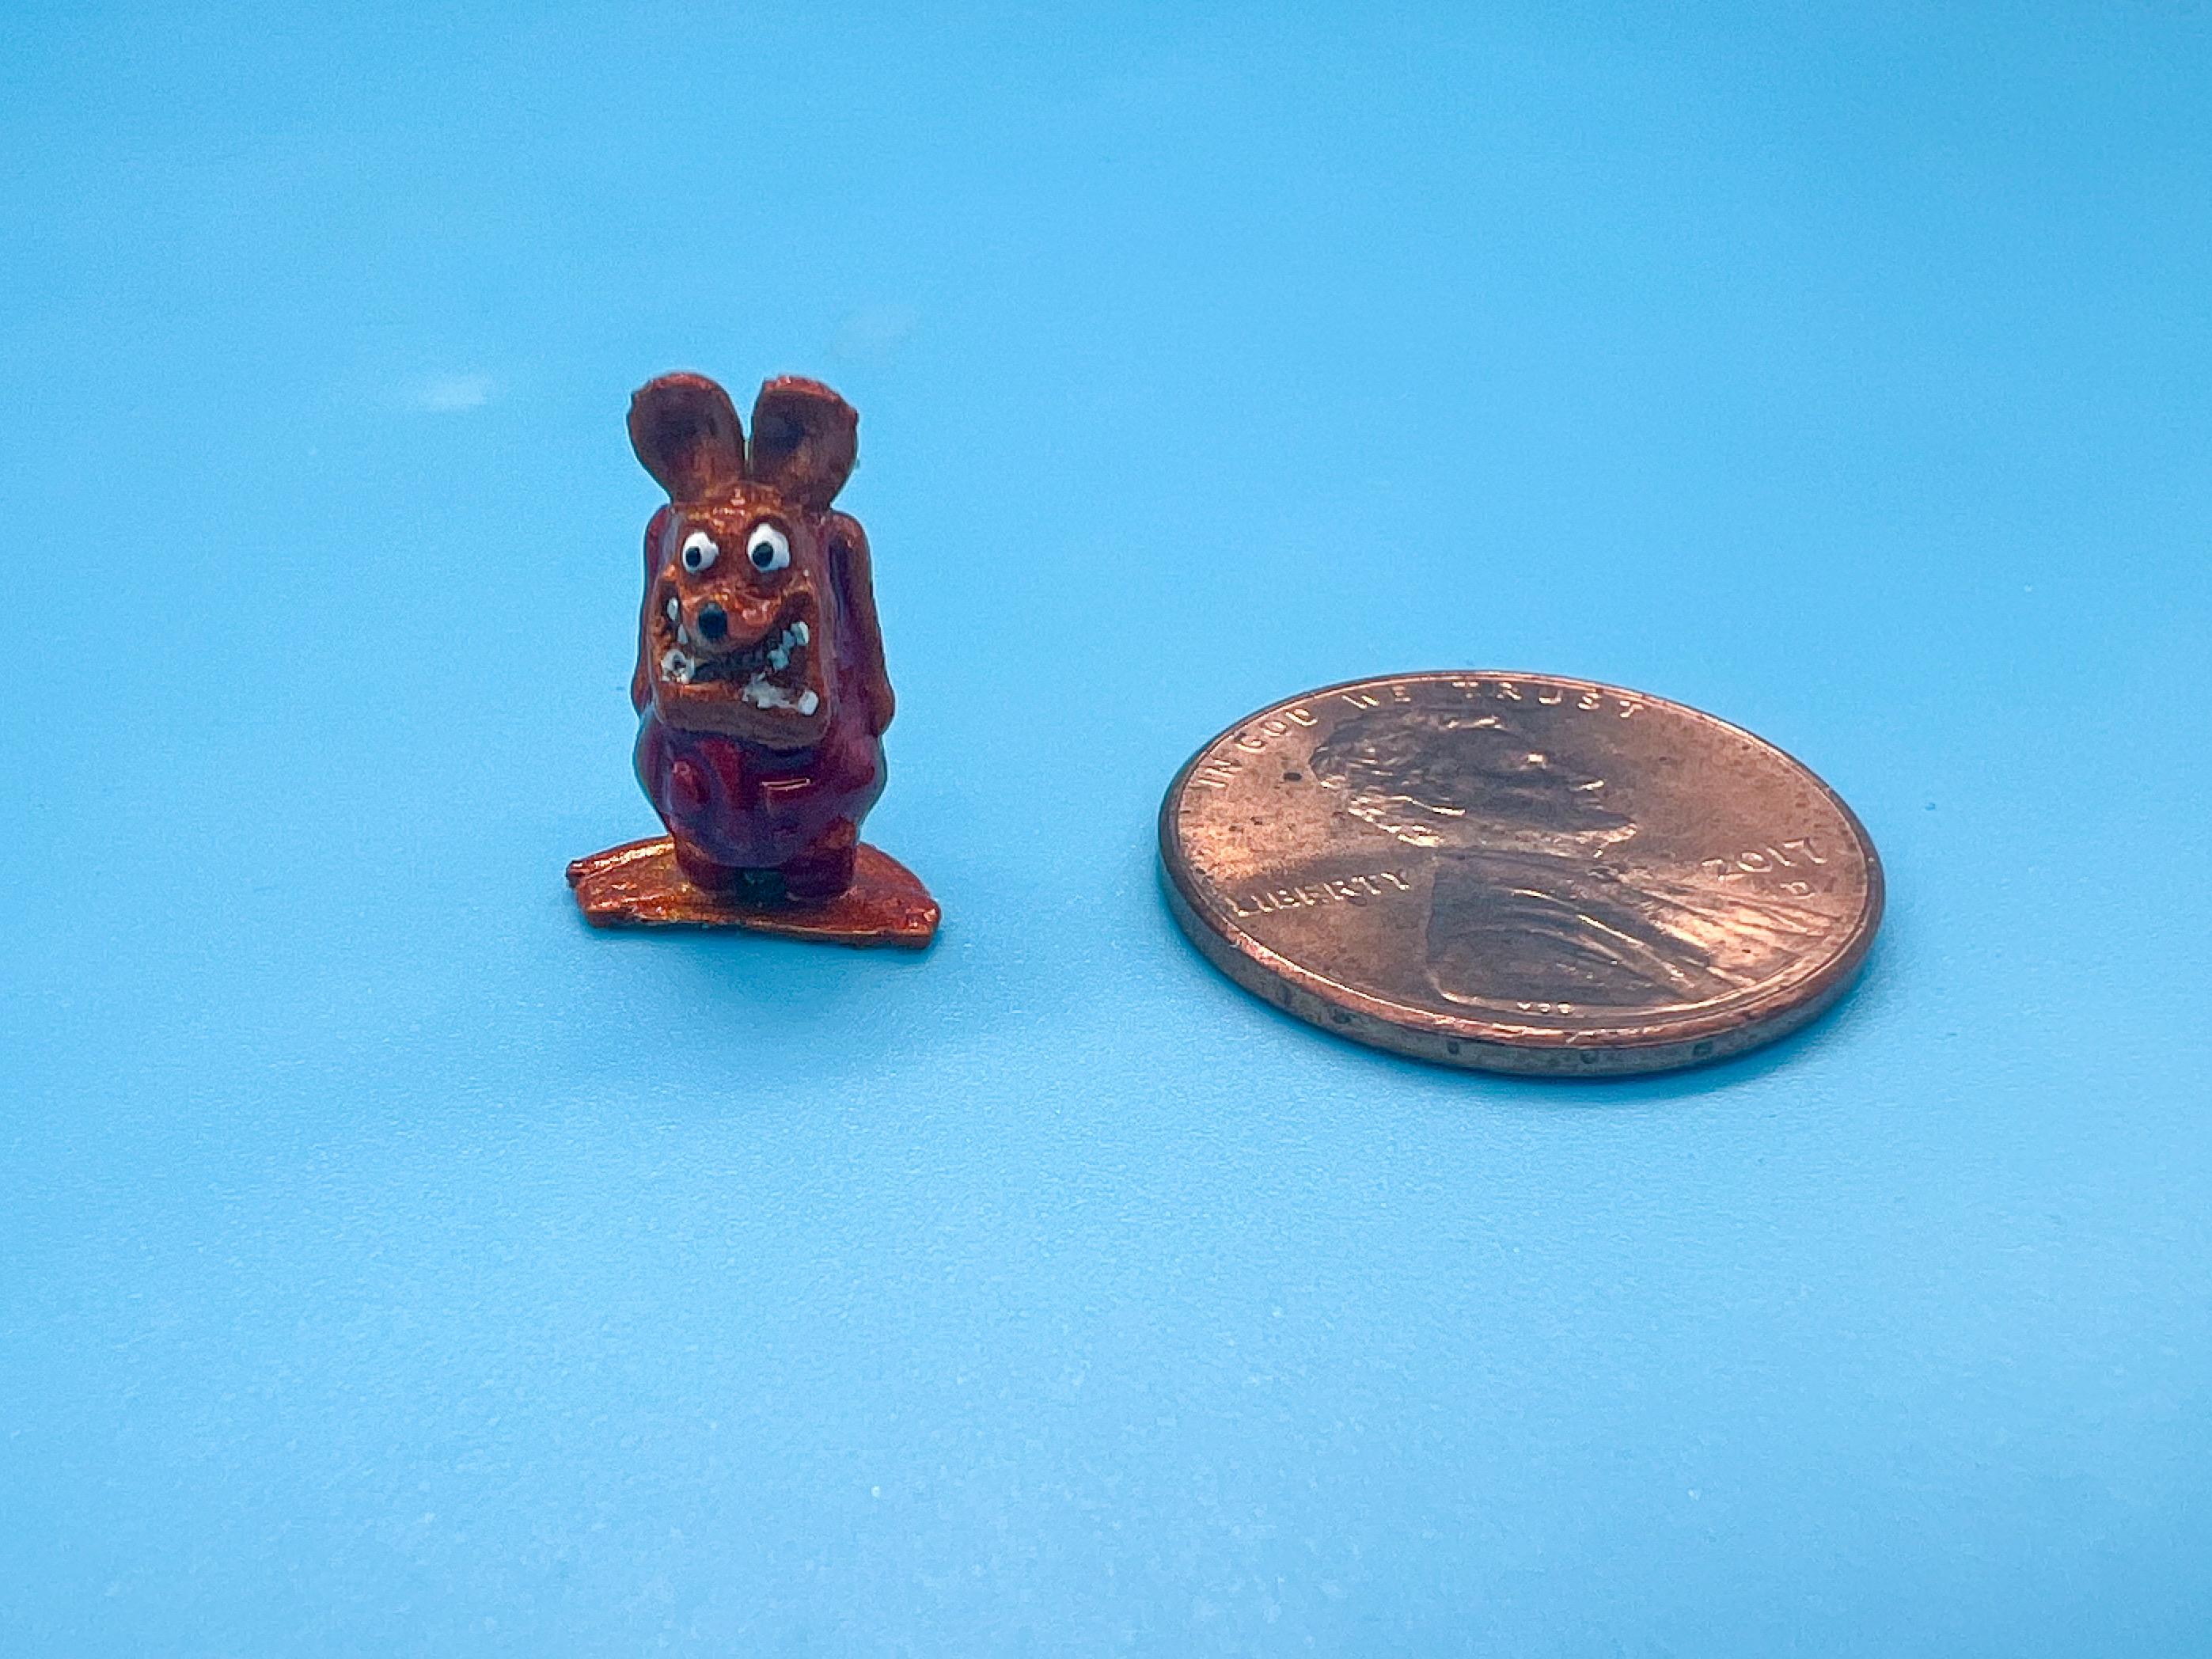
Whilst I was painting, I 3D printed a tiny Ratfink and shot him in Wicked Color silver then candy orange, and whilst that was drying shot the fabric roof cover with some craft acrylic that matched the color I wanted:
That Rat Fink was tough to paint…still not quite done…


And after I didn’t feel like painting any more today, I did some more work on engine parts…the kit distributor looks undersized to me (and was going to be about impossible to wire) so I printed one and spun up a mount for it:

Even the larger one I printed is still TINY, so excuse the poor photo…
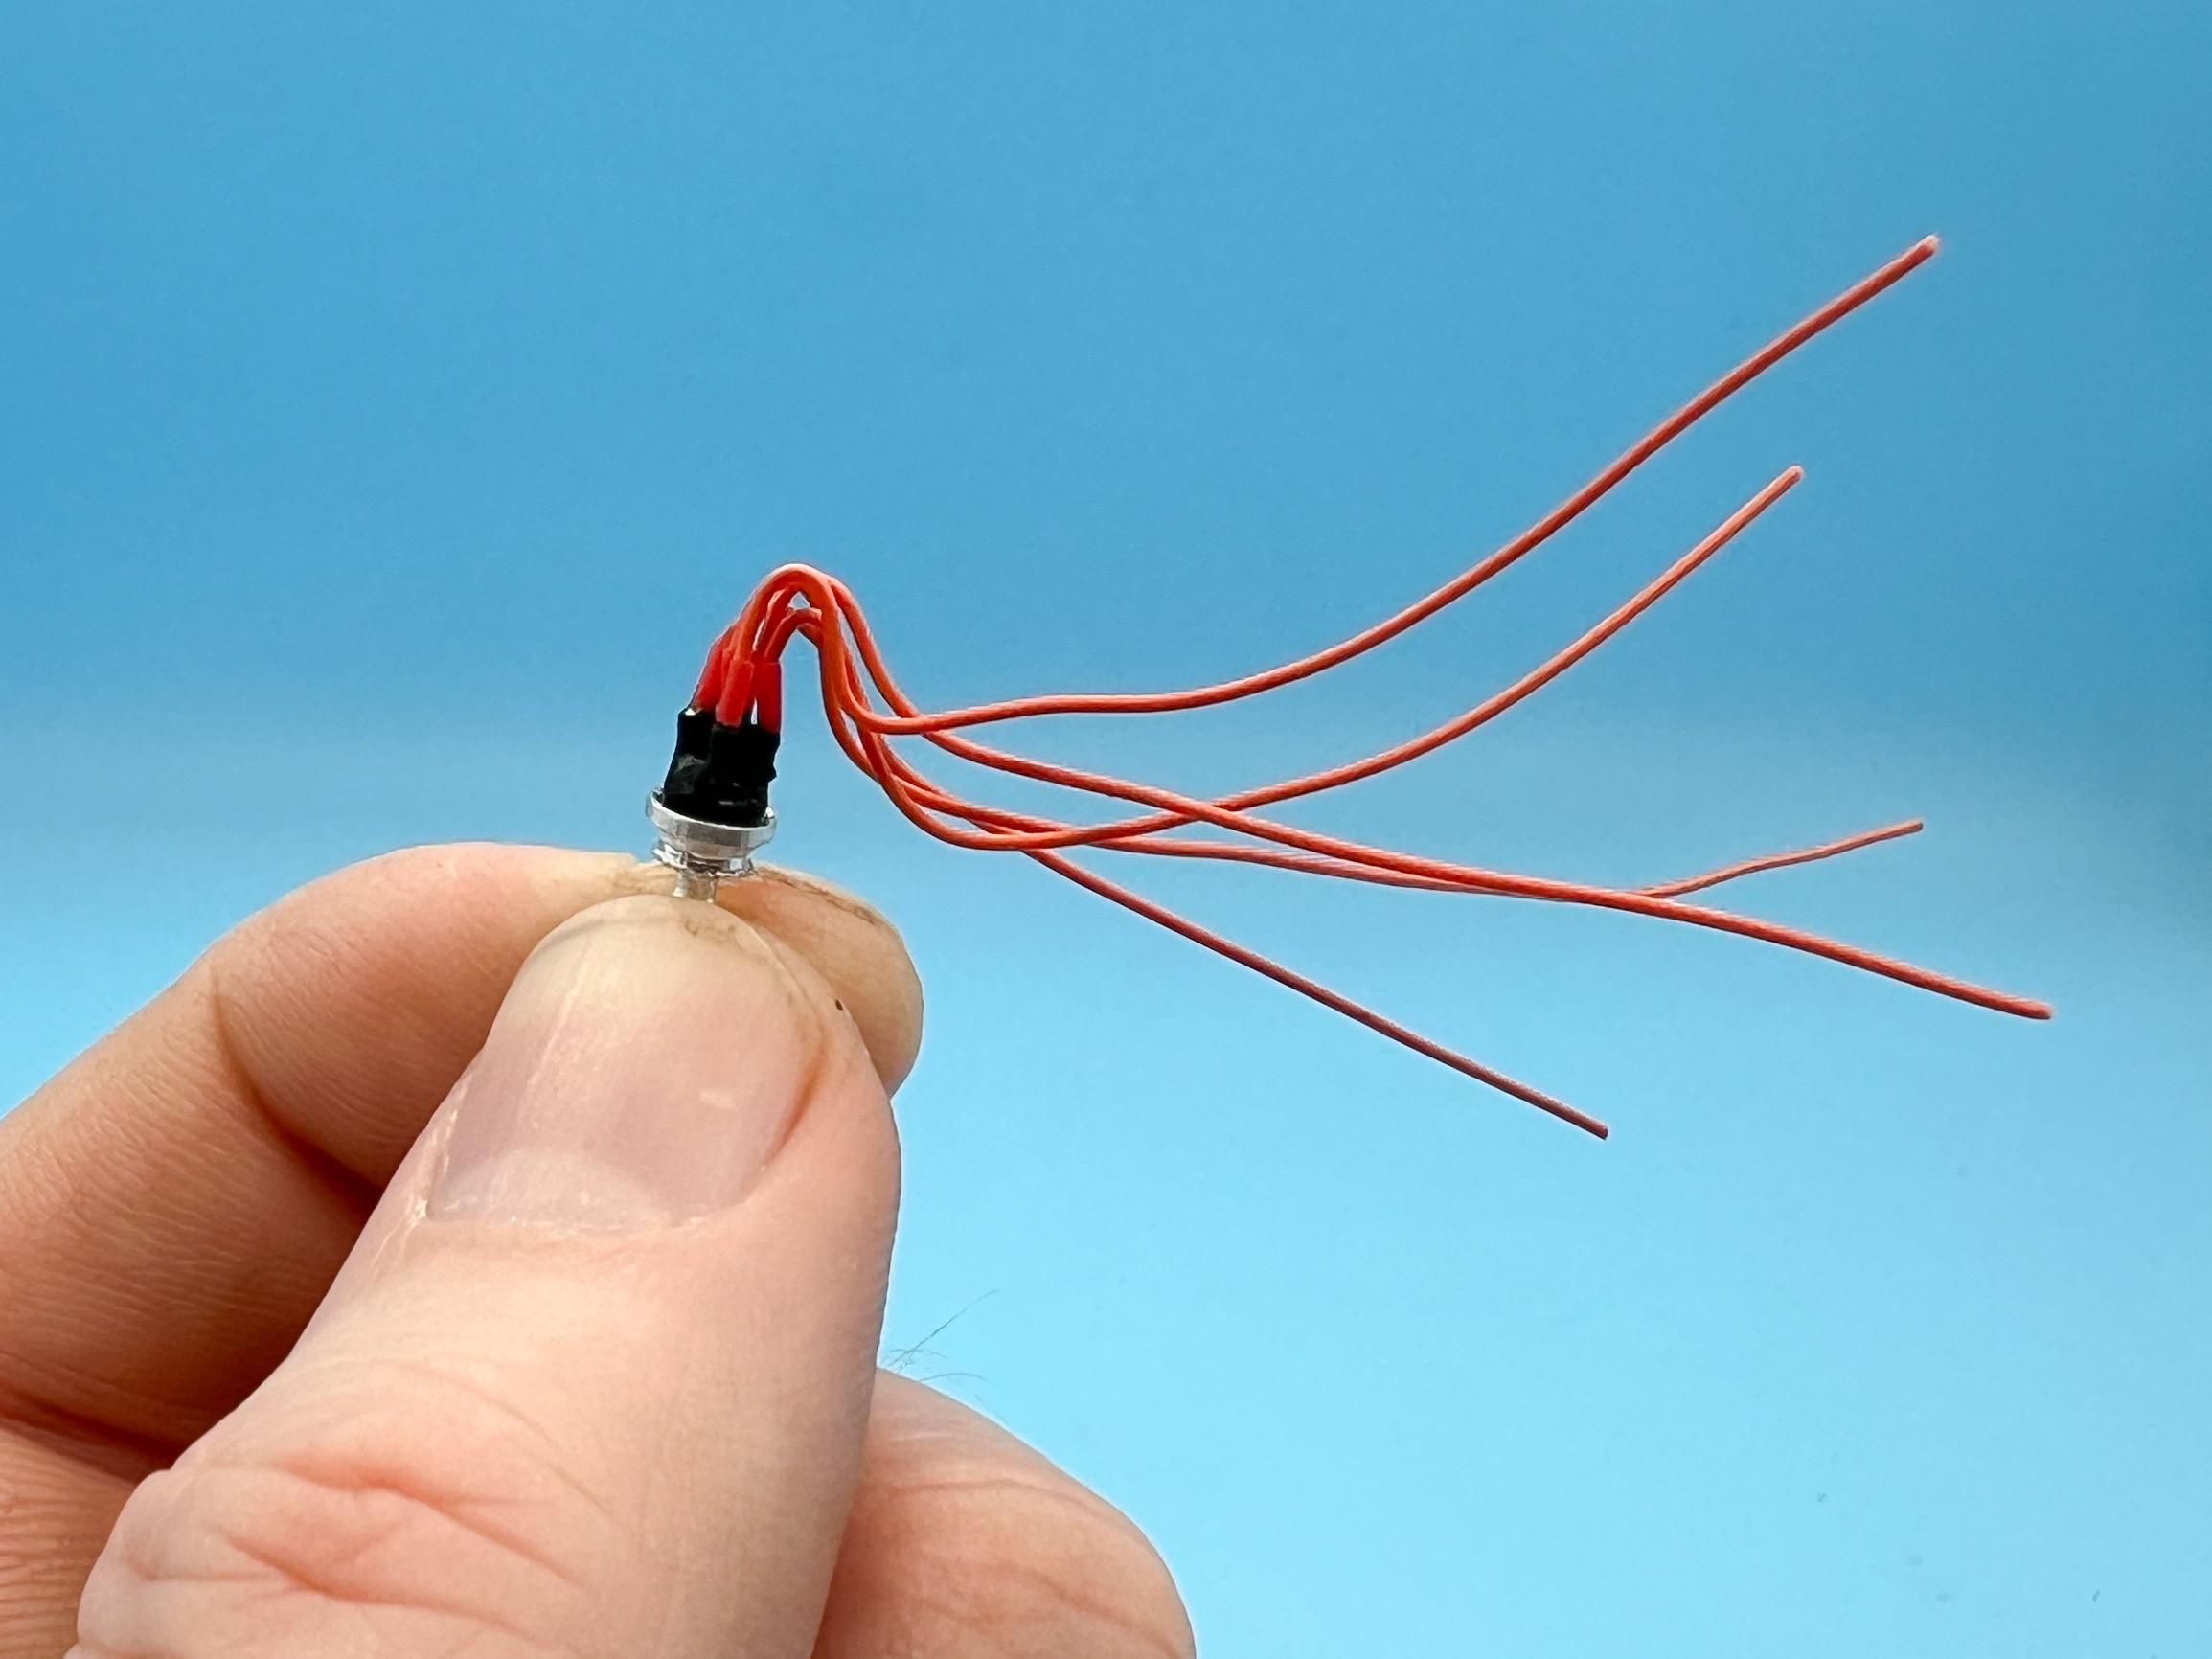
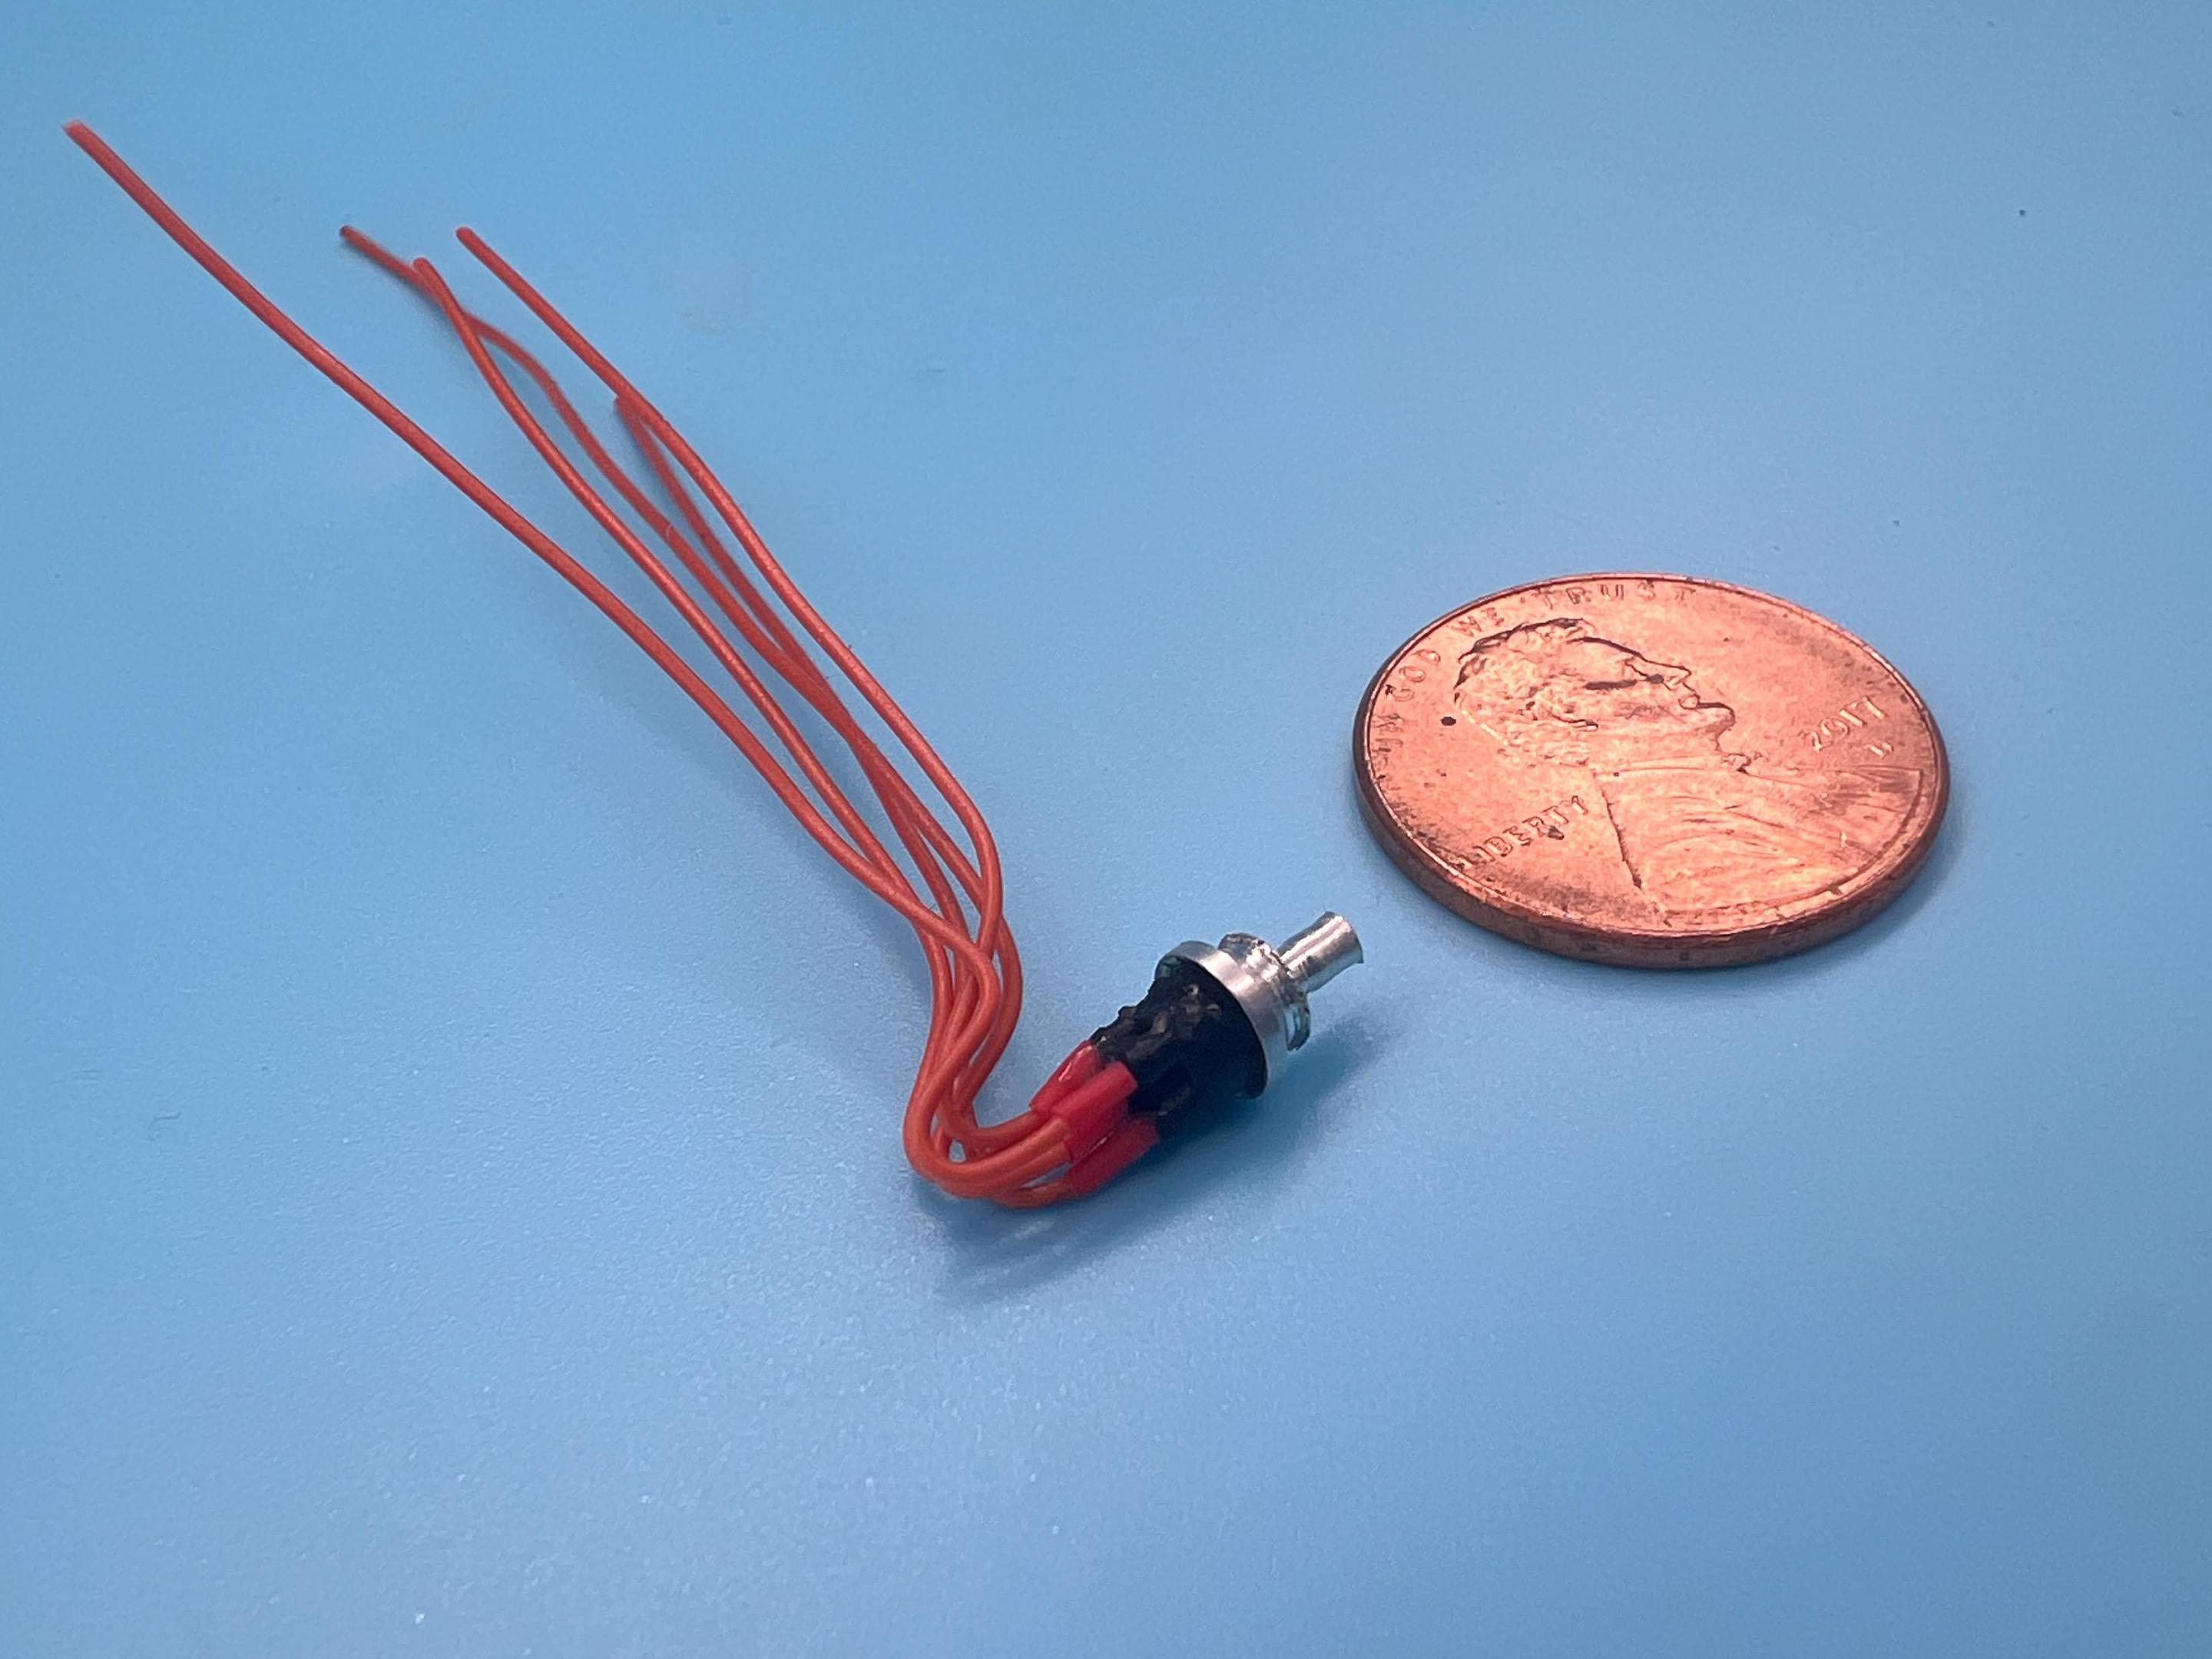
Got it painted, made some plug boots and got it wired ready for installation:

And that’s about it for this weekend…thanks for looking - more soon, soon as I’ve done more!
-
 1
1
-
-
When you see the 1:1 bike in the truck, it’s not immediately obvious just how wild the bike is too! Nice work capturing that John!
-
Thanks fellas! Appreciate the nice comments!
So, the body is awaiting some more paint…
I shot a couple of coats of intercoat just to make doubly sure I don’t end up hurting it with the next steps, but whilst that has been sitting and waiting I made some more progress…
Picked out my base color for the interior and started laying it down…I originally thought tan, but decided on a nice peach to tie it to the body…

These parts have a couple more colors, but they too are in intercoat purgatory…
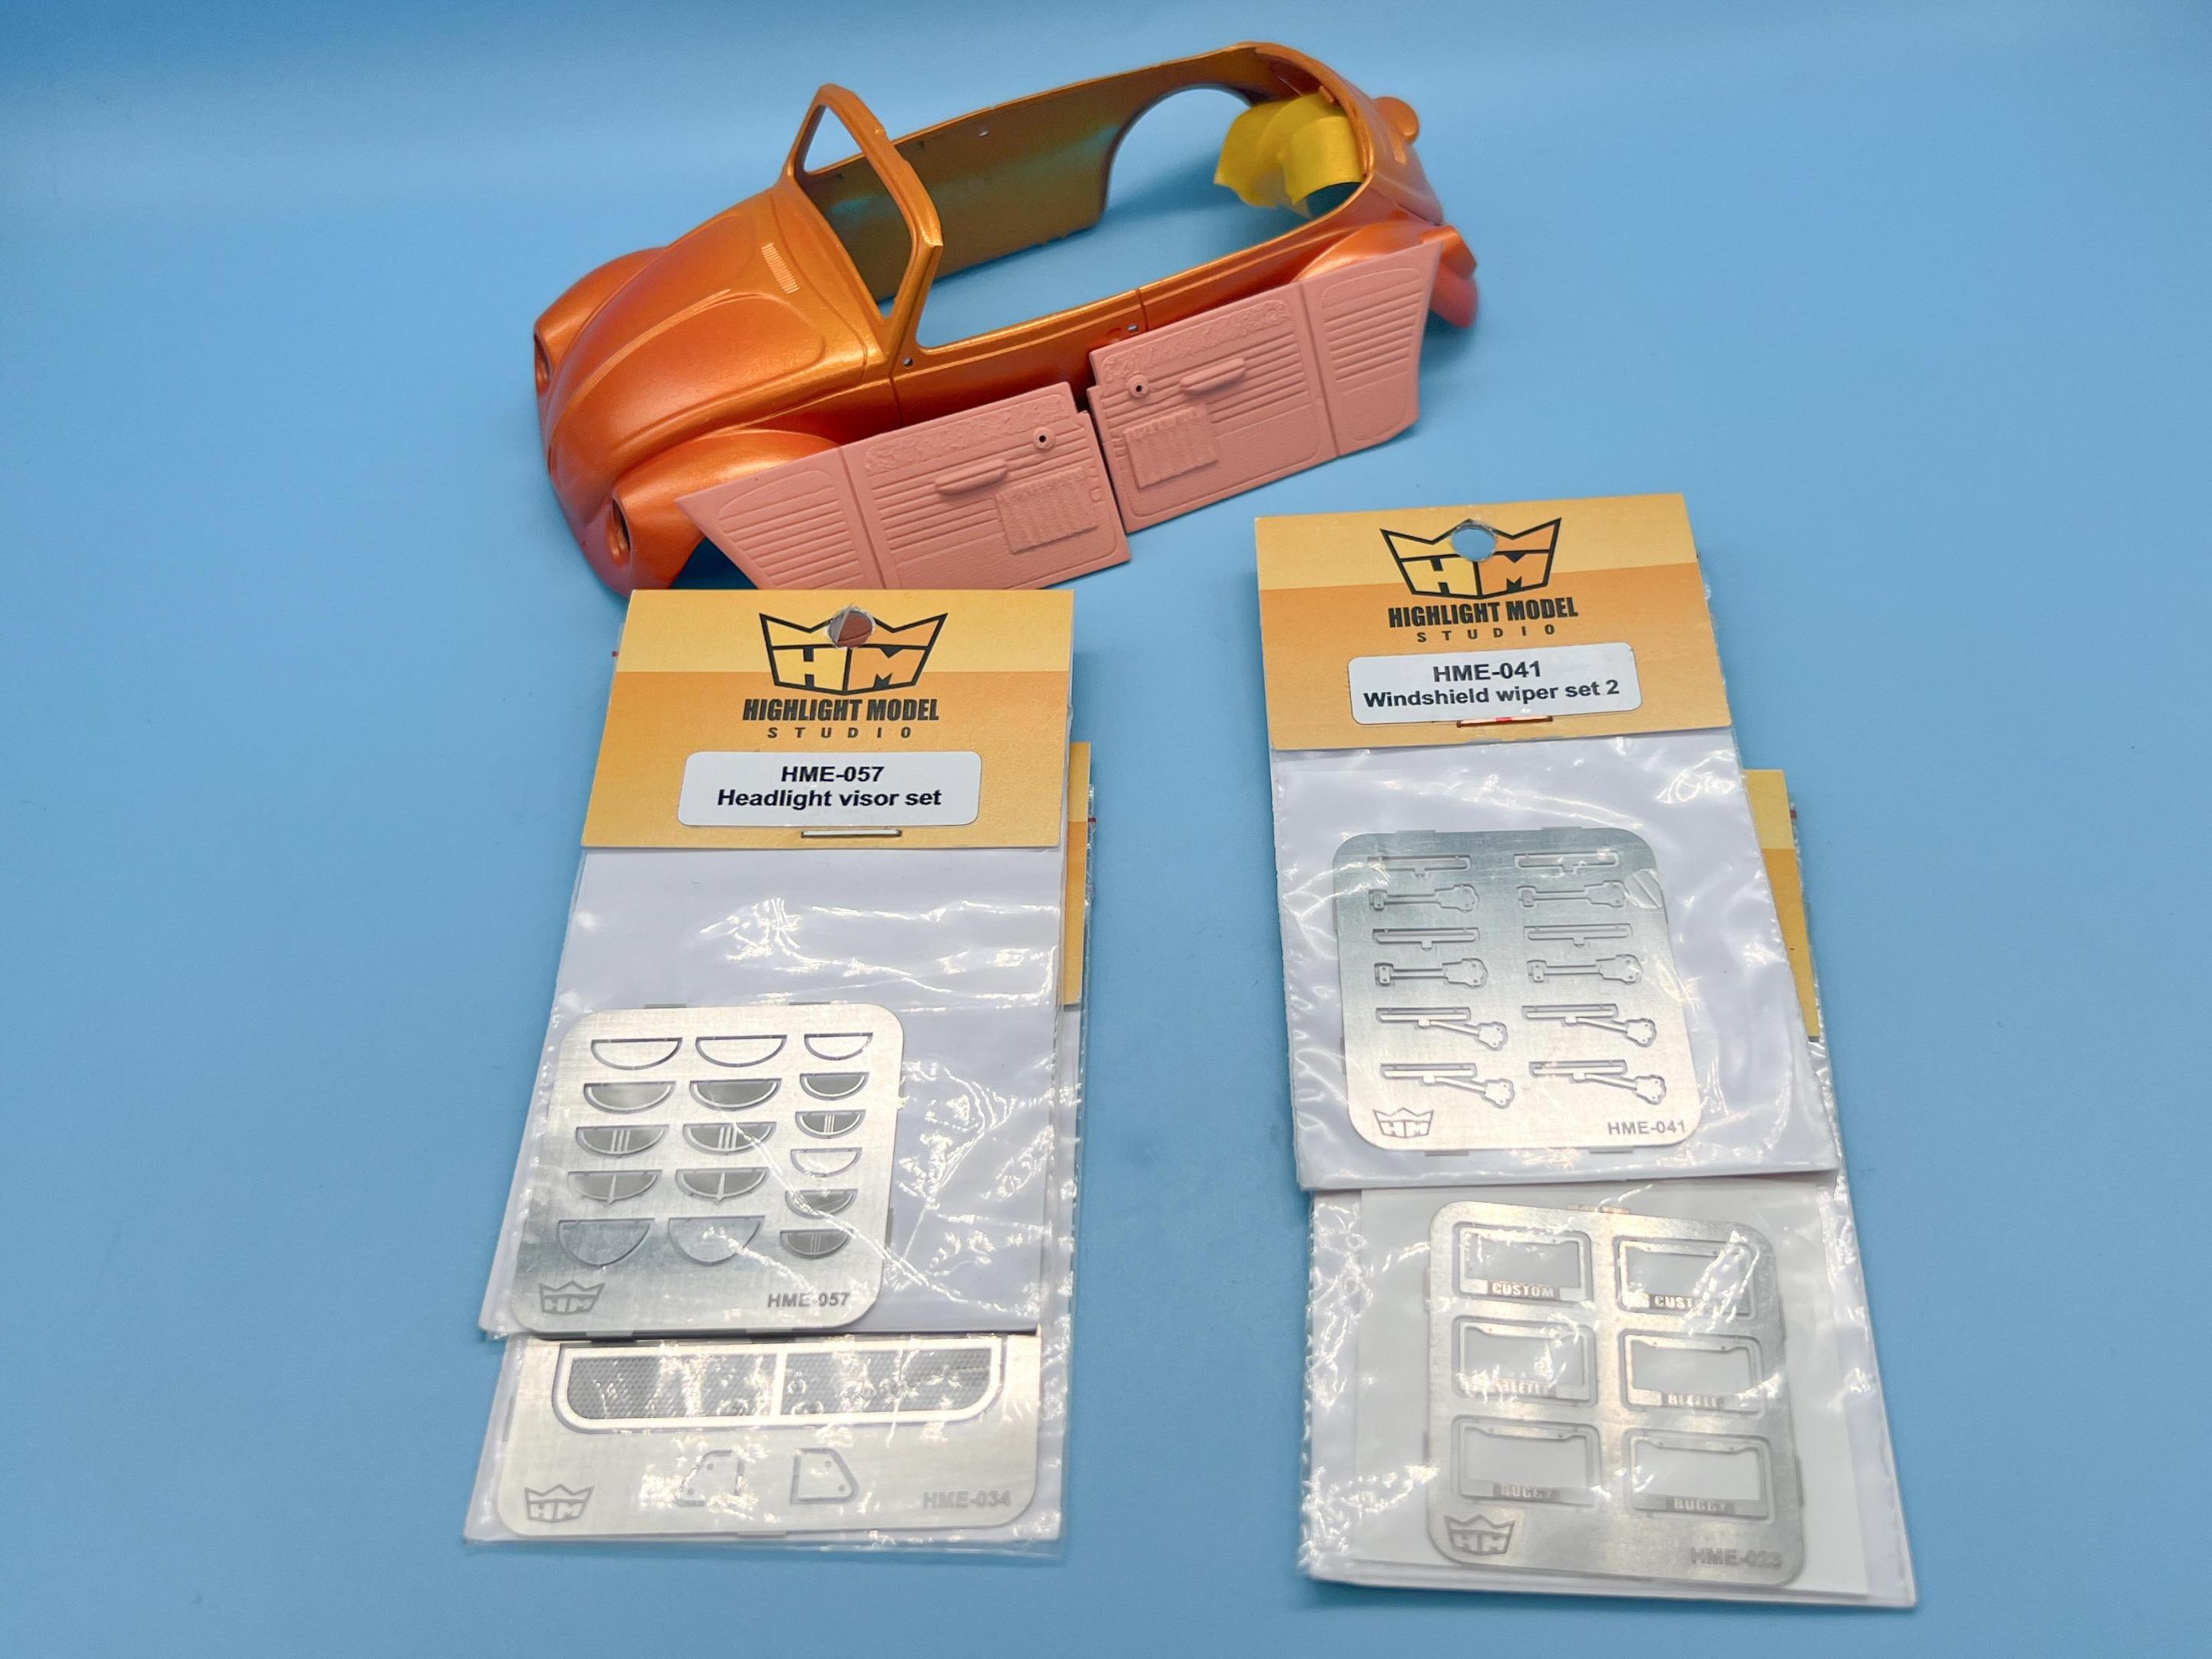
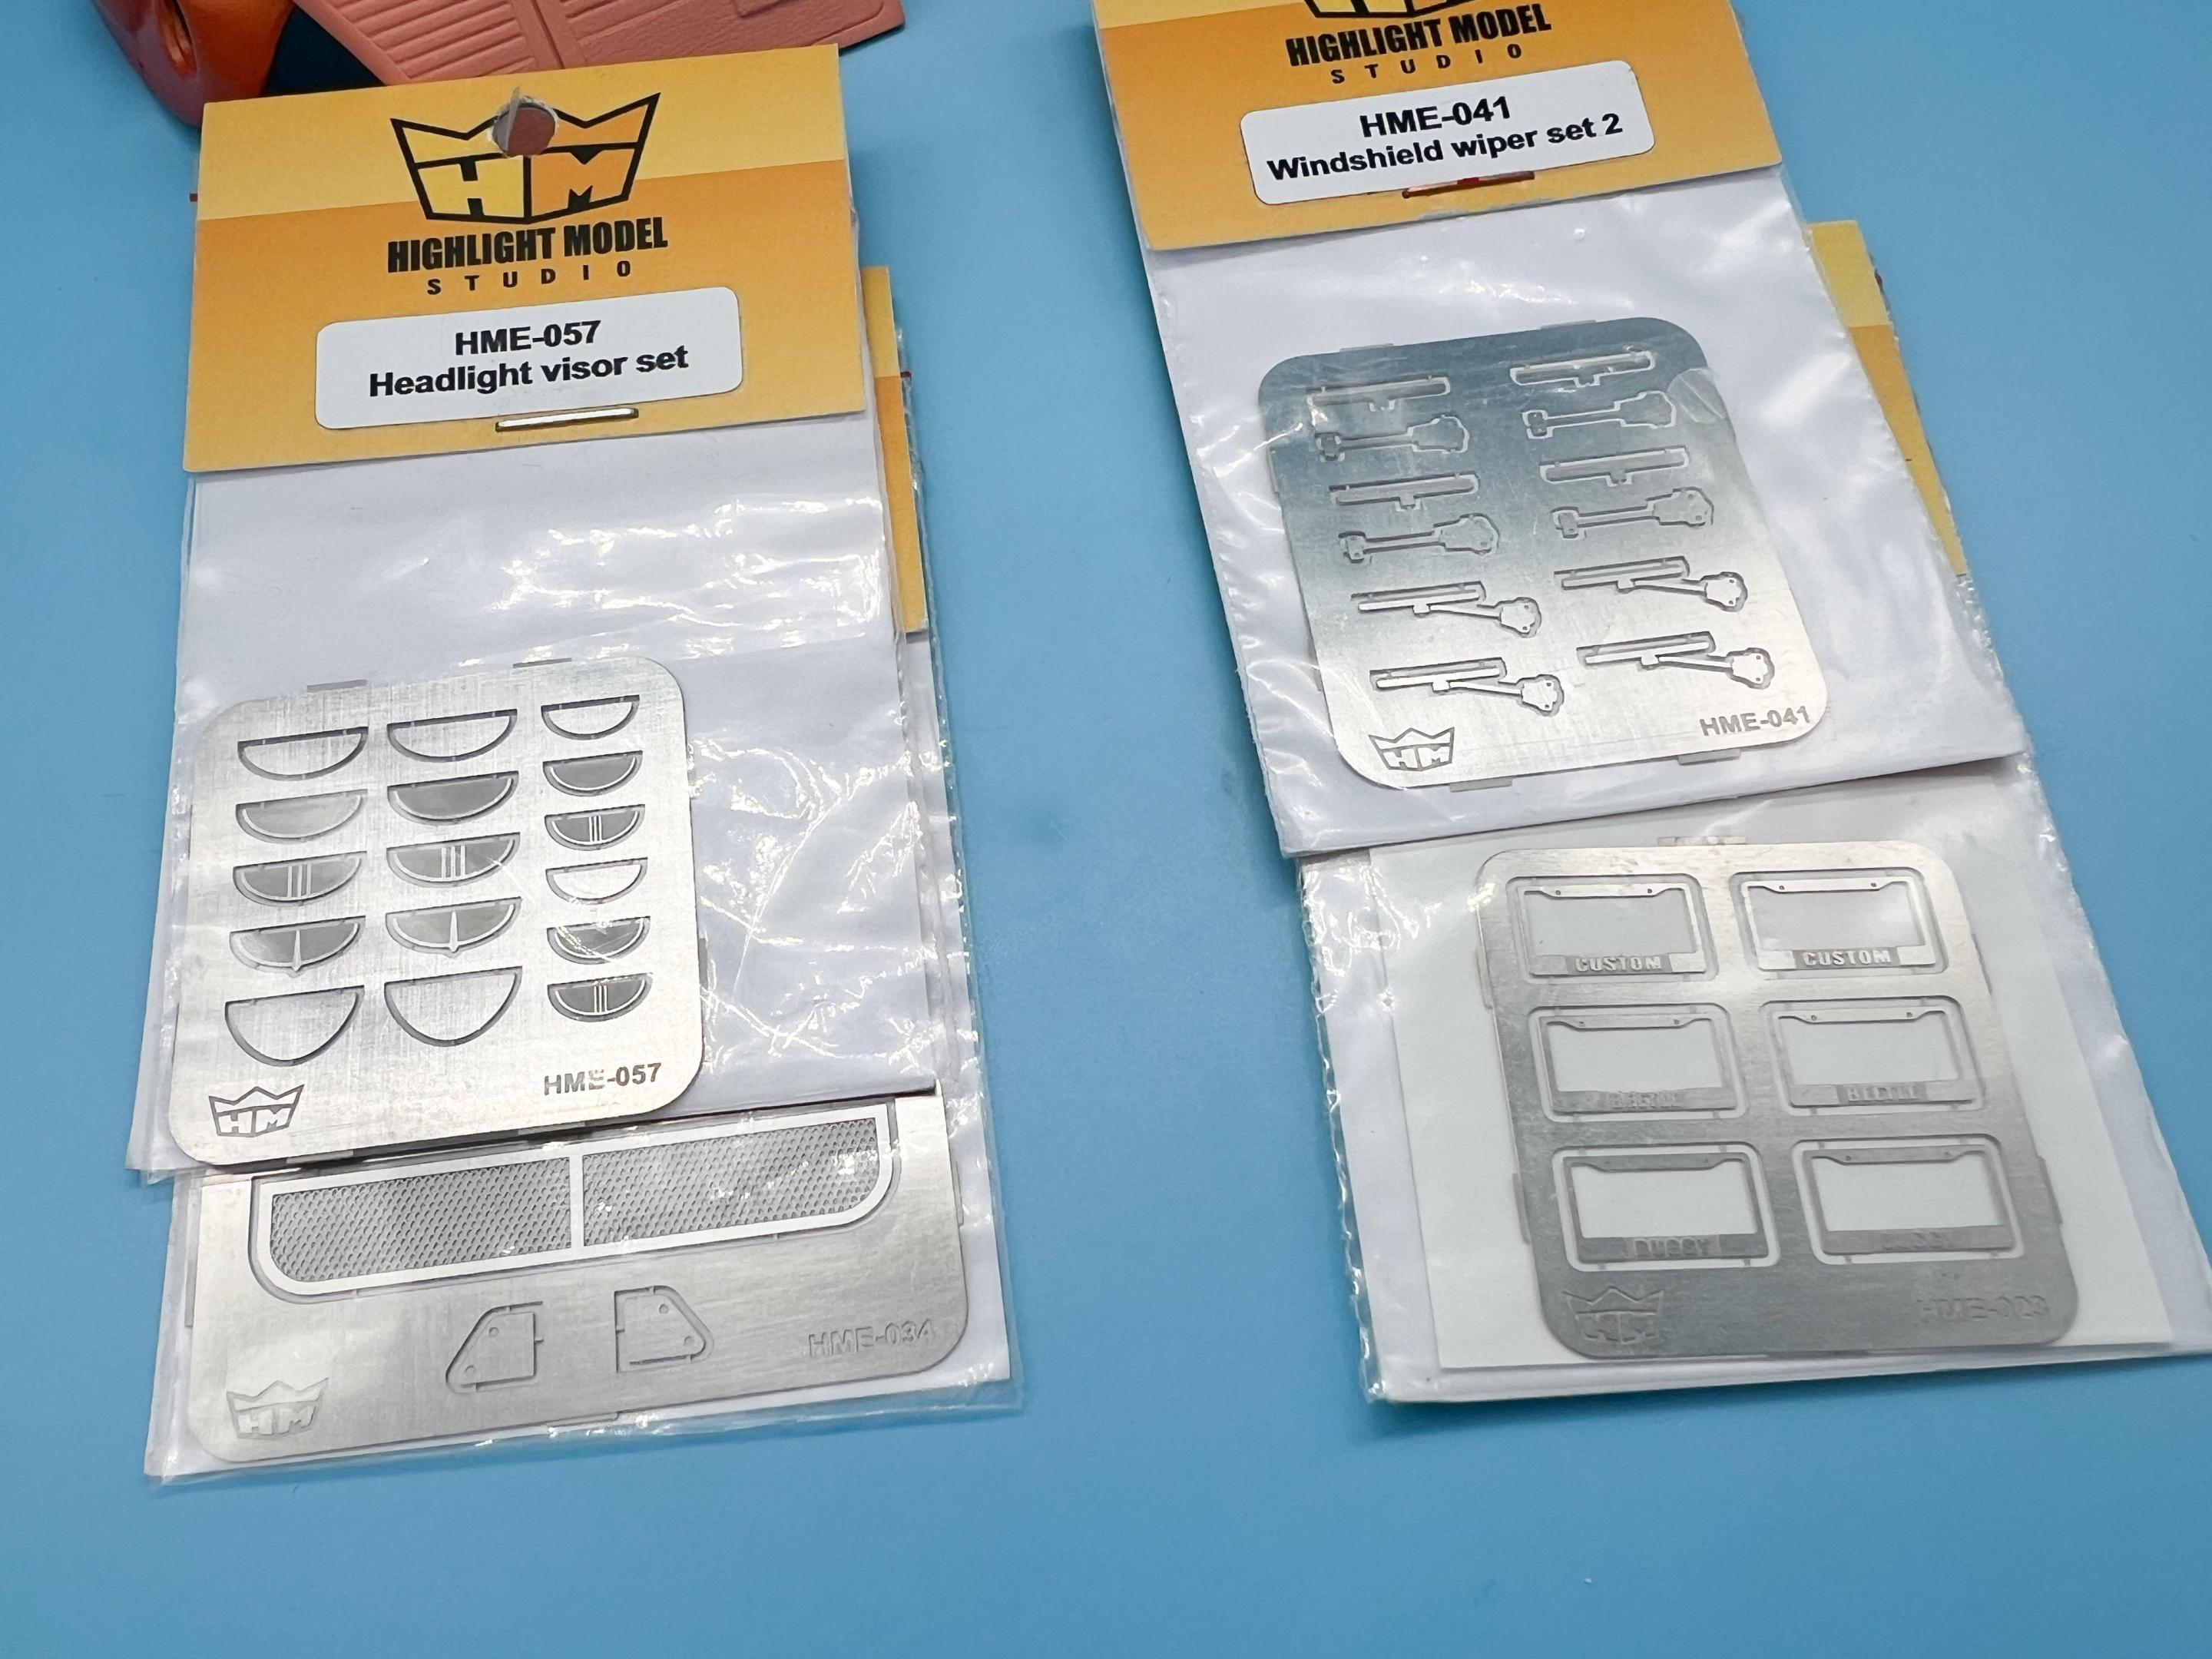
Ordered some photoetch - not all of this will end up on this build, but I’ve been slowly collecting Highlight Model Studio’s VW and Mooneyes collection…
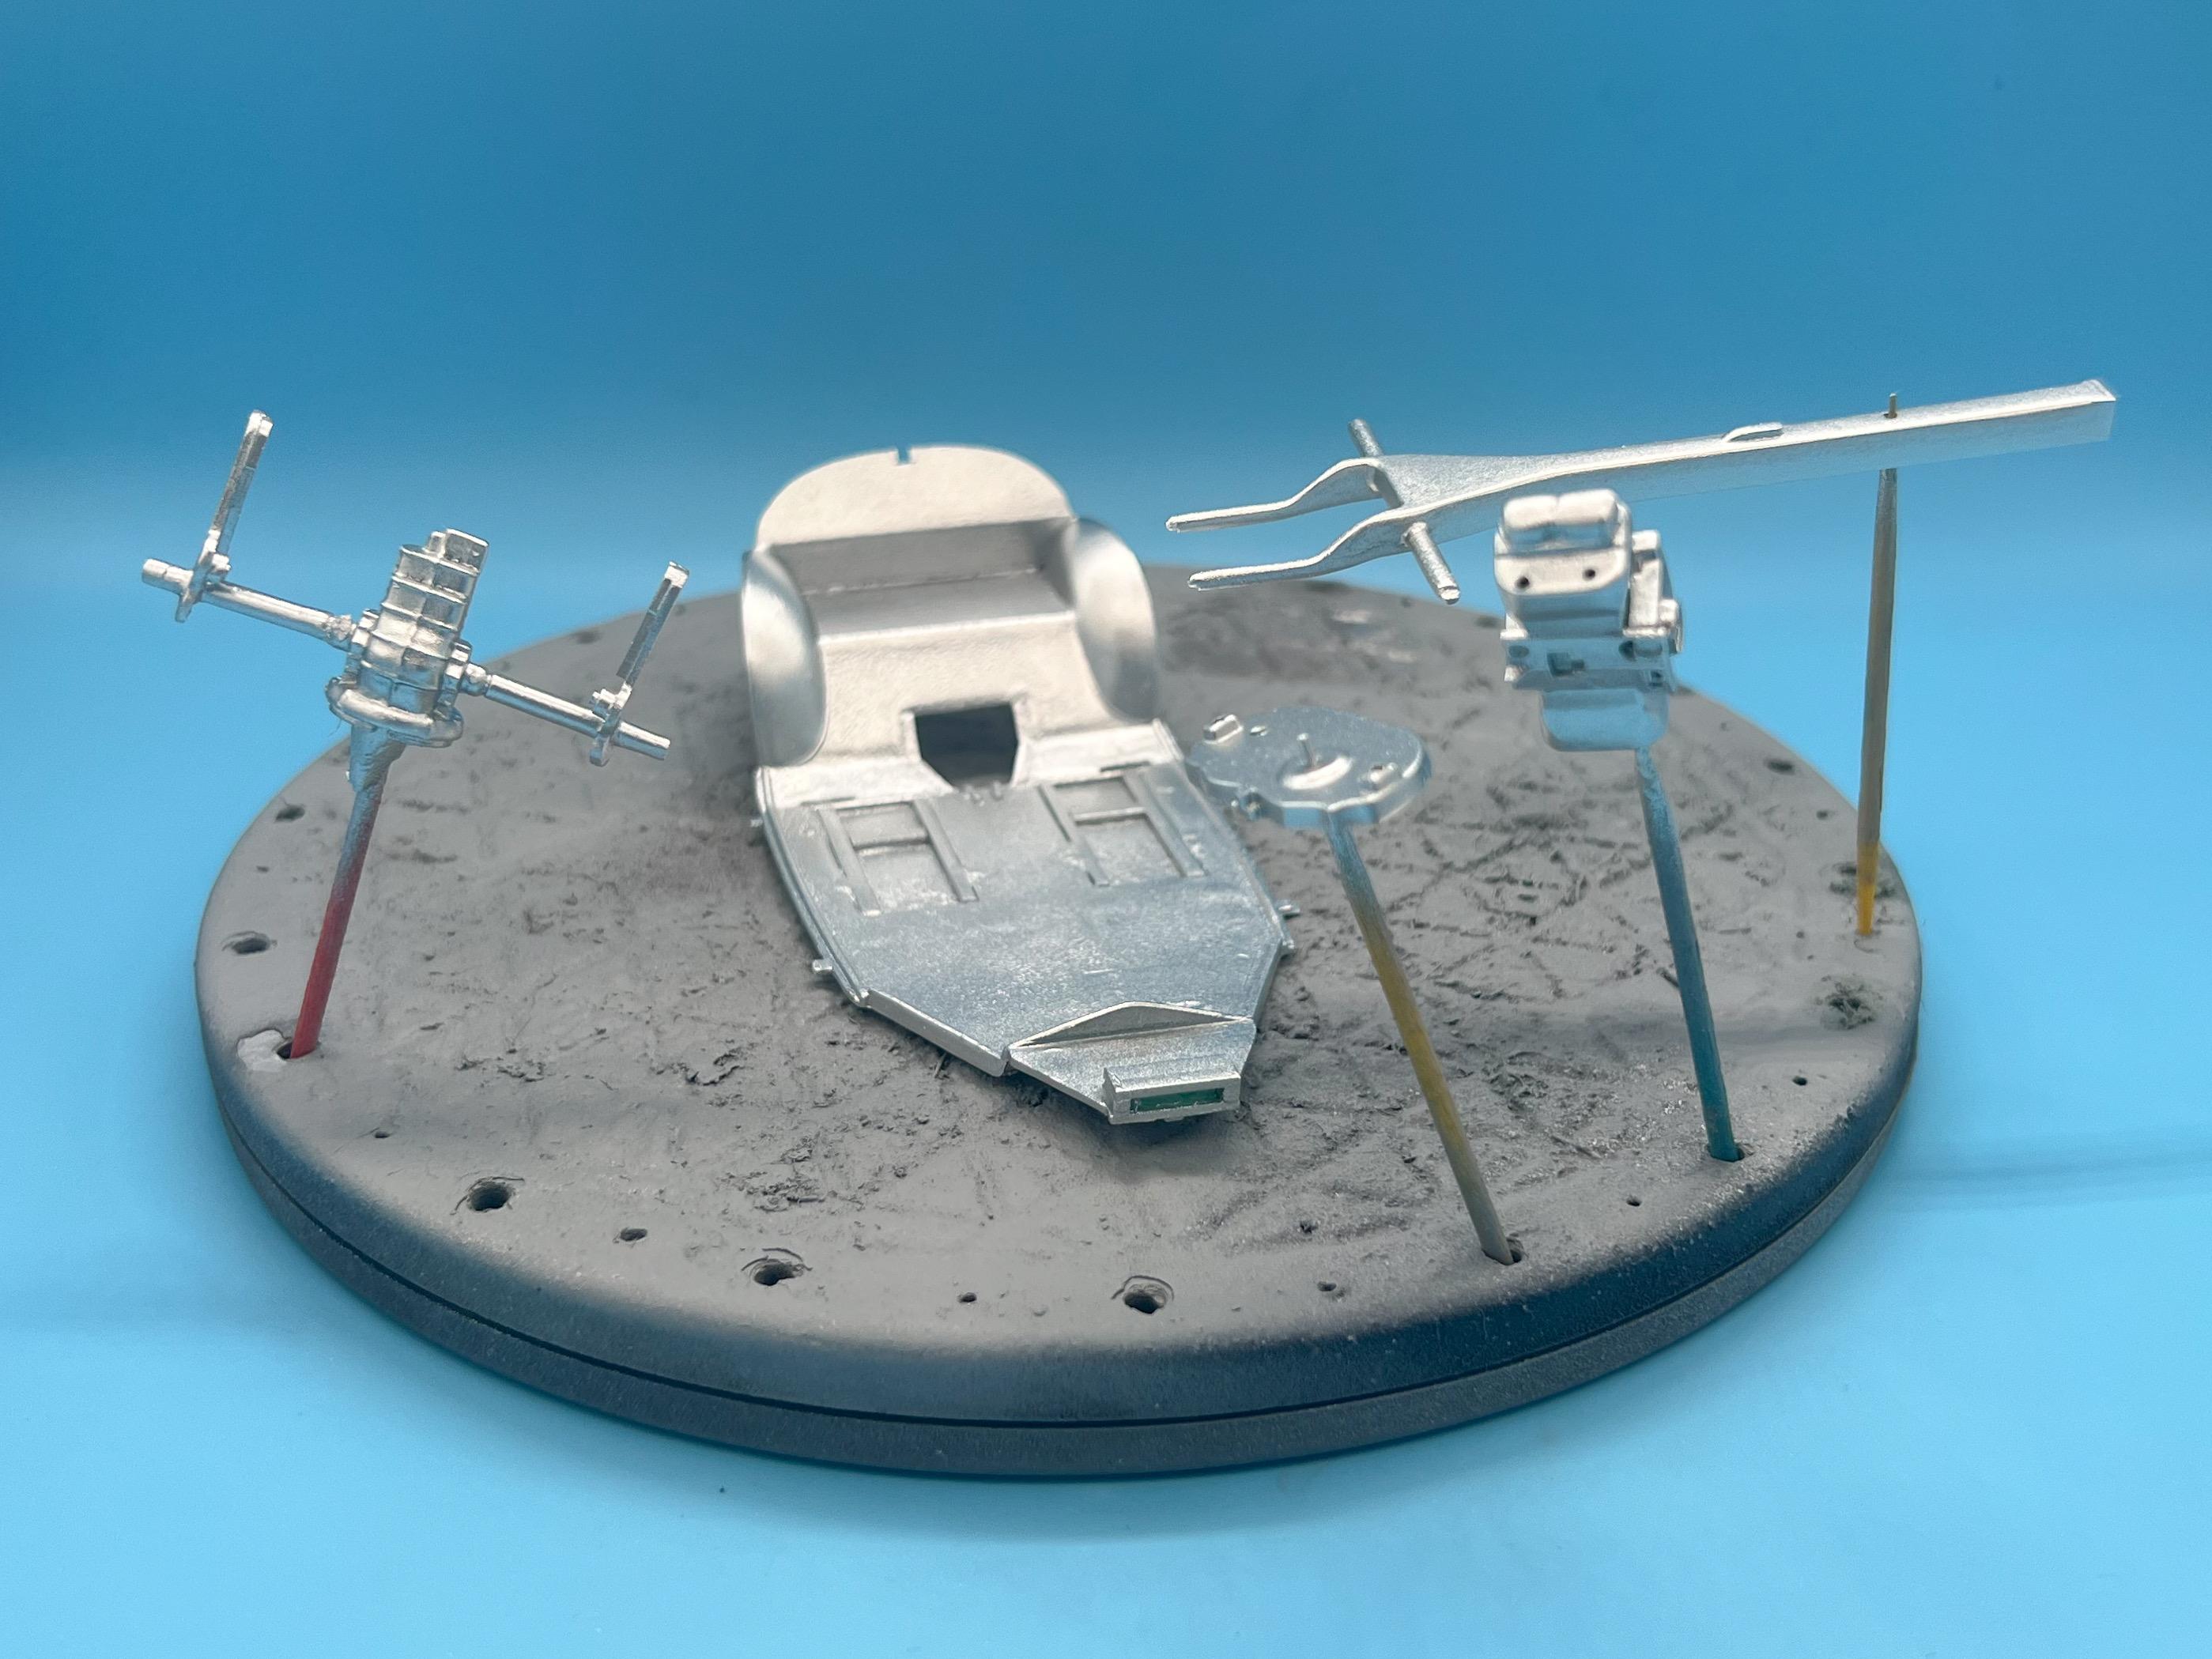
Shot a bunch of pieces in a flake silver…

And then shot the same Tamiya clear orange over top:

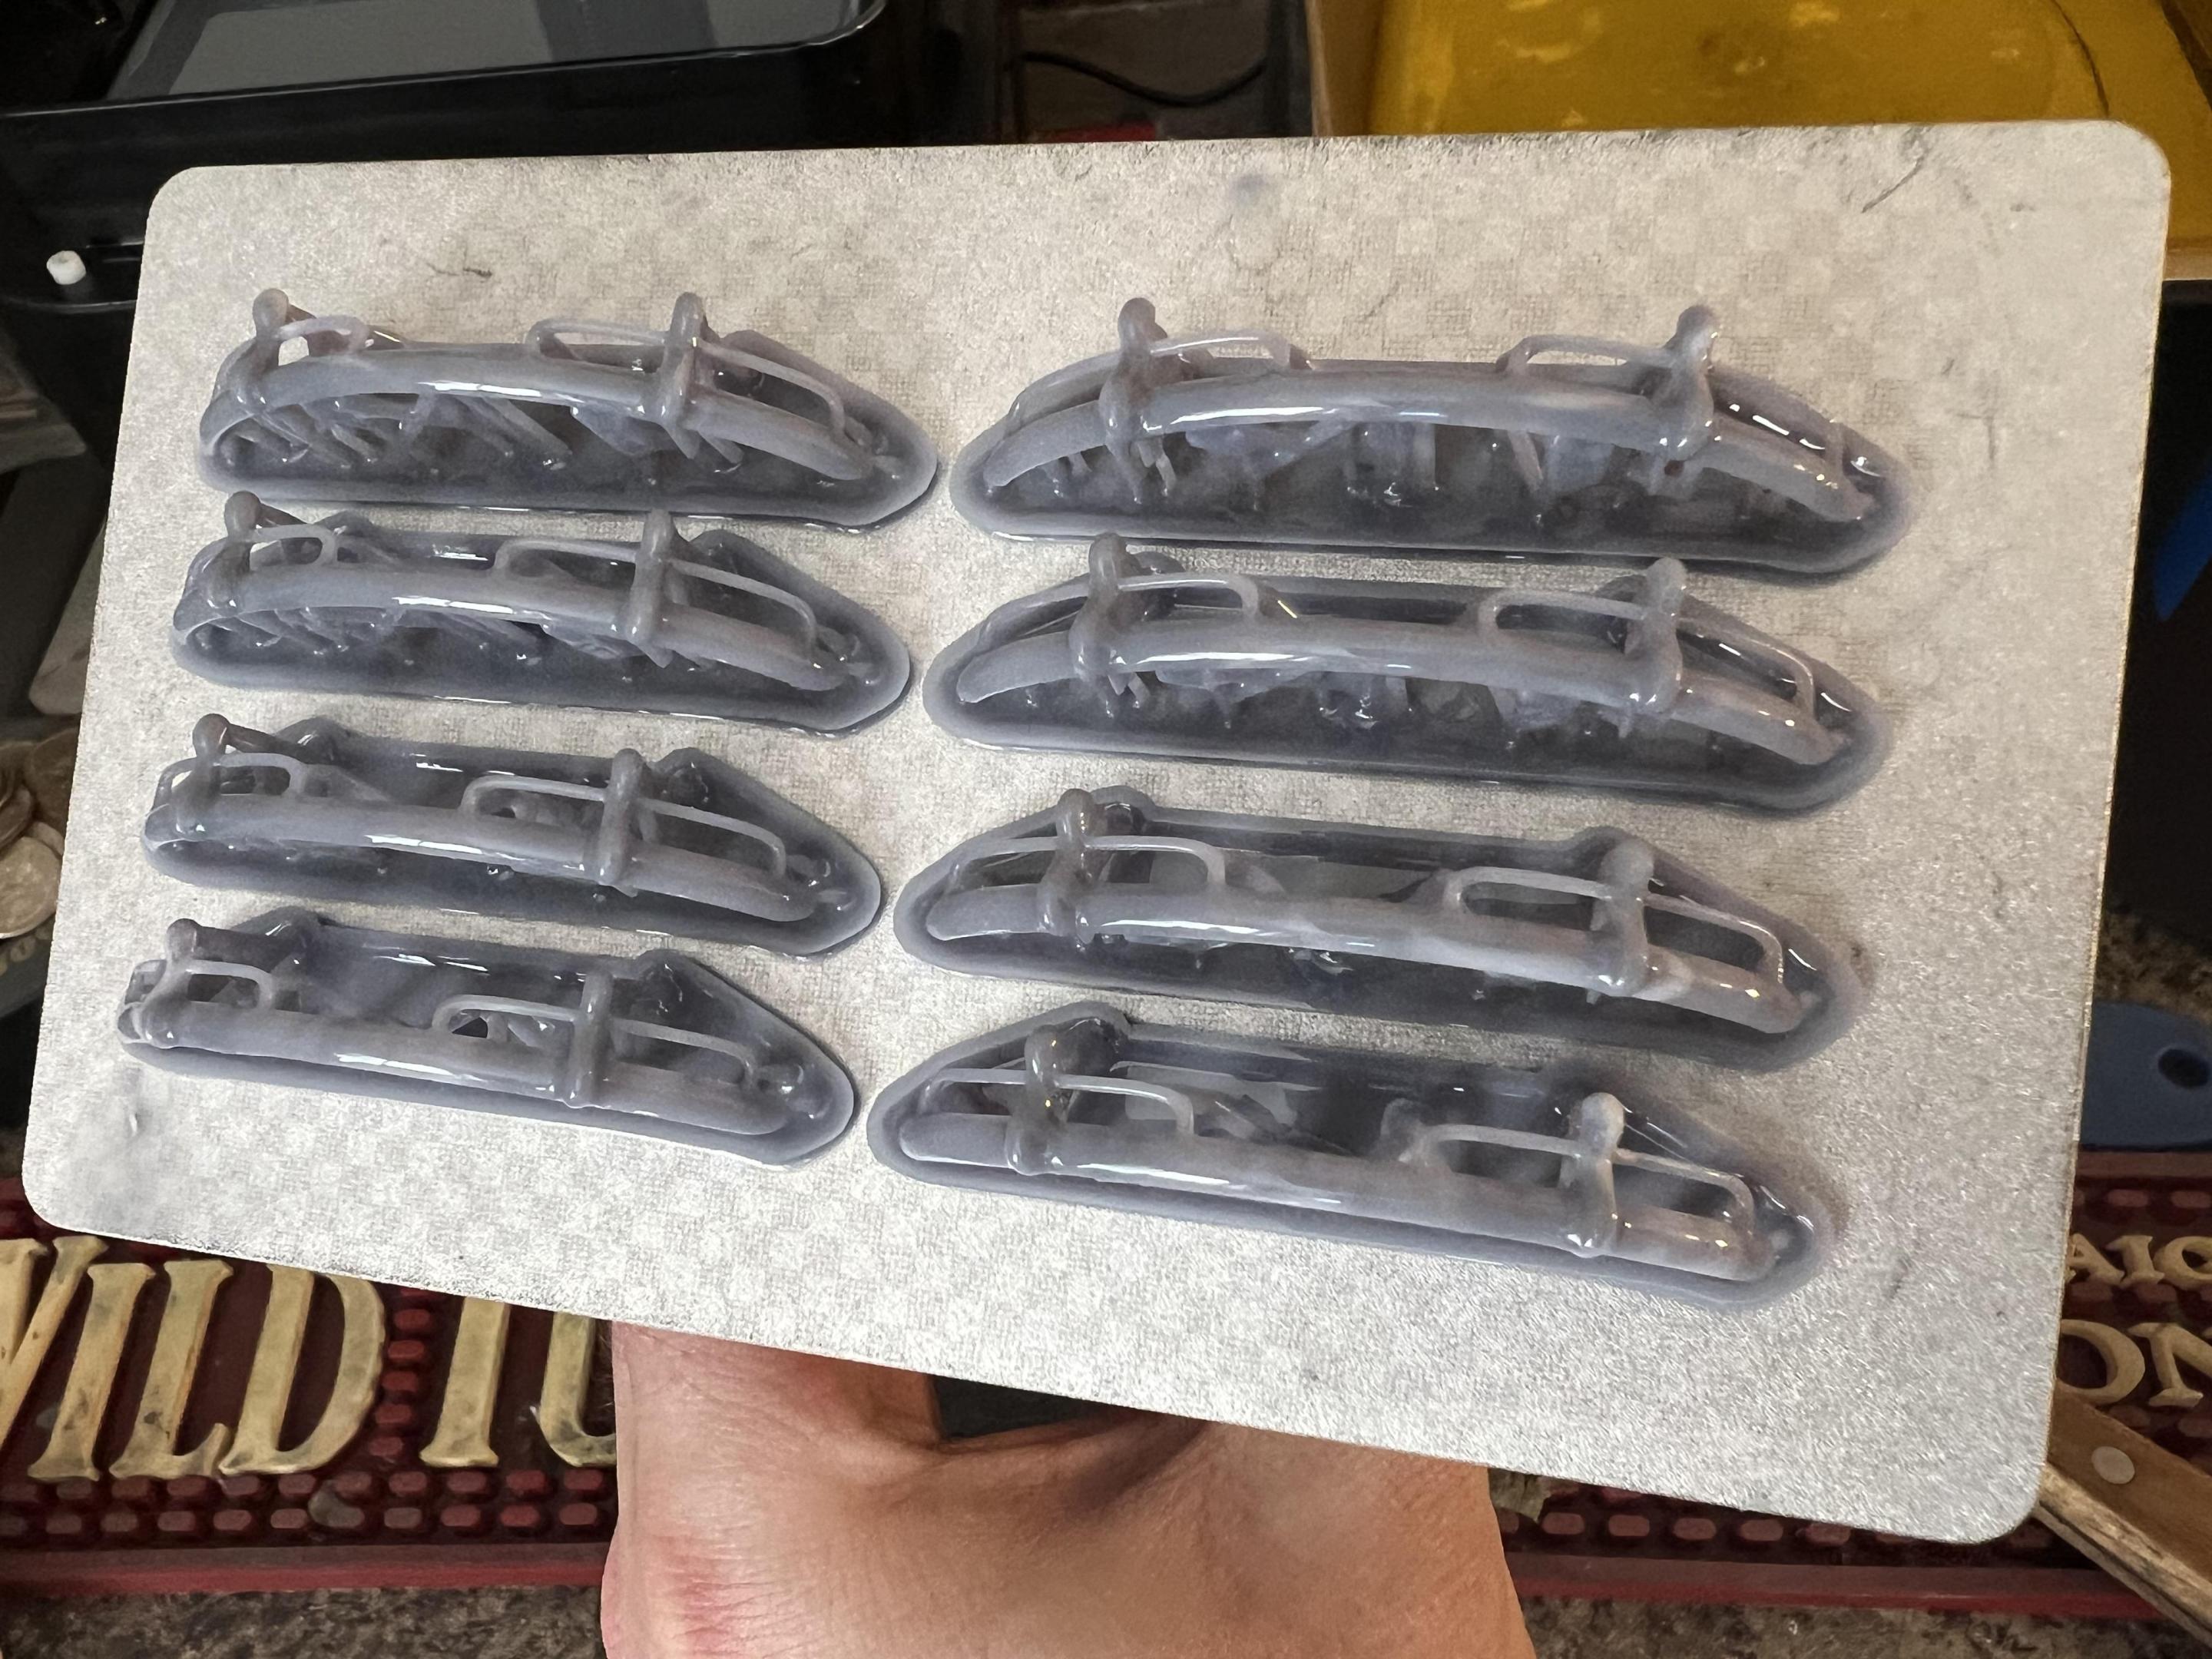
Reprinted one of the bumpers, because the first one I printed had a super-thin wall thickness and it got broken…thickened them up and made a new batch:
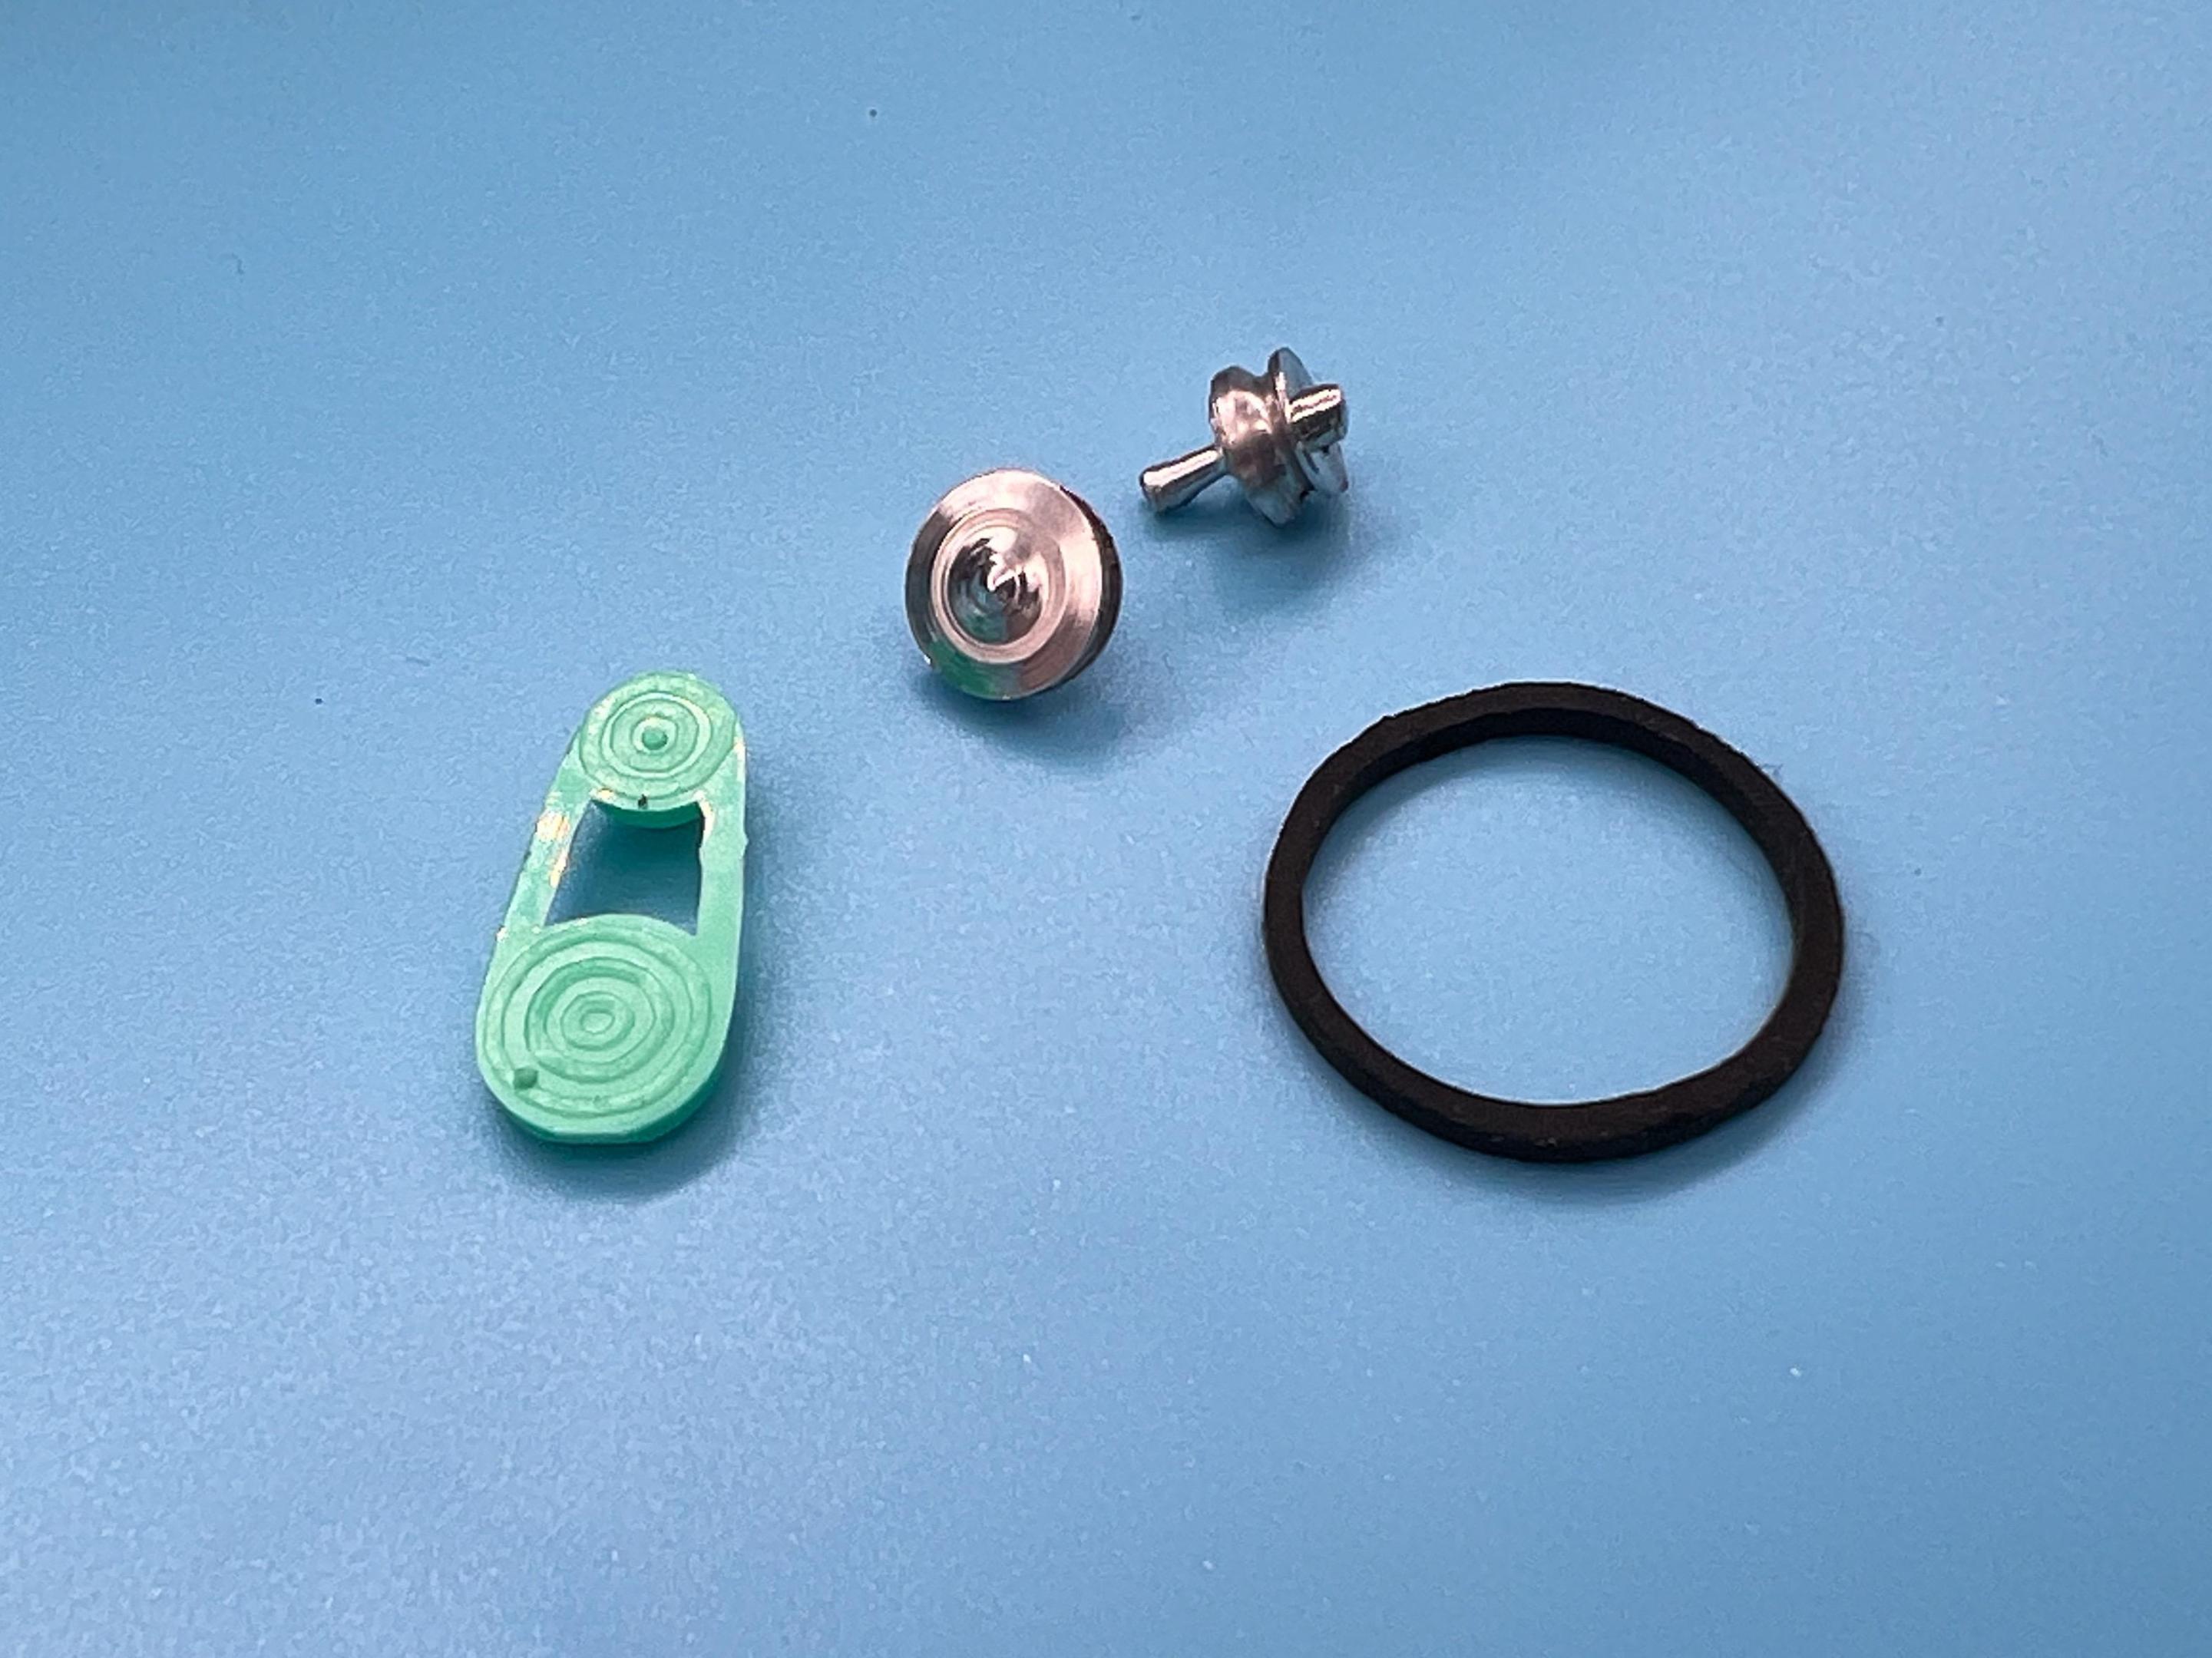
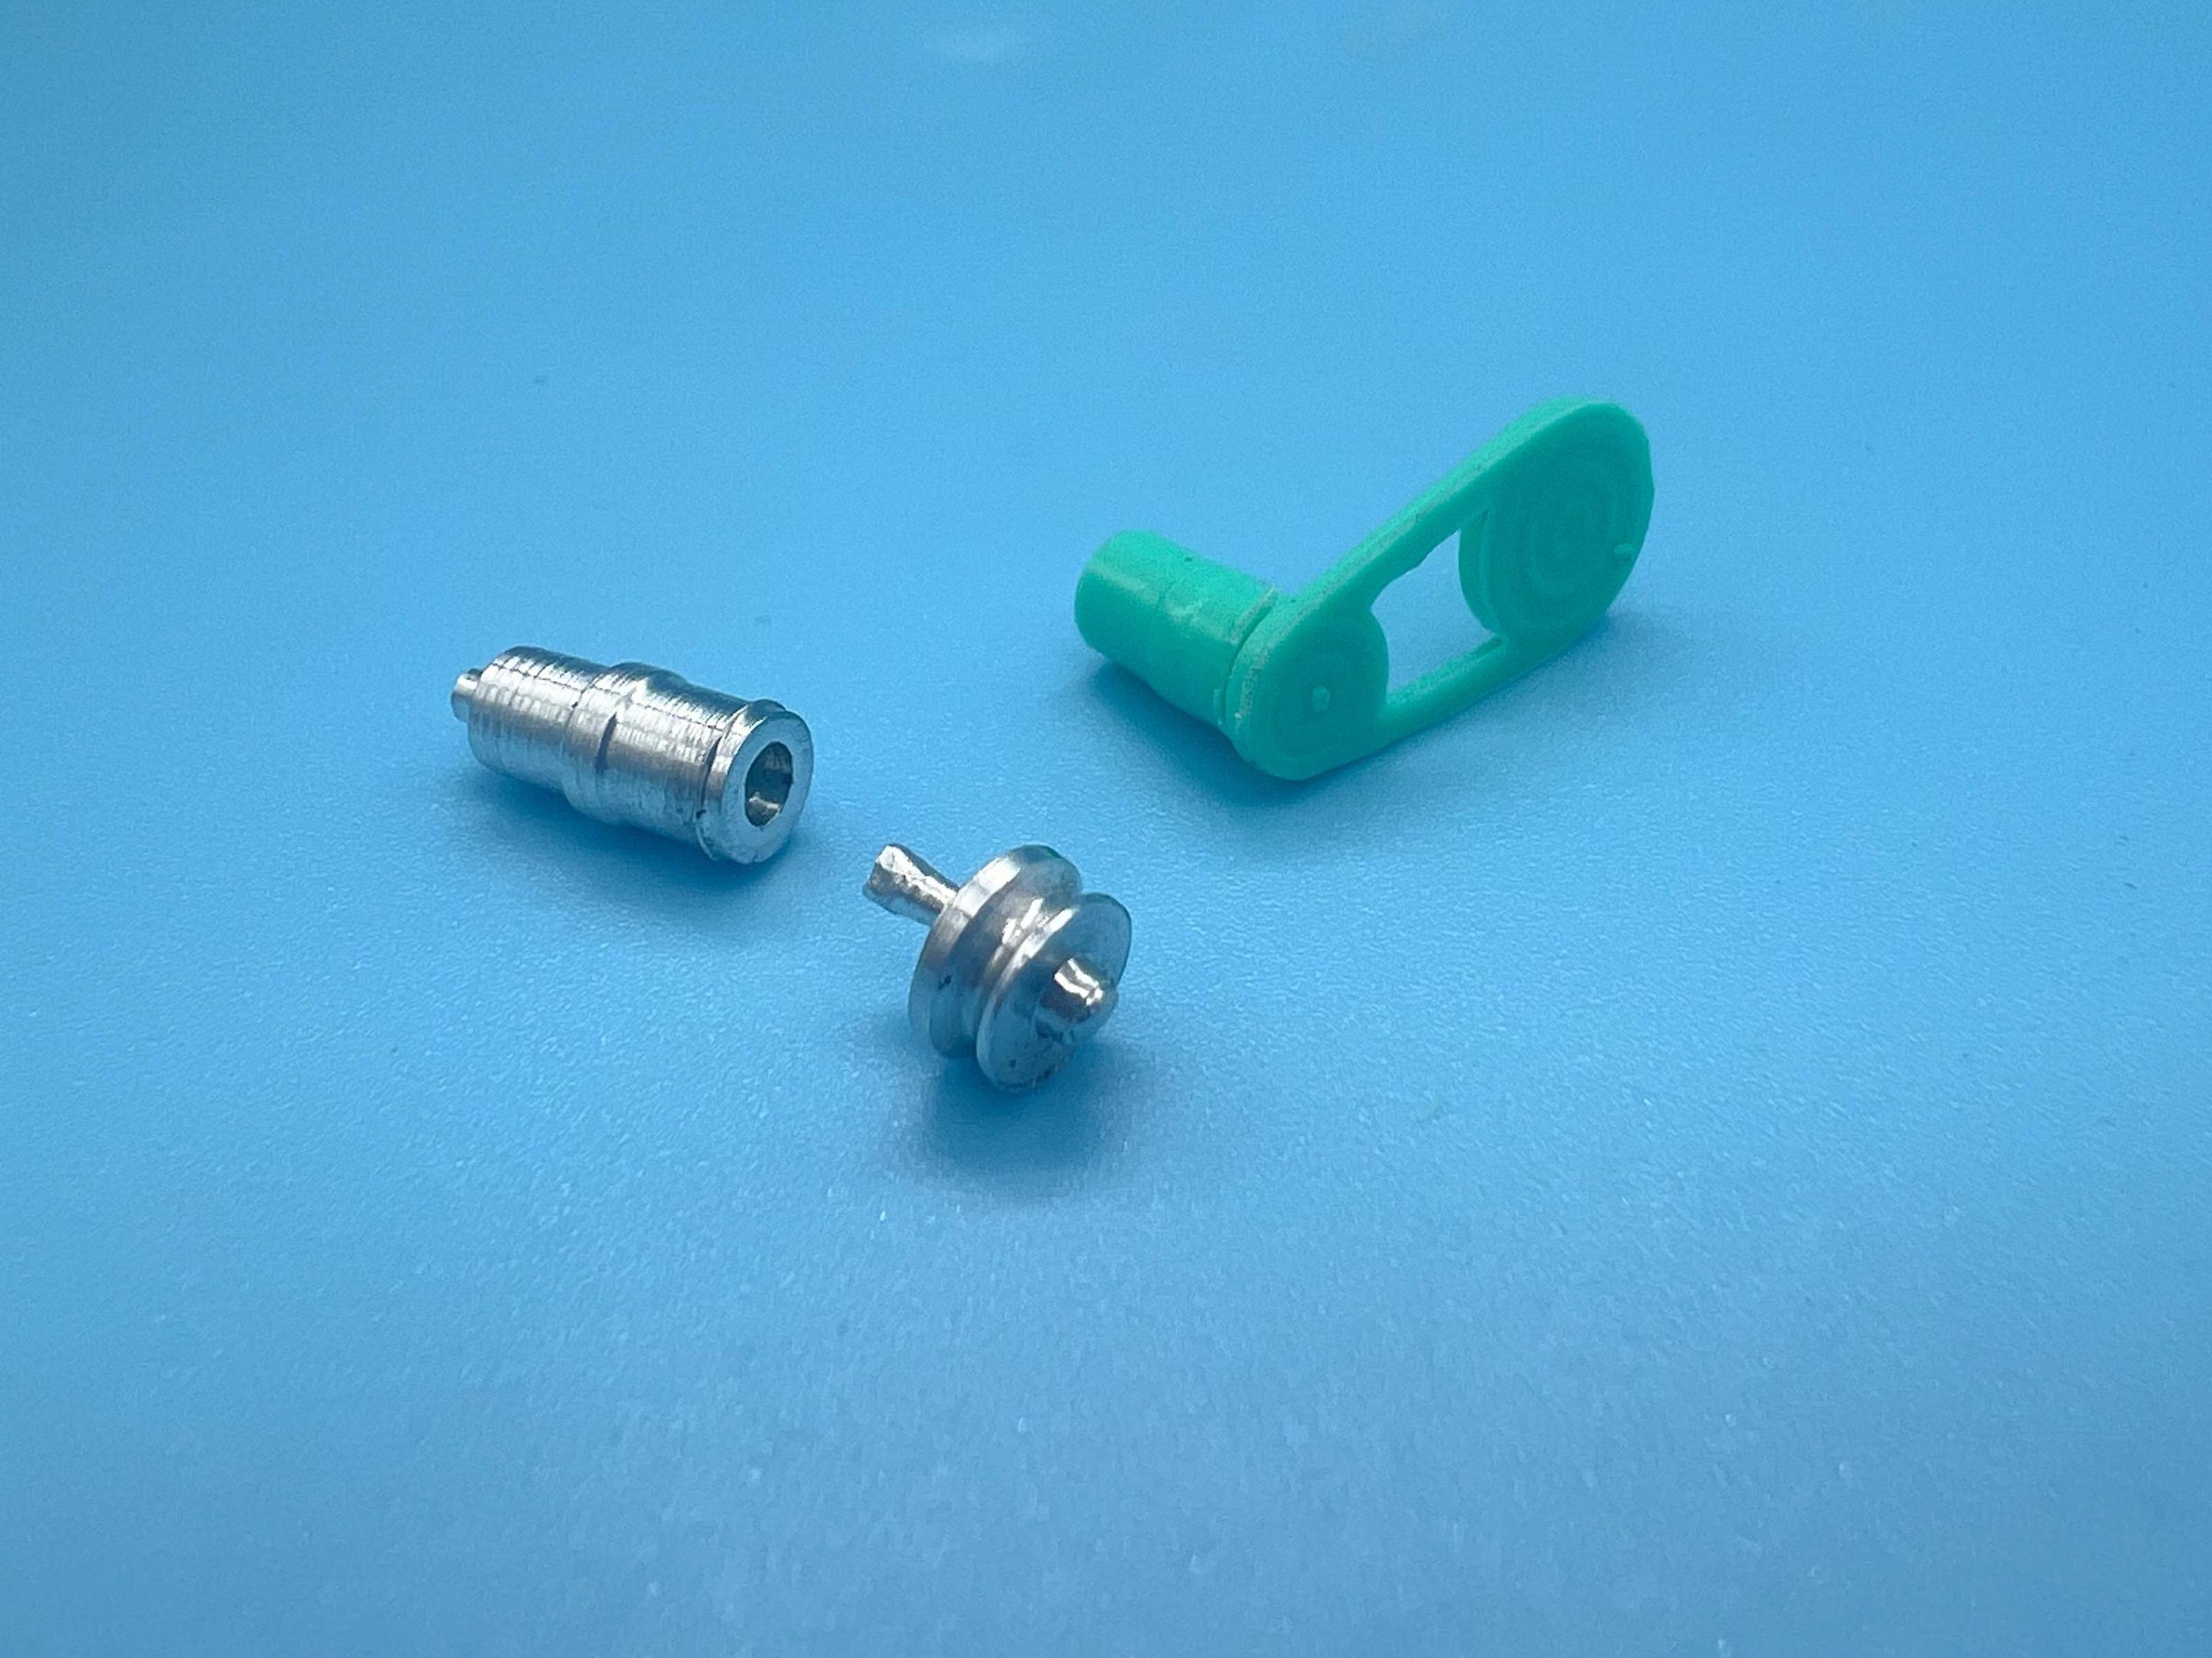
And whilst the paint is drying on the engine block I started looking through the rest of the kit pieces and identified some areas for improvement…spun some pulleys on the lathe:
Then those pulleys made the alternator (generator?) look bad, so I made one of those too:
And then the air filter looked out of place so I made one of those:

Not a tonne of progress since the last update, but I’ve got a bunch of stuff in primer and various parts waiting for clear so I’ll get to start making some sub-assemblies soon - exciting!
Thanks for looking, more soon, soon as I’ve done more!
-
 2
2
-
-
-
-
23 hours ago, Steve H said:
This is my favourite part of your builds…
Mine too! 🤪
16 hours ago, redscampi said:Go big or go home!
Yessir!
15 hours ago, David G. said:The body work looks great Jim!
The camber on those rear wheels would have the rims striking sparks on the pavement!

I love it!
David G.
Haha - yeah, I’m not normally a fan of that squashed-out look, but that’s kinda how Beetles look when you REALLY lower them, I guess…but it still makes me feel a little weird 🤪
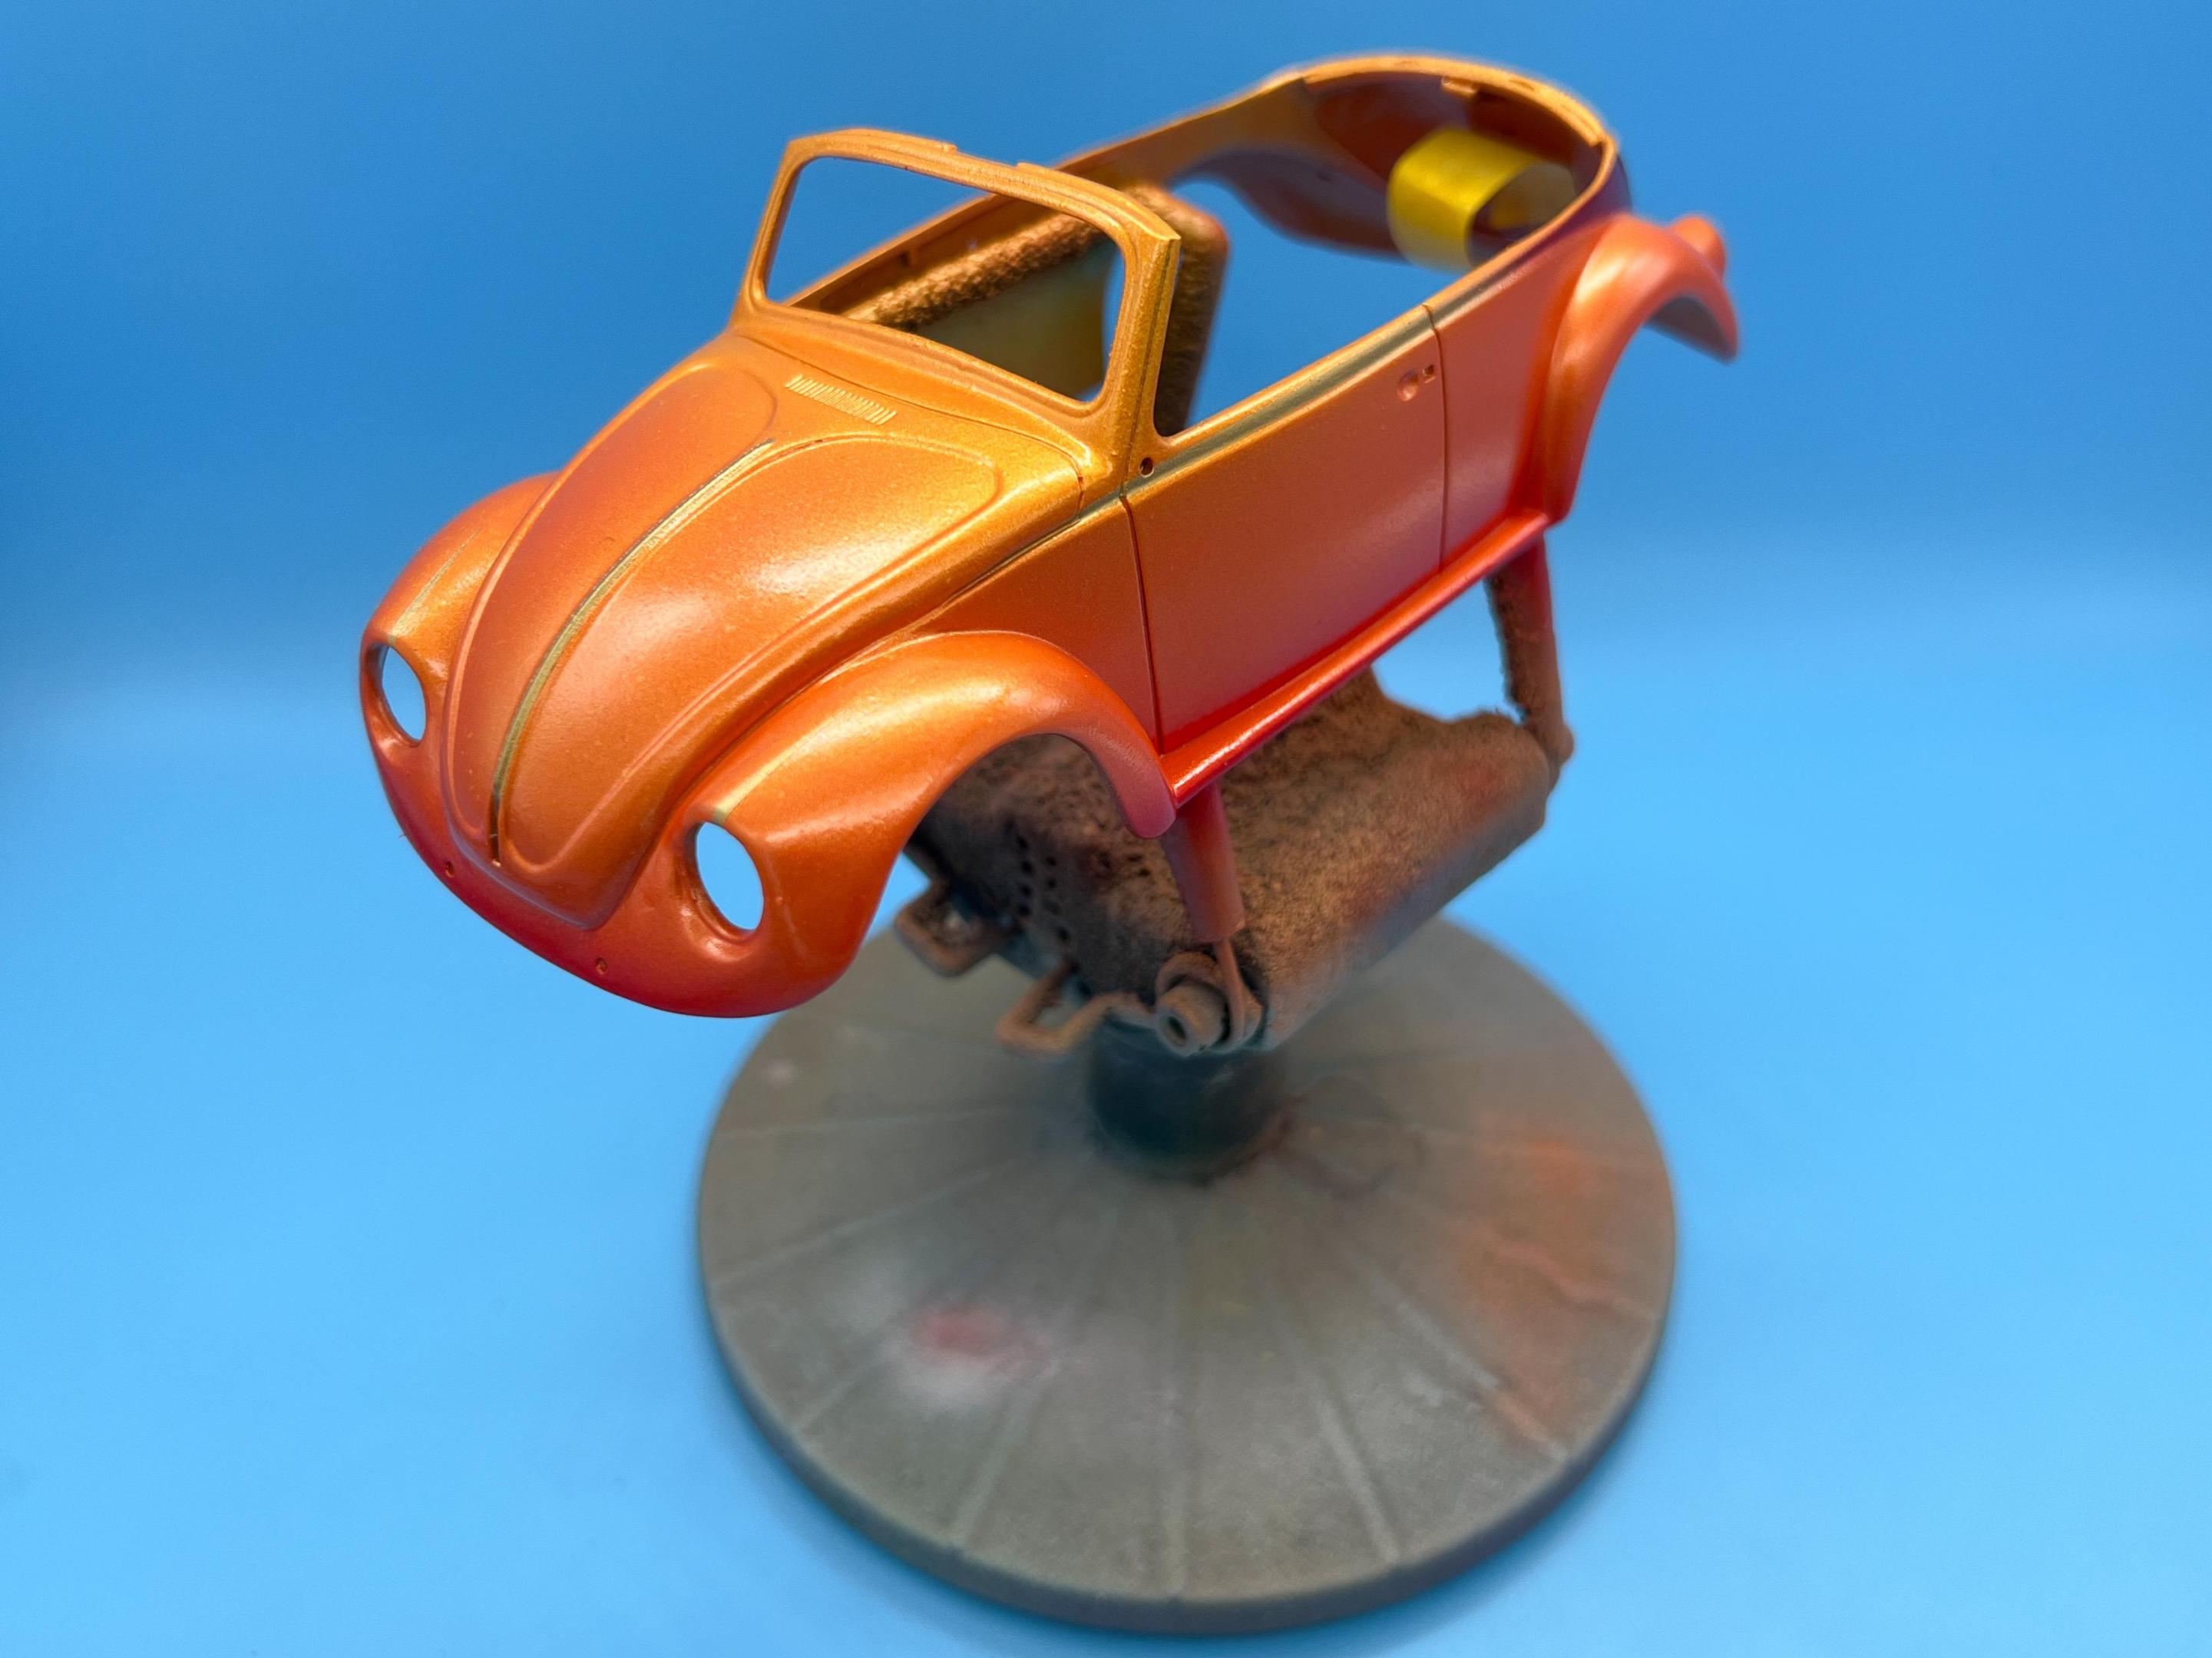
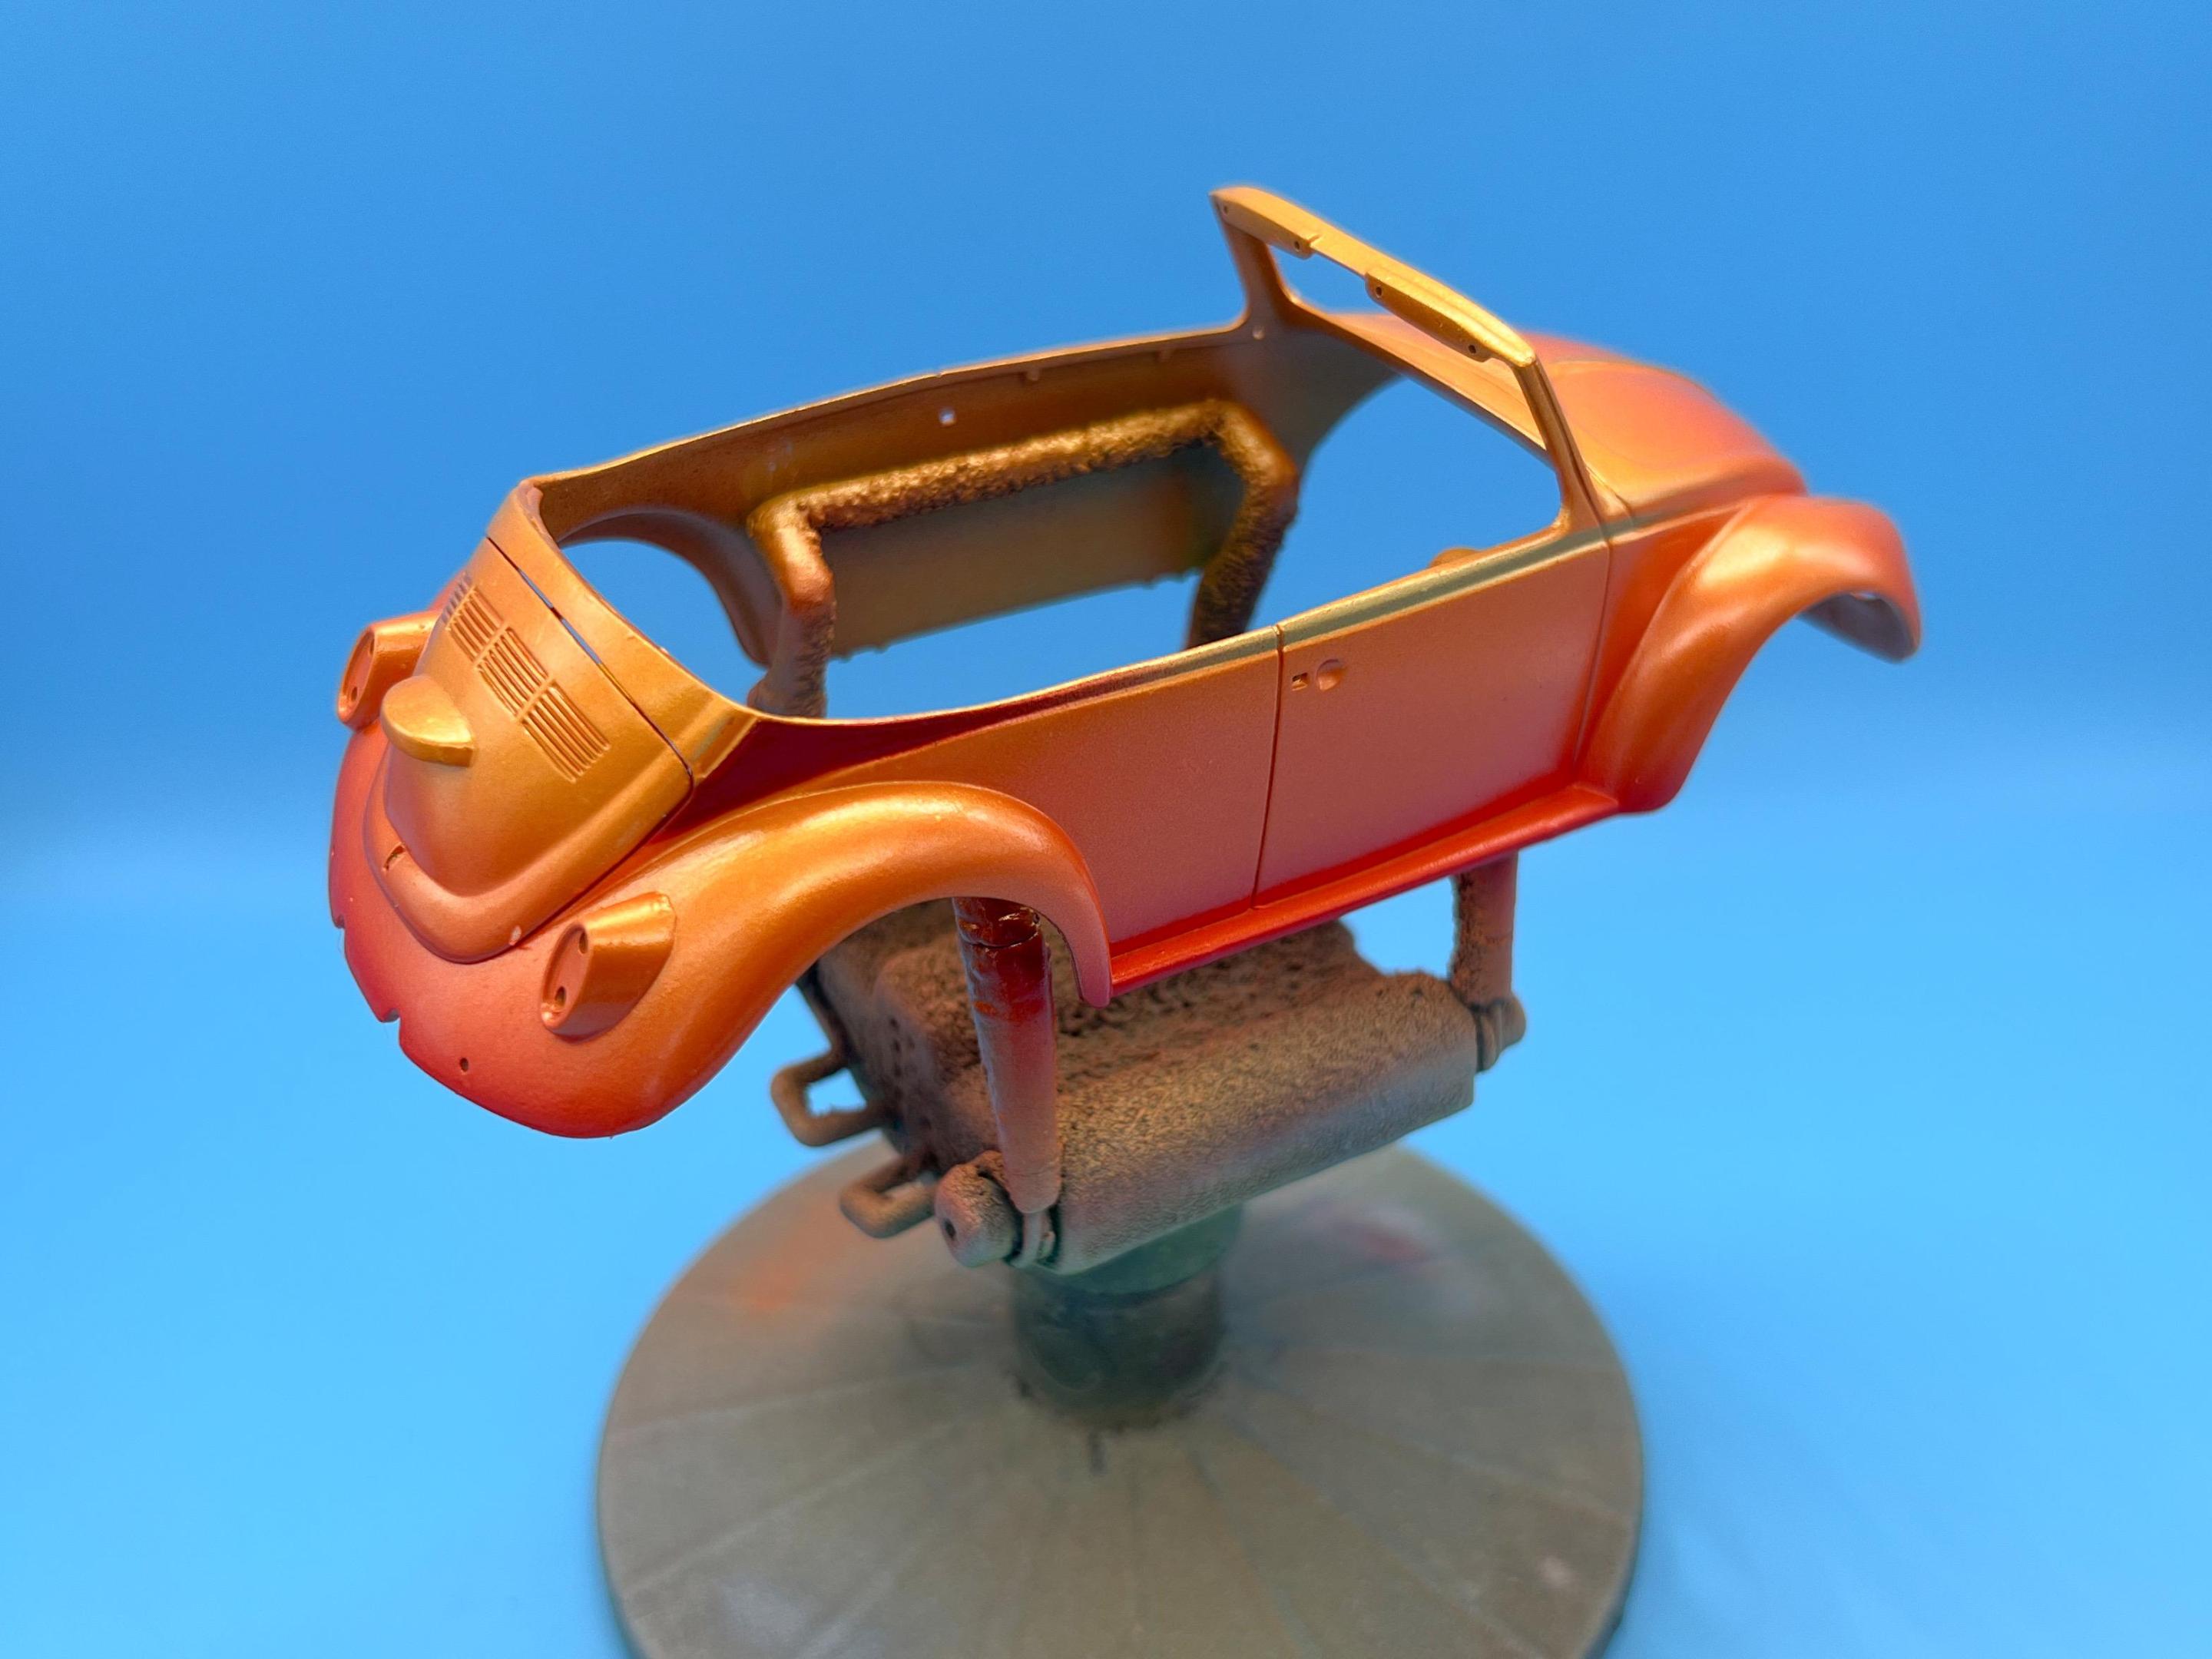
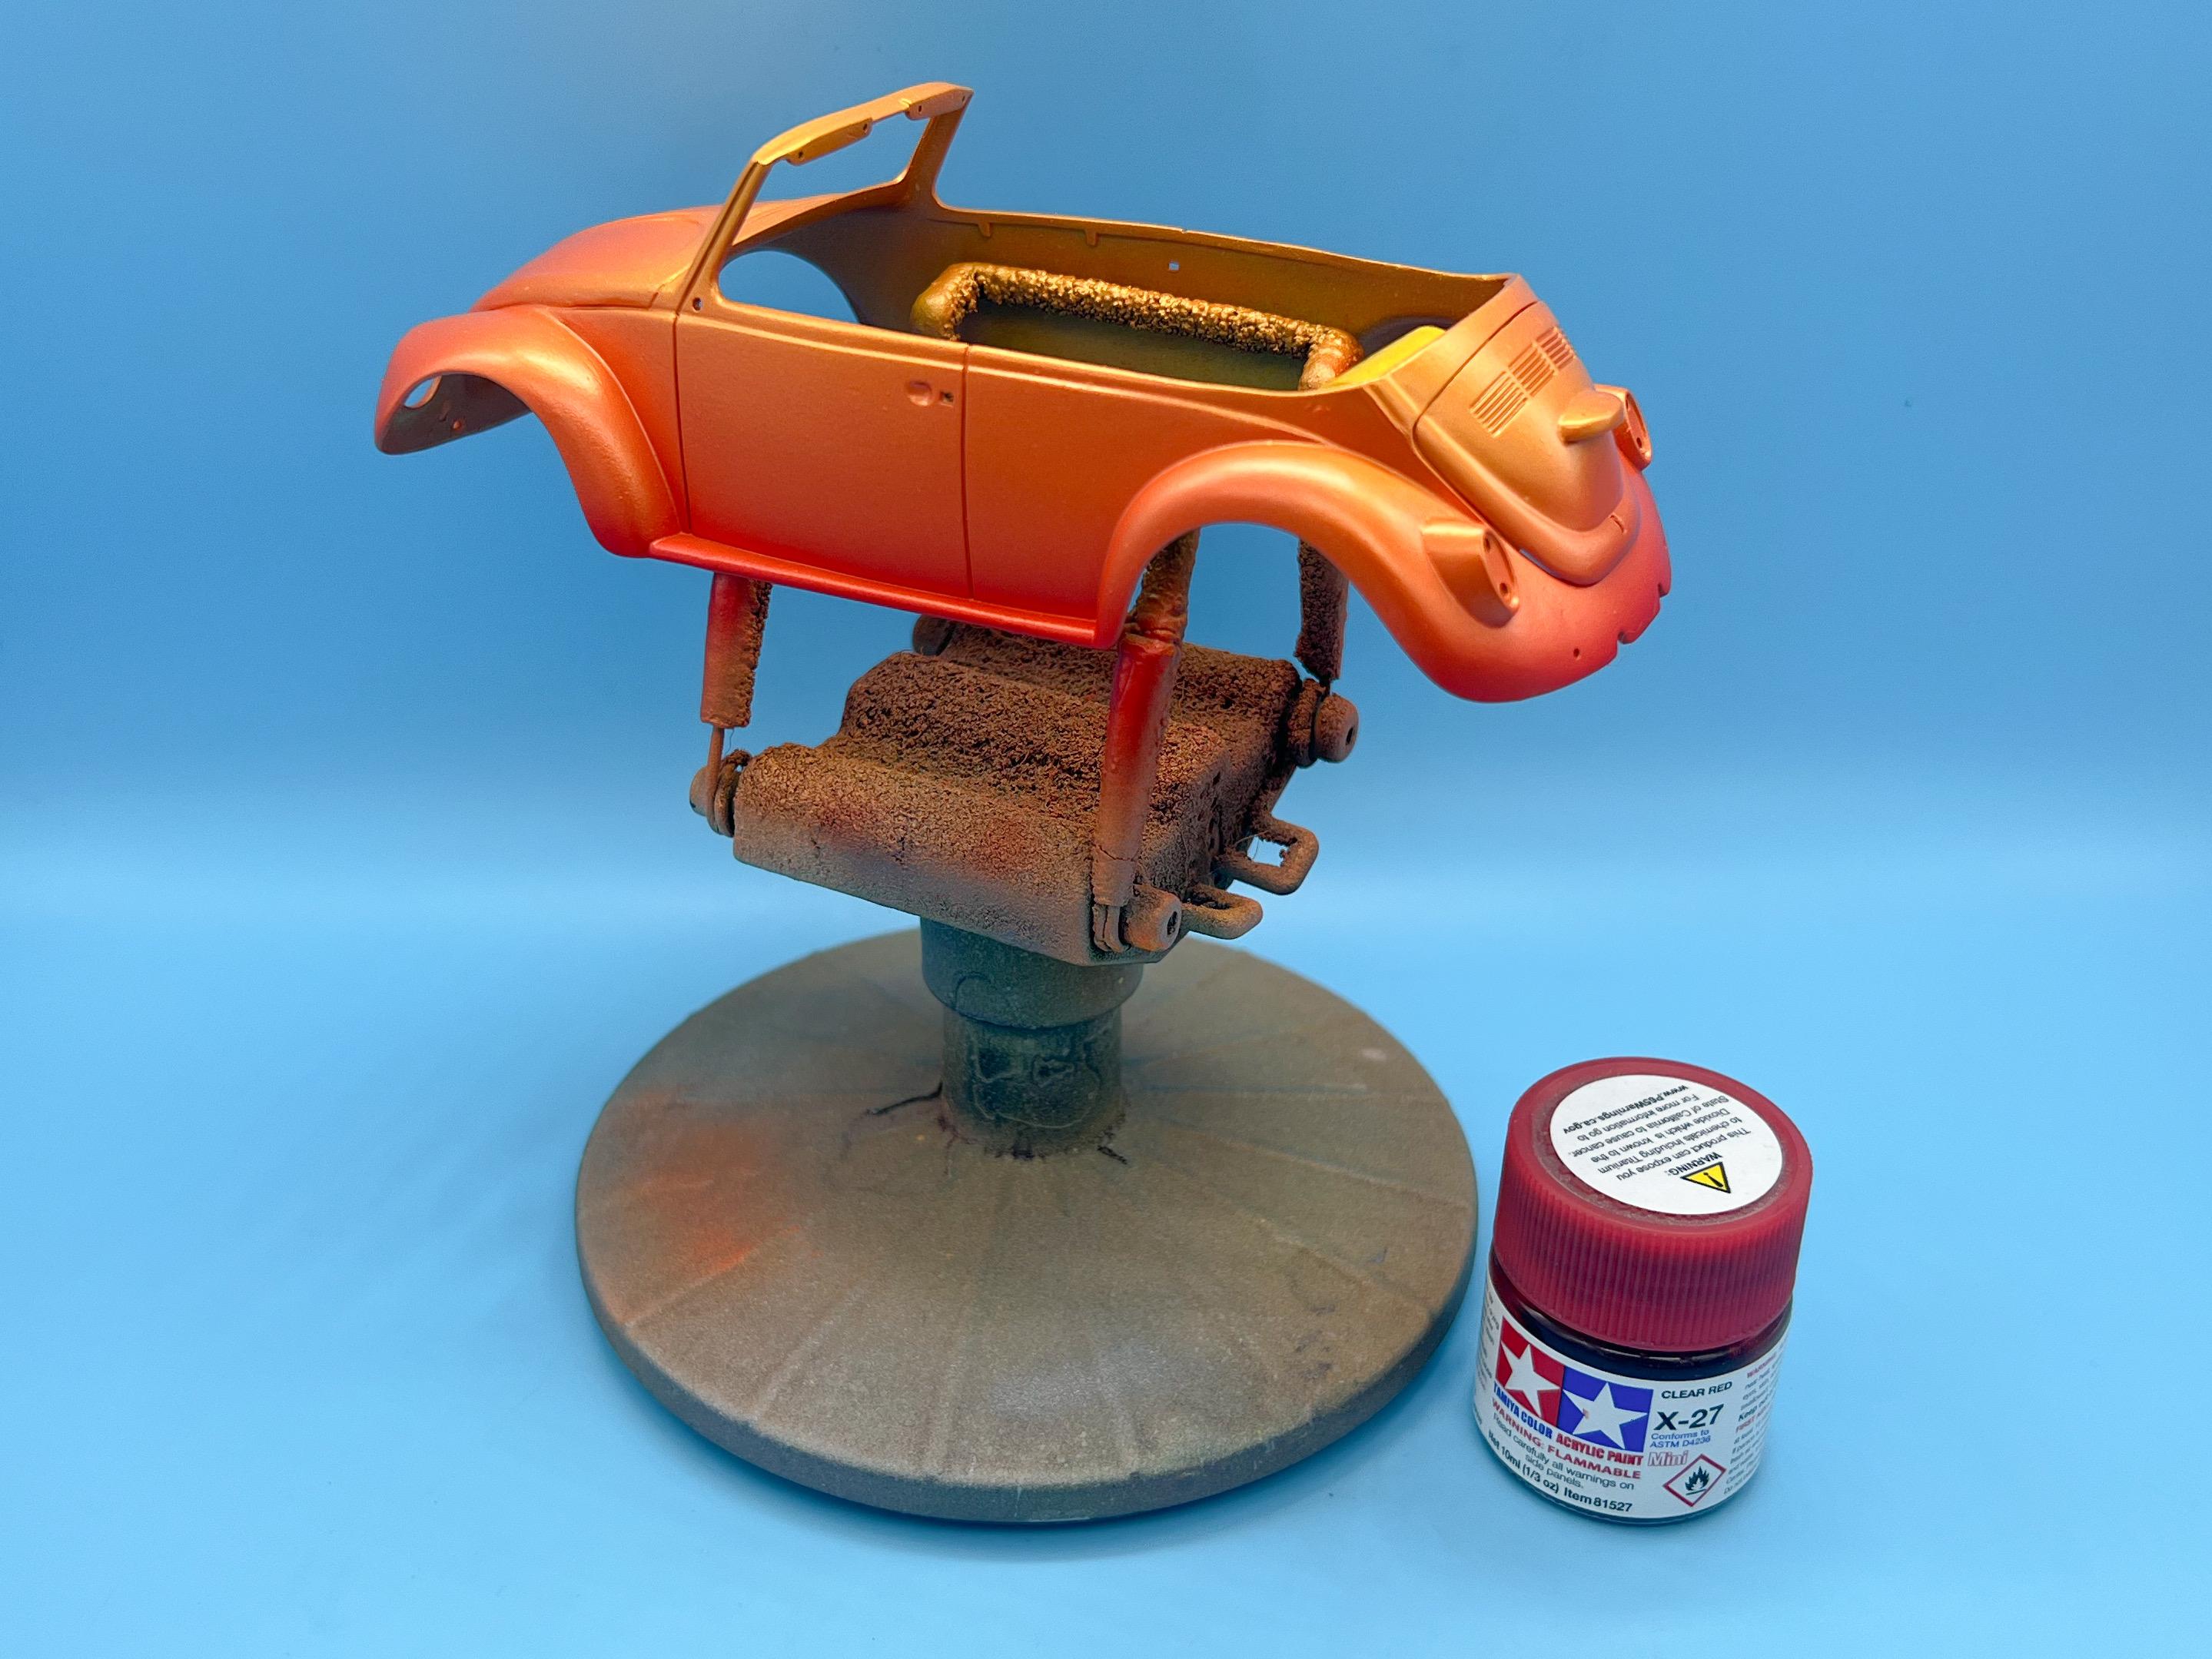
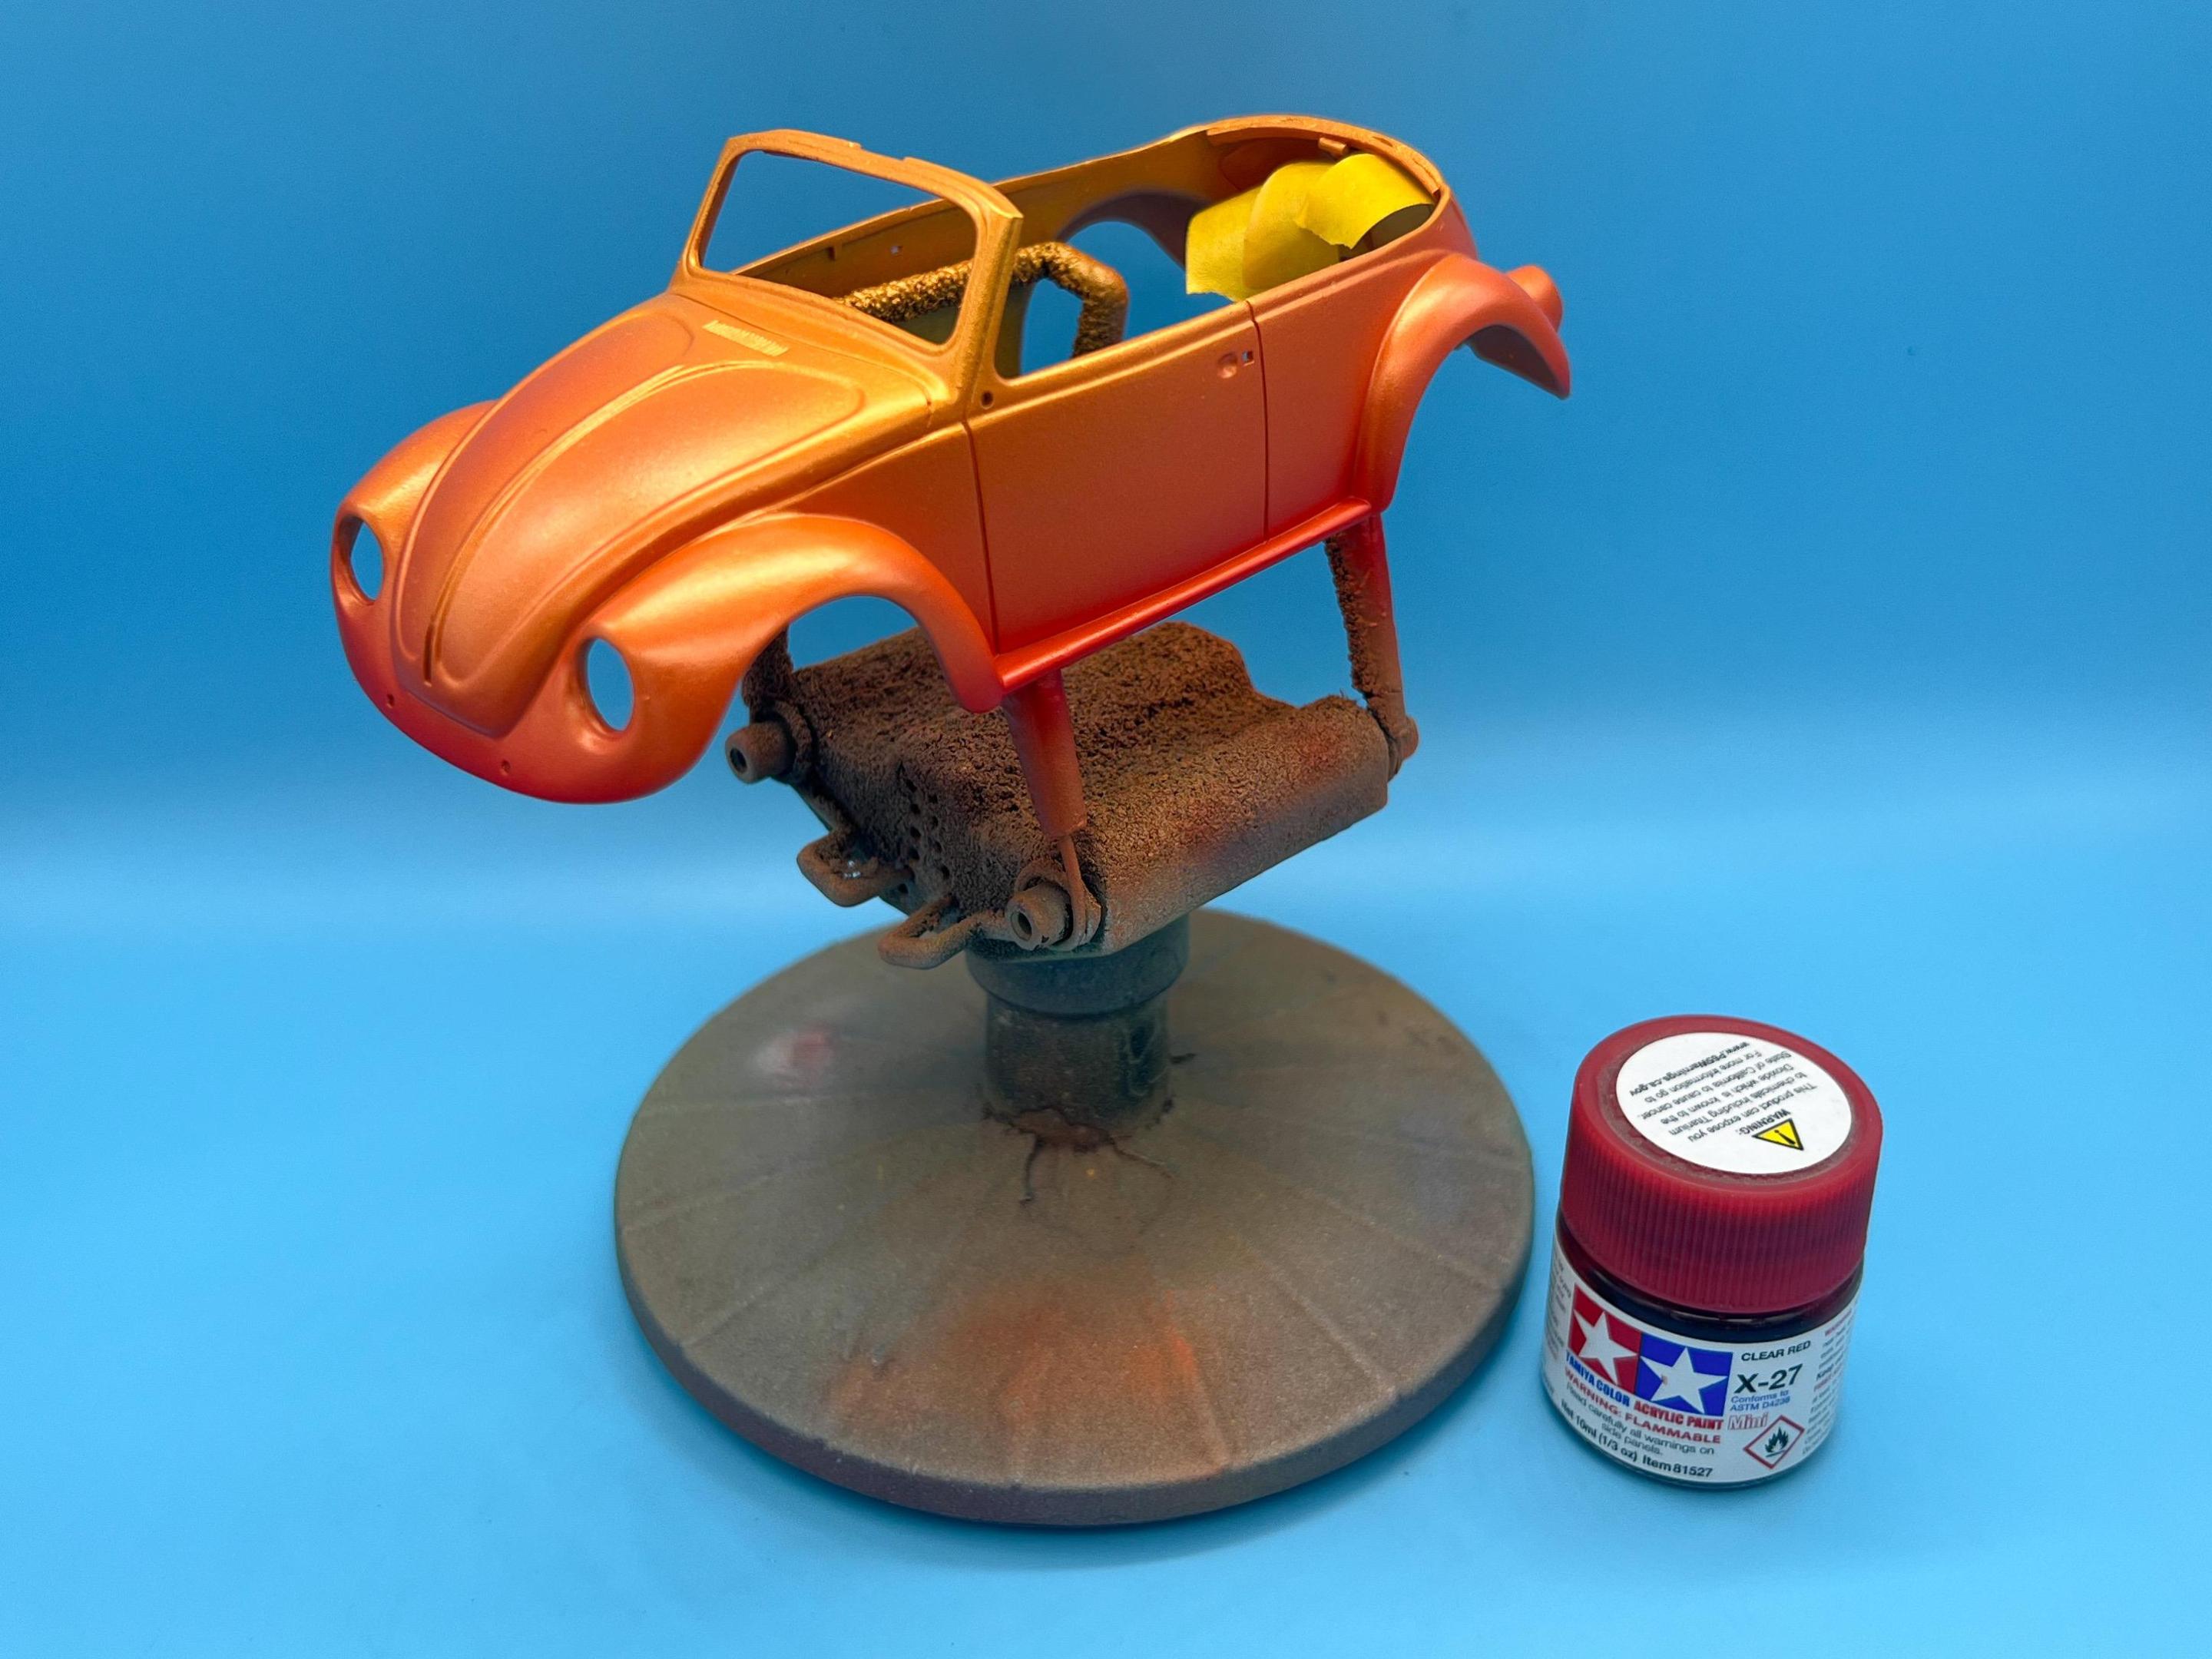
So, small update…spent all evening playing with the airbrush, which is my favorite thing to do, pretty much…shot the first color, Createx Pearl Orange over top the fluorescent base color:
Using the bright base really helped bring this color out - it can look a little too brown even over a while base but I’m pleased with this color. Not that I’m smart enough to leave a good thing well enough alone…next step is some Wicked Colors Pearl yellow to add some highlights…
Really happy with how that looks - it practically GLOWS under the lights of the photobooth…not done yet though…
I wanted to add some gold flip to the whole arrangement, so I mixed up some Pearl-Ex bright gold with some Future clear:
I few mist coats of that over top my work so far - any of these mica powders seem to help blend together gradients when used over a similar color, and in the sunlight you get an extra layer of sparkle and color-flip on top of what we're already getting from the paint. A subtle change, but makes a big difference under natural light:

And then, finally, one more layer for tonight…I didn’t want the gold flake interfering with this last color, hence shooting it before adding some ‘lowlights’ around the bottom edges:

Plenty more to do on, well, everything - but I was excited with tonight’s progress! Thanks for looking, more soon, soon as I’ve done more!
-
 1
1
-
-
This is coming together great Steve! Nice work on detailing that engine, and the brake master…nice touches!
-
Especially criticizing a well-respected member who has since passed away…
I still love this build, for what it’s worth - I wanna build one just like it!





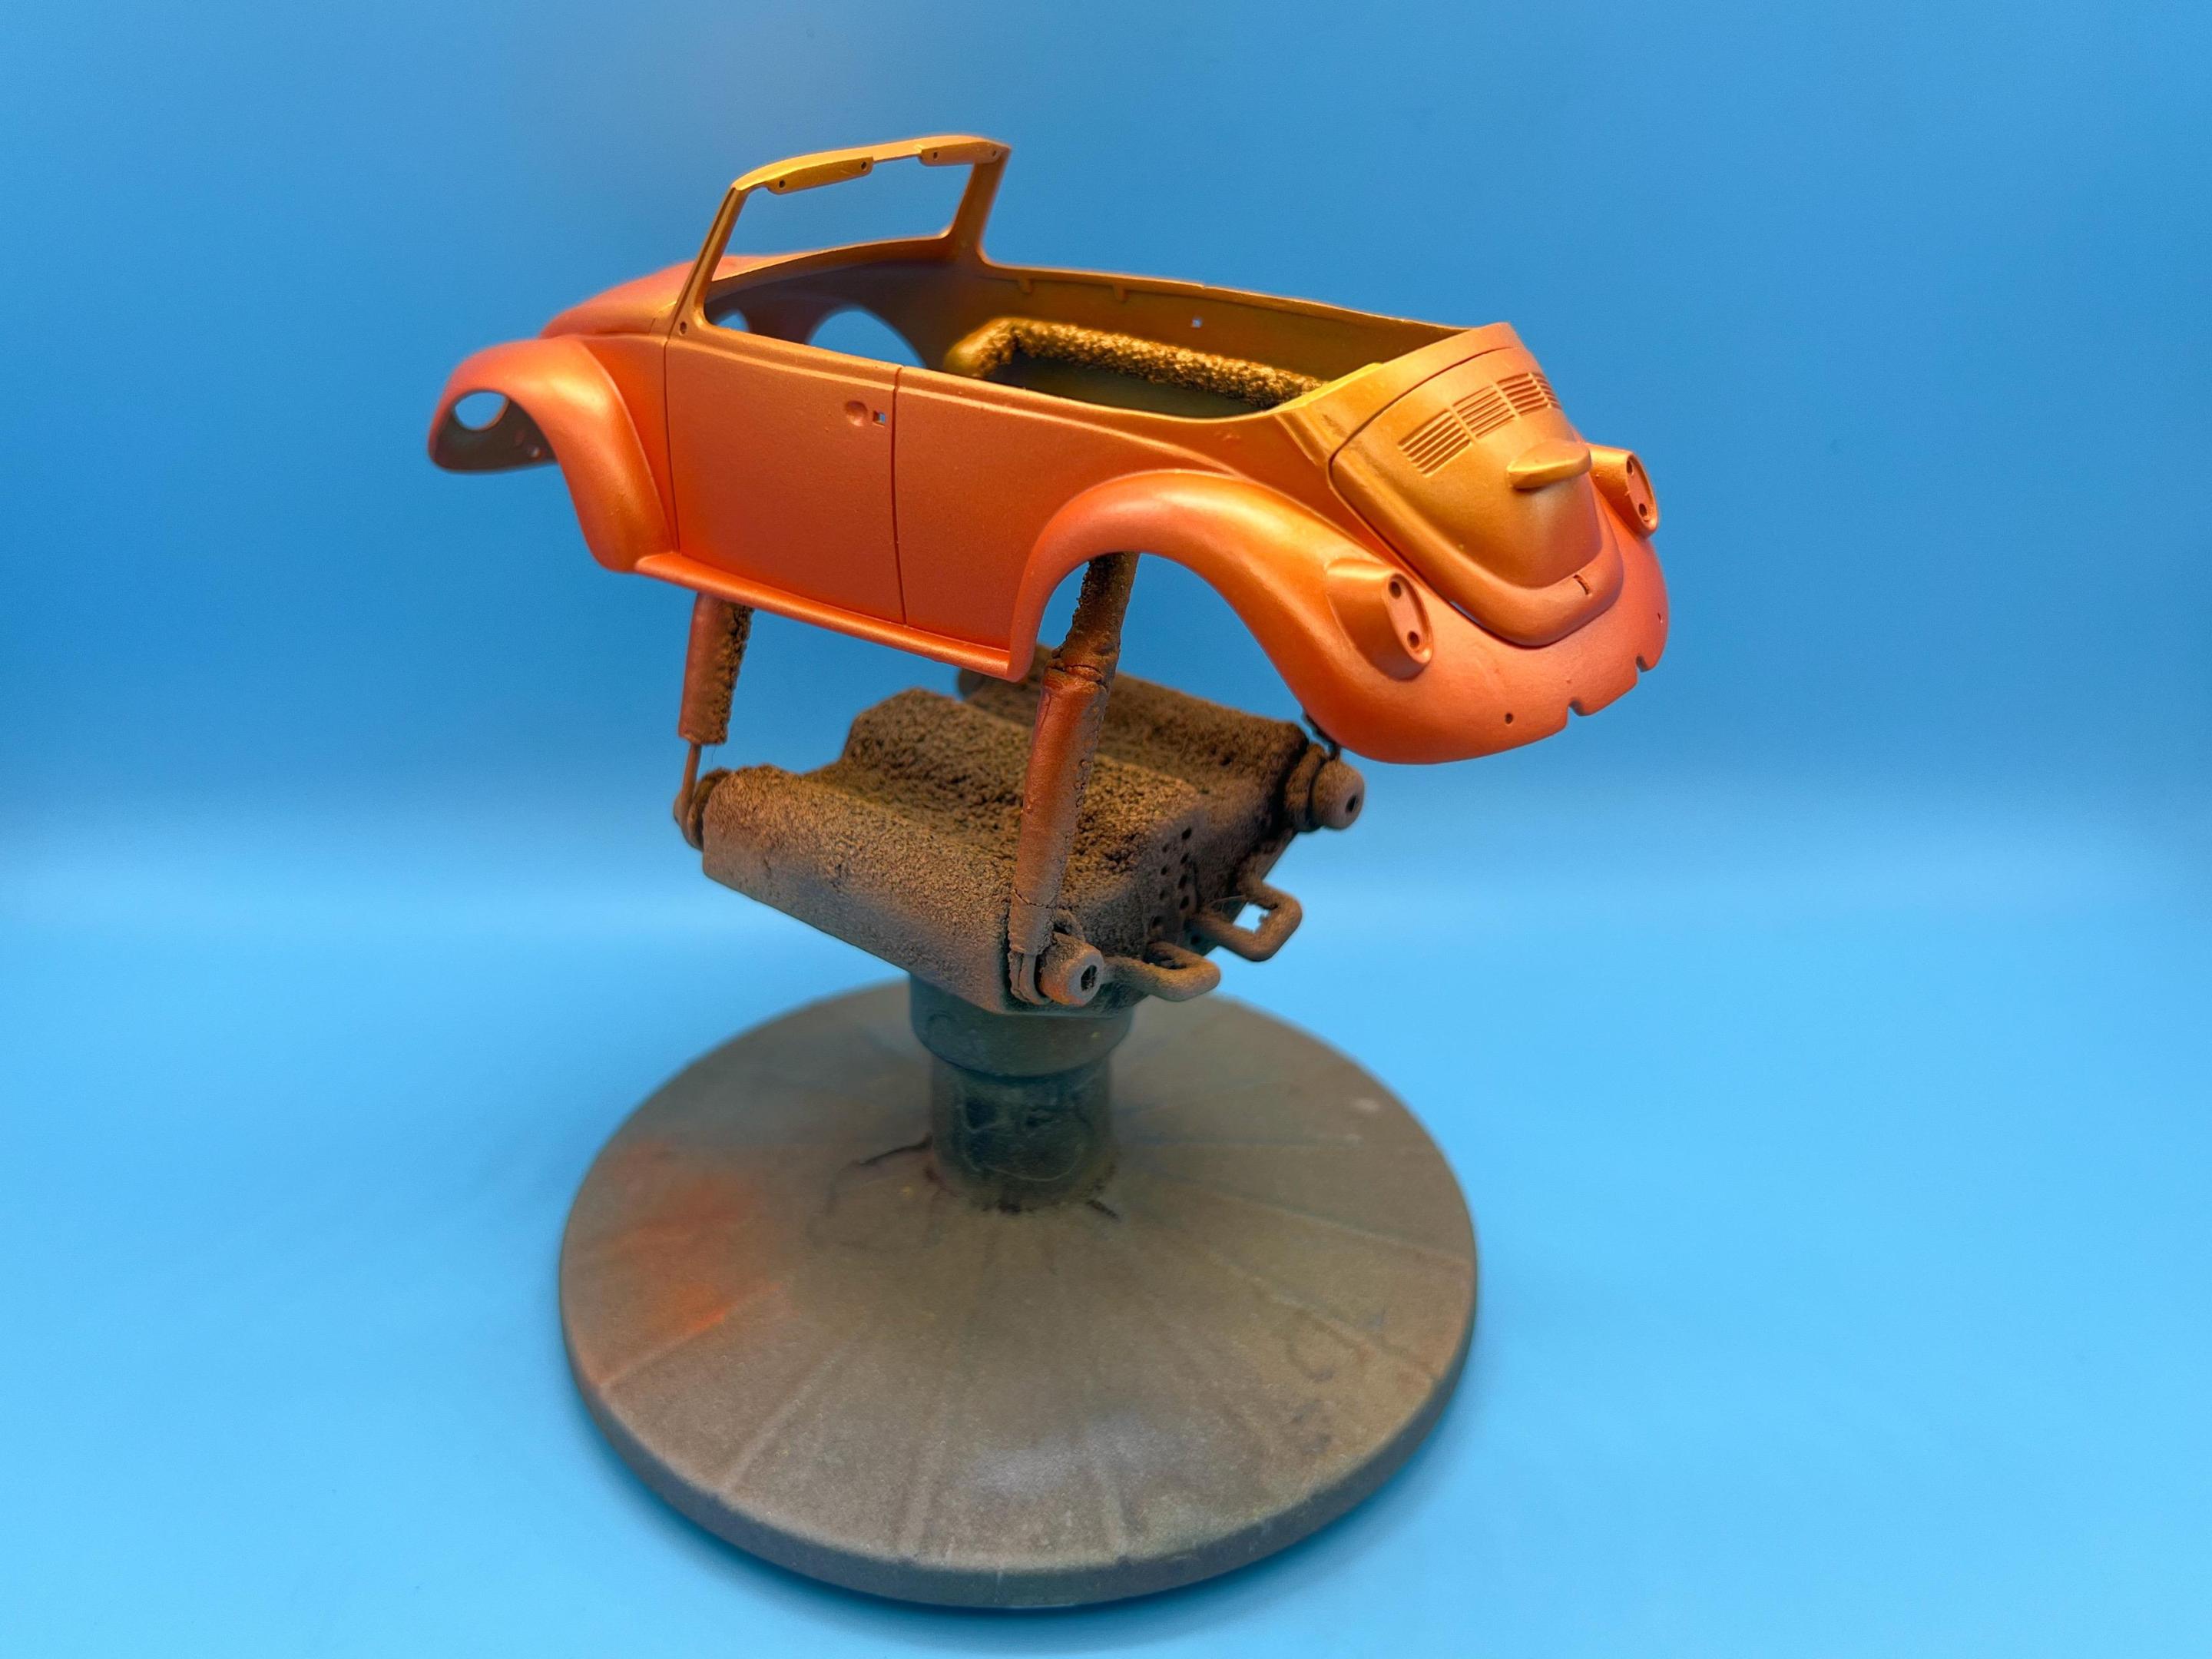
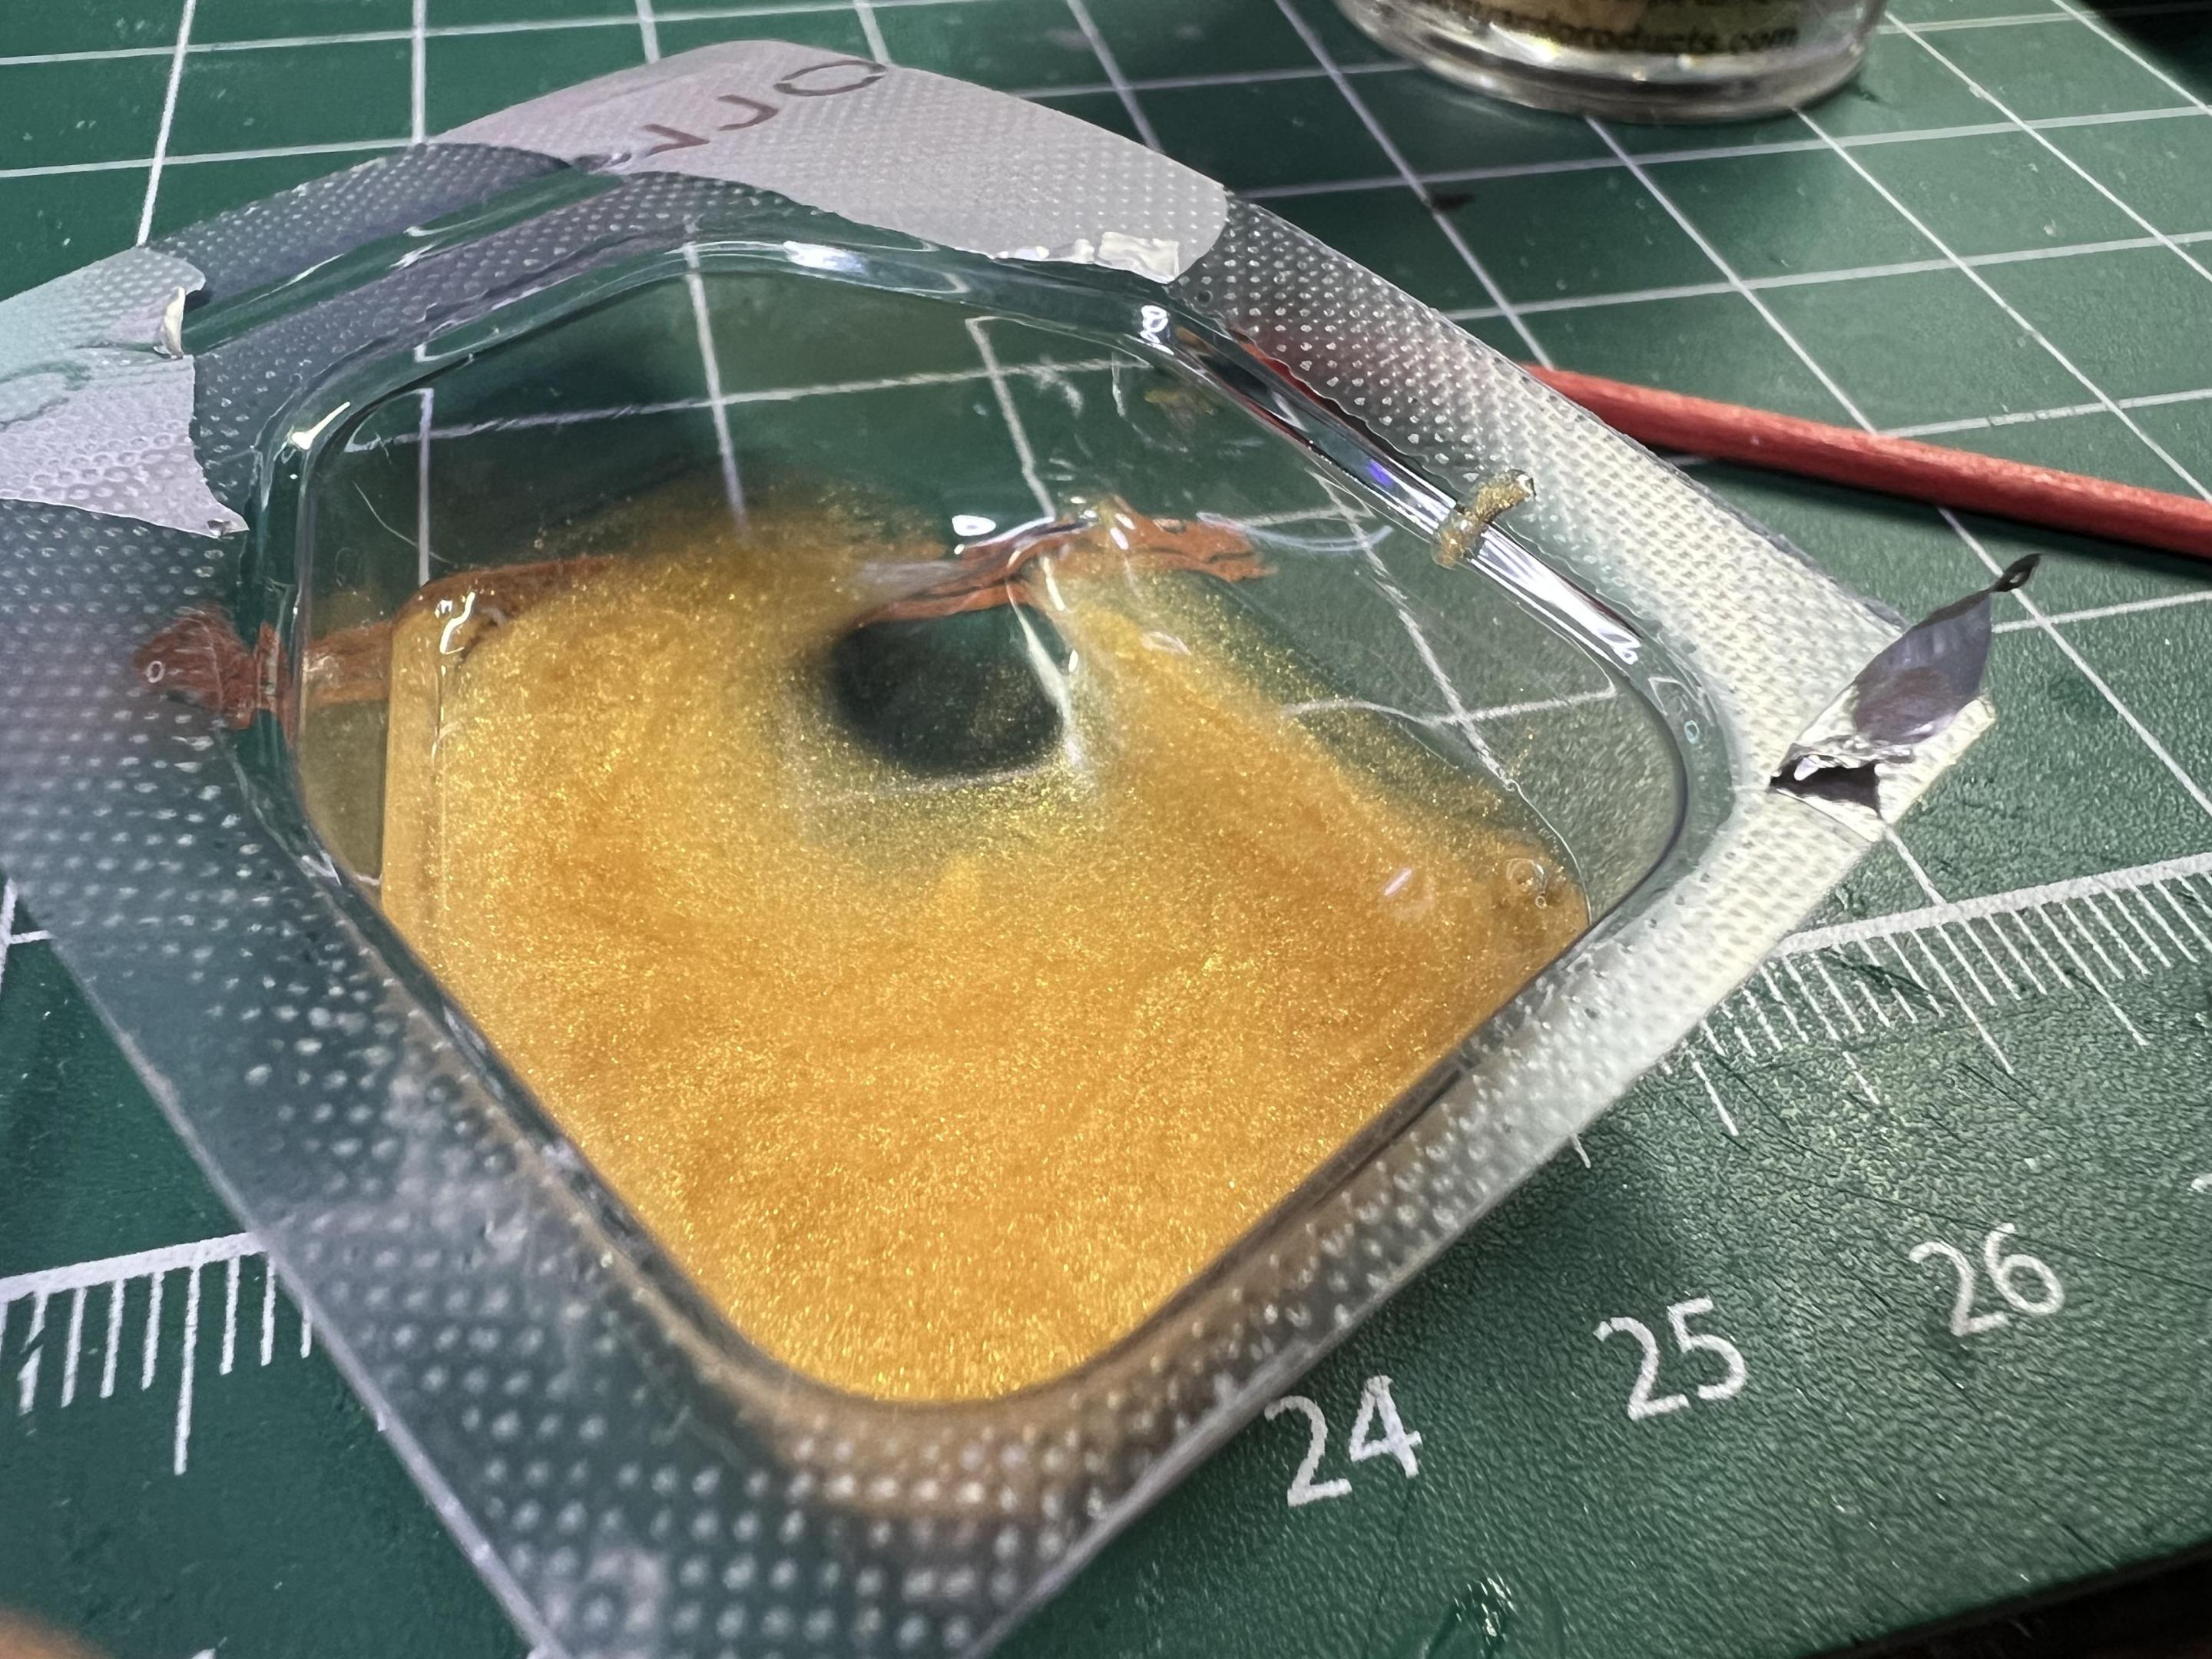
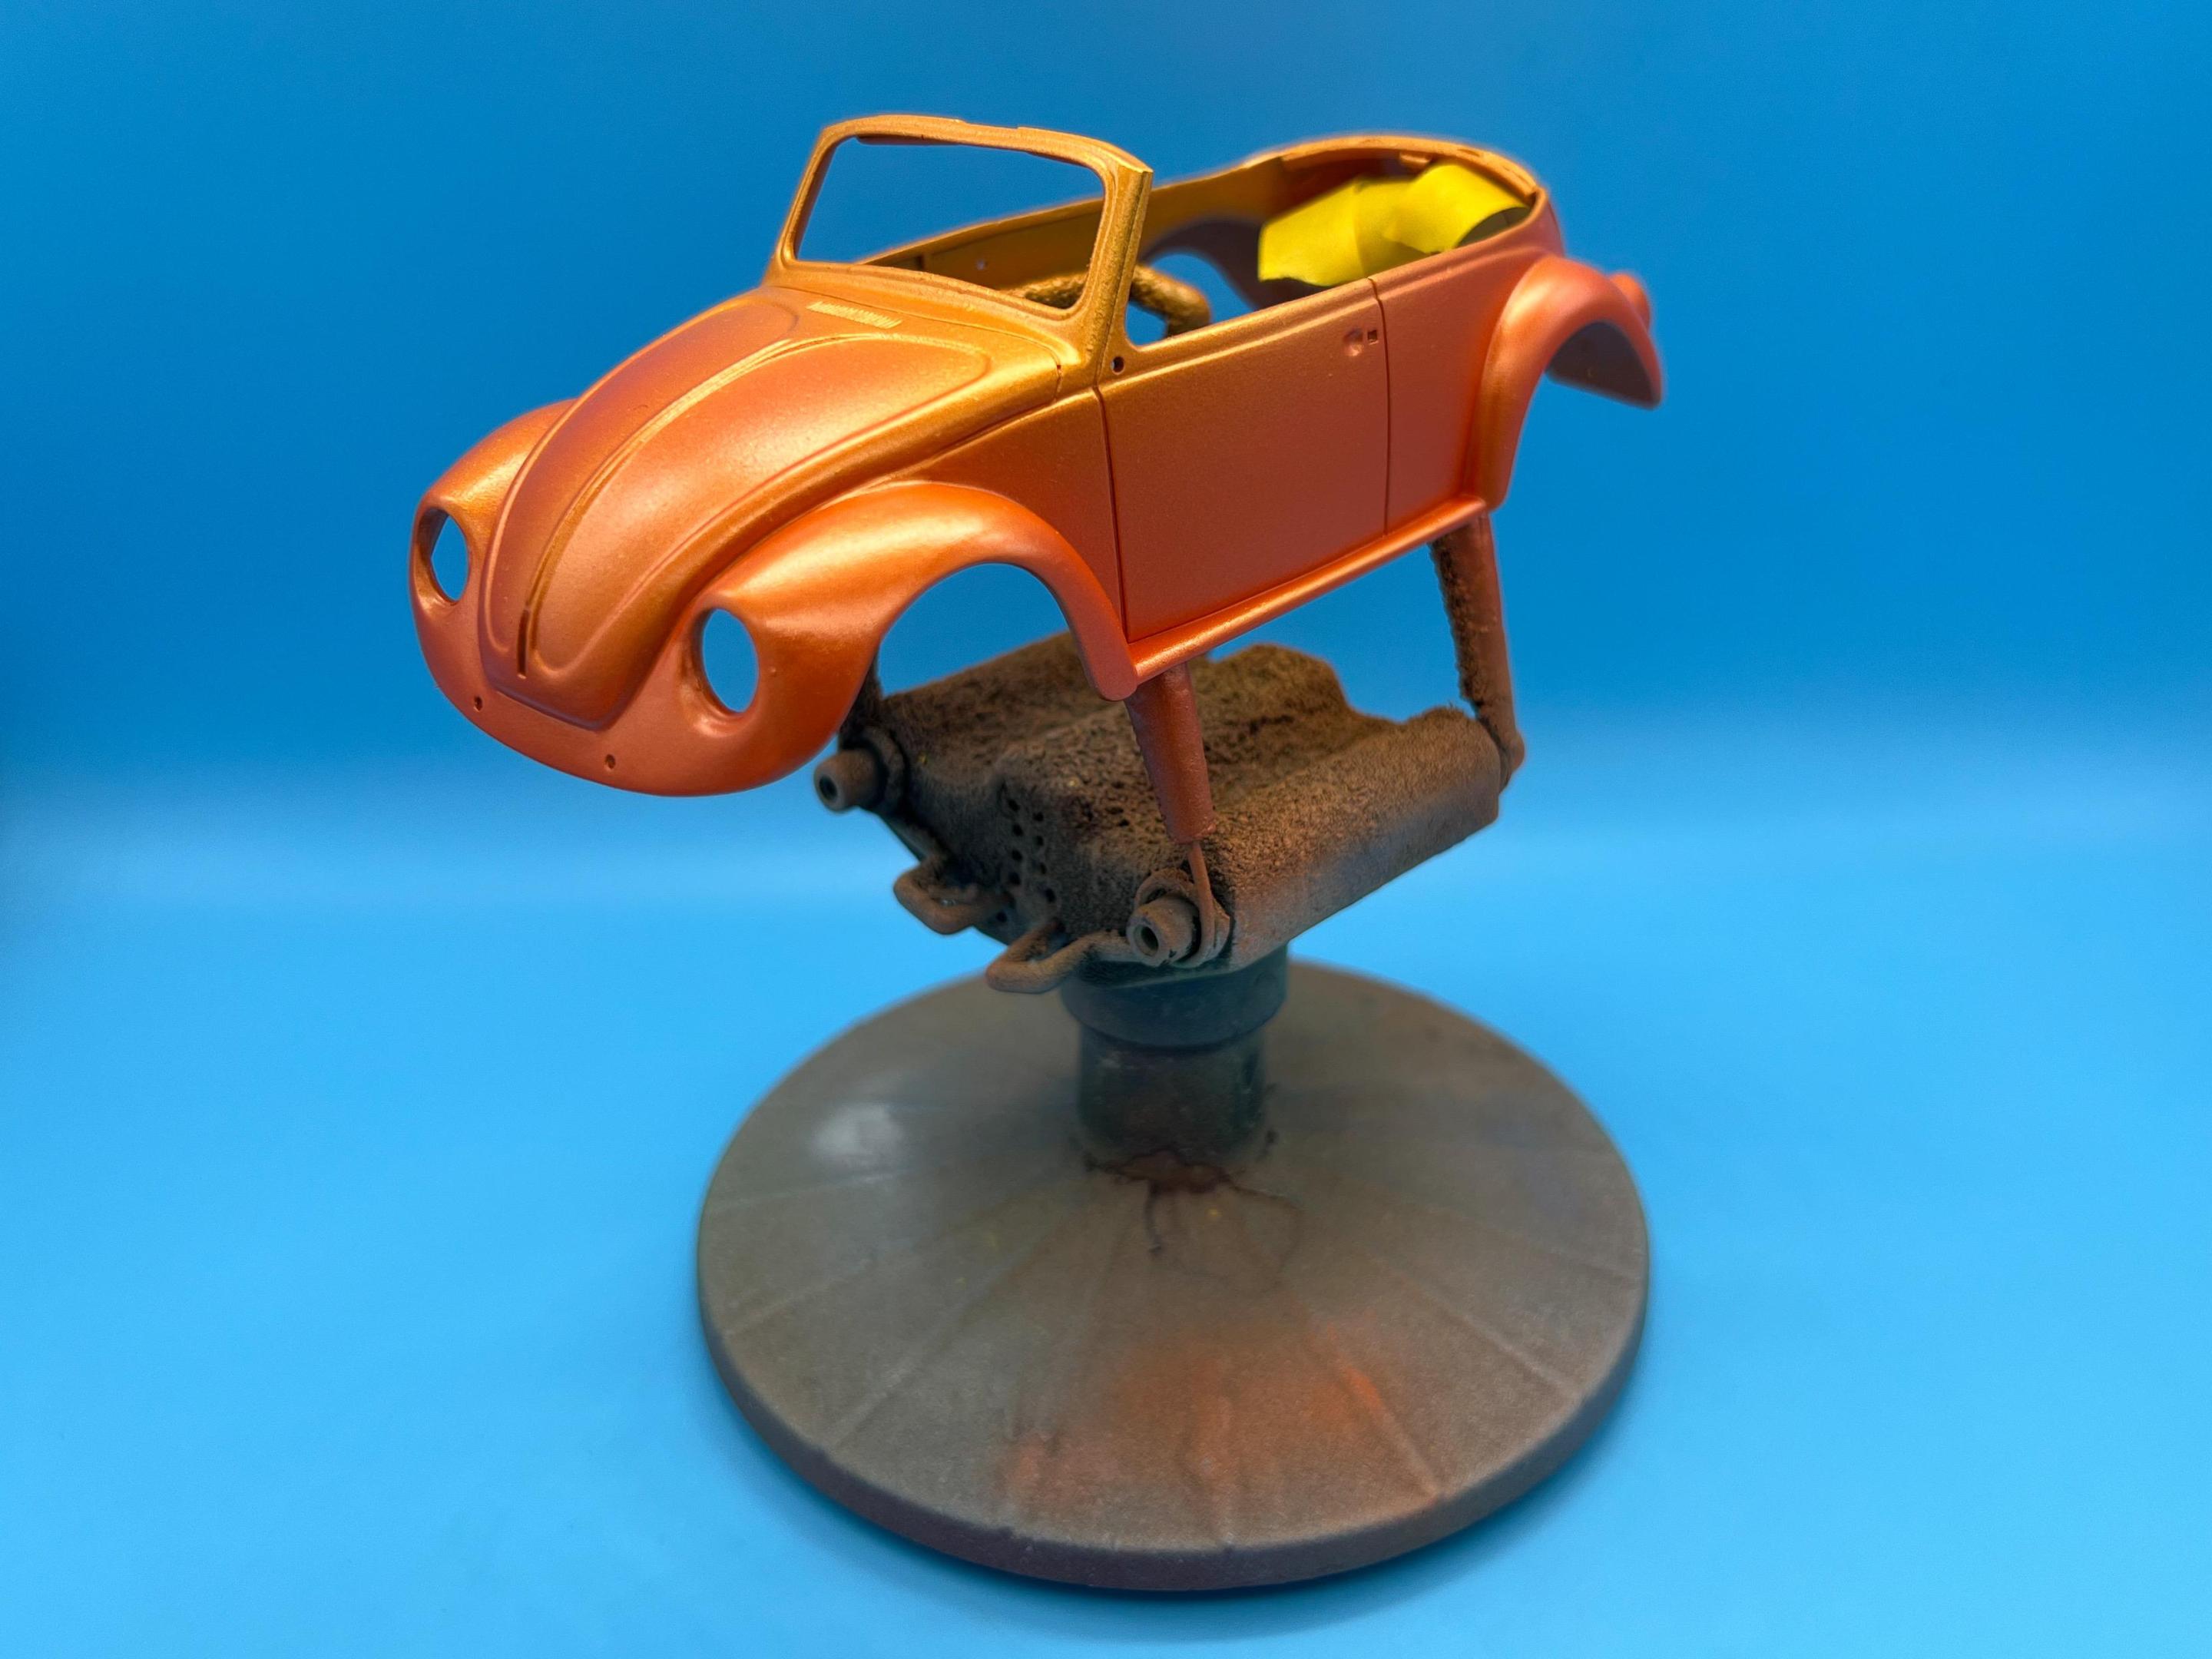
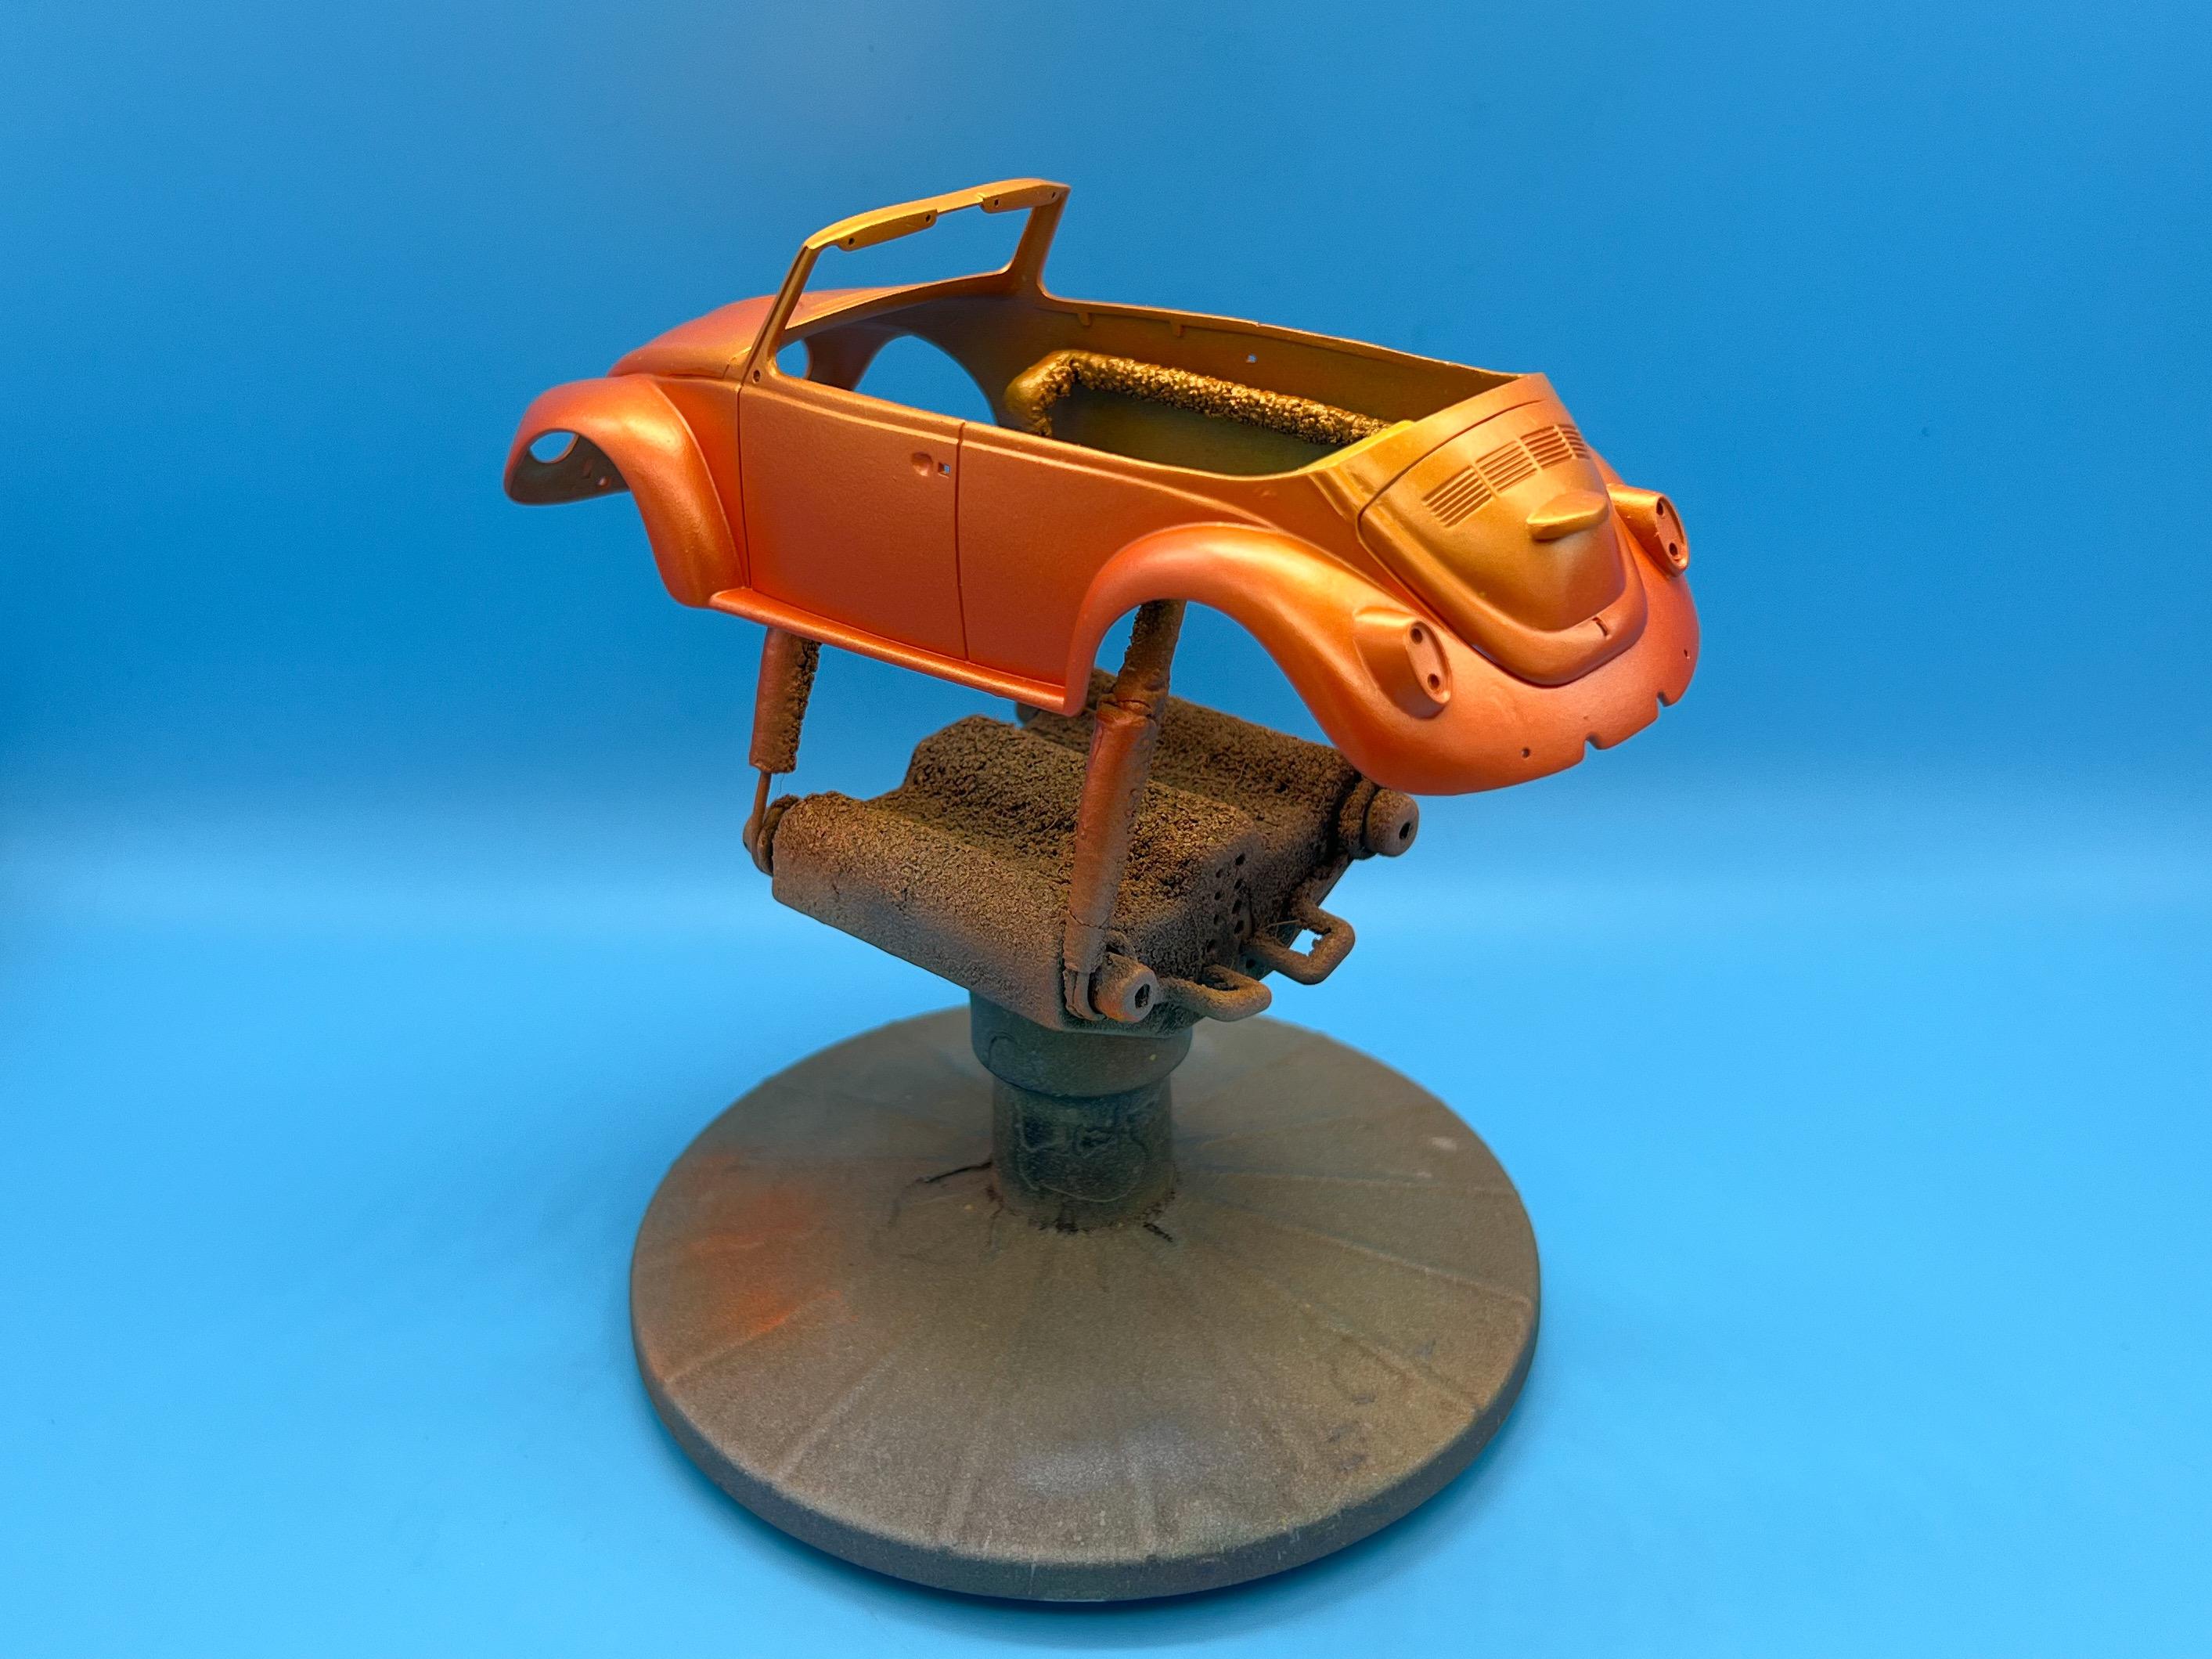
Michaels getting rid of models?
in General Automotive Talk (Trucks and Cars)
Posted
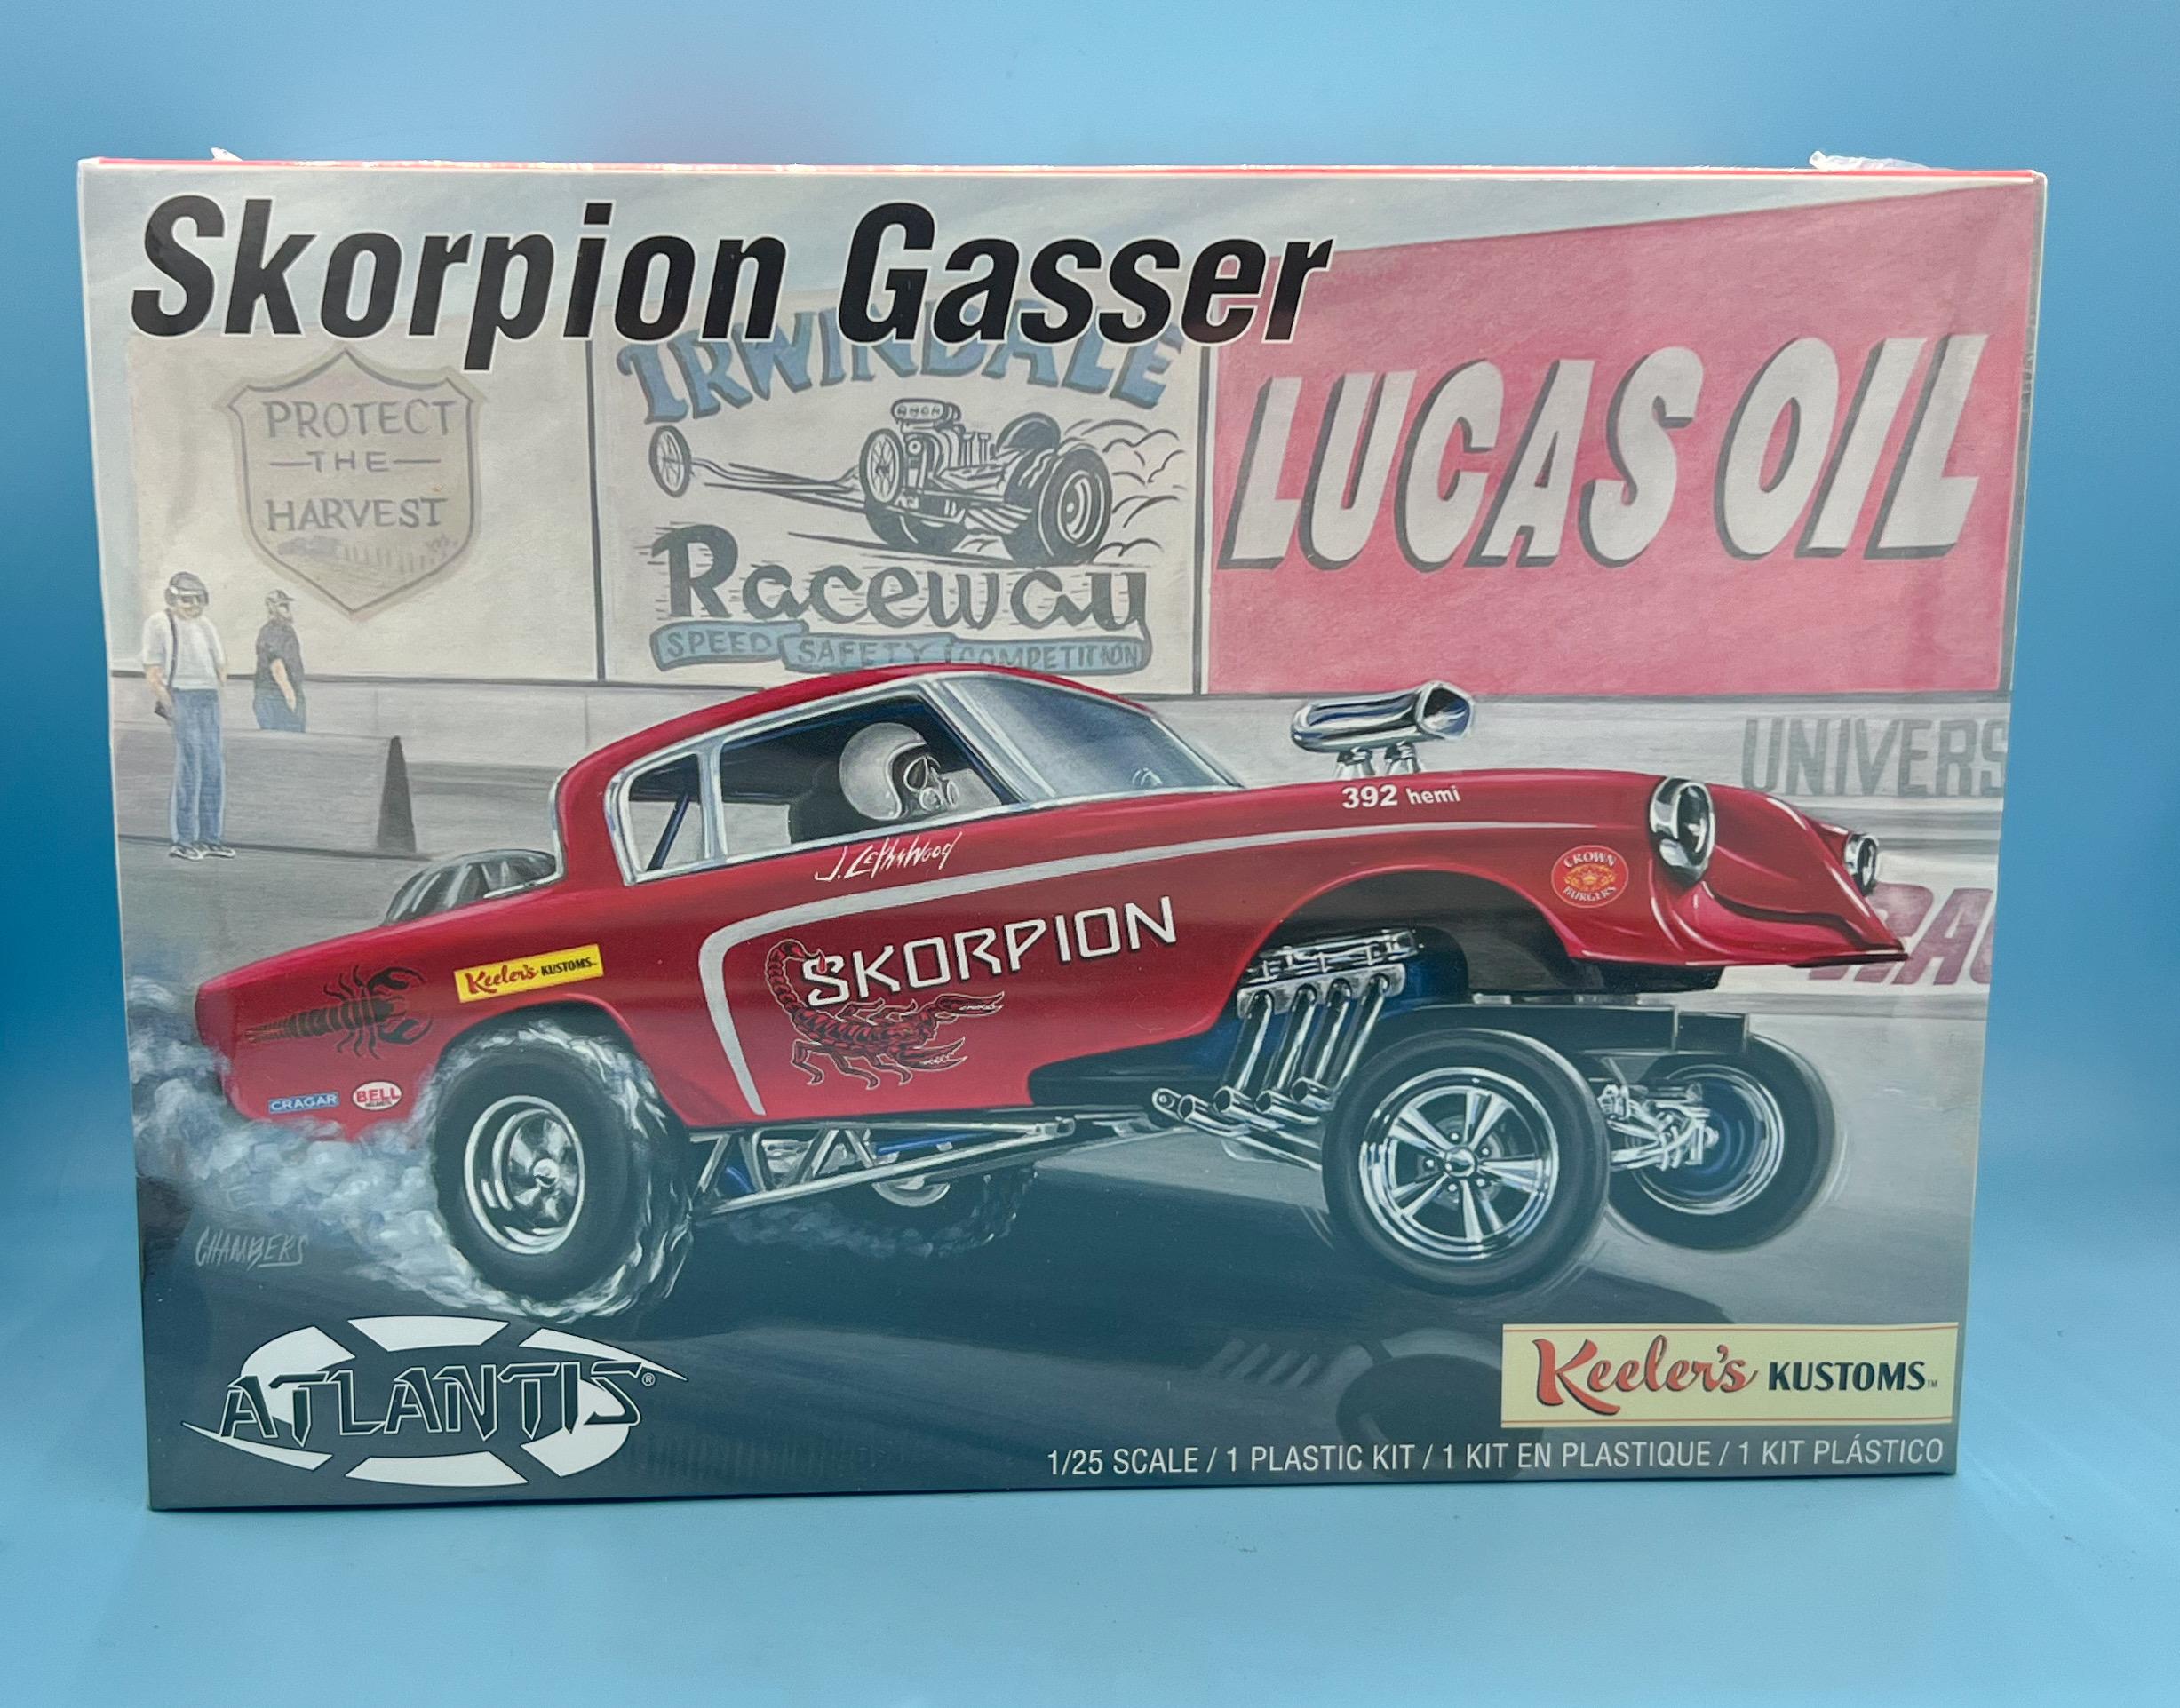
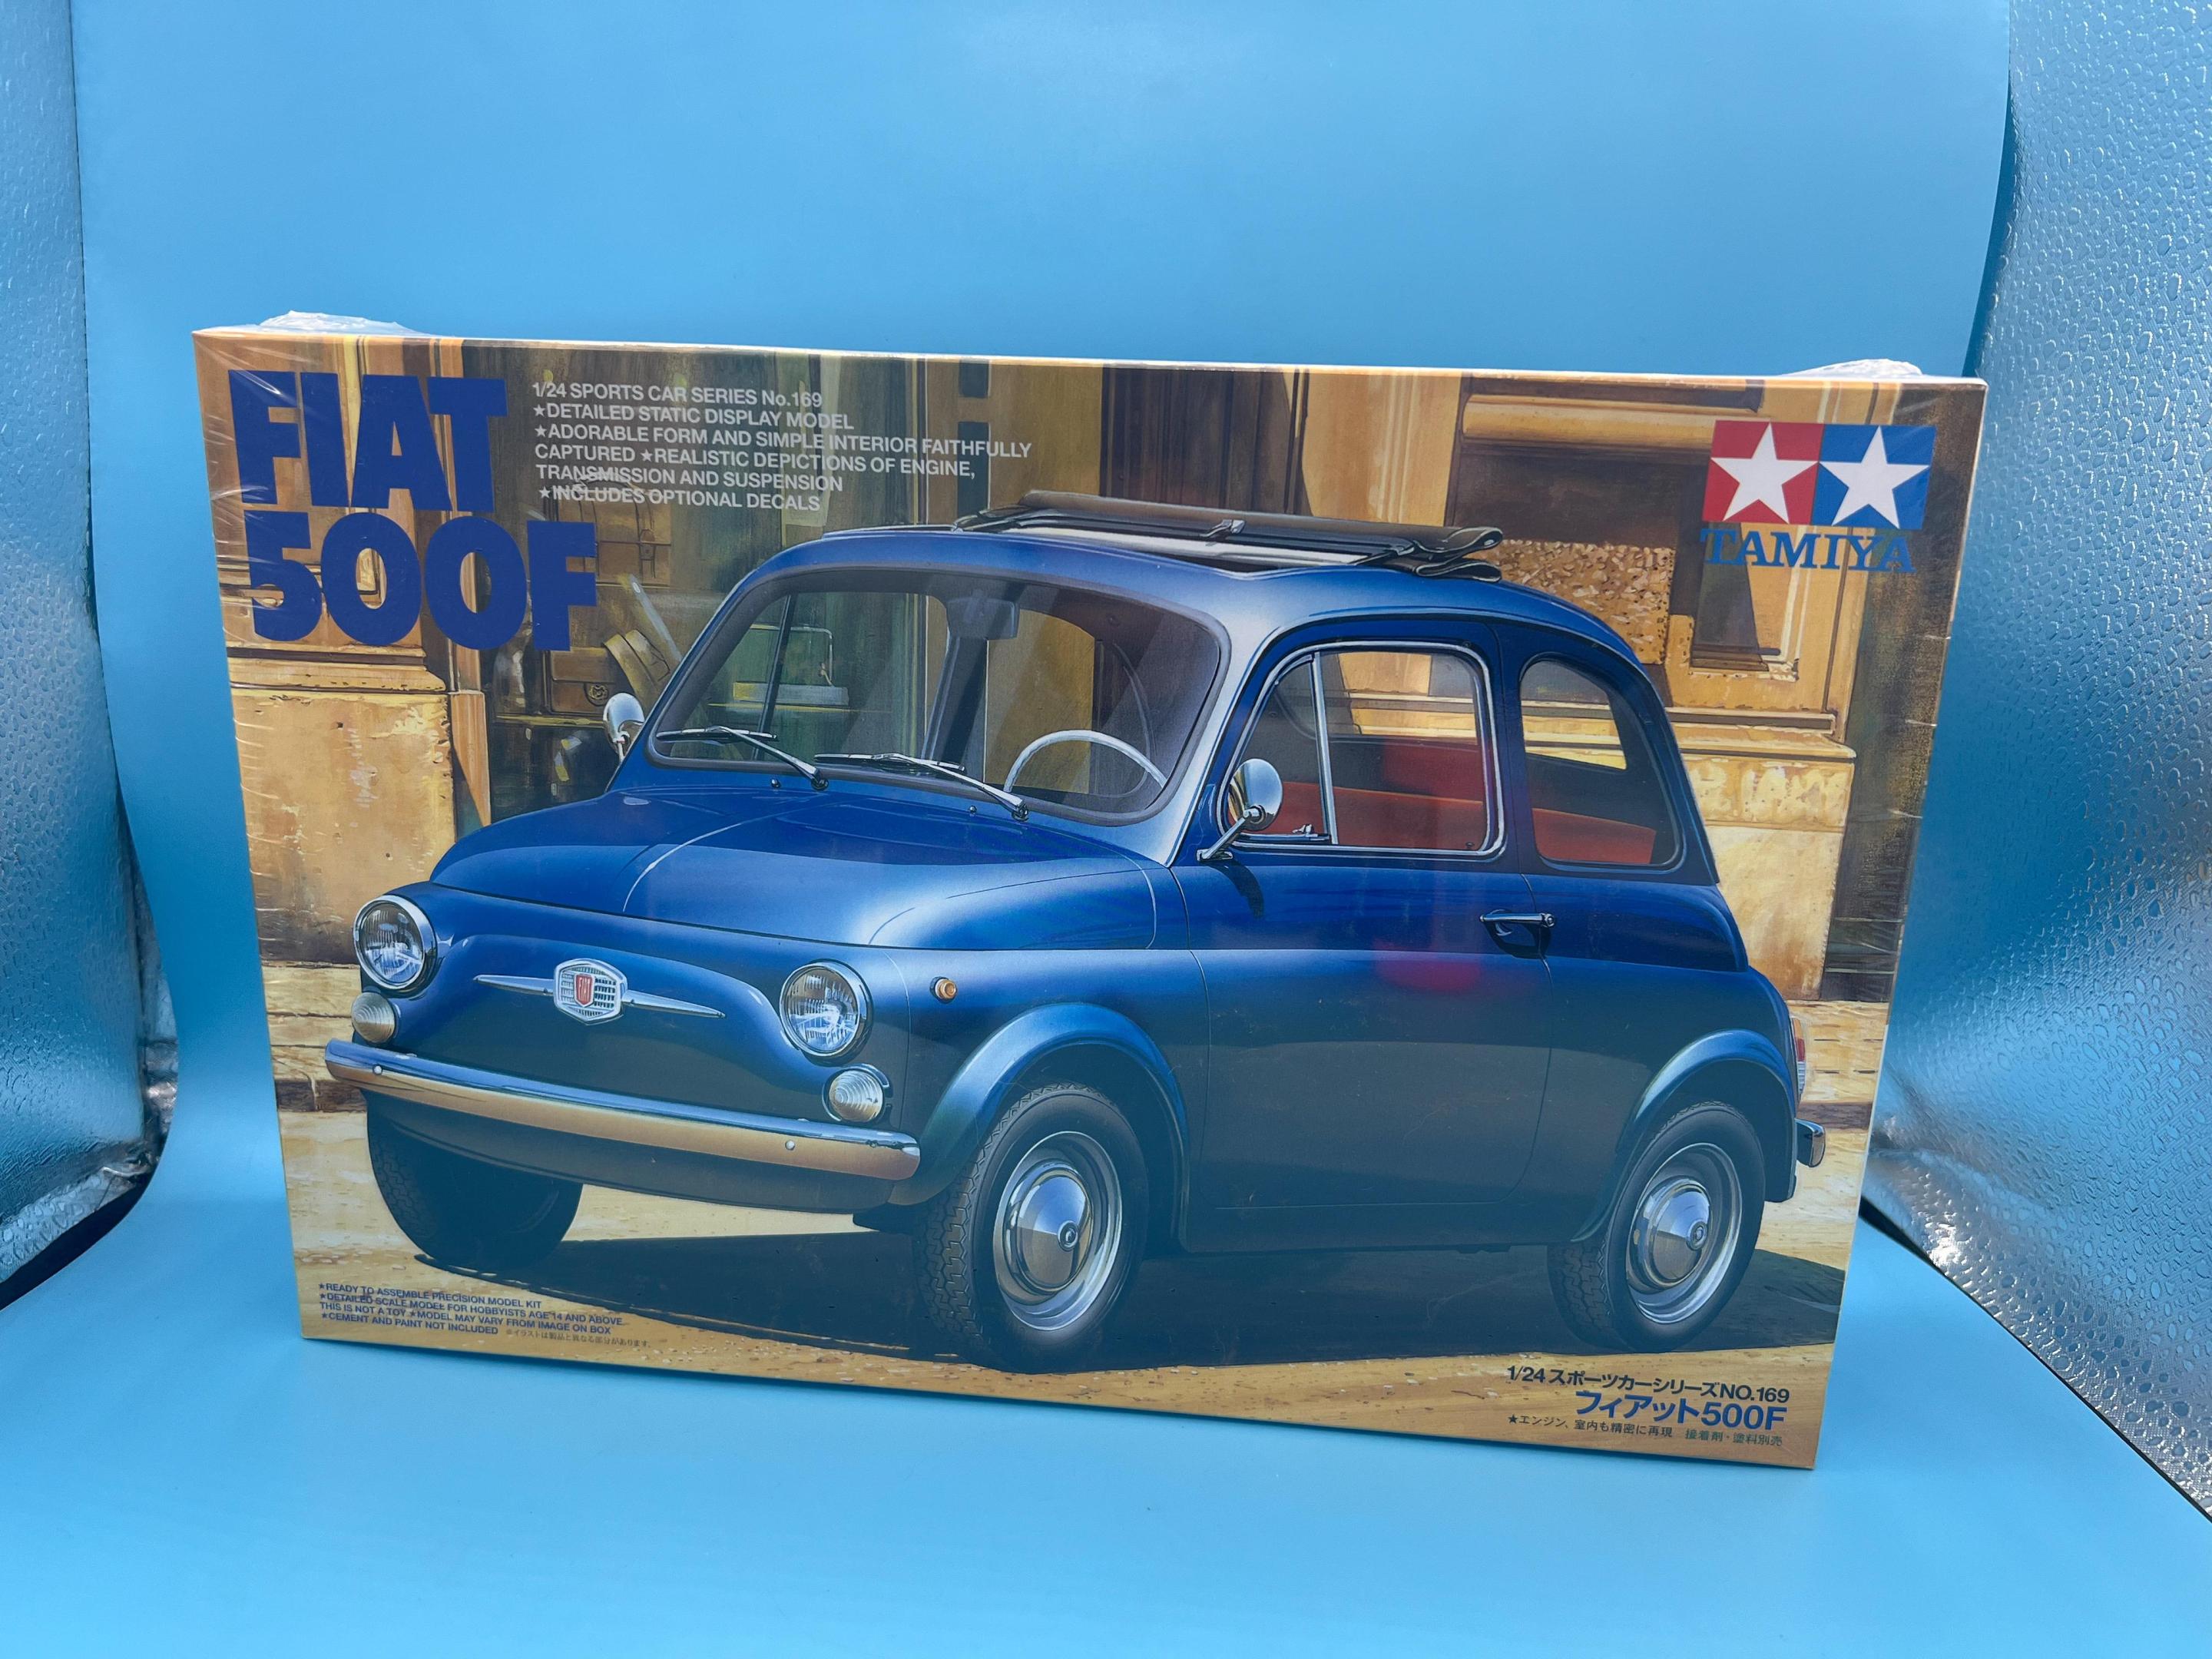
Slim pickin’s at my local store tonight…
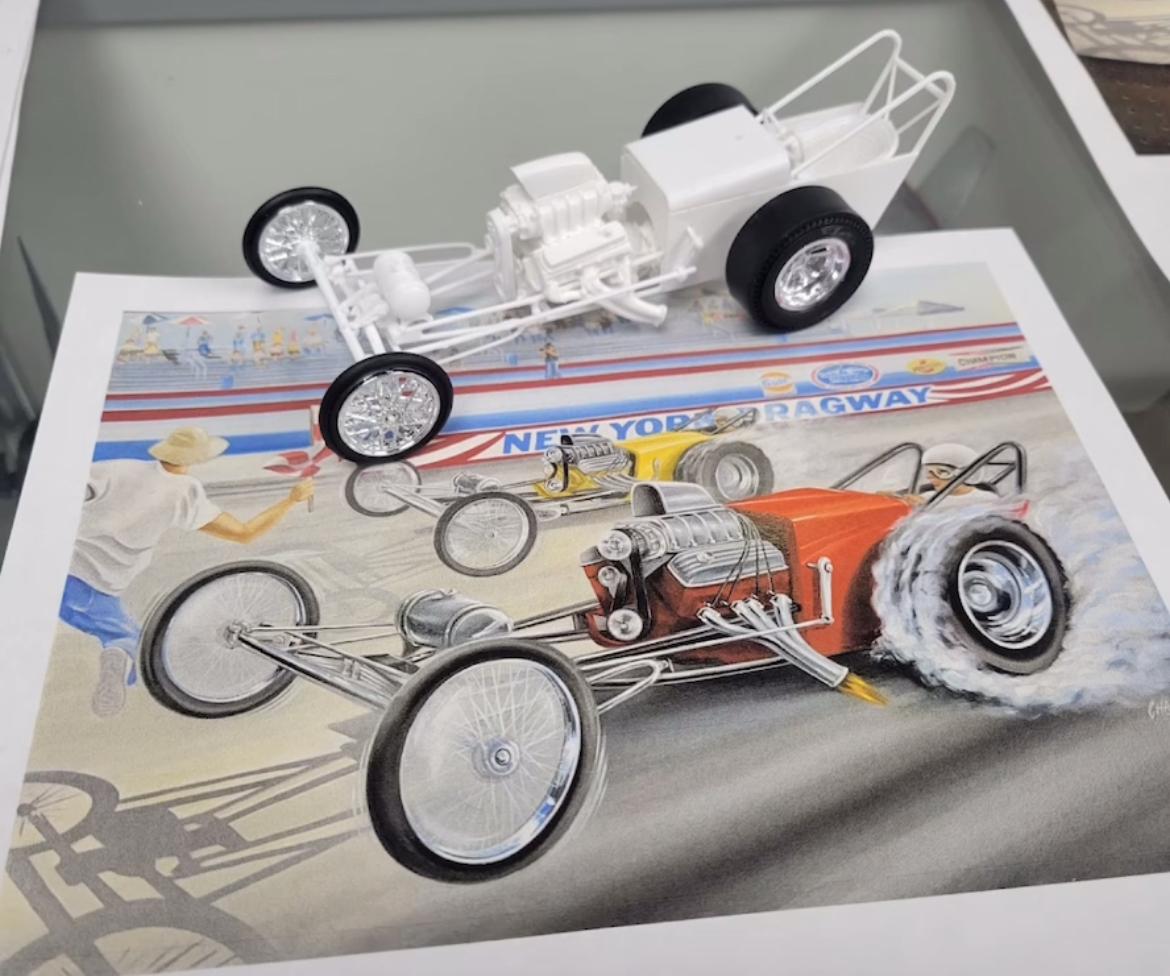
Had a 40% off coupon tho, so a Deuce kit followed me home even tho I don’t really need it…