

CabDriver
-
Posts
5,122 -
Joined
-
Last visited
Content Type
Profiles
Forums
Events
Gallery
Posts posted by CabDriver
-
-
1 hour ago, BlackSheep214 said:
You didn't look hard enough. Scalehobbyist has the same kit for $17.19.....
$17.19 is more than $12 tho... 🤪
-
1 hour ago, BlackSheep214 said:
And you ordered it through Amazon.....🤐🤔😆
I wasn’t looking to have my local hobby store special order it for $34.99 when Amazon had it for $12 delivered.
I WILL spend probably $50 with him today on Tamiya and Testors paints though, thus restoring my karmic balance somewhat 🤪
-
6 hours ago, StevenGuthmiller said:
Wow, you mean you have to assemble it?
That is lousy!!! 😁
Steve
Good thing I just got new glue sticks for my glue gun! 🤪😂
-
This is looking GREAT! I’d definitely be interested in purchasing a copy of one of these if you were ever to consider forming any extras!
Great work!
-
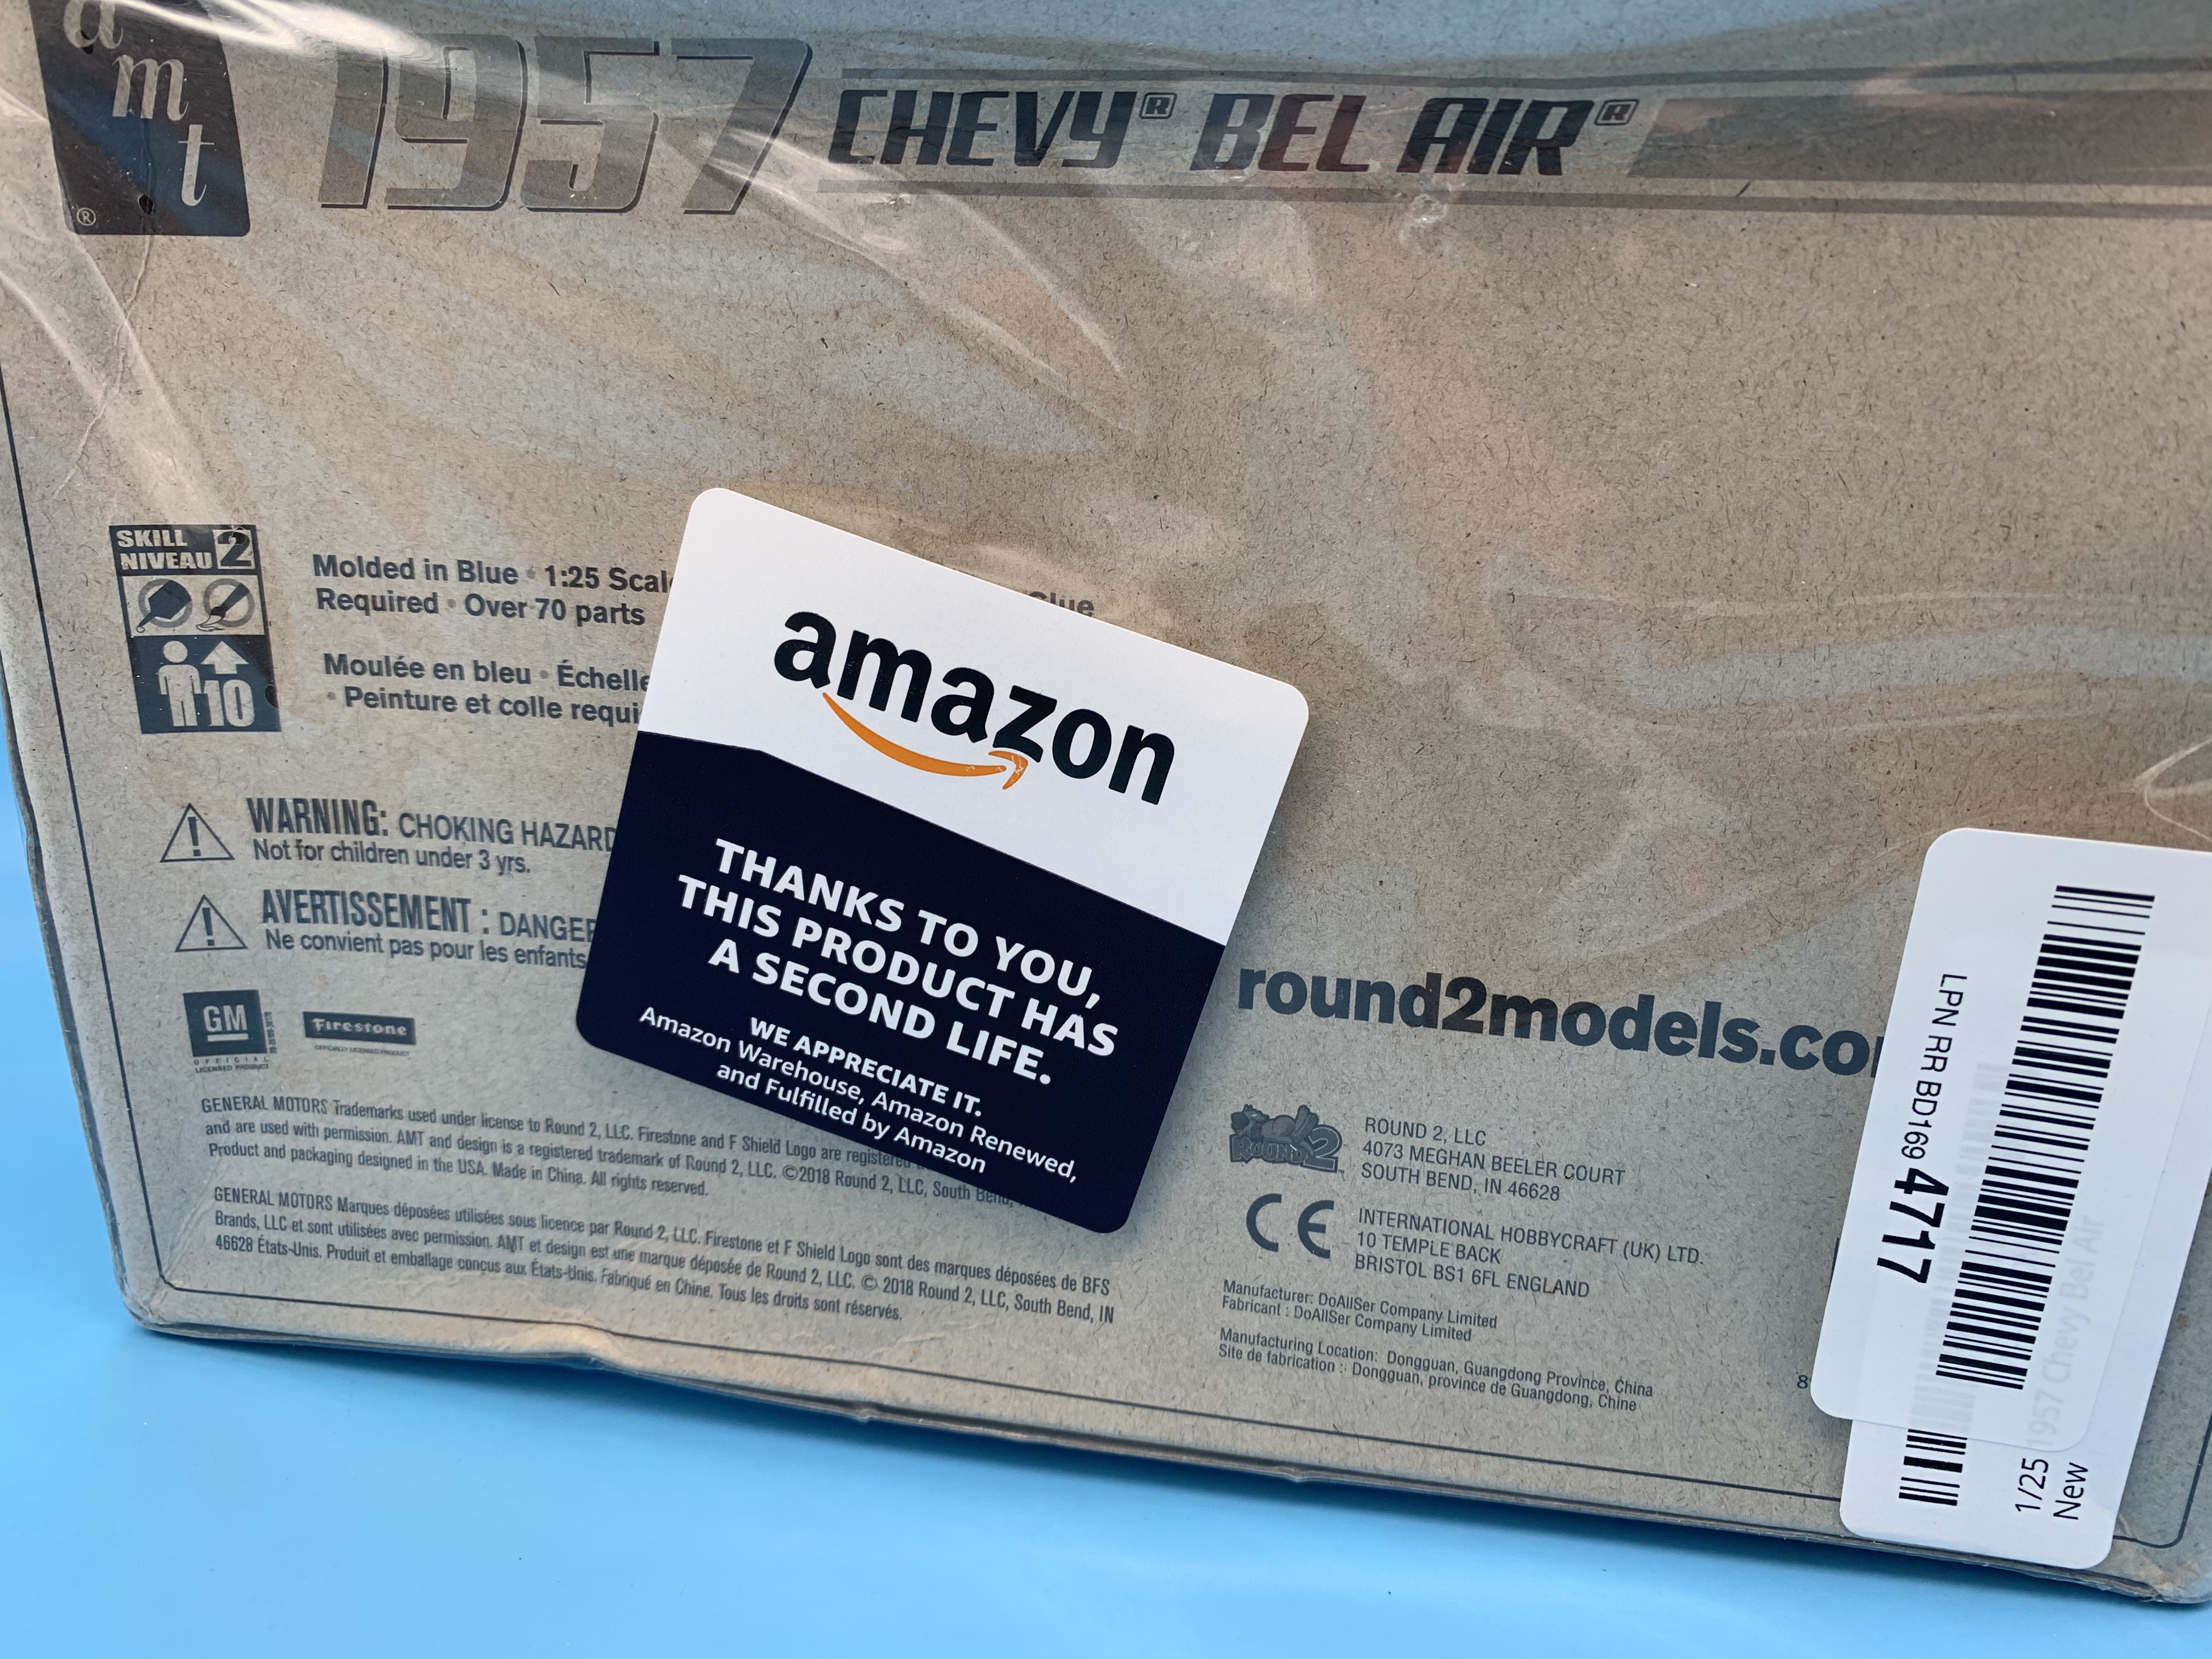
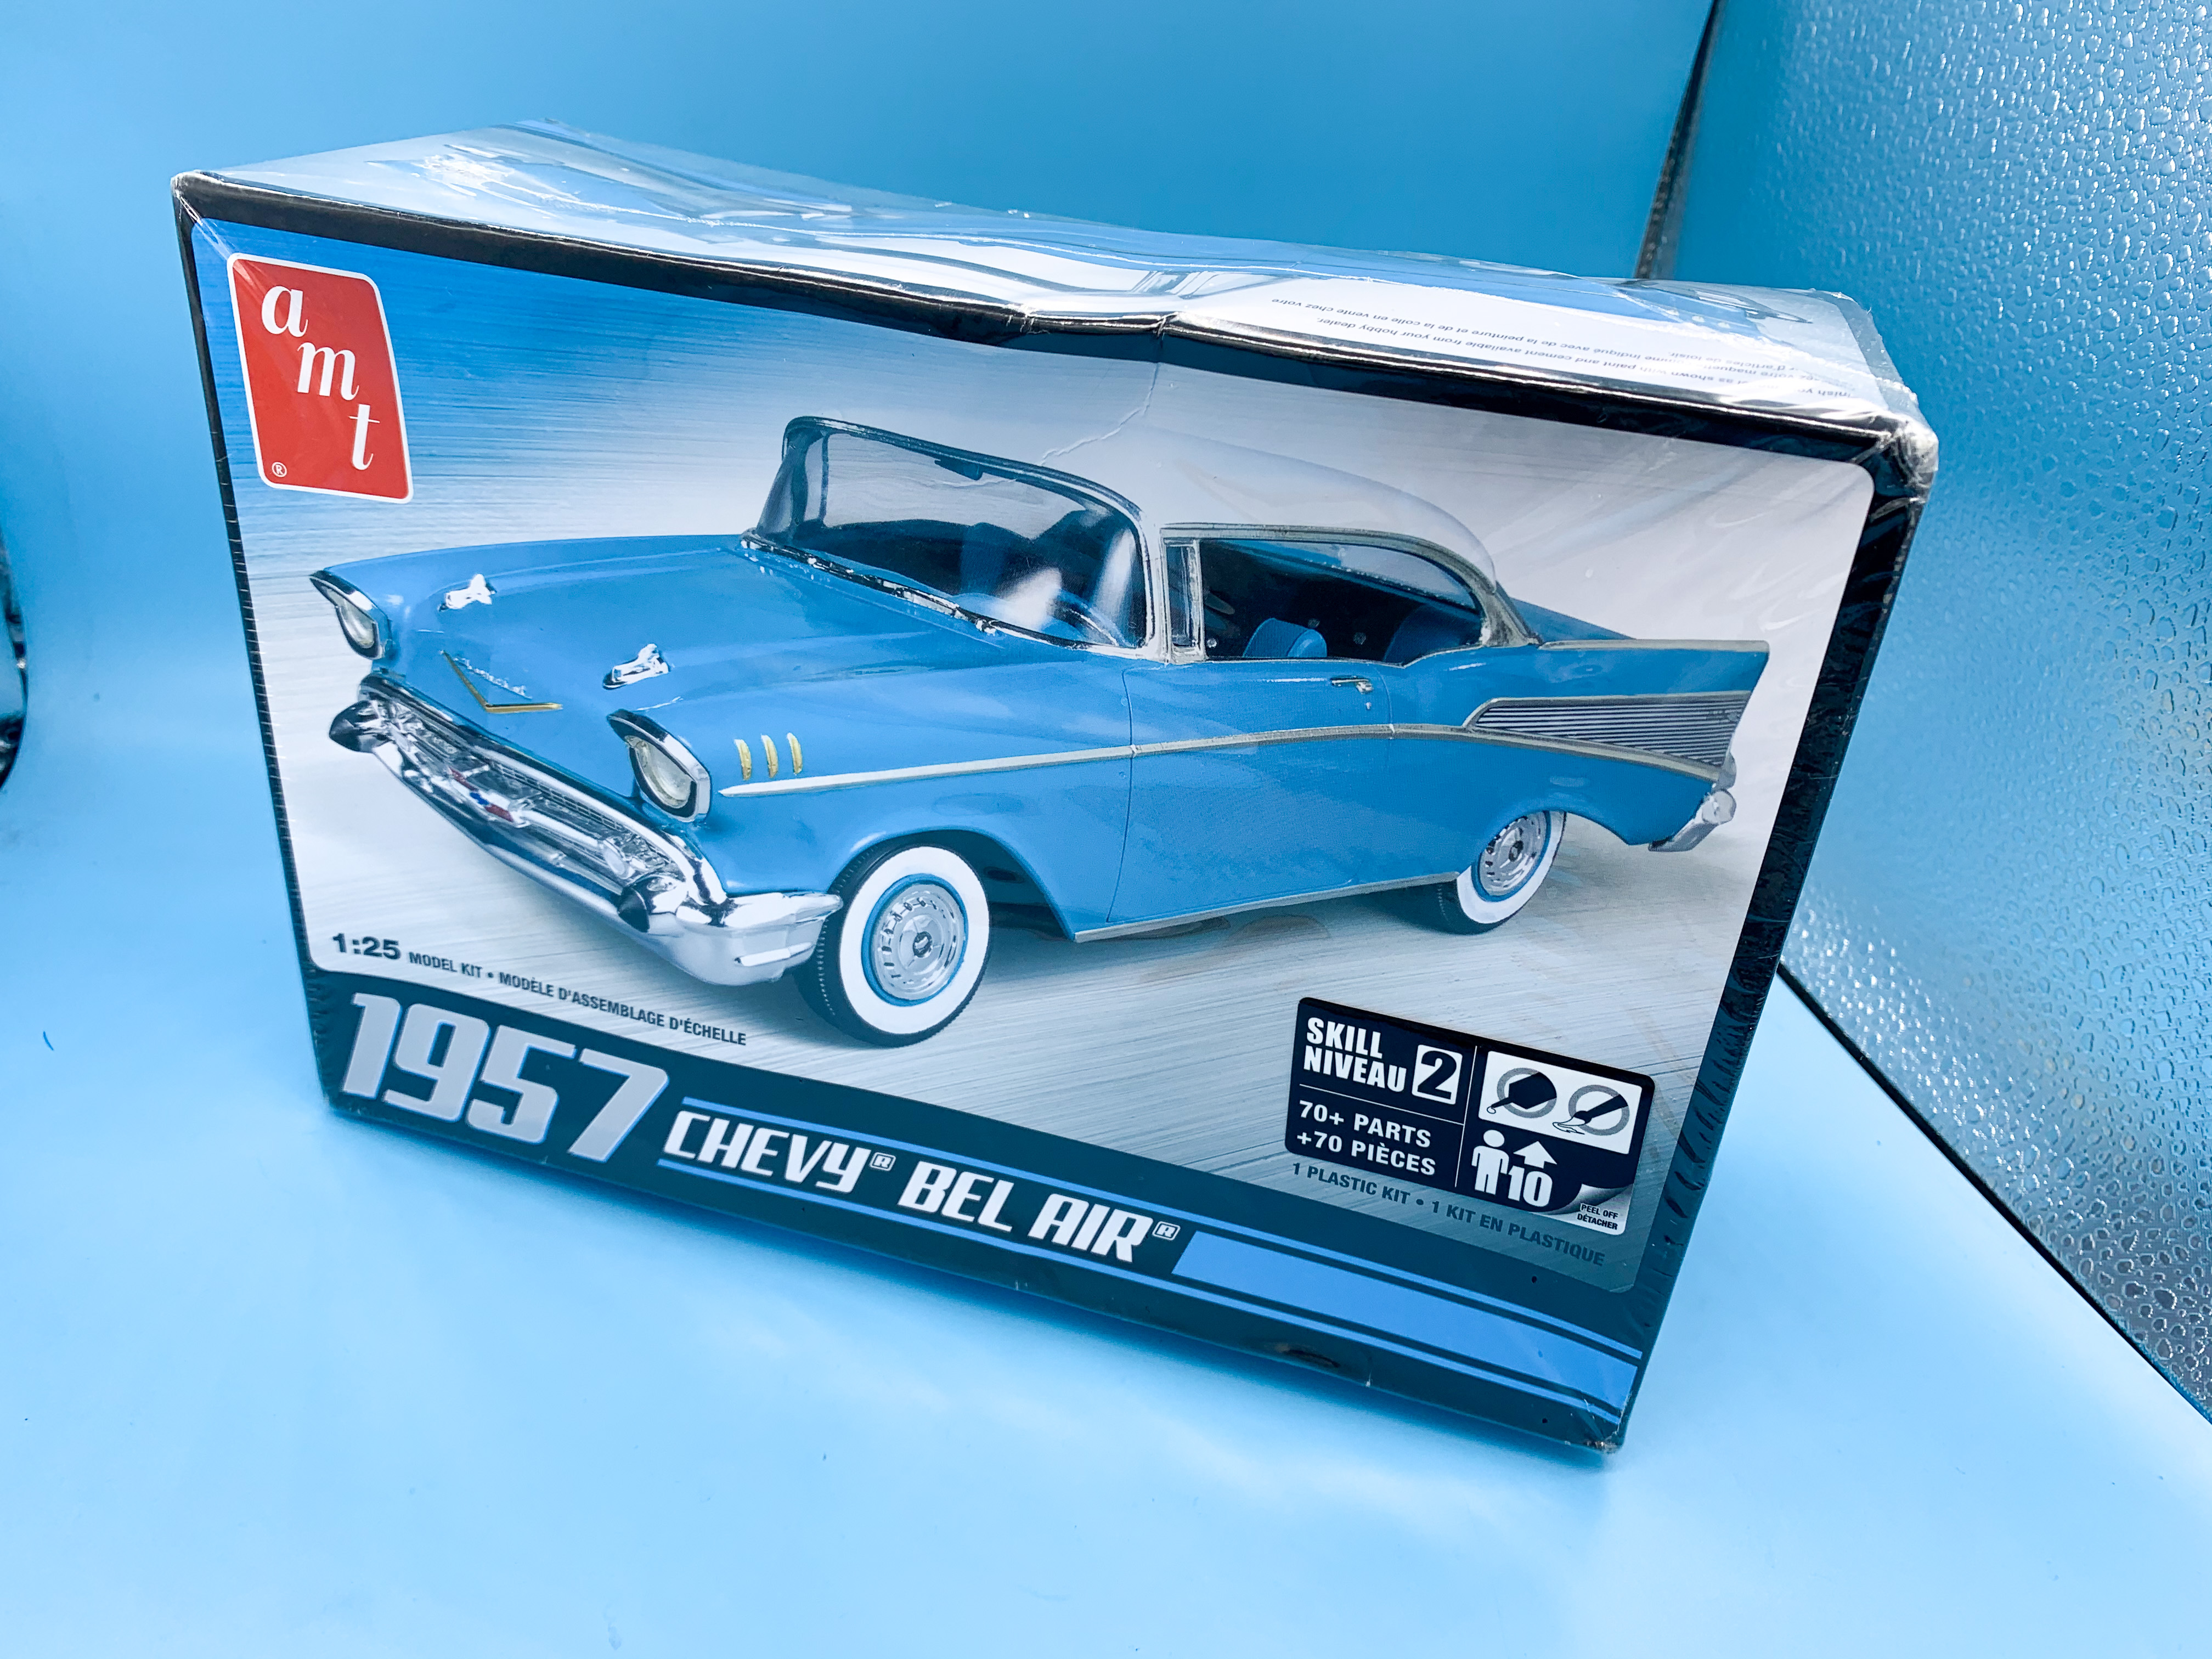
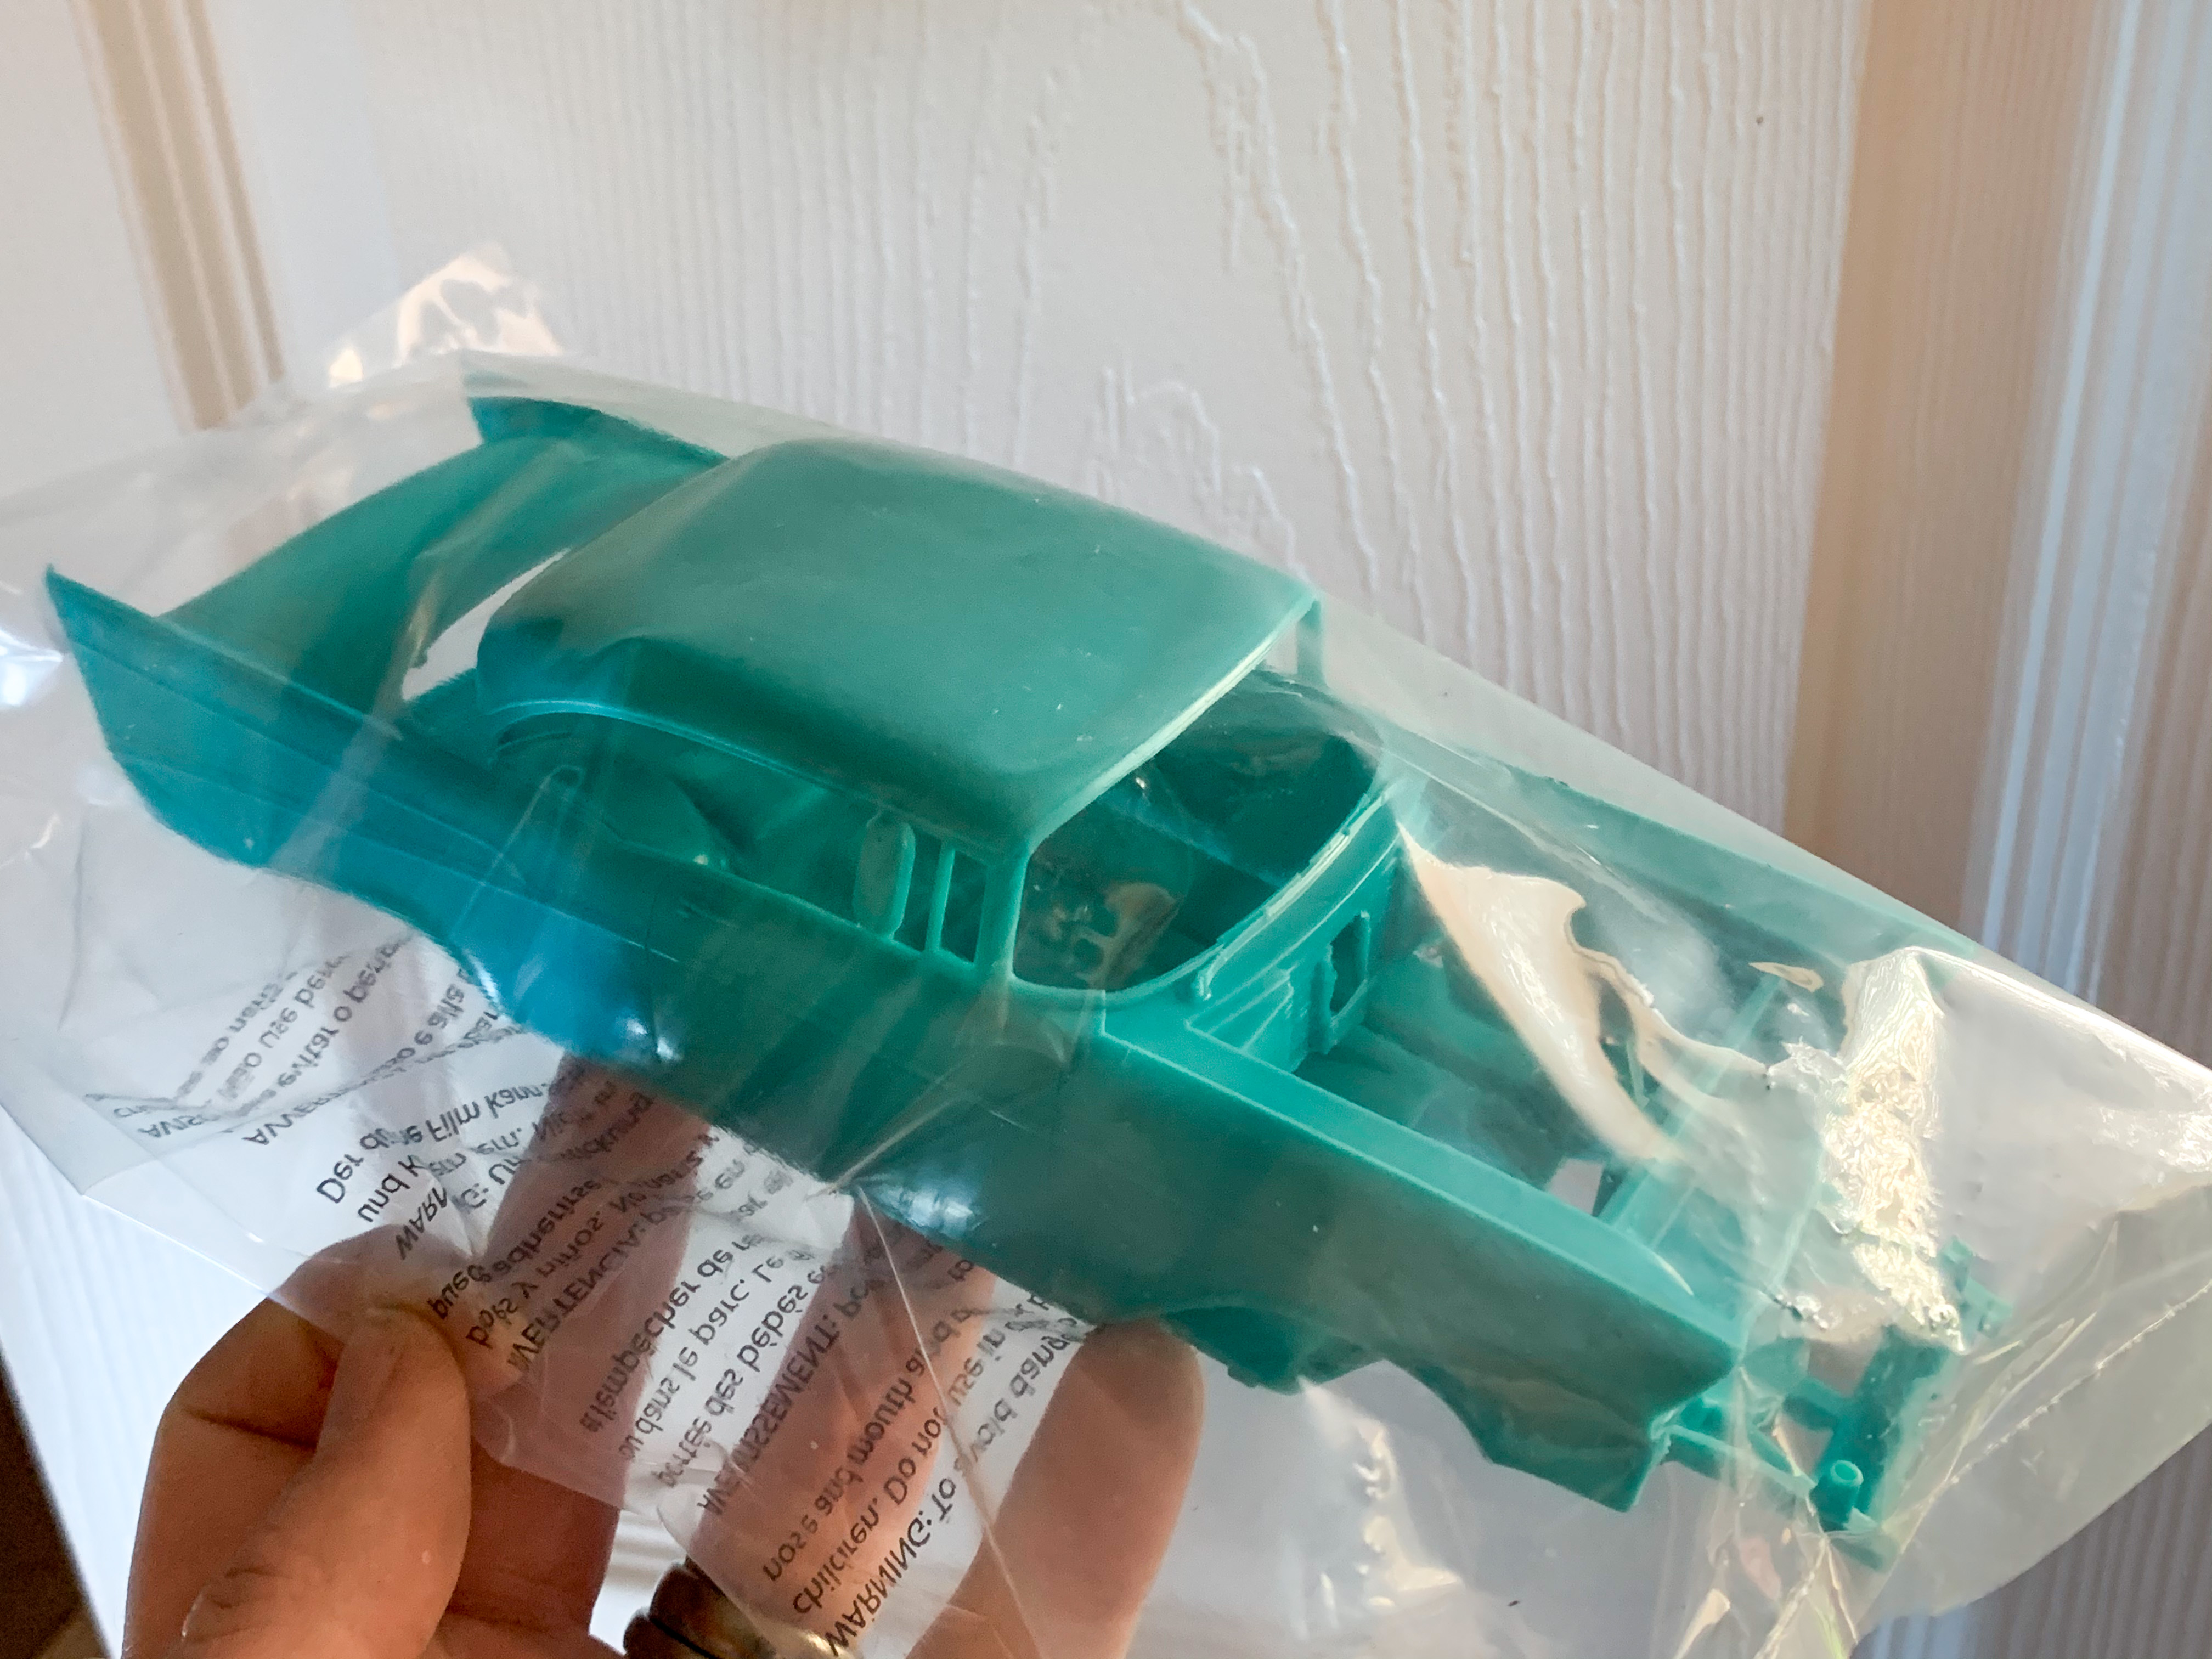
Received mine today. Firstly the box was crushed:

Secondly the car on the box is blue:
And the car inside it is mint green:
Now I have to buy paint, and none of the pieces are attached to each other.Overall, 2/10, lousy kit, wouldn’t buy again 👎🏻
(😂🤪😂🤪😂🤪😂🤪)
-
A few little updates before the weekend...
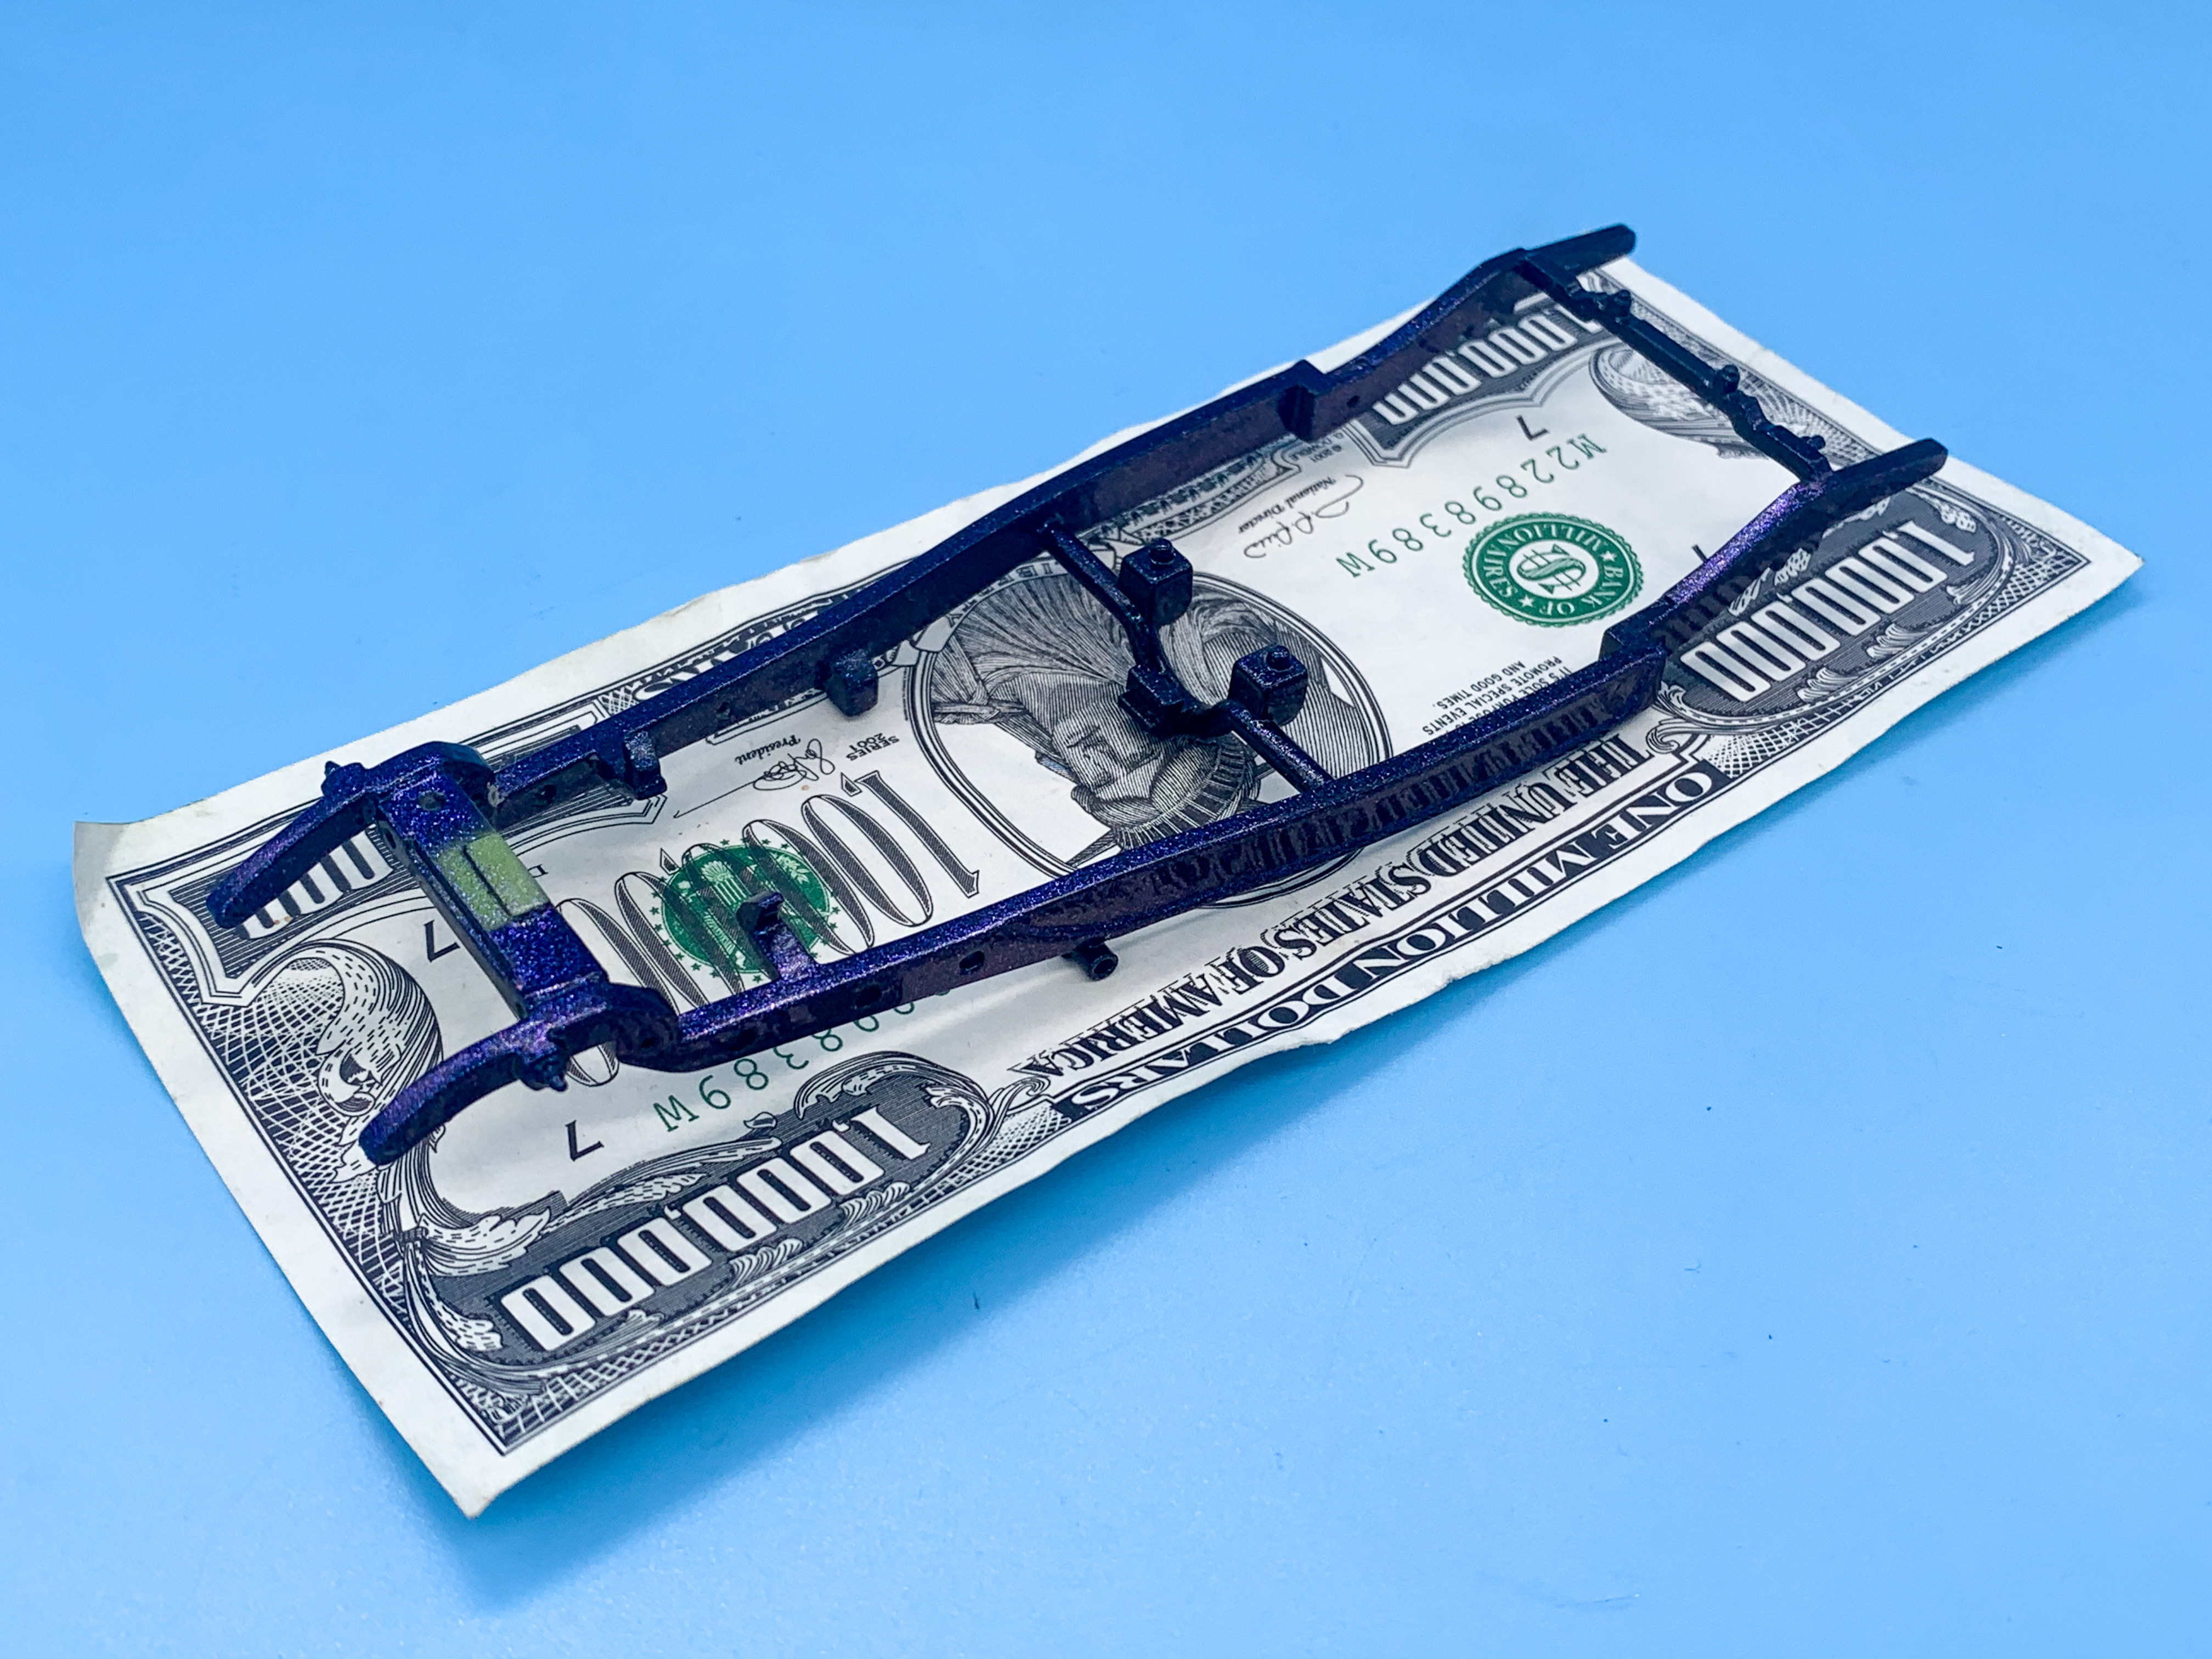
I don’t usually polish my frames but I thought I should start, so I spend an hour or so on this one this week - came out pretty nice!
Need to do a little more to it, but I’m pretty pleased with it as it stands...
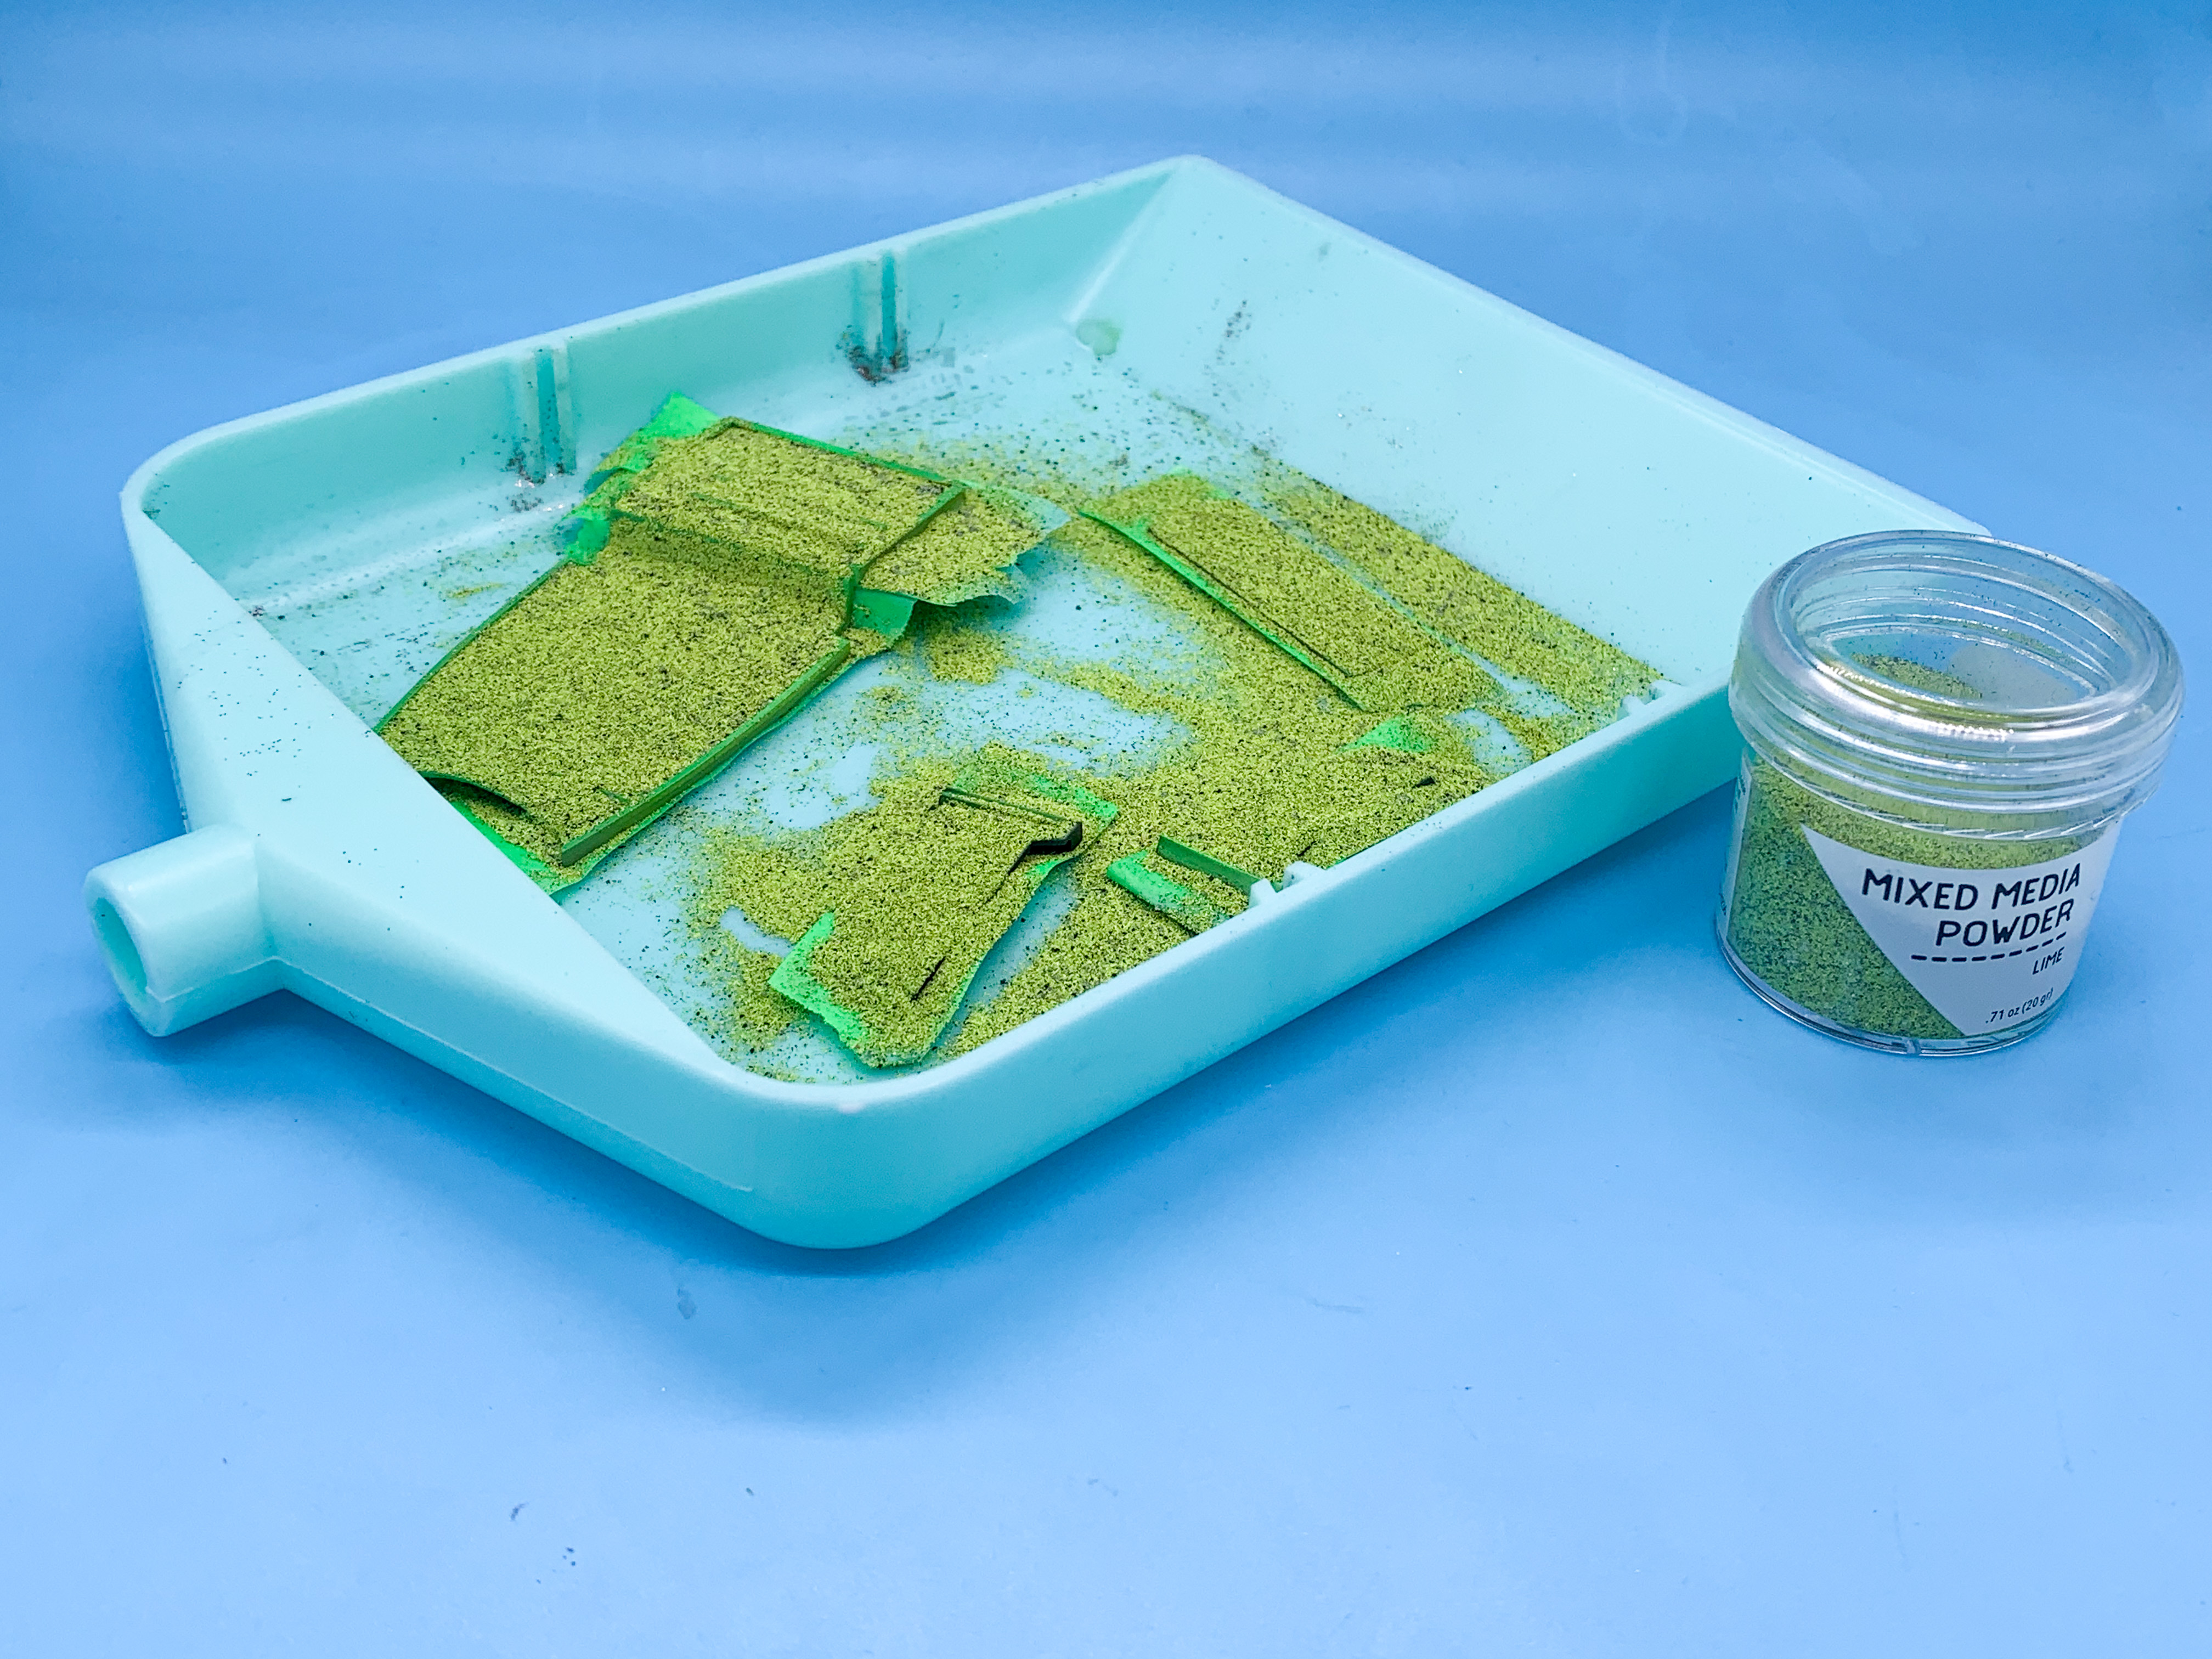
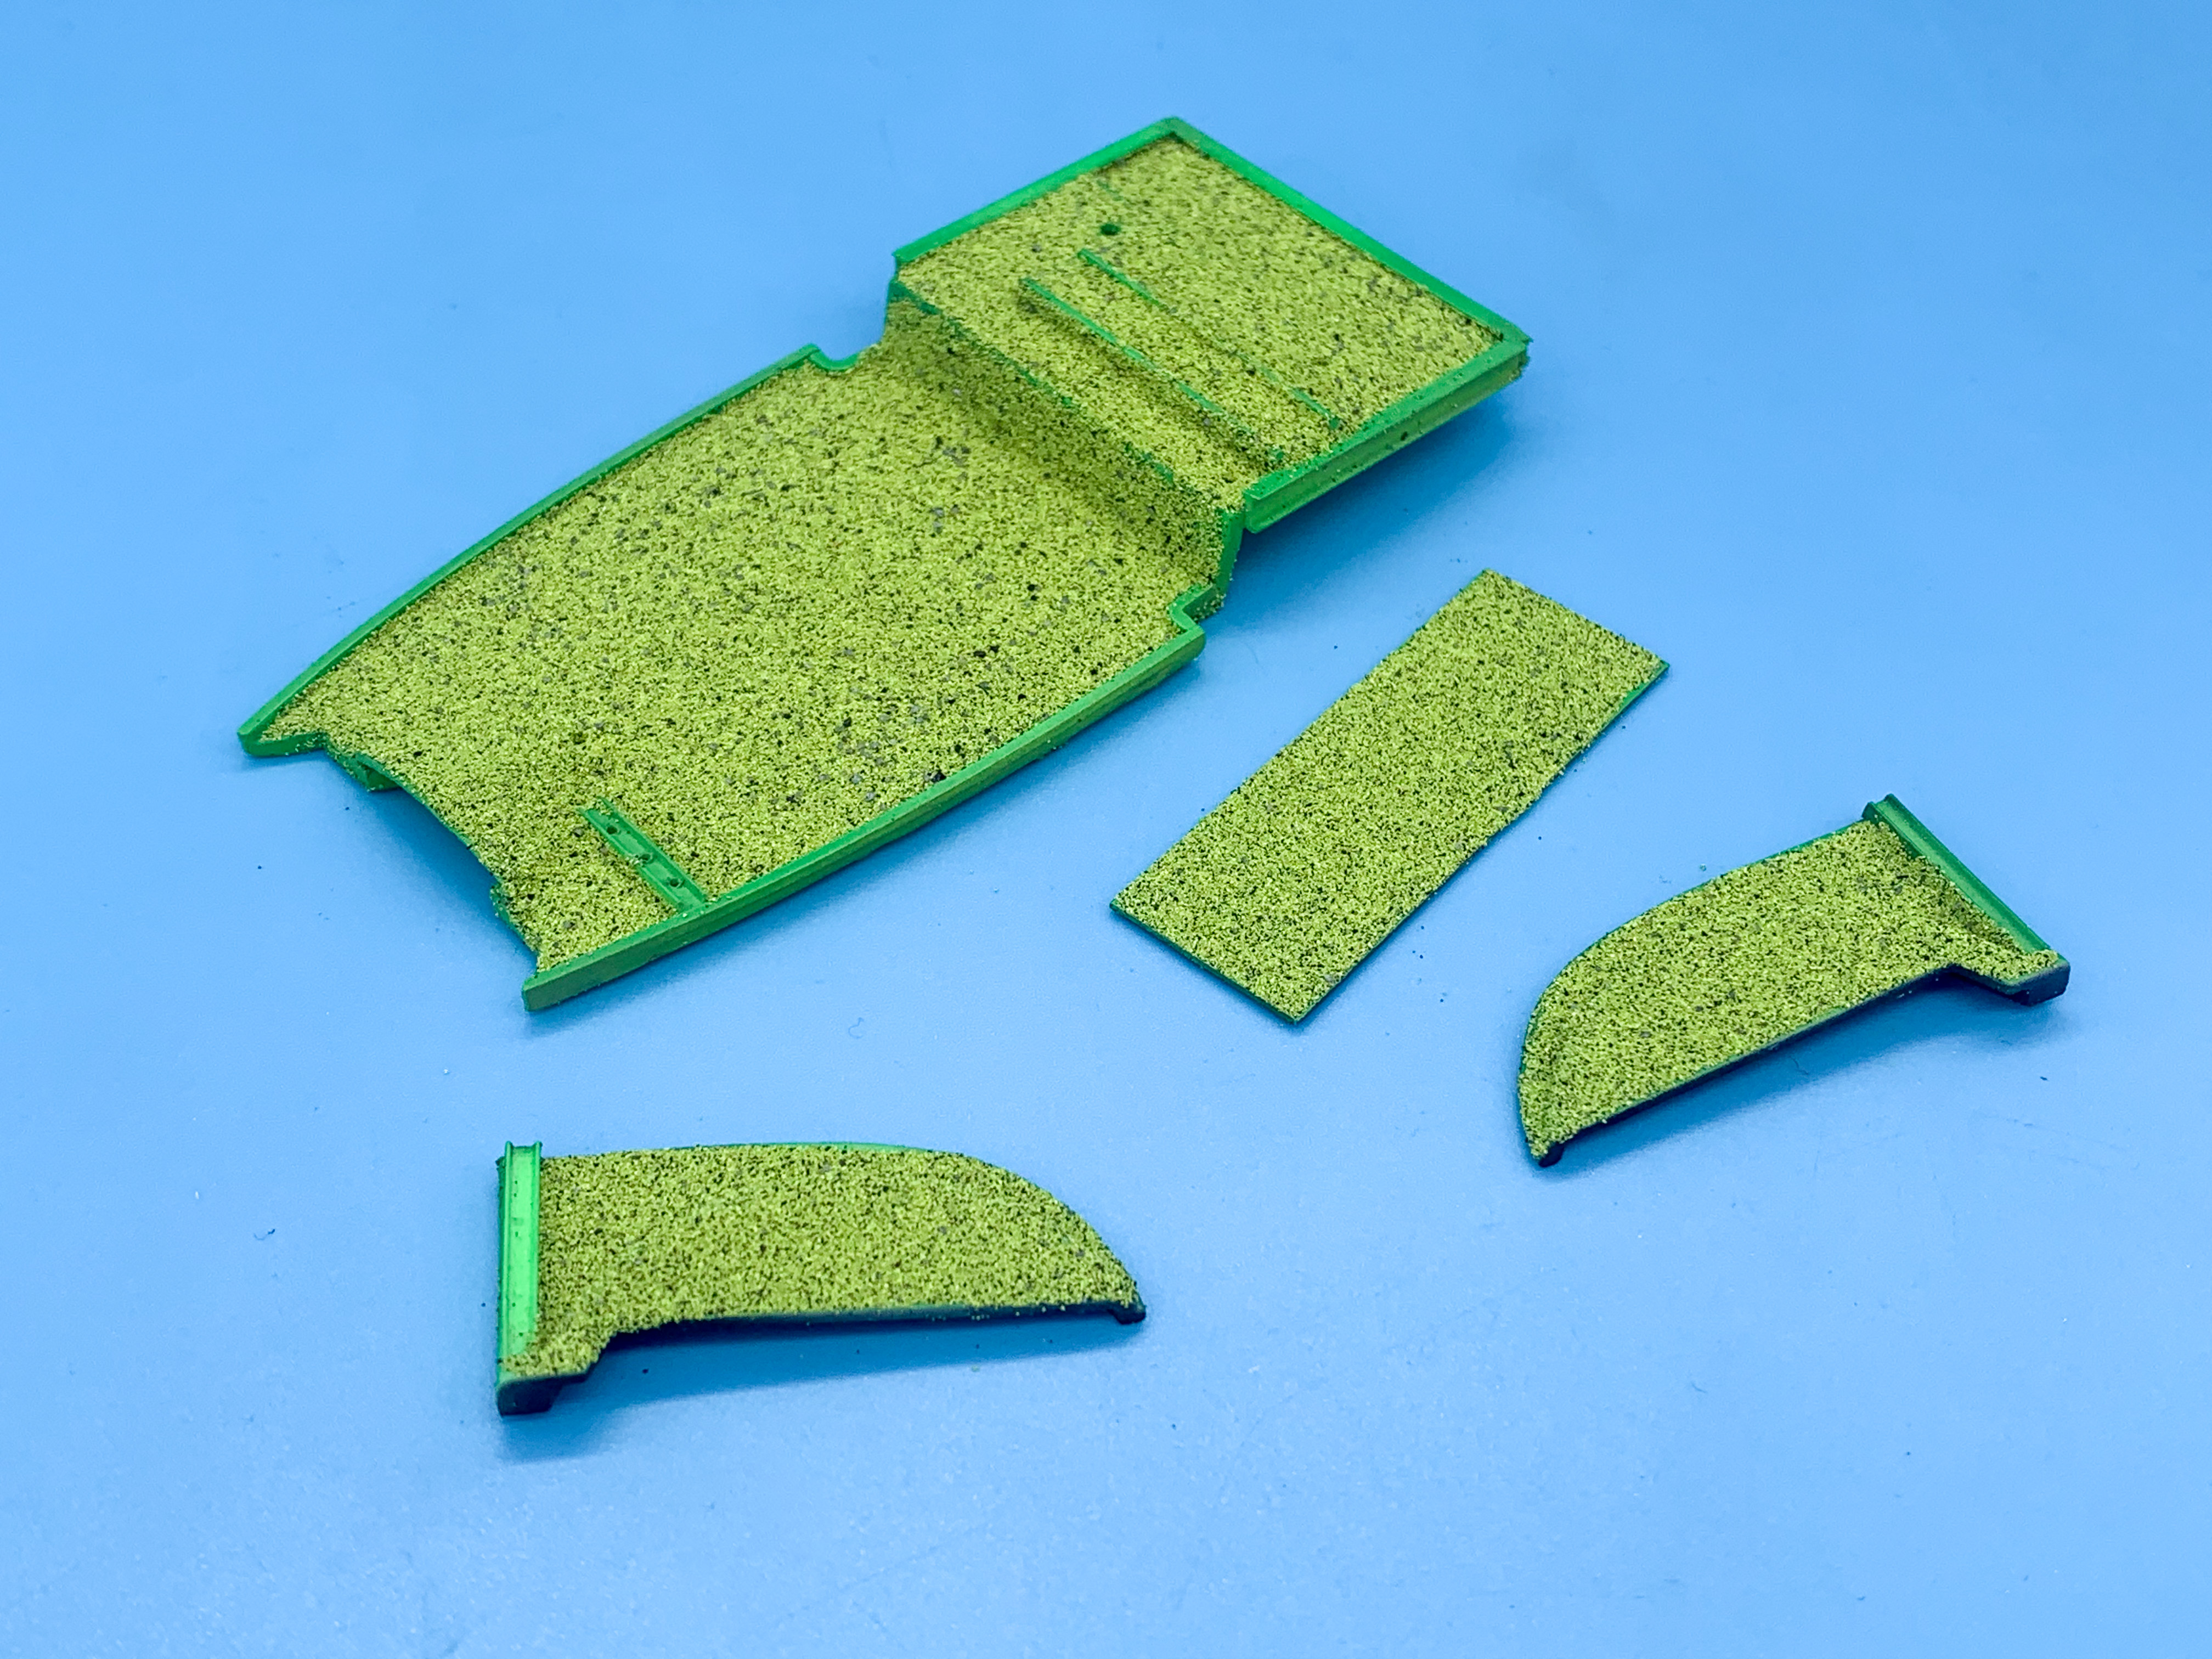
Needed to get some ‘carpet’ on the interior parts before I get too much further so I found some speckled lime-green embossing powder in Hobby Lobby and laid that down over a neon green base (just because I HAD neon green 🤪)
Came out nice I think, although it looks like a mini-golf course 🤷♂️😂
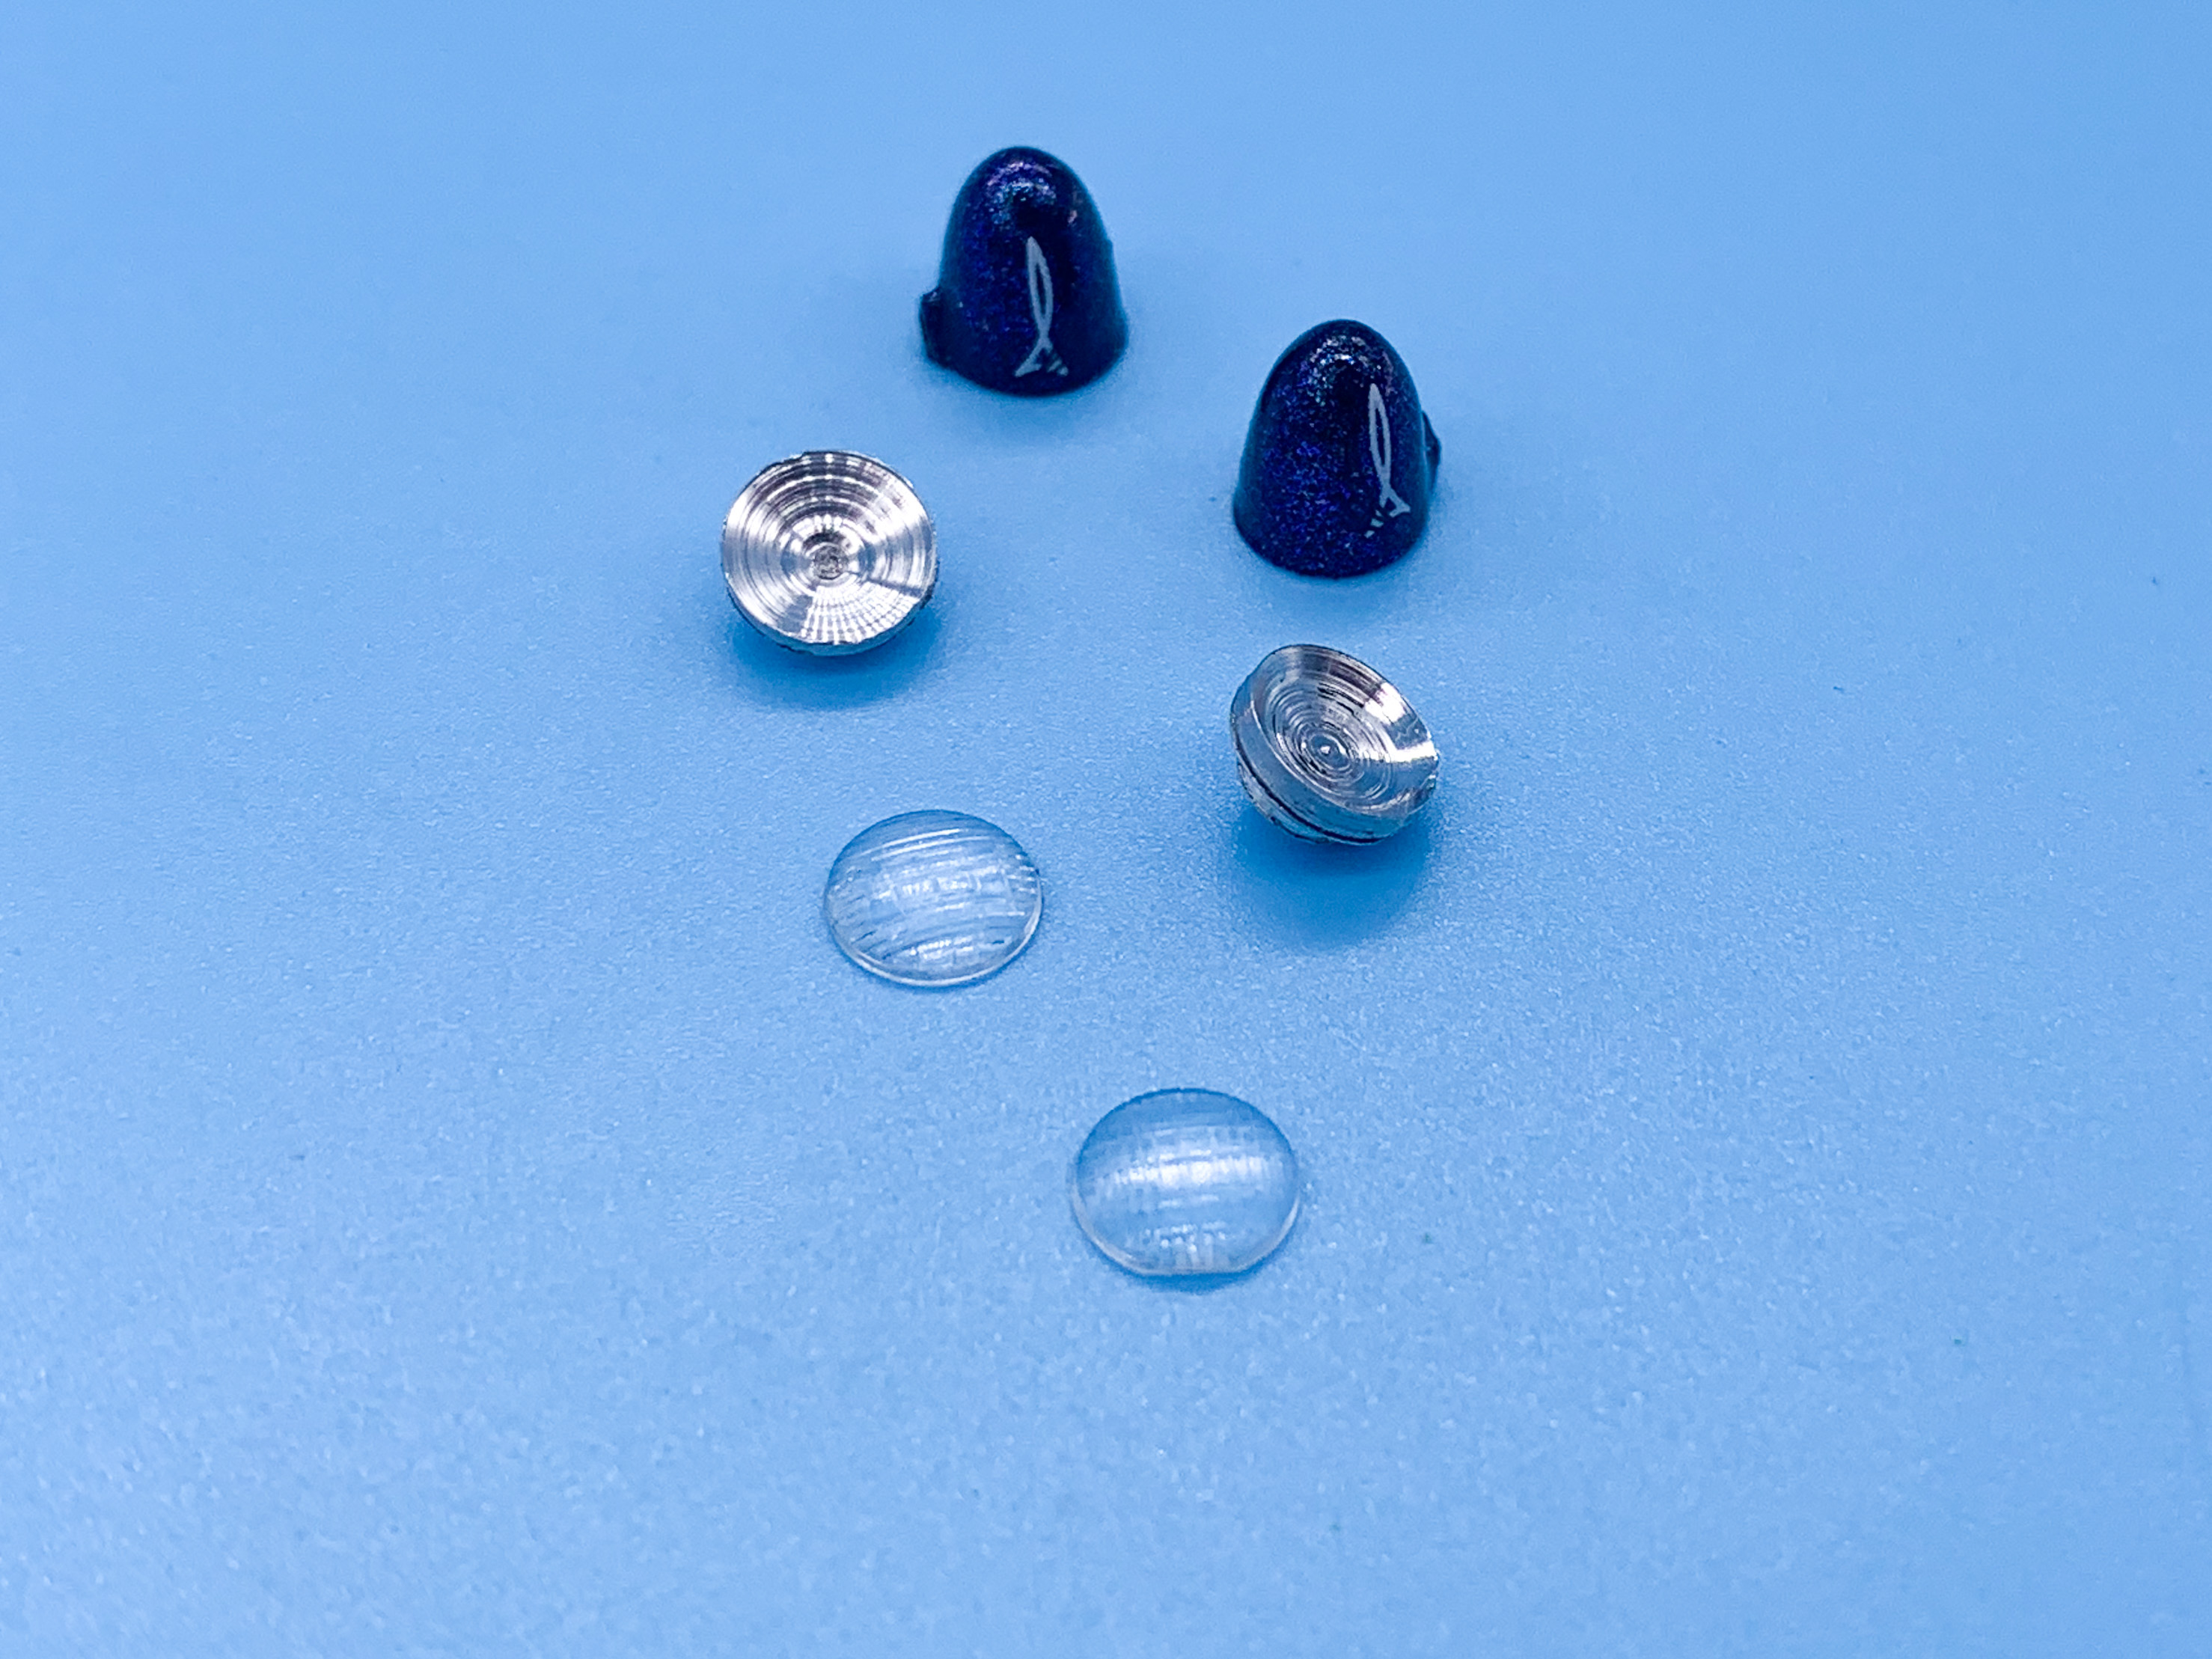
And finally, fired up the metal-roundener to to make some headlight buckets for those little AMT headlamps - they still need some clean-up and finishing off but they’ll look cool when they’re all shiny I think:
More soon!
-
Tried applying flocking with Arleene’s Tacky Glue instead of the Elmer’s that I normally use. Arleene’s seems to be a lot stickier so I figured it would work better - and it did!
Nice even coverage and no patchy bits like I always seemed to get when using paint or Elmer’s. Will definitely do it this way in future! -
Unrelated, but I like that clear steering wheel Tom!
-
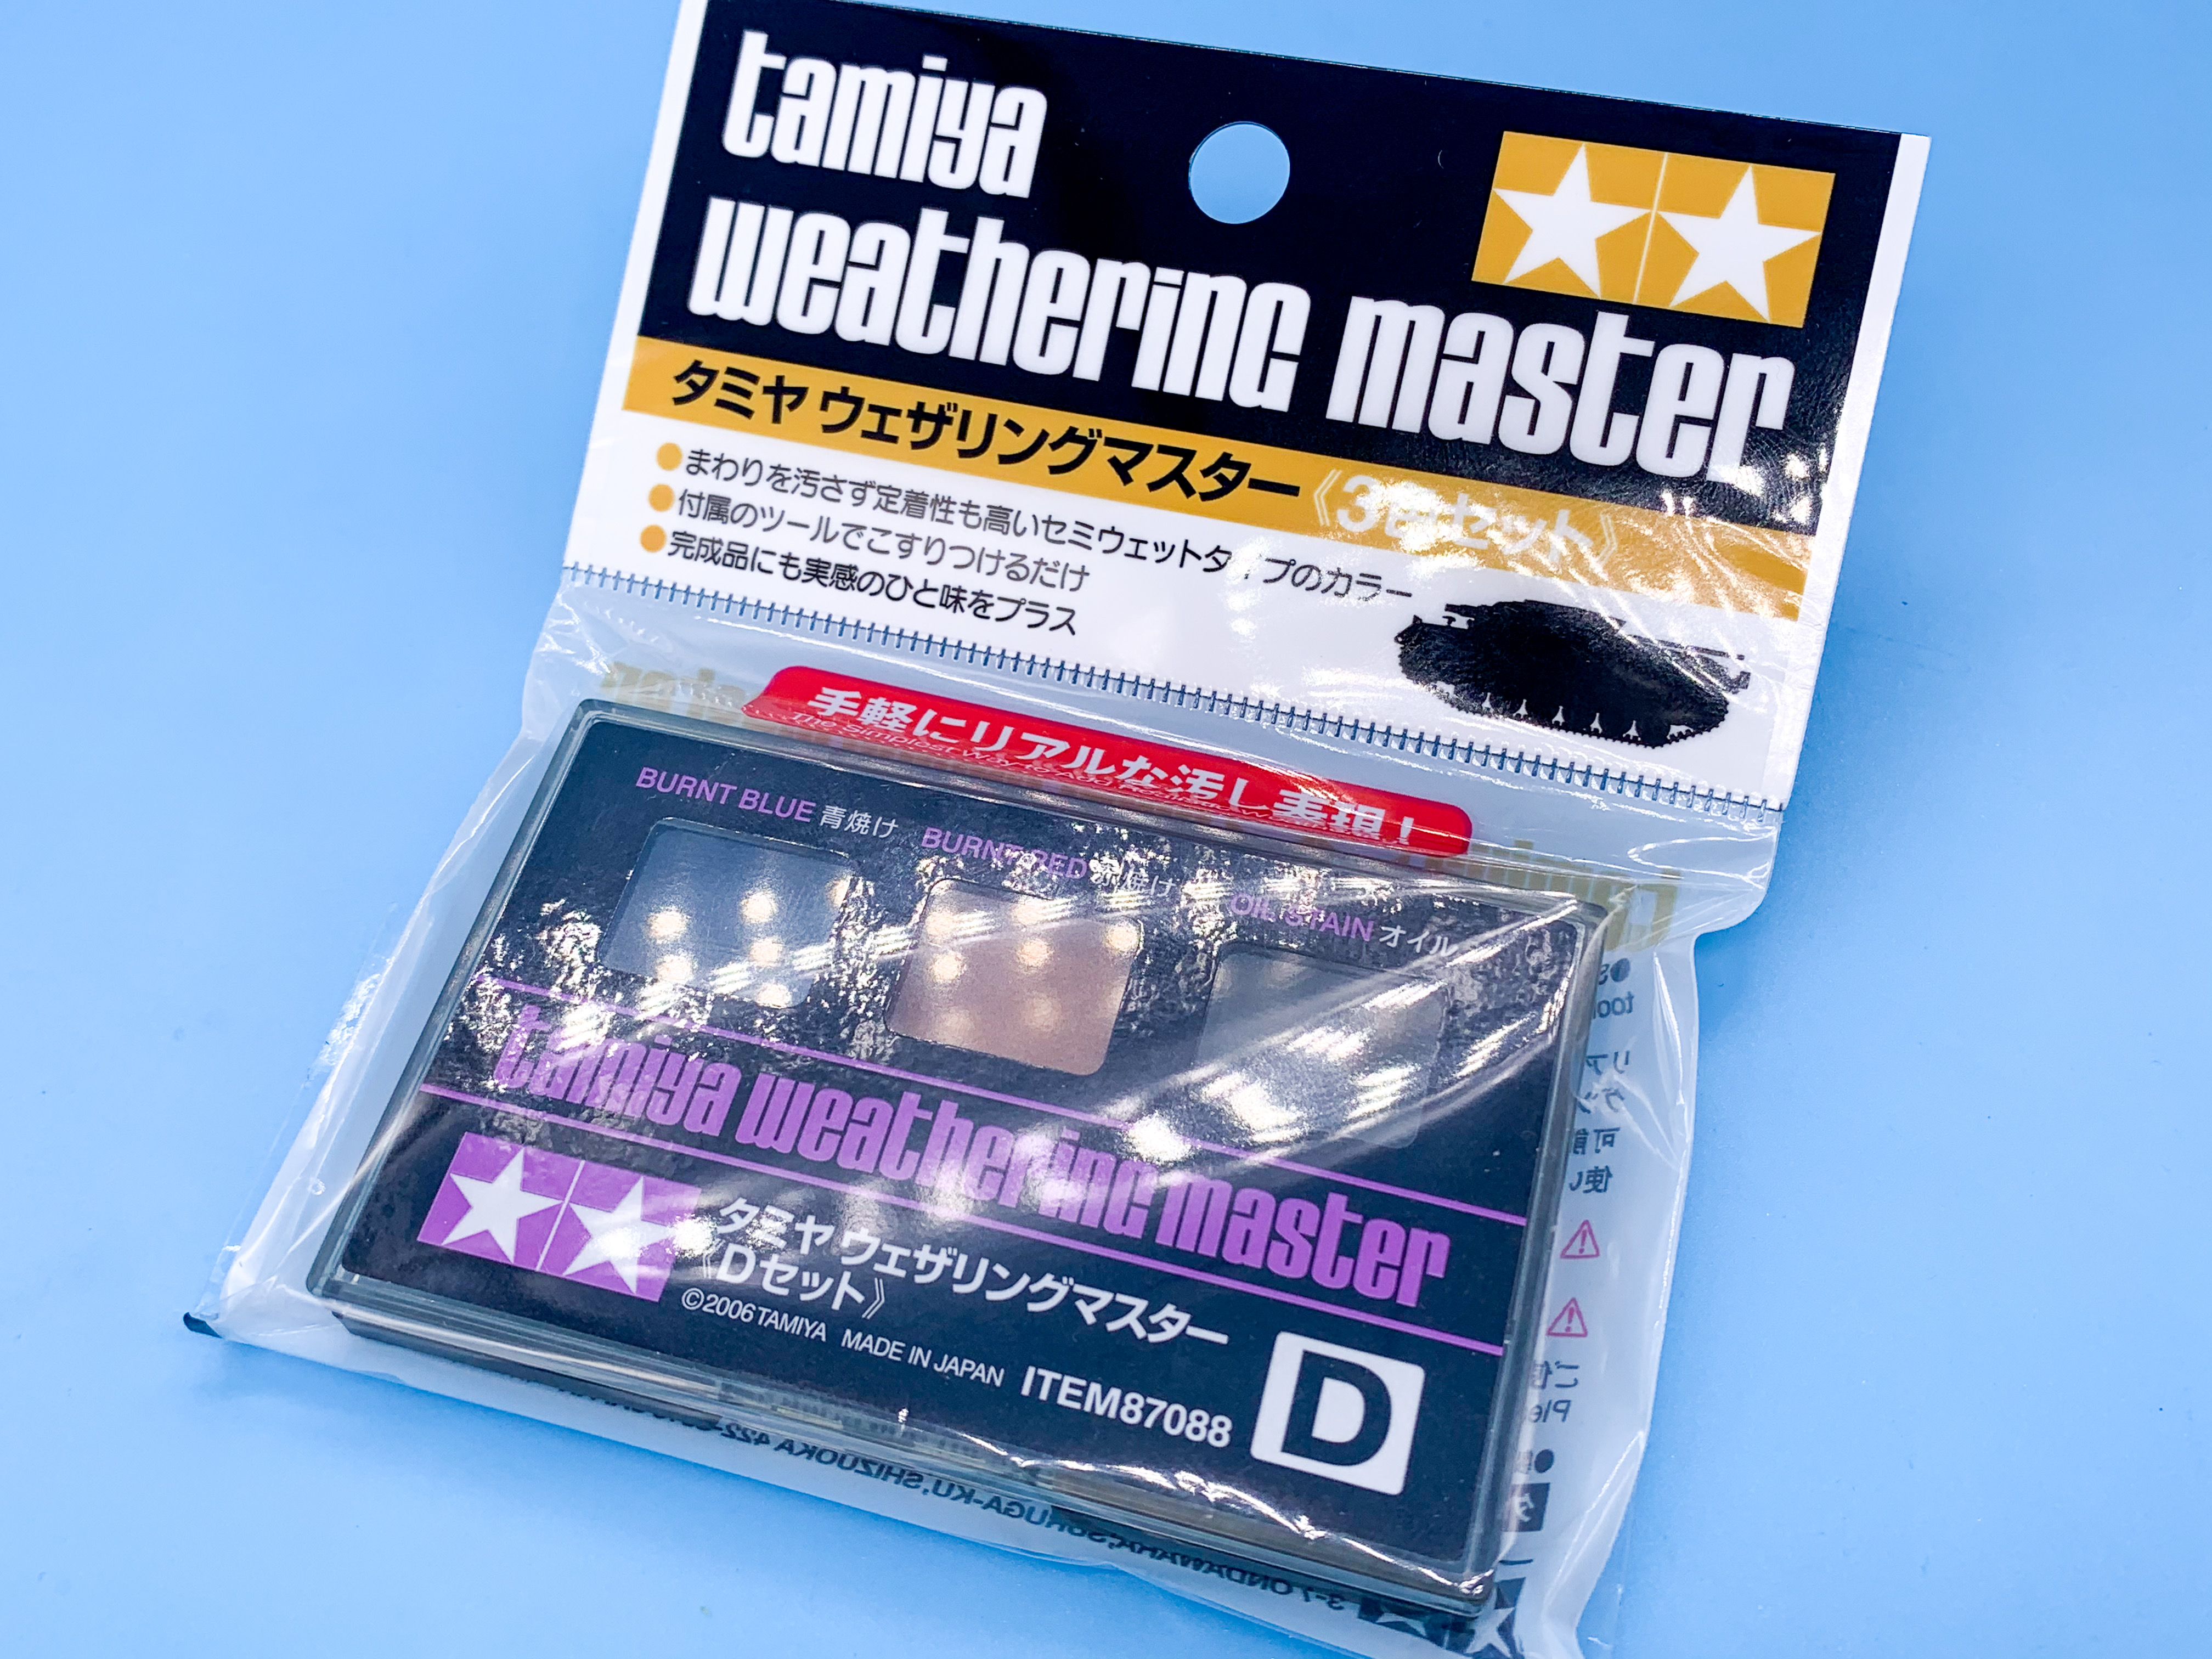
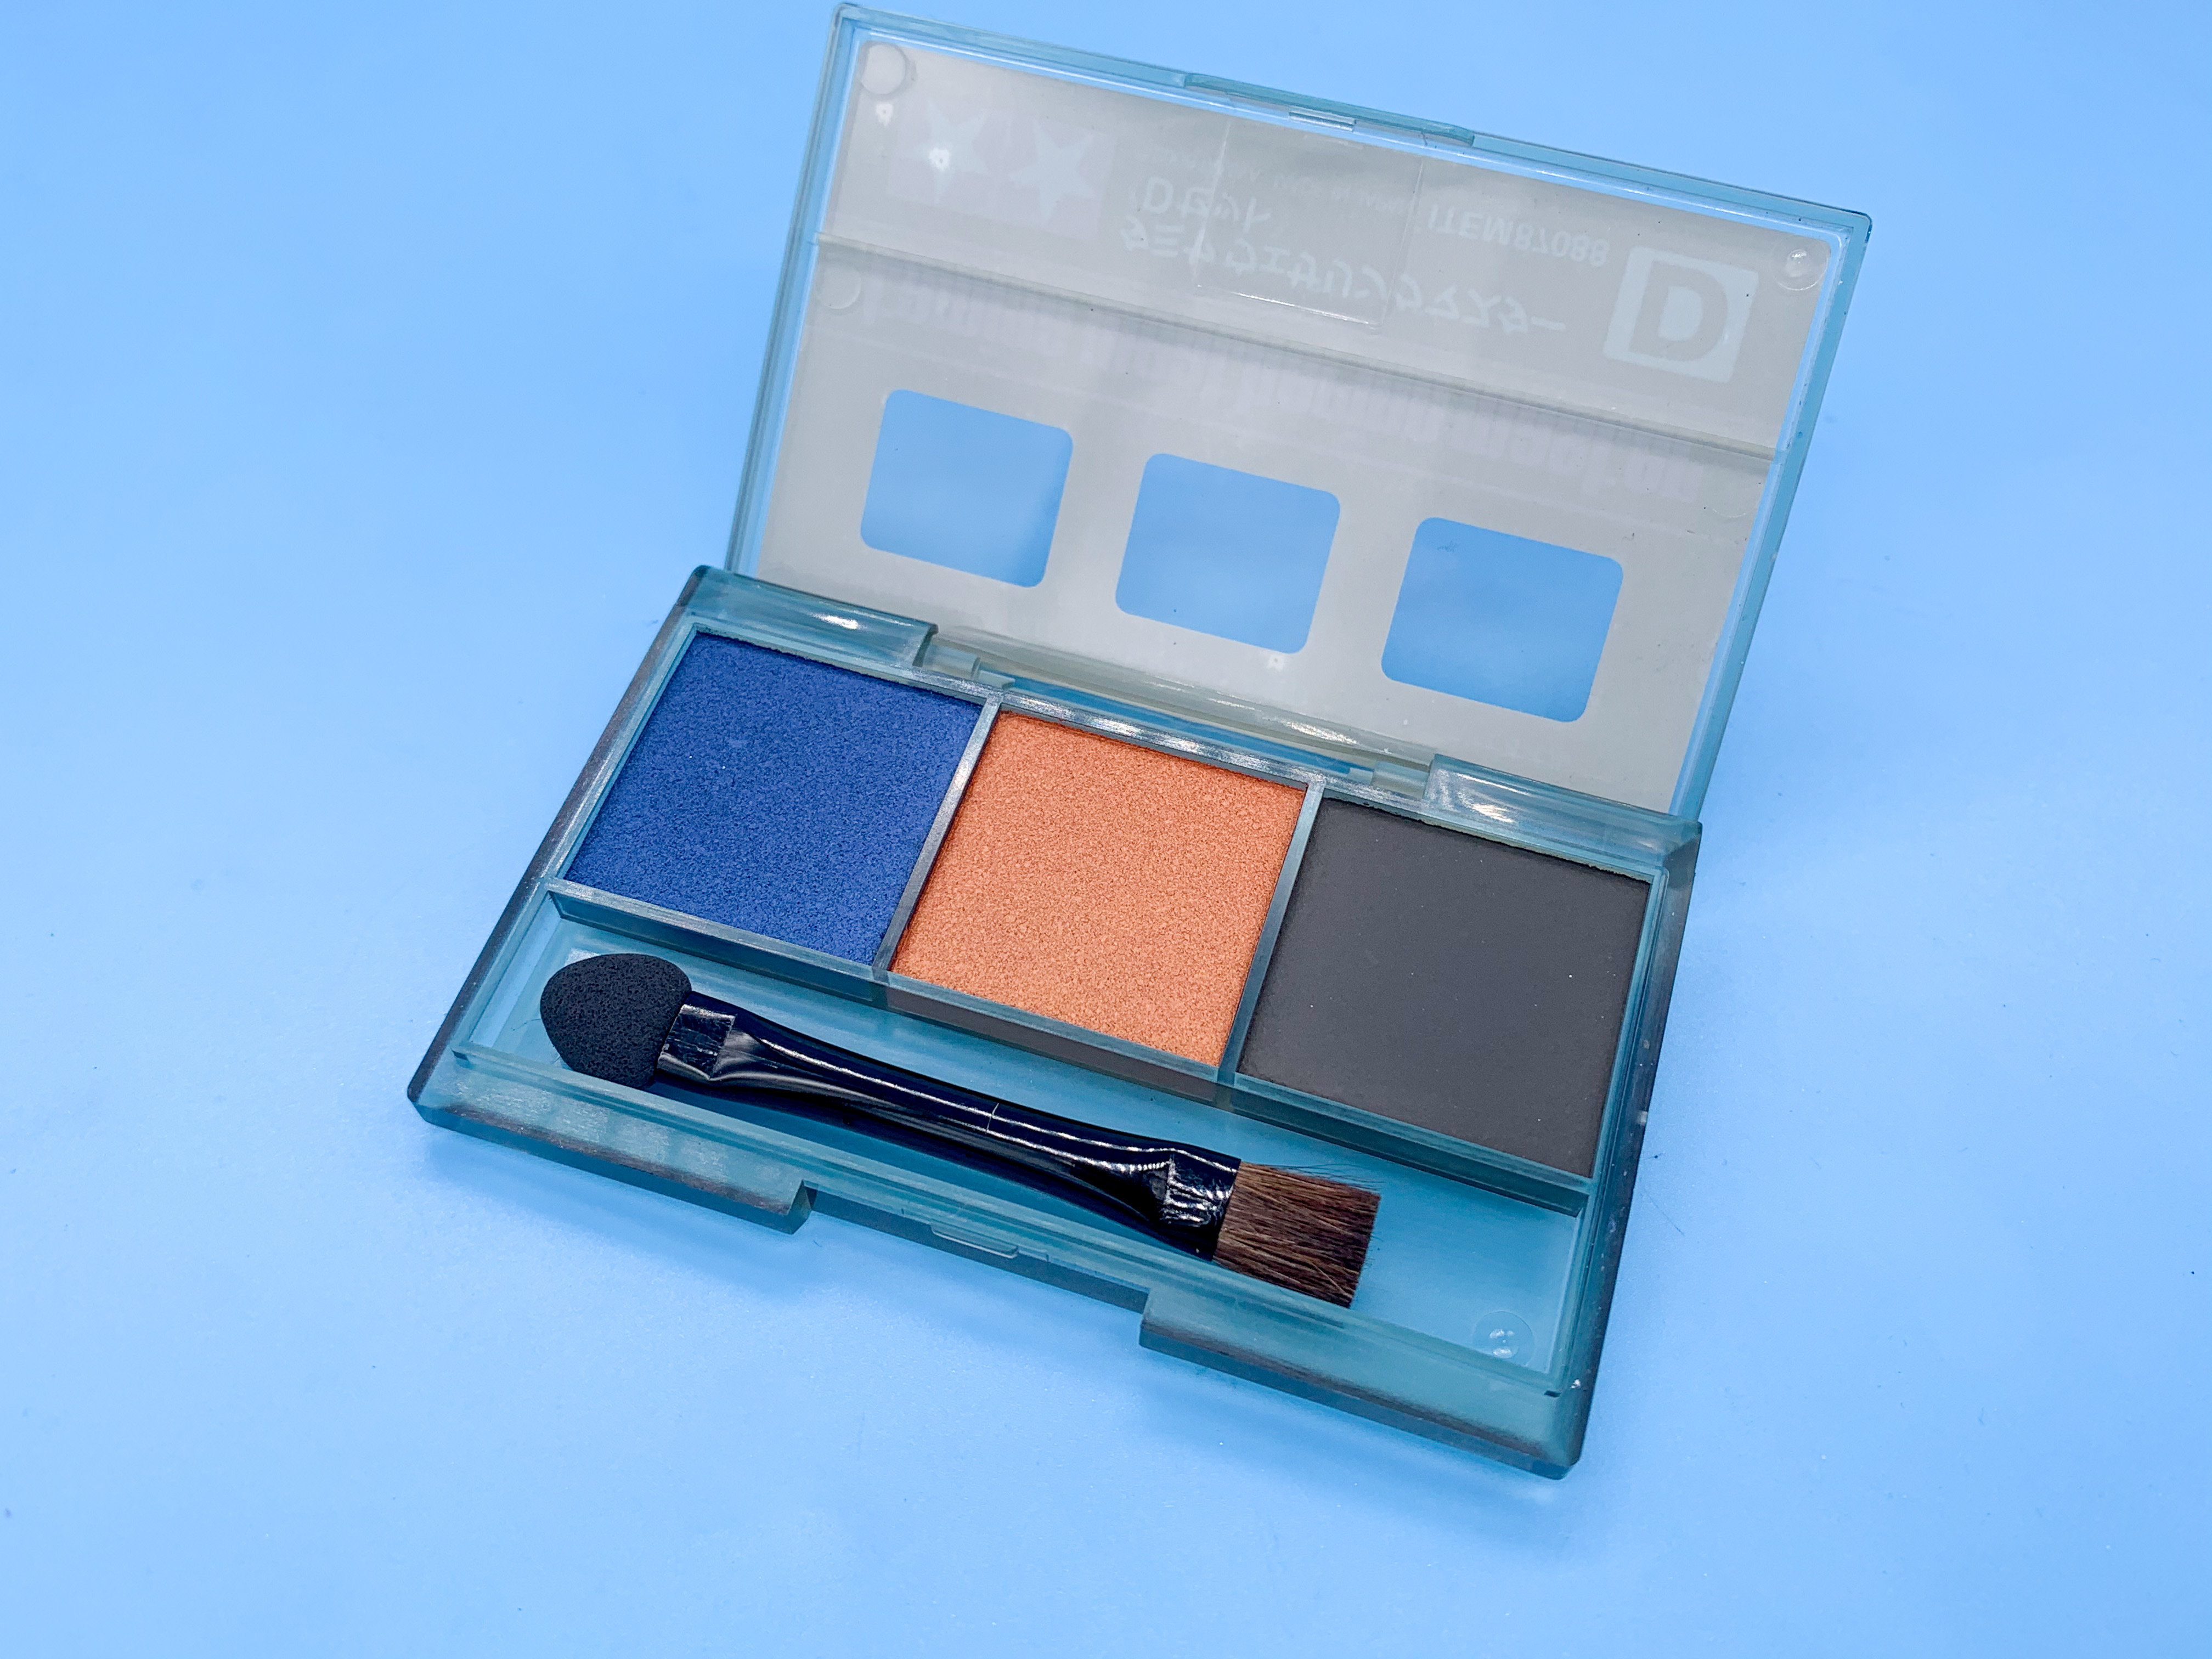
Picked up one of those Tamiya weathering sets to try out - excited to see how it works:
Looks like make-up!
And ordered myself an AMT 57 Chevy seeing as there’s that one thread talking about them right now:
Molded in mint green, which I wasn’t expecting!
-
On 4/27/2021 at 3:23 PM, hedotwo said:
I won't go back to Alclad or Spaz Stix for the things I now airbrush with Molotow as in my opinion the Molotow has a much better shine.
I agree with this too - although for more ‘vintage’ looking chrome I like the look of Alclad still too. Different looks completely, I think - which makes them both useful!
-
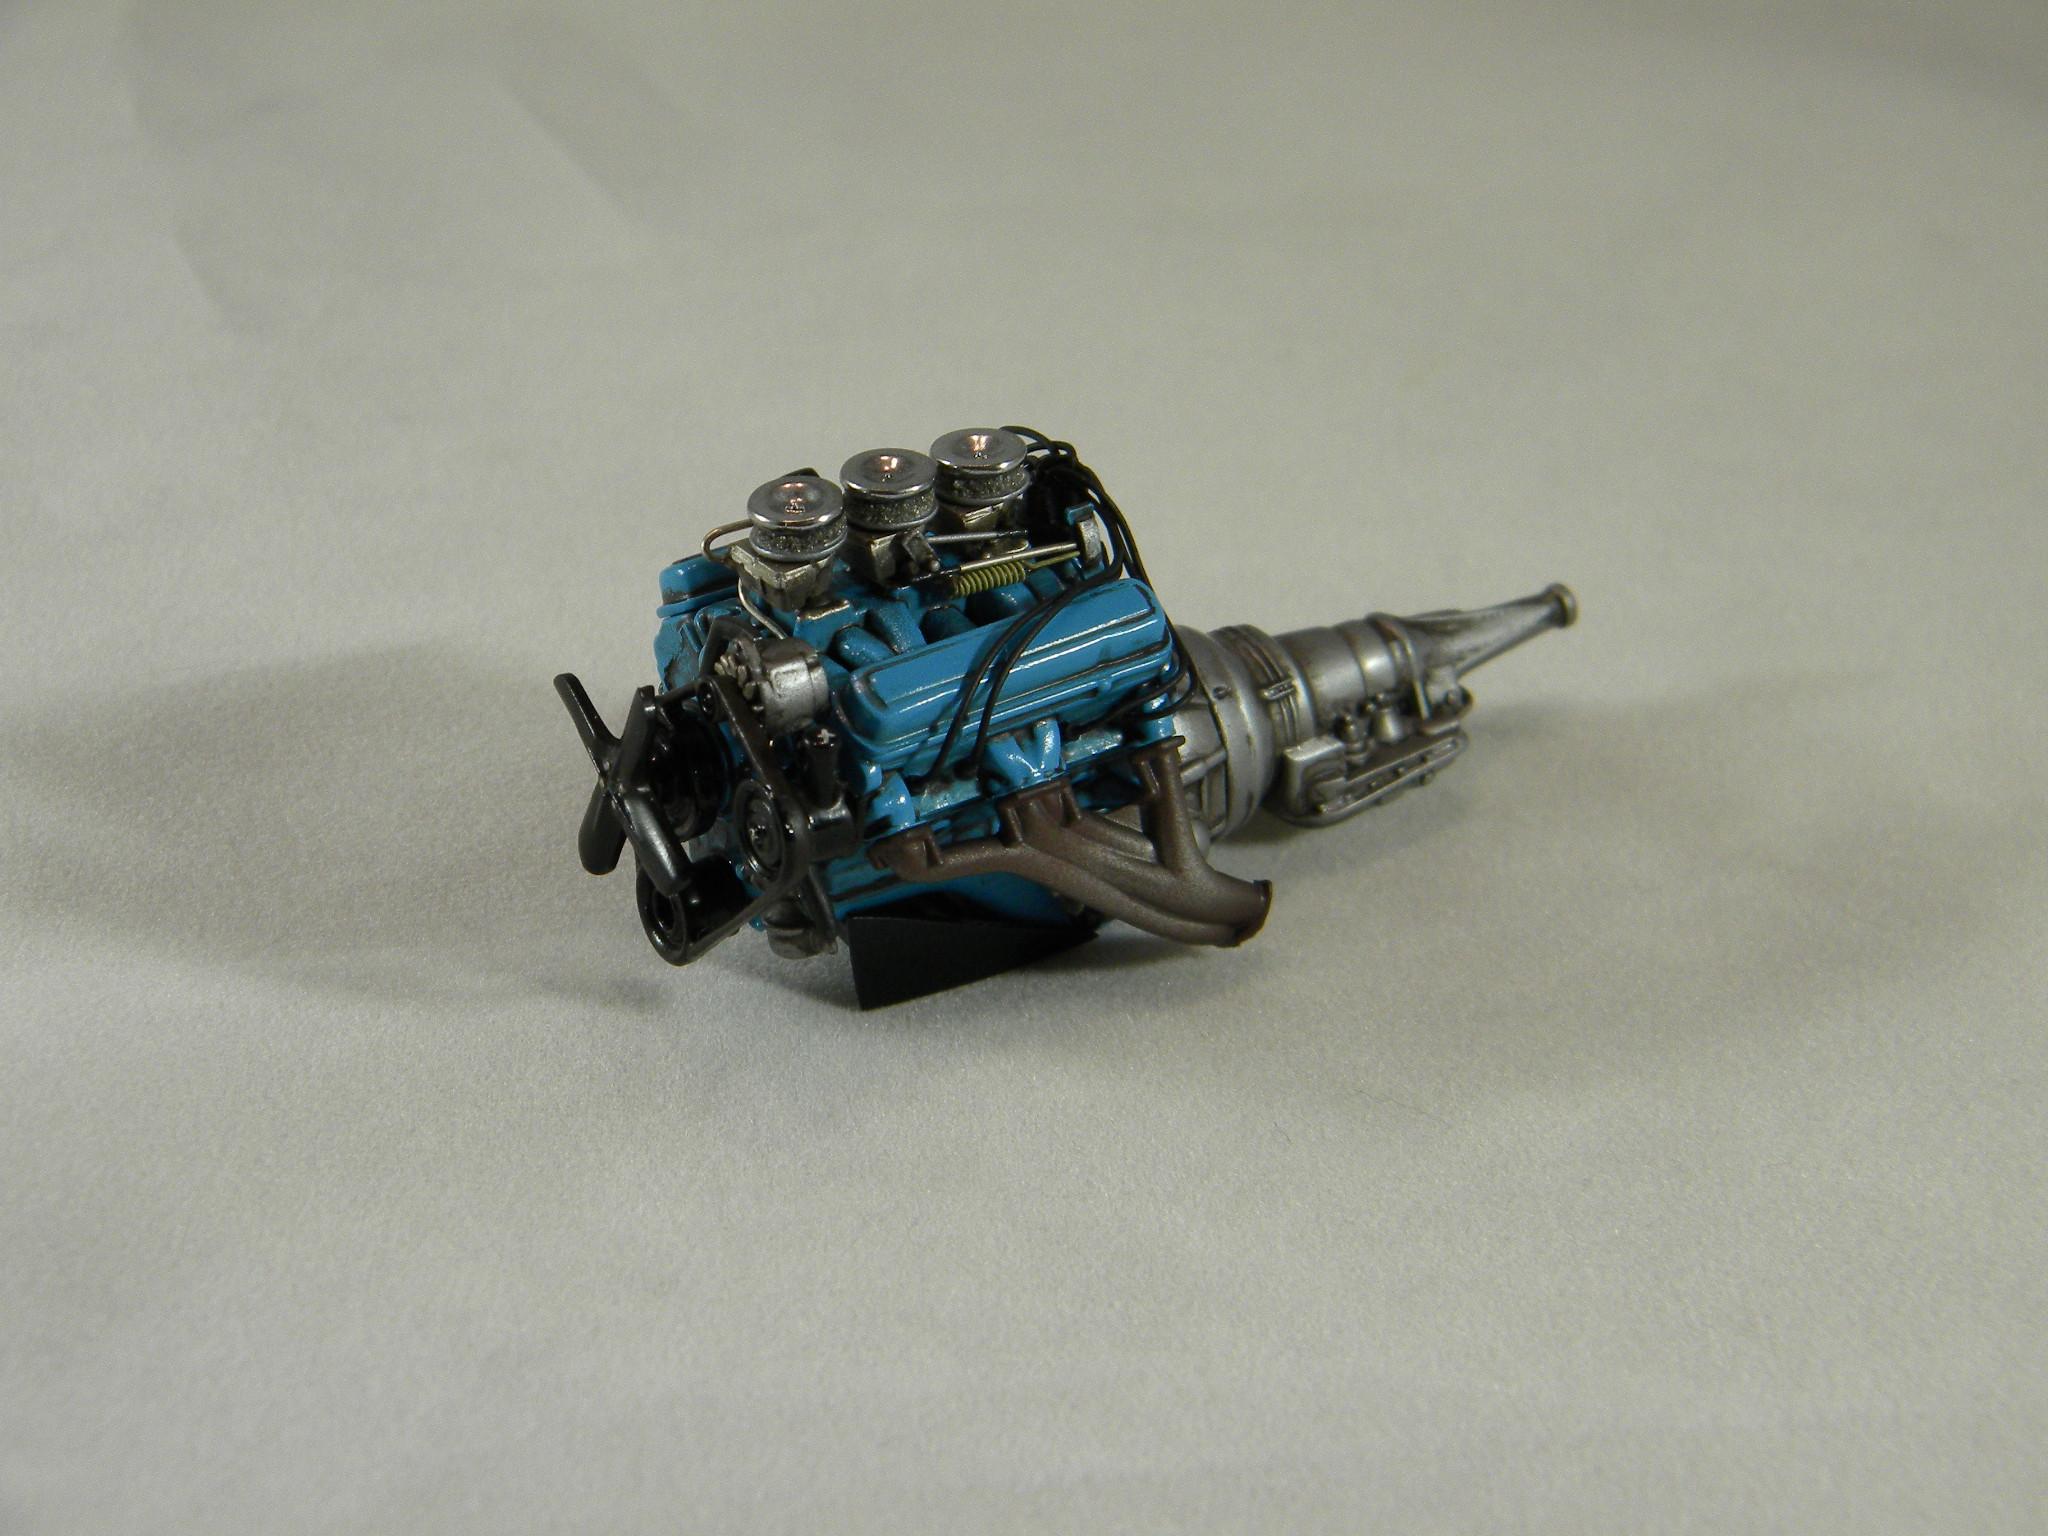
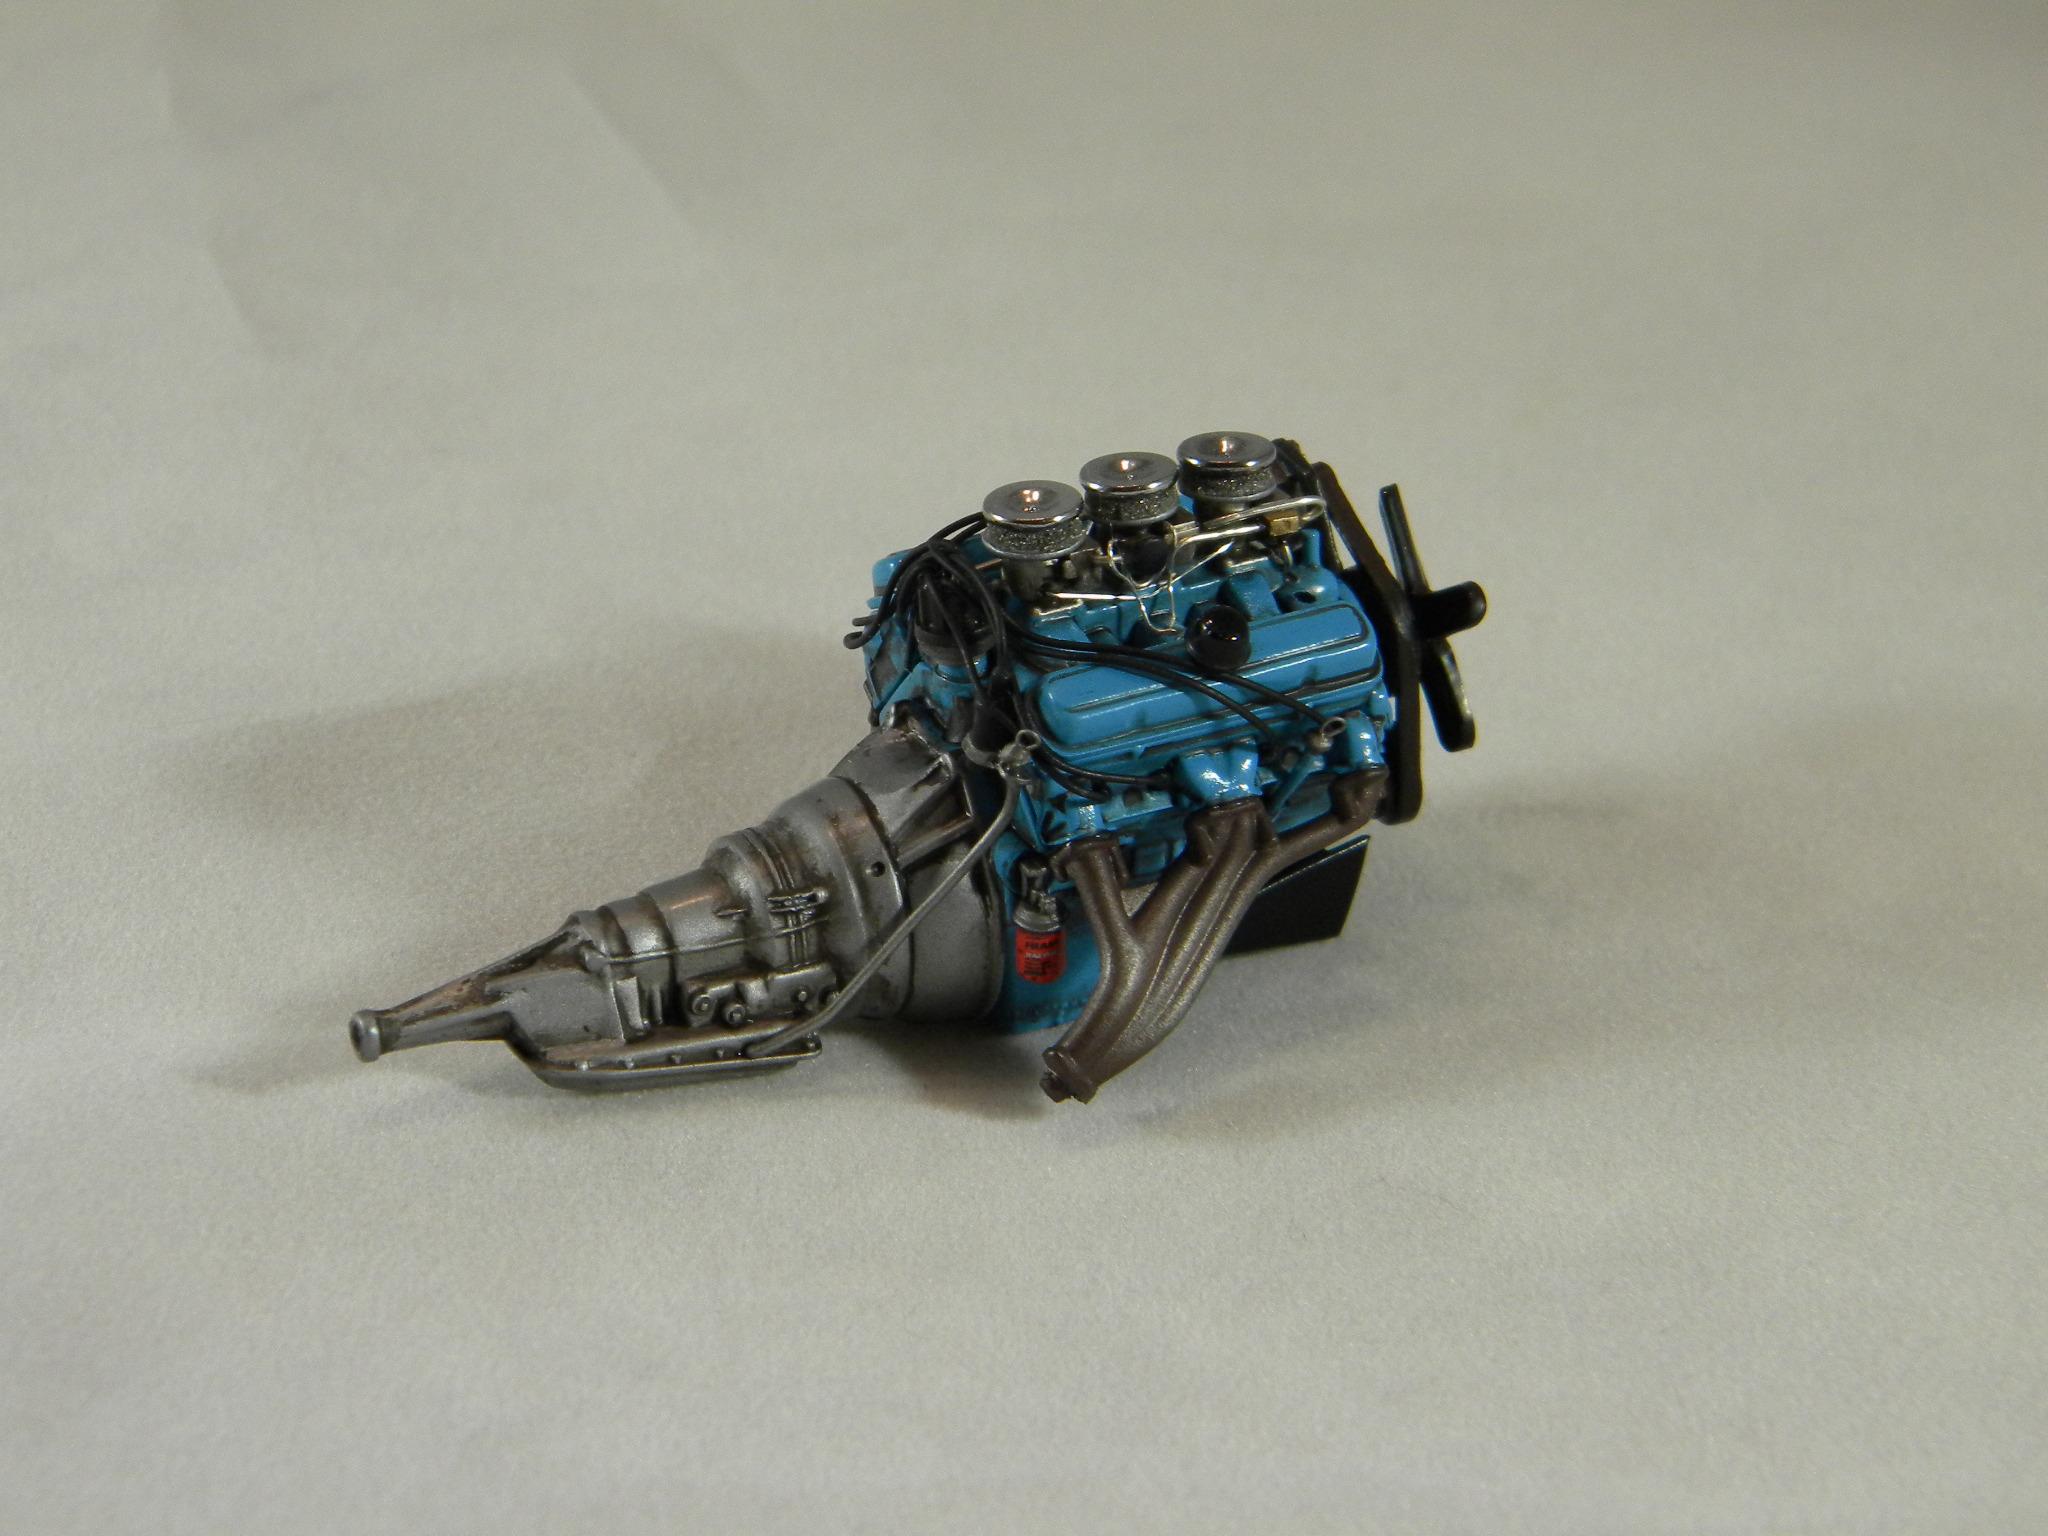
On 2/19/2021 at 10:41 PM, StevenGuthmiller said:
I quite often clear coat engine parts with one of the Testors clear gloss spray lacquers.
I use flat enamel colors very often for engine parts because I like the properties and workability of flat paints over gloss, and then I can clear coat to add the amount of shine that I want.
This also protects the paint underneath as you stated.
With the gloss coat method described above, you would be better served to apply your washes after the gloss.
Otherwise your grime will be unrealistically shiny.
")
Steve
The weathering on that engine looks GREAT, I really like how that came out
-
1 hour ago, Tom Geiger said:
Yup. I bought a mess of spray cans for $1.57 each here in Exton PA. Bottles were 99 cents. Notice the labels are all marked “D” and you know what that stands for! Both Model Master racks.
Interesting!
Weird how Hobby Lobby doesn't discount everything across their whole chain at the same time - I wonder why that is? Would be logical for the store in PA to have the same deals as the store in CA, I would've thought...
-
4 hours ago, Zippi said:
That "flake-y base" looks good to me. I'm getting to the point where I don't like the Testors paint anymore. It never seems to dry. For me anyway.
I bake mine for 24 hours in my little dehydrator, but prior to having that option I gave any parts painted with Testors enamel (always cut 1/3rd with lacquer thinner) 3 weeks to fully cure and gas out before polishing them.
I experimented with different techniques and different waiting times and that seemed to be the sweet spot - the paint is plenty hard enough by then that you can polish it out to a perfect gloss finish.
We used to have really high humidity some days when we lived by the ocean in NY, so I'd wait for days when the humidity was 40% or lower - that seemed to help a bunch too. If you don't mind the wait times you can get a really nice glossy finish with a relatively shallow learning curve with their enamels, I've found.
-
If you’re airbrushing, Createx white sealer or Createx opaque white both work well for this job - they’re really high-pigment paints designed, I guess, for painting white stuff on black stuff easily.
The grey-then-white primer thing works well too like others have suggested already
-
I don’t usually polish my frames when I’m doing hot rod builds - Testors enamel clear is glossy enough that I shoot that nice and wet, avoid getting dust in it and call it good.
In the interests of pushing myself on this one though, I decided to go through my usual polishing process (only VERY carefully so I didn’t end up breaking it or snapping any of the doodads off). Came out ok (although my hard work would’ve shown up better if I hadn’t gone with a flake-y base color and just gone straight black instead 🤪)
Still not quite done, but I like polishing in the daylight and I ran out of it. I’ll give it a second round with fresh eyes tomorrow...
-
I keep seeing that the Model Master paints are discounted in a bunch of different stores (down to a buck a jar, from what I can tell) but nothing in my local store just yet.
Anyone else seen this happening by them?
-
Almost certainly that paint will come right off with some isopropyl alcohol without leaving a trace. I’d use a q-tip and just clean it up as required.
A lot of people like a chisel tip Sharpie for doing those black bits on windows - the chisel shape makes it easy to follow the raised edge (if there is one) and you won’t get any bleed under the masks or tape 👍🏻
-
I mainly do it because people aren’t already talking about the EXACT thing I’m thinking about at the exact moment I think of it 🤷♂️
-
I ordered this kit today because of this thread 😂. Wanna see what the big deal is (or isn’t - guess we’ll see...)
-
Love that color!! The wheels look great on it too!
-
2 hours ago, TimKustom said:
Got the pix fixed. Hope they stay that way. Glad everyone still likes looking at it.
Thank you Tim! I’d been looking forward to taking another look at this one! So many cool details and things to spot!
Is the follow-up in progress now? Can’t wait to see what you’re working on next!
-
Very cool! I like how you did the motor mounts - cool idea!
-
2 hours ago, IanH said:
Apologies for the lack of response... Here is a photo of the kart against a ruler... Length of 8cm, which is just over 3inches depending on which side of the pond you are on...
Interesting! I just couldn't picture how big one of these would be - thank you for the response and photo!
-
Really enjoyed reading this Tim - I like your ‘Fotki-articles’!
I never knew that the back of the driver’s seat should be metal - storing that away for future reference!I actually purchased another of these kits to build something inspired by the brown-primered T that you built that was in Scale Auto a few years back - looks like I need another one to build my take on this version too!


Bomber seats in rods - When did they start?
in Model Building Questions and Answers
Posted
Way cool! I want one! 😍