TC
-
Posts
112 -
Joined
-
Last visited
Content Type
Profiles
Forums
Events
Gallery
Everything posted by TC
-
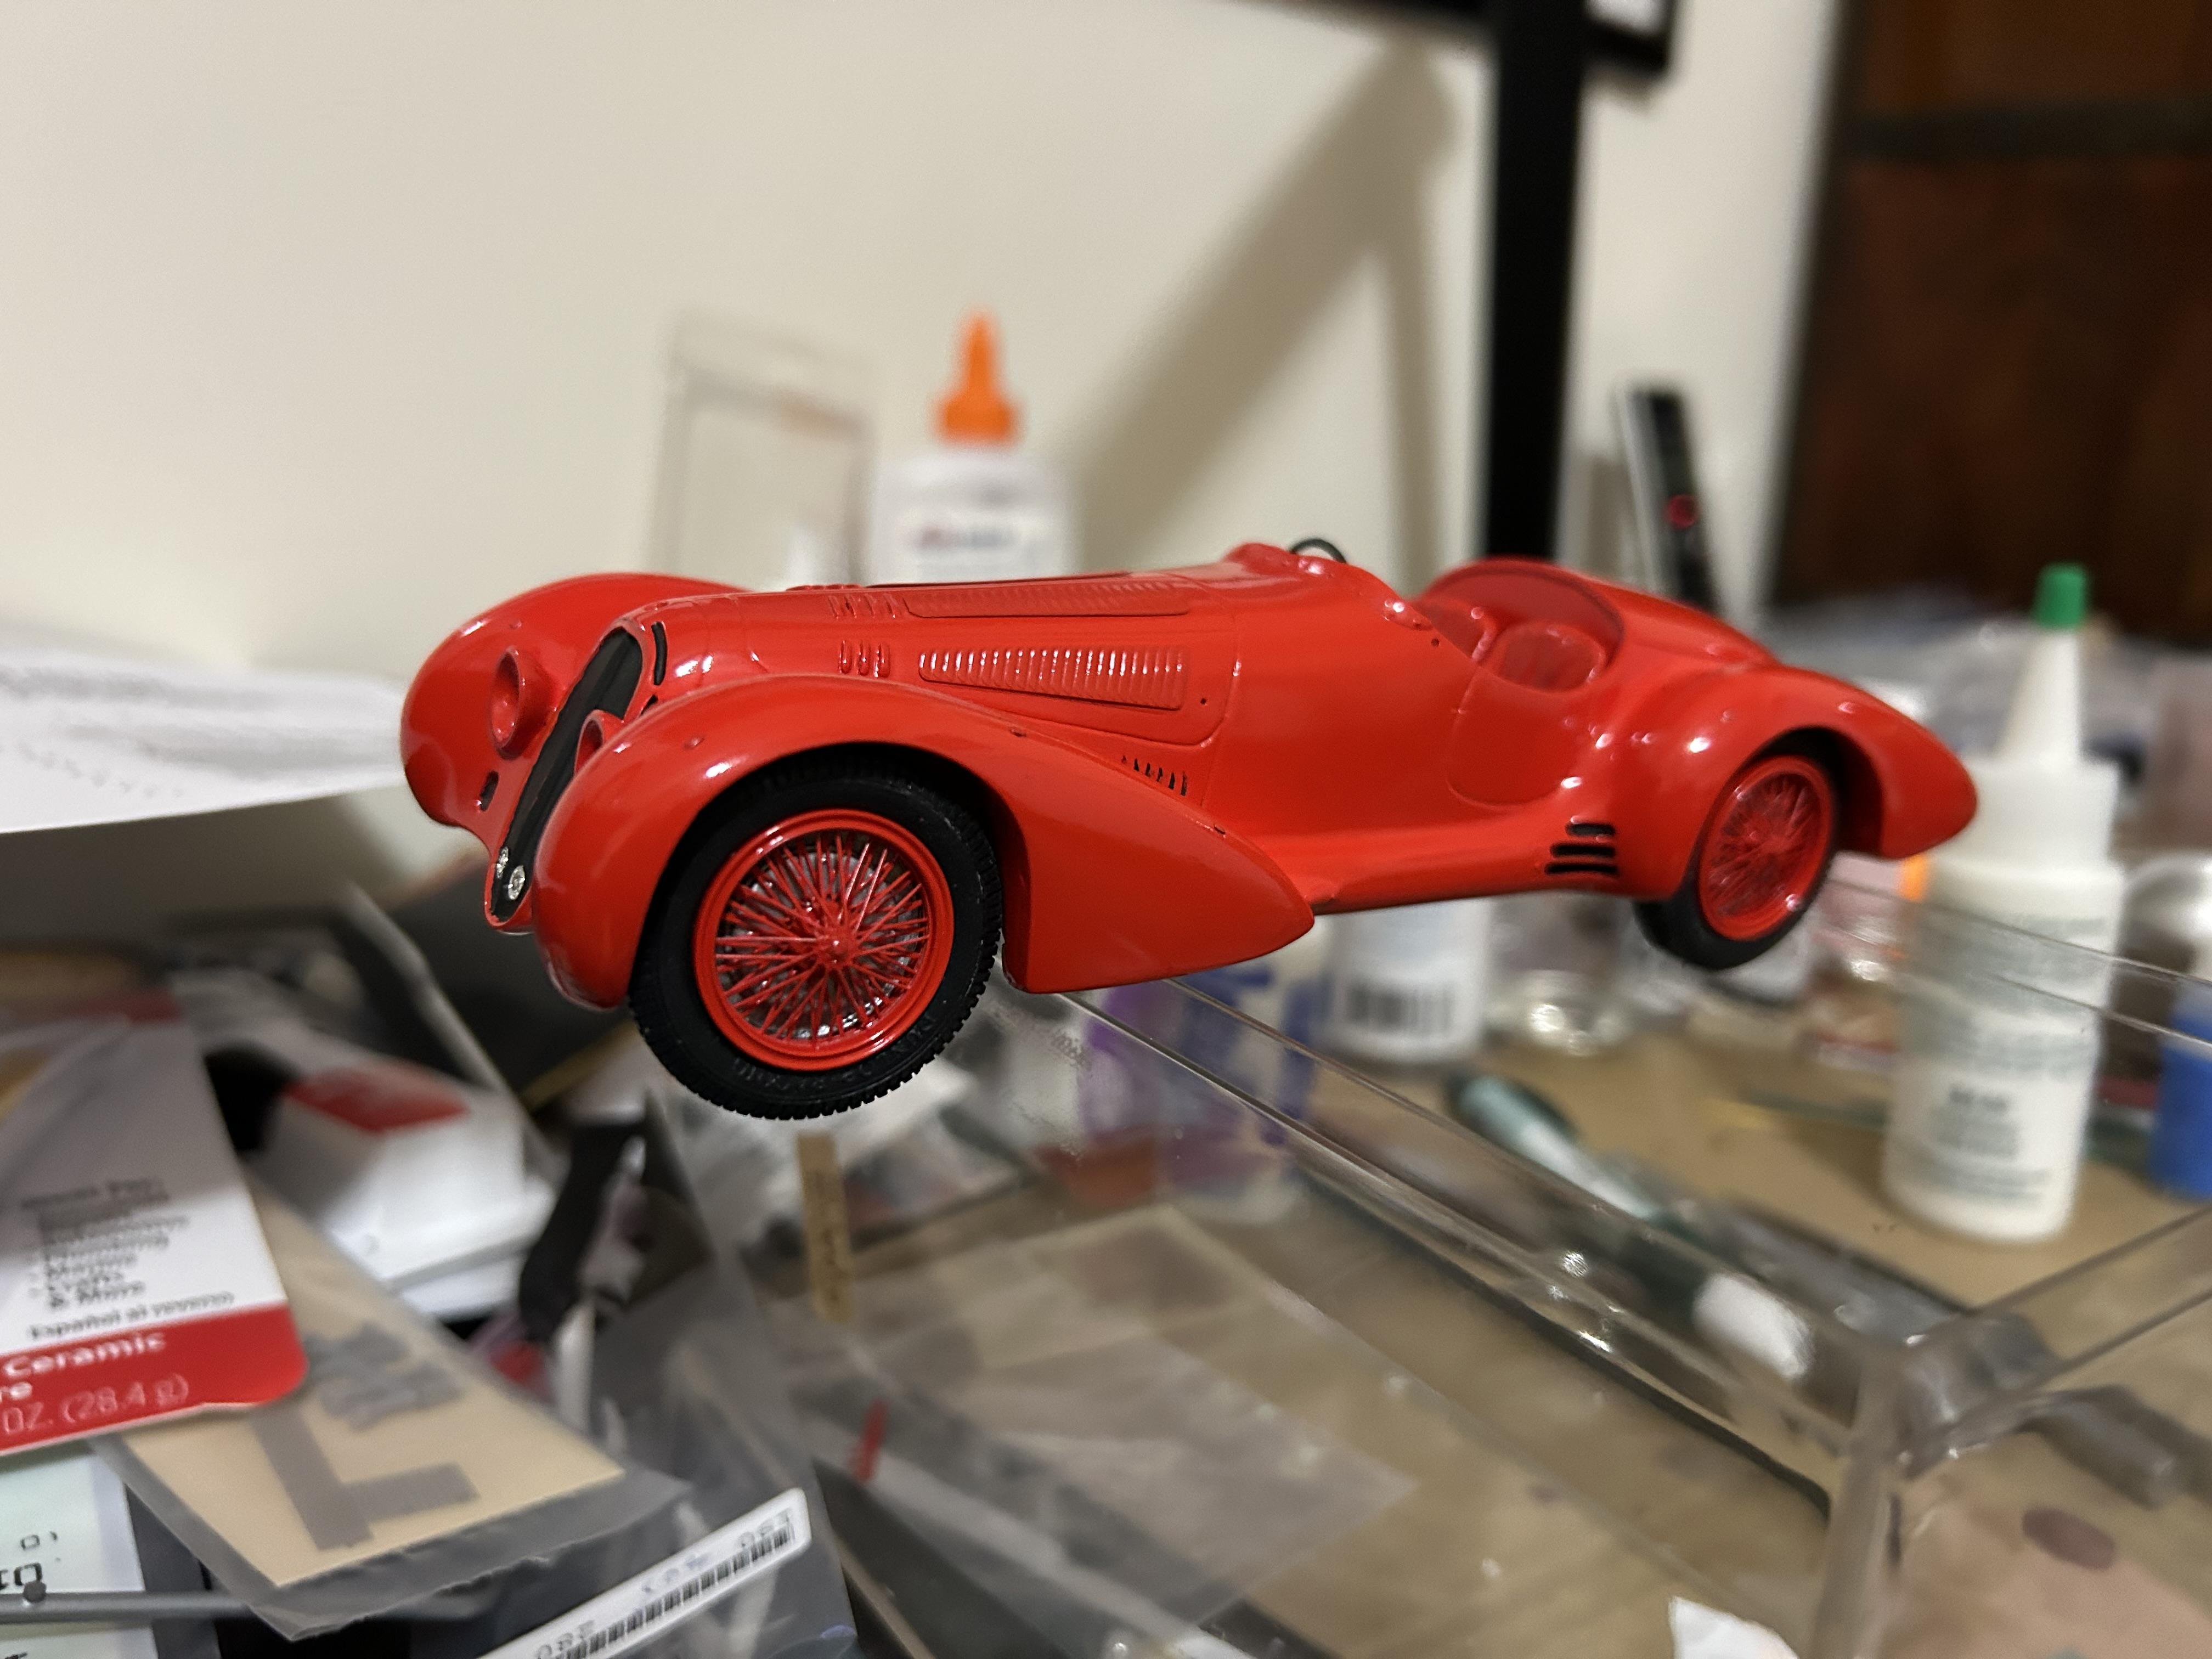
Alfa Romeo 2900B Mille Miglia 1938
TC replied to TC's topic in WIP: Other Racing: Road Racing, Land Speed Racers
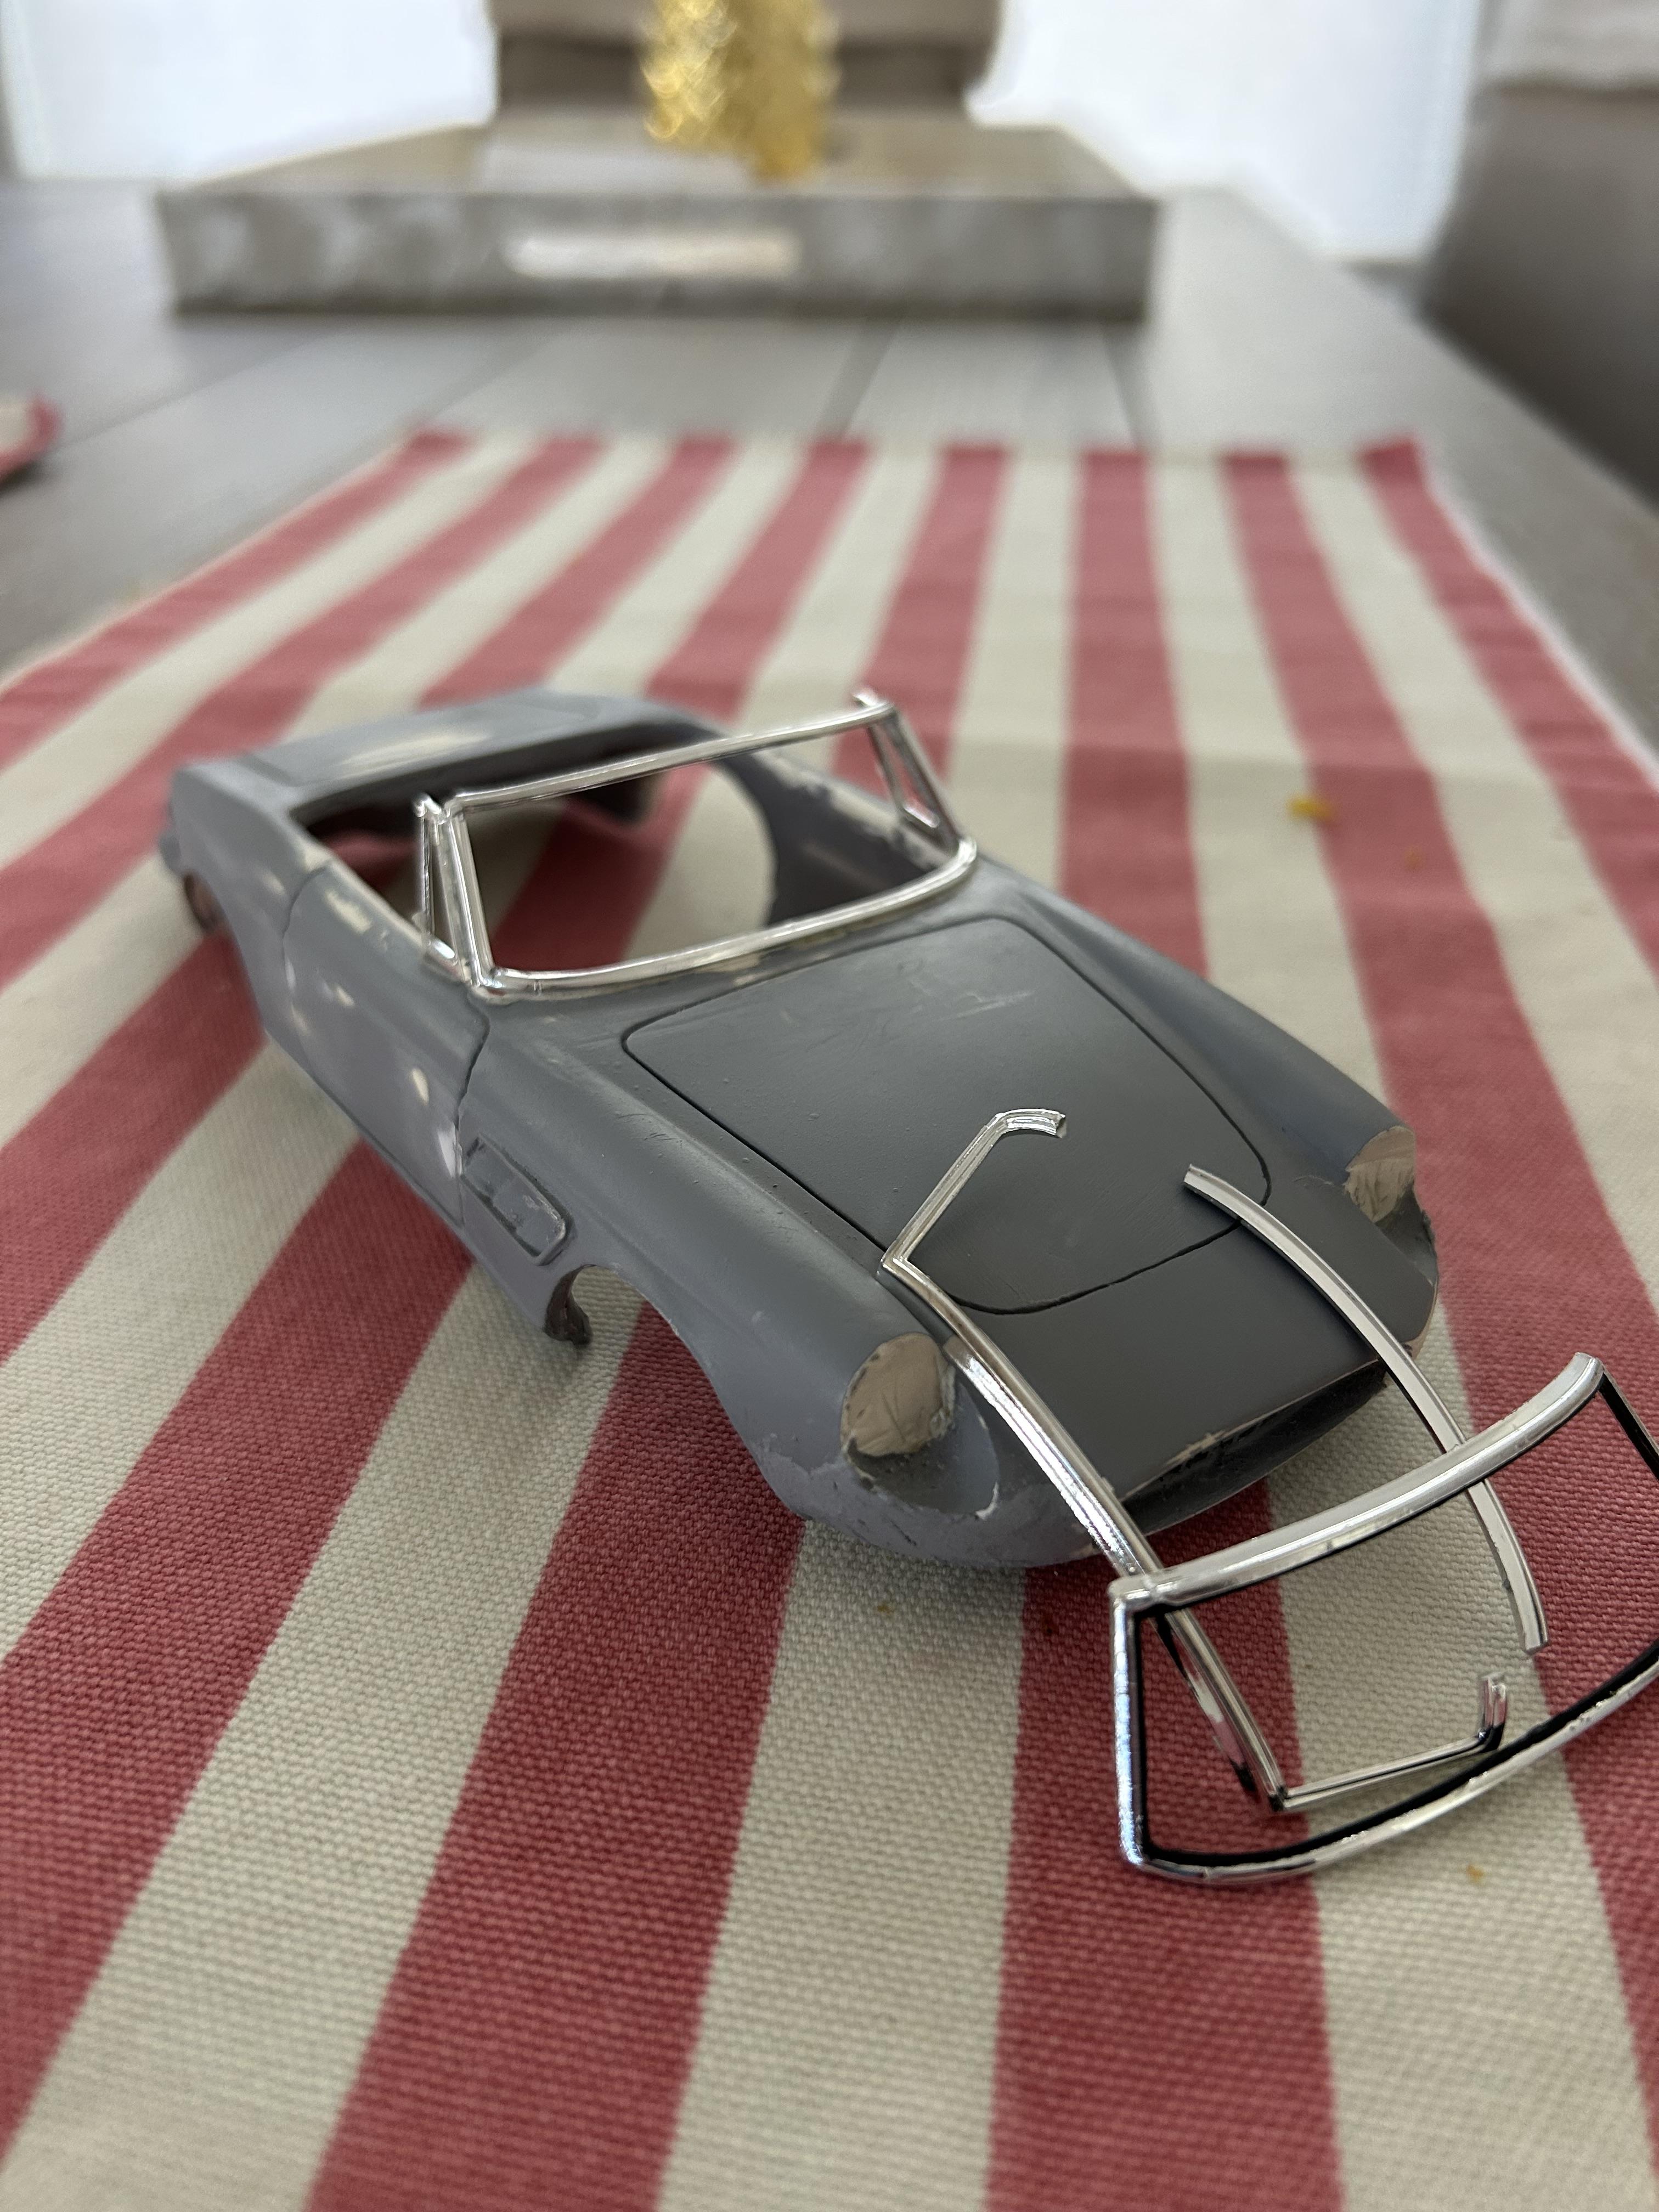
More progress
-
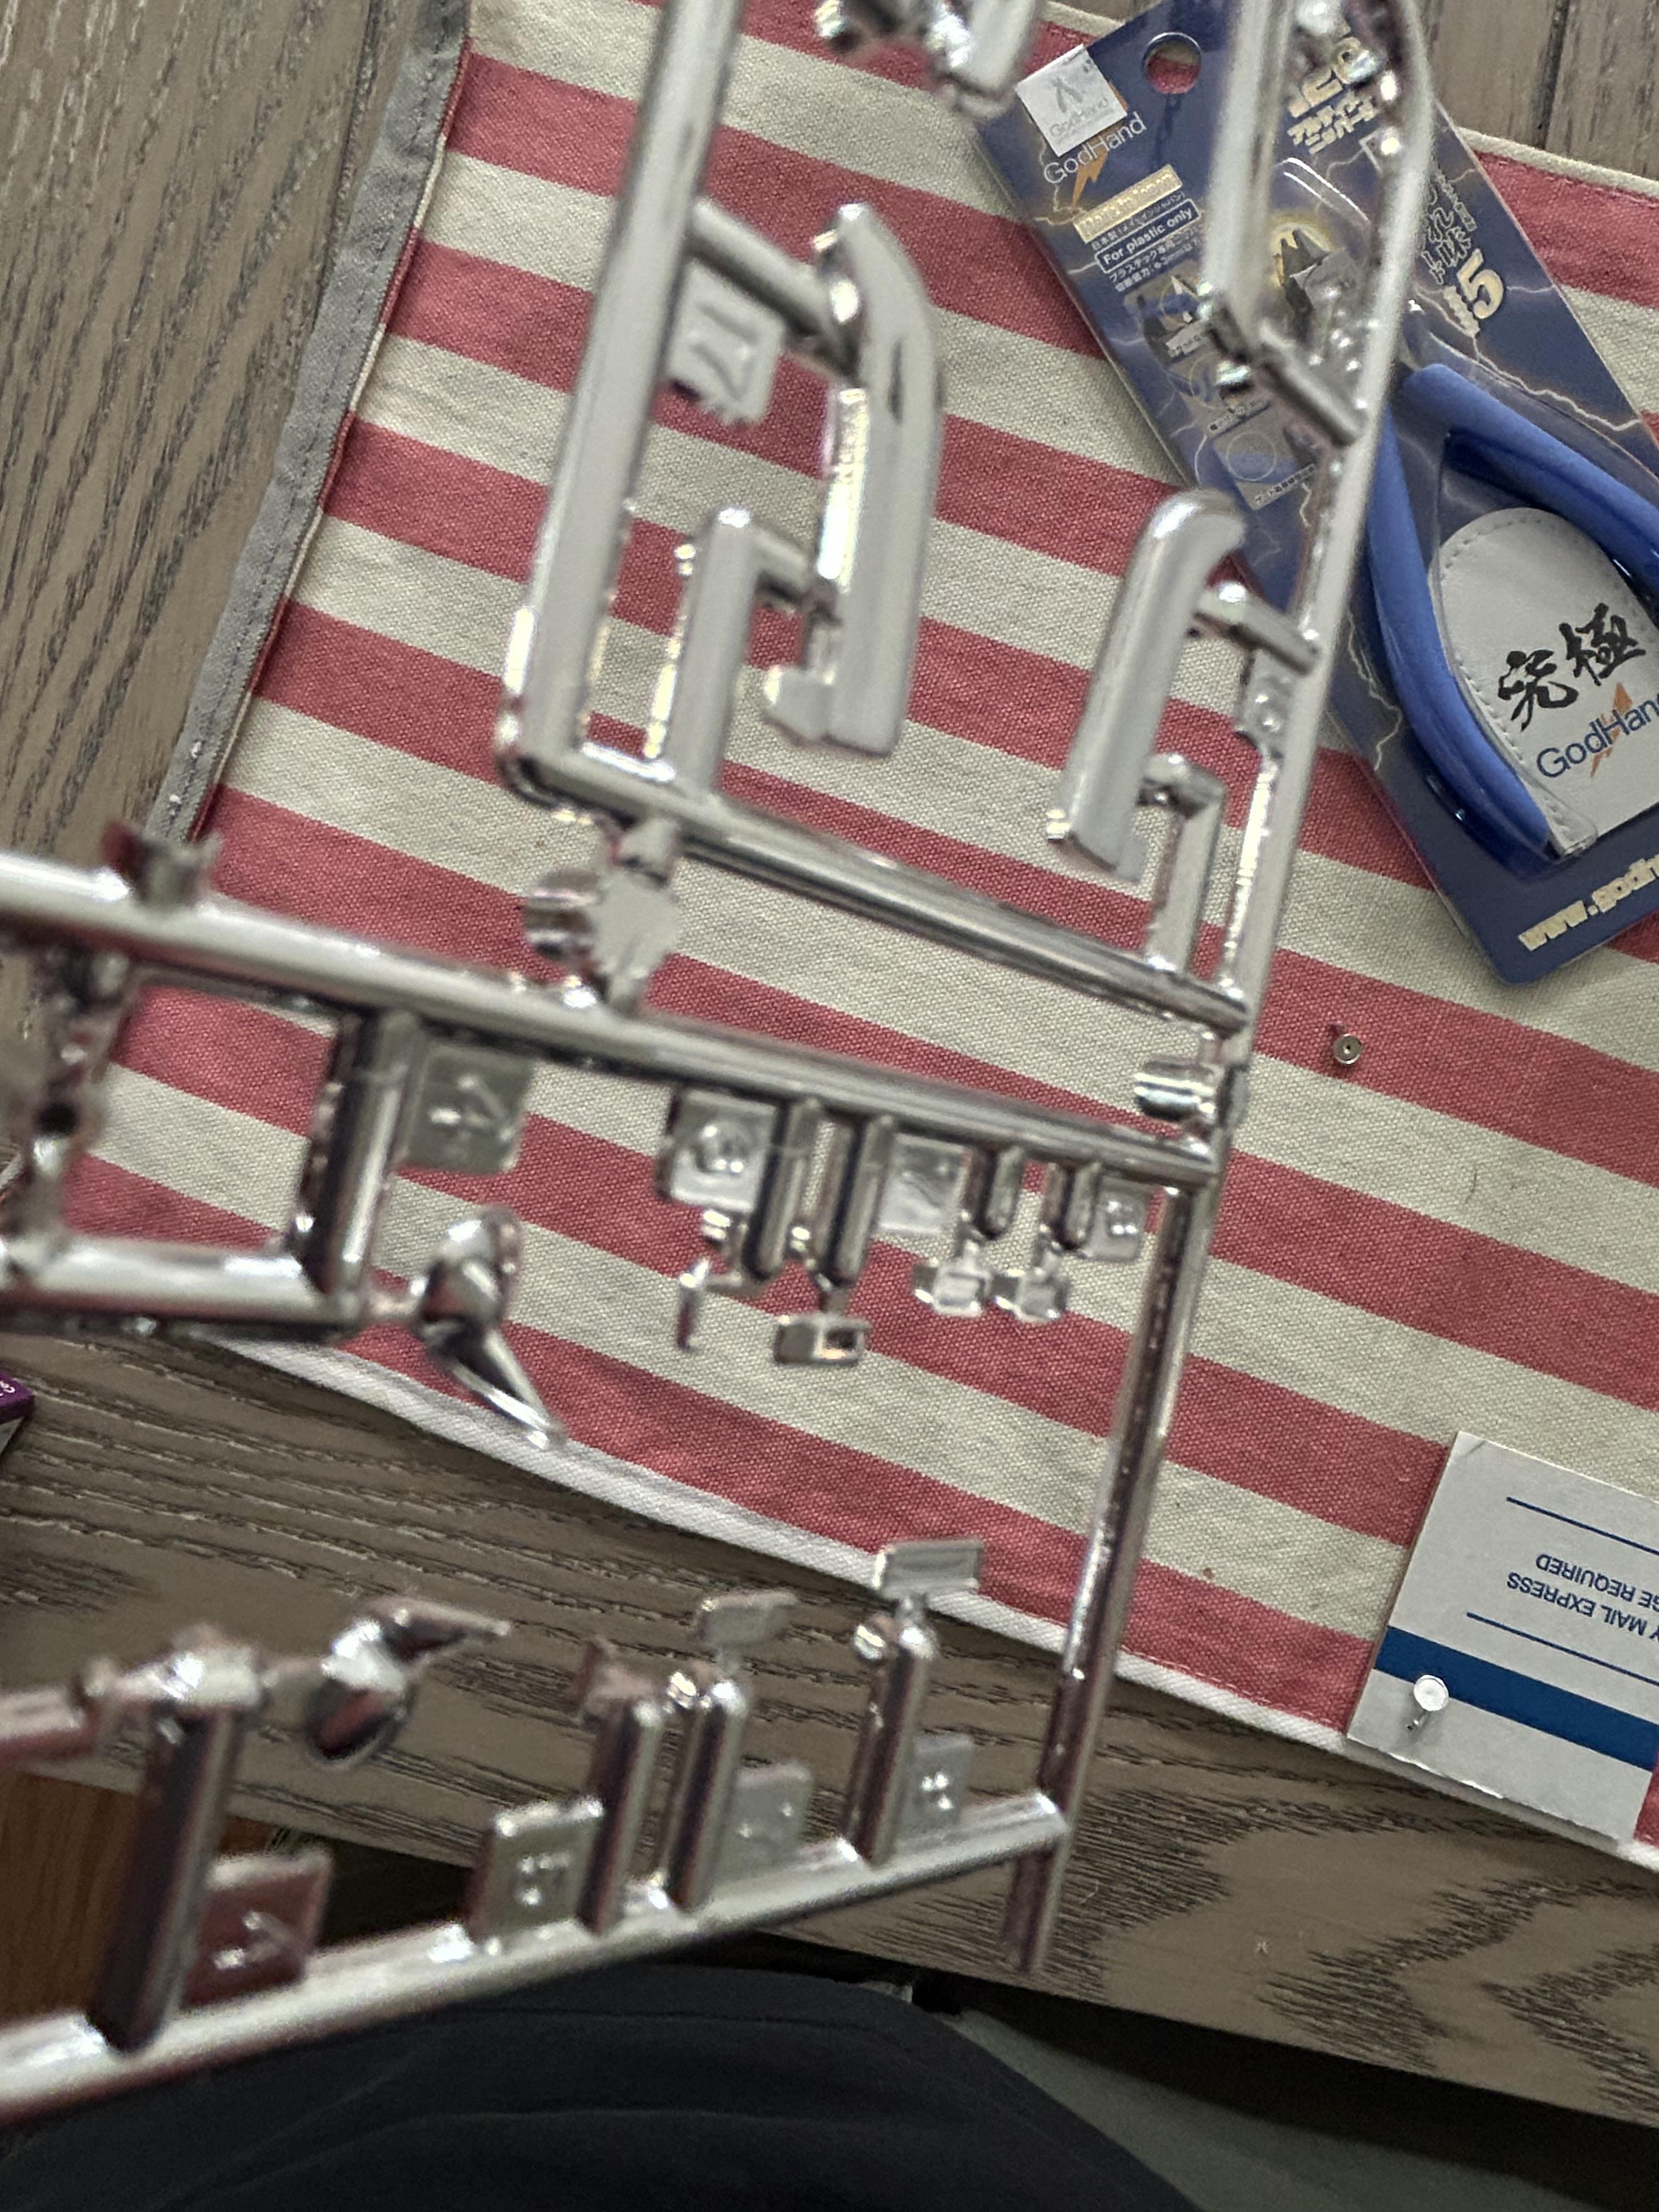
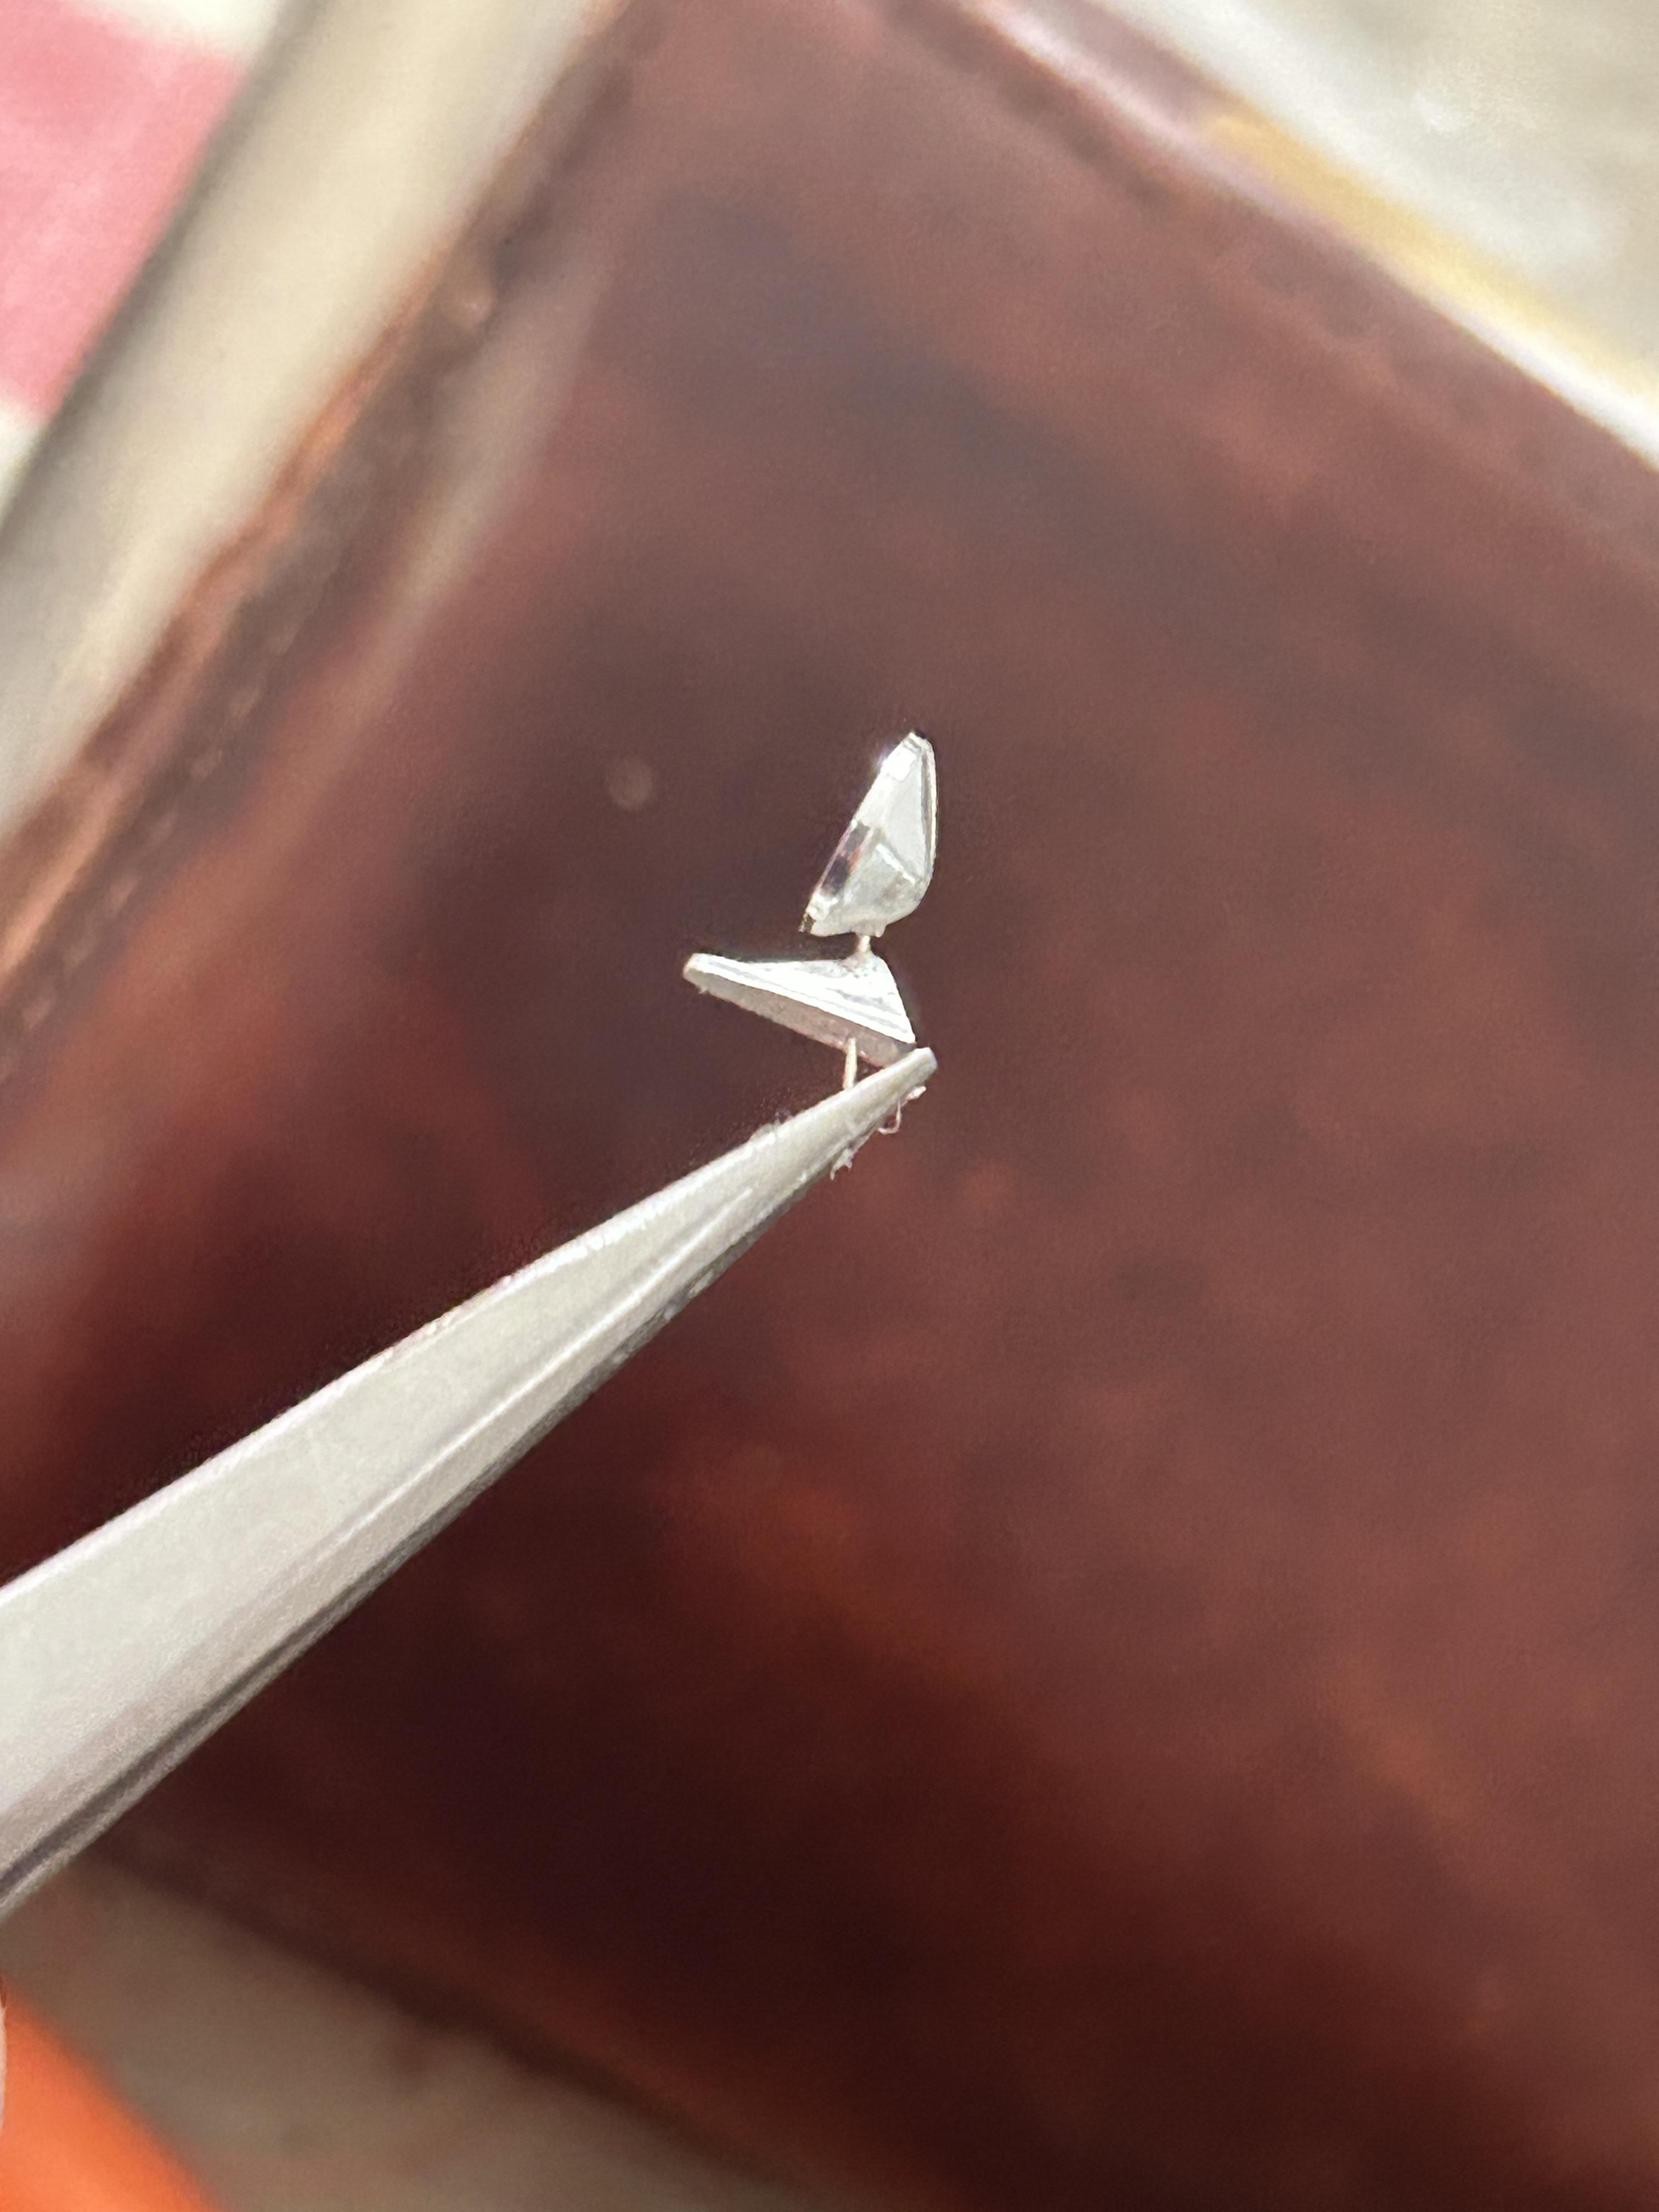
More appropriate windshield frame shape made from 2 italeri Ferrari 250 California frames
-
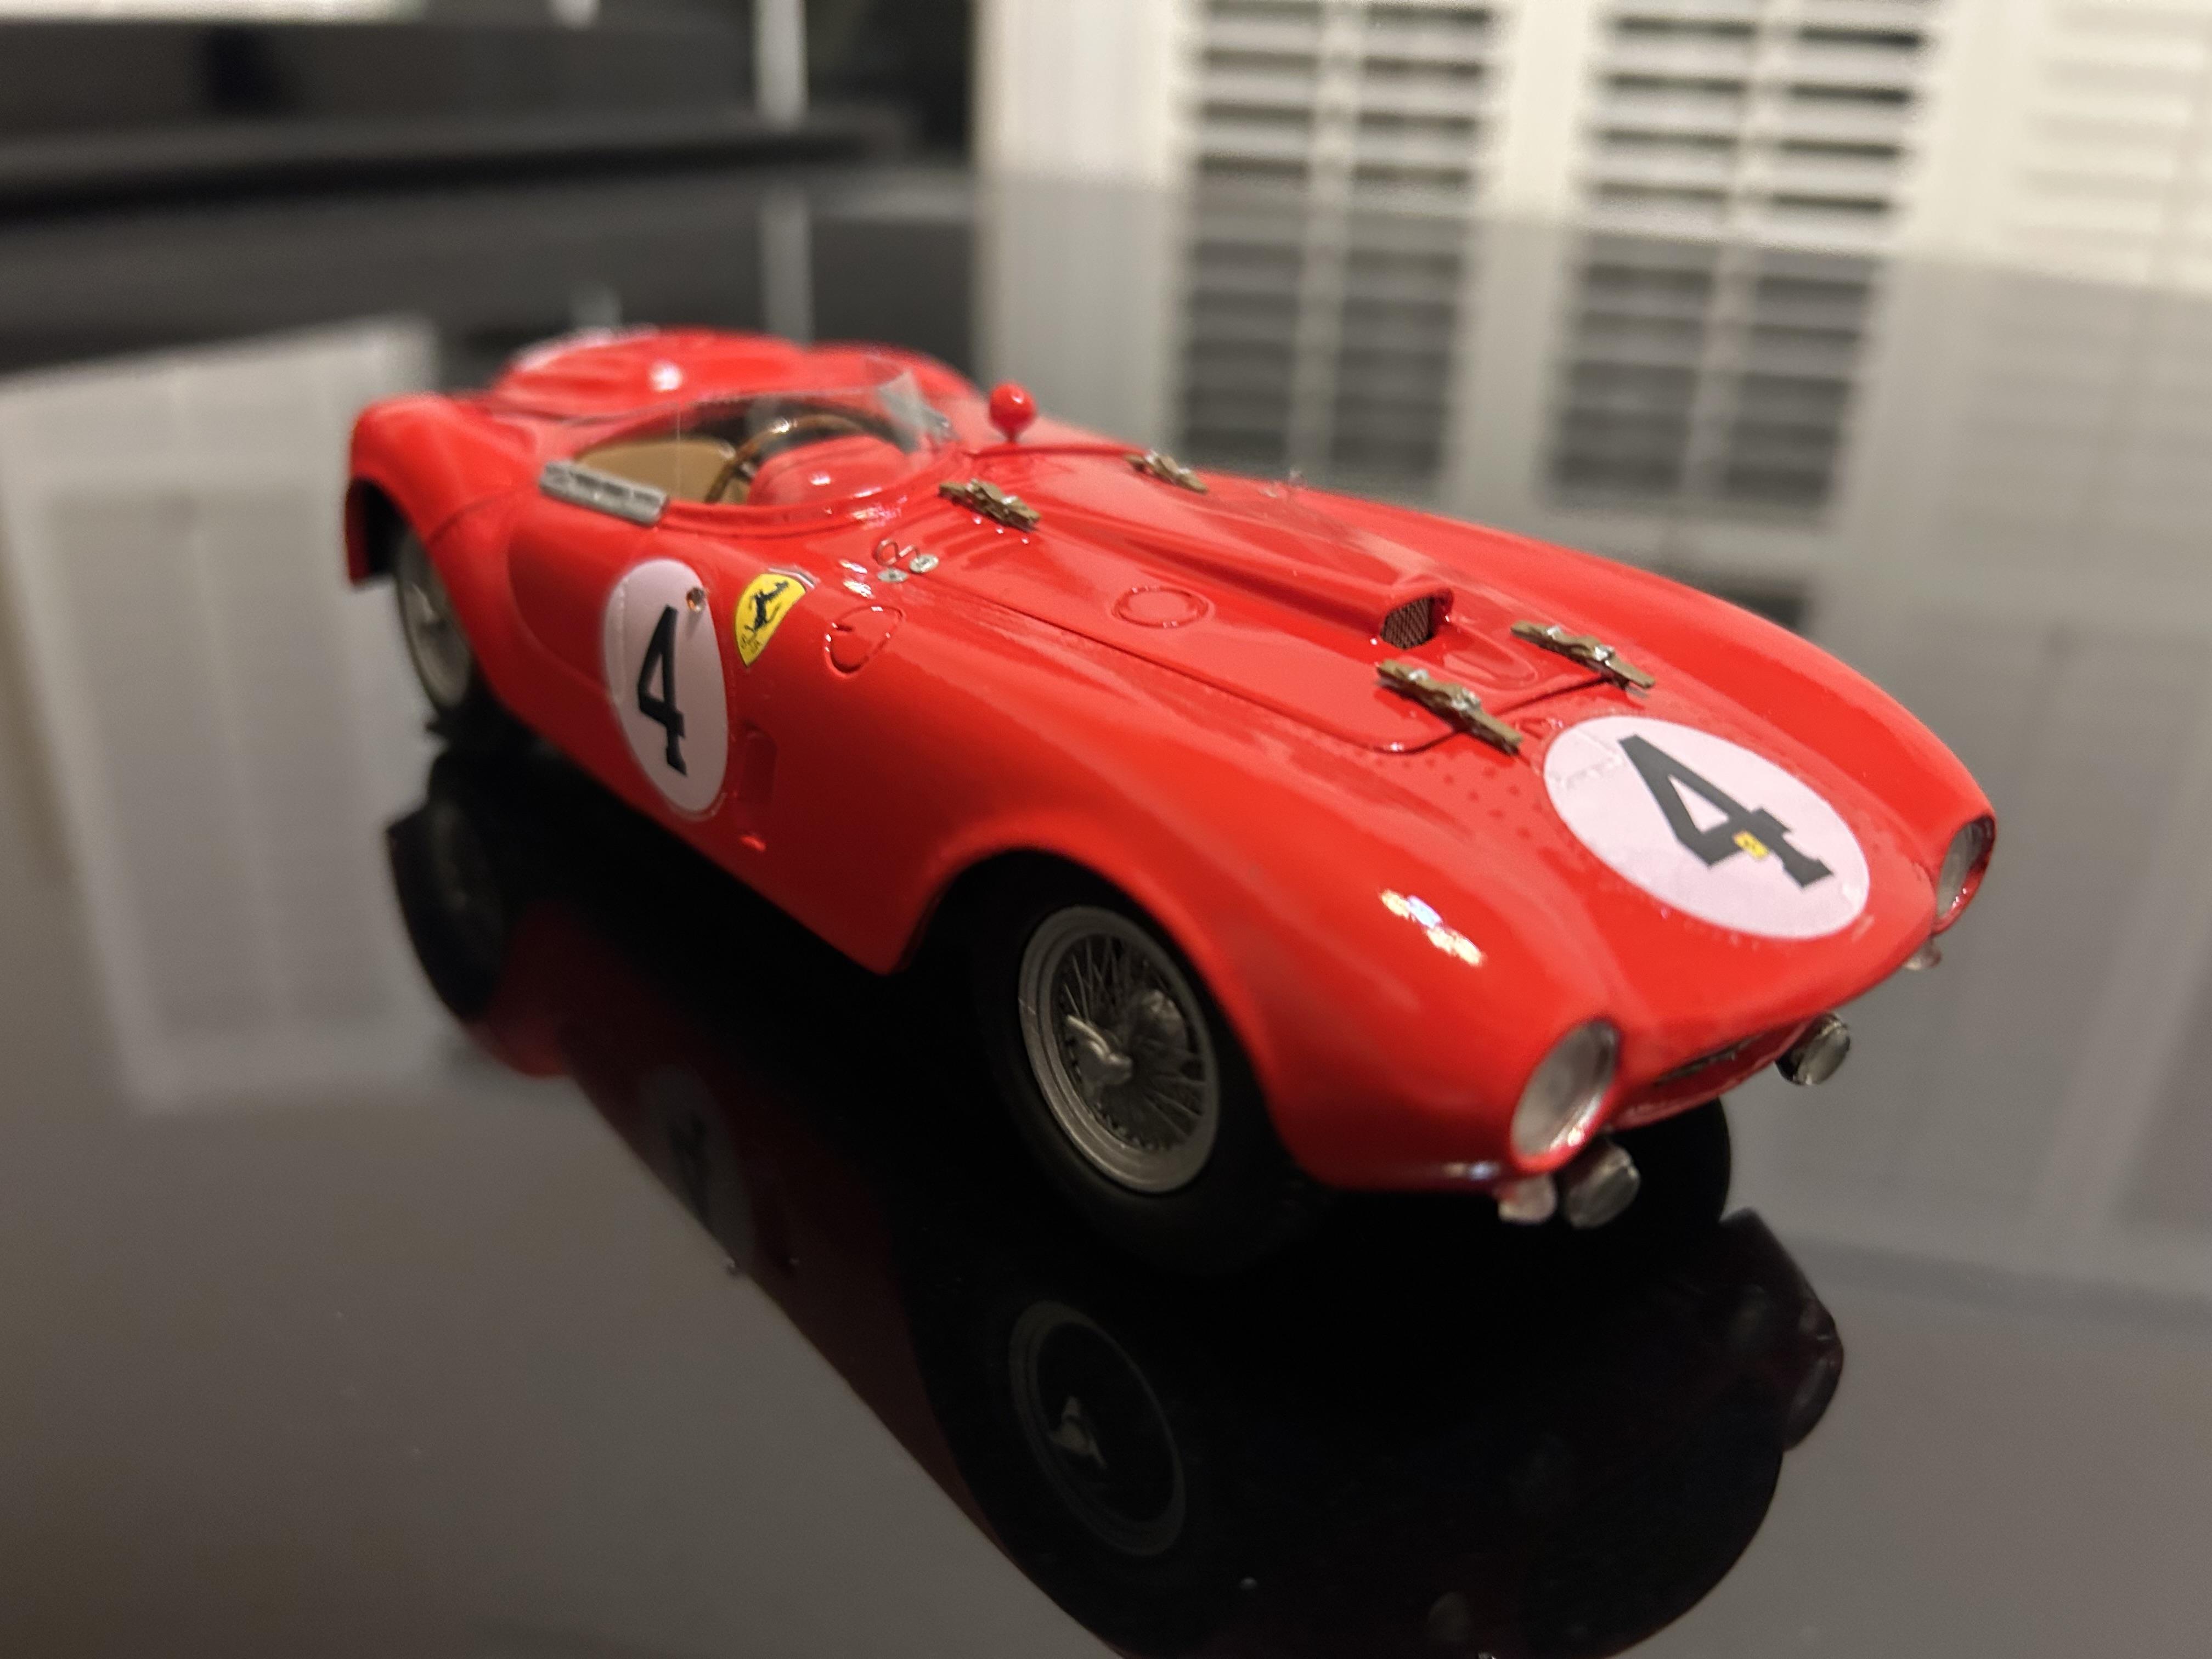
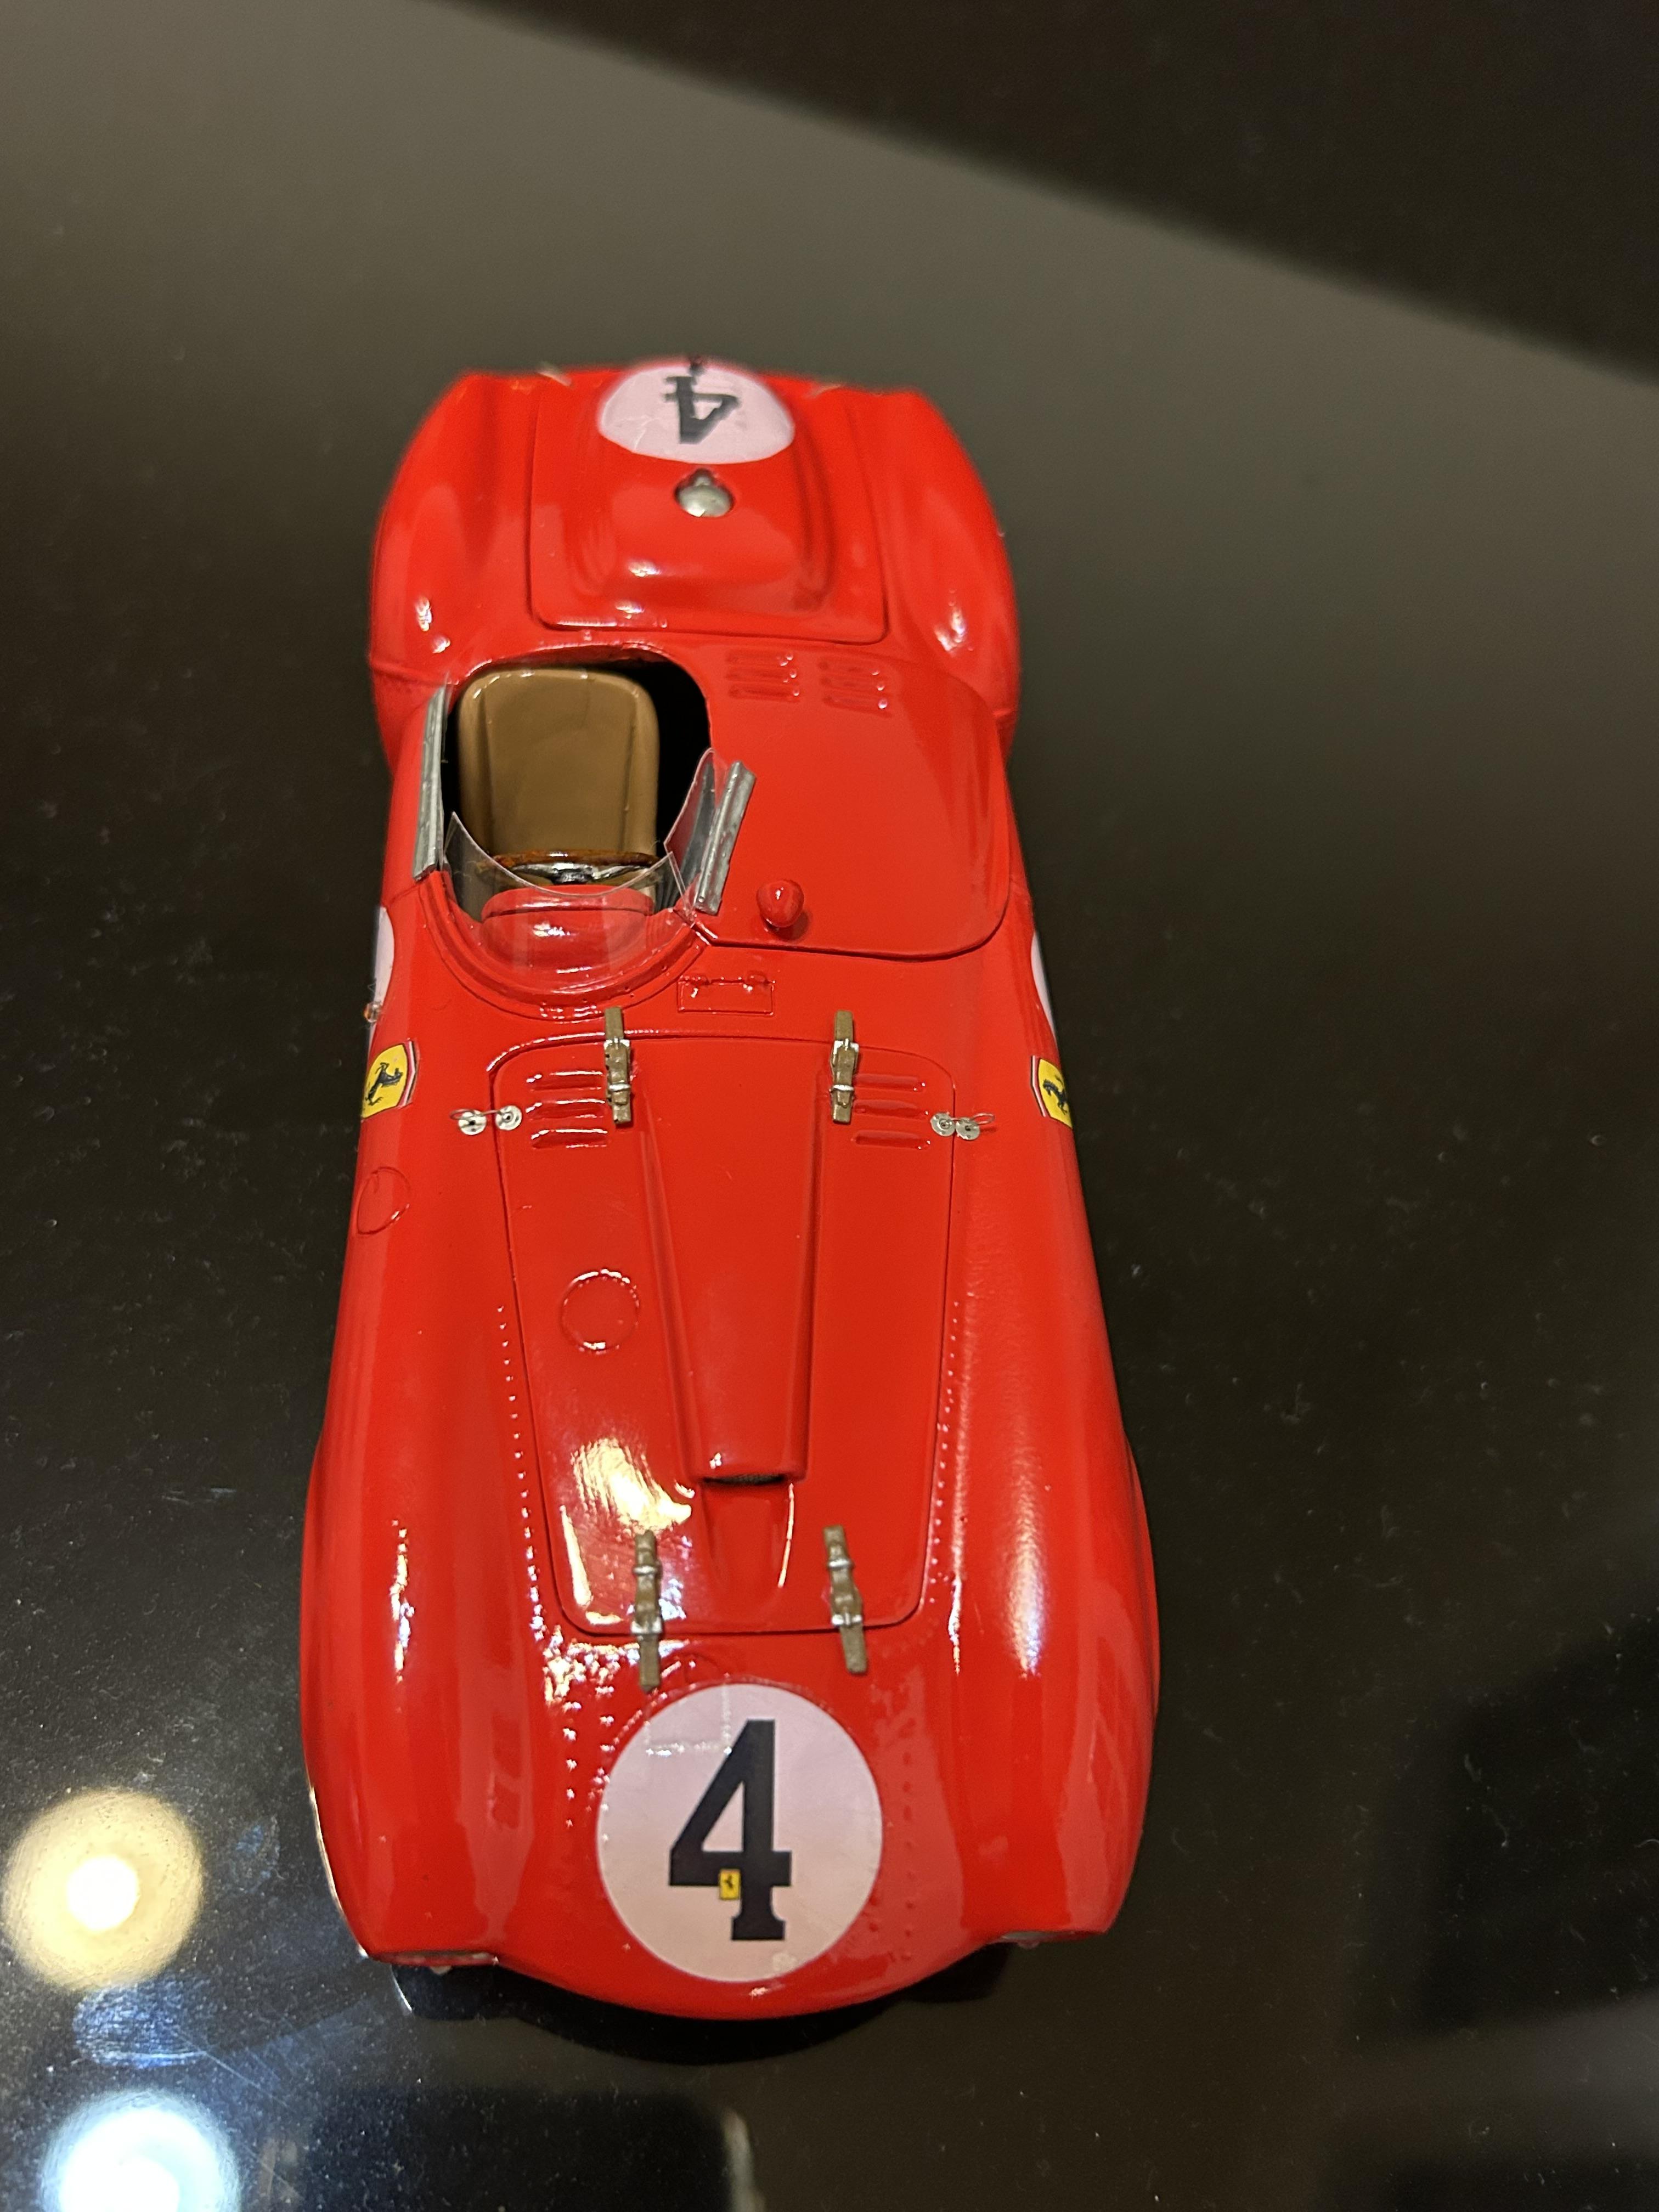
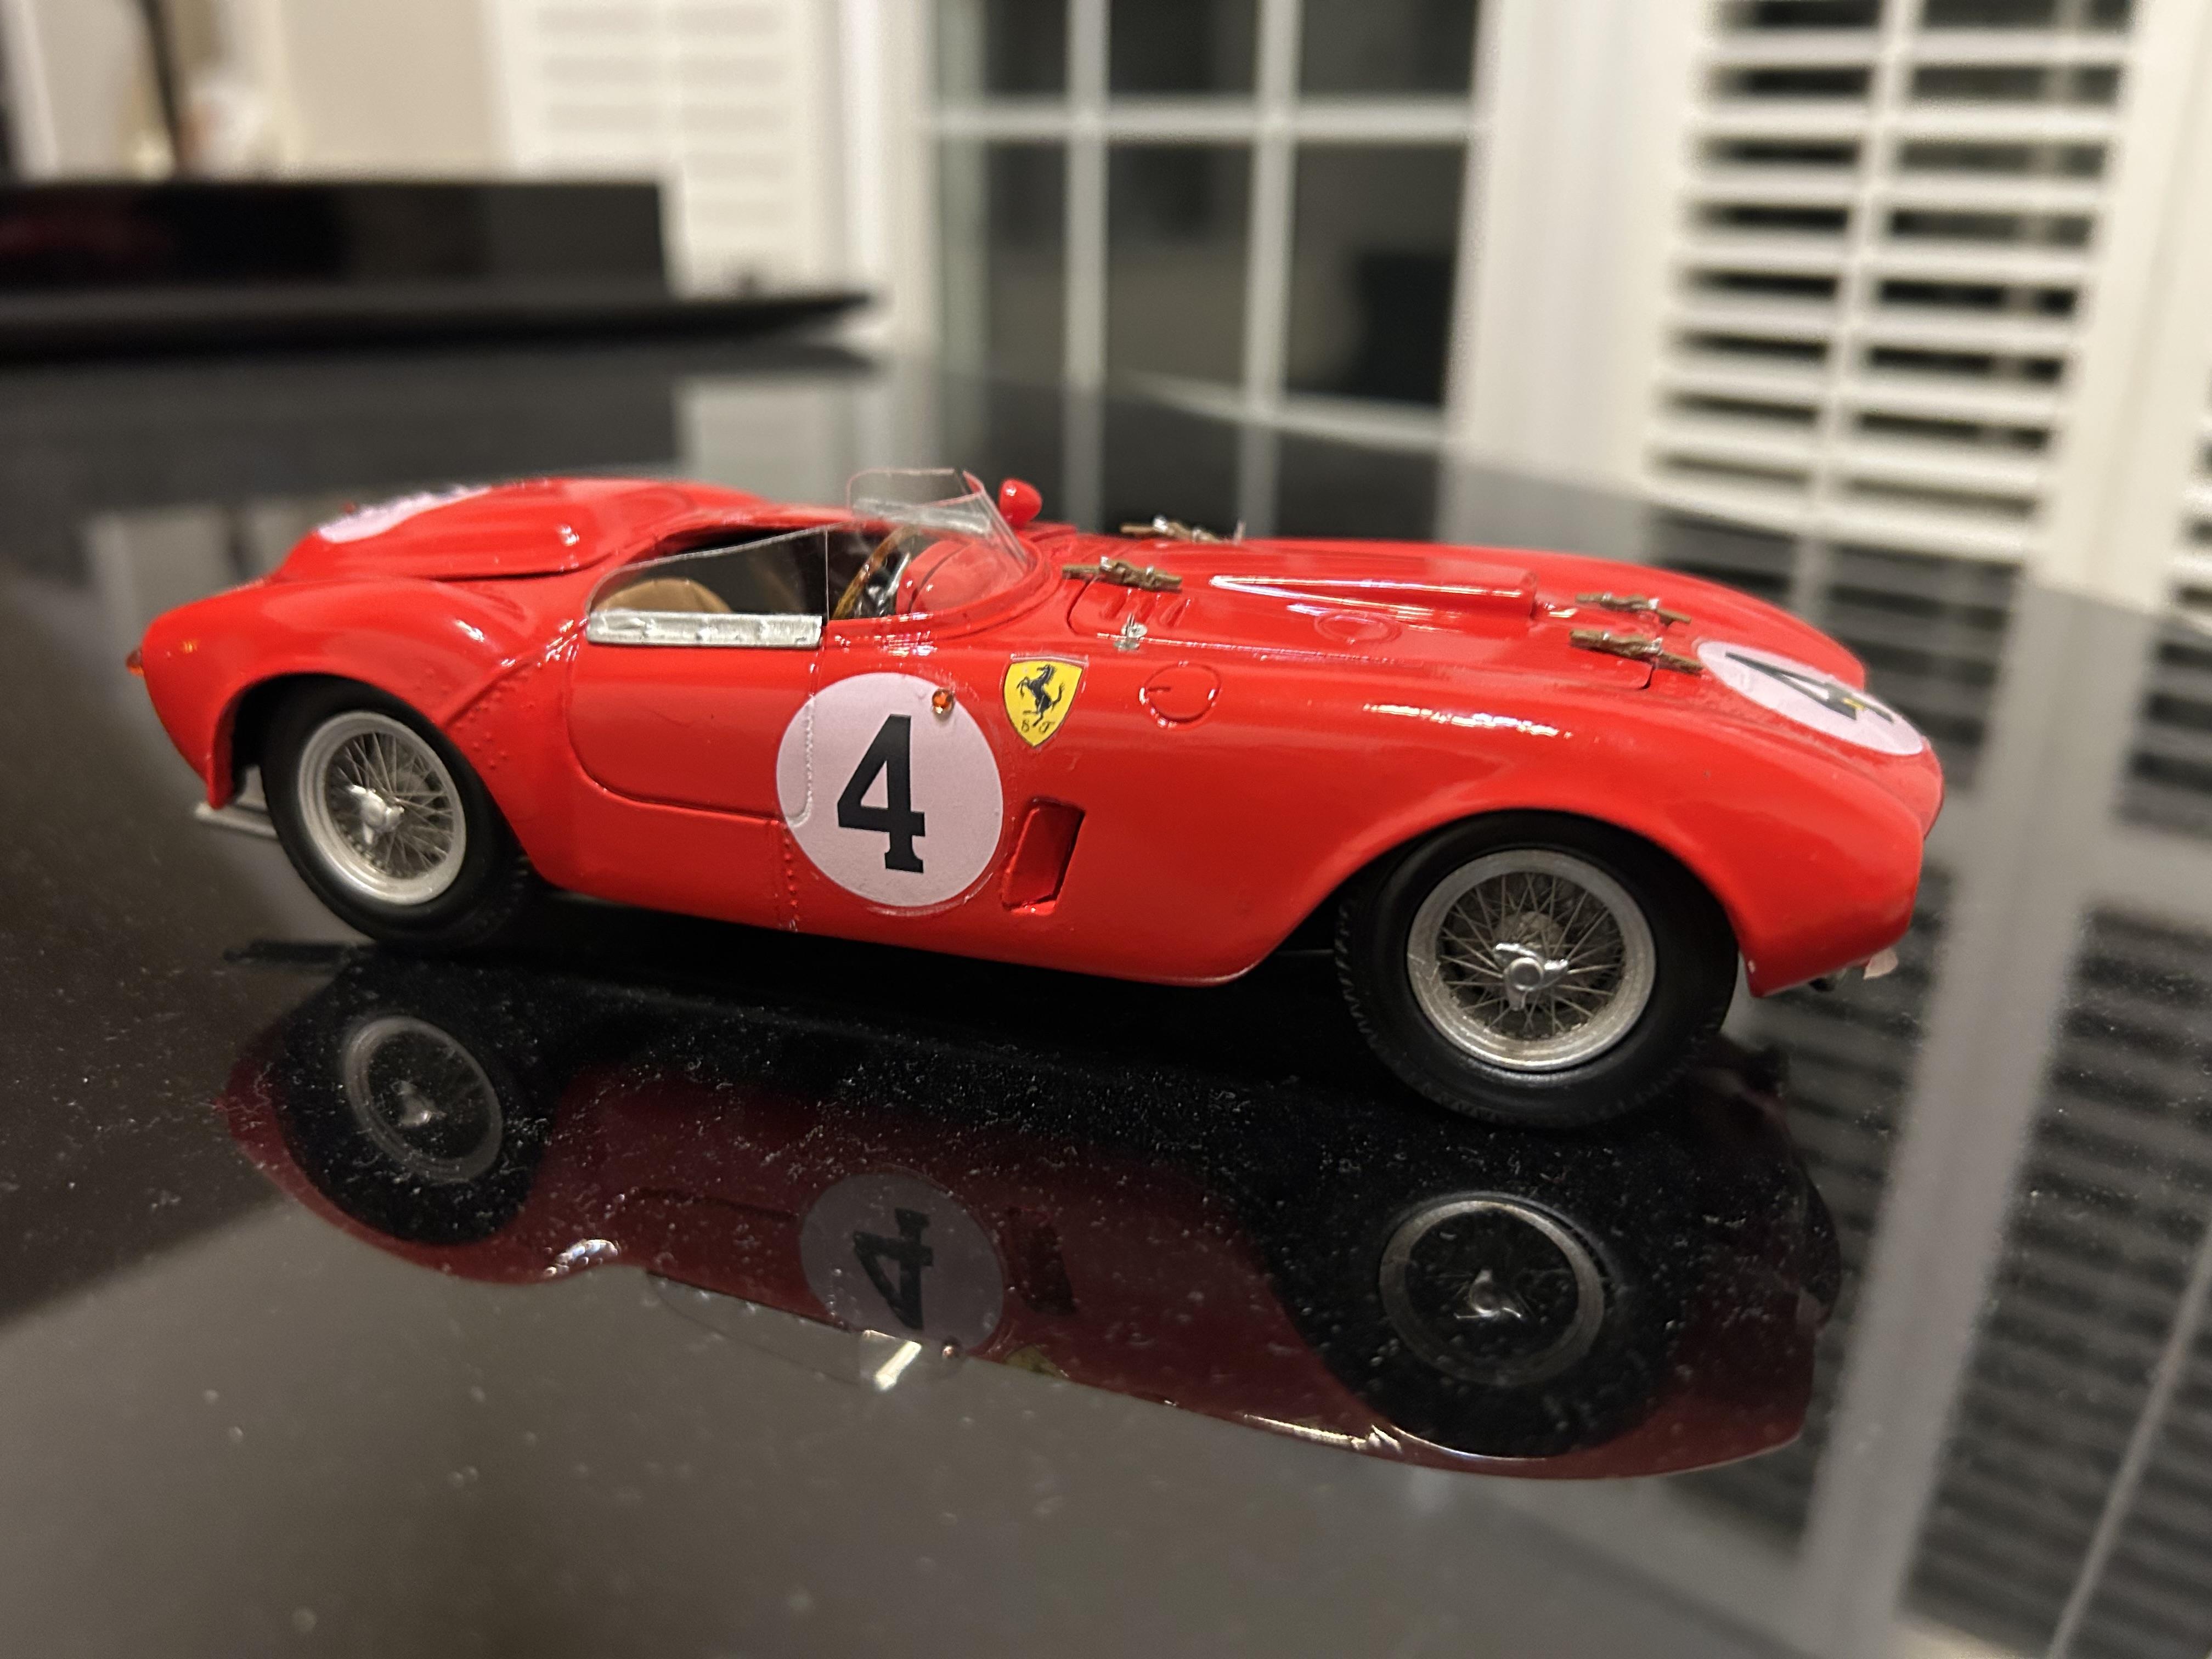
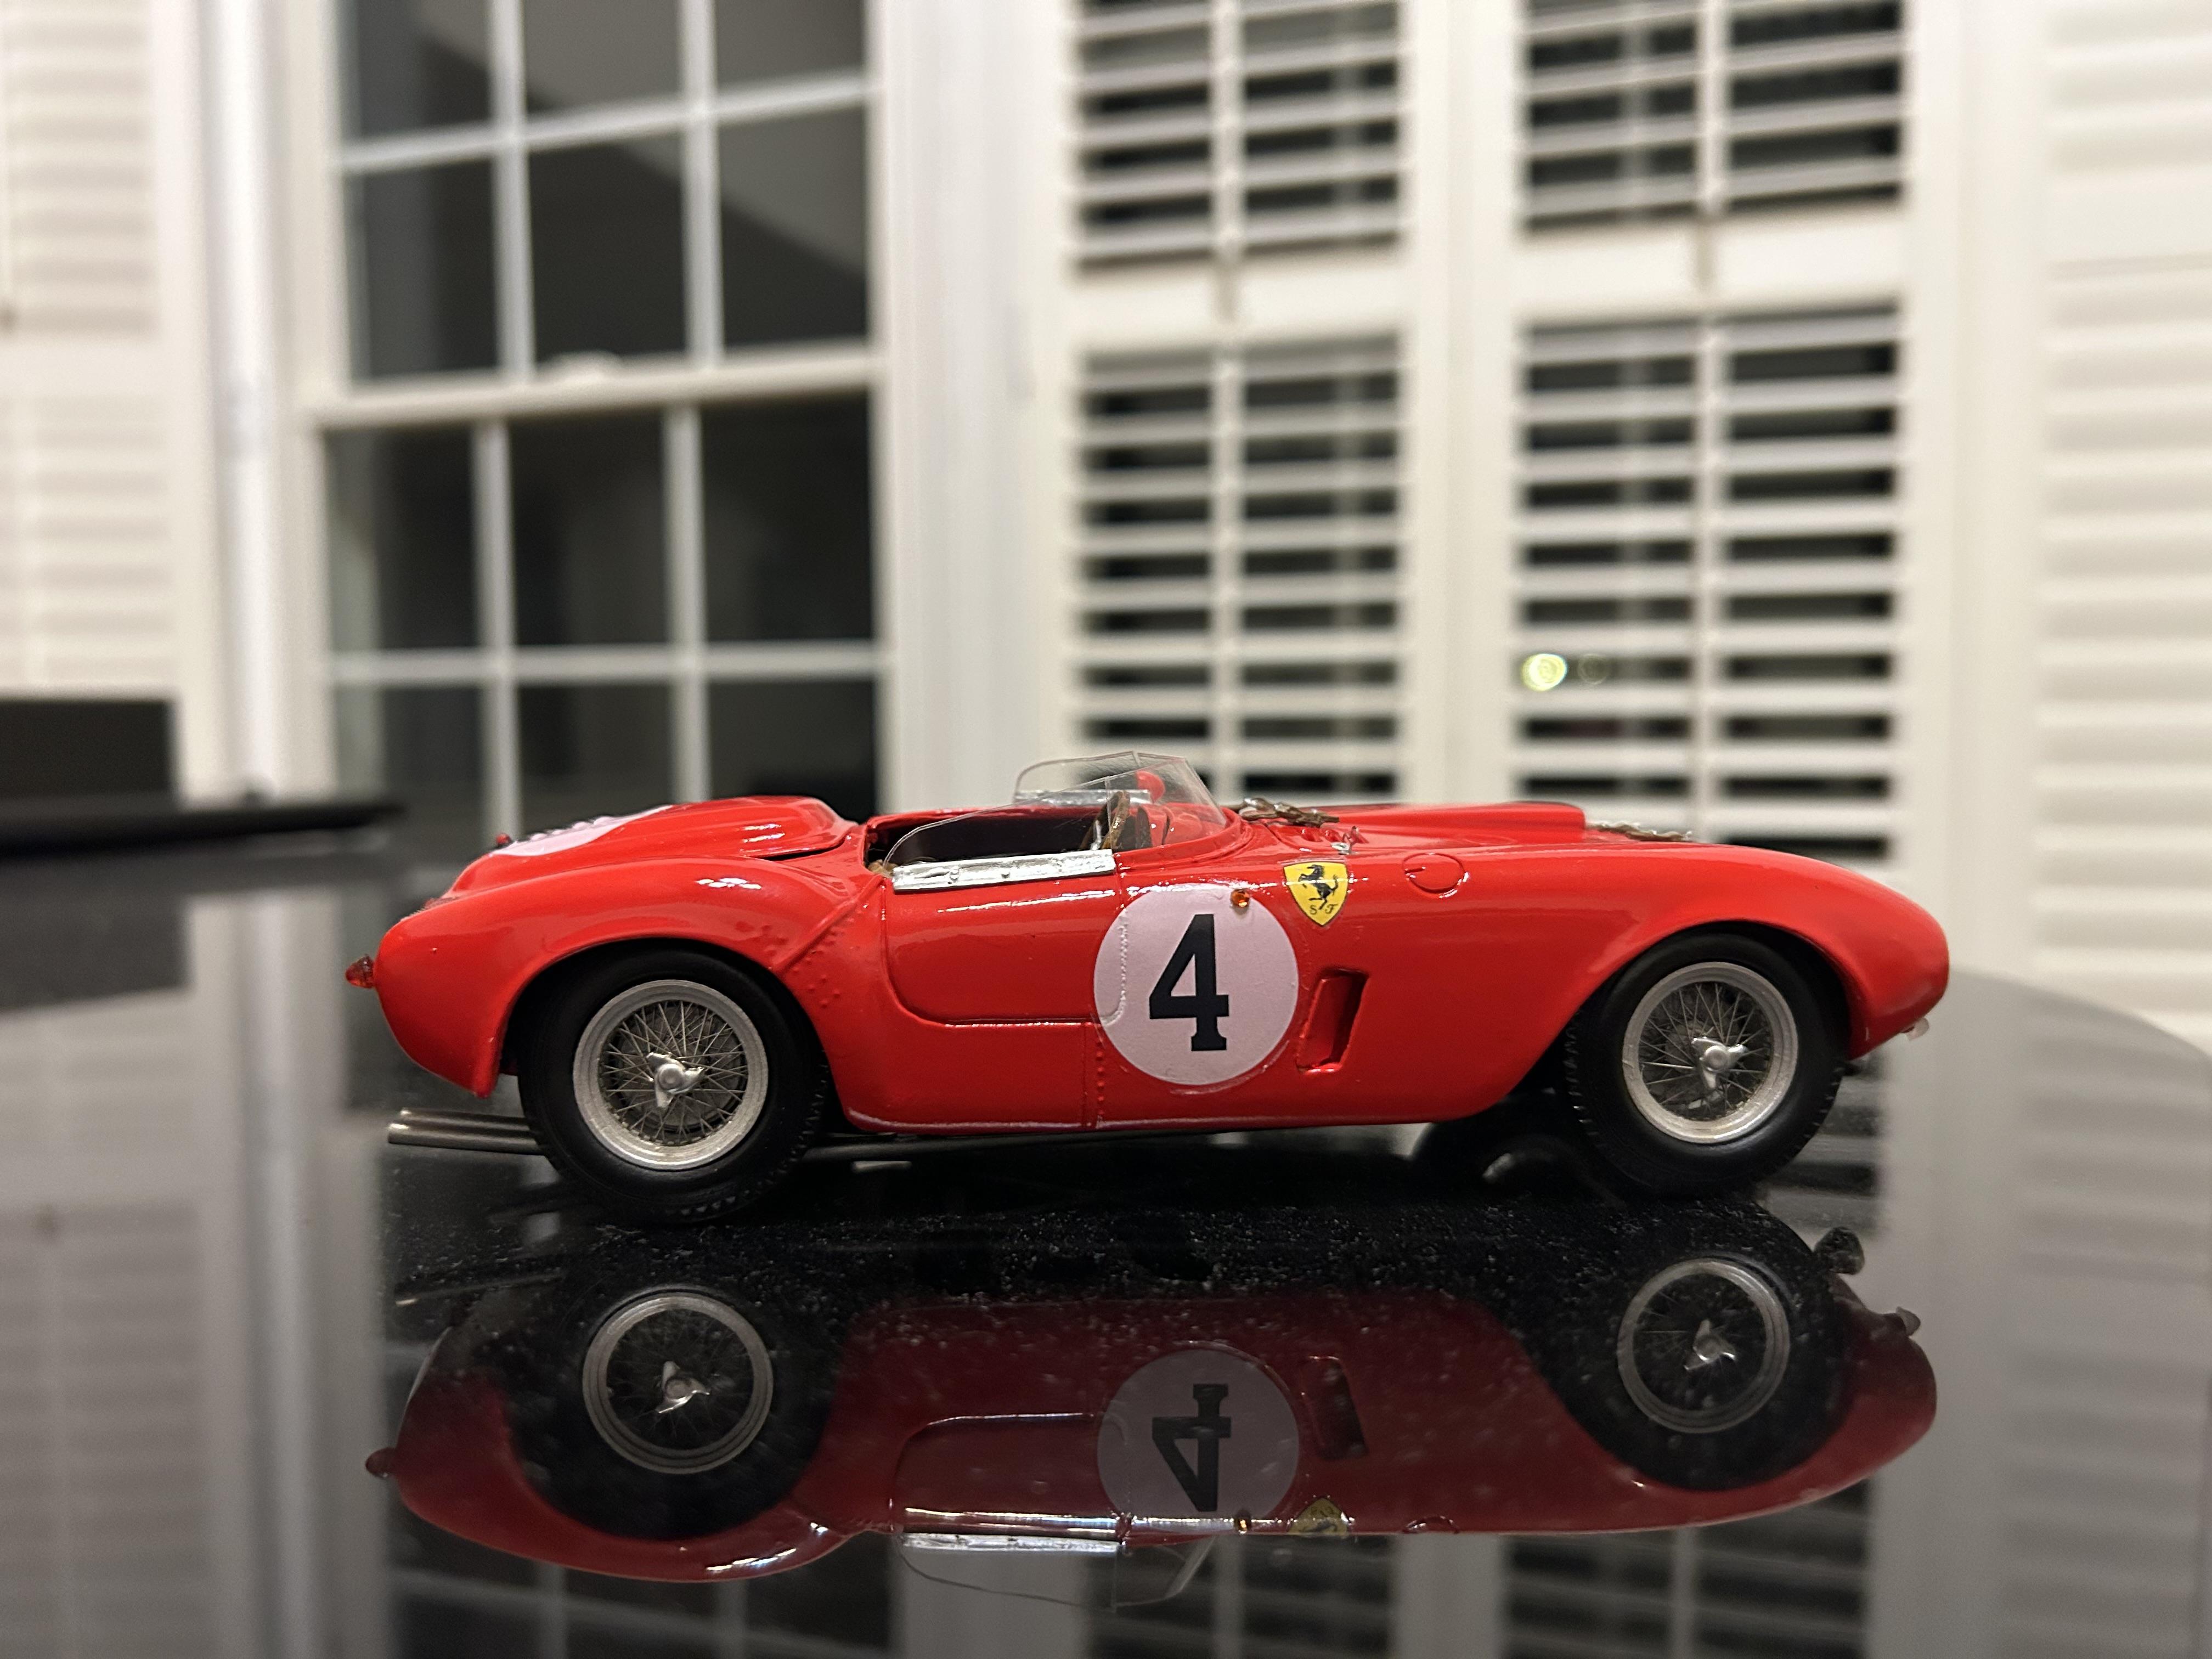
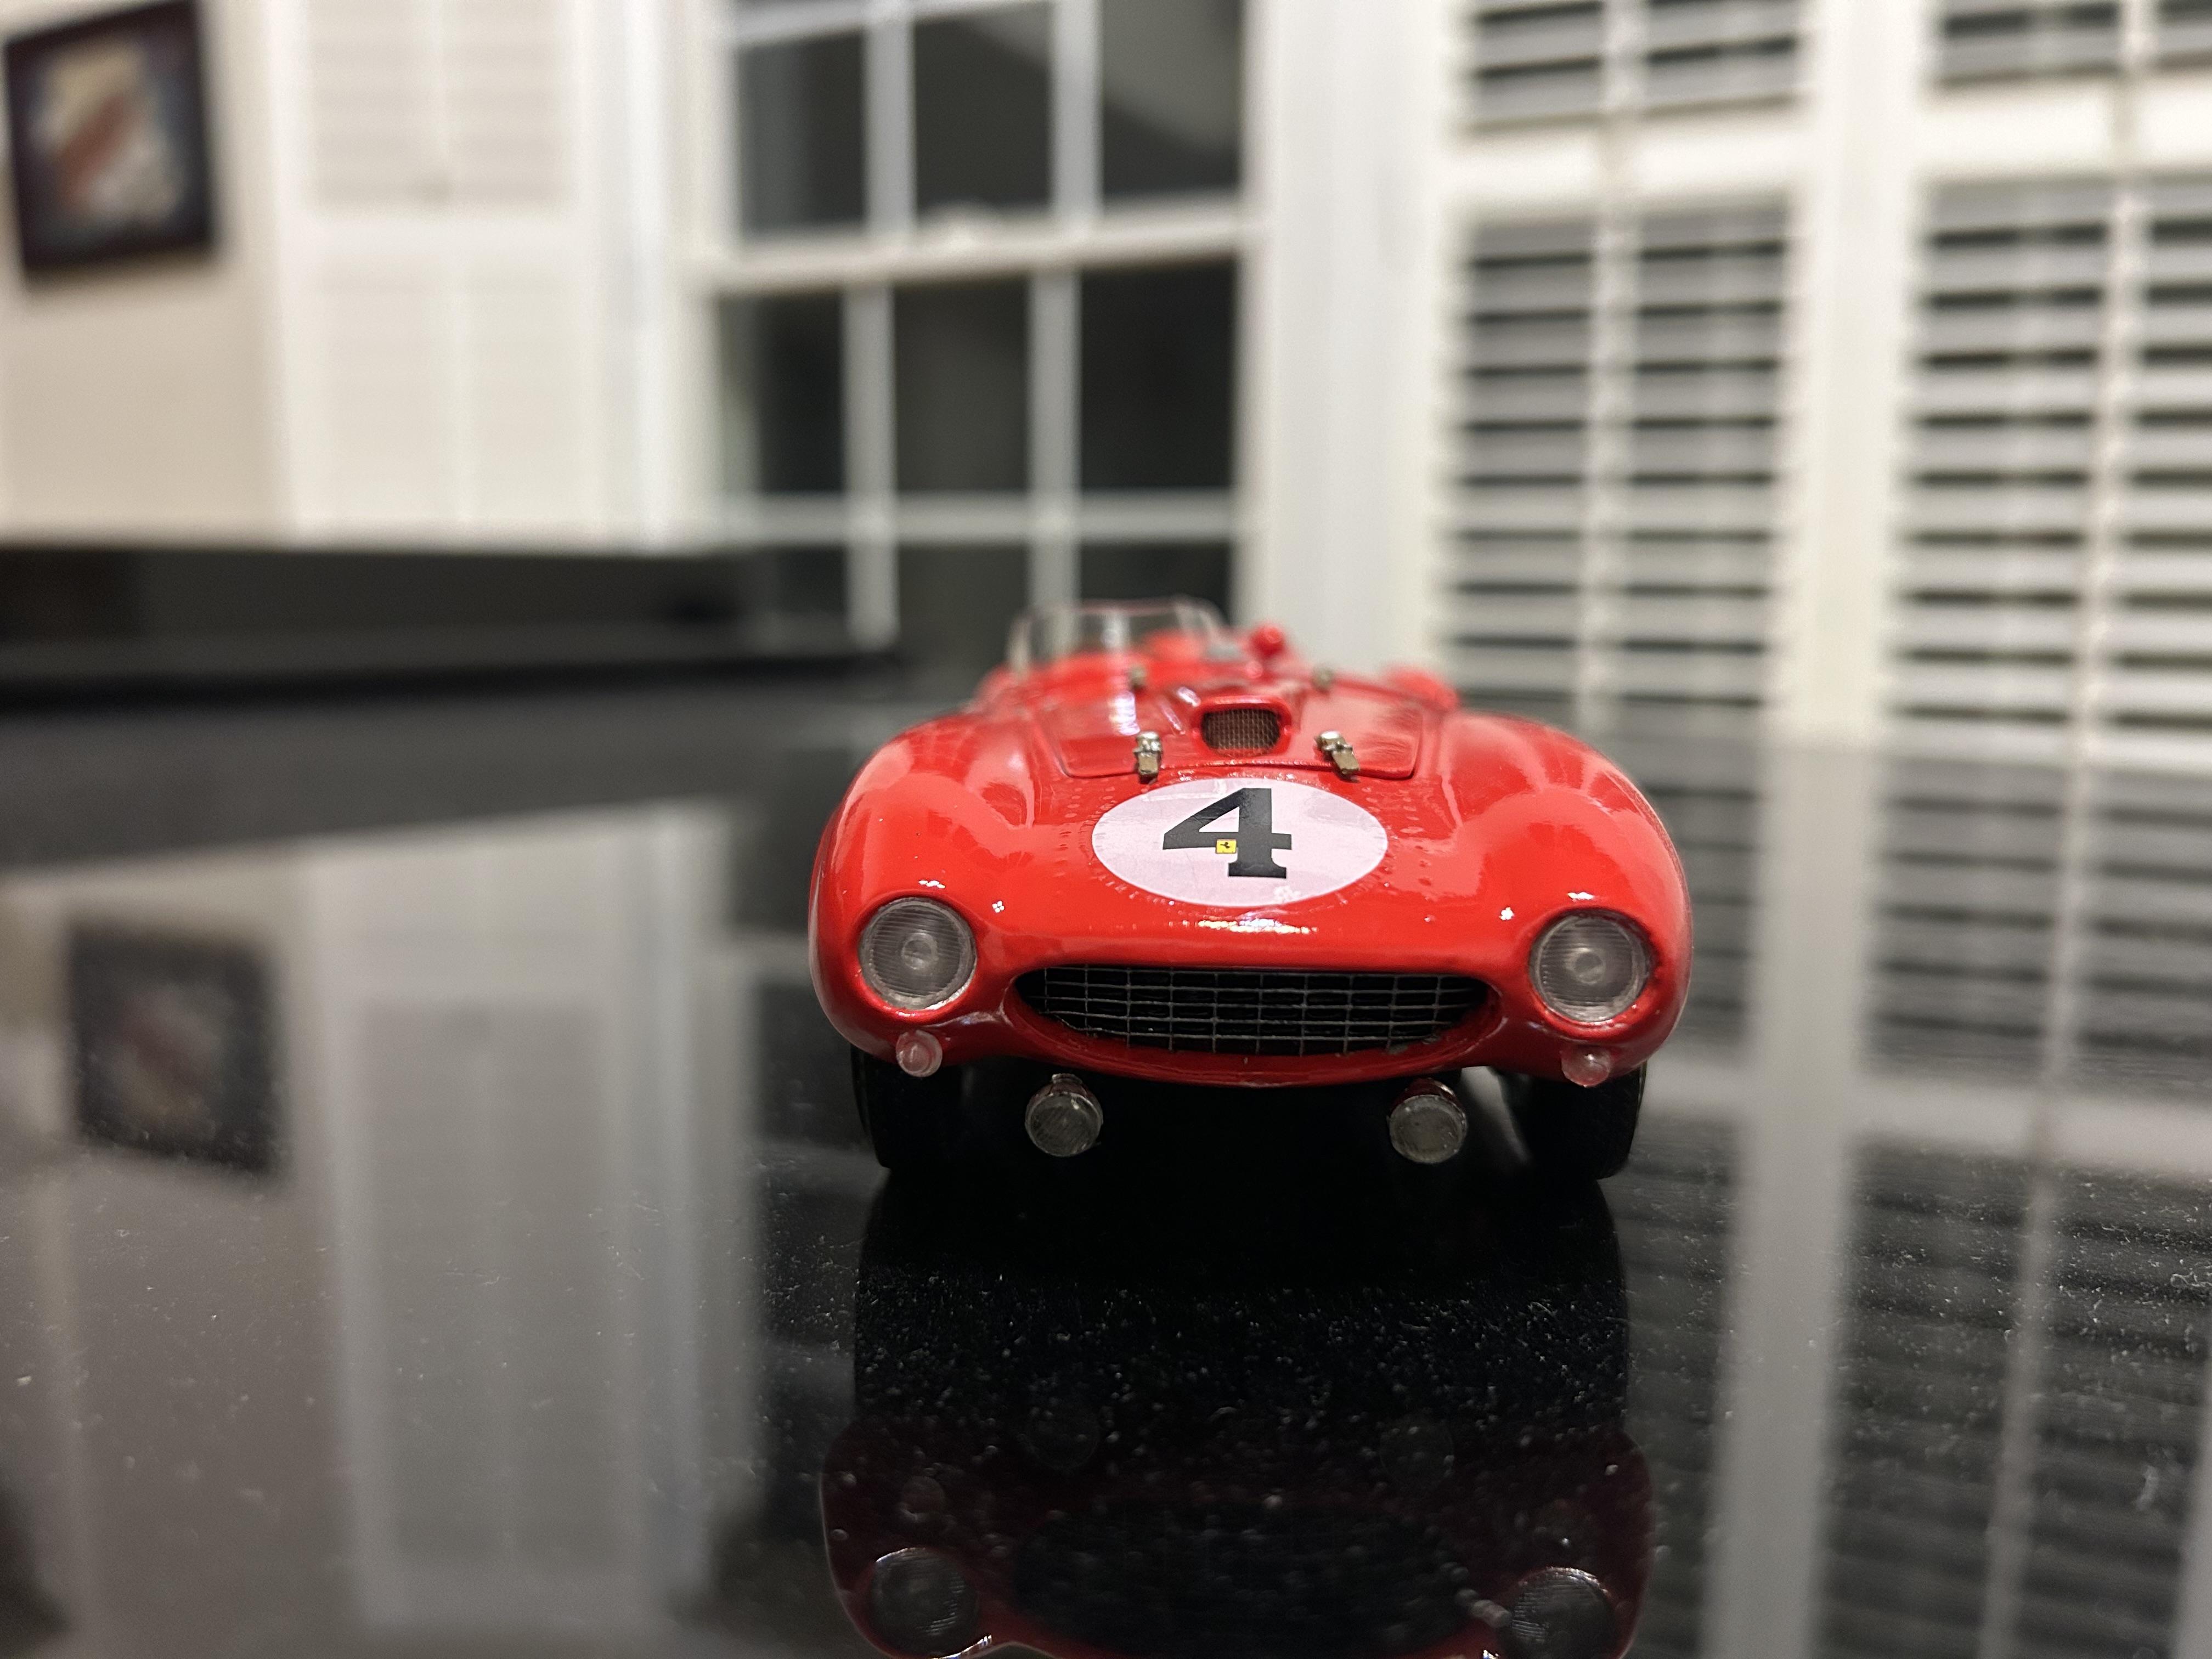
Ferrari 375 Plus Le Mans 1954
TC replied to TC's topic in Other Racing: Road Racing, Salt Flat Racers
Yes there is a resin engine that comes with the kit -
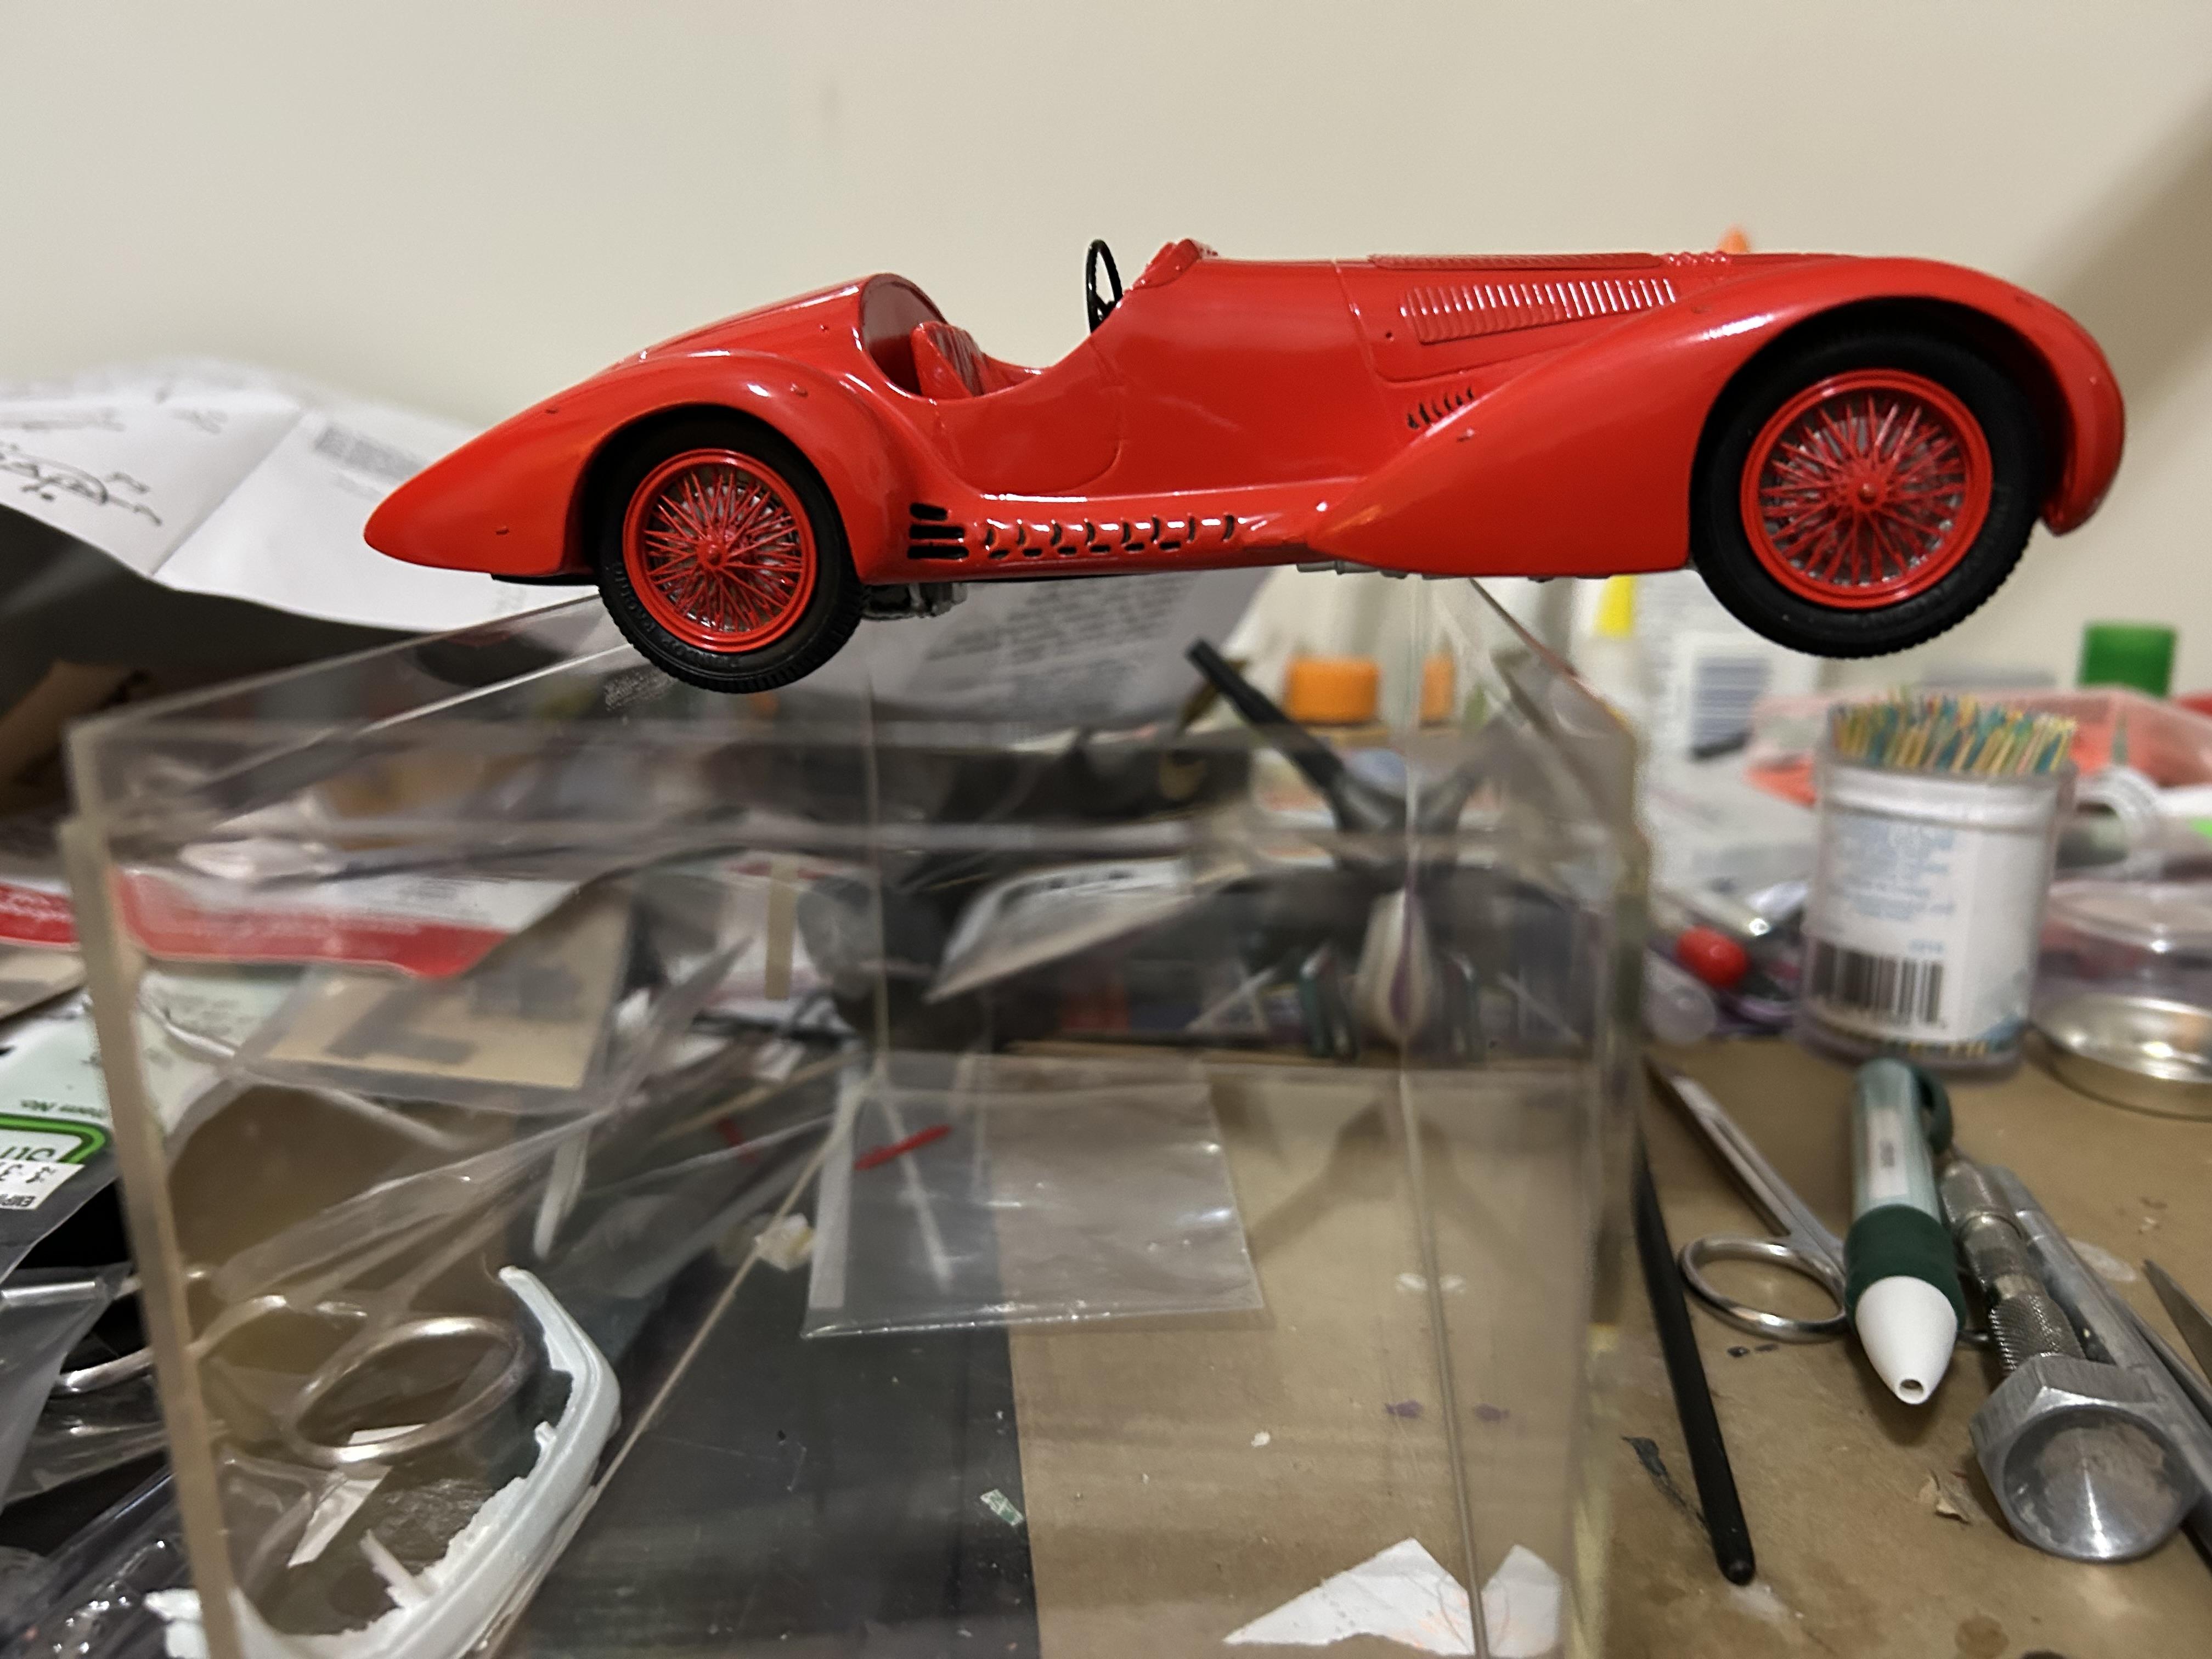
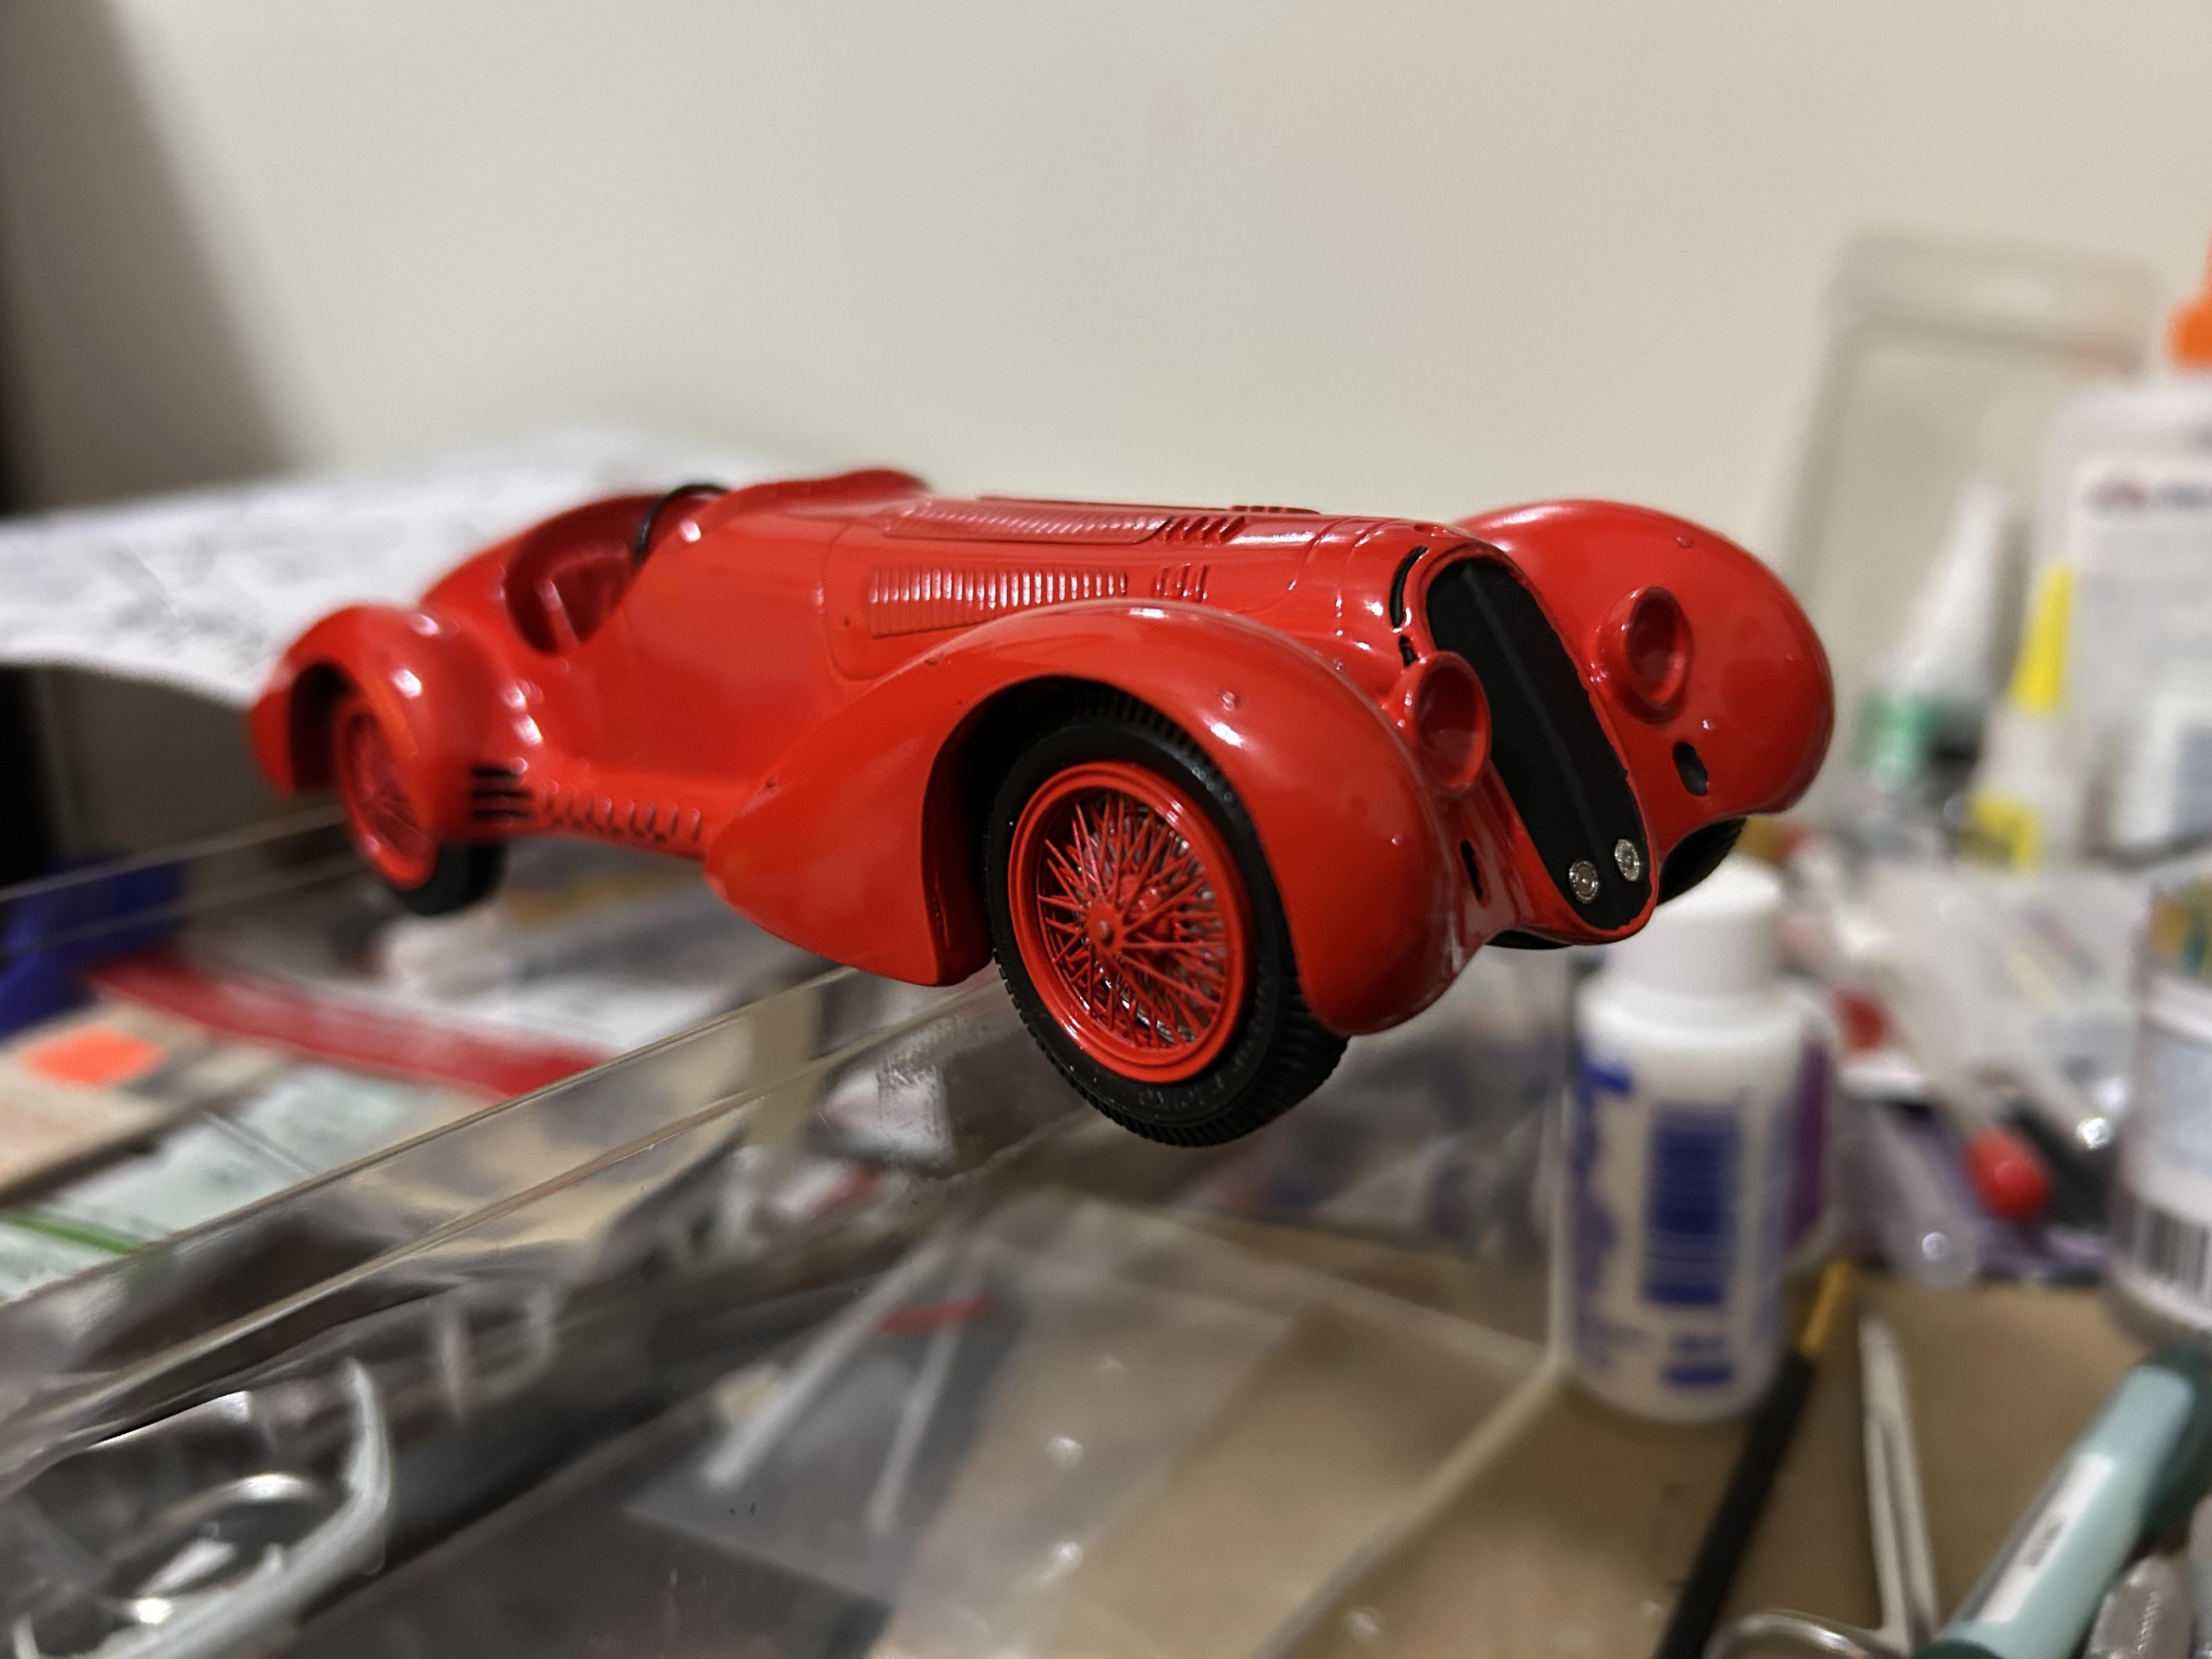
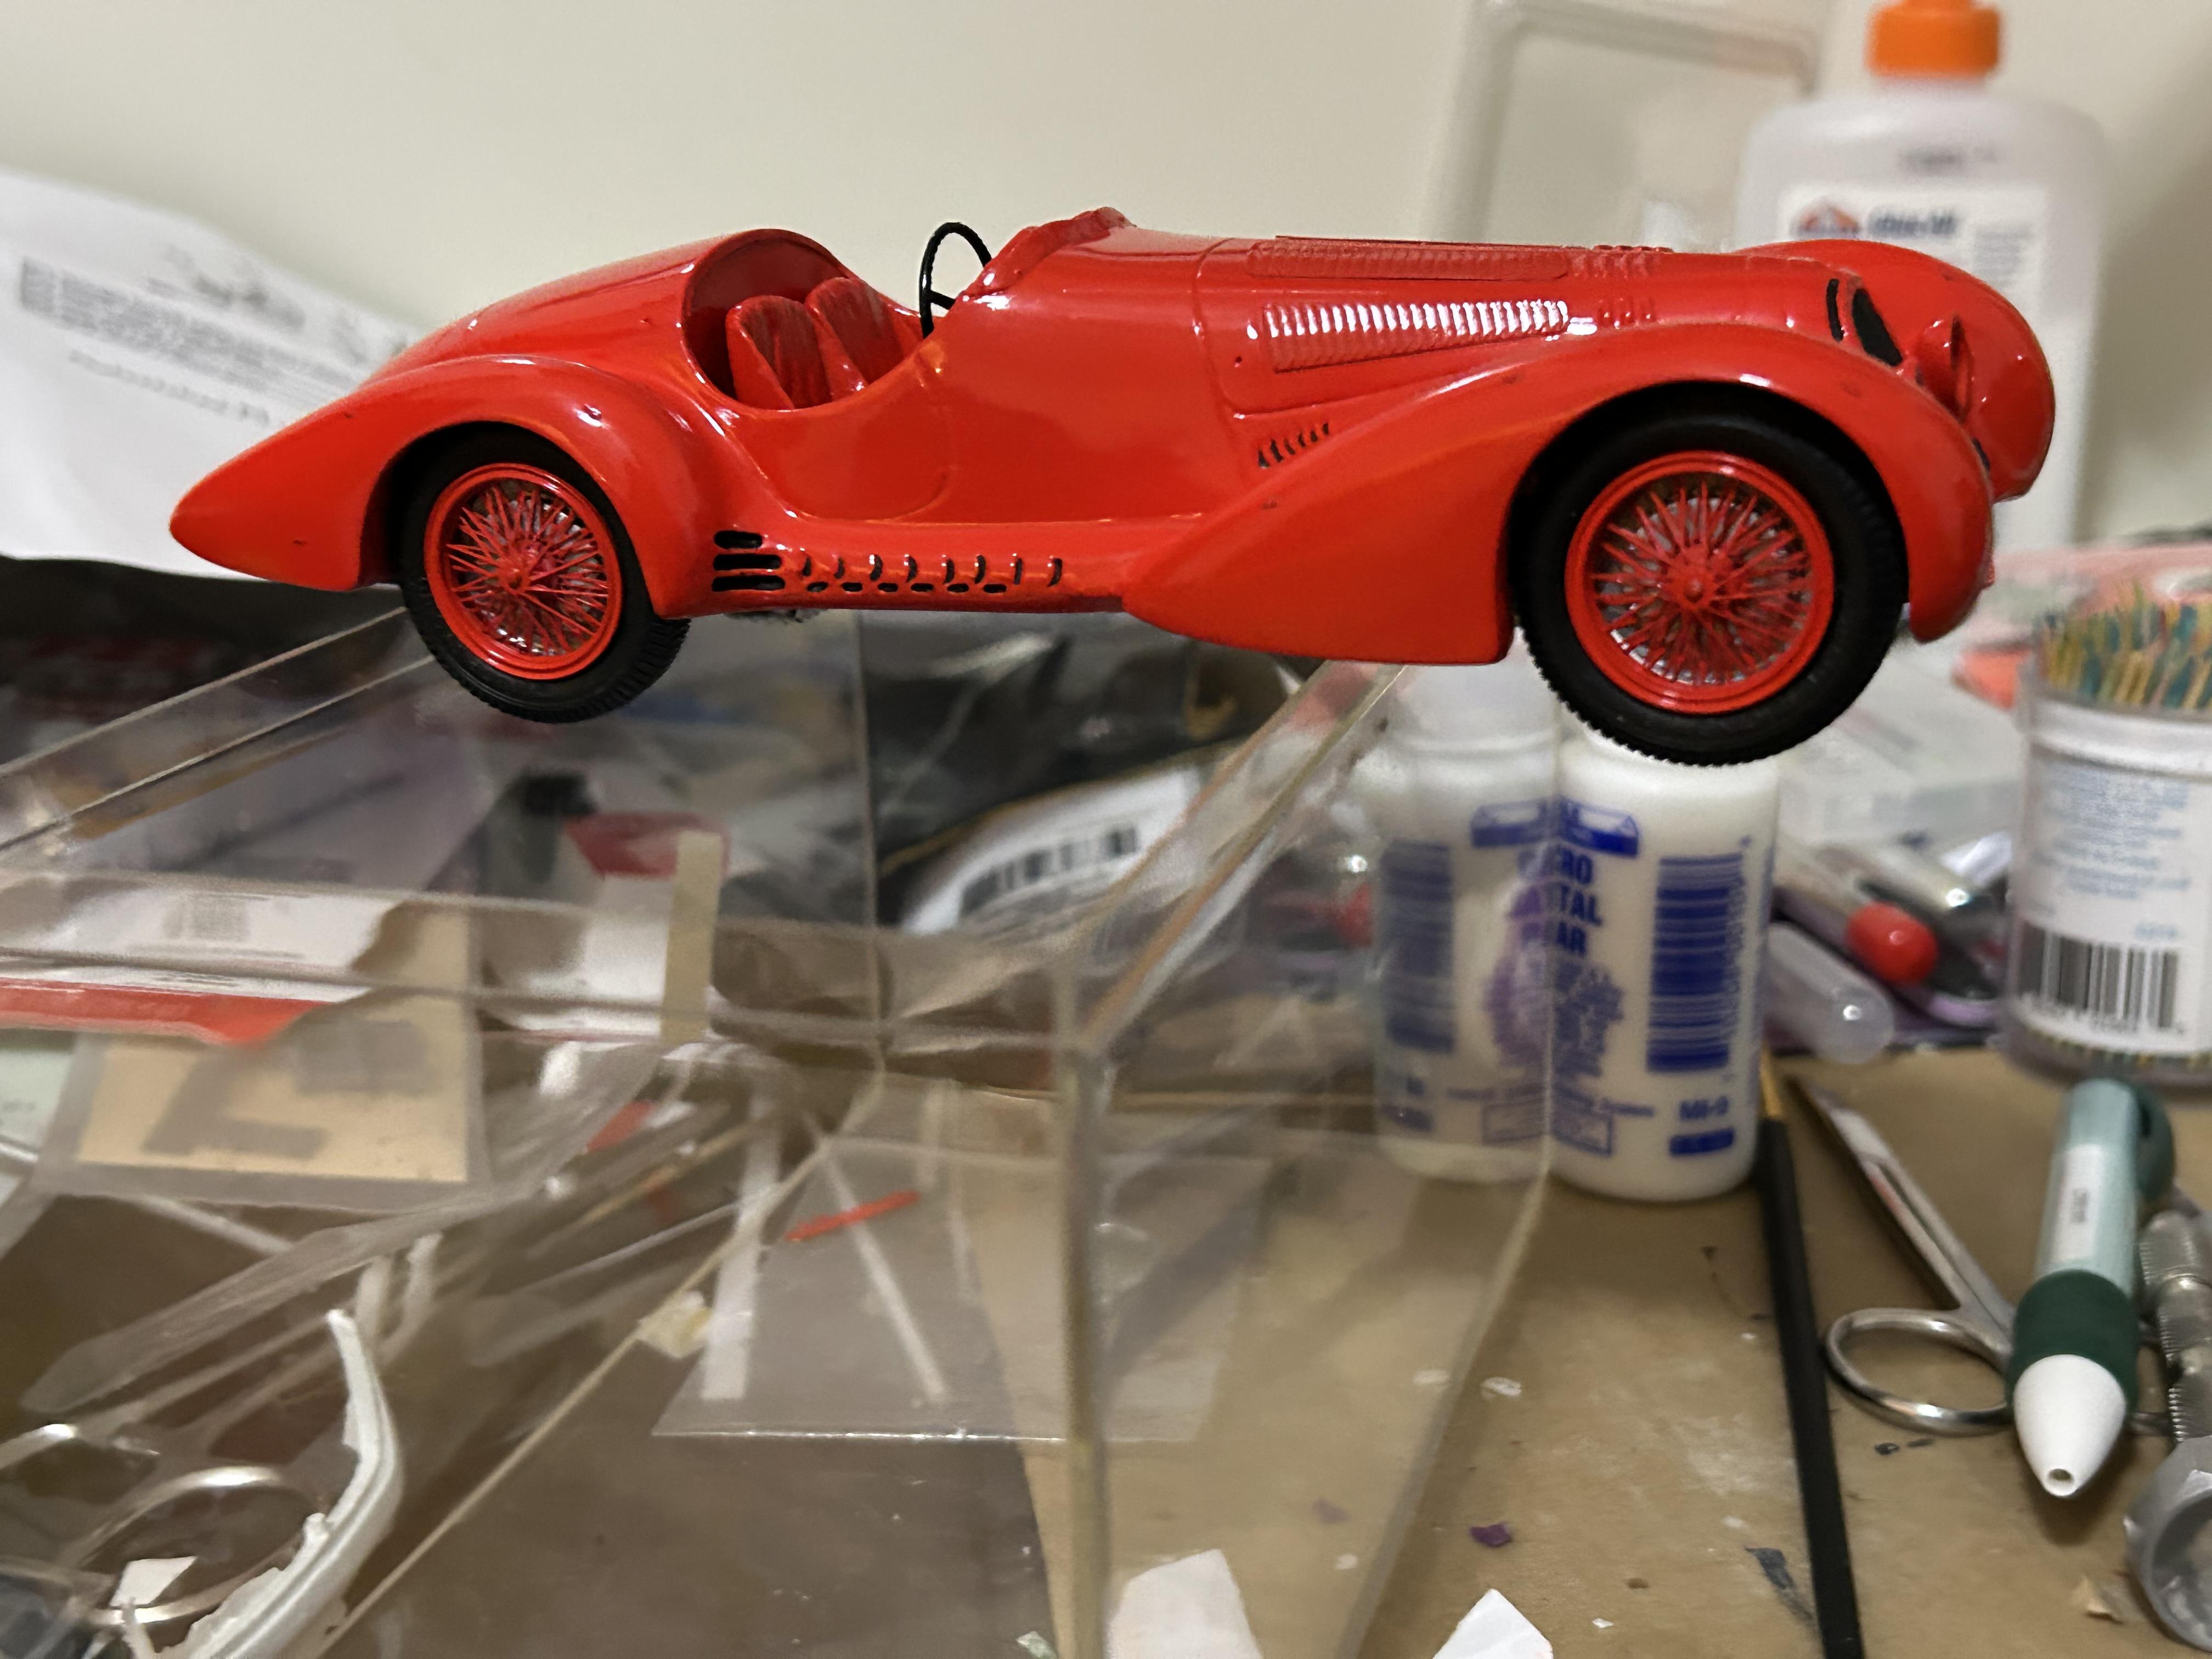
Alfa Romeo 2900B Mille Miglia 1938
TC replied to TC's topic in WIP: Other Racing: Road Racing, Land Speed Racers
Yes, Shape looks spot on when comparing to actual car at Simeone museum in Philadelphia -
Alfa Romeo 2900B Mille Miglia 1938
TC replied to TC's topic in WIP: Other Racing: Road Racing, Land Speed Racers
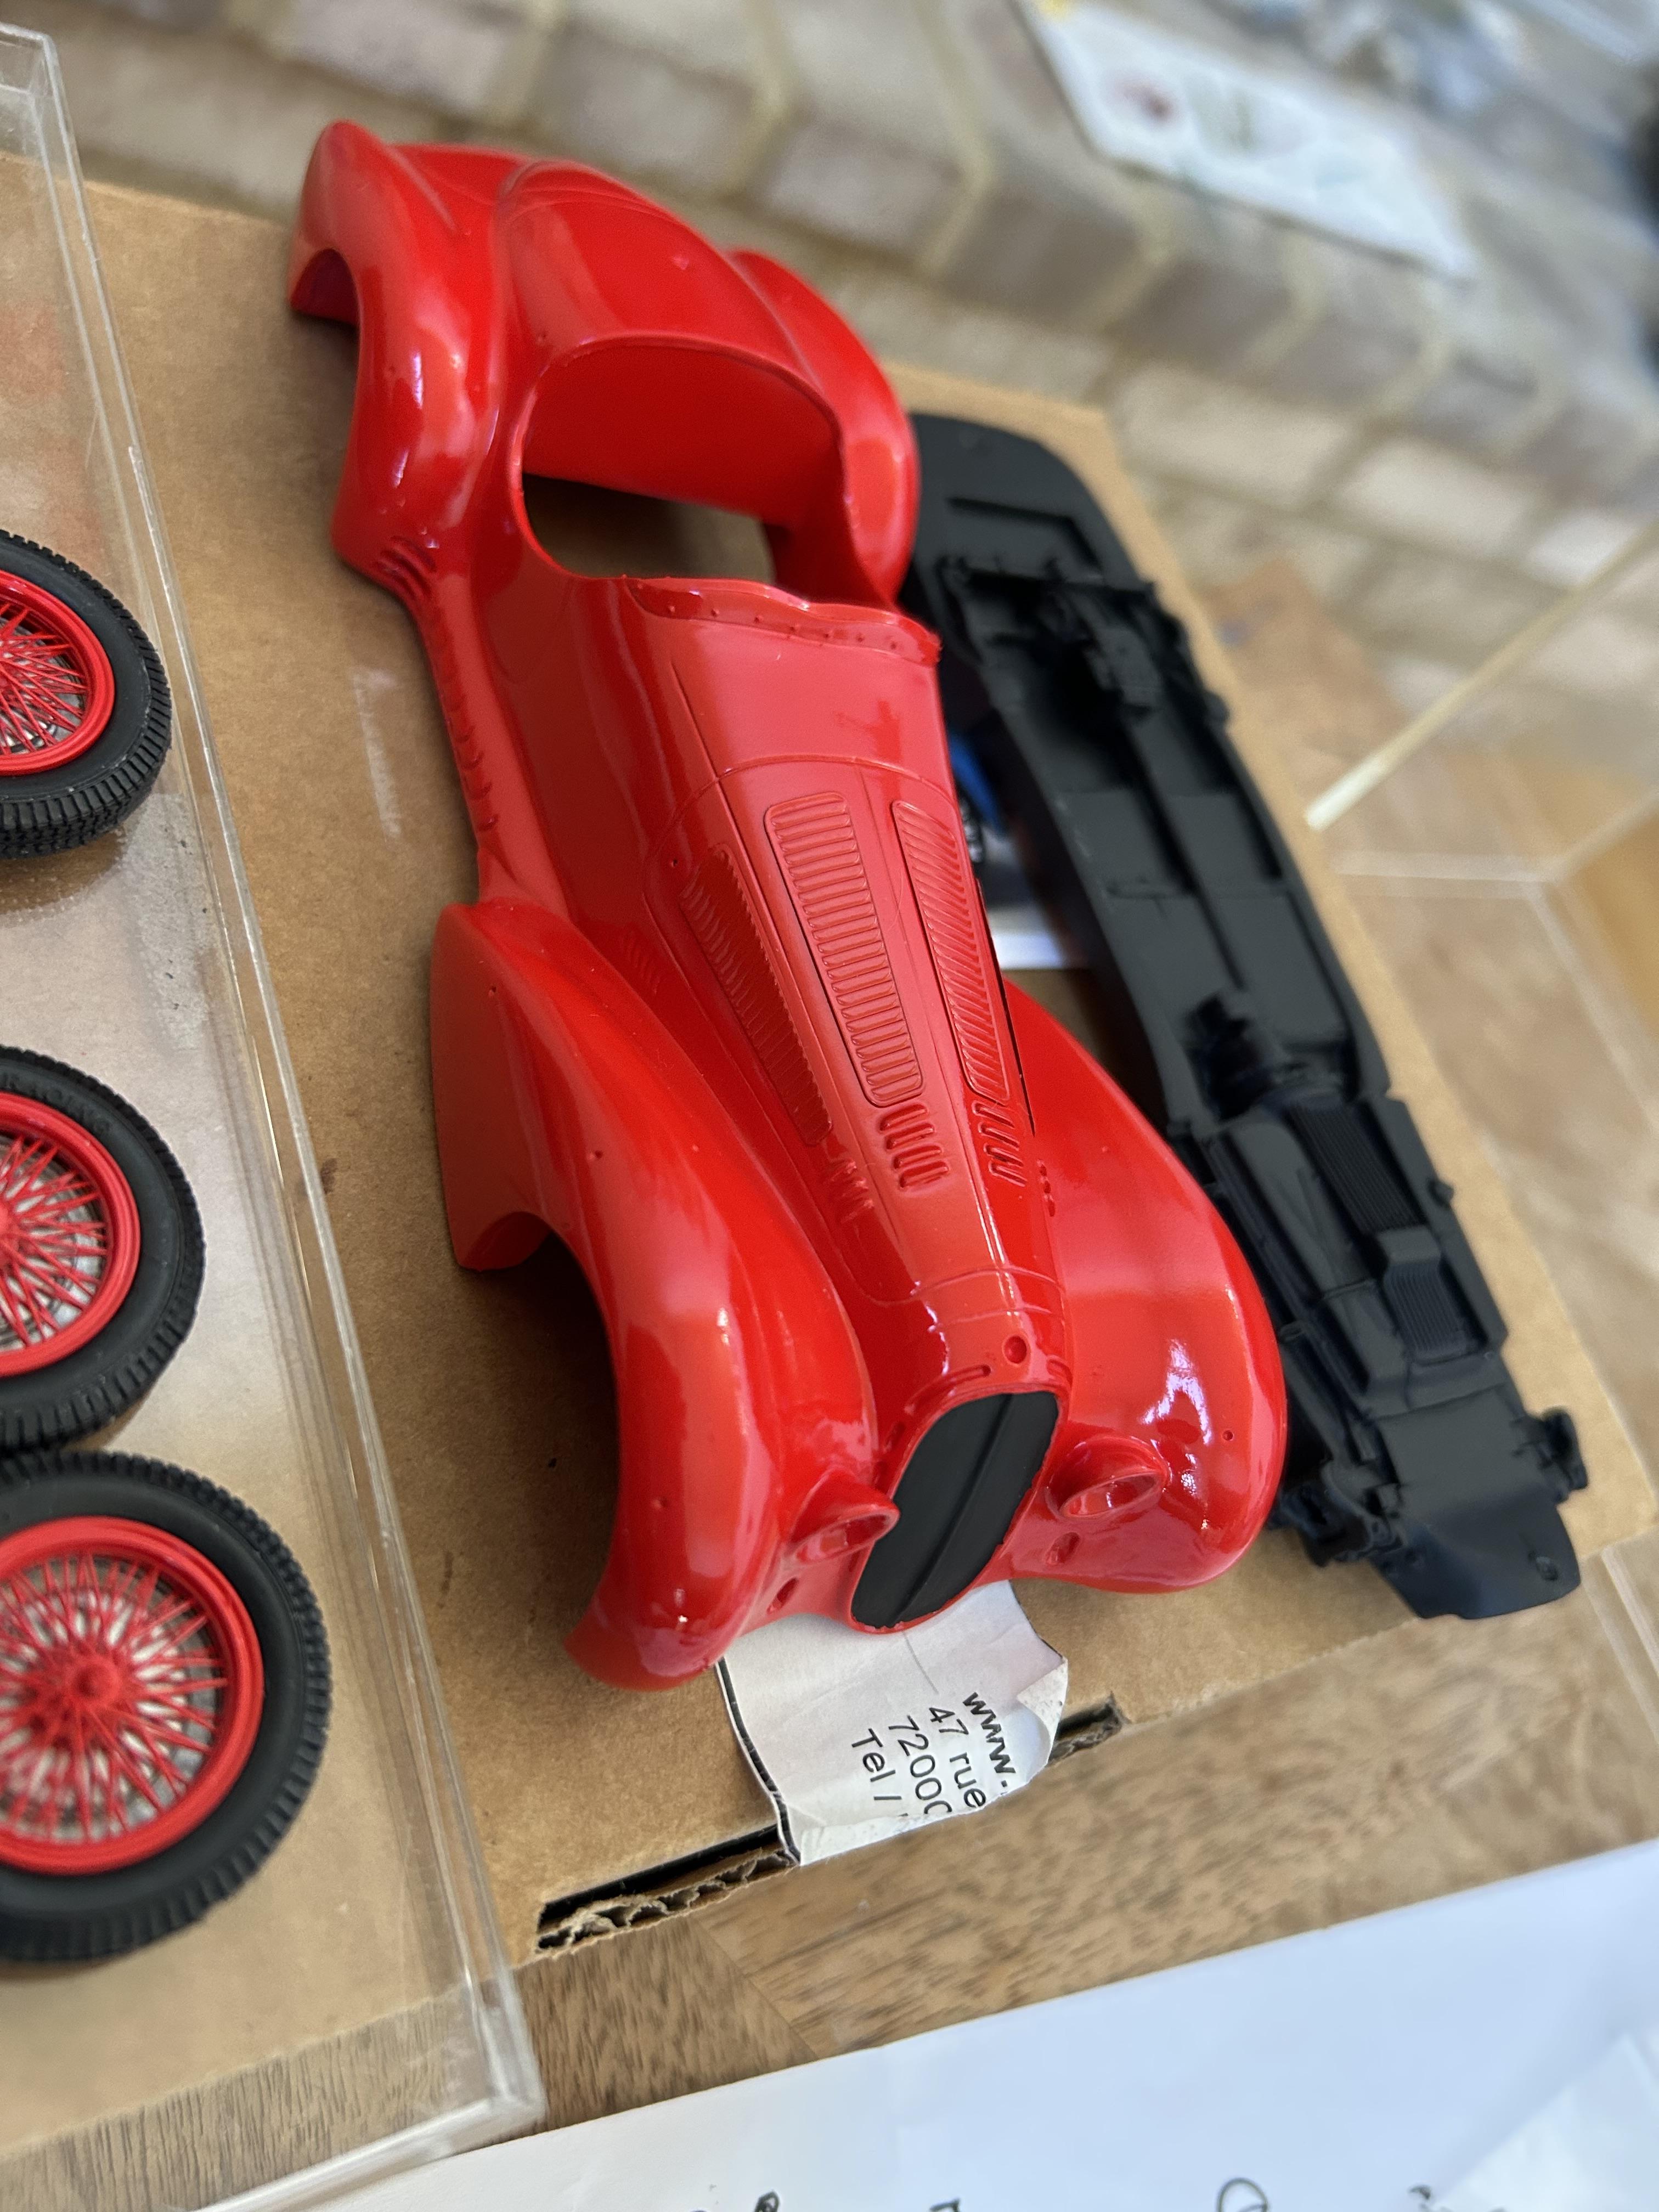
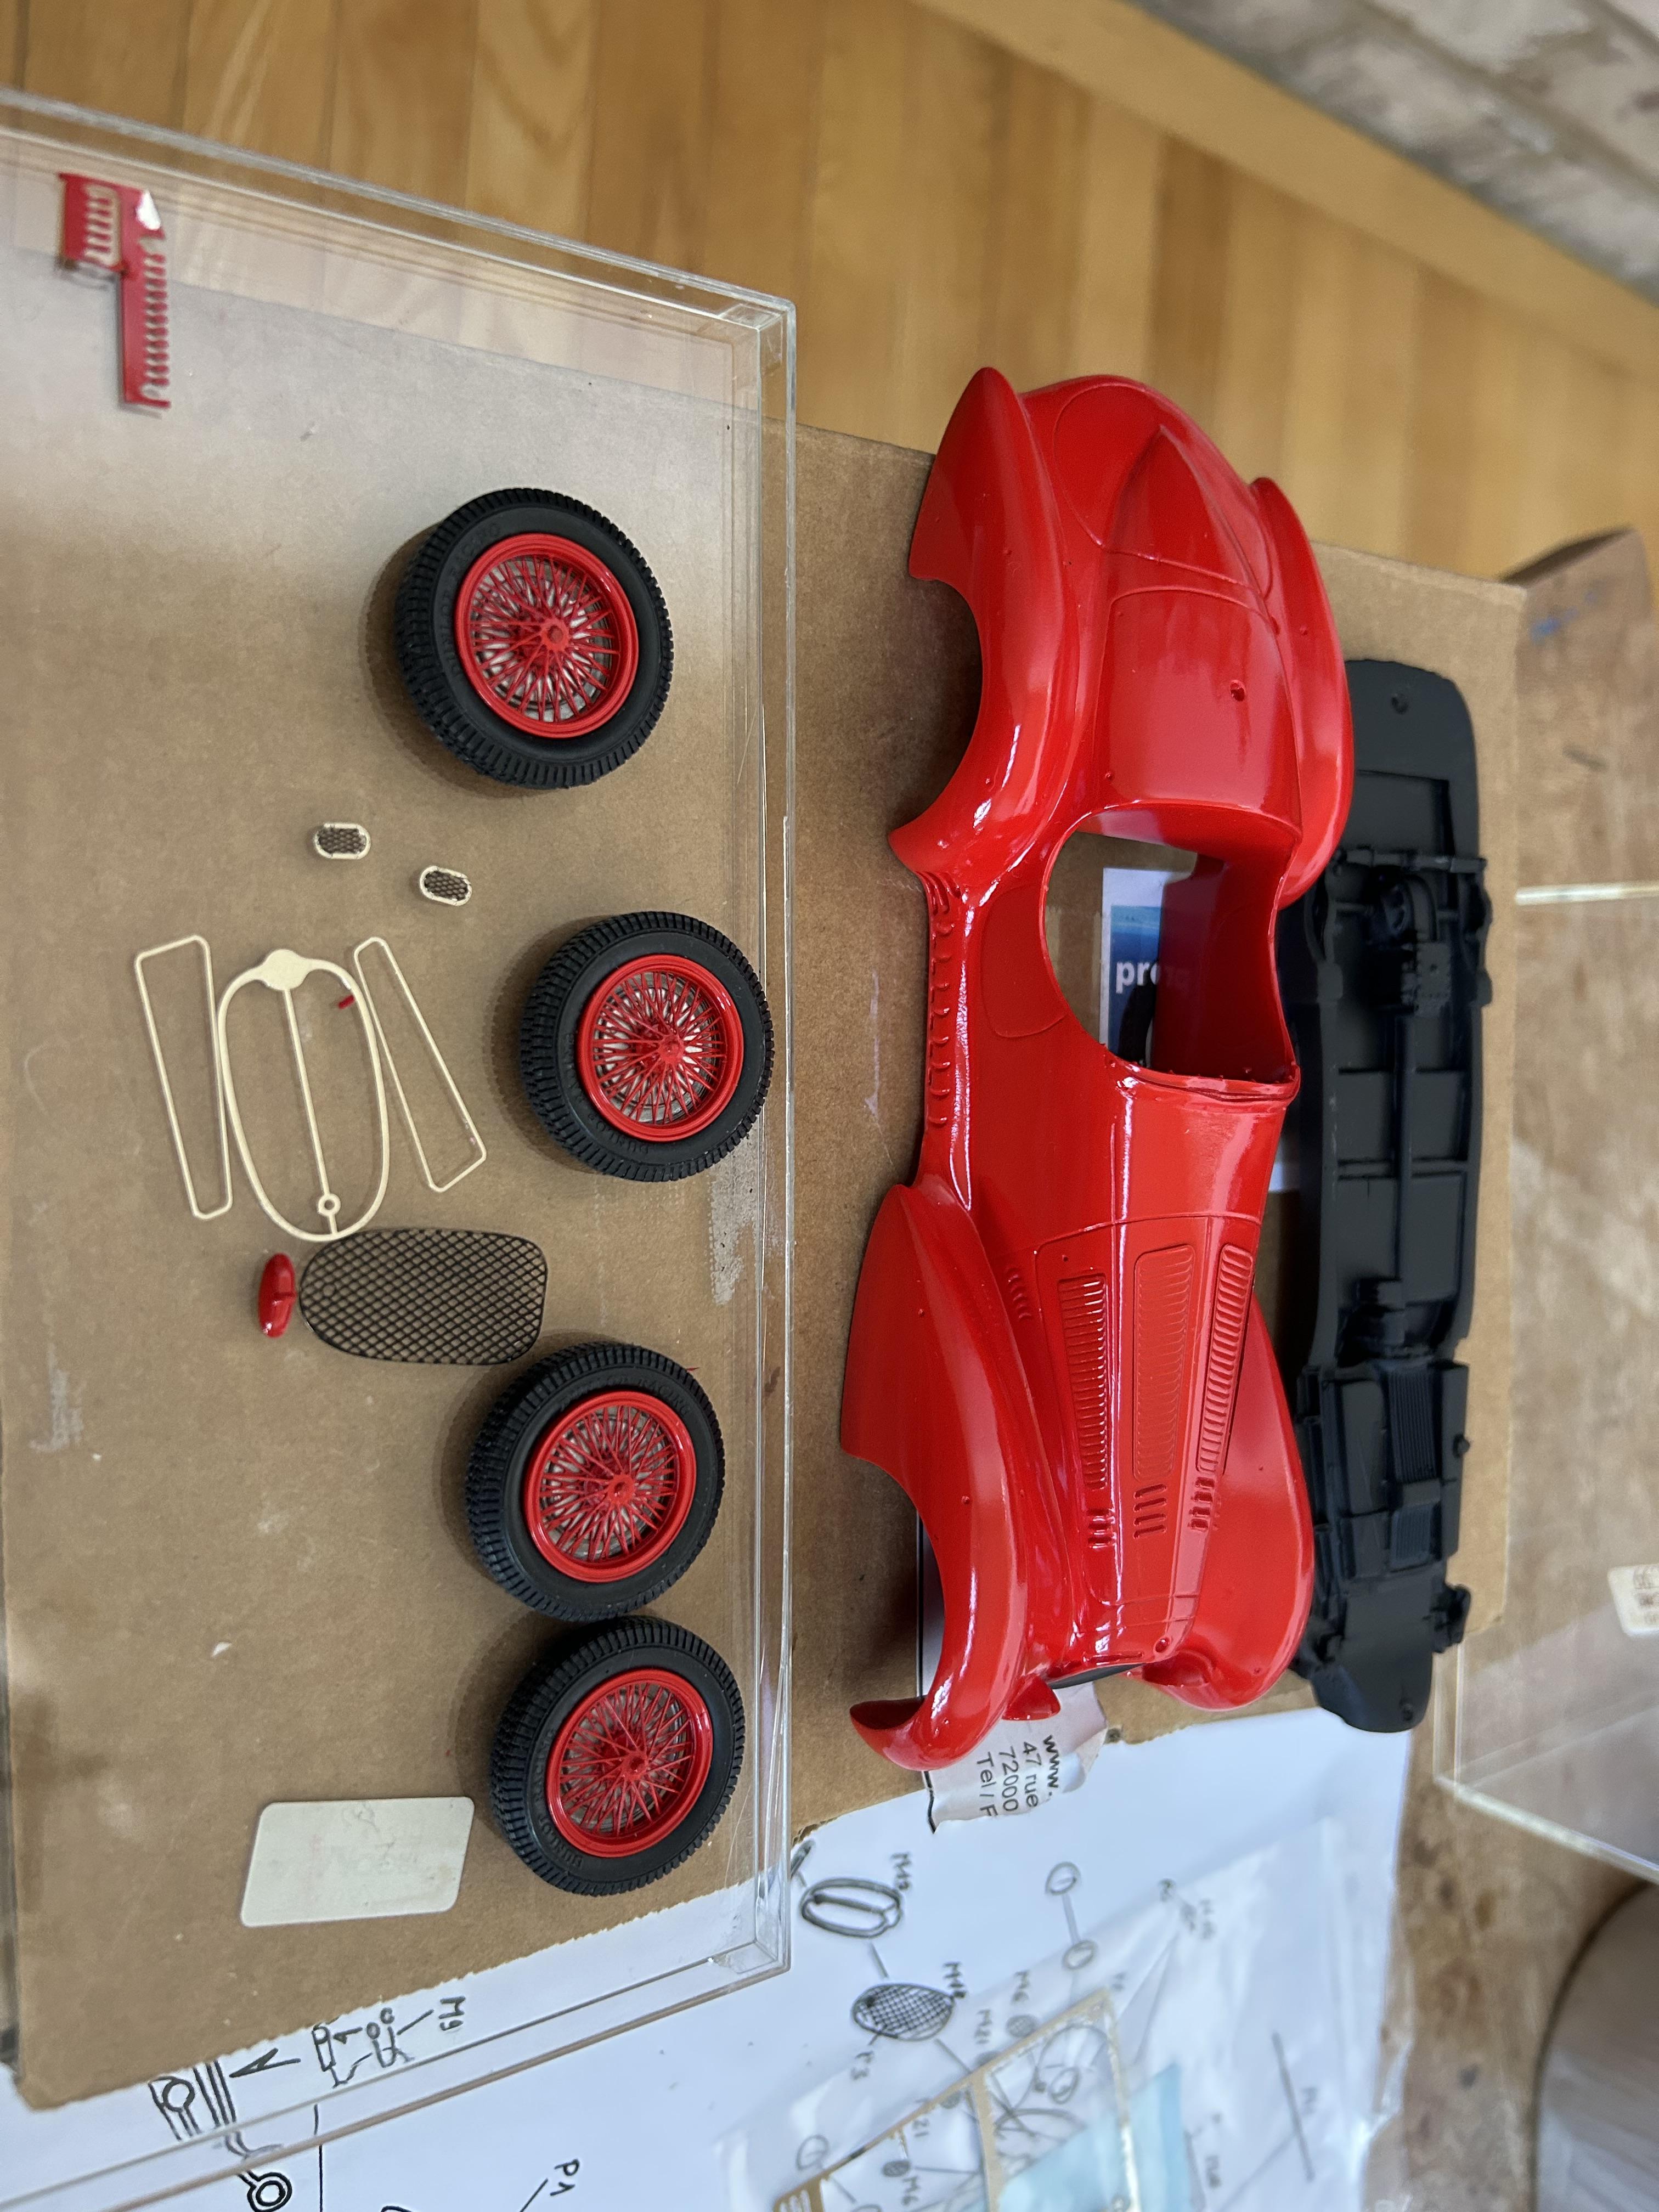
It’s a curbside. The chassis piece has some under engine cast detail -
Profil 24 kit very nice resin cast with excellent photoetch including wheels
-
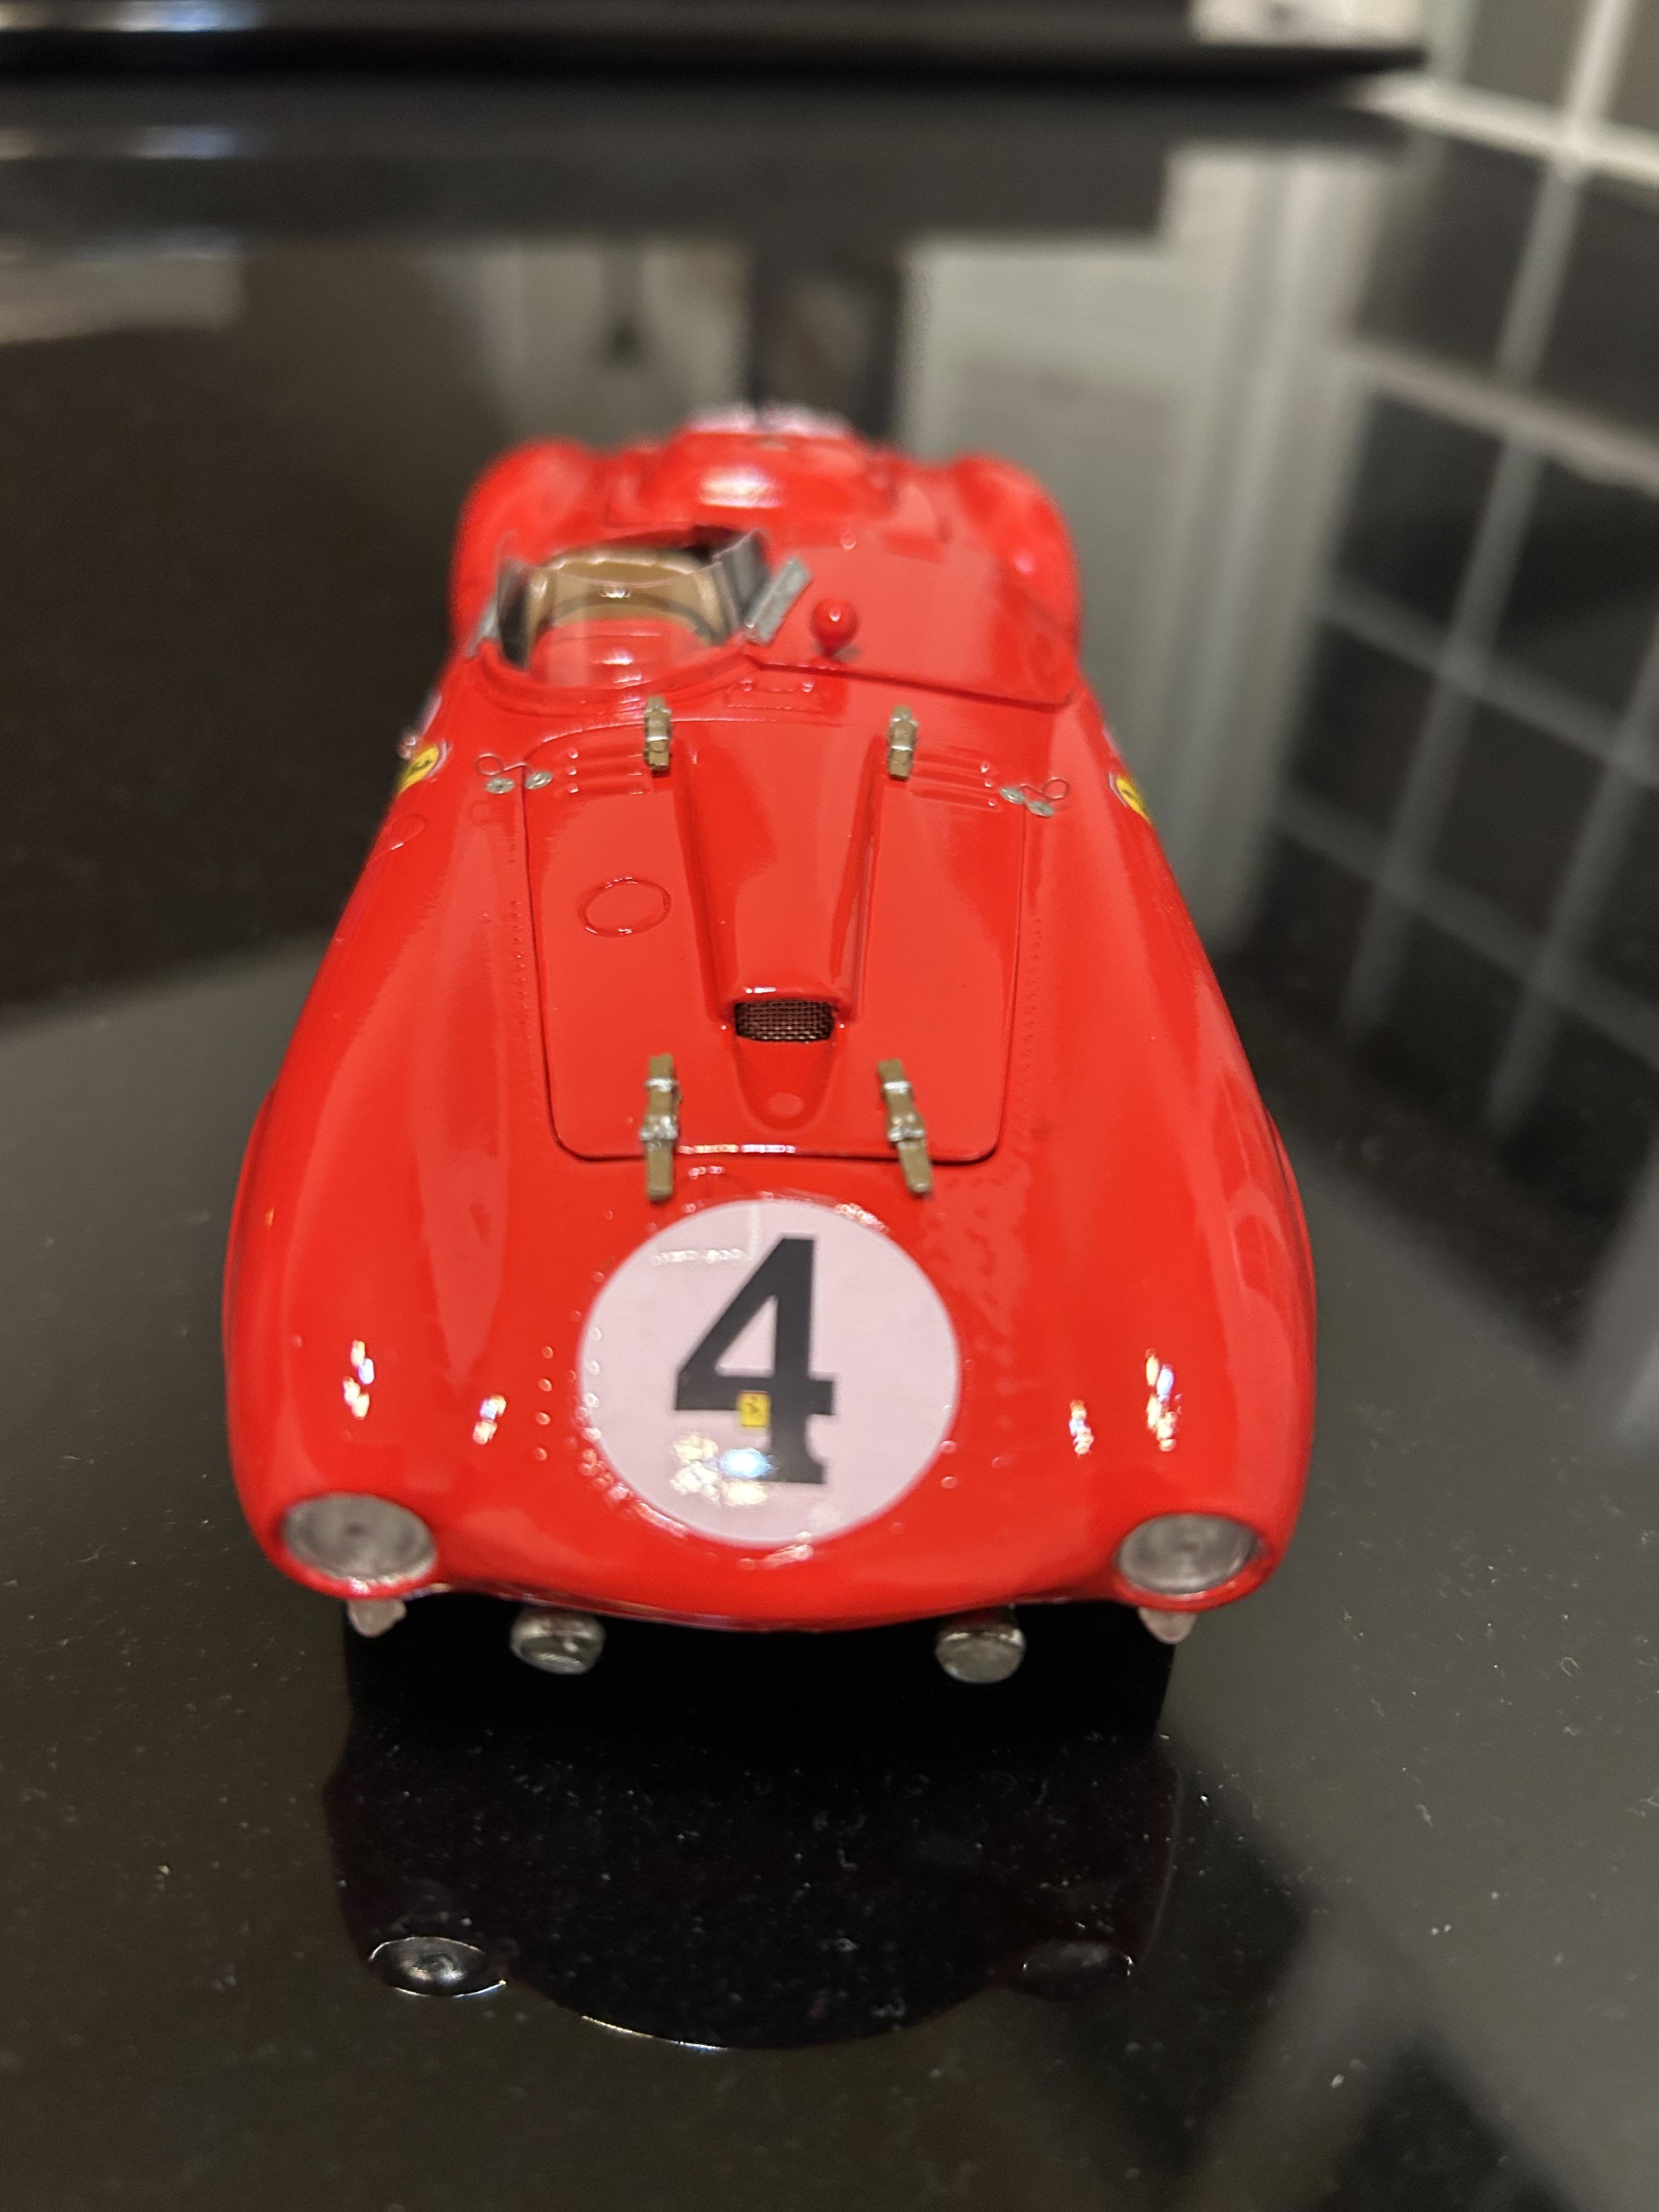
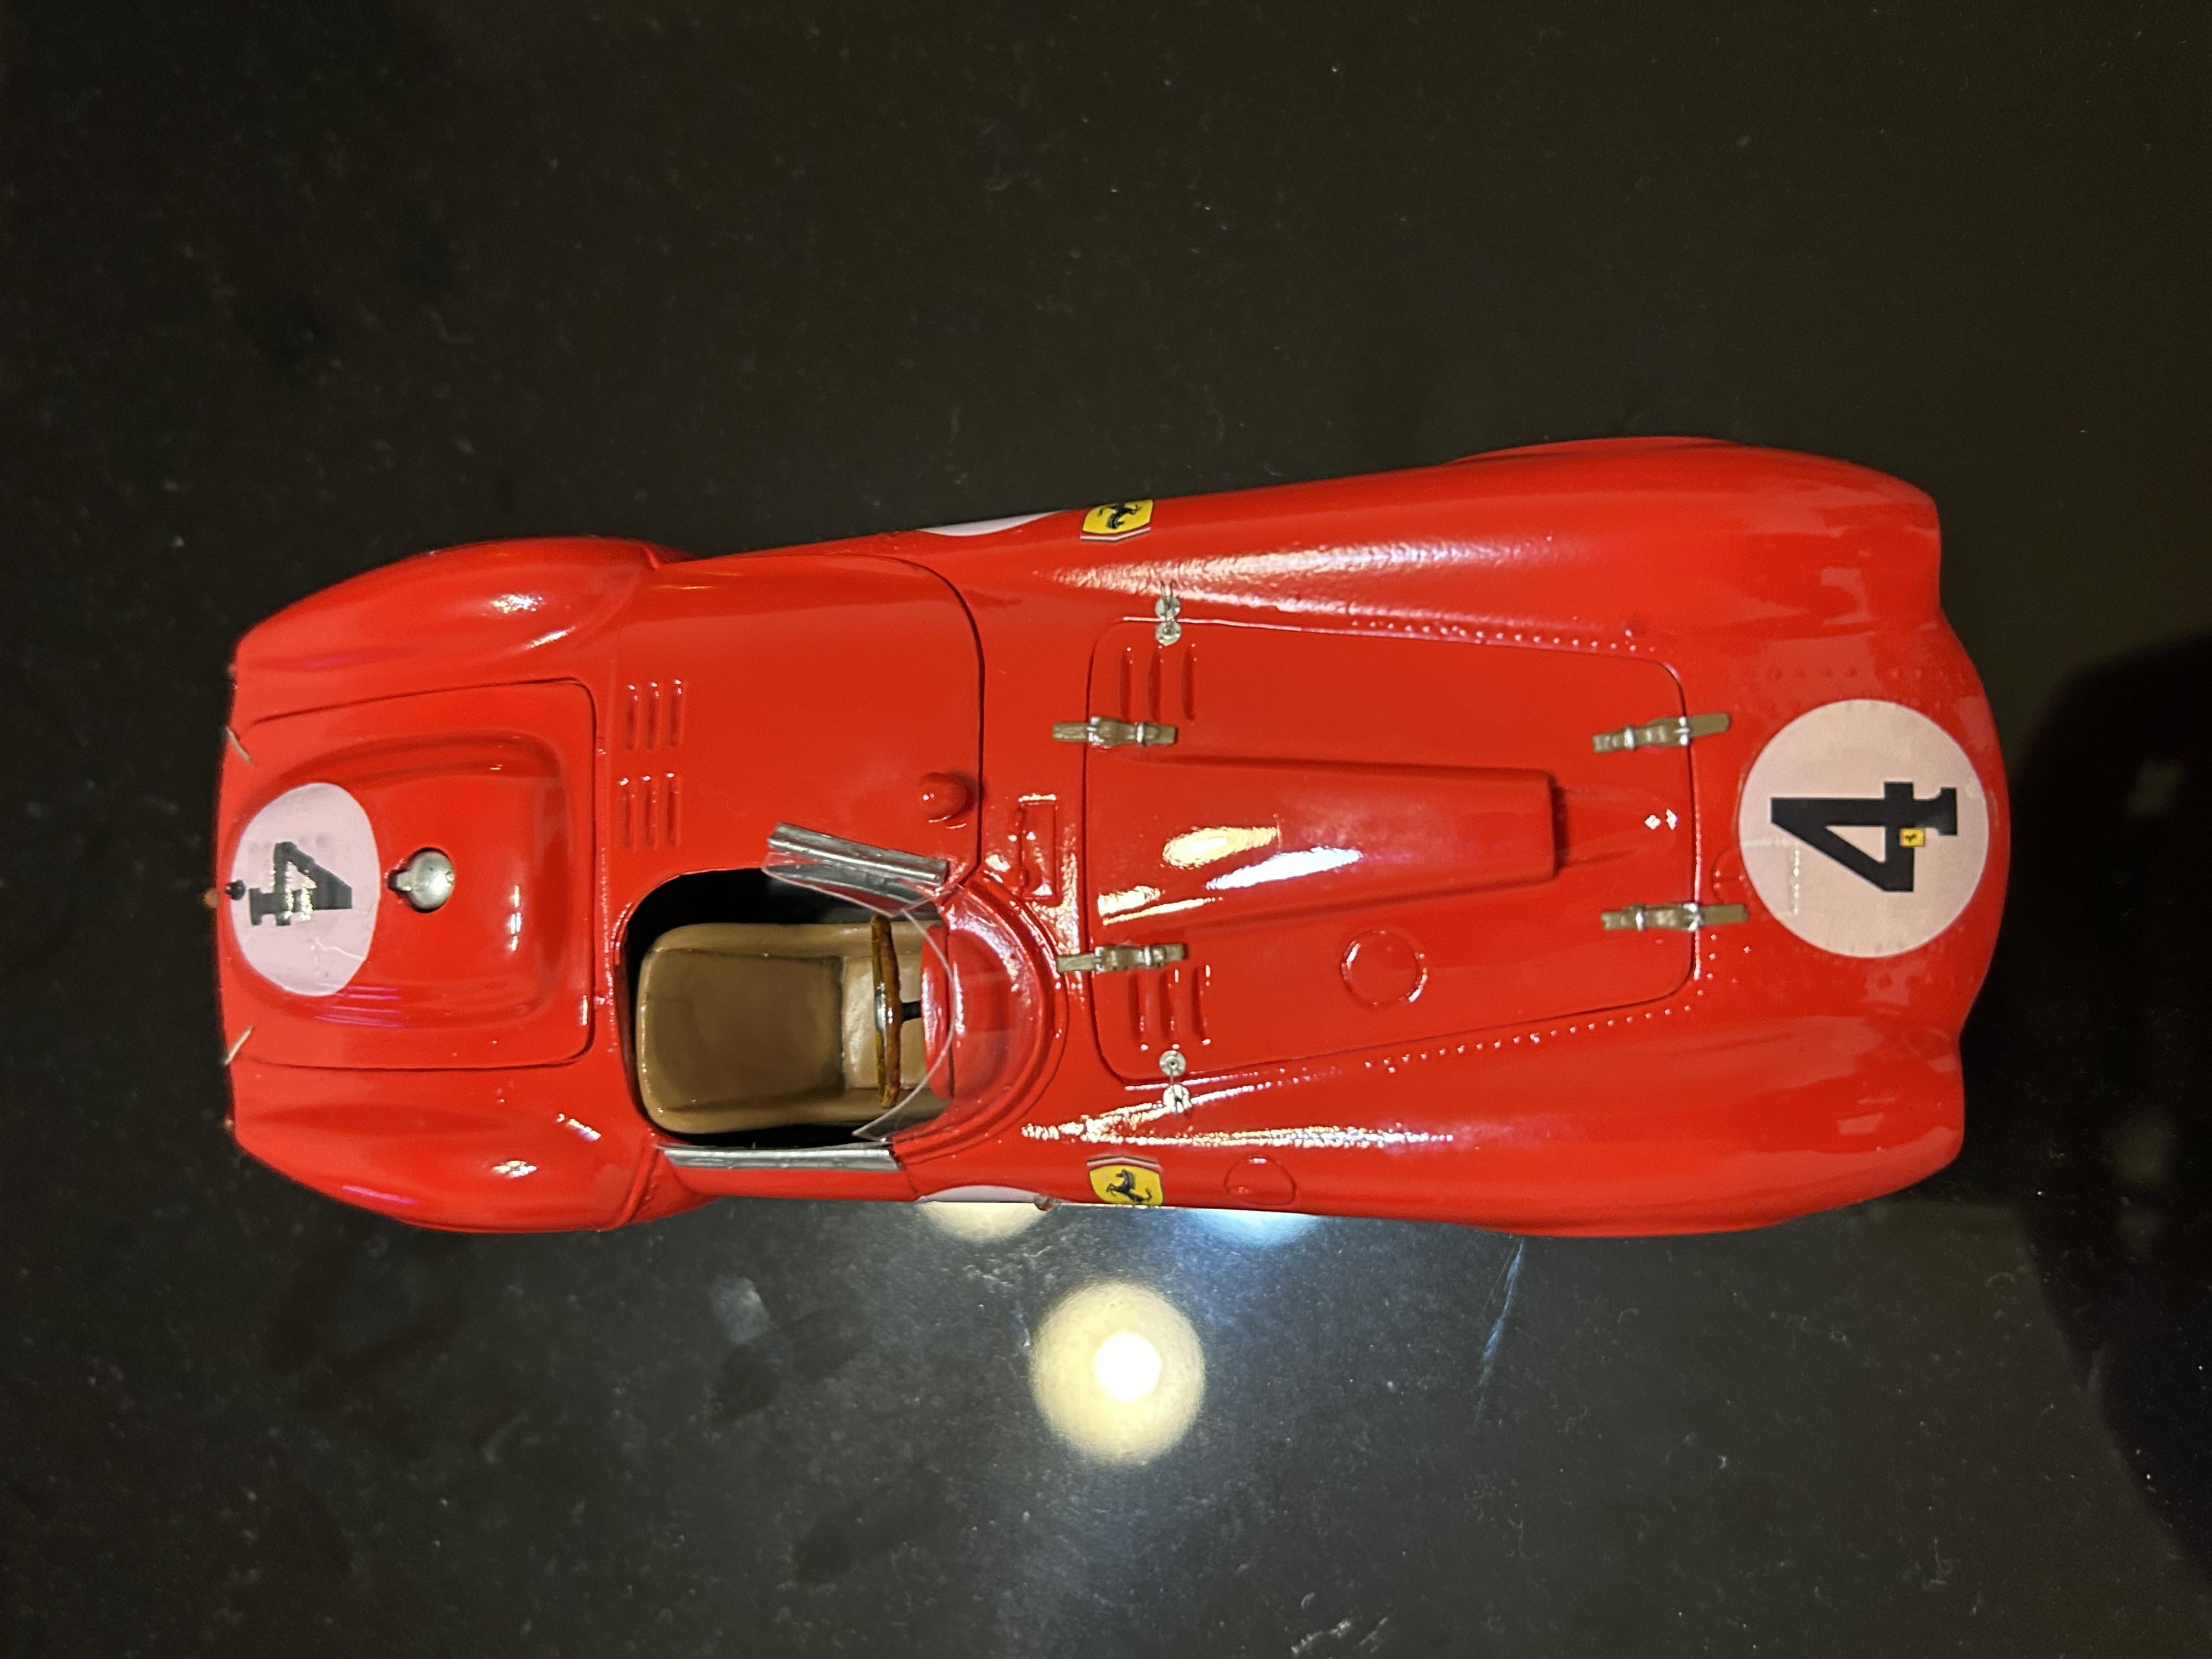
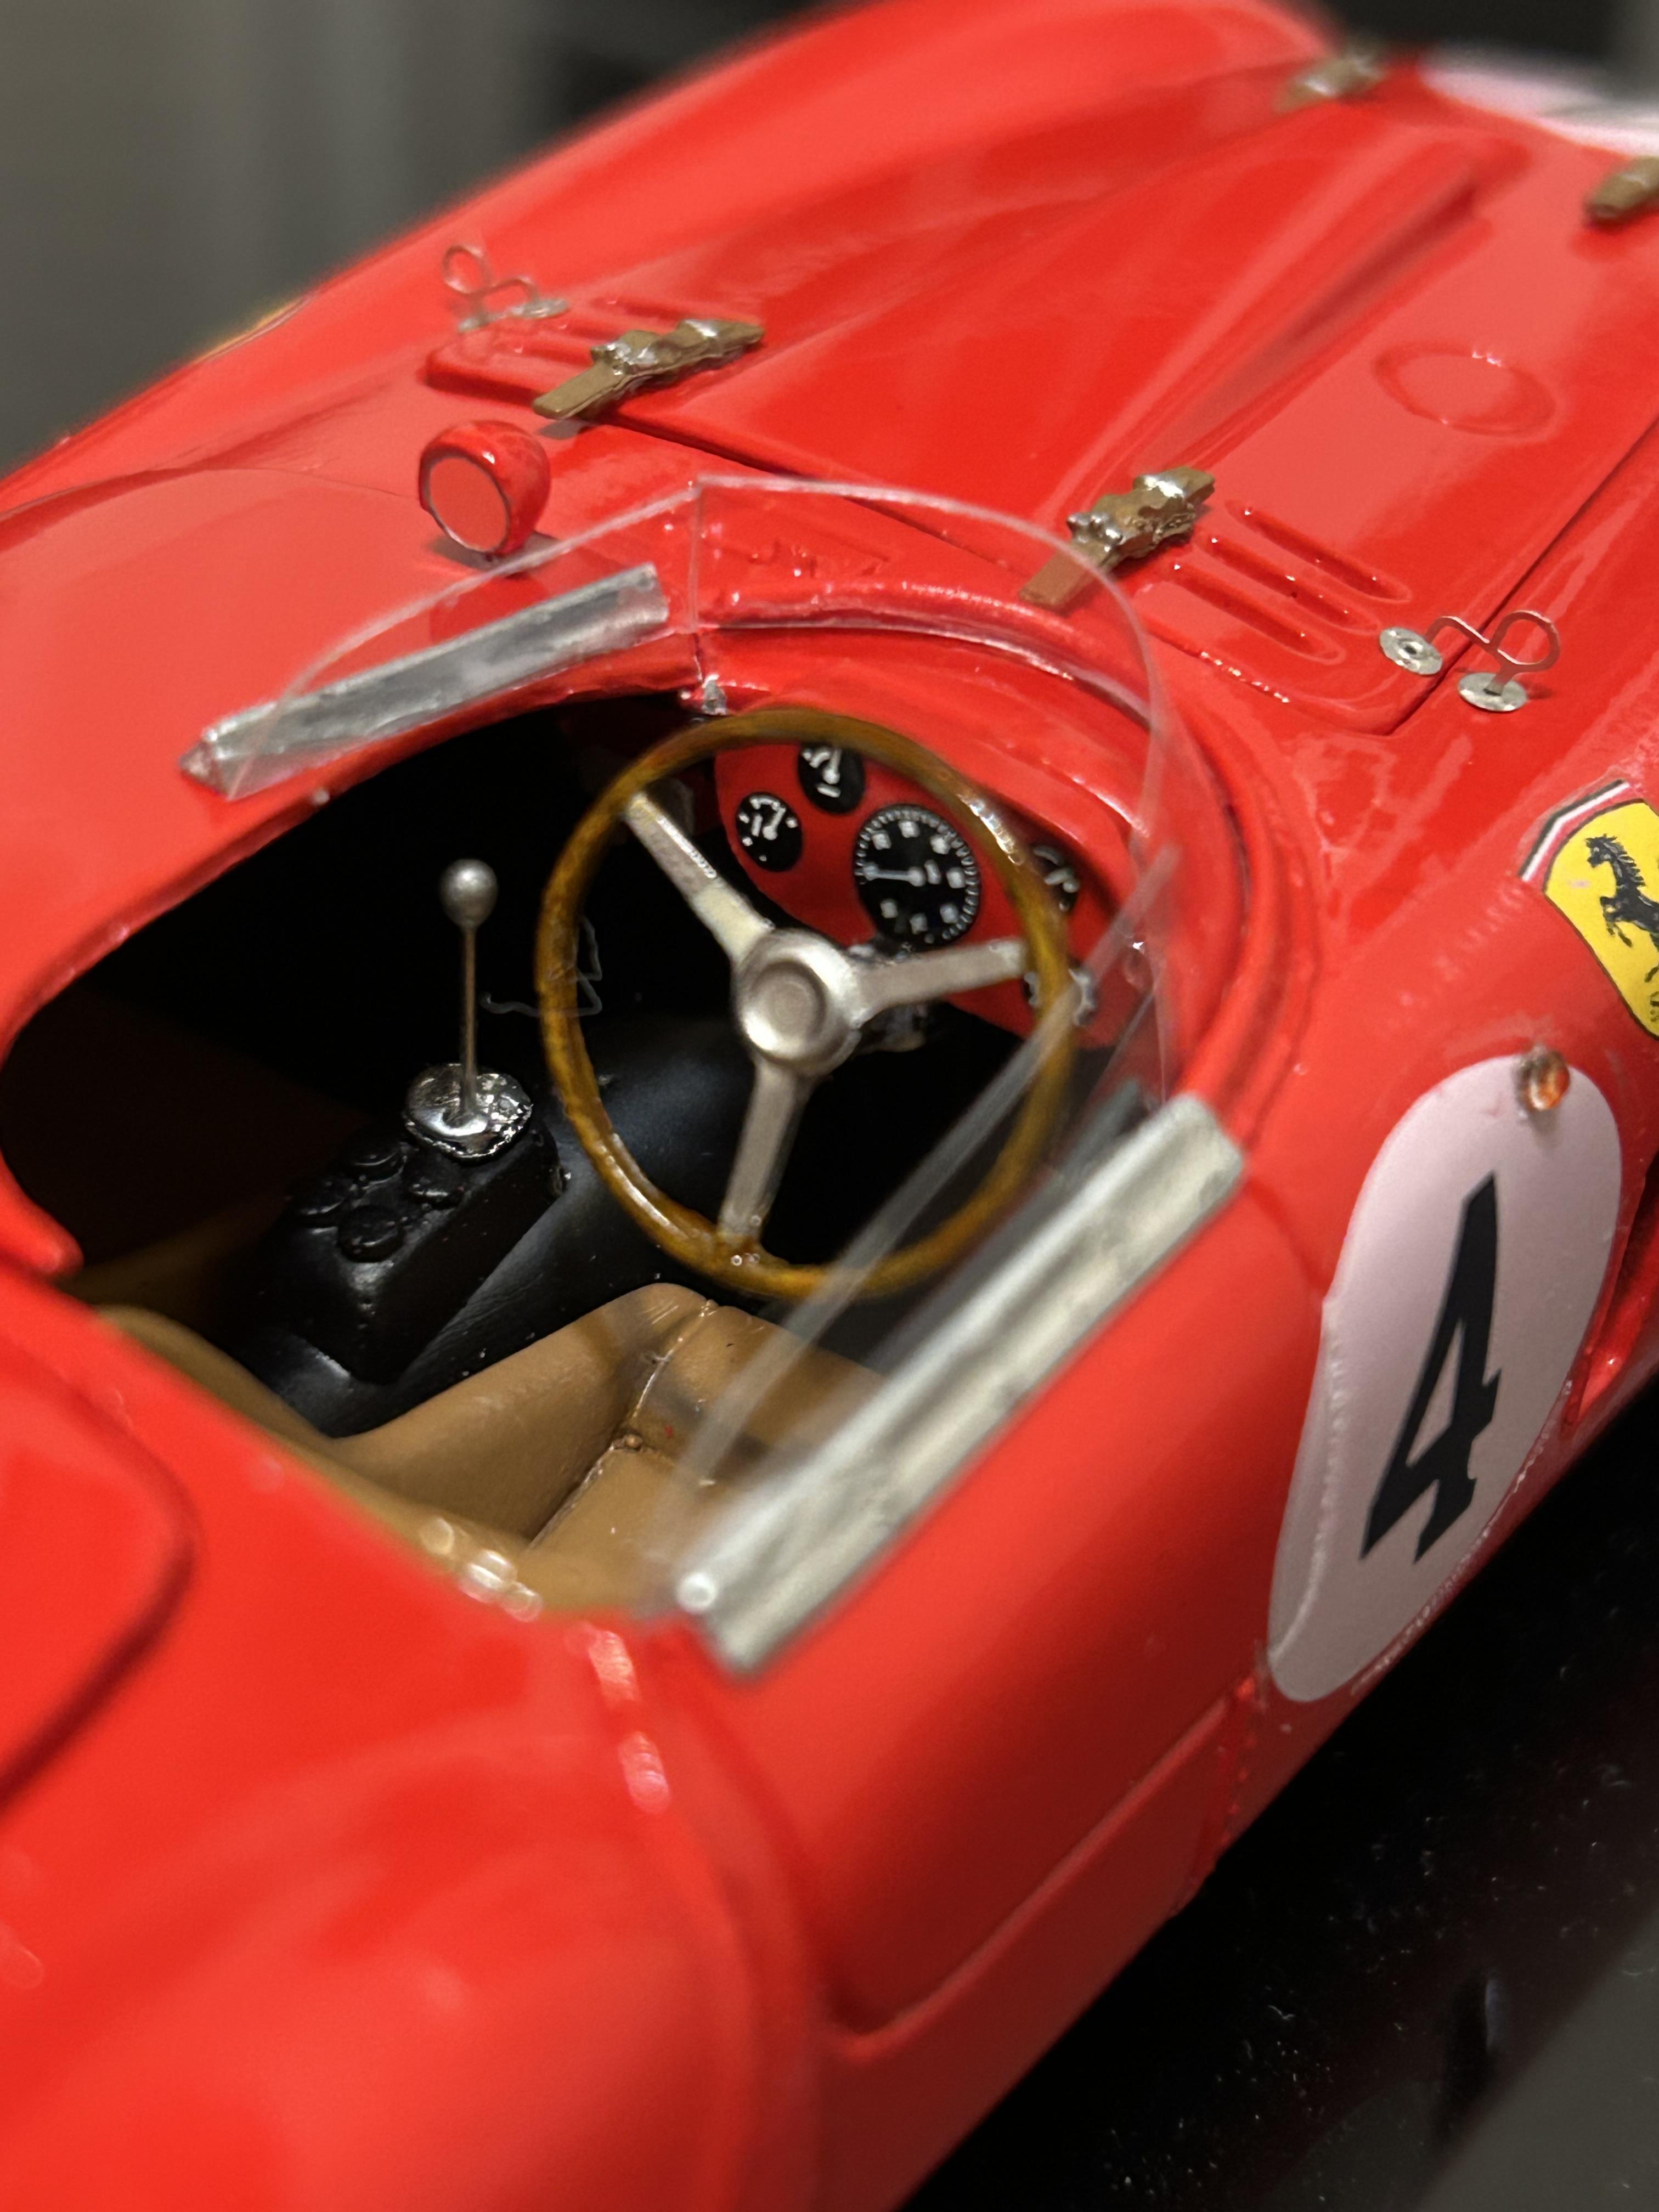
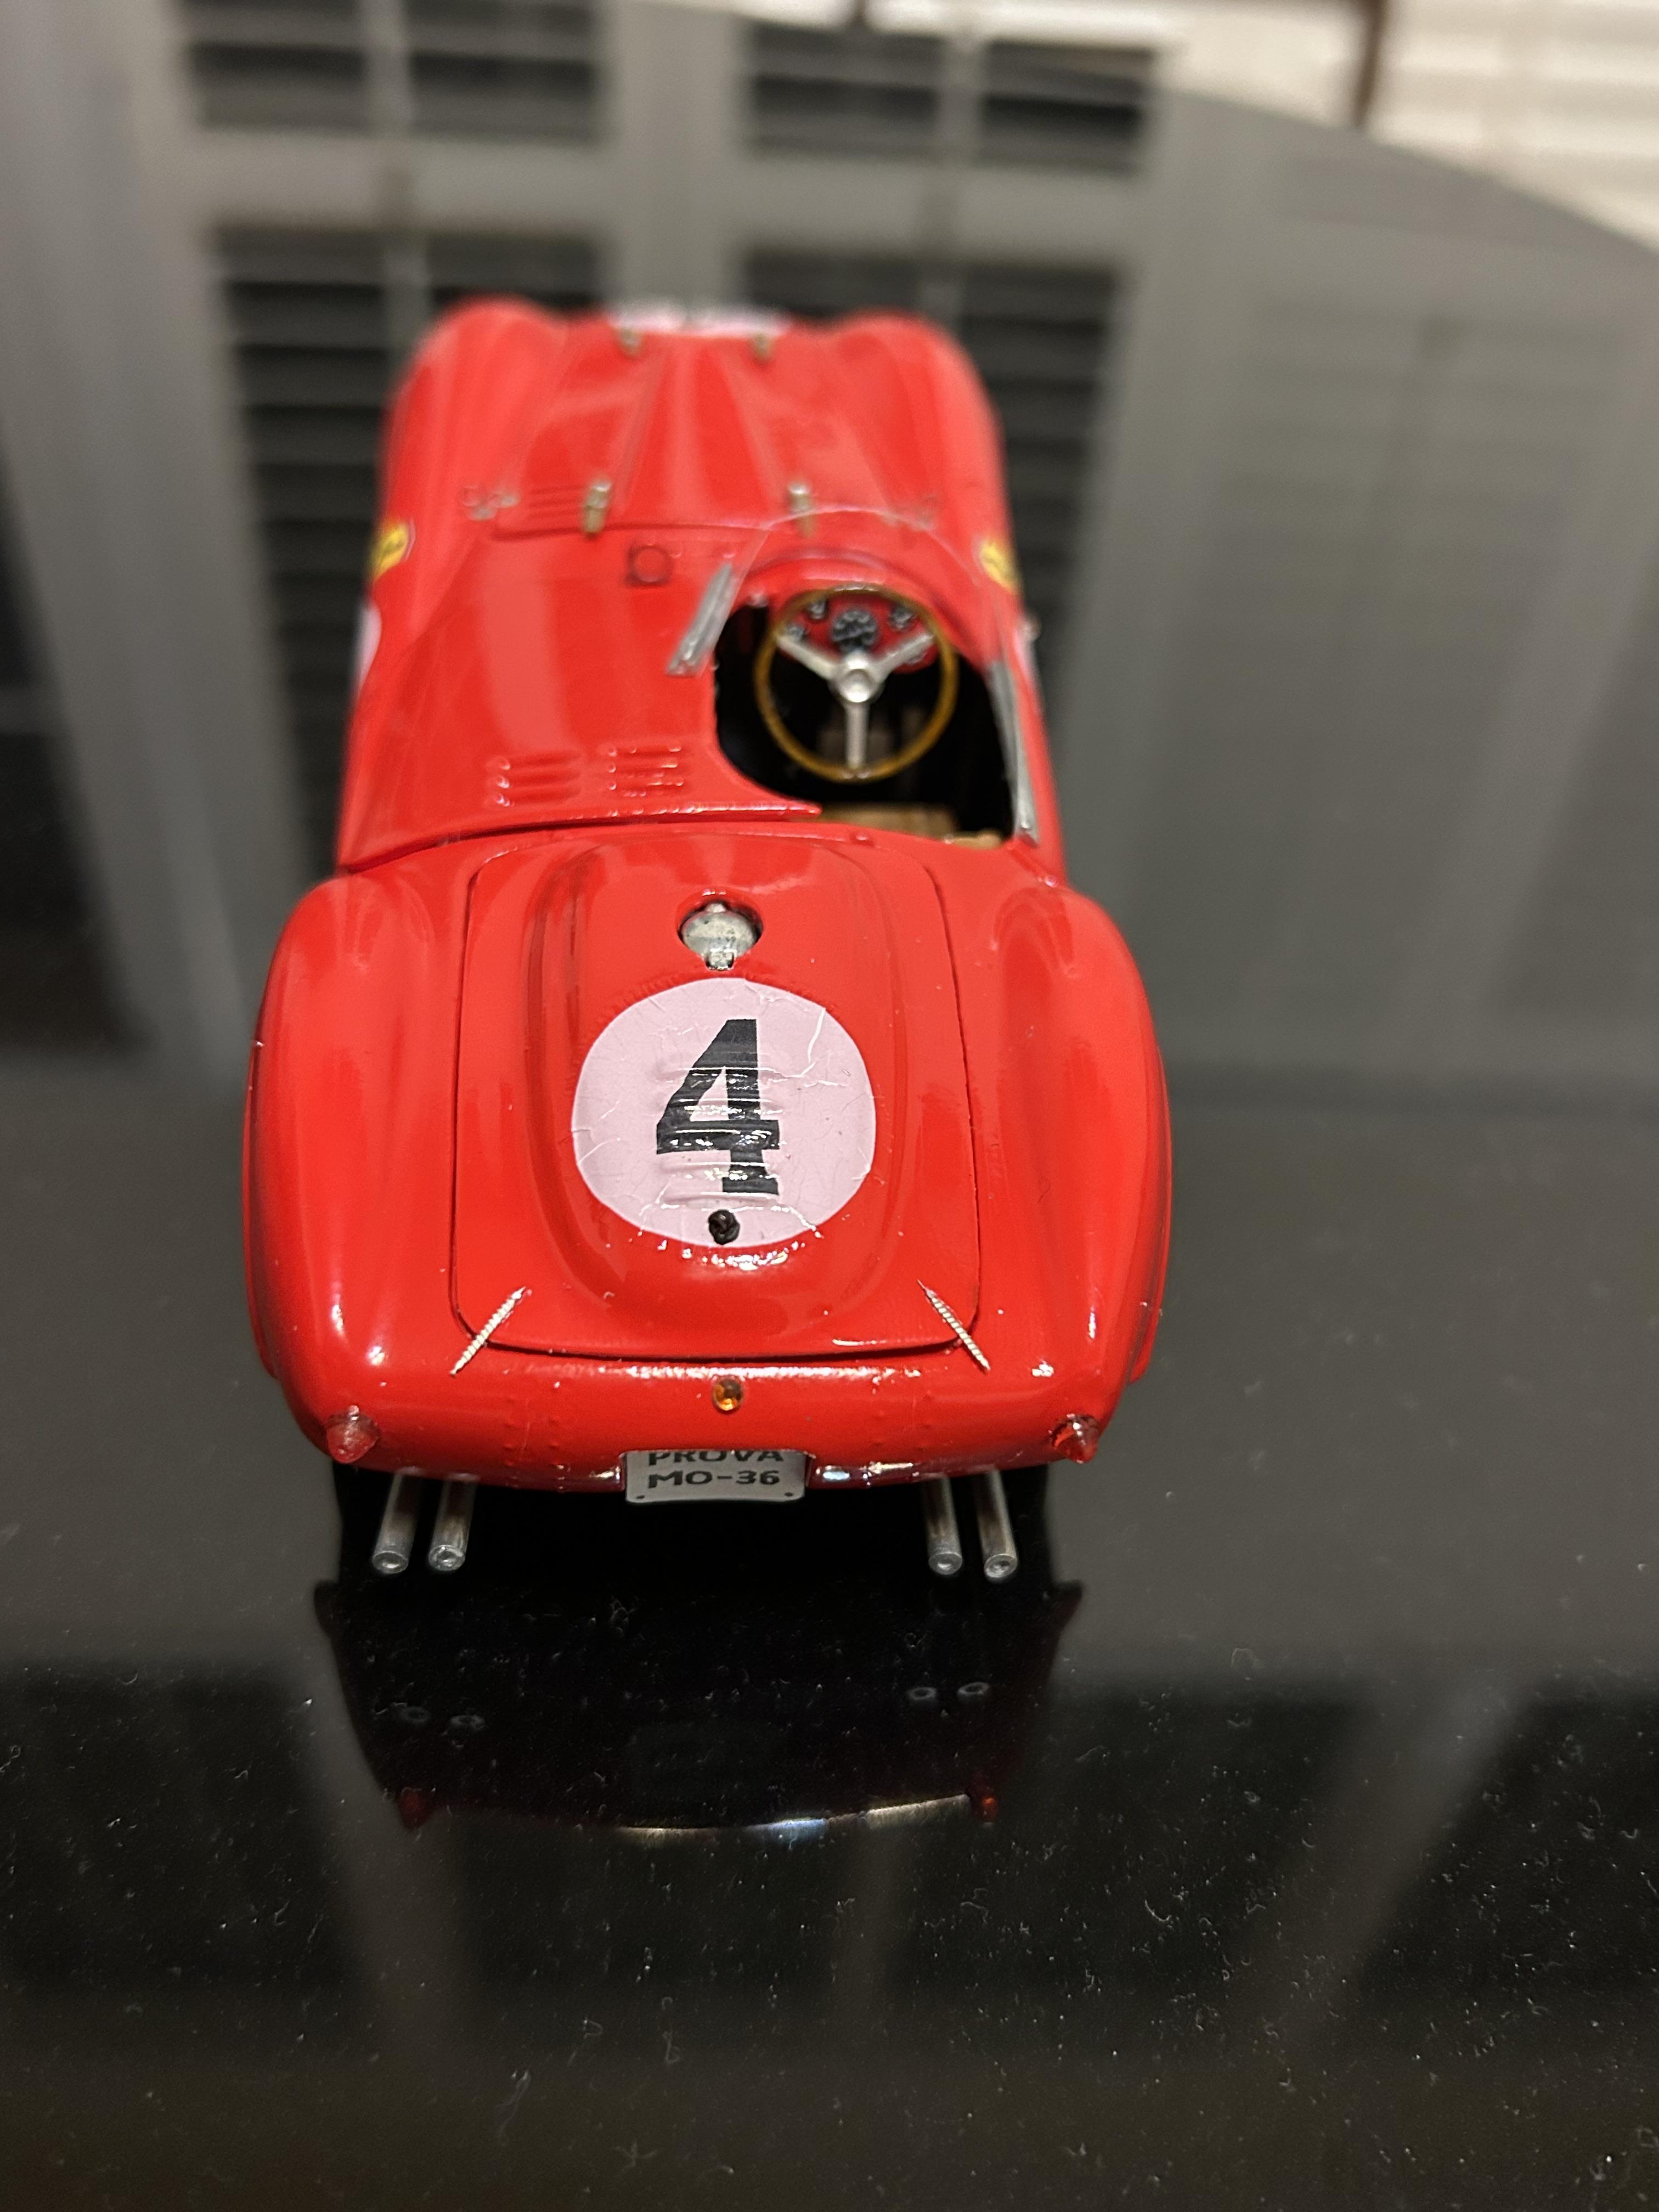
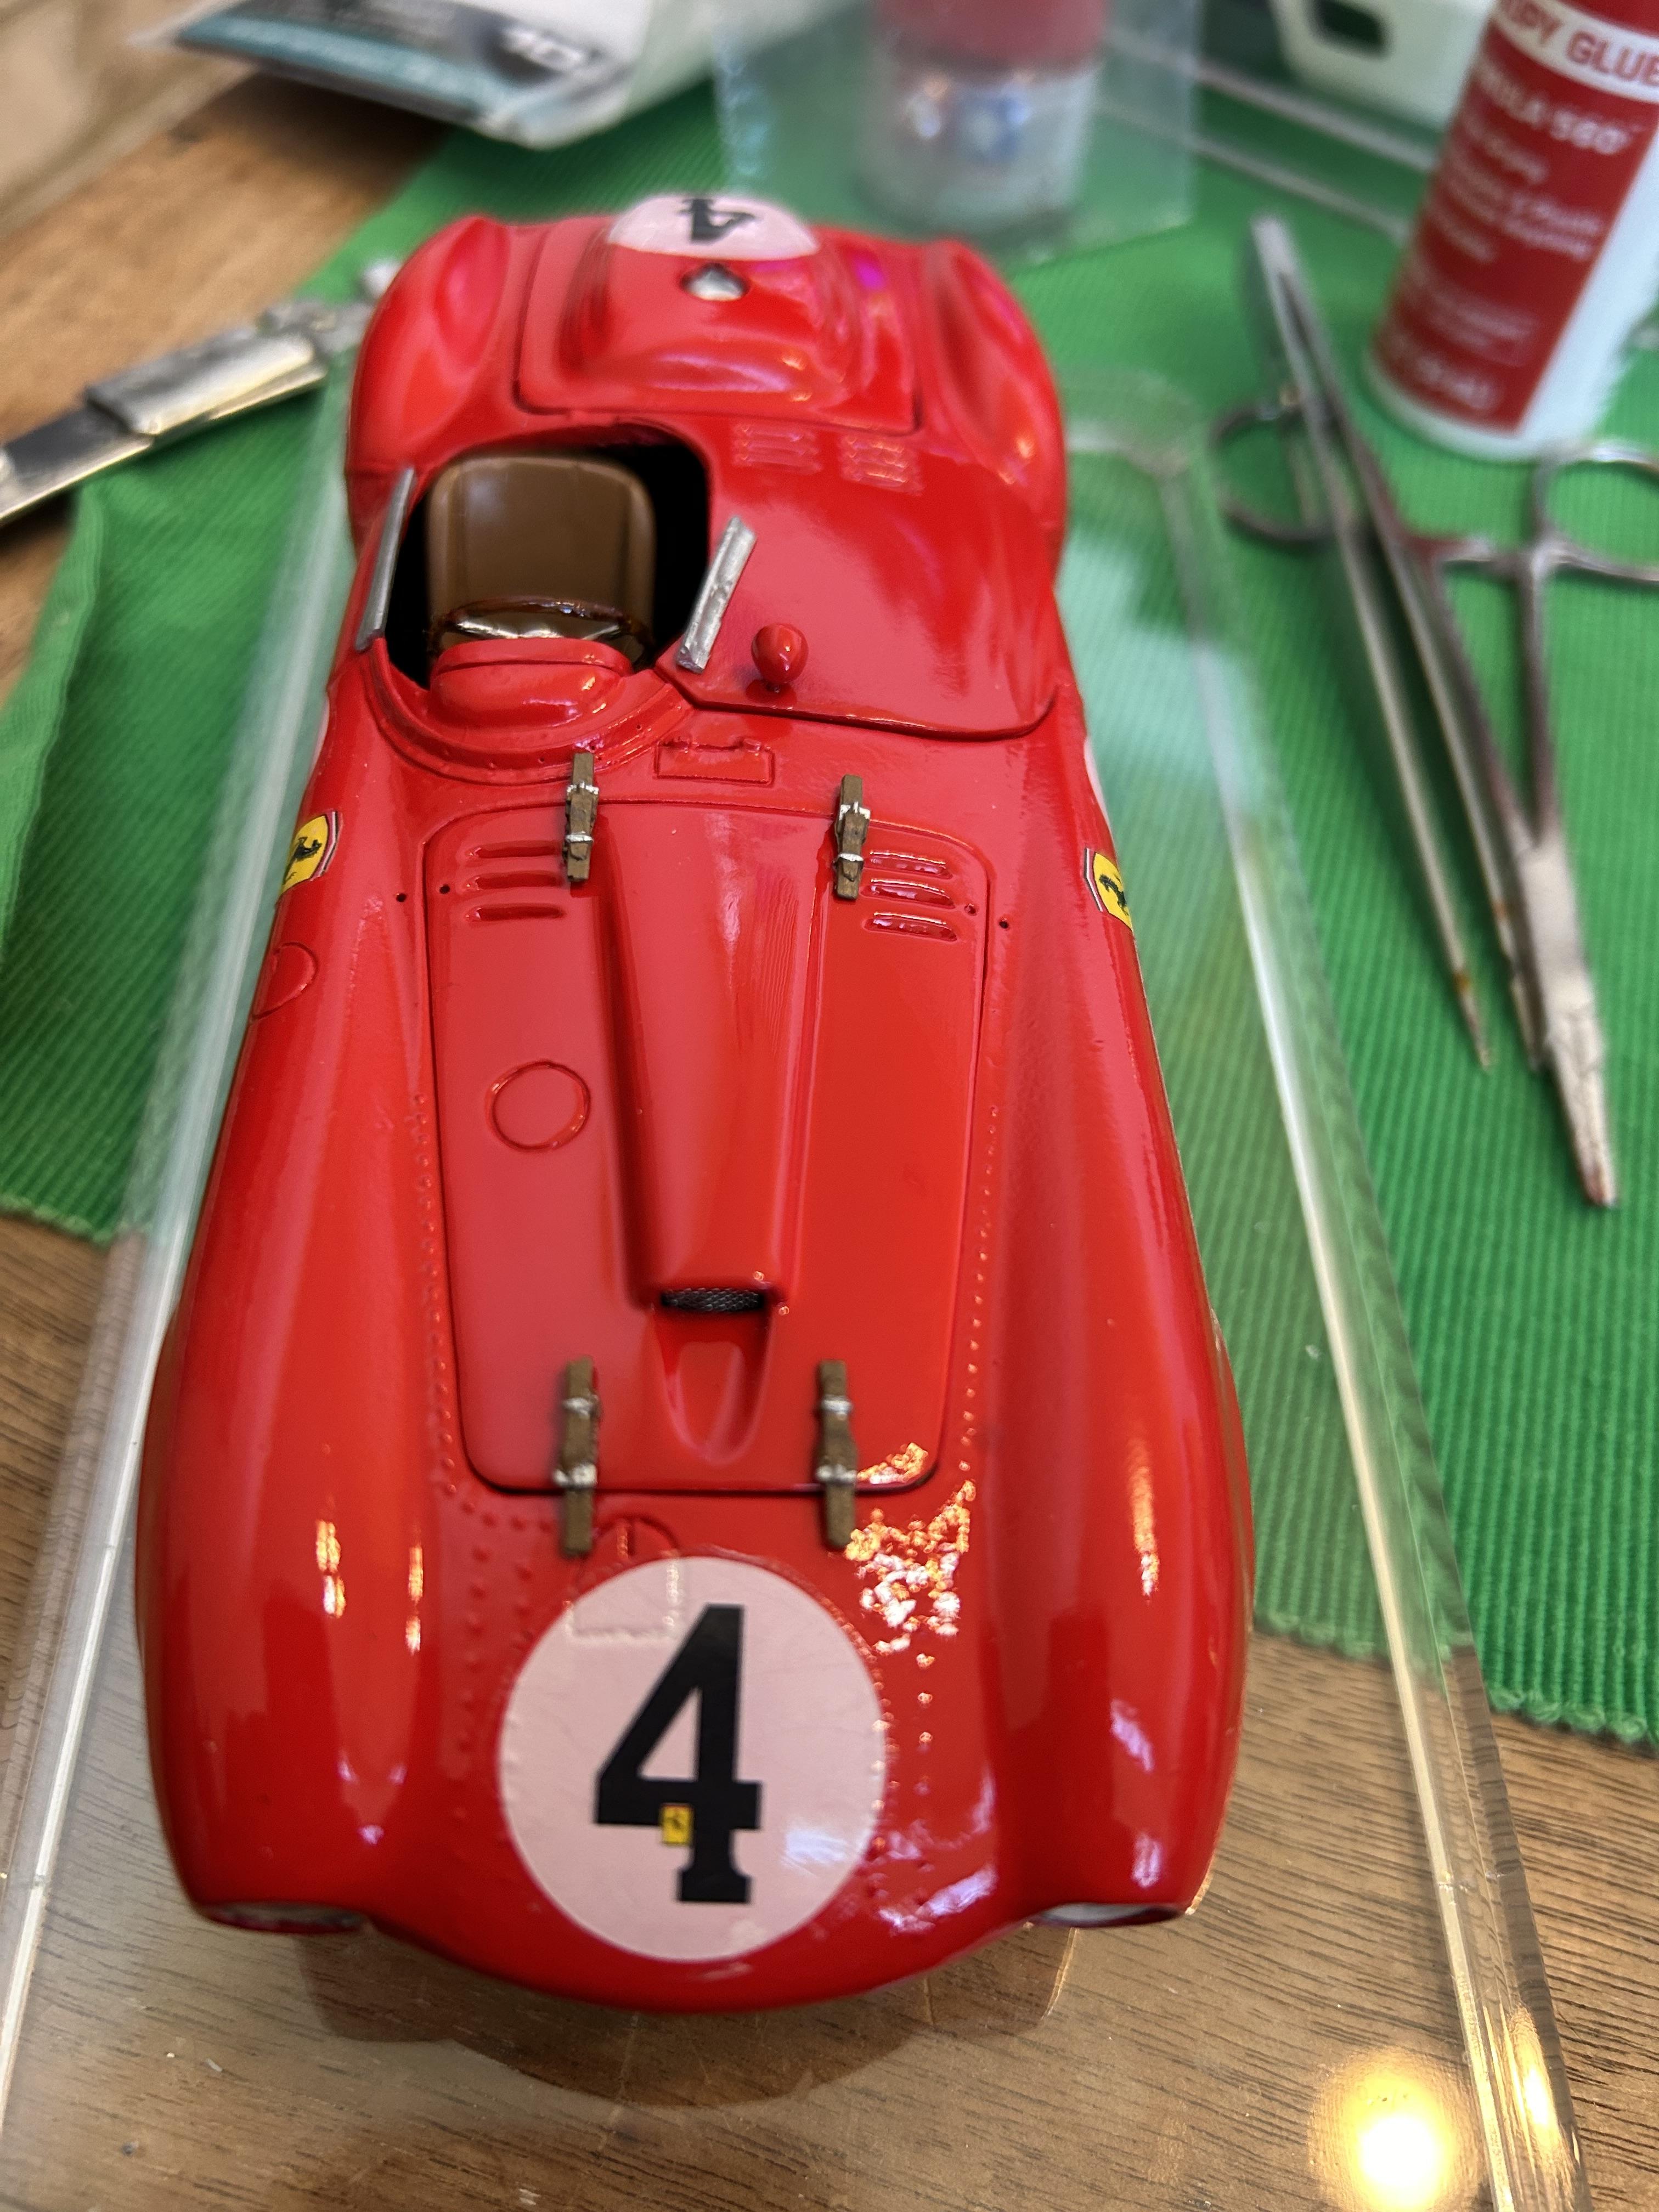
Fernando Pinto 1/24 Ferrari 375 Plus airbrushed tamiya Italian red lacquer over pink primer replaced rivets with Archer decal rivets i did some minimal engine detailing but after a lot of work to get engine and rear deck hoods to fit they are loosely closed with thin double sided tape the window silver molding on the door and passenger cover were not molded in this newer opening version of the kit so I cast copies from the original release that I had in my kit stash all of Fernando Pinto’s kits are very nice
-
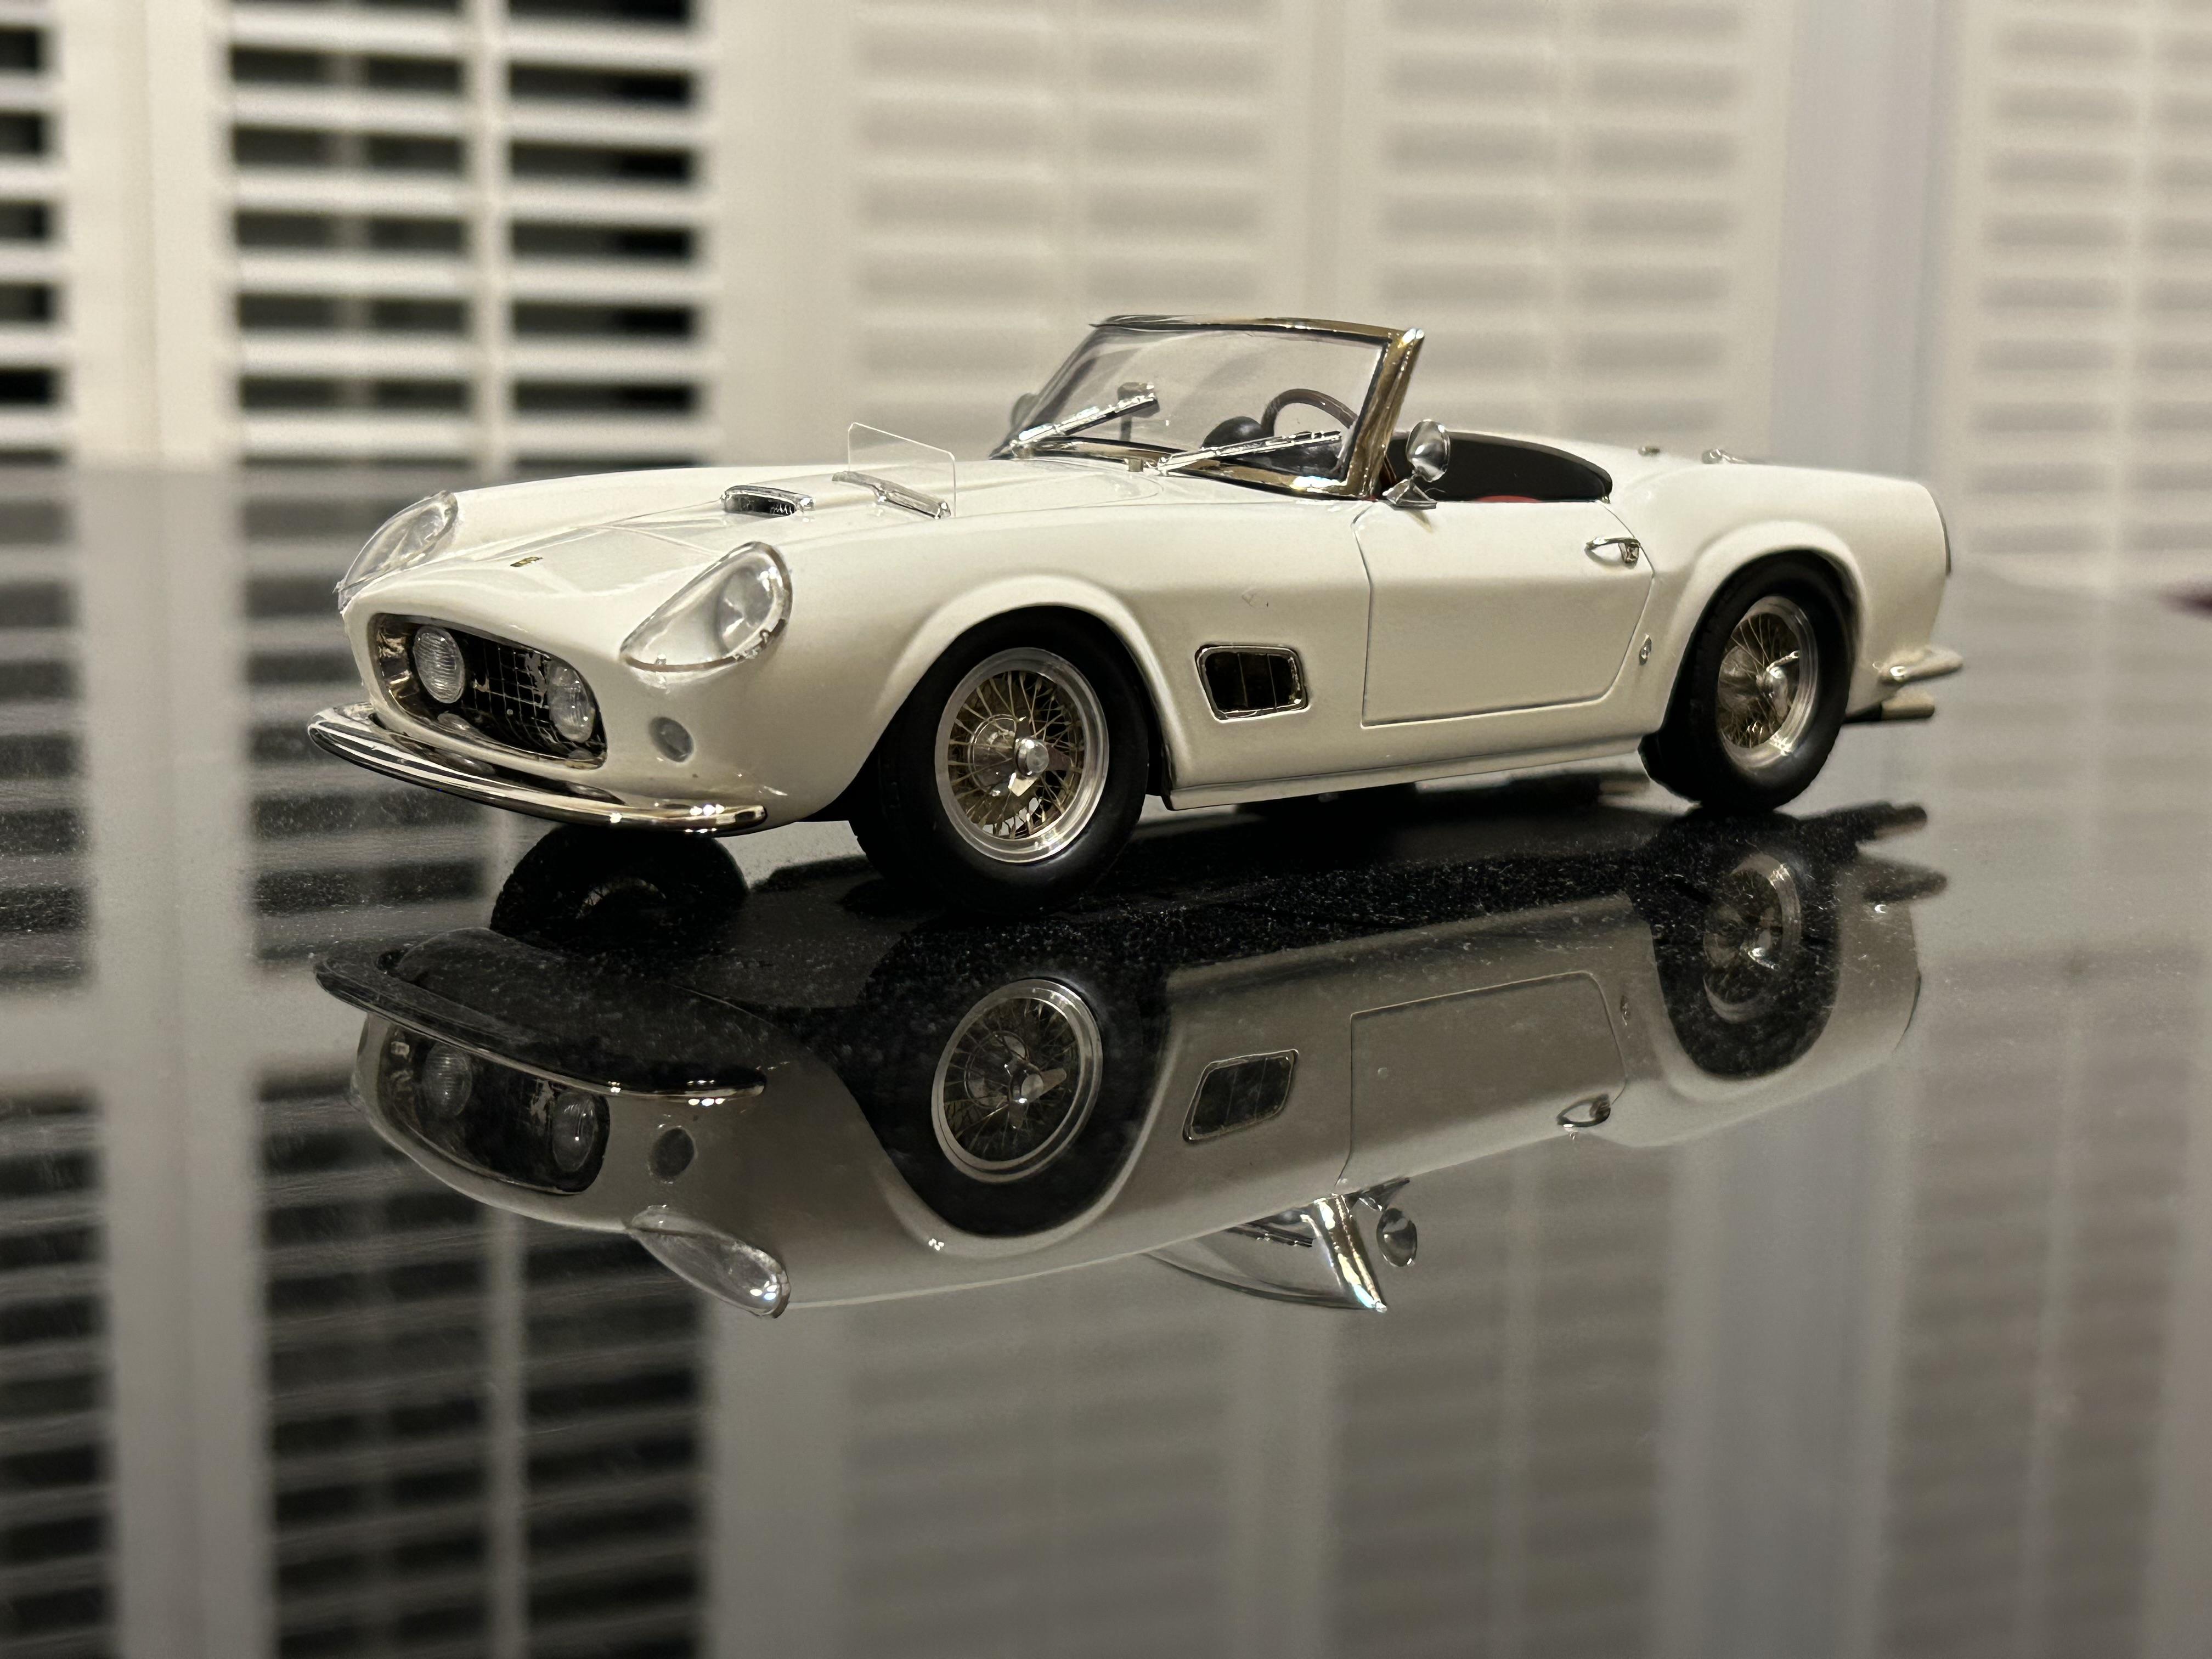
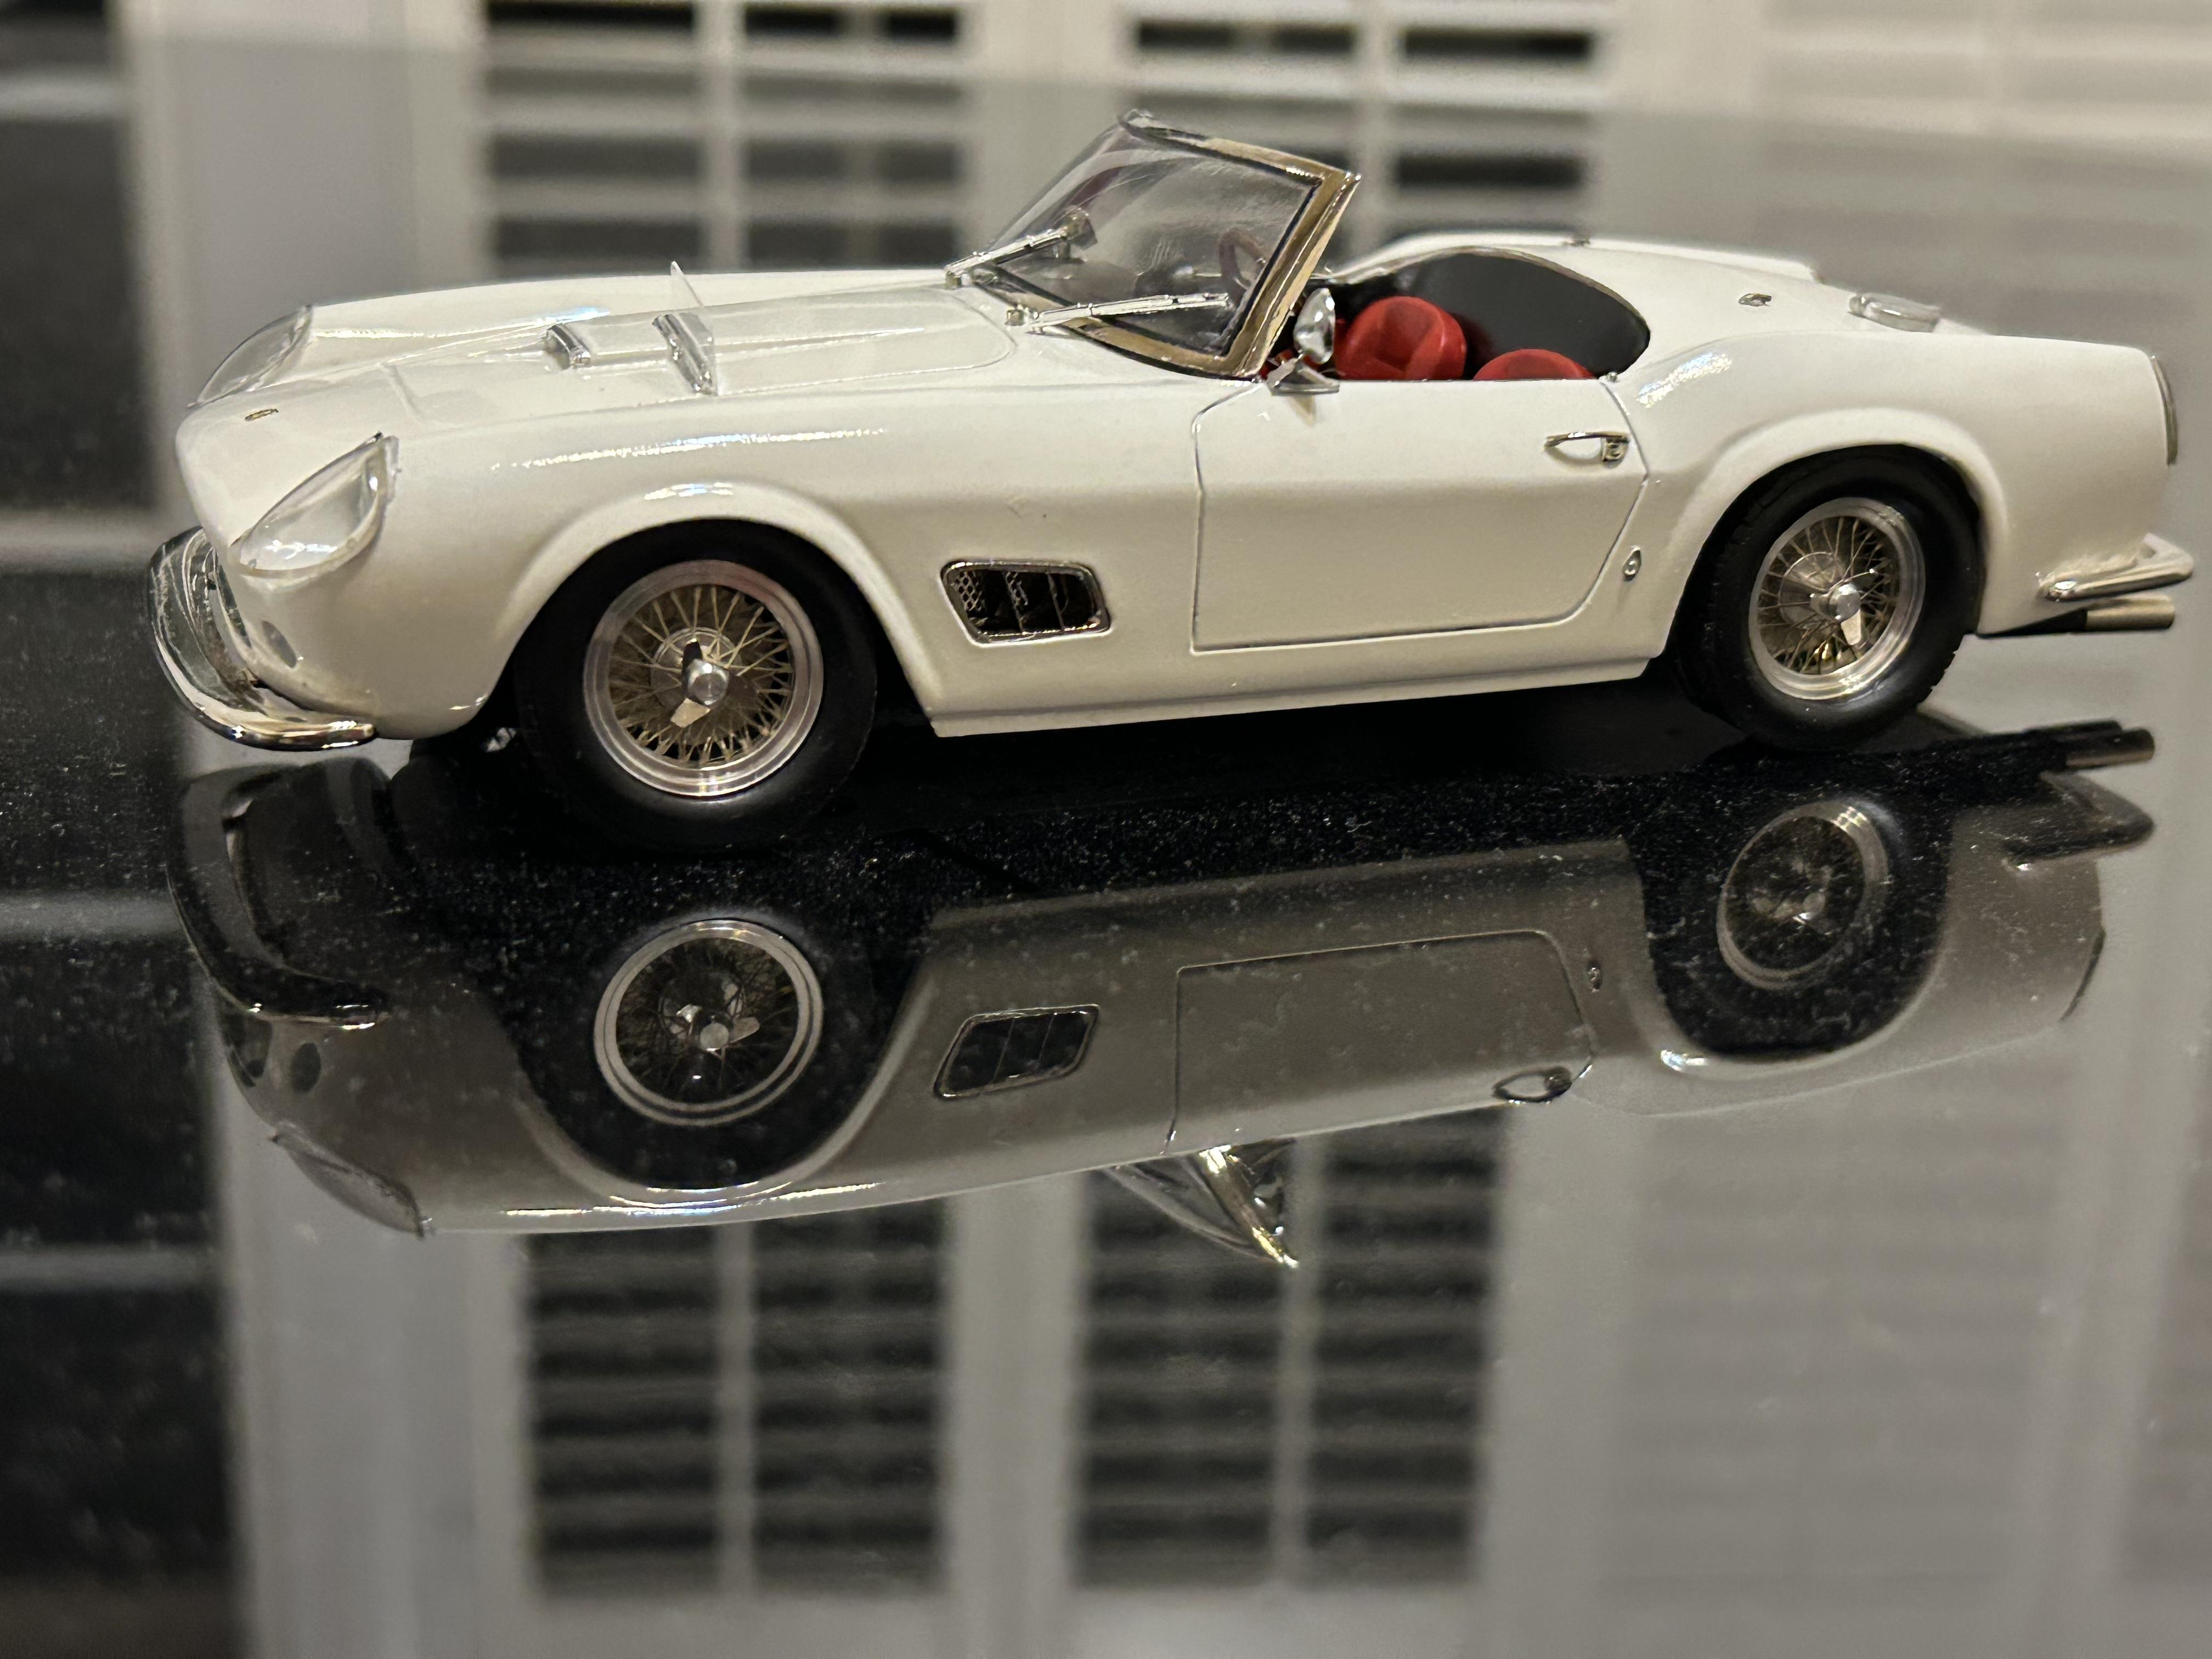
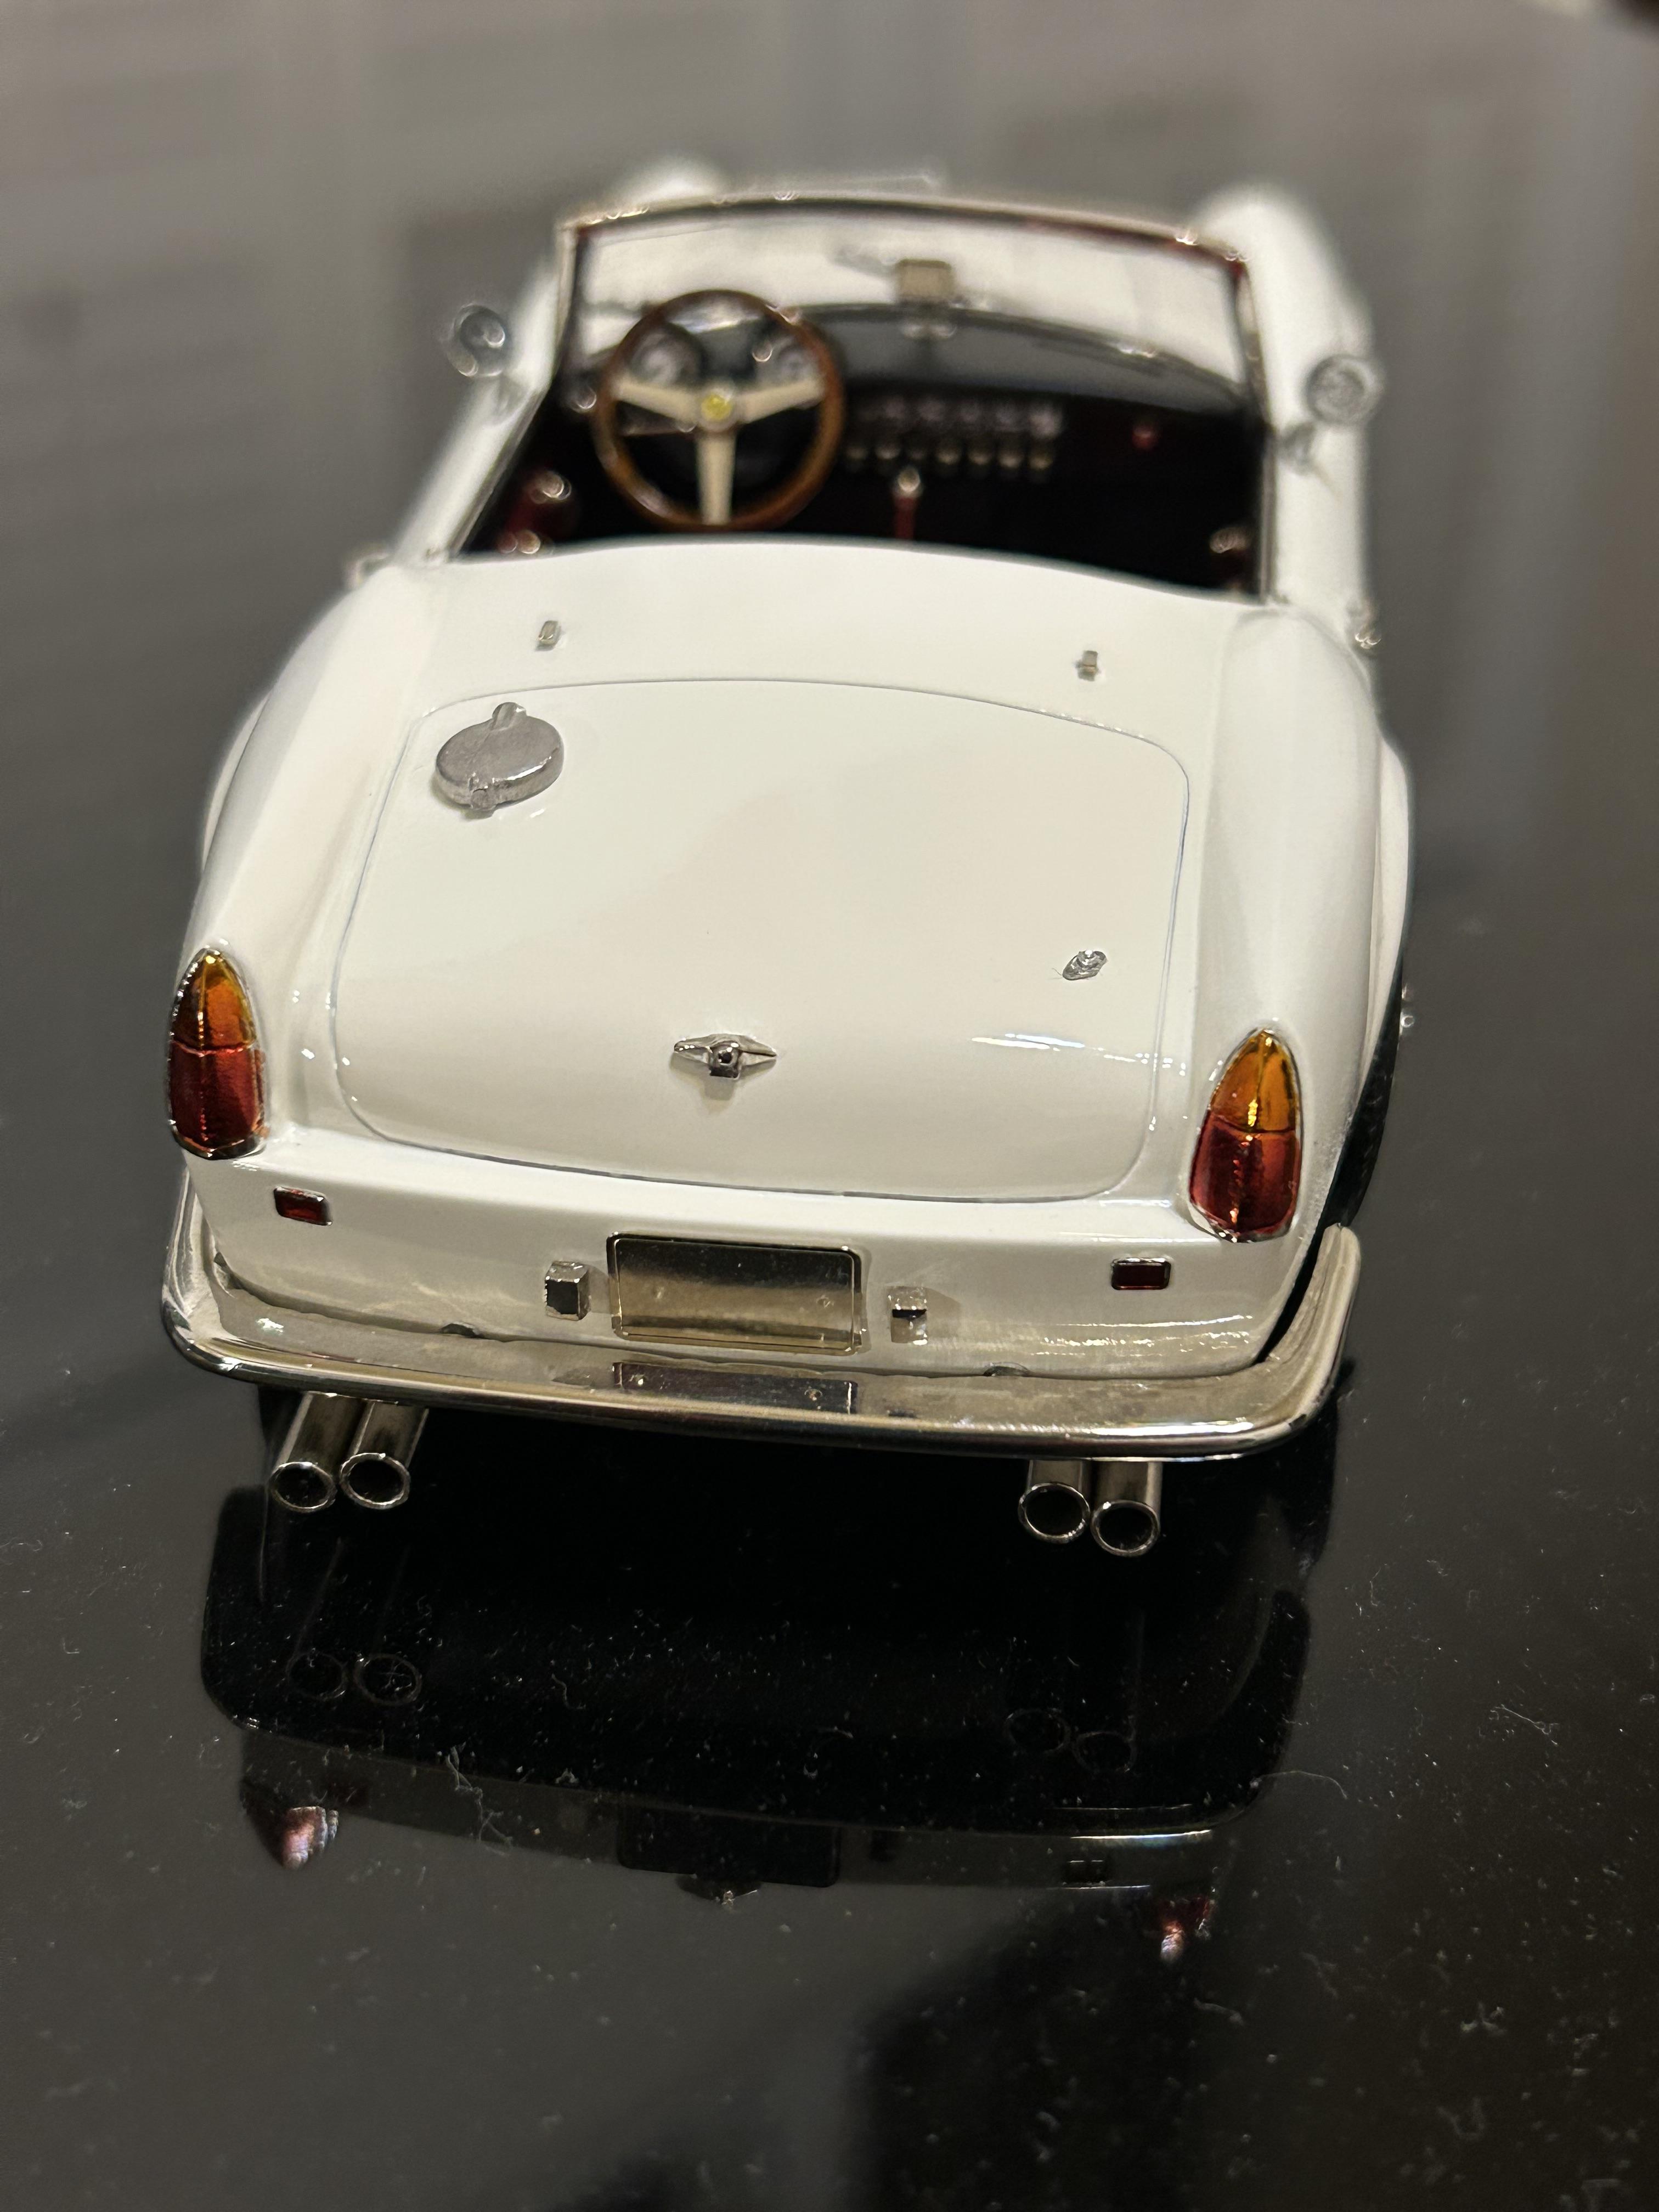
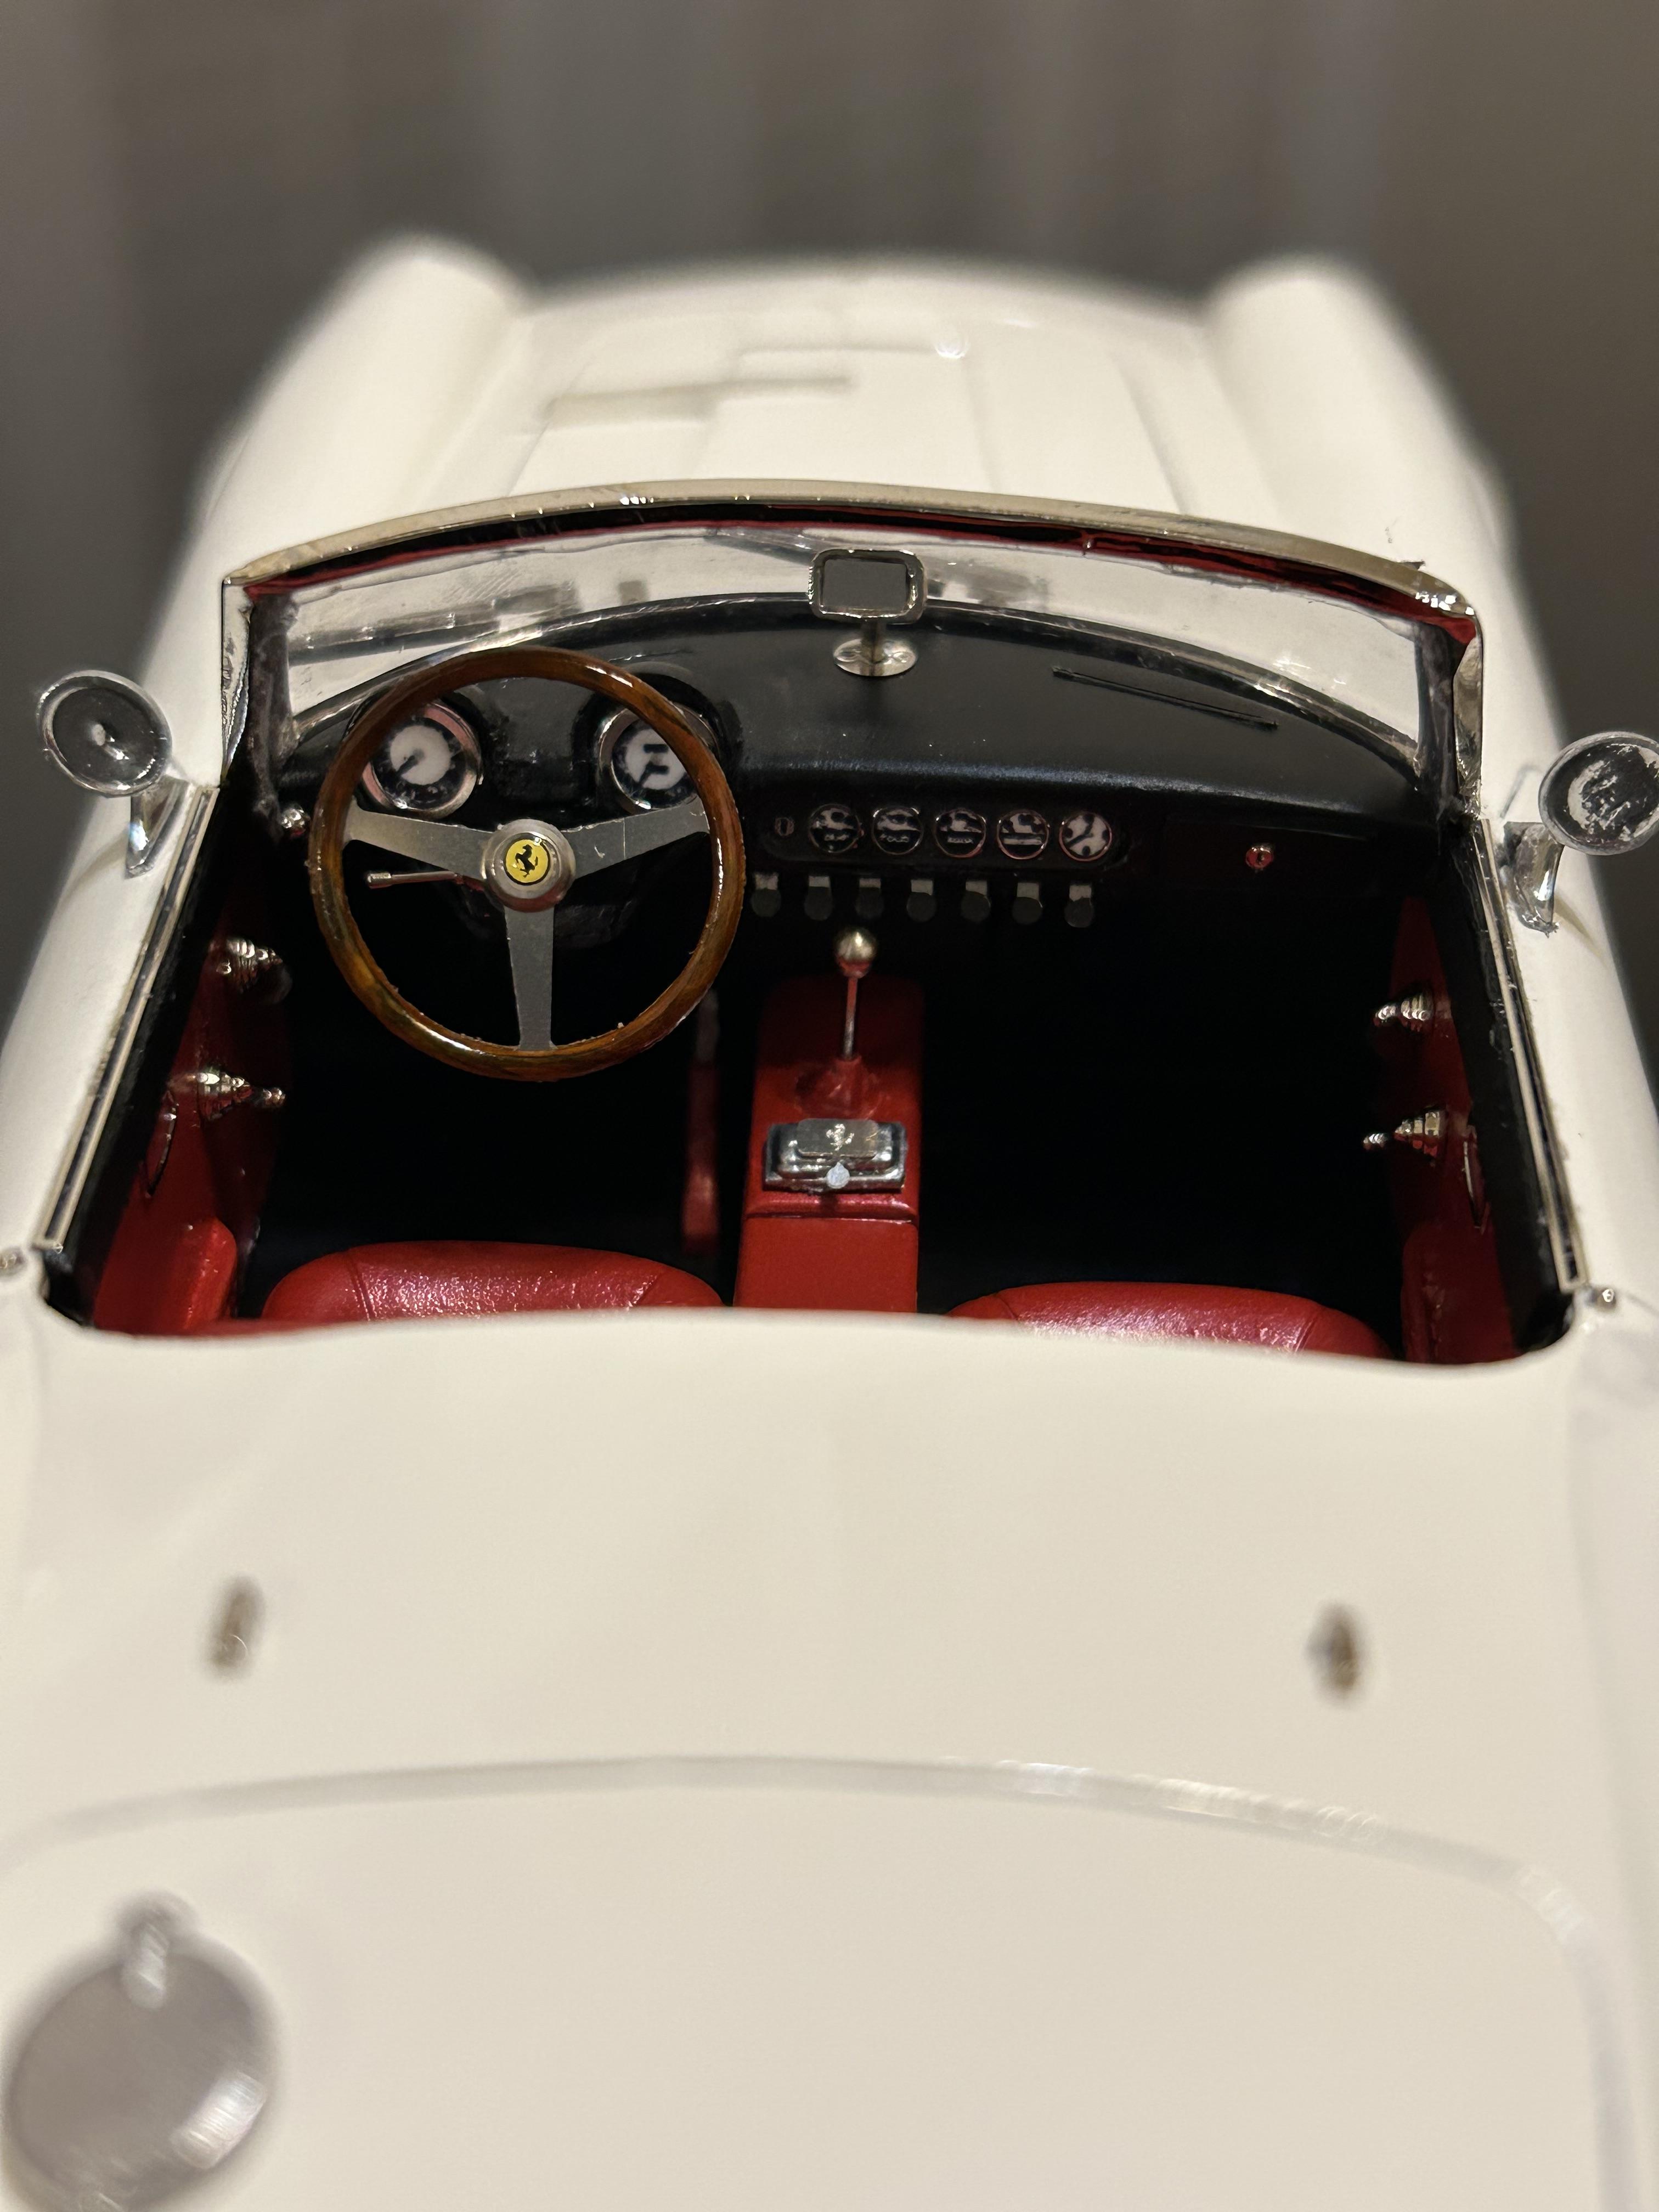
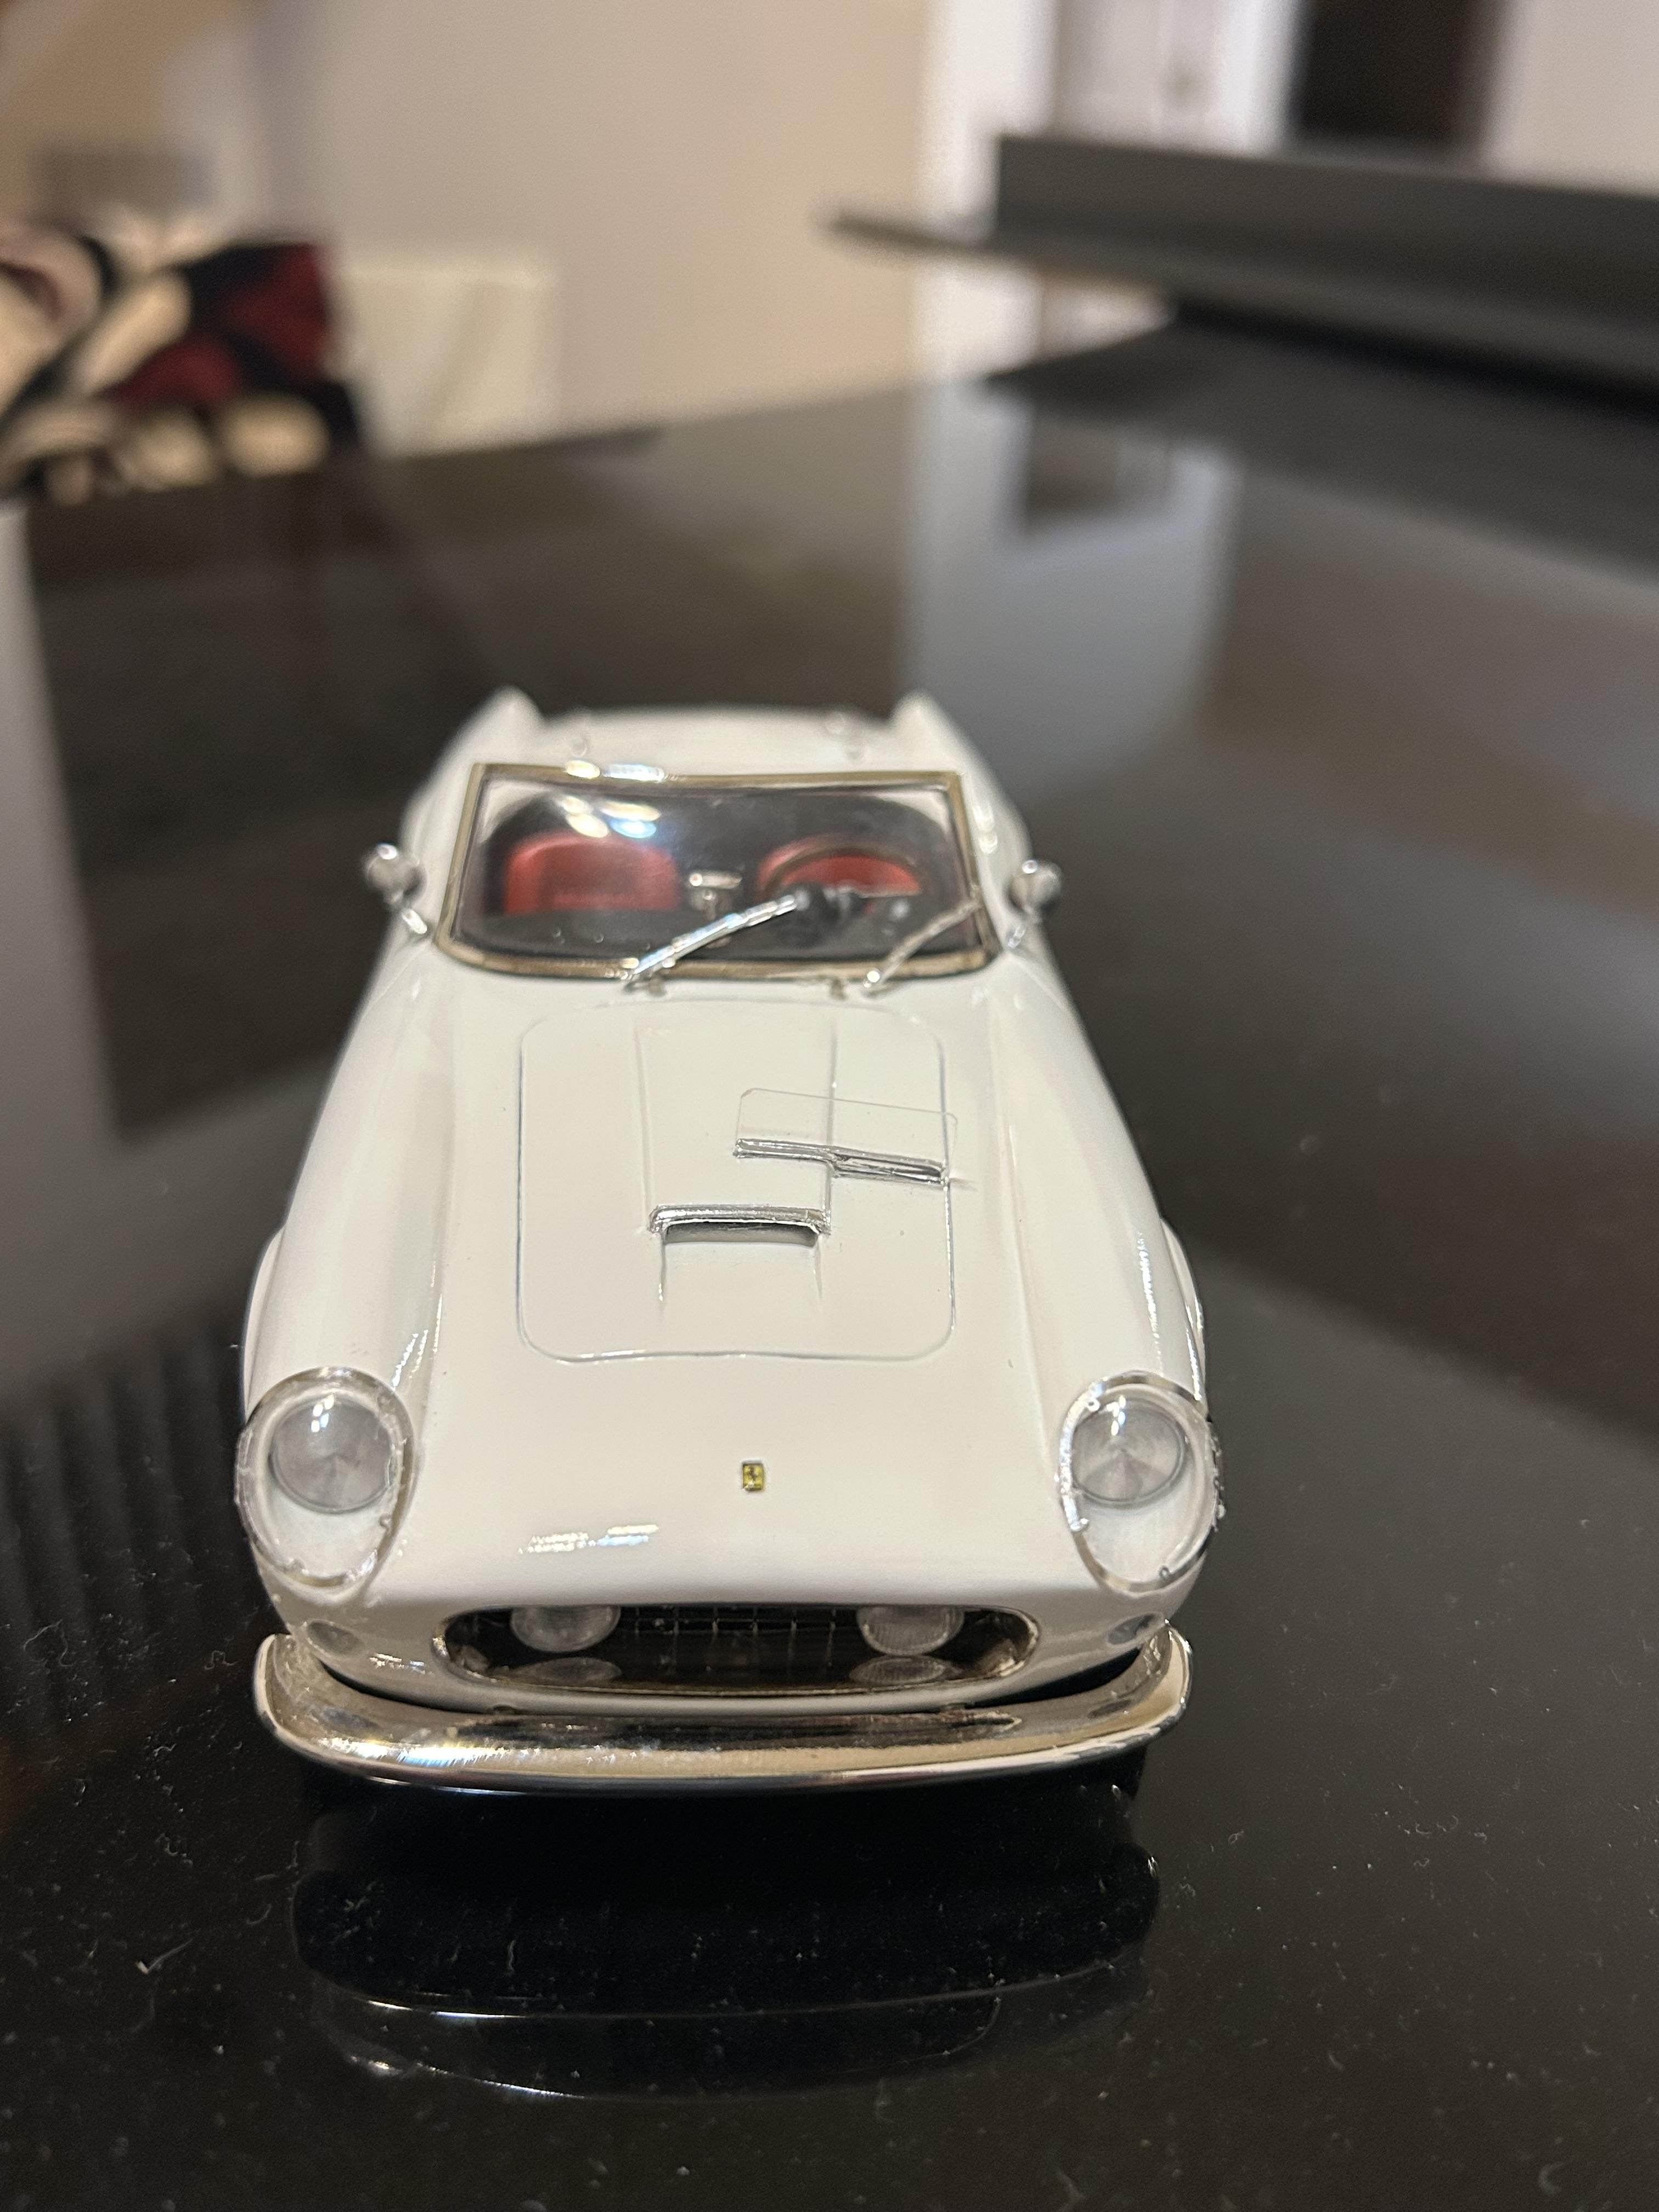
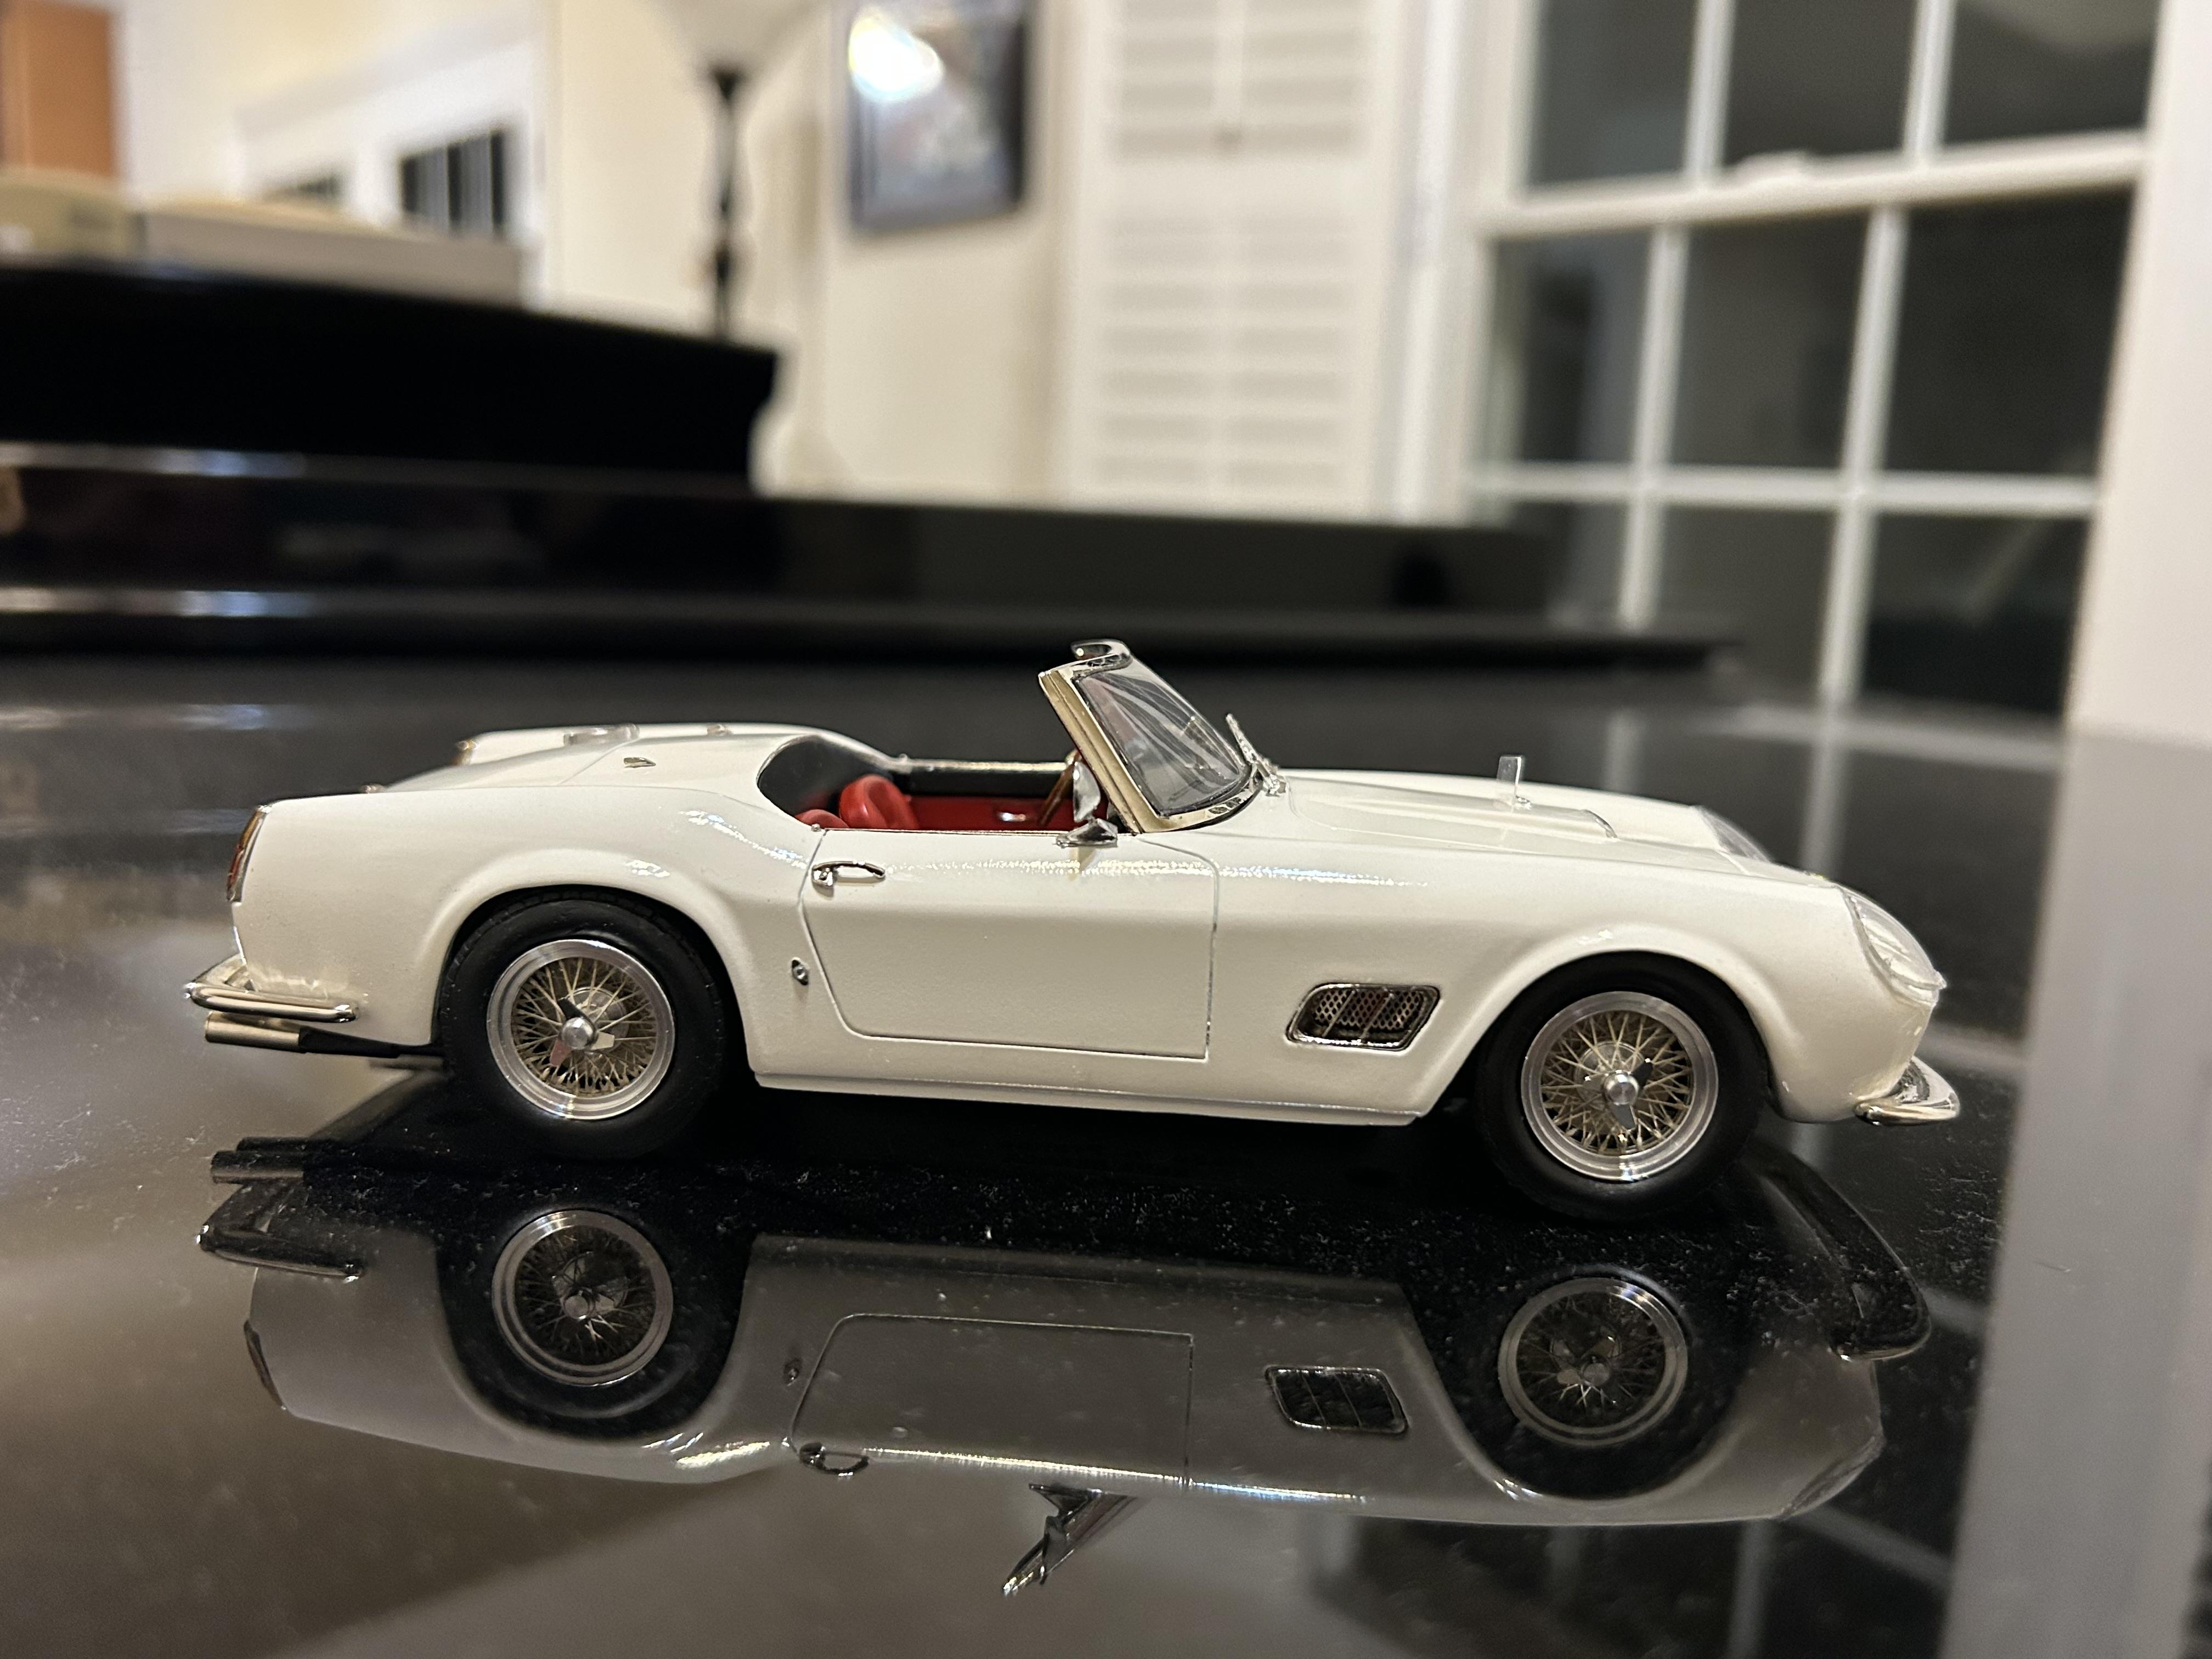
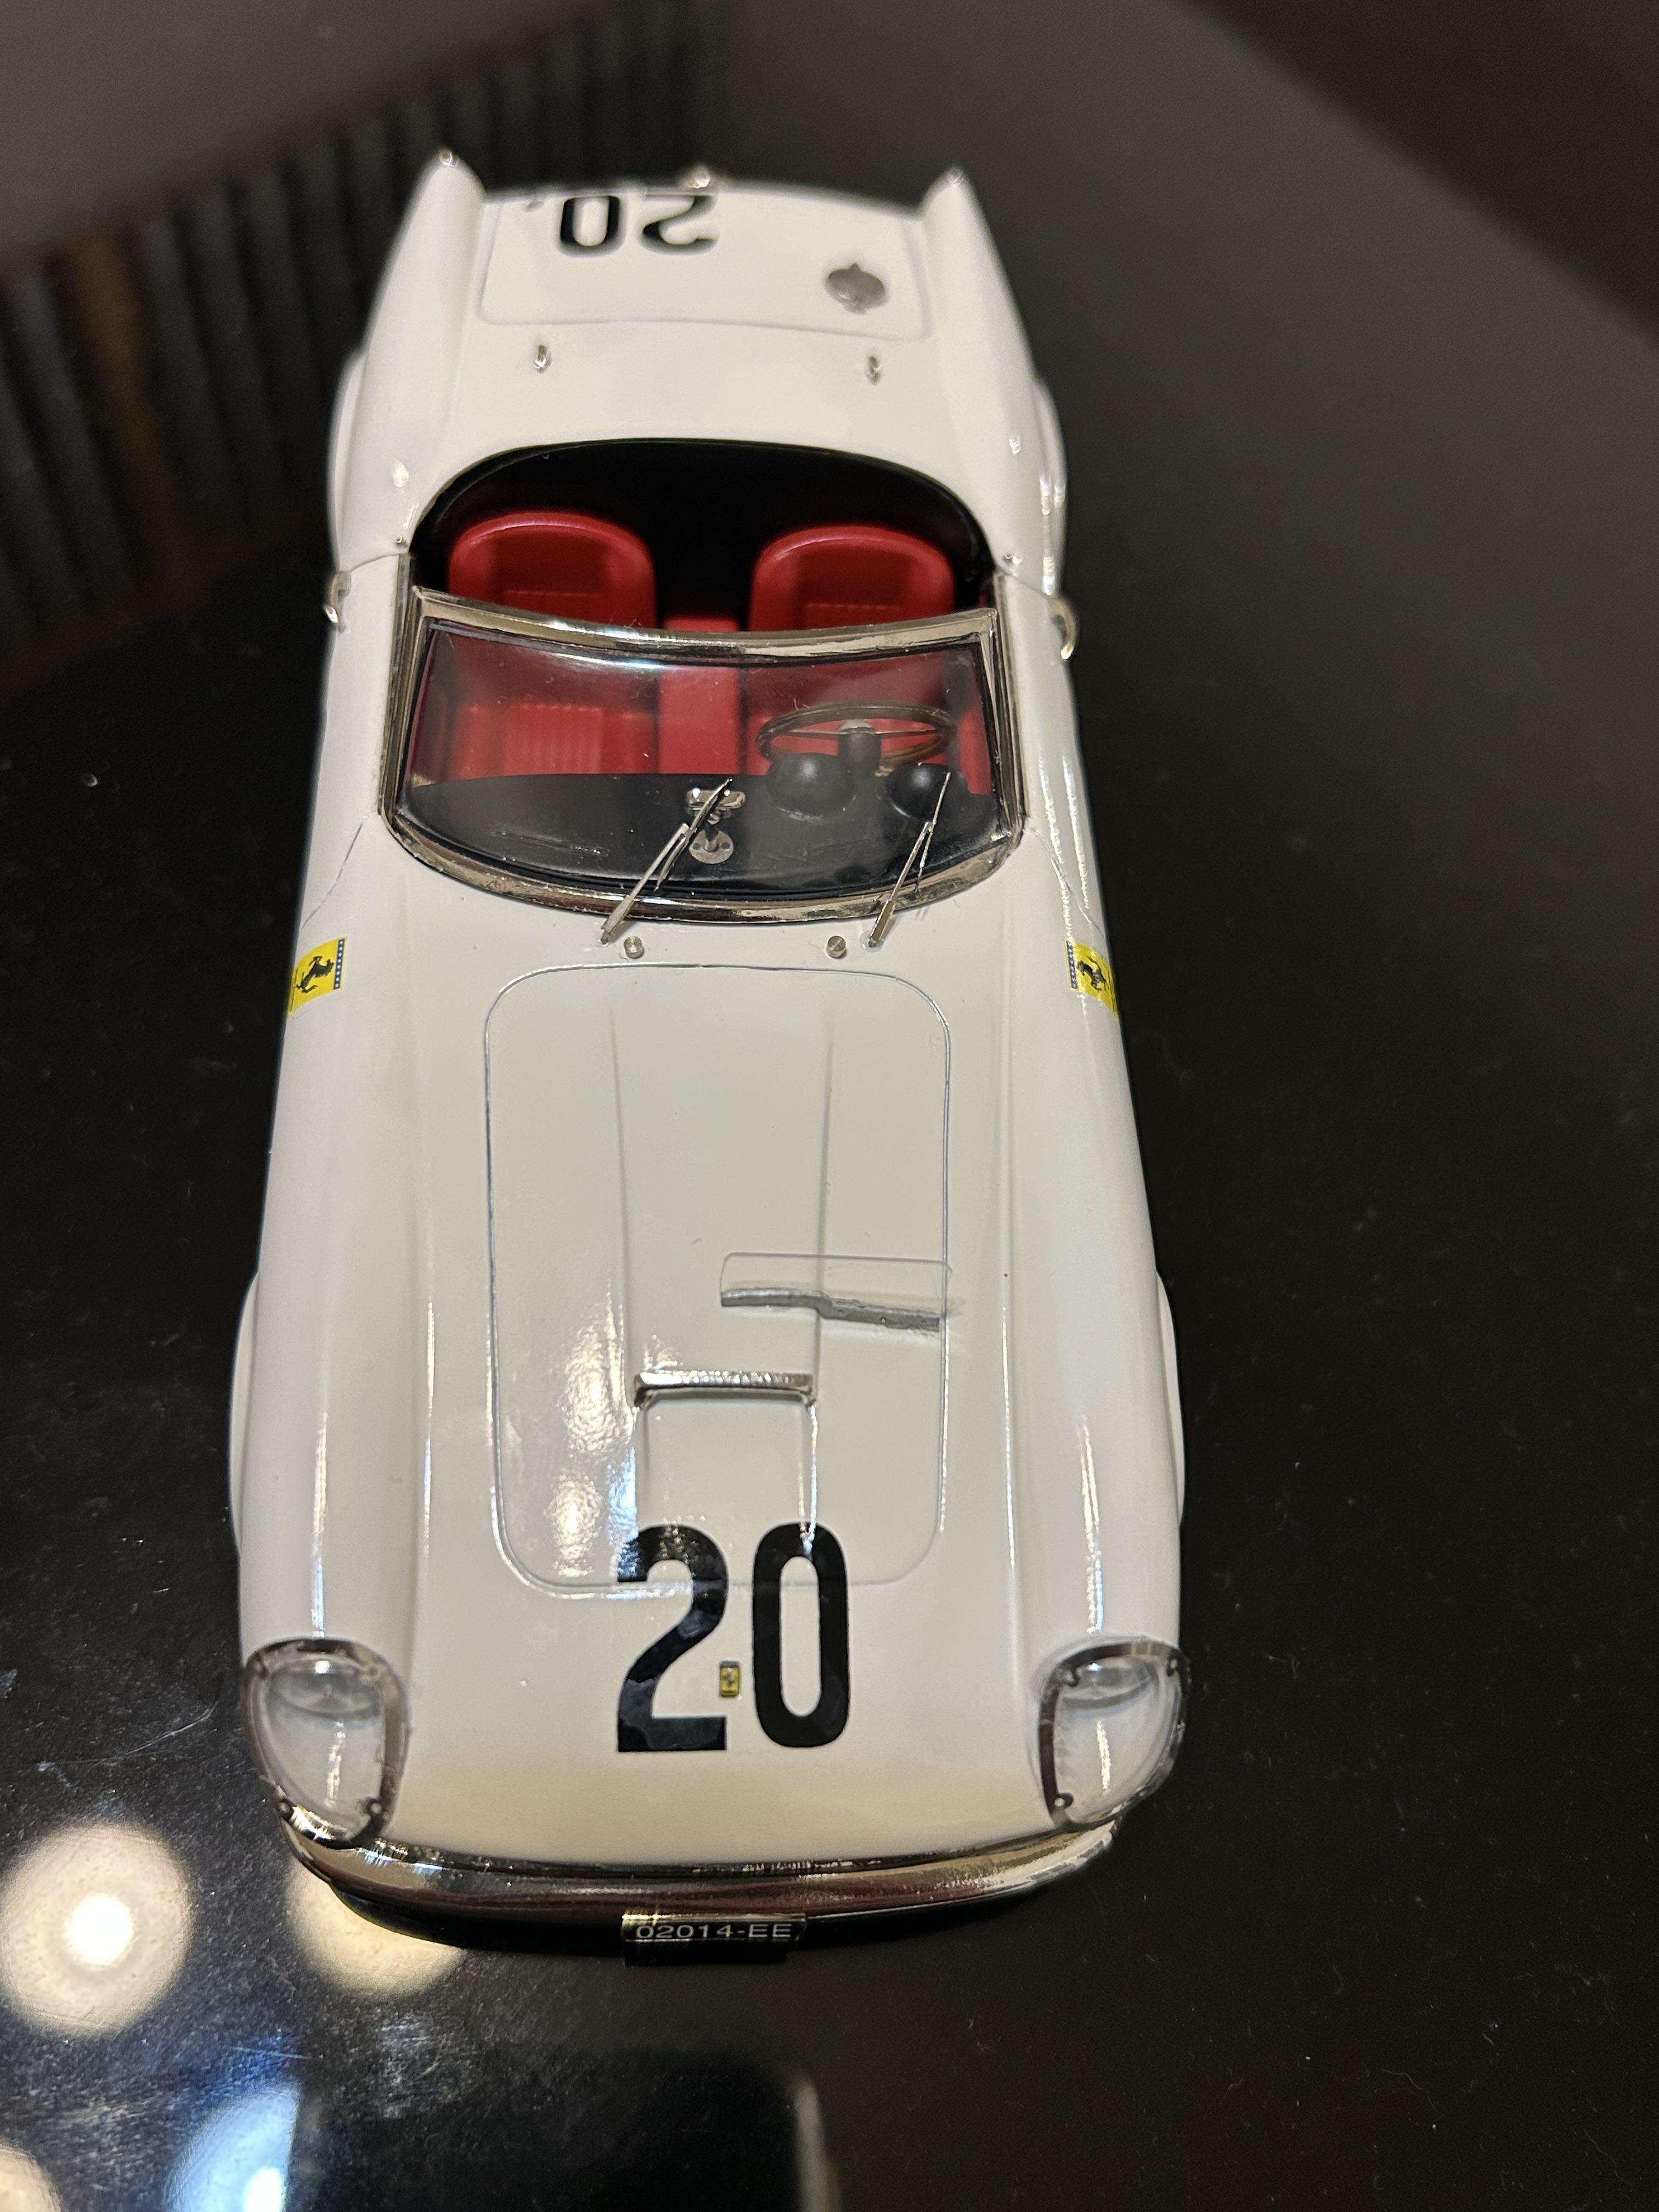
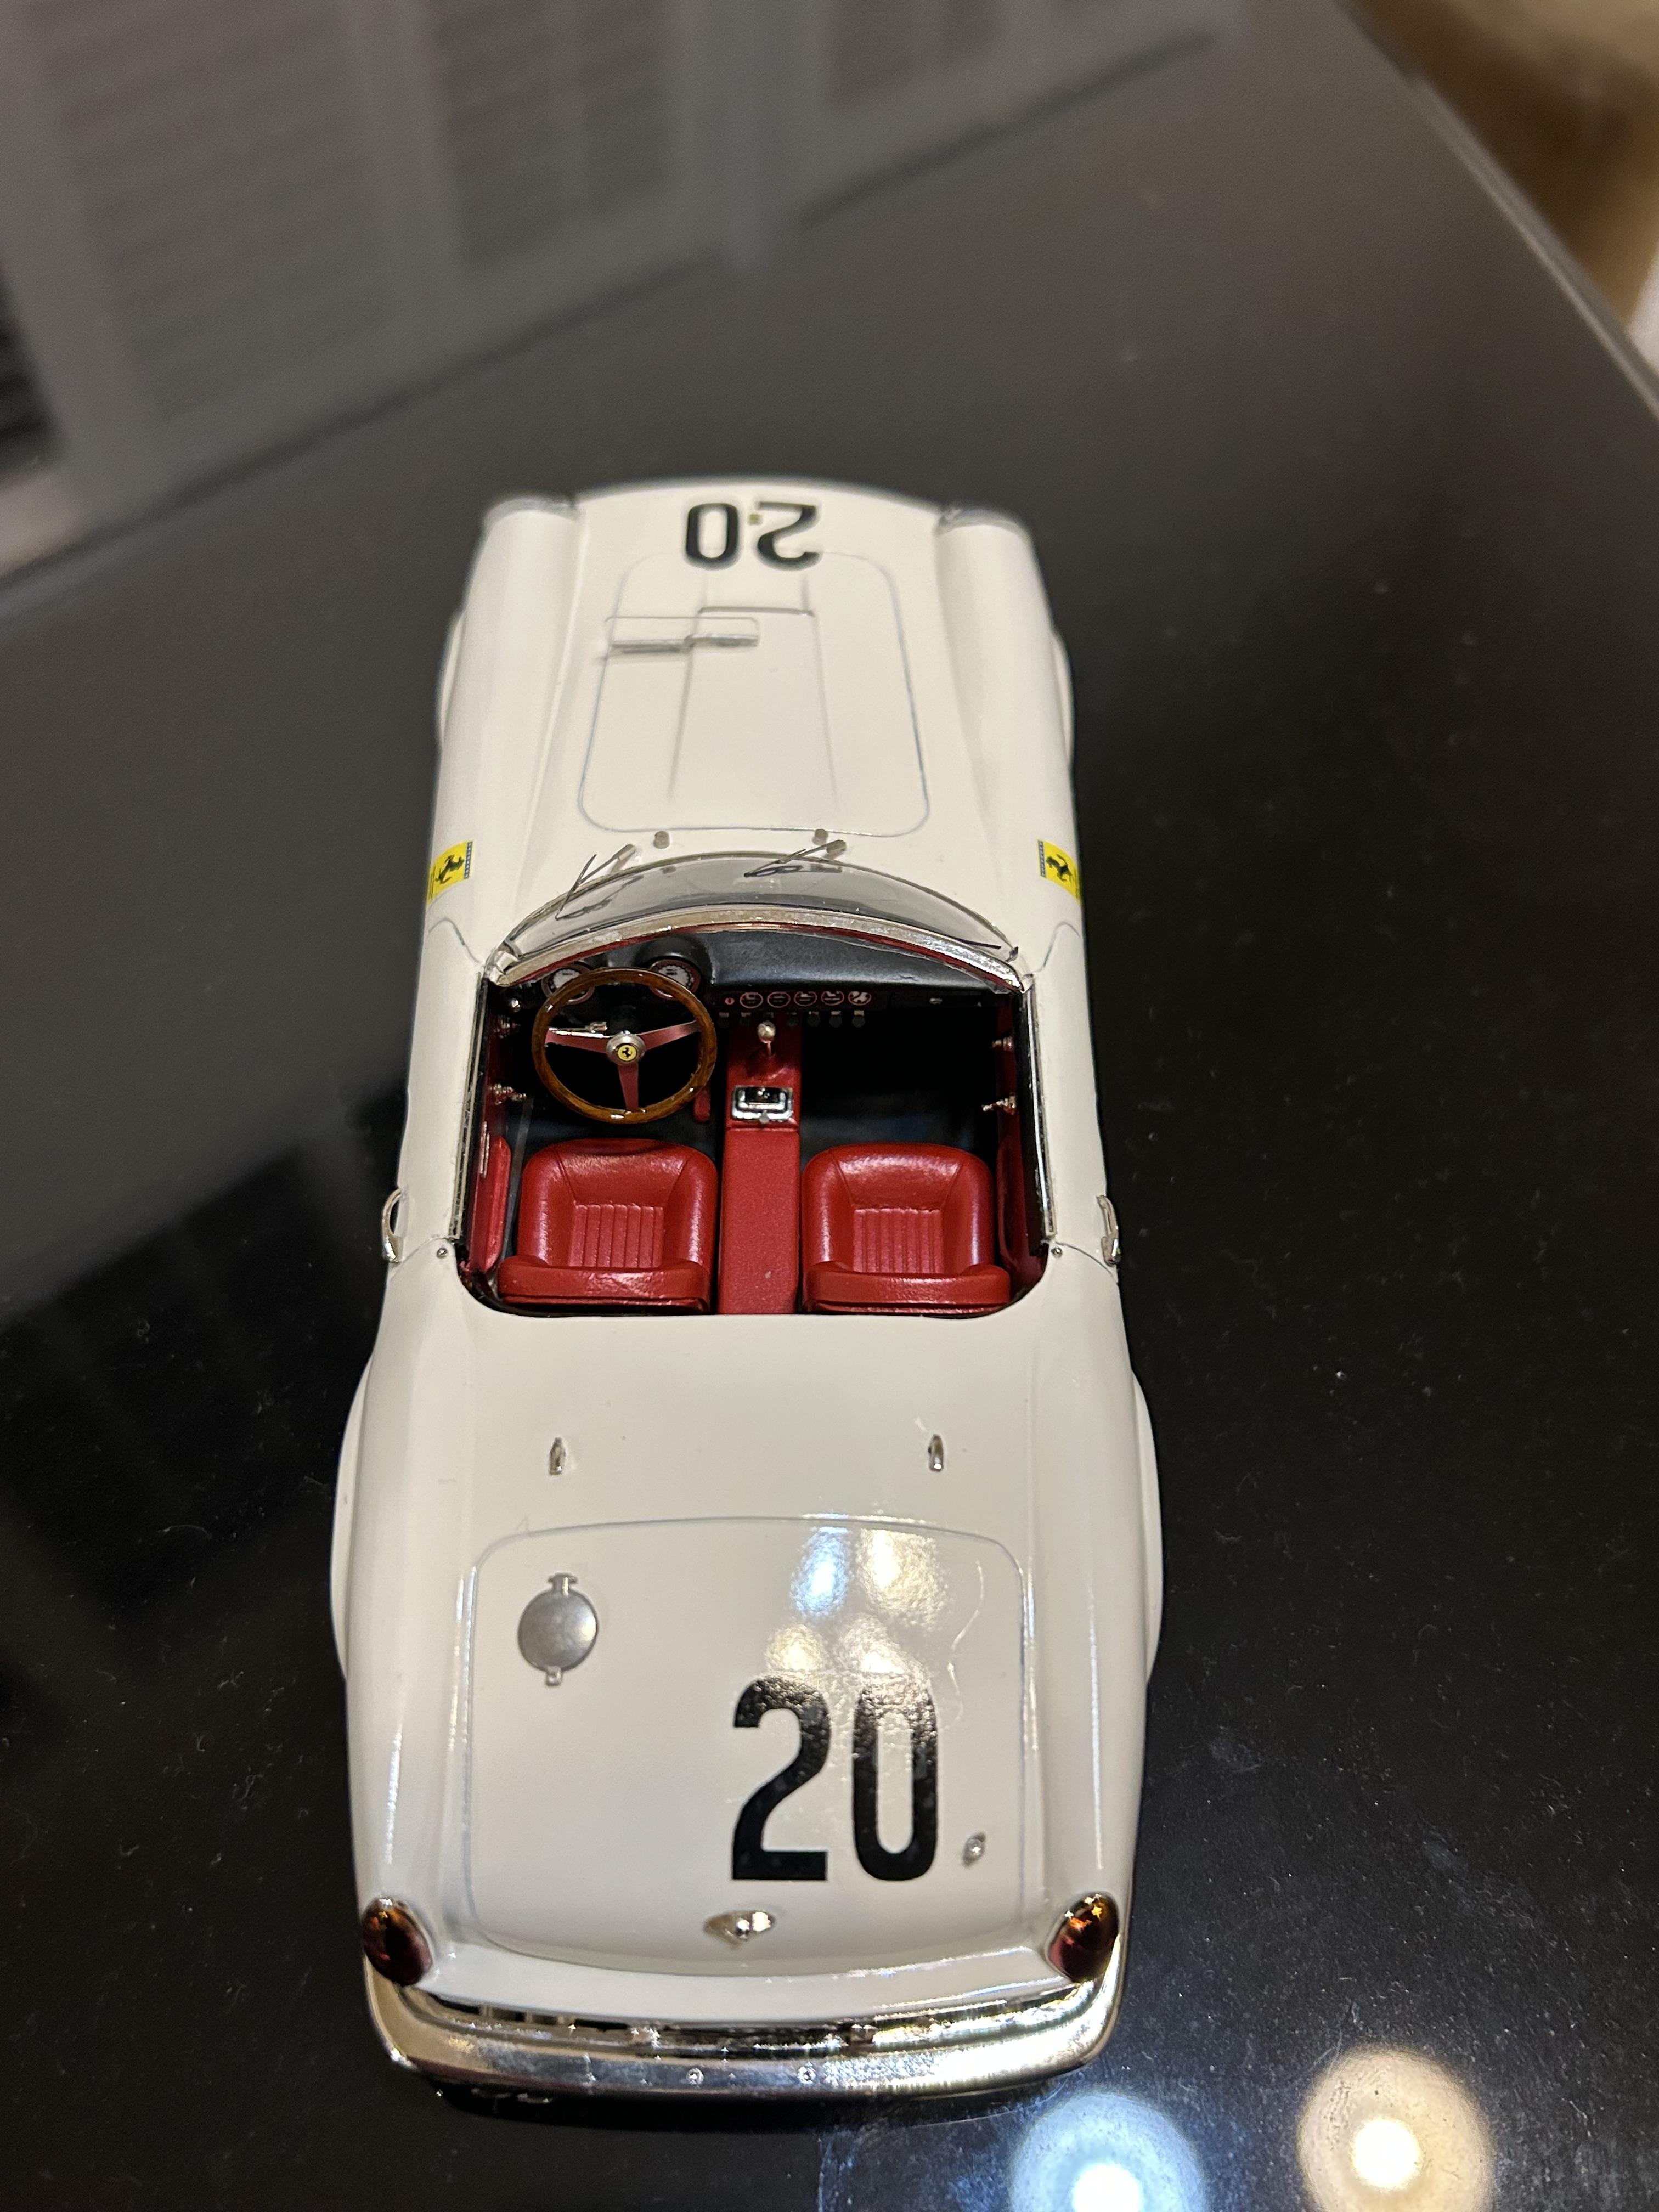
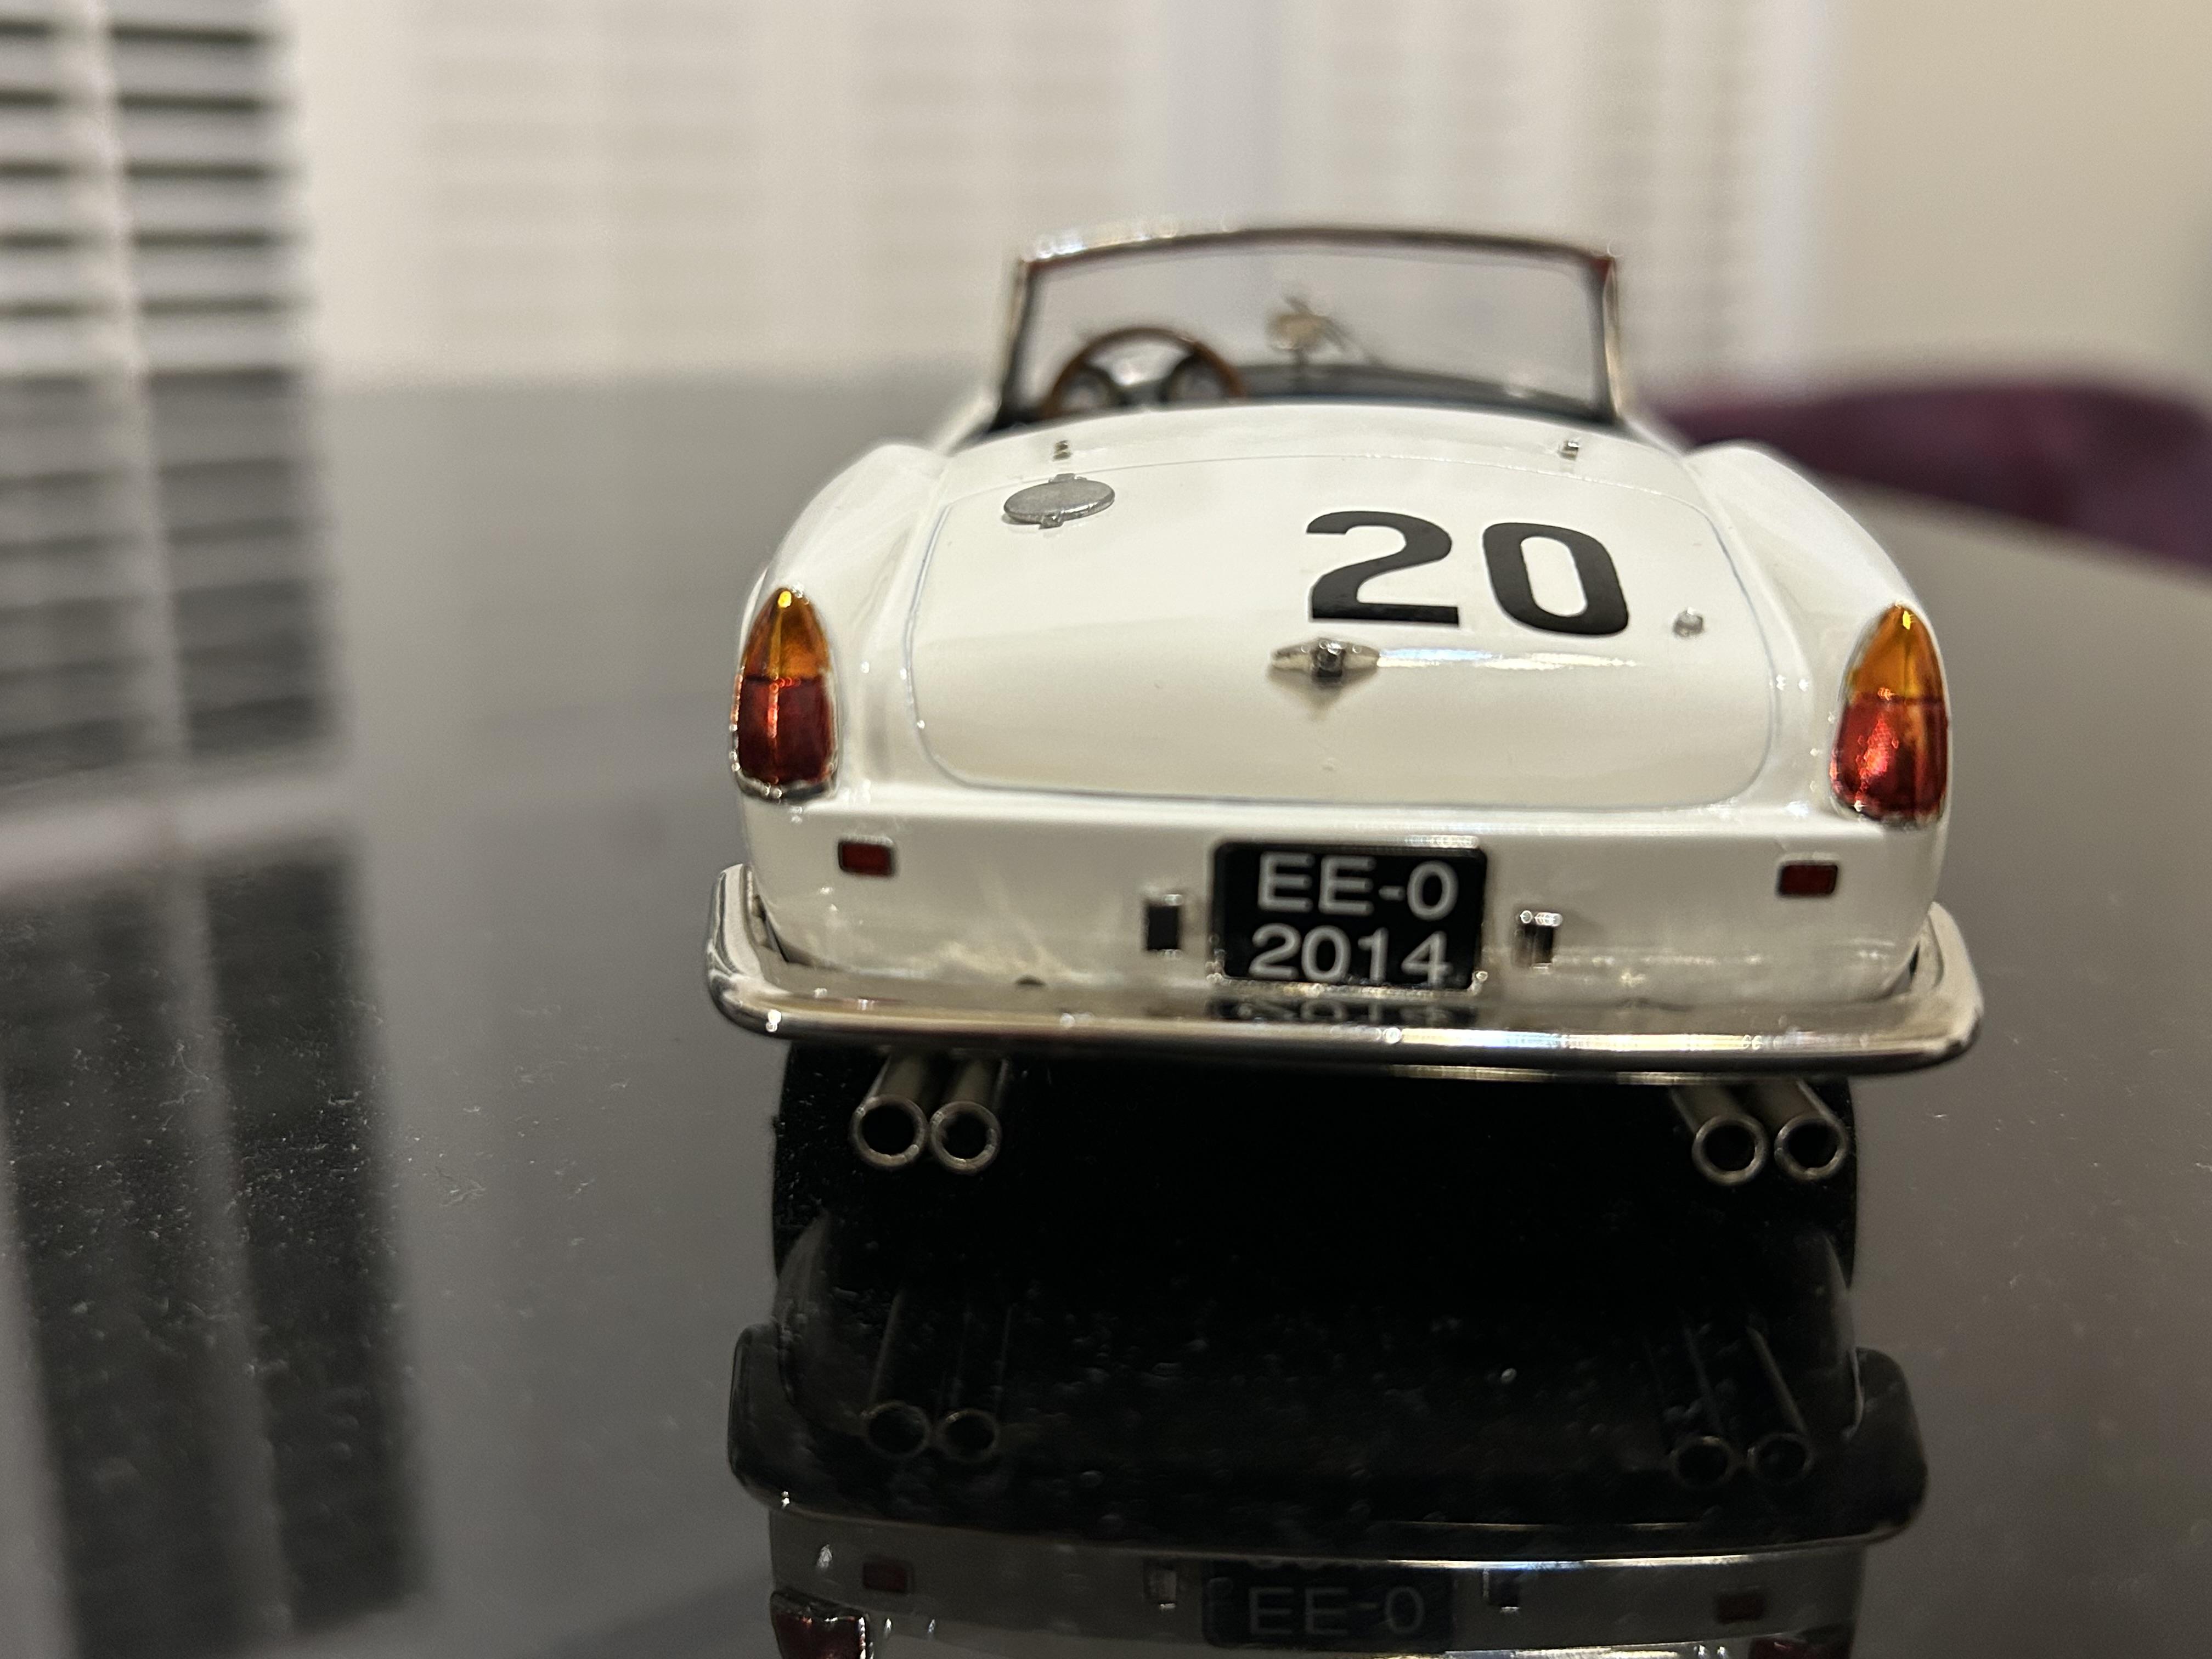
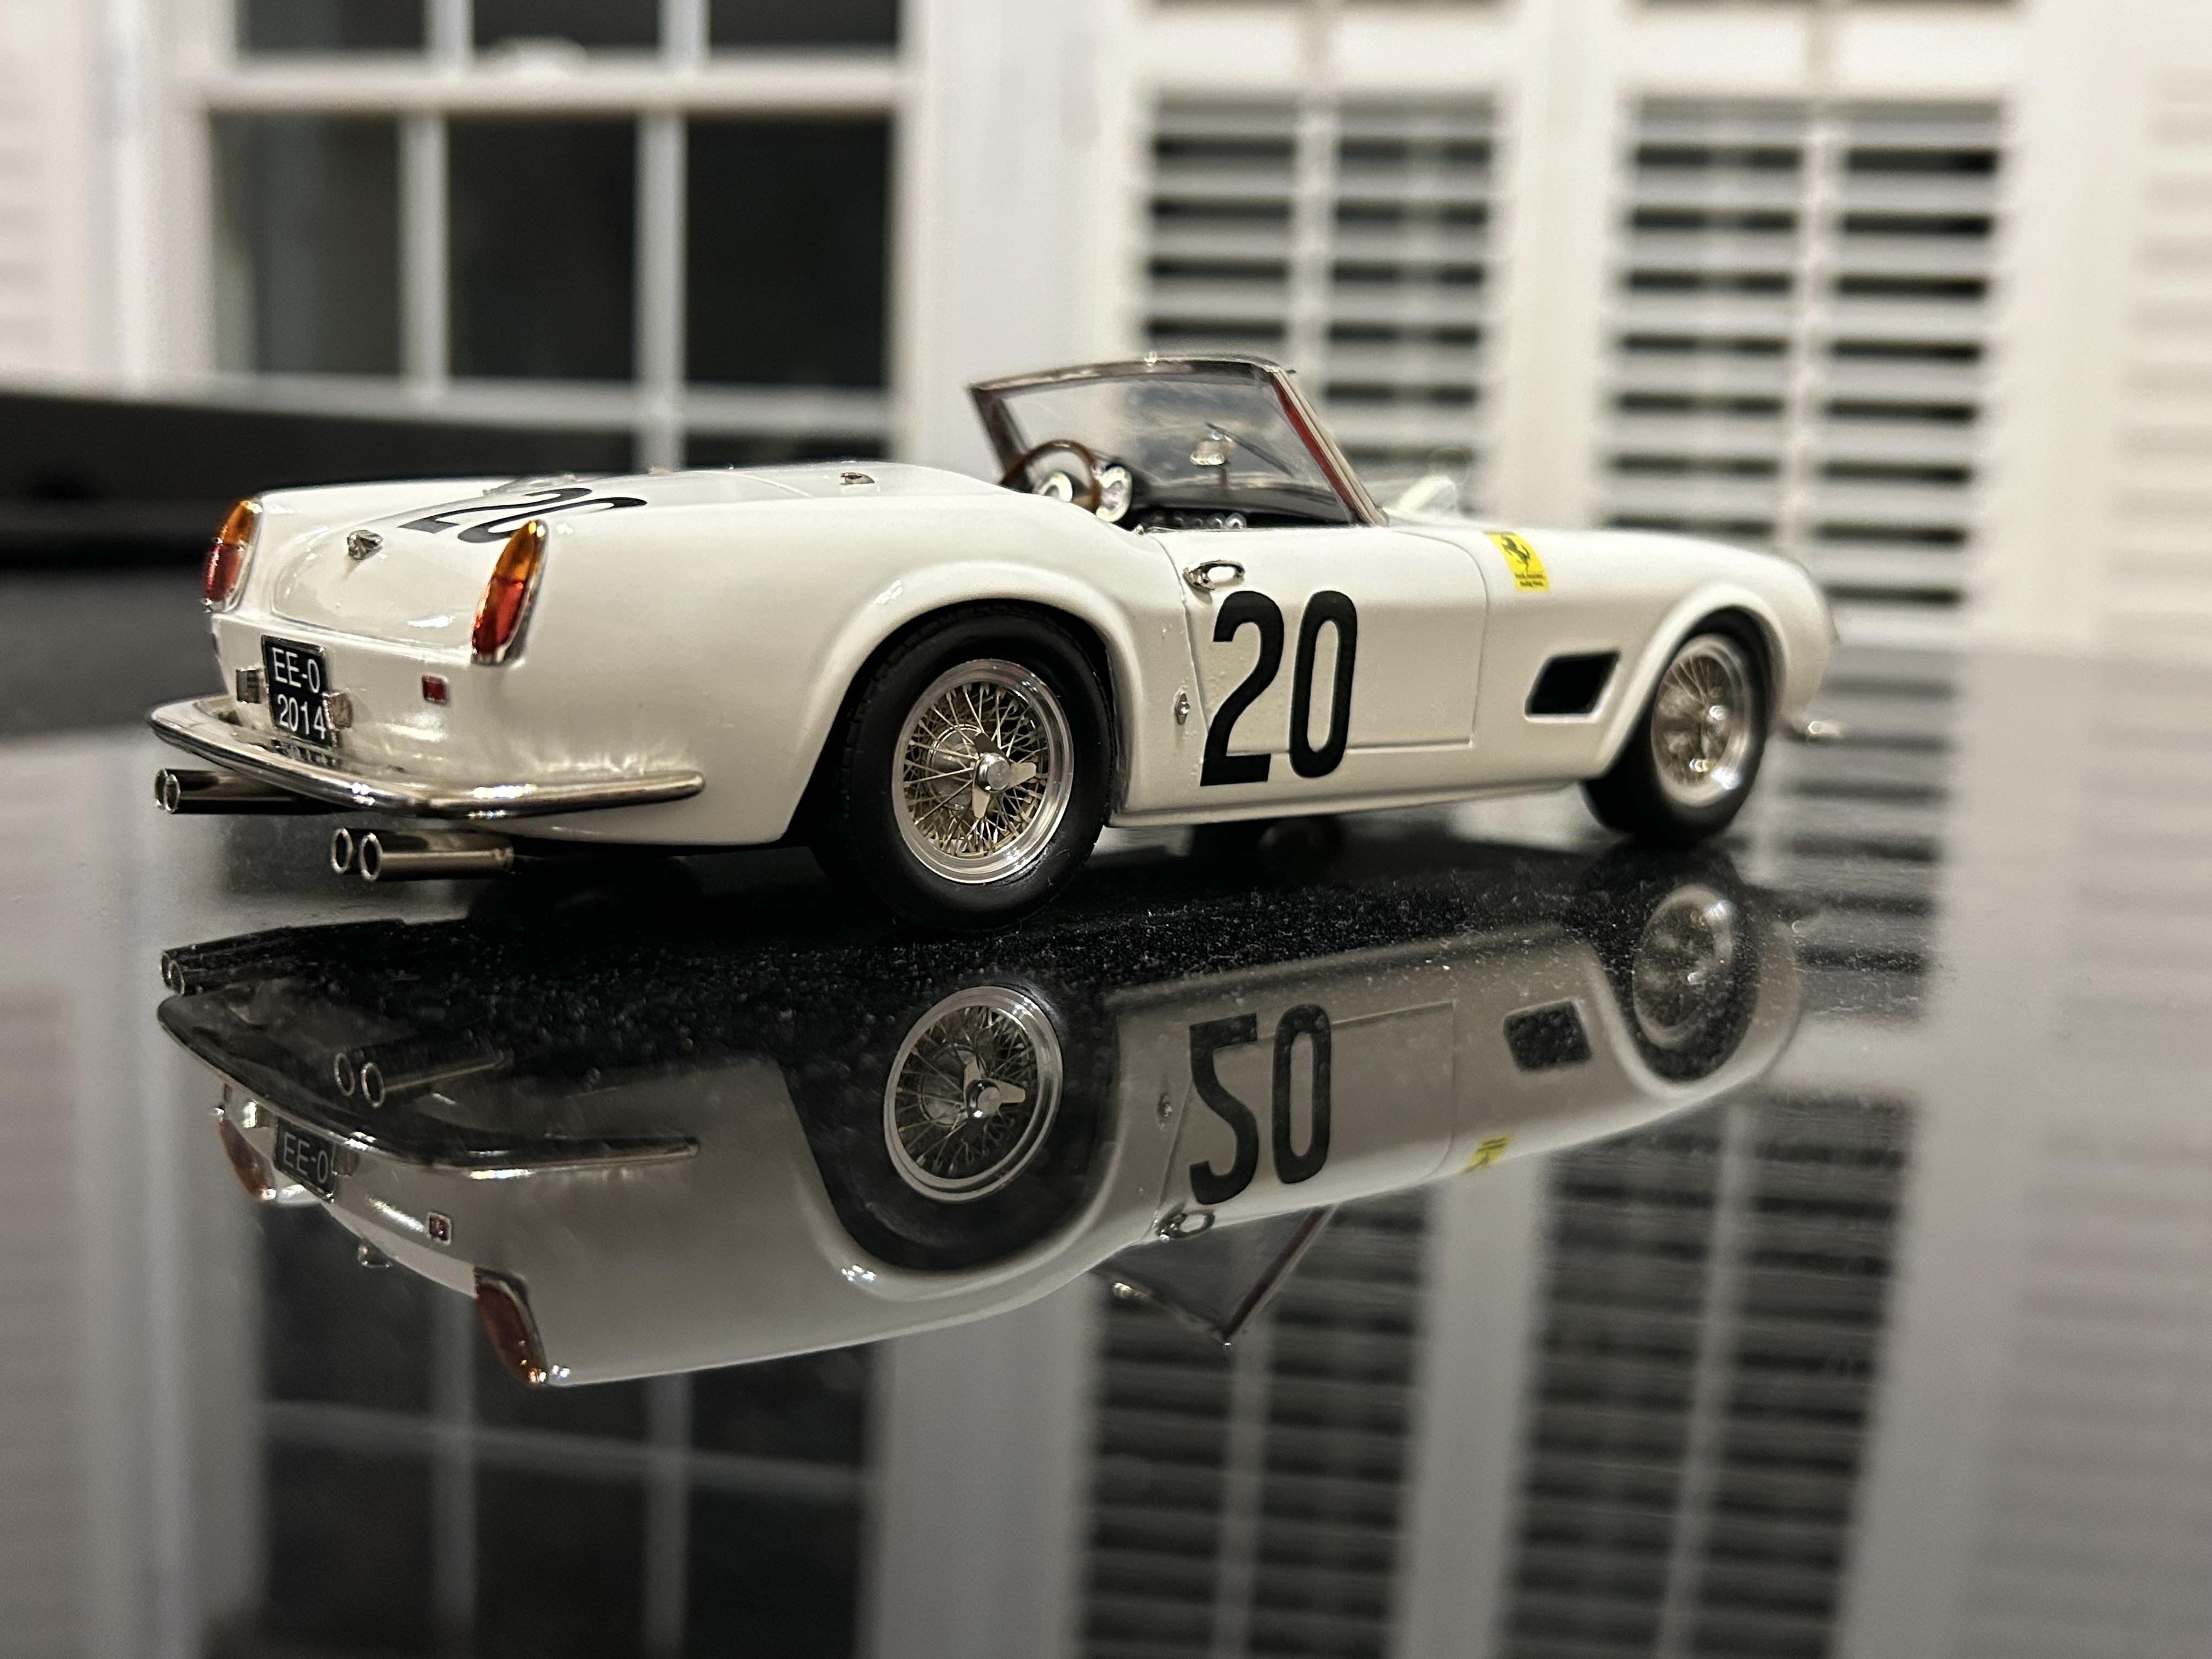
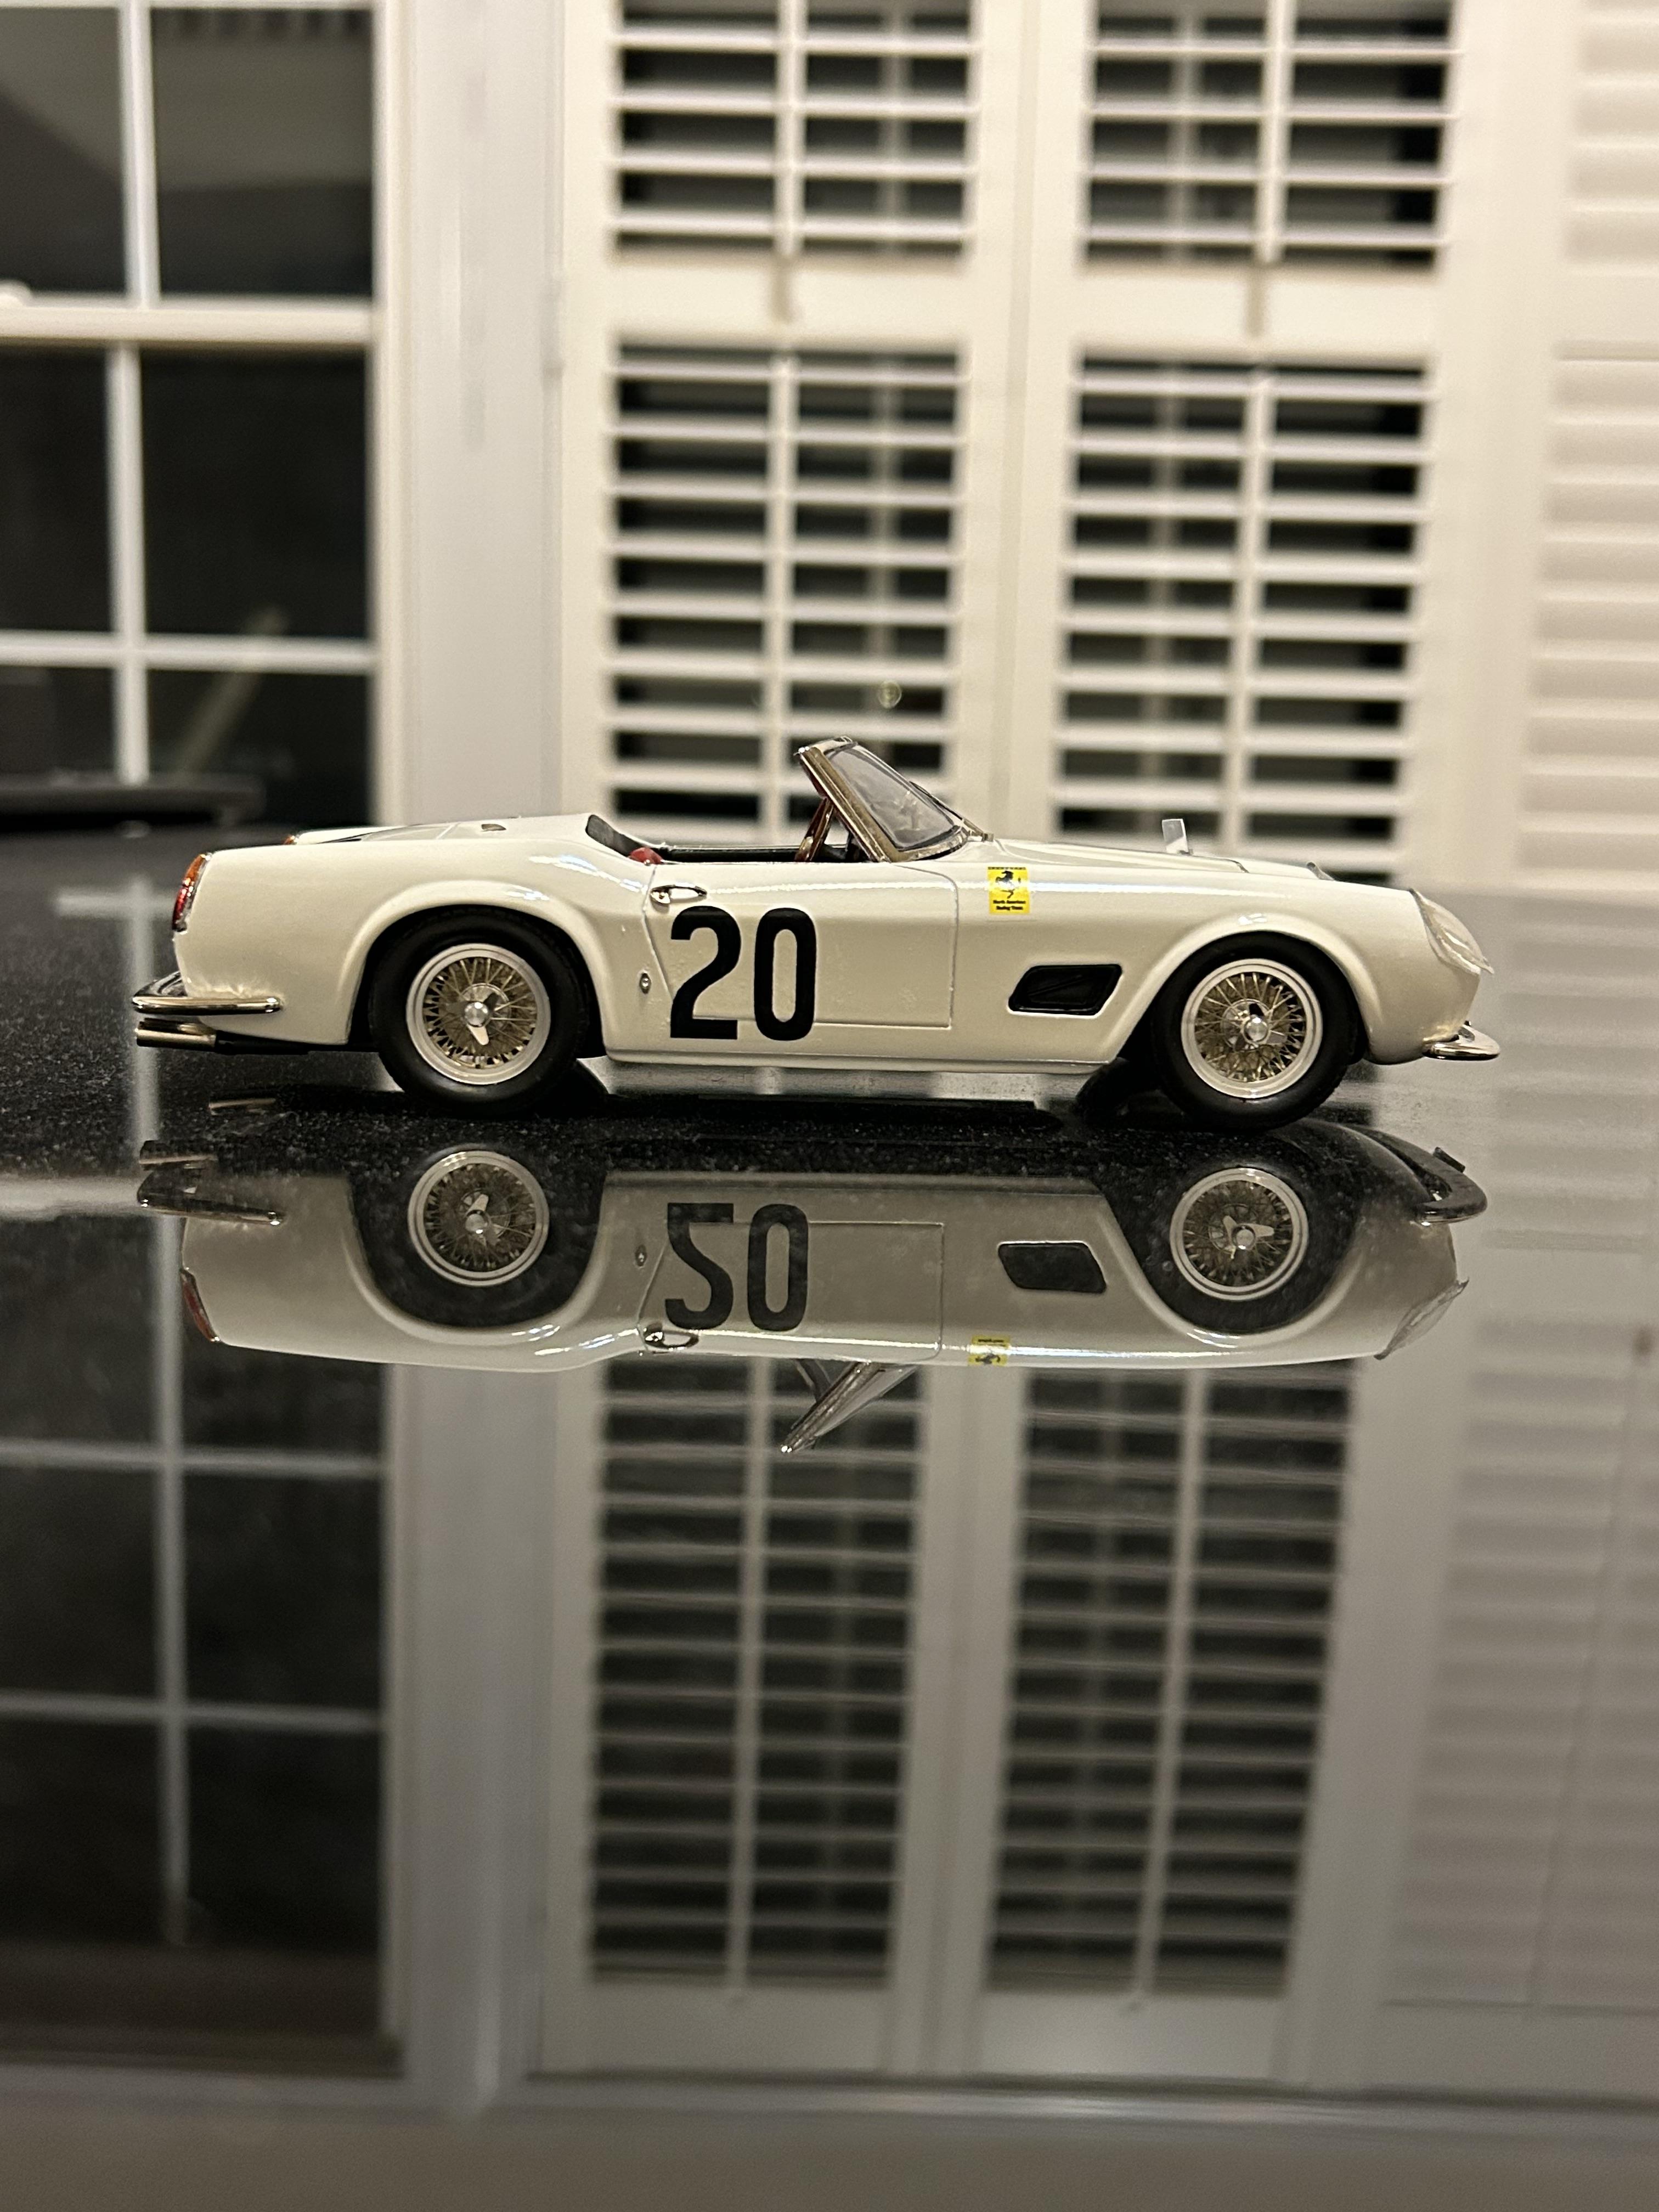
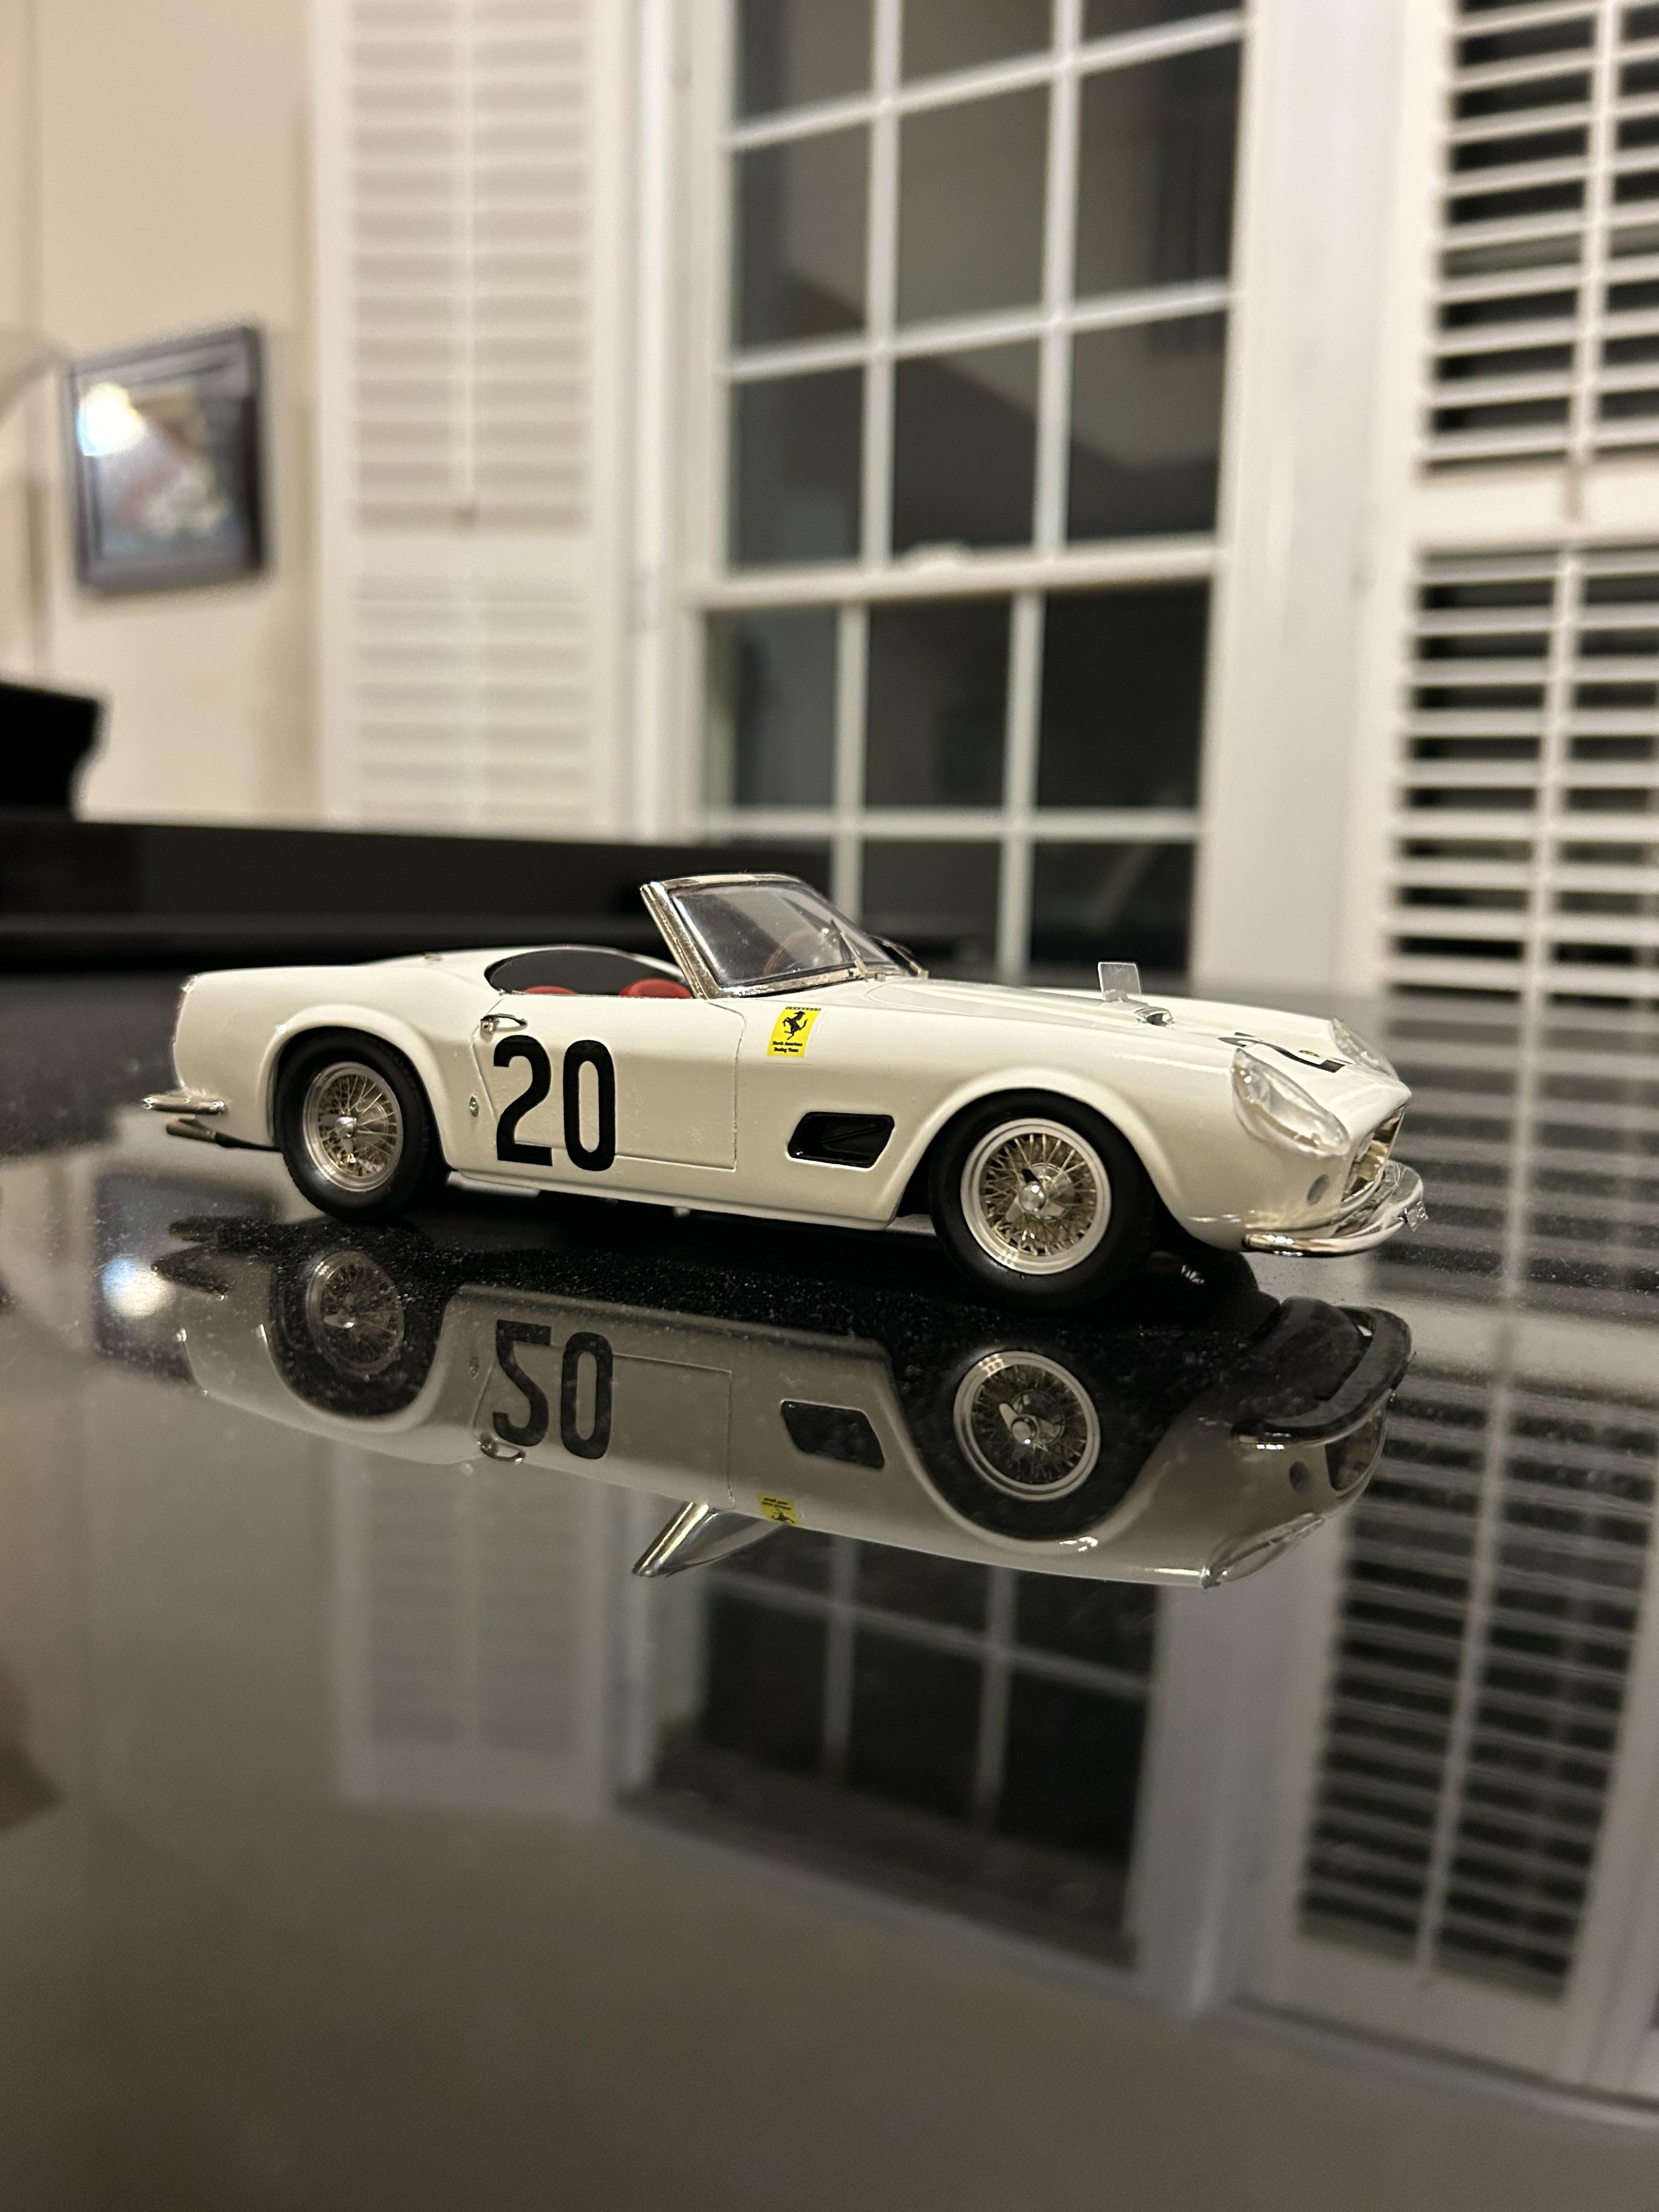
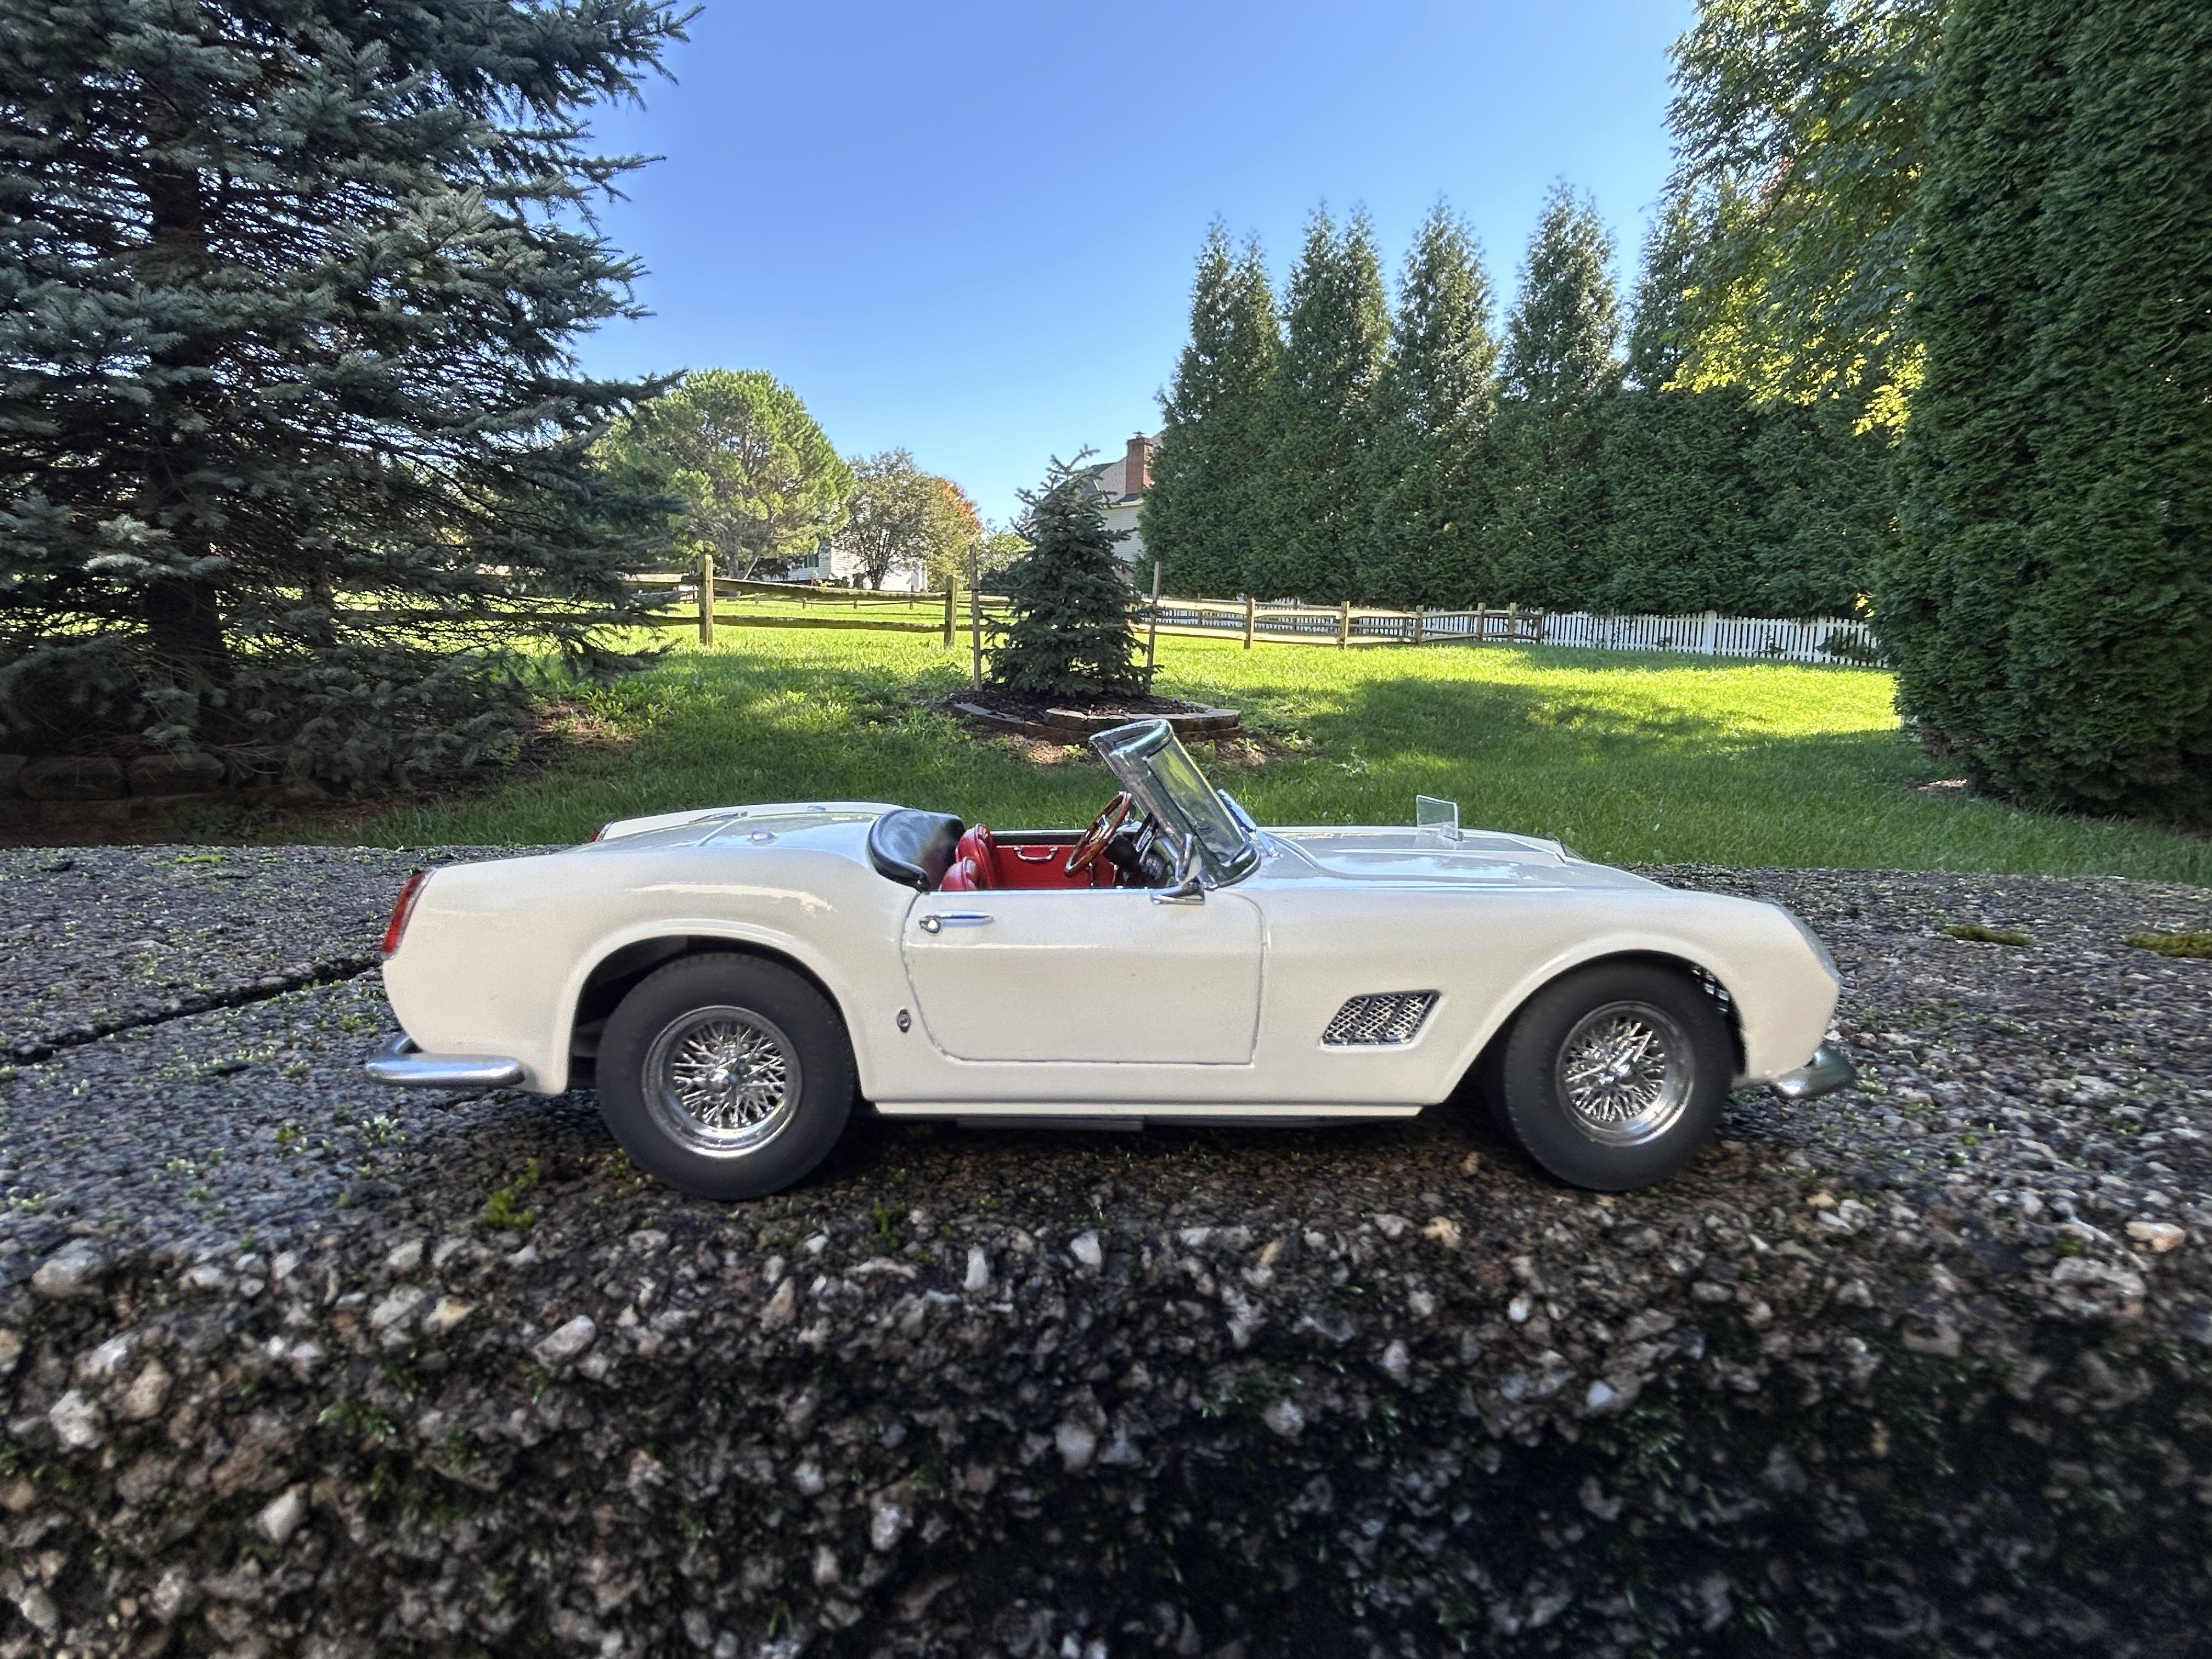
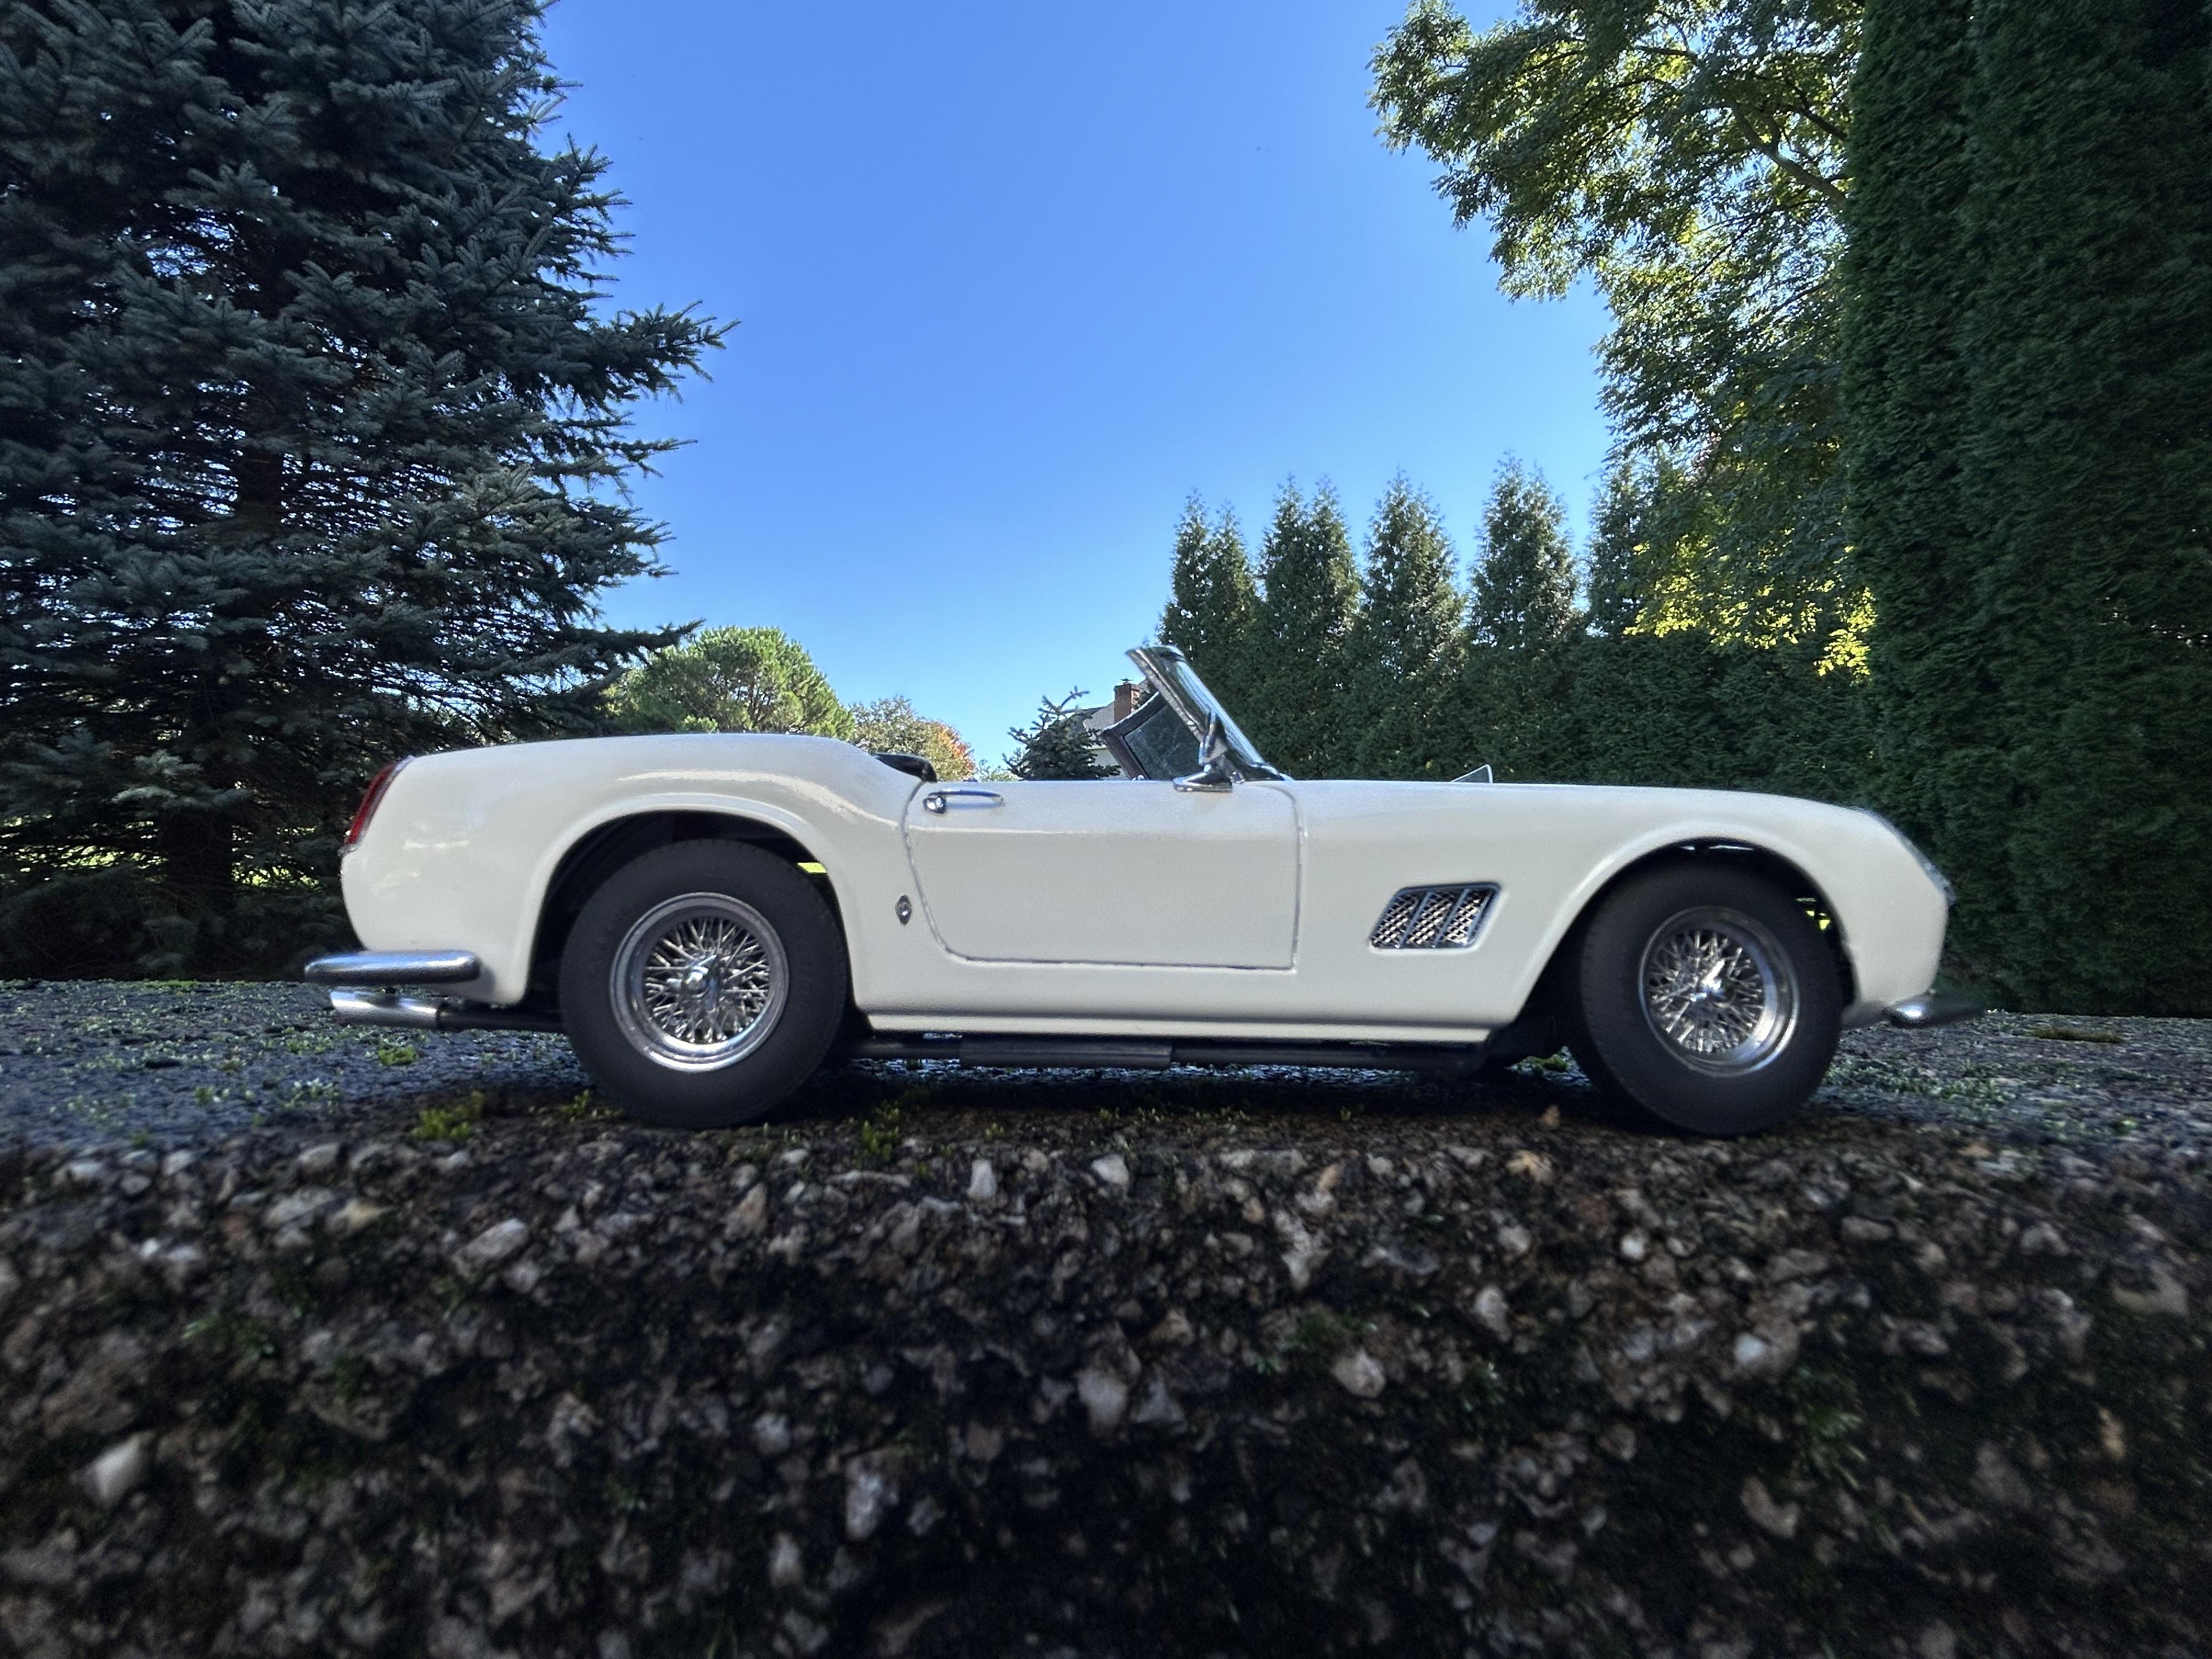
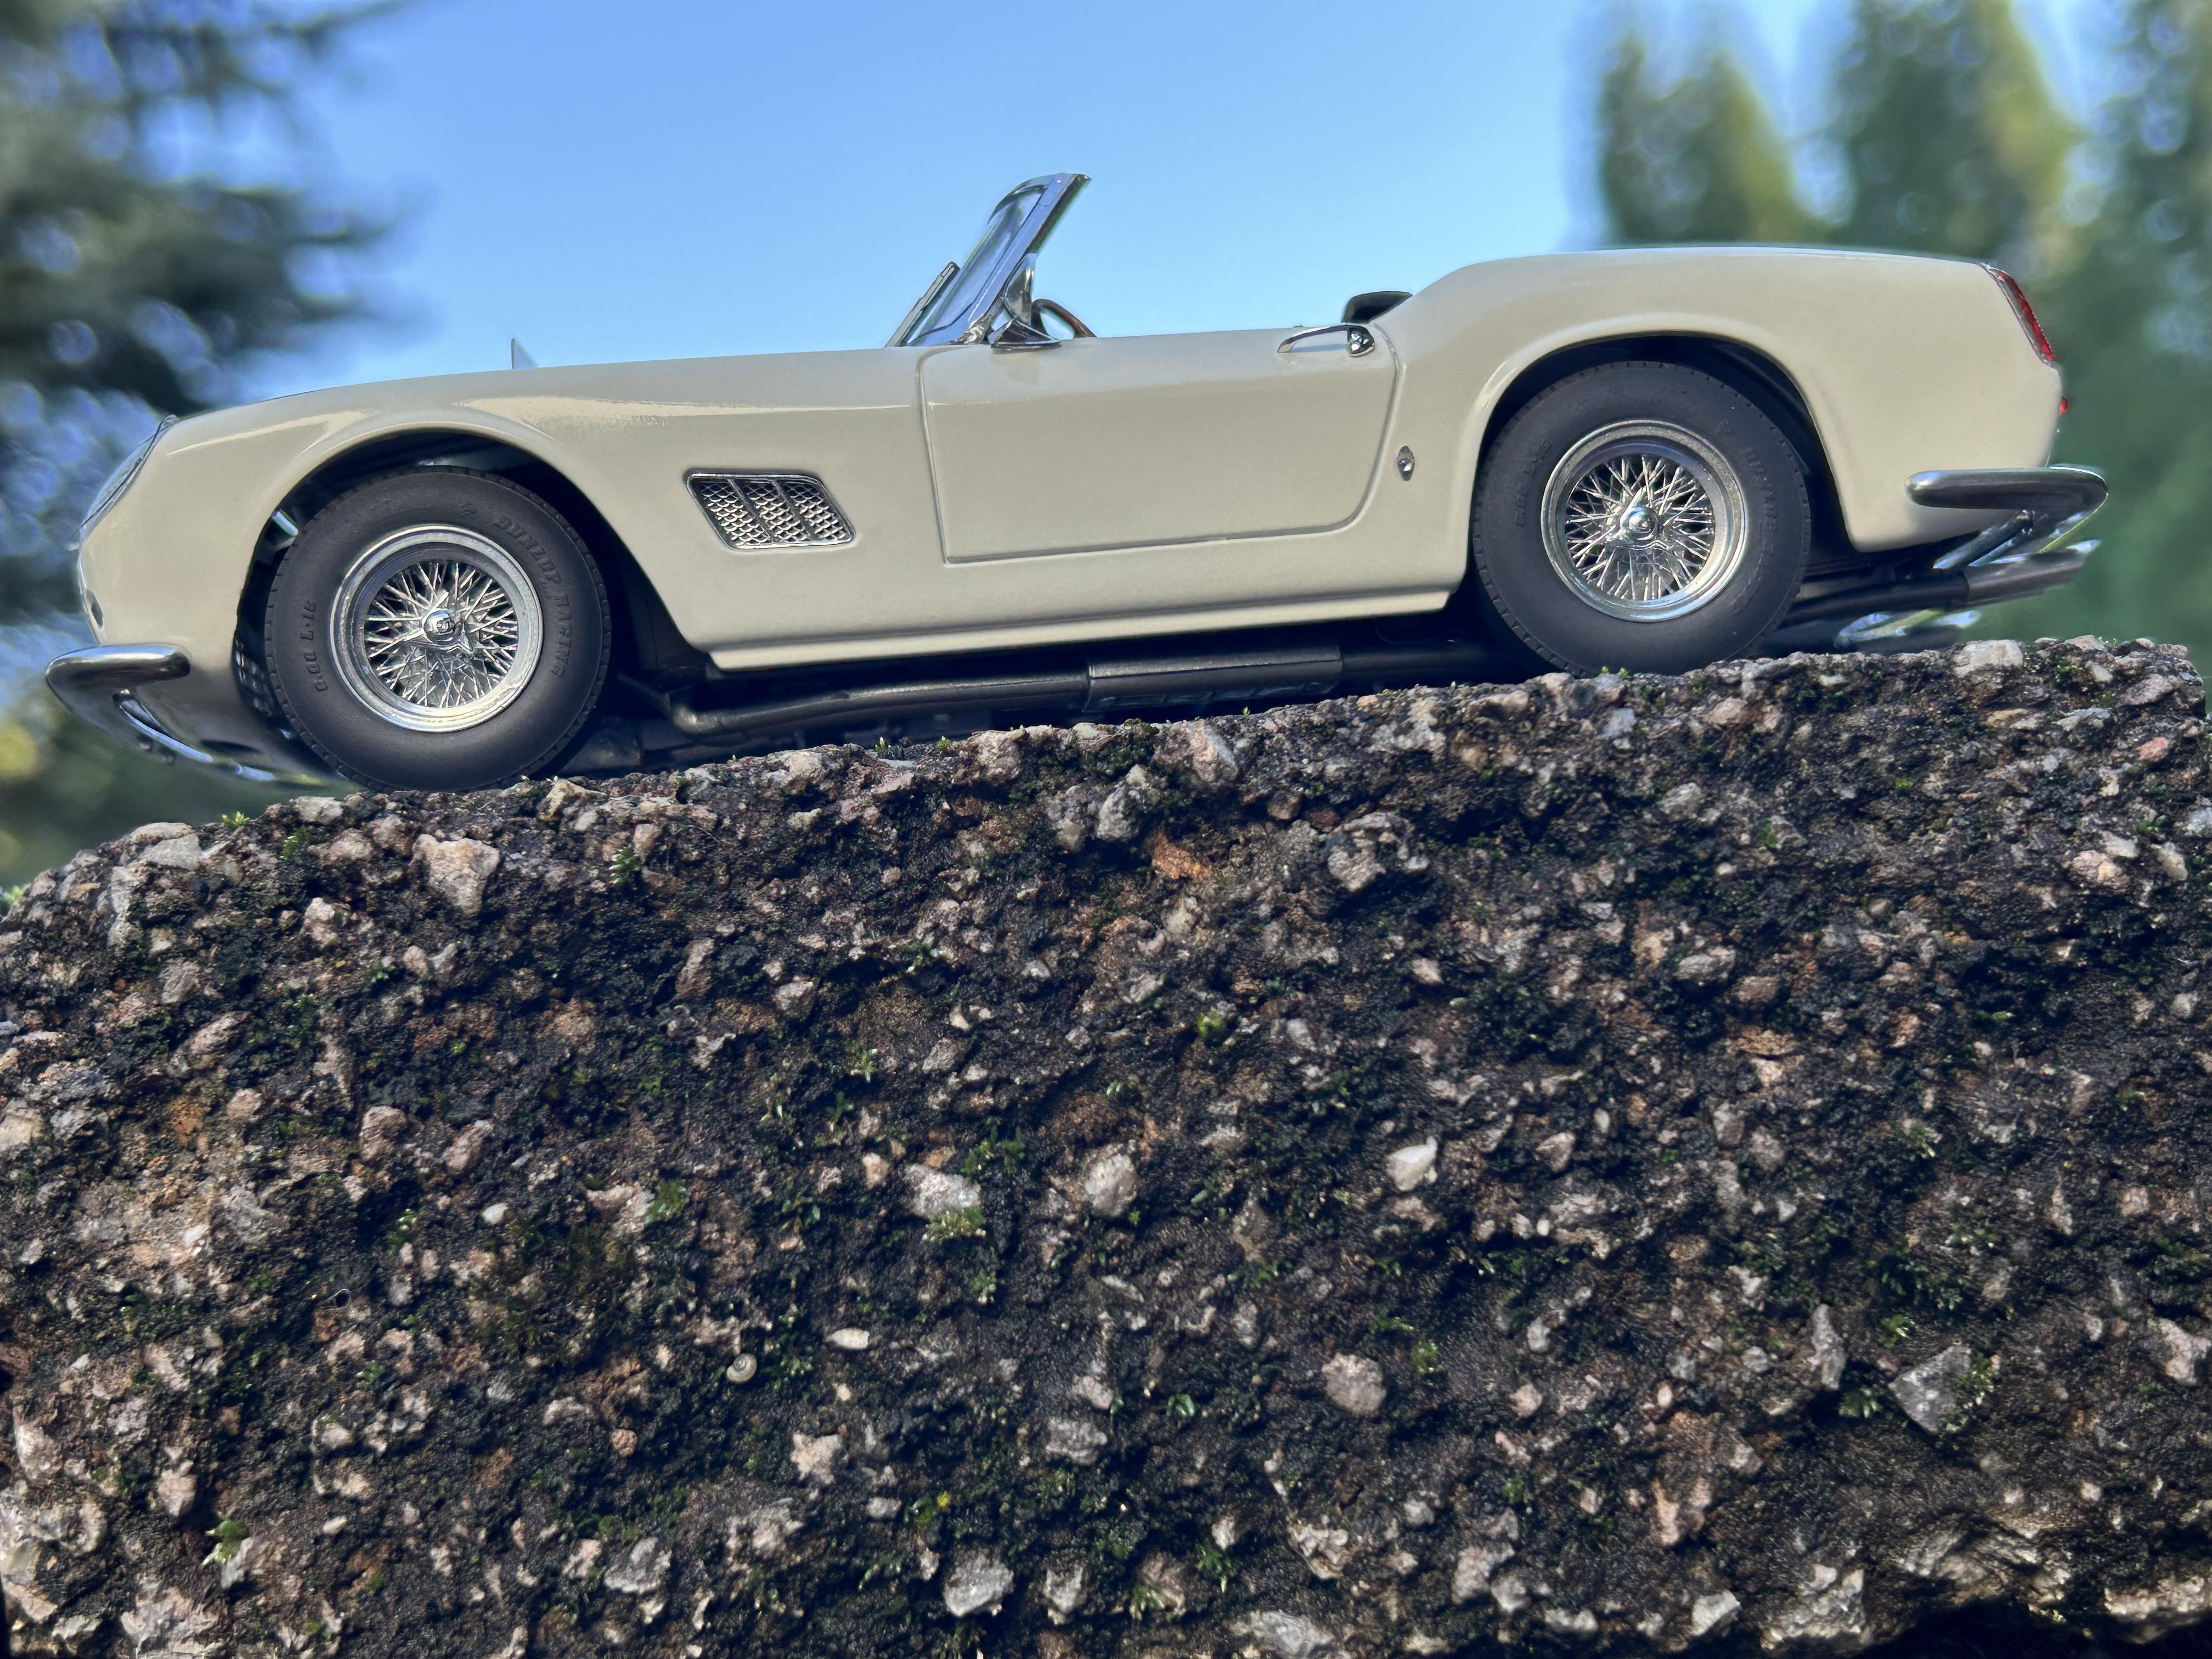
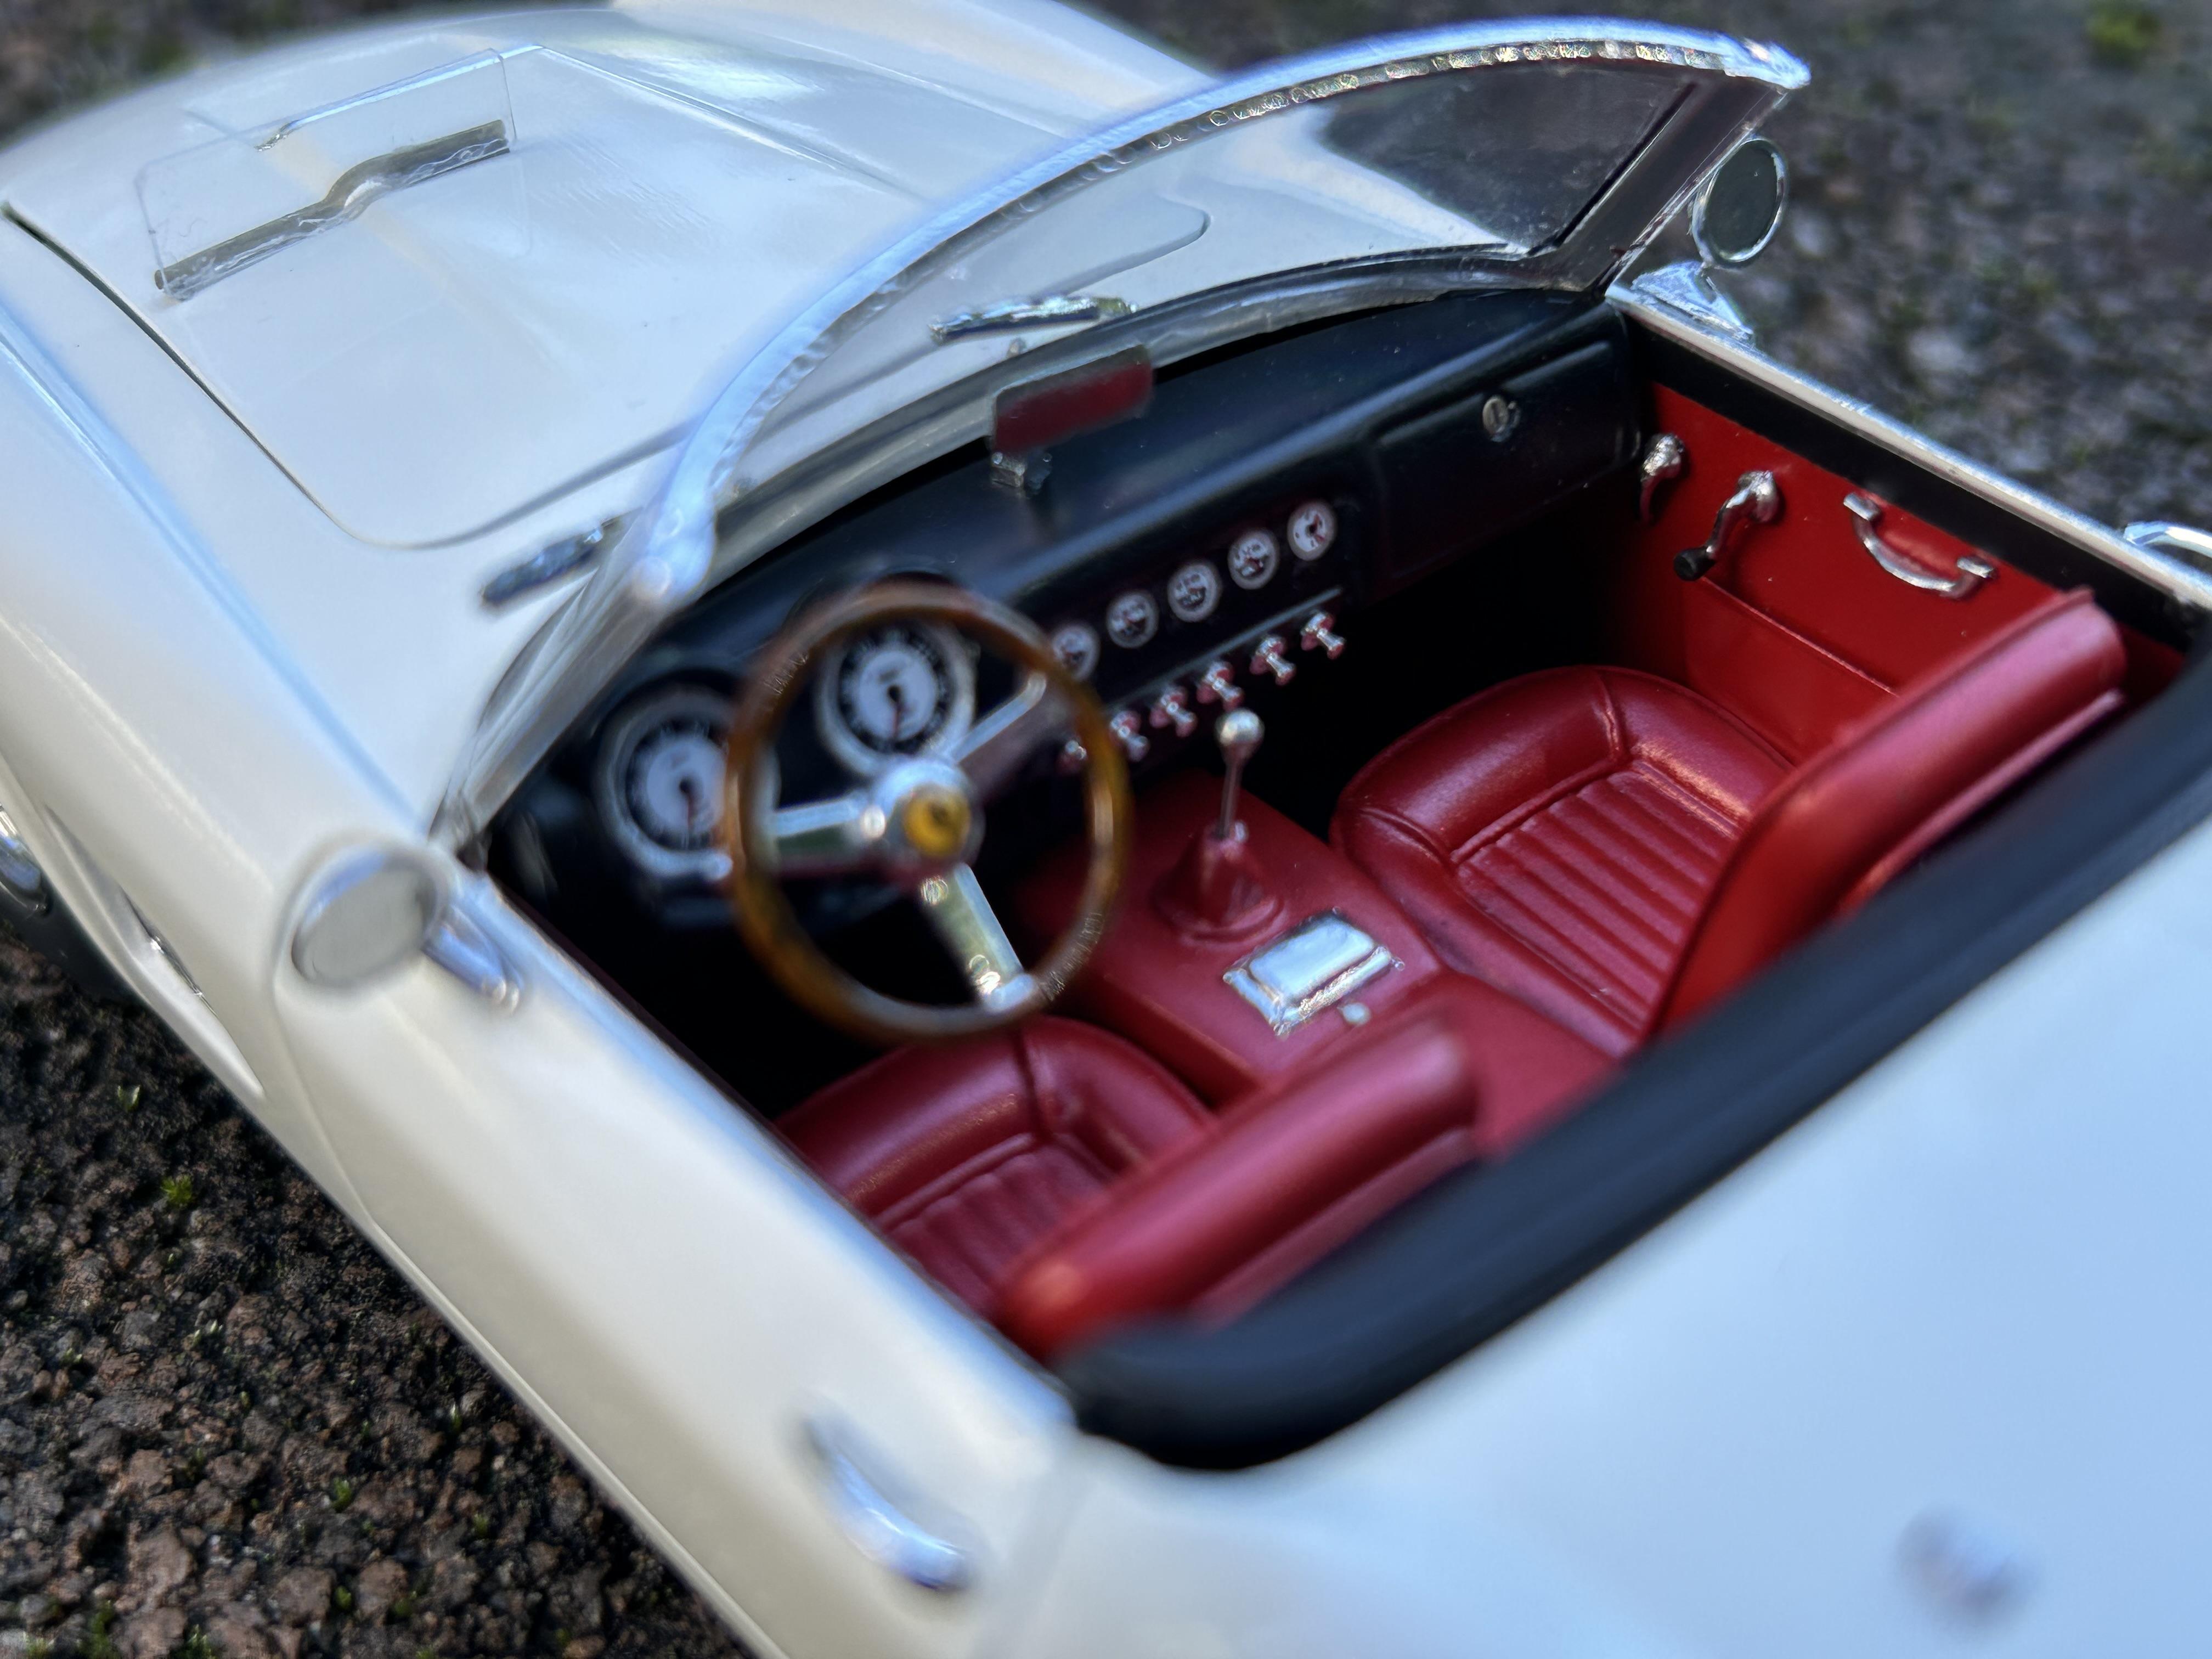
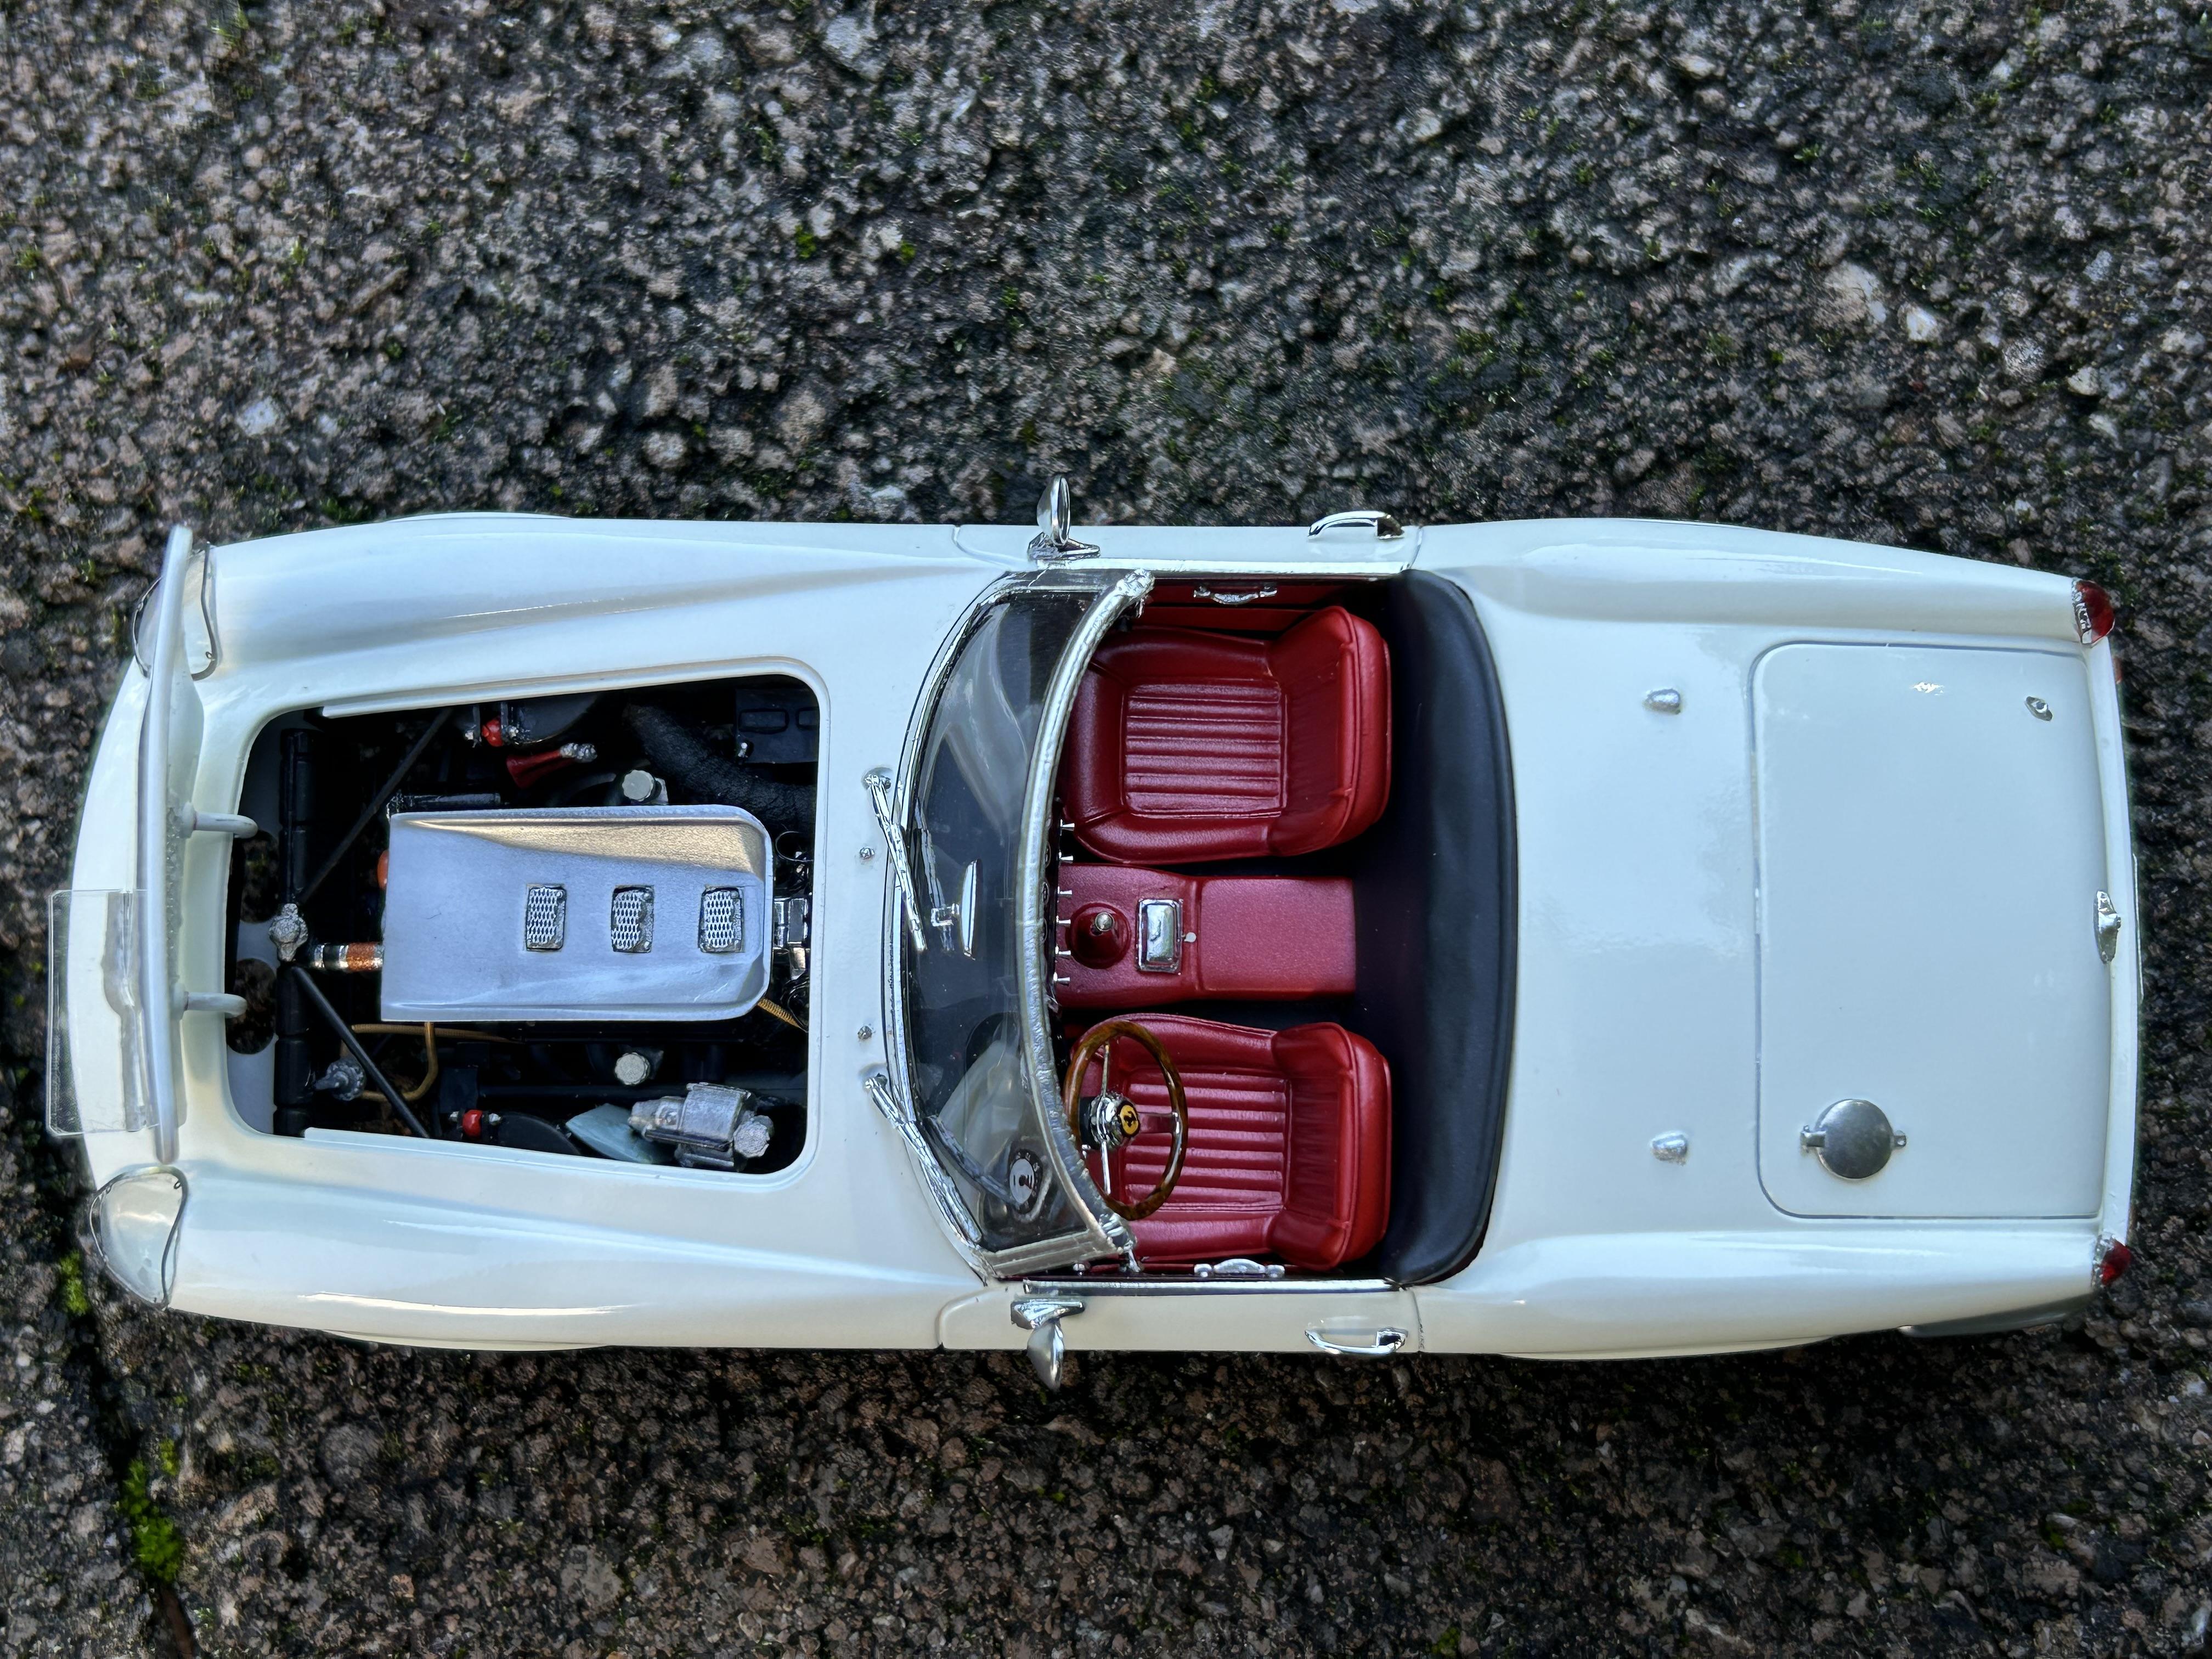
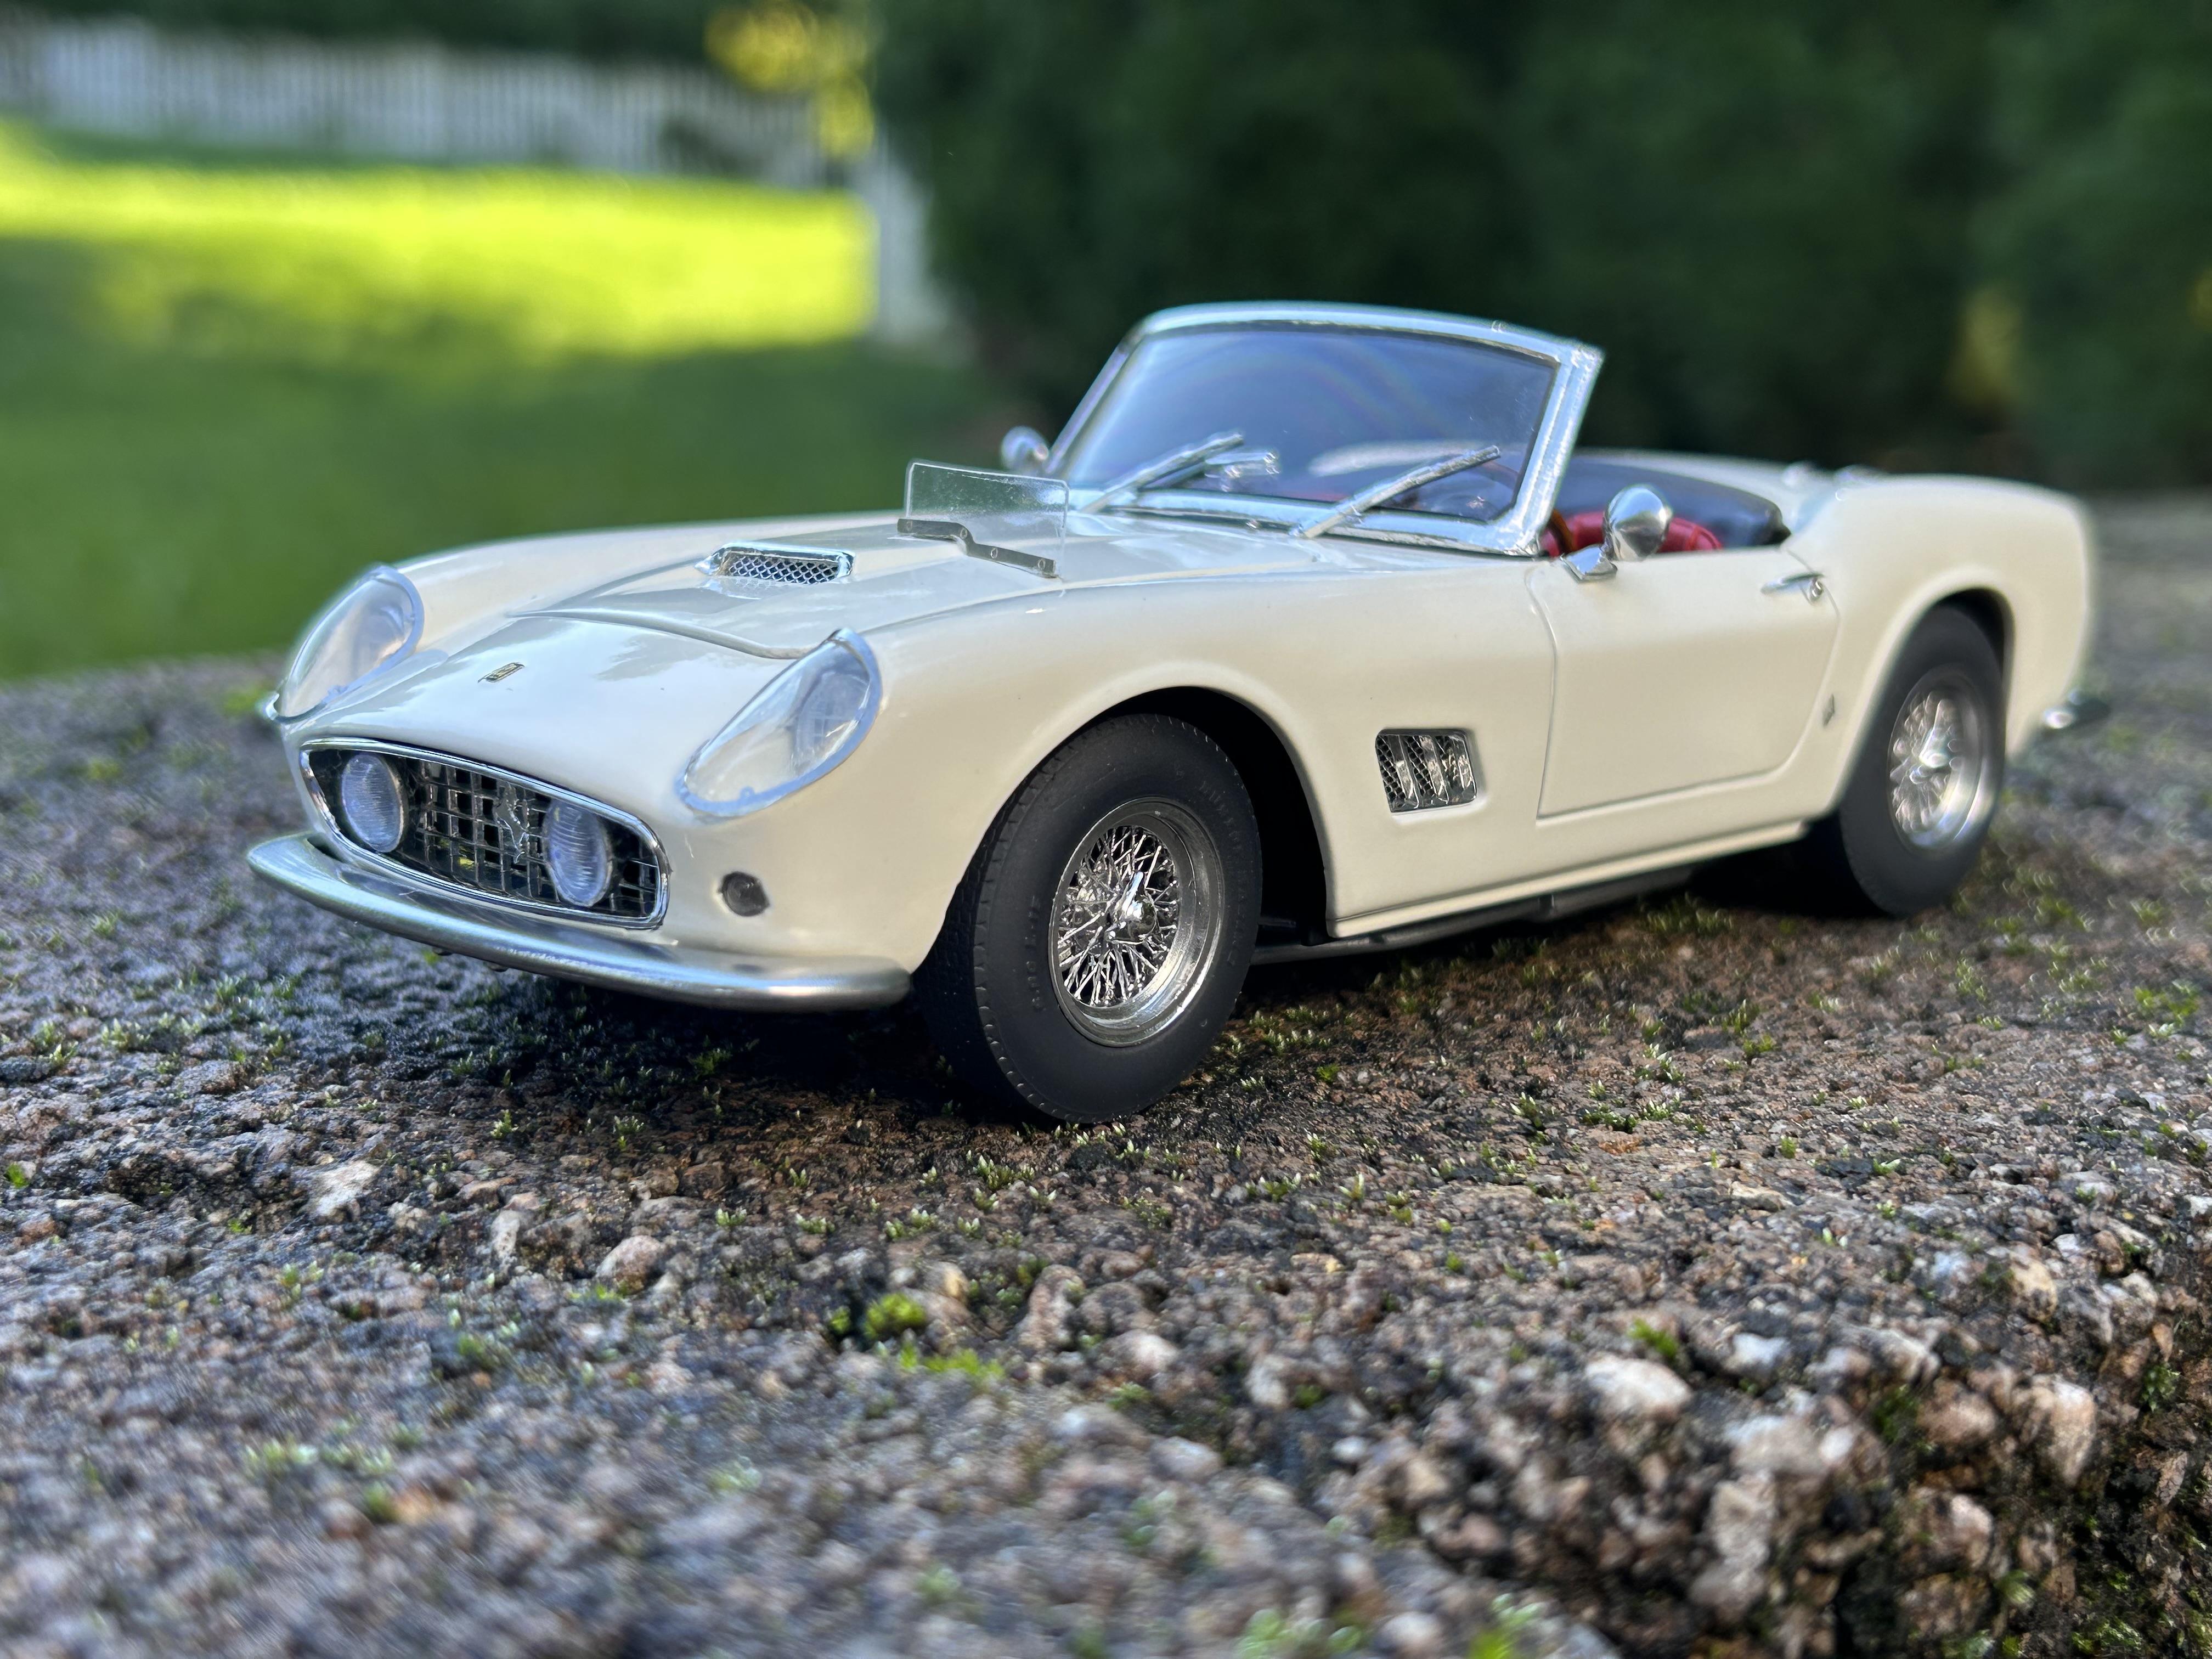
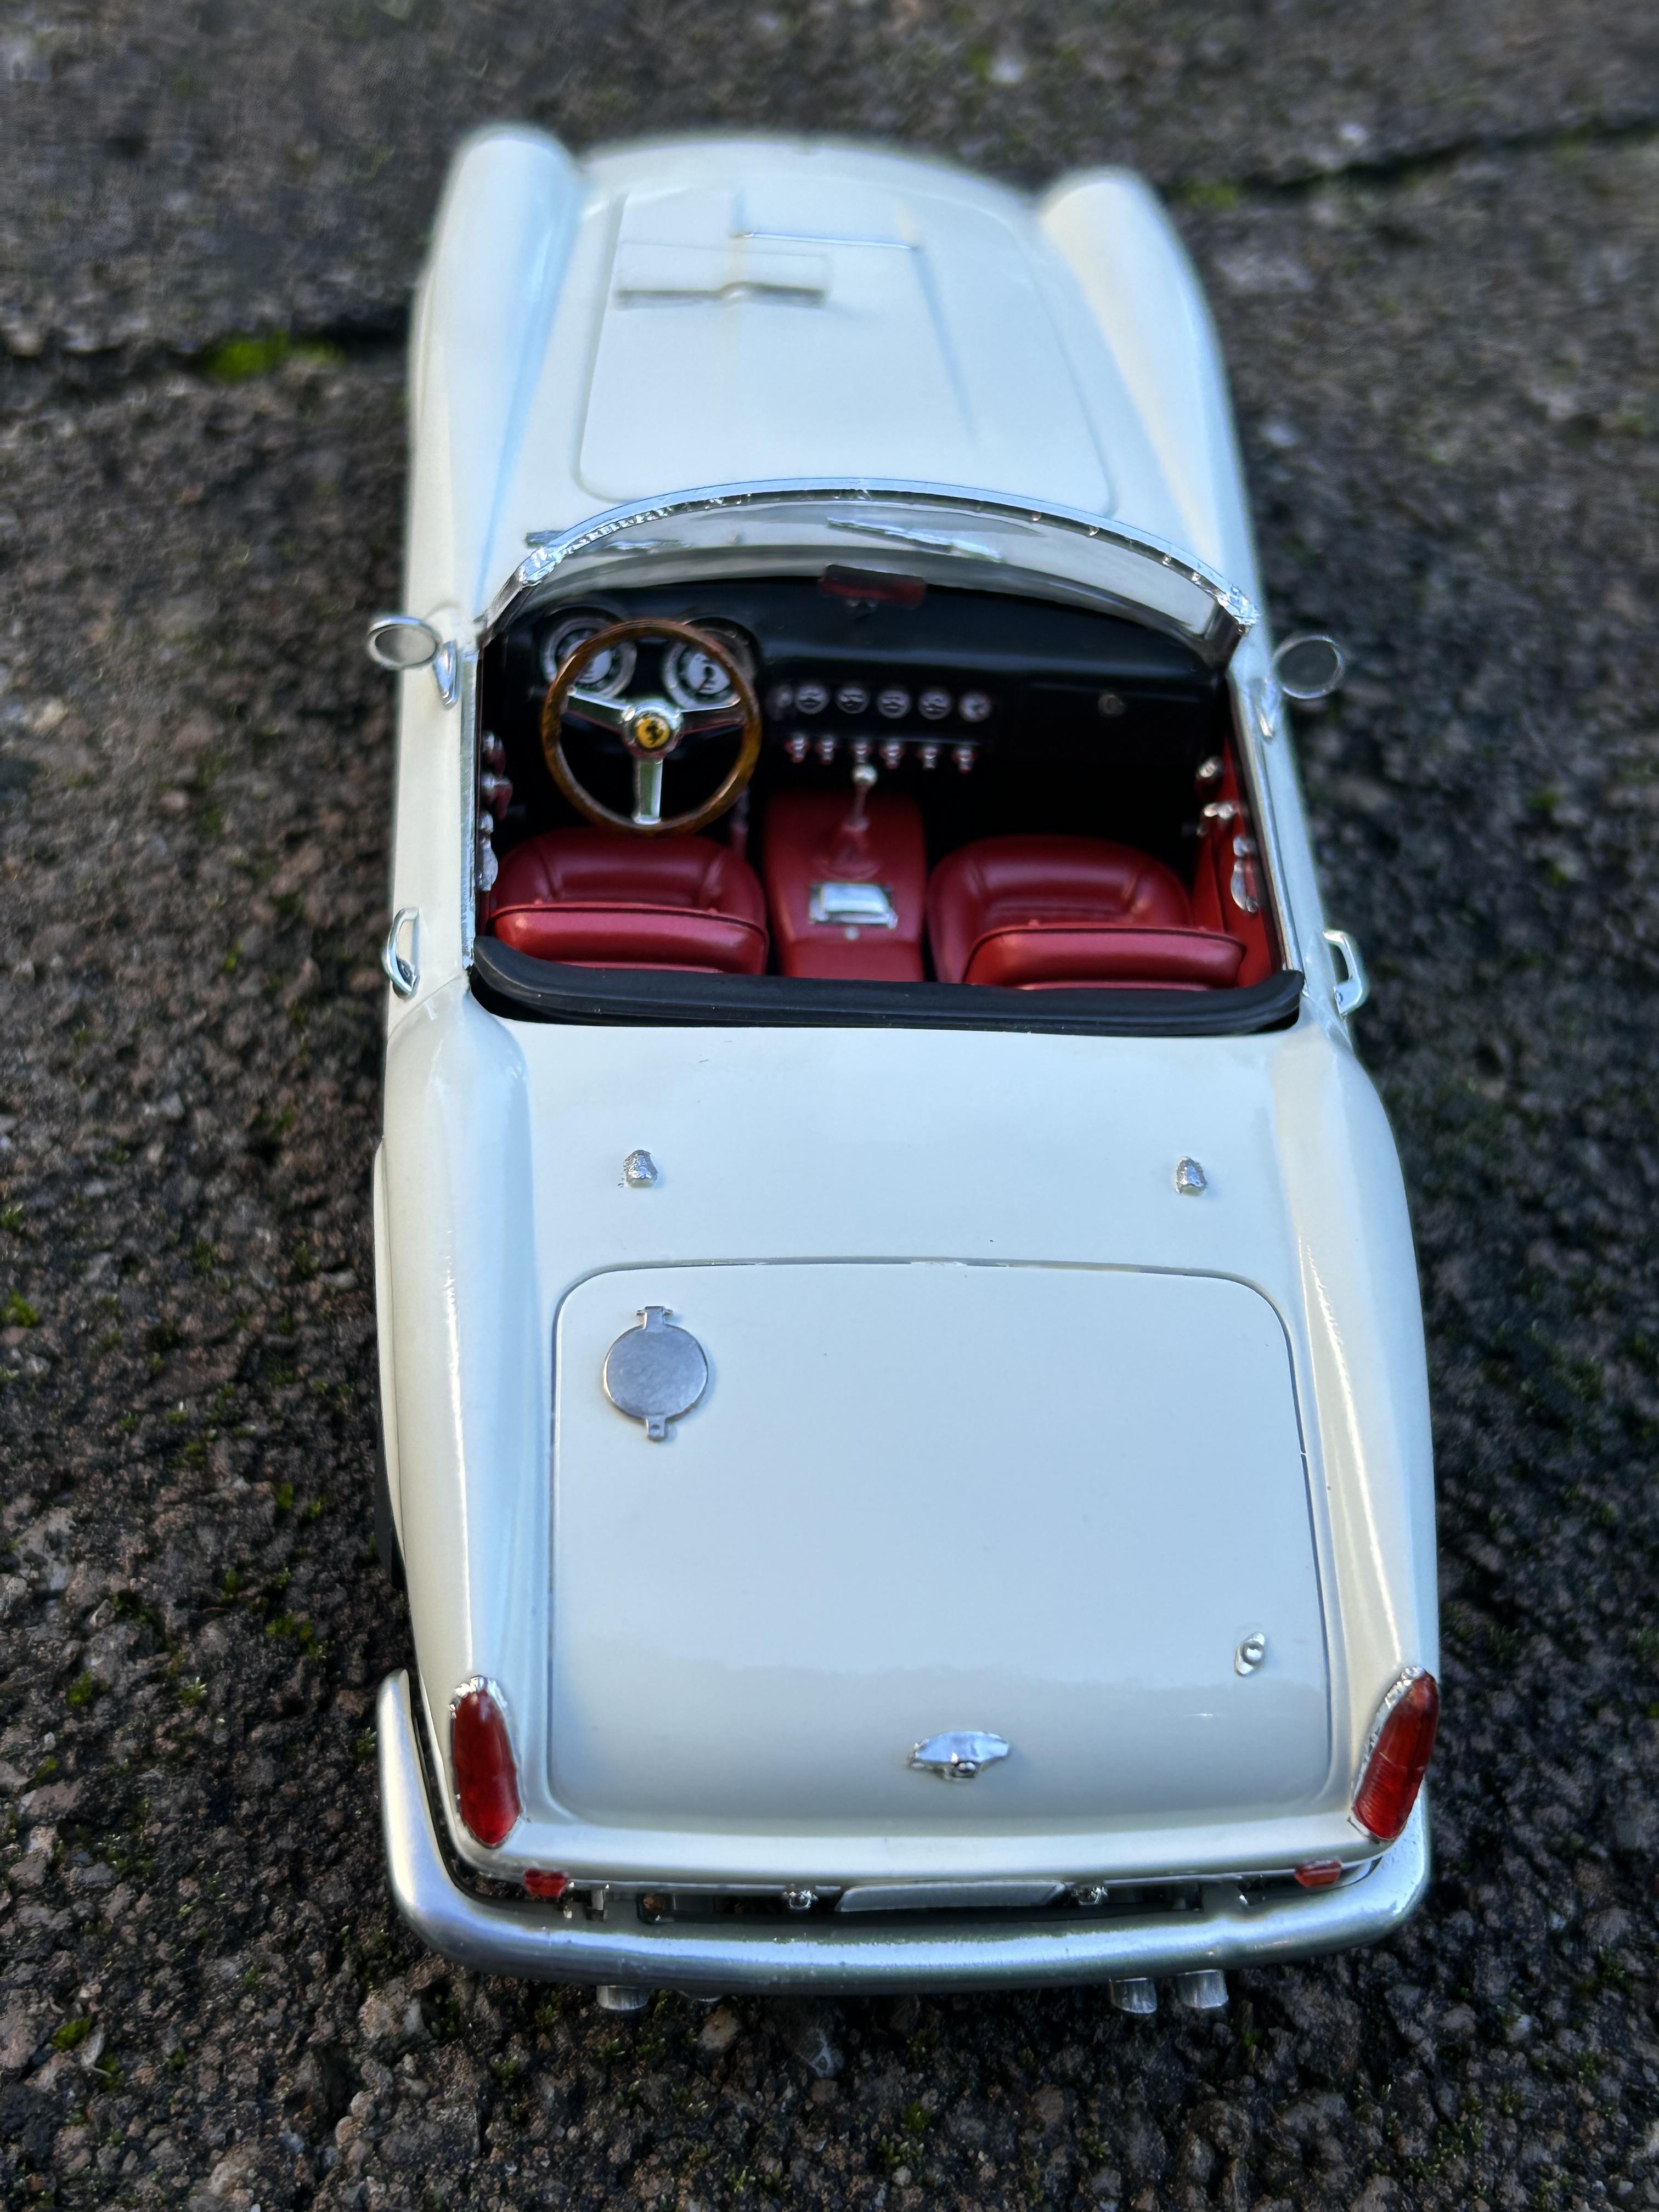
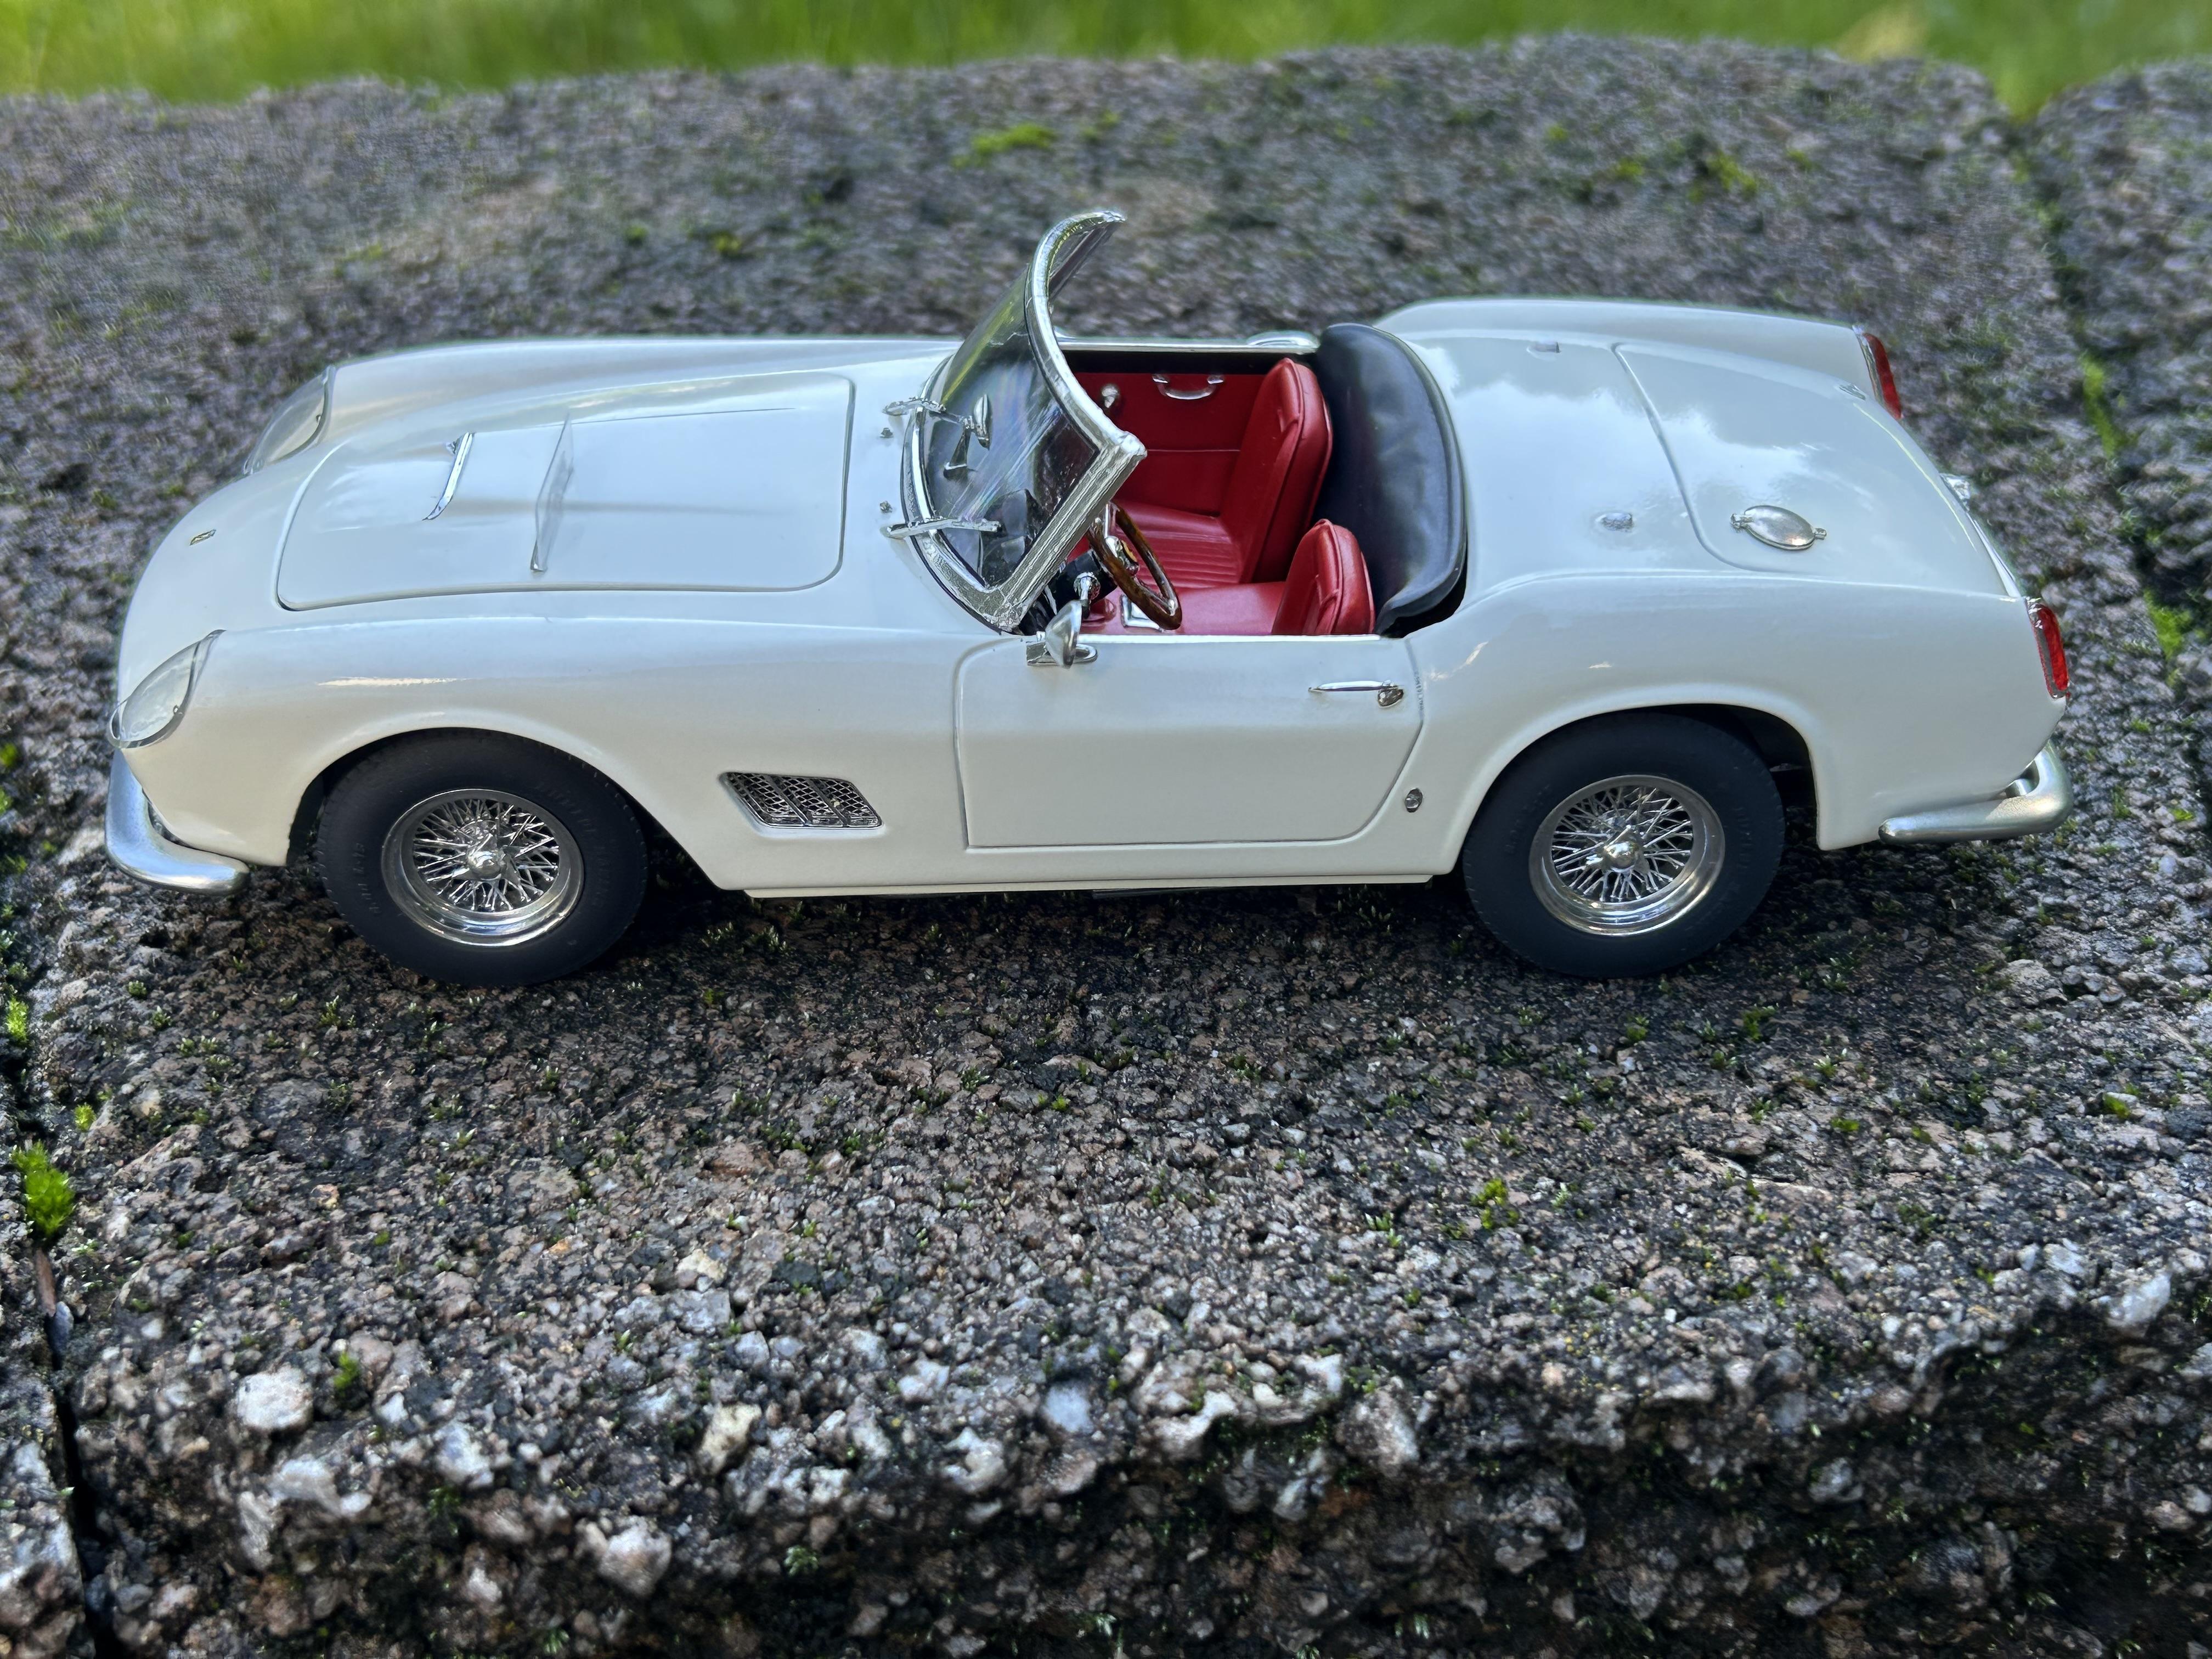
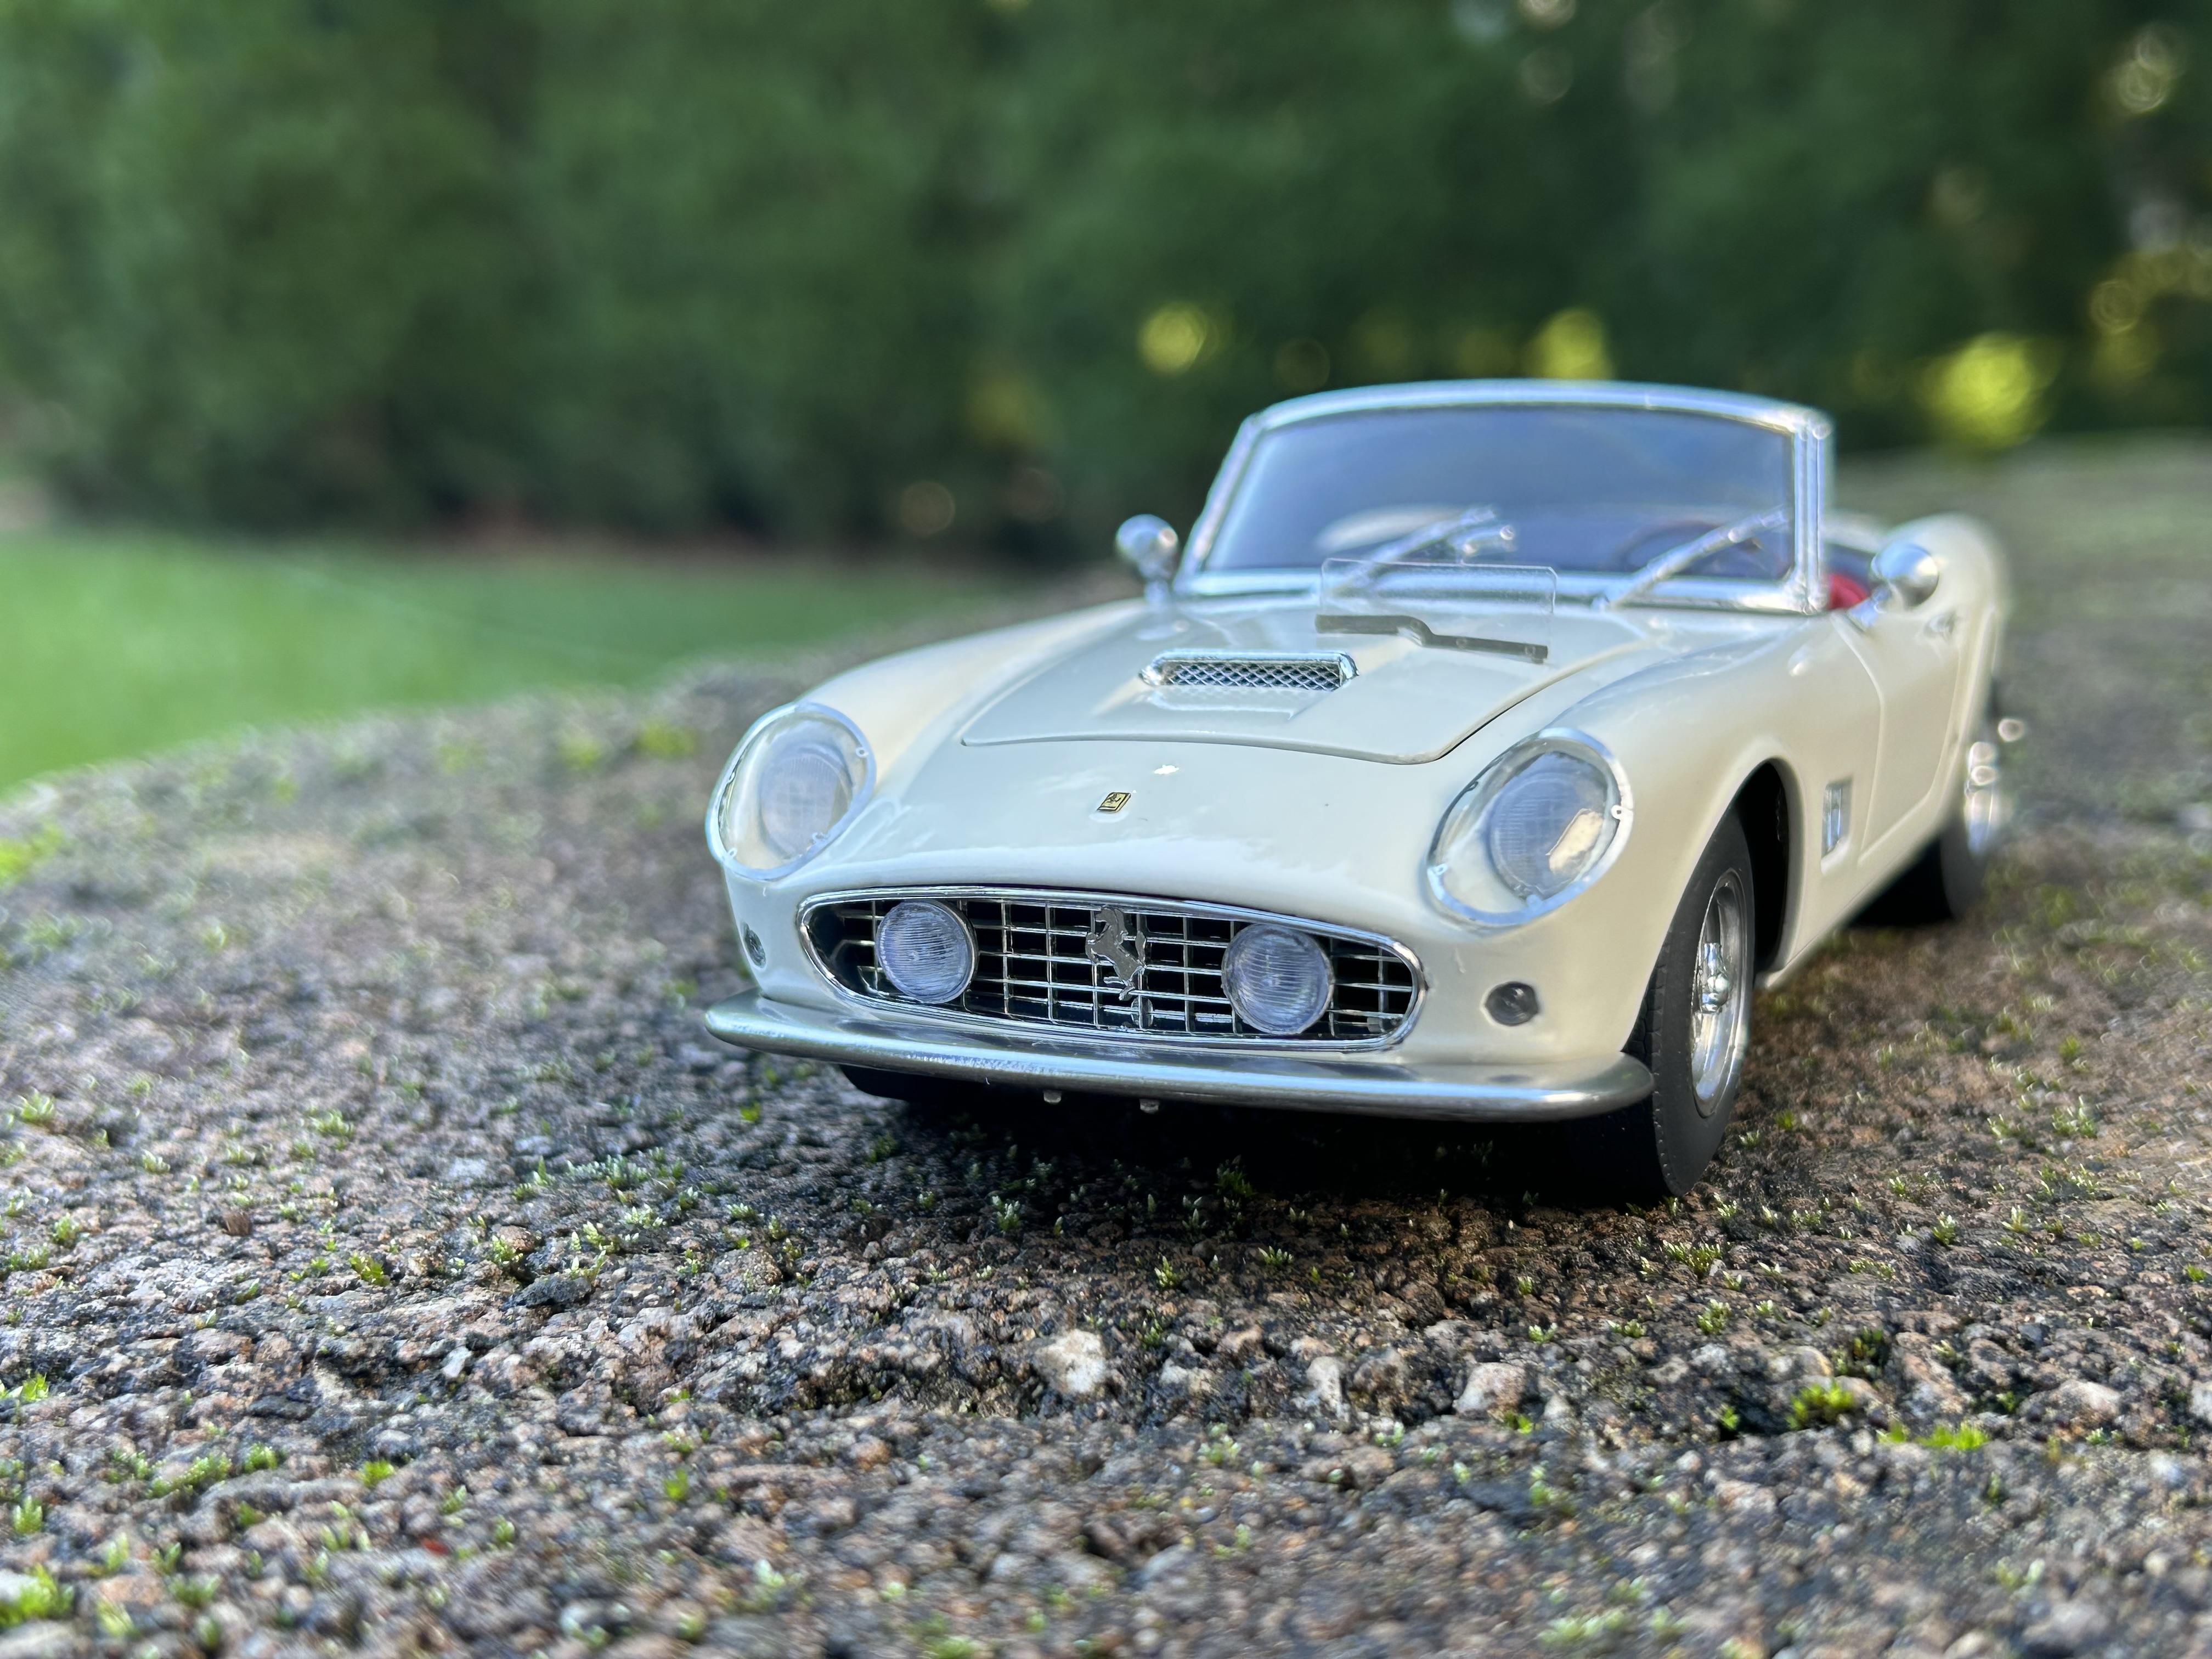
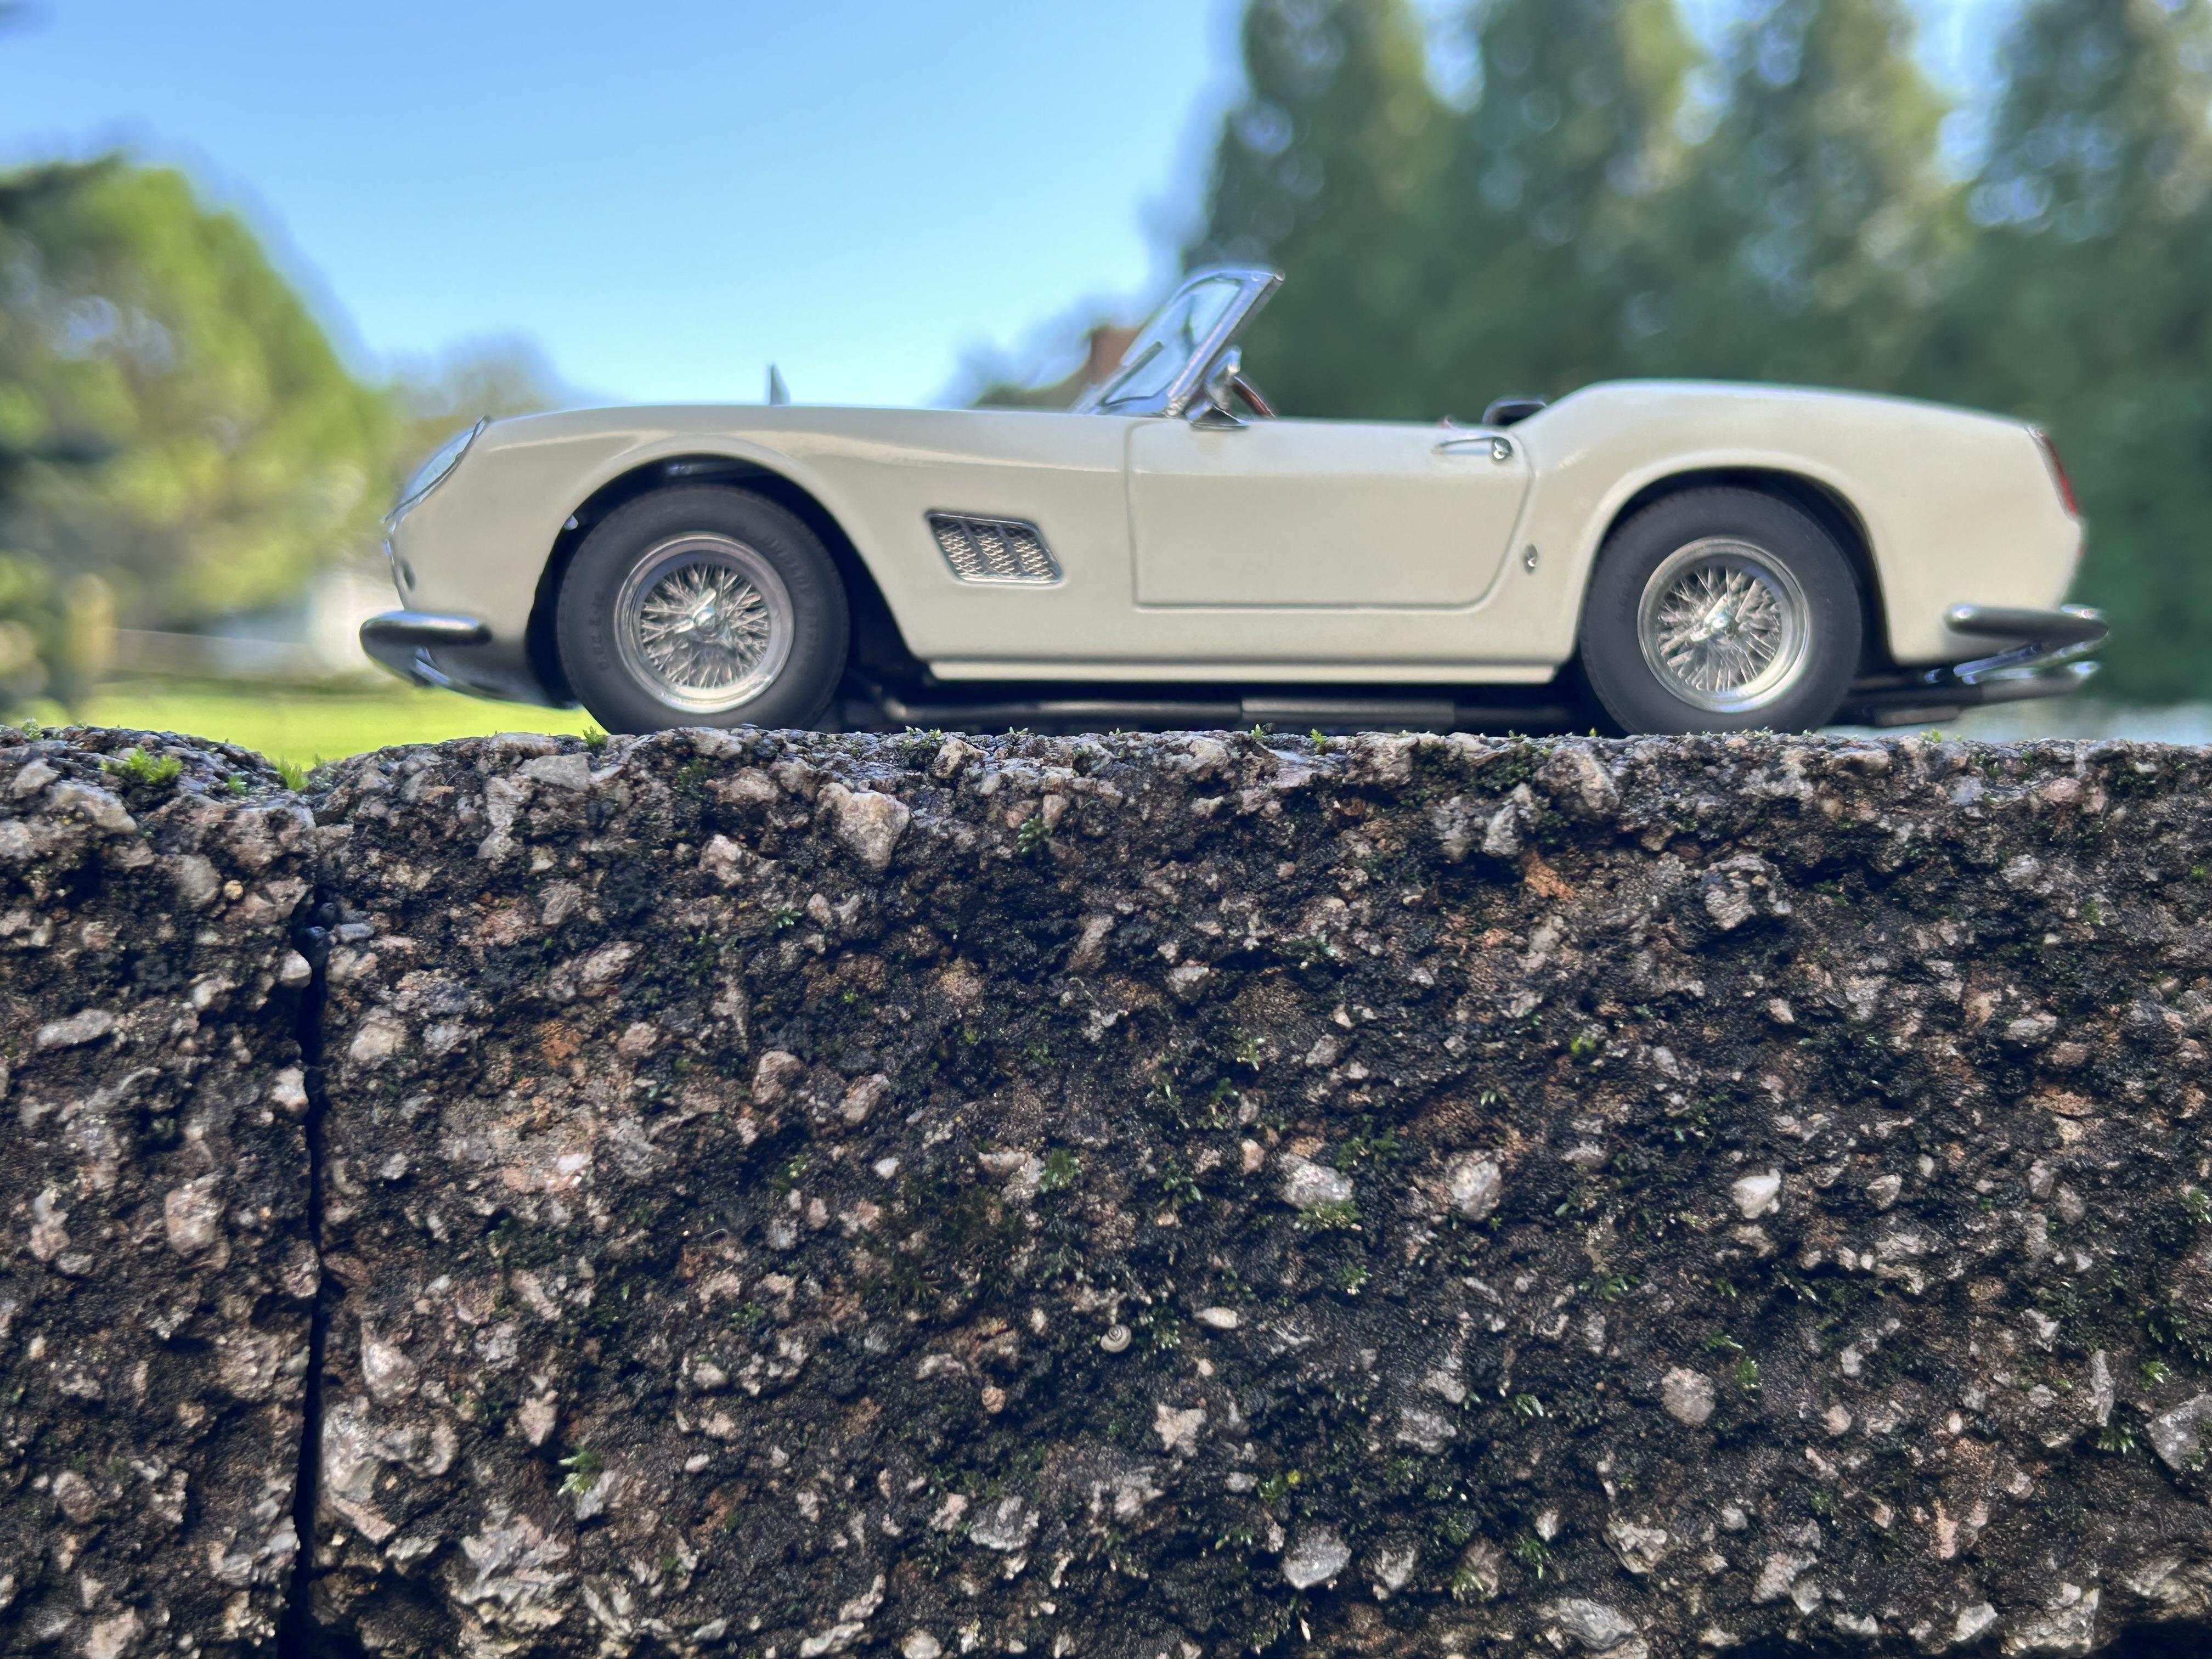
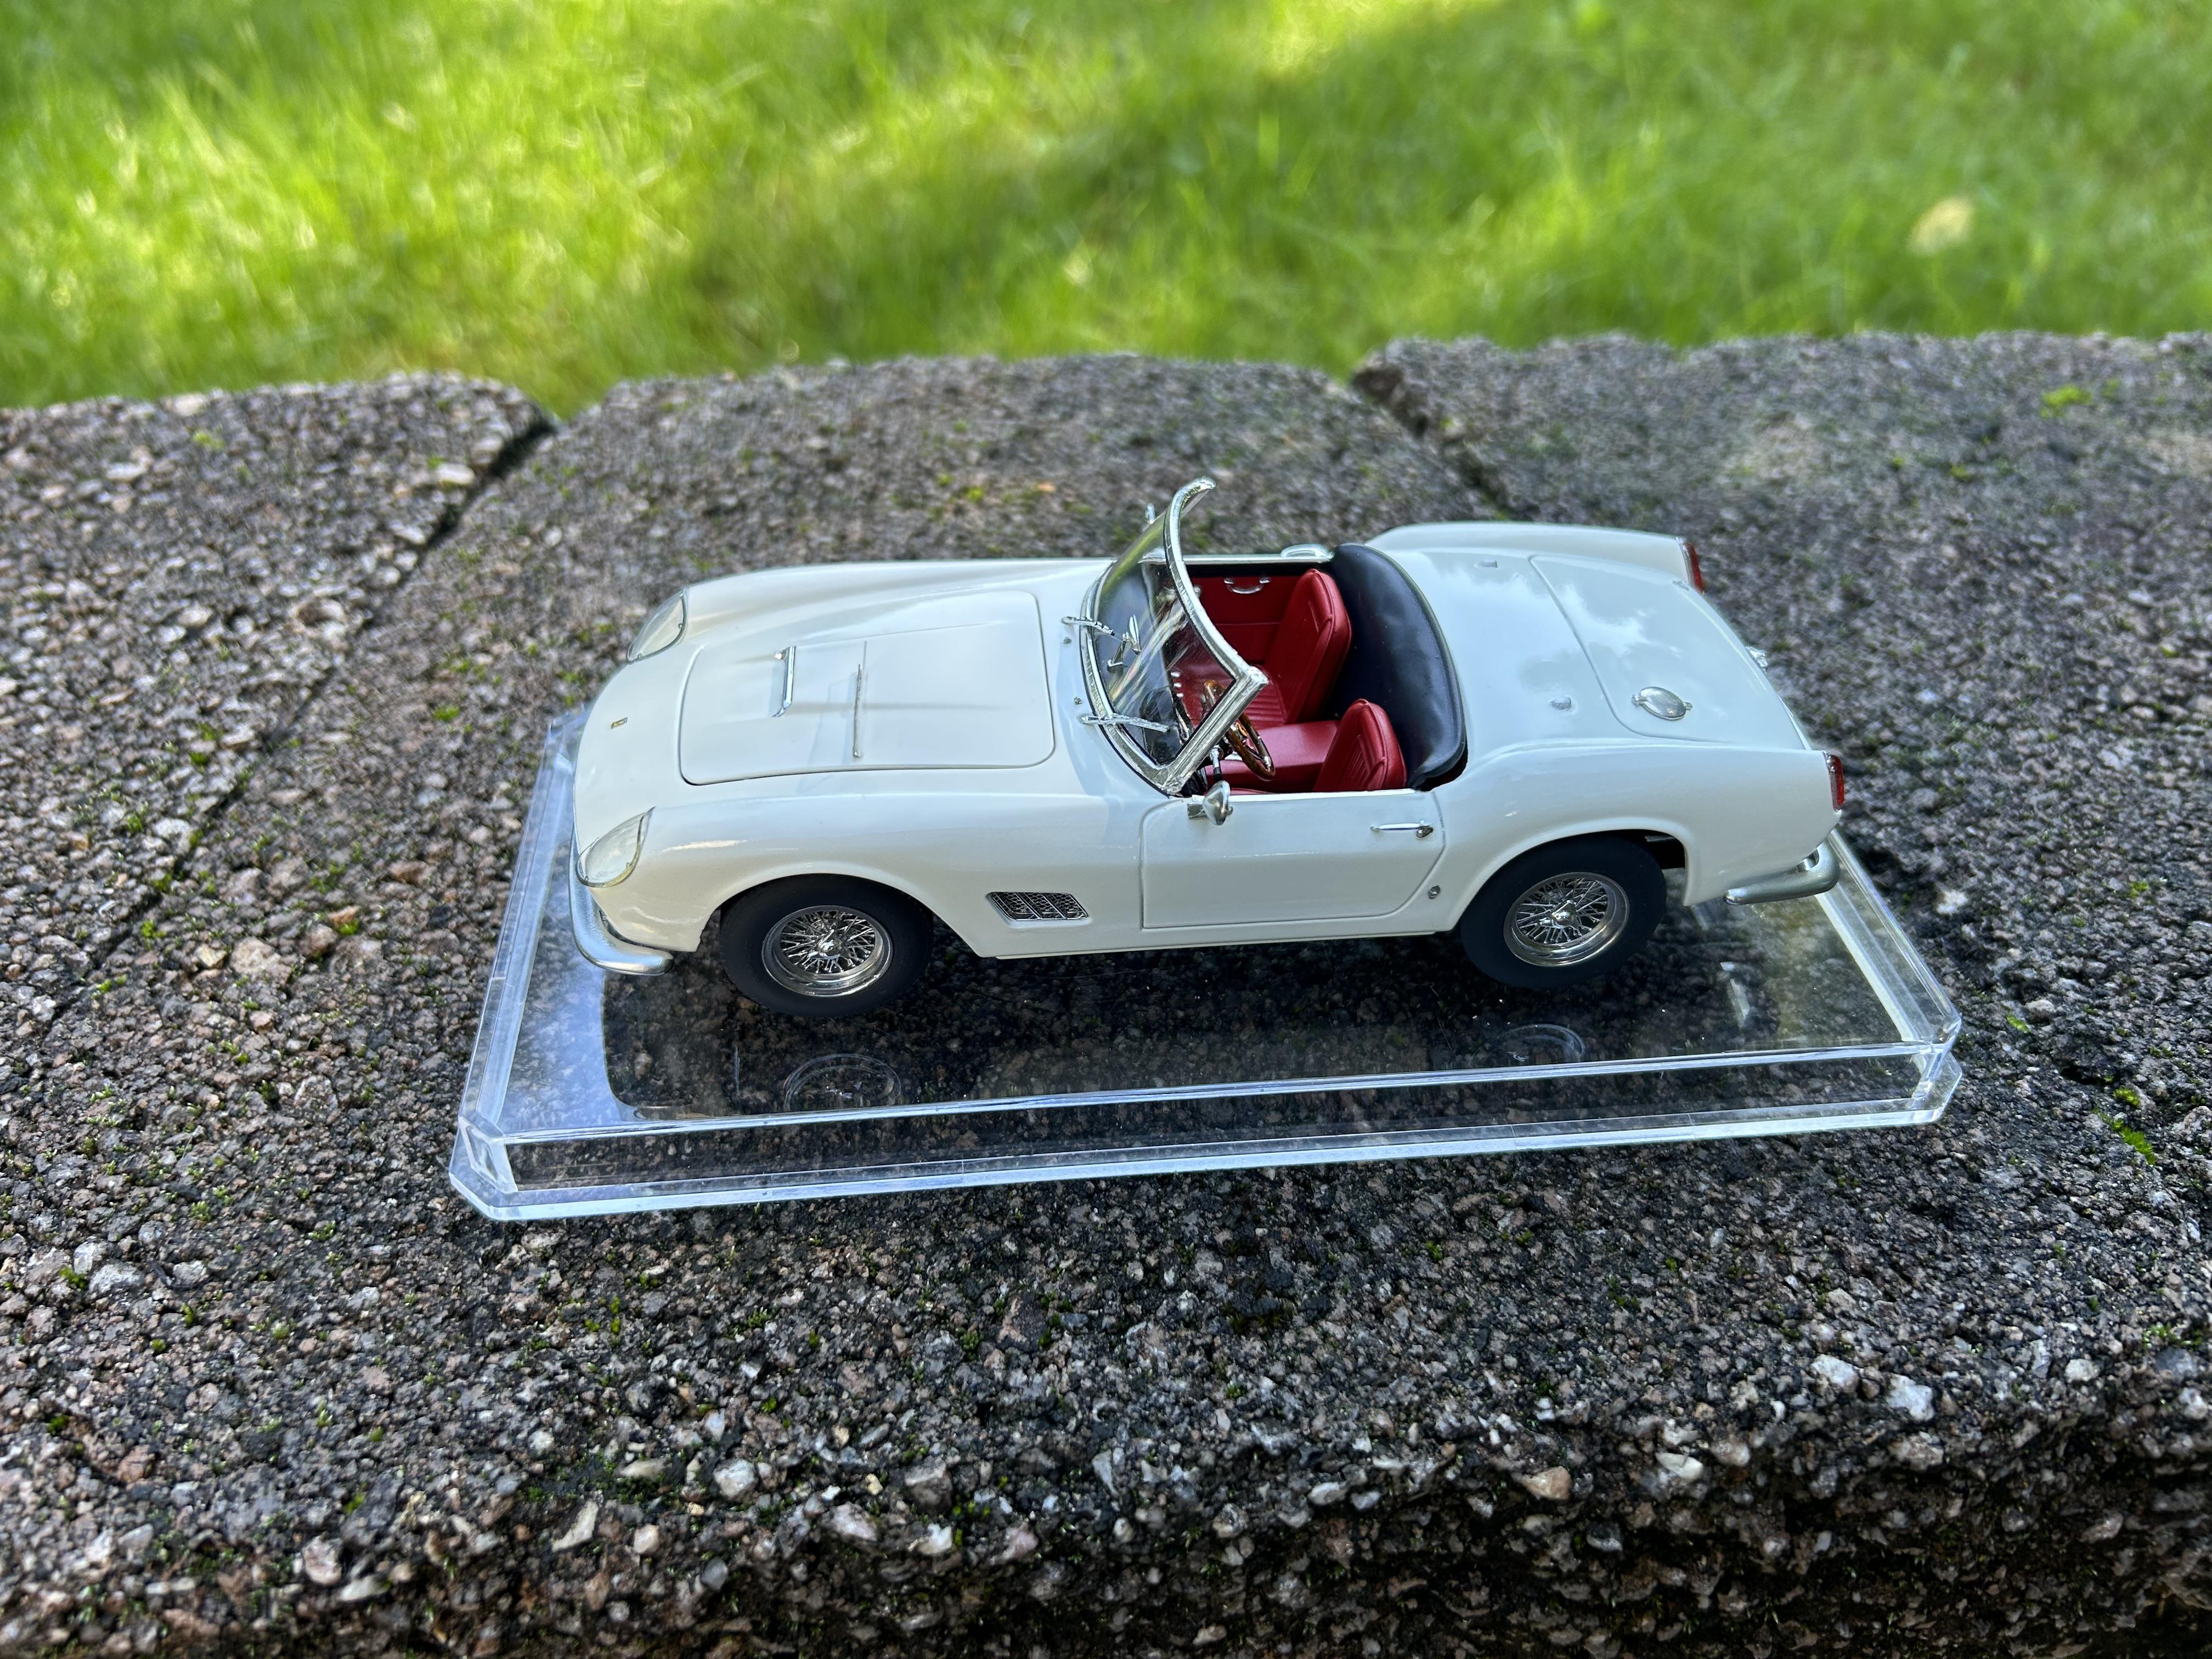
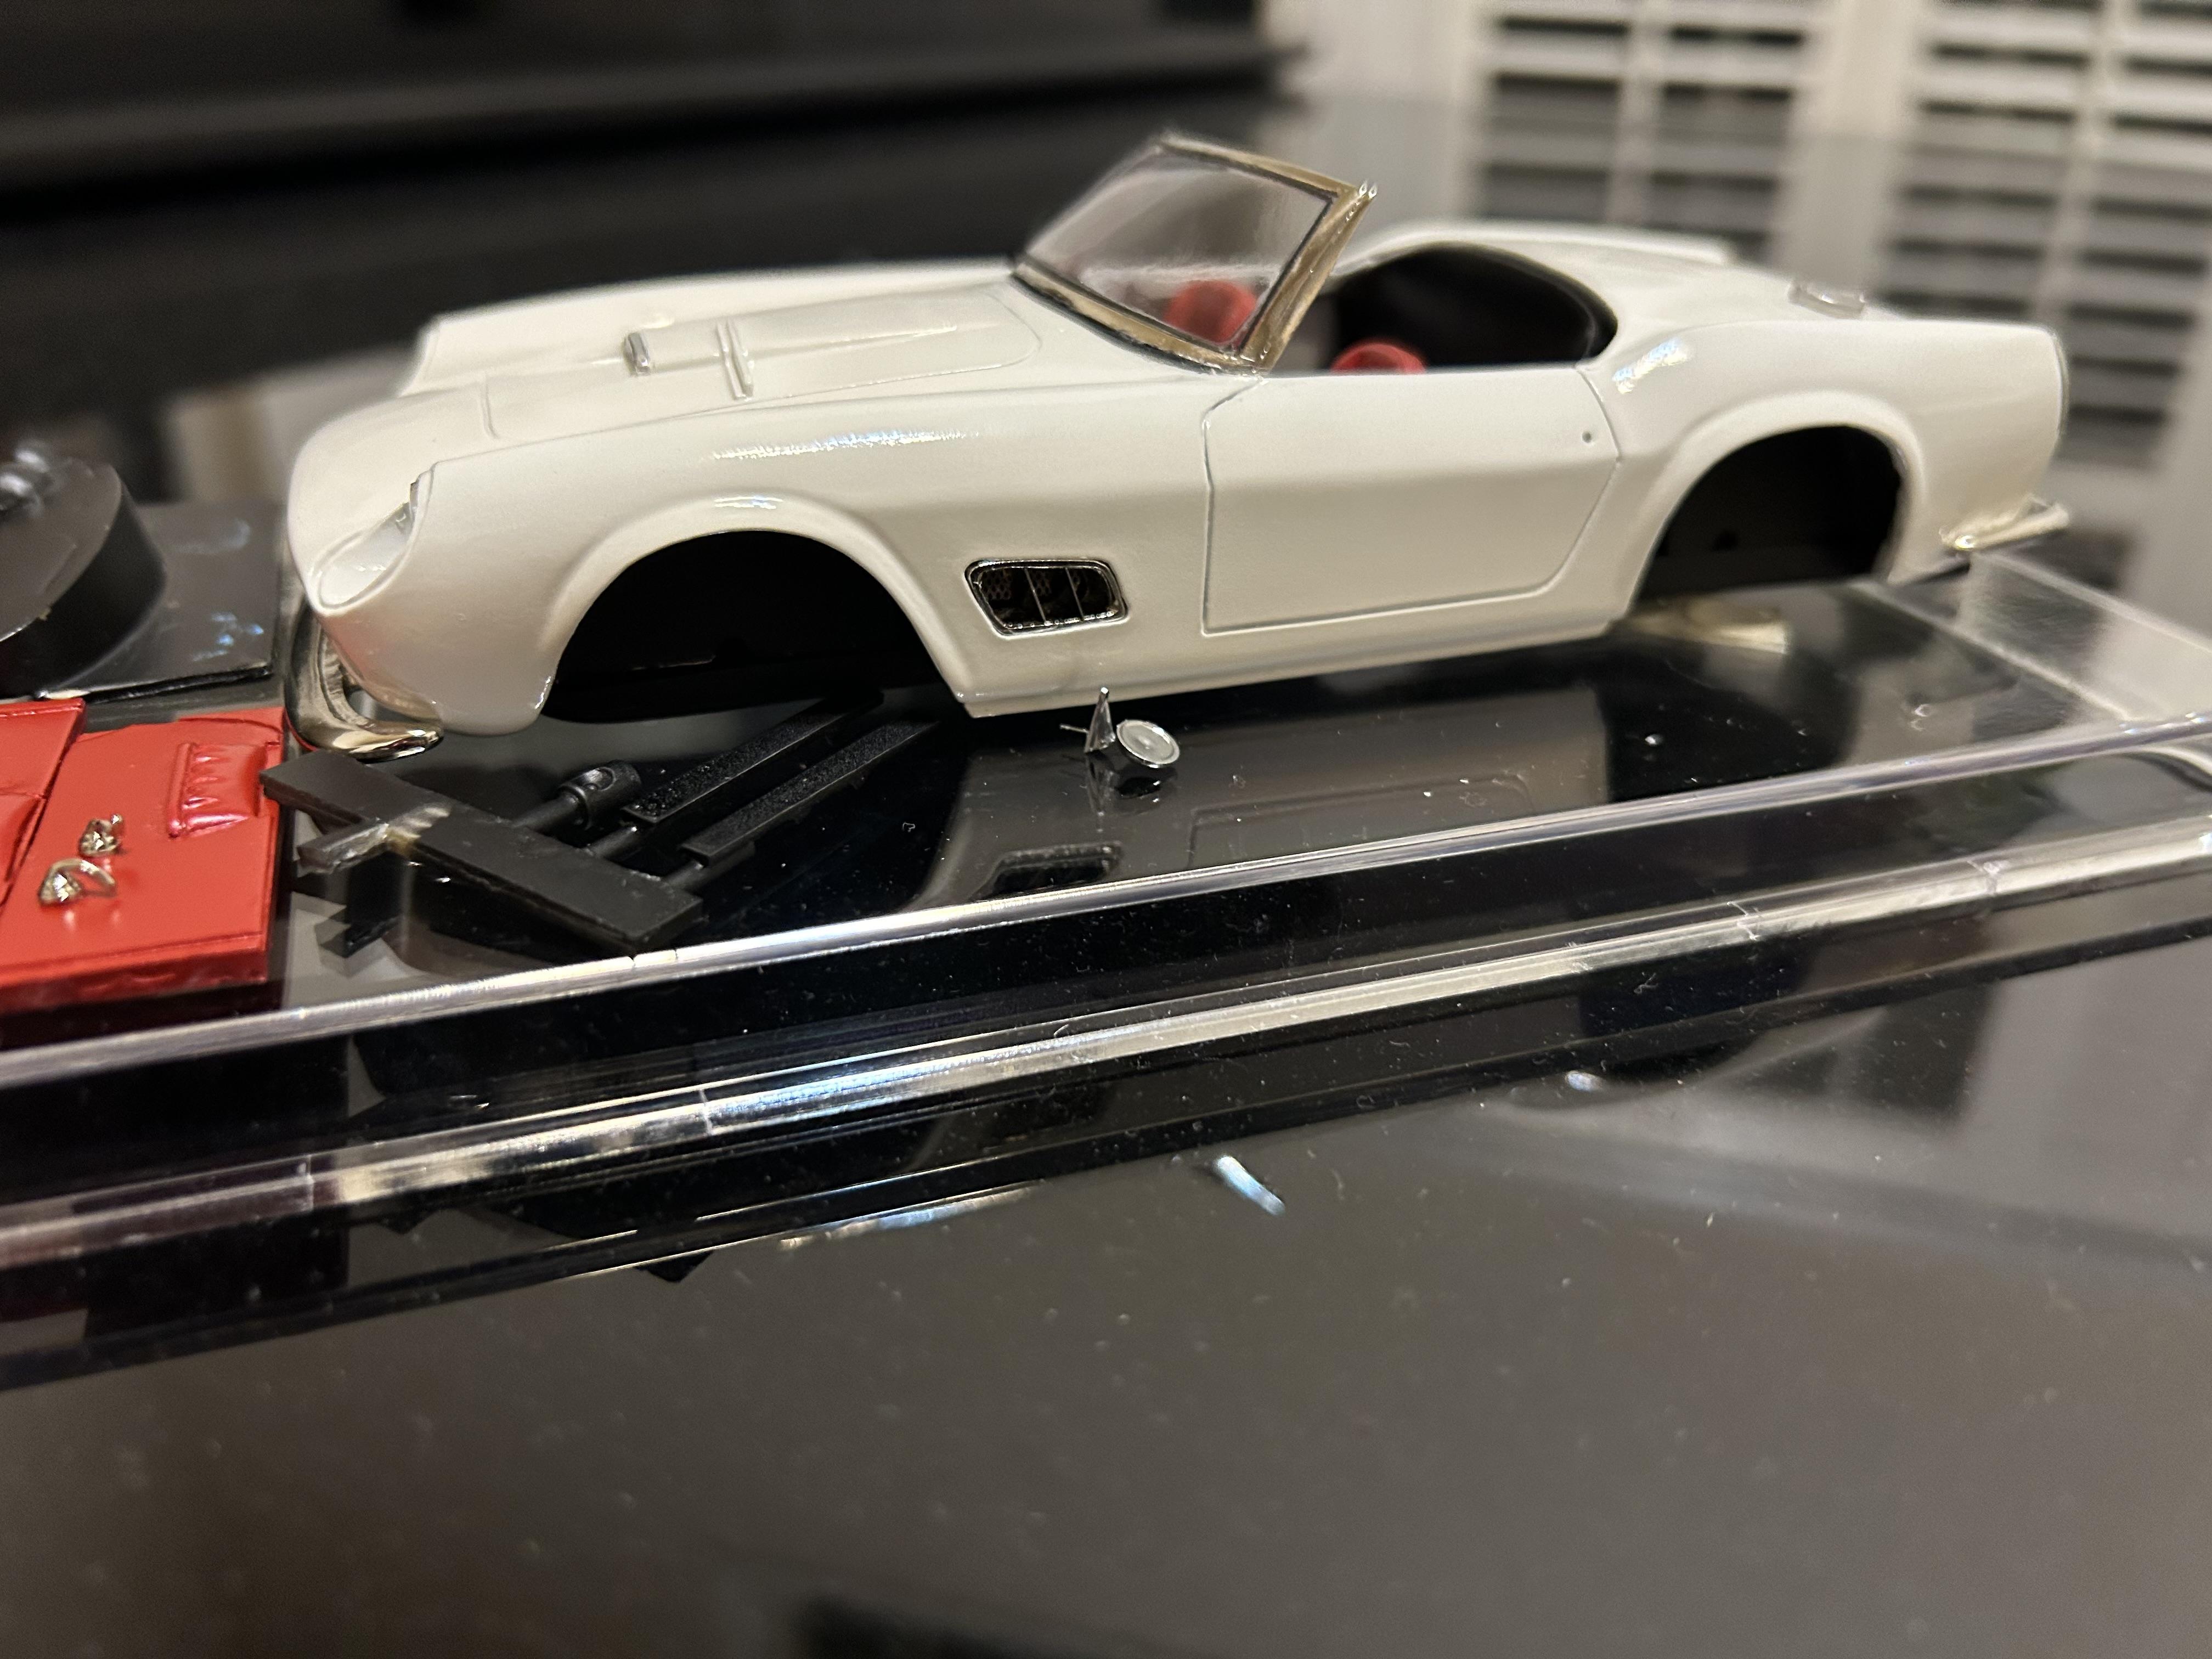
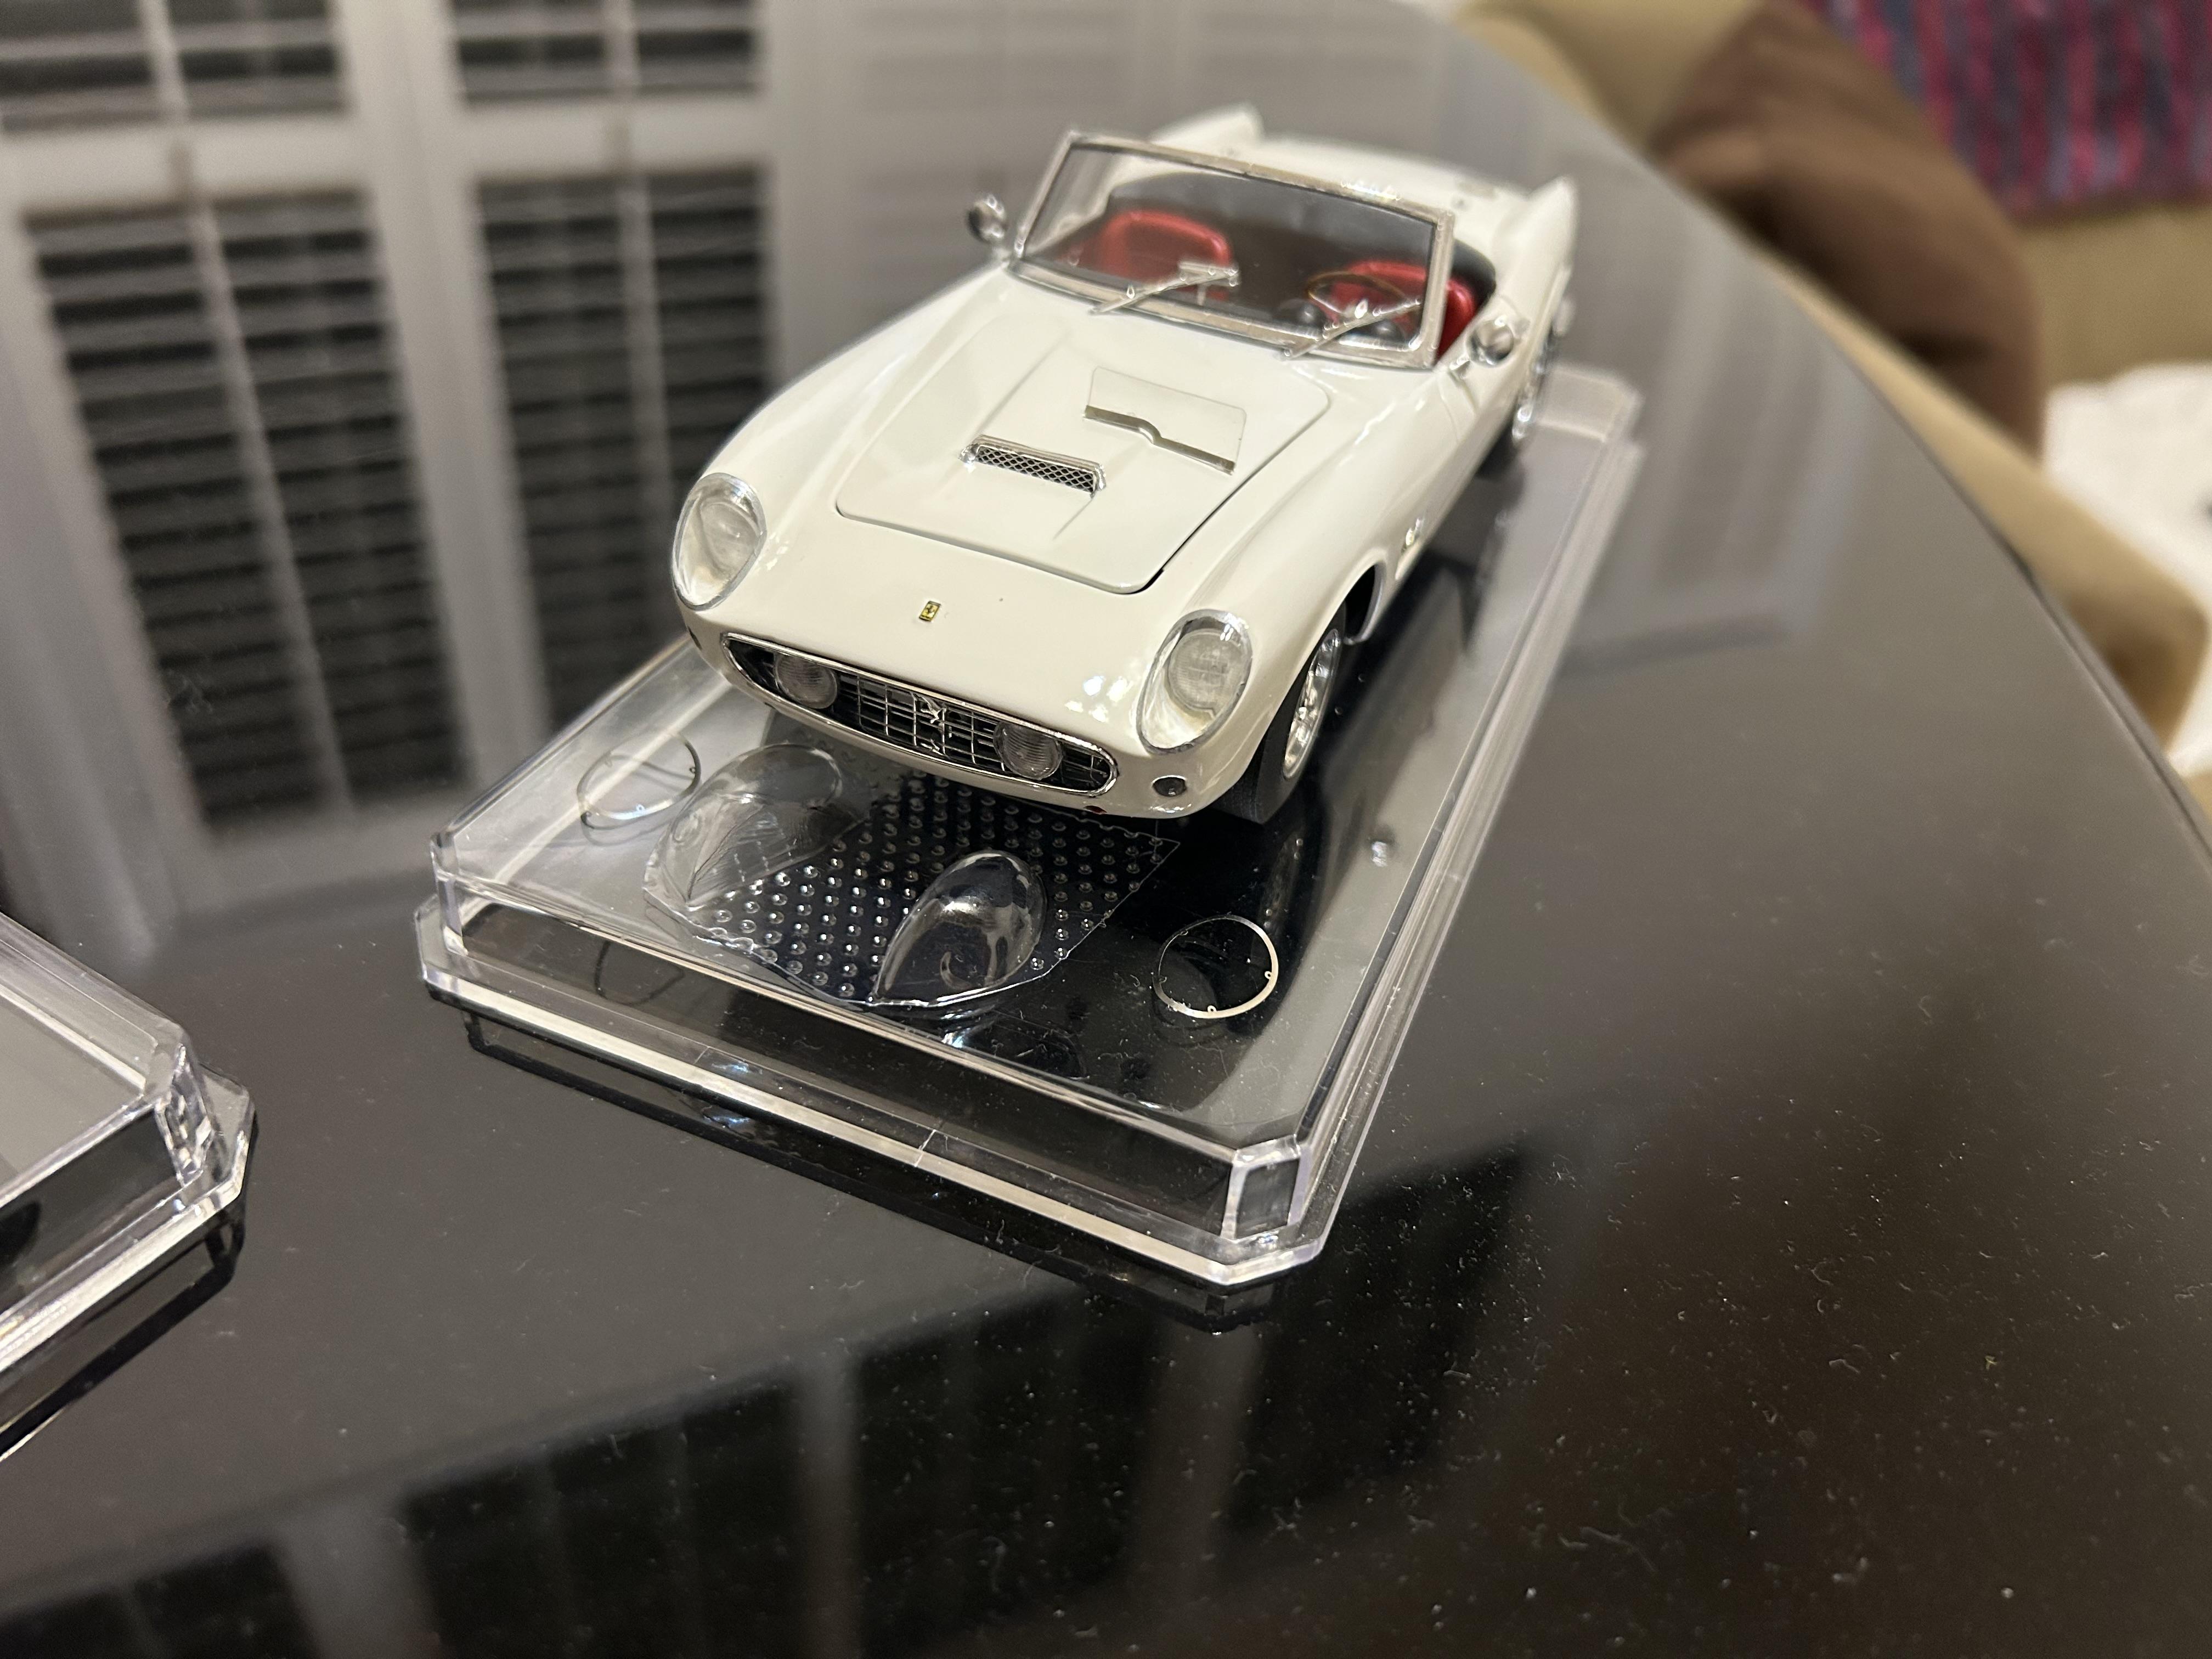
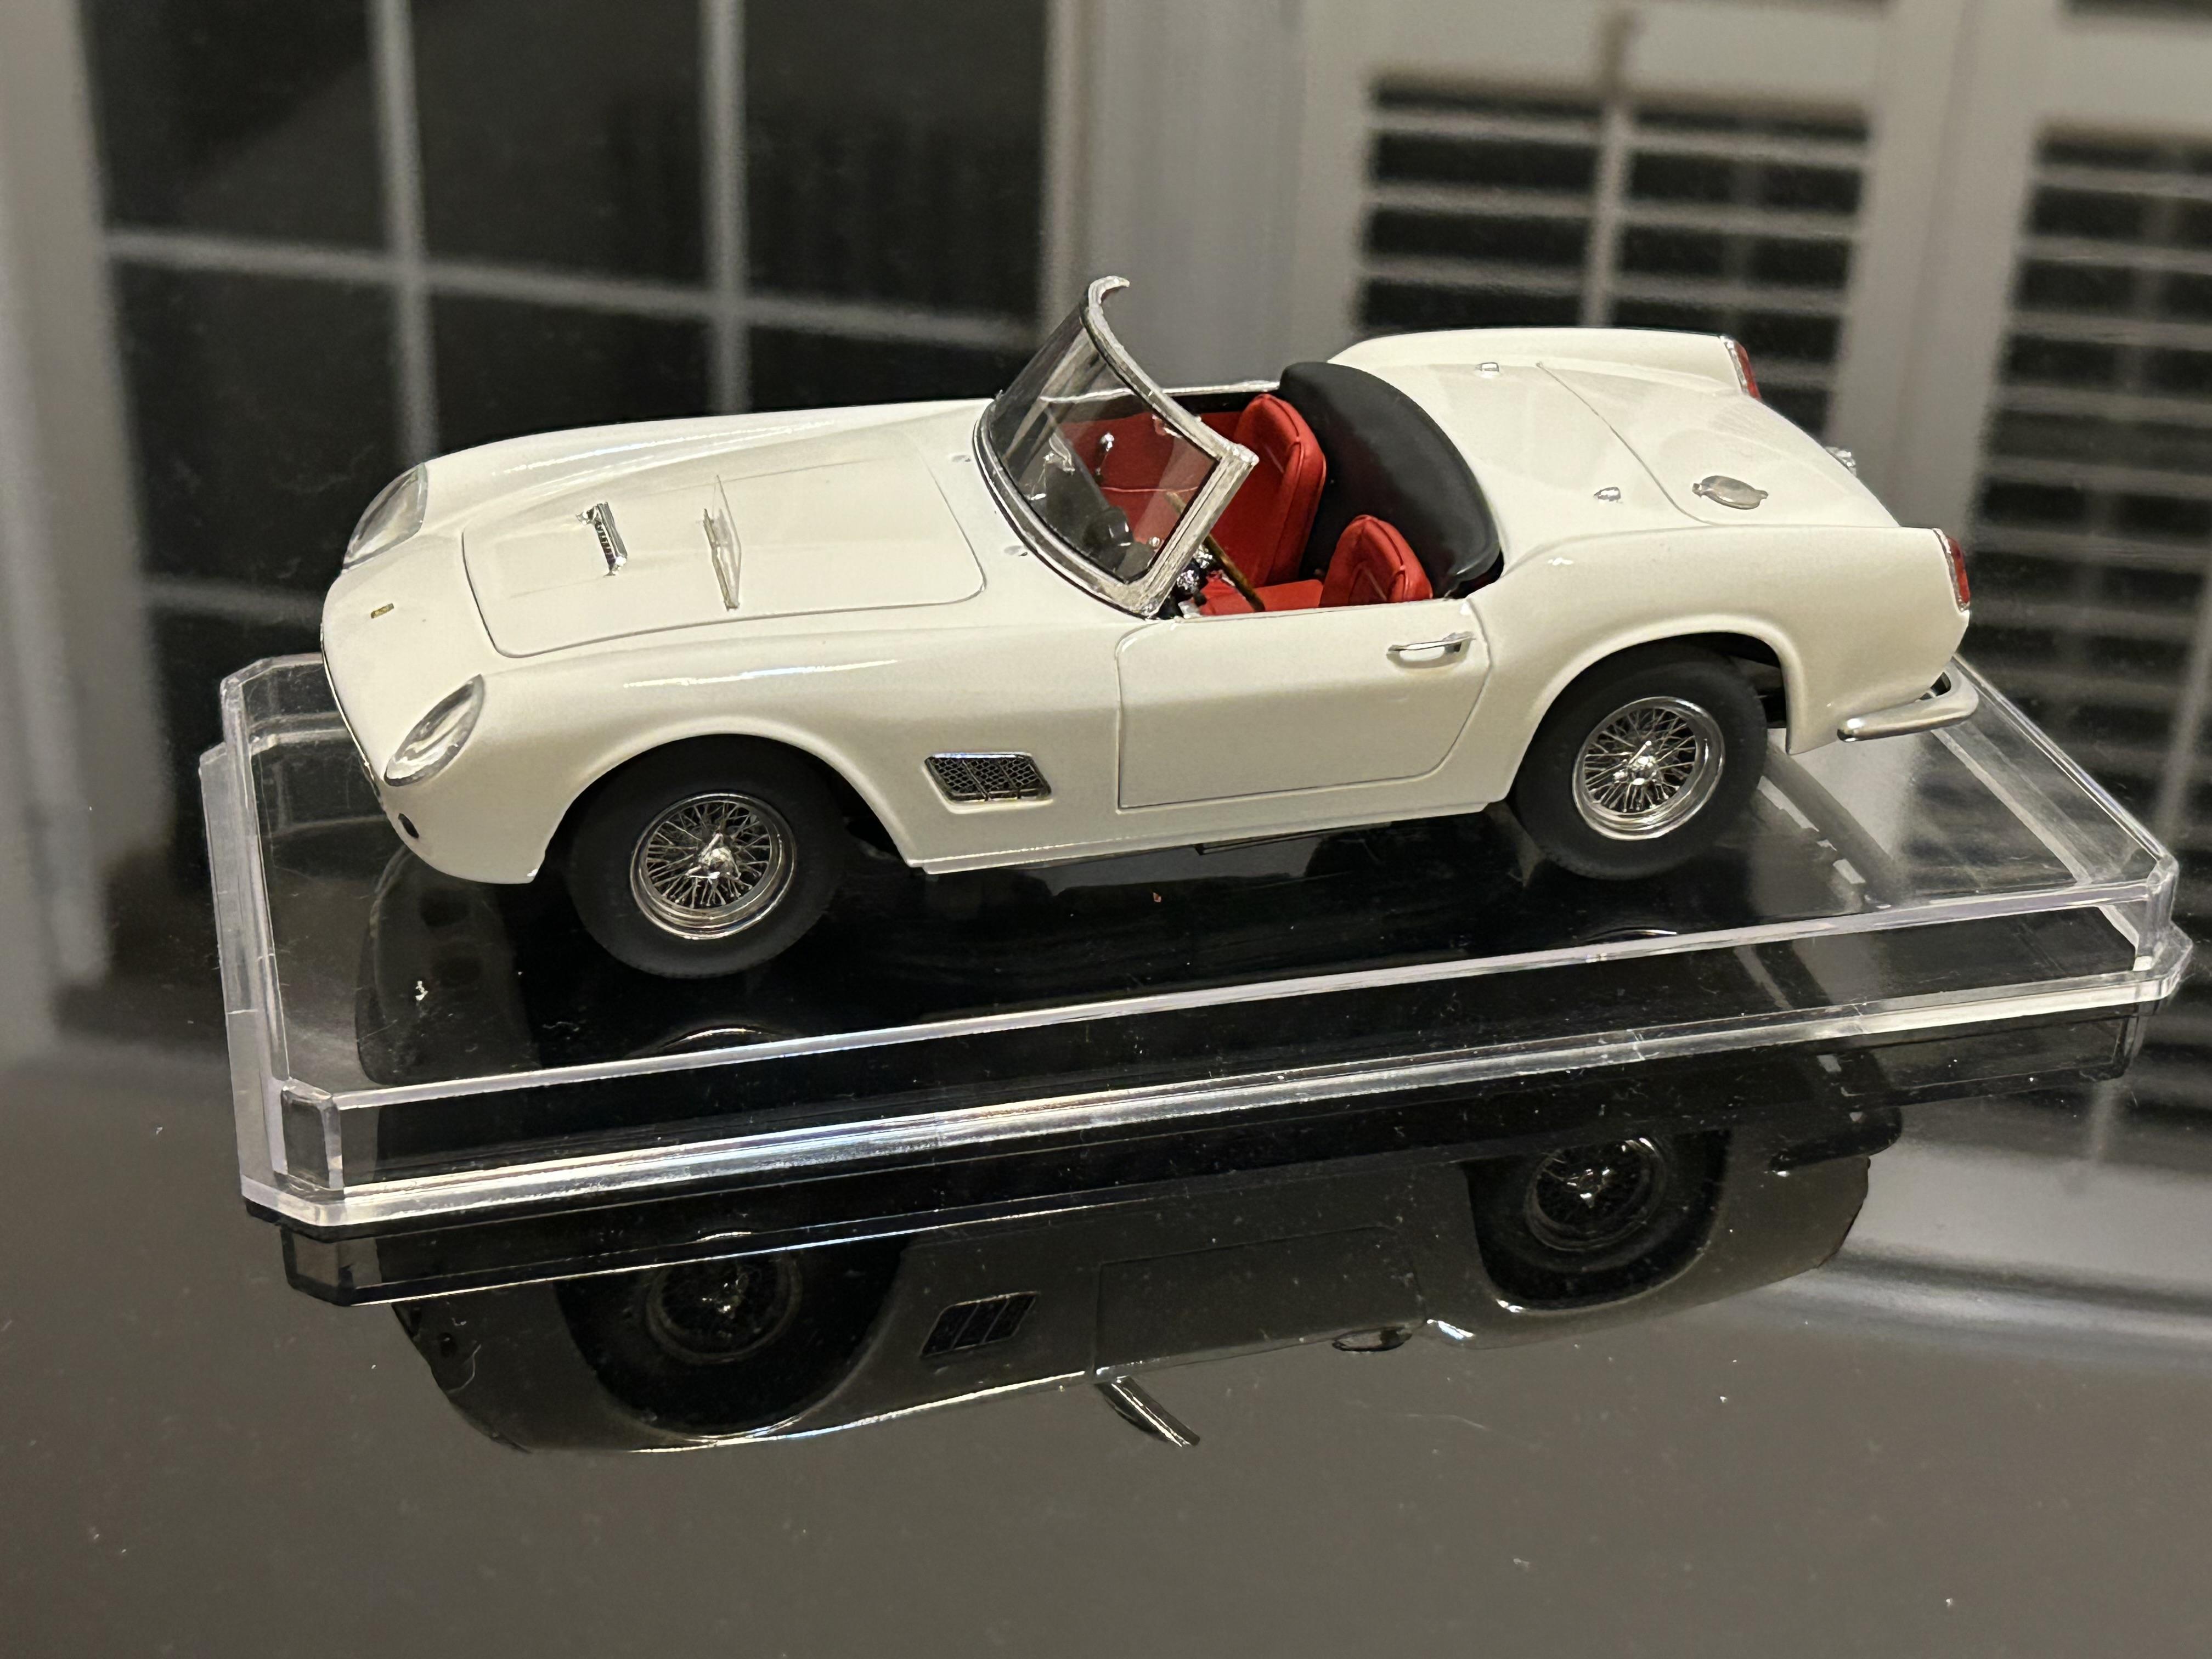
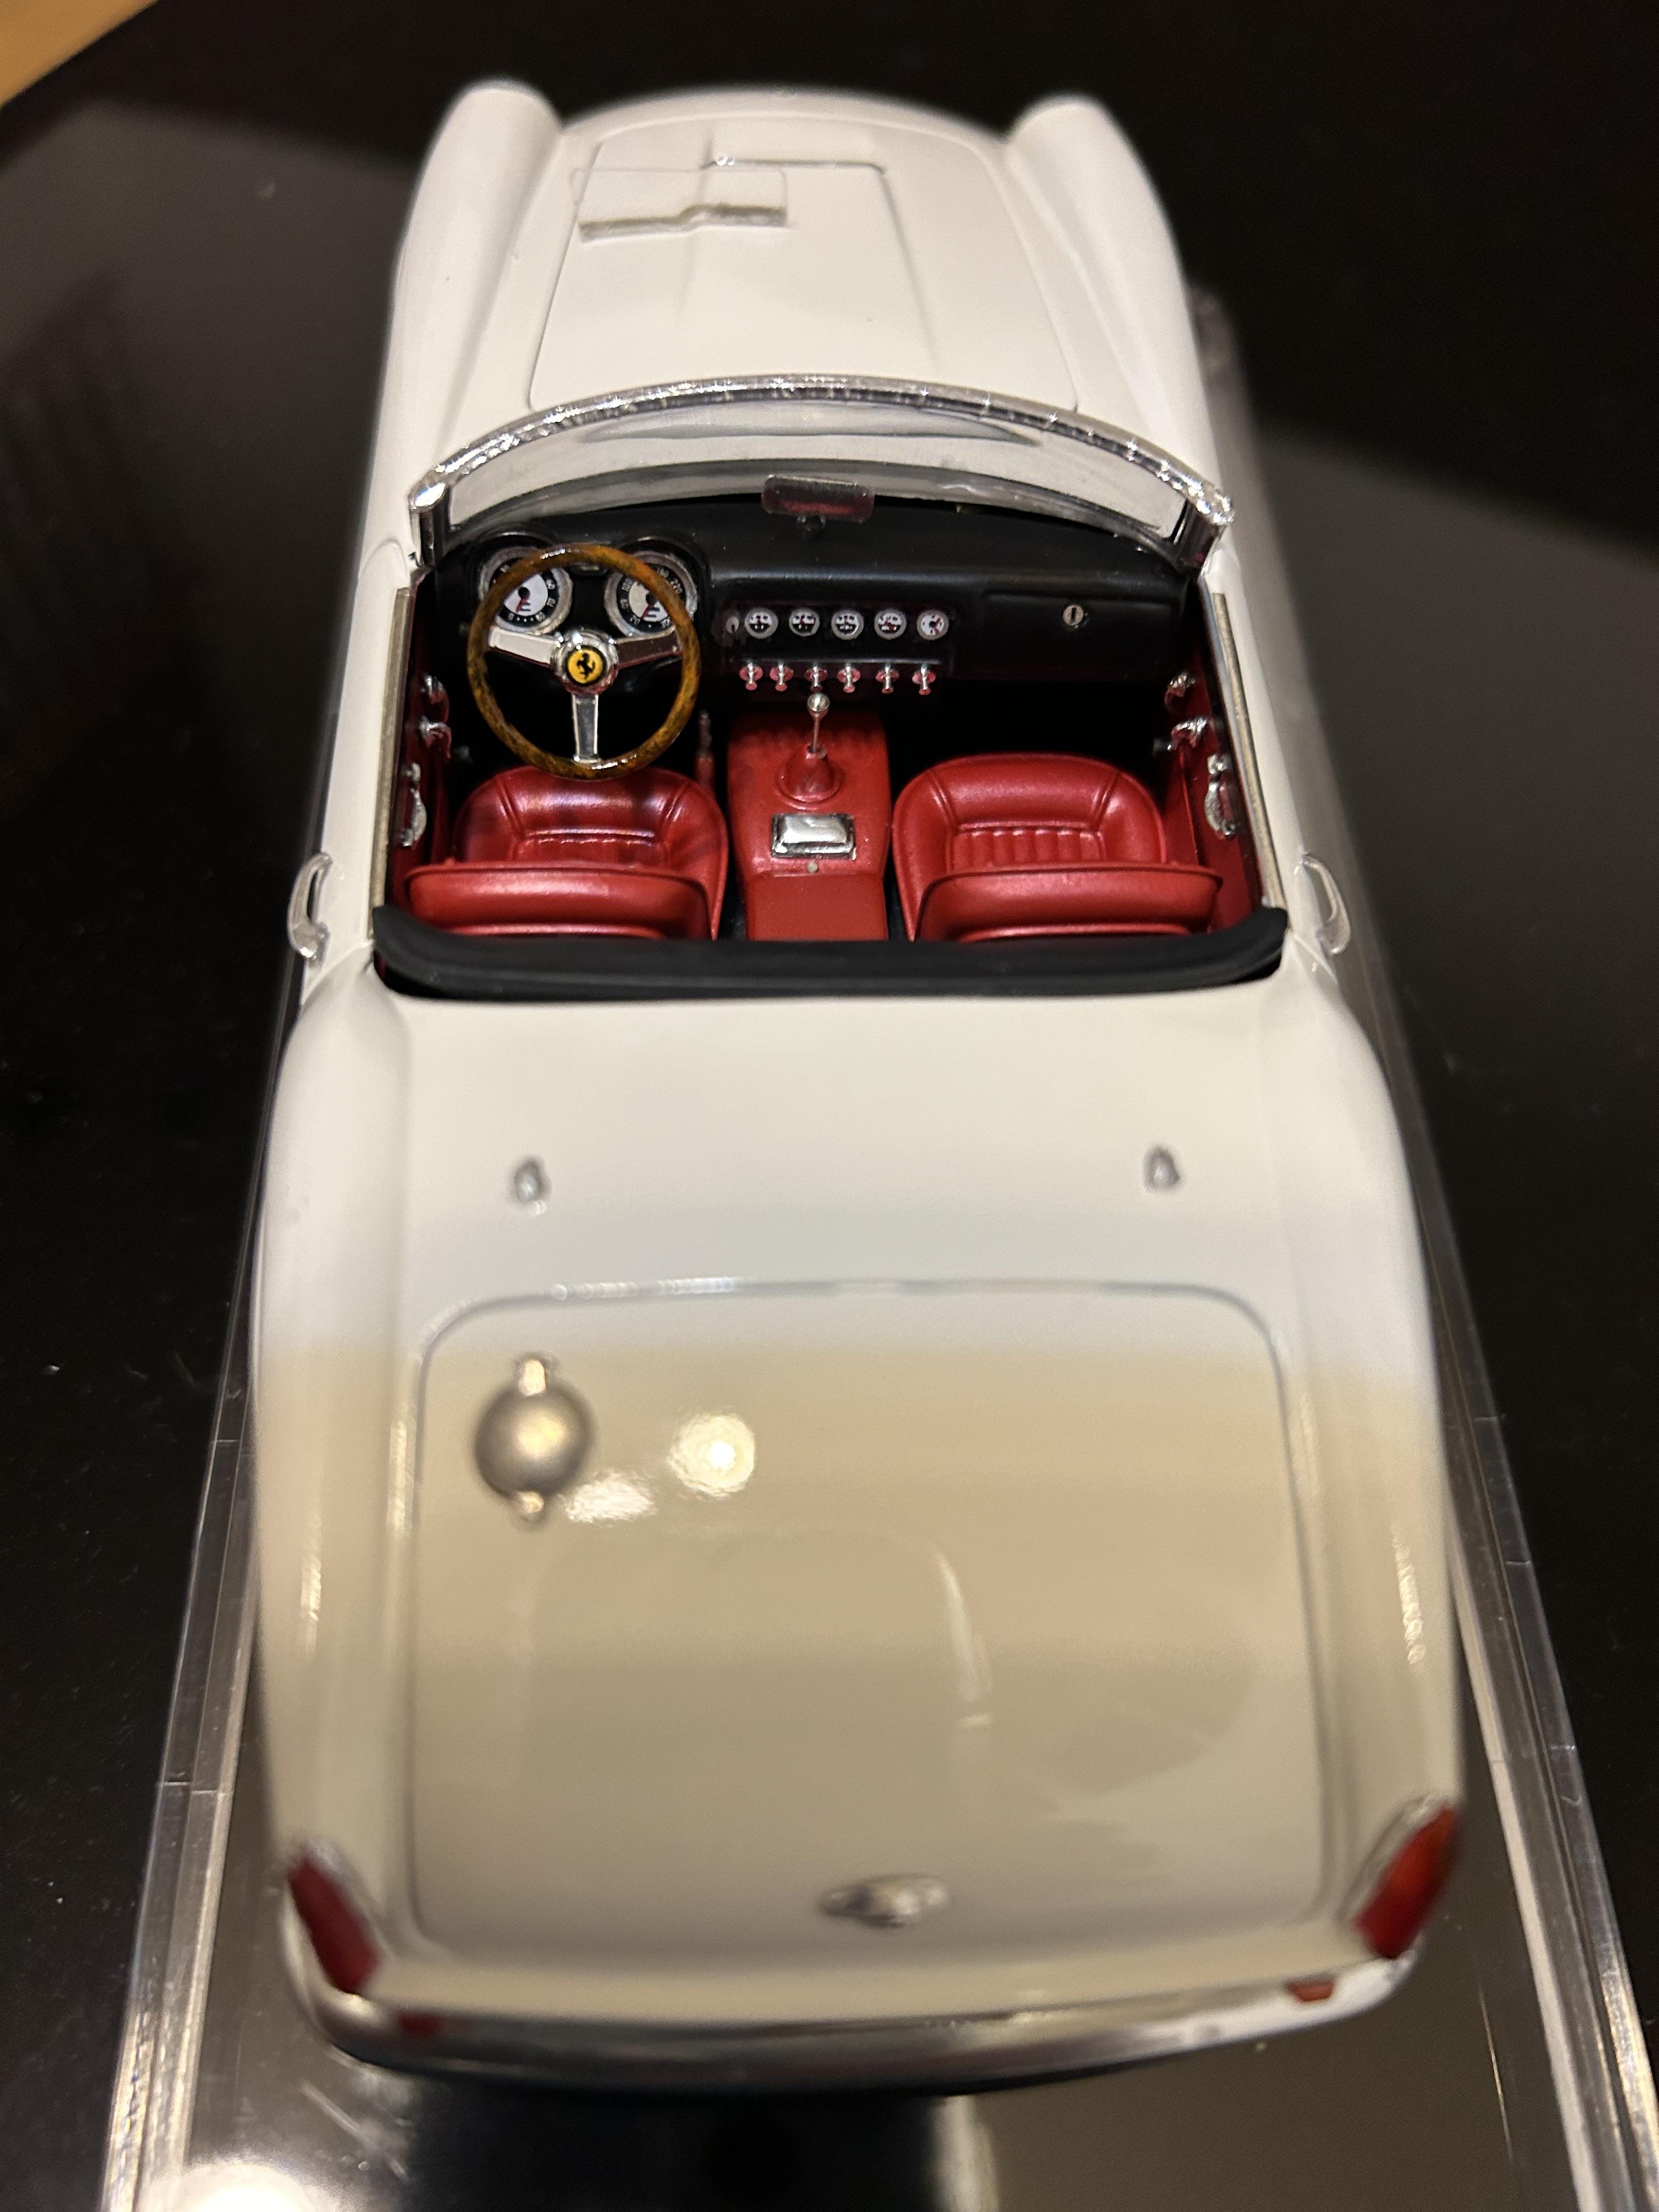
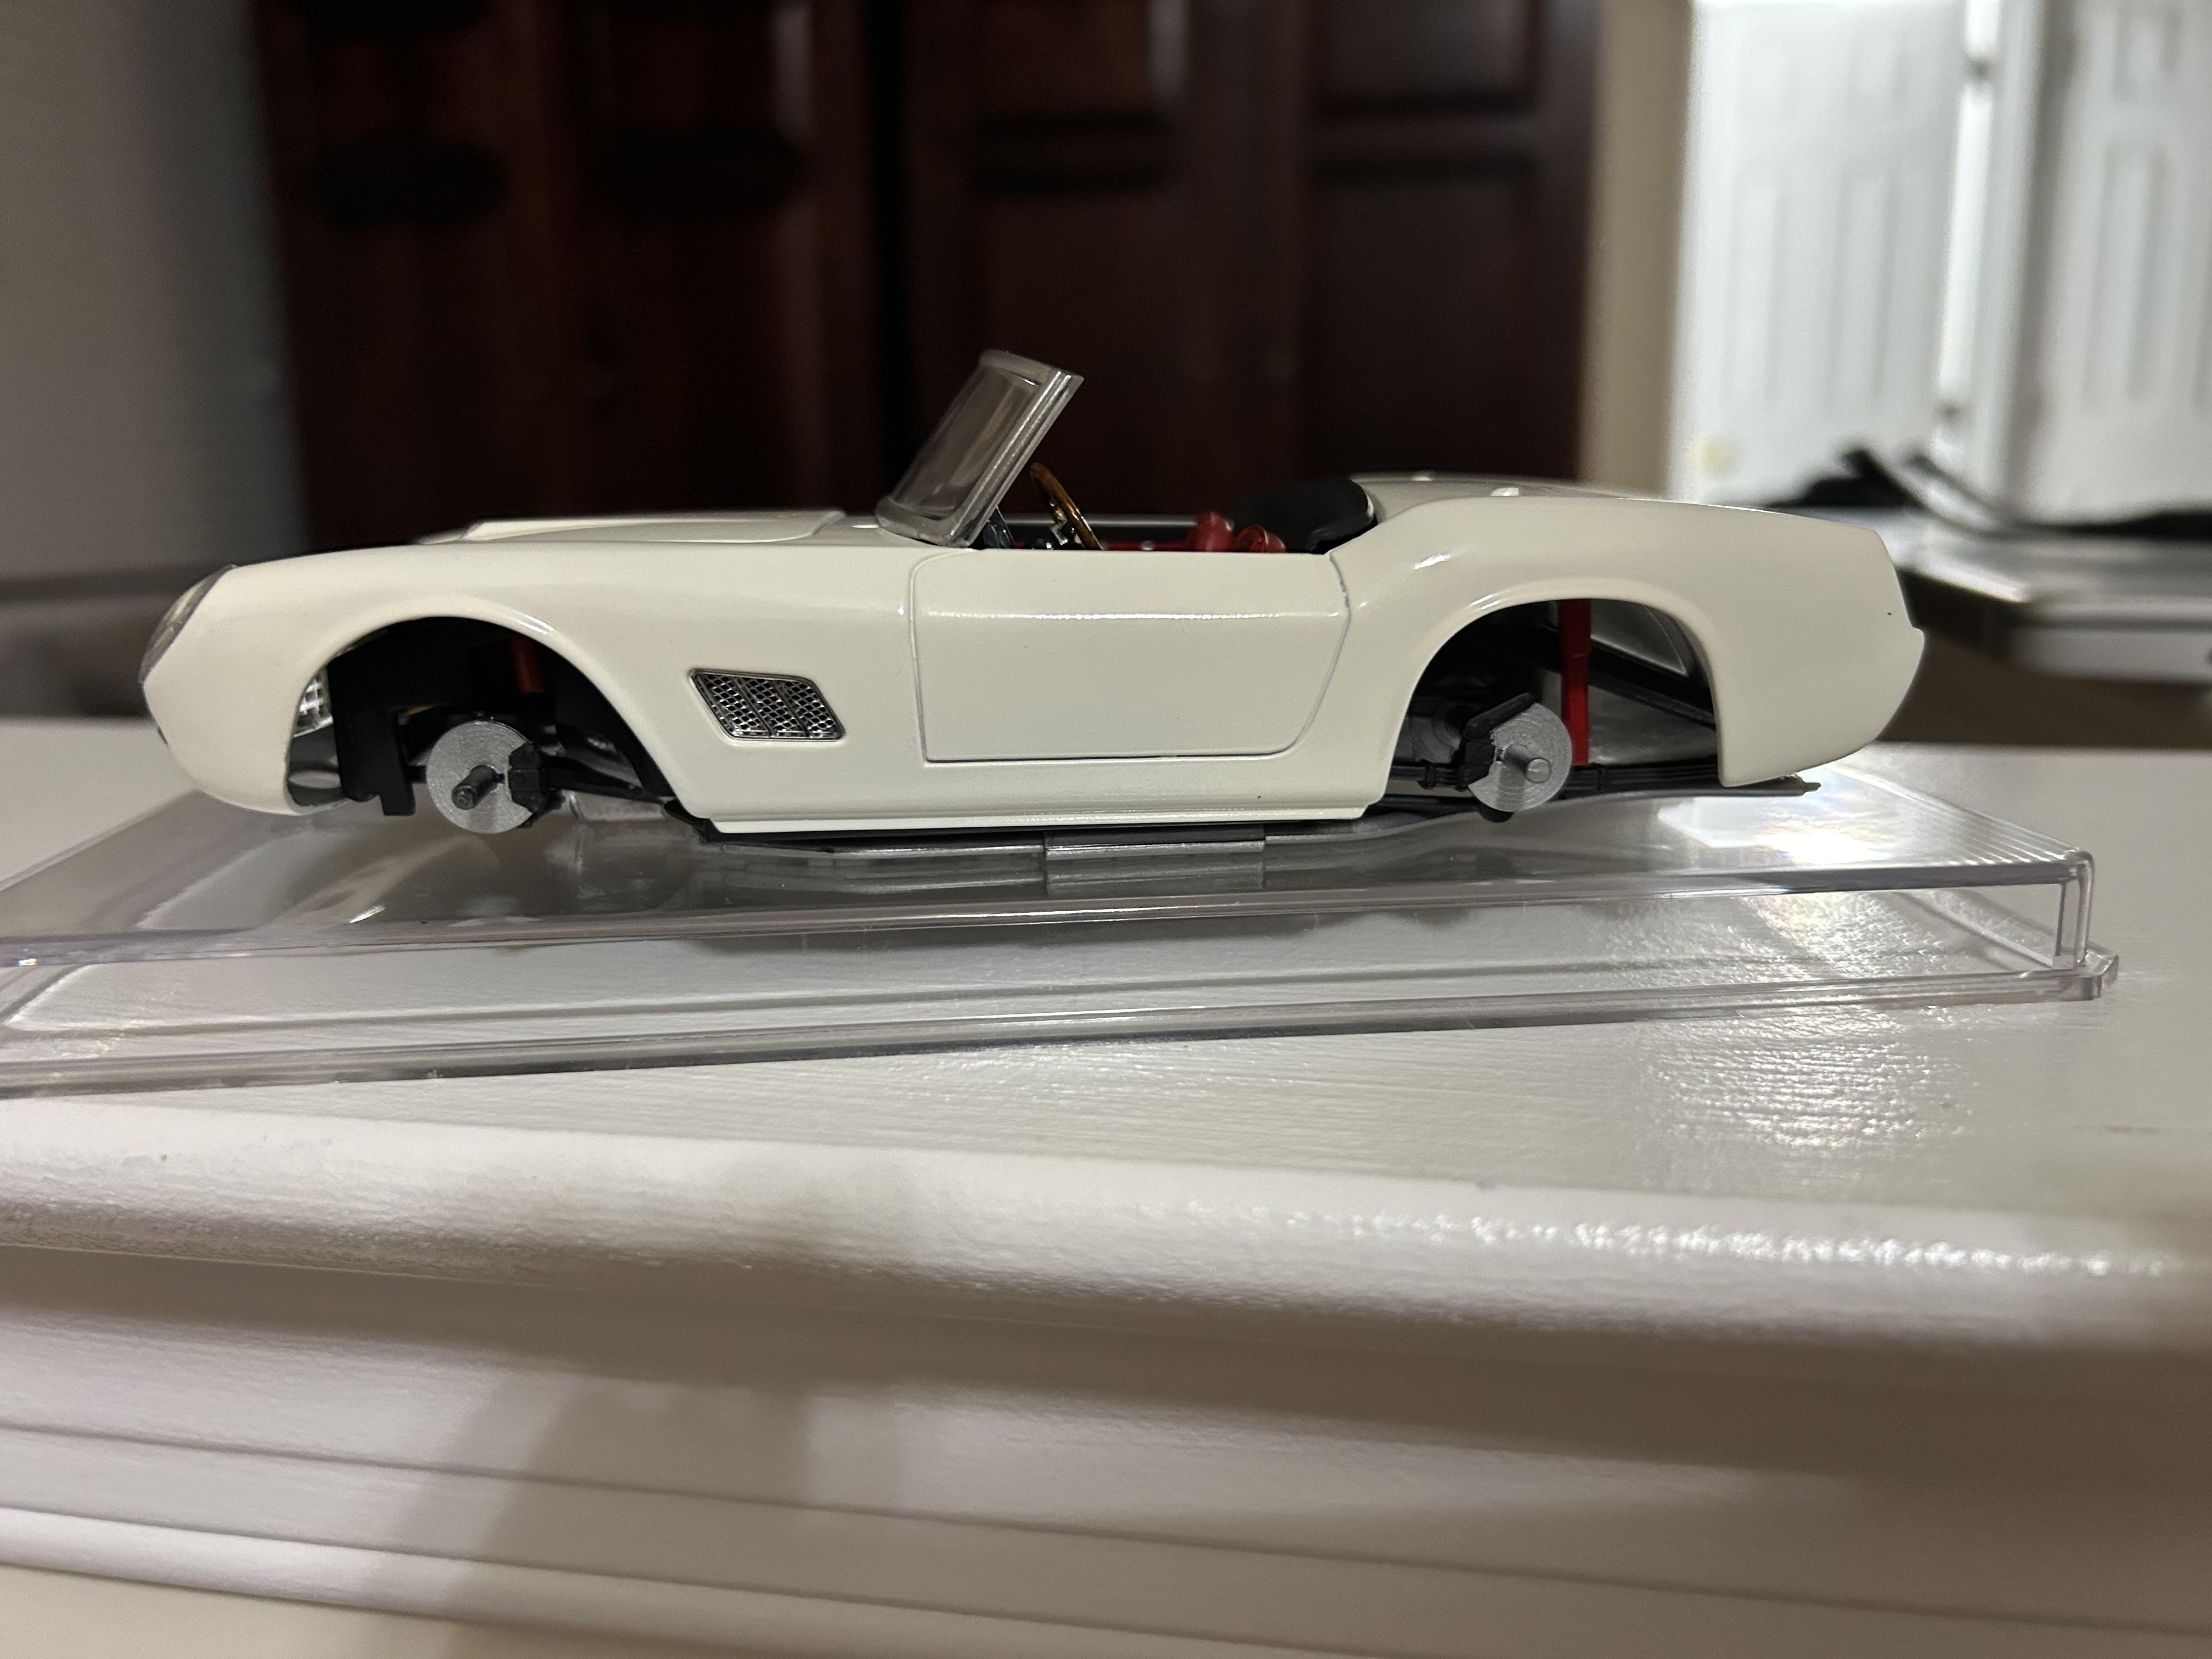
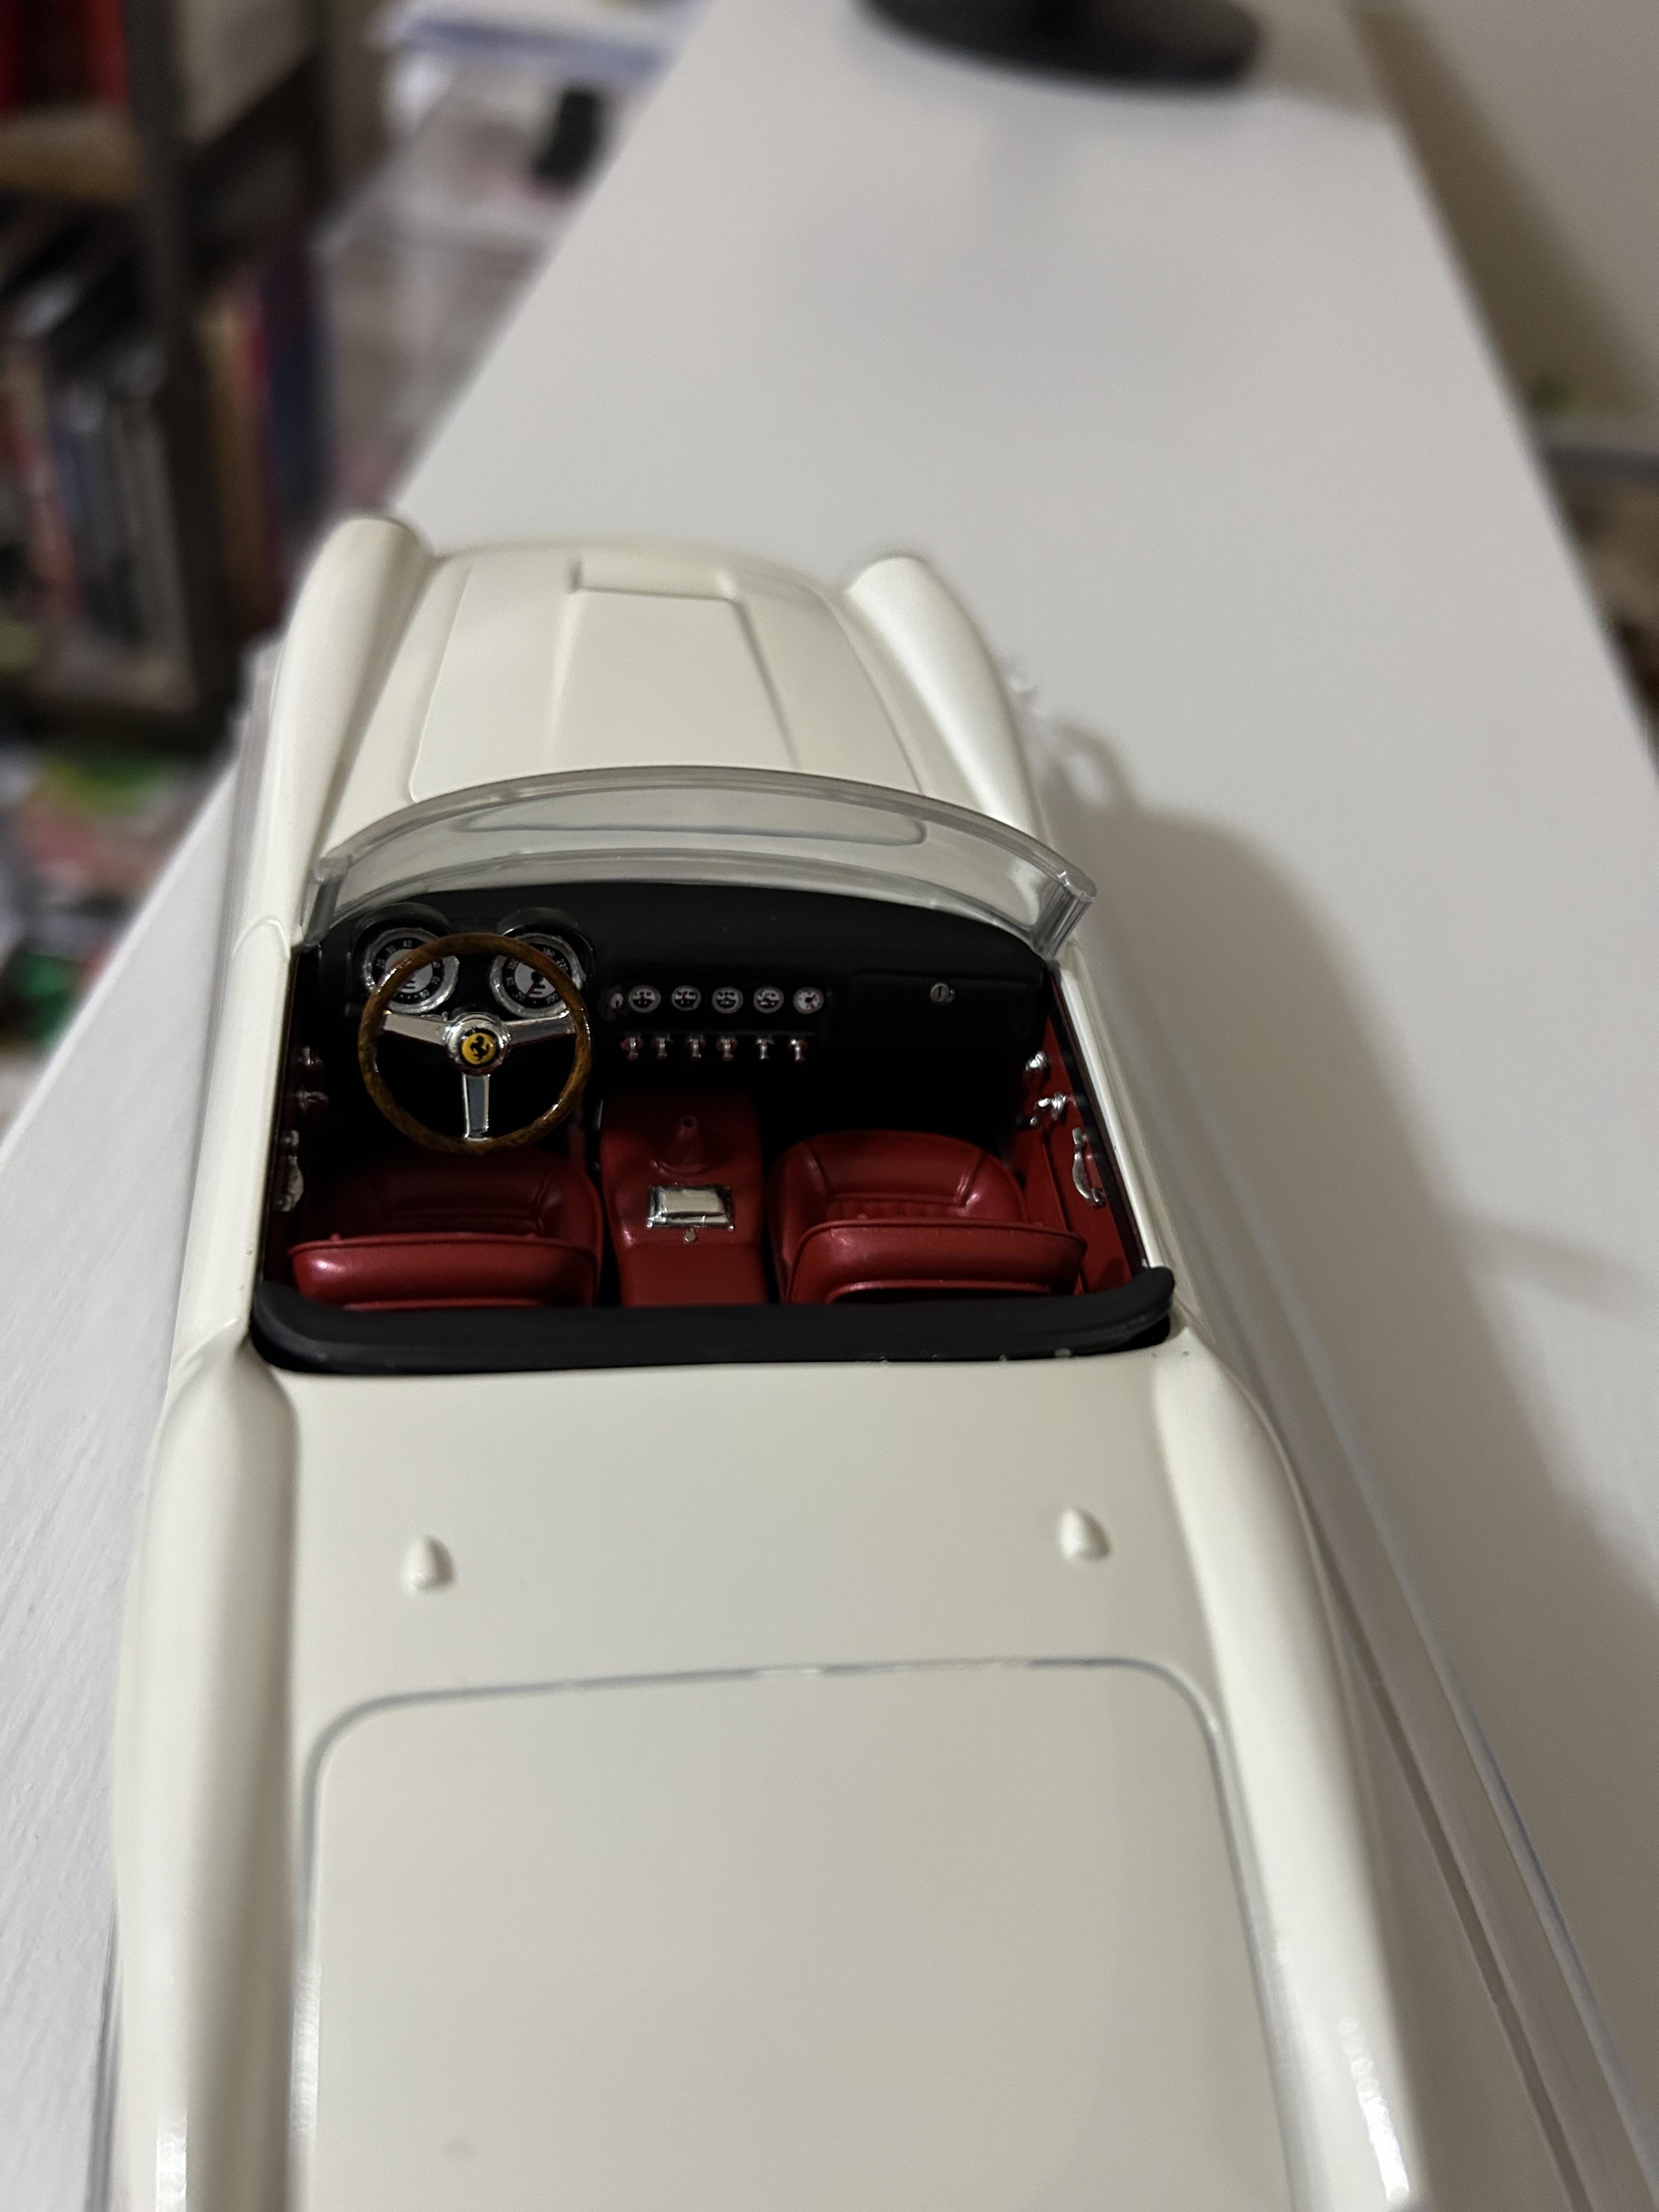
A pair of 1/24 Ferrari 250 gt California built from modified Renaissance kits representing serial number 2015 as raced at Lemans 1960 and restored body color is airbrushed mix of tamiya white and racing white
-
Adding details
-
Ferrari Barchetta UMI Quarterman tribute
TC replied to absmiami's topic in WIP: Other Racing: Road Racing, Land Speed Racers
This looks amazing -
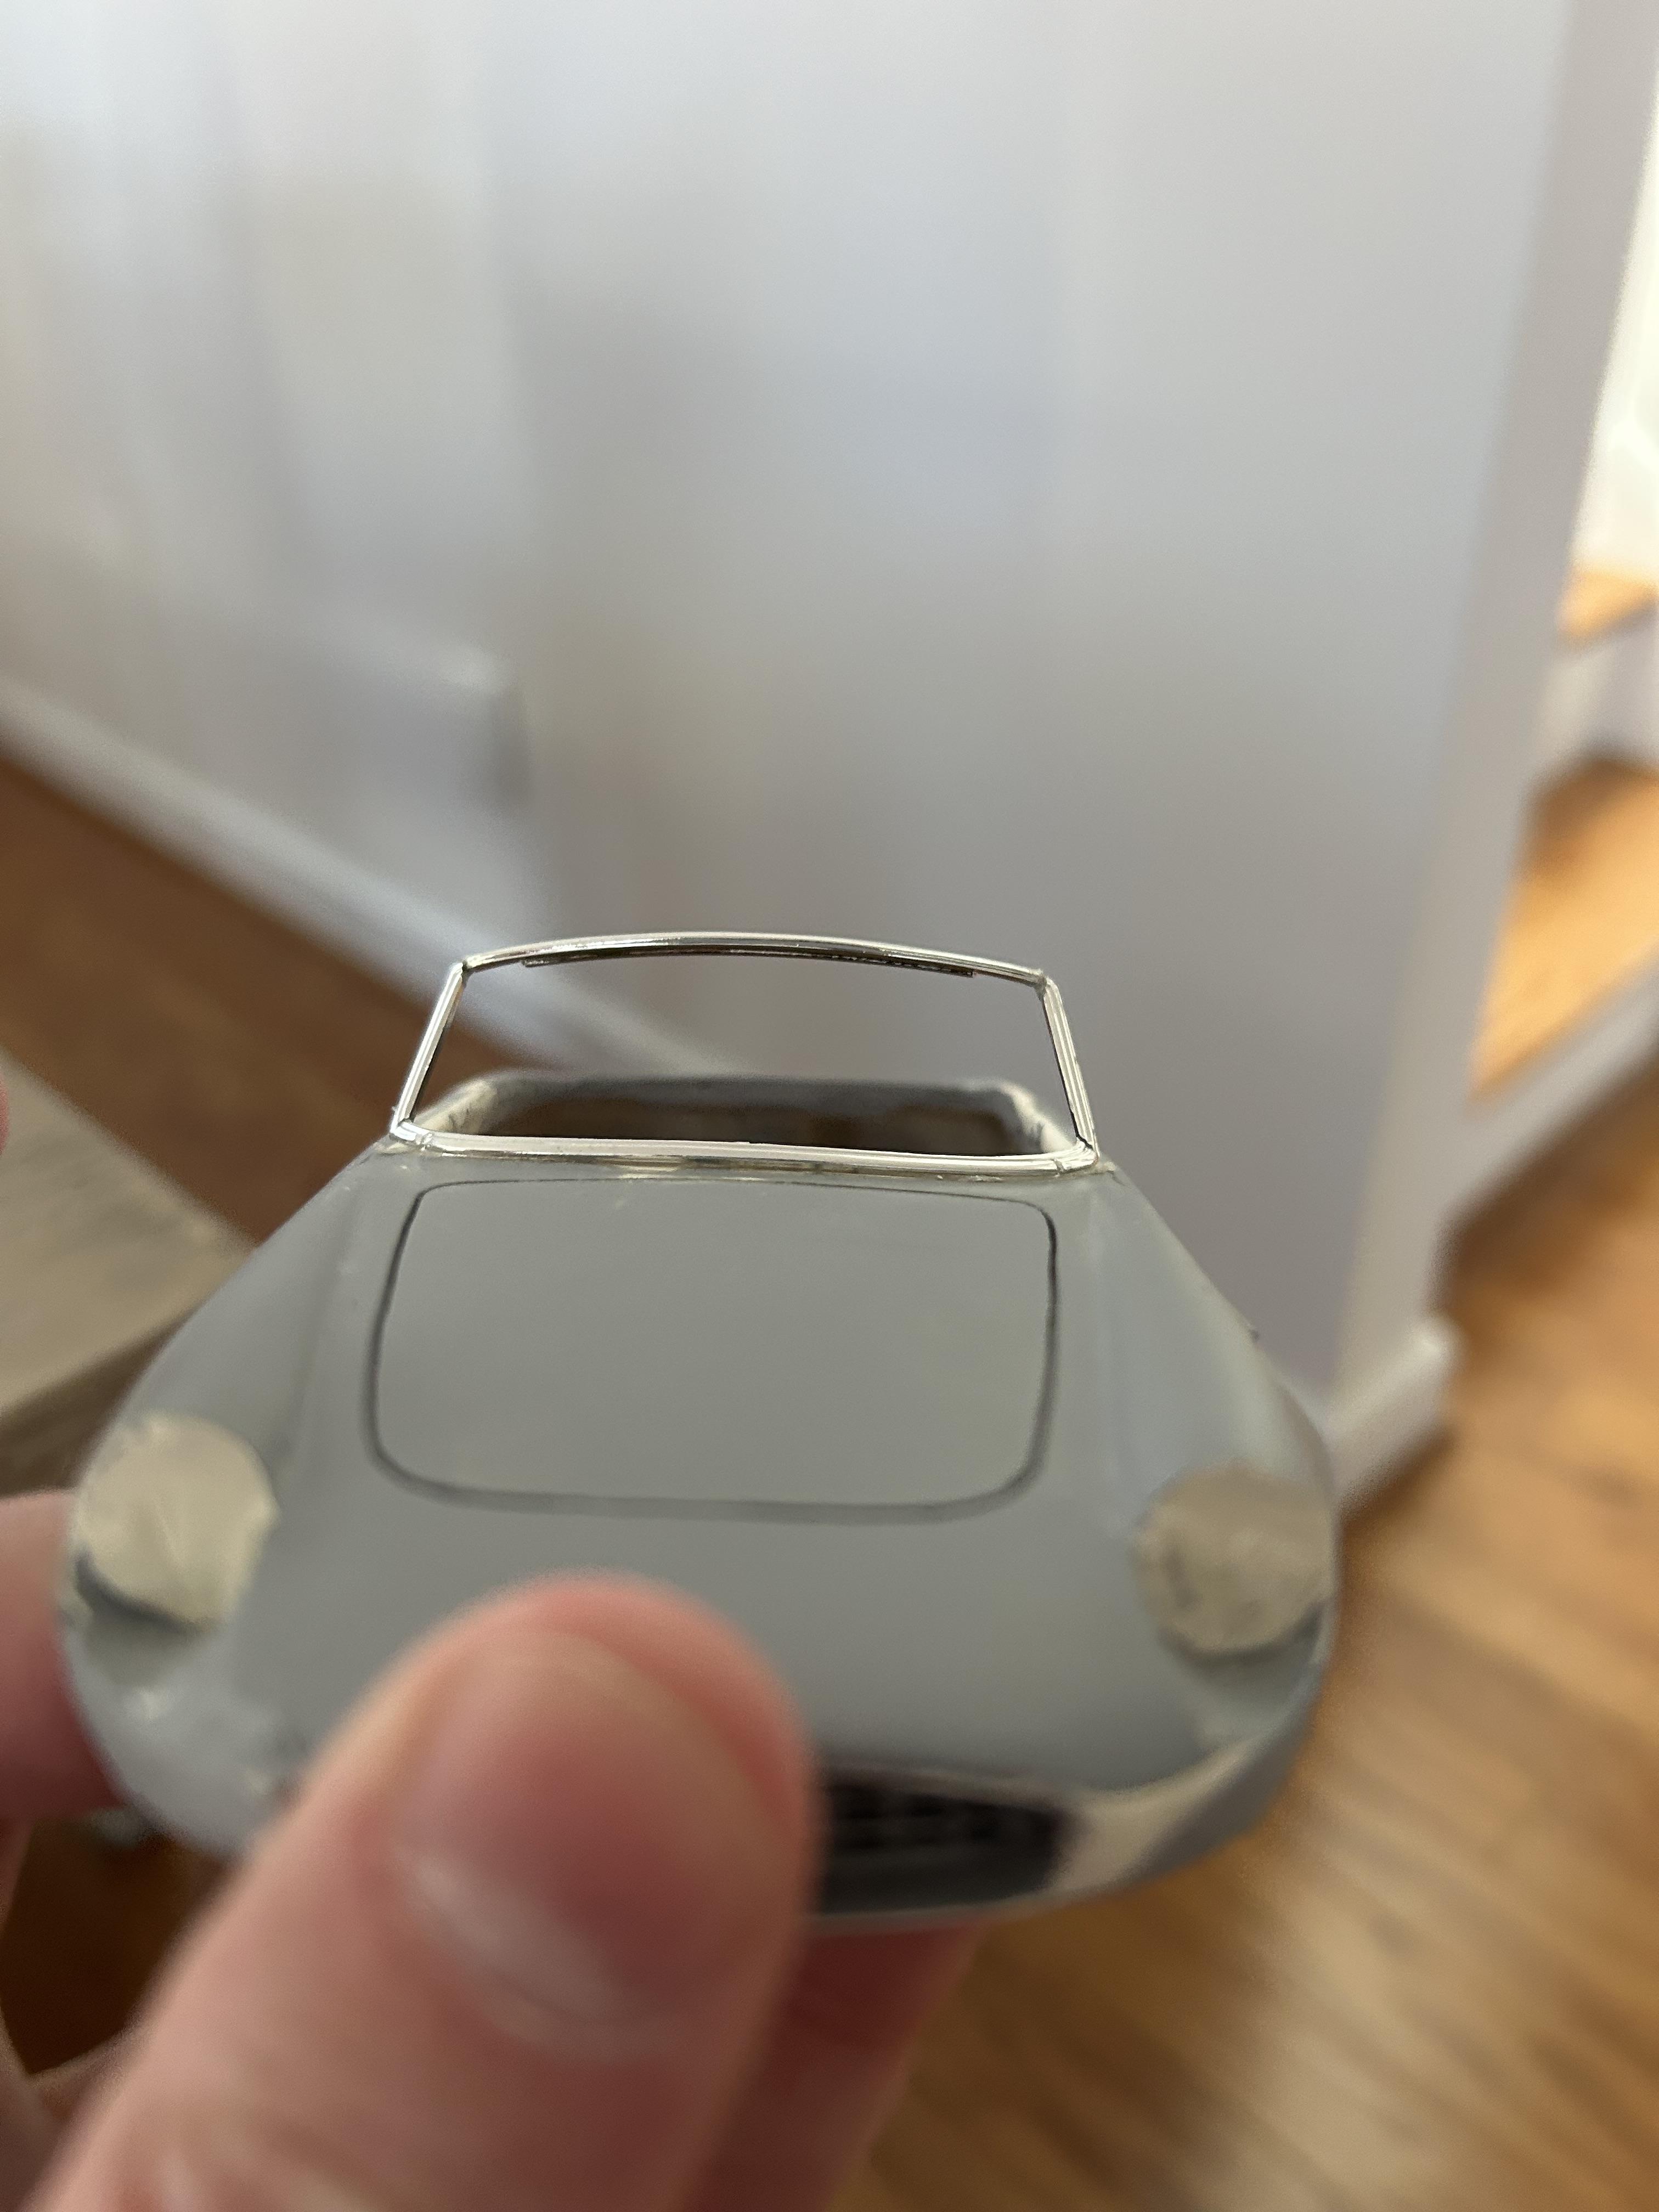
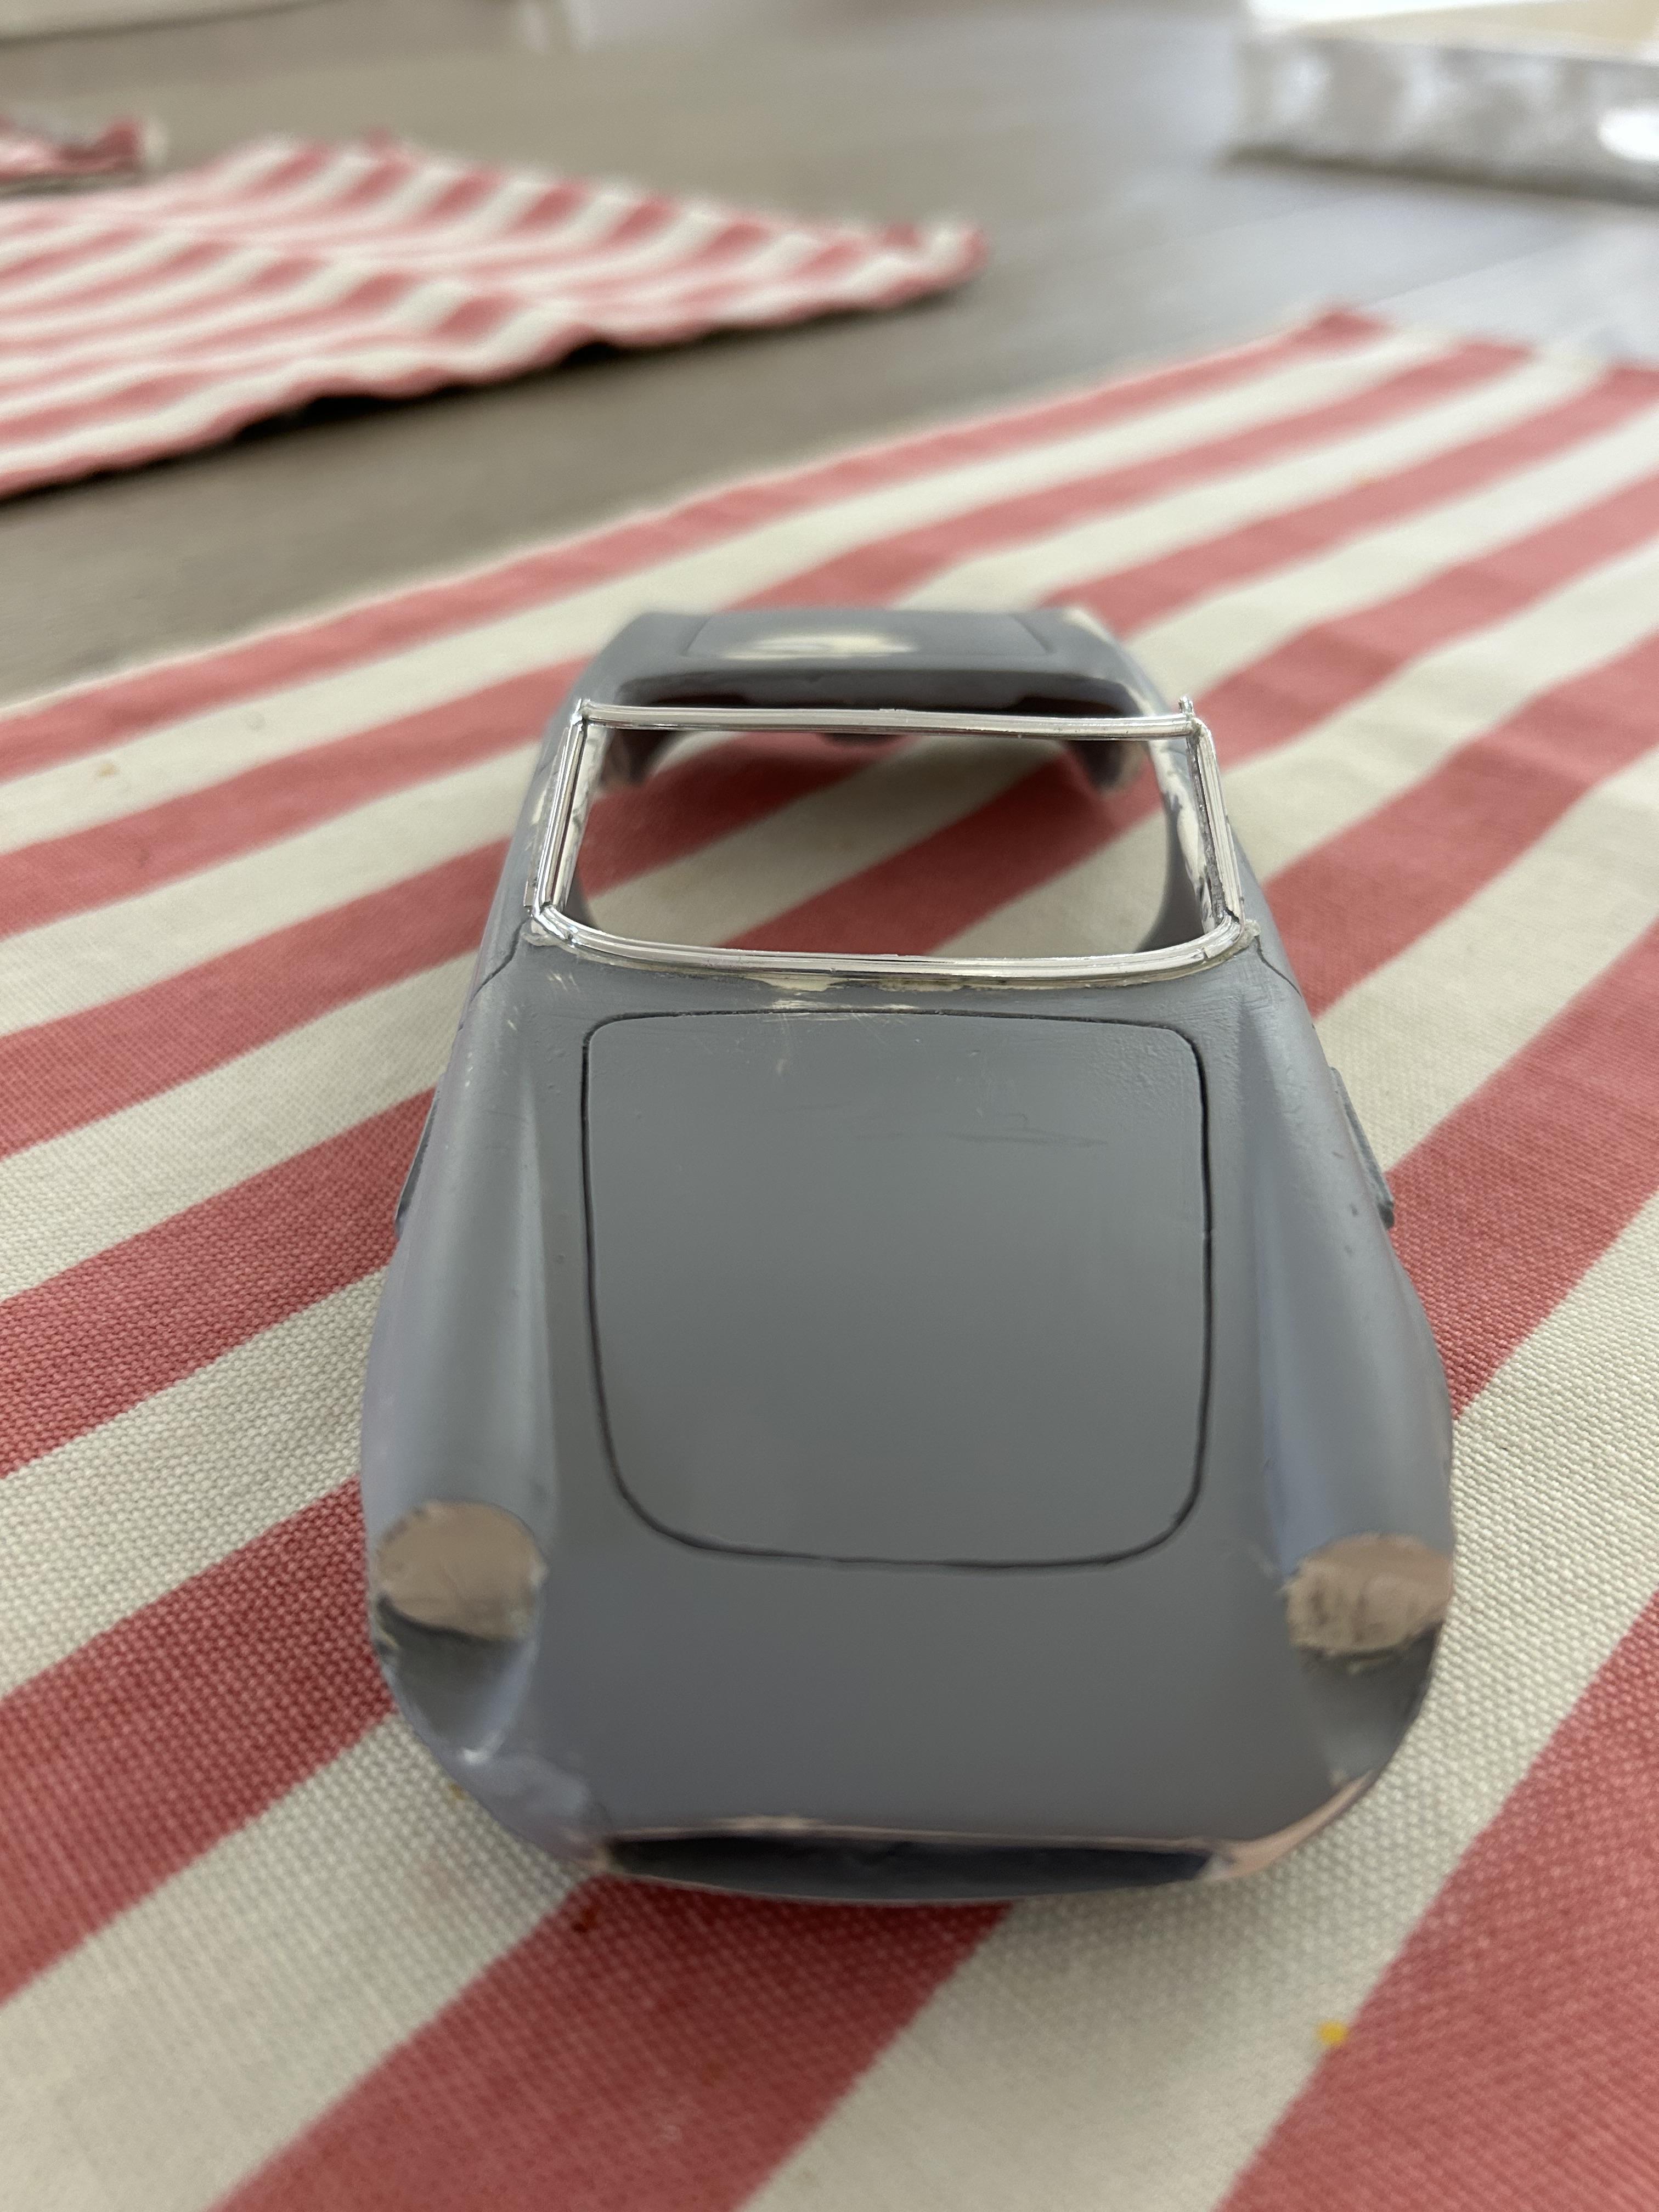
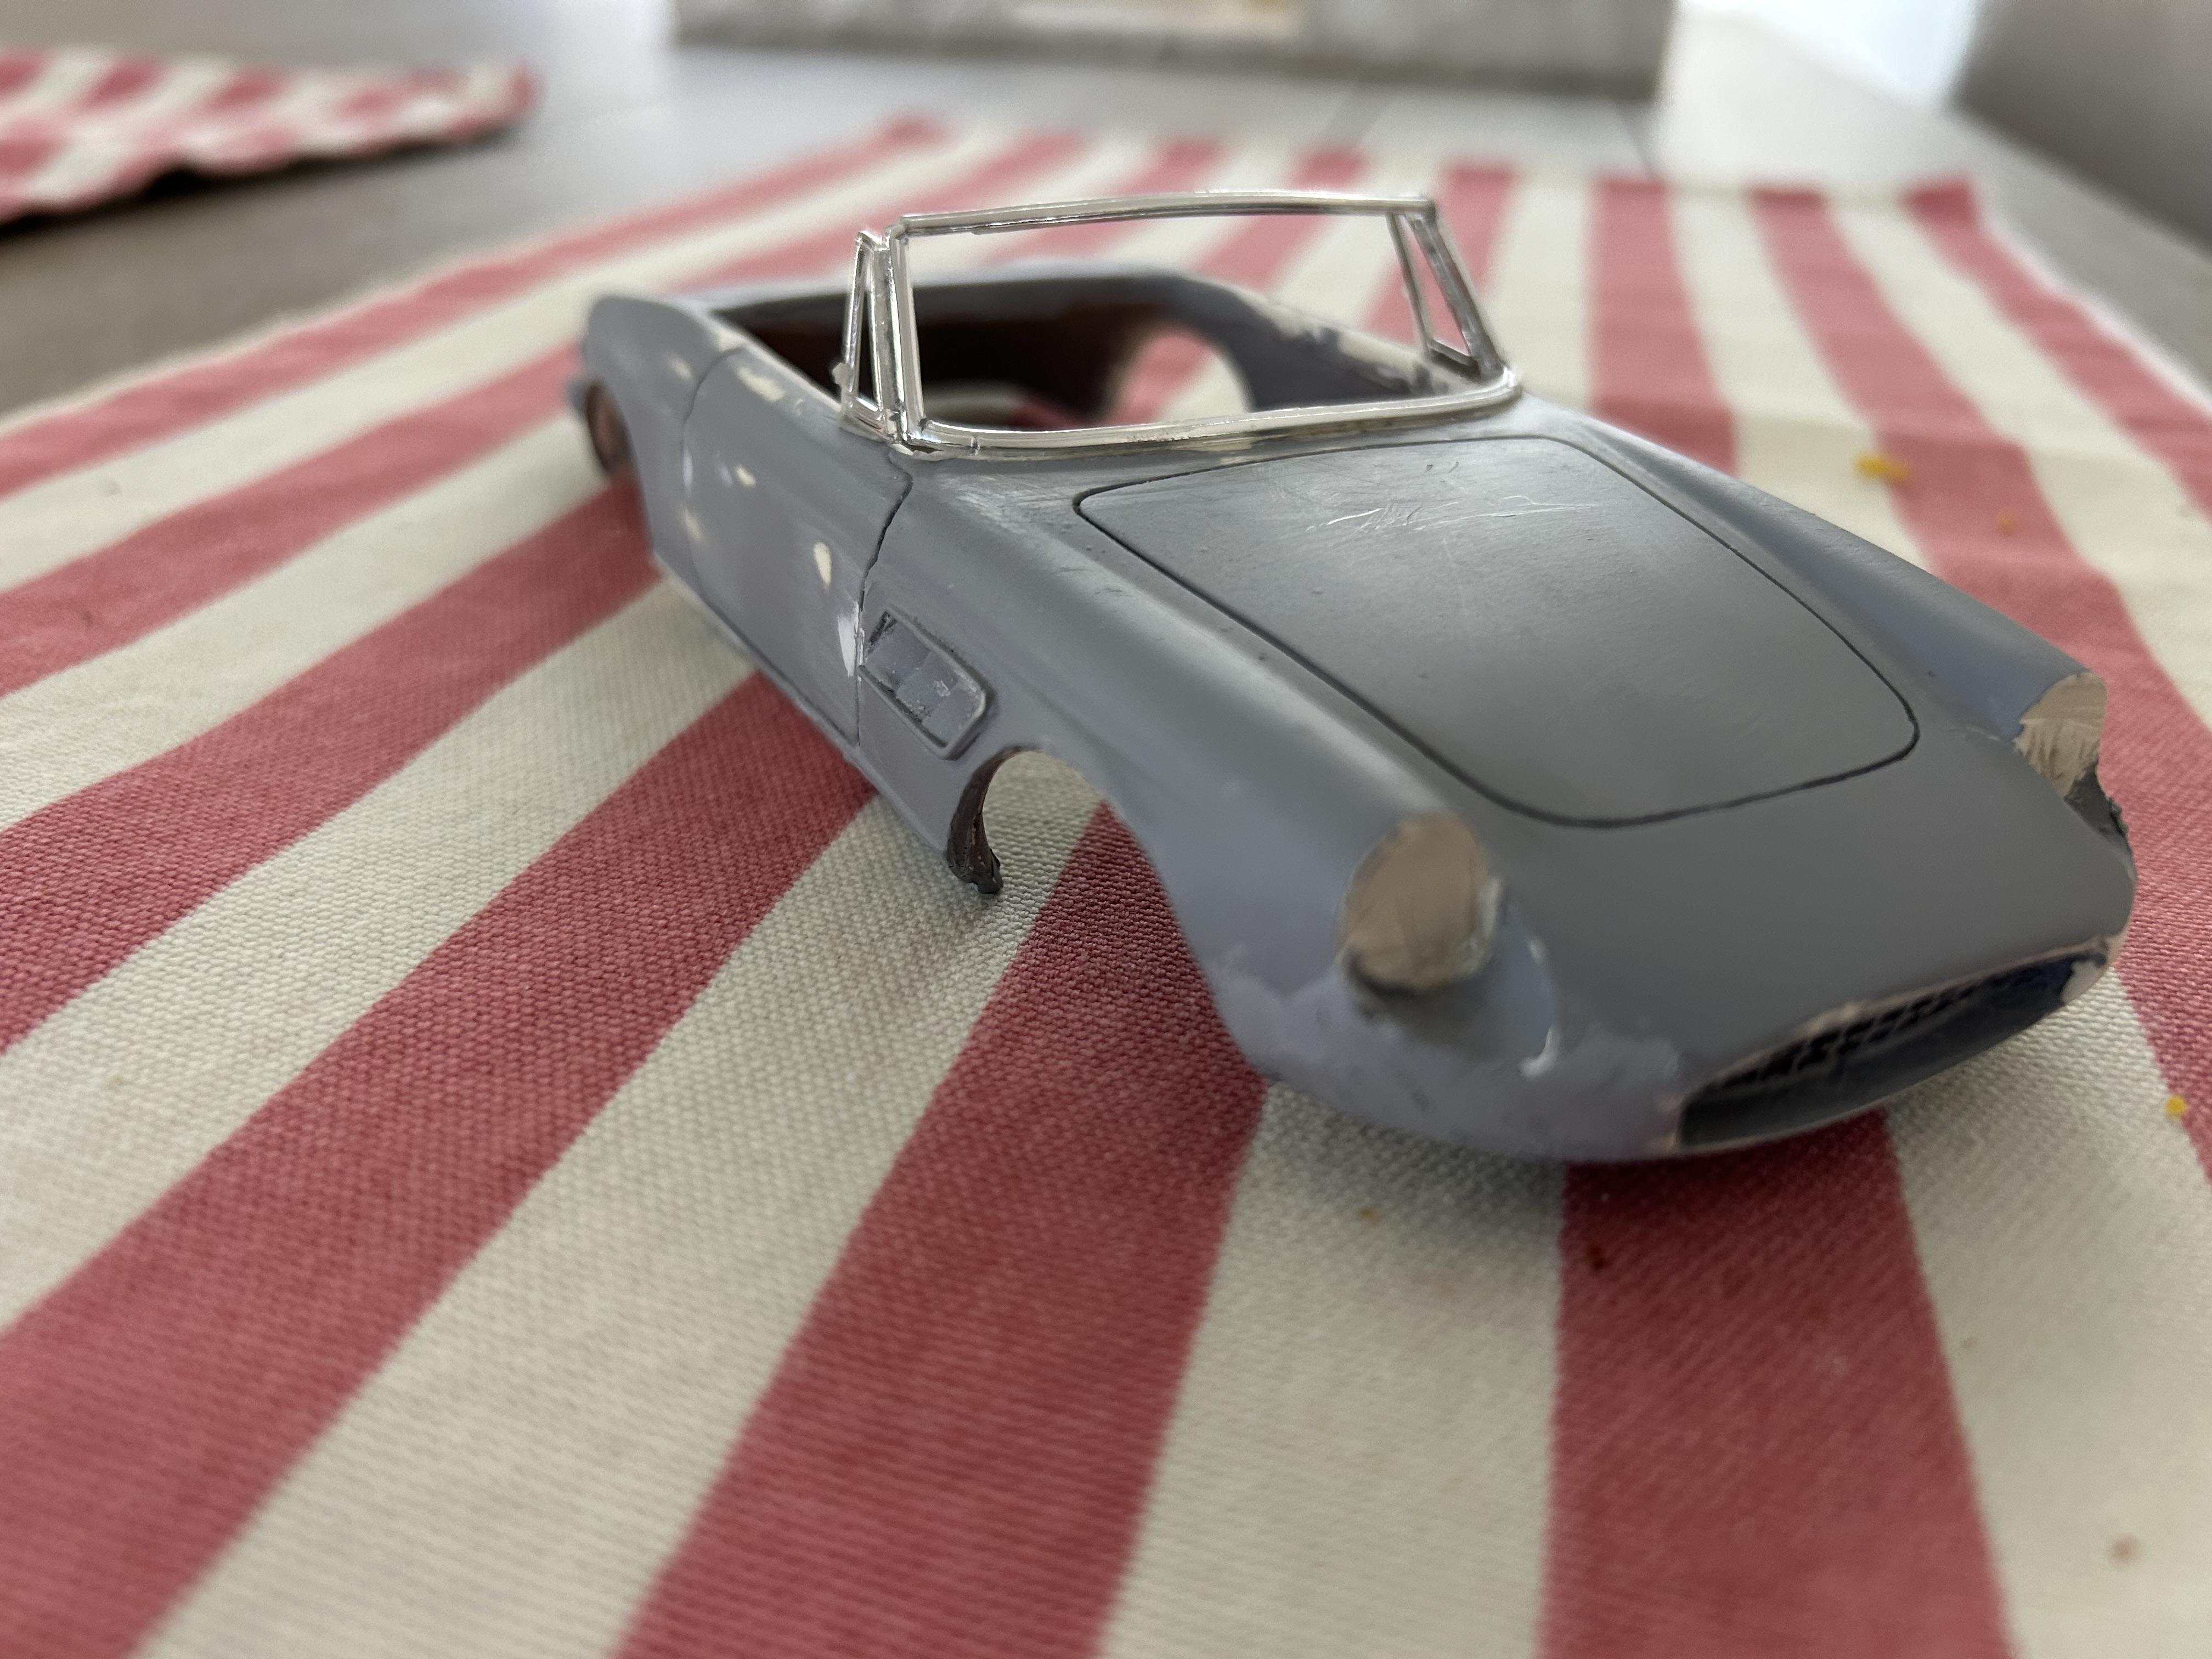
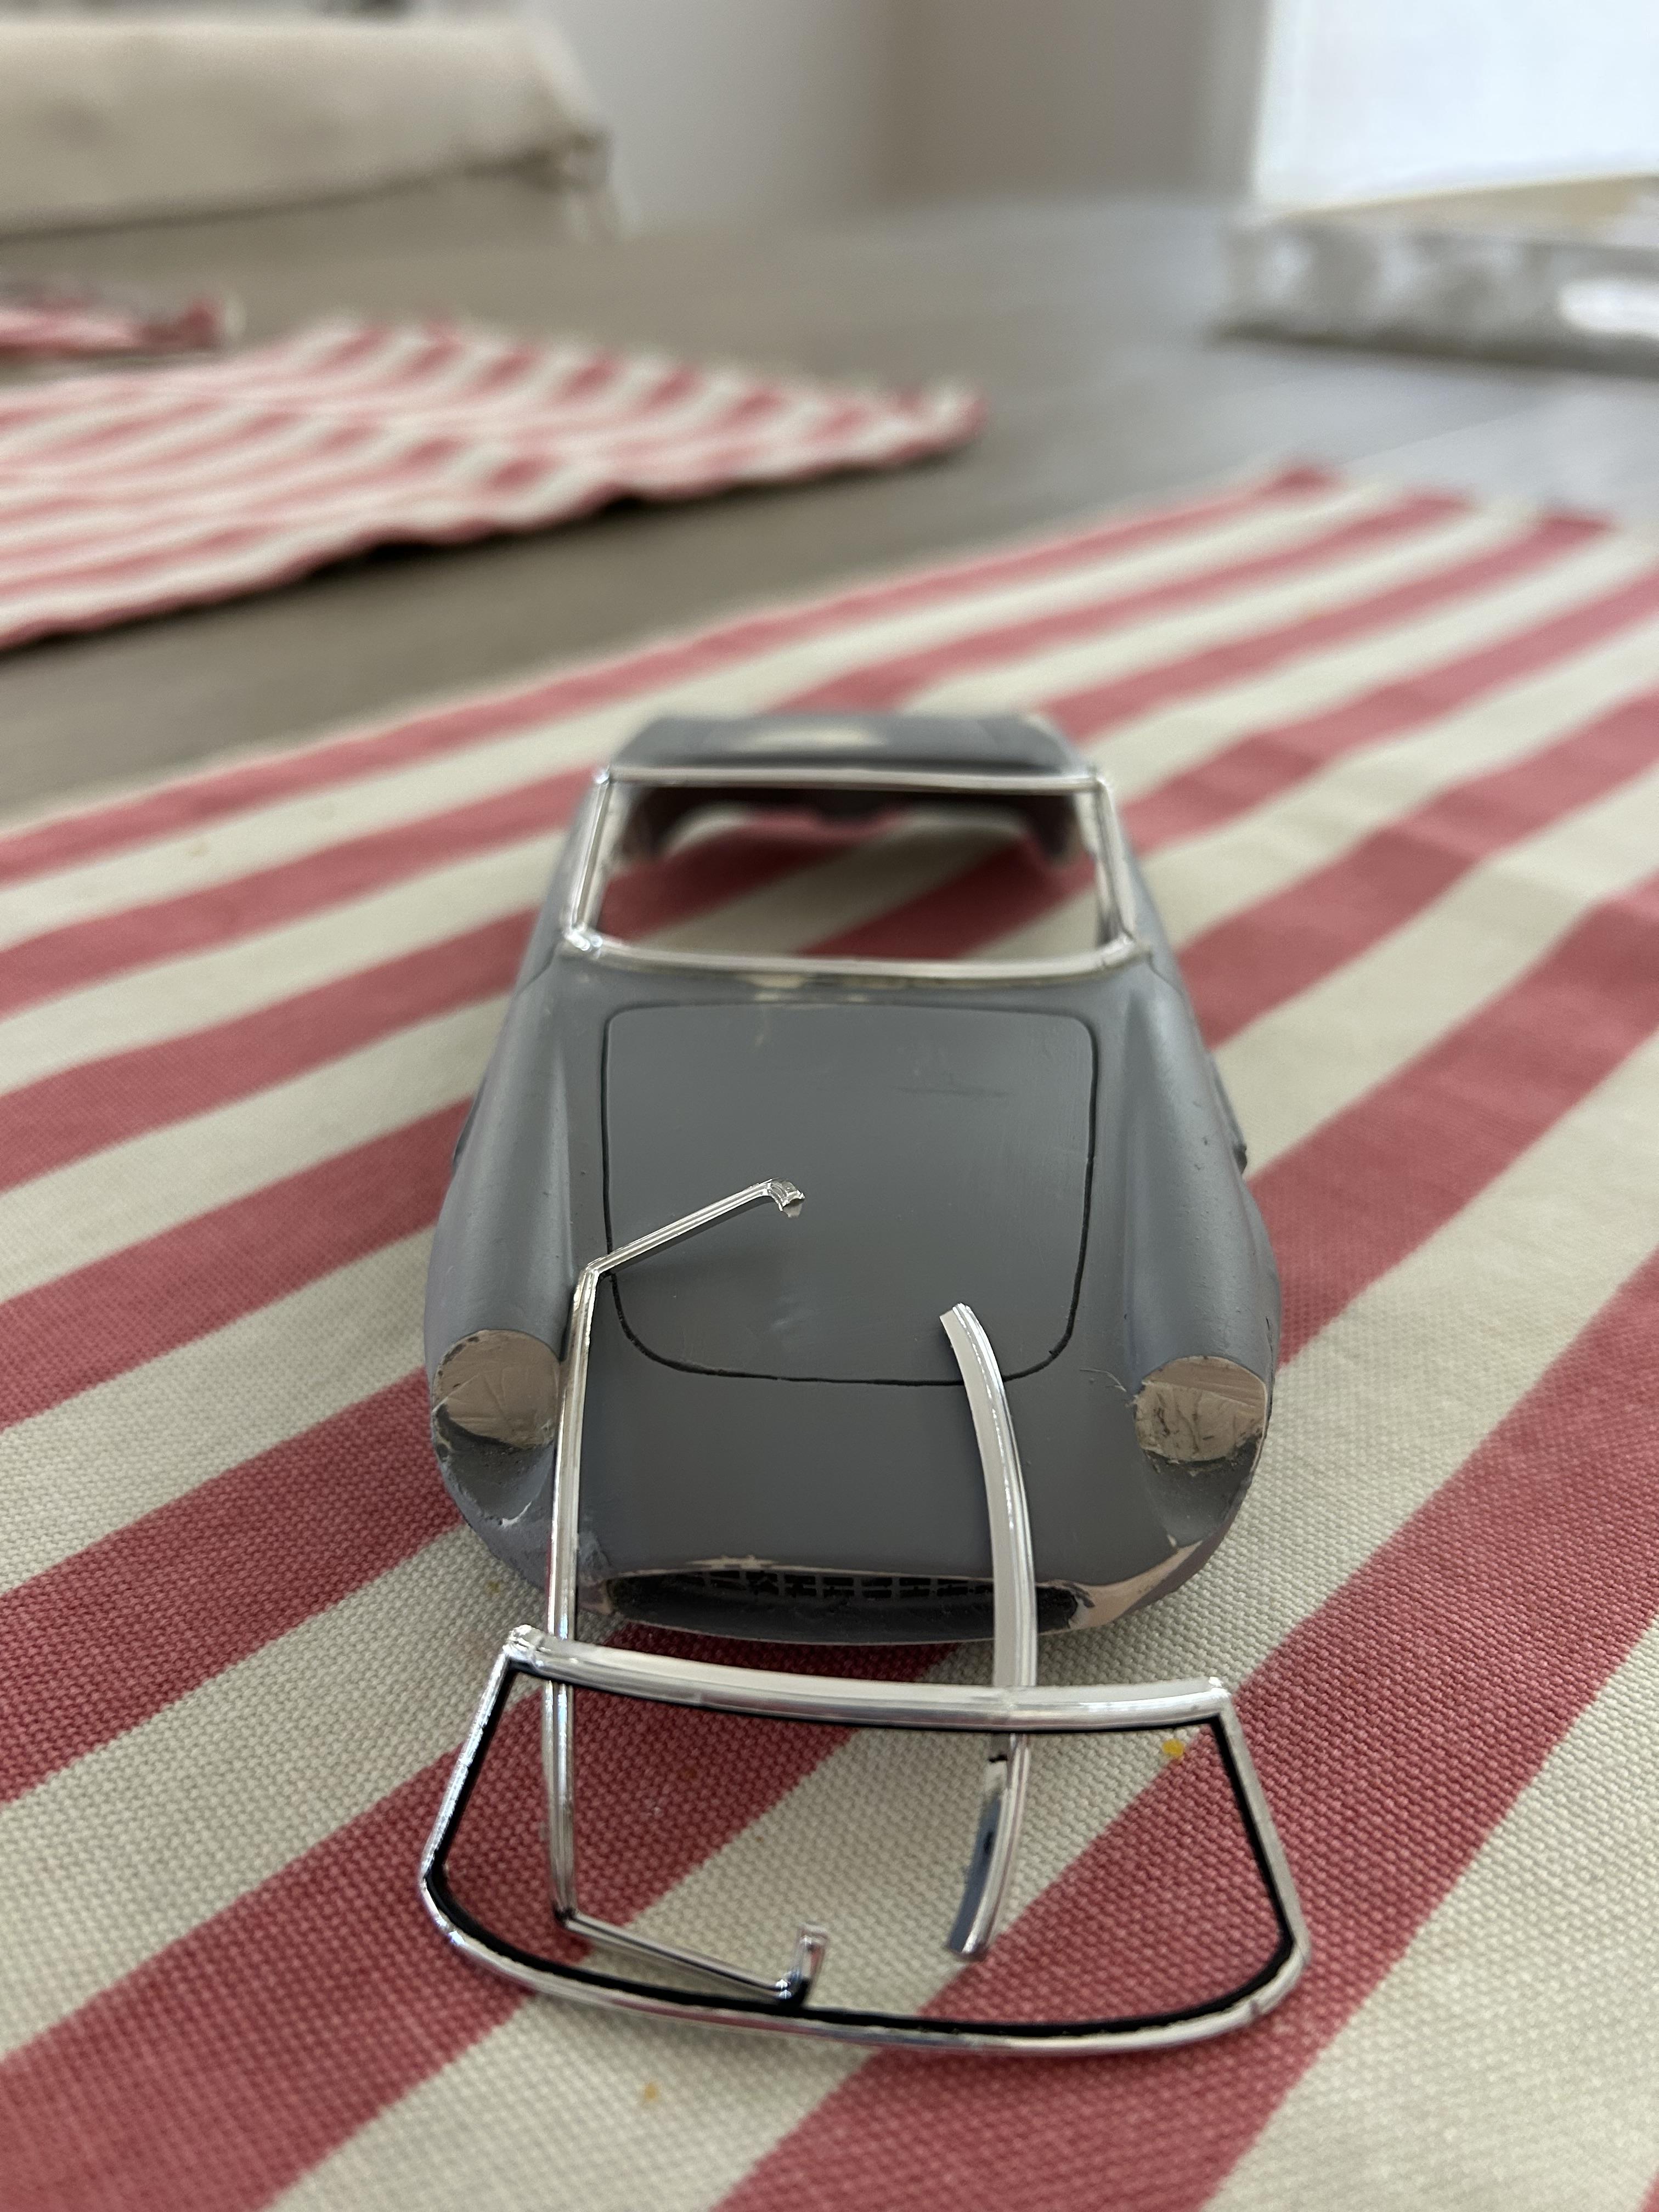
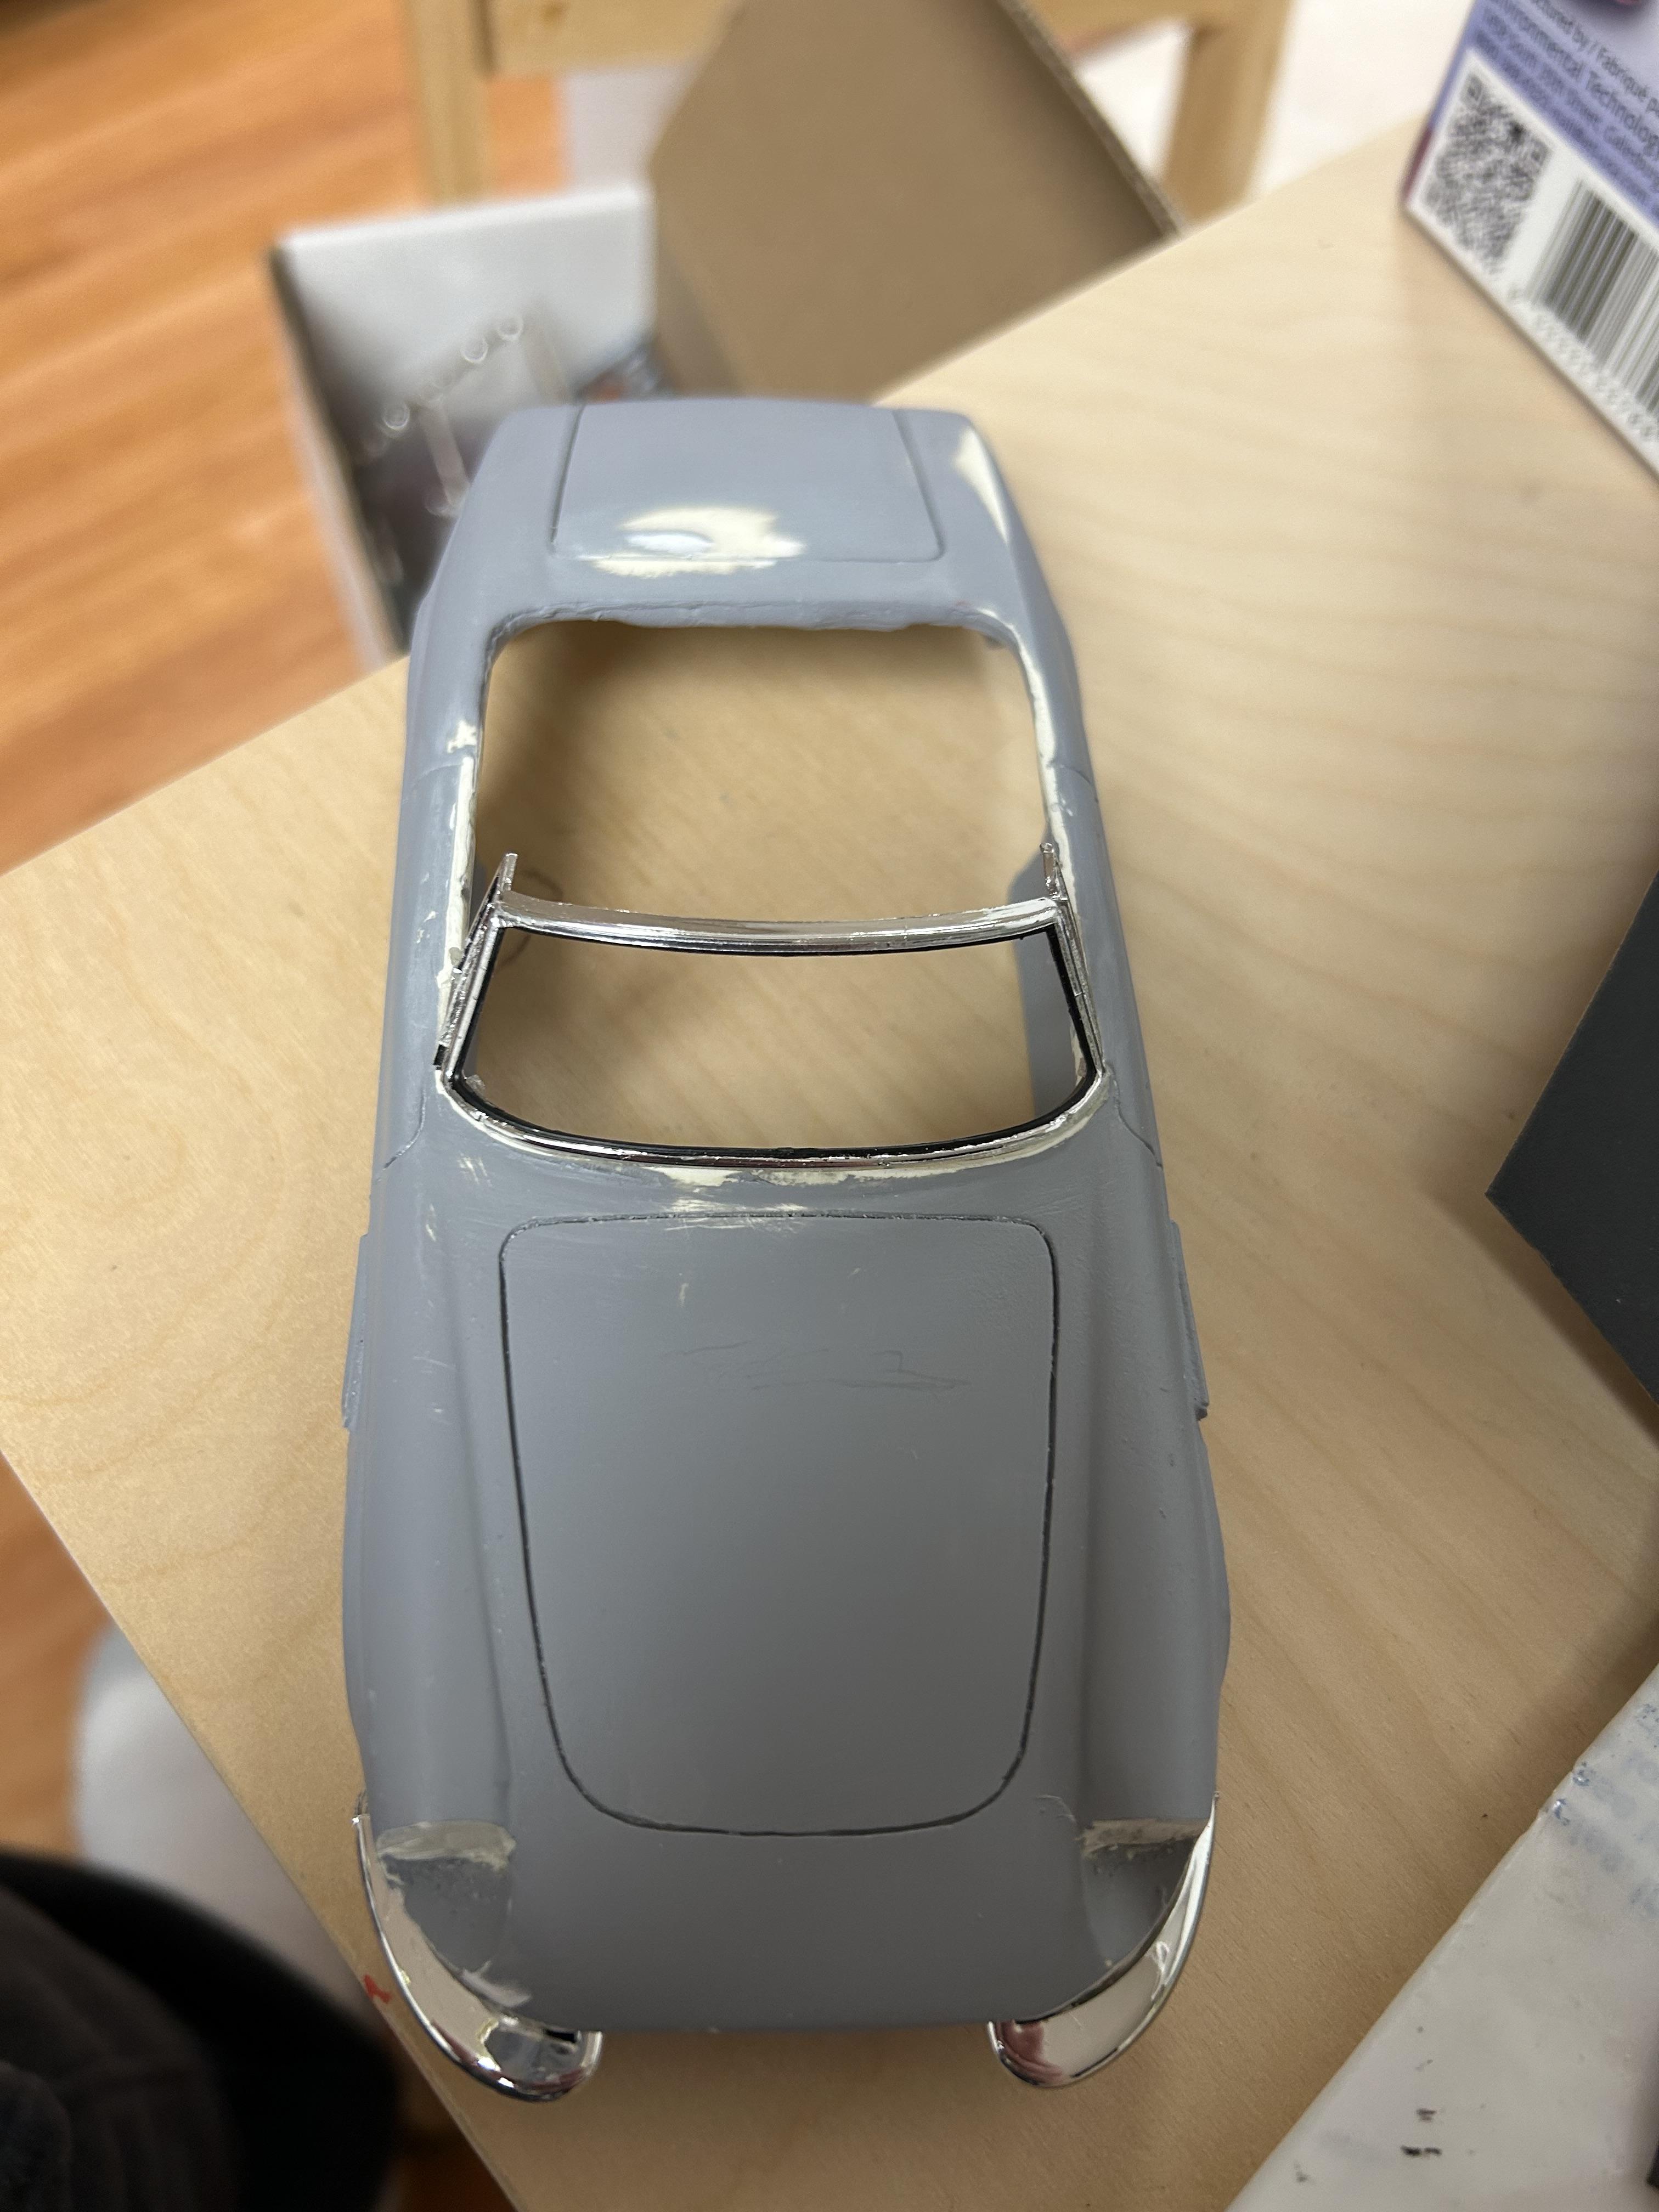
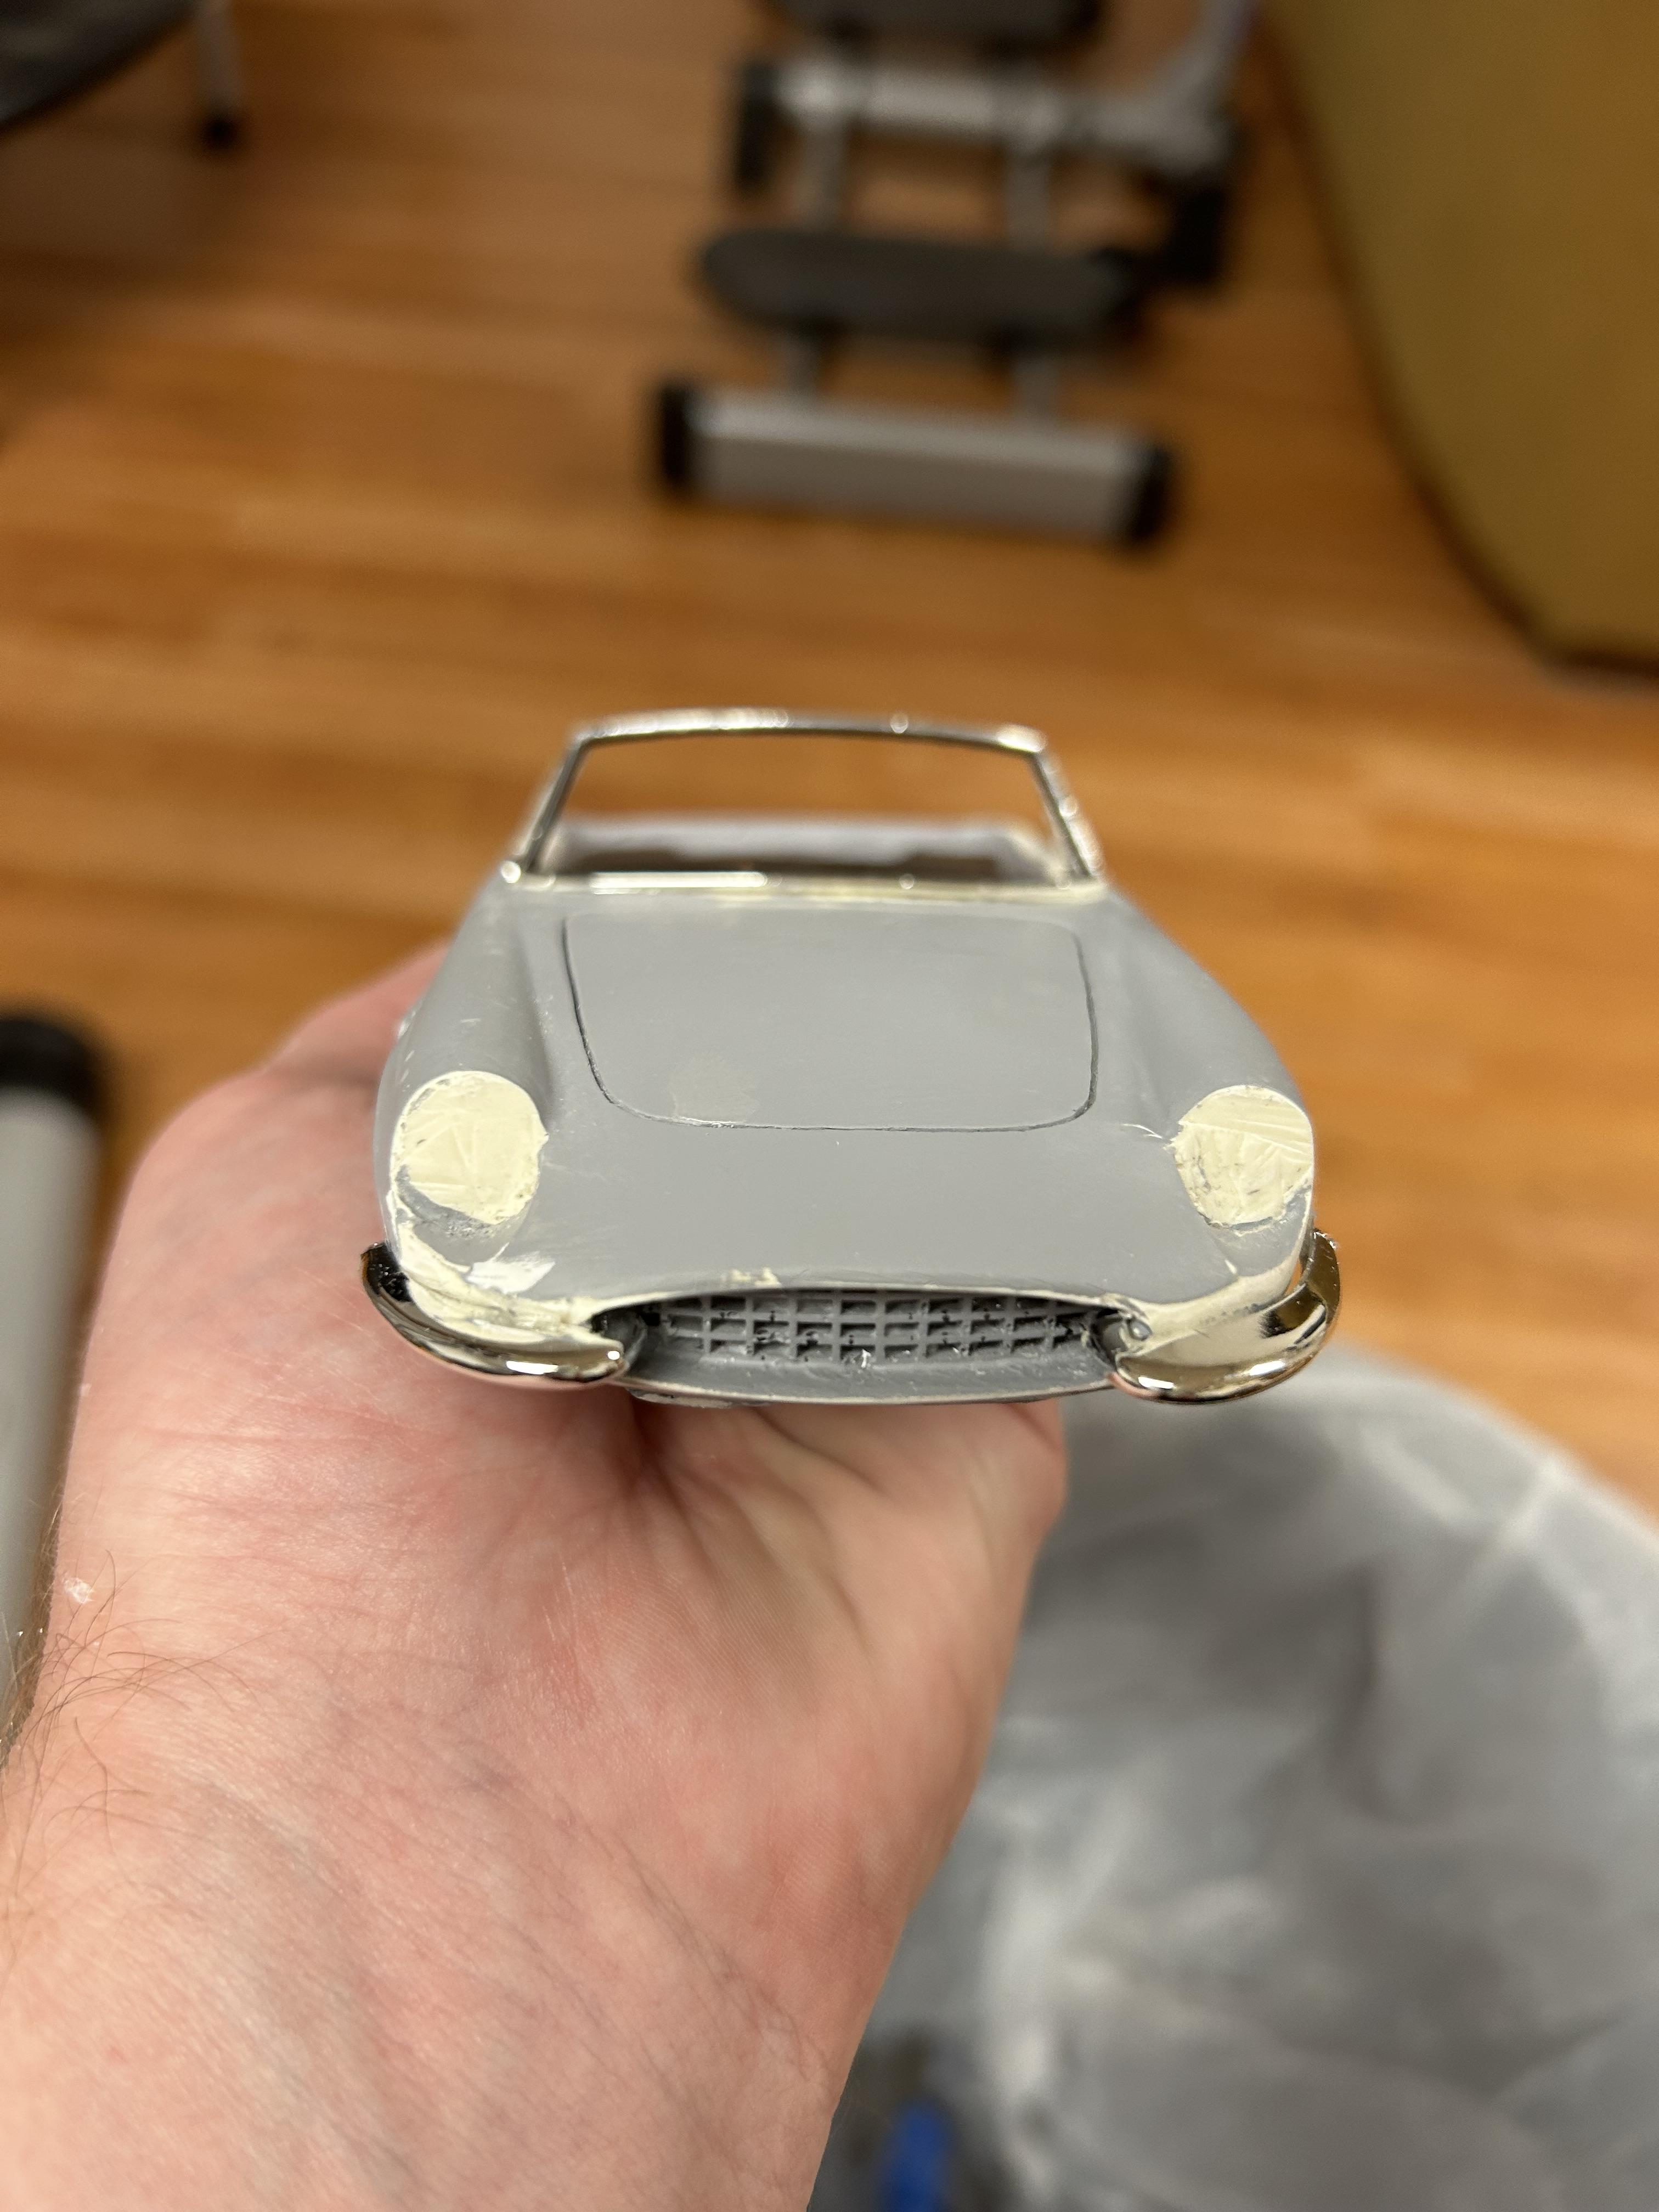
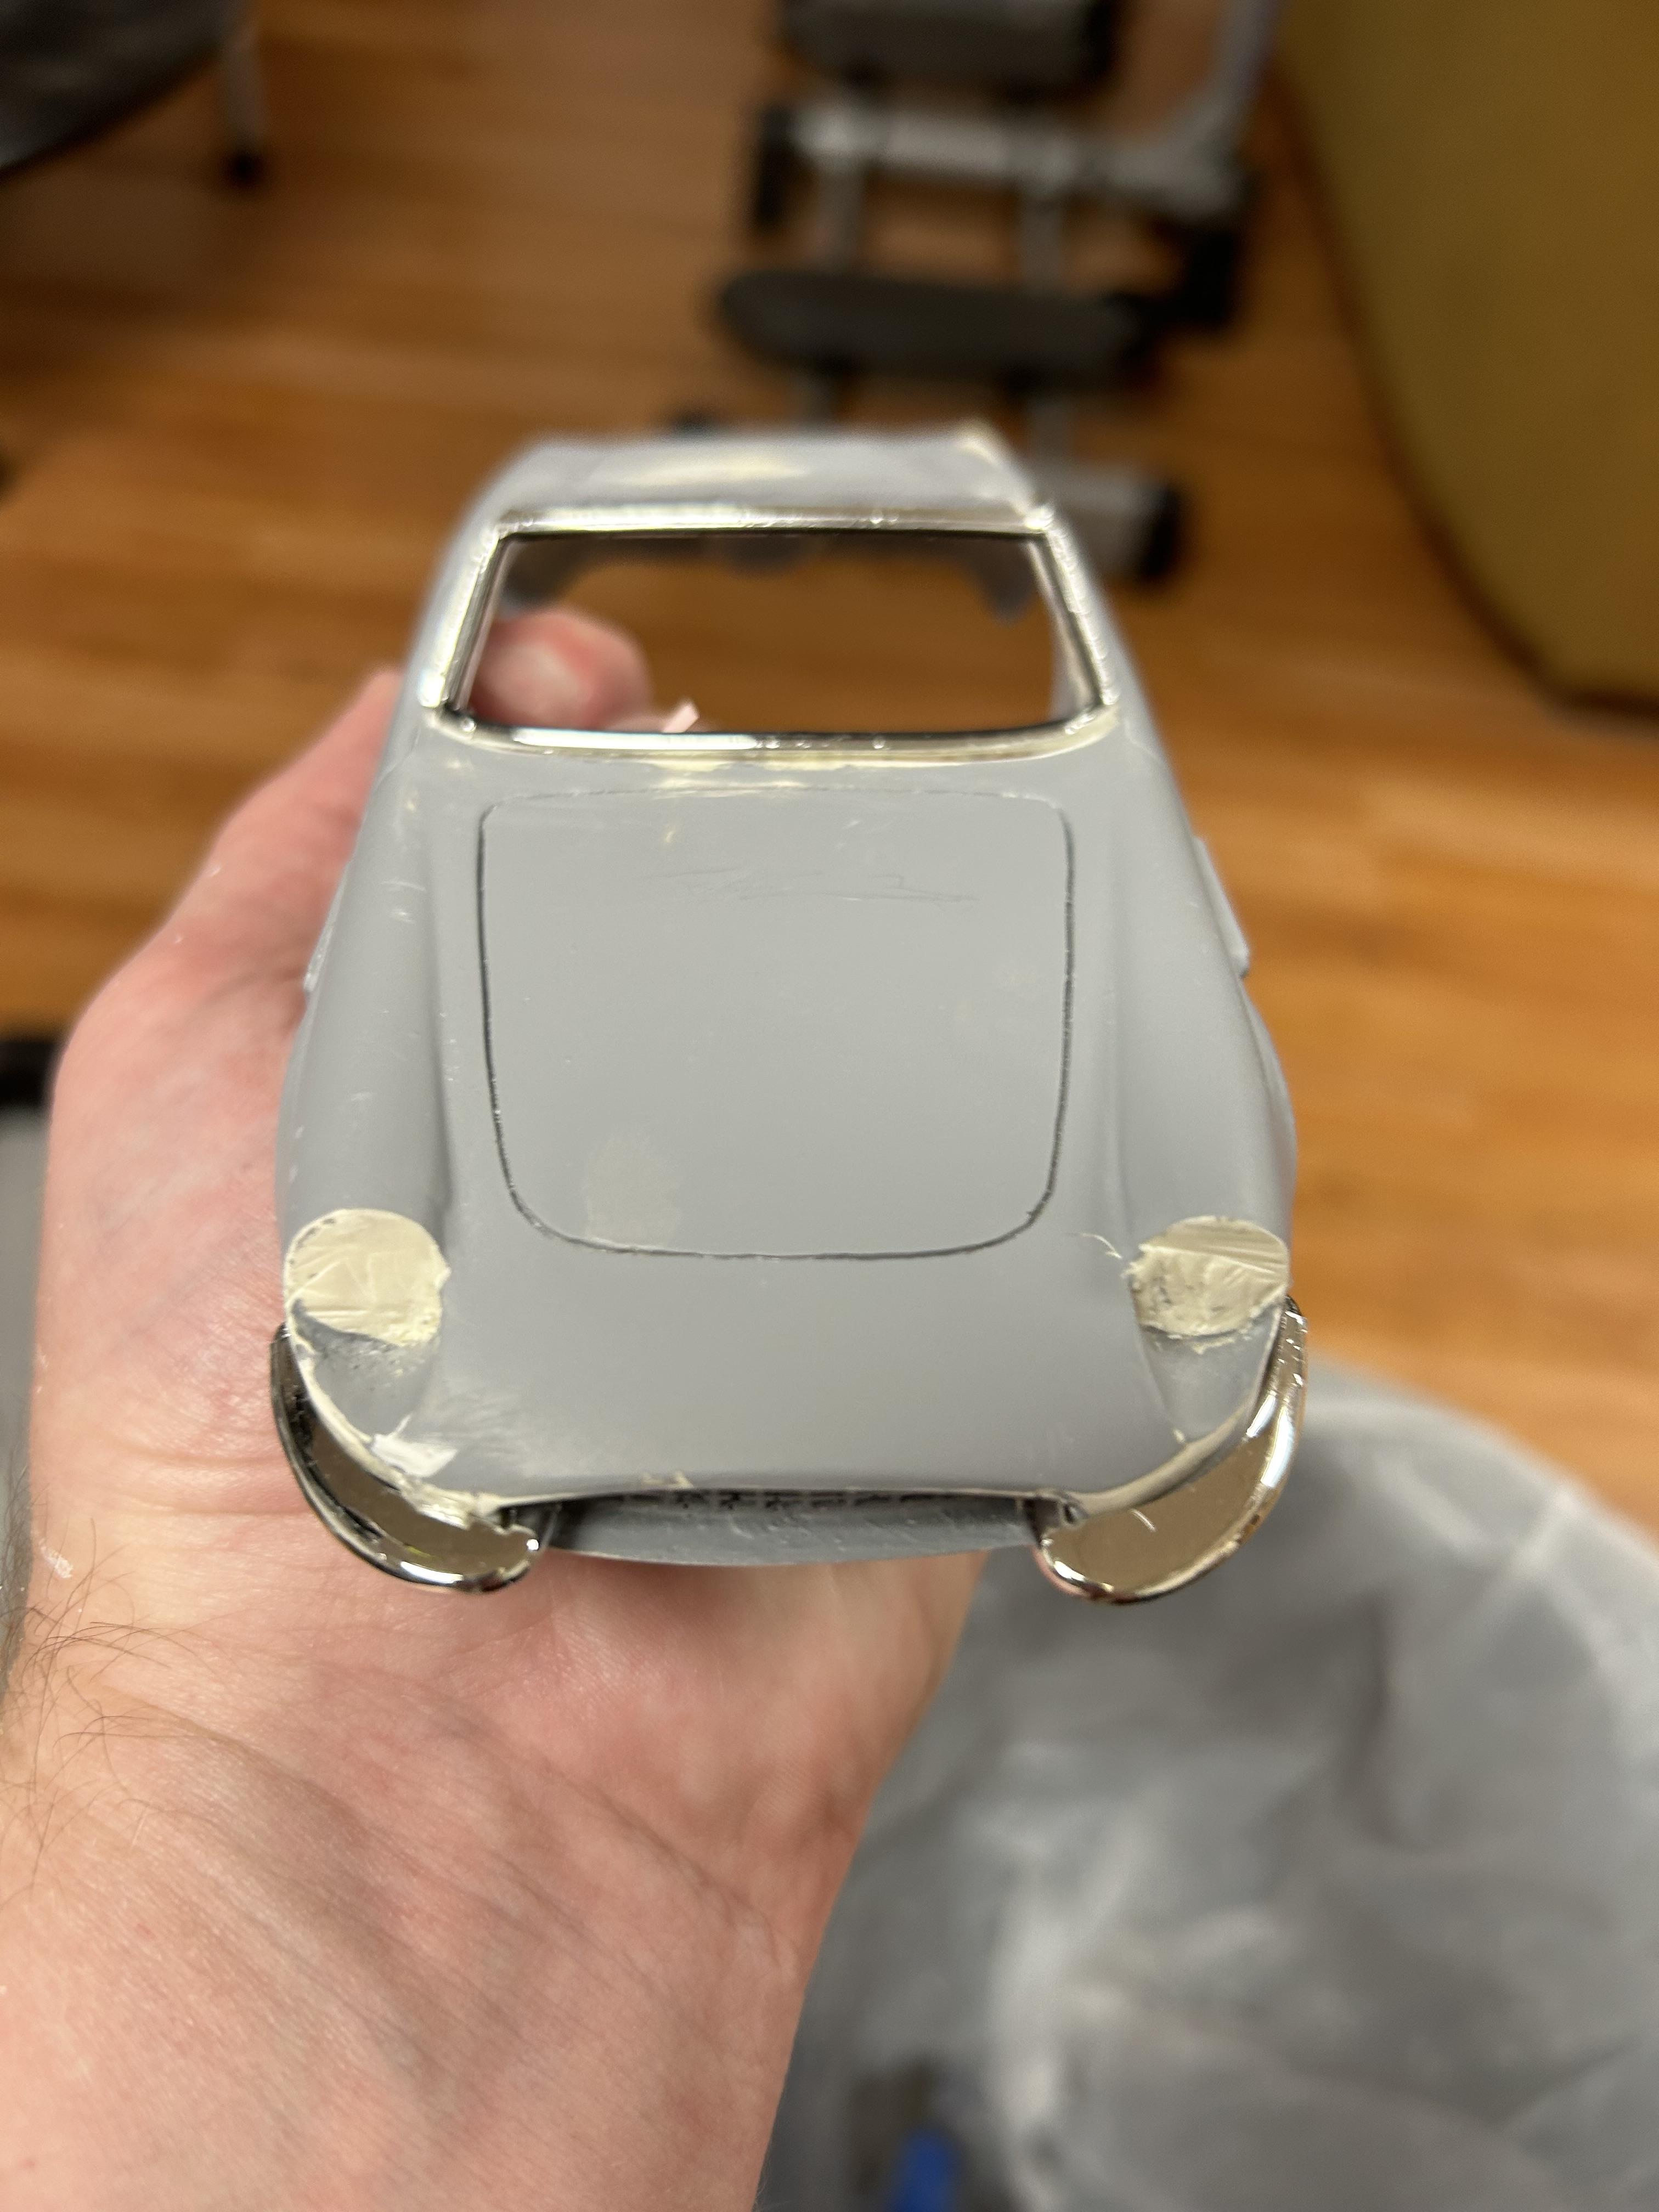
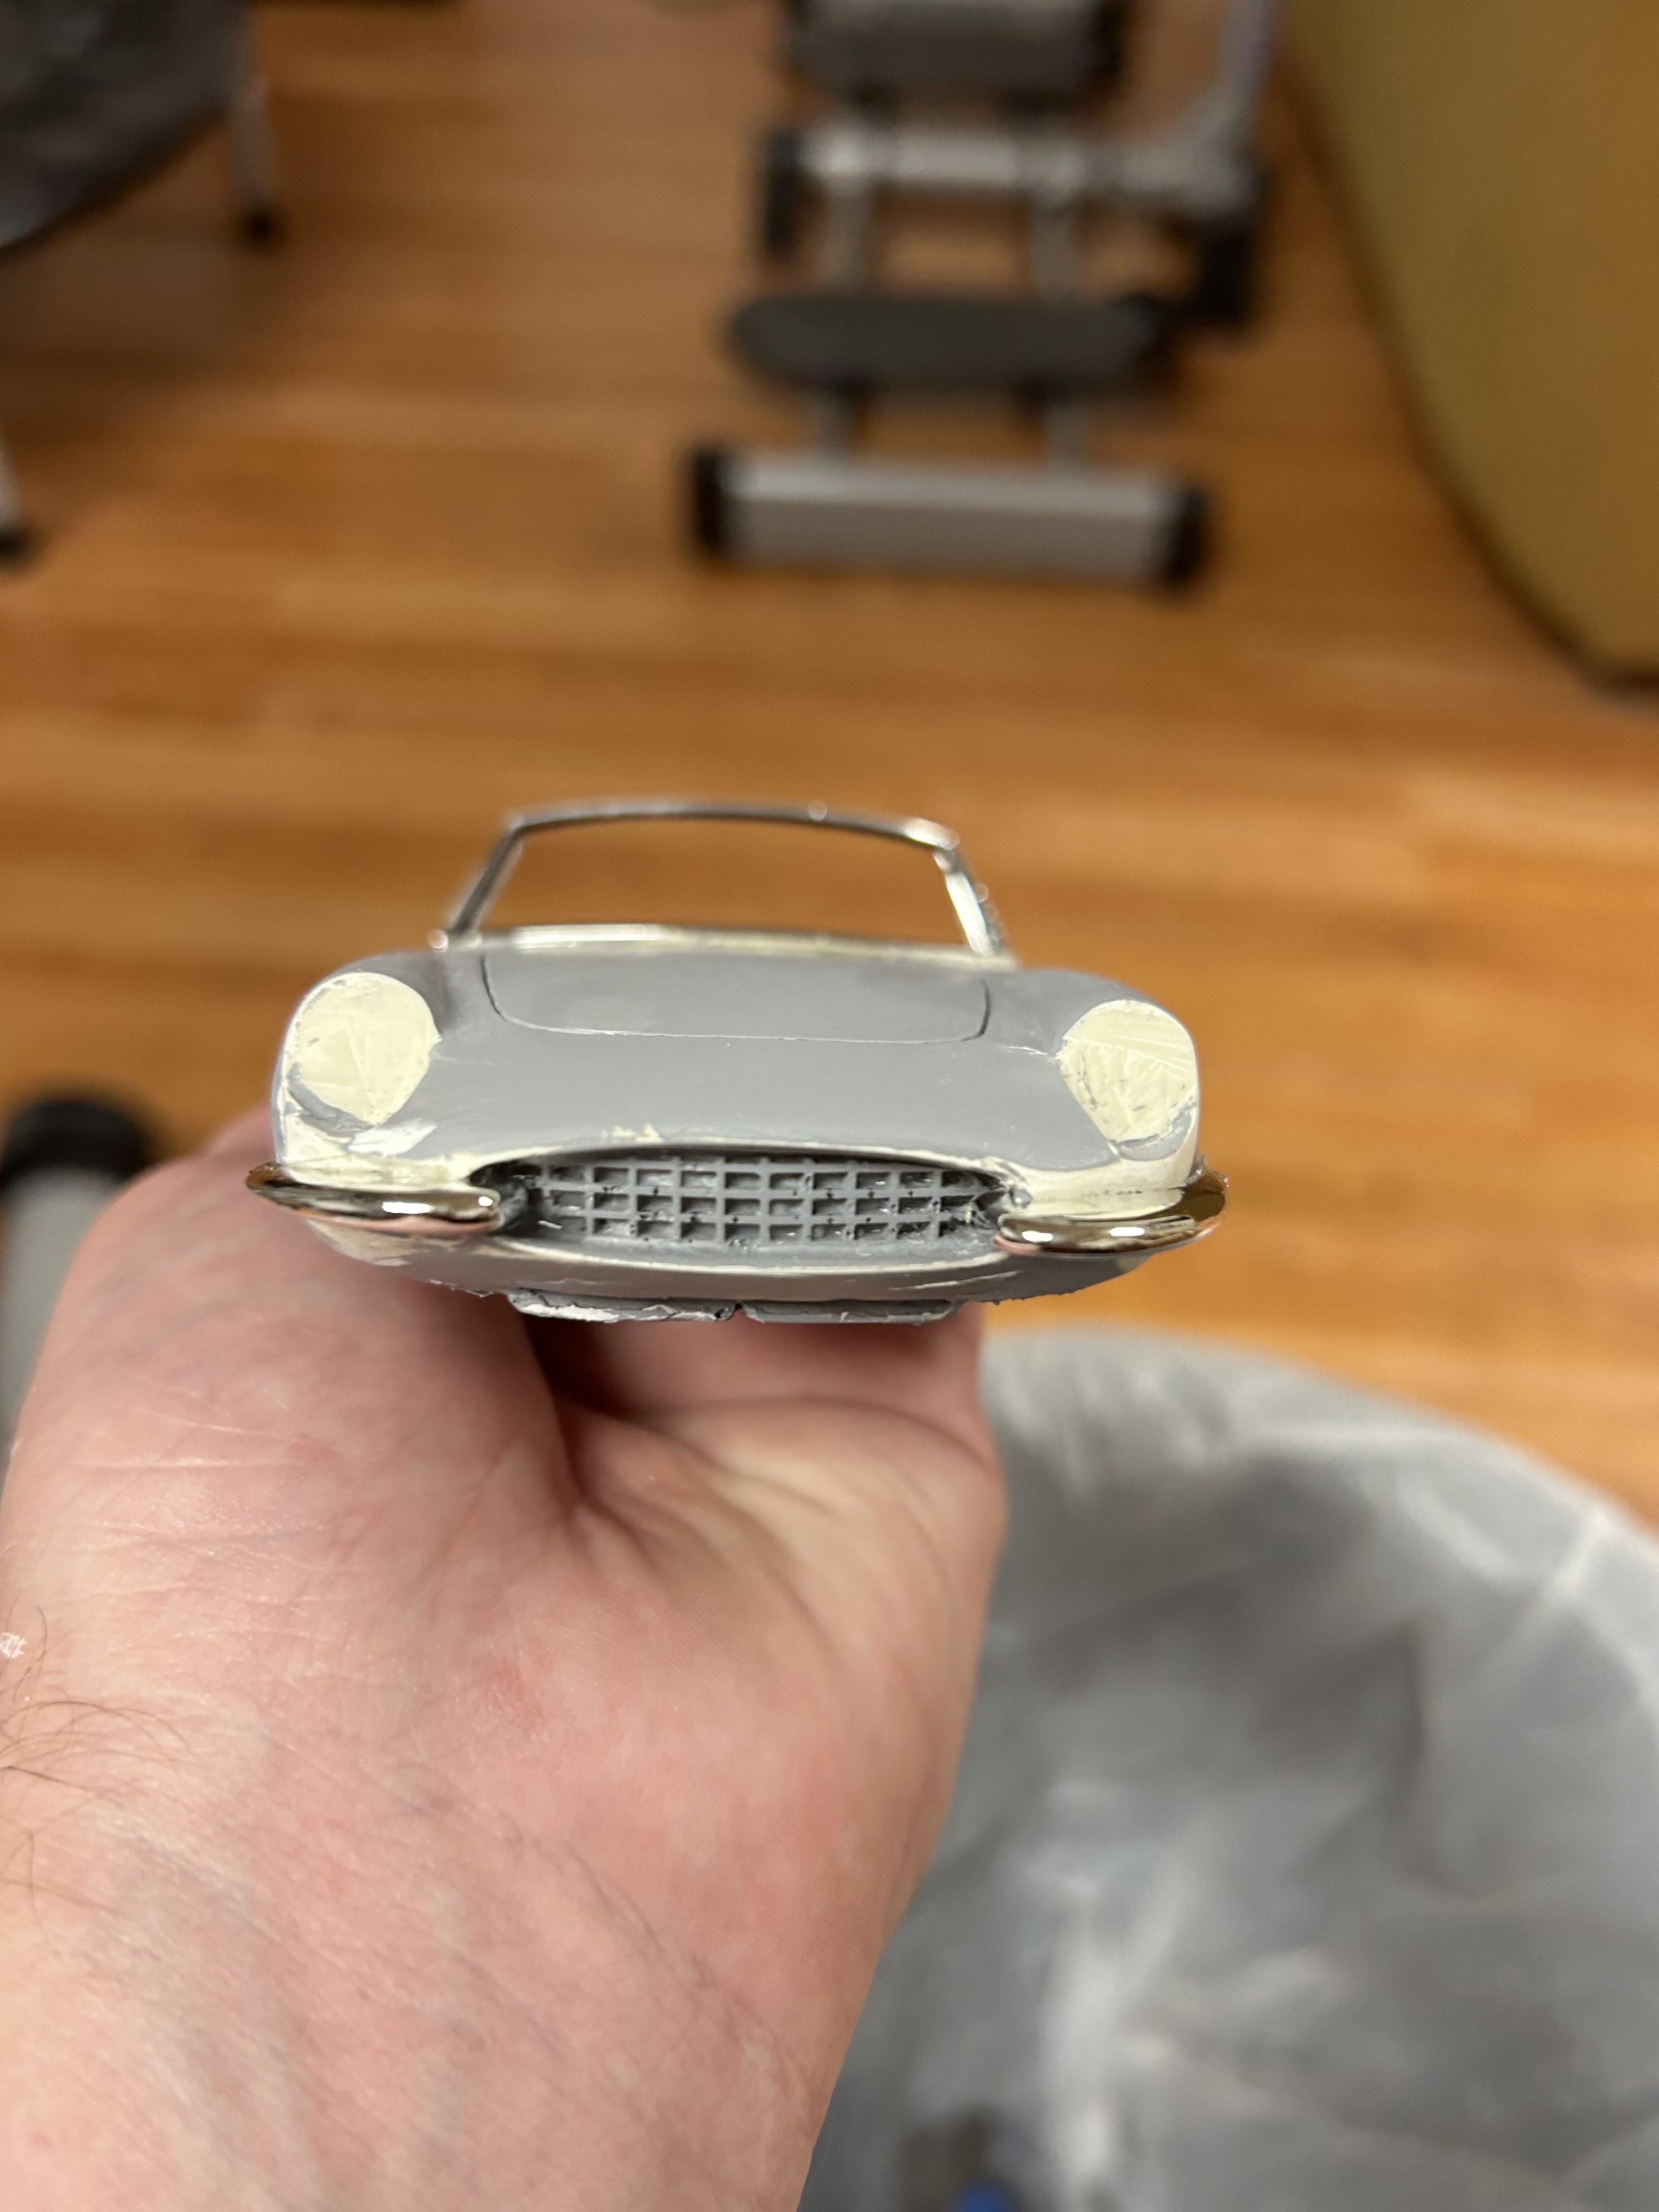
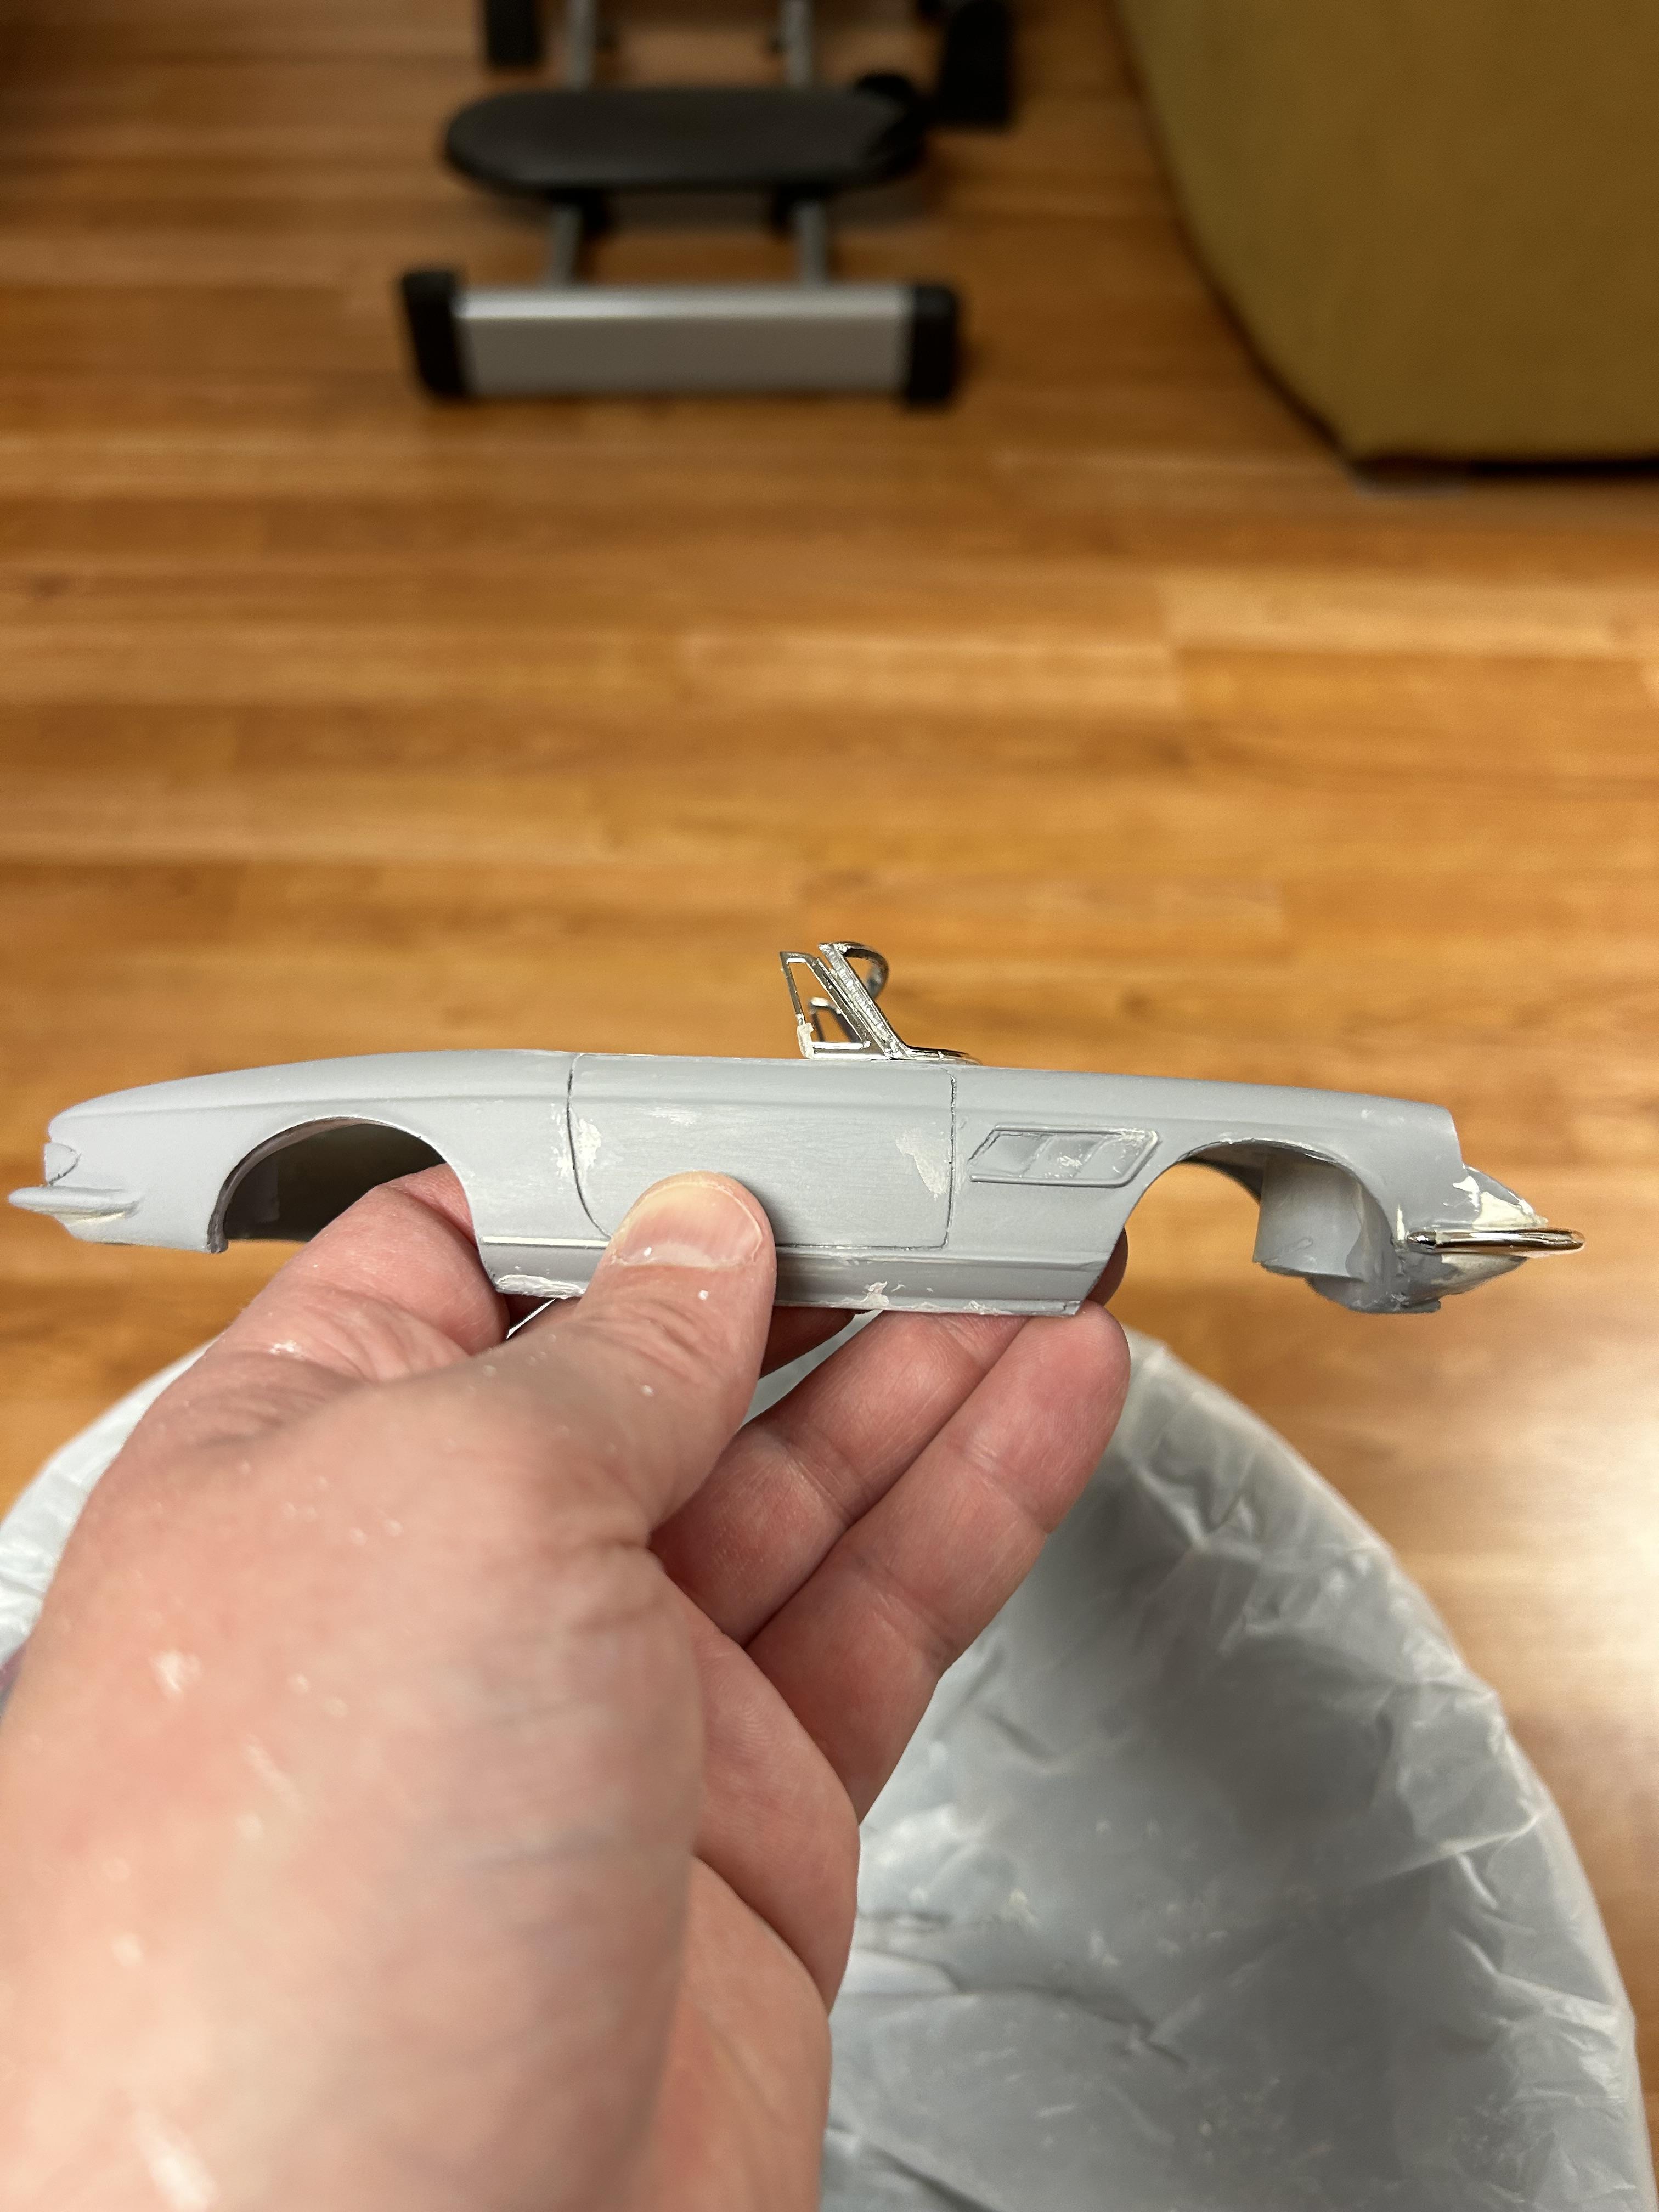
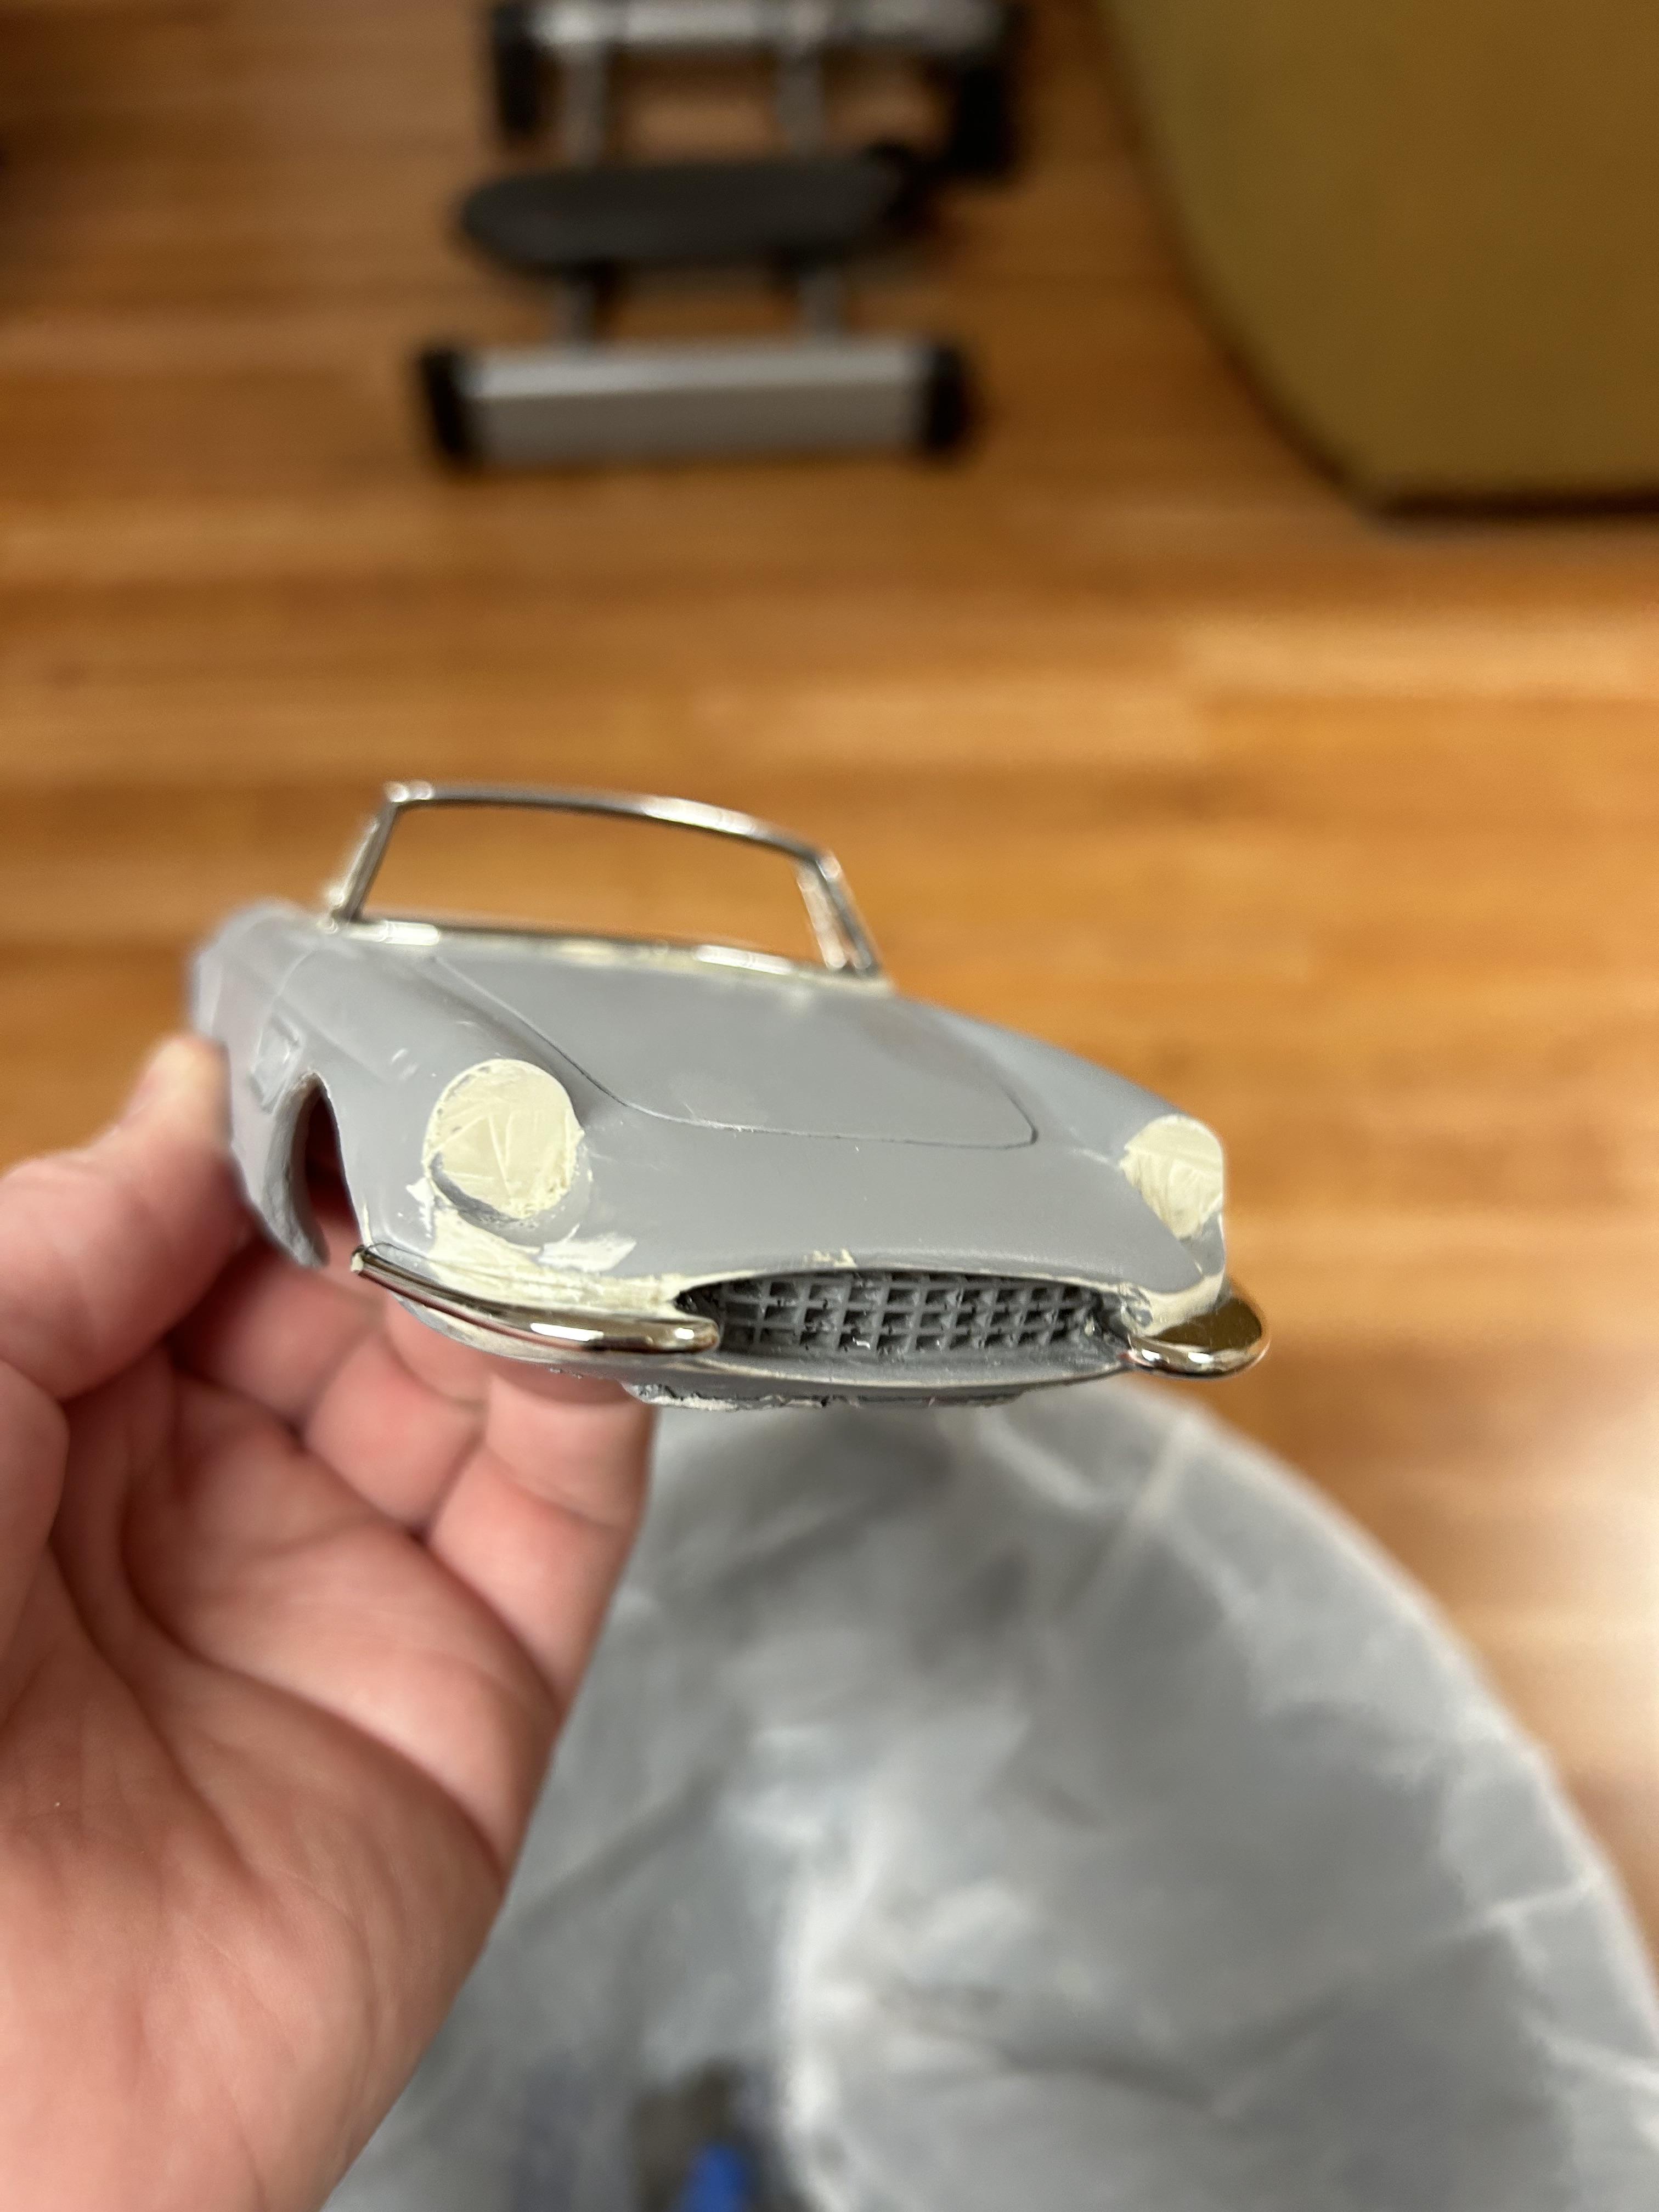
Mocking up a 1/24 Ferrari 330 gts body obtained as a rough copy of what was likely the Airtrax kit. windshield was very distorted so removed. New windshield frame from italeri Ferrari 250 California kit. Side 1/4 windows and front bumpers from italeri Ferrari 275 kit will remove crude rear bumpers and replace with chopped and modified italeri Ferrari 275 rear bumper
-
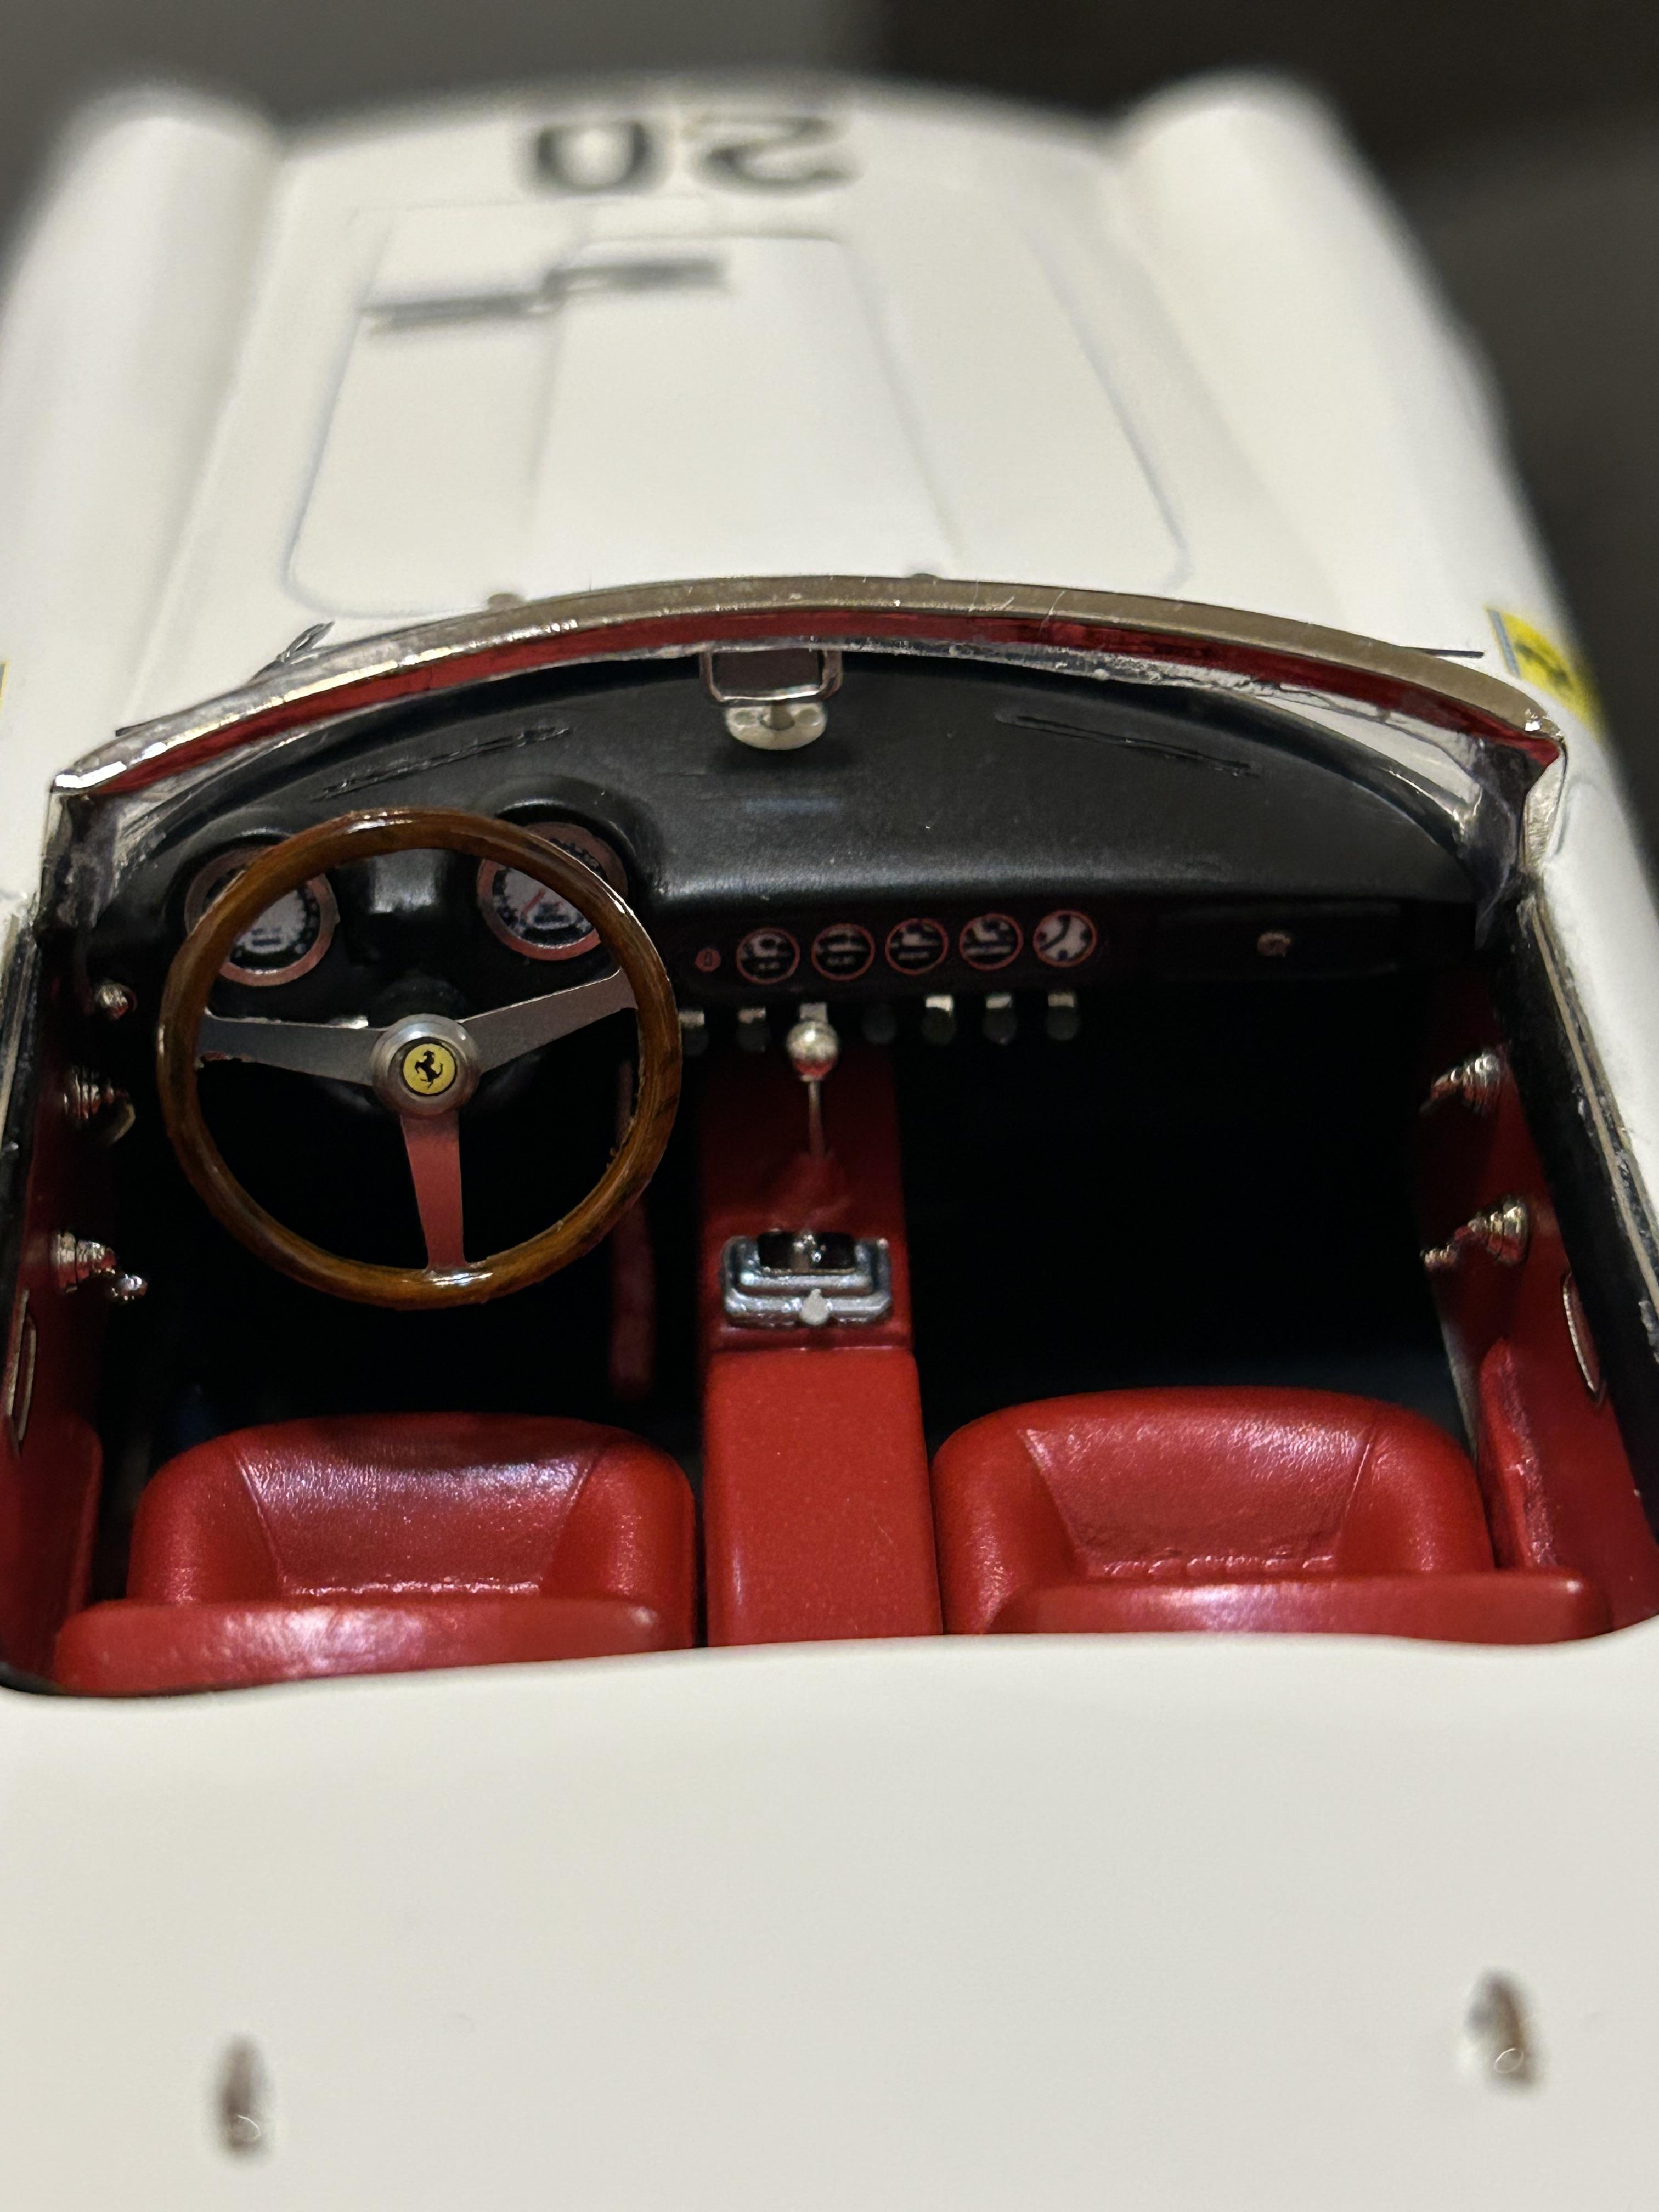
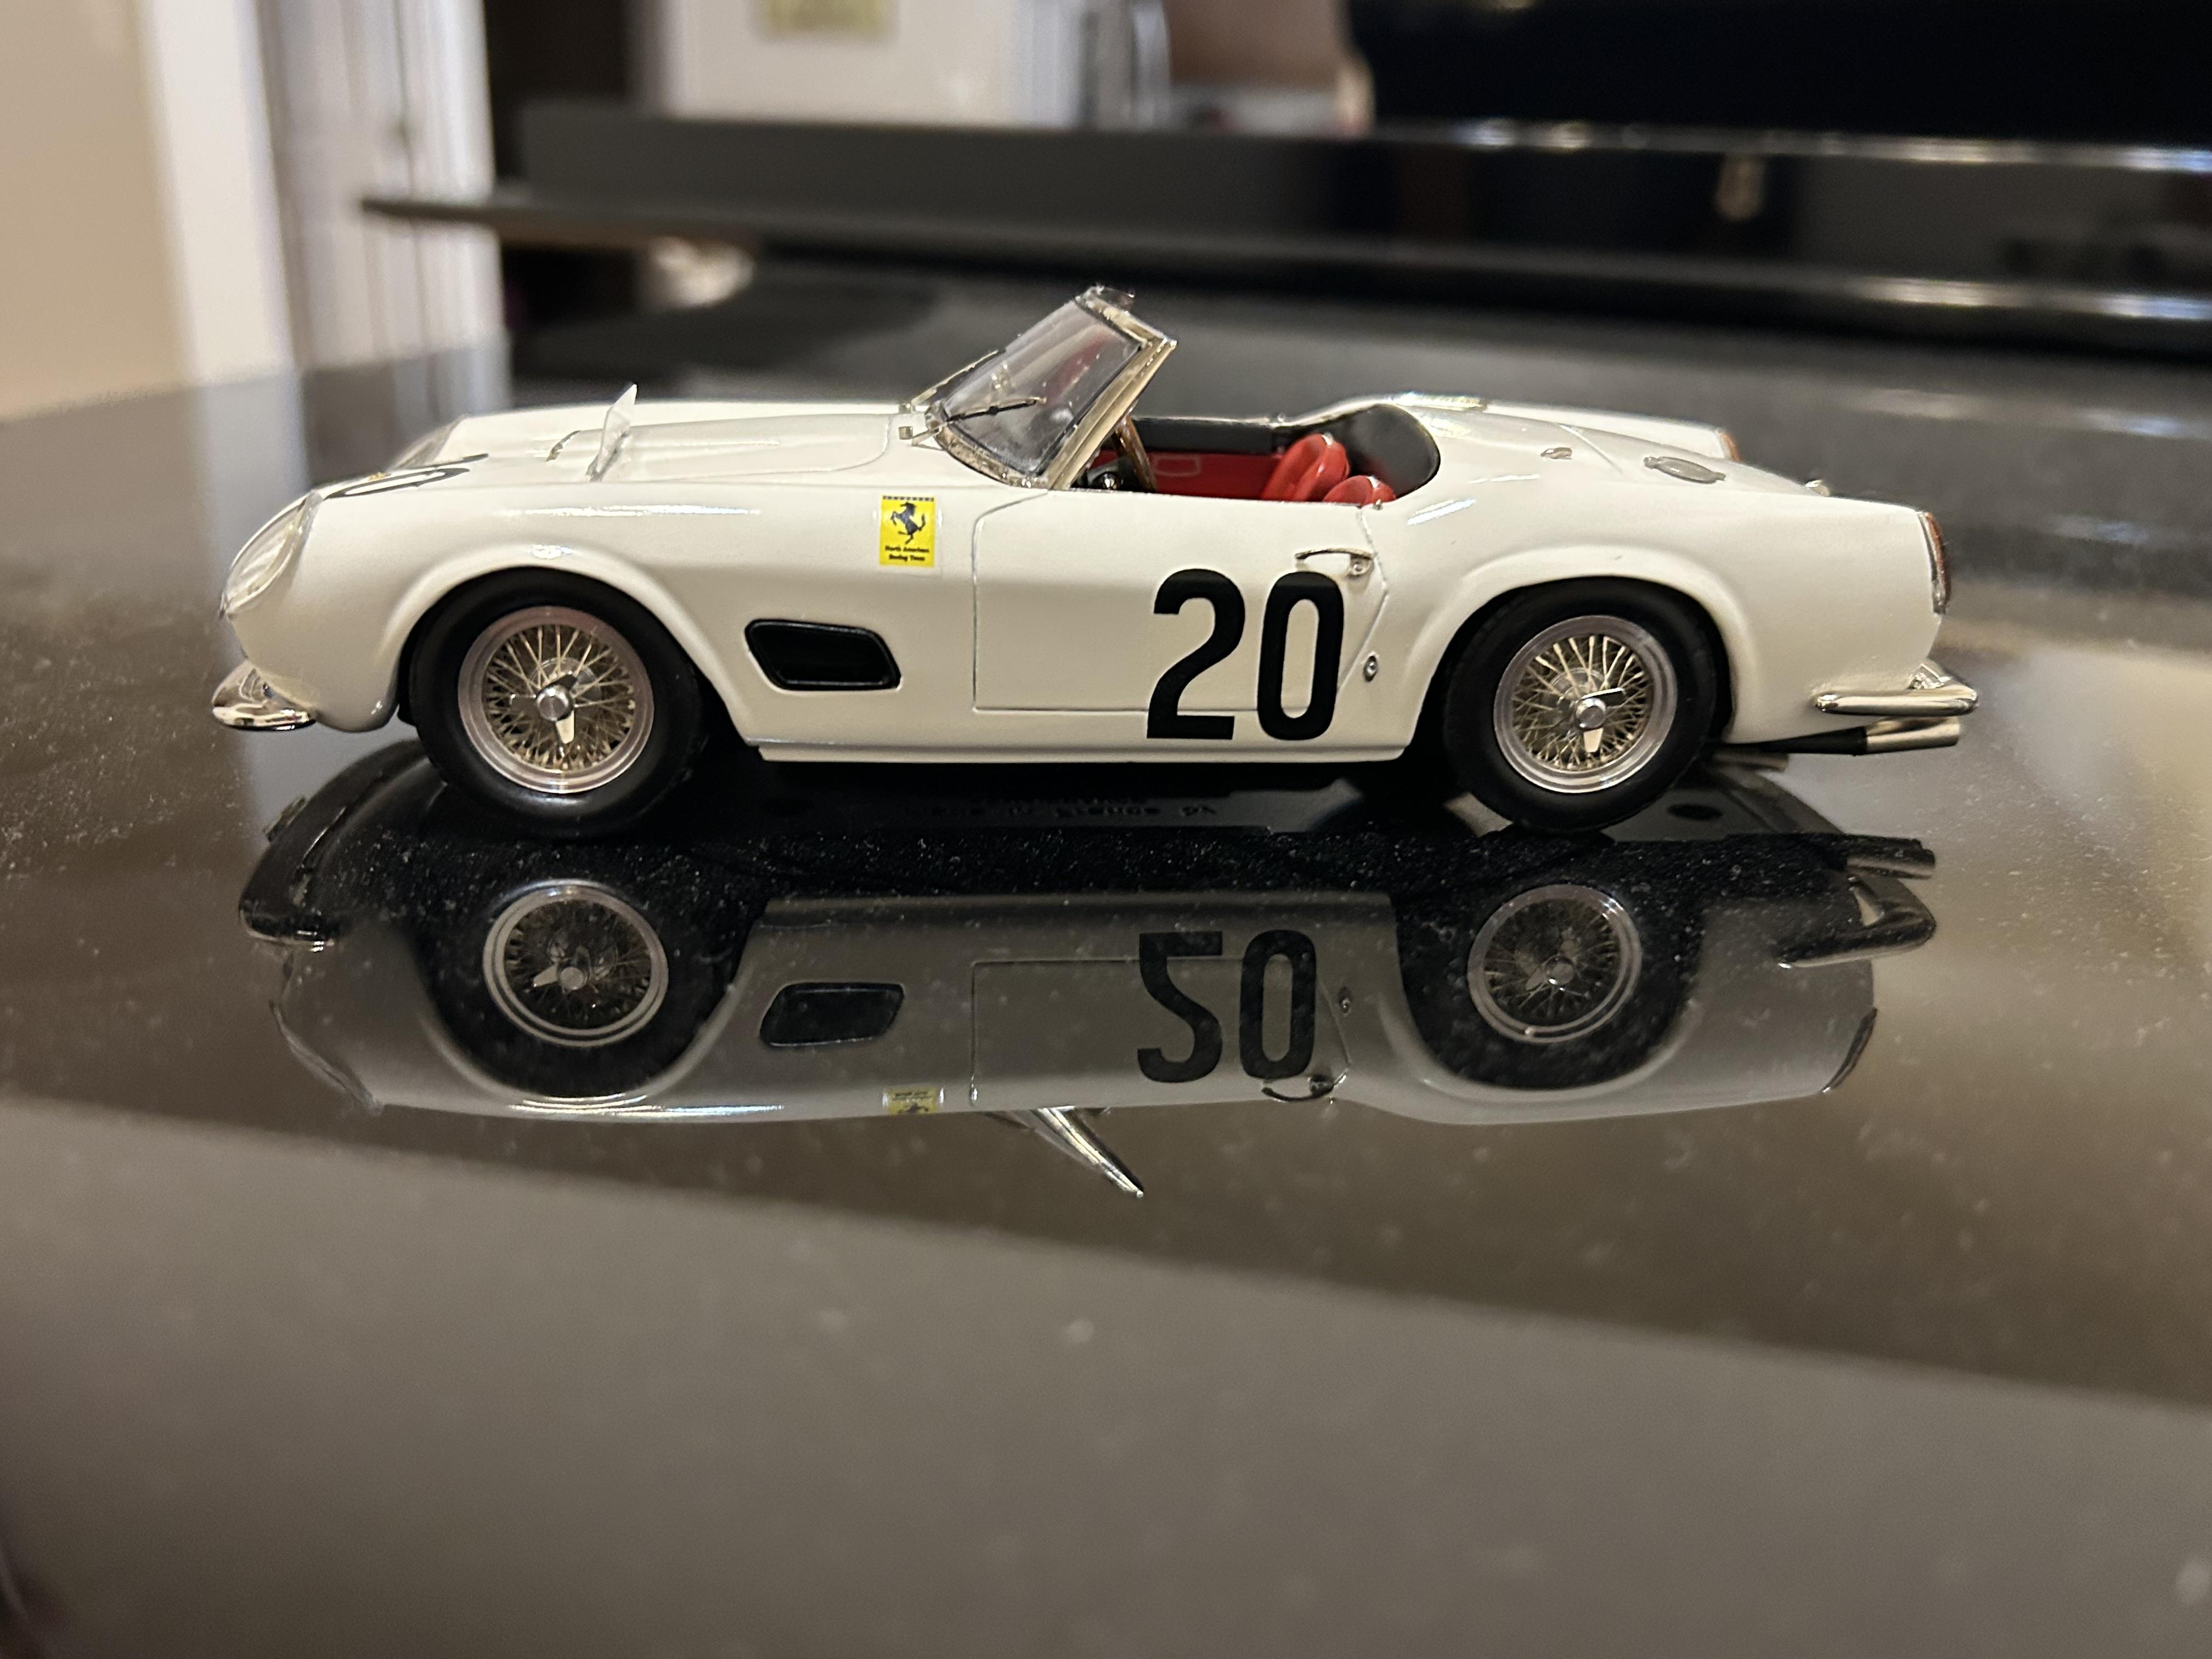
Italeri kit with reshaped fenders, bumpers stripped, bumperettes removed, revell chrom spray paint with spaztix clear bburago windshield with bare metal foil for frame and black art tape for rubber gaskets Door handles from Gunze sangyo Ferrari 250 swb kit replicas and miniatures of maryland interior and engine modifications Renaissance parts: metal headlights, clear headlight covers, resin copy of trunk latch headlight surrounds from Hobby Design Ferrari 250 GTO detail up set rear taillights are side marker lights from italeri Porsche 993 kit Door Mirrors from fujimi Ferrari Daytona reconfigured with insect pin and painted with revell chrom spray paint hood windscreen metal piece from tecnomodel Ferrari 250 swb photoetch sheet borrani wheels from Jack Modelling with fujimi spinners Gas cap from MFH windshield wipers from Fujimi Porsche 356 other scratch made or resin cast copies of other engine bits guitar wire fuel line color: airbrushed mix of tamiya white and racing white interior red is rust-oleum matte red lacquer
- 14 replies
-
- 12
-

-
Photoetch surrounds in place
-
I was lucky a few years ago to come across on eBay someone getting rid of several of the photoetch sheets for the 1/24 tecnomodel Ferrari 250 swb kits which had the metal bug guard as one of the parts. Bought them with this car in mind. for the Renaissance version one of their body shells come with the part molded…
-
More progress still need to change out headlight covers. Chrome drying on front bumper renaissance kit also in progress
-
BNA model world sometimes has the fujimi Ferrari 250 gto detail set from hobby design…
-
Hi see response below….
-
I use the photoetch surrounds meant for the fujimi Ferrari 250 gto (aftermarket set can find on eBay or sometimes directly from one of the Australian hobby shop websites) the vac formed clear parts are copies I made from the Renaissance kit. (Made polymer clay molds and then vacuum formed myself). More recently renaissance was kind enough to let me order extra vacuum formed clear parts to save me from wasting a lot of clear plastic making my own…
-
Almost finished need to add front bumper which is being resprayed. Door mirrors, wipers, and will change out headlight covers for vacuum form and photoetch surrounds
-
Thank you 50:50 mix of tamiya laquer white and racing white airbrushed
-
Made correct mirrors out of fujimi Ferrari Daytona mirrors using 00 insect pins
-
Some more progress need to add shifter for interior and finish exterior details may change out headlight covers to vacuum formed covers with photoetch surrounds
-
Mock up of body a couple of Renaissance bodies in progress below