-
Posts
75 -
Joined
-
Last visited
Previous Fields
-
Are You Human?
yes
-
Scale I Build
1/24
Profile Information
-
Full Name
David Thompson
Recent Profile Visitors
The recent visitors block is disabled and is not being shown to other users.
Davoski's Achievements

MCM Regular (3/6)
-
Thanks for the comments. 🙂 There was no progress on the dust effect as the finished diorama was presented to the the subject for his private display, but thanks for the suggestion, Paul.
-
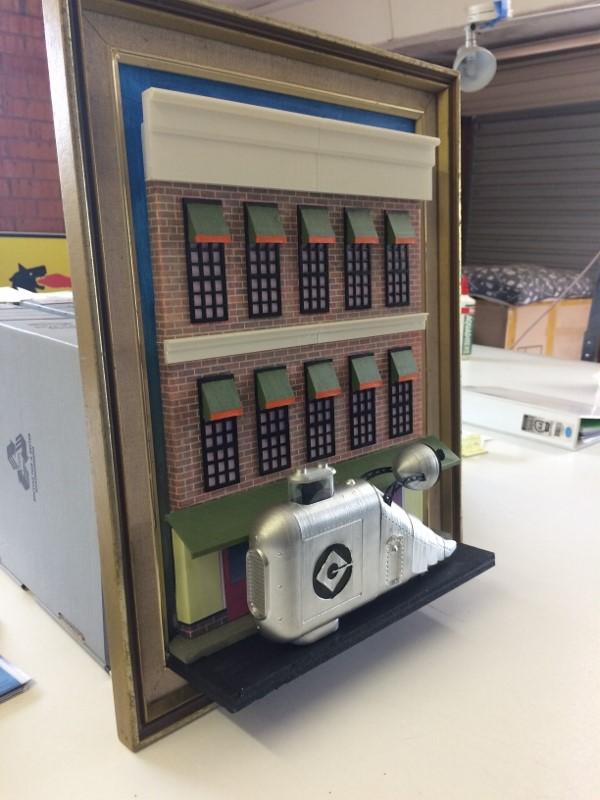
Tiking, this is fantastic as usual, very realistic! You and Spex84 are right that picture frames have great potential for dioramas. I have been buying truly awful frames from second-hand shops for around $4.00 (sometimes the worst ones are the best ones). Here is one of my ideas:
-
Hi Yordan, this is coming along fantastically well, good work mate! There is another product that you might find useful called Crackle Medium. Mine is Resene brand, the place that you buy your gesso from might have it. I have used it on the walls here: And here are some test samples to show what can be done:
-
Really nice work, mate! I especially like the creeper on the fence and the leaves on the bonnet - nice touches!
- 41 replies
-
- chevrolet
- chevy 3100
-
(and 1 more)
Tagged with:
-
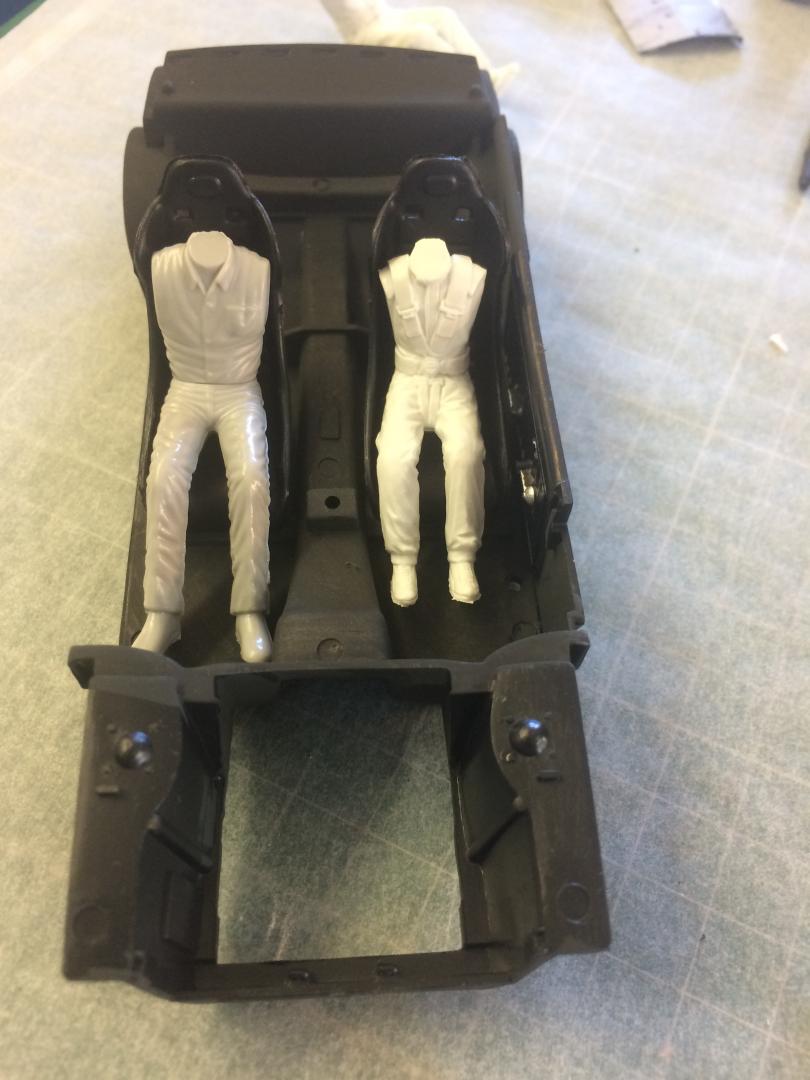
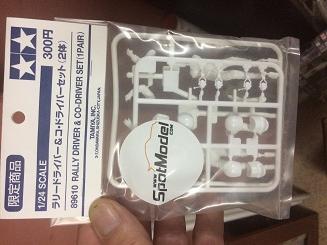
This looks like a great kit and I am very much enjoying the WIP, keep up the good work. One thing with those Tamiya driver figures: I tried them recently and found them to be way out of scale, closer to 1/30 than 1/24. The figure on the right in this pic is the Tamiya one and the other is a Fujimi. I ended up using the Fujimi's
-
Beautiful work, Eric, very impressive!
-
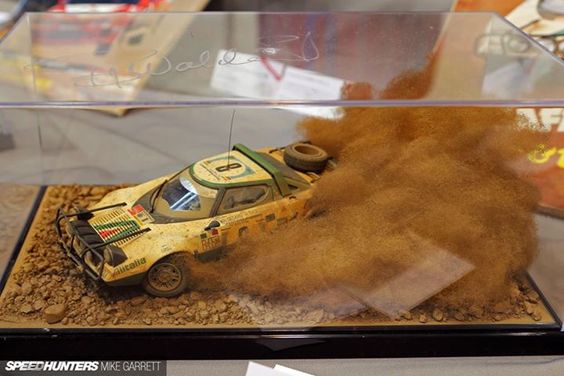
Yeah, I was keen to do the dust but could not work it out. I tried different types of cotton wool and could possibly have gotten the shapes right but not the colour. I tried airbrushing but that only coloured the surface and not the interior of the cloud. I thought about dying the cotton but I reckon it would just turn into a felty mess. Maybe I will try some sort of synthetic wool sometime. After much searching these are the only examples I could find that looked realistic. Three in the whole internet? So if anyone has the answer I would love to know what it is.
-
And so to the finished article. I hope you like it. There is also a more detailed Work In Progress Post on my FaceBook page here Thanks for looking, let me know what you think Davoski
-
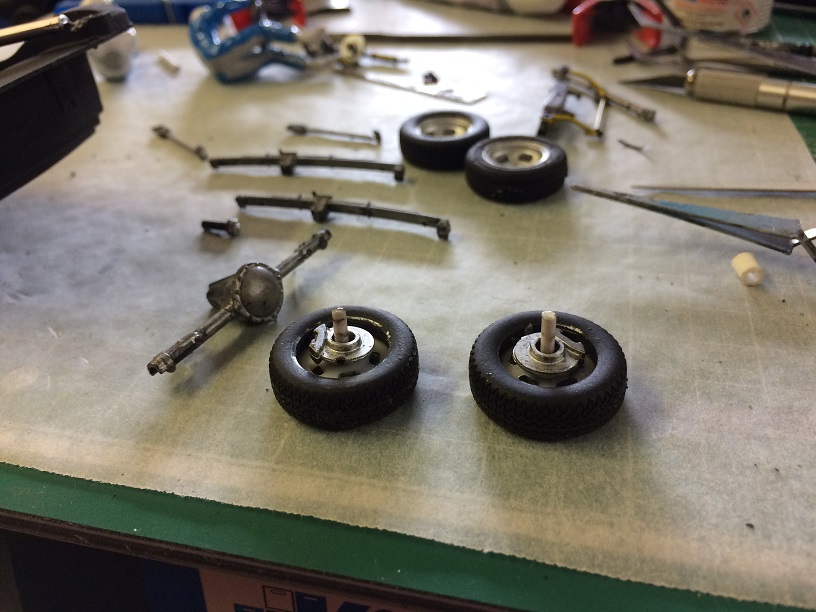
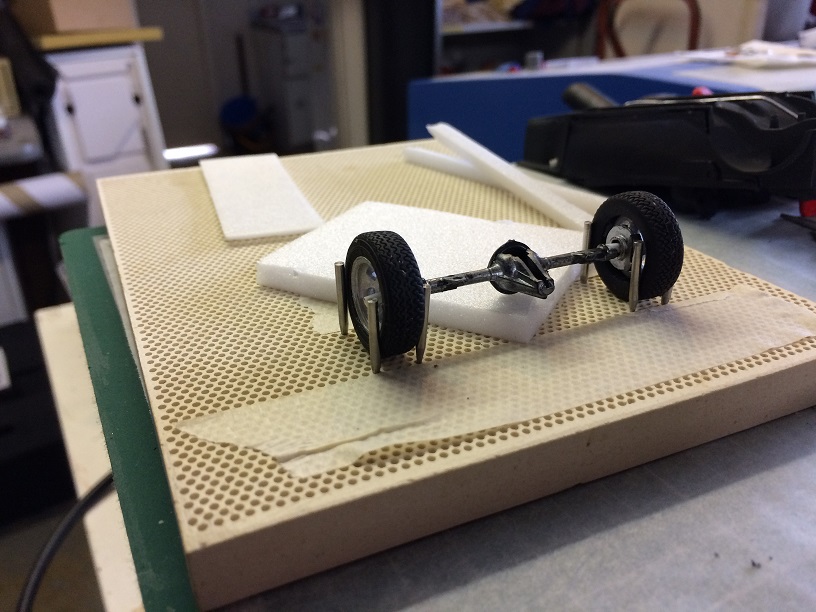
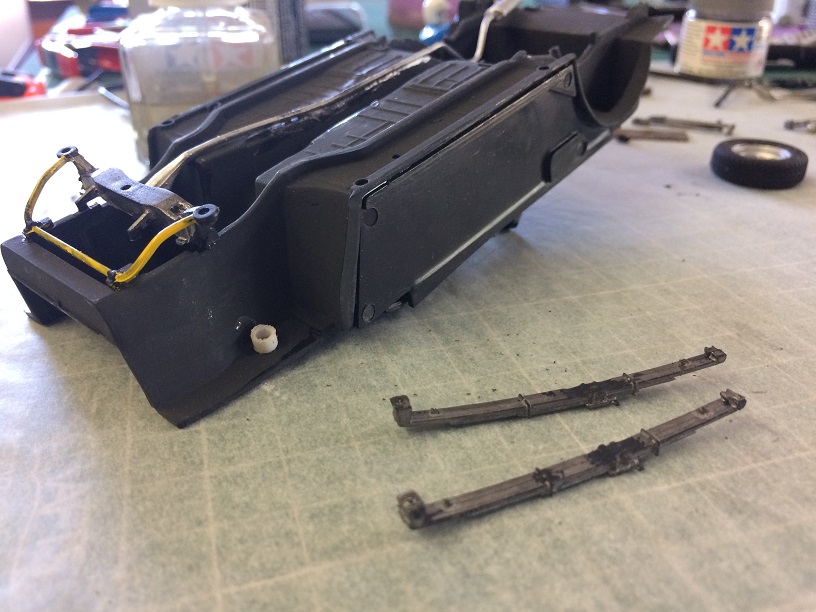
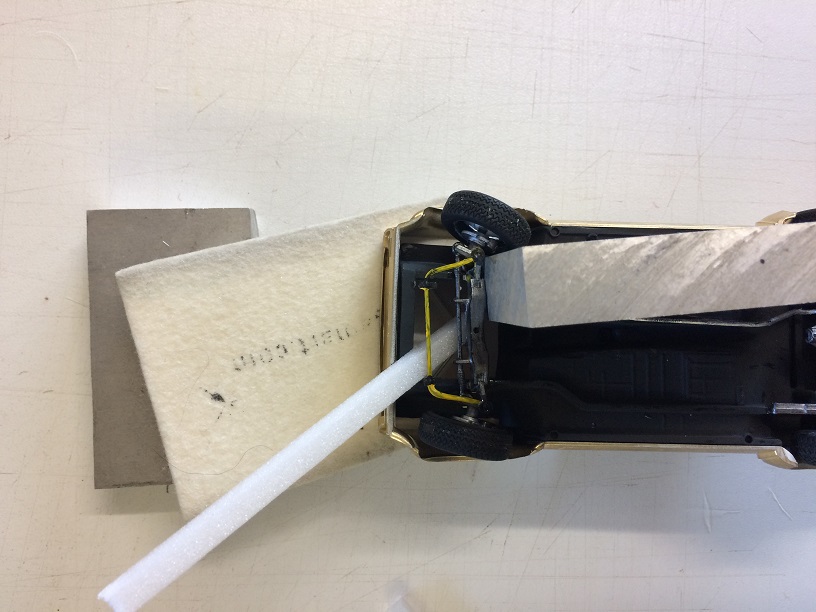
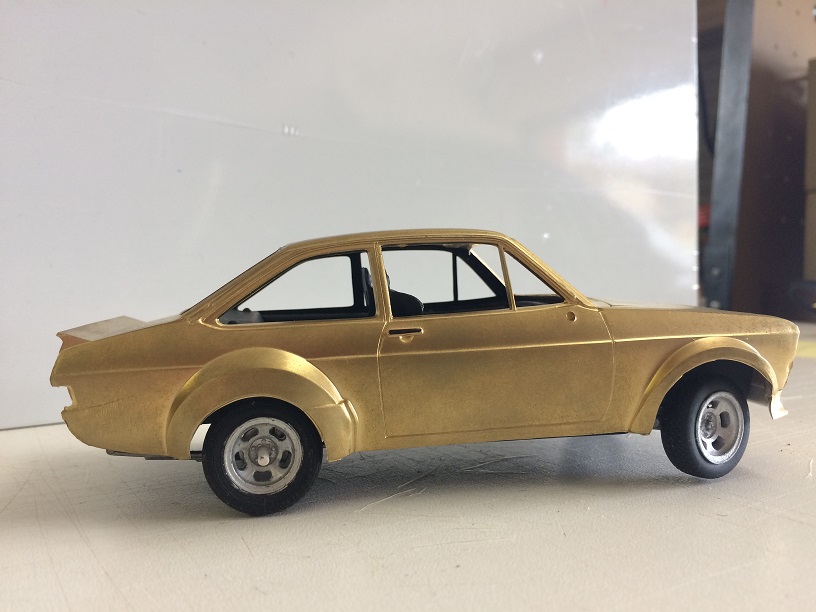
OK, now the hard part. I need the Model car to have the same "stance" as the original car. BDA Escorts are known for there rear squat and tendency to lift an inside front wheel during hard cornering: As mentioned previously the kit is of a tarmac spec car with very low suspension while gravel spec cars sit 4-5 inches higher (e.g.4-5 scale millimeters). This how the parts look standard although I have lengthened the silly axle pin things to widen the track to suit the new wheels. These things work against aligning the wheels correctly, so I used a jig to square them up: You can see here that I have filed of the lowering blocks from the rear leaf springs. I have also added a sleeve to the front strut tops so I can raise the front. The front ride height was a greater problem. I wanted the wheels turned for opposite lock but the model is only a model and has no Lower Control Arms and the stub axle length is way too long. The result is that as the wheel is turned it moves massively forward or backward in the wheel arch, looking very wrong. I needed to space the crossmember a few millimeters away from the body as well to set the ride height. I was therefore forced to commit the crime of twisting the crossmember to position the wheels correctly. Fortunately the sumpguard covers up the dastardly deed. But for the Court's consideration, here is the evidence: And this is what I ended up with:
-
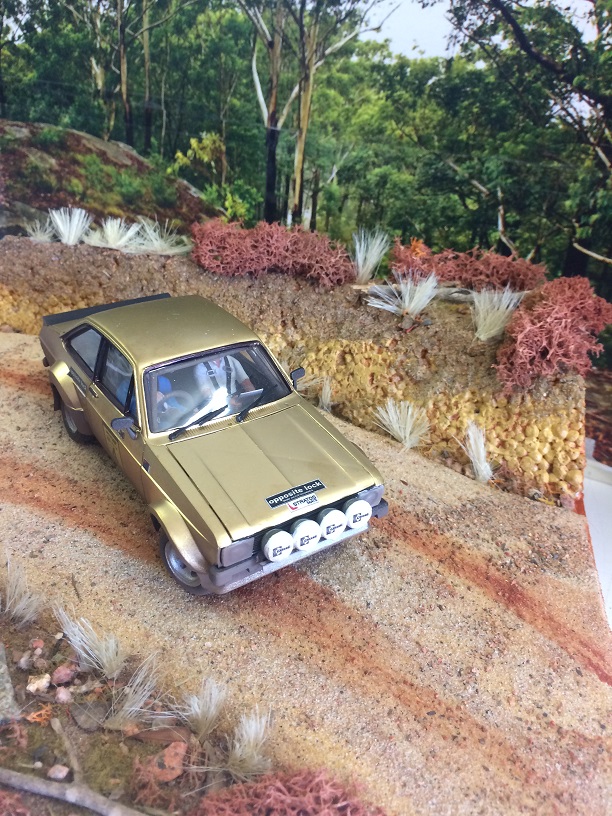
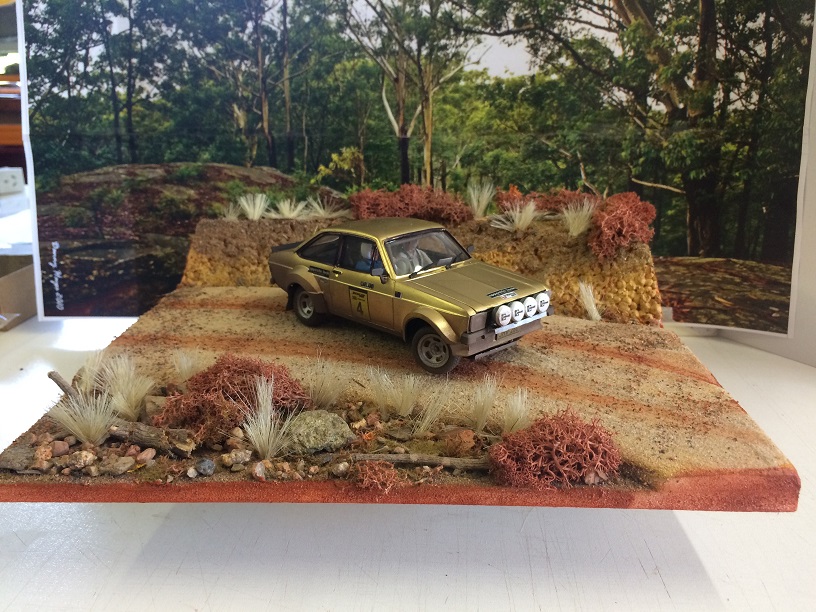
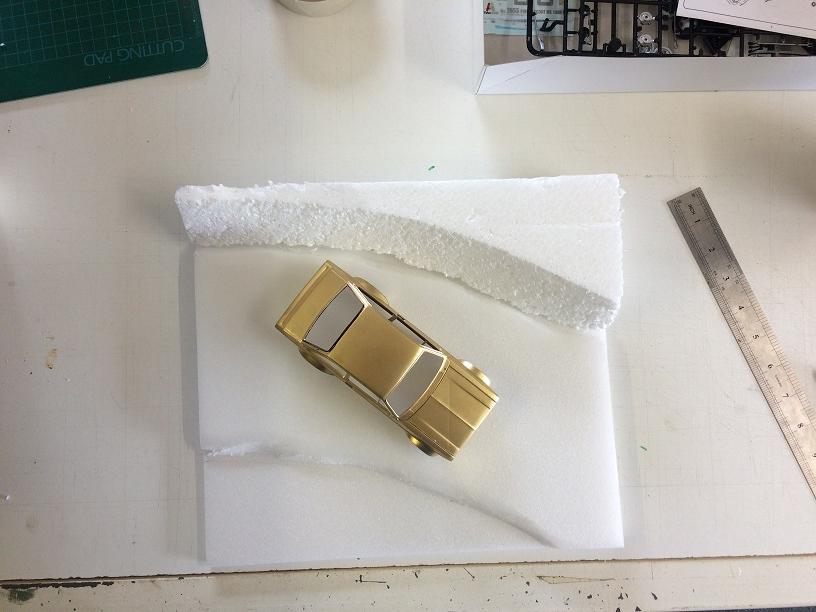
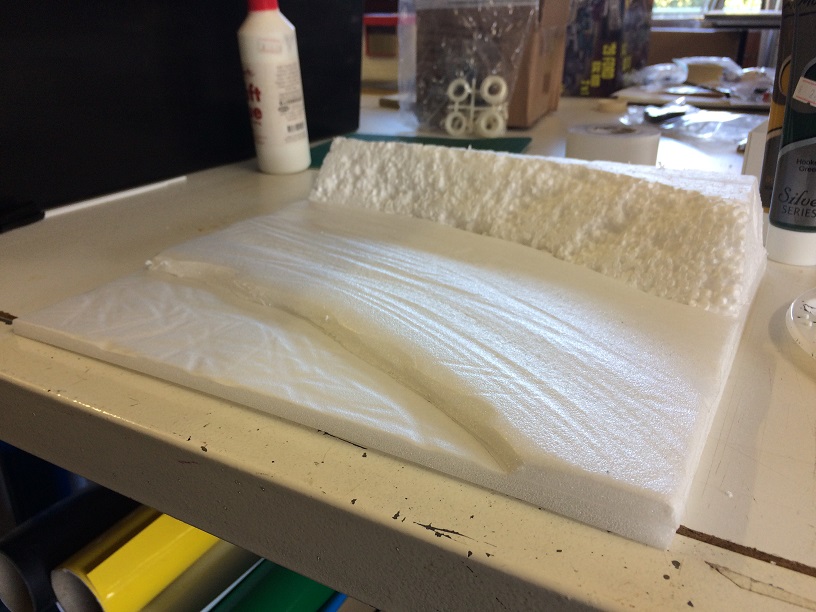
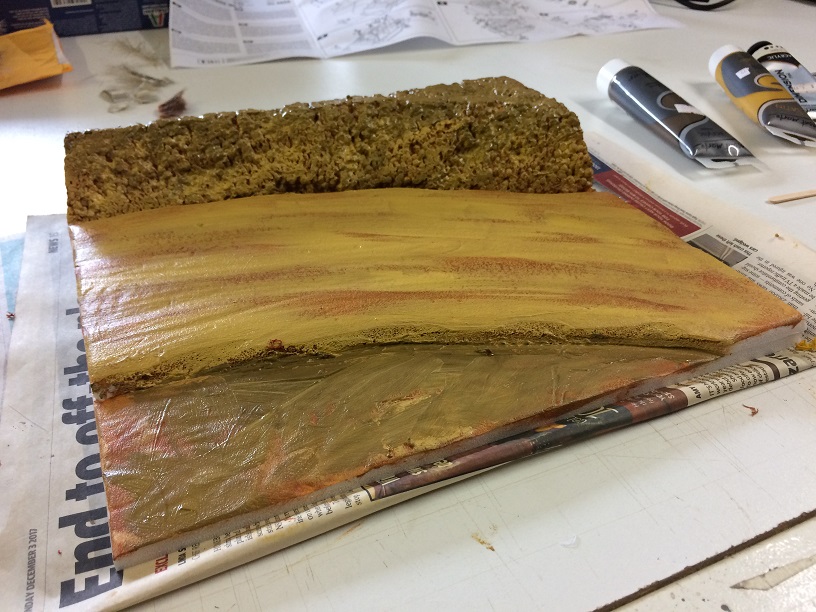
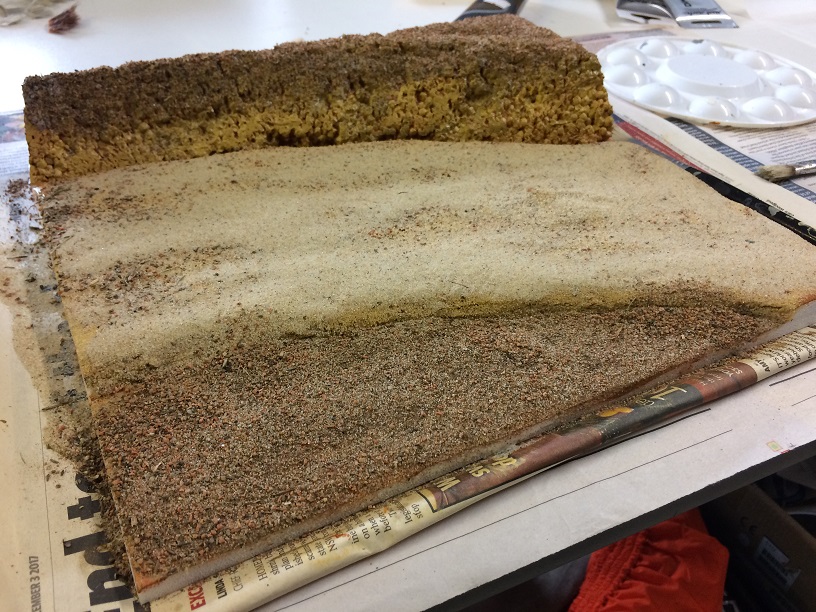
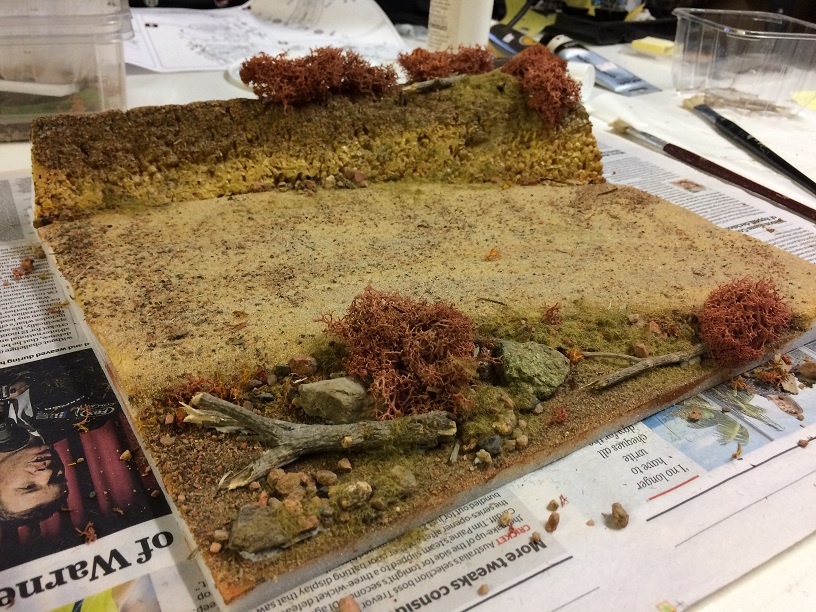
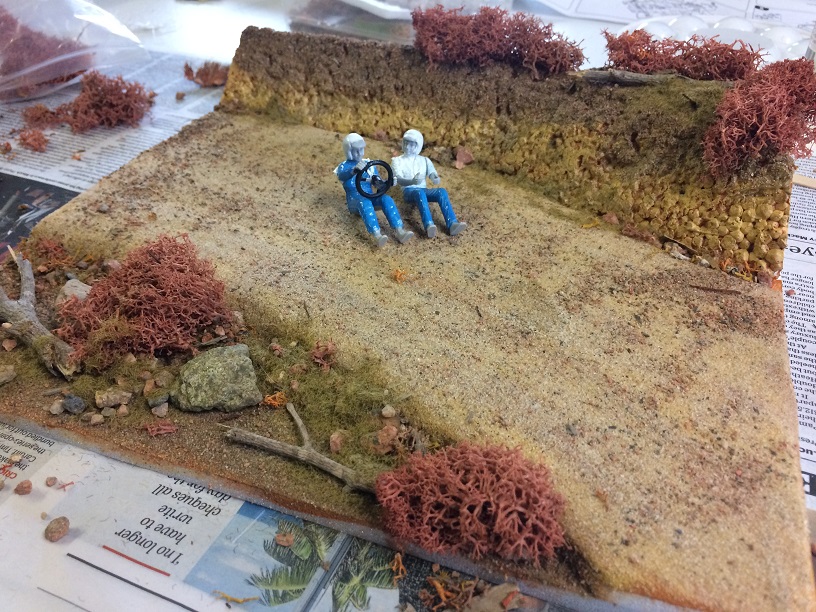
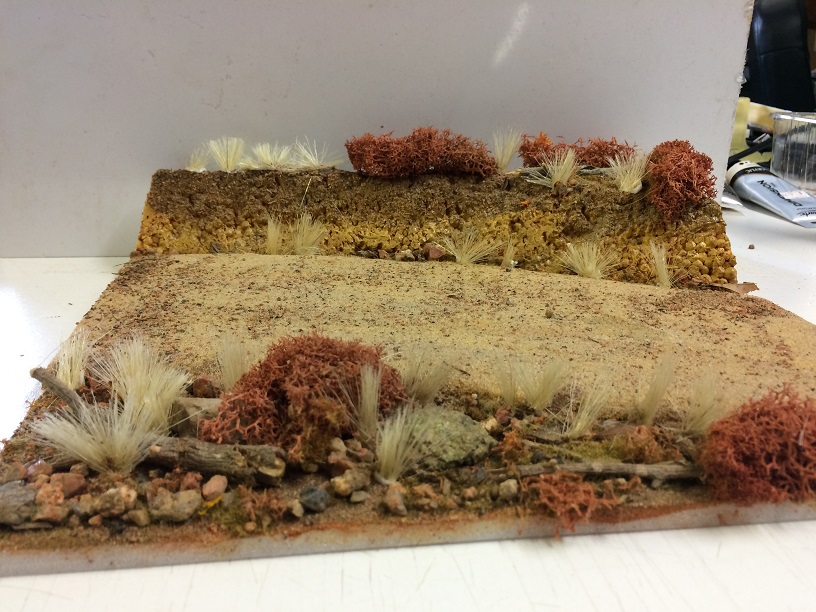
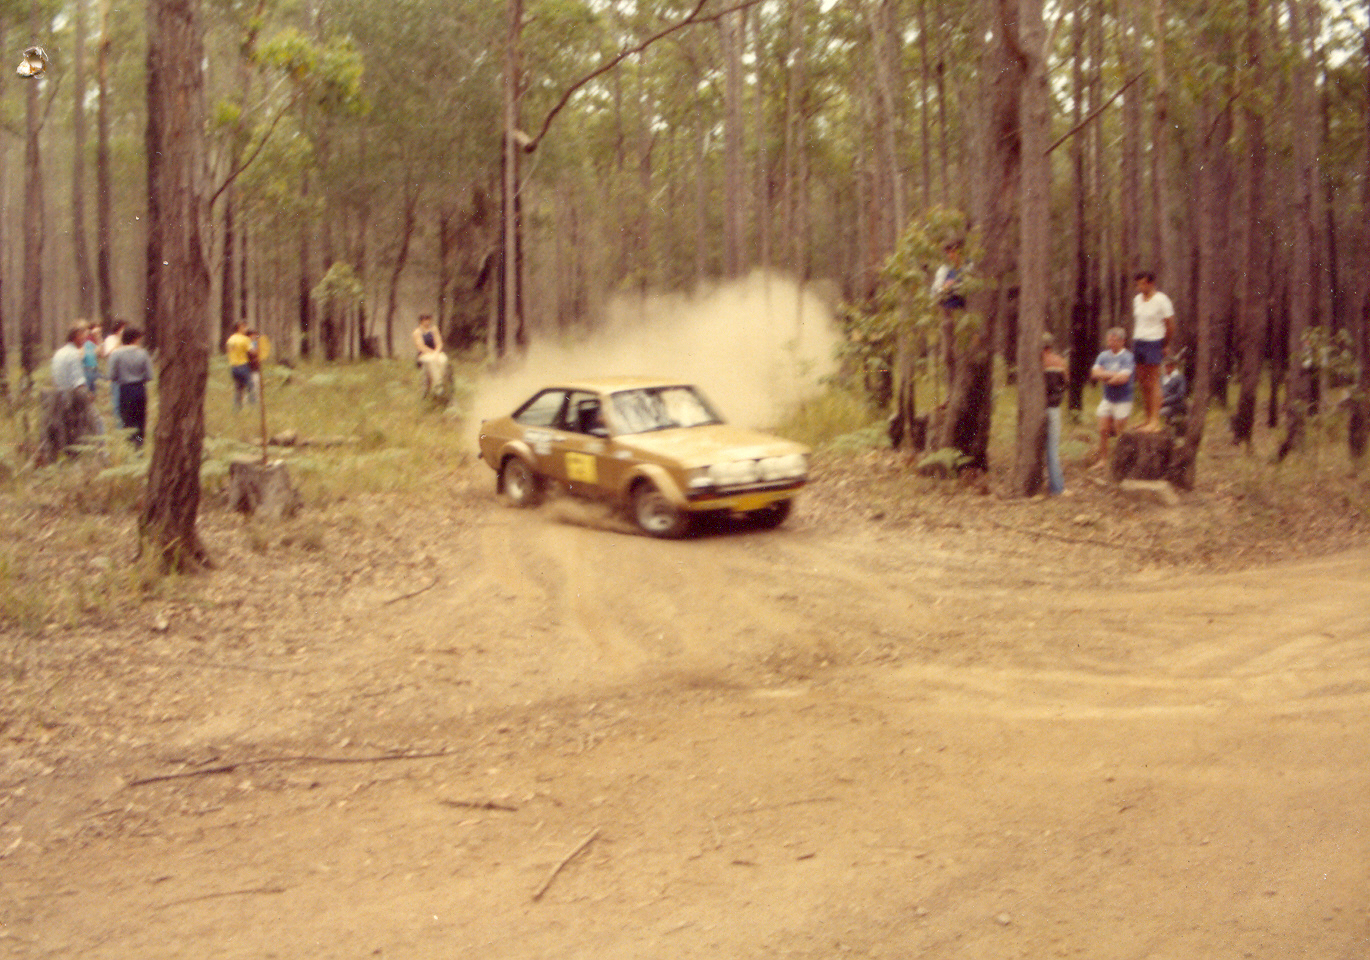
While I was wondering how to reset the suspension height of the car, I decided to start on the base of the diorama. I wanted to show the BDA in it's natural environment: full throttle, 8000rpm, 3rd gear opposite lock powerslide in the forest! First layout of the foam pieces: A bit of reshaping and texturing: First colours: And some texture i.e. sand and stuff: Sticks and stones: Yep, seems to work fine: I then worked out how to add grass using bristles cut from brushes, even better now:
-
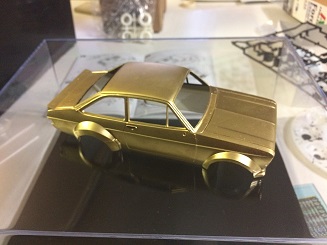
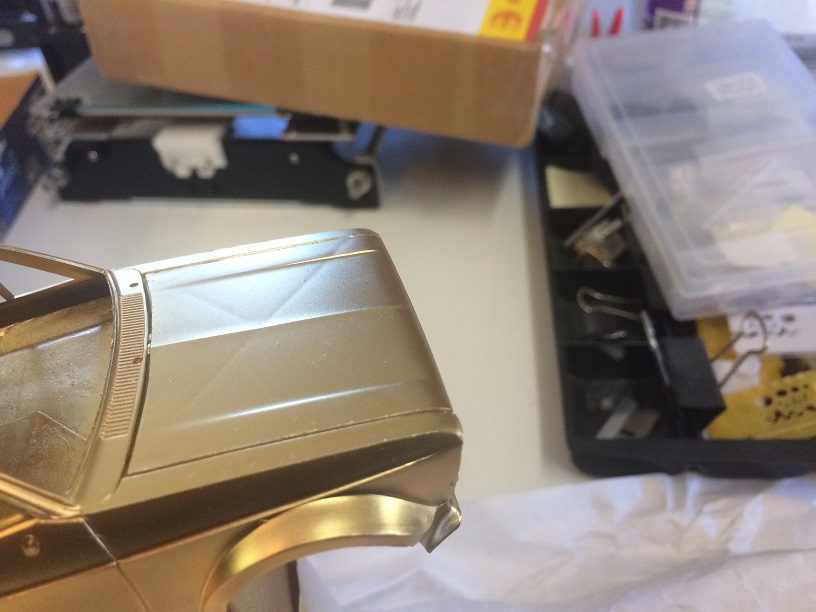
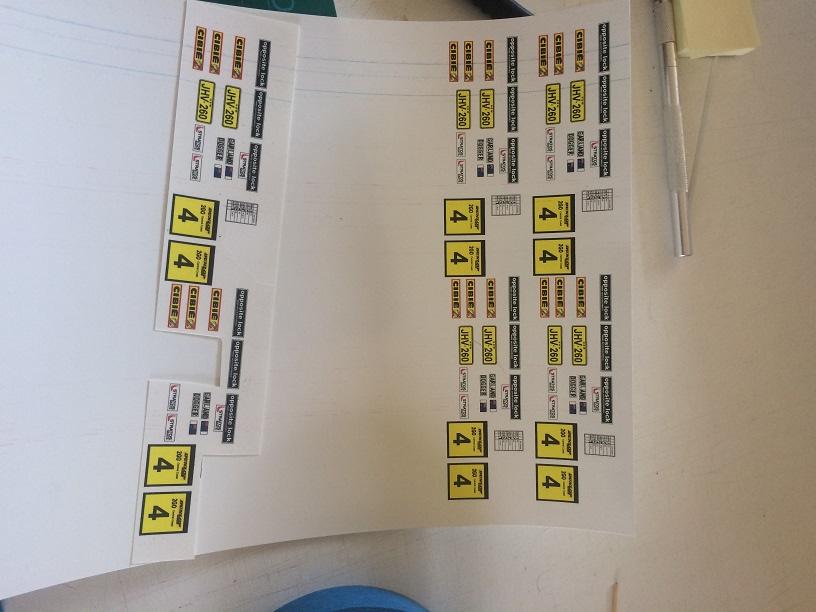
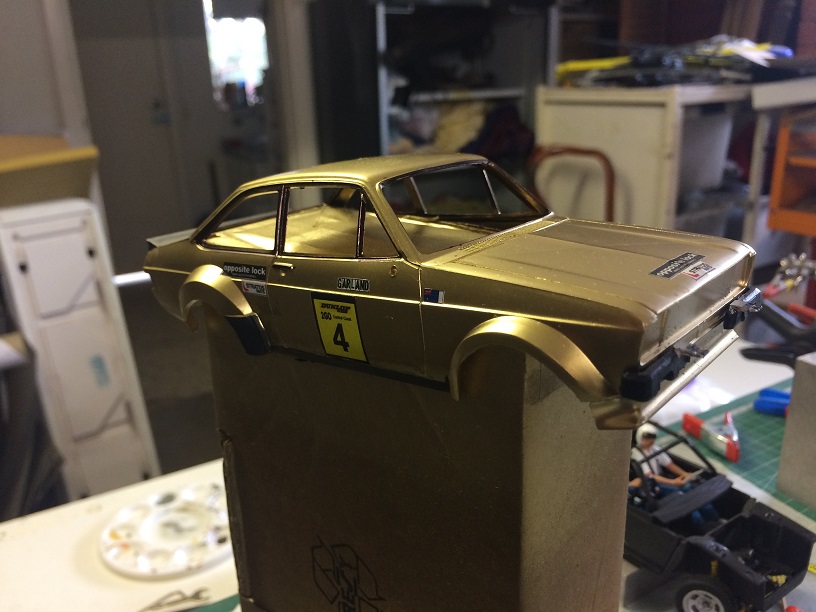
I was a bit intimidated by the paint and decals for this project but you have to have a crack at this stuff, don't you? Paint was Tamiya TS-21 Gold and it went on perfectly: However, it did show up some flaws in the casting. I have no concept of how to fix these so I will leave them and hope to disguise them with weathering effects later. I then used a marker pen for the window surrounds: Some Internet searching lead me to the logos for the sponsor stickers which I then redrew in CorelDRAW and laser printed onto waterslide decal paper:
-
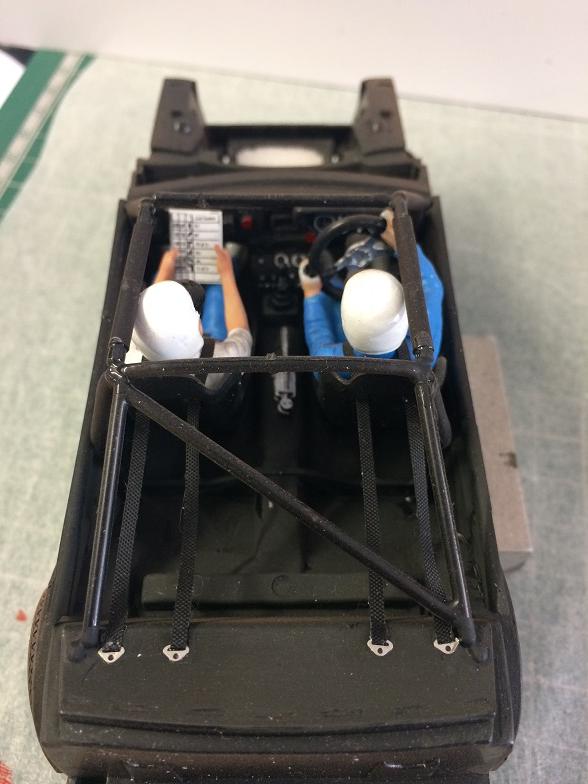
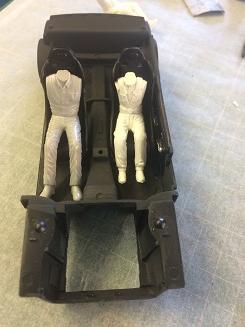
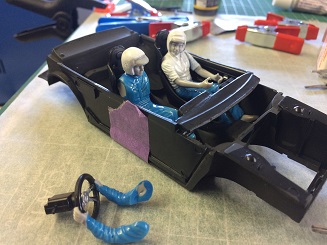
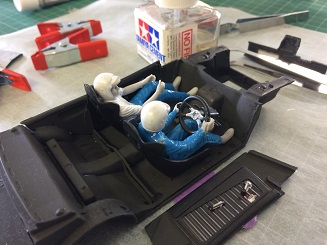
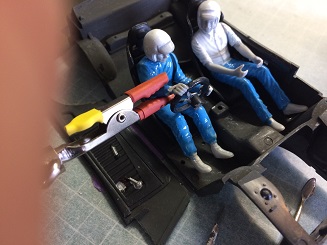
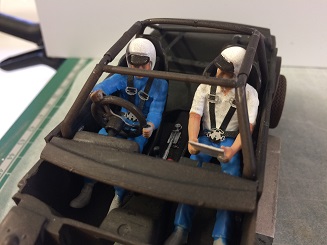
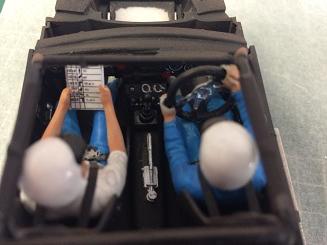
For this project to have context I was determined that it include Driver and Co-driver figures and I had some Tamiya figures which I thought would be ideal: But were way out of scale when compared to a Fujimi figure (more like 1/35 scale): So, I decided to go with the Fujimi figures, luckily I had some in stock: Lots of cutting and filling of arms and legs to get the right poses: At this point I found that the drivers elbow would not fit in the car so I re-arranged his grip and got a more realistic result as well as a better fit: I then dulled down the clothing, added the rollcage and 4 point harnesess. The cage has black heatshrink tubing to replicate padding. Assembling the seat belt hardware is not for the faint hearted.
-
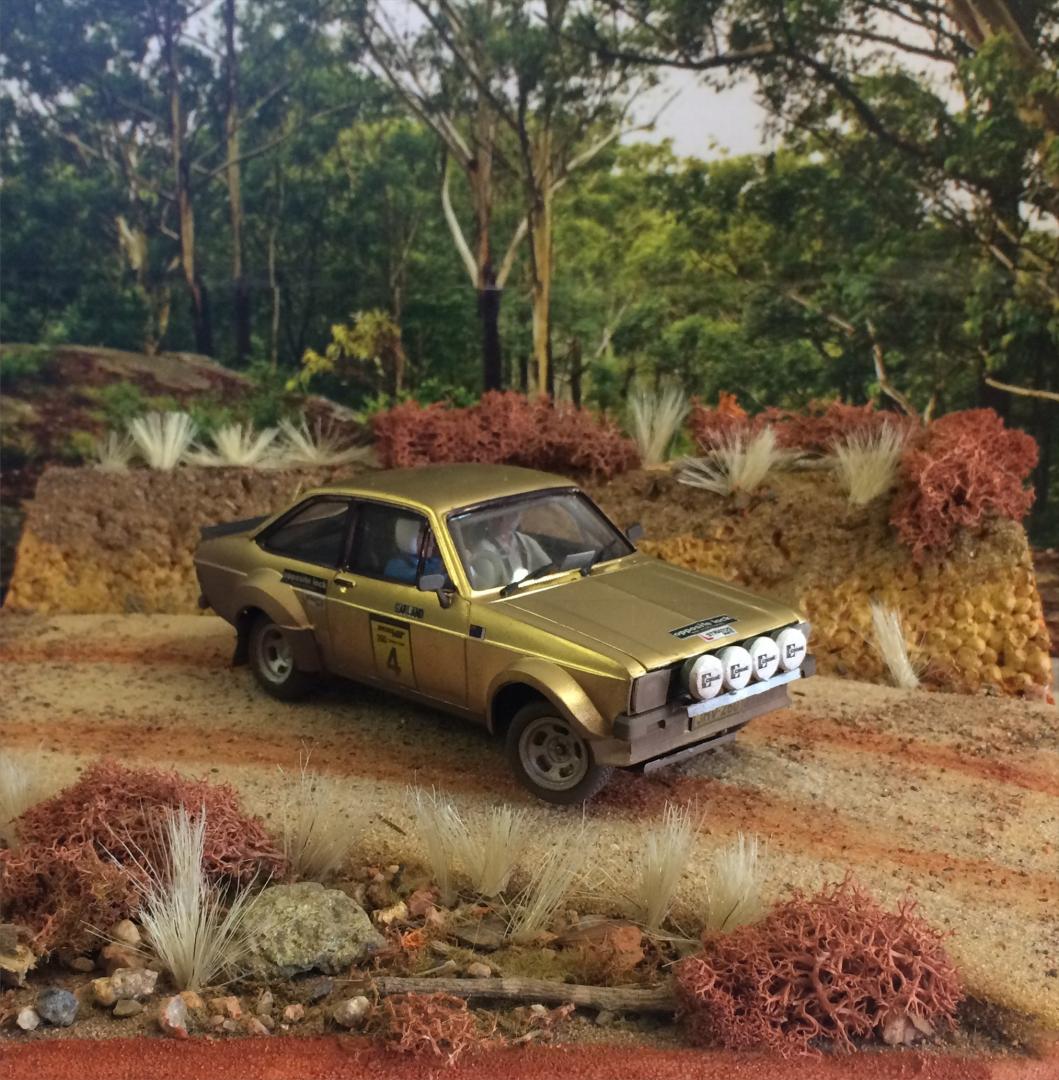
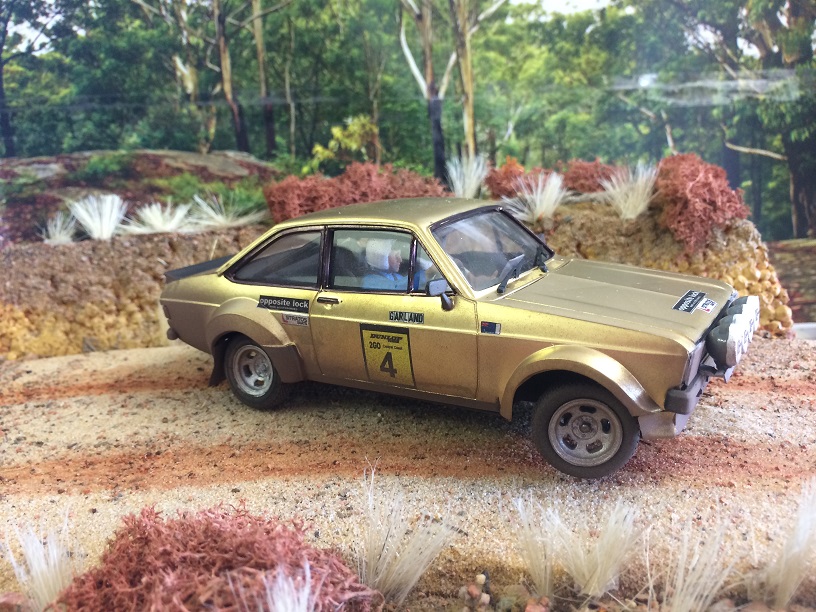
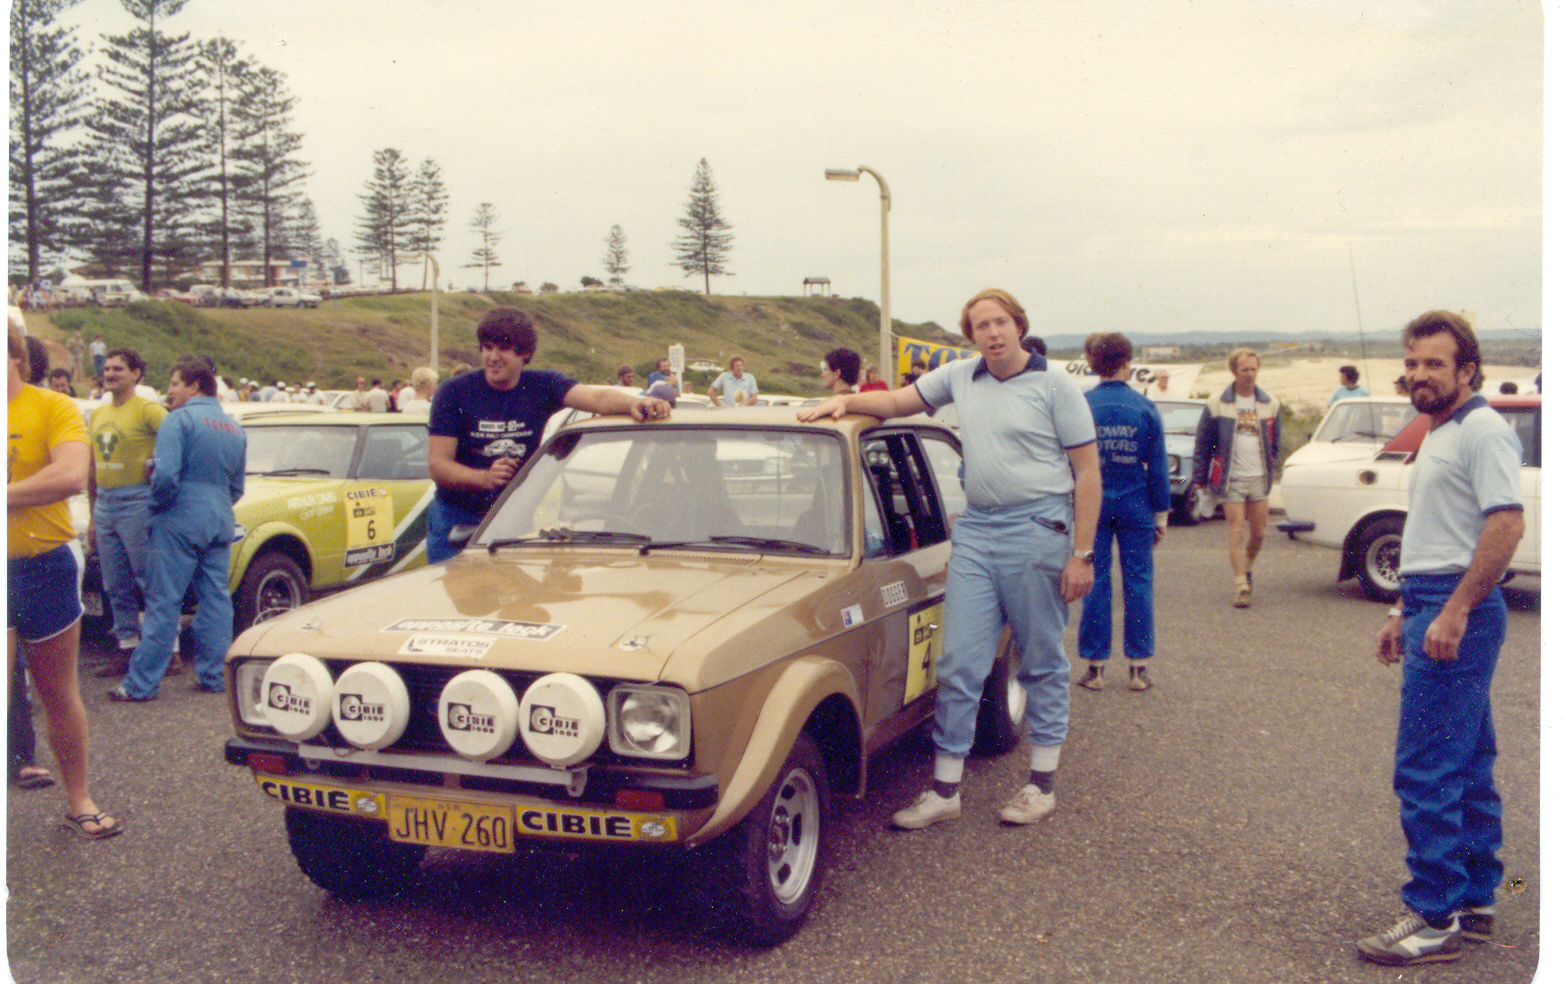
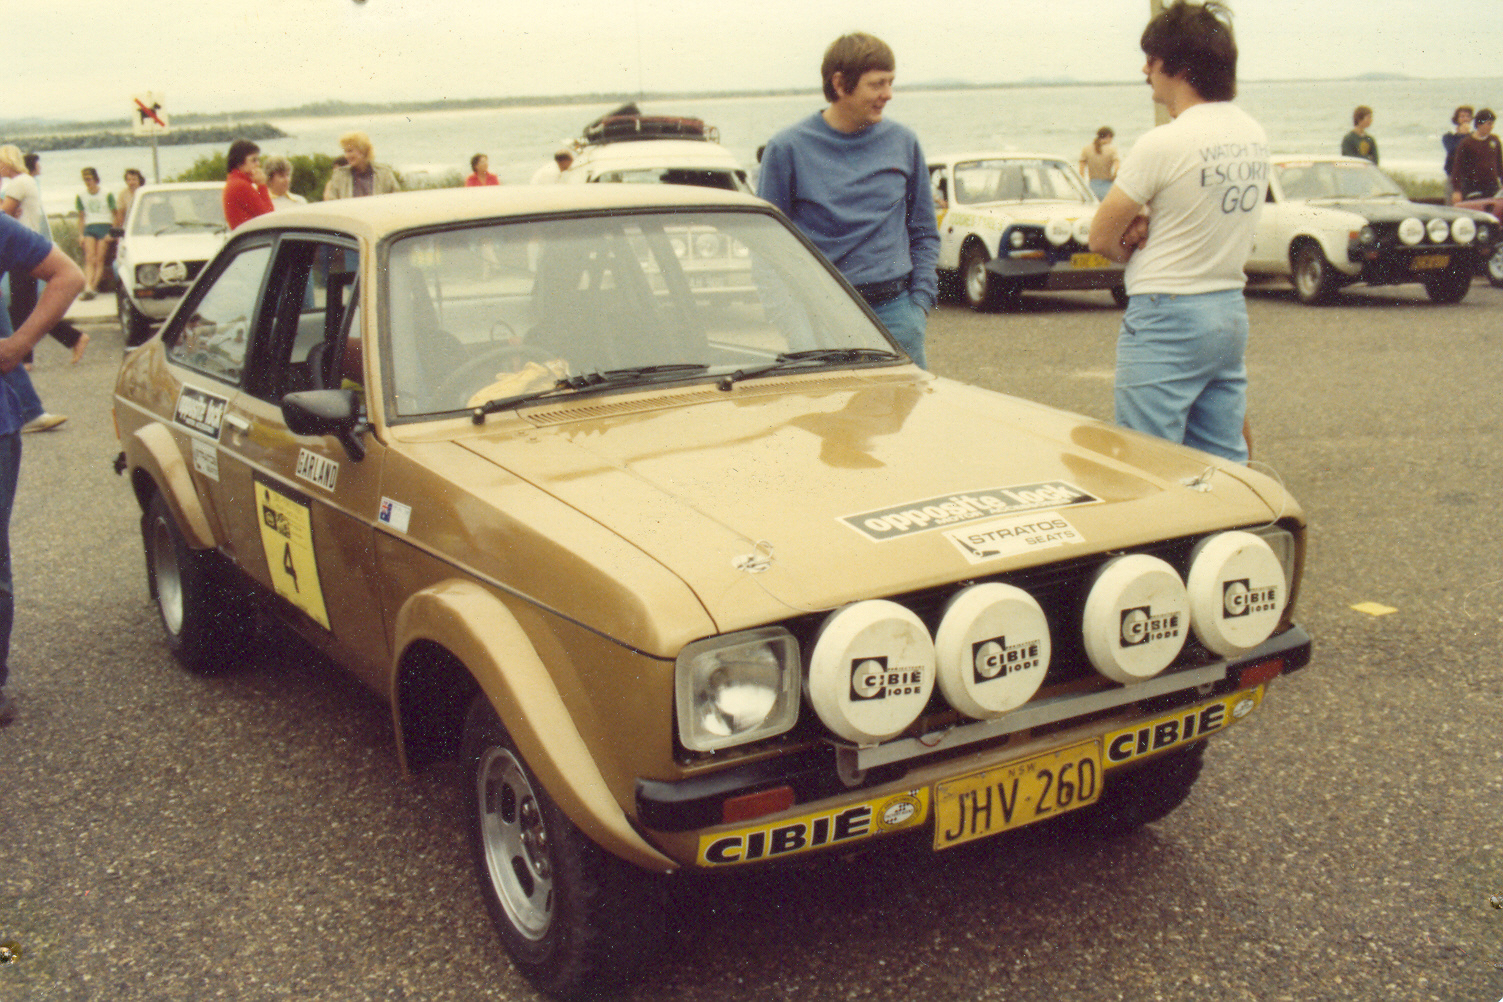
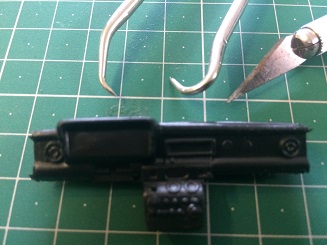
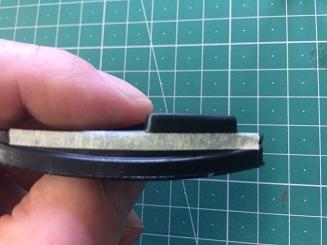
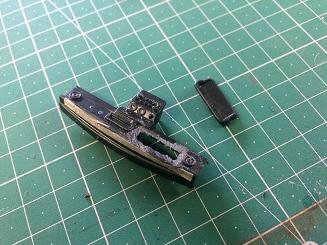
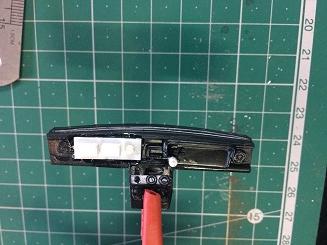
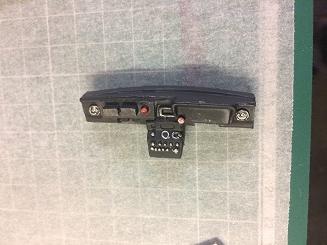
Hi, This is a diorama showing a well known Australian car and Driver from the early 1980's. The Driver - Bruce Garland - is an Australian Motorsport icon and I have built this replica as a belated 60th birthday gift. I ordered the new Italeri kit knowing that I would have to change the wheels from the Minilites to the "Kidney Bean" design, but I did not realise how much additional work there would prove to be. I was a bit disappointed when the kit arrived and I found that it was Left Hand Drive and set with very low suspension height and that there were no Driving Light covers despite being shown on the box art. I then sourced and ordered wheels and lights from the US, tyres from Spain, harness belts from somewhere else and used some figures from my stock. I began by converting the dashboard to RHD which was not as hard as I thought:
-
Really nice work, Pat. I have just finished the same kit as a replica of a famous Australian car from the early 80's. I converted it to RHD, reset the suspension stance (raised and extra castor - quite difficult for me), used the correct wheels and tyres and driving lights, then added figures, belts and homemade decals and sat it on a typical Australian Forest Stage.

