

Rusty92
-
Posts
1,017 -
Joined
-
Last visited
Content Type
Profiles
Forums
Events
Gallery
Posts posted by Rusty92
-
-
Thanks guys! I need to get back at this one. I want the cab to look great and filling in the seams is a little daunting. I don’t want to lose detail on the rivets, but sanding them off at the seam might be the easiest. I can add them back later with some small styrene round stock.
-
 1
1
-
-
Wow! That looks very cool!
-
40 minutes ago, Mr. Metallic said:
Liking the work you're performing on this one.
Is this a combo of the glue kit standard cab with the snap kit bed?
Thanks! Yes, you are correct. It is a combo of both.
-
Nailed the look of the box art!
-
Too much drama. Build some models and relax folks.
-
1
-
-
Looks awesome! Great paint and detail on this one.
-
Busy couple days. Got the fender flares, front valence, and custom air dam added to the front. I also puttied them. Then primered most of the parts except for the smaller engine bits. I’ll need to putty the bed and cab some more to get it smoother.

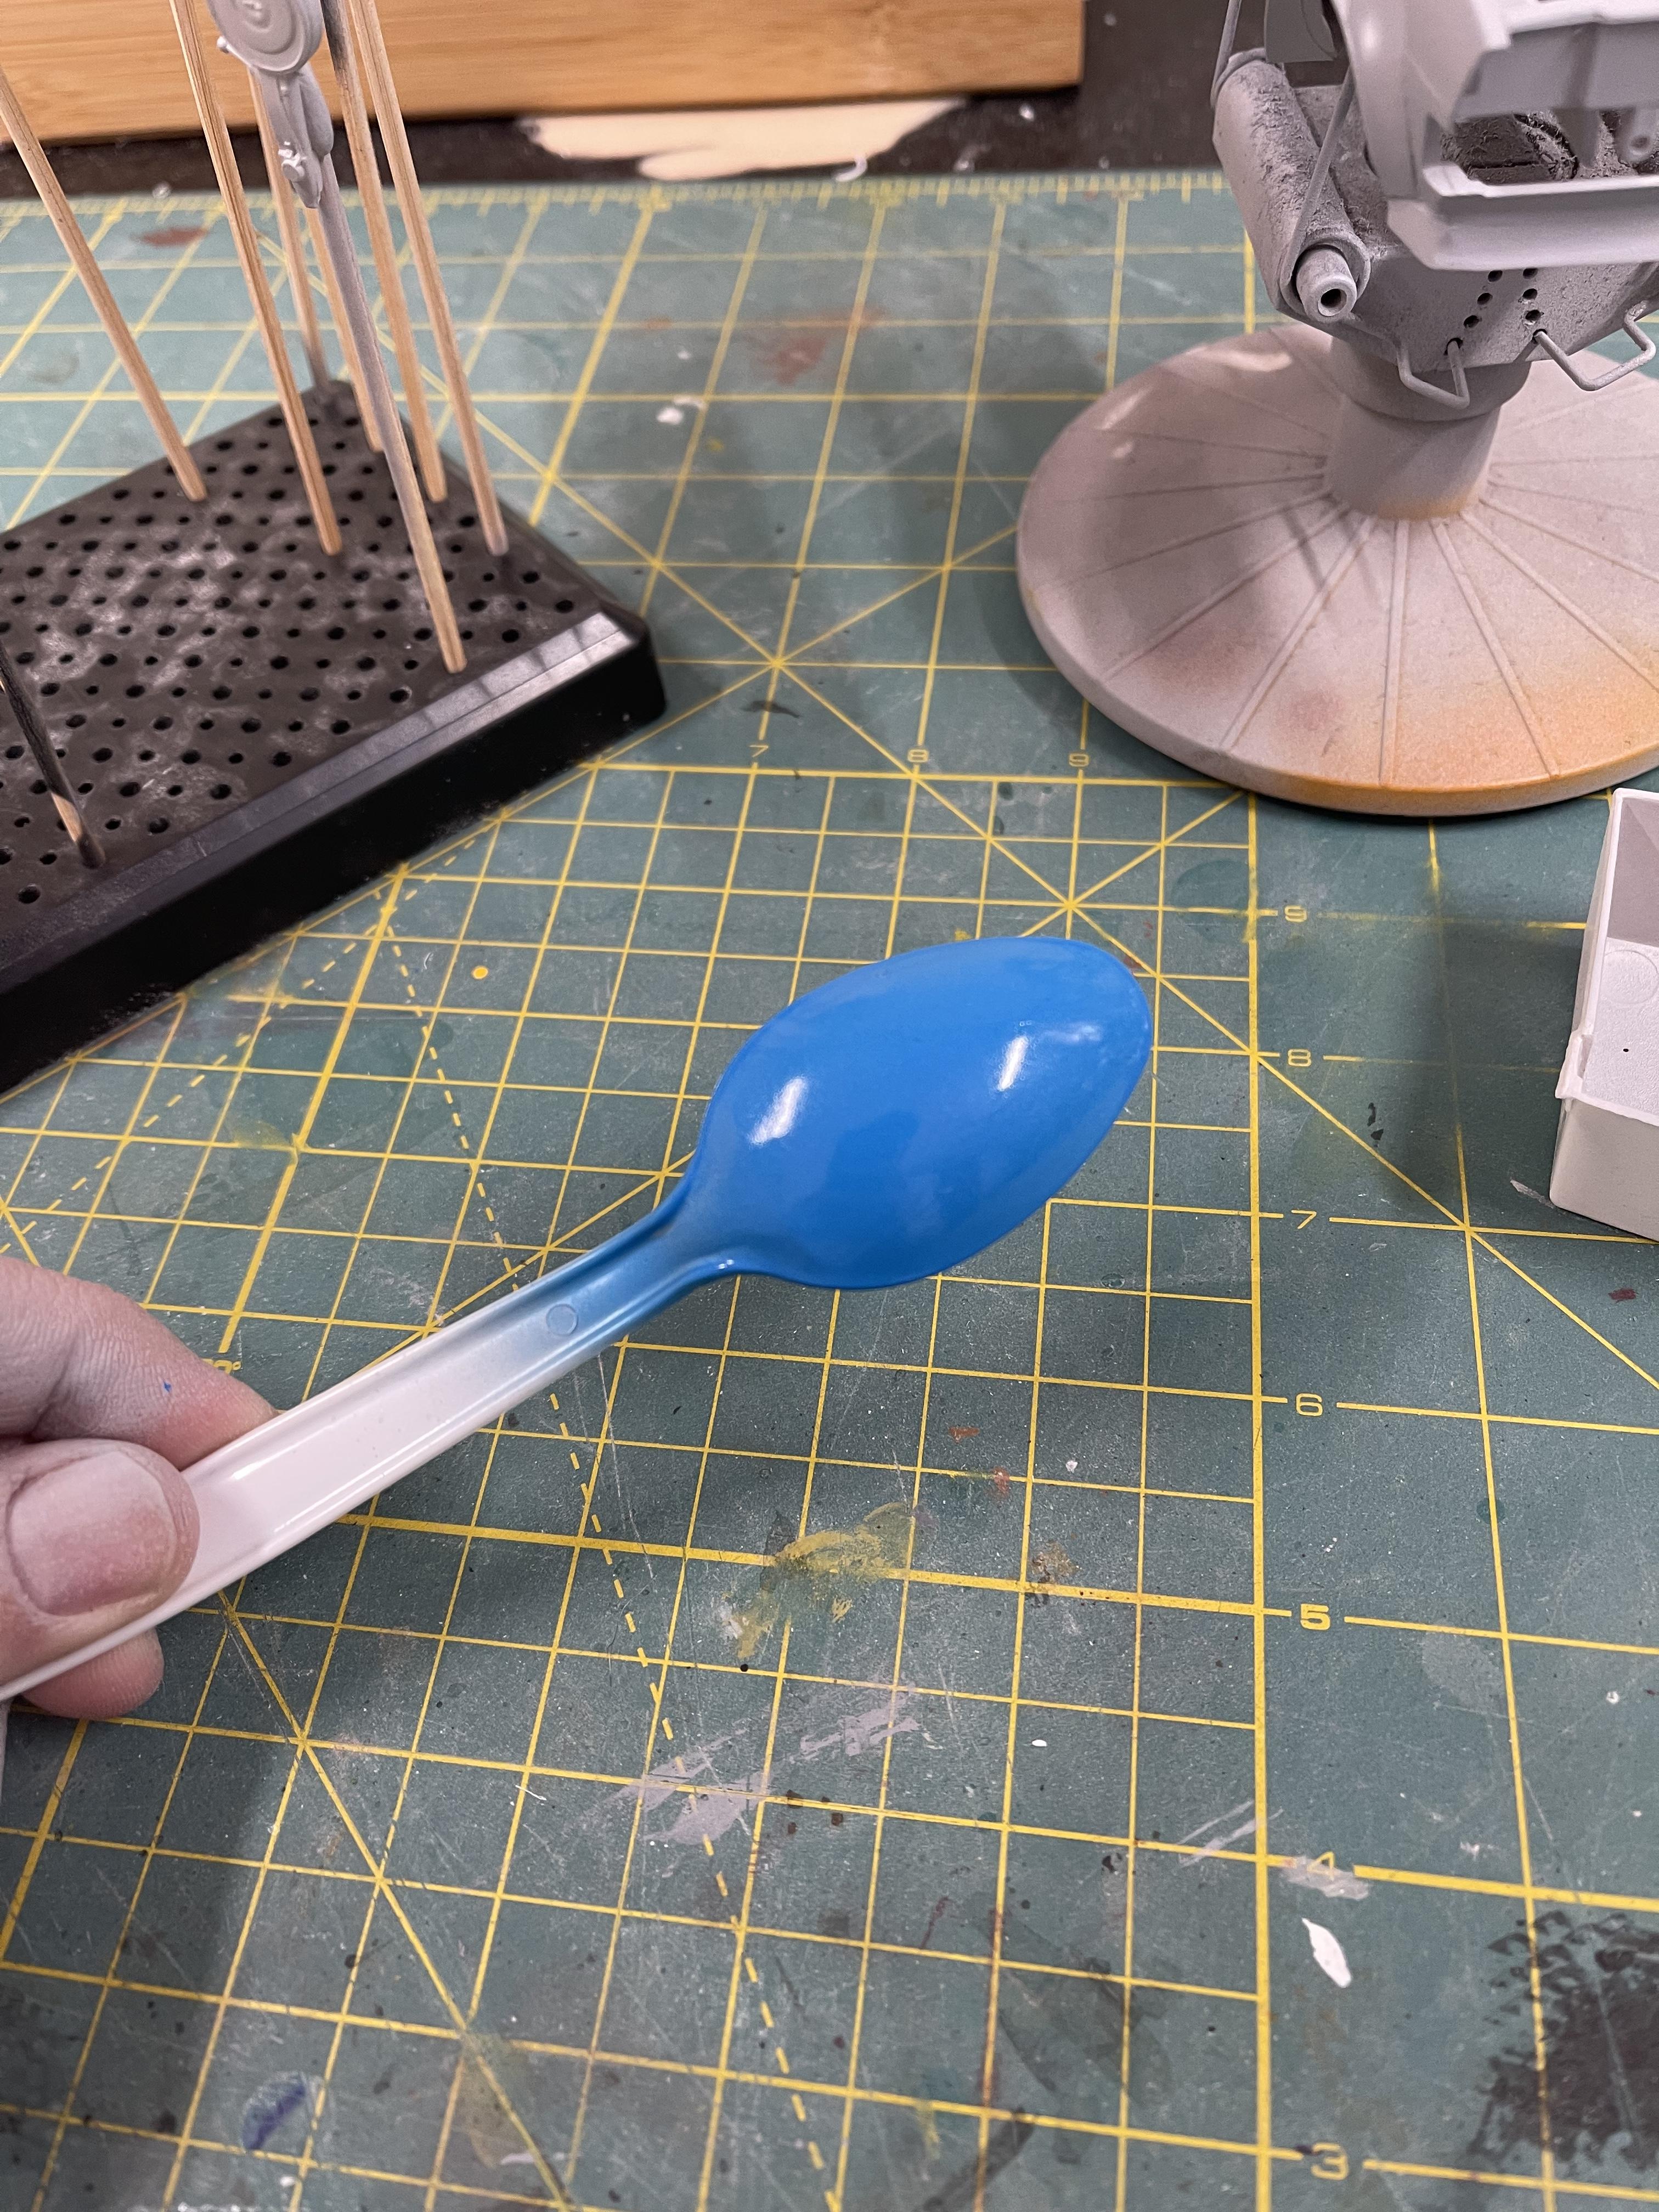
I also settled on the color for this build. I used Tamiya sky blue over Tamiya chrome silver. There is no clear on this spoon and I haven’t buffed it. Came out pretty shiny!
-
The whole model looks amazing. I really like the engine bay!
-
5 hours ago, Mr mopar said:
I'm looking forwards to get a few trucks that have been out of stock for some time.
Me too. I’ve ordered from AITM once prior and was really impressed with the items. I’ve never ordered from Keystone but think I may pick up their Duel tanker trailer.
-
I just checked the Keystone website and it said that orders for AITM products would begin on 2/5/2021. You’ll be able to order them on the AITM website still.
-
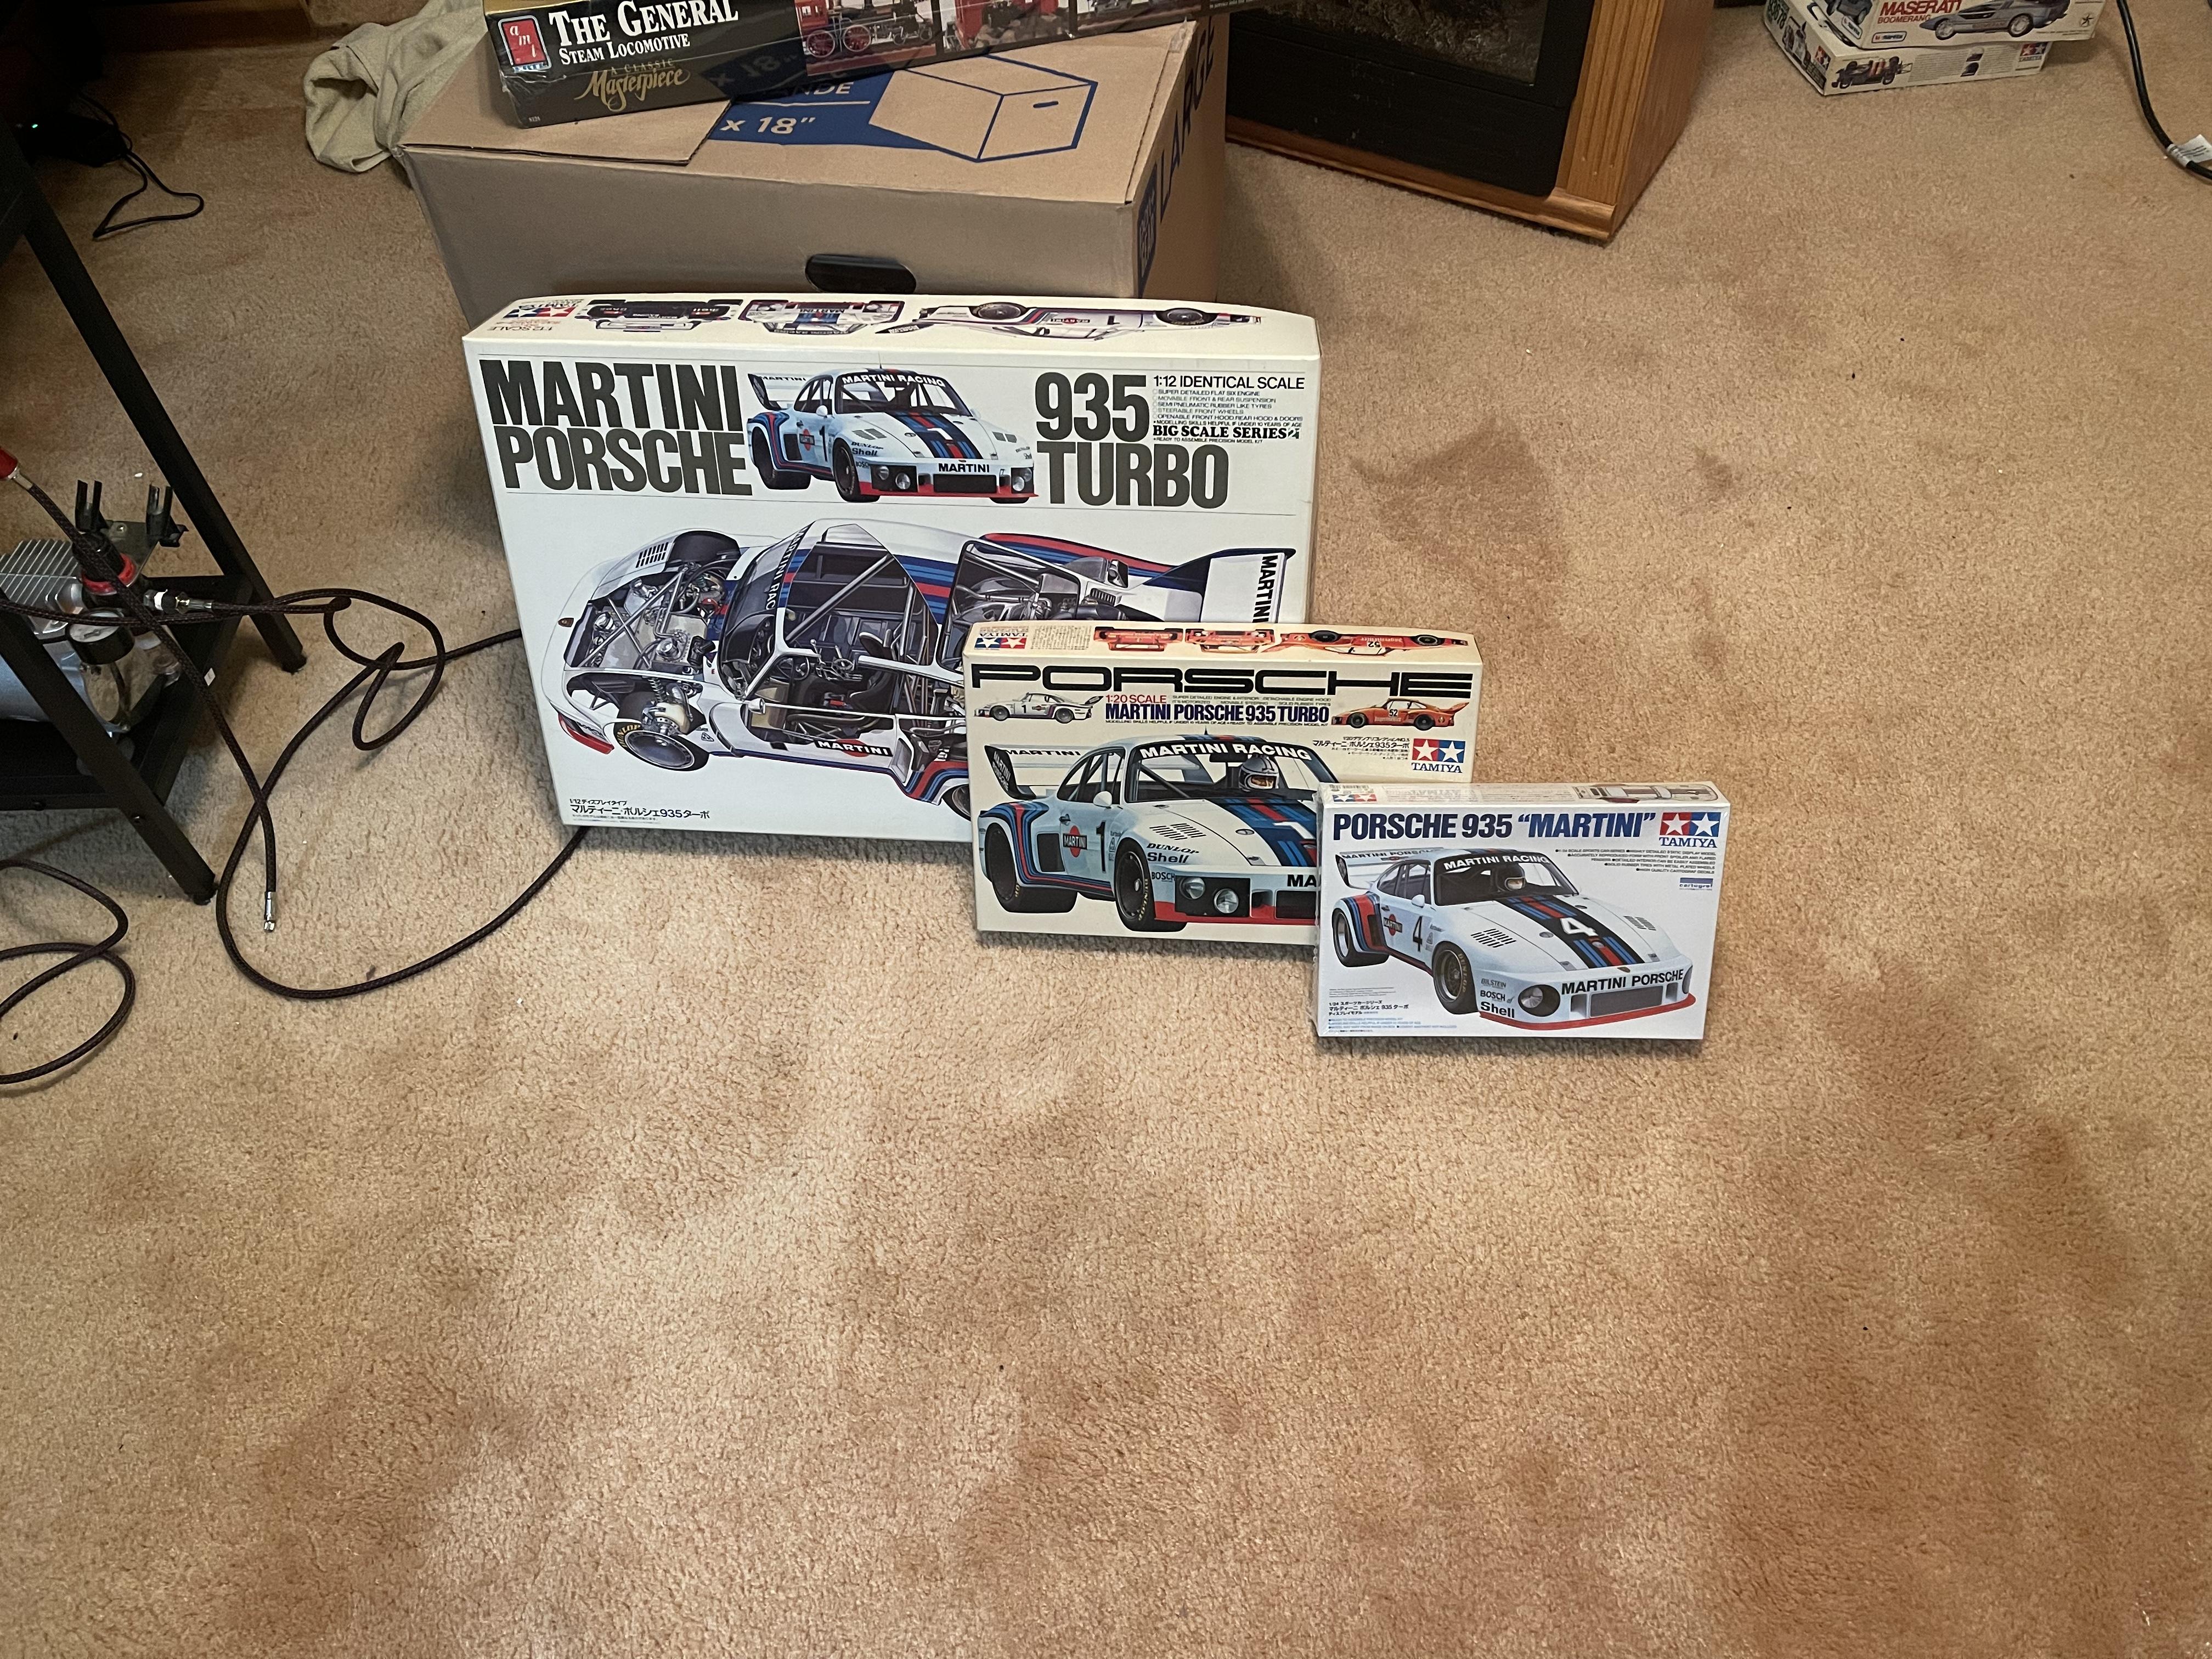
These 1/12 kits always look so enticing. I’ve got Tamiya’s 1/12 935. Just waiting to build it when my skills improve so I can do it justice. Perhaps the Datsun would be a good candidate to work on a large scale kit first.
-
Very interesting. Thanks for the write up, it was a great read!
-
Update for tonight:
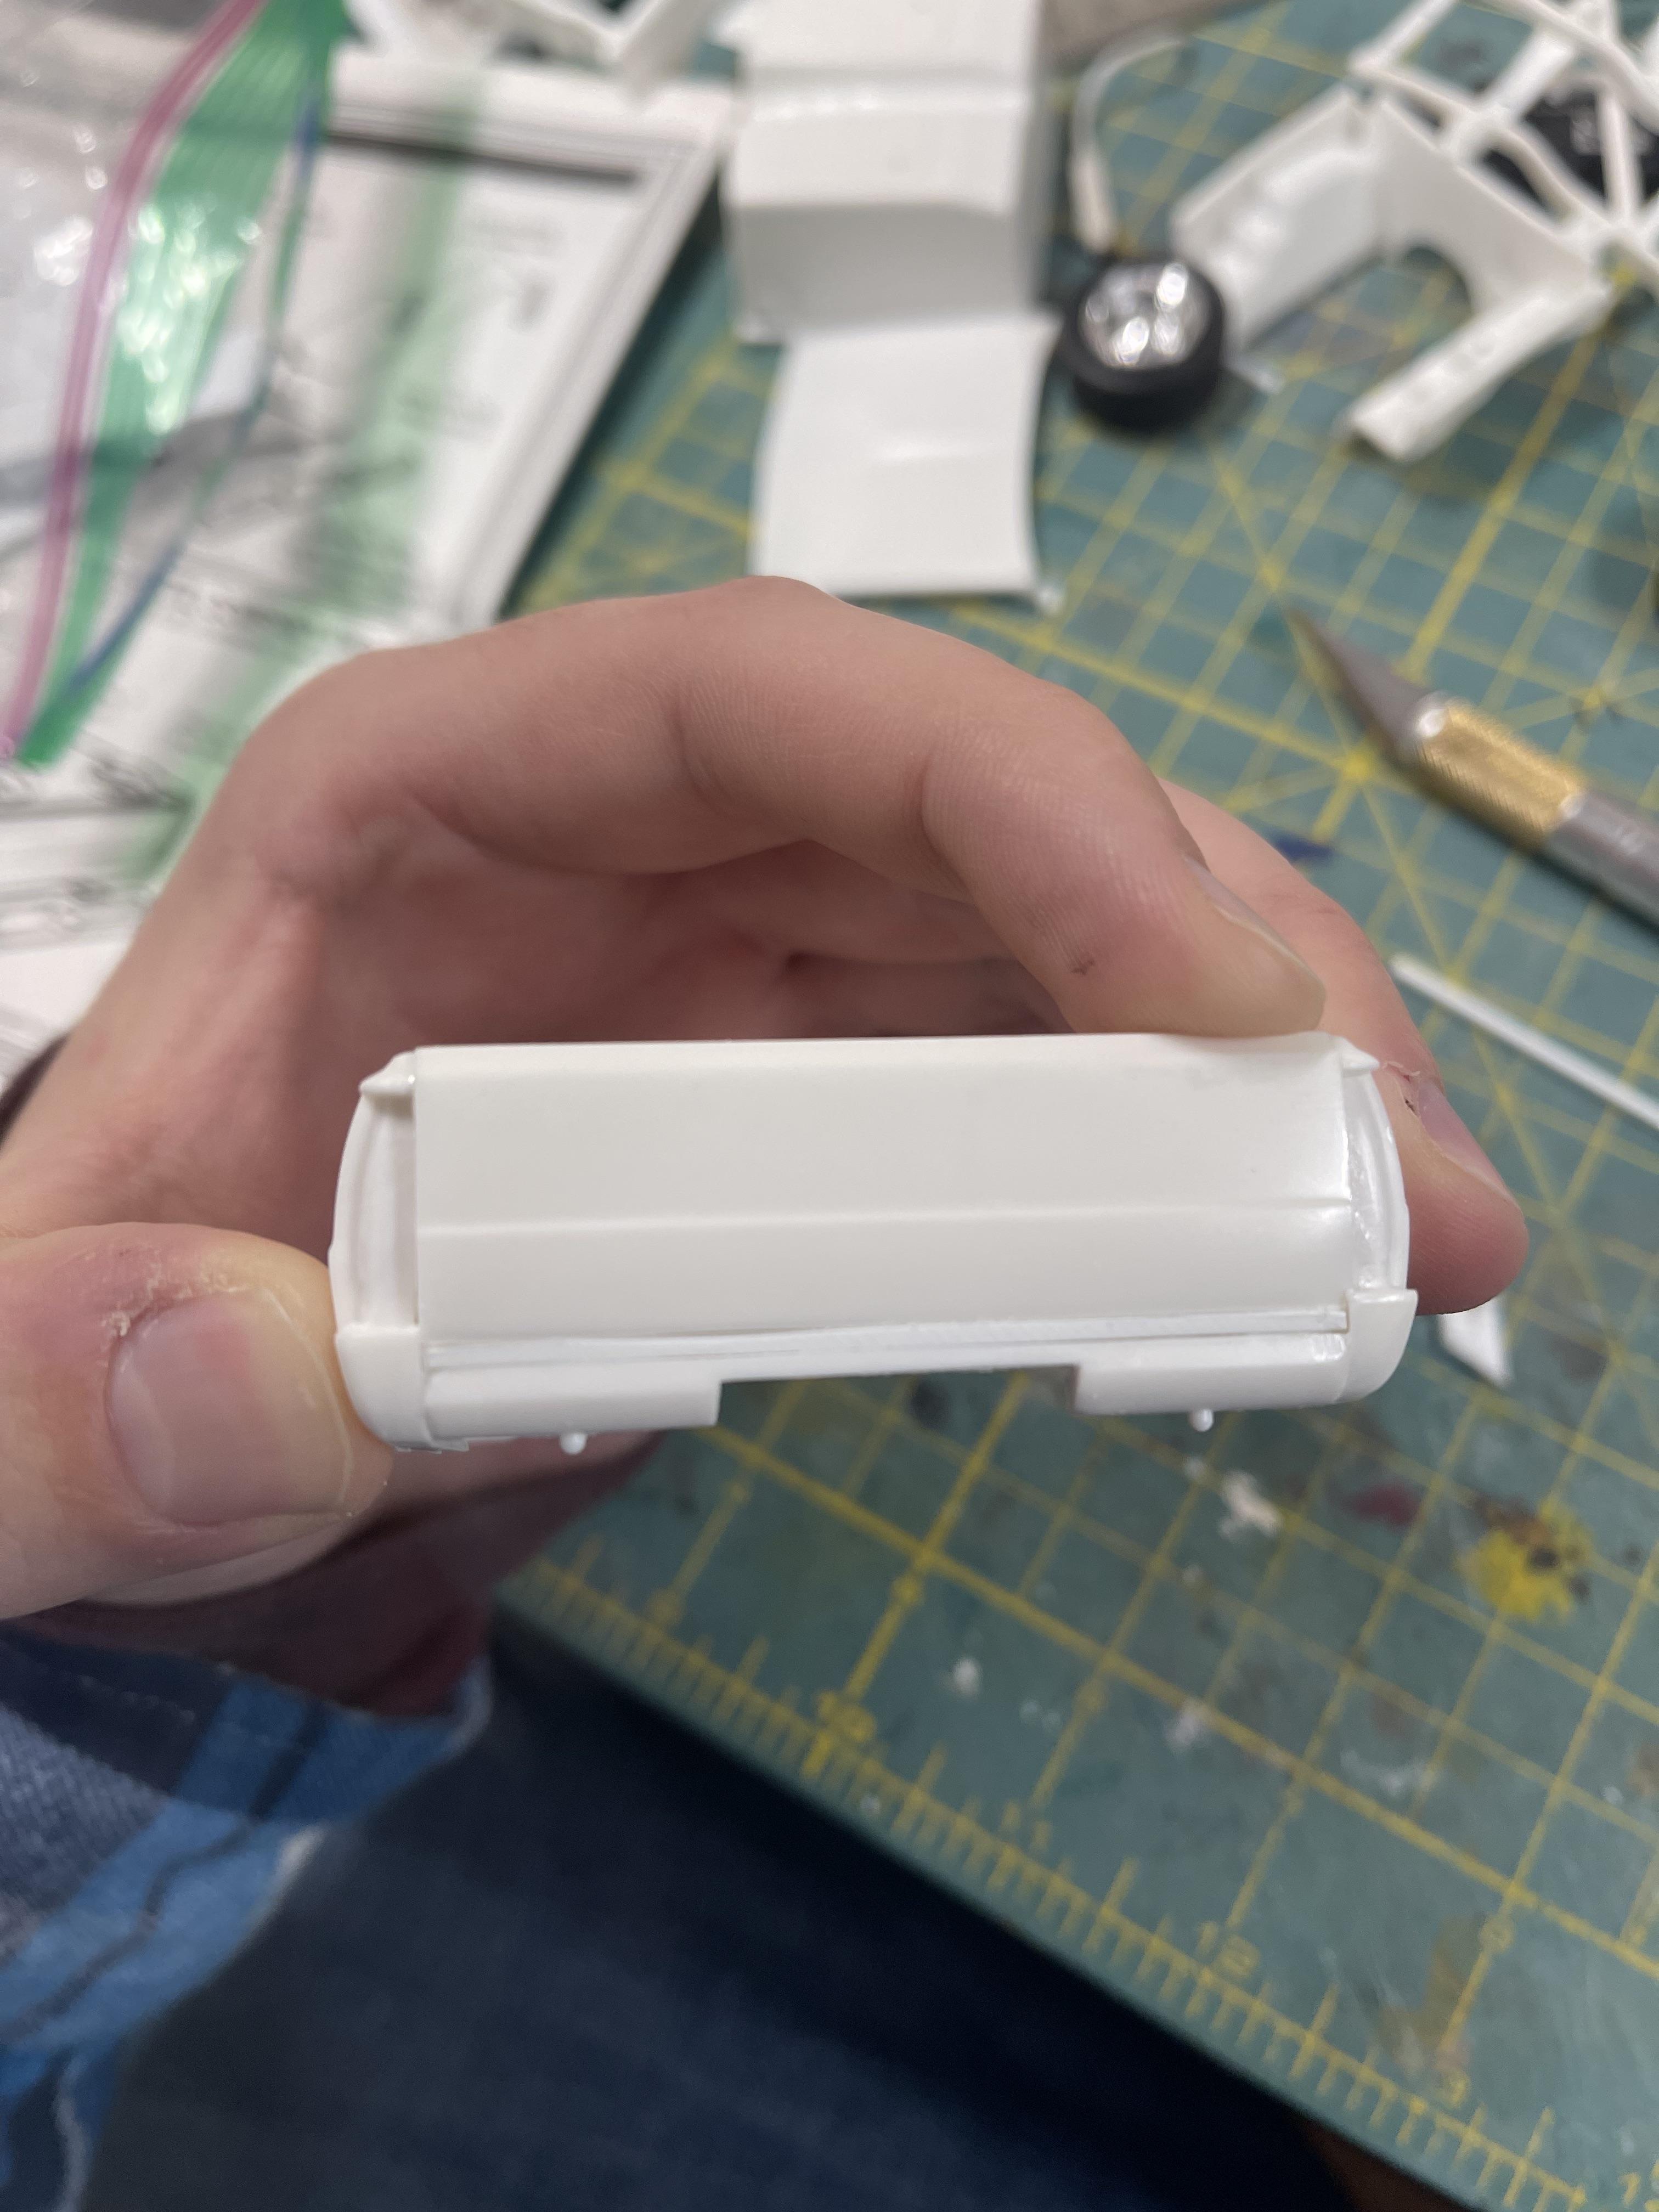
Filled the body lines with its first initial layer of putty. The rear still needs sanded more and I didn’t touch the passenger side yet. It looks good so far. I’m sure it will need some additional filler later on.
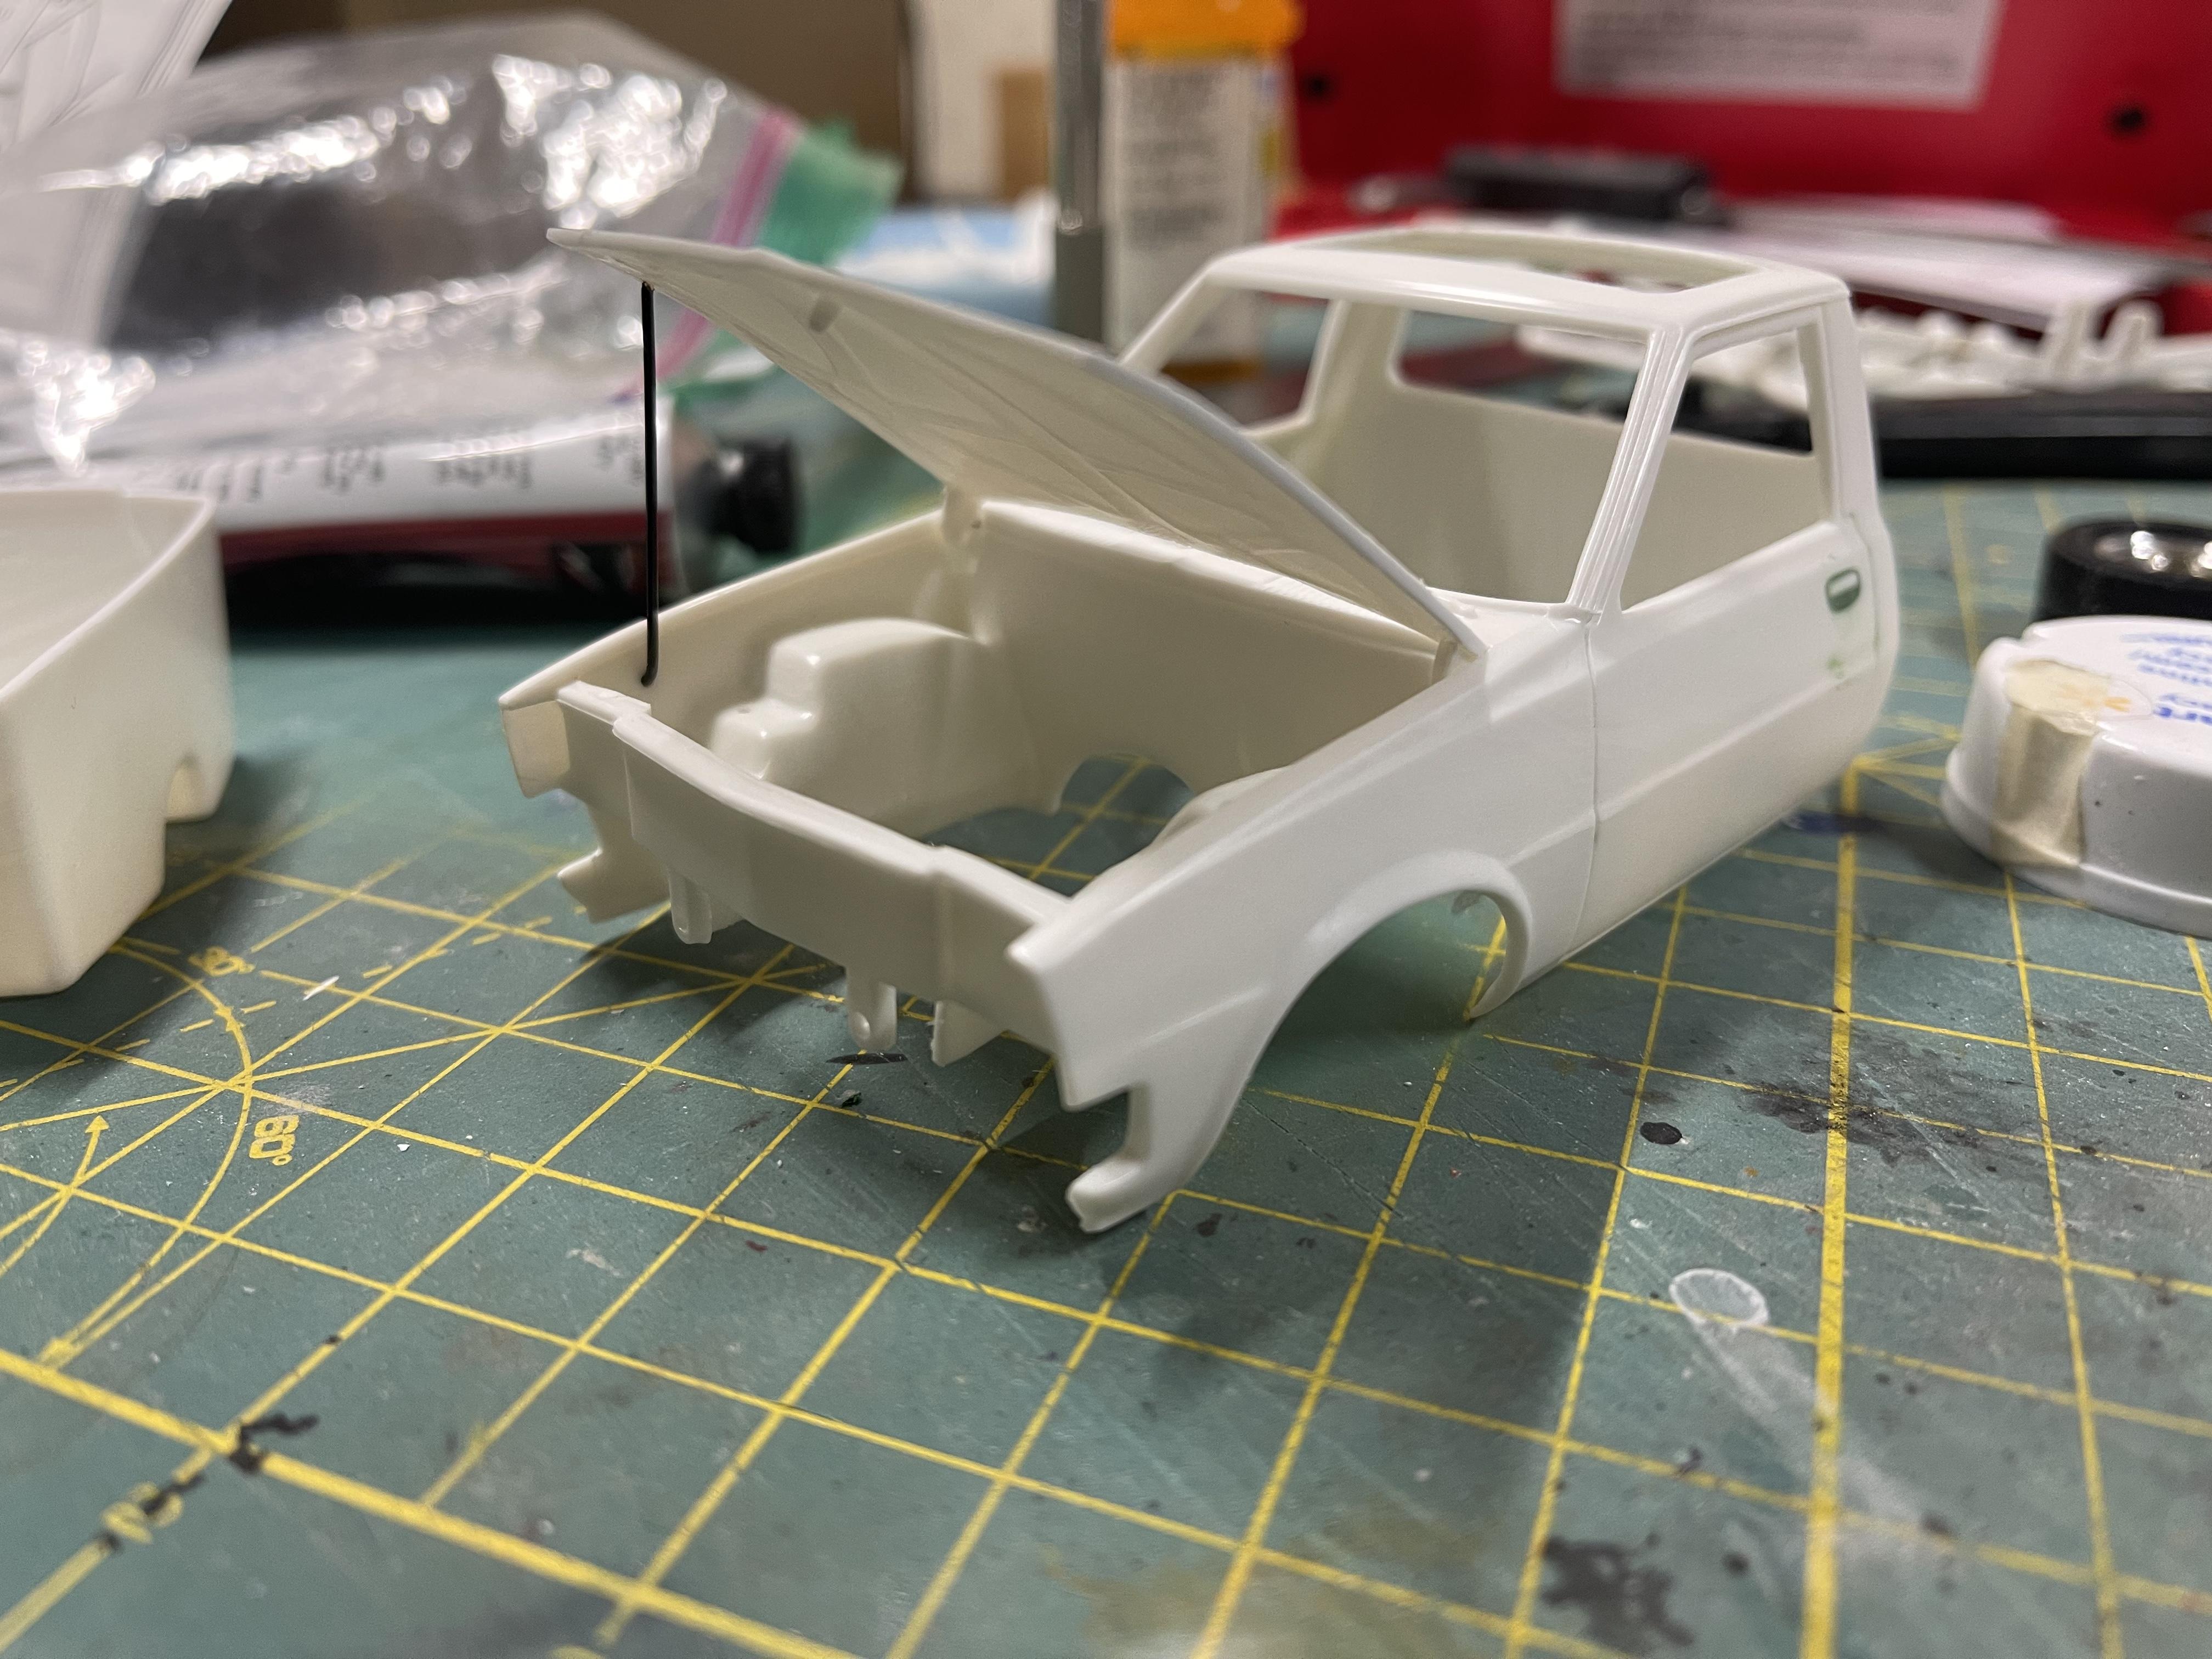
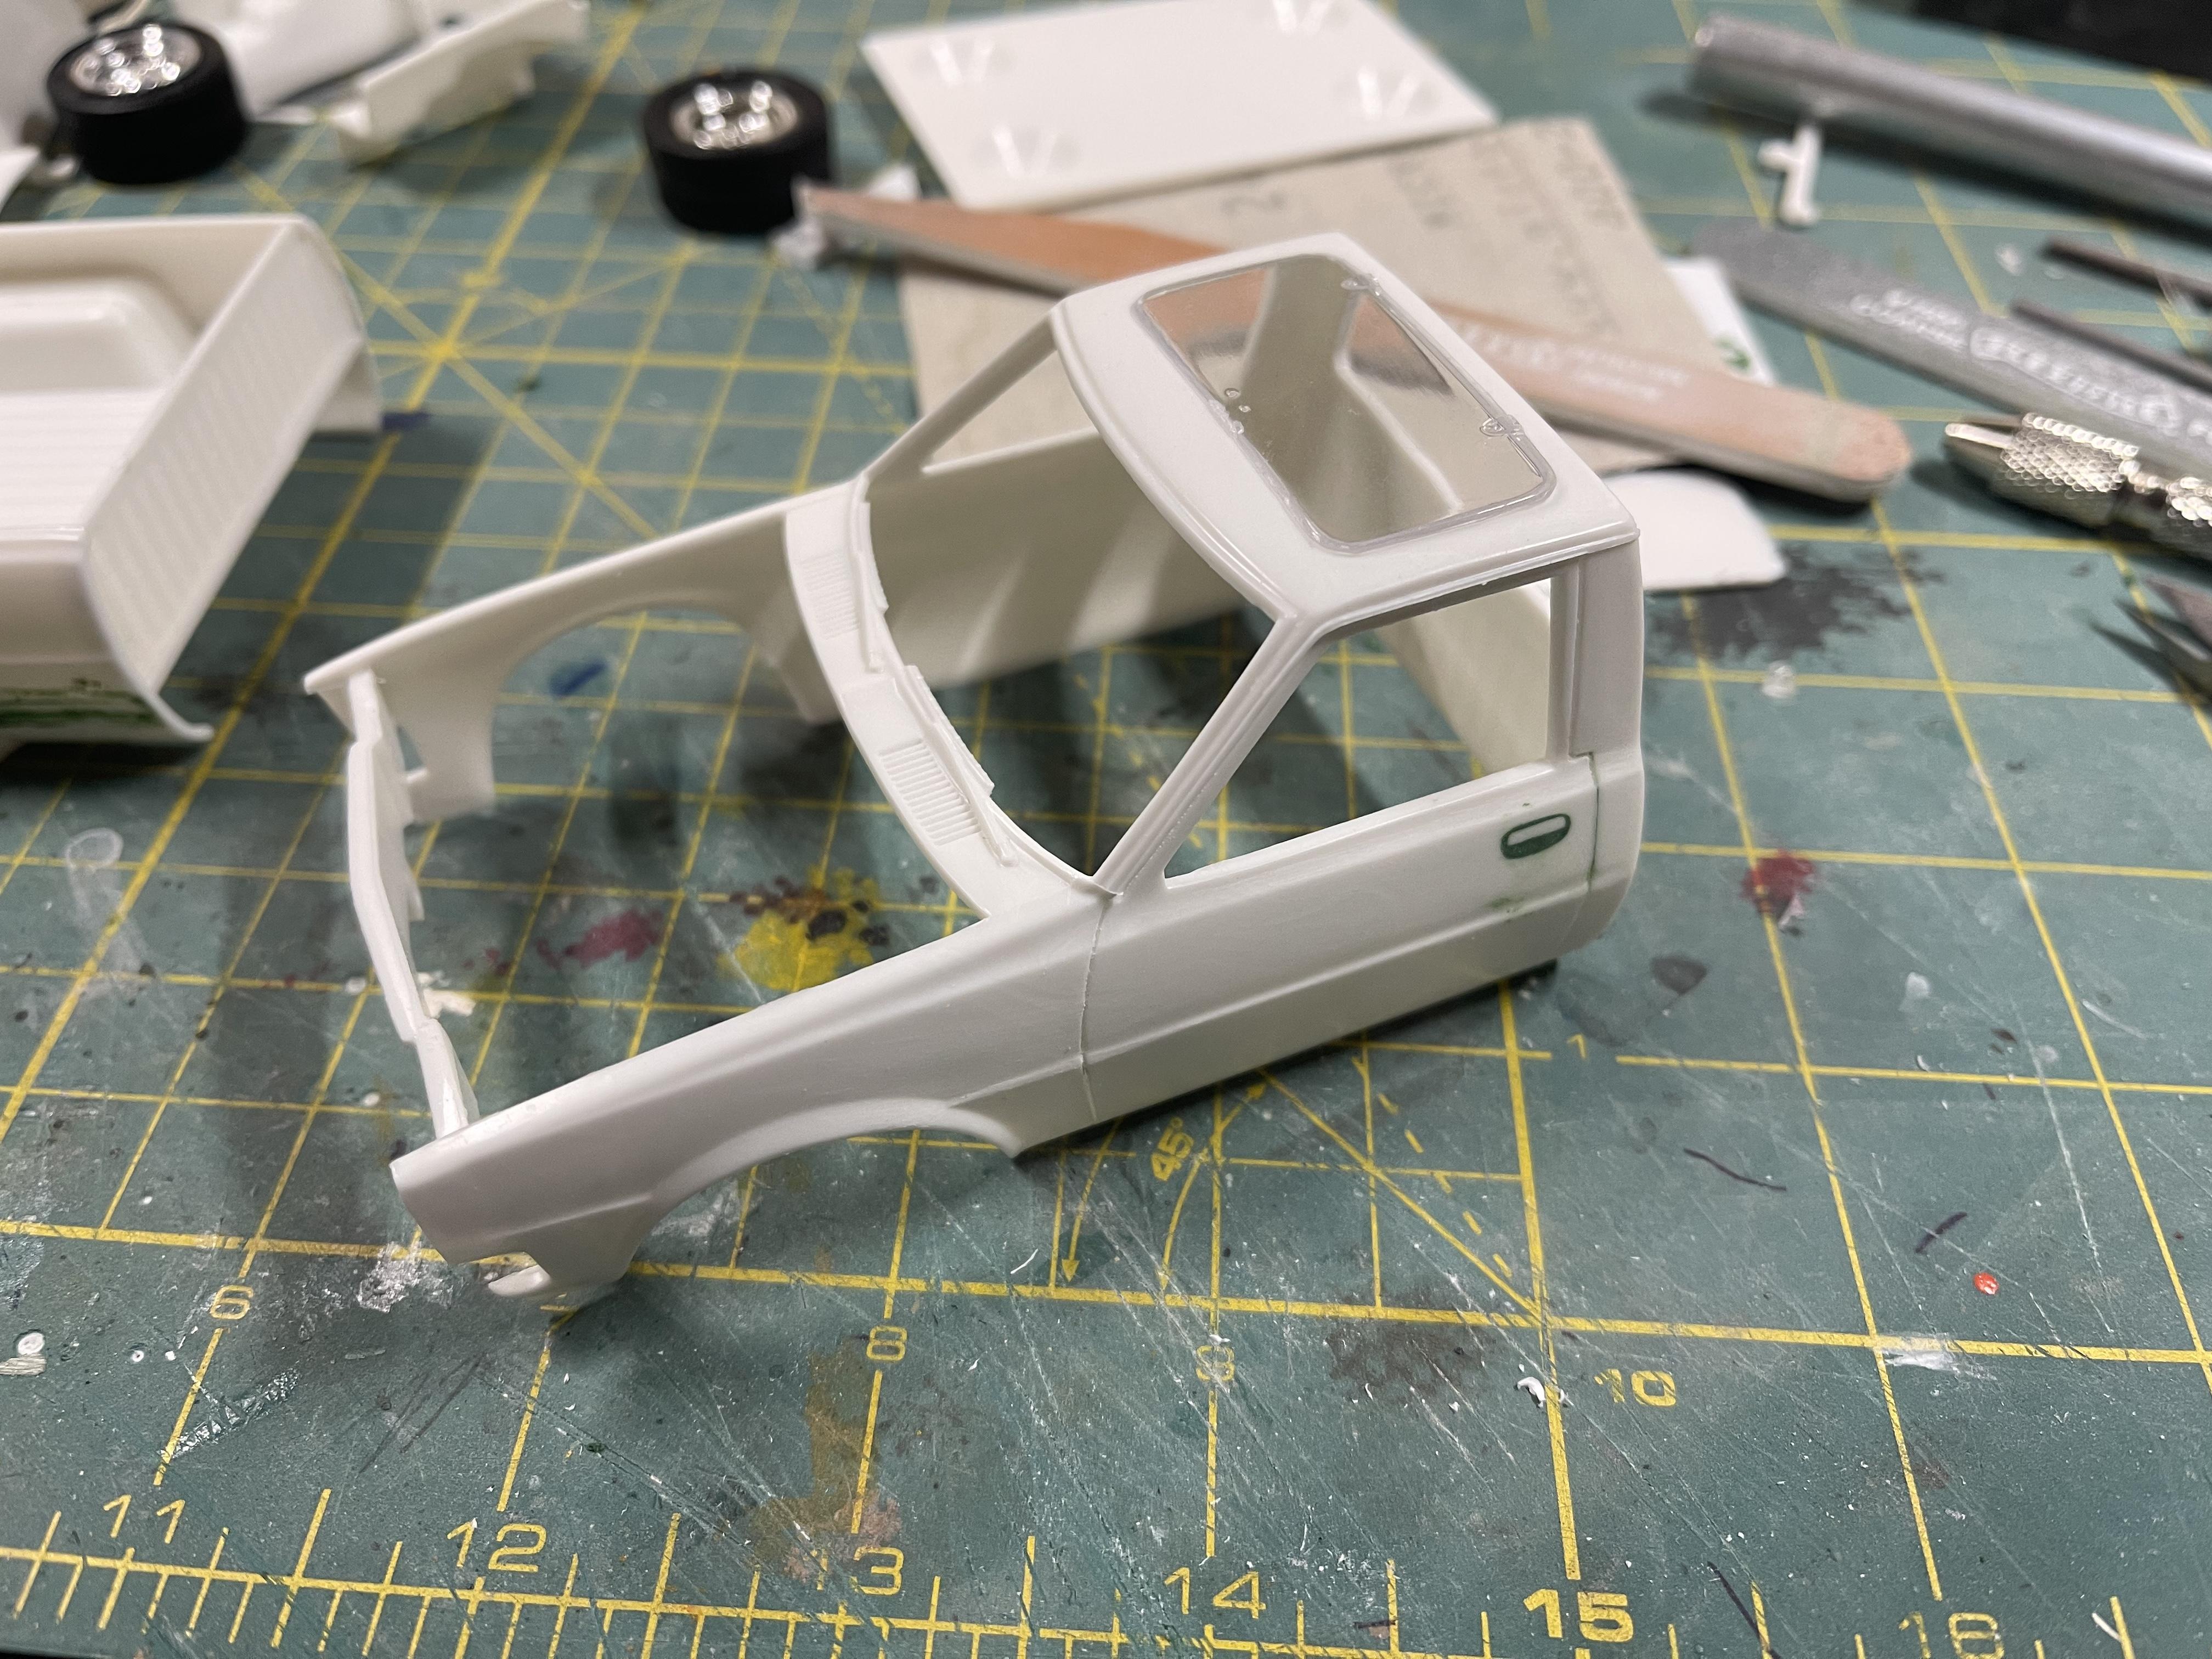
Also fitted the engine bay to the cab and made sure the hood fits snug. It does thankfully. I want to display the engine on this build so I made a simple hood prop that can fold down and out of the way. And lastly I cut open the sun roof and cleaned up the edges of the opening.
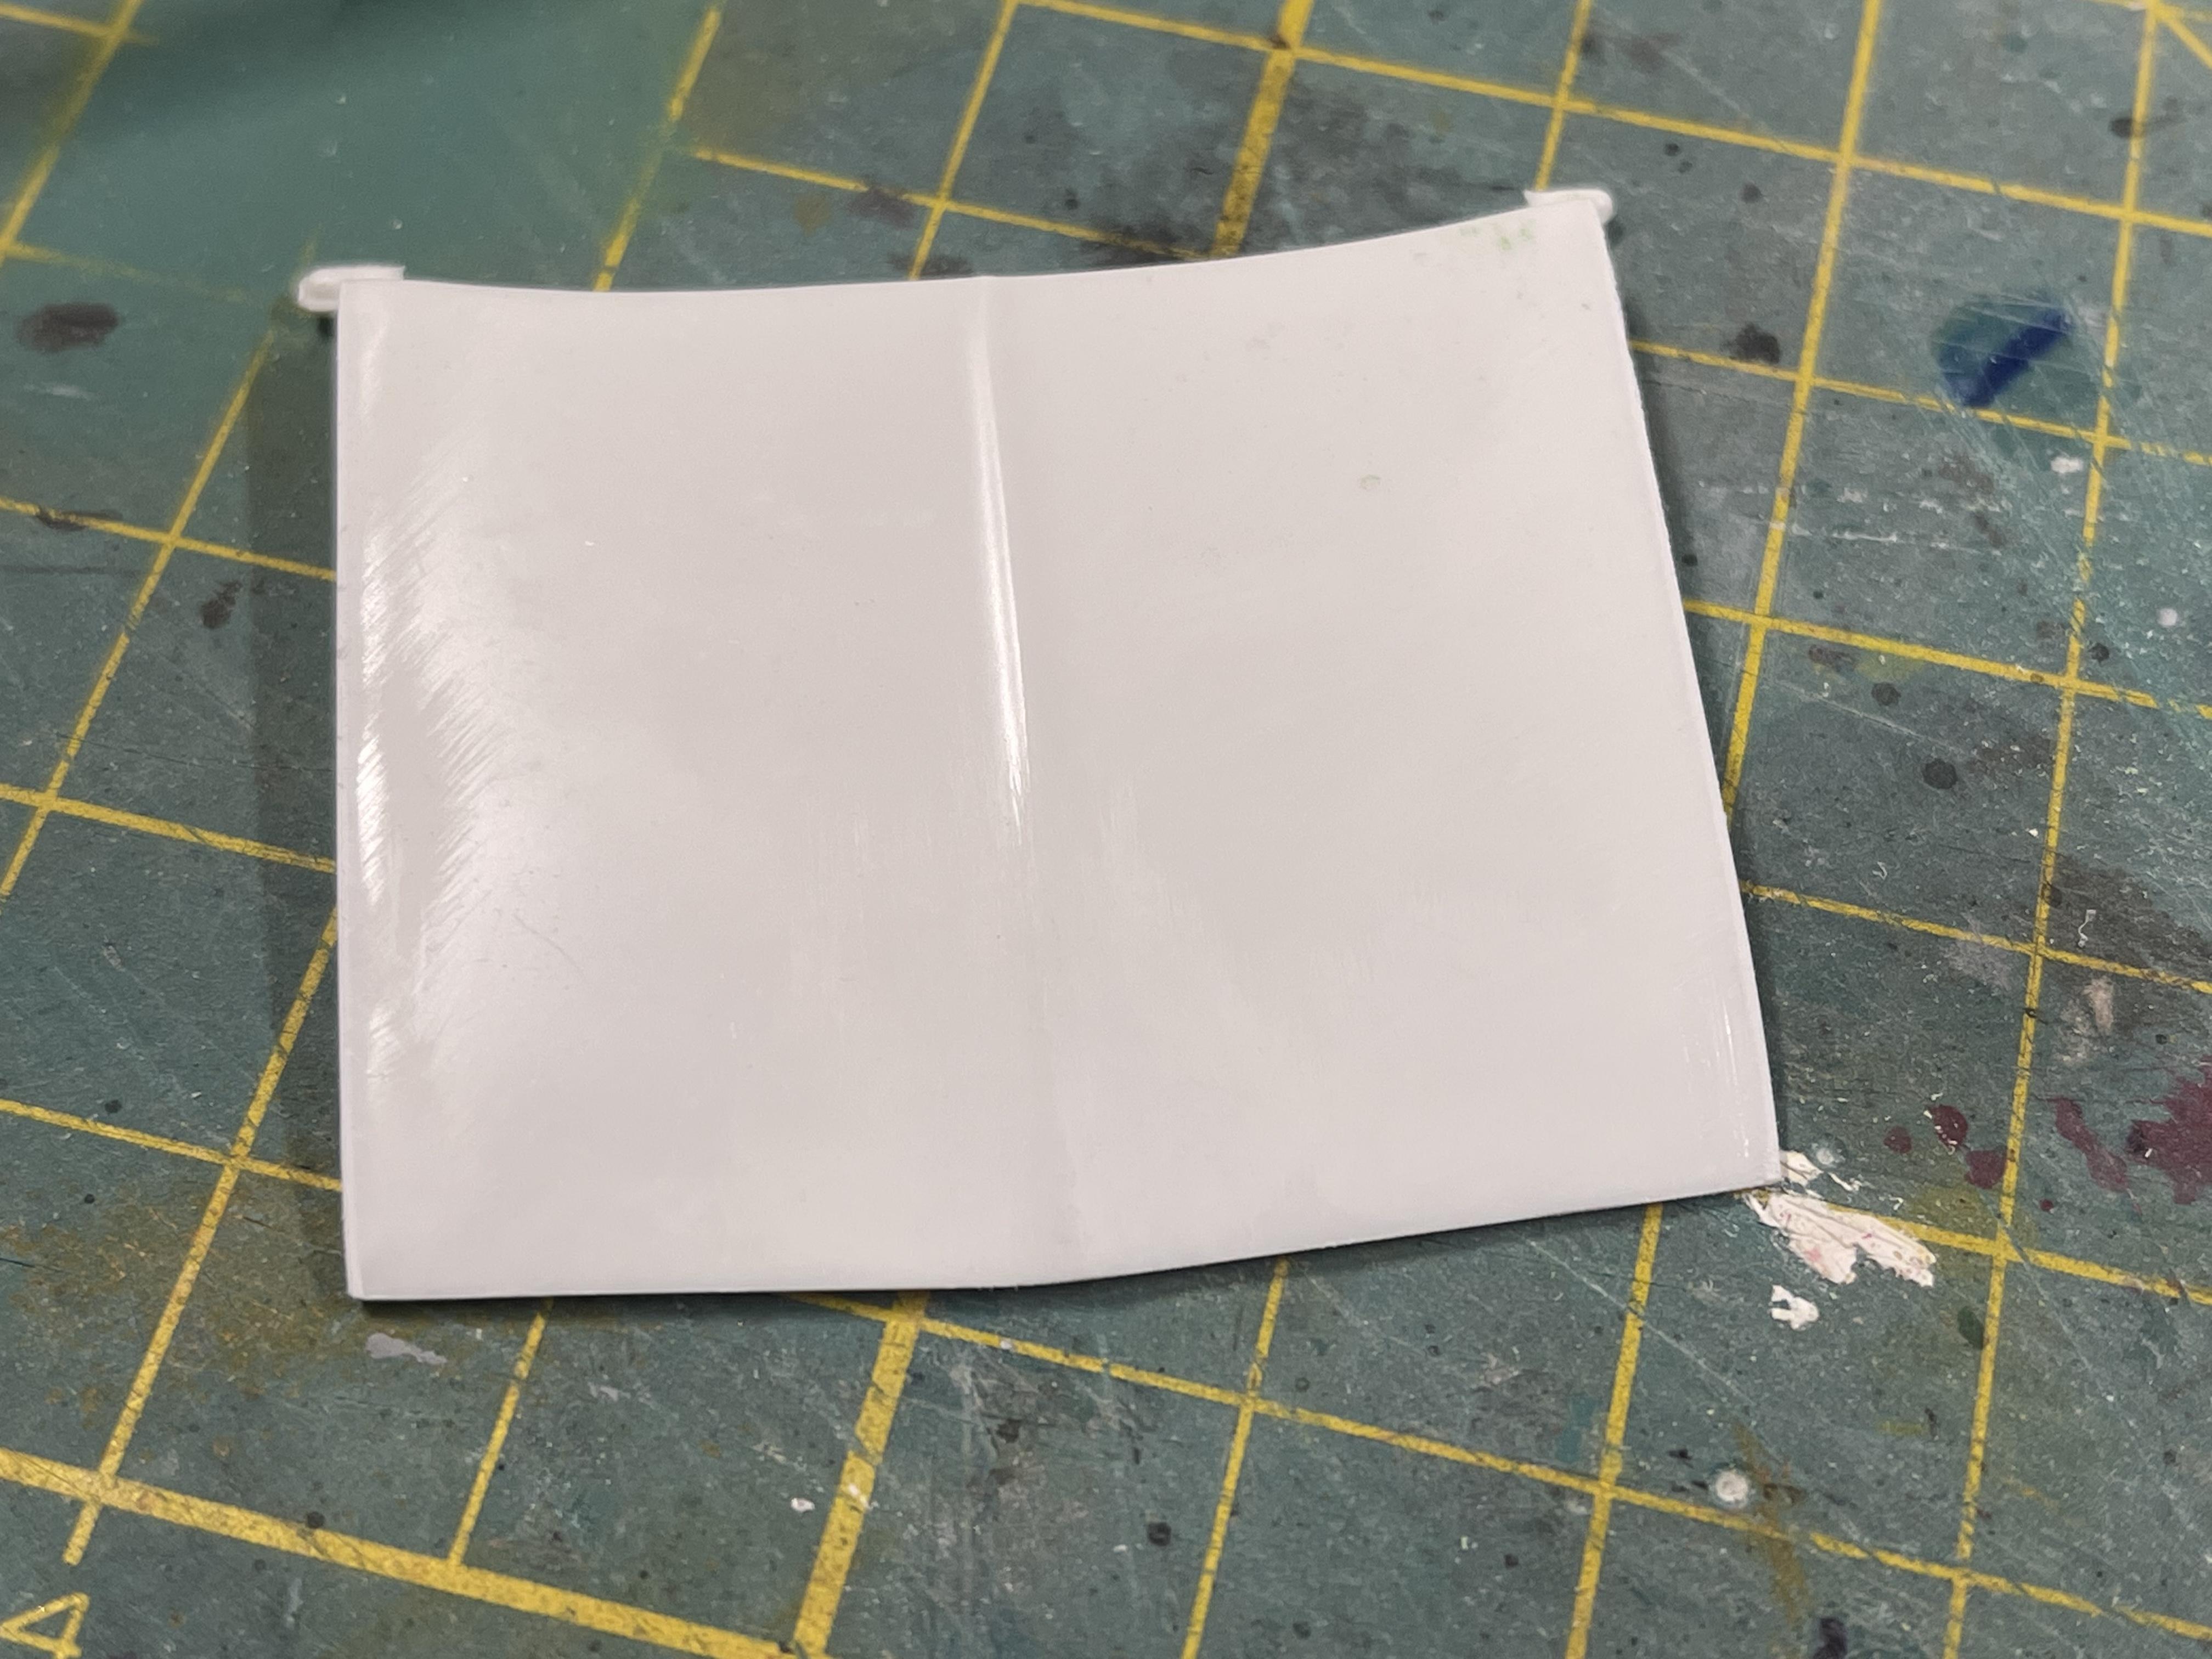
Here is the cab with the clear part resting in its place. I will be painting the edges black to simulate the rubber seal that would be present on a real vehicle.
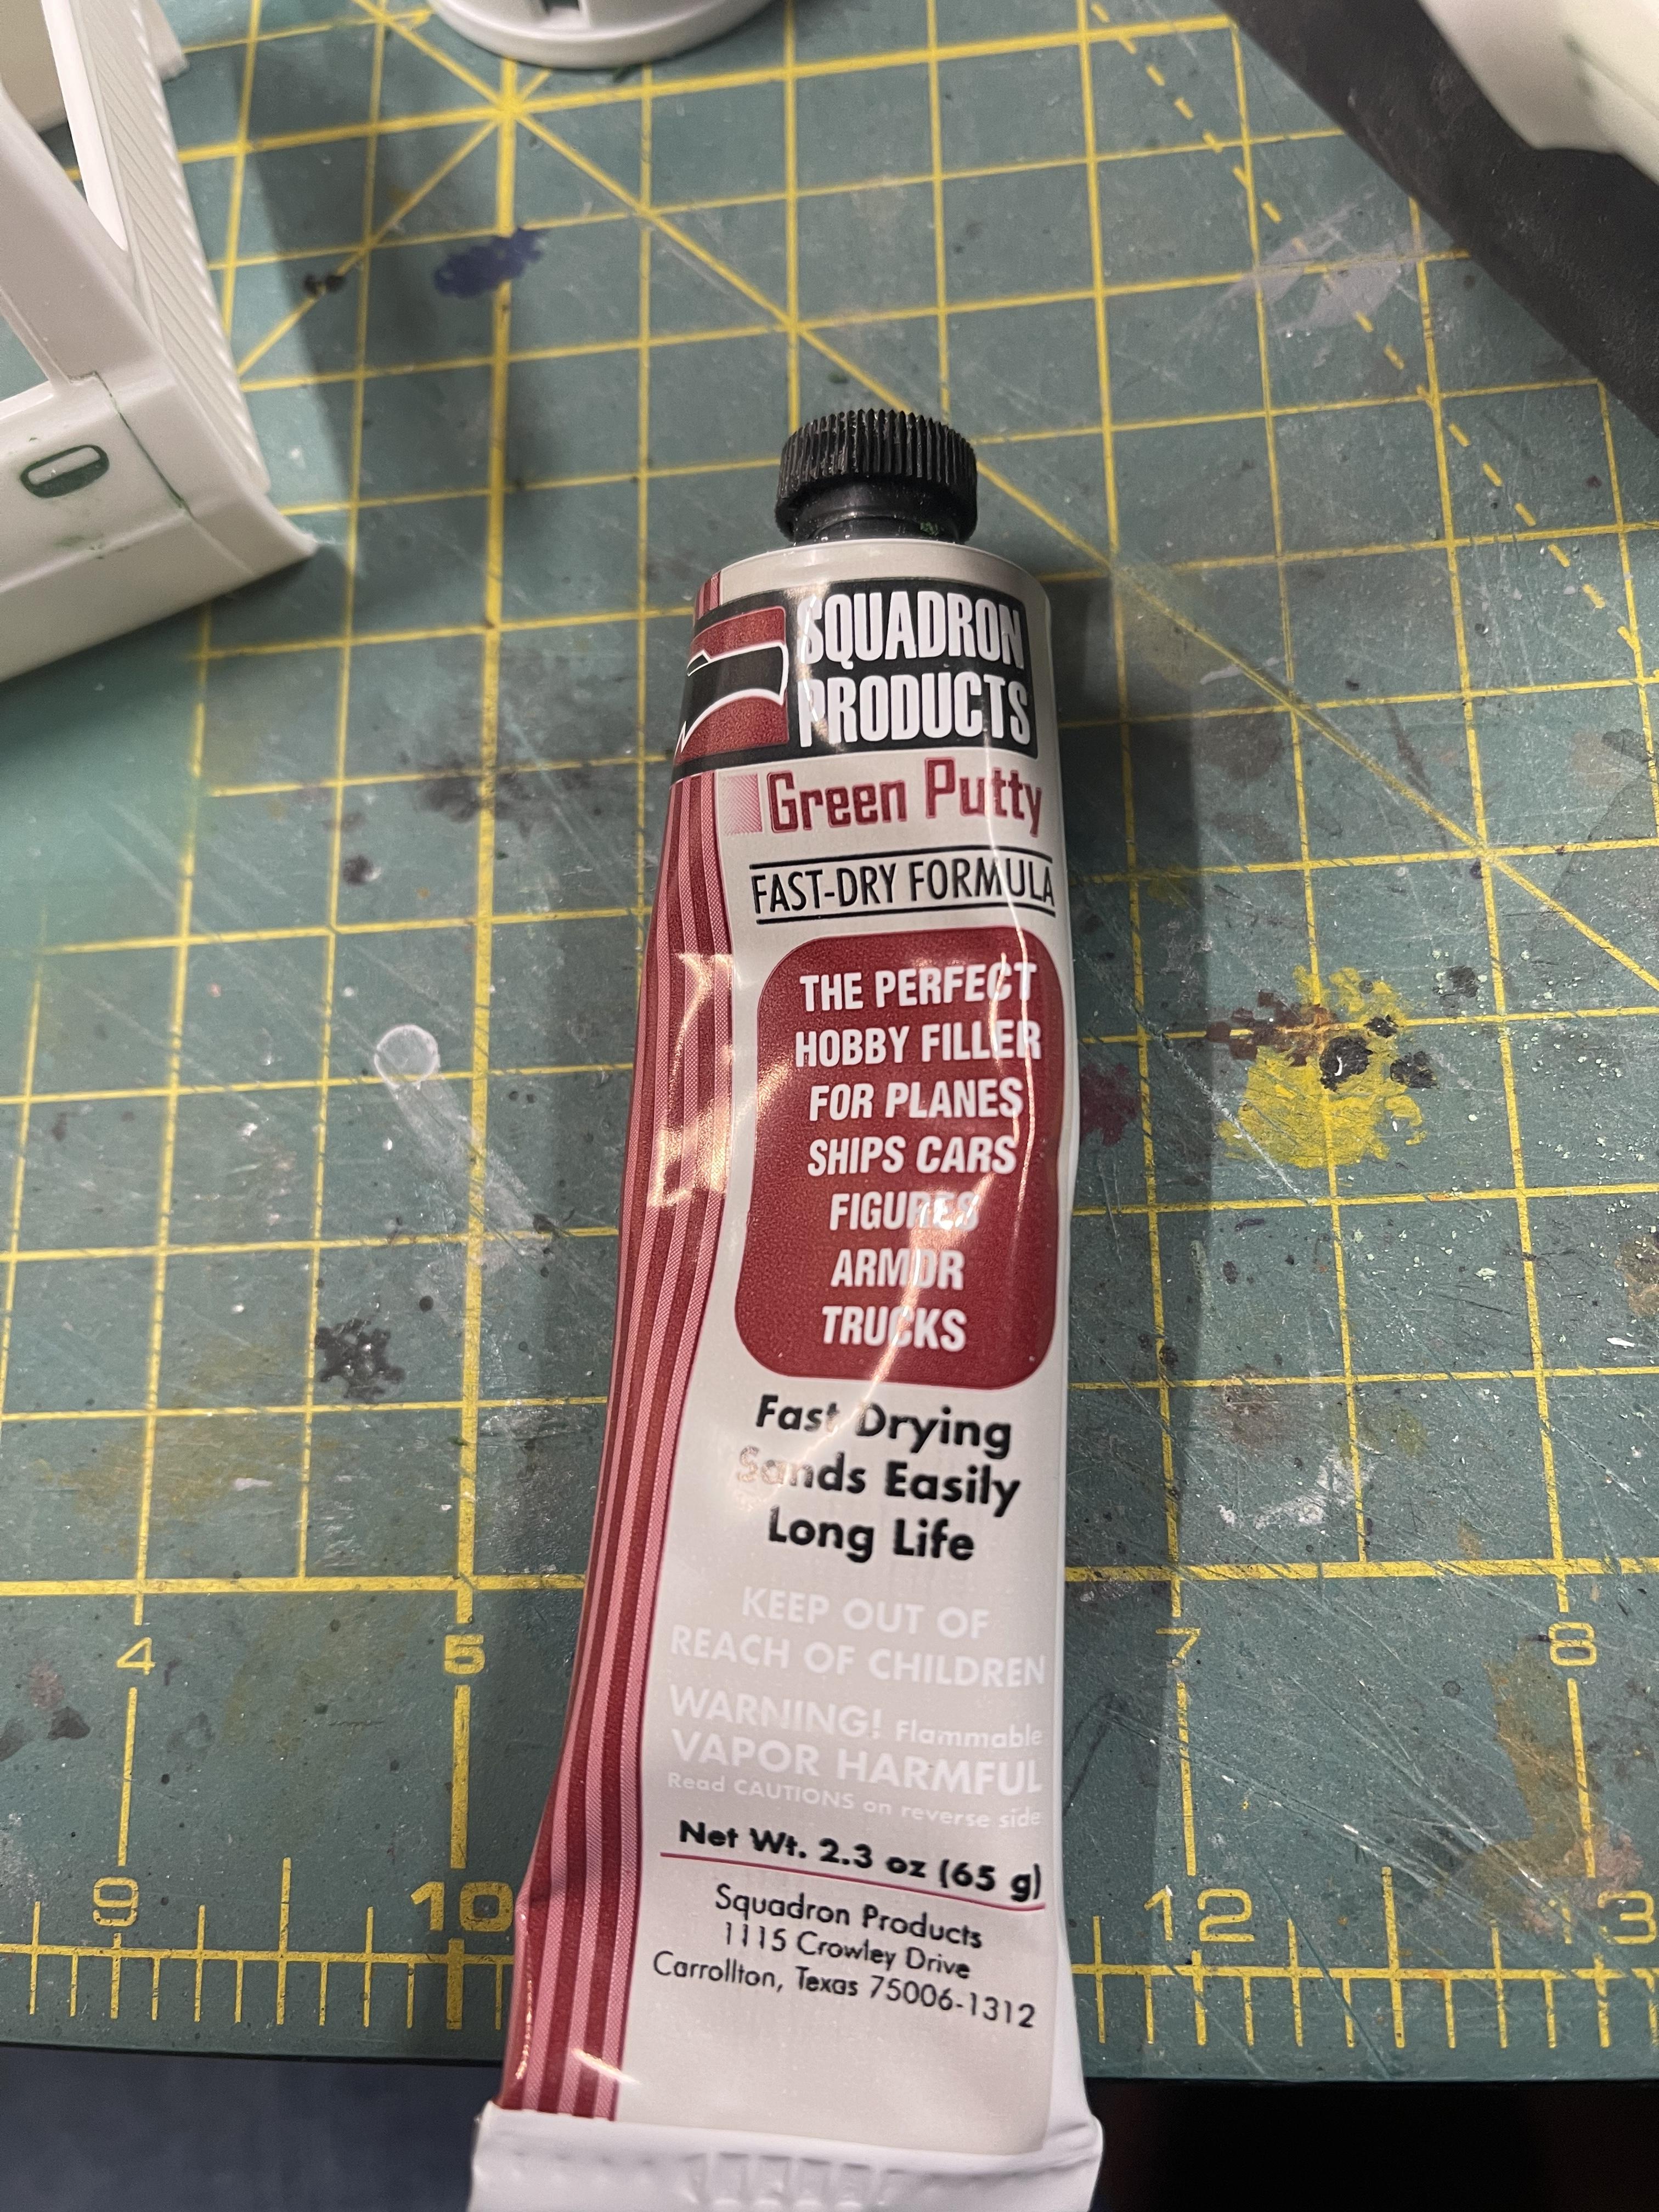
For anybody wondering, I use Squadron green putty. It seems to work the best for me for large/deep areas. I also find it the easiest to sand and work with when applying.
-
We’ve all had builds like that. Done and on the shelf at least. I also like the paint color.
-
Looking good. I am a fan of the white steelies in the last photo.
-
1
-
-
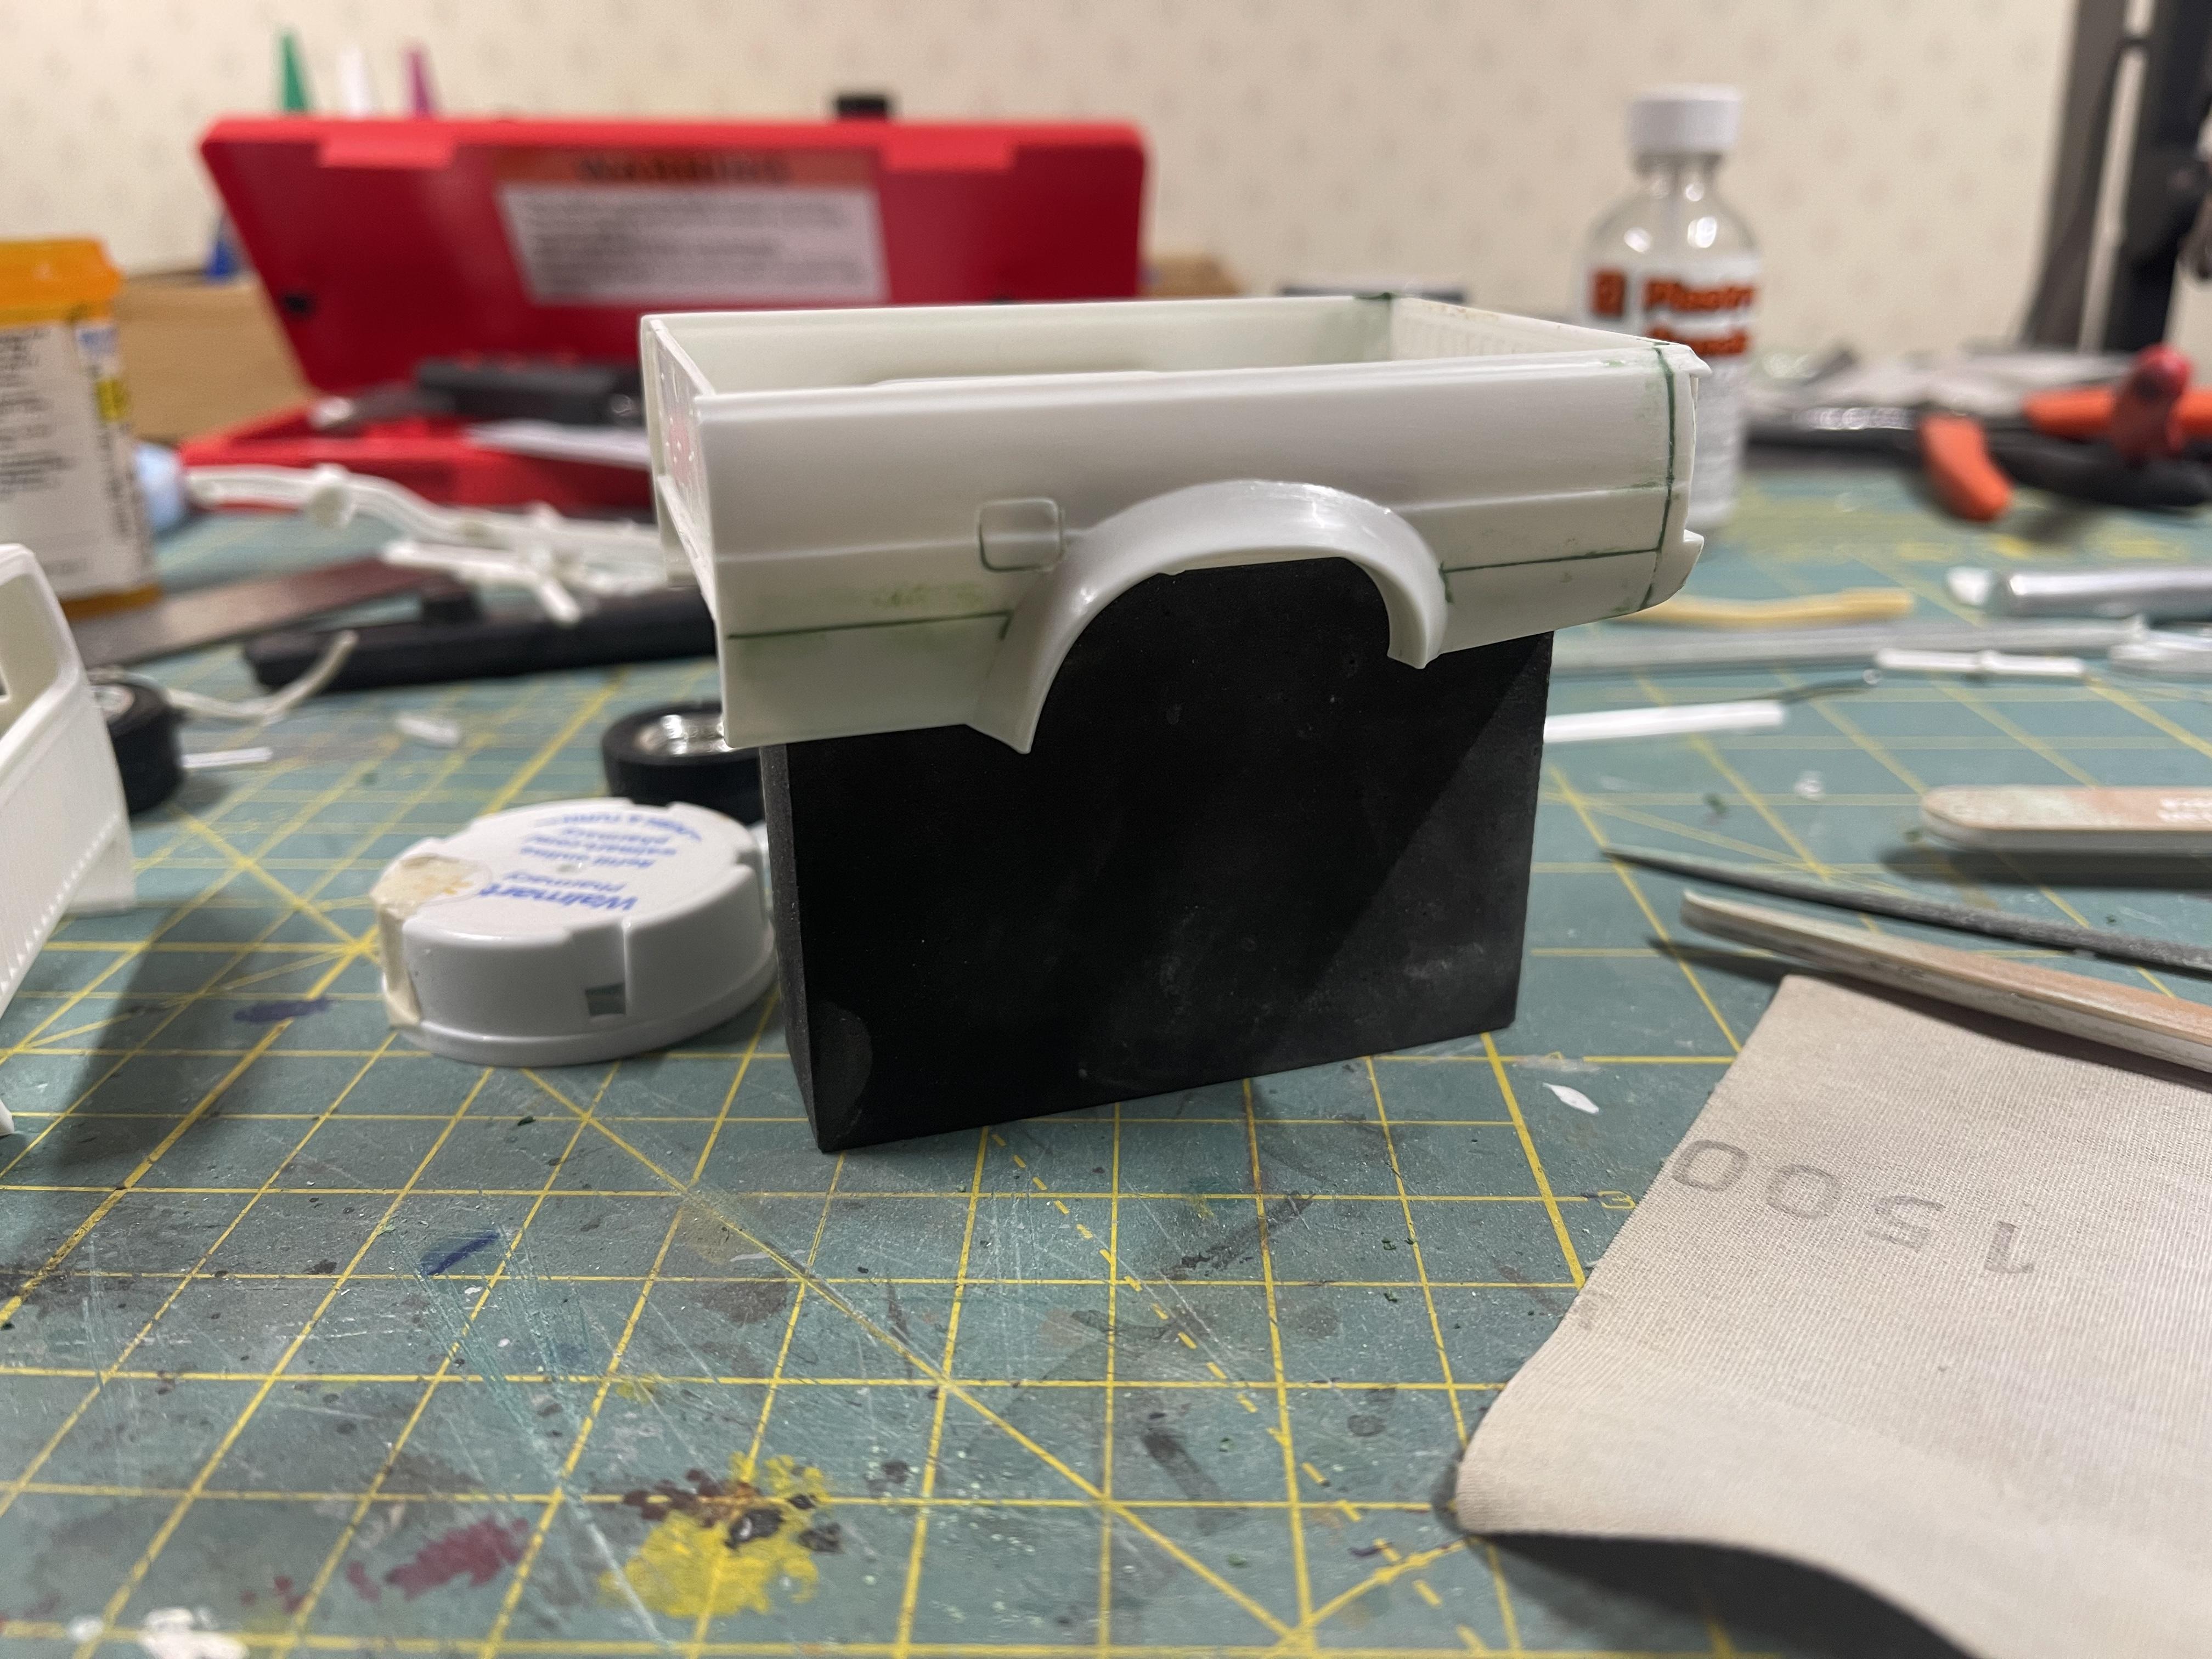
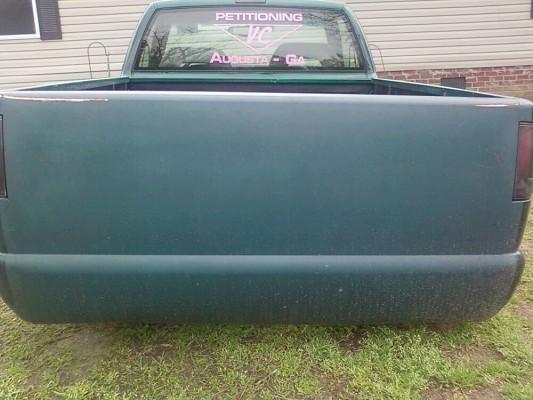
Completed some additional work on the bed. I started filling in the gap between the bed and filler plate. I made a filler plate to see if it would work, i'll be using some different styrene though and this will not be the final piece for the rear. Fitment is kind of vague on the filler plate that attaches to the bed and rear bumper, I added some styrene to close the gaps. Will have to get some putty on this tonight hopefully. As far as color, I don't have any neon pink. I think I will do a silver base coat with neon blue over that. Need to get some plastic spoons to try it out on.
-
Looking good. The stripes are cool!
-
Excellent scratch building!
-
-
Very nice for an 11 hour build!
-
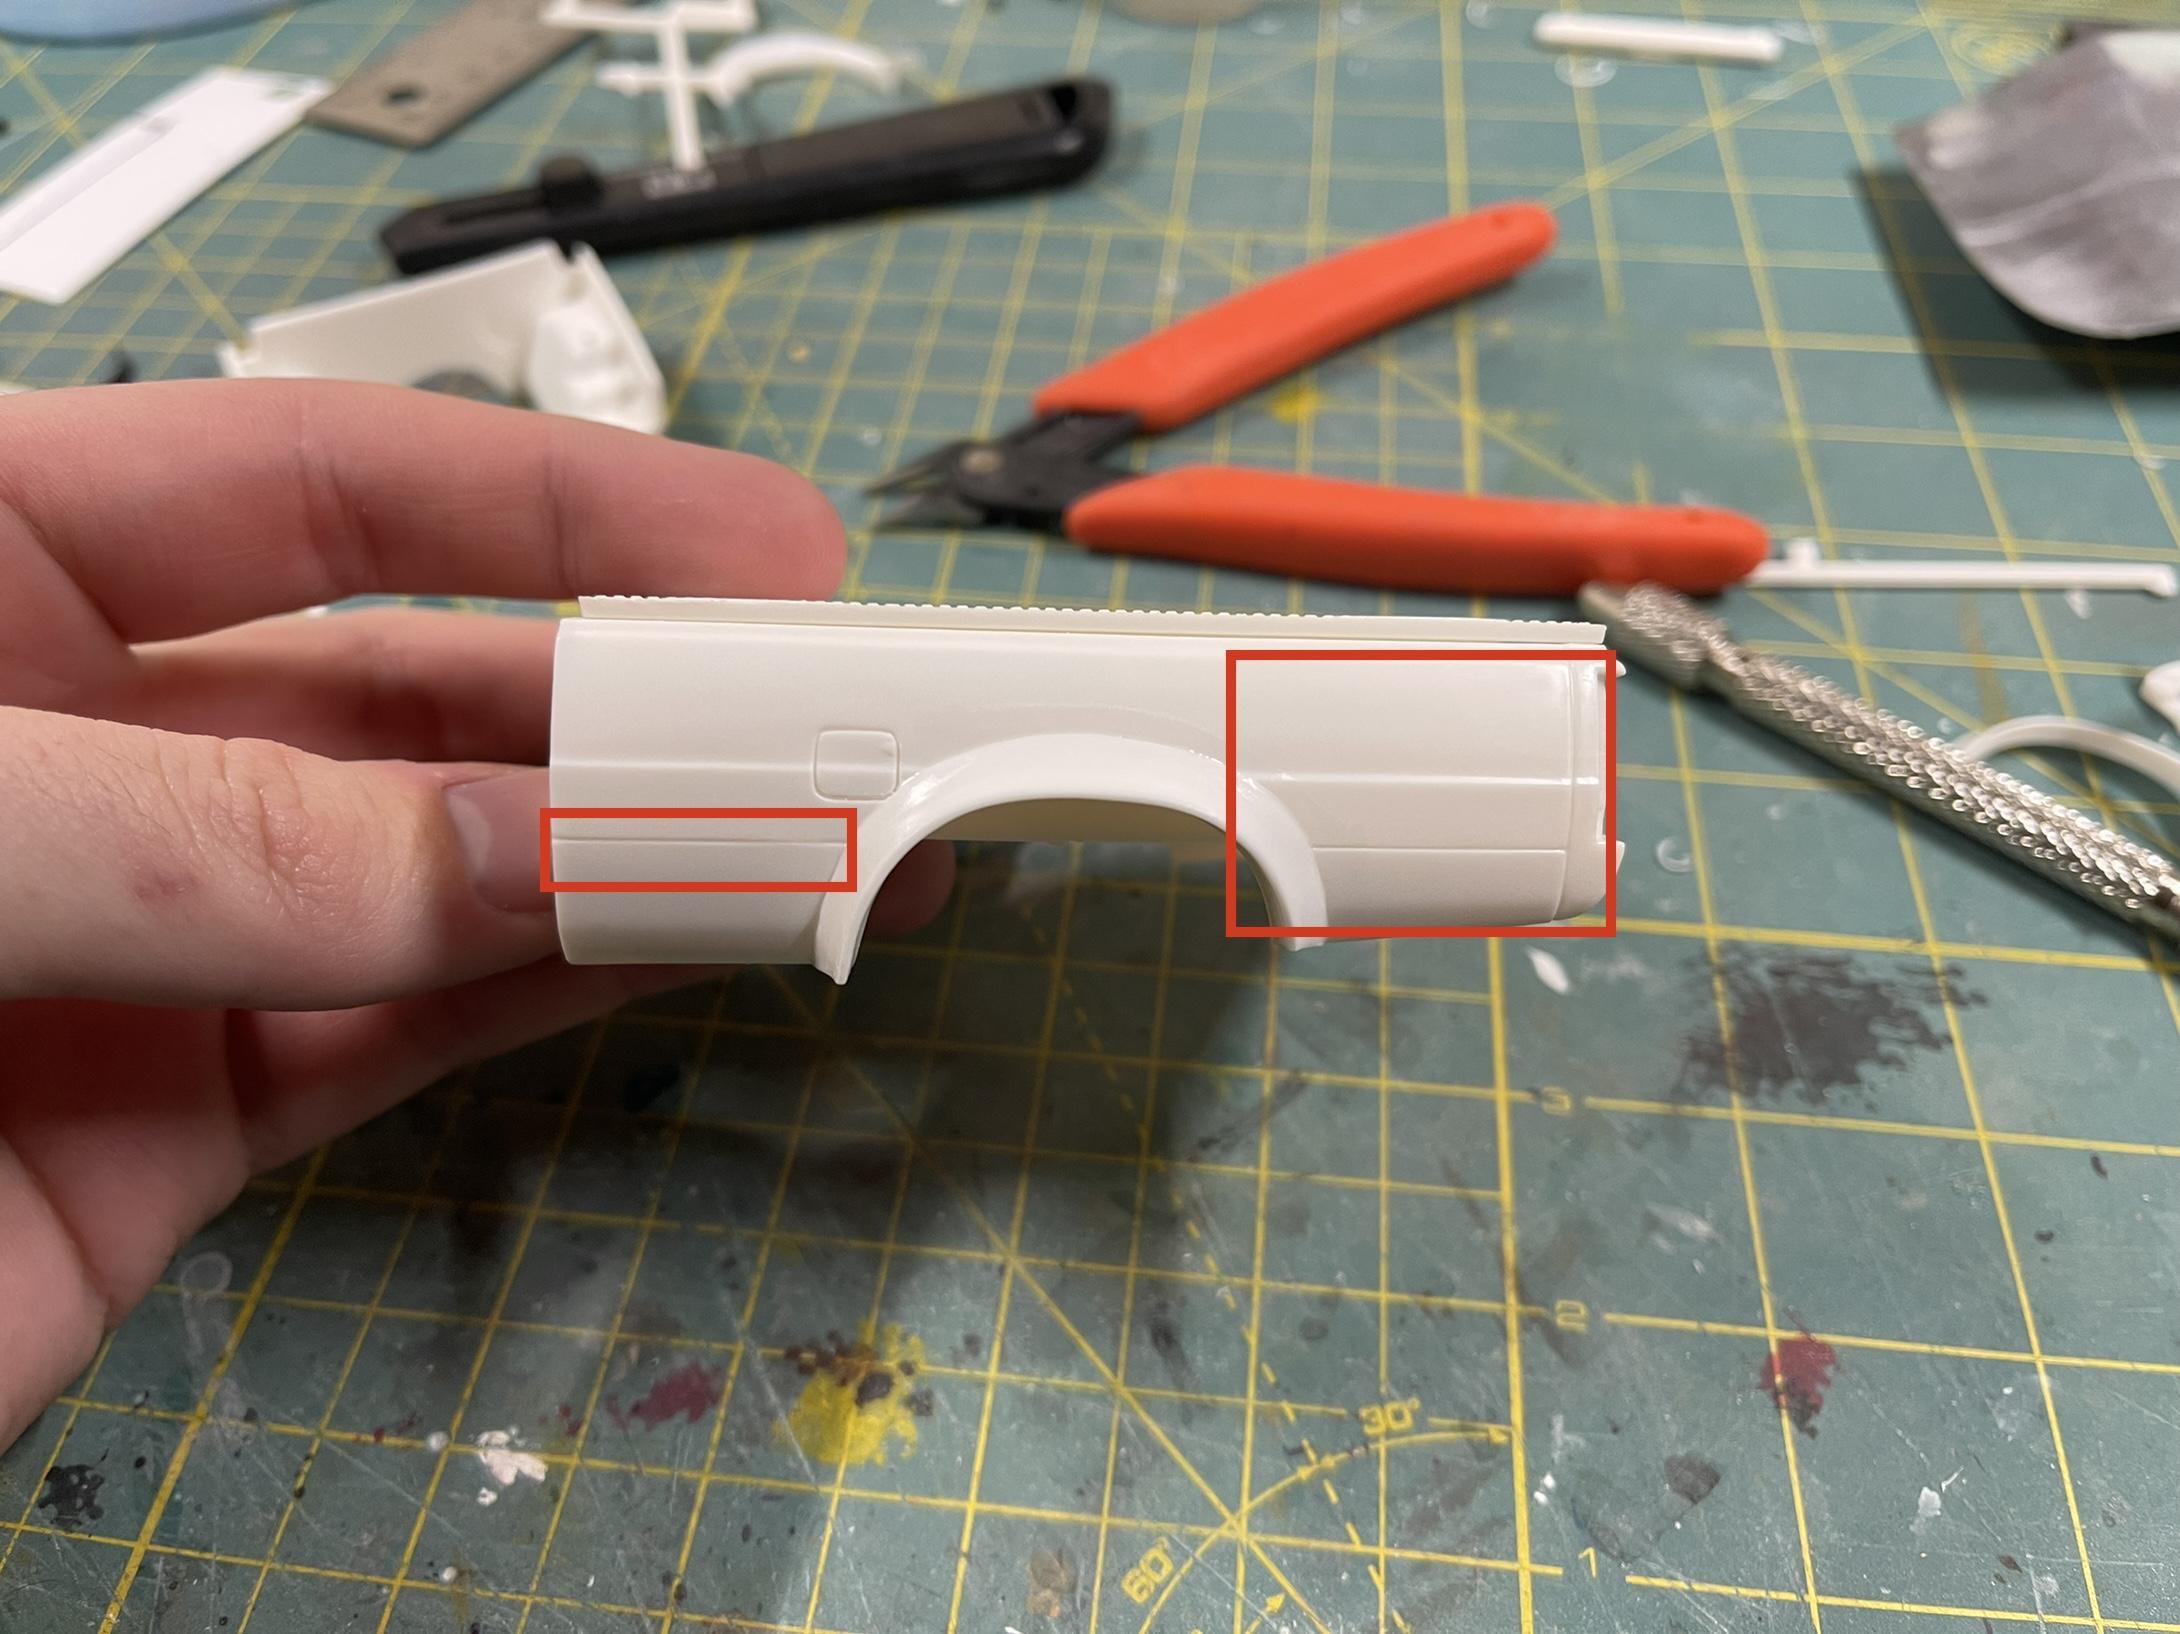
I got some more work done on the bed. Had it all put together but had to peel off the passenger side to adjust it a bit. Now it’s all square. Test fitted the bed cover and installed the rear flares. I think I’ll fill the lines on the bed, since they aren’t on the cab and seem kind of weird to me.
Also might cali combo the bed with a roll pan, filled tailgate but will keep the stock lights.
-
@Dave Darby, thank you for sharing the photos and input with us. Very cool! I will be trying to replicate the pink one as best as I can with a few extra touches. Great builds!😎
-
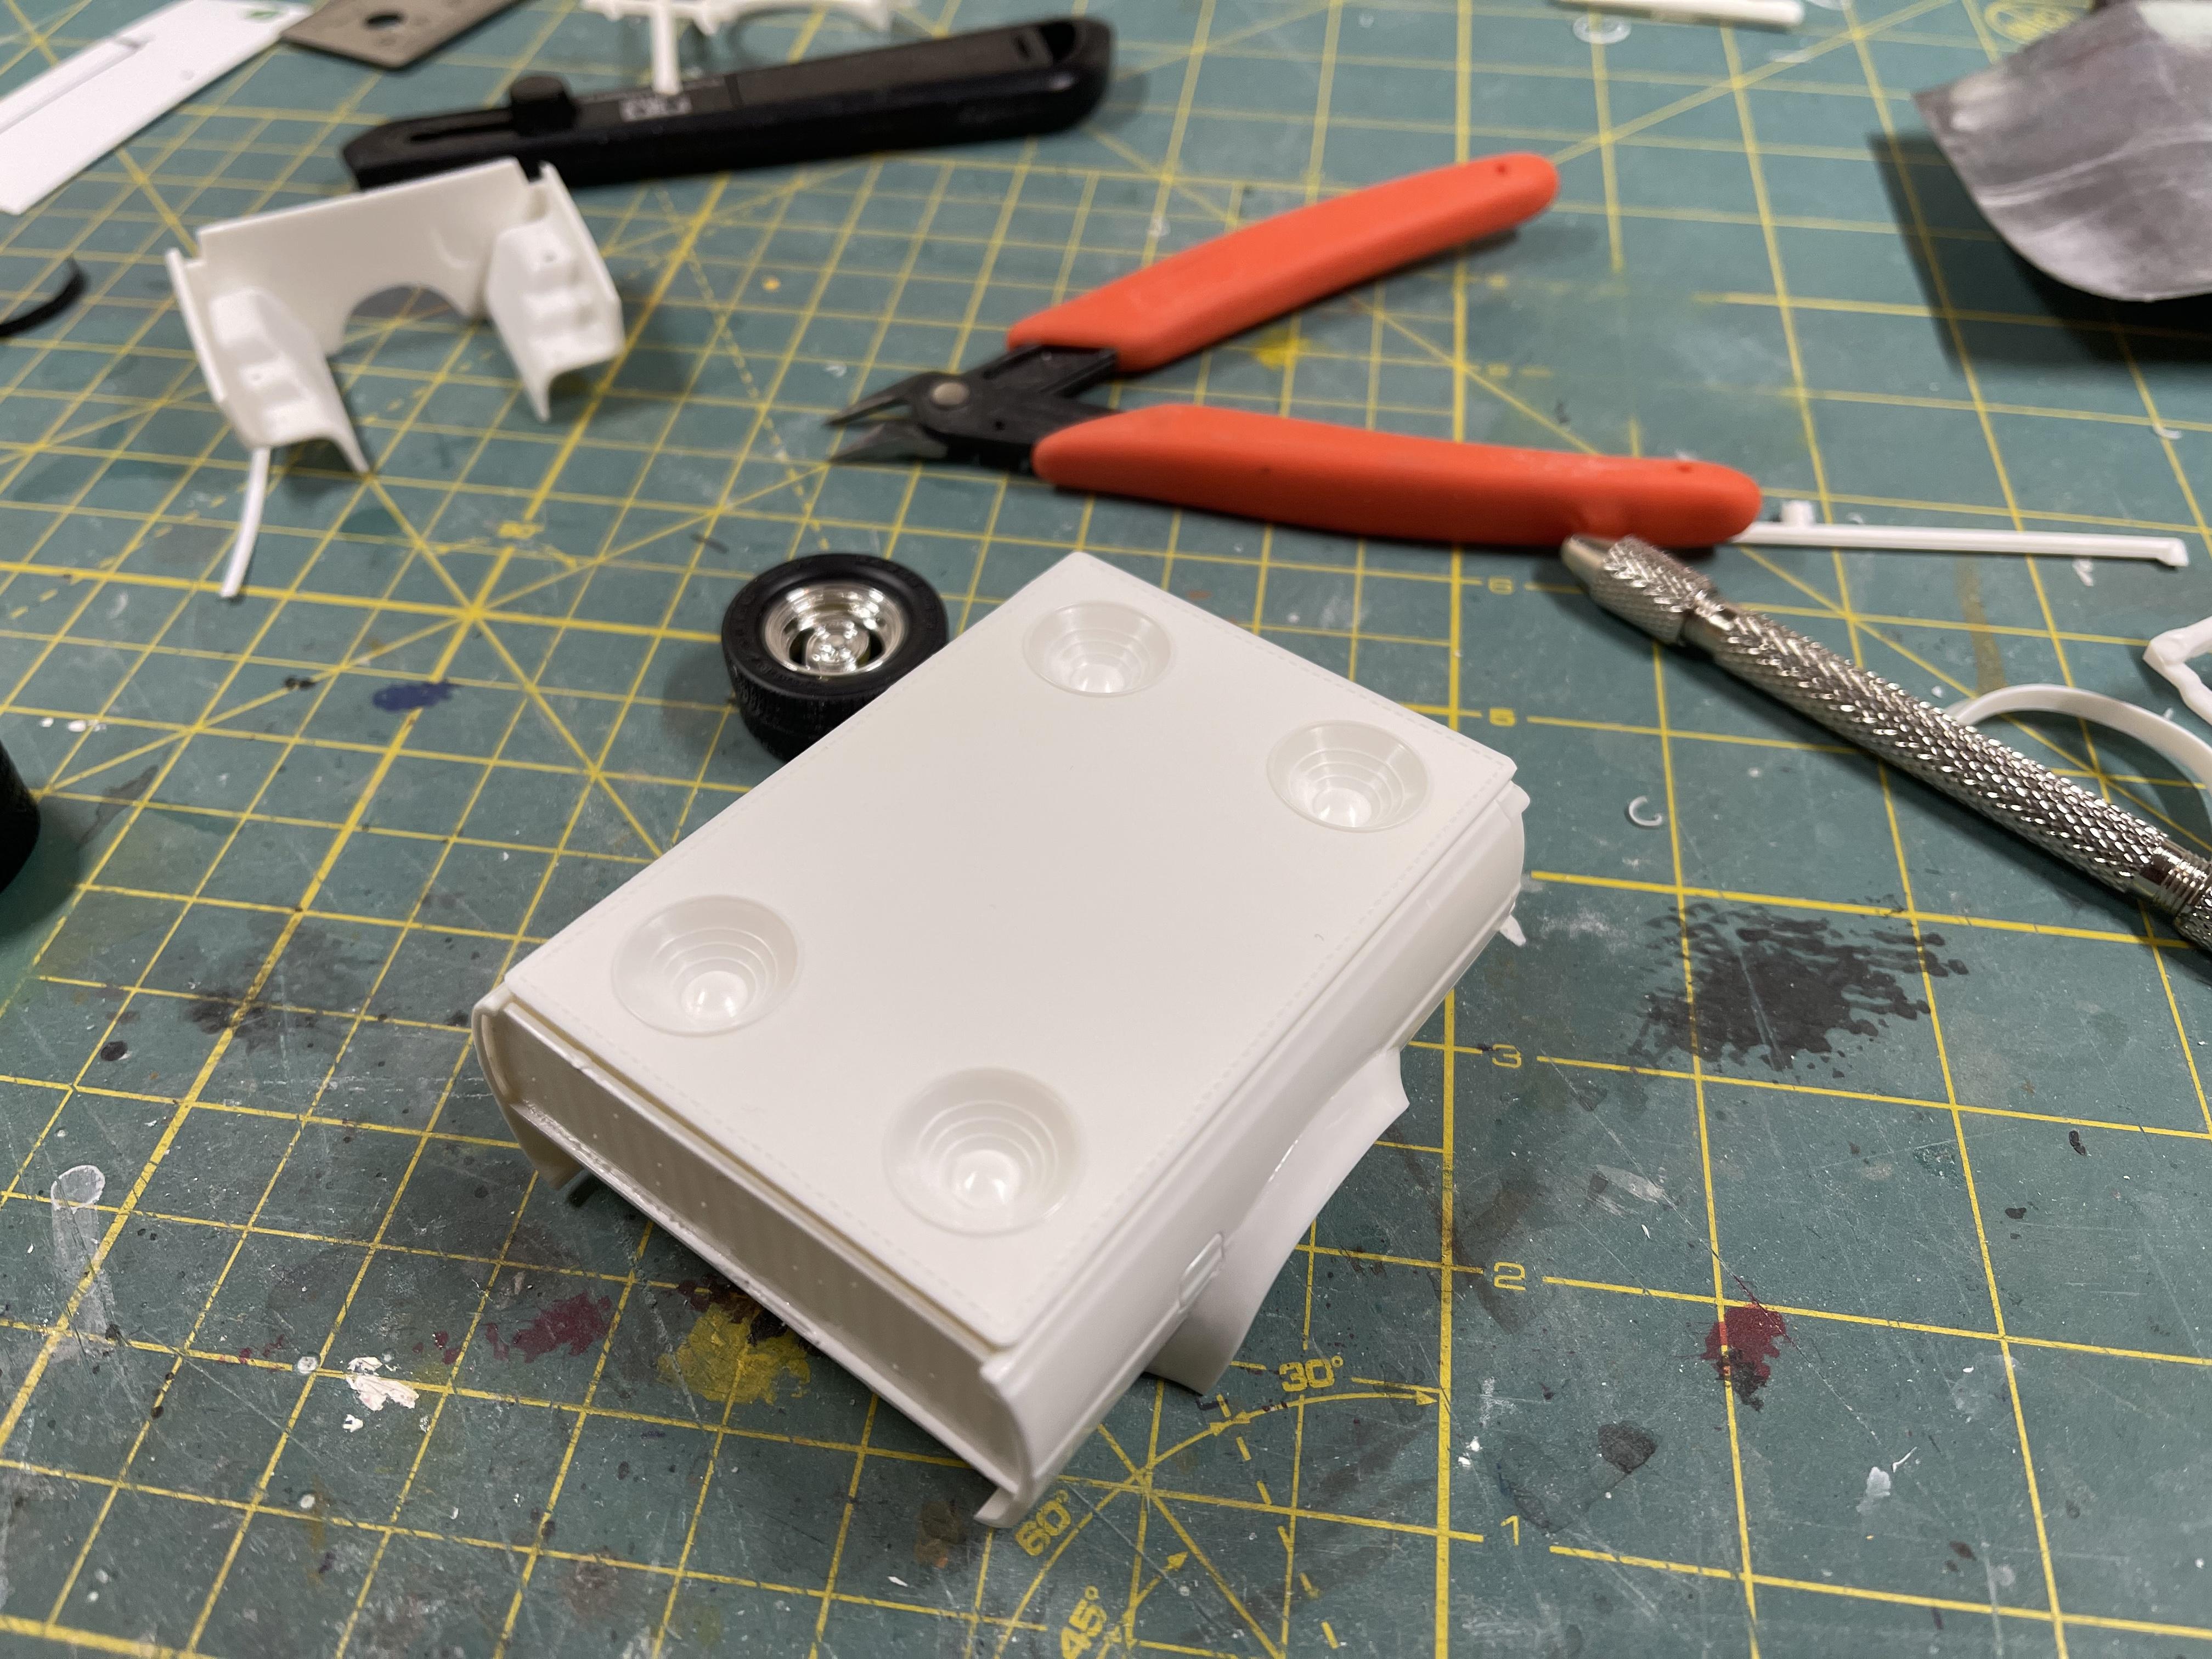
Small update today. I’ve been trying to get better at test fitting. For me this means really taking my time now on the assembly process. As I get better I should be able to do this part faster.
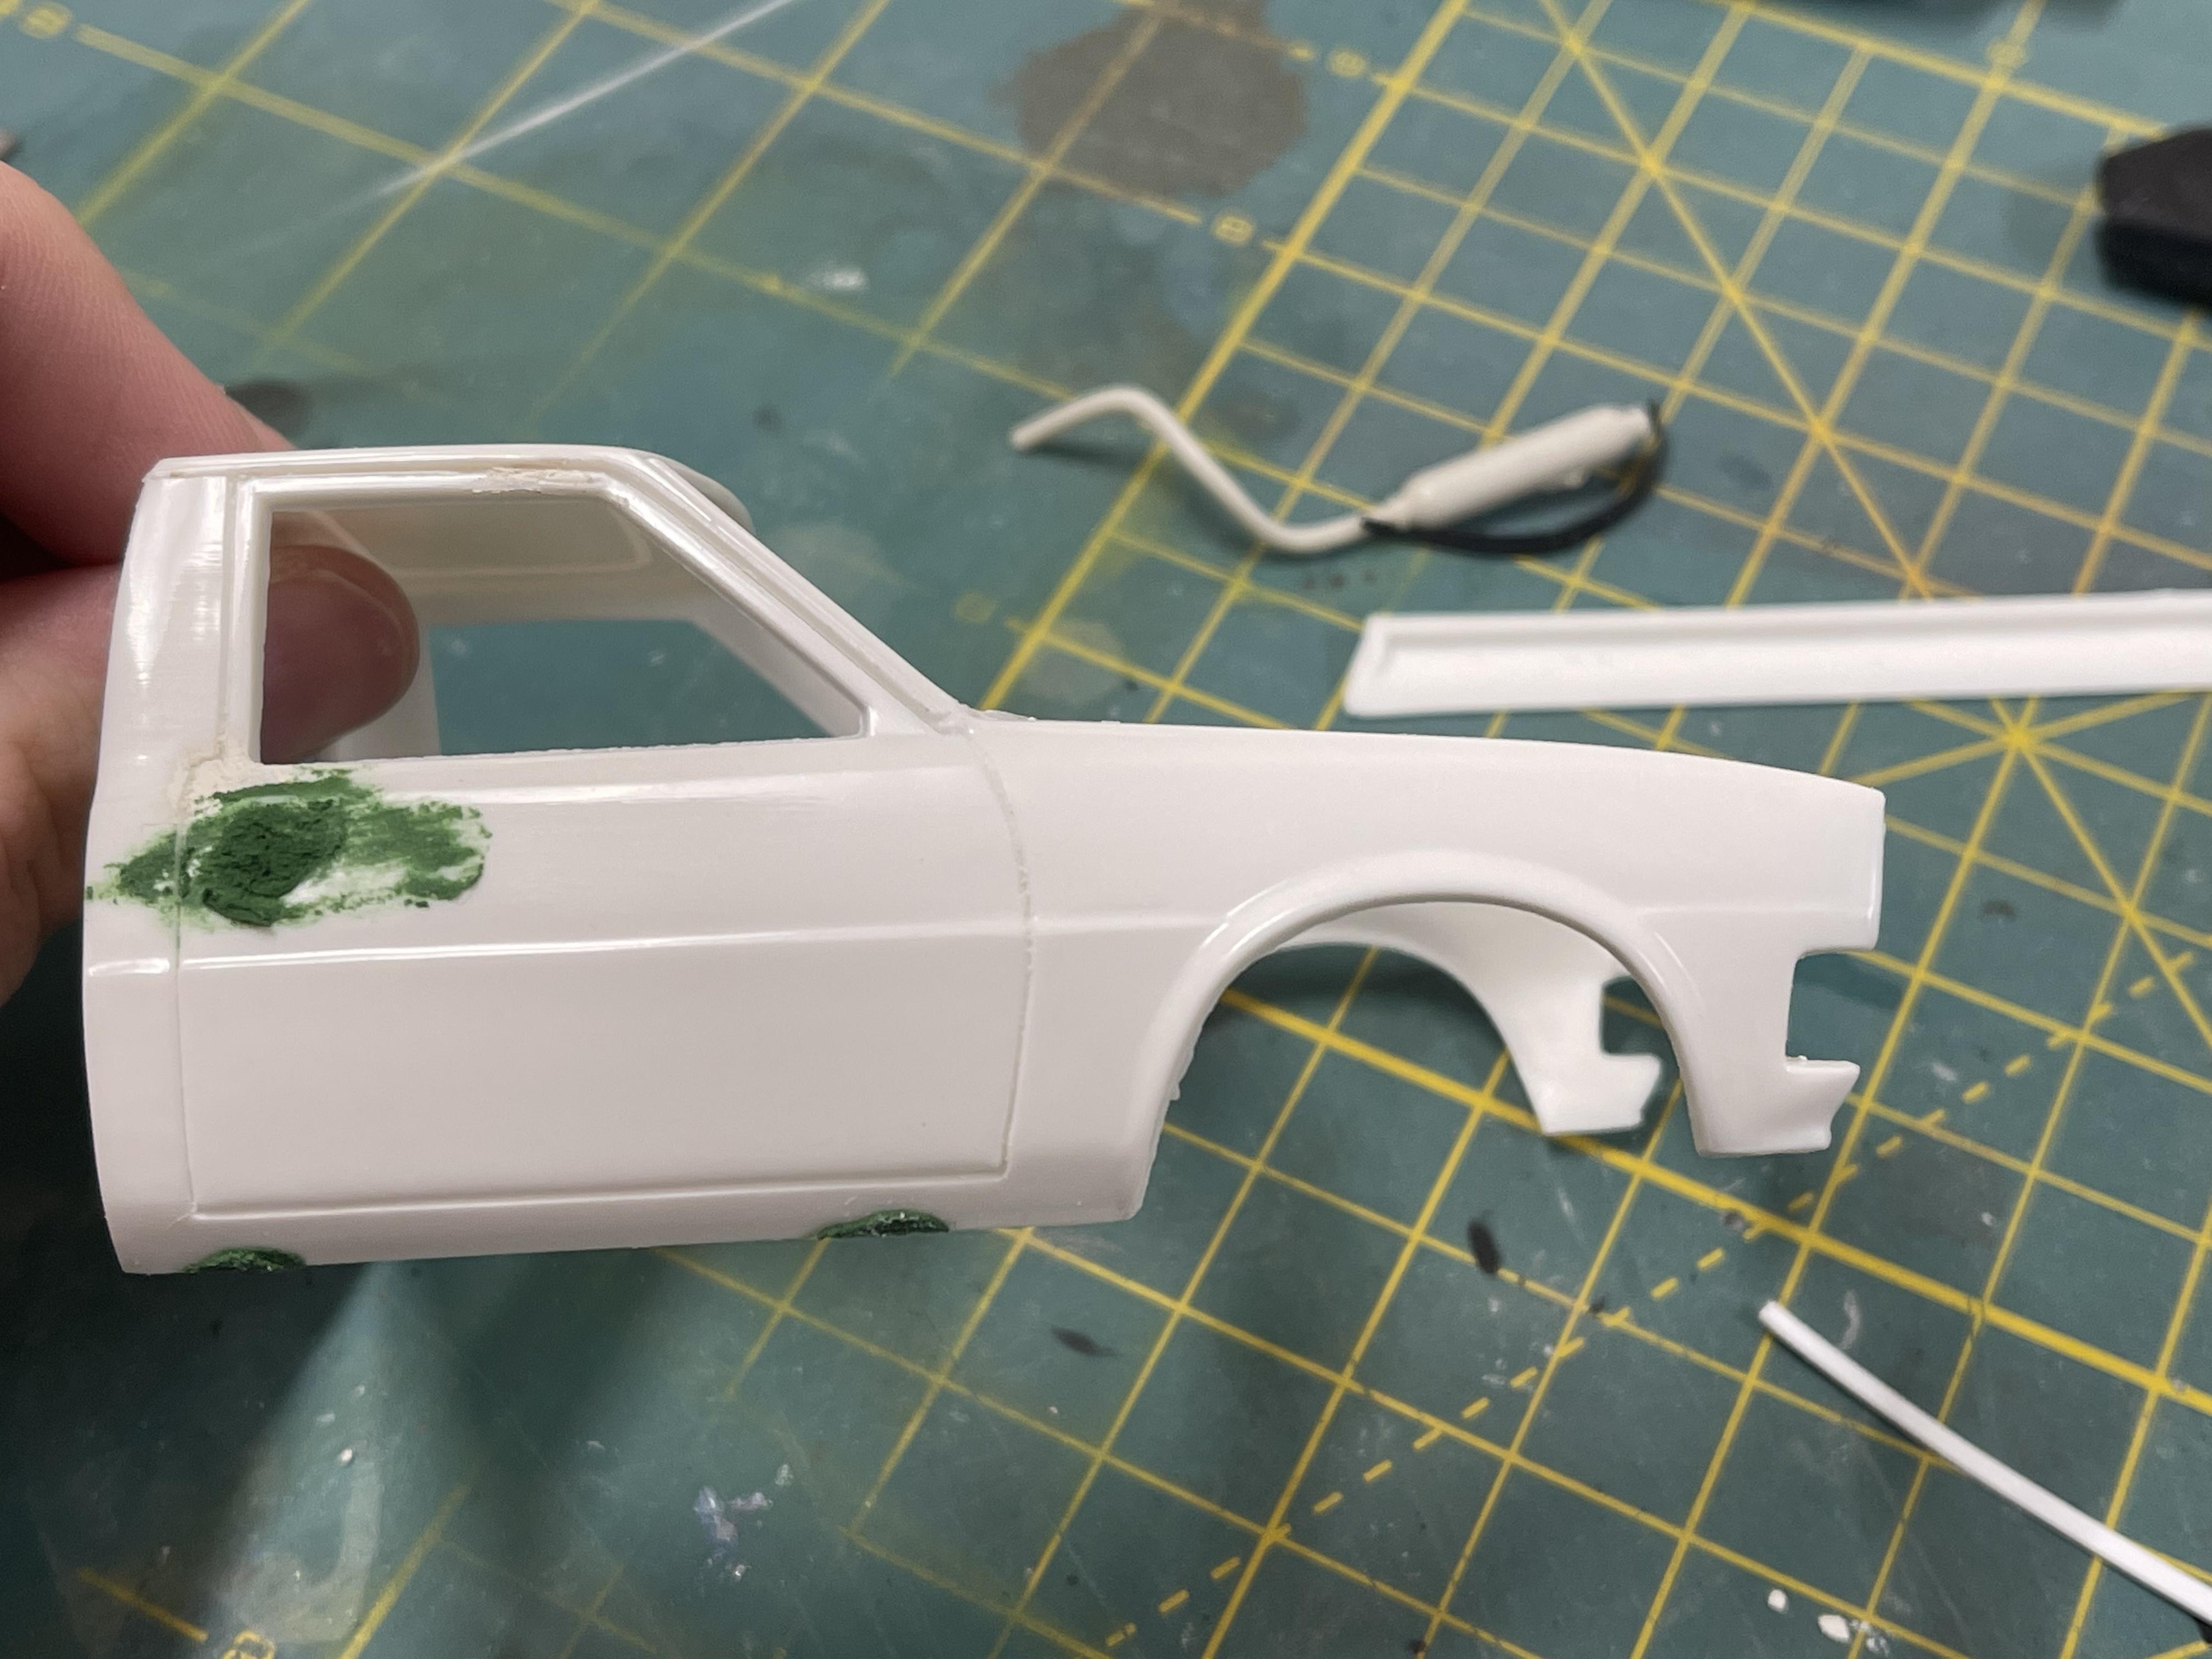
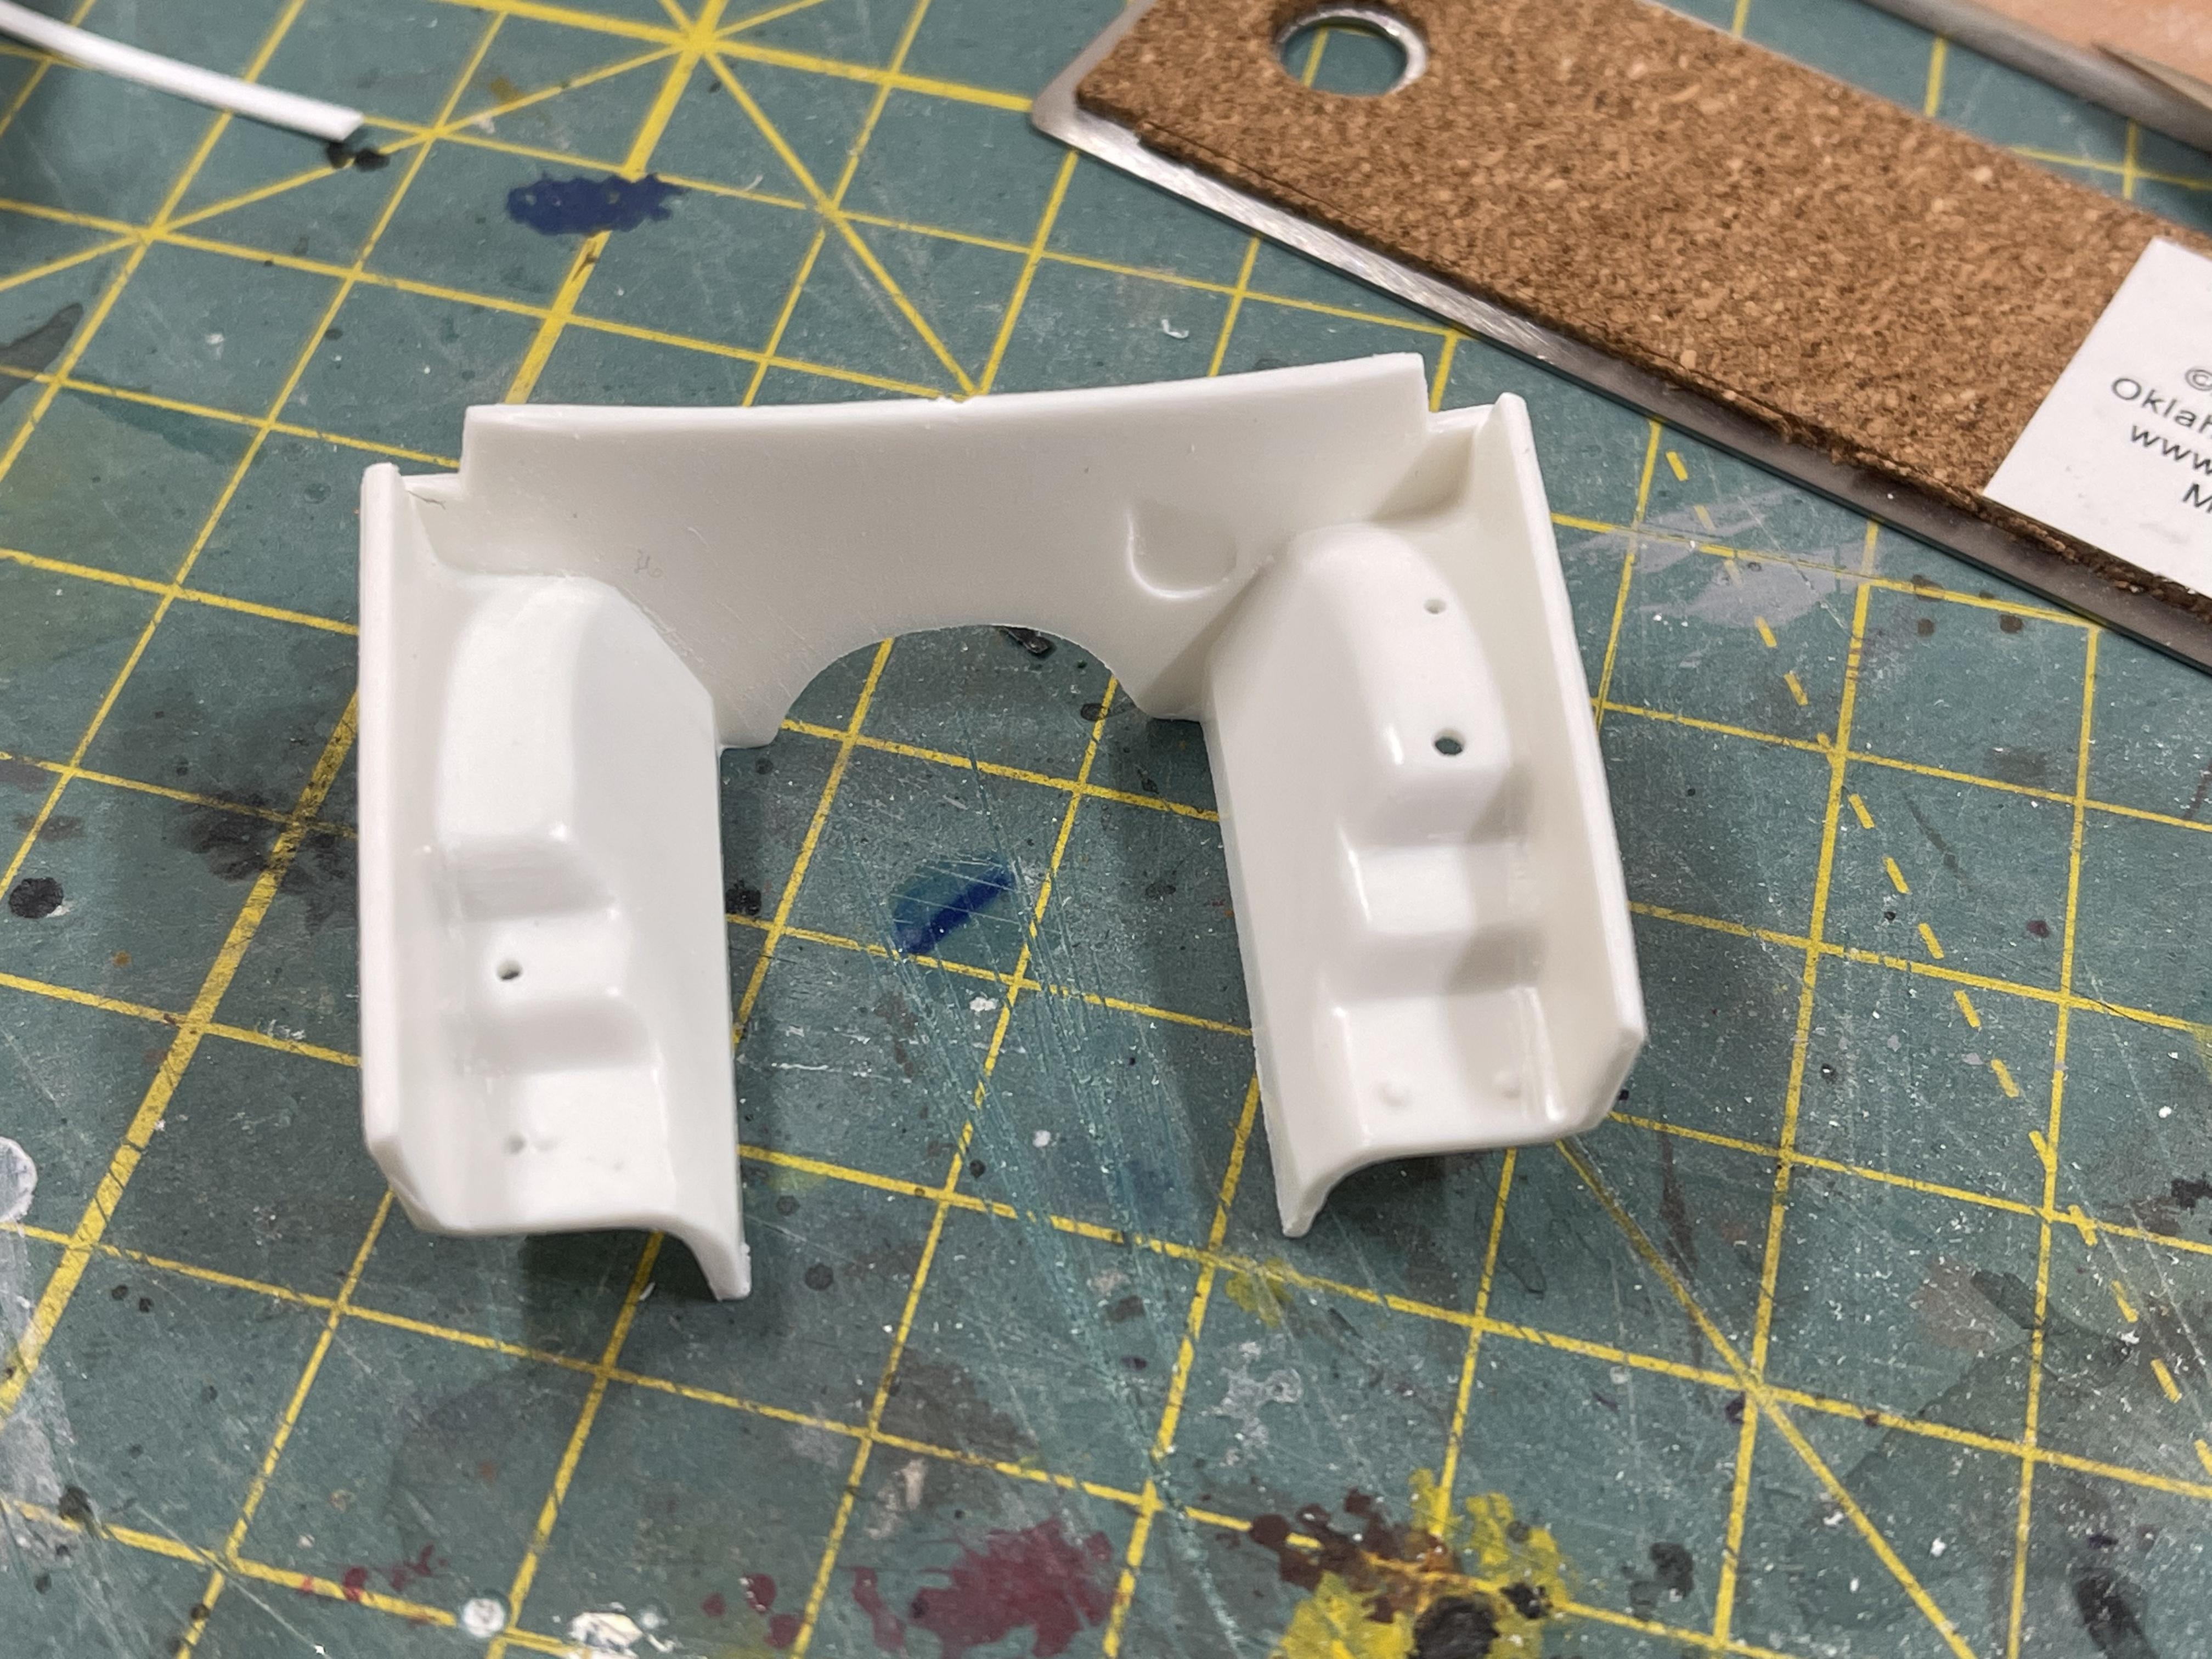
I shaved all the emblems off the body. There are D-50 badges and marker lights on the fenders, emblems on the B pillars, and two emblems/badges on the hood. I also filled the door handles. I’m debating on shaving the wipers on he cowl.. might be a bit more work but I’m not sure if it will be worth it.
I also added some styrene to the hood sides since there was a bit of a gap when installed. Then I sanded off the details in the engine bay since I’m going for a clean and simple look. If I remove the wipers I will also fill the hole in the engine bay for the washer fluid reservoir.
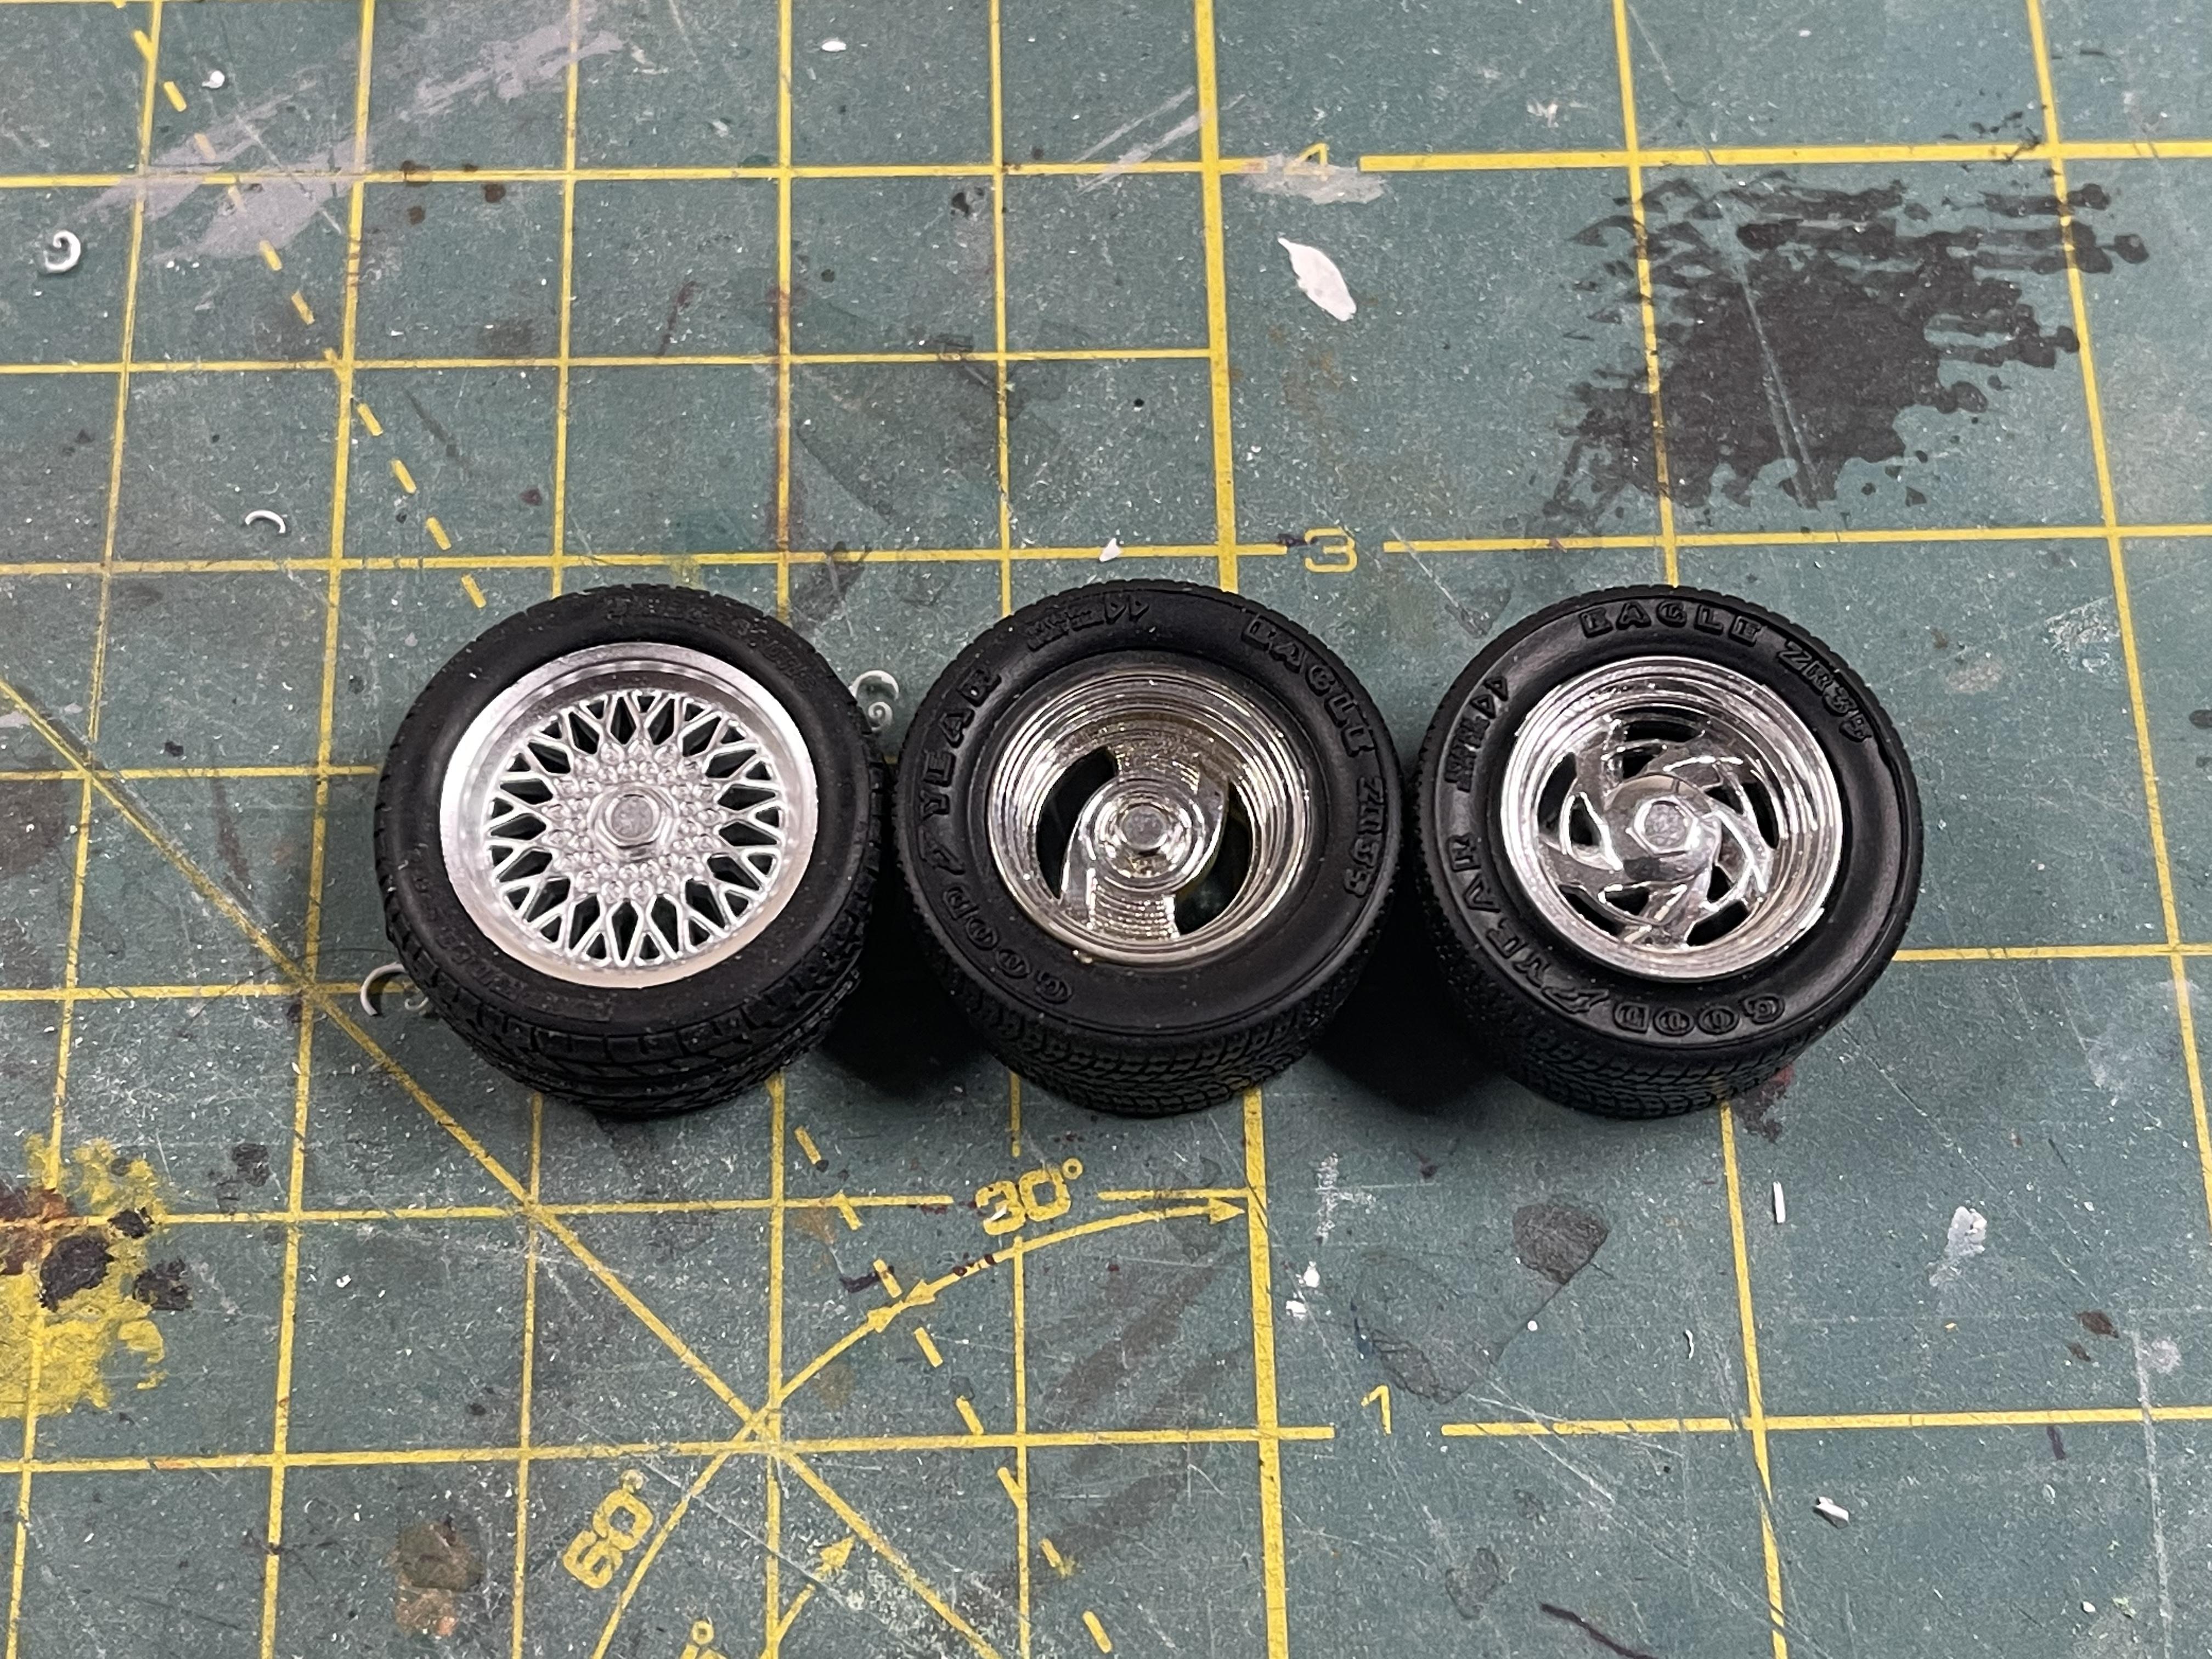
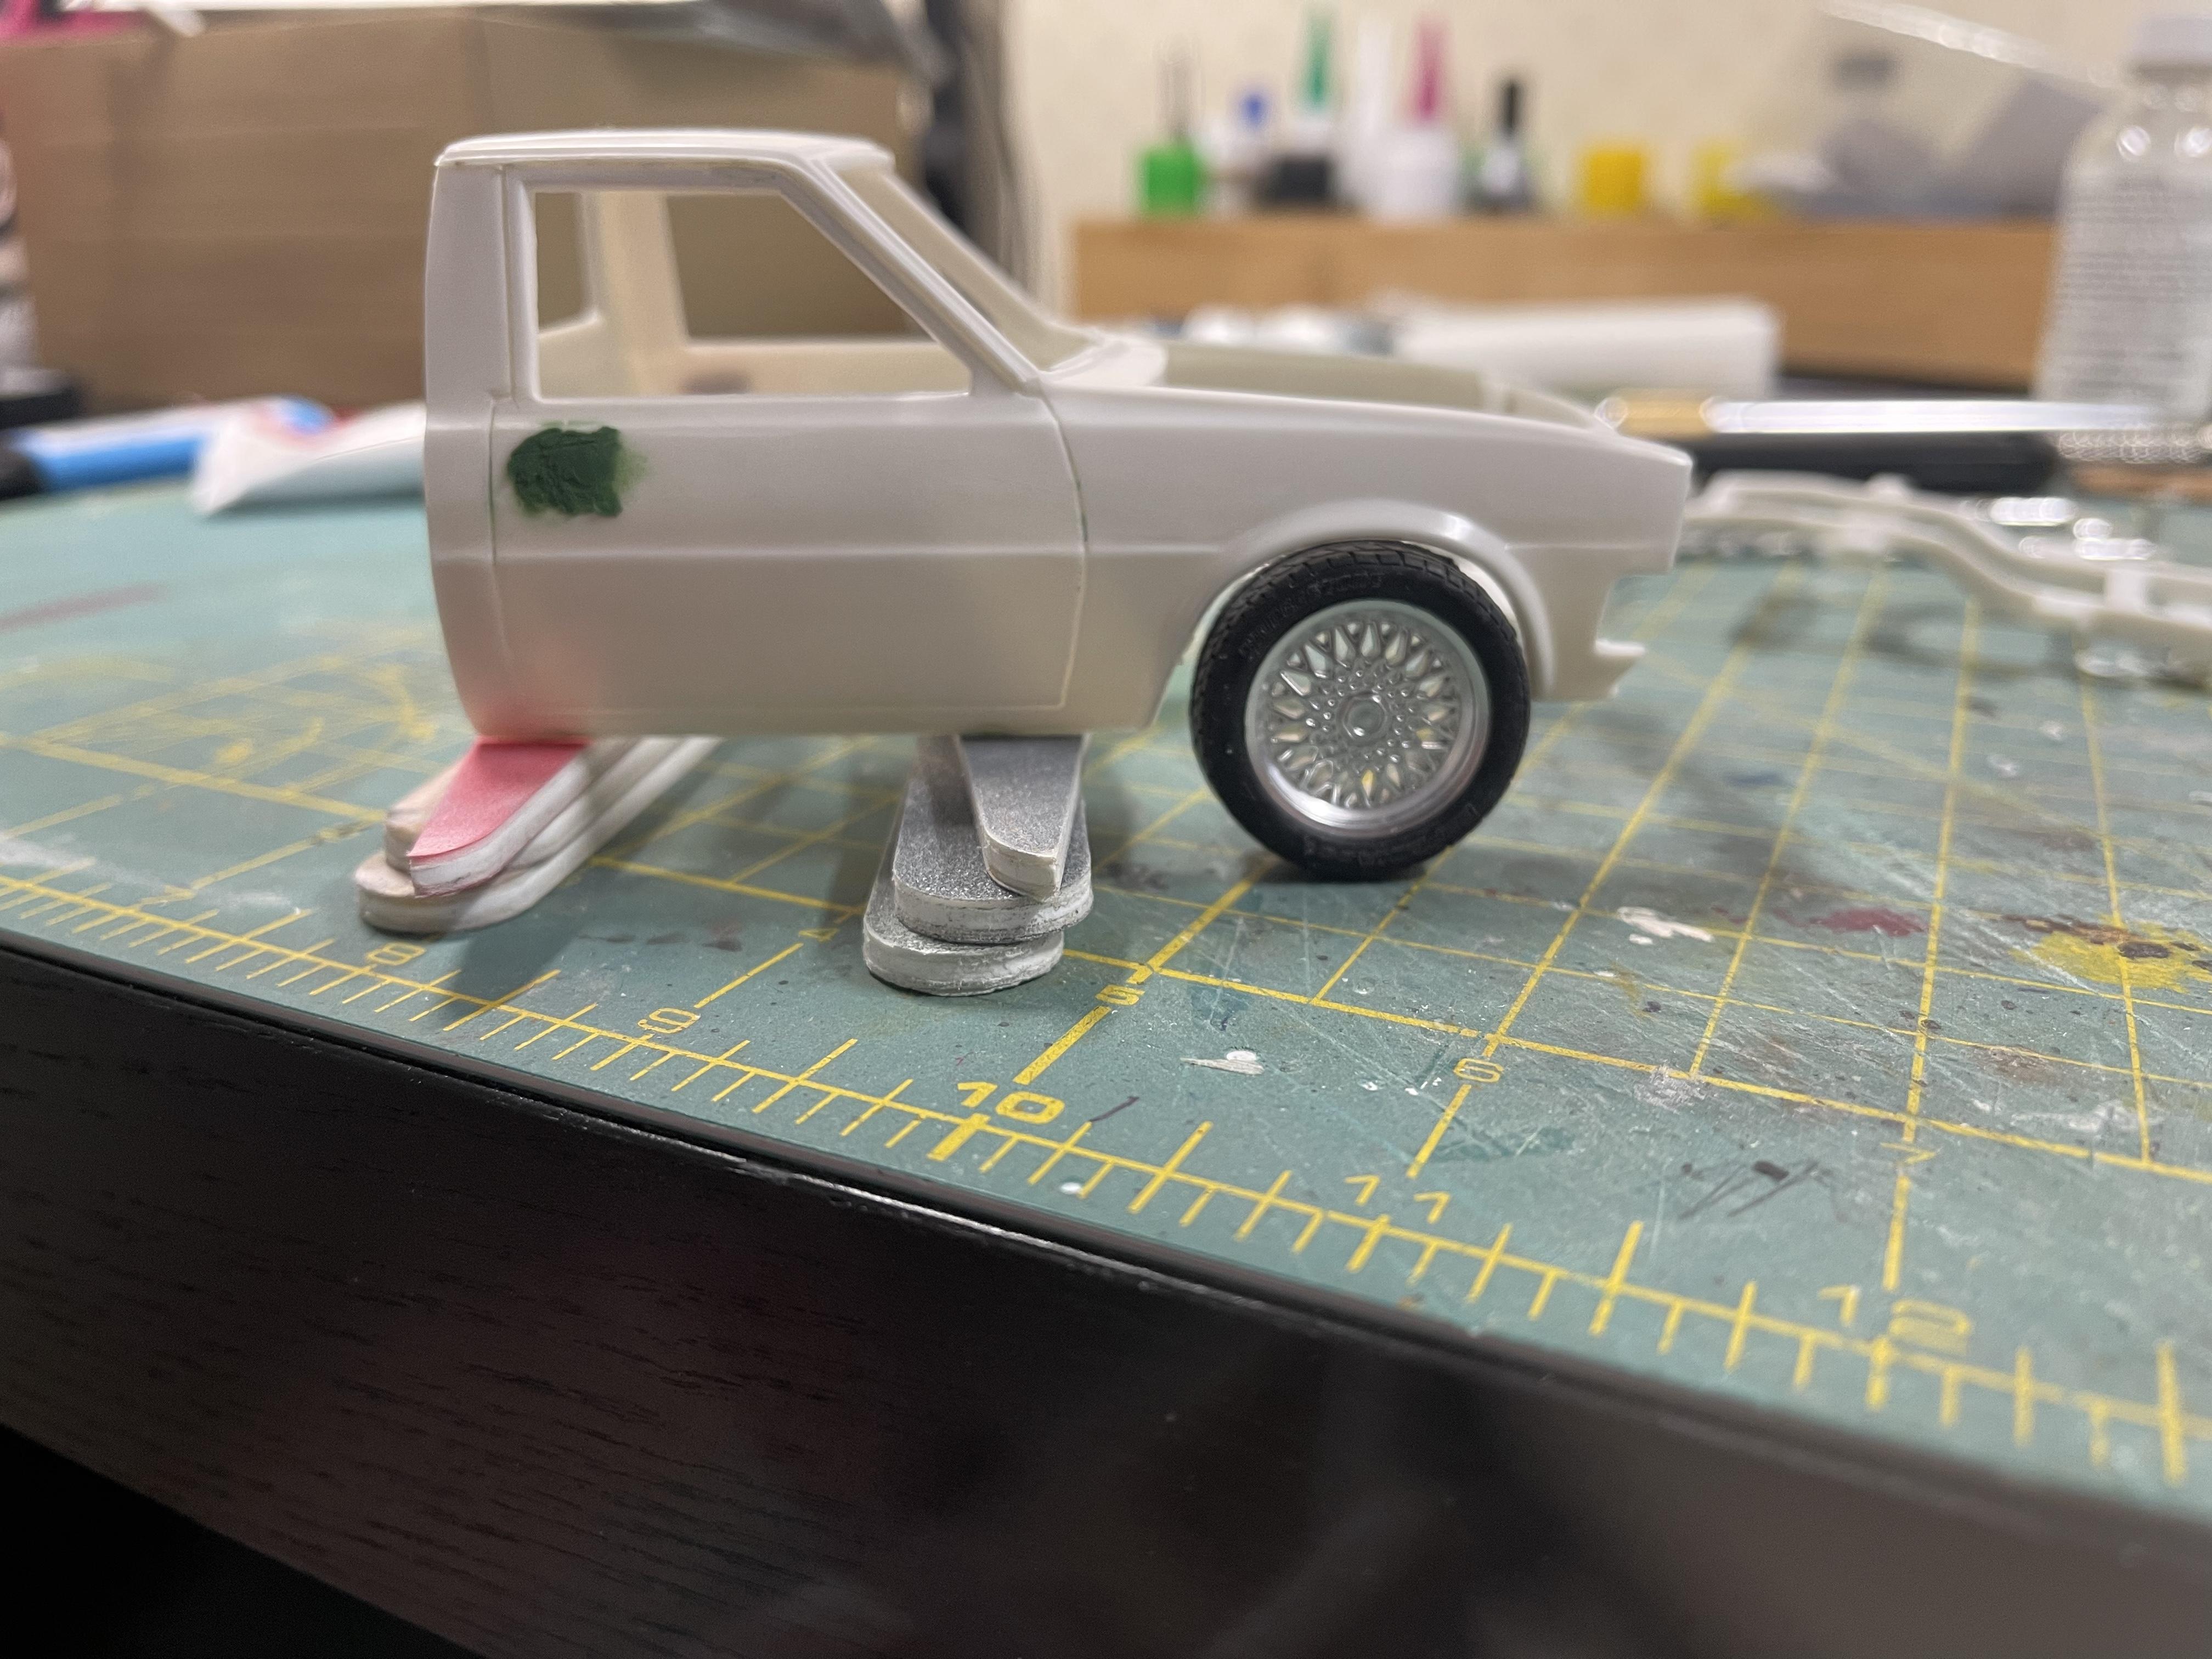
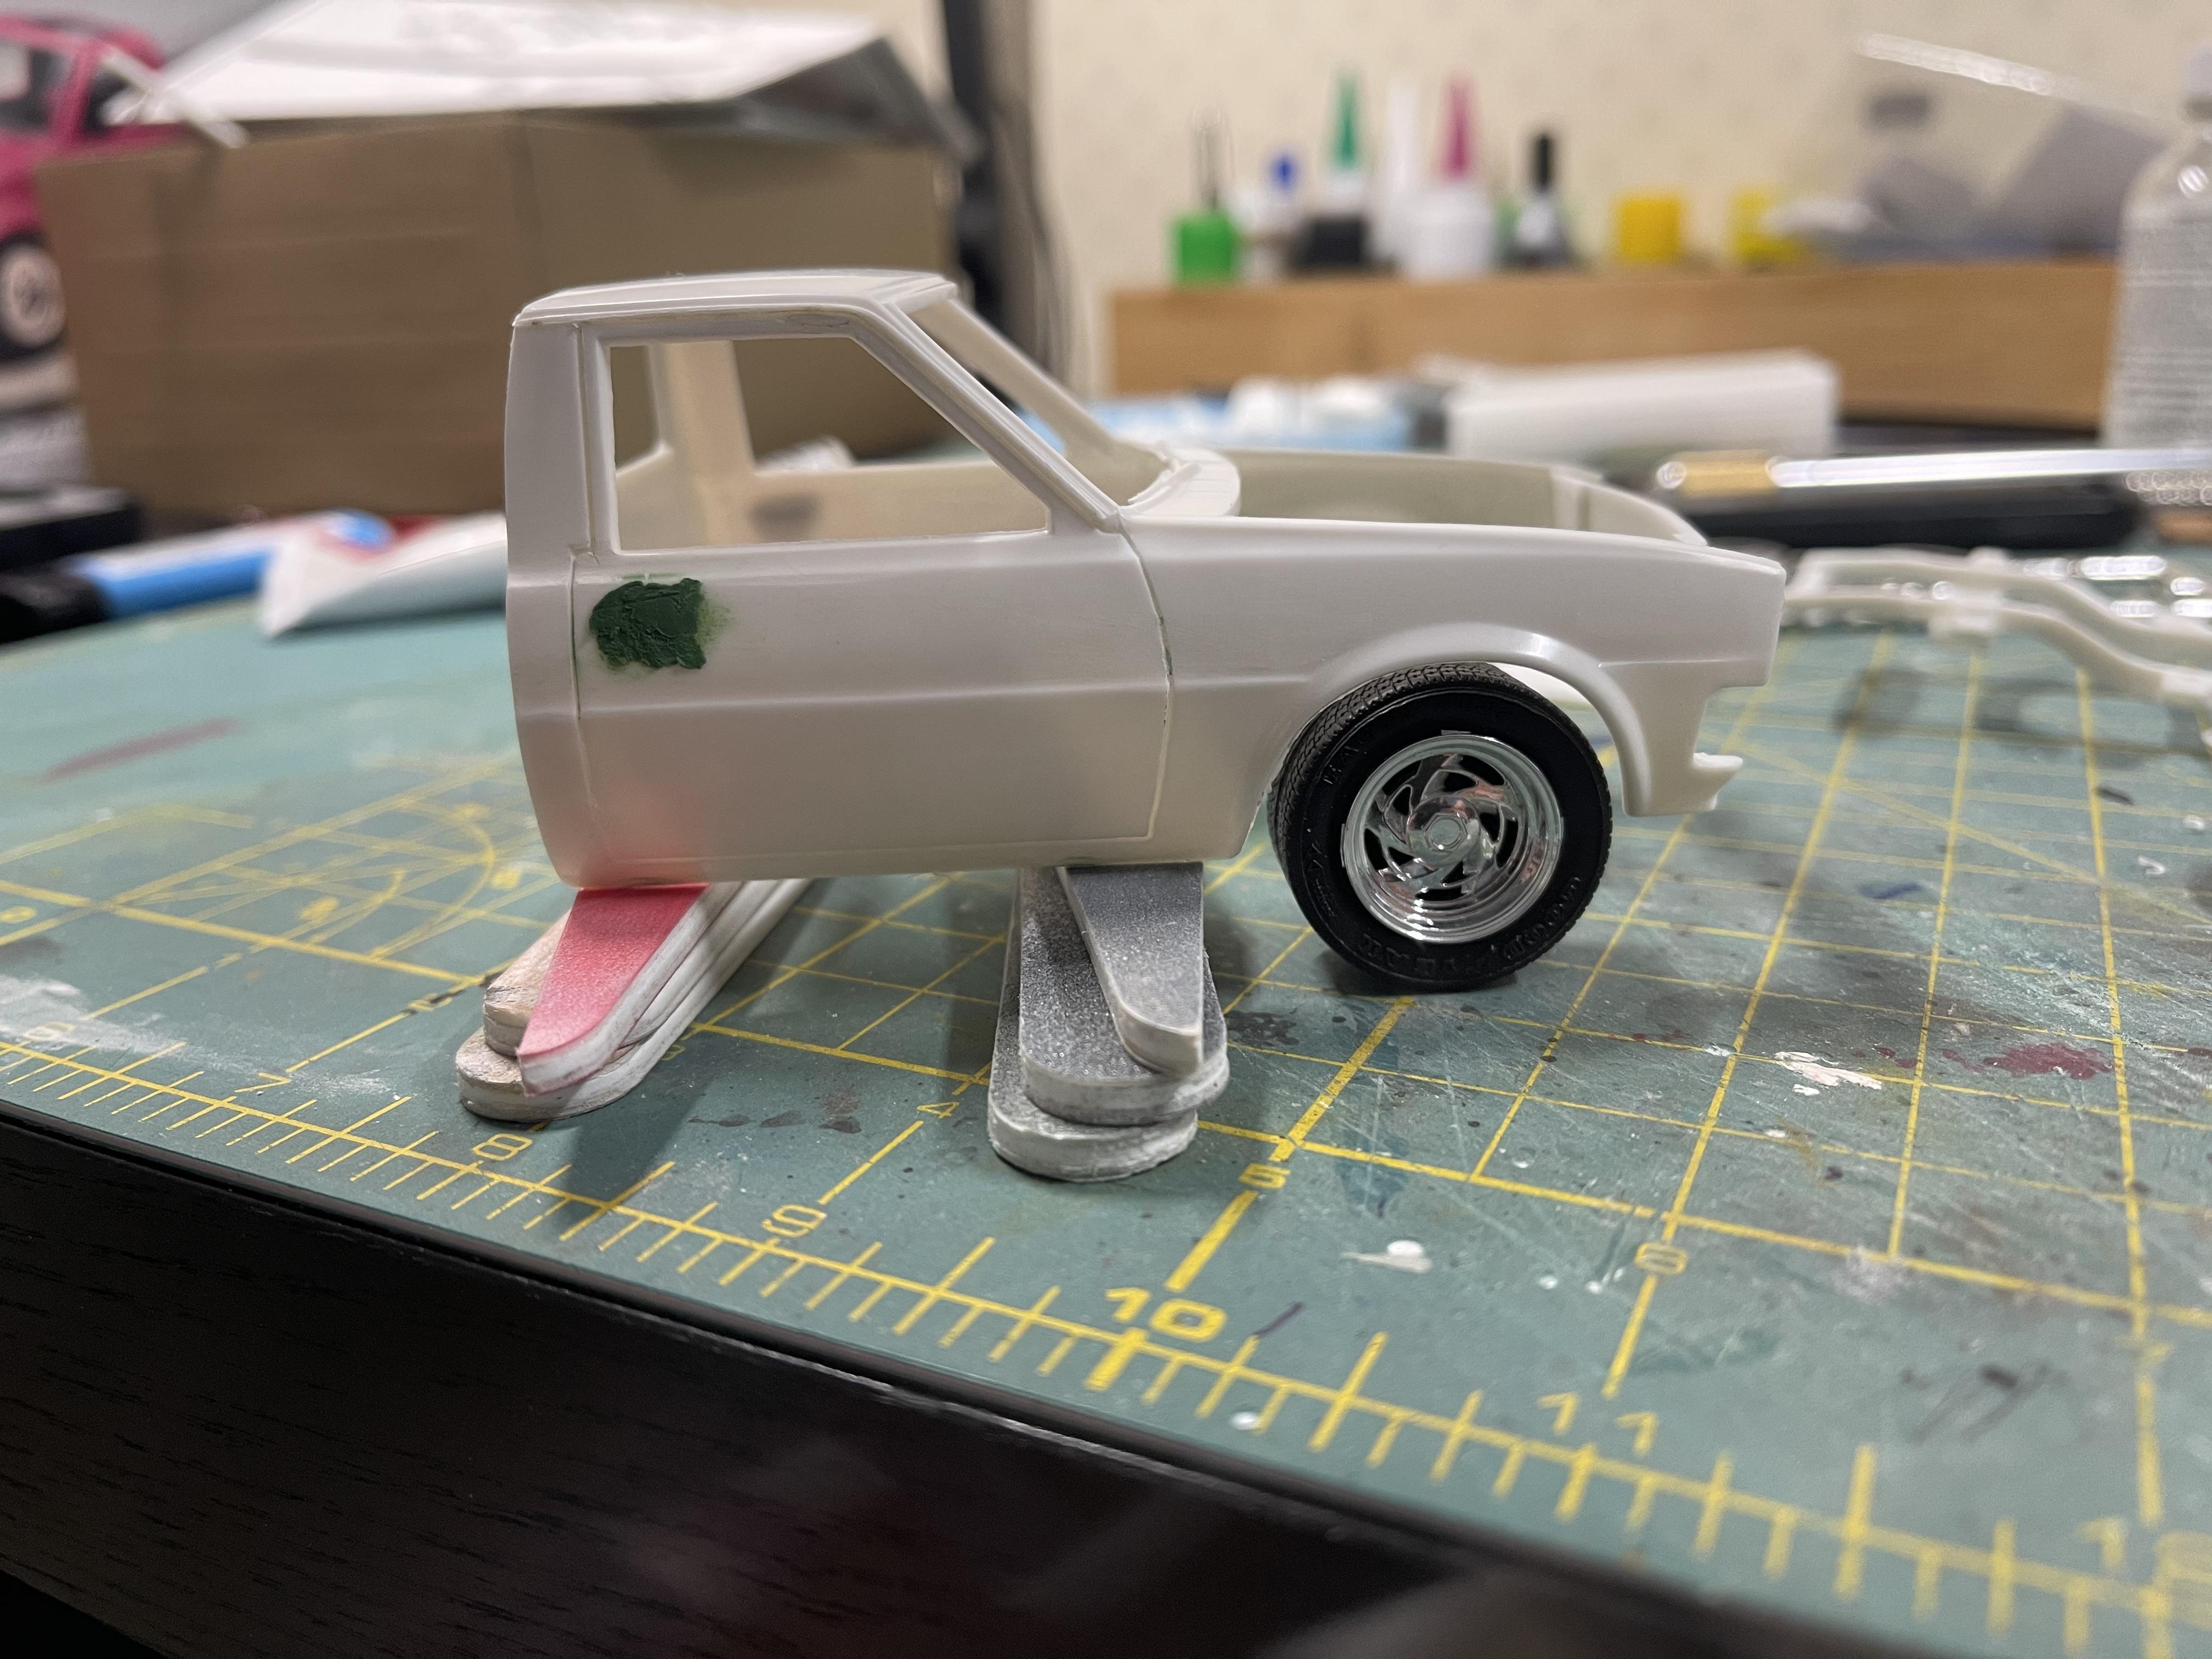
As far as wheels, I have three options so far. What do you guys think?
-
Looks great so far! I really want this van kit. I will be following along.
-
 1
1
-


Porsche 935/78 "Moby Dick"
in WIP: Model Cars
Posted
Looking at this old thread. I’d like to finish this one up. It’s such an iconic car and deserves to look great when finished. My skills have came a long way since this was started. Might have to come off the shelf of stalled projects.