

Rusty92
-
Posts
1,017 -
Joined
-
Last visited
Content Type
Profiles
Forums
Events
Gallery
Posts posted by Rusty92
-
-
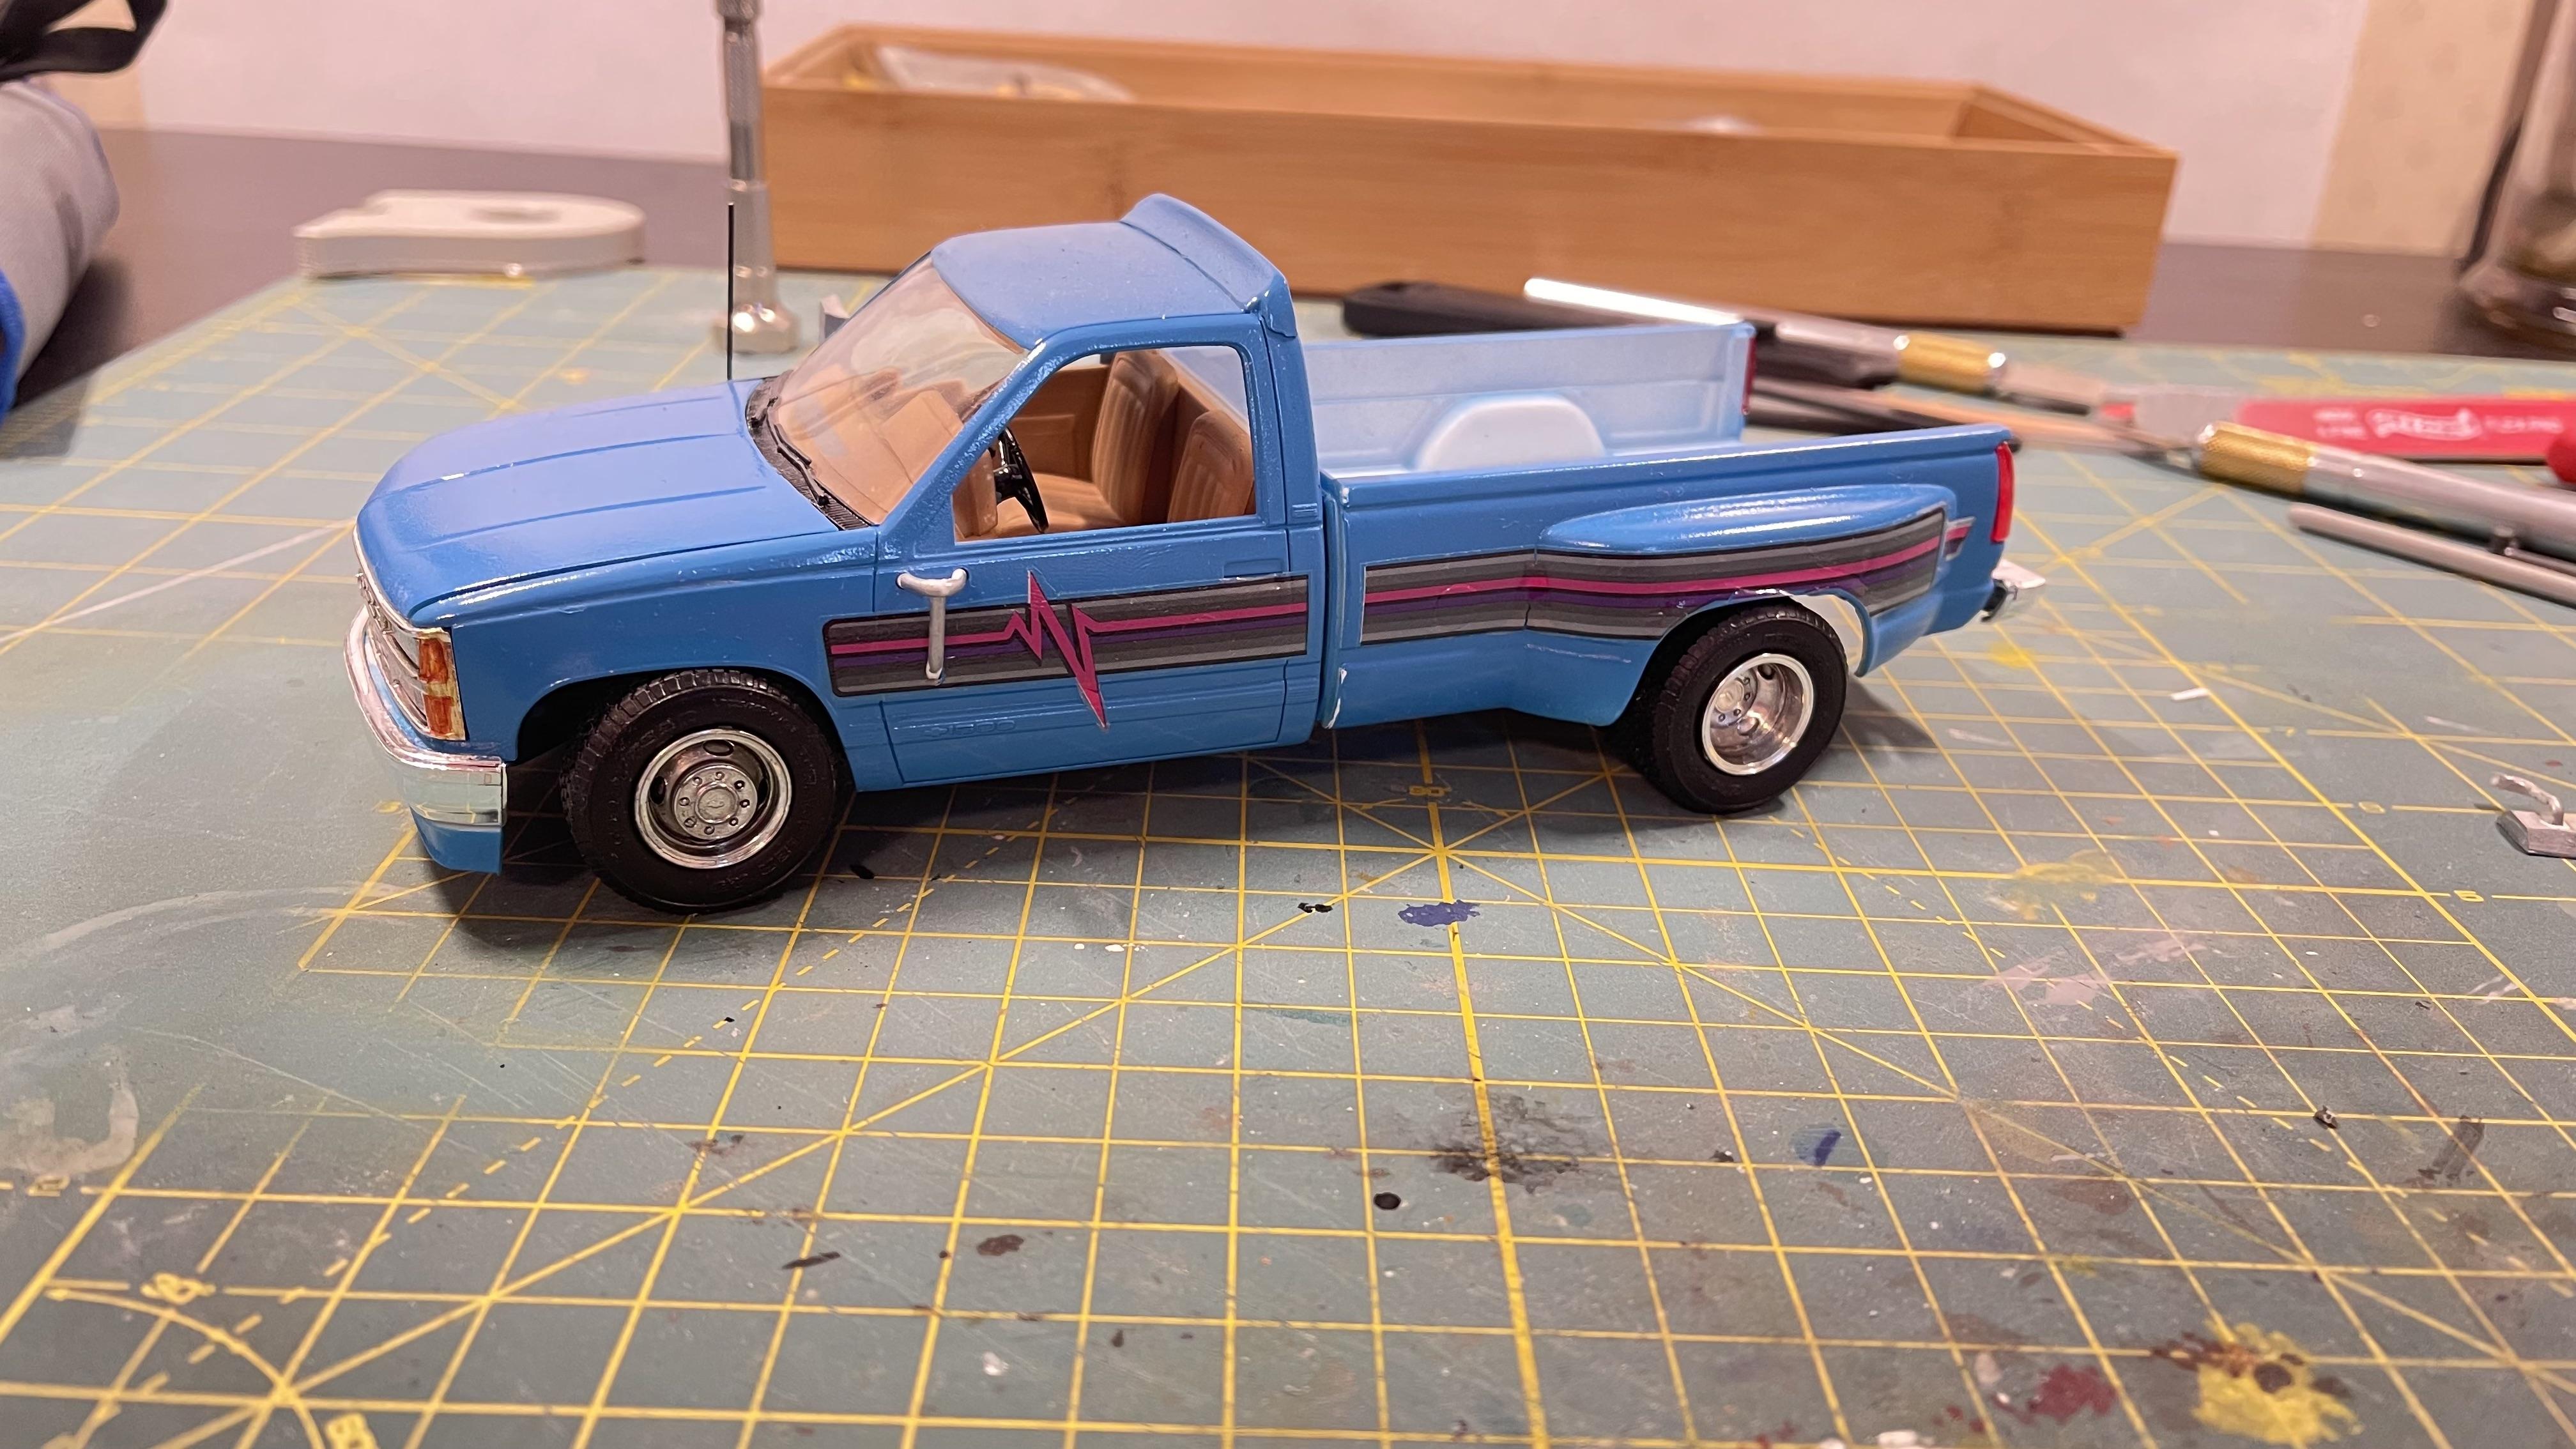
@iamsuperdan & @espo, yep I will be addressing the side trim. I'm not sure if I want to try to remove the 1500 emblem and add trim to the bed or just eliminate it entirely. Still trying to decide. Either way, it will be addressed.
") The decals I ordered from Ray's Decals have 3500 decals, so I will be using those for sure.
The decals I ordered from Ray's Decals have 3500 decals, so I will be using those for sure.

I completed a bit more work on the toolbox above. It just needs the top added and puttied/sanded.
-
 1
1
-
-
Nice job, I think this really captures that G Wagen charm.
-
 1
1
-
-
Came out great! I just read your build thread and am impressed with the work.
-
Started work on a passenger side toolbox. I think it will turn out good. I will only be building one.
-
1
-
-
Looks great!
-
Should be sweet! I've never seen one of these built before.
-
Made a little bit of progress today. Puttied, sanded, puttied, sanded, did a little bit of scratch building as well.
I needed to tackle the hood gap first, it was a little large. Here is the before:
Still have some work to go, especially up near the cowl, but some putty will take care of that. Will need to take some more off the rear of the hood so the front sits flush with the fenders.
Then I figured I would start on some bed accessories. So i scratch built a fuel transfer tank. I think the handle turned out good, it wasn't too hard to make but I was skeptical that it would turn out decent. I still need to add a fill hole in the tank.
Here it sits in the truck:
Next I'll have to make a job box or a regular tool box. Probably make a ladder rack as well, I think that would be nice. Thanks for looking!

-
1
-
-
17 hours ago, Smoke Wagon said:
It’ll be a pretty nice Dooley when finished. I like your plan for it.
Thank you! I hope it turns out as good as I picture it in my head.
6 hours ago, iamsuperdan said:This generation of GM has always been my fav truck.
Following along for sure!
Yes they are my favorite as well. I love my 1:1.
-
10 hours ago, Tabbysdaddy said:
Any or all of the 88-98 GM trucks.
This has my vote as well. They’re too expensive for me to buy them up whenever I see one. I easily have 10 of these kits but always want more. They’re my favorite body style truck that GM produced.
-
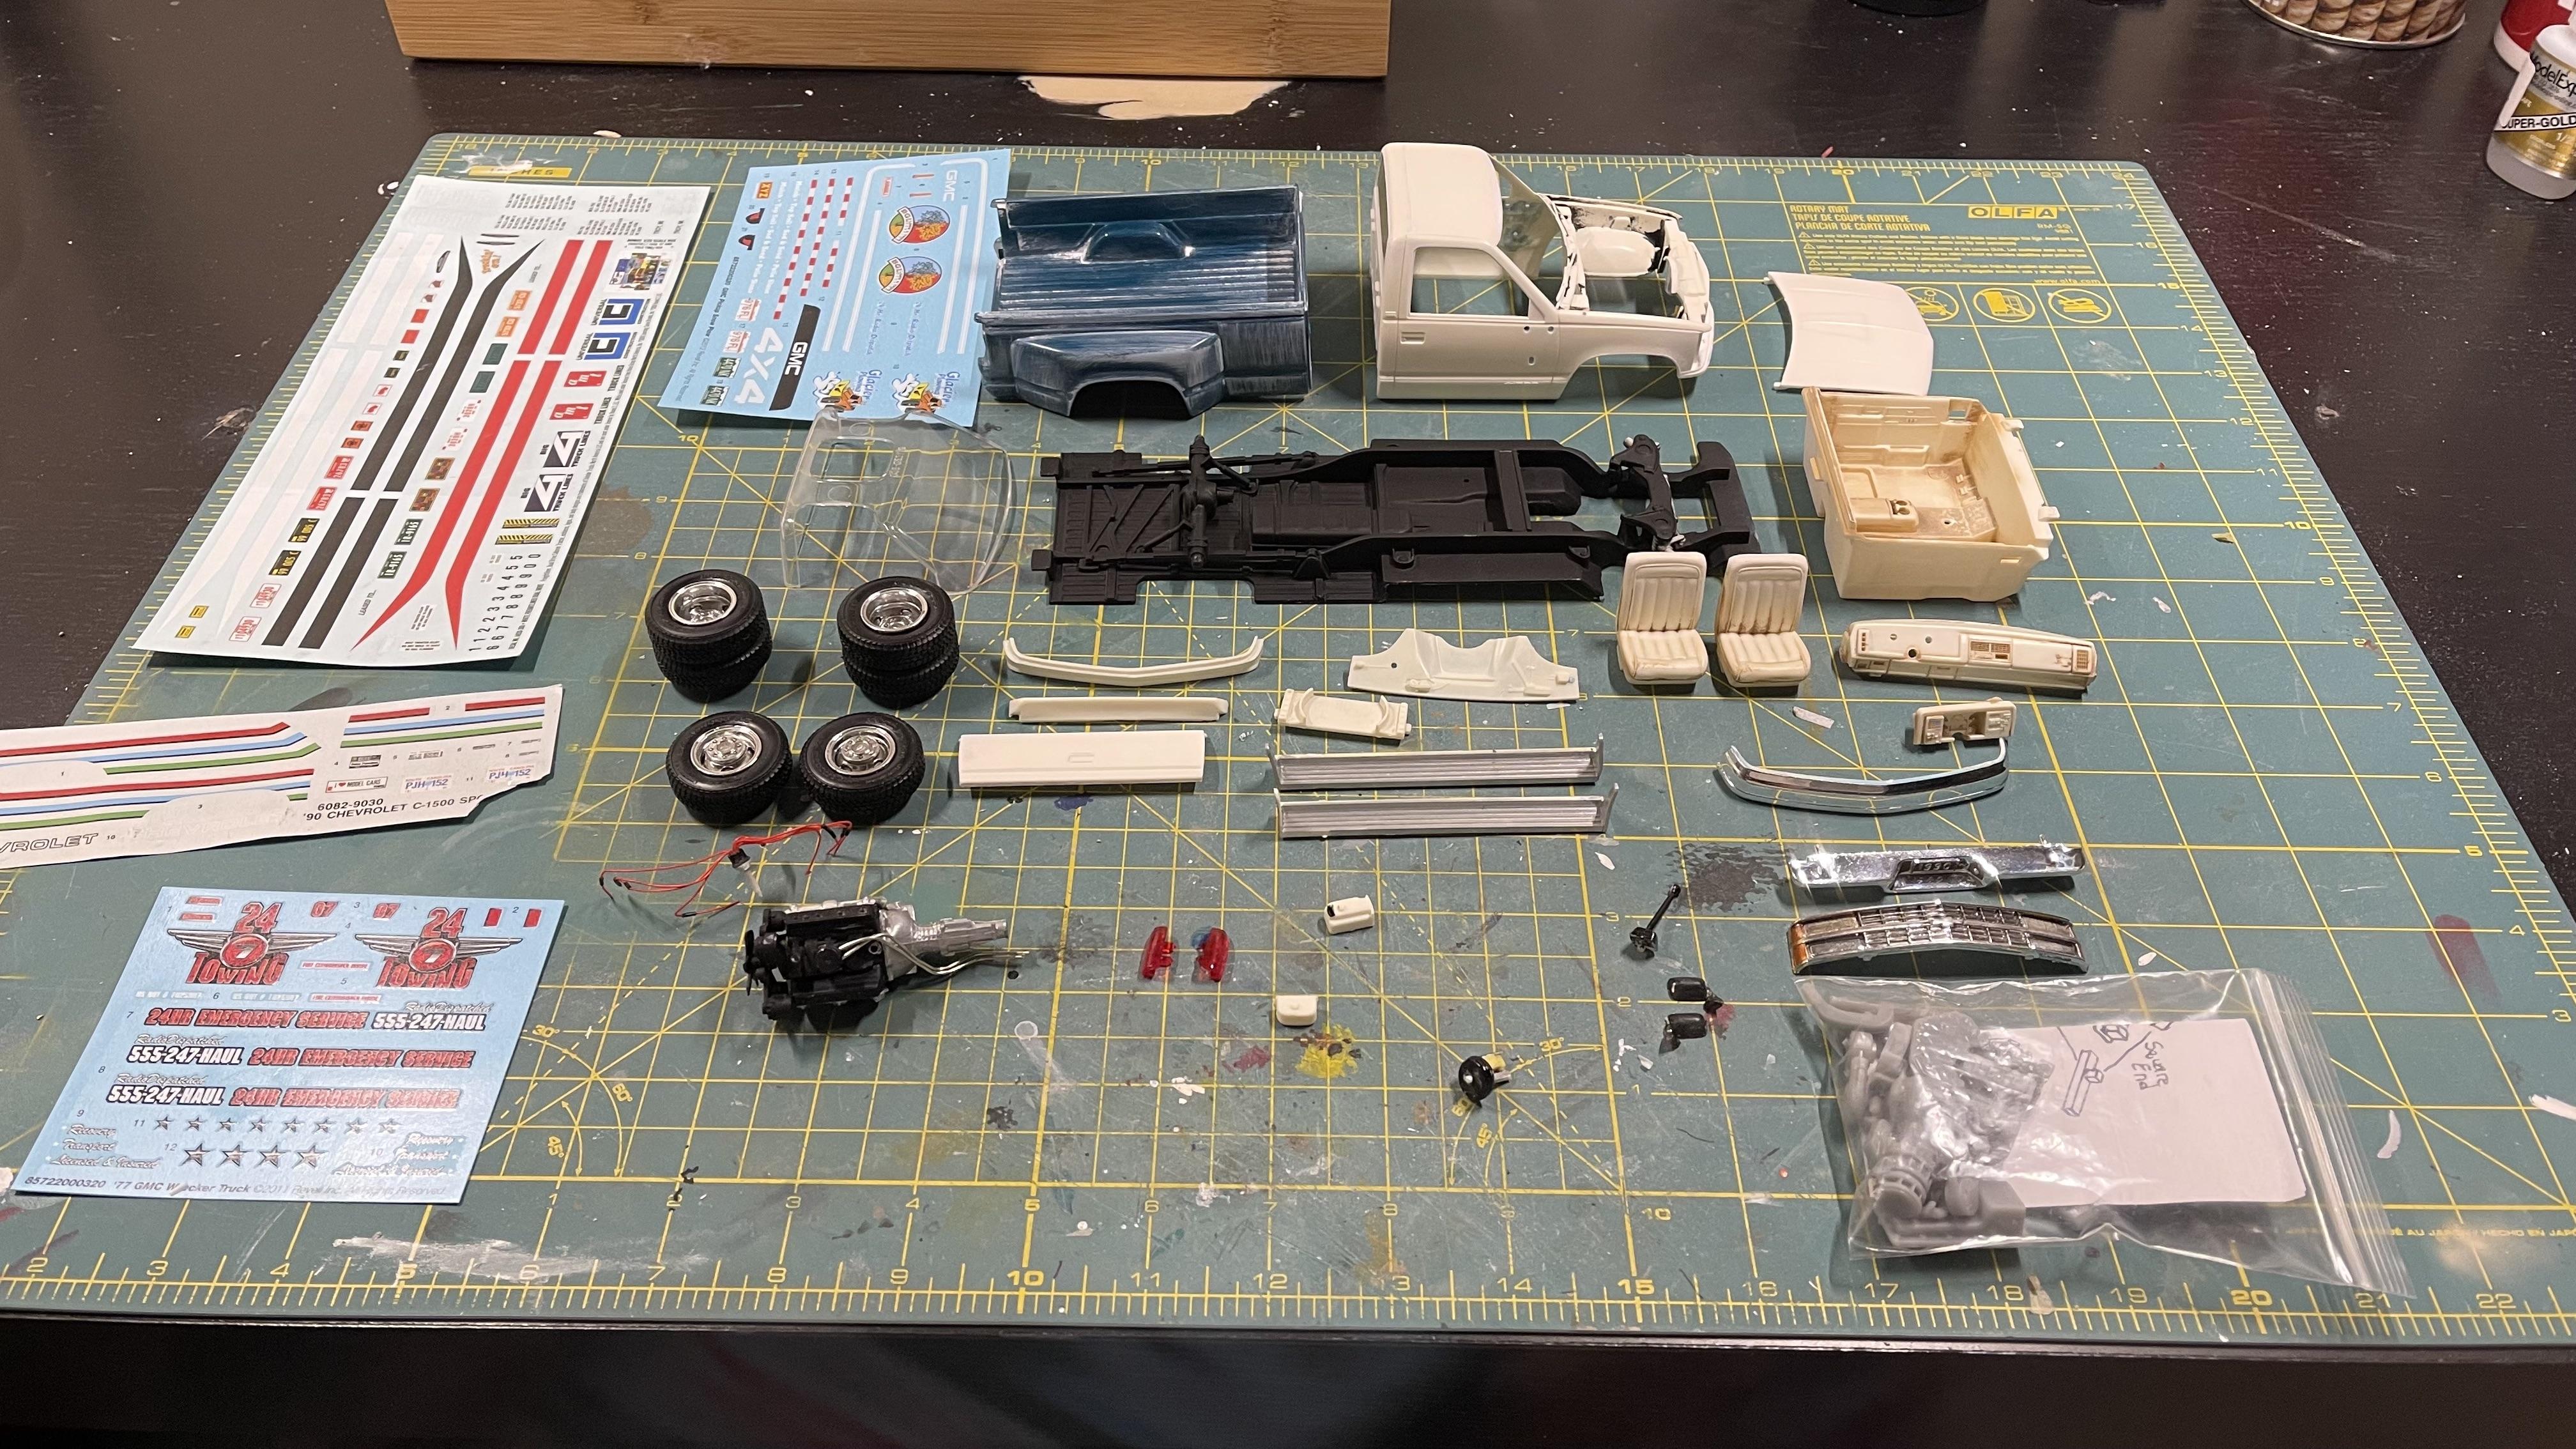
I wanted to build a nice work truck for my model fleet and garage diorama. I have a soft spot for GMT400 pickups (I wish they would re-release these kits!) so naturally this was an easy choice for a build. So here we go..
I had this built-up that I did several years ago. It was ok. So I stripped it clean.
Here it is stripped and all laid out. The chassis won't need modified, so I left that alone. I can weather over all of that anyways. I am planning on ditching the kit motor and using a resin 5.9 Cummins from Trailer Trash Kustomz. I would like to paint the truck red, but think a navy blue would look good as well. The kit decals are pretty rough, so i purchased some new decals from Rays Decals. Looking forward to getting them. I'll try to scratch build some tool boxes for the bed.
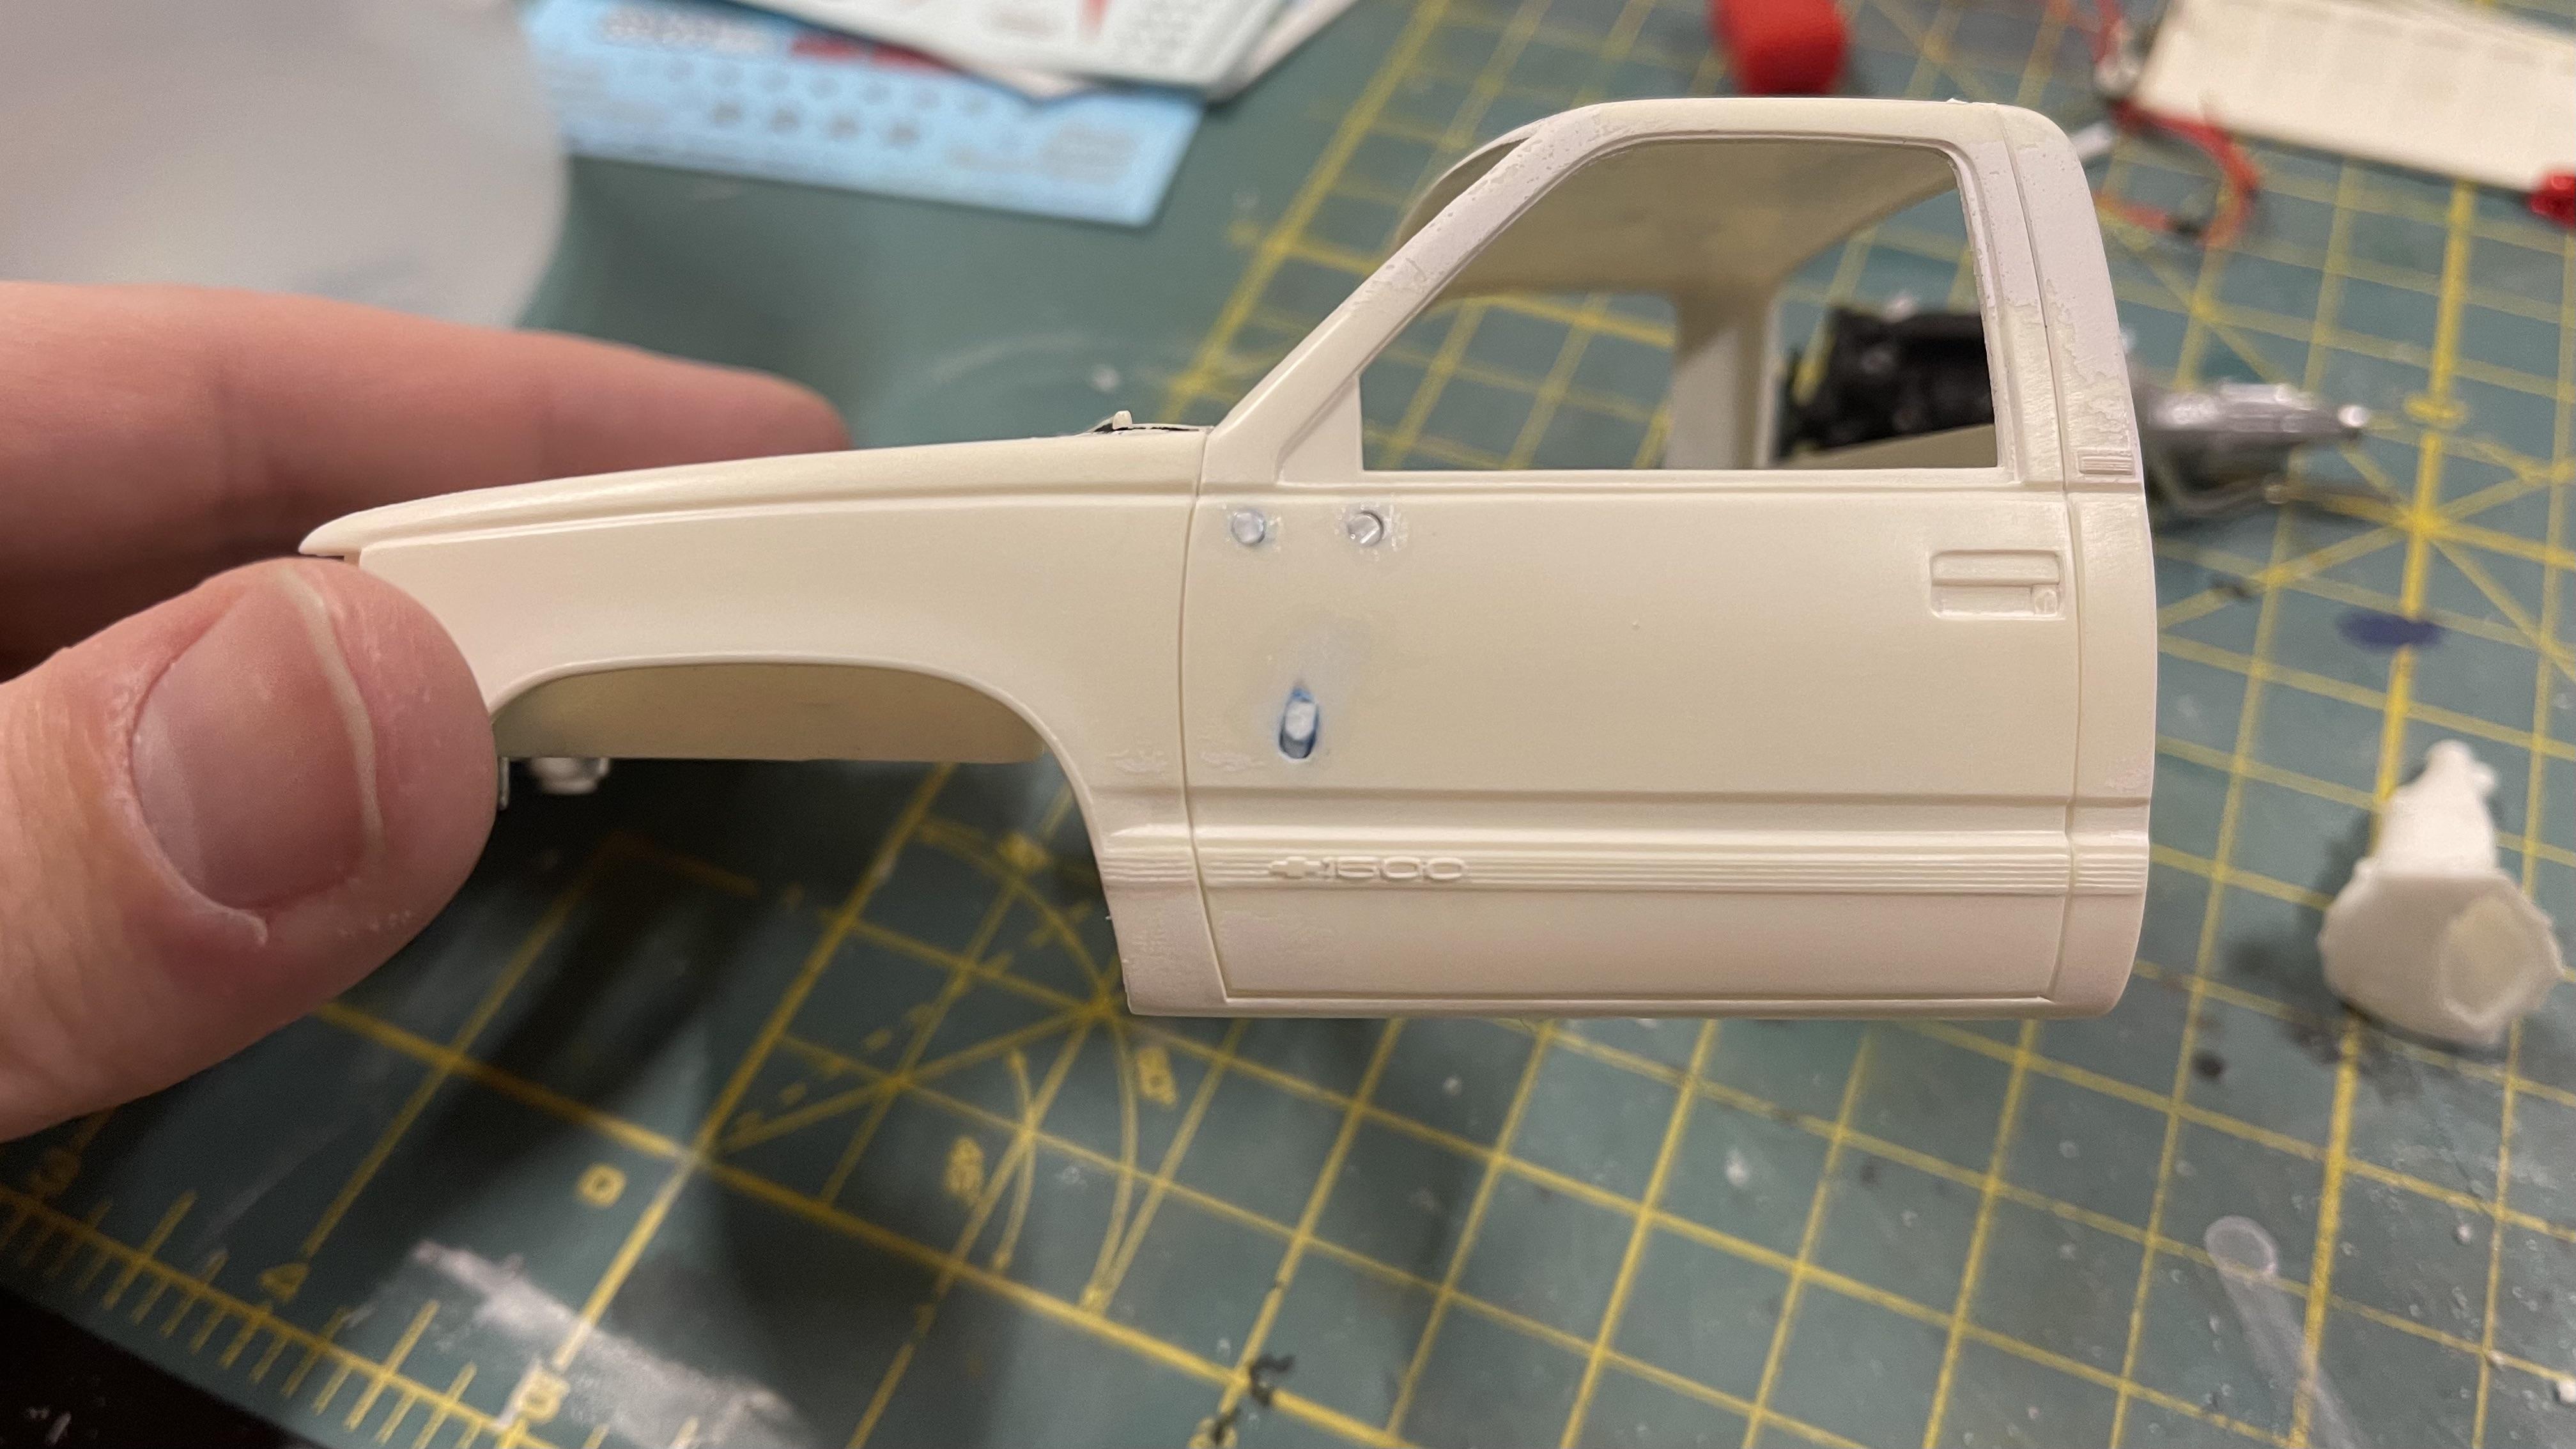
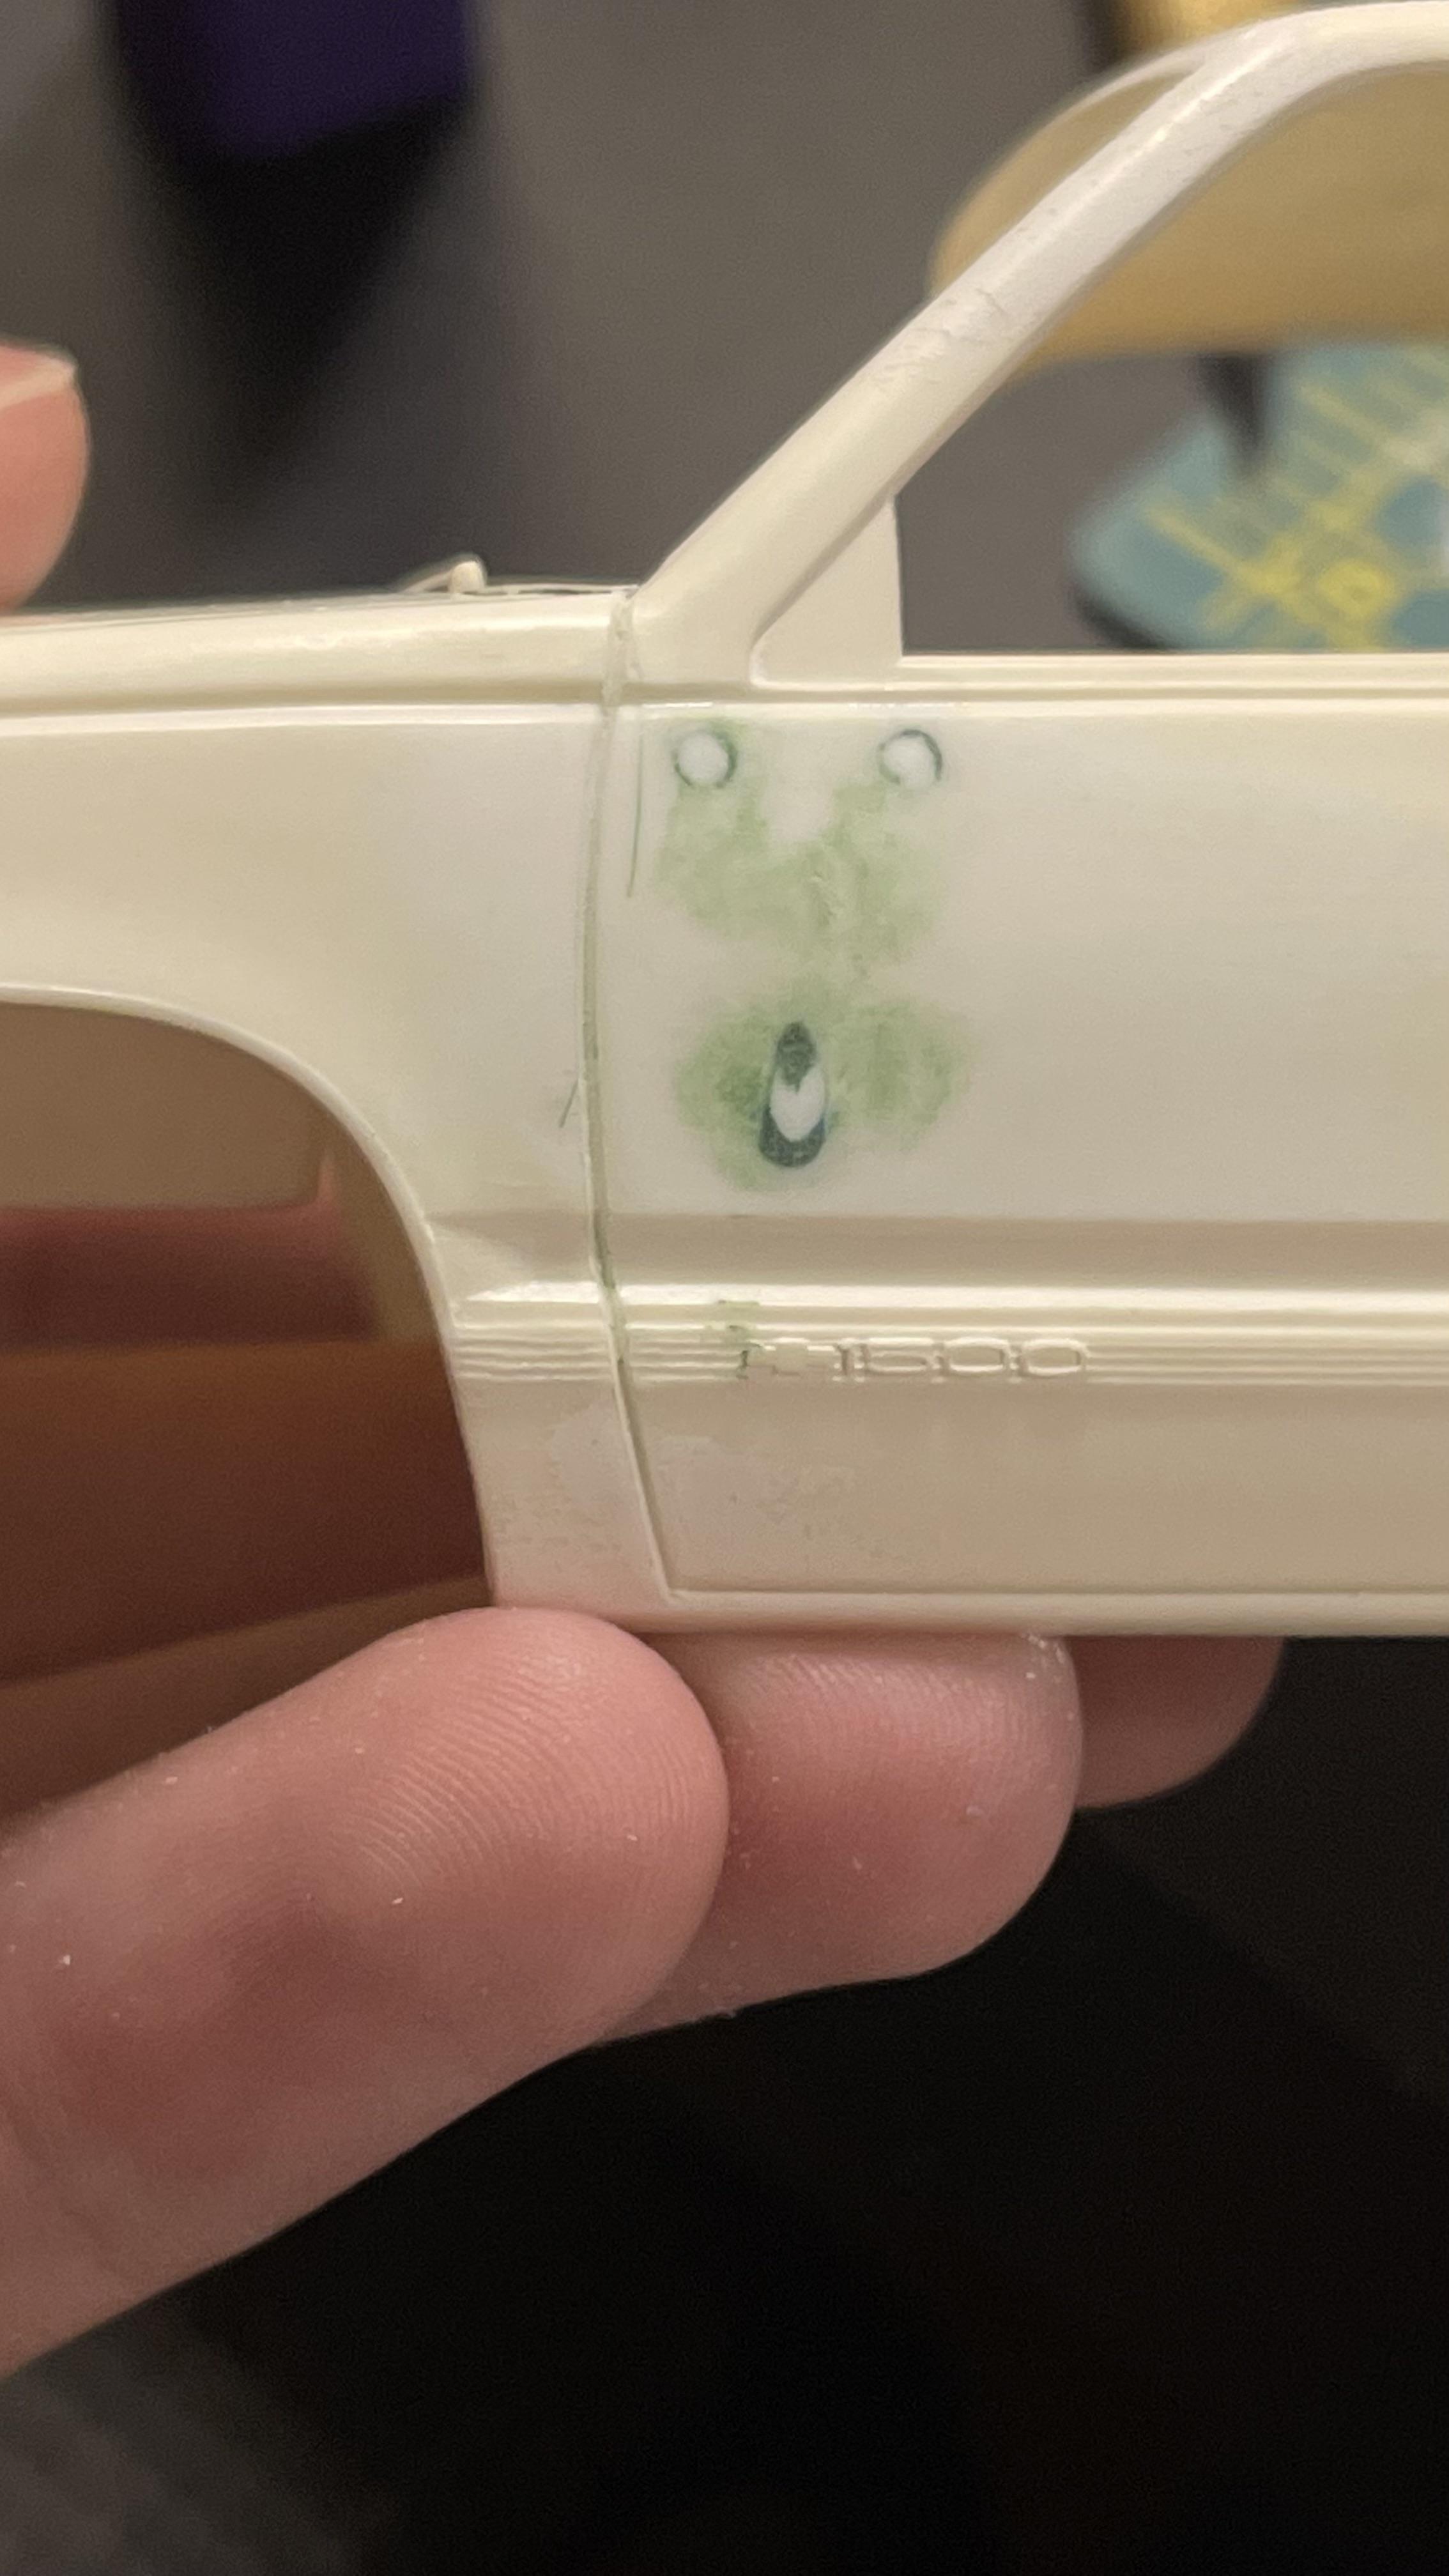
I had added some poorly scratch built tow mirrors to the first build and they left some large holes in the doors. I had to fill those right away! I filled them with styrene rod first...
And a little bit of putty and sanding...
There it sits now.
-
2
-
-
Really awesome build! I’d like to build one now!!
-
Sweet truck. I have a soft spot for sport trucks, regardless of brand. I should pick one of these up! Keep it up.
Also the resin looks great. I’m hoping to get the same setup as you soon. I’ve heard a lot of great things about Elegoo.
-
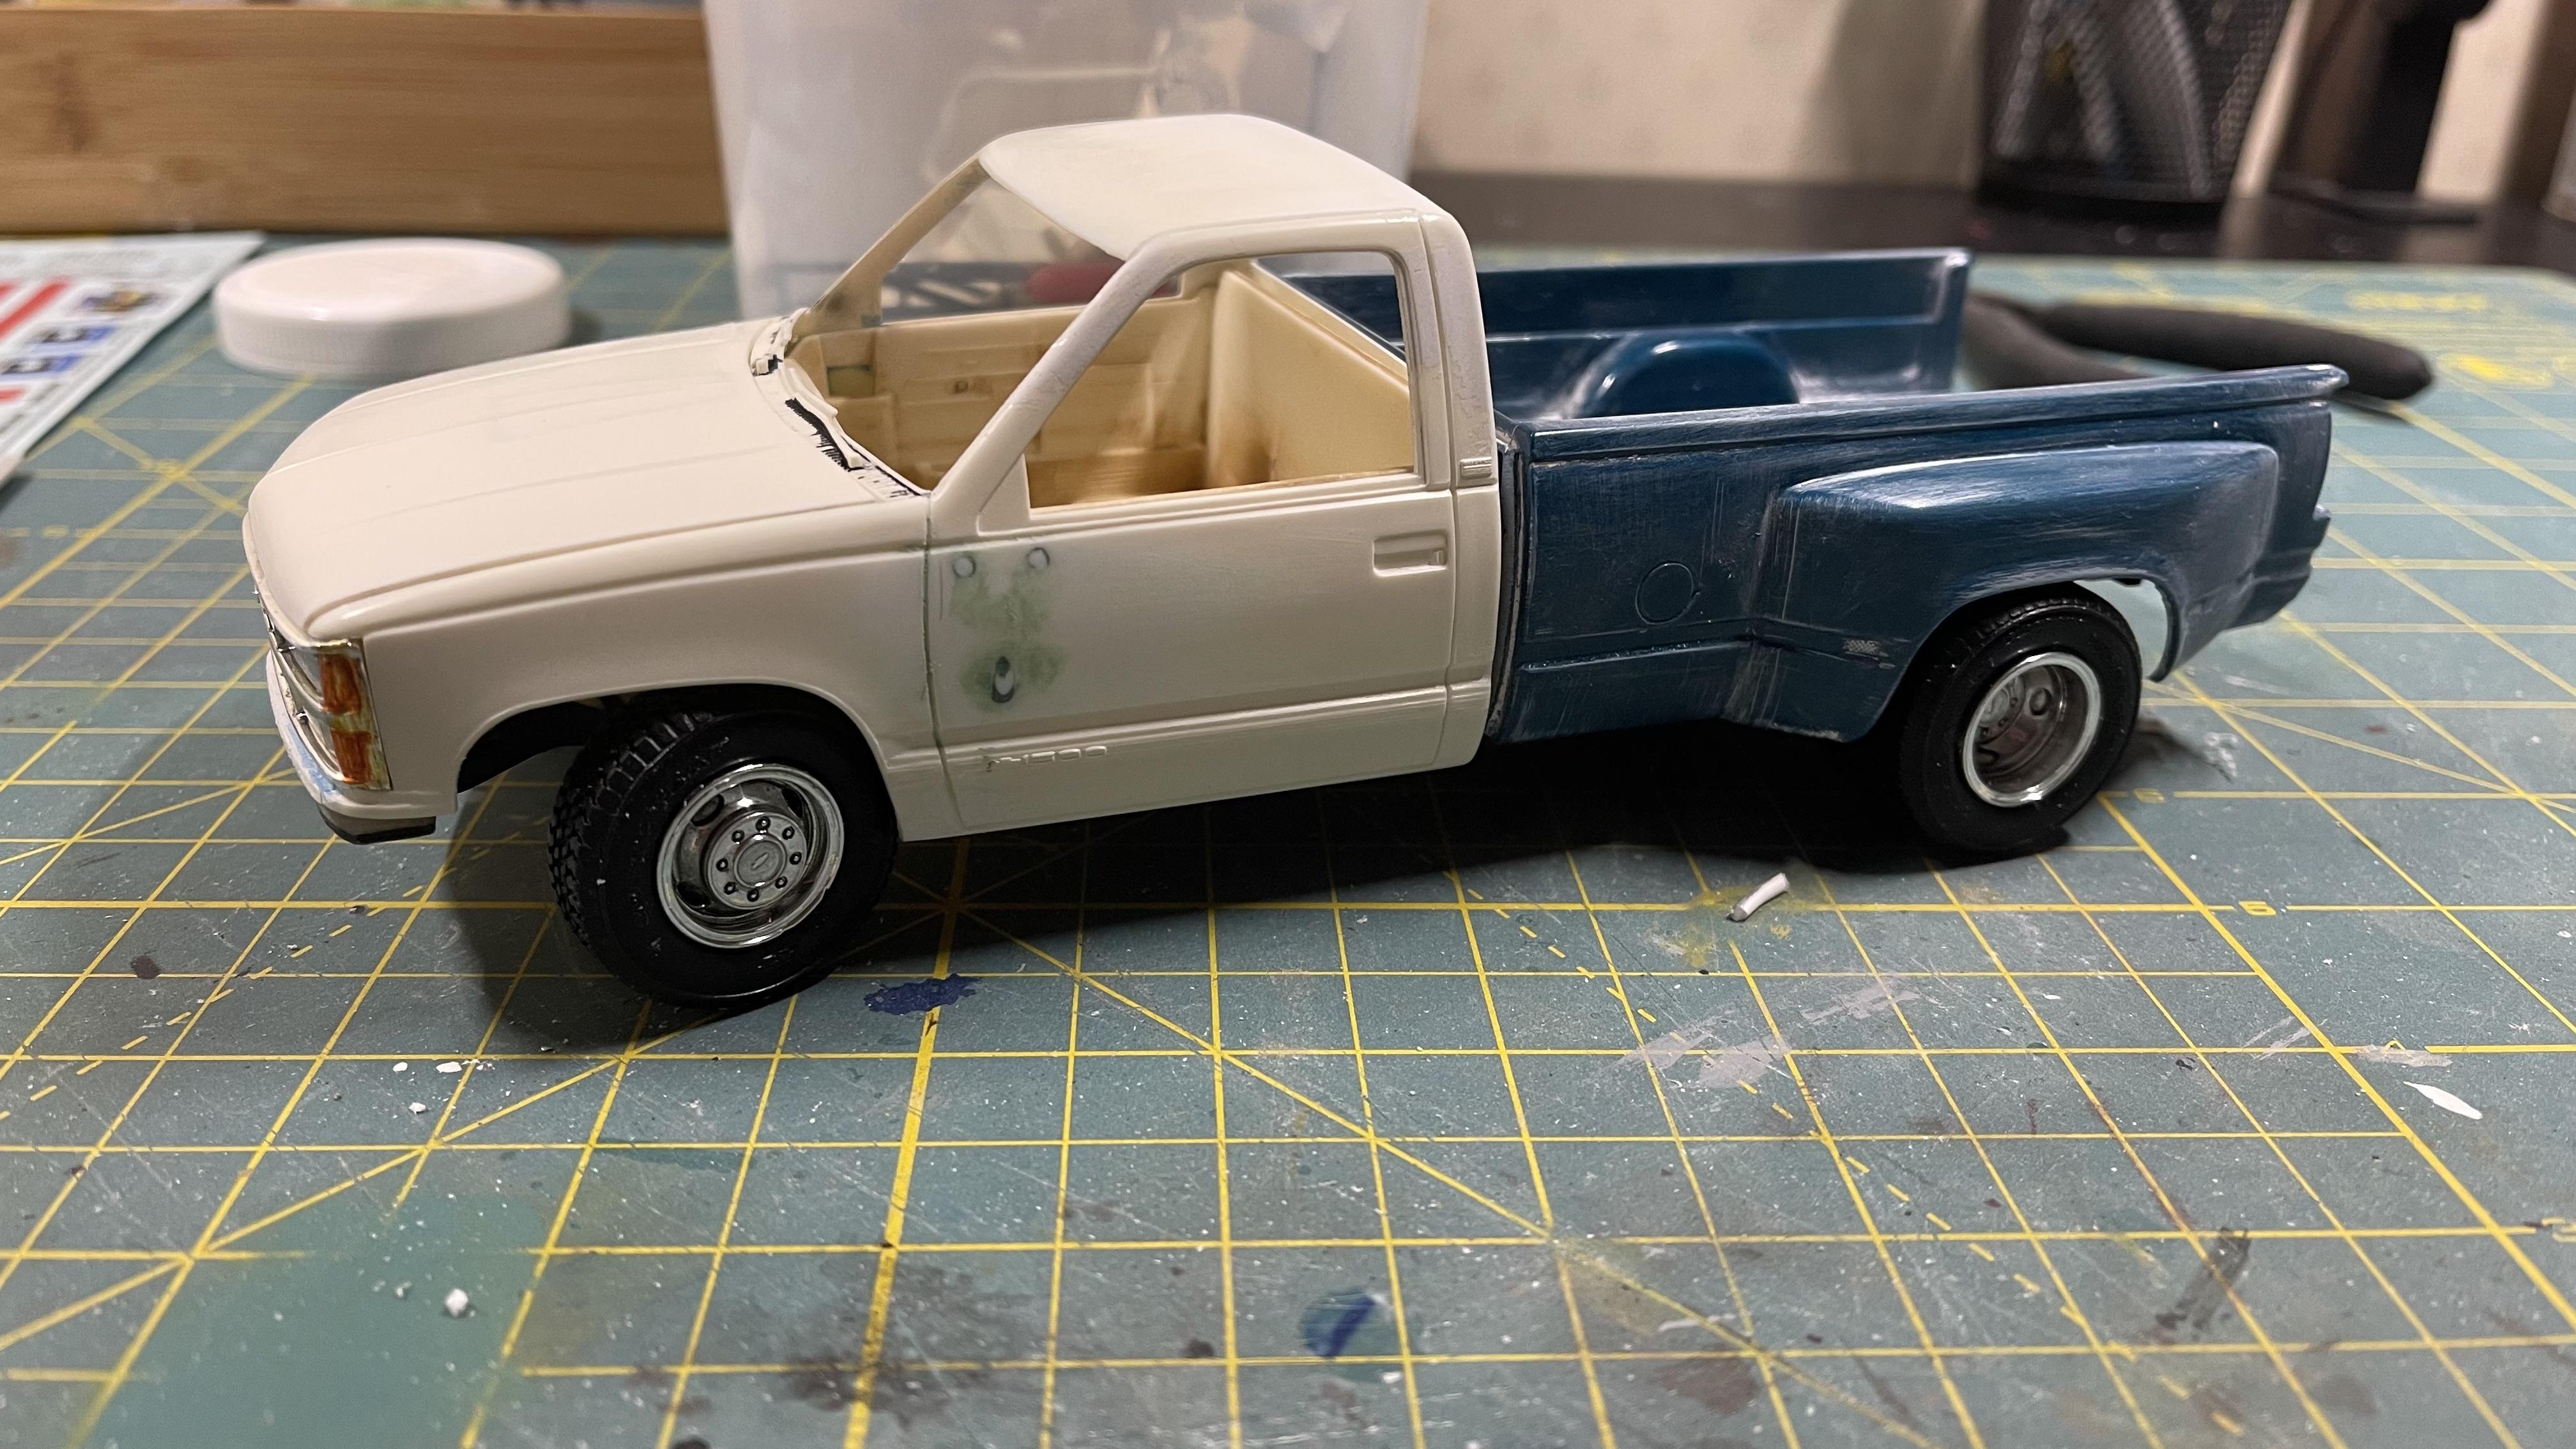
Only a little bit of progress tonight. I got the cab puttied and sanded, cab mounts placed, and some small engine parts cleaned up.
I’m waiting for my paint booth and new hobby desk to arrive before I start painting things. I think I’ll paint the semi metallic blue, but not 100% set on that. I’ve enjoyed this build so far.
I hope everyone’s BRBO is going well so far. Thanks for looking.
-
1
-
-
On 1/4/2022 at 7:15 PM, IceMan Collections said:
New site is up, Matt. Not sure if you’ve checked it out.
IceManCollections.comI just visited and placed an order. Very nicely laid out website and what looks like great products. Real excited to get them!
-
1
-
-
I think I’ll pick up the van kit. It looks like it has a lot of cool accessories. Even if I don’t use them on that kit they will be a great addition to the parts bin.
-
@Mopar - D, interesting! The headlight adjustment does look great! I don’t think I’ll be doing that on this kit but I’ll keep that in mind for a future on. I just saw your build thread as well. Your fleet of trucks is great!
-
Today I ordered a new hobby desk, paint booth, and a ton of supplies. Looking forward to building more in 2022 now that I have some better equipment. Next I'd like to get a resin 3D printer. Then I think I'll be set...

-
15 hours ago, Mopar - D said:
Nice start Jacob I’m currently rebuilding my Frightliner day cab with dual drive. Are you going to shorten the front axle and lower the head lights?
Thanks, Dan. I hadn’t thought about that at all. Is that something that builders typically do to this kit? You’ve piqued my interest.
-
1
-
-
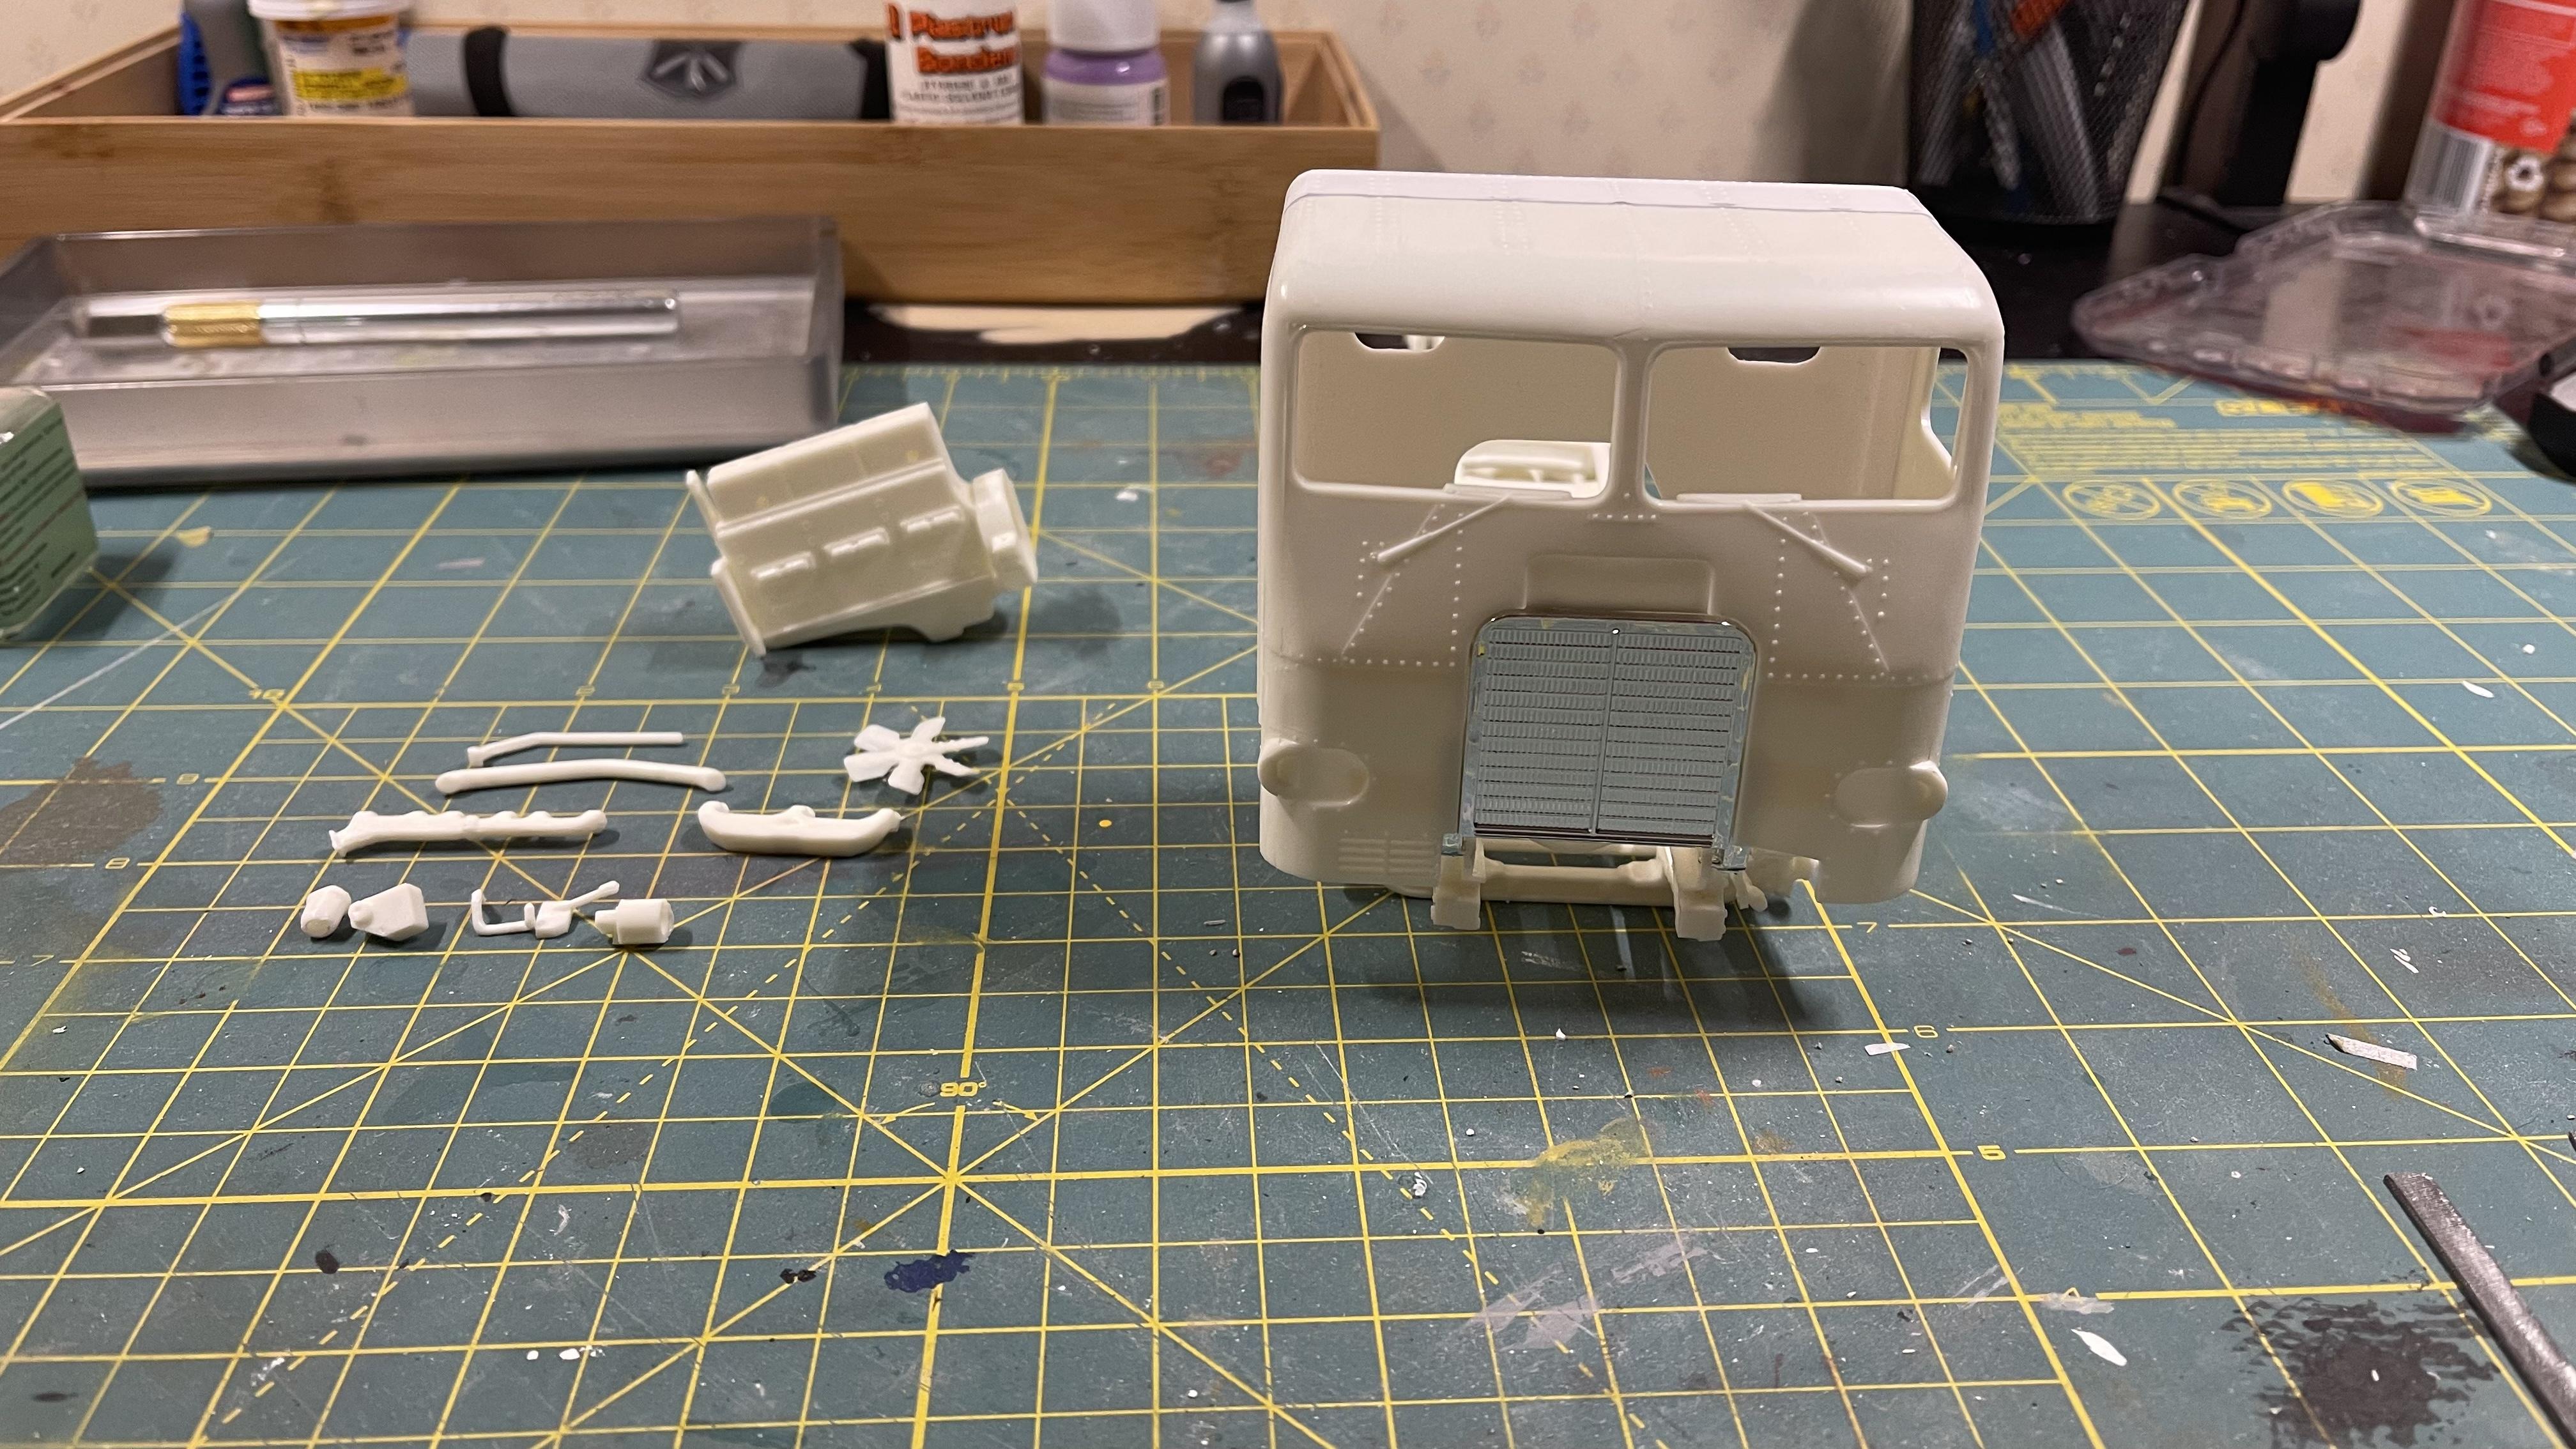
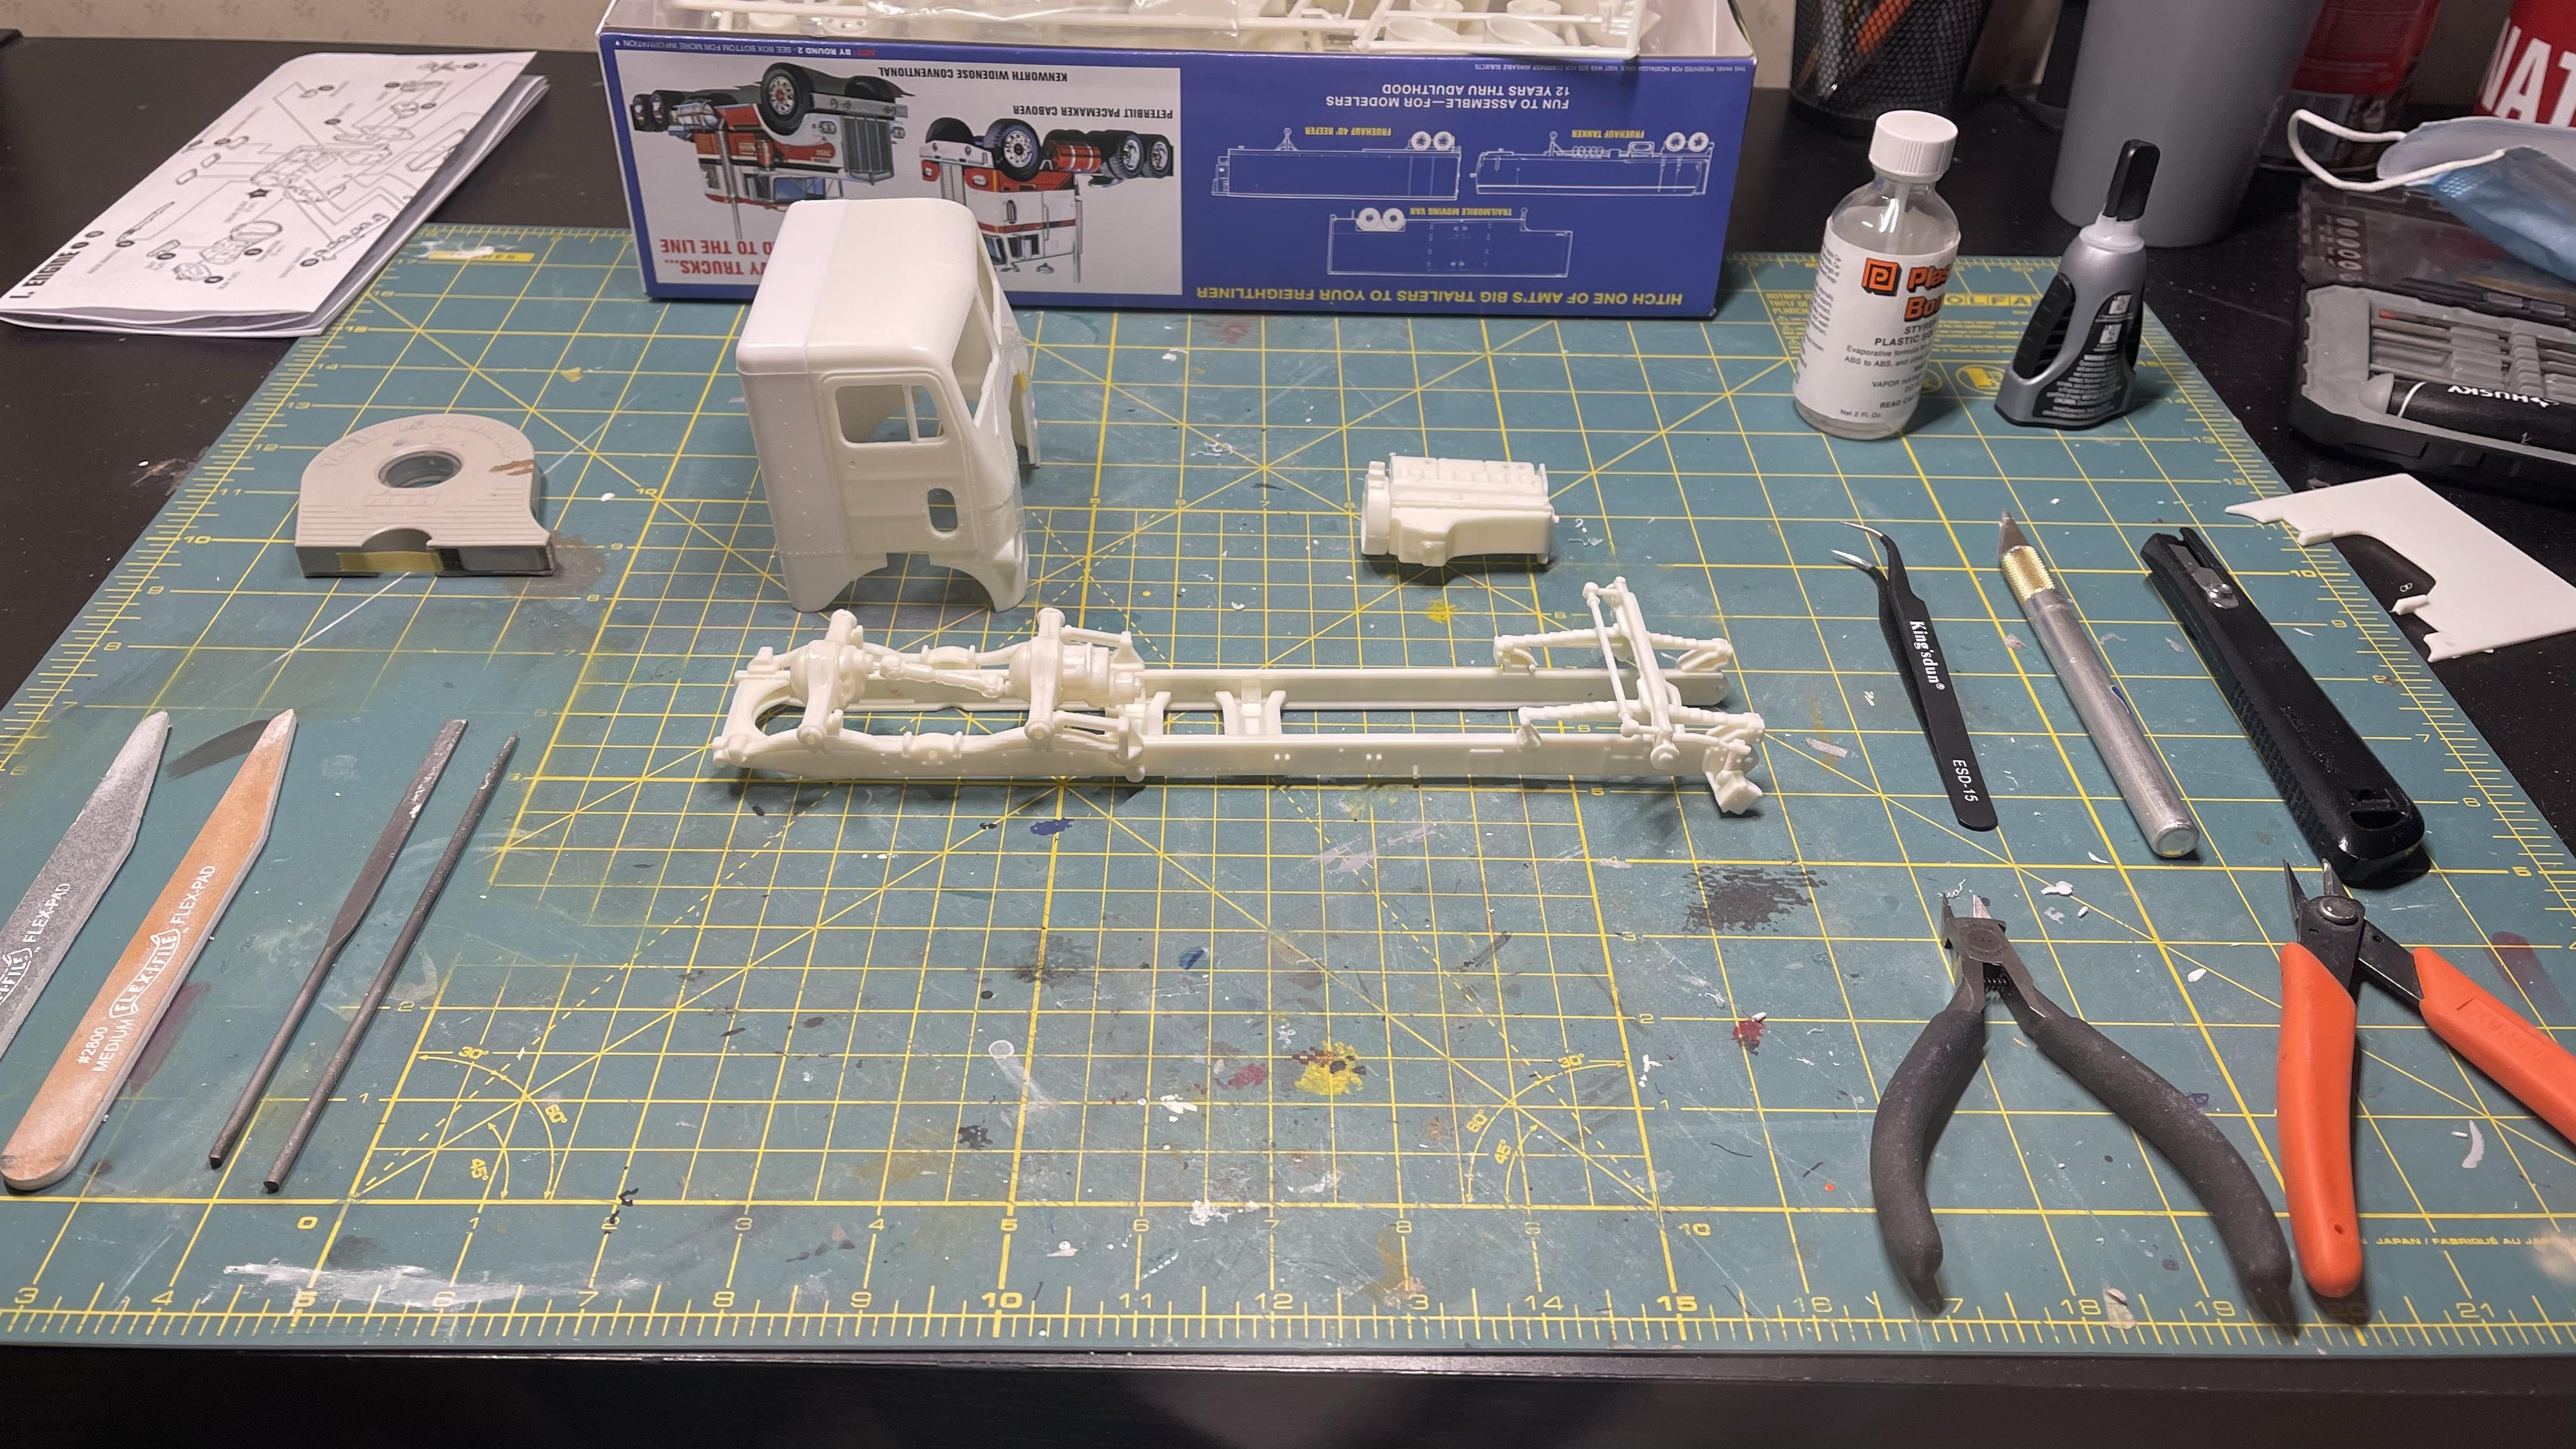
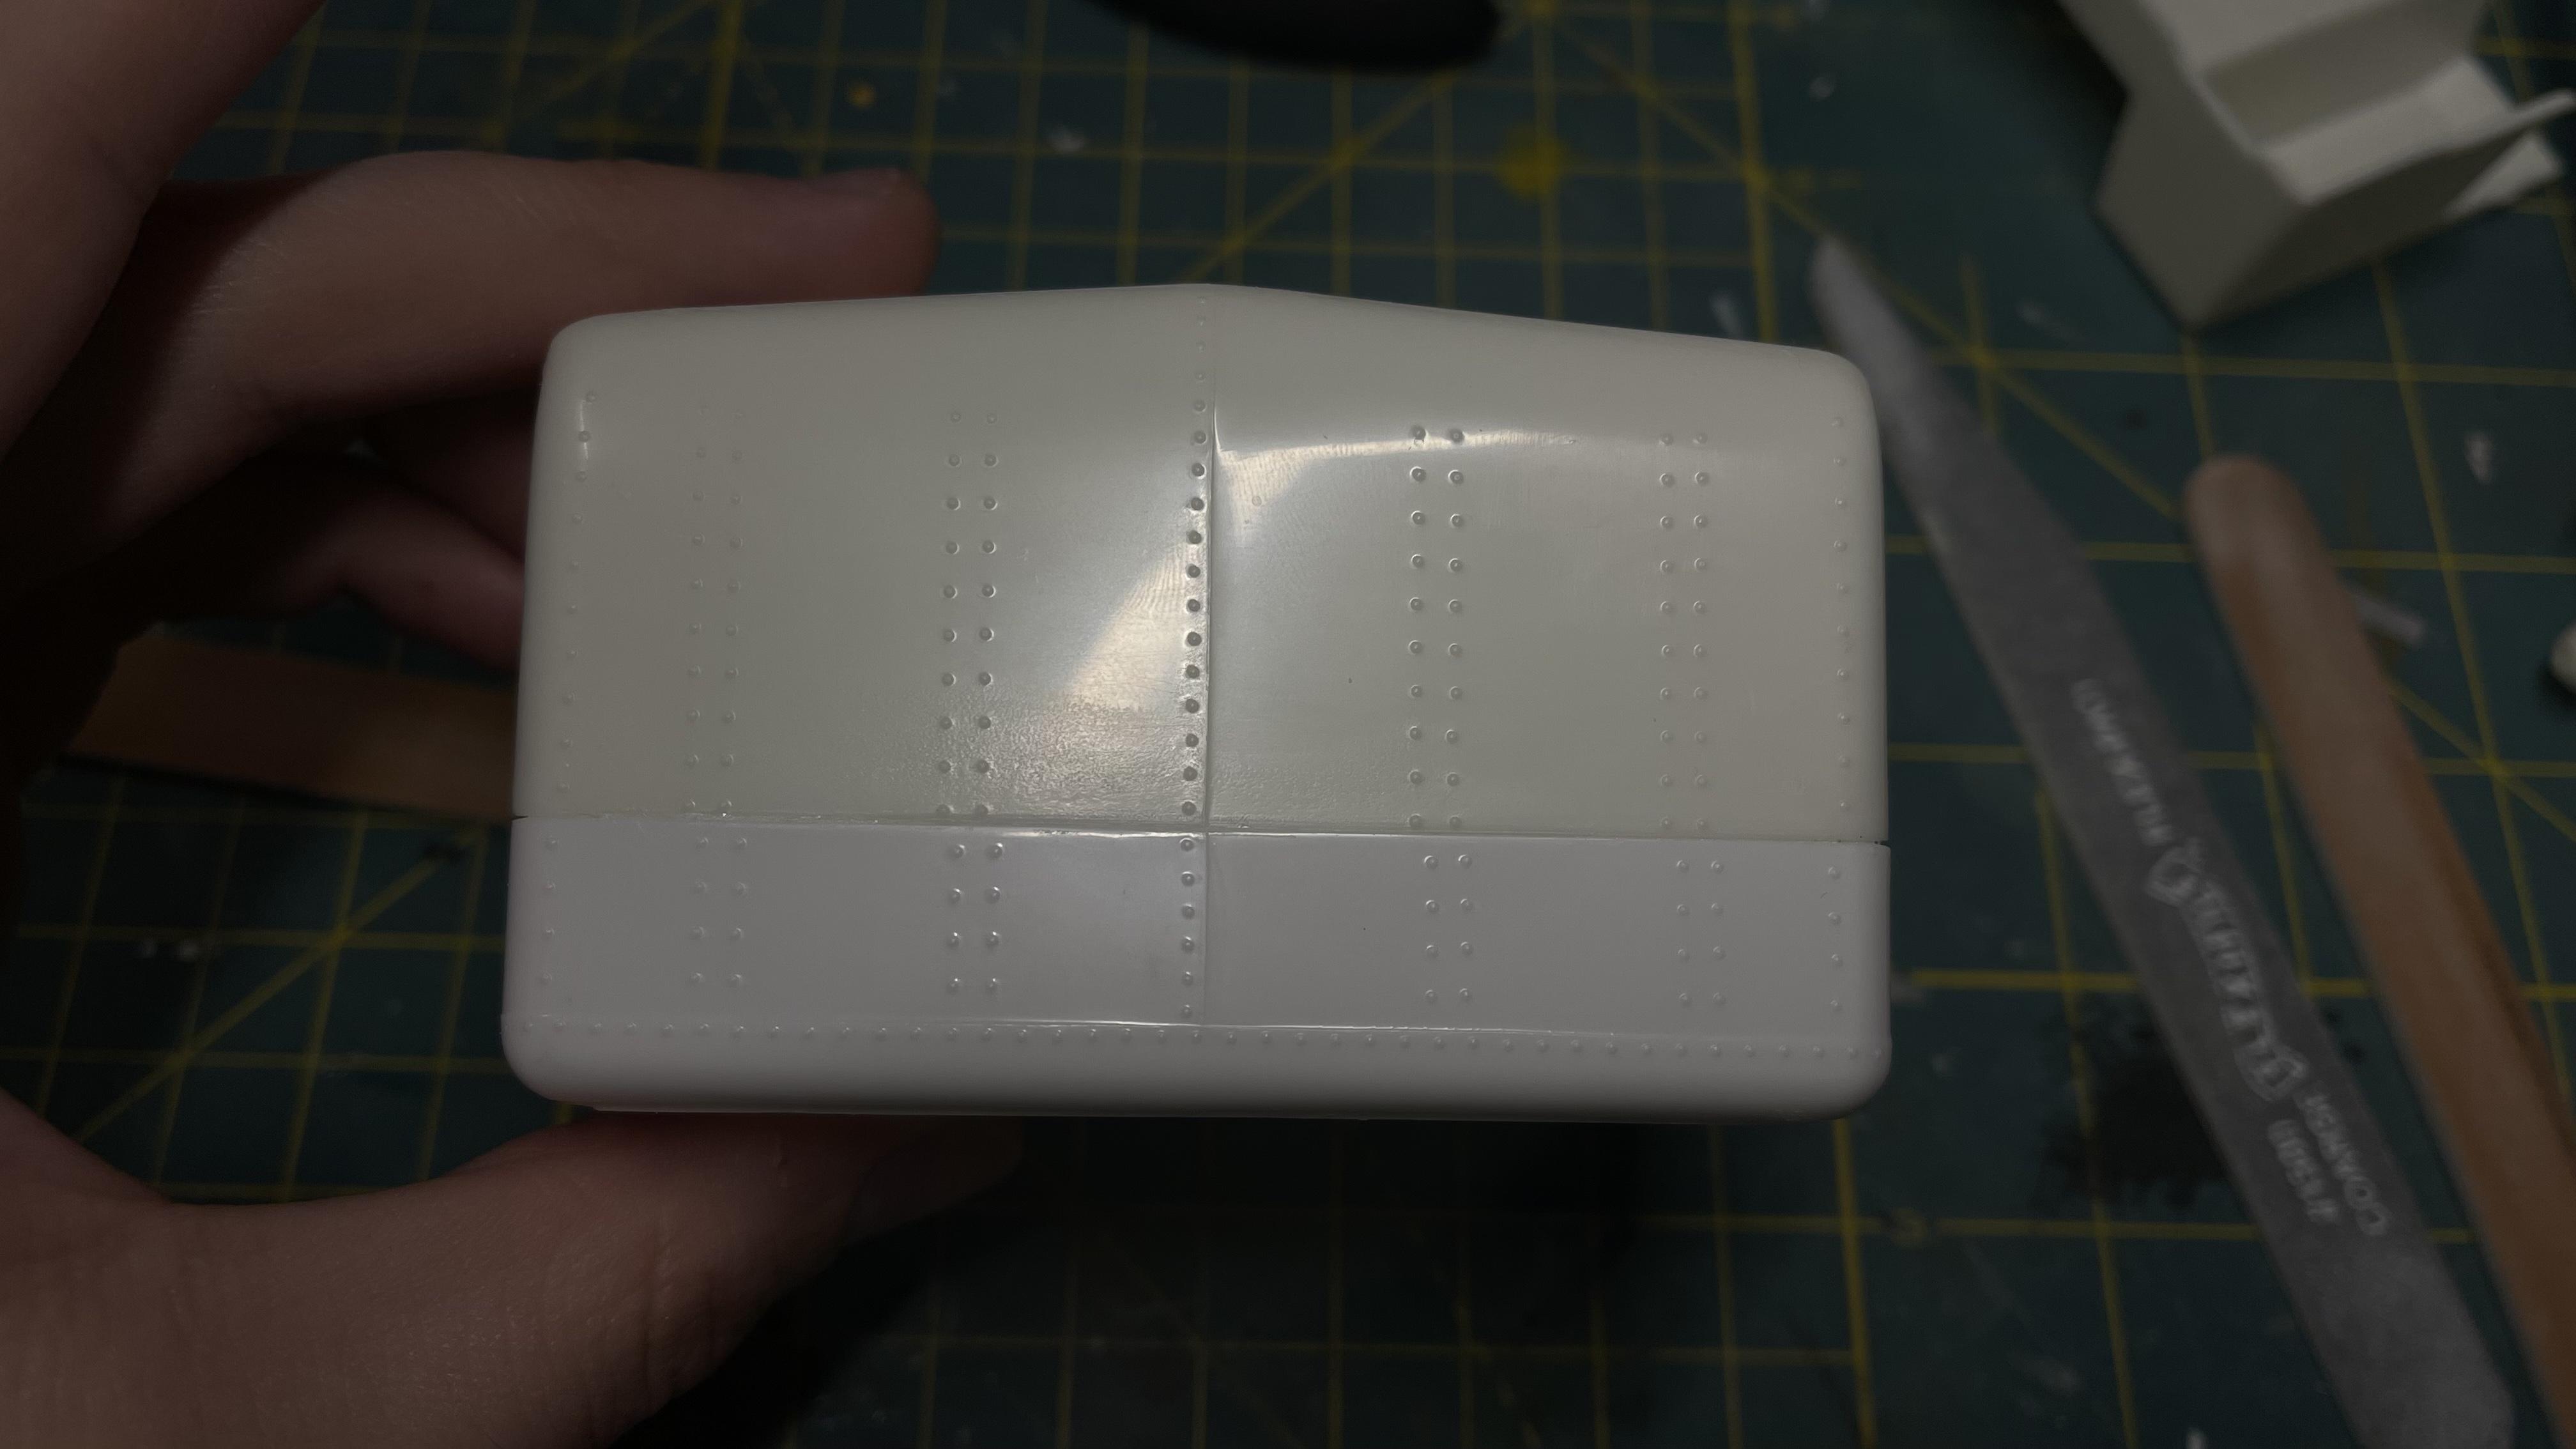
Only a little bit of progress tonight. Focused on the front end of the truck and squaring up the cab. Also started on the engine a little bit. I need to get some tan paint to match the color this Cummins would have been painted when new.
Kind of frustrated that the rivets do not line up properly. Whatever I guess, it’s a small detail.
I was thinking about doing a single exhaust stack for this build. A nice chrome straight pipe would be cool to me. Does anyone have an idea? The kit exhaust just looks undersized to me.
-
1
-
-
17 hours ago, Pete68 said:
Nice start I’ve always liked this kit it always builds good for me without issues.
Yes, it does build up nicely with a bit of work. This was the first semi kit i ever did when i first started modeling. I'll be watching your conversion project.
15 hours ago, Vettegasser said:Have one of these started dual drive day cab. No real issues so far. Be following
Nice! I'll have to check yours out.
16 hours ago, DRIPTROIT 71 said:Looking forward to seeing more!
Thanks for stopping by! Can't wait to see your progress in the build off.
55 minutes ago, vincen47 said:Nice to see a few Freightliner Cabovers in the BRBO. Not easy kits, for sure.
Yes I agree, good to see some people tackling these. It will be great to see them all completed.
-
I'll be following along on this one. Should be fun to have two day cabs in the build off.
-
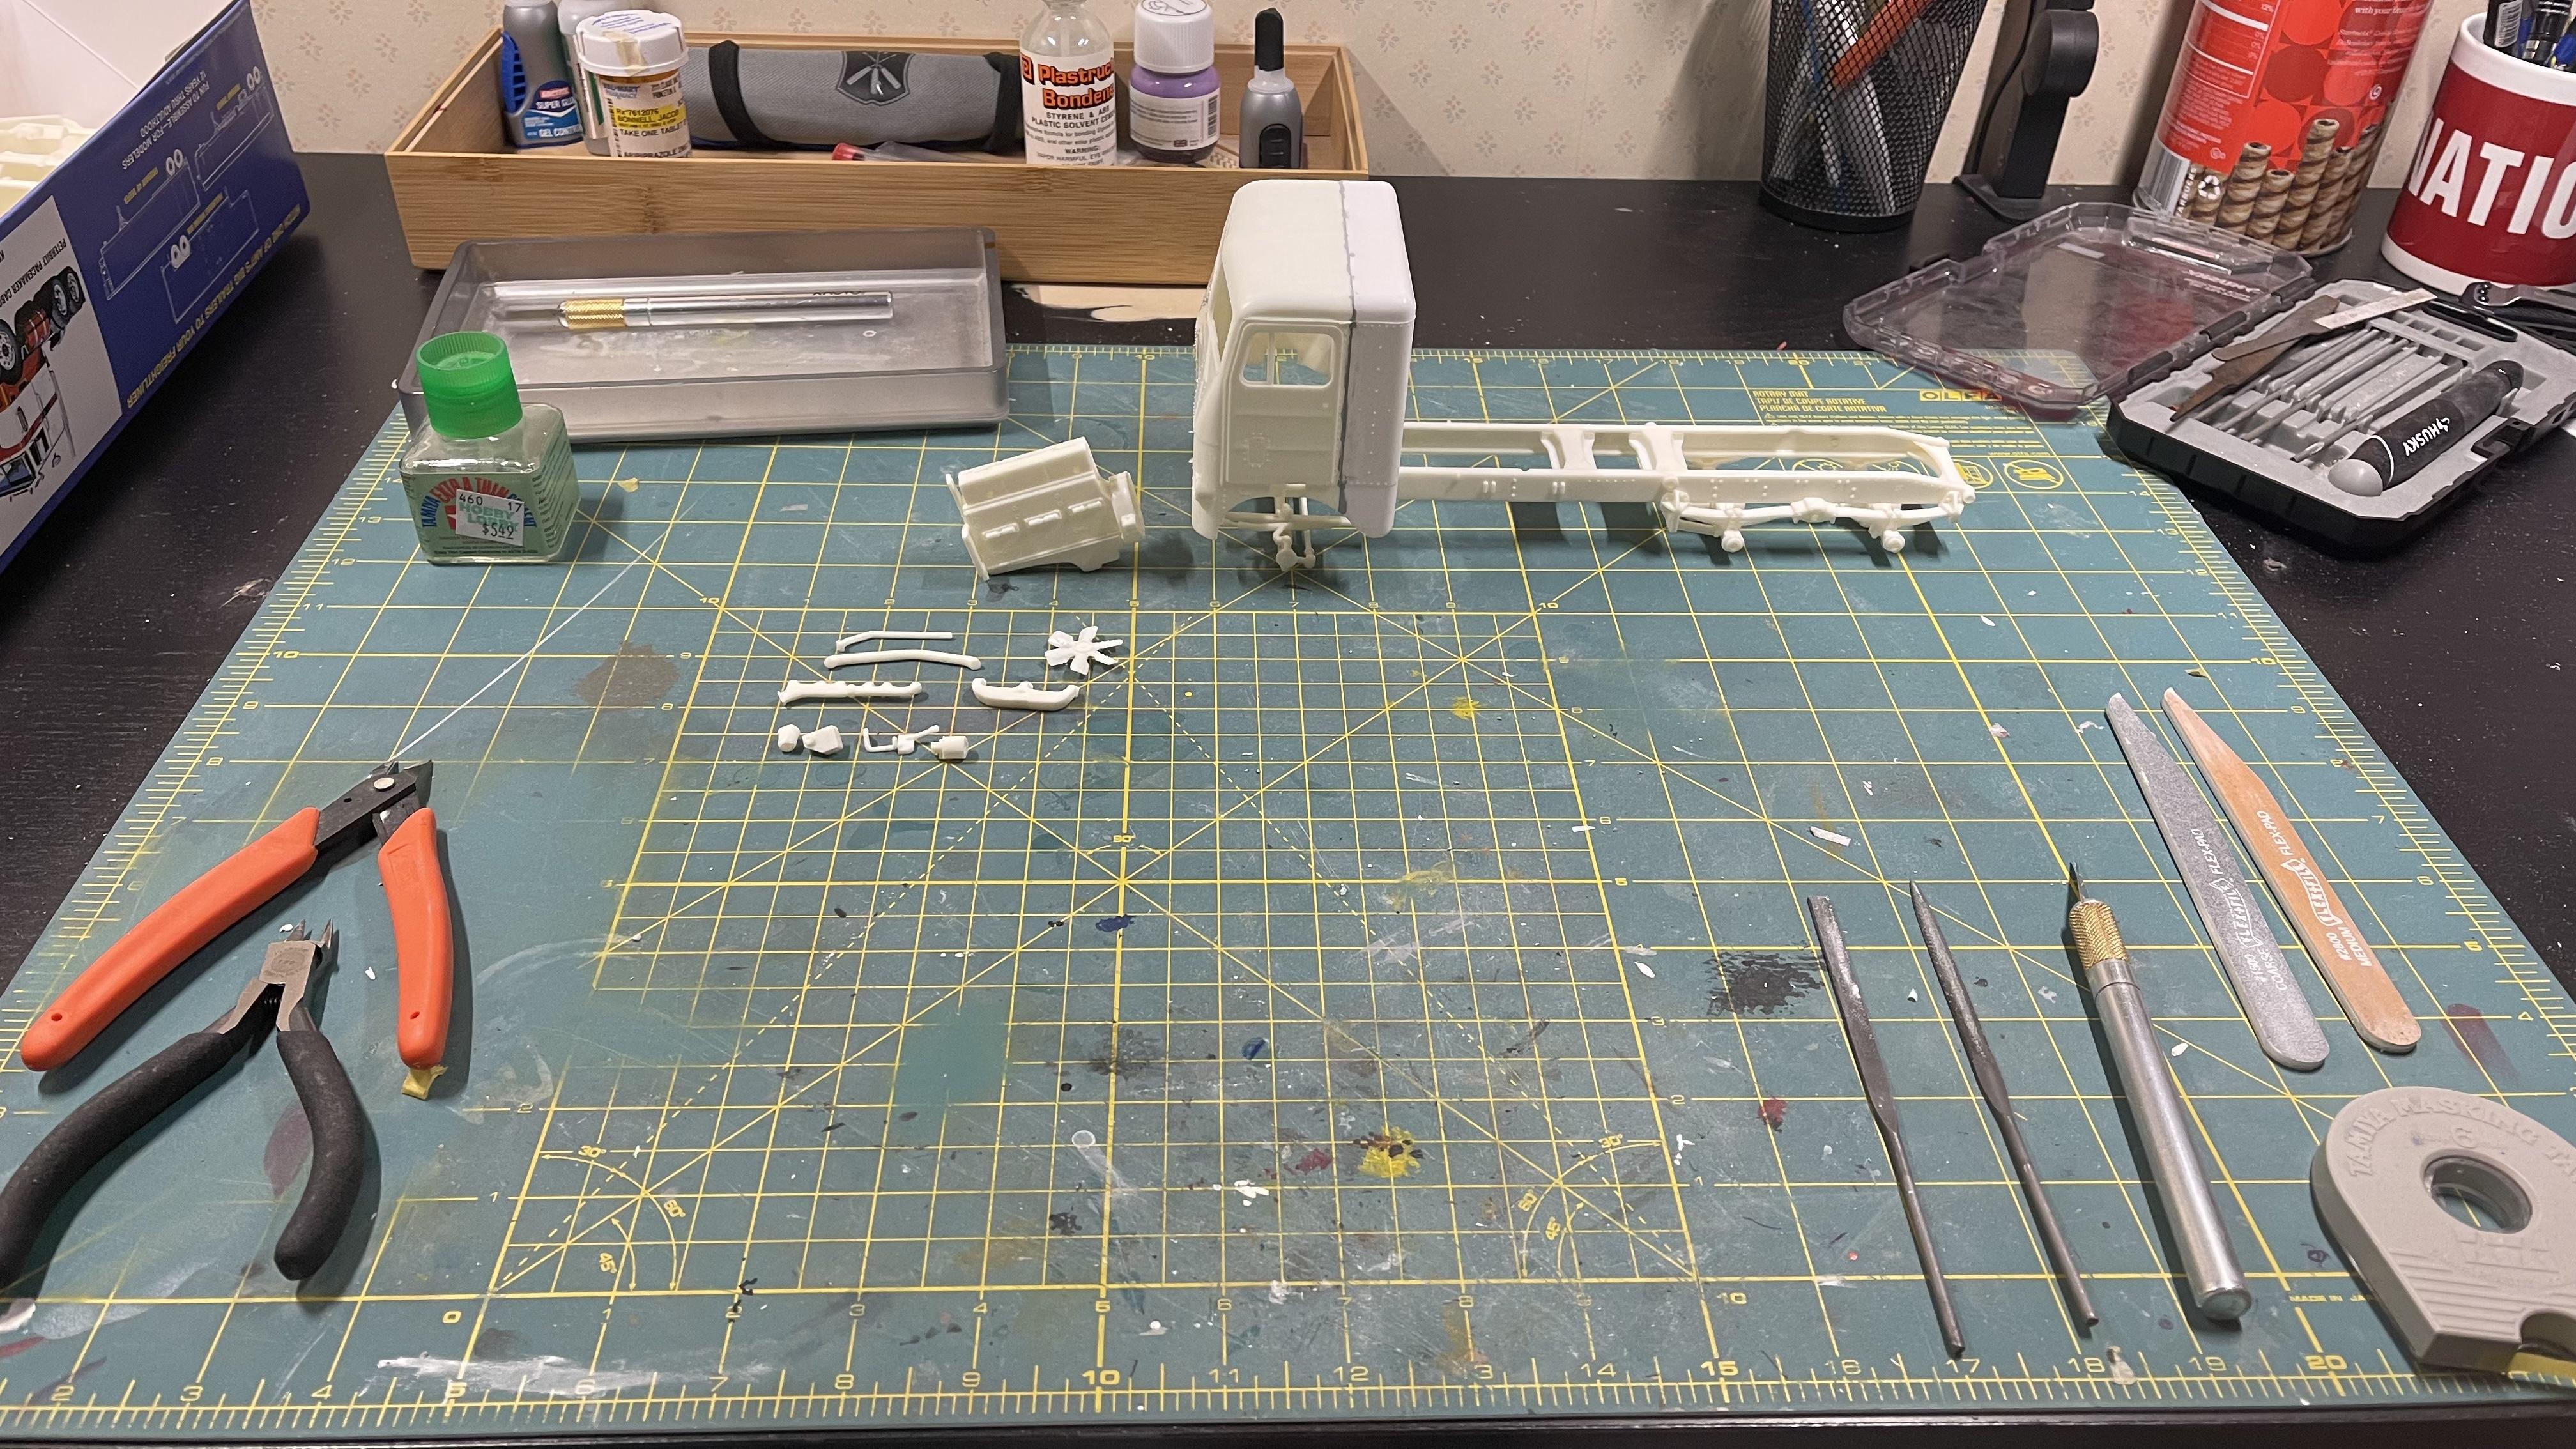
Howdy! This year I hope to complete a build off. I’ve built this kit before, but was not pleased with the results. I forgot how poor the instructions are at times. And the parts aren’t very crisp and have heavy flash.
BUT, not going to let that stop me. So without further ado…
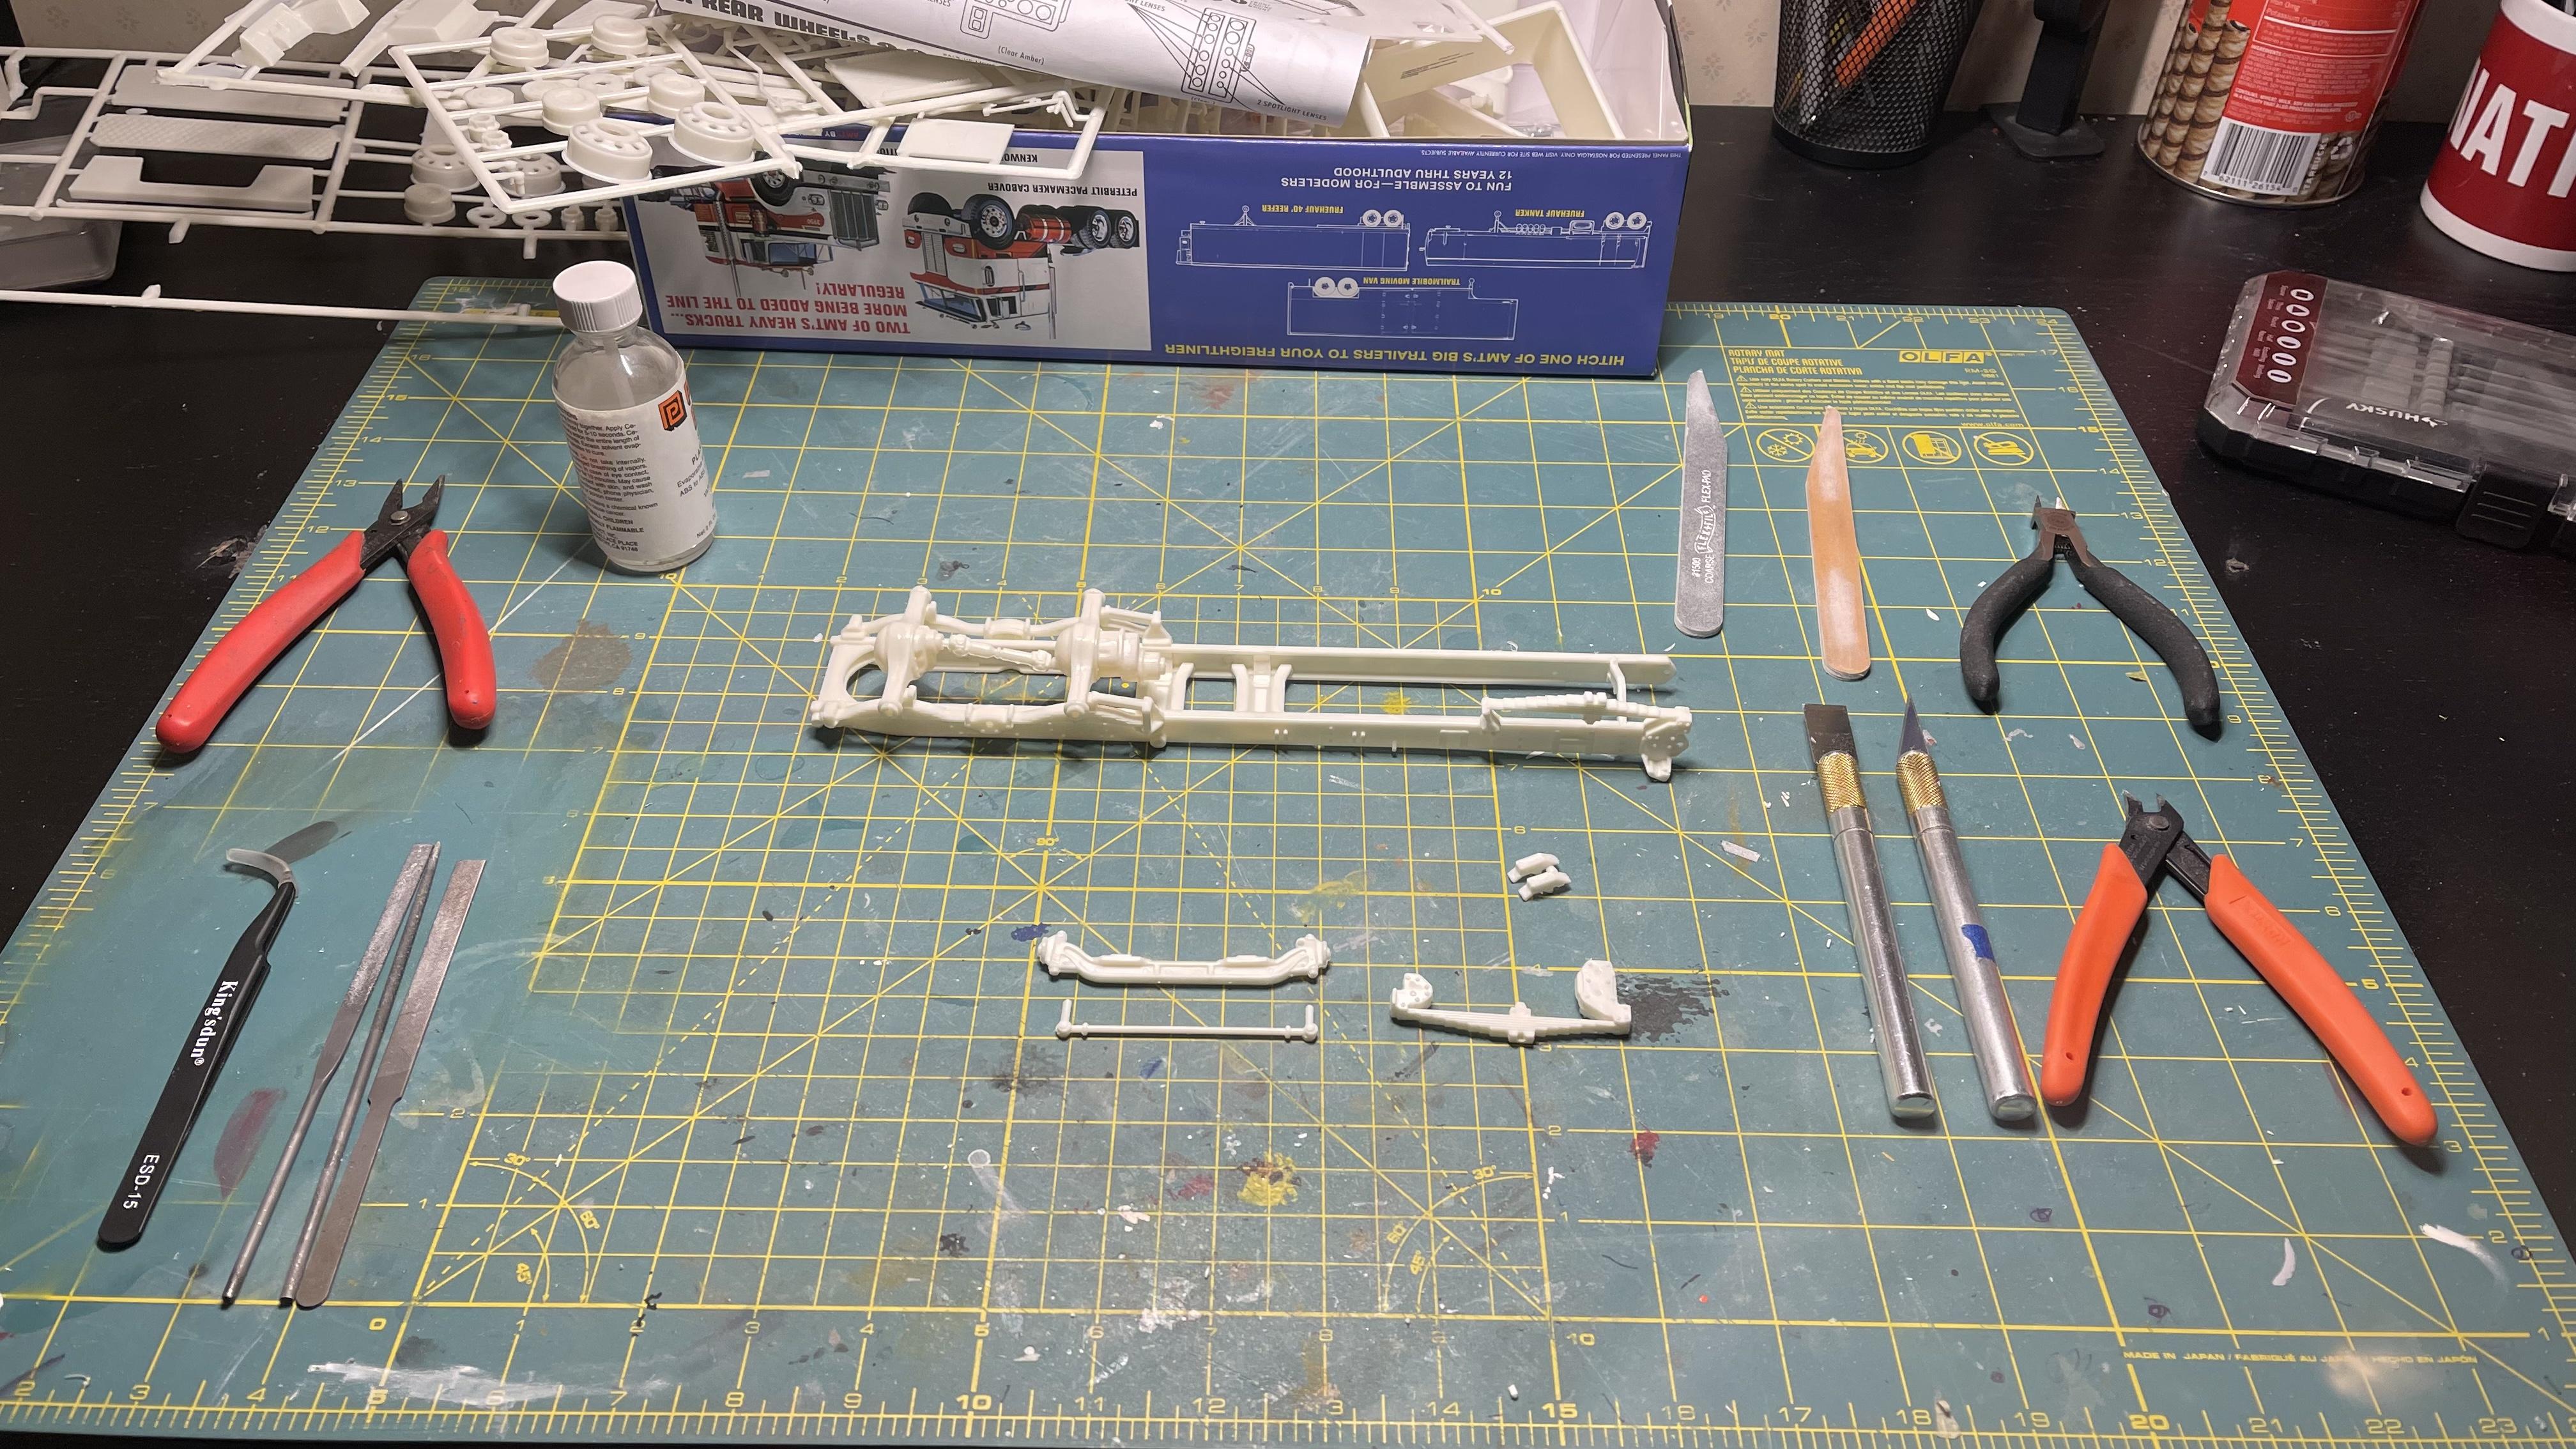
Here is the kit in question. It’s a good challenge. I plan on building the day cab dual drive version. I’ll probably weather the kit but not too heavily. Below I’ll detail what I completed today.
Today I only accomplished getting a portion of the frame cleaned up and assembled. Lots of sanding, test fitting, clamping, and filing just to get to this point. But it’s a straight frame at least!
Good luck to everyone! I’m excited to see the end results!
-
1
-
-
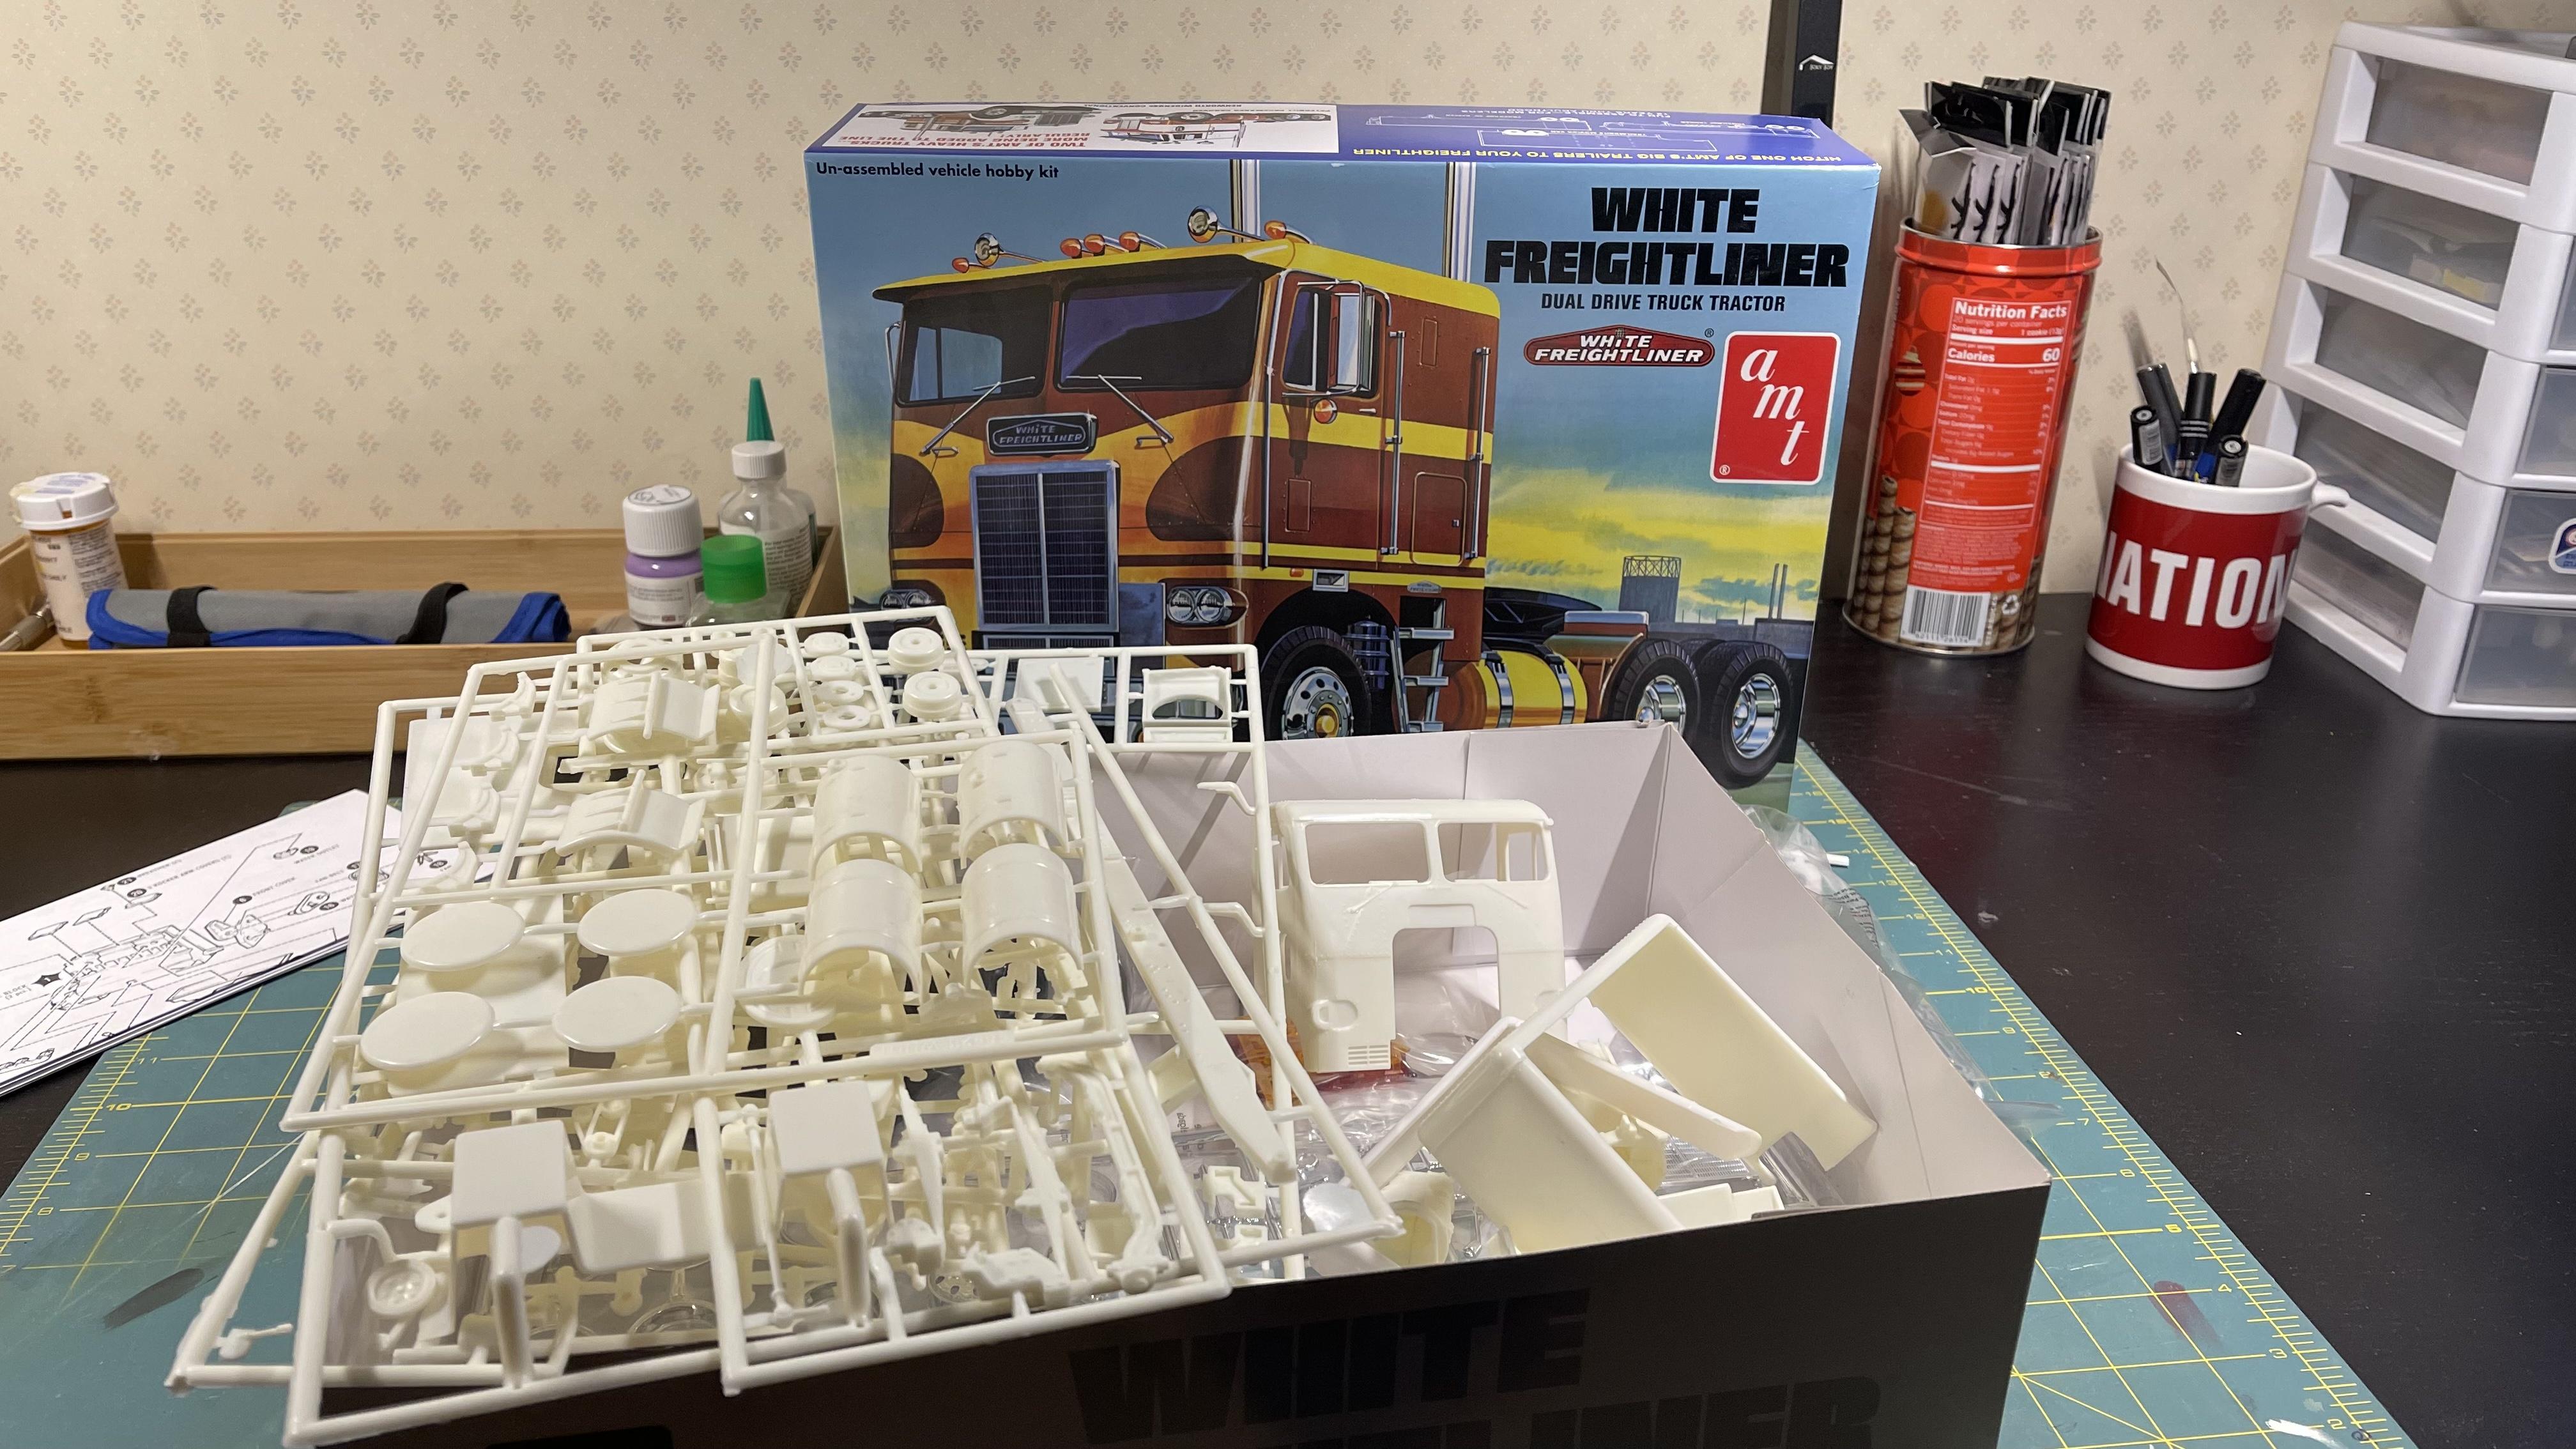
I’m going to join in this year and even get started today! I’m going to be building this AMT White Freightliner. I’ll be doing a tandem axle day cab set up. Here is a photo of the un-started kit!
-
I’m hoping to complete one model a month. I completed two in 2021. I’m going to focus on clean and simple builds for a while instead of jumping into something super detailed. I might even try to build a plane for once.


AMT Chevy Silverado
in WIP: Model Trucks: Pickups, Vans, SUVs, Light Commercial
Posted
@espothat is a good idea, the 1 in 1500 is a bit narrower than the 3, so i might need to just make a decal shaped plate to put under the decal so it is raised a bit. I think I have some styrene that is similar to the body trim that I might be able to add to the bed.. you might be on to something. I'd like to keep the trim since it is a nice feature on these trucks.