Anglia105E
-
Posts
3,525 -
Joined
-
Last visited
5 Followers


Anglia105E's Achievements
MCM Ohana (6/6)
-

Rolls-Royce No Chemicals, No Paint, No Harmful Glues
Anglia105E replied to Anglia105E's topic in WIP: Model Cars
That is the problem Jose, you are right there . . . David -
Rolls-Royce No Chemicals, No Paint, No Harmful Glues
Anglia105E replied to Anglia105E's topic in WIP: Model Cars
Yes, it's a real shame Mark that local model stores either don't carry much of the right stock, or they close down completely. I find that although I could order pretty much anything online, usually Ebay, what I don't like is waiting for the deliveries. When you cannot go out because the precise date or time is unknown, I get bored. I do have one store three miles from my home in the nearest town that does have a good selection of Humbrol enamel paints, Vallejo acrylic paints, small tools, glues and stuff, but this is not a model or hobby supplies store. I would say nationally and Worldwide the hobby of building kits is experiencing a slow but steady revival, with more young kids taking an interest like we used to as kids, but this seems to be more specialised, with Japanese cars and also RC vehicles being those of interest. Such models are very expensive, so most young people cannot afford to buy them . . . David -
Rolls-Royce No Chemicals, No Paint, No Harmful Glues
Anglia105E replied to Anglia105E's topic in WIP: Model Cars
I would rather not wax this model, having reached the stage where I am happy with the shine, and a thought has just crossed my mind. As the Silver Cloud models are not kept inside a display case the dust would settle on the surface of the wax, which might become messy to remove . . . Interesting idea though Mark. David -
Rolls-Royce No Chemicals, No Paint, No Harmful Glues
Anglia105E replied to Anglia105E's topic in WIP: Model Cars
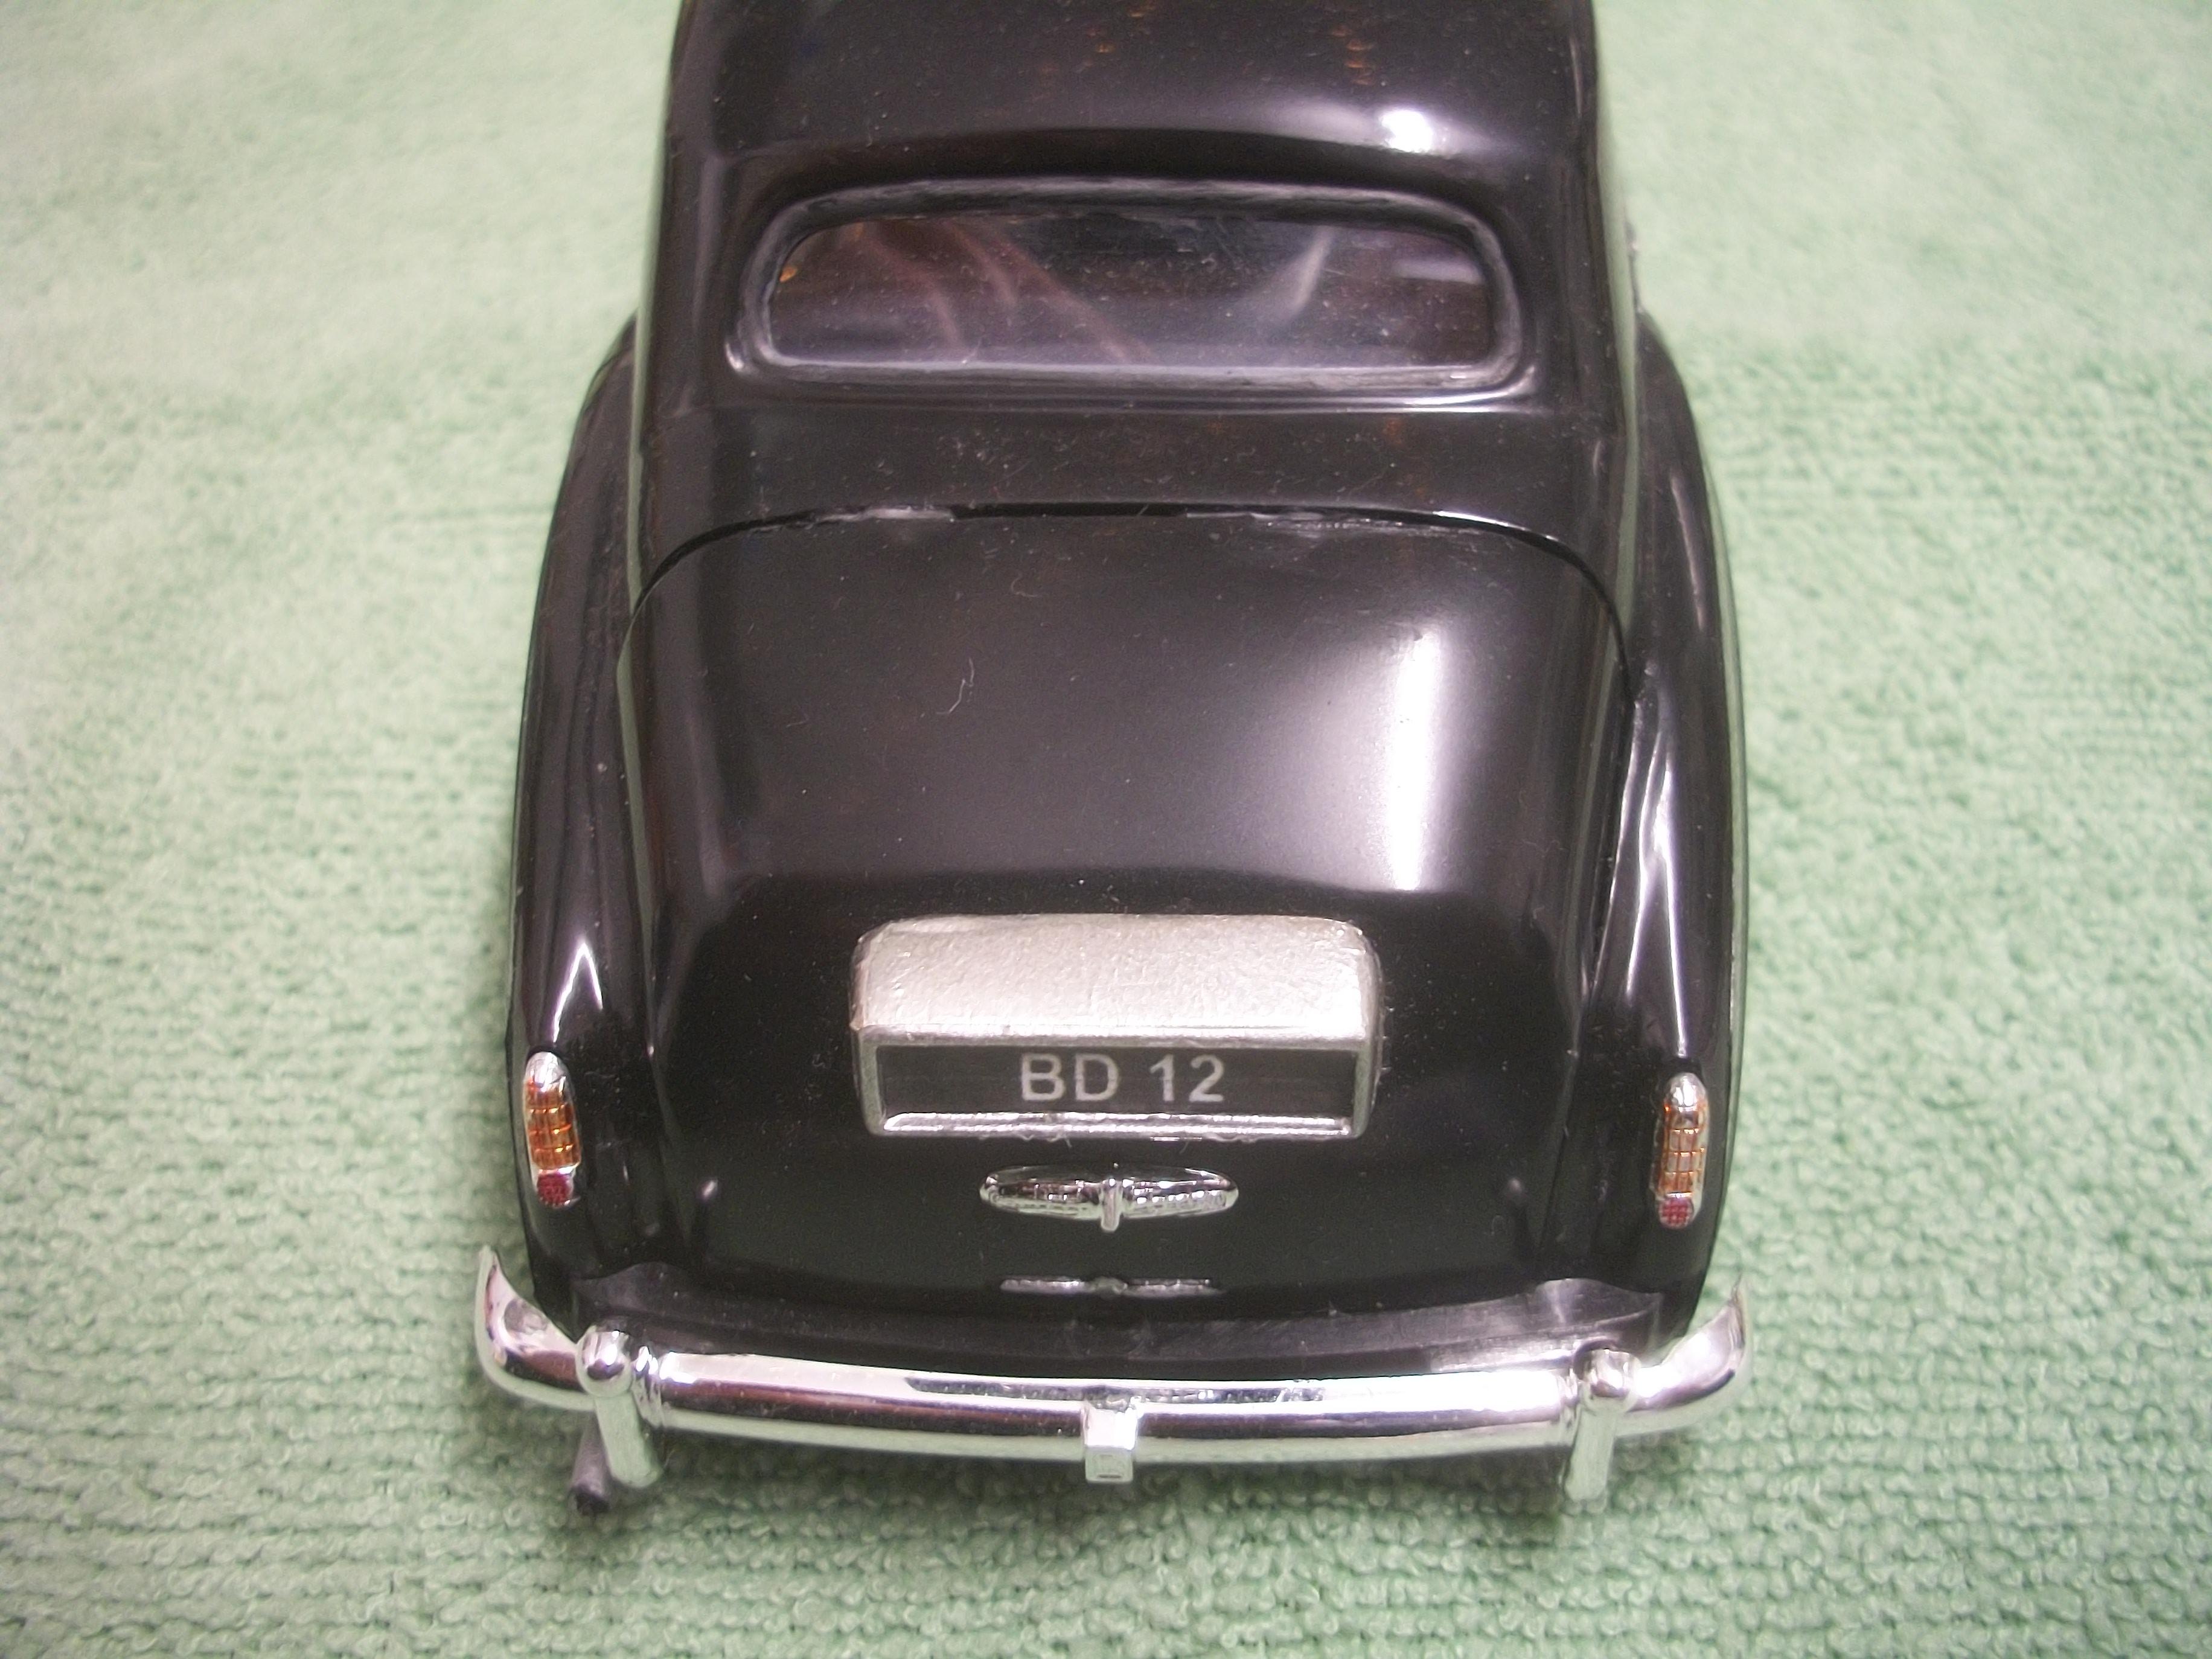
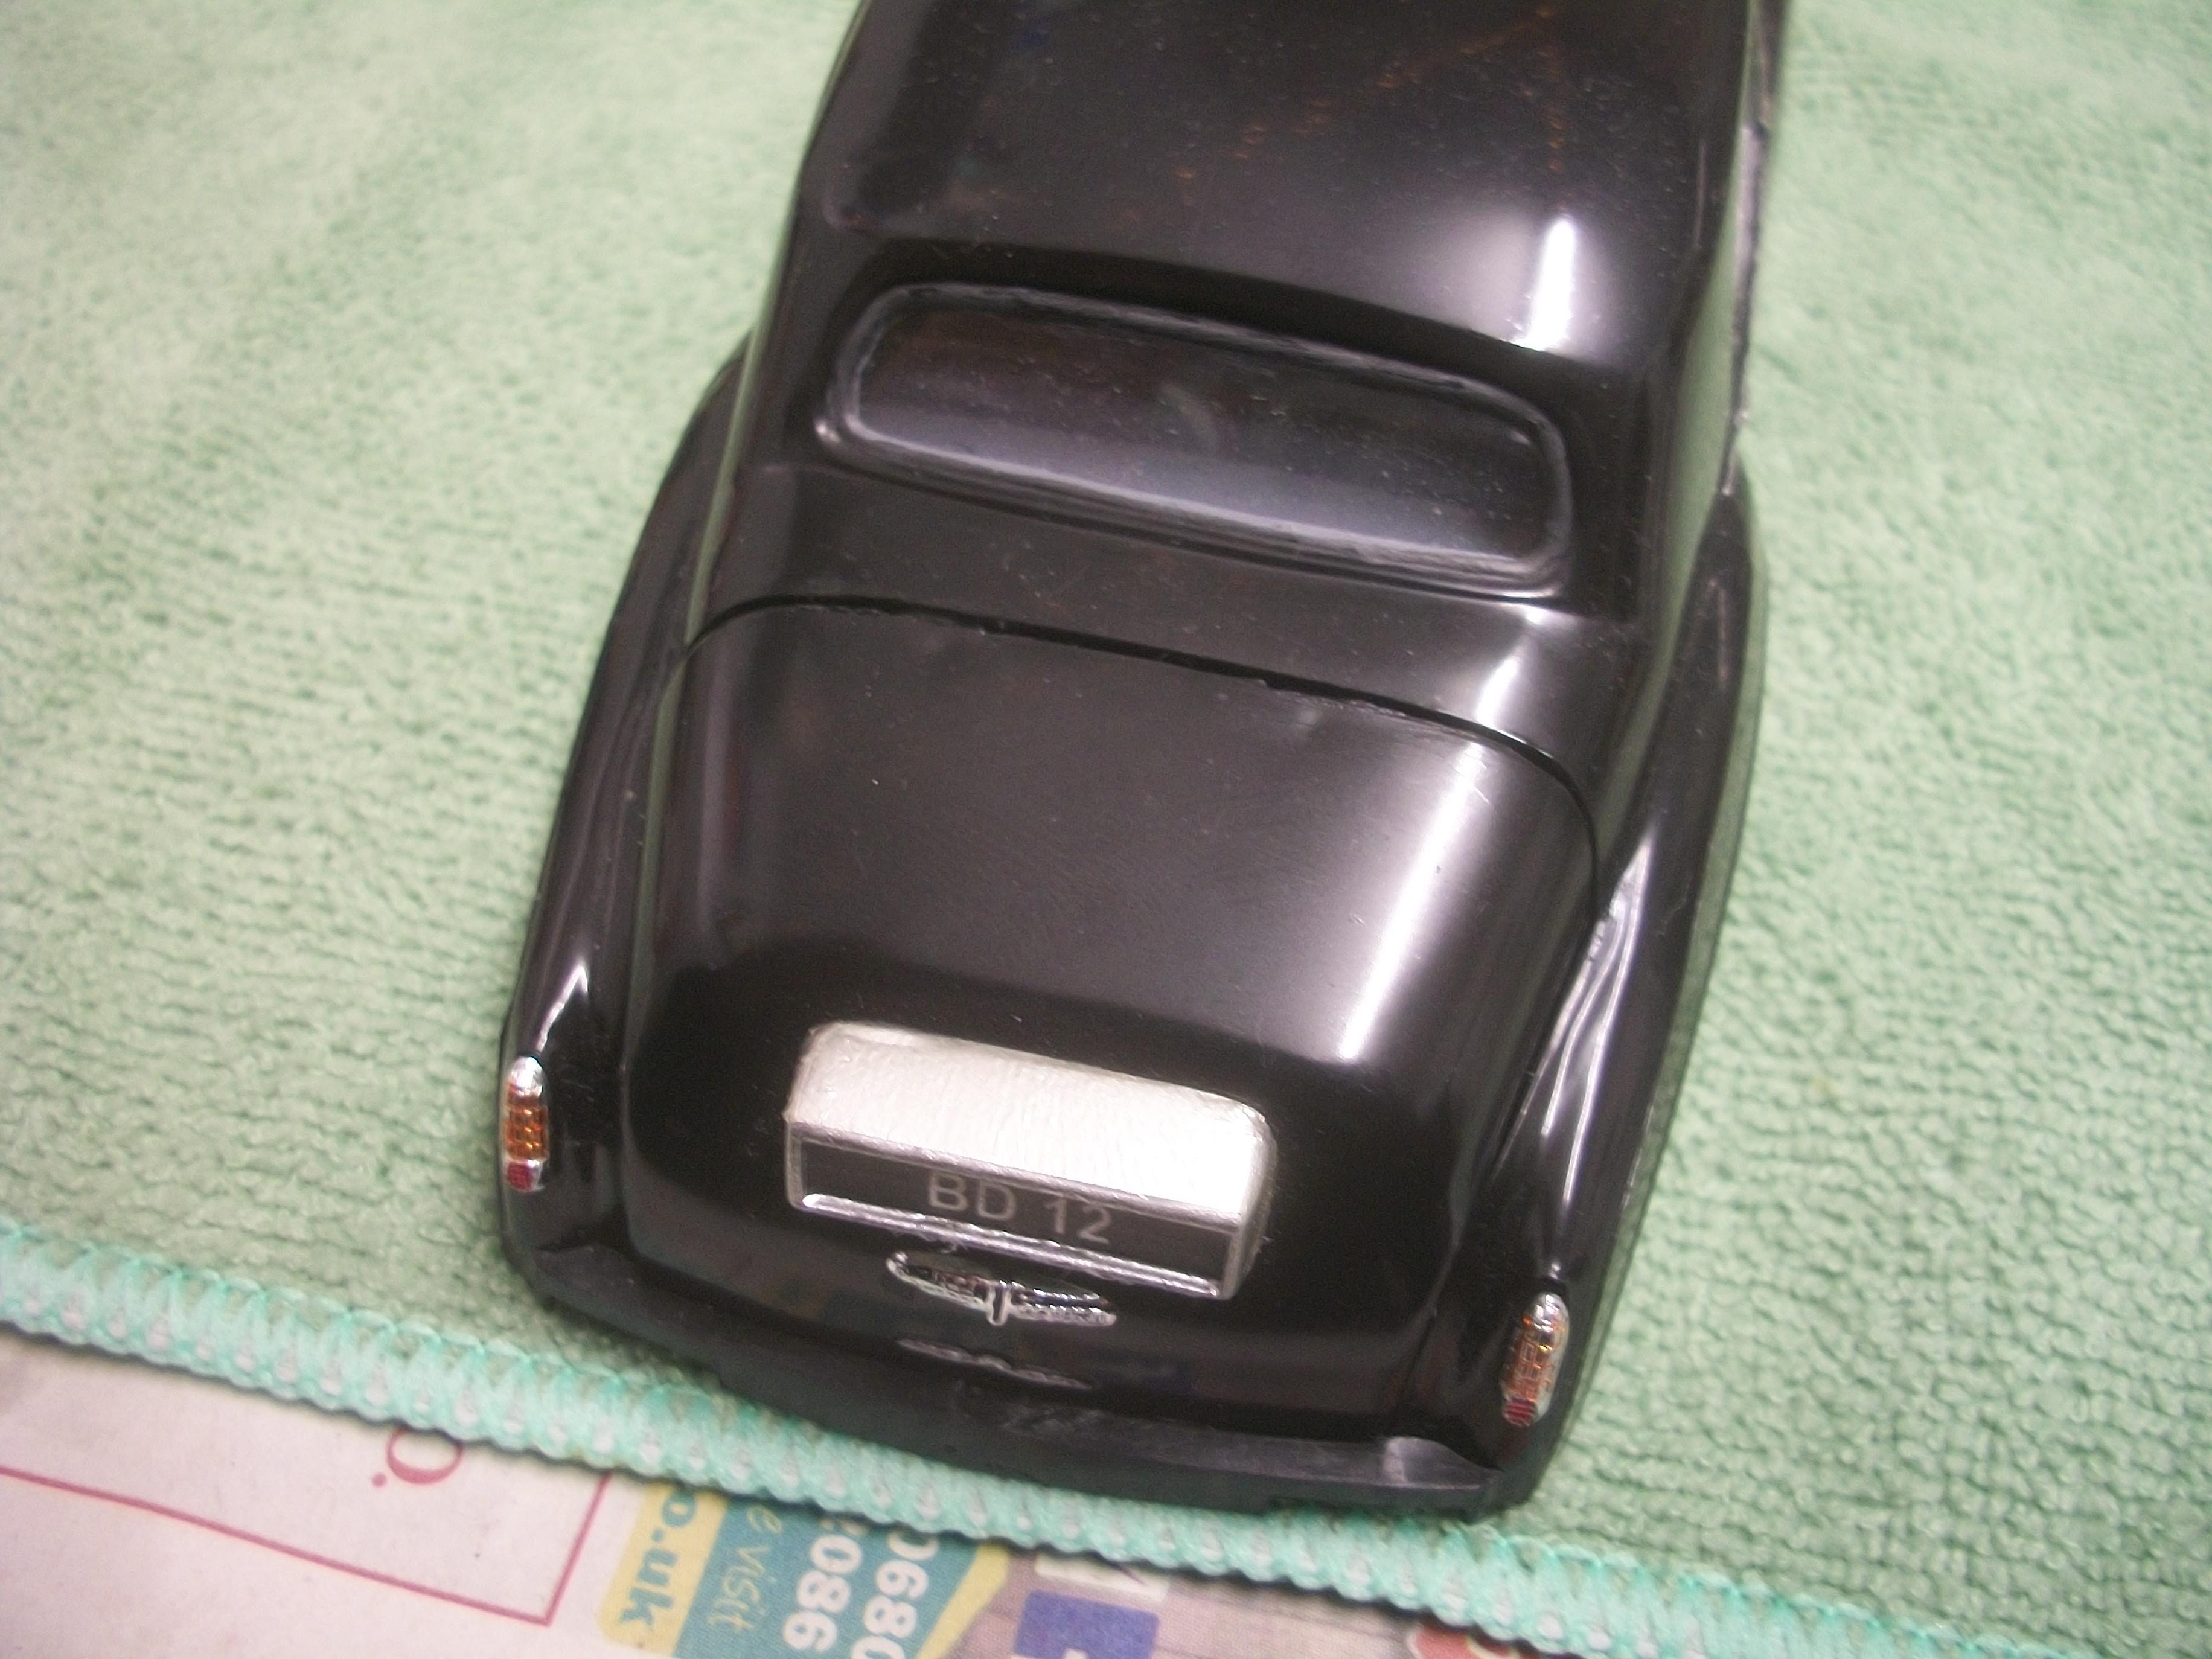
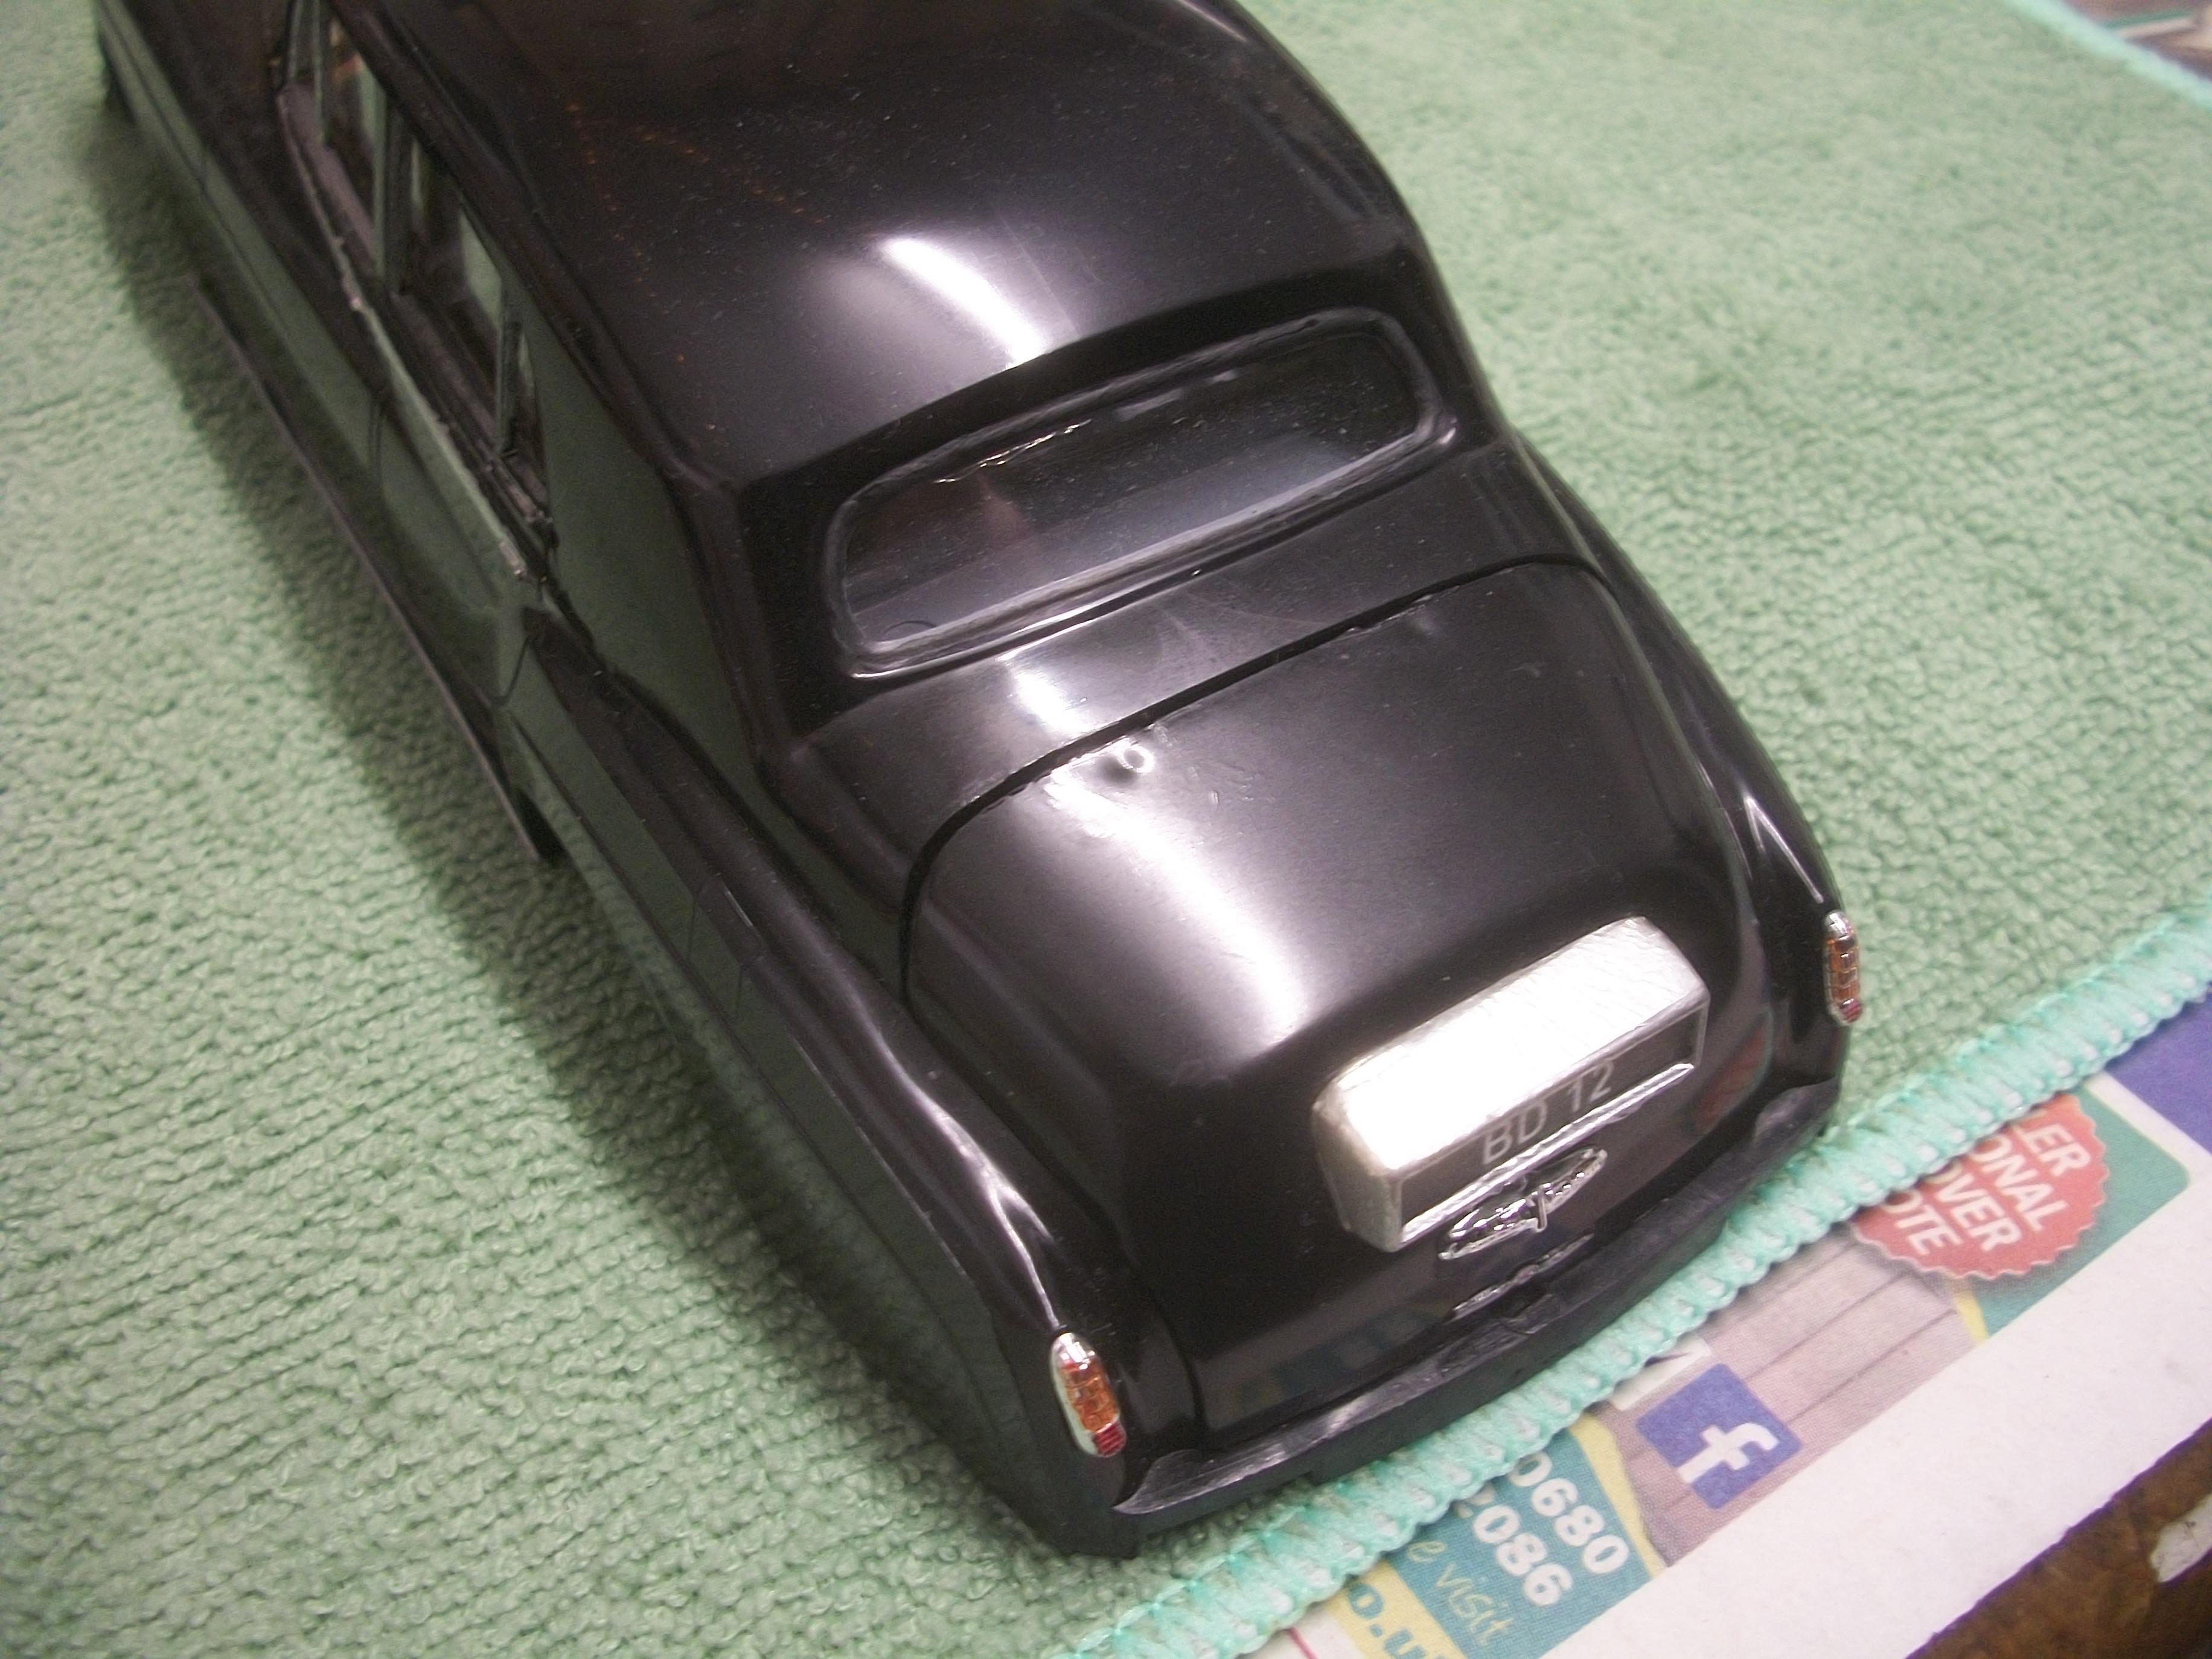
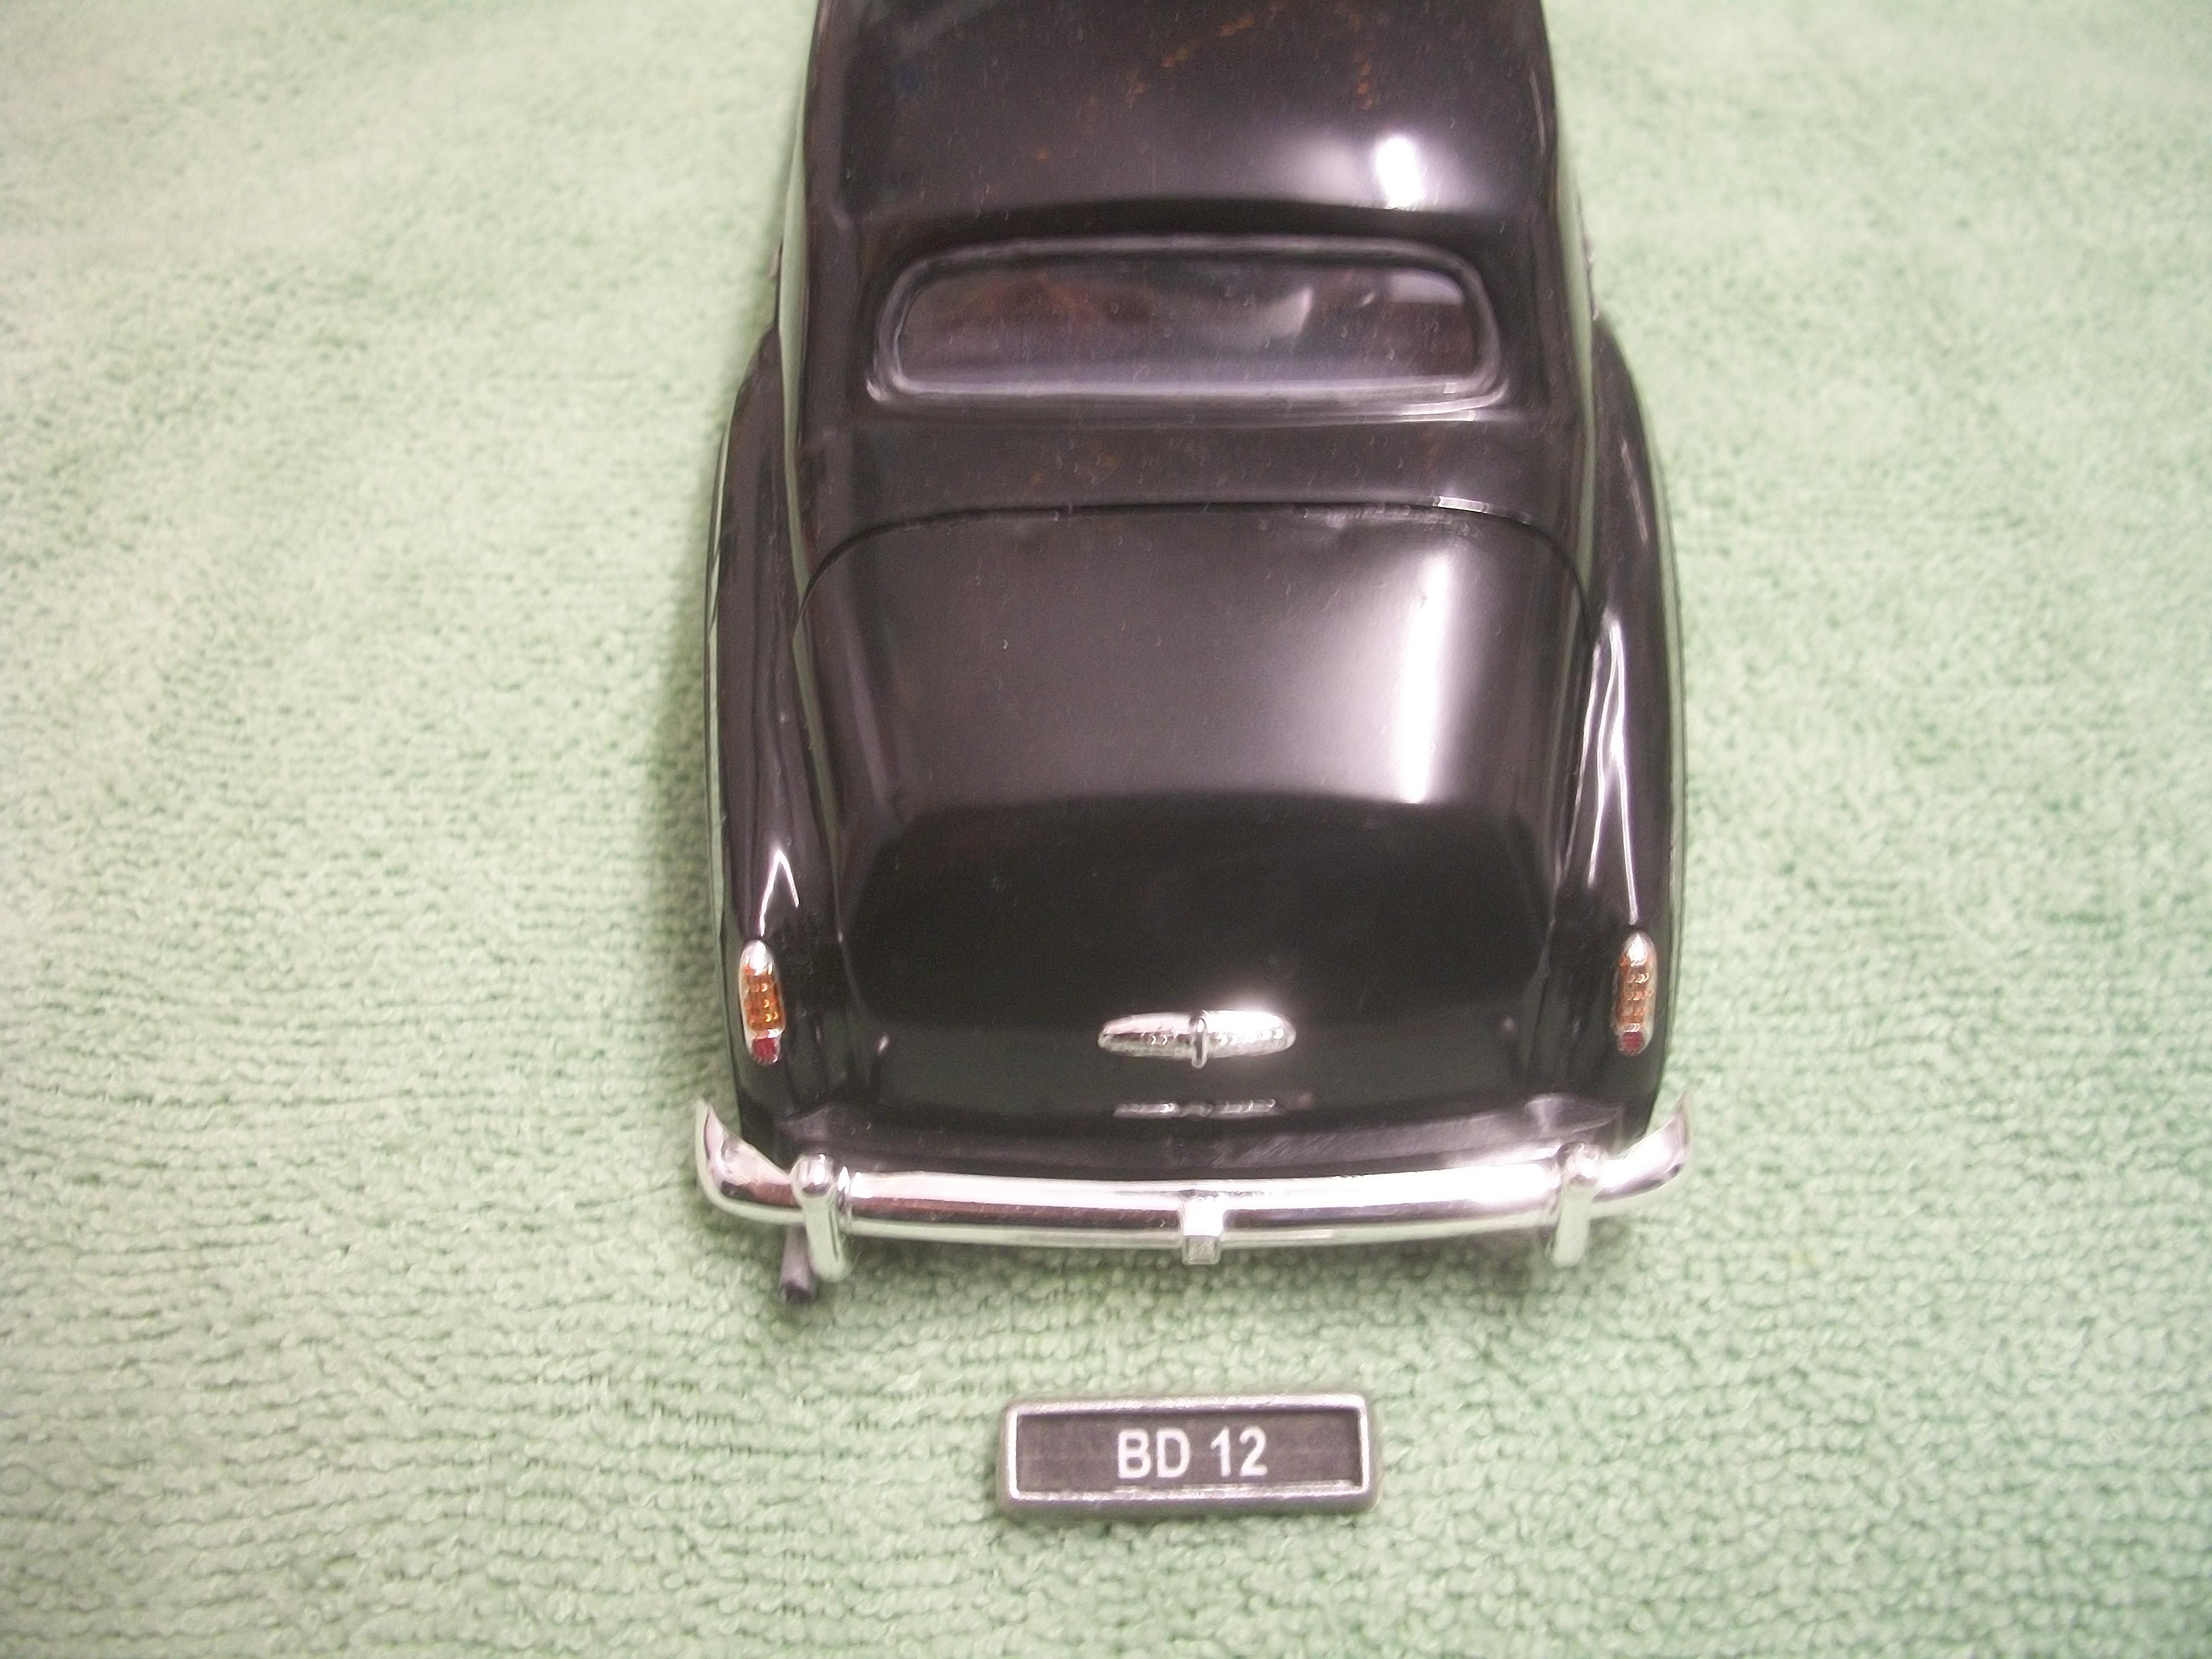
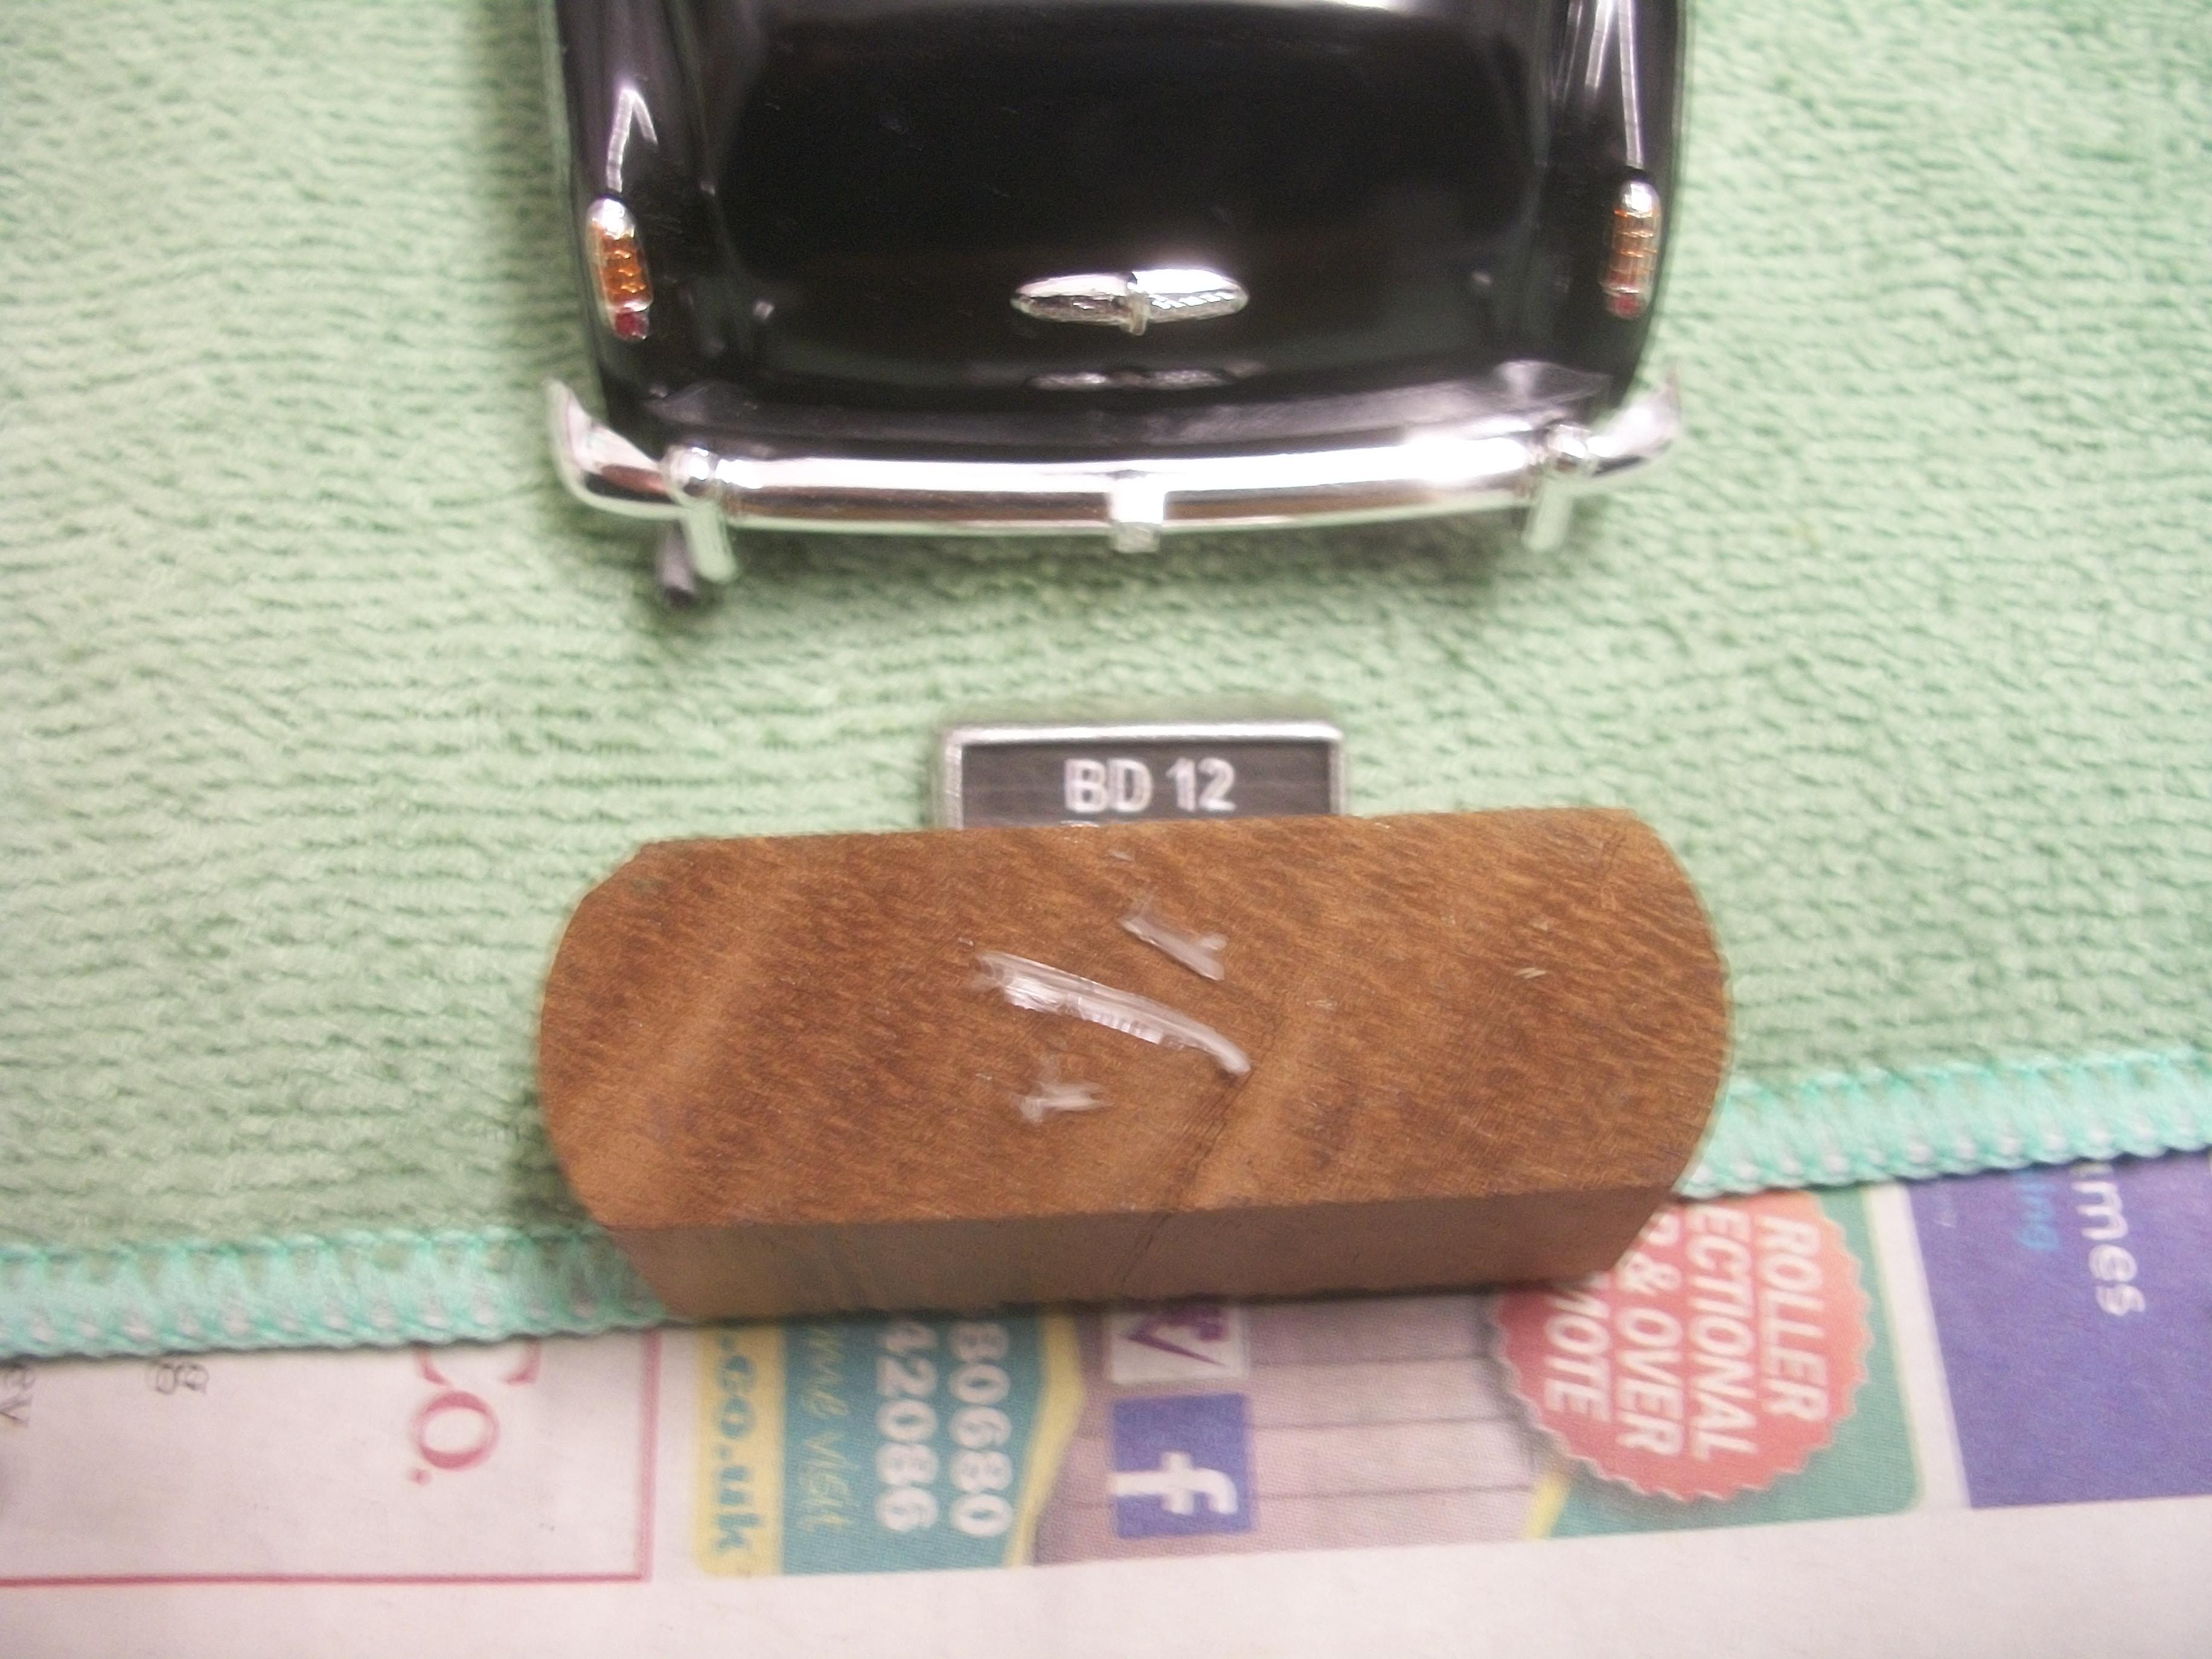
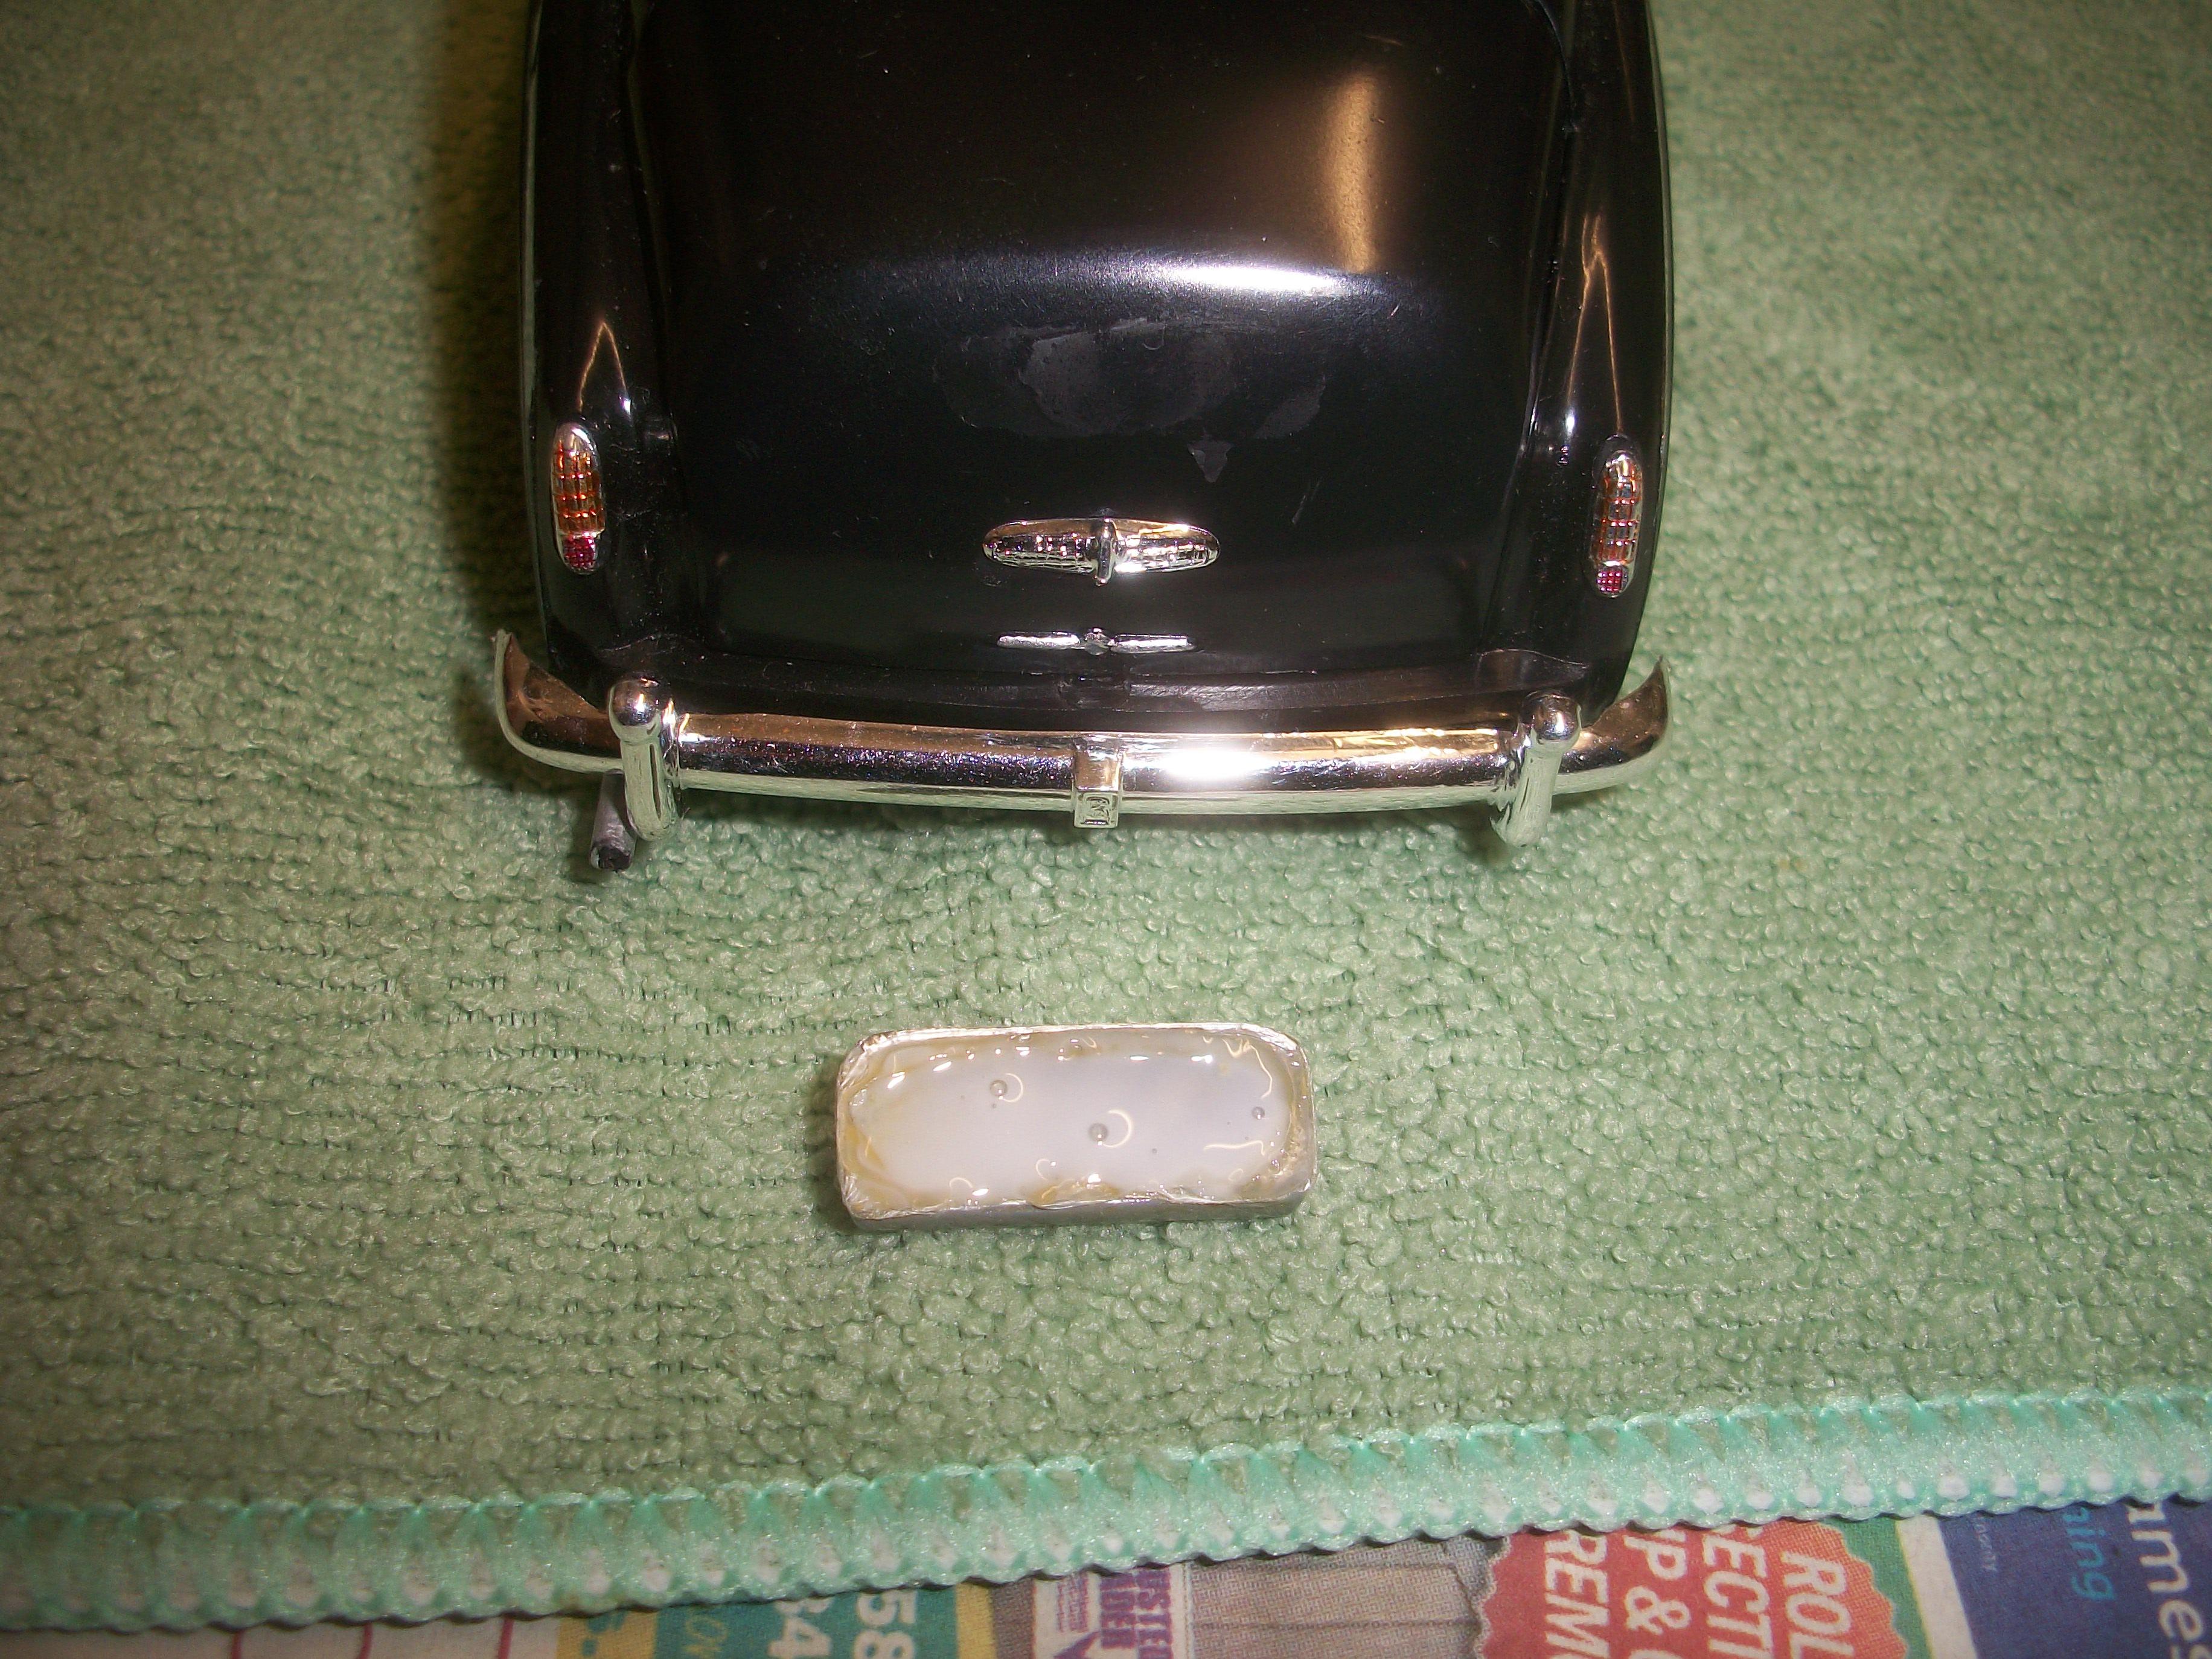
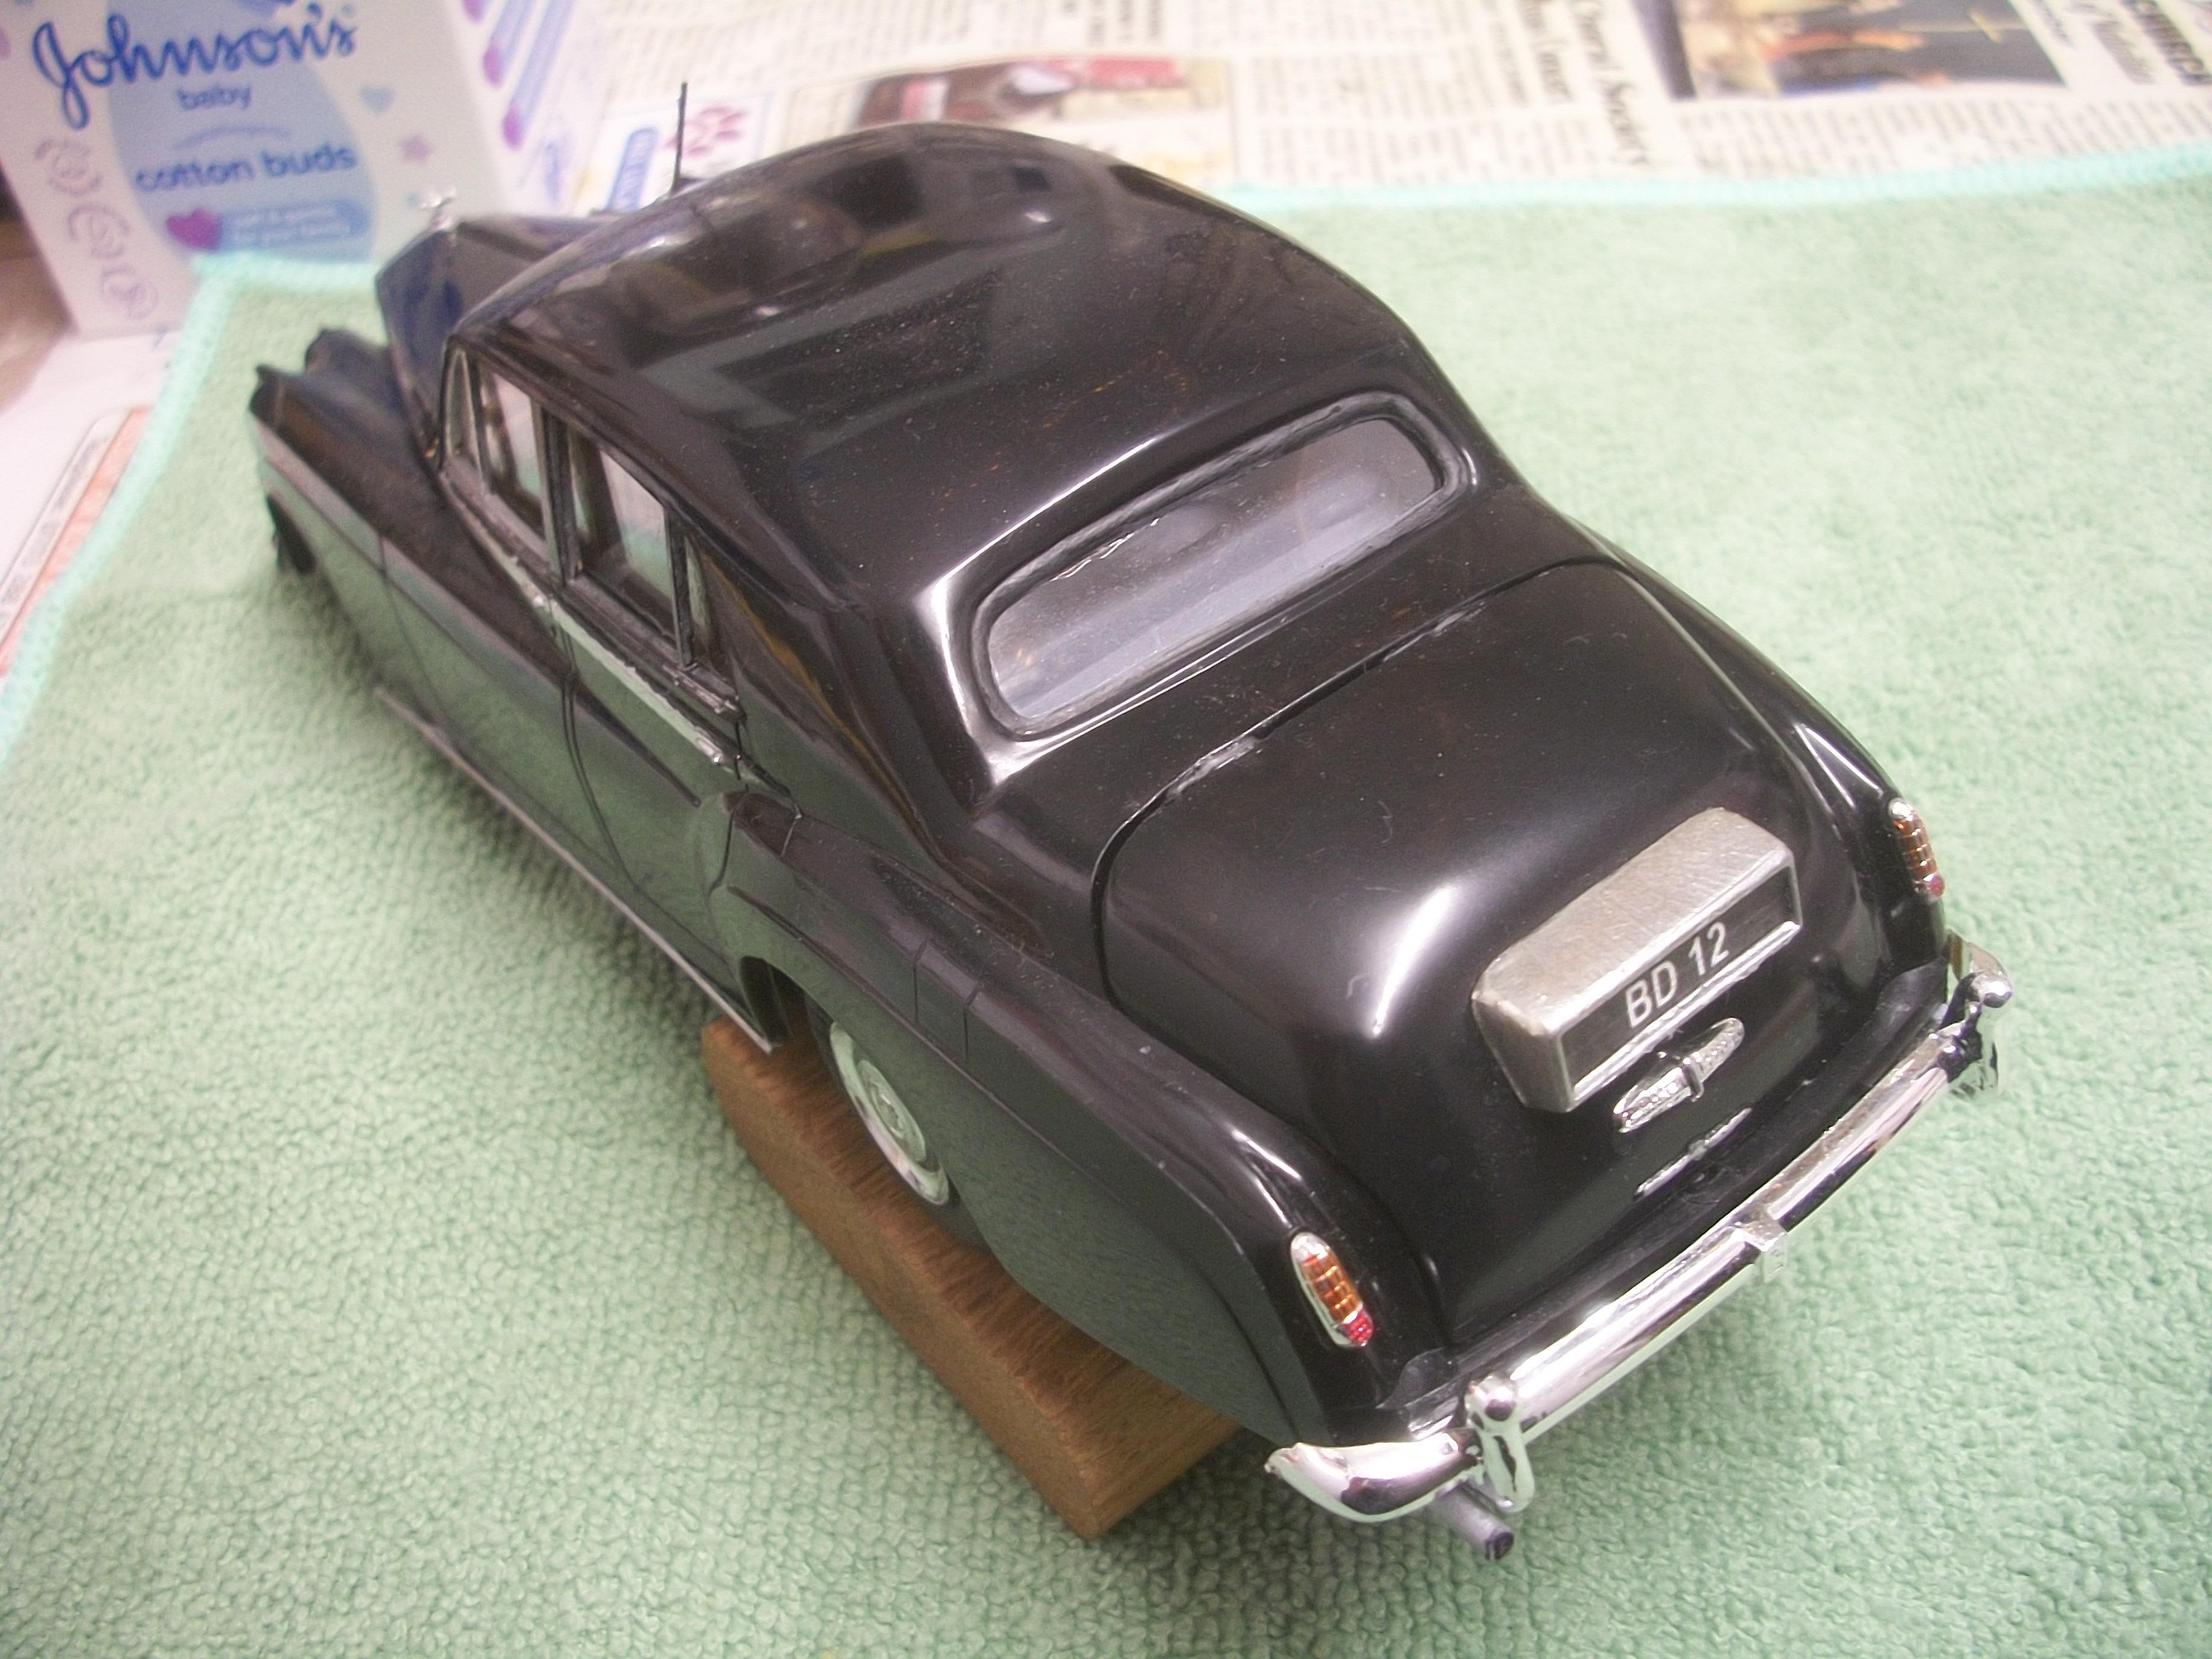
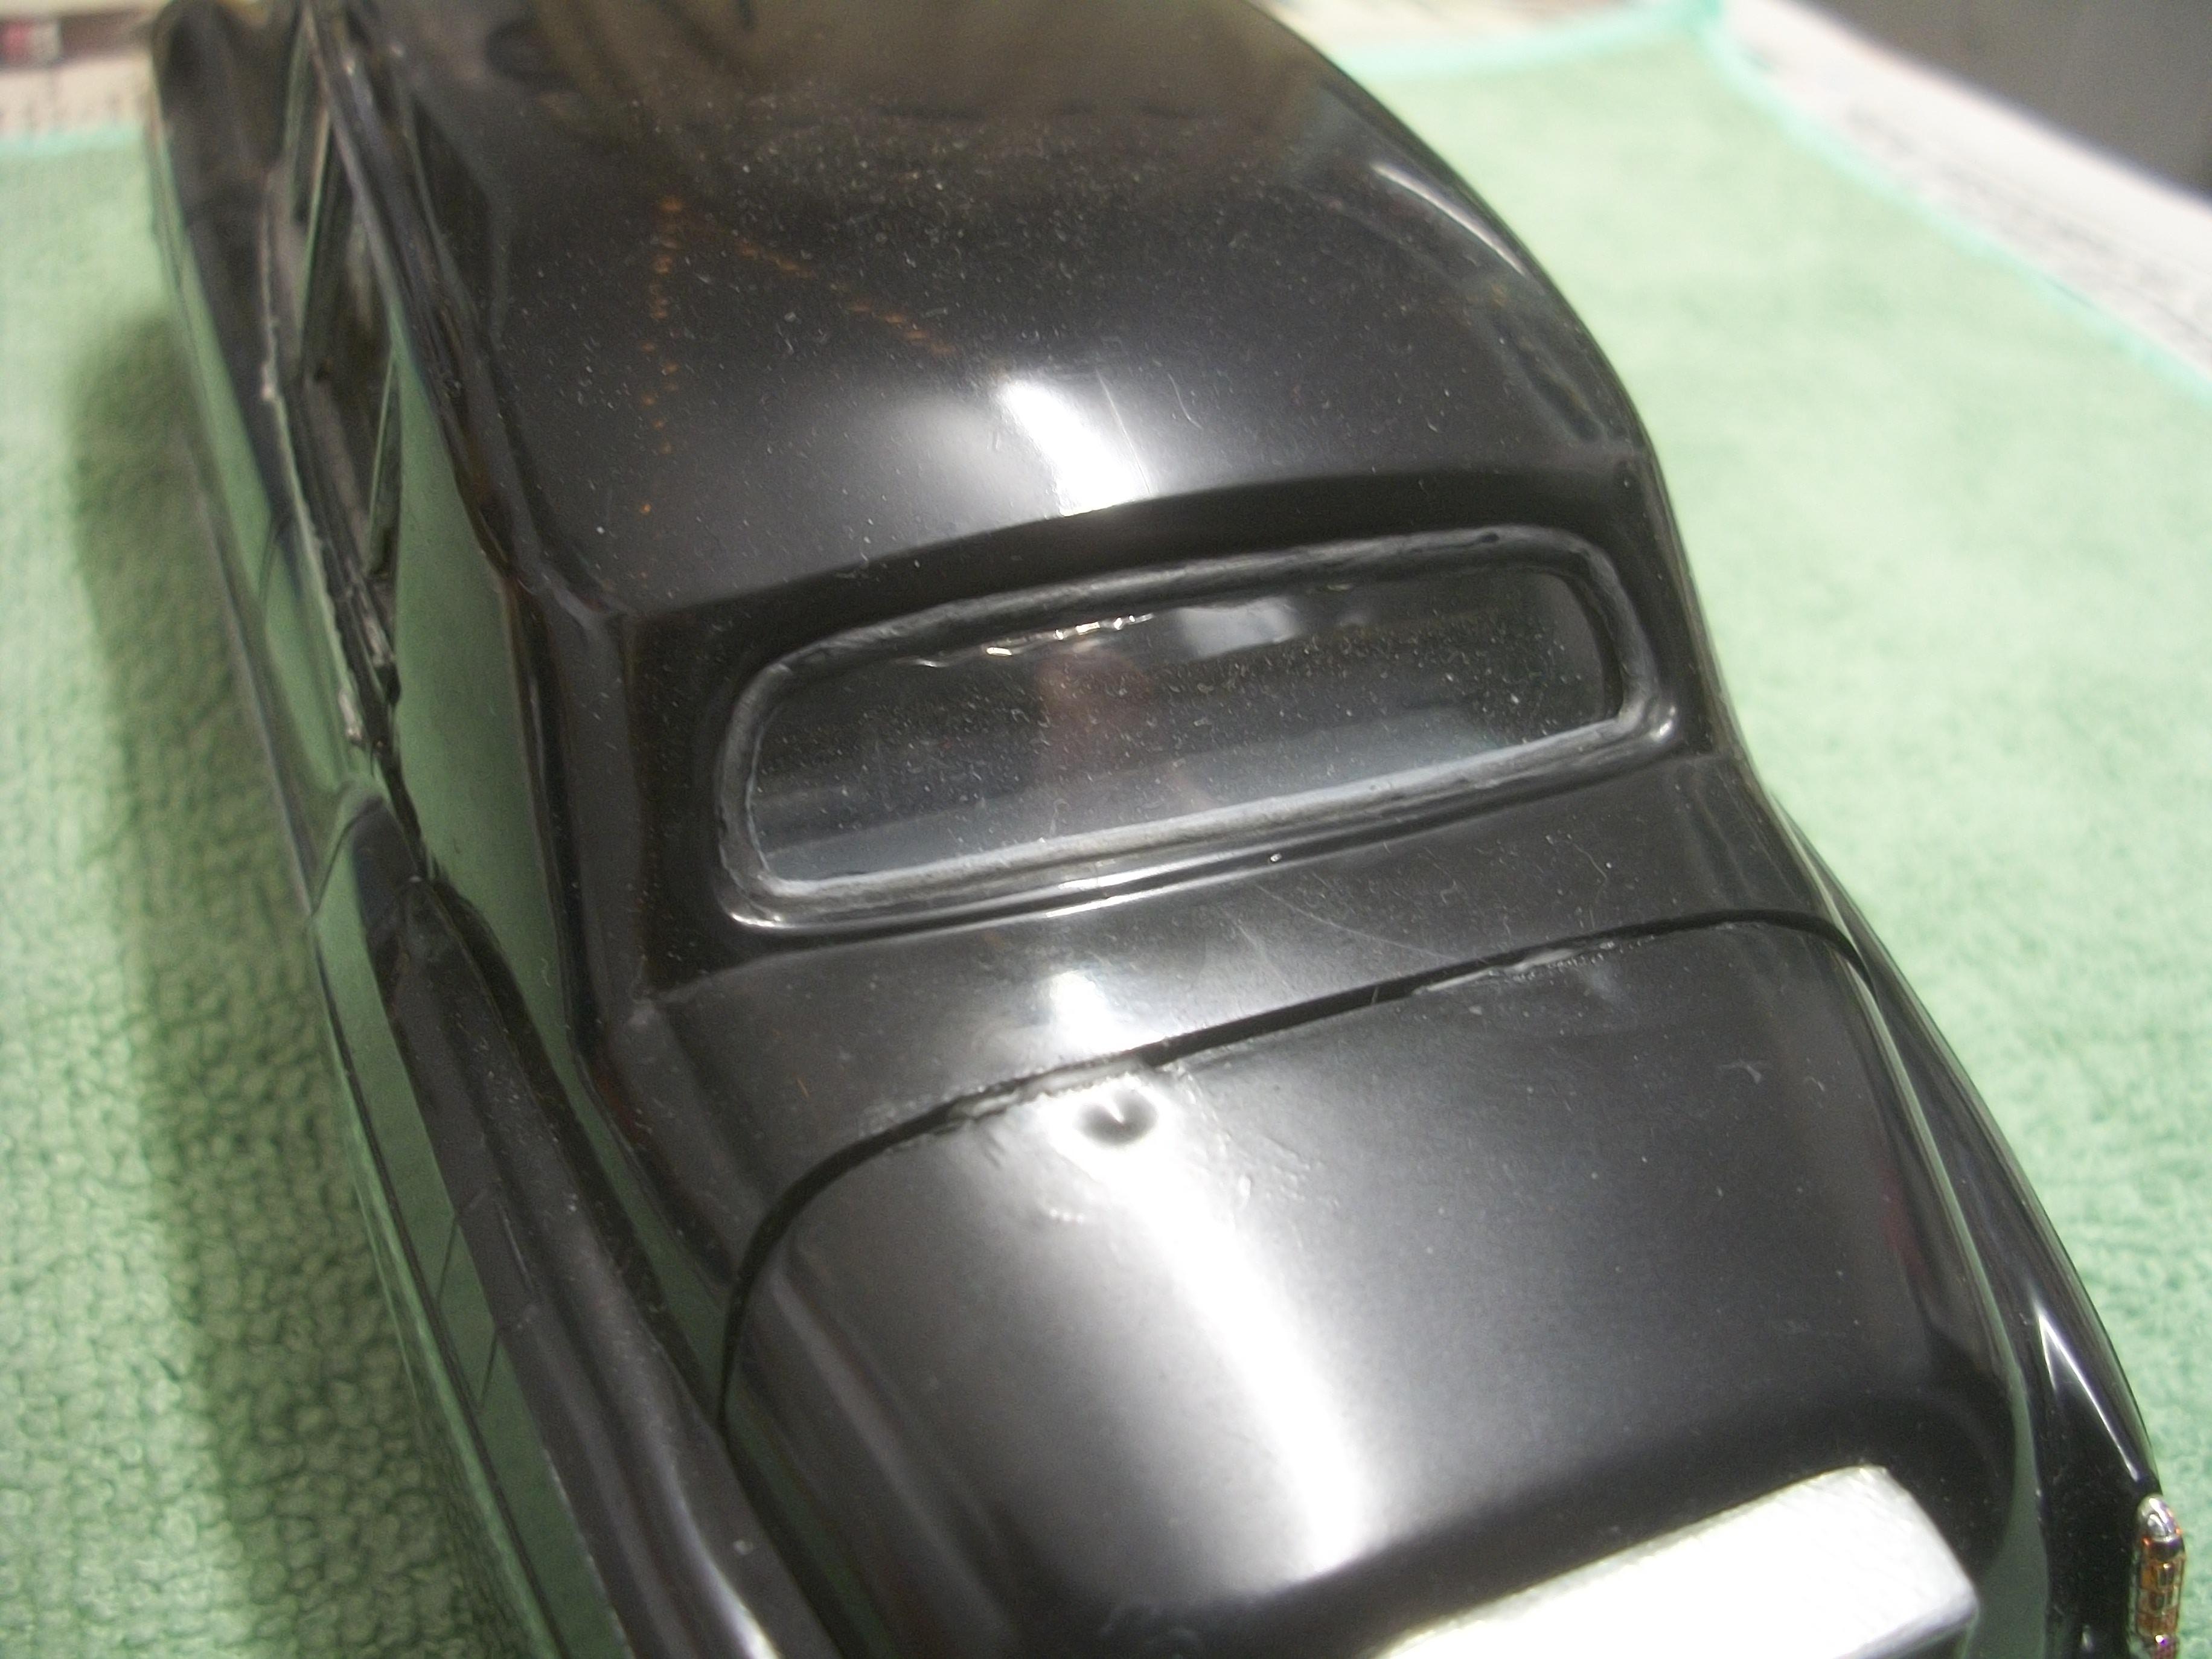
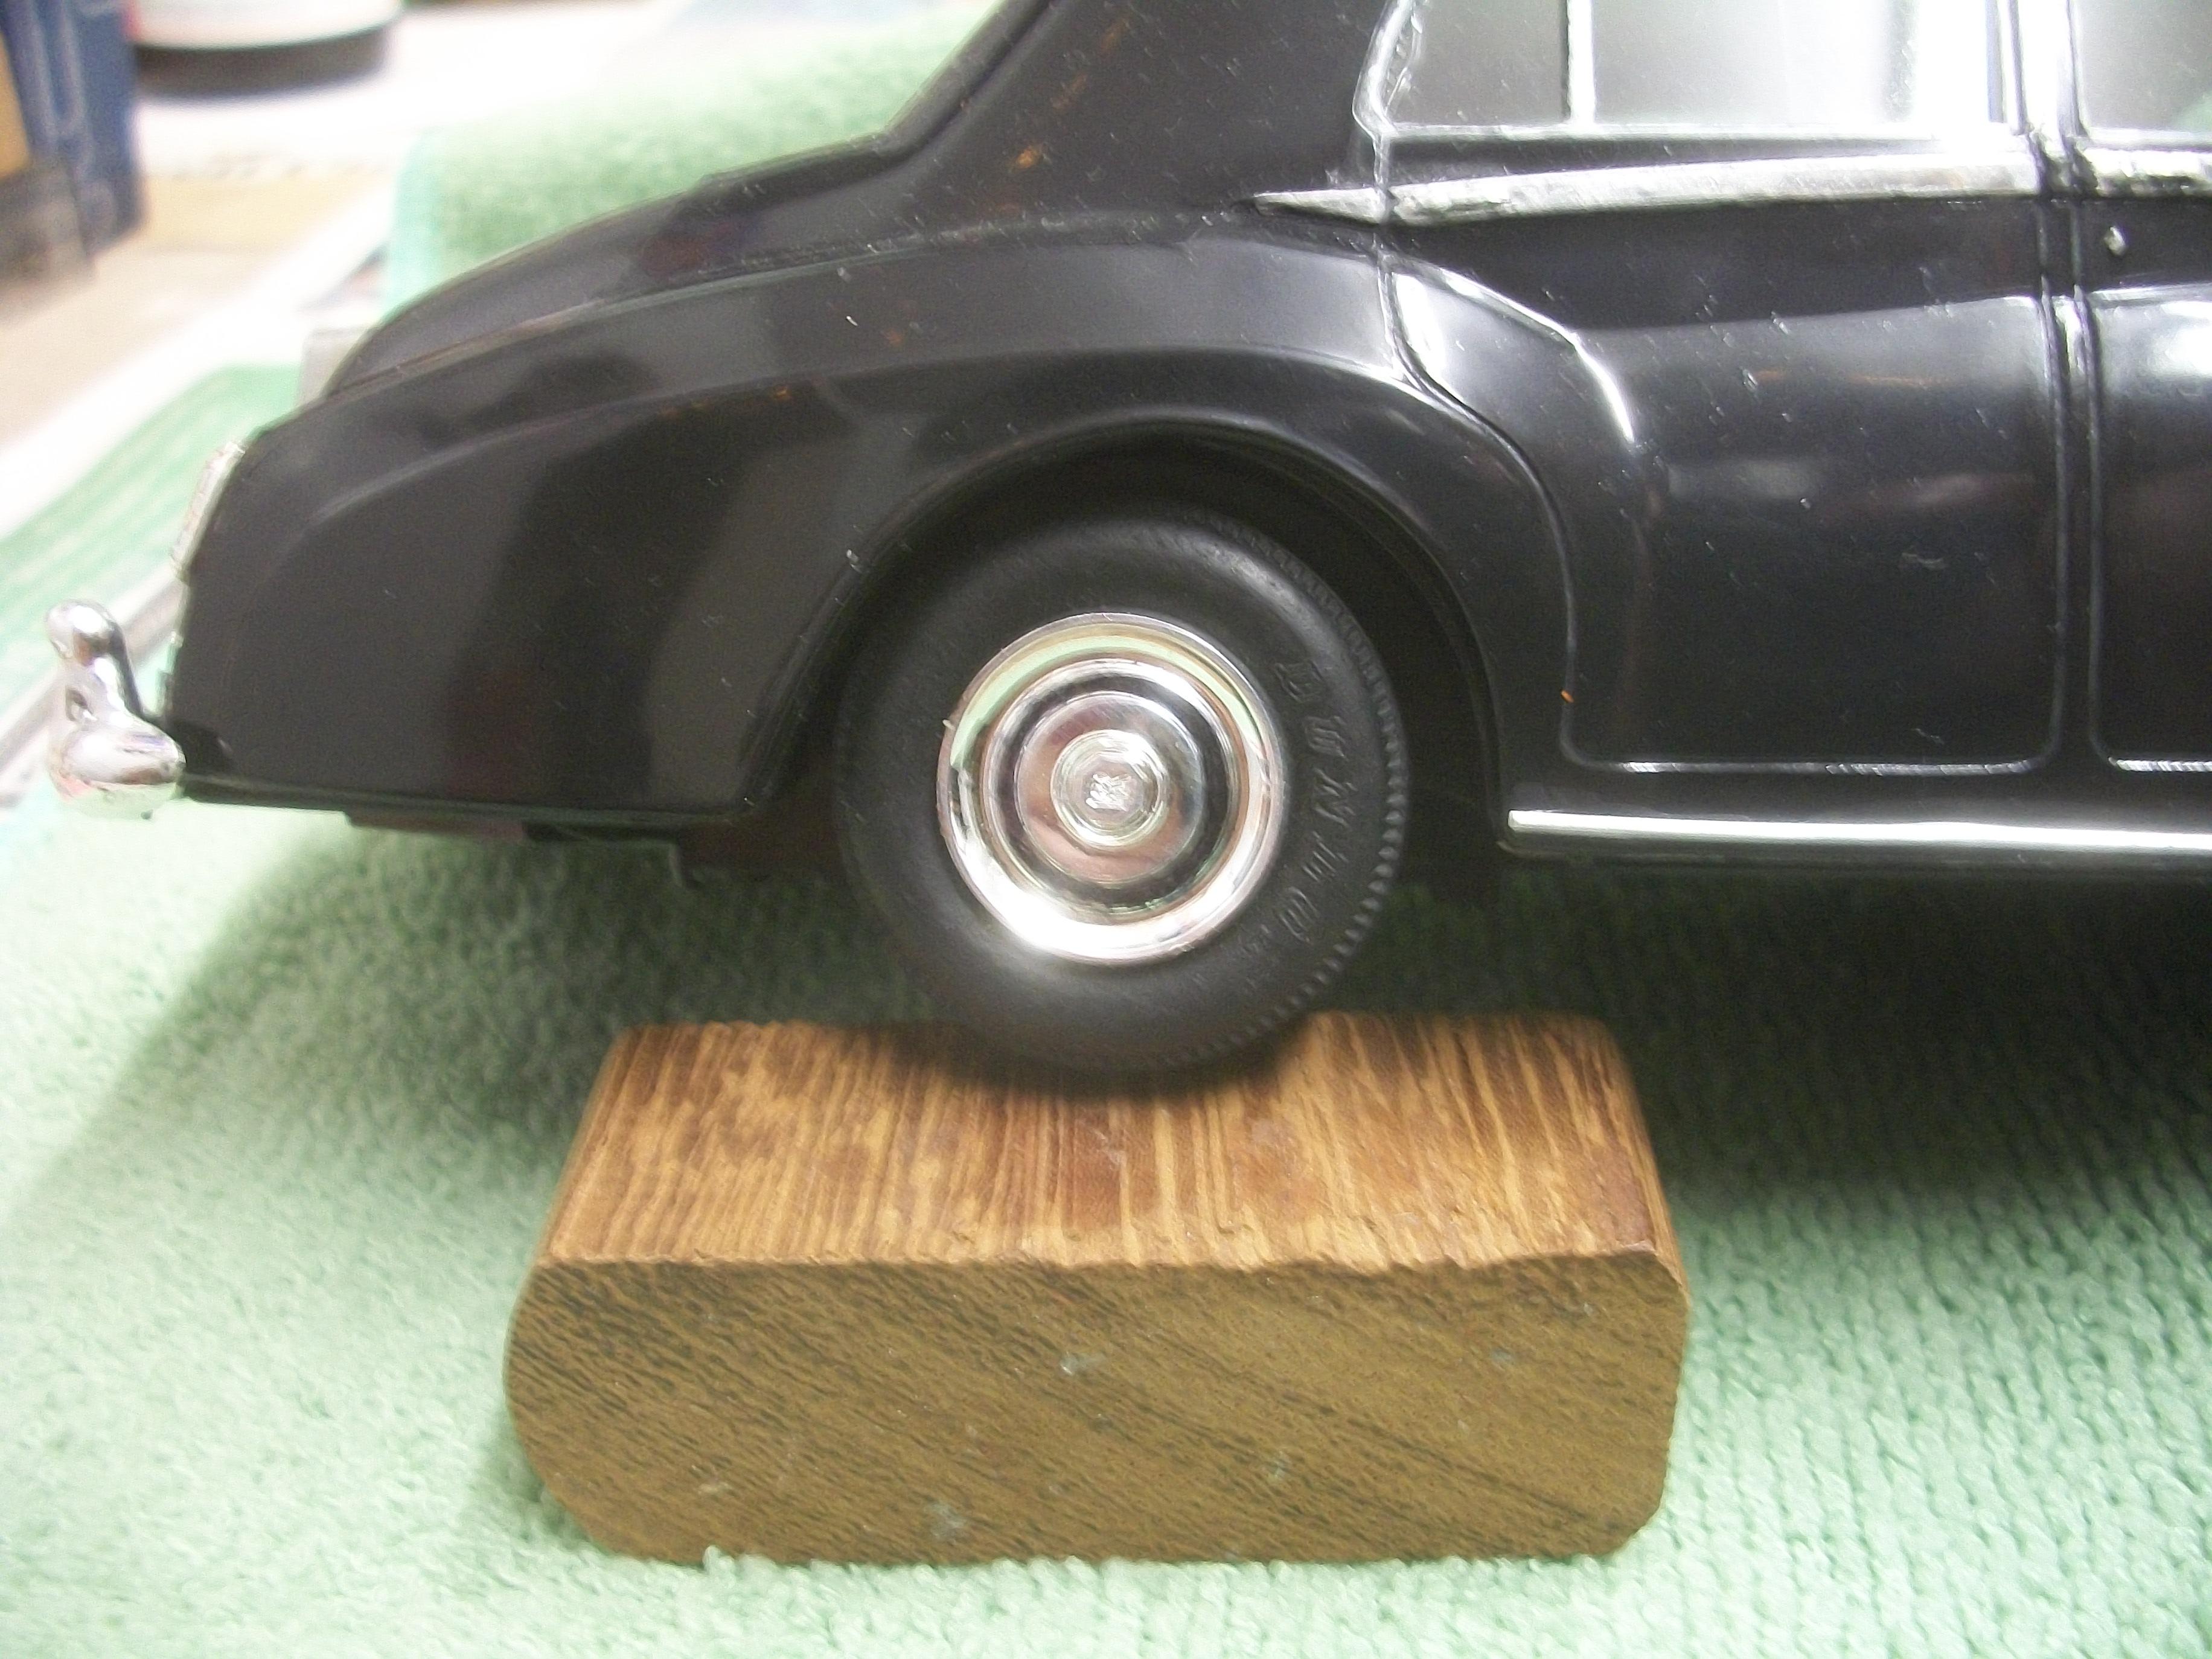
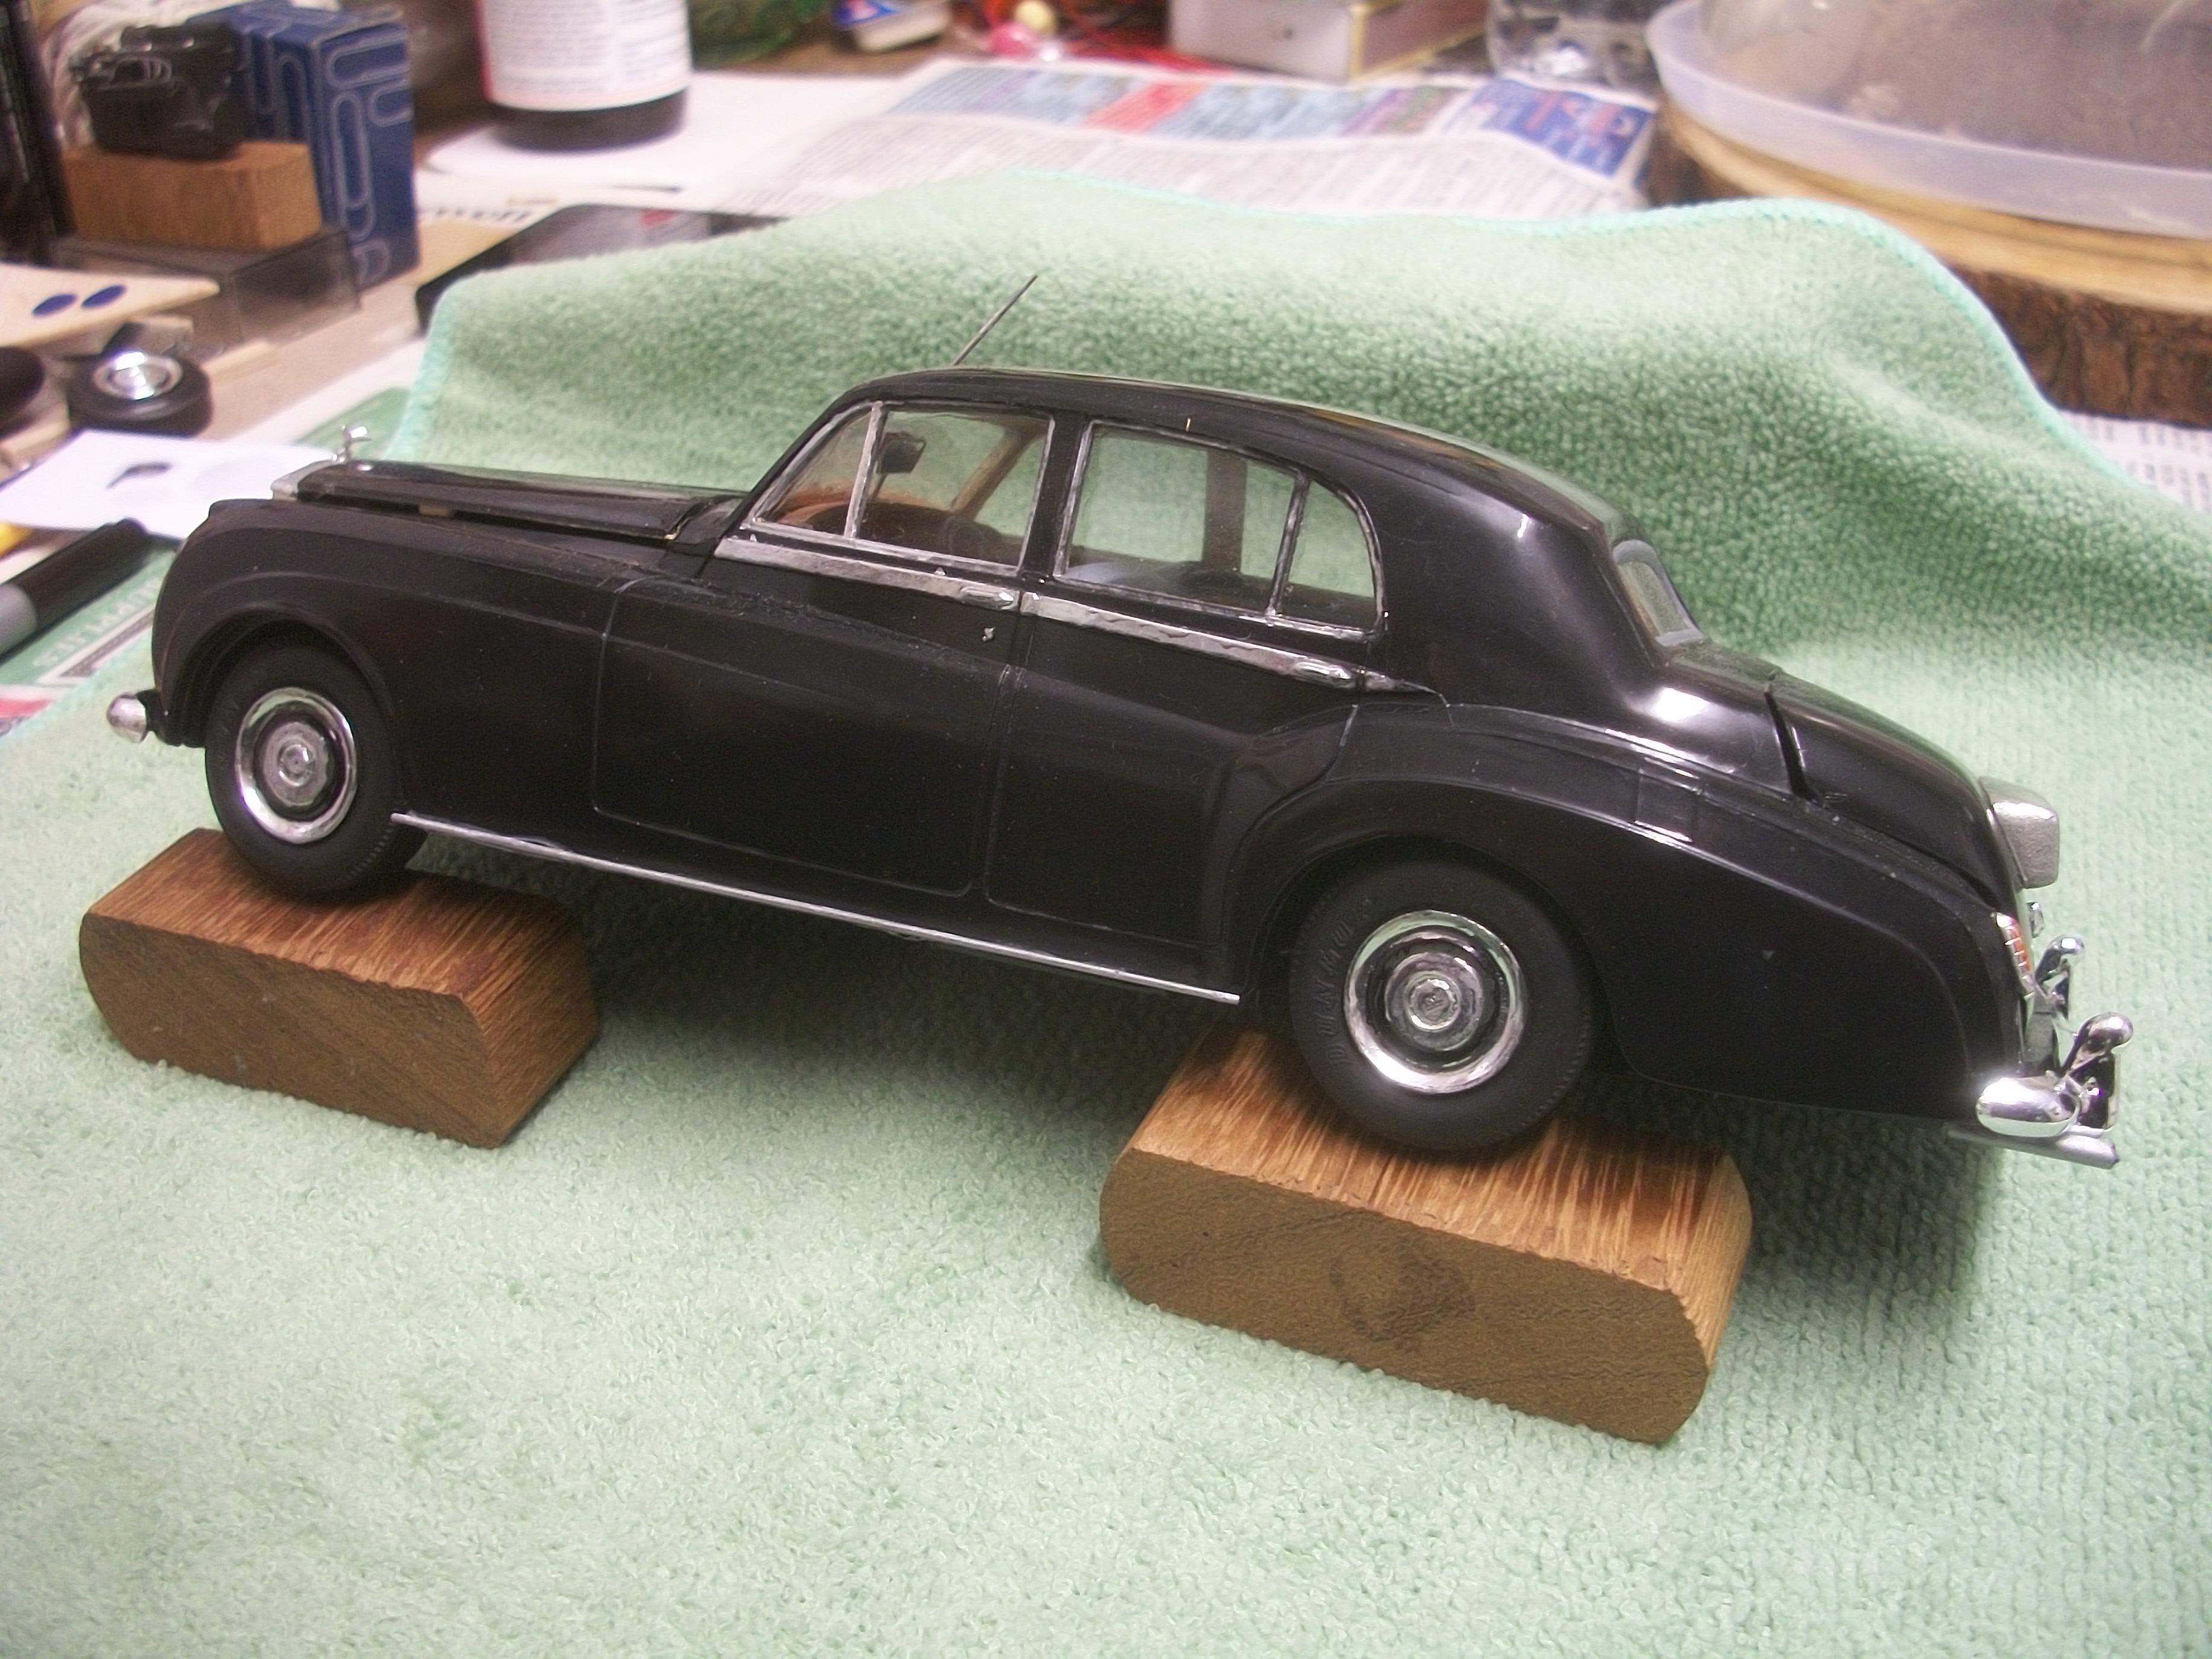
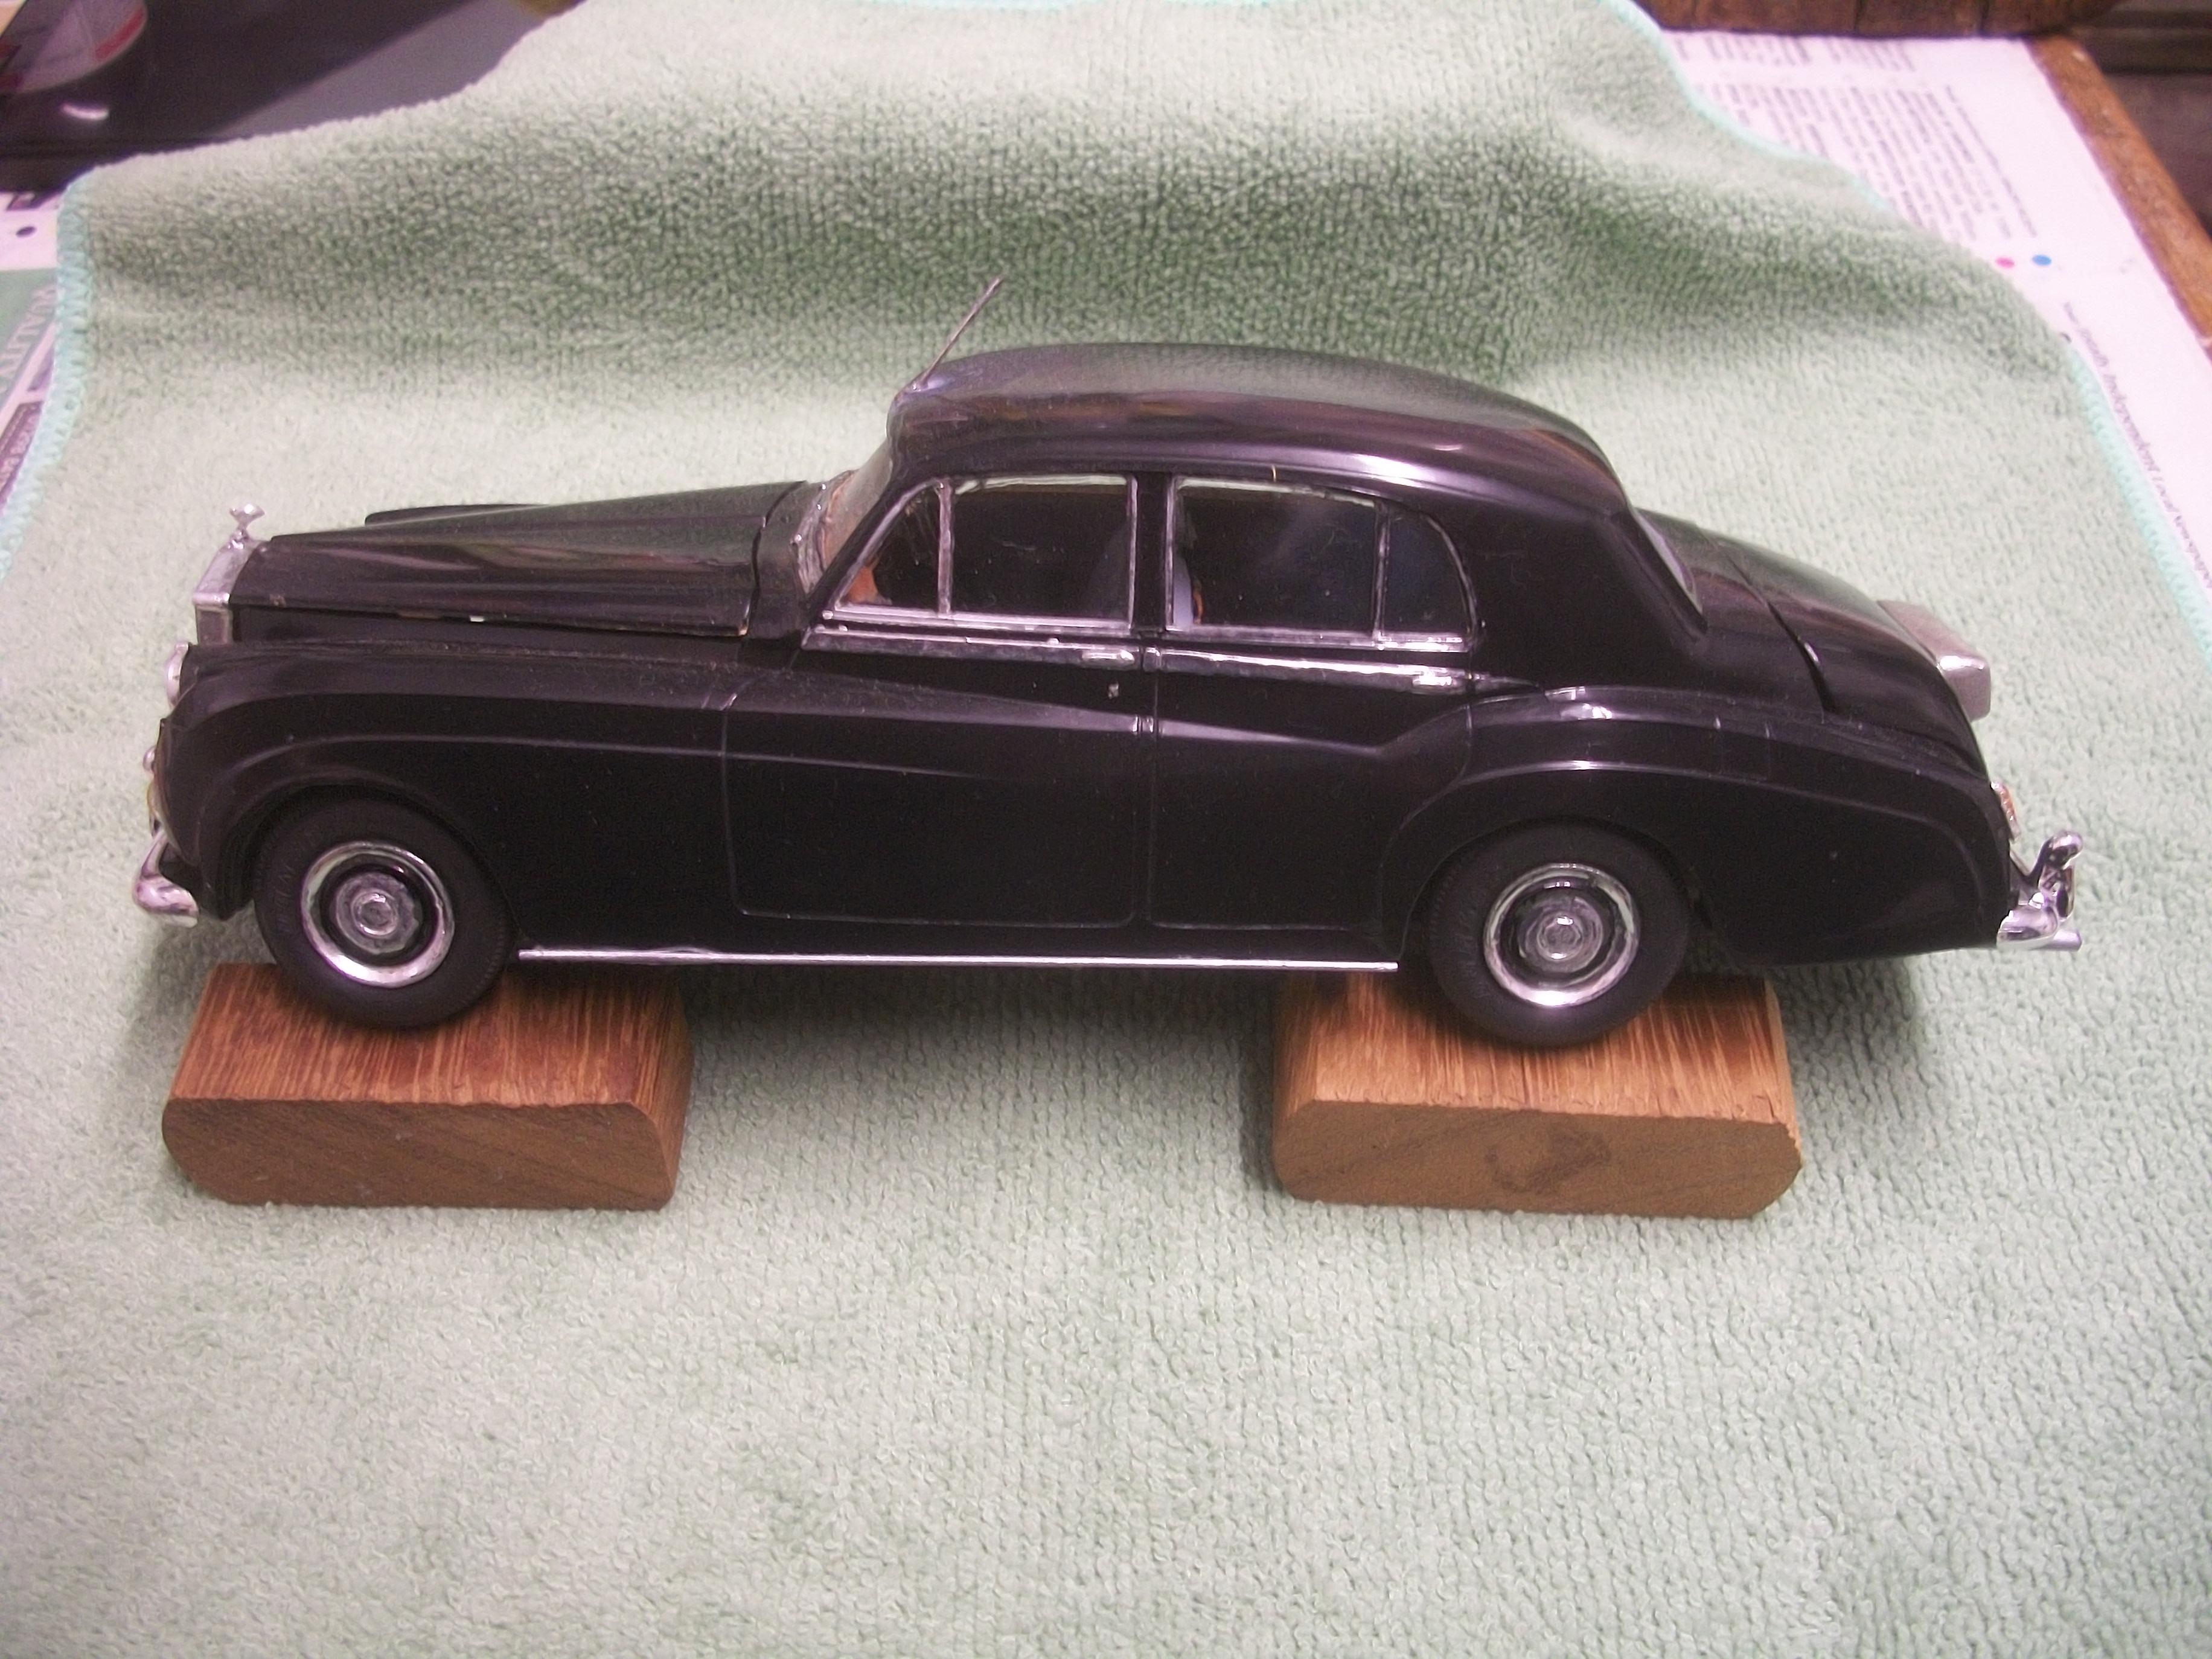
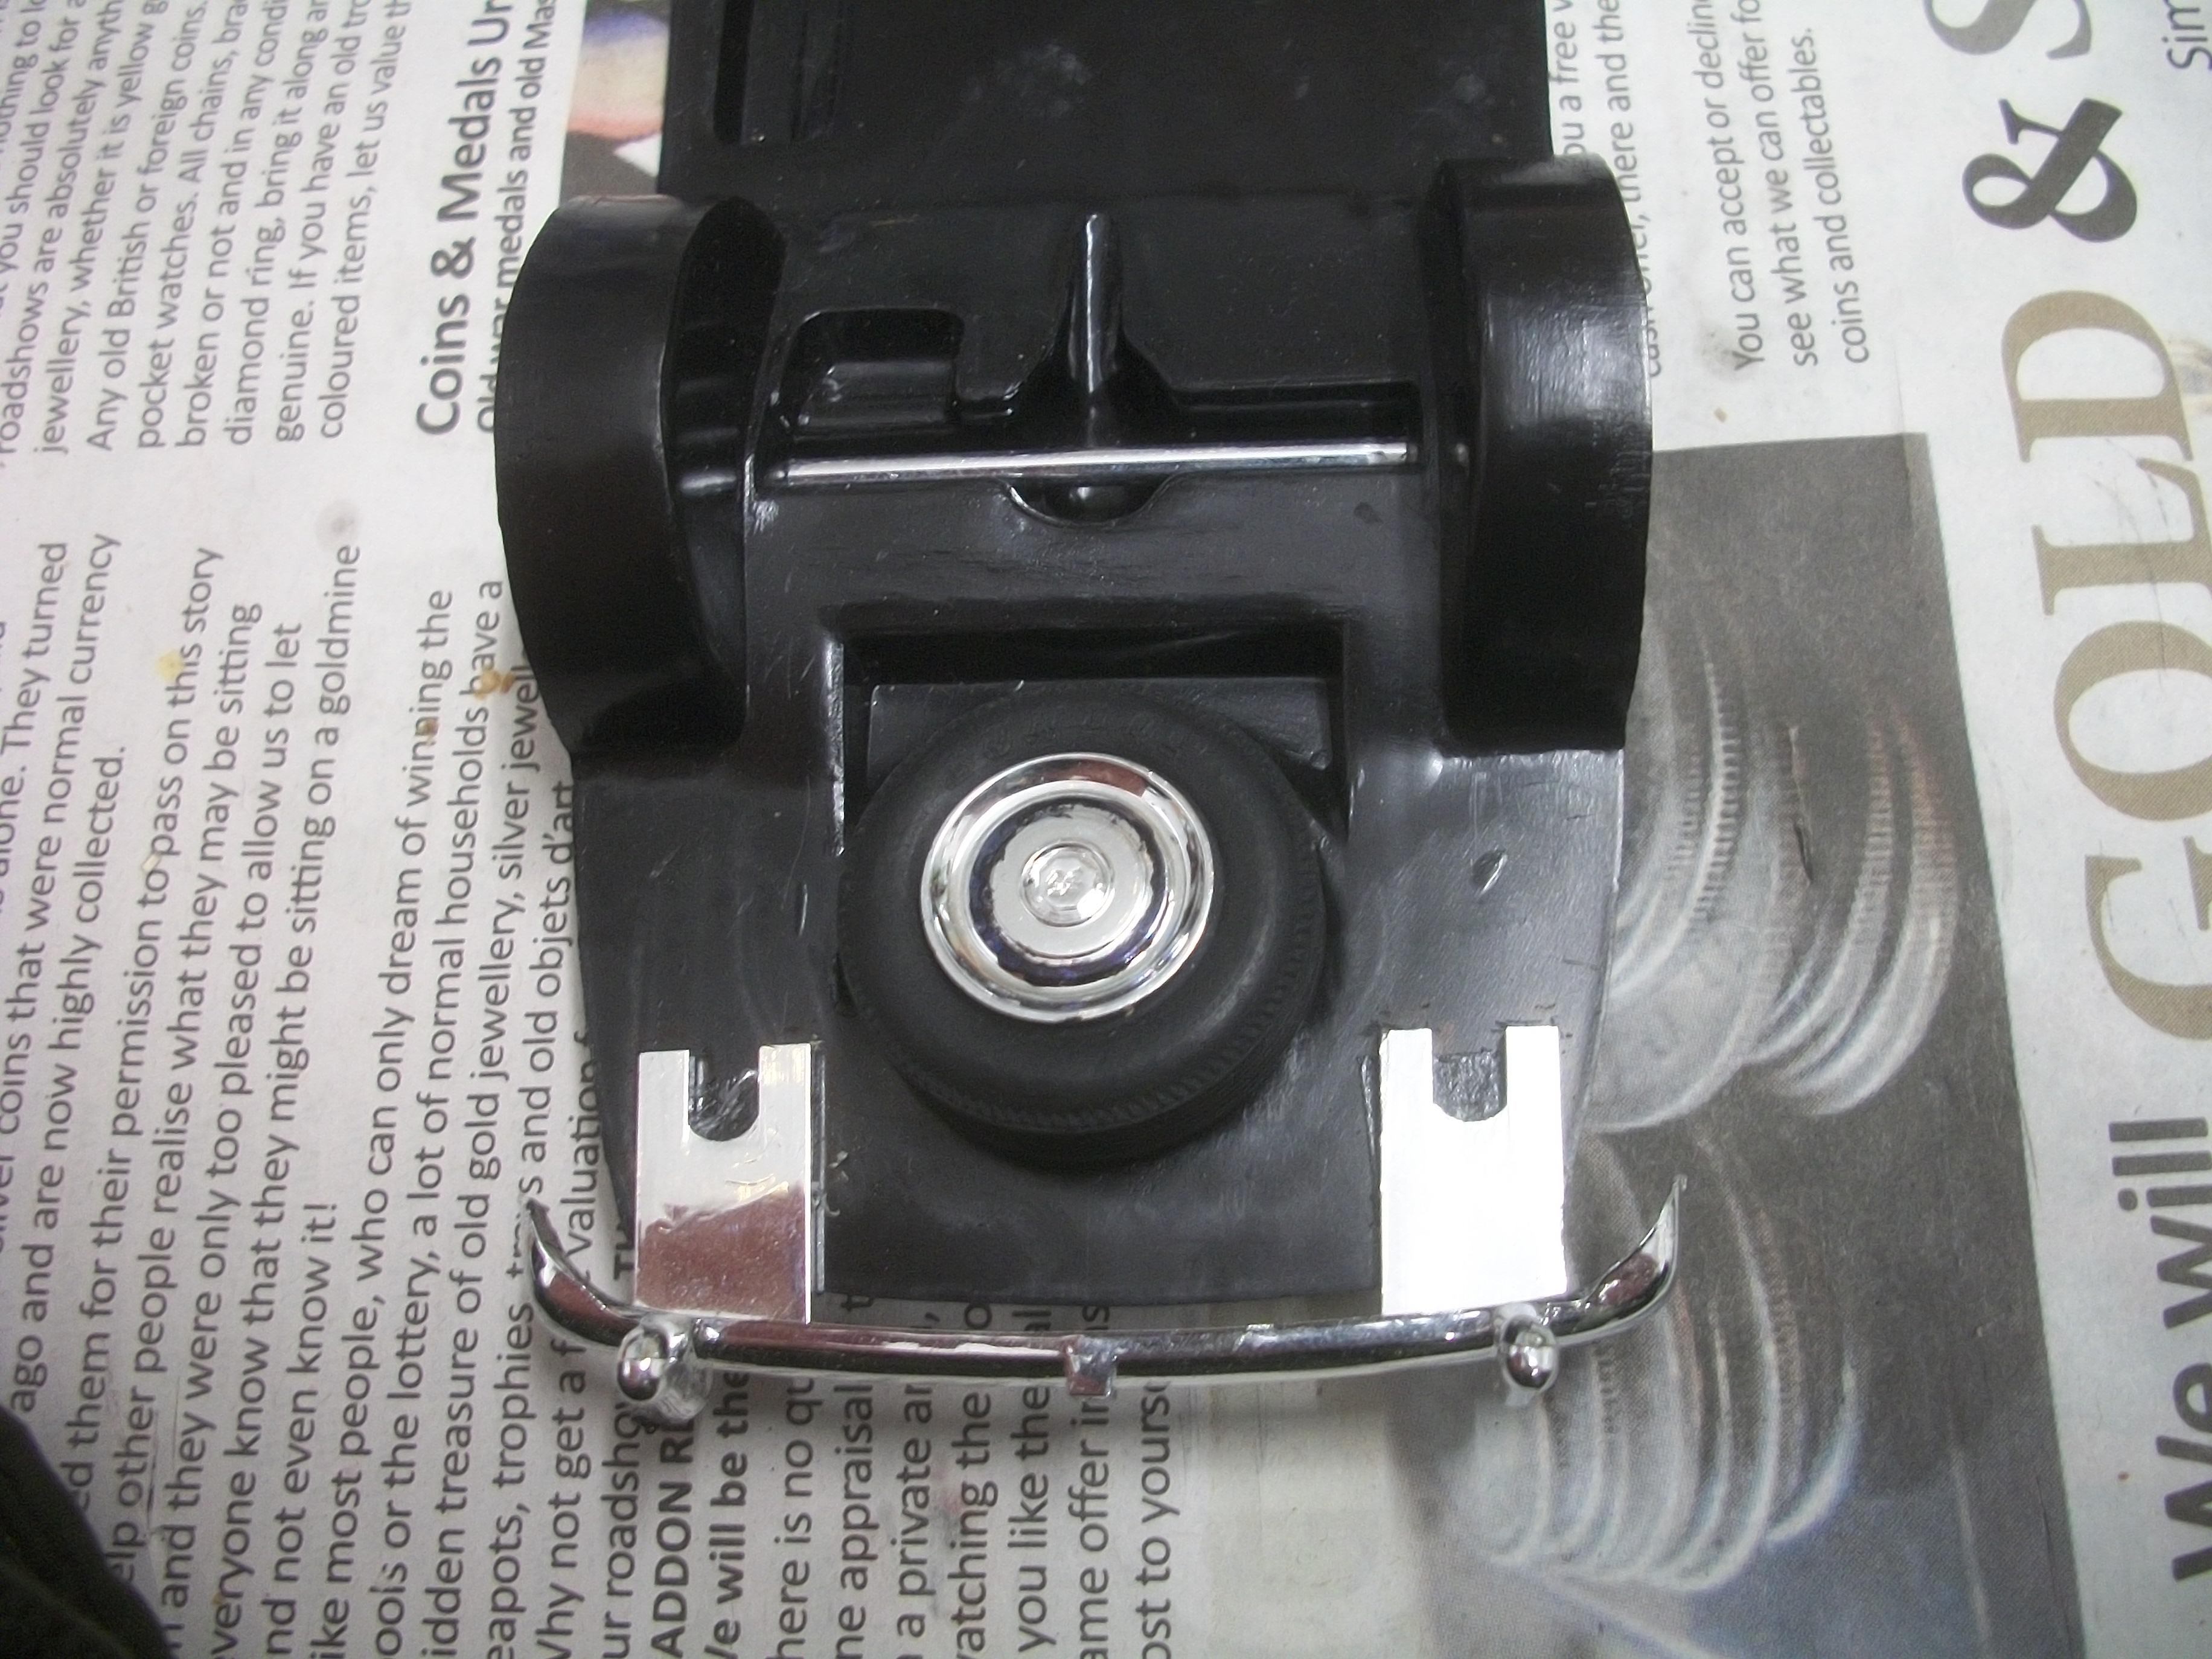
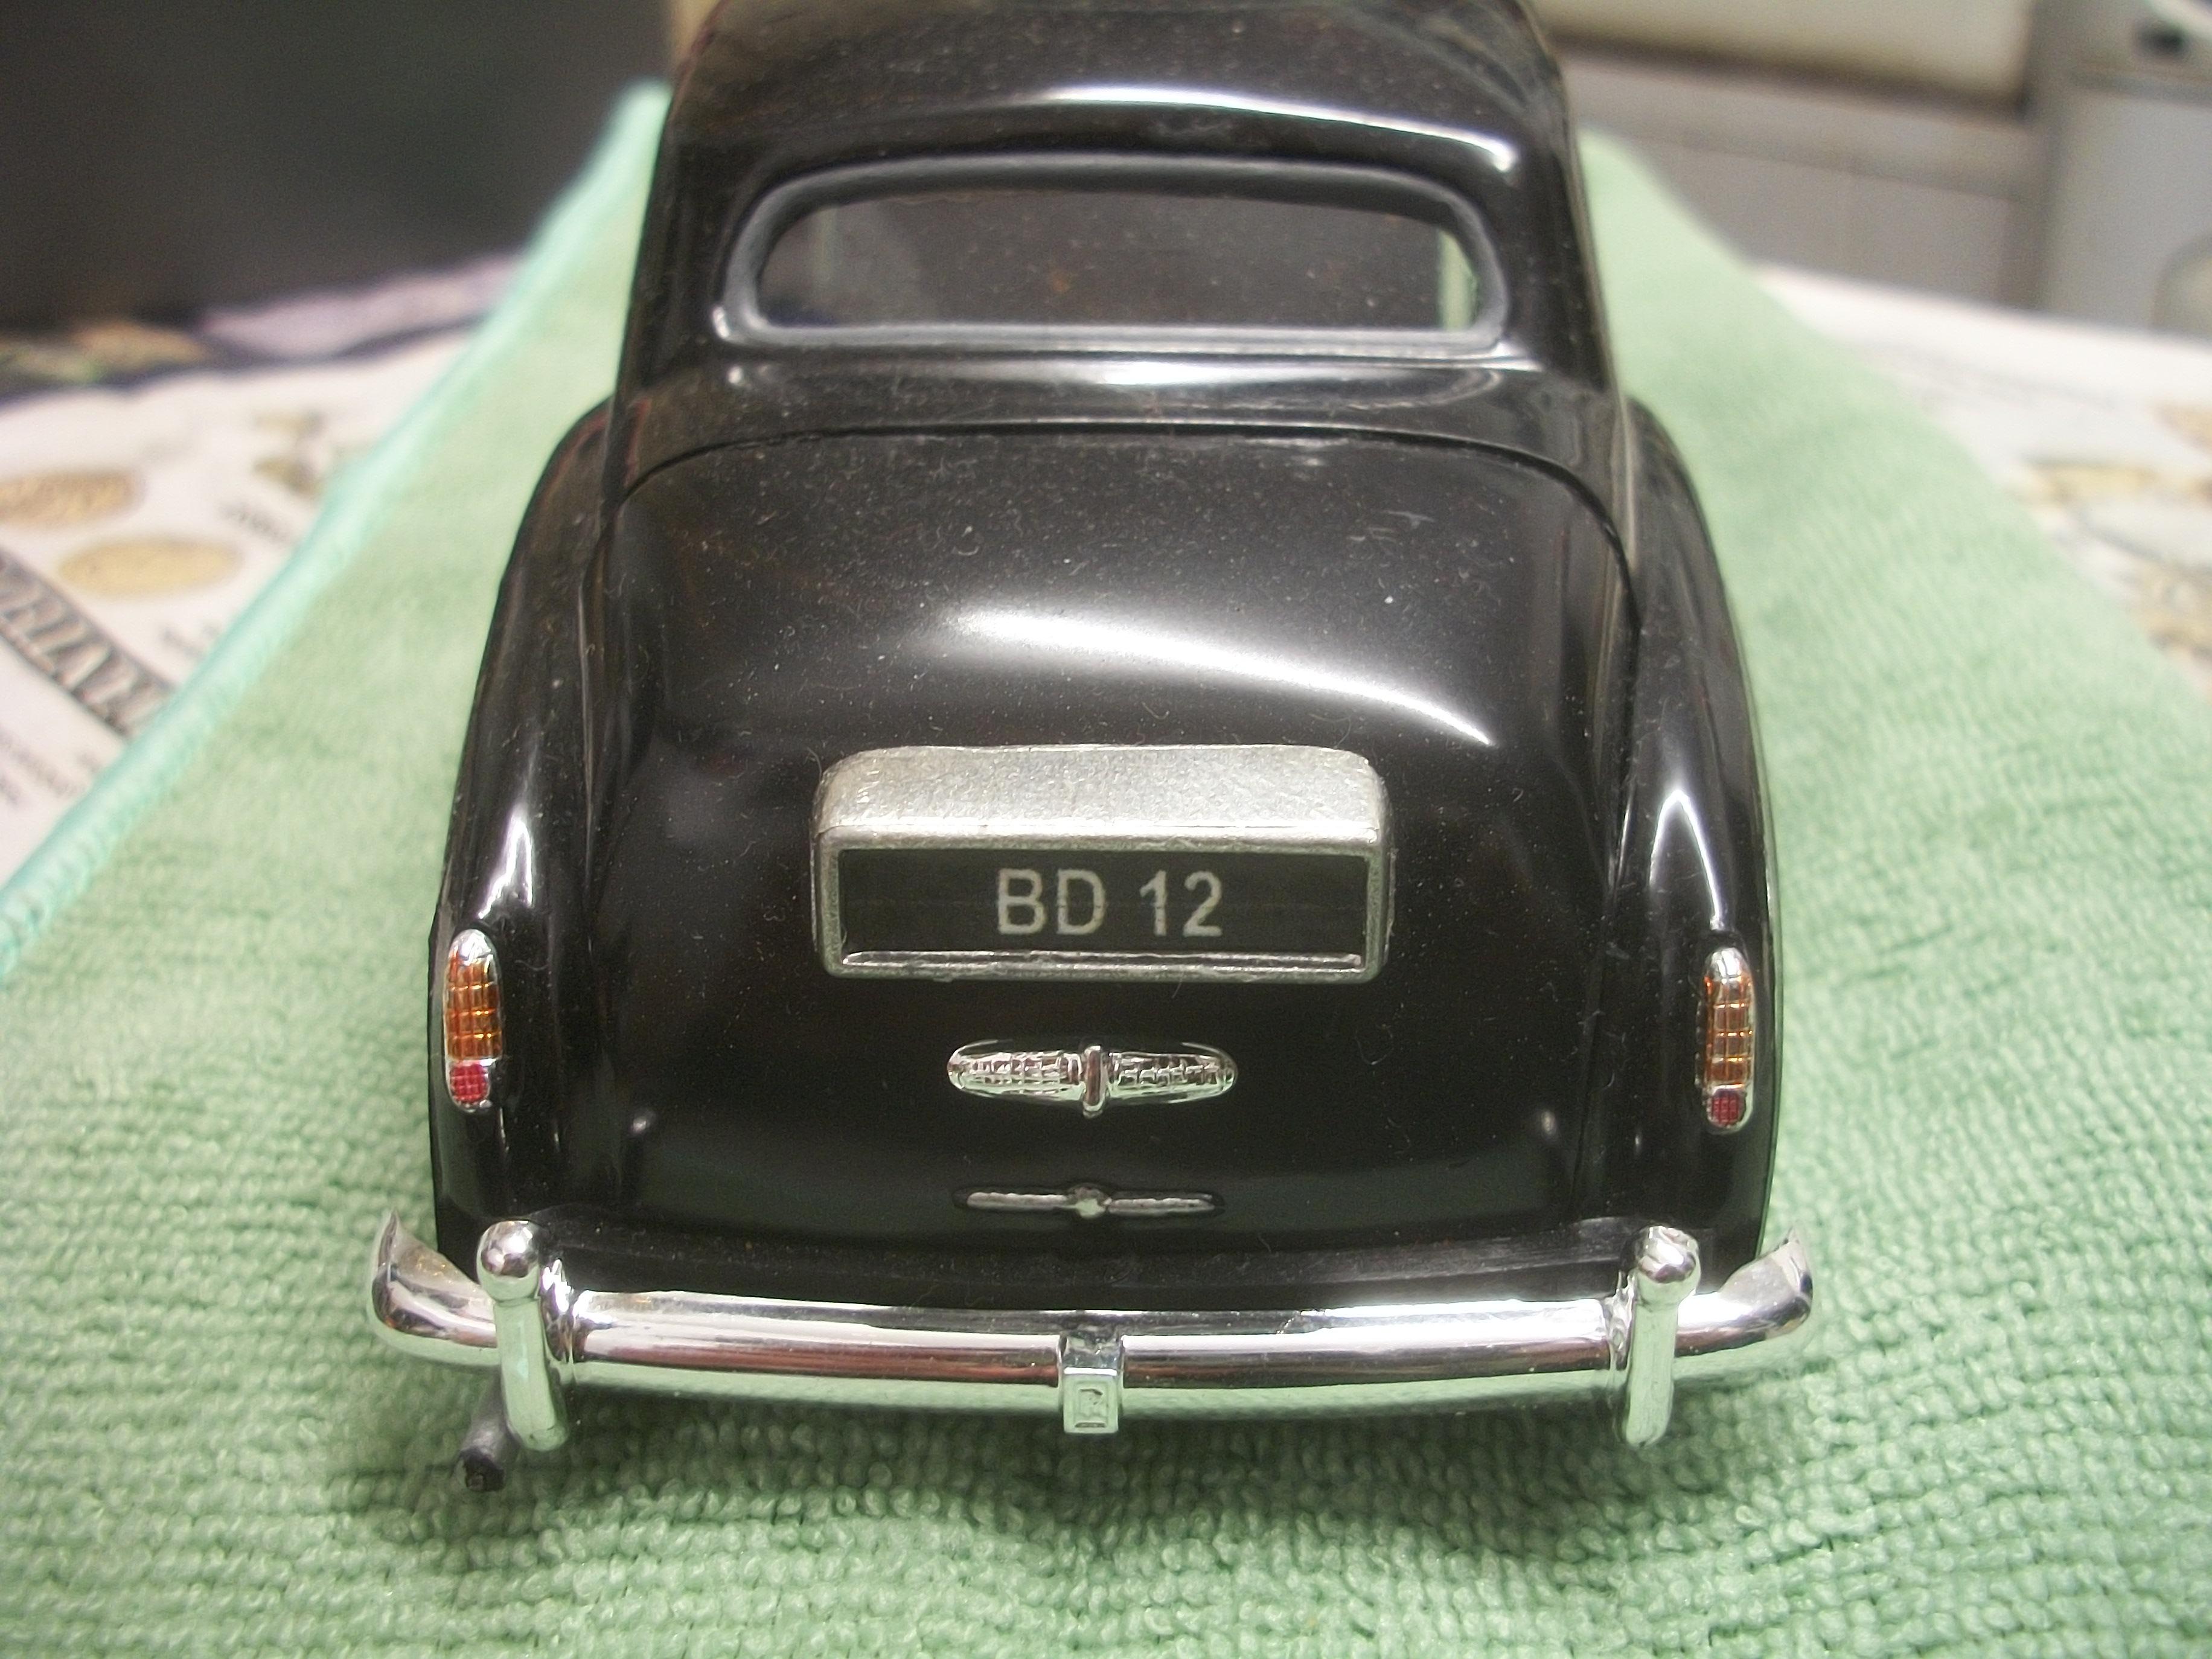
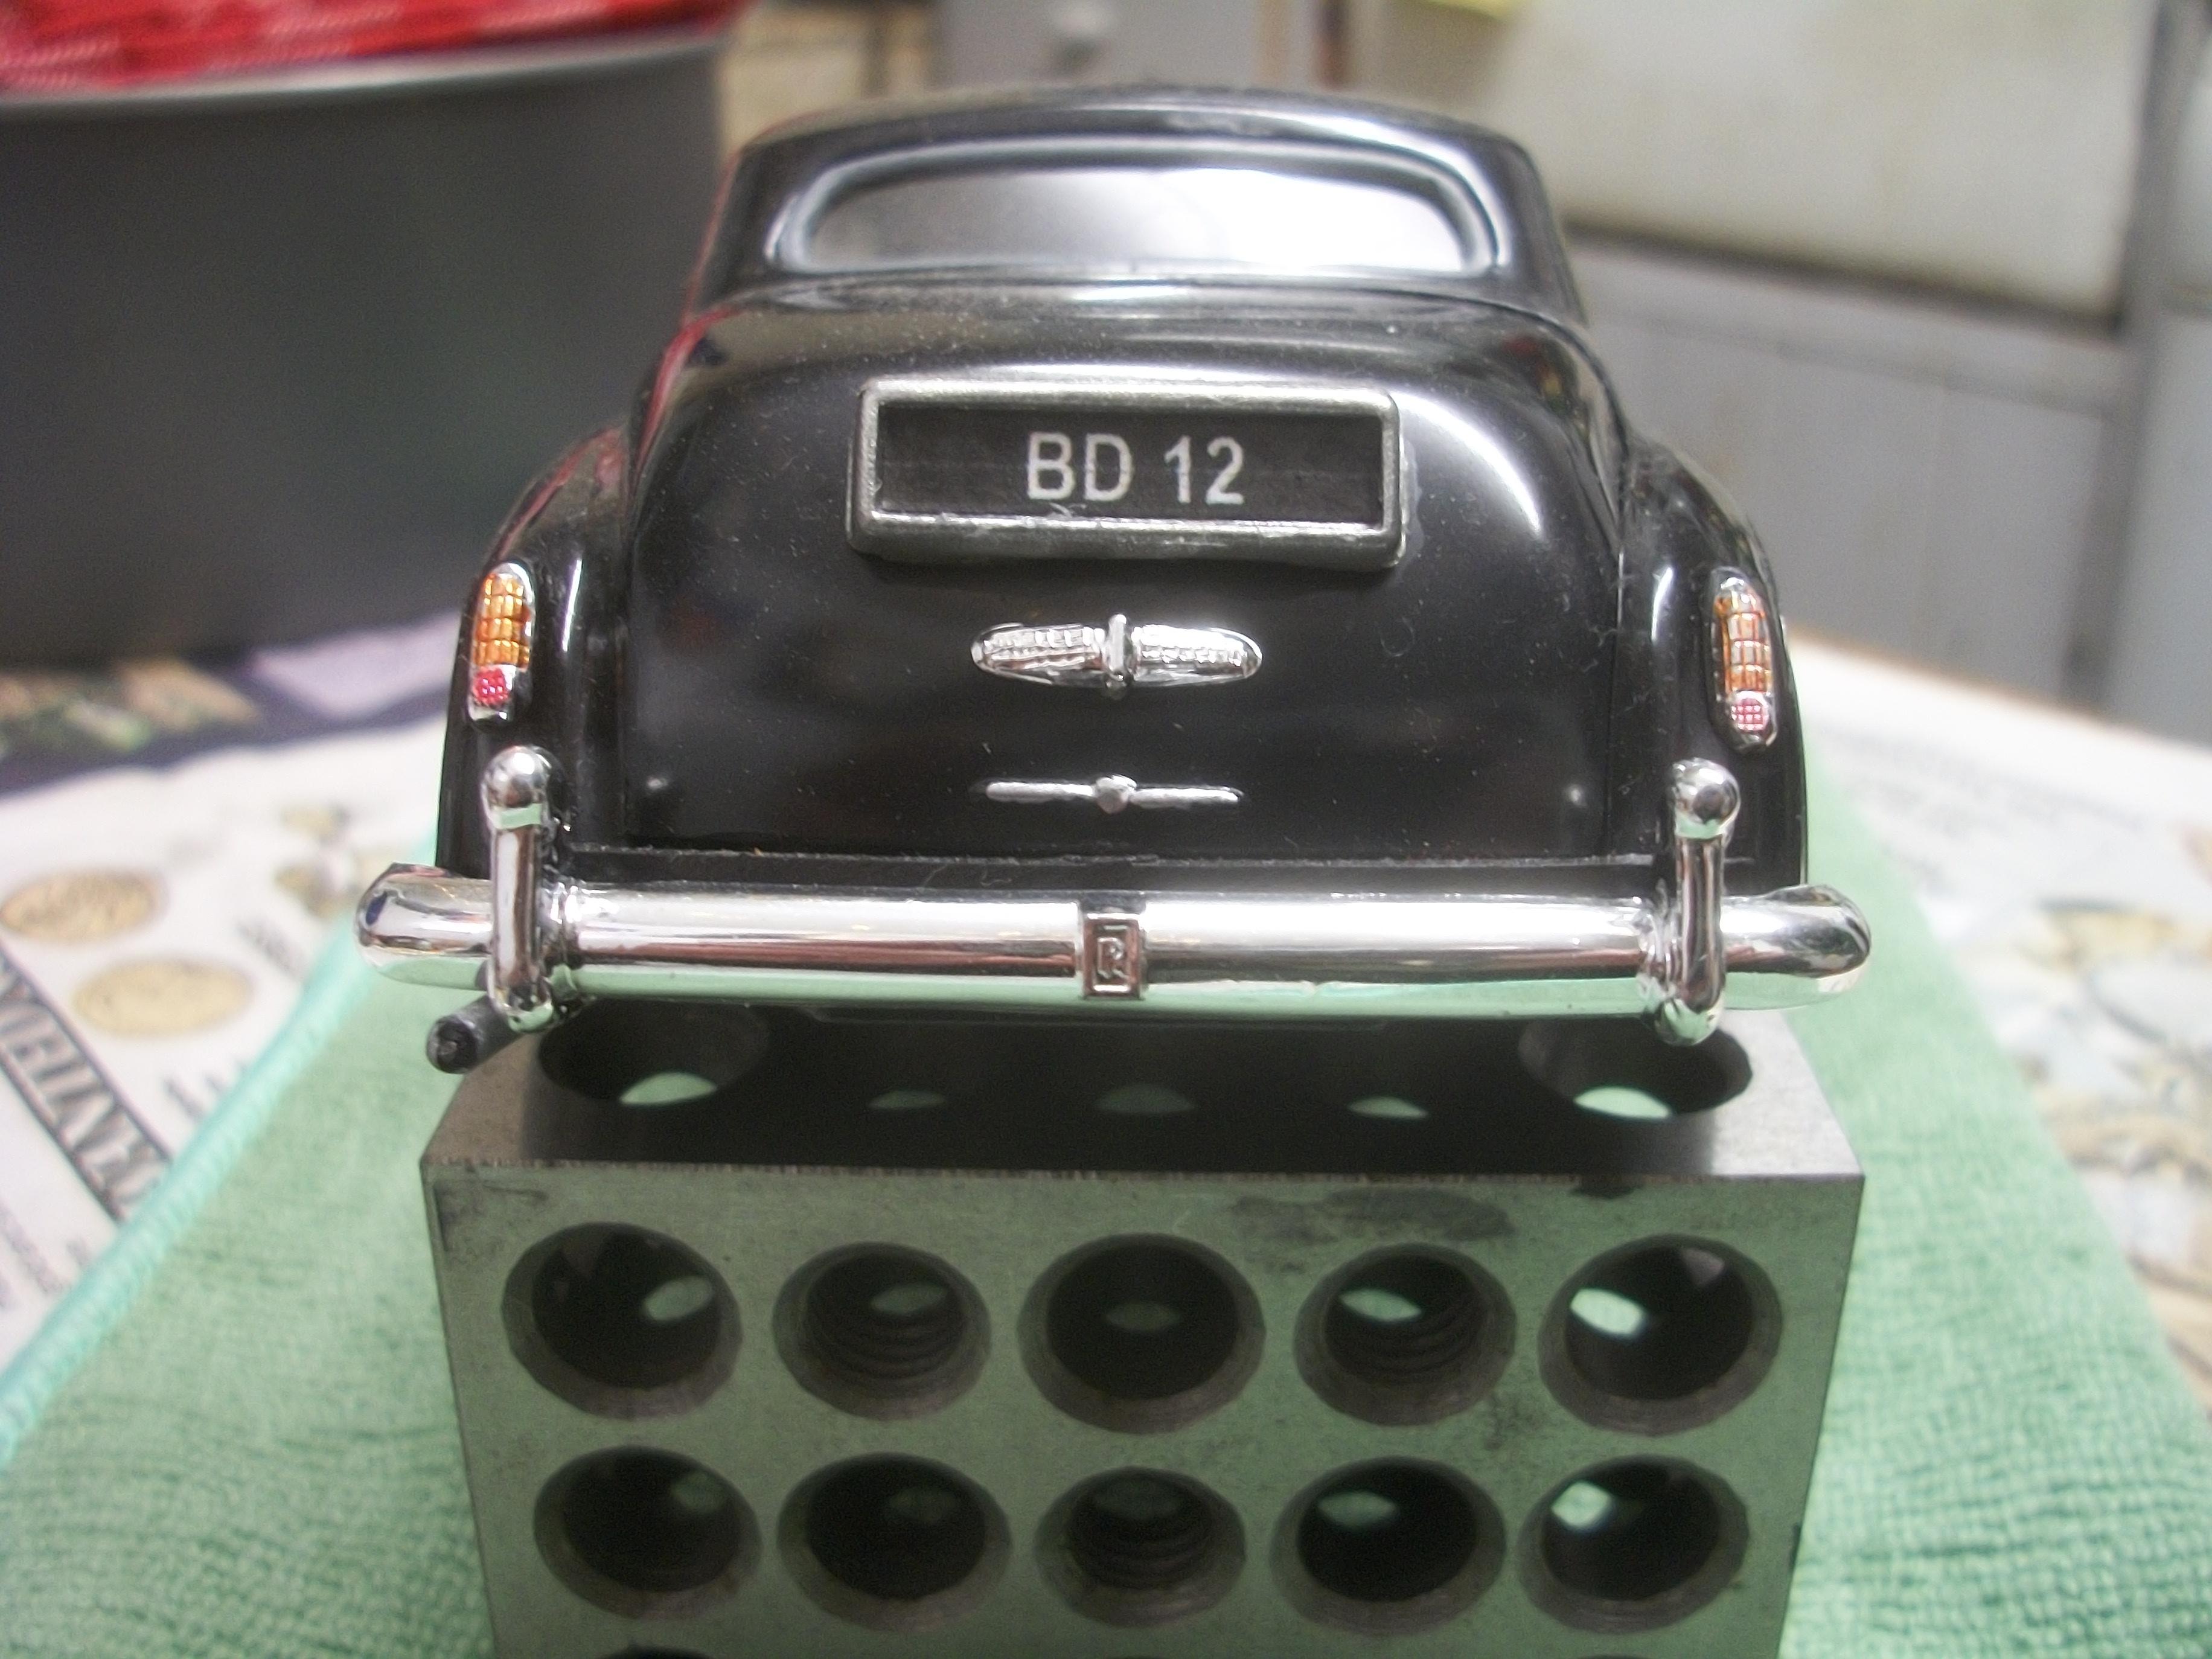
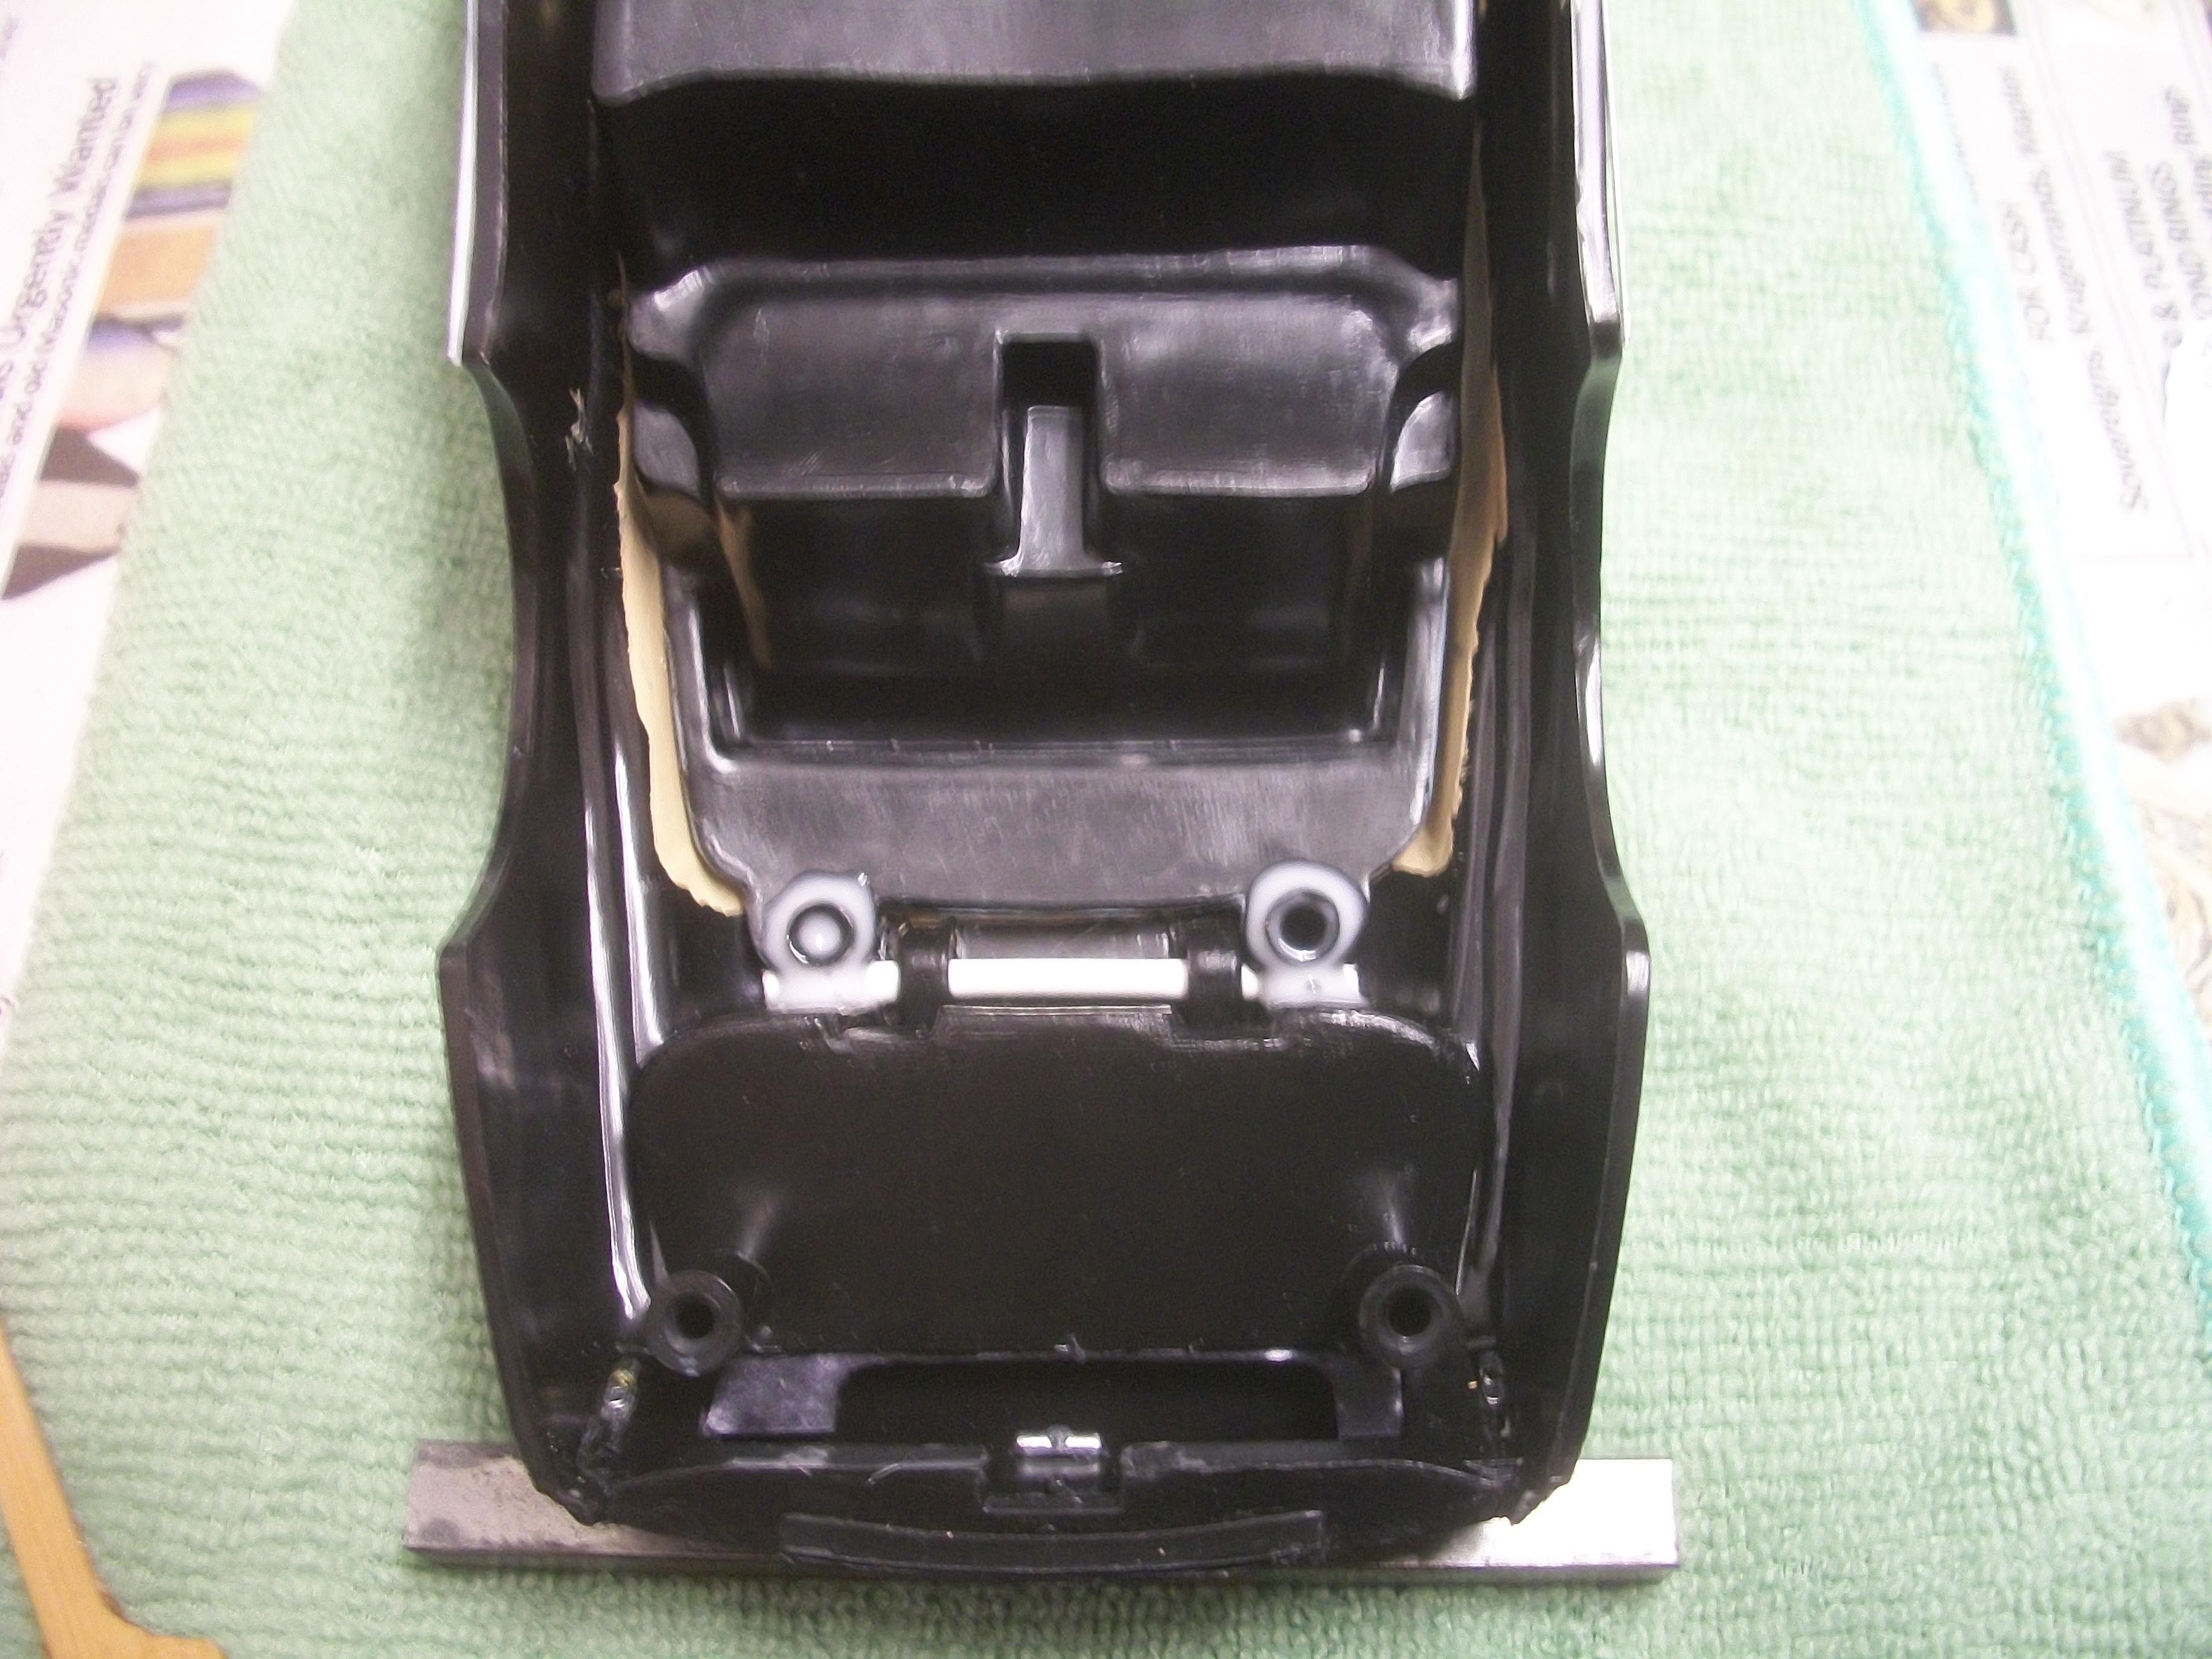
Further investigation revealed that the grey areas along the top edge of the boot lid, where it meets the body, were in fact dried PVA glue. The excess PVA glue having ran down the locating pegs for the interior tub had then collected in a trough formed by the join between boot lid and body. This had happened while the body was upside down and the PVA was allowed to go down into the join using gravity entirely . . . The excess dried PVA was easily removed with a pair of tweezers and now all is well . . . Thanks go to Mark J for pointing this out. During the process of removing the PVA the rear number plate plinth became detached, so this has been glued back in place with more PVA. David
-
Rolls-Royce No Chemicals, No Paint, No Harmful Glues
Anglia105E replied to Anglia105E's topic in WIP: Model Cars
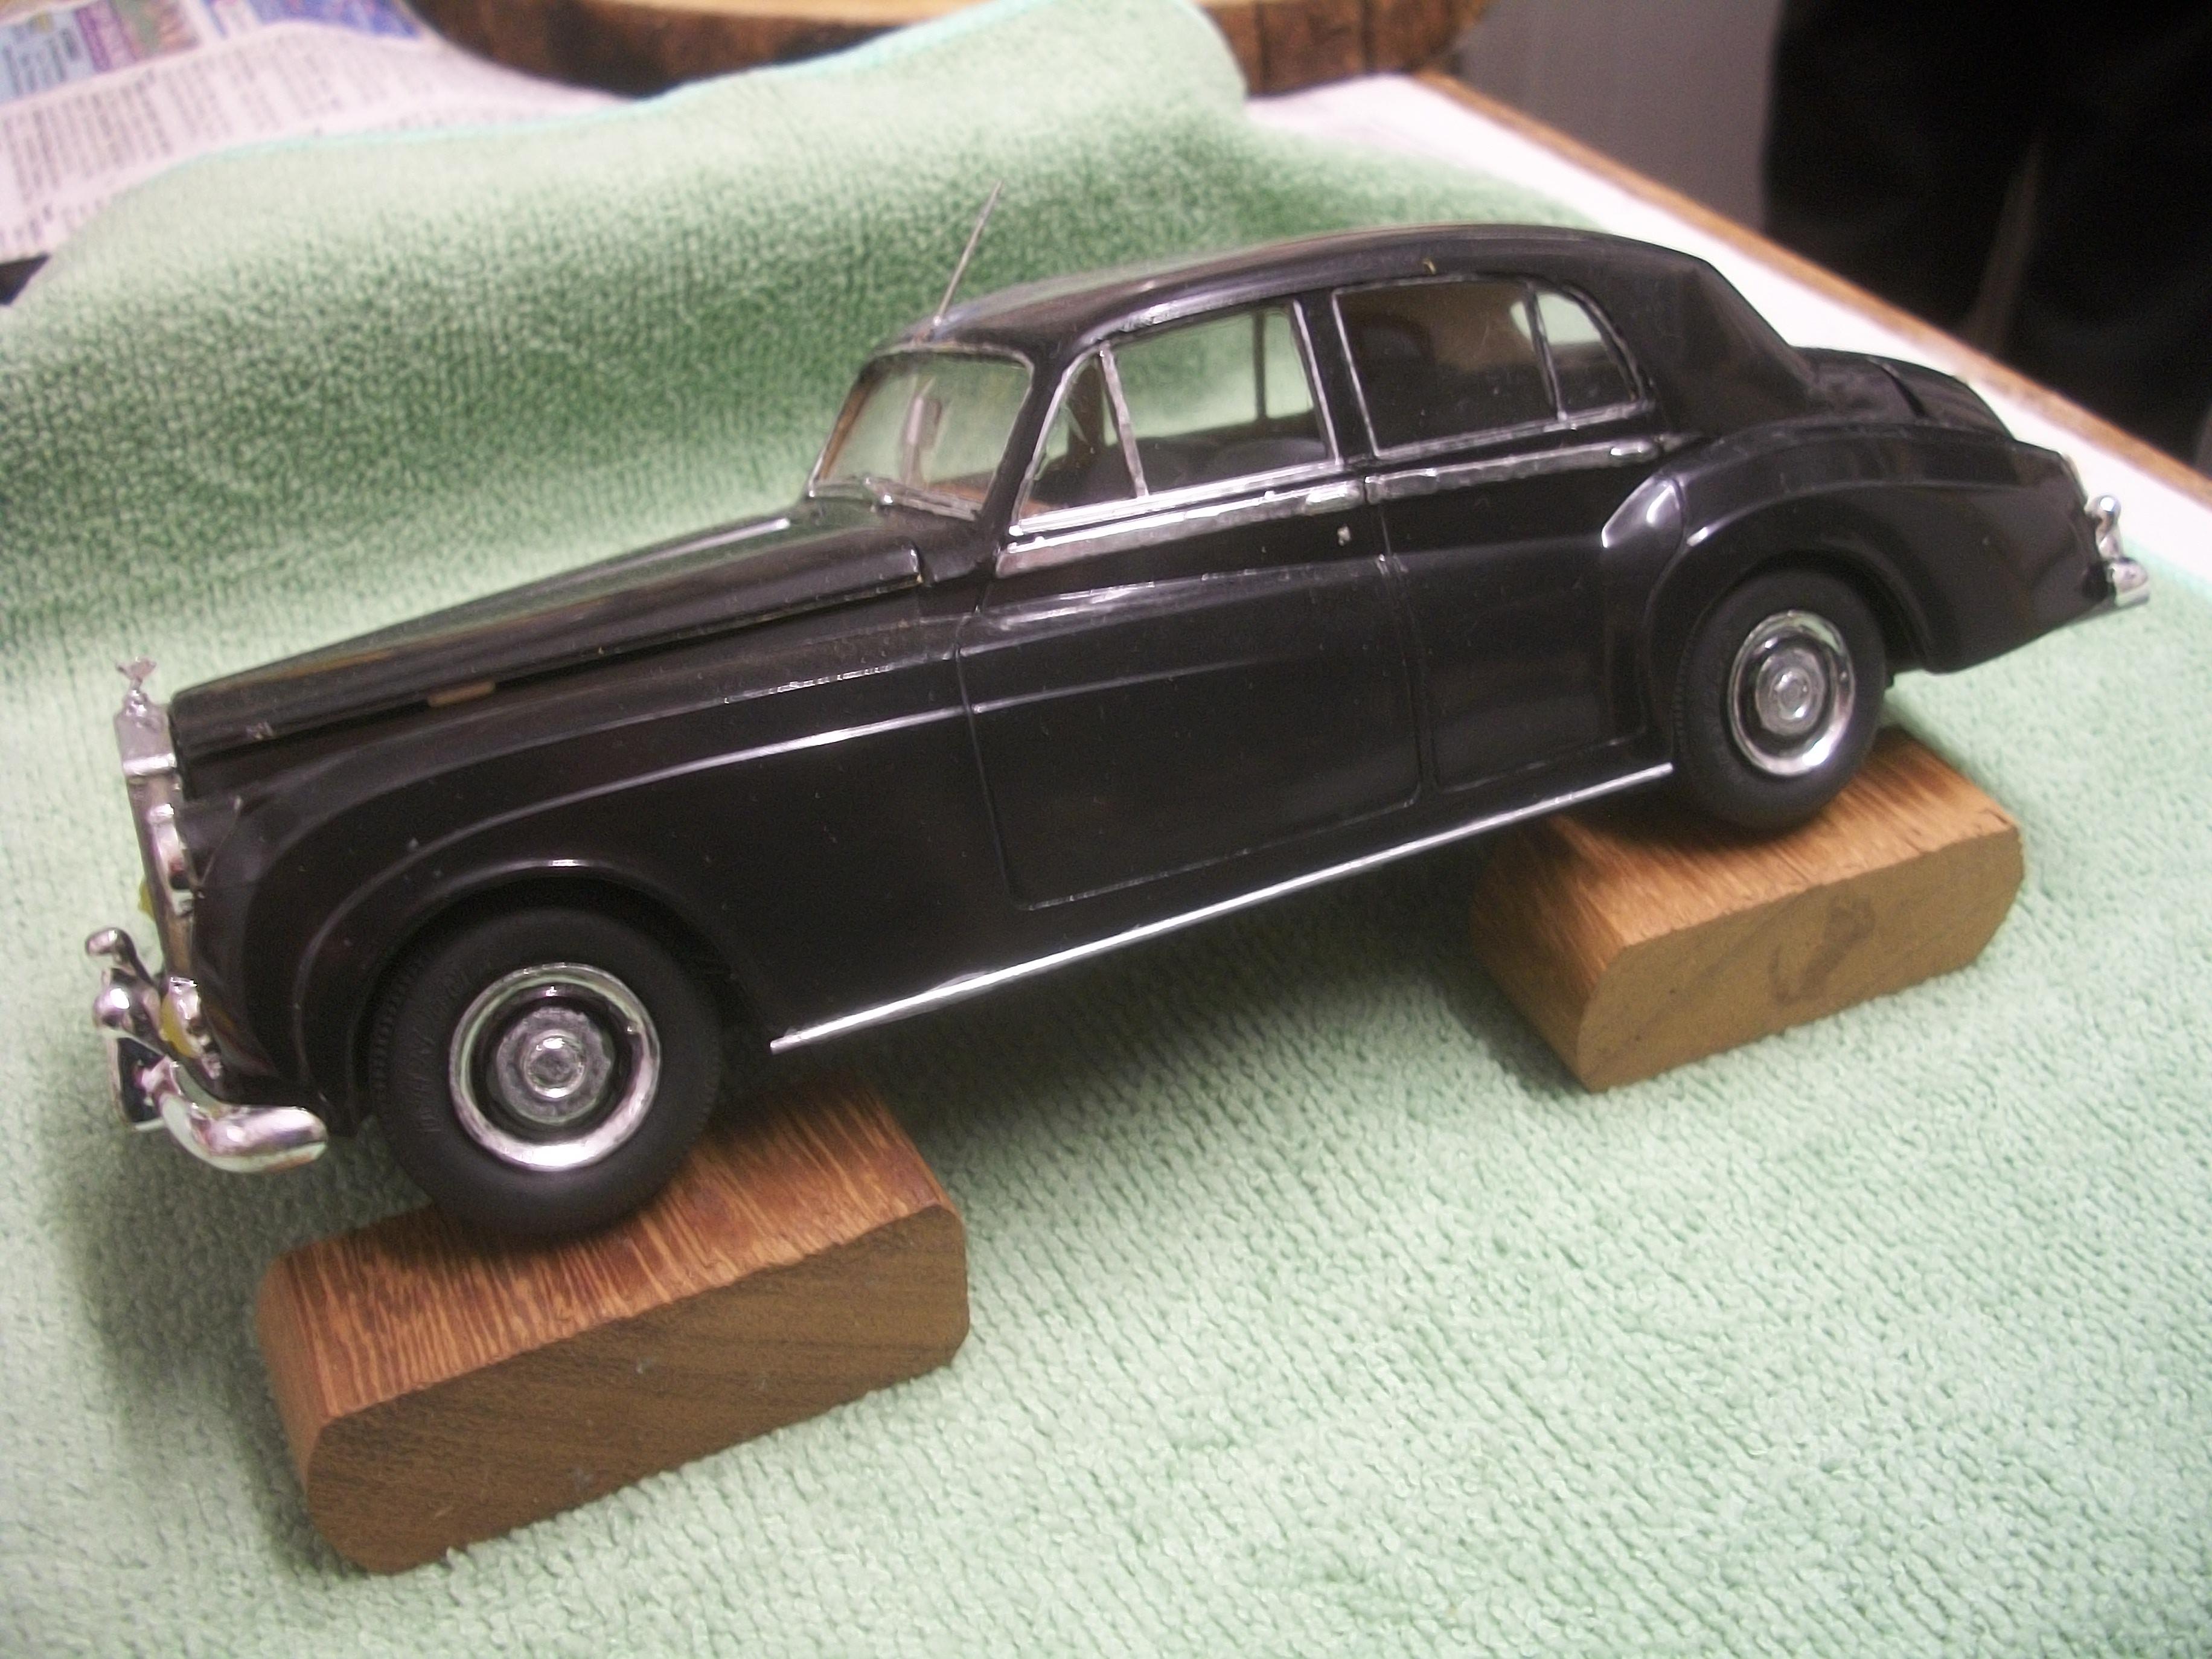
Well spotted Mark ! . . . Even as I was taking those most recent photos I saw the areas that you mentioned. Between the boot lid and the surrounding body along the top edge, there are small amounts of grey which need to be black of course . . . This will be dealt with accordingly. I always welcome anyone having a go at the Rolls-Royce Silver Cloud as produced in kit form by Minicraft, Revell, Entex, Hubley and others, and I am happy to offer advice based upon my own experience of building these kits . . . What first appears to be a very basic kit that is rather crude in certain areas, can become a much more advanced build once you begin to introduce more detail and alterations. Many of the real cars have found their way over to the United States and also Canada, both as left hand drive cars and right hand drive too. For me, the Silver Cloud I from 1955 to 1959 will always be the finest motor car in the World, and John Blatchley was the genius who came up with a body design that is timeless and perfection in equal measures . . . David W. -
Rolls-Royce No Chemicals, No Paint, No Harmful Glues
Anglia105E replied to Anglia105E's topic in WIP: Model Cars
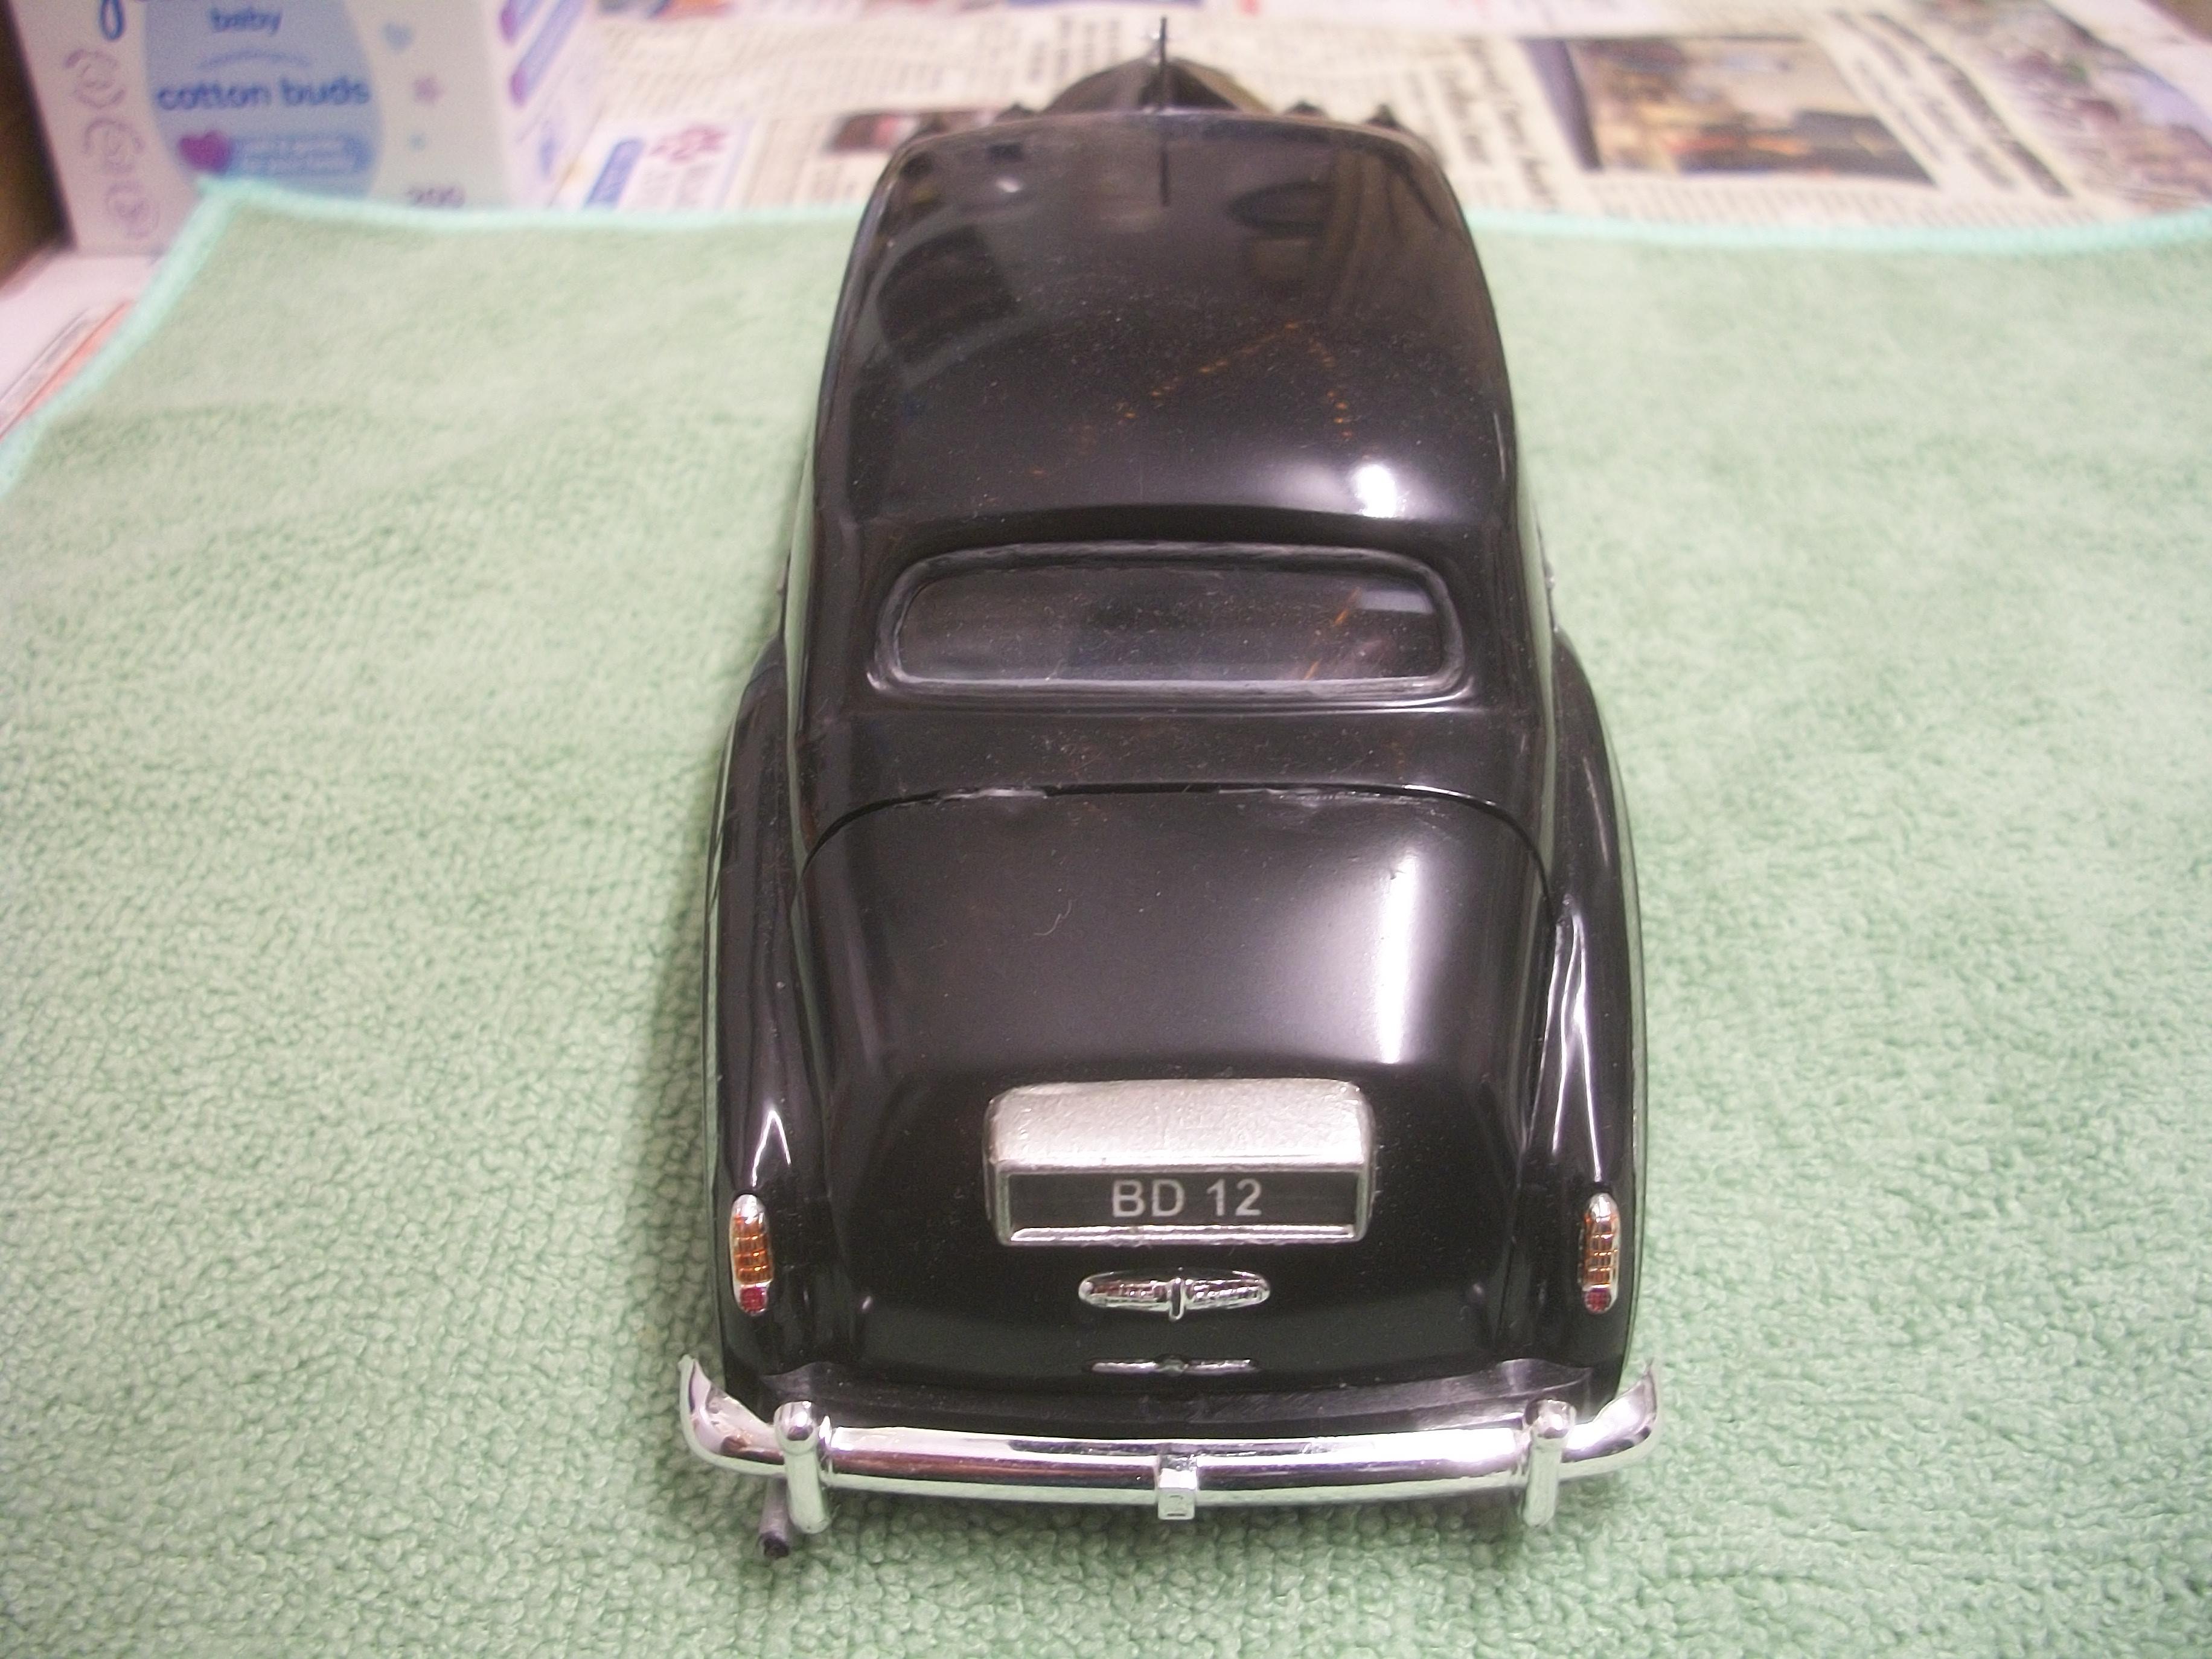
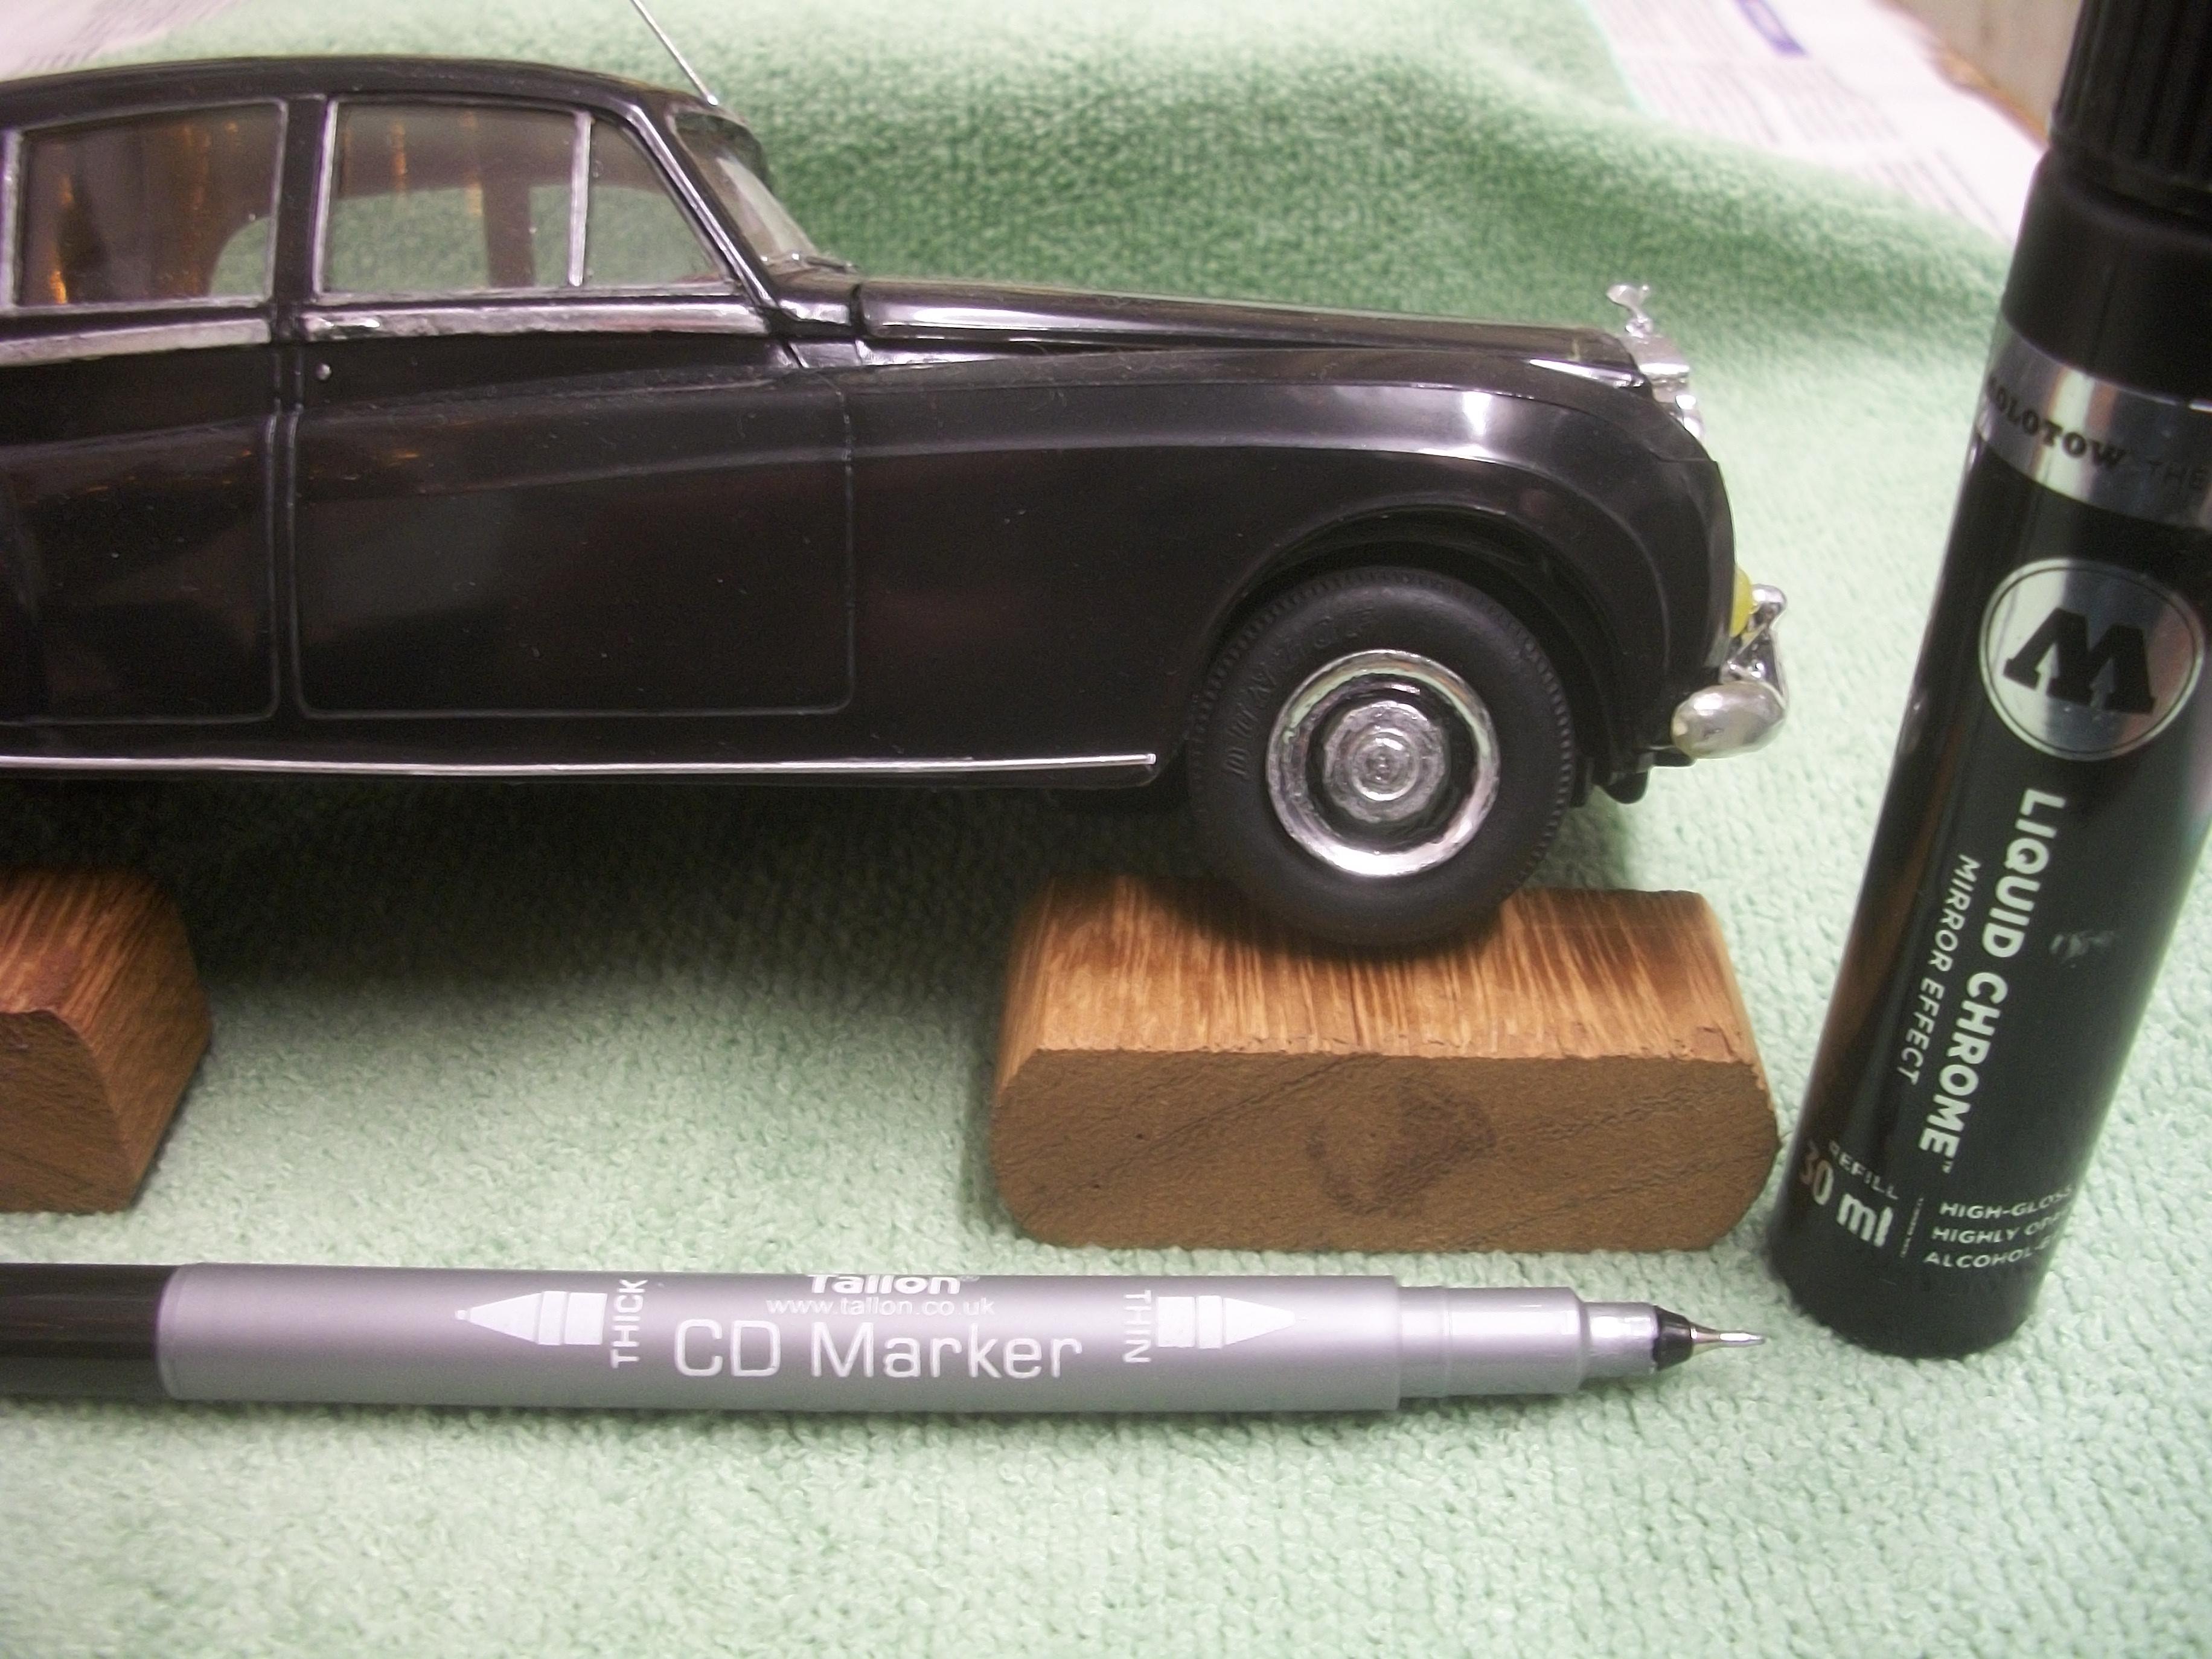
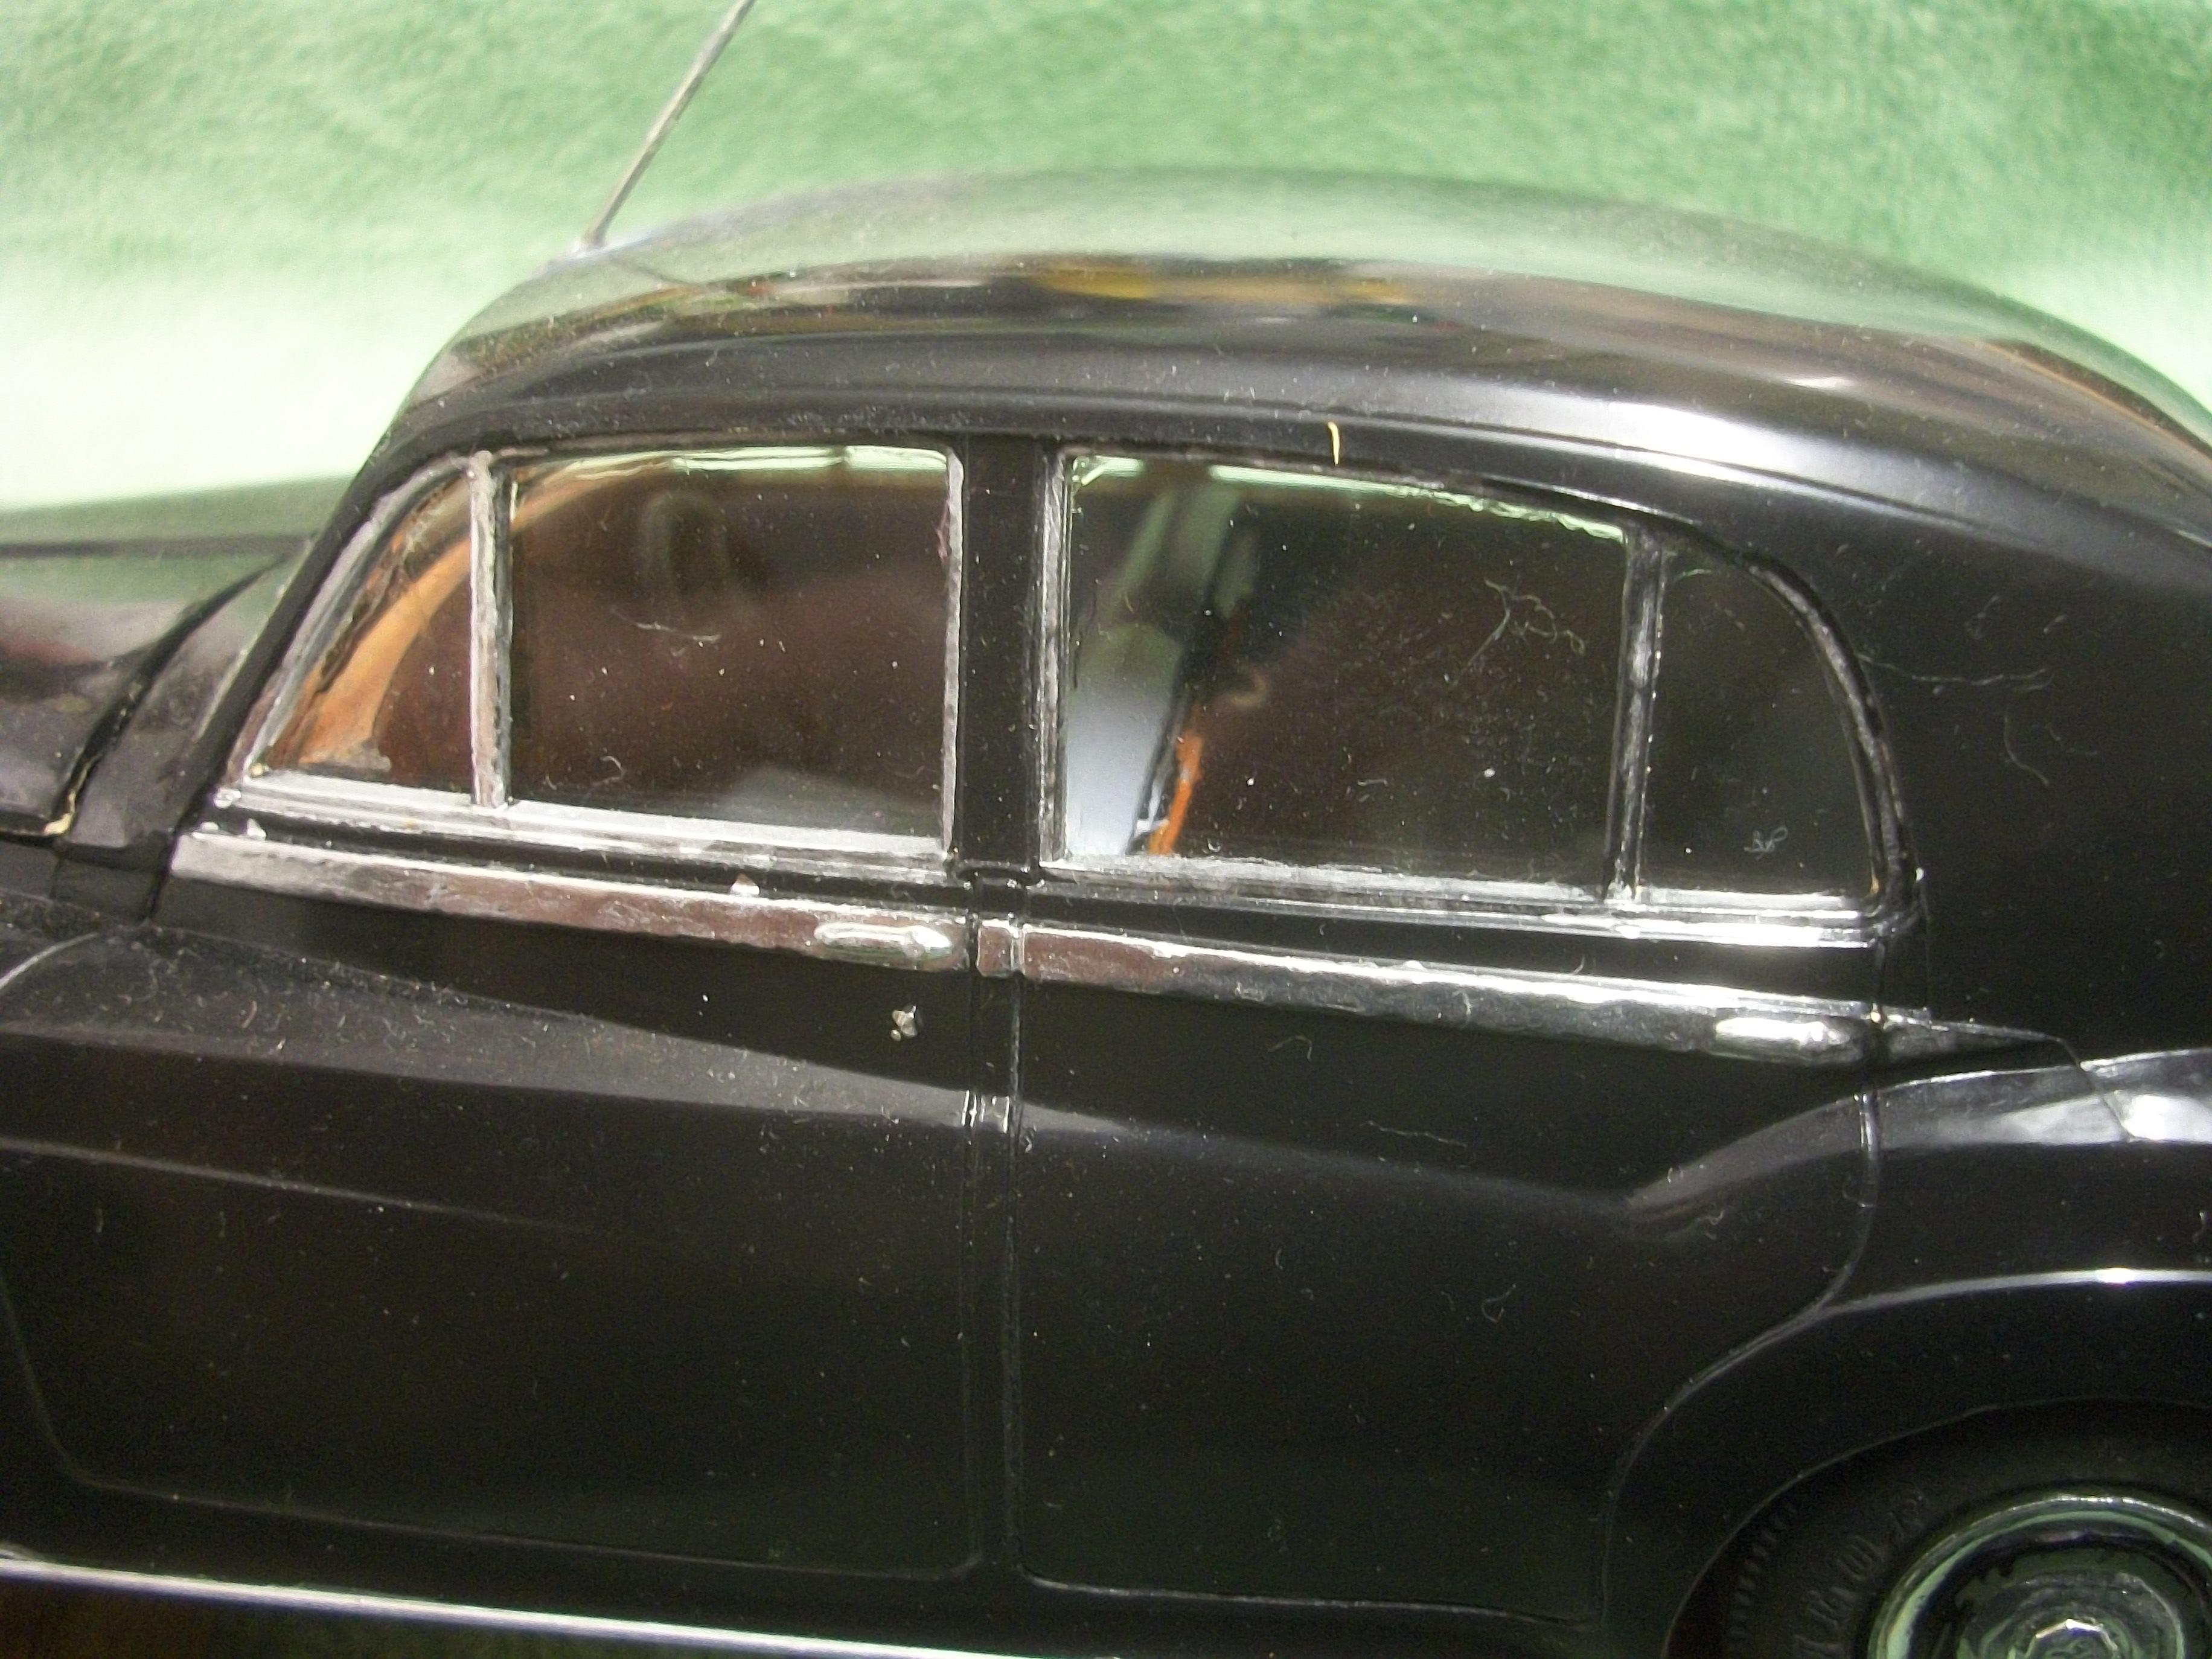
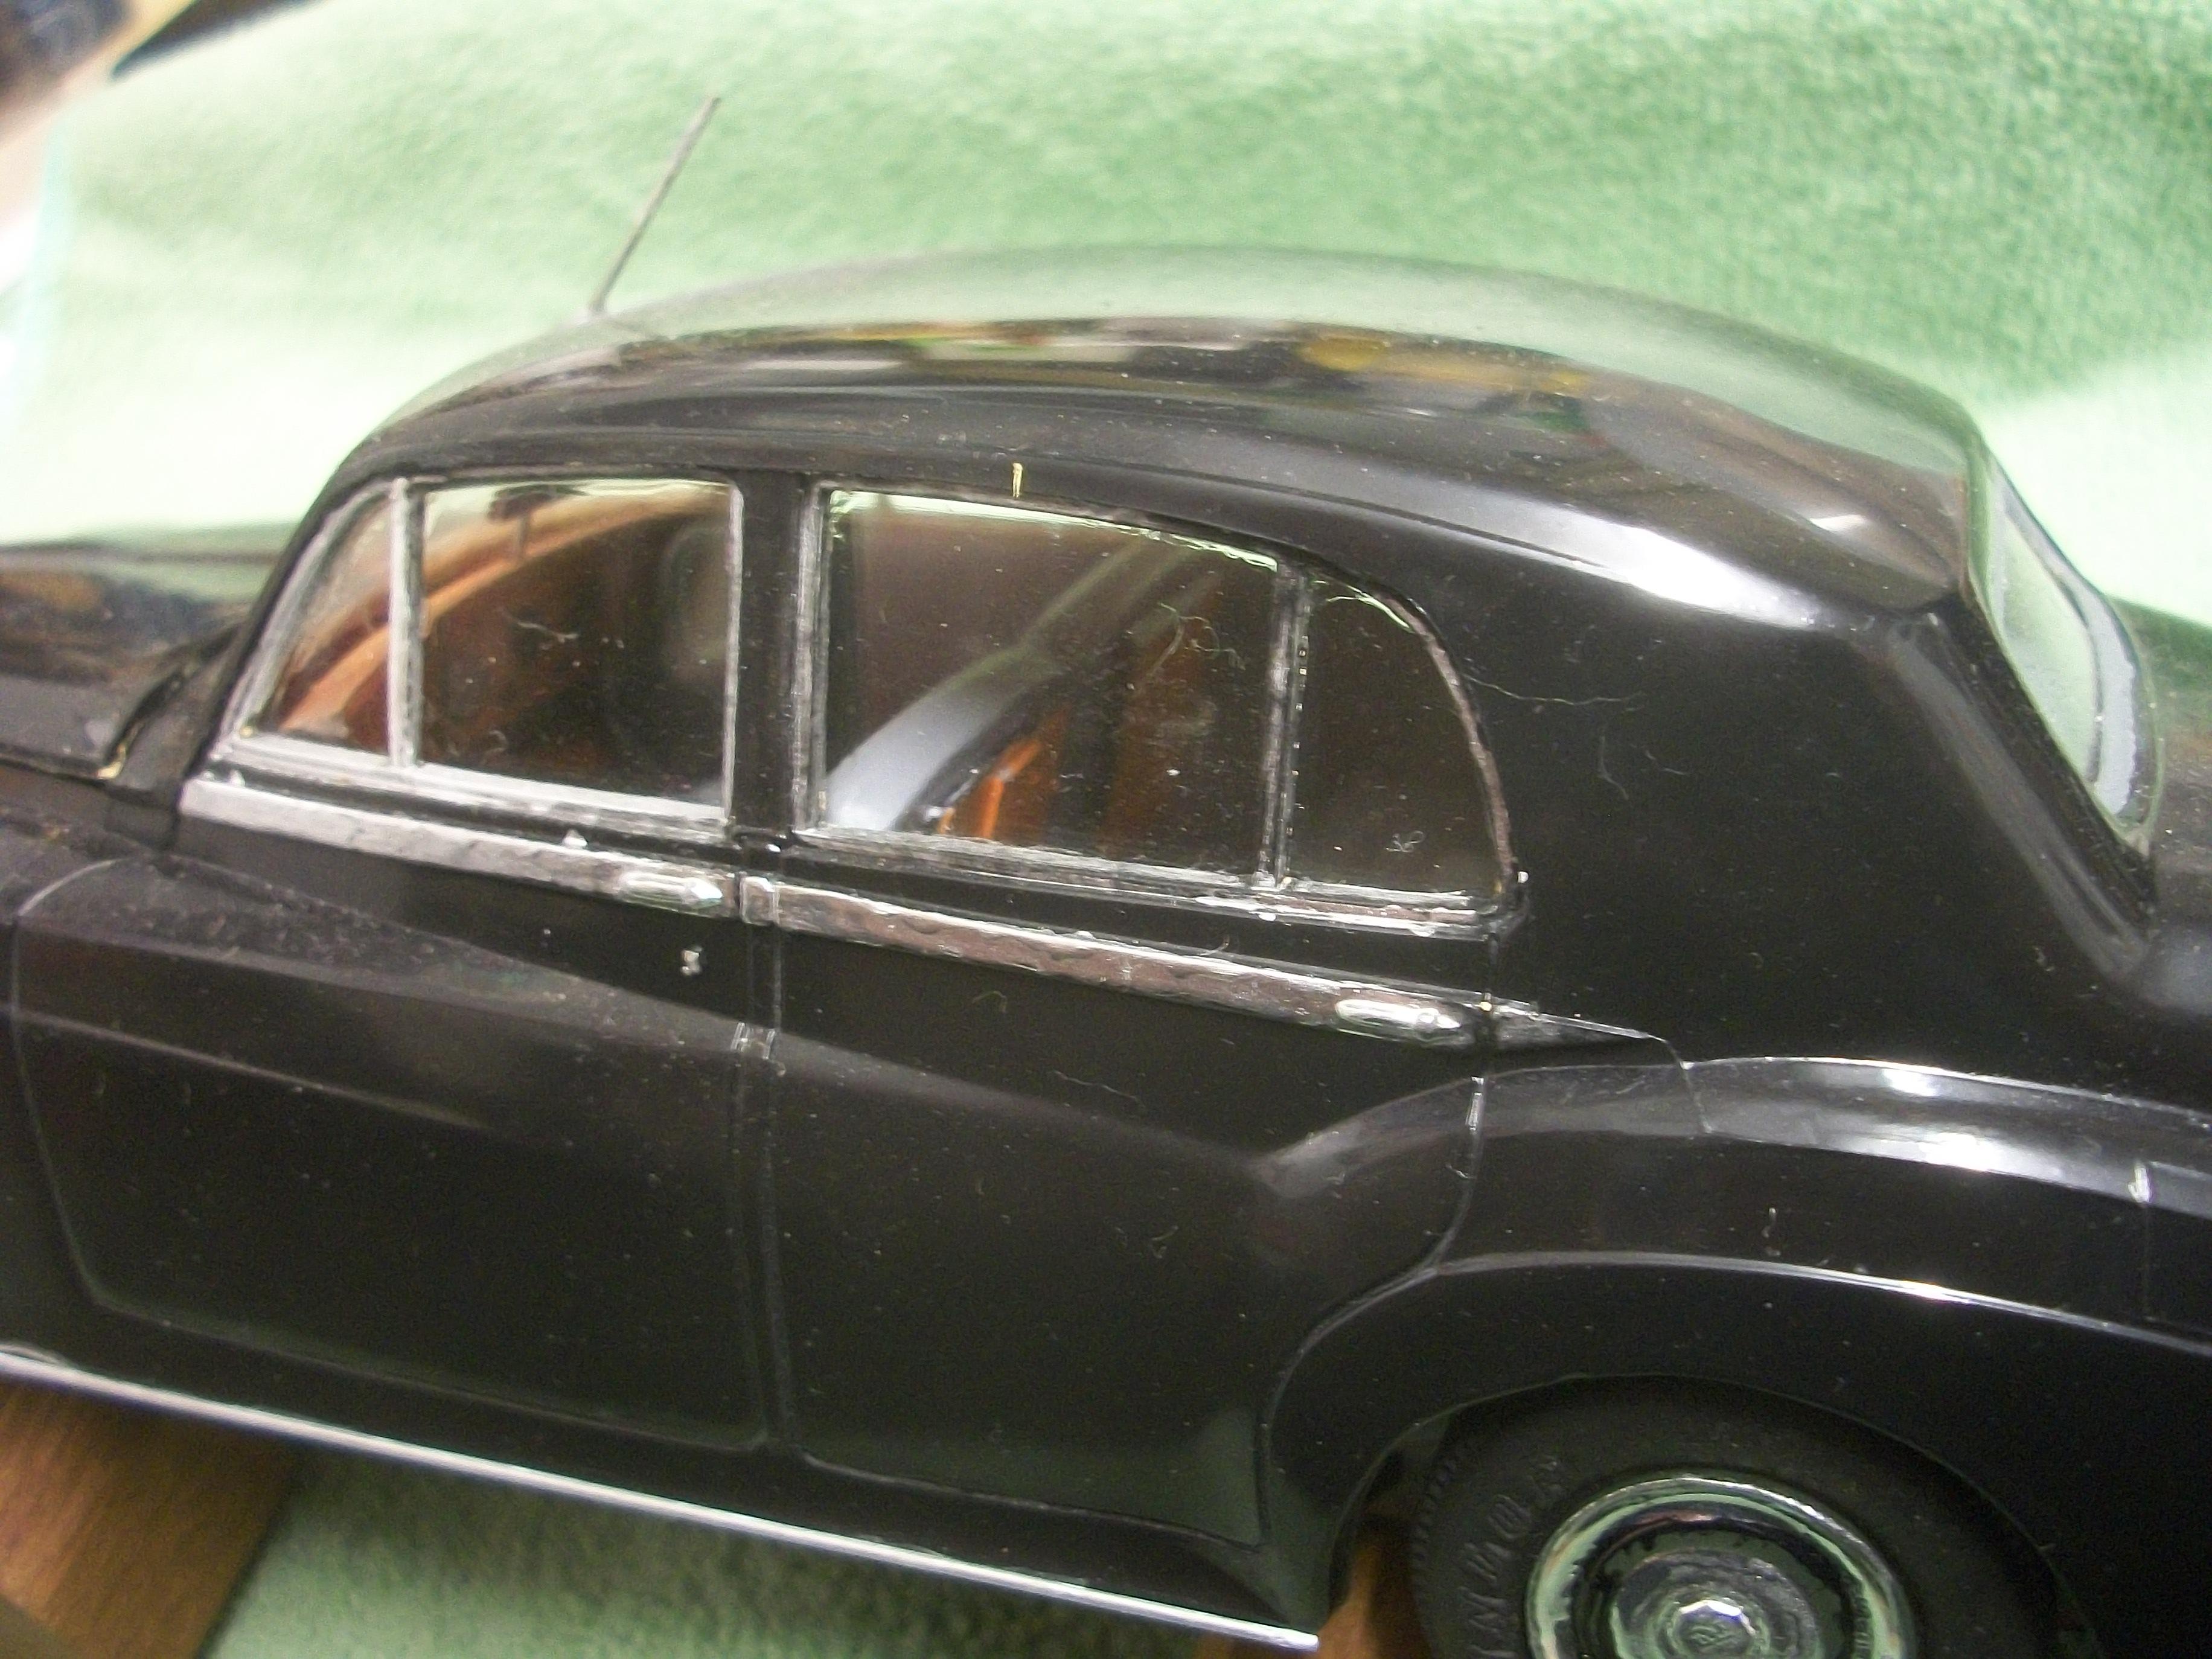
Having previously noticed that the rubber seal around the rear window appeared to be light grey, I have applied some black Vallejo acrylic paint to this rubber seal to darken the grey which should be nearly black. I used the tip of a CD marker pen to apply the black acrylic paint . . . The Silver Cloud model is pretty much completed at this stage, unless I can spot something that I may have overlooked. Perhaps fellow MCM Forum members might observe some aspect of the build that I haven't noticed myself ? David W.
-
Rolls-Royce No Chemicals, No Paint, No Harmful Glues
Anglia105E replied to Anglia105E's topic in WIP: Model Cars
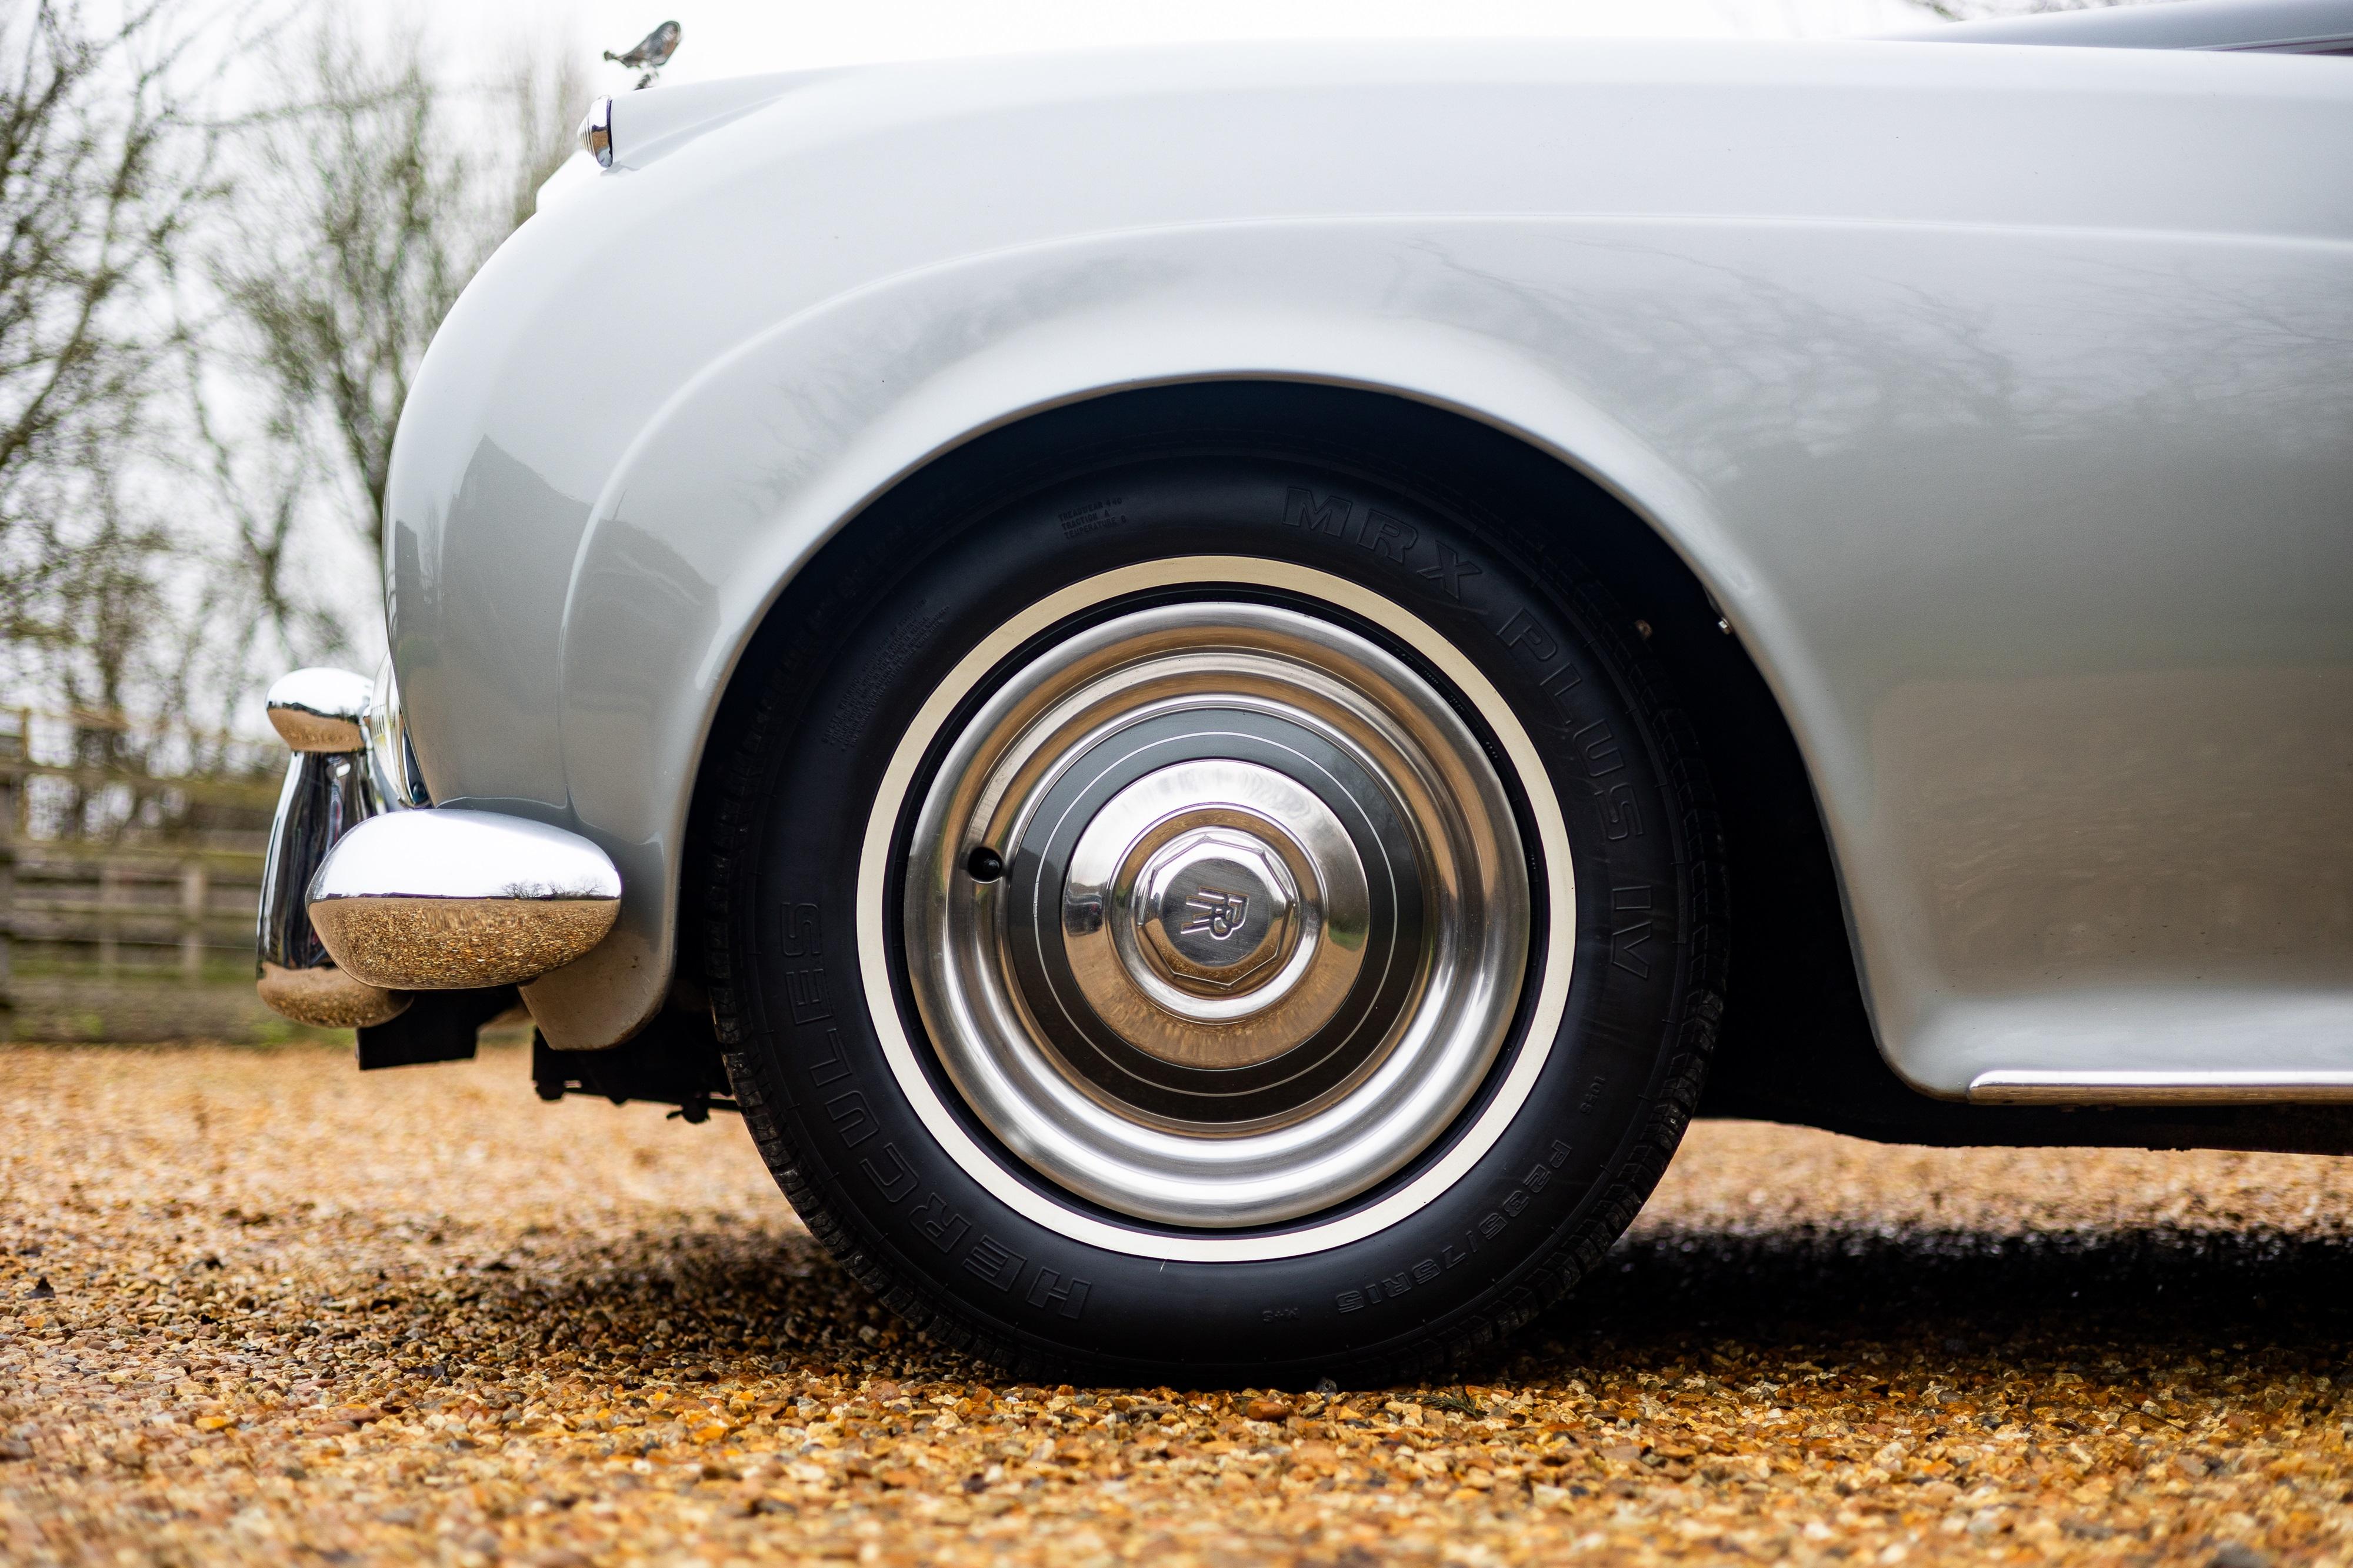
Shown here below is a photo of a chrome wheel cover on a real car, which is a 1957 Rolls-Royce Silver Cloud I, and you can see from the side view just how complex this design is . . . Perhaps replicating these circles in 1:24 scale is asking too much ? The colour of the circle must always match the body colour of the car. When there is a two tone paint scheme for the coachwork, I believe there is a coachline painted onto the circle in the second colour . . . David W.
-
Rolls-Royce No Chemicals, No Paint, No Harmful Glues
Anglia105E replied to Anglia105E's topic in WIP: Model Cars
Thanks a lot Mark . . . I agree that getting these perfect at 1:24 scale may be impossible, so it is just me wanting perfection when it is not realistically attainable ! Hopefully, this model car will photograph quite well later. I shall make good use of any fine sunny daylight when we get some. David W. -
Rolls-Royce No Chemicals, No Paint, No Harmful Glues
Anglia105E replied to Anglia105E's topic in WIP: Model Cars
This afternoon allowed me to apply some Liquid Chrome around the black circles on the wheel embellishment covers, using the fine tip of a CD marker pen rather than a brush . . . Had I used a brush for this operation, I would have also needed to use a chemical solvent to clean the brush afterwards. These black circles on the wheel covers are extremely difficult to get right, and this is partly due to the complex nature of the Rolls-Royce design, and partly due to the raised surfaces of the chrome wheel covers not being clearly defined, as supplied in the kit by Entex . . . Each attempt at touching up the black results in slight marks on the chrome, and then each following attempt at touching up the chrome results in slight marks on the black . . . and so it continues. The appearance of these wheel circles from a distance is reasonably good, so it is only under close scrutiny that the imperfections are more obvious. David
-
Rolls-Royce No Chemicals, No Paint, No Harmful Glues
Anglia105E replied to Anglia105E's topic in WIP: Model Cars
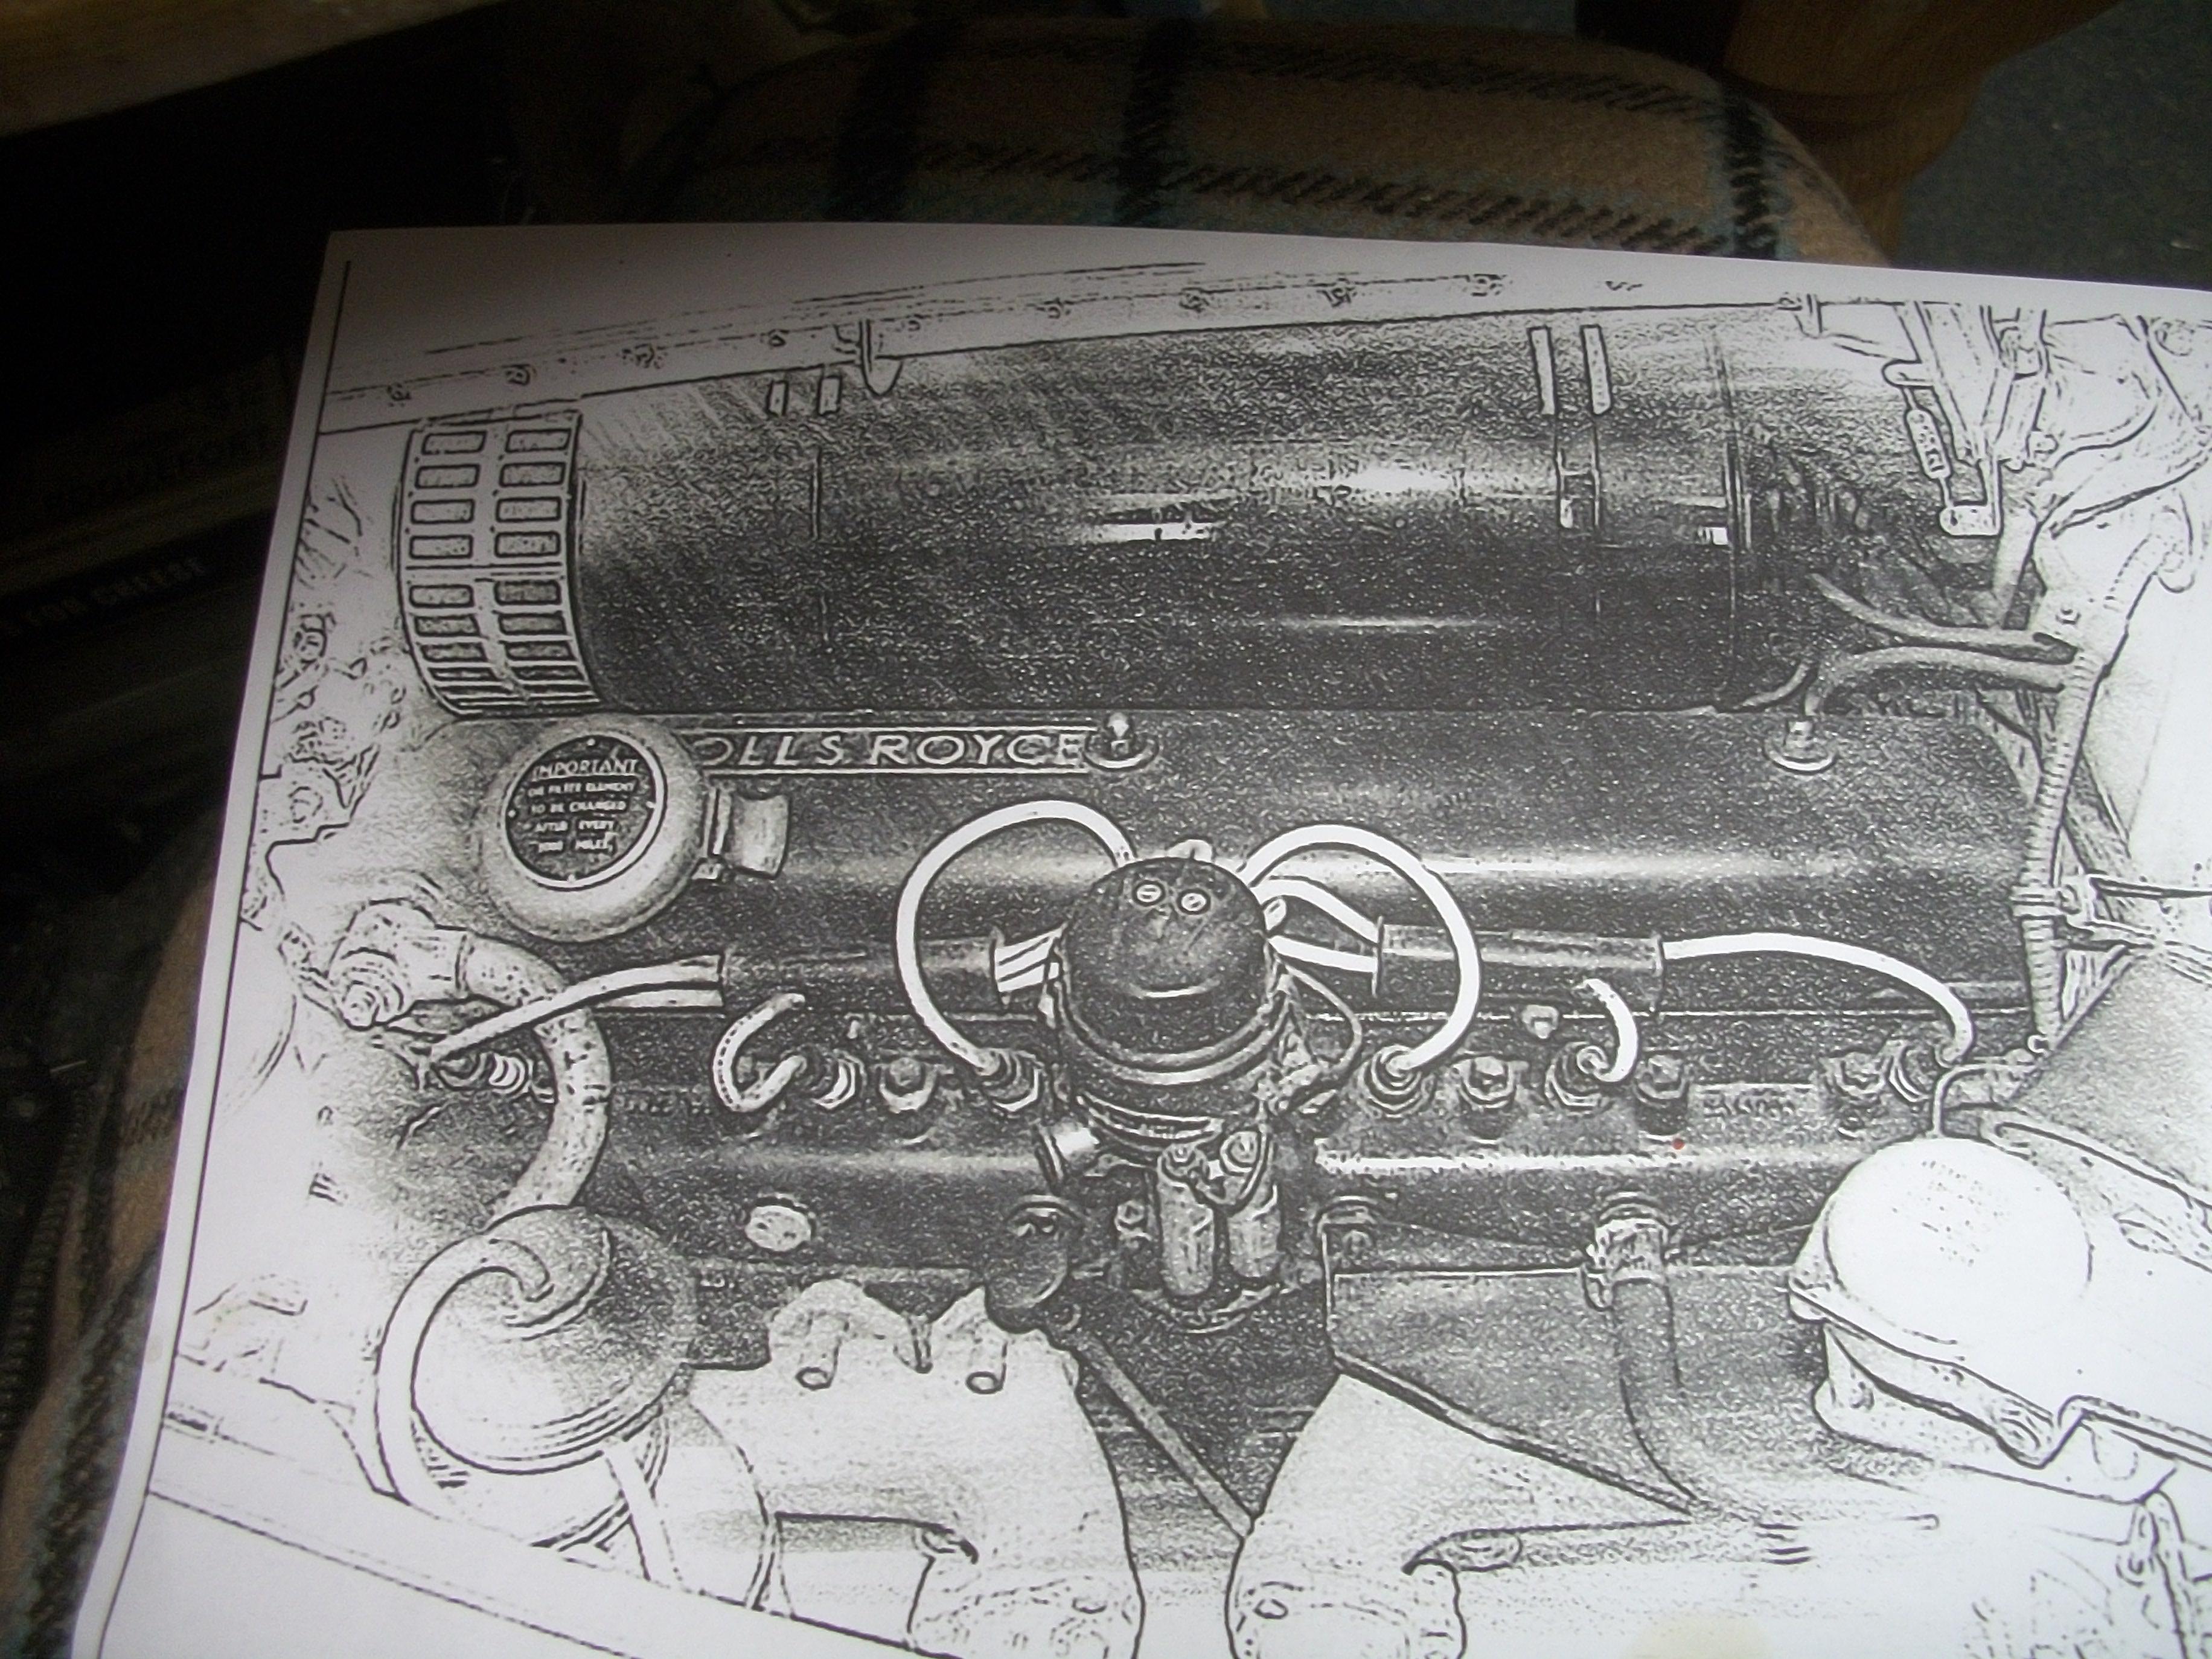
Many thanks David . . . For my previous Silver Cloud builds I have always tried to paint those circles on the wheel embellishments by hand, which hasn't brought much success in the past. Thanks to helpful suggestions by several MCM Forum members, I decided to purchase the hollow punch set of cutters and see if this could be done with masking tape. Mixed results of course, but generally I would say this method is an improvement upon hand painting. I would like the engine to be more realistic than it is at the moment, but it's getting there slowly . . . I wish I had an engine from the Franklin Mint diecast model because that one is by far the most accurate representation of the Rolls-Royce 6 cylinder in-line 4.9 litre engine ever produced . . . David -
Rolls-Royce No Chemicals, No Paint, No Harmful Glues
Anglia105E replied to Anglia105E's topic in WIP: Model Cars
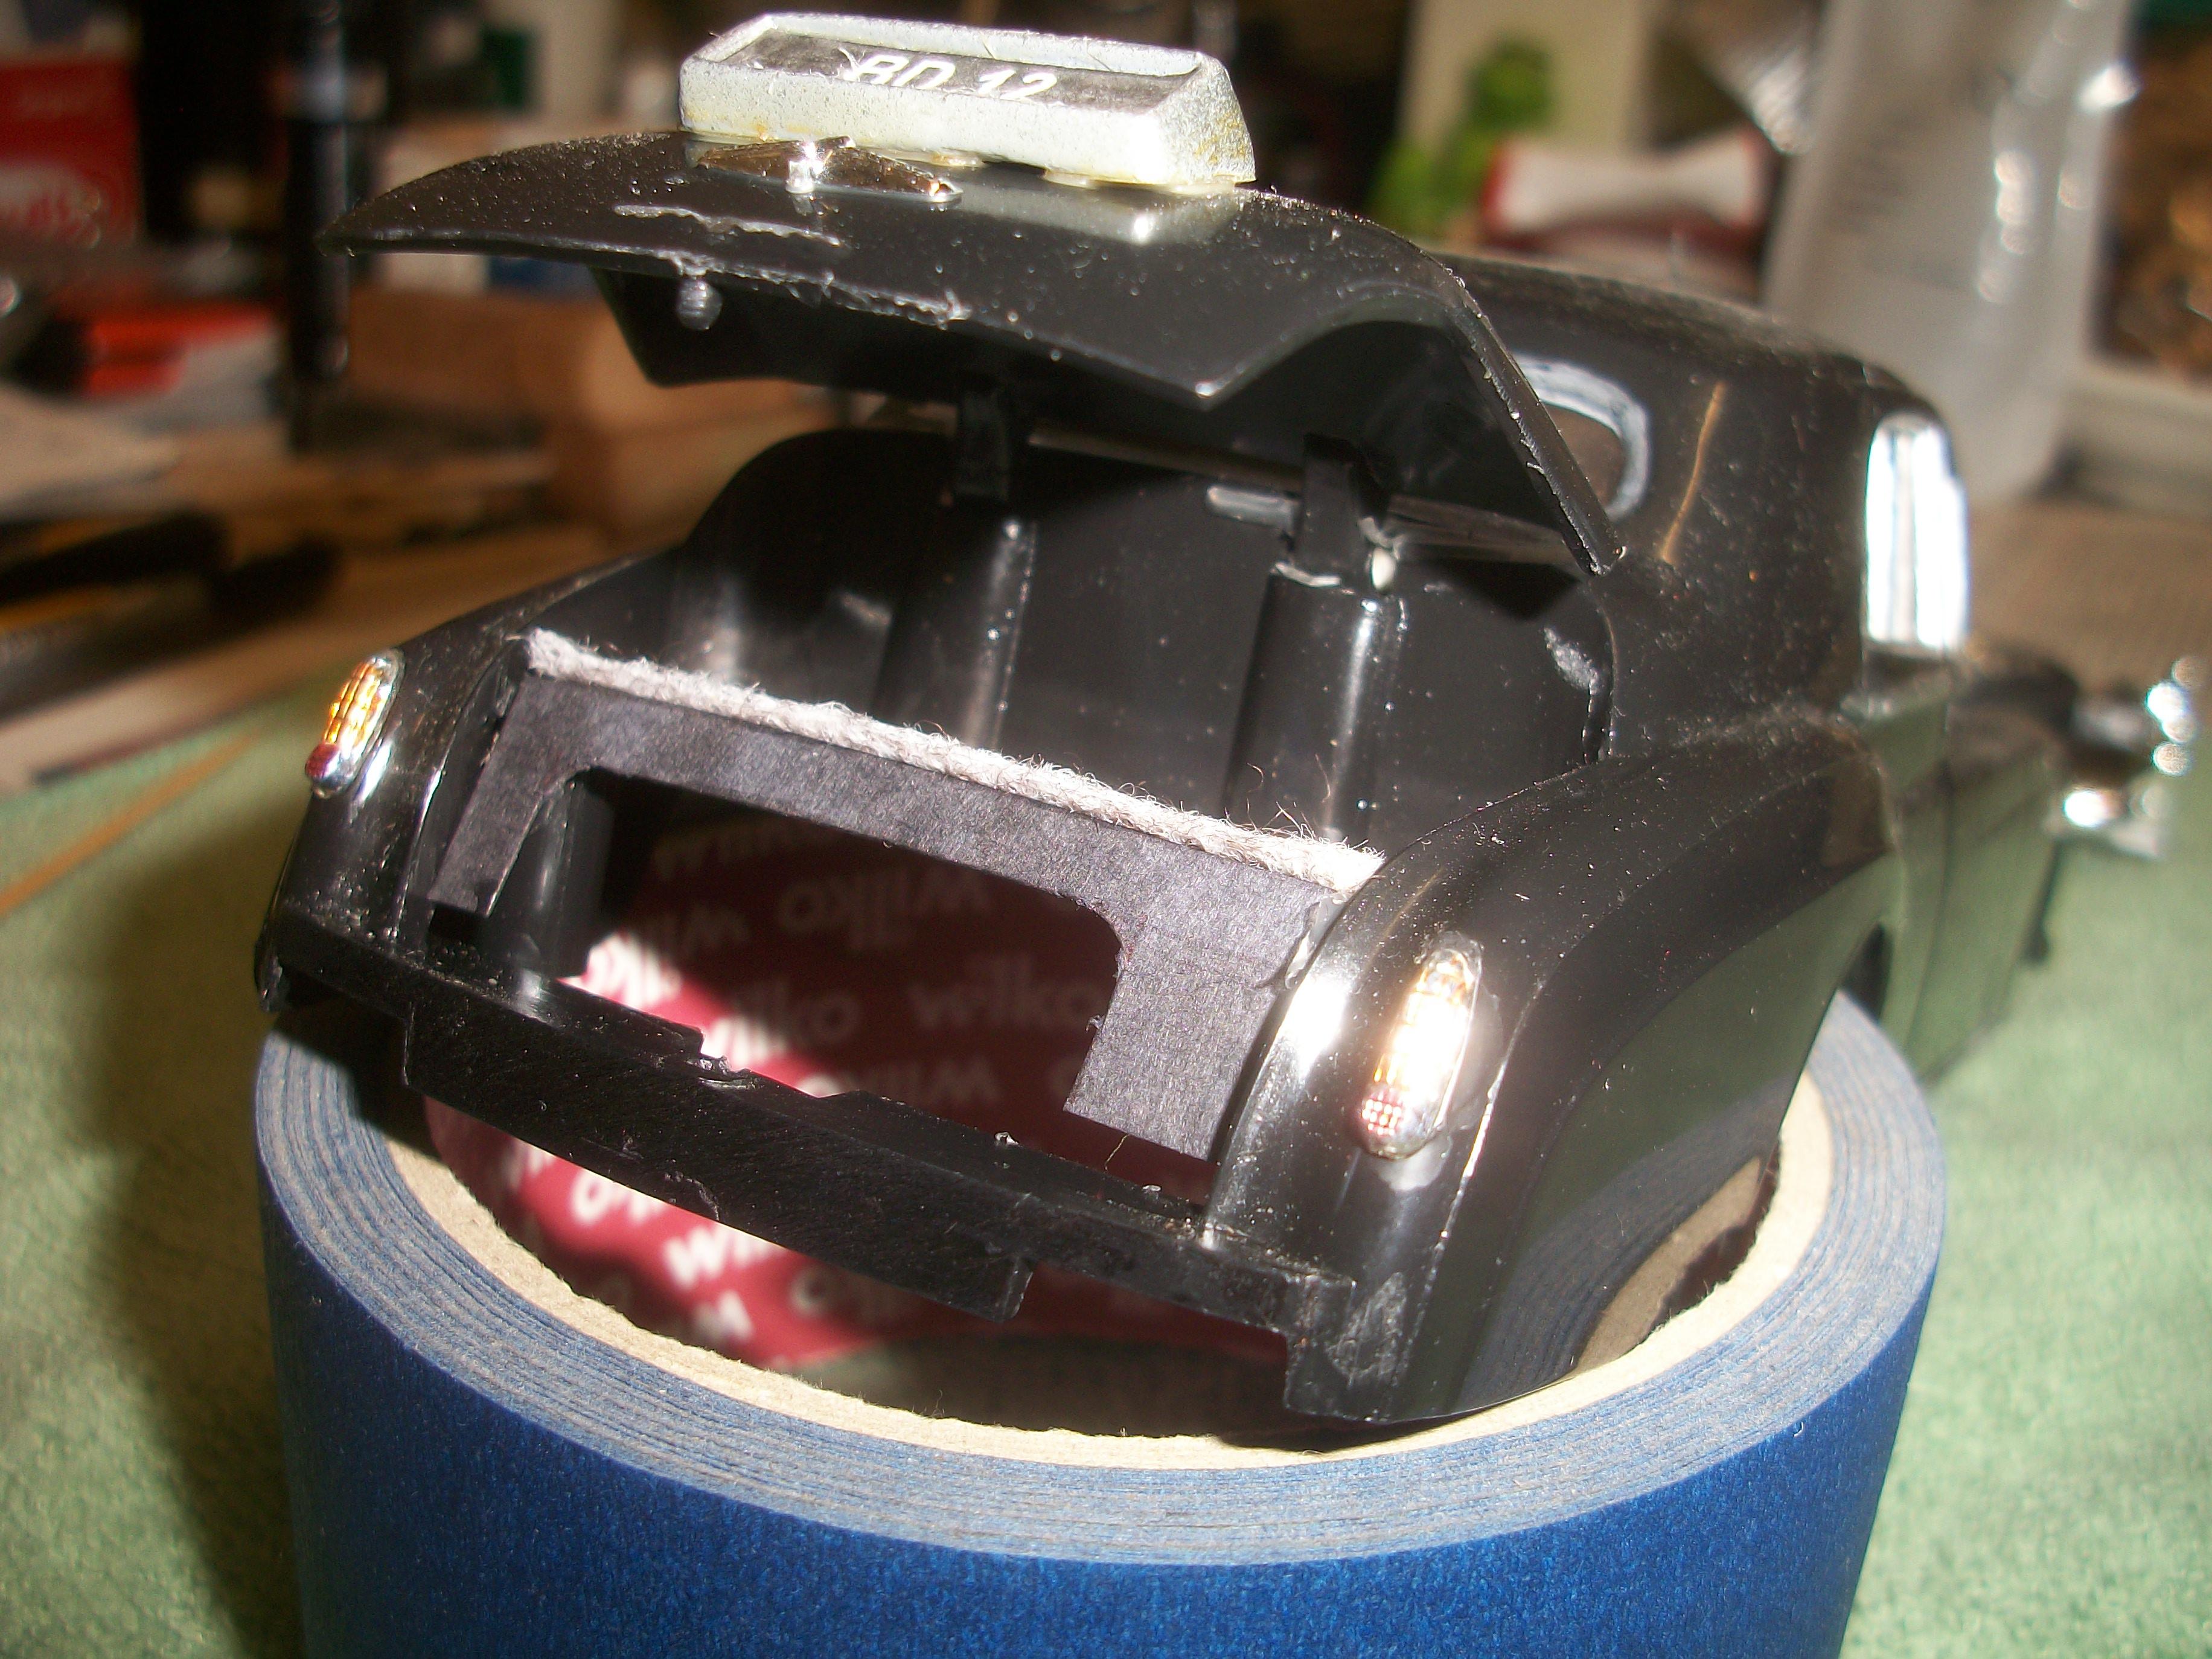
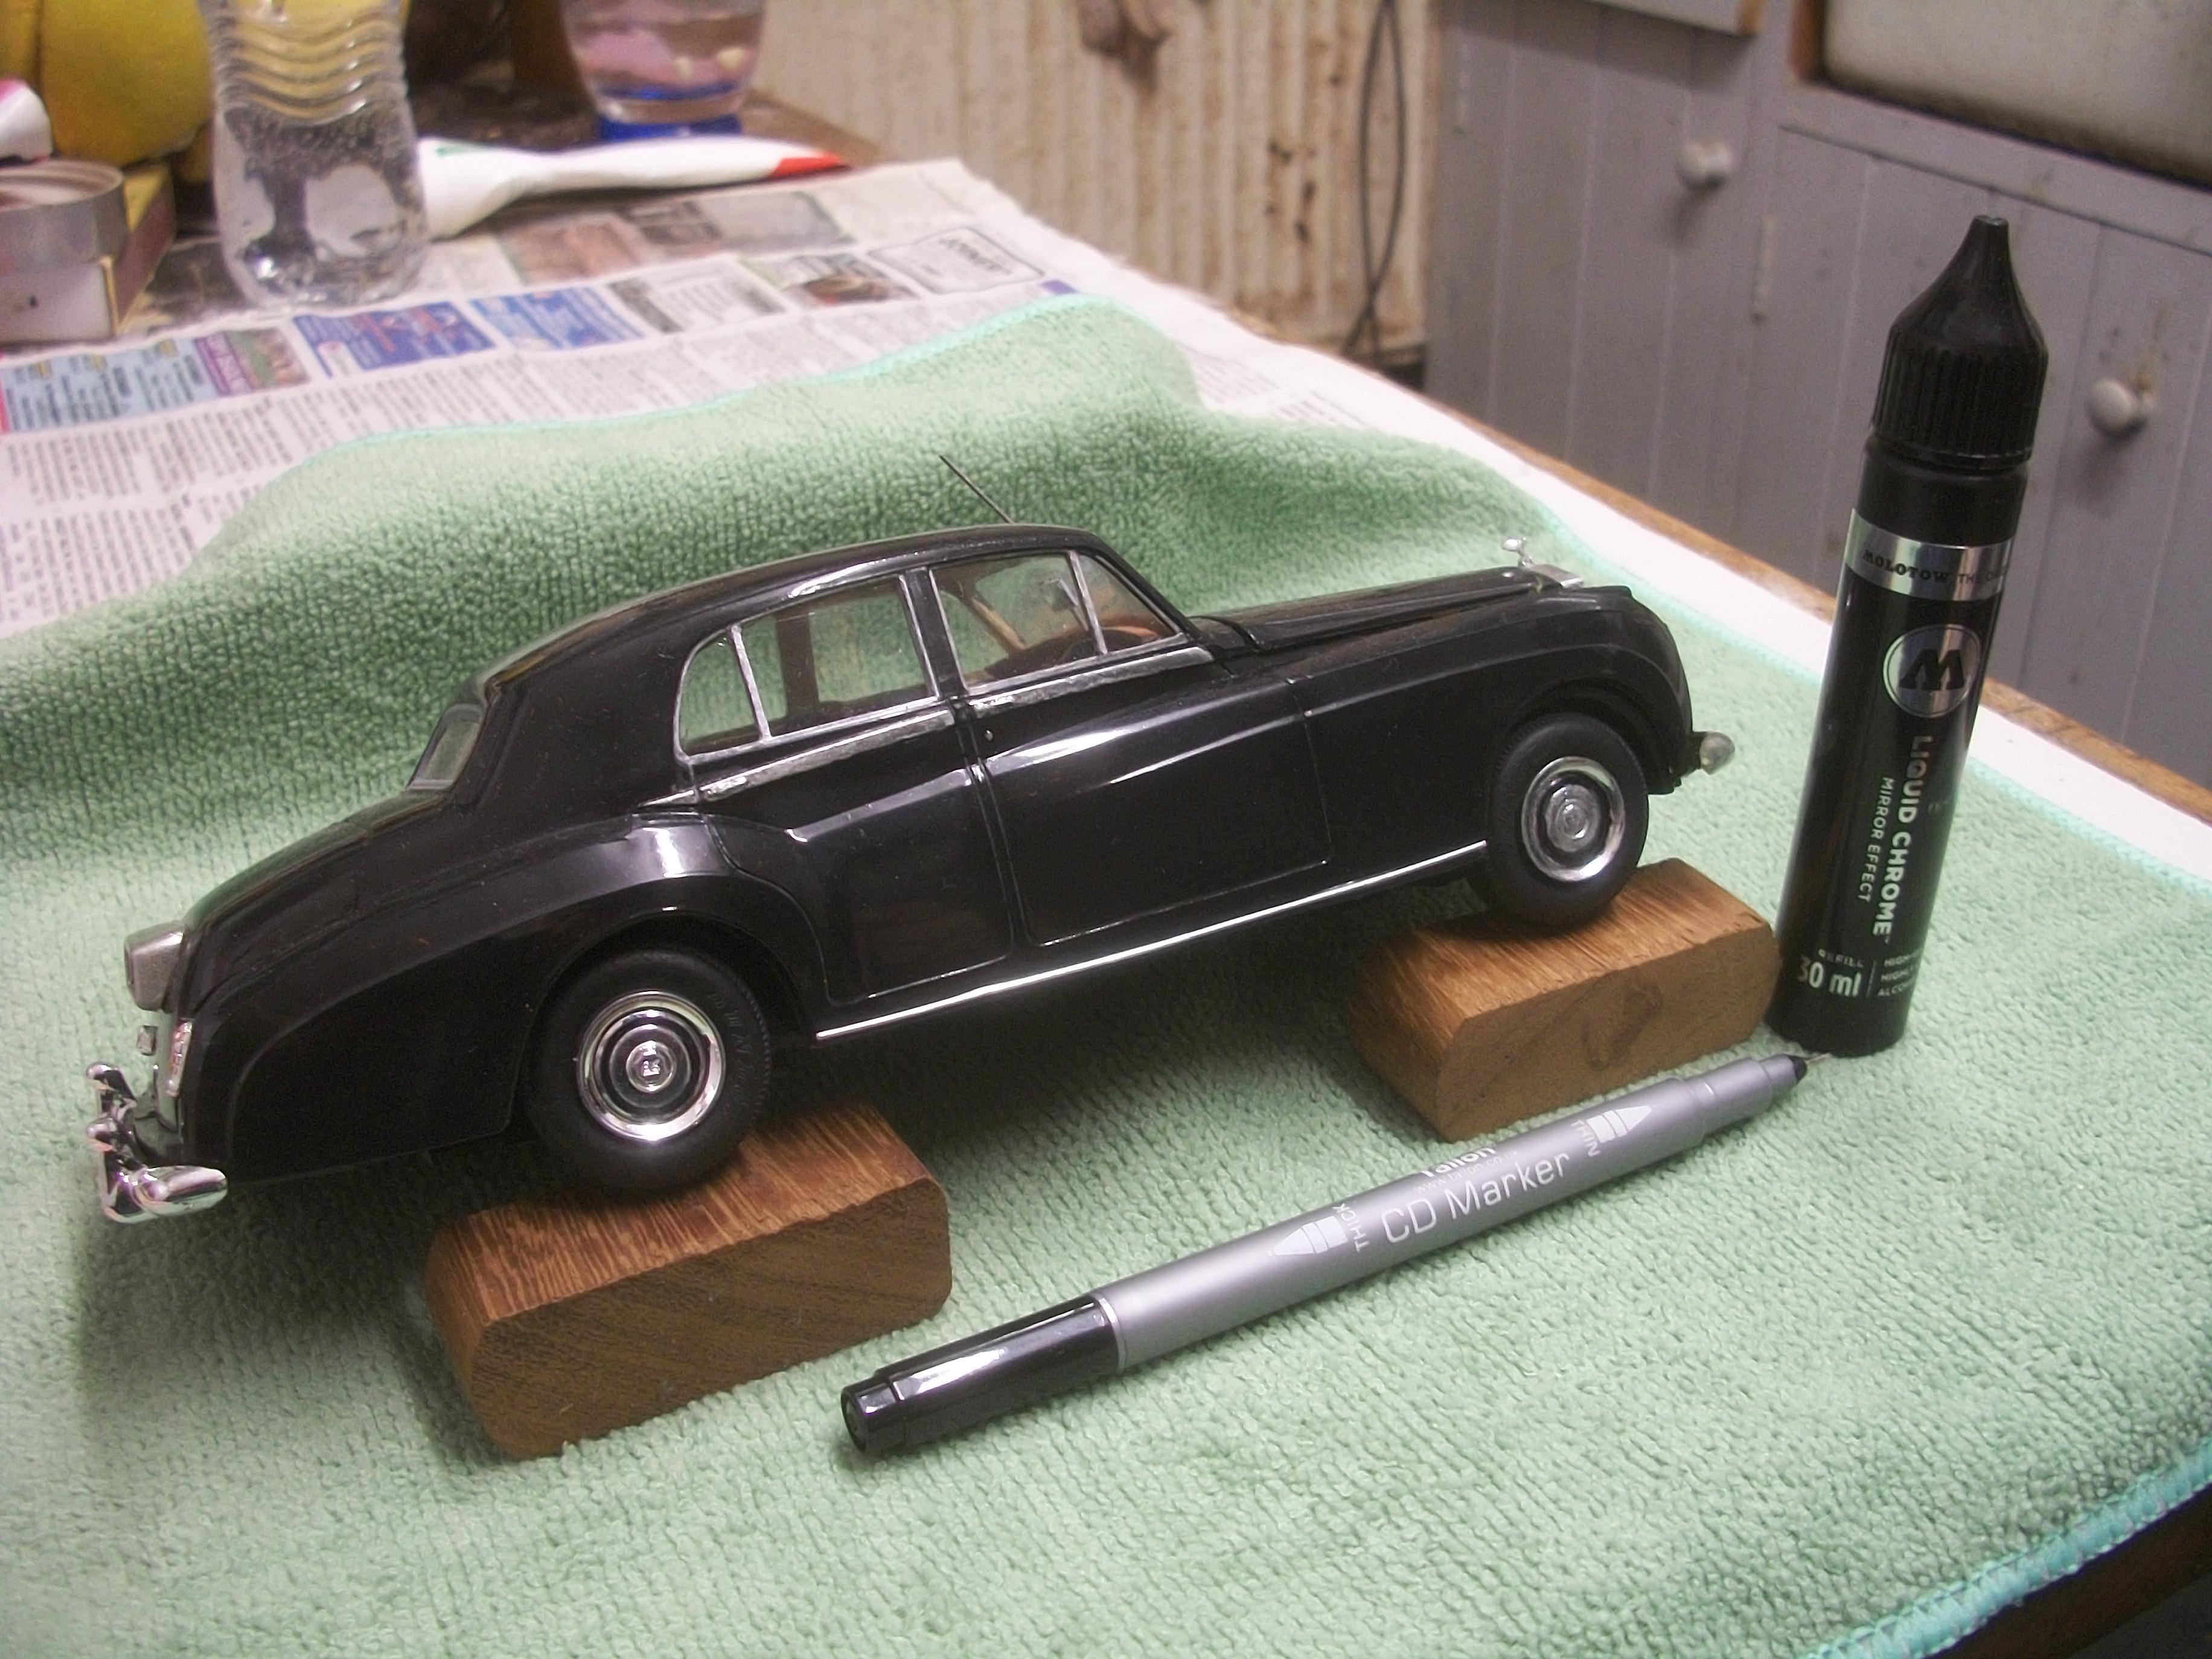
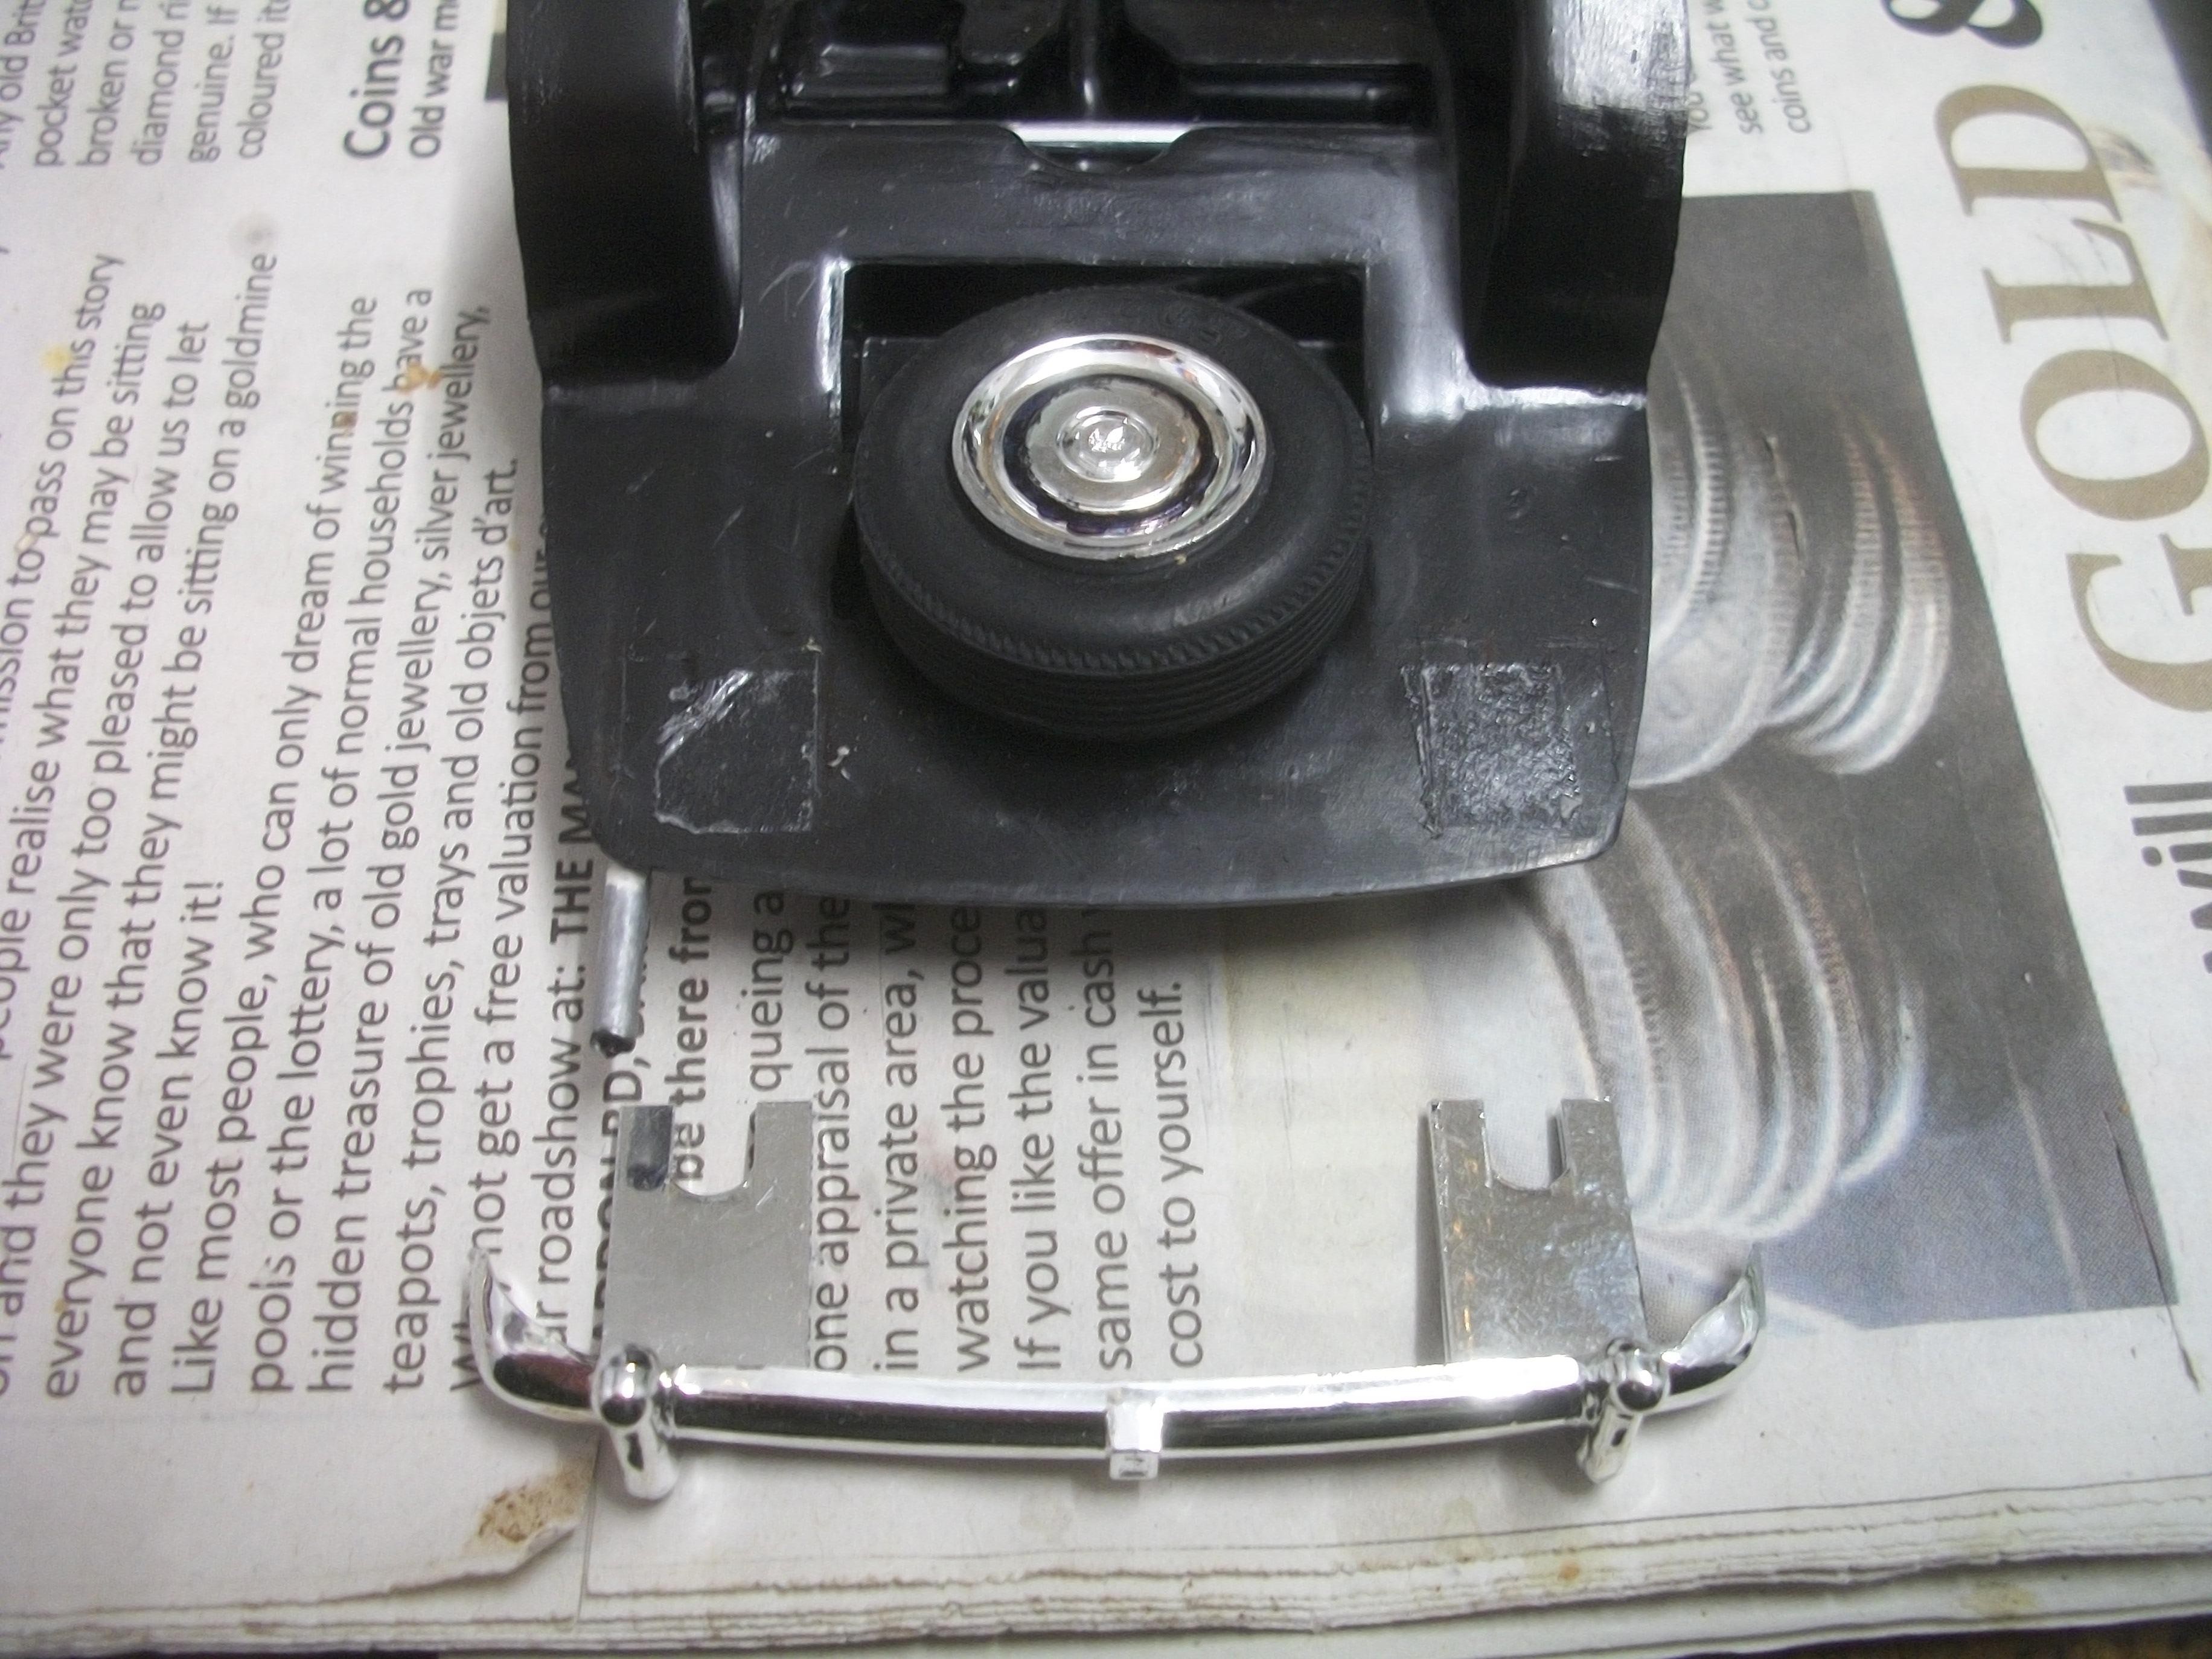
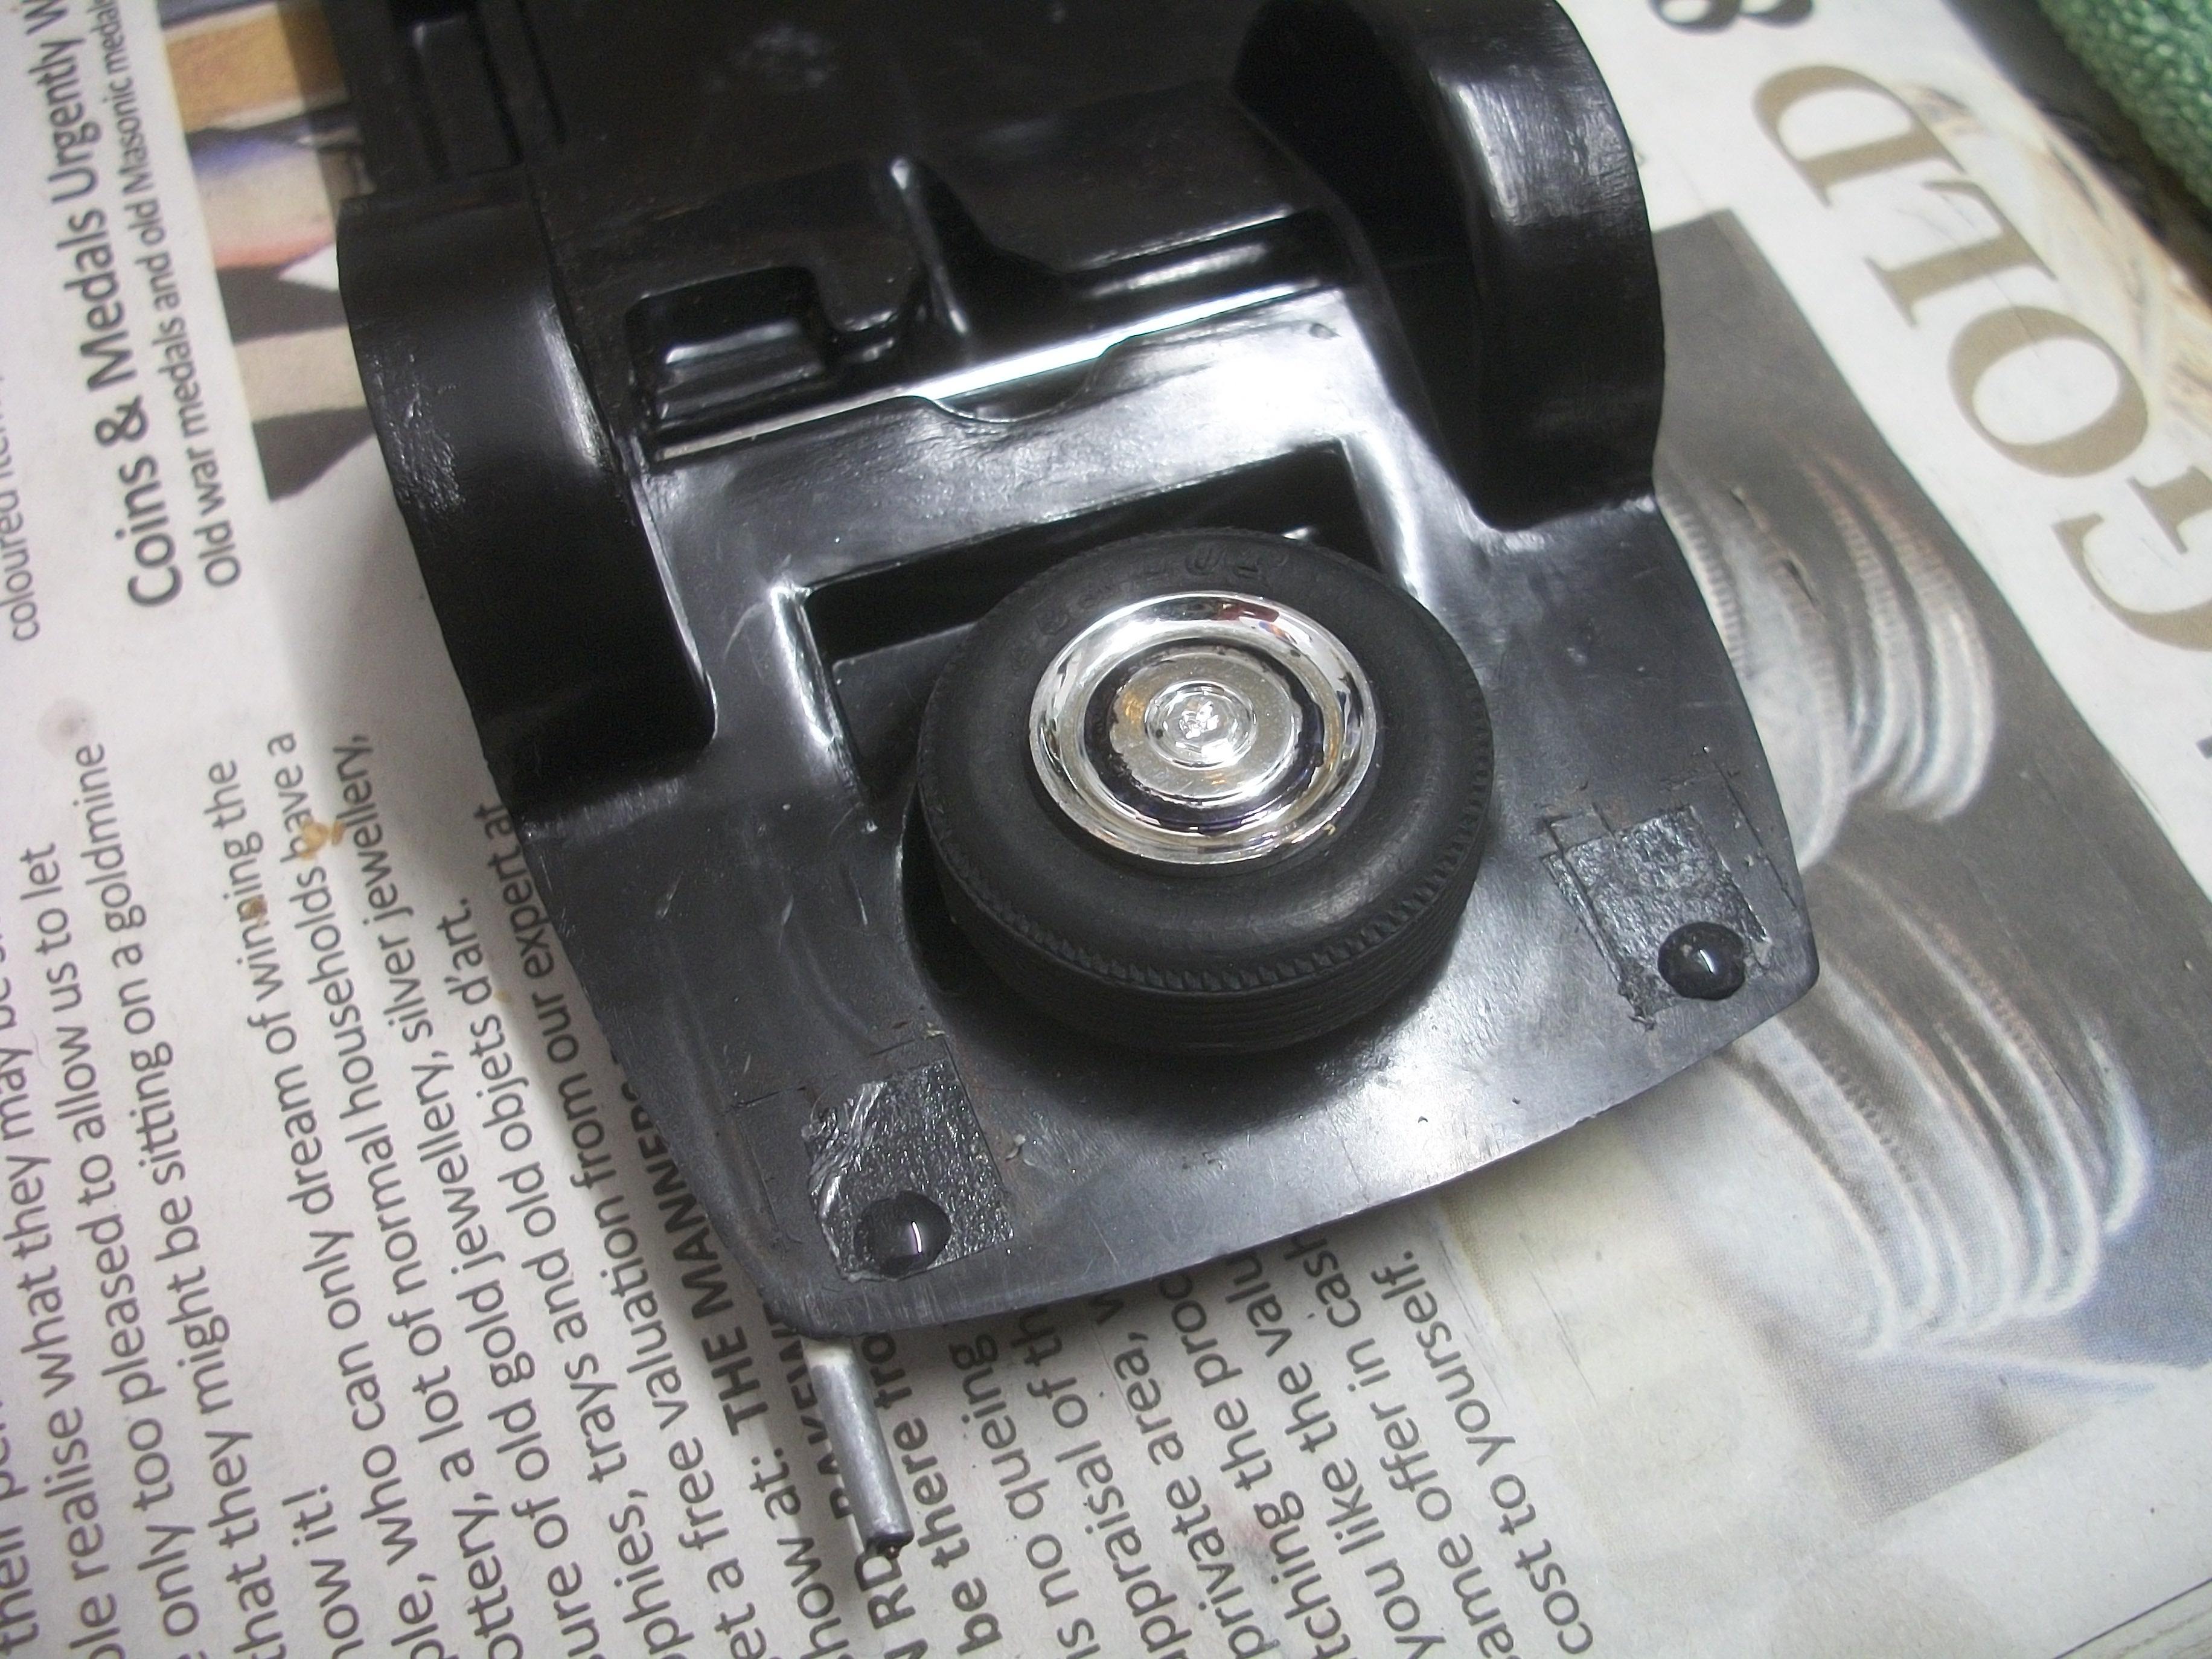
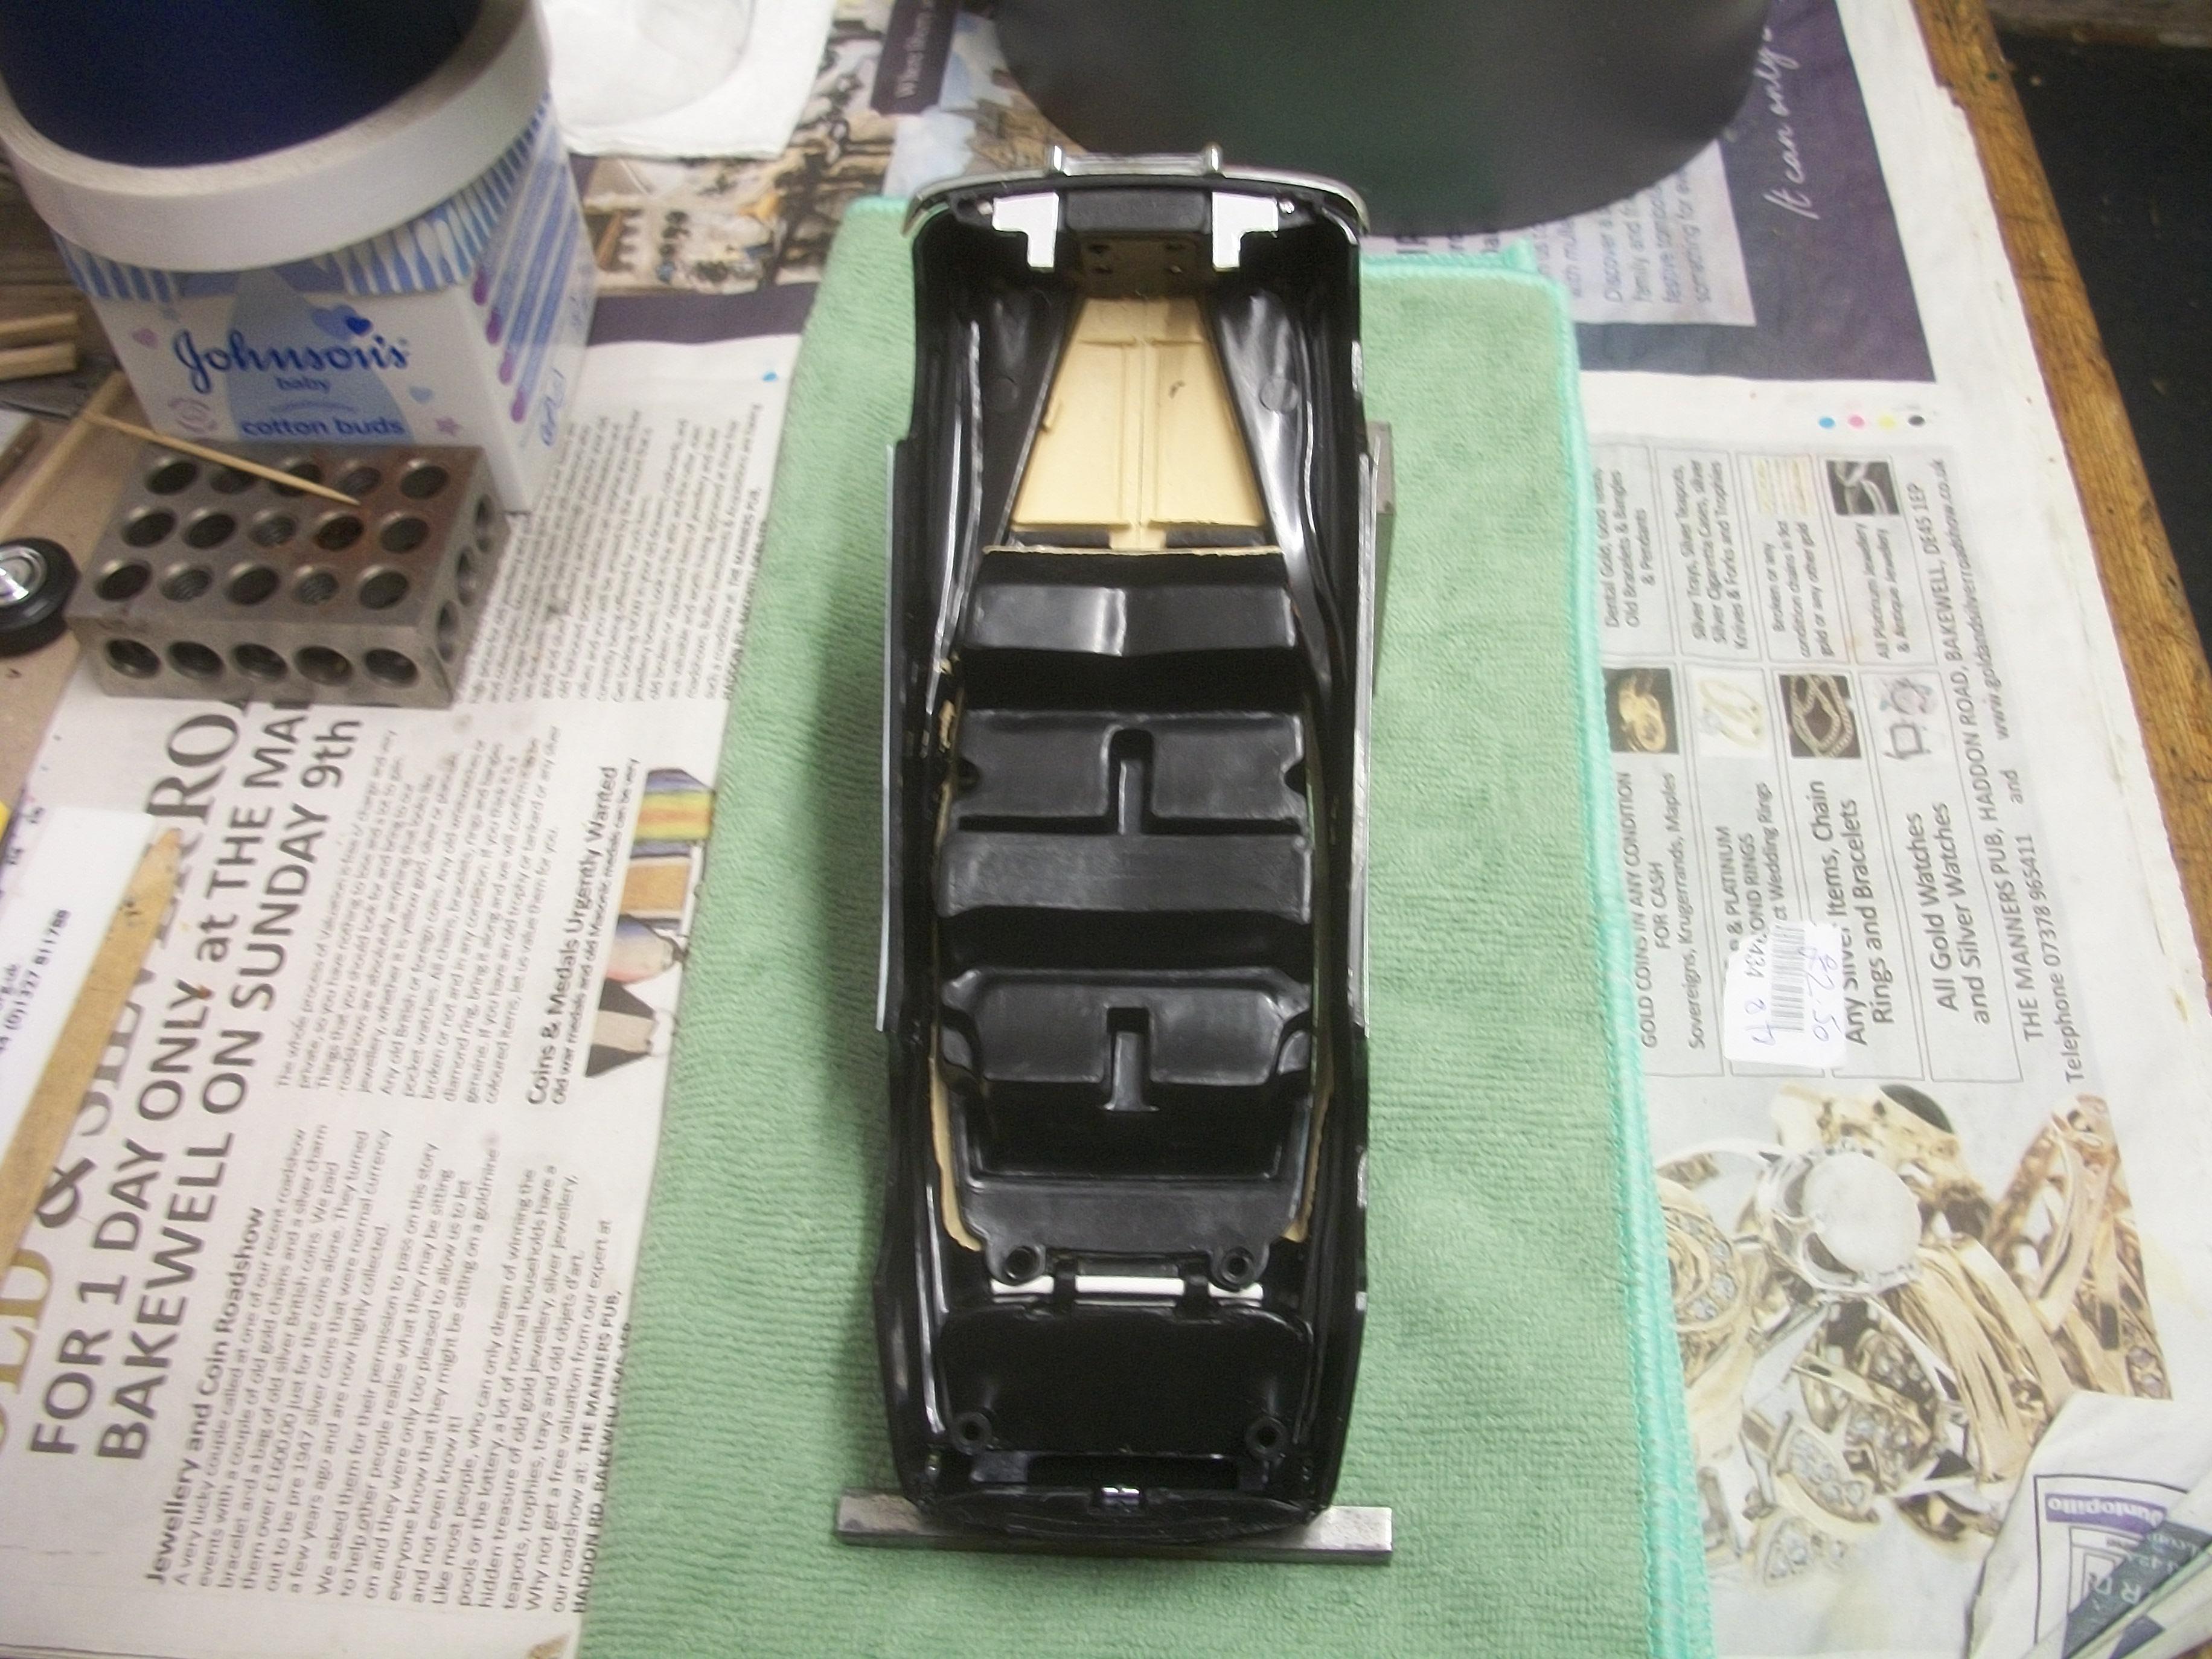
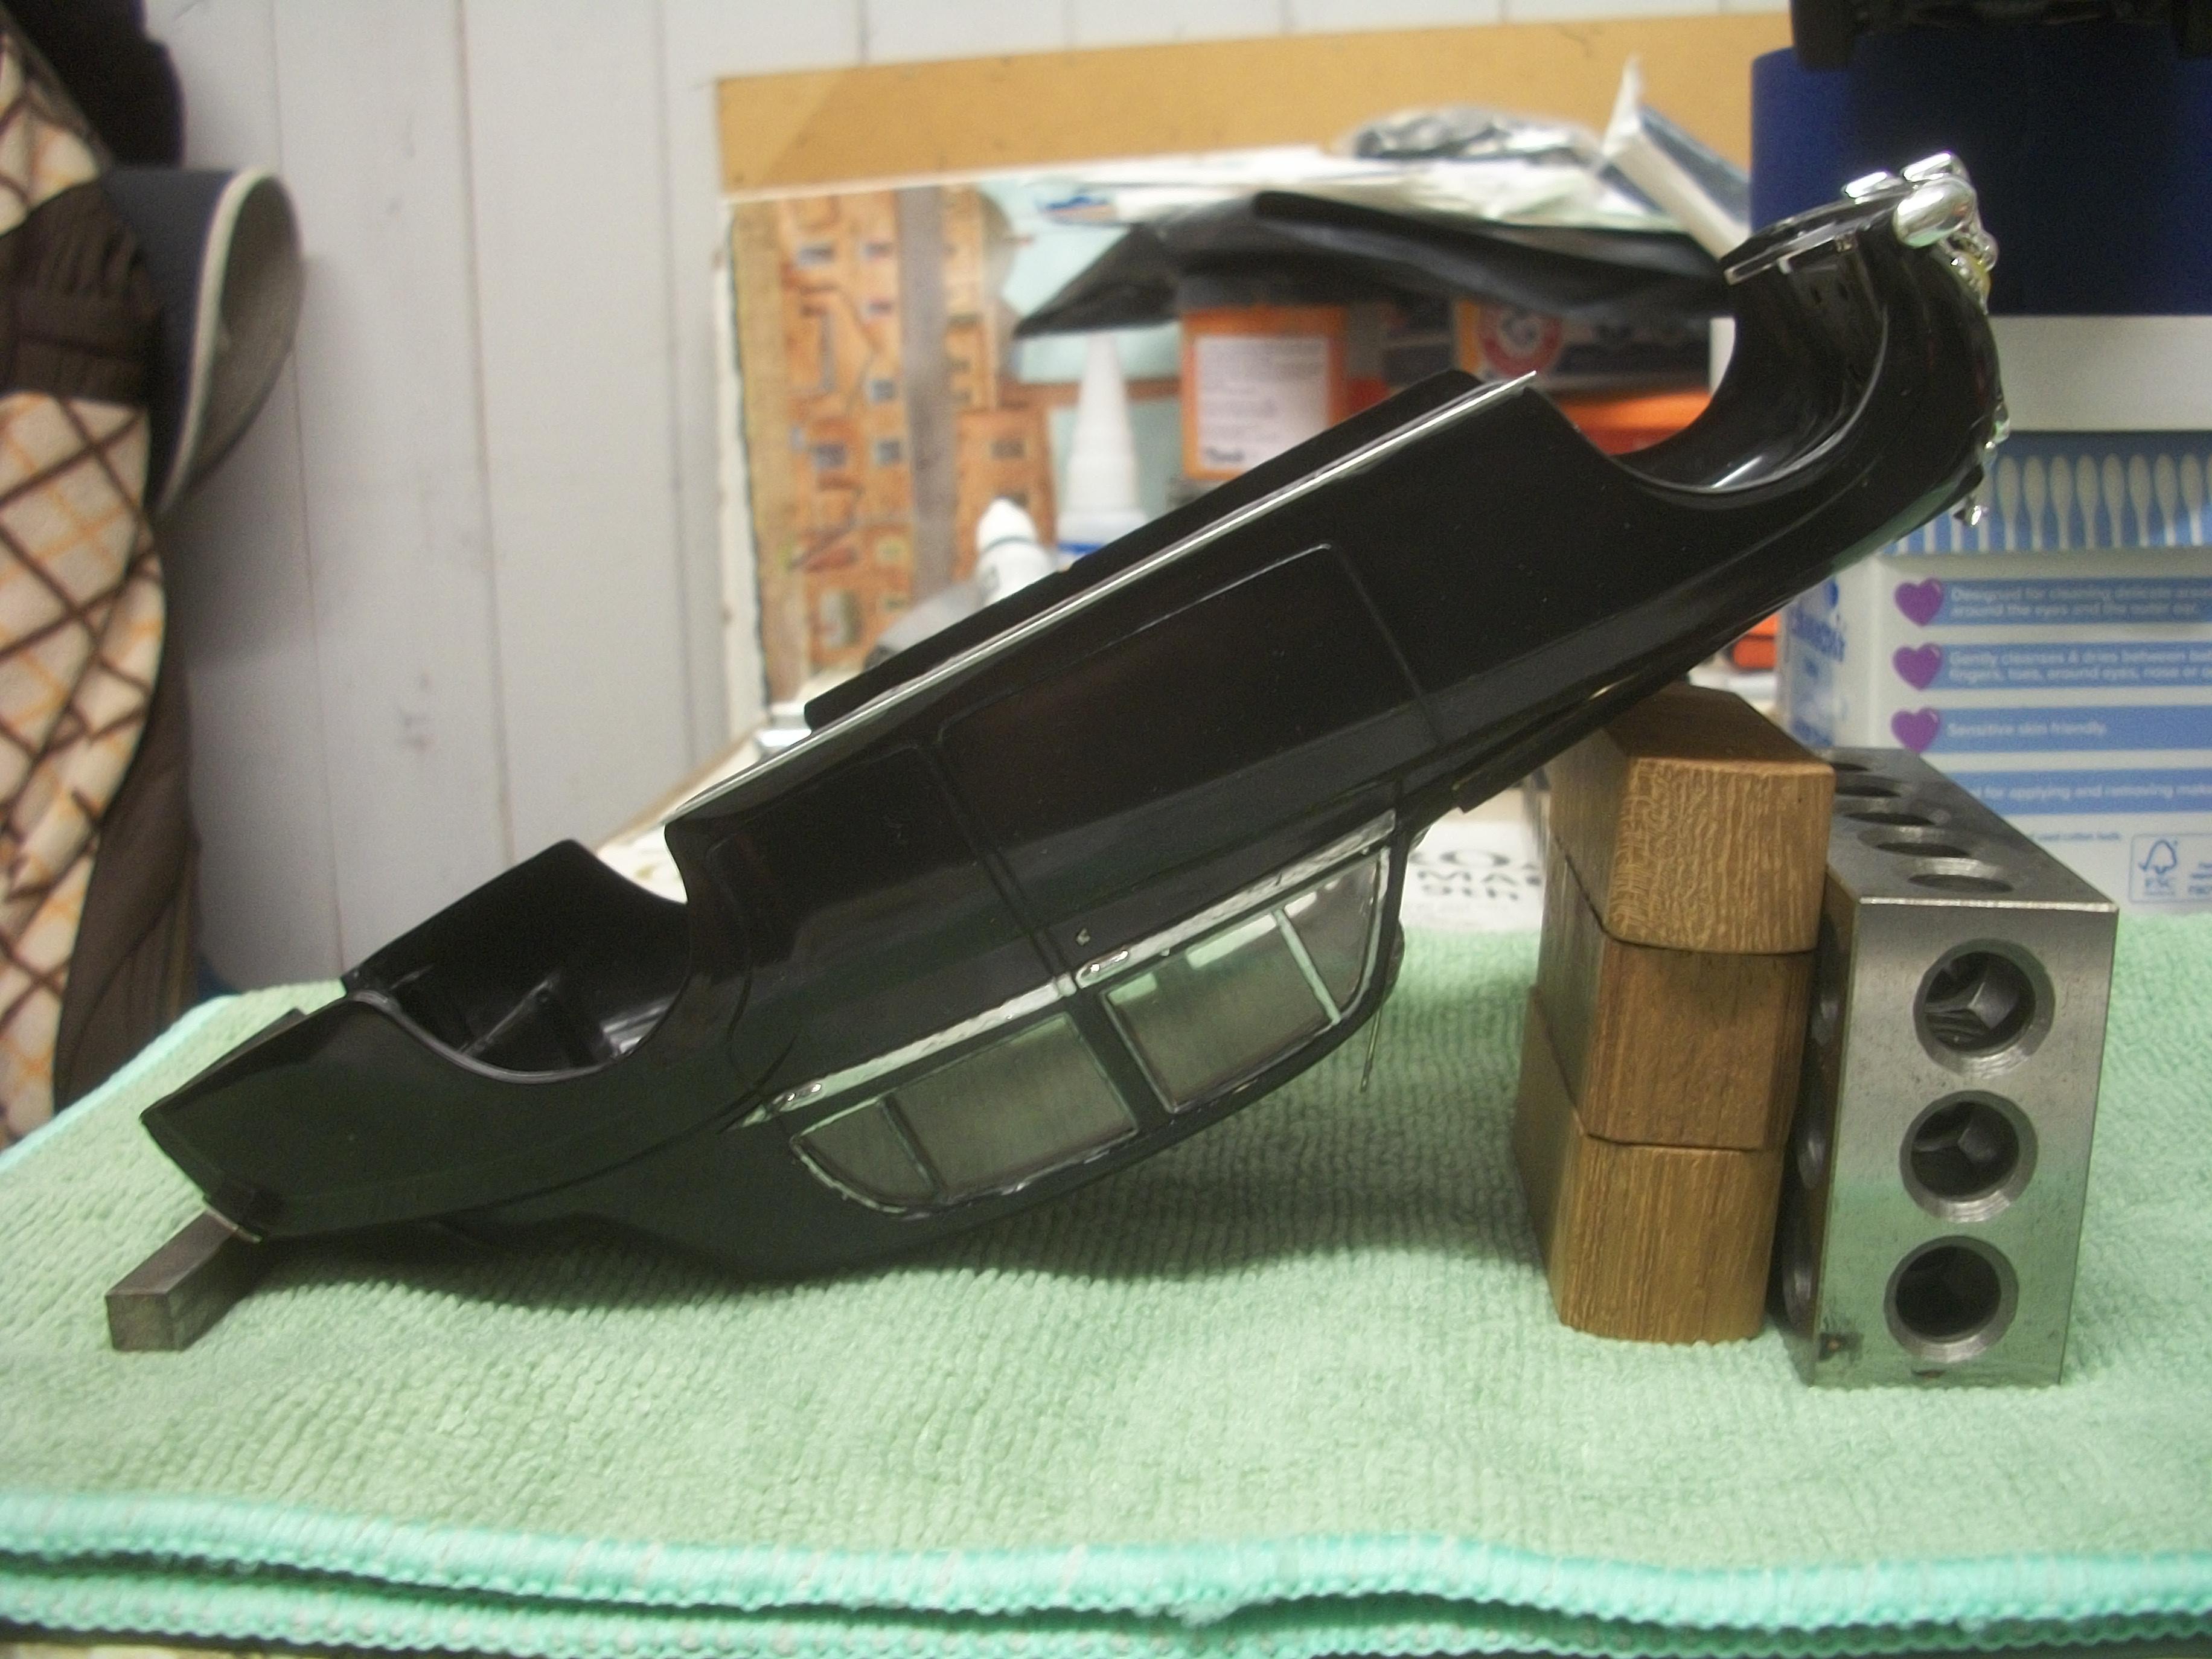
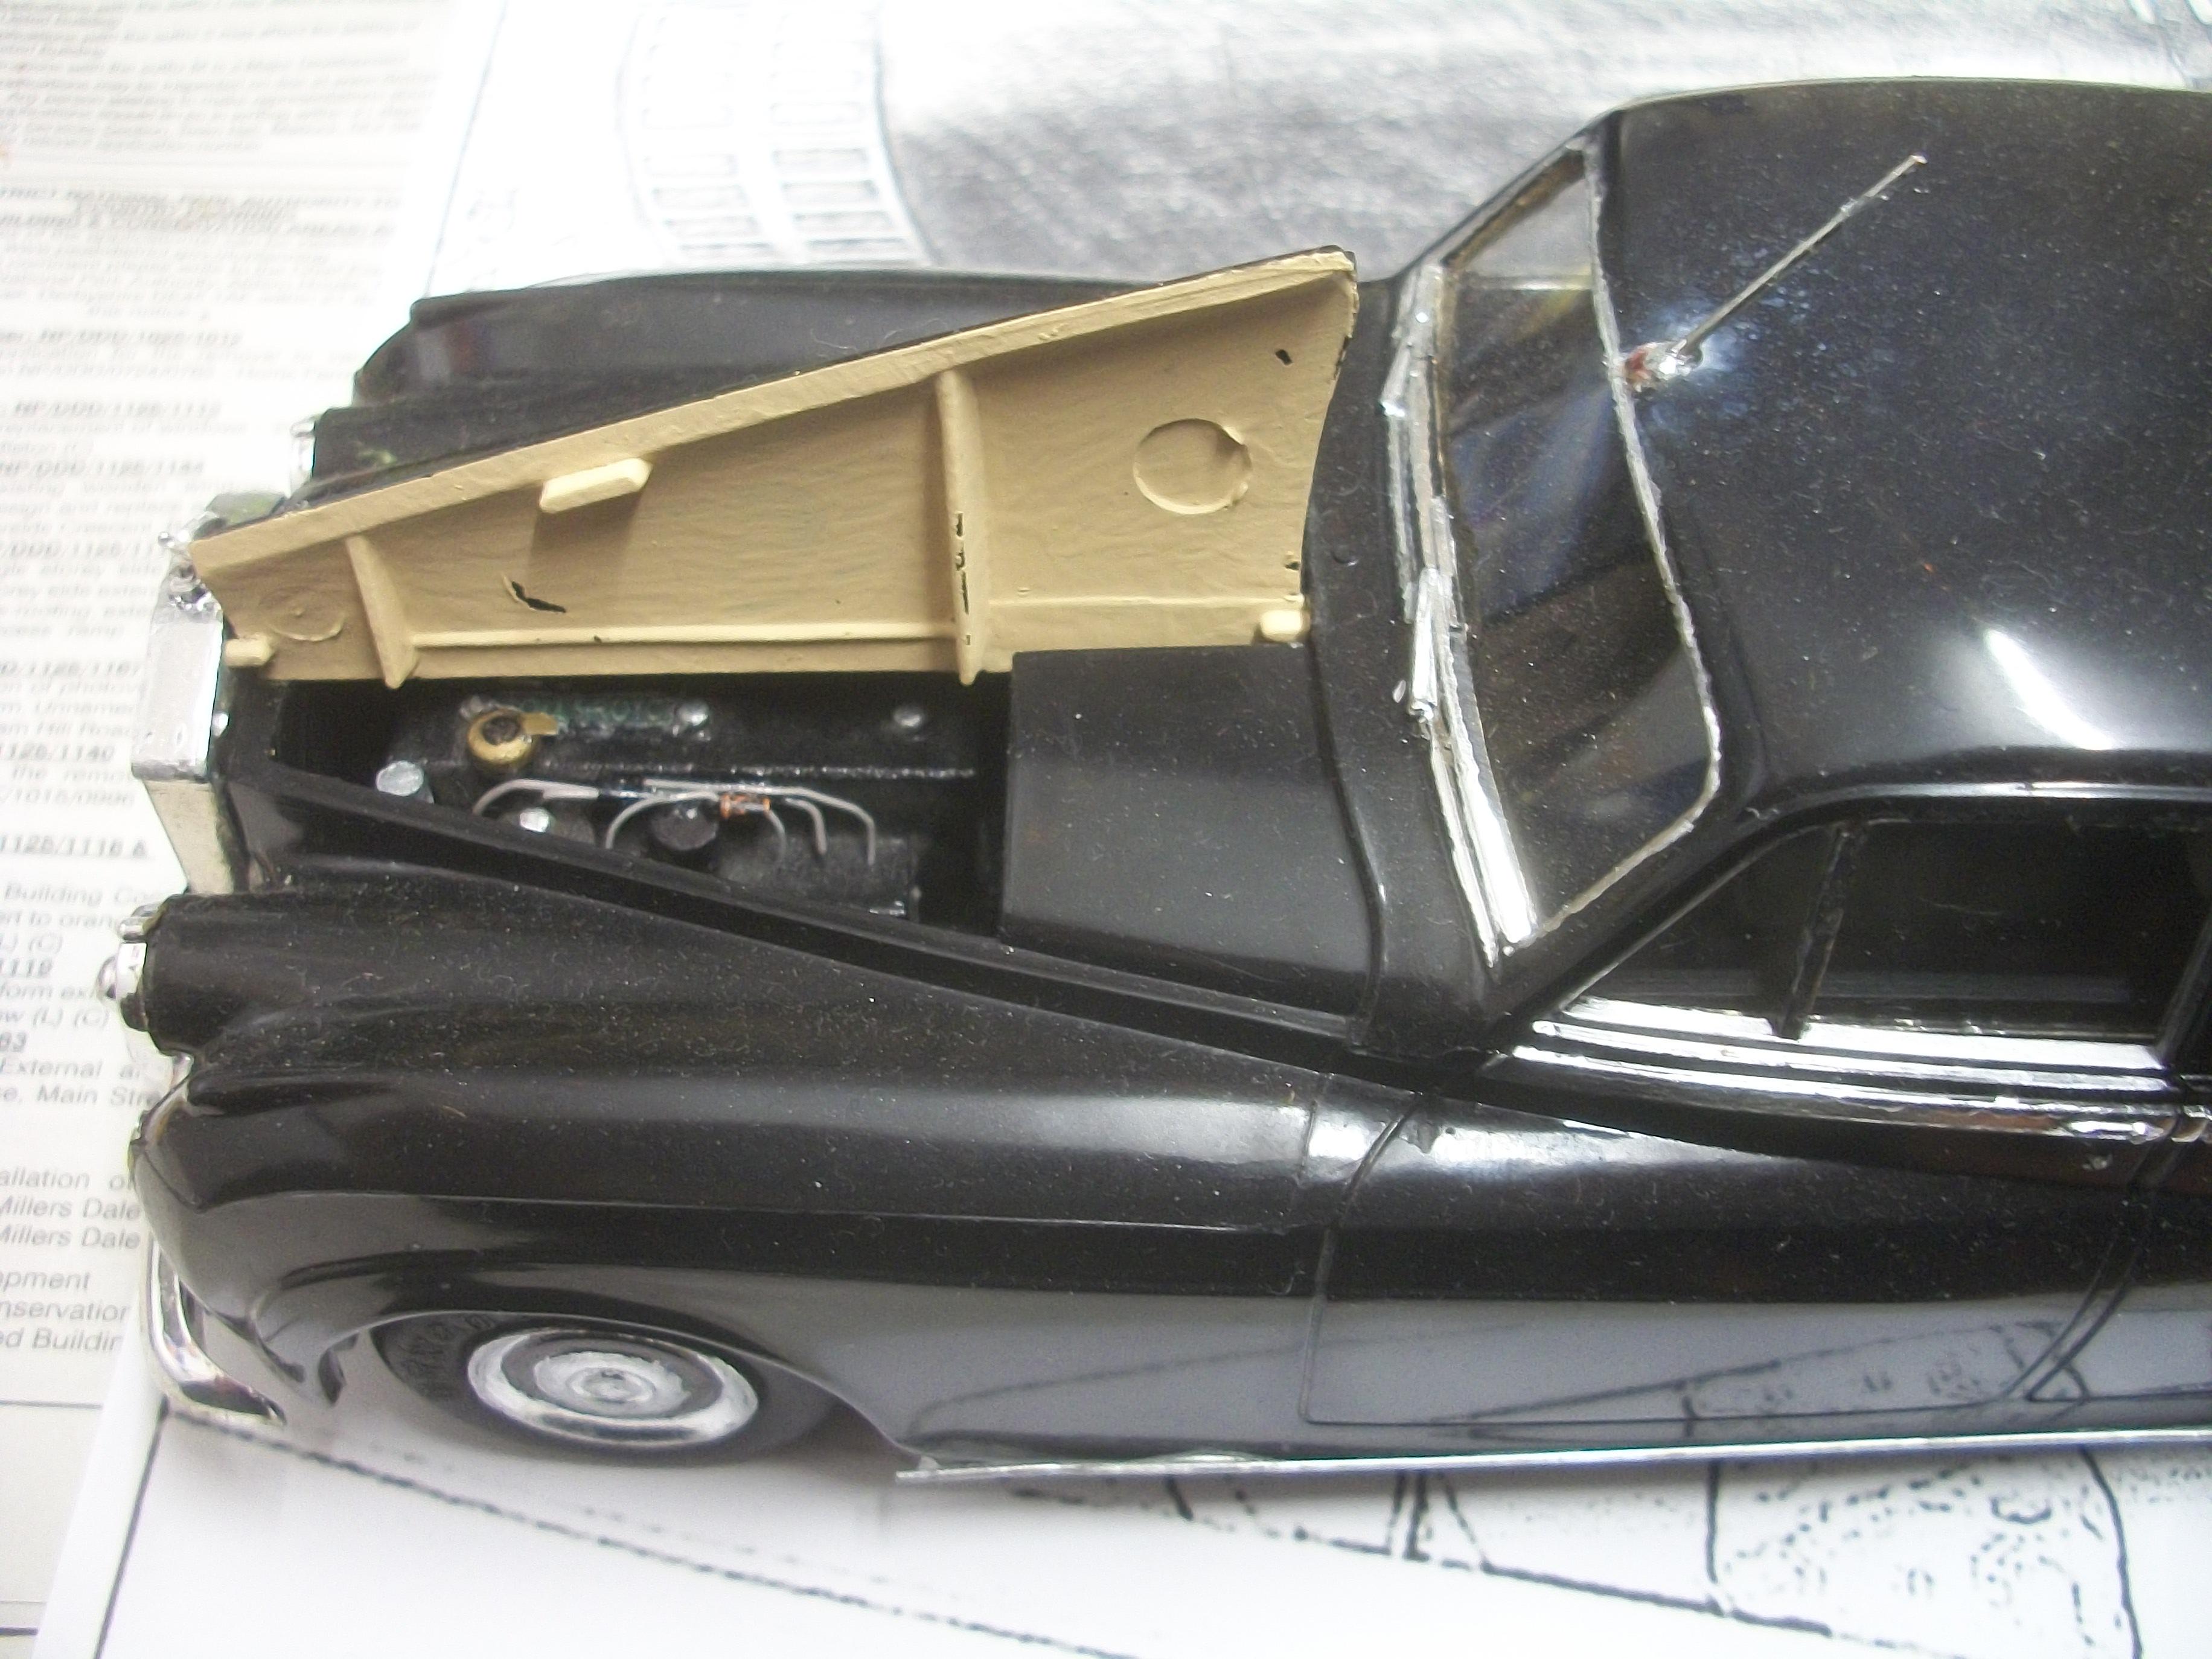
I managed to get two aspects of the build completed this evening . . . The rear bumper has been held in place on the chassis by double sided tape, purely as a temporary measure until it could be positioned correctly before glue was applied. Now the bumper is super glued in place, using two tiny dots of the offensive adhesive ! Then I moved onto the interior tub, which has been clipped onto the four locating pegs, two at the front and two at the rear. I decided to apply some PVA glue around each locating peg and allow the glue to run down into the gaps using gravity to do the job. This should secure the interior tub to the body, while still allowing access to the interior later if required . . . The PVA will be given 24 hours to set fully overnight. During the work on the interior tub the body was supported in such a way as to protect both the roof antenna, and also the Spirit of Ecstasy hood mascot. David
-
Excellent result Mark, and a fascinating story of the actual race that Mario Andretti won that day . . . Your home made decals could easily pass for boxed manufactured decals, and they were well worth the hard work that you clearly put in. You had to make several difficult decisions along the way during this build, such as the engine, the closed hood and the front suspension. All good in the end ! David J. Watson
-
Some tricky work going on there with mounting the wheels Mark, and I can see that you have done your absolute best with the paint polishing. Old decals can be a really difficult challenge to apply effectively . . . This model will display nicely when it's done I'm sure. I do like the blue and the gold together. David W.
-
Rolls-Royce No Chemicals, No Paint, No Harmful Glues
Anglia105E replied to Anglia105E's topic in WIP: Model Cars
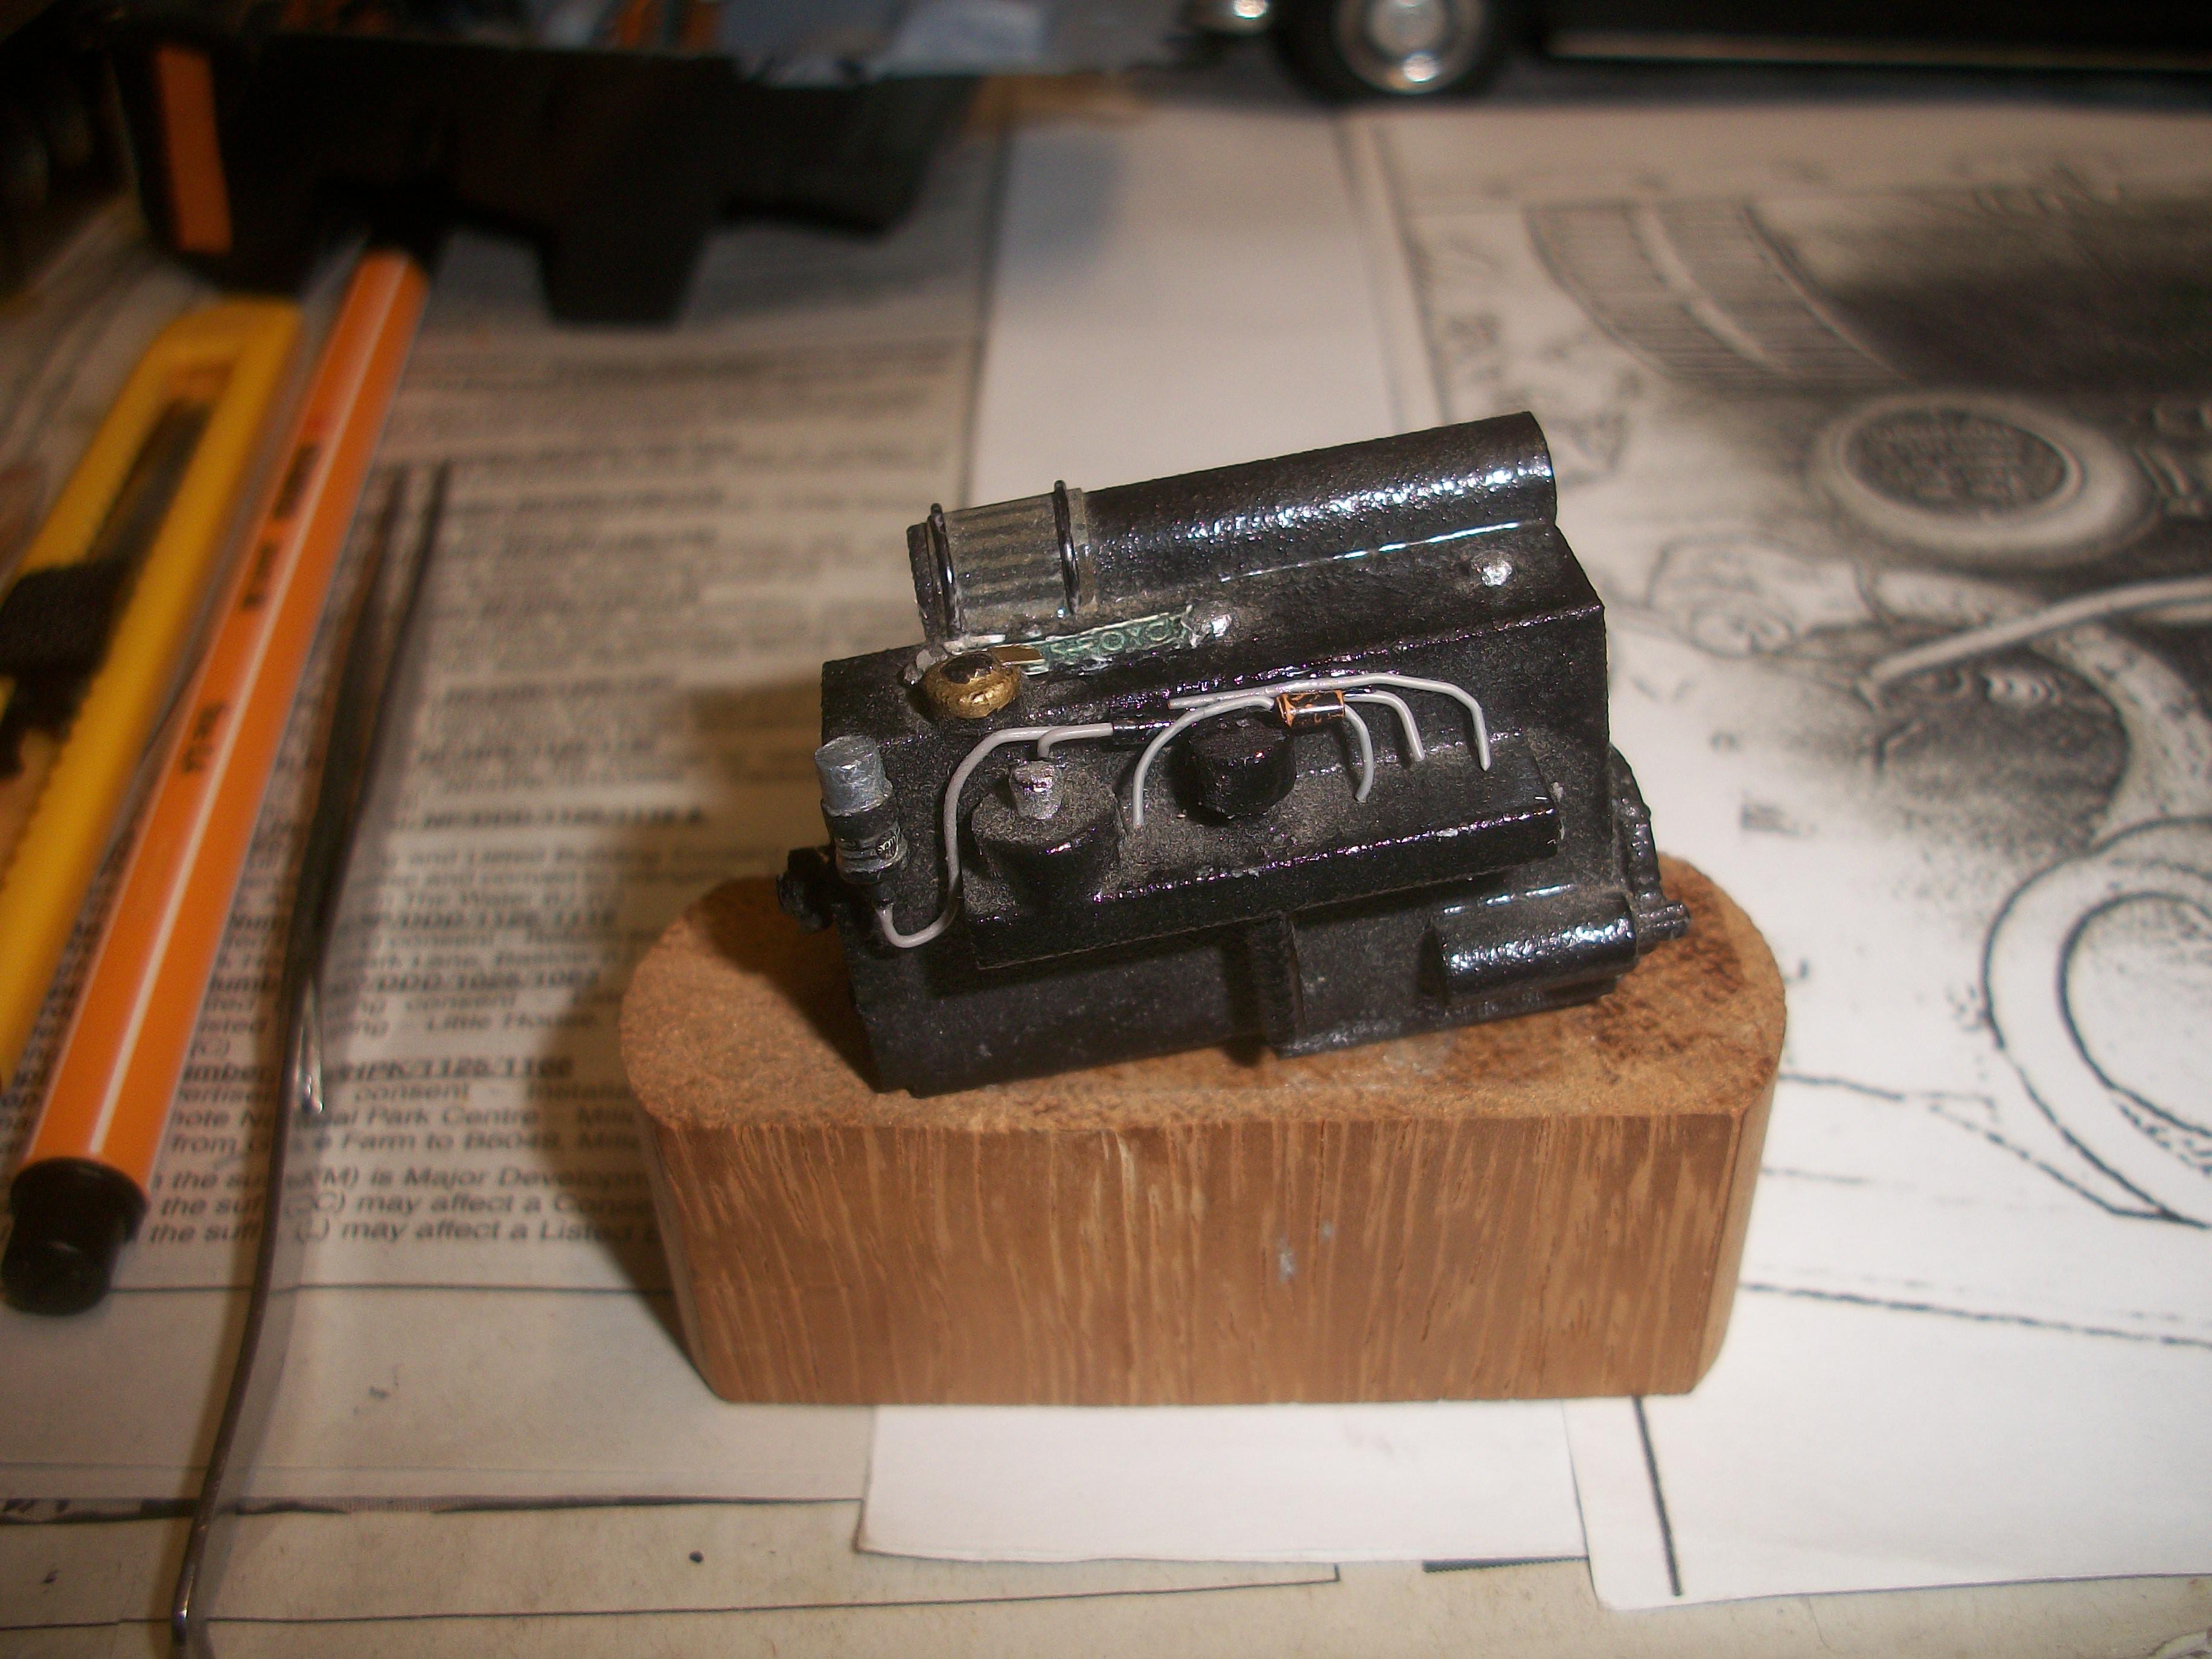
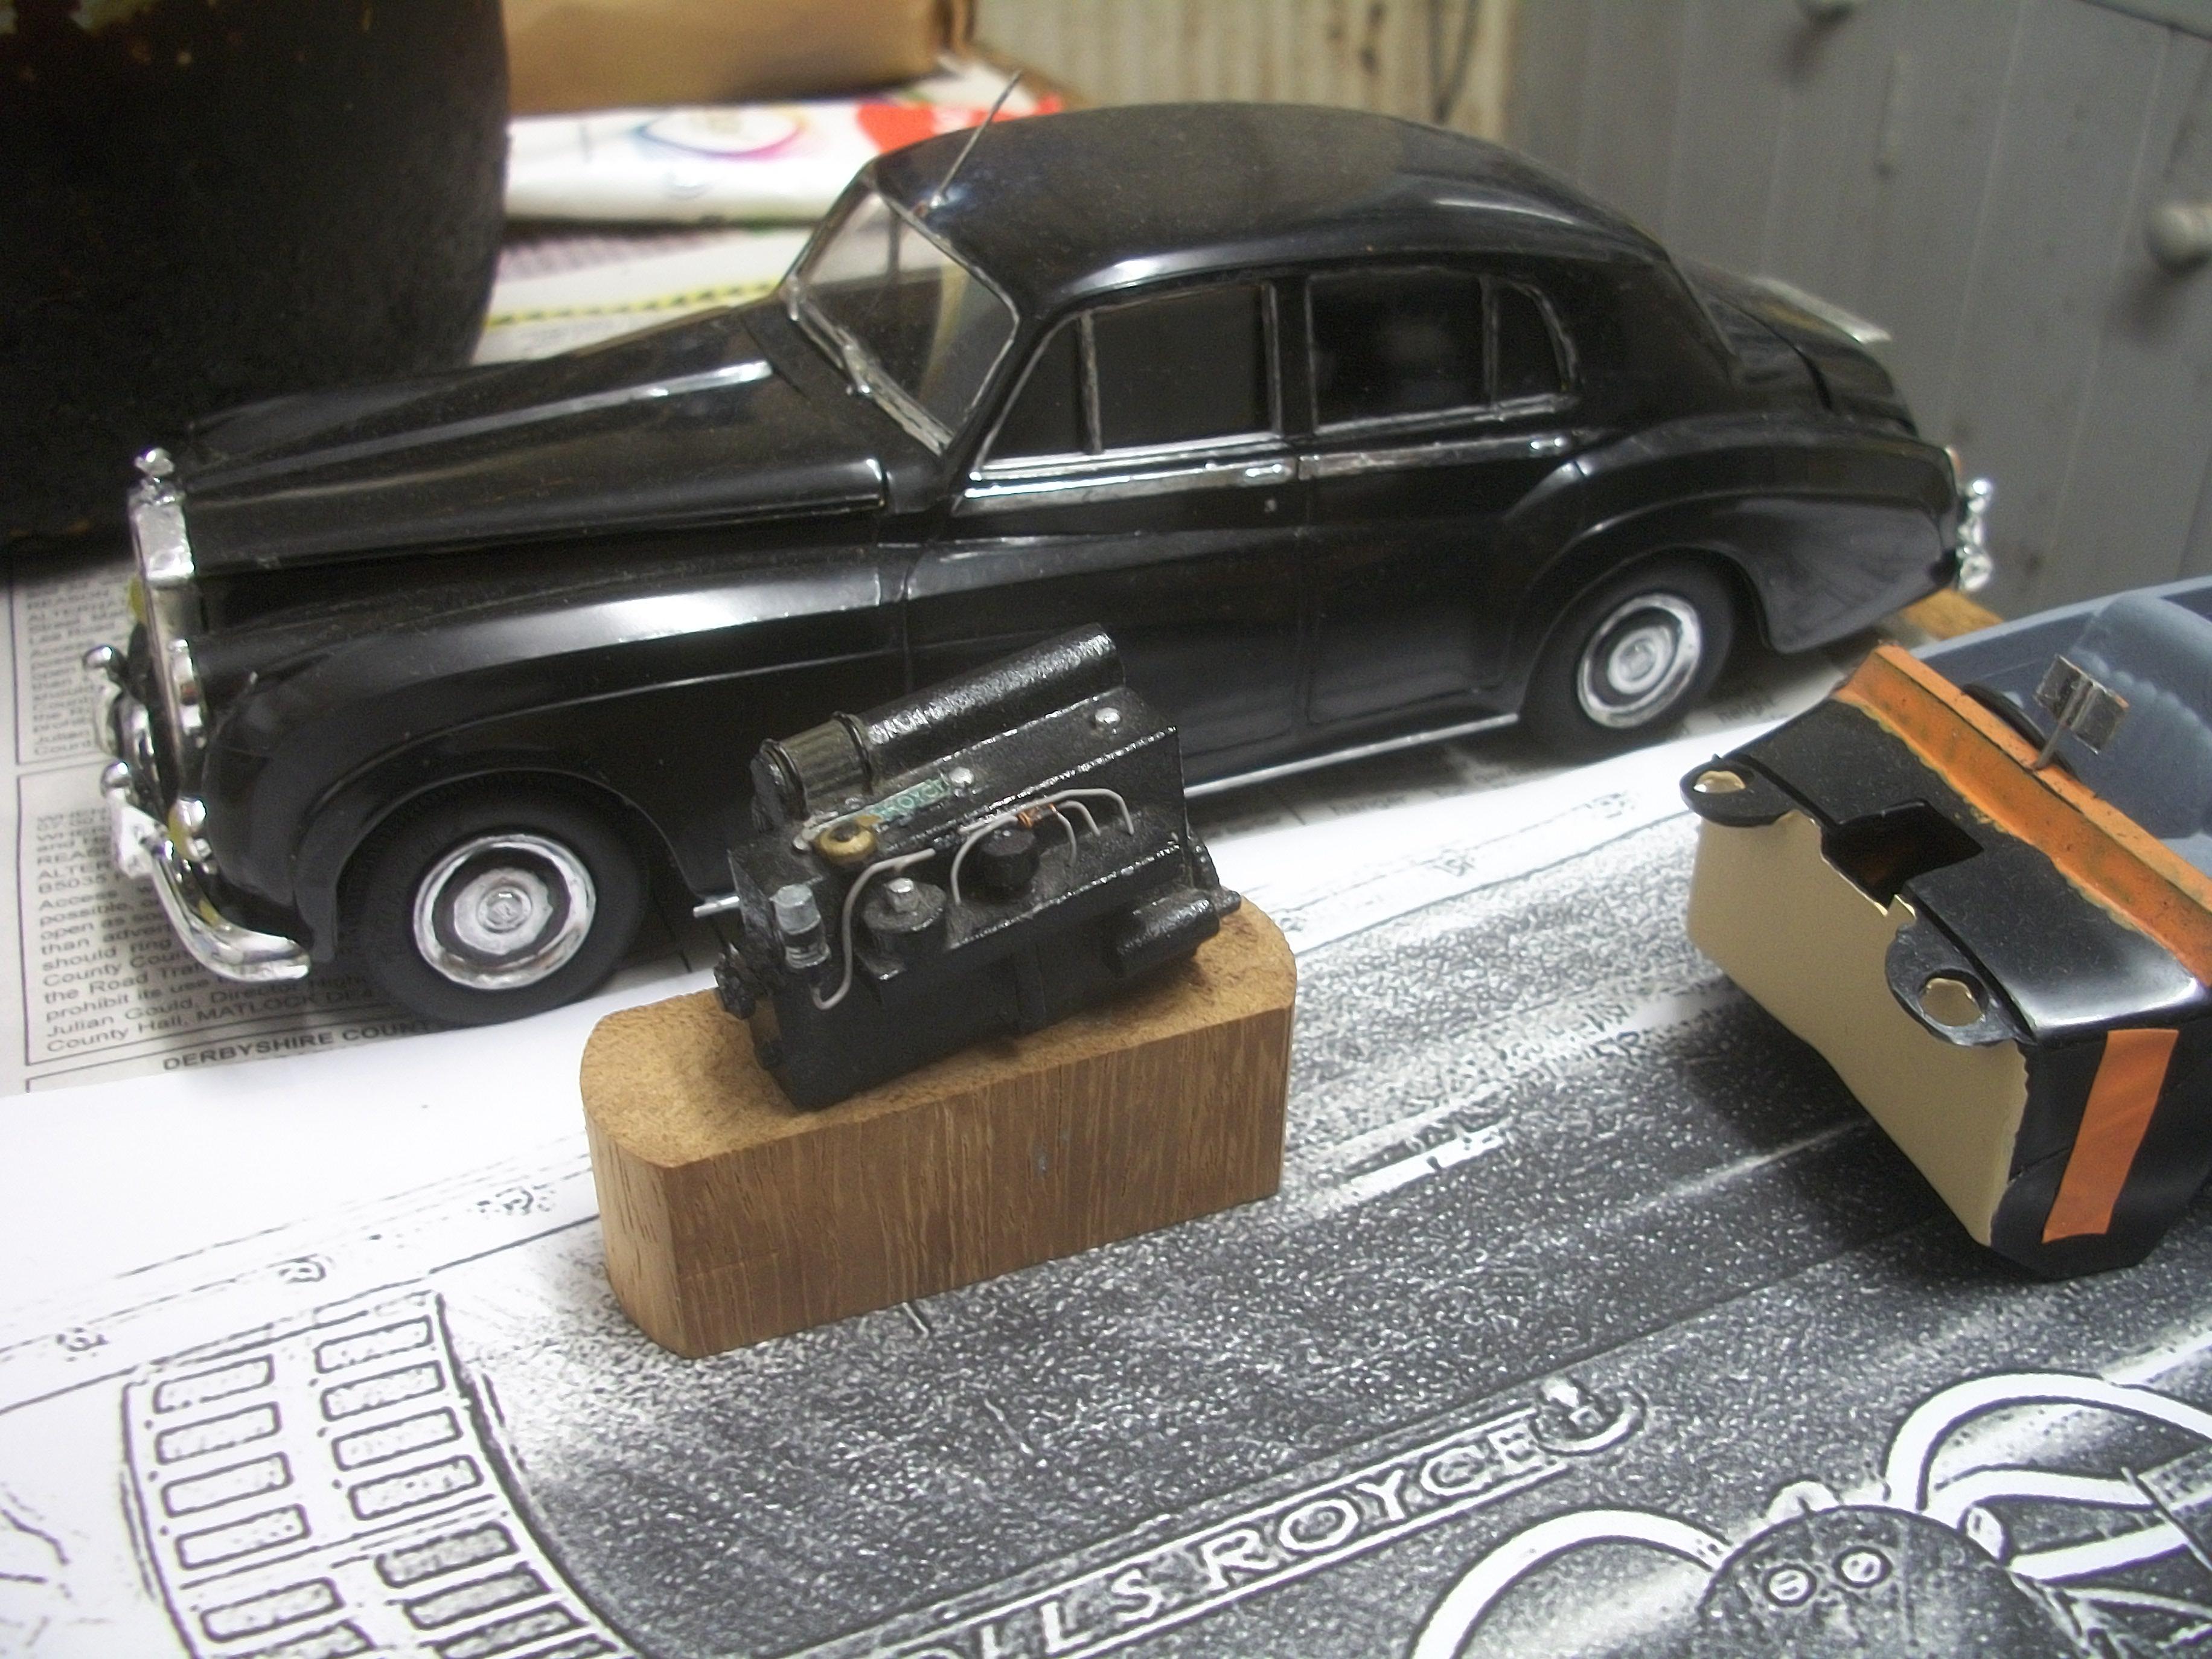
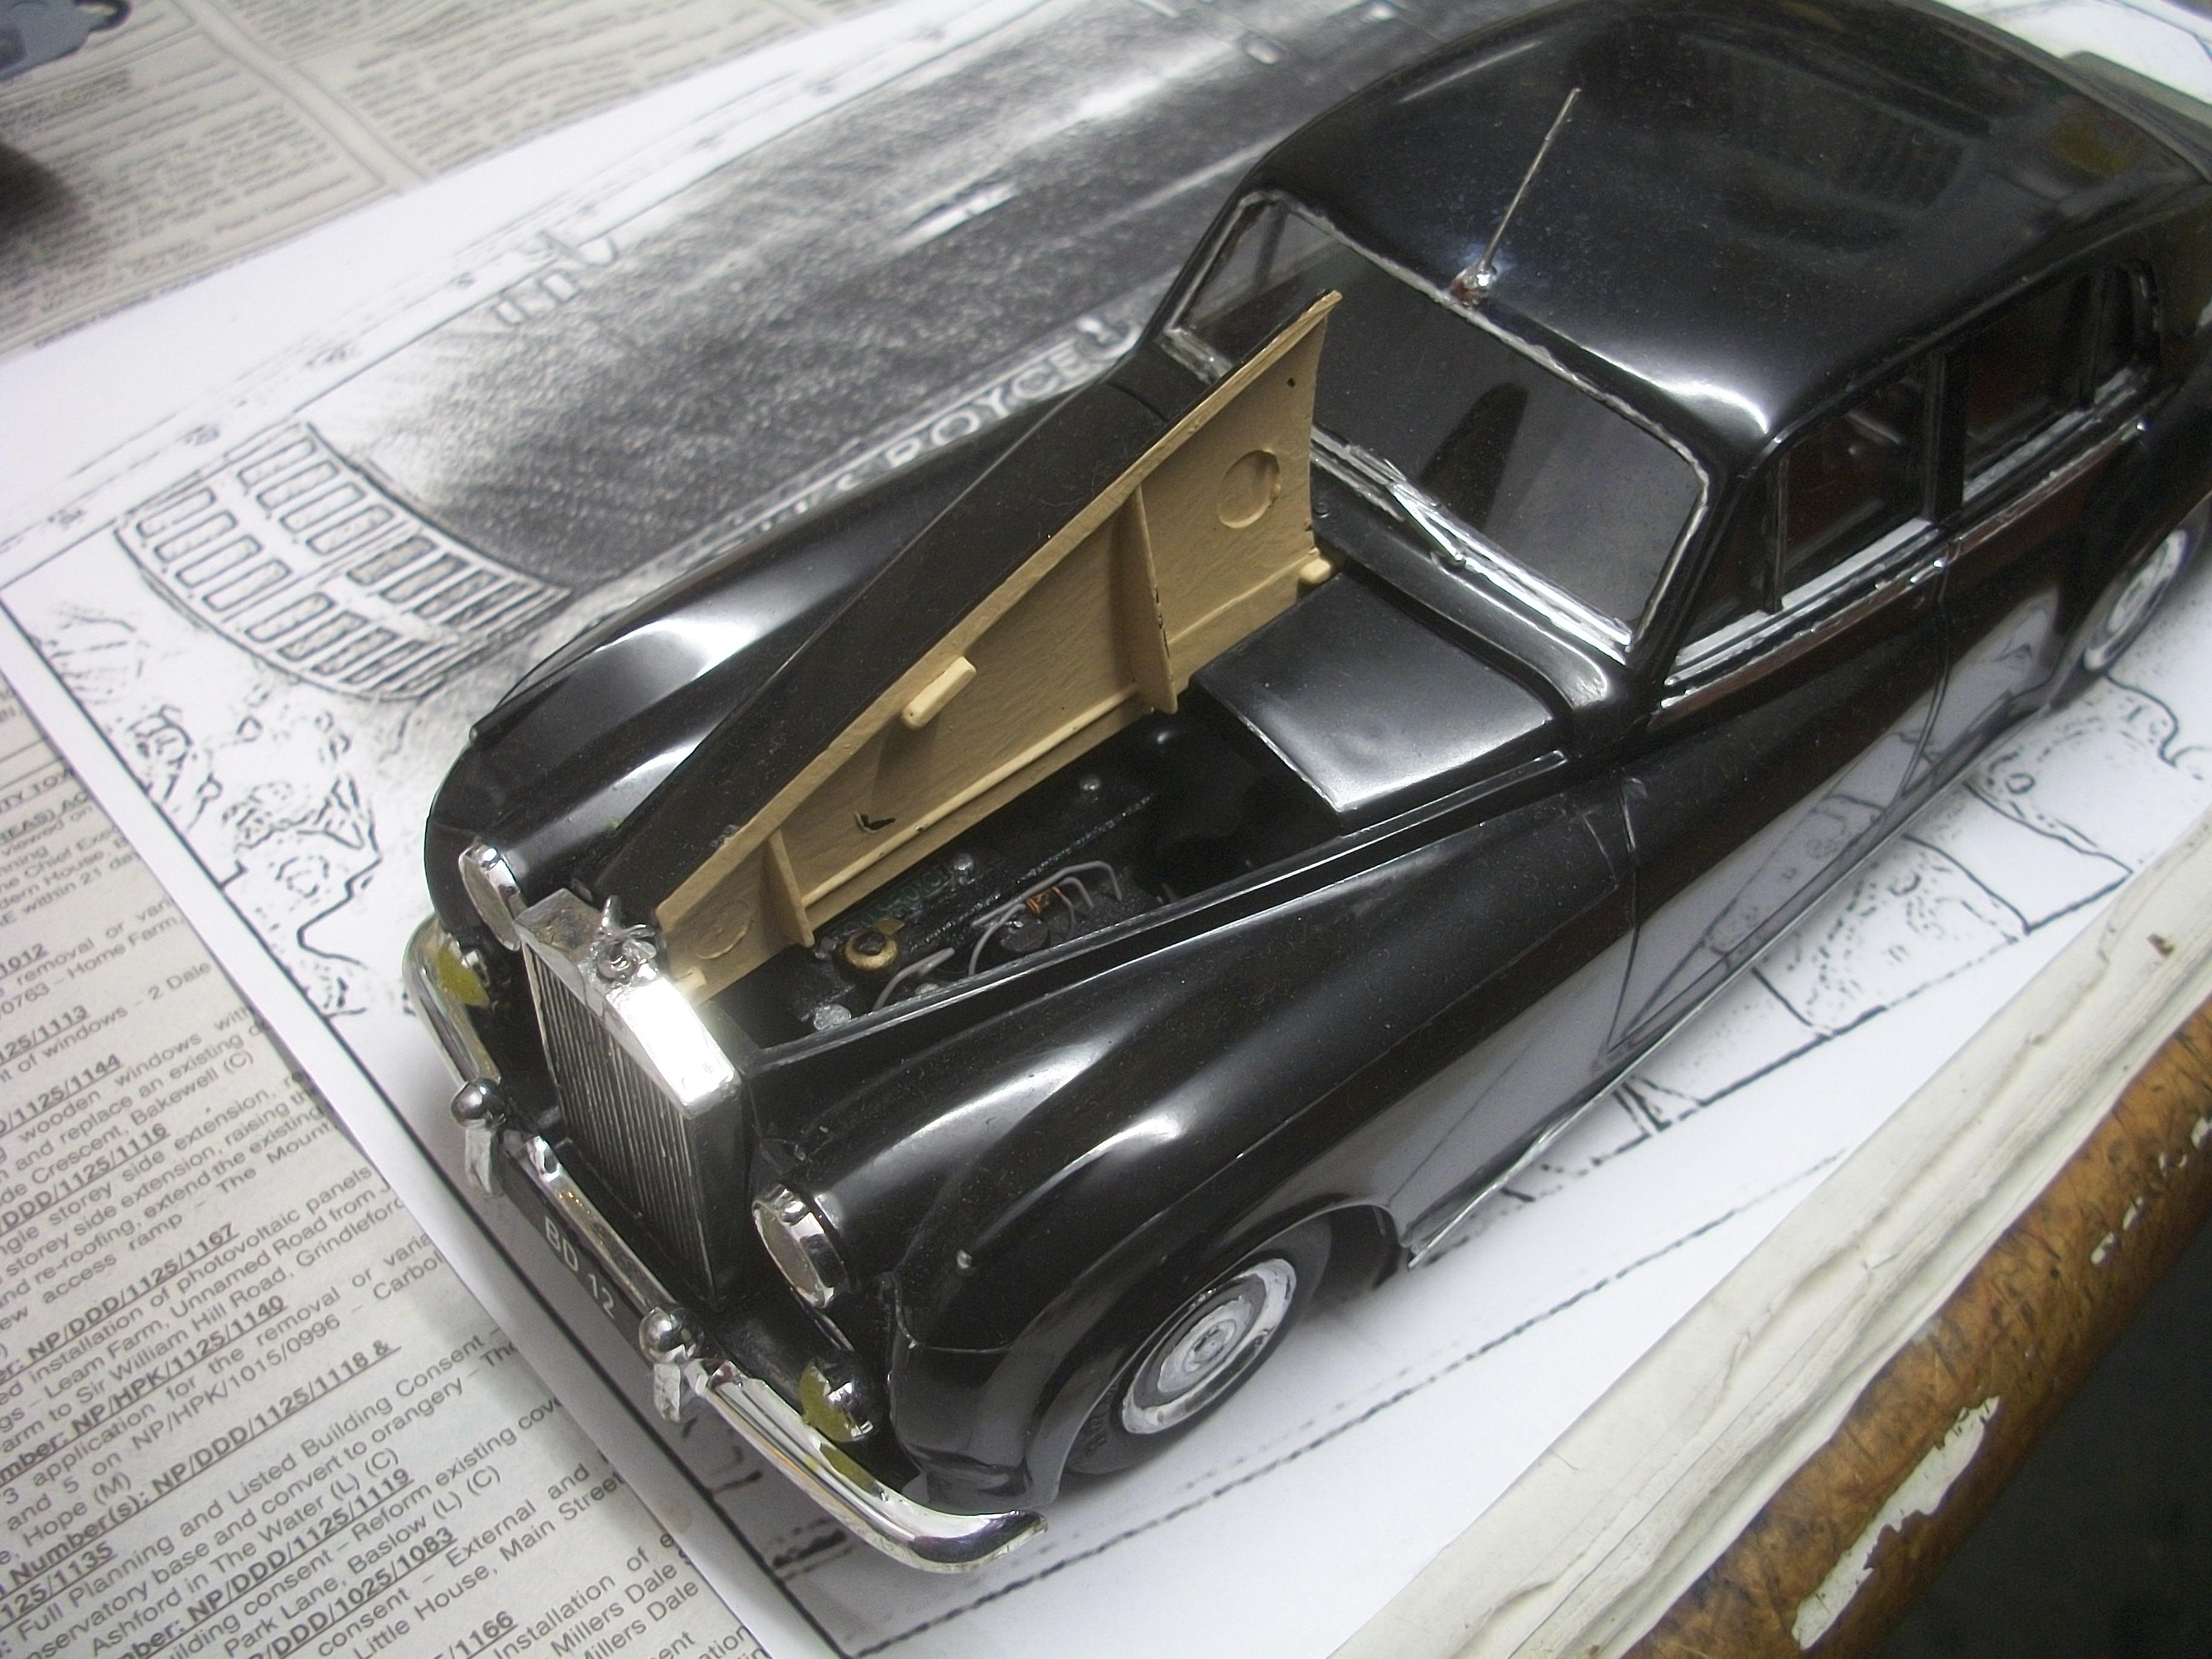
This evening I was able to get a little more engine detail done, and although not a great deal, I am slowly adding a few tiny components to the engine. Here are a few photos of the engine test fitted in the engine bay of the car . . . David
-
Rolls-Royce No Chemicals, No Paint, No Harmful Glues
Anglia105E replied to Anglia105E's topic in WIP: Model Cars
Thank you Mark . . . It was mainly as a result of useful suggestions by yourself and John Rourke and also Les Budge that brought me to this point. Without the use of the hollow punch set of hole cutters I would not have achieved this result effectively . . . This is why the MCM Forums are so important for us as model builders. David