dlh
-
Posts
81 -
Joined
-
Last visited
Content Type
Profiles
Forums
Events
Gallery
Everything posted by dlh
-
Does anyone know of any DMR talkgroups for model building discusstion? I know there are some ham radio operators here on forum. I'm looking for discussions about model building on DMR radio. (Digital Mobile Radio). DMR has "talkgroups" sometimes dedicated to discussions of hobbies or interests. One night I listened to a Net (discussion) of amateur astronomers and it was fascinating. For some reason ham radio and astronomy attract similar people. I thought, maybe that may be true for the model building hobby. Thanks, Dave
-
need masking tape roll 4 cm wide (~ 1.5 in.)
dlh replied to fiatboy's topic in Model Building Questions and Answers
Maybe I don't understand. I have several rolls of this tape: https://www.amazon.com/Tamiya-87063-Masking-Tape-40mm/dp/B000BN9R1Y/ref=sr_1_5?ie=UTF8&qid=1509808108&sr=8-5&keywords=tamiya+masking+tape I have used it successfully many times. Dave -
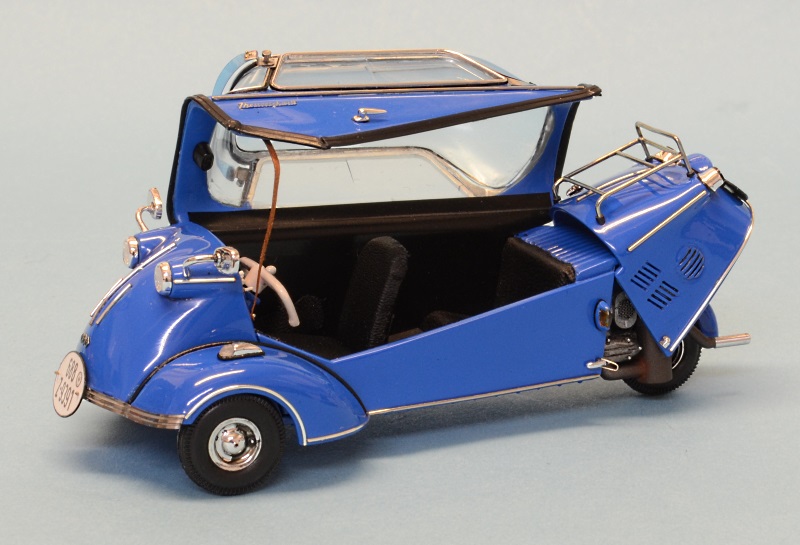
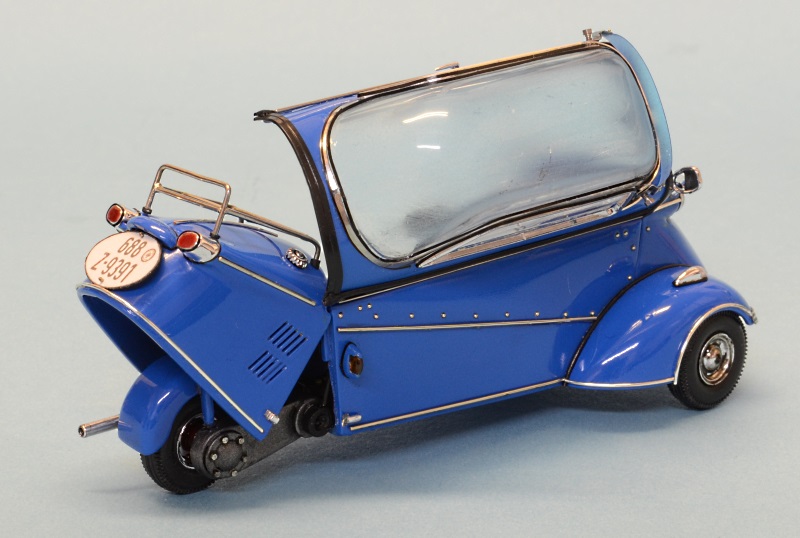
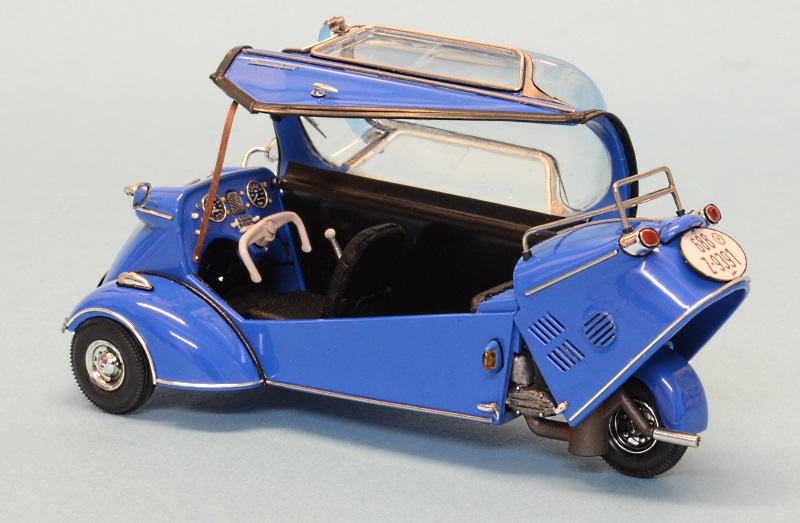
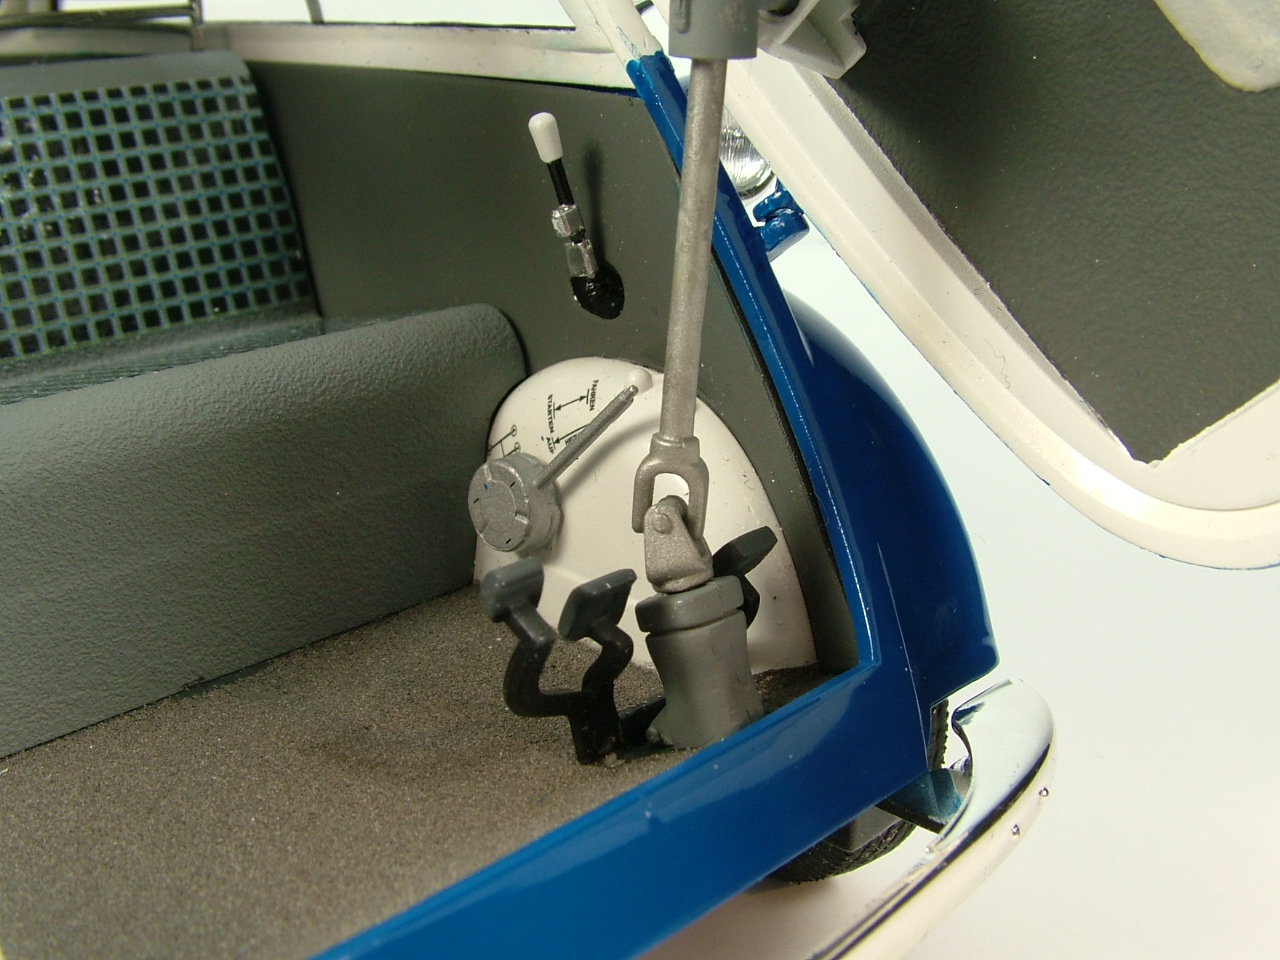
I'm building a Gunze Messerschmitt kr200. Some of the trim is PE and some is metal rod. I've read lots of posts and like the idea of Future for glue. But, since the rod is round, I thought I would try dipping the rod in Future and draining excess by touching the end to a paper towel, much like dipping windows. Would there still be too much excess that it would pool around the rod? Maybe wait until the Future is tacky before attaching. I also considered sanding one side flat, but I'm not sure I can do that successfully, especially since some of the rod is curved. I need to practice with paper clip wire on some styrene. Has anyone attached metal rod to styrene? (the pics are not my build, but show the rod well.) Thanks, Dave

-
I use two tools. I start with a scribing tool like: https://www.squadron.com/model-building-tools-and-supplies-s/2522.htm#?filters=page=1|SearchWithin=scribing tool The angle of tip gives me more control as I pull the tool. I've found that using just the scribing tool results in a wider, unrealistic panel line, so after the line is established, I switch to the back of a #11 blade. I have also ruined several models. For me the key is starting with a VERY light touch, much like cutting BMF with a new scalpel blade. My mistakes come from not concentrating or getting too excited while doing it. Dave
-
Many thanks to all for the positive comments. Next build is a Bentley Blower. (Revell Germany) Dave
-
not an LS, but will these do?
-
BTW, that's a great job. One of your builds? Who produced that kit? You've given me an idea for color choice on the one I bought.
-
I just bought a messerschmitt (gunze). I really like the old quirky cars.I'm going to build a Bentley Blower next. I've also recently bought a Fiat Mefistofele (Italeri). I'm working up th courage to build it.
-
1/16
-
Yup
-
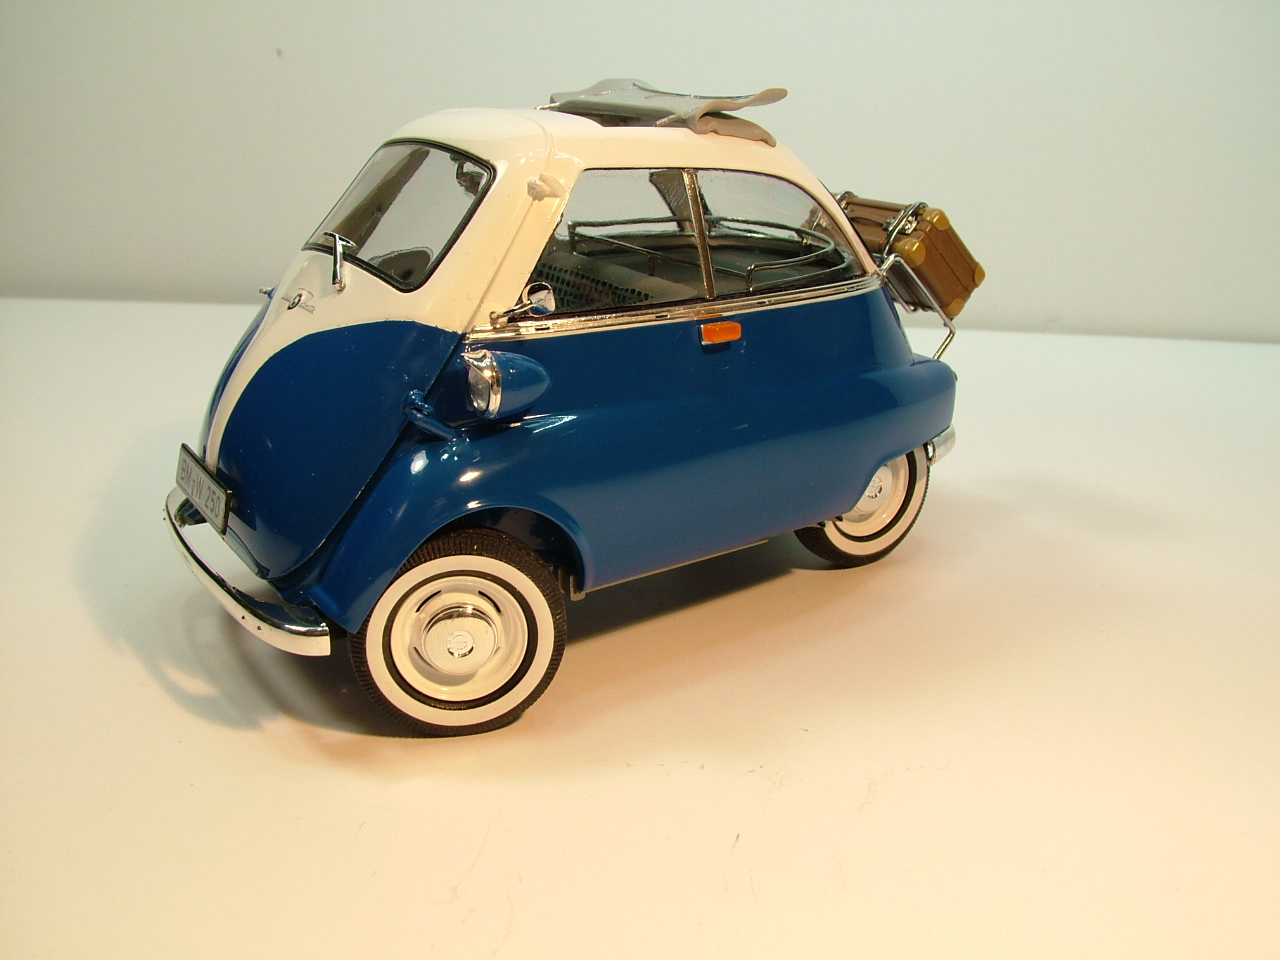
My 6th model. The most fun of any model so far. Next will be the Bentley Blower. First use of Alclad (love the stuff). First successful two tone. The fit of Revell Germany models is just perfect.
-
I have the same booth. I've had some minor issues with fumes, but usually, as you said, it's often when I'm not spraying far enough inside the booth. Also, the amount of bends in your vent pipe affects the efficiency of the air flow; keep the vent pipe as straight as possible. I've found that vacuuming the filter and changing it more often helps. Also, seal as much as possible around the flange that goes in the window. You could open another (opposite) window in your abode to increase airflow. (learned this from smoking cigars) Definitely protect your lungs. My brother is a chemist in the paint industry and has told me some horror stories about paints and coworkers. I found similar filter material here: https://www.amazon.com/gp/product/B00NF2V70W/ref=oh_aui_detailpage_o05_s00?ie=UTF8&psc=1 It's cheaper, but not exactly the same as the premade filters, but it's just for overspray. Hope this helps, Dave
-
Testors paint sandy feeling finish
dlh replied to dlh's topic in Model Building Questions and Answers
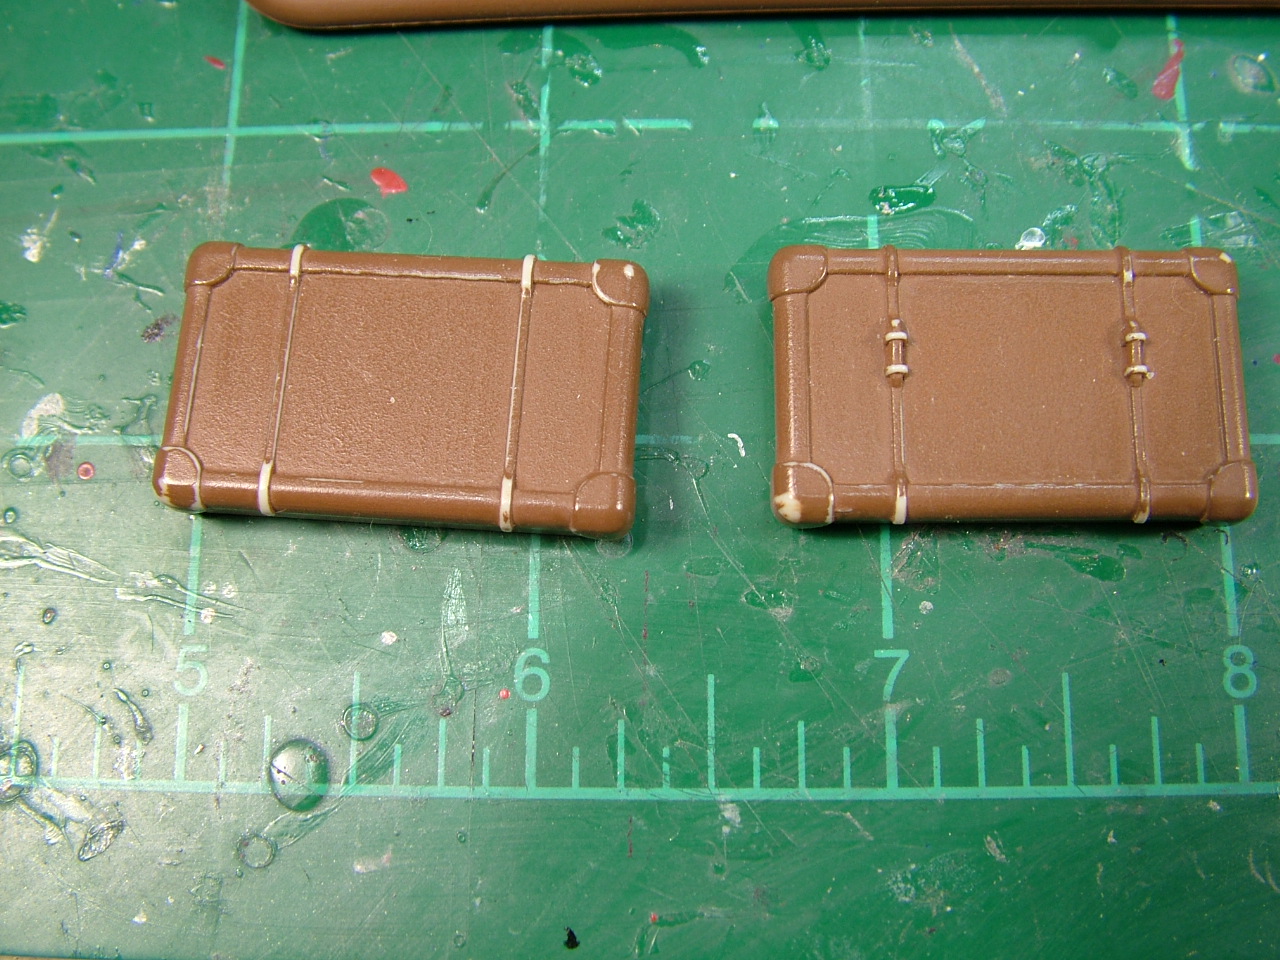
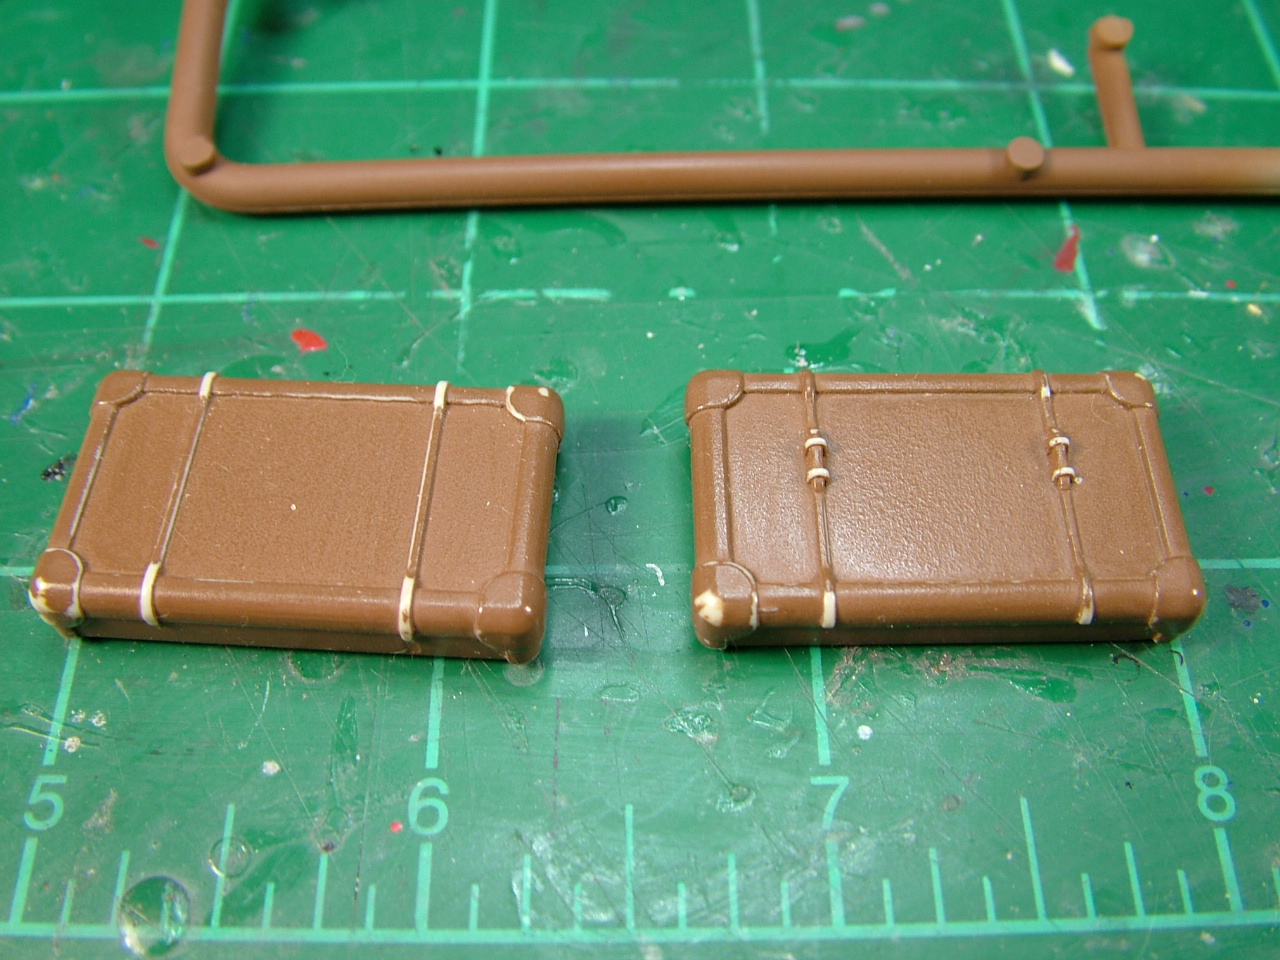
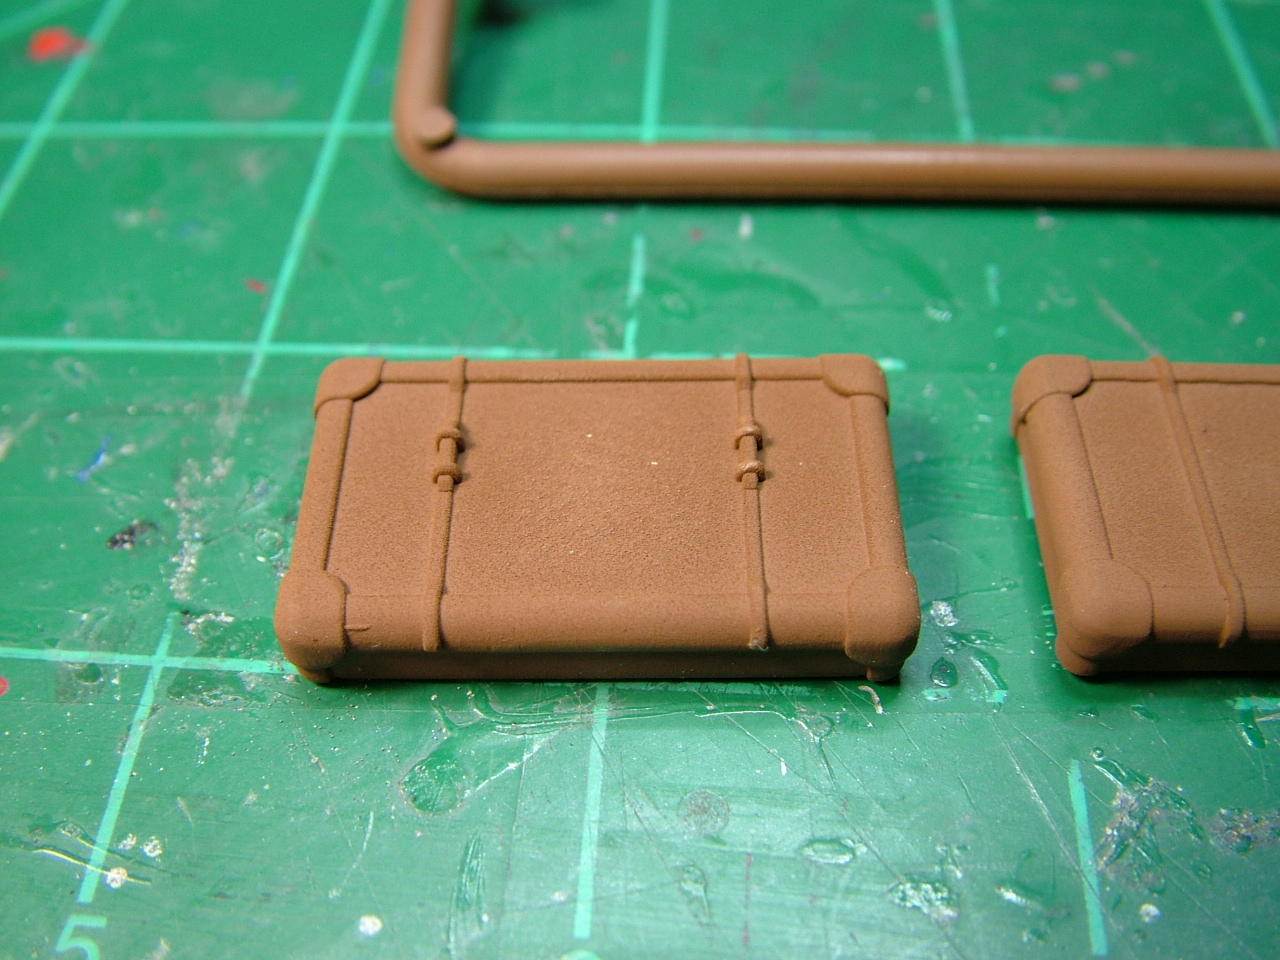
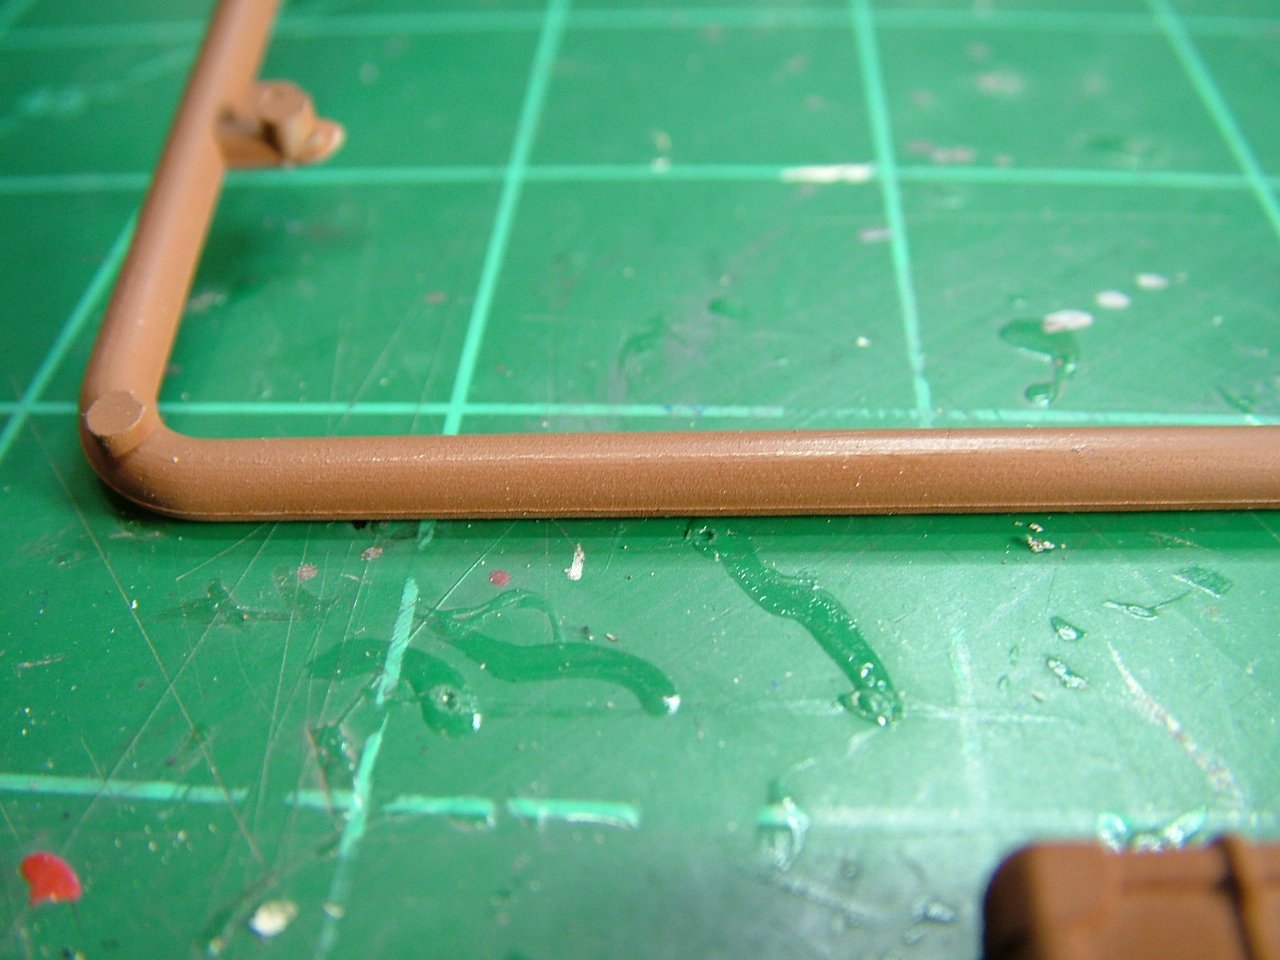
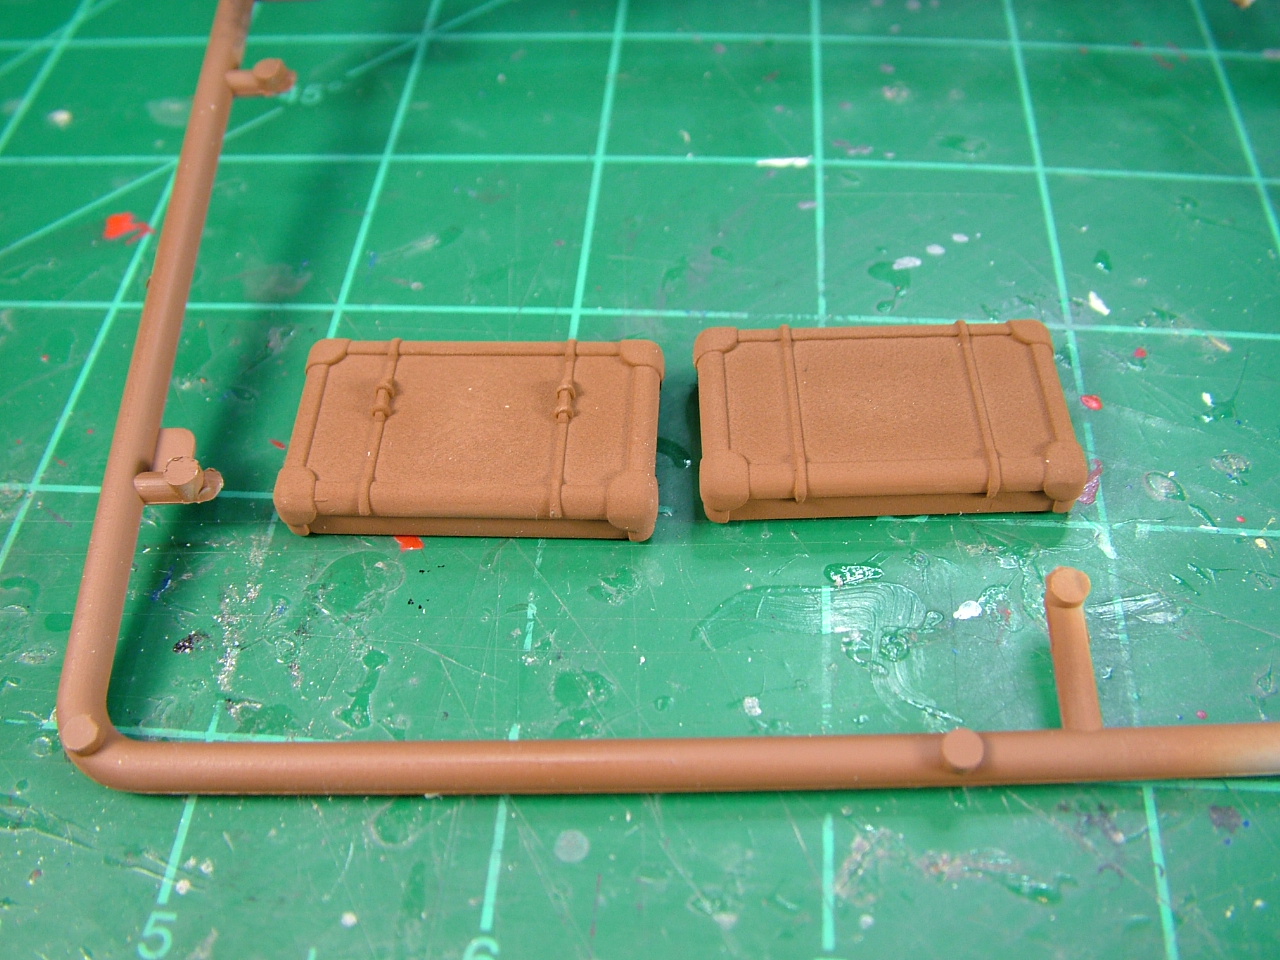
Yes, it is a flat finish. But the "grains" on the suitcase could be rubbed off. So I tend to agree with BigTallDad, that I sprayed at too great a distance. However, I did the same with the sprue and it was a normal flat finish. Also the suitcase didn't become "grainy" until several coats were applied. Anywho, I think it's operator error. I'm satisfied with the final result. I thought maybe the many soaks in brake fluid and cleanup with Bleach White may have damaged the plastic. (One mounting post on the inside did crack a little when I stuck a toothpick in it to paint). Time to declare victory and move on. Thanks for your reply (still learning) Dave -
Testors paint sandy feeling finish
dlh replied to dlh's topic in Model Building Questions and Answers
Yup, I agree. Sometimes great discoveries are made by accident! Thanks Dave -
Testors paint sandy feeling finish
dlh replied to dlh's topic in Model Building Questions and Answers
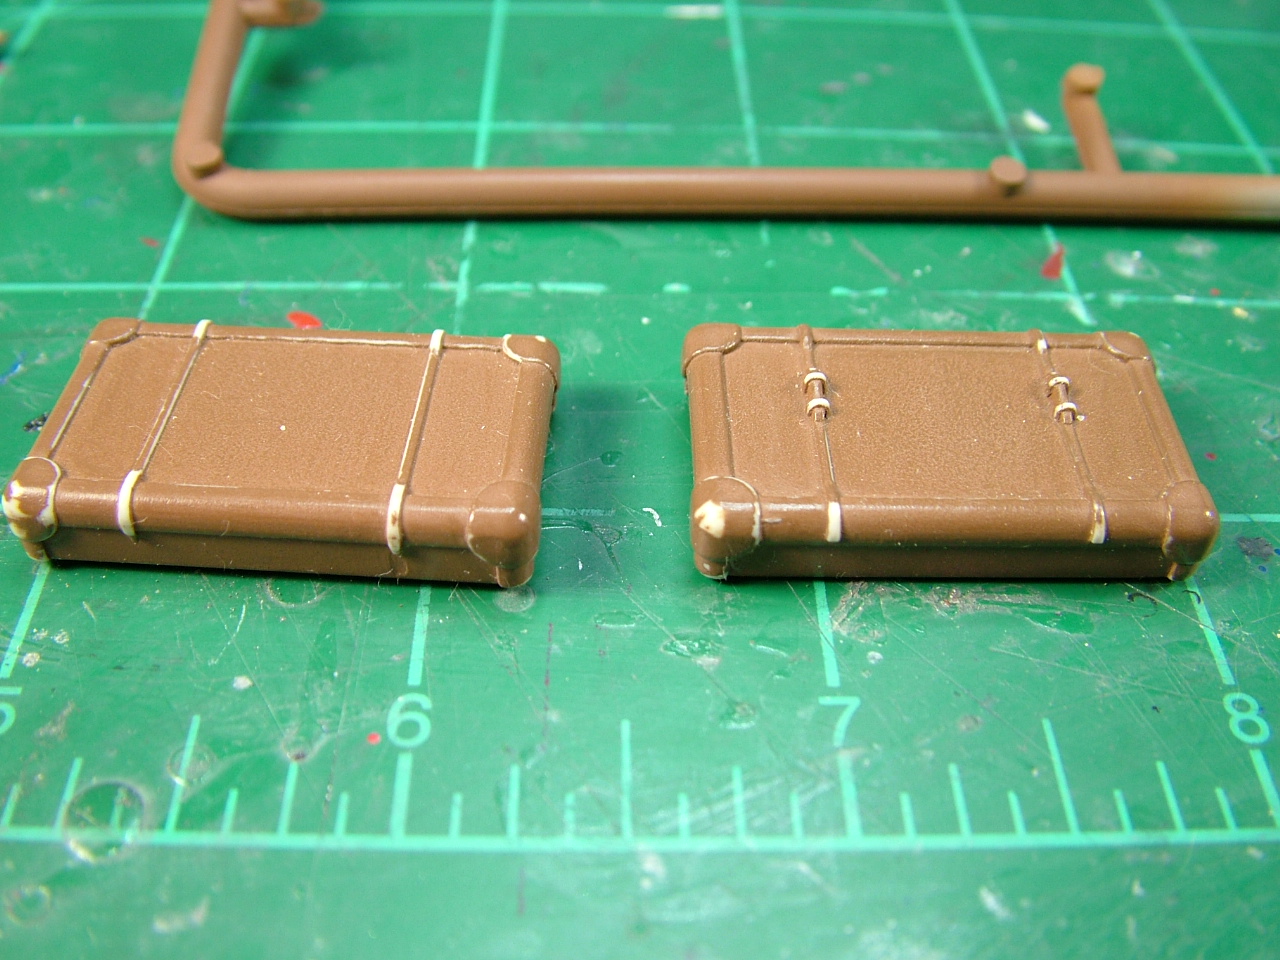
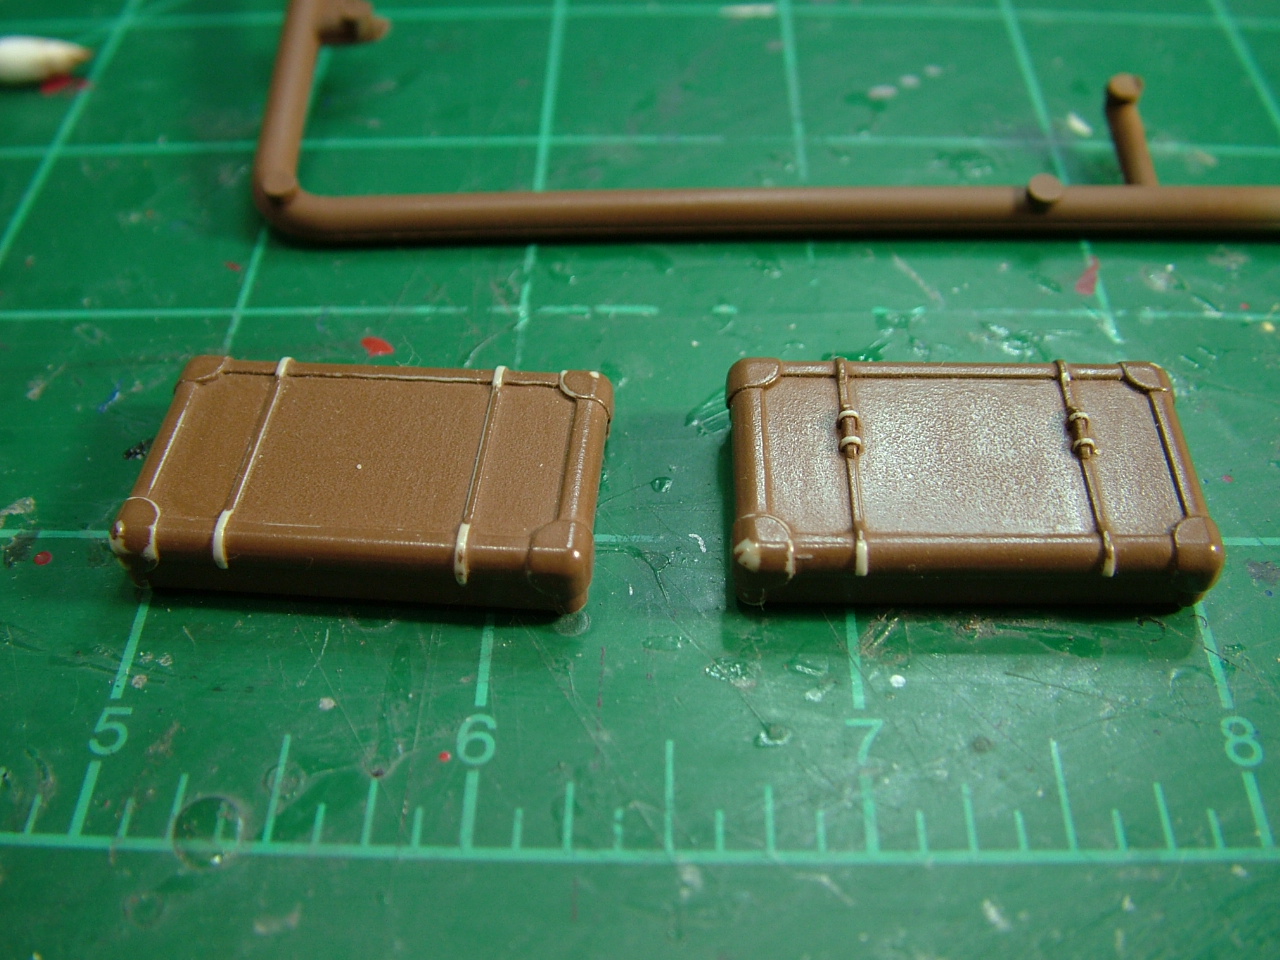
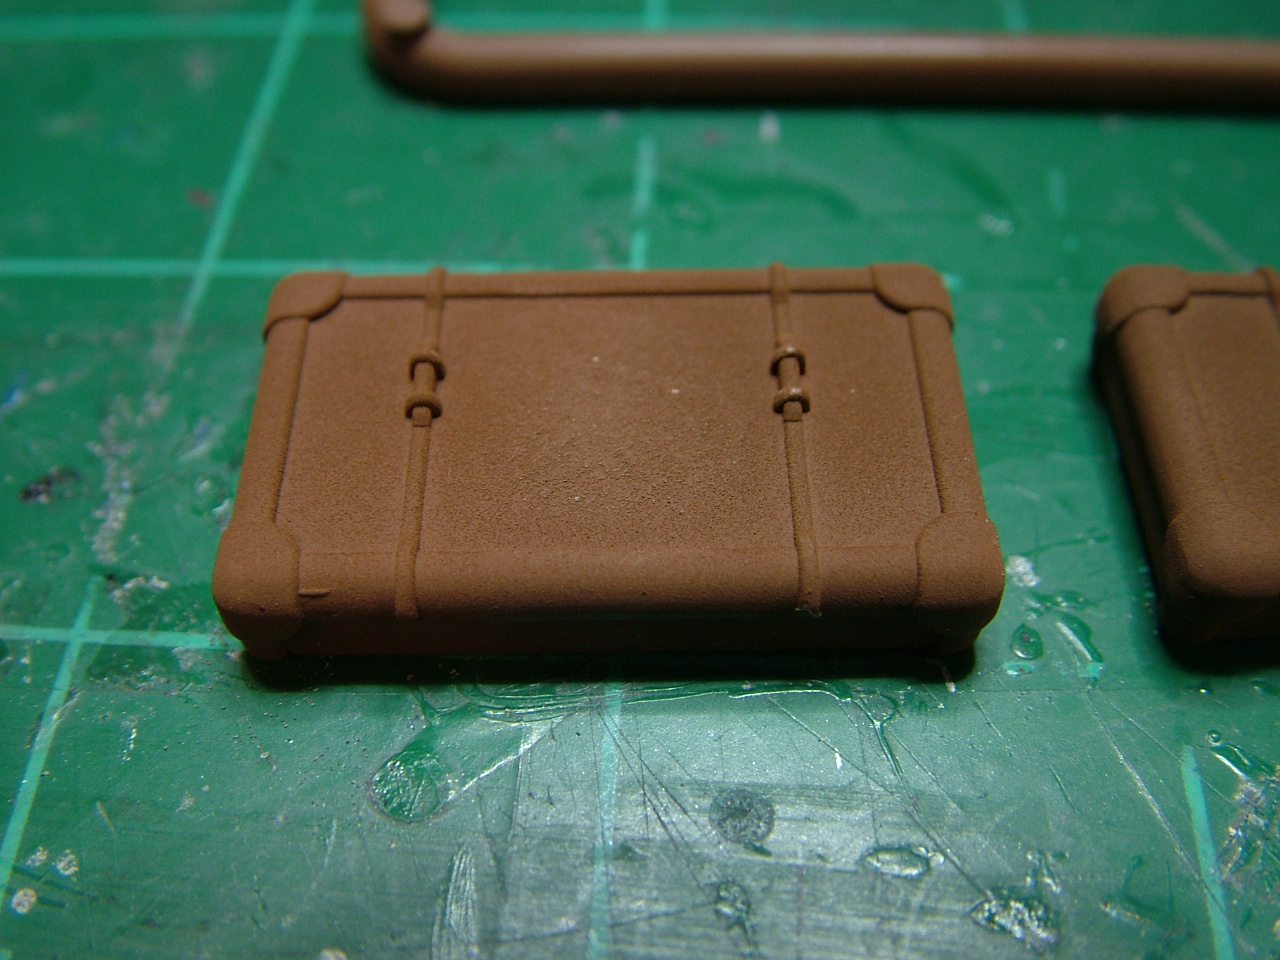
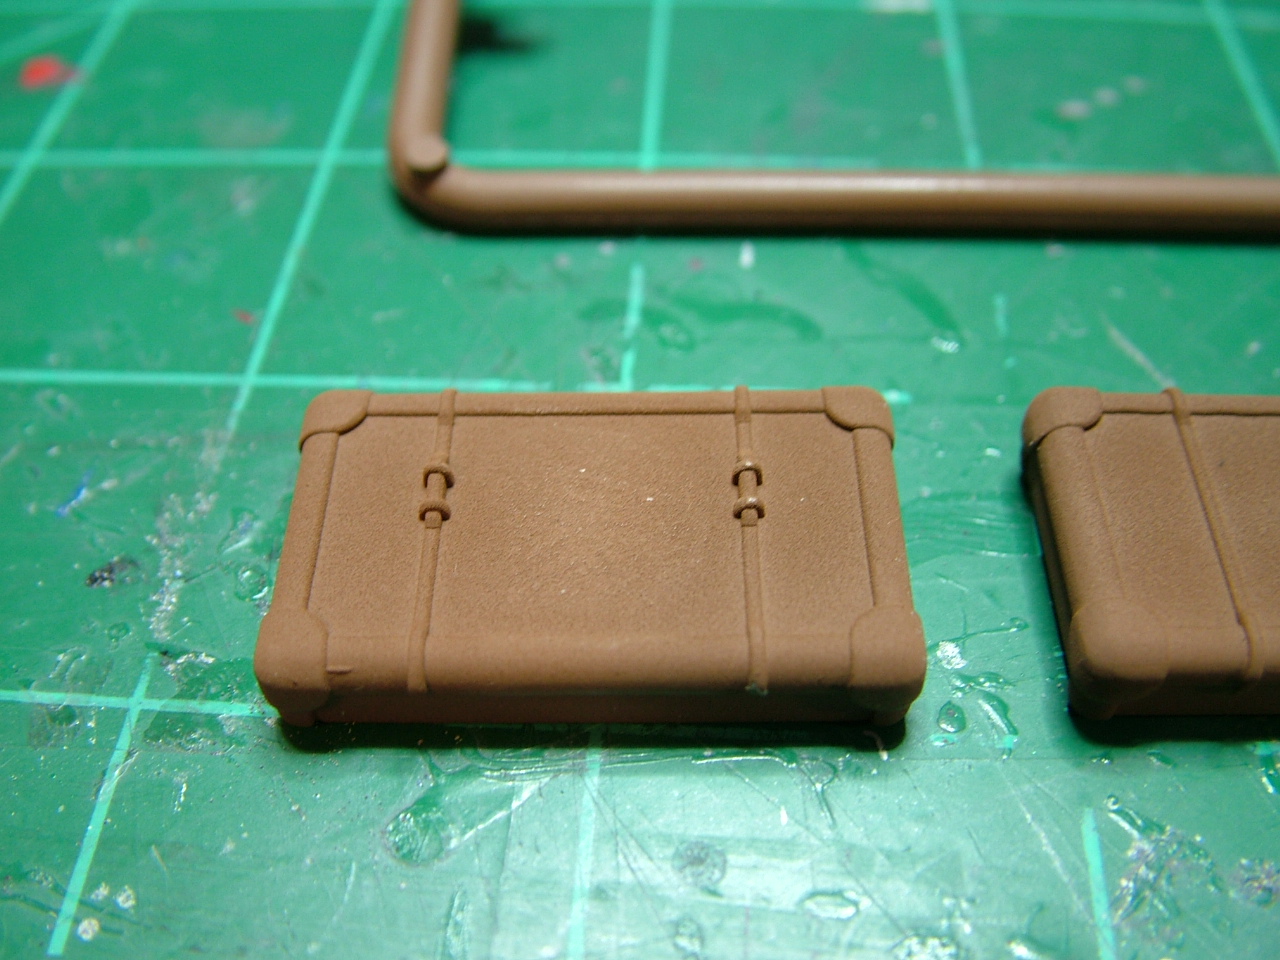
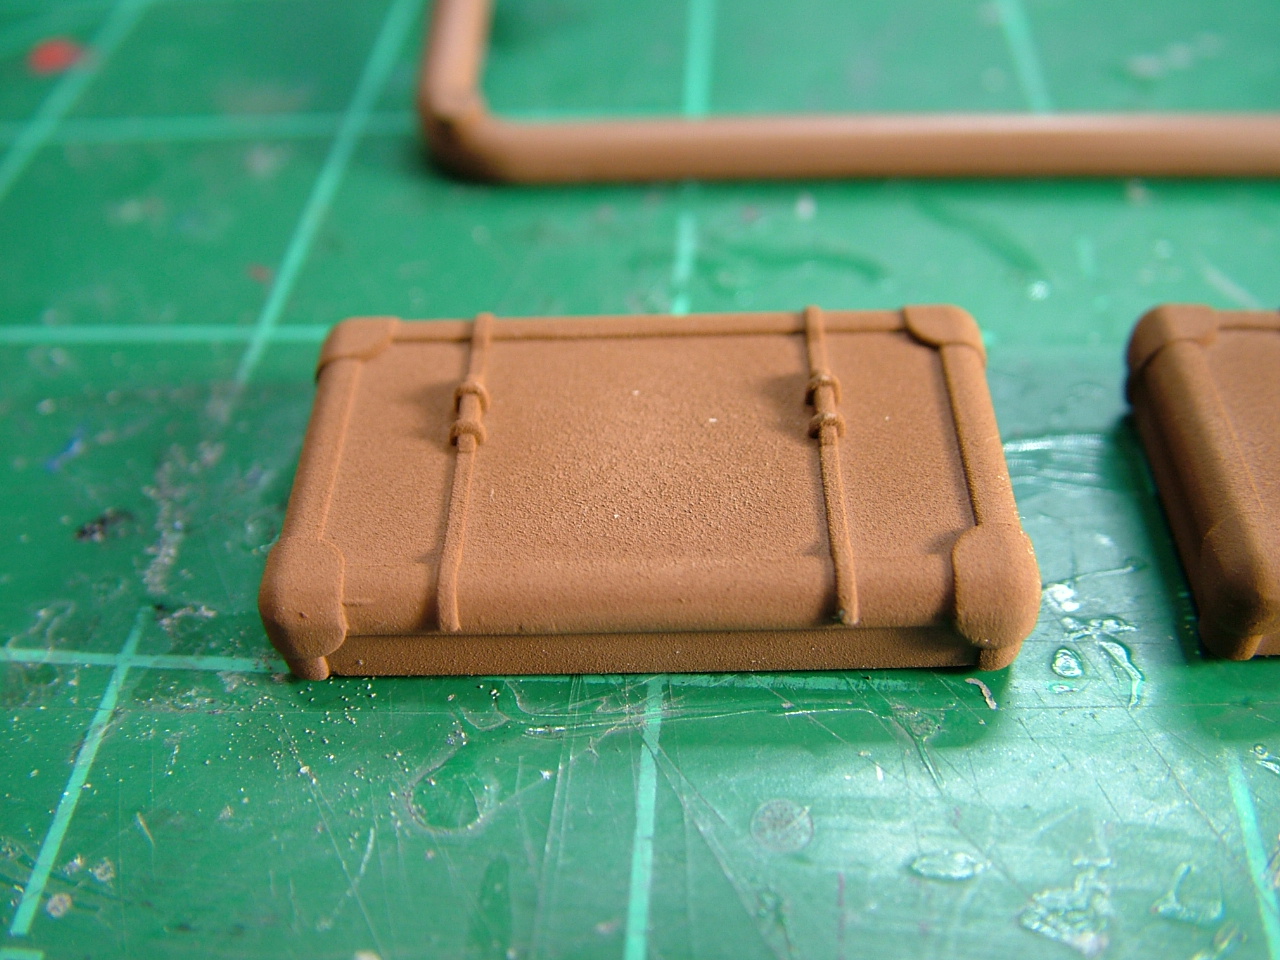
I "burnished" it with a rag and swabs. Looks kinda cool. The corners get a contrasting color and I'll paint the pseudo straps. I think I may keep it this way. Maybe an accidental "discovery".
-
Testors paint sandy feeling finish
dlh replied to dlh's topic in Model Building Questions and Answers
It looks like that to me too, like overspray. It was decanted and sprayed through an airbrush. It didn't behave that way on the piece of sprue. The first time I sprayed a wet coat and it still looked grainy as it dried. I think I'll try your advice, lower pressure and spray closer. Thanks Dave -
Testors paint sandy feeling finish
dlh replied to dlh's topic in Model Building Questions and Answers
I agree. I kinda like it. Probably couldn't do it on purpose if I tried. Still trying to solve the mystery. Dave -
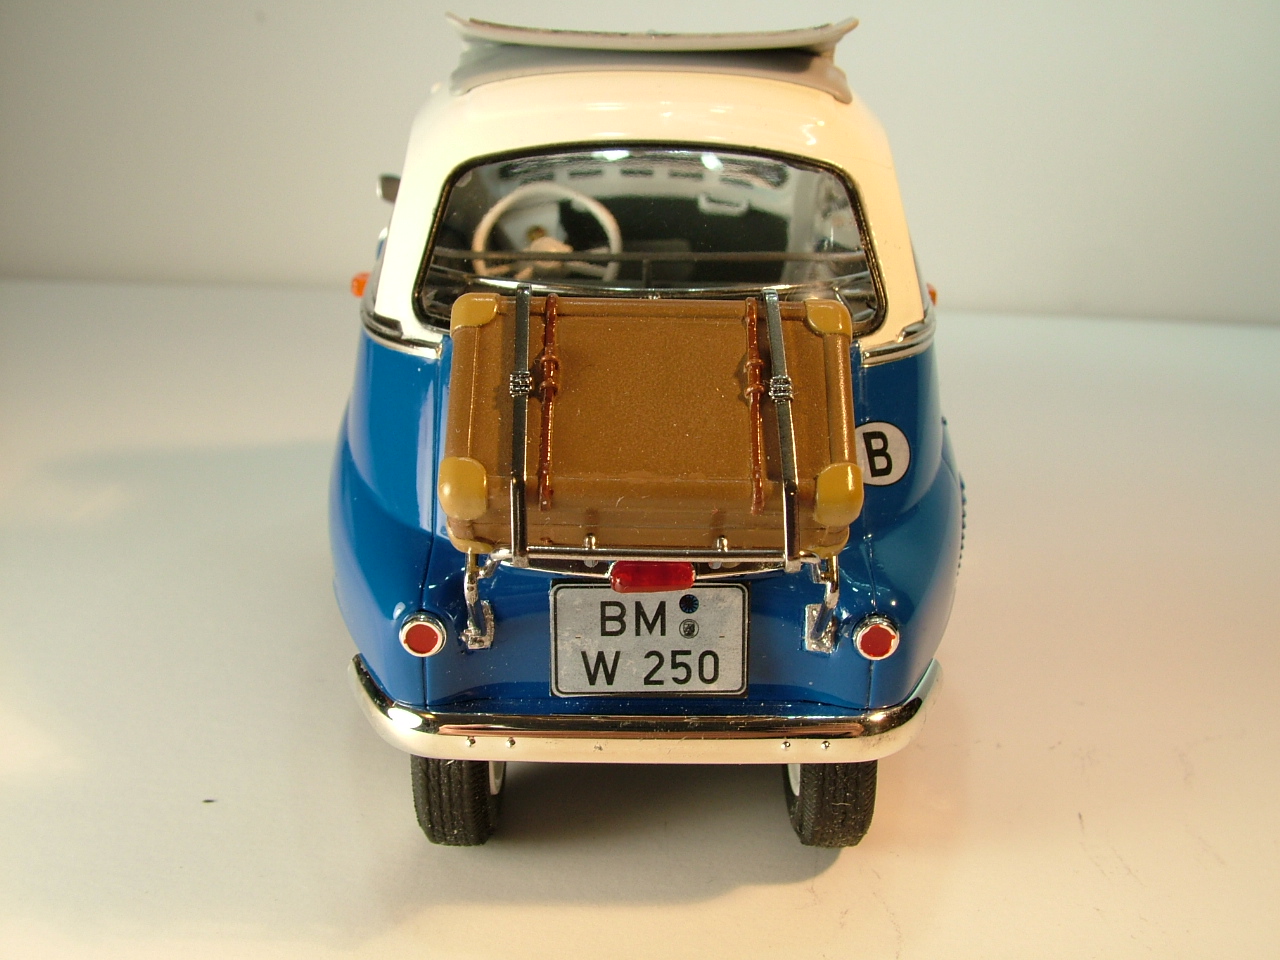
I'm painting the little suitcase that's in the Revell Germany model of the Isetta. Started with Tamiya fine white primer and then Testors Light Earth spray decanted. Three tries now (after brake fluid strip) and the Light Earth leaves a "sandy" feeling finish that can be rubbed down to SG. I'm applying VERY light coats because I thought the paint was crazing, but this feels different. The last time I sprayed, I did it without primer and the same thing happened. I pulled out the sprue that the piece came off of and sprayed it and it was perfectly normal, The Light Earth leaving a perfectly smooth flat finish. Stumped. additional info and pics: Each strip was a soak in brake fluid, then Bleachewhite, then scrub with soap & water. After each strip and cleanup, the surface of the suitcase was perfectly smooth, just like it came off of the sprue. I sprayed the sprue many ways: light coats, med wet coats, heavy wet coats to the point of running. Each one was just fine. The first time I sprayed the suitcase, I thought the paint would level out and I kept building coats to achieve a wet coat. It still got grainy like this.
-
You got that right! Neither the front or rear pieces below the bumpers were even close to fitting. I glued and puttied the rear one before painting, counter to the instructions. I had to leave the front one off until fitting the chassis. But I had to putty and reshape it as best as I could to make it mate and to close gaps around the front grille. (much adult vocabulary). I'm still a beginner so it gave me practice making pieces/parts fit. Dave
-
Wow. Beautiful. Love the original look. Great engine detail Dave
-
MM Guards Red
-
The bottom edge of the tail is a separate piece. Directions said to install it after the chassis was in place, but I installed it before; worked fine. I had to putty it in and sand it before painting. Same with the bottom piece below the front grill; major fitment issues. I did have to install it after fitting the chassis, but it required putty to fill gaps around the grille. Hope this helps. Dave
-
They were in the kit to go with the wide tires.
-
Wow, what clean detailed work! I have a long way to go to even come close to that kind skill. Dave
-
'63 VW Samba (Hasegawa)
dlh replied to dlh's topic in Model Trucks: Pickups, Vans, SUVs, Light Commercial
Thanks. But it's not perfect. (I only see the flaws)