.jpg.08e37c4a90dff811ece819bebc89c515.jpg)
Justin Dodson
-
Posts
61 -
Joined
-
Last visited
Content Type
Profiles
Forums
Events
Gallery
Everything posted by Justin Dodson
-
Hey everyone. Sorry for not responding to these replies sooner, I have been busy with school. I have read all of your suggestions, and honestly they all seem like they would work great. Now I just have to decide on which idea to utilize. More progress soon, I'll probably post an update in less than a few hours.
-
I don't understand. What do you mean by "paint to roughly 10-11"? How do you know how much water and how much paint to mix with each other?
-
Good point. Which products do you think are best for this piece? I know what black washing is but I've never done it before.
-
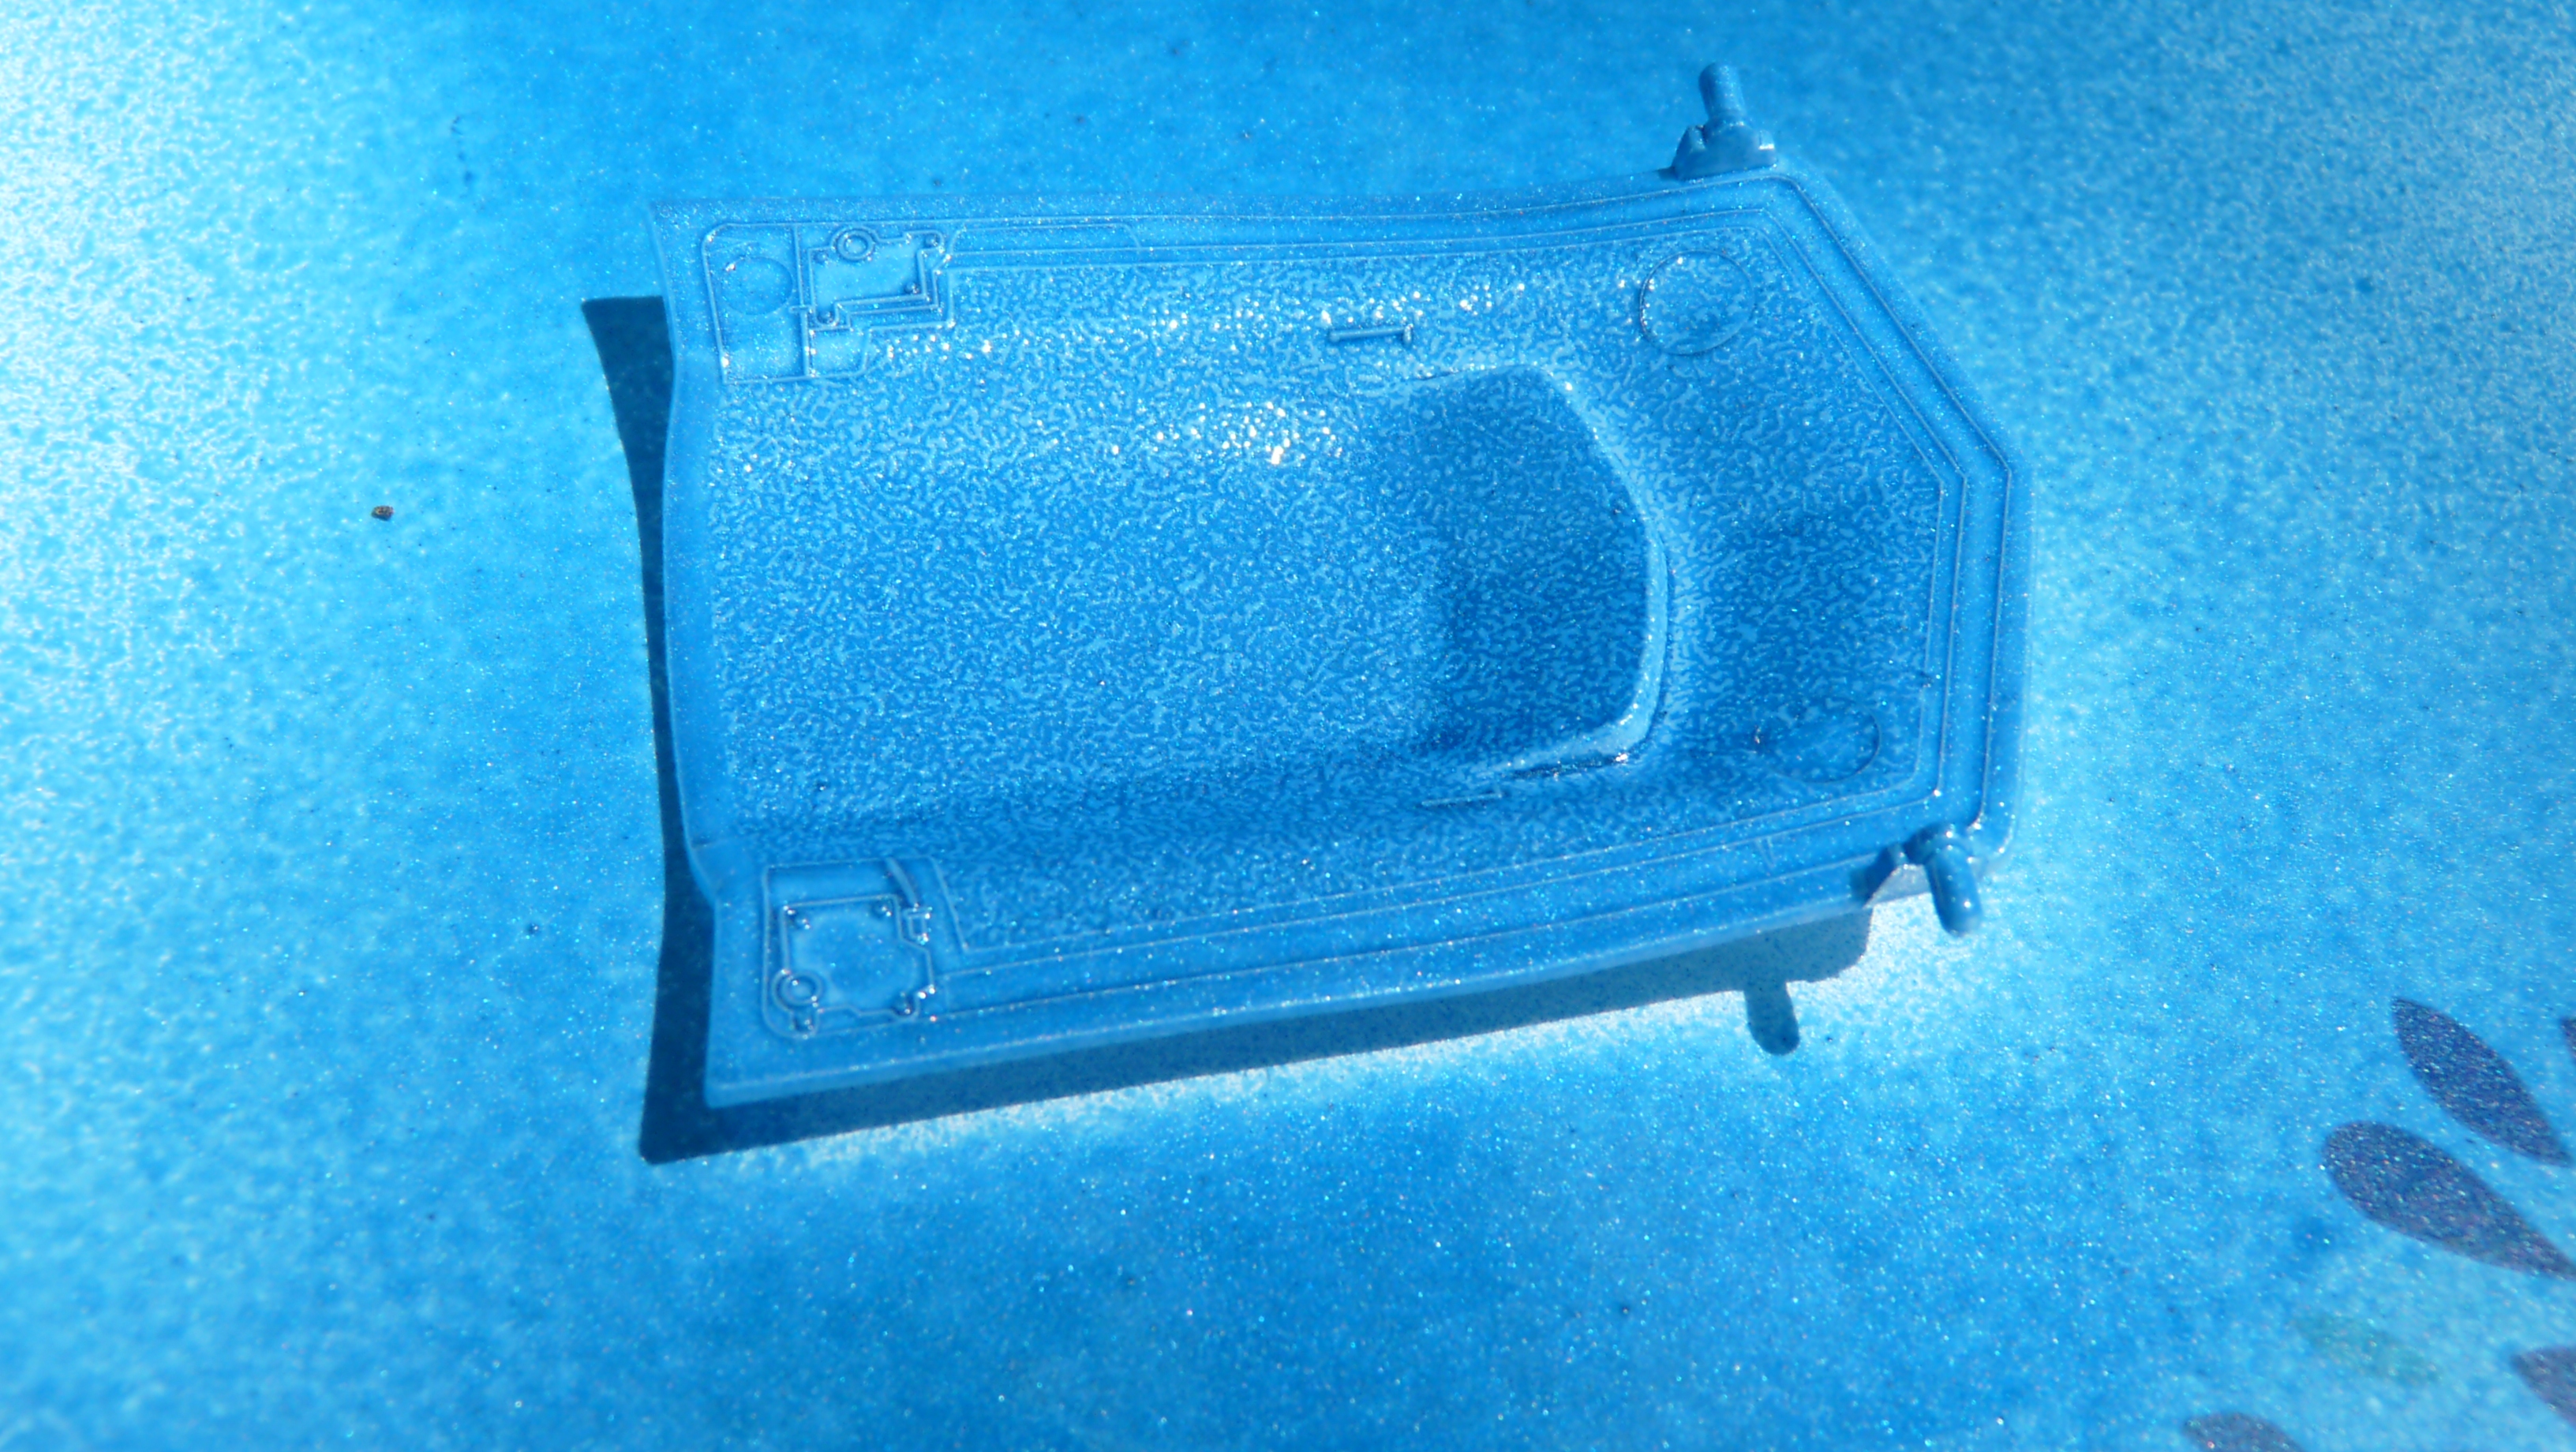
Okay so I tried using the Molotow chrome pens on the front bumper/grille. But it would not get into the deep parts (the white areas) of the grille as shown below. So here's my plan: remove all of the chrome so that it's bare plastic again, and spray paint the entire piece black. Once the black paint is dry, carefully apply the chrome pen onto the outermost lines. That way, the black will represent the "darkness" behind the grille. Does anyone have a better plan before I go and do this?

-
Fortunately they are dry. Thank you for the concern though!
-
Hey everyone. You could call this the "pen" update. I acquired 2 types of pens: Molotow Liquid Chrome (2mm and 1mm), and Sharpie oil-based paint pens. The Molotow pens work excellent. Words cannot describe how impressed I am with these! And I did not just "touch up" these chrome parts, mind you. I previously put them in Purple Power, so they were bare plastic. In other words, I applied the Molotow pens to each entire part. The liquid chrome just seems to equalize itself once it's on the surface. Next, the white sharpie pens. I have always wanted to put white letters on model car tires. Now I'm able to! Only thing is, I just had to use a magnifying glass. So I whipped out my trusty "helping hands" tool and went to work. It becomes much easier, at least for me, to see what I'm doing on these small tires once magnified. I'm younger than most model car builders, so if I need a magnifying glass, then you prob-- never mind (LOL) Stay tuned!
-
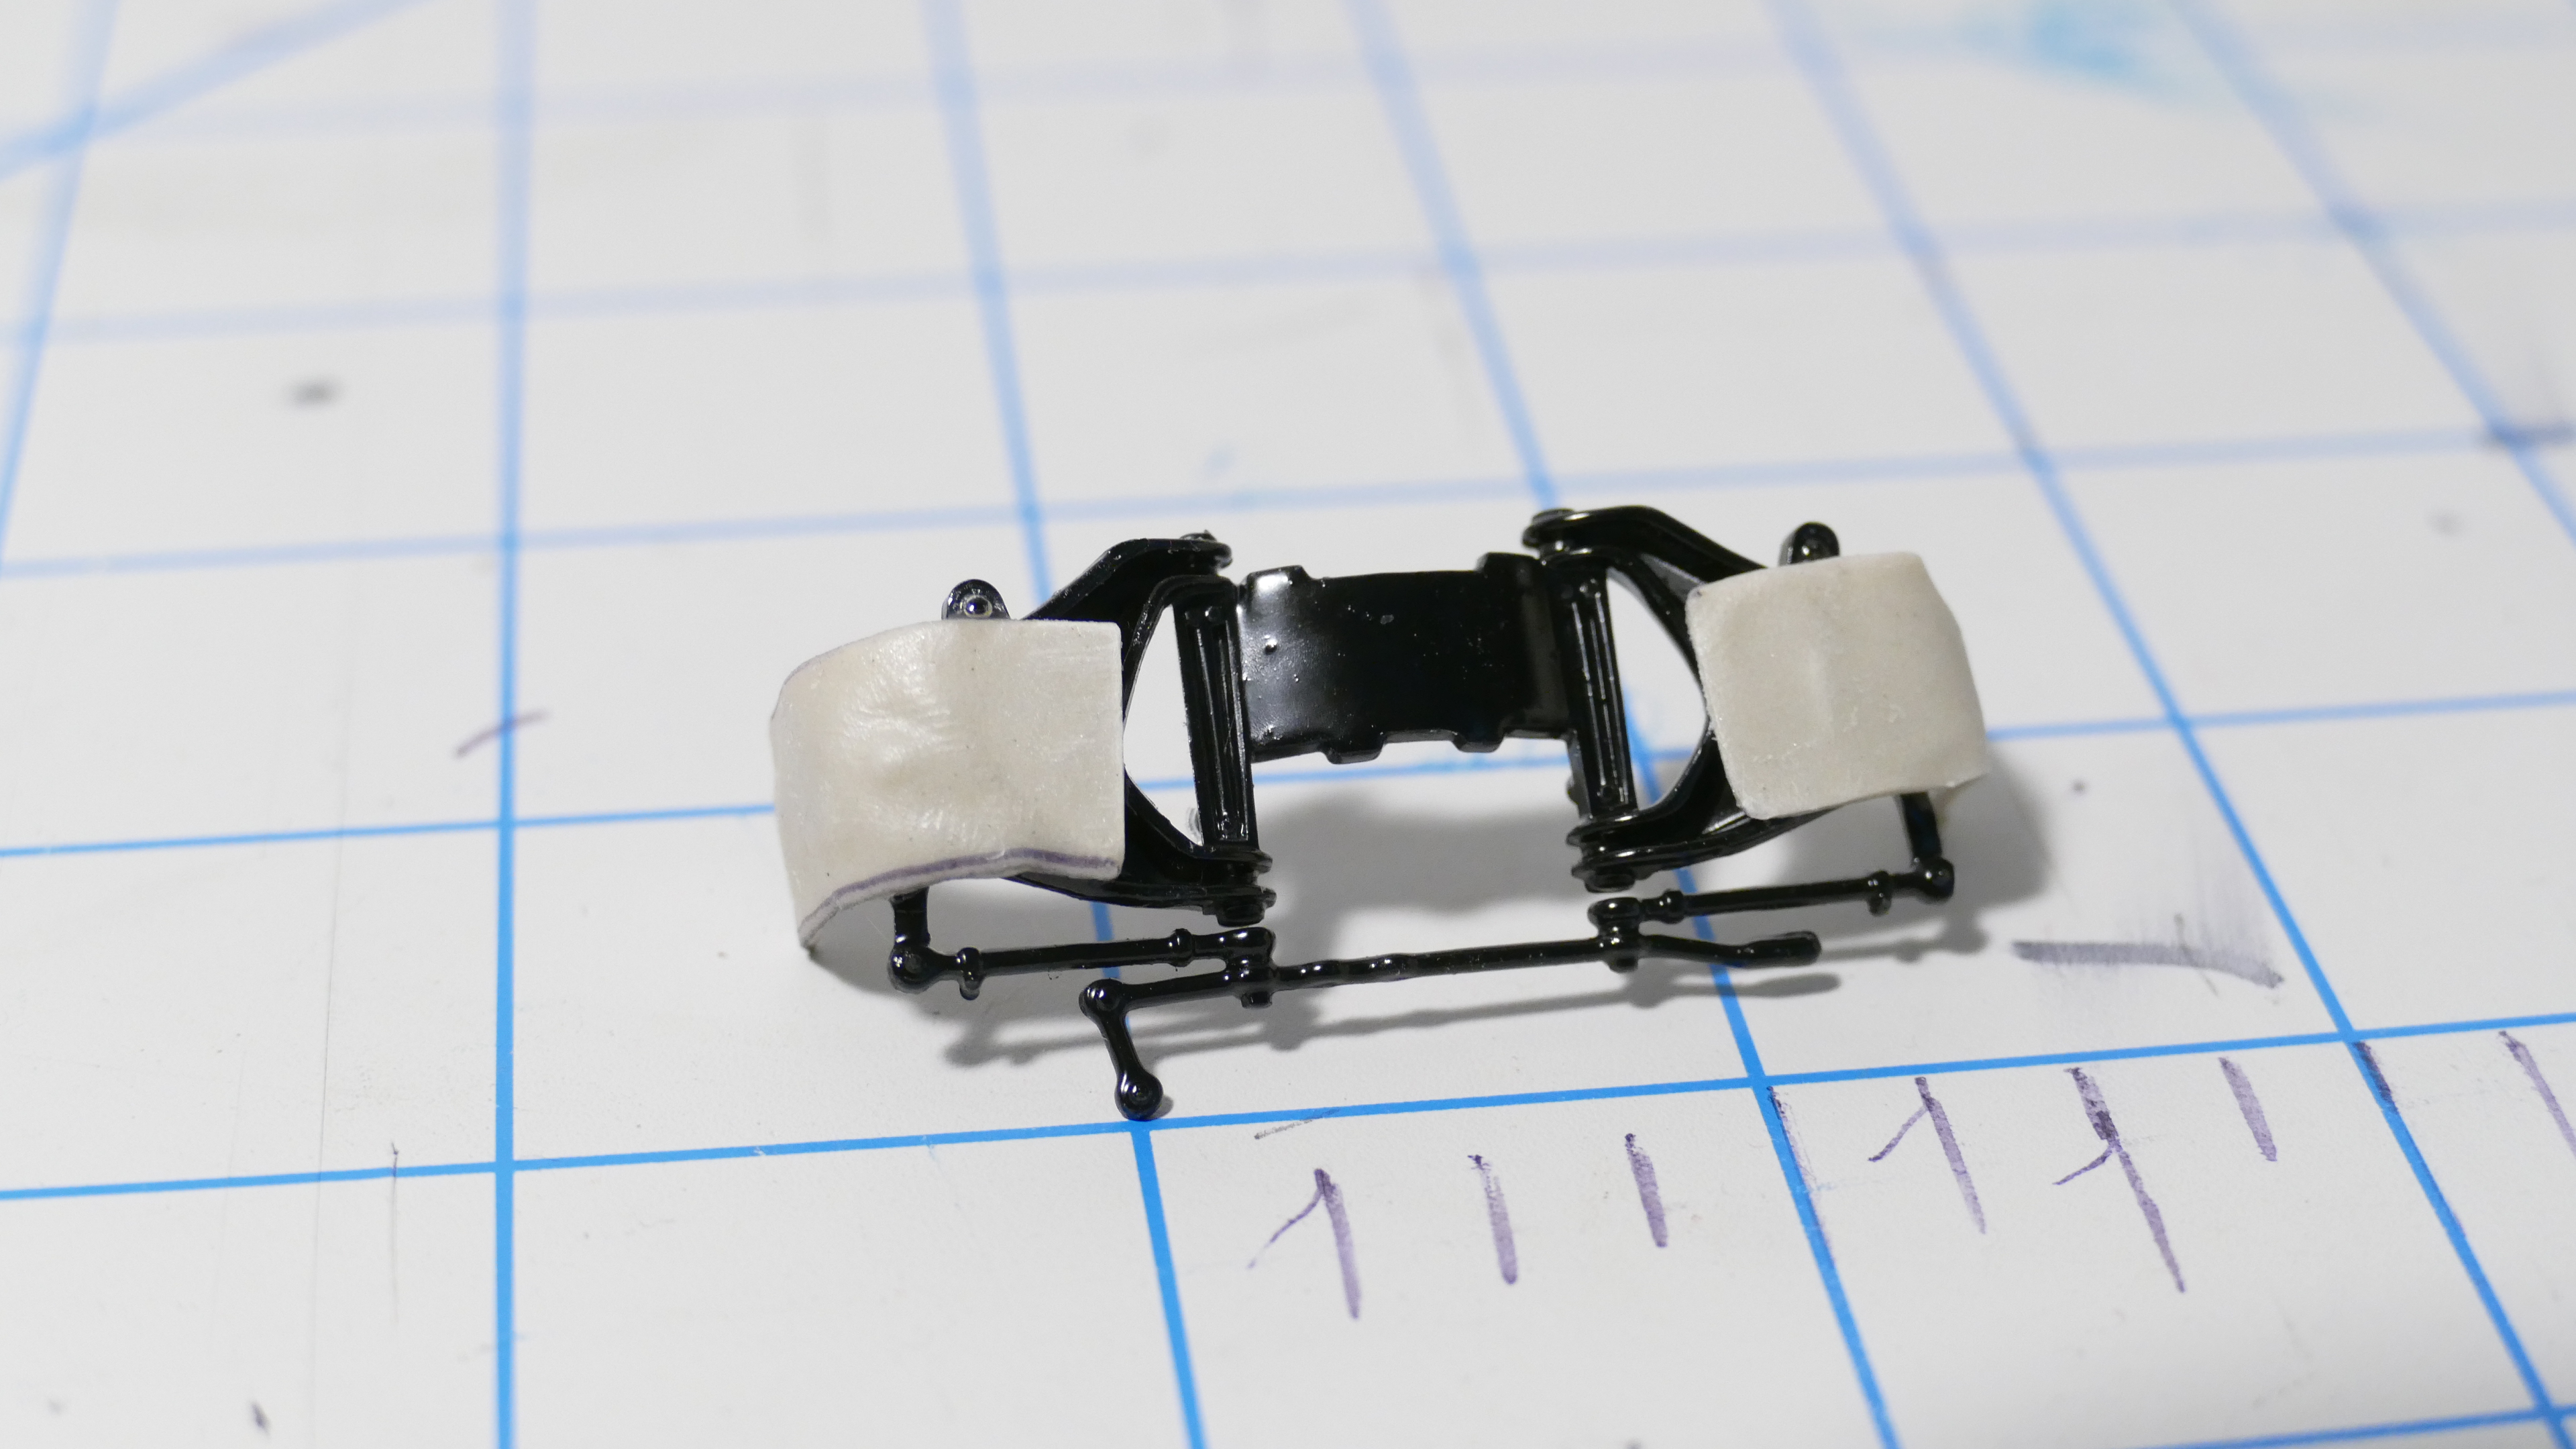
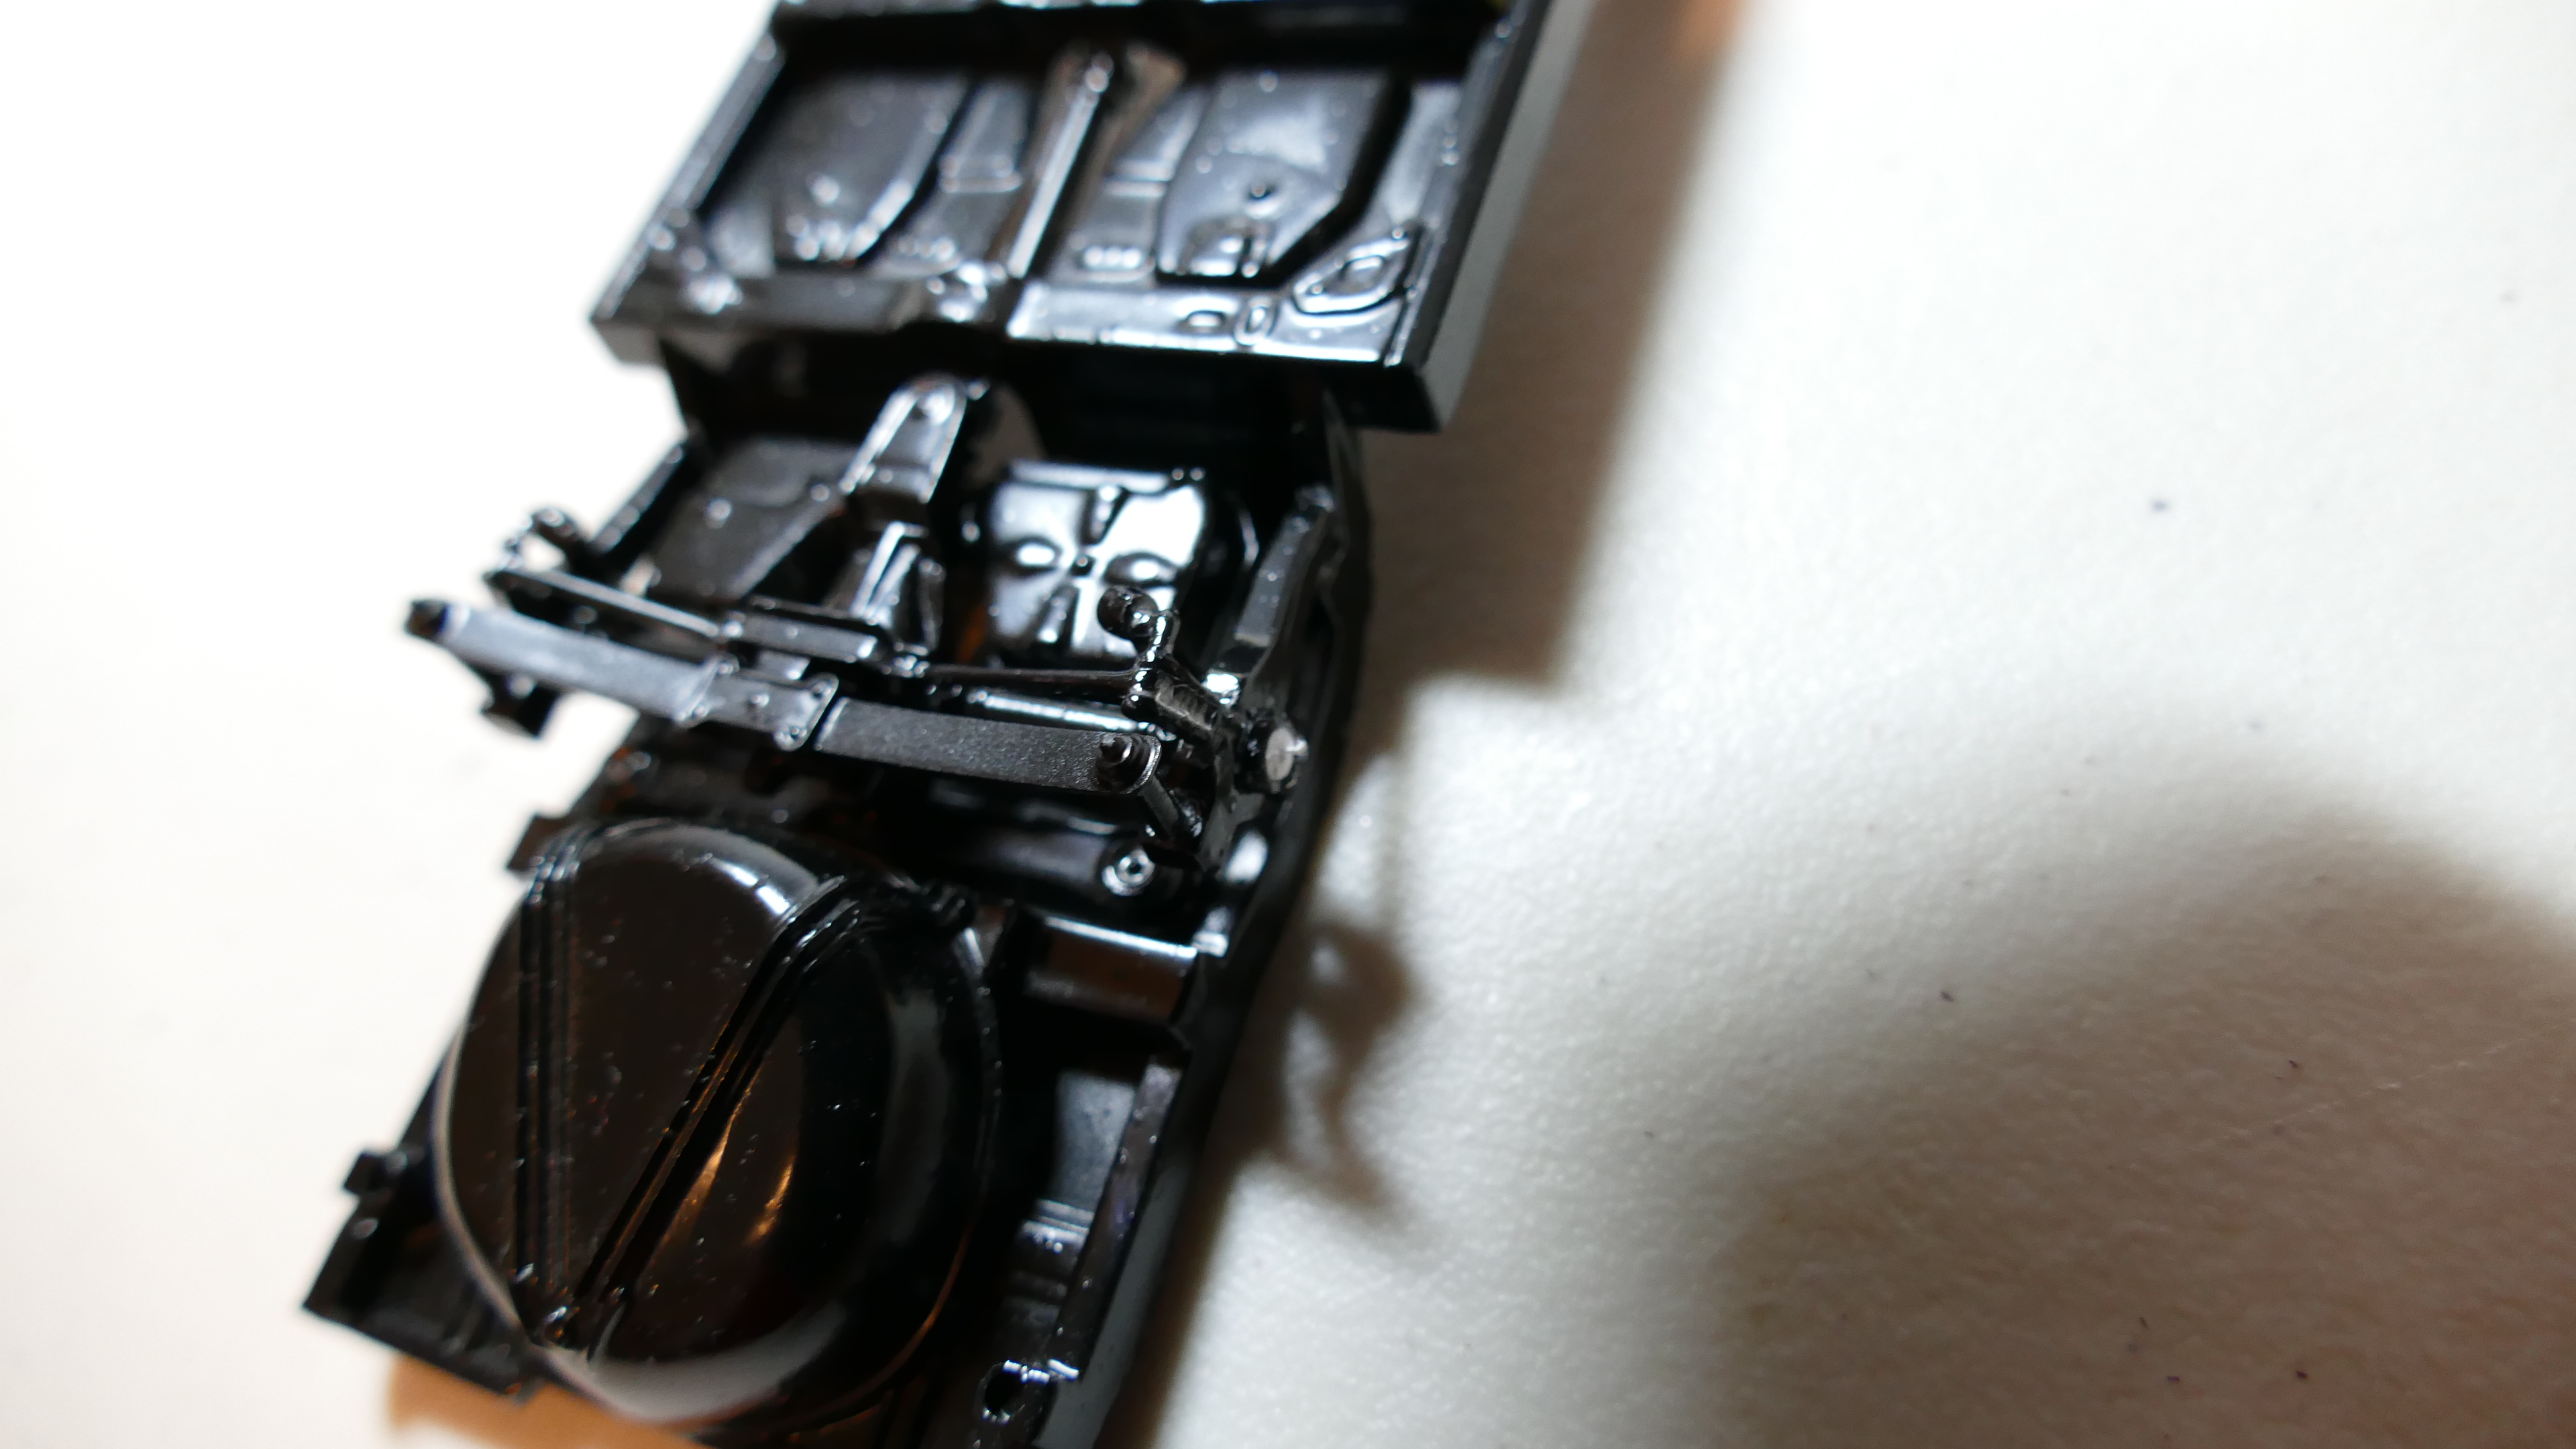
Hey everyone. I have been trying to reply for a week or so and I kept getting a 404 page. I tried re-wording this reply, hopefully this time it will submit. So here's the latest: I am constructing a new system for the rear axles. It is not supposed to replicate any type seen in real life; it's purely my own design. Next, the engine is almost done. Speaking honestly, I don't know anything about how an engine works. That's why it's not very detailed. There's one more part that goes on top but I have to repaint it. That's all for now peeps.
-
Thank you both for warning me of the "bad move". I'm glad I checked this forum once more before I went out to start painting! LOL! So I recently went out and acquired some Purple Power. And man does that stuff do the trick! I left all 3 body parts soaking overnight (outside, of course!). This morning I got out a nasty old toothbrush and I scrubbed the body; the paint came right off. This is my first time doing this, but now I have the ability to "restart" my paint job if it doesn't go as planned. More progress is on the way!
-
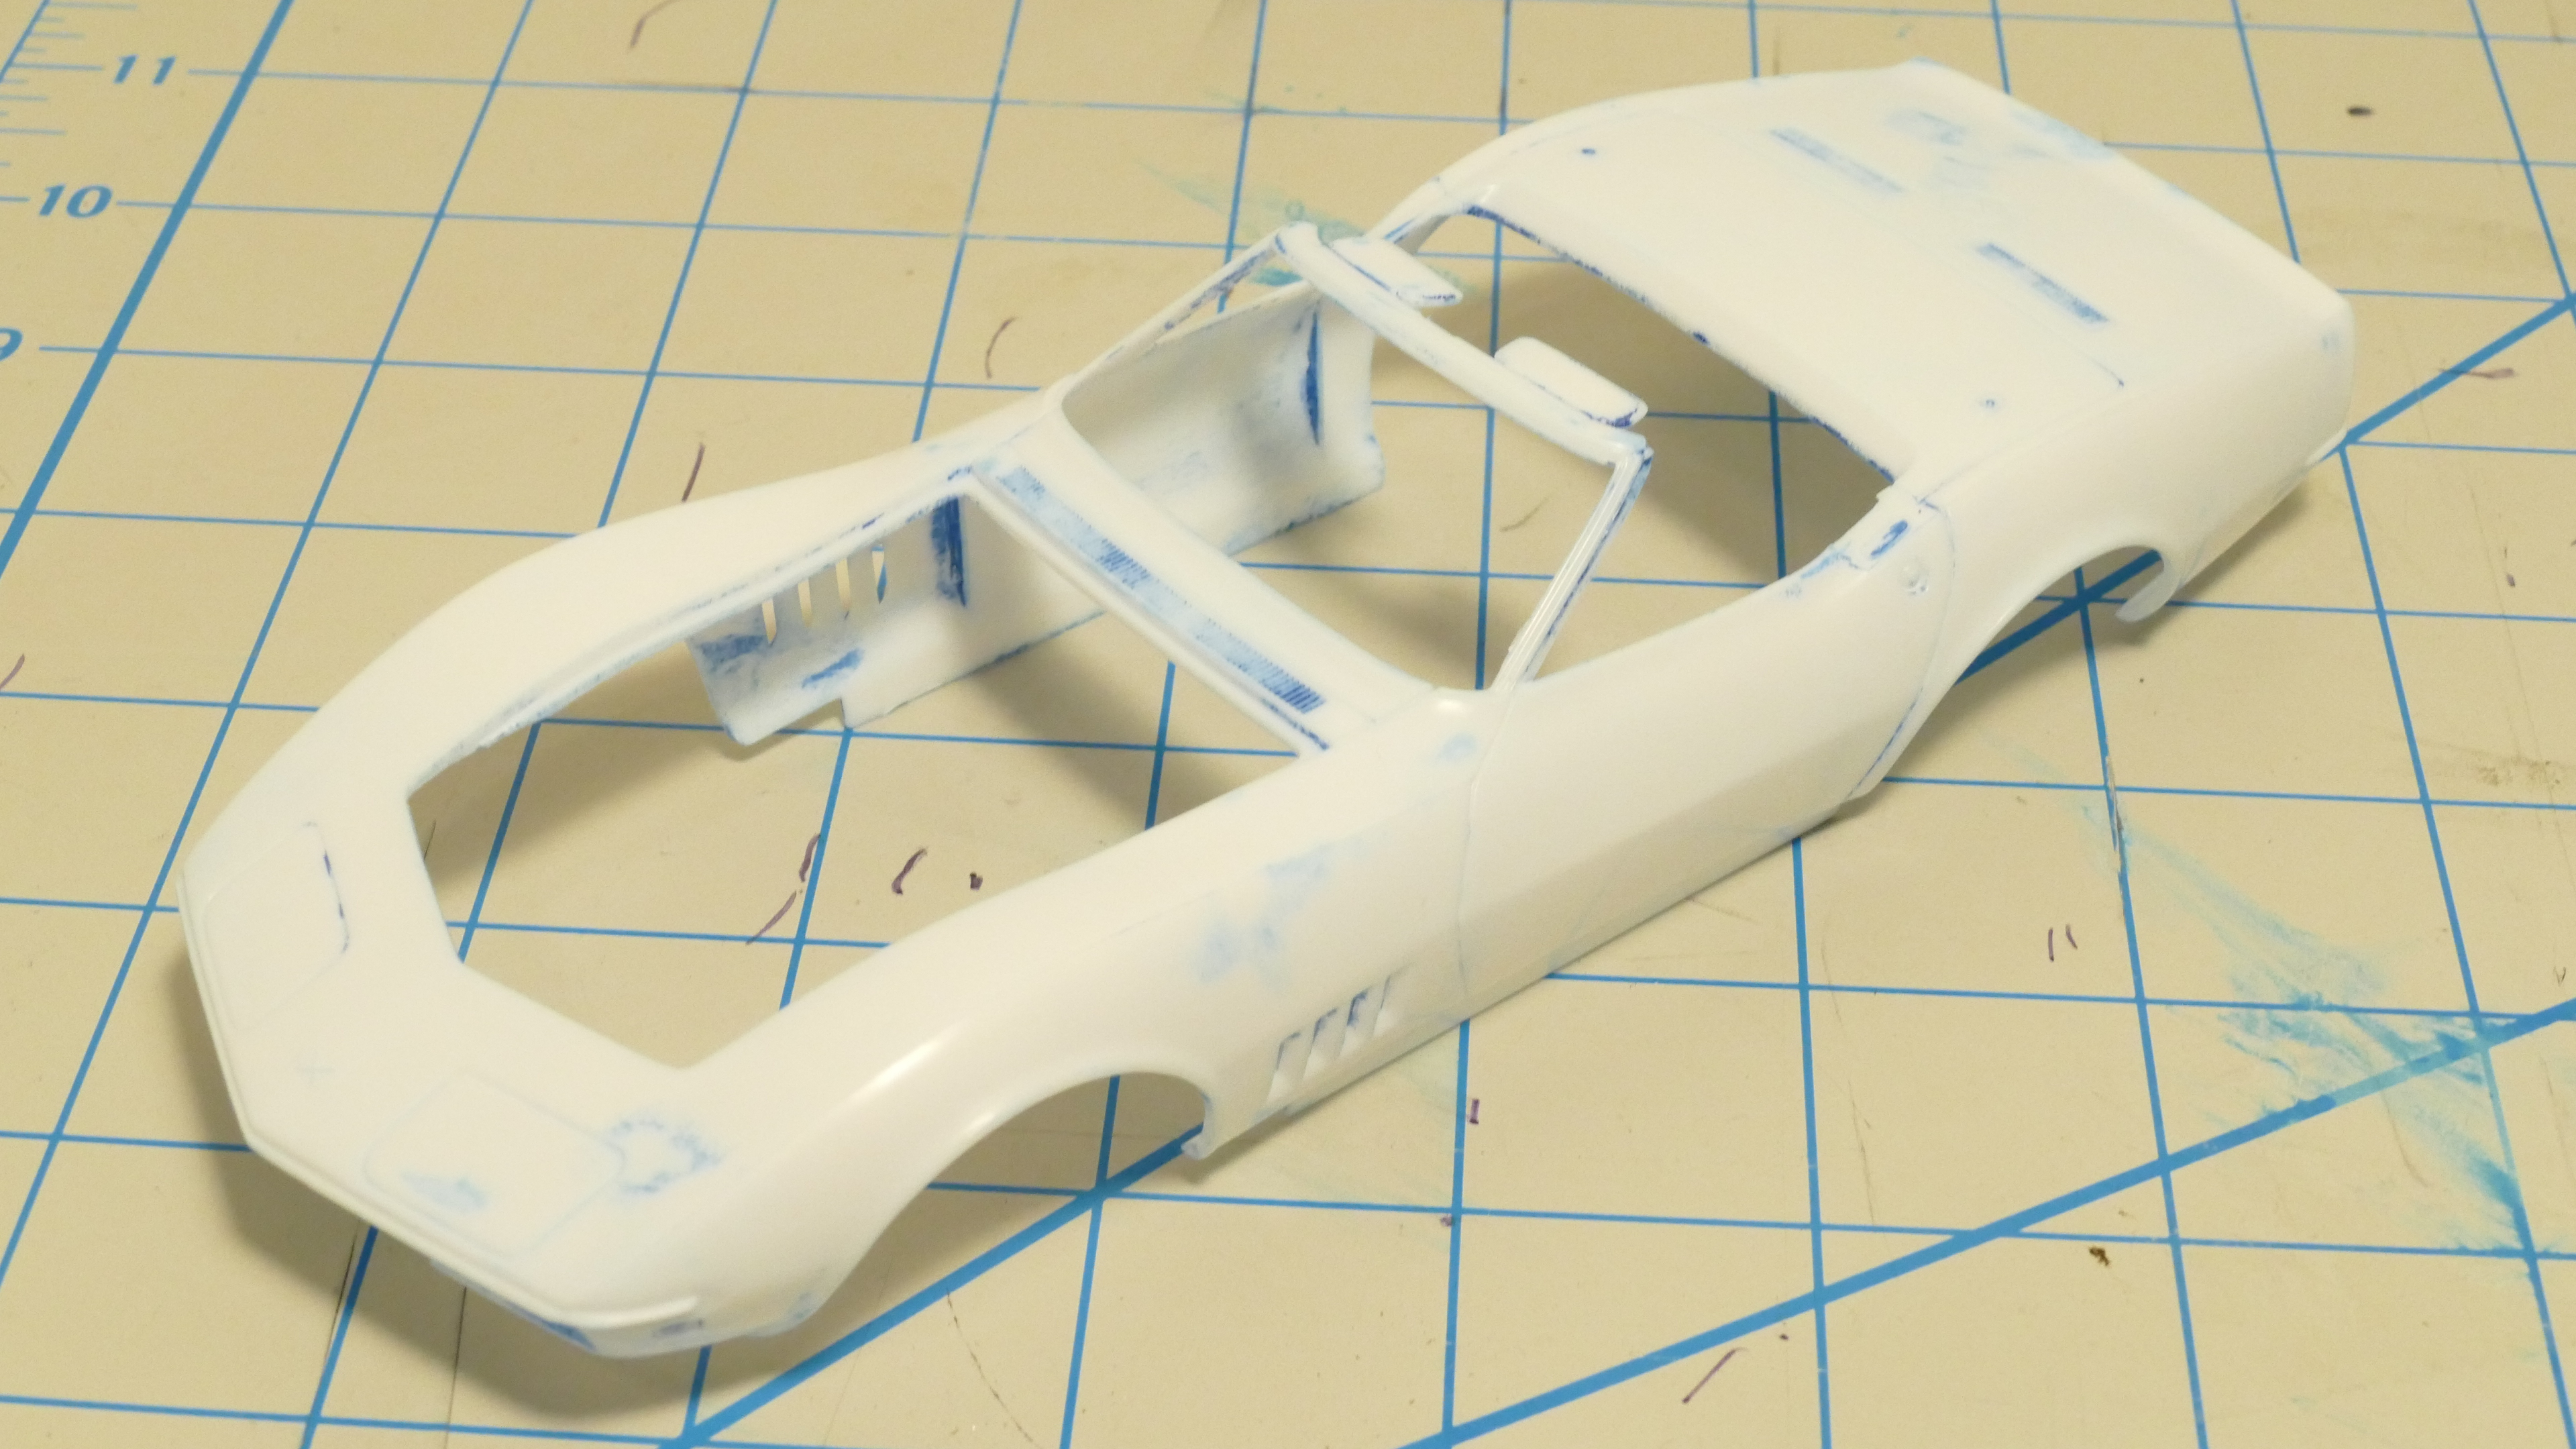
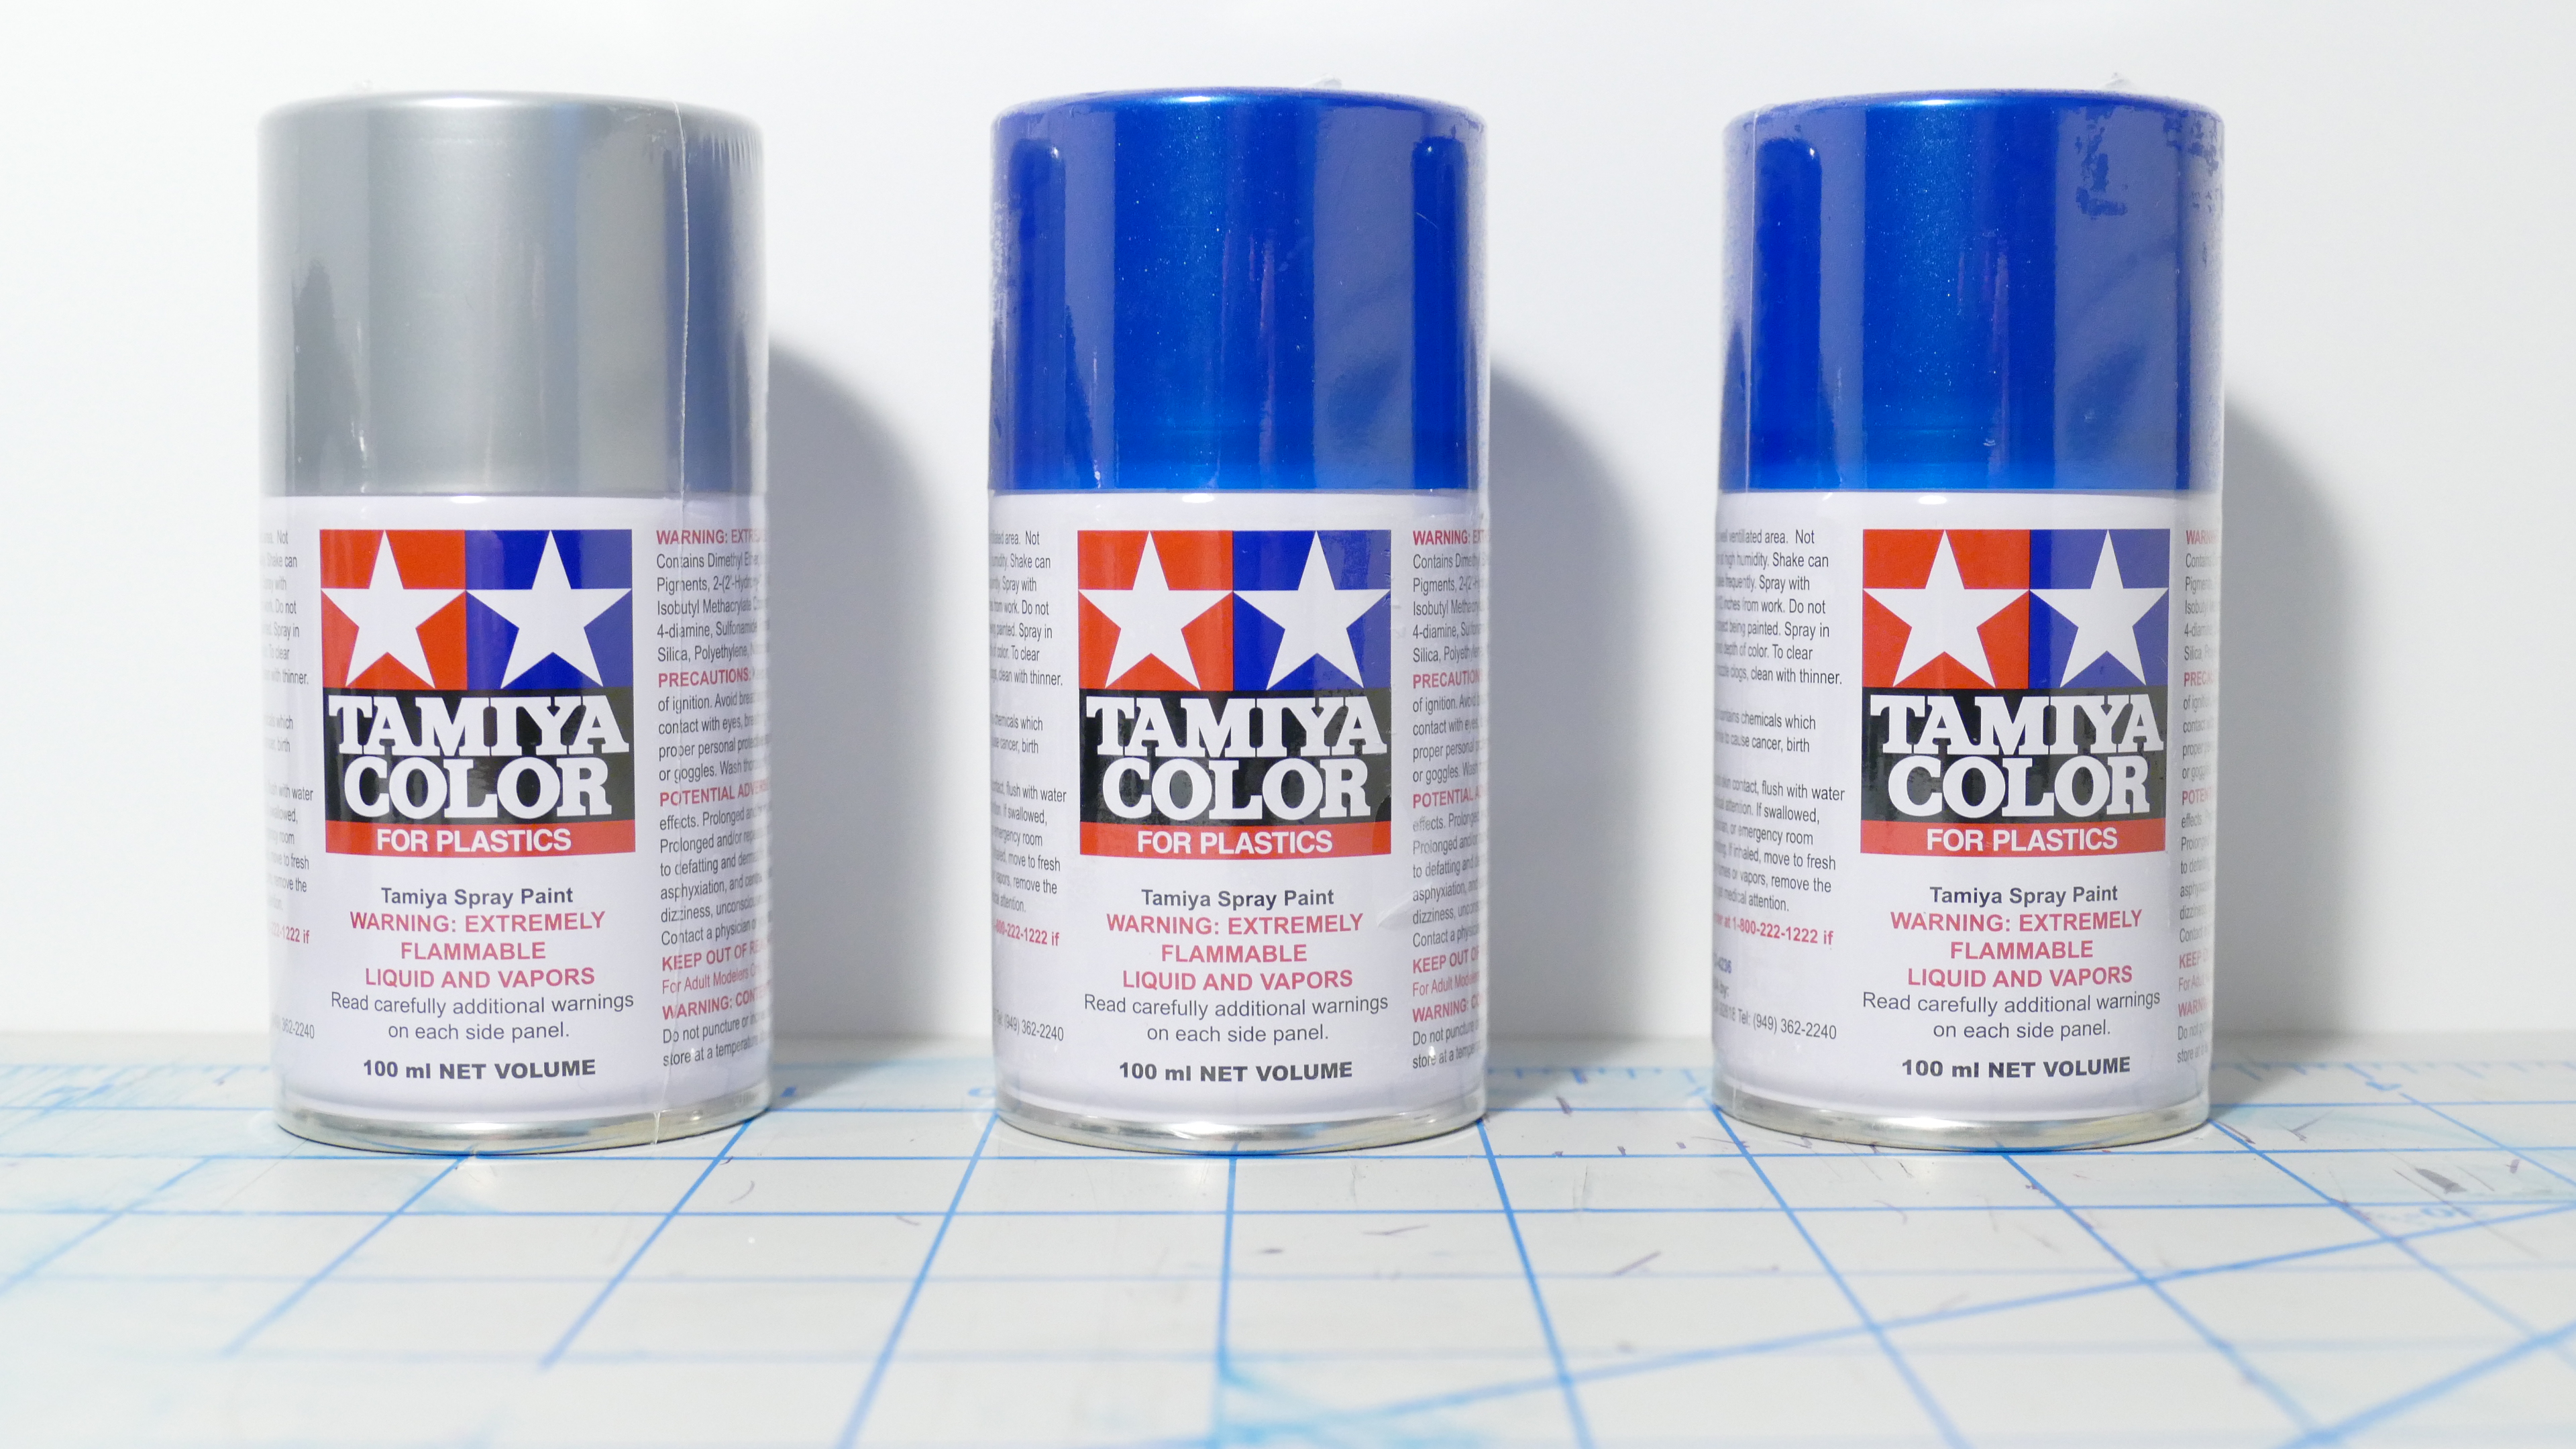
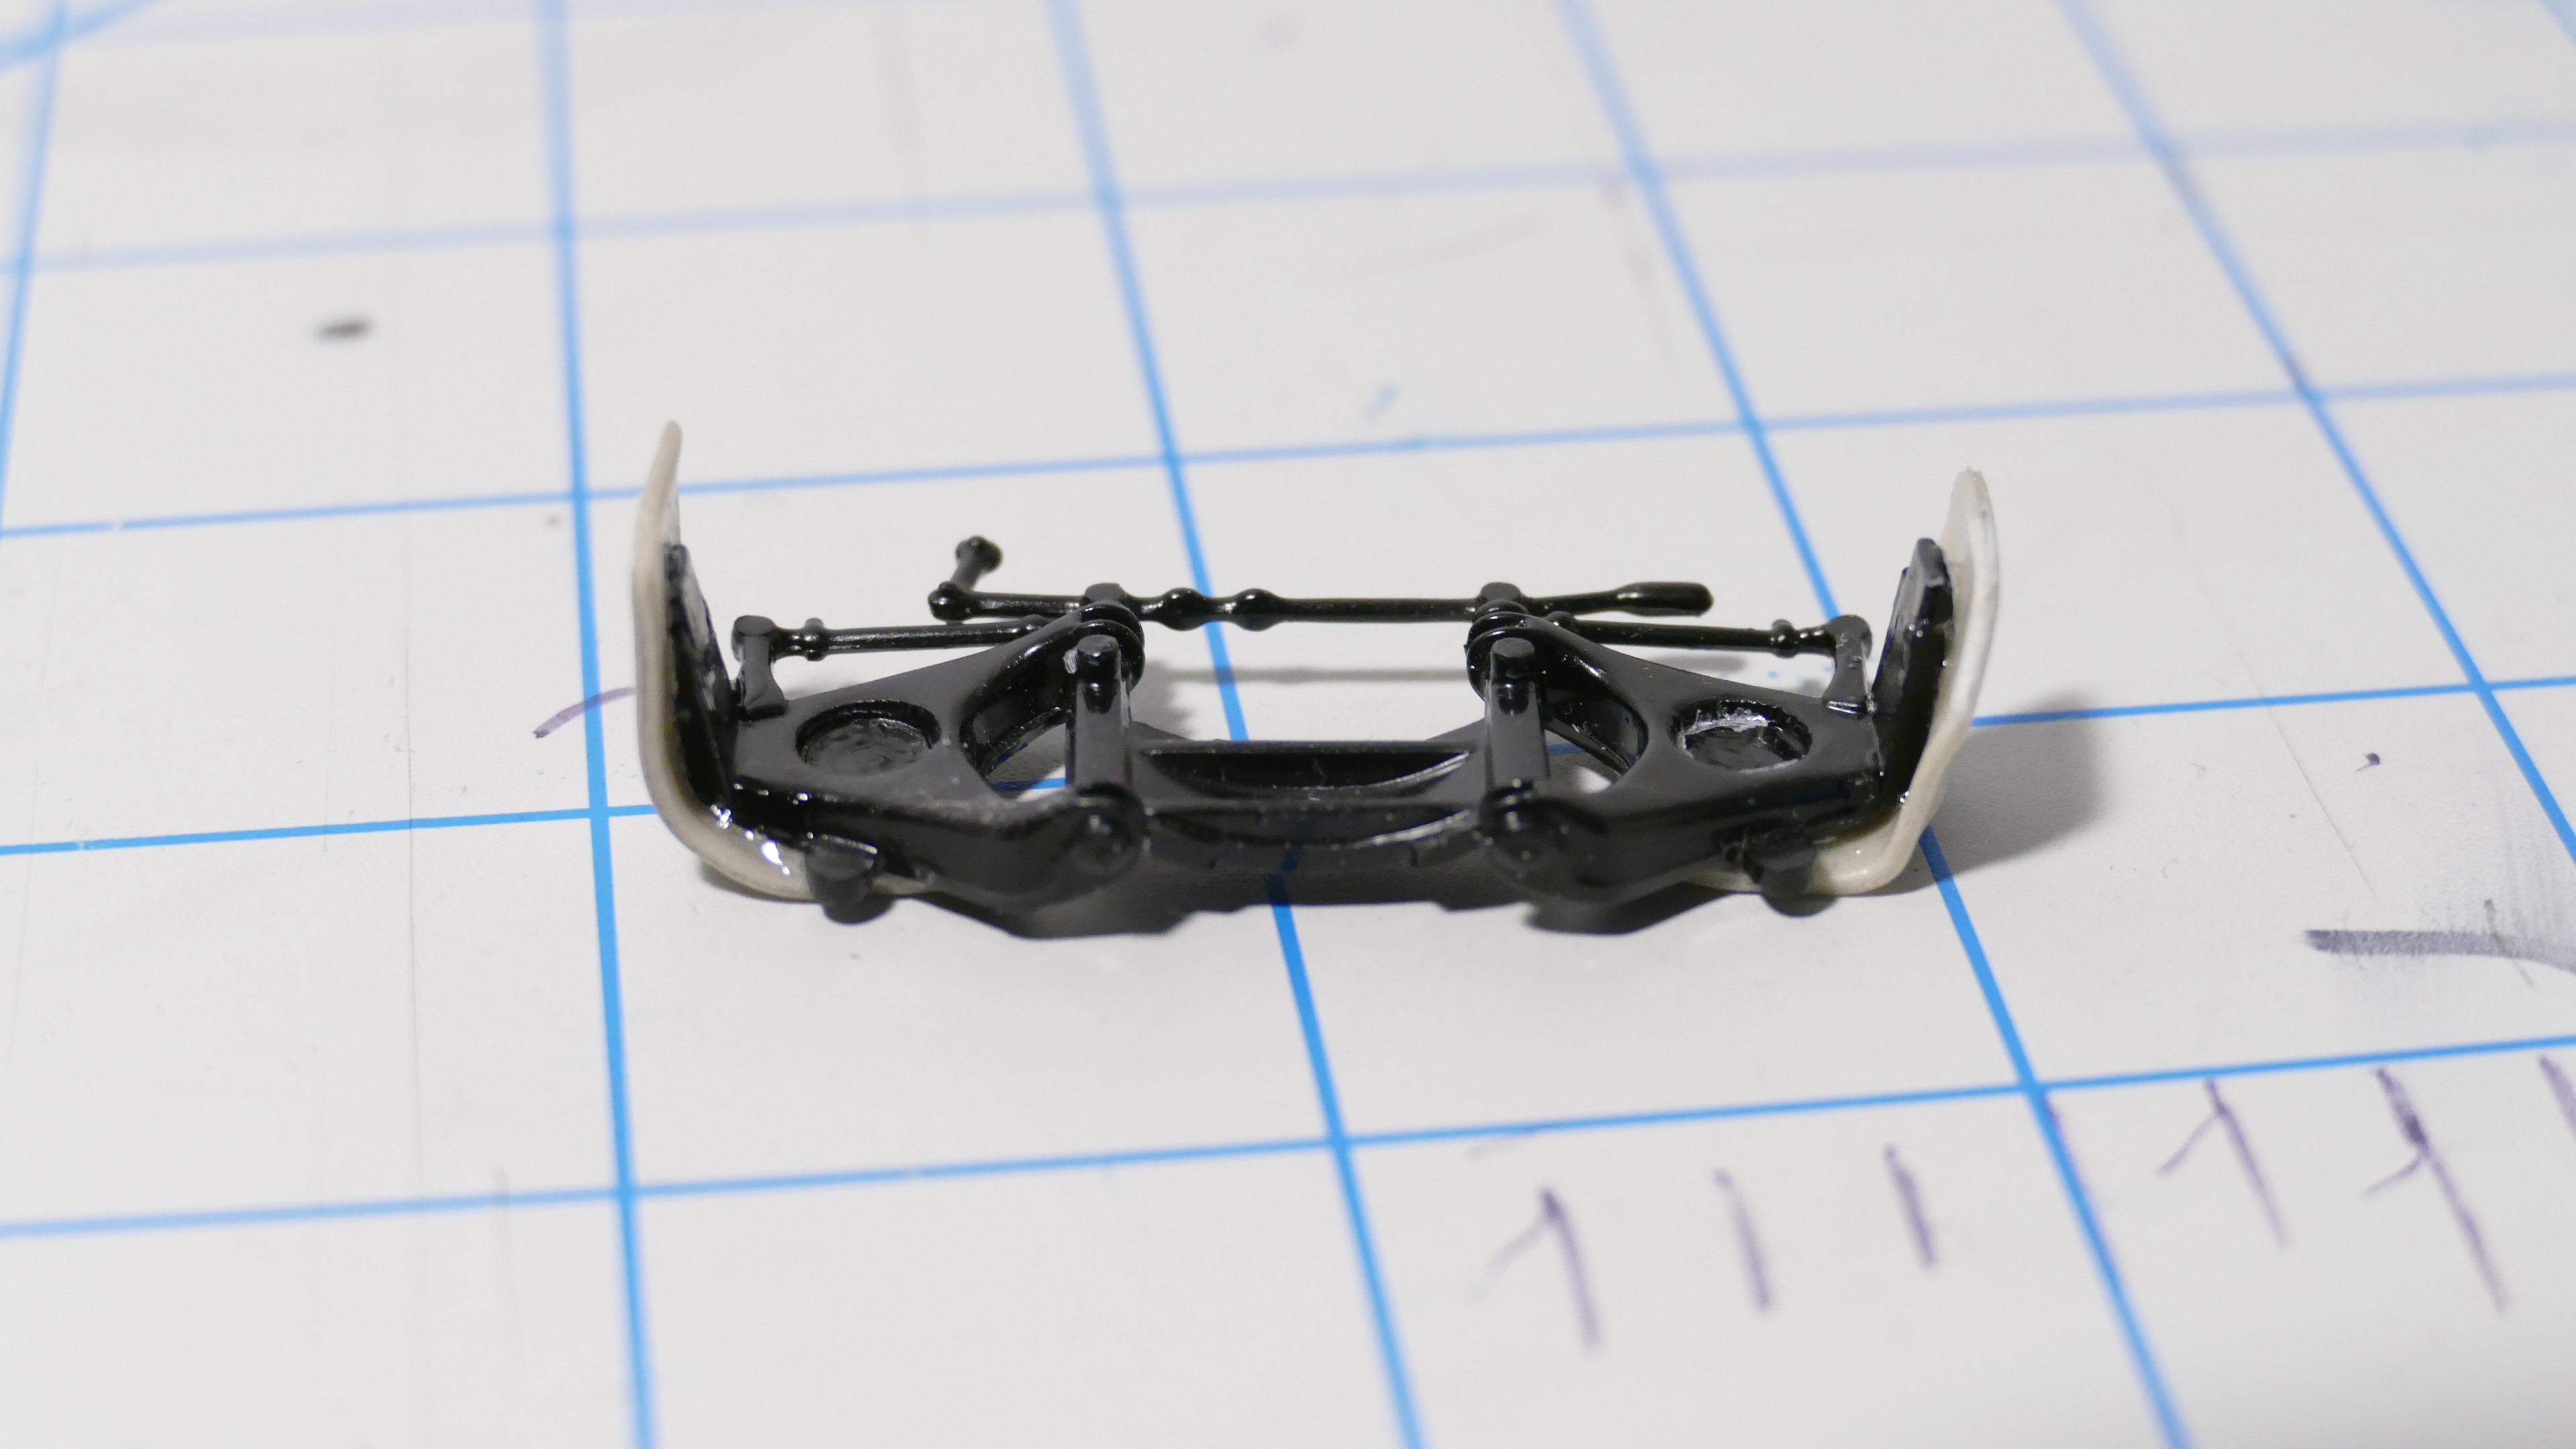
Didn't think I just abandoned this project, did you guys? Of course not! I've been busy getting supplies. I decided to sand the painted body, hood and roof so that they're smooth. Whenever I see a painting-appropriate day outside, I'll repaint the body parts with Tamiya spray cans. I have one can of Silver Leaf because the guy at the hobby shop recommended that I give it a silver base; apparently that will give a better effect. Next, I made some progress on the front steering/axle part. I found some driveshafts in my spare parts box, and when I cut off the ends, they work great for axles. Since the spindles no longer have their axles attached to them, I plan to cut a small portion off of the driveshafts to use as a new axle for both spindles. I plan to drill a hole in the spindles, and put the driveshaft bits into them. But the spindle is too small to be strong enough to hold that size of axle. So, what I did was I cut 2 rectangles out of a material called Thibra*. I heated the 2 rectangles and then bent them into 90 degree corners, and glued them onto the outside side of the spindles. Now, there is more "meat" to strengthen the spindles that will hold the new axle pieces. Sorry for the long paragraph, I wanted to explain my "engineering process" if you will. *I recommend this brand of plastic sheet to any modeler, it is SO USEFUL! Once you heat it, you can bend it to any shape you want, it's great stuff. Well, that's all for now. P.S. I almost never abandon a car-related project. It takes a lot to get me to abandon a project permanently. LOL
-
All good advice guys. I've found that the diameter of the stock axles are roughly 3/16". I might search for some aluminum rods of that diameter. Do you all think aluminum would be alright for the rest being plastic? I mean I was thinking I could put a solid axle (like you would find in the rear) in the front, even though it would not be realistic whatsoever lol. But it would be stronger!
-
Okay guys I've ran into a problem. I tried to switch out some wheels I had glued onto the axles, but 2 of the axles came with them... Help! What to do??
-
Also, I am going to repaint it soon but there was some Scratch Out that got into the door cracks, I'm wondering if I should just leave it there? I tried to rinse it out of the cracks but it just won't come out... Also, do you notice something different about the quality of my pictures? That's right! I got a new camera which has 4k video!
-
Hey guys. Sorry for the lack of progress these past couple days, I had some surgery. I'm currently recovering. I did acquire something though, it's called "Scratch Out". I found out about it in a YouTube video involving fixing orange peel. Anyway, I tried it and it does work, but I still think I will need to repaint the main body piece.
-
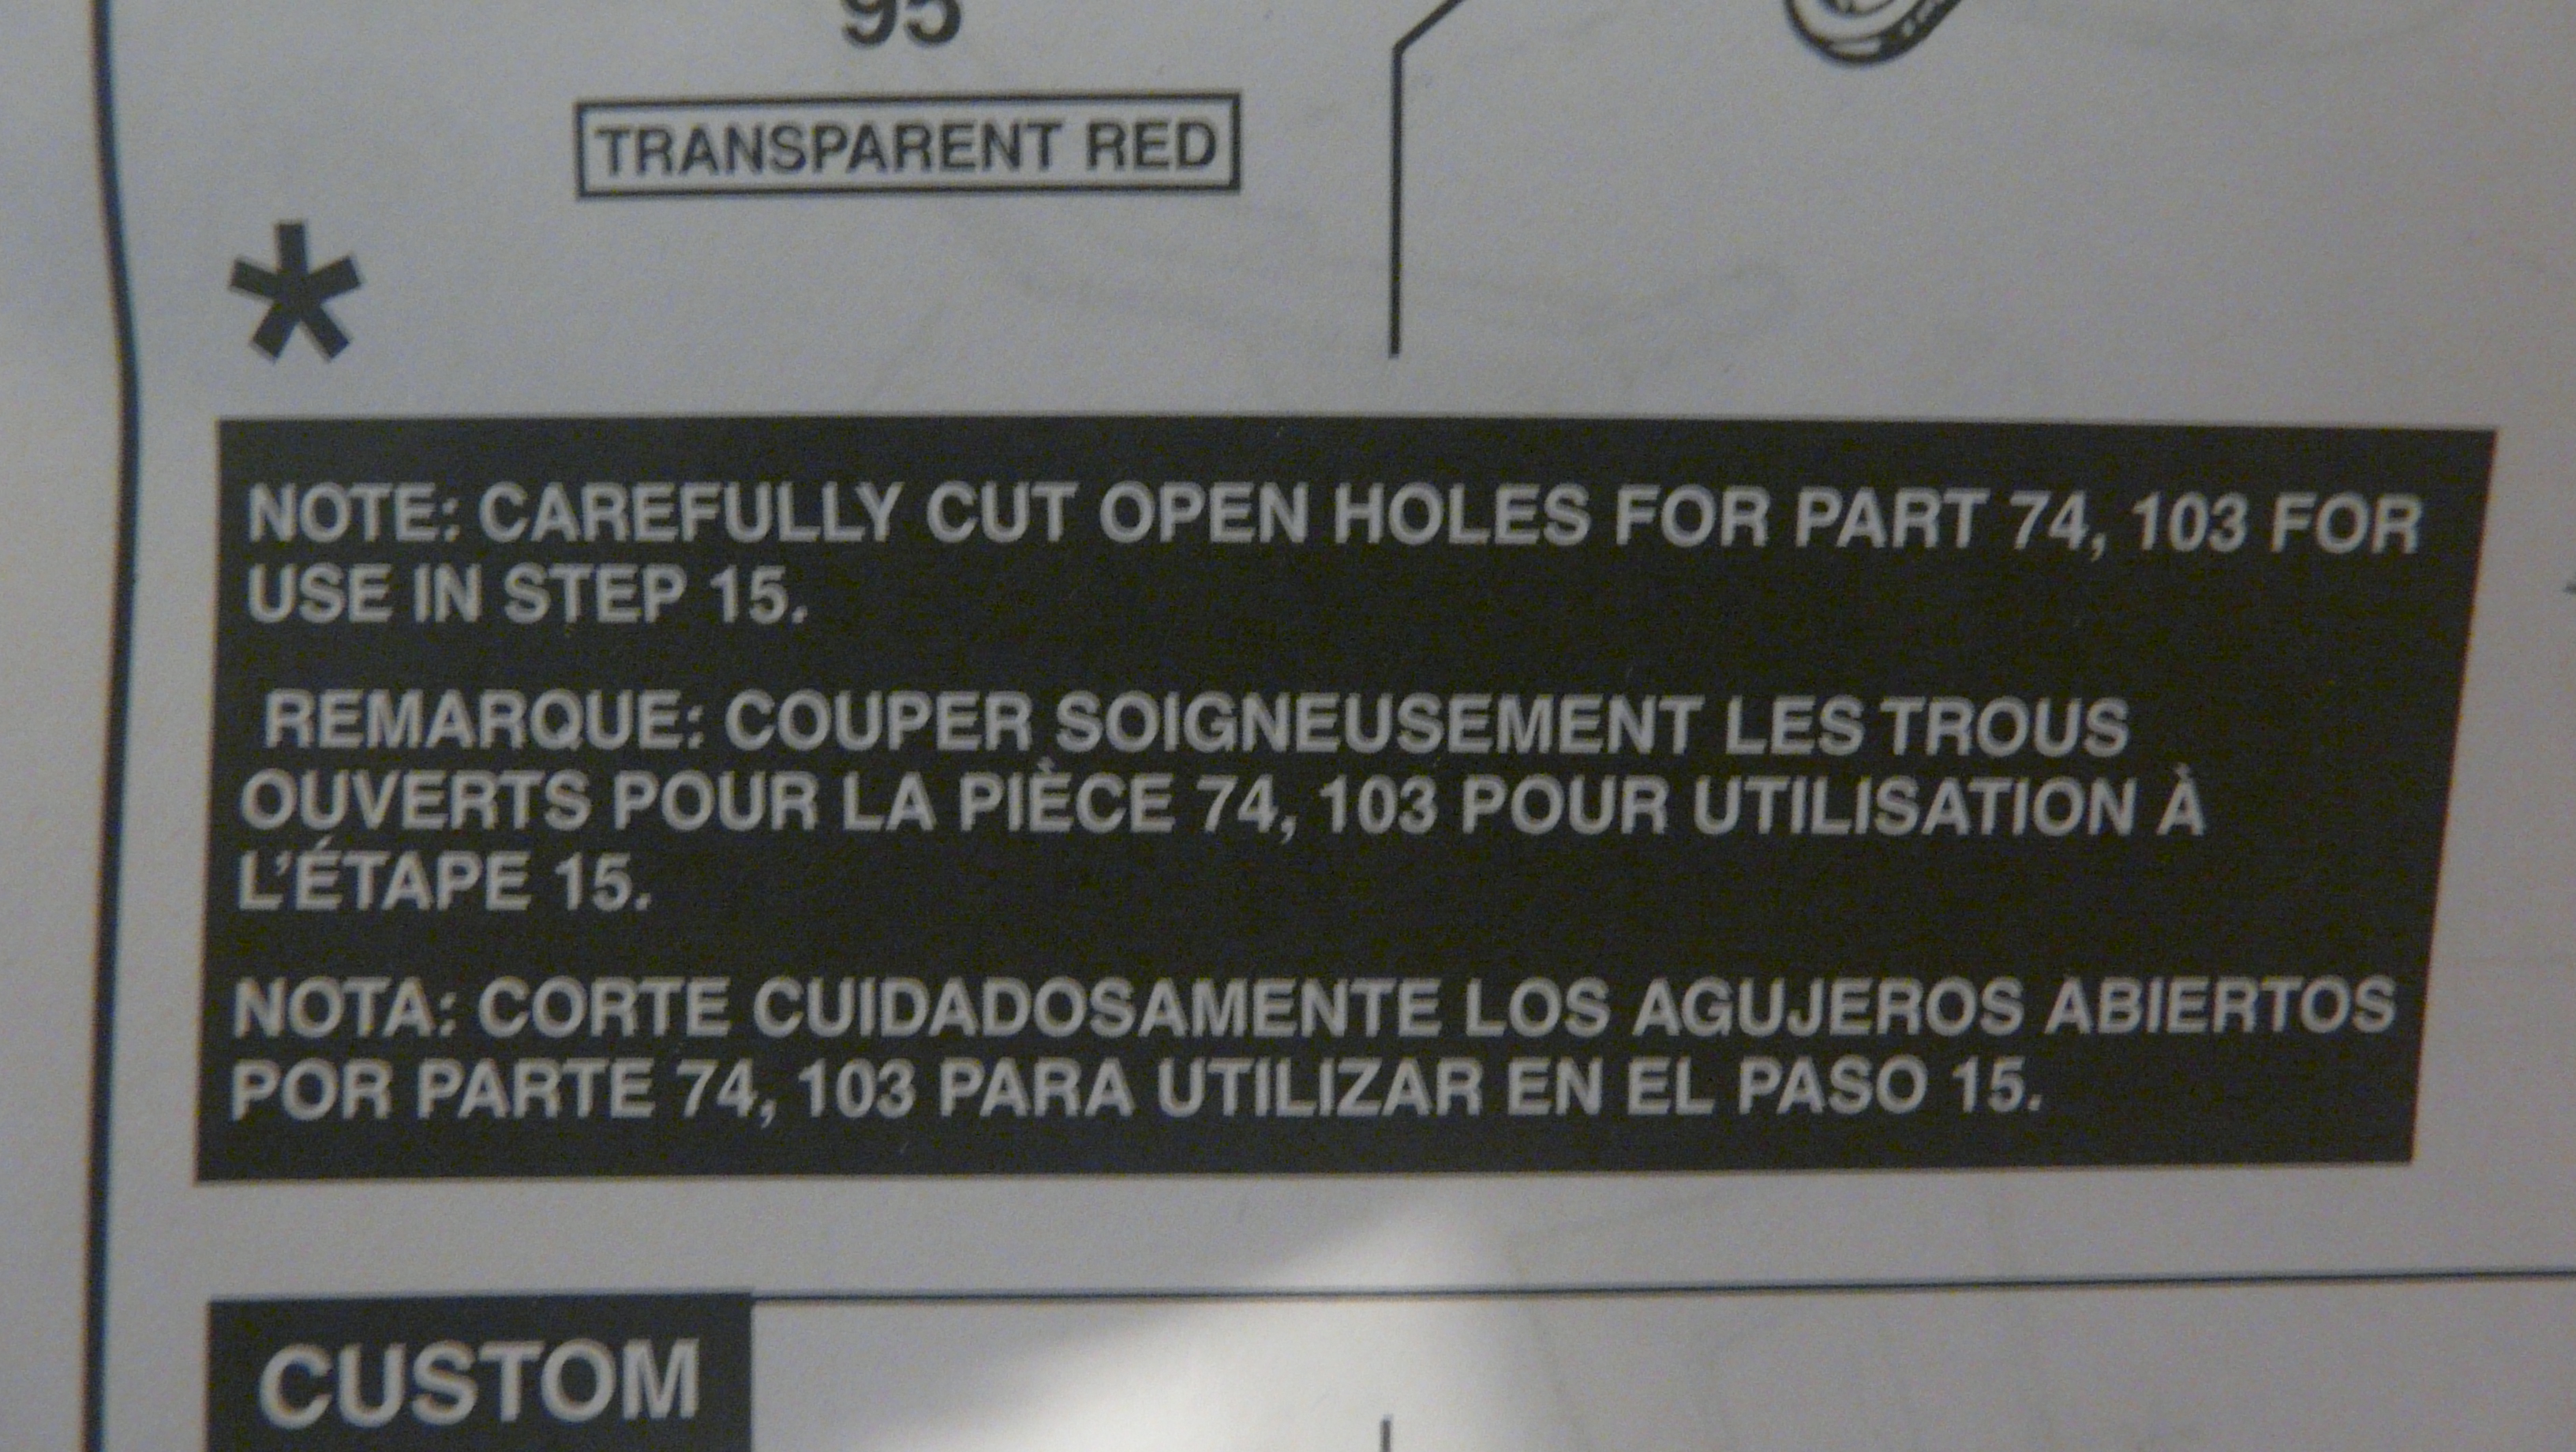
Yeah I've heard of that too, but I actually just leave it out in the sun for like 10 minutes, but no more. That way it won't get wet. I must bring to your attention that in the instructions, there is a step that says to cut out 2 circles for the exhaust tips. The circles are there, the plastic of the circles are just more thin than the rest of that panel. I couldn't tell if you already knew about this, but I figured if you did it still might help someone else that was confused.
-
Ah-ha, I like that analogy. Thanks for the reference to the Tamiya polishing compound. Alrighty. I also just realized something, I think my main problem was I wasn't always spraying vertically. The top side of the body was being sprayed with the can horizontally. I guess I should just position each part so the current surface will be sprayed with the can upright?
-
Thanks! Yeah I was considering putting the blower on, but I decided to save it for a different car. Oh okay, I didn't know it was contaminants. I thought it was something involving the paint coming out of the nozzle. Thanks everyone for all this helpful advice! I declare this forum my go-to place for getting help on my model car builds lol!
-
Wow, okay. I guess I'll have to give that a try some time. Also, I have heard that rubbing wet sandpaper with toothpaste works well for removing orange peel on body parts. Below are some pieces that have orange peel, and then some toothpaste I recently acquired... (sorry for the blurriness) Can someone confirm if that method is alright for eliminating orange peel (also some "fish eyes")? Thanks!
-
I can't tell if you're joking or not. If I try that out then it will be on a piece of scrap plastic lol
-
Thank you! Yeah I can barely wait to see how those taillights turn out. Thank you! I felt that there are lots of red Corvettes out there, which does look great, but I felt that I should make one in blue. I agree. Feel free to point out any of errors I overlook. Don't worry I will not be offended
-
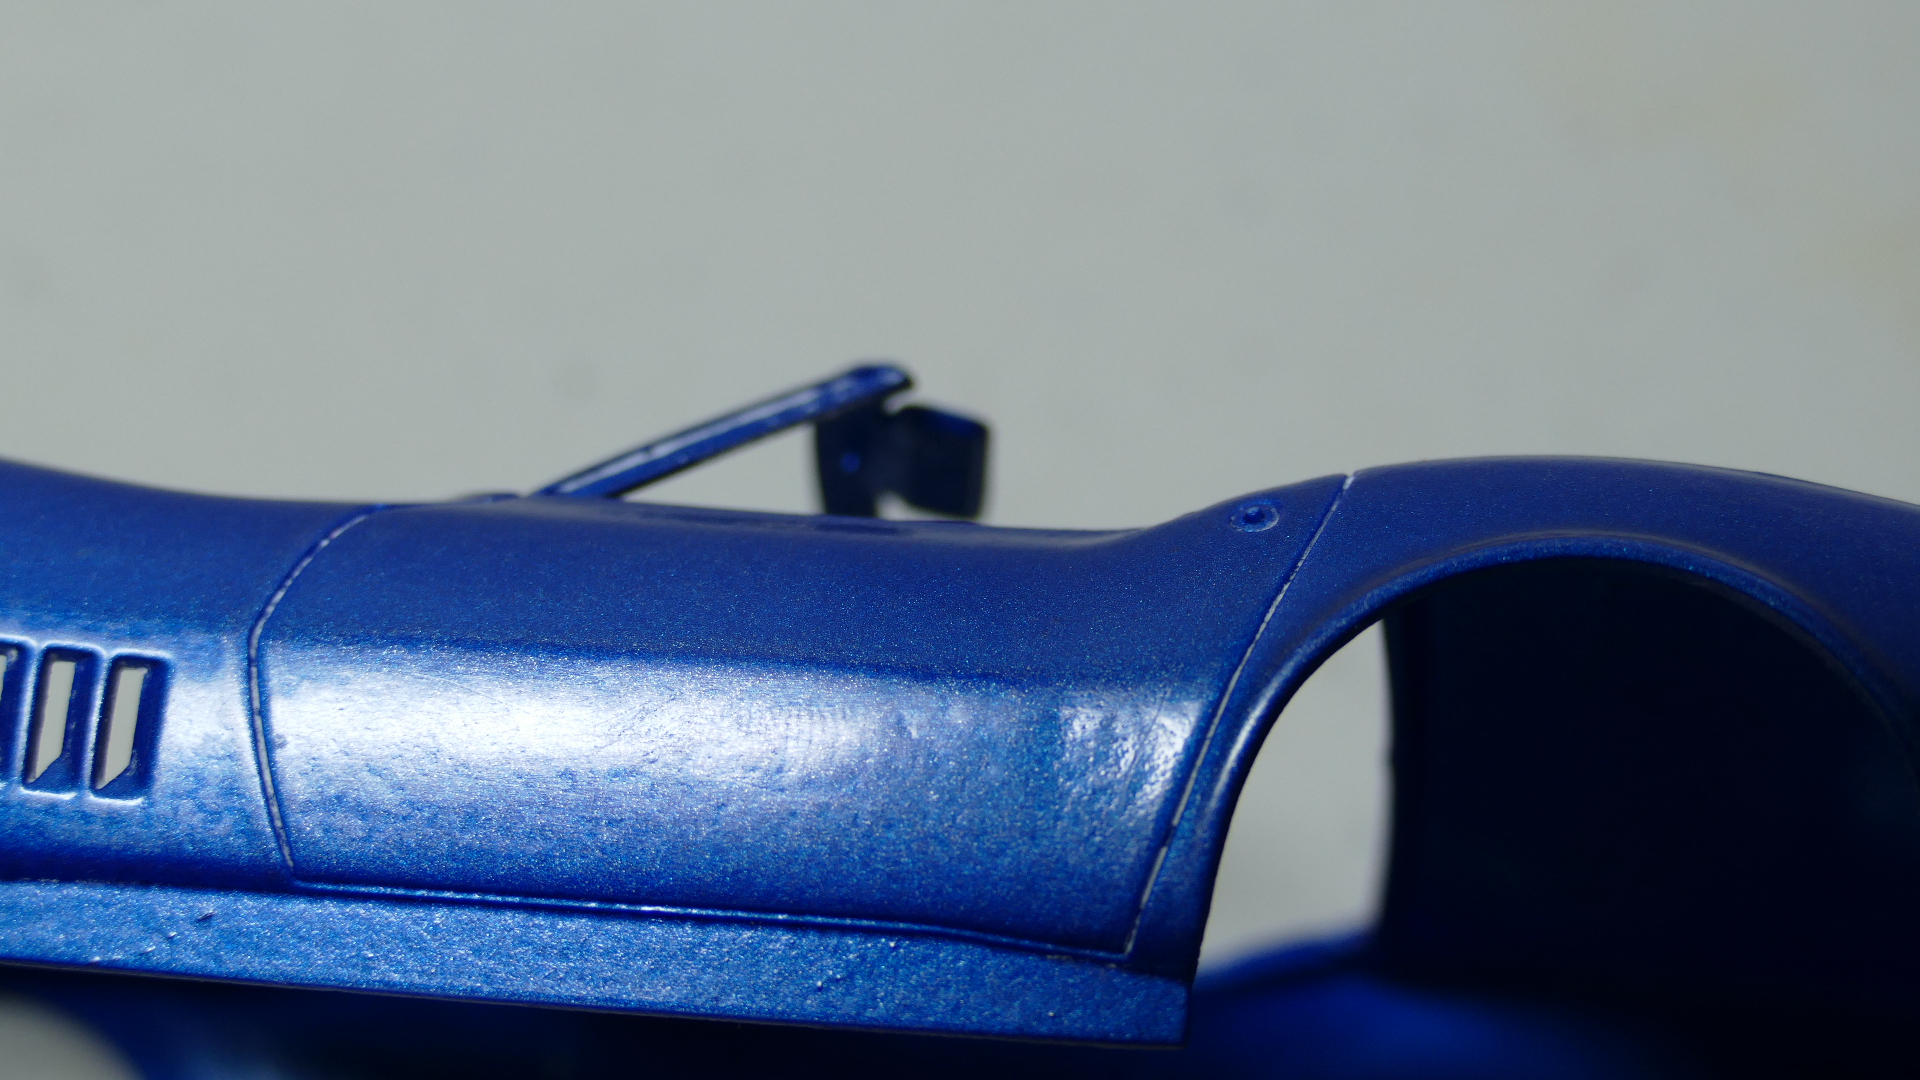
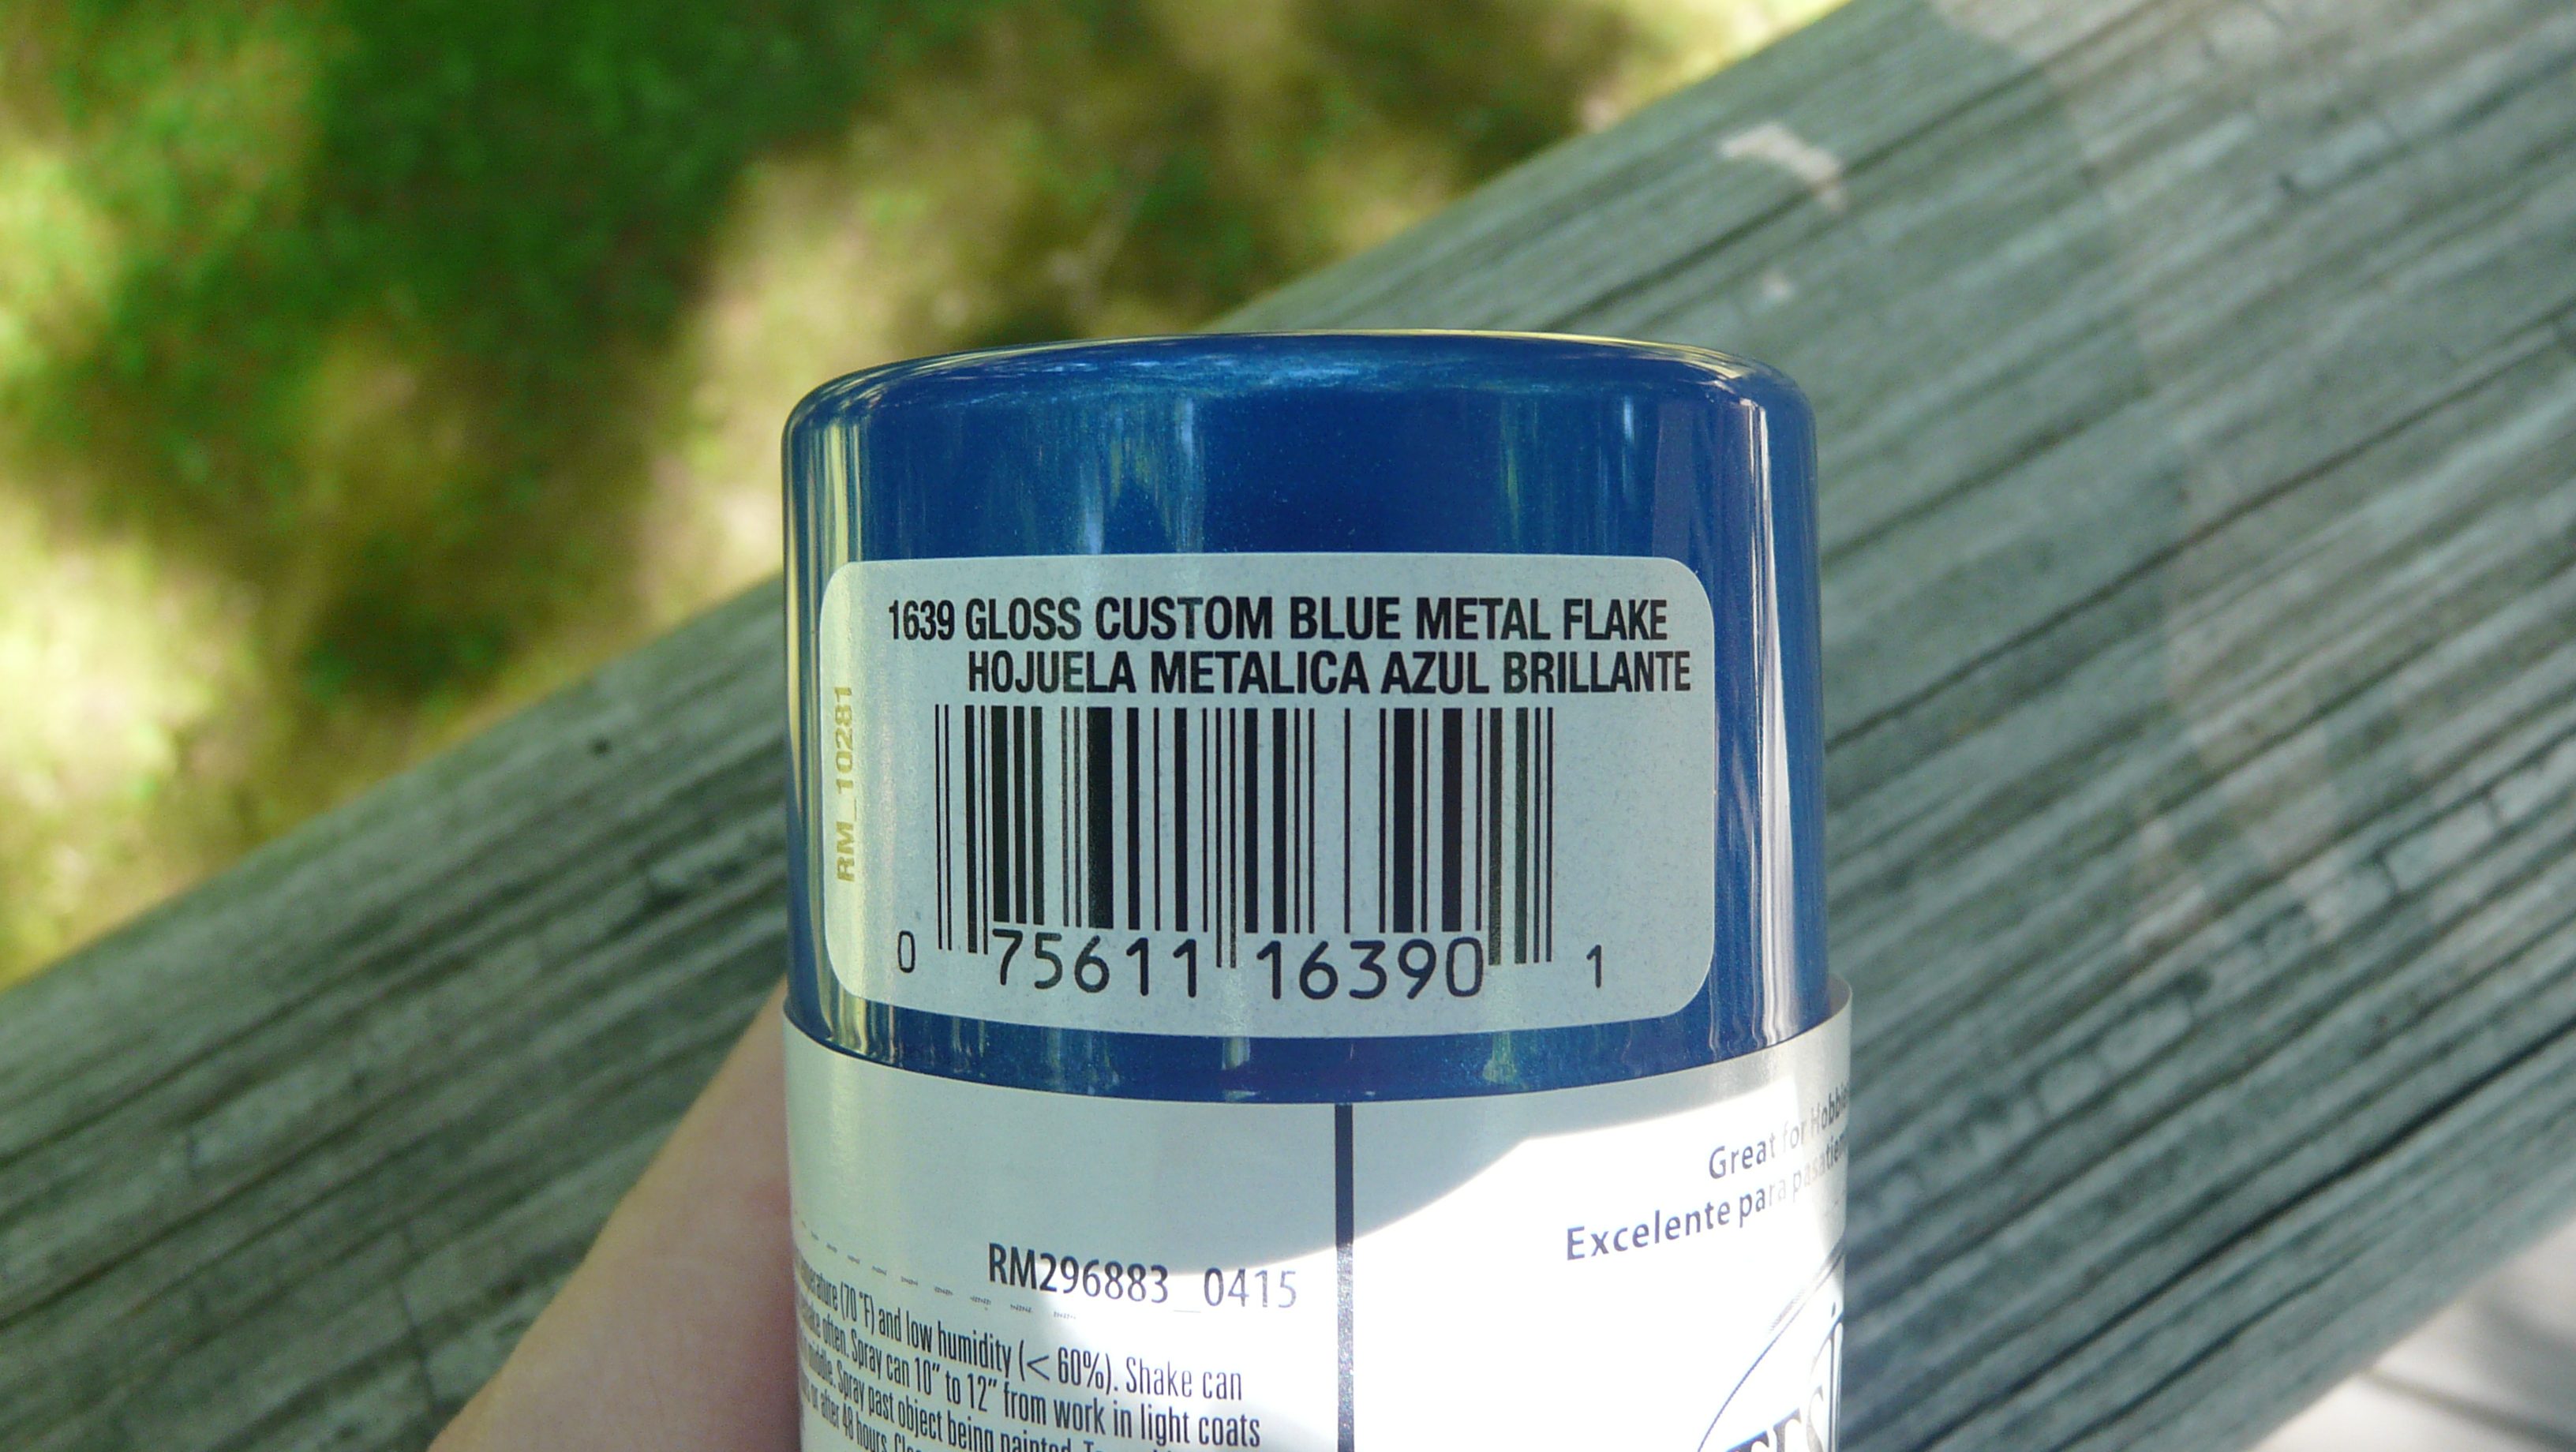
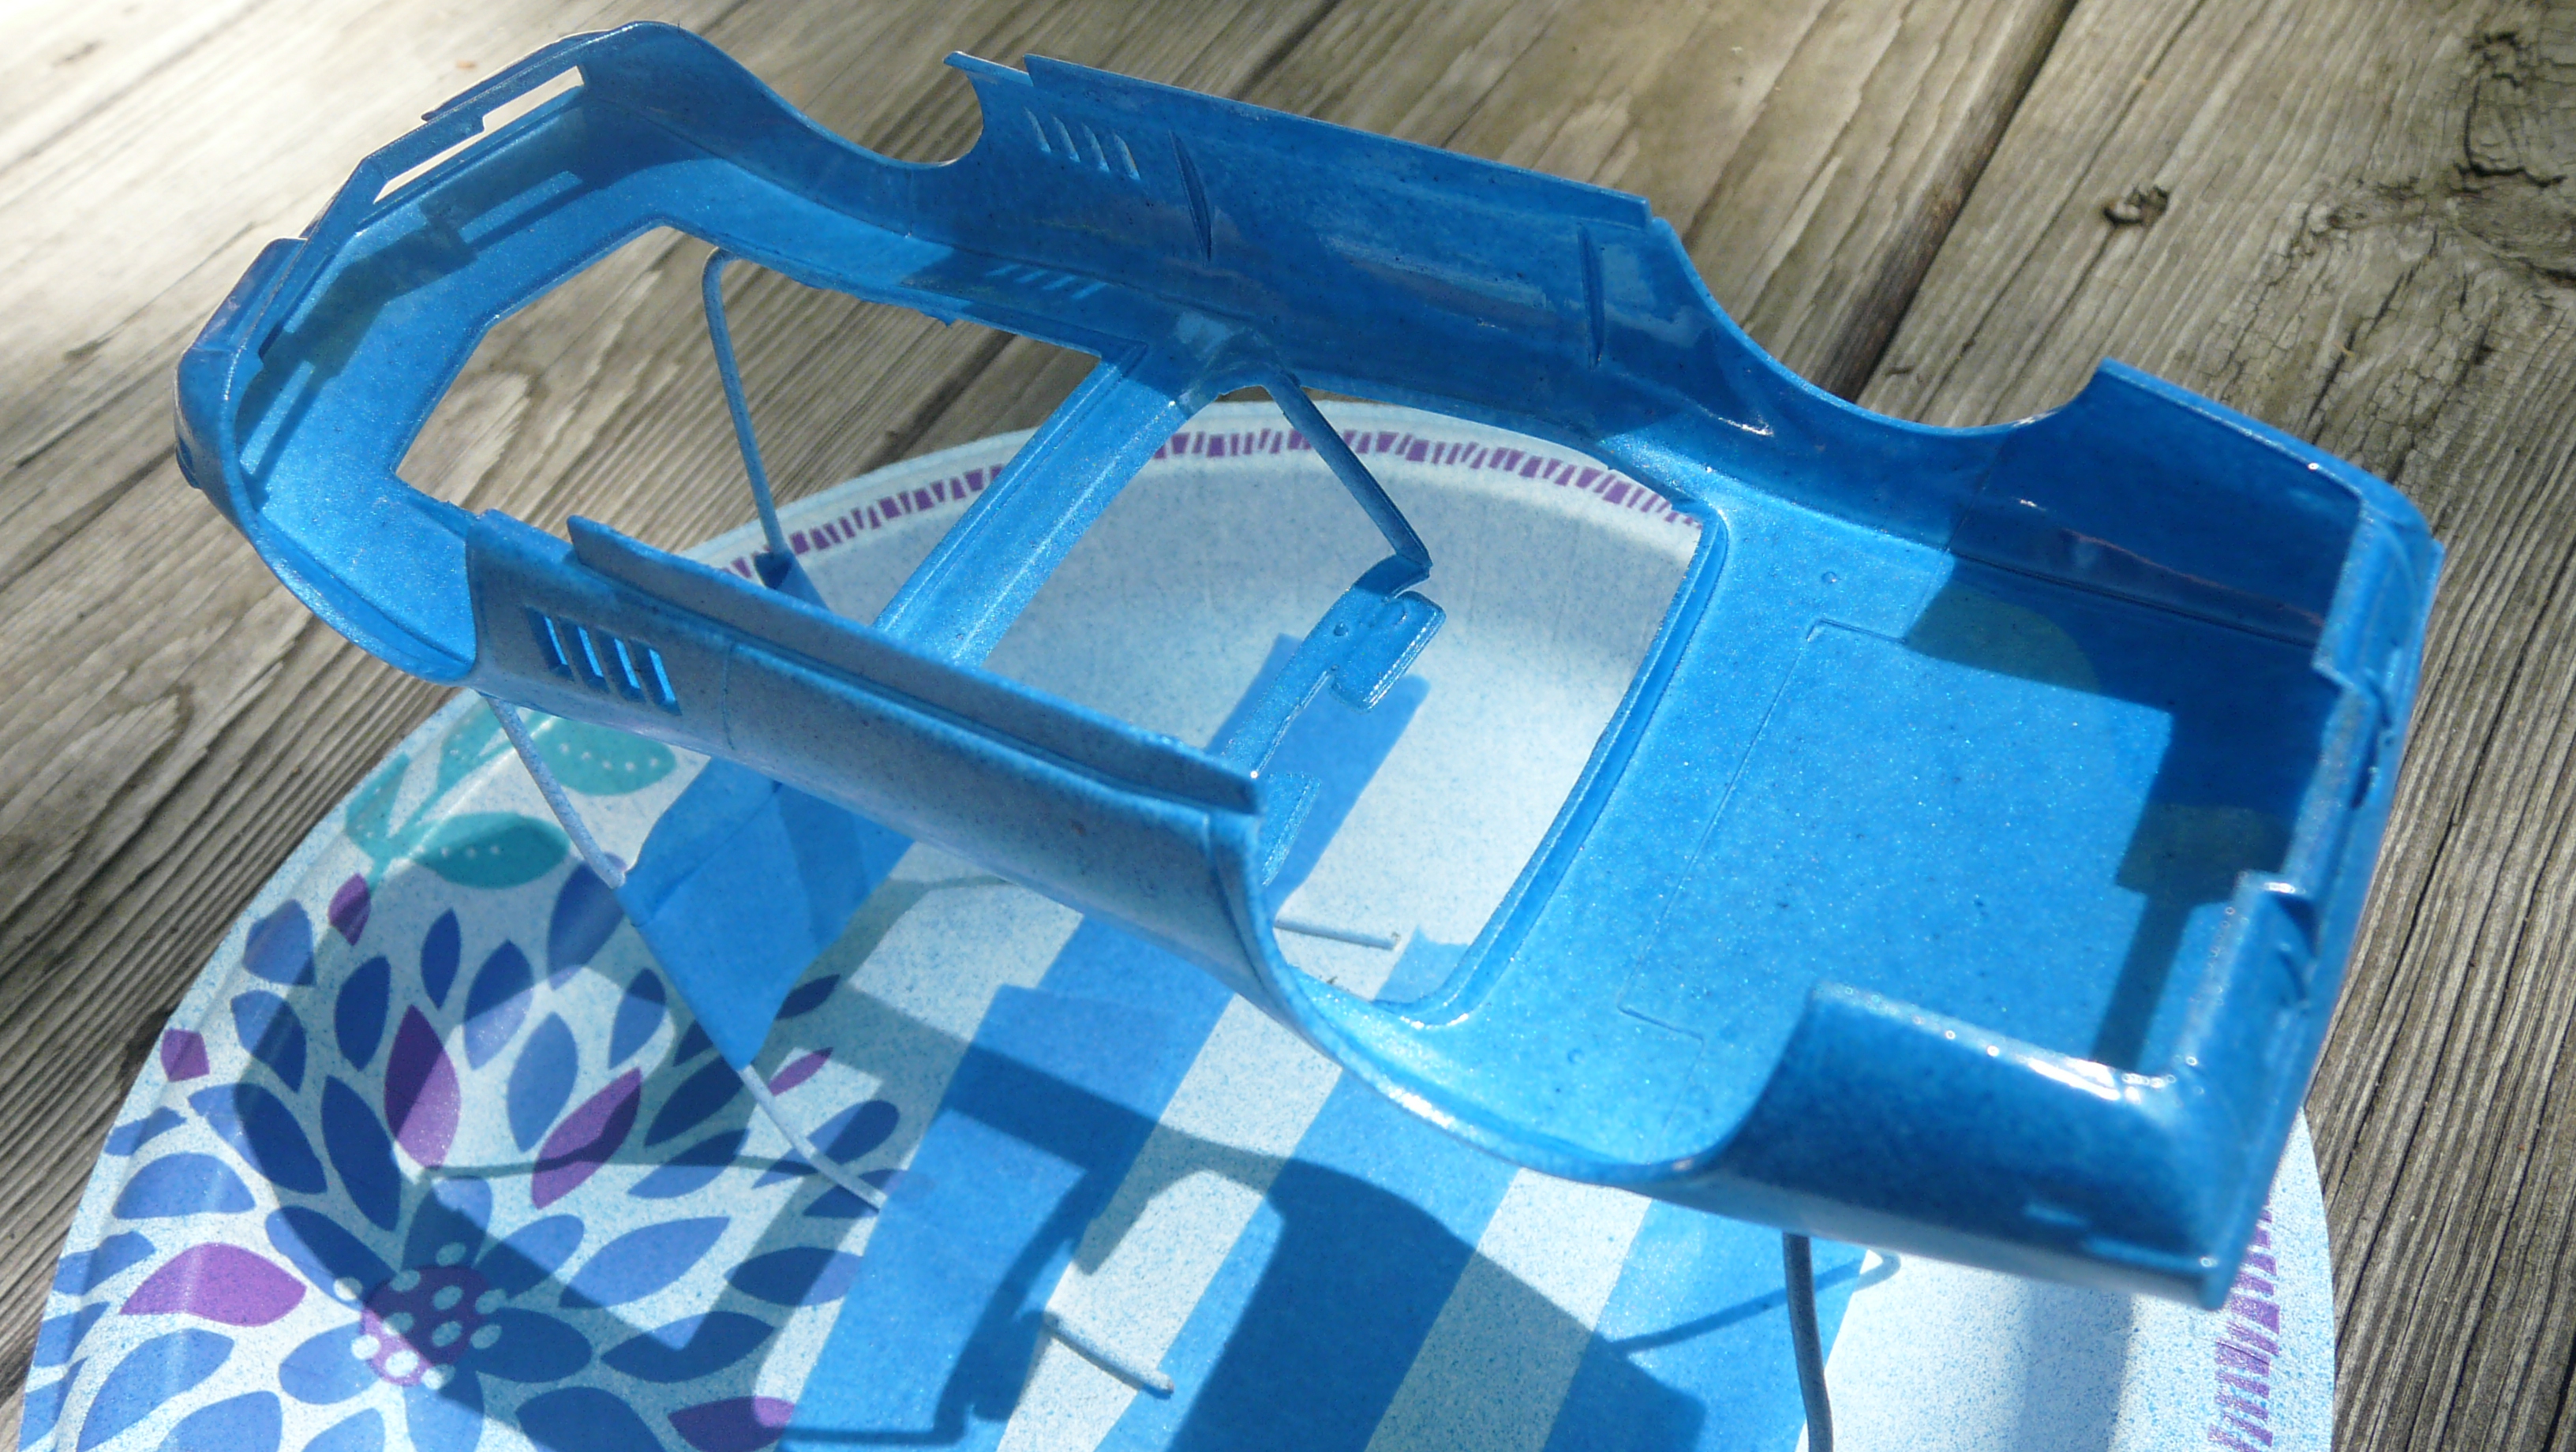
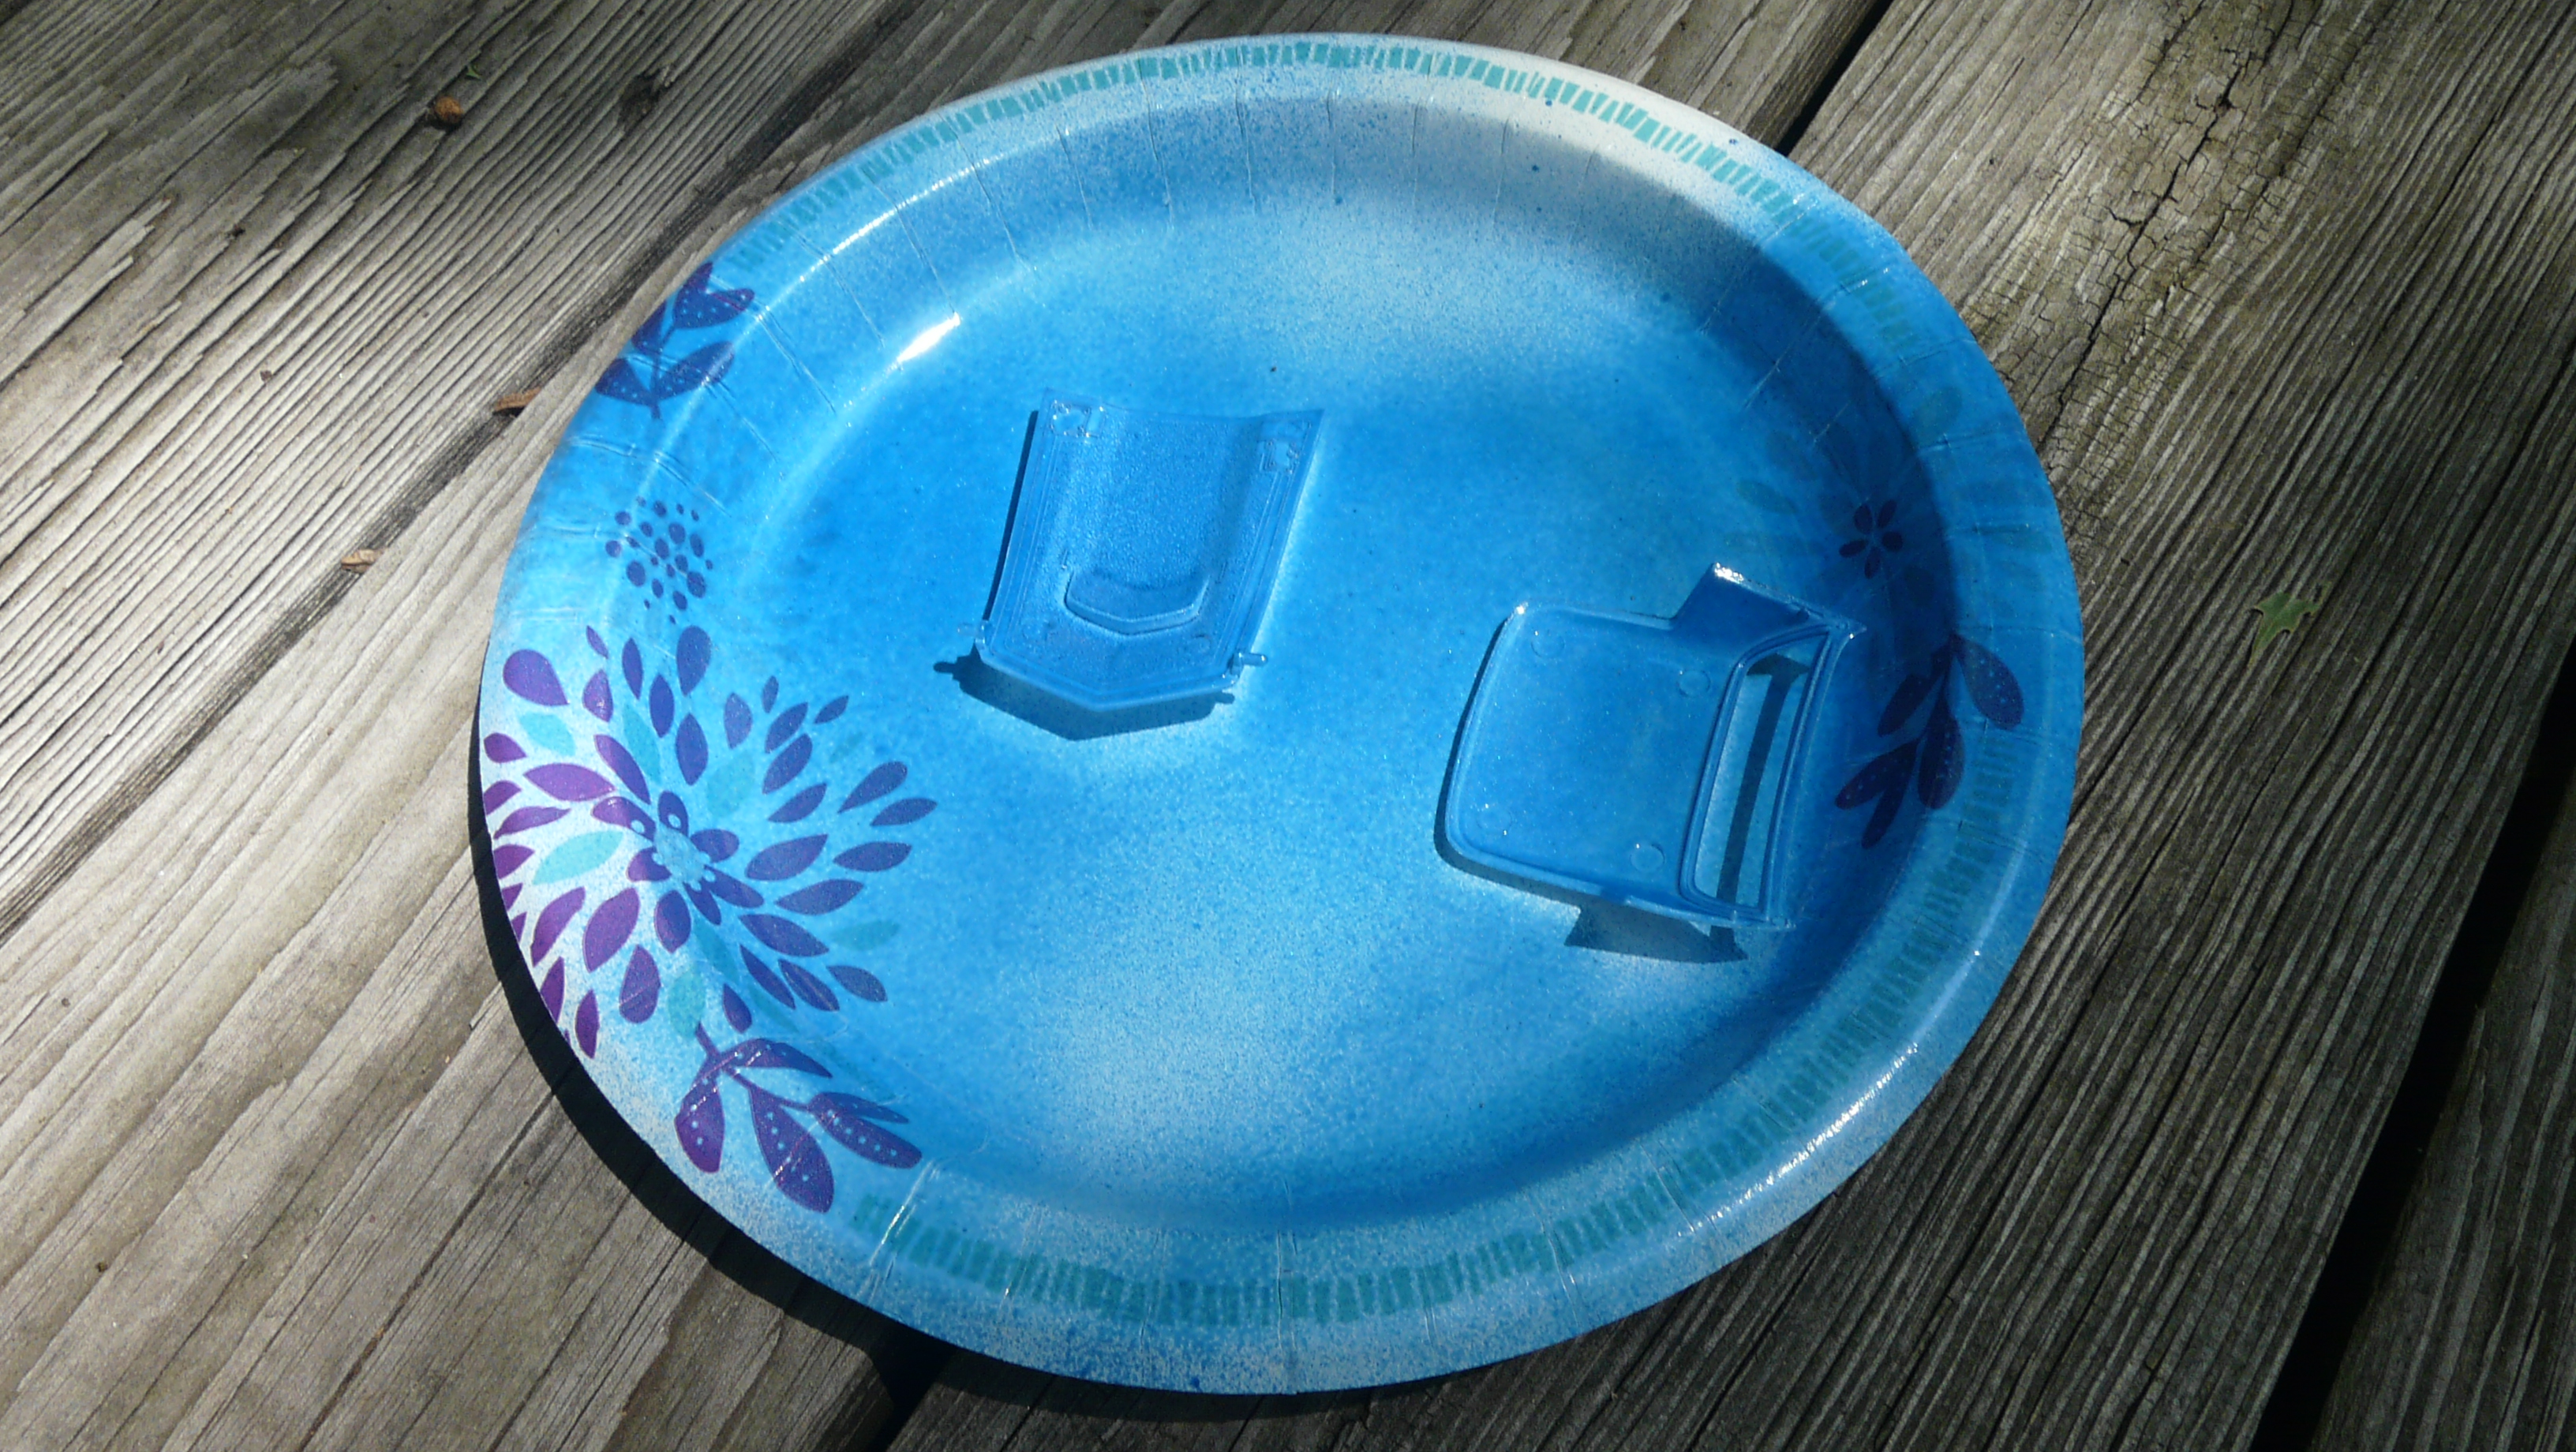
Yeah I will definitely be using flat colors for interiors from now on. Here's some more progress. I acquired some spray paint for the body. I always get the underside painted before I paint the side that viewers would see. Also, this is my first time using a wire coat hanger to hold the body for painting. First coat is done on the underside of the body, hood and roof. I might do only one coat on the underside, or I might do more. I'm thinking on it. Well, that's some progress. I'm hoping tomorrow there will be more painting-appropriate weather outside. I guess time will tell
-
Fantastic work on the fire extinguisher! What program did you use to create the printed label on it?
-
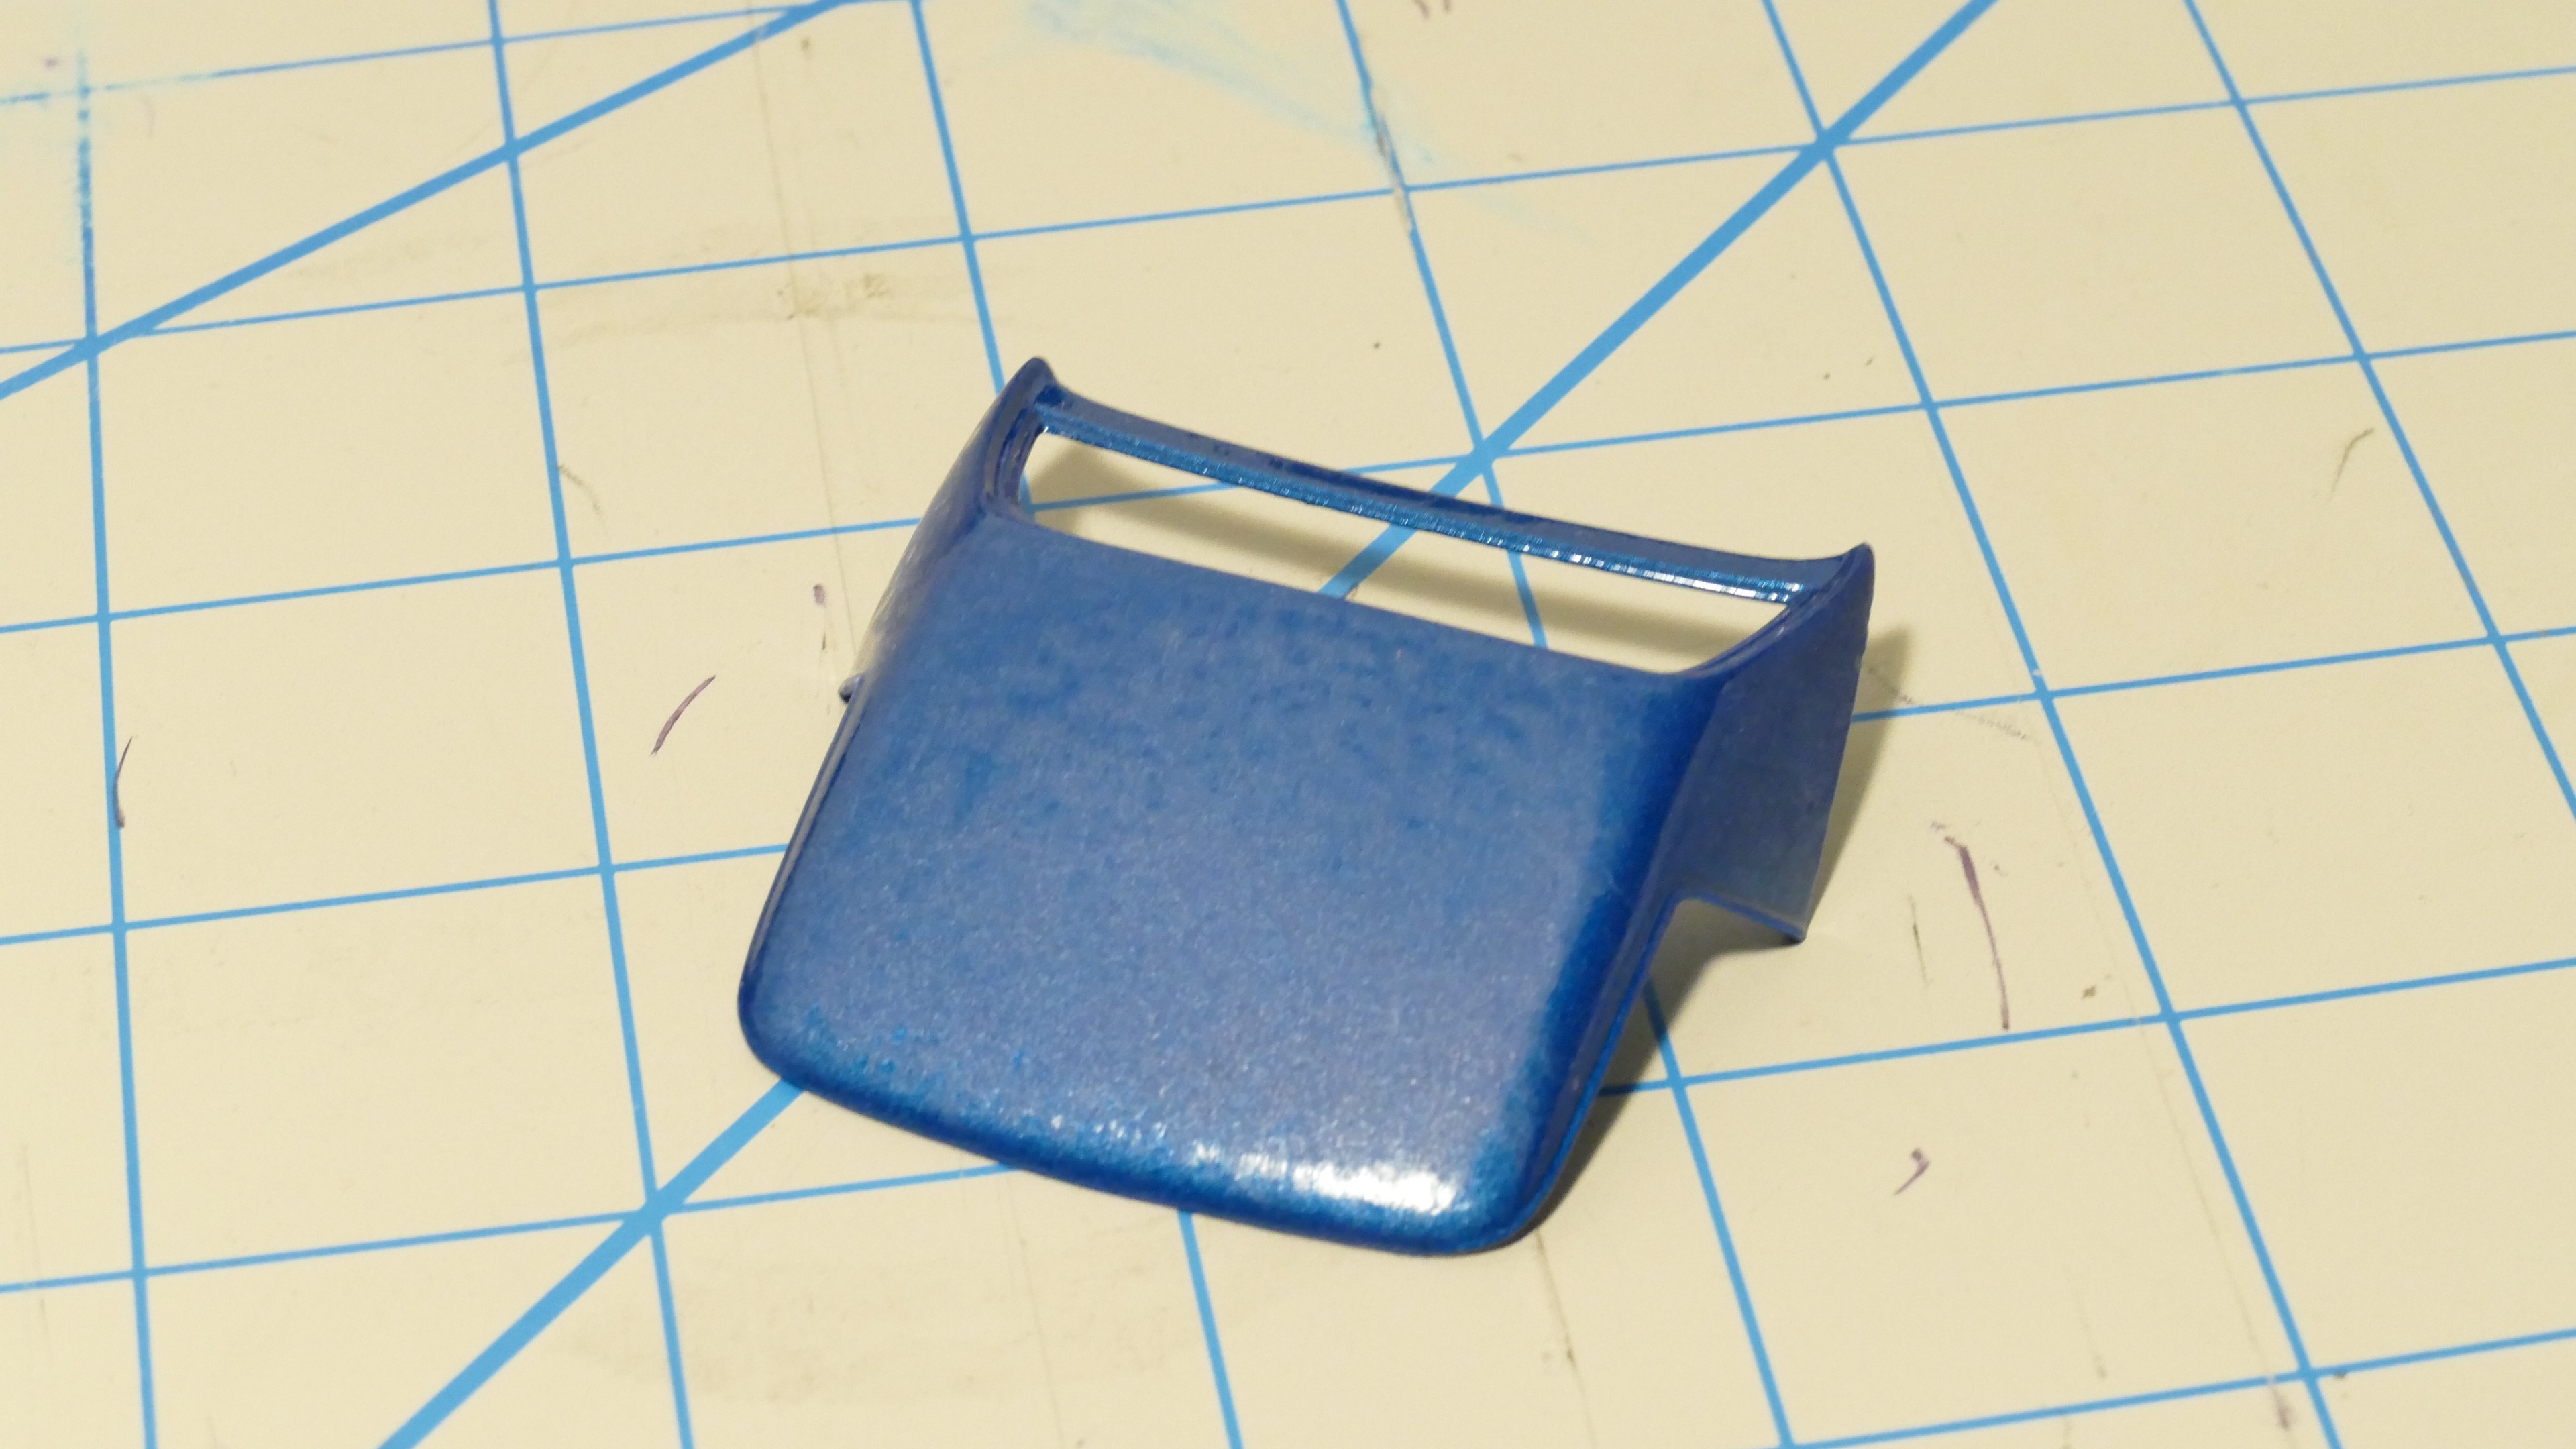
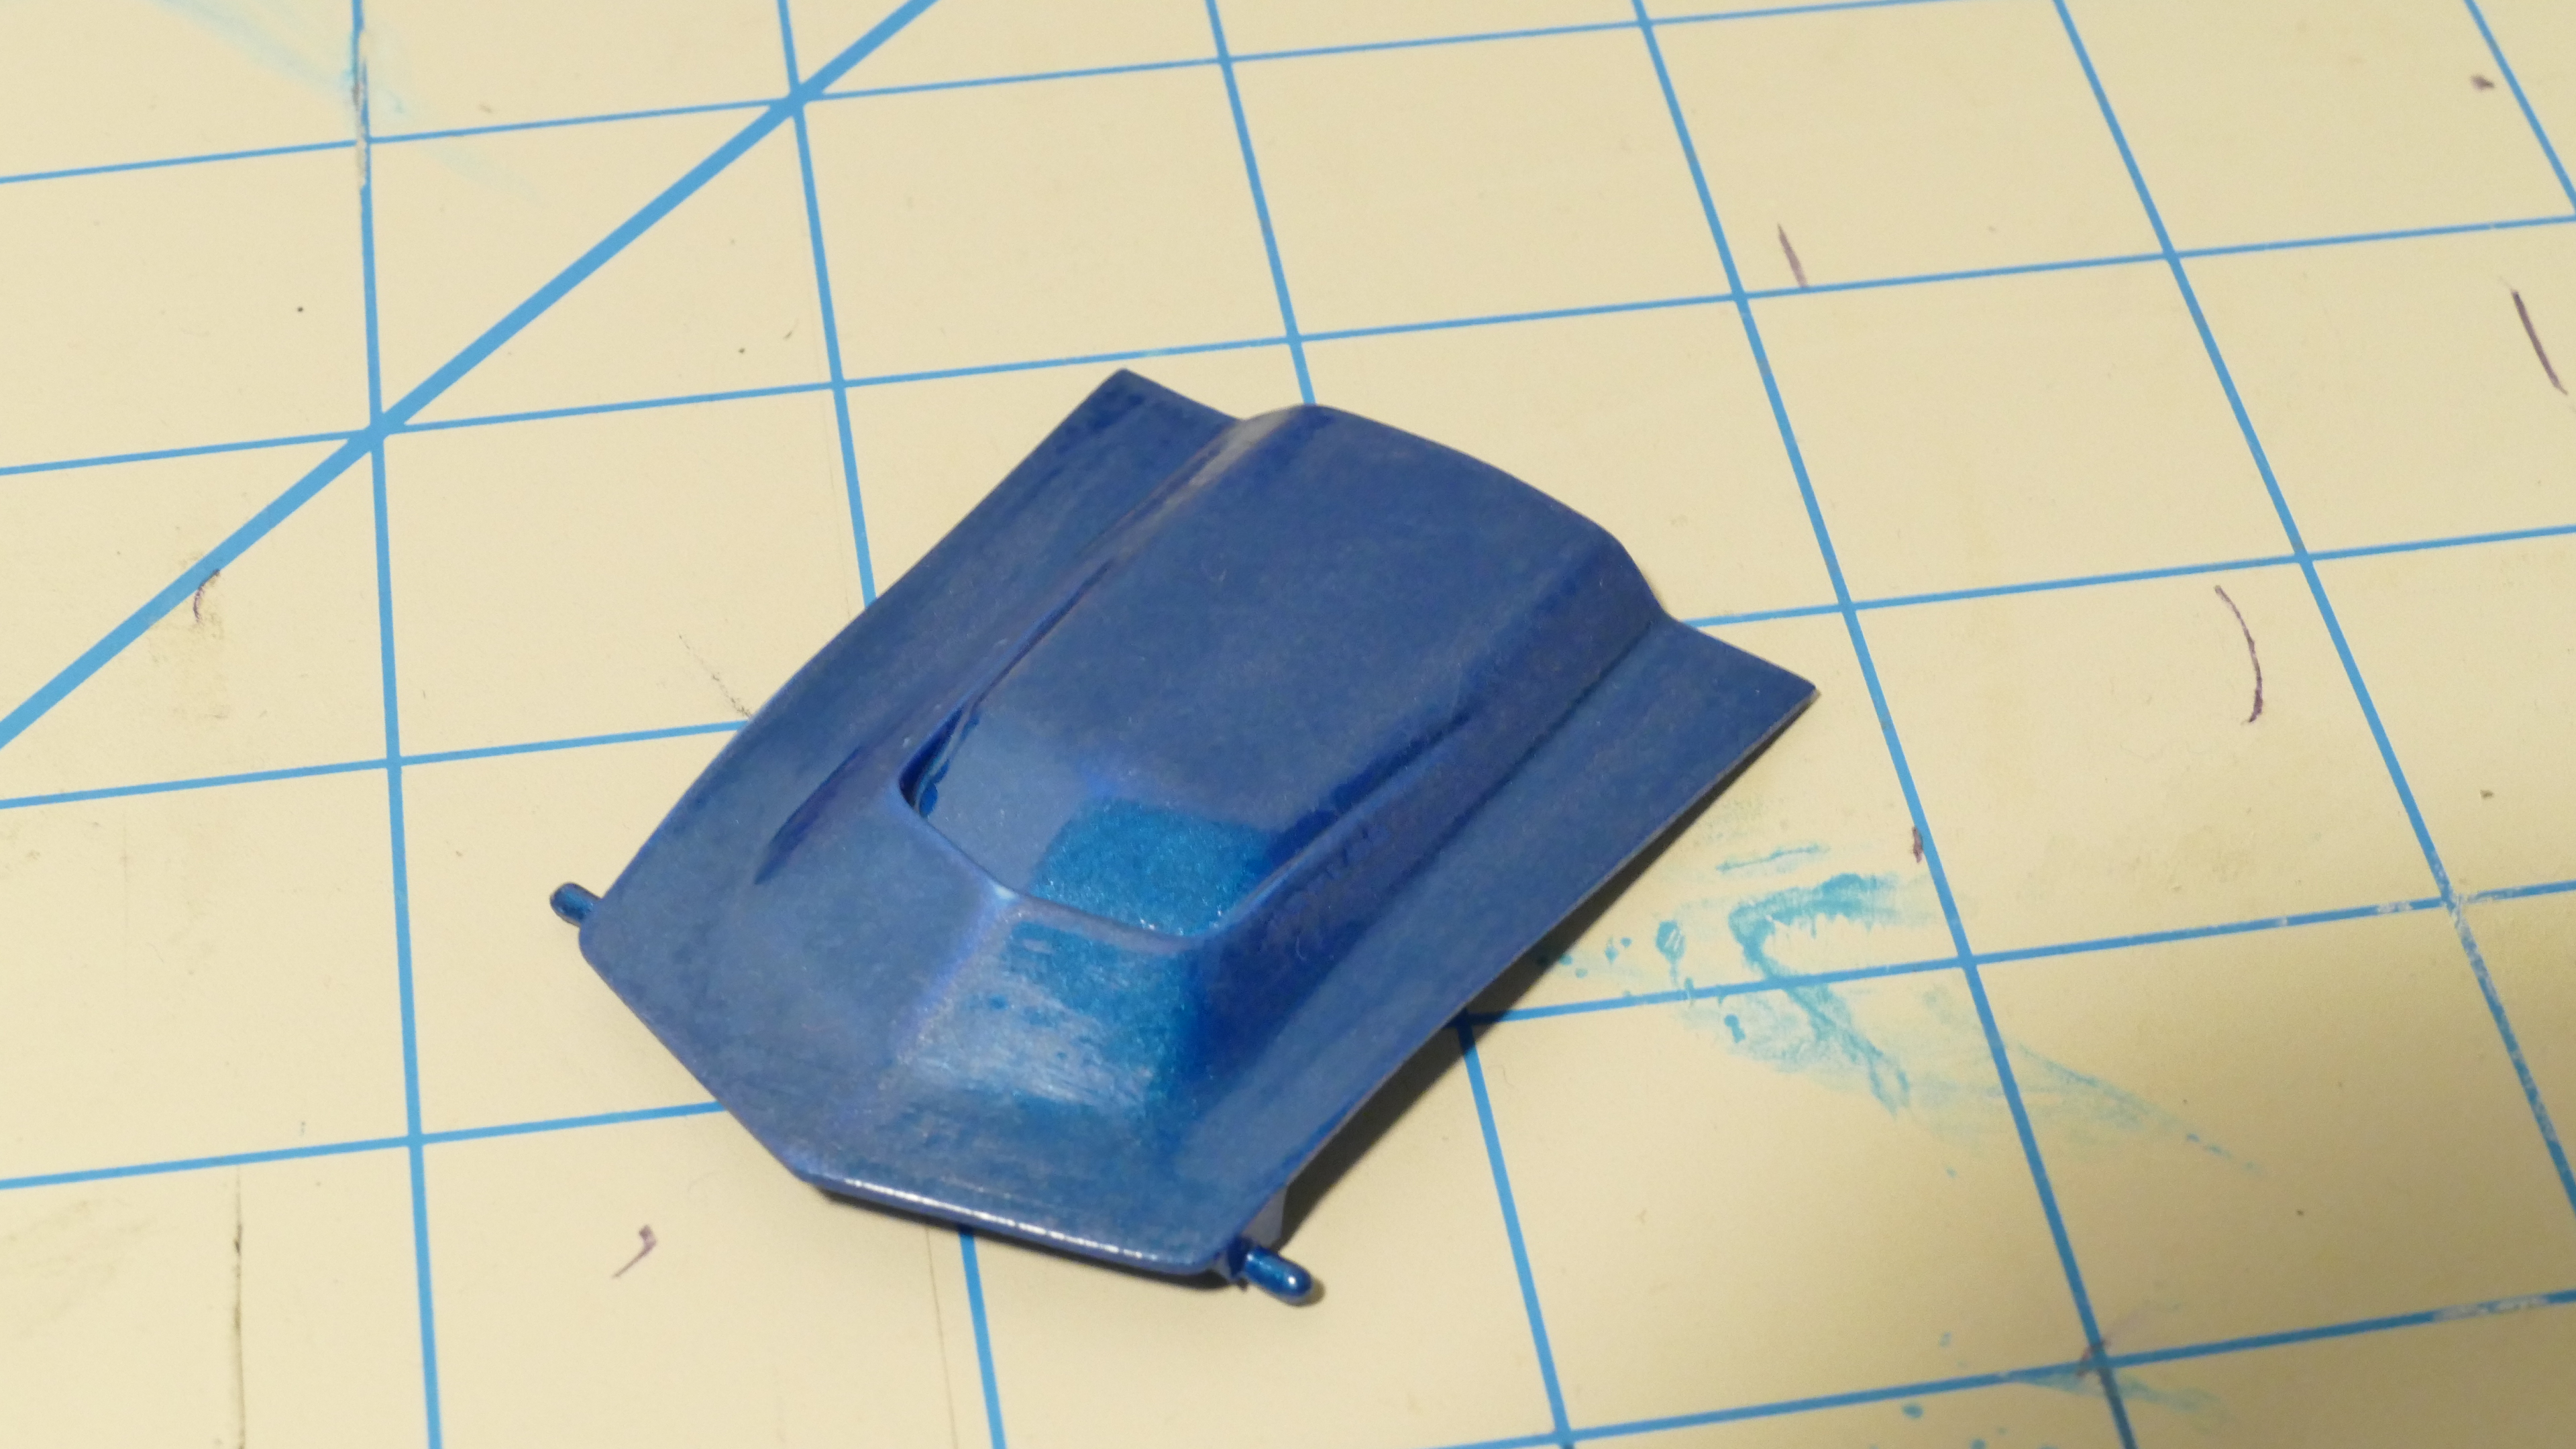
Hello all! This is one of my first model car builds in a while, mainly because school is out and summer is here. So now I have more time to grow my skills in this wonderful hobby. Here it is so far, I'm still working on the chassis and little things here and there. I decided to make this a sleek and custom Corvette. I want to use the taillight pieces below, which may look like they are from a Corvette, but no. They are from a '58 Ford Thunderbird. A custom spice! This is the first model car I've done with a flat-color interior. All of my previous builds have gloss black interiors, which I will admit is not very realistic. That's all the pictures I have for now. I will gladly post more in this thread as I progress through this build. Thanks for viewing!
-
Looking sweet! I like how the chassis is the same color as the body.
-
Looking great! One of my favorite years of Chevelle. Question: what camera did you use to take those pictures? I'm asking because I need to upgrade my camera, and I want to present pictures of my models properly.
-
.thumb.jpg.9bb91451e336338afa29d574b4325cc7.jpg)
Hello from Justin the Epic
Justin Dodson replied to Justin Dodson's topic in Welcome! Introduce Yourself
Just to clarify, I have changed my YouTube channels around a little bit. If you look on my "Justin the Epic" channel, you will only see car video game videos. BUT, I have another channel that I will soon share that has everything else on it. -JTD

.JPG.8f5ee983f531a5c5b7462e582f68648a.JPG)
.JPG.63126a709e057d6e36bf0ffe26de796b.JPG)
.JPG.82f033da0246281cdf8a7f40215a78da.JPG)
.JPG.724f78facd30052a09007ddfec7cf589.JPG)
.JPG.19bacf914866c0d669334a24f53fce9f.JPG)
.JPG.fda5dcb0235c23d7792b30dcd7f43229.JPG)