
.jpg.08e37c4a90dff811ece819bebc89c515.jpg)
Justin Dodson
-
Posts
61 -
Joined
-
Last visited
Content Type
Profiles
Forums
Events
Gallery
Everything posted by Justin Dodson
-
.thumb.jpg.9bb91451e336338afa29d574b4325cc7.jpg)
65 El Camino 4x4 camper
Justin Dodson replied to Kruzn's topic in WIP: Model Trucks: Pickups, Vans, SUVs, Light Commercial
I like your choice of Duplicolor medium garnet red. Gives it a more stylish look than most campers have. Keep up the good work!! -
Now all you need is a miniature figurine of Nicholas Cage wearing a black jacket!
-
Sweet Mustang, I also am a fan of blue with white stripes. That, and red with white stripes are probably the most classic looking color combos for Mustangs. Your kit came out looking great! ?
-
Looks great so far! I have built model kits molded in white, and one in black, but never one in red. It's interesting to see a kit molded in an actual color ?
-
Revell Fast & Furious Dominic's 1970 Dodge Charger
Justin Dodson replied to Justin Dodson's topic in WIP: Model Cars
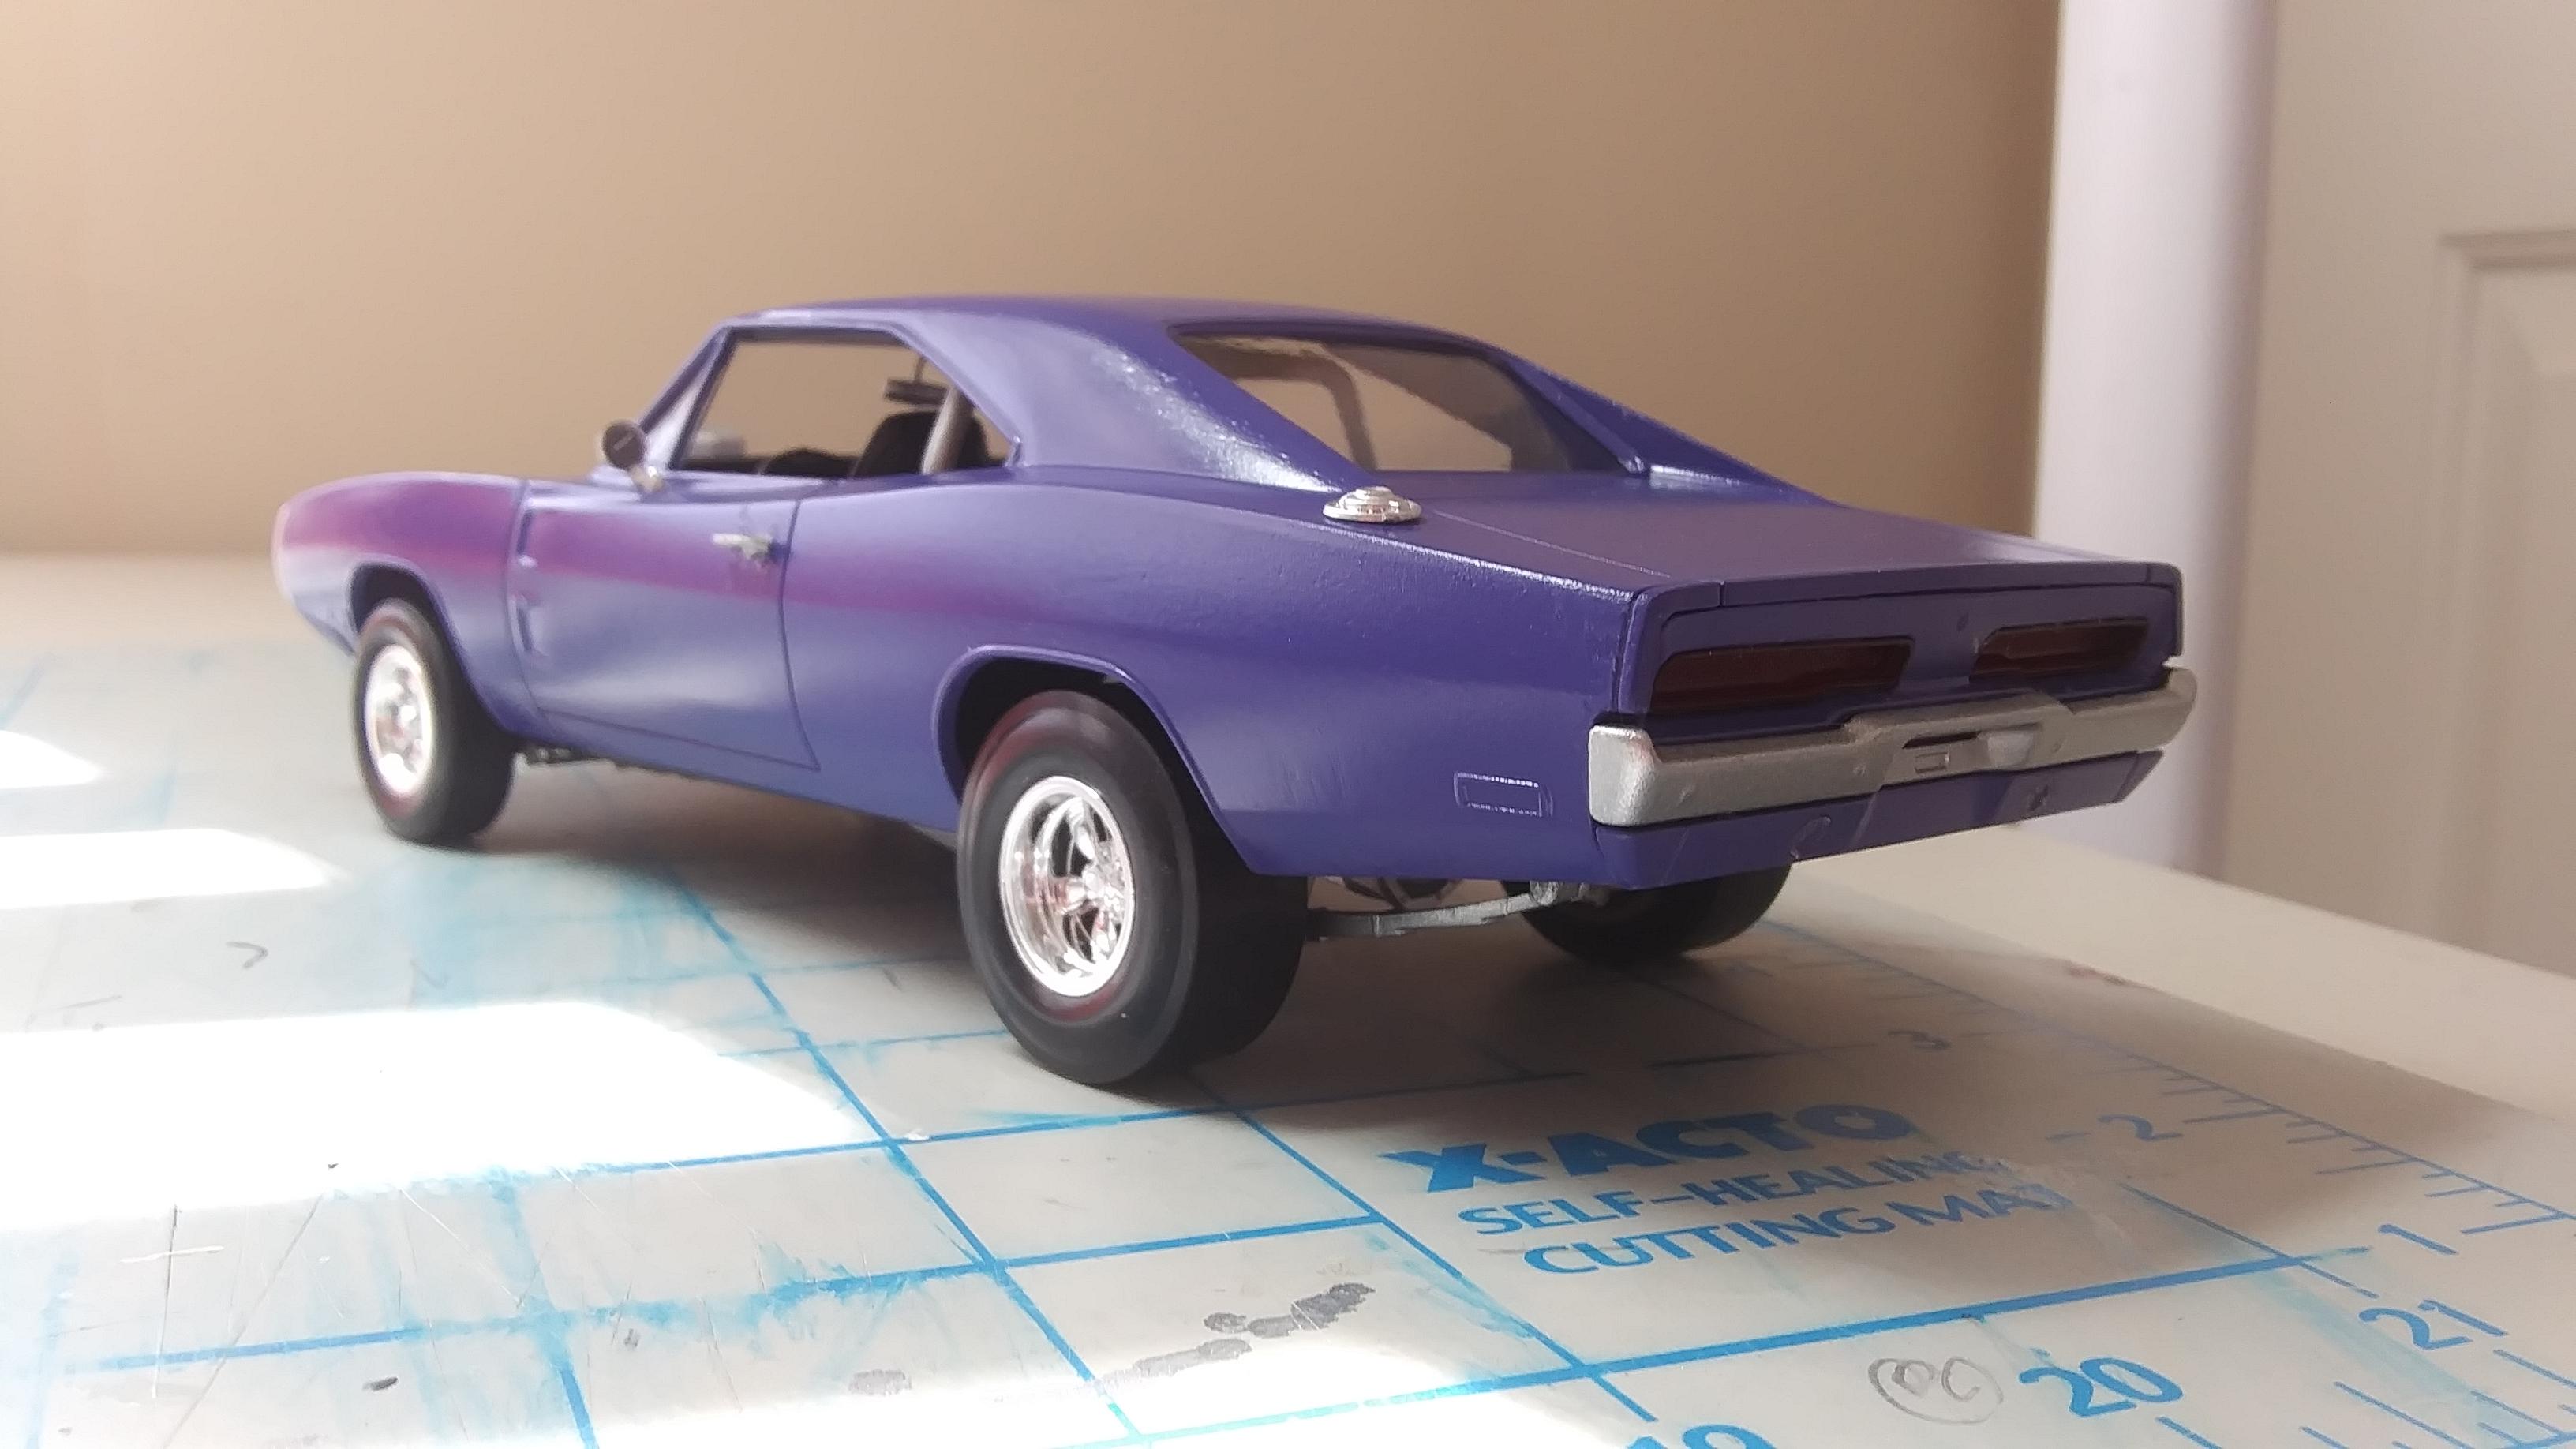
Well people, this build is complete. Because this kit has taken me so long to finish, I decided to give it a "bare-minimum" paint job - no clear coat. I also decided to skip the chrome window trim. I even skipped the turn signal decals because the real movie cars sometimes lack turn signals. Overall I could have put more effort into this build, but I'm just itching to start a new kit. So, there you have it folks! On to the next one.
-
Revell Fast & Furious Dominic's 1970 Dodge Charger
Justin Dodson replied to Justin Dodson's topic in WIP: Model Cars
Thank you, I appreciate the consolation. Yeah it was looking really good and smooth. I believe I can give it the same quality of paint job (or better) as soon as the body is ready again. -
Revell Fast & Furious Dominic's 1970 Dodge Charger
Justin Dodson replied to Justin Dodson's topic in WIP: Model Cars
I will definitely try that, and you're right, I didn't think of using a sharpie for it. Thanks for the tips! Thank you! Well guys, here's the bad news. I was spraying the body using a Testors spray can with a spray gun attached, and the can got launched towards the car body which sent the body onto a tree - all because the spray gun lost grip with the spray can. And to add "insult to injury", the spray can nozzle fell off and is now lost in the woods somewhere. It was a brand new spray can too! Ugh... Good news is: I will NEVER give up on this build, or any model car for that matter. There is nothing that will stop me from completing this car! ? I think I will choose a different body color after I soak it in purple power. I also have a nickname for this car... but it's a surprise. ?
-
Revell Fast & Furious Dominic's 1970 Dodge Charger
Justin Dodson replied to Justin Dodson's topic in WIP: Model Cars
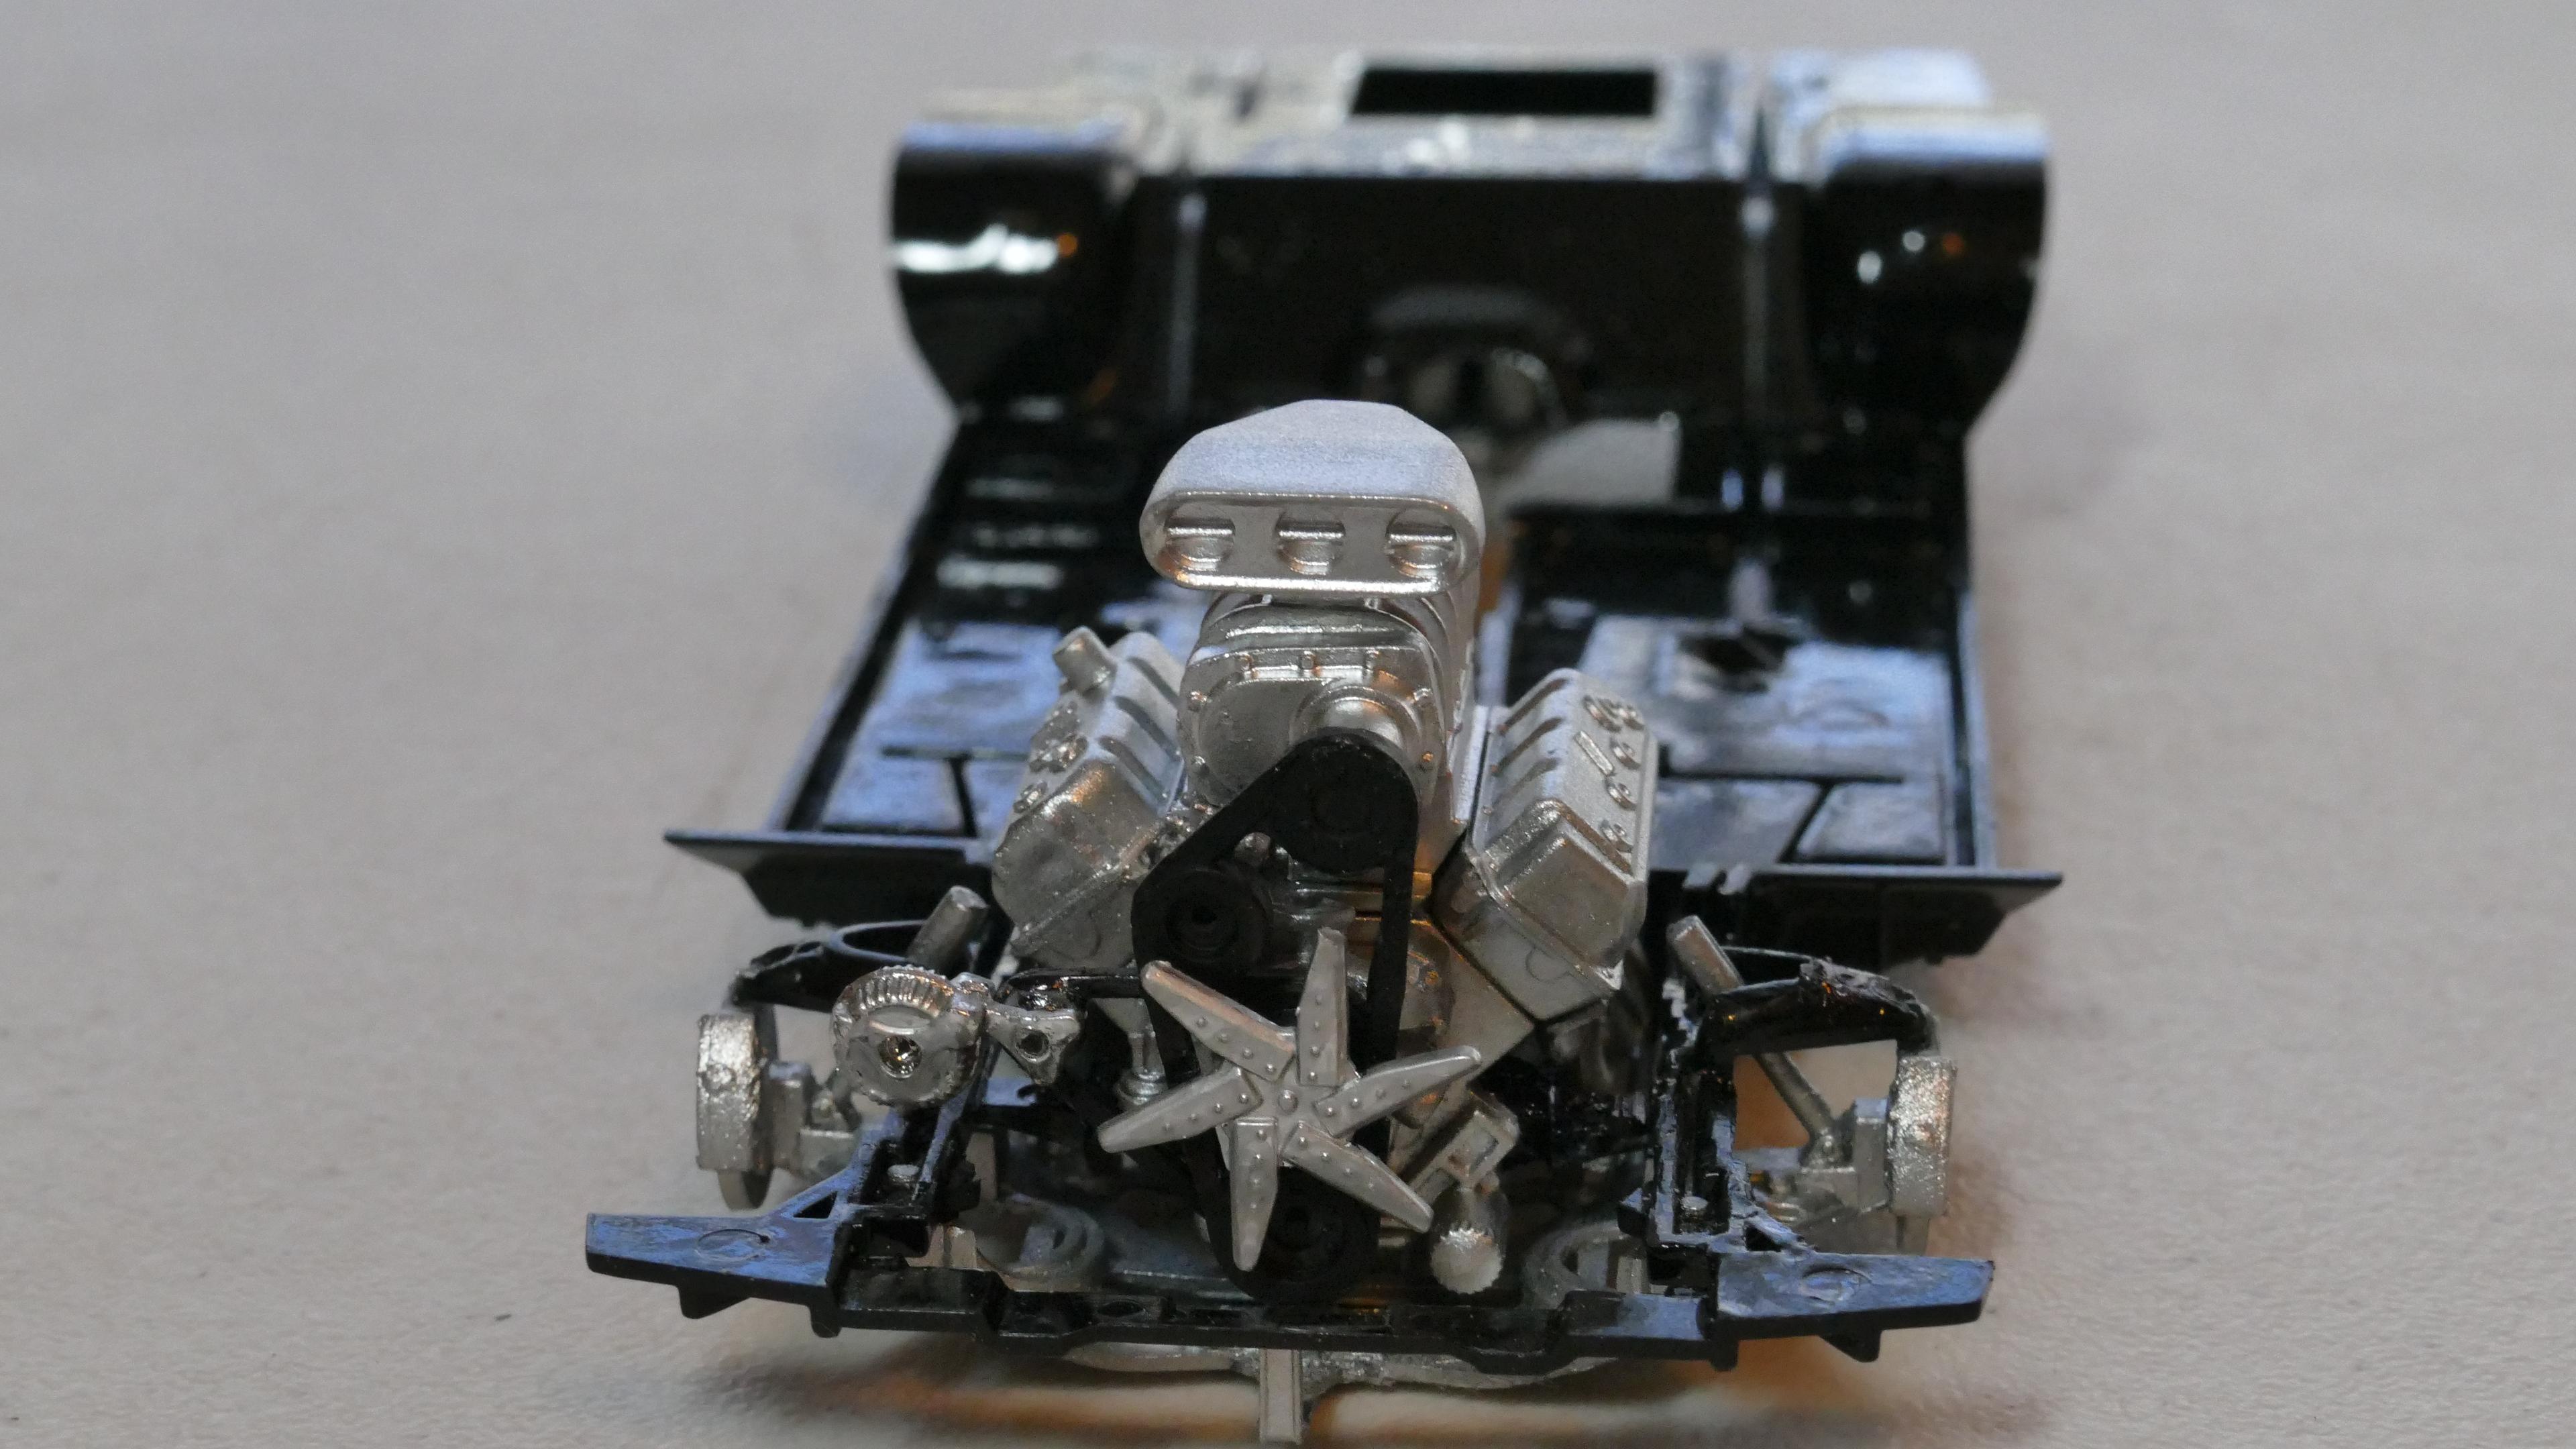
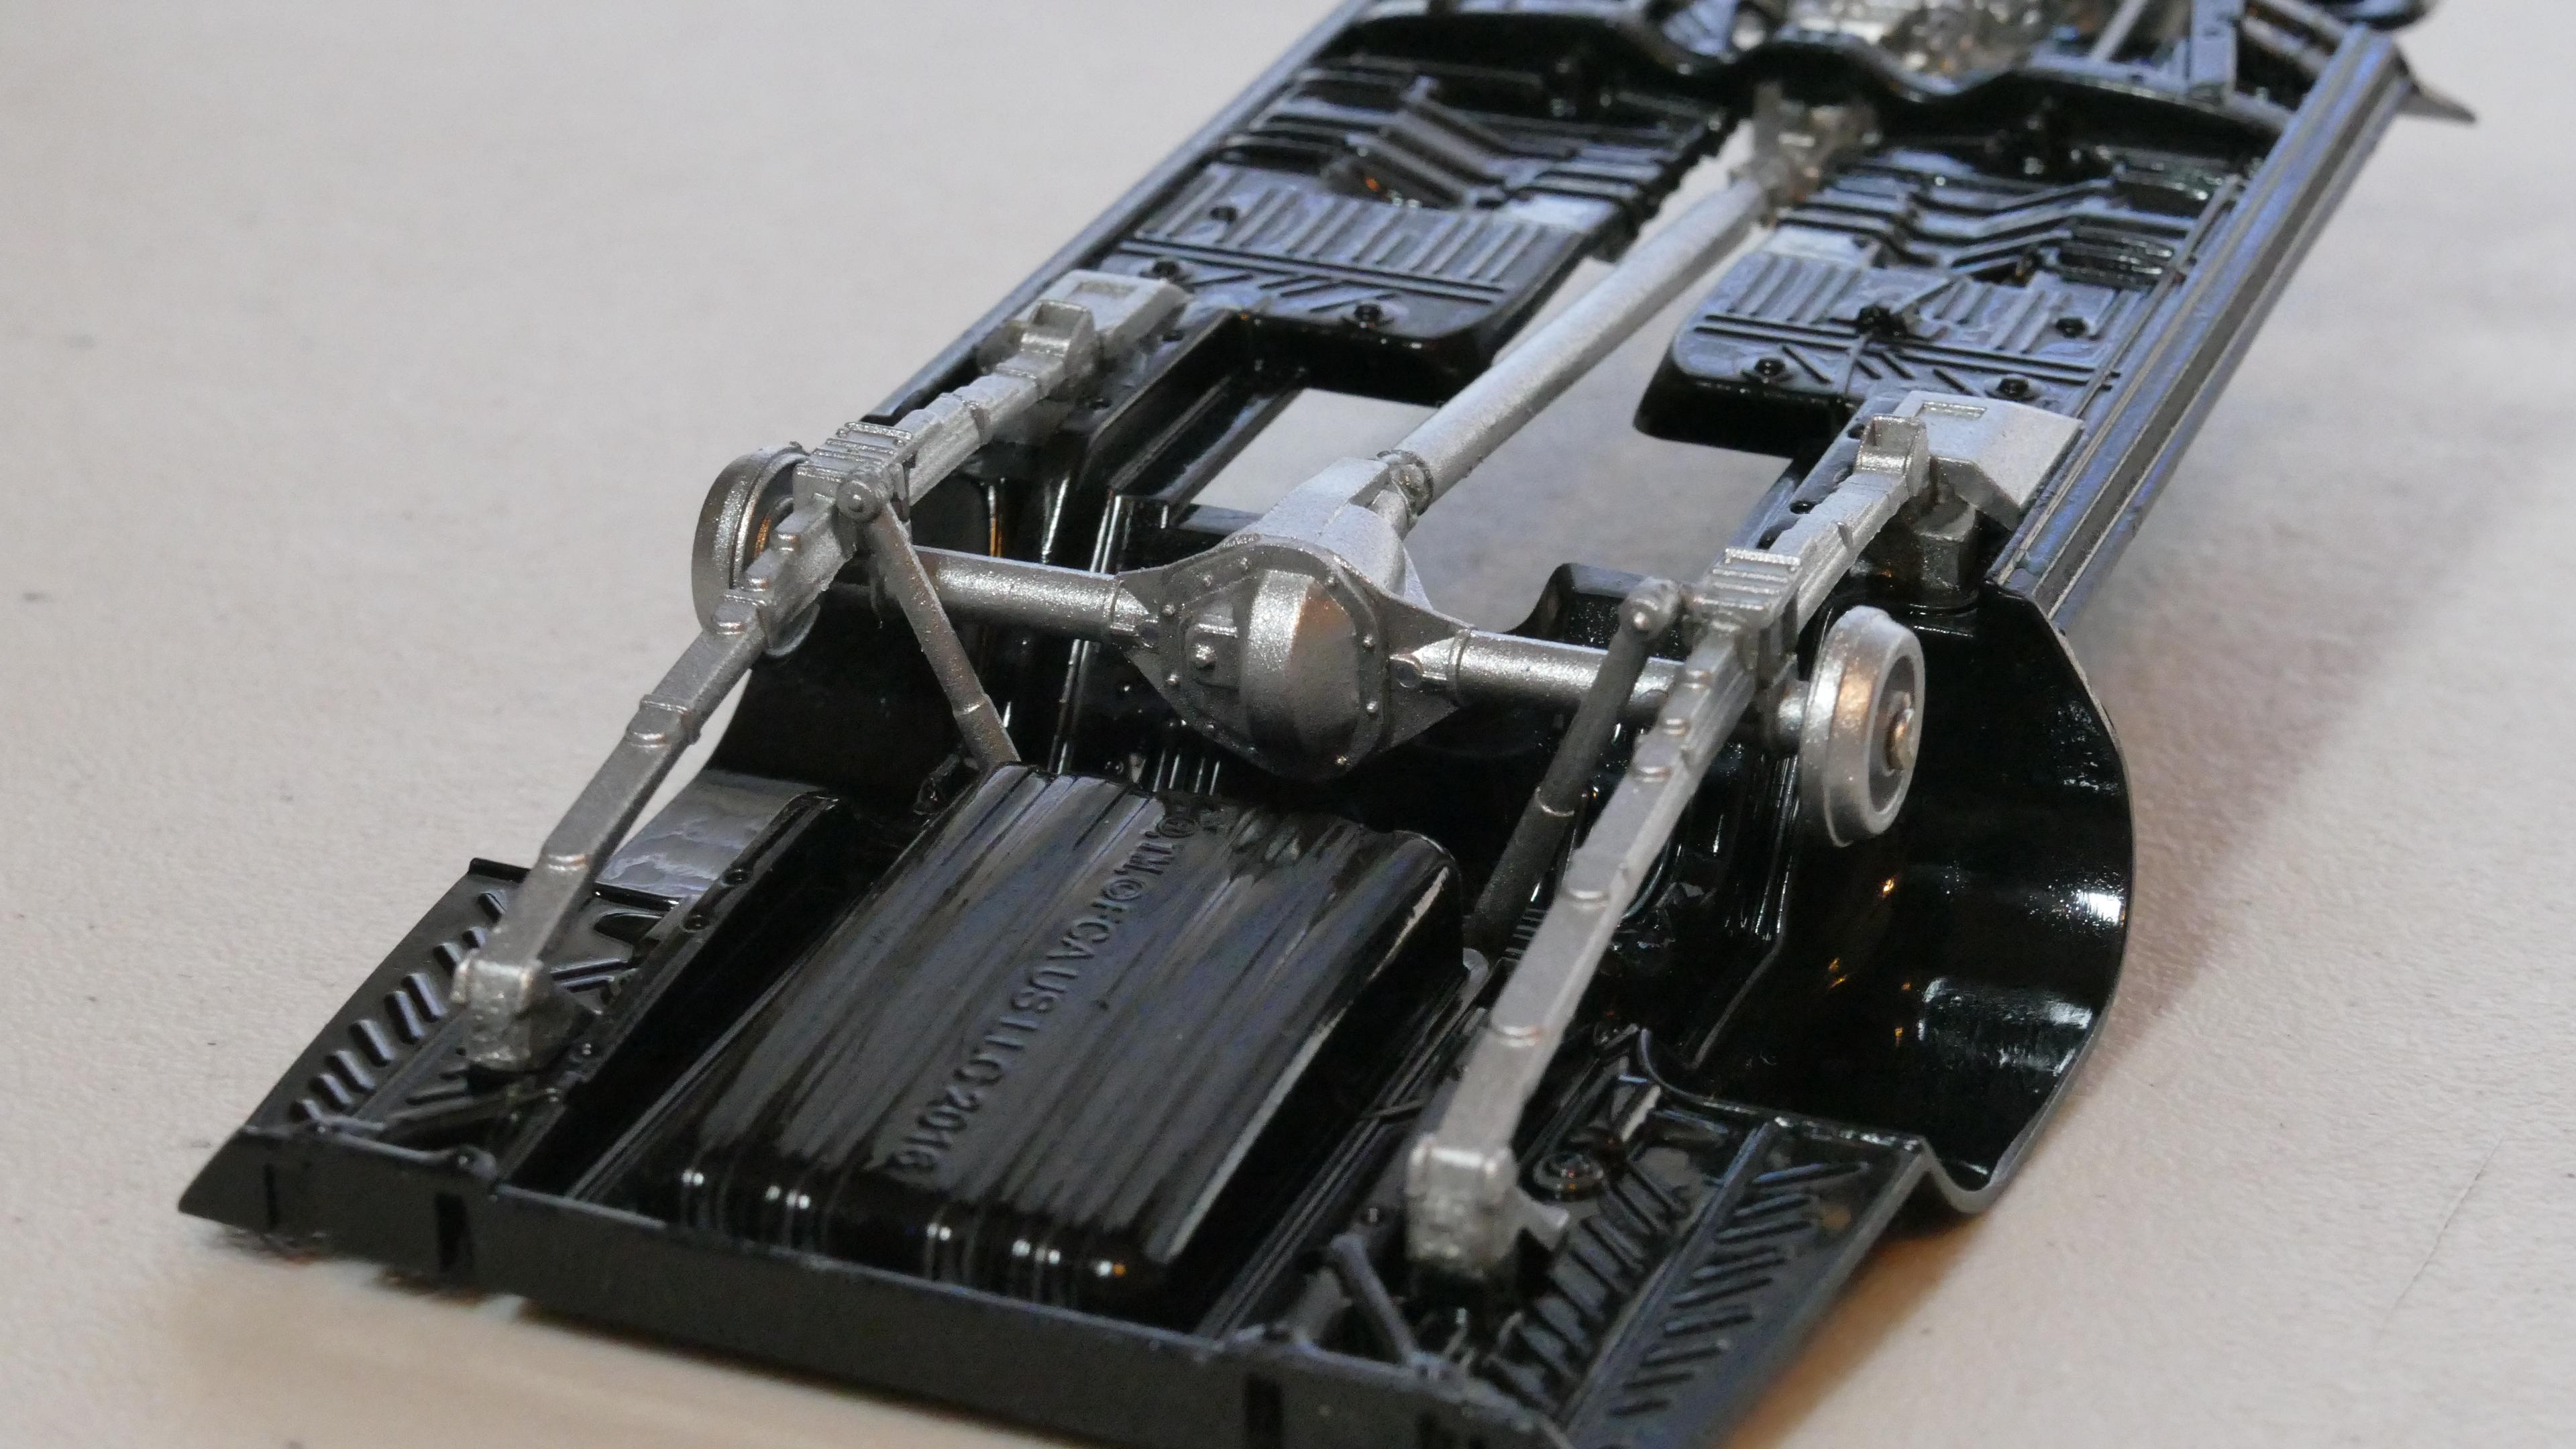
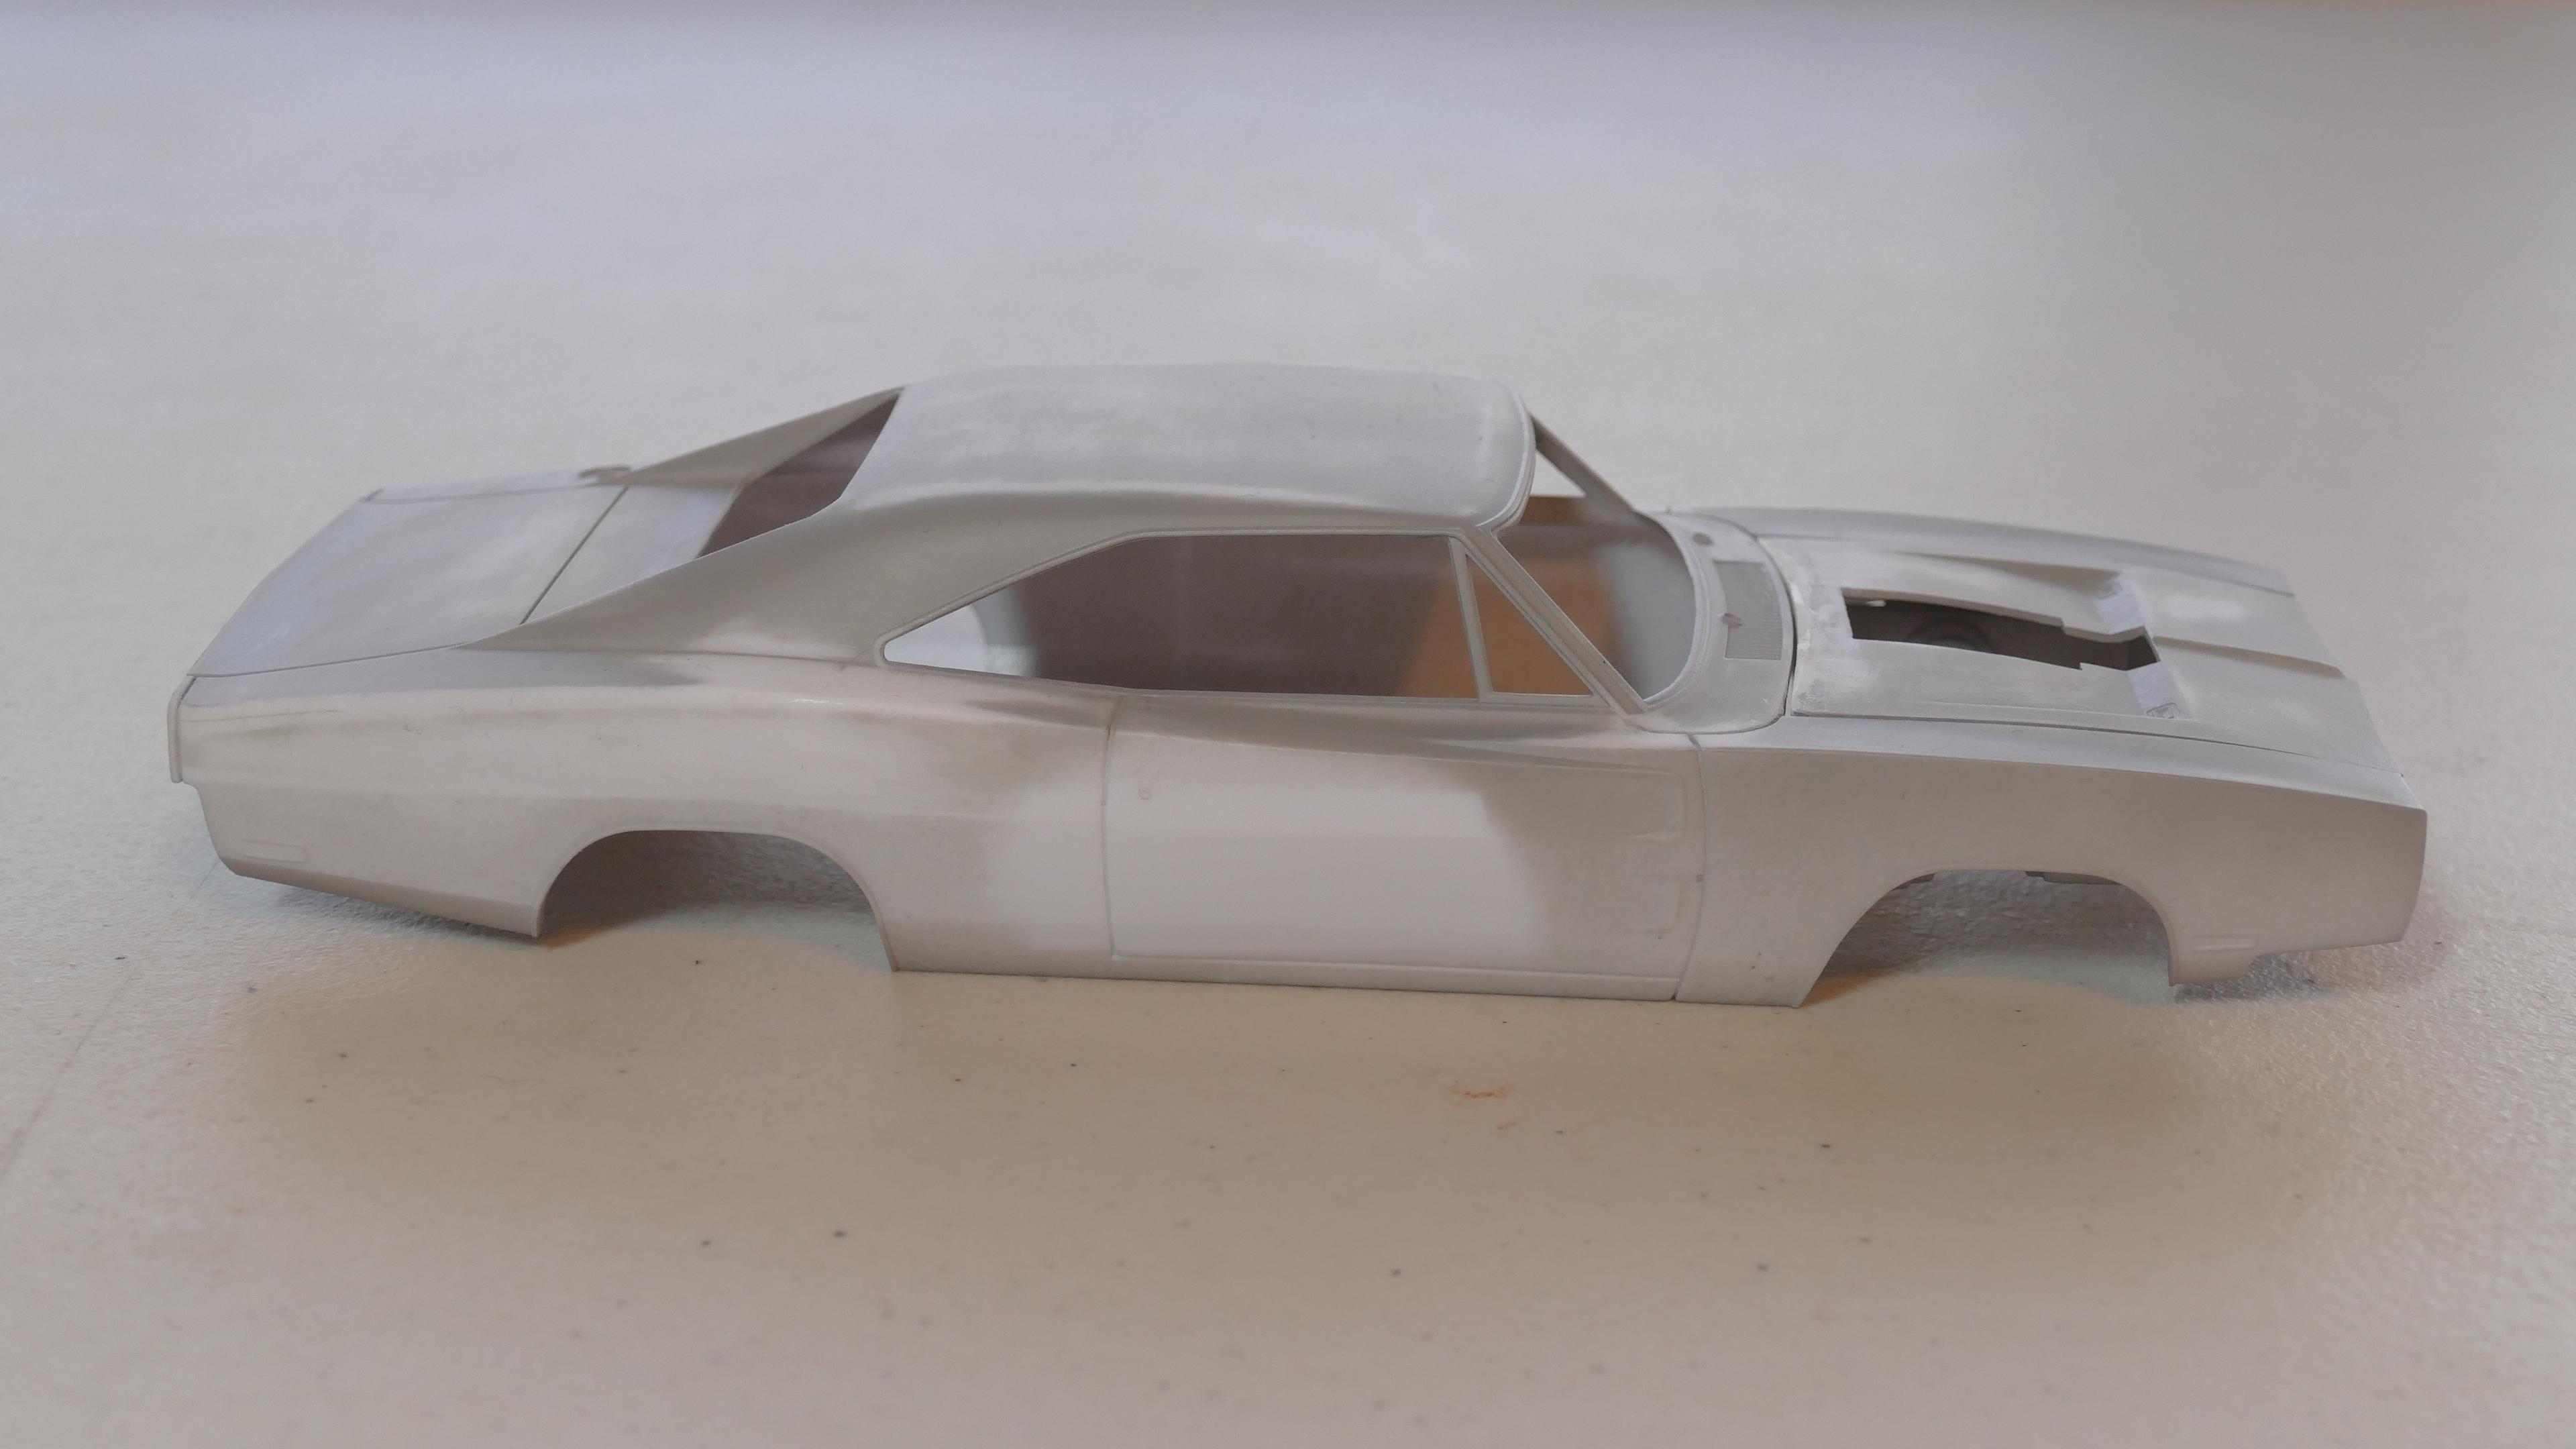
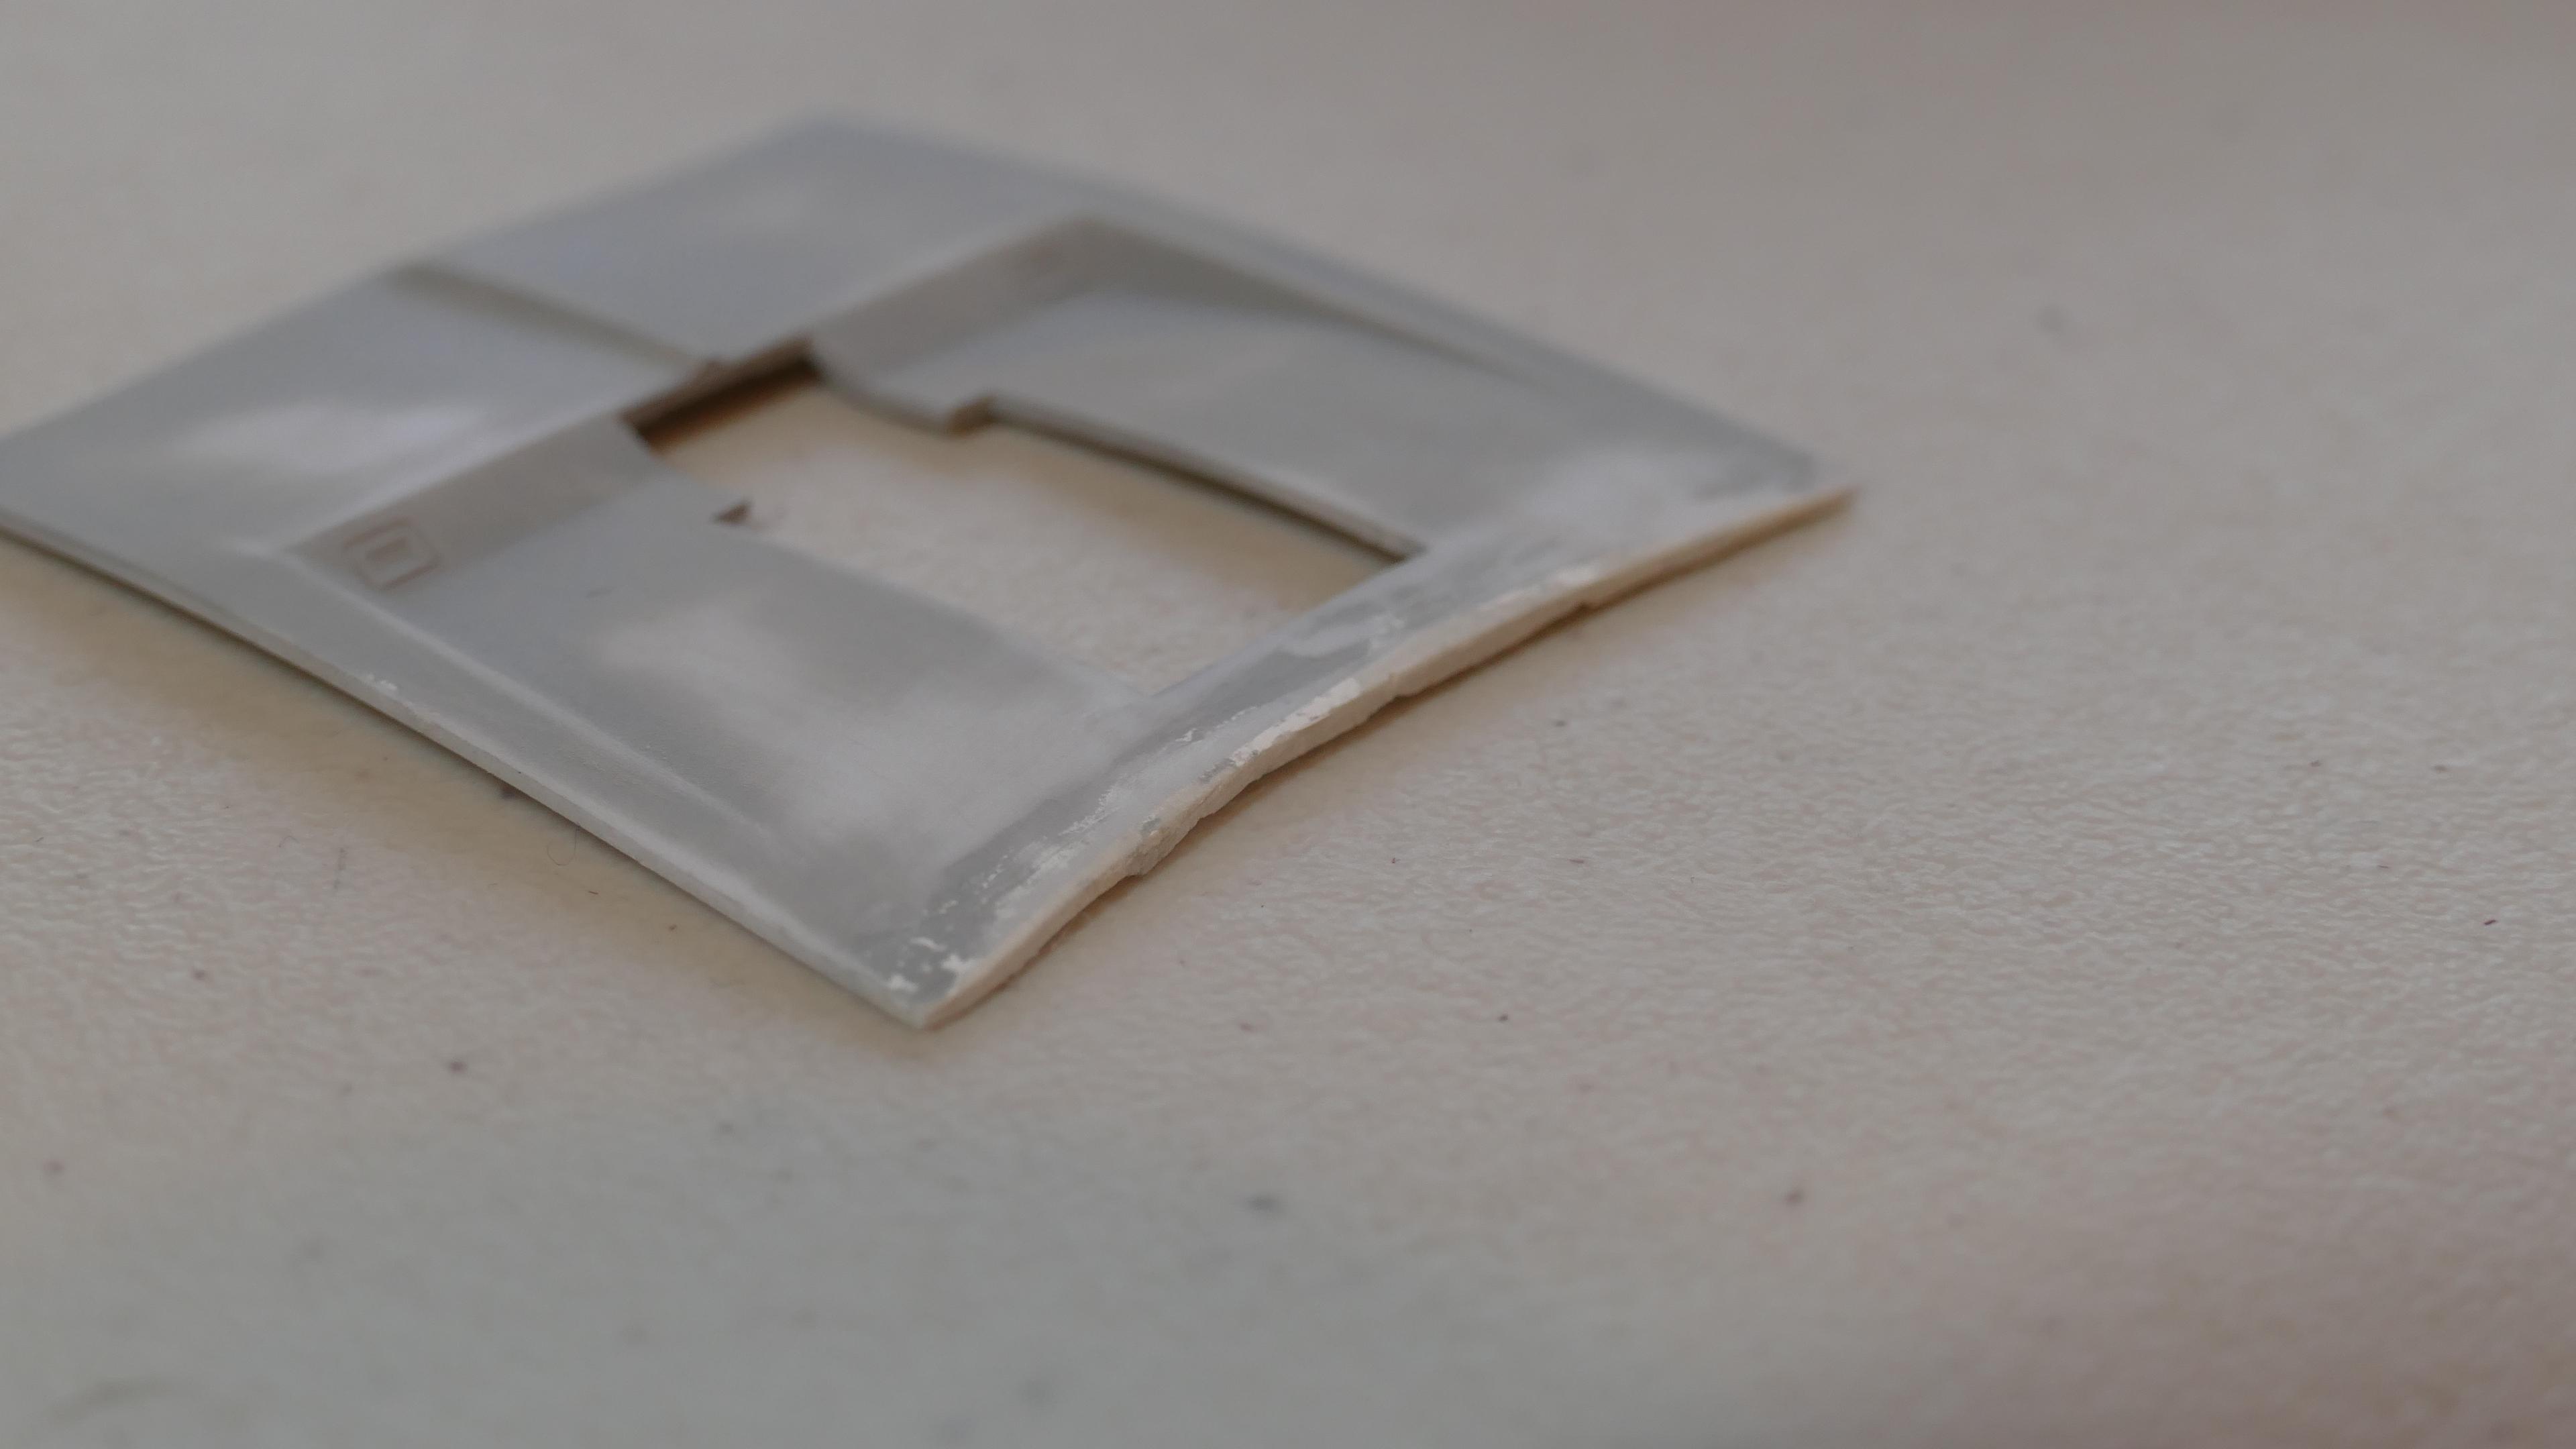
Alrighty, here is more progress on the Charger. By the way, it won't be exactly like Dom's Charger - I will personalize it to my taste. The chassis is nearing completion. The engine is installed, as well as the steering assembly and the rear suspension. The interior is as complete as it should be for this car. I recently got my first set of magnifying goggles so I could put chrome on the 3 dots of the pistol grip shifter. I used my Molotow chrome pen for that. The body is getting prepared for primer. When I cut the hood off of the sprue tree, a slight amount of plastic came off. That's not allowed, I am a perfectionist! ? So, I used some putty and sanded it as smoothly as I could. I'd rather repair a broken hood than have no hood at all. The weather where I live has been awesome for the past 2 days, I should go get some painting done!! It's time to wrap this build up. Patience is key though...
-
Nicely done! I like the combination of blue, white and black.
-
I like it! I think it's awesome that your childhood vision inspired you to build a model car with similar attributes. Orange and black is the best looking color combo for Mopar muscle cars in my opinion.
-
1970 Dodge Challenger R/T SE (Special Edition)
Justin Dodson replied to Bills72sj's topic in Model Cars
Fantastic job sir!! 1970 has always been my favorite year for the Challenger. Those cars are extremely valuable today. -
Revell Fast & Furious Dominic's 1970 Dodge Charger
Justin Dodson replied to Justin Dodson's topic in WIP: Model Cars
Note: this is my first mobile post. Here's hoping it goes as planned! Okay, the engine is done. I just wish there was an easy way to paint the 3 circles of the blower. Below are things that I finished building but don't know their purpose. I hate to say it, but I basically know next to nothing involving how cars work under the hood. That might be my last post for a few months, since it's currently winter where I live. Unless I get a spray paint booth, in which case my progress rate will skyrocket, lol.
-
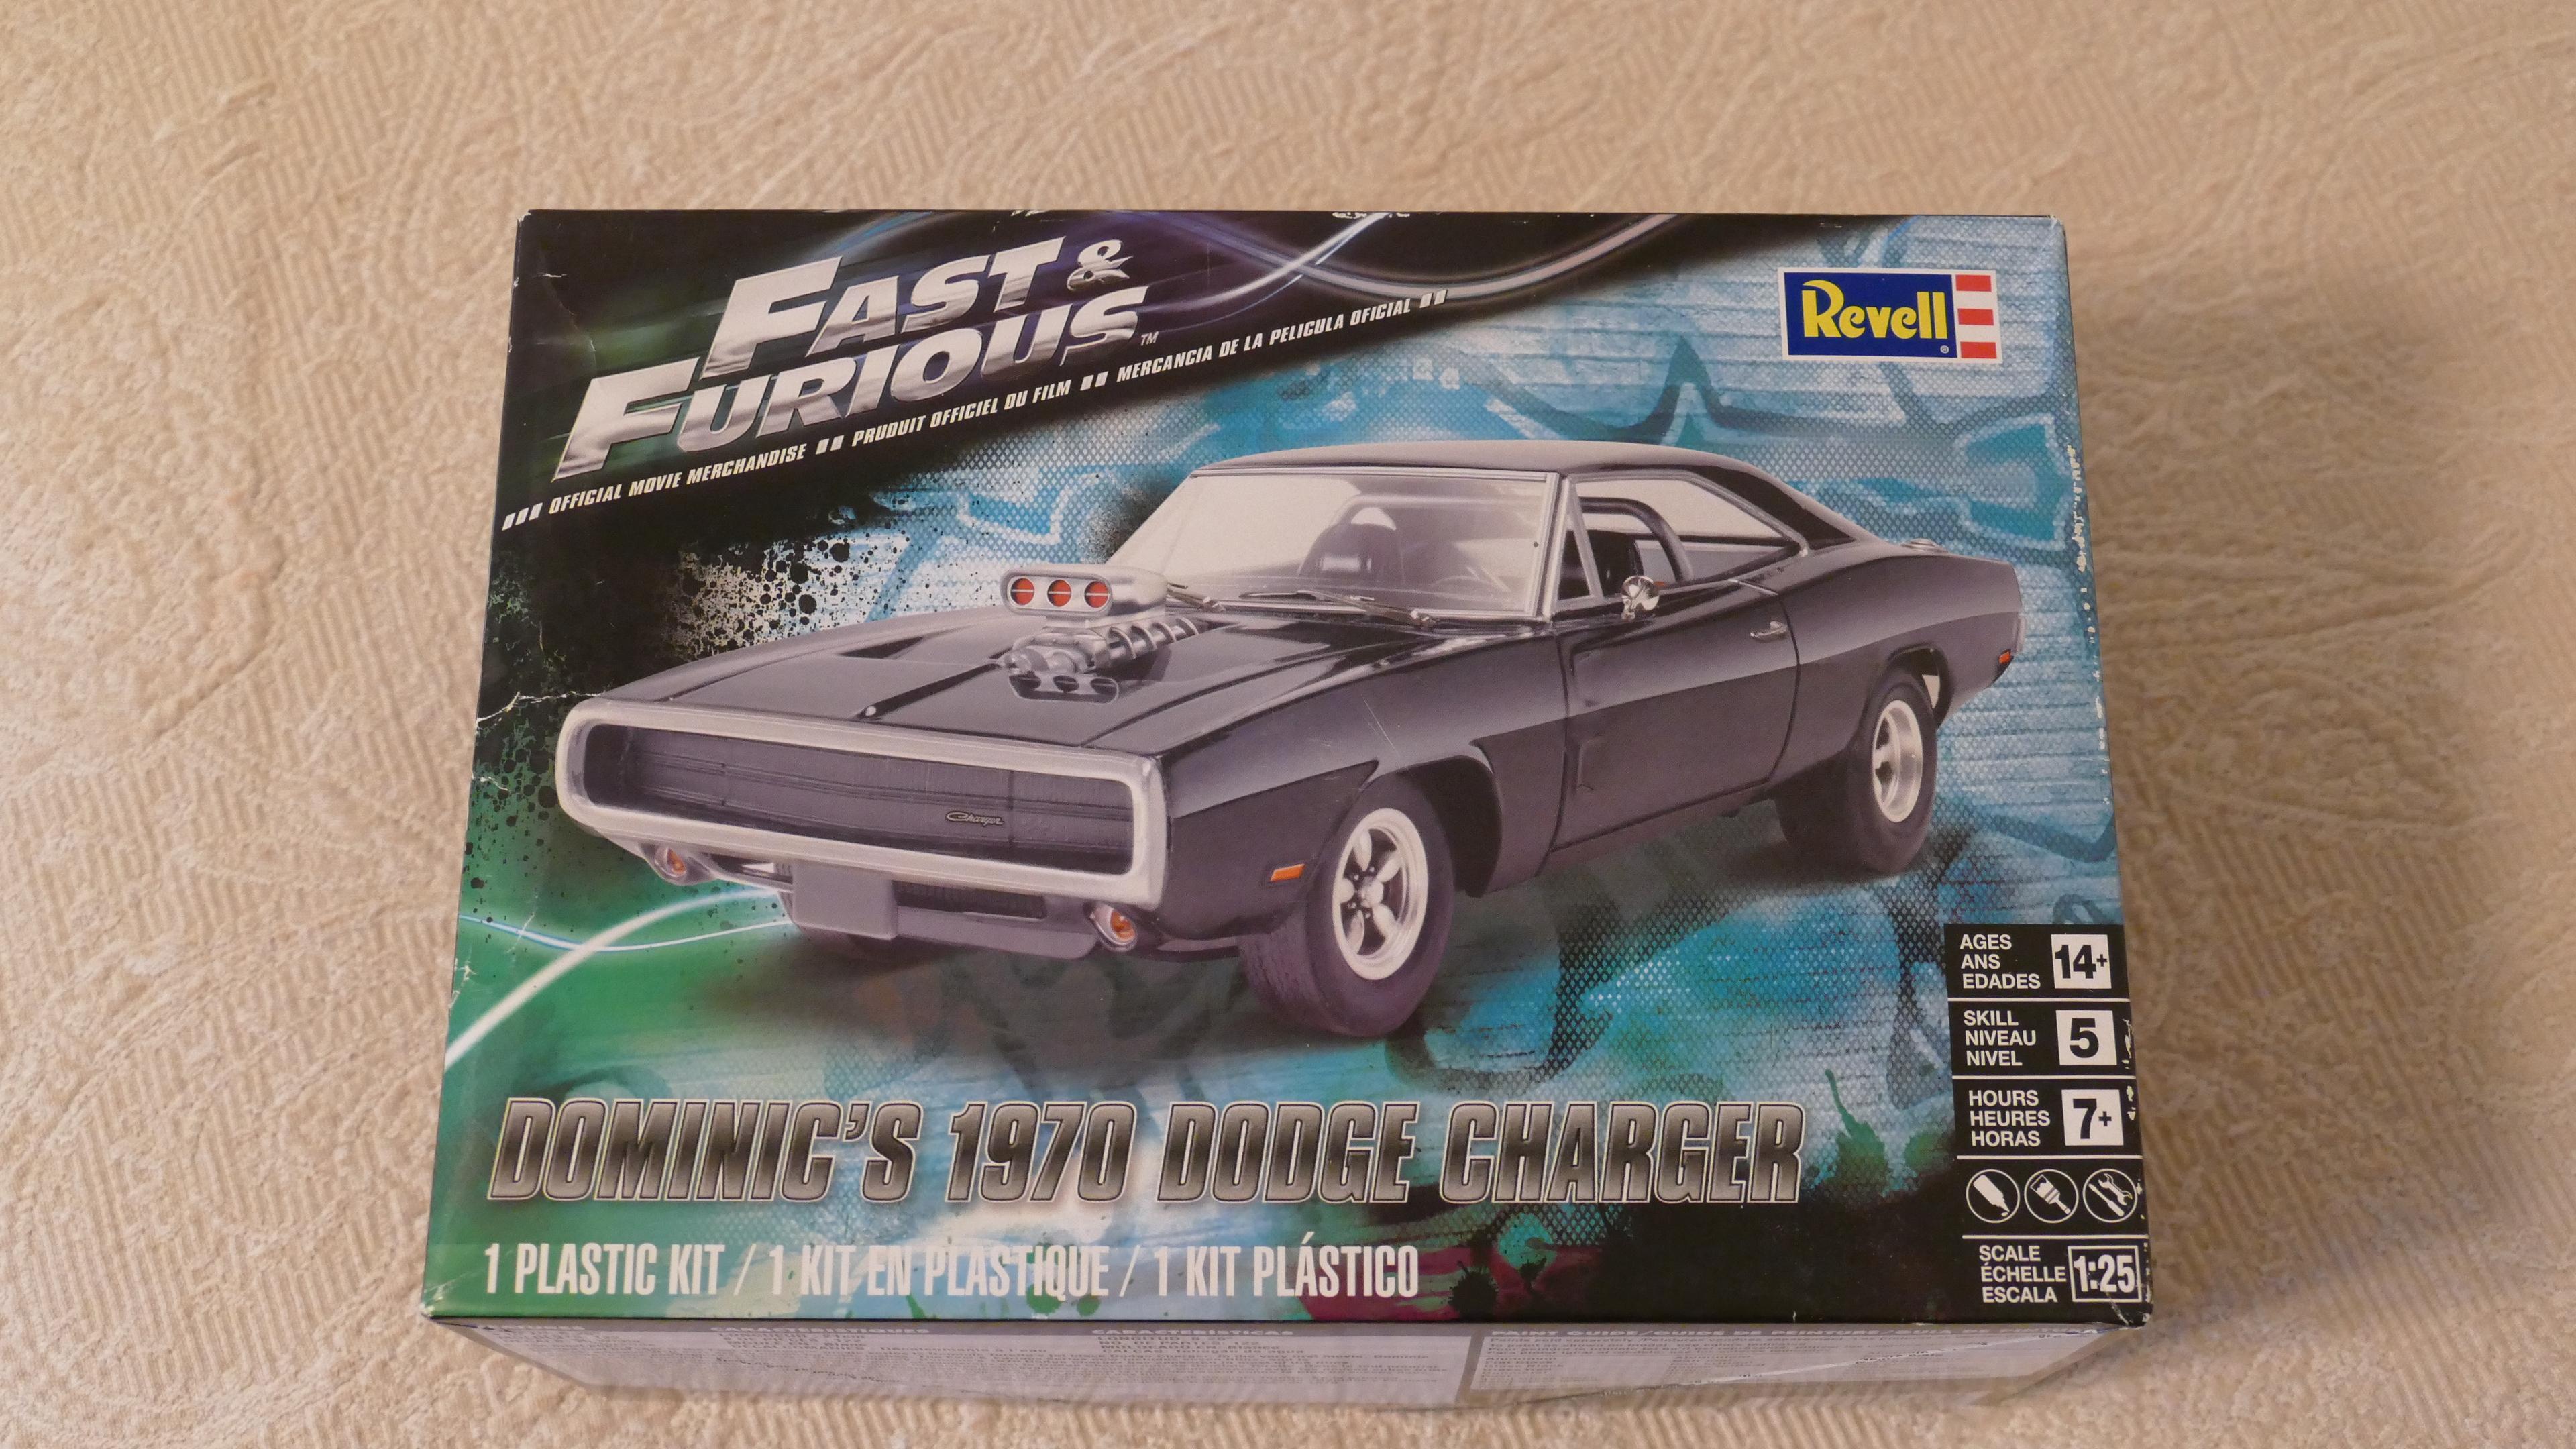
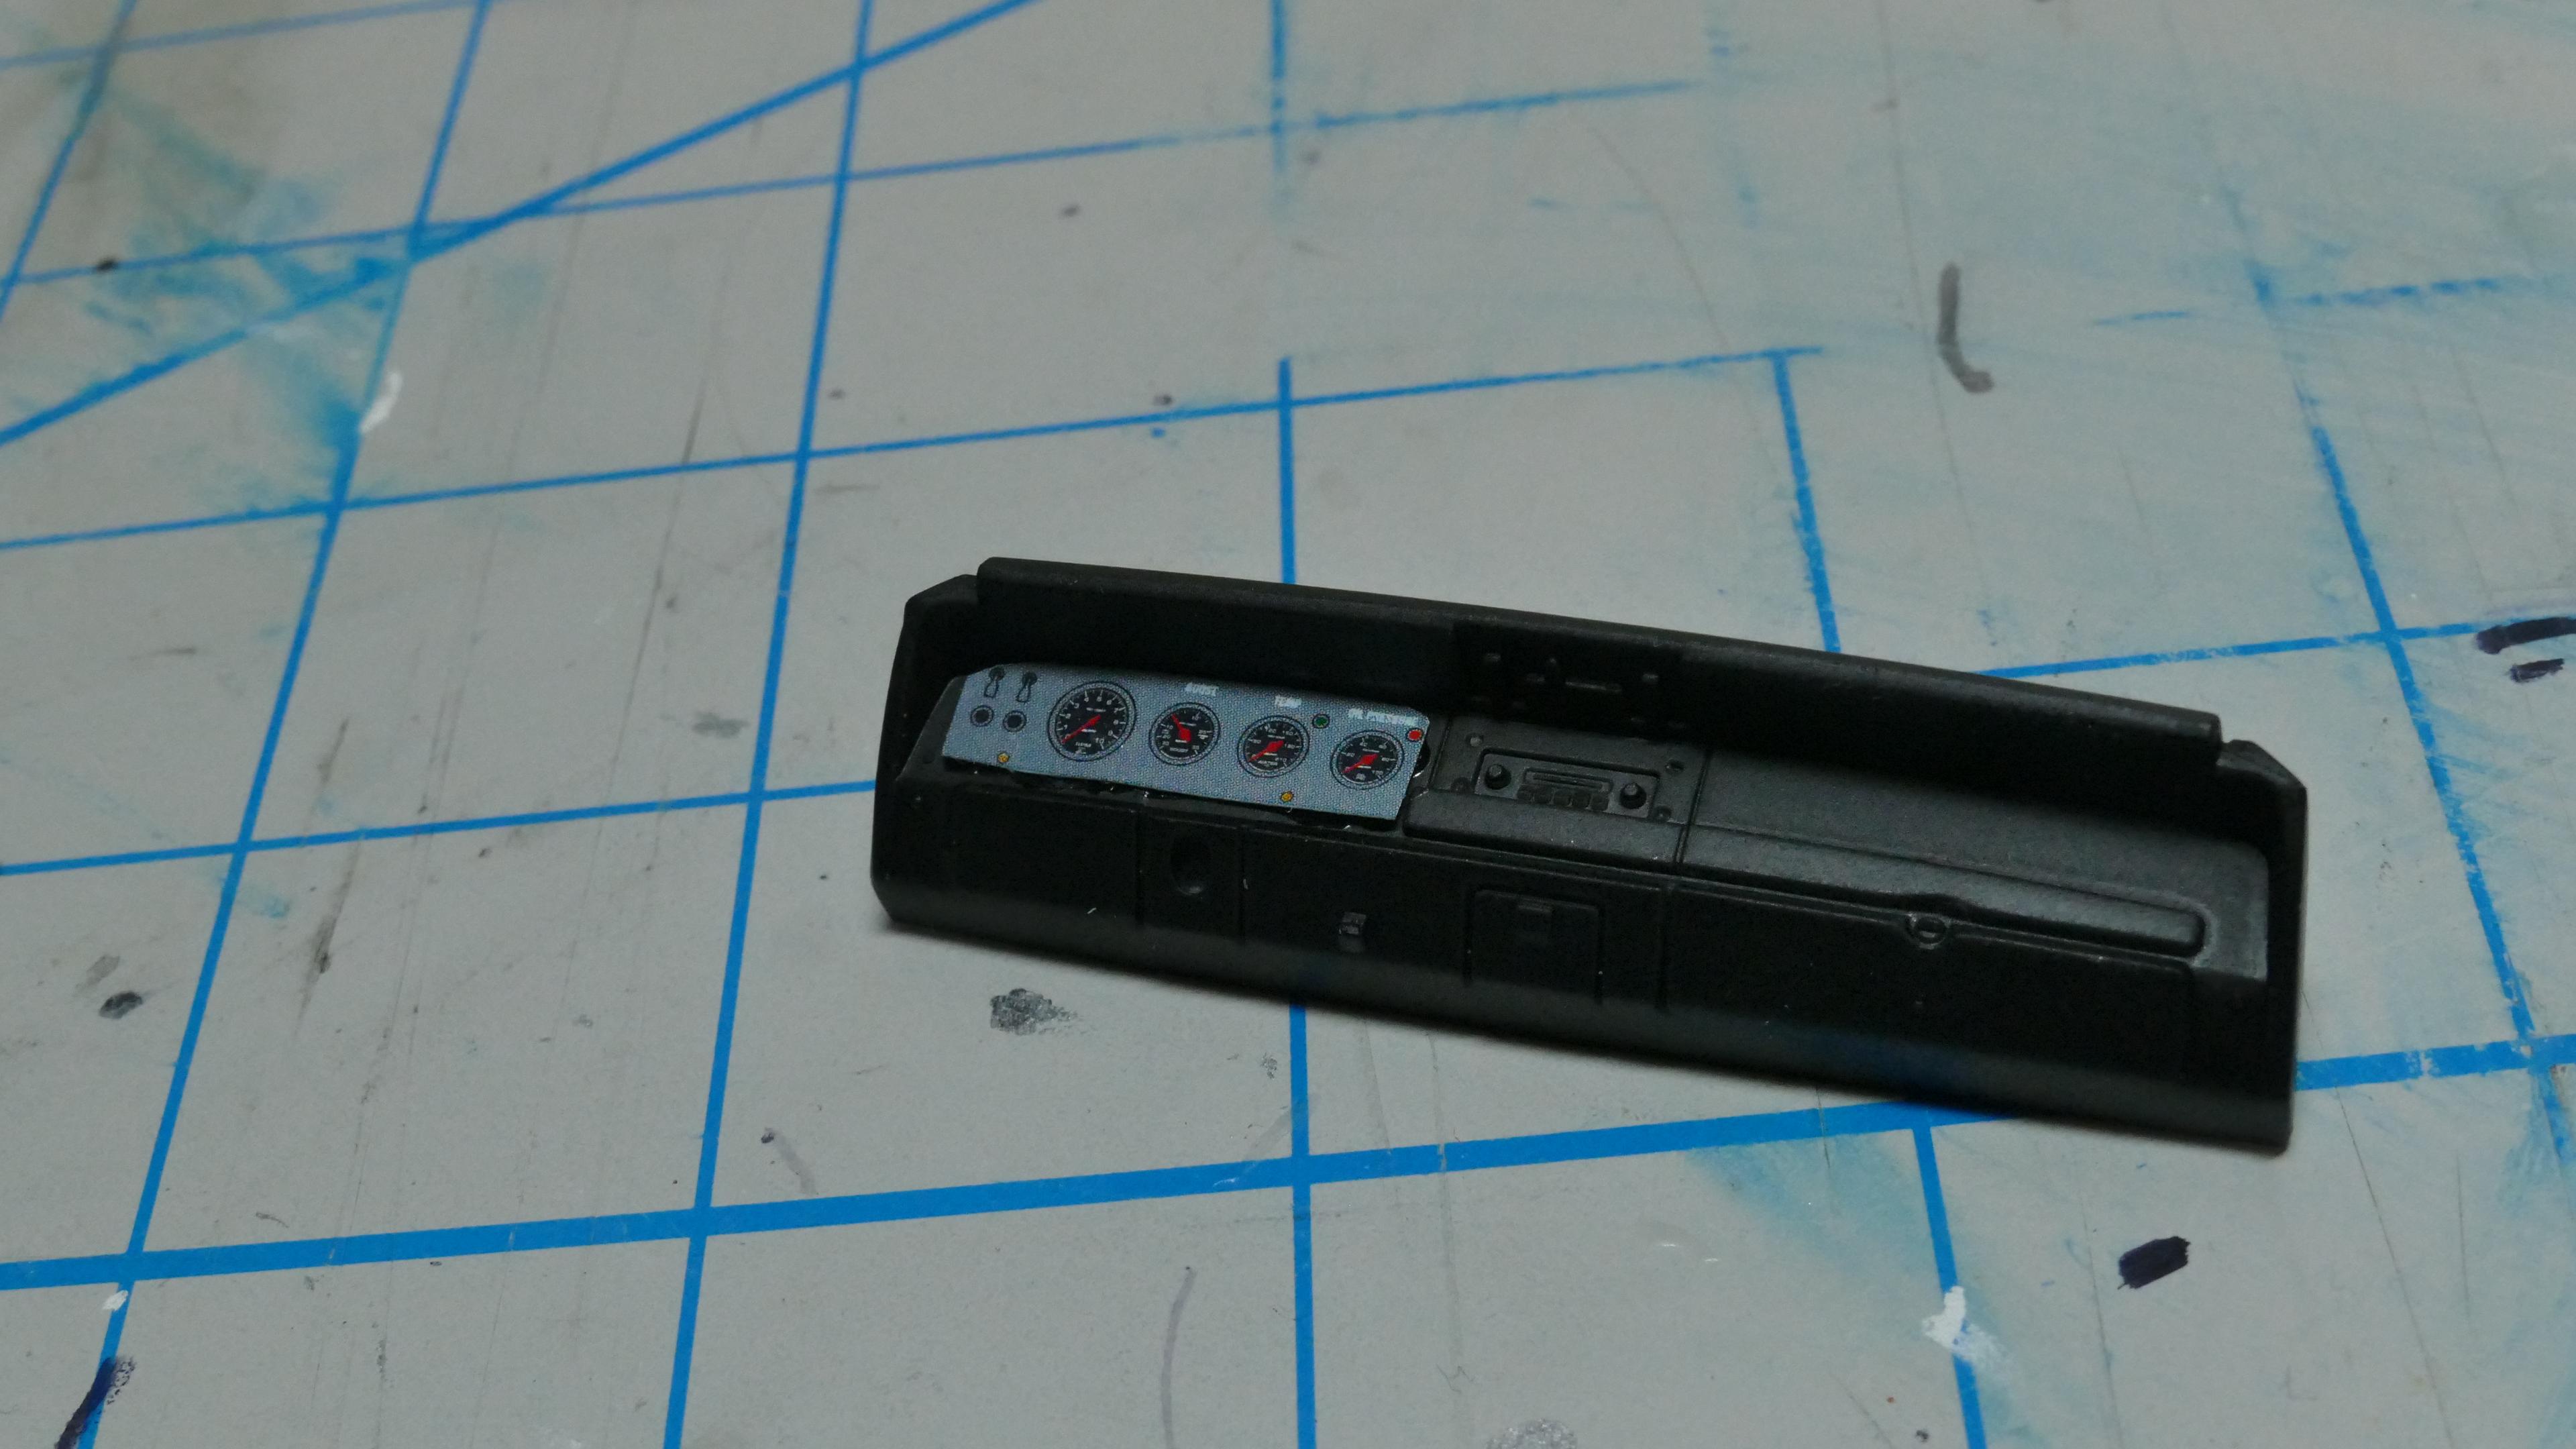
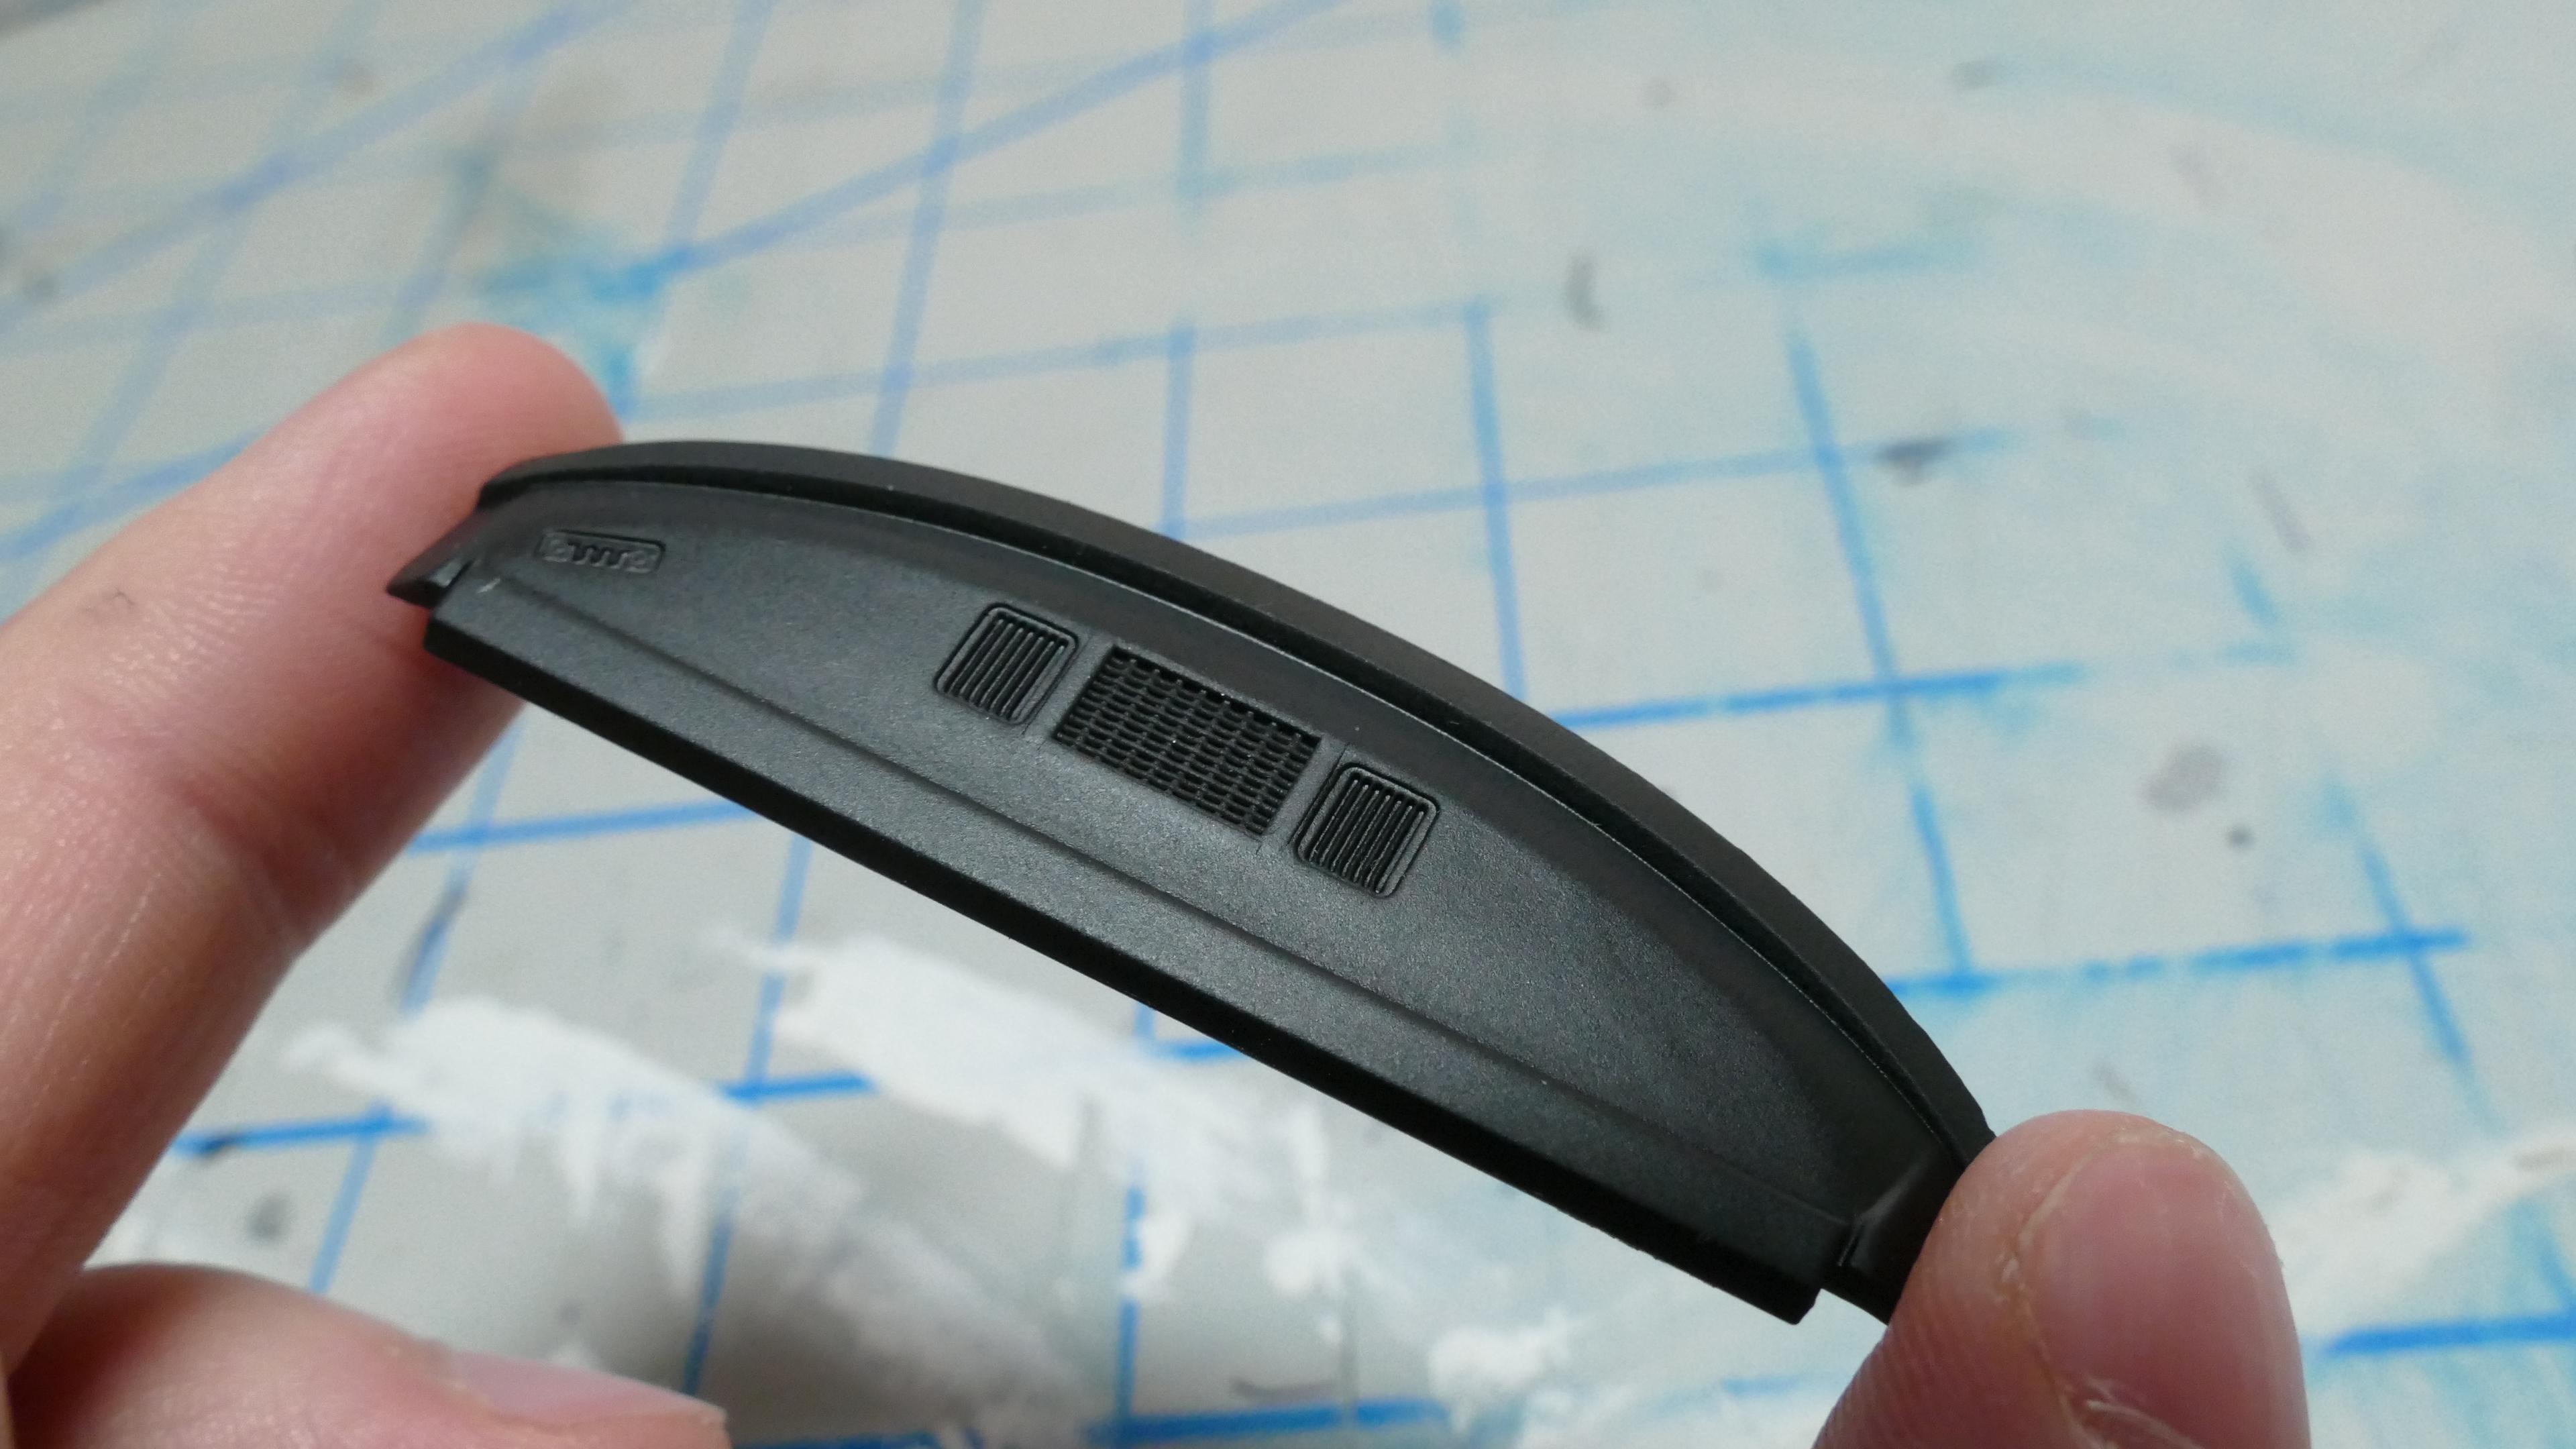
Hello everyone! I picked up this kit at least 2 years ago and felt it was time to build it. This is the kit box... The pics below show where I'm currently at with the interior. I painted the main interior piece silver to make it seem like the floor was metal, lacking carpet. Because racecar. Also, this car will only have one seat. Because weight reduction. ? Lastly for this post, the dashboard. Not much to say here other than the instructions called for cutting out a non-waterslide decal and gluing it where the gauges would go. Not the most detailed method in my opinion, however I don't think I would have the fine hand skills to make it more detailed, given the size. So I'll live with it. Oh and speaking of living! I live my life one model car at a time. For those 100 parts or more, I'm happy. ?
-
Nice! I love the color and the choice of wheels. ?
-
Thanks! Yeah it sure did.
-
Well, I'm calling it done. I could add more detail, but I'm itching to get building my other kits. Overall, I'm satisfied with the result. For a shelf model I think I did pretty good Onto the next one!
-
Here is a little more progress. I am nearing completion. I decided to use the stock taillight pieces. The '58 T-Bird ones just wouldn't fit. I also decided to use the stock steering wheel and save the nicer looking ones I have for another build. Lastly for this update, the chassis is as complete as it's going to get. I don't want to add any more detail. Like I said before, this will just be a shelf model; nothing fancy. Only a few more things to do for this build. I'm hoping that the next kit I build will turn out better and more detailed.
-
Okay, finally. Where I live, it's spring at last - which means decent weather for spray painting my model car parts! So yesterday I spray painted the last actual "part" of this build that needed it; the main body piece. I will post pictures of the body's overall outcome, after the rear bumpers are firmly glued on... I spray painted the front bumper/grille piece matte black previously. Now I have given it chrome using my Molotow chrome pens. The short lines of chrome coming from the circular lights (turn signals?) located in the "valleys" of the grille, was an accident on one side; so I decided to make it even on the other side. Overall I'm pleased with how this part came out. Next, I added the chrome trim to the roof piece, again using the Molotow pens. However I probably won't have the roof on very often. Because Corvette. Lastly (for this update), I put both the front and rear axle assemblies onto the chassis. If you've been following this thread, you probably know that the rear axle assembly is completely my design, because the original one broke. The front assembly also broke but I kept most of it and fabricated the axle portions myself. That's all for now. As a side note: I don't plan on entering this build into any shows or contests, it will be a shelf model. If it were a real car, I would use it as a daily driver.
-
Looking fantastic! If it ends up in a diorama you could have it parked in one of those "green vehicles only" parking spaces because it's "green" Keep it up!!
-
It's snowing outside, so I can't spray paint anything. However, what I can do is work on the "mechanics" of the Corvette. Here's an update on the spindles... Rather than use my only drill (which is big, heavy, and probably too powerful), I decided to use a body reamer to make holes for the axles. For those who don't know, a body reamer is a tool that has a cone-shaped blade; when you twist it onto a surface it creates a hole. Usually, this tool is used to create body mount holes for radio-controlled cars. But not today! After the holes were snug enough for the axles, I covered the inside ends with Testors putty. Over time the putty will harden, and I'll have a solid fix for broken spindles. Here's a mock-up of the tires sitting on the axles. After I've painted the spindles black, I'll probably put some putty on the axles since the wheels fit very loosely. That's all for now. Stay tuned!
-
It's fine, it was very informative. My main reason for wanting to use a spray booth is so I don't have paint fumes in my house, I want a way to get them outside, like through a window or something. I know which booth I want to get, I just need to set up an area in my house near a window. Here is some progress. The steering wheel on the left is the stock steering wheel, which I painted with acrylic brush paint. I never liked the texture of acrylic paint, so I got some enamel brush paint. The steering wheel on the right is from a long-lost Maisto die-cast car. I plan to use it instead because I like the look of it better. I will use my new enamel paint to paint the rim of it either black or brown. Here are my new paint sets:
-
I like the color choice! Makes me think of chocolate Also that paint job is impressive considering the conditions of your painting environment. Well done.
-
Oh, okay. Knowing that makes it a lot easier now, thanks for the heads up! This project is going pretty slowly, mainly because I'm still figuring out how to set up a spray painting booth in my house. Believe me you'll see more progress eventually lol!
-
Thanks everyone, and happy holidays! I might have some more progress soon involving chassis work for this car. Stay tuned! I'm pretty sure I know what you're talking about, and my answer is no. I have had only a little experience with these pens though, so don't quote me on it lol!
-
Okay so here is some progress... I decided that the interior was not detailed enough. I detailed the dash, door panels, etc. with my Molotow chrome pens. I love these pens! I'm currently working on the steering wheel, I'm giving it a "wooden" rim. Anyway here are some pics of the dashboard and interior piece: Stay tuned!!


.JPG.49a7dd2017c21713007b4aaae2093ebb.JPG)
.JPG.5f3ff3d248da49bad08c4268355a487b.JPG)
.JPG.d2cfe721f5de0d34c9fe115f2a6f6ad2.JPG)
.JPG.d552d2d5279acee4503c364df5b12281.JPG)
.JPG.647f39e048db4441441e612db5ec4cc4.JPG)
.JPG.c6f009fd0d6591ddbc719fb82b656046.JPG)
.JPG.719836b676608520f14585cc2f9b1894.JPG)
.JPG.179ec8c948ec7d70eec1dc2205ce82d9.JPG)
.JPG.72ff562fec6b3c63f54eb71ecc35a533.JPG)
.JPG.75abac3234e4095b14d3f69290d79e9d.JPG)
.JPG.02a5f8967685298e4e5009891aa6669c.JPG)
.JPG.b7d7ddca38c1d2327adf5f2f76f6949d.JPG)
.JPG.ce9fcc07664eeb151e6e0ee6c6c4b42e.JPG)
.JPG.8de51abd865a4551fb5df4f20dc5a889.JPG)
.JPG.65321f6cc3a98bcf02d61884b08d57ec.JPG)
.JPG.00245132ab5c911a0634a646108c9ec5.JPG)
.JPG.6b7f593cb3aa97febe95e4be09f602b6.JPG)
.JPG.c8ab1653b47c6d752d70071749bd5ff0.JPG)
.JPG.33345fb7d64ba39d45e9ef2fd2345040.JPG)
.JPG.6d3e85228dc6c6a3b5a7d6992978e4fa.JPG)