Search the Community
Showing results for tags '1970'.
-
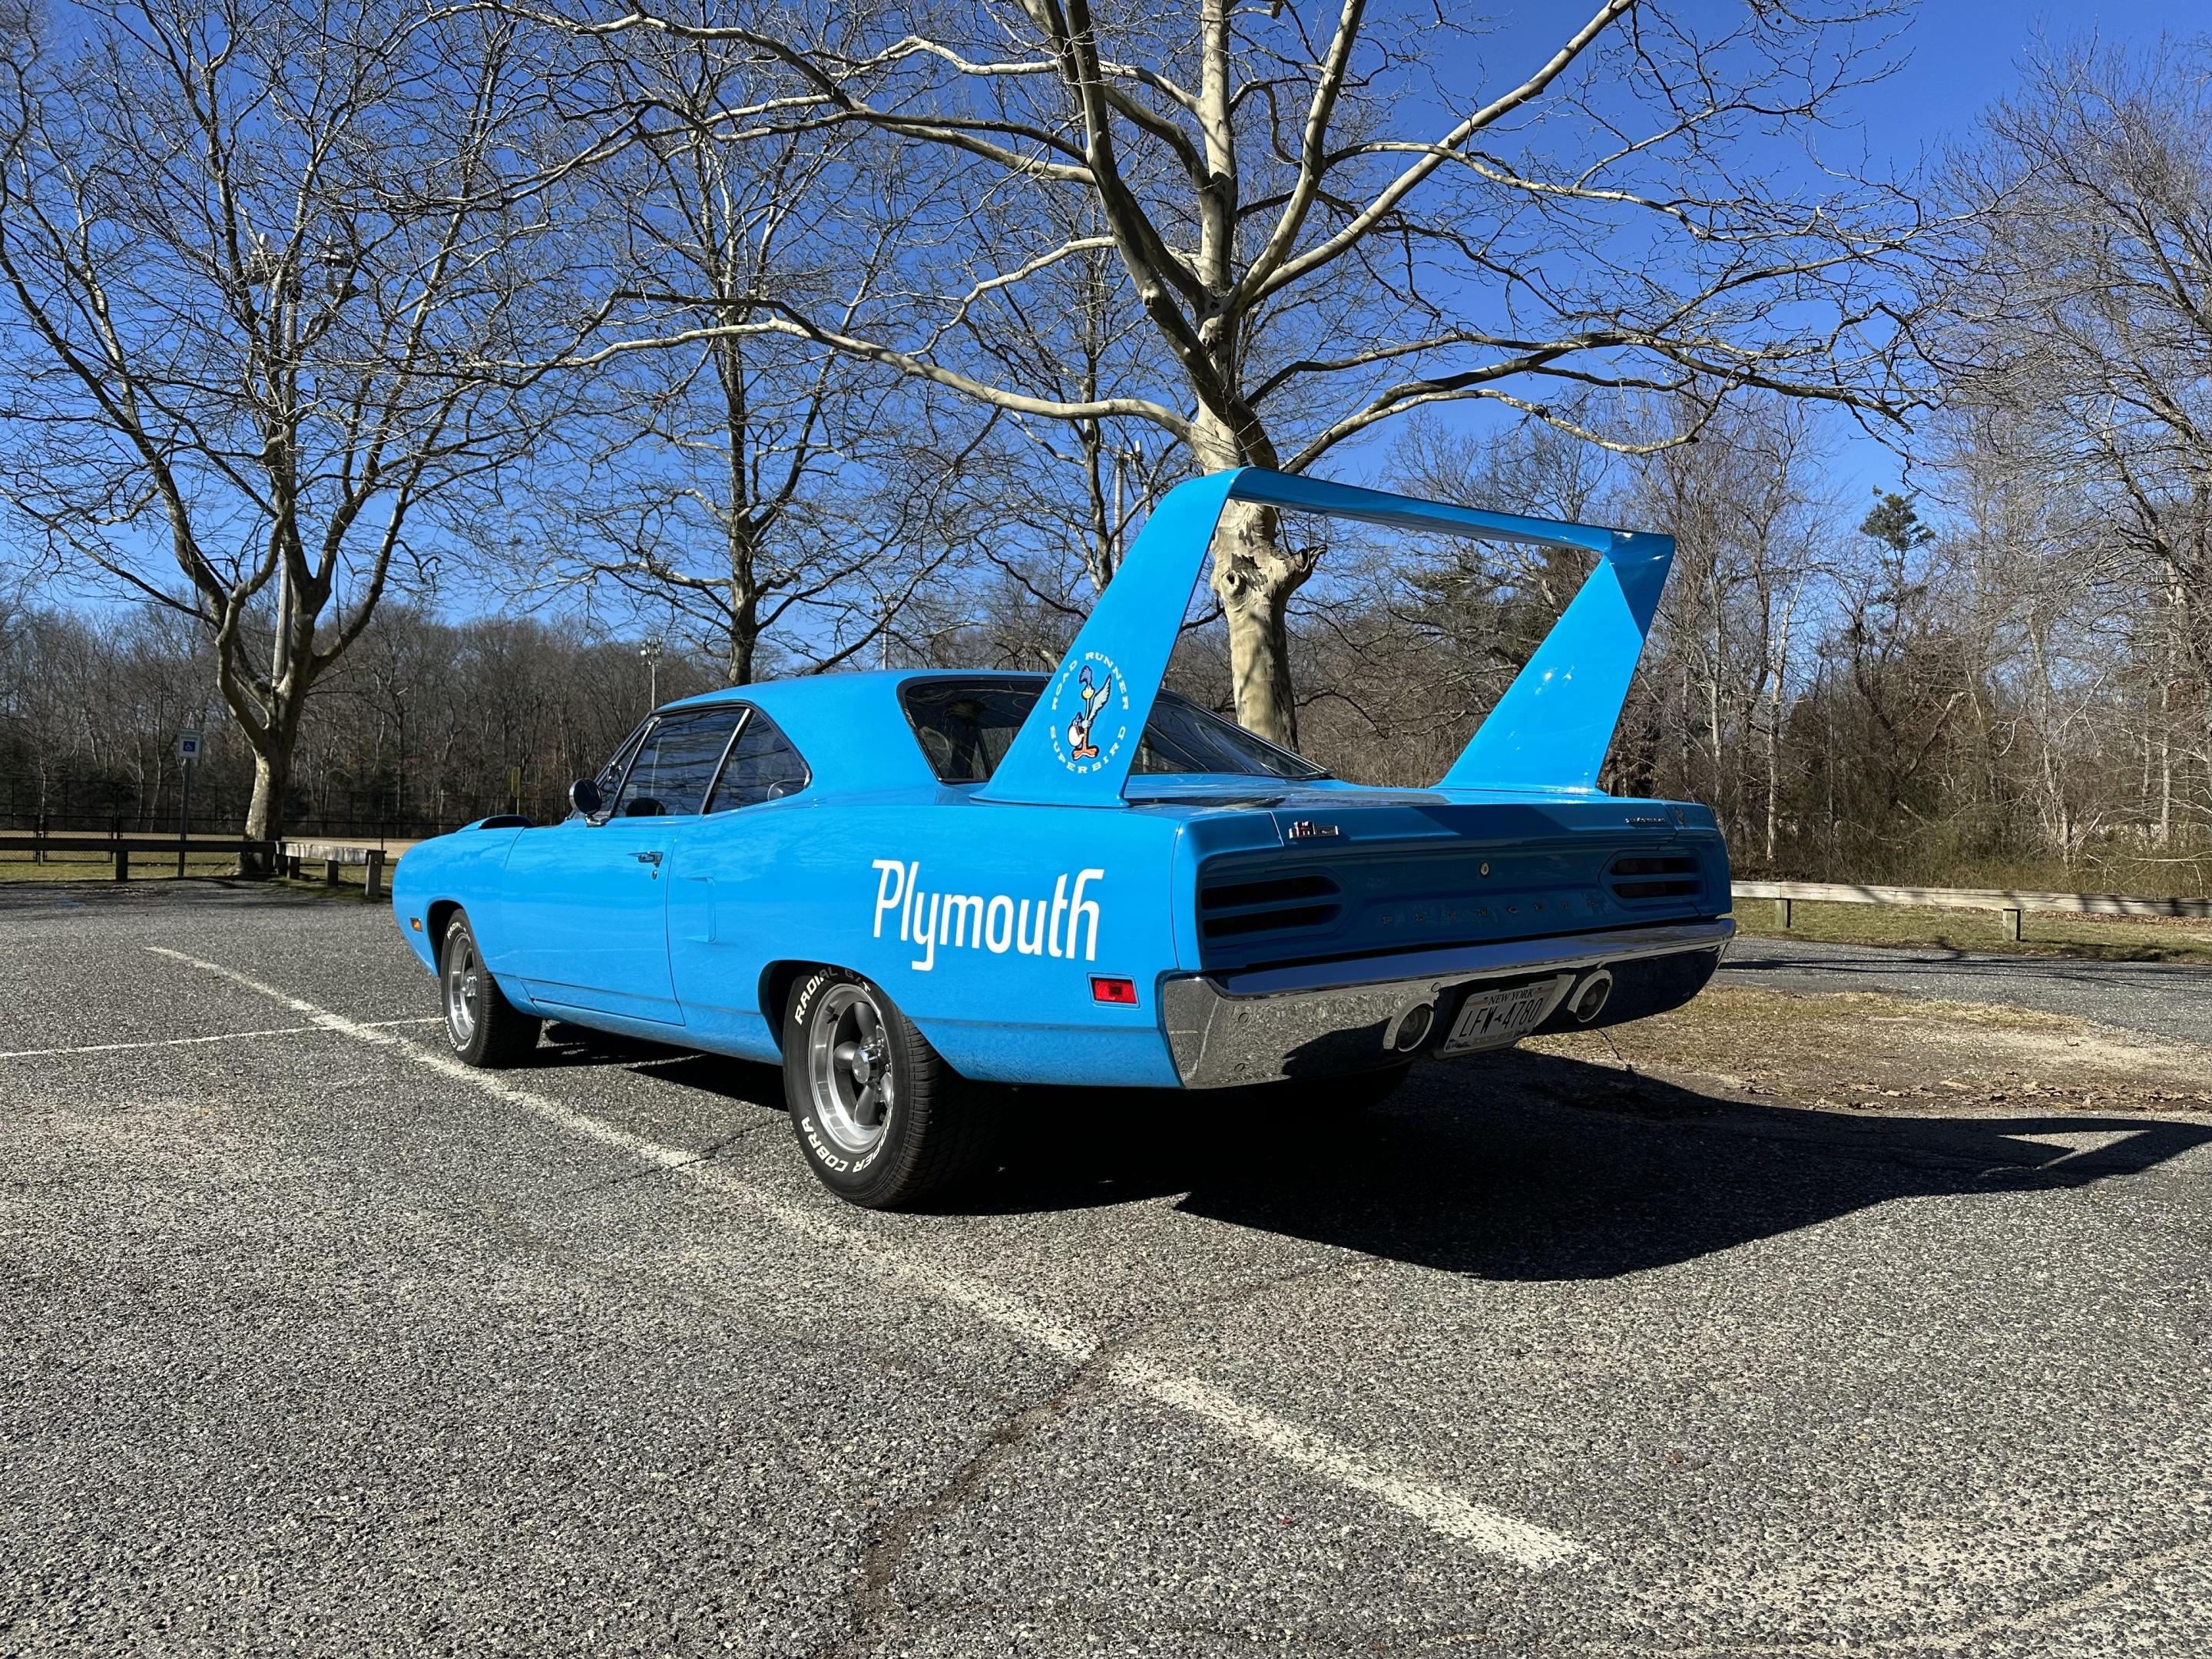
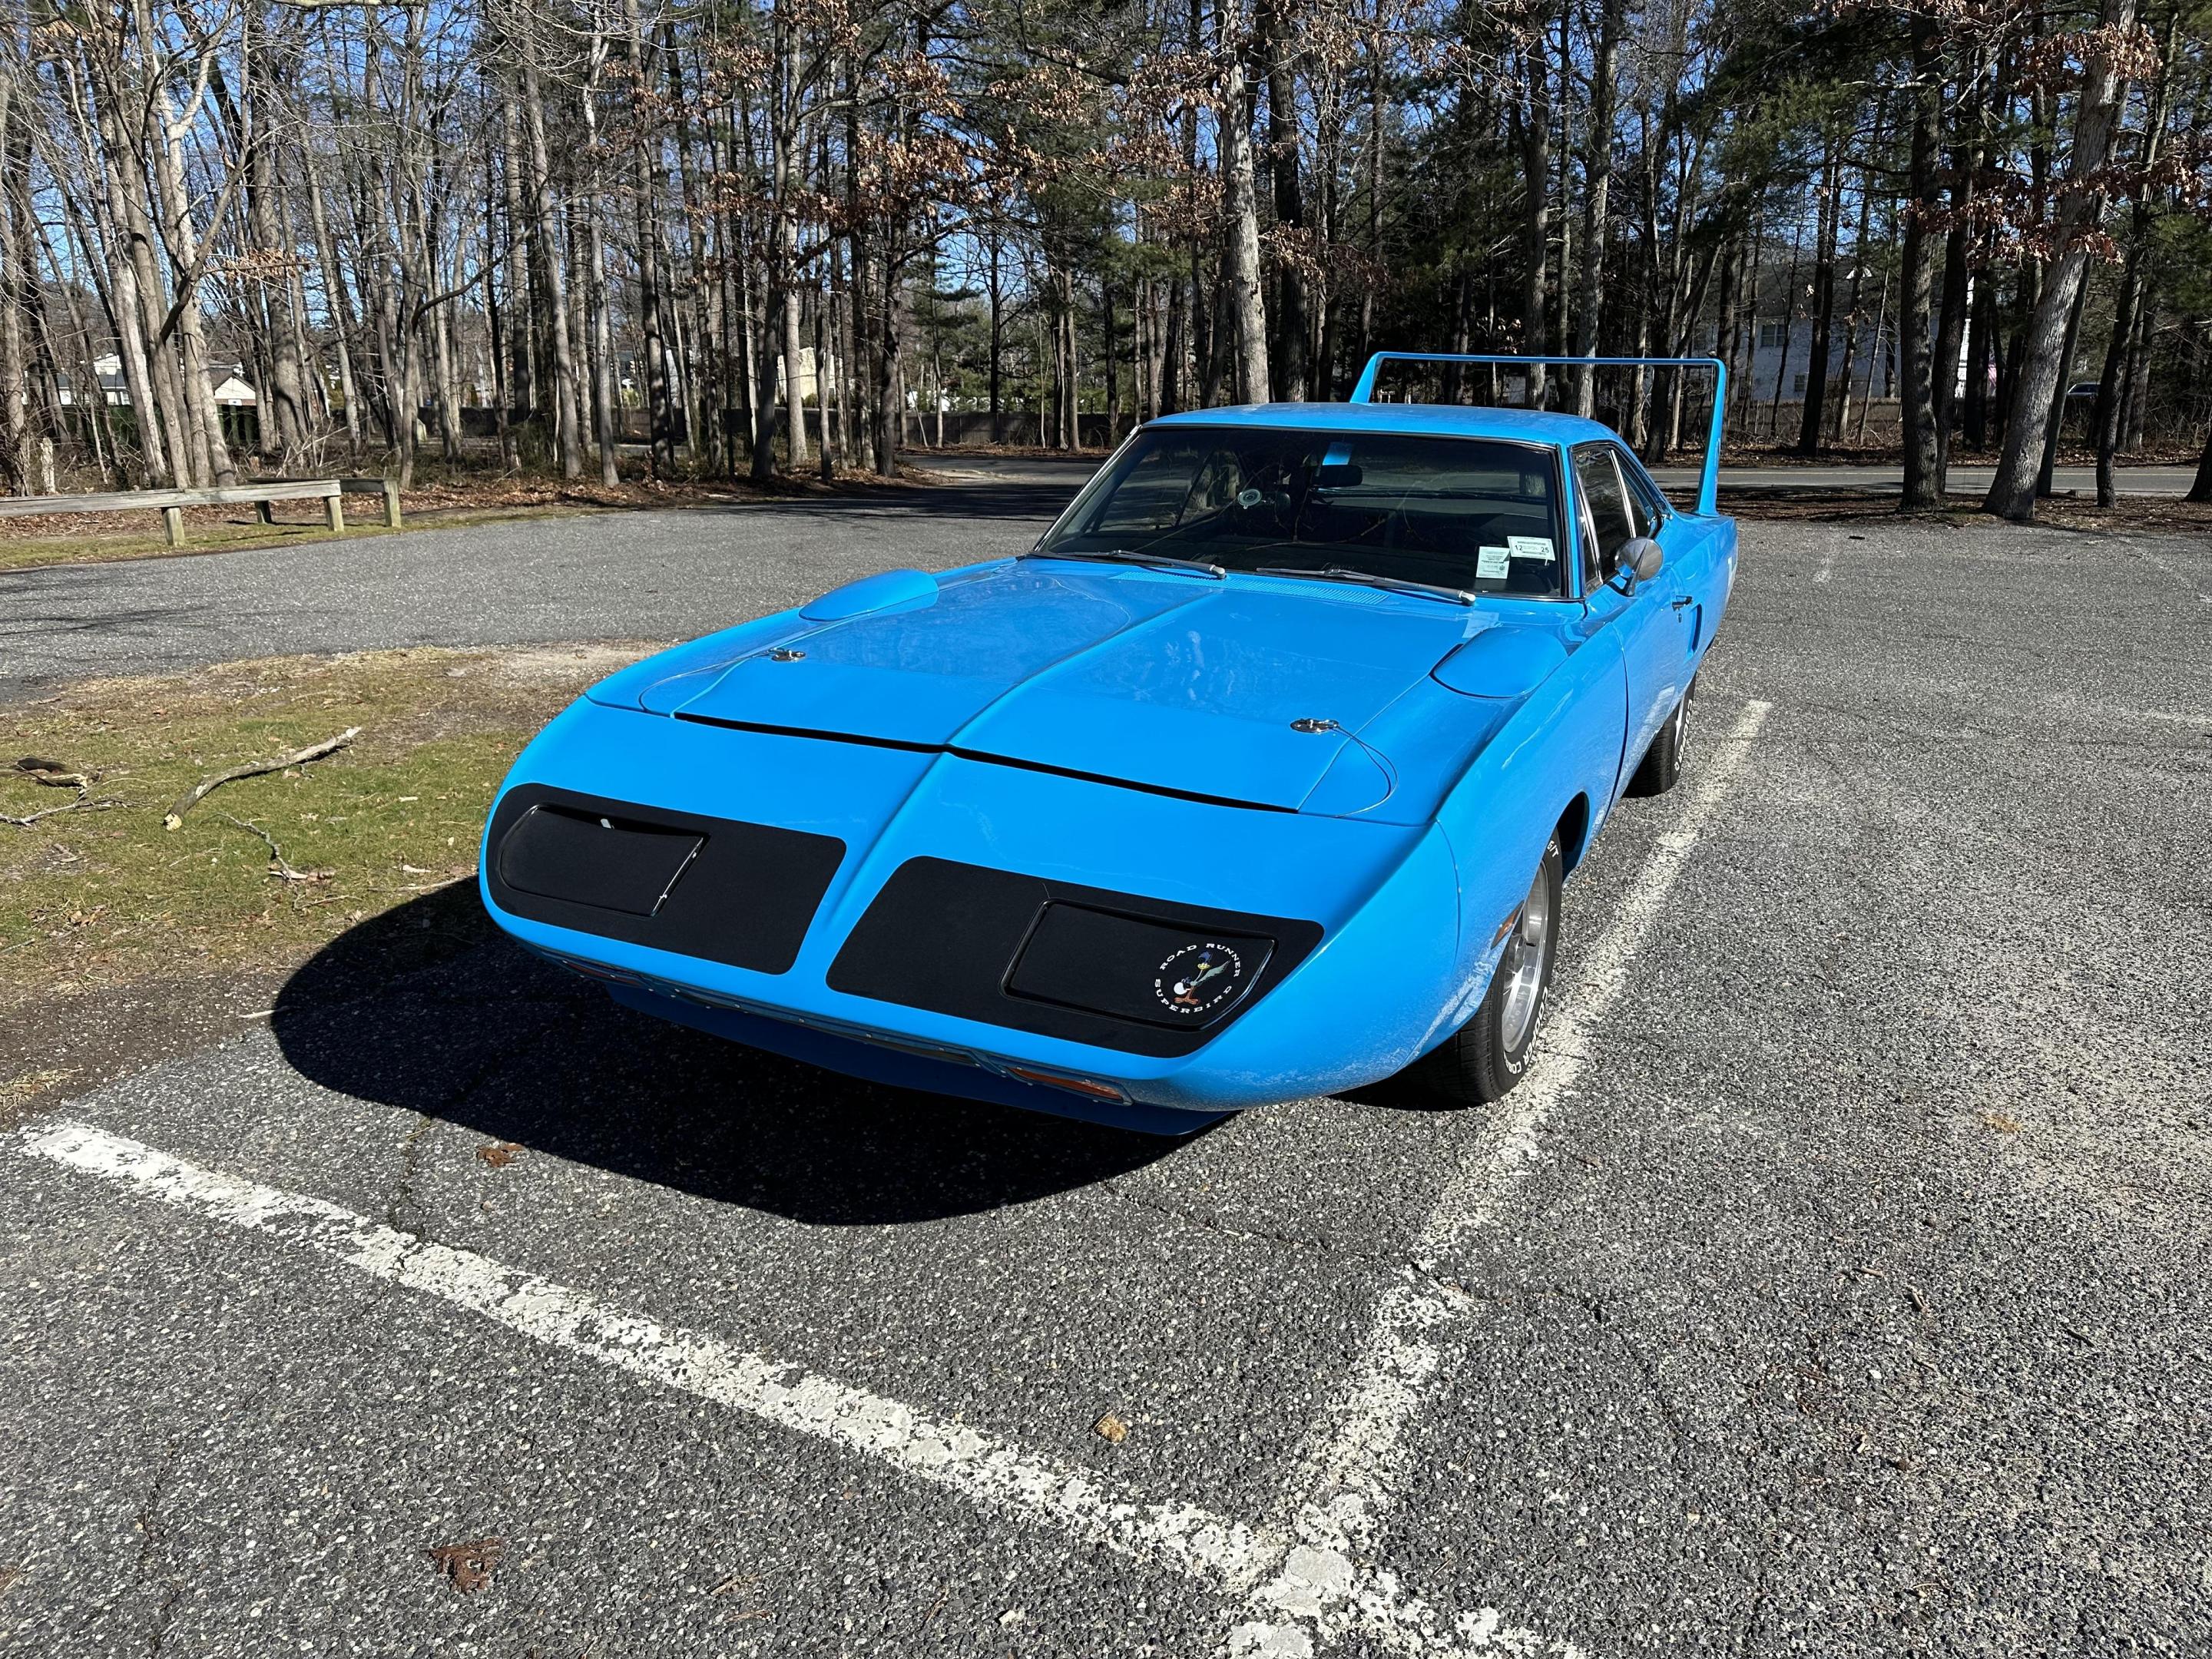
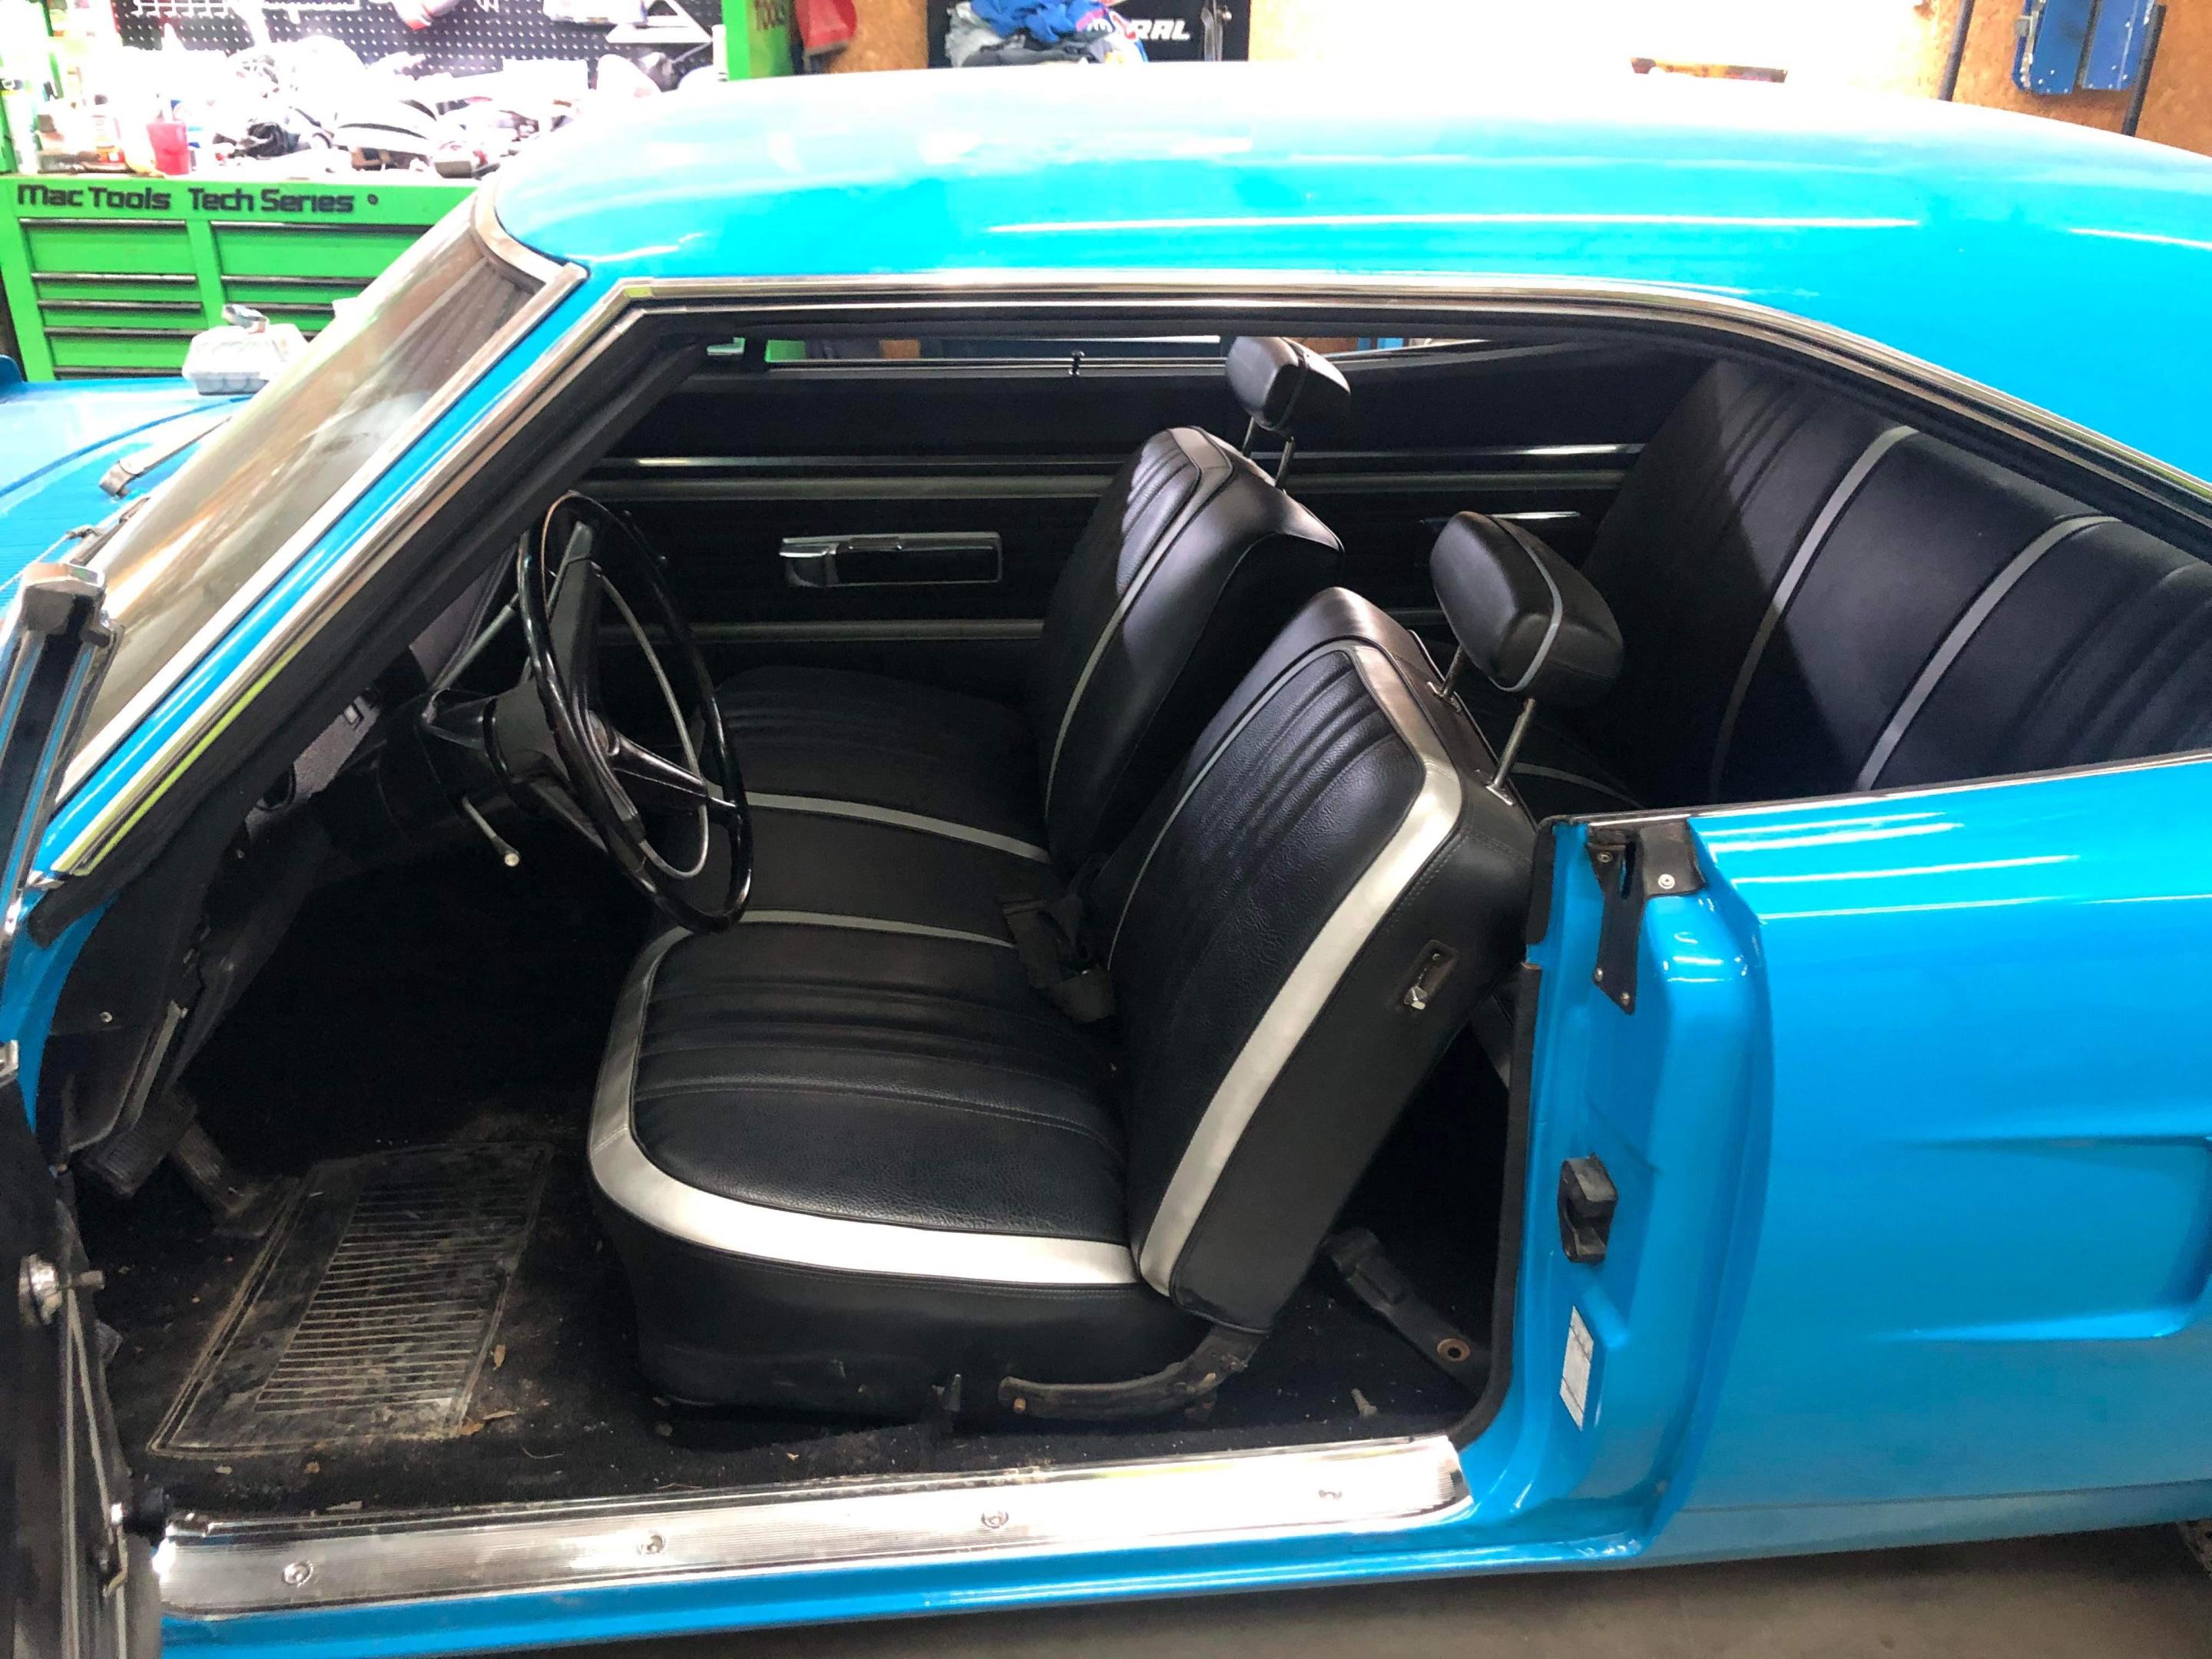
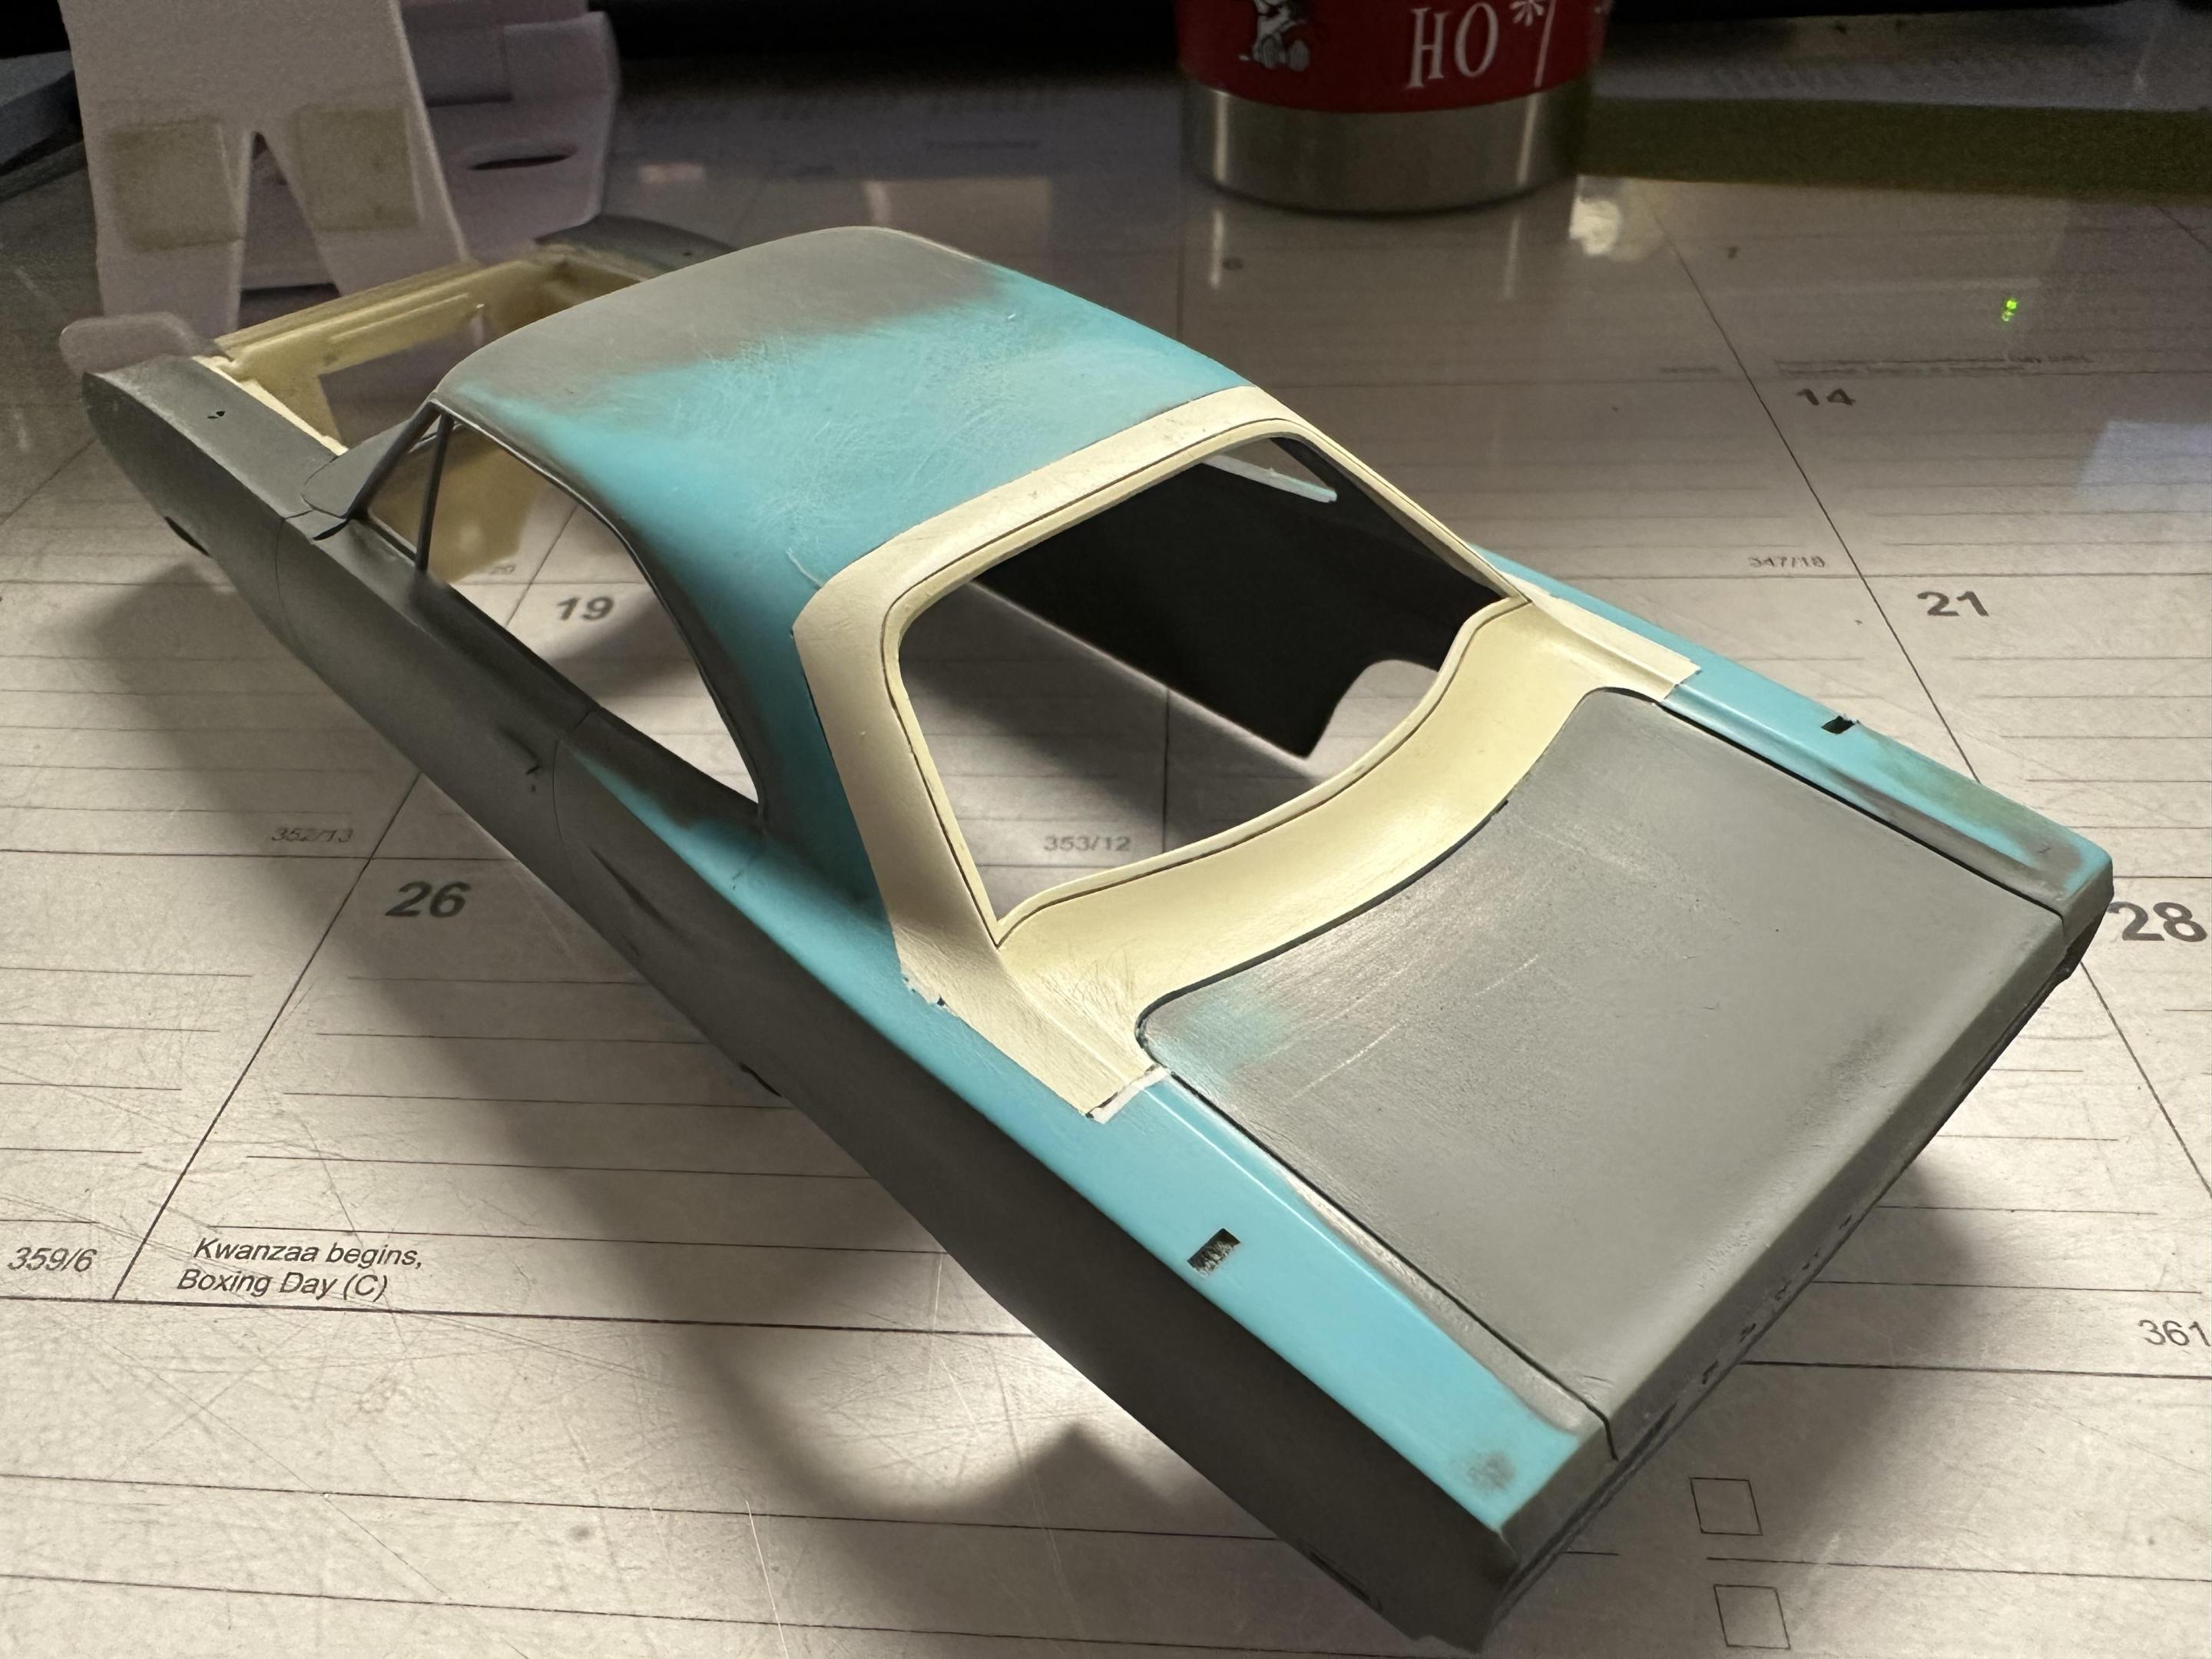
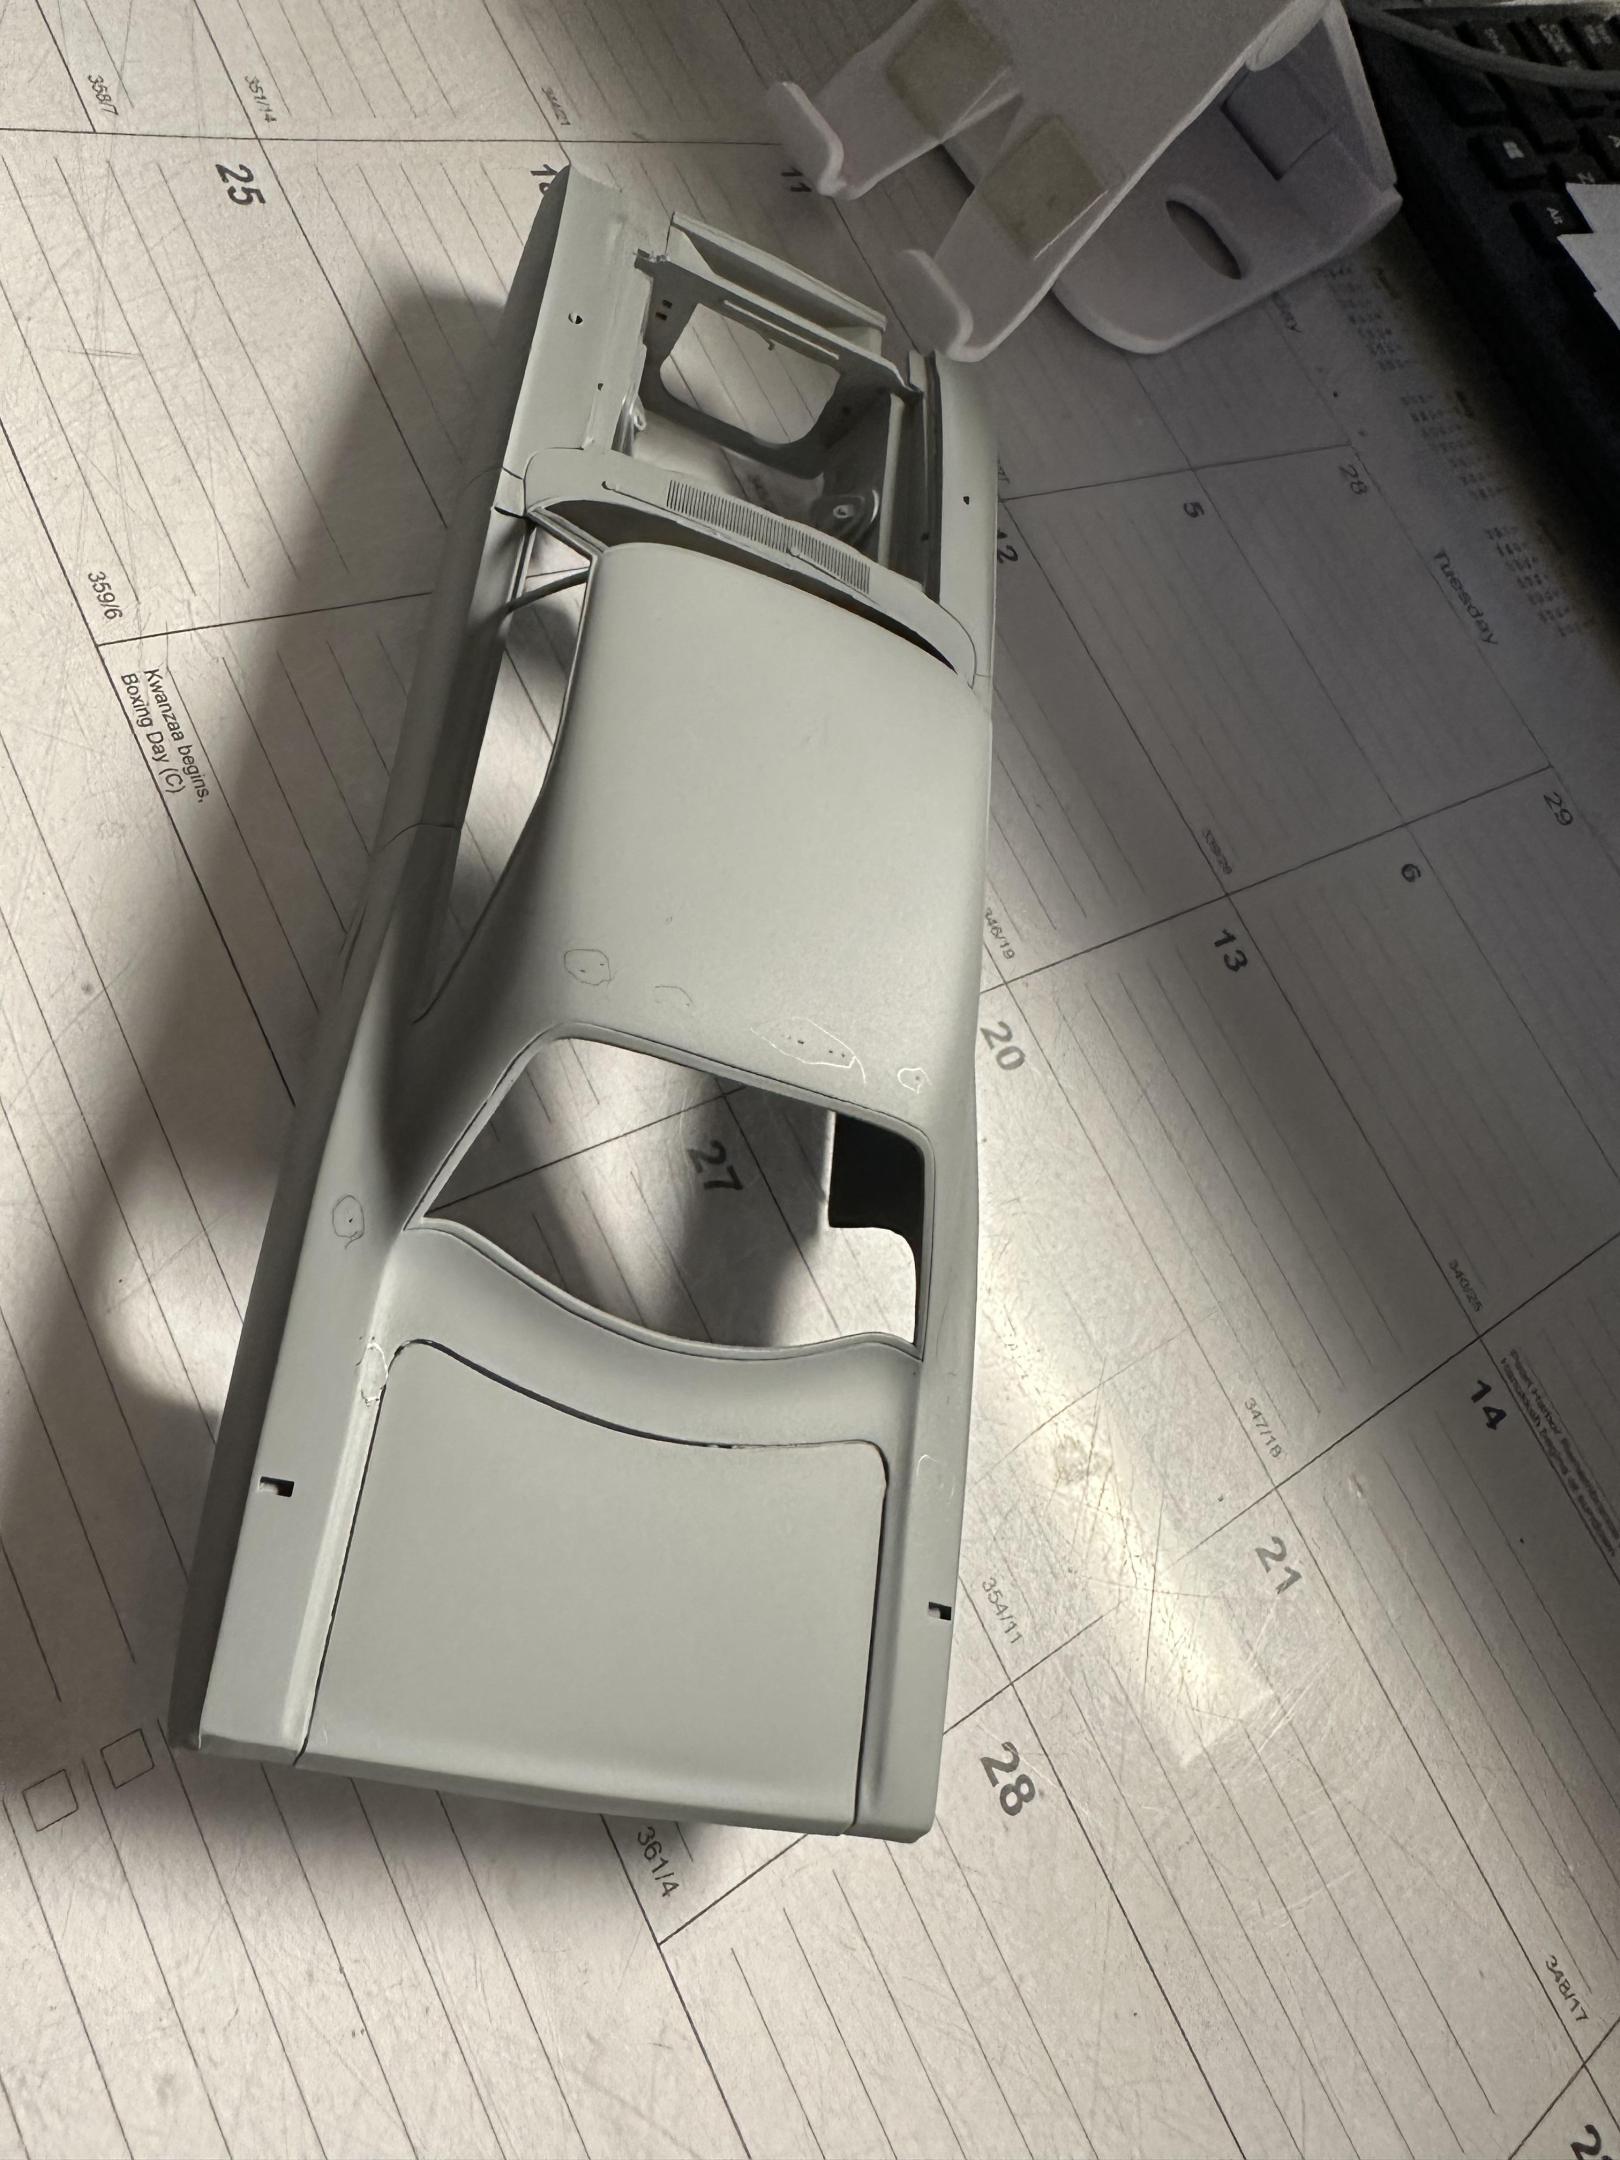
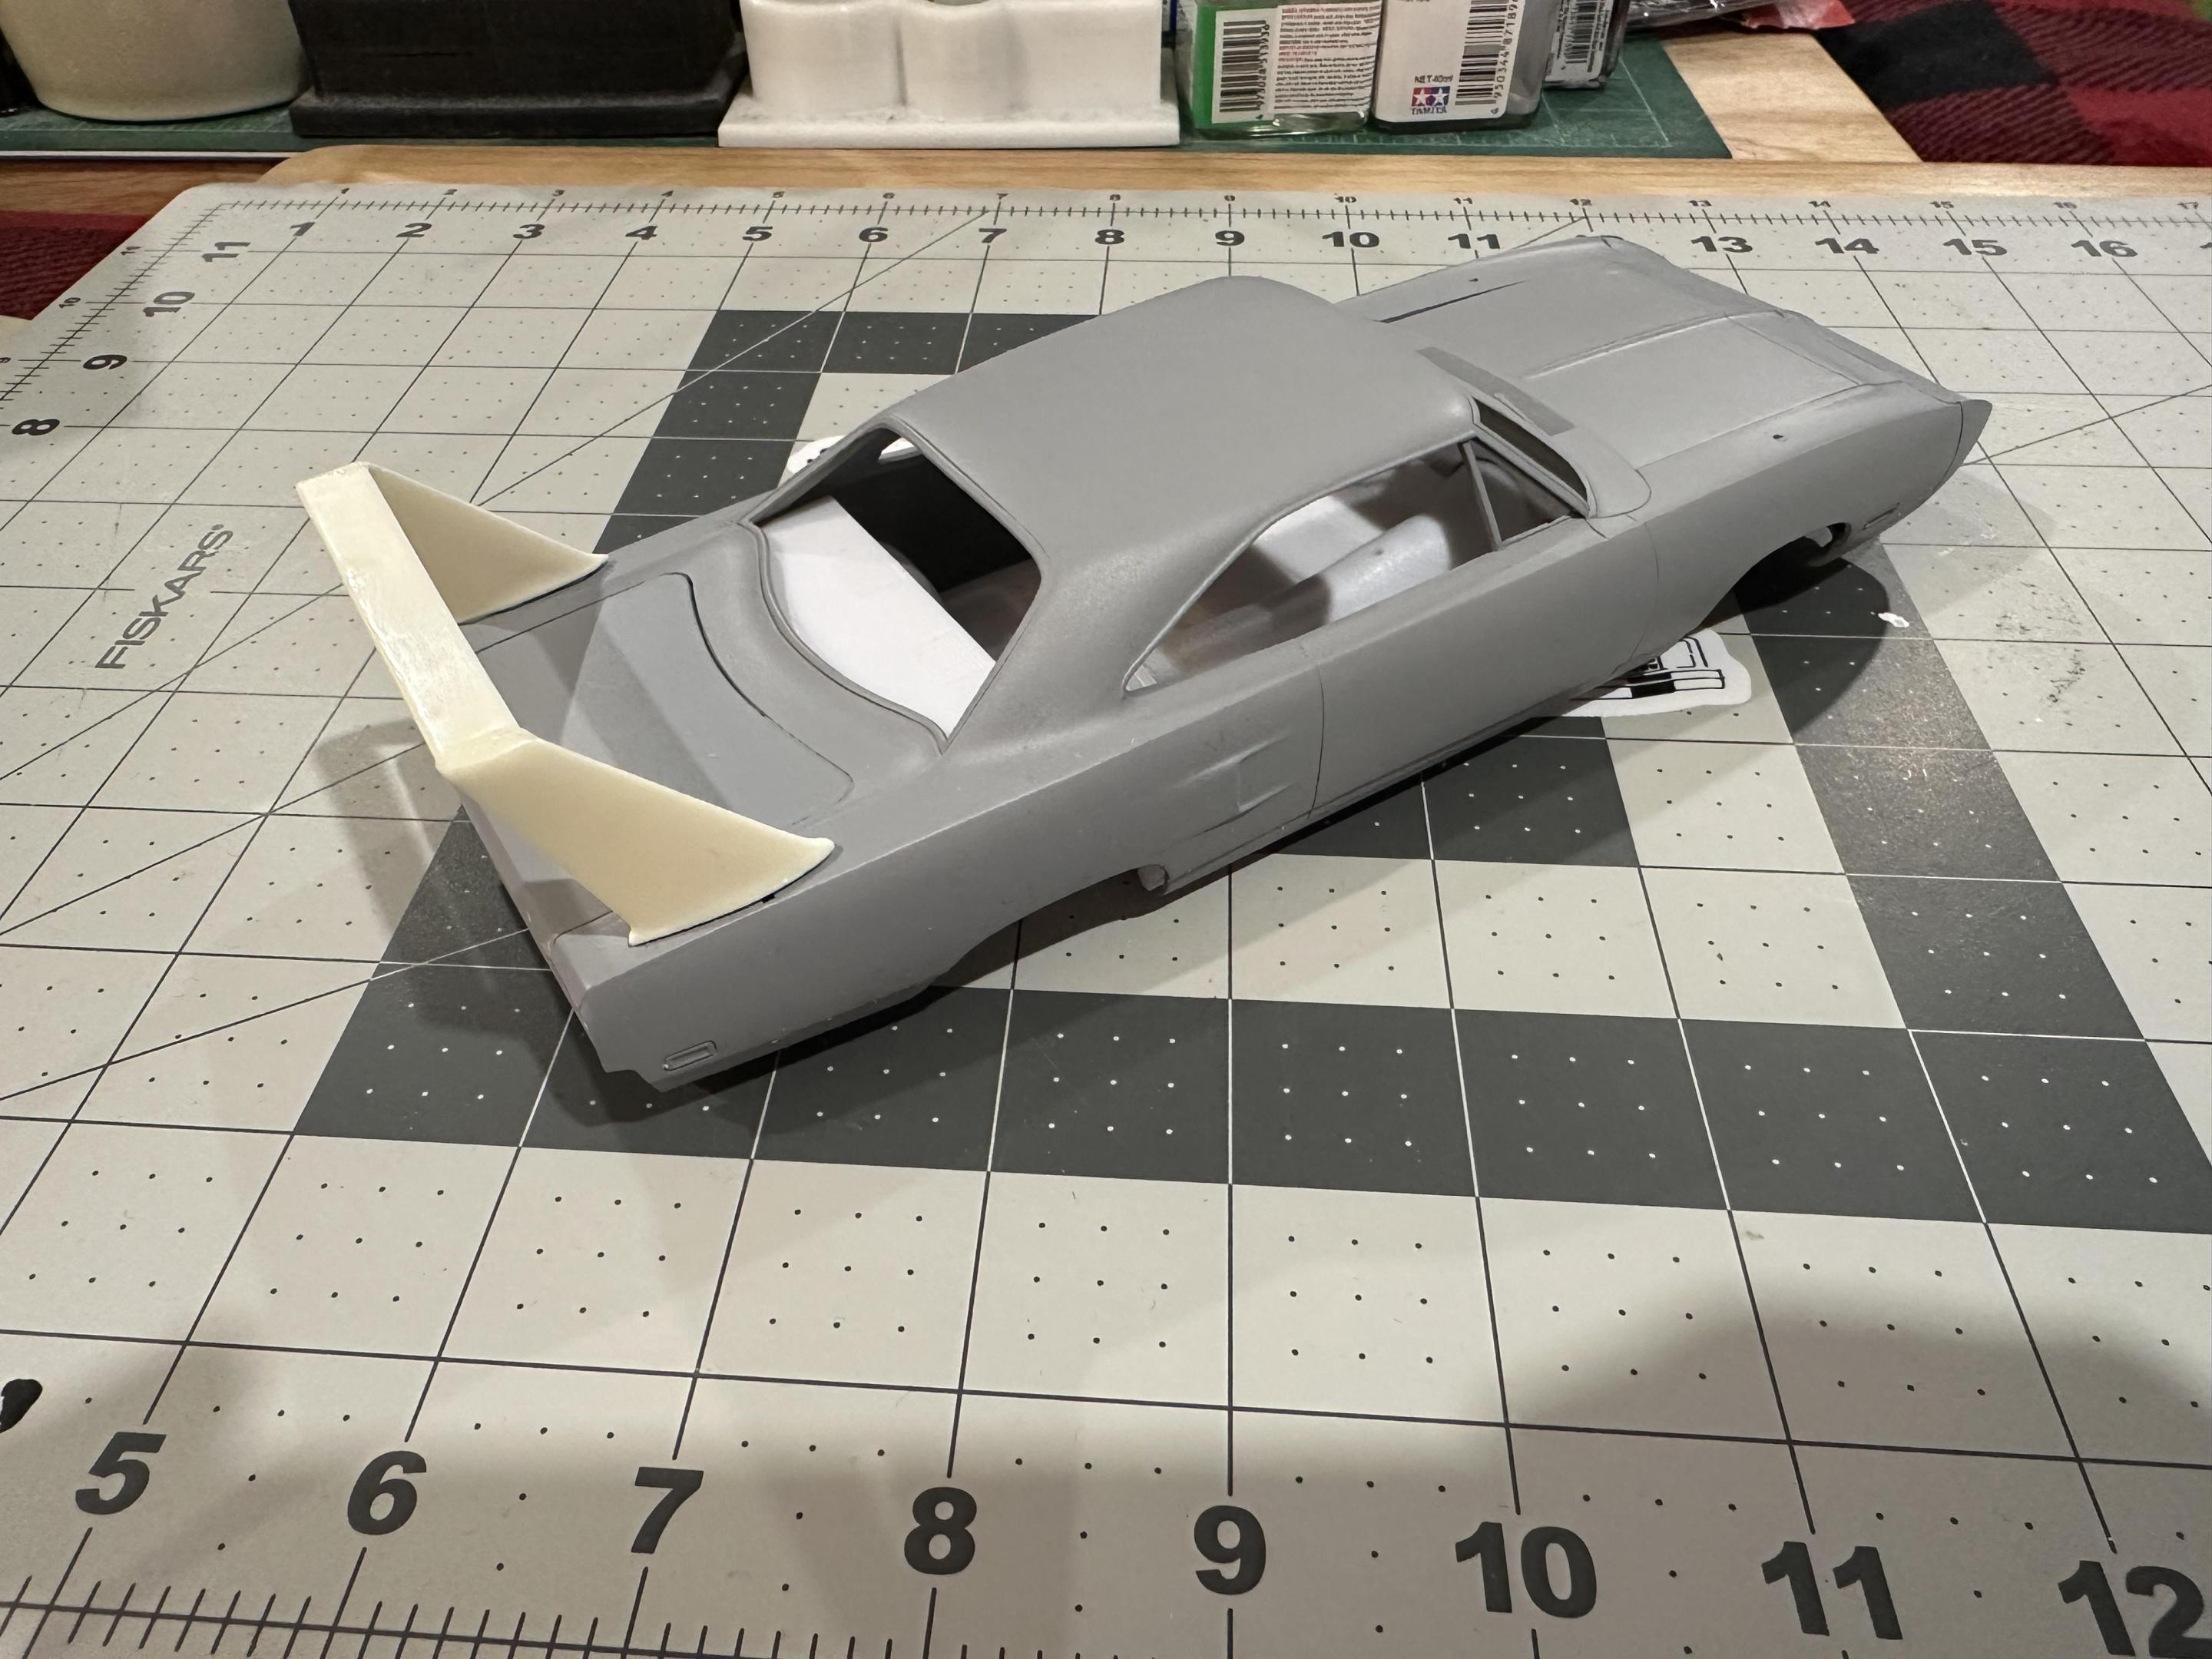
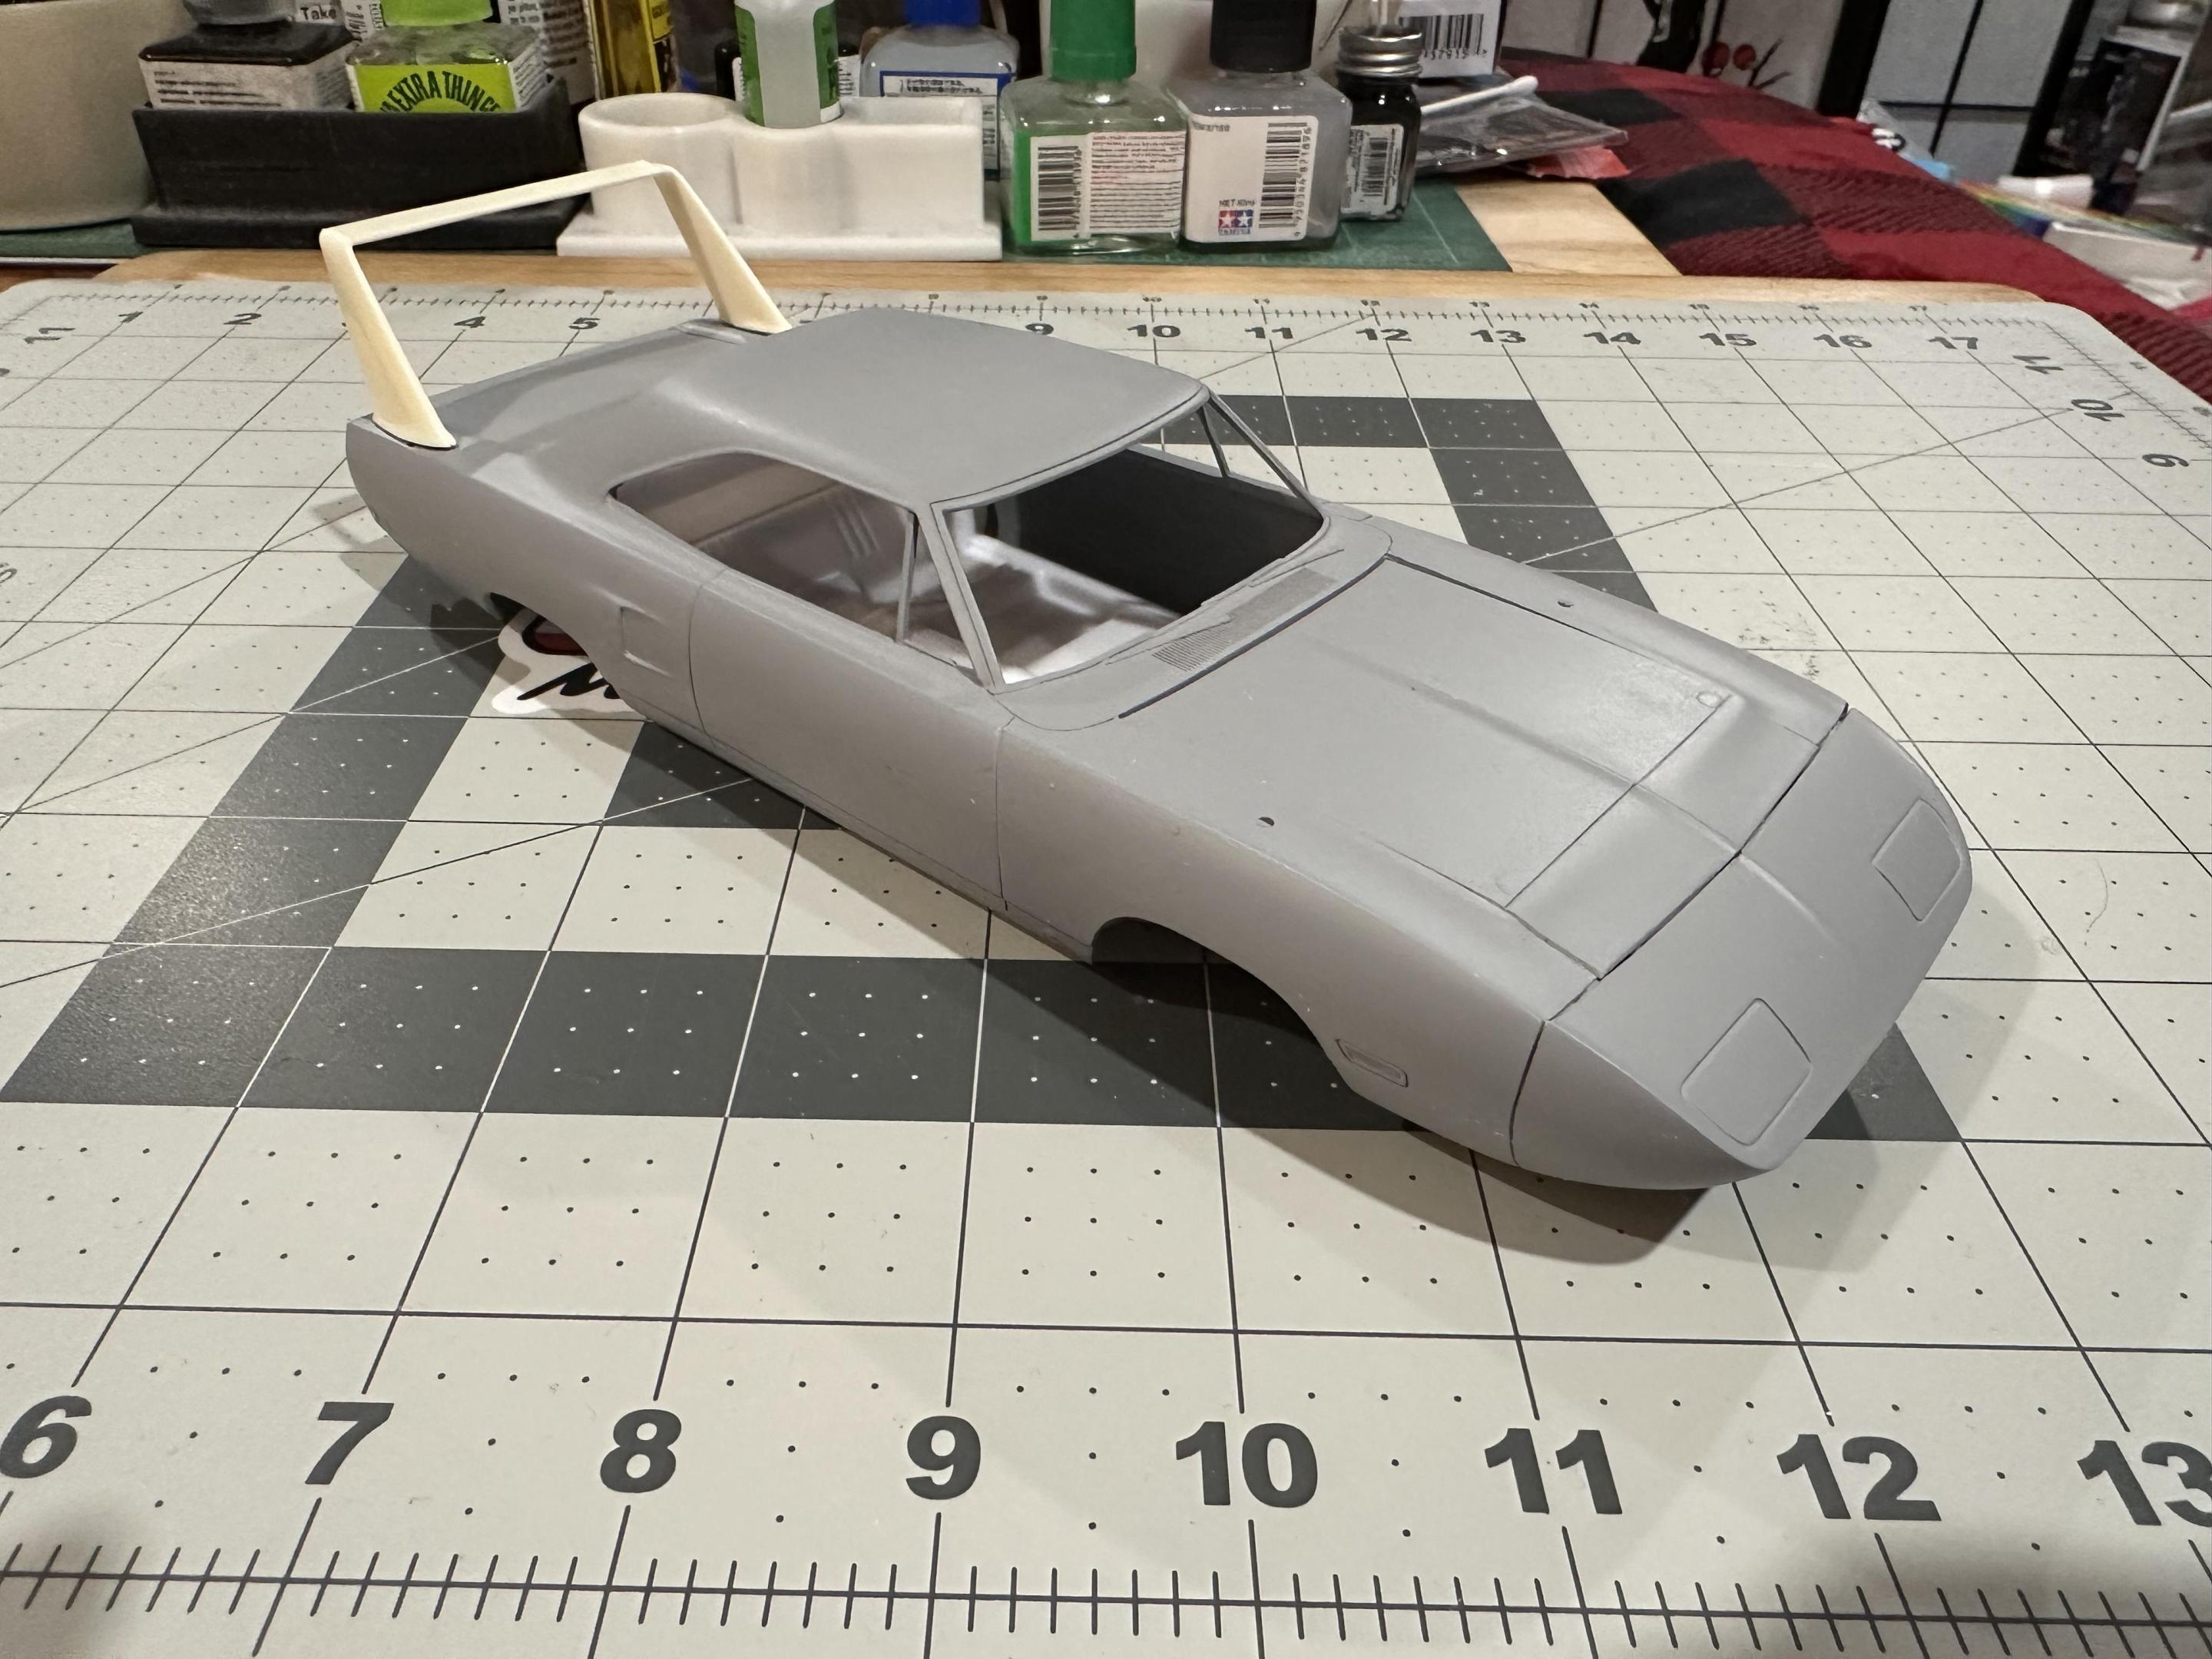
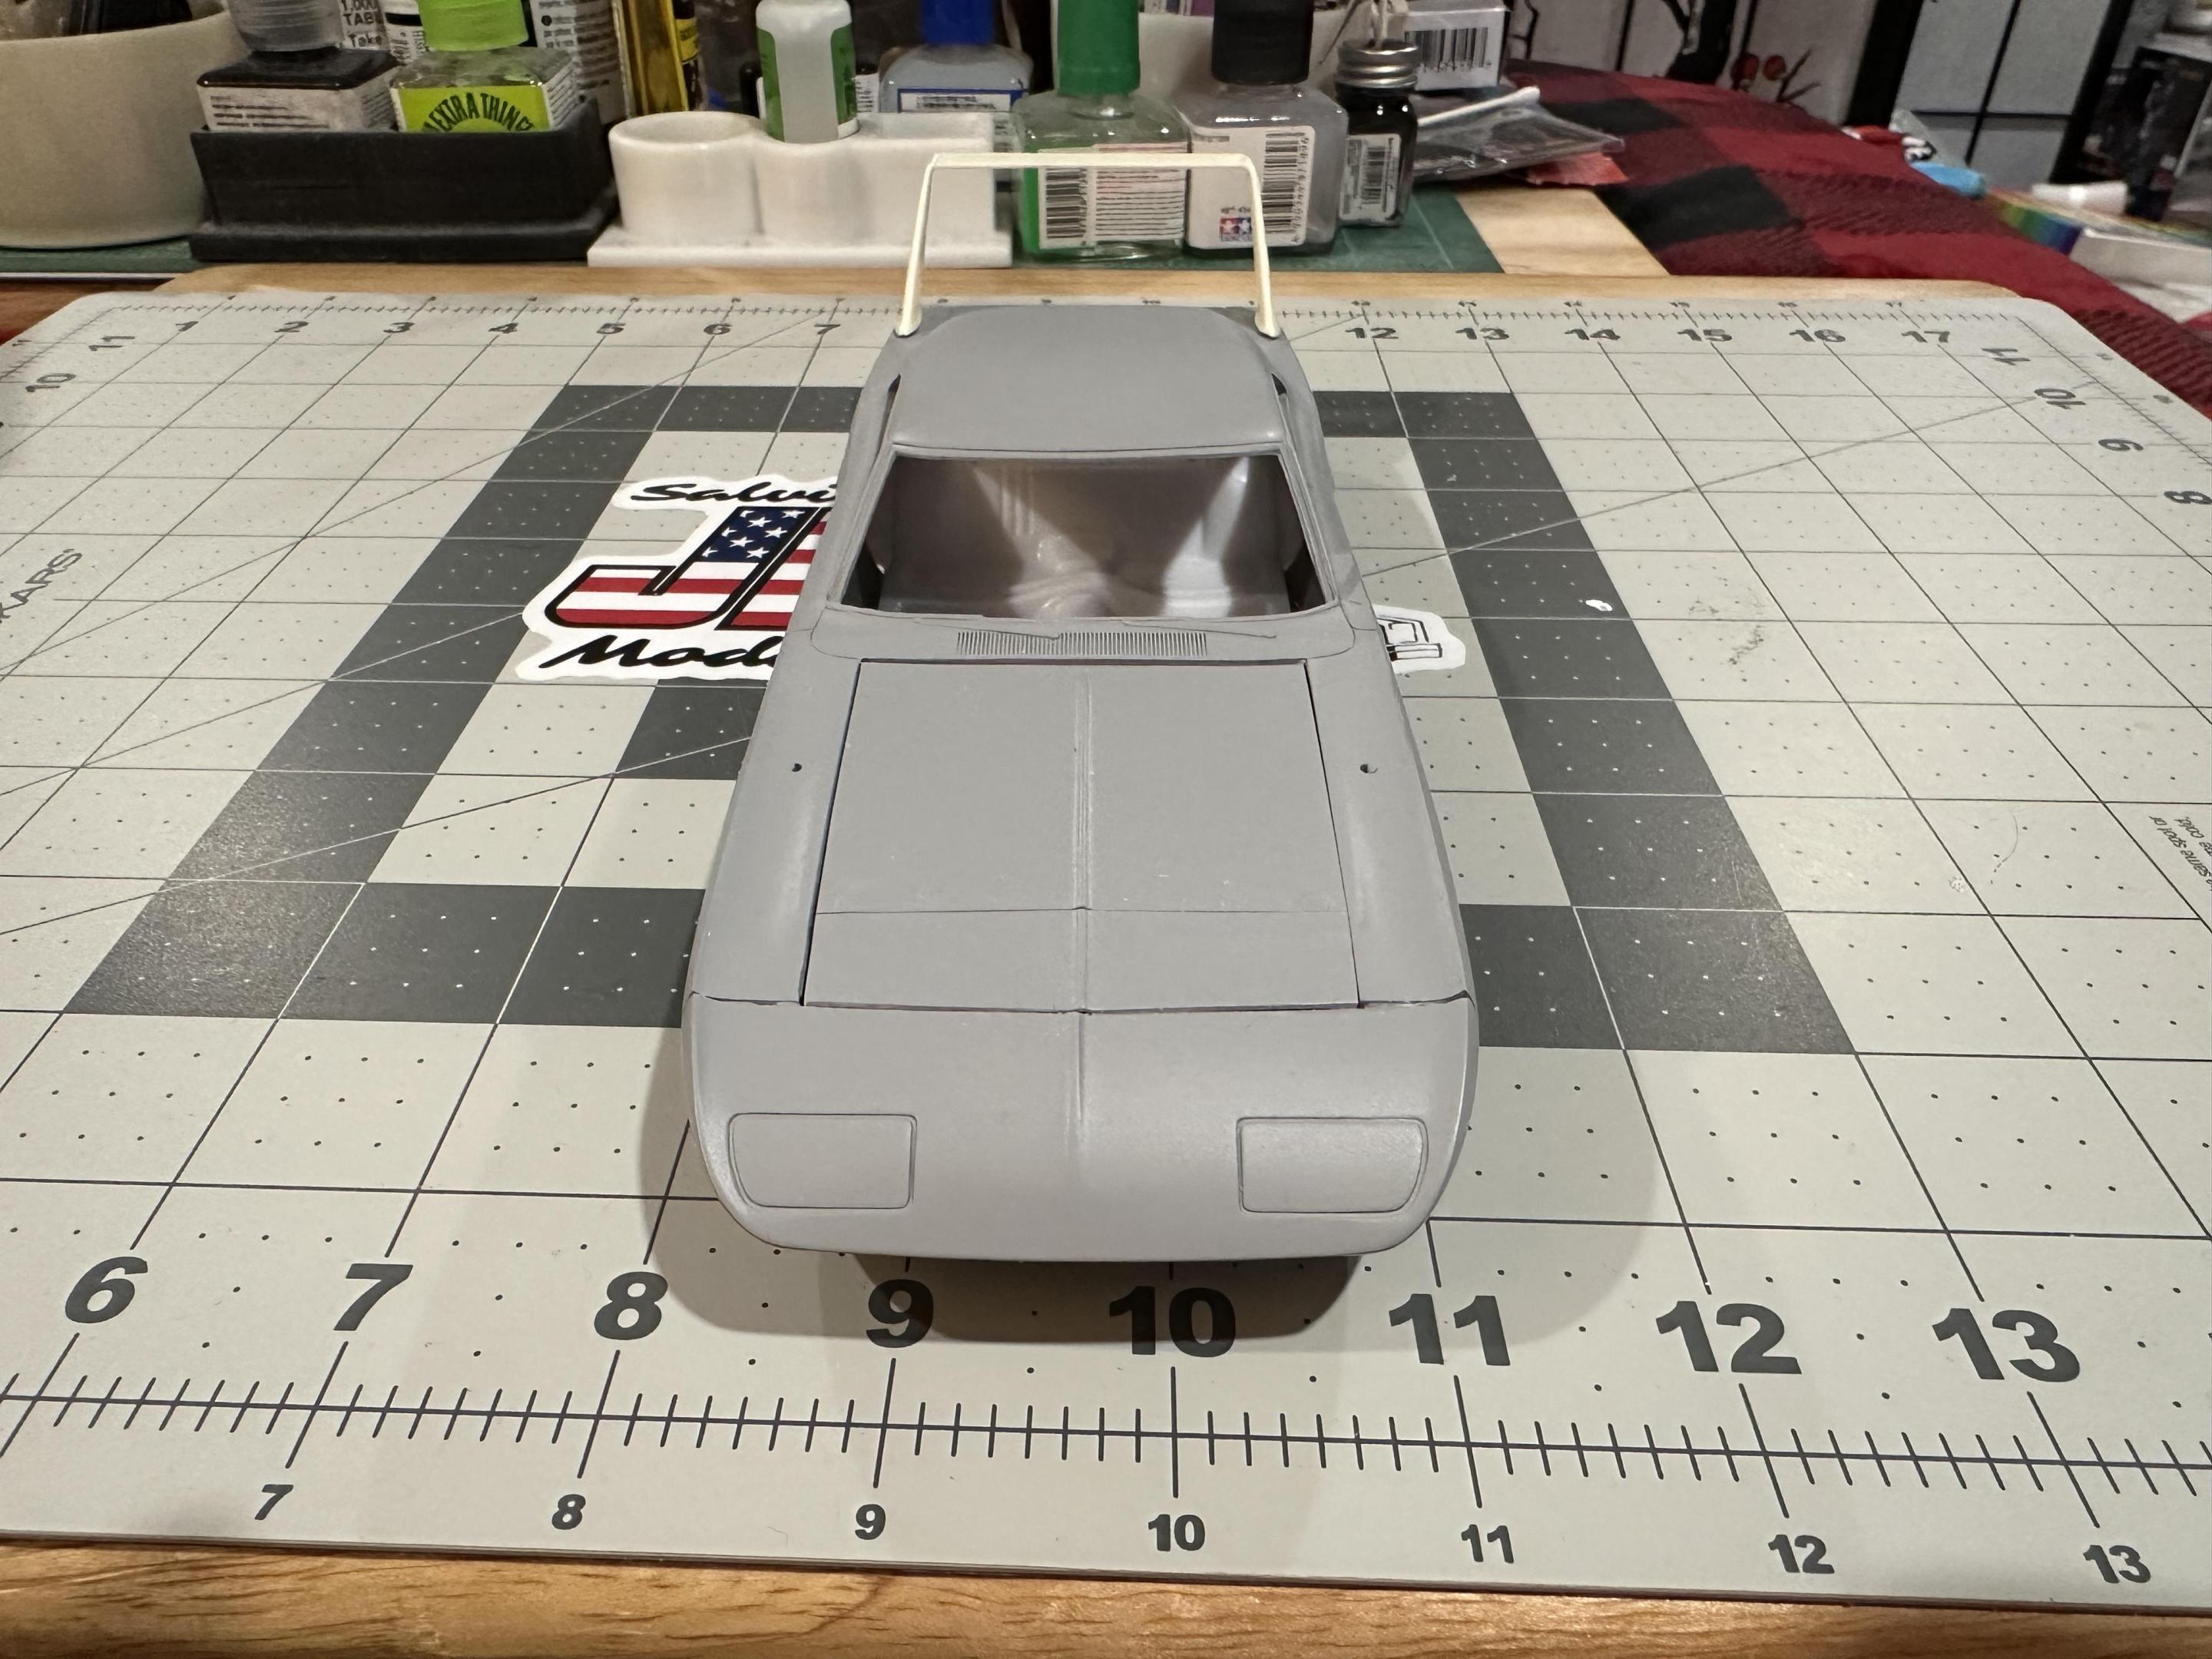
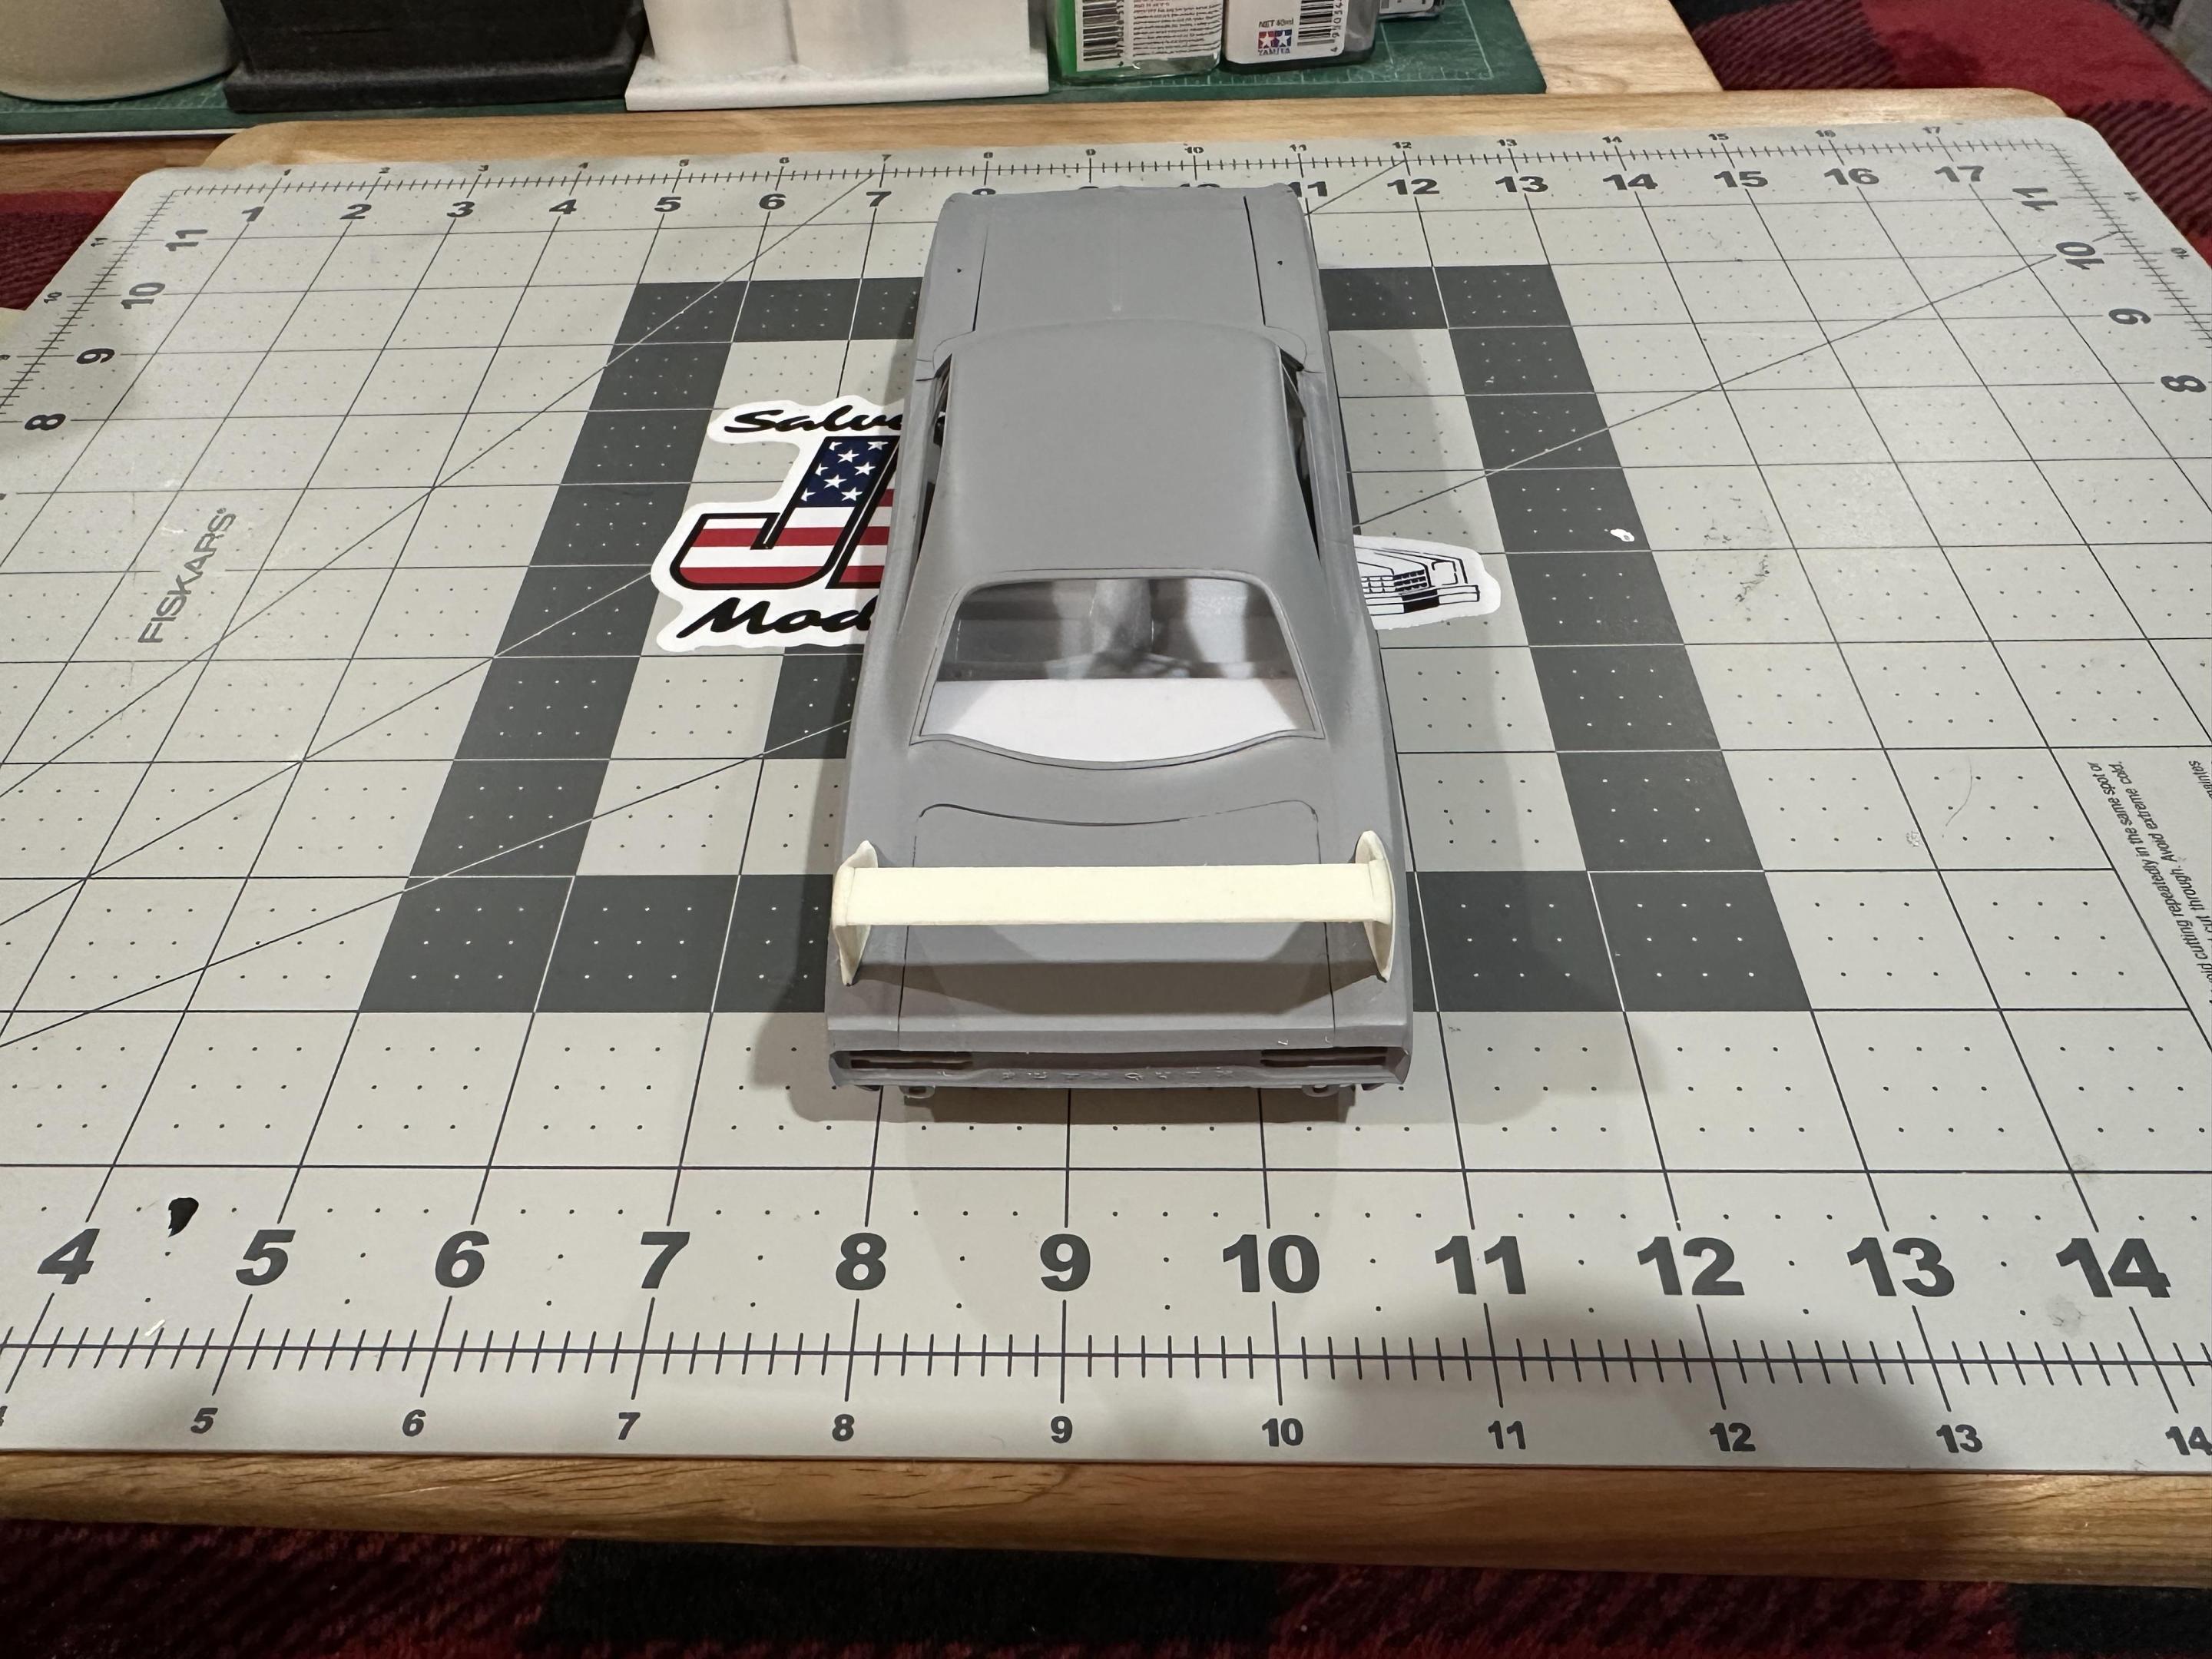
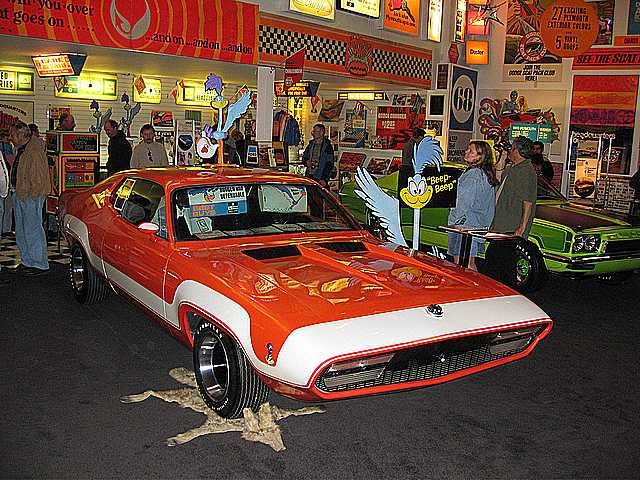
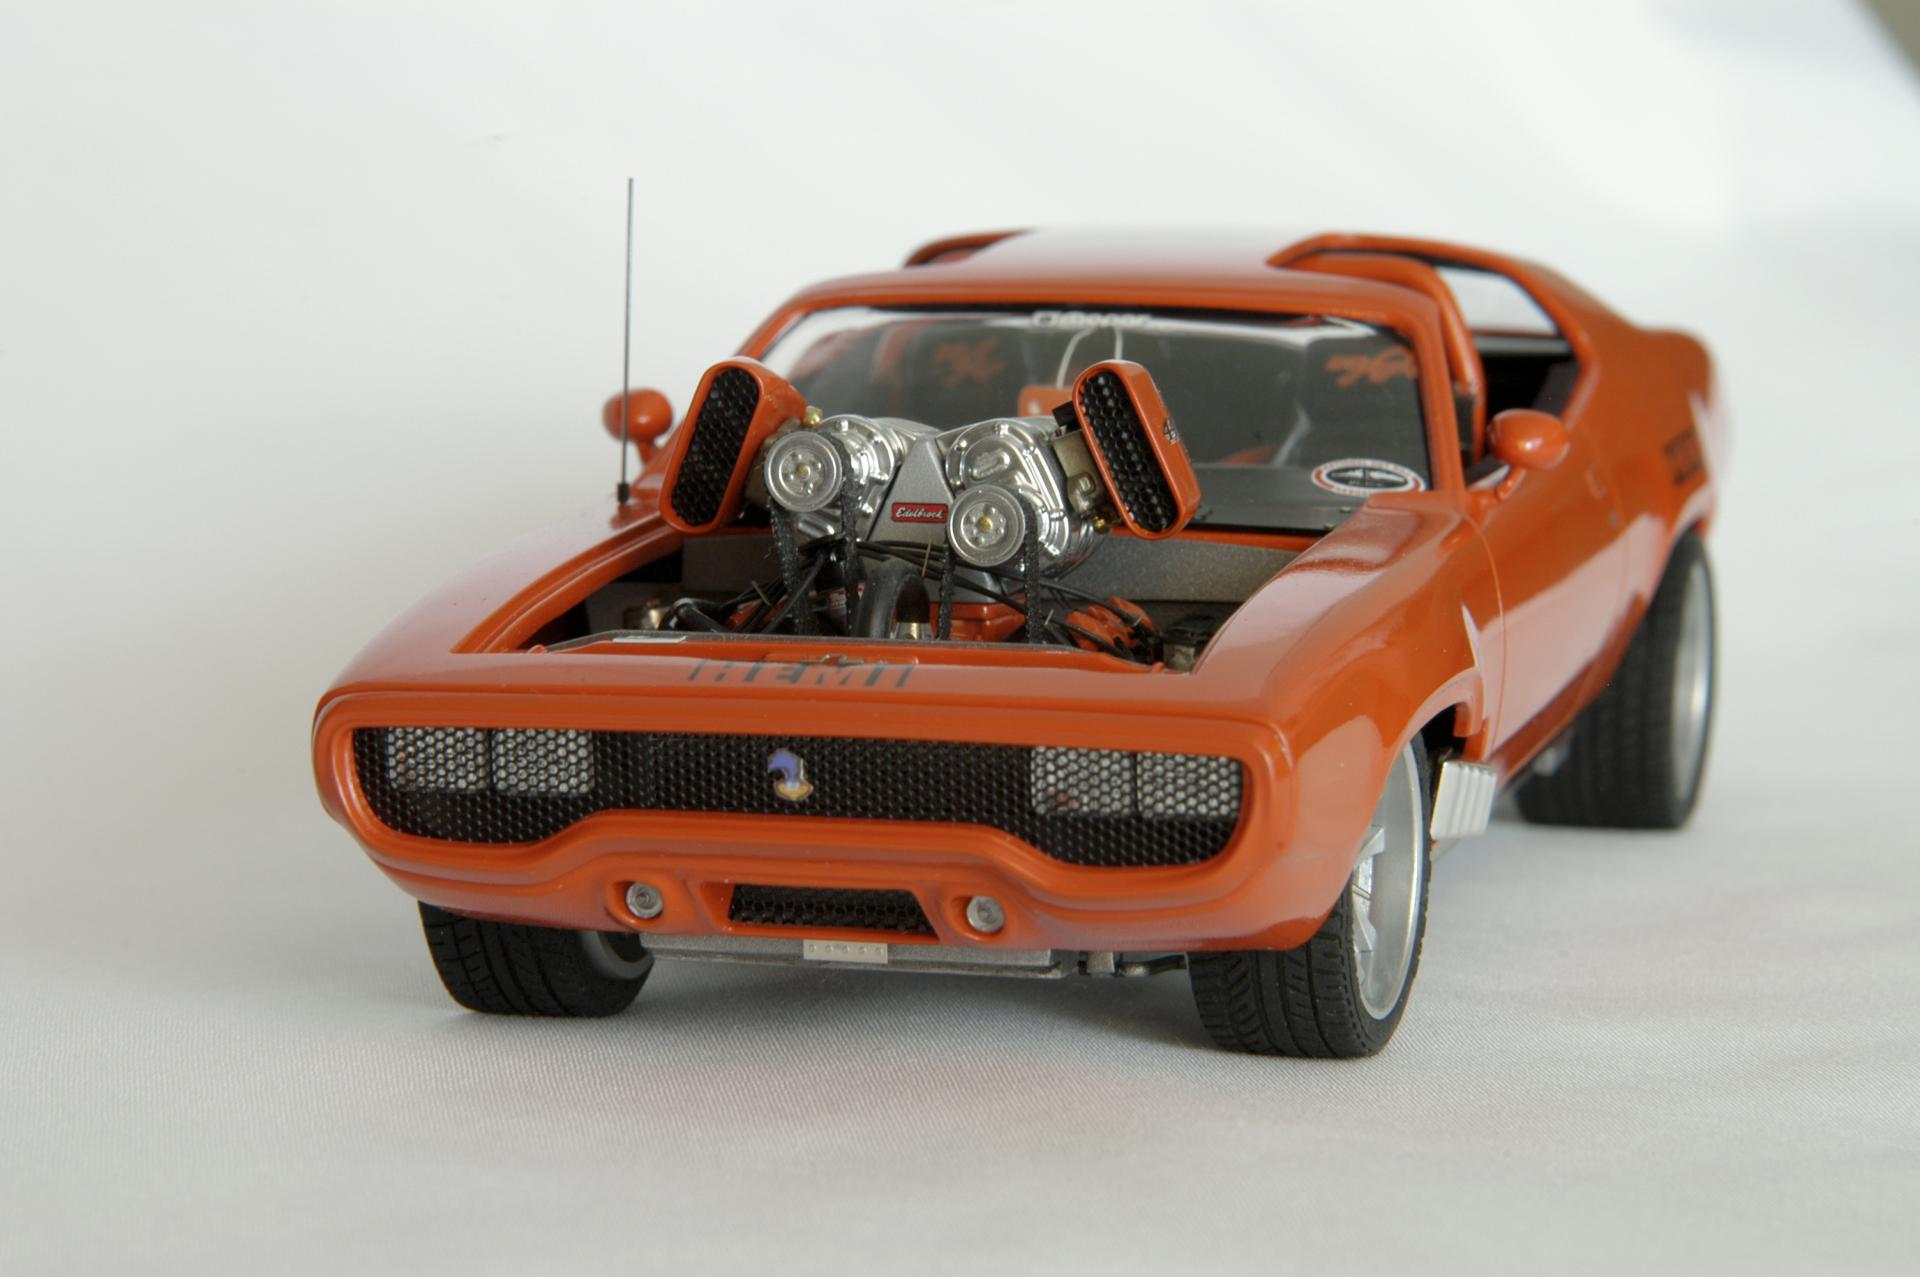
This past December I took delivery on my dream car! A 1970 Plymouth Road Runner Superbird Tribute car! So of course, I had to get right on building a replica of my replica! I started with a Jo-han Superbird body I had laying around. I also had a destroyed 1970 GTX promo to source the back window from. Many years ago, I resin cast all of the parts for the Superbird in 25th scale. I found that the Monogram nose fit right on the Jo-han kit, with slight tweaking. I also cast the wing and scoops from the Jo-han kit. Believe it or not, the Jo-han wing actually scales out better for the monogram kit, then its own wing does! This model is 95% done at this point. But since my track record on here has been to start a thread and never finish it, I figured I would do this a little bit different. I will post every couple days installments of progress as it was done over the last few weeks. This way you’ll get to see one of my projects completed. This was also a quick build, I plan on doing a better more accurate representation in the future. 😁👍
-
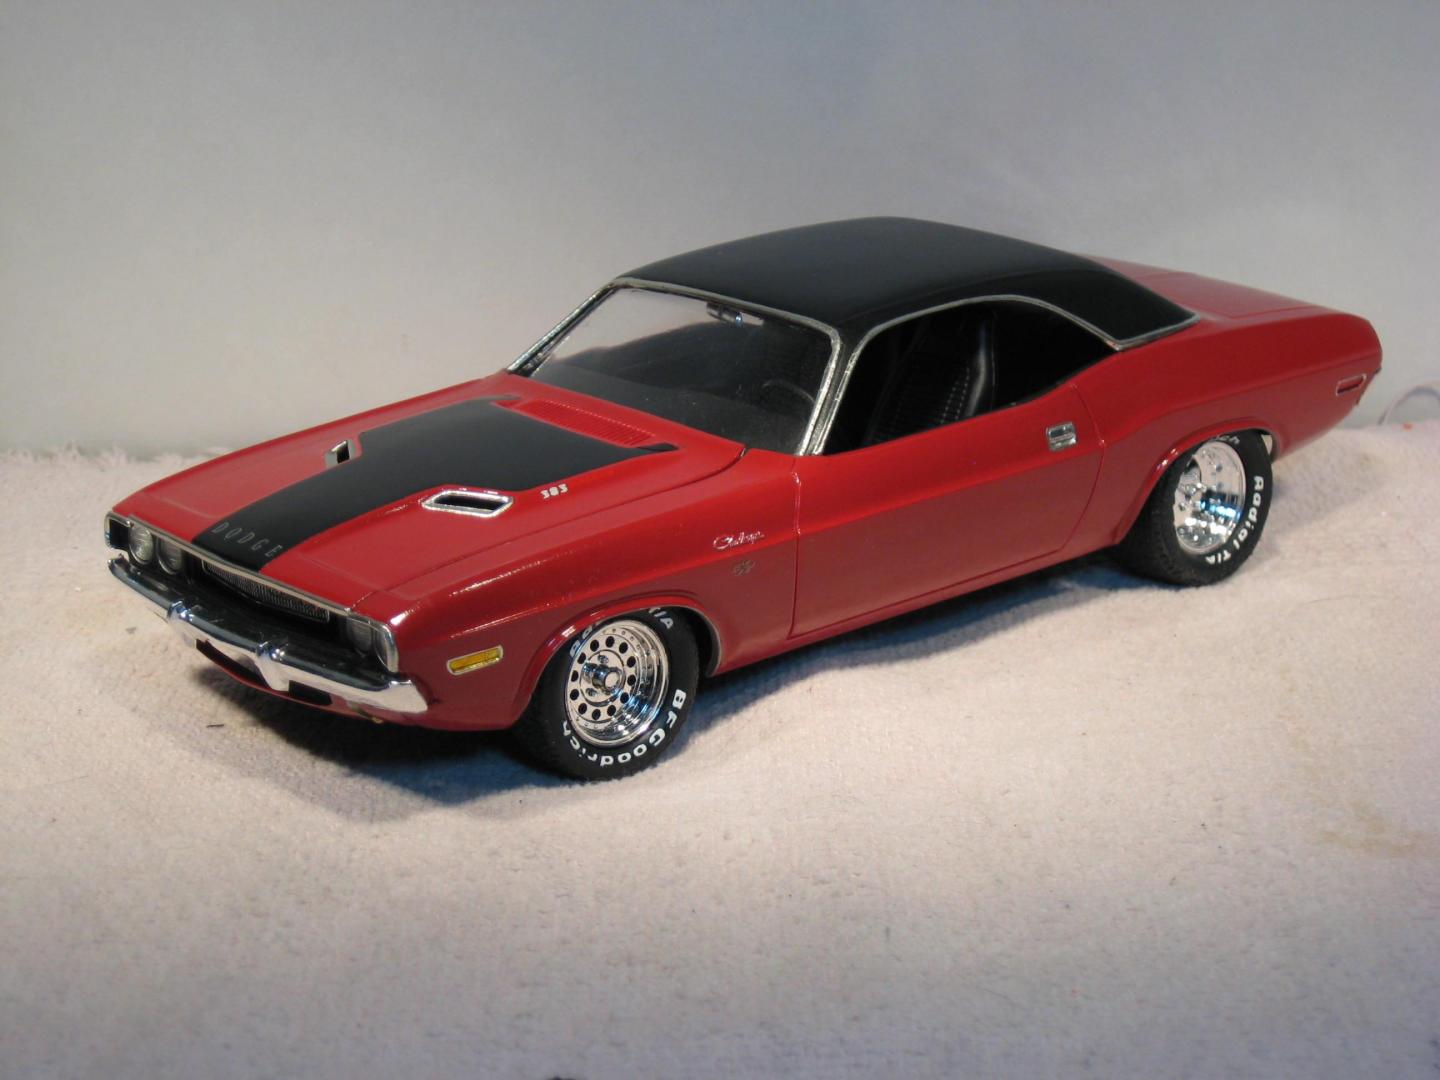
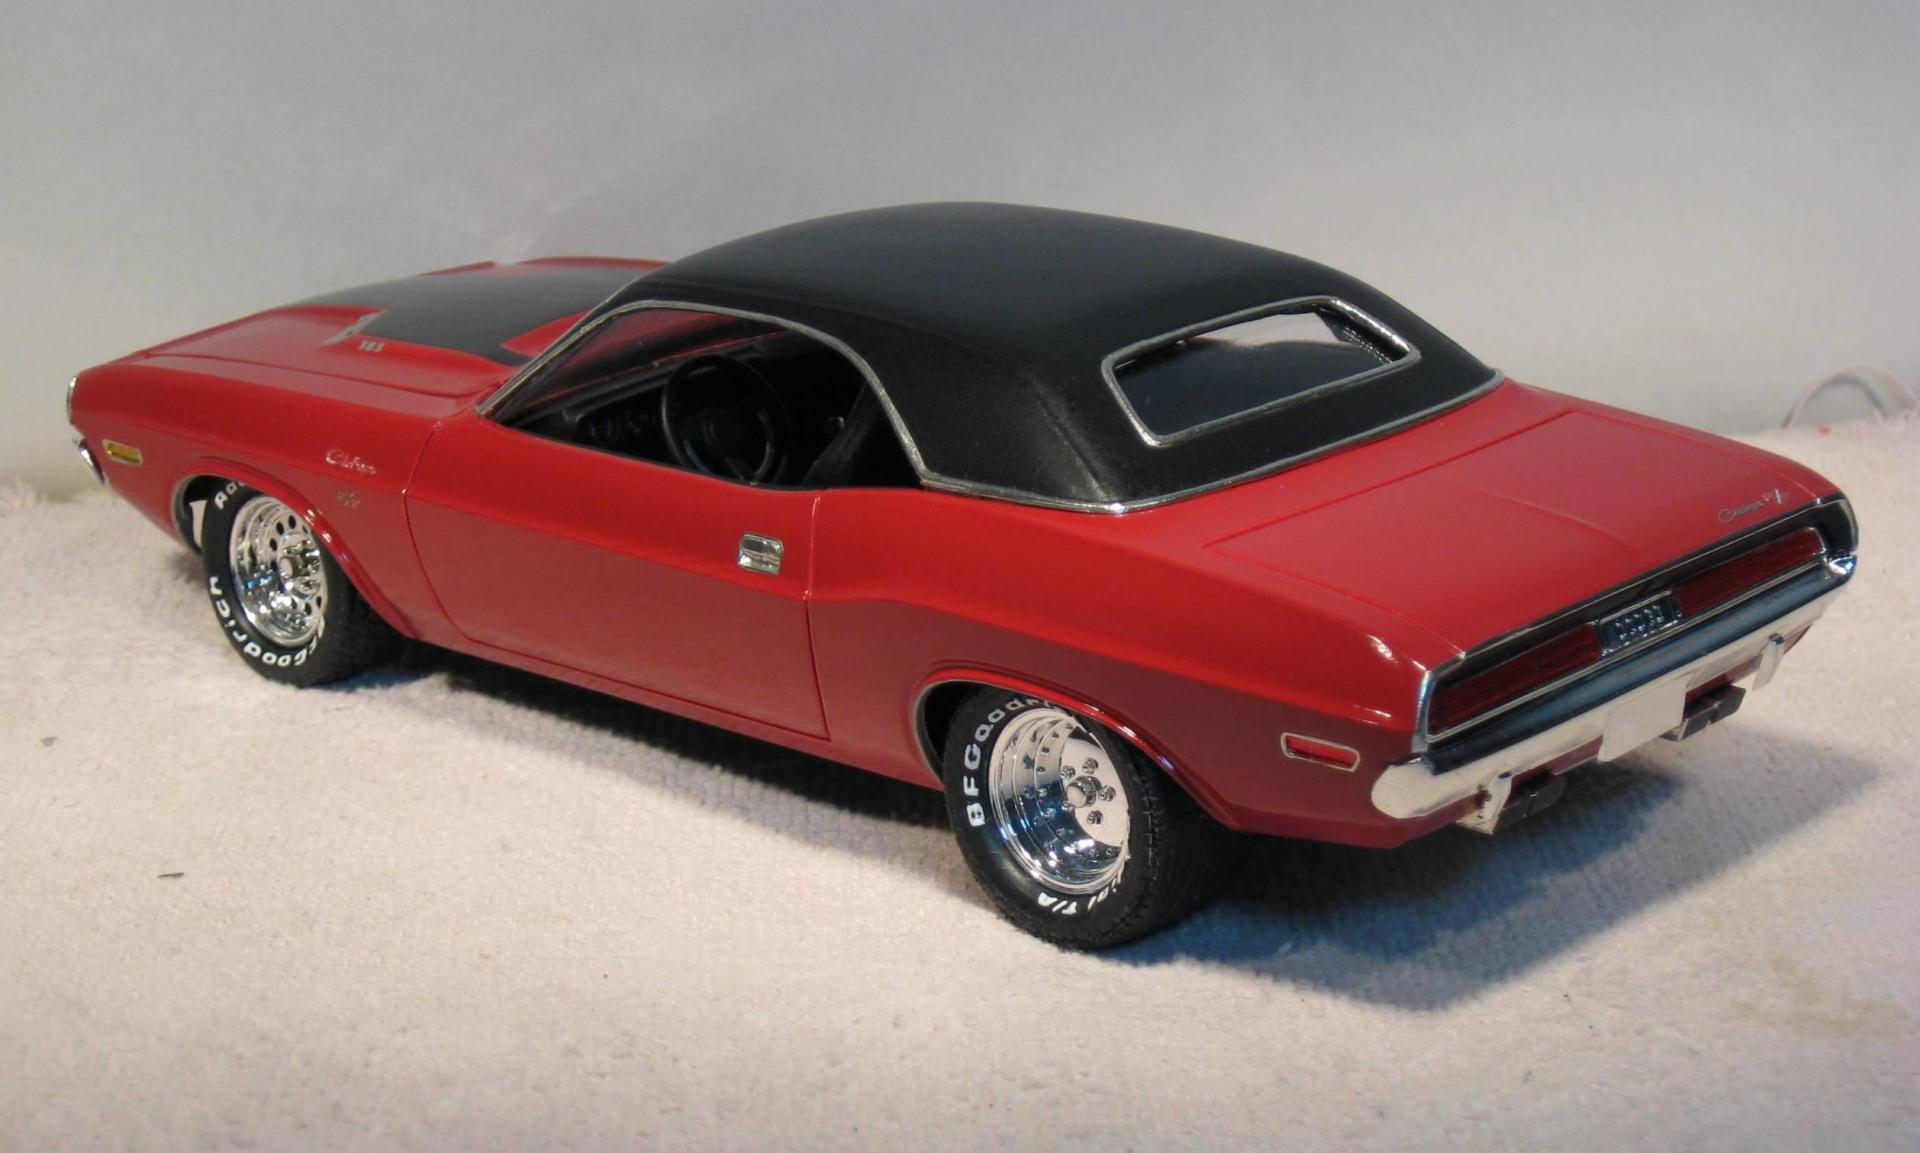
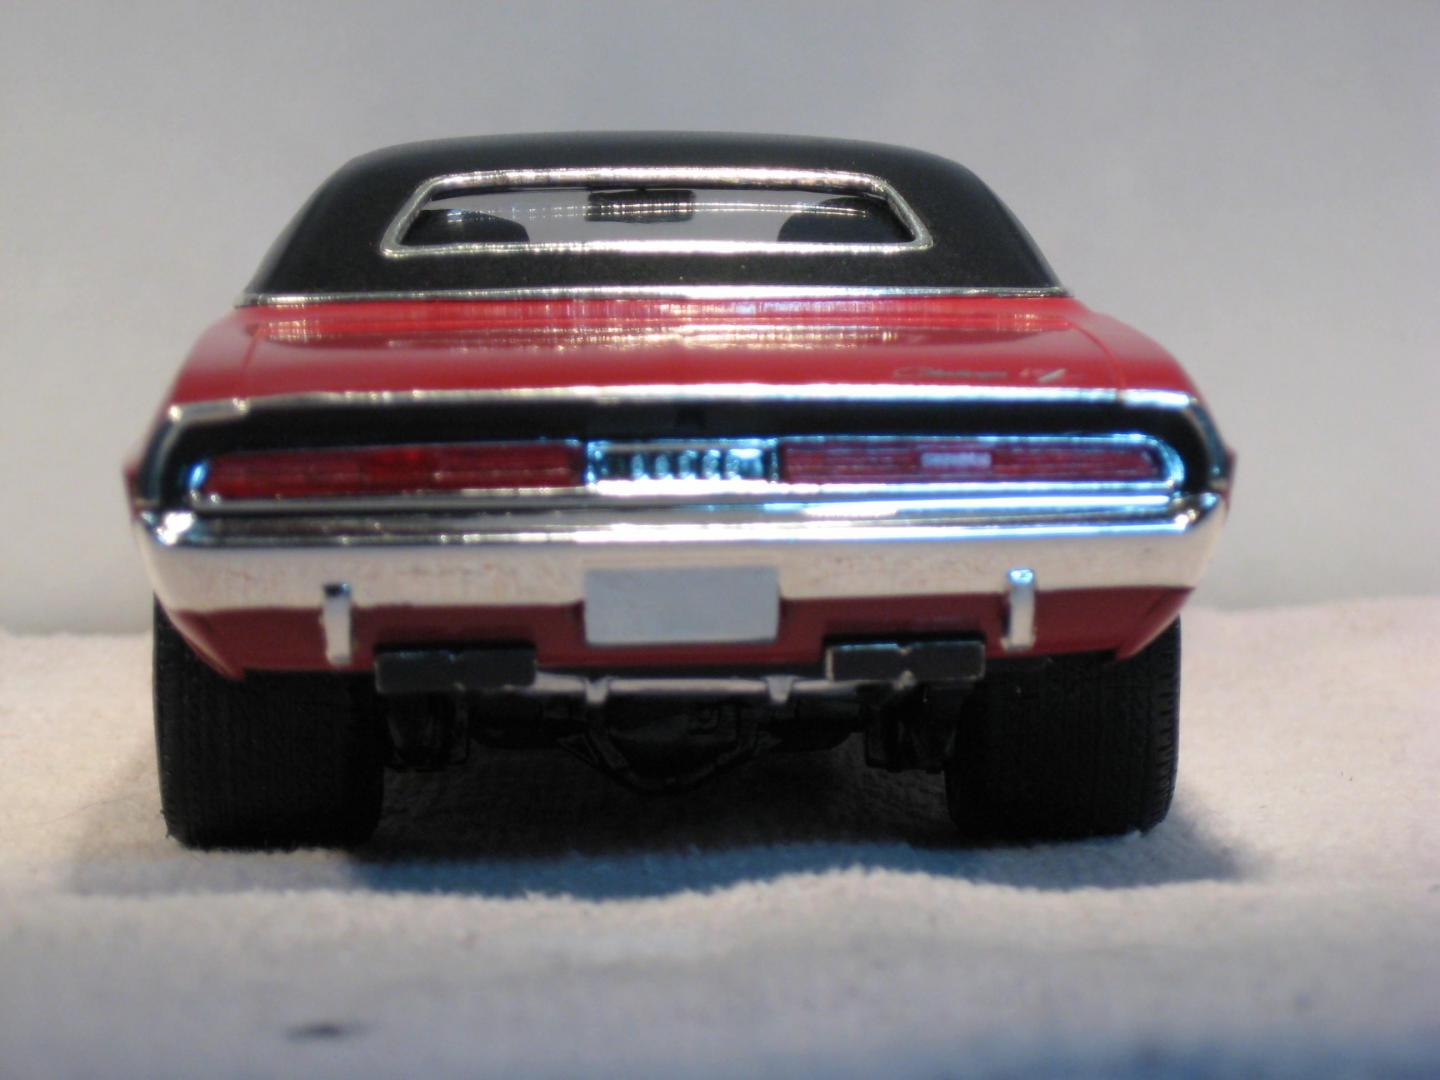
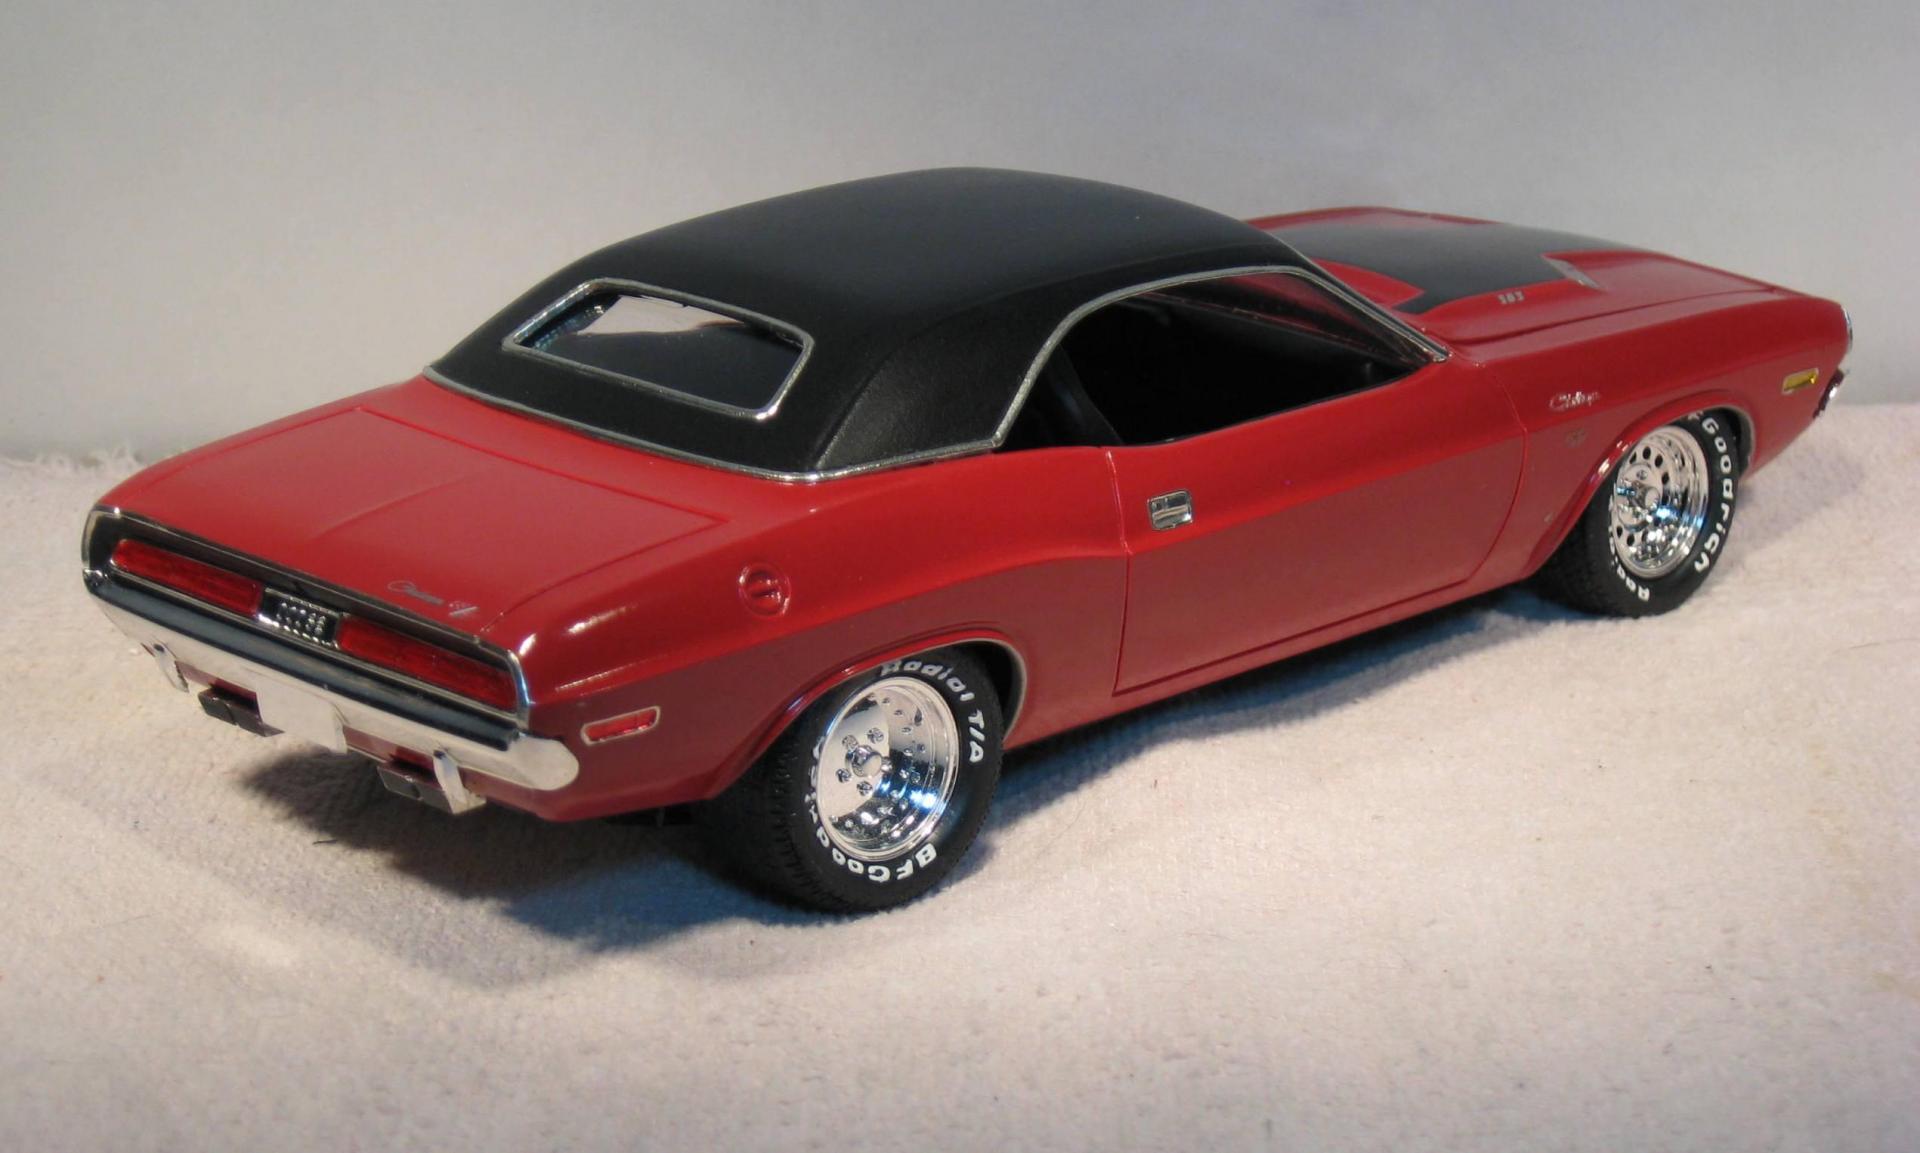
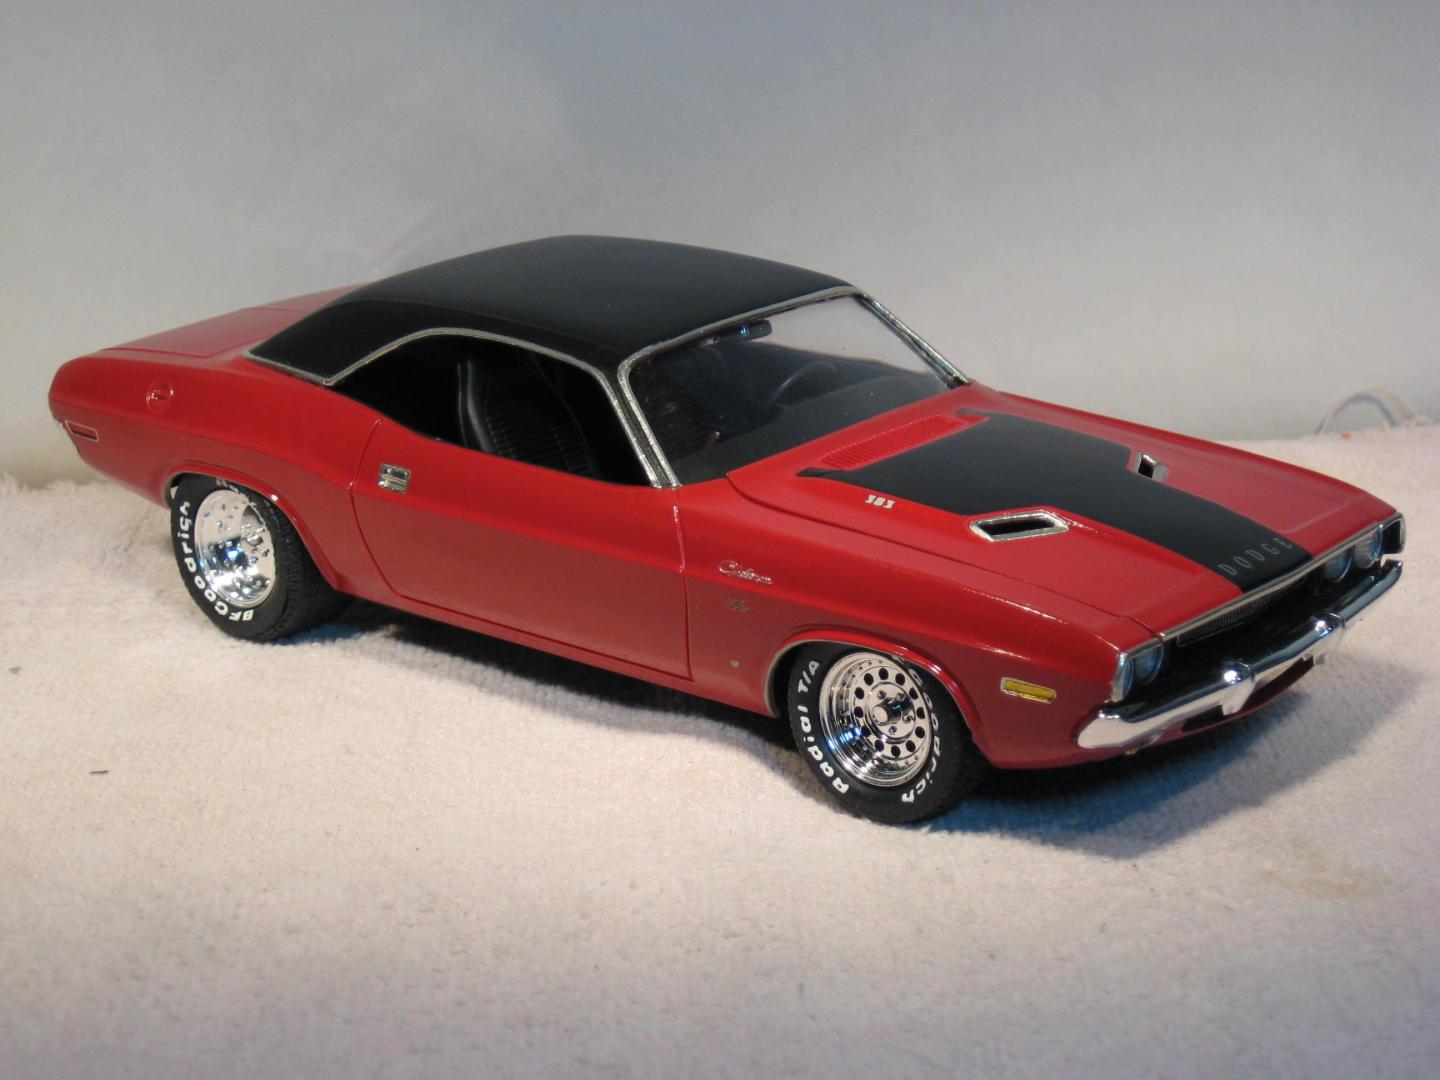
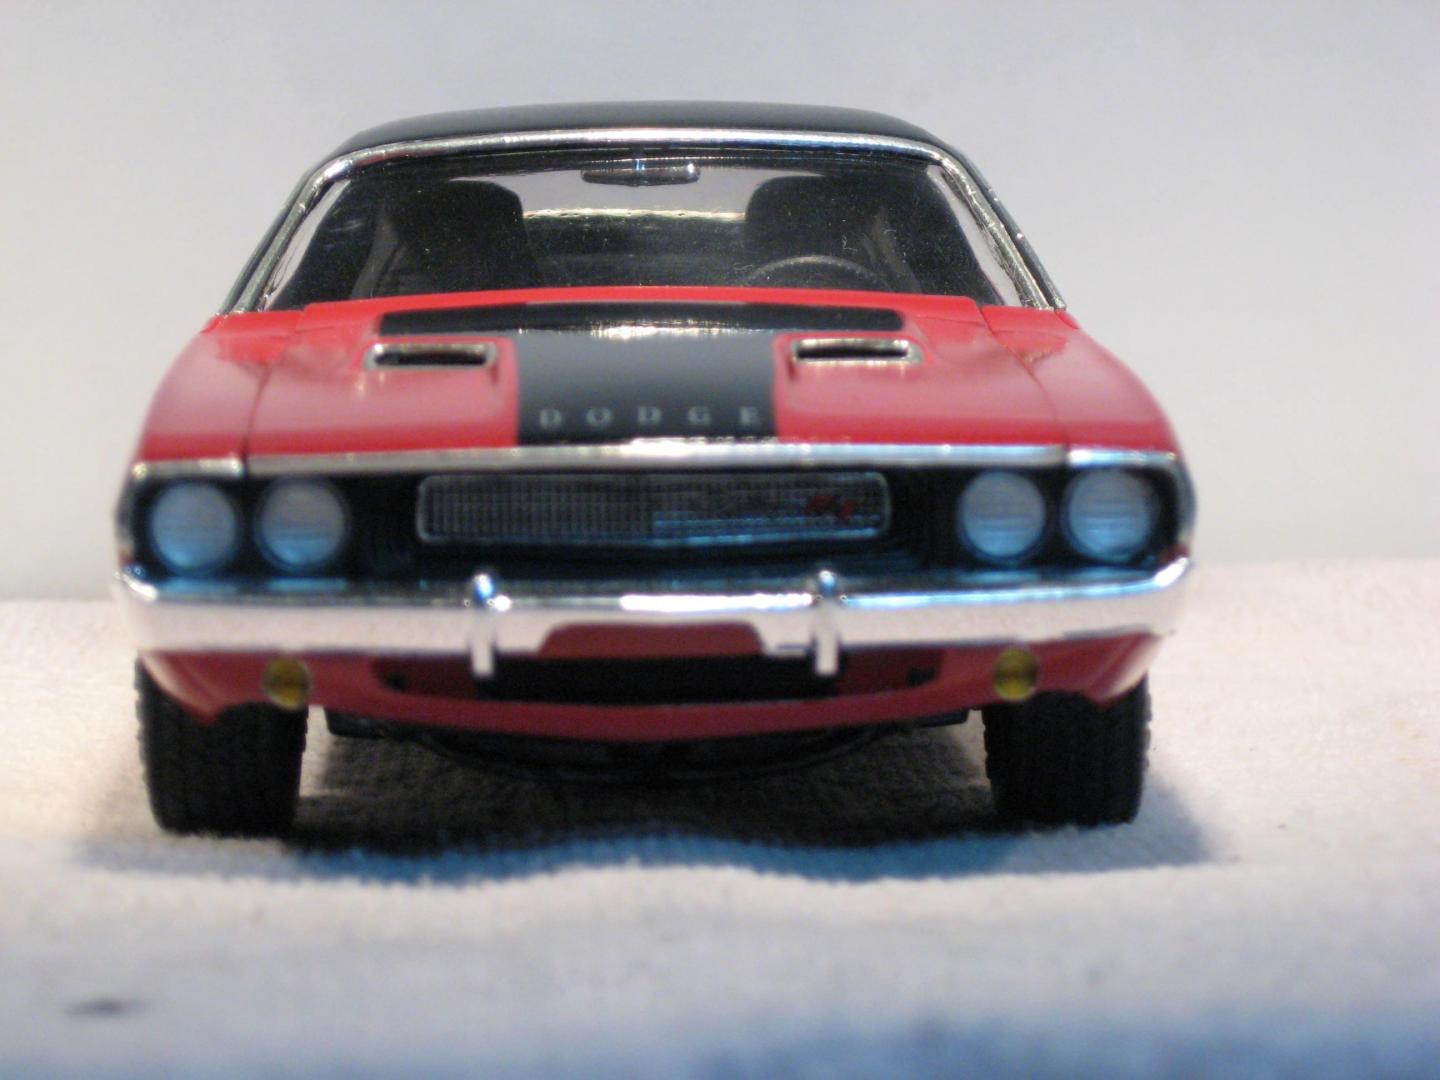
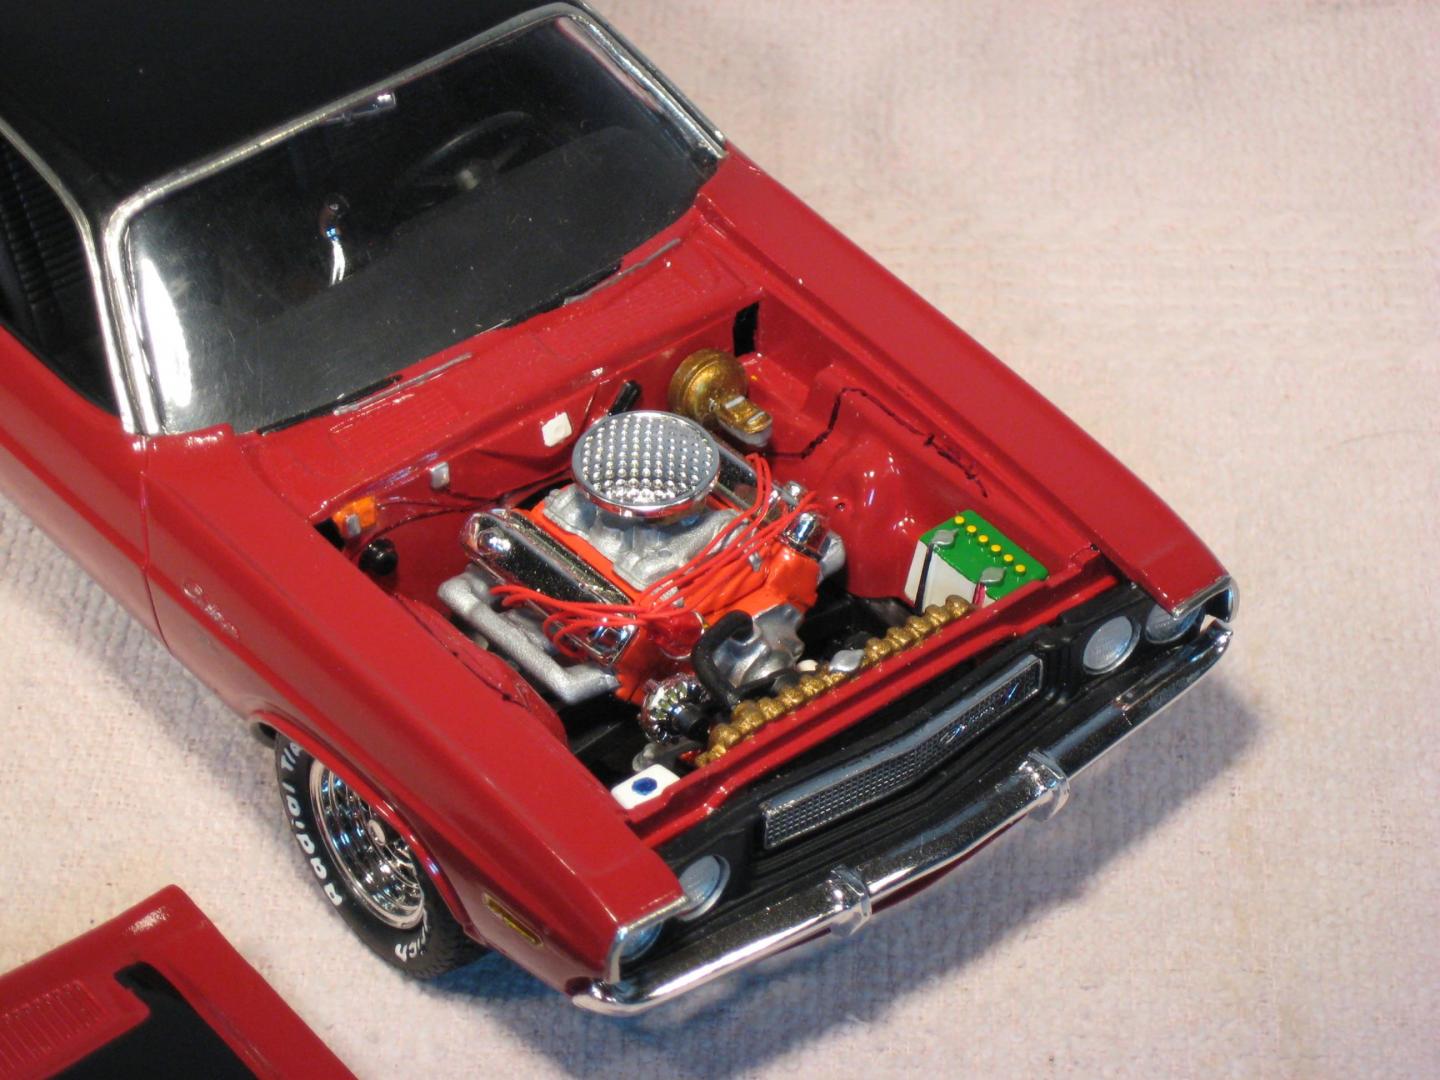
I originally got one of these kits about 15years ago and thought it was a really good kit. I also bought a second one to do a conversion to a 71 Challenger. That kit was different from the first in that it lacked the rally rims and racing gas cap. I ranked the first kit as one of the better Round 2 kits for years. My first one came out great, but this kit is another Round 2 head scratcher. It left me more than a little frustrated. First off, this is the new kit in the metal collector's box. The box art has a Plum Crazy Challenger with a wing spoiler. Awesome! I love Challengers with spoilers; it's always been a criticism that they weren't in a lot of kits. Now I can finally build one with a spoiler..............No, no, I won't. There is no wing spoiler in the box. Well at least it will have that nice vinyl SE top and the option to make it a convertible............Nope, neither are in the kit. The vinyl top you get instead is for the regular wide window version. However, the top is not complete; as in there isn't a complete frame and the car's body is supposed to complete the lower portion of the window frame. So you have to paint the body to match the vinyl top. Did I mention the fit is not so great for the top? Yeah, it's not as good a fit as the old kit. I would have done the convertible if it had come with the option. The hood fit is also bad, so I had to glue it shut. The dash fit was also pretty bad and I had a hard time getting it in. The only good thing I could say about the kit was that they have all new decals for SOME of the emblems. Kind of a head scratcher as to why they didn't do the Challenger emblems for the fenders. Over all, the kit came out alright, but nowhere near as good as my first. SAM_1558 by Eric Lucas, on Flickr SAM_1559 by Eric Lucas, on Flickr SAM_1560 by Eric Lucas, on Flickr
- 17 replies
-
- 9
-

-
- 1970
- challenger
-
(and 2 more)
Tagged with:
-
This build was originally part of my Chevelle batch build in 2019. Due to all the test fitting and fabrication required this one was quite the challenge. However, I had a vision, and have now finally seen it through. The quality is not up to par because I had to handle it so much but it is "good enough". I am not sure I will ever take it to a show but at least I have one holy grail under my belt. Comments welcome. P.S. Does anyone have a spare set of AMT black 70 Chevelle hood stripes to help me give it the final touch?
-
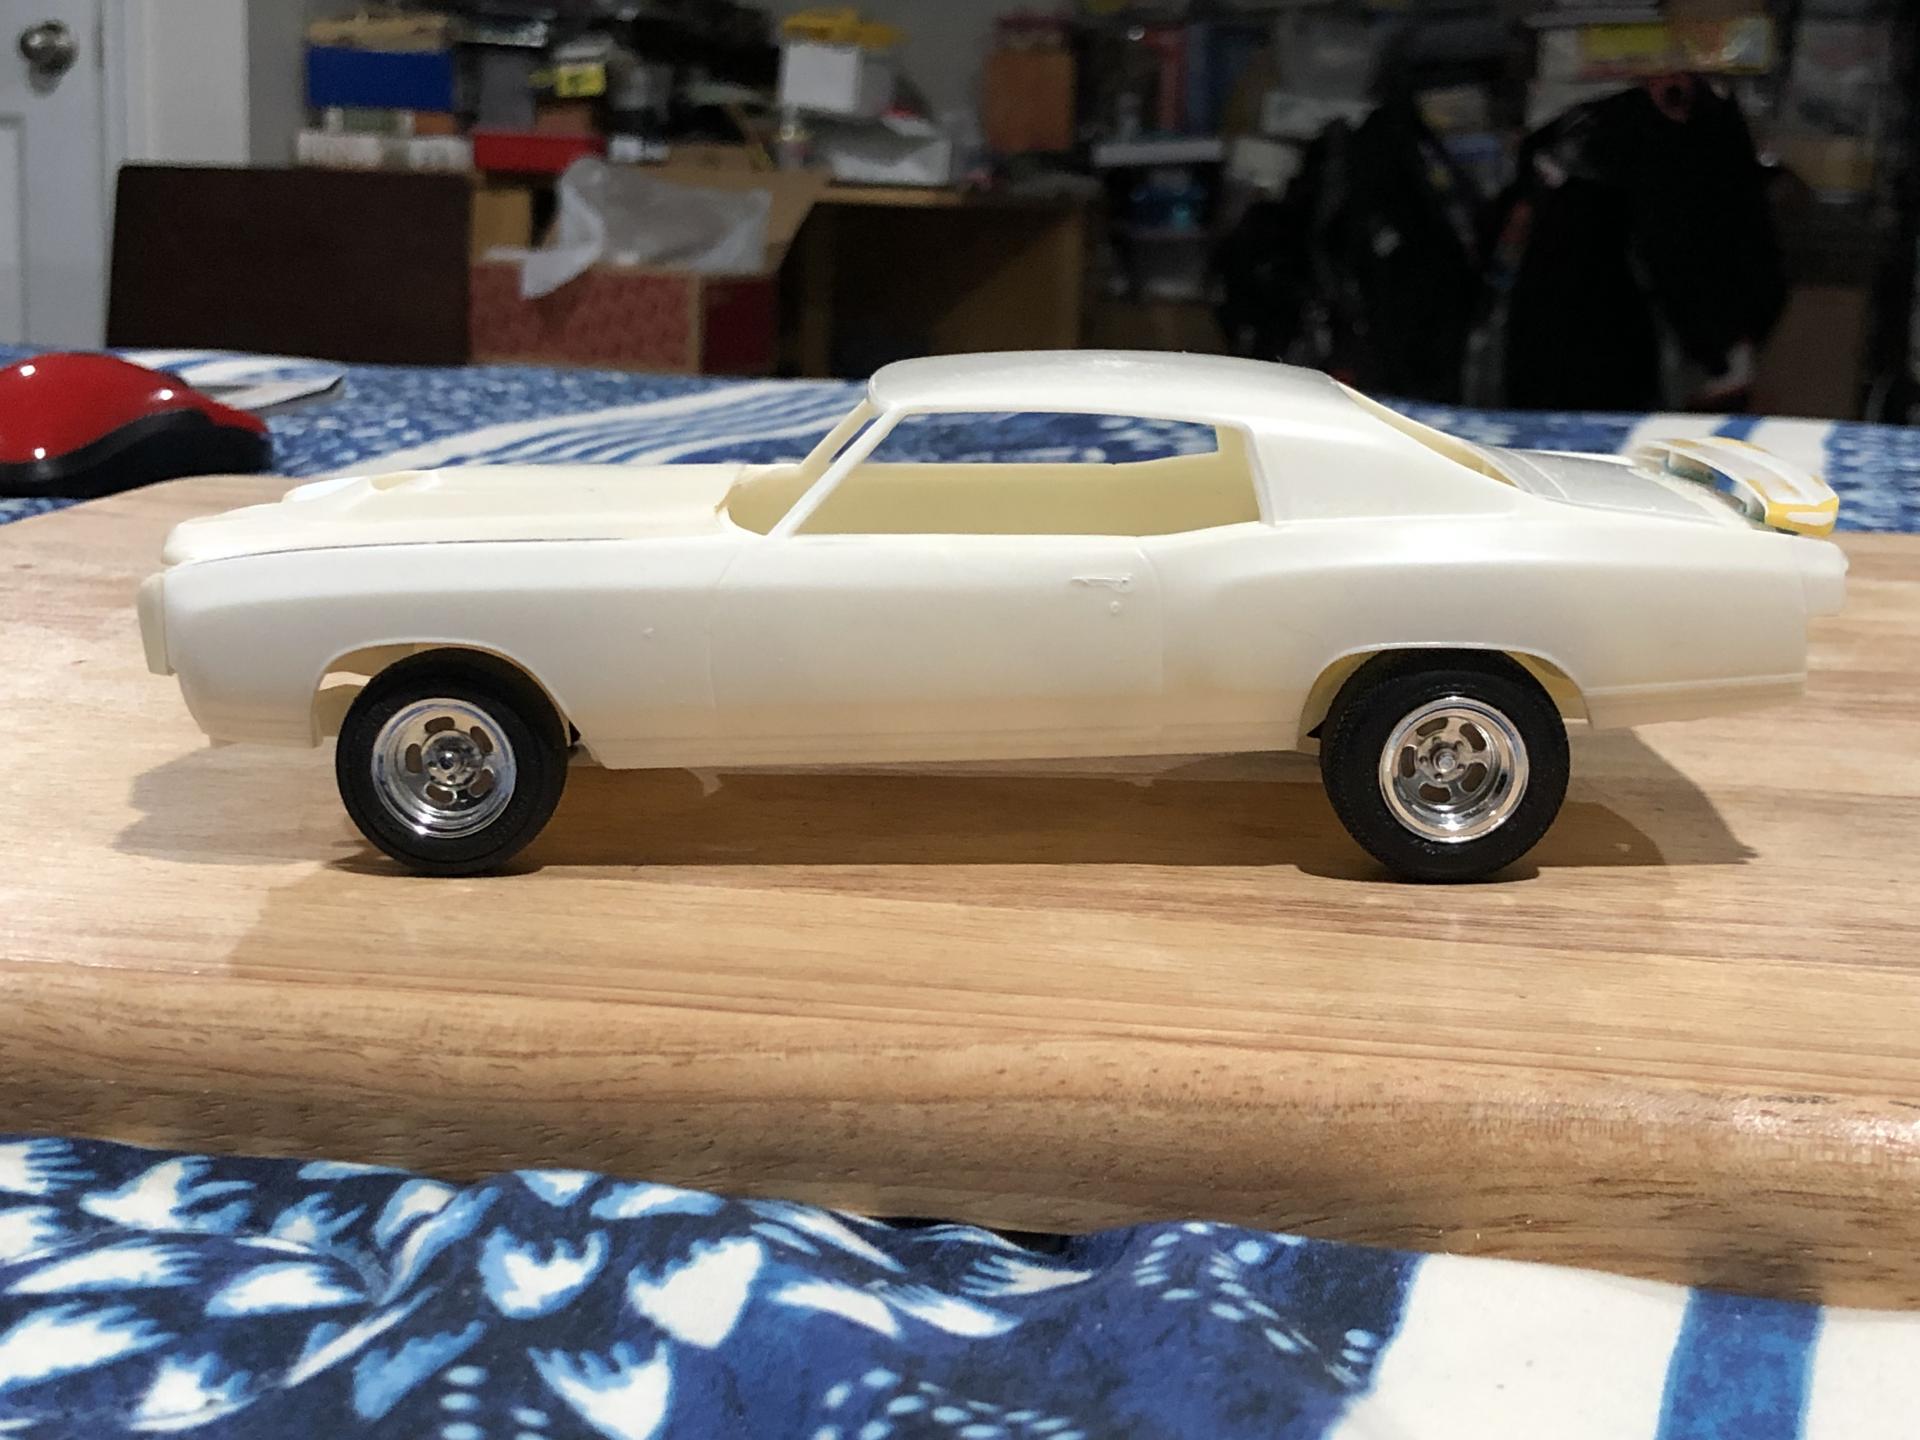
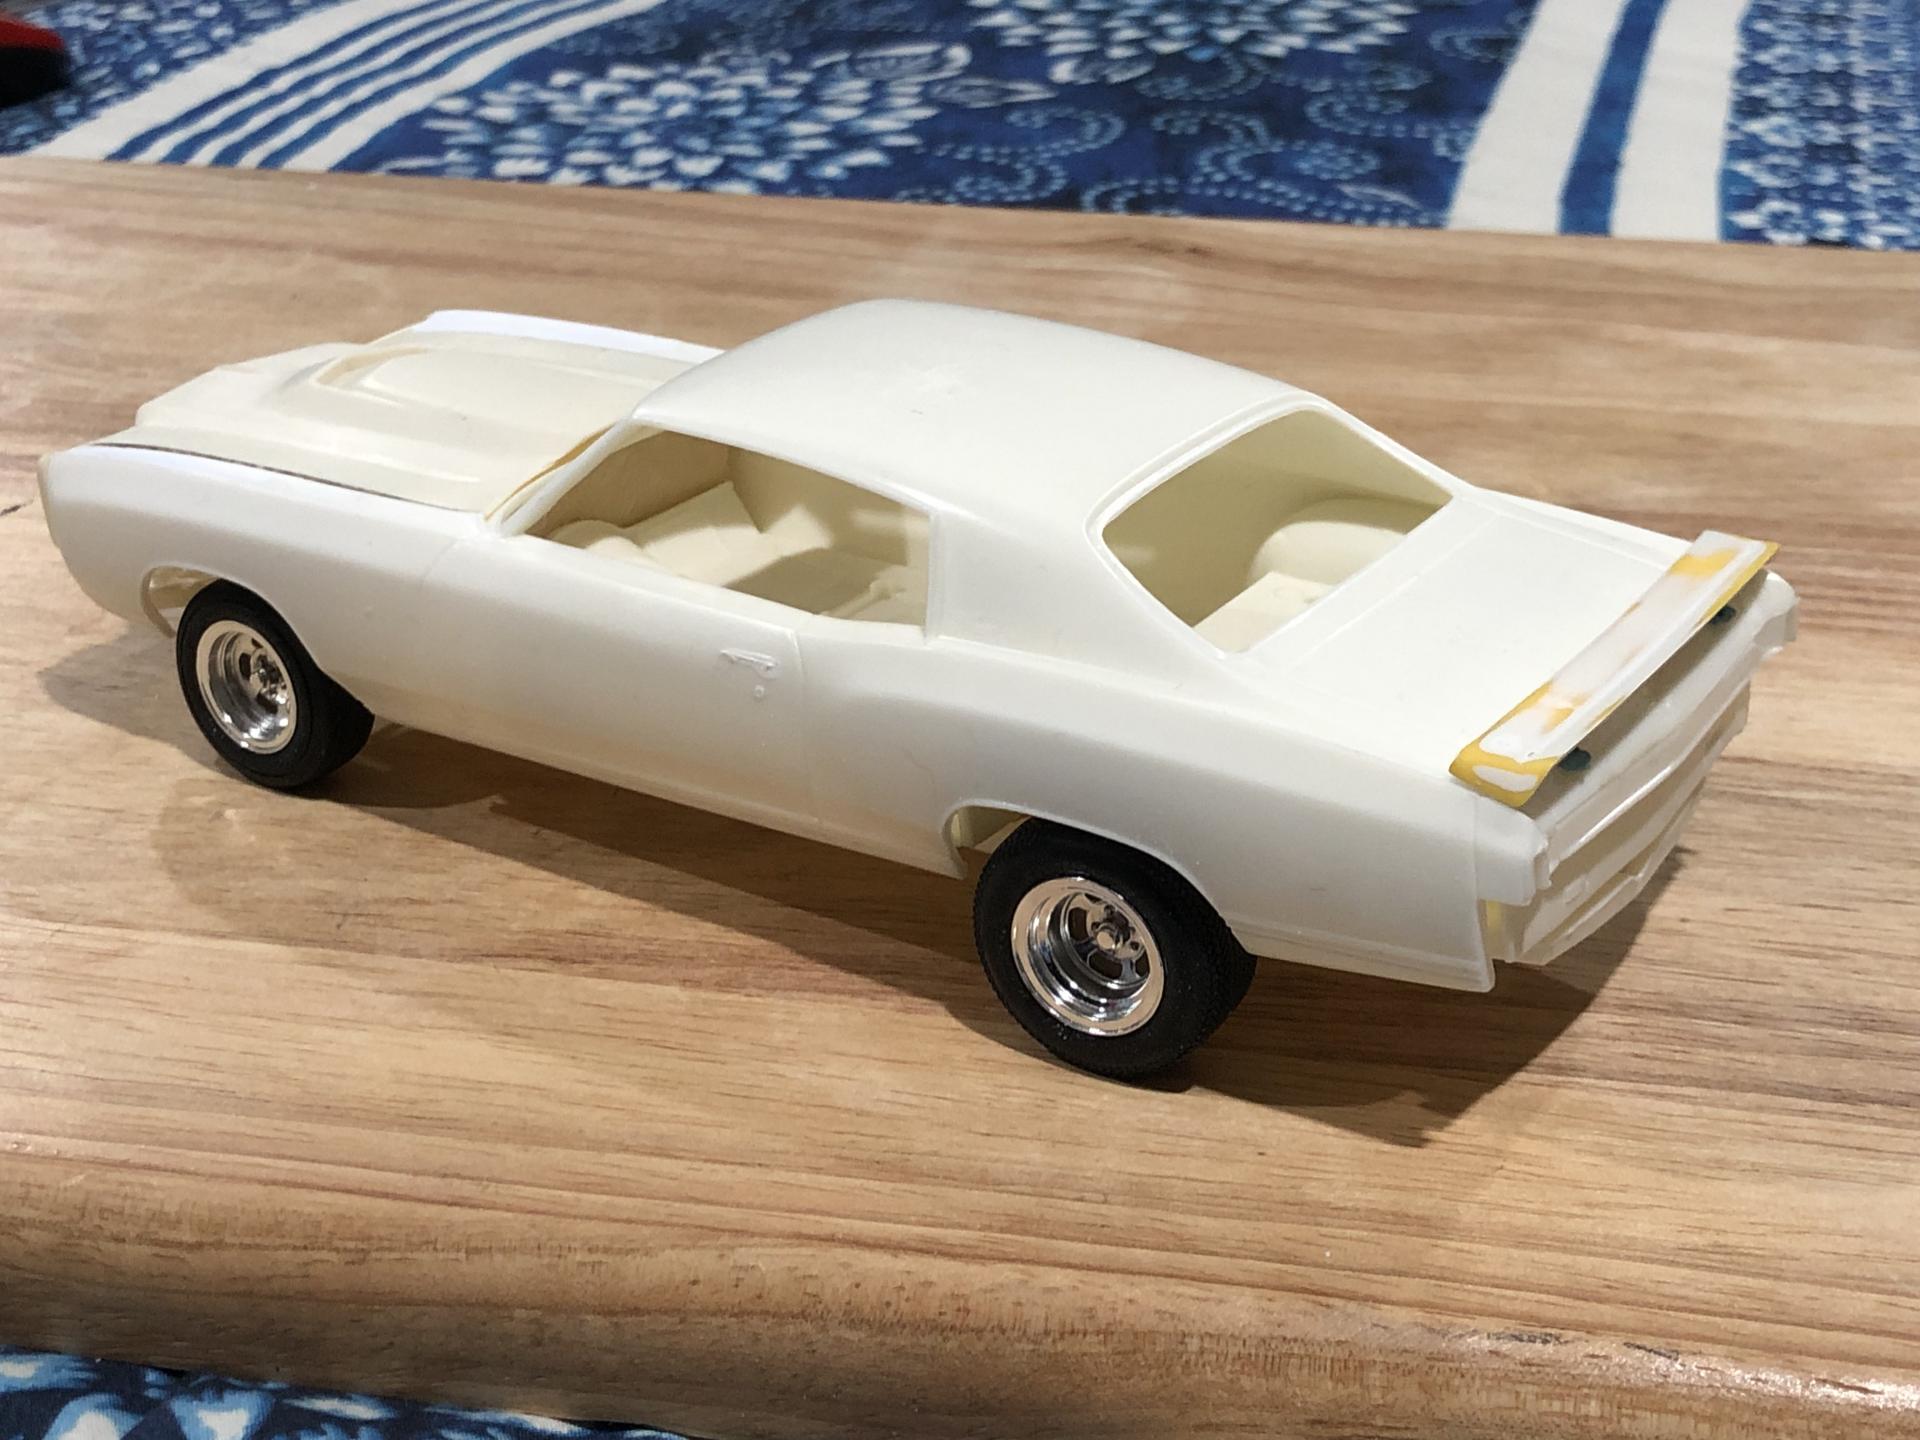
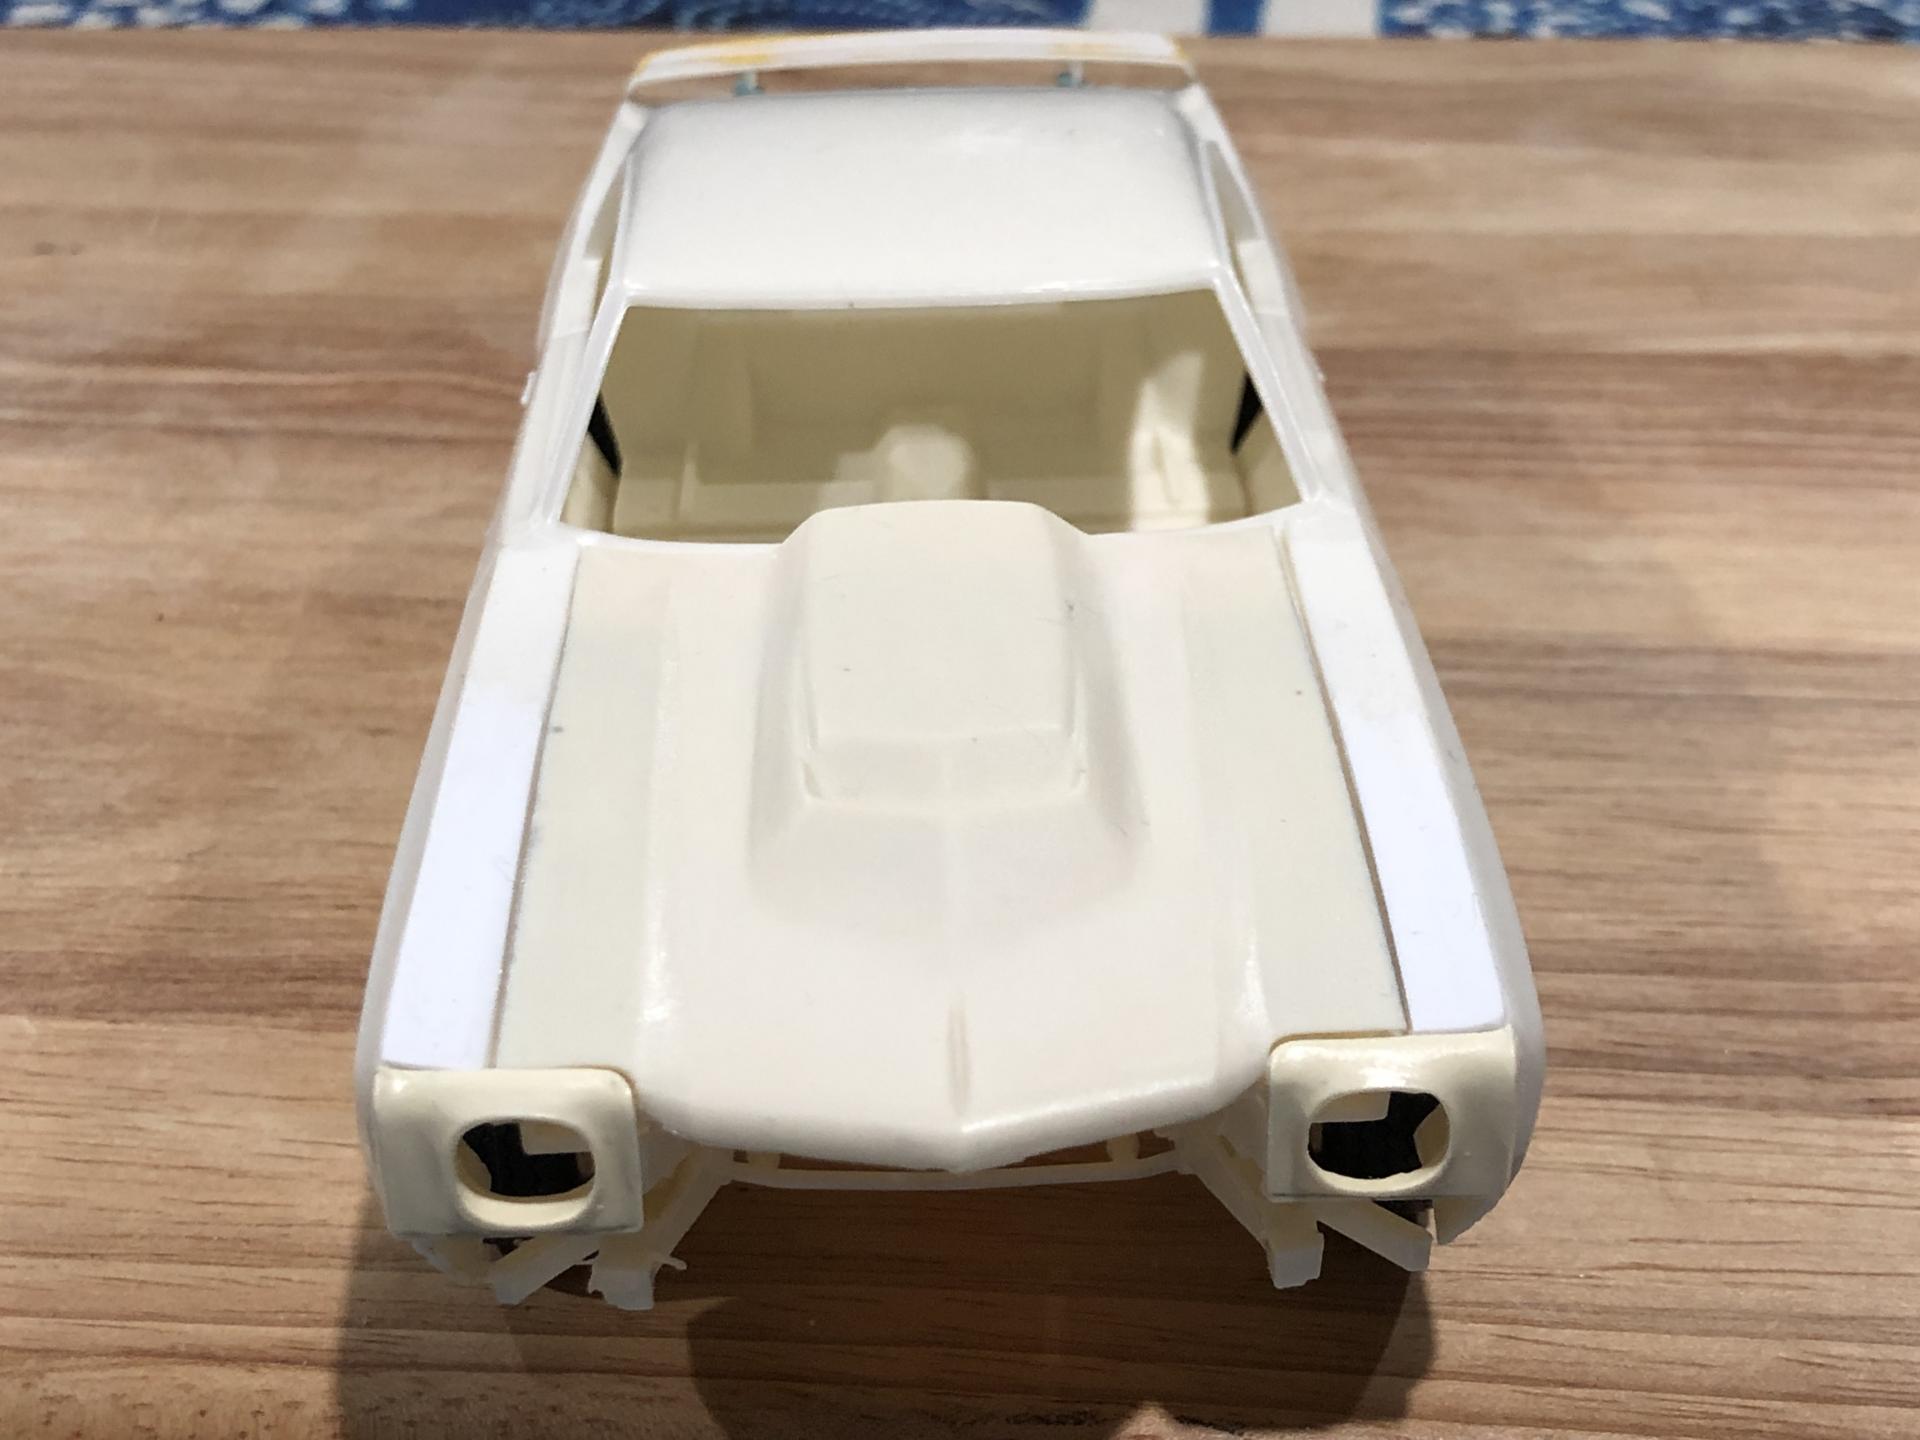
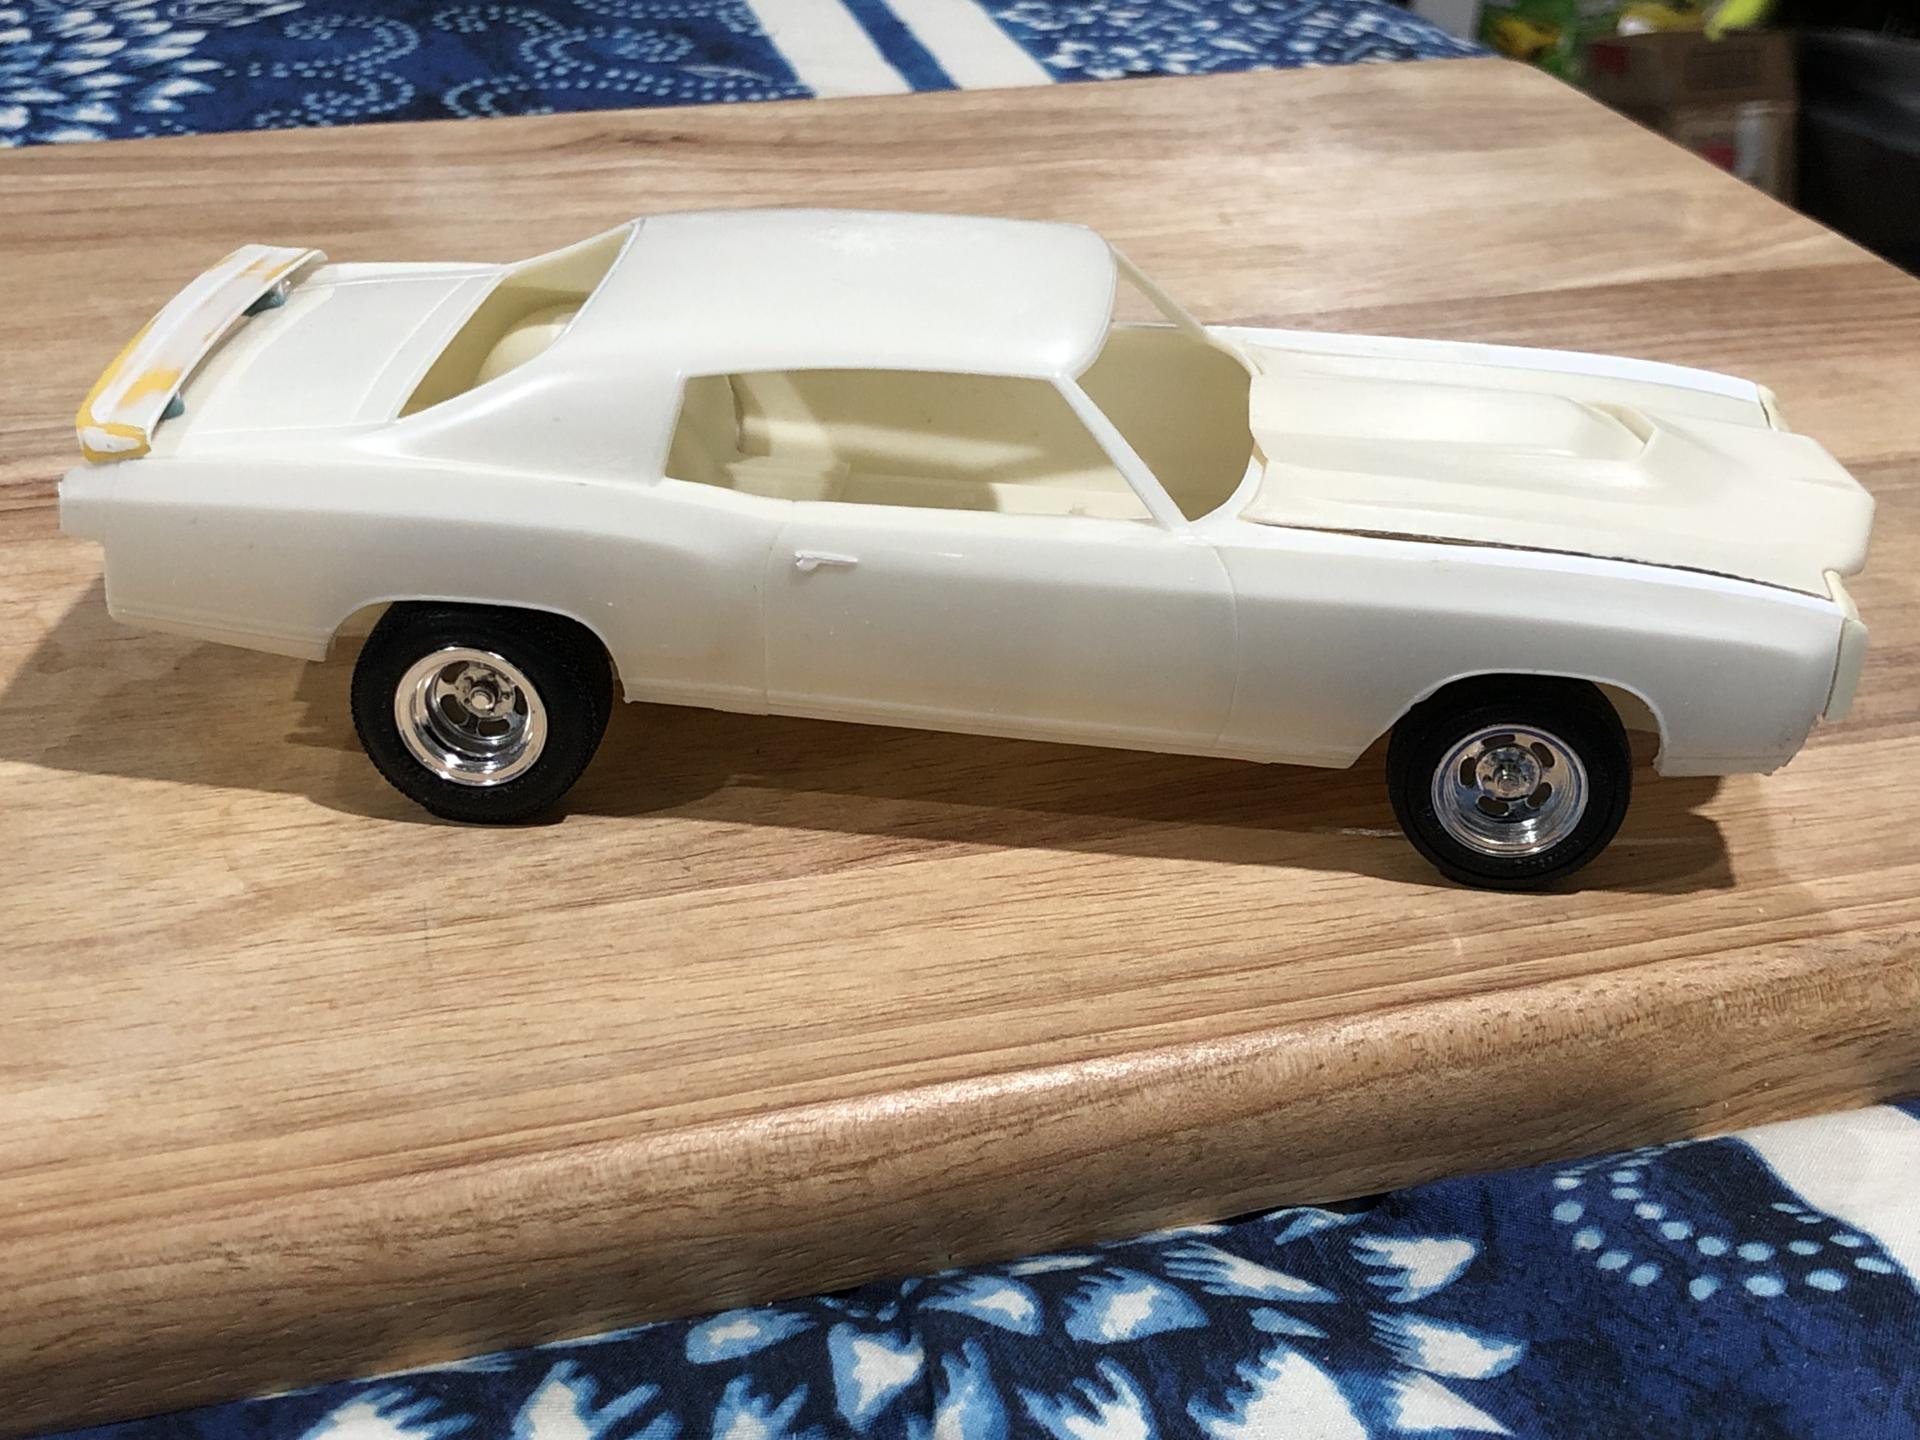
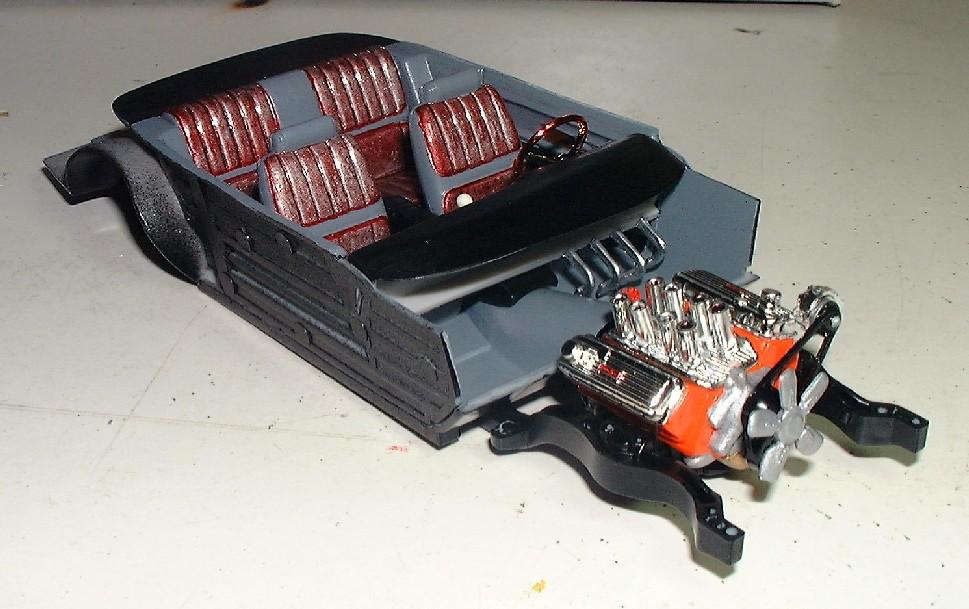
I am just now posting this mid build. 1970 El Camino body Jimmy Flintstone (resin). 1968 El Camino chassis, interior tub, windows, rear bumper and tail lights. 1970 Monte Carlo front bumper(correct for El Camino) engine, seats and dashboard. 1967 Pro Street Chevelle wheel tubs and Pro Street tires. 1970 Chevelle grille, head lights and SS stripes. Tandem trailer fenders used as inner fenders. The '68 El Camino interior floor pan has been trimmed and joined to the '67 wheel tubs. (1)After 2-3 days of fabricating (which isn't my strong suit), I have made the front of the bed from 5 pieces including chunks from a Laborghini Countach dashboard. (2)I also made the rear panel for the interior. The Jimmy Flinstone resin body comes with neither. The rest of the interior is going to be a mix of '68 El Camino and '70 Monte Carlo parts. I spent the 2 days trimming and fitting the interior such that it will be happy with the windows. I still have to make a filler panel between the cowl and the base of the windshield. Painted and mocked up the interior. Added touches with chrome Molotow pen. Selected the deep dish rims. I have a whole box of wheels but not very many for tires this wide. I drilled out all 32 holes in the rims to make them more realistic. I plan on dressing up the plain, smooth centers with some spinners from my parts box. Converted spare car trailer fenders into front inner fenders. Fabbed up some gap filler plates for the wheel tubs to the inside of the bed. I was almost done with the 2nd one when I broke it in half. GRRRRRR! I ran into a snag. It seems I no longer possess the two front '68 El Camino spindles for the suspension. No spindles = no front tires. I sent a PM to one member and he is going to send me a pair. WOO! HOO!
- 52 replies
-
- 2
-

-
This is the new Revell kit. I really enjoyed the kit. It's not bad at all and is an improvement over the old kit, but it does have its issues. With the carb on the hood sits too high. With it off the shaker sits too low. I glued the shaker straight to the hood and took the carb off to fix the problem. I also had a bit of a problem with the front an rear end fit, but it came out looking good anyway. I love the new stripes and emblem decals. they look great! The red car is the old kit for comparison. SAM_1458 by Eric Lucas, on Flickr SAM_1459 by Eric Lucas, on Flickr SAM_1460 by Eric Lucas, on Flickr SAM_1461 by Eric Lucas, on Flickr SAM_1462 by Eric Lucas, on Flickr SAM_1464 by Eric Lucas, on Flickr
-
Got the new Revell kit. Not bad, came out pretty nice. SAM_1374 by Eric Lucas, on Flickr SAM_1375 by Eric Lucas, on Flickr SAM_1376 by Eric Lucas, on Flickr SAM_1377 by Eric Lucas, on Flickr
- 13 replies
-
- 7
-

-
- 1970
- road runner
-
(and 2 more)
Tagged with:
-
I got the original kit when it came out, but always felt I could have done better on it. I decided I wanted to get a friend a model as a gift. He had an old 71 Torino and I thought this would be the closest thing to his 71 I would find. I got a new kit for myself and decided to give him my old kit. This new build came out a lot better than my previous build, even though there are still some things I did that I don't like. I also had some fit issues with the tub and chassis that I didnt have the first time around. SAM_1030 by Eric Lucas, on Flickr SAM_1032 by Eric Lucas, on Flickr SAM_1033 by Eric Lucas, on Flickr SAM_1034 by Eric Lucas, on Flickr SAM_1035 by Eric Lucas, on Flickr SAM_1036 by Eric Lucas, on Flickr SAM_1037 by Eric Lucas, on Flickr
-
Just got this the other day. It's not a bad kit, but it shows its age as a Monogram kit. The decals curled immediately and I had to order some new ones. Still, It looks great. SAM_0928 by Eric Lucas, on Flickr SAM_0929 by Eric Lucas, on Flickr SAM_0930 by Eric Lucas, on Flickr
-
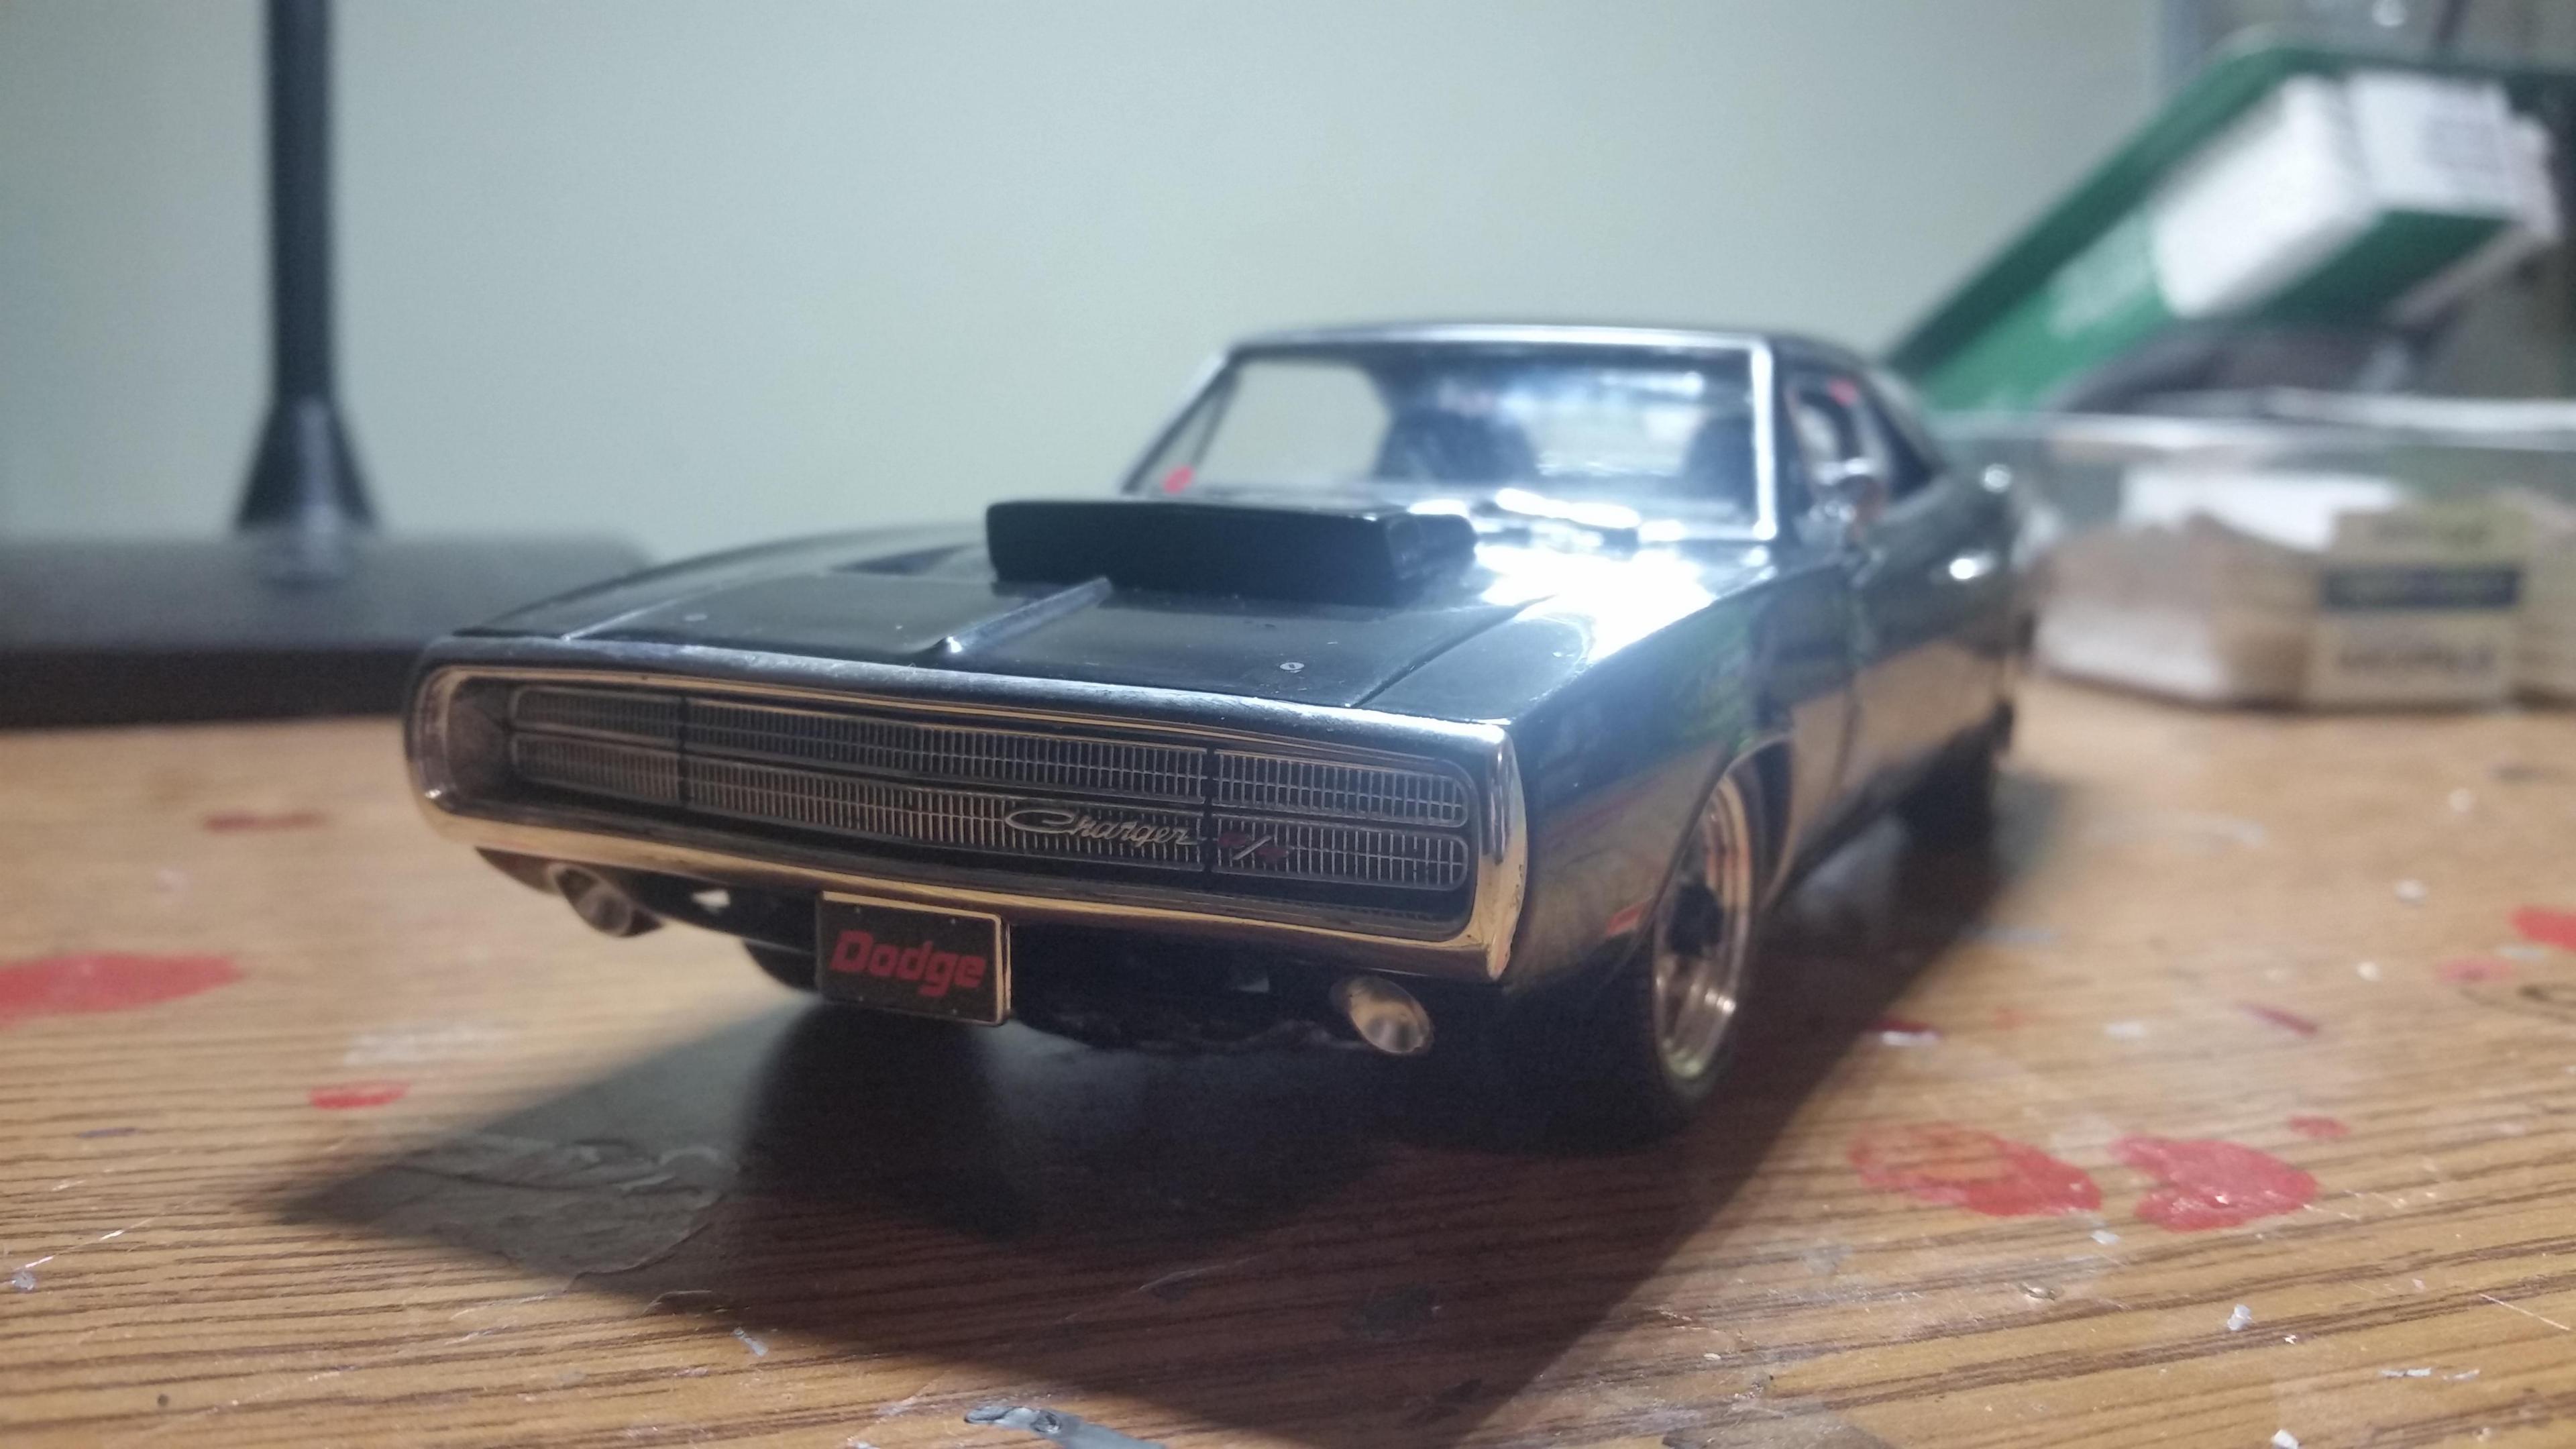
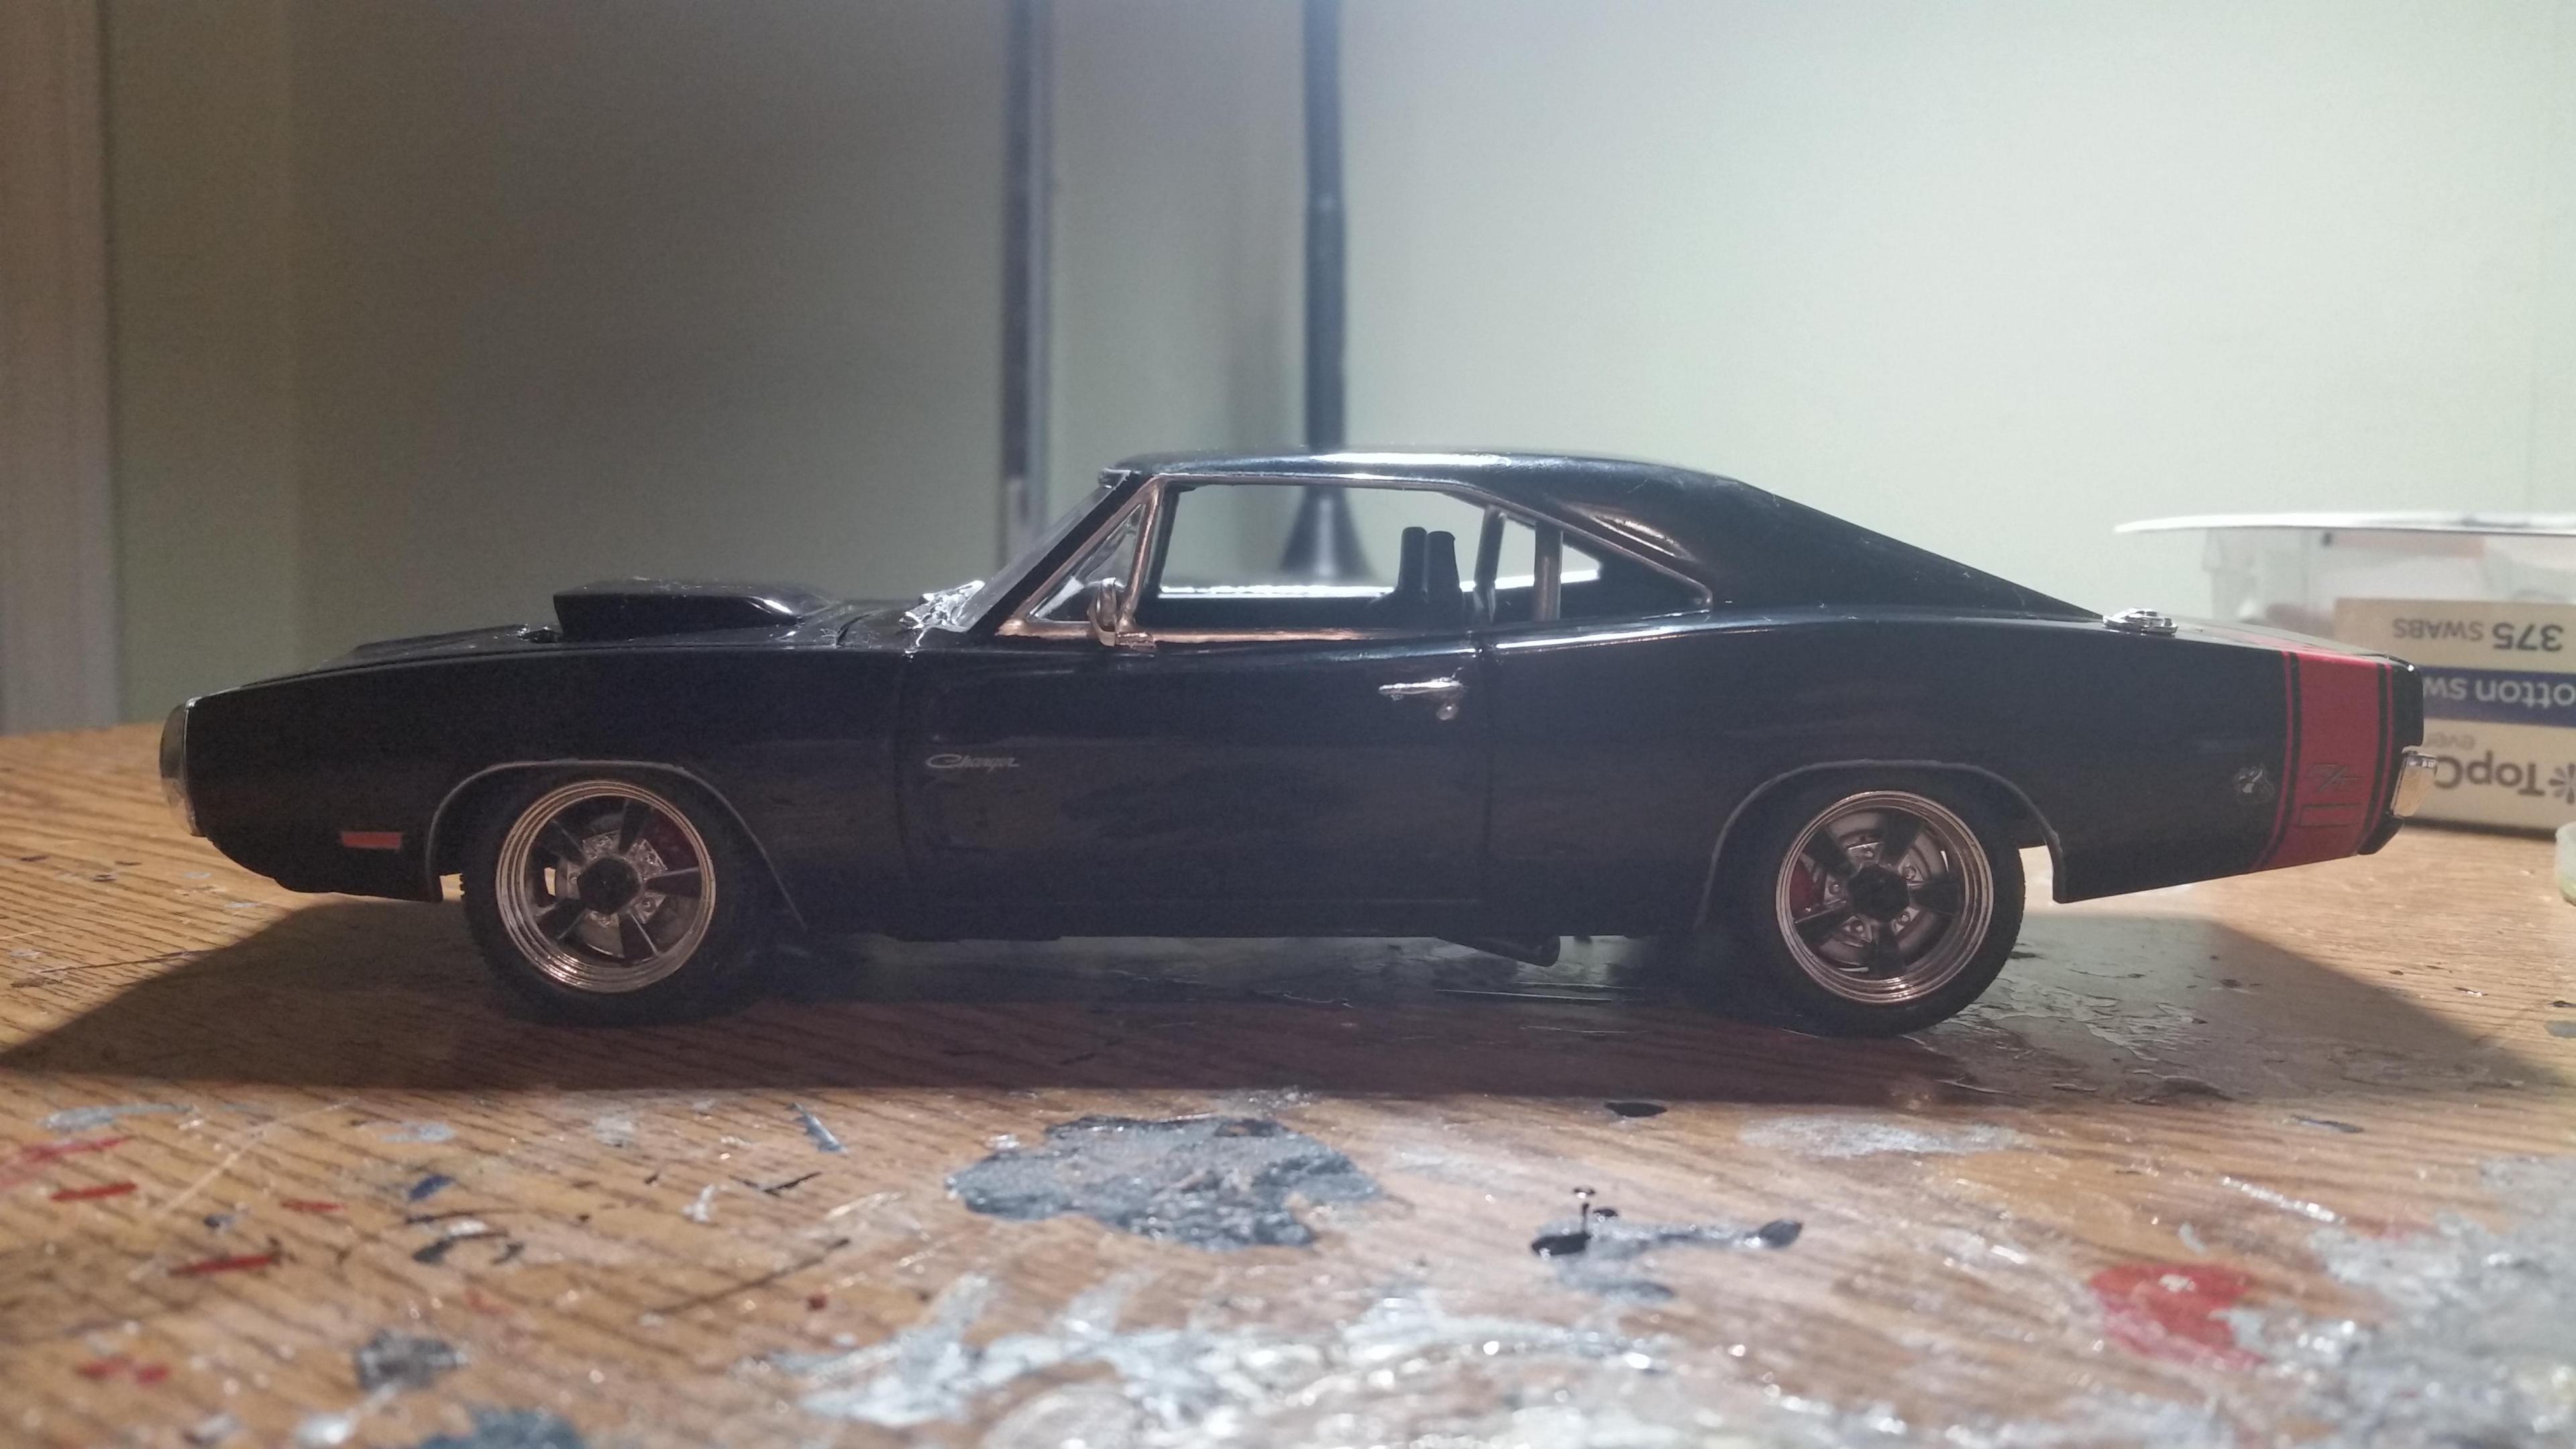
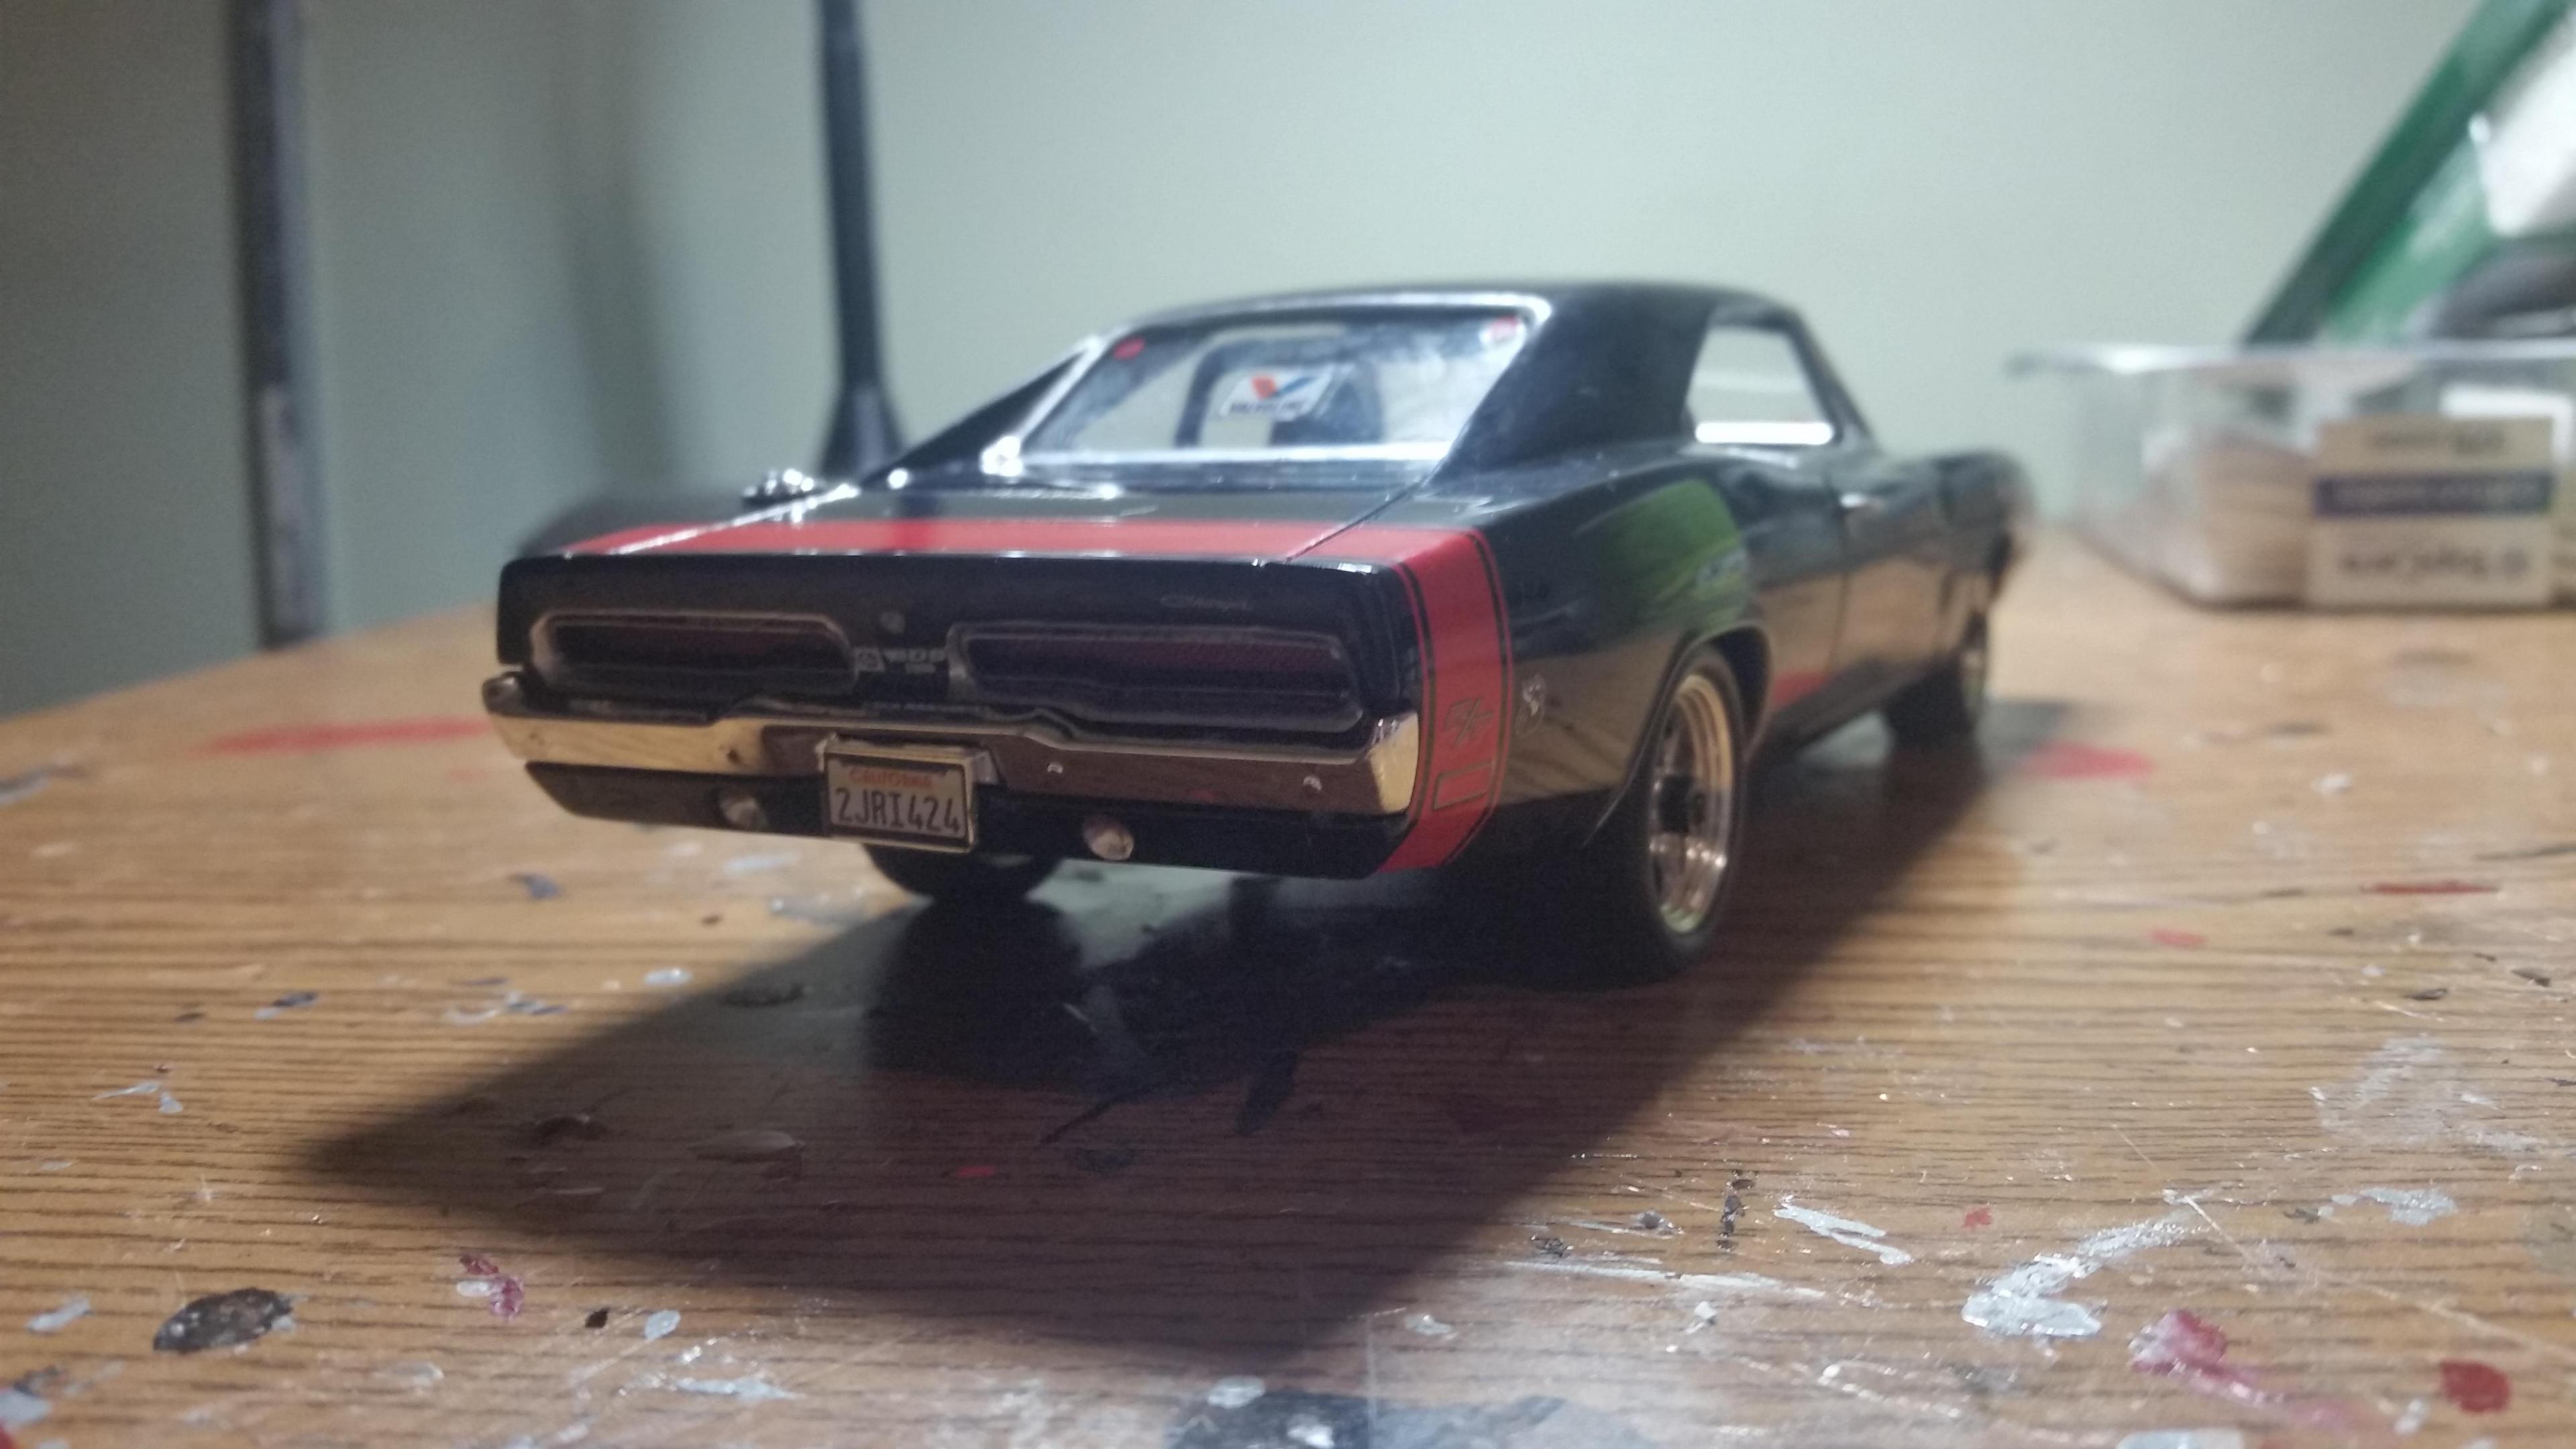
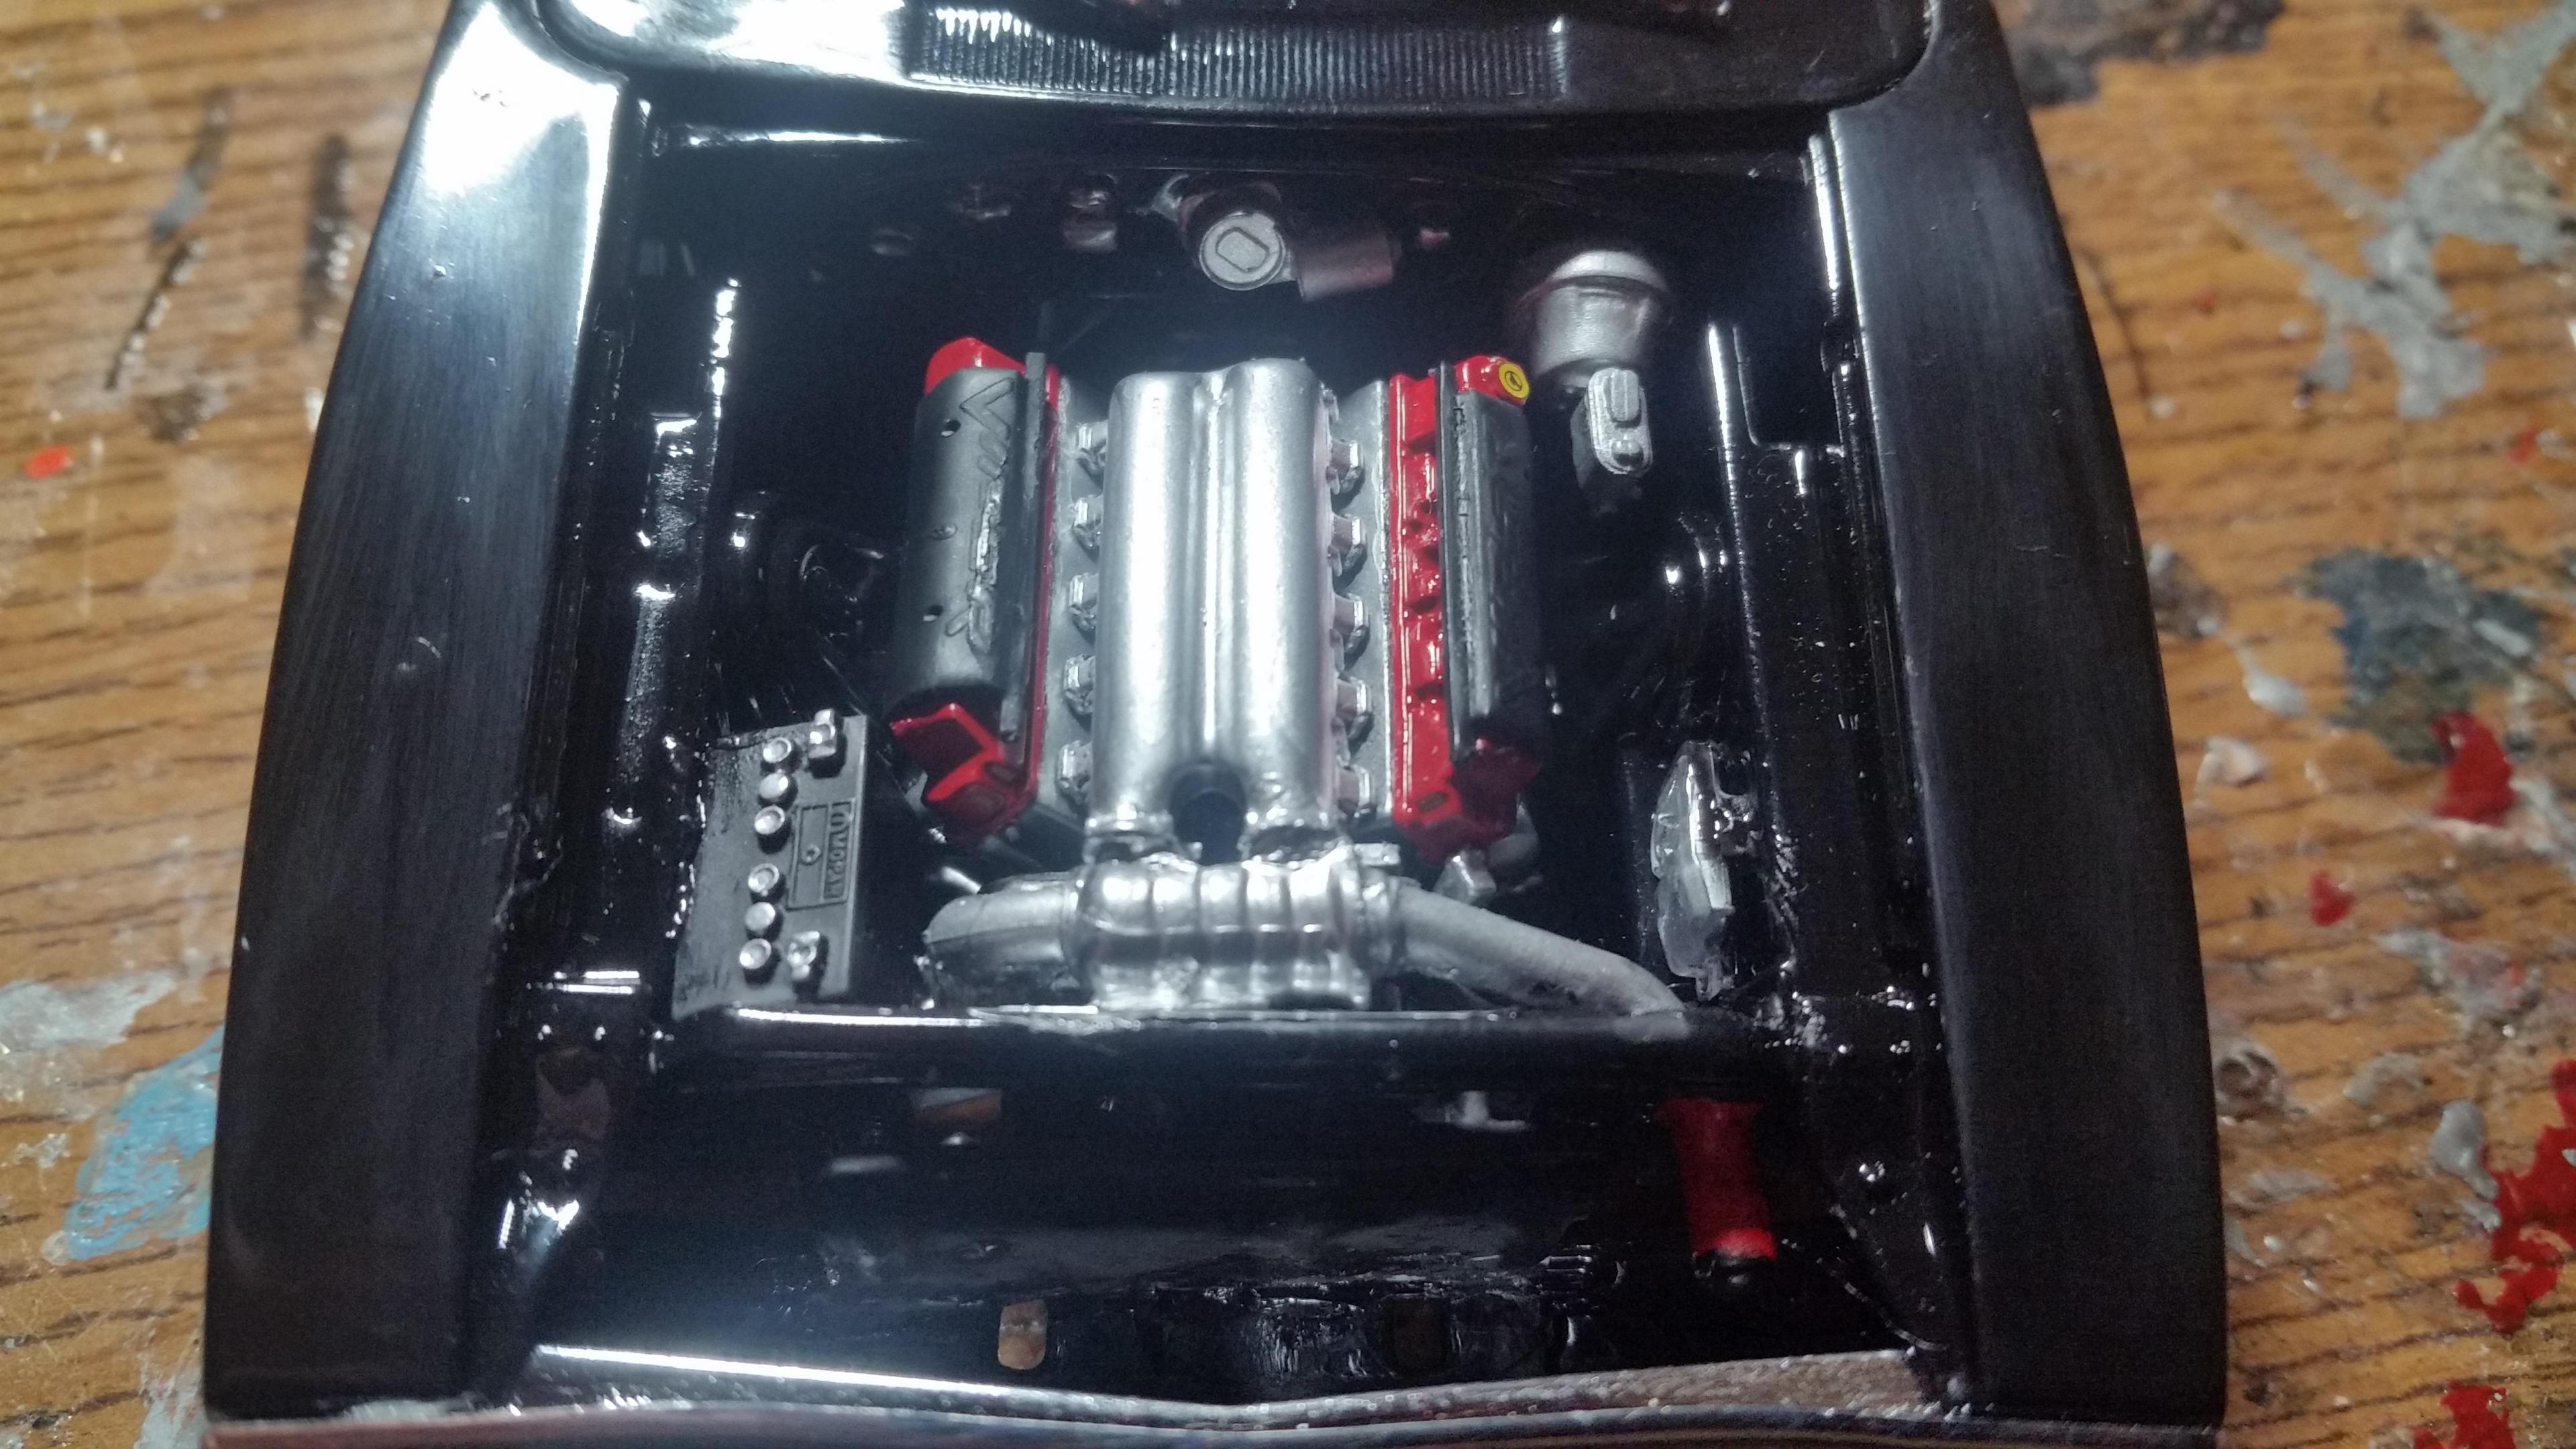
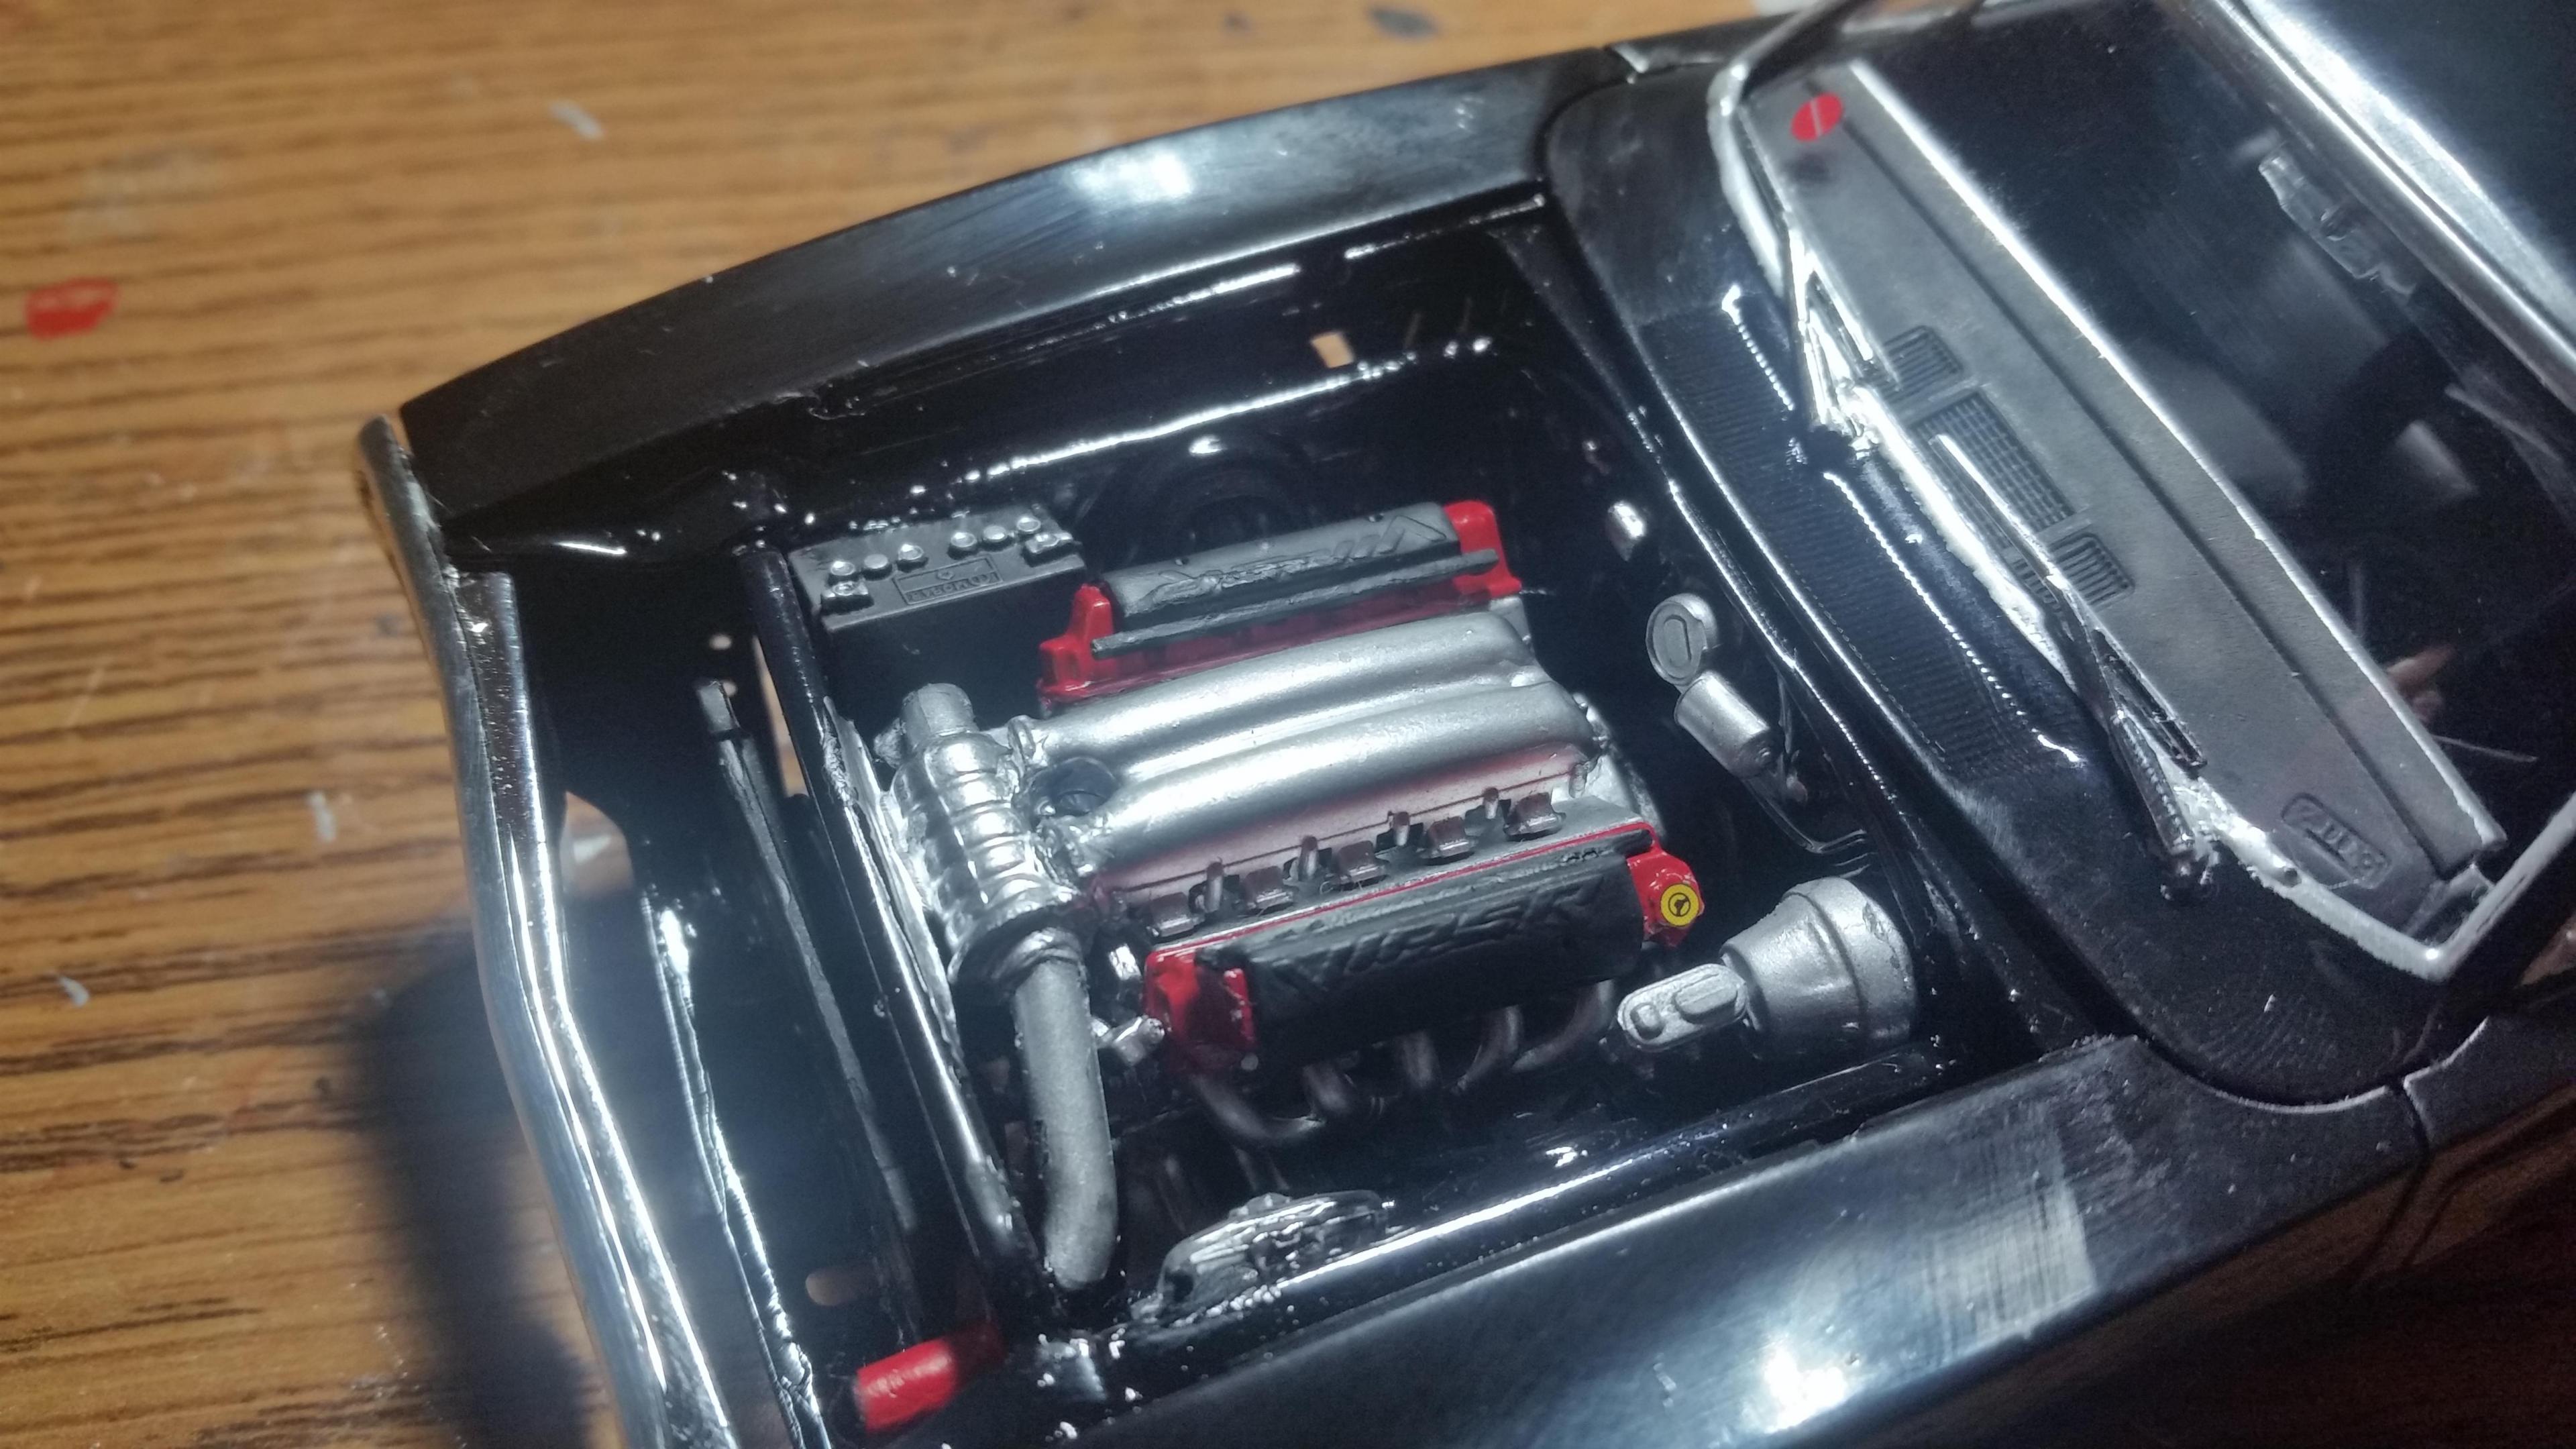
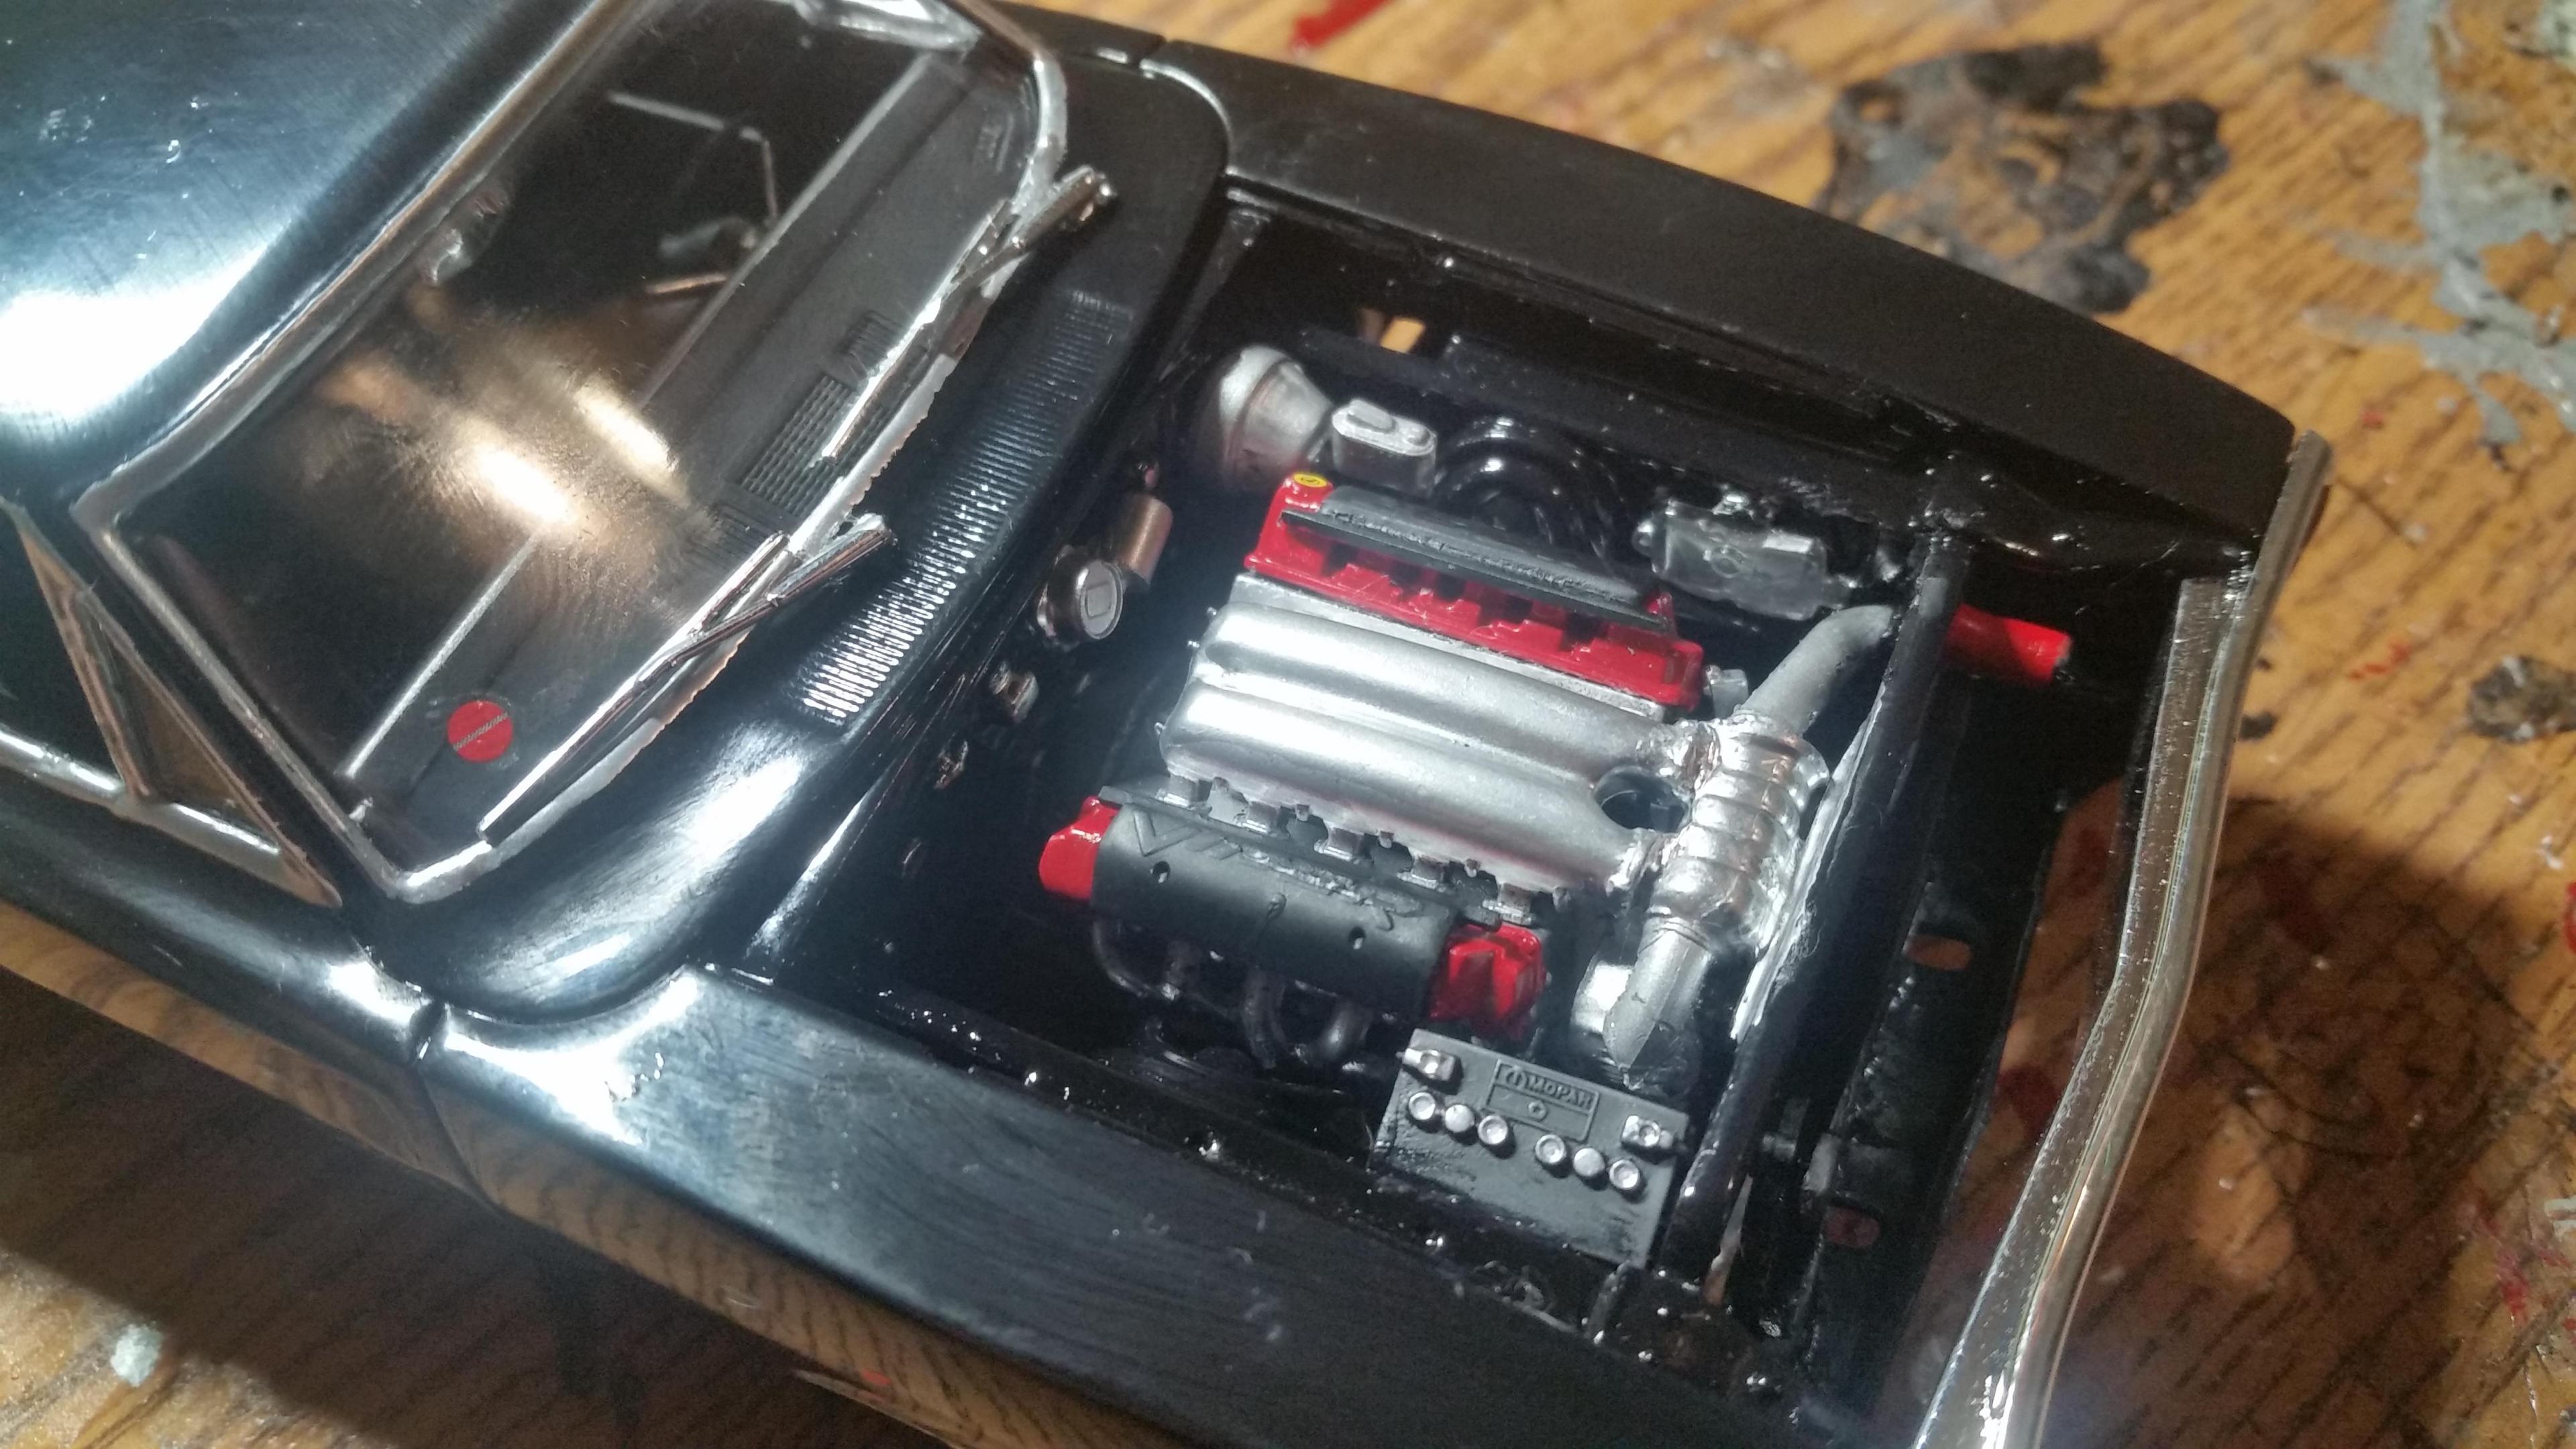
Built from Fast and Furious Dom's Charger kit. Kit's parts like the motor+ blower and wheels/tires were raided for other projects, but as I had most of the essential parts present I was customizing anyway. Mods as followed: Hood scoop from Revell '68 Charger drag option placed on '70 hood. 7.0 litre Dodge Viper motor from scrap Revell Viper ACR build, with a custom made vortech style super charger setup using a resin turbo, exhaust and sprue pieces. Styrene scrap trees bent as intake tubes and oil filters turned into air filters as the original pieces were missing. Electronic fan/radiator comes from an unknown source. Custom built side exhaust. Seats from Dodge Viper ACR. Wheels are Radio Shack X-mods, with front tires sourced from an AMT Fast and Furious Supra and rear tires from Revell C5 Corvette. Disc brakes were also sourced from the Viper ACR. Various decals were used from the 68 charger, and the red tail stripe is from the stock '70 Charger. Exterior is Walmart Color Place Gloss Black, cleared with Pledge.
-
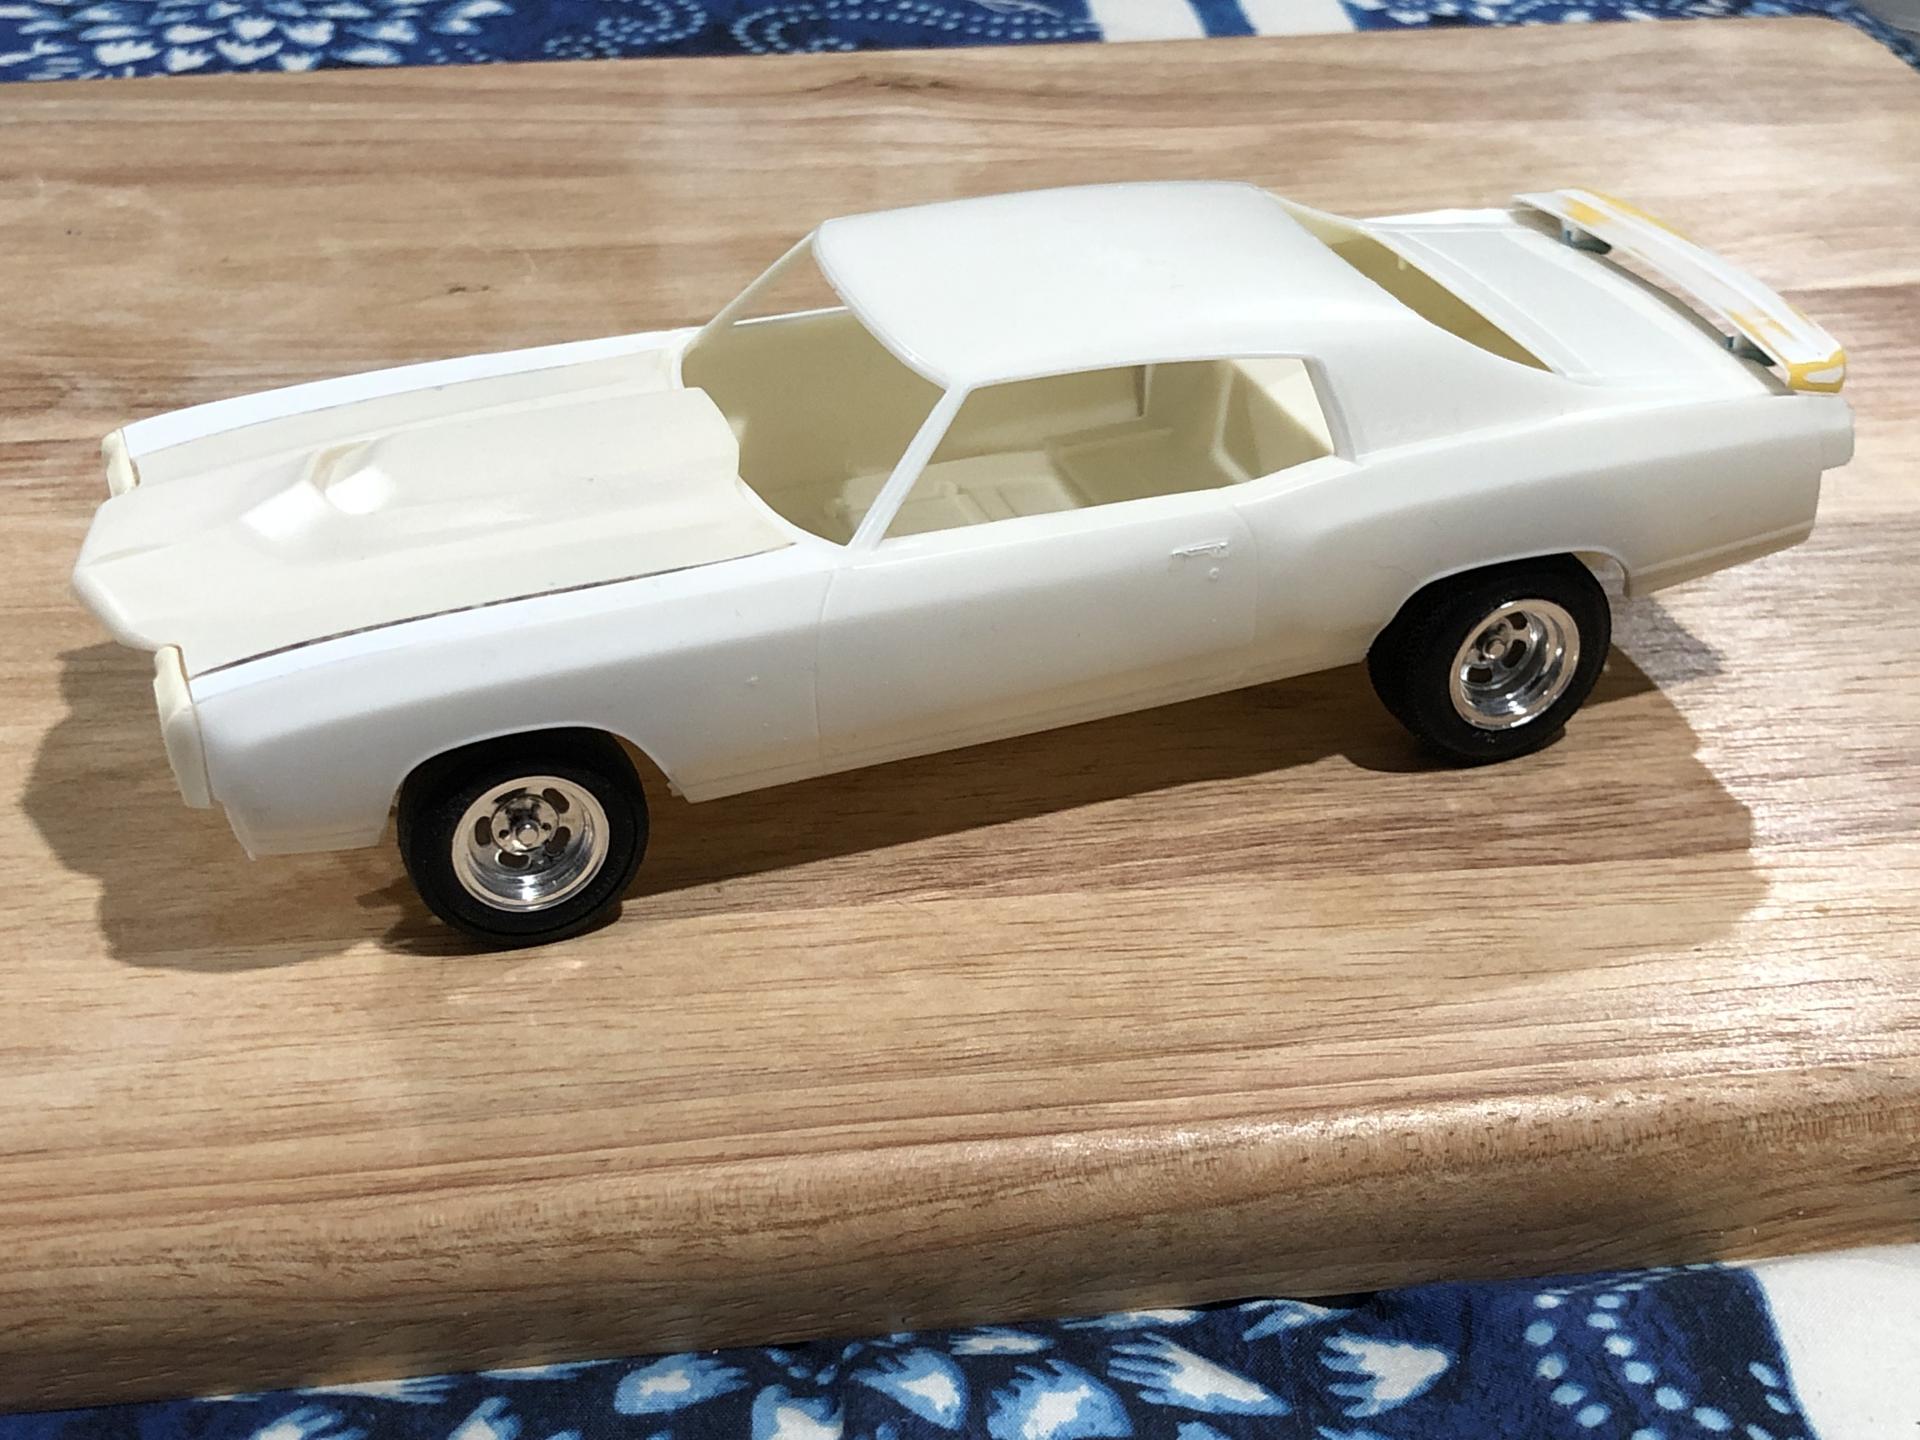
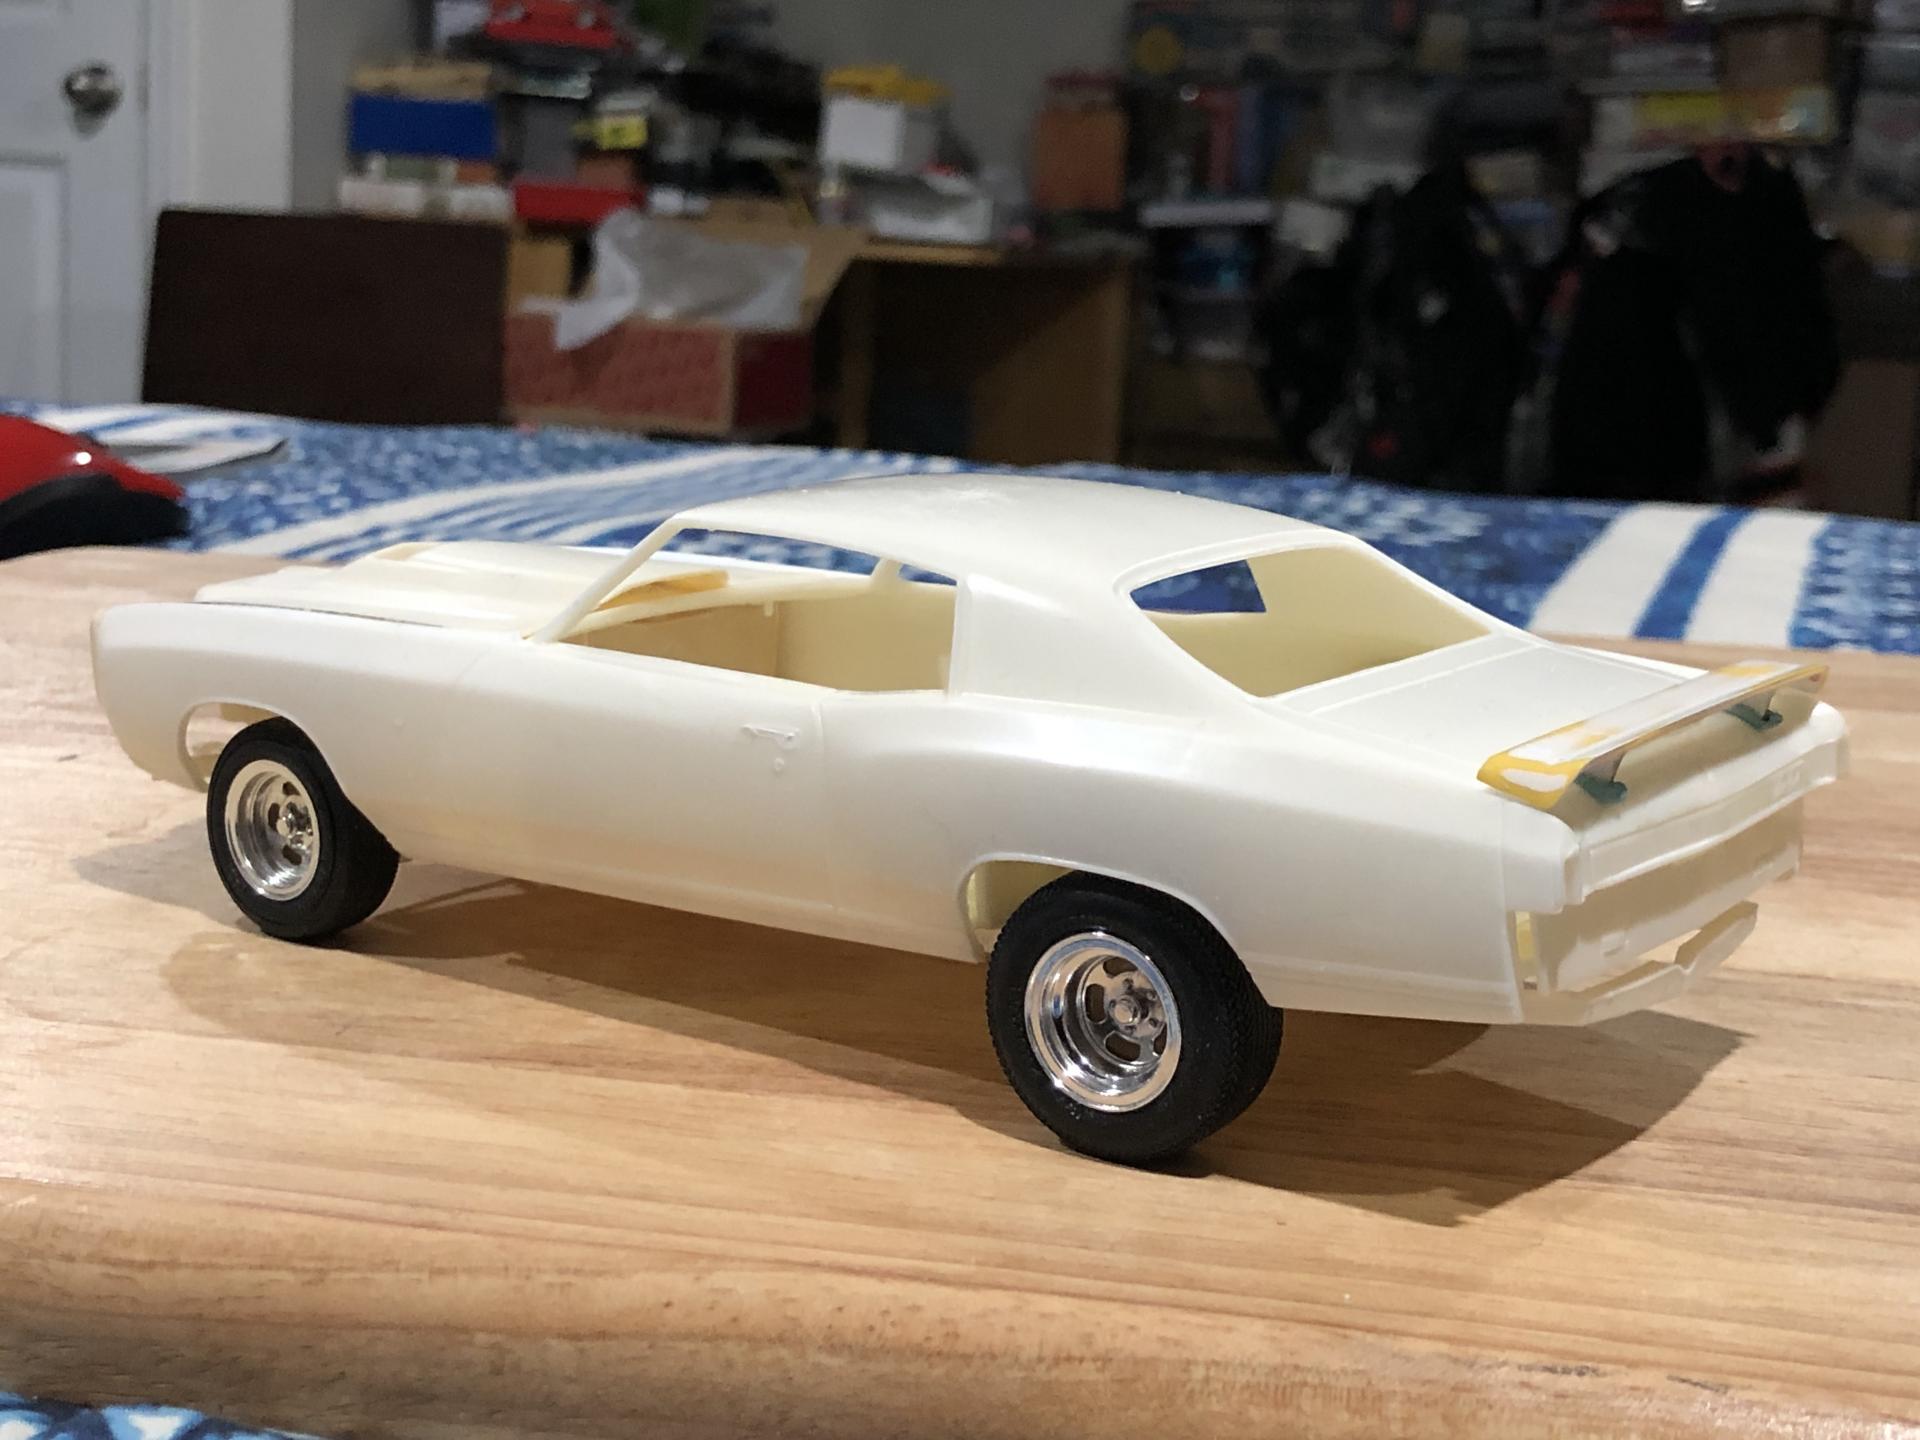
Ever since I mastered and cast this L88 hood for the 1970-72 Monte Carlo, I’ve been itching to build a “what if” Baldwin Motion Monte Carlo. I know Baldwin Motion never offered to modify the Monte Carlo when they were due. I’m hoping this will follow in the spirit of a Motion type build. The tires are from the Baldwin Motion 1971 Camaro. I cast these slotted wheels for my Baldwin Motion Phase III Corvettes. I felt that the Buick GSX deck lid spoiler fit the Monte Carlo pretty well! I’m thinking of using the GSX chin spoiler too. I look at it this way, if Baldwin Motion could get a Chevrolet Biscayne to do the quarter mile in 11 1/2 seconds, the Monte Carlo could’ve been done too. I’m going to send these pictures to Joel tonight and see what he thinks. I’m also going to ask him if there was a reason behind excluding the Monte Carlo from the line up. As always questions and comments are welcome.
-
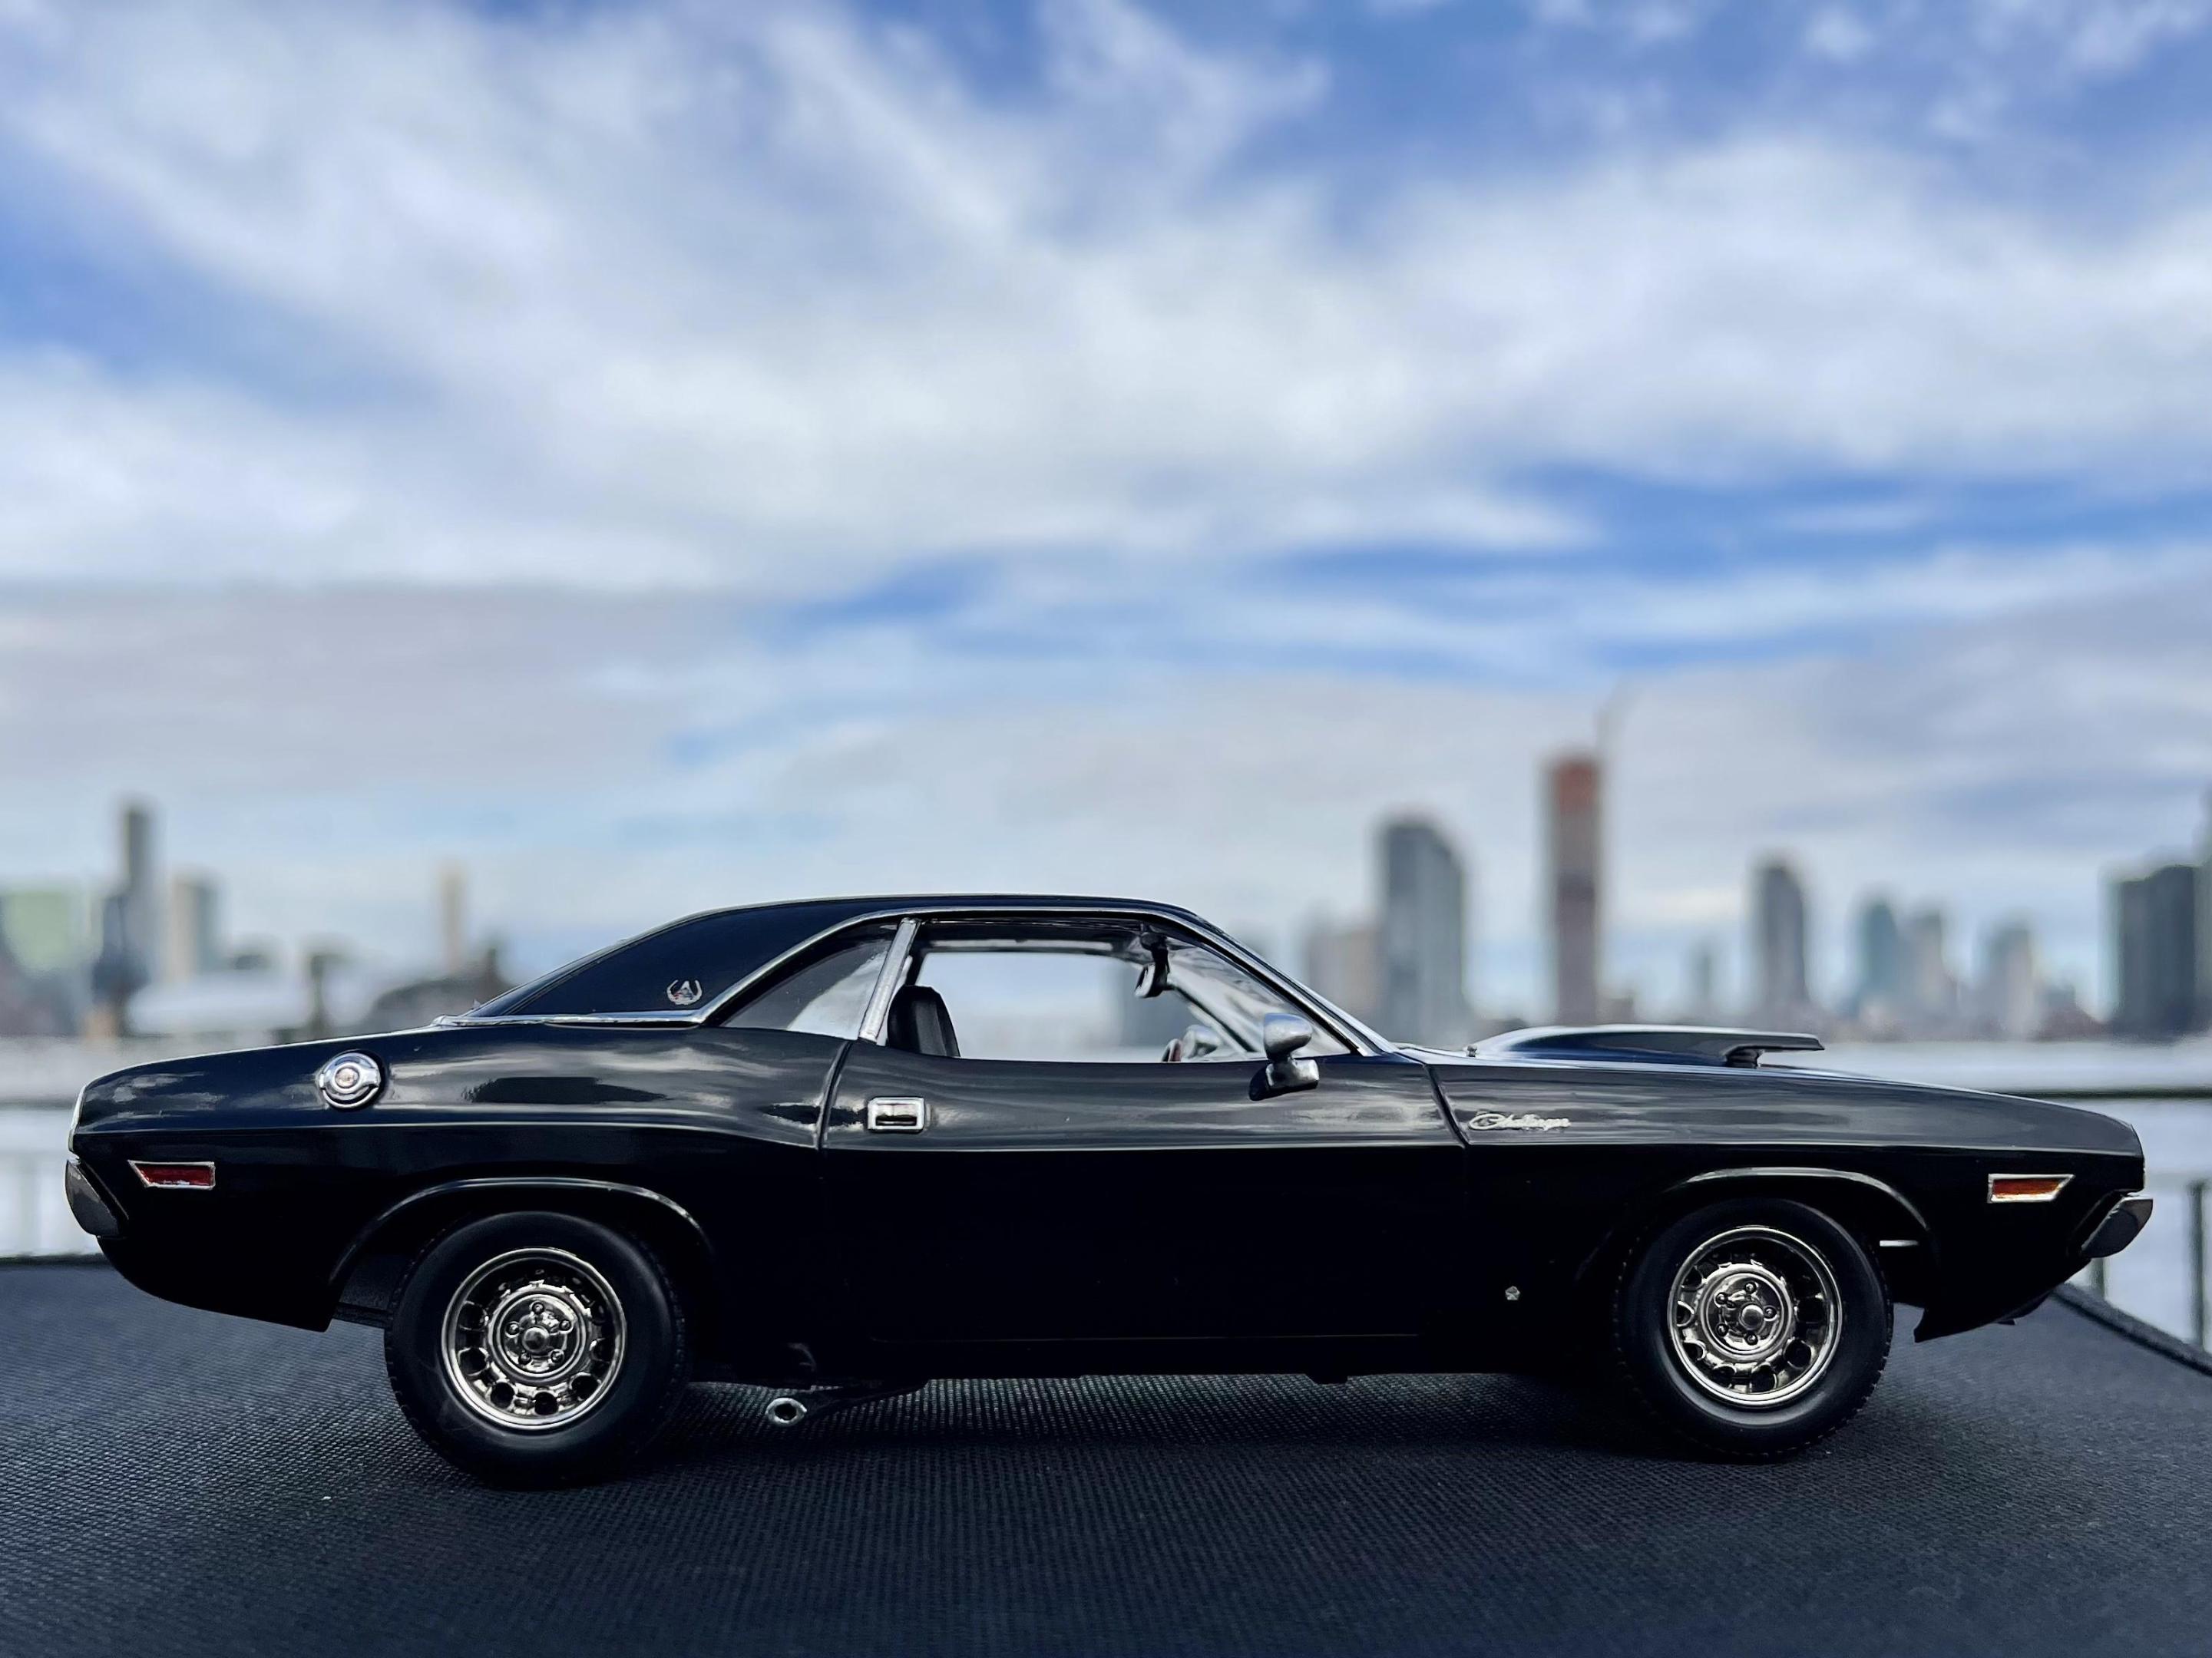
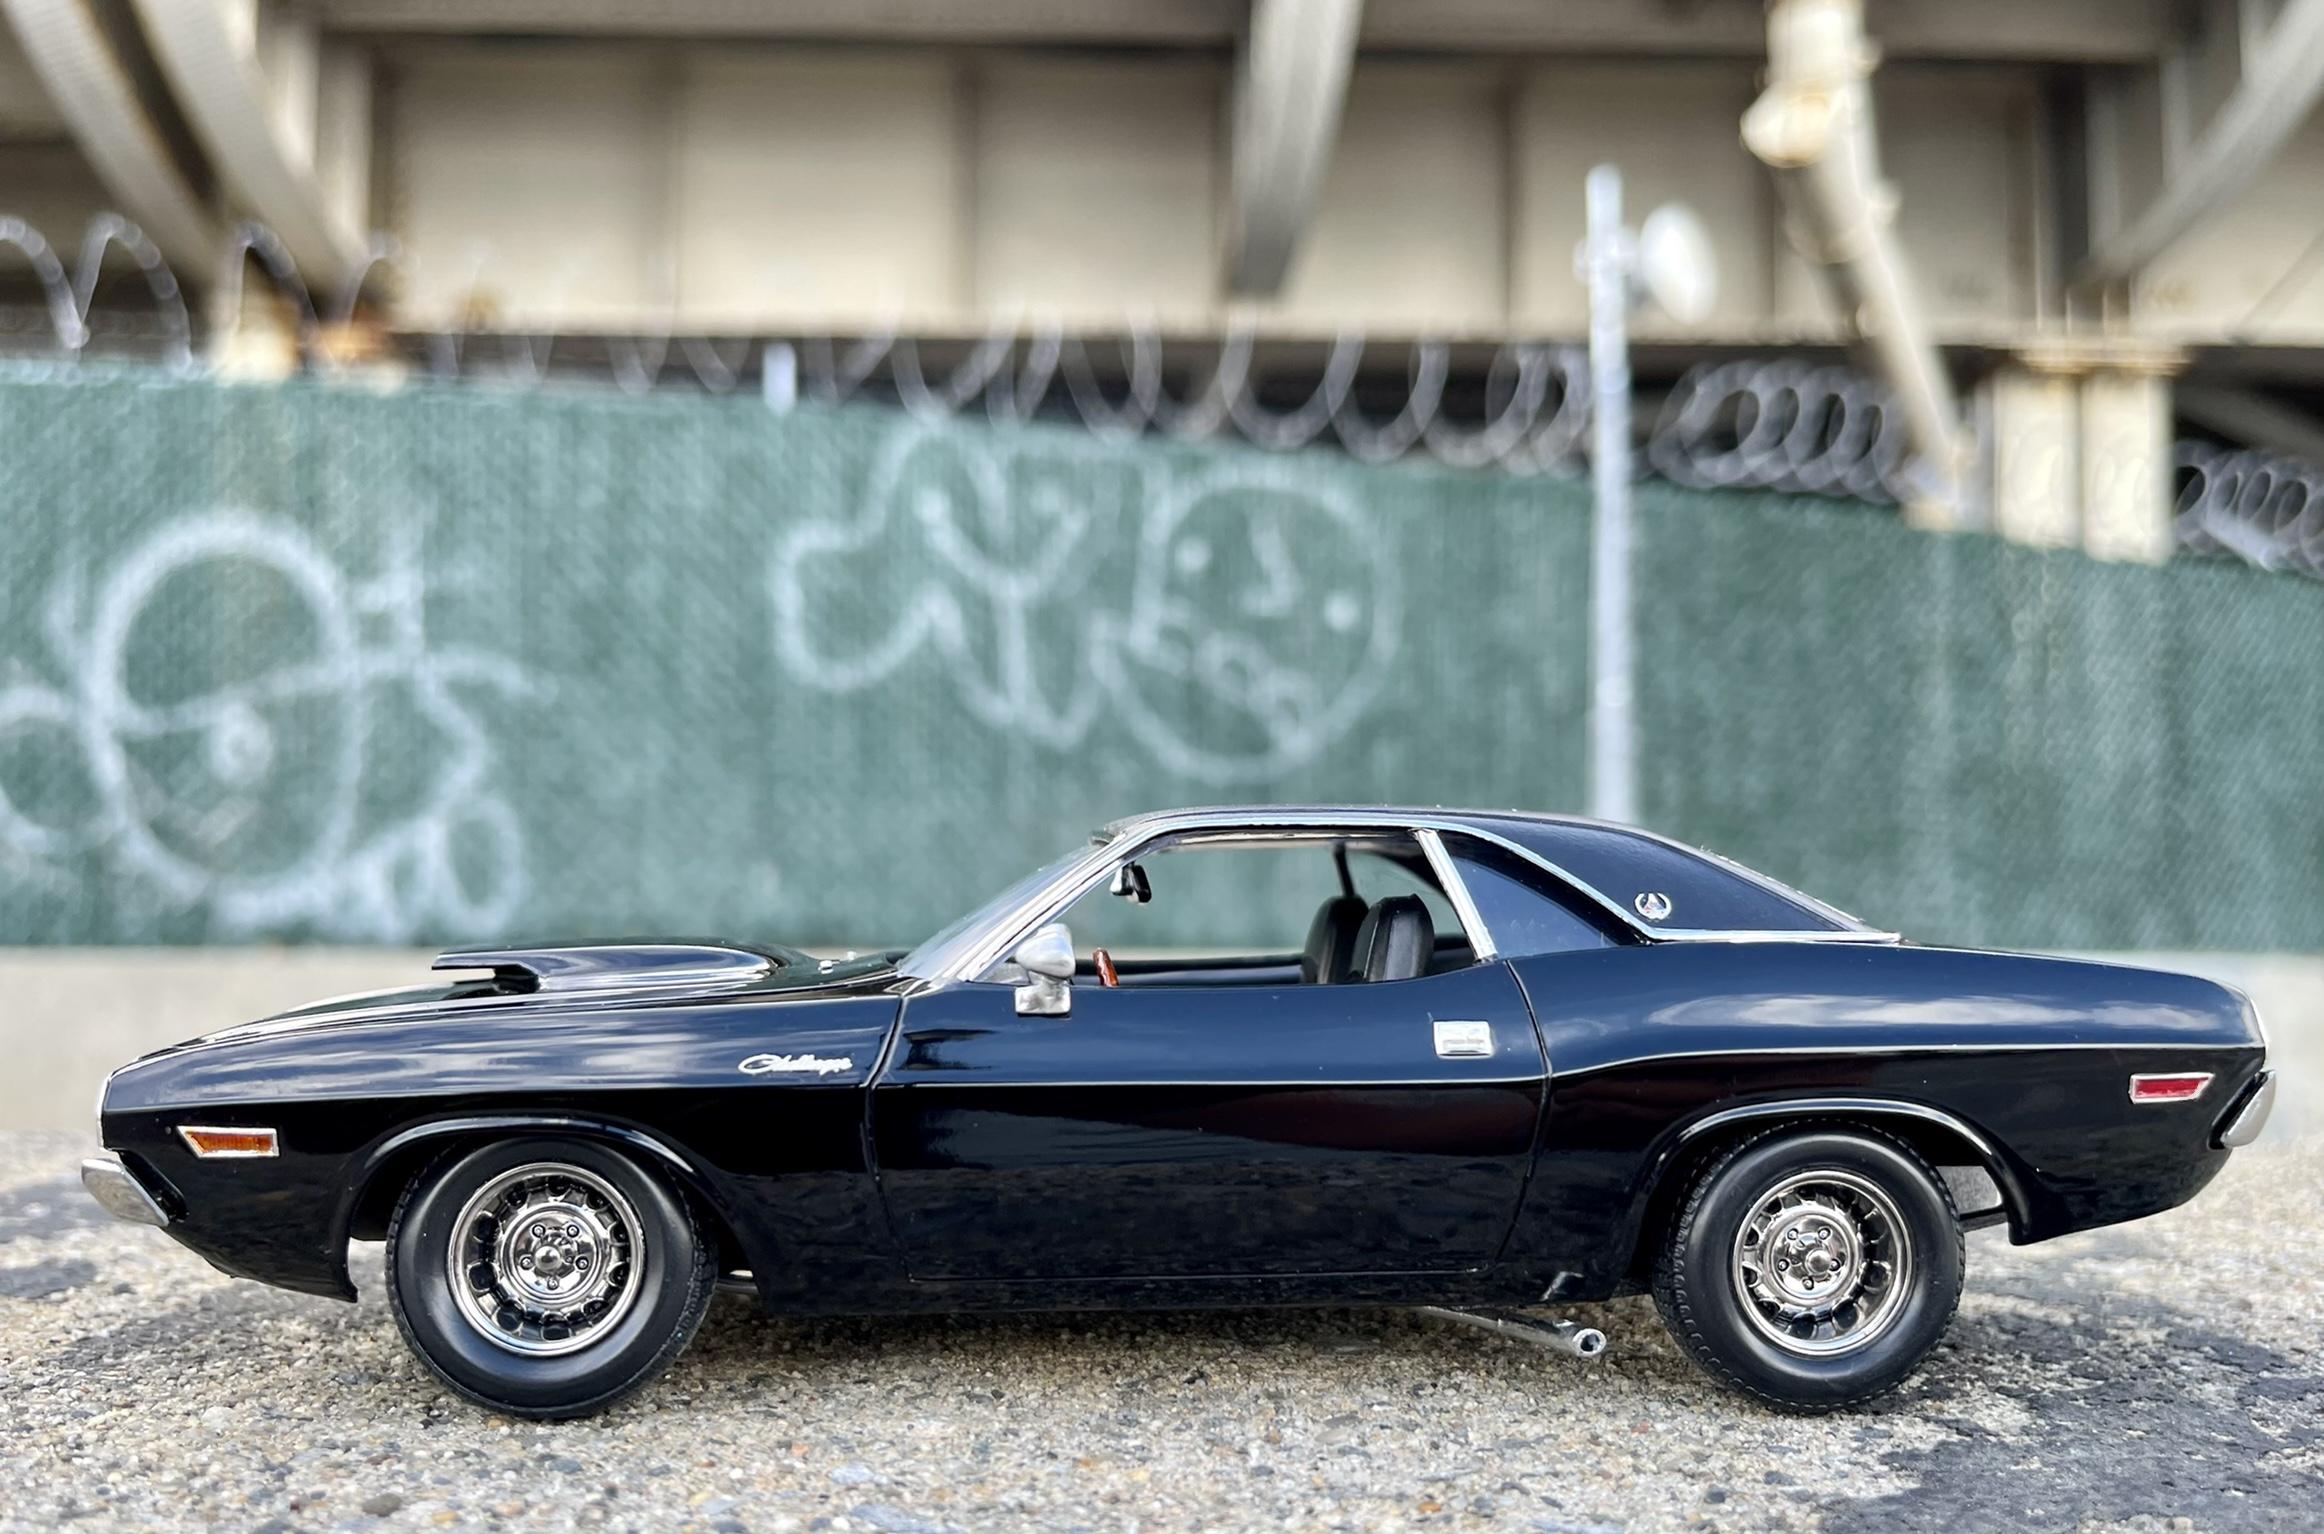
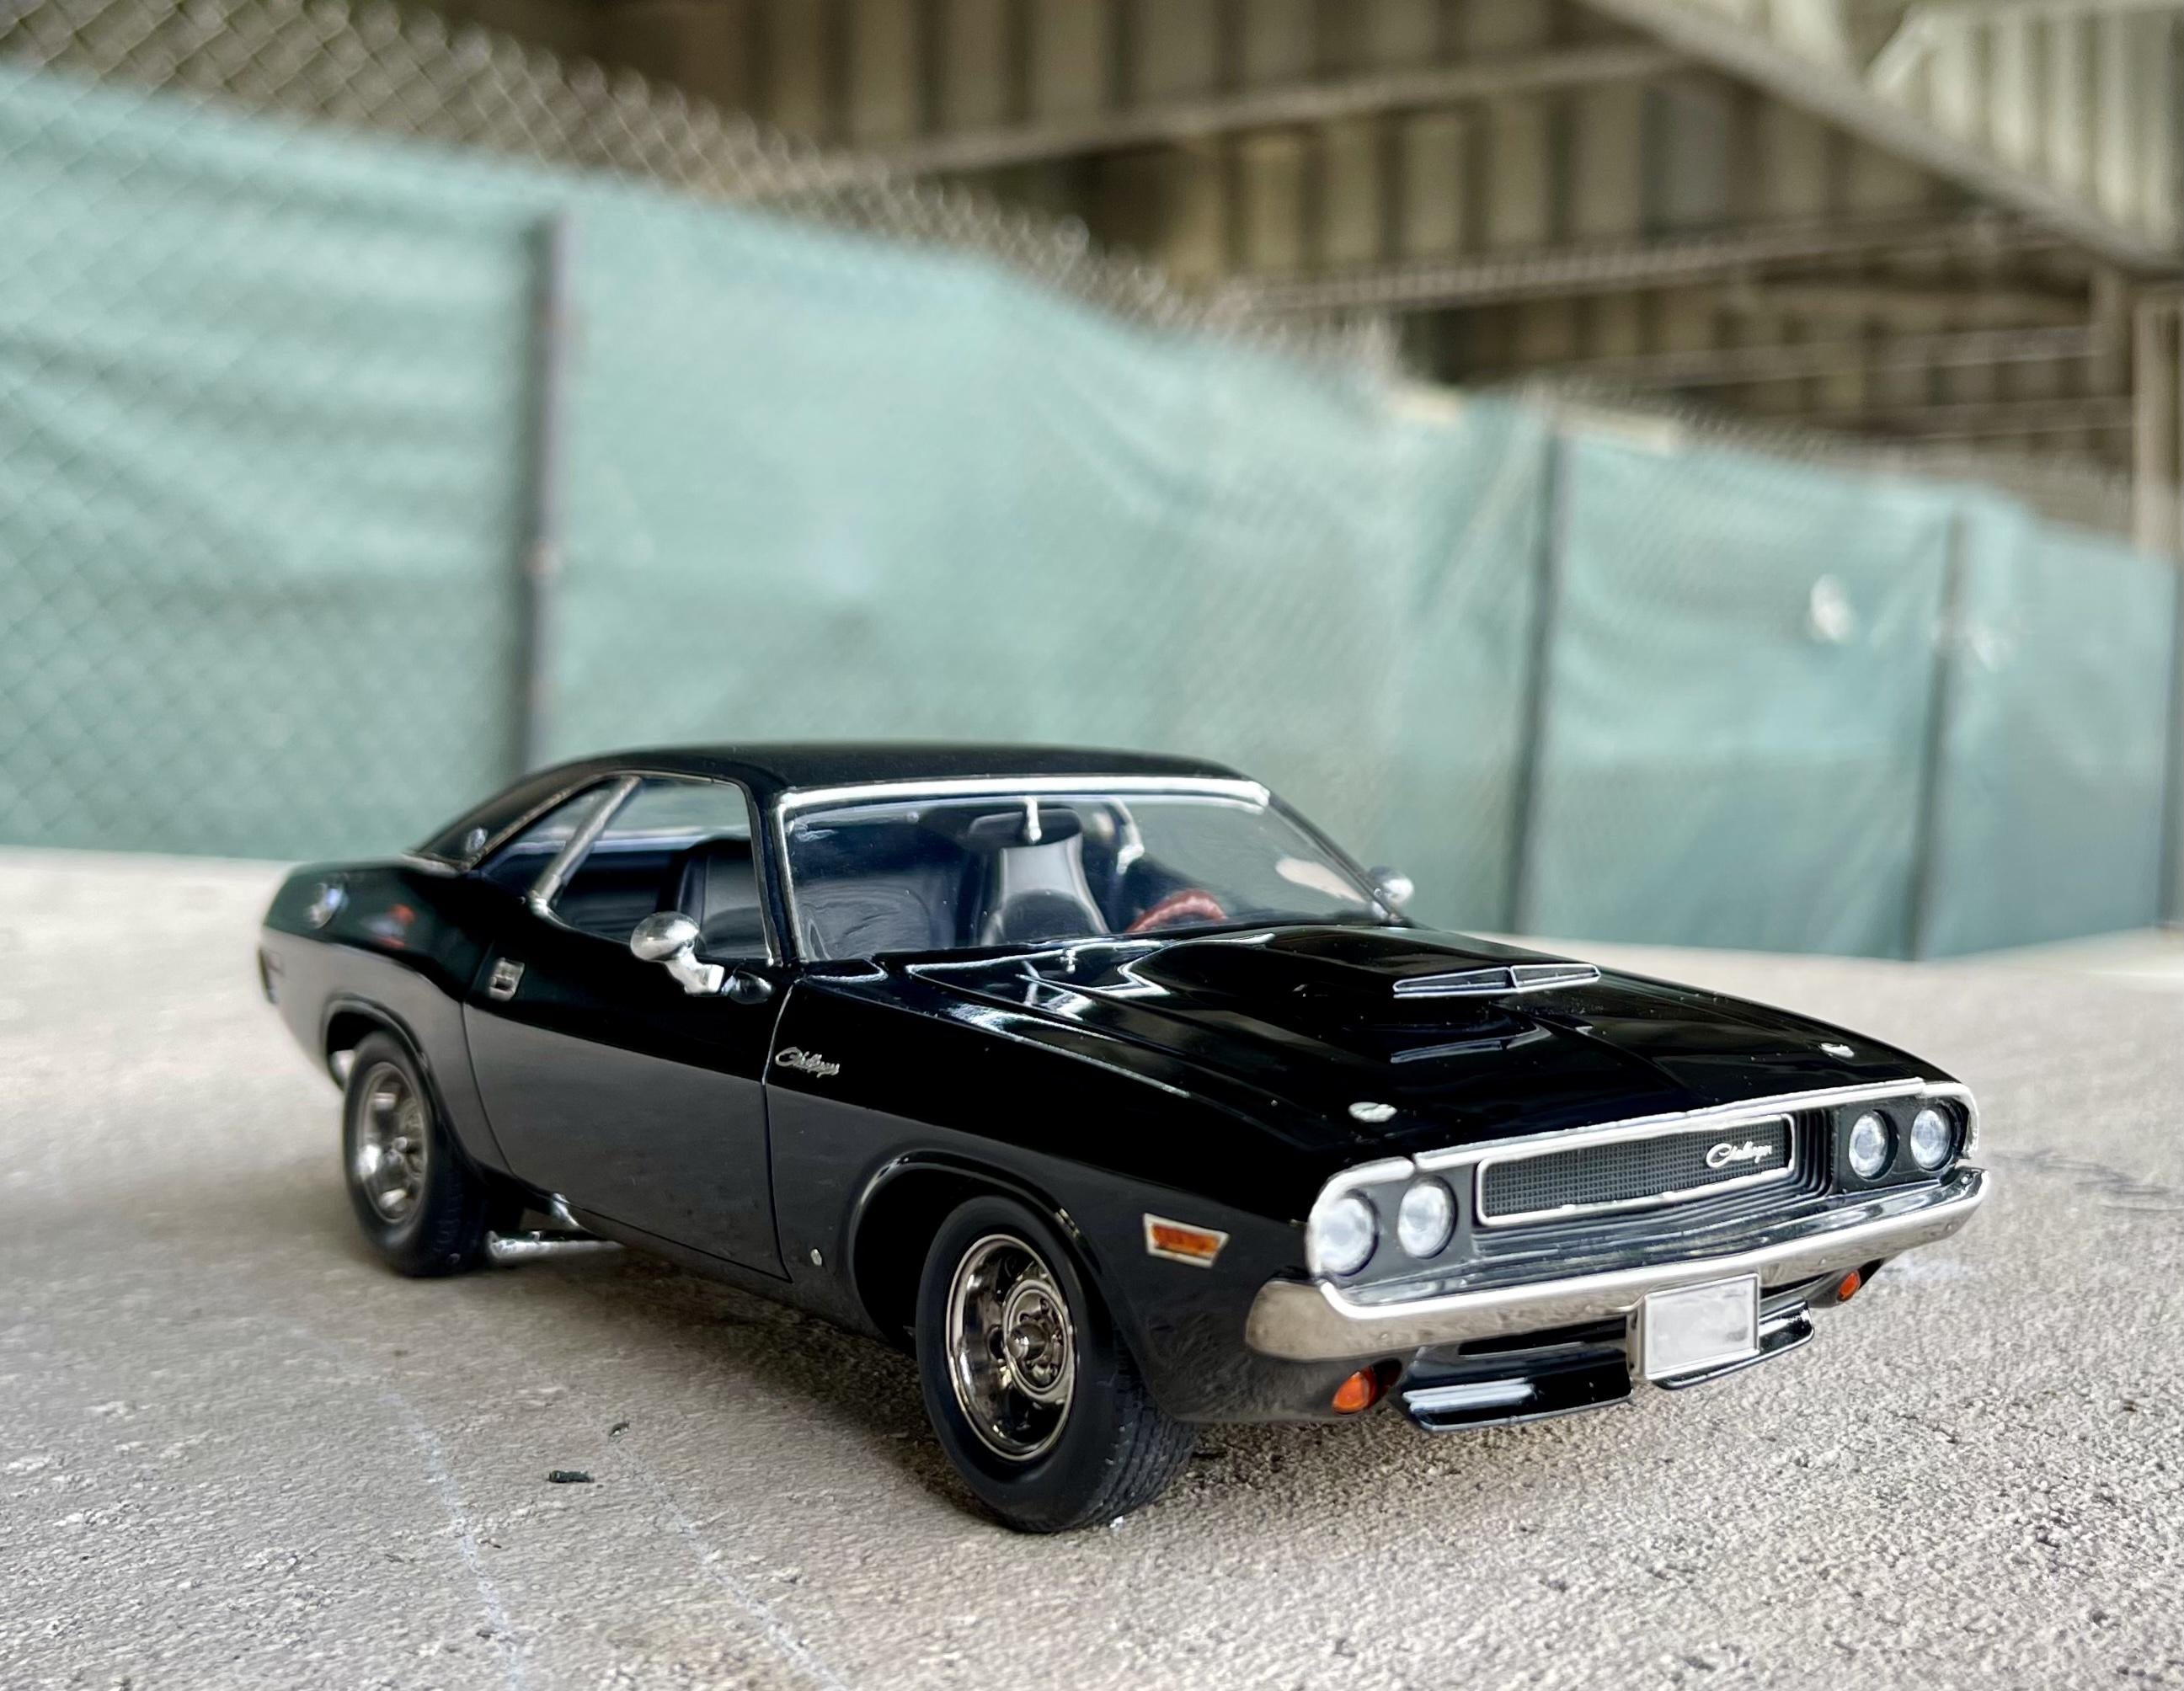
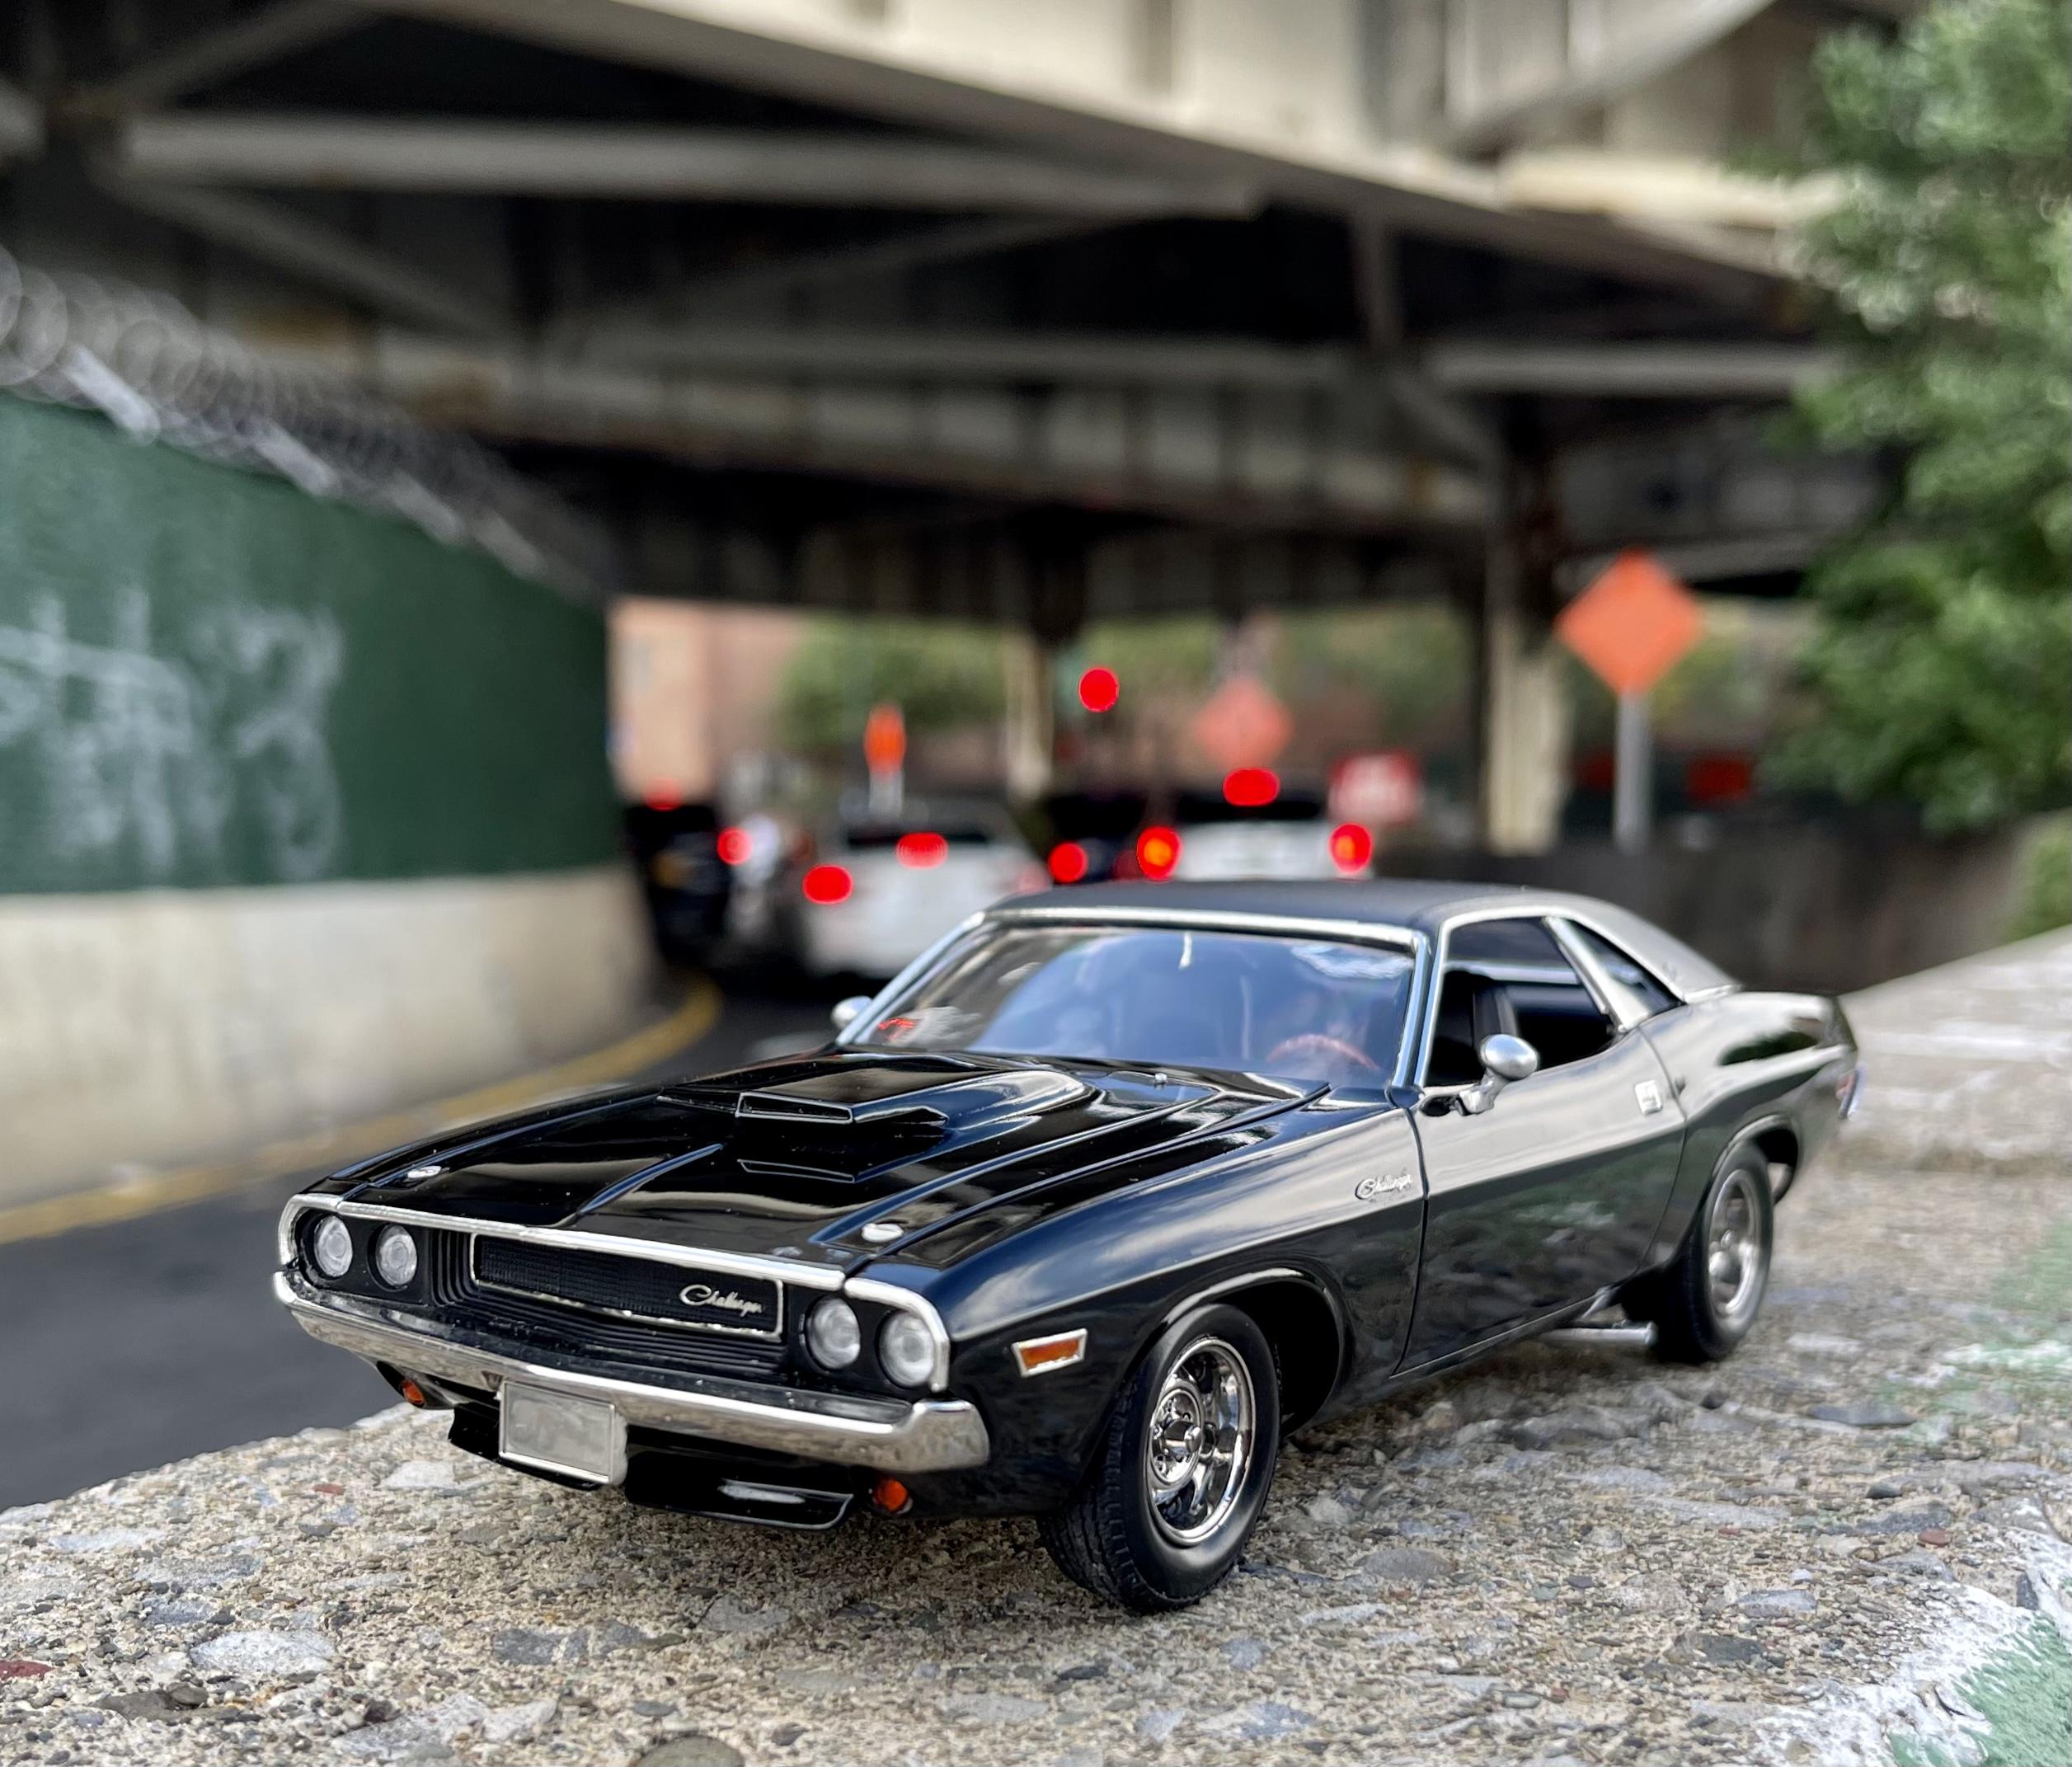
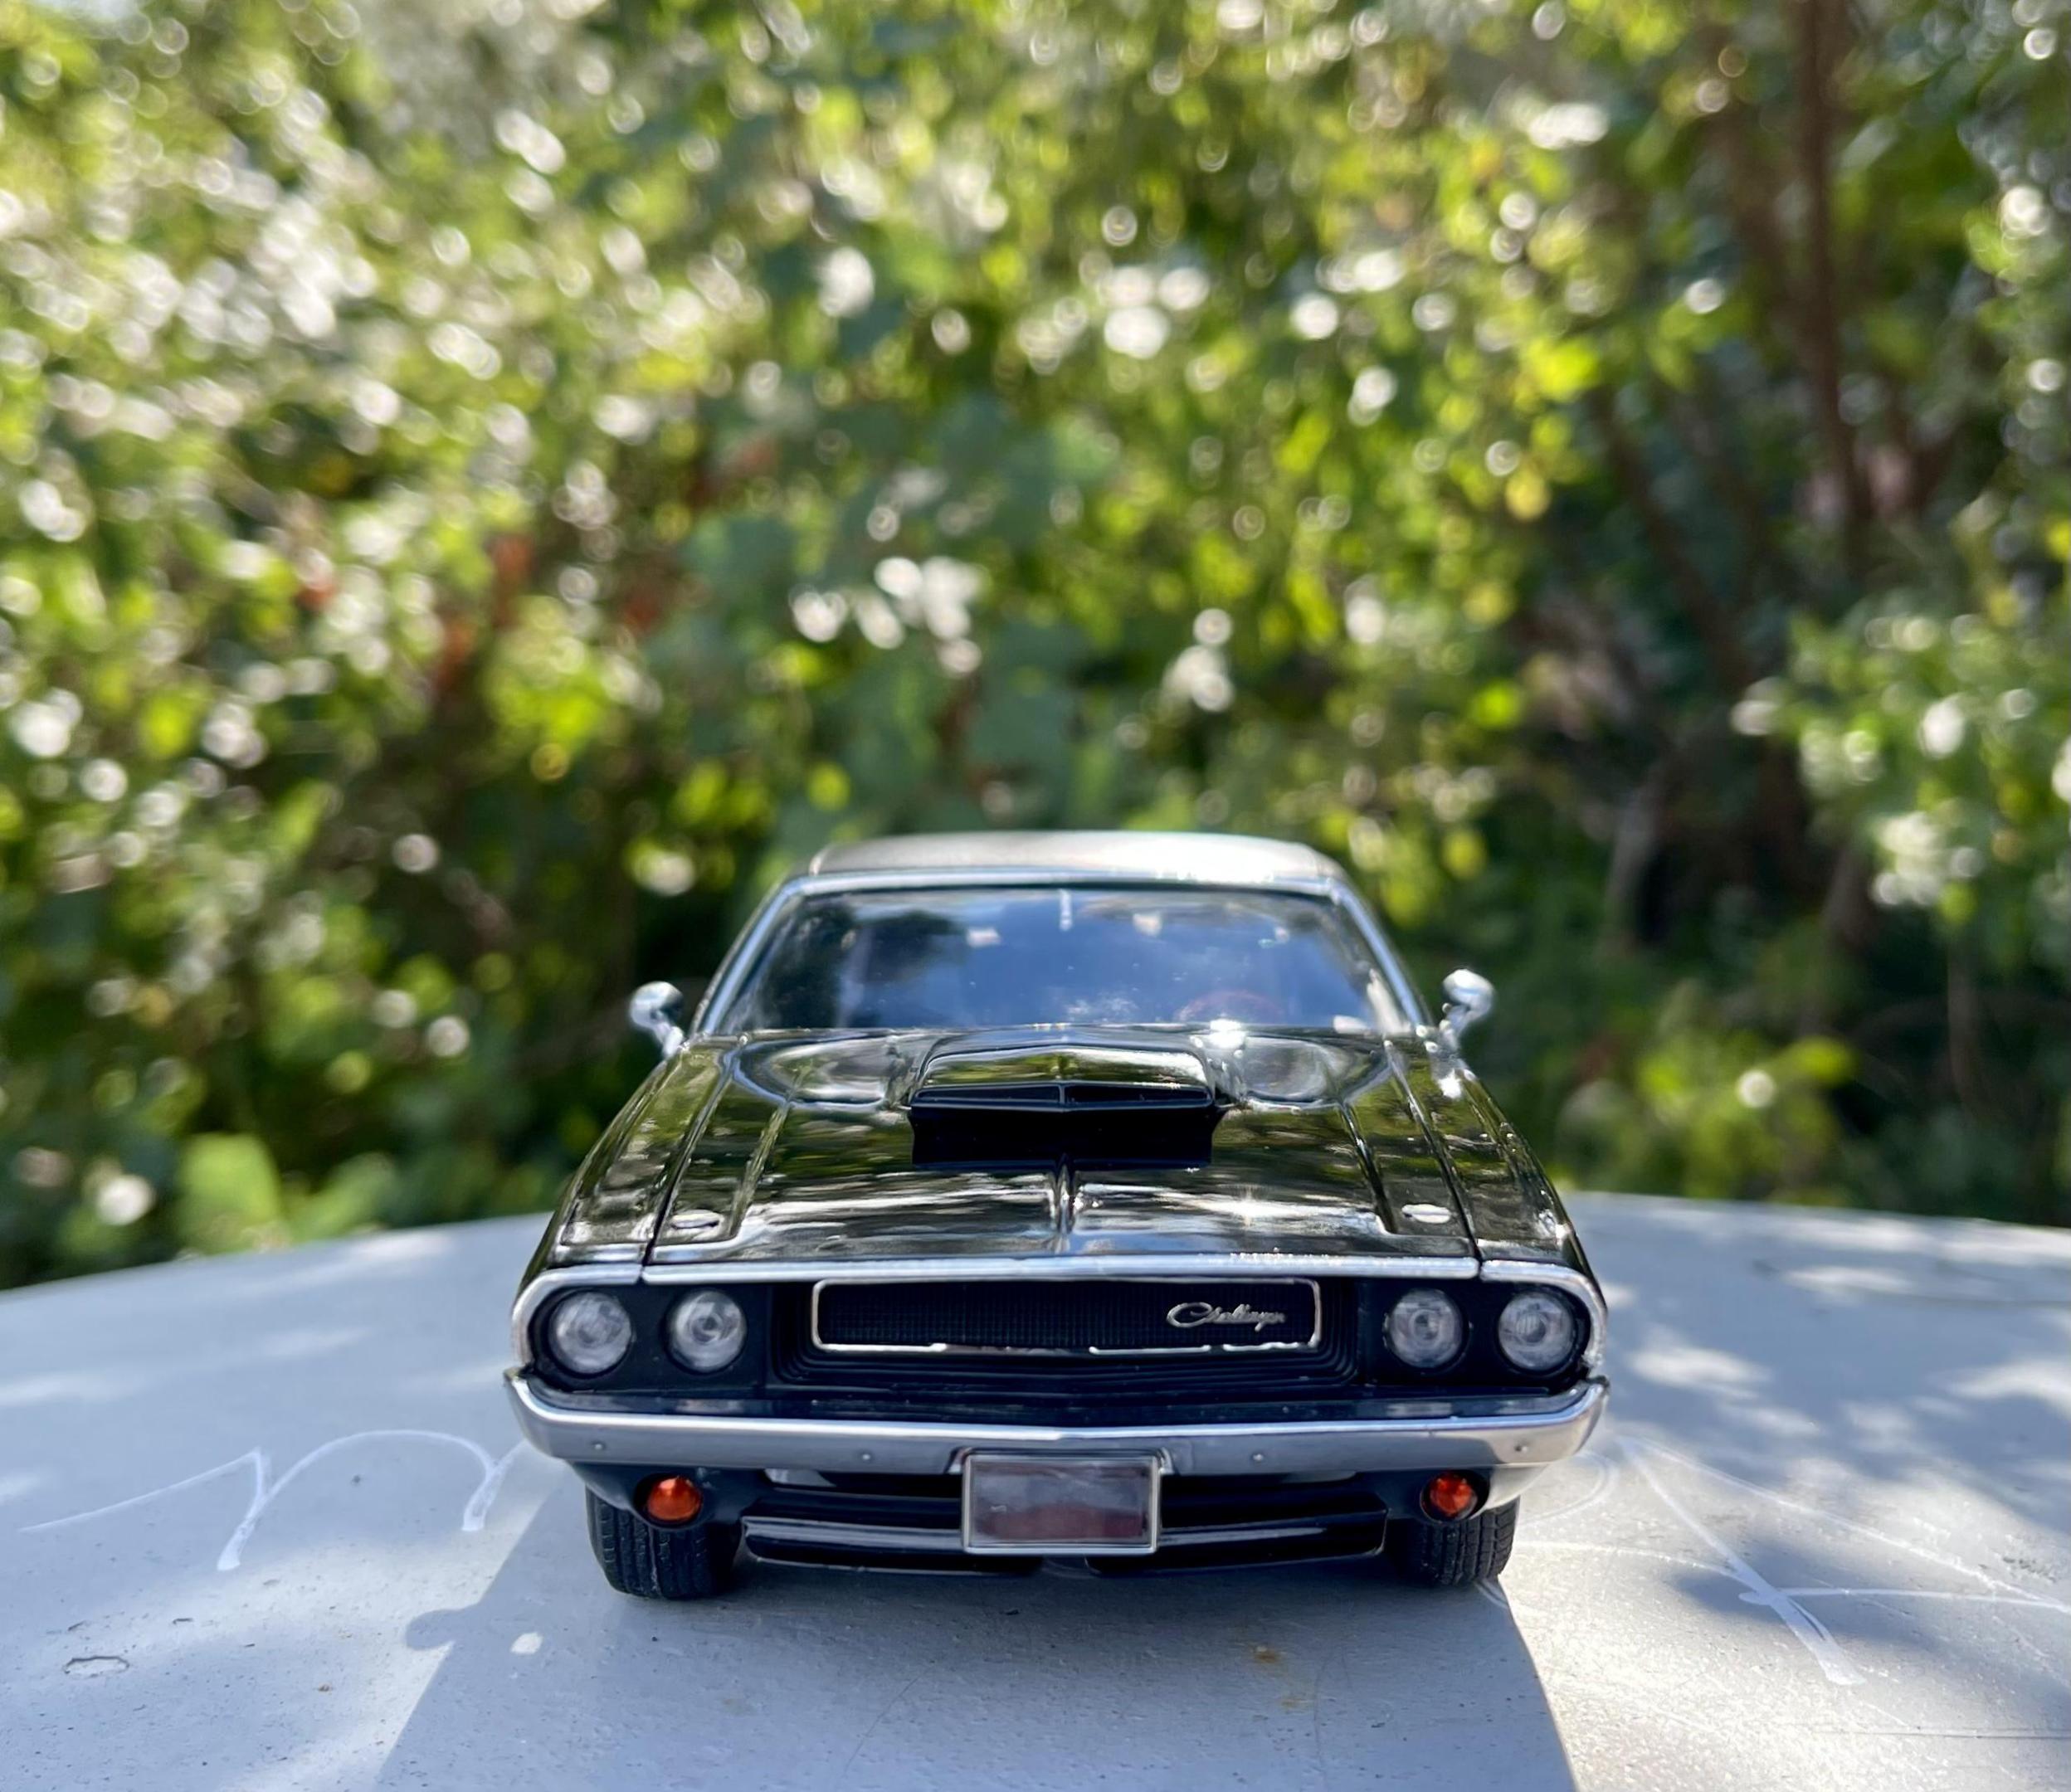
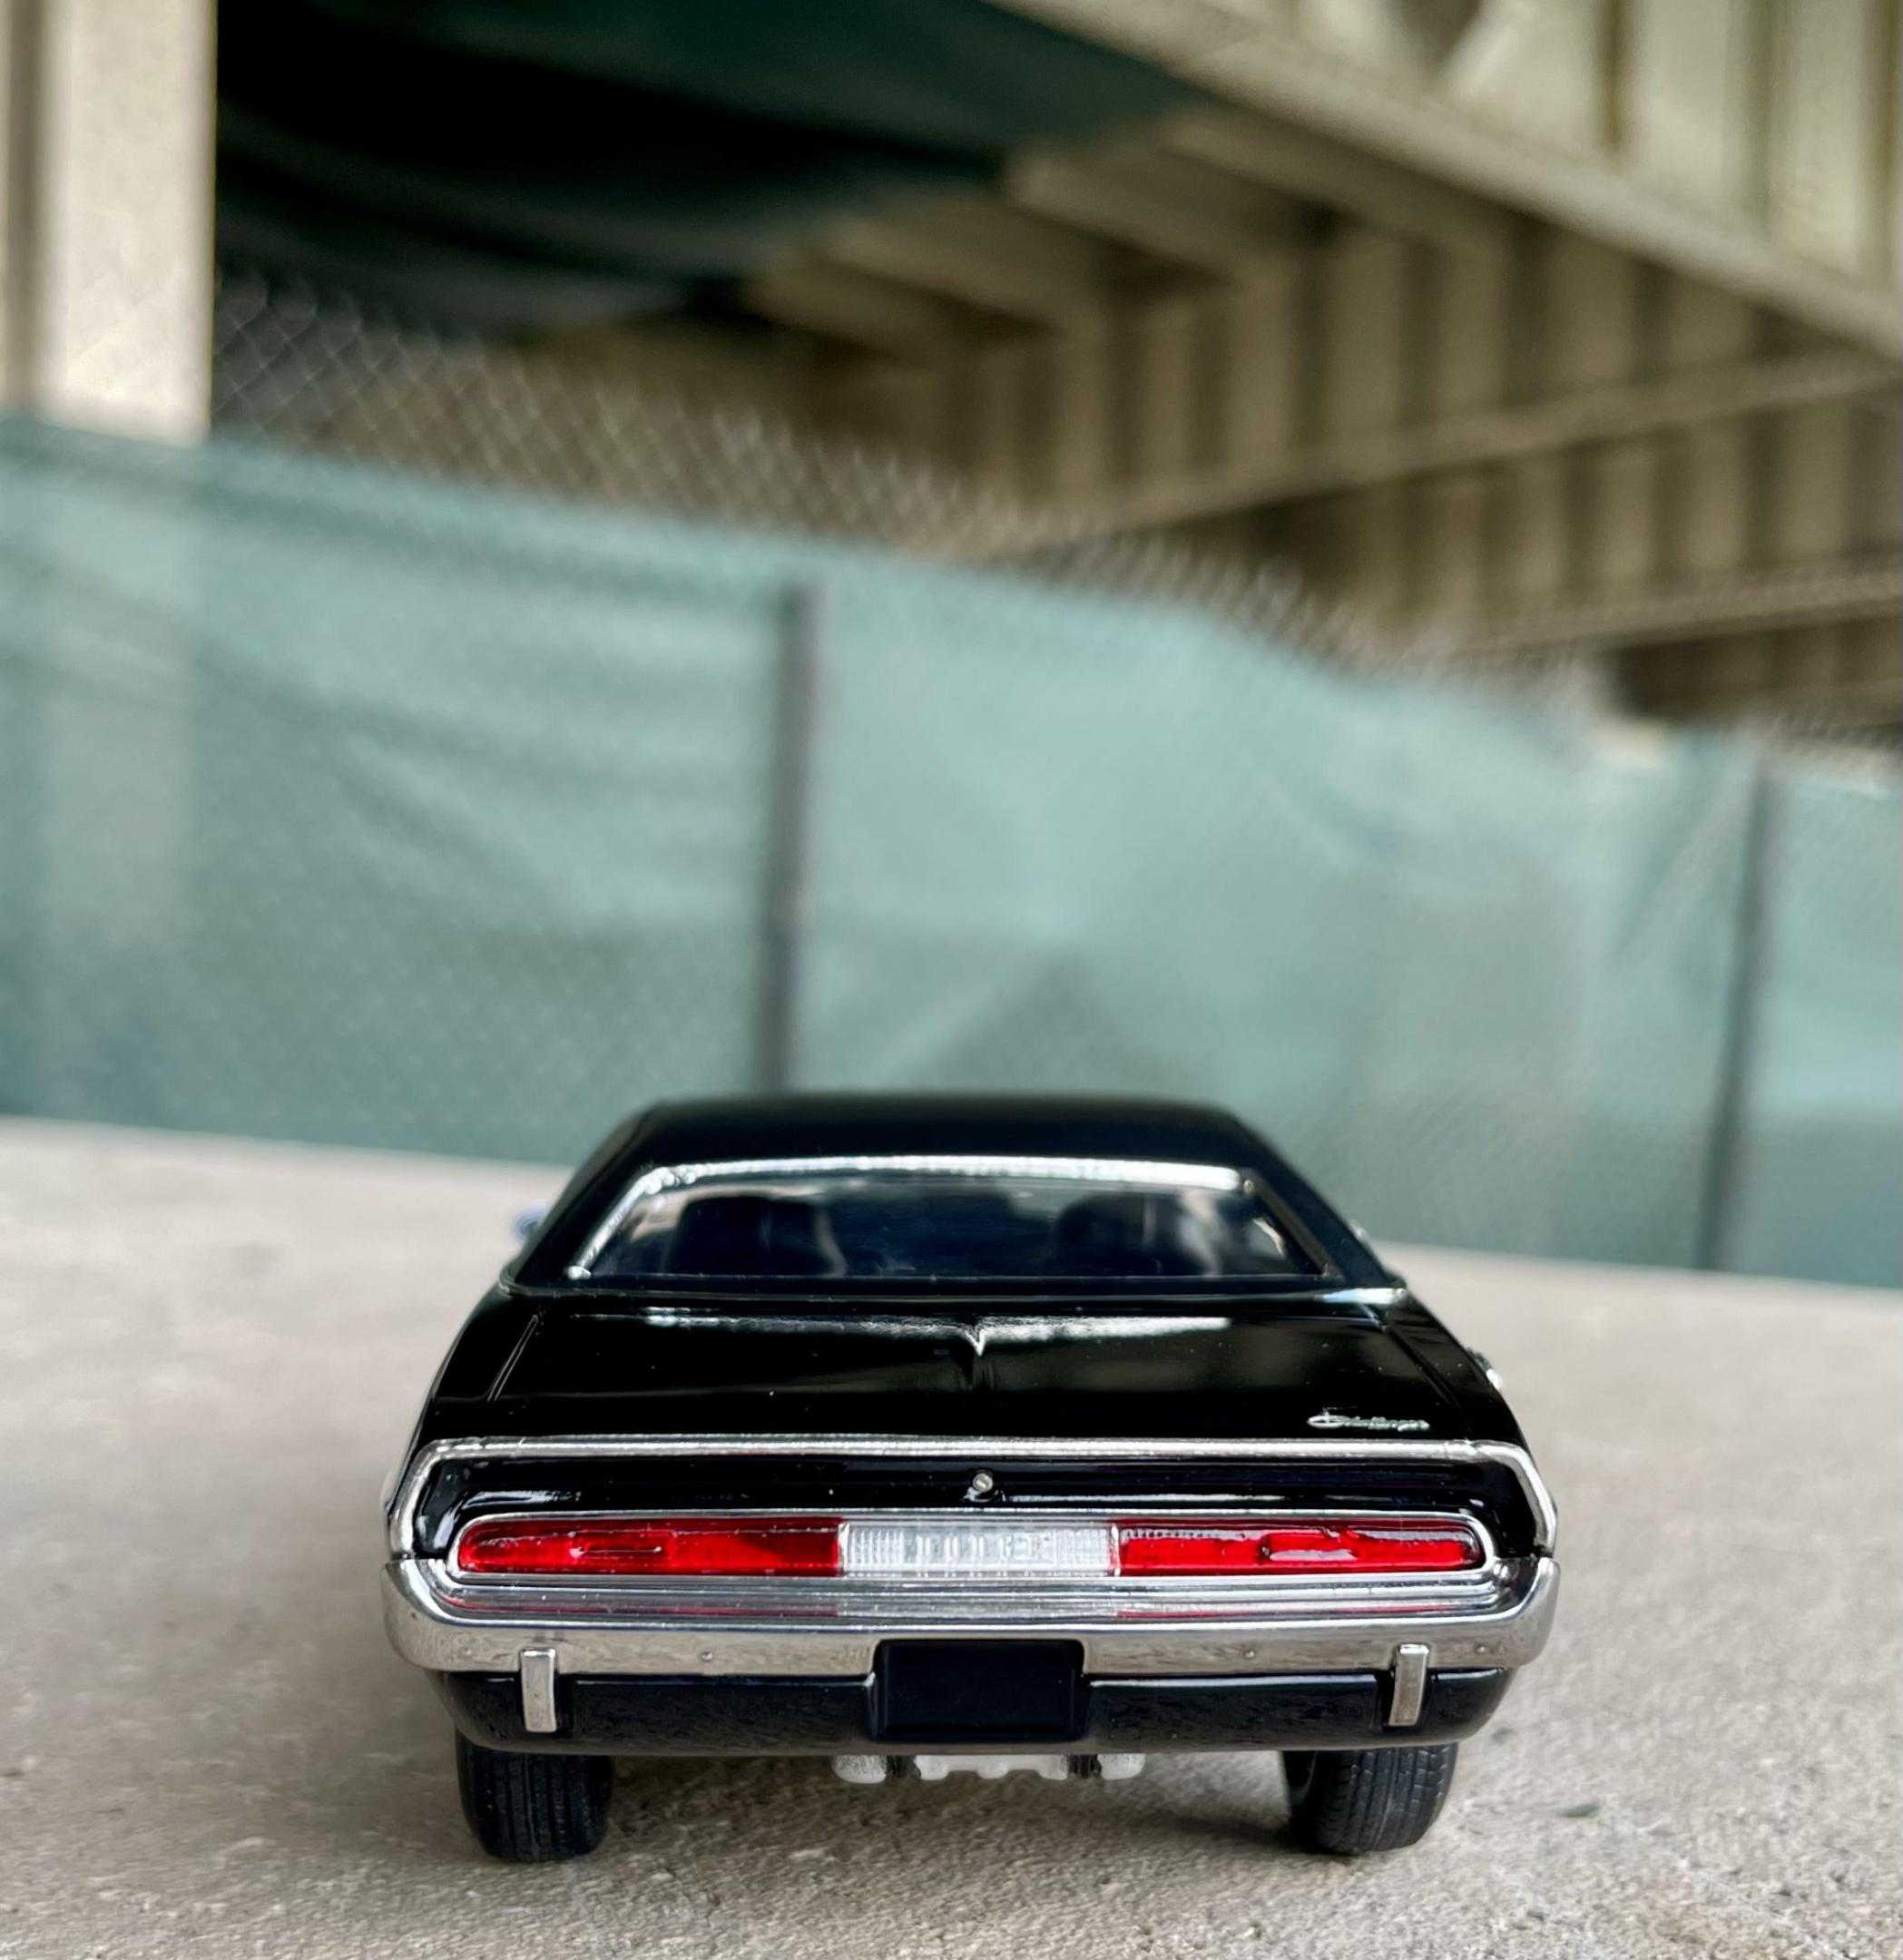
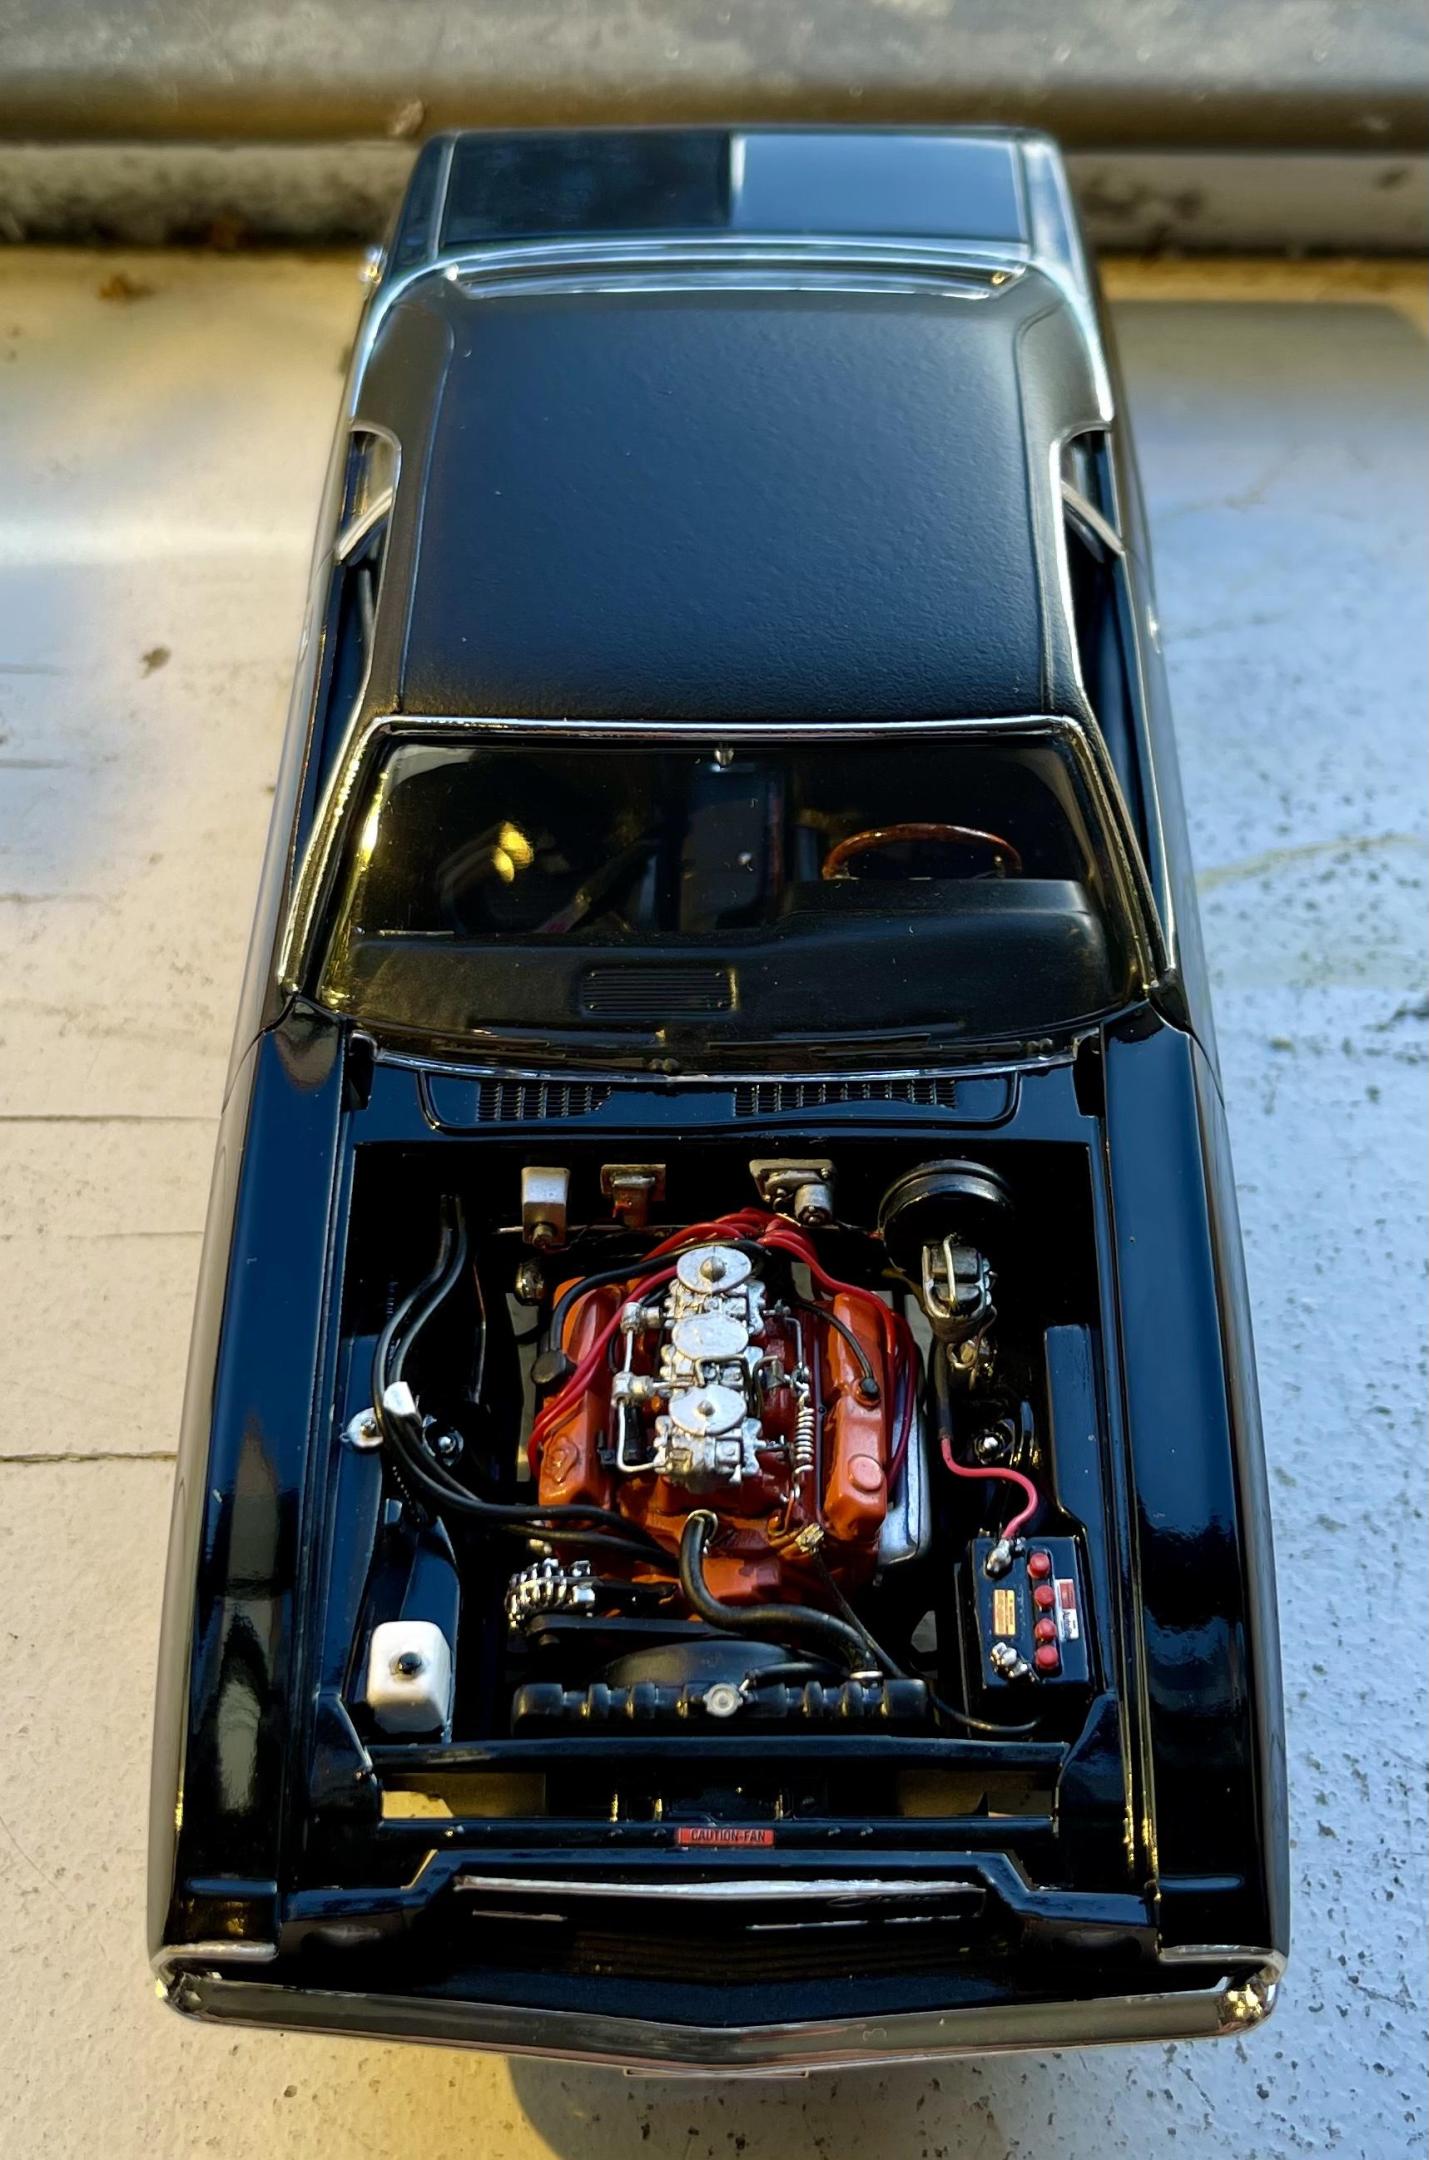
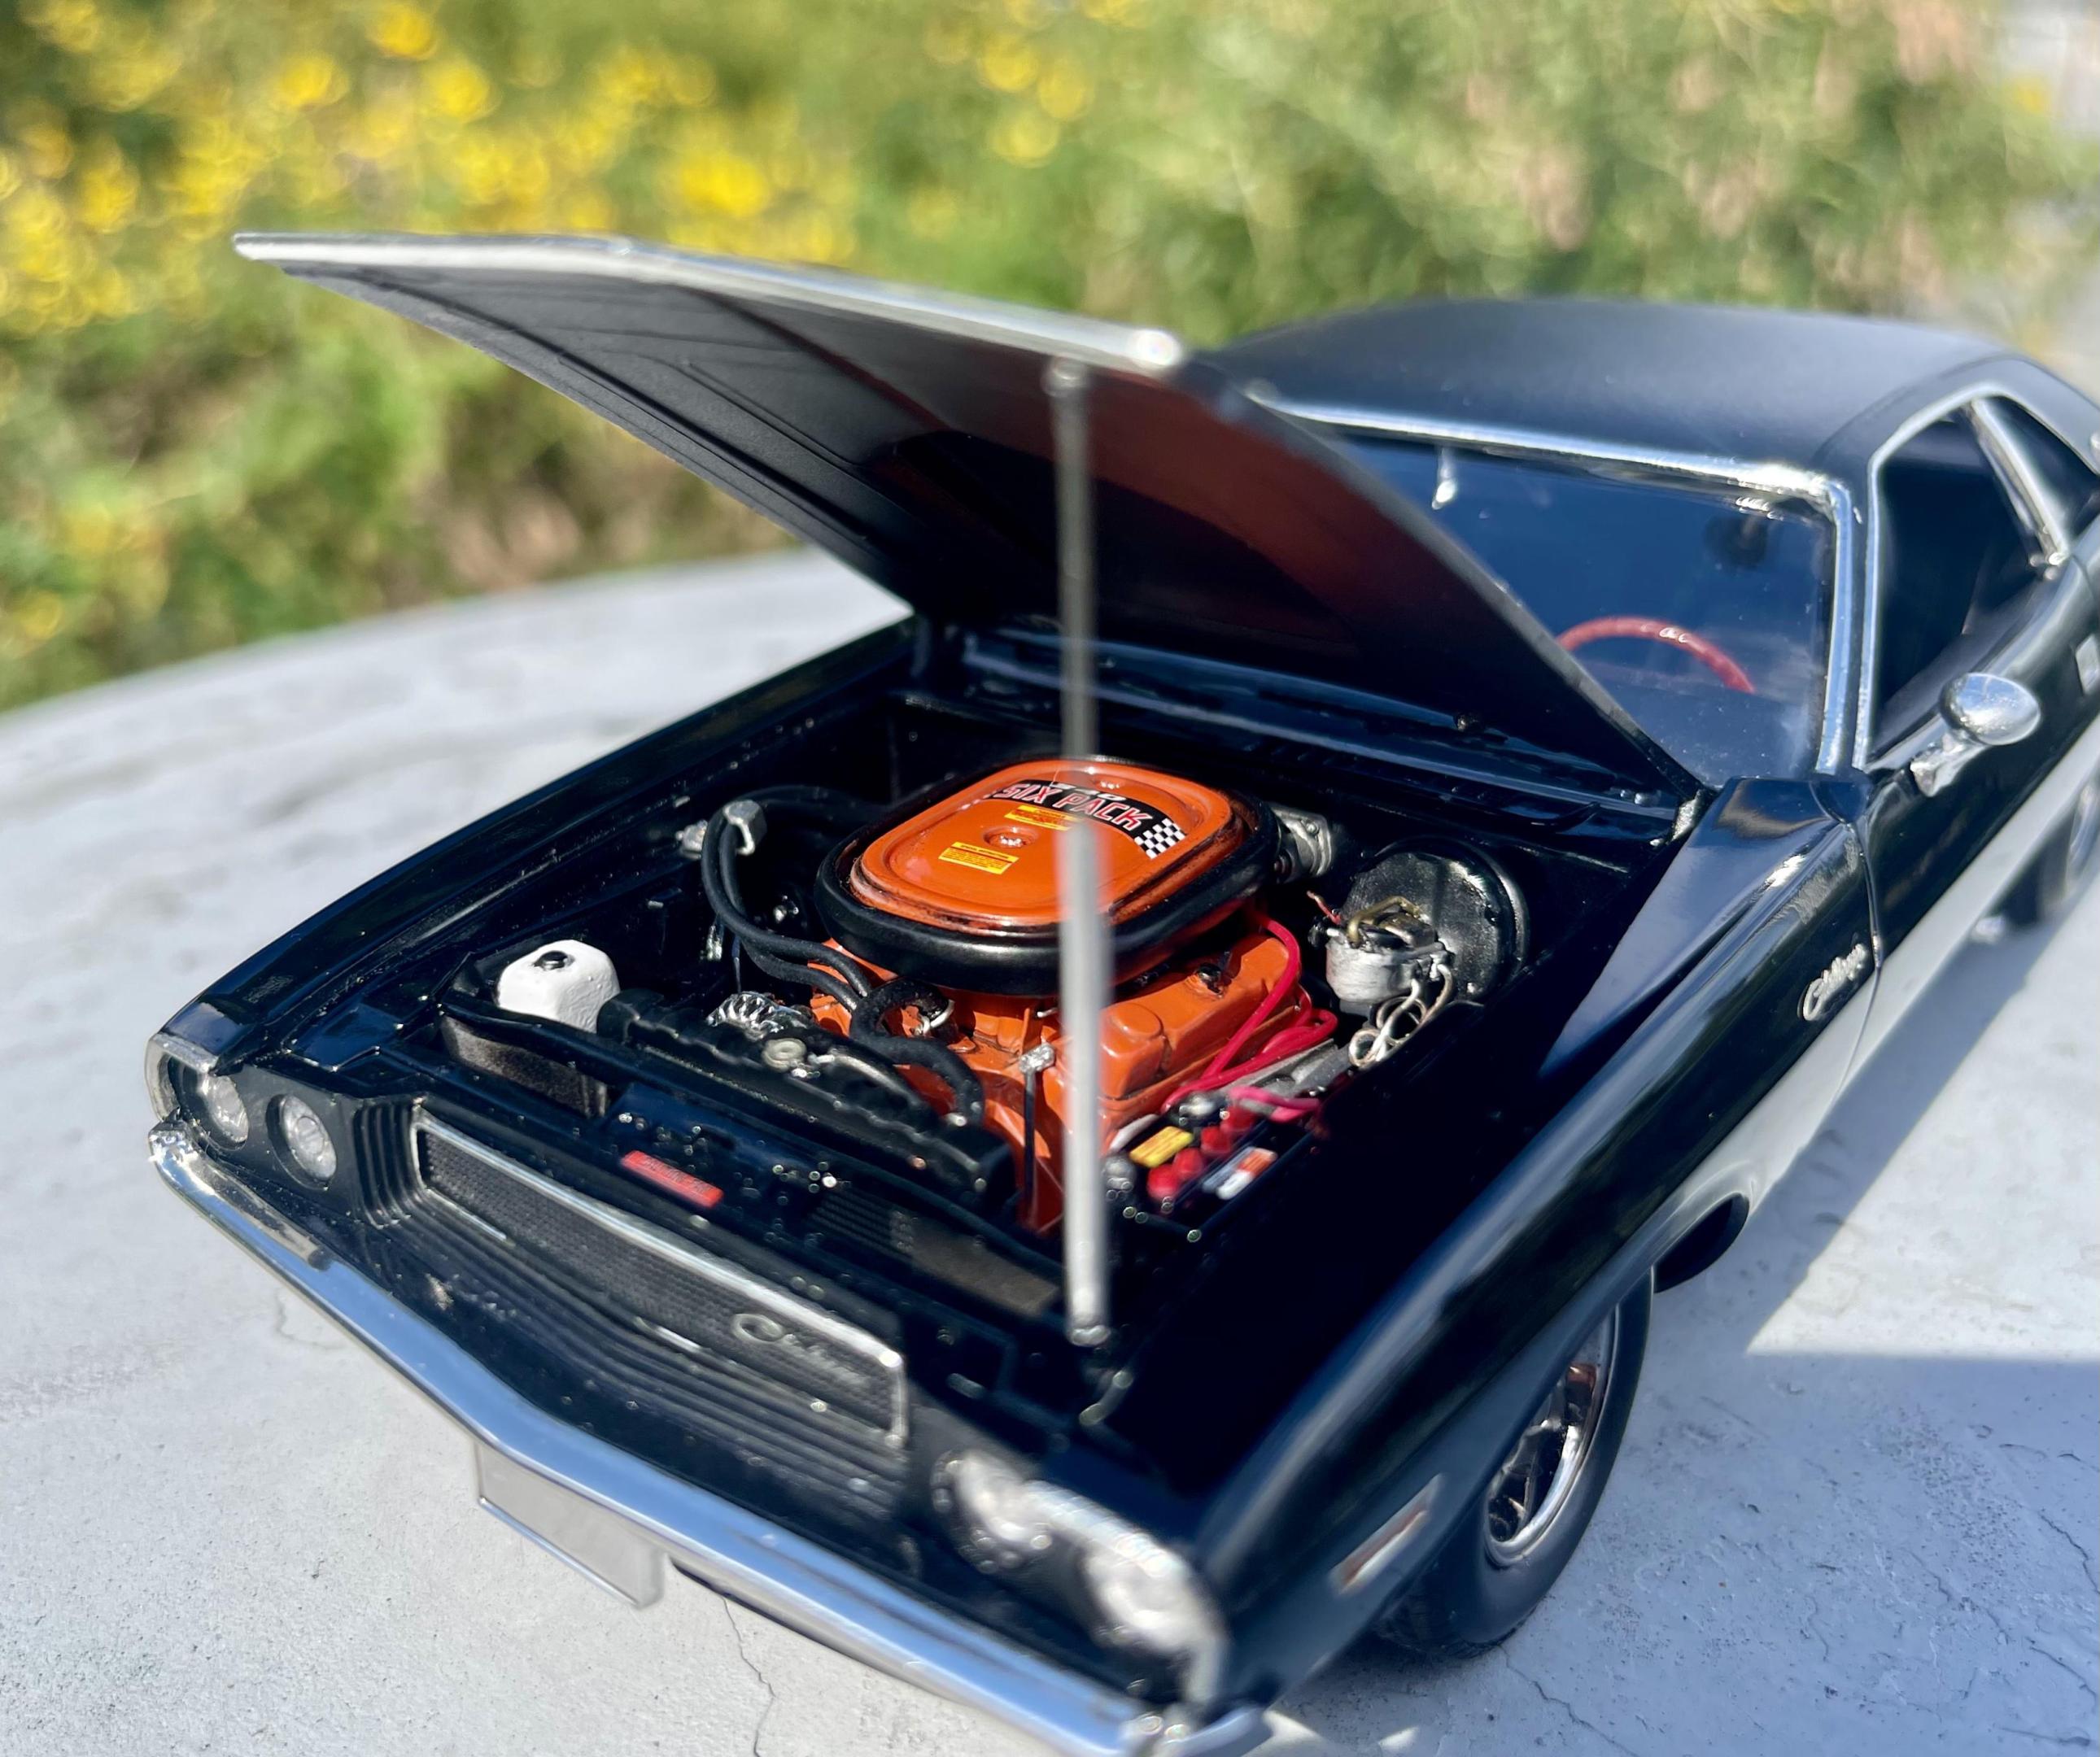
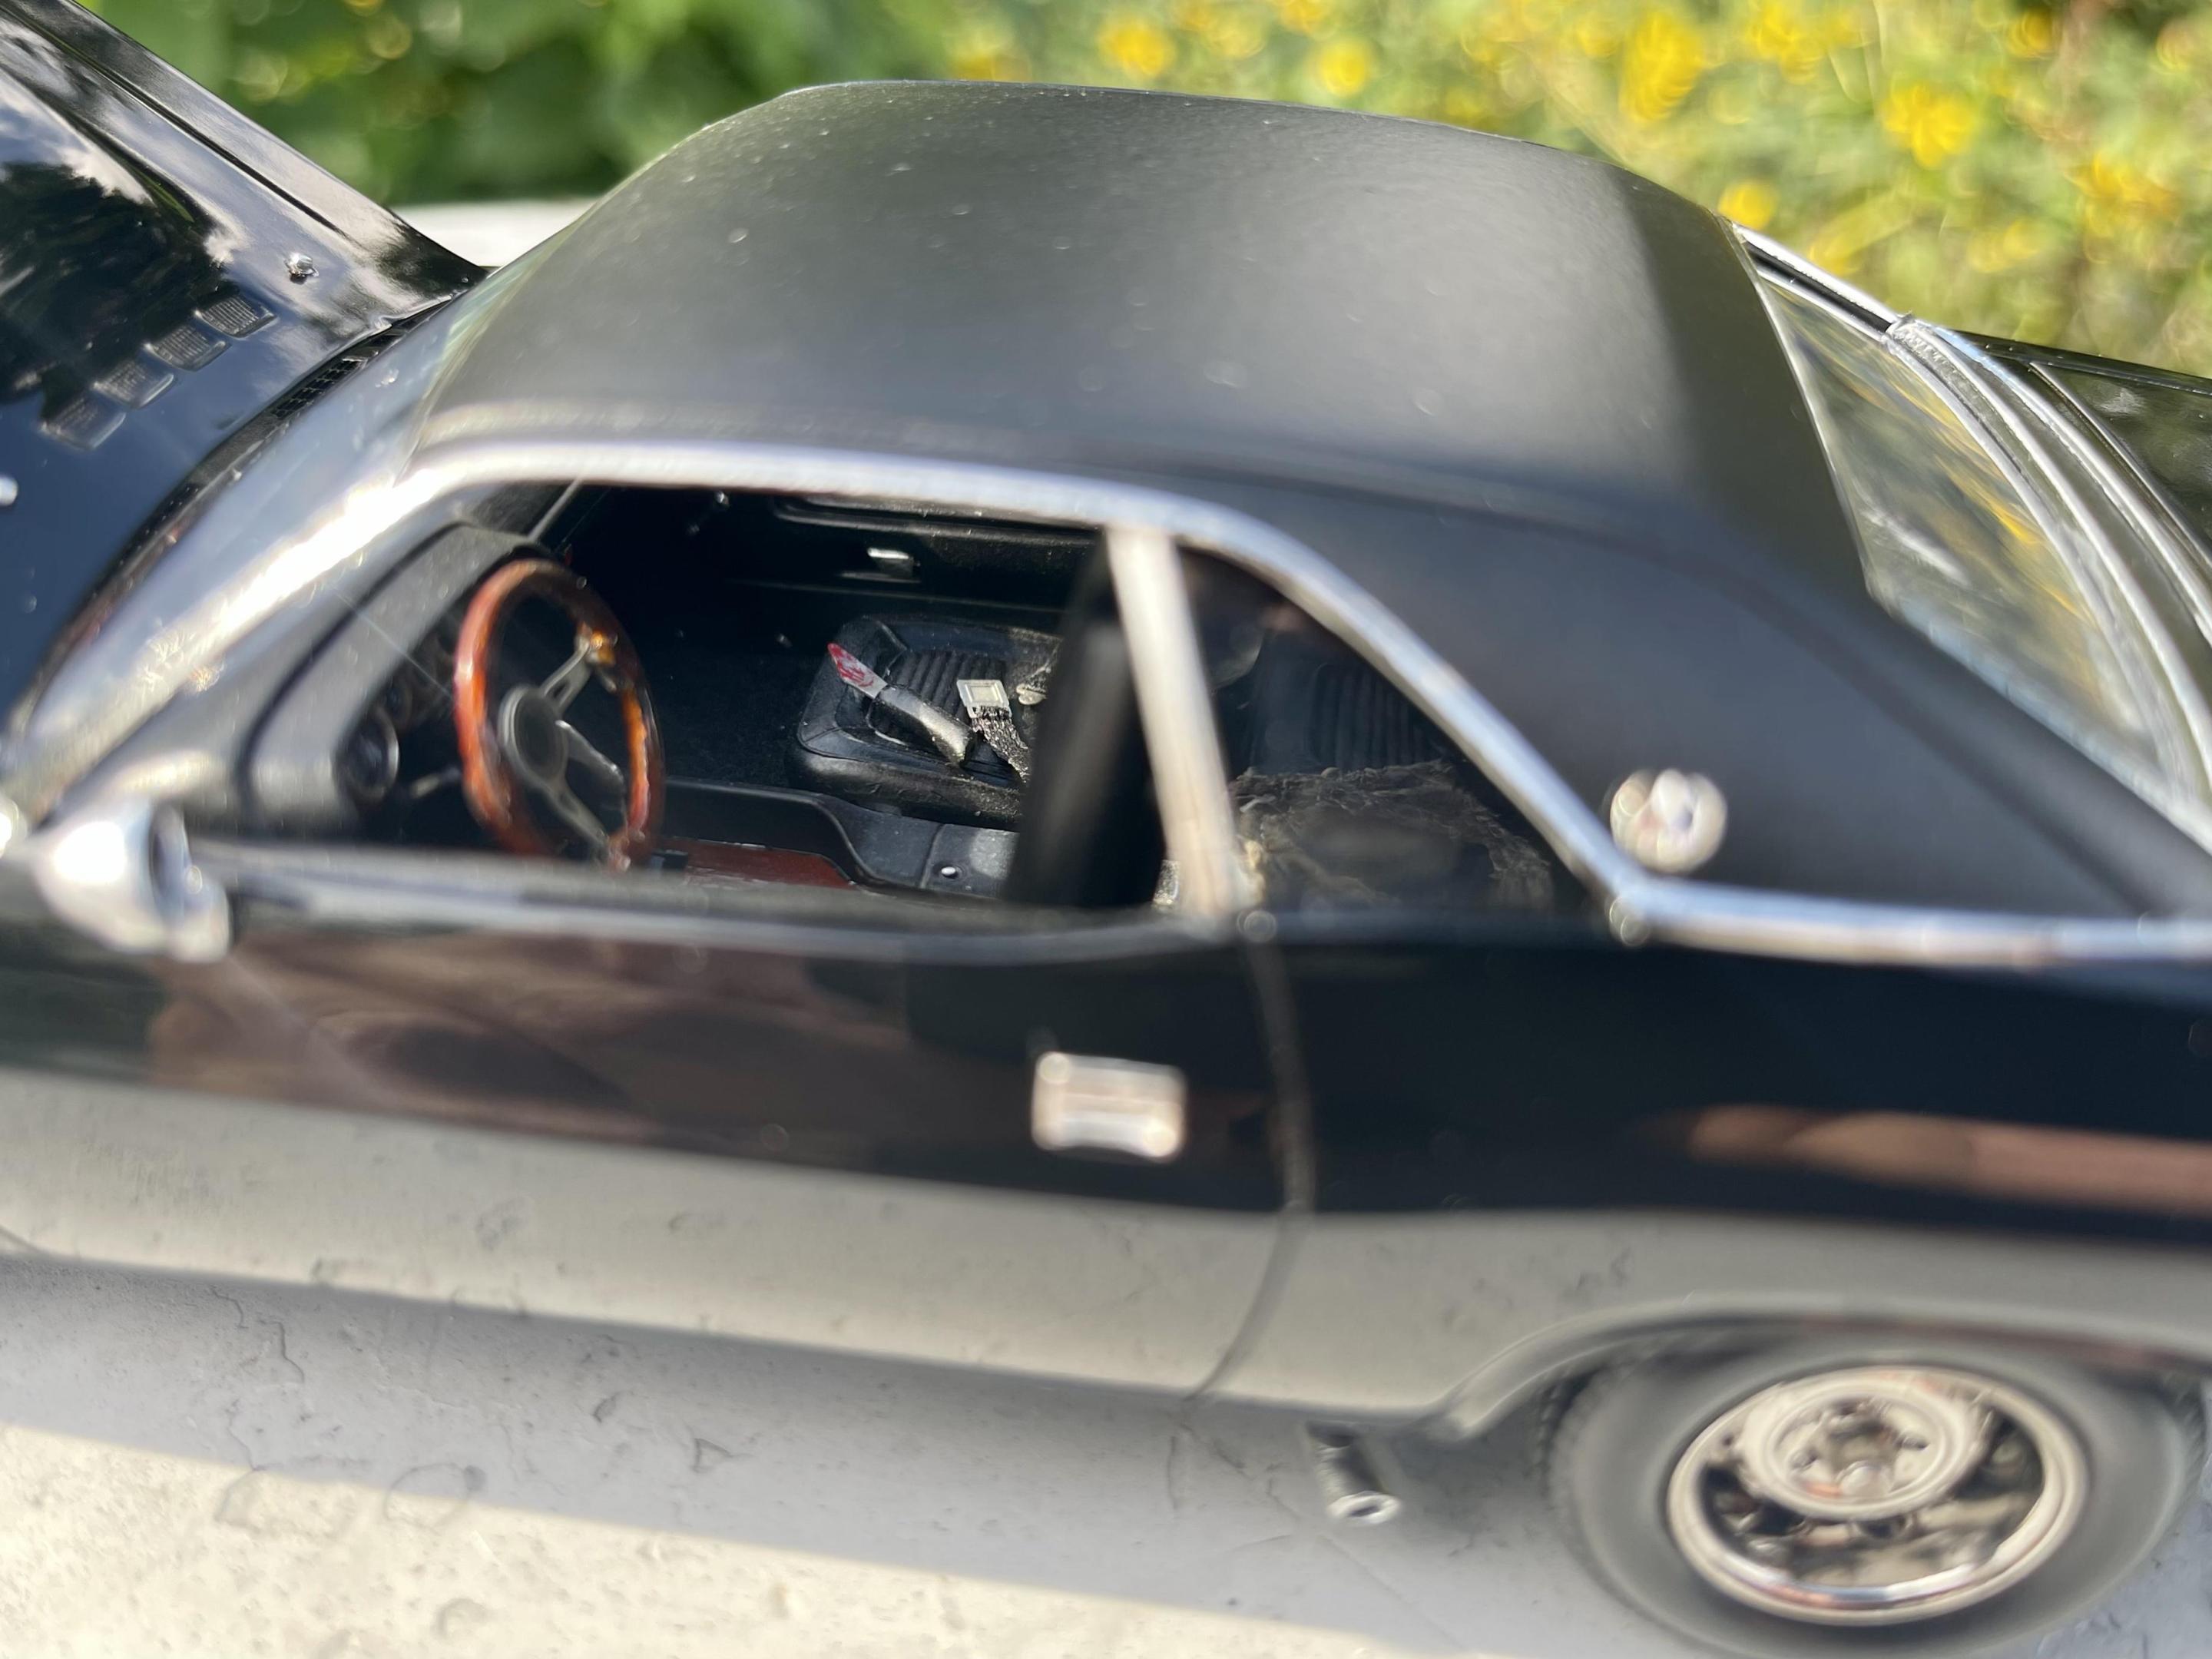
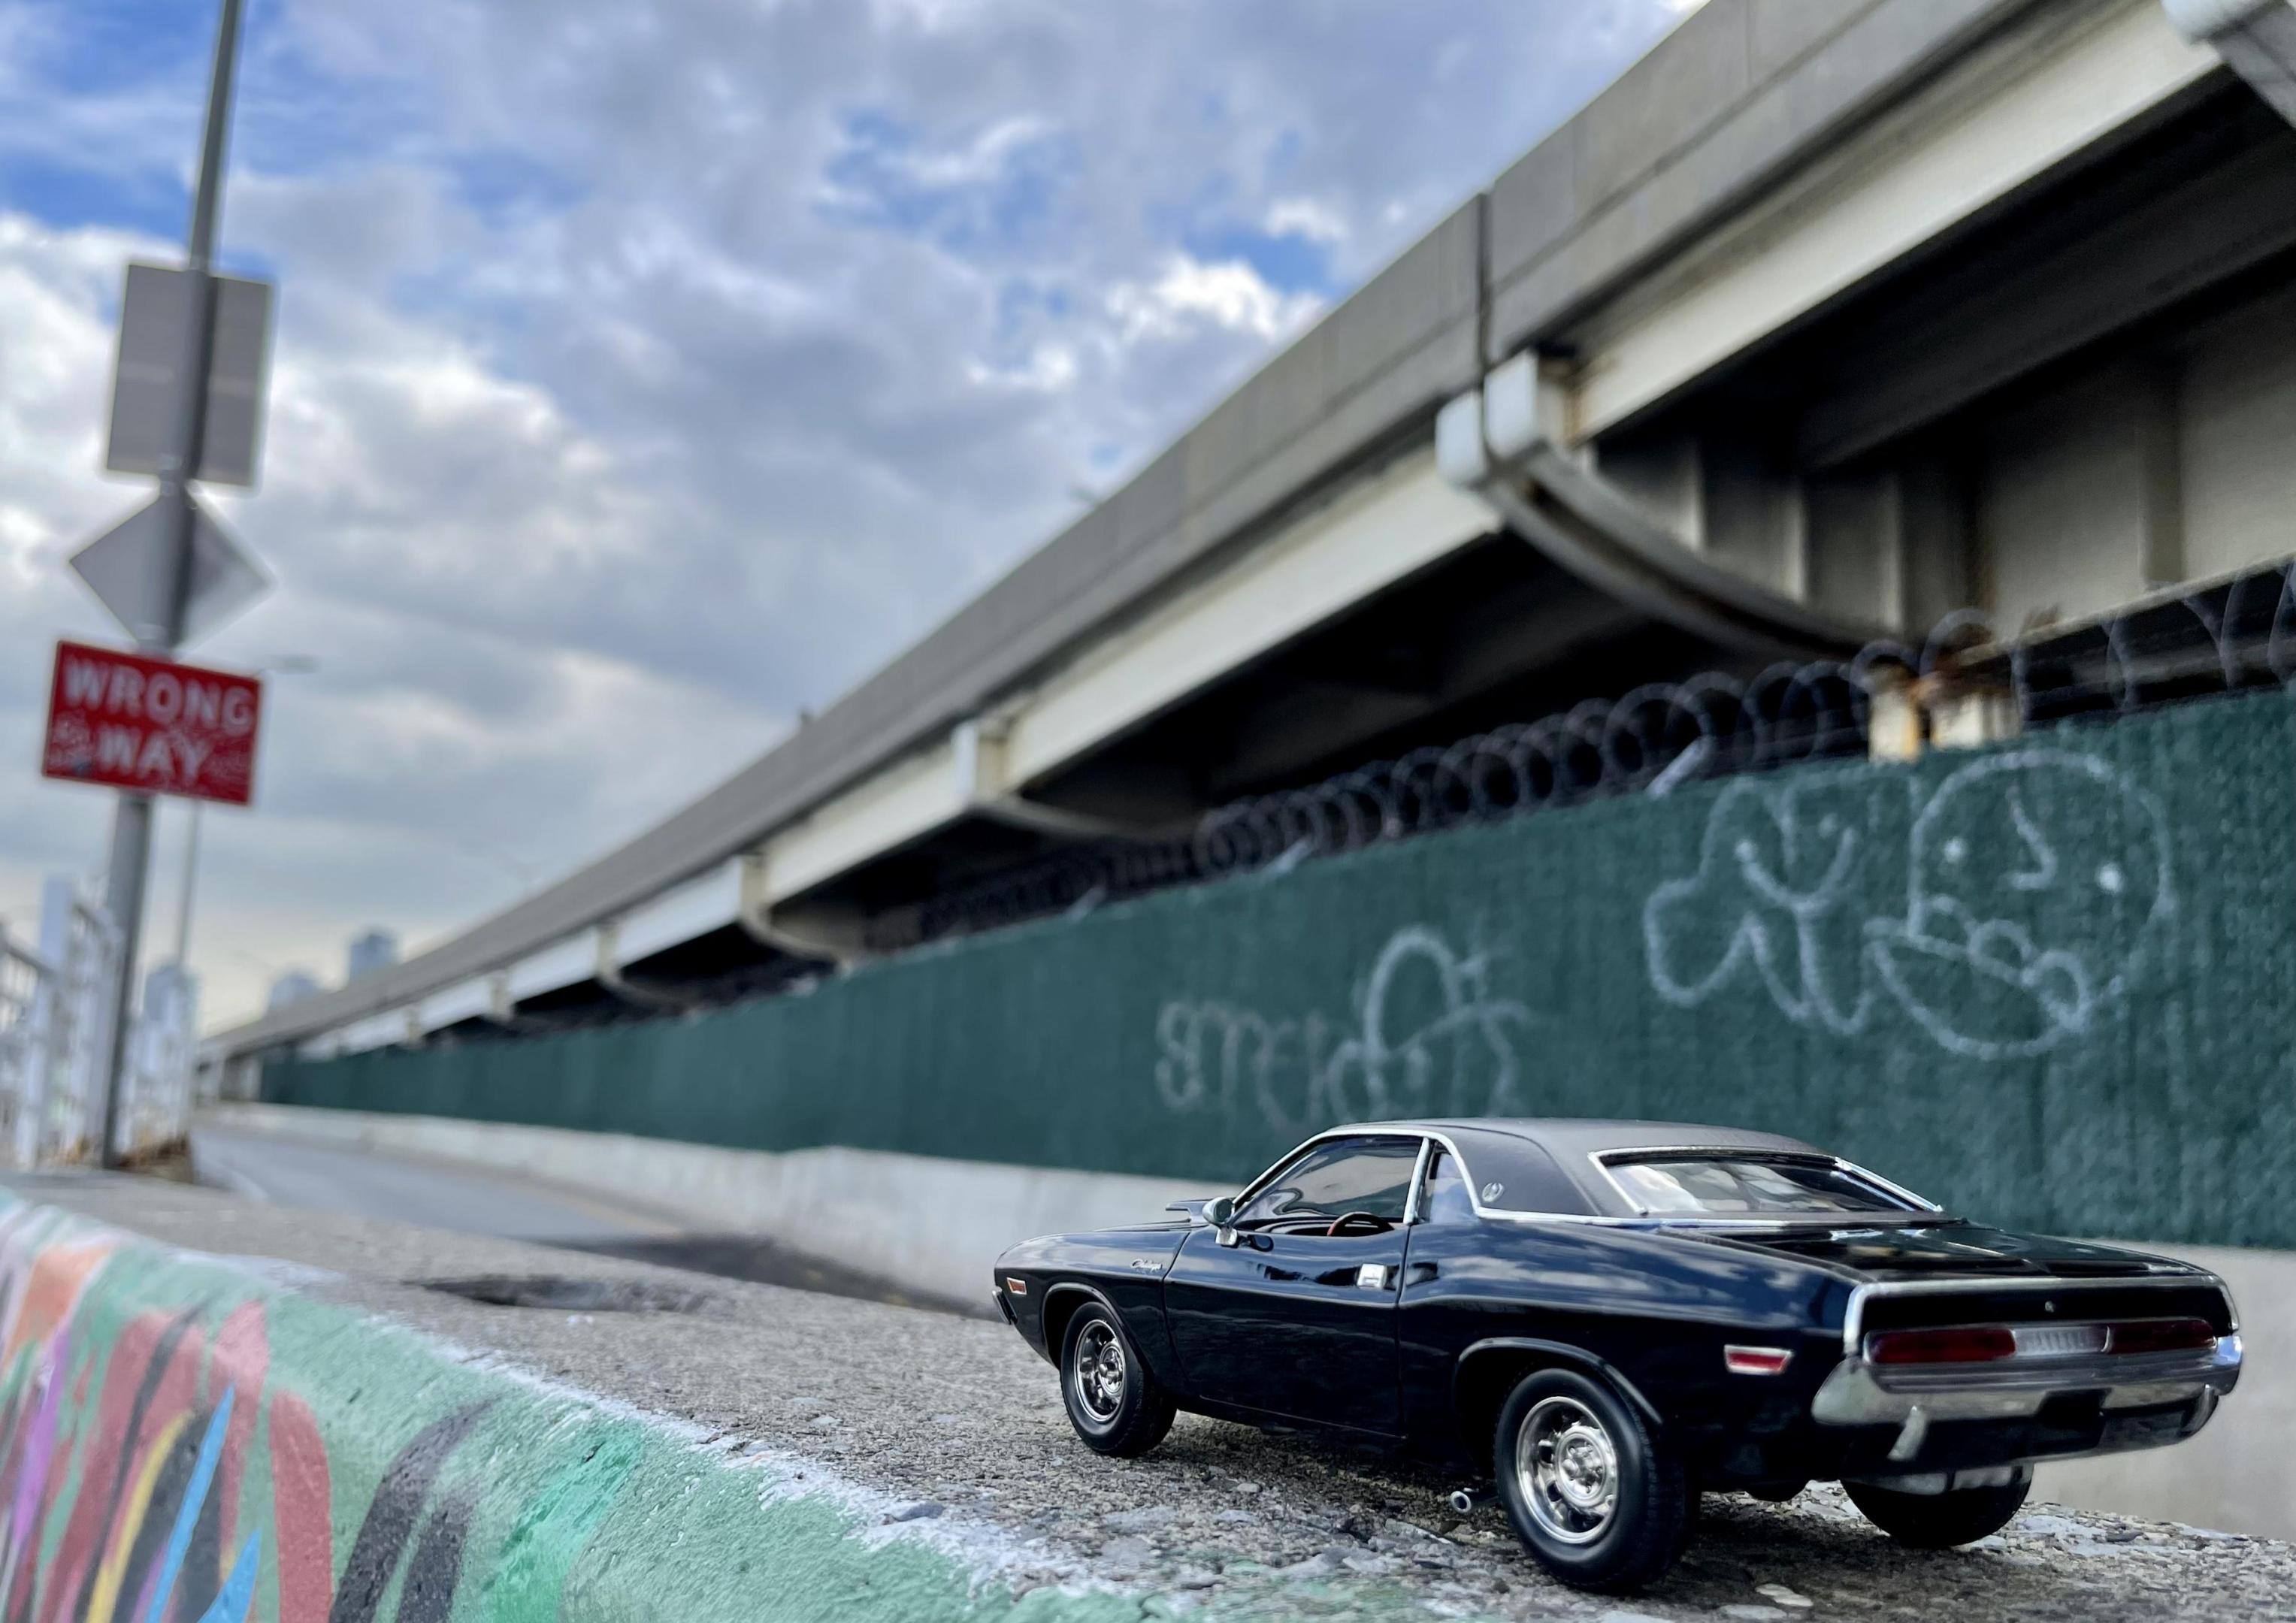
Finished this one a couple of weeks ago and finally got it outside for some pics. Not the most detailed kit in the world but still a lot of fun... My plan was to convert it to a full r/a with a rallye hood, but I couldn’t find a decent one online. I’ll keep looking and someday I’ll swap them out and add the r/t badges. Until then, we have a little custom r/t-t/a hybrid. Paints are all tamiya cans…gloss black for the body and matte for the vinyl top. I like to think a baaaad man drove this thing.
- 40 replies
-
- challenger
- revell
-
(and 1 more)
Tagged with:
-
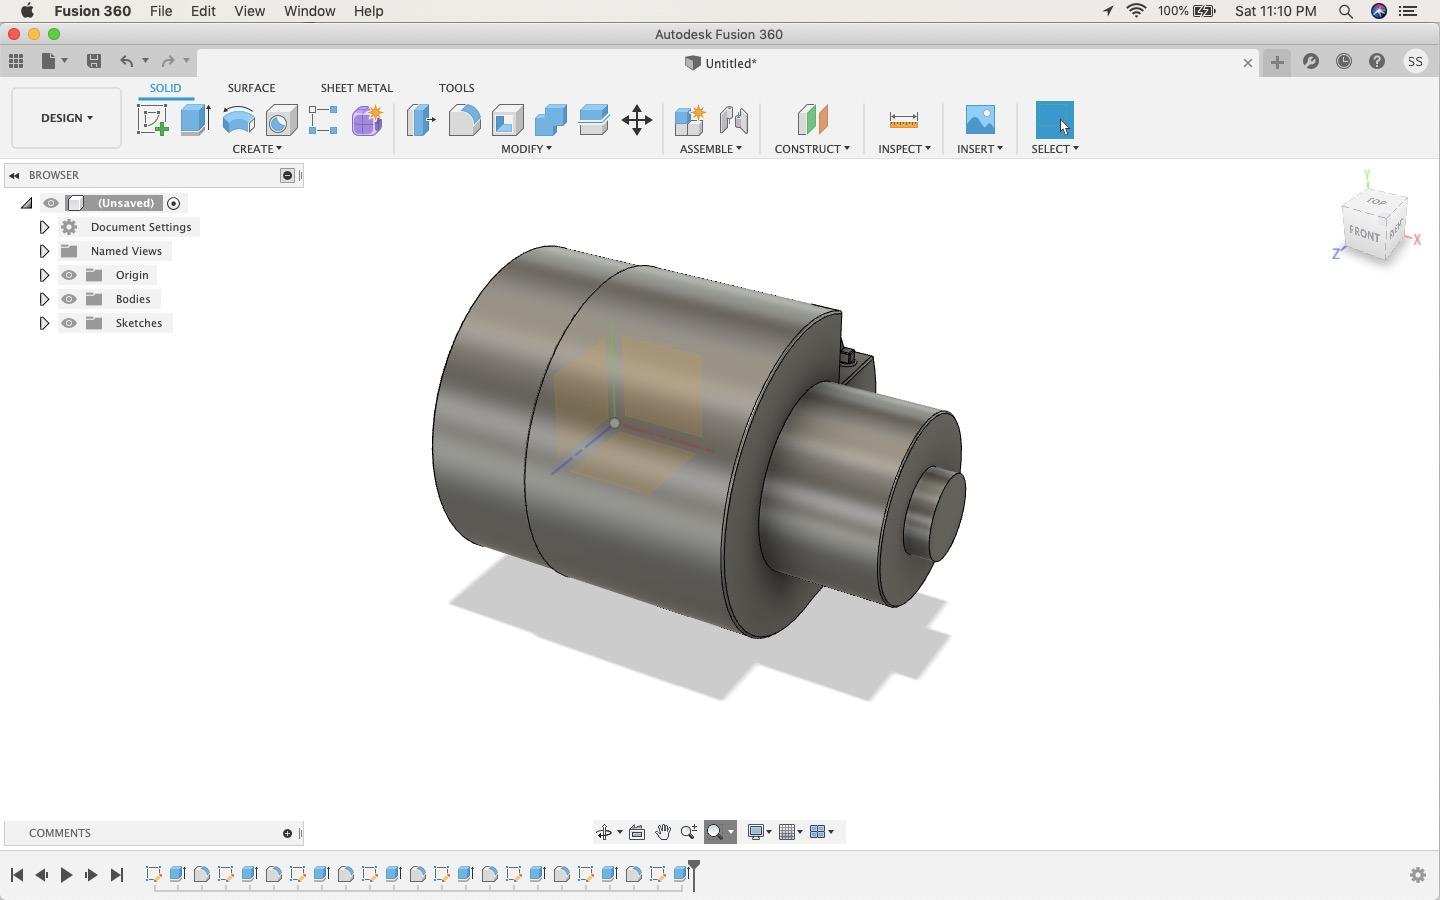
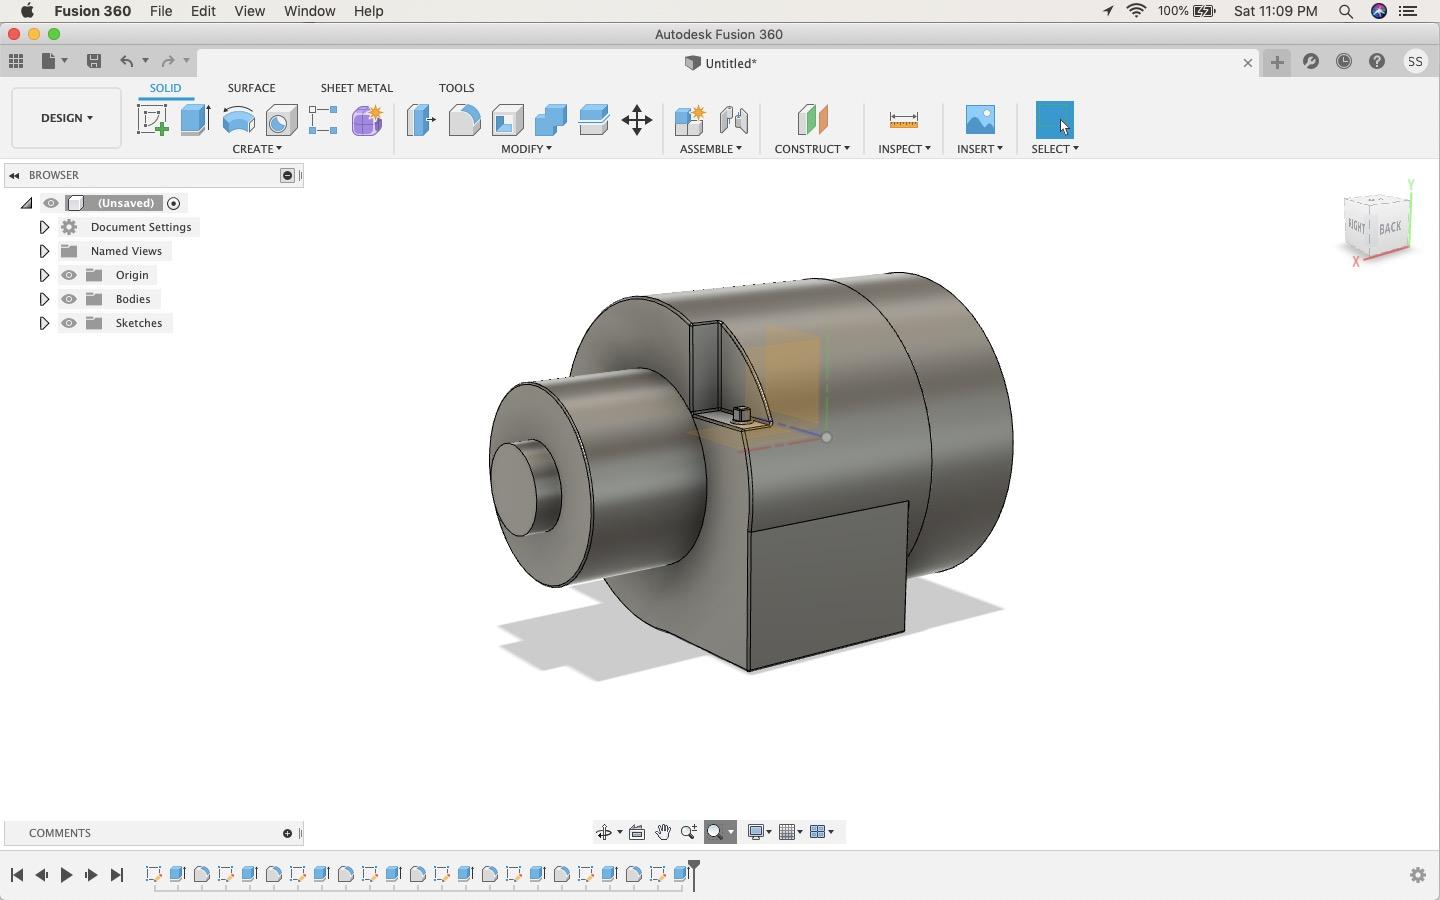
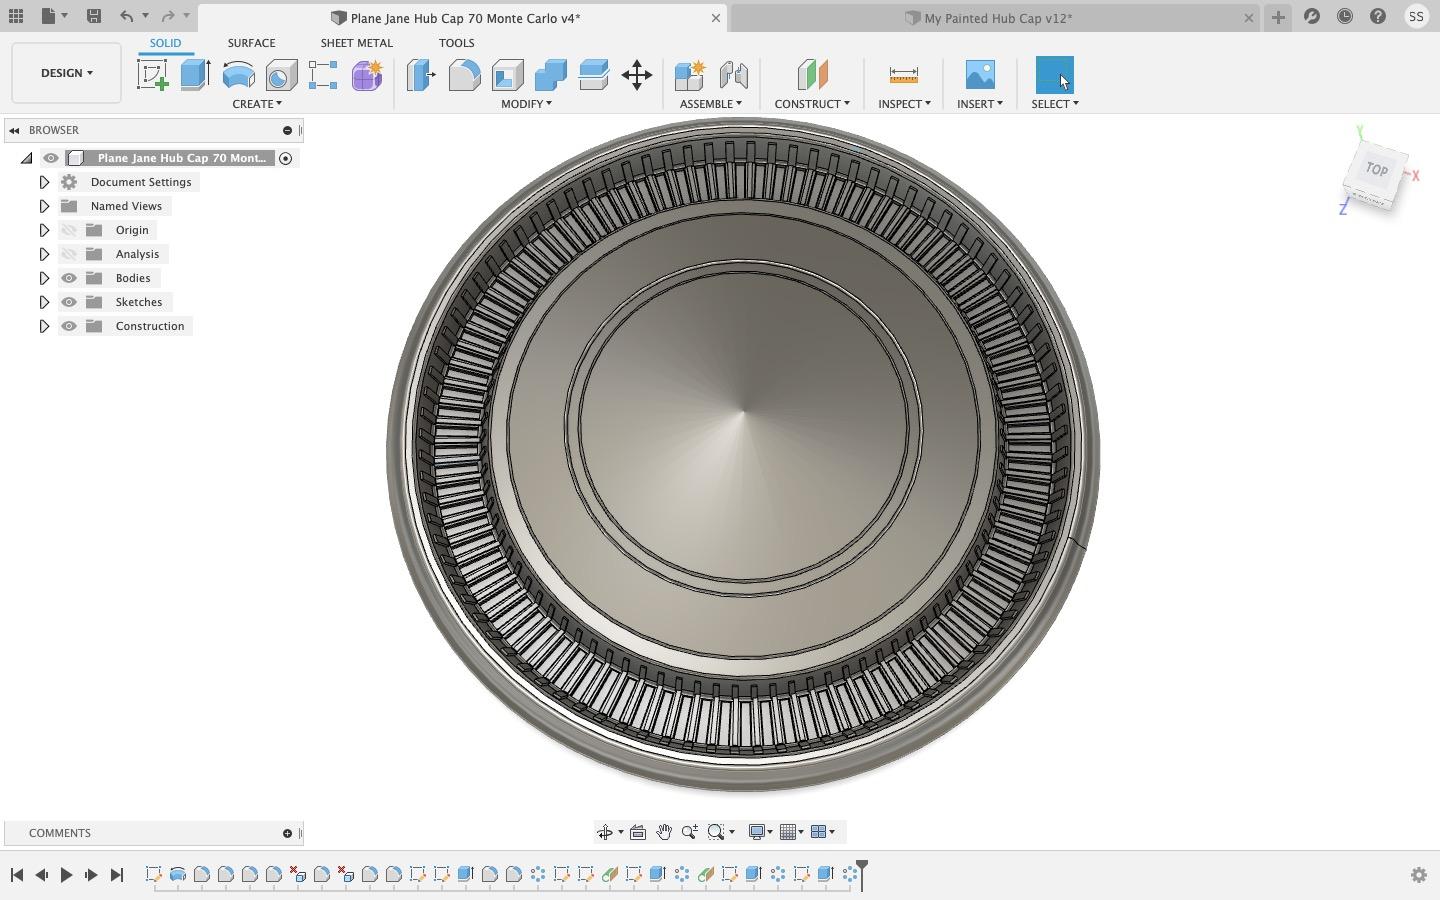
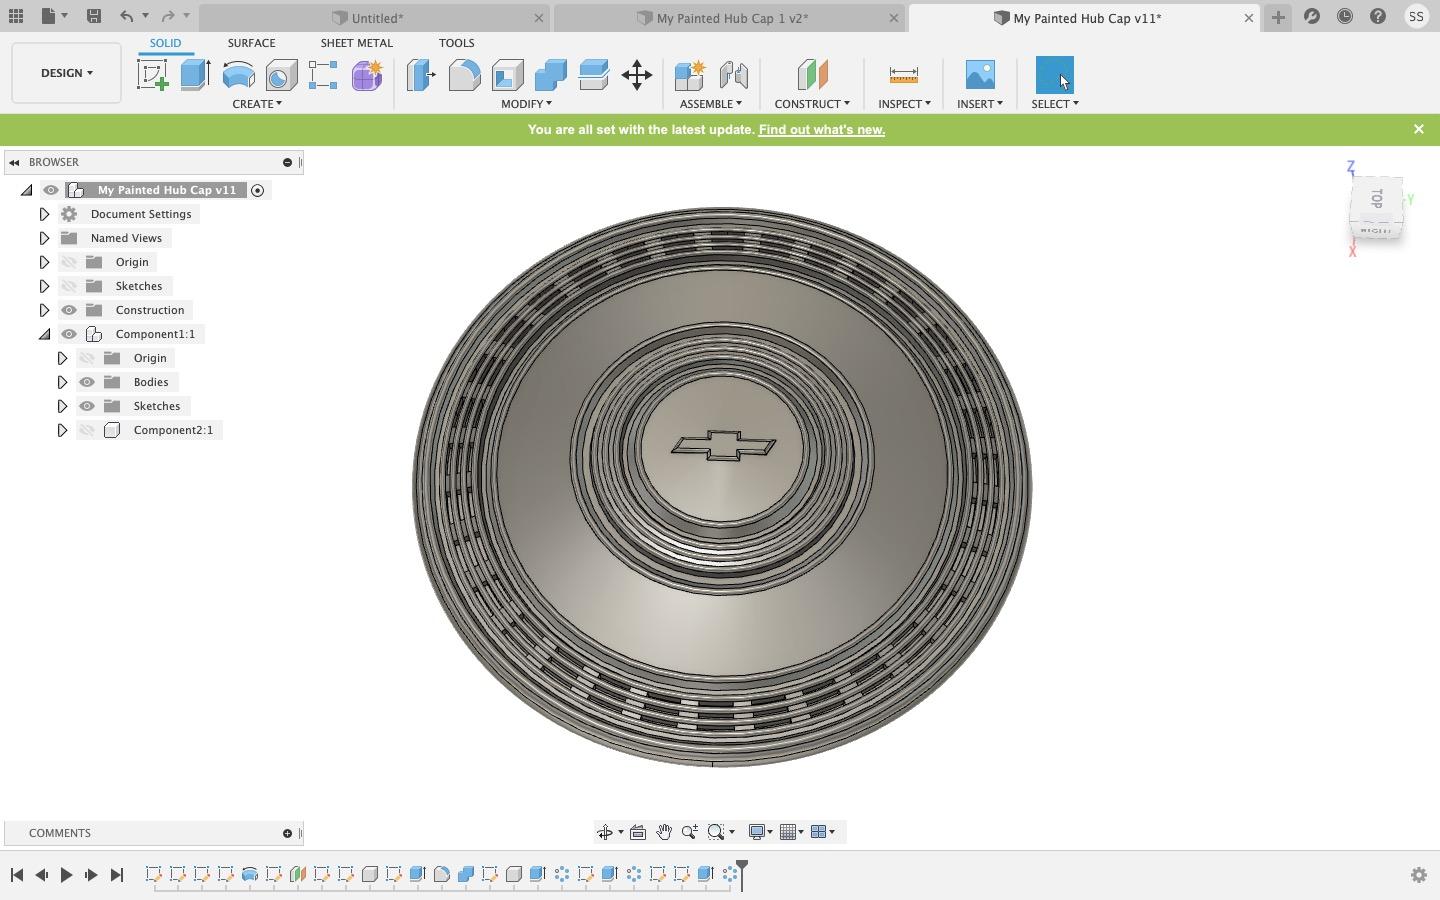
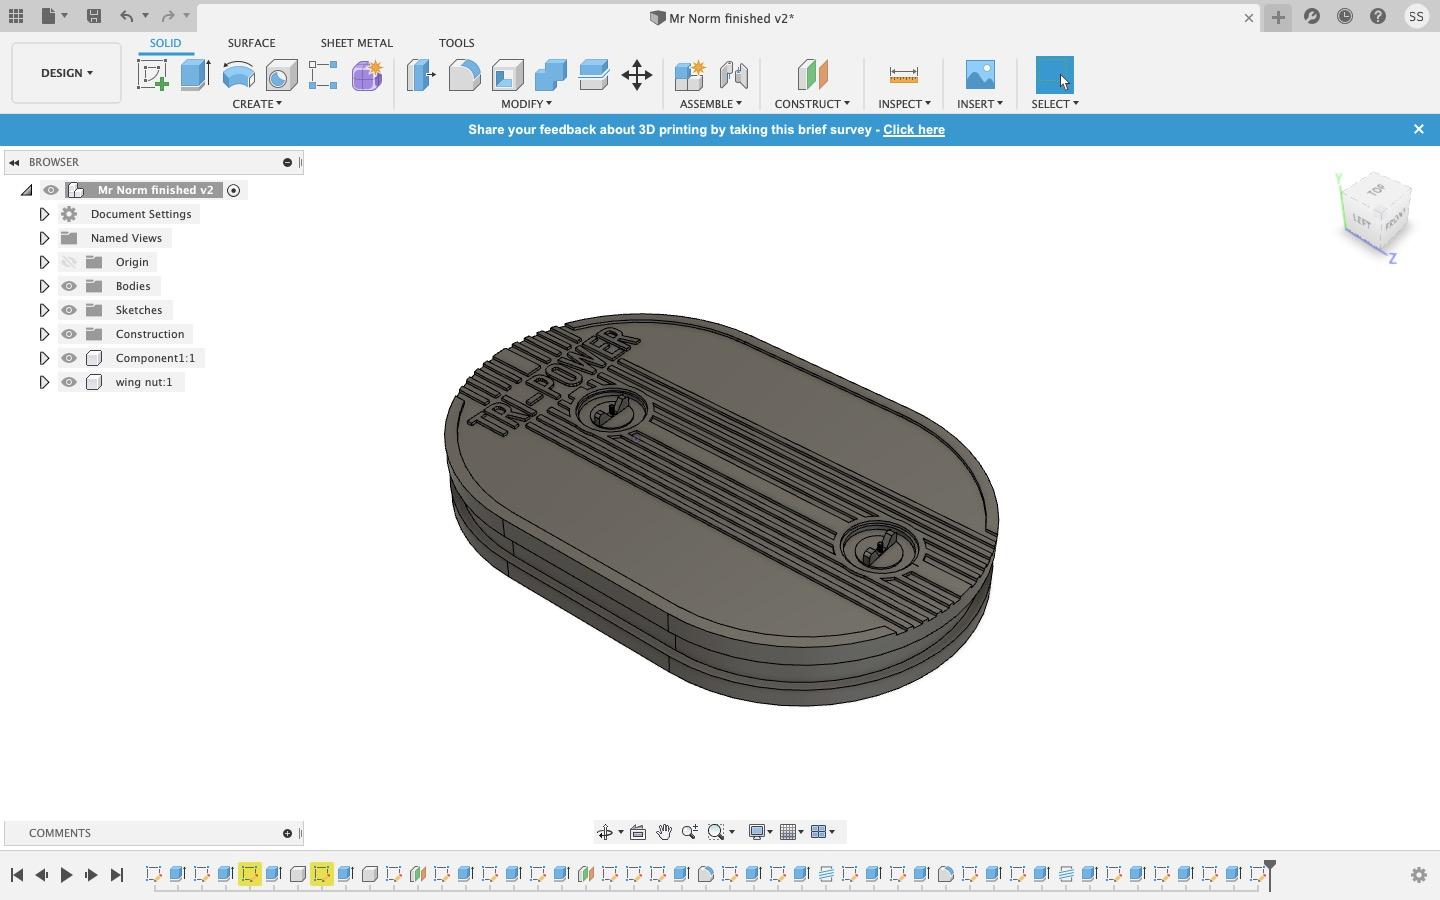
I’ve been trying to teach myself to draw in 3-D the last two weeks. I’m using Fusion360 And I’ve created several different projects from YouTube videos. My first solo project was the painted hubcap pictured below. It’s for the 1970 Monte Carlo. My second drawing is the plain Jane hub cap or a base model for the 1970-72 Monte Carlo. After that, a friend of mine asked me to draw an air cleaner for Mr. Norms Dodge Tri-Power. And presently I’m working on a Hone O Drive for my Motion cars.
- 19 replies
-
- monte carlo
- 1970
-
(and 2 more)
Tagged with:
-
Does anyone out there have any reference photos of the Bub Strickler James Hylton 1970 Impala? I have the decal sheet and the one reference pic below. Looking for pics of front and rear of car along with interior. Any help will be greatly appreciated.
- 24 replies
-
- 1970
- james hylton
-
(and 2 more)
Tagged with:
-
I've been wanting a 70 GTO for awhile, but there aren't any modern kits, and the vintage kits are way to pricey. The other day I saw a conversion kit for the 72 MPC GTO and decided to give it a try based on my previous experience with the Challenger conversions. IMPORTANT DISCLAIMER: DO NOT ATTEMPT UNLESS YOU ARE AT PRO LEVEL! So, with that being said; this kit and build was a nightmare. First off the conversion was way over molded. The hood alone was a 1/4 in thick. There was a lot of sanding...........so much sanding. I never did get it sanded down. I ended up doing some cutting and gluing the hood to the body. Irritation number two, the MPC kit front end is attached to the body. So I had to cut the front end off and sand some more, YAY! So, I get it the way I think it would be good. I go to see how the new front end will look once put on and..............The hood is too long. Yay, more sanding, just what I wanted. So, now I get it good, and I go to glue the front end on. There's now a gap because it doesn't want to glue all the way down. Great! A lot of cursing later and I finally get it some what looking....... OK. As a previous poster commented on their build; the rear end on the MPC kit has a fit issue. I tried to get it looking good, but it was pretty hard. I also hate that the MPC kit is molded in orange. It's a pretty bad, basic kit. There's also a problem with the pipes. They hang down way too far. Gotta glue them to the body later. My last problem was the stripes. They are Keith Marks and look good. However, they are not one piece. Yeah, I had to put on a strip, let it set, and put another strip over it. What could go wrong? A lot. Had one double over on itself and it's also hard to line them up.. Over all though, it looks passable for my collection. SAM_0078 by Eric Lucas, on Flickr SAM_0079 by Eric Lucas, on Flickr SAM_0080 by Eric Lucas, on Flickr SAM_0081 by Eric Lucas, on Flickr
-
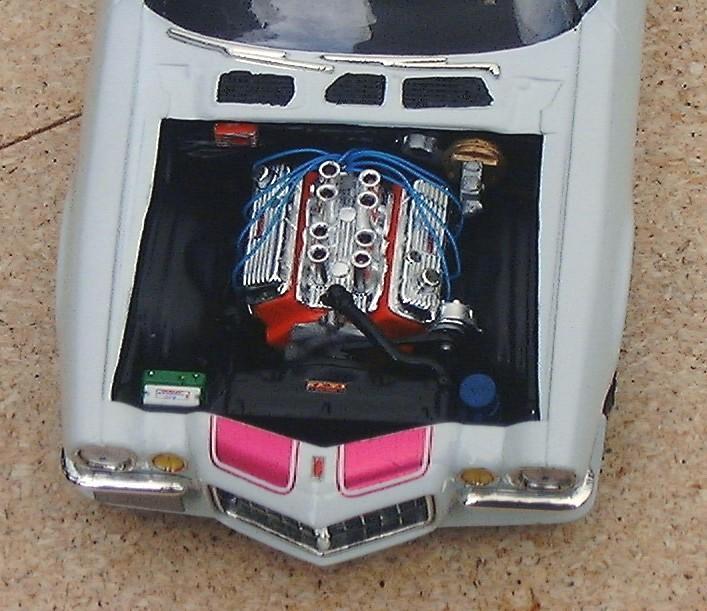
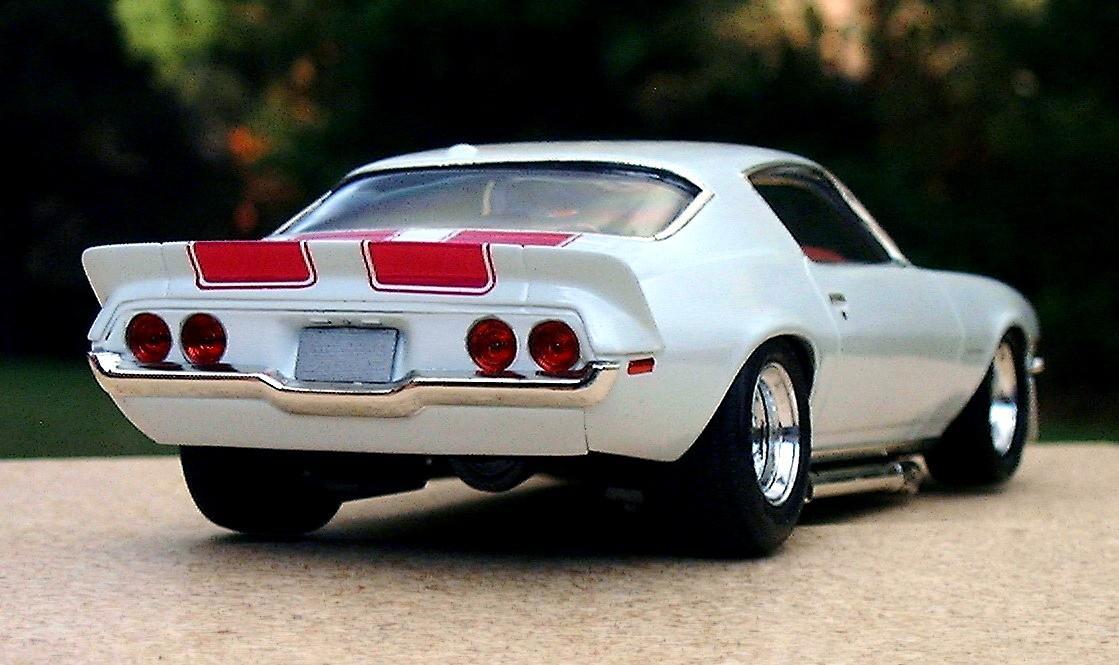
Hey, everyone!, I recently had an old friend move here from Santa Cruz, California. We use to build together over a decade ago, and now he wants to start it up again! I asked him which car he wanted to build, and he chose AMT's 1970 Baldwin Motion Camaro, so that's what we're doing. I mostly build exotics, but I do have a TON of muscle car kits, this however, will be my very first GM build.....i'm pretty stoked!! The 1970 Camaro is my favorite year for that car, in fact, 1970 was the BEST year for muscle cars from ALL the manufacturers! If you are familiar with how I build, this will come as no surprise....its almost imposable for me to NOT change things. This is no exception, lol. He will build his in a more traditional Hot rod way, which I will also post here as we go. Heres a riddle for mine; what do you get when mix the following cars, and styles together?...
-
New project on the bench. I have a body with the front and rear bumpers molded in for this one. I’ll take pictures when I dig it out. I started it over 15 years ago. Maybe Snake will let me throw it in the next “Bring Out Your Dead” assuming there’s one starting in January. It is sitting a little high in the rear here. I notched the top of the tub’s and move them up here. I think I will drop the front a little too. Here is the inspiration!
- 4 replies
-
- pro street
- monte carlo
-
(and 1 more)
Tagged with:
-
This model is an approximation of the real Chevelle my friend Mike M. had right after we graduated high school. It was a true SS 396 in red with black stripes, black interior and black vinyl top. It was a 4-speed and the engine was built up with Holley, Edelbrock and Hooker parts. The thing was bad fast too. We had to go WAY out to the country to look at it which helped as they only wanted $1000 for it. If it wasn't, it would have been snatched up long before we got there. This model is the closest to box stock as I have ever built. I did add some photo etch emblems. I am about 70% happy with the paint and 95% happy with all the details.
-
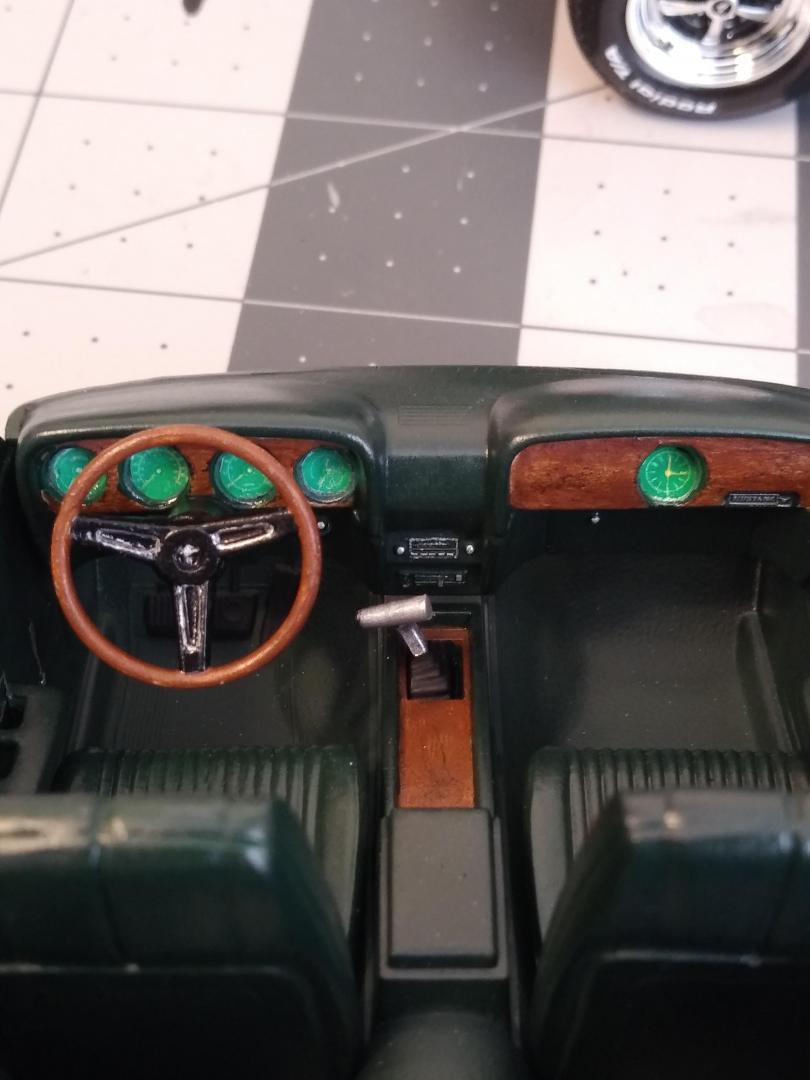
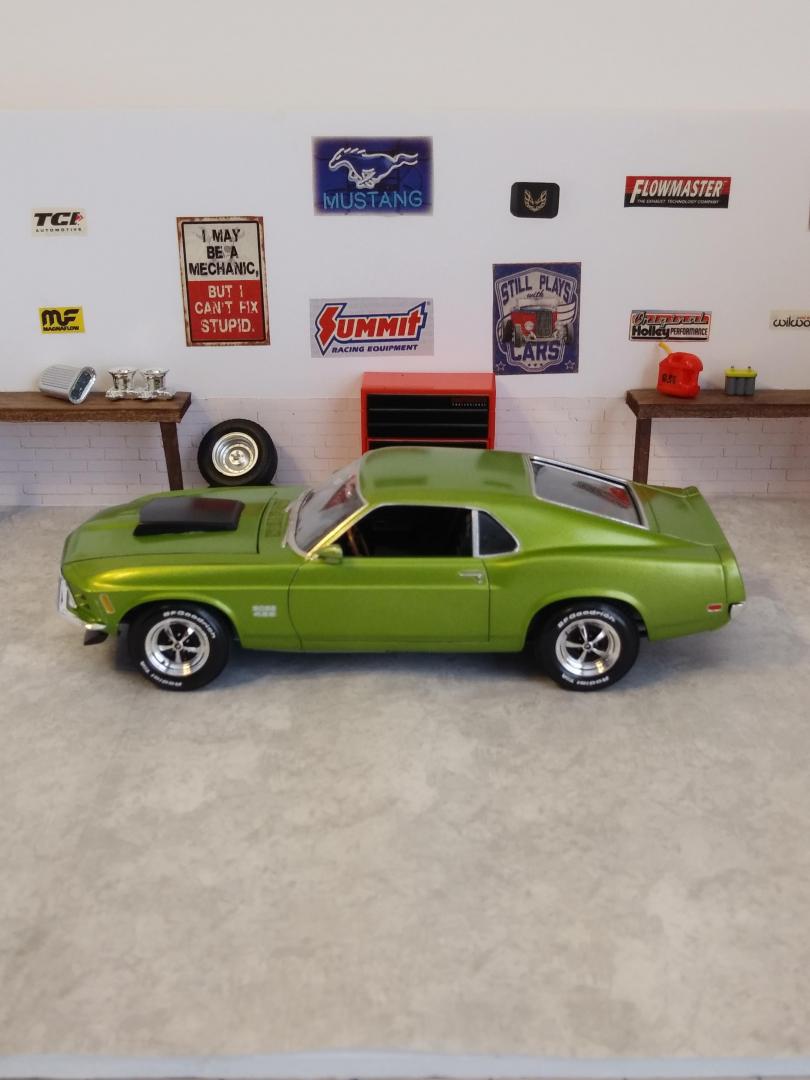
This one is done in Model Master Citrus Yellow Metallic over Testors One Coat Lacquer Diamond Dust, and cleared with Model Master Gloss Clear. Some of the extras include ignition wires, vacuum advance line, valve stems and white letters on the tires from Fireball Modelworks. I initially wasn't going to put the spoiler or louvers on, but went ahead and put them on "temporarily" with some clear elmer's glue. The interior is a custom mixture and is done in craft paints. I printed my own gauges for the dash, but my printer wasn't up to the challenge for doing the black background and they came out with a green tint. At least they go with the green theme of the car, LOL. They actually look like they are illuminated at night, so I'll go with that. The chassis was sprayed with craft paint also, as was the "overspray", although I don't think I put enough on. Even though the interior lacks detail and I would like to see some more suspension parts, I really like this kit. I did three of them in my younger days that I don't still have, and will probably add more to my current collection. Thanks for looking!
-
This is a model of a car I thought a lot about of years ago. It was what I dreamt of giving my daughter if I had one. (I didn’t. I have 3 boys) Anyway, The kit was AMT’s 70 ½ Baldwin-Motion Camaro. I loved the L-88 style hood and spoilers but didn’t like the graphics. To replace them, I had Keith Marks make me up a set of metallic magenta SS stripes. A few of them got rubbed through in the mail so he kindly made me two more sets (for free no less!) As it turned out I’m glad I had all the spares. I had a hell of a time laying them on the curvaceous hood bulge. I ended up using 8-10 pieces to get it fairly decent. The rear stripes were just as bad. It took 5 stripes to get two right. I am really pleased how all the lights turned out especially the front turn signals. I BMF’d the buckets, then yellow Sharpie’d the clear lenses. I knew they would be too yellow, so I orange markered the BMF inside the buckets. That gave me that amber color I was shooting for. I then silver dotted the nipples. The headlight buckets were also BMF’d then, I blue dotted the lenses before gluing them in with Testor’s clear window maker. The interior was a challenge. Most all of my model’s interiors, are basic black. This time I wanted to try something different. I thought gray would be good but by itself it was too plain. I started painting the inserts with metallic burgundy but it wasn’t covering very well. I stopped and painted a silver base coat then applied the burgundy. I used a red Ultra-fine point Sharpie to draw the piping. The dash and package tray in gray still did not look right, so I changed them to semi gloss black. I also did the console and the armrests to tie it all together. As much as I dread doing interiors, at least it turned out halfway decent. I was going to put gauge water slide decals on, but after the 3 hour ordeal with the hood, I just wasn’t up for it. At least the glove box got a “Camaro” script.
-
This is a recreation of my old friend Jeff's 70 R/T SE 383 Magnum. I built it as near as possible to his 1:1. Items of note: Small SE (only) rear window, Blacked out grille and tail panel, R/T hood with black treatment and open scoops, Side (and rear) stripe delete, BFGs on American Racing wheels (Outlaw I in rear and Outlaw II in front), Pistol grip shifter on 4-speed. I started with a resin SE body from ebay but it was not that great of a casting detailwise so I only used the roof. My donor kit was an AMT 'Yankee Challenge' with a blower hole in the hood. I had to fill it in and do it smooth enough to paint it gloss black. It actually turned out quite well. The shifter was sourced from a Dodge Super Bee kit I think. The Dodge lettering on the front are individual decals. (what a PITA). The 383 Magnum decals are from an aftermarket sheet. I am VERY pleased with how it turned out.
- 30 replies
-
- 1970
- challenger
-
(and 2 more)
Tagged with:
-
This Monte Carlo was built as a vague recreation of the copper Monte Carlo my dad had when I was a teenager. (Oh the stories that back seat could tell, LOL!) Anyway, this was an open, pre-painted kit I got on ebay. I didn’t like the purple, so I repainted it metallic copper. I usually build my models with the factory “High Performance” option which usually includes a special hood. Unfortunately, Monte Carlos were never offered from the factory with any hood other than flat. However, I learned that PSF Hobbies offers a custom 70 Chevelle Cowl Induction hood for this kit, so I got it. During the build, I had progressed about a third of the way through before discovering that the suspension pieces were missing. Fortunately, members of the DMPCC came through and gave me the missing parts I needed. The kit is surprisingly detailed for an AMT offering. It has details such as separate control arms for the 4-link rear and a complete multi-piece A/C system in the engine compartment. I also added chrome valve covers and air cleaner from my parts box. The gage faces have been decaled from a Keith Marks decal set.
- 12 replies
-
- 1970
- monte carlo
-
(and 2 more)
Tagged with:
-
This is a ProShop pre-painted kit with mixing and matching of parts from my other Chevelles. Overall it turned out pretty well. I picked the Cragar S/S wheels because they look good on Chevys. I went with a red interior just to spice it up. The engine is a 454 Big Block with ignition wires added. Except for the side marker lights, no BMF was used. Just a touch of Molotow chrome here and there.
-
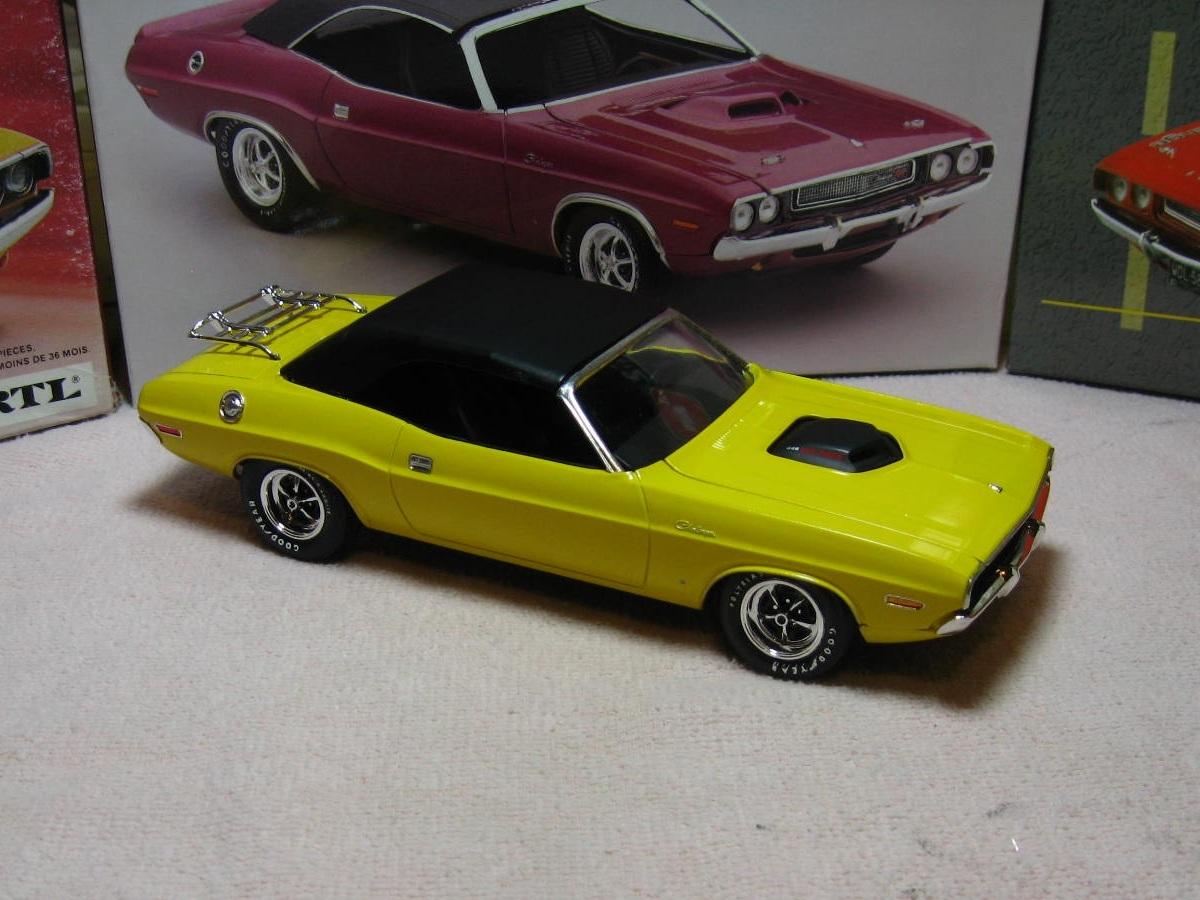
This is an AMT 70 Challenger built as a non R/T convertible. The engine is the 440-6 pack with the obligitory shaker hood. The up top is a resin piece from drag city casting. The luggage rack is from an original issue 1972 Grand Prix. I call the paint "Magazine Cover Yellow". The wheels are stock Magnum 500s and the tire letters were done with a Gelly Roll pen.
- 11 replies
-
- 1970
- challenger
-
(and 2 more)
Tagged with:
