Search the Community
Showing results for tags 'pro street'.
-
This build was originally part of my Chevelle batch build in 2019. Due to all the test fitting and fabrication required this one was quite the challenge. However, I had a vision, and have now finally seen it through. The quality is not up to par because I had to handle it so much but it is "good enough". I am not sure I will ever take it to a show but at least I have one holy grail under my belt. Comments welcome. P.S. Does anyone have a spare set of AMT black 70 Chevelle hood stripes to help me give it the final touch?
-
I am just now posting this mid build. 1970 El Camino body Jimmy Flintstone (resin). 1968 El Camino chassis, interior tub, windows, rear bumper and tail lights. 1970 Monte Carlo front bumper(correct for El Camino) engine, seats and dashboard. 1967 Pro Street Chevelle wheel tubs and Pro Street tires. 1970 Chevelle grille, head lights and SS stripes. Tandem trailer fenders used as inner fenders. The '68 El Camino interior floor pan has been trimmed and joined to the '67 wheel tubs. (1)After 2-3 days of fabricating (which isn't my strong suit), I have made the front of the bed from 5 pieces including chunks from a Laborghini Countach dashboard. (2)I also made the rear panel for the interior. The Jimmy Flinstone resin body comes with neither. The rest of the interior is going to be a mix of '68 El Camino and '70 Monte Carlo parts. I spent the 2 days trimming and fitting the interior such that it will be happy with the windows. I still have to make a filler panel between the cowl and the base of the windshield. Painted and mocked up the interior. Added touches with chrome Molotow pen. Selected the deep dish rims. I have a whole box of wheels but not very many for tires this wide. I drilled out all 32 holes in the rims to make them more realistic. I plan on dressing up the plain, smooth centers with some spinners from my parts box. Converted spare car trailer fenders into front inner fenders. Fabbed up some gap filler plates for the wheel tubs to the inside of the bed. I was almost done with the 2nd one when I broke it in half. GRRRRRR! I ran into a snag. It seems I no longer possess the two front '68 El Camino spindles for the suspension. No spindles = no front tires. I sent a PM to one member and he is going to send me a pair. WOO! HOO!
- 52 replies
-
- 2
-

-
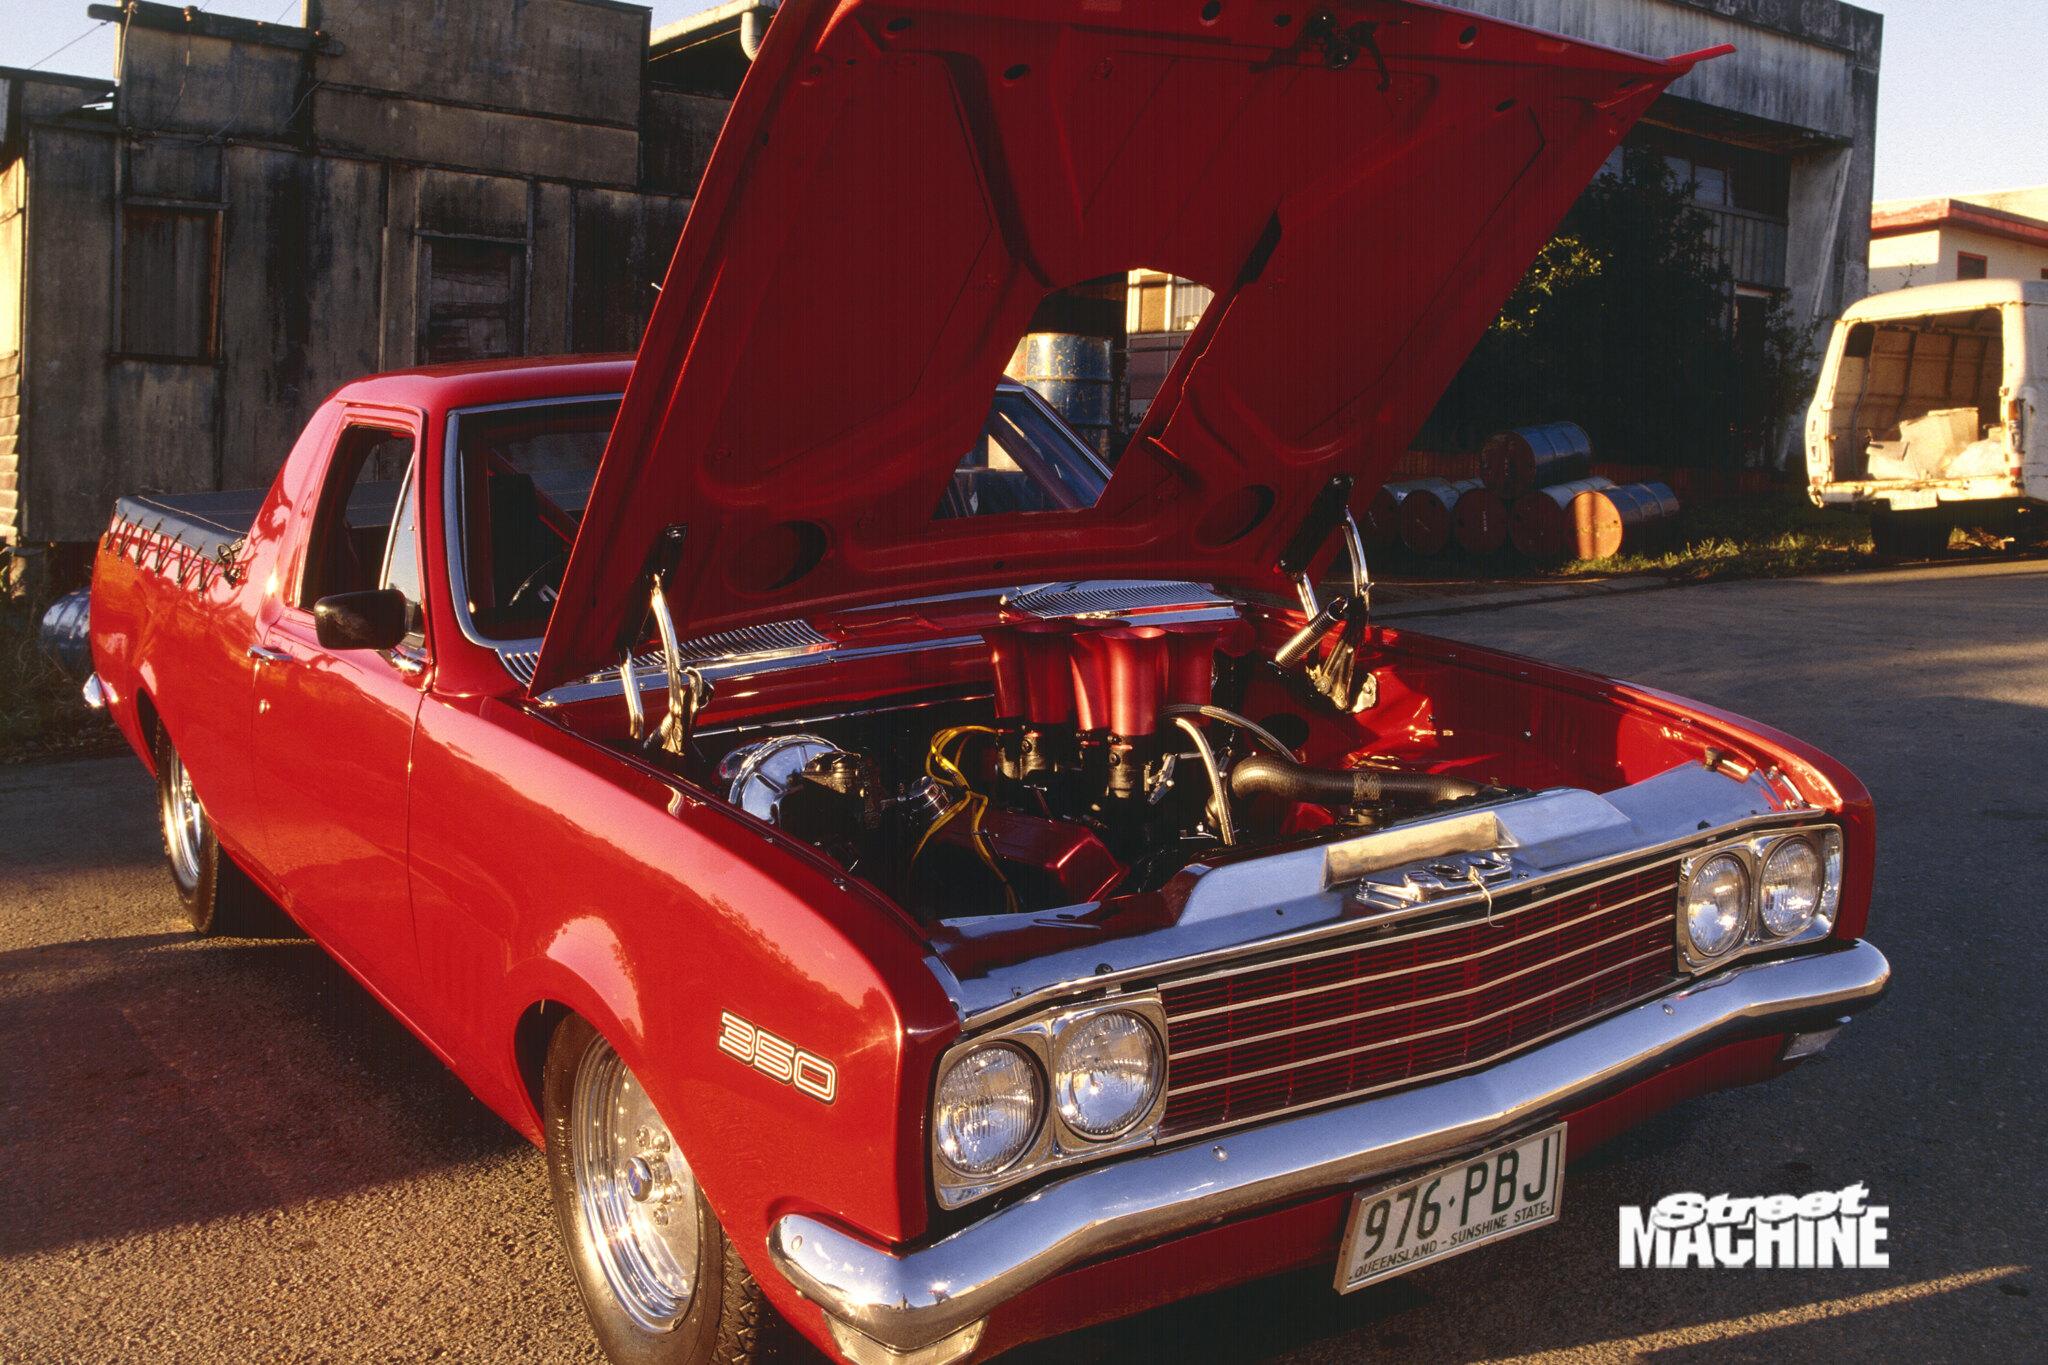
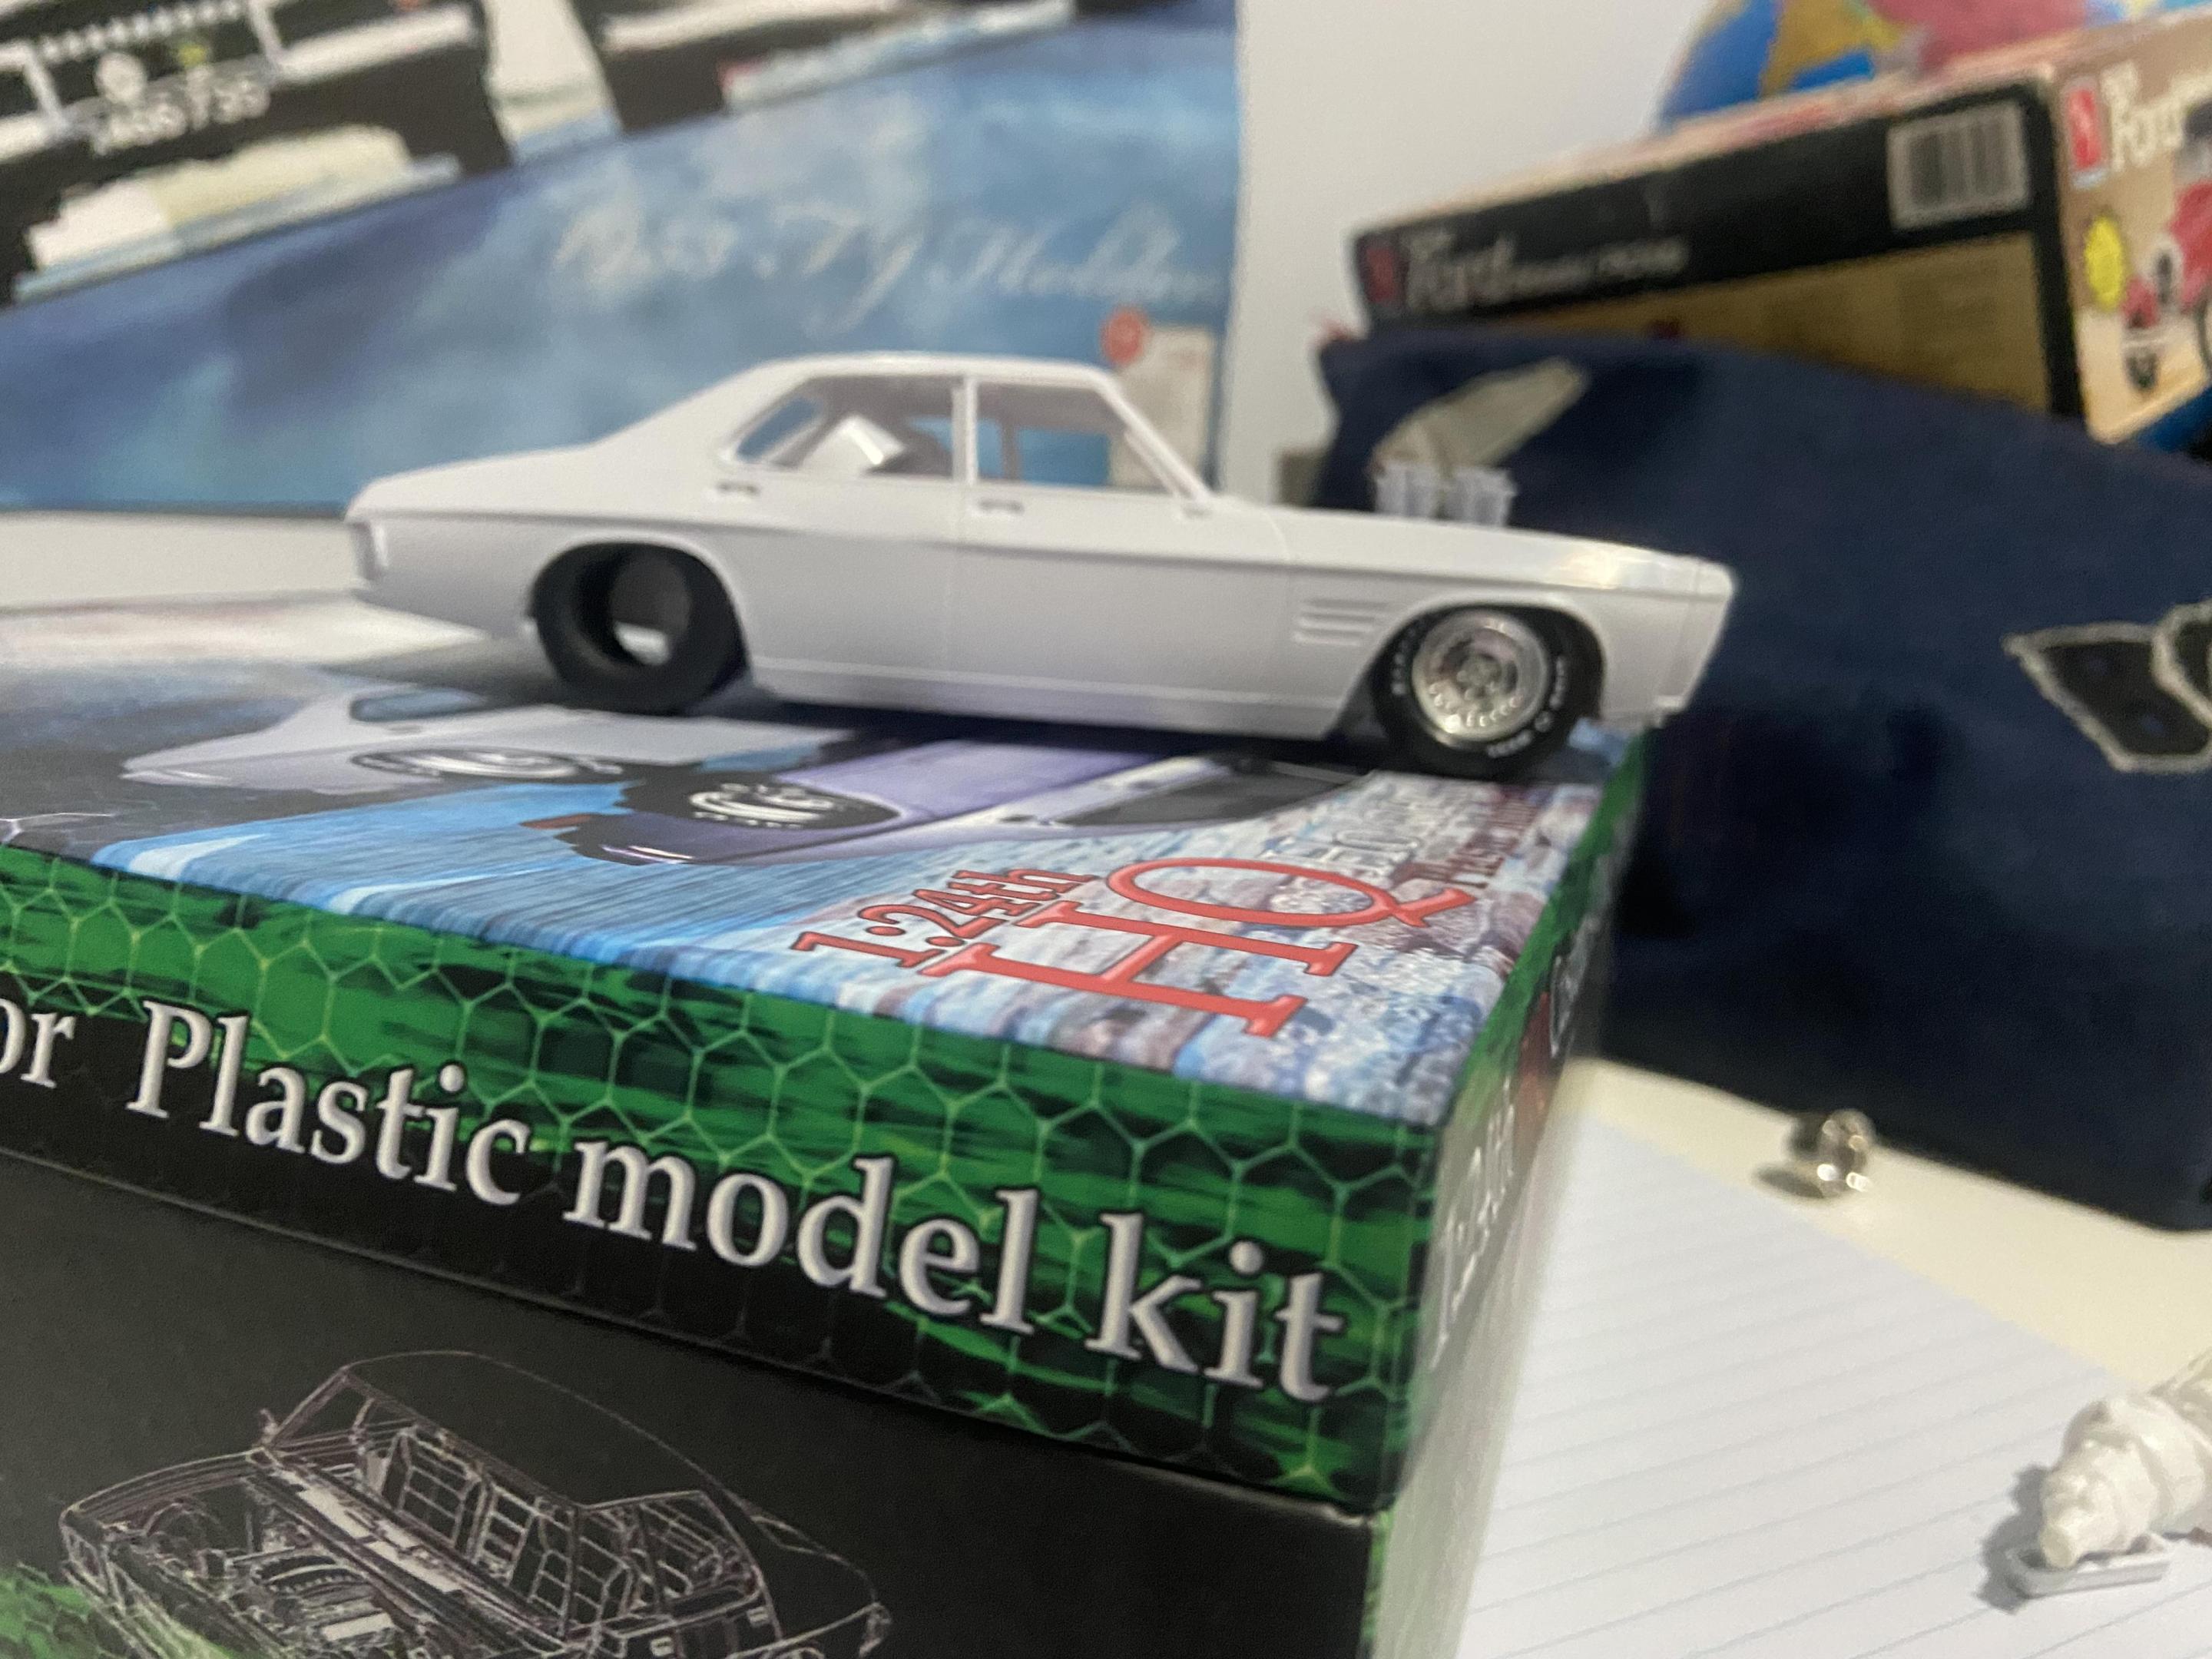
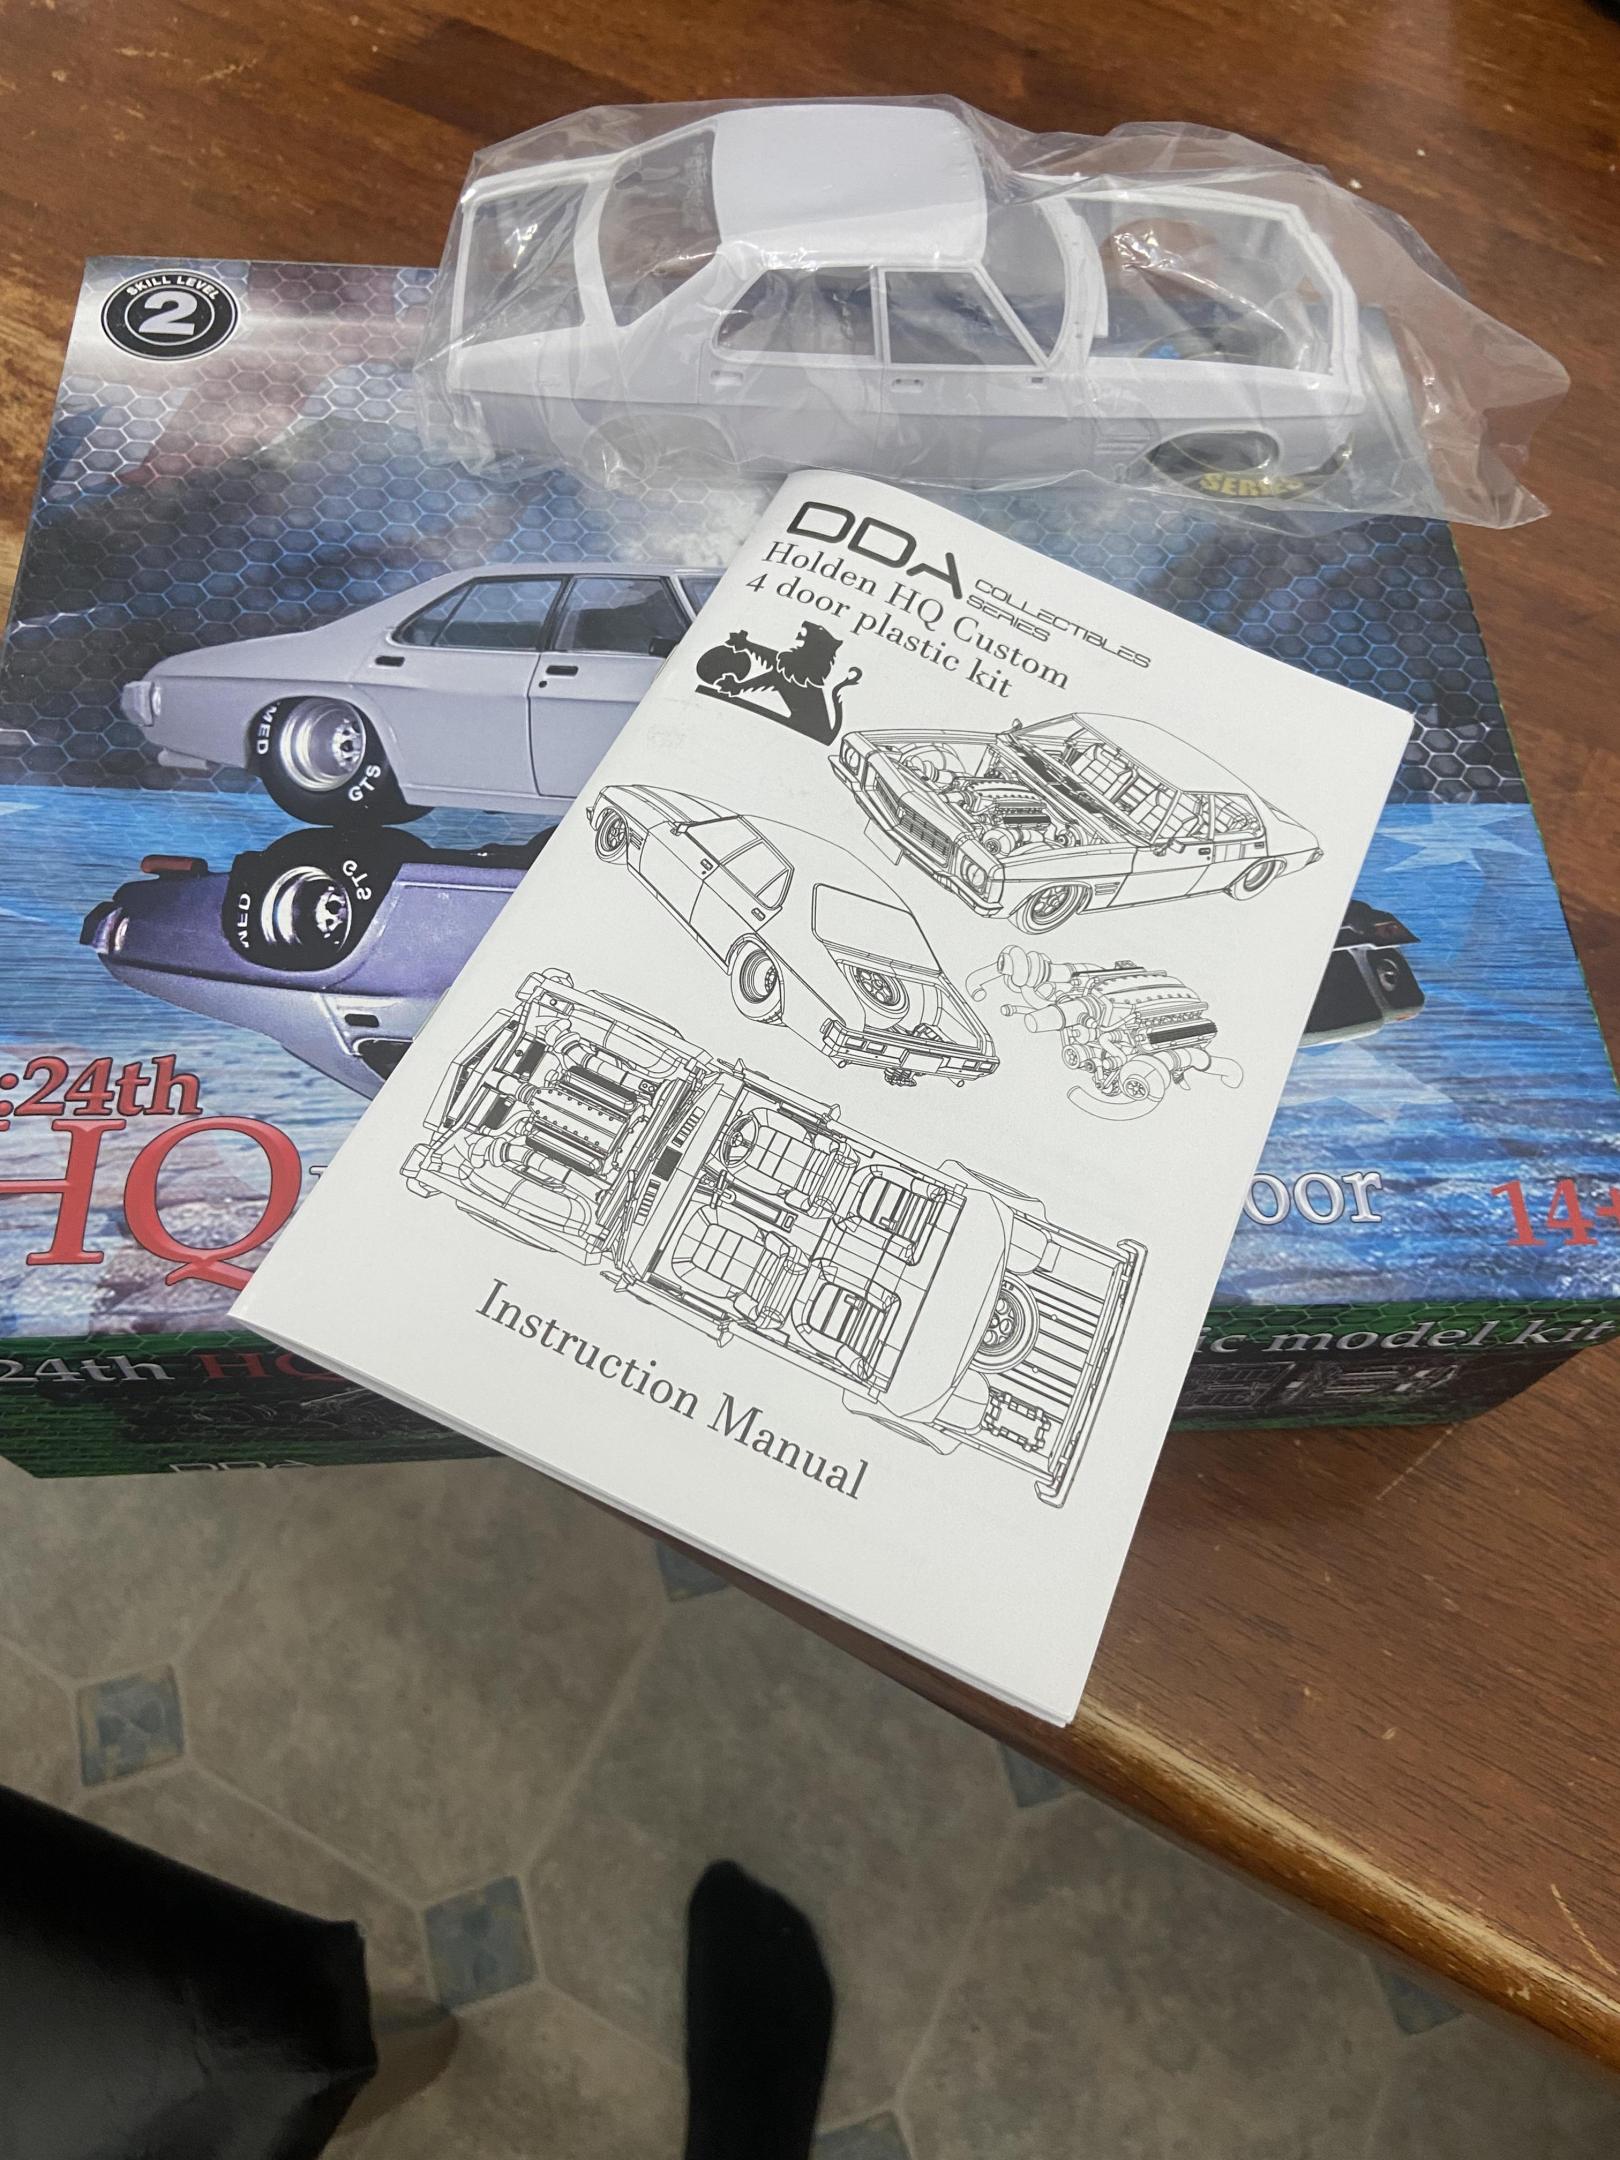
Hello I’ve been awaiting starting this build for a while now but I’m finally able to start as my ranchero is nearly on the way to be done and the nova awaits painting of the body I can start to work on a Holden model kit finally. here’s the 80s pro street look I’m going for. I’ve got a 1:1 scale hk Holden ute that will be built exactly like that ute there but just with a single headlight front here’s a mock up of my Hq But the contents of the box are amazing the small block for it also has a 3d printed crower stack manifold that’s all for now
- 20 replies
-
- 3
-

-
- holden hq.
- dda
-
(and 2 more)
Tagged with:
-
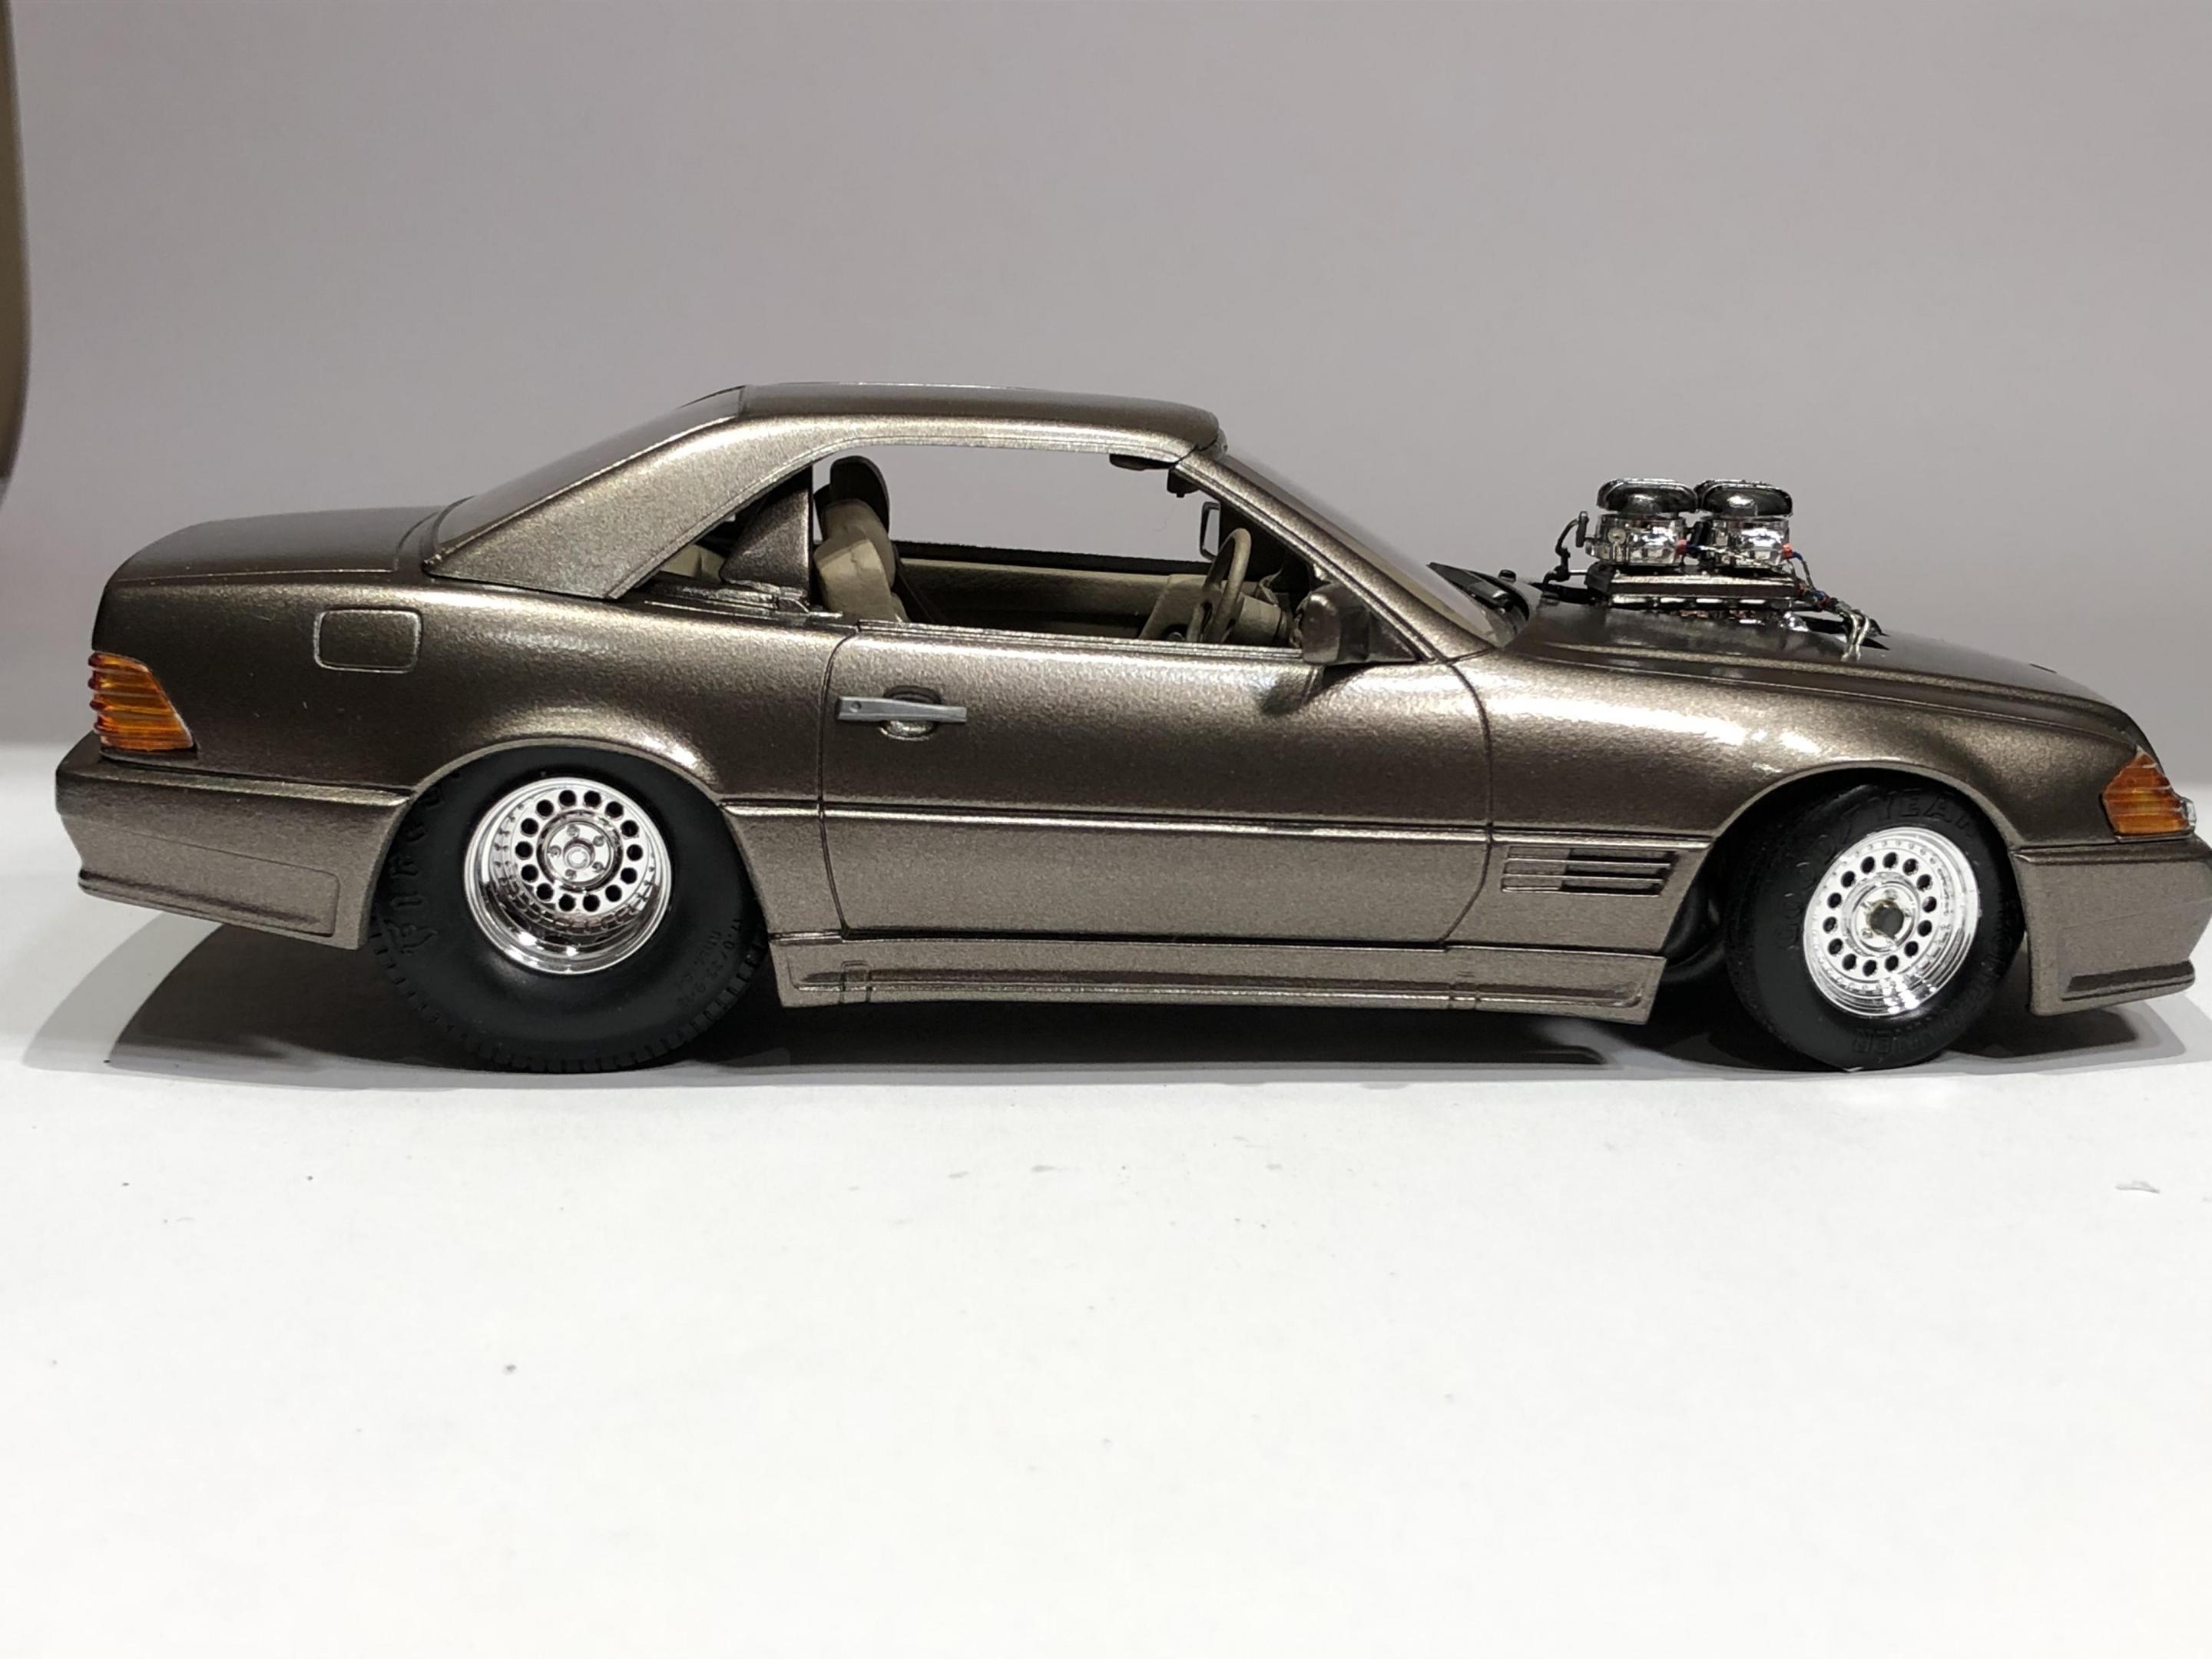
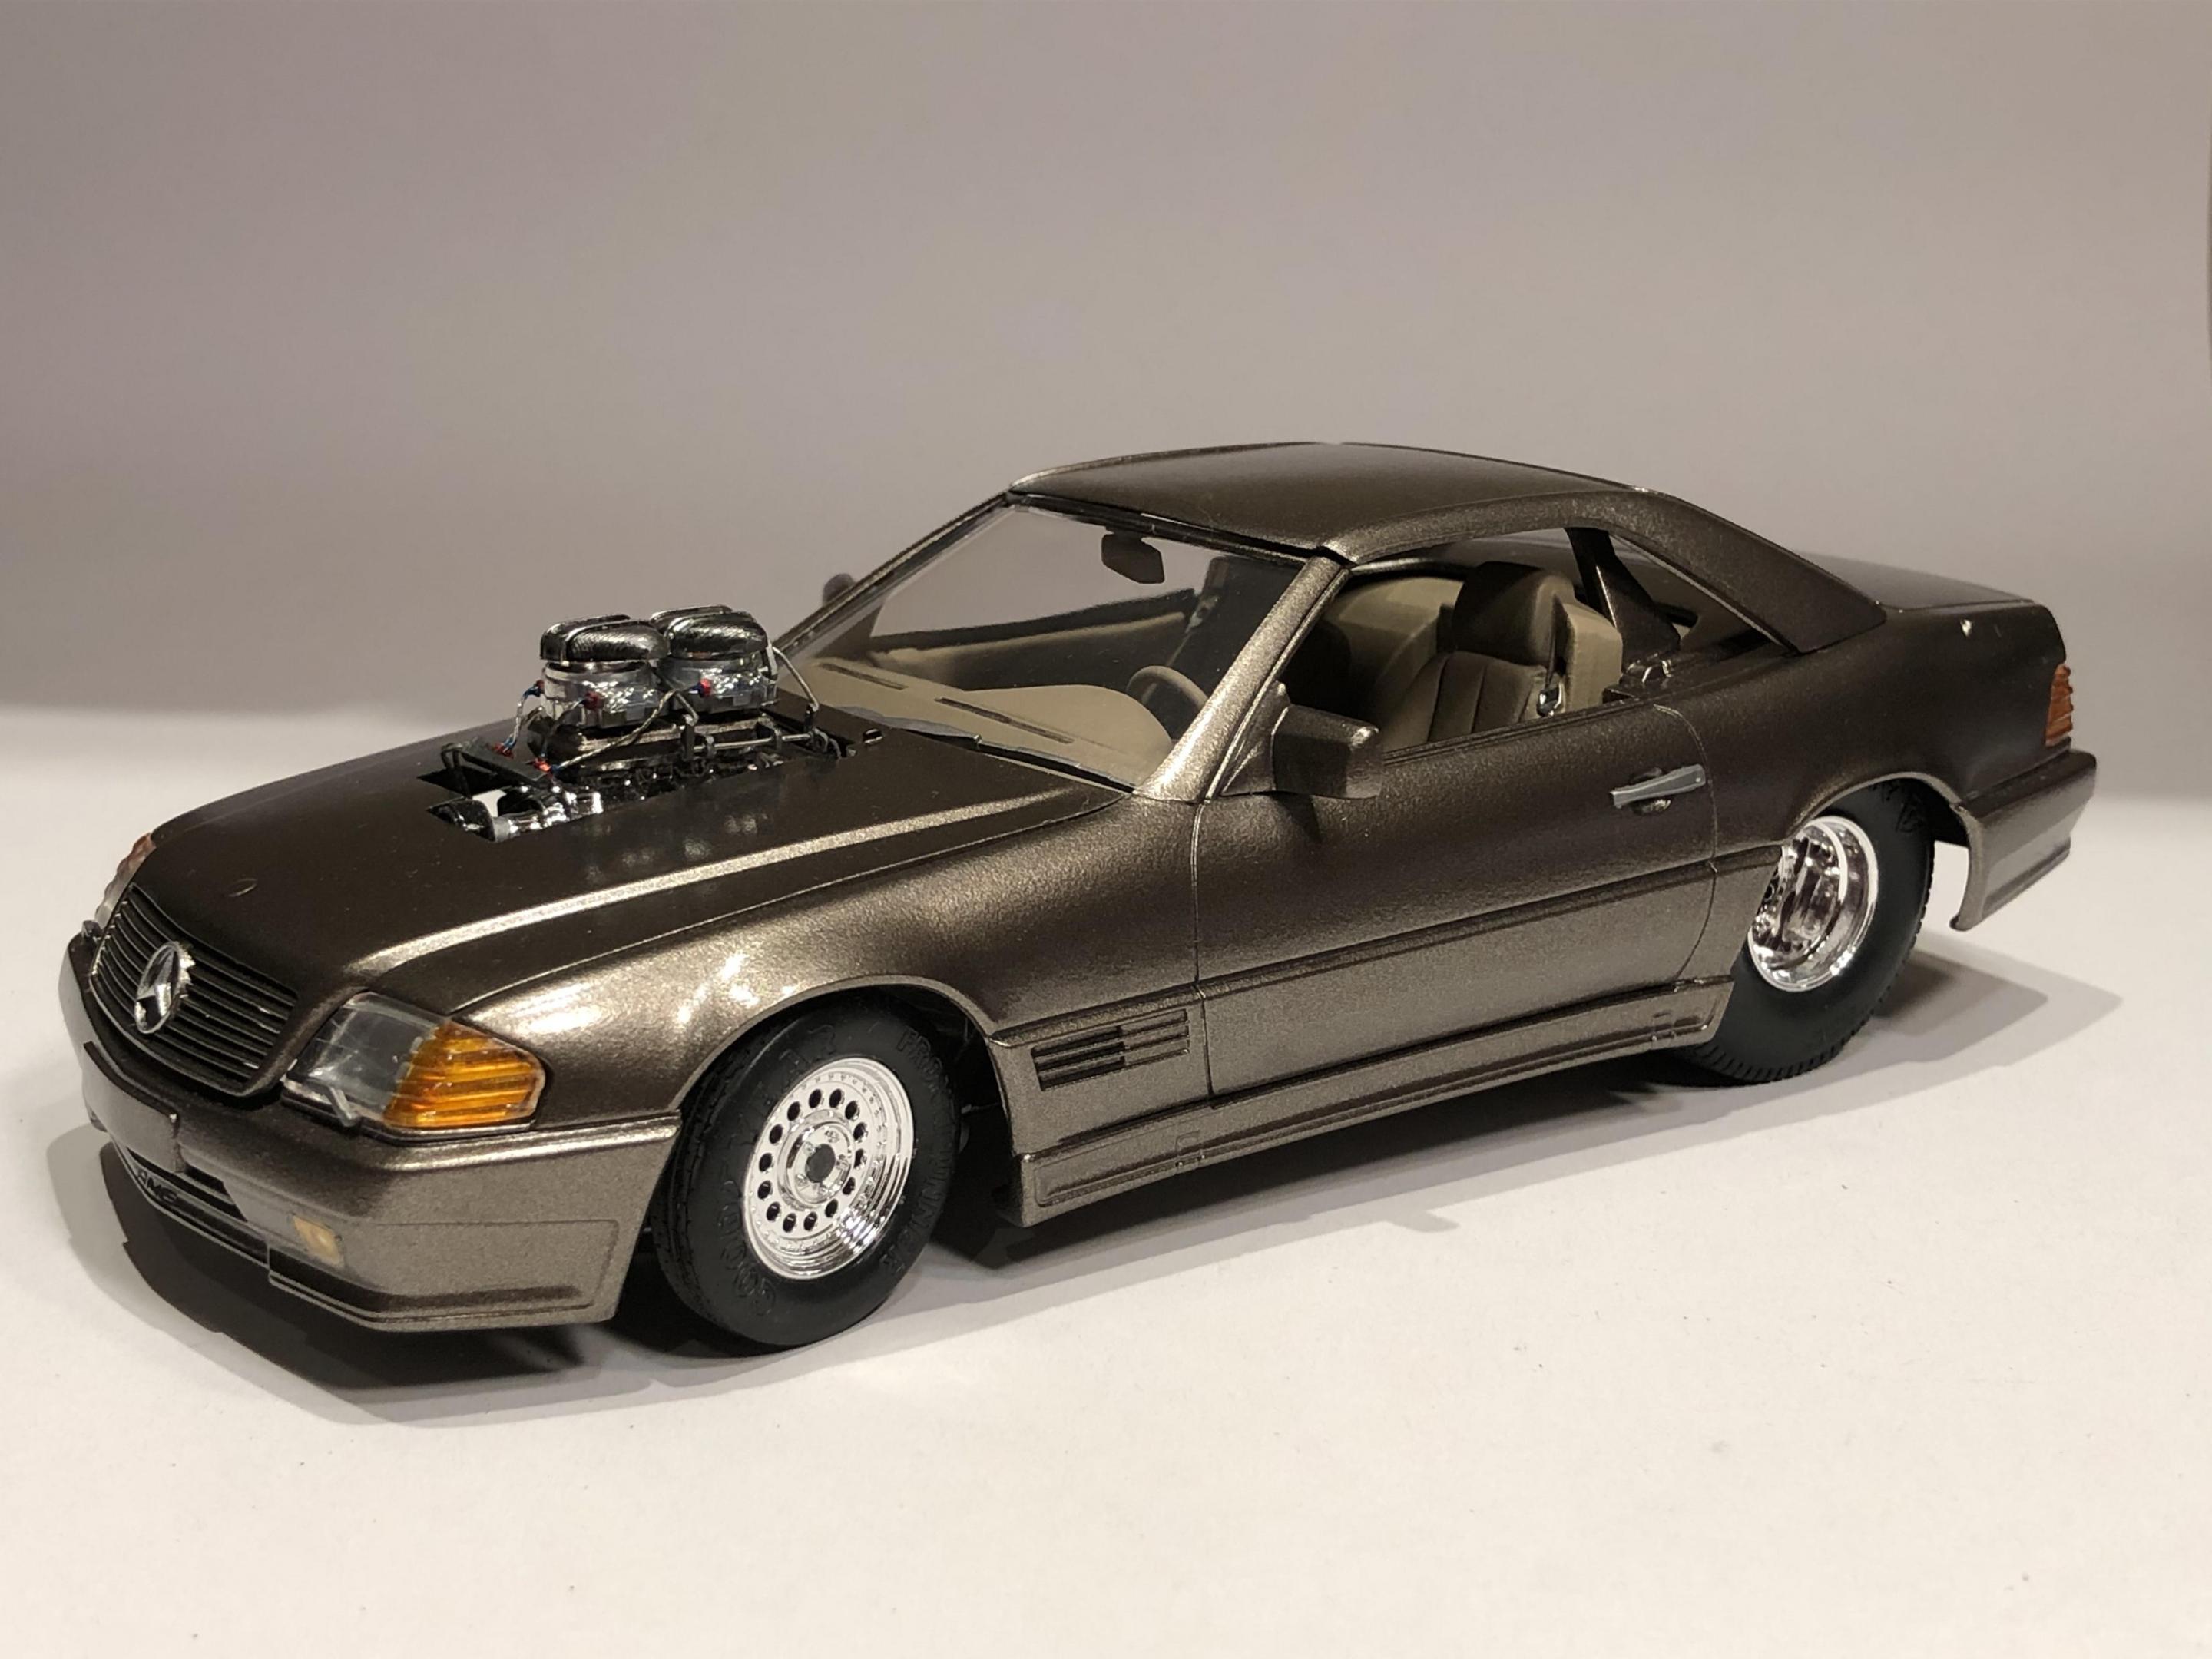
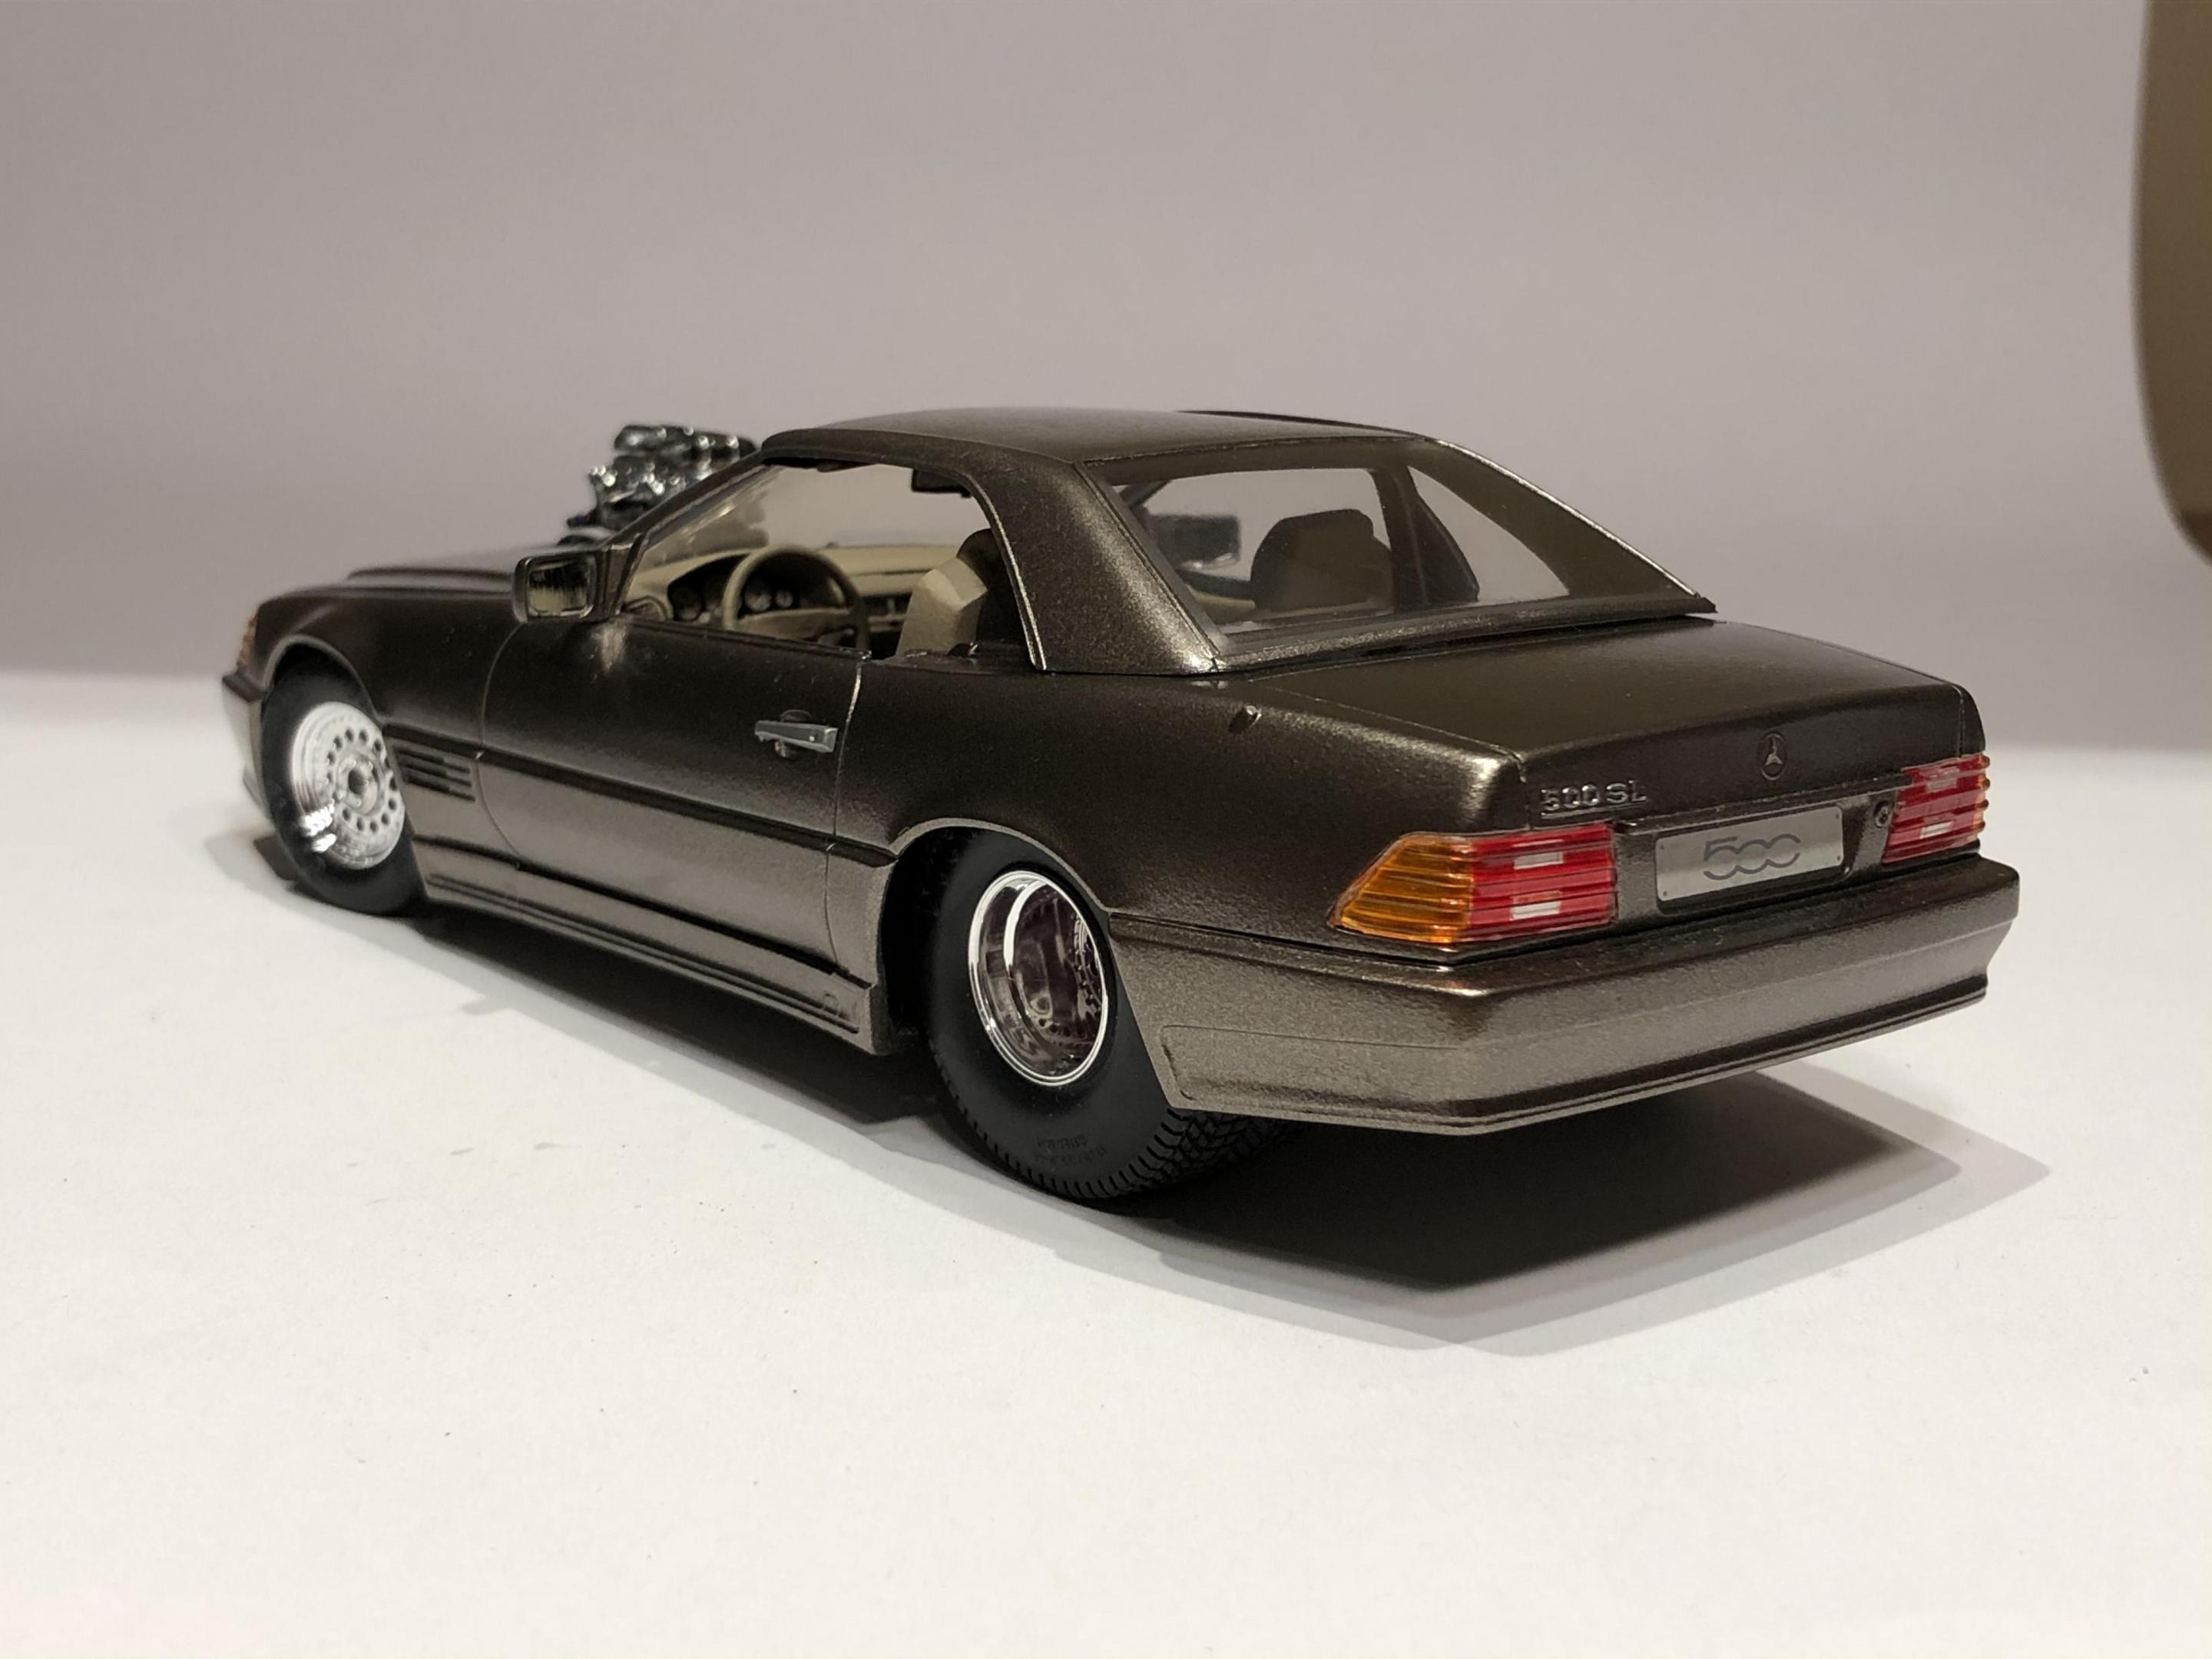
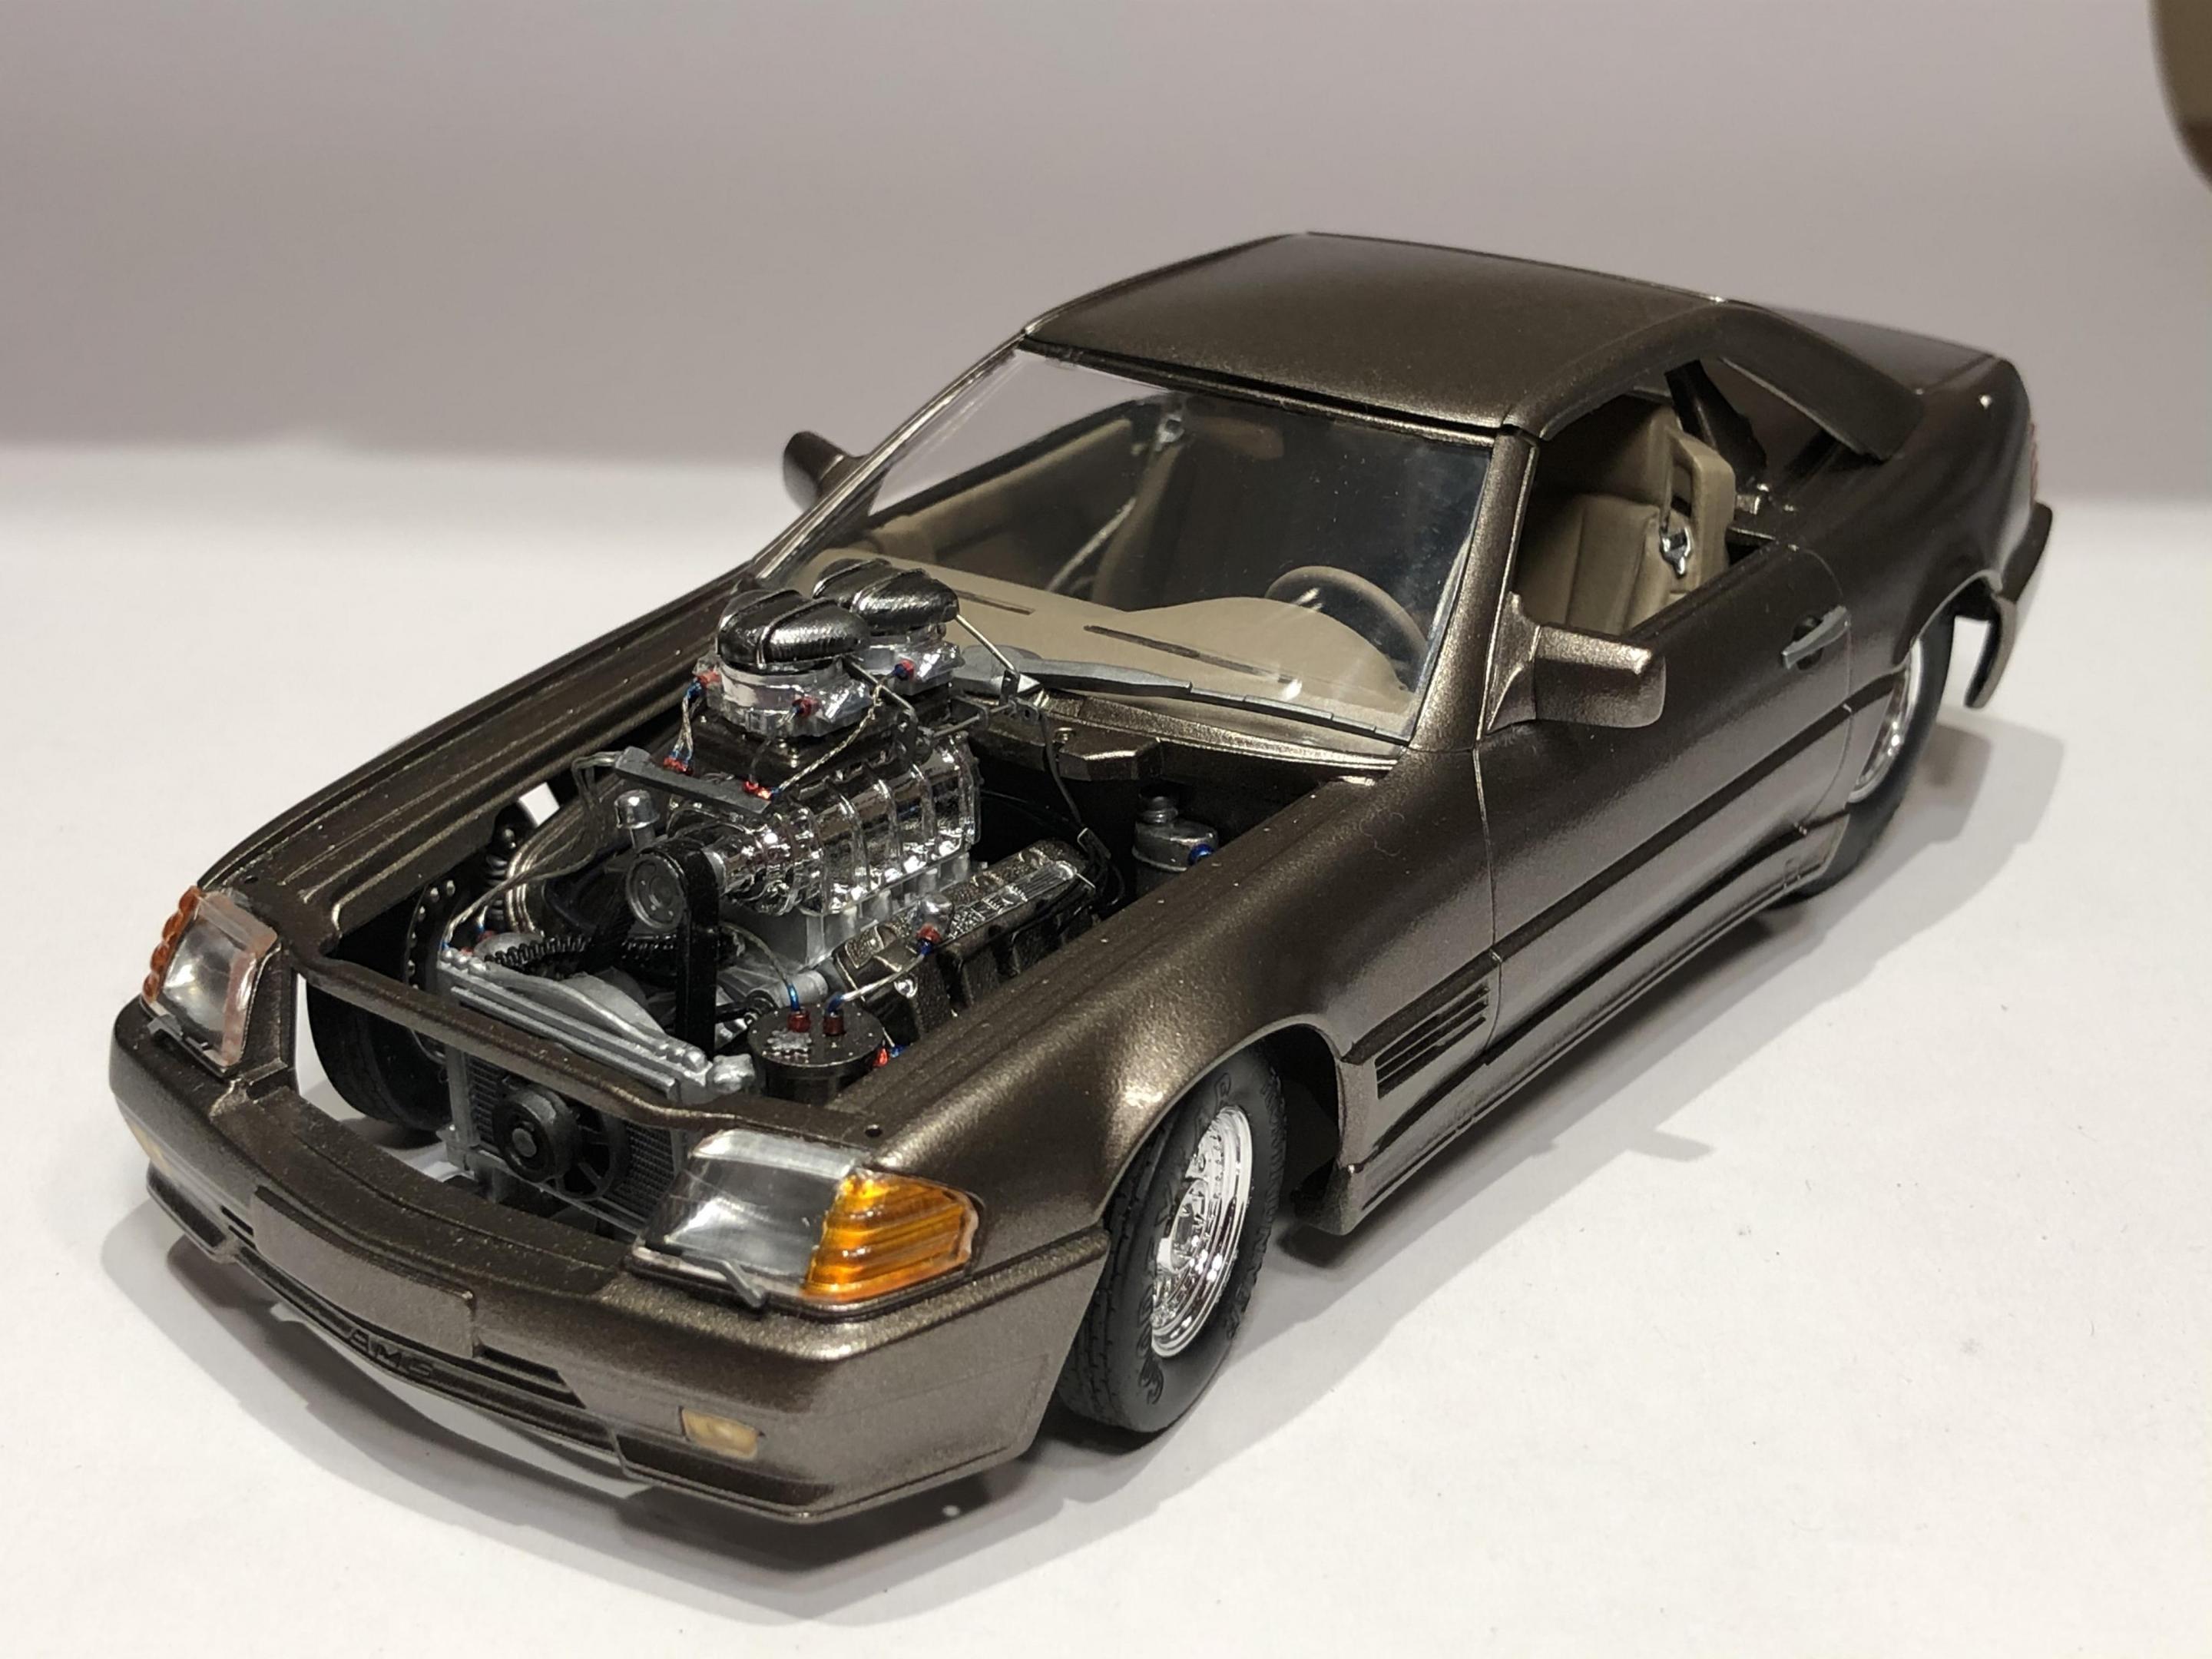
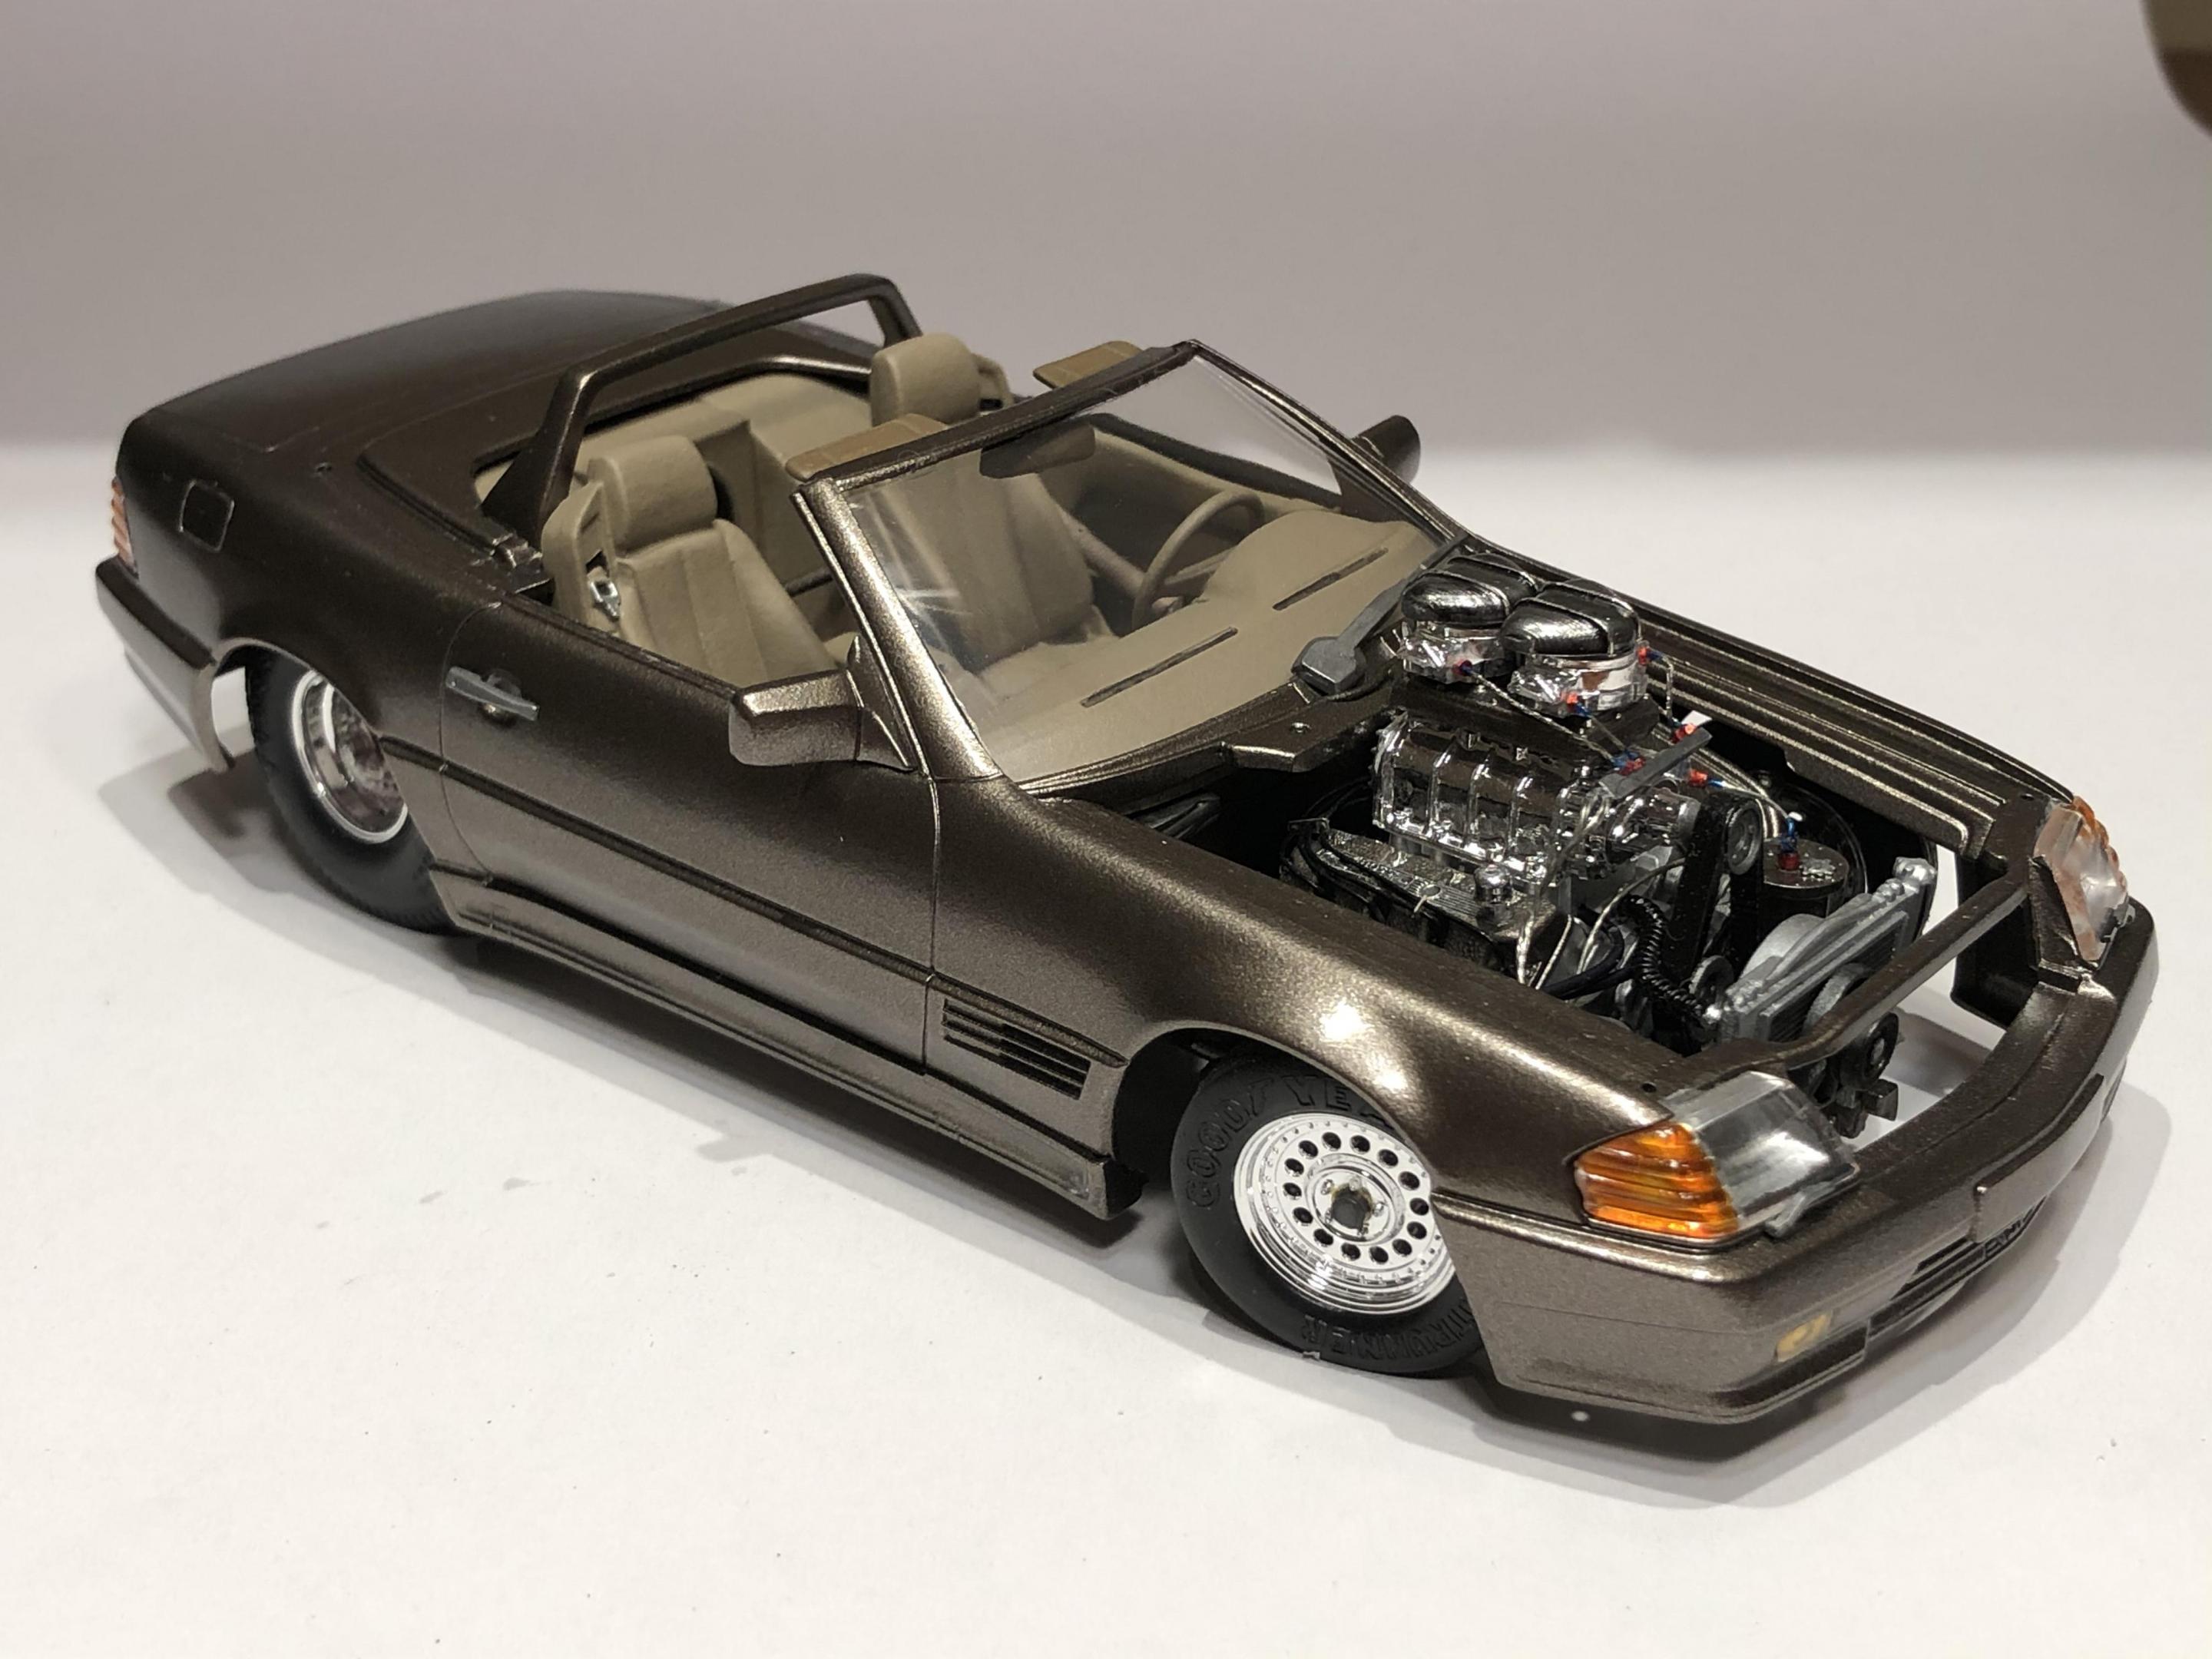
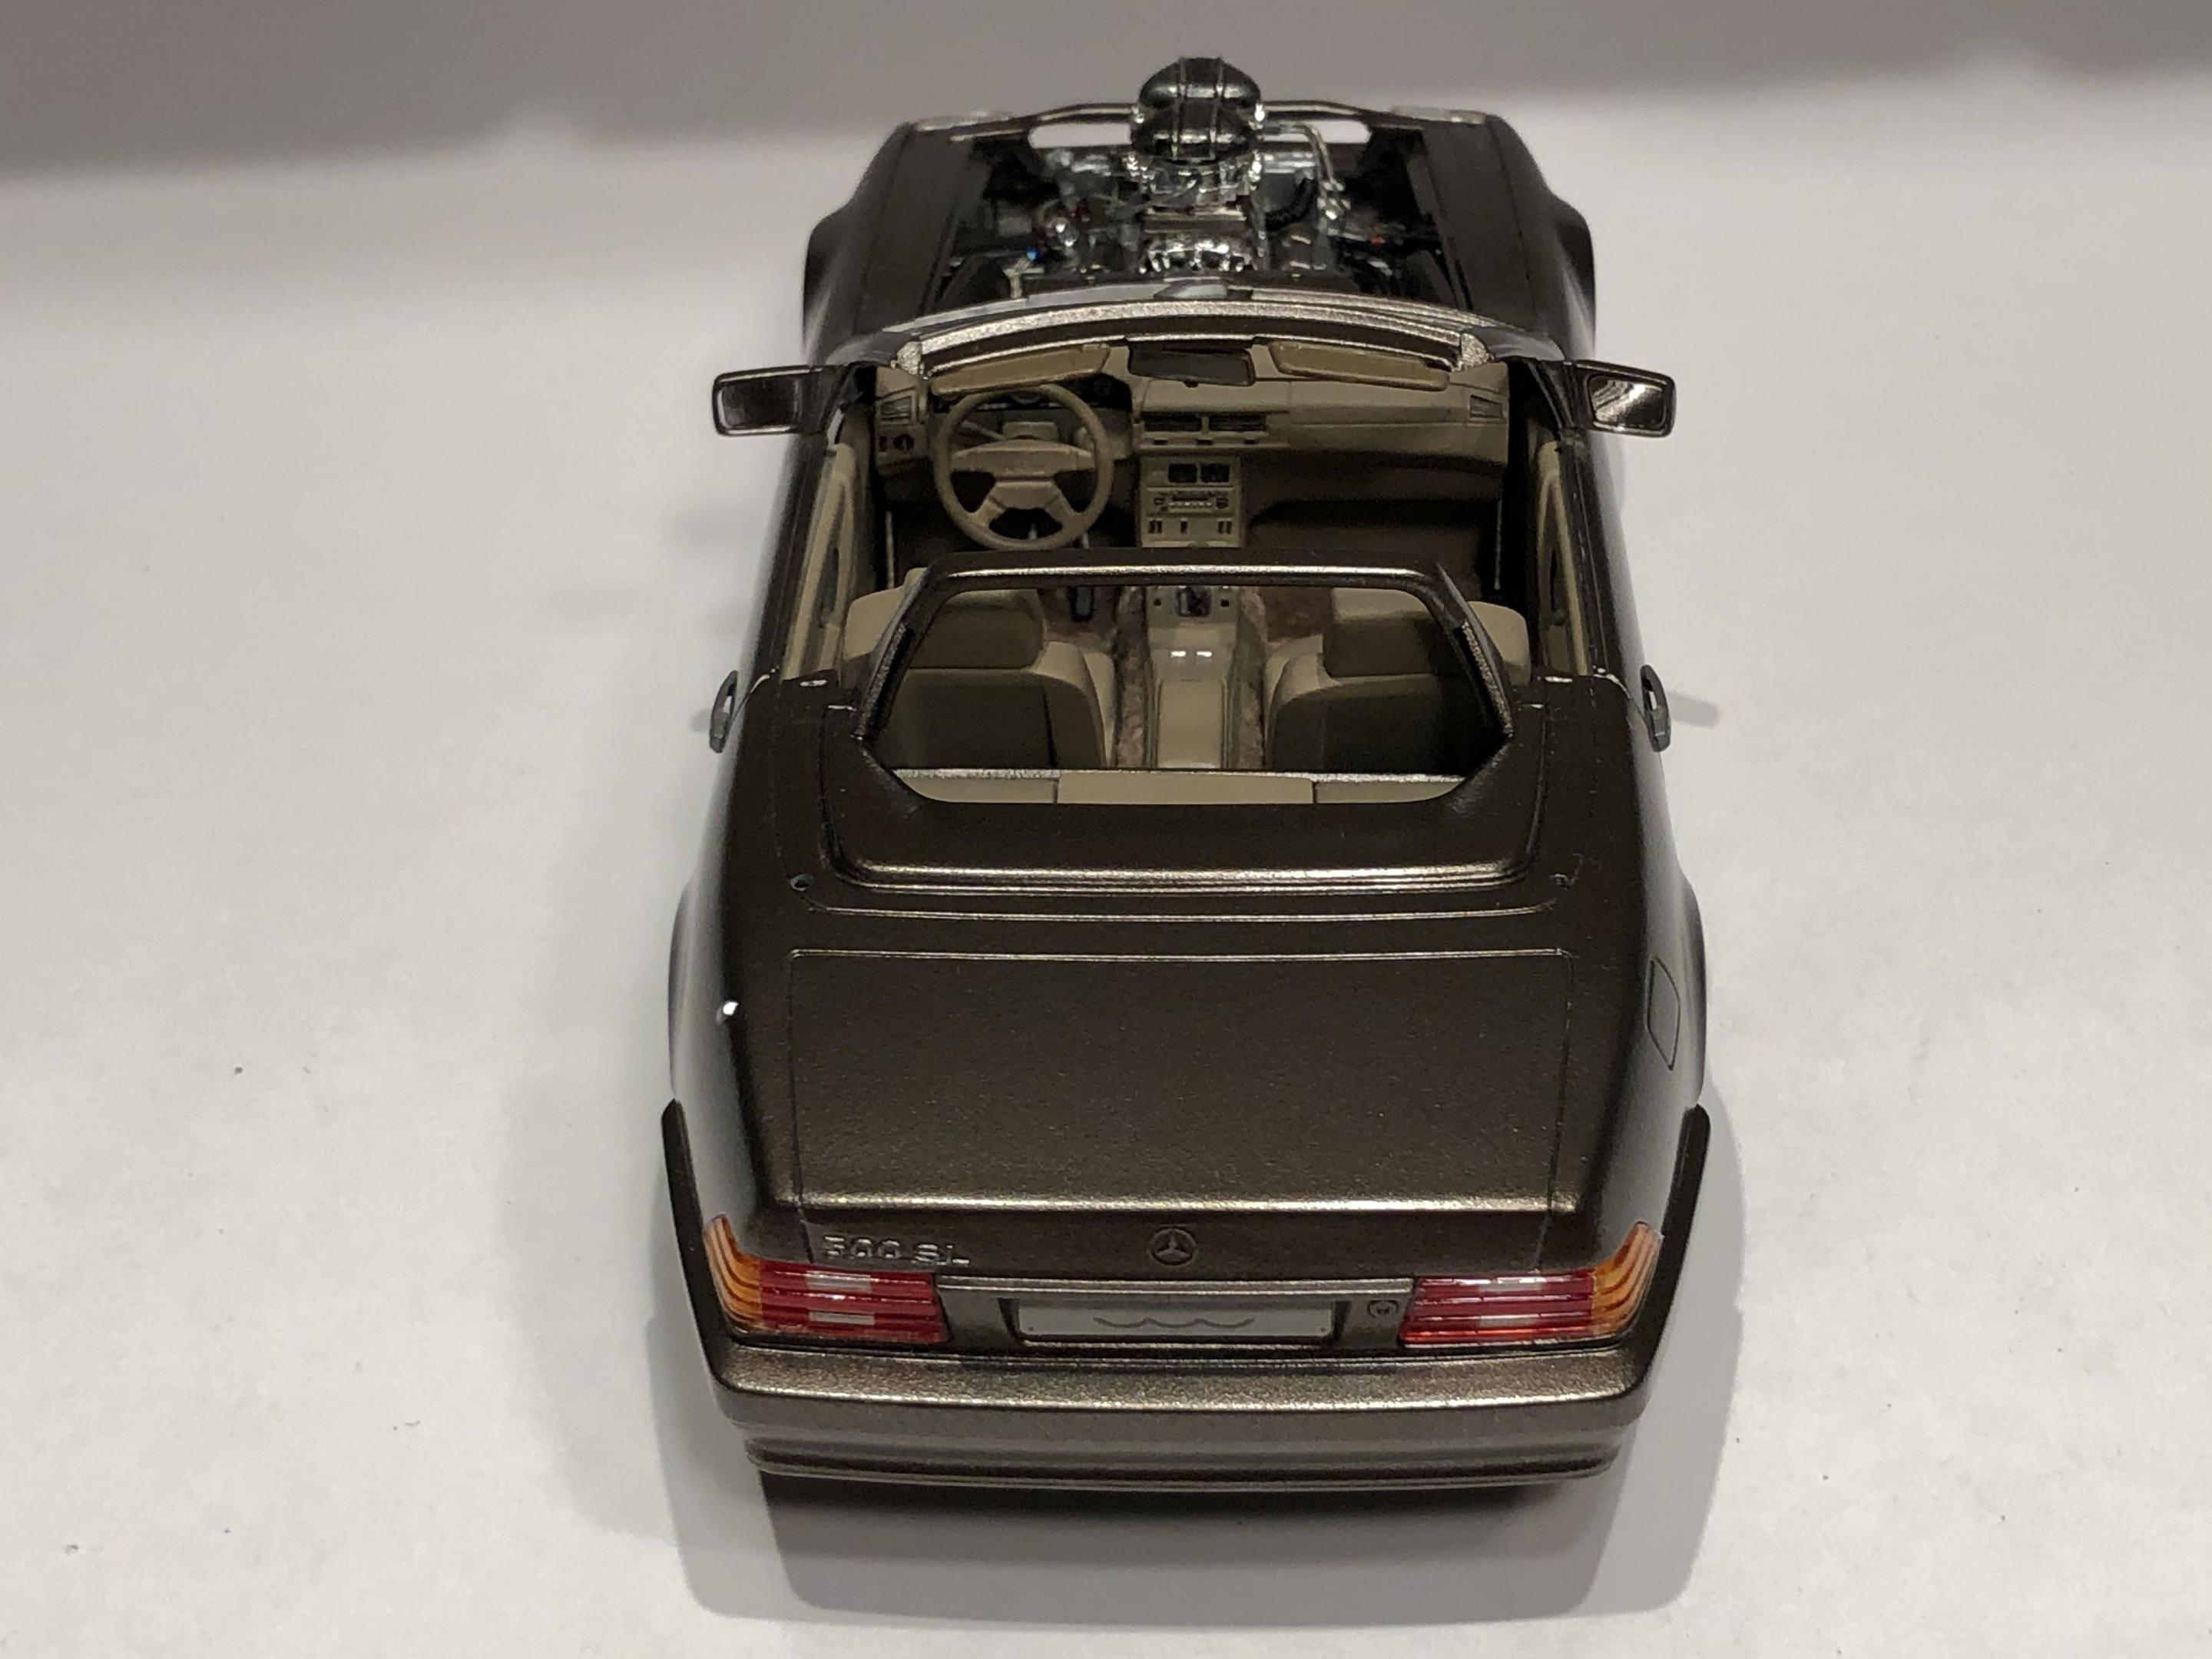
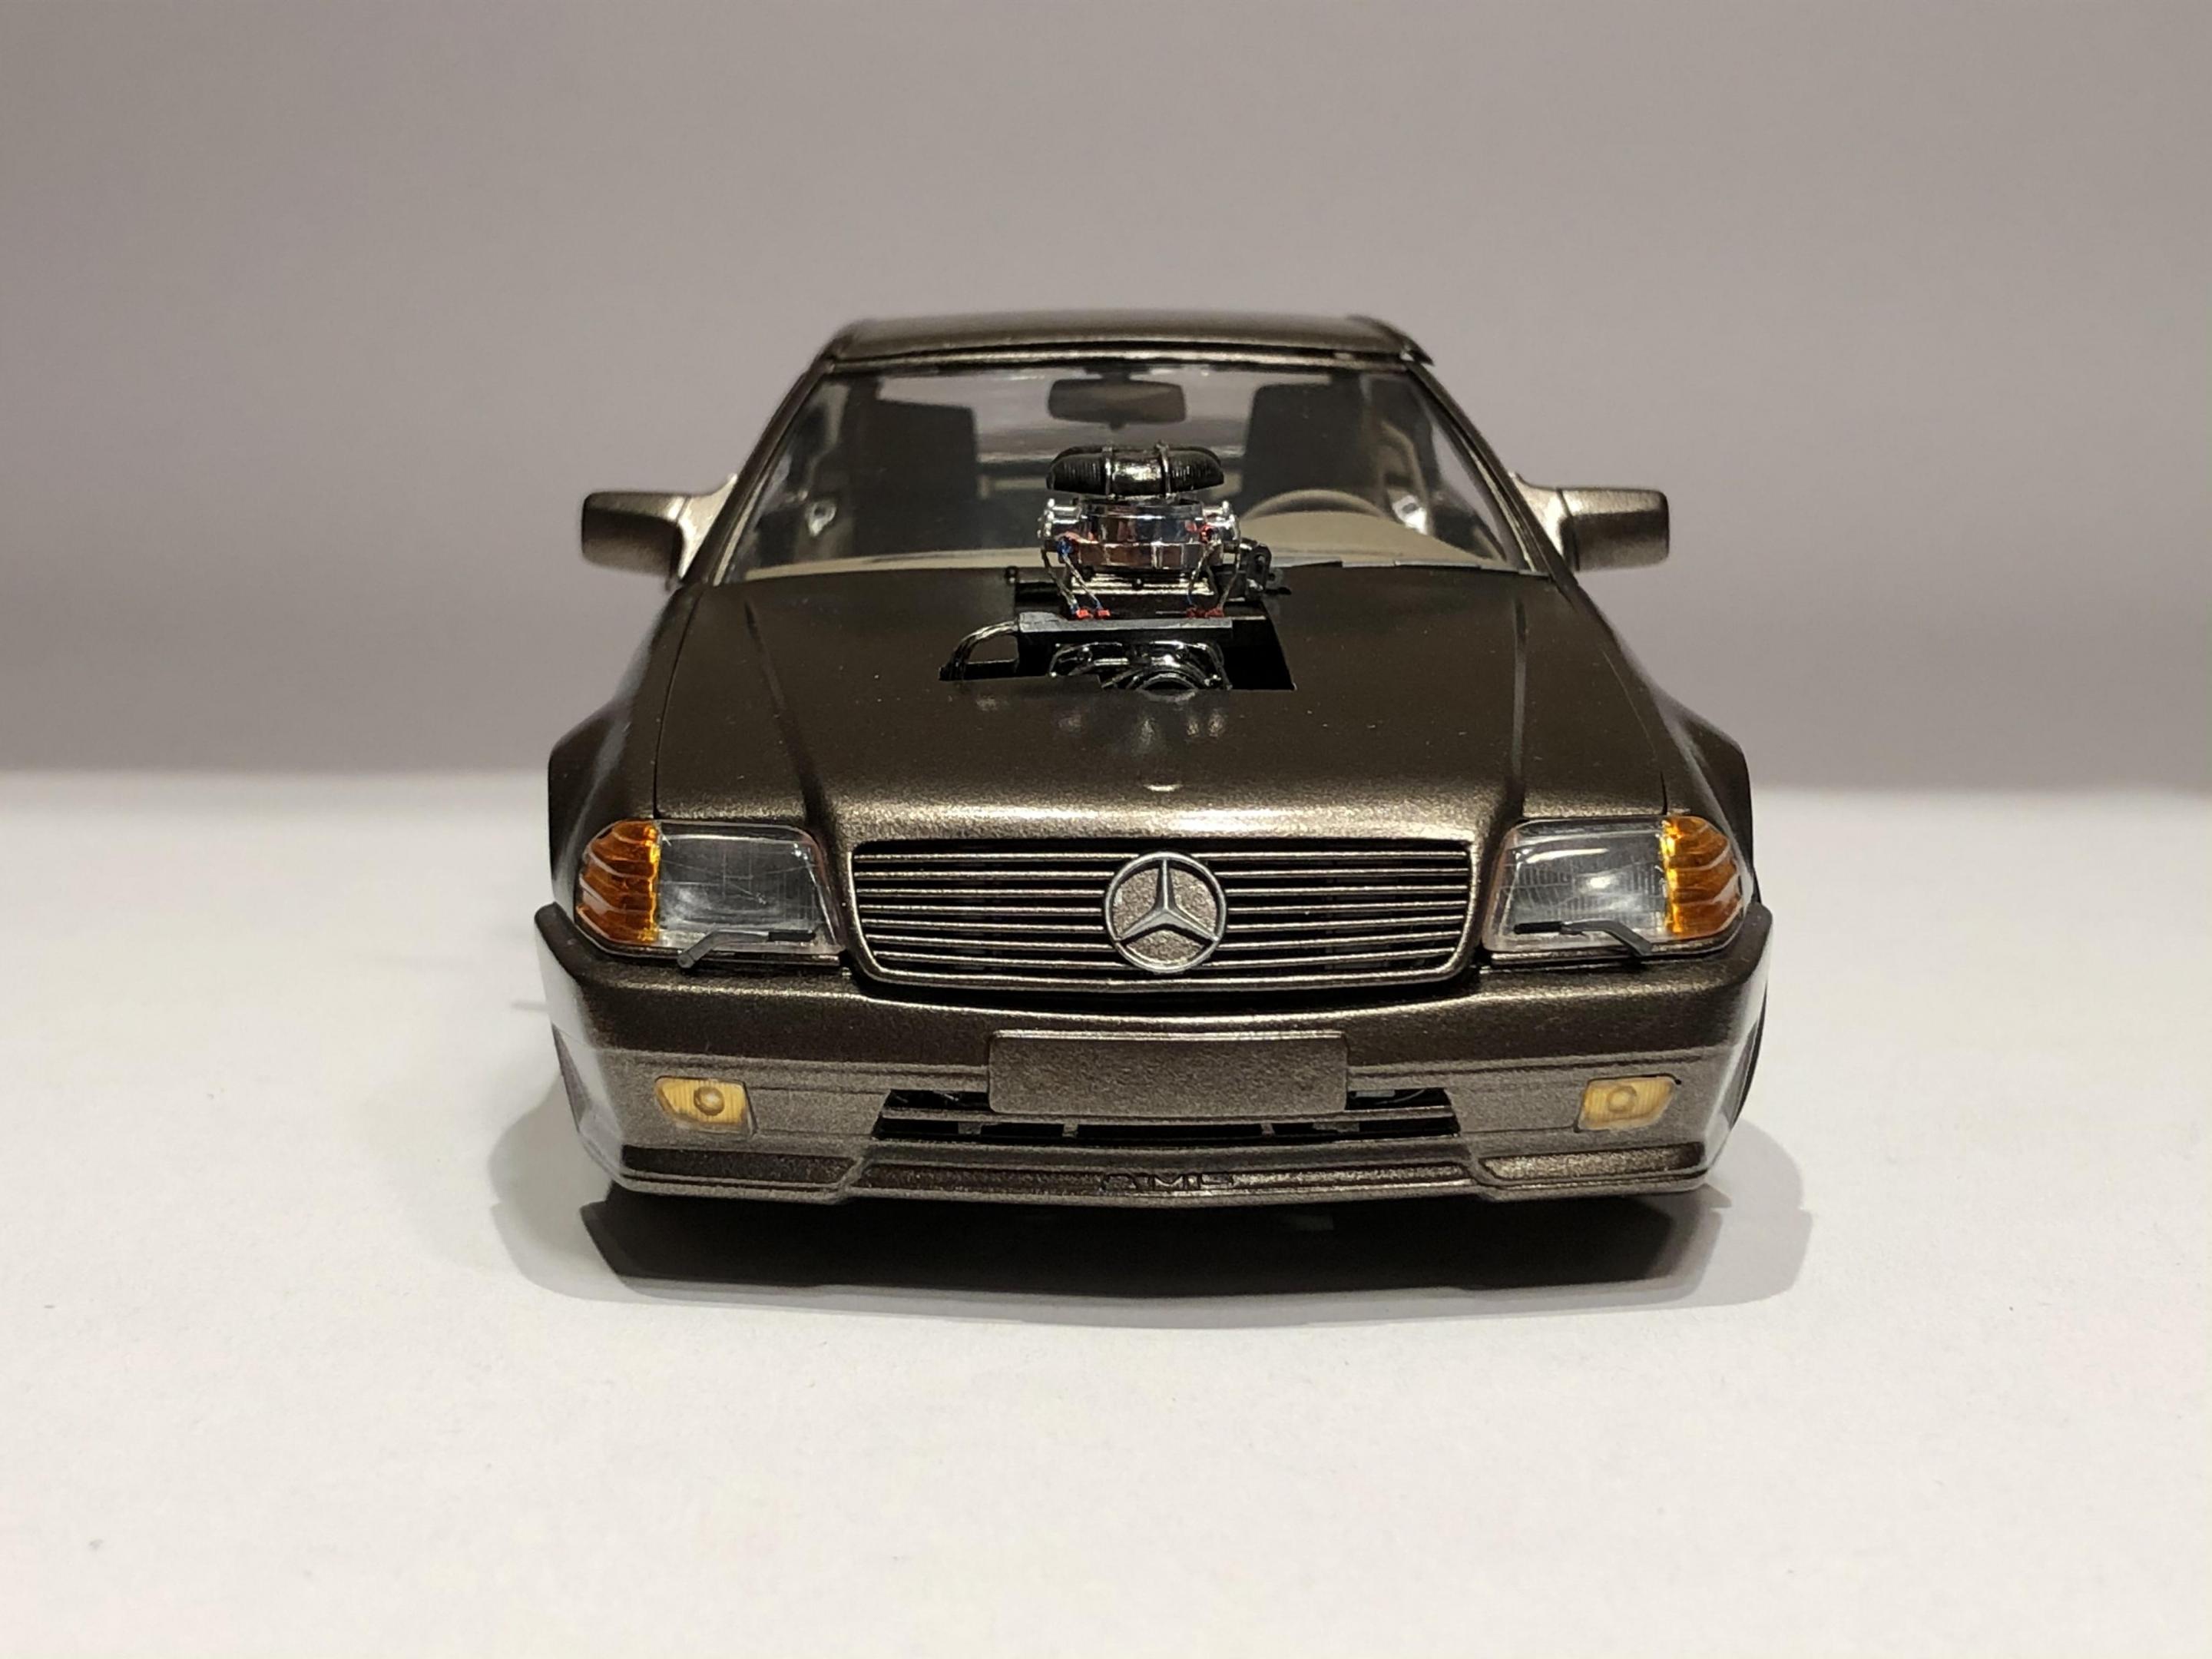
Hi all, I was inspired by the thread in the “general automotive” section of this forum. Kurt W. has a thread about sacrilege and blasphemy to Mercedes Benz cars that might offend purists. Here’s mine! This is a about a 10-12 year old build. I started with the Tamiya Mercedes 500sl kit. The chassis is a modified Monogram pro stock Camaro piece. The motor is the 492 Ford from the Tbird pro stock kits. The Mercedes interior was modified to fit the chassis, motor is wired and plumbed, posable steering. Wheels and tires from the Hays Tbird kit, parts box blower and manifold. Sorry, don’t remember all the details of the build. I do remember that I test fit for the entire build, and somehow in final assembly the front end is about 2 scale inches higher than I wanted. I think it’s a front windshield issue, but I left it alone... Hope you enjoy it Cheers, Steve I wish I polished my paint jobs back then....
-
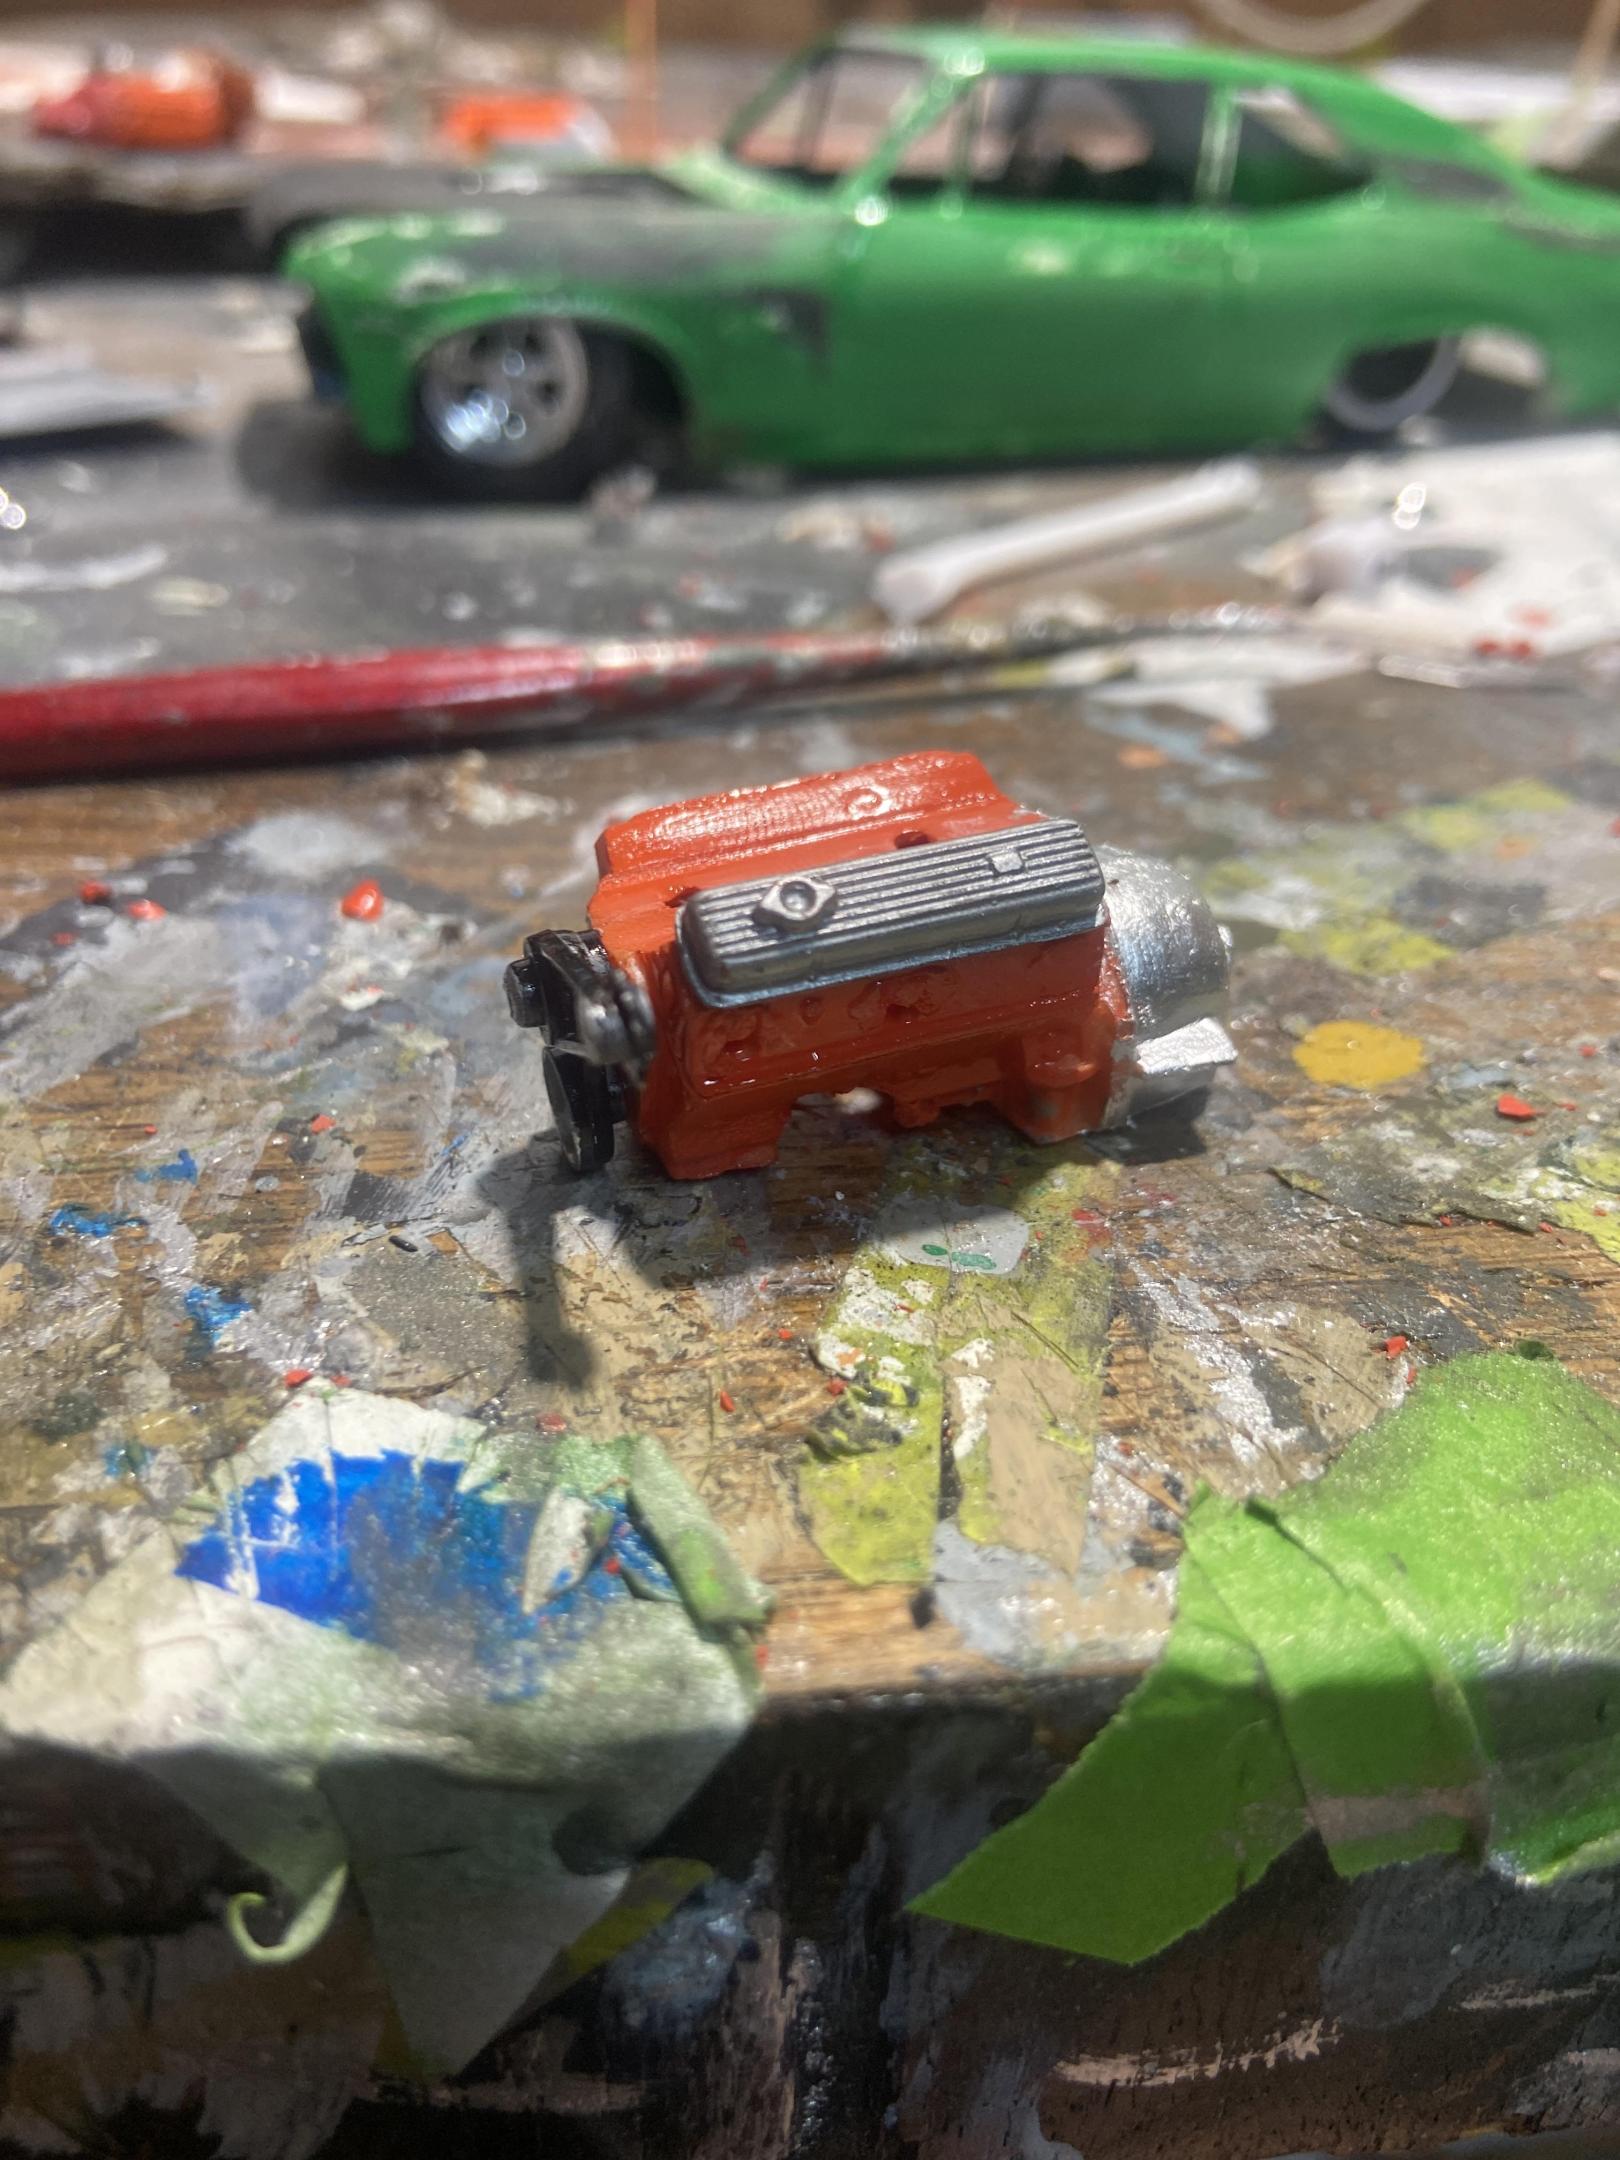
Been working on this AMT Chevelle, got some paint on it, ain't perfect but I think I can work with it. I'll let it cure for a few days then rub it down with some Future.
-
- 21 replies
-
- amt 1180
- plymouth gtx
-
(and 1 more)
Tagged with:
-
This was an on again, off again build. Can't remember how many times it got stalled! I finished it a few years ago. It's a kitbash of the AMT Duster Street Machine and the '70 Super Bee Pro Street. I used the Super Bee's back half, front frame clip/suspension, engine/transmission, seats and tires. The wheels are from a Revell '57 Chevy Pro Sportsman. The engine got the intake from the Duster modified to fit. The valve covers were modified to match. I also used the ignition boxes from the Duster. The rest is just details. The interior got a roll cage added, rear seat deleted and the Super Bee's bucket seats. The body was fairly simple. I just lengthened the rear wheel wells, opened the grille, opened the door handles and made the scoops functional. Paint is Model Masters Green Go and Satin Black in the interior. The strobe stripe on the hood is painted. The side body stripe is from an MPC '76 Dart. Thanx for checking it out! Requested chassis photo.
-
New project on the bench. I have a body with the front and rear bumpers molded in for this one. I’ll take pictures when I dig it out. I started it over 15 years ago. Maybe Snake will let me throw it in the next “Bring Out Your Dead” assuming there’s one starting in January. It is sitting a little high in the rear here. I notched the top of the tub’s and move them up here. I think I will drop the front a little too. Here is the inspiration!
- 4 replies
-
- pro street
- monte carlo
-
(and 1 more)
Tagged with:
-
- 1 reply
-
- pro street
- drag racing
-
(and 1 more)
Tagged with:
-
Hi this was an old build that I started about 20 or so years ago that I was never really happy with. Originally built with a cross rammed 440 and solid mounted rear end, glued up rear doors and ill fitting front clip with decals all over it, it finally got the better of me and decided to strip it down. Was able to get the rear doors apart although it removed some of the rear panel with it so I had to clean it up with styrene which now makes the rear body a lot more solid. Had to repair the rear doors where I had holes for the parachute bracket and the rear light with styrene and super glue which I use a lot now instead of body filler, find it doesnt shrink bit more work sanding down but end result is better. Was originally painted with duplicolor rattle can and suprisingly came off nicely with oven cleaner. Noticed the belt line trim was thicker in some places than others so decided to sand it down and make a new one up with half round styrene so it will look a lot better when I bmf. Had to do a lot of sanding and scraping on the front clip and where it meets the body but now sits straight and even. Now using an injected and tunnel rammed 340 small block that Im currently working on at the moment for a more modern streetable effect with scratch built injection and rocker covers. Cheers and thanks for looking, any comments welcome
-
Ok so a little story behind this build. I bought this car when i was 13 as a slant 6 auto, a teal pantjob, white vinal top and mag wheels. When i was fifteen i worked summers at a restoration shop with my dad. After saving some money i started getting parts and working on this car. It was supposed to be a car for school but after my dad built his pro street trans am i loved the tough look it had so i decided to do the same. With his guidance i built this car from start to finish learning everything i could. I built the engine and transmission at 15 after the chassis was finished. I did all the bodywork and primed it in time to be able to drive it on my learners permit. After that the surcharger was added and the car was painted by my dad. It has been finished for 11 years now and throughout that time I've attempted replicating it in scale 3 times. Im taking another crack at it now that my skills have cought up with how i envision it. I've learned that replicating a car you are attached to is not an easy task because it seems that its got to be right Enough rambling and on to this build The 1:1 The 1 /25 scale As always questions or comments welcome jason
-
Here's an '80's flash-back! I originally built this pro-street Johan '62 Chrysler 300 back in '86. I recently pulled it out of my showcase to do some repair work and upgrade it. Gotta love the '80's. There was a lot of questionable automotive styling trends applied to this model. I wonder what today's hot rodding trends are that we will shake our heads at in the future. More pics and all the details are on my site at the link. http://www.svensworldofwheels.com/62300page.html
-
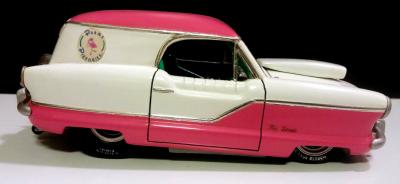
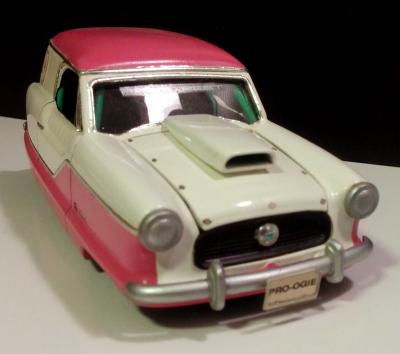
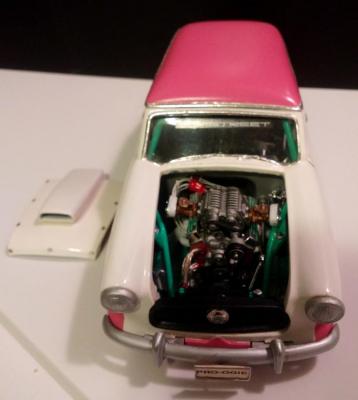
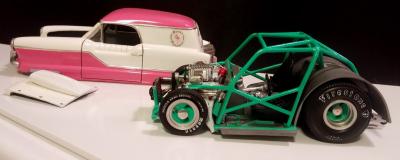
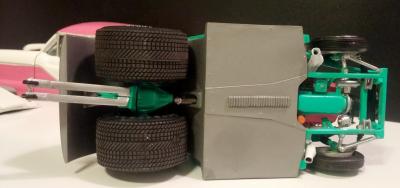
Back in 1991 my modeling friends were ragging on me to build something out of my head and not follow magazine articles. So at Toledo Toy Show I purchased a Modelhaus Nash Metro Sedan Delivery phantom body. I also picked up the then cool Revell Pro Street Beretta. My friends also much maligned that kit for the excesses and too much chrome. They were Hot Rodders and Muscle car fans and worked so they had big toy cars while I toiled in college and was broke. I started on this project in mid July, there was a lot of family things to take care of with the failing health and passing of my Grandfather. Once life calmed down to a dull roar I started in earnest. I cut open the hood and attempted to thin things out. I used the Beretta's scope and tossed the rest of the body aside. The chassis and roll cage was the biggest engineer hurdle for me. I was able to trim off excess floor material in the back to flow with the body and cut off what wasn't needed up front. This still left me with a wheelbase way too long. I forget how much I took out but the floor pan was deigned that it was impossible to make a clean cut and save the tranny tunnel, louvers and such. I filed it off flat and laminated thin sheet polystyrene with 5 minute epoxy to rebuild the detail. I used a strip of louvers from the Revell '53 Chevy Sedan Delivery on the tranny tunnel. Then the roll cage was too low and a lot of fiddly work ensued to make it work. I used after market pewter rims and wire on the engine. I strpped off most of the chrome and used various colors of Testors Metalizer on the blower and other once chrome parts. I also used some very old Pactra turquoise enamel and that almost blew the whole project. The color was about 25 years old then and wouldn't dry right and took about 2 weeks to cure to the touch. The body is painted Duplicolor white from a rattle can and Fiat pink lacquer I airbrushed onto the model. Another almost trajic moment in paint was when I finished laying down the pink a midge landed on the fresh paint and almost destroyed the roof and my timing. Another problem was my masking, I left the paint to dry too long and t started to chip around the edges. I touched it up and rubbed out the finish, I made the Parma Pierogi logo from an color xerox print that was scaled down from a business card, I clear coated the paper and then applied to the side. This is in the age before good color printers and before we could print our own decals. I had fun with this build.
- 21 replies
-
- Pro Street
- Nash
-
(and 1 more)
Tagged with:
-
I'm wanting to see everyone's opinions on this model! Thanks! Cameron
- 11 replies
-
- nova SS
- pro street
-
(and 1 more)
Tagged with:
-
Got this one painted as the sun is out and there is some warm weather. Done the foil,put on decal and the some coat of clear. Maby not the most exciting color,it`s tamiya champagne. Since the pro street style is a bit crazy,i thought tone it down with the color,so white top,decal and interior. Here are some pics. The chassis is half AMT and half Revell. Not done painting. Interior. Some flocking and bmf added. No cage and i still wanted back seat. Tires and wheels. The wheels are machined aluminium from "customs by terry" on Ebay. The body so far. Needs some side marker painted,door handles,wipers,bumpers and other small things. Not made an decission on engine but the 426 with supercharger is one option. Another is the Gibson engines,but they cost a lot so not sure. Some pro mod converted to street gas would be cool,got to think about it a little more. I guess it`s not everyone cup of tea but comments are welcome by anyone. Thanks for looking.
- 33 replies
-
- pro street
- street machine
-
(and 2 more)
Tagged with:
-
Revell 69 Charger pro modeler kit,build one or two ways,very nice kit if i might say so. As for me i had in mind stock,but this always seem to fail as it goes on. Ok,some facts,primer and paint are Tamiya TS. Distributor is MAD,the supercharger is BNL,i used Alclad on this,the carburators,the air intake is body color (hard to see). Engine is the 426 from the kit (It also comes with an 440 magnum). 4speed manual,stock interior with some foil and attempt at woodgrain paint.flocked the floor and the shelf behind the rear seats. The body is all stock. The floor/chassis is AMT and Revell put together,70/30. Oh yeah,i forgot the mirrior inside the car,also i dont have any braided wire for fuel so i could attempt detail a little more. I belive the washer container should be white,but i took the chance and painted blue on the inside,and its clear. I consider try getting some sort of jig for fuel/brake lines later on,its extremely difficult holding with one hand and fix with the other lol. Wheels are "Customs by Terry" on Ebay. The supercharger belt is from Mike DeLuco "Shucky",yeah i think thats about it. This is my first pro street car so i hope you like it. Also i would like to thank Jeremy Newman "outkast1027" for the rear tires. Here are some pictures.
-
This is a AMT '49 Ford Kit with parts from other kits. I haven't built anything with aftermarket parts yet, but am looking to do one next. I was watching the live feed of Drag Week '13 on youtube and wanted to build a Big Block Power Adder contender. I didn't know how to maximize lighting but I figured daylight was a good start. So I took the pictures outside, on the first thing I saw when I opened the door...my 1:1 toy. I hope you enjoy it:
-
Ordered this kit on monday it got here saturday. Hasn't been too bad, theres a few nicks and burrs you gotta you gotta knock off with a razor after taking them off the tree but I actually had pretty good luck. I really wanted the engine to look nice but do different. Ive seen alot of hugger and red and dont get me wrong I like them both but I decided to match the body color like some pro streets youd see at a show. Its Duplicolor BGM0539 replaces T155. I still dont know what im gonna do but im sure its gonna be pretty basic. This is my fist drag car so I dont have any spares for it. Might get a fancy steering wheel or something
-
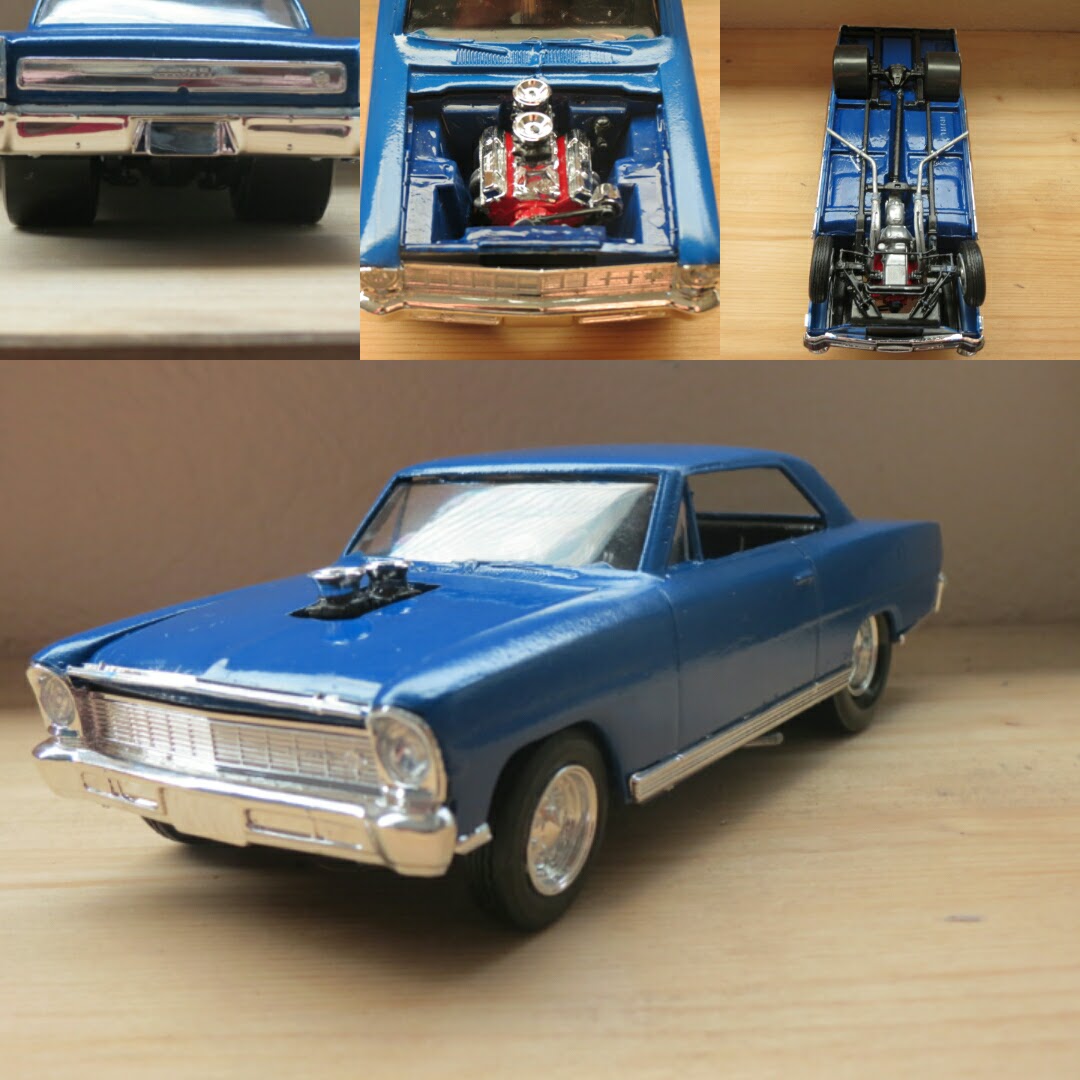
1966 nova pro street. one of the builds i did when i got back into modeling 7 mths ago. I believe it is the 2nd or 3rd air brush paint job and the first time i everr weatherd an engine.
-
The old AMT snap fast kit's getting a bit of an upgrade. Body mold lines ie around windows and doors was nearly non existent and when I finally managed to cut the hood out found it was about 2.5 mm thick. Made some gutter channels for the front guards using a top sportsman floor for the munting huge tubs and rear suspension,Front and rear tires are from the AMT pro street superebee as is the basic engine. Parts box supercharger and hat, resin seats and carbs . Stance is as it sits

.thumb.jpg.e0420fe52e683c60d19e843462316523.jpg)


