

Dave G.
-
Posts
1,369 -
Joined
-
Last visited
Content Type
Profiles
Forums
Events
Gallery
Posts posted by Dave G.
-
-
7 hours ago, Ace-Garageguy said:
Nice car. Mostly function, exceptionally clean, great fab work. HP seems about right to me too...way too much is just enough.

I felt right at home looking at it, as I said ticked all my boxes at least in a T. I watched another vid of a T with 400hp and it had plenty of snap to get me in trouble lol. But hp is subjective in terms of desire. The nice thing about this T is he seems to have gotten that power to hook up with the pavement. T's only weigh in the teens, the one I posted is 1700lb. To my eye it's just proportioned great, nice car.
-
Modern day t bucket. This ticks the boxes for me except maybe a bit much engine in terms of hp:
-
On 8/9/2020 at 5:27 PM, seecee said:
If this is what I should expect with Revell I won't buy another one.
Ok.
-
27 minutes ago, Dave G. said:
nt
-
1 hour ago, randyc said:
Excellent. I haven't had much luck airbrushing acrylics yet. What does the alcohol really do? It is a solvent that evaporates pretty quick. Then you add retared to slow the evaporation? I figured the alcohol/water/other percentages were as you said. I still have a LOT of NOS Testors, so just starting to touch into acrylics. But glad I found this. So even with 50%, I need a little bit of water to lower the alcohol percentage?
What brand of paints are you using? Currently I only have a few Testors MM acrylics for interiors and such as that. Have not tried to paint a body yet.
It works in most acrylics, just mix some up and let it sit covered for 4-5 minutes, if it's a paint that will react it will get stringy, turn to glue or else separated never to go back together. DecoArt for instance is the only craft paint so far that reacted once and I use several brands of craft paint. Thus far no acrylic model paint has been an issue in these ratios of alcohol. Tamiya gloss will work but you will get better gloss from lacquer thinner with that paint. The flats are ok. Model Master acrylic shoots exceptionally nice with it, you're gonna like it just be sure to prime first. You should always prime first with acrylics, they bite primer great and plastic terrible lol ( no, I mean literally terrible) !!
Just trust that the blend works better than water ( I've spent two years playing with different means of thinning acrylics conducting spray tests, drying, scratch tests, water alone is rarely the answer), it sprays more like solvent paint with the alcohol in there is best I can tell you. The basic formula came from Bobby Waldron at Genesis Models fwiw. I'm in agreement with his comment that this is pretty universal thinner.
-
4 minutes ago, randyc said:
So I have 50, 70 and 90. And you guys are saying the 90% works best? Just asking. I found that 50% works good for thinning down for washes. Haven't experimented with much other than brush painting.
Well we're making a thinner blend for airbrushing acrylics. I can't speak for the others but mine needs 30-32% actual or true alcohol content. So the distilled water gets adjusted accordingly to that, the real alcohol content in the blend is around 30-32% in my case. You need to understand that all the numbers you mentioned, the other part of that to make up 100% in your bottle is already water. That's all that is in there. So Then, to every 3 oz of thinner I make up I add x amount of Liquitex retarder according to season. And of course there is fudge room to mess with. For the acrylics I use I find this nearly perfect. A few guys copied it and love it. One tried to cheat the retarder, then cheat the brand of retarder and it totally flopped for him. Once he got it all straight in his head he was golden.
-
Ace beat me to the answer. Actually I use 91% in my home brew thinner for acrylics. Since covid I've only been able to get 70% locally so I adjusted the water in the home brew to 20% less which is more than close enough. Still use the same amount of Liquitex retarder to control tip dry and aid flow out. . I've saved my 91 for cleaning but find that 70 cleans just about as well.
-
43 minutes ago, Tom Geiger said:
People seem to forget that Moebius was sold to Pegasus. No doubt a big purchase for them and they may be short on cash to race forward!
Forget ? I didn't know lol !!! That doesn't sound promising at all. No wonder I never got a return email from them about the 56 Buick. They probably figured I was nuts, might be right too.
-
8 hours ago, RichCostello said:
It doesn't sound stupid to me, but I'd rather have a 57 Olds 88.
I like the Oldsmobiles too in those years. Since I was a kid for whatever reason the 56 Buick just was something I'd like to have modeled and Mobius would do it up right, I'd take a 55 or 57 if that's all there was... I built the 58 that was around back in the day ( 1960 or so I imagine), I think a couple of them actually, the first being the first car I tried to paint and not so successfully lol. Never cared for the 58 I' might add.
-
Might sound stupid to most but they did a great job on the 56 Chrysler, I want to see a 56 Buick come out.
-
11 hours ago, CabDriver said:
That’s the plan! It lays down nice and dries nice - I just seem to keep getting ones that clog ?? Probably takes 10-15 minutes to hit touch-dryness, but I leave it overnight anyway usually
I think it’s actually a clog in the valve or the tube in the case of mine - even with a brand new never-used valve they won’t spray again. Like you say, might be bad storage or old stock or any number of things. I get on fine with their colored cans and the metallics and whatnot - just having a lot of issues with the primer lately ?♂️
Store the high pigment colors and primer upside down. This way solidswhen turned back upright are to the top of the can and aren't the first thing into the tube when shaken up and giving that first shot of paint. And heat your cans up in hot water to where when shaken the temp equalizes warm to the touch. It might take a few warmings and shakings. You just want the can warm not hot but this will help in mixing the paint and atomization too.
Course the thread is about decanting but you have those answers already.
-
11 hours ago, jchrisf said:
I'm thinking a thinner would have helped but would love to know which is best. My thought would be any lacquer thinner.
Rustoleum clear gloss lacquer decanted: I used hardware store lacquer thinner but it needed retarder,way too fast drying and went dull.Course it buffed up anyway but a bunch of added work that is not required when shooting from the can.... Now I do use Minwax clear lacquer in quarts for my wood working and that thins and sprays fine with the same thinner even in an airbrush.. Not sure how it would fare in the long haul on yellowing, it's fine up front though. Just sayin.
-
Just the clear lacquer gloss. It sprays better out of the can.
-
1 hour ago, El Roberto said:
Tamiya X22 clear with buffing.
Ya X-22 put down right is pretty much wet look going on. But he wants spray cans, that was going to be my suggestion too.
-
I'm sure it will look fine, between the variables on the real ones and if you do any weathering, then adding counter colors and markings, whose to know the difference really .
-
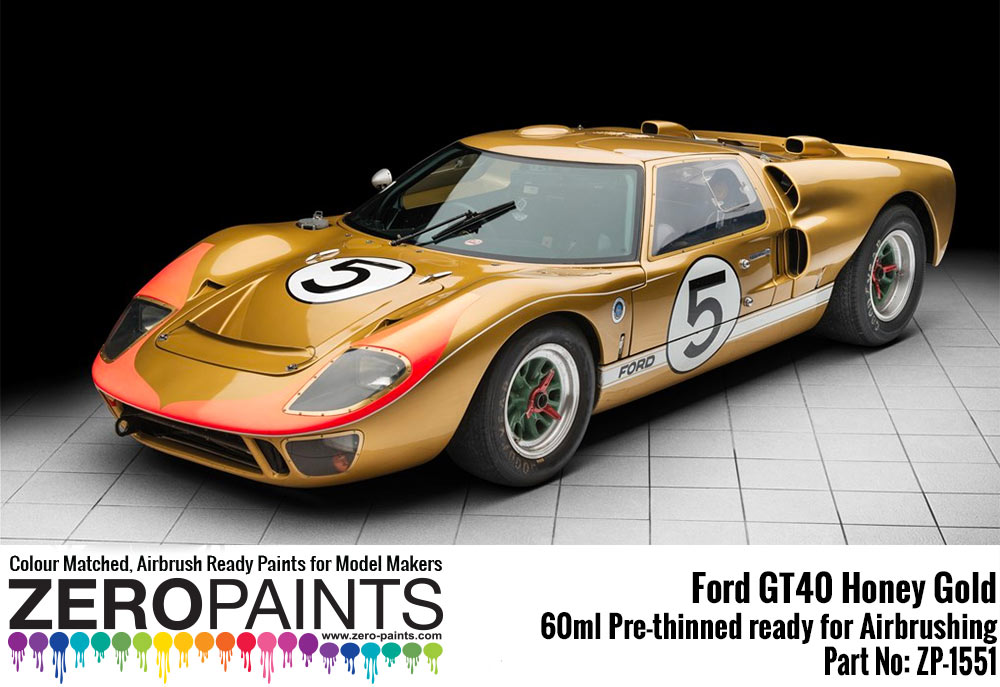
Judging by Plowboys Chevy truck photo I'd say no it's not that close. Not honey enough but more champagne-ish gold.
Zero Piants rendition is quite a ways from that Tamiya at any rate:

-
I don't know but Zero Paints lists it.
-
A good compromise is to fit one of your existing brushes with the accessory side mounted open top metal cup. Best of both worlds for about $12. I use one on my Badger 200 almost 100% of the time because thats my .25 nozzle brush used for fine mists or detail. But I use it my Paasche H for small jobs too. But then I still have the jars for big jobs like my wife's ceramics clear coating with varnish with H and medium nozzle.
The Masters work ok after a little tuning up. Mostly that's polishing the needle. The tip O rings deteriorate quickly but bees wax makes a better seal anyway so that's no big deal. I think you will find that to be true of the Hubest as well.
-
1 hour ago, Bucky said:
Thanks for the suggestions.
Snake, it's a Spec Cast 1957 Dodge pickup. It's painted in white, and I want to use either red, or yellow, or perhaps a blue to make it two tone, like I've seen on the Web.
Get yourself some Testors enamel.Tape the truck off, wipe down where you will paint with a little enamel thinner or mineral spirits. Give it a light scuff and wipe down again and shoot your paint. Even in 1/1 we never re-primed for two tone. And your base paint is white, so blues, red or yellow should go fine over it. It's probably baked enamel or powder coat on there fwiw. You can test a little corner someplace to be sure the solvents don't eat it but I doubt they will.
-
I definitely would use my touch up lvlp spray gun on a 1/8 scale model or one of these large ship models out there with 5' long hulls. I've used that on my wife's ceramics dioramas too. LVLP indicates low volume low pressure. It has a 1.0 needle installed so just short of my Paasche H with large needle. Has paint flow and air adjustment . Here is the selling point for me in large scale though, the fan cap. Course there are a couple of airbrushes out there that are fan cap capable too.
I have the compressor to feed spray guns though and that is a consideration when you start thinking spray guns. But lvlp is pretty air friendly anyway, especially in the small touch up guns. Just sayin.
-
17 hours ago, 1972coronet said:
Honestly , it's been close to {{ gasp ! }} 20 years since I've used it ( in my 50 year old mind , it feels like only 5 years ago... ) . If it's nearly impossible to obtain , then I'd go with the "other-lazy" route : Tamiya TS Gloss Black with --- don't chastise me here --- Testors enamel Glosscote [sic] .
Hey it was 60 years ago I shot my first Testors rattle can and 45 or so since the last ( actually I had switched mostly to Pactra by then) but can still recall that soft spray pattern going down and flowing out perfectly.
-
I'm with the Model Master Enamel suggestion if you can find it. Basically spray it on and that's that minus dust and stuff. But it shines right out of the can, two to three coats and you're done.. Only thing, good luck finding it anymore.
I know the plain Testors rattle cans were always good in black too but I haven't kept up with them enough to suggest them at this point. Seems 72 C likes it though.
-
5 minutes ago, Dave G. said:
I've had no trouble with the paint I mentioned in my other post flaking easy or finger prints etc using my thinner mix I mentioned above. It's just painted, it goes on nice, looks pretty much good. I buff it up with 000 steel wool if there are any fuzzies then clear coat with lacquer or with Tamiya X22 clear or even their clear colors. Tape is not an issue, shoot the acrylic over primer.
If the paint is delicate and or flaking I'd lose that thinner, it's the wrong stuff!!
When I force dry, 40 minutes is plenty, 12 hours it should be fully dried just air drying.
I too shoot it around 23 psi.
-
Rodding trends - Lack of Model Ts?
in Model Building Questions and Answers
Posted
Ya I like the stance of this T, I like everything about it except the $2800 crank price lol !!! I