Lobo2me
-
Posts
454 -
Joined
-
Last visited
Lobo2me's Achievements
MCM Avid Poster (5/6)
-
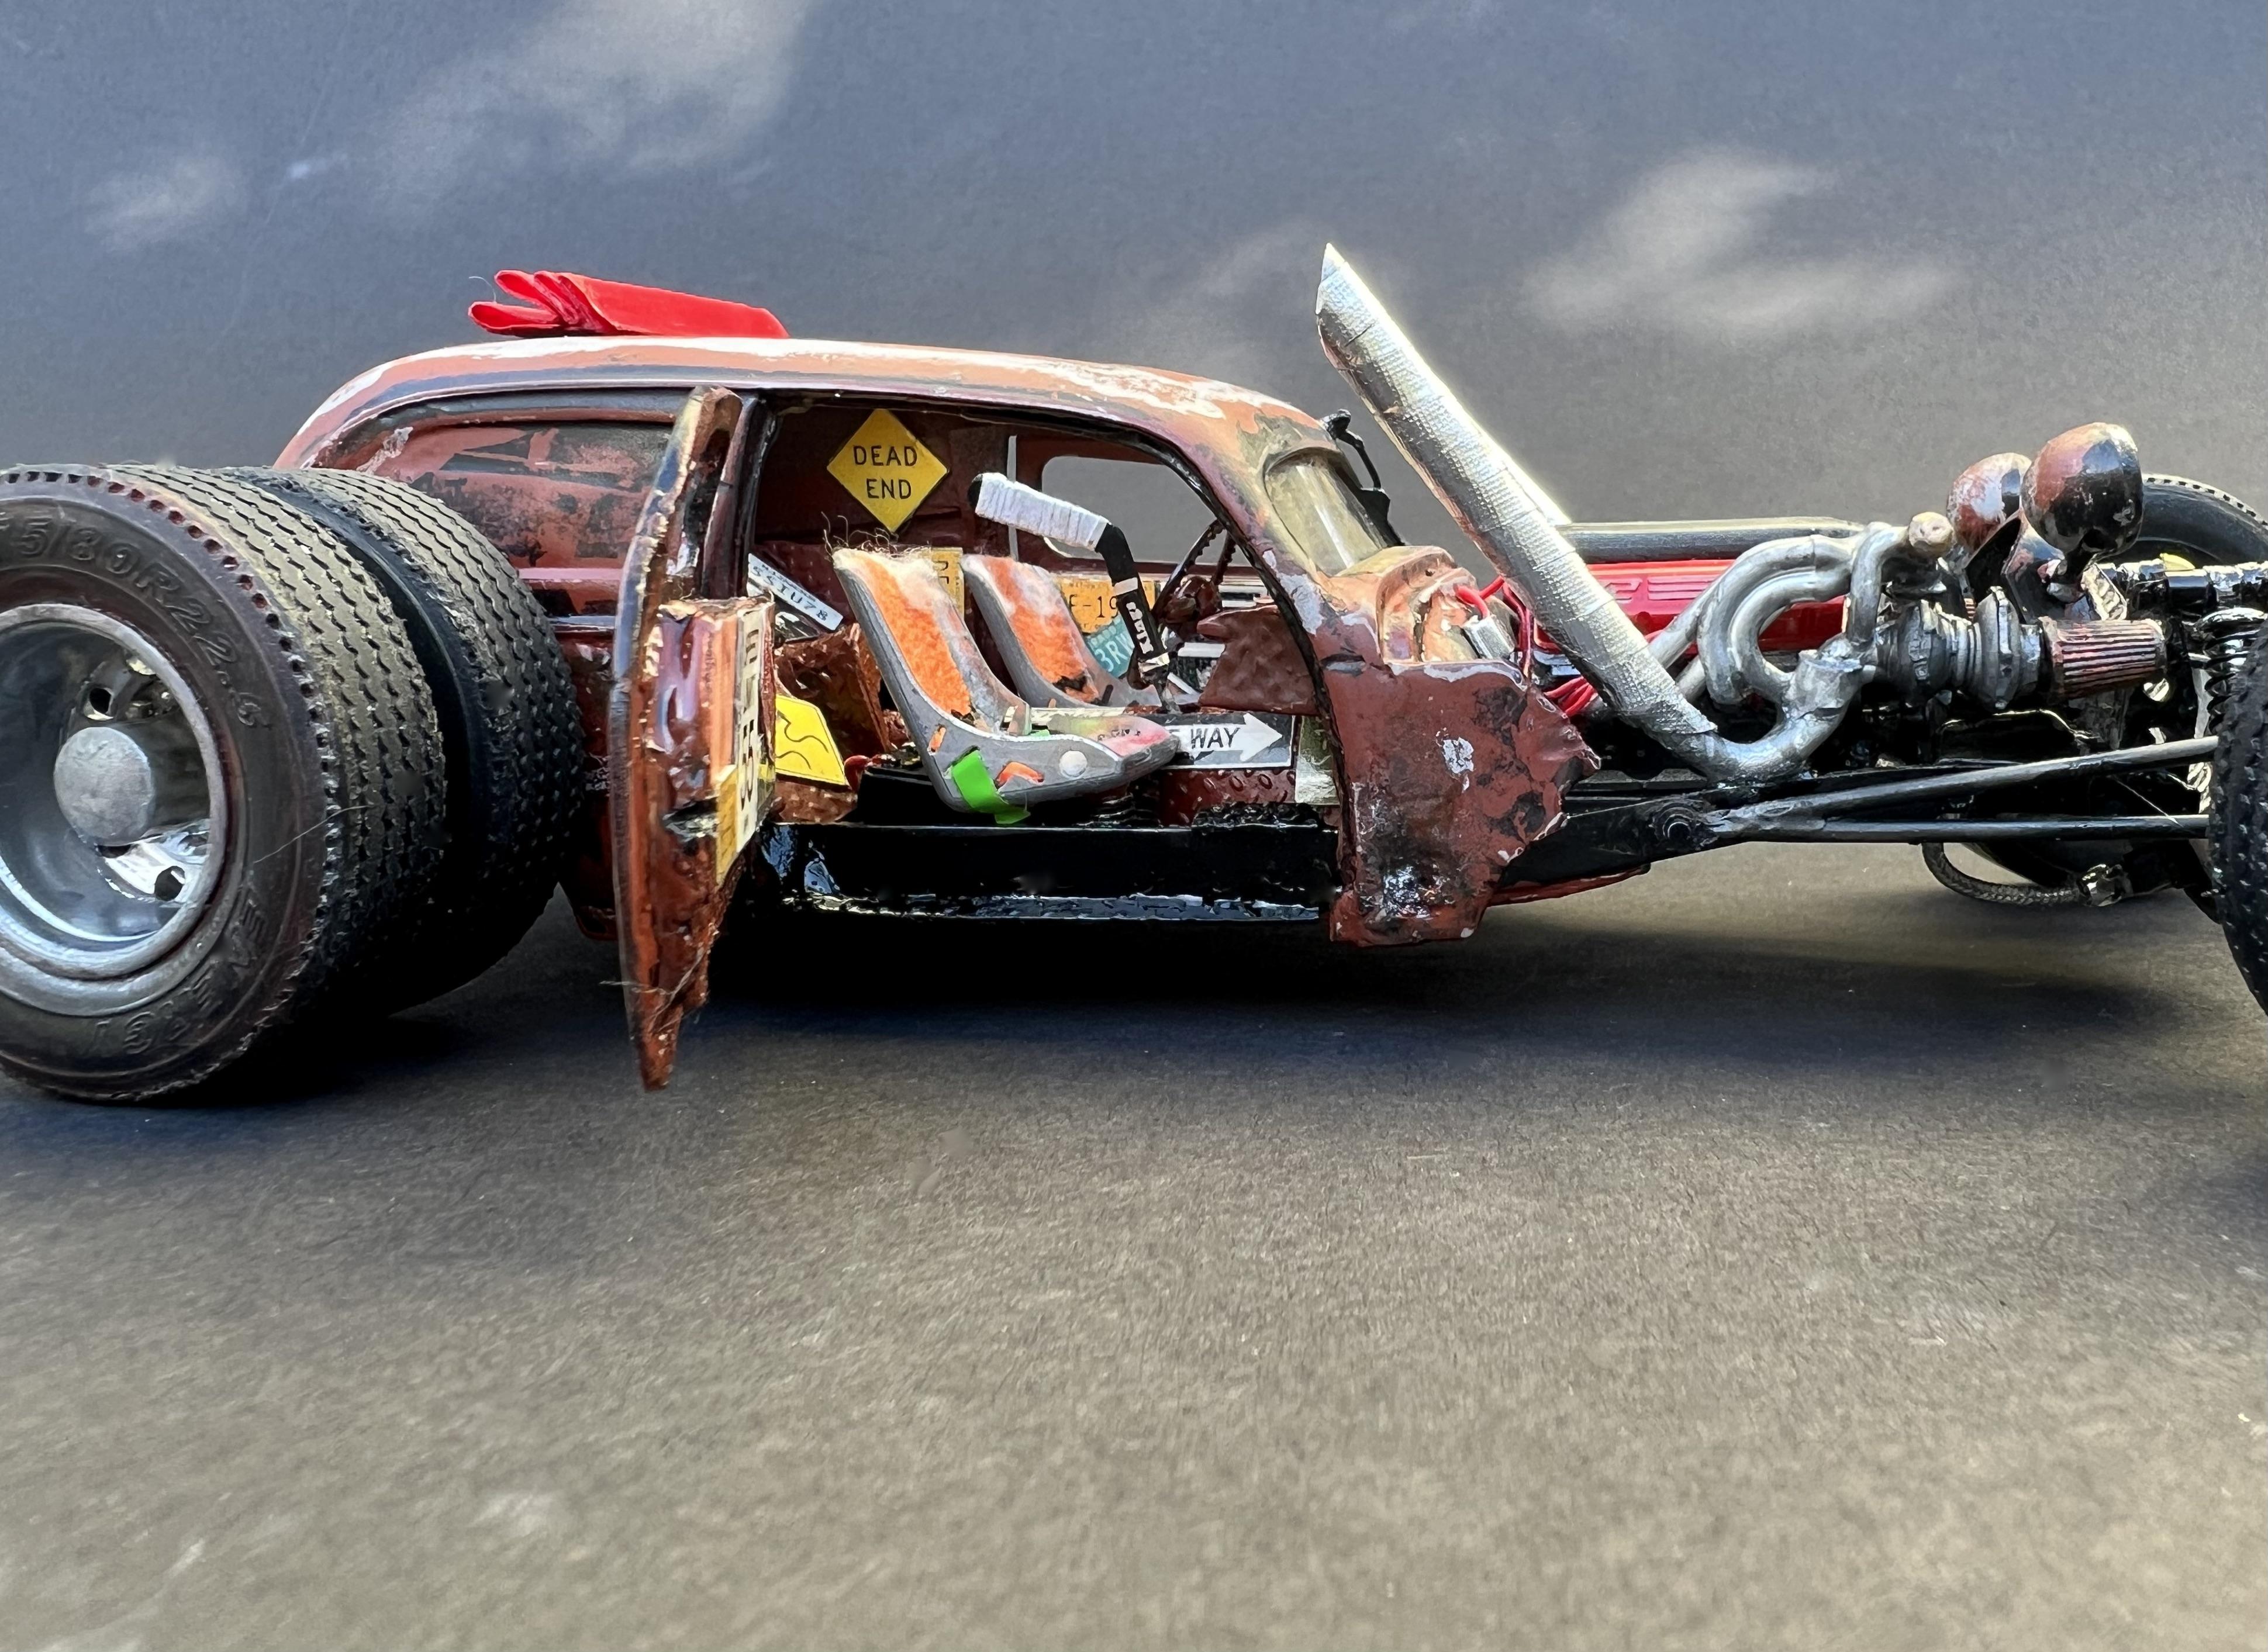
Rut row....another GM "almost." Nice job on this interesting subject matter! Really like the "ejection seats." Well done!!!
-
Really nice job all the way around! Great paint, detail, and foil work....well done!
-
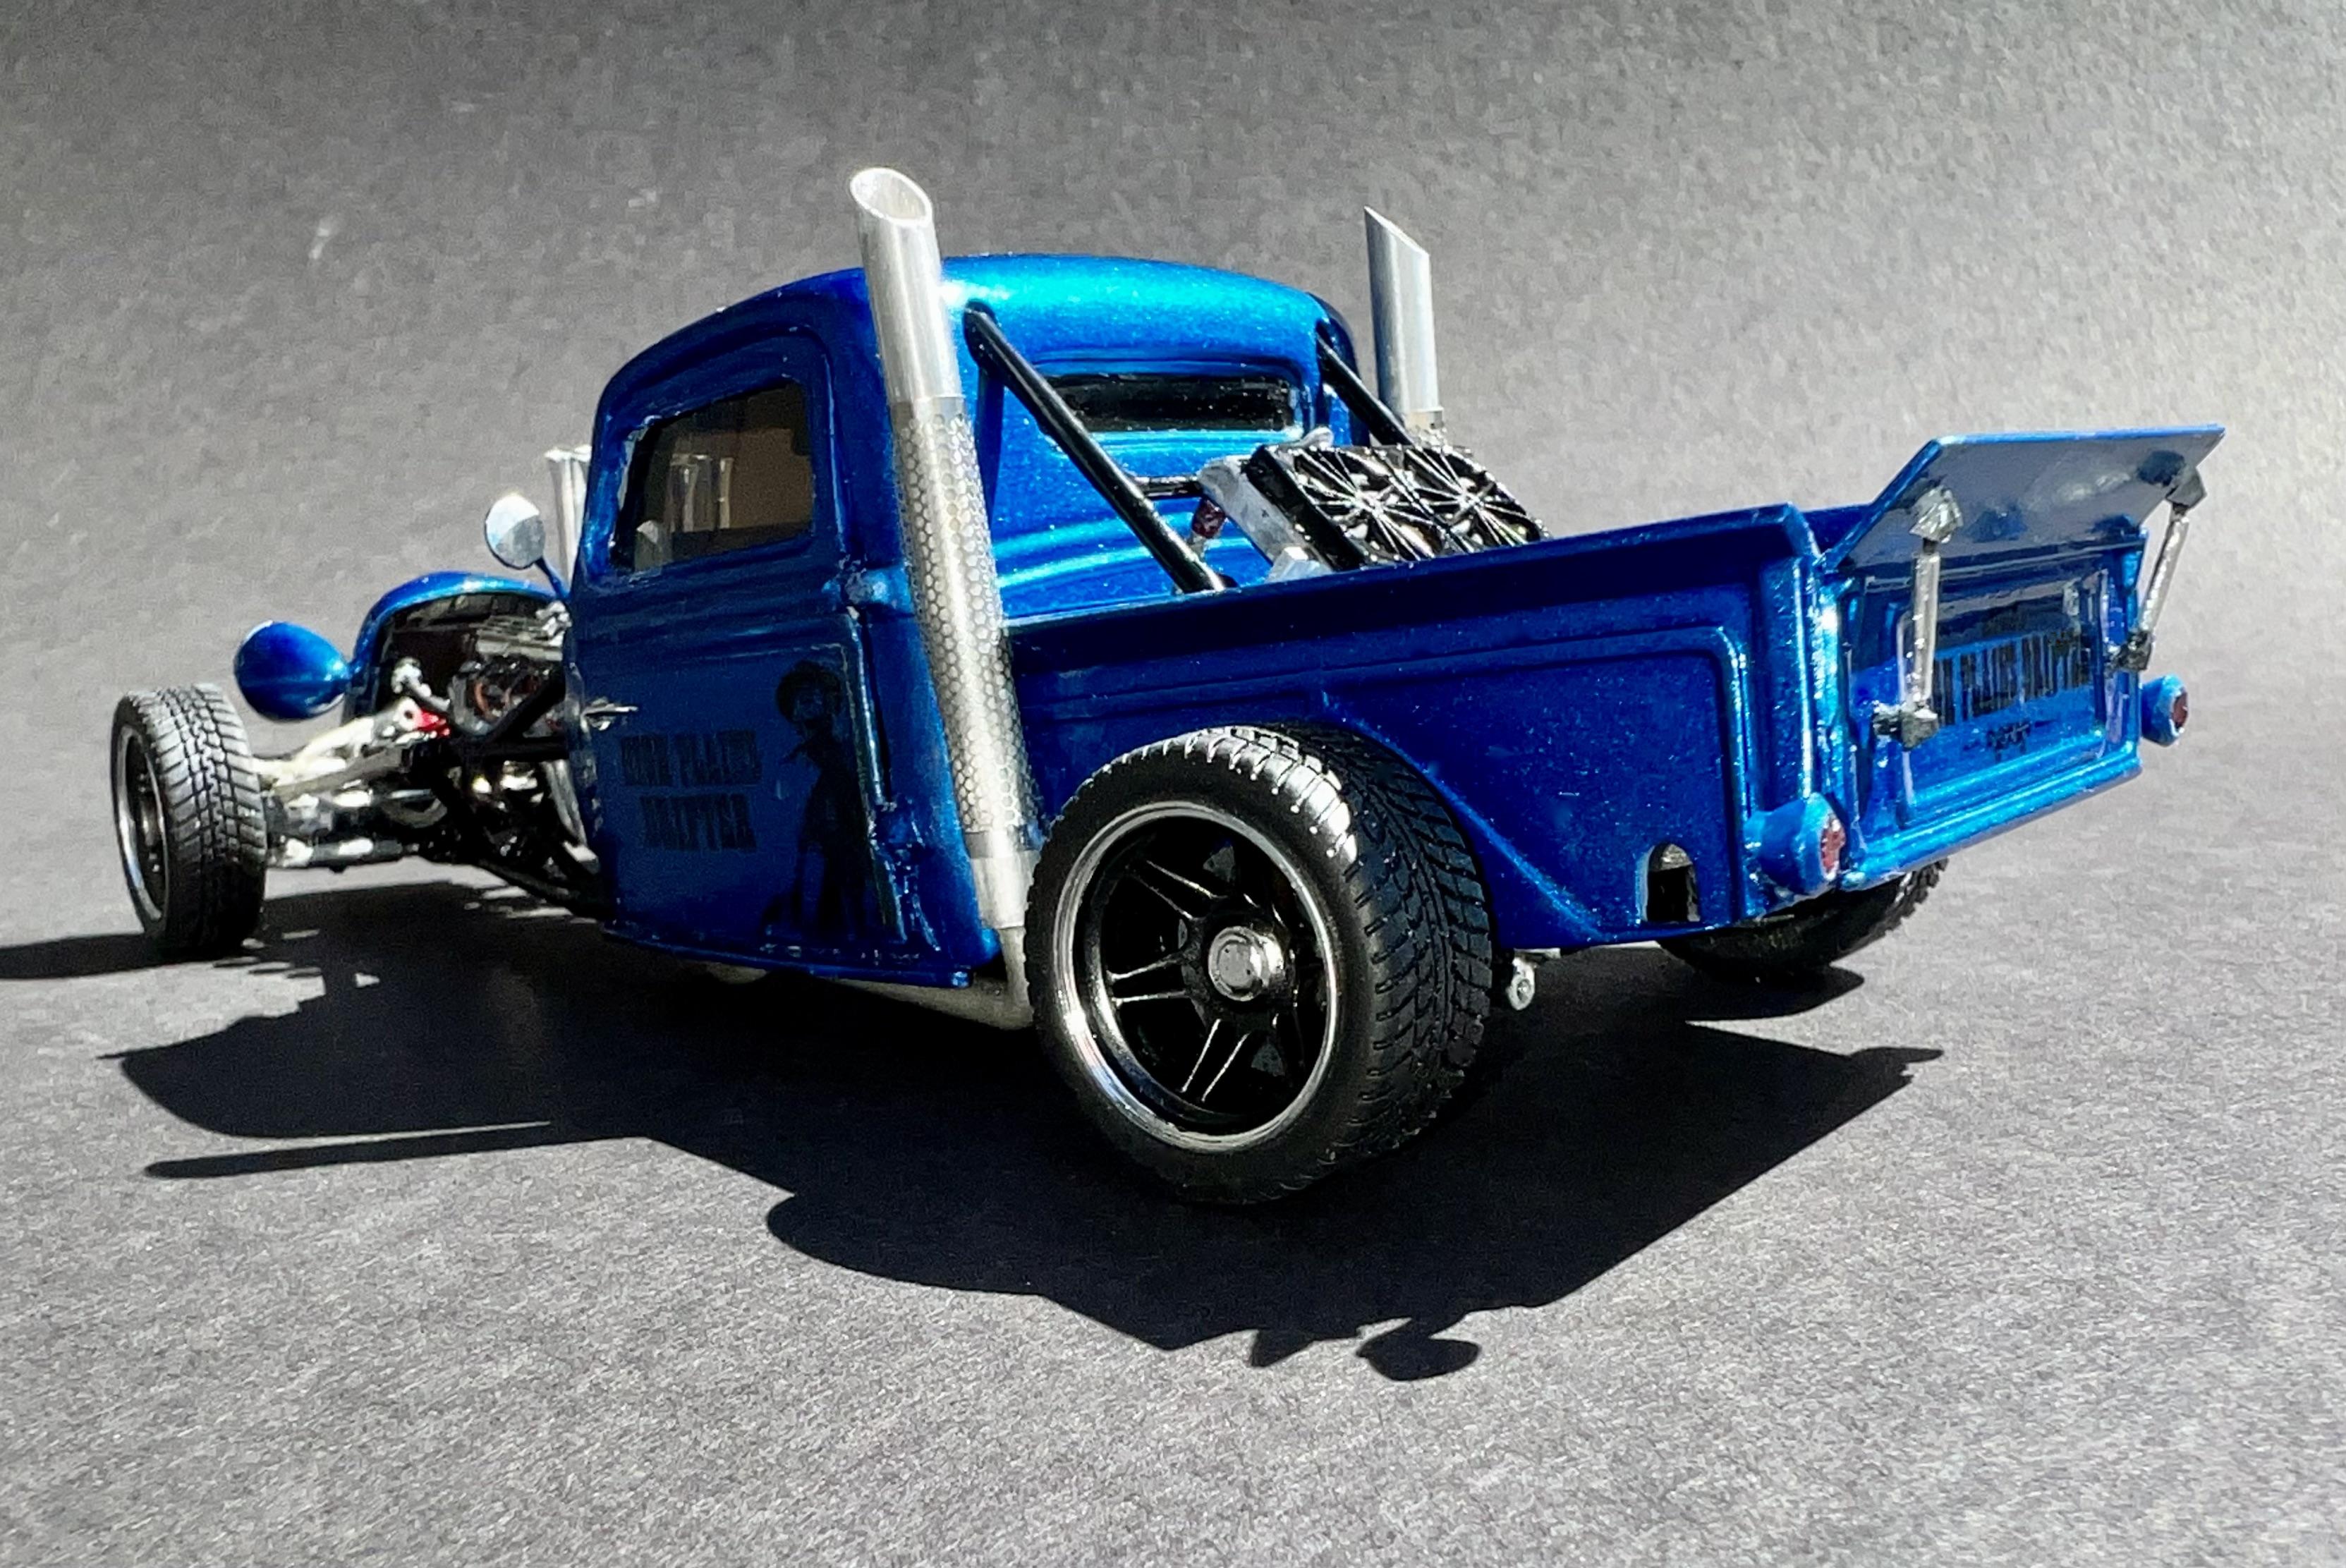
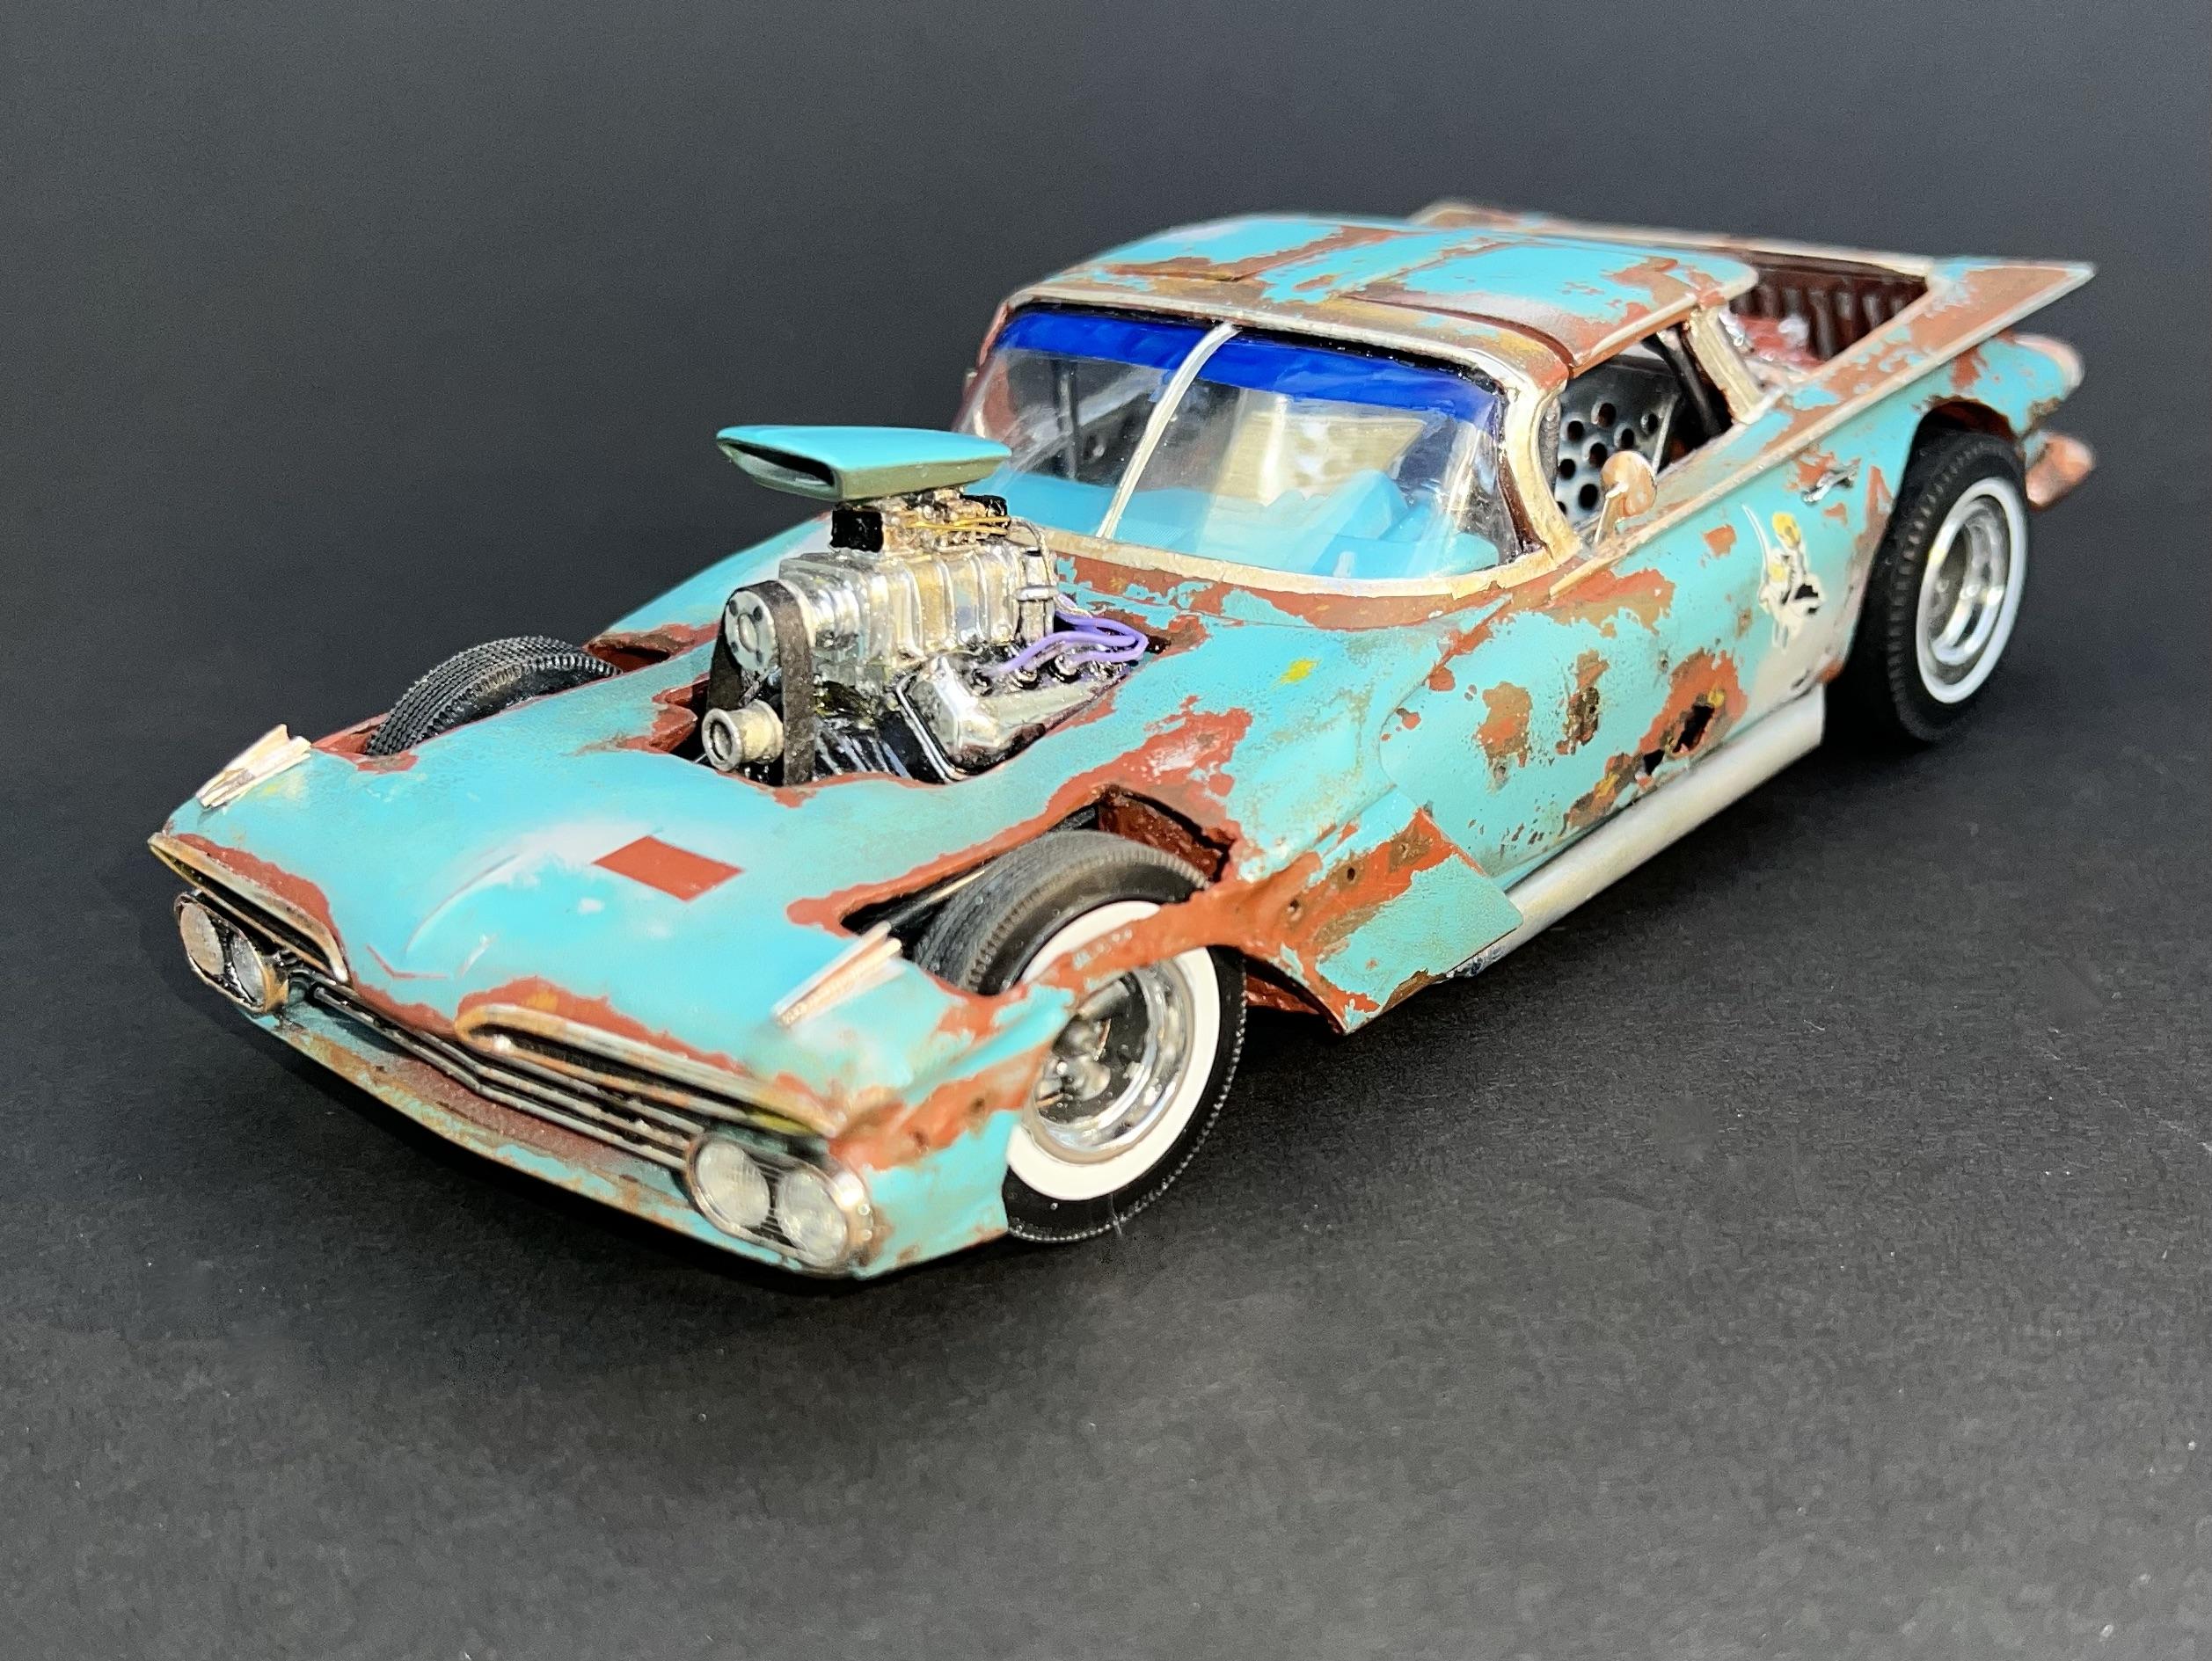
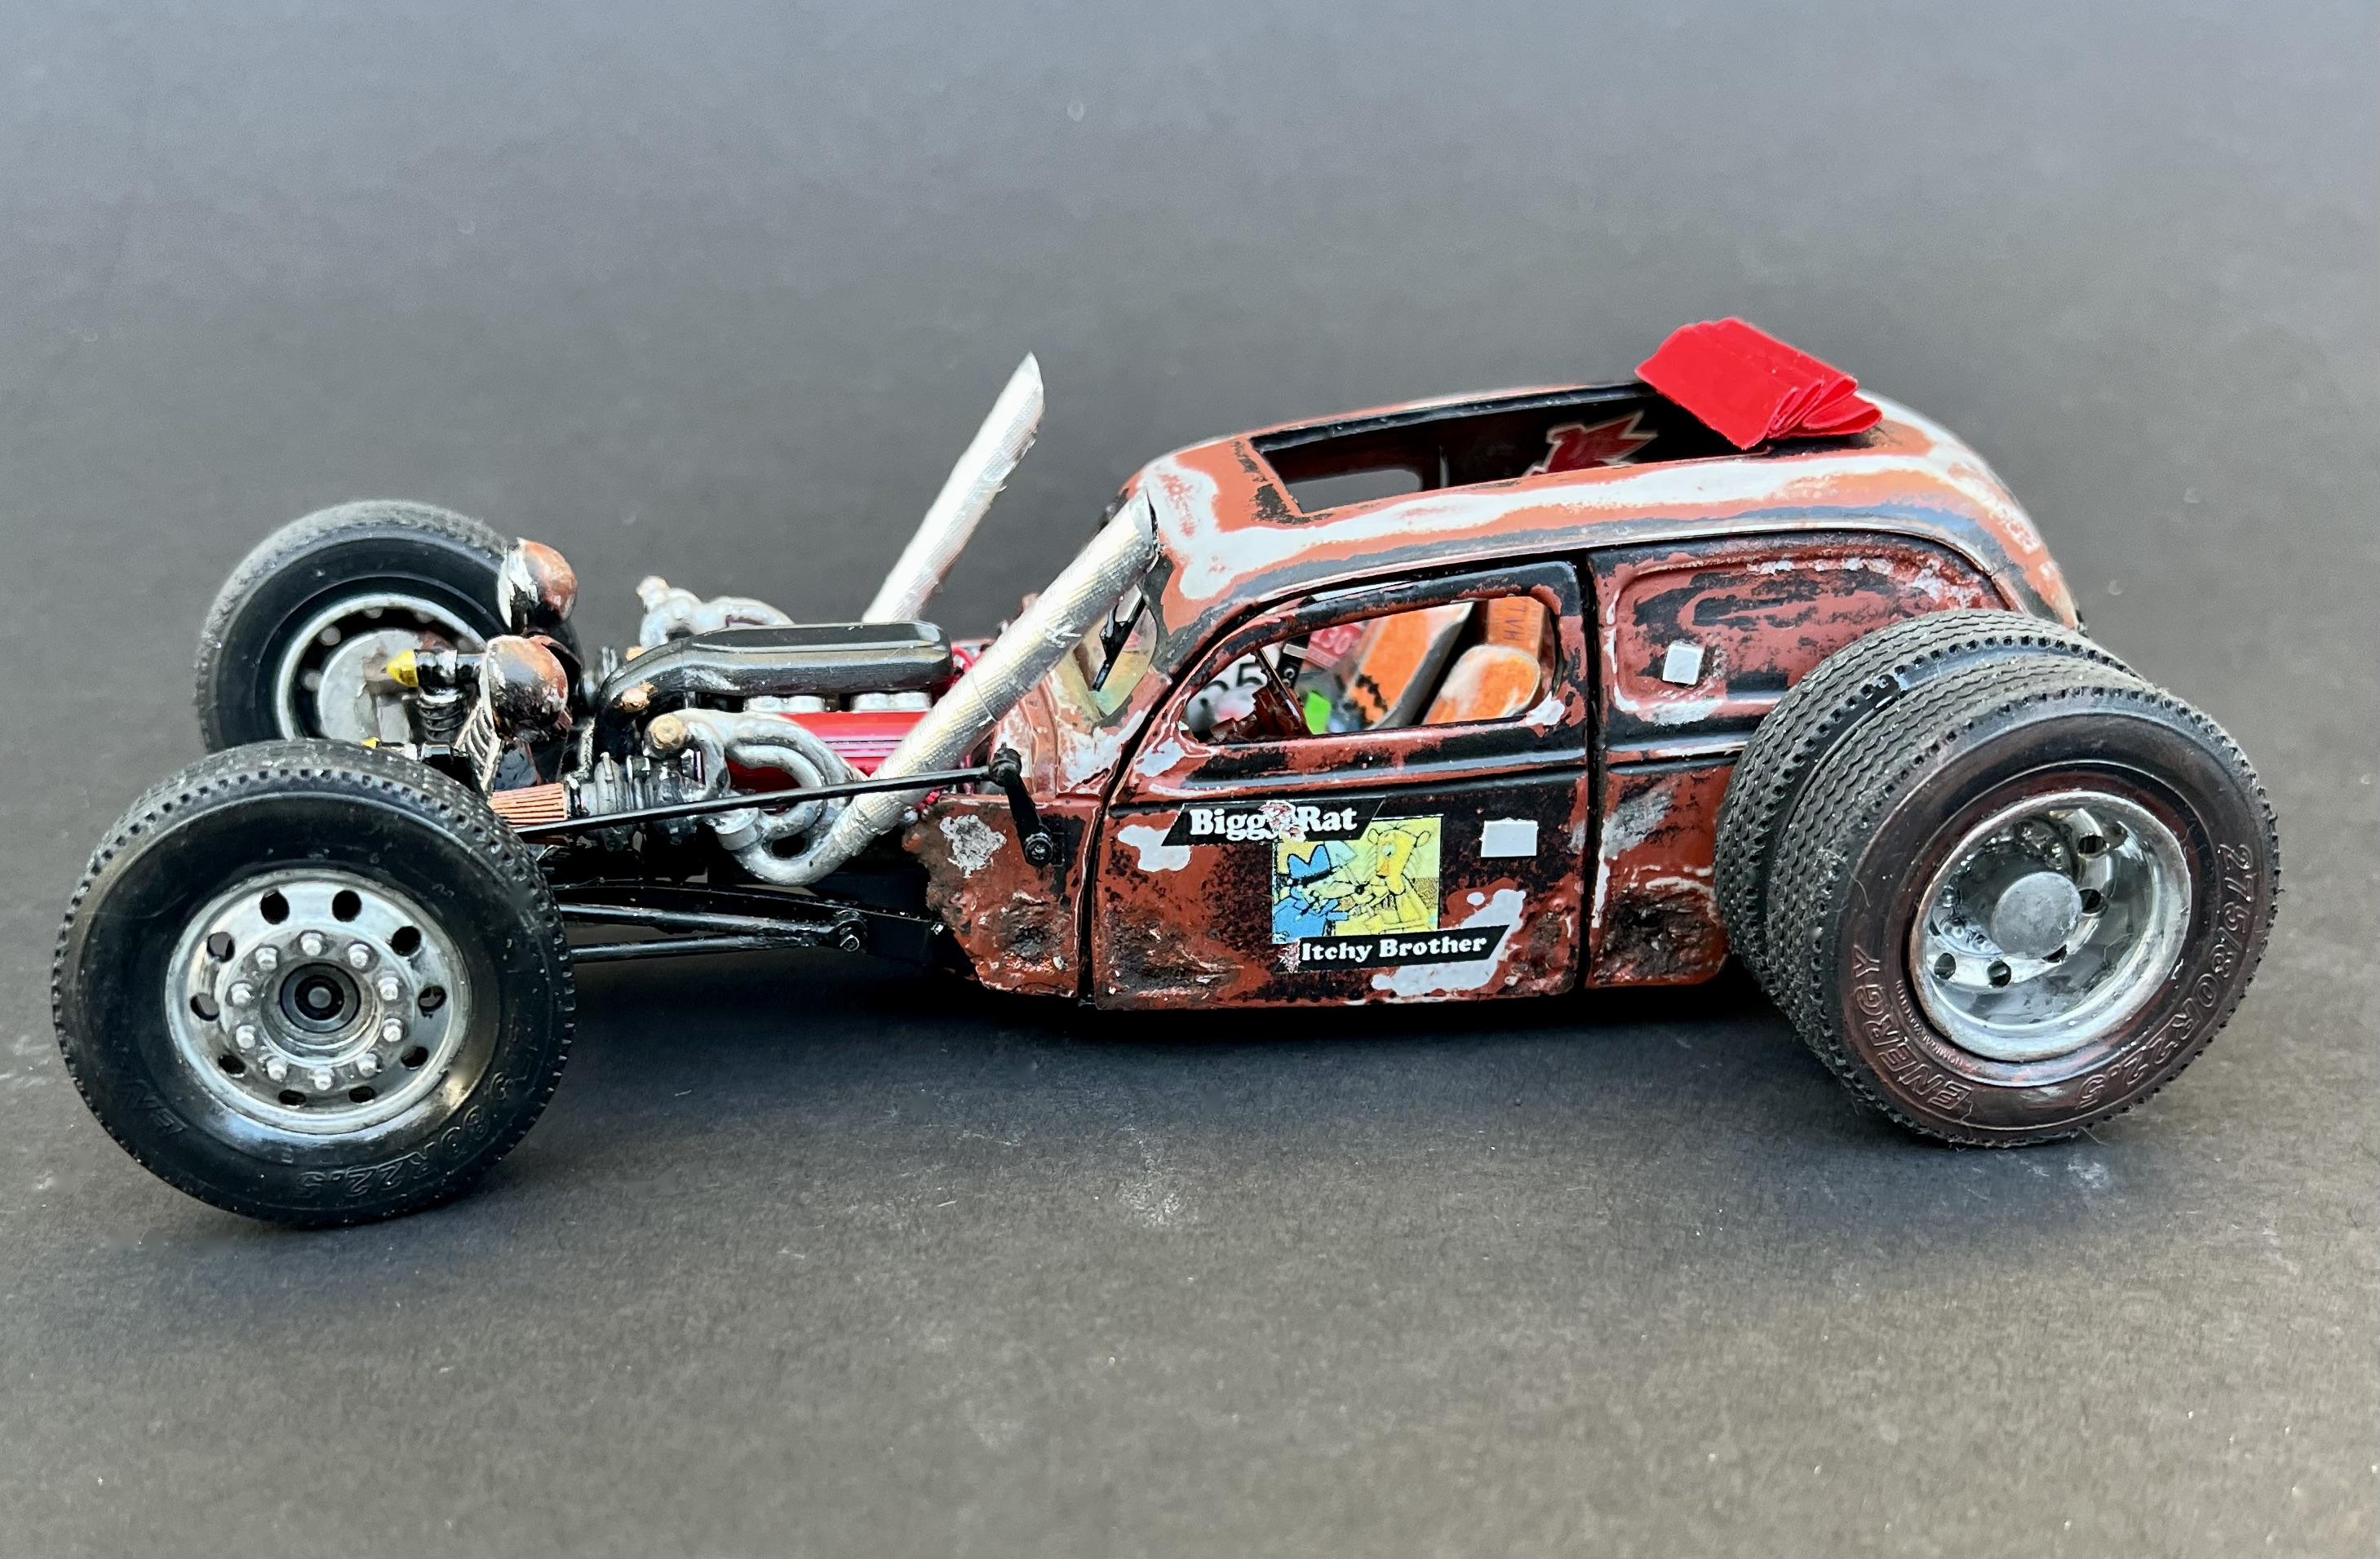
VERY COOL! Fat fender flairs and a monster-blown HEMI. What not to like? Well done and thanks for sharing.
-
I've never done this before. After sharing pics of my latest build with several close pals, one came back complaining that I could have /should have spent more time on the semi-truck-style exhaust stacks. So, I buckled and added heat shields. Take that!

-
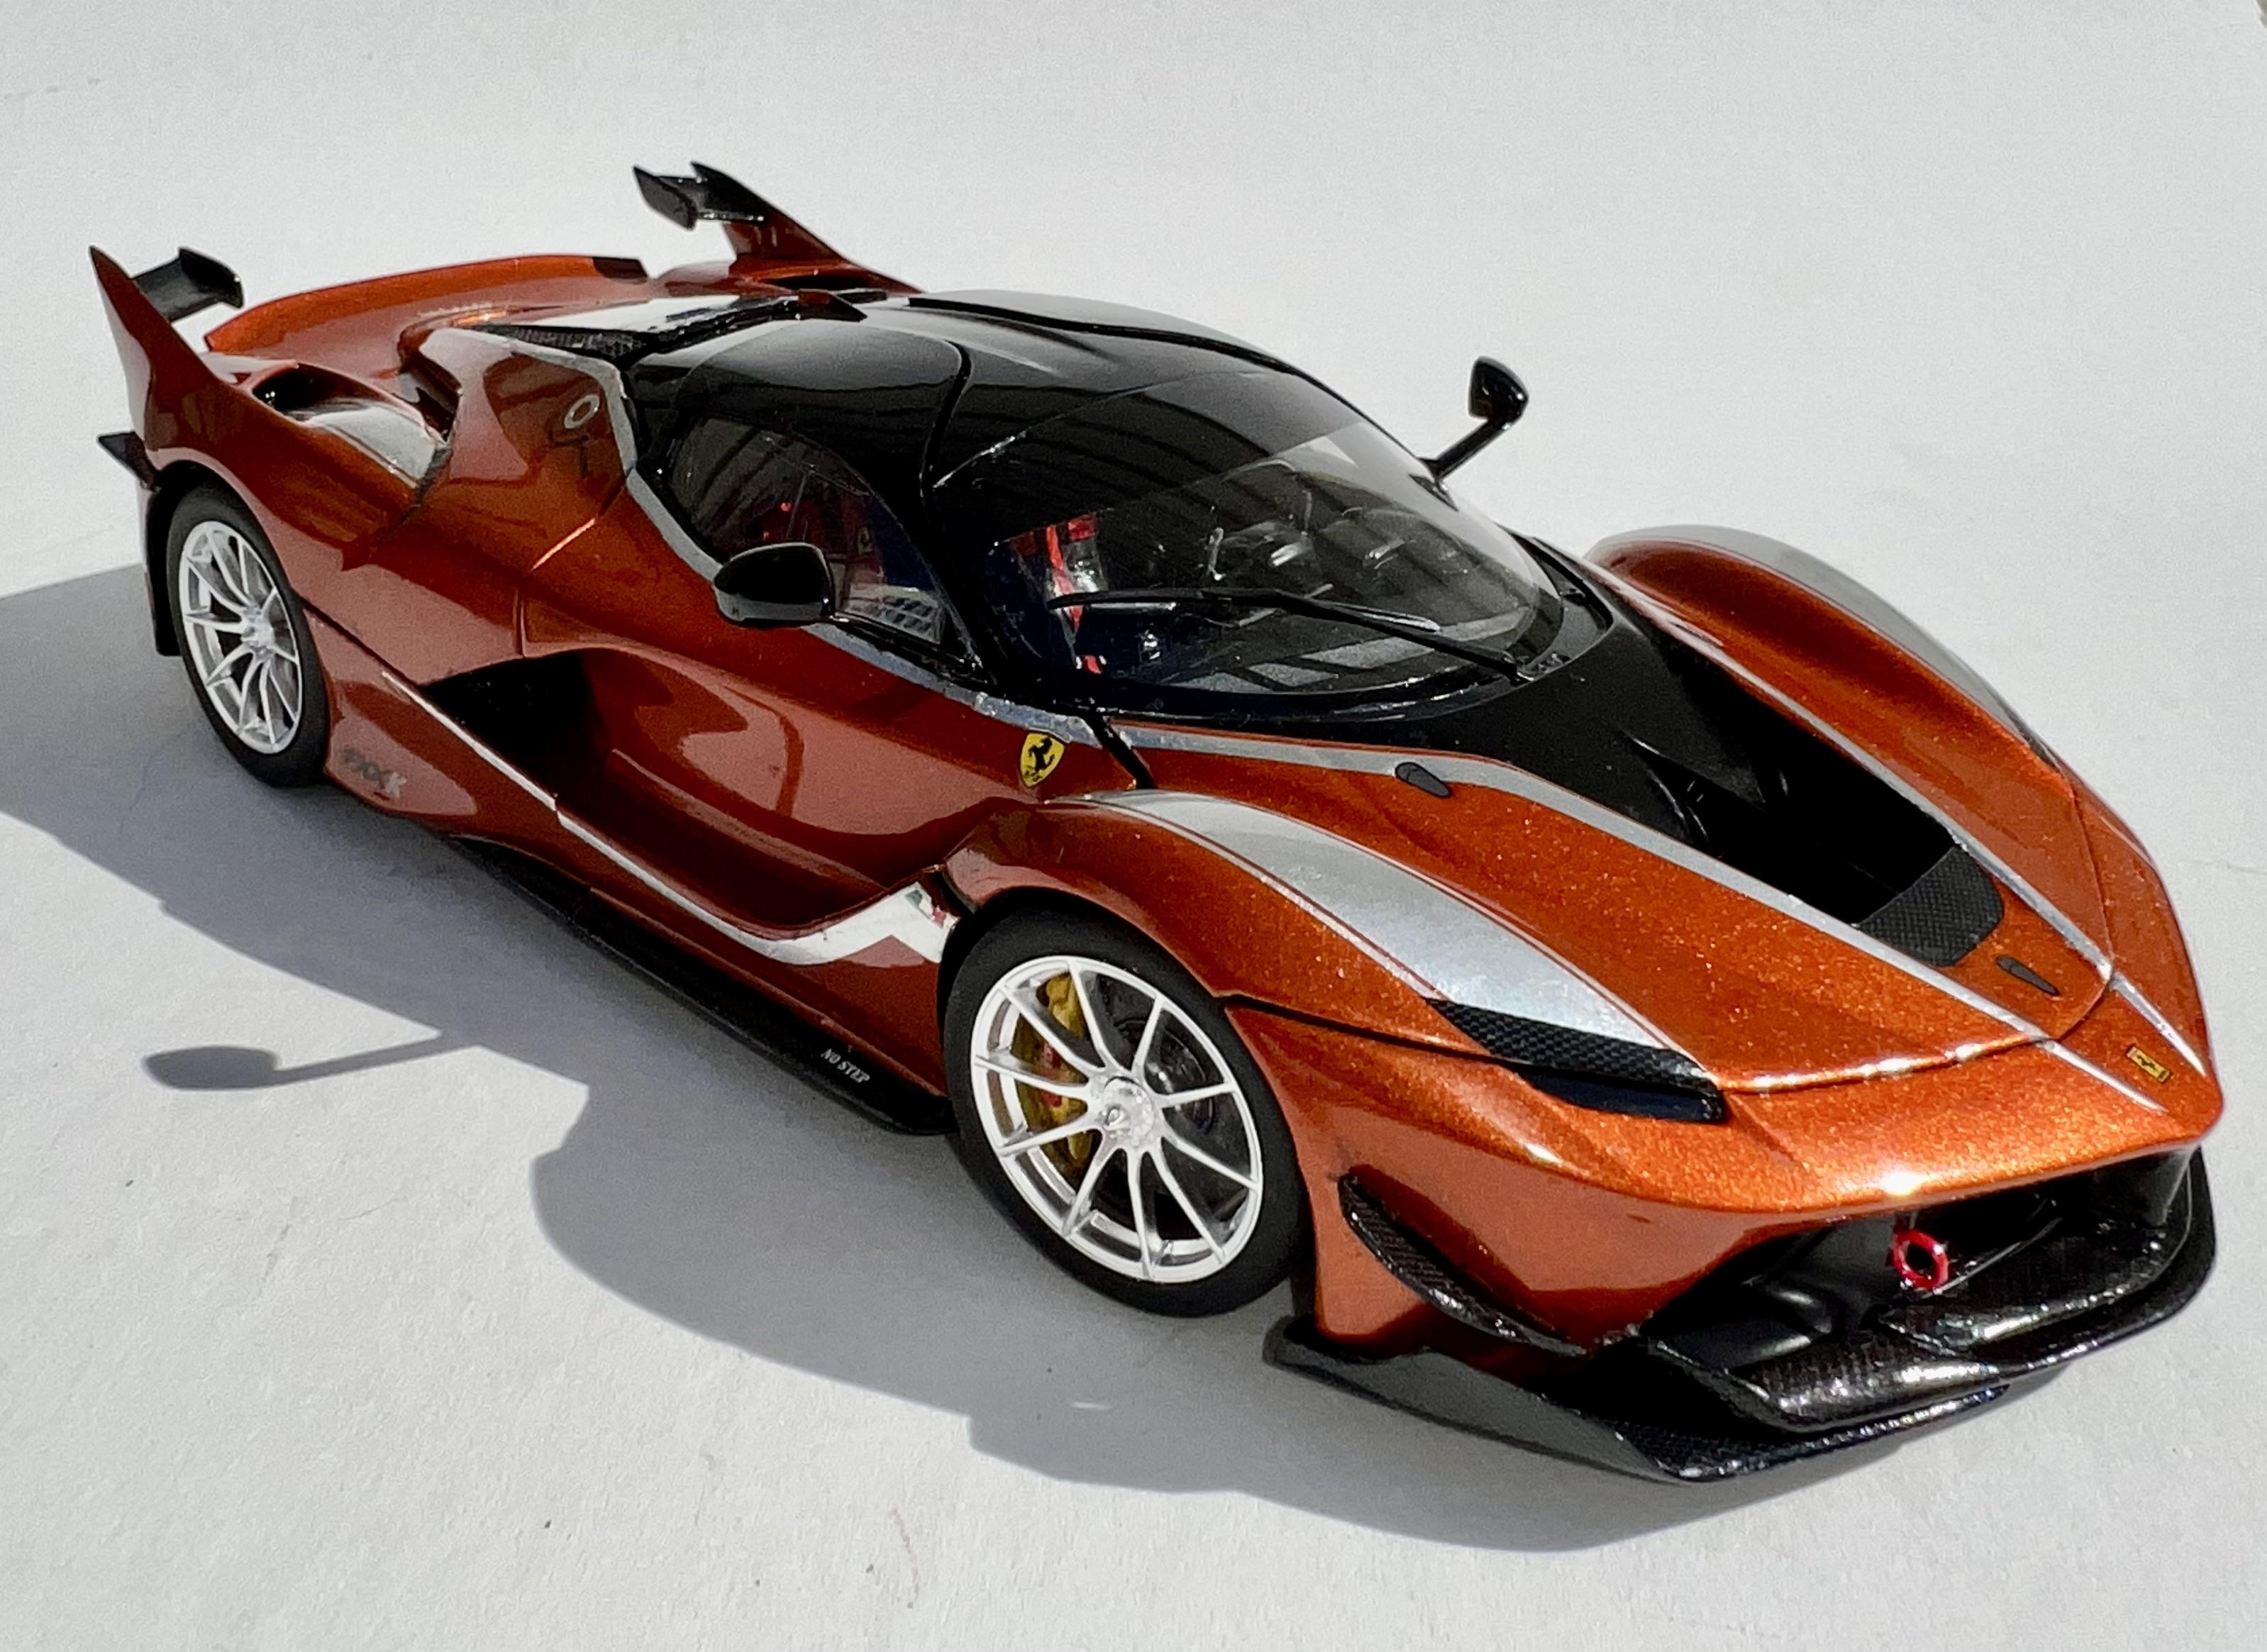
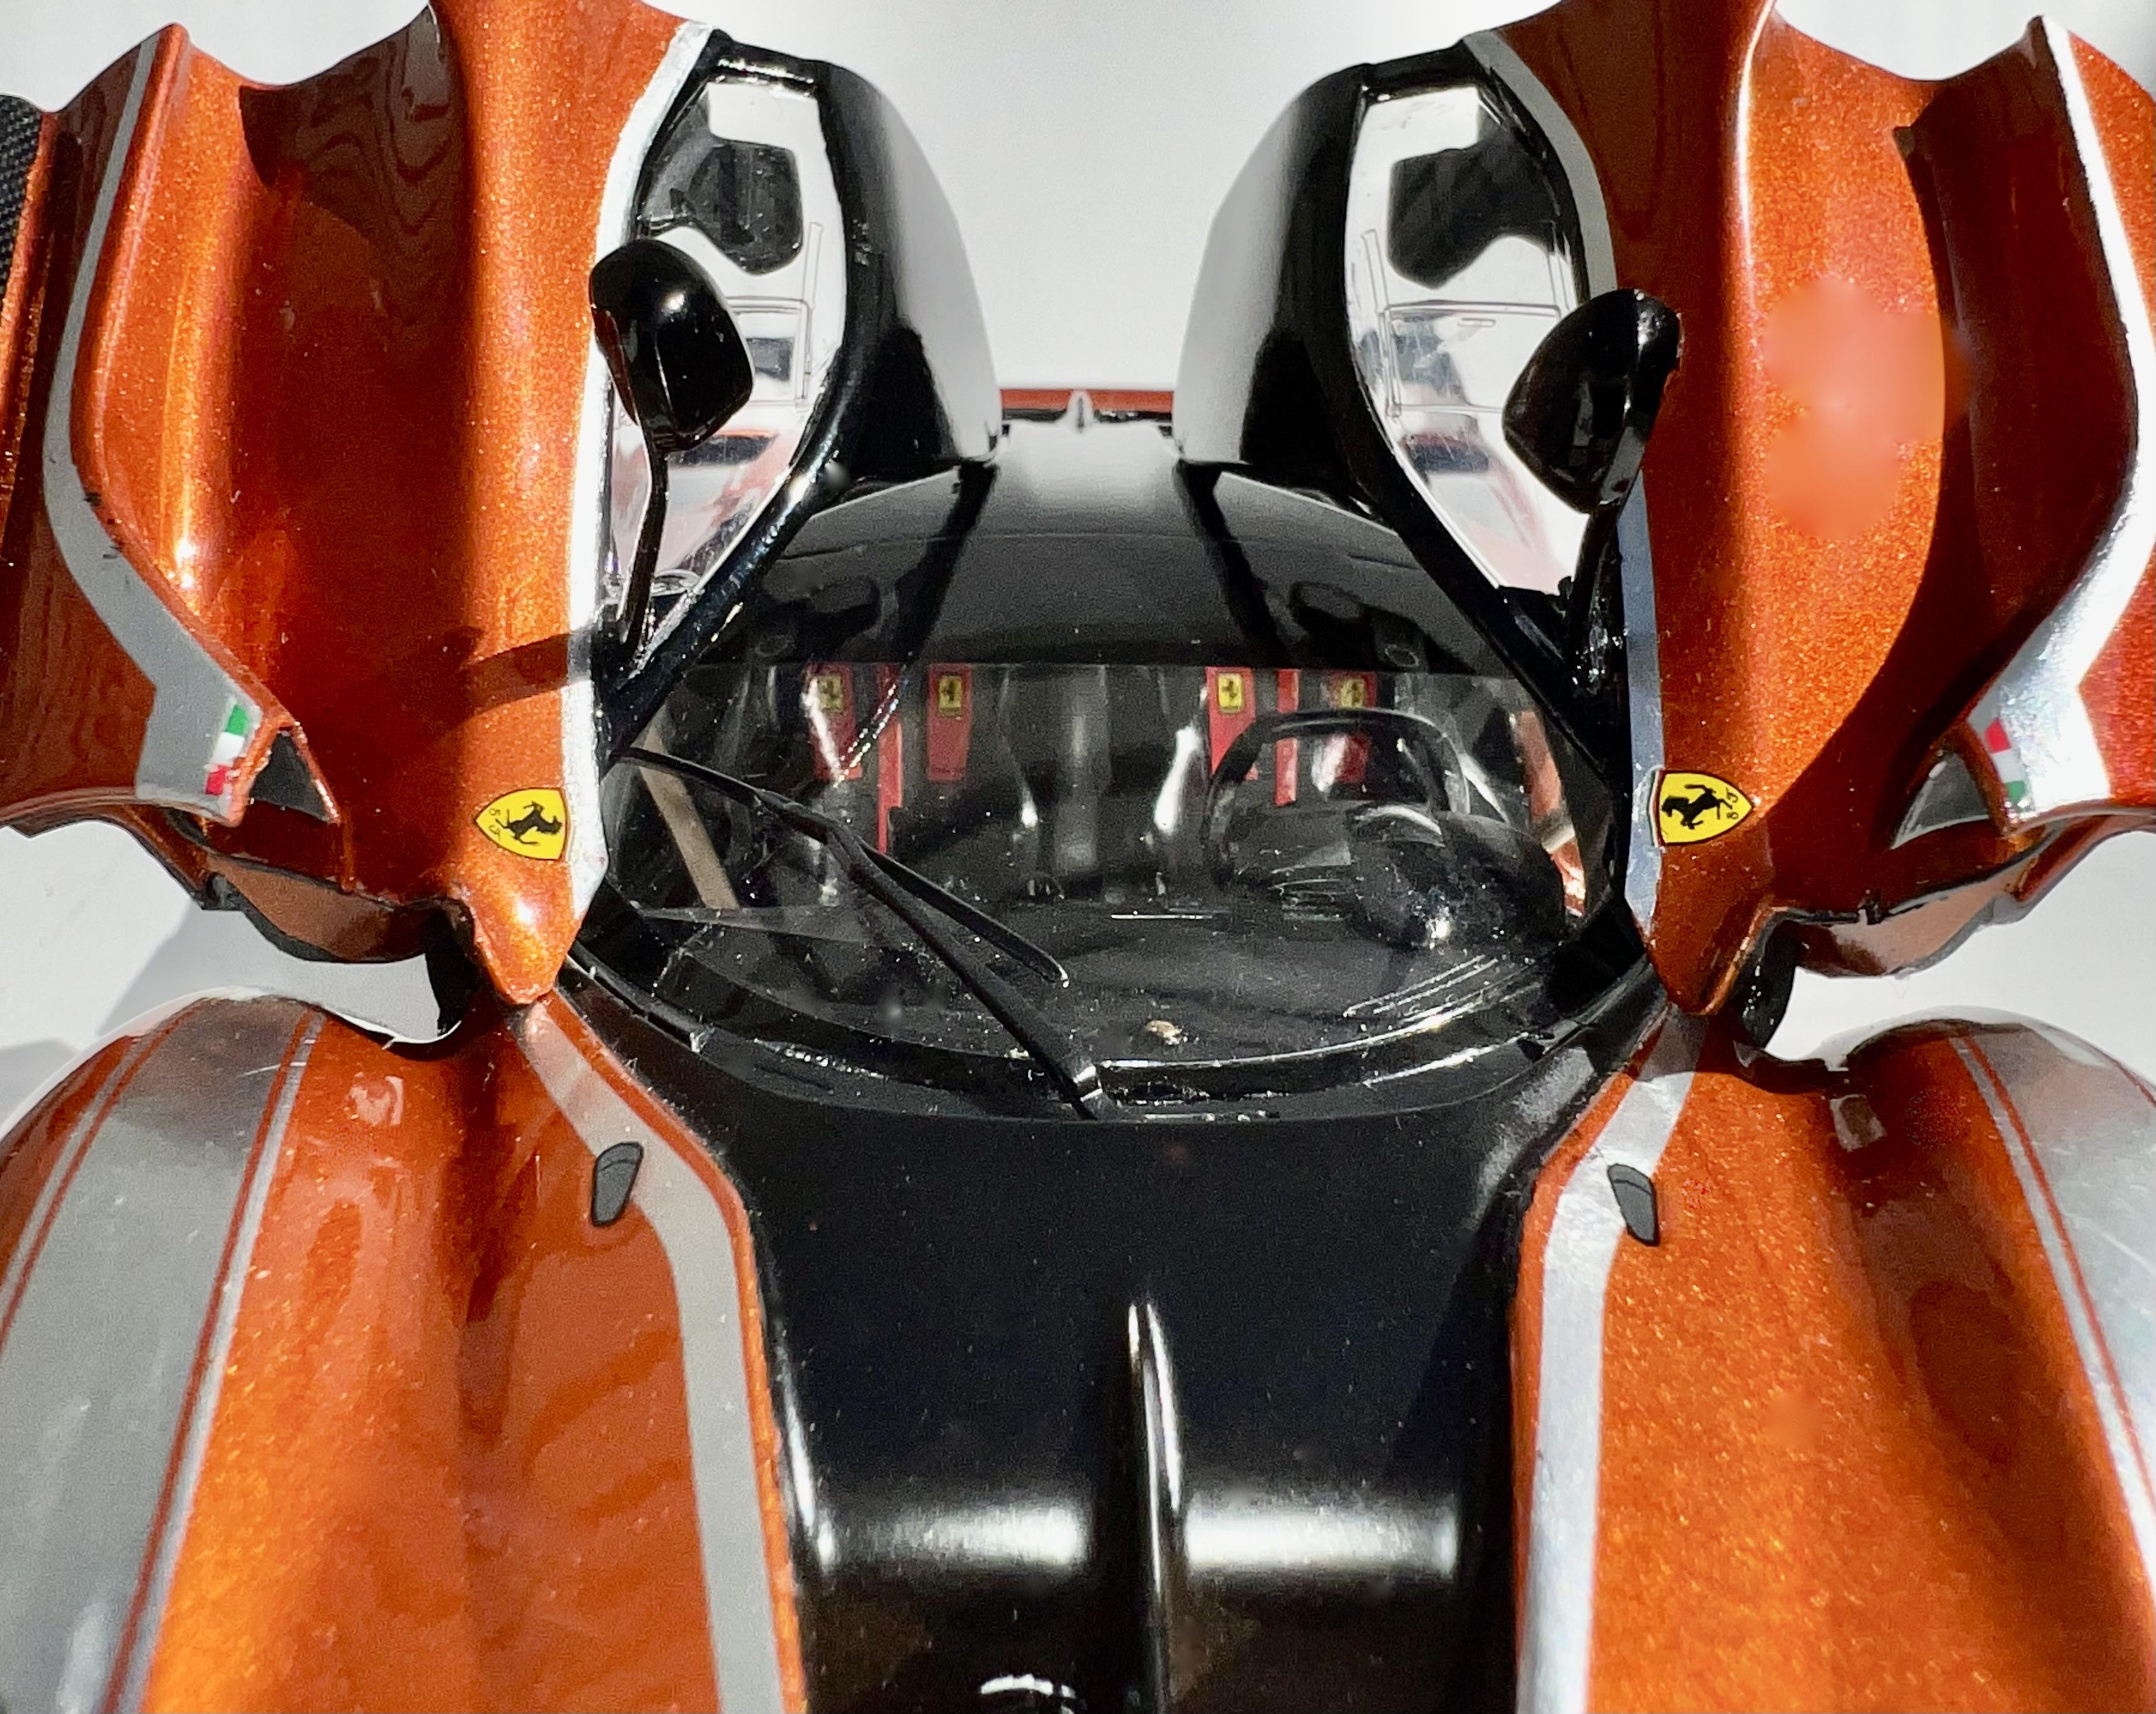
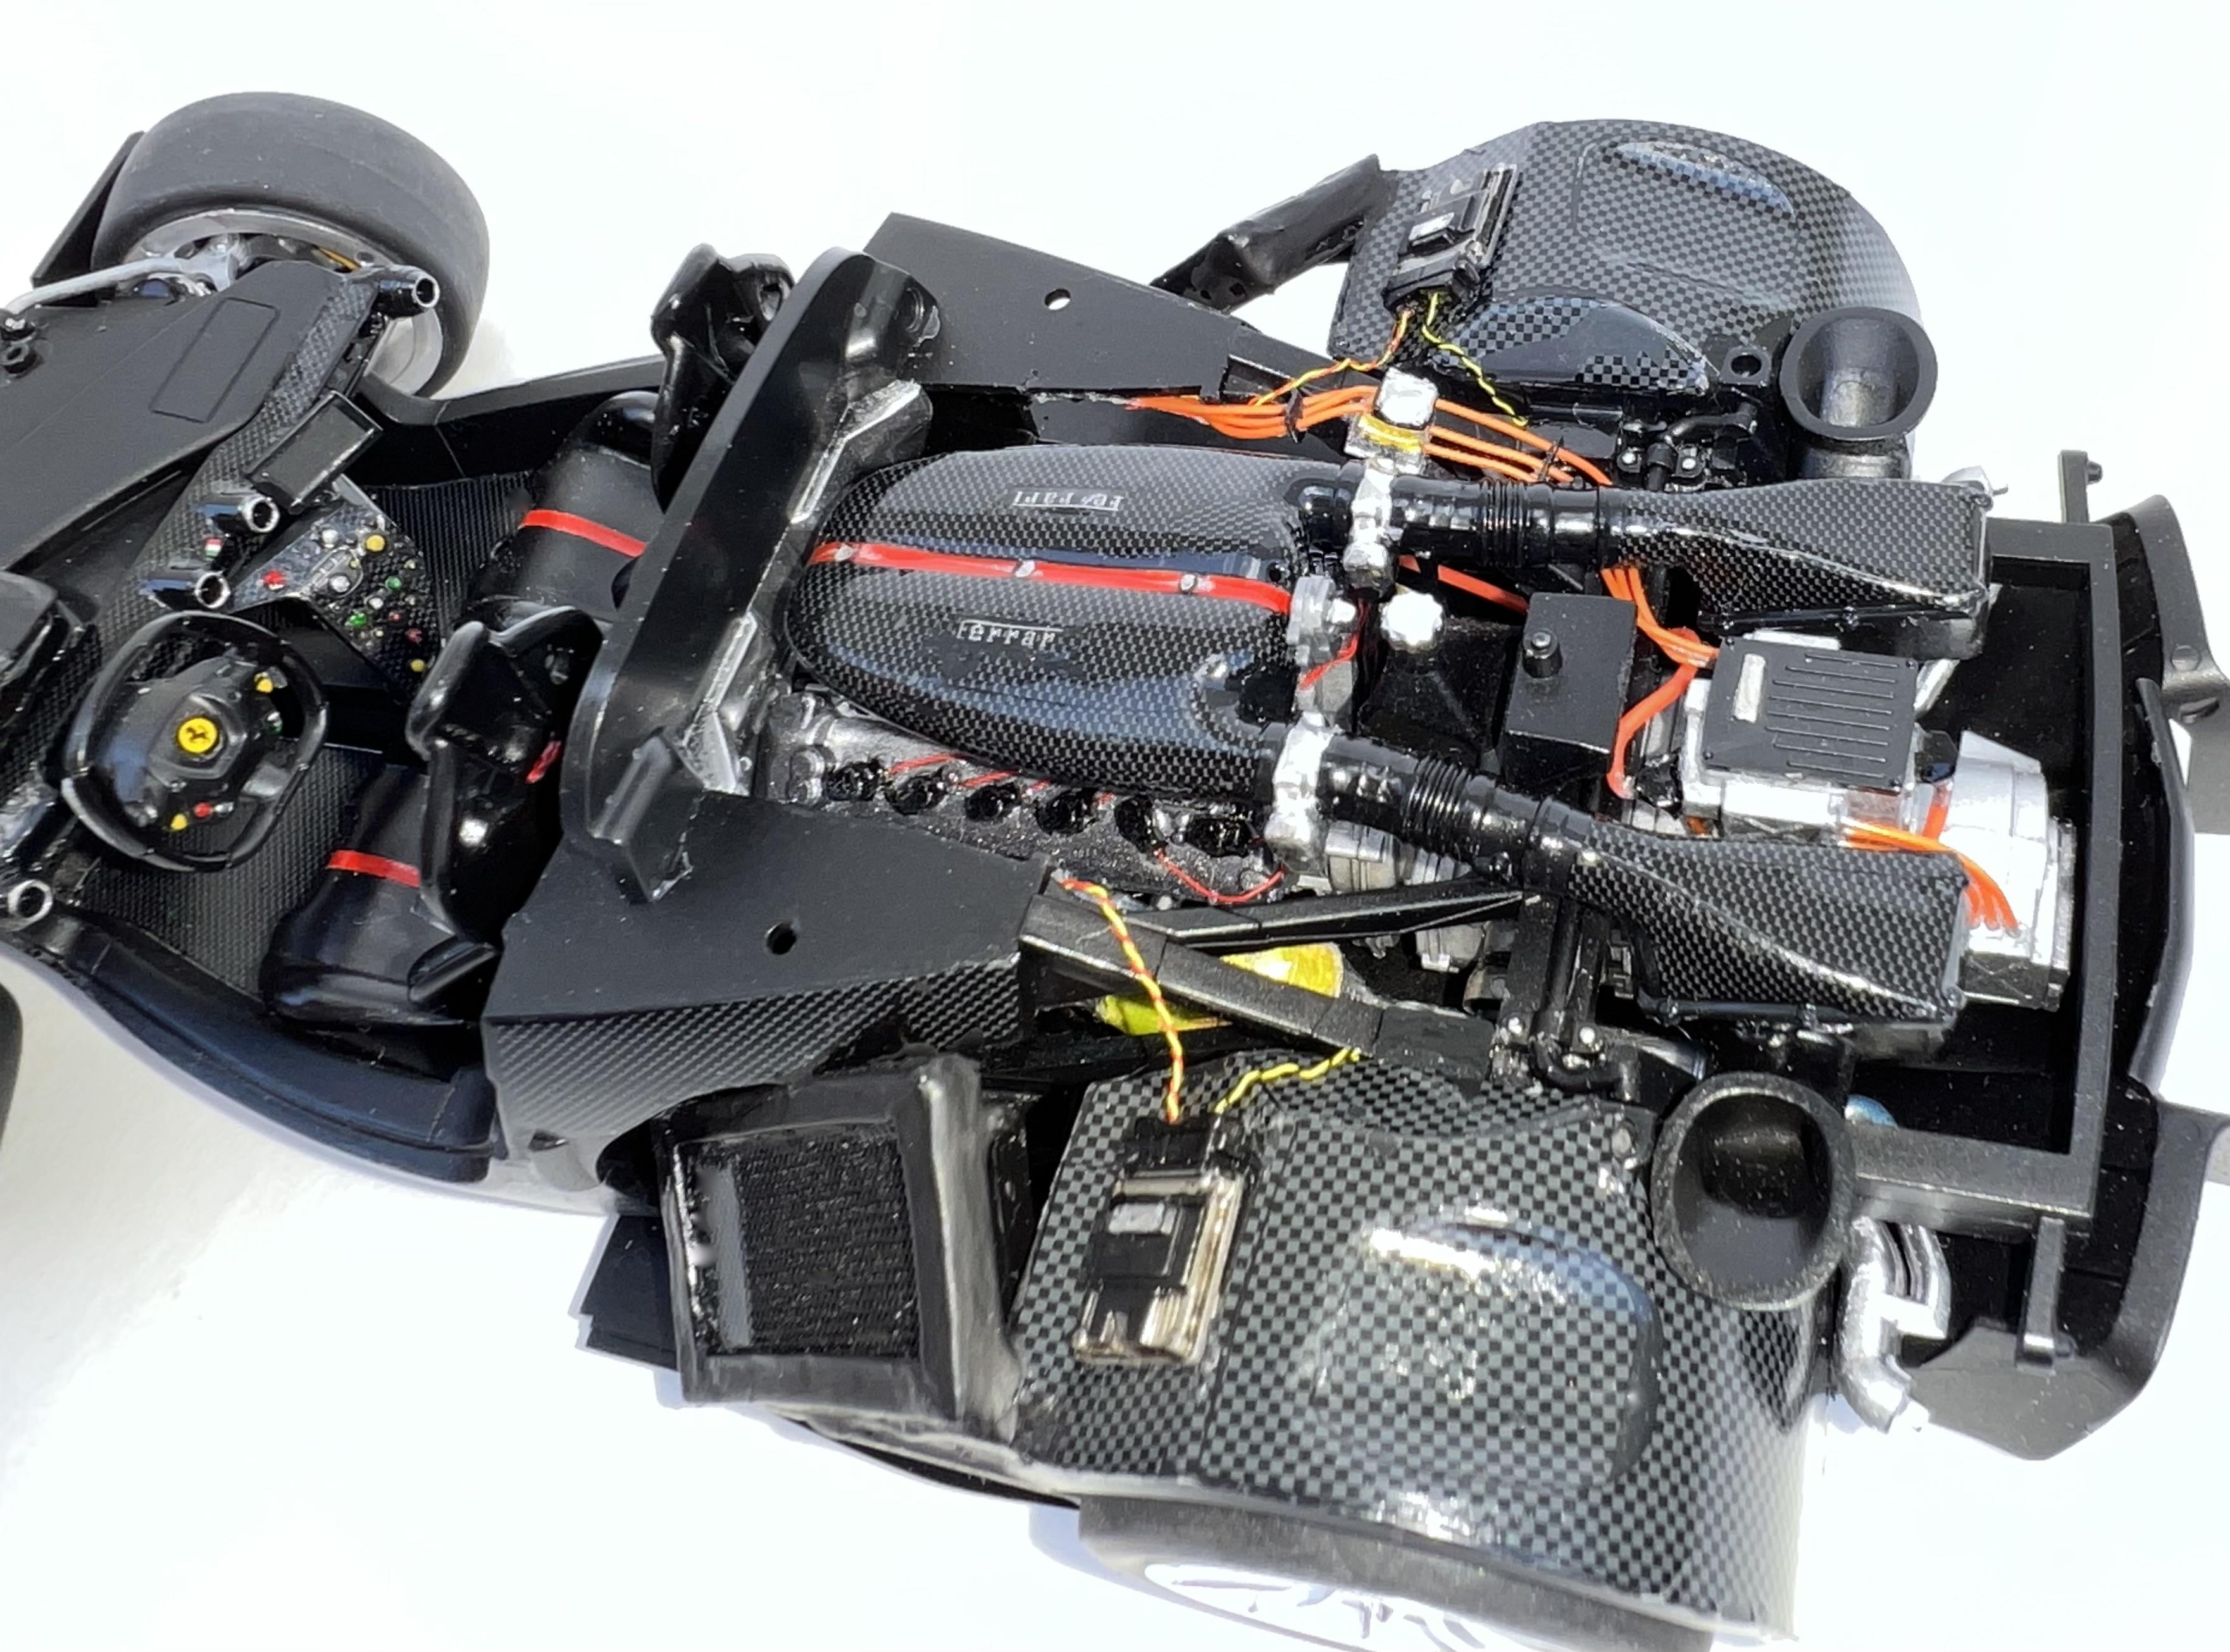
Thanks, Michael. I went with the Roadster version, which looks fun! I really like your color scheme, but being an old "rattle canner," I will have to see what I can come up with. A few years back, I did a street version of Tamiya's Ferrari FXX K in TS92 with street seats. It's a little rough around the edges but I really enjoyed the Tamiya kit. The Aoshima looks like an even bigger challenge! All the best and look for me in a month or two. Steve
-
My Aoshima Aventador kit is on the way. Can't wait!
-
Perfection! Nice interior and paint!!!
-
Have fun!
-
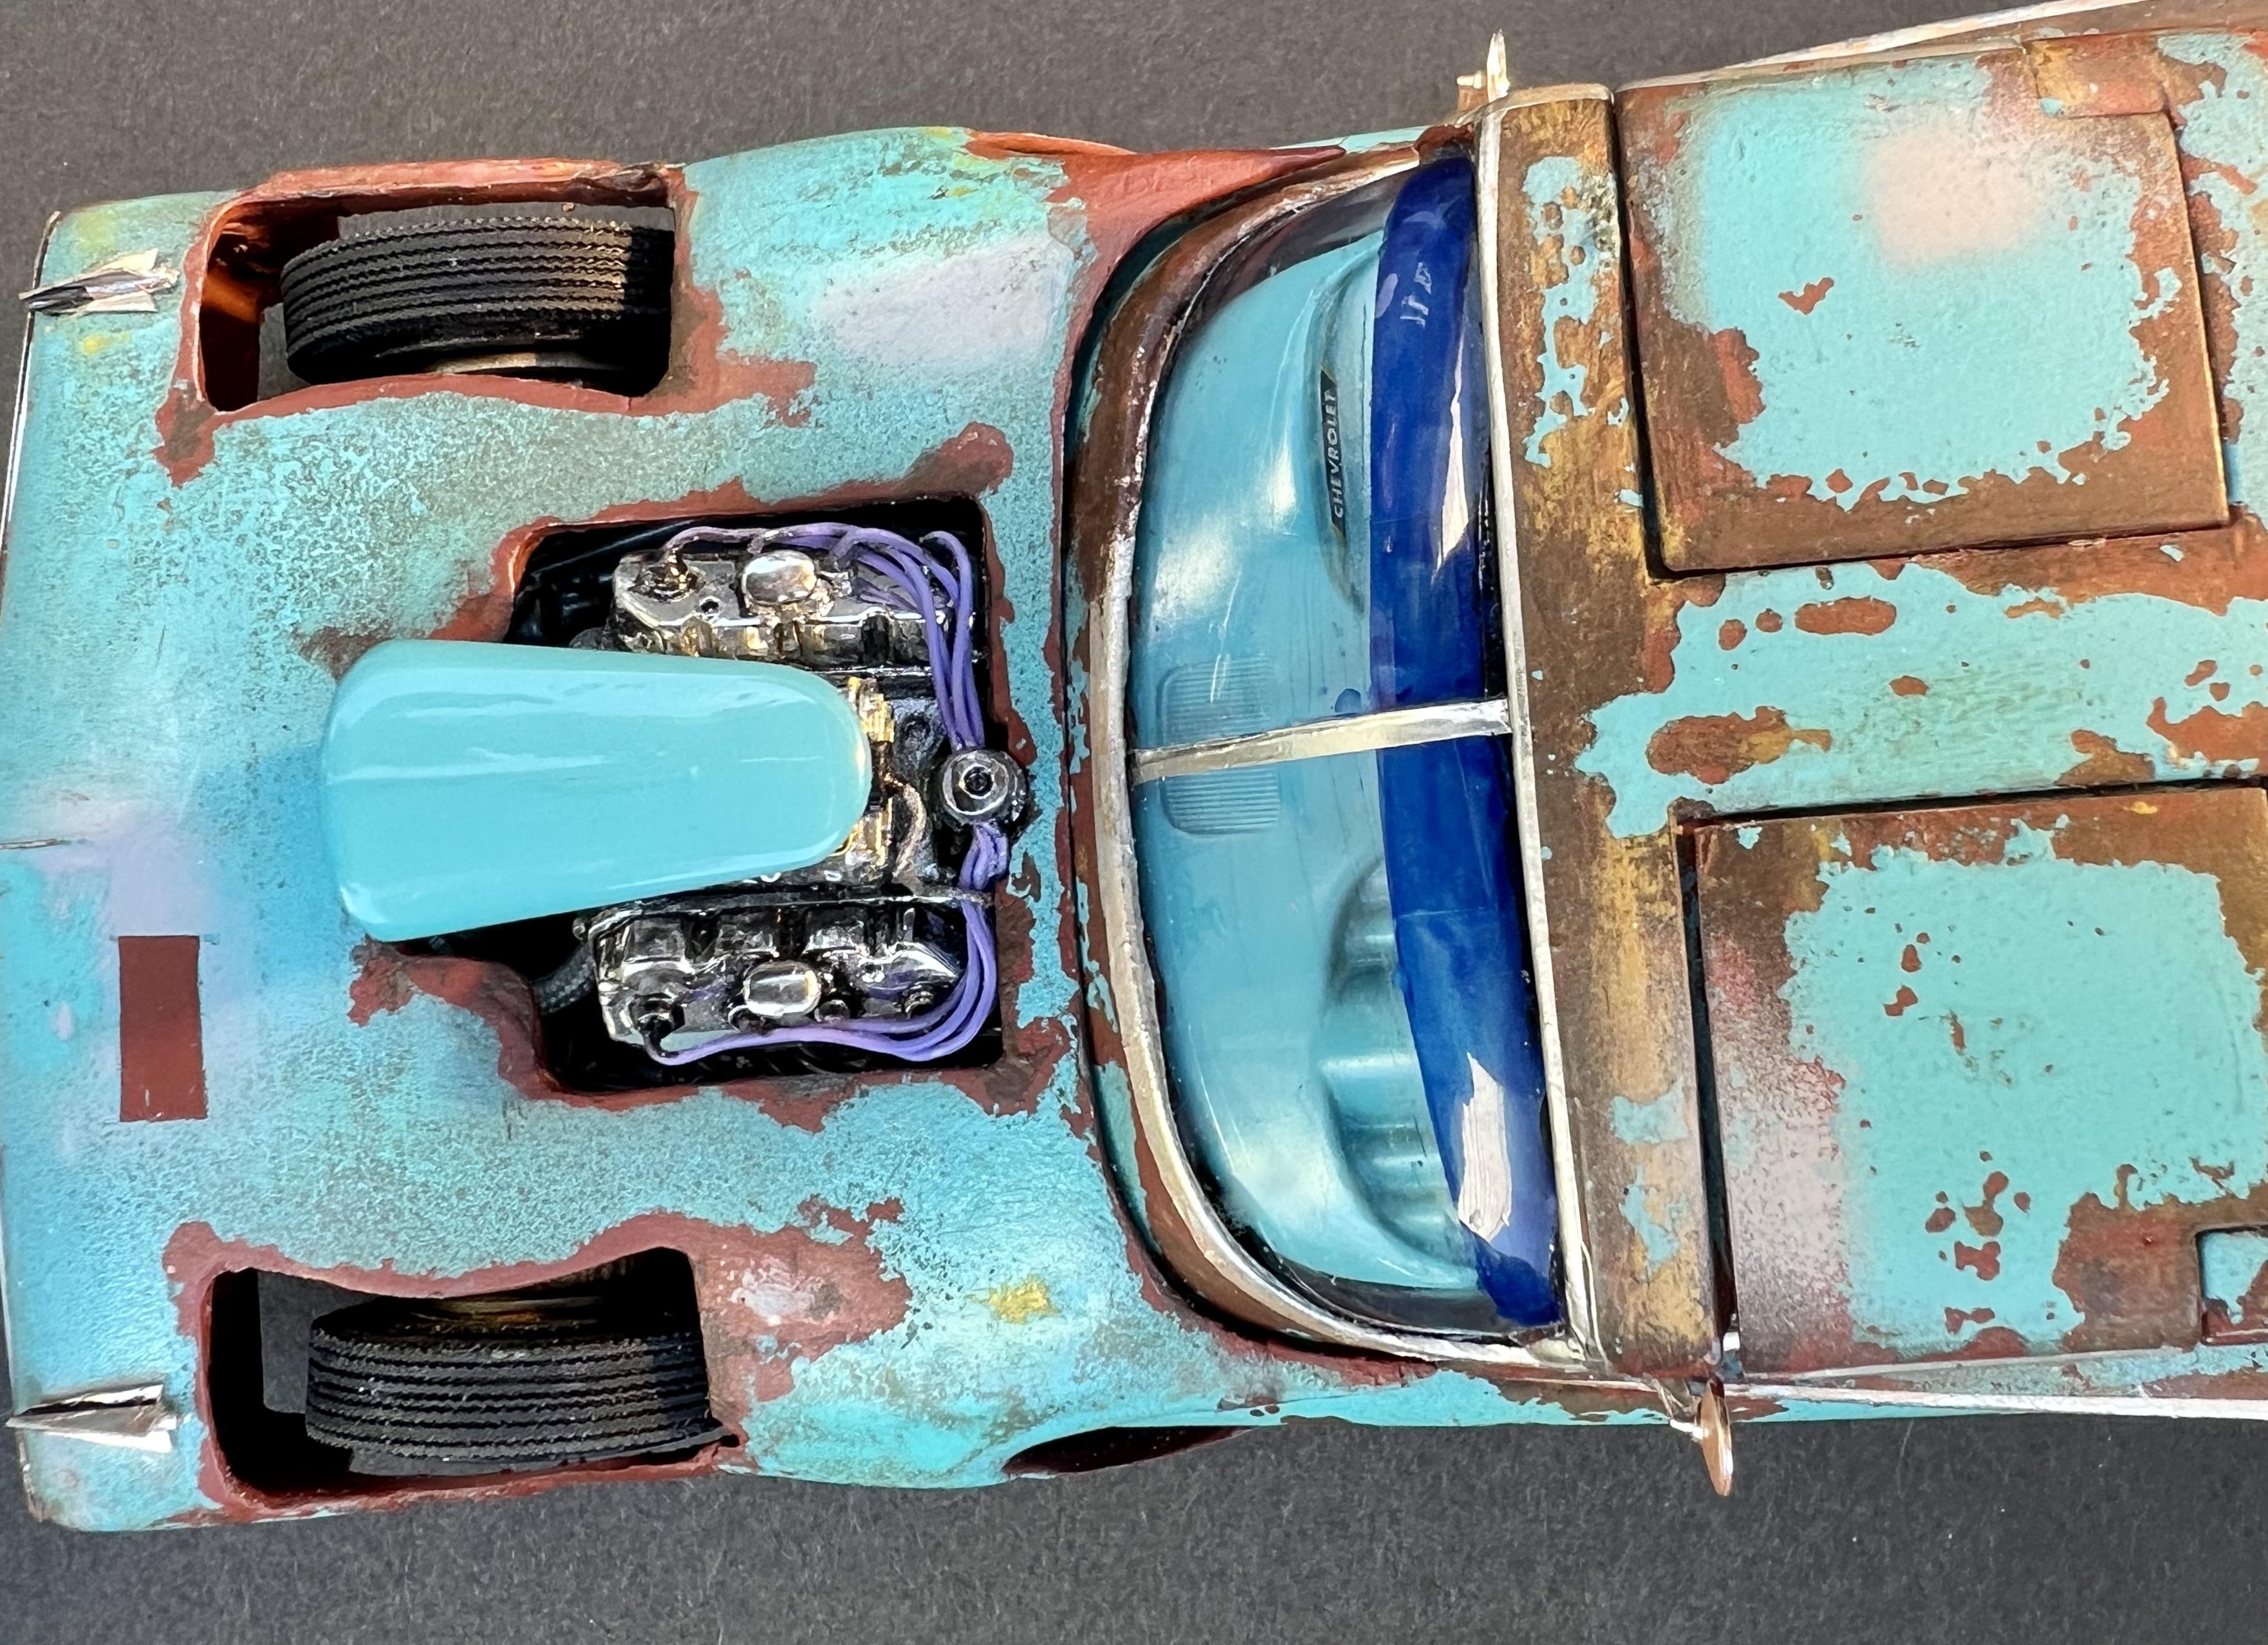
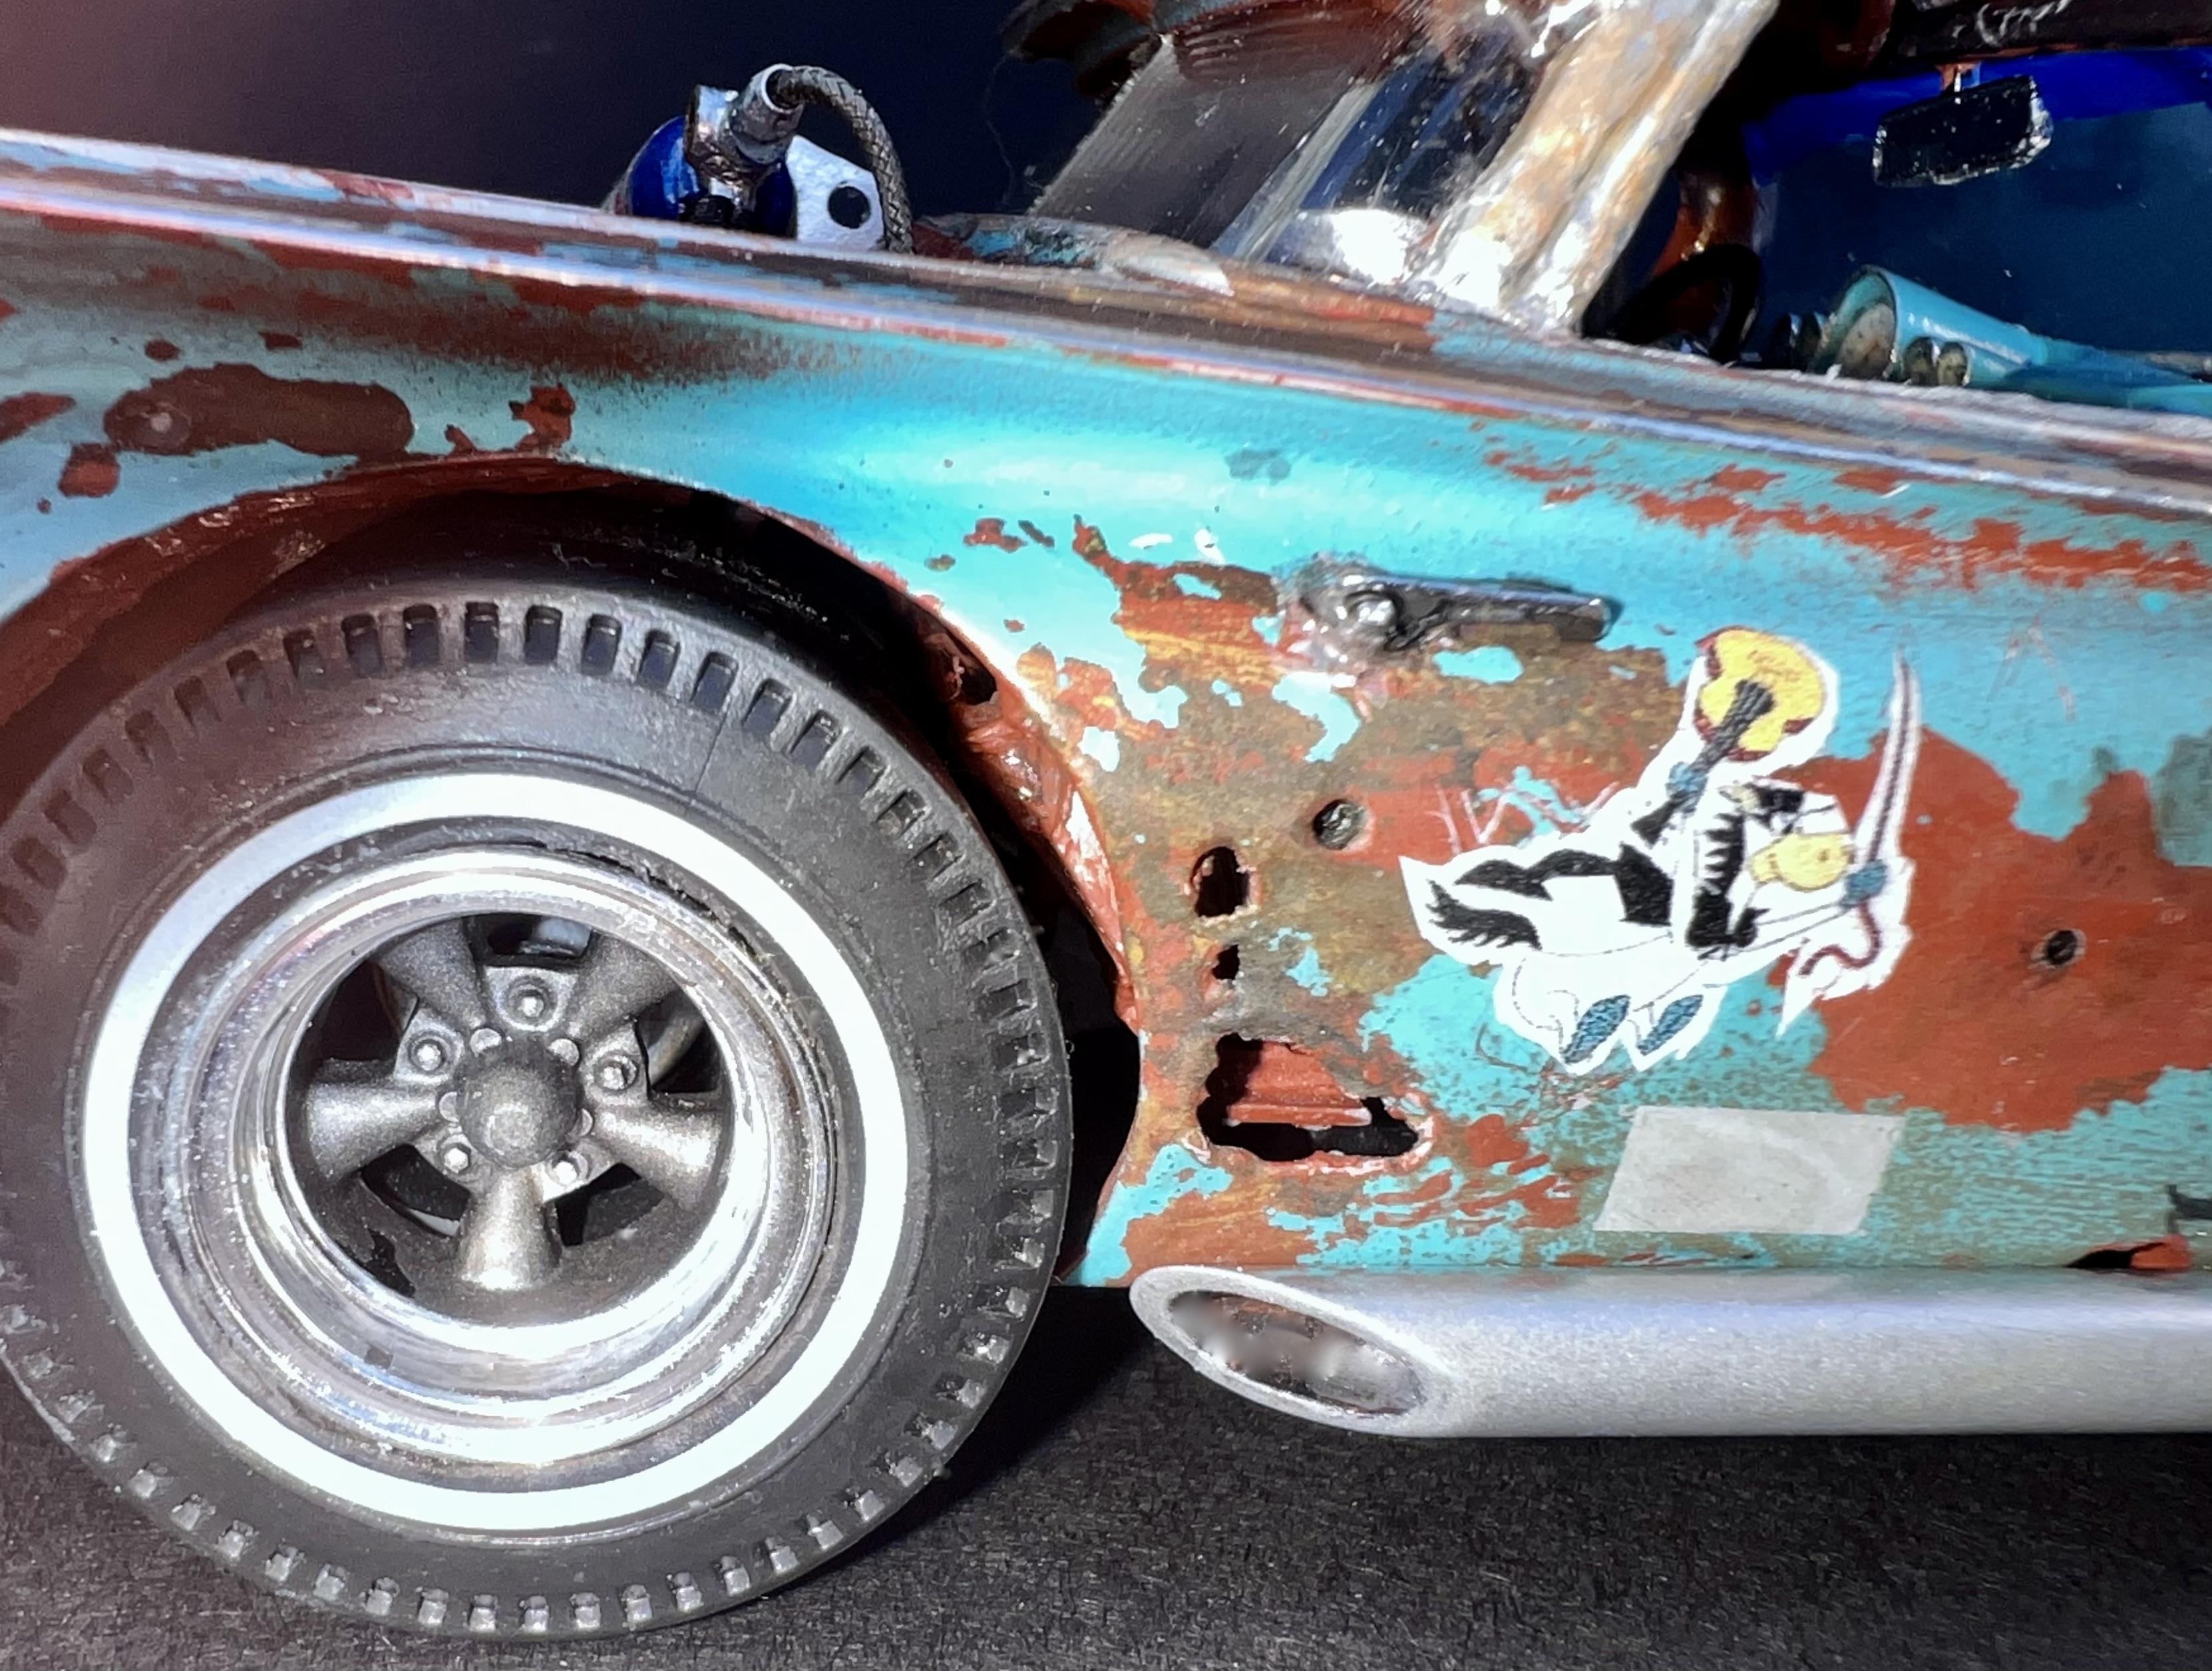
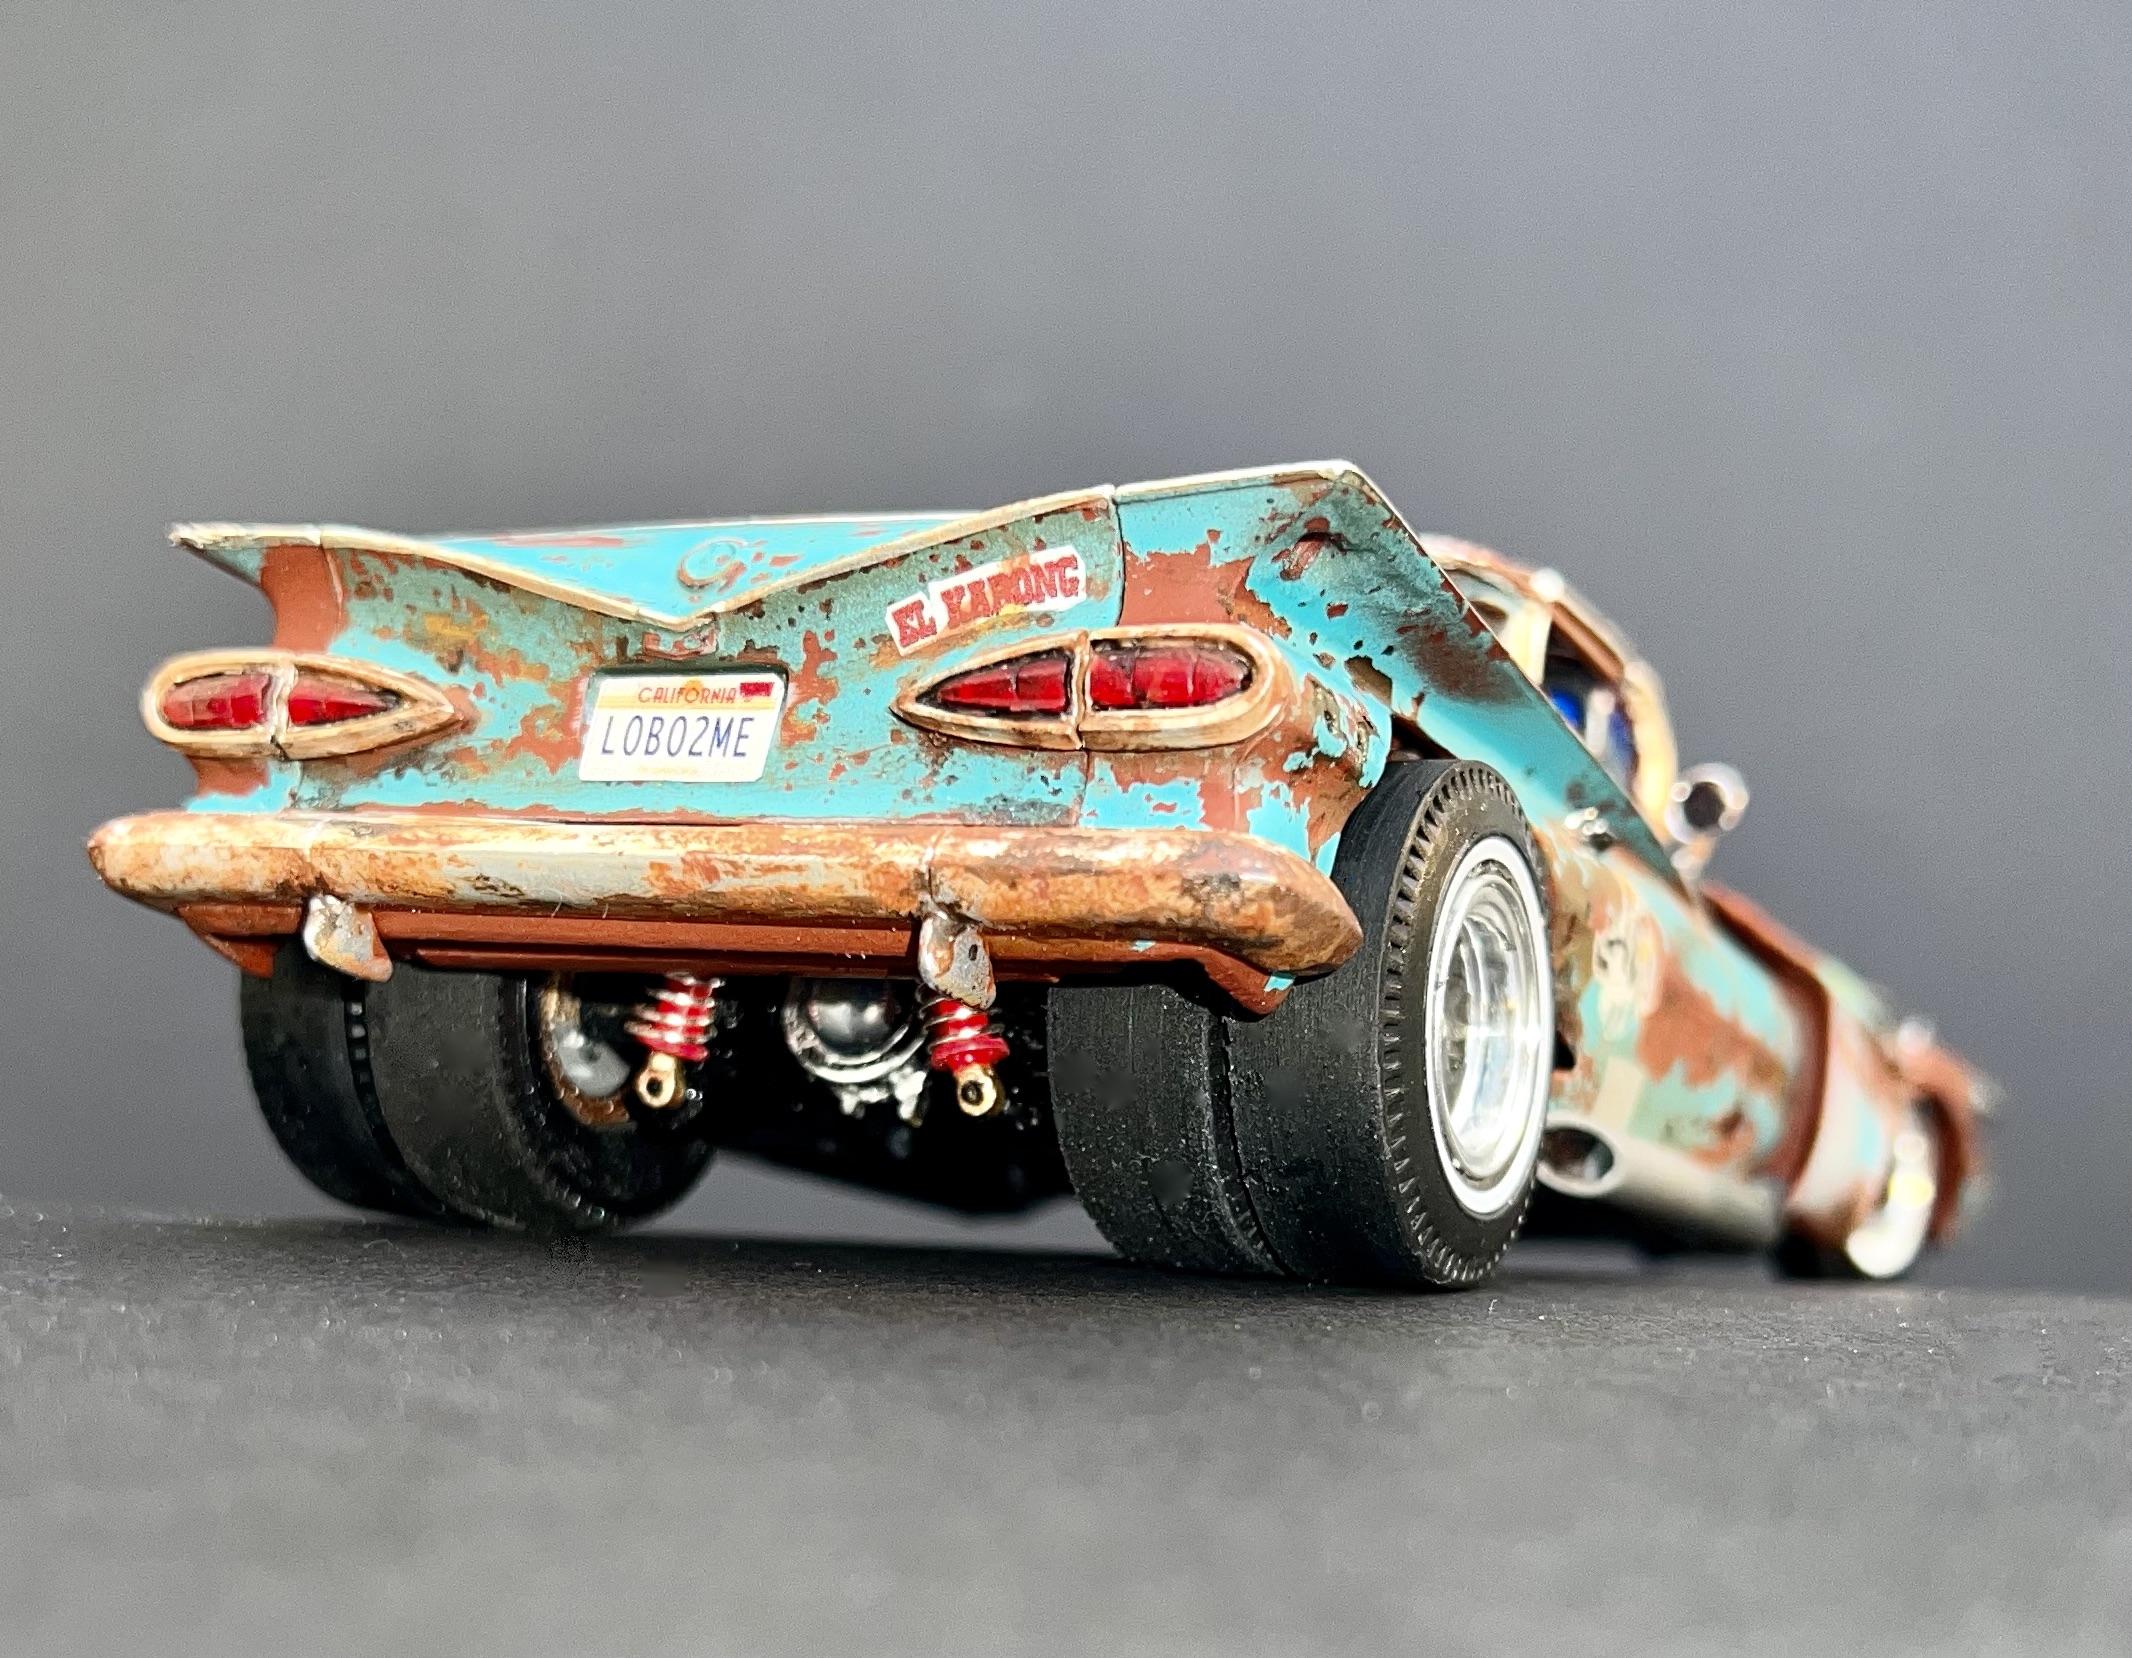
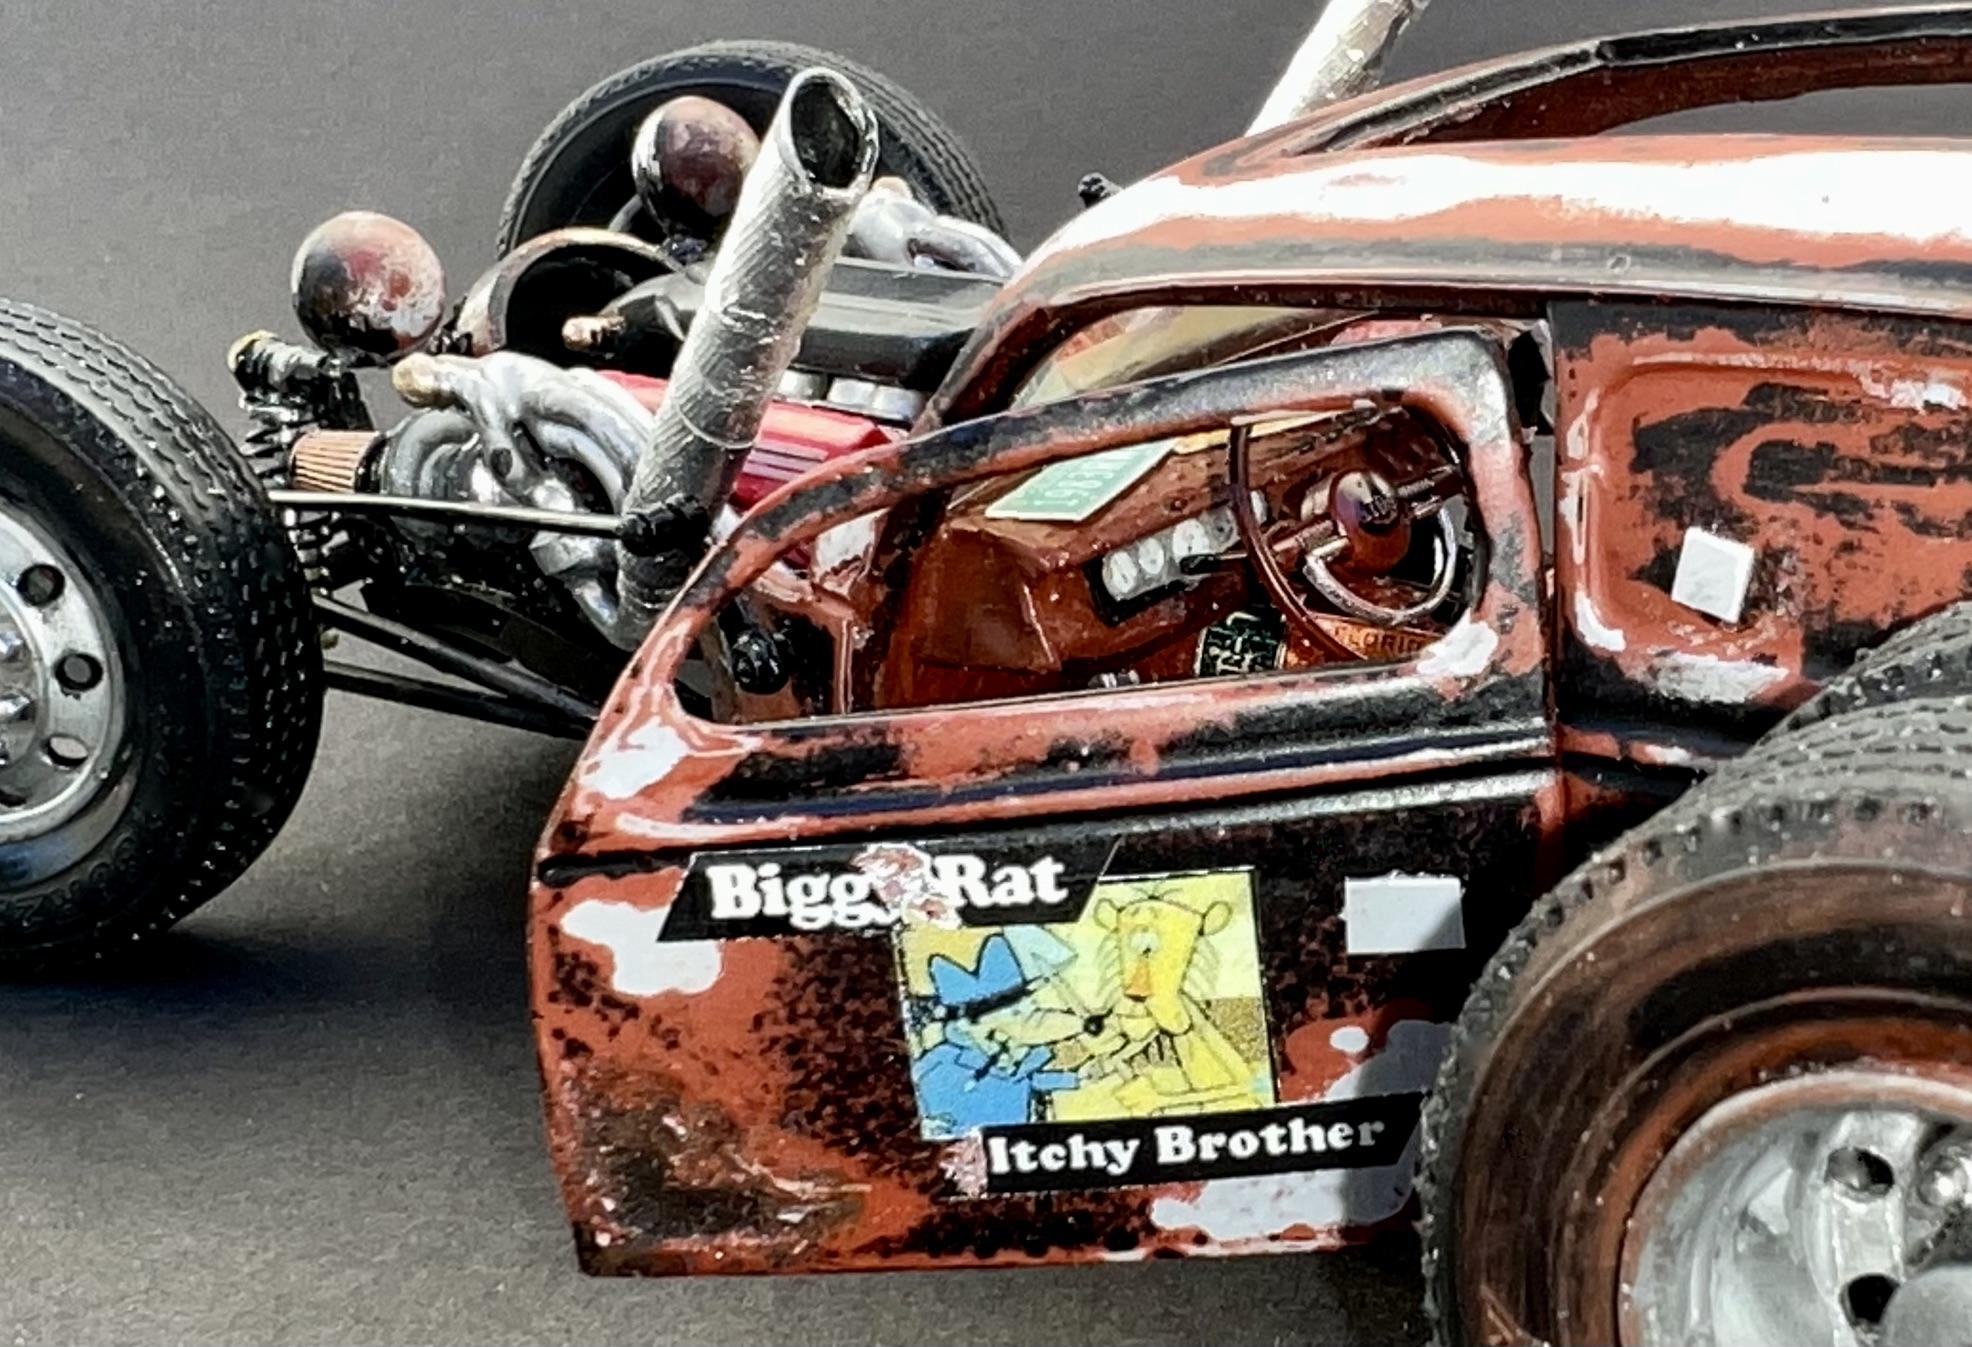
Sure - see pics below of two of my favs, El Kabong ('59 El Camino) and Biggy Rat ('38 Ford Van). I used a “hybrid” rust technique of Elmer’s glue and salt in the following order; 1. Prepped body and applied Mr. Surfacer 1000 primer (gray) 2. Created rust damage and holes with various drill bits and Dremel tools 3. Highlighted holes and rust damage using various shades of dark browns, yellows, and reds and mixed a variety of rust colors then dabbed inside of holes and areas then covered those spots with more Elmers glue and salt to make distinctive layers 4. Sprayed the entire body (inside and out) with Red-Oxide Primer (Ace Hardware) 5. Applied more Elmer’s glue and salt to major body seams and around door panels, holes, spots, and damaged areas. Painted several layers of gray and red oxide in a few spots; some areas even got a sprinkle of fine salt powder 6. Then, I applied what I envisioned was left of the original paint jobs after years of weathering, sun, and DYI fix attempts (see small patches). El Kabong - Sprayed body sections Tamiya Dark Green and Tamiya Coral Blue through vignettes and masks cut in cardboard sections. Biggy Rat – same process but using black instead of green and blue. Also, hit them again with small shots of gray and red-oxide primer in a few spots 7. Removed glue & salt with a toothbrush, used different grits of x-fine sandpaper, and steel wool to highlight areas. Be careful to go through various layers, but not all the way through! 8. Dabbed rust particles made from steel wool & vinegar mix in a few holes 9. Applied custom decals 10. Dullcote over the entire body I hope you found this interesting. I also grew up in the mid-west and saw a lot of road salt damage and rust. All the best, Steve
-
I think it would be a lot of fun. Joey Lagono seems to have enjoyed his time behind the wheel.
-
Very nice! Let's make it unanimous. Great paint and superb photography. I've never built an Aoshima kit before. This is tantalizing! Thanks for sharing.
-
Well done. I think I enjoy building "rust buckets" as much as trying to lay down a perfect fresh paint job. I've come up with a hybrid process using salt and Elmer's glue that works well for me.
-
Really appreciate the kind comments! Thank you
-
Cobra 289 and Daytona, 1/24.....
Lobo2me replied to Allan31's topic in Other Racing: Road Racing, Salt Flat Racers
Fantastic Cobras! What a wonderful tribute and I am very sorry to hear about the loss of your brother. From one prostate cancer survivor to another and to anyone who sees this, early detection is the LIFE SAVER. -
Another great job, Claude. Your passion for this hobby really comes through on this baby, and one can clearly see how much fun you had engineering and fabricating every detail and fitting it all into this amazing Lakester. Well done!