CA Whitecloud
-
Posts
358 -
Joined
-
Last visited
Content Type
Profiles
Forums
Events
Gallery
Everything posted by CA Whitecloud
-
 I want to up my engine detailing game on this one. Maybe even try some body stressing like on the box.
- 39,080 replies
-
- 5
-

-
- johan
- glue bombs
- (and 1 more)
-
Food Dehydrators & Paint Dryers
CA Whitecloud replied to JayVee's topic in Model Building Questions and Answers
If I'm using my dehydrator, do I "pop" the body in and out between overlapping/re-coats? For like 2 minutes, or what? I'm using Tamiya rattle cans for color and Rustoleum primer. It's the first time using the dehydrator. At the moment I'm using the "Paint out the back door" method cause it's cold to leave the piece outside. Is it possible to get any interim coat TOO dry for successive coats, and what might be possible unfortunate outcomes to look out for? Cheers. -
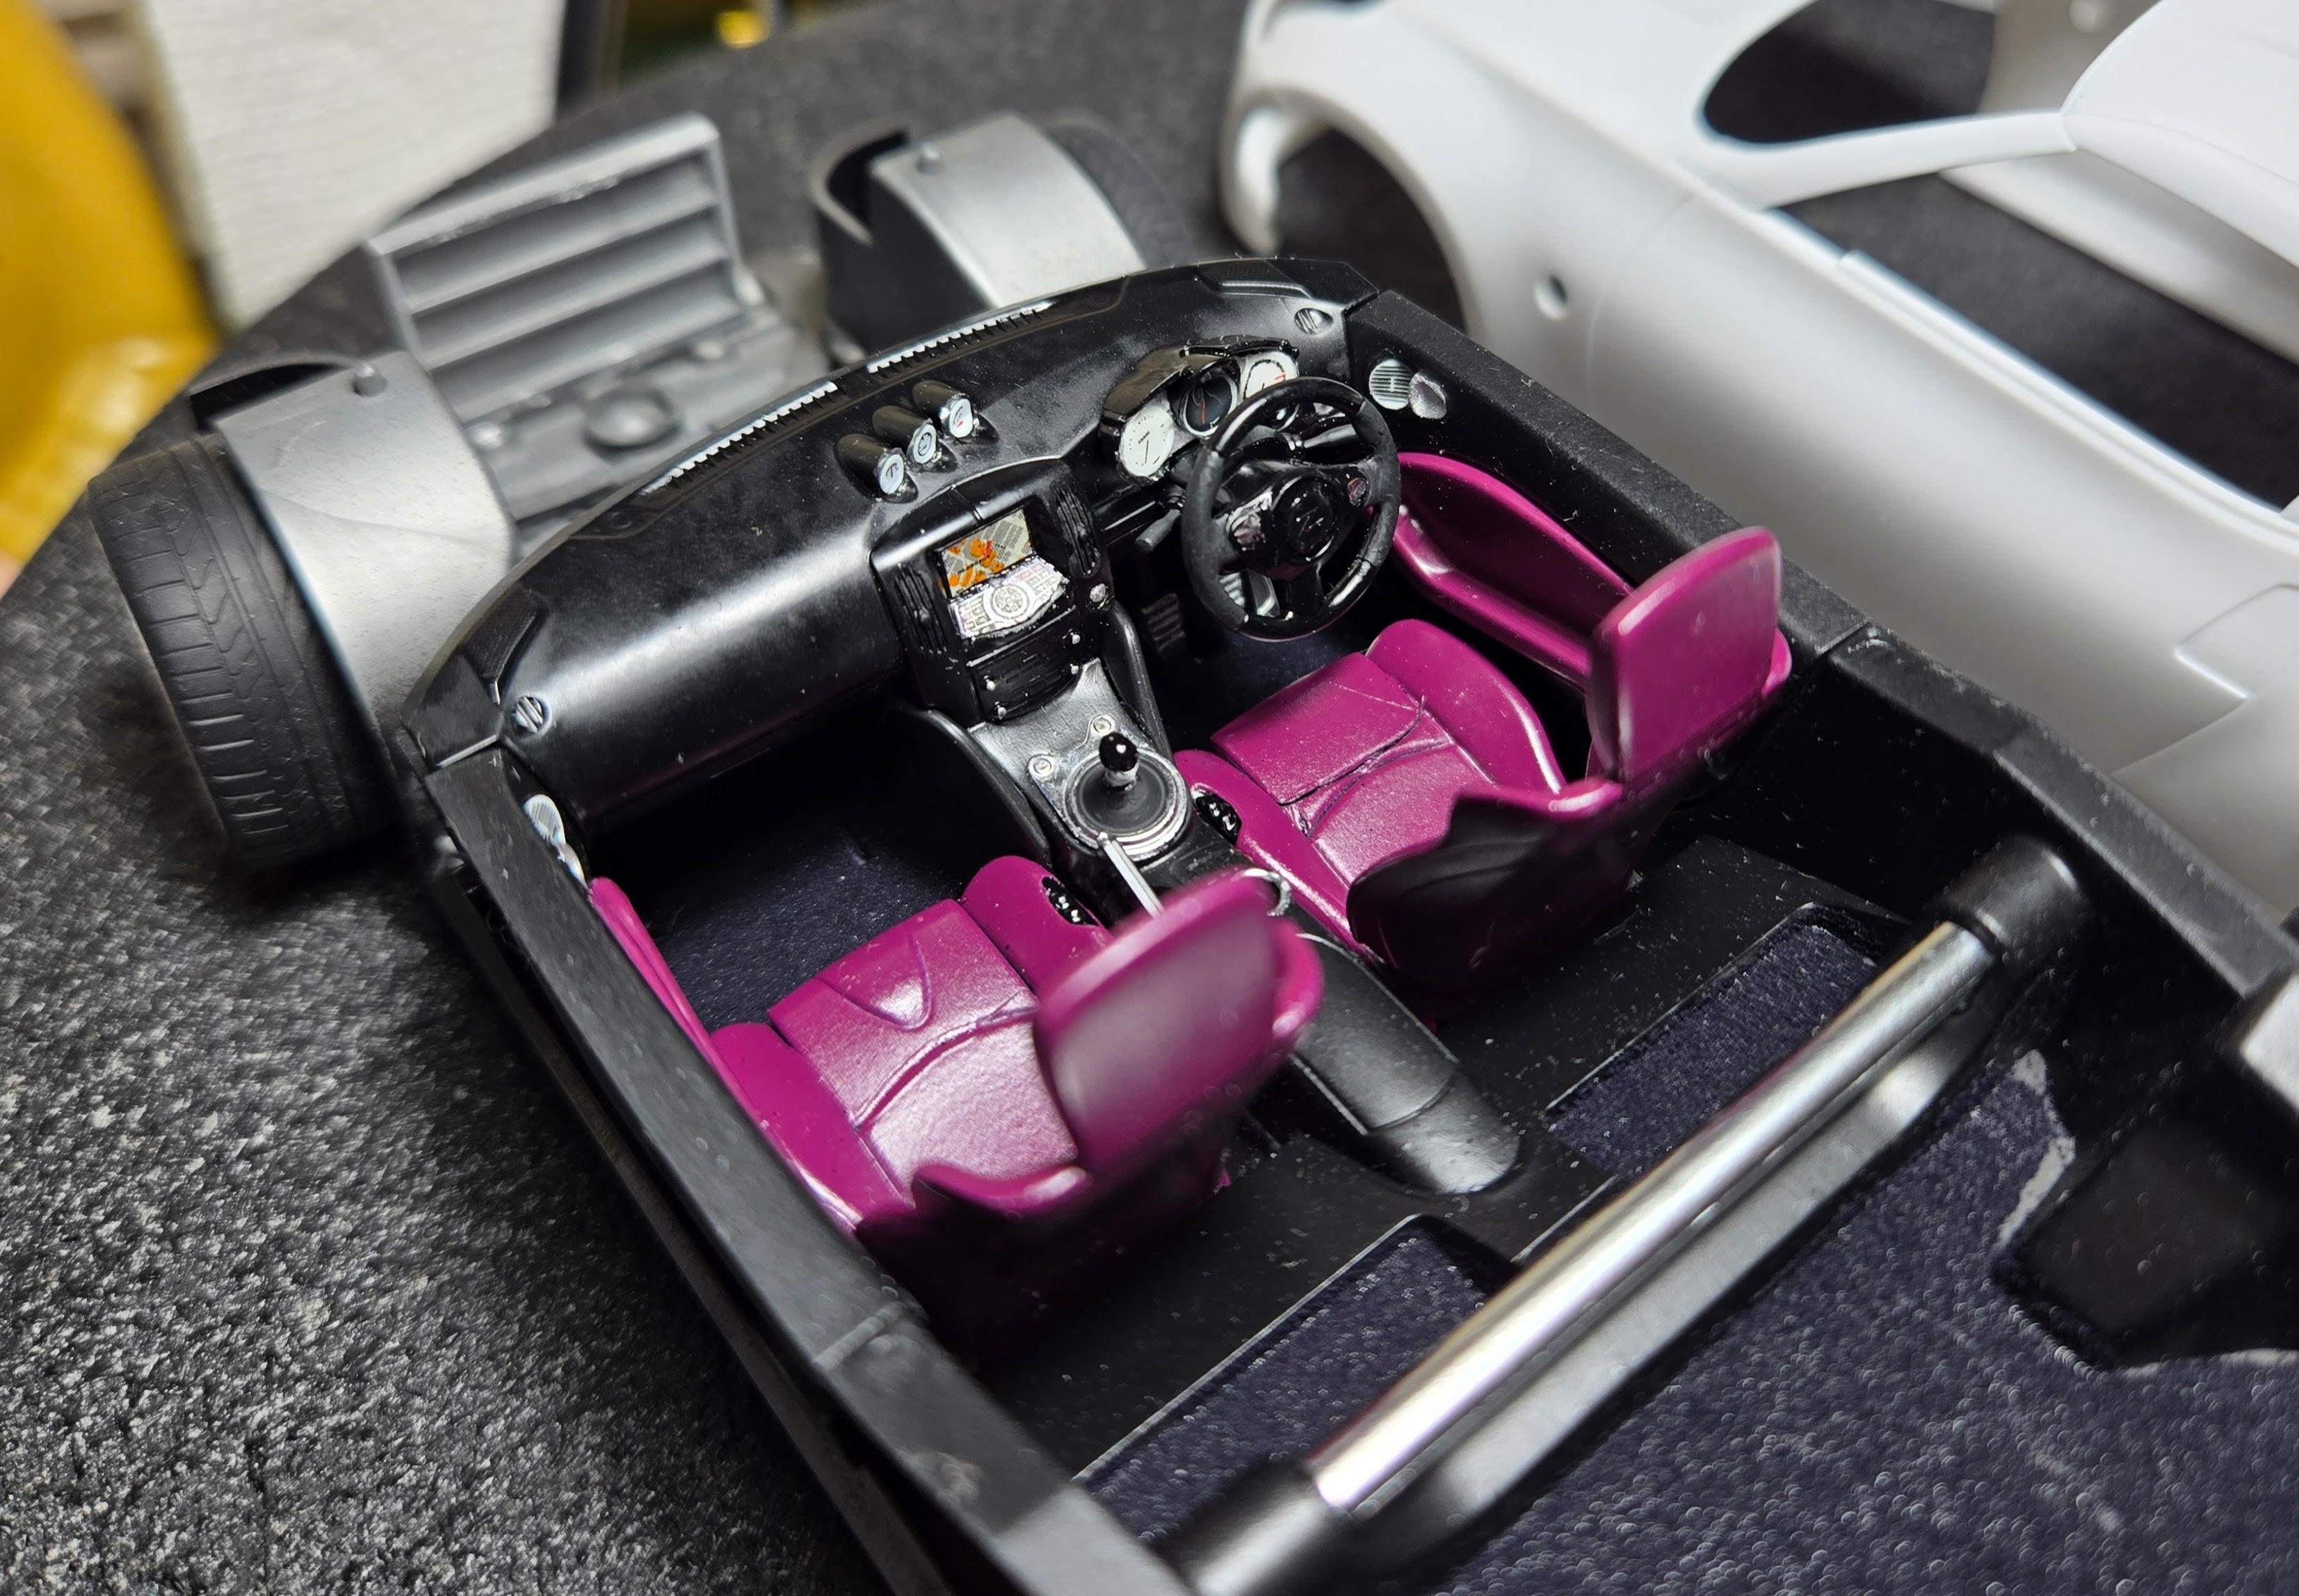
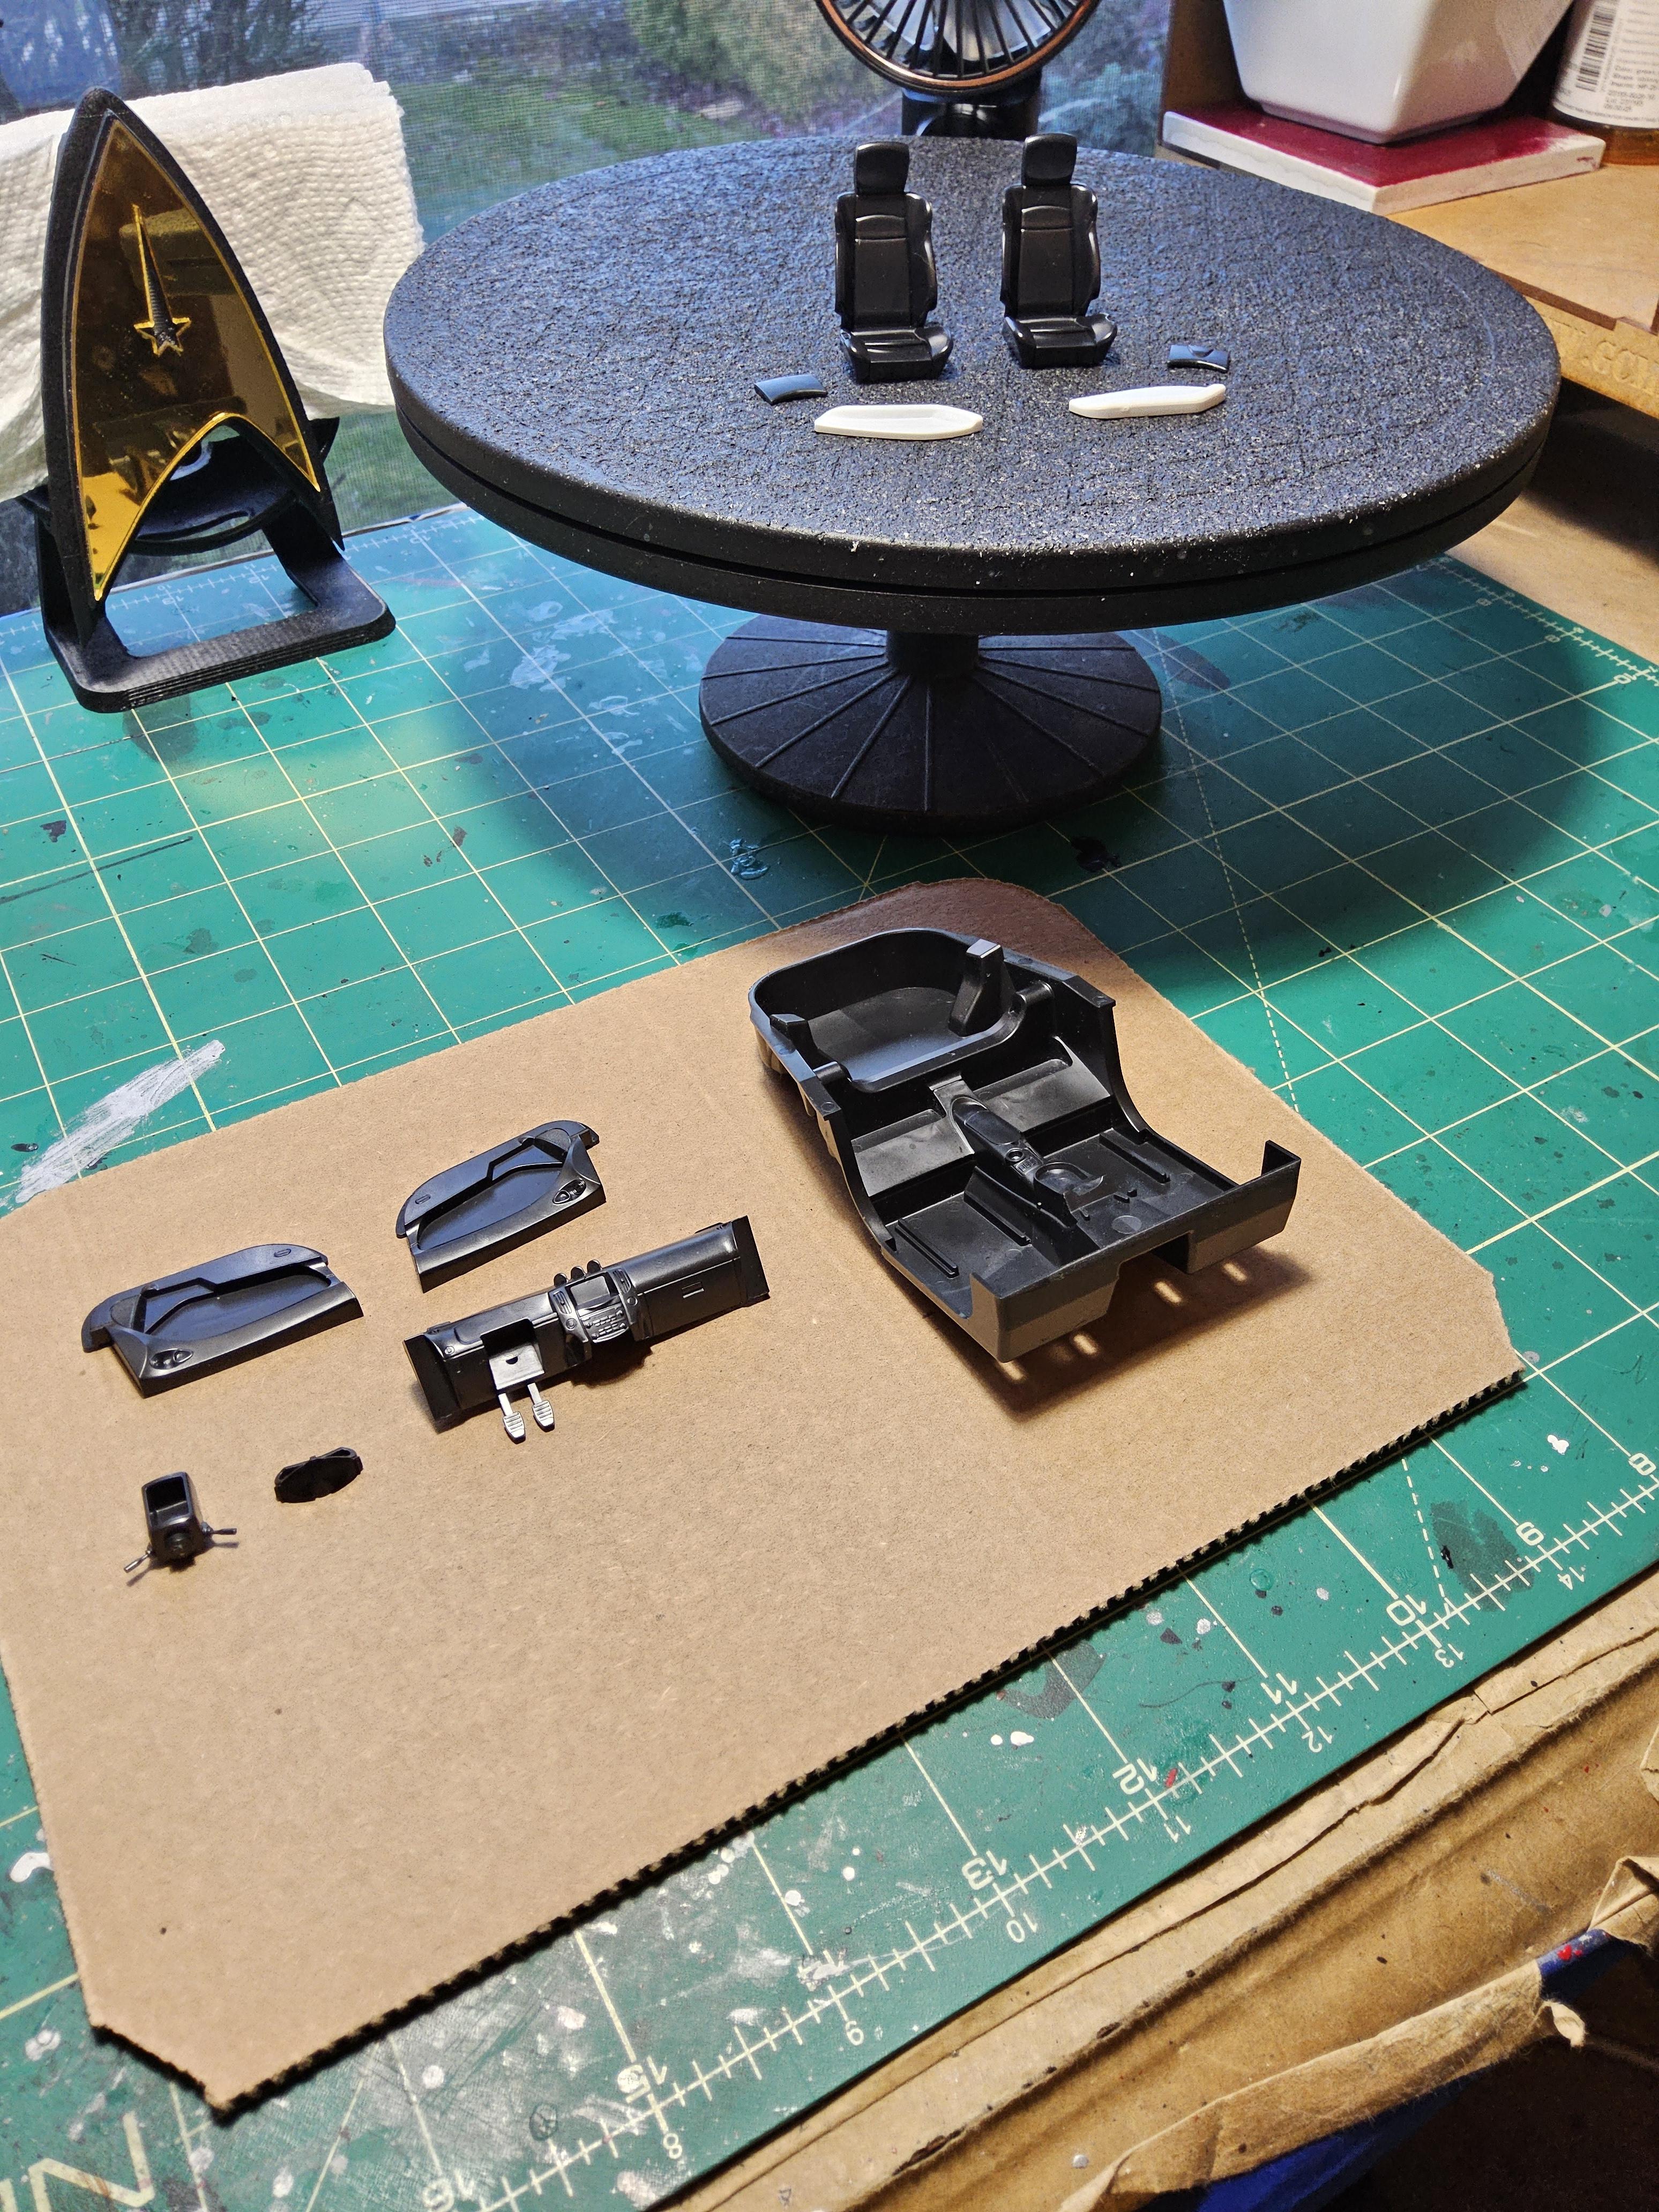
Tub Done. What's with the four pedals?
-
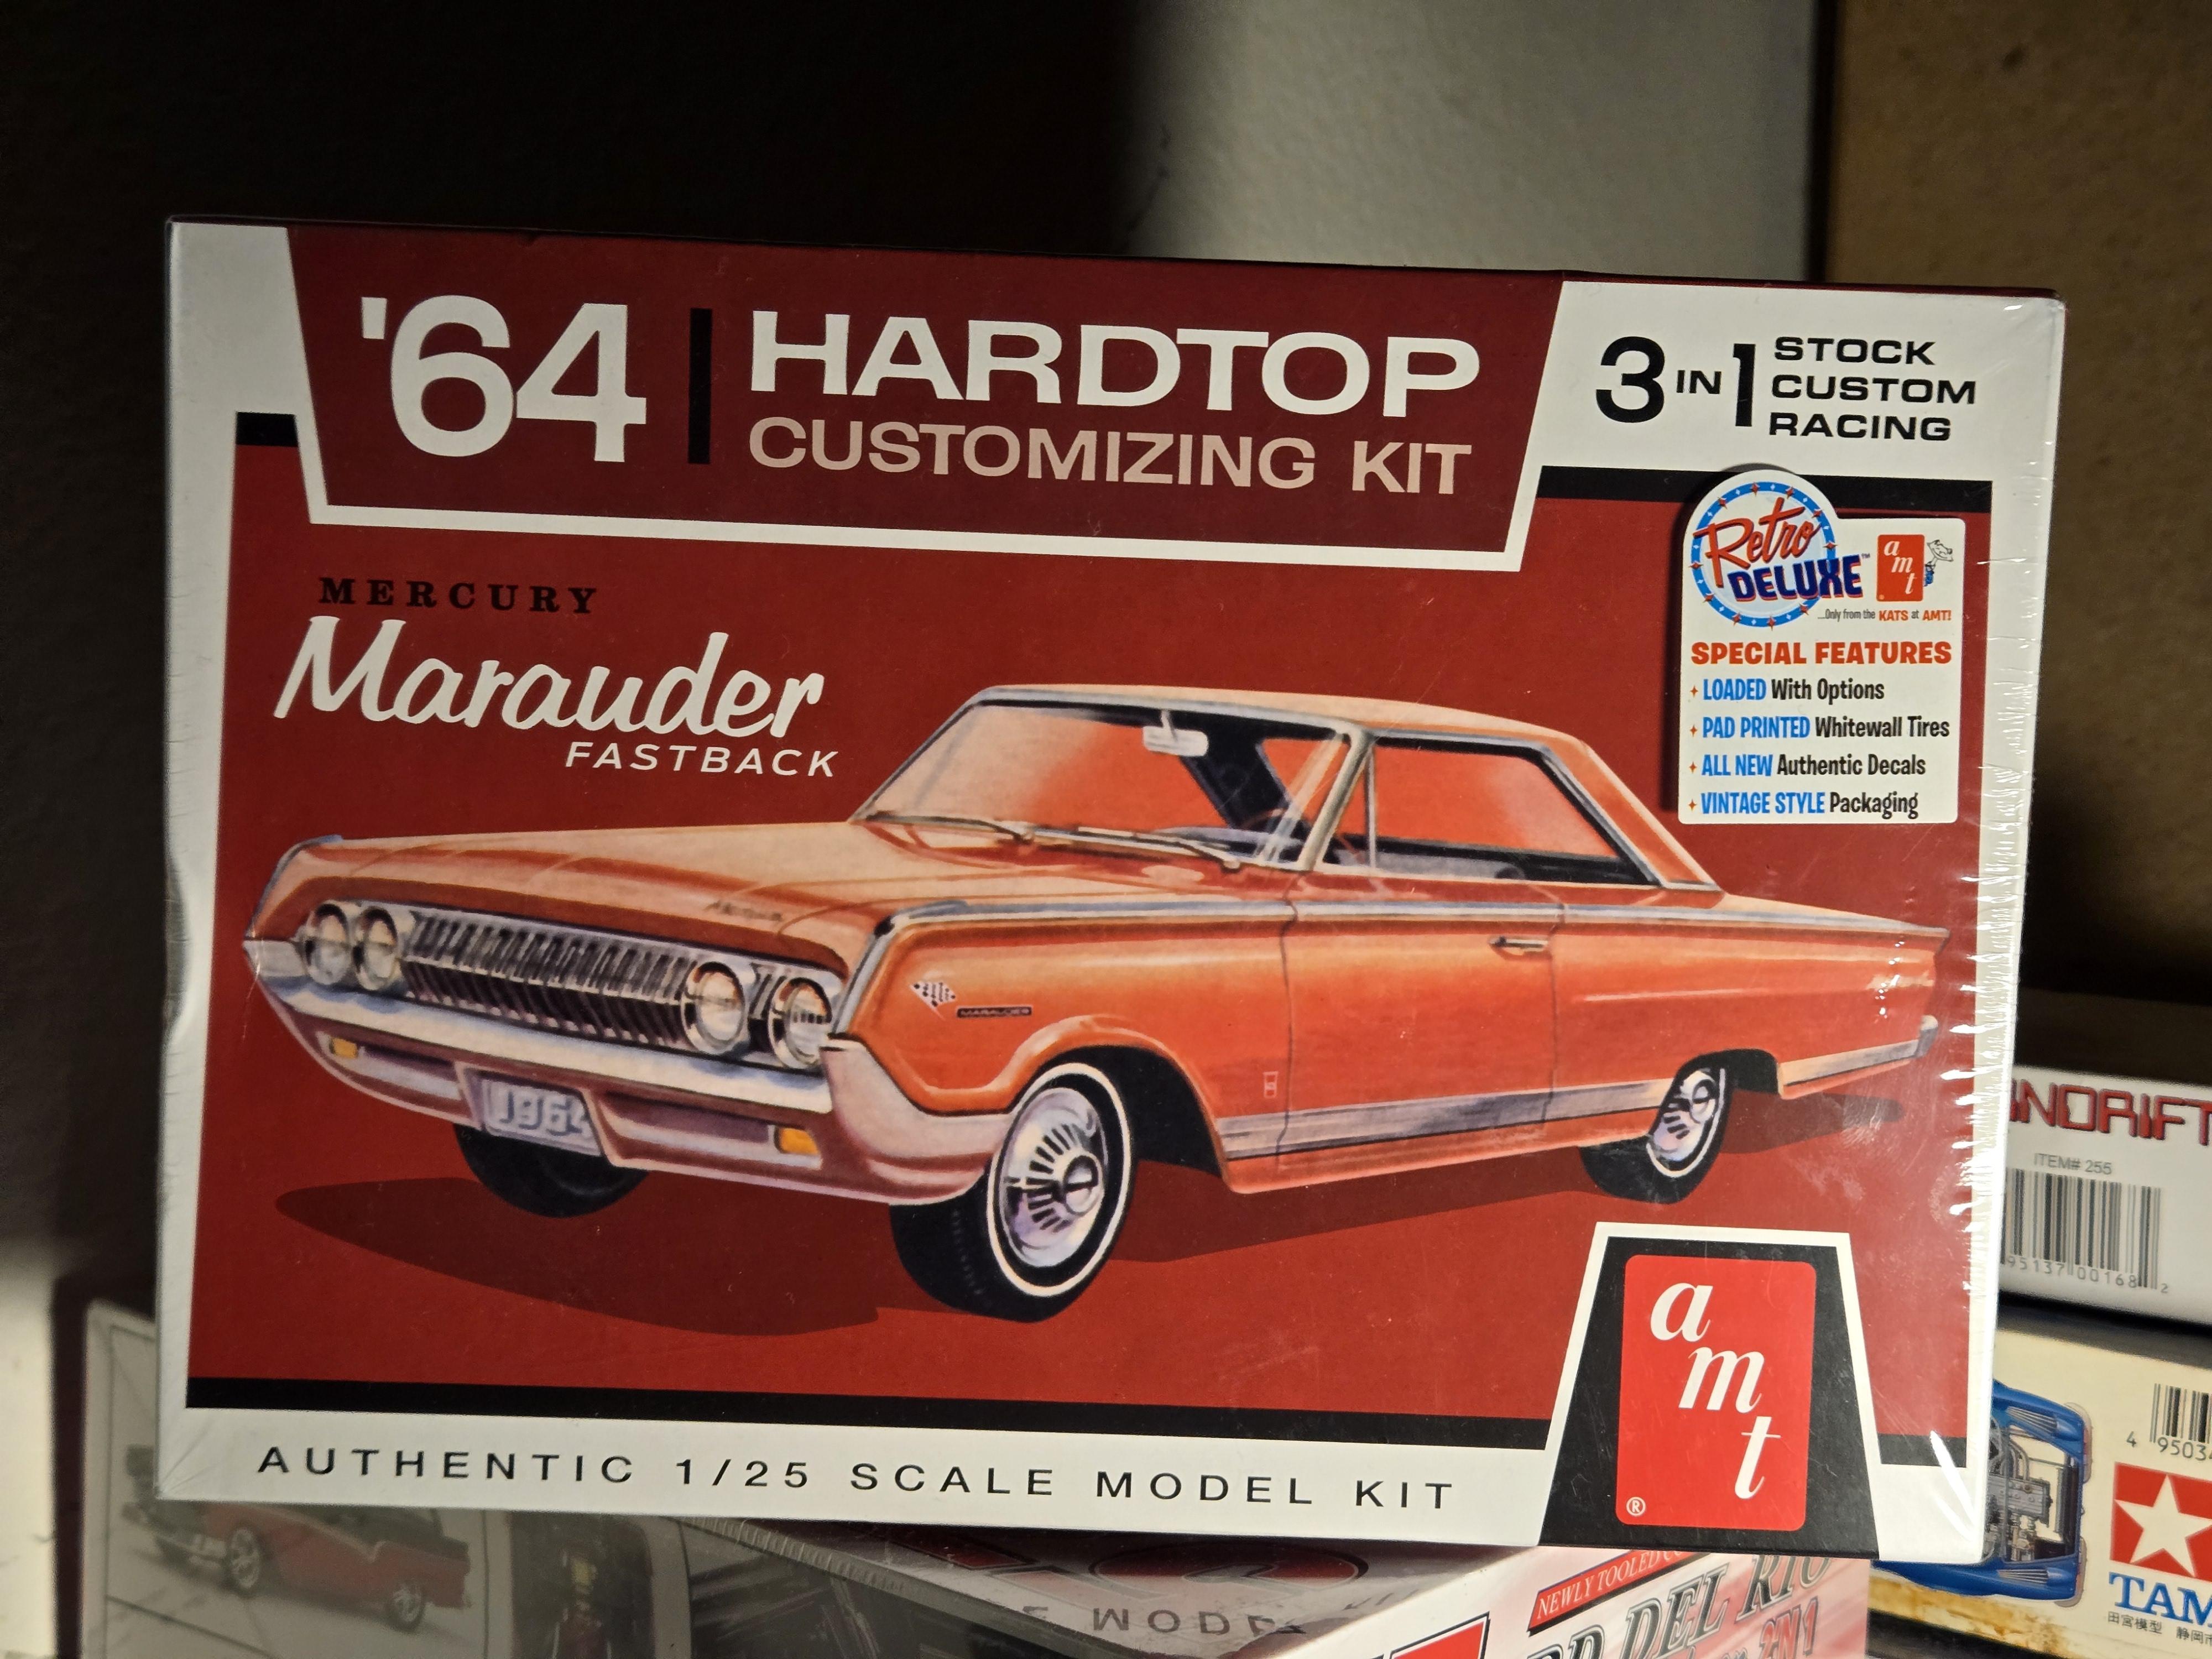
Found this on the stoop this morning. Ok, it was Ebay, but funny how I got this for 23 w/shipping USD and another listing had it for $53 free shipping.
- 39,080 replies
-
- 4
-
-
- johan
- glue bombs
- (and 1 more)
-
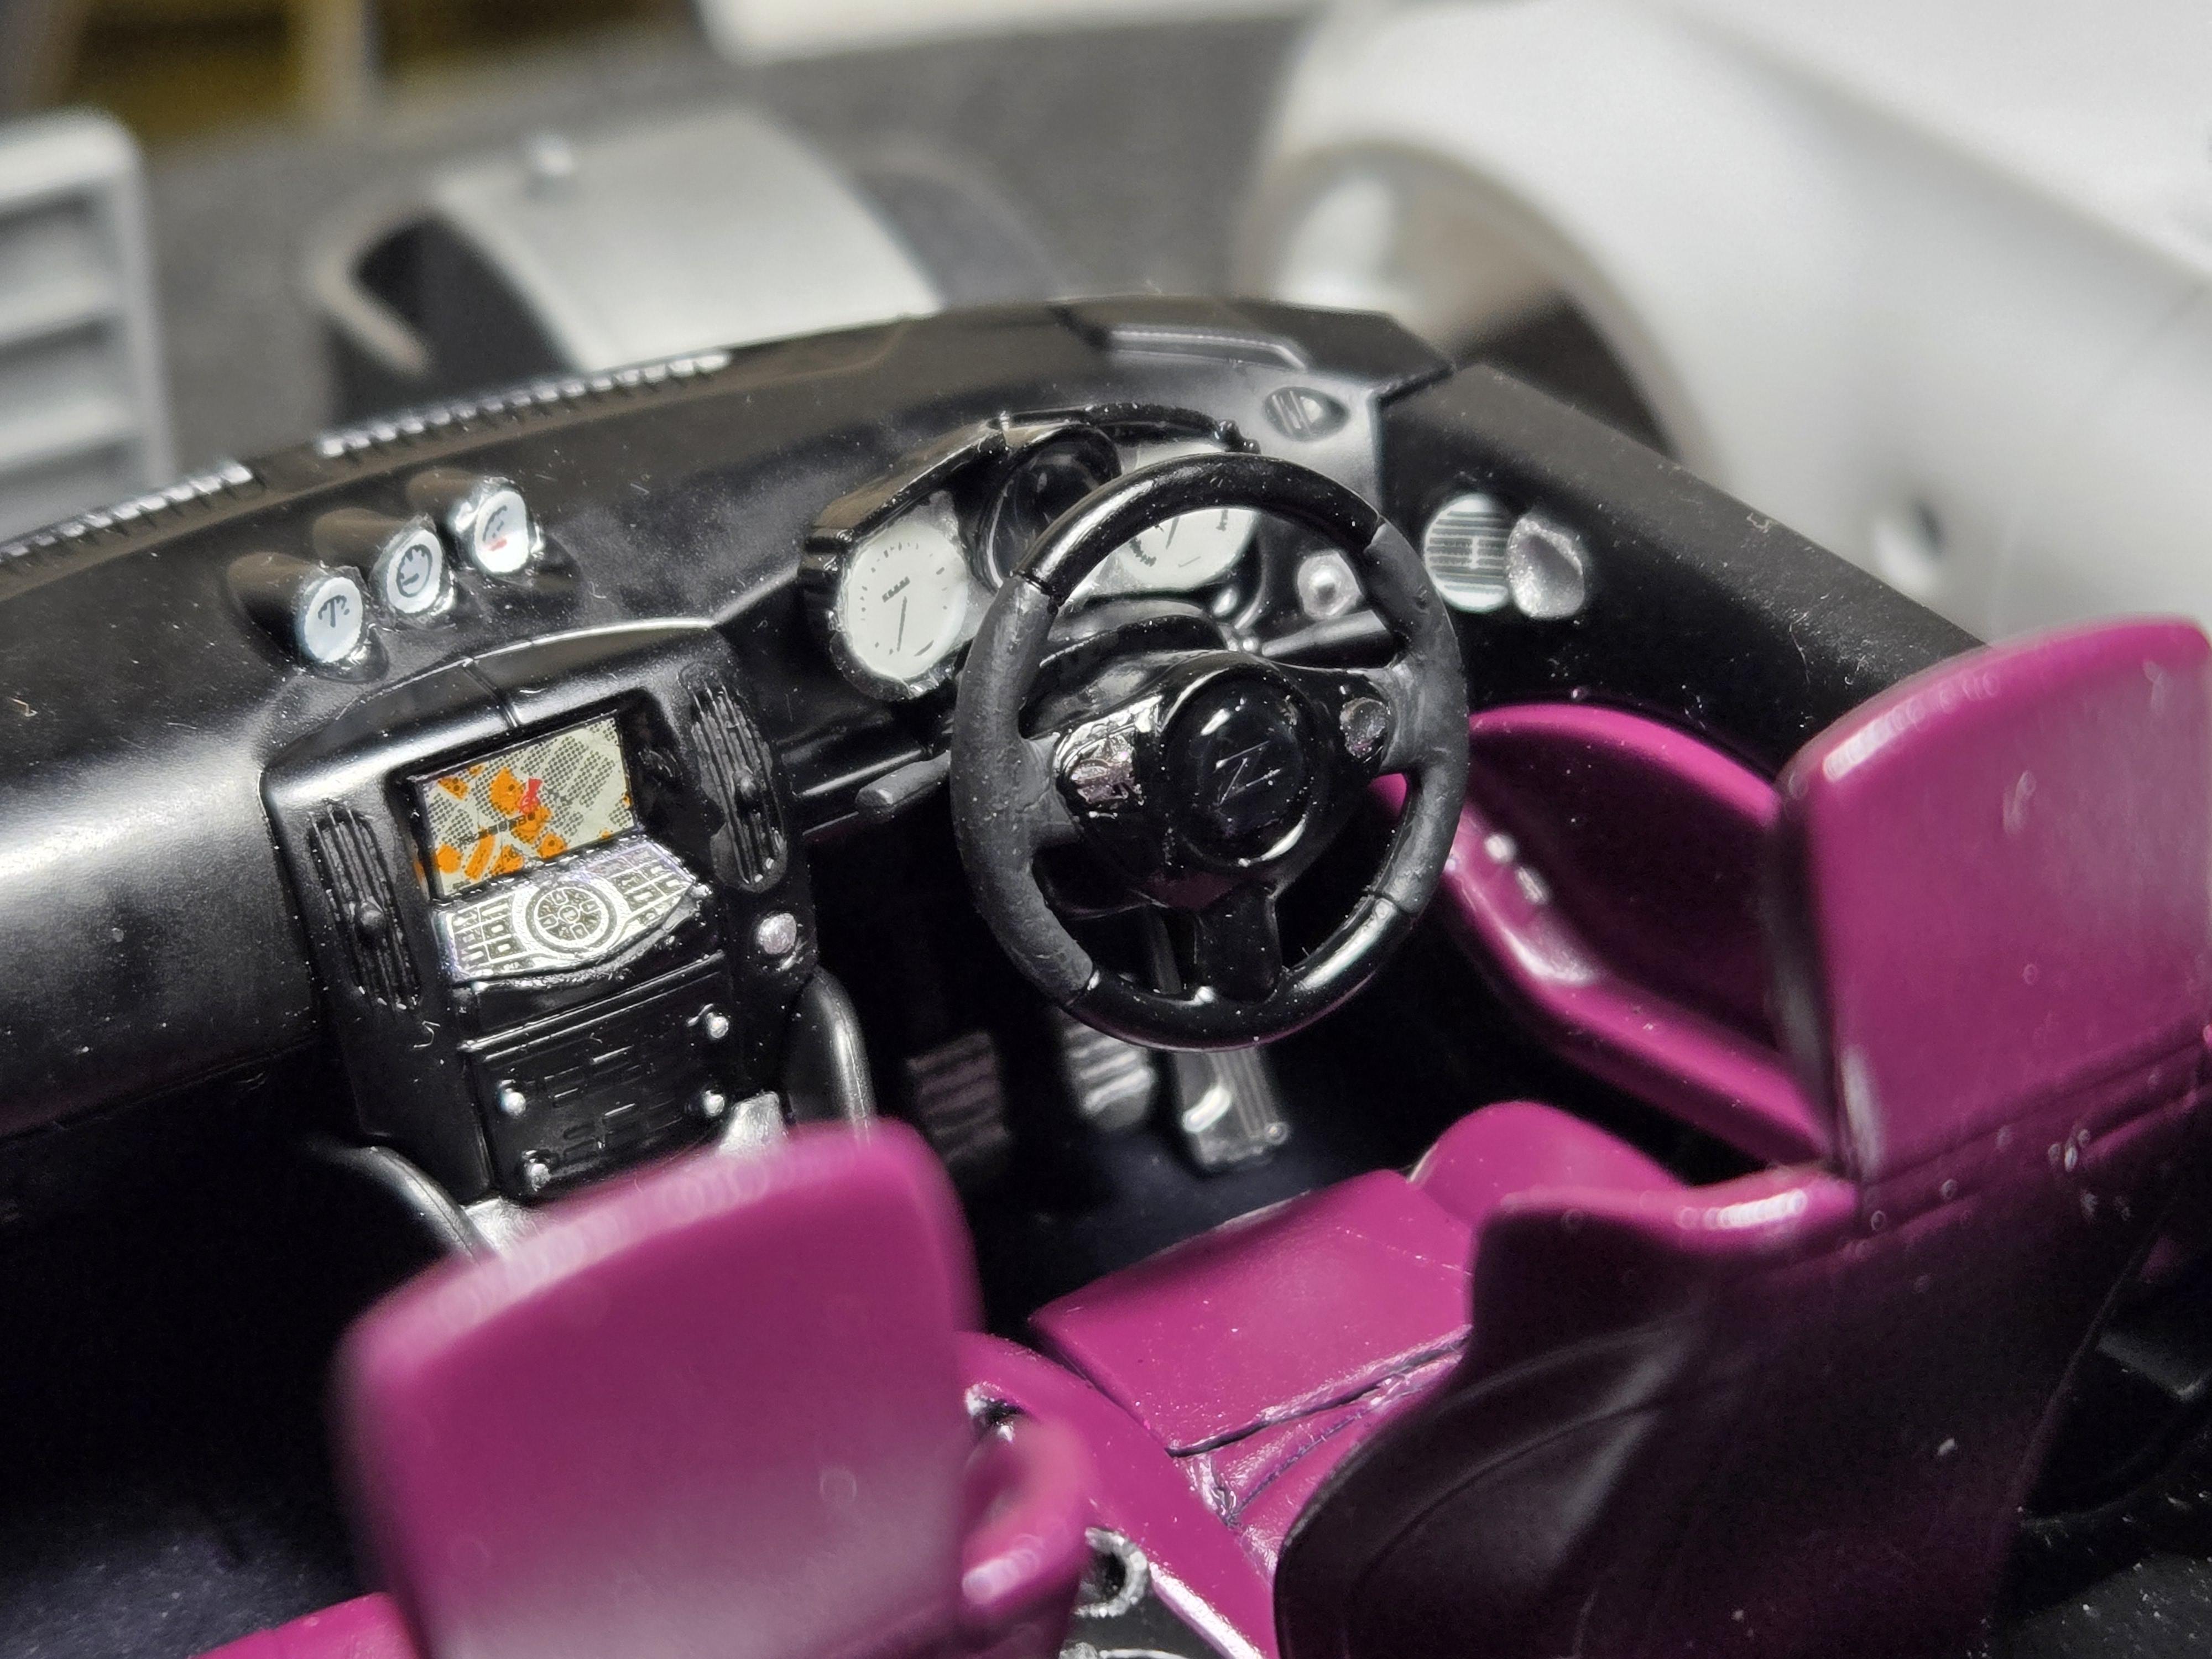
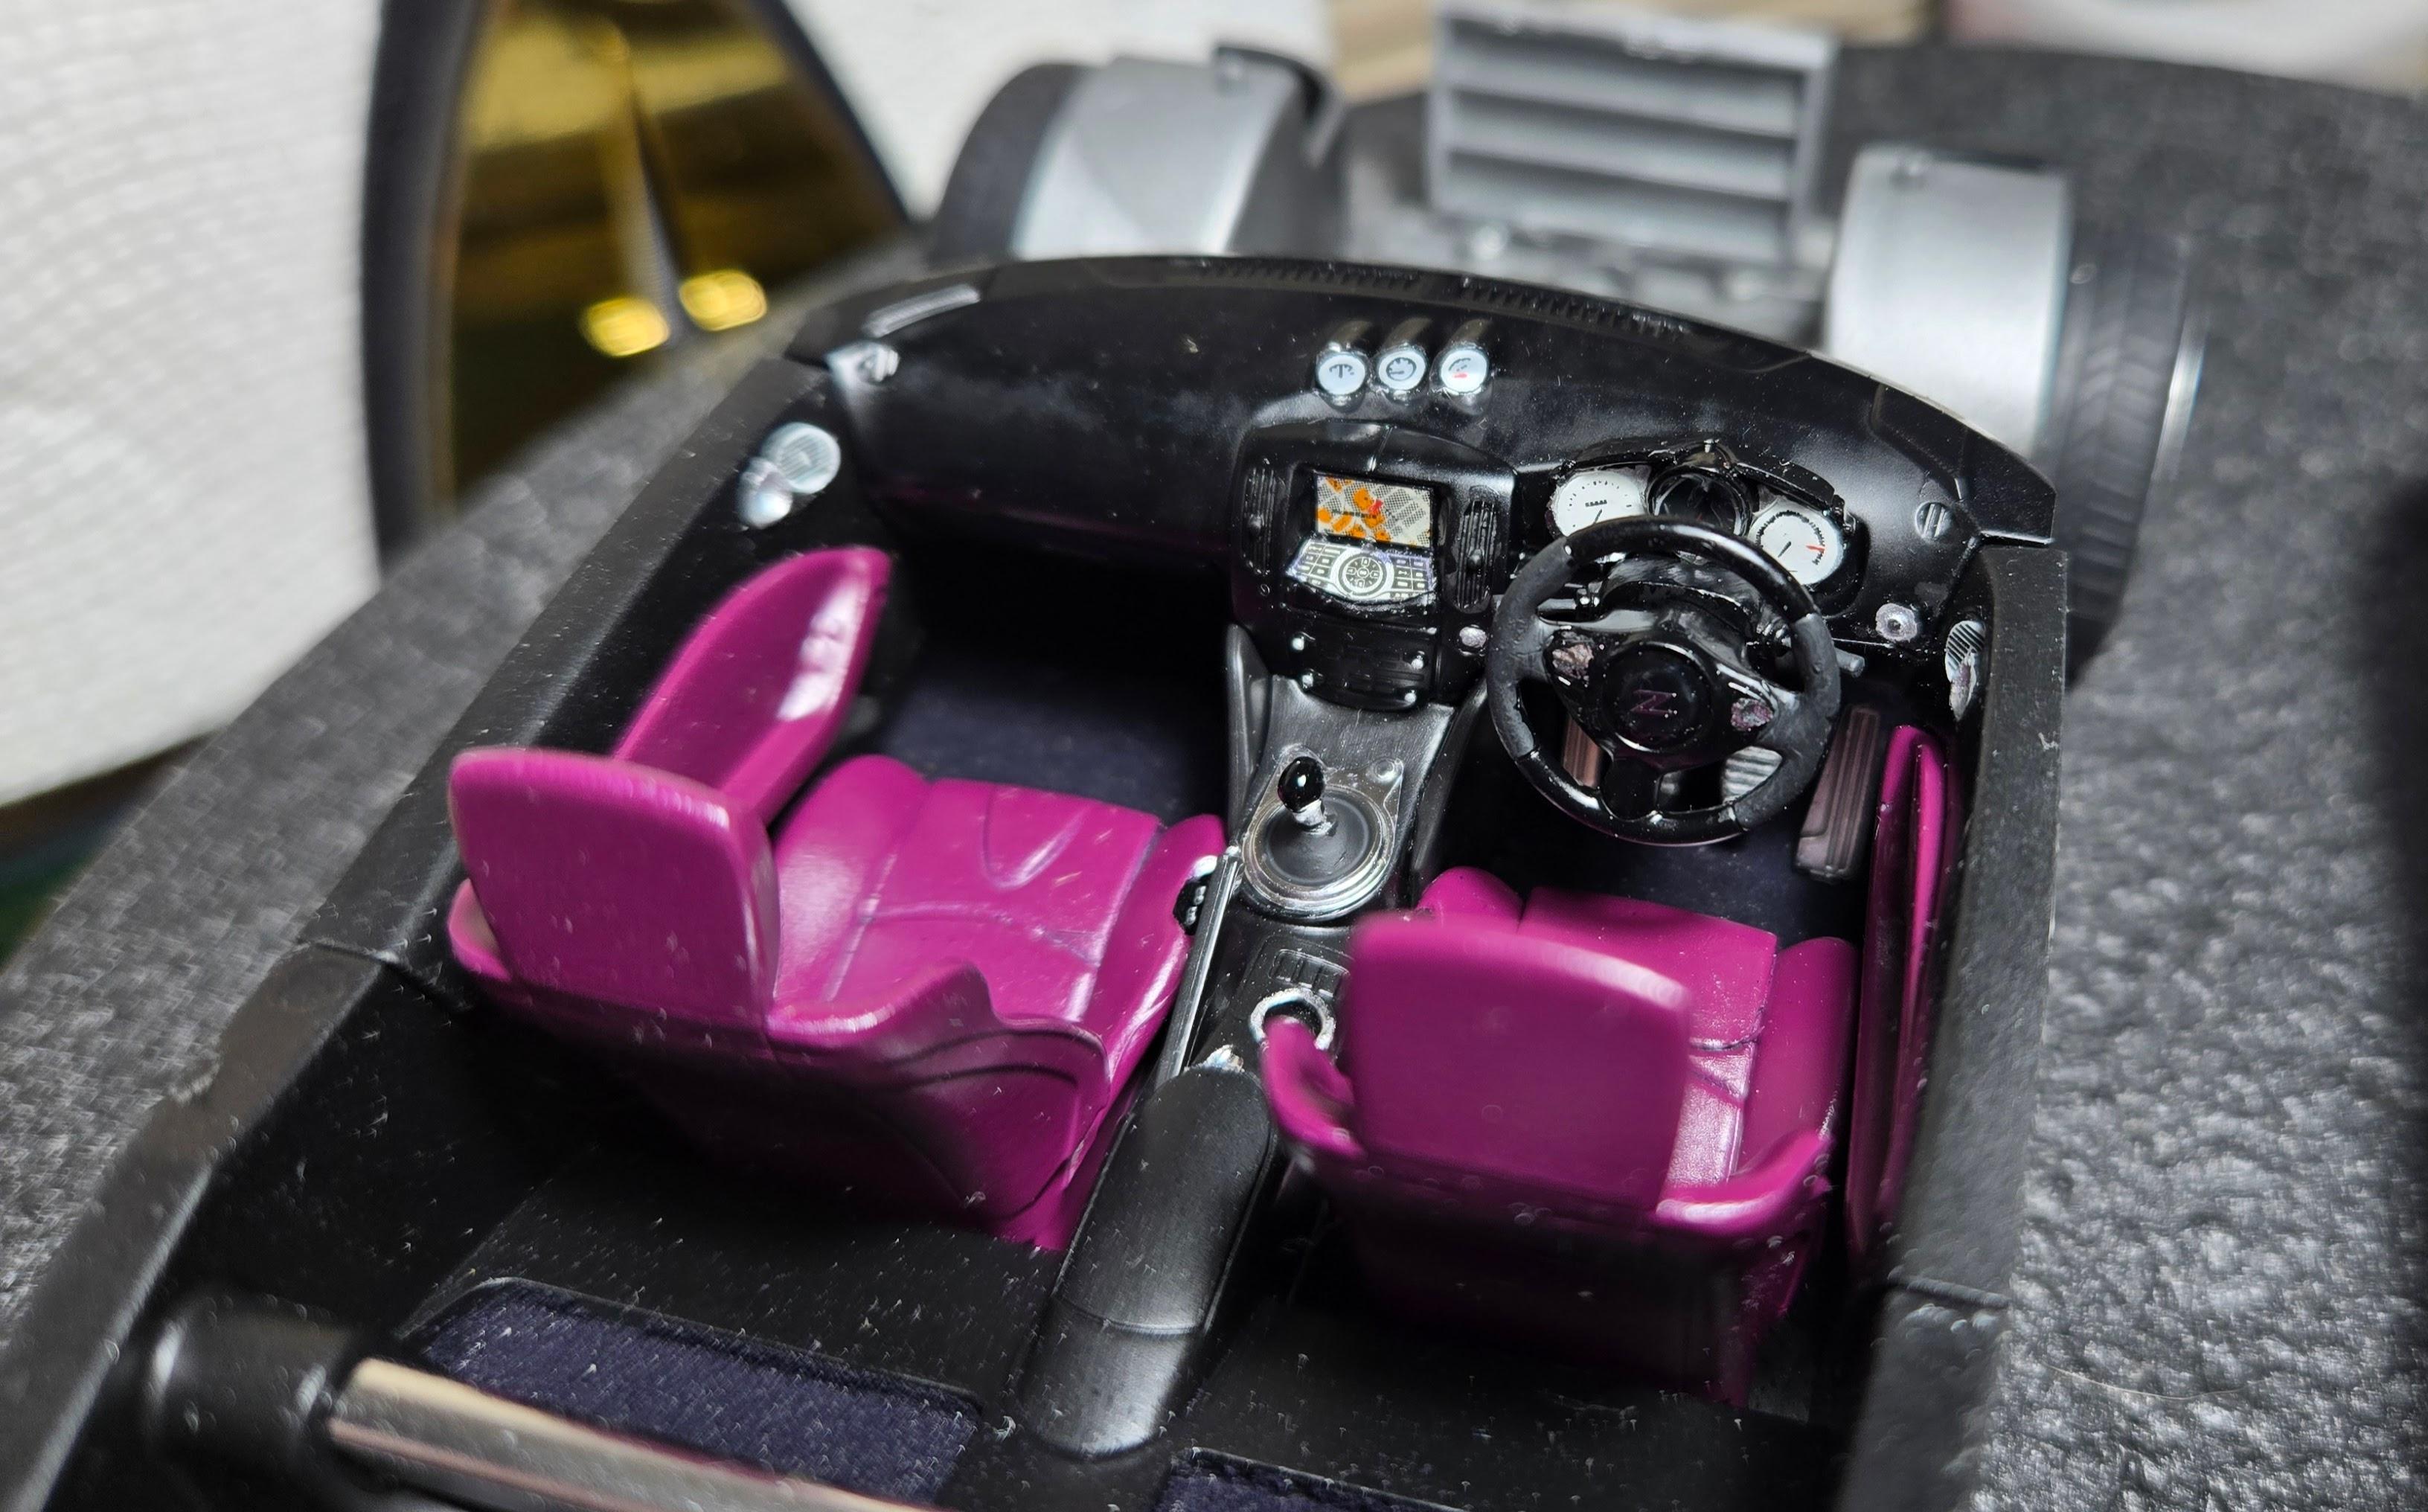
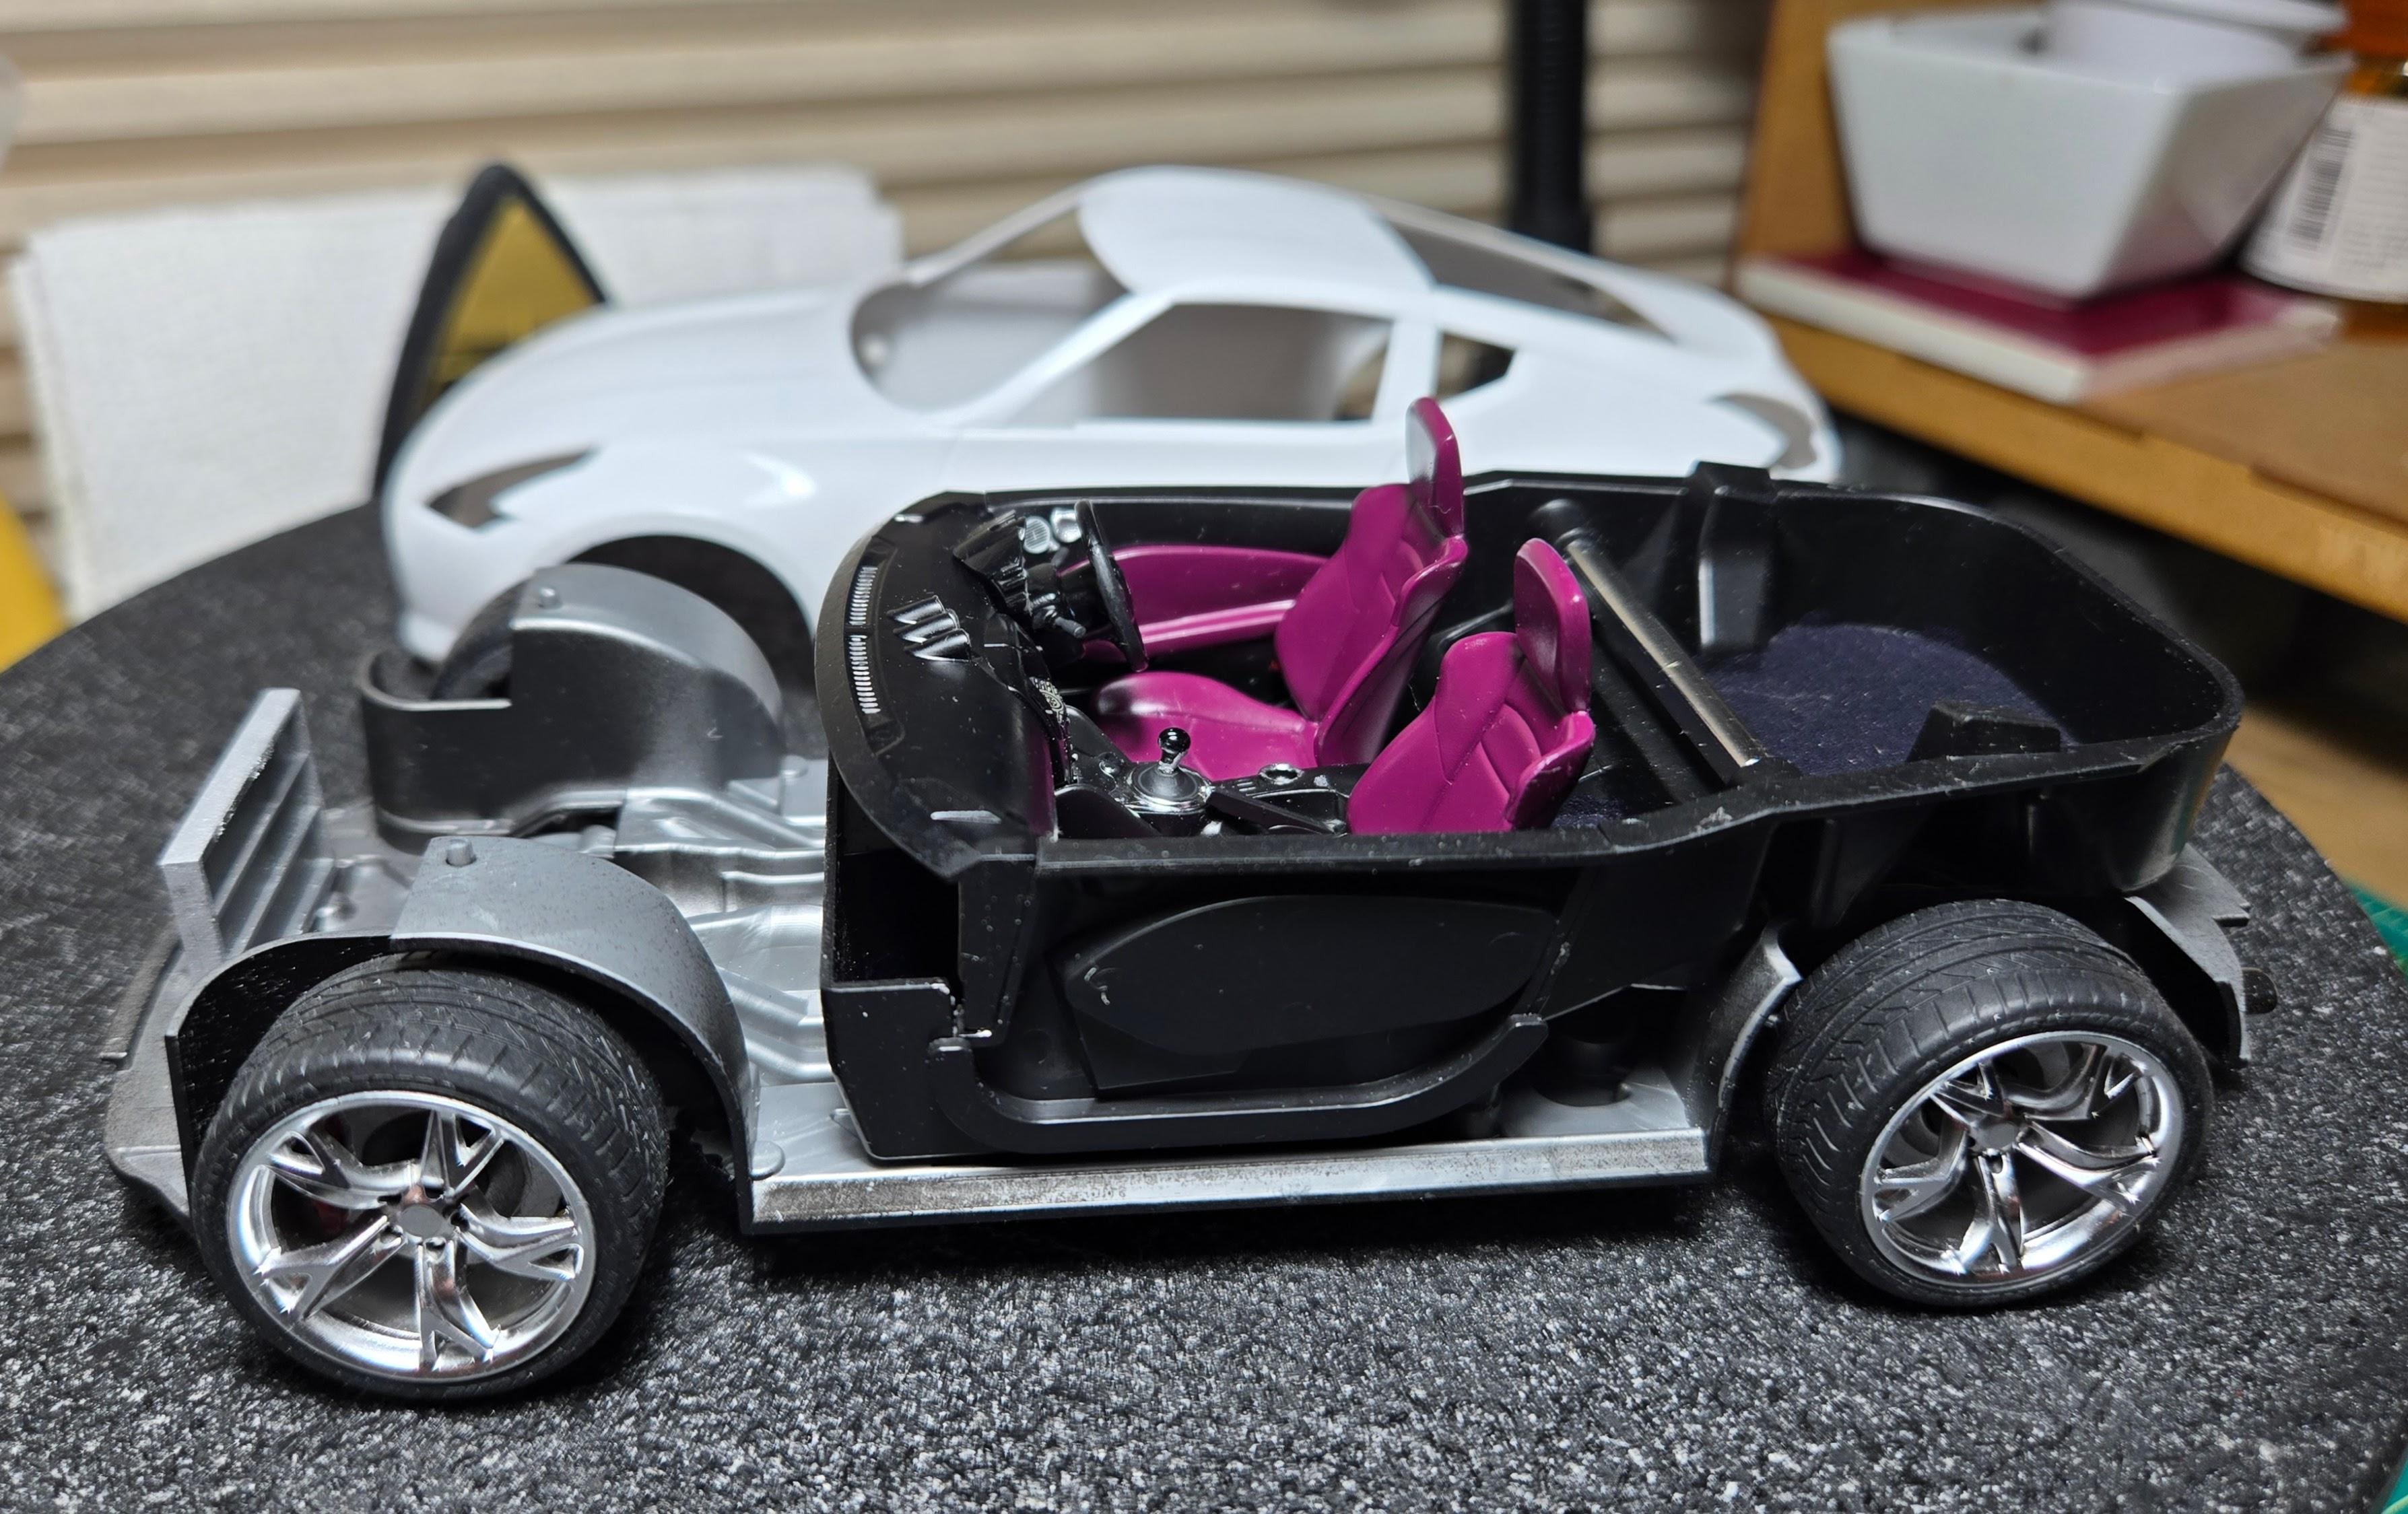
Let me start by saying i actually believed that my builds were improving. Winter is harder because I have to paint outside. Also, I didnt want to get into a "Revell Rut", but swithching brands seems to be a challenge for me. Is this the wrong forum for my skill level? If so, some direction would be helpful. Nuff said. So, going with left hand drive. Lesson 1. Acetone and nail polish remover are not the same. Ok, rignt hand drive it is. I went about flocking and interior color. It's not as pink as it looks. Aubergine. Tiny gearshift in the backgroud. Built up the courage to decal again. Warm water, dish soap, a $%& load of patience, and this happens...again! I had these on hand, which shocked me a bit, so we'll see. Not an easy fit and already cracked one. I wasn't really that jazzed about this kit to begin with. Is that why it hates me?
-
'66 Chevy Fleetside Pickup - Revell
CA Whitecloud replied to CA Whitecloud's topic in WIP: Model Cars
This was my Ebay purchase. I'm not seeing them listed at the moment.
-
'66 Chevy Fleetside Pickup - Revell
CA Whitecloud replied to CA Whitecloud's topic in WIP: Model Cars
Straps look pretty cool.
-
Do I really have to "roughen up" such a nice piece of plastic to lay down paint?
-
I automatically went with red brake calipers before I looked at many pics. Not really true to the pics I've seen...
-
Progress thus far.
-
'66 Chevy Fleetside Pickup - Revell
CA Whitecloud replied to CA Whitecloud's topic in WIP: Model Cars
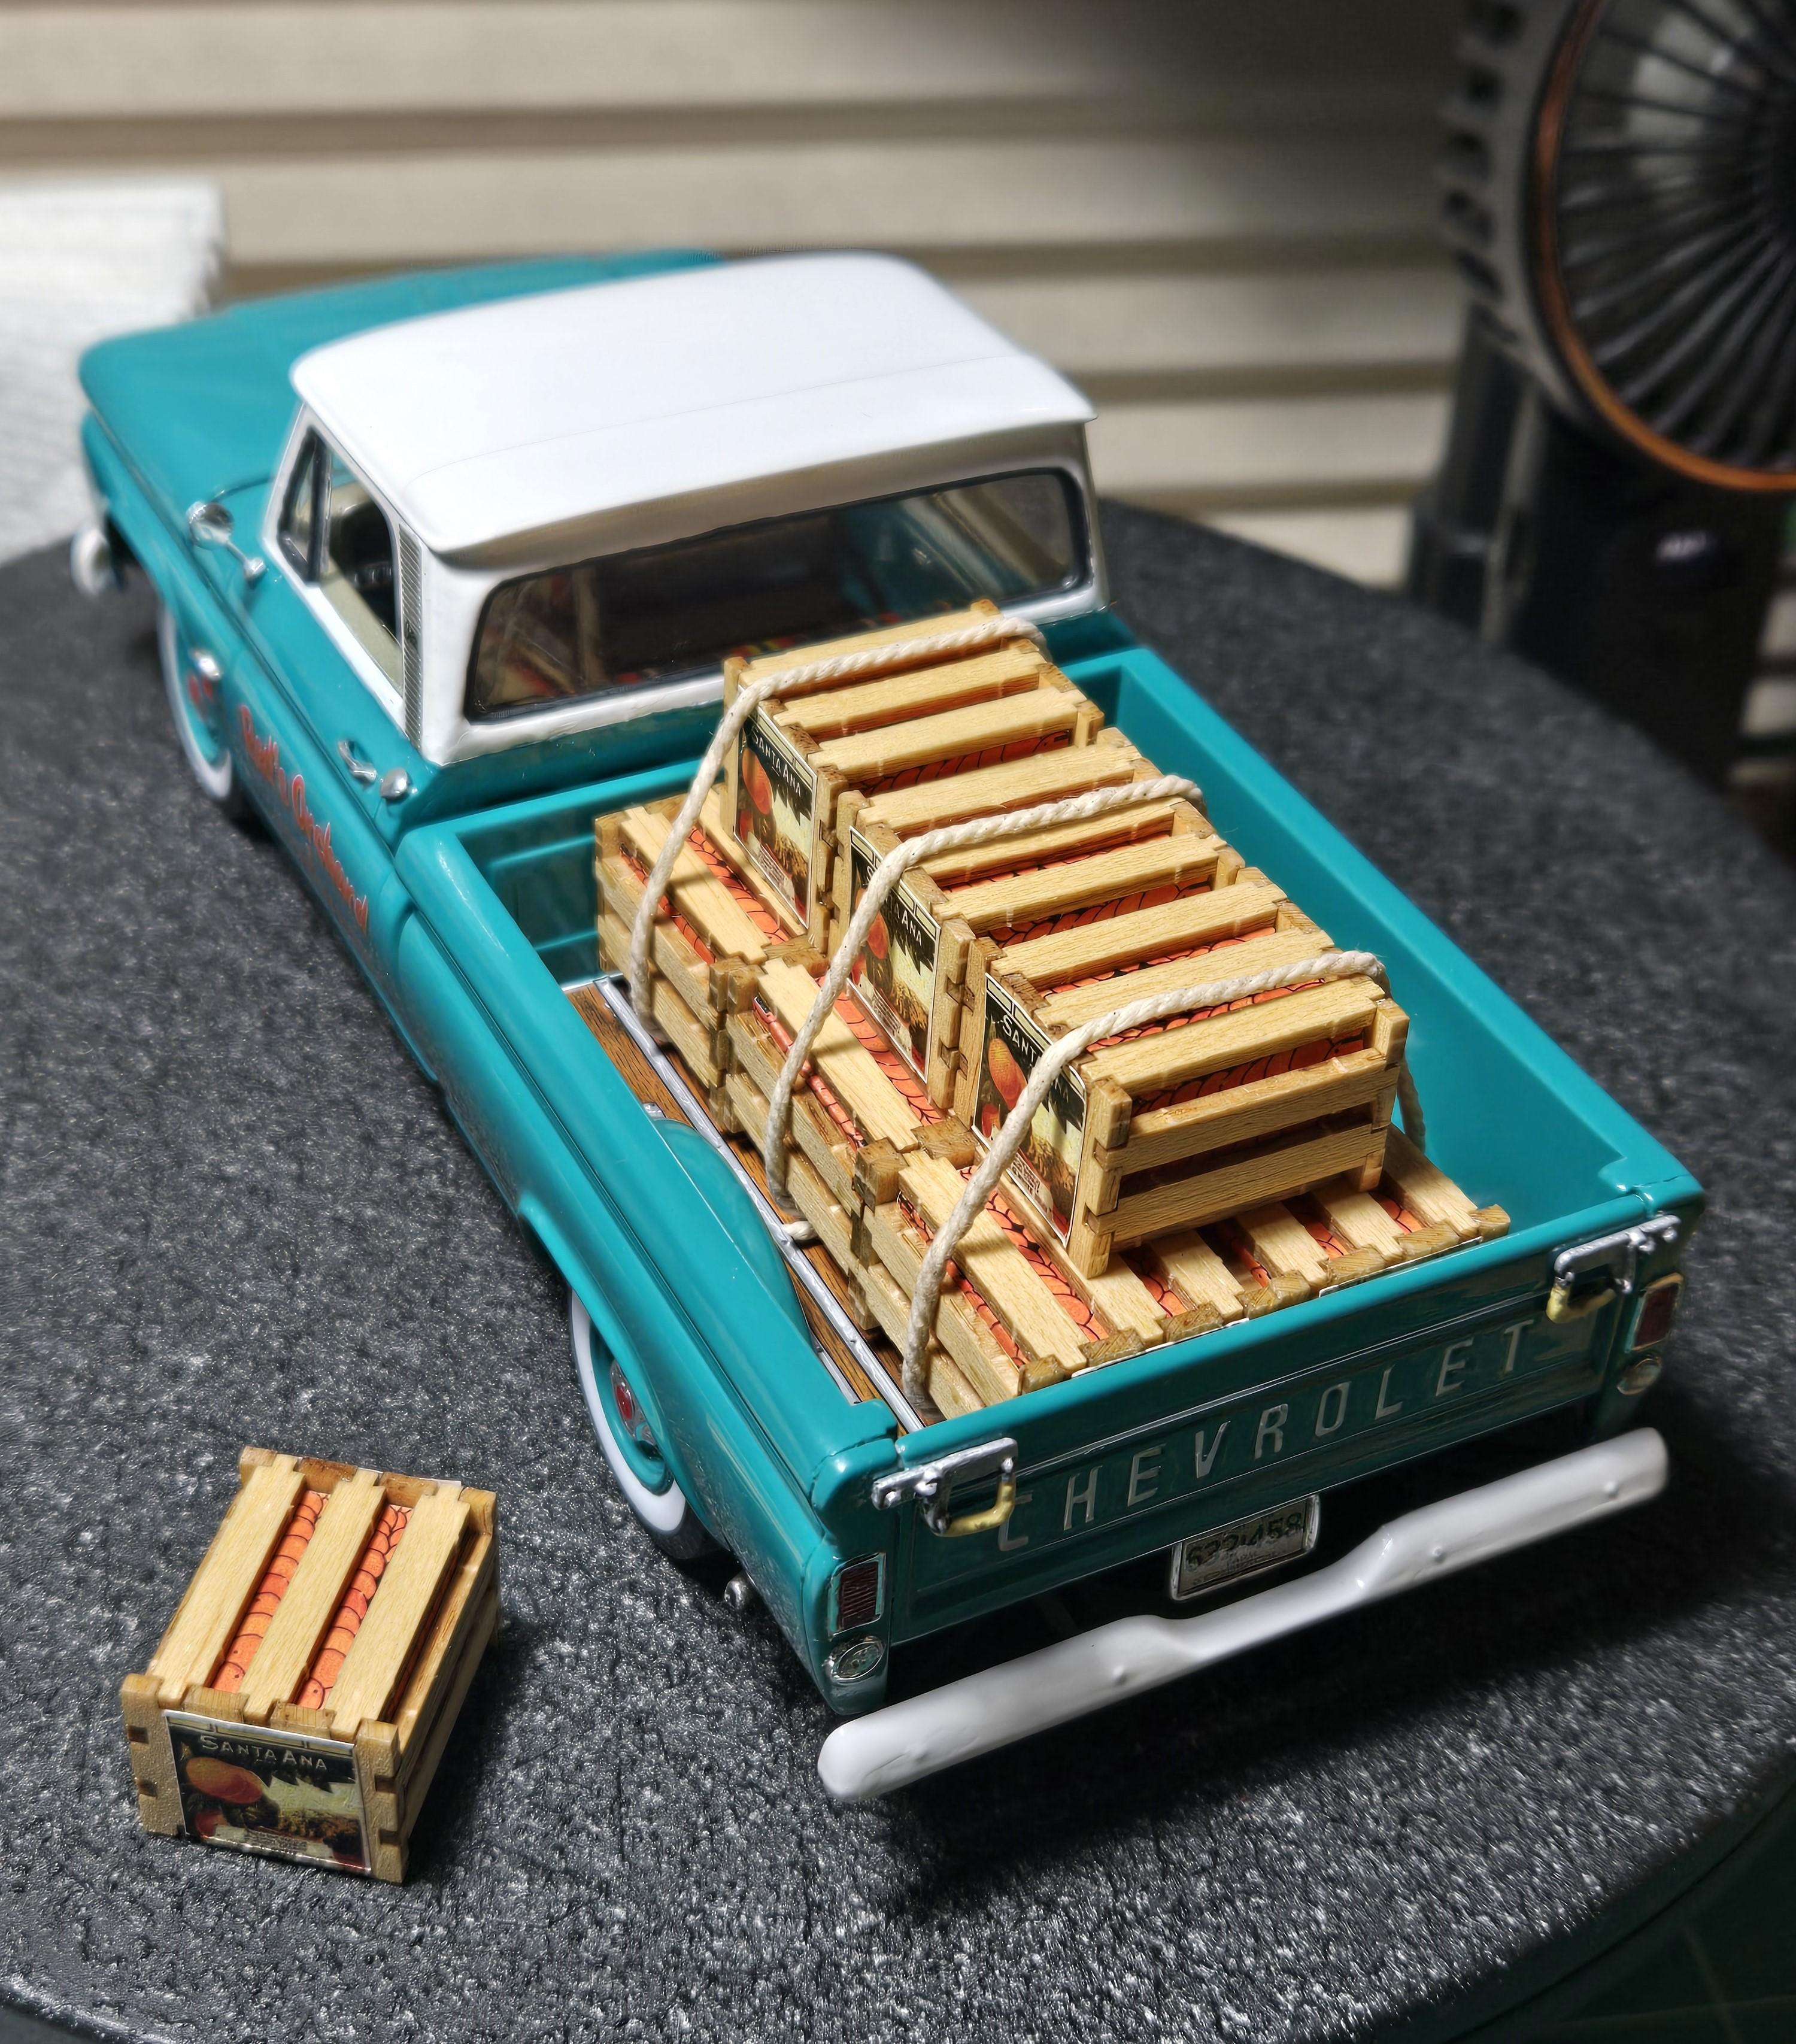
*I do not want to try and fashion any hooks for the bed. I could not get them even close to realistic and would only ruin a fine project. -
'66 Chevy Fleetside Pickup - Revell
CA Whitecloud replied to CA Whitecloud's topic in WIP: Model Cars
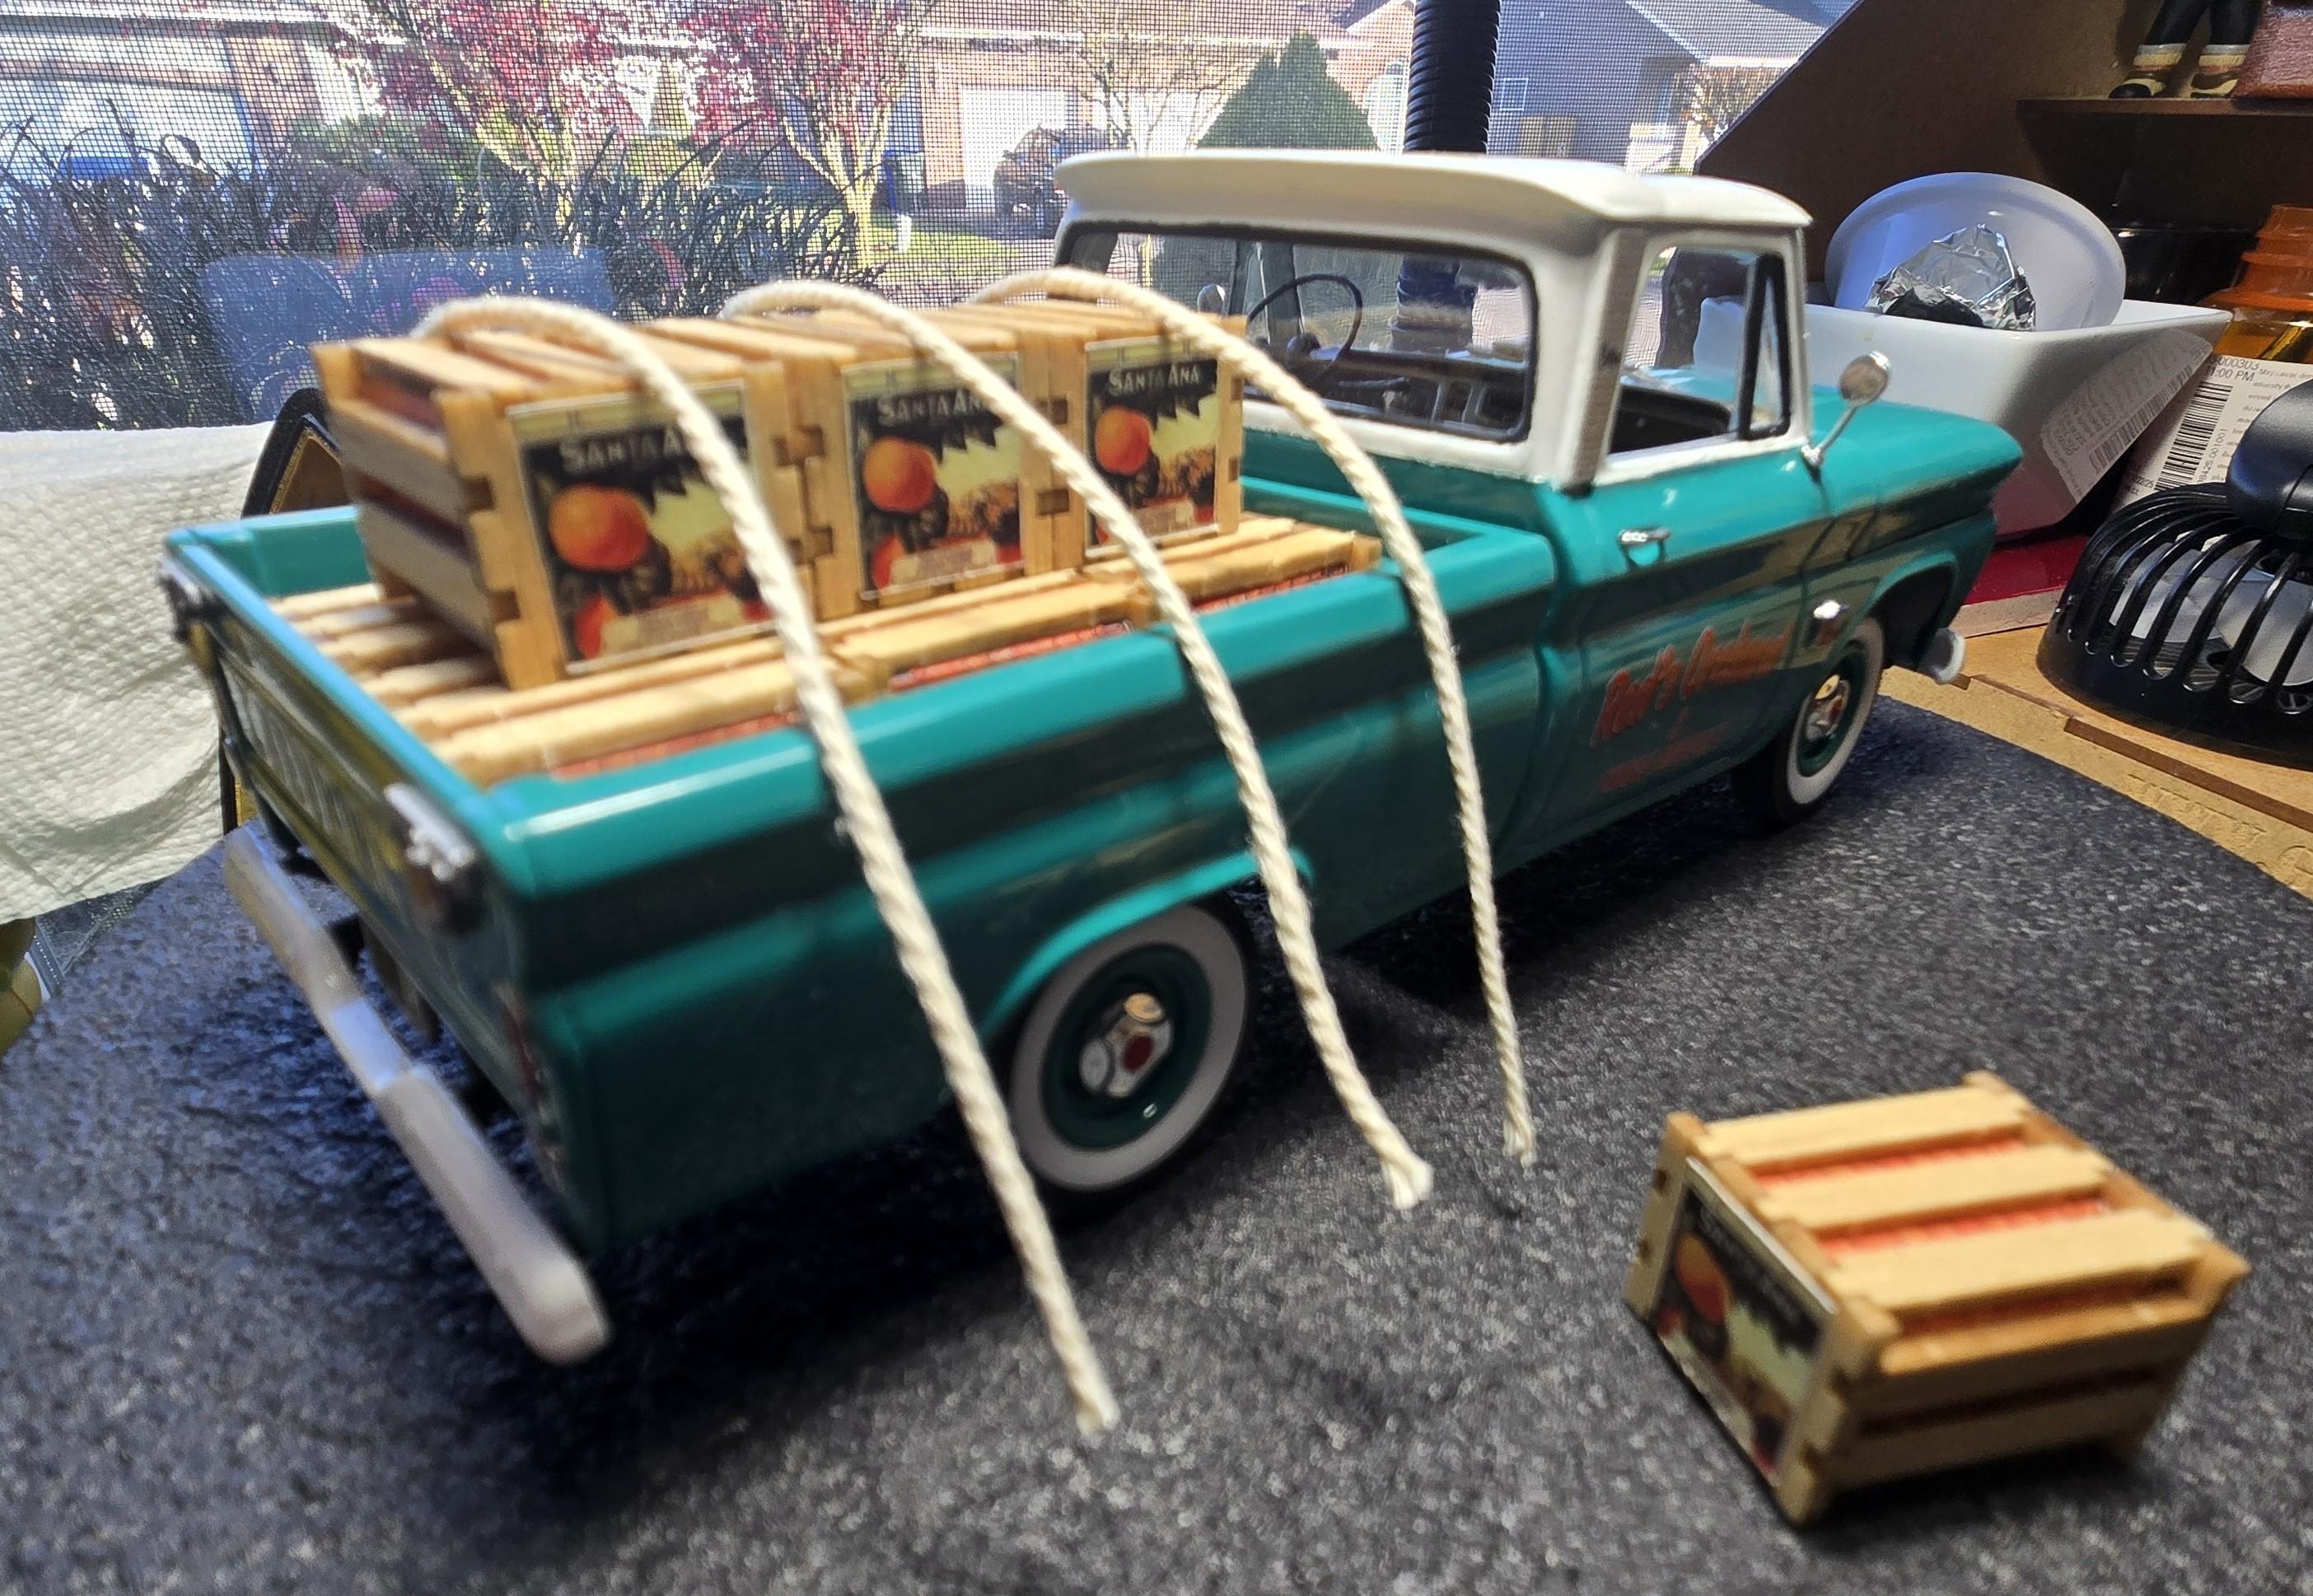
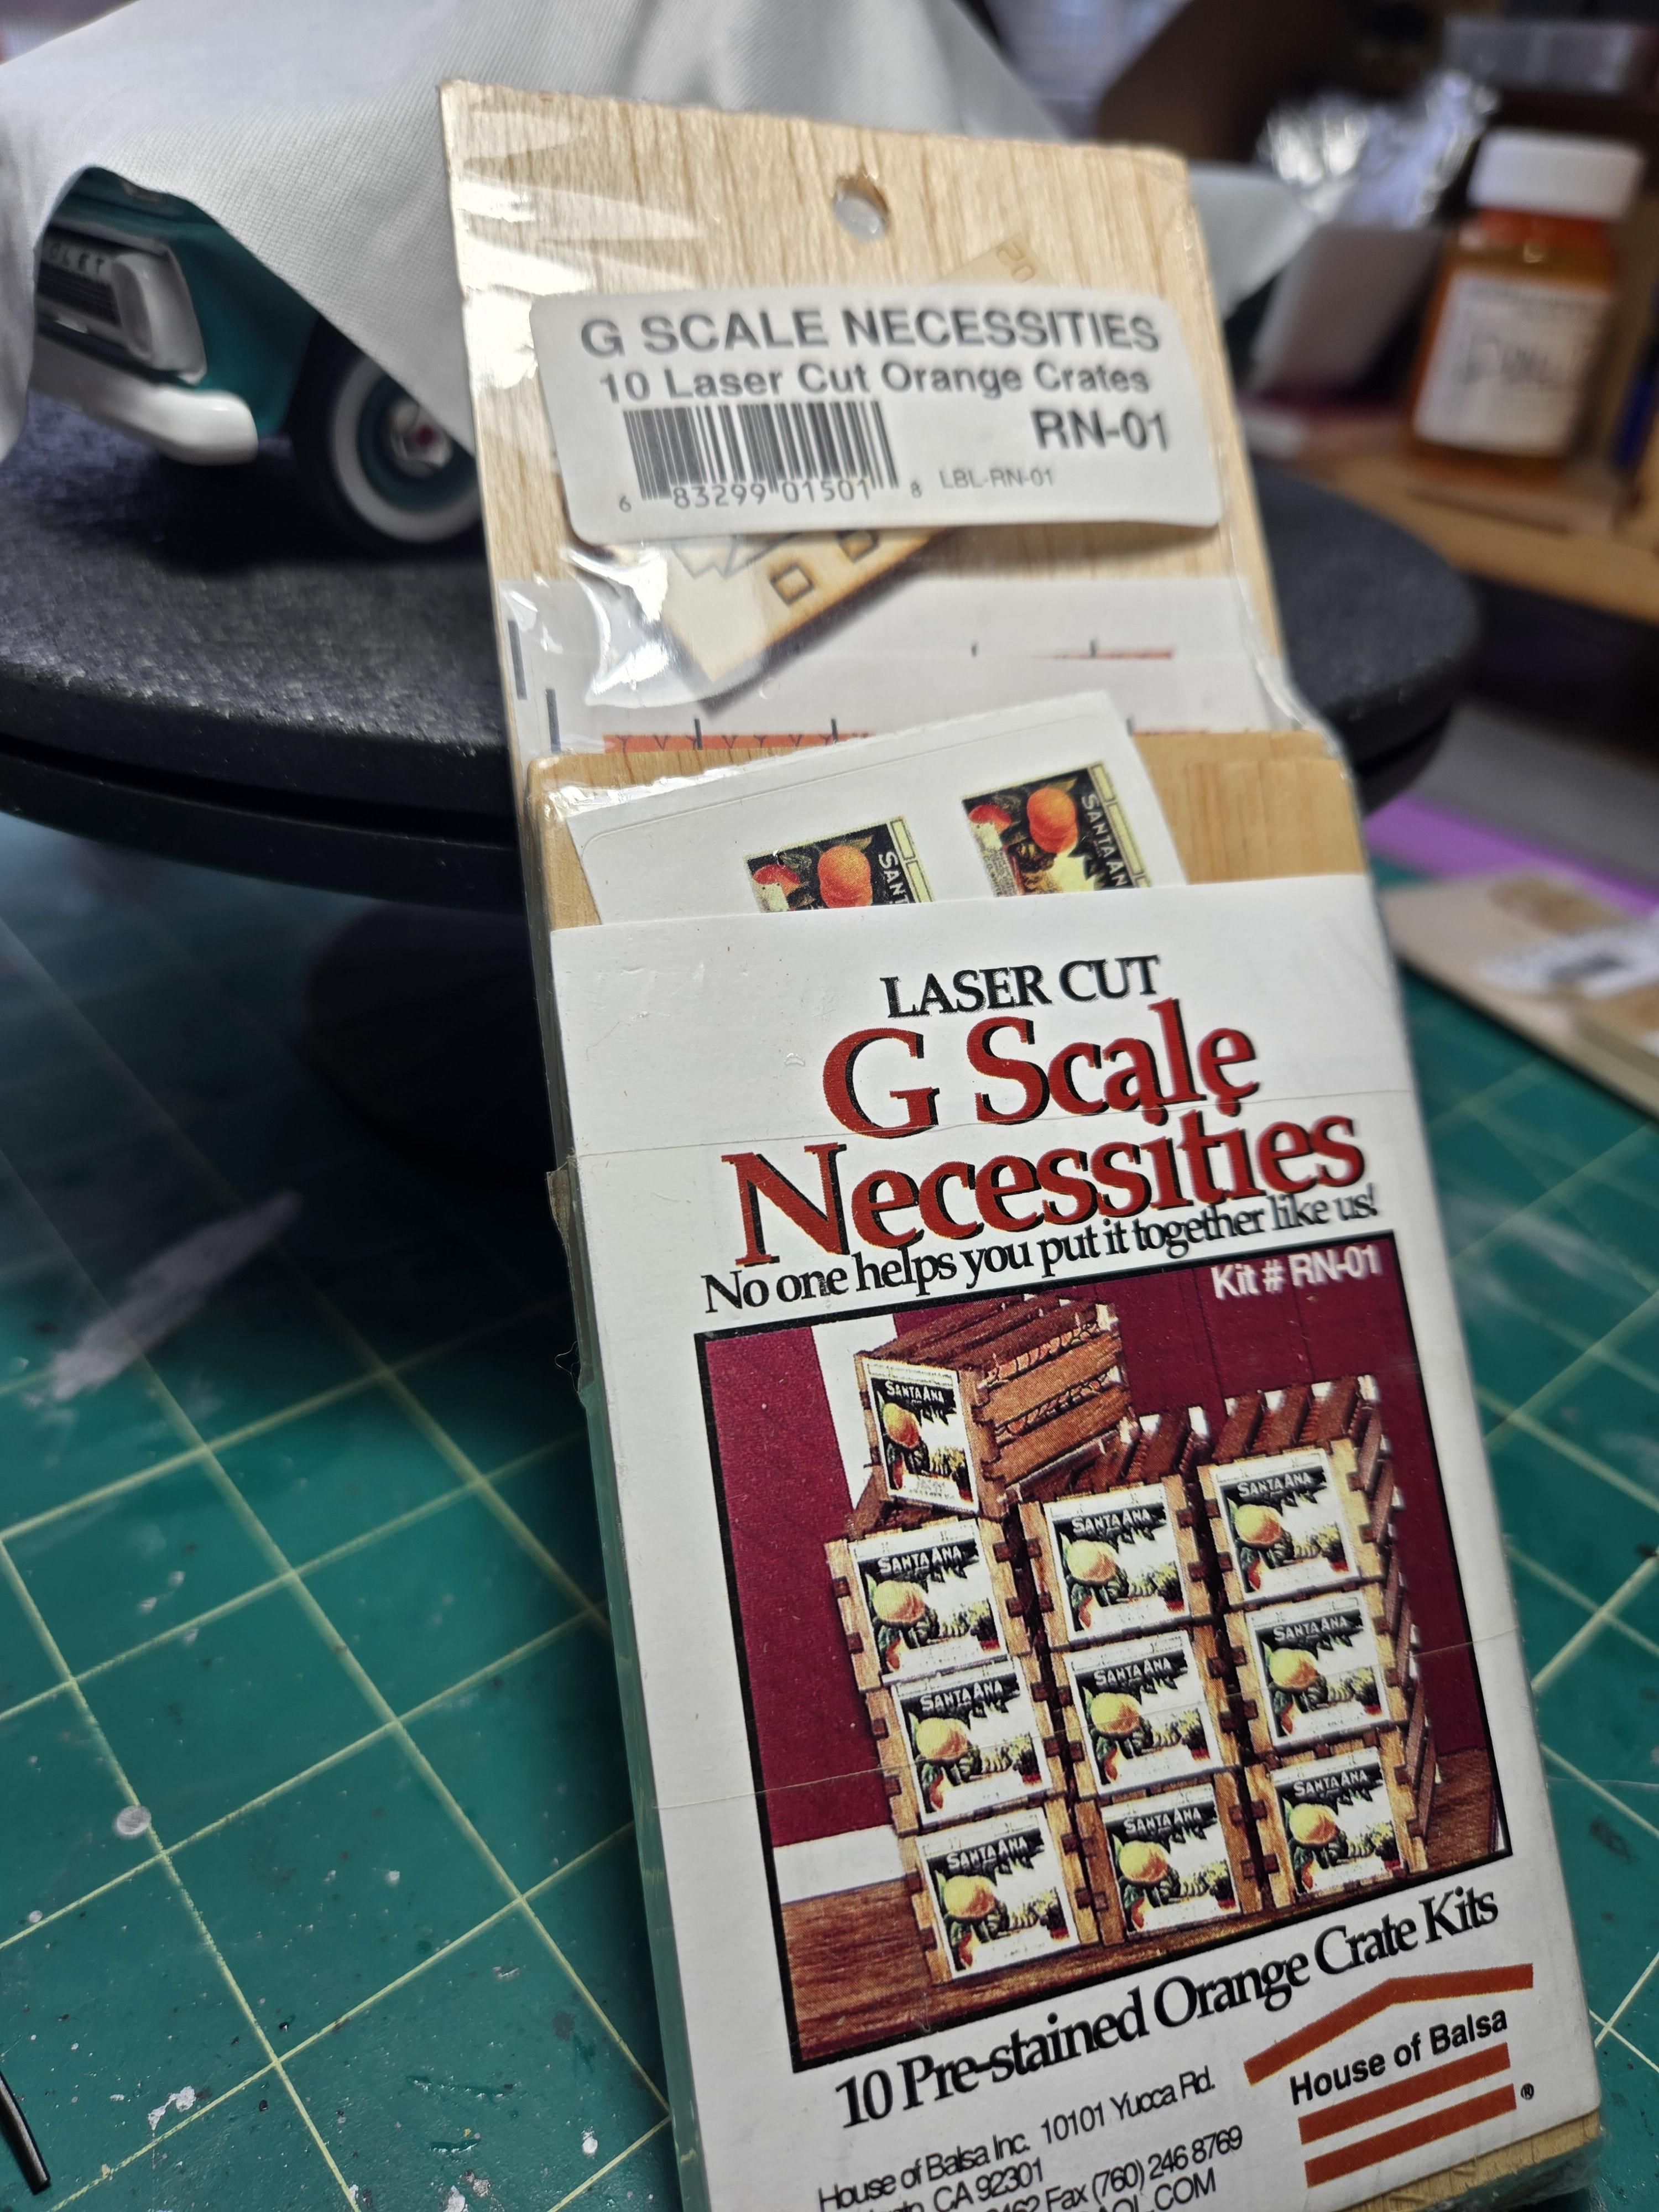
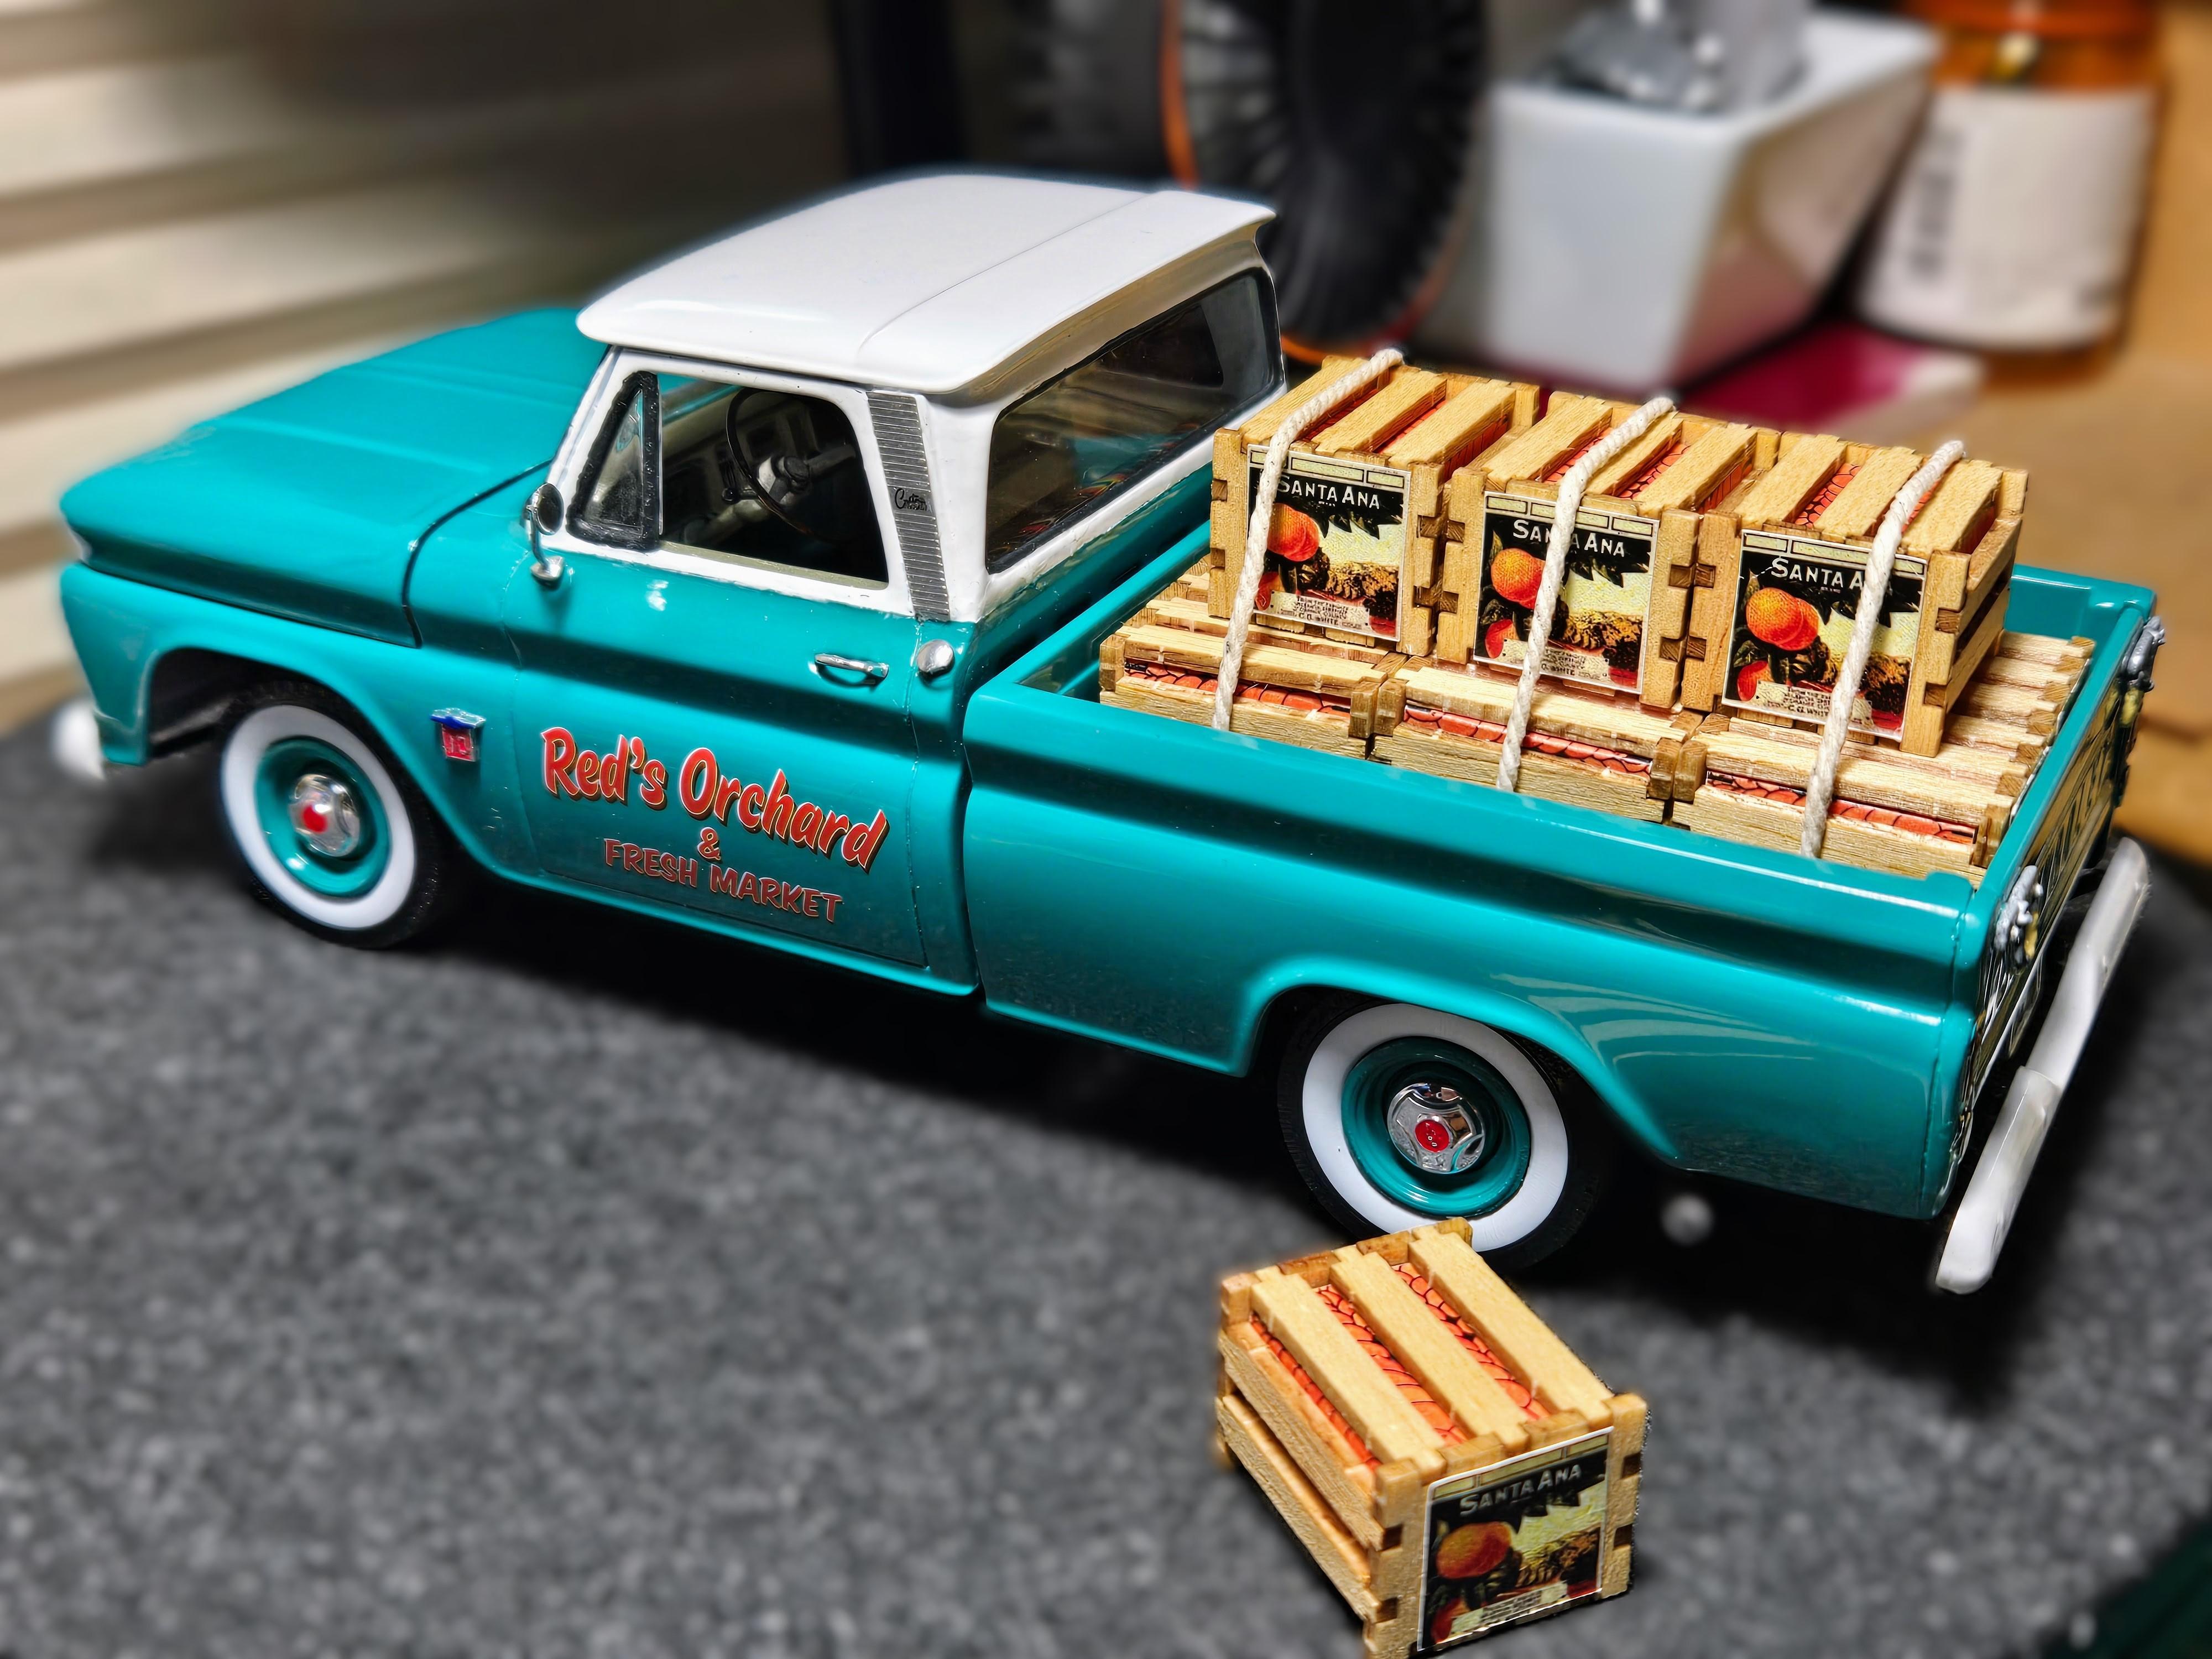
I want to simulate some tie-downs using this cord I found. The scale might be a bit large. I'm not sure how to fasten it to the bed. I had an elaborate idea to somehow harden the cord with some goo on a jig to the proper angle and have the cord just lay on top. Or just wrapping the crates and call it good. I want it to look decent in photos, of course. Is there any tips on weathering the "rope"?
-
First foible. I left the decals in water for more than enough time. I could not get them to slide and they fell apart. Don't much care about these particular decals, I just hope they are not all like this.
-
What model year would you say this kits is? Literature does not specifically say. No biggie. I'm thinking 2010ish...
-
Next up, random stash grab...
-
'66 Chevy Fleetside Pickup - Revell
CA Whitecloud replied to CA Whitecloud's topic in WIP: Model Cars
Shelf Ready! I plan on doing some more detailed photos when there weather clears. Maybe add some diorama bits, we'll see. Except for the numerous foibles, as always, I like it.
-
'66 Chevy Fleetside Pickup - Revell
CA Whitecloud replied to CA Whitecloud's topic in WIP: Model Cars
Let's try out some cute fiddly bits for the scrapbook pics.
-
'66 Chevy Fleetside Pickup - Revell
CA Whitecloud replied to CA Whitecloud's topic in WIP: Model Cars
That's very kind. I do tend to B&M a bit along the way ?. Hey, if I can't vent here then where? My wife can only take so much. -
'66 Chevy Fleetside Pickup - Revell
CA Whitecloud replied to CA Whitecloud's topic in WIP: Model Cars
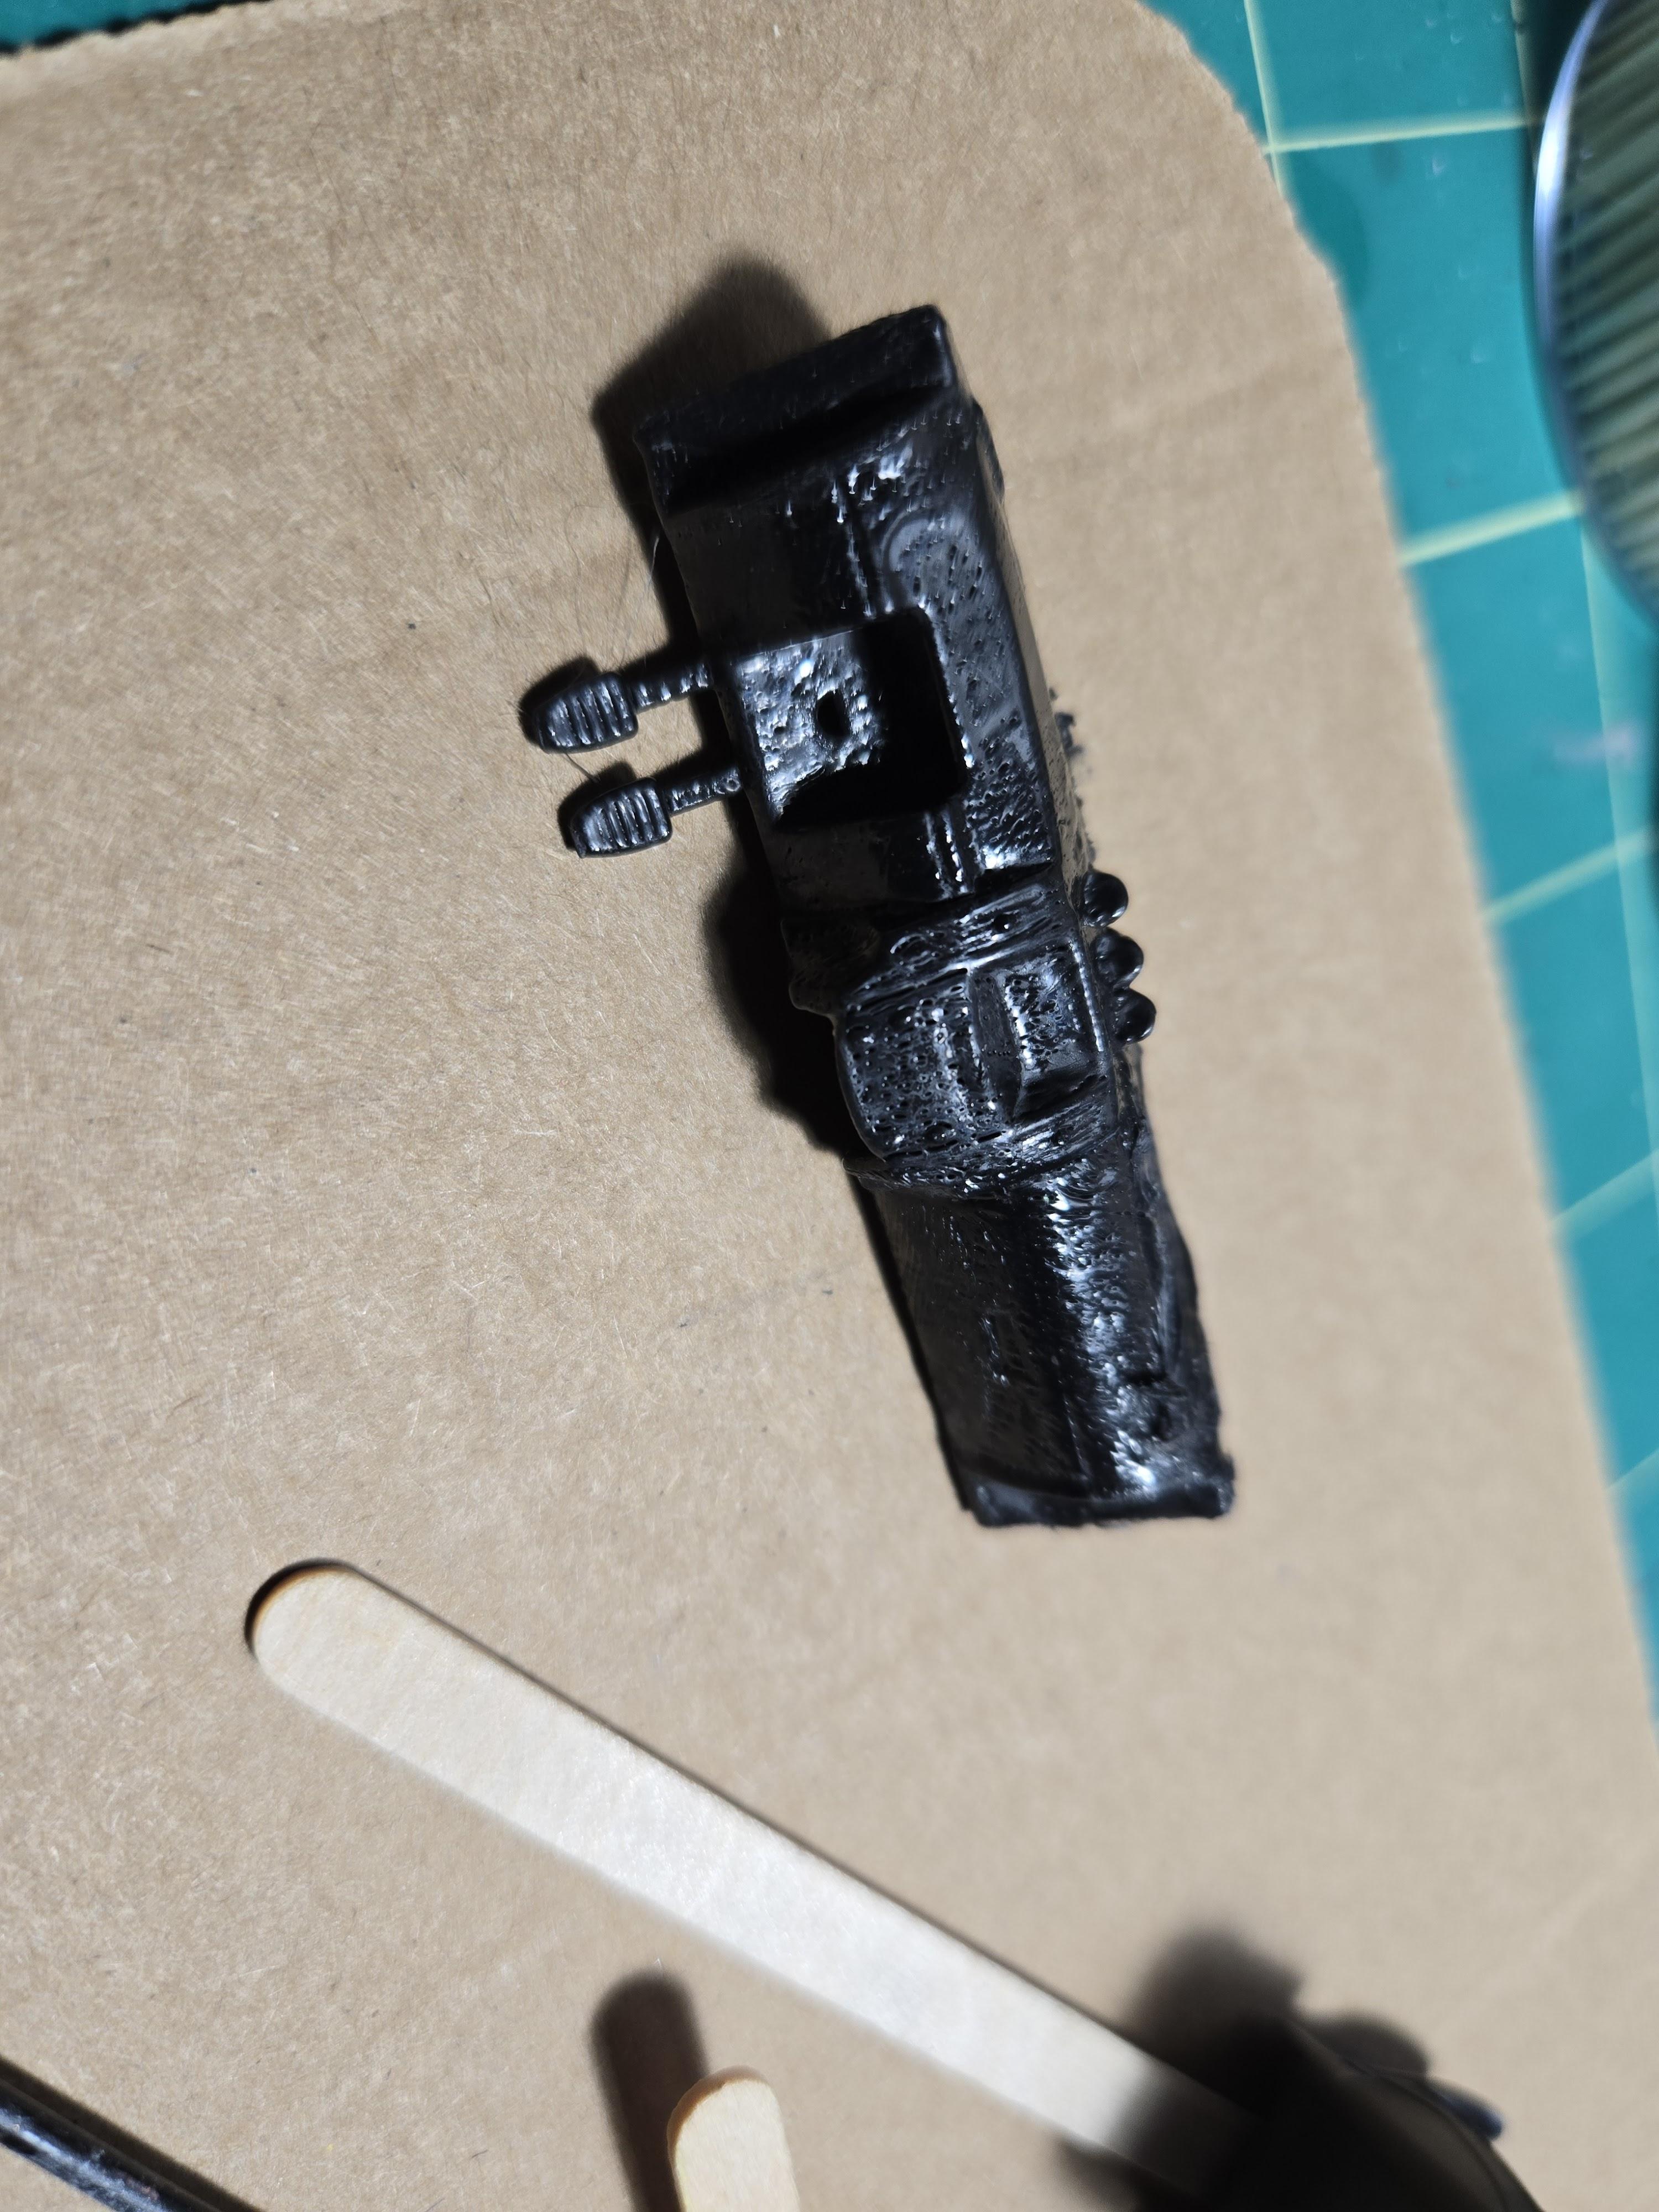
Last piece.
-
'66 Chevy Fleetside Pickup - Revell
CA Whitecloud replied to CA Whitecloud's topic in WIP: Model Cars
Nearing the home stretch, I'm battling some chassis warp. I can live with it.
-
'66 Chevy Fleetside Pickup - Revell
CA Whitecloud replied to CA Whitecloud's topic in WIP: Model Cars
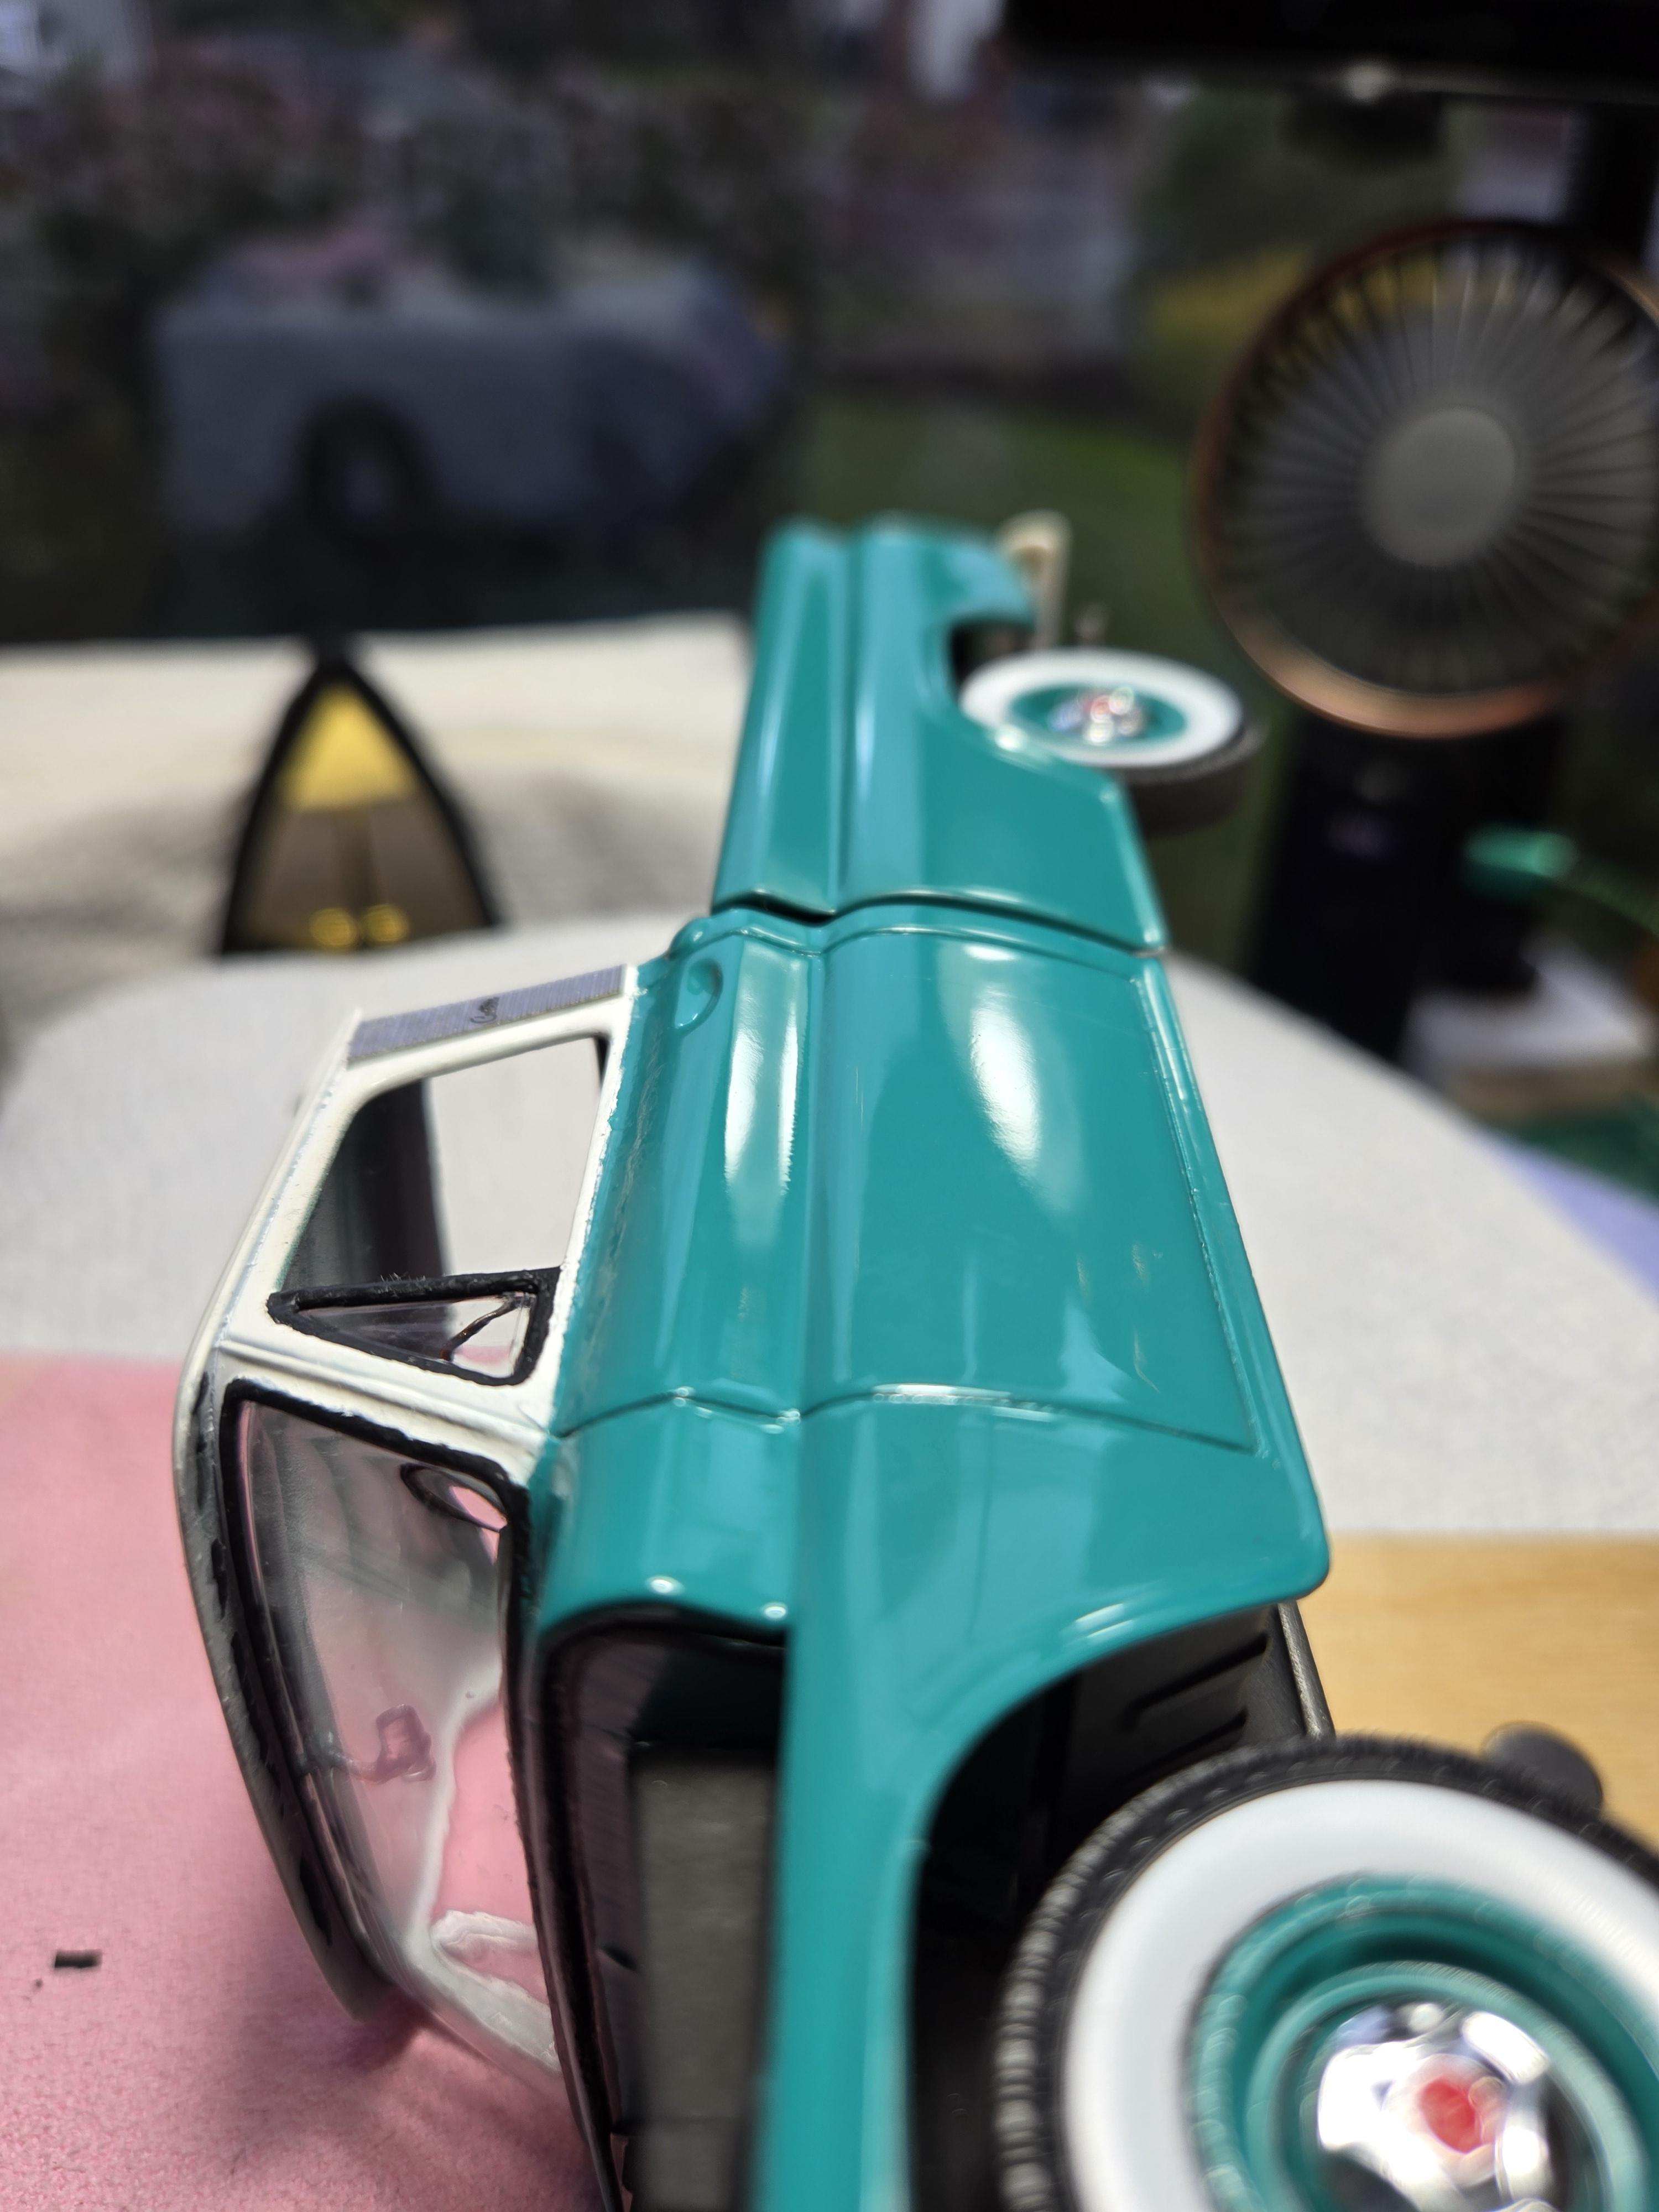
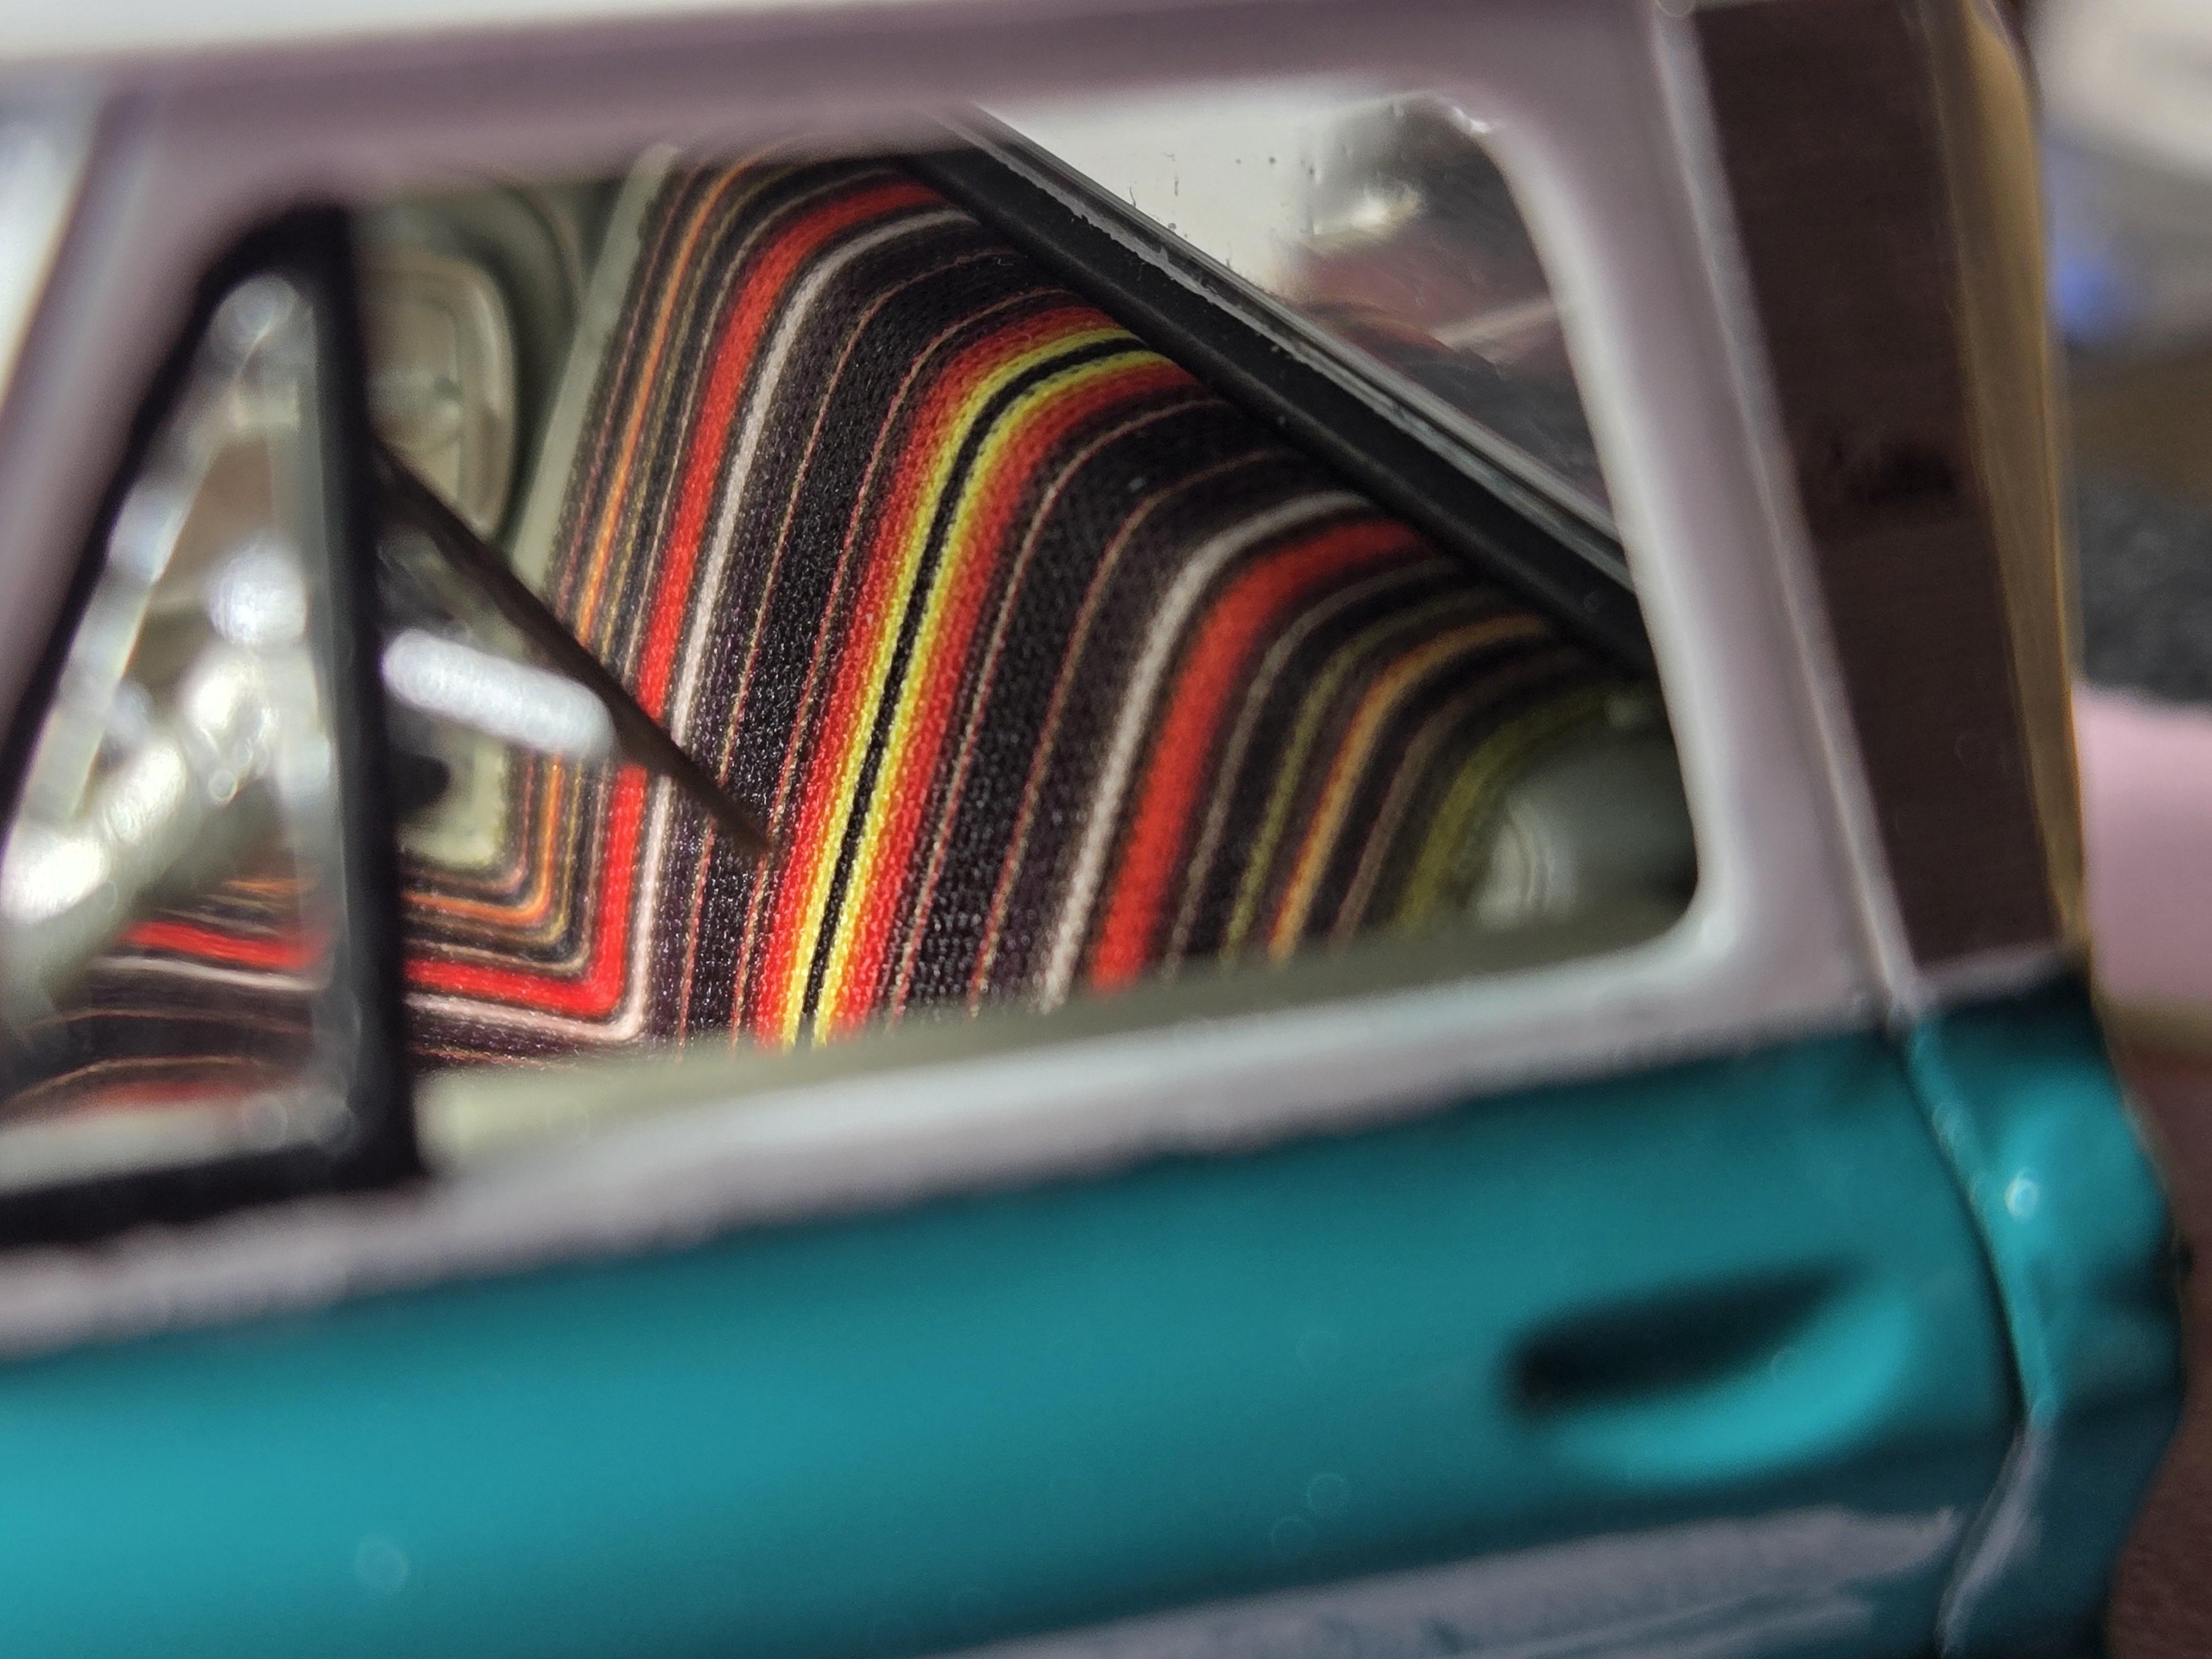
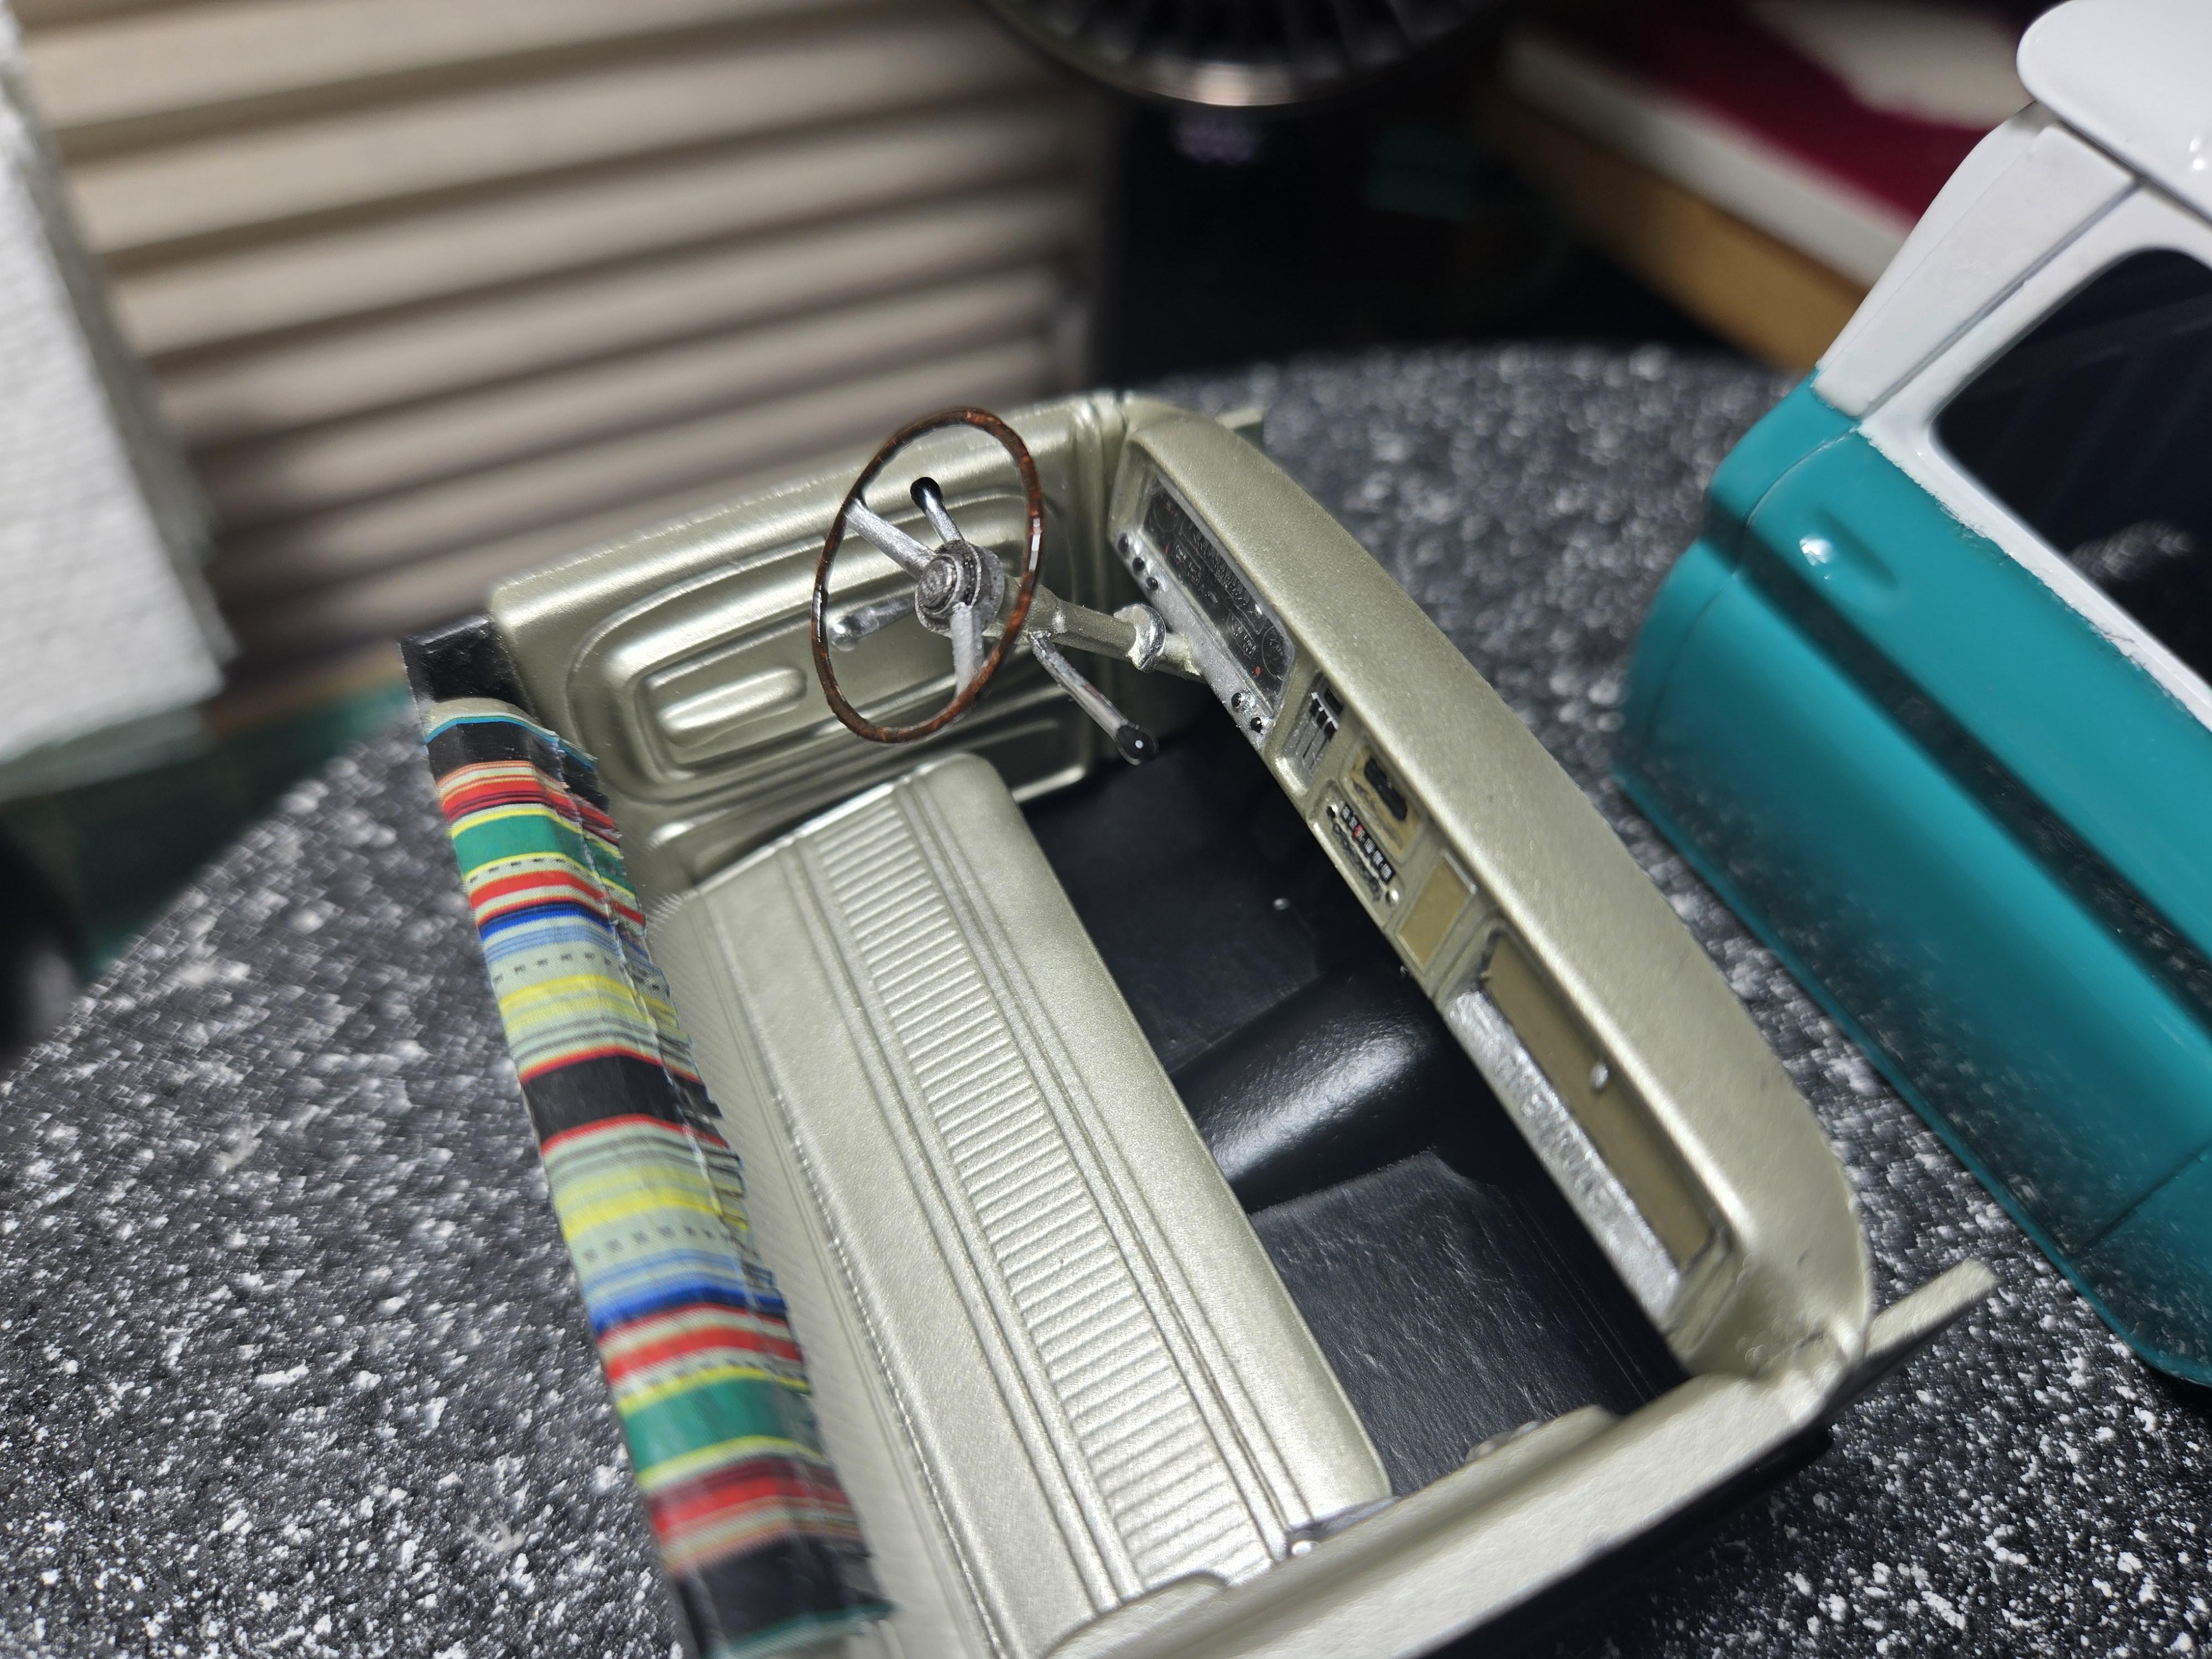
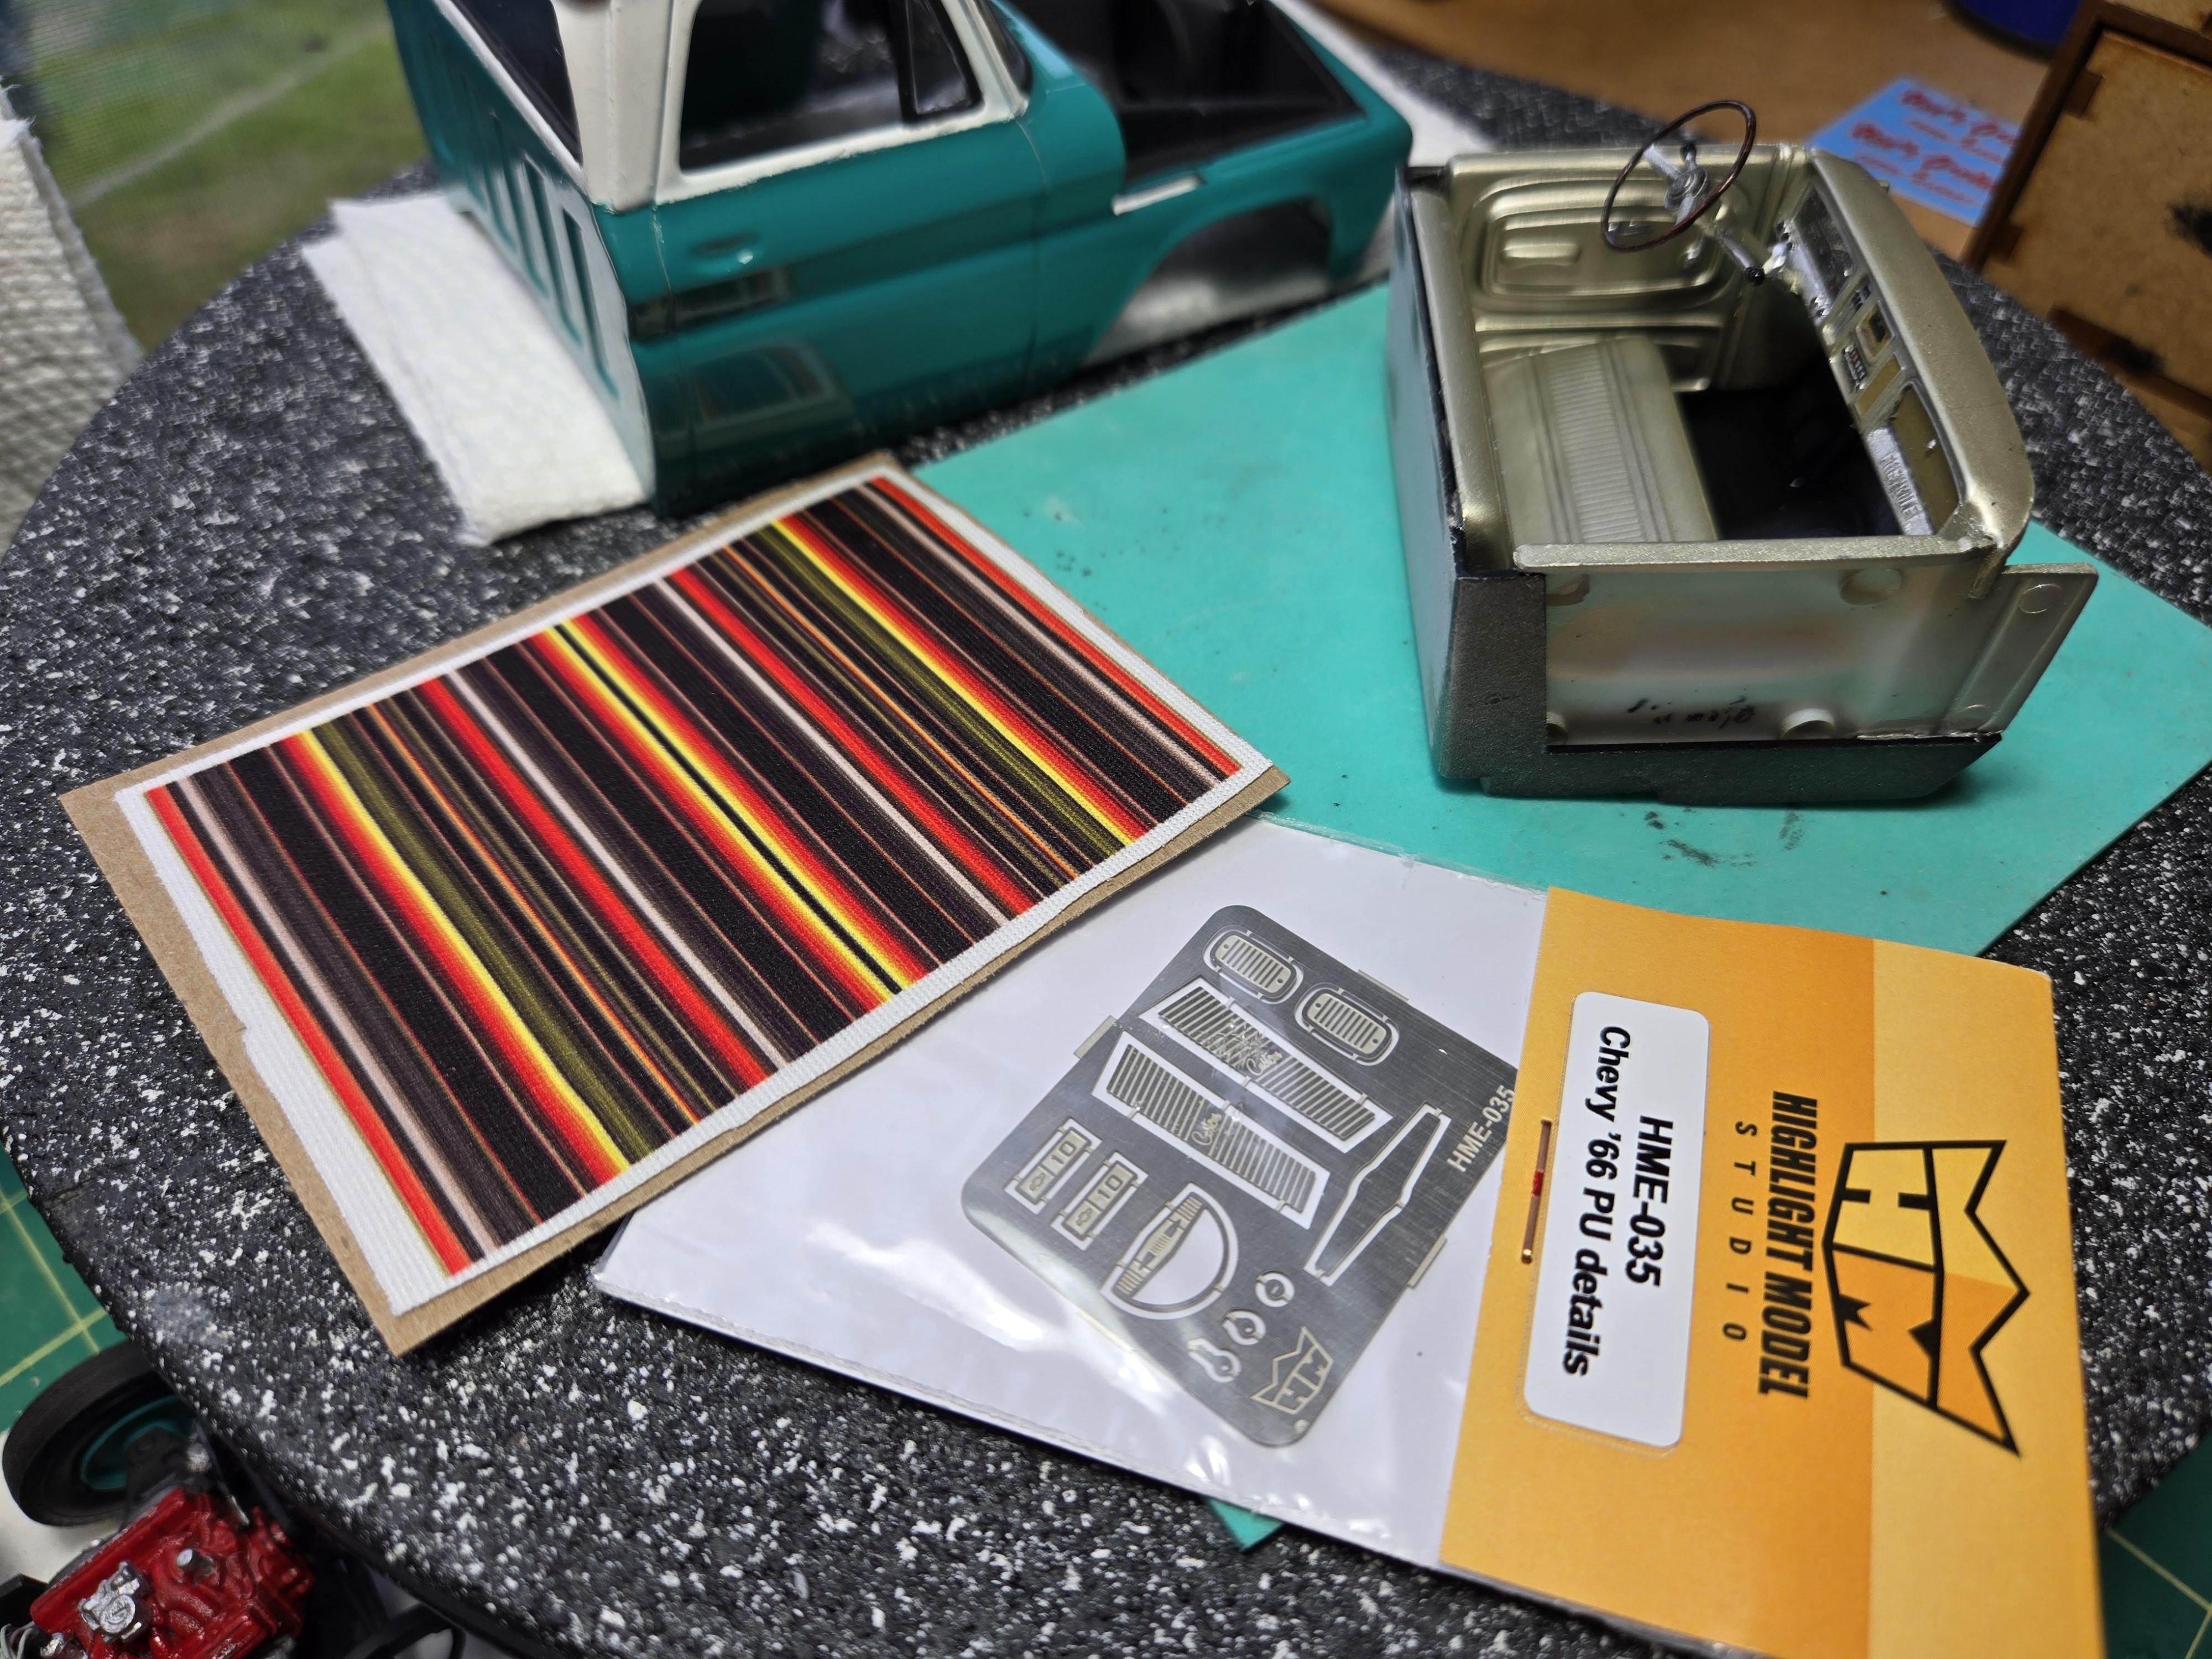
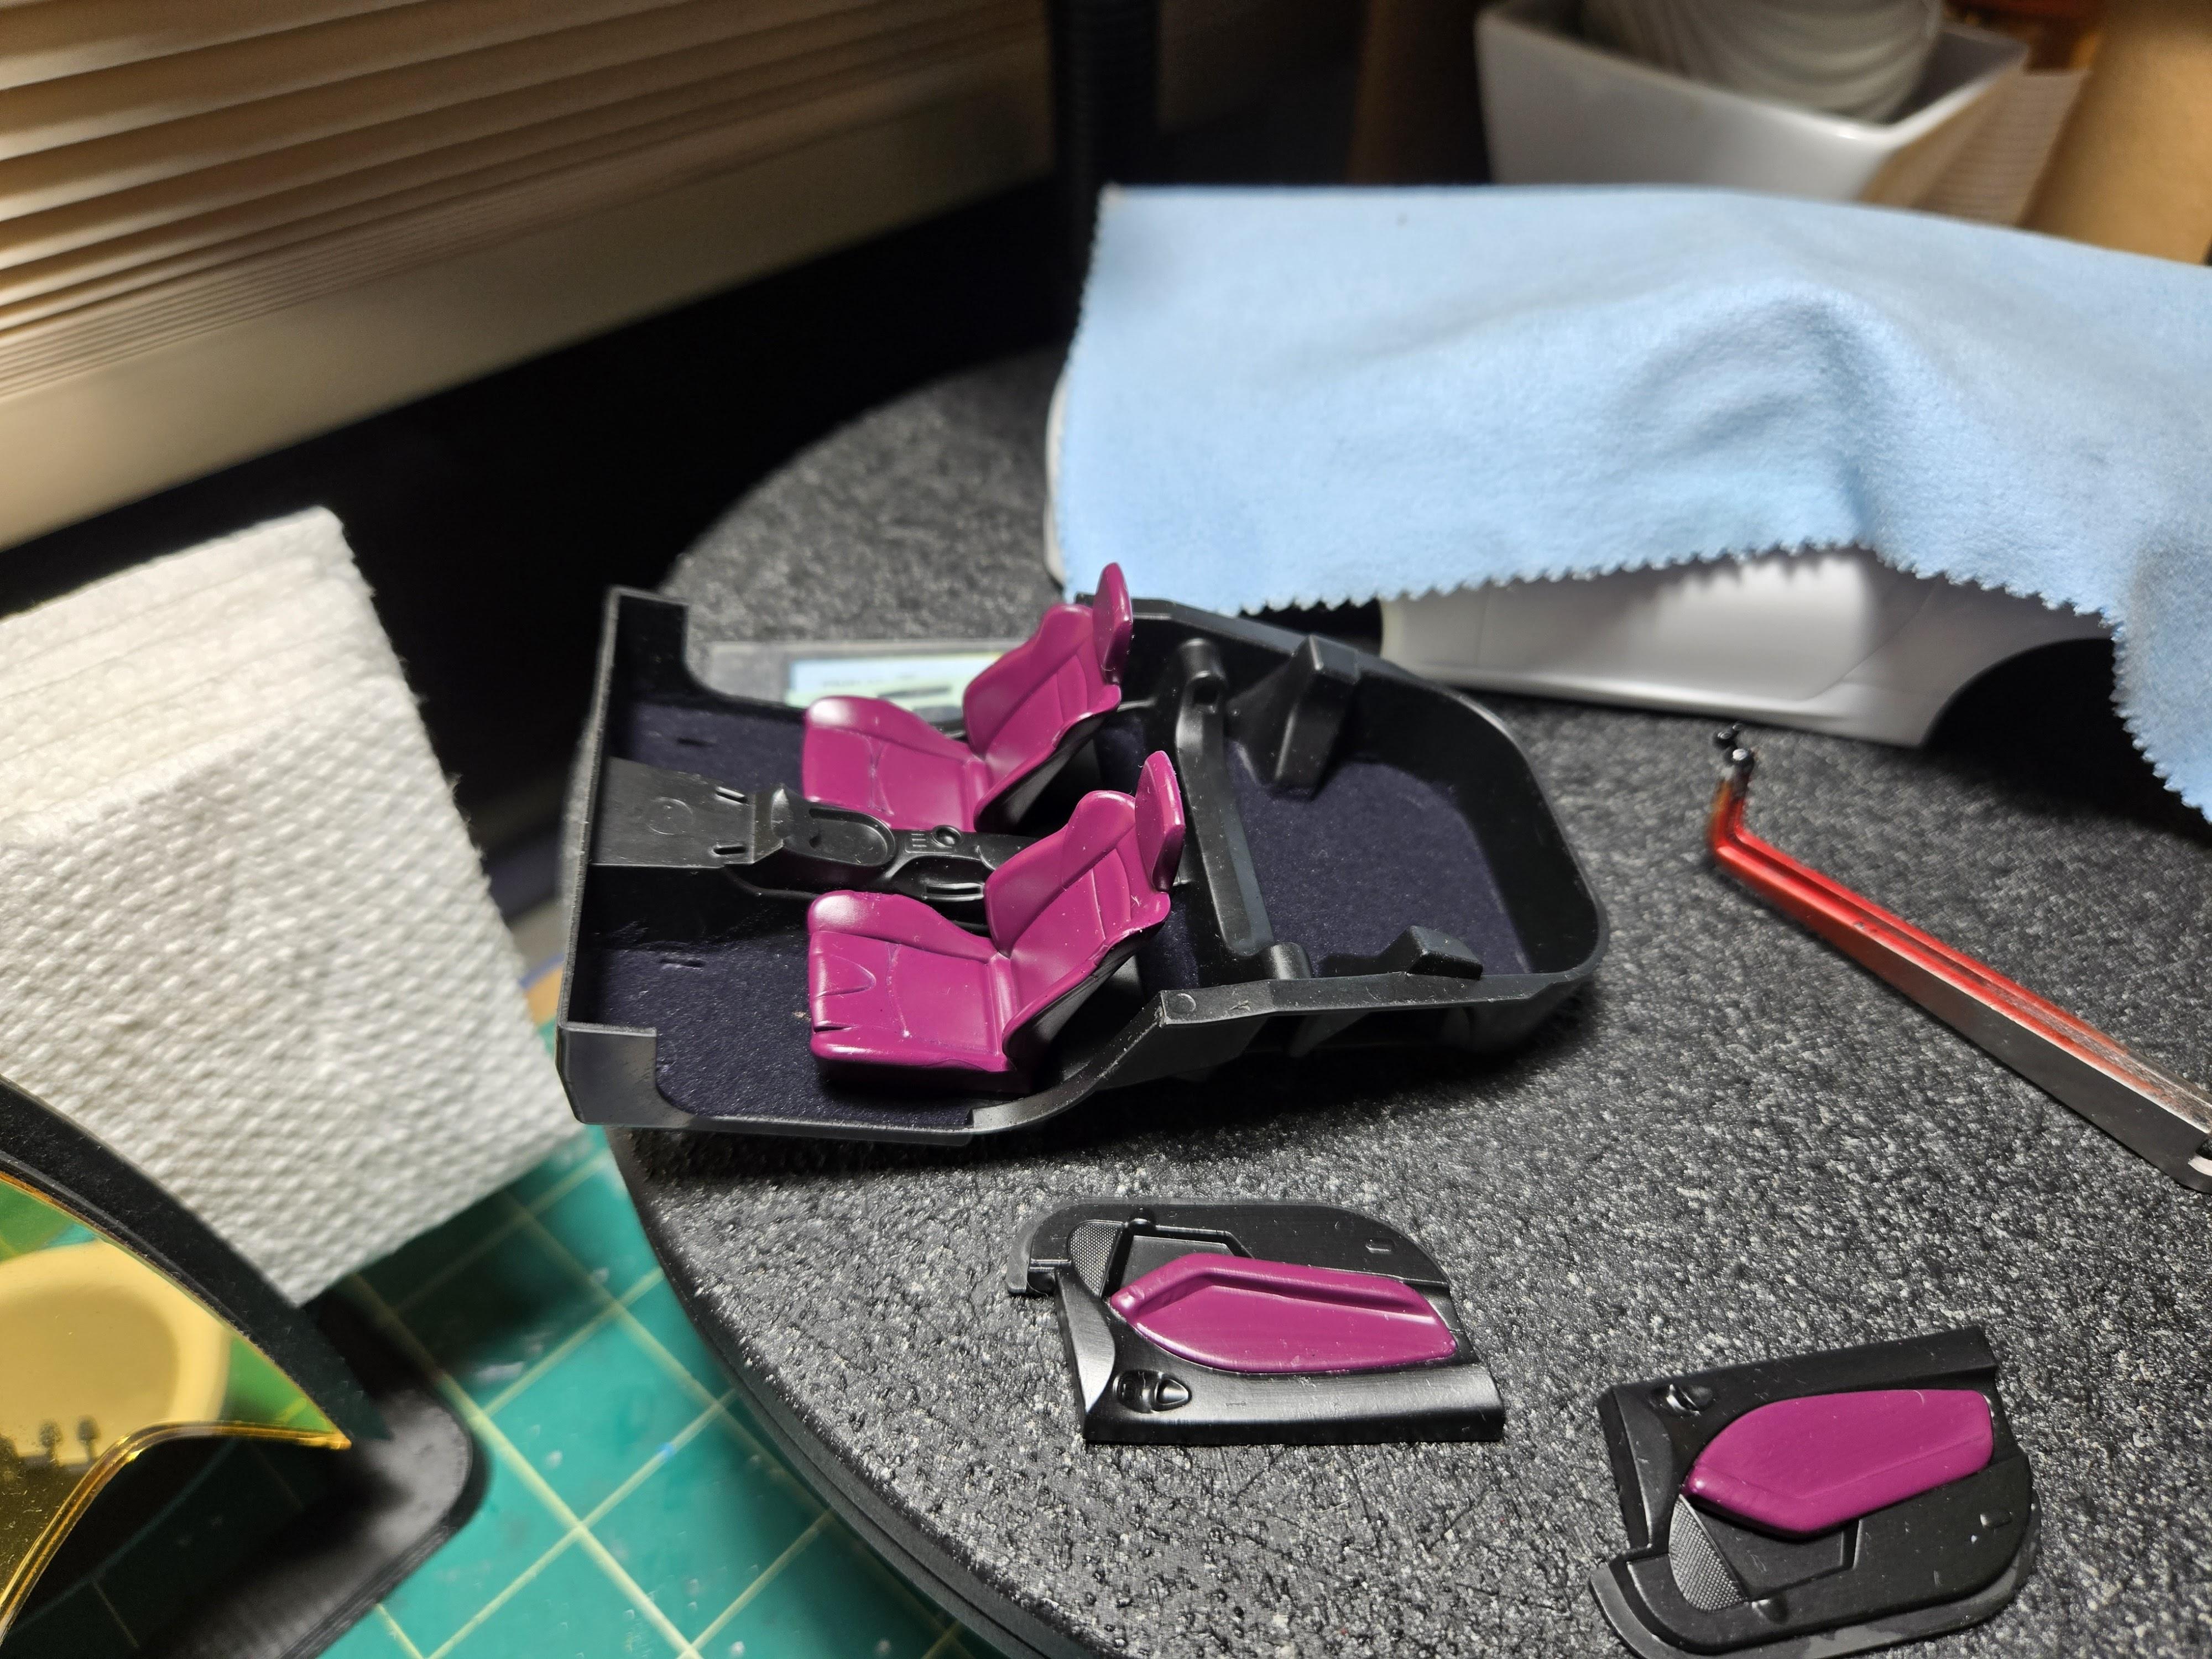
I really like how the fabric blanket looks on the seat. I wish I had taken a few pics before I put the interior into the cab. The side bits add a nice touch. And draw attention away from the less than stellar paint job.
-
'66 Chevy Fleetside Pickup - Revell
CA Whitecloud replied to CA Whitecloud's topic in WIP: Model Cars
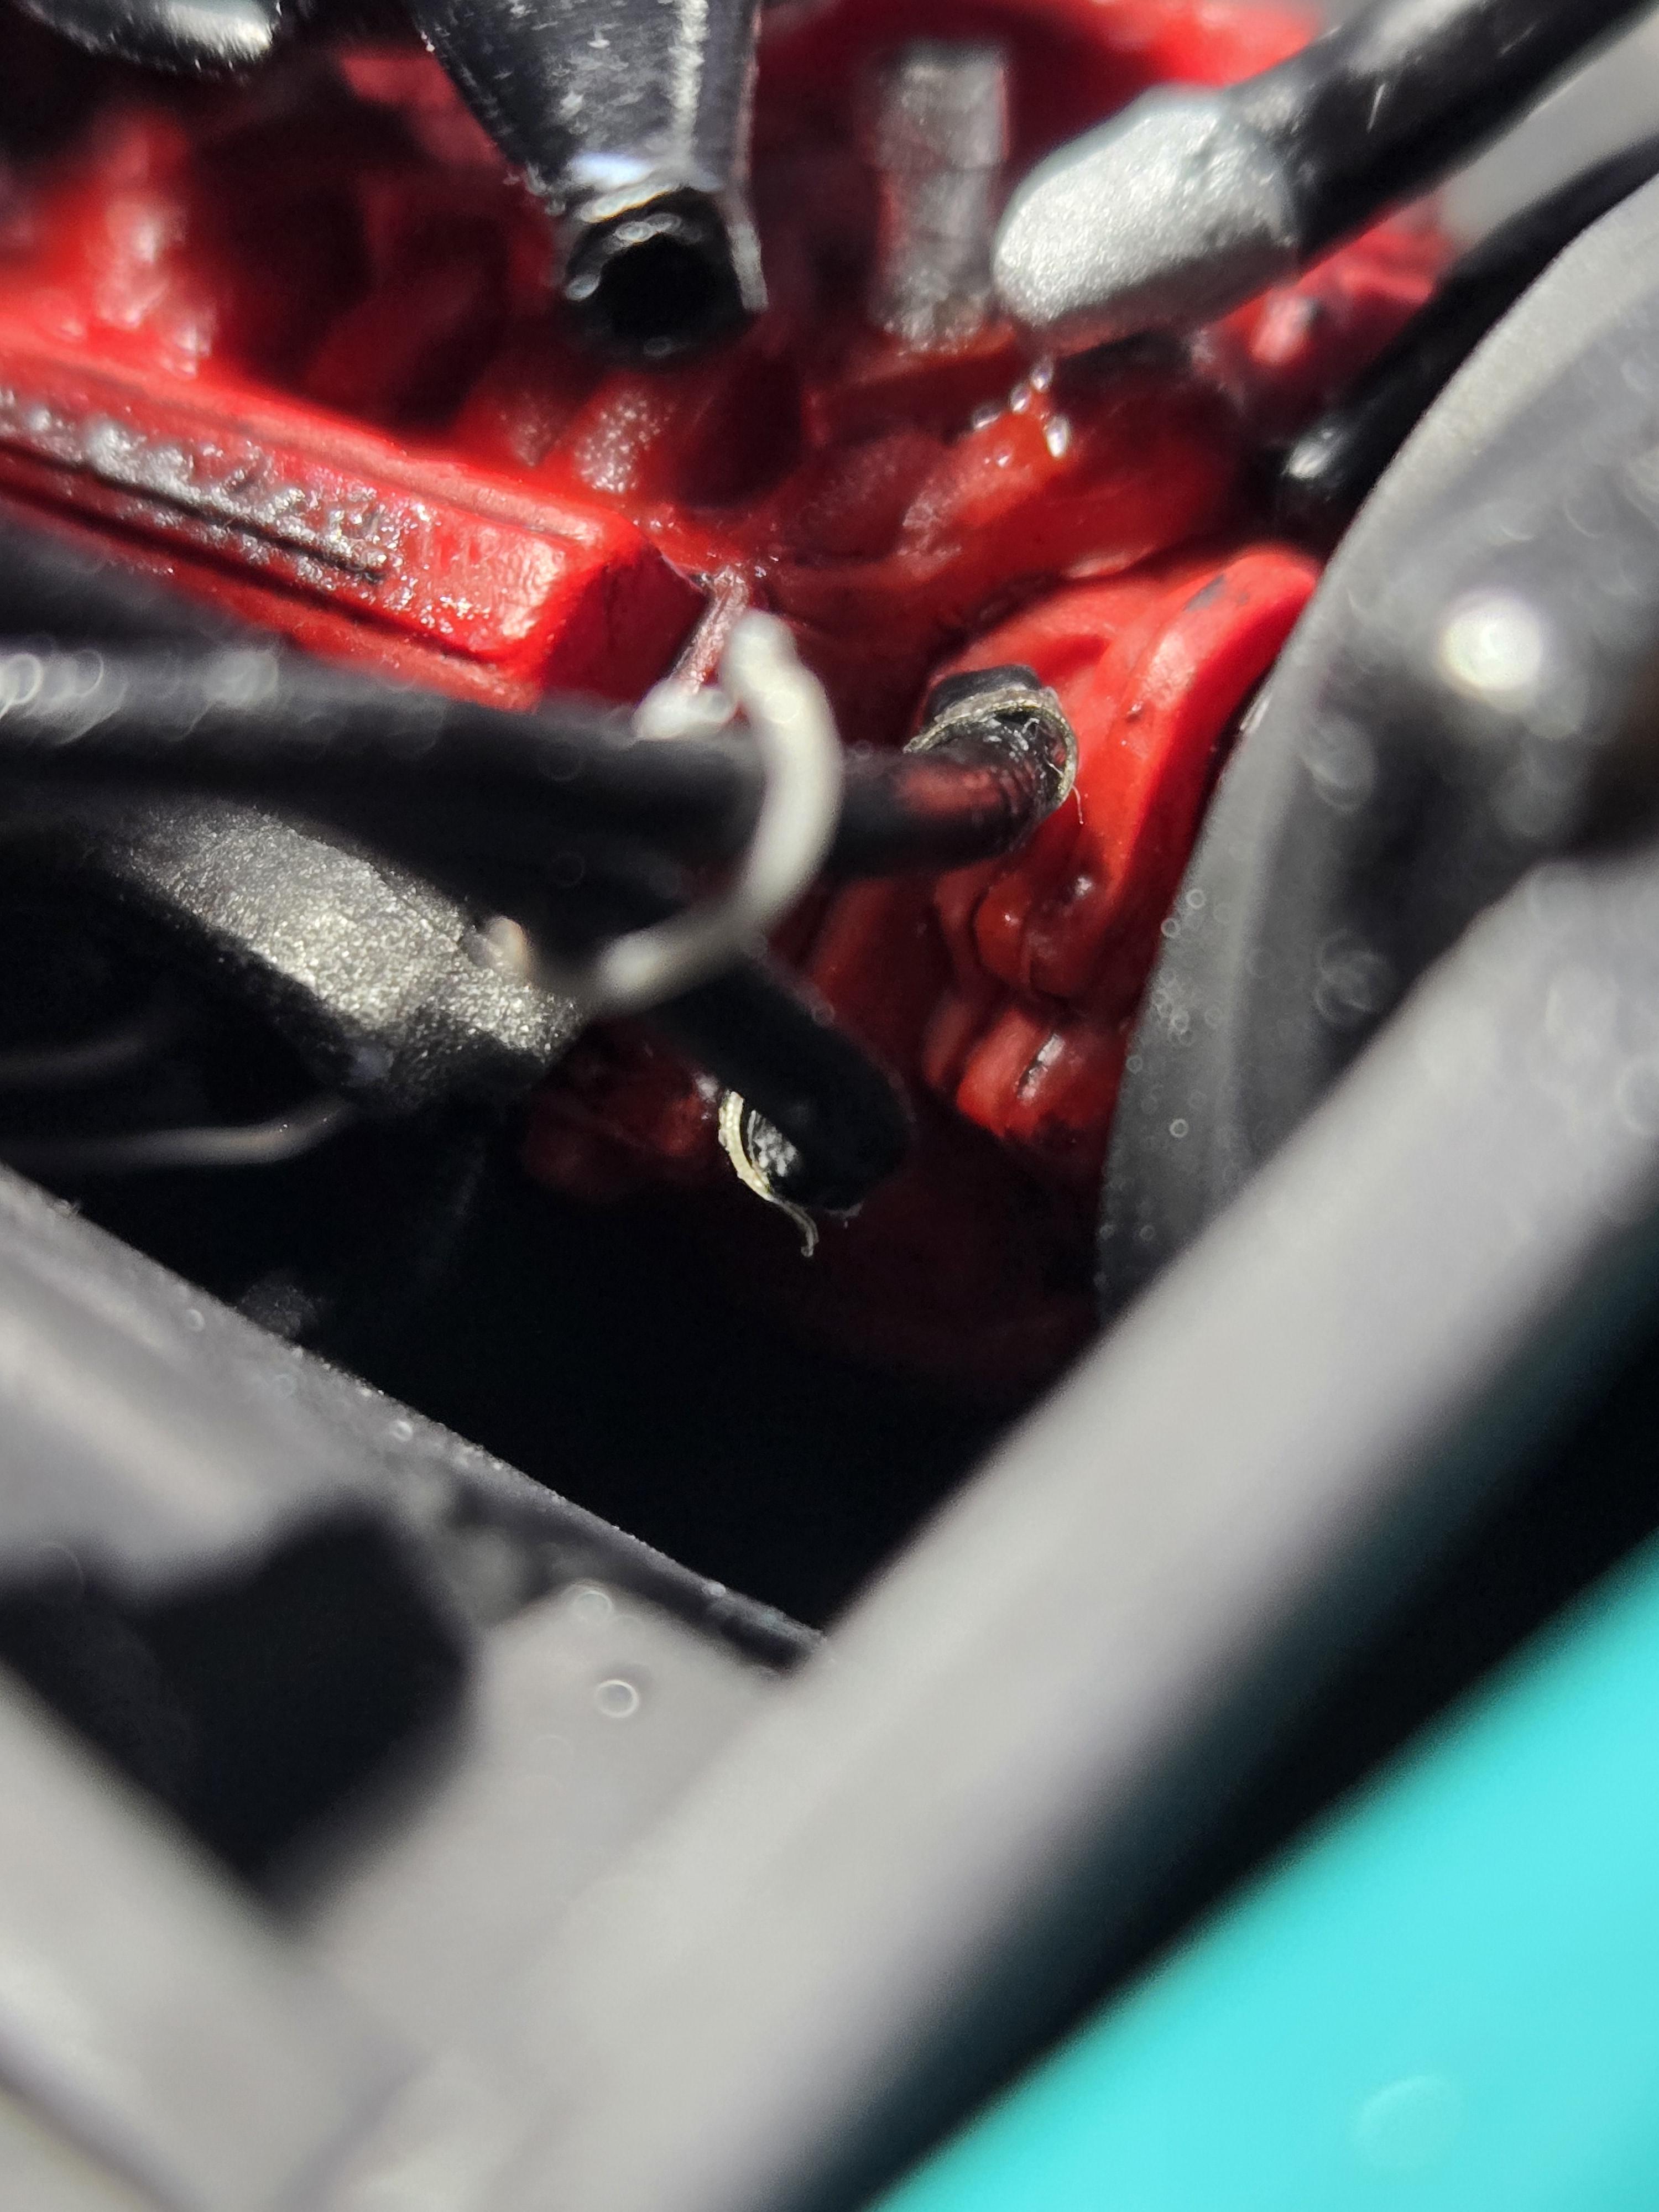
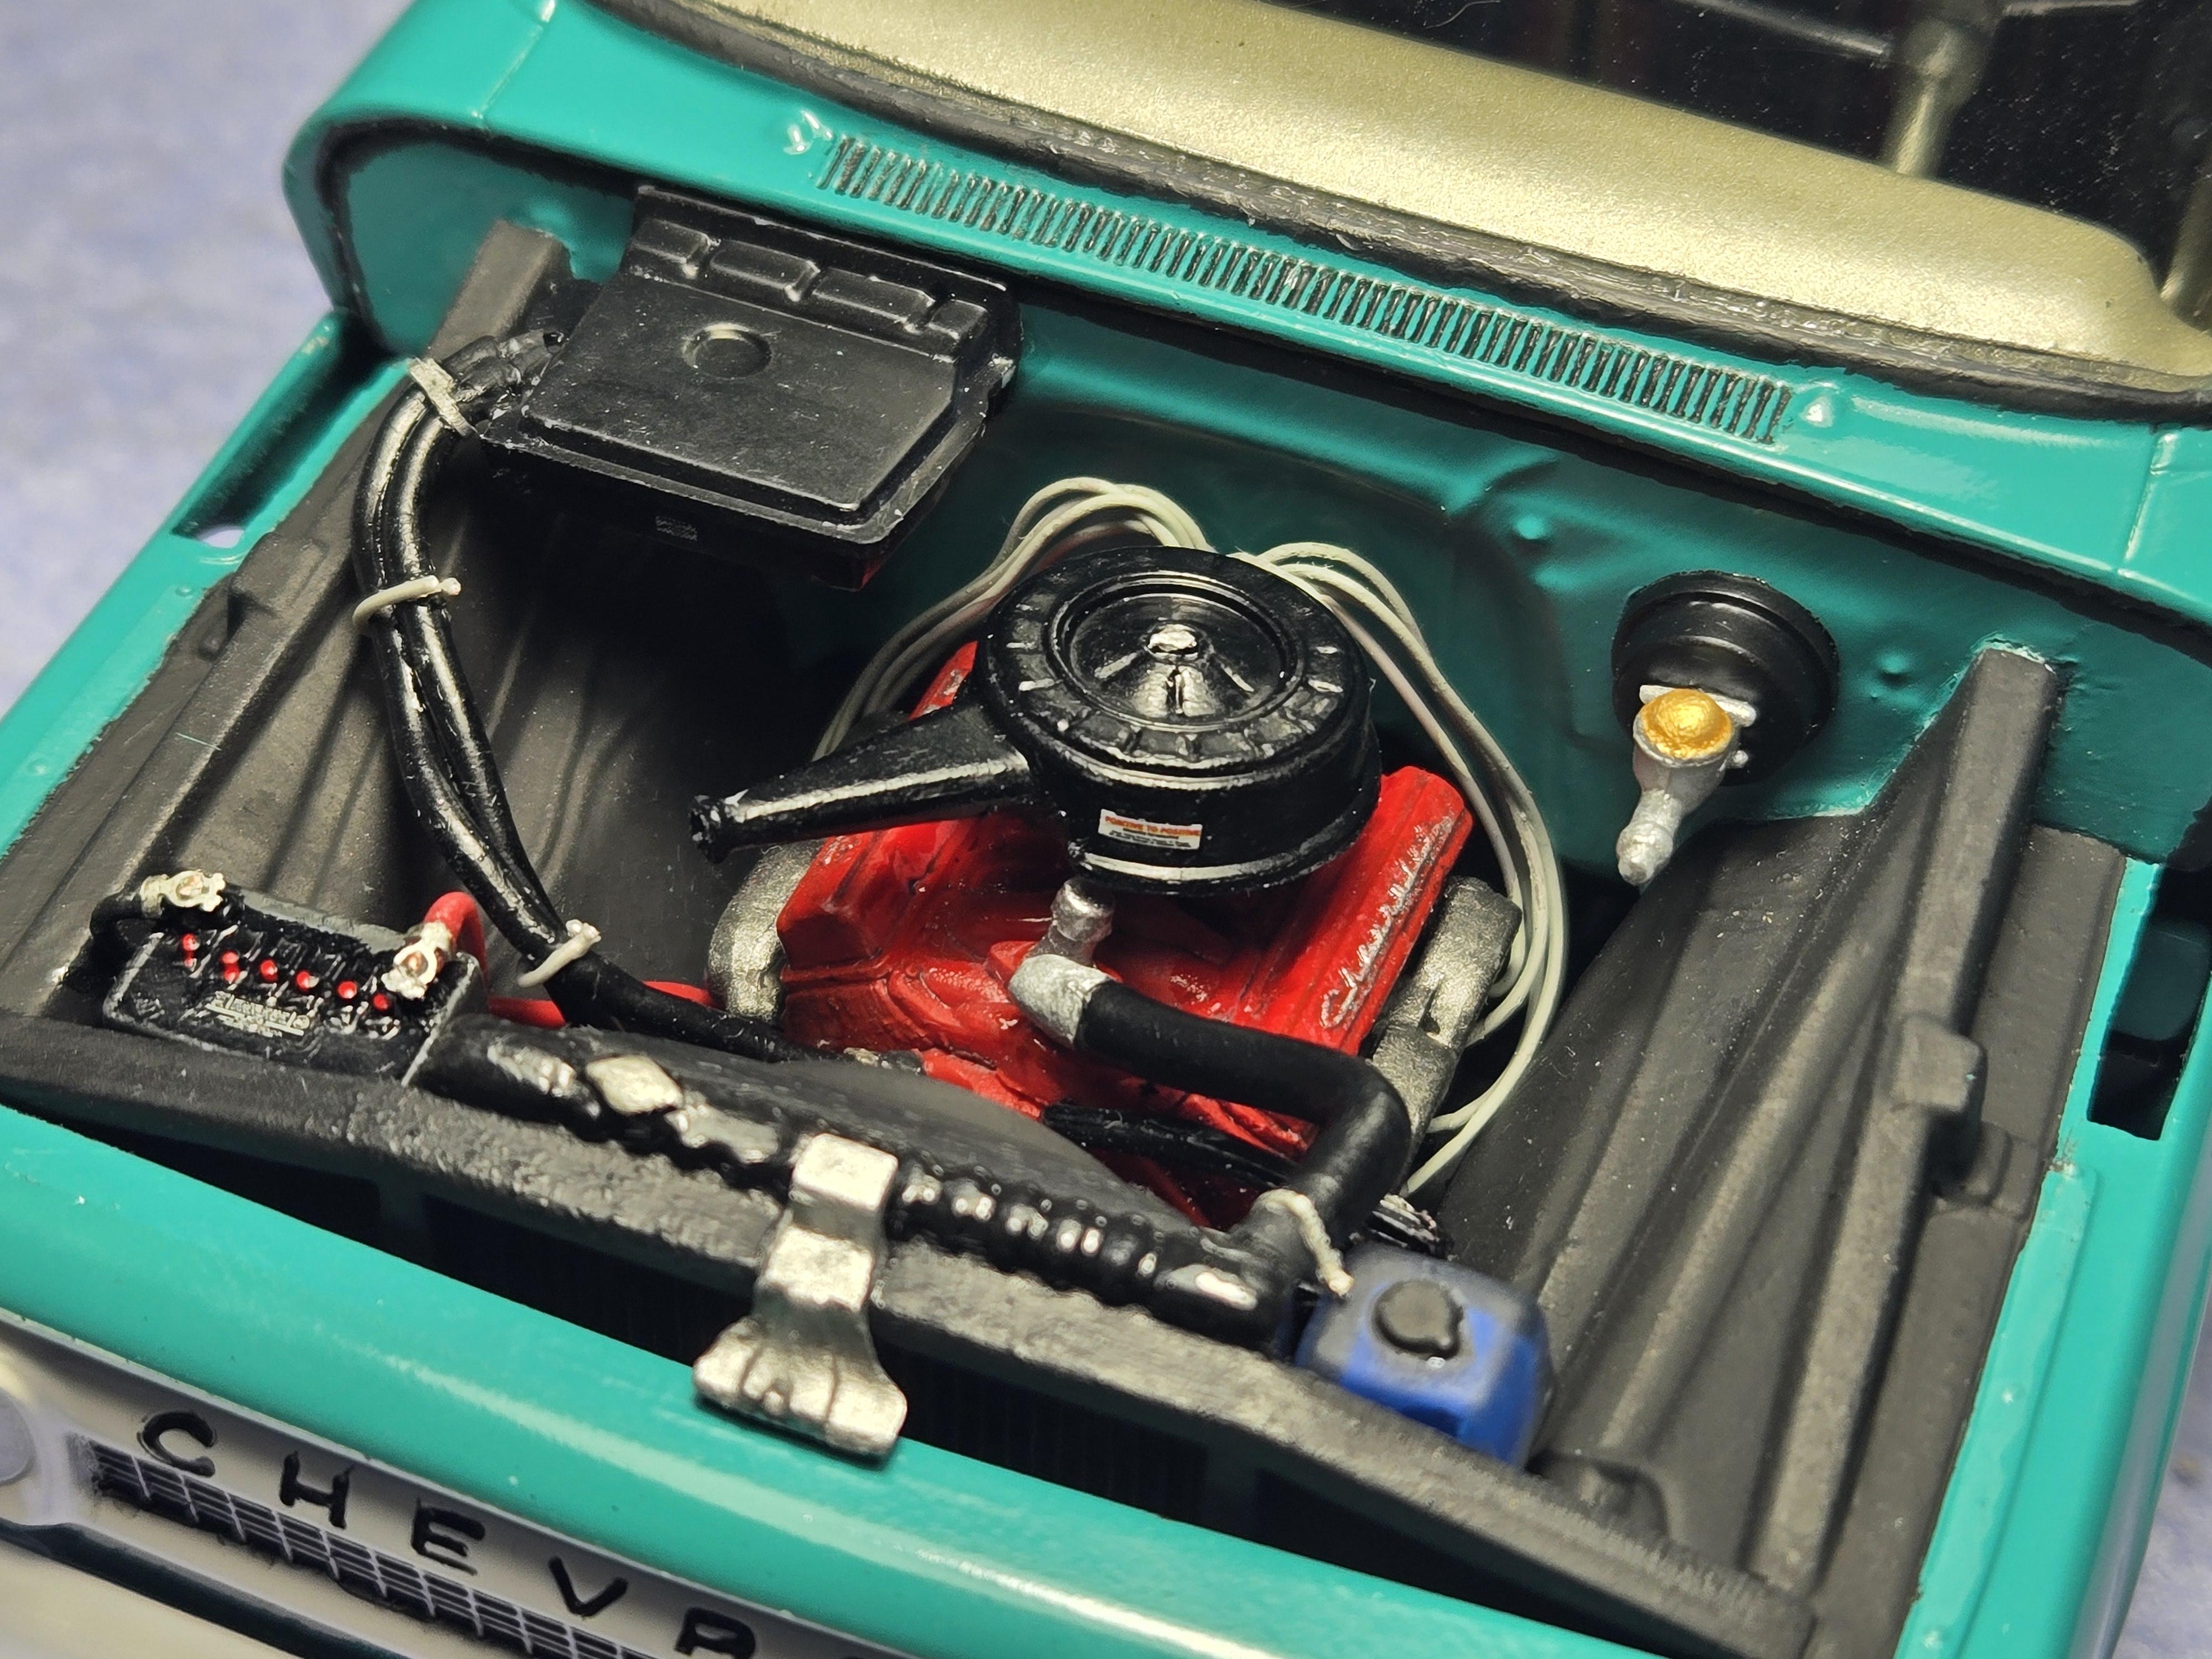
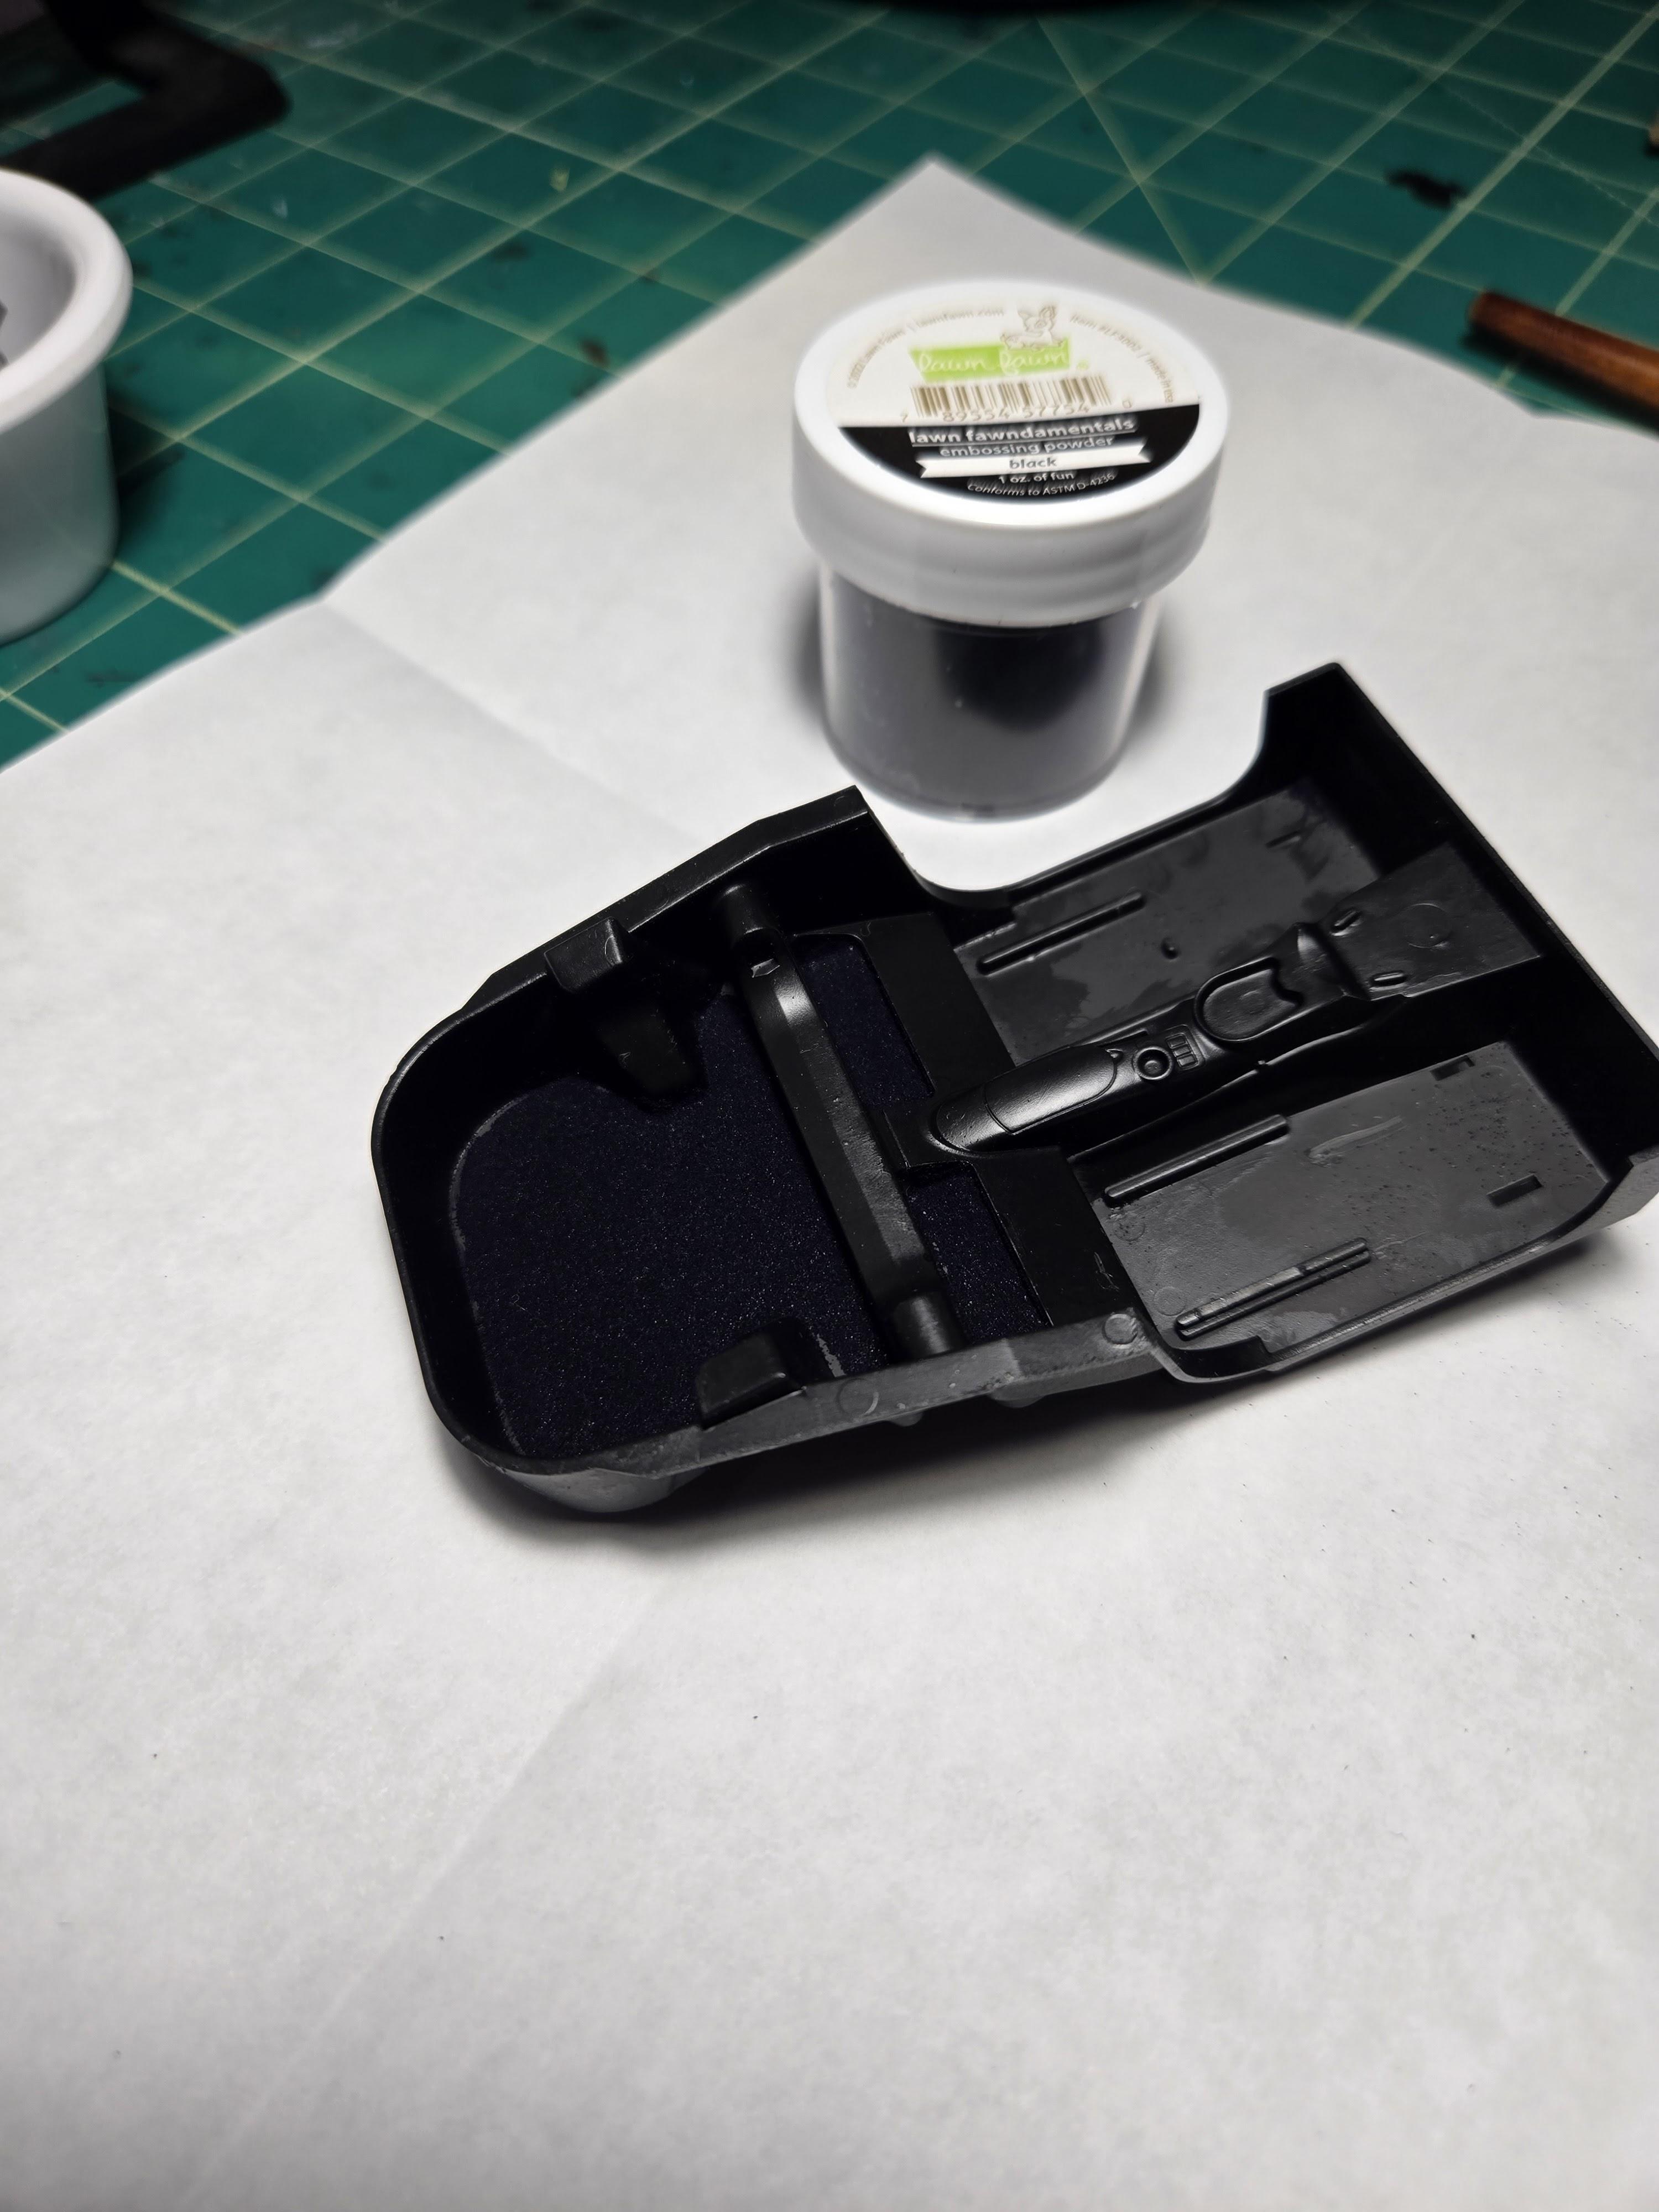
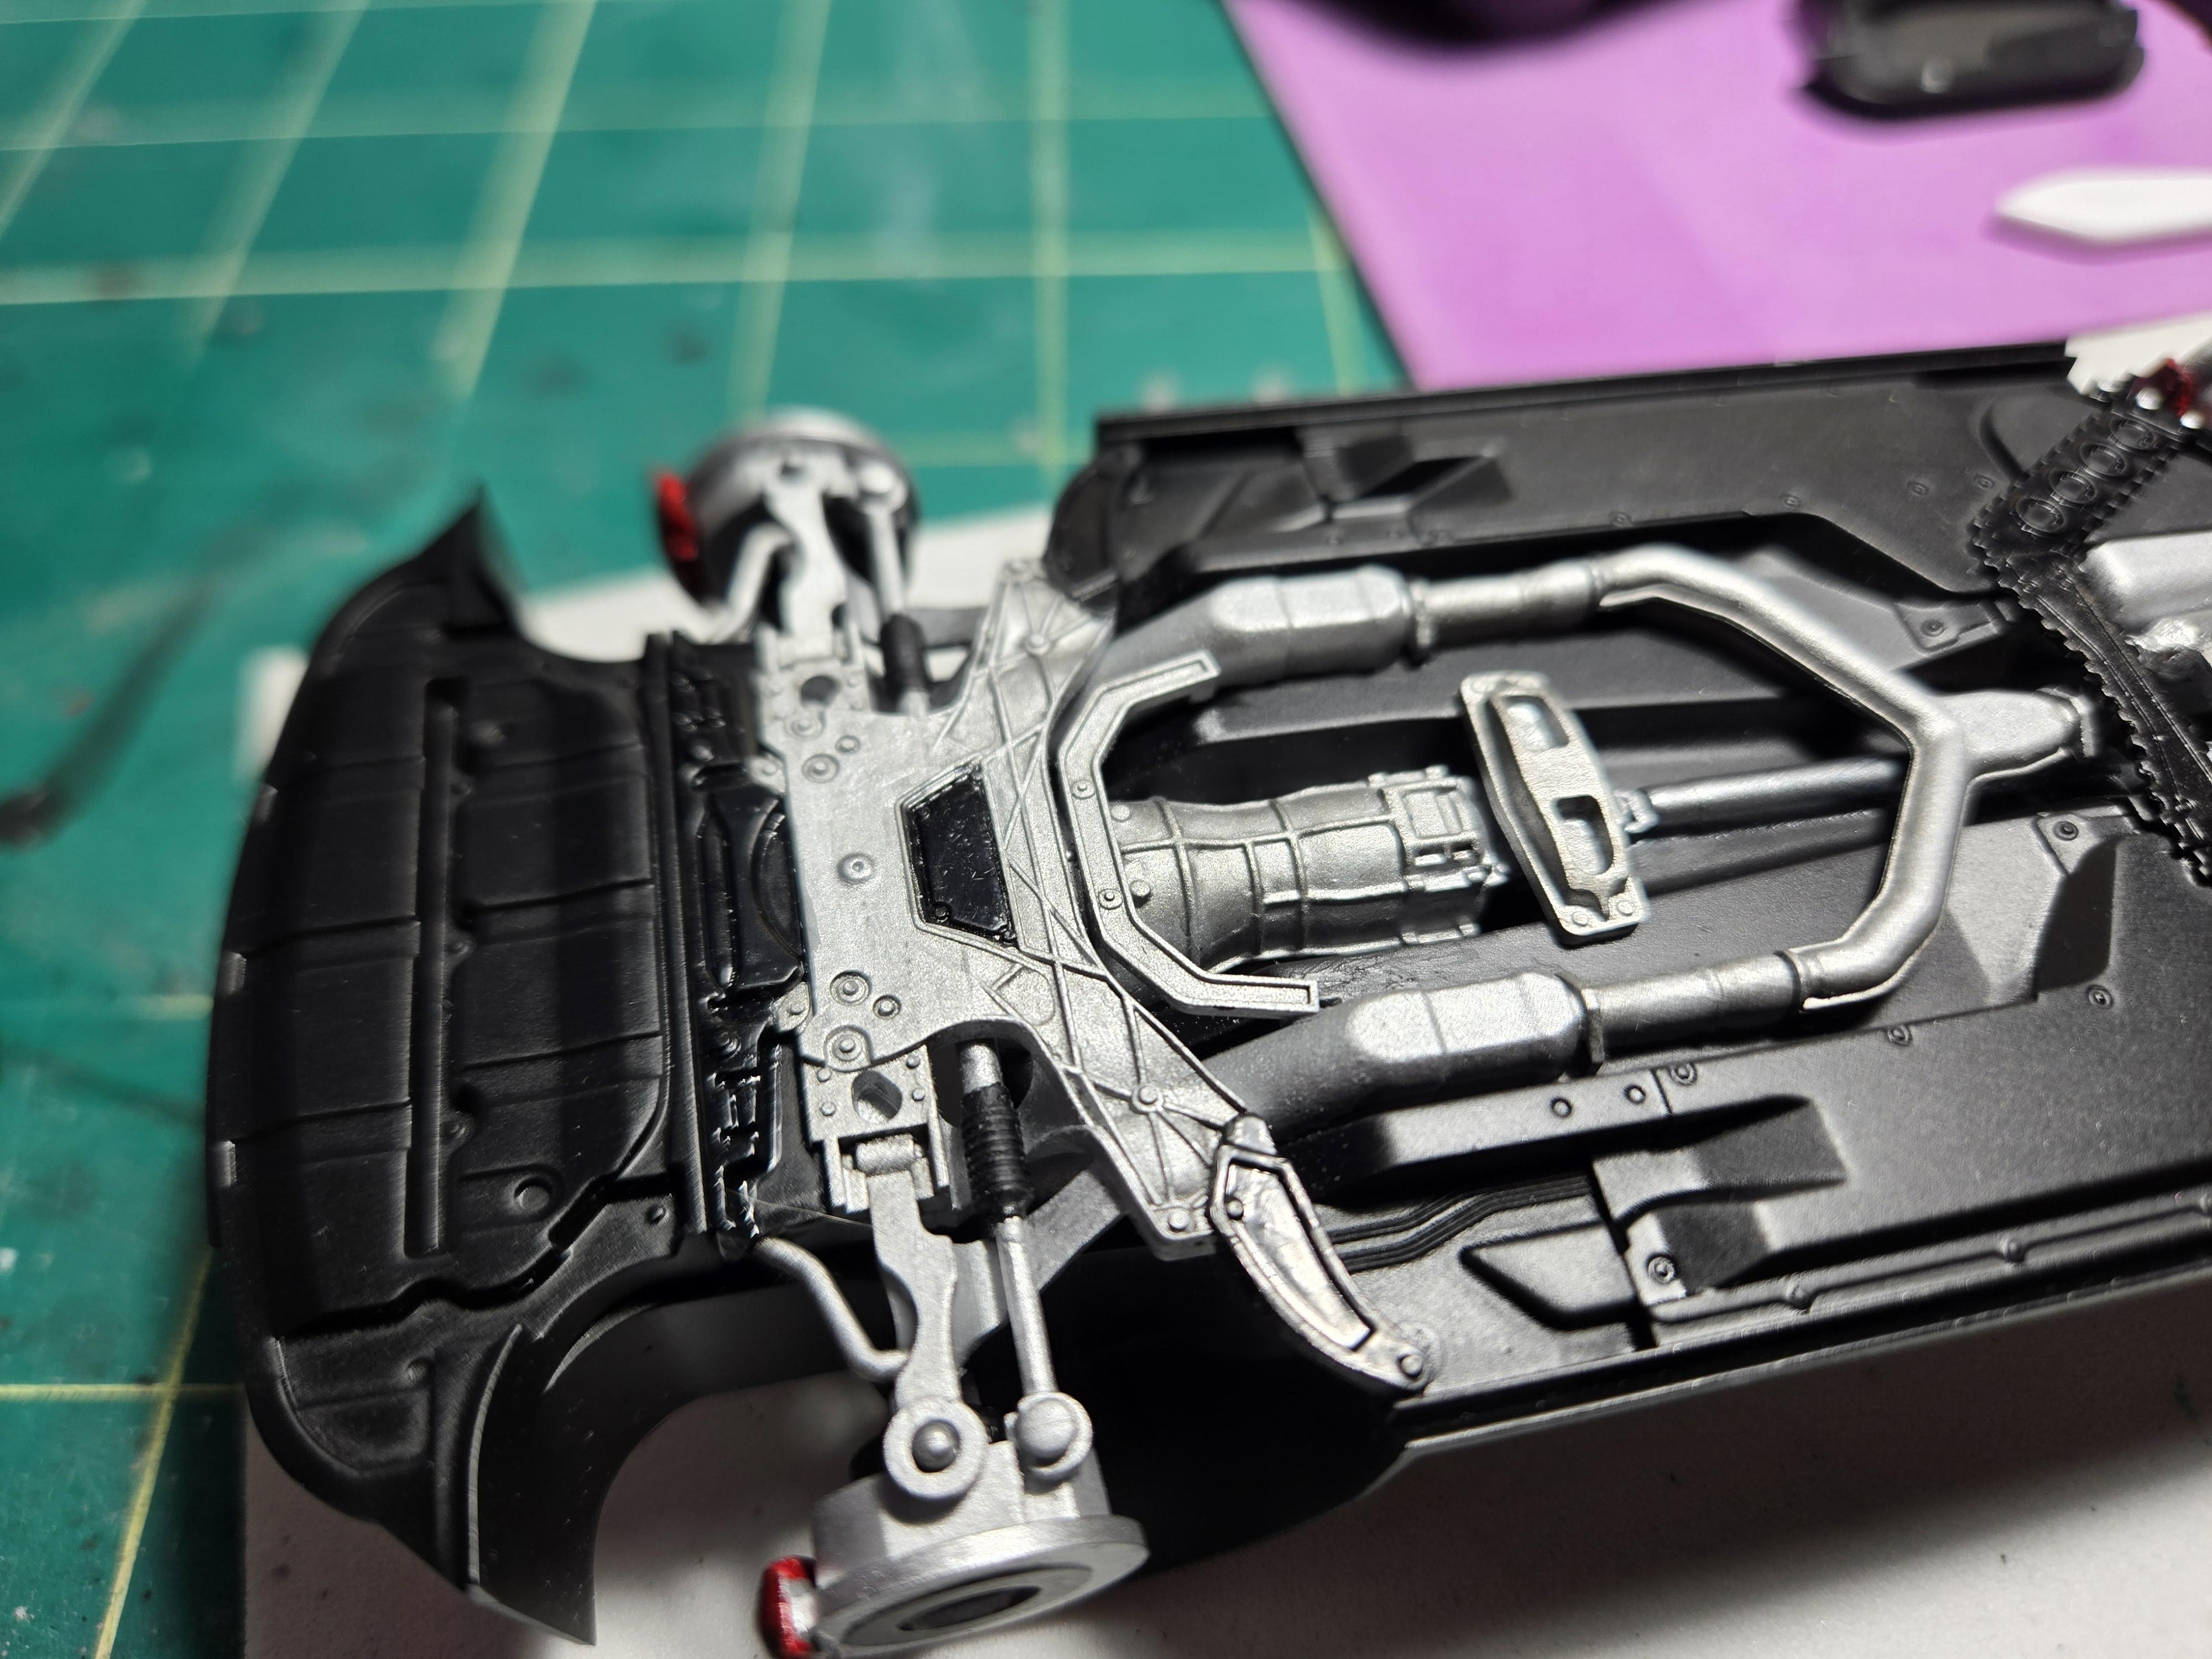
Pay no attention to the fact the hoses go nowhere. My zip-tie and hose clamp facsimiles could use work, but hey.
-
'66 Chevy Fleetside Pickup - Revell
CA Whitecloud replied to CA Whitecloud's topic in WIP: Model Cars
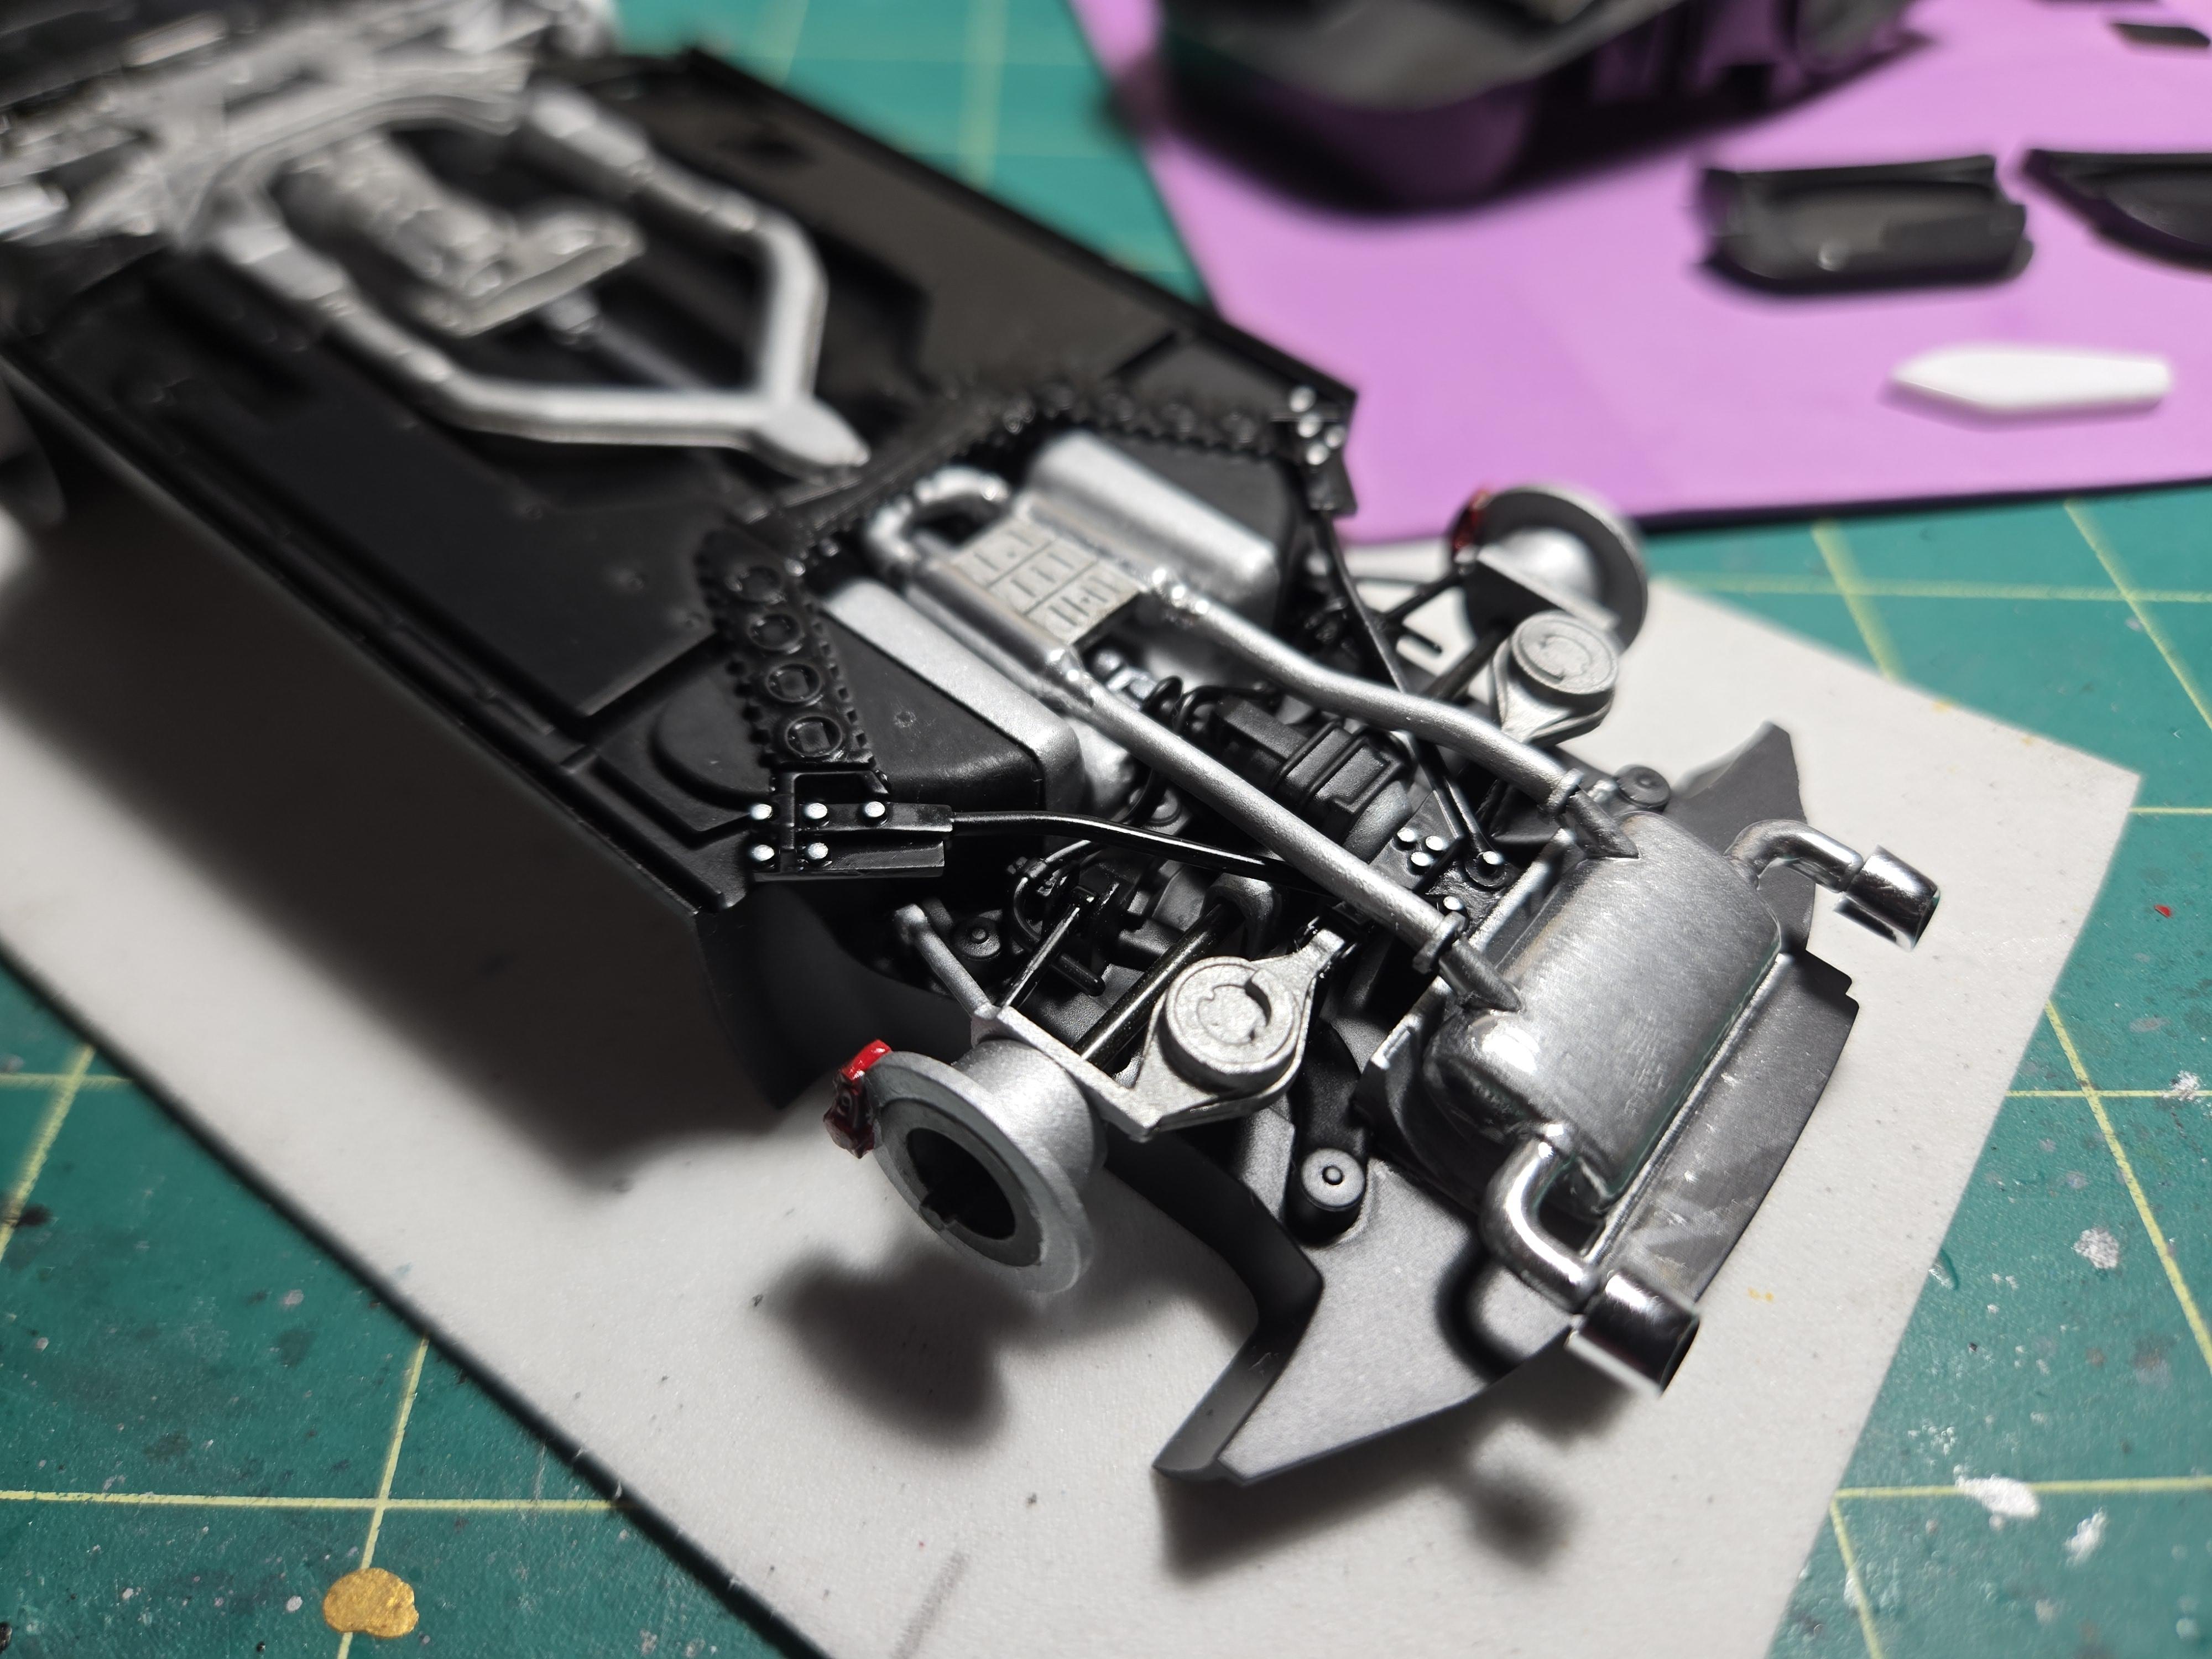
The engine bay came out decent. This is the most detail I think I've tried. It is hard not to get discouraged when I see the level of skill some of you display. I try to go a little further with each build, and I do improve with each build (on average). But I'm still in it for the enjoyment of the hobby. You are the only folks I get to show my work (except my lovely, supportive wife). So without any judgement, let us proceed.
-
'66 Chevy Fleetside Pickup - Revell
CA Whitecloud replied to CA Whitecloud's topic in WIP: Model Cars
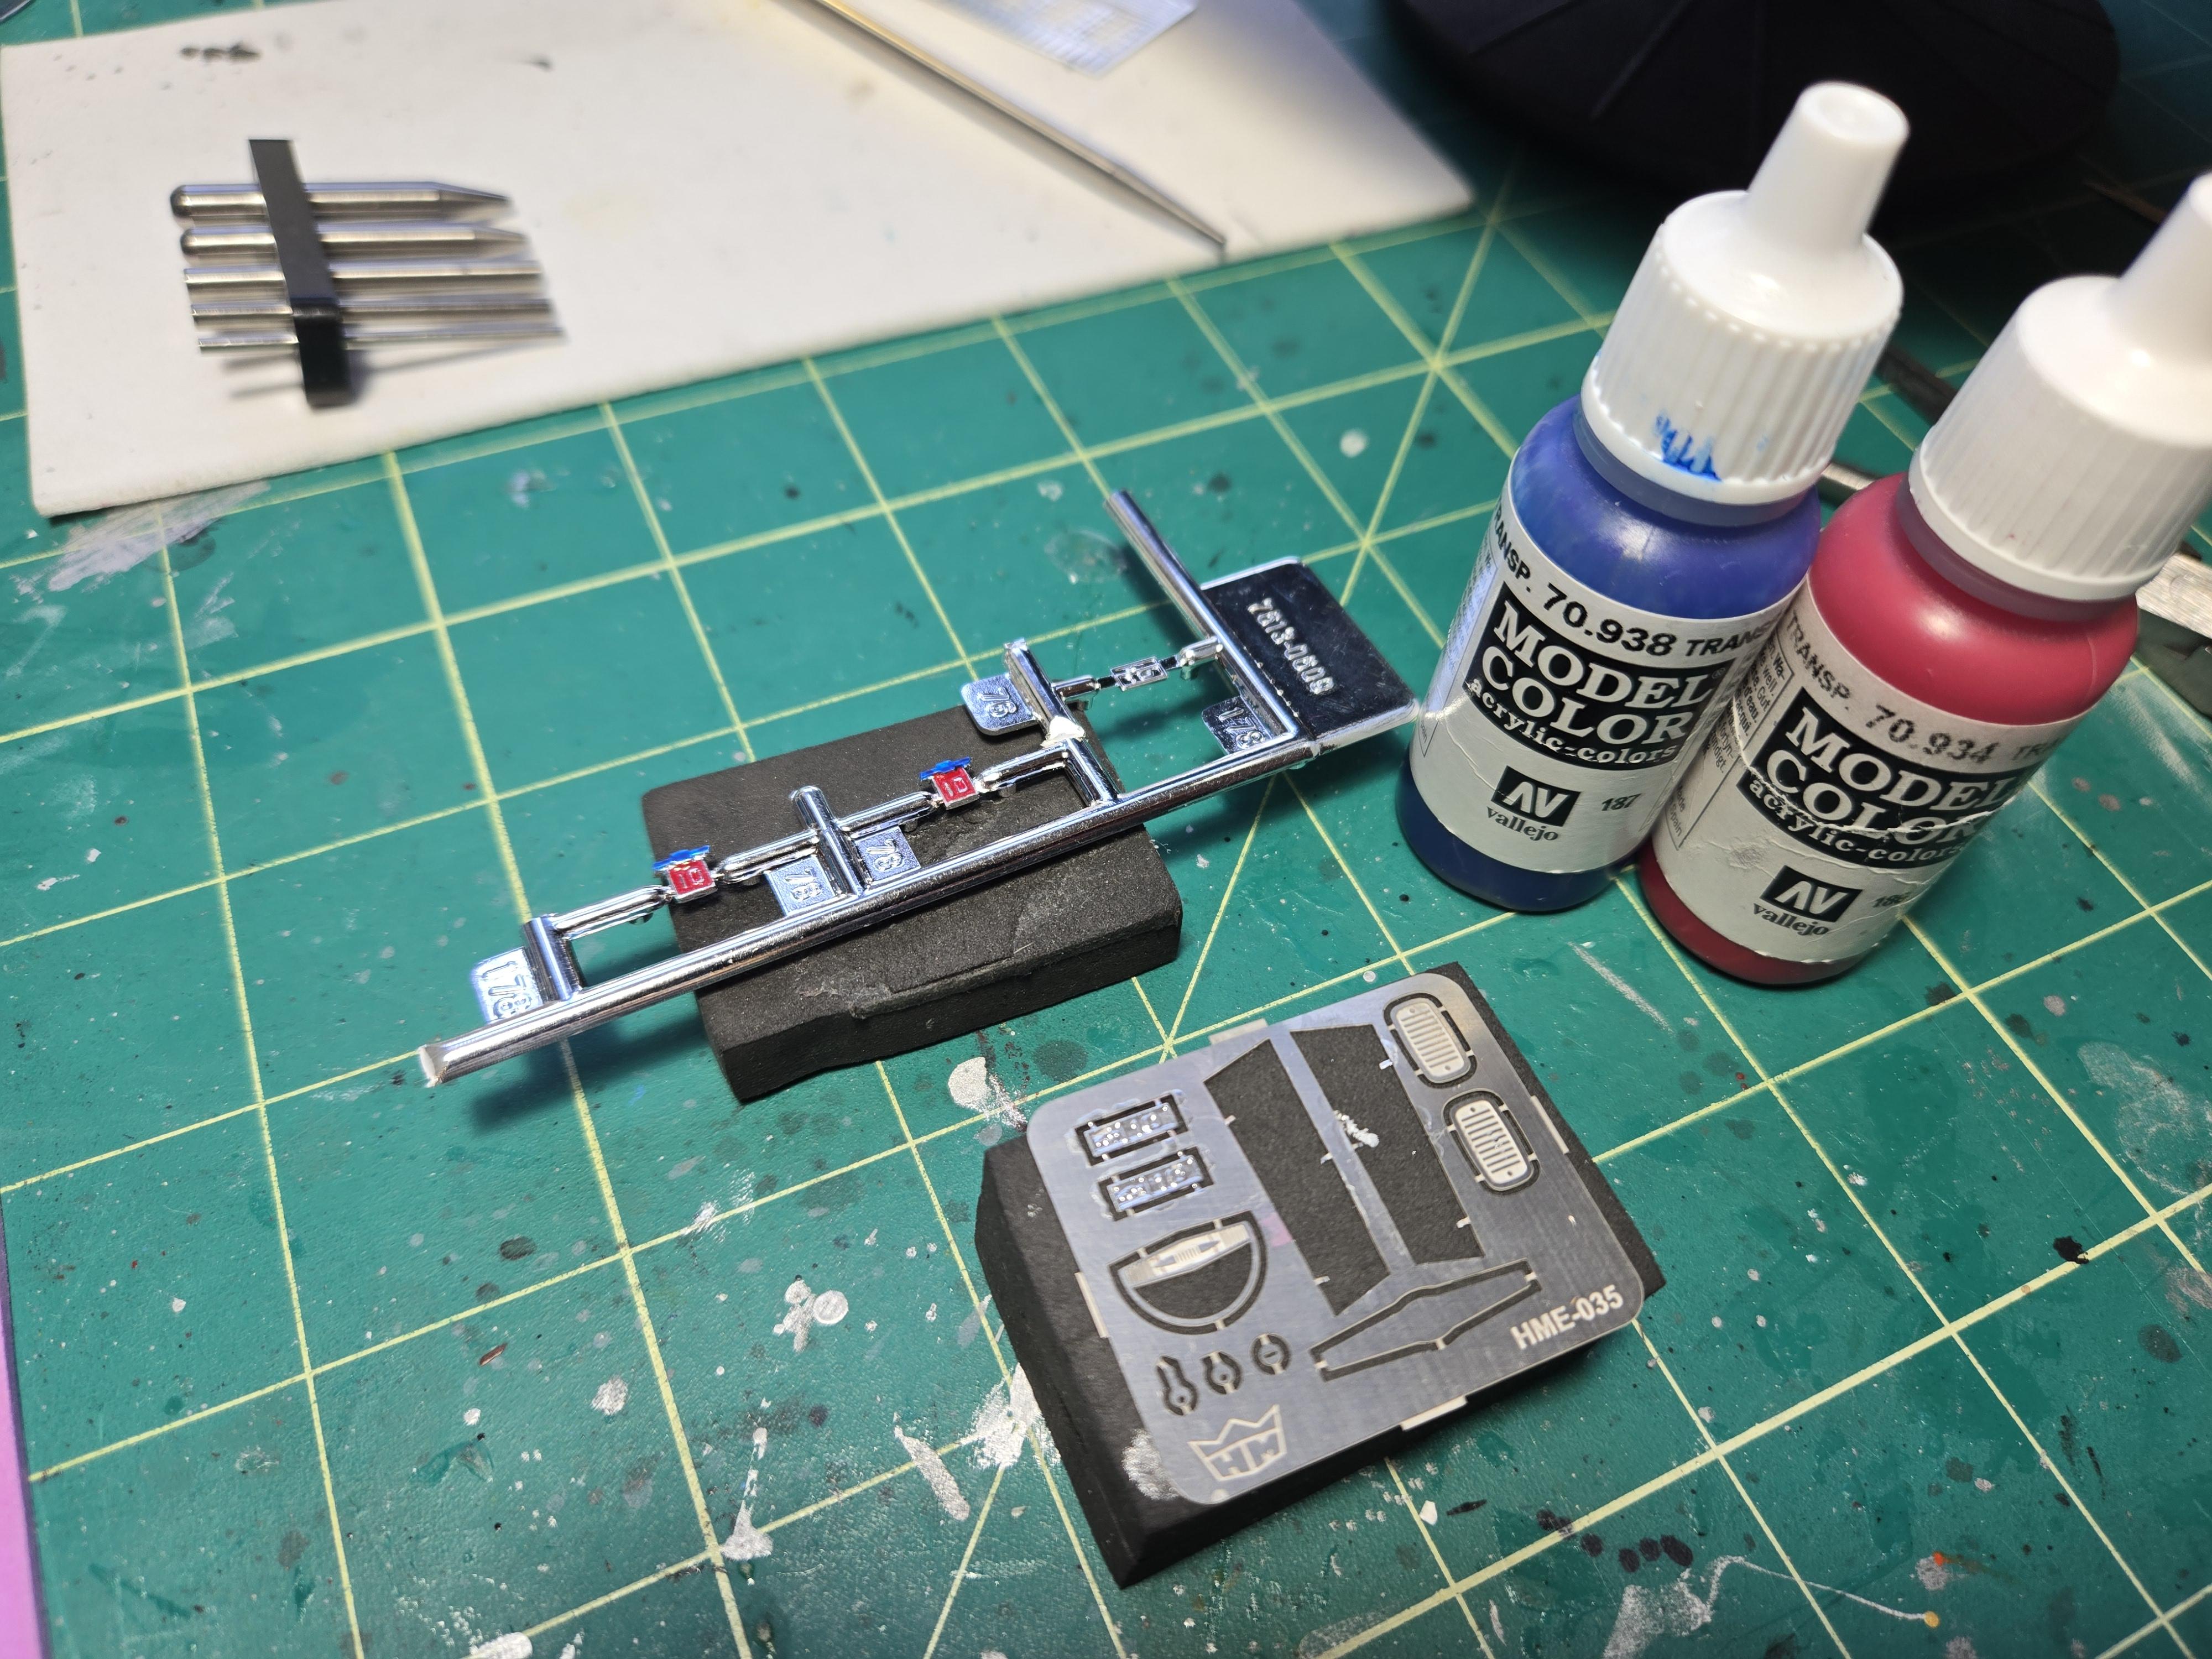
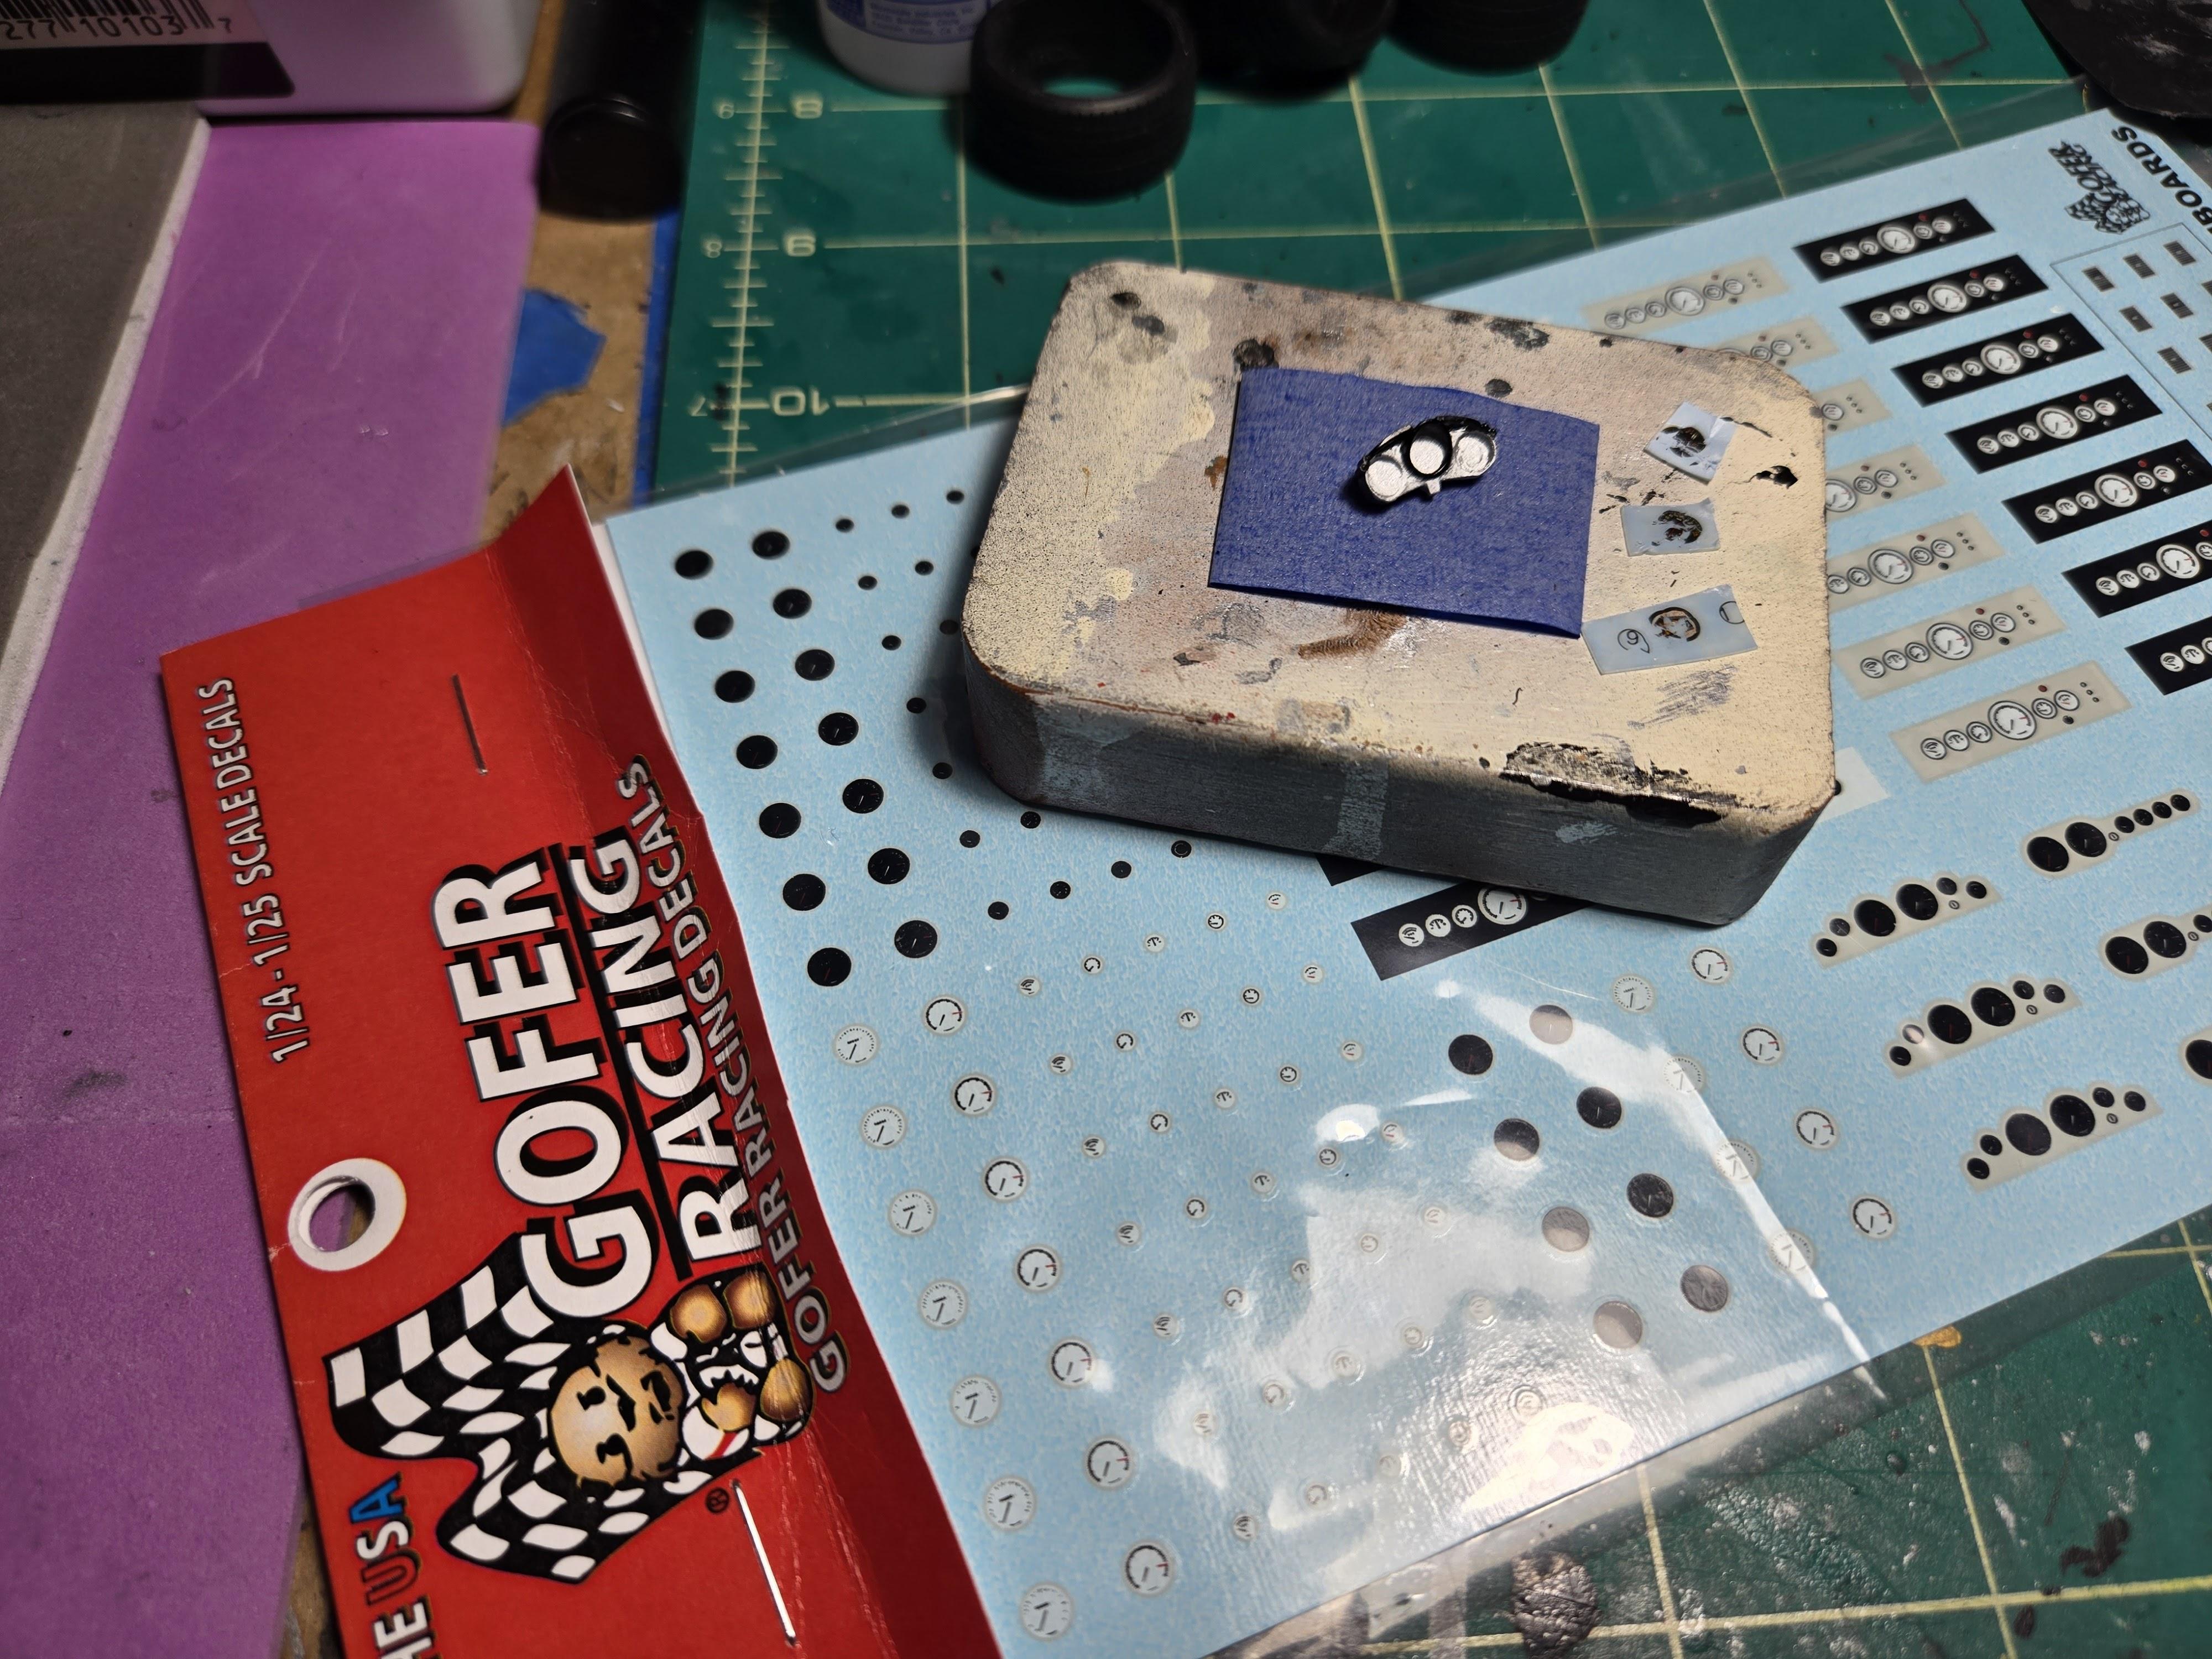
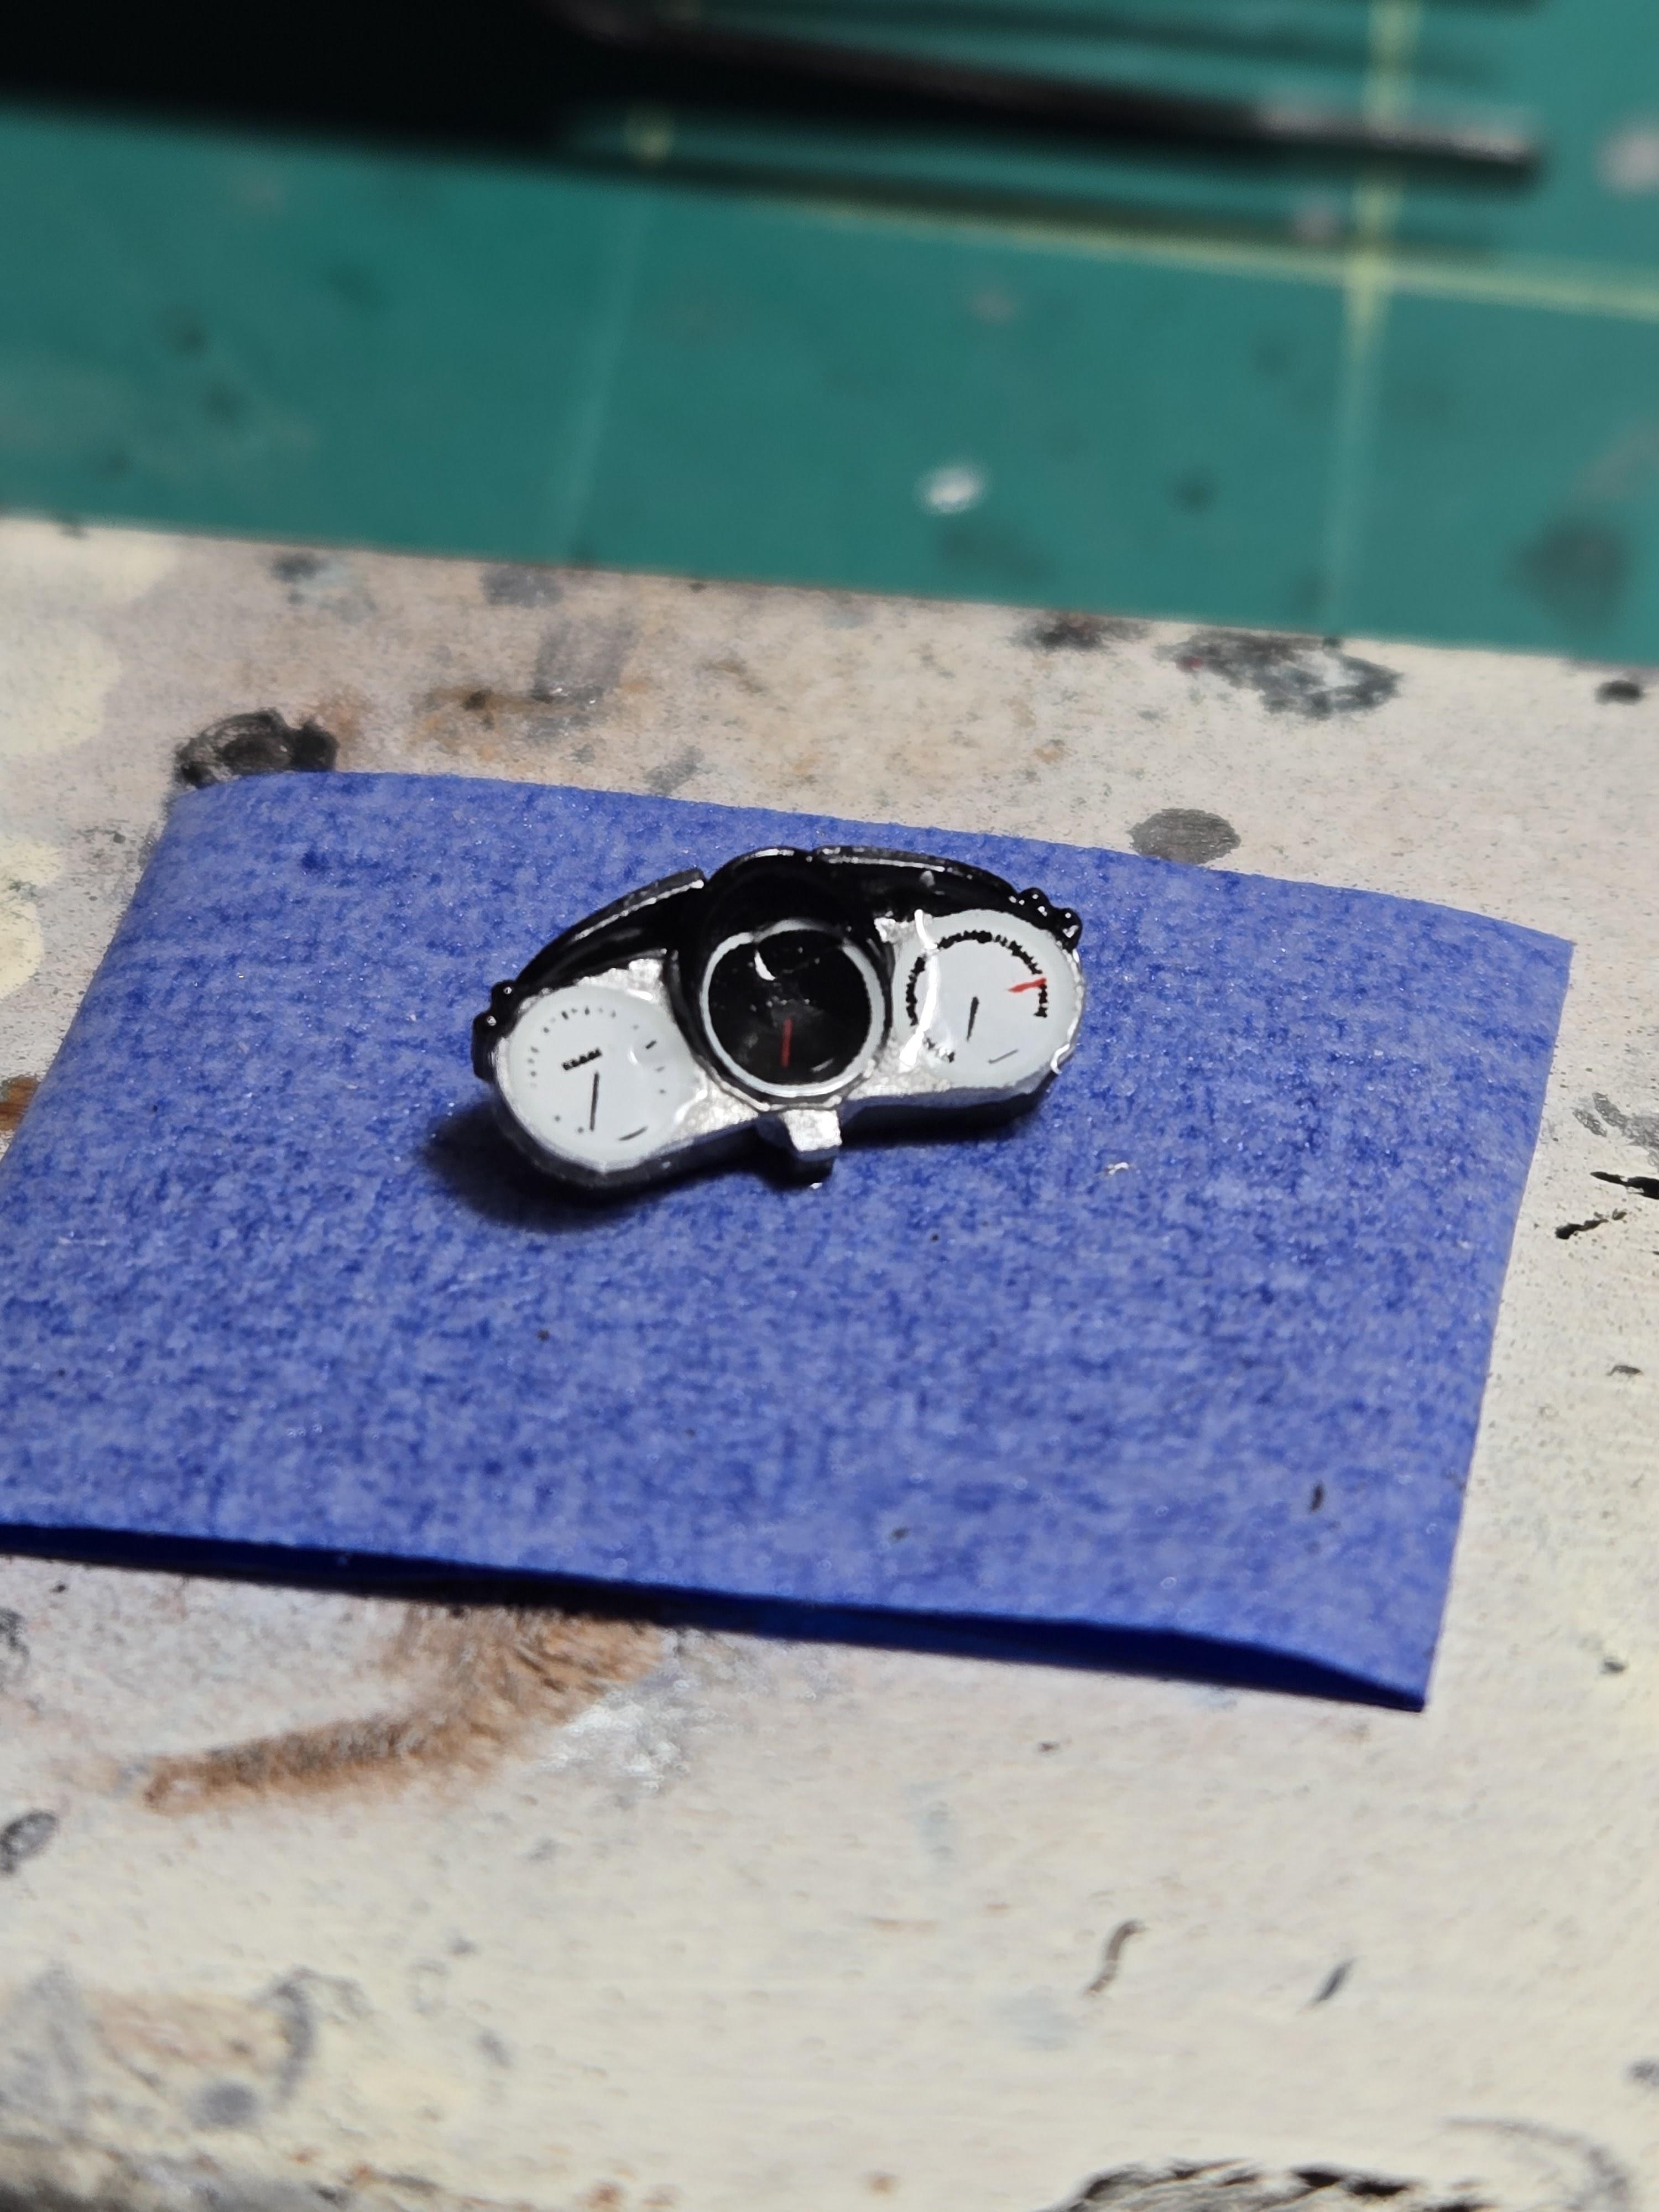
Moving on. I like the blanket decal that comes with the kit. It adds a splash of color. But I wondered how it would look when applied to the seat that has prominent detailing, eh. So I thought leave it on the paper and make it look folded. I worked it too much, but was going to go with it. Then I happened across some fun details. It's too late to redo the tail lights. I'm glad to find those roof pillar accents. I wish I would have found the steering wheel detail earlier. I'll probably pass on that one. I need a tutorial on painting PE parts. I can't get the side badges to take the paint. I may try one more time, then it's the kit badges.


.jpg.f4b53b7121a6dacce5ec5660ca056f6c.jpg)