CA Whitecloud
-
Posts
358 -
Joined
-
Last visited
Content Type
Profiles
Forums
Events
Gallery
Everything posted by CA Whitecloud
-
More Pics!

-
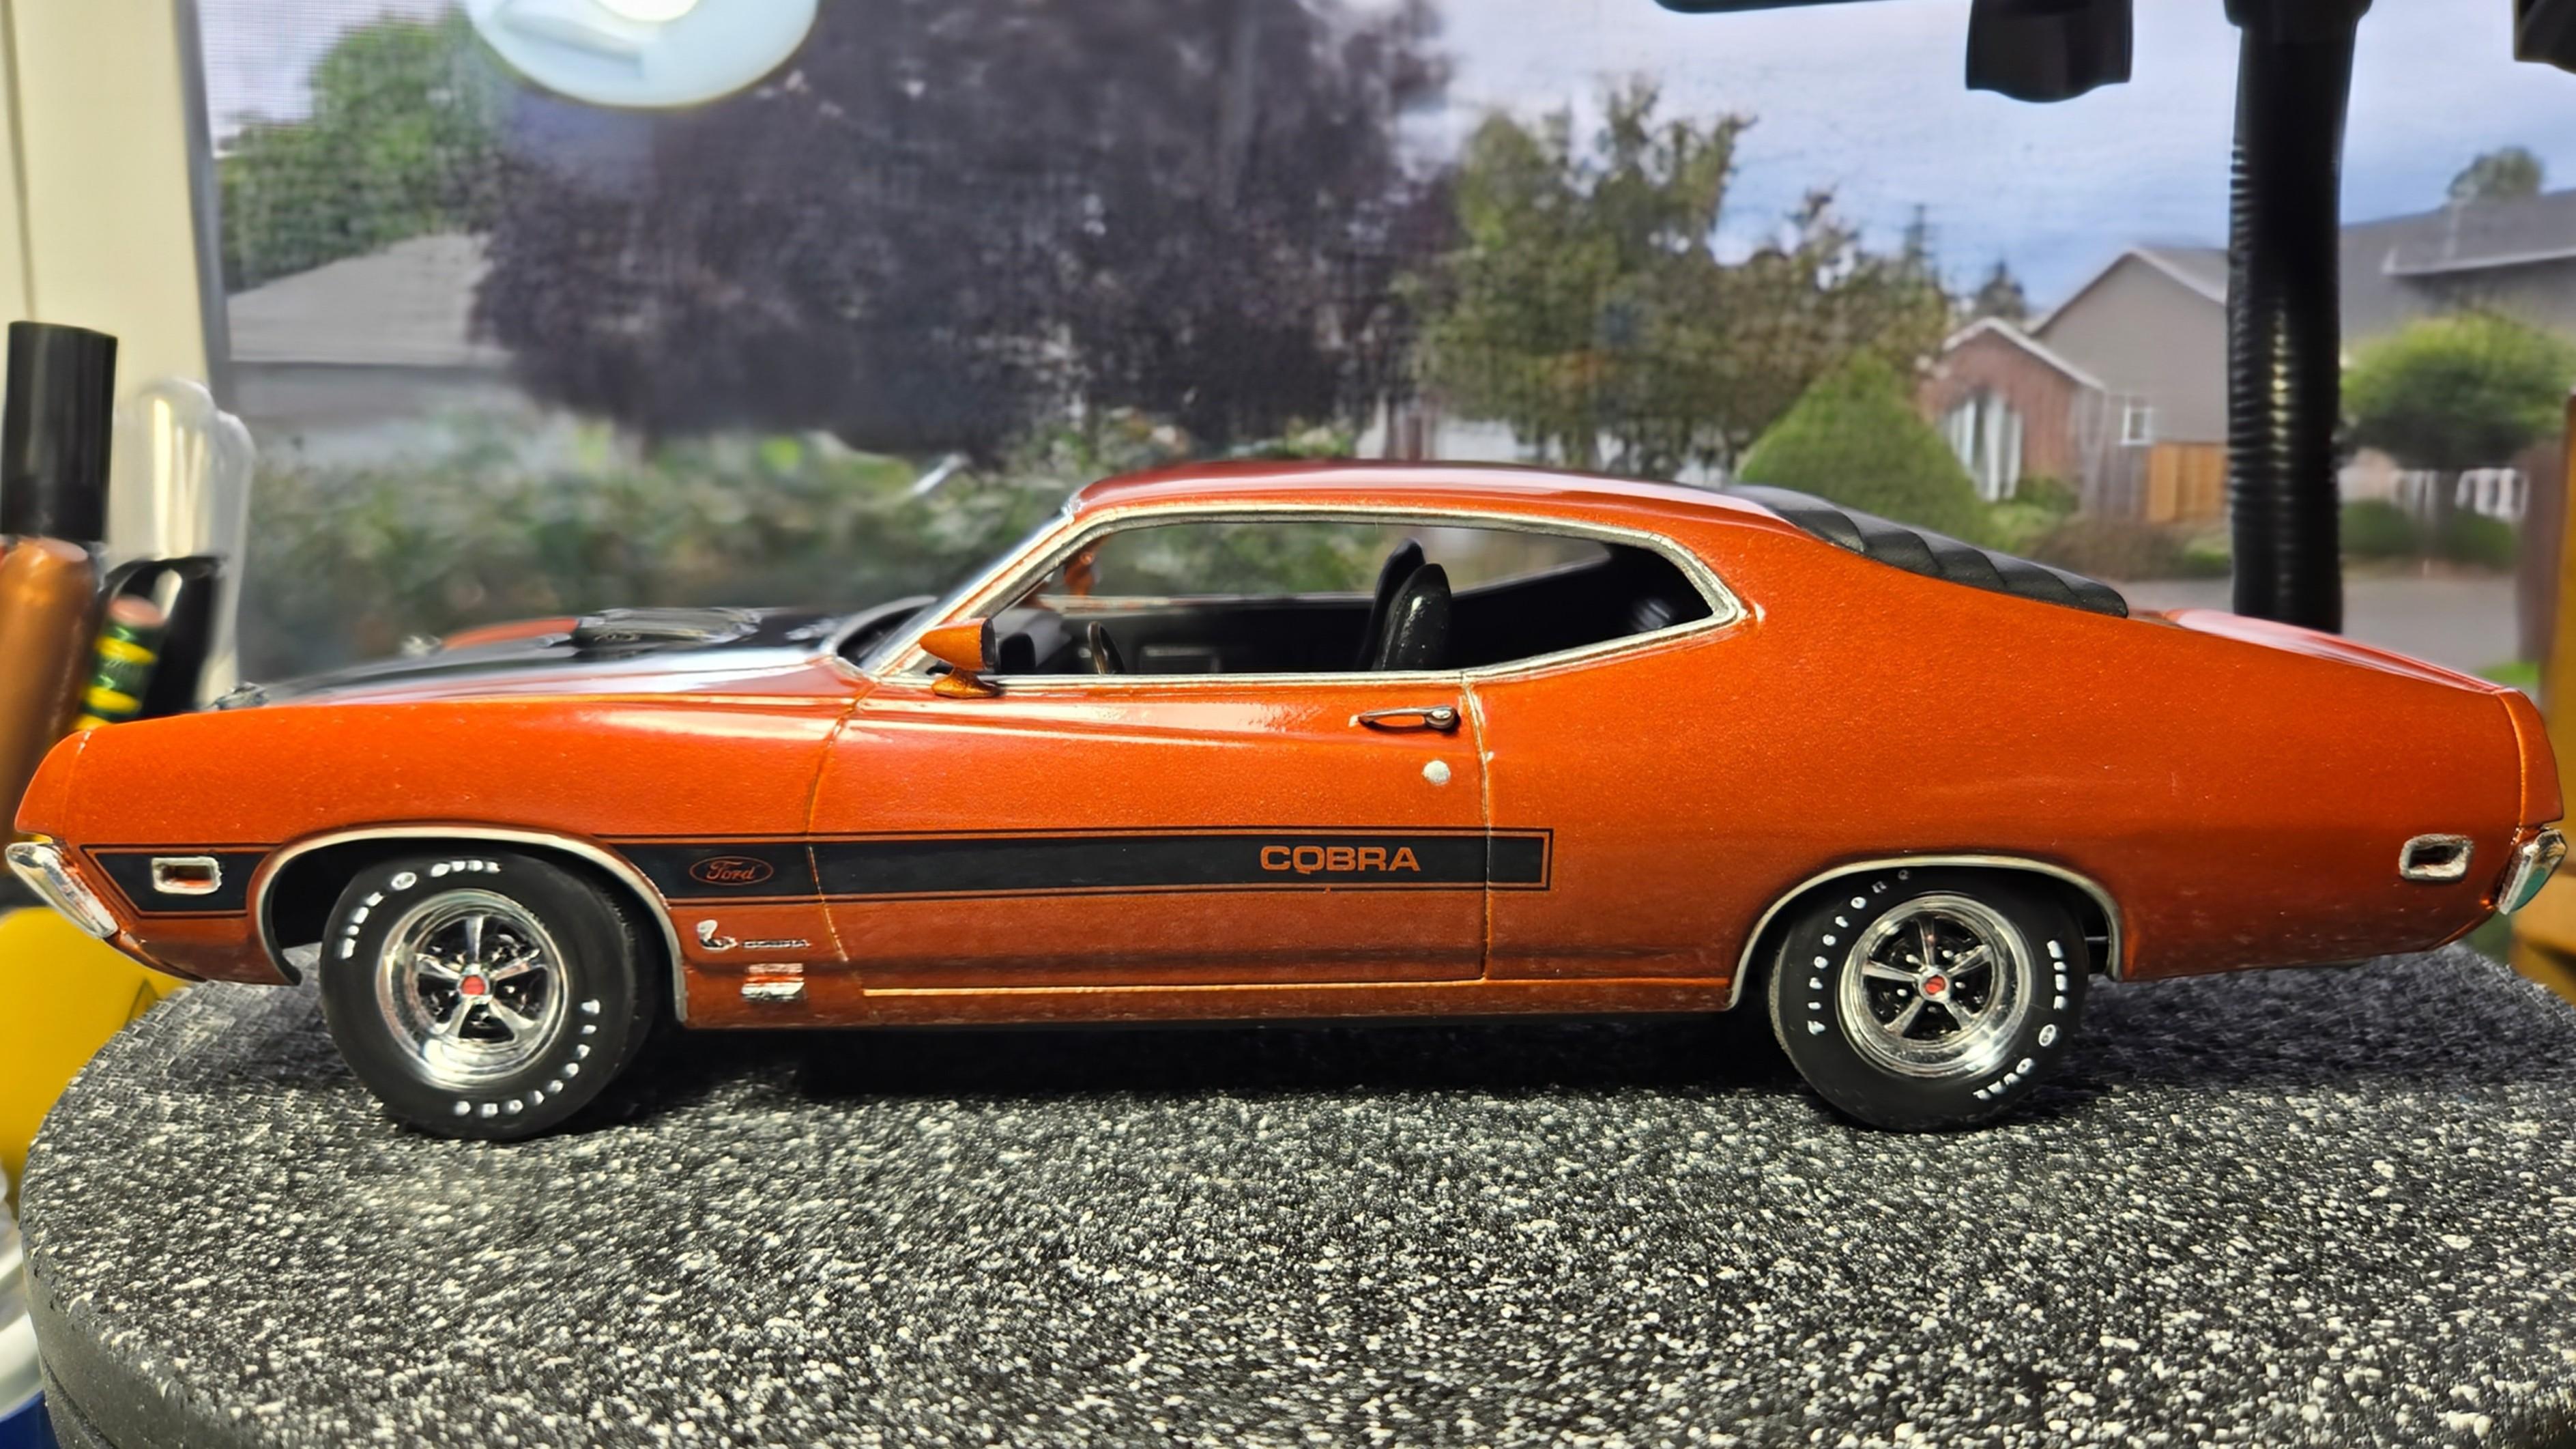
Done deal! (How many pics is too many pics?)? My thoughts: The kit hood pins look ridiculous to me. Too high in profile. I shaved them down as long as I could hold on to them. I chose not to drill out the divots that are in the hood. The body could use a few more color coats. The clear coat seemed to thin it out, especially in the panel lines. And for a deeper color tone. Definitely needed more color on the side mirrors. They are off a tone or two. Matching the hood opening to blower was a challenge. I mentioned before the hood fit was not great to begin with. I taped the blower into the hood, applied cement to the top of the engine, then worked the hood into position, let it set, and hoped for the best. Turned out well. I'm getting better with wiring. As long as I can remember where the distributor goes.
-
Real nice work. I'm liking that under hood affect. How is that achieved?
-
Wheels came out fine. The side mirrors came with tiny chrome inserts that were to hard to fit I filled with epoxy and painted over with chrome.
-
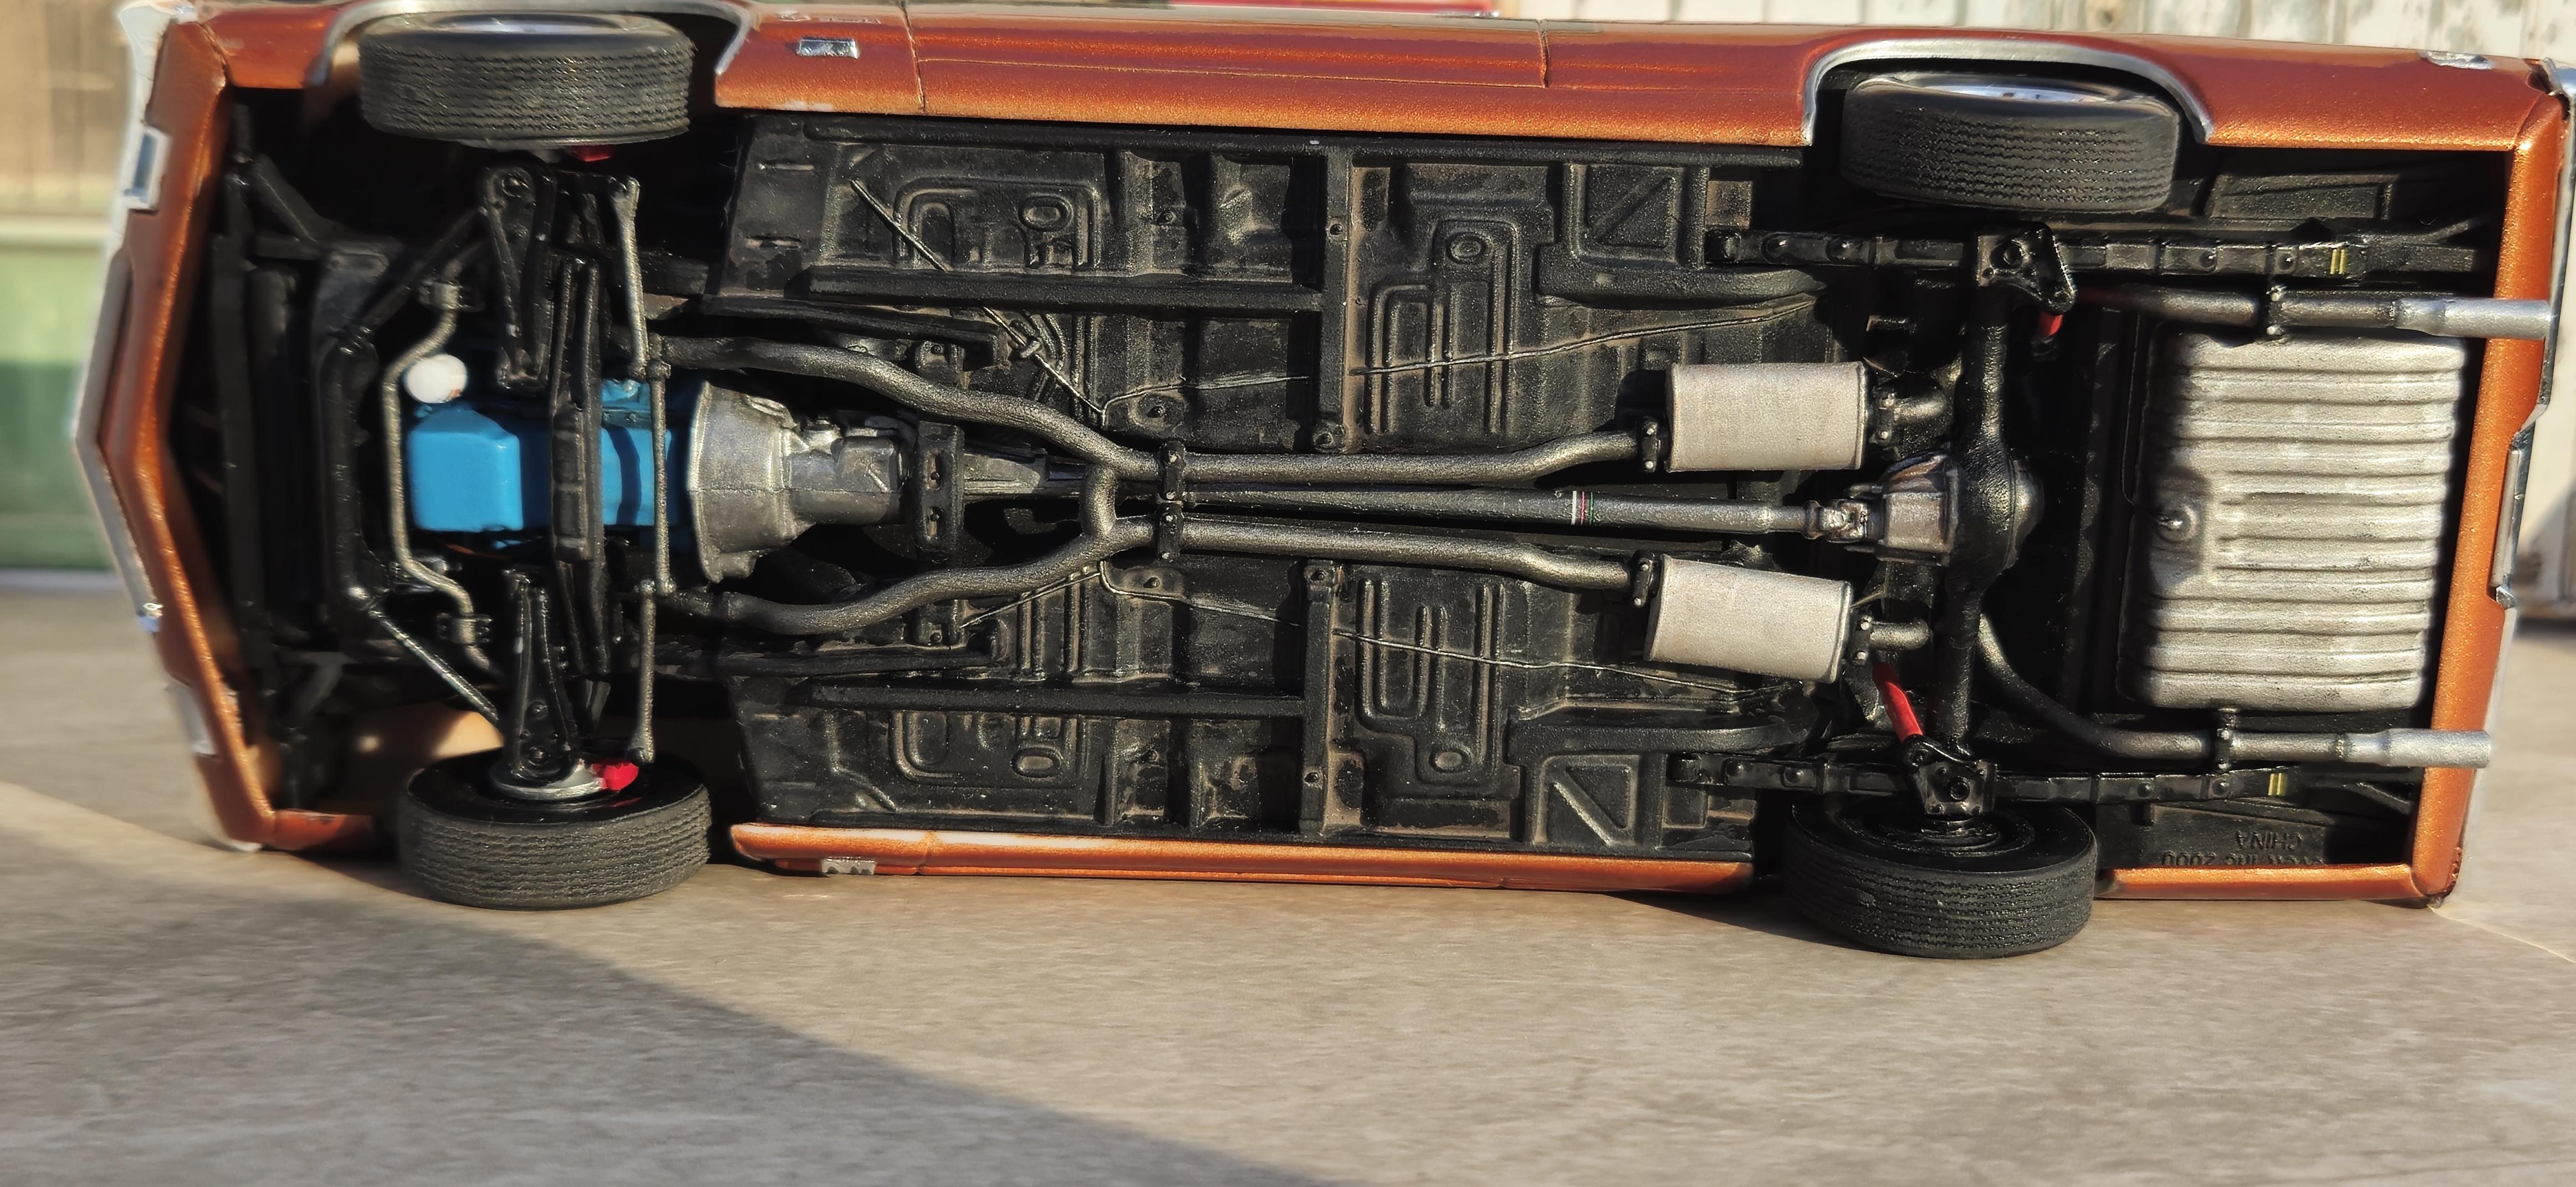
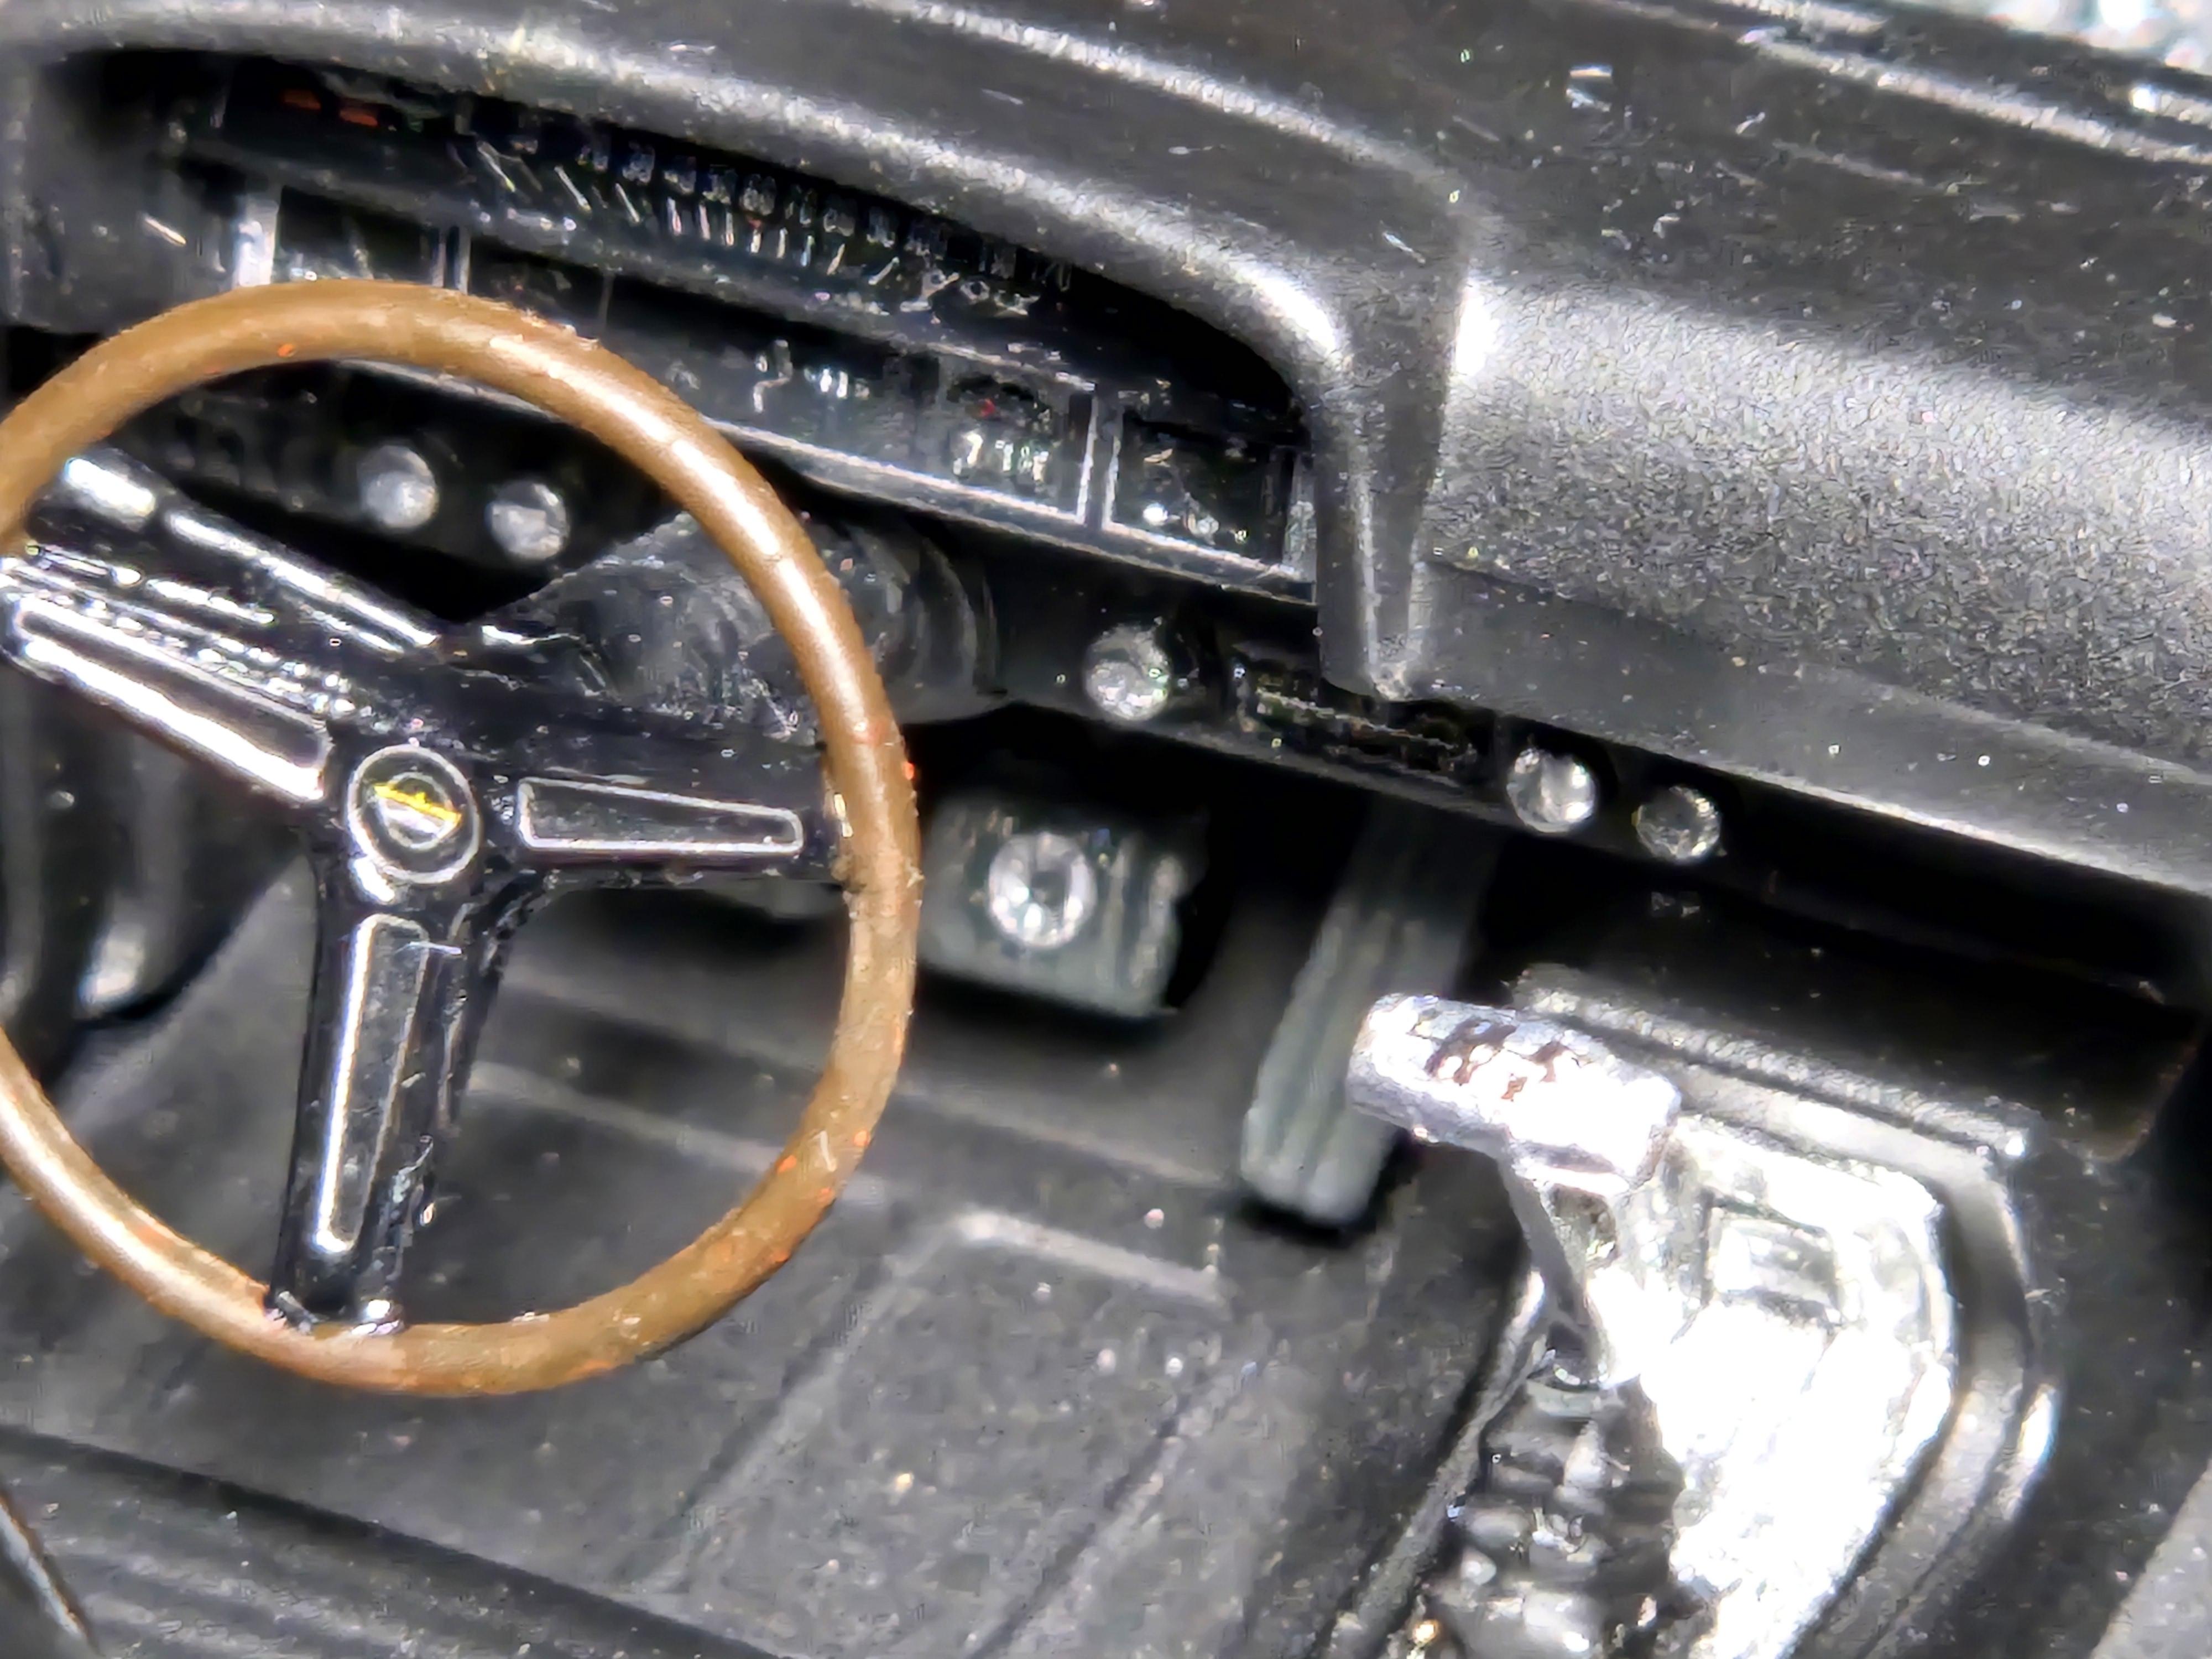
Can anyone see what's wrong in this pic? I am no mechanic like some of you, but even I didn't notice until I went to install the radiator hose! (palm to face emoji).
-
I'll enjoy watching your progress.
-
So I tried to freehand the side trim around the lights. I made a fine mess of one. How would I touch hat up if I used a rattle can for top coat?
-
About a 7 on the masking efficiency scale. I wish I had put down a few more coats of color. The top coat is too thin and faint in the seams.
-
Ah! Thanks.
-
A lot of folks seem to dig the color. That's always nice to hear. One of those "not what I intended", but works good colors.
-
Saying a little prayer to the trimming gods. ?
-
I hope gut is a good thing.?
-
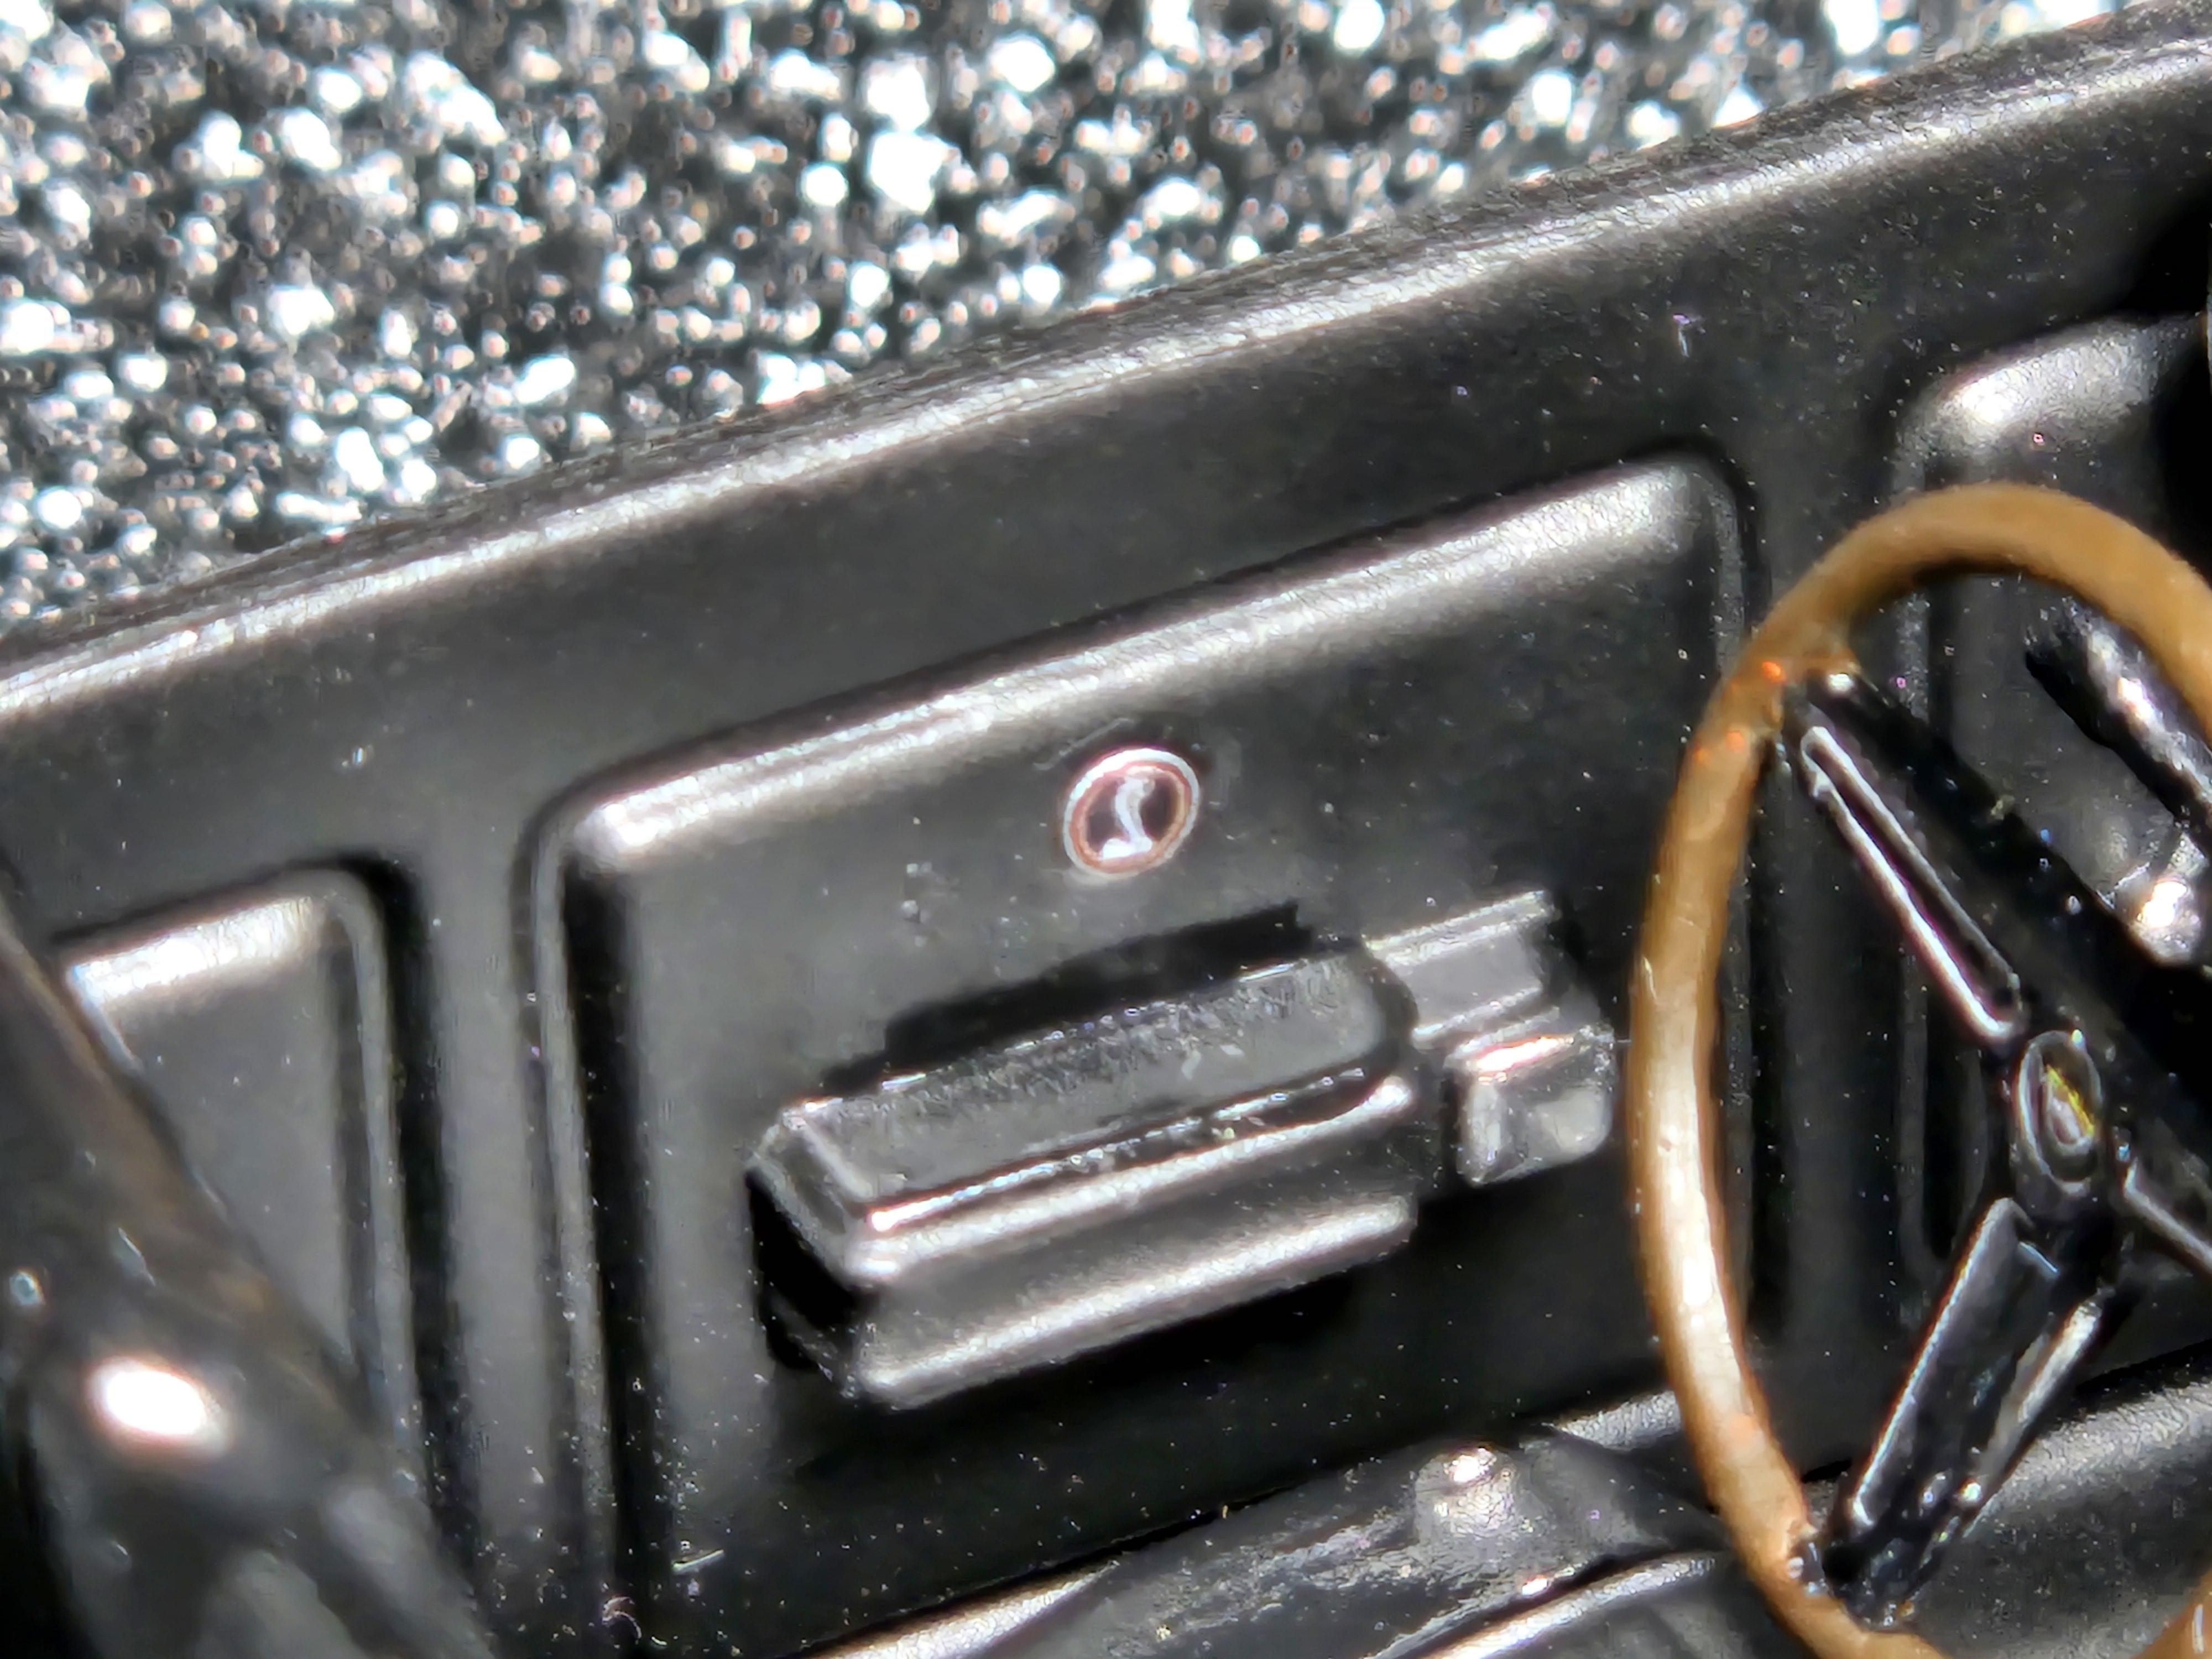
Some pics of the tub before it's hidden forever. Not a lot of detail. I usually don't do carpet unless it's a drop-top. Decal on the brake pedal cracks me up. Hard to see, but like how the image of the decal (cobra) is molded into the plastic. I've never had decals on a shifter before. Disregard dust specks.
-
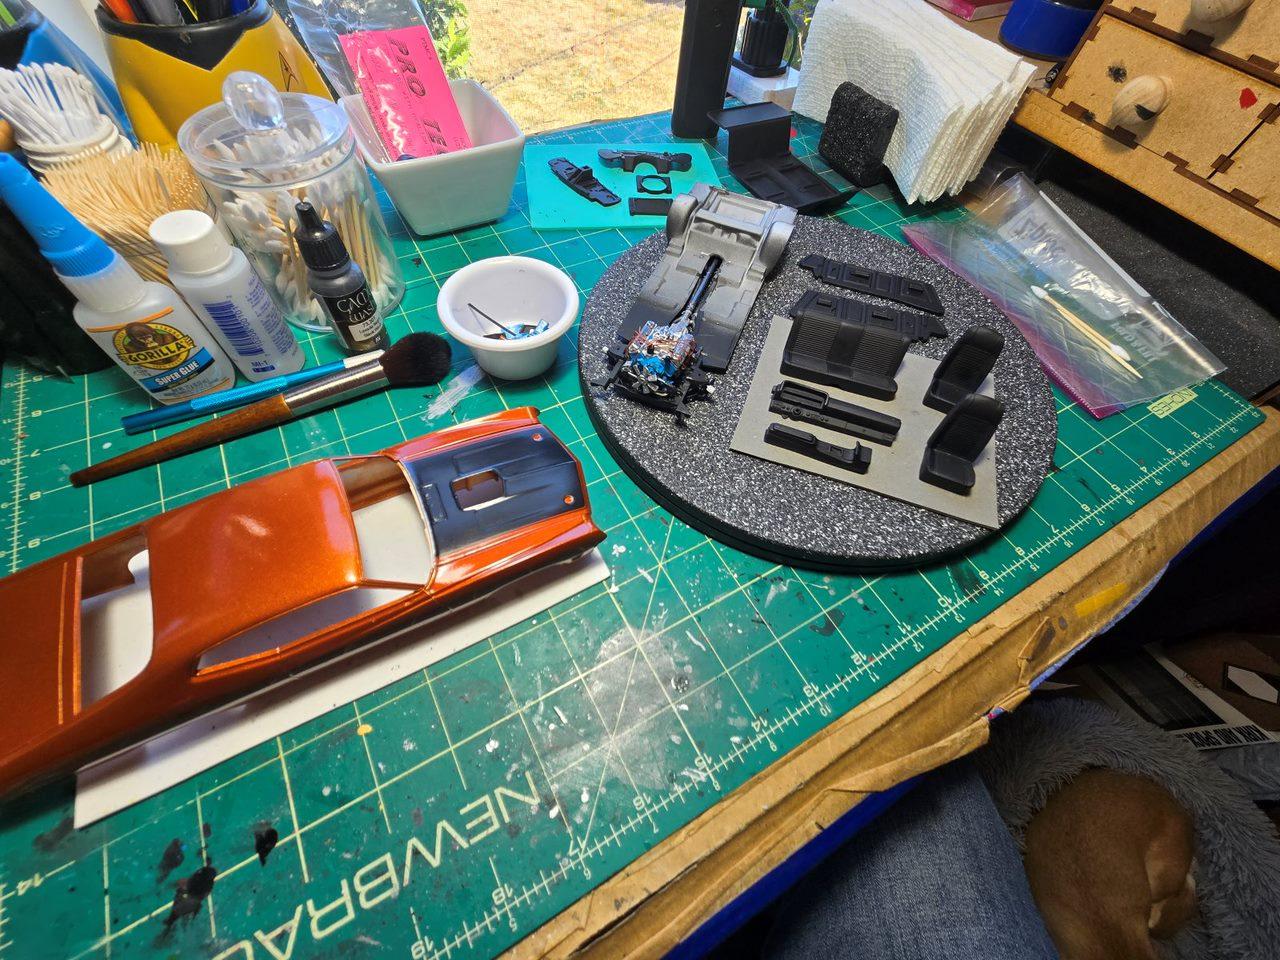
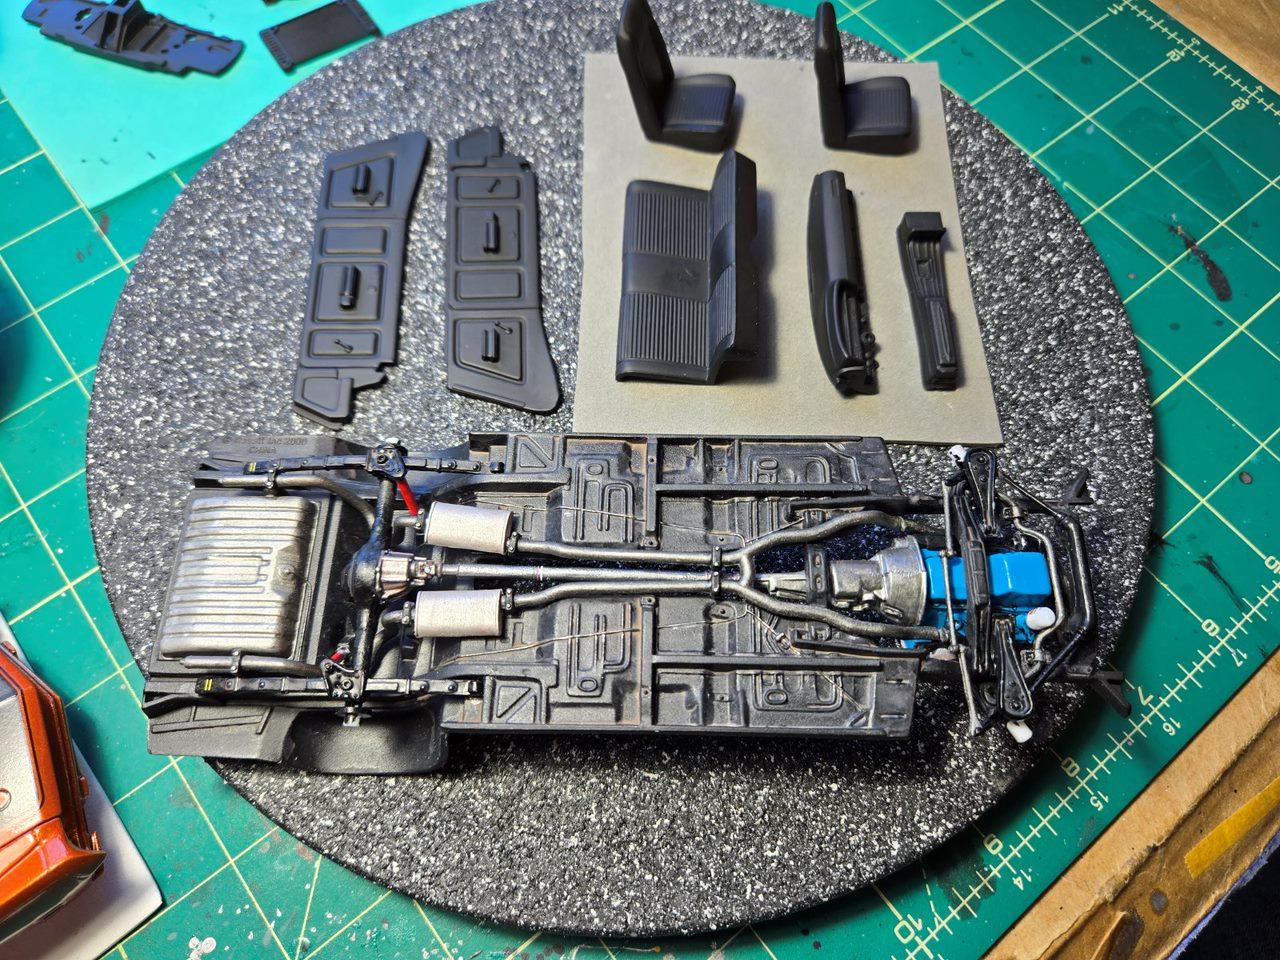
Where I'm at...
-
That's a good one!
-
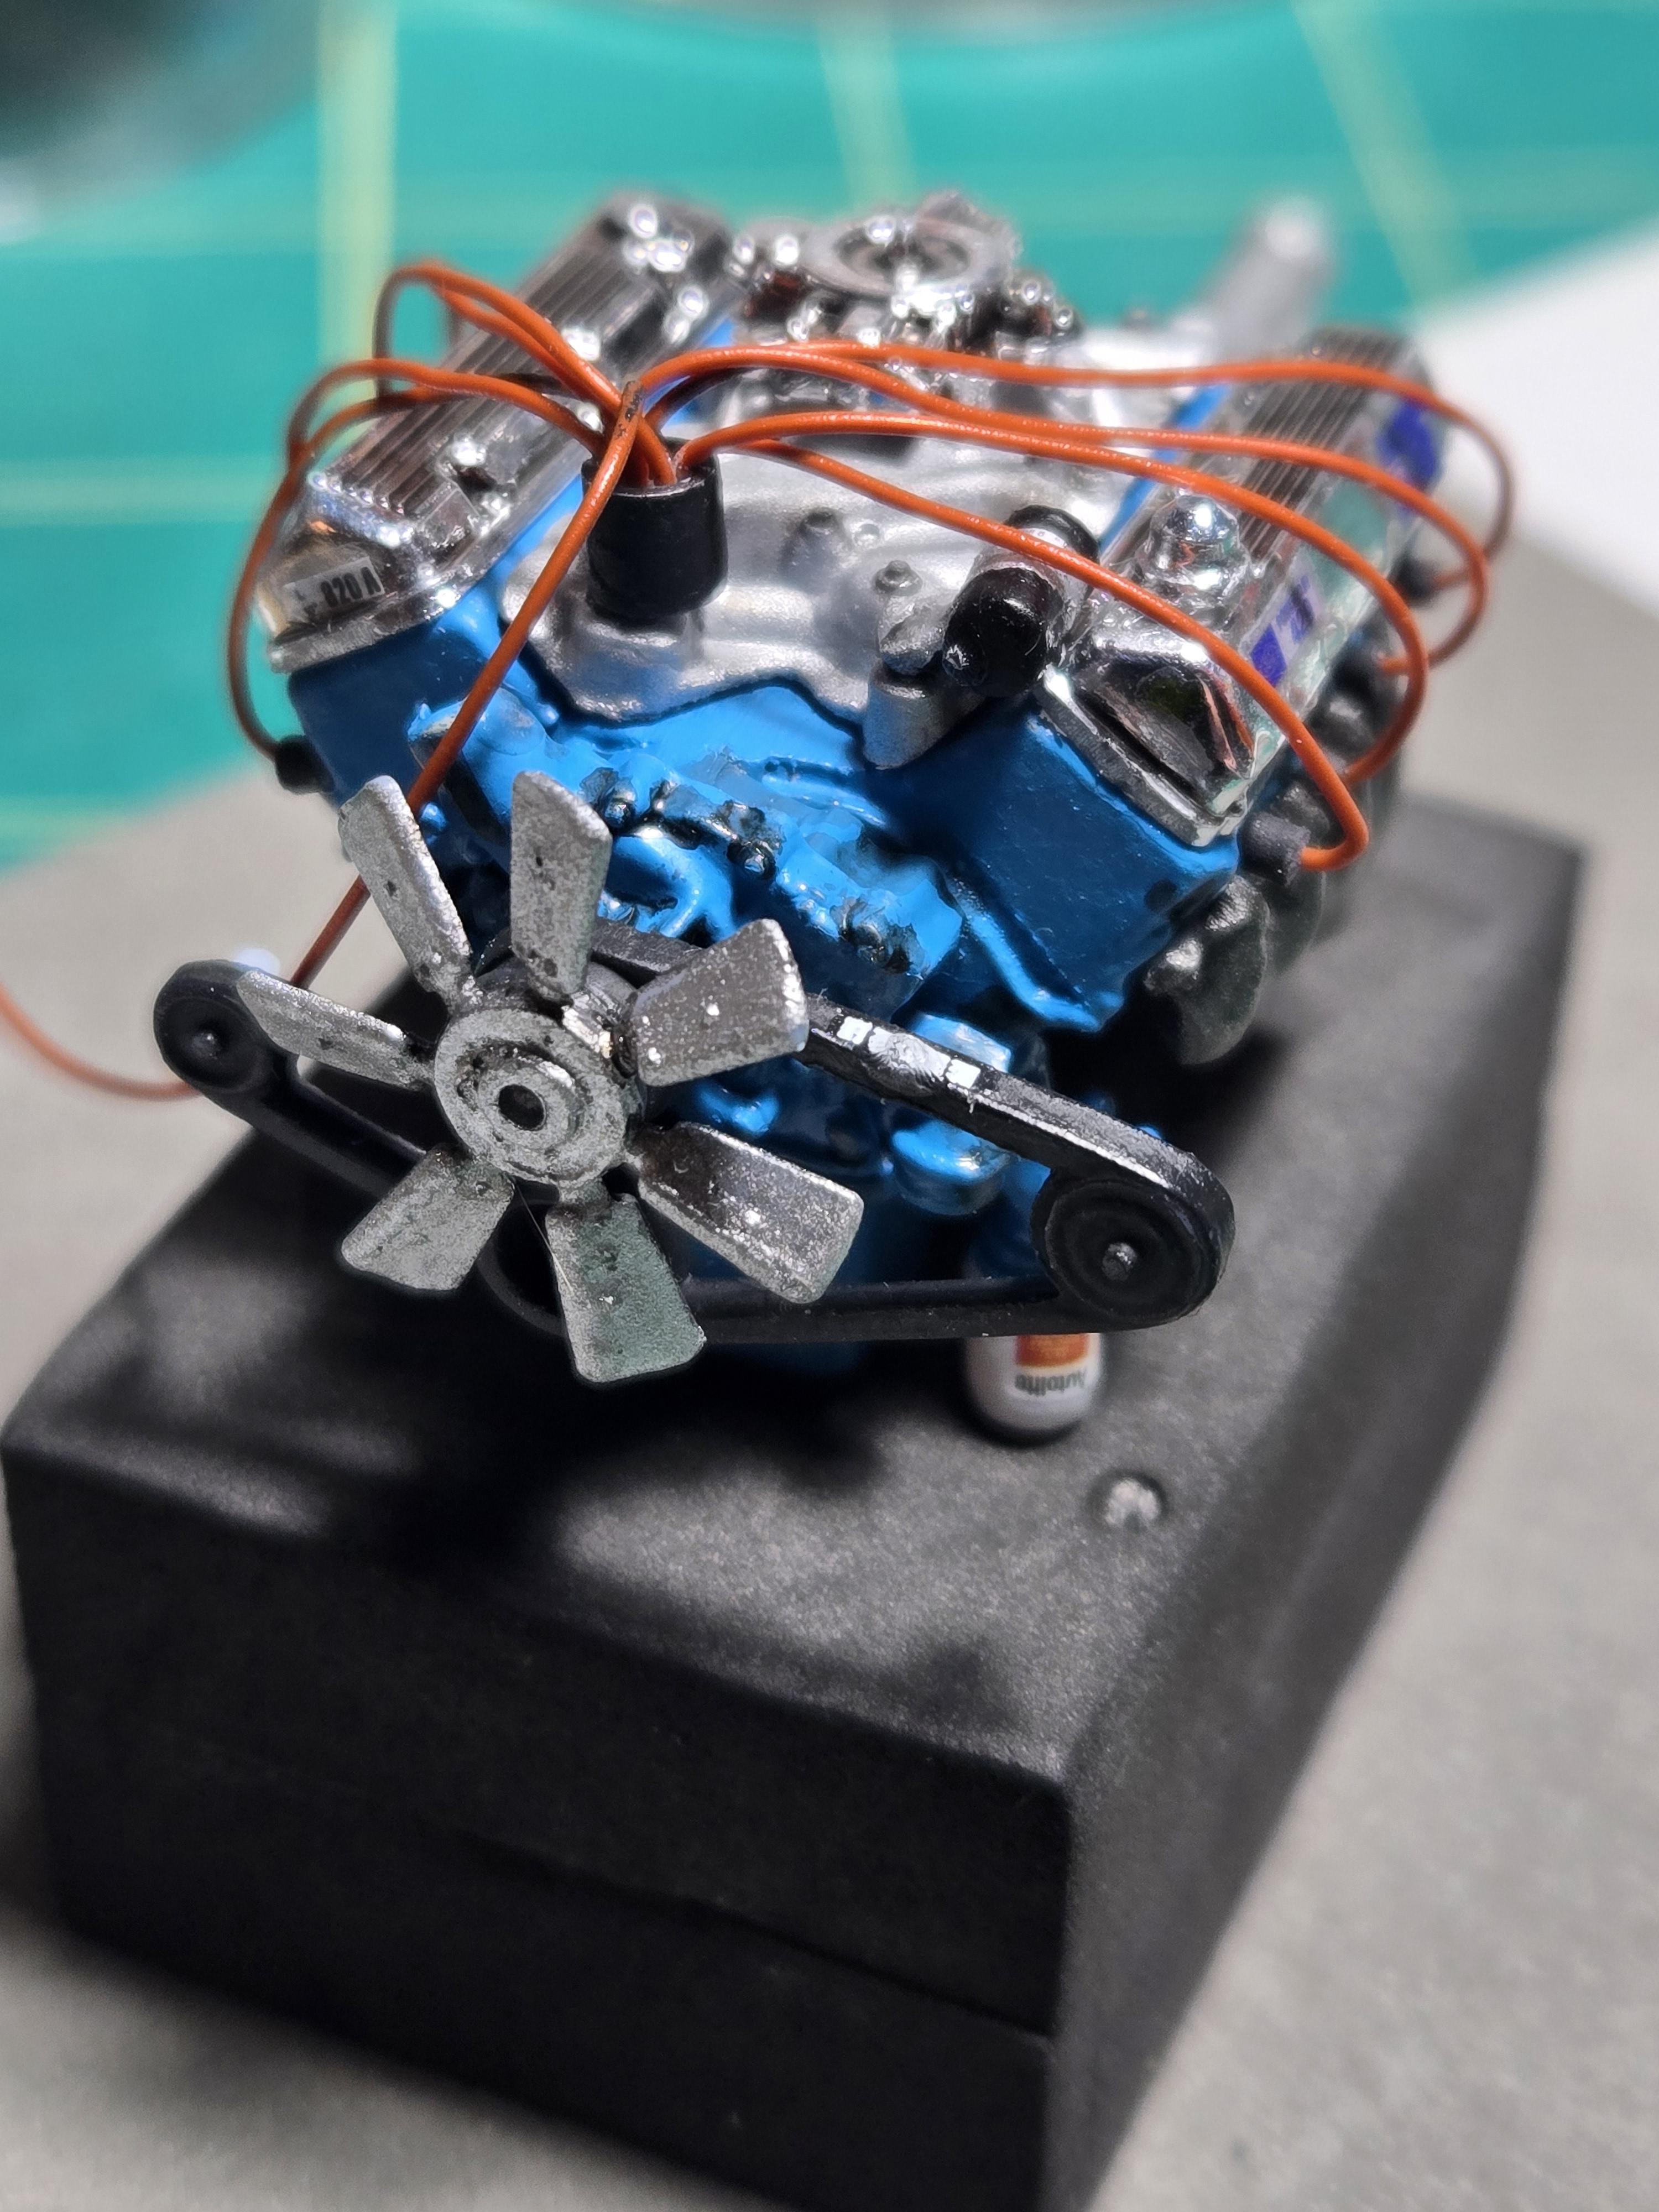
Second ever attempt at installing plugs wires went pretty well. I just happened to have a set of brown wires in the stash. The color matched the body to good not to use. I managed to get a glue drop on the belts, right on top of the decal :(.
-
Thanks for all the tips. Any tricks for getting these... To look like these... Paint and a tiny decal, I know.
-
I would love to see more specifics on the guitar string technique. I've seen people "unwrap" them?
-
Engine was coming along nicely... Until the alternator went...!MISSING!
-
Everything was going fine... Two things though. What is an easy technic to add a little life to the flat black chassis? And, shouldn't there be some kind of bracket piece here?
-
So close, Fiery Orange. More glitter than I was looking for, but it'll fly. Do l clearcoat before decals? Do I rub it out and spray more color? I forget the sequence of events.
-
Ok, so... I was going for this... Got this... I'm not loving it, but when you get rattle cans online it can be a roll of the dice. What do you think?
-
Thanks for this. Your work looks nice and clean. I'm leery of the flange/bevel at the base of the WS in matching the curvature.
-
Agreed. I would mod both sides. Oh, and...Blue Schmoo!
-
Does the engine have to be blue?