Stanward VonDiederichs
-
Posts
348 -
Joined
-
Last visited
Recent Profile Visitors
1,637 profile views


Stanward VonDiederichs's Achievements
MCM Avid Poster (5/6)
-
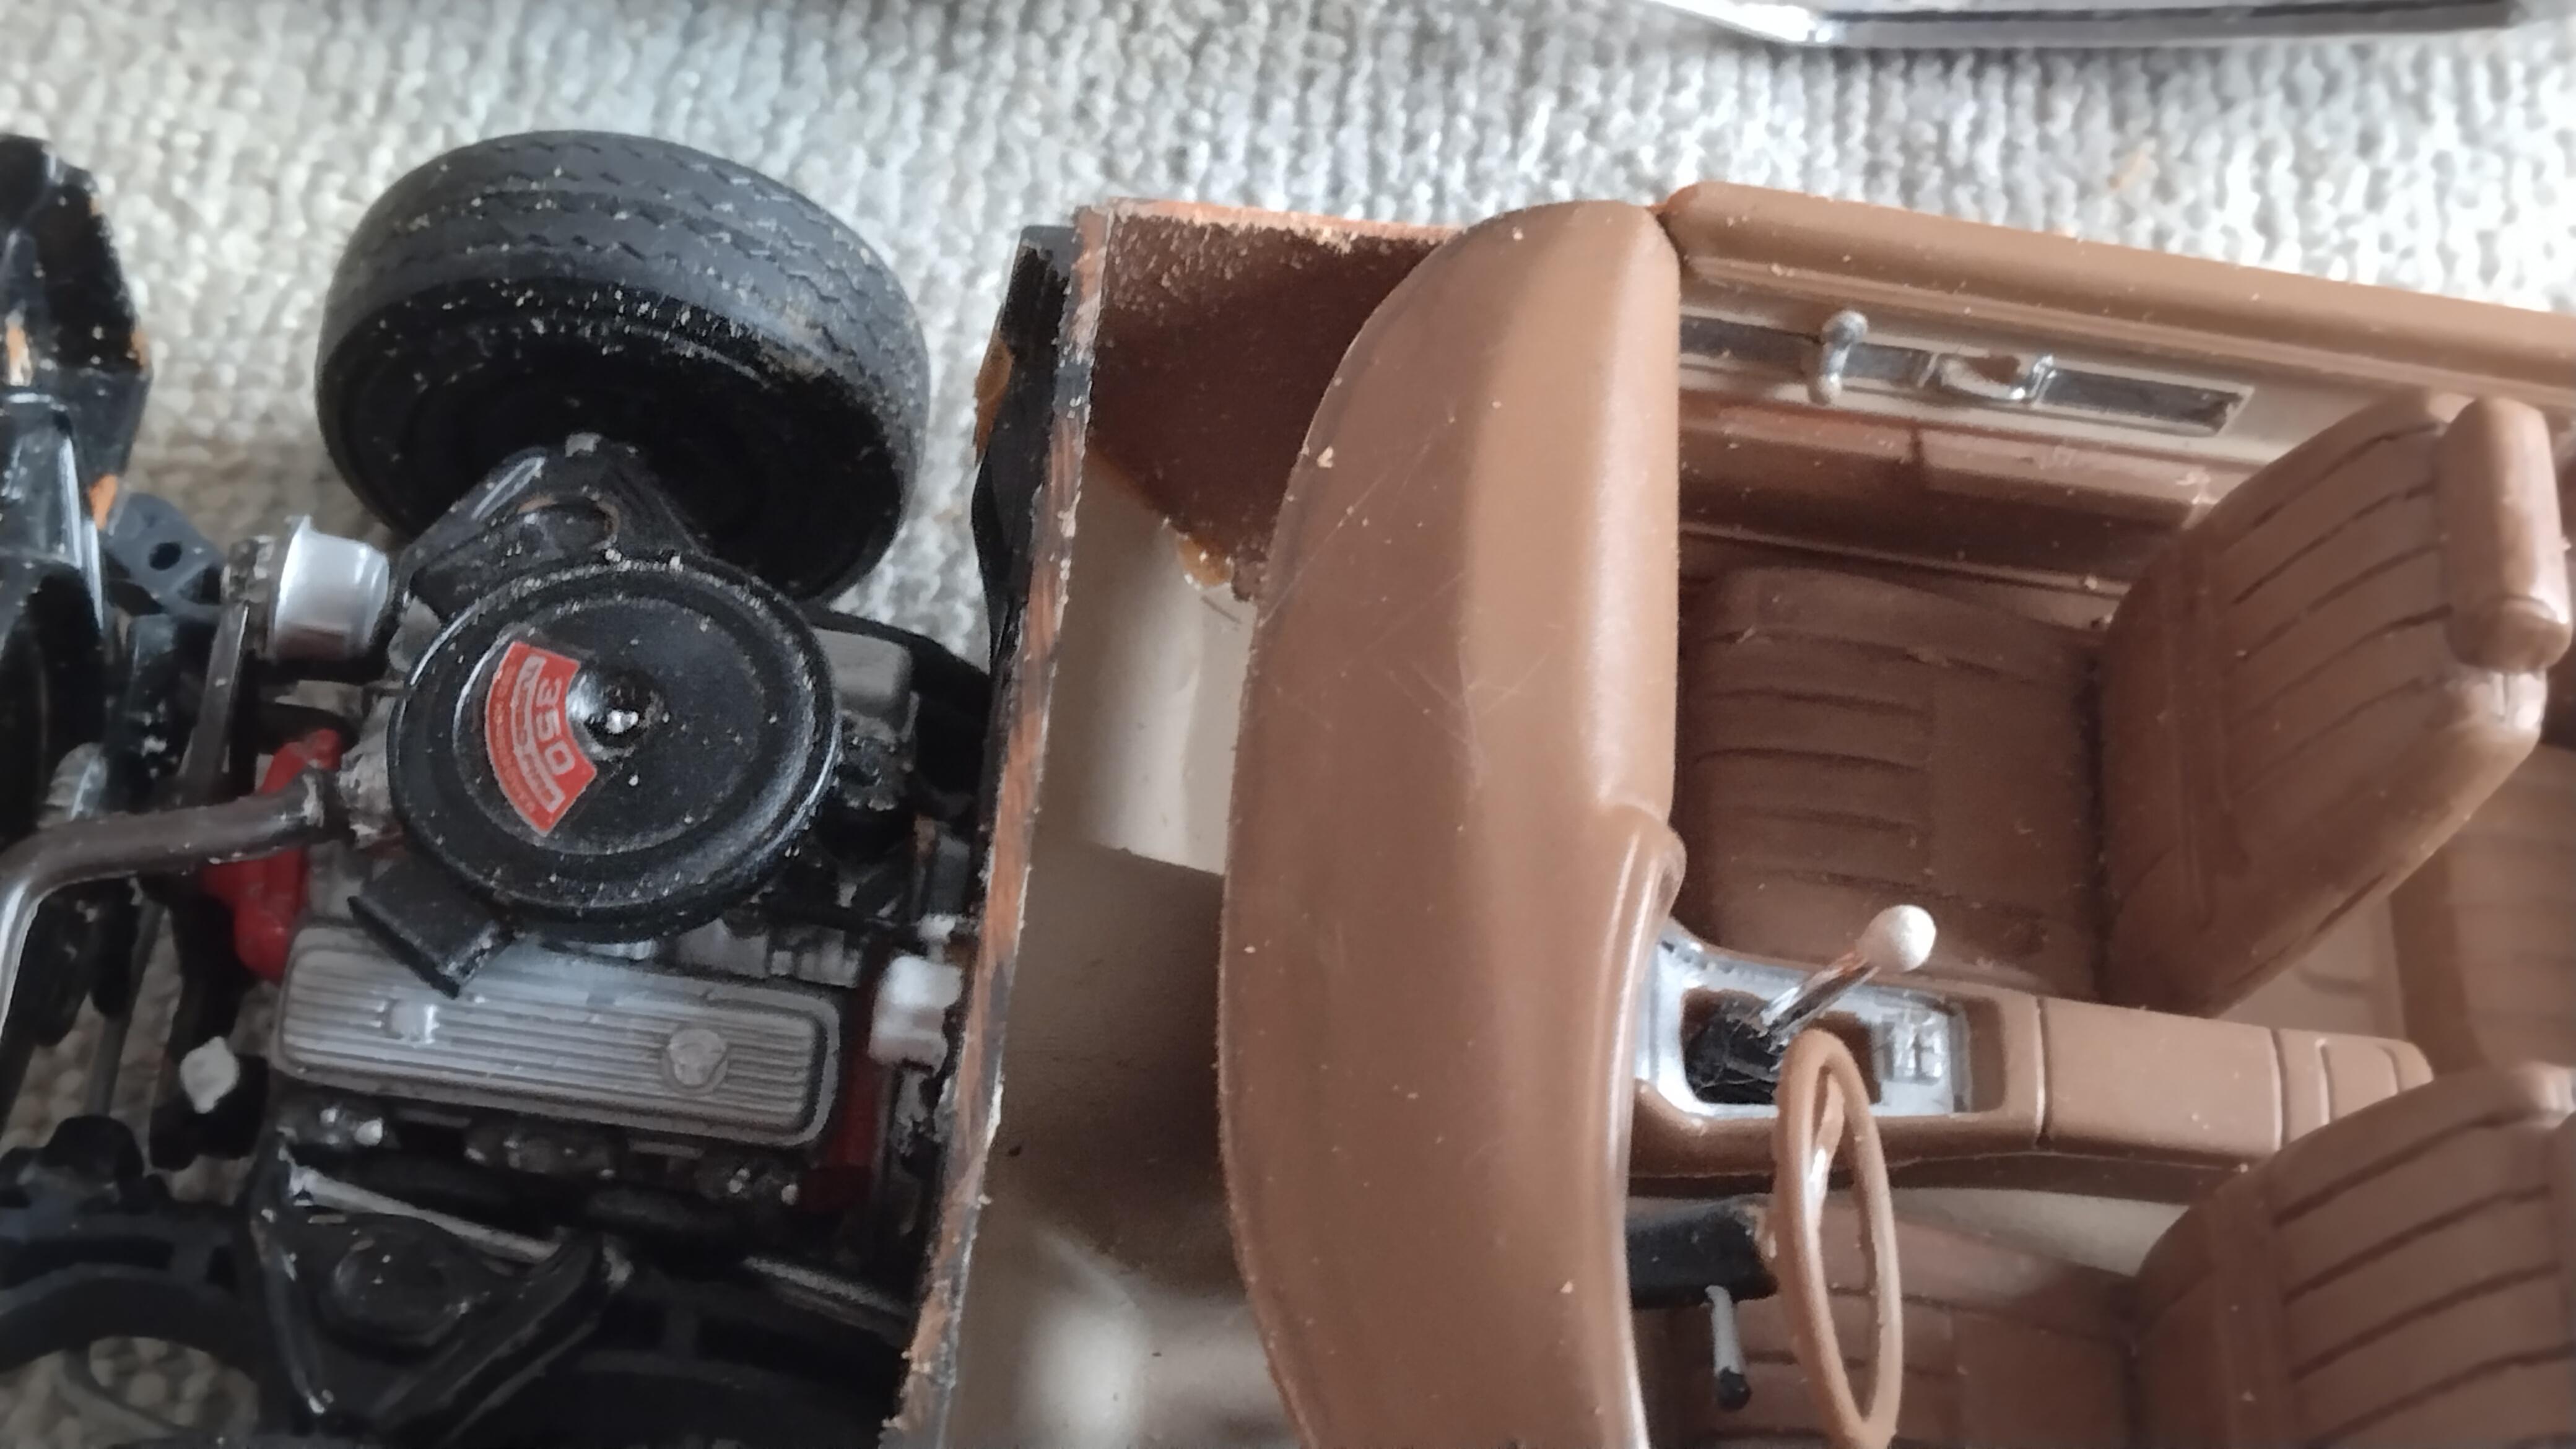
 Out of curiosity did you have the same problems with the interior like I did. Your interior seems to have fit pretty nicely. That Camel interior looks pretty nice on the finish car the color is that burnt orange?
 -
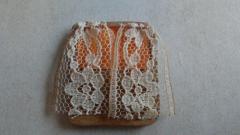
Interior having patterns worked out great and trimming part of the interior pod

-
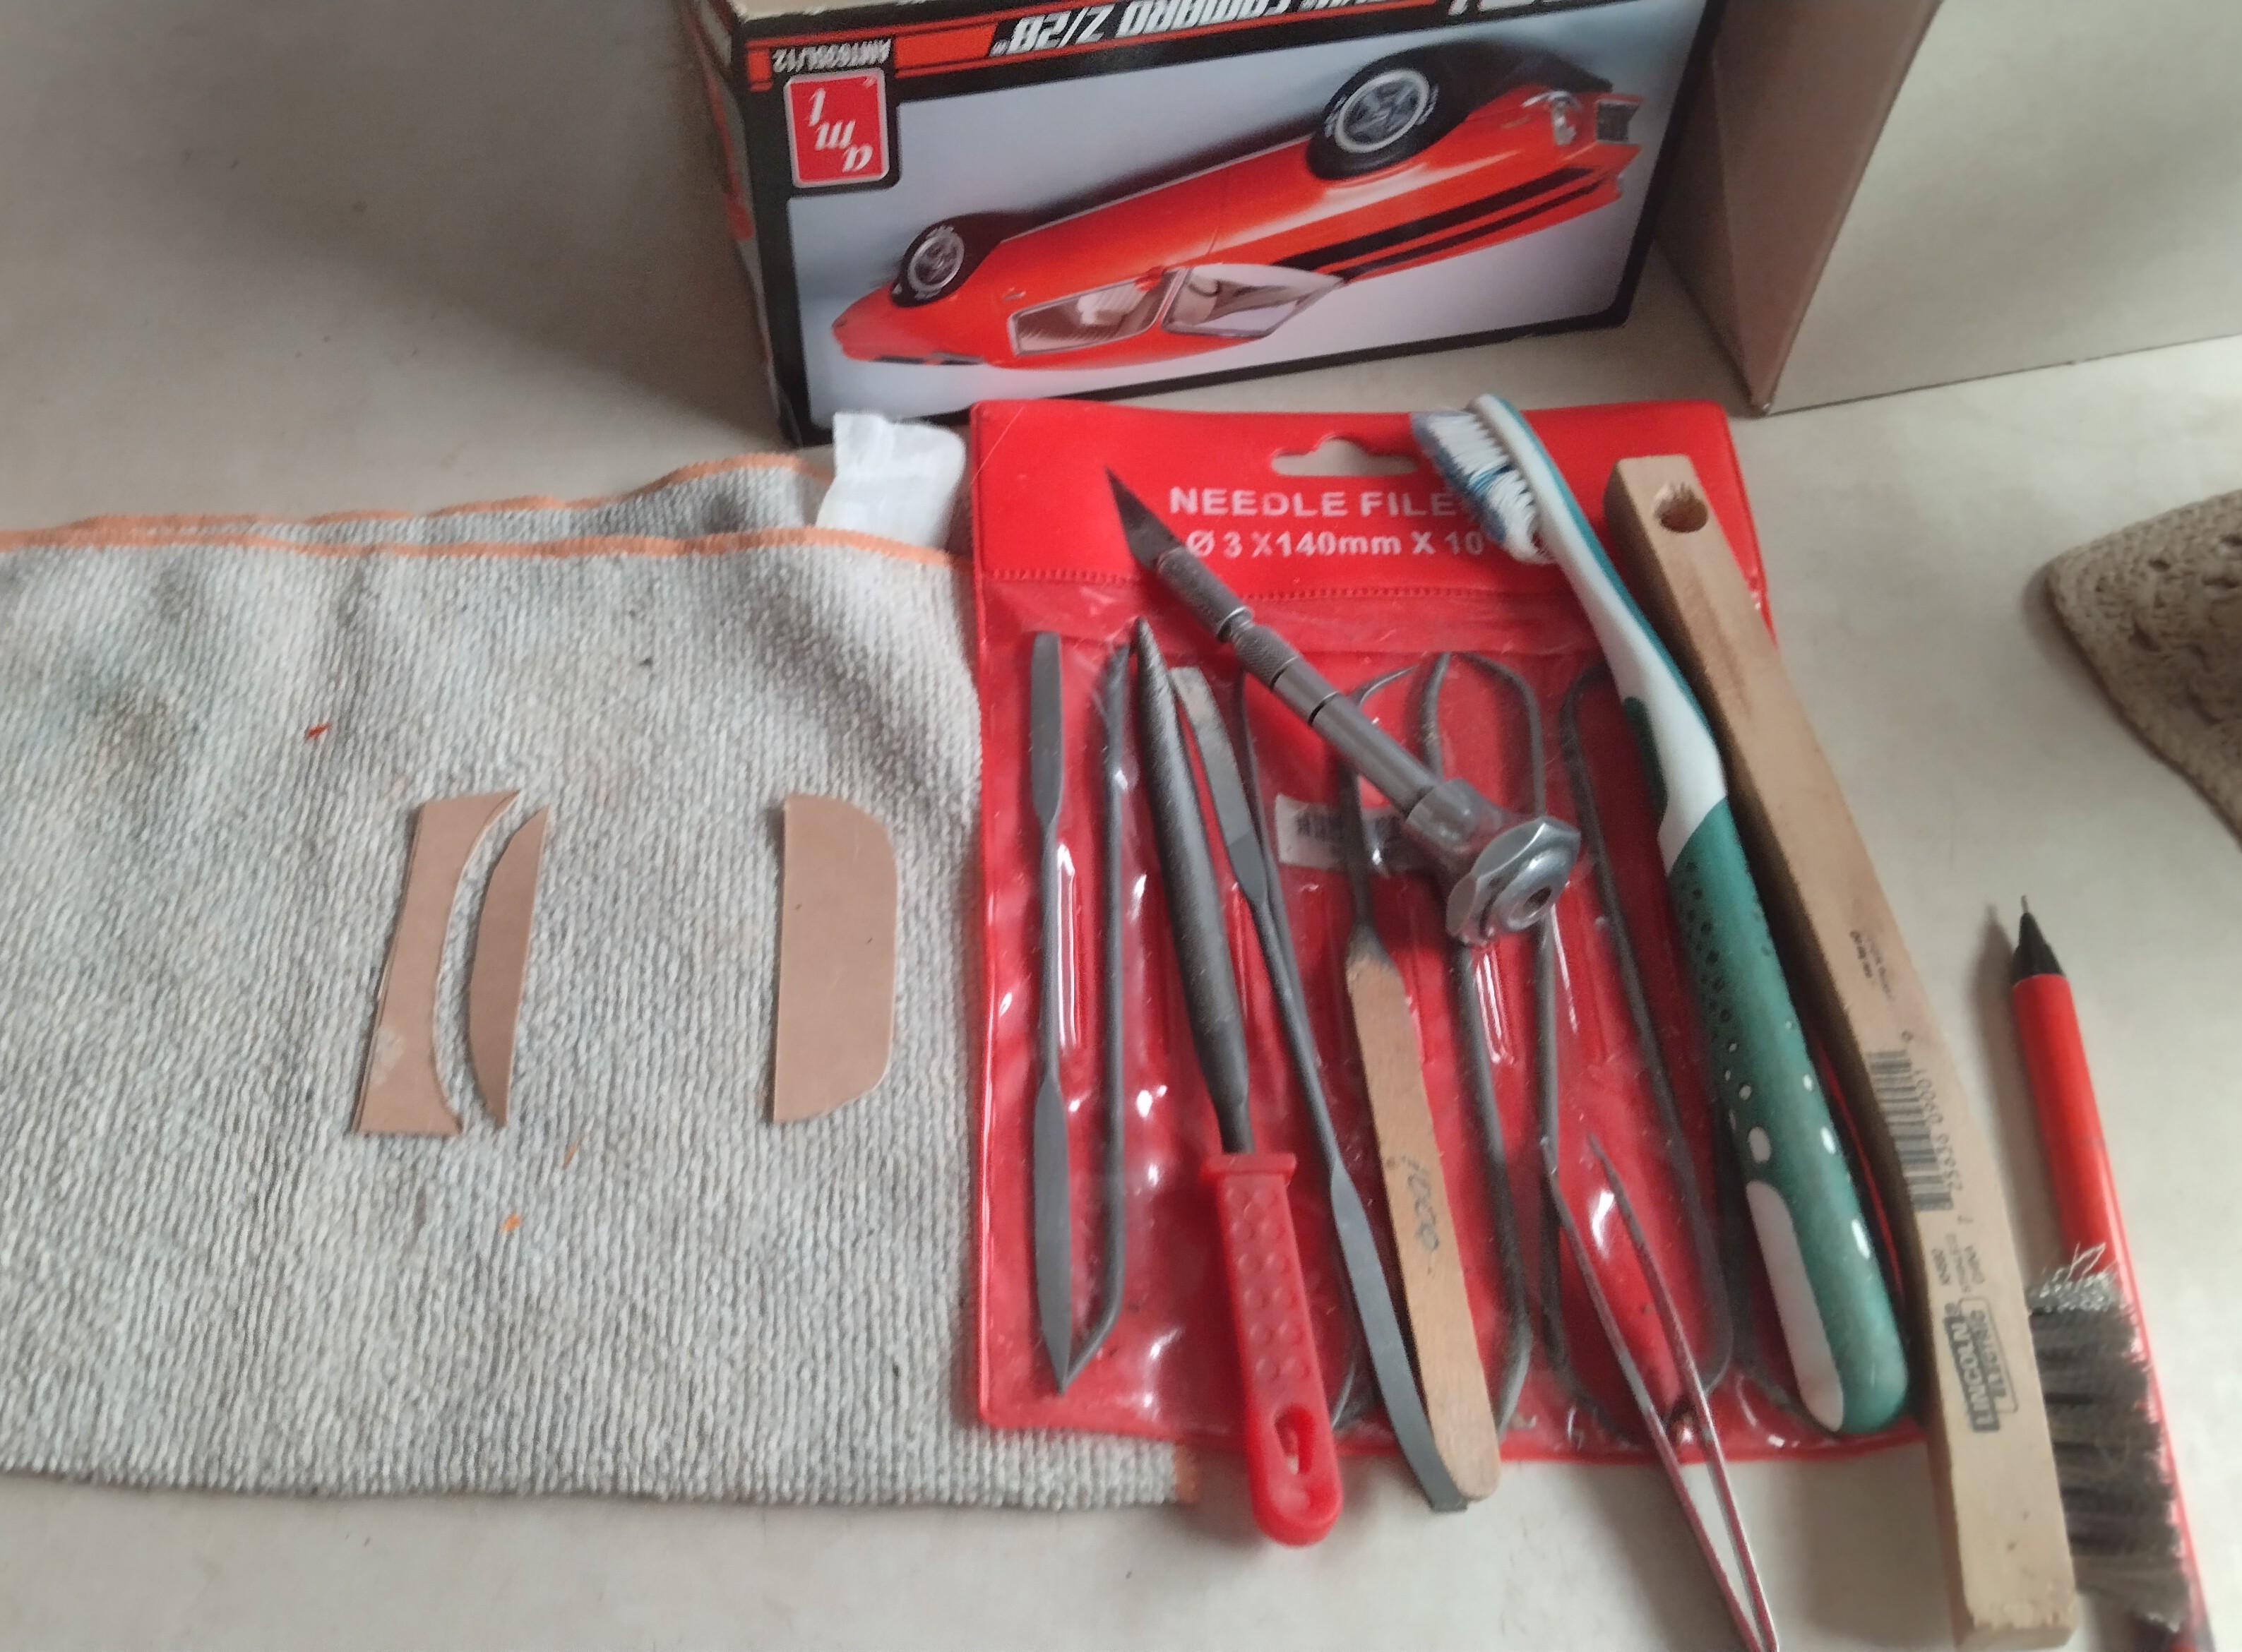
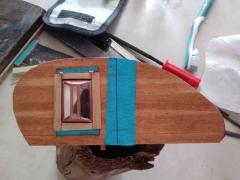
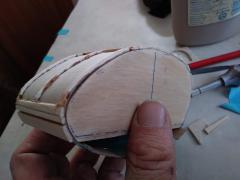
These are the tools to do this job I have no power tools to use. Starting to shape the windows so the interior to fit and cutting a a pattern to get the interior in. After using the patterns and now ready to fit chassis to the body
-
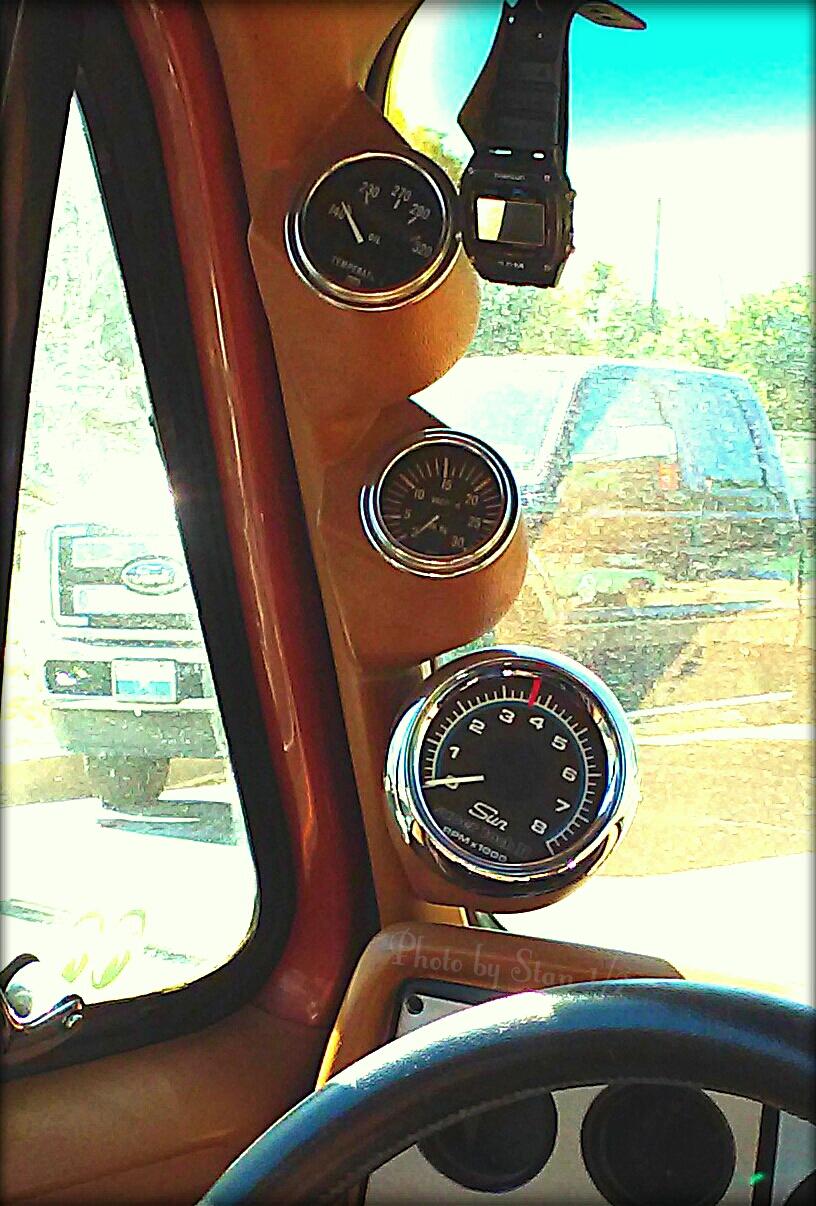
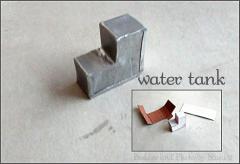
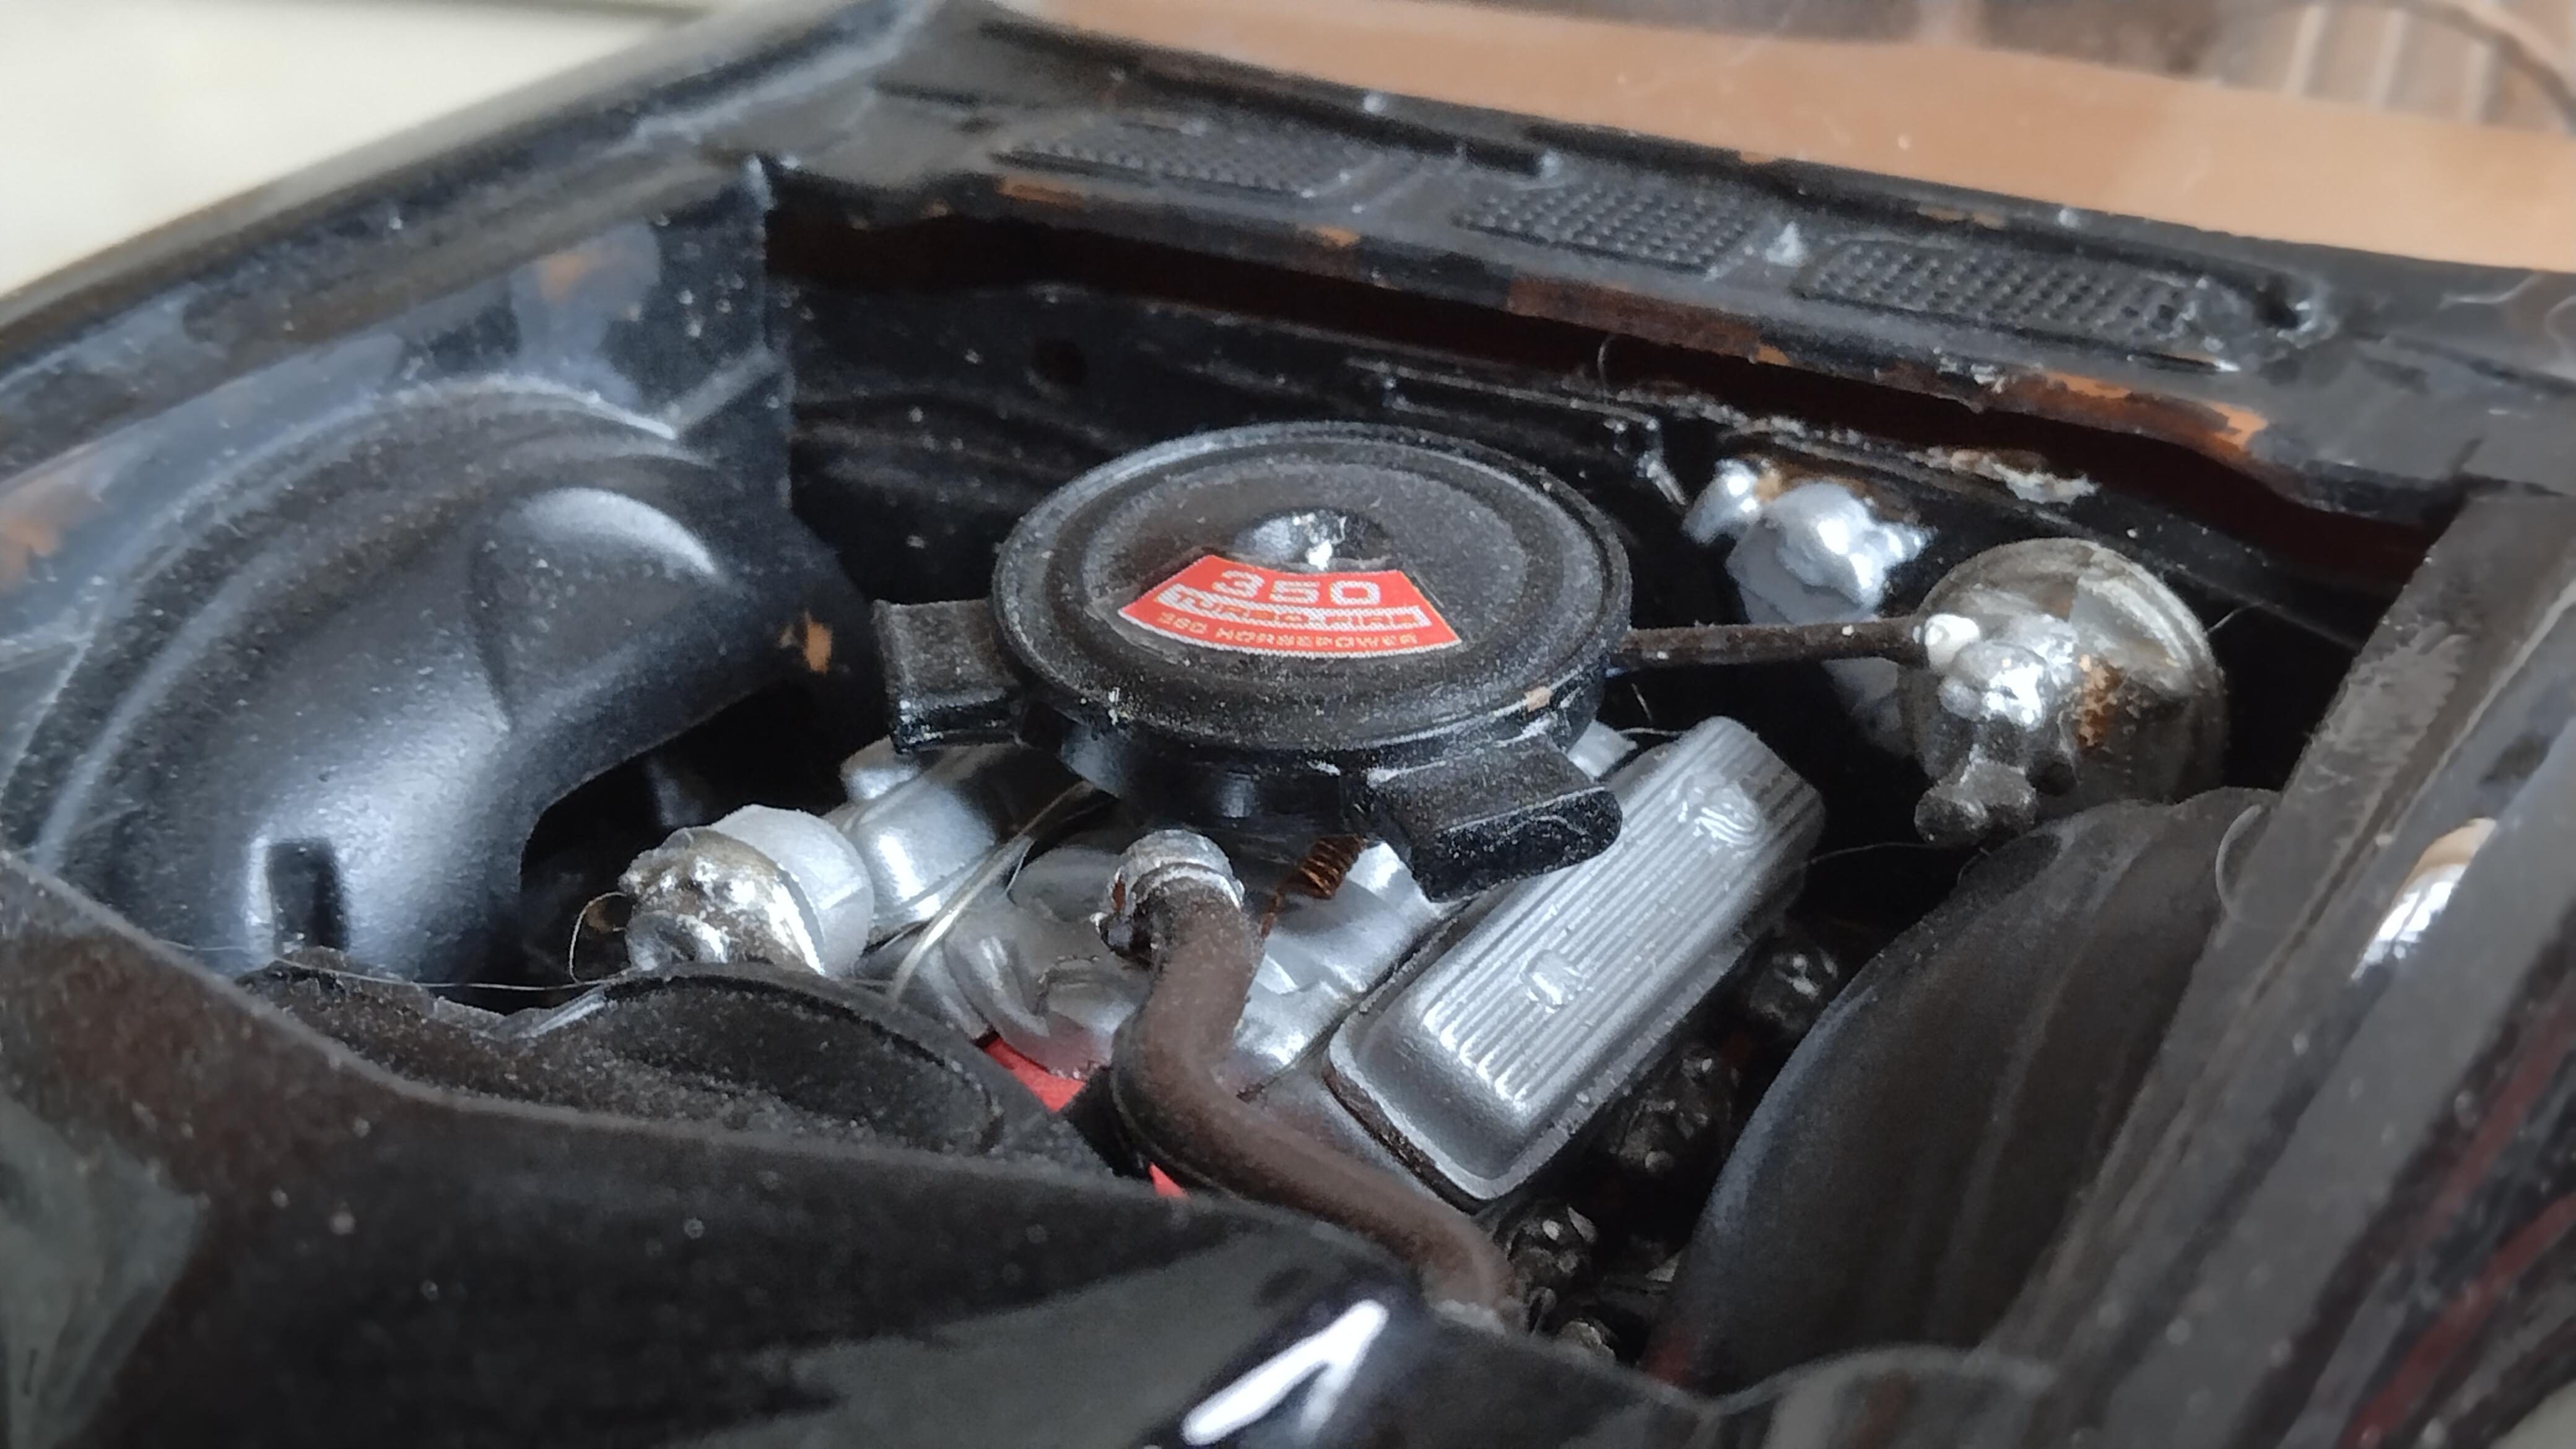
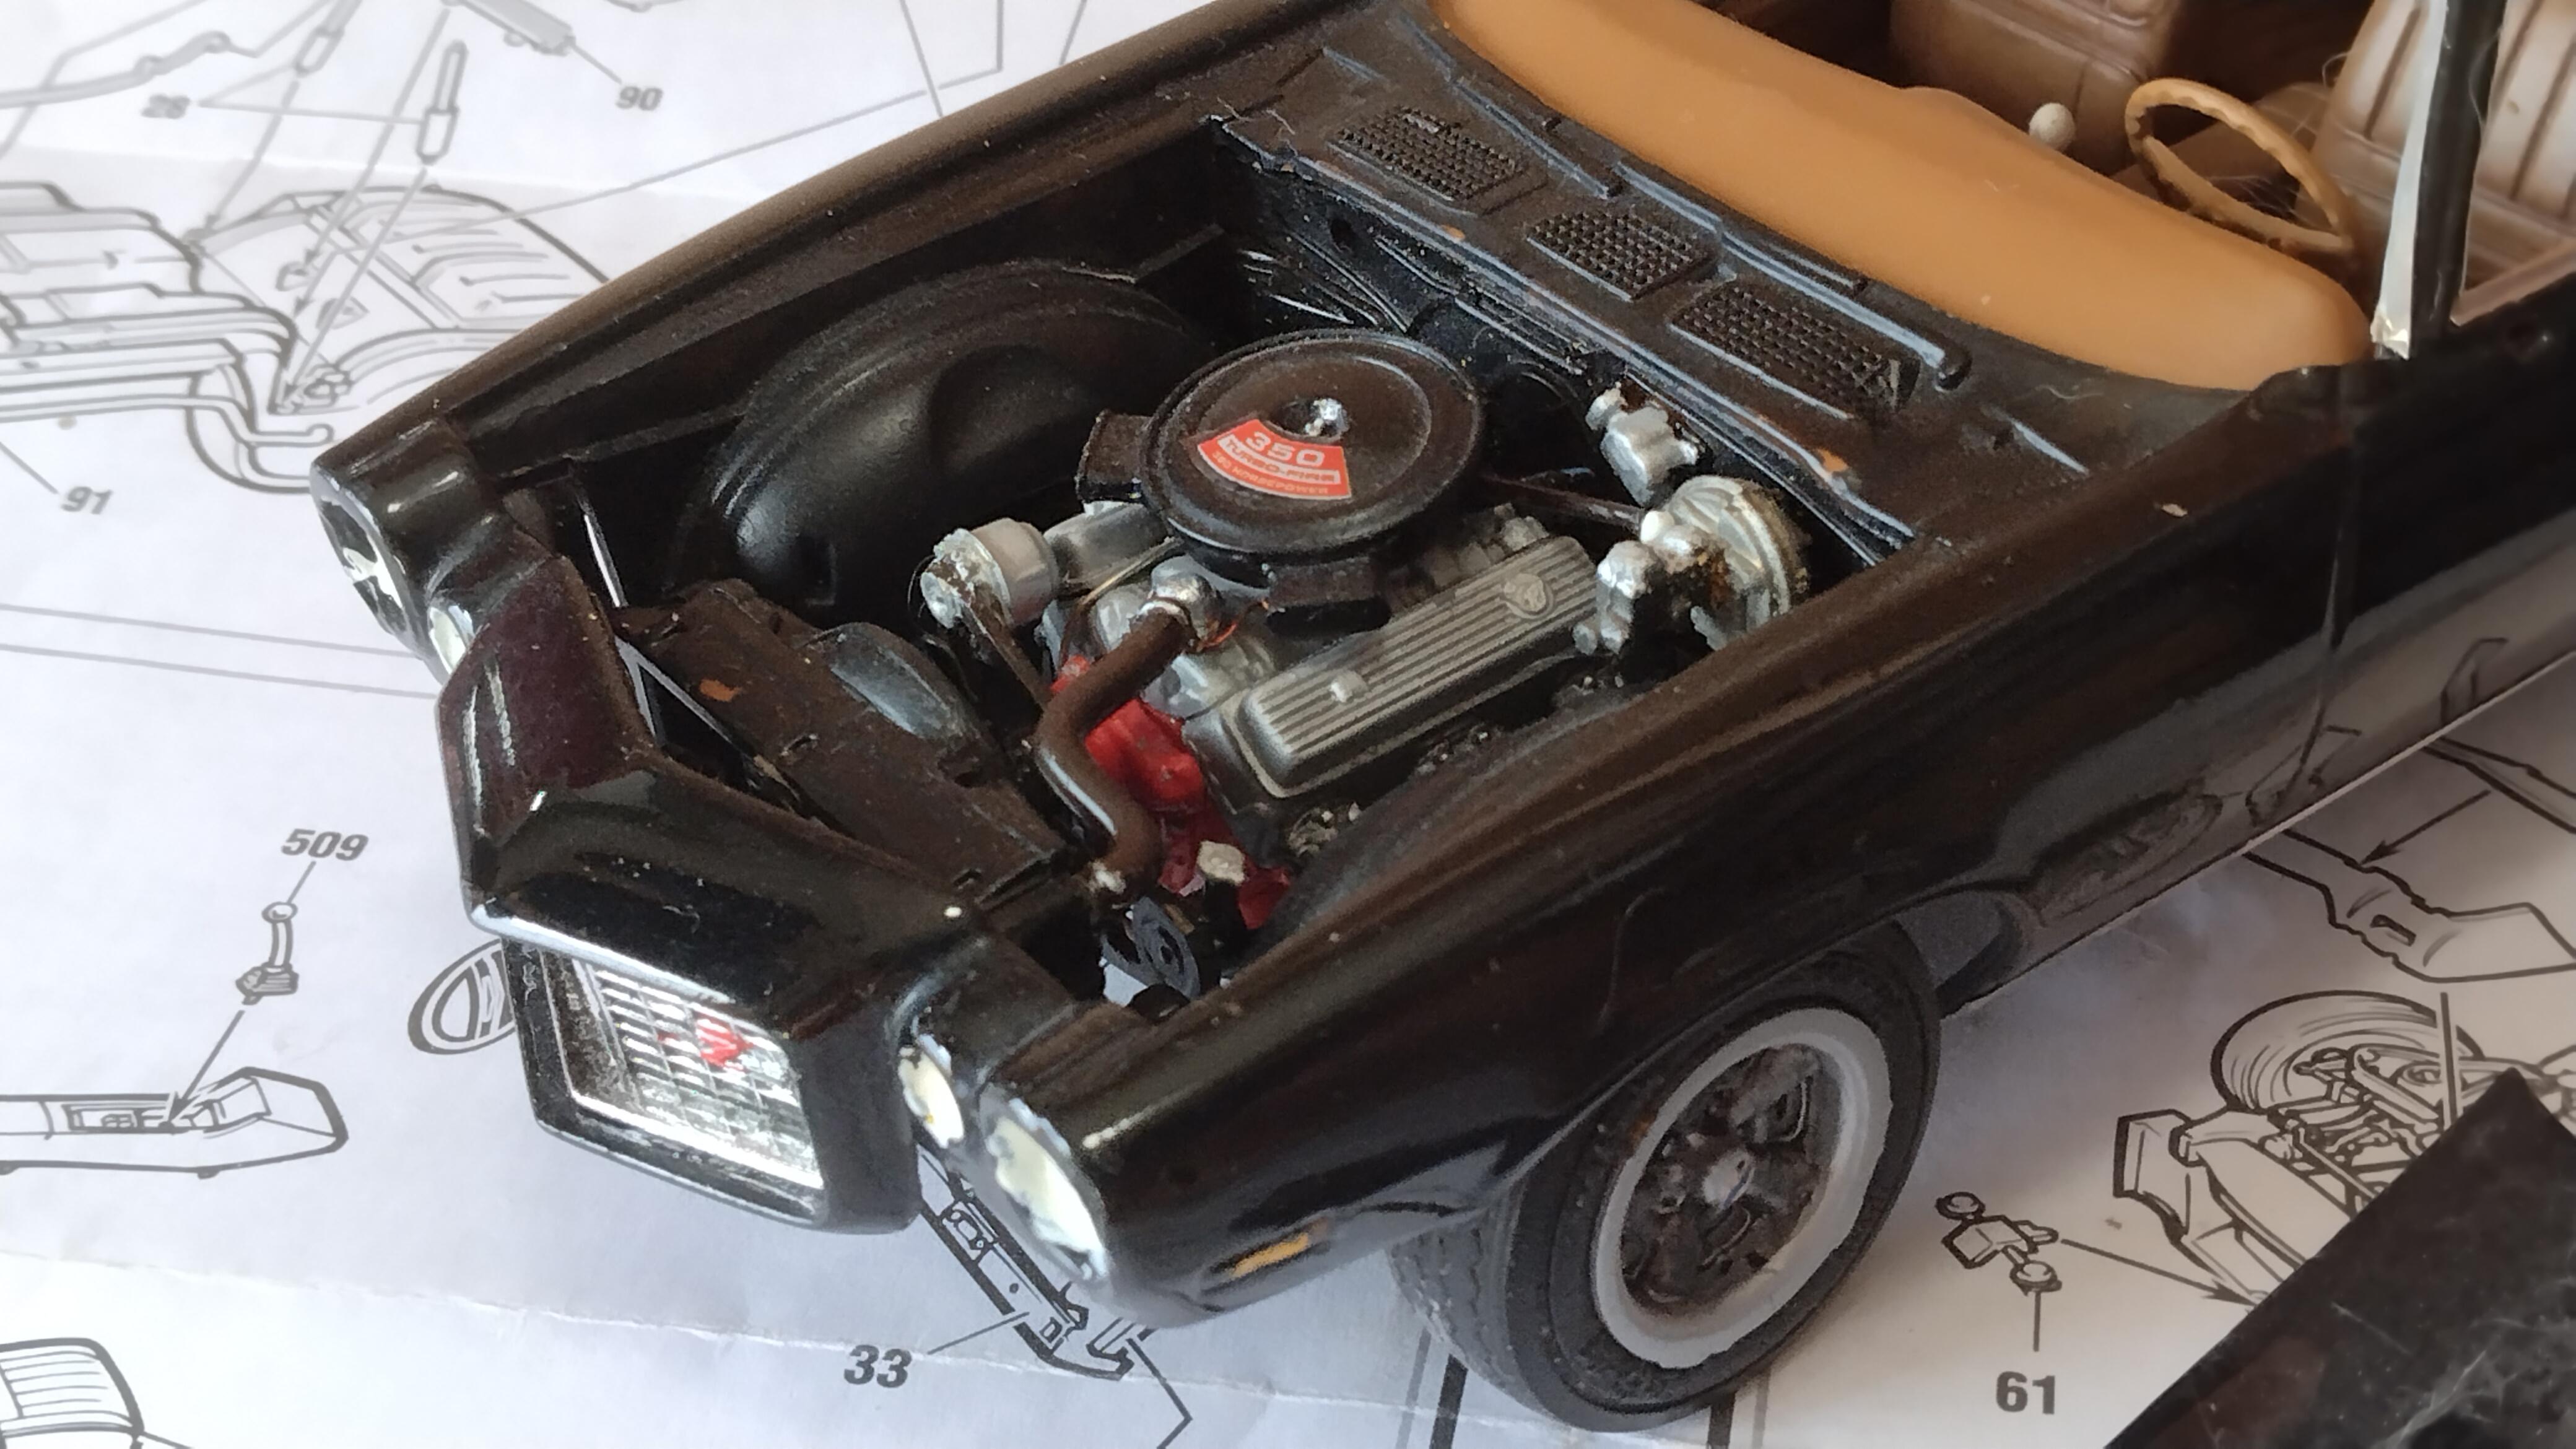
Some of my work a add gages for pulling a transmission tamp and vacuum gage and a tach mine is a Cheyenne and comes stock with a oil cooler and one ton suspension and two gas tank.
-
Hi I really like what you are doing the cabs are different from a 73-80 to a 81-87 all the early ones are step sides and short beds. Seeing long bed and early can kit wow and Texas 3D for the chassis works. You are doing a great job on your dream truck can't wait to see it finished.👍👏👏
-
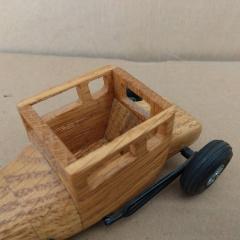
I'm also working on a 34 p/u stock looking the motor as Canadian heads and intake 2 carburetor manifold with real wood running boards and bed.
-
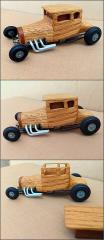
I like what you did with the 34 along with the backdrop to show the car I would like it sitting in front of my house. I knew someone with a 33 coupe.
-
I had a 62 with a 304 Best trucks made international those engines are bulletproof and out live the body's.
-
That looks interesting for a kit I like the bed it looks like a long bed I have a 80 long bed with a 5th wheel.
-
© Builder and most photos by Stan1/2
-
 I built this in 1980 a tribute to the Outlaw coupe I remember when I was young in magazines a 5-6 years old kid it was Cool for years I wondered whatever happened to it wasn't until later I heard the story what happened much later I ran across in search photos of the car and burning and on the roof. The tribute car was a college project I was to build a stash box or a jewelry box the professor said that there was no artistic value in what I wanted to do. It made the outside showcase in the front row featured piece.
© Builder and most photos by Stan1/2
-
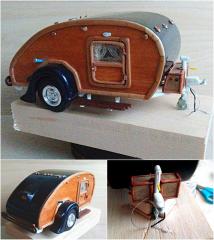
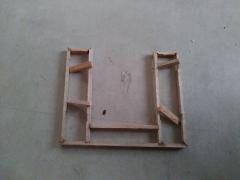
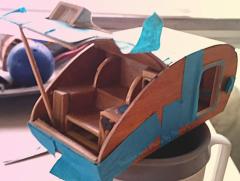
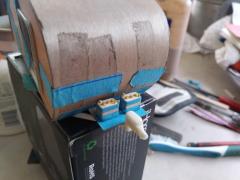
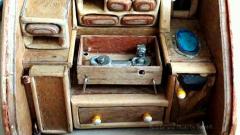
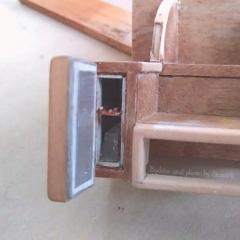
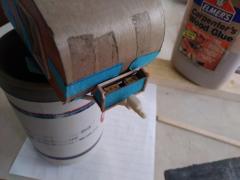
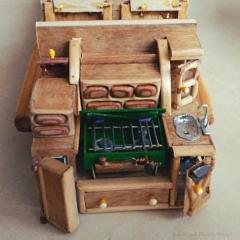
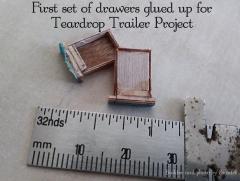
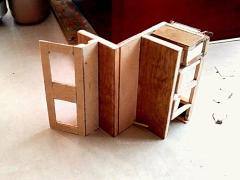
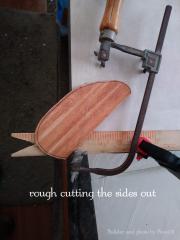
I hope everyone enjoys looking at how I made this teardrop trailer for me it was easy job but getting into it I found it very involved challenge. I've always wanted to do a 125th scale teardrop trailer at one of the houses this inspired me I lived in there was a teardrop trailer and it had history it belonged to the couple that owned the roller derby building and promoter for Pasadena and TV show. There was a portable roller Derby track underneath it rolled up. Are you old illustrations on building a teardrop trailer and had to then reduce them down 124th scale the one that gave me the most information was the one that shows the frame and then has off to the side illustrated drawings of what the kitchen side in the living side if you notice my trailer did I built followers that particular illustration.
-
-
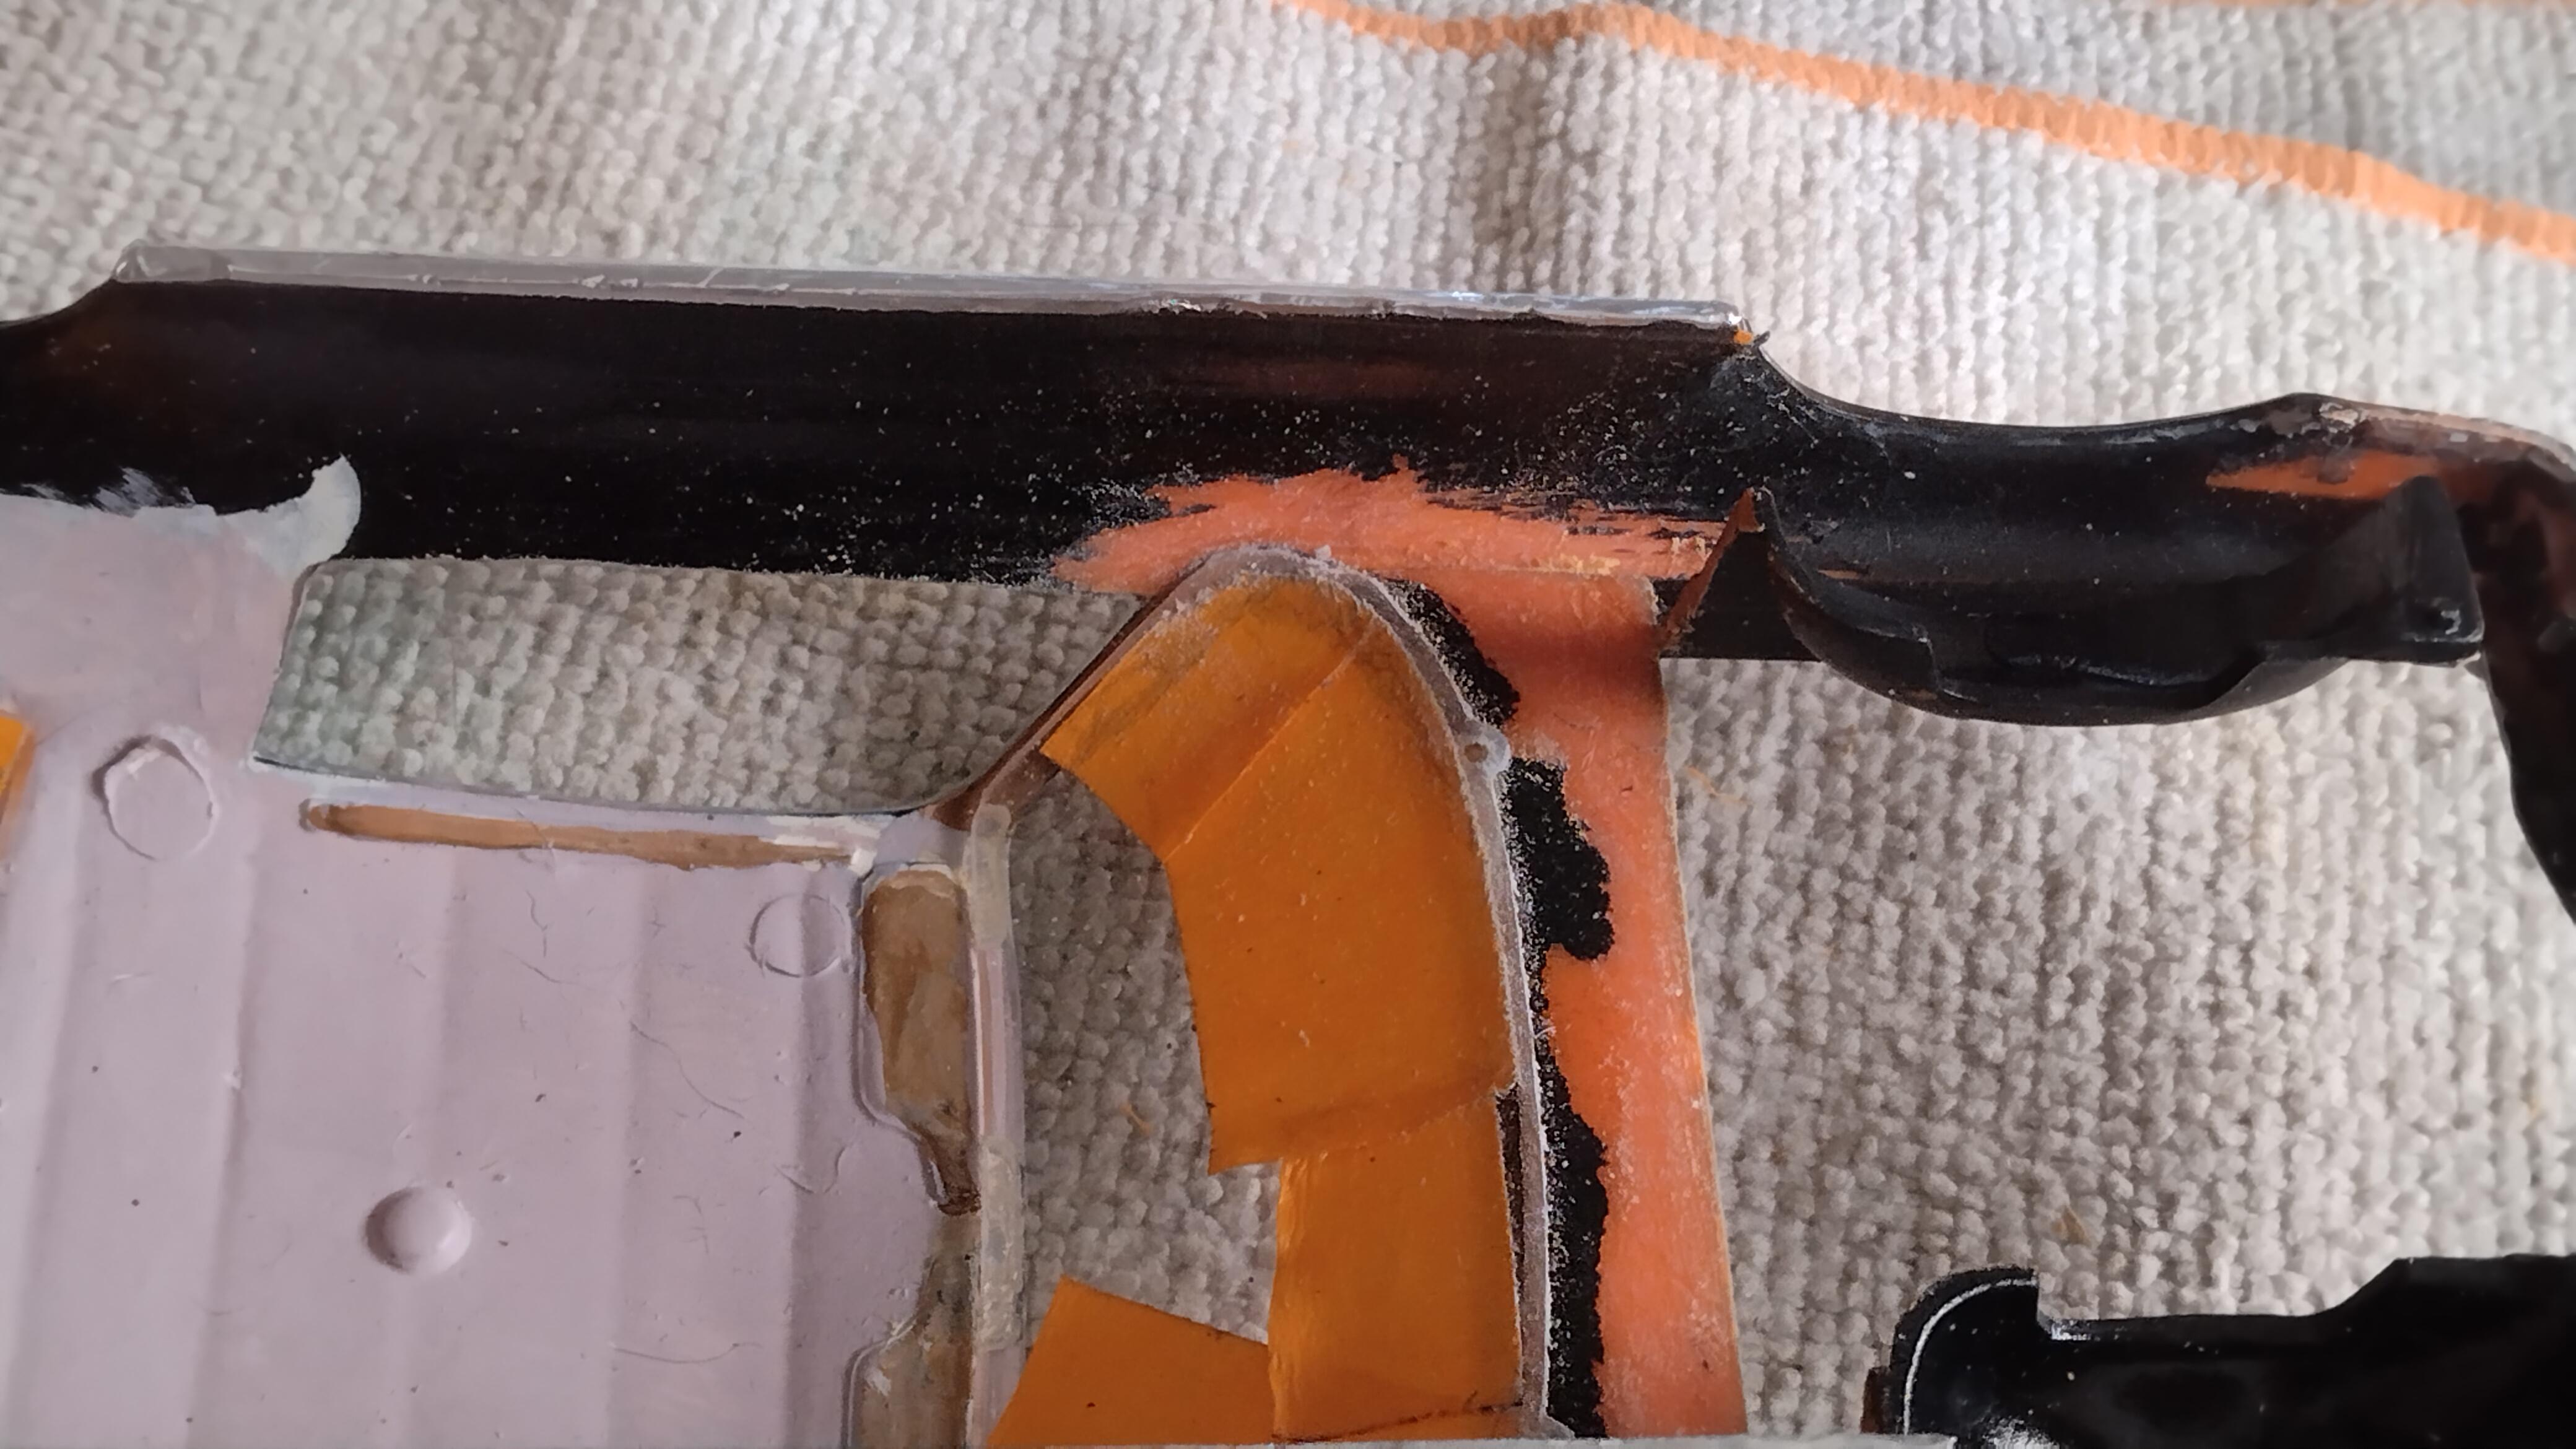
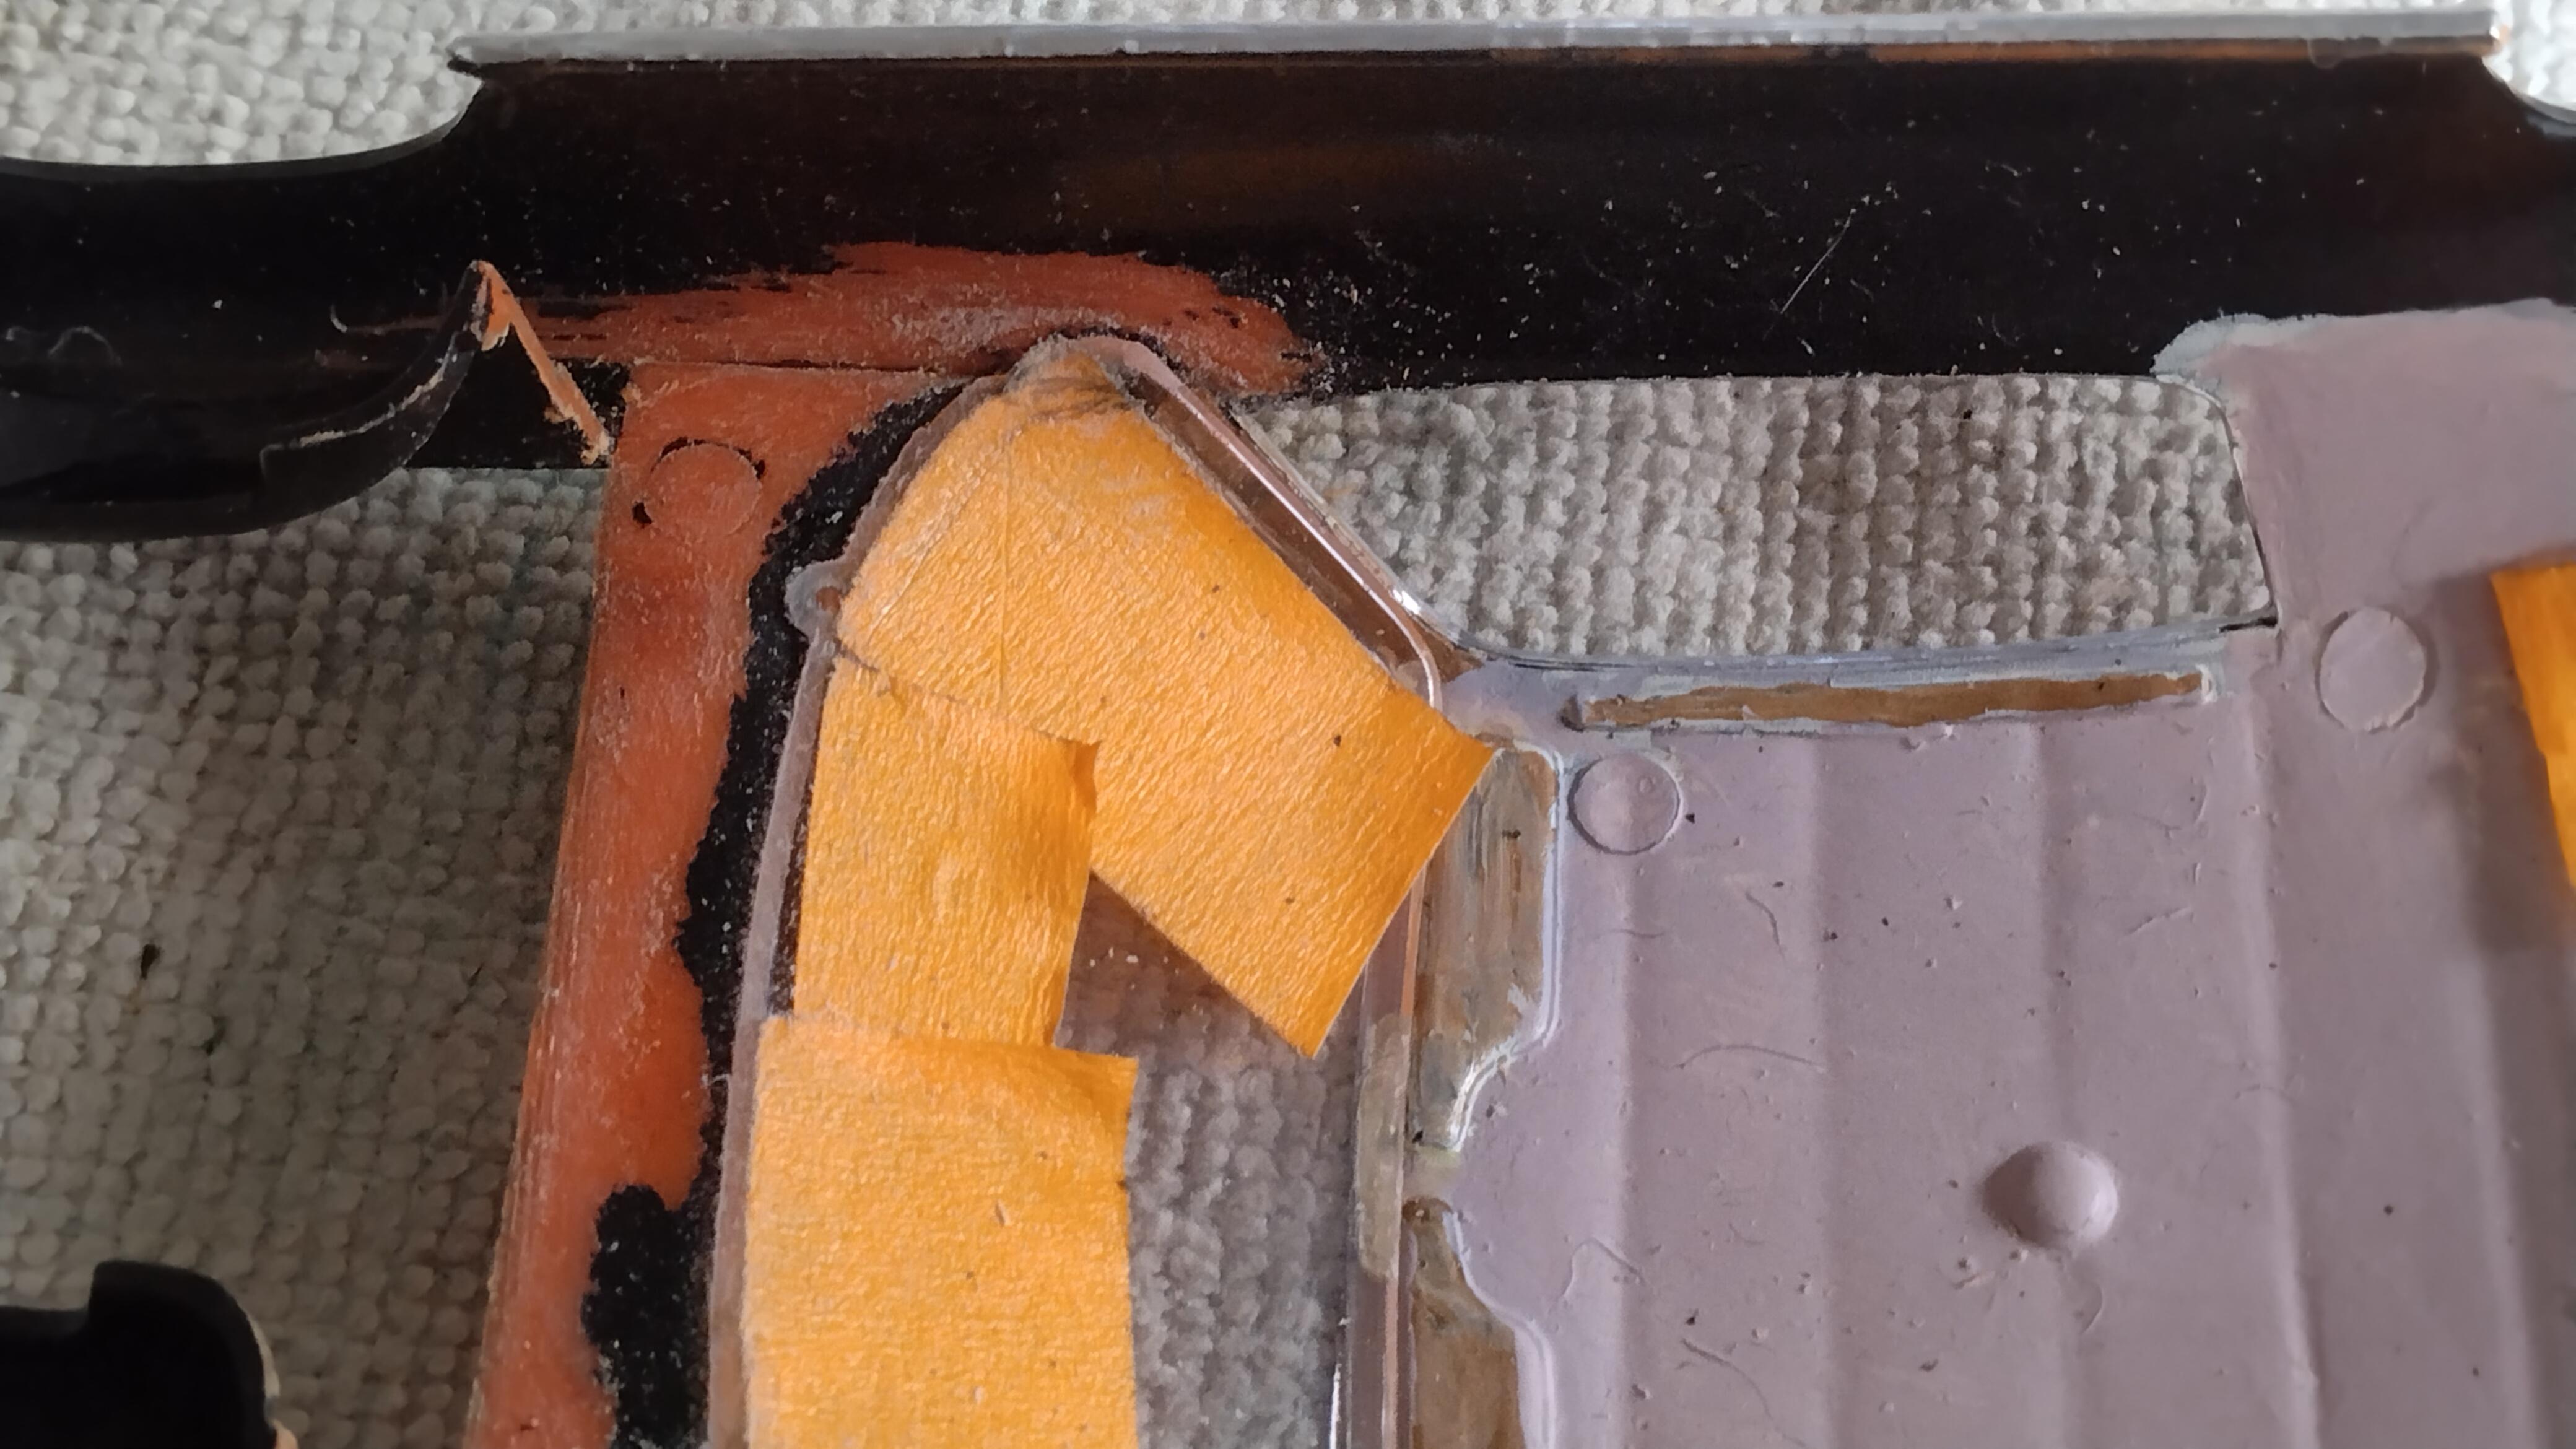
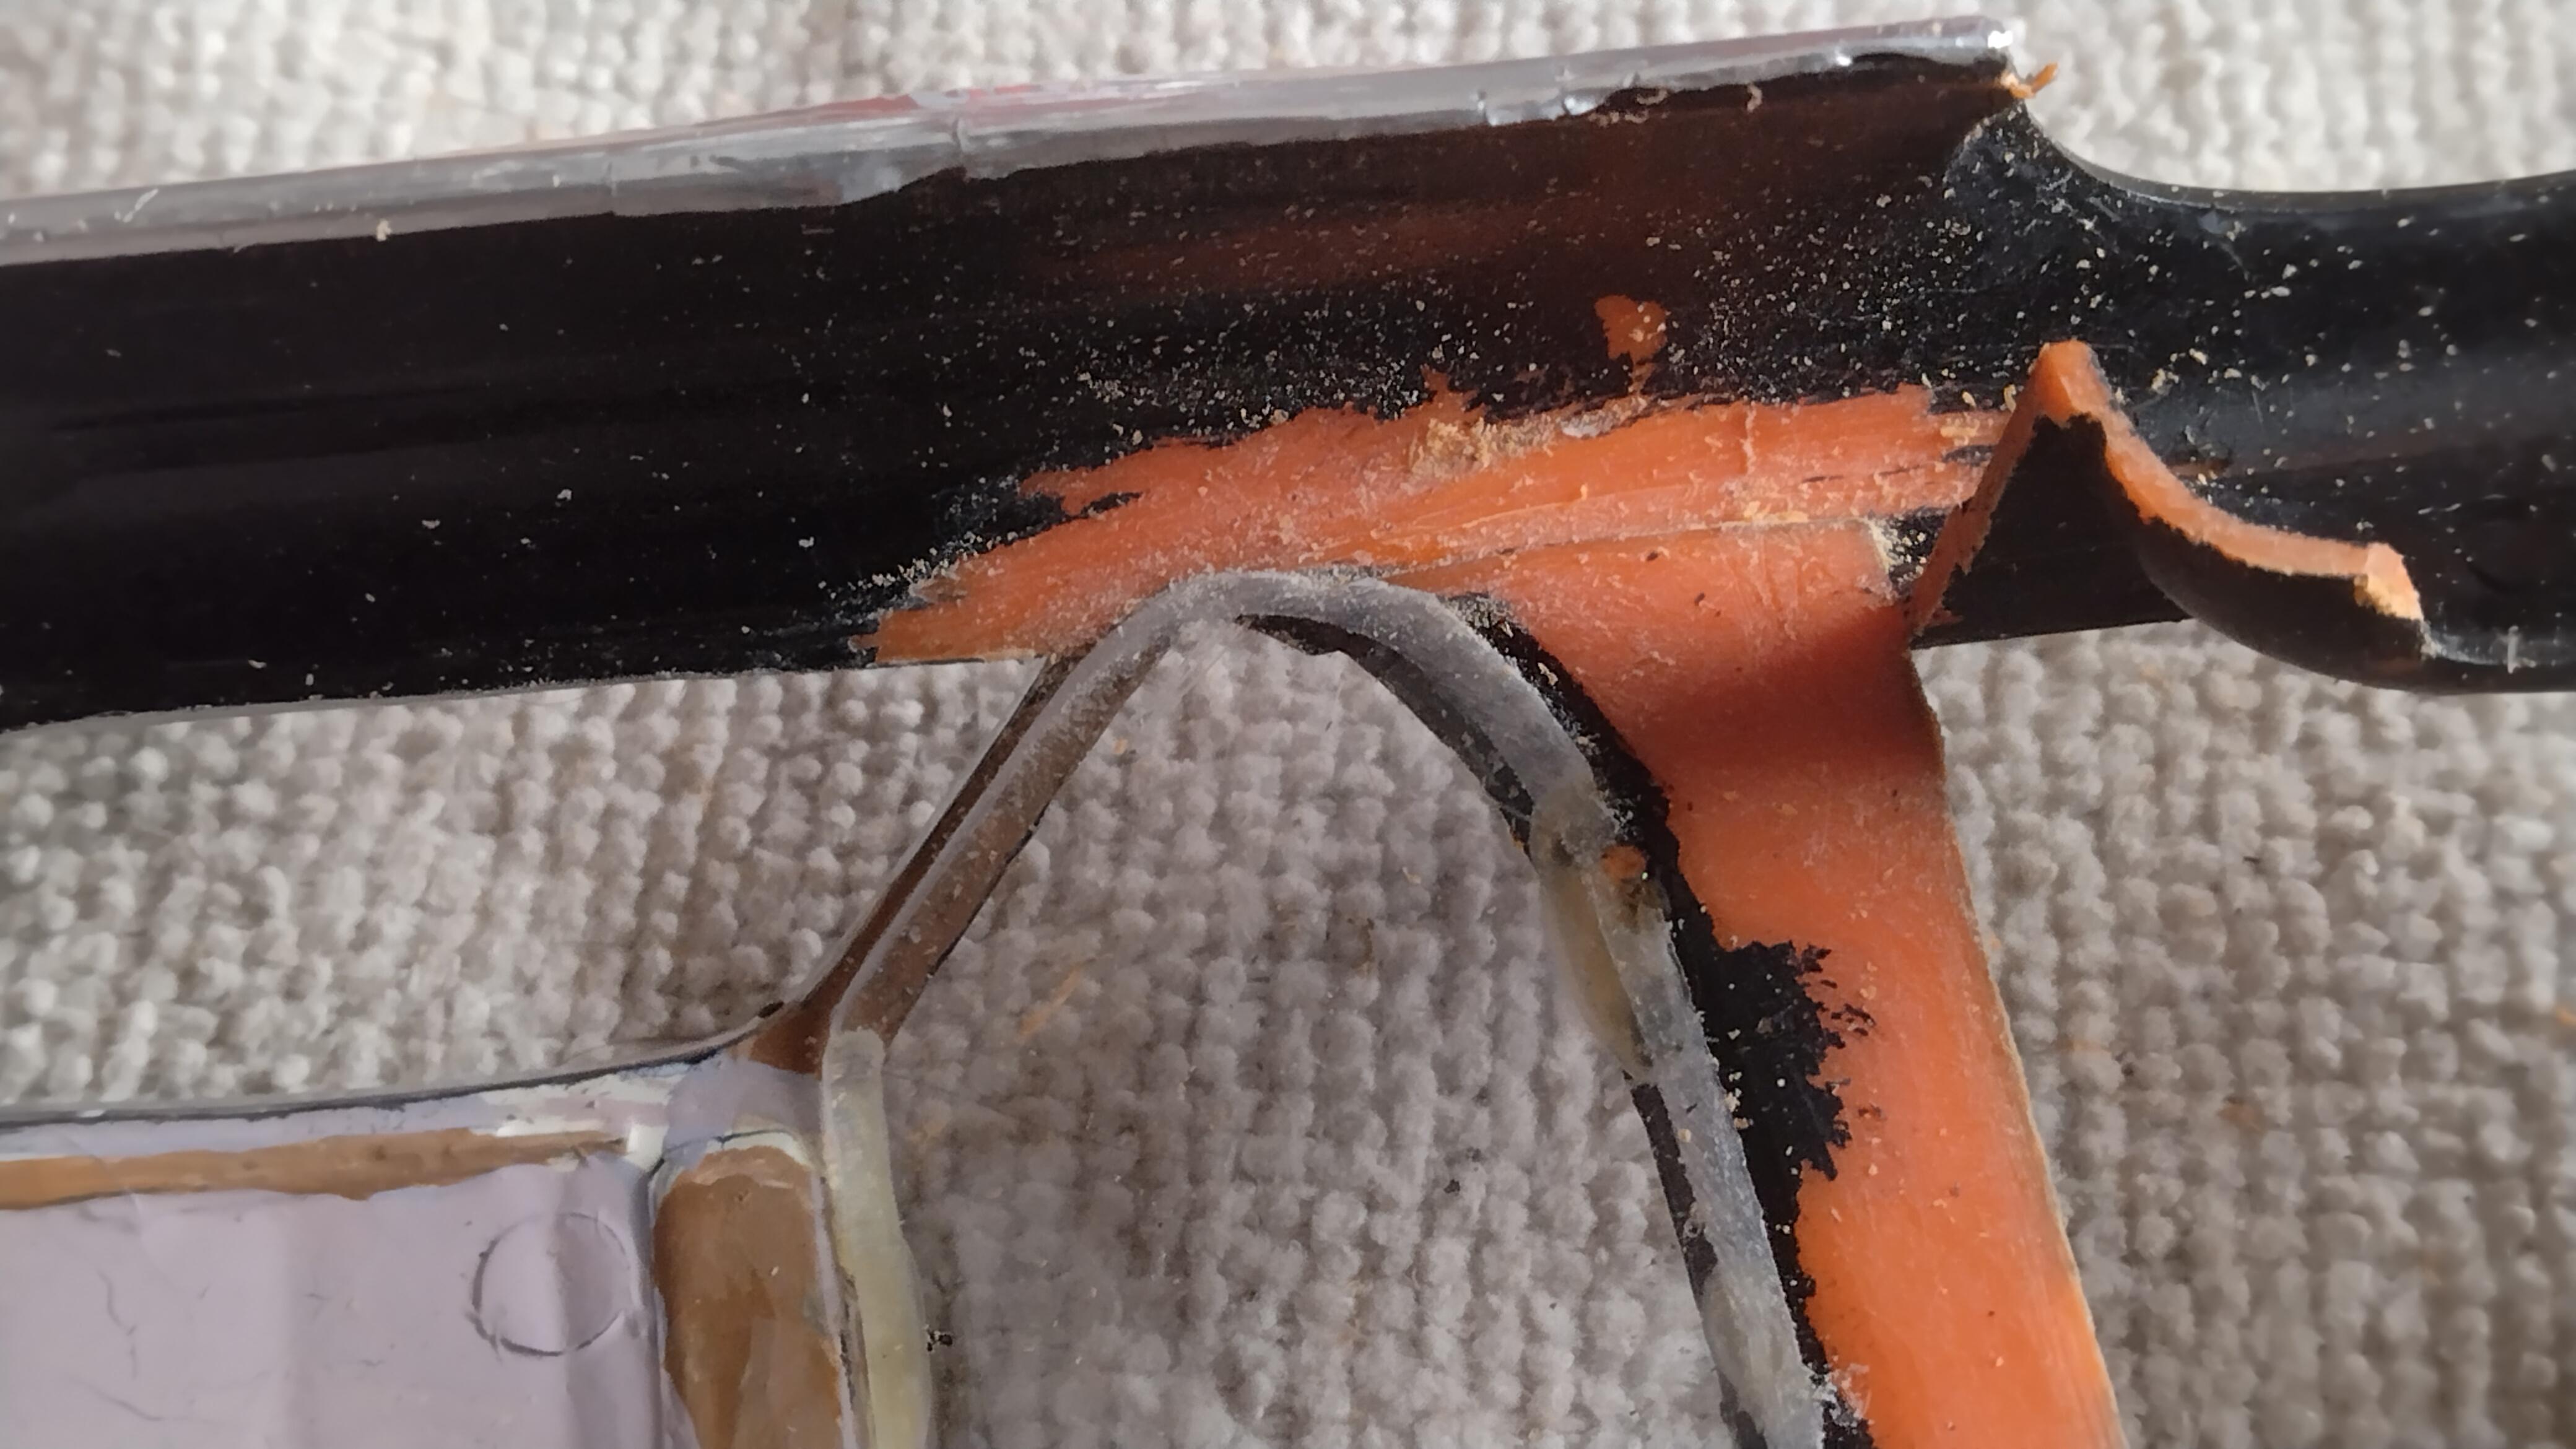
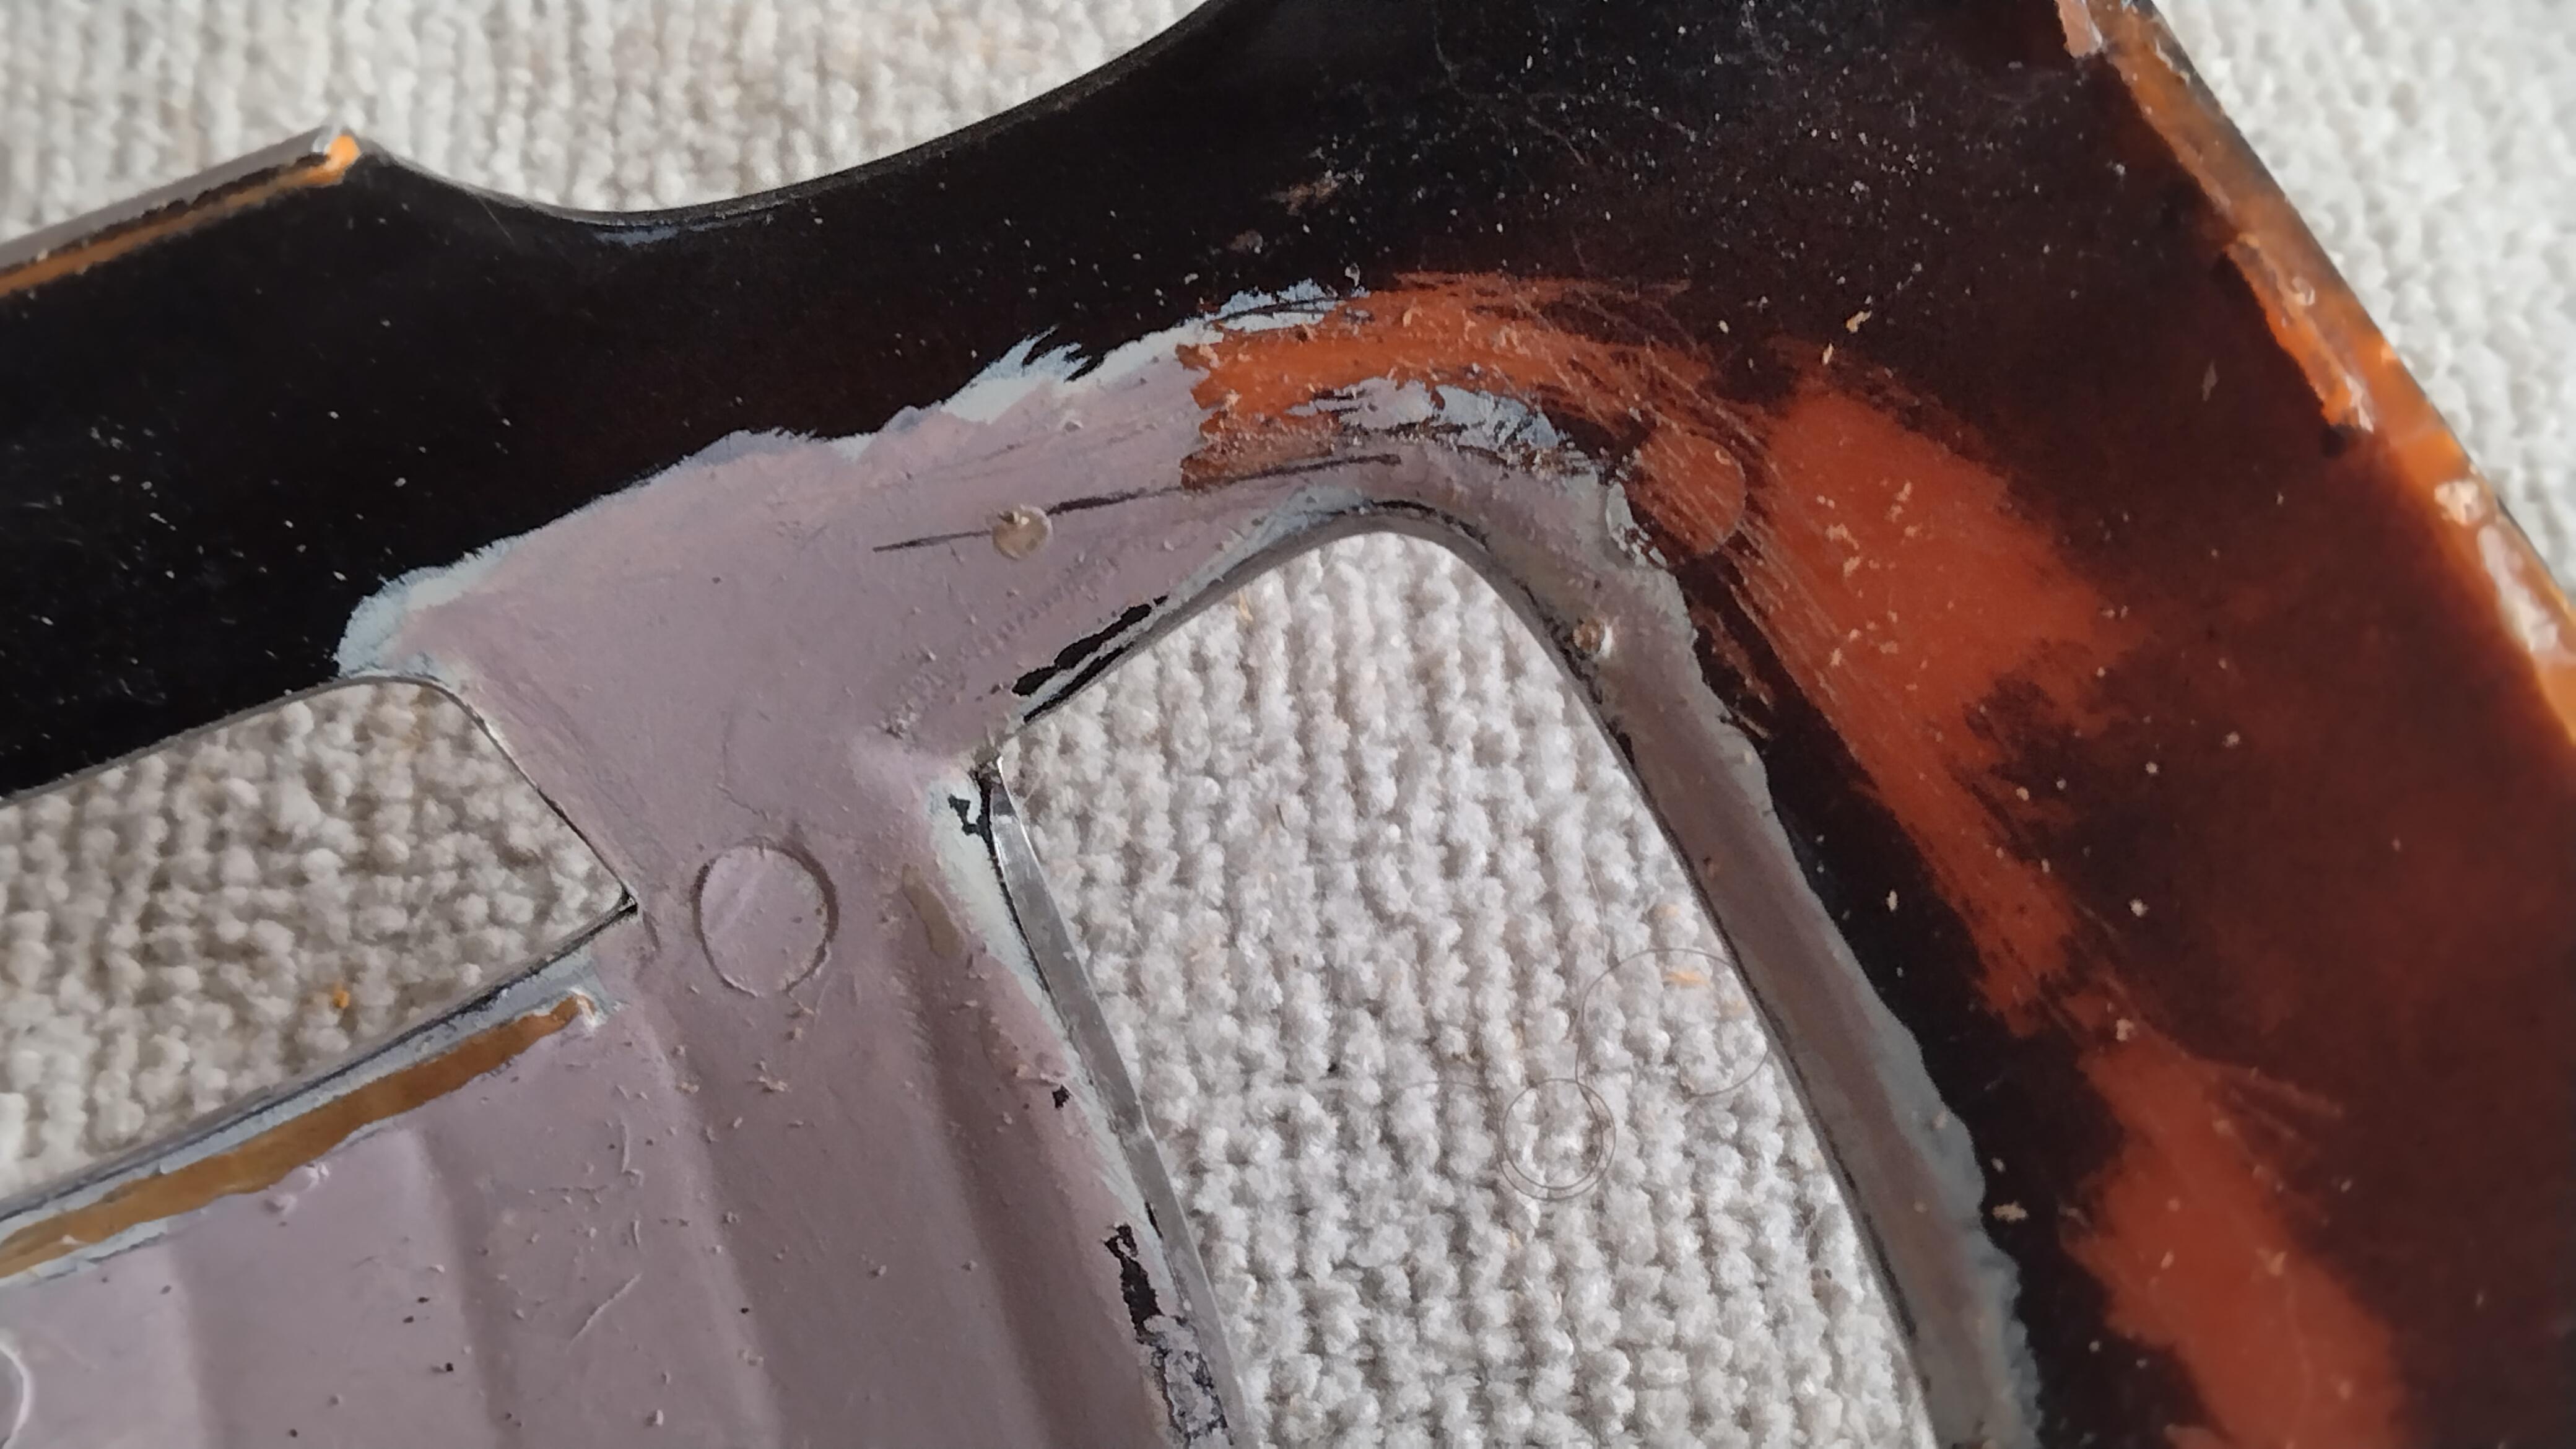
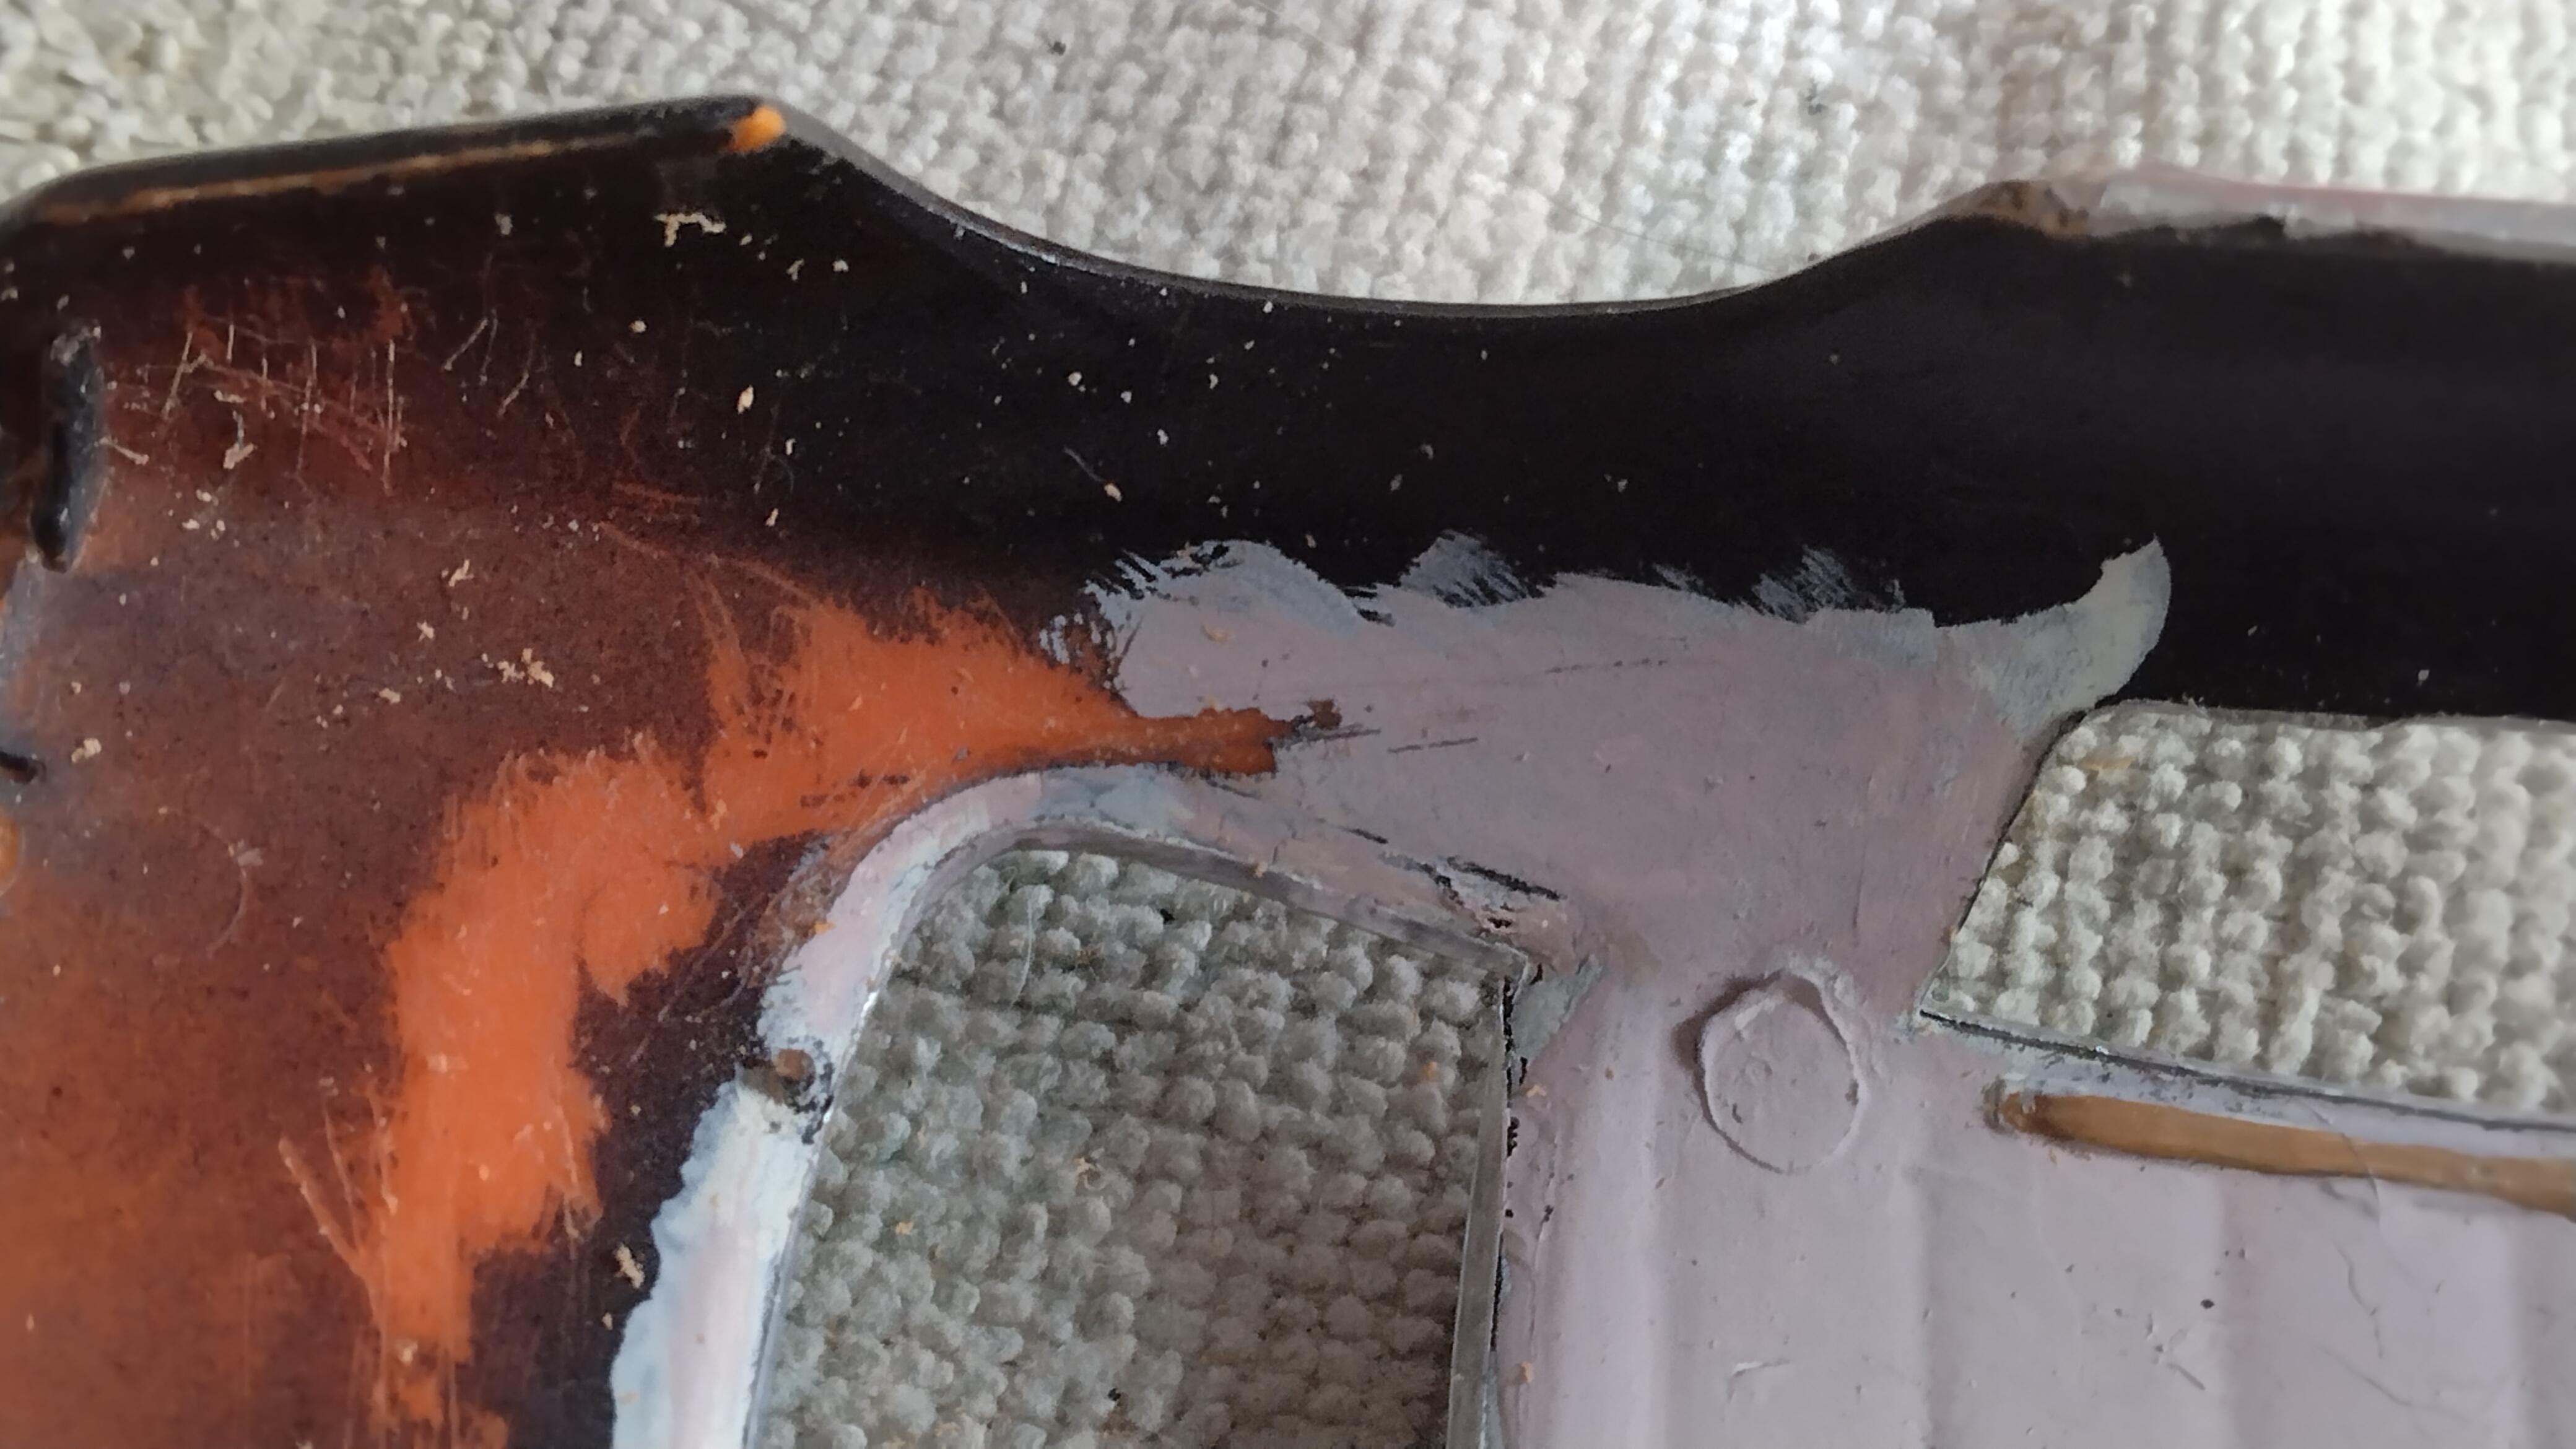
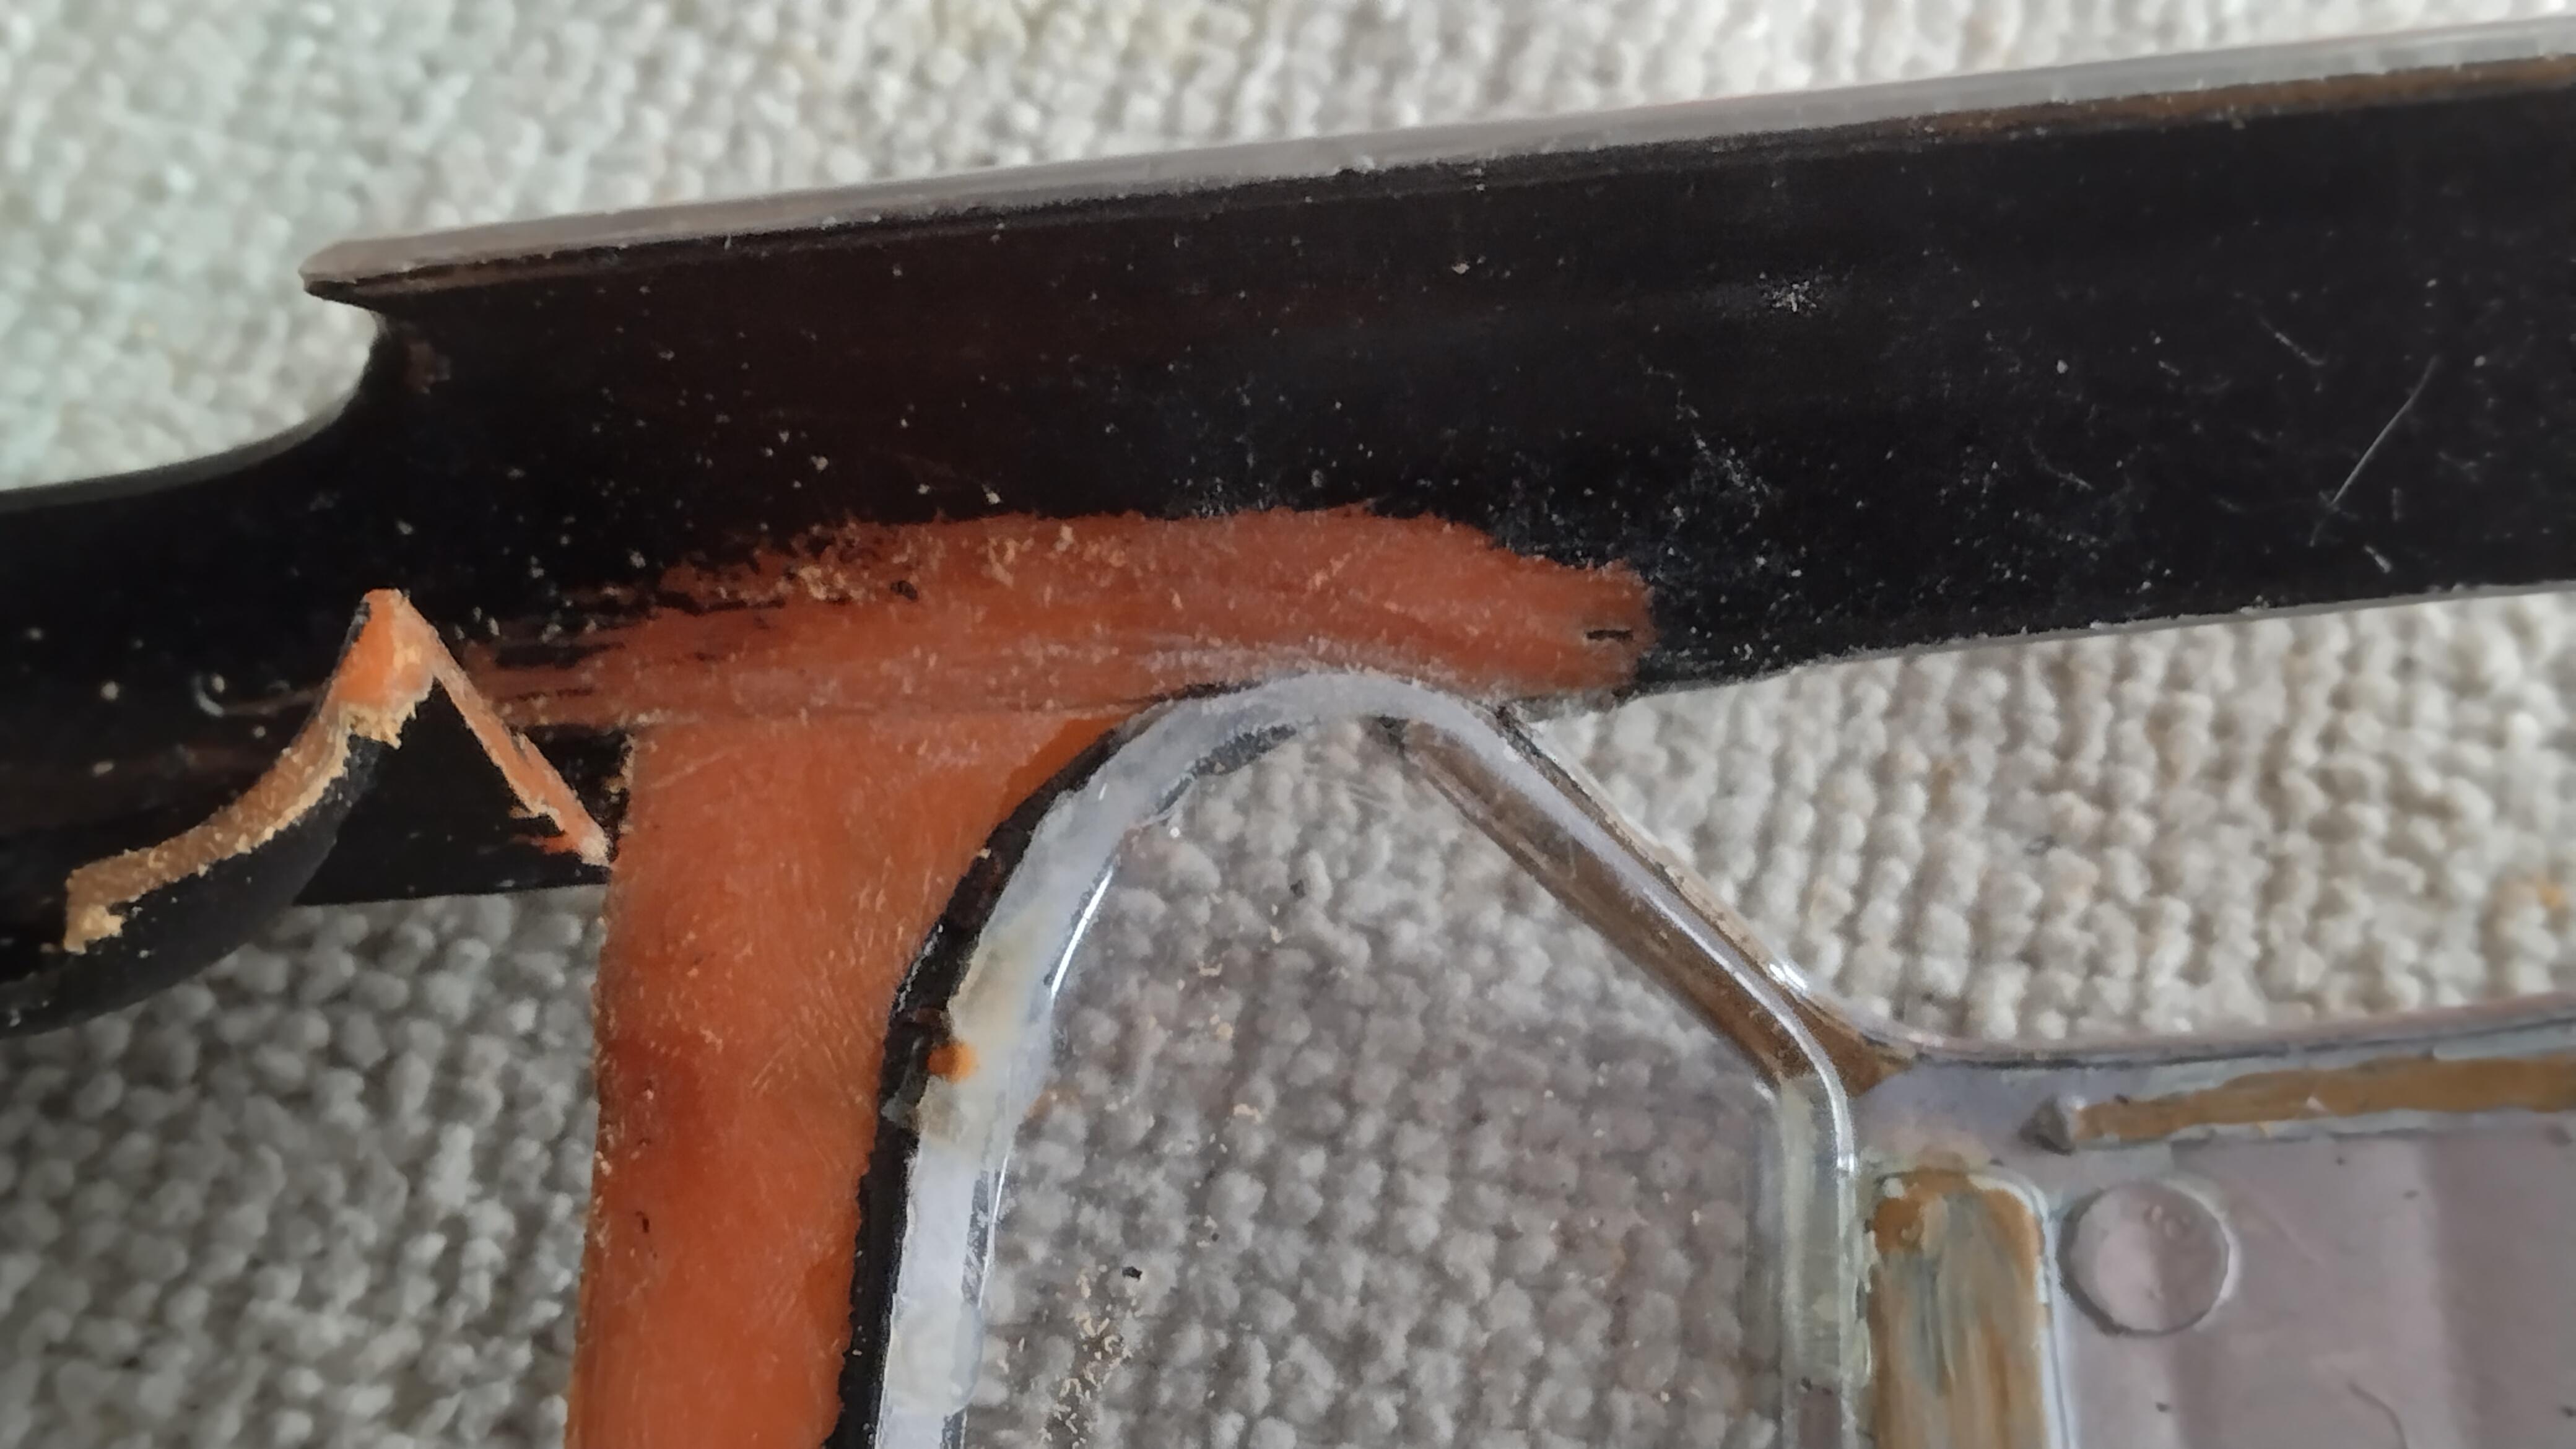
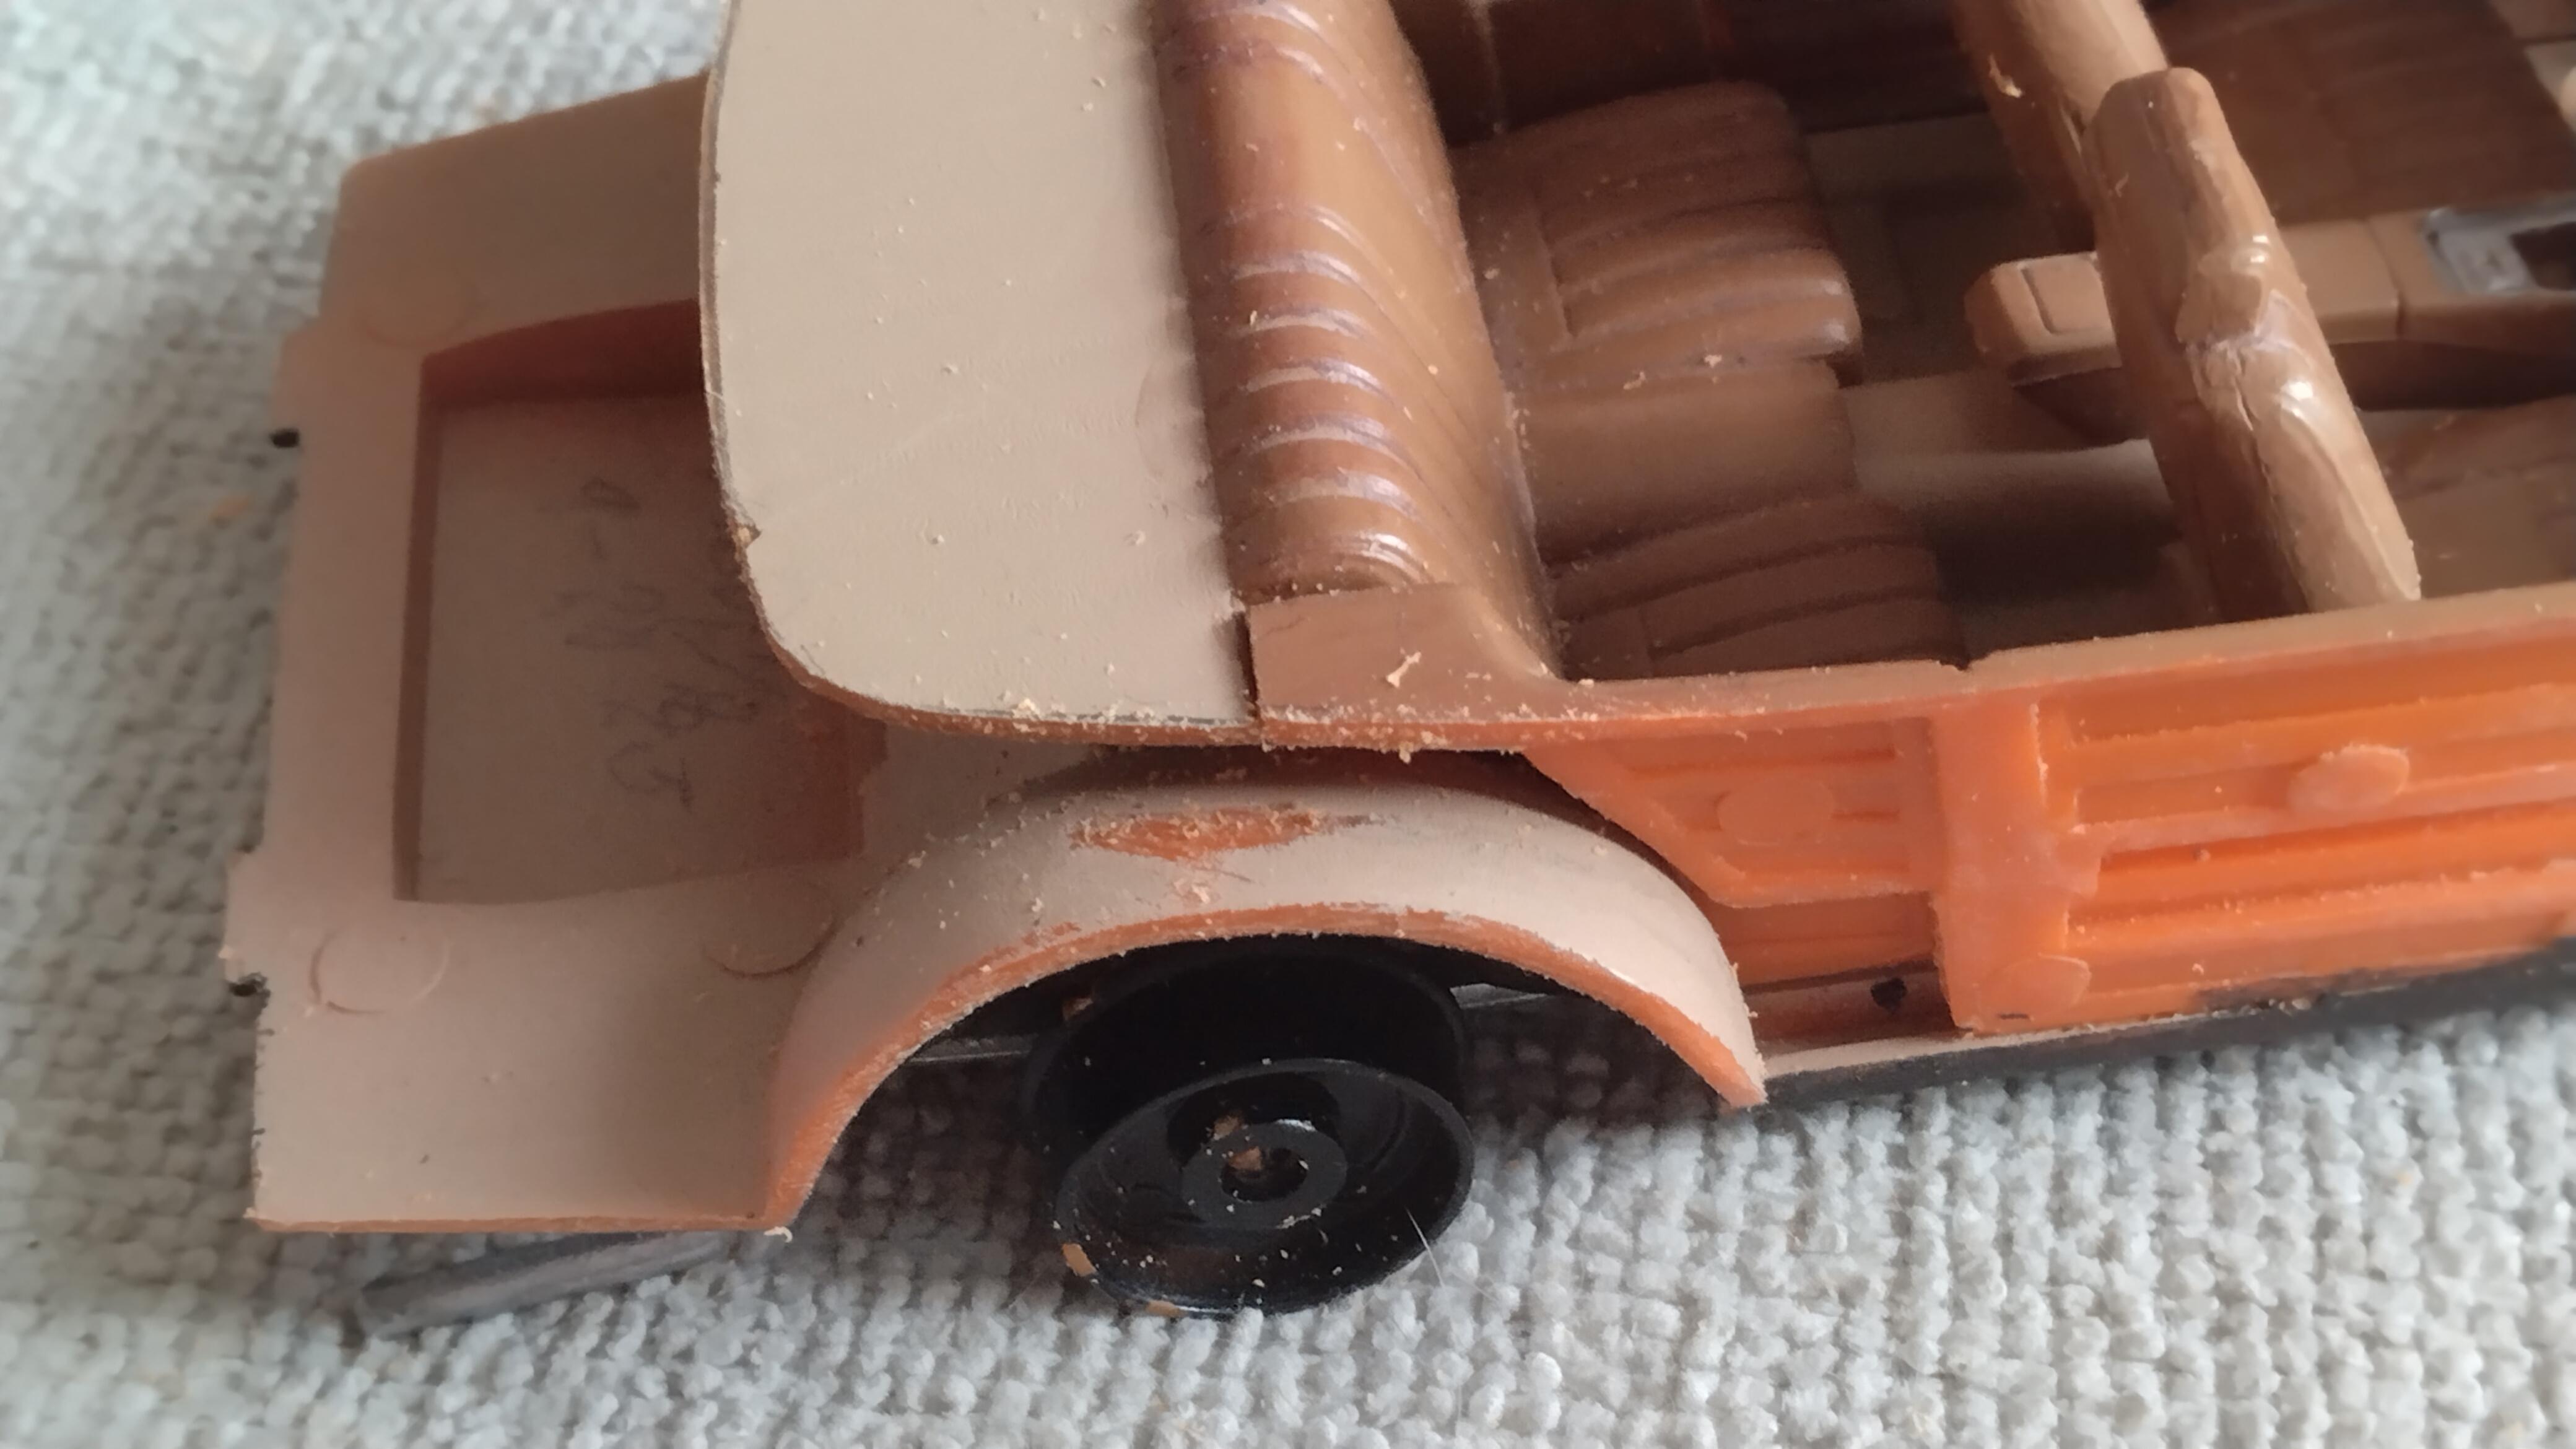
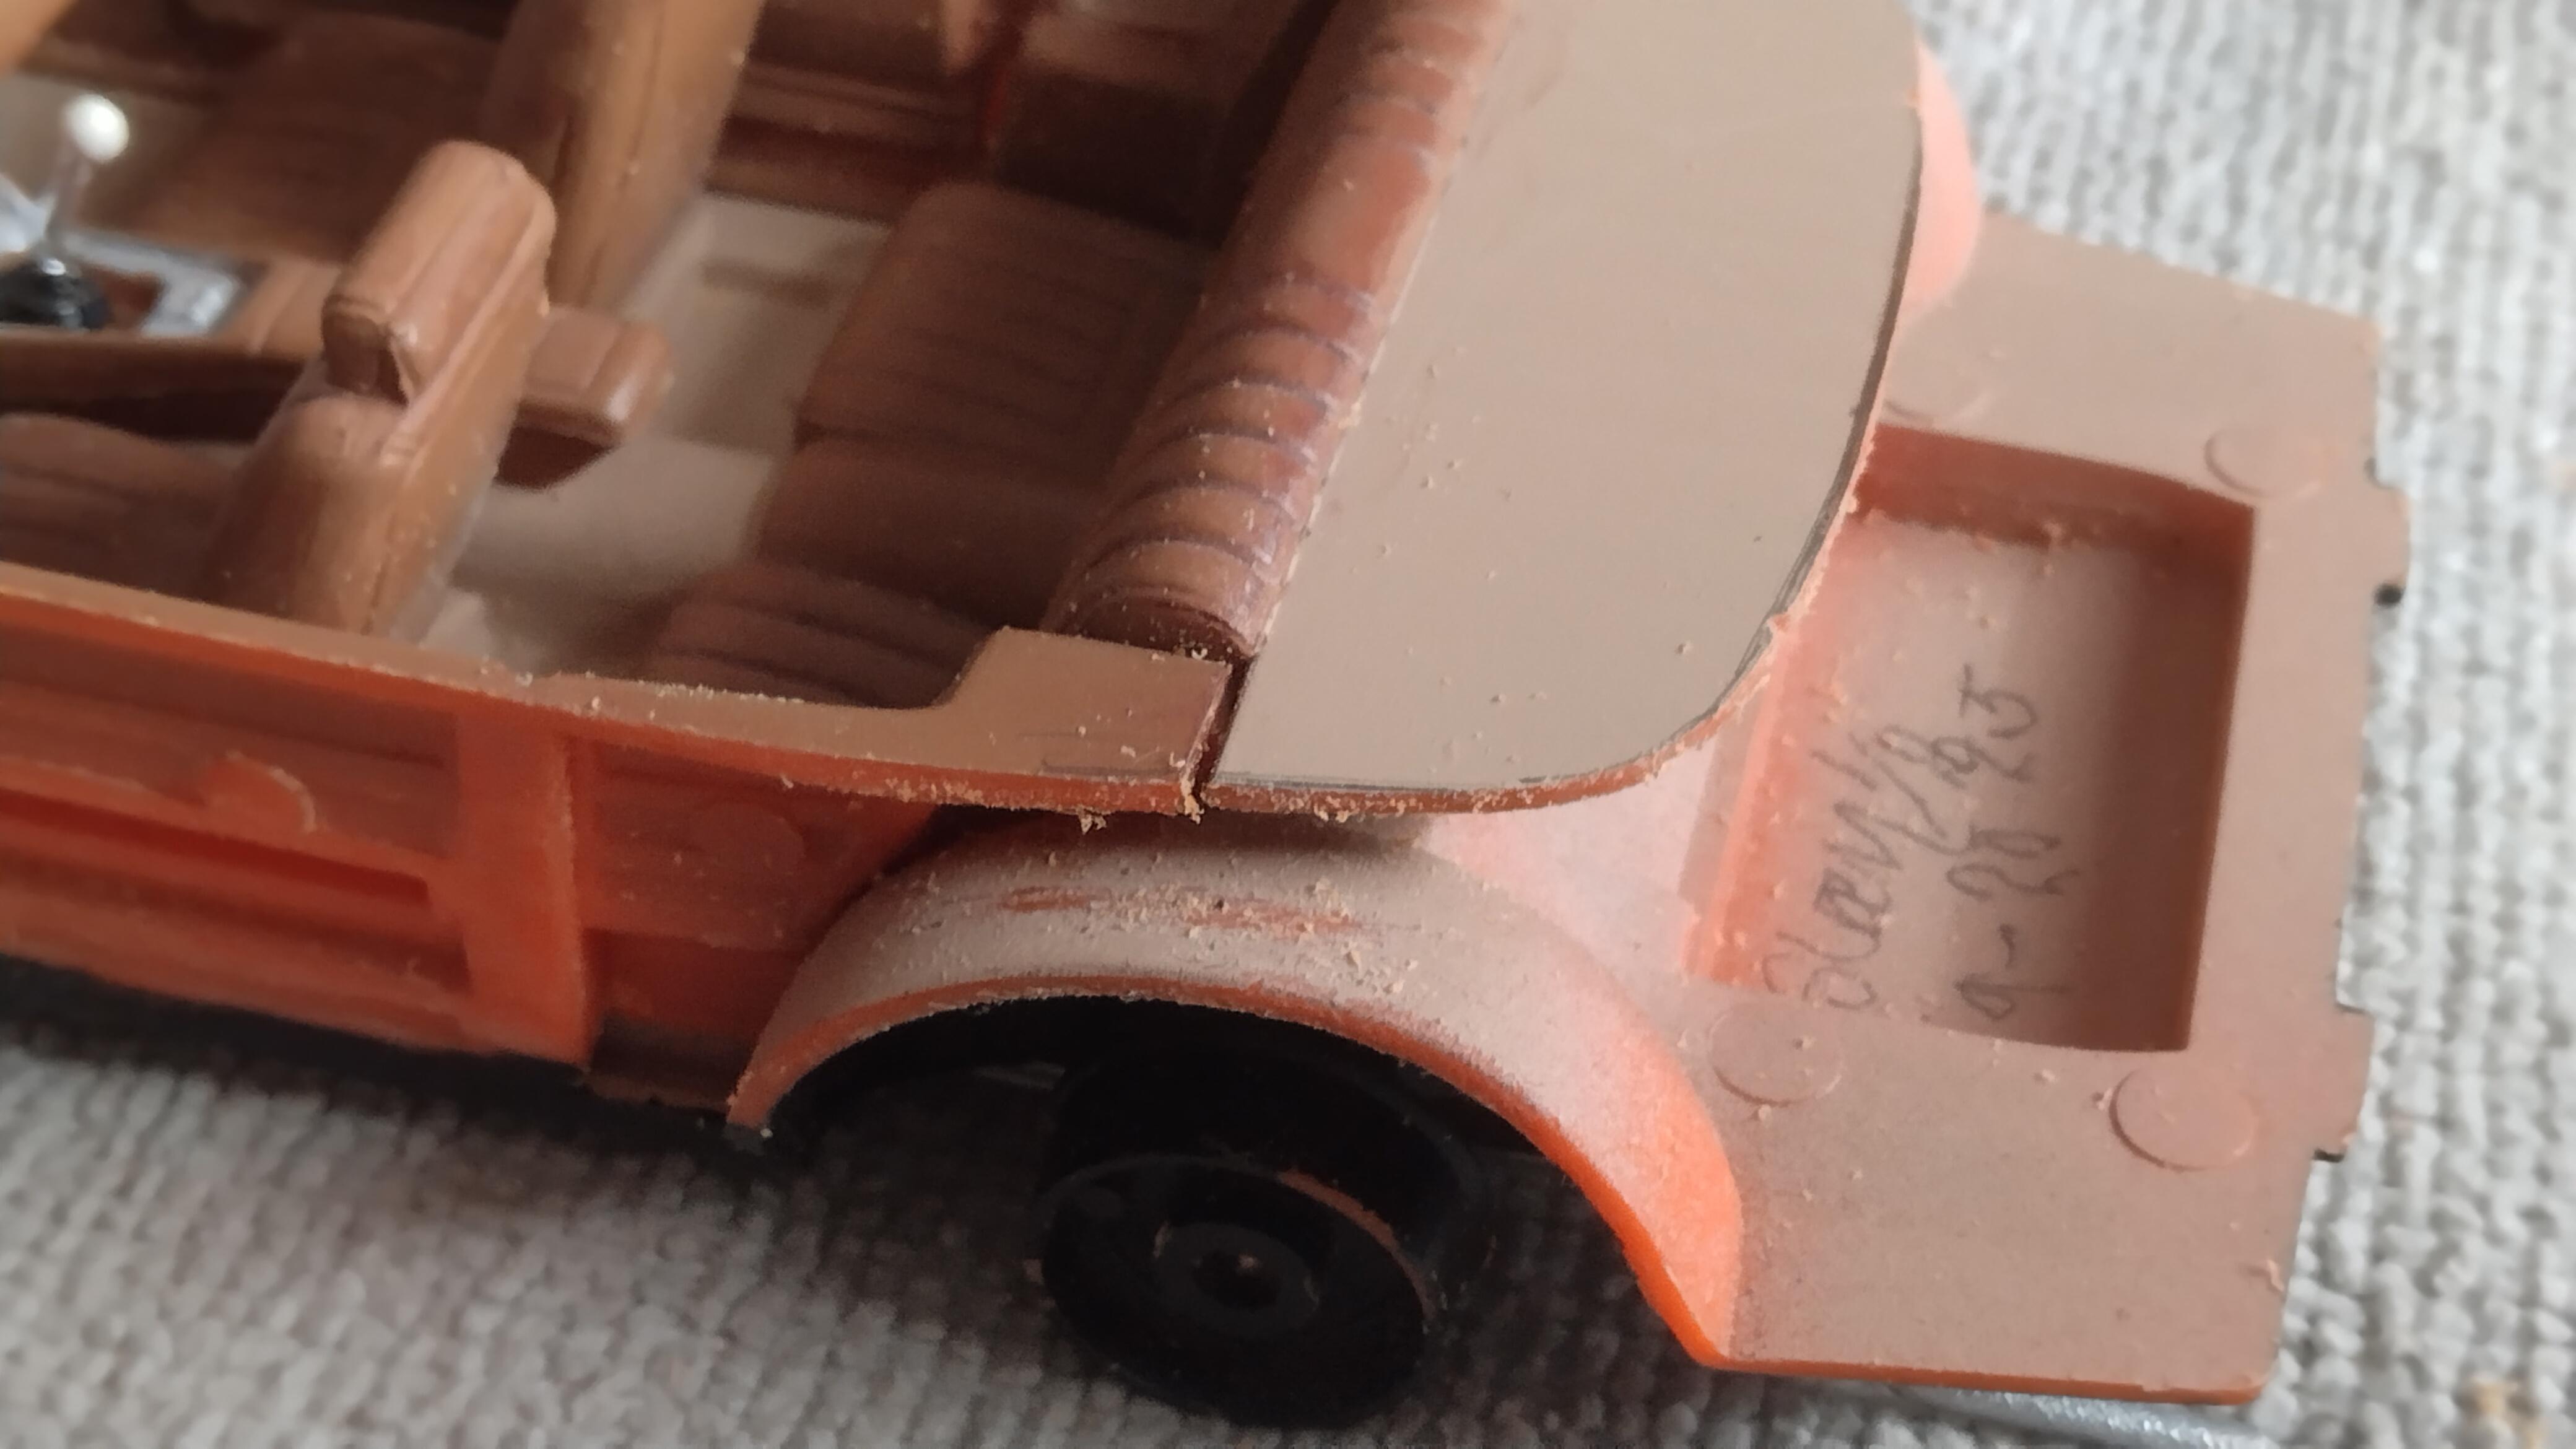
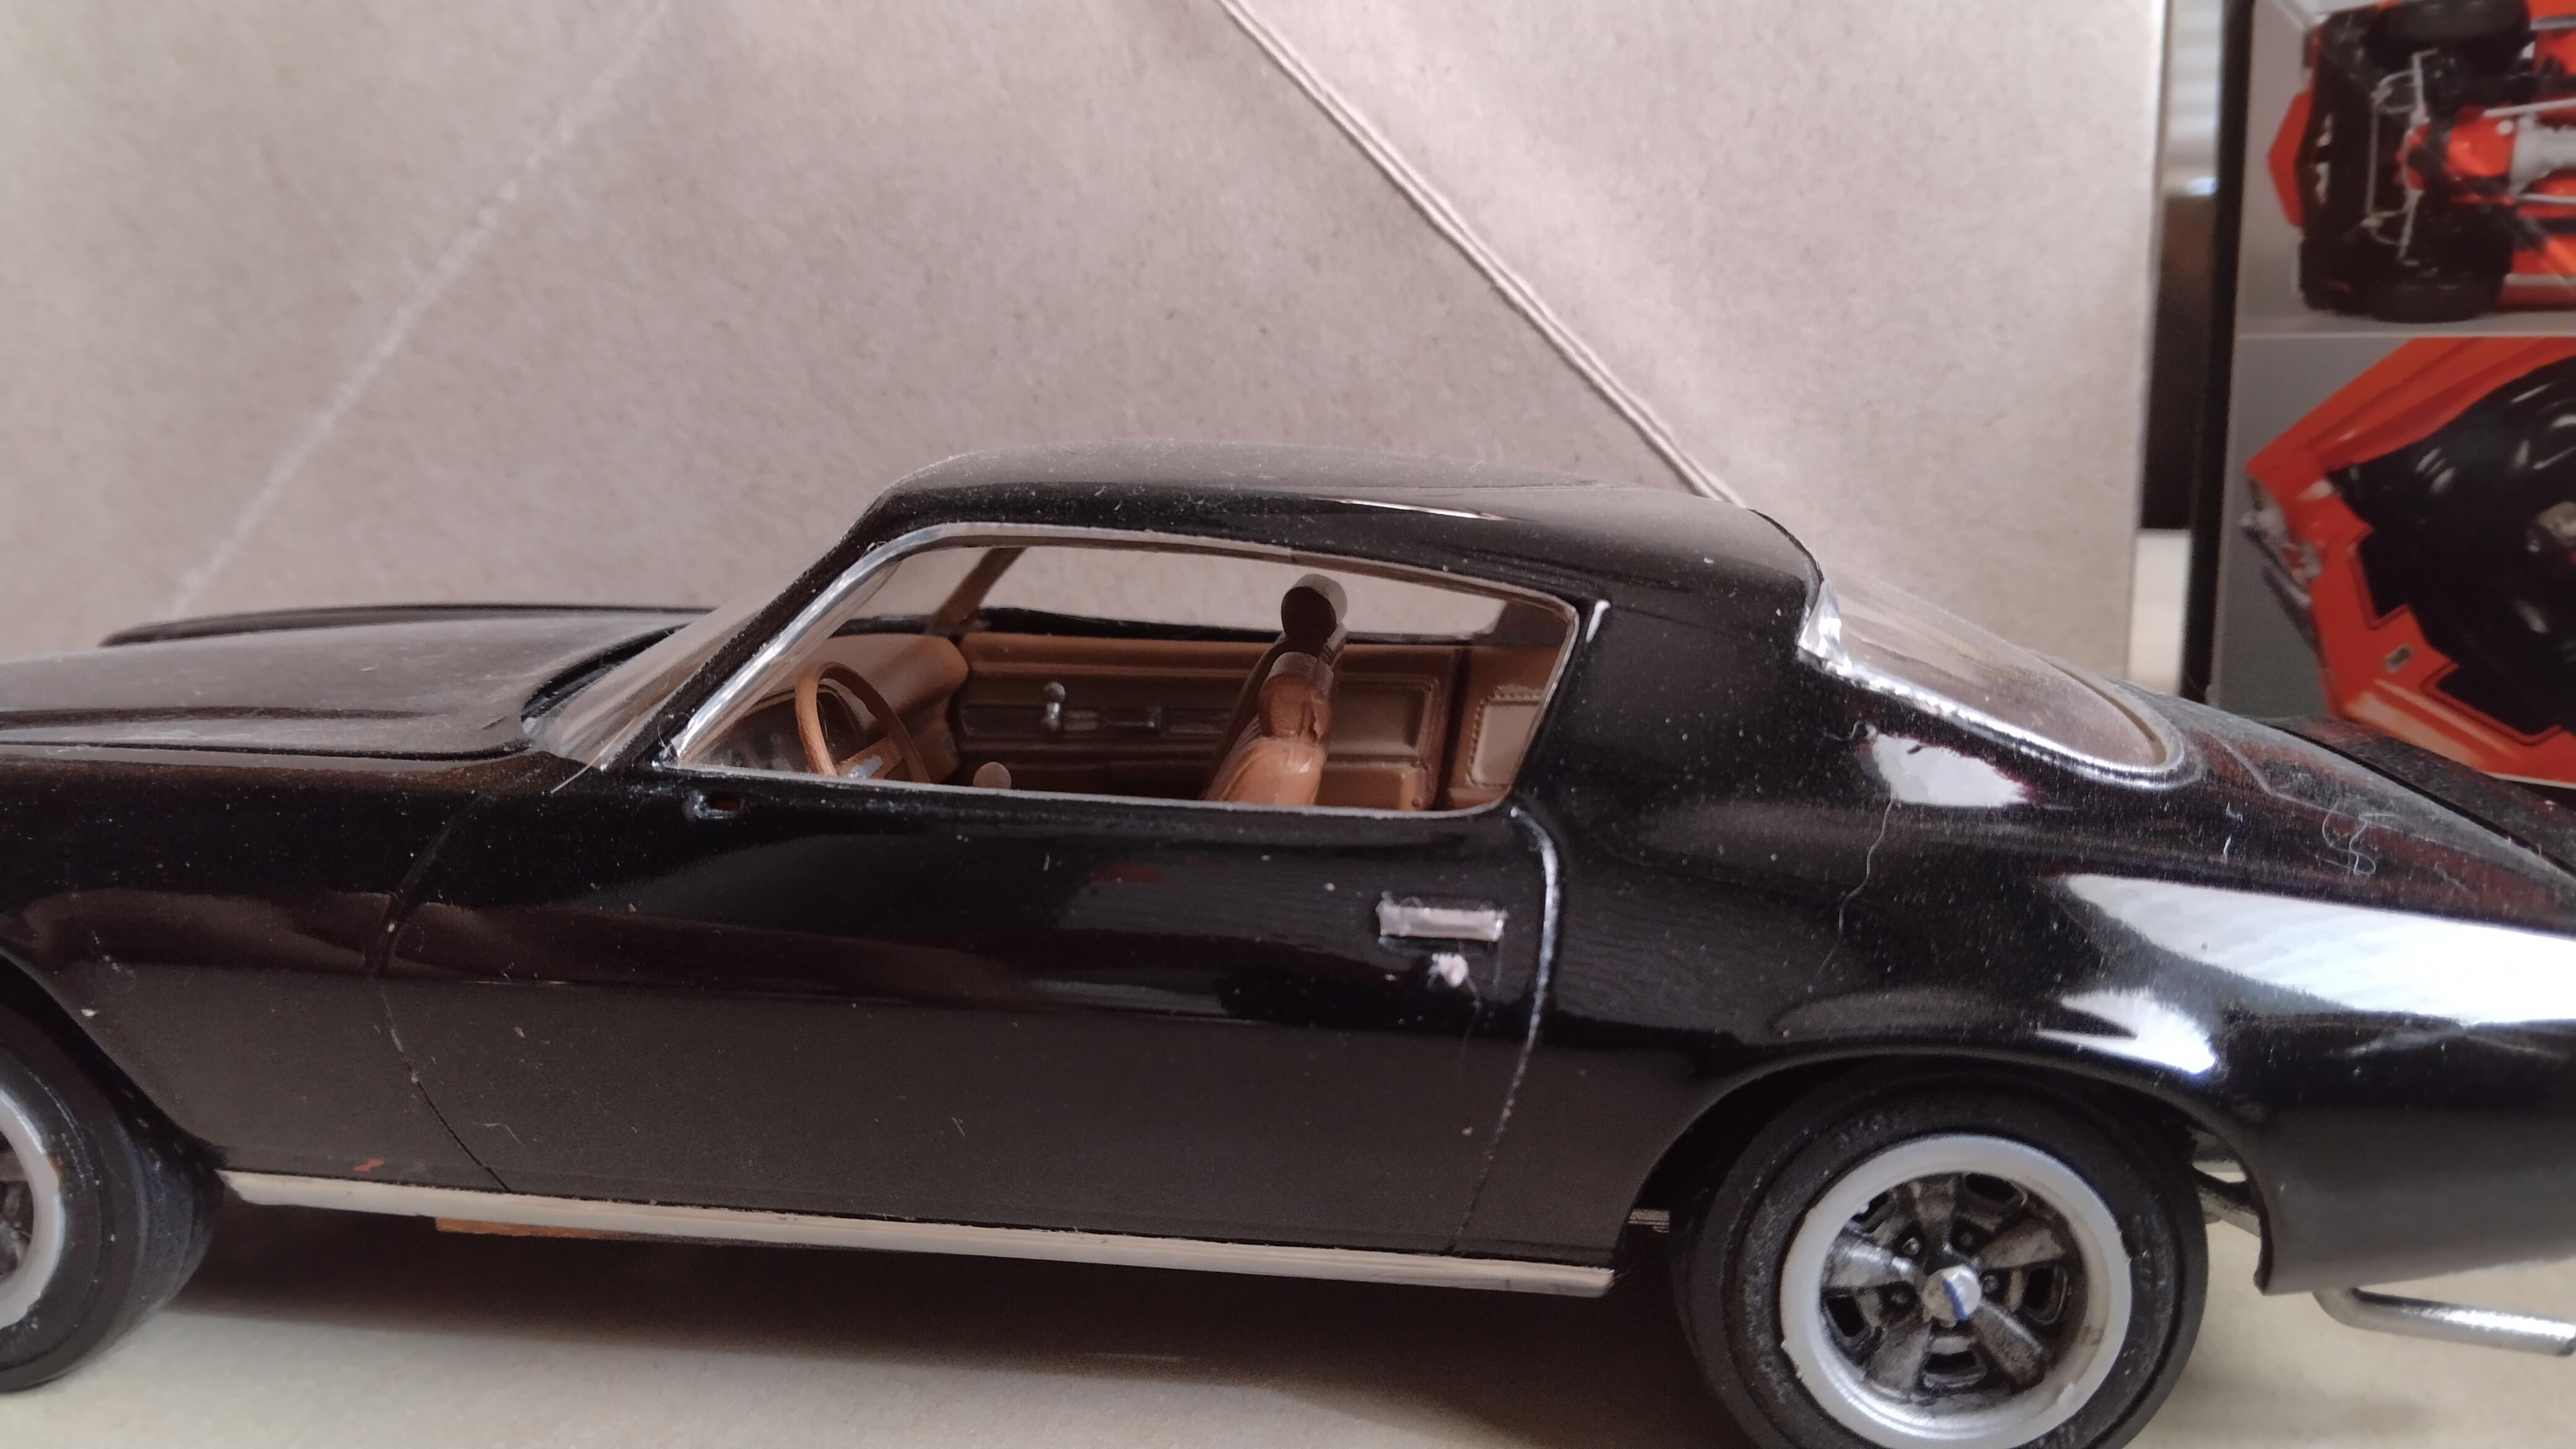
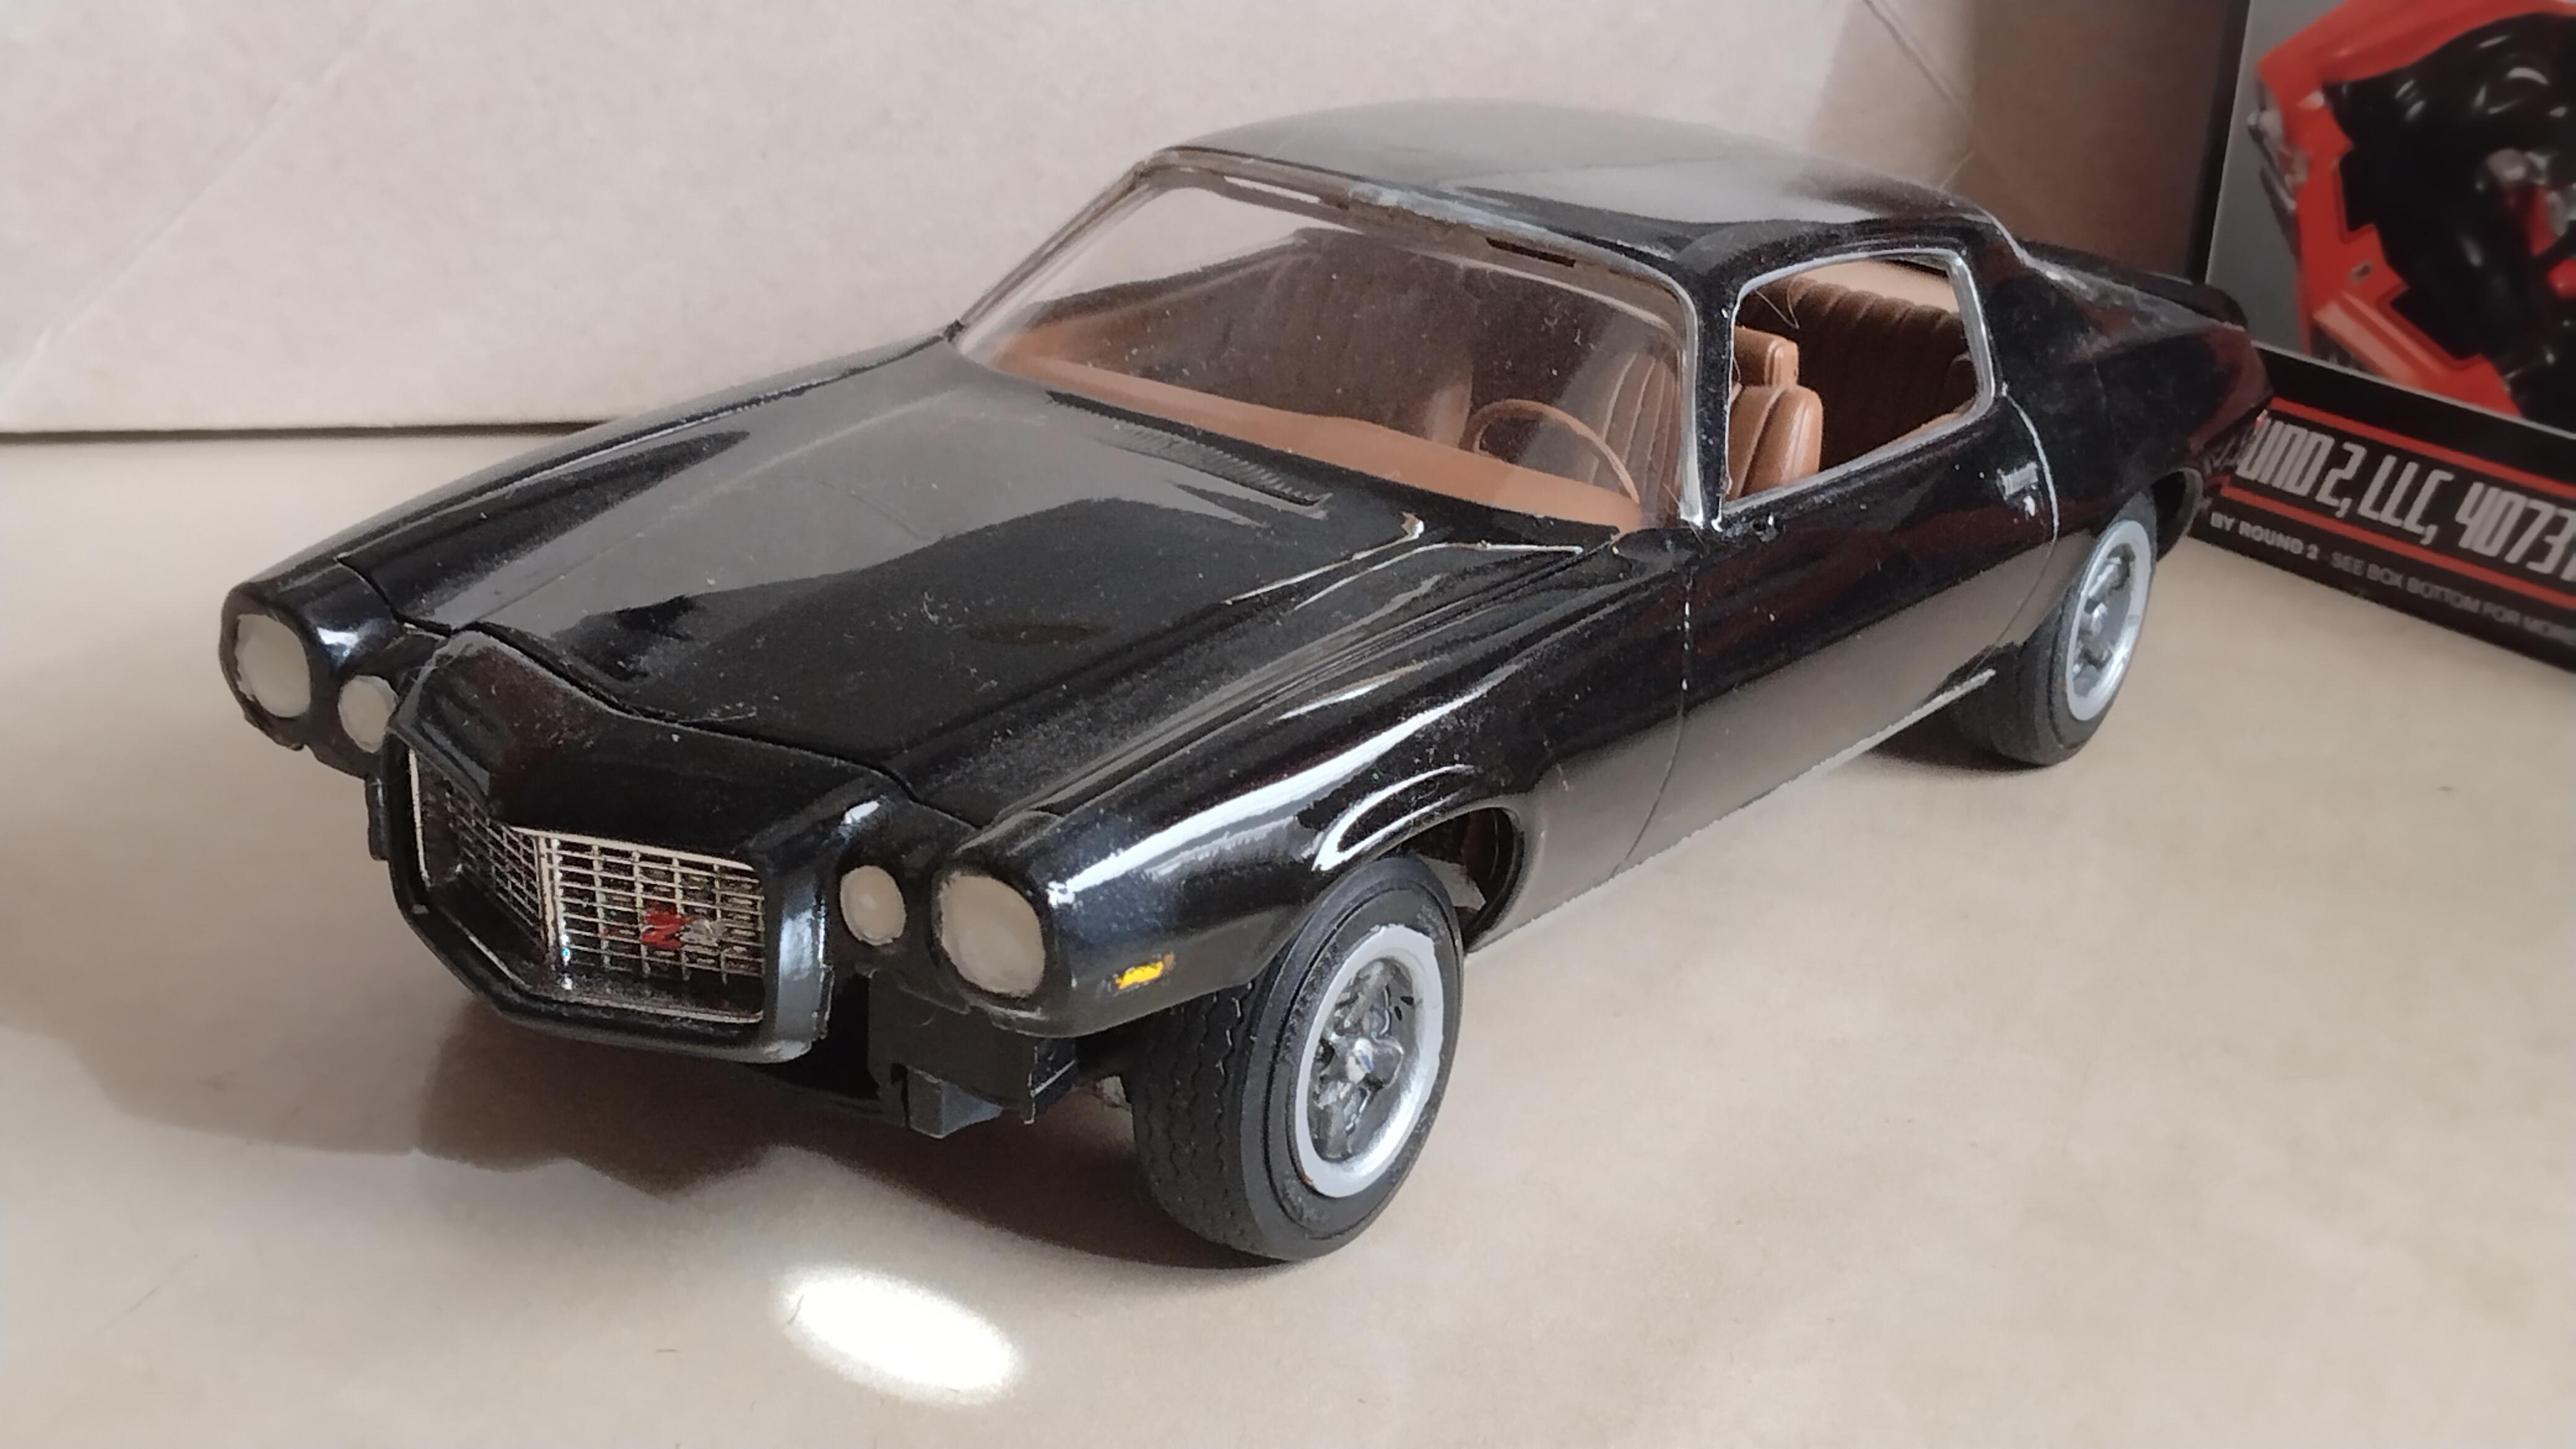
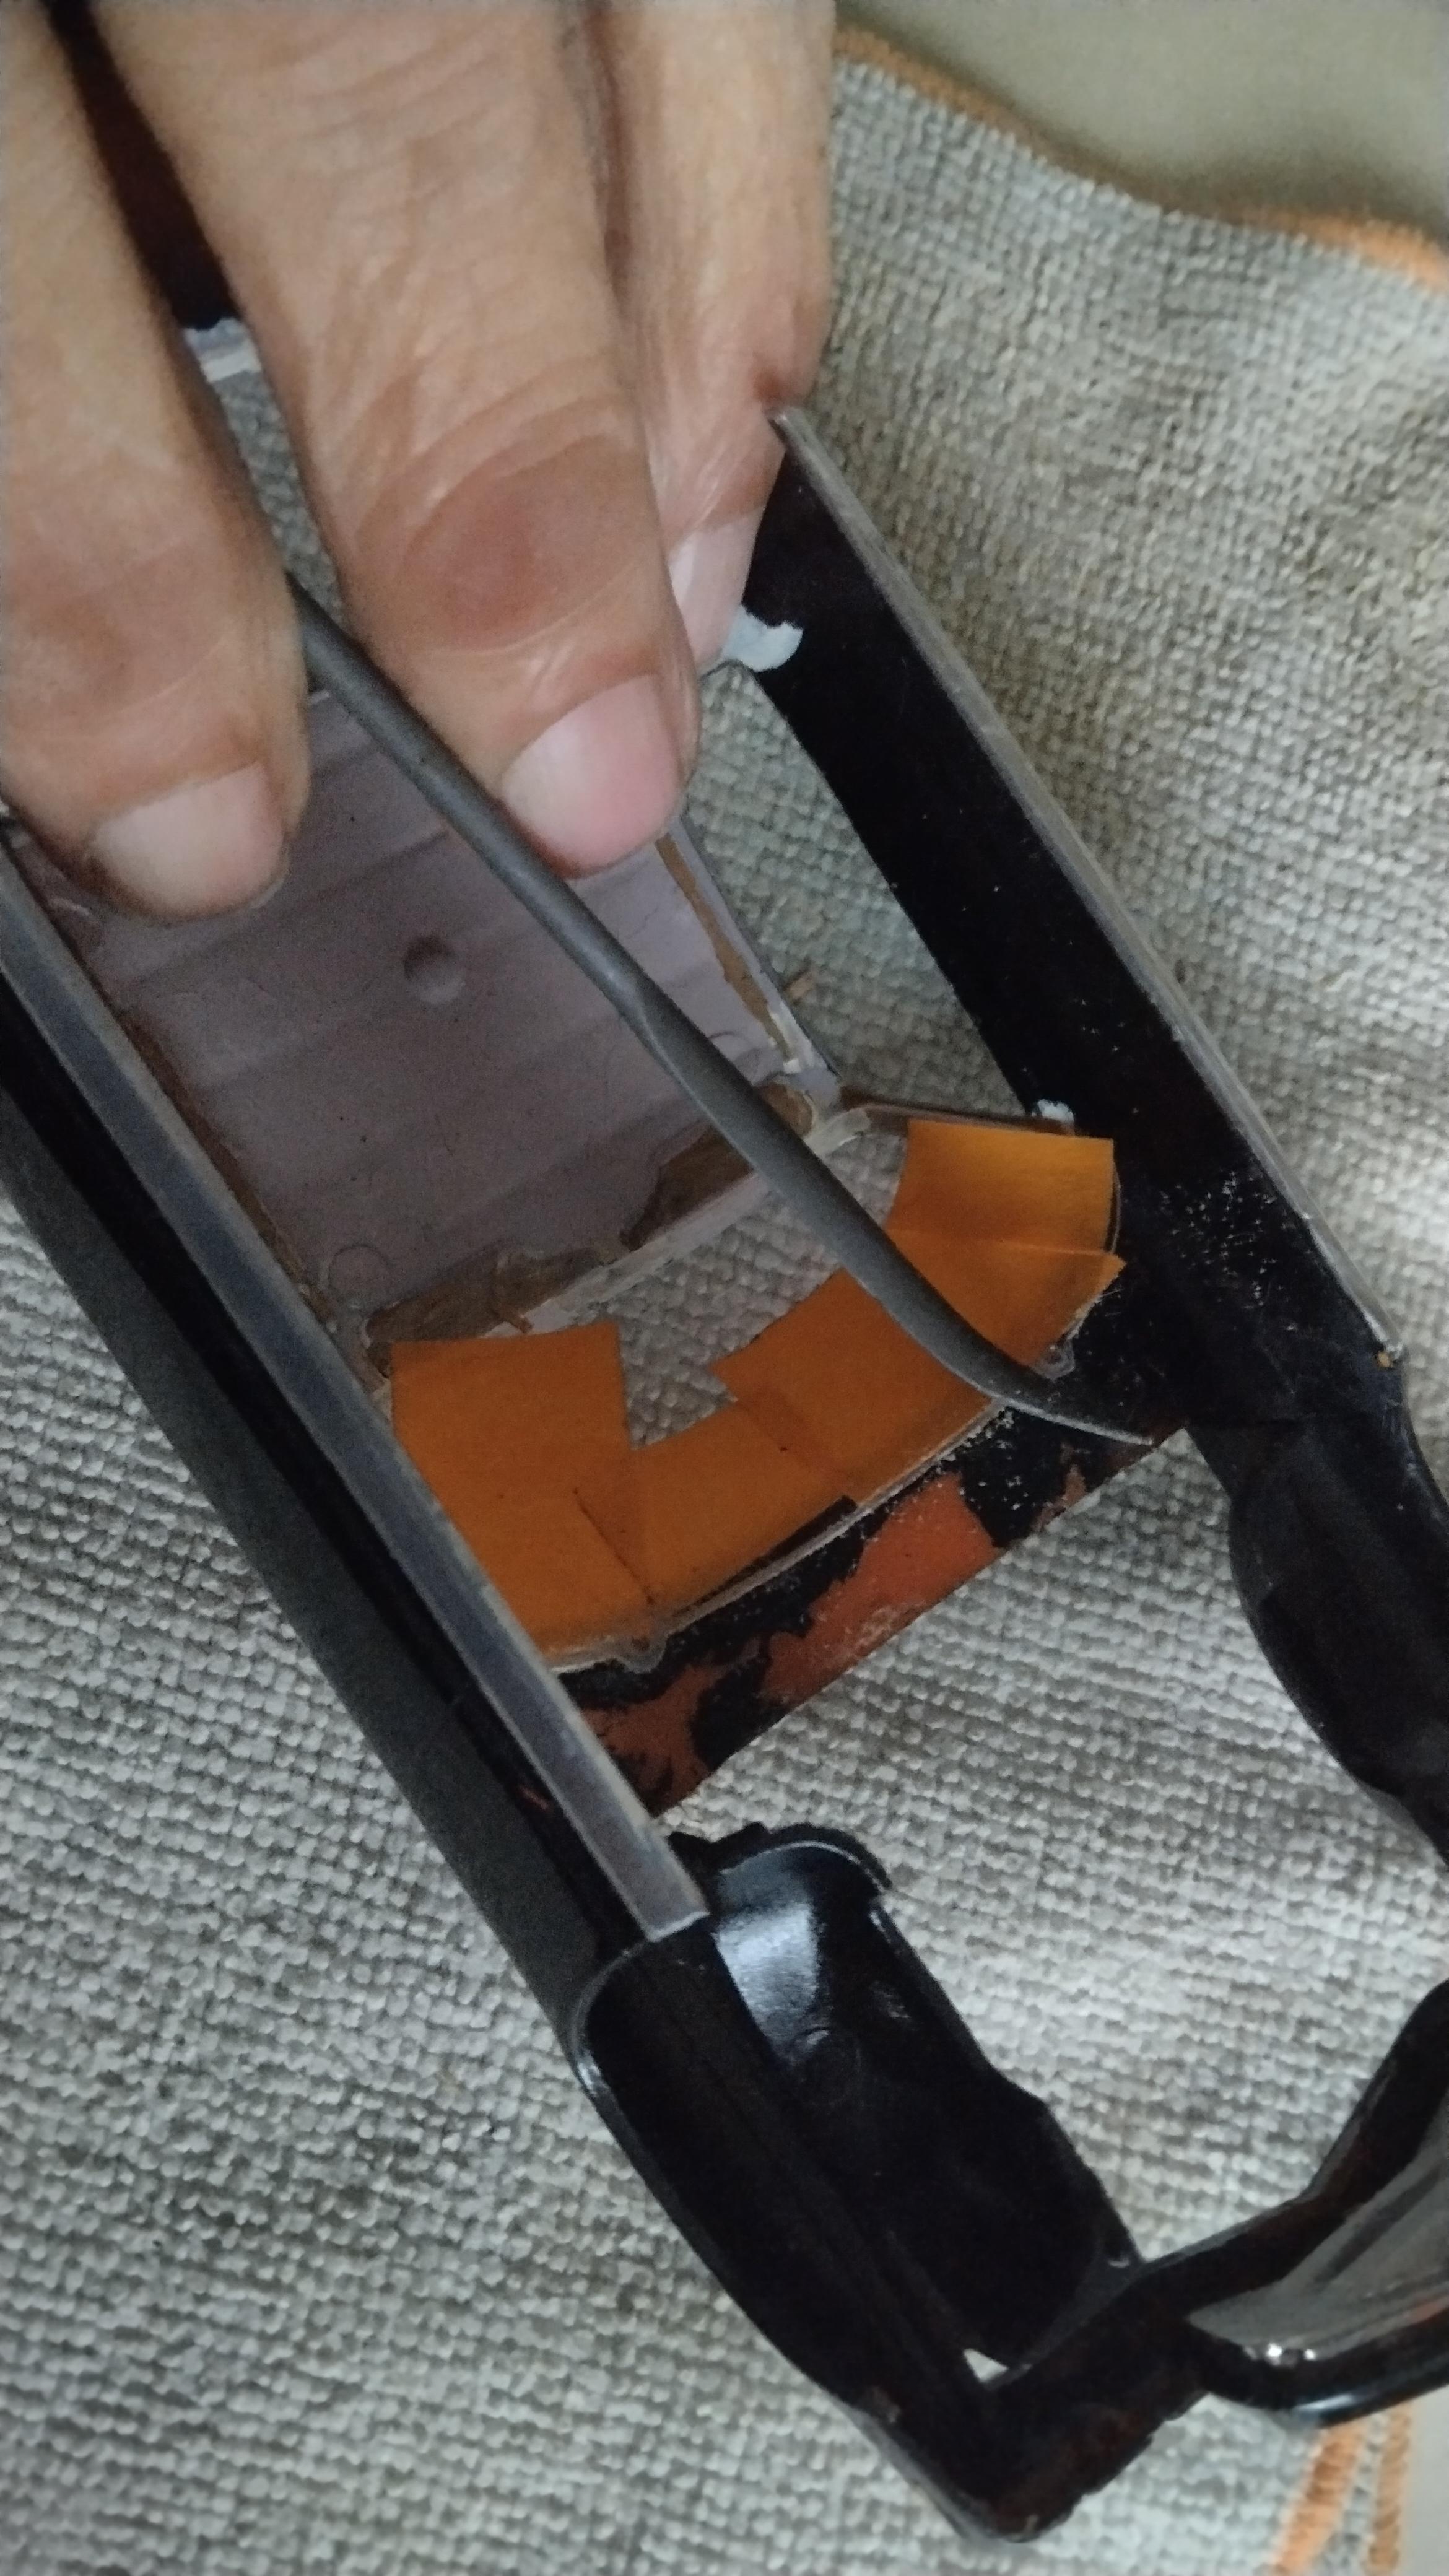
Looking across to the other side you can see the Gap between the door panel to the body it is the same on the other side. I'm hoping this will work. Where is what it looks like with a hood on the car with interior 3 more parts and I can mark it Done. Folks I had fun doing this kit I liked the details they put in the kit but I didn't like the plastic or the Orange color paint would not stick I washed it with soap and water and used a degreaser and wax remover and Scotch braided the best I could the black would not stick if you notice on the semi-gloss..
-
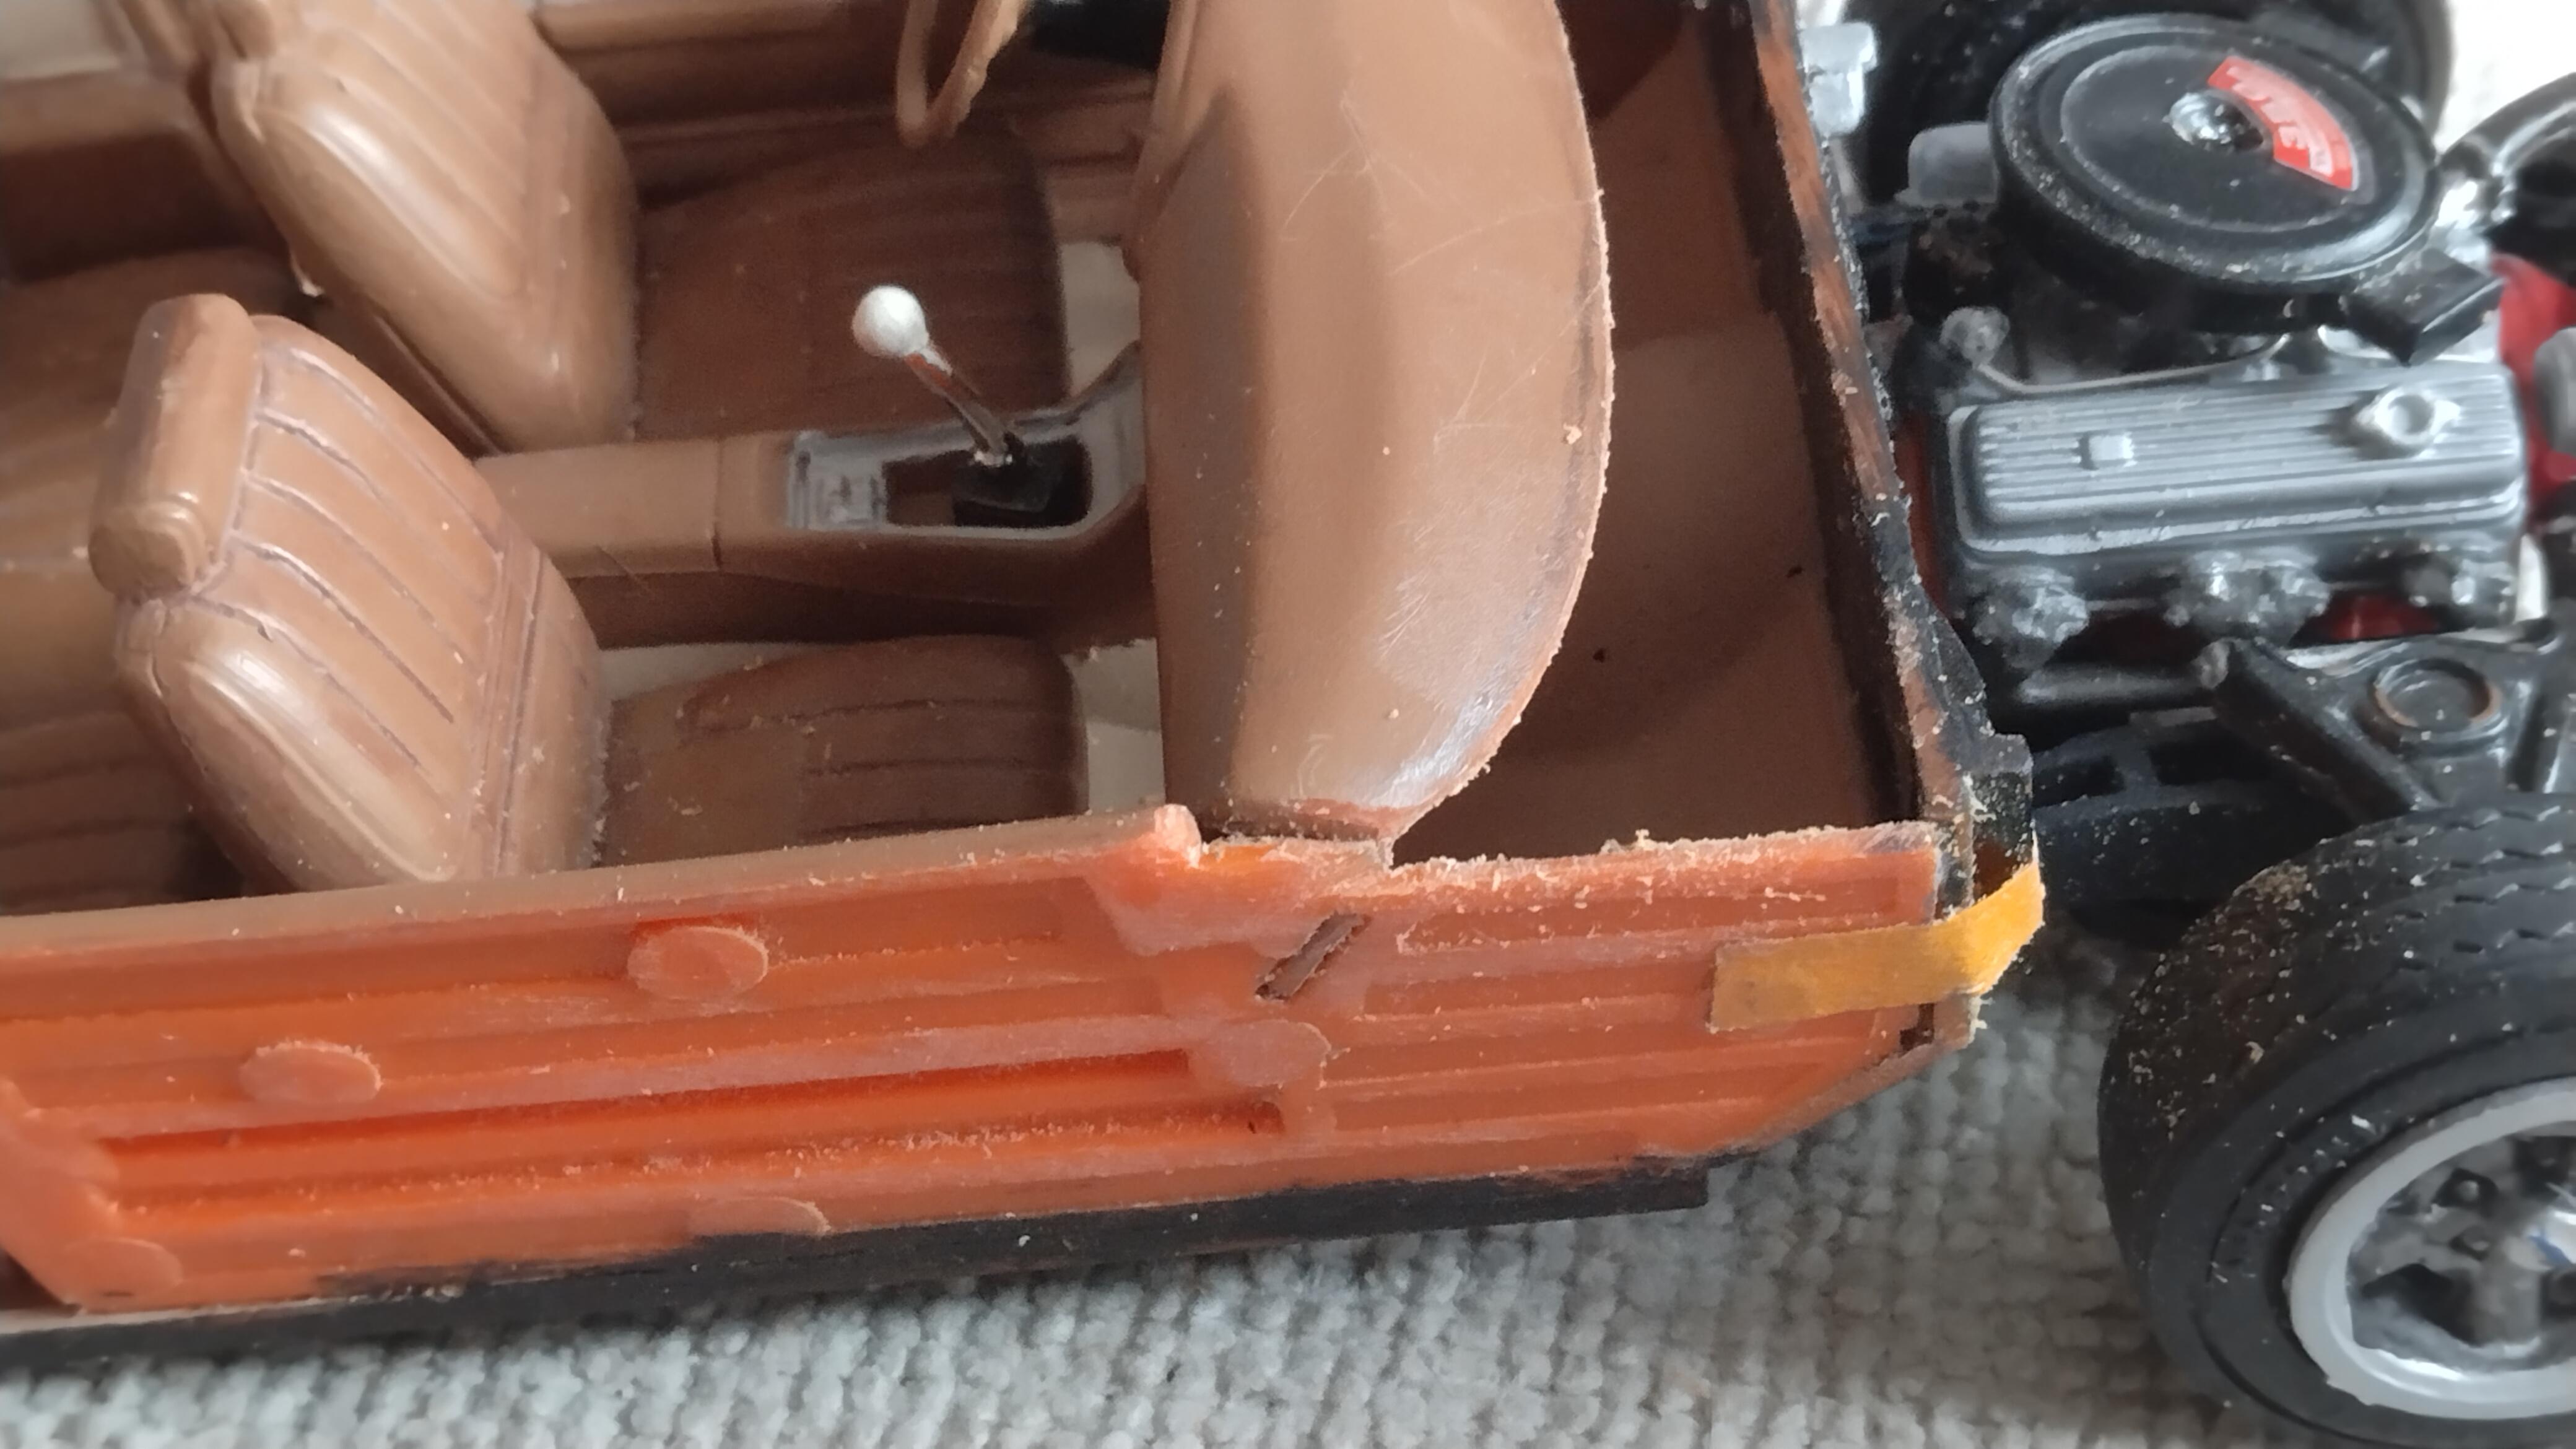
Hey guy normally I do to but also I add a little dab of silicone sealer cleaner it will hold it a lot longer than glue the silicone stays pliable and holds it in place. What I wanted to do was inlay the windshield and back window into the body like I did with the 51 Chevy but but the way they are I couldn't do it.
-
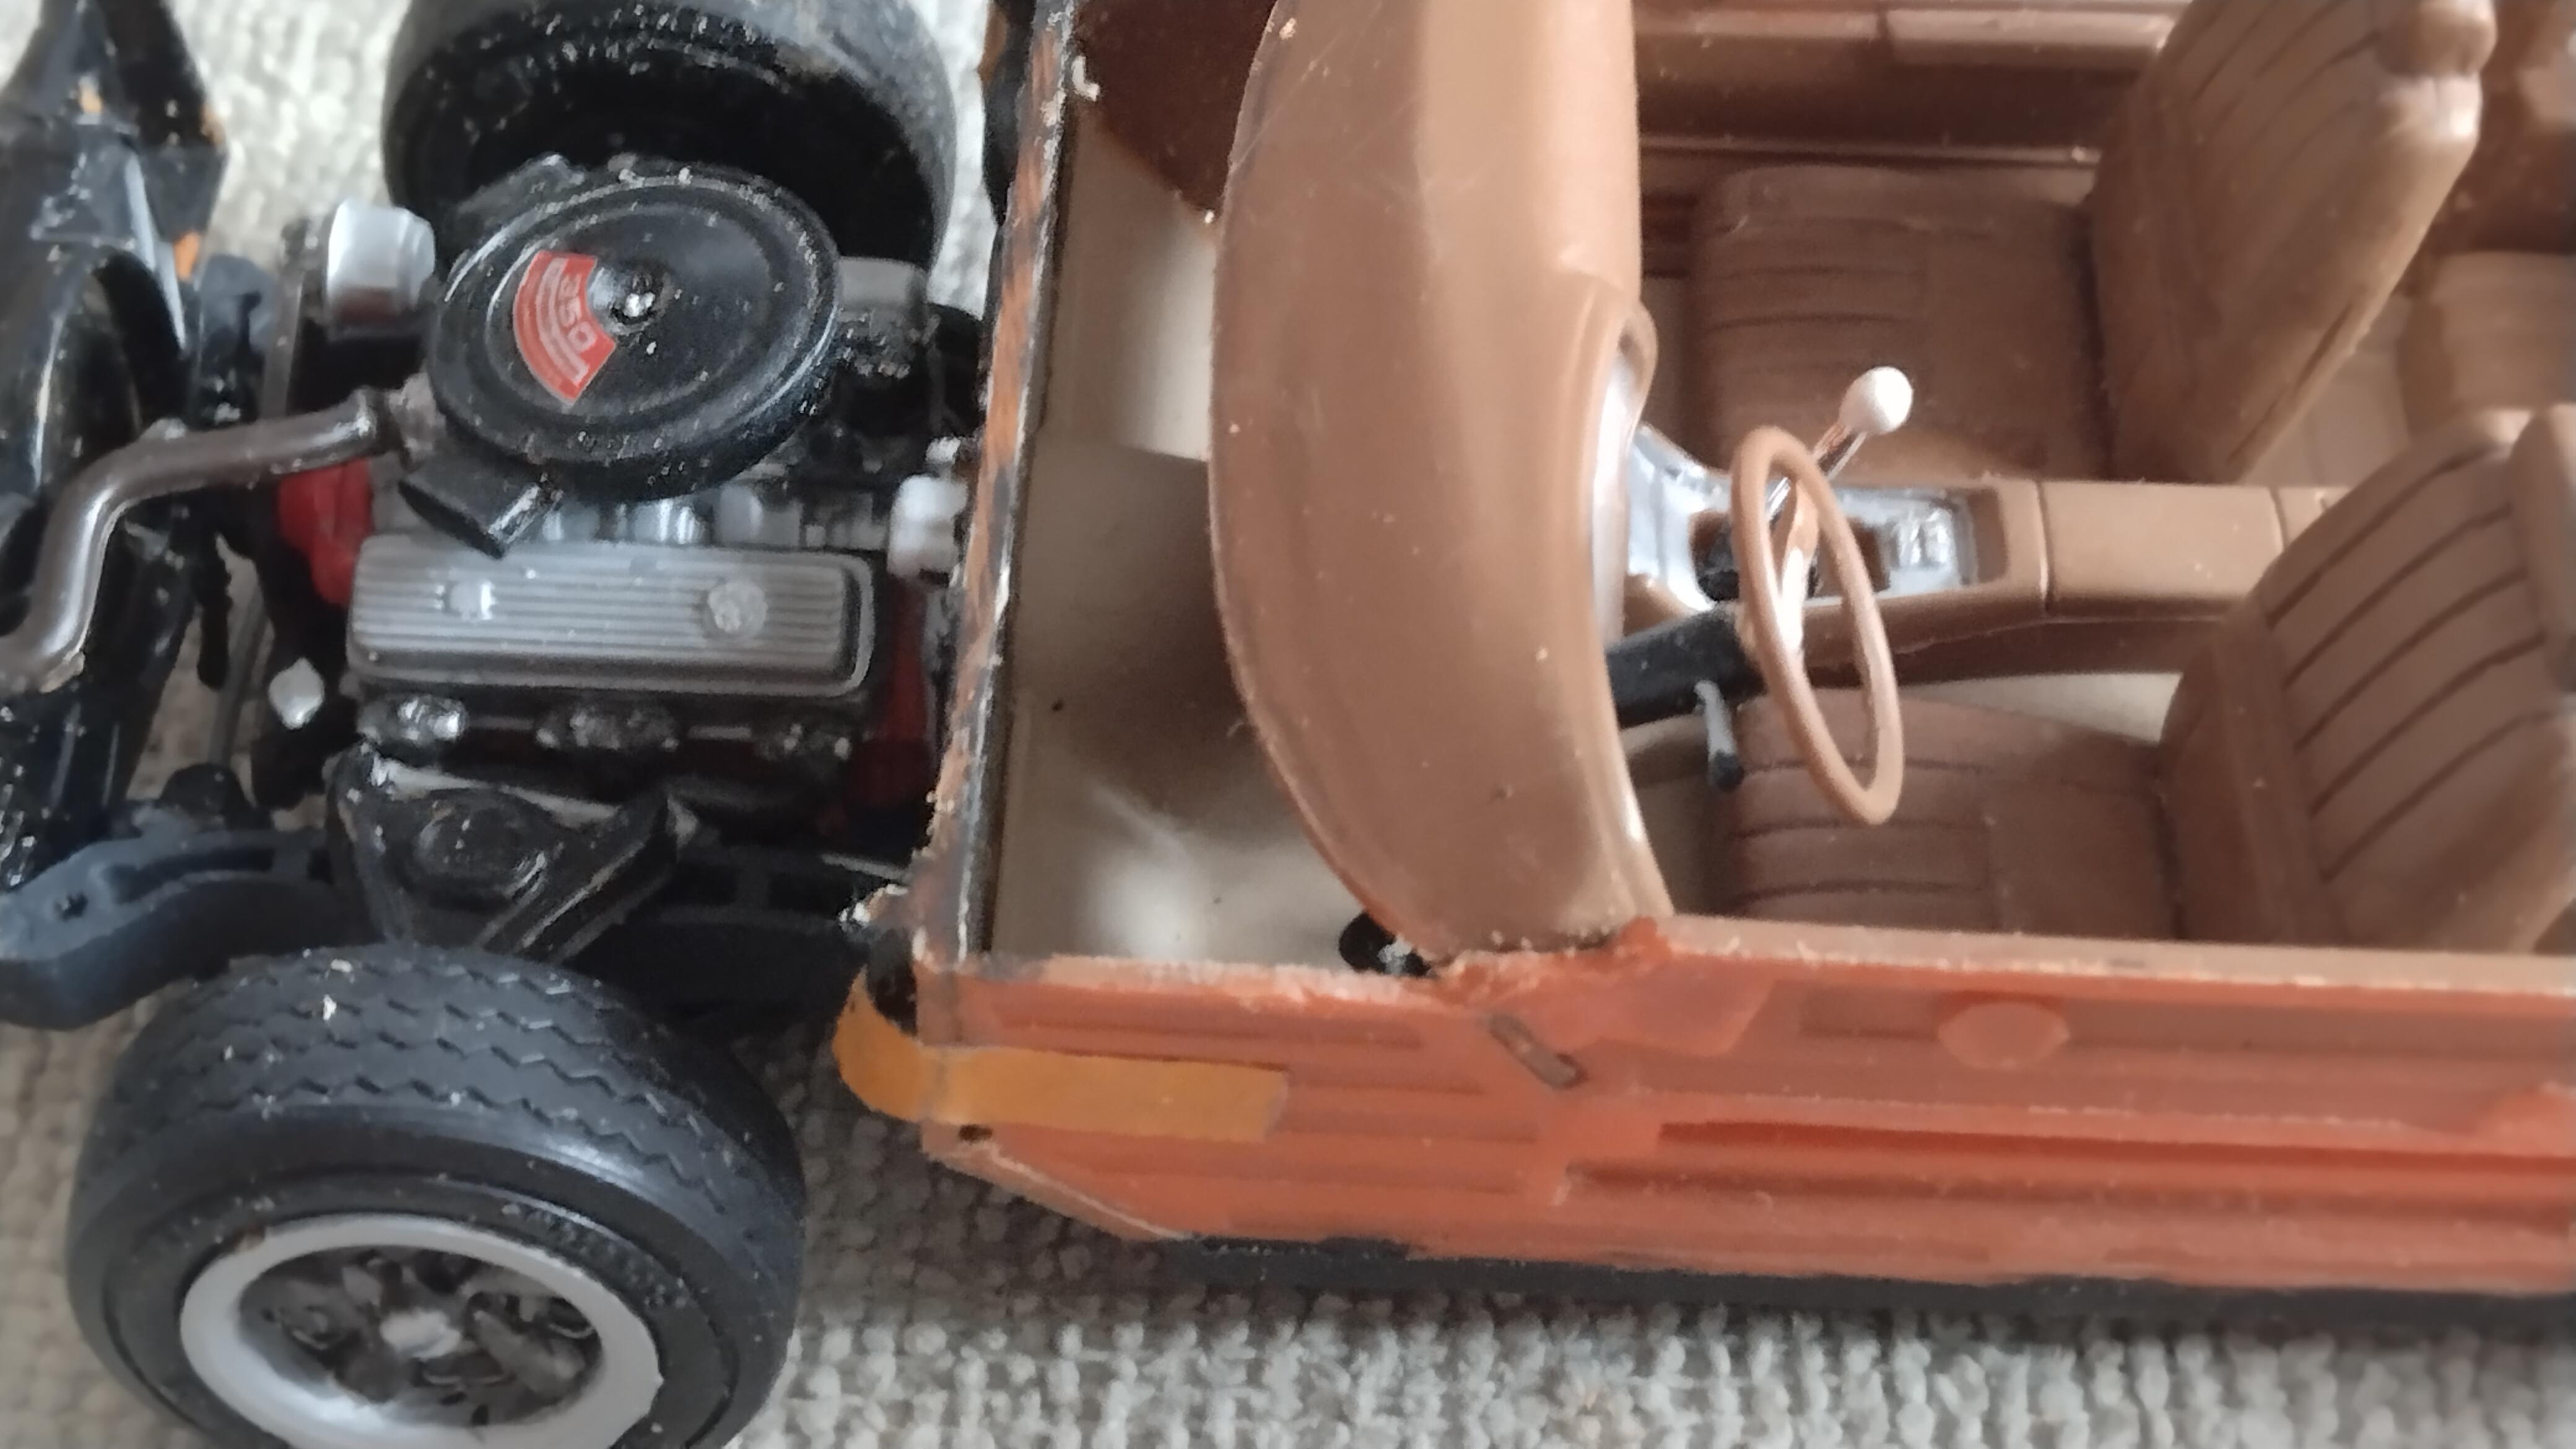
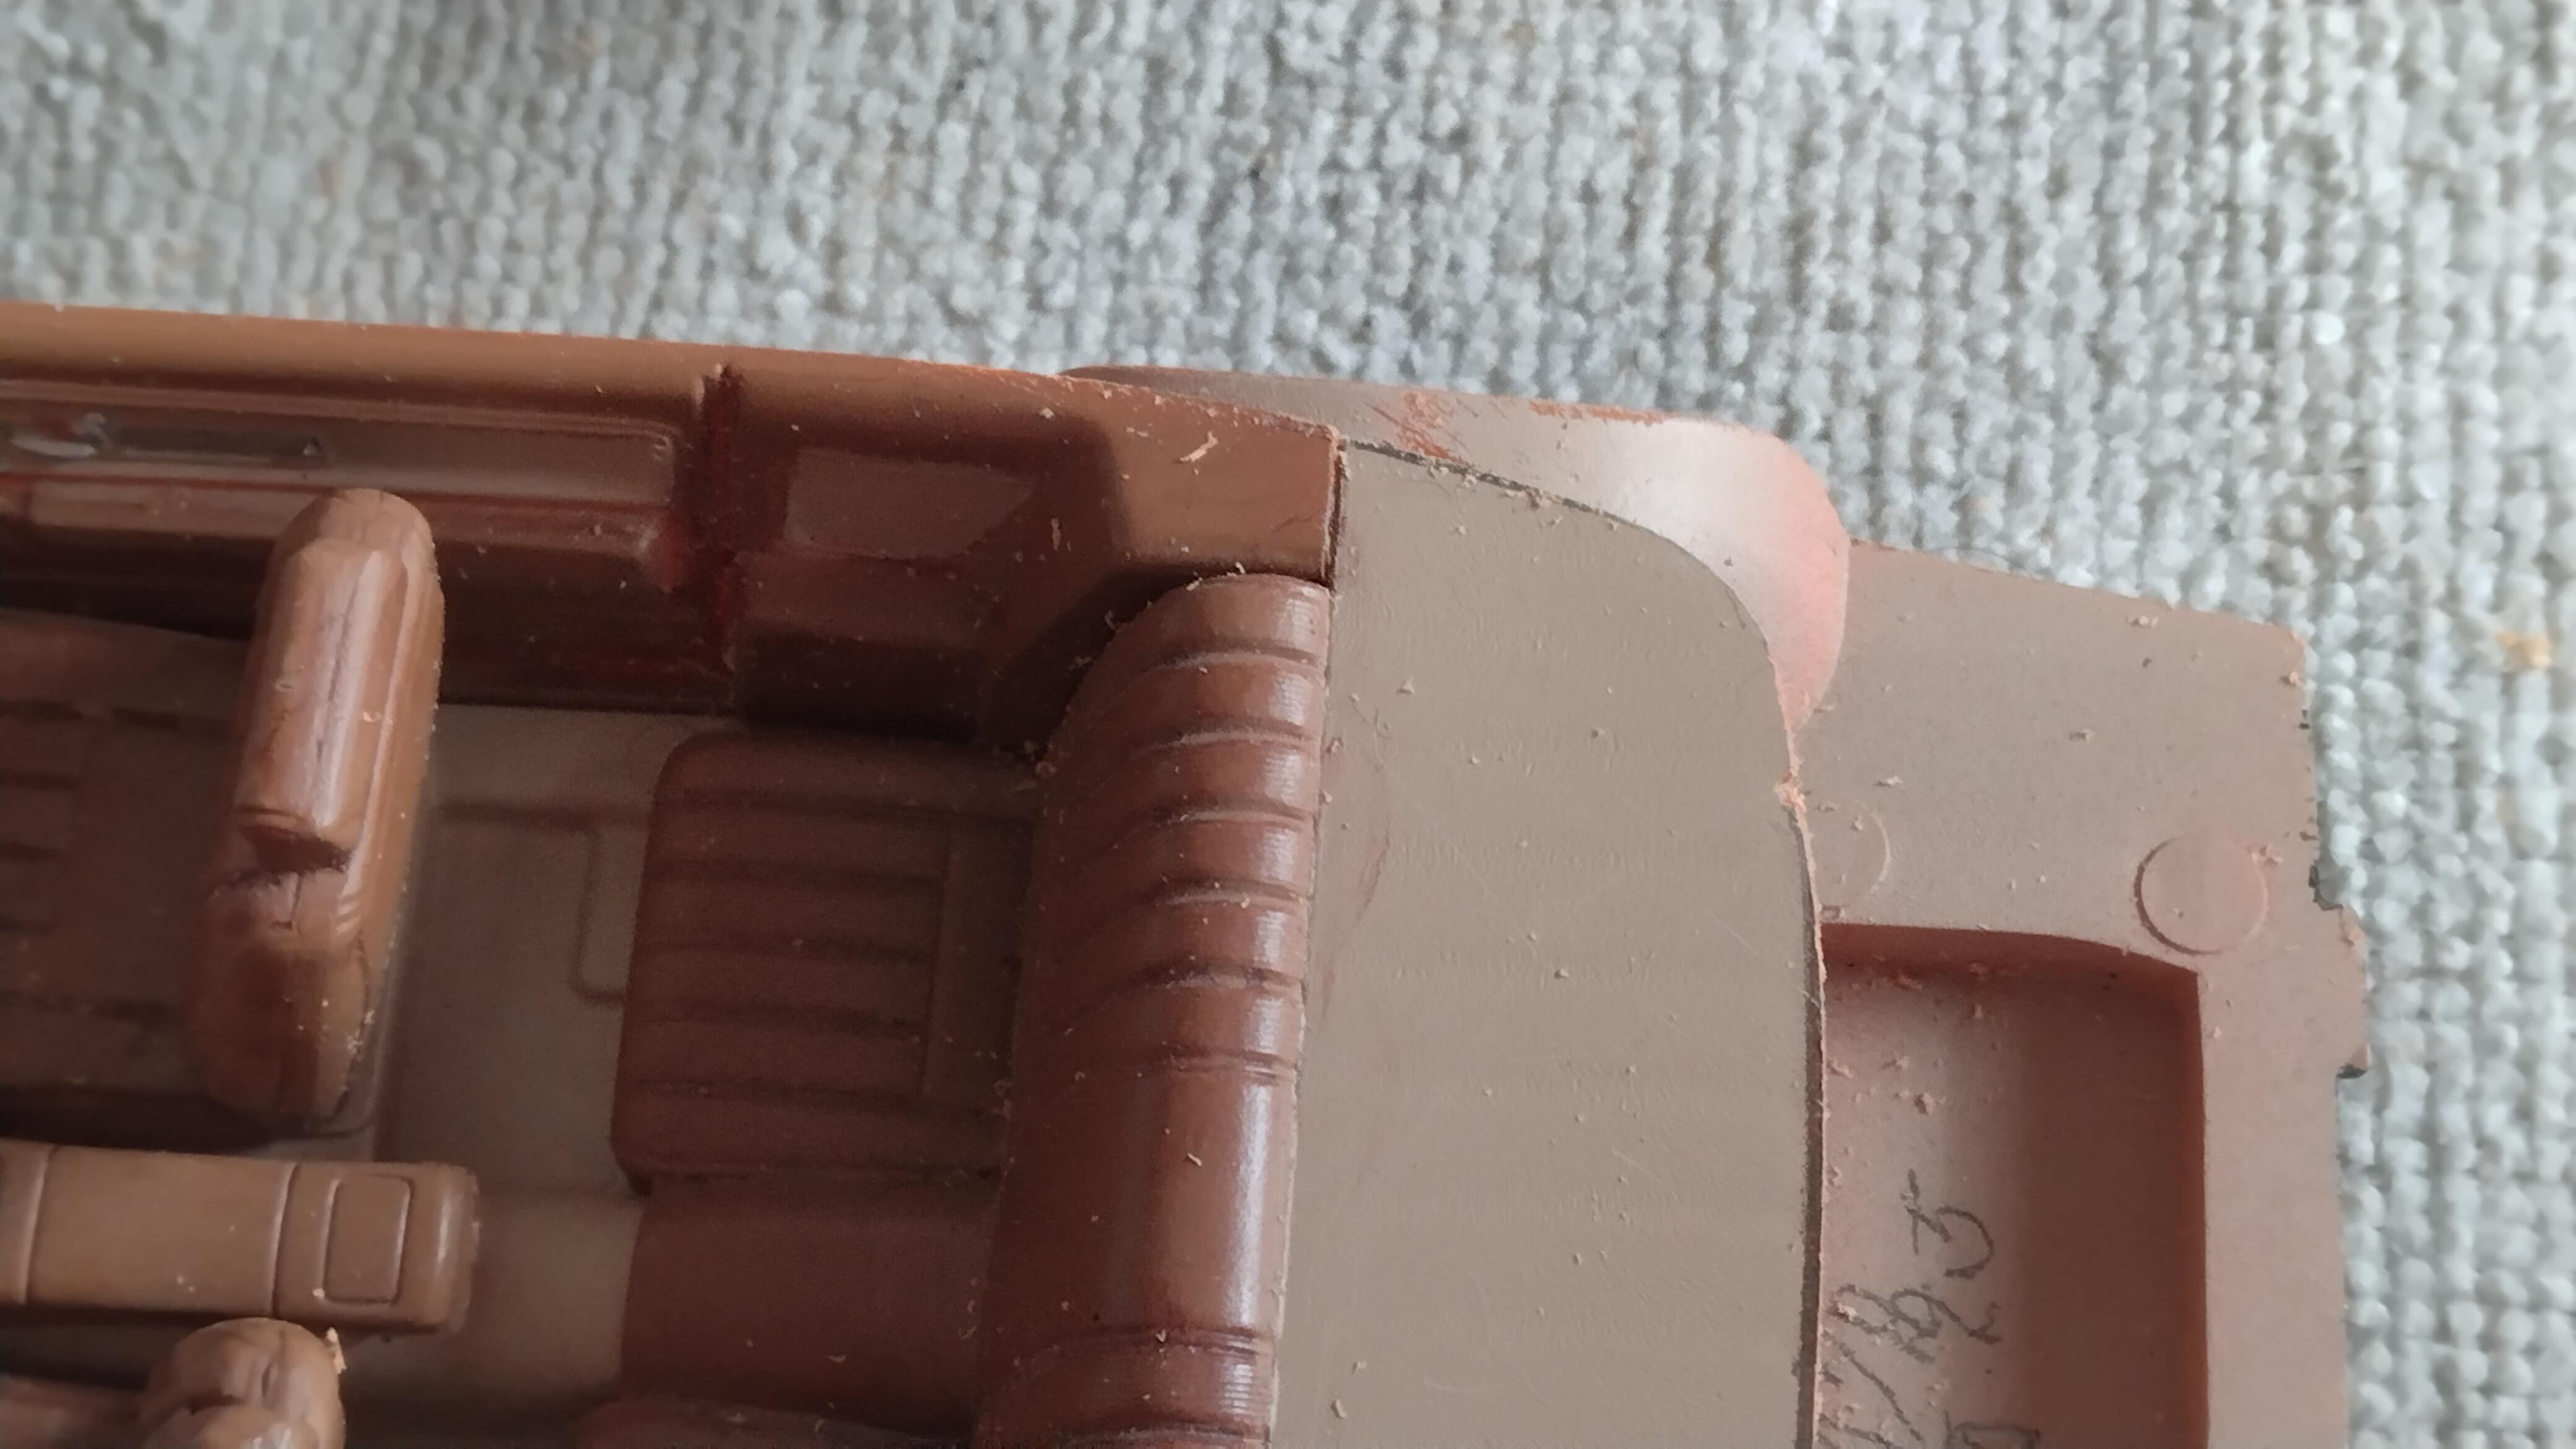
With glass in the body the fire wall sites high off the fire wall with out the glass it sites where it should. With the chassis in the body when I press on the front all the movement is all in the front. That's why I felt it was the windshield ears that were keeping it sitting high.