Mark W
-
Posts
361 -
Joined
-
Last visited
Content Type
Profiles
Forums
Events
Gallery
Everything posted by Mark W
-
Thank you Pierre. The Aston is an Airfix kit. I have a couple and this one will be a Bond car. Later maybe a race version. I think this is the best body overall, the others have too vertical body sides. The Airfix tucks under nicely. Your thoughts on this one? Also, you put the thought in my head about a Cobra club racer, don’t be surprised if down the road there will be one here.
-
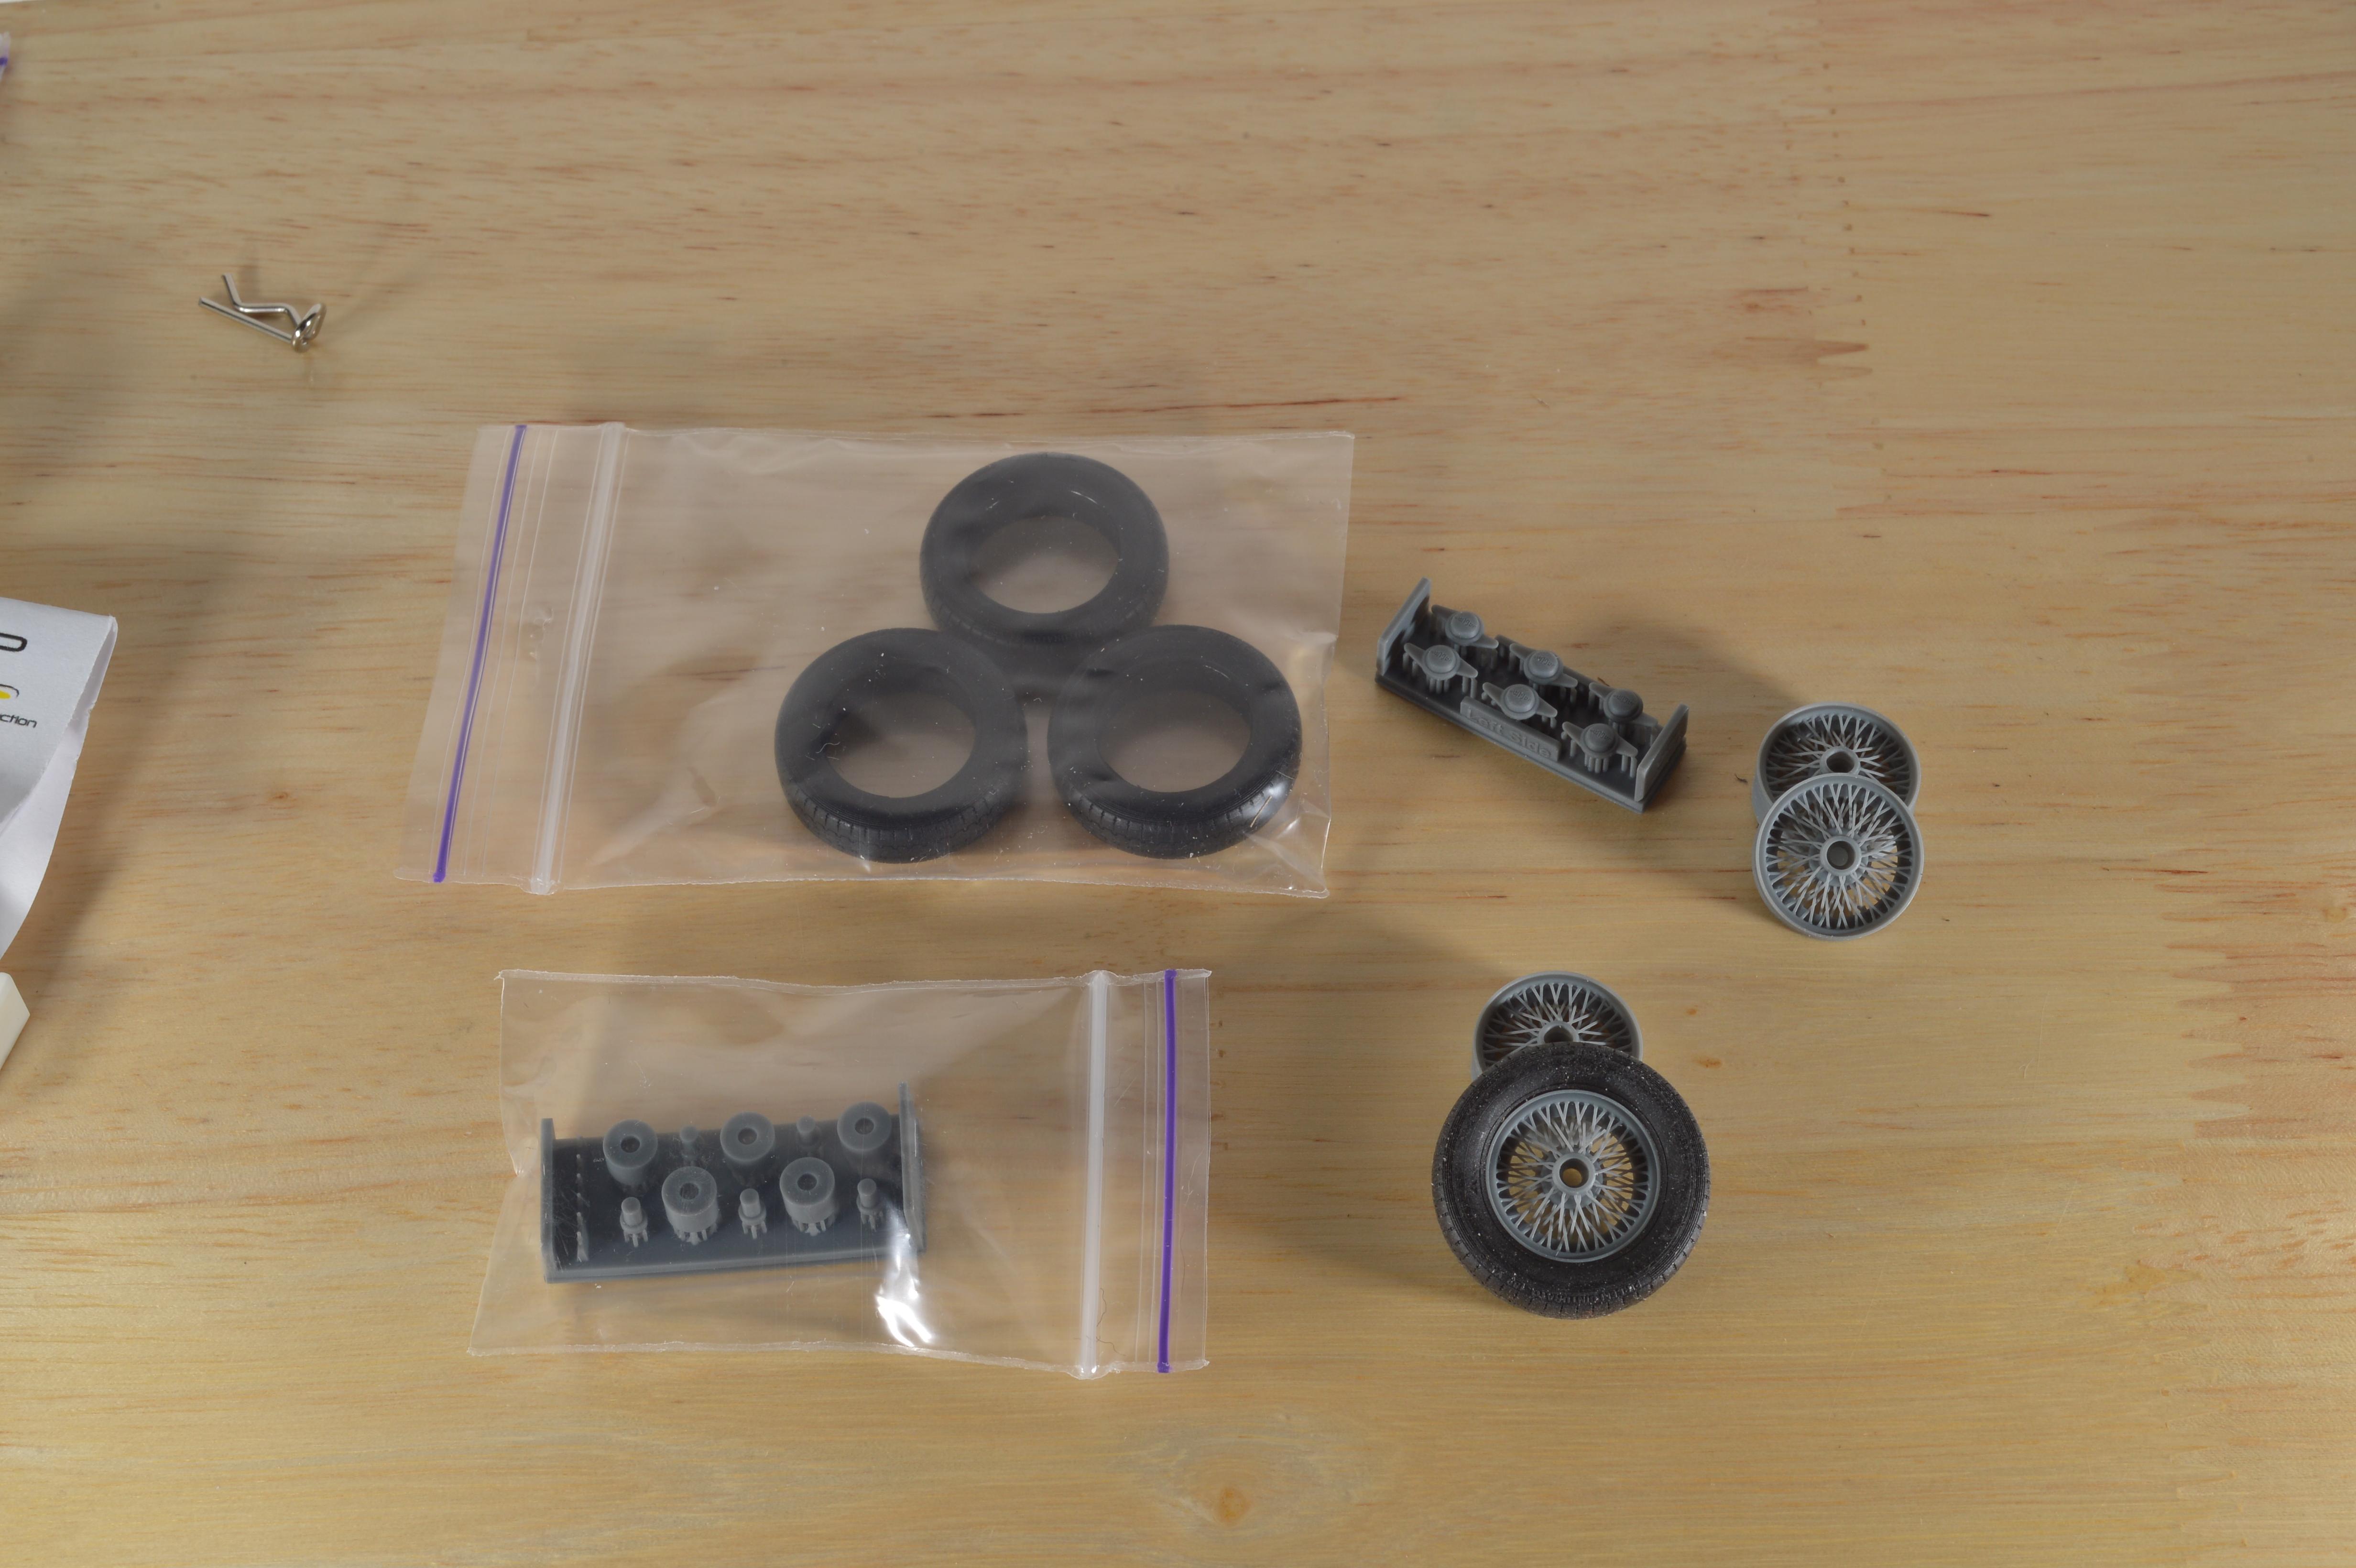
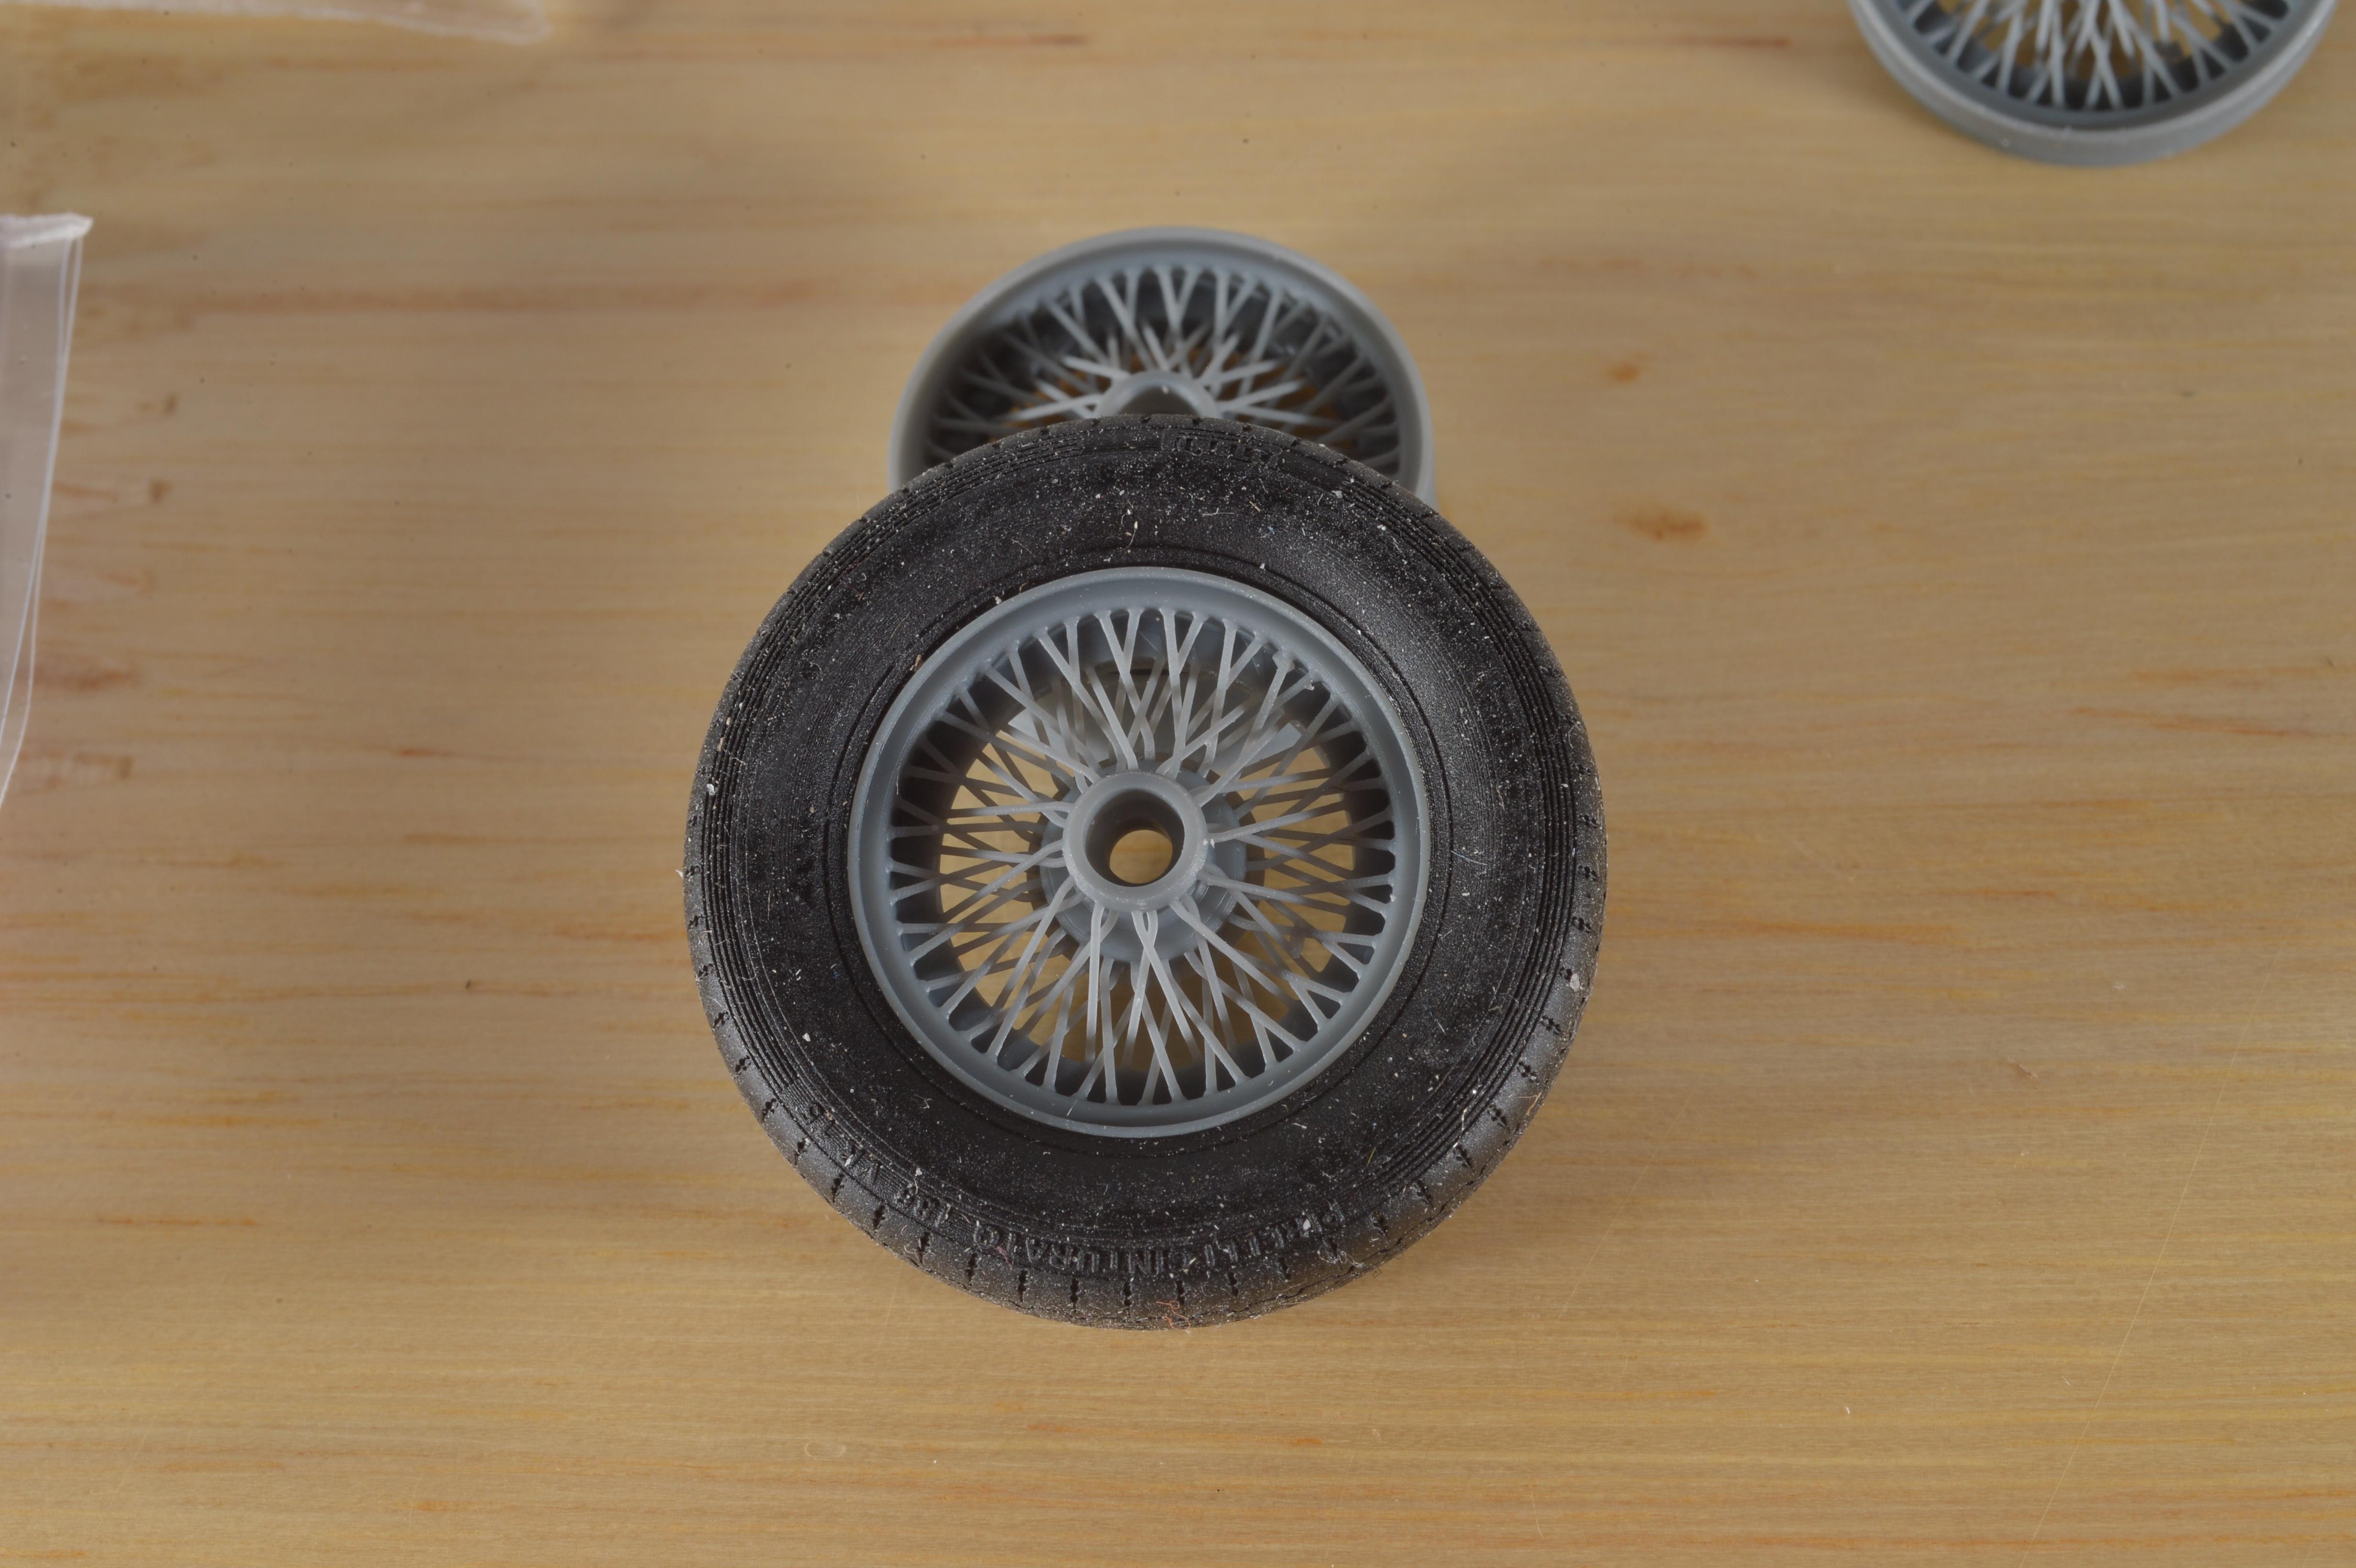
Thank you, I was glad to get a set of these wheels, I think the tires that they came with look really good also.They’re Pirelli Cinturato’s. btw, the dust will be cleaned off before installation,
-
Extraordinary! This is such a beautiful subject from a unique time in auto racing. You’ve done a masterful job Pierre, the weathering couldn’t be better. I will use your model as a pattern when I get to my 2000gt.
-
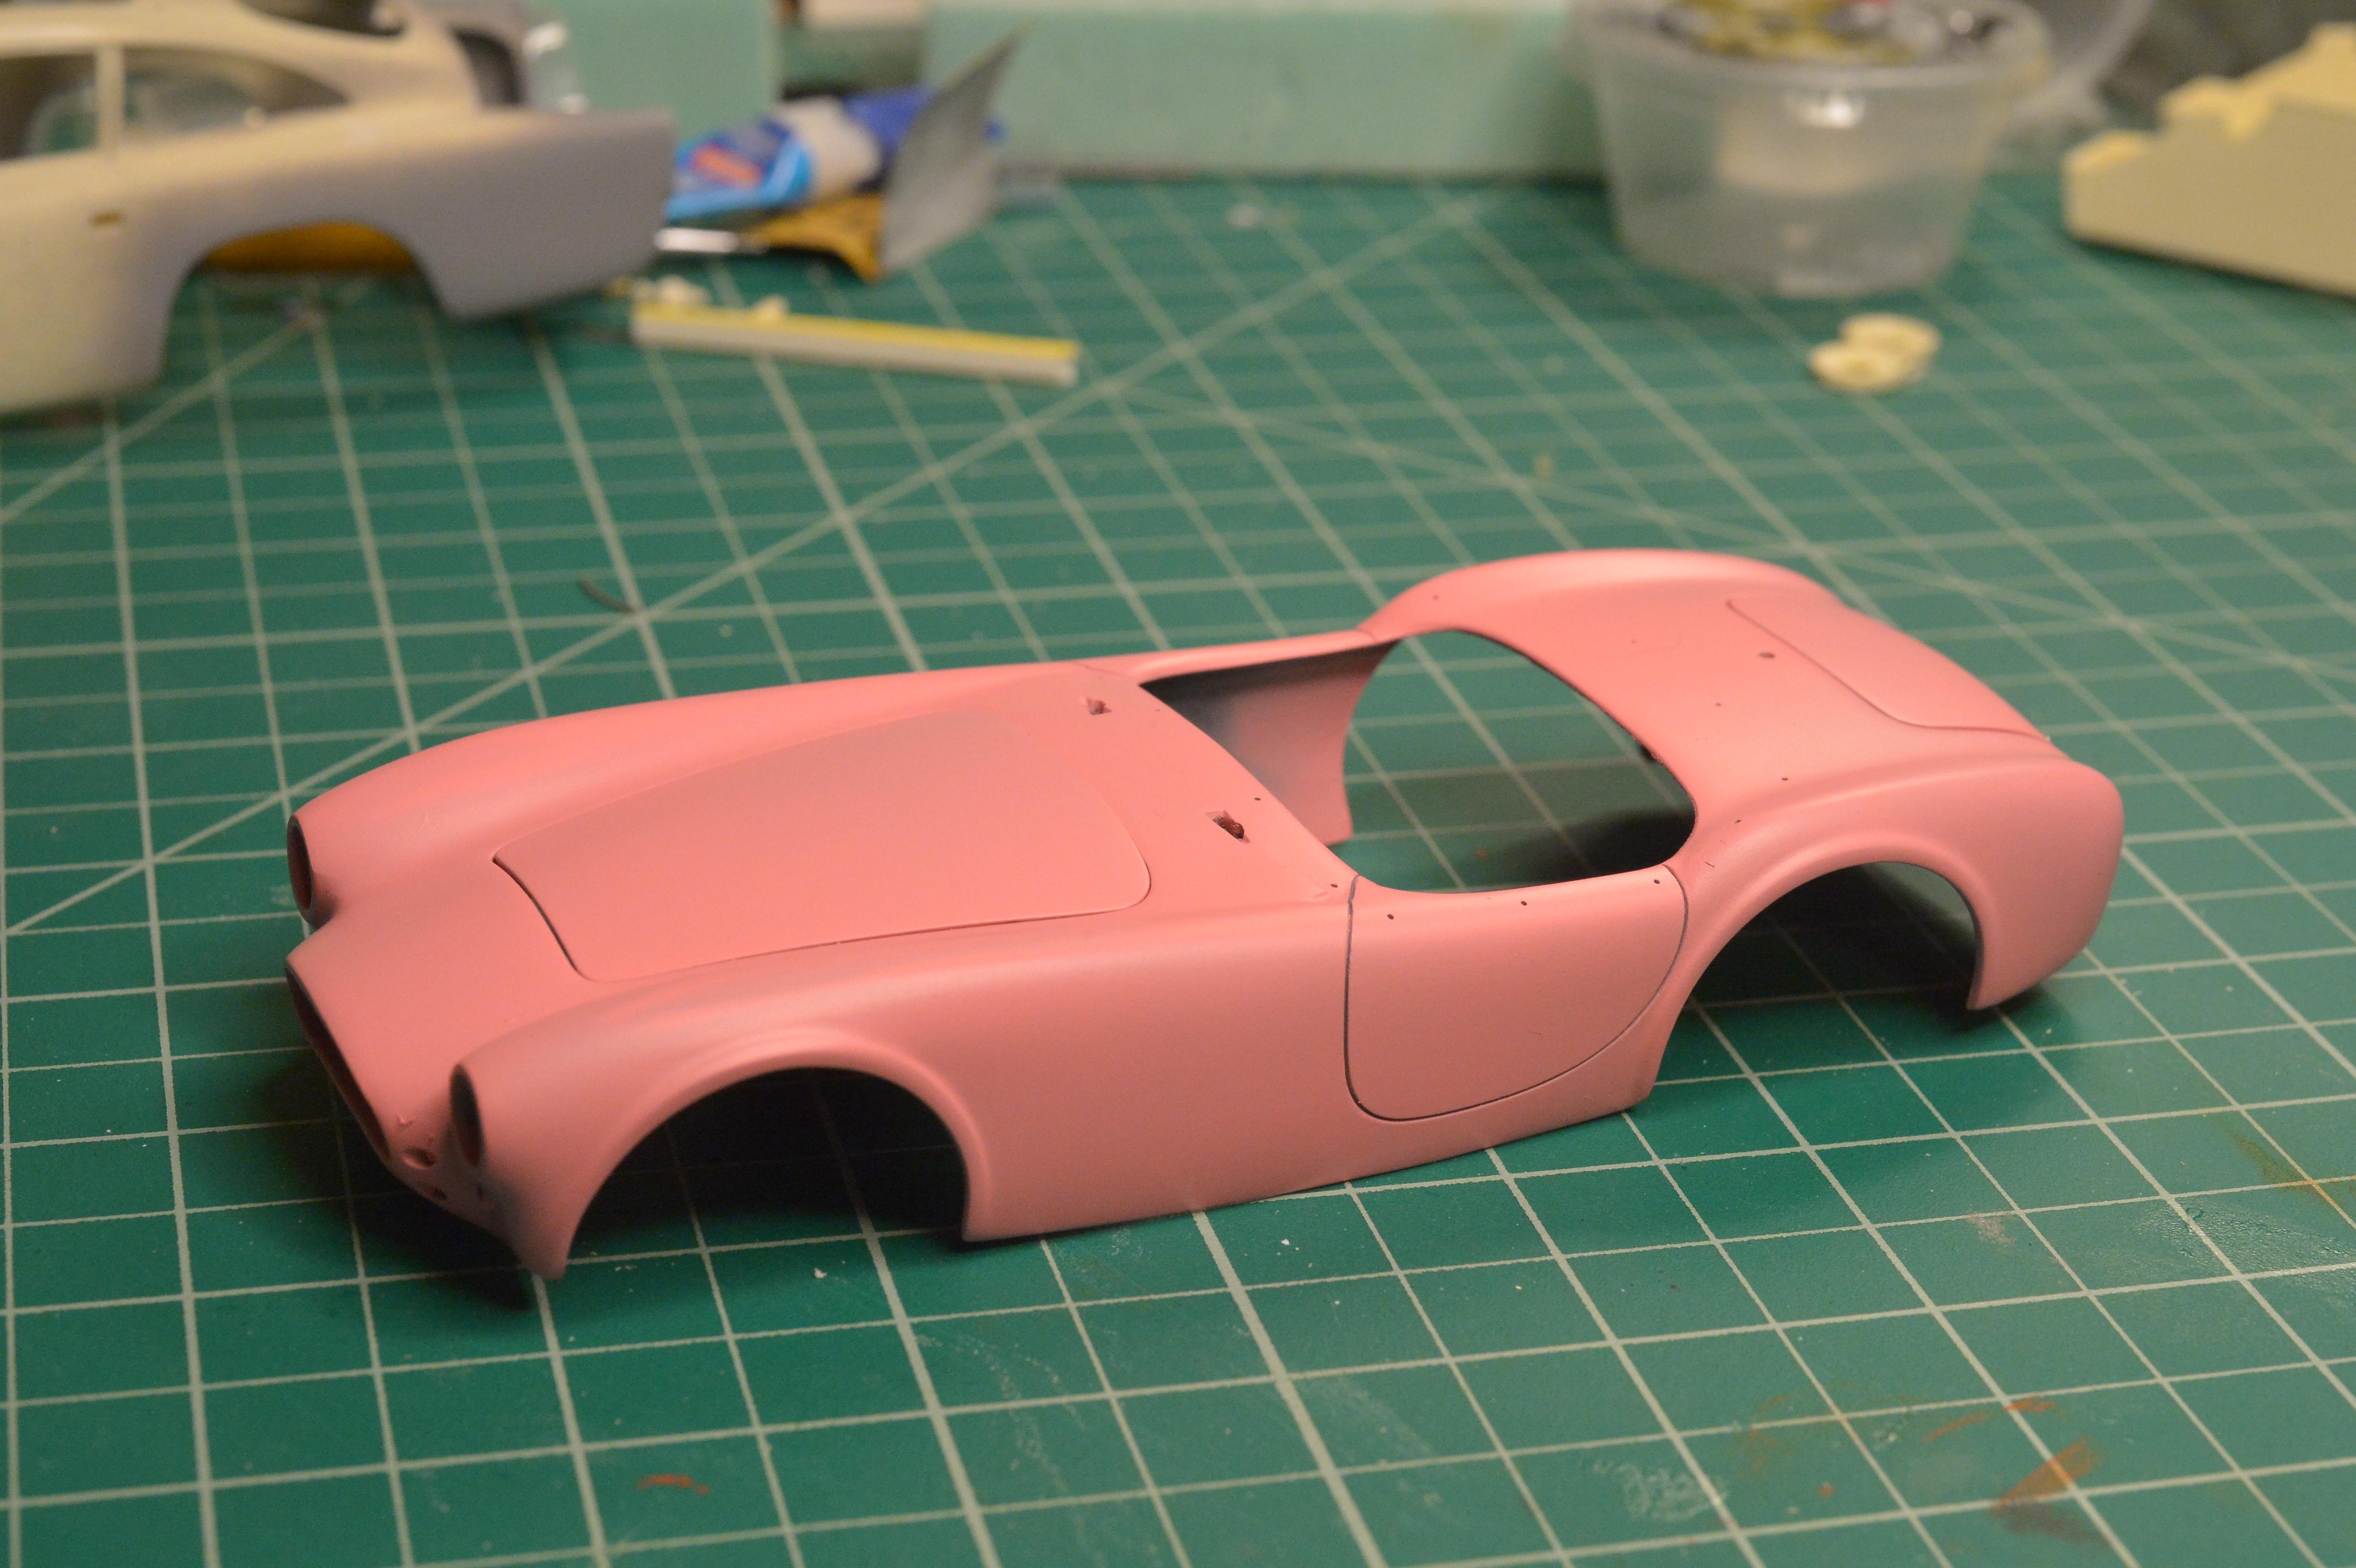
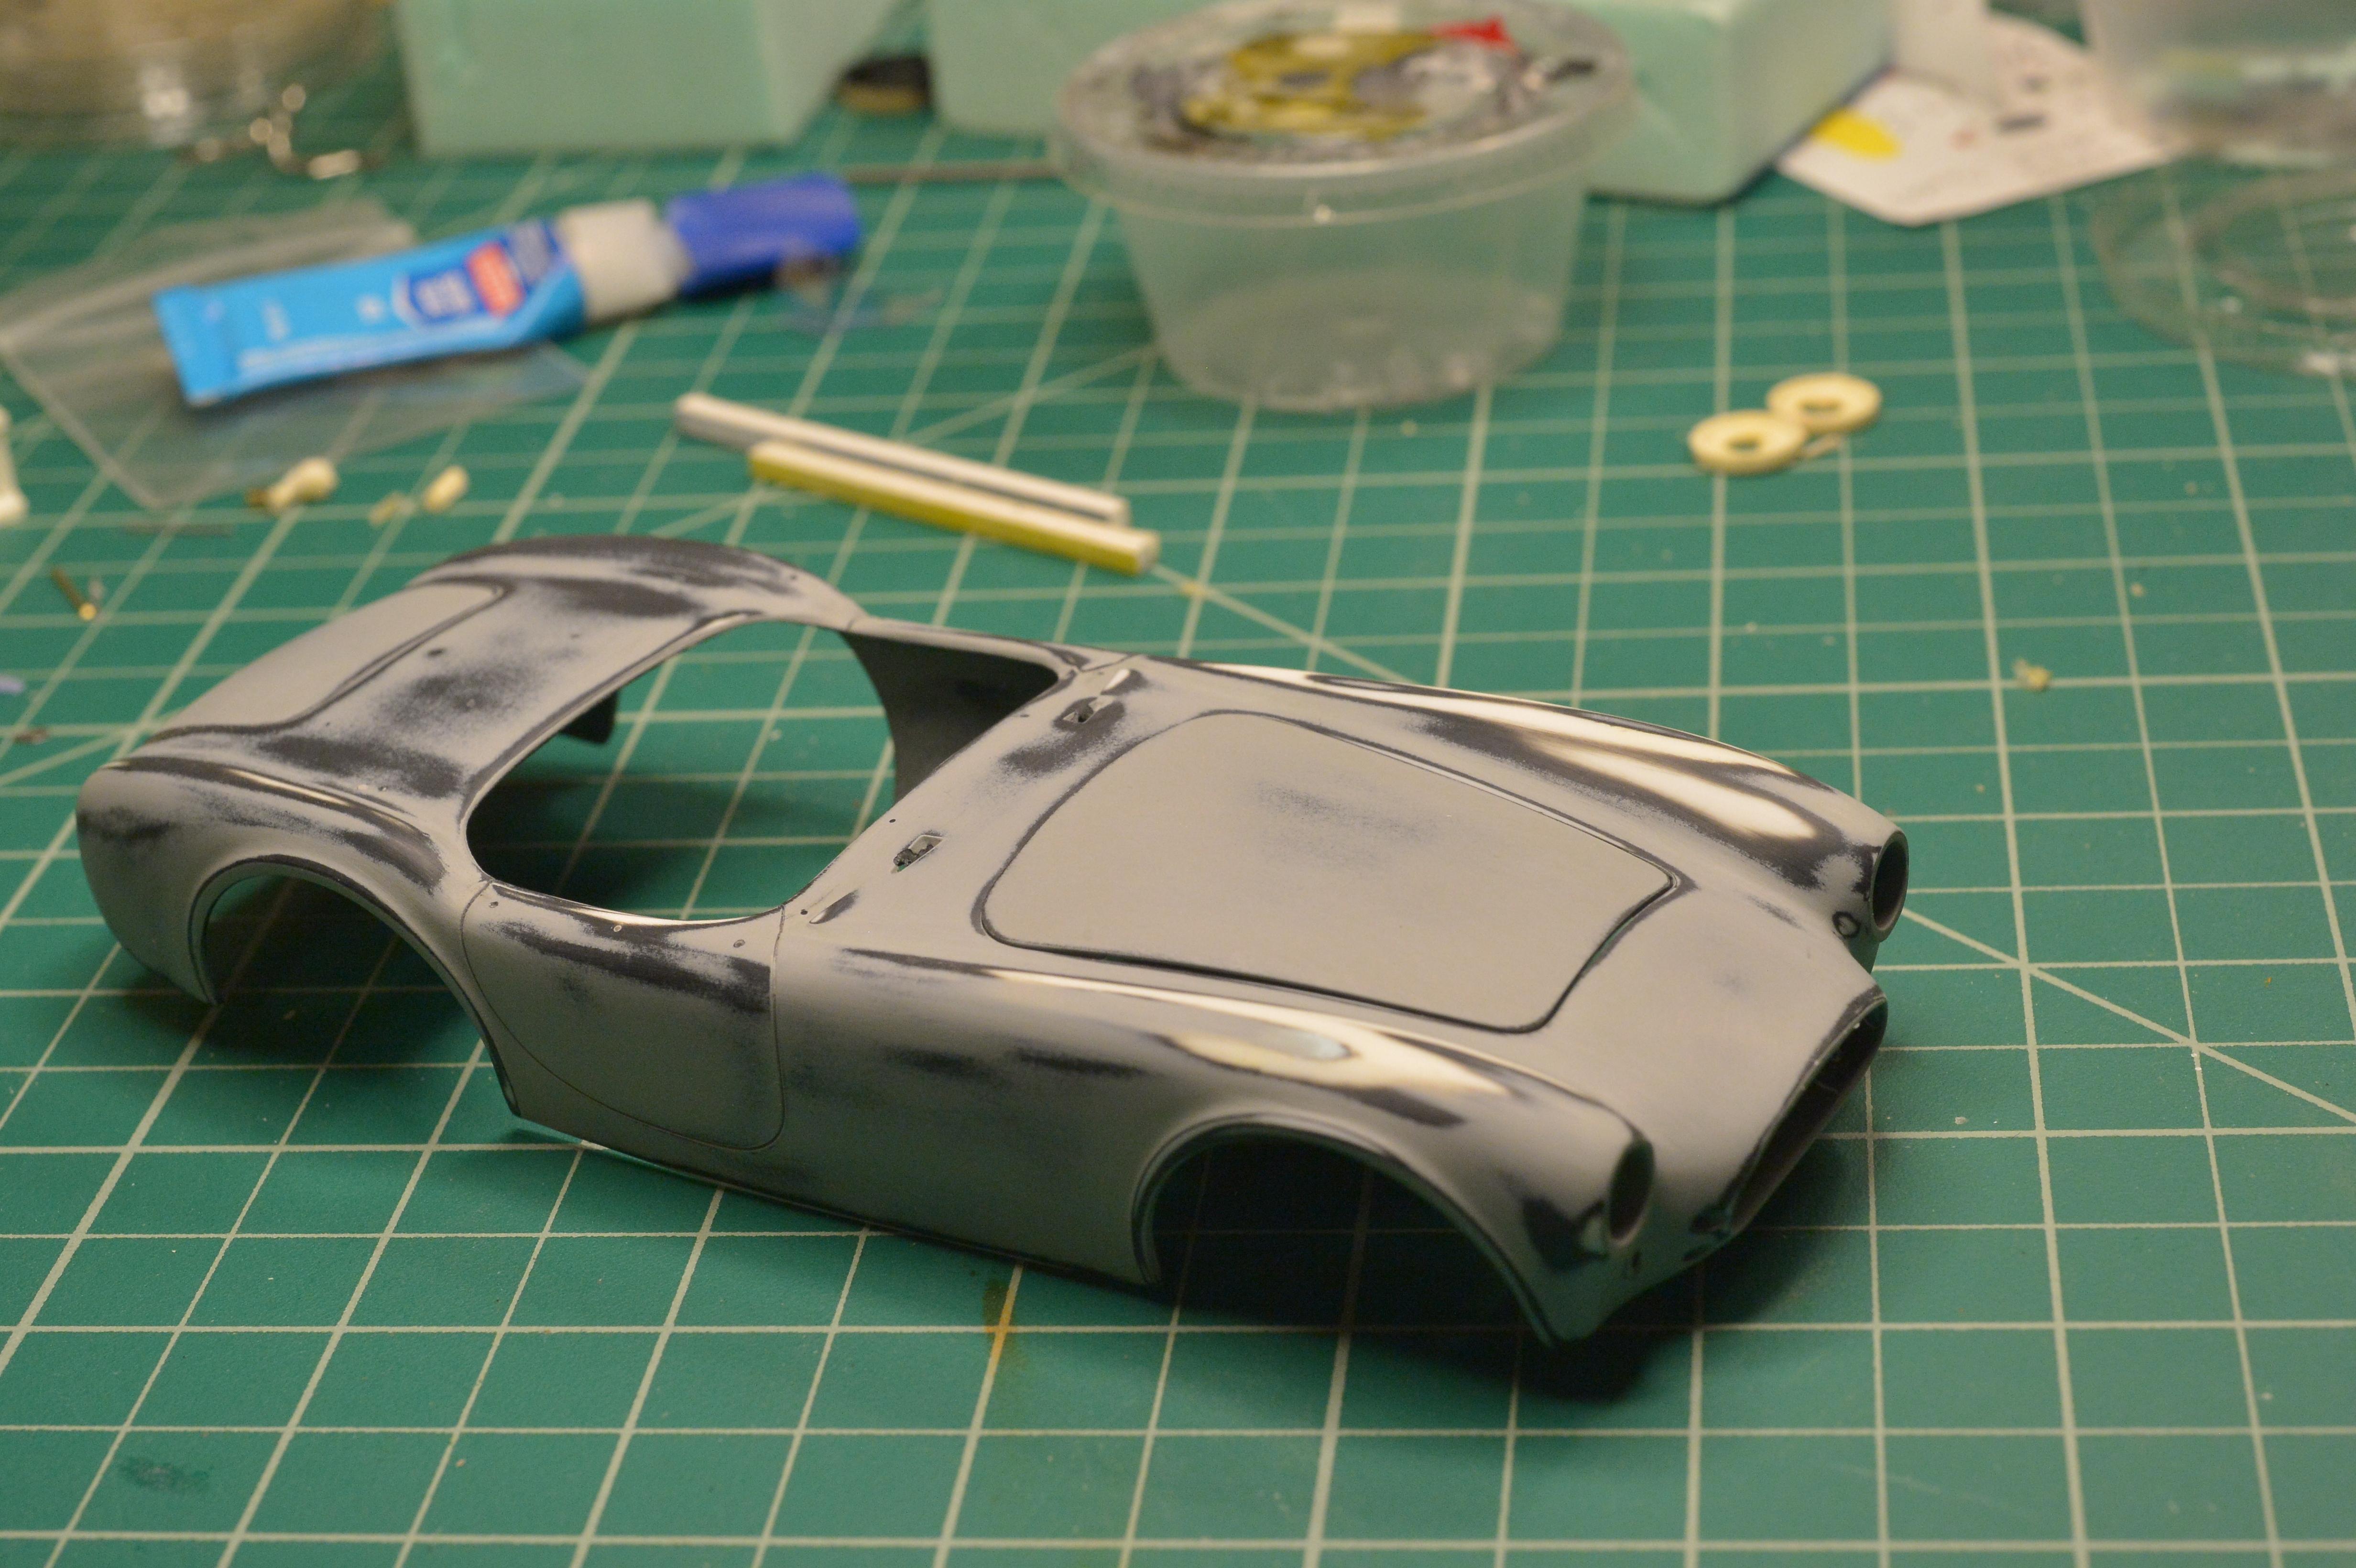
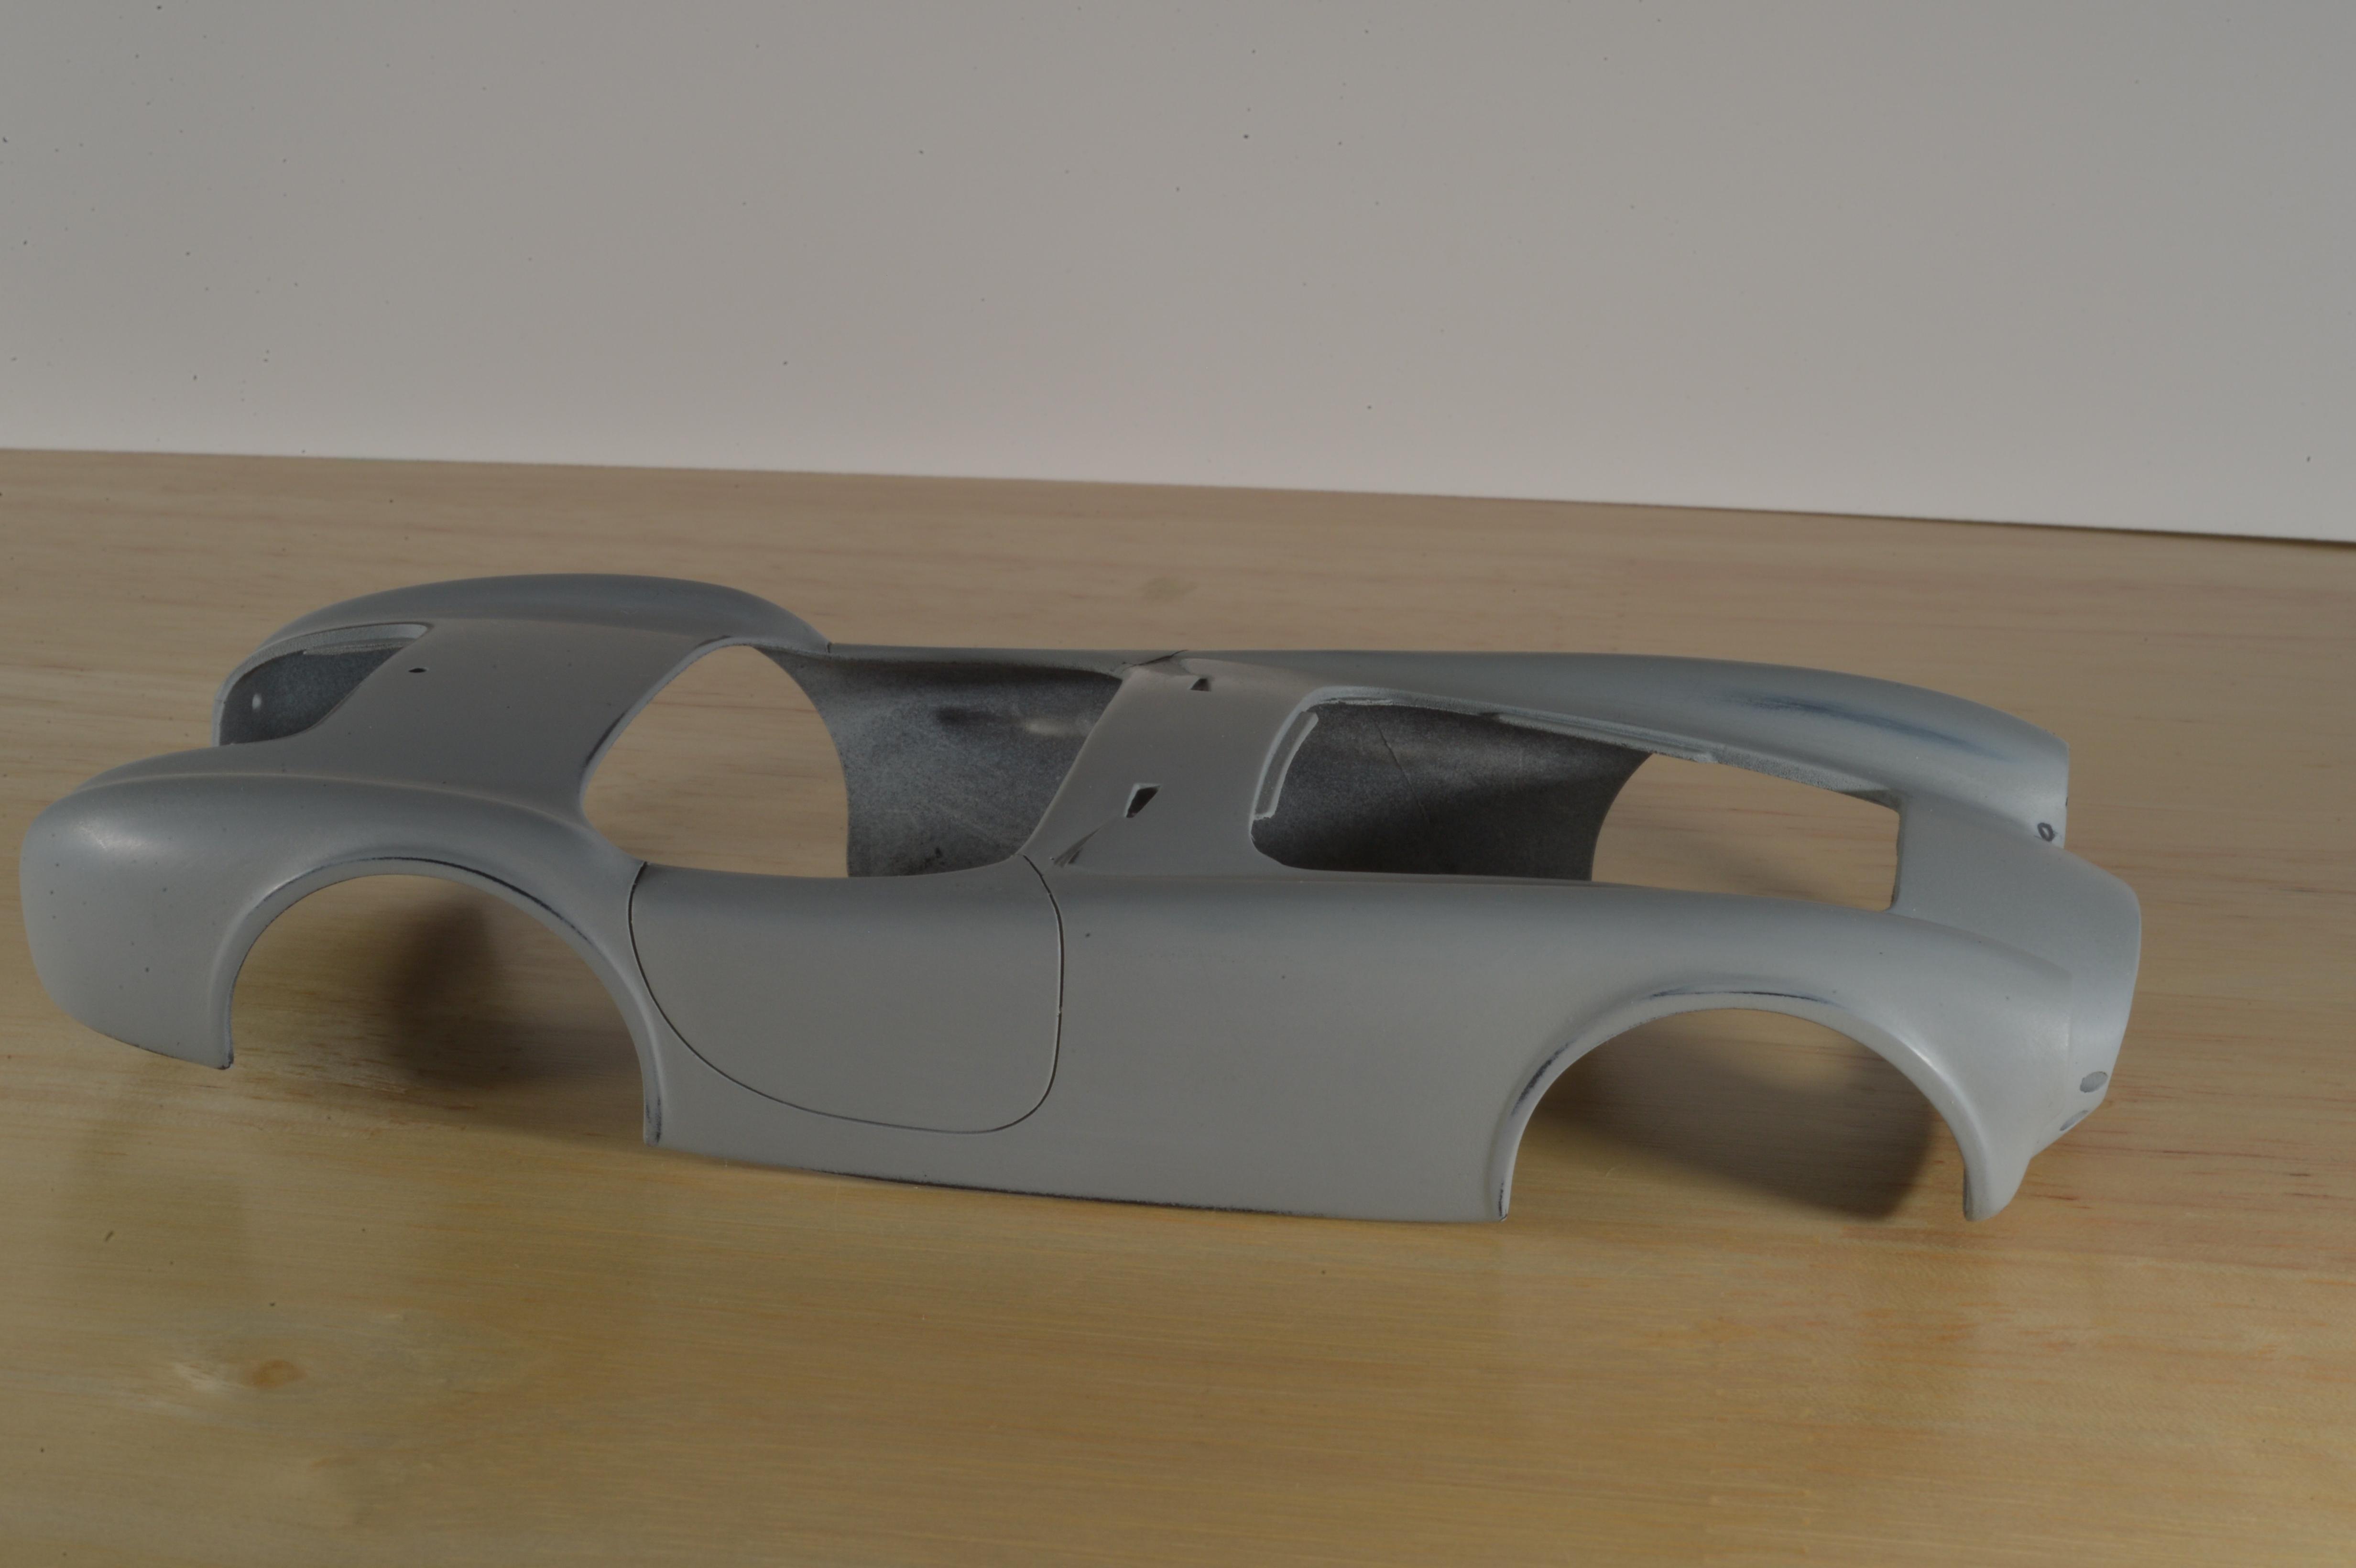
Final body work done and some primer was put on. As you can guess, with the pink Tamiya primer, the final color will be red. I almost did this in a tan/creme color like one I saw at the Vintage Grand Prix in Pittsburgh, but just wanted something a bit brighter on the shelf since the Cobra is a bit small.

-
I believe you are on the right track. I use Vallejo pigment mixed with either their binder or thinner in a paste. The thinner makes it go on a little less. Start with a lighter color, when dry, wipe the tread as suggested, then very lightly use a bit darker color to give it some texture. As always, weathering can be hit or miss, but I’ve had it work.
-
Looks great. One could make detailing these little gems a complete hobby in itself. When possible, I acquire a miniature of larger scale build I completed.
-
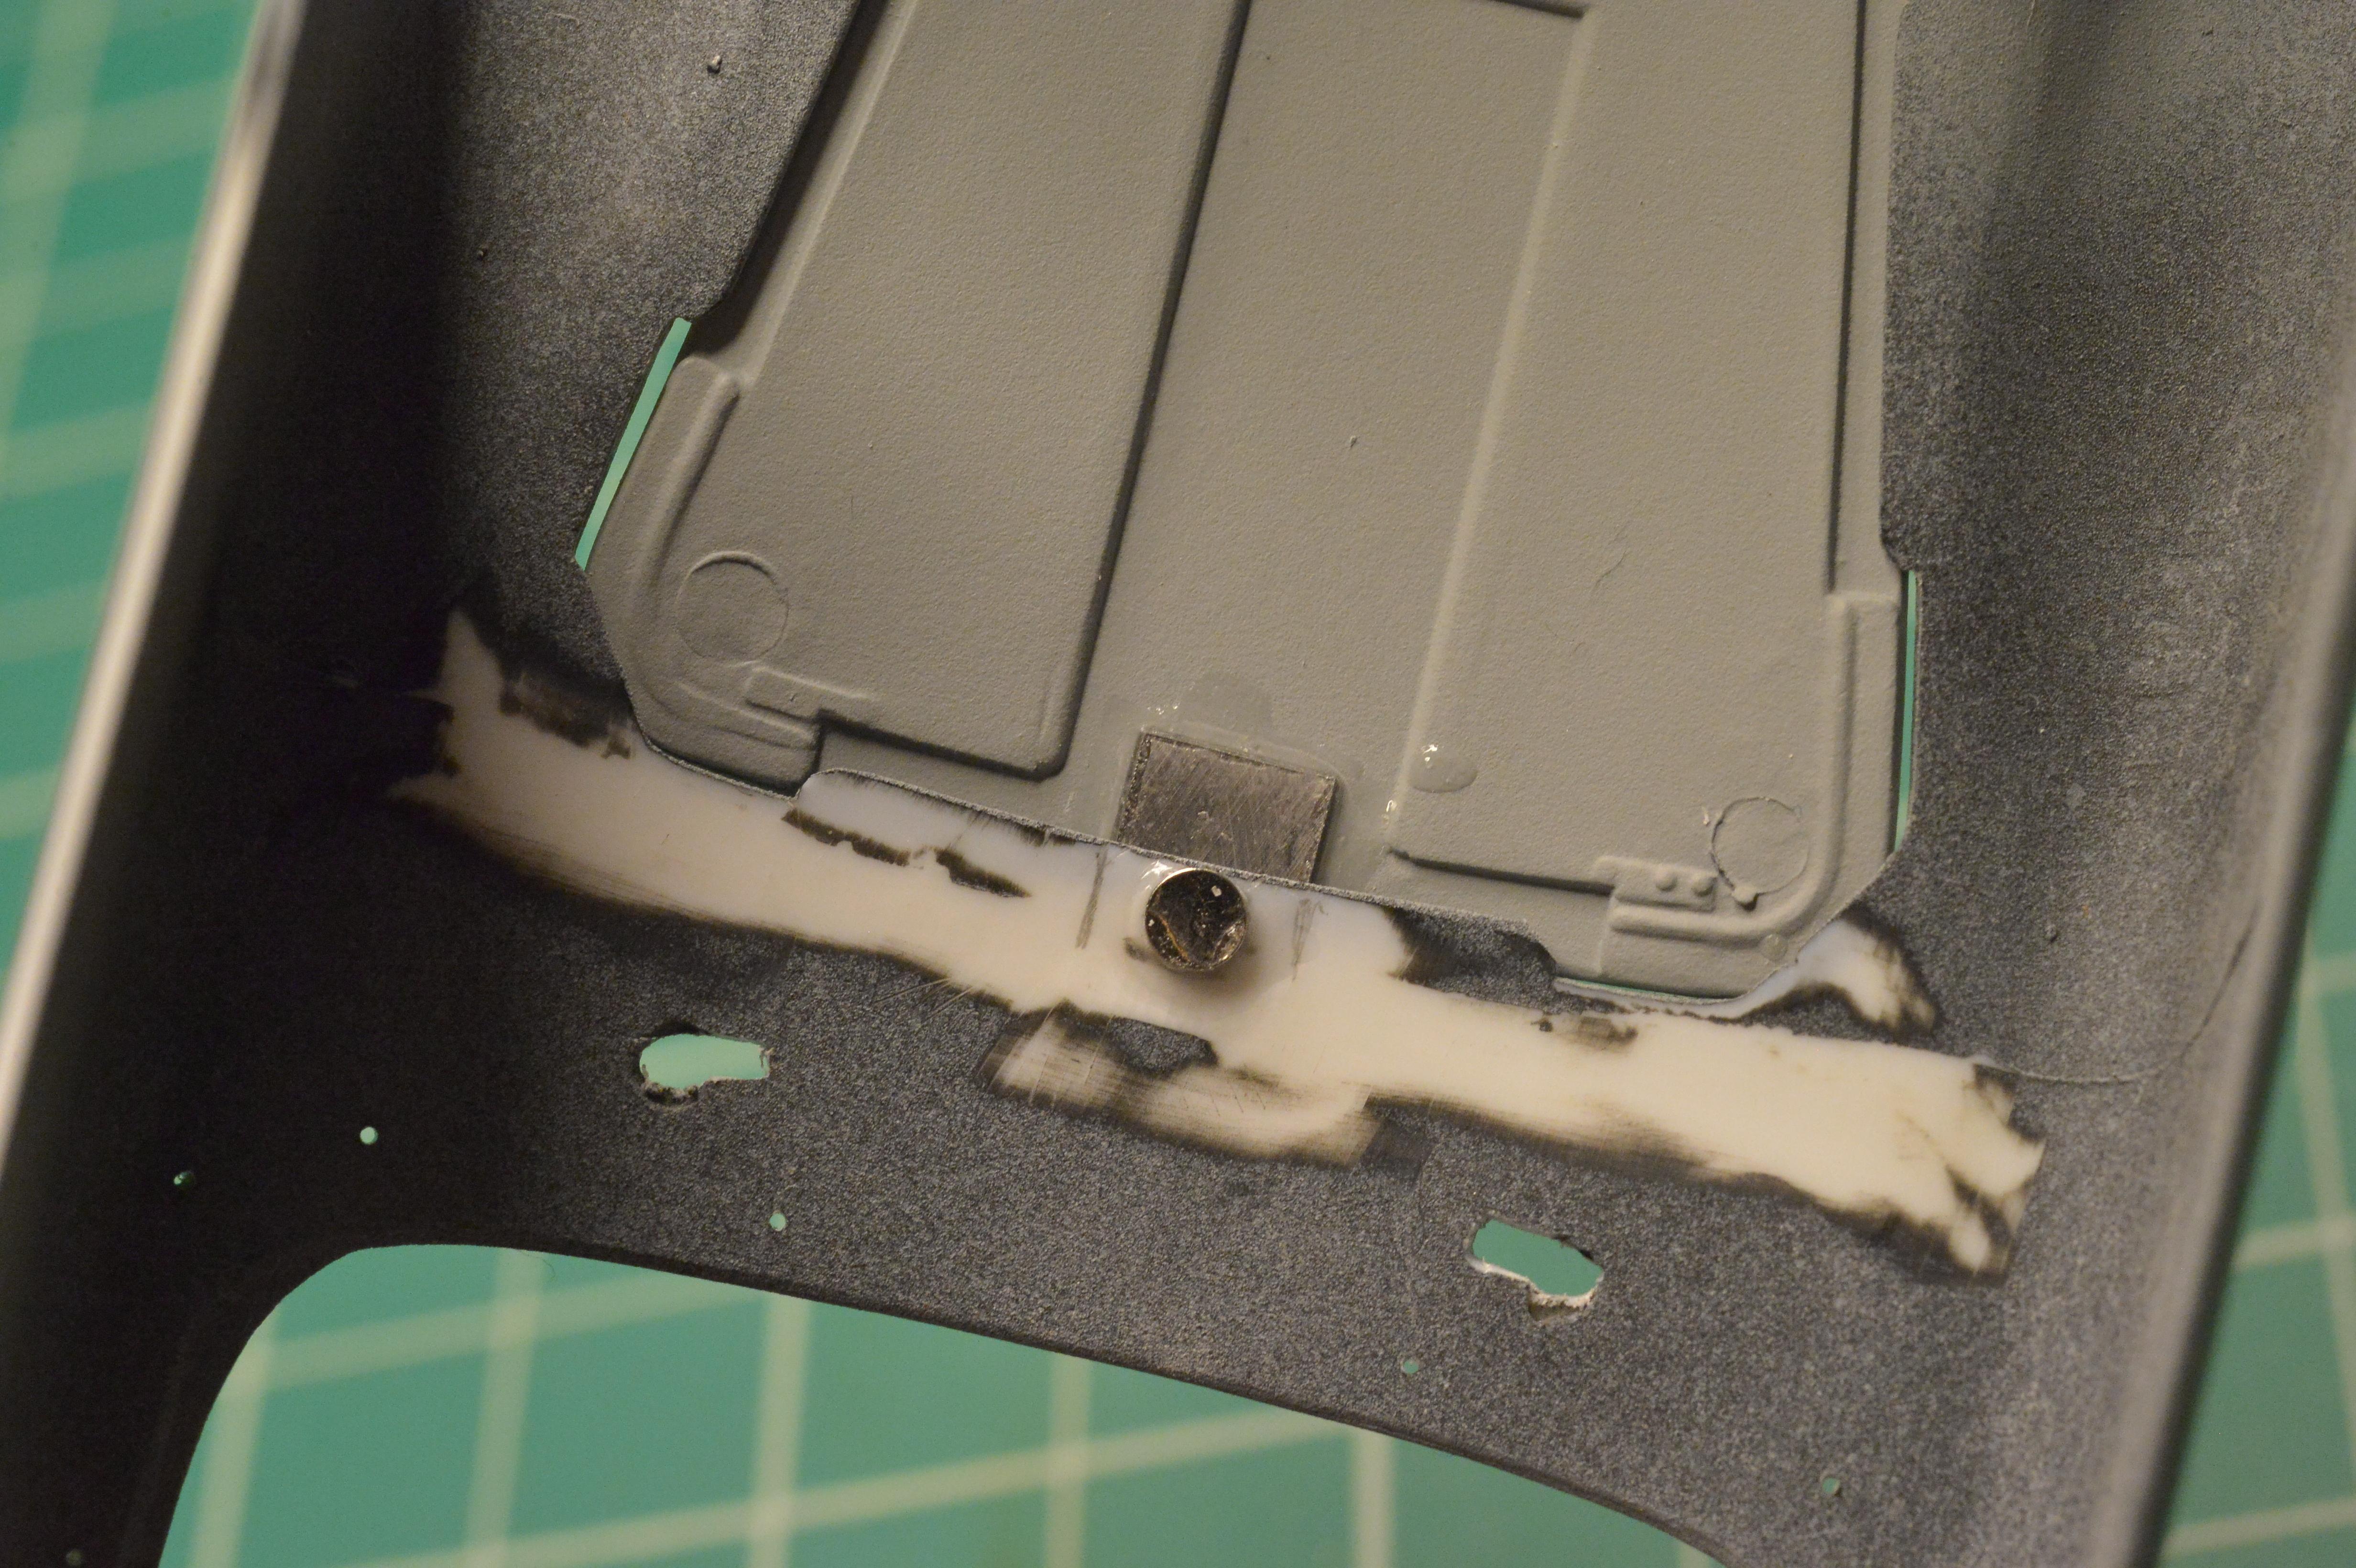
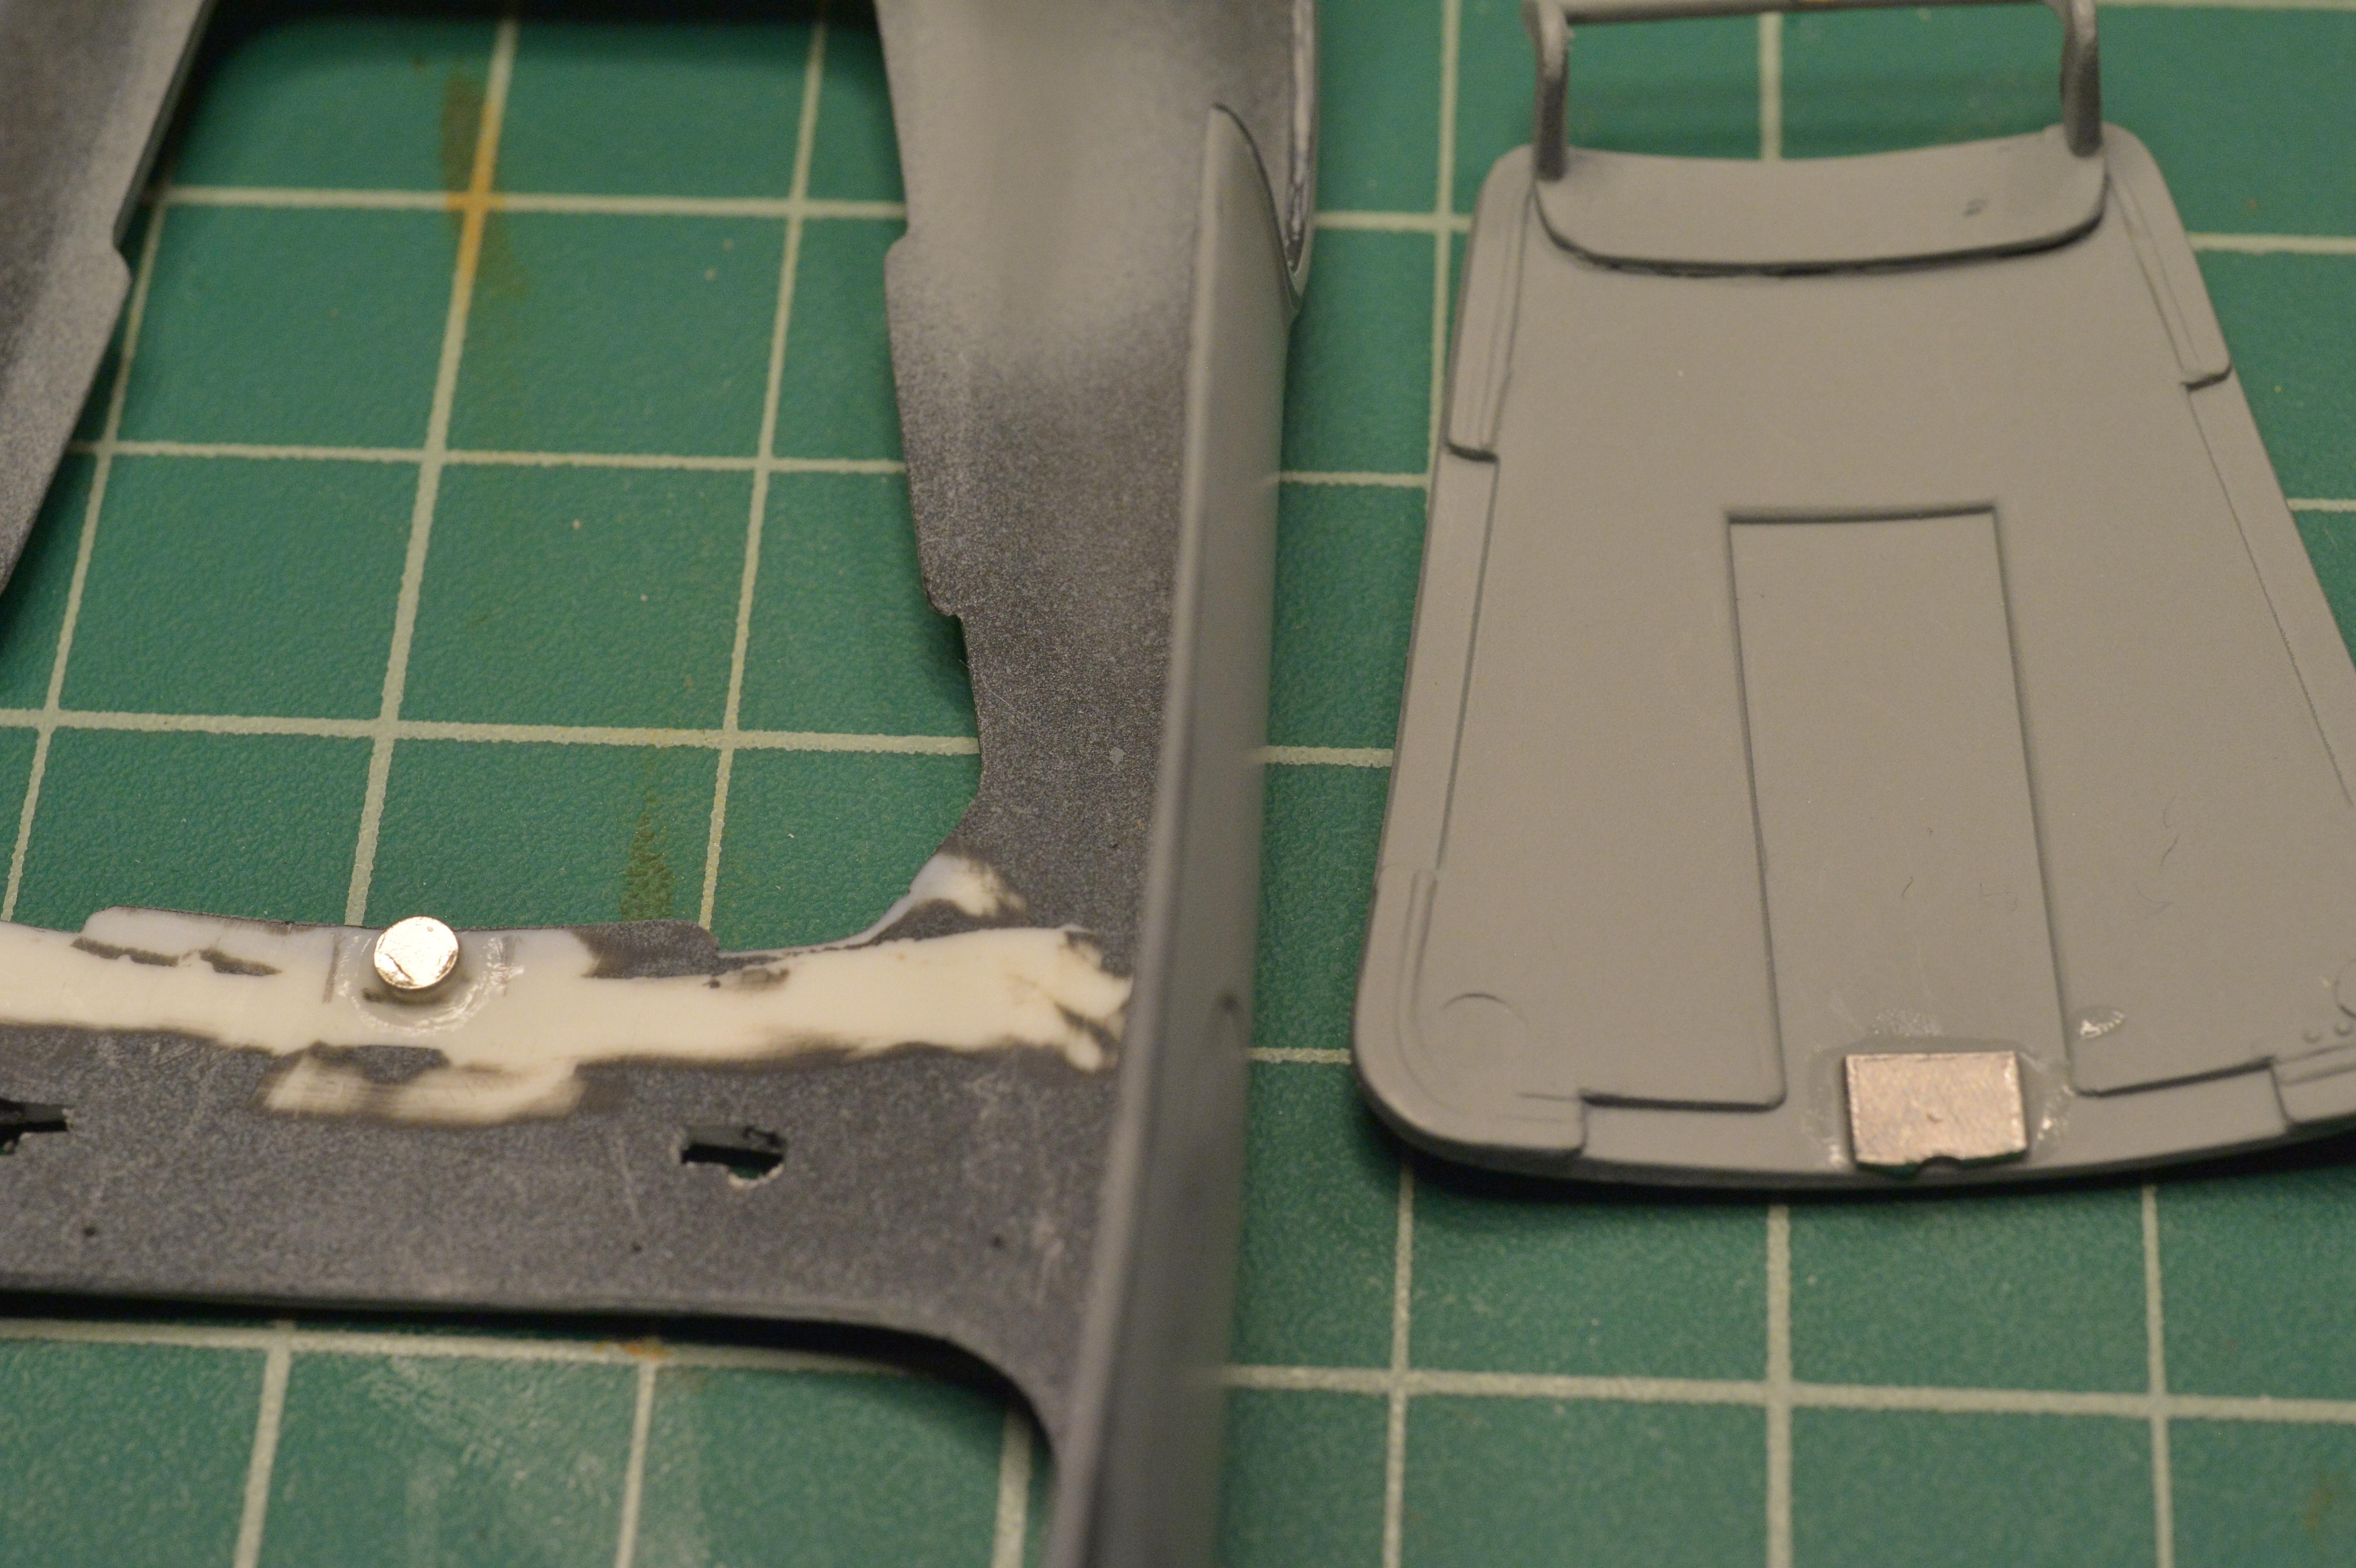
Getting the hood to lay properly can be a problem, as it was here. The hood hinges at the front and the back was popping up above the cowl. I attached a small piece of steel to the underside of the hood, then a tiny round magnet just under the cowl. Even though it has to attract the metal through the plastic, magnets now are so powerful, there's not a problem.
-
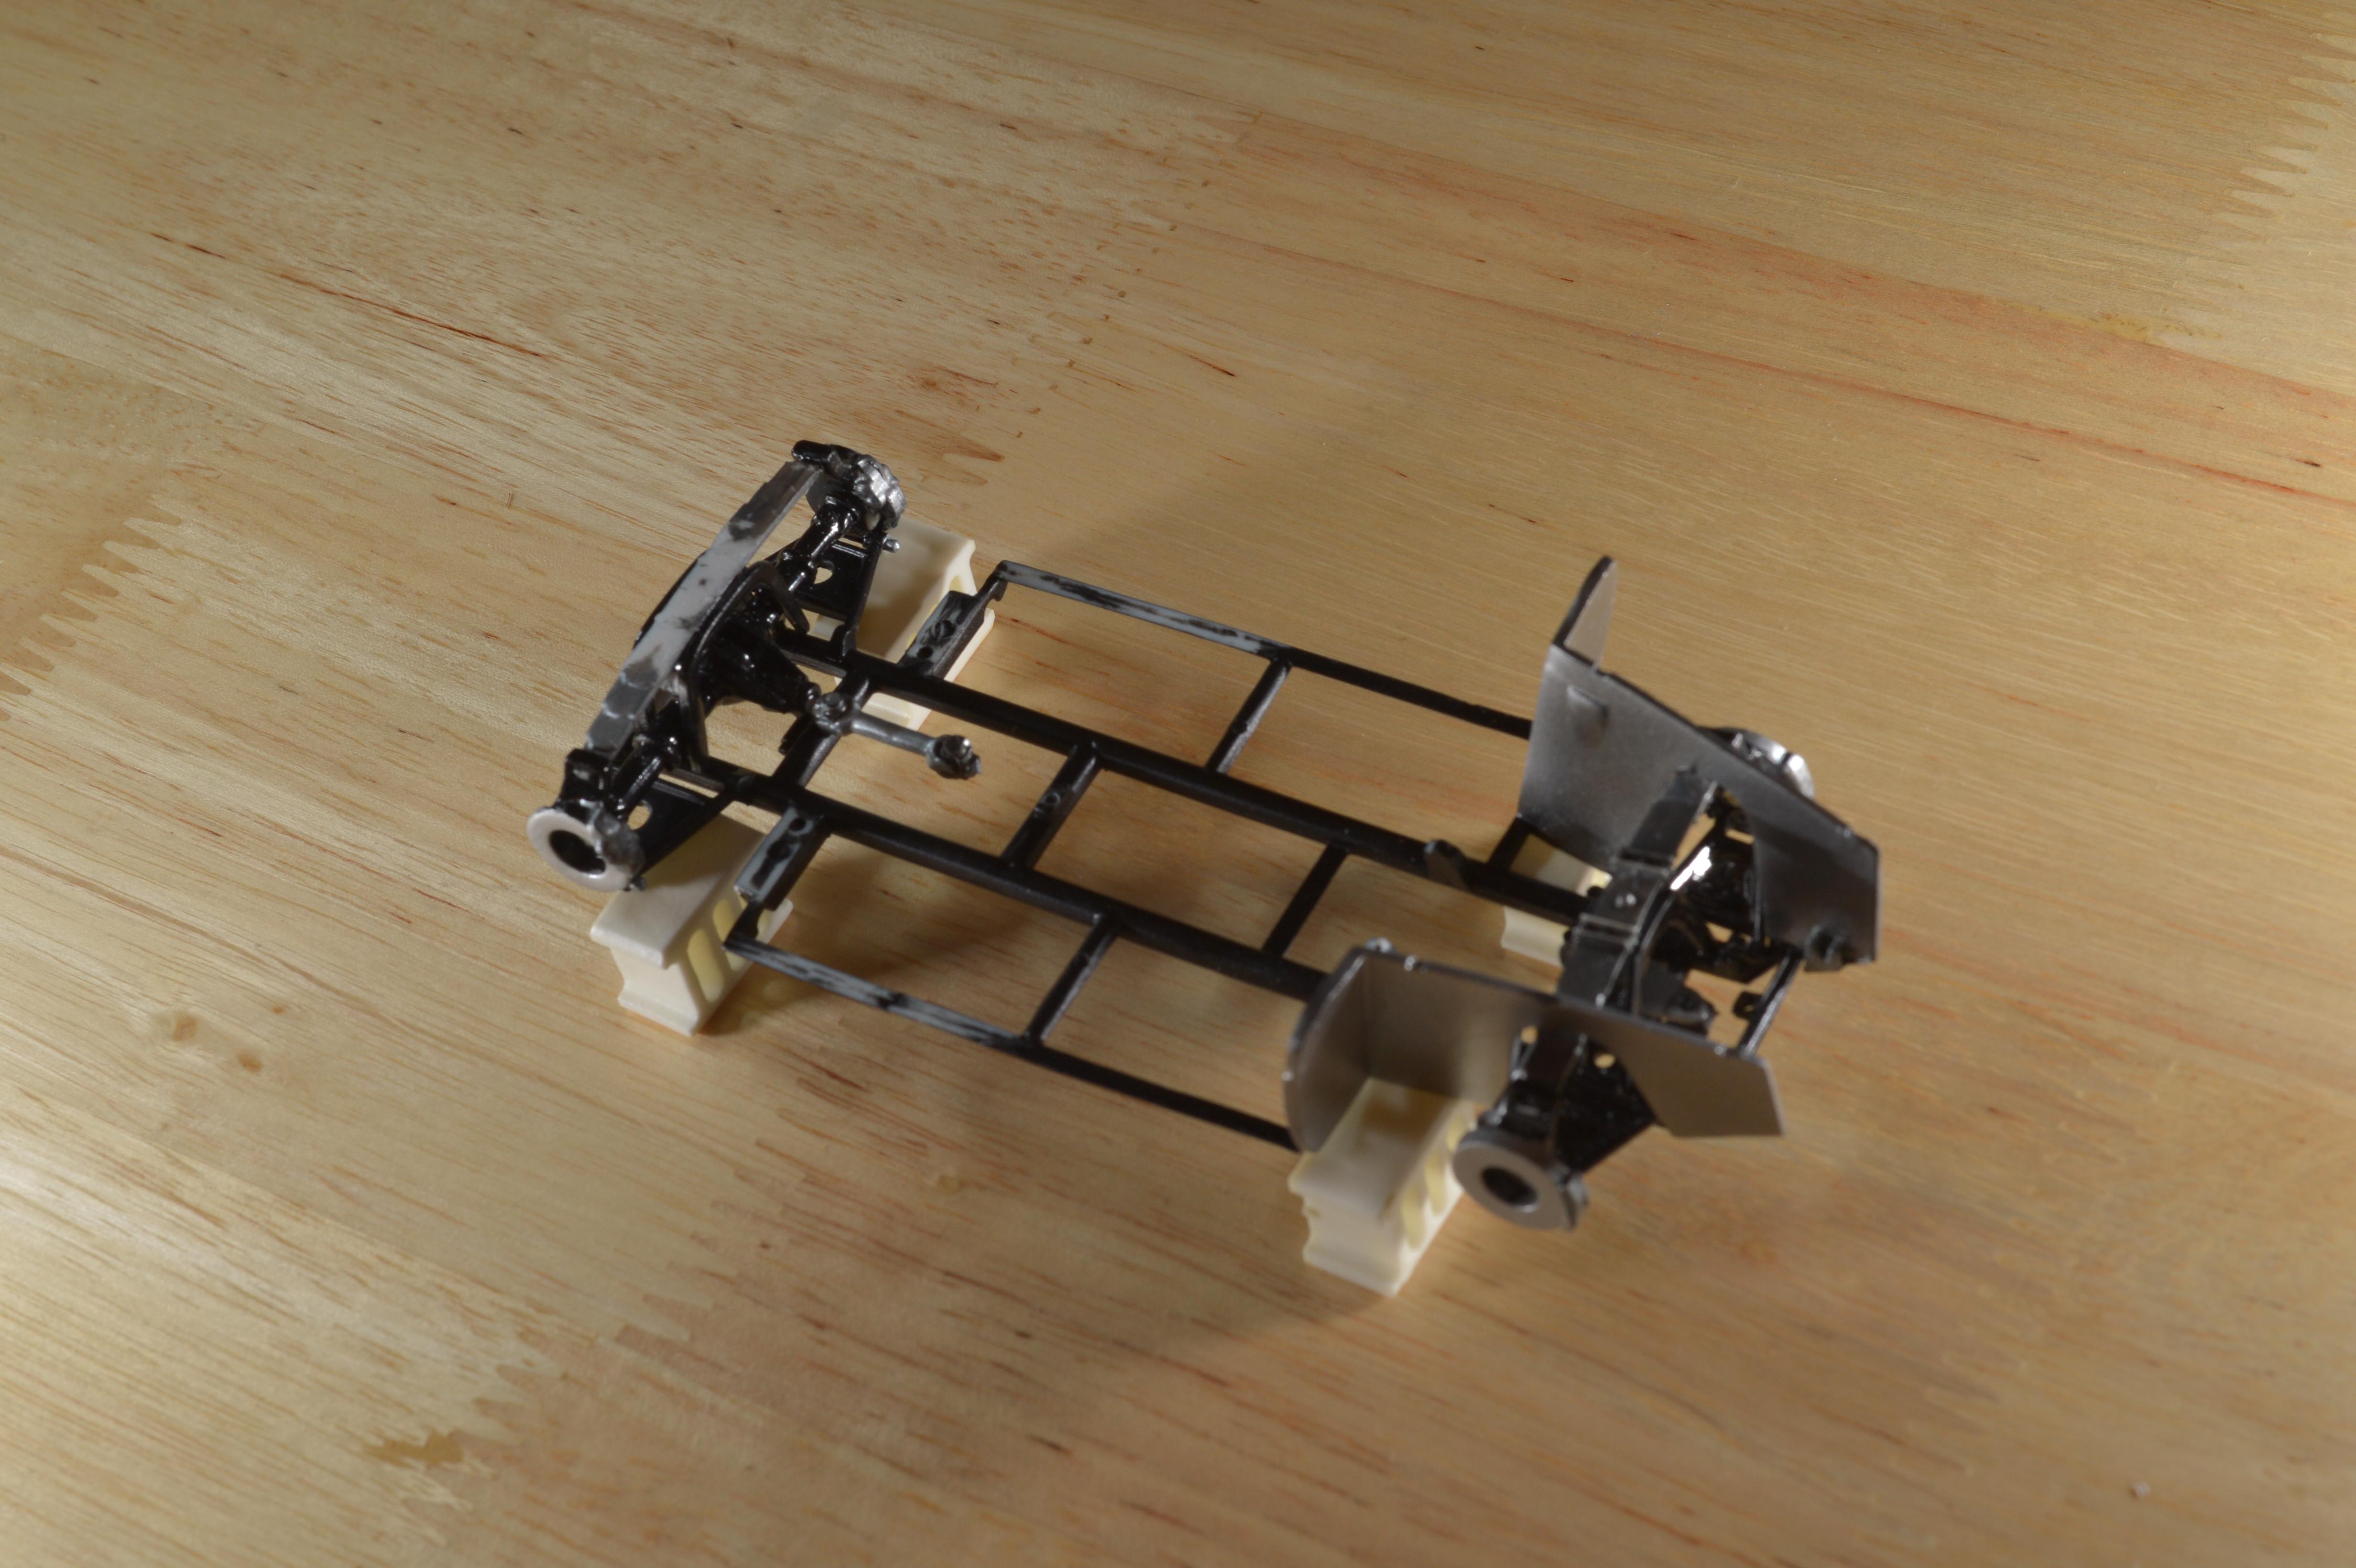
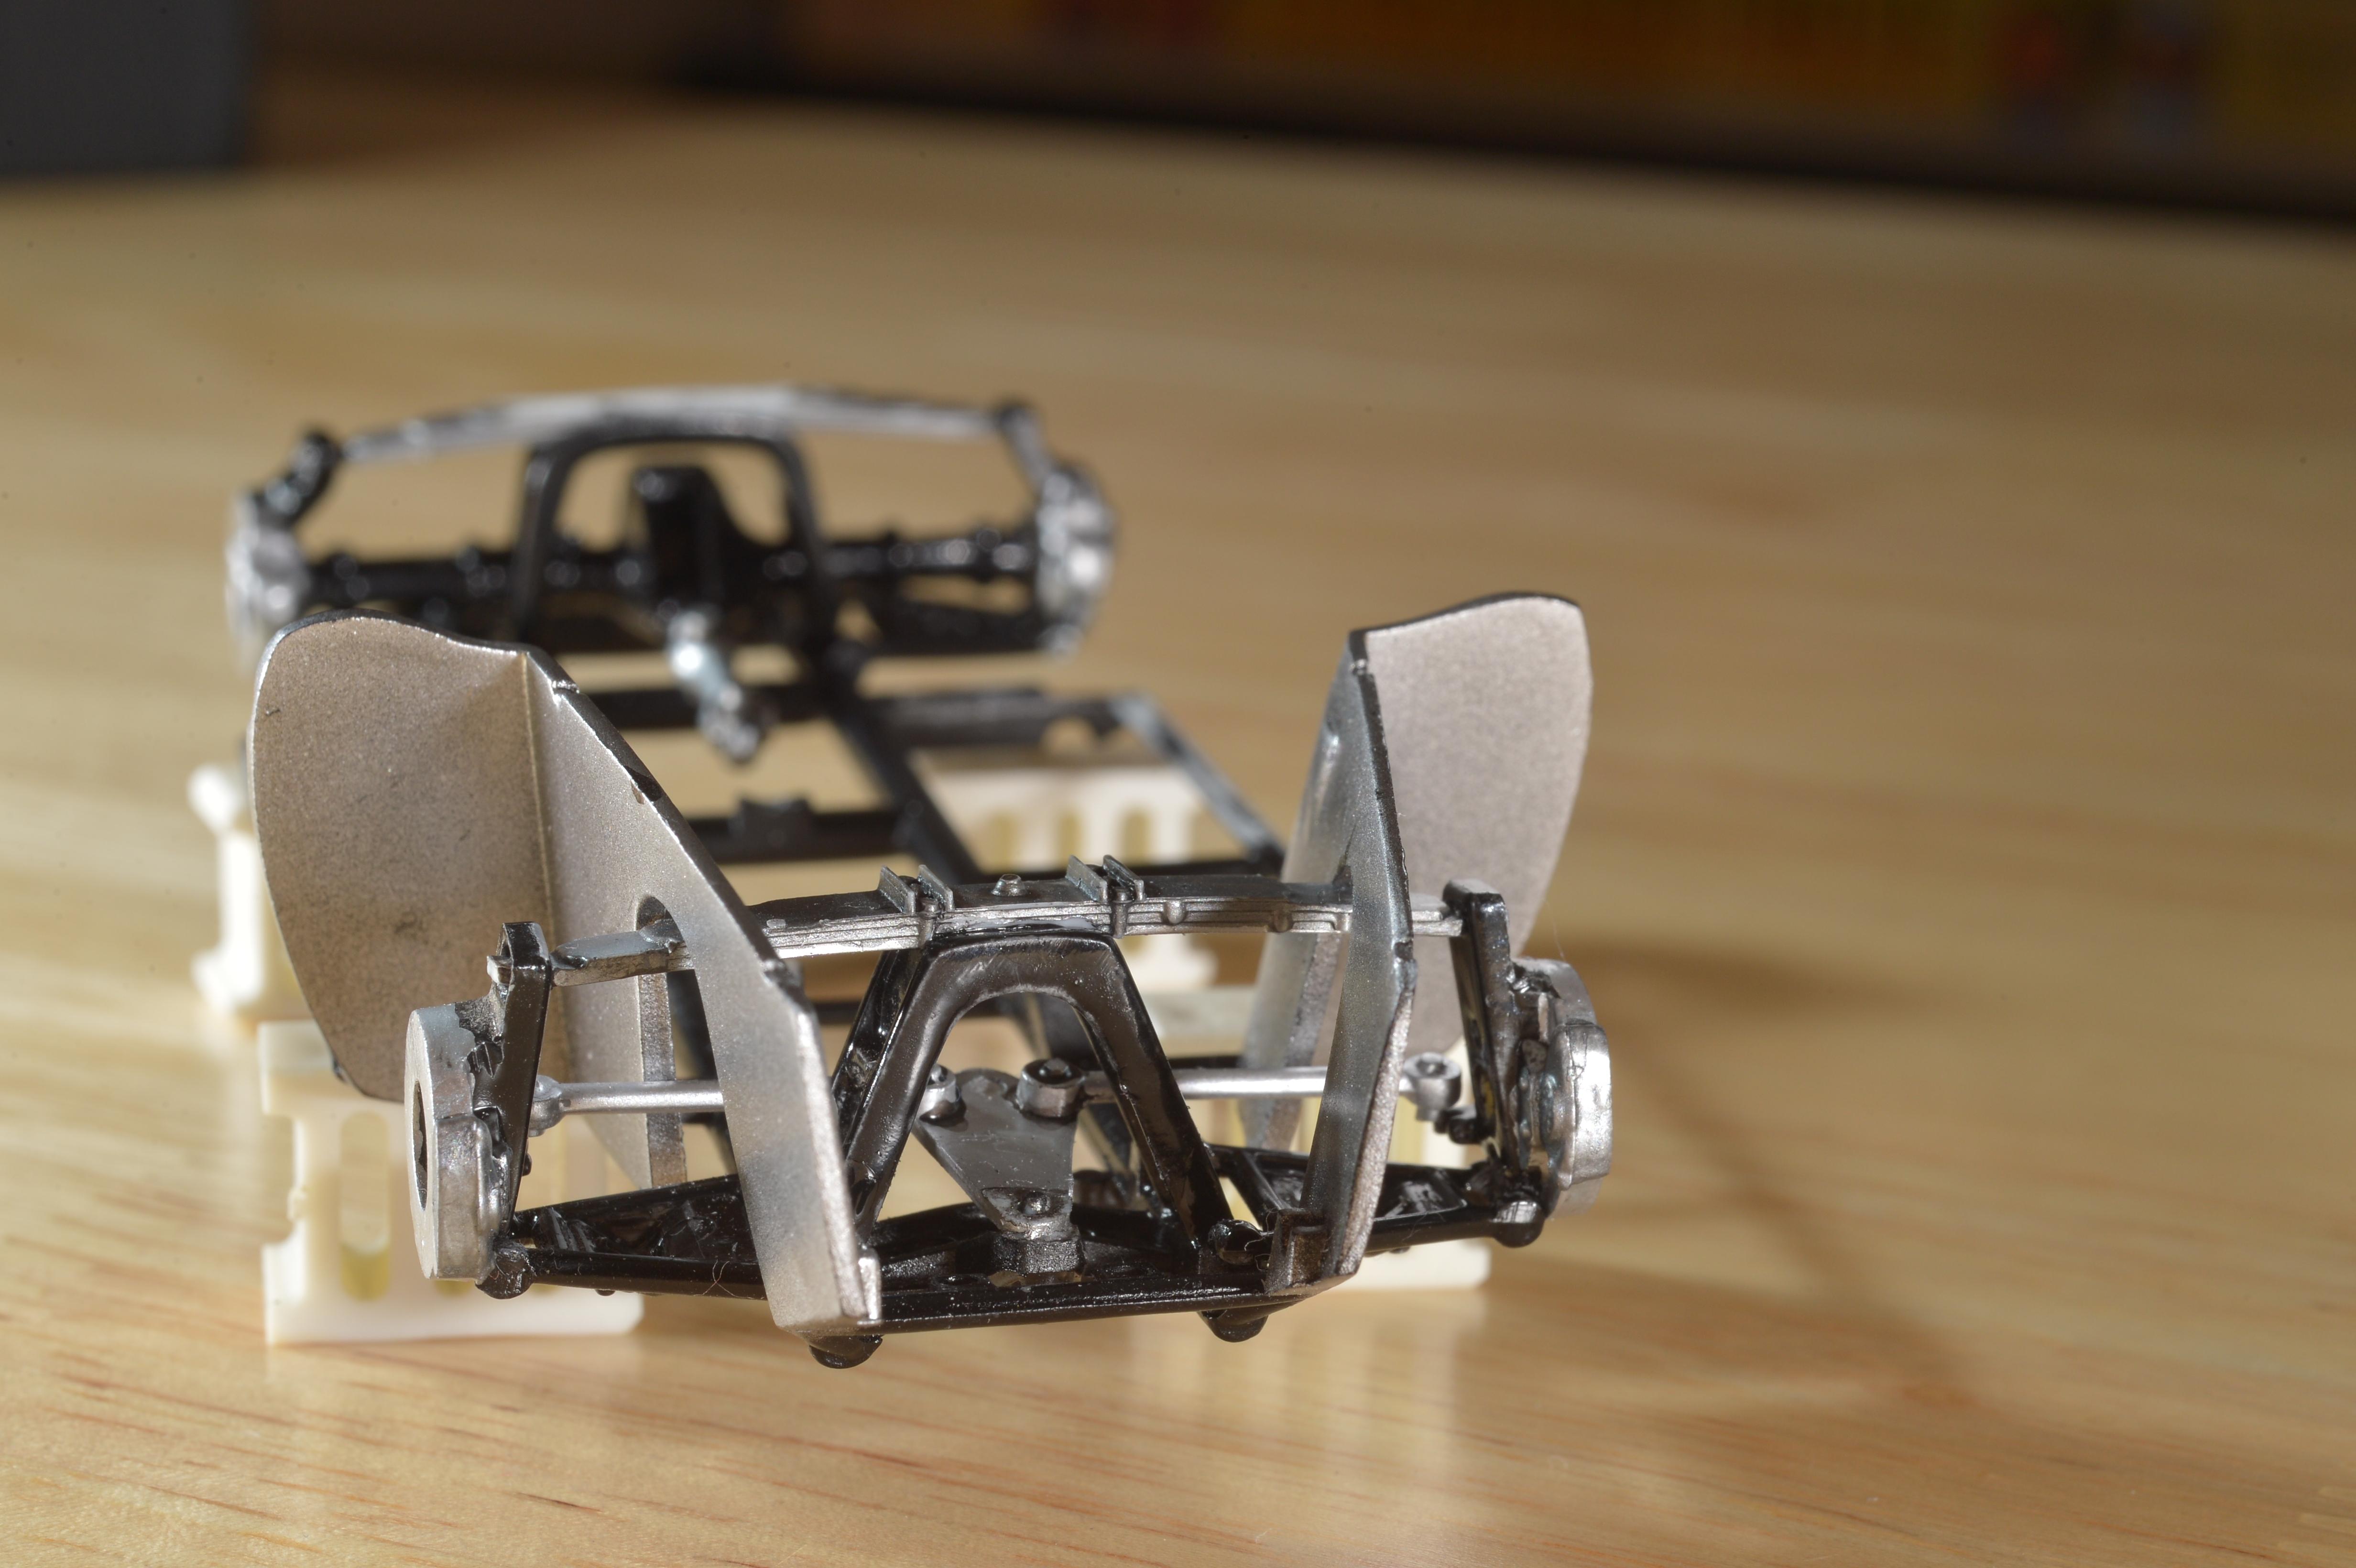
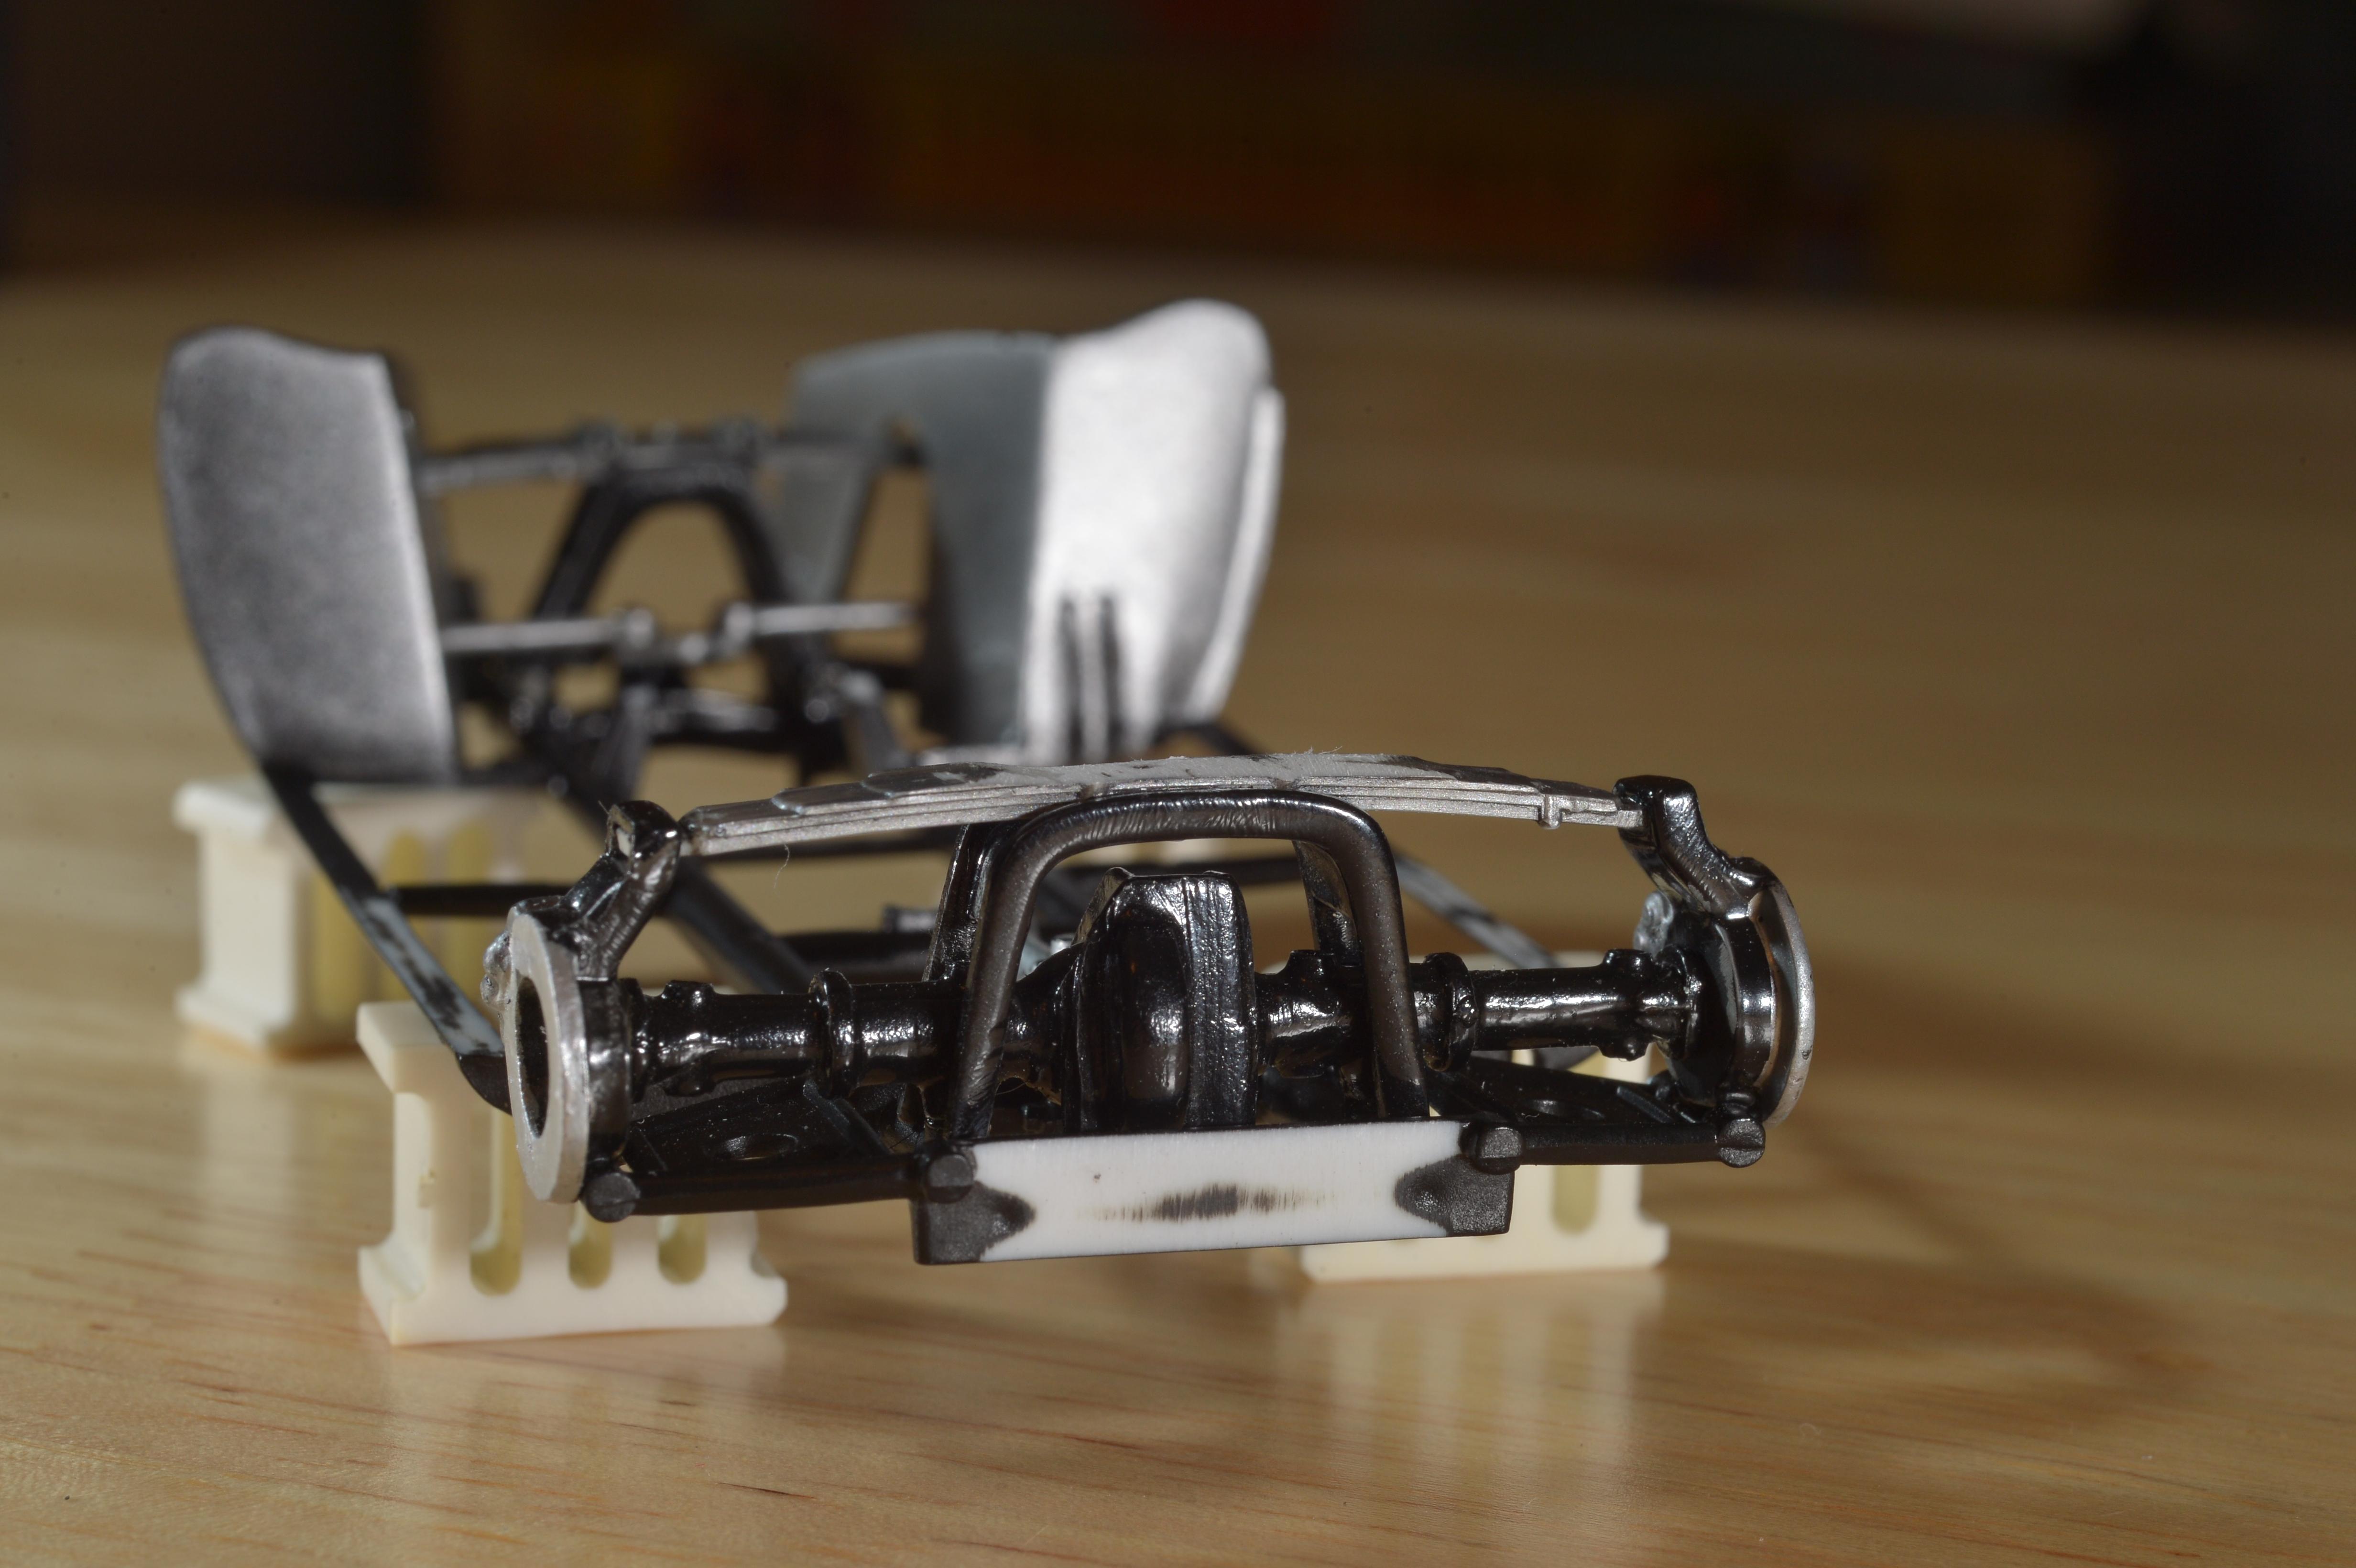
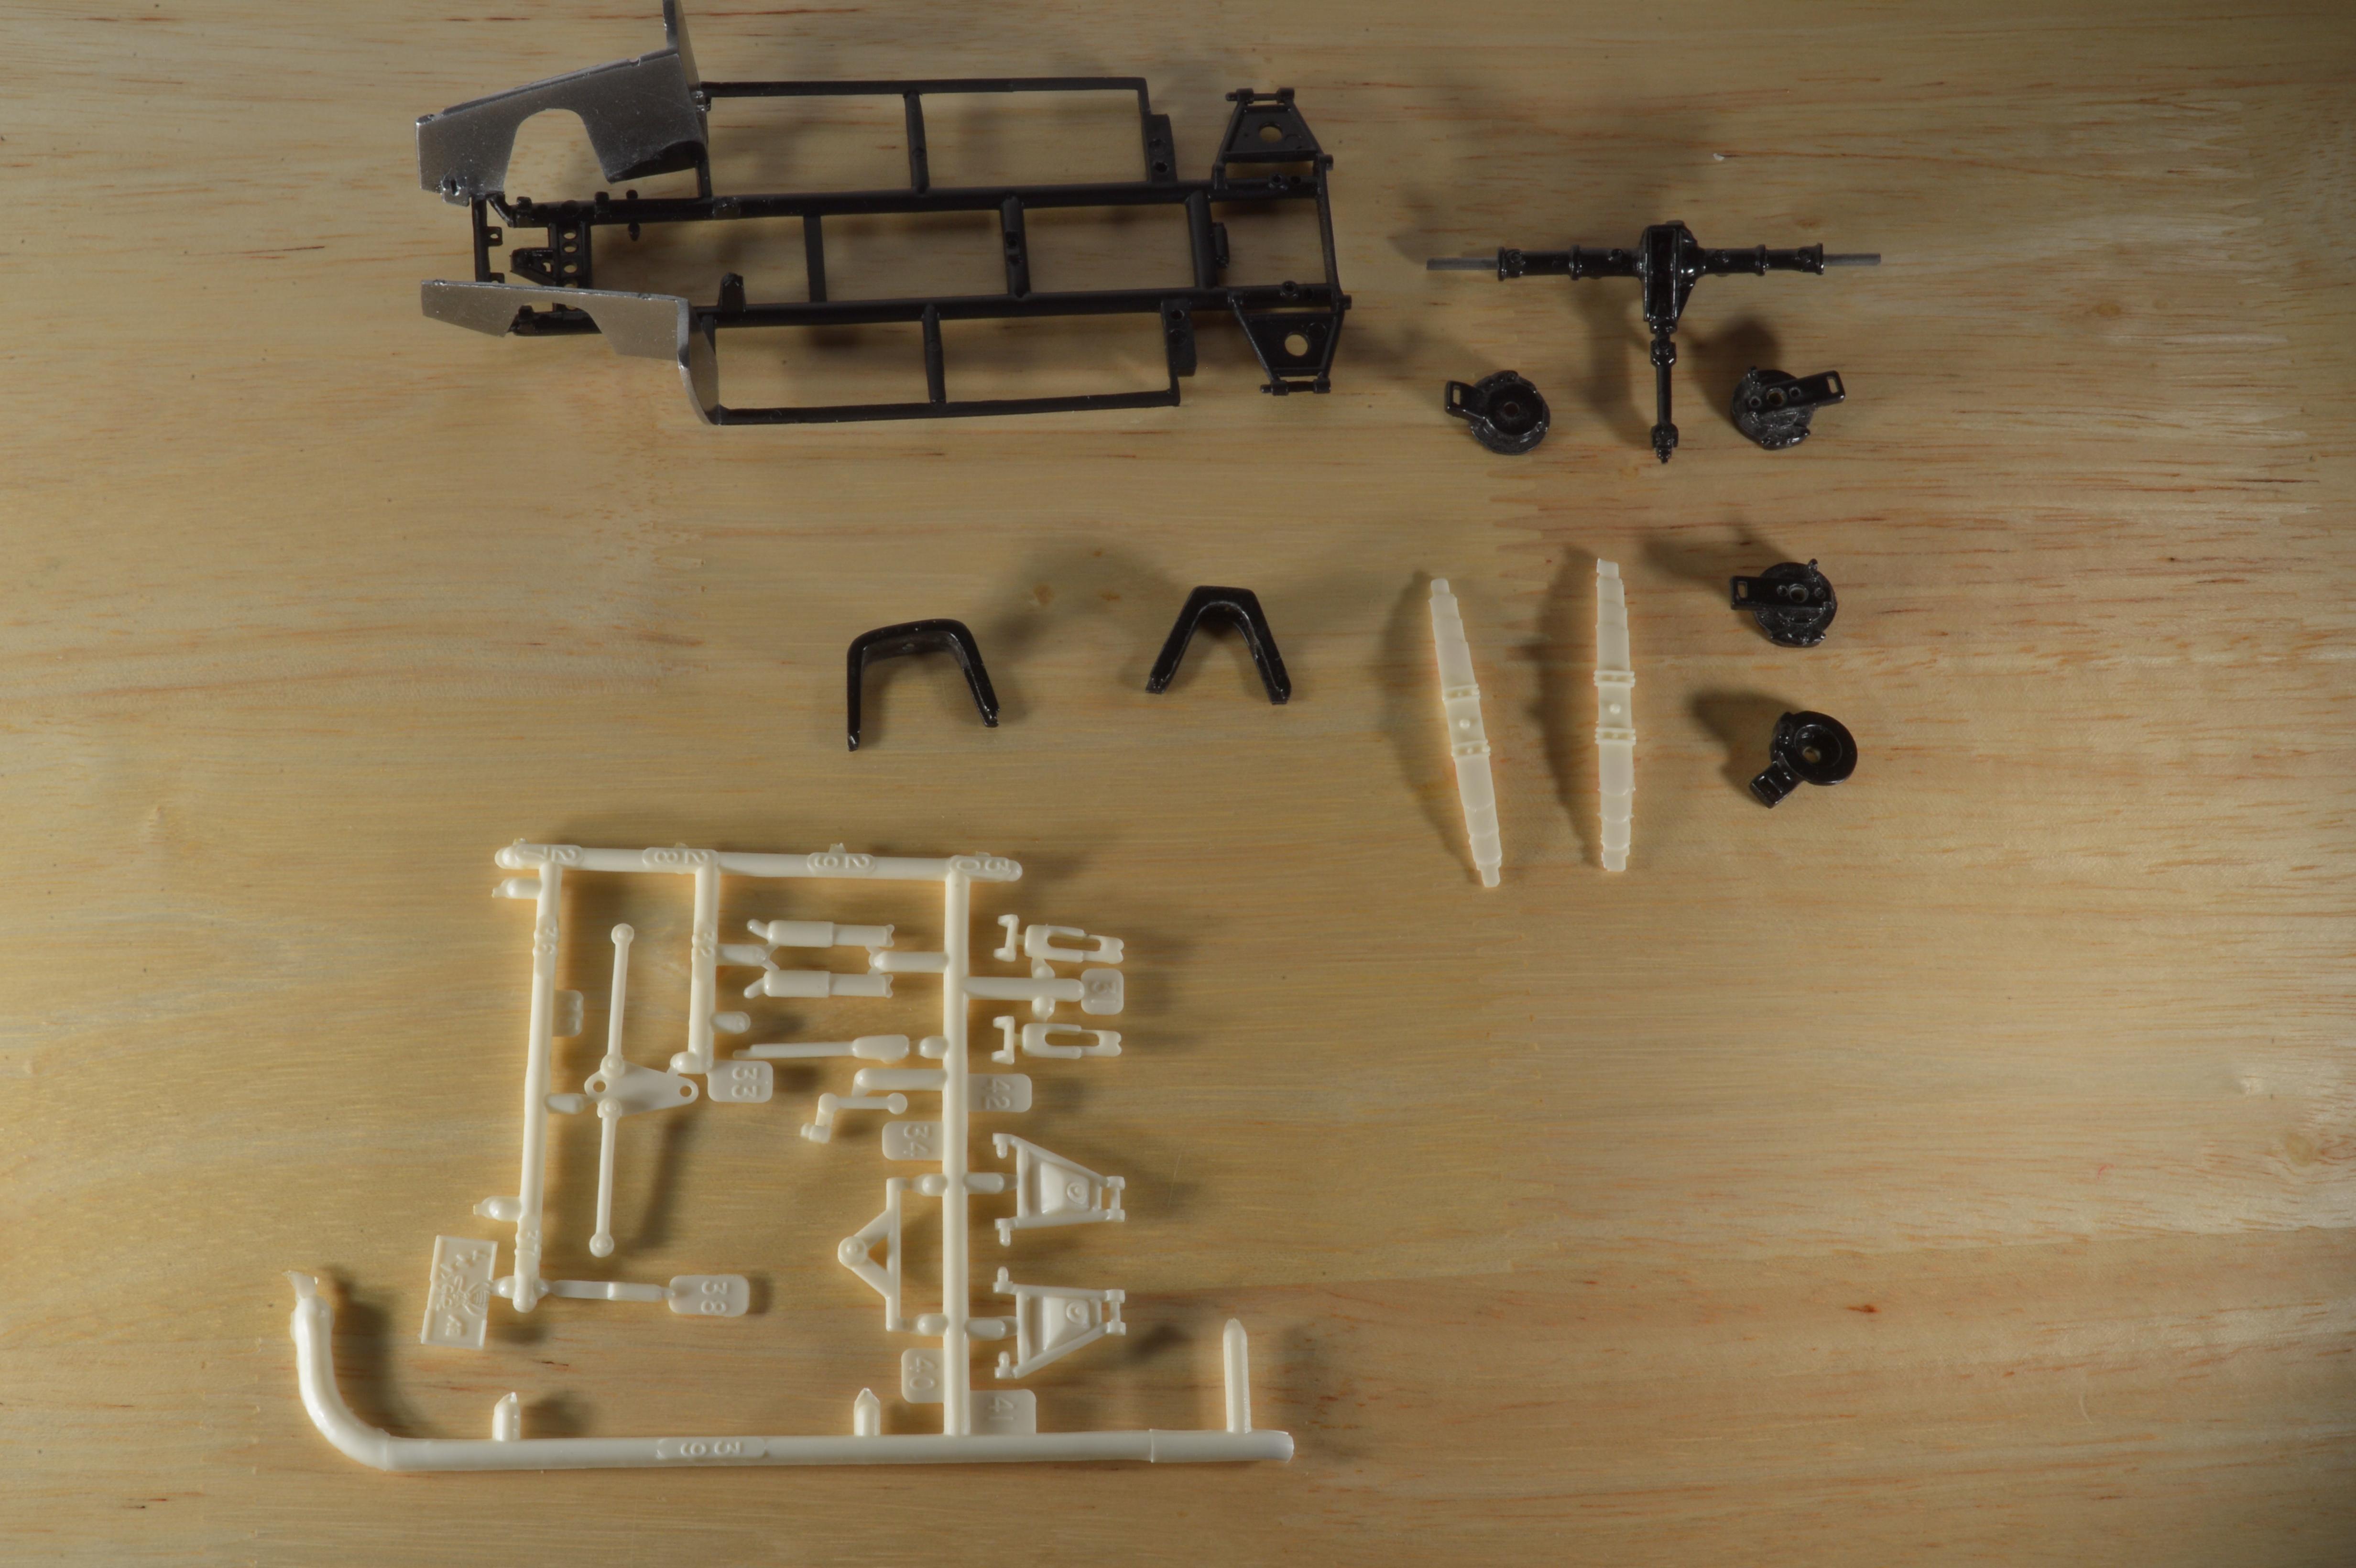
Here's some work done on the chassis. One of the most important items in a build is to get the position of wheels/tires looking good. Although I consider this a very decent kit, there is still a need for some tweaking. The top of the rear leaf spring was filed down and the front A-arms and spring had to be moved a bit from their natural position. I don't mind if the wheels don't turn, so there's always a bit of adjustment in the final assembly. I get all the Vroom Vroom I need with the grand kids. Not wanting to to extend the build time, I went with the AMT metal axles, which by the way, go right through the front shocks, you'll see later.
-
Guess what it is.
Mark W replied to MarkJ's topic in WIP: Other Racing: Road Racing, Land Speed Racers
30 years eh? But in what direction? Given the wire wheels.....this requires some thought! -
Very good choice of roof for the car. The lines look good and it makes the fins look taller. (a goo thing I think)
-
Guess what it is.
Mark W replied to MarkJ's topic in WIP: Other Racing: Road Racing, Land Speed Racers
1928 Porter I love this kind of stuff, I hope the wheels work out because you really need to continue this project. -
Beautiful metalwork Mike. Perfect subject for this type of material.
-
Welcome Kelly. Looks like you’re off to a good start, fine model. You’ve picked a good forum to join, lots of nice people here. I’ll throw in my 2cents advice, just have patience and try a technique more than once, you’ll improve each time.
-
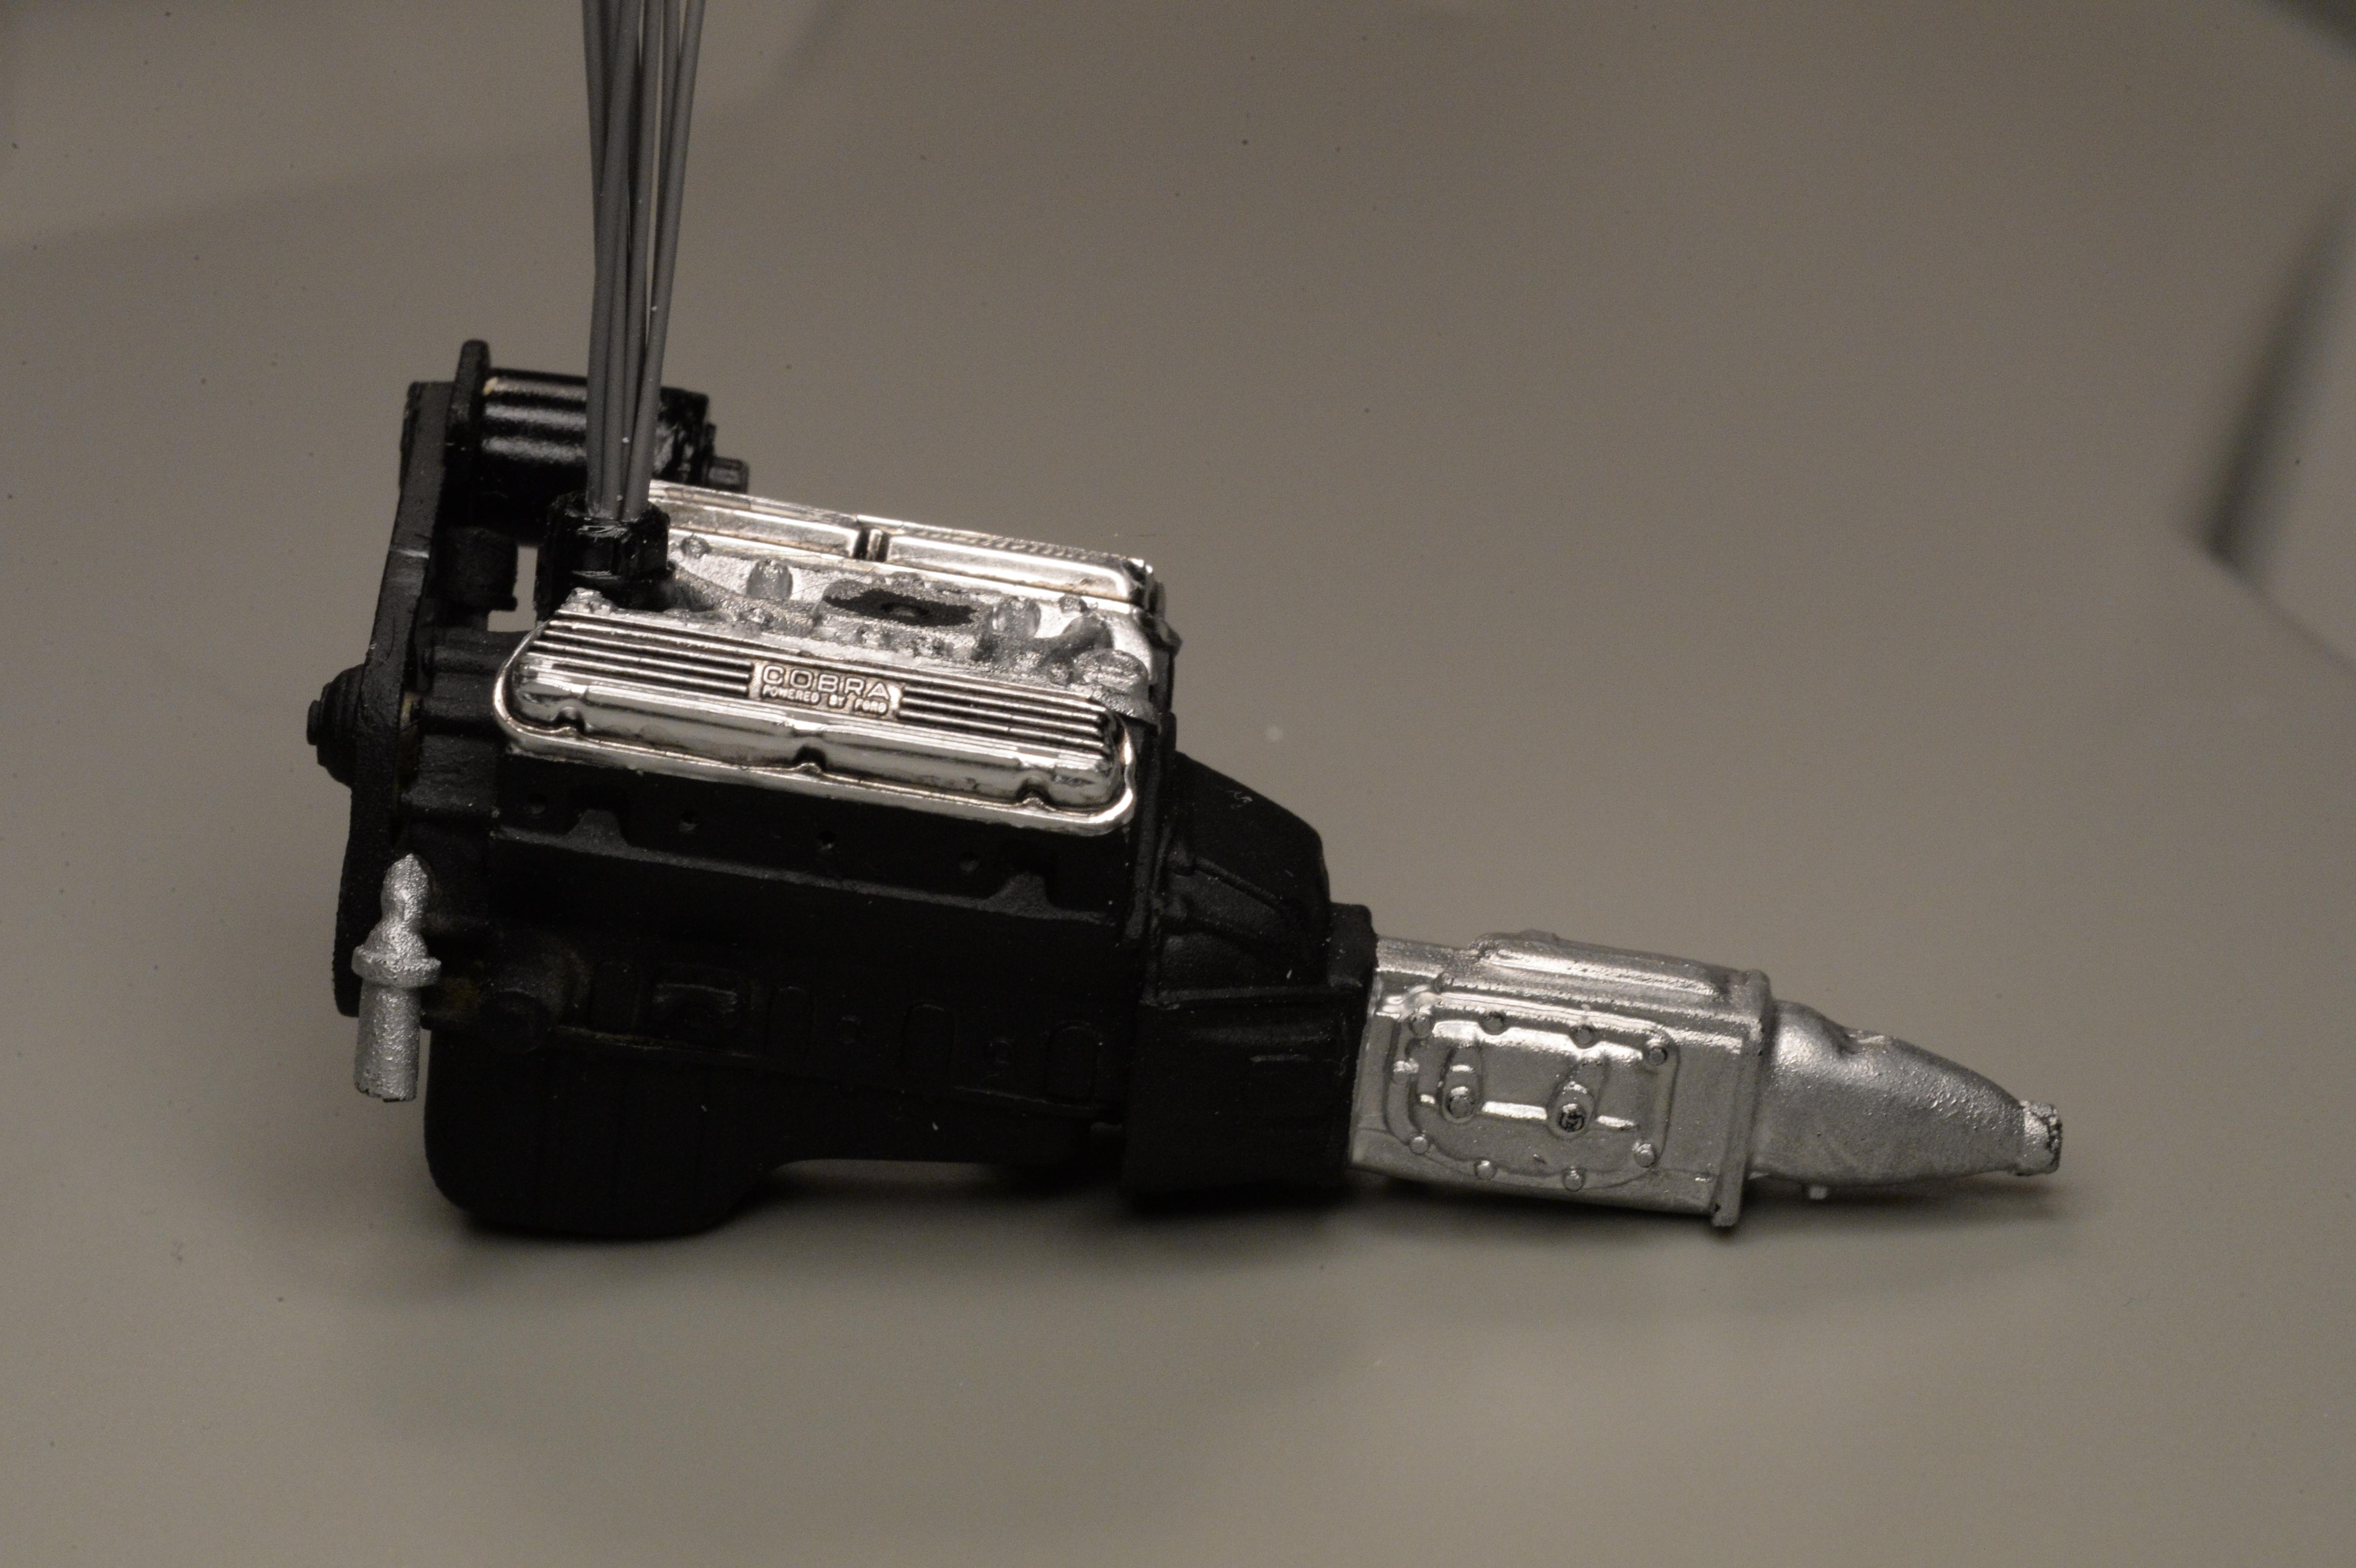
Strictly stock, as I want this to be a quick build. The wire wheels are,I believe what was on my Austin Healey. There was a lot of interchangeability back then among British marks. I found that the gauges, exhaust parts, carburetors, wheels etc were the same among AH, Jaguar and others. The other reason it will be the stock 260 is that hopefully it will be displayed next to a HRM FIA Cobra. (a future build) Here's a little work on the body, note the holes added for the toneau cover.
-
McLaren Mk6 GT
Mark W replied to Dave B's topic in WIP: Other Racing: Road Racing, Land Speed Racers
Nice, a very interesting subject. Will follow with interest. -
Great work Pierre! Your very innovative thinking has transformed the proverbial sow’s ear into a silk purse. The Ferrari Vignale is a beautiful automobile and your efforts to share it with us are appreciated. The leather interior looks like a period photo of the 1:1 Anxious to see the weathering you will do on the exterior. I hope I can apply your technique to a Toyota 200GT I will be doing.
-
They look great to me Dan. Your weathering is spot on! It is very convincing and not overdone. Your figure painting is impressive also. About the grousing....when you're good, you're good! The tank SHER looks good MAN, you had that coming.
-
I decided to complete an easy build started may years ago before moving back to the McLaren M8B. I like the Cobra and since it already has a start, it should be a fast build. Not something I'm usually noted for. It will be box stock save for a set of USCP printed wire wheels and some plug wires. OH yeah, it will be RED! The pics are as I left it ten years ago and the wheels/tires that will go on it. Also the body. Enjoy
- 11 replies
-
- 10
-

-
Beautiful work Dennis! Always learn something new watching highly detailed builds like yours.
-
Nice clean build, the colors are great!
-
Nice Porsche, very well executed.
-
I like it, turned out cool!
-
I agree, only in my dreams! Besides, his workbench is waaaay to clean.
-
I’m moving my Airfix DB5 back to the bench for winter. A while back there was a post in WIPs about an Airfix DB5 where the modeler did a lot of 3D printing for his build. I searched and found a half dozen good posts but not the one I’m looking for. Any help is appreciated.
-
You did it justice Tim, very nice build. The paint and detailing is very impressive.