Mark W
-
Posts
332 -
Joined
-
Last visited
Content Type
Profiles
Forums
Events
Gallery
Everything posted by Mark W
-
Nice lathe work. Do you use your compound for the taper or offset the tailstock? Also, did you make the header flanges?
-
First time modeling
Mark W replied to WayfromSmoke's topic in WIP: Model Trucks: Pickups, Vans, SUVs, Light Commercial
First build? Nice! -
Looks really good! Nice sharp details.
-
The headers look great. I like that you made the tubes equal length.
-
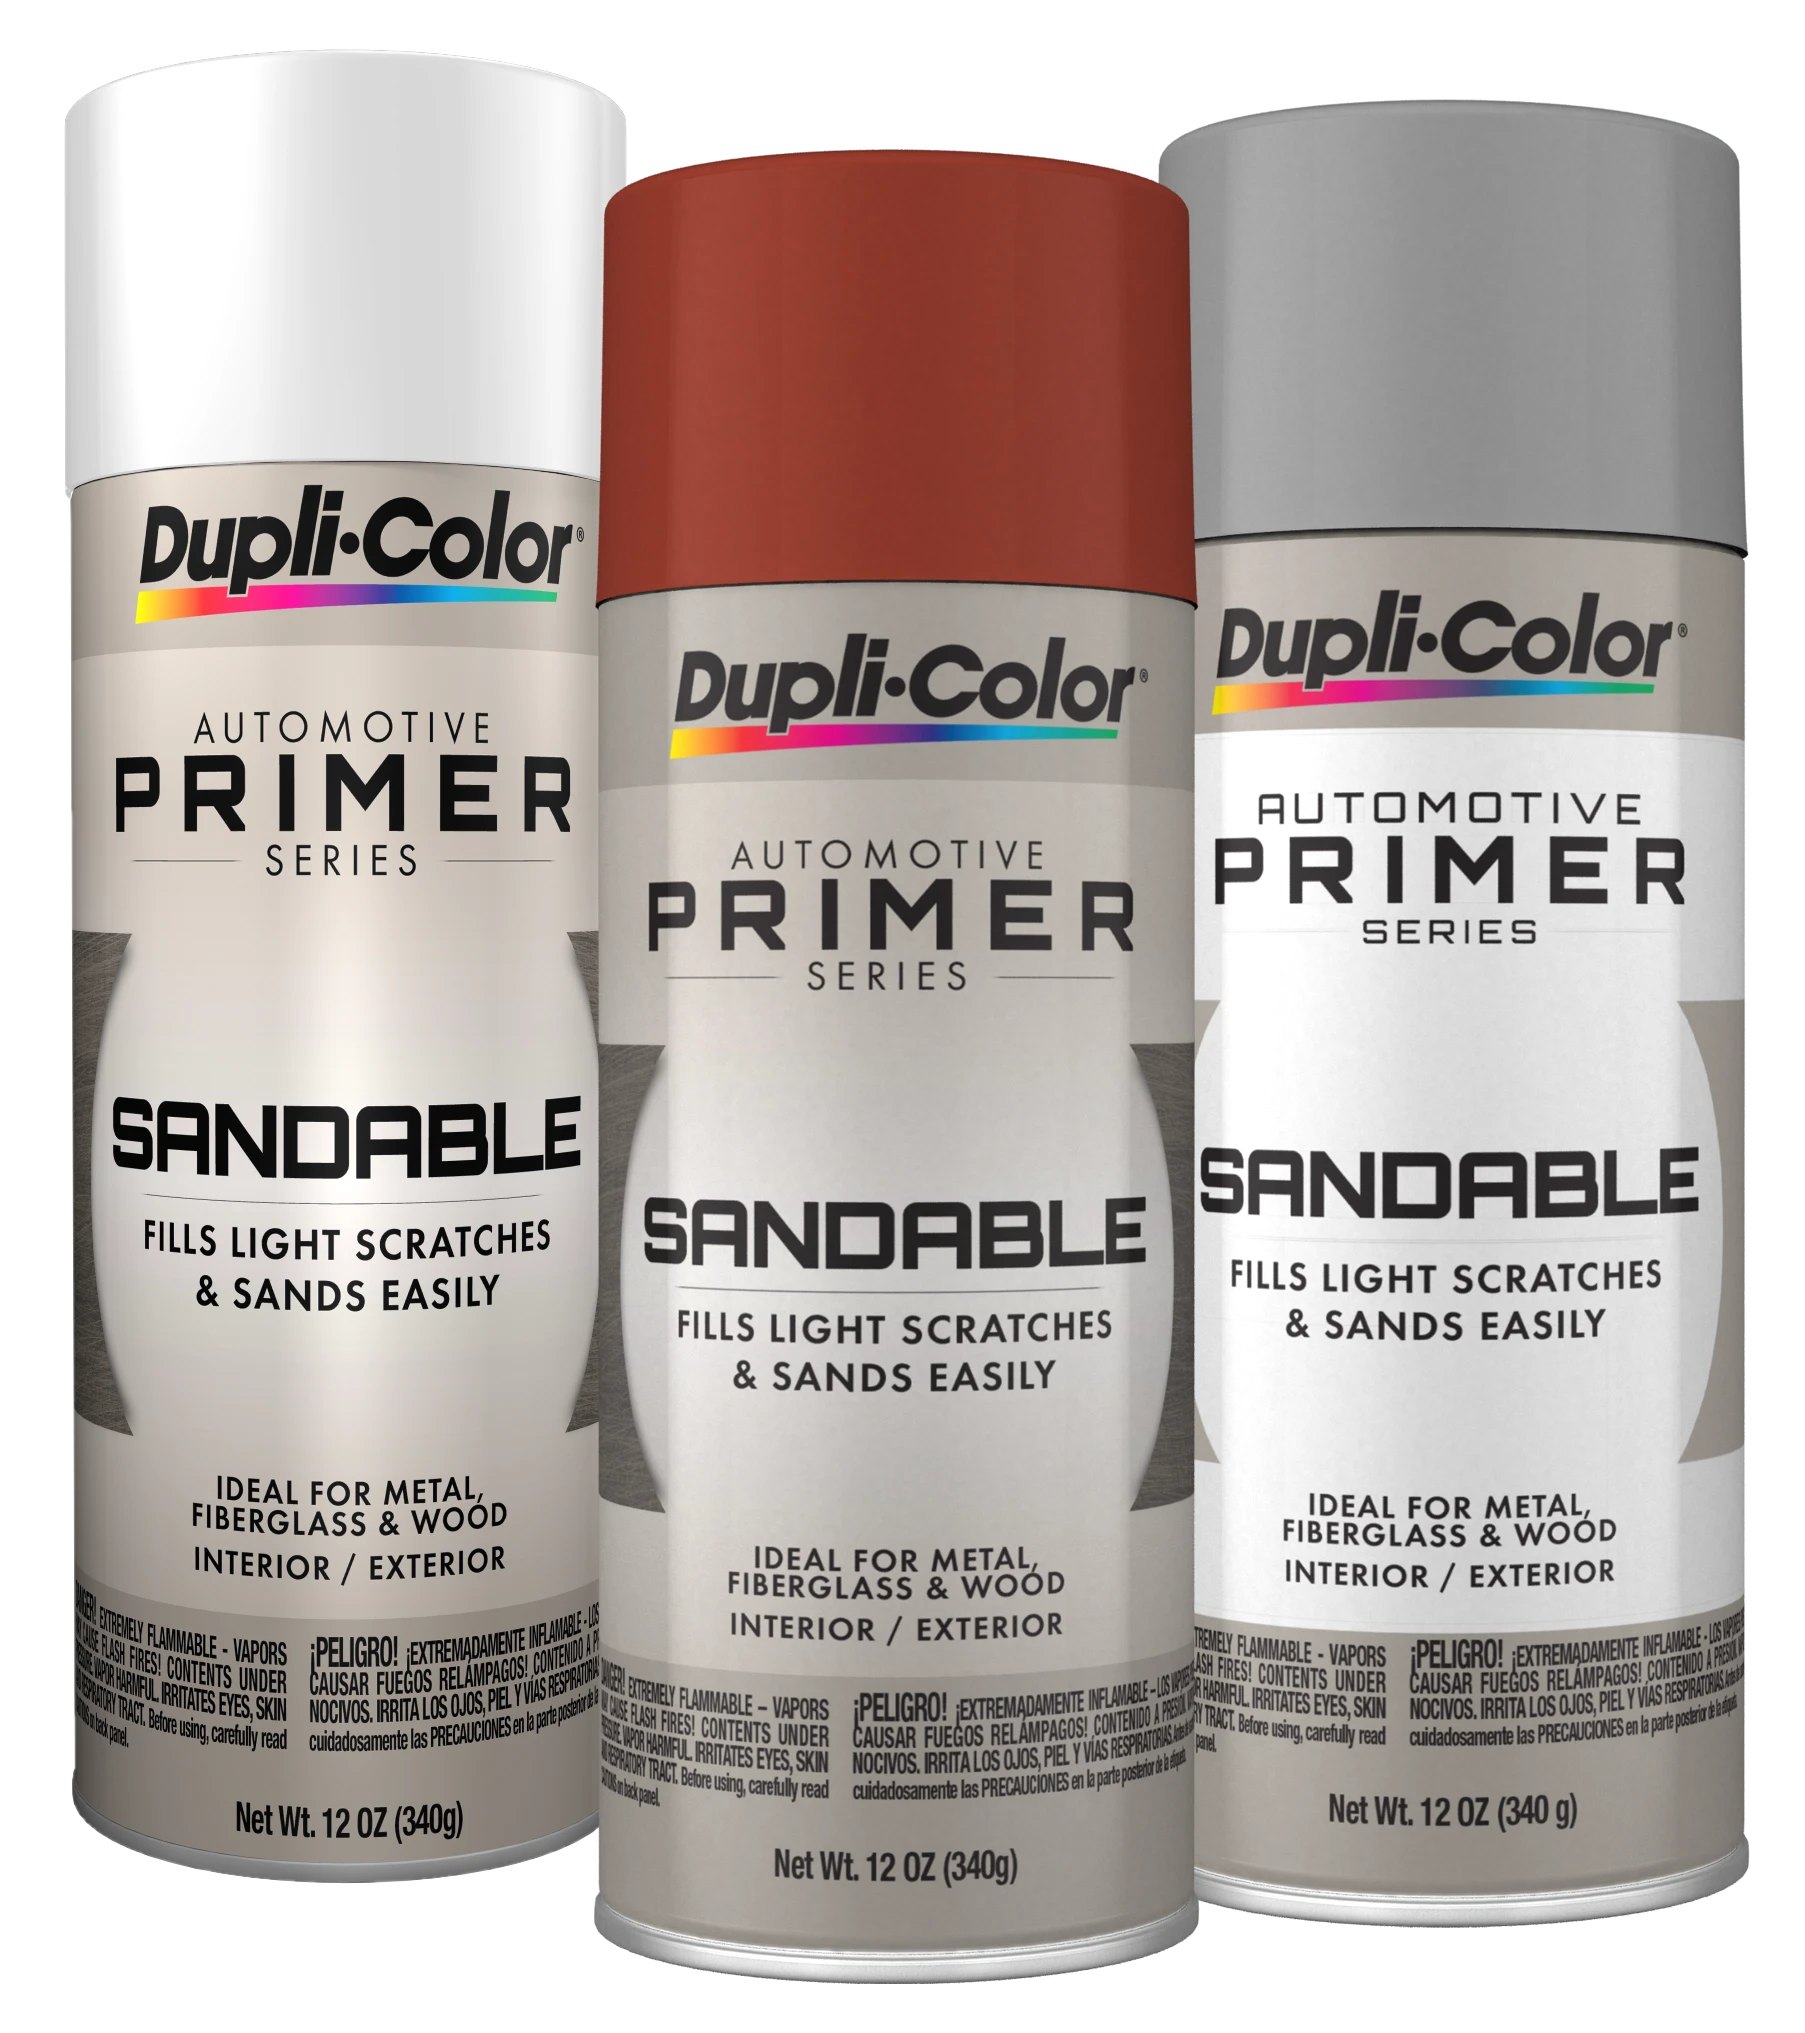
I believe this is the one you are referring to, as their other primer says “fills deep scratches”. As always, I will do a test piece.

-
Dave and Todd, I also build model aircraft and was looking to keep my paint stock down to a minimum. But also I believe in keeping apples and oranges apart. (I.e. using totally compatible products) Since duplicolor makes a fine white as you said, I believe I’ll just go that route. Do you know the specific description or a label photo? I don’t want the thick one that fills scratches. thanks
-
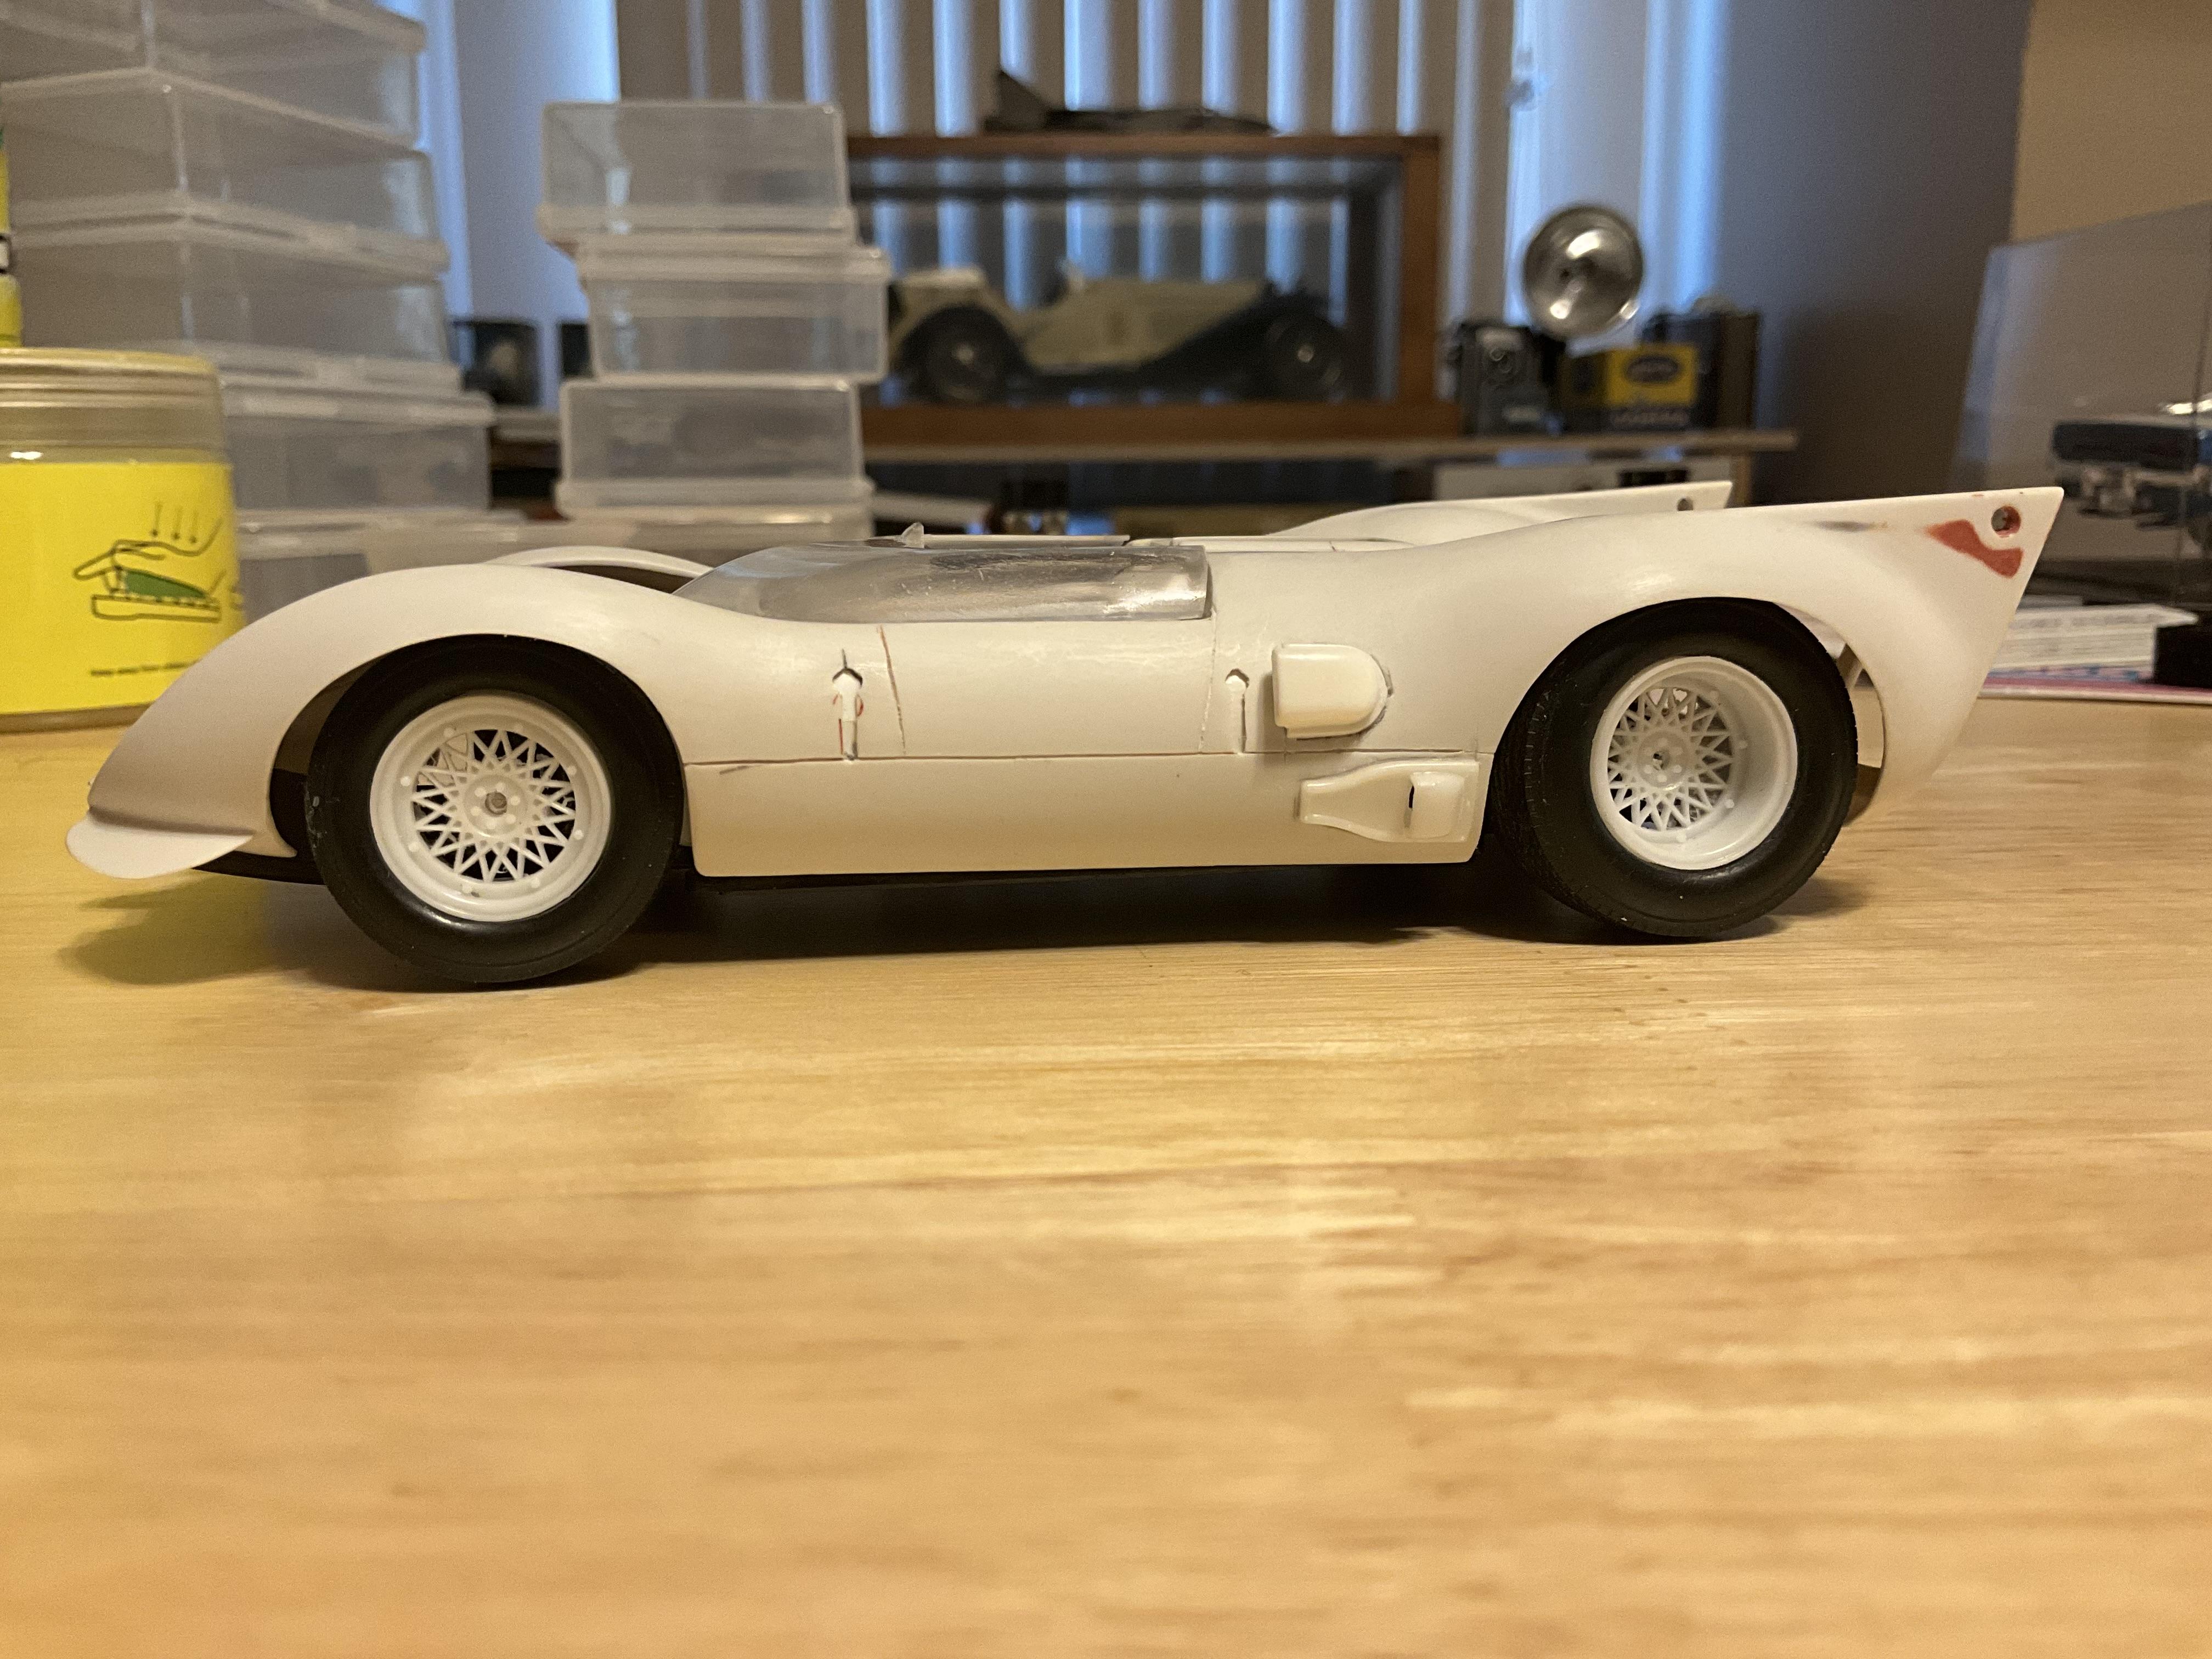
Now that paint for the Chaparral is in the foreseeable future, I have a question. The color will be white, (what? white for a chaparral?) Specifically Ermine White. Now, I’d like to use white primer and I have a bottle of Alclad on the shelf. So the Alclad is lacquer, right? And the top coat will be MCW lacquer. Should be compatible. But has anyone here used these two in combination?
-
ARII Chaparral 2C
Mark W replied to Mark W's topic in WIP: Other Racing: Road Racing, Land Speed Racers
Now that paint is in the foreseeable future, I have a question. The color will be white, (what? white for a chaparral?) Specifically Ermine White. Now, I’d like to use white primer and I have a bottle of Alclad on the shelf. So the Alclad is lacquer, right? And the top coat will be MCW lacquer. Should be compatible. But has anyone here used these two in combination? -
Been down this road, it looks like you’ve done a lot of good work. Keeping the panels flat and the scribe lines straight is quite a task. Beautiful work so far.
-
ARII Chaparral 2C
Mark W replied to Mark W's topic in WIP: Other Racing: Road Racing, Land Speed Racers
Thanks Mike, more to come. Glad to hear that, I’ll do my best to please. -
ARII Chaparral 2C
Mark W replied to Mark W's topic in WIP: Other Racing: Road Racing, Land Speed Racers
Thanks Mike, more to come. -
ARII Chaparral 2C
Mark W replied to Mark W's topic in WIP: Other Racing: Road Racing, Land Speed Racers
Thanks Dan, I needed that comment. I was going to add rear suspension, but the floor pan is all wrong, so that just wouldn’t work. The front panels were needed because you could see straight through. Adding the engine gave you something to see looking down, plus a spot to mount the carbs. I think I’ll make sure all the body mods are done and give it a coat of primer. I’ll be adding a driver, so need to do some seat belt research. -
how important is the fit?
Mark W replied to sidcharles's topic in Model Building Questions and Answers
Putting the steering wheel, shifter, seats, etc in the right position just makes the interior look more realistic. Worth the effort? For sure! -
ARII Chaparral 2C
Mark W replied to Mark W's topic in WIP: Other Racing: Road Racing, Land Speed Racers
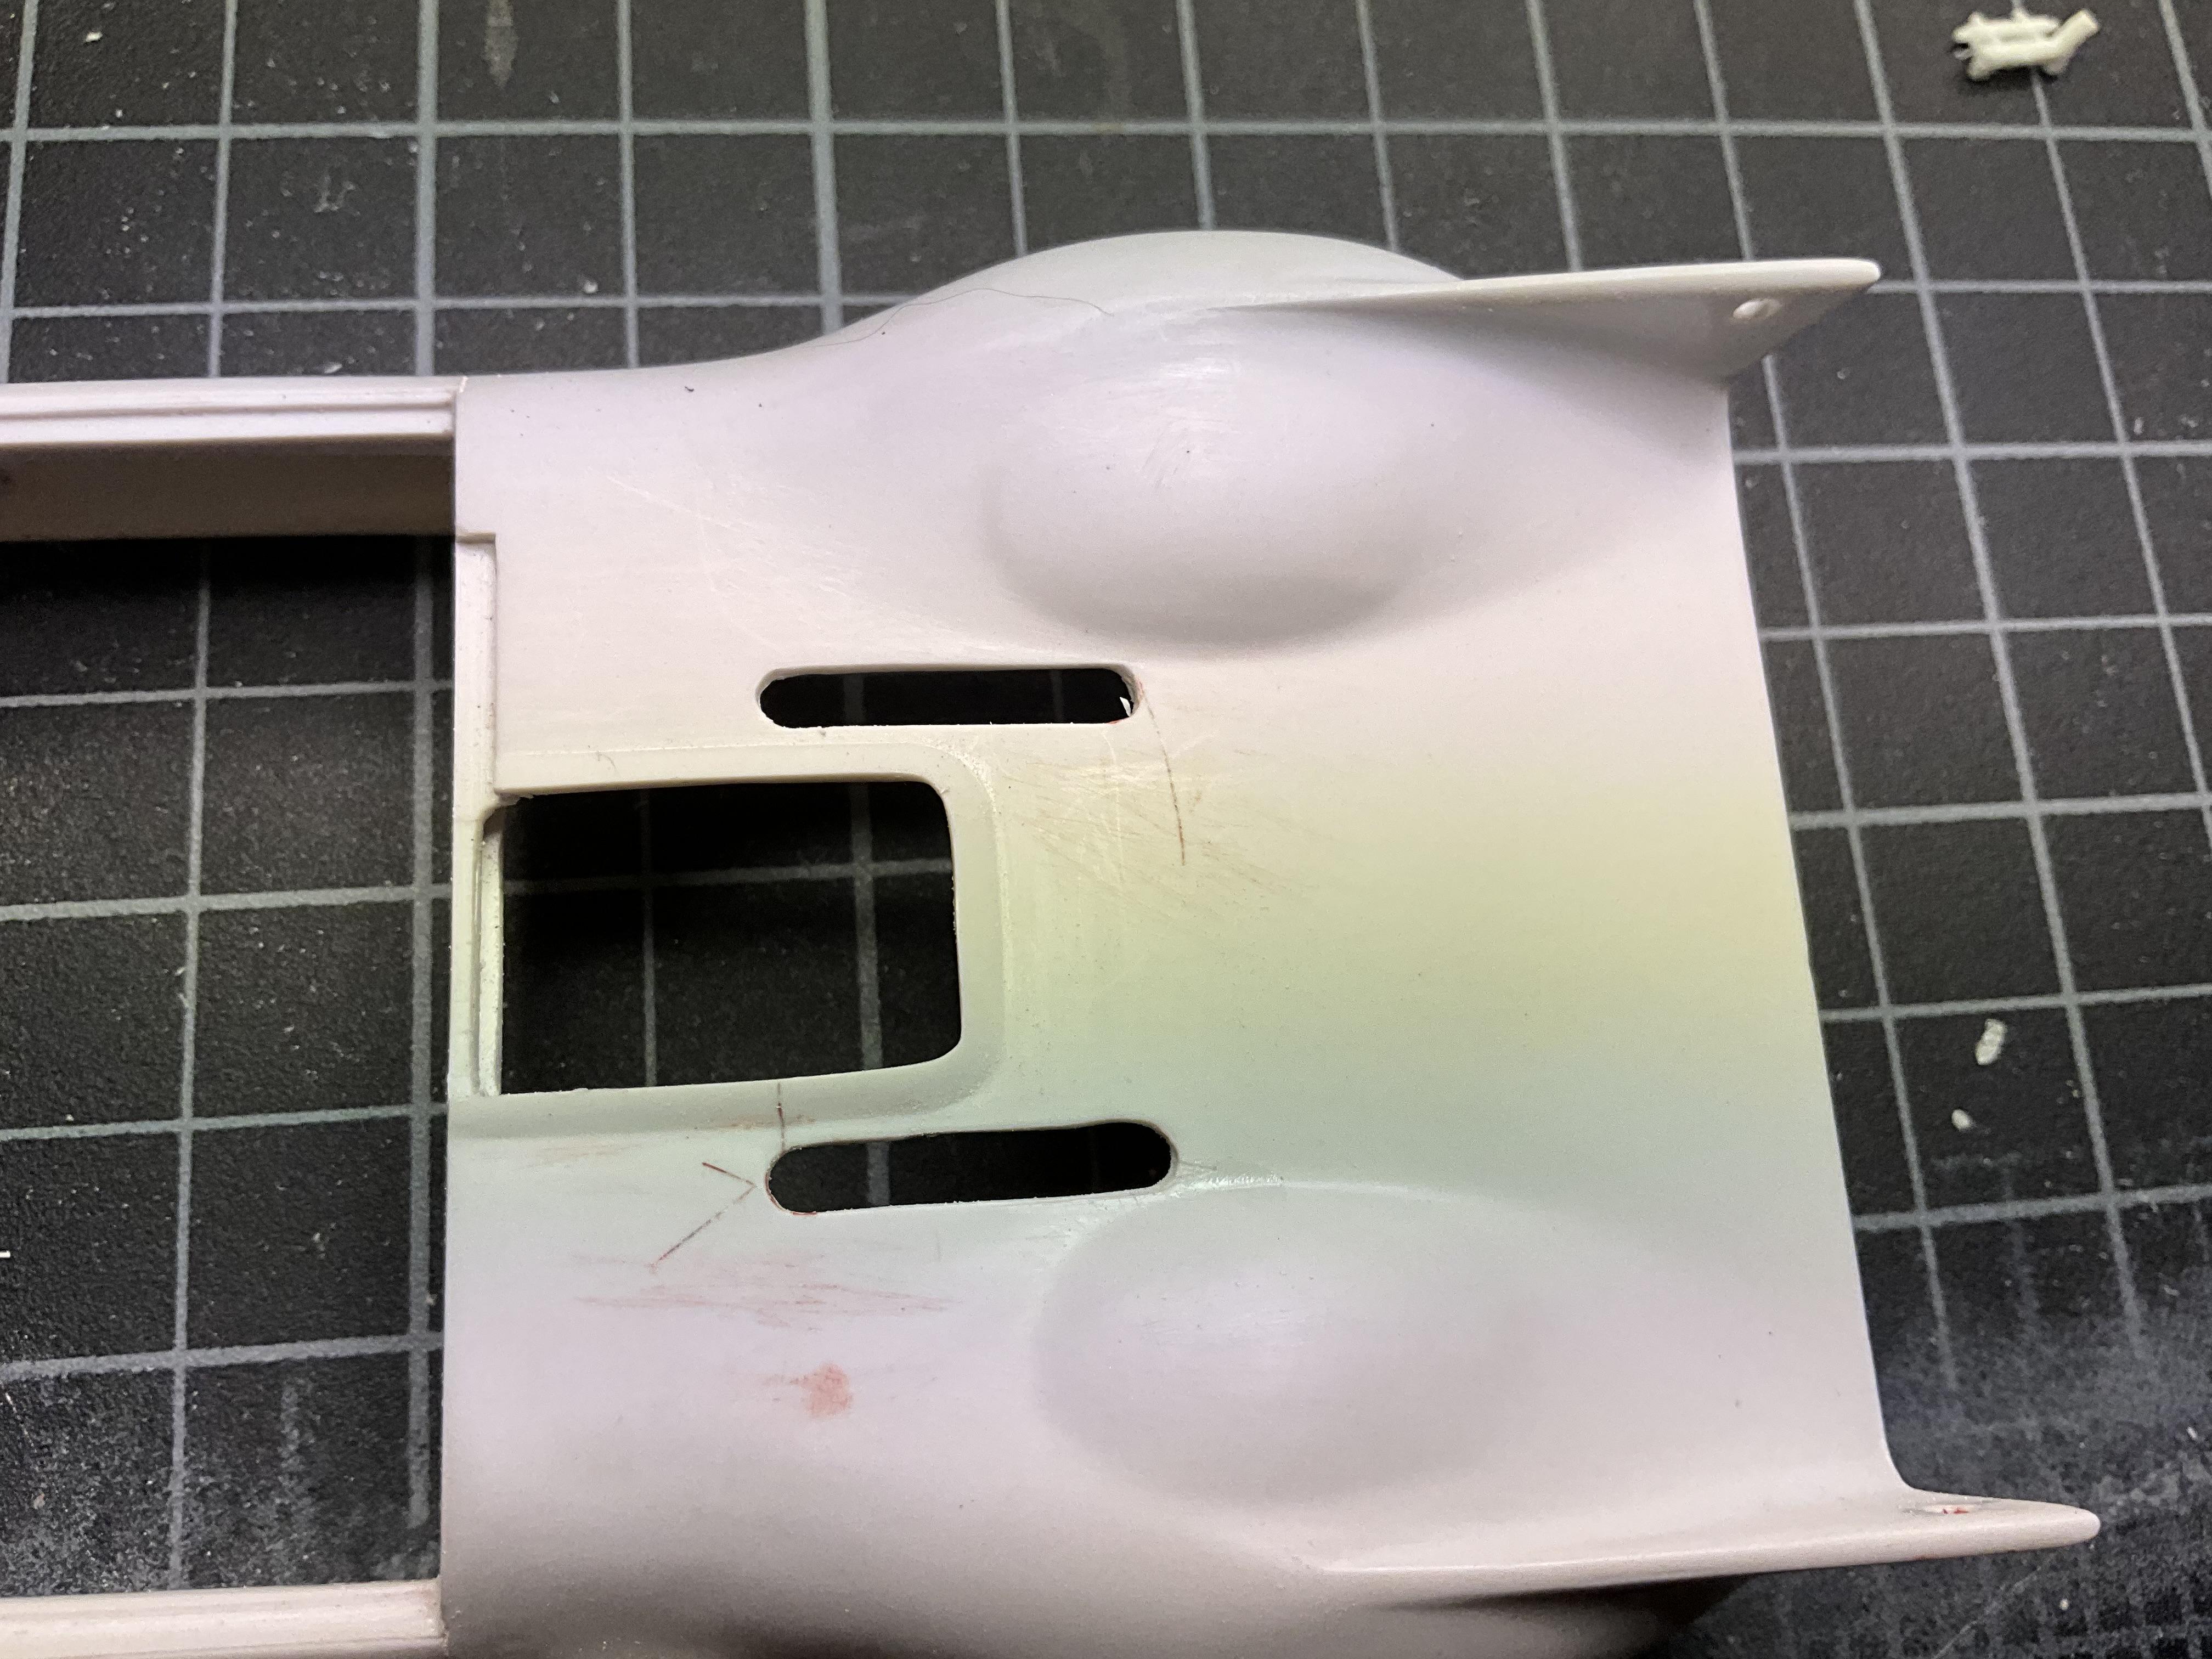
It was necessary to enlarge the rectangular opening in the body so the carbs and fuel lines will fit.
-
ARII Chaparral 2C
Mark W replied to Mark W's topic in WIP: Other Racing: Road Racing, Land Speed Racers
I have set of HRM Webers intended for a Ford smallblock. The manifold was too wide, a section about 1/32” or so had to be taken out of the center. It took a little time but the process went well. The manifold is now attached to the engine block. The carbs are delicate so they will be installed later in the build. The front panels are in their permanent position. Spindles are fitted but a tie rod will need to be scratch built in order to fit through the proper holes in the panels. Now I need to work out something to add a bit of interest on the rear suspension.
-
Looks great. The attention to detail was well worth it. It’s so crisp and clean!
-
ARII Chaparral 2C
Mark W replied to Mark W's topic in WIP: Other Racing: Road Racing, Land Speed Racers
Yes Helmut, I cut the mesh so I’m now committed! (or should be committed) But I already have a doner to steal from. The interior is already glued to the chassis plate so this is the way I need to go. Really though, it looks like I’m over the hump. Keep watching, it should get interesting! -
ARII Chaparral 2C
Mark W replied to Mark W's topic in WIP: Other Racing: Road Racing, Land Speed Racers
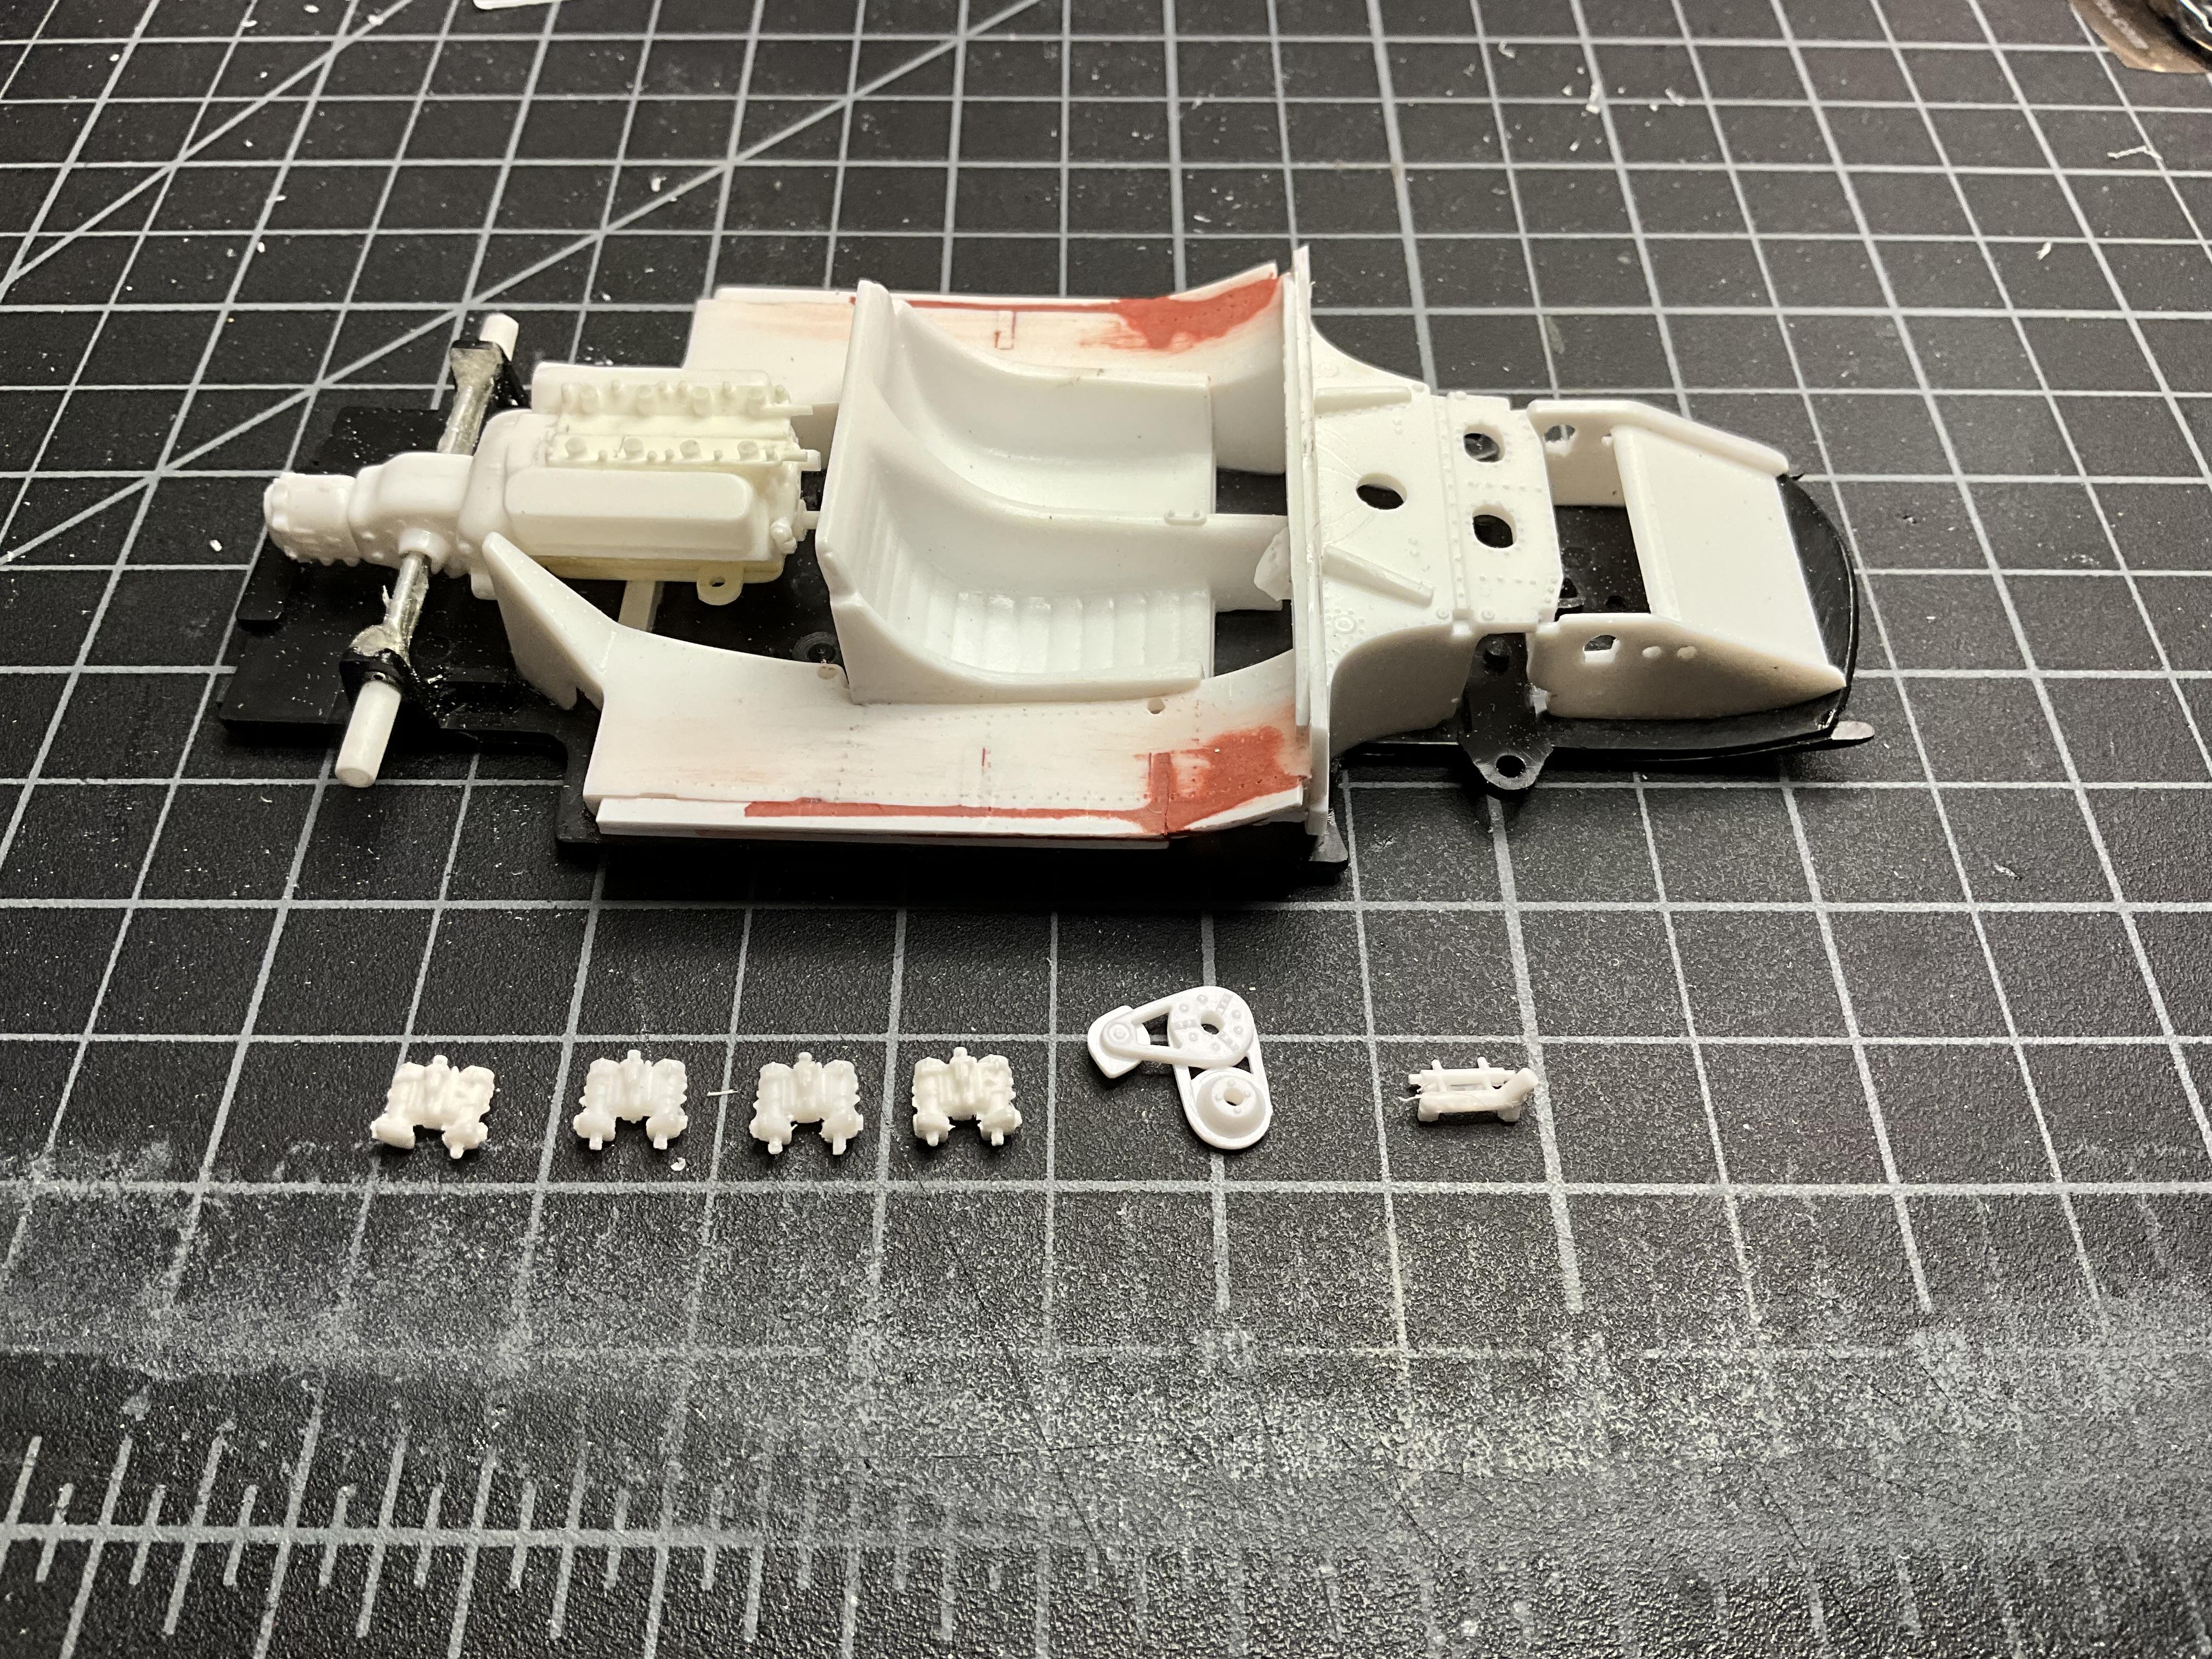
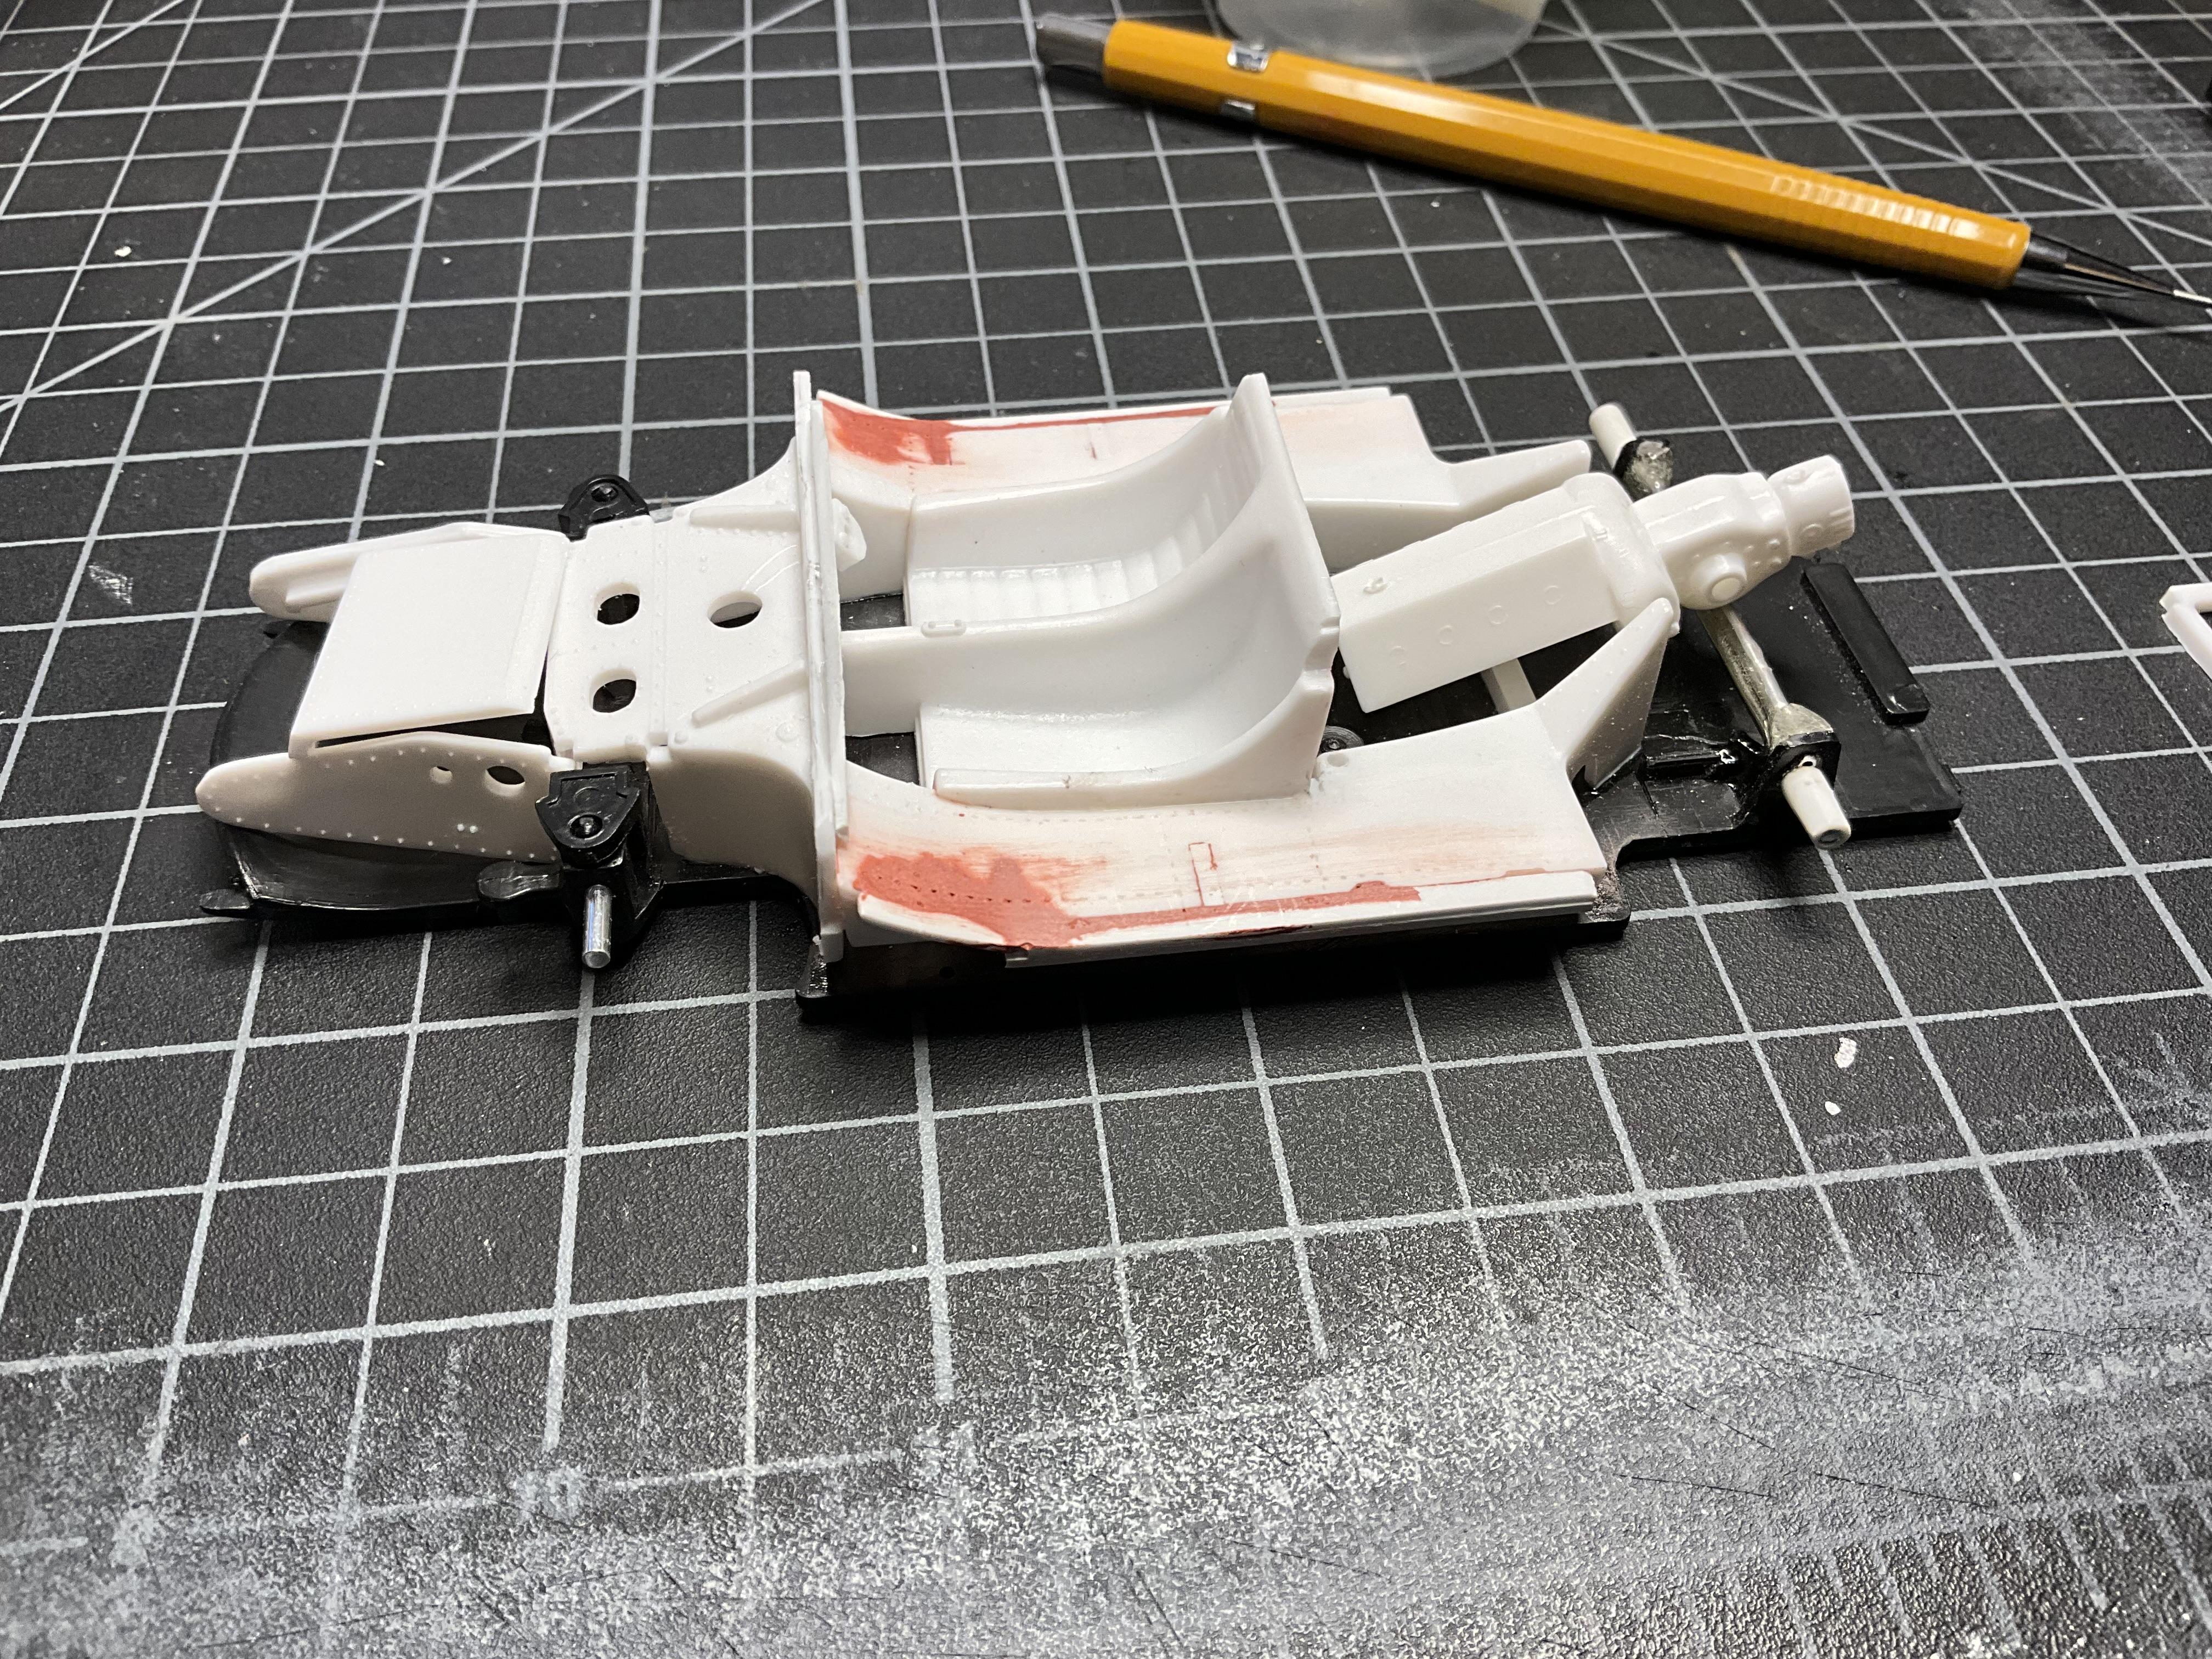
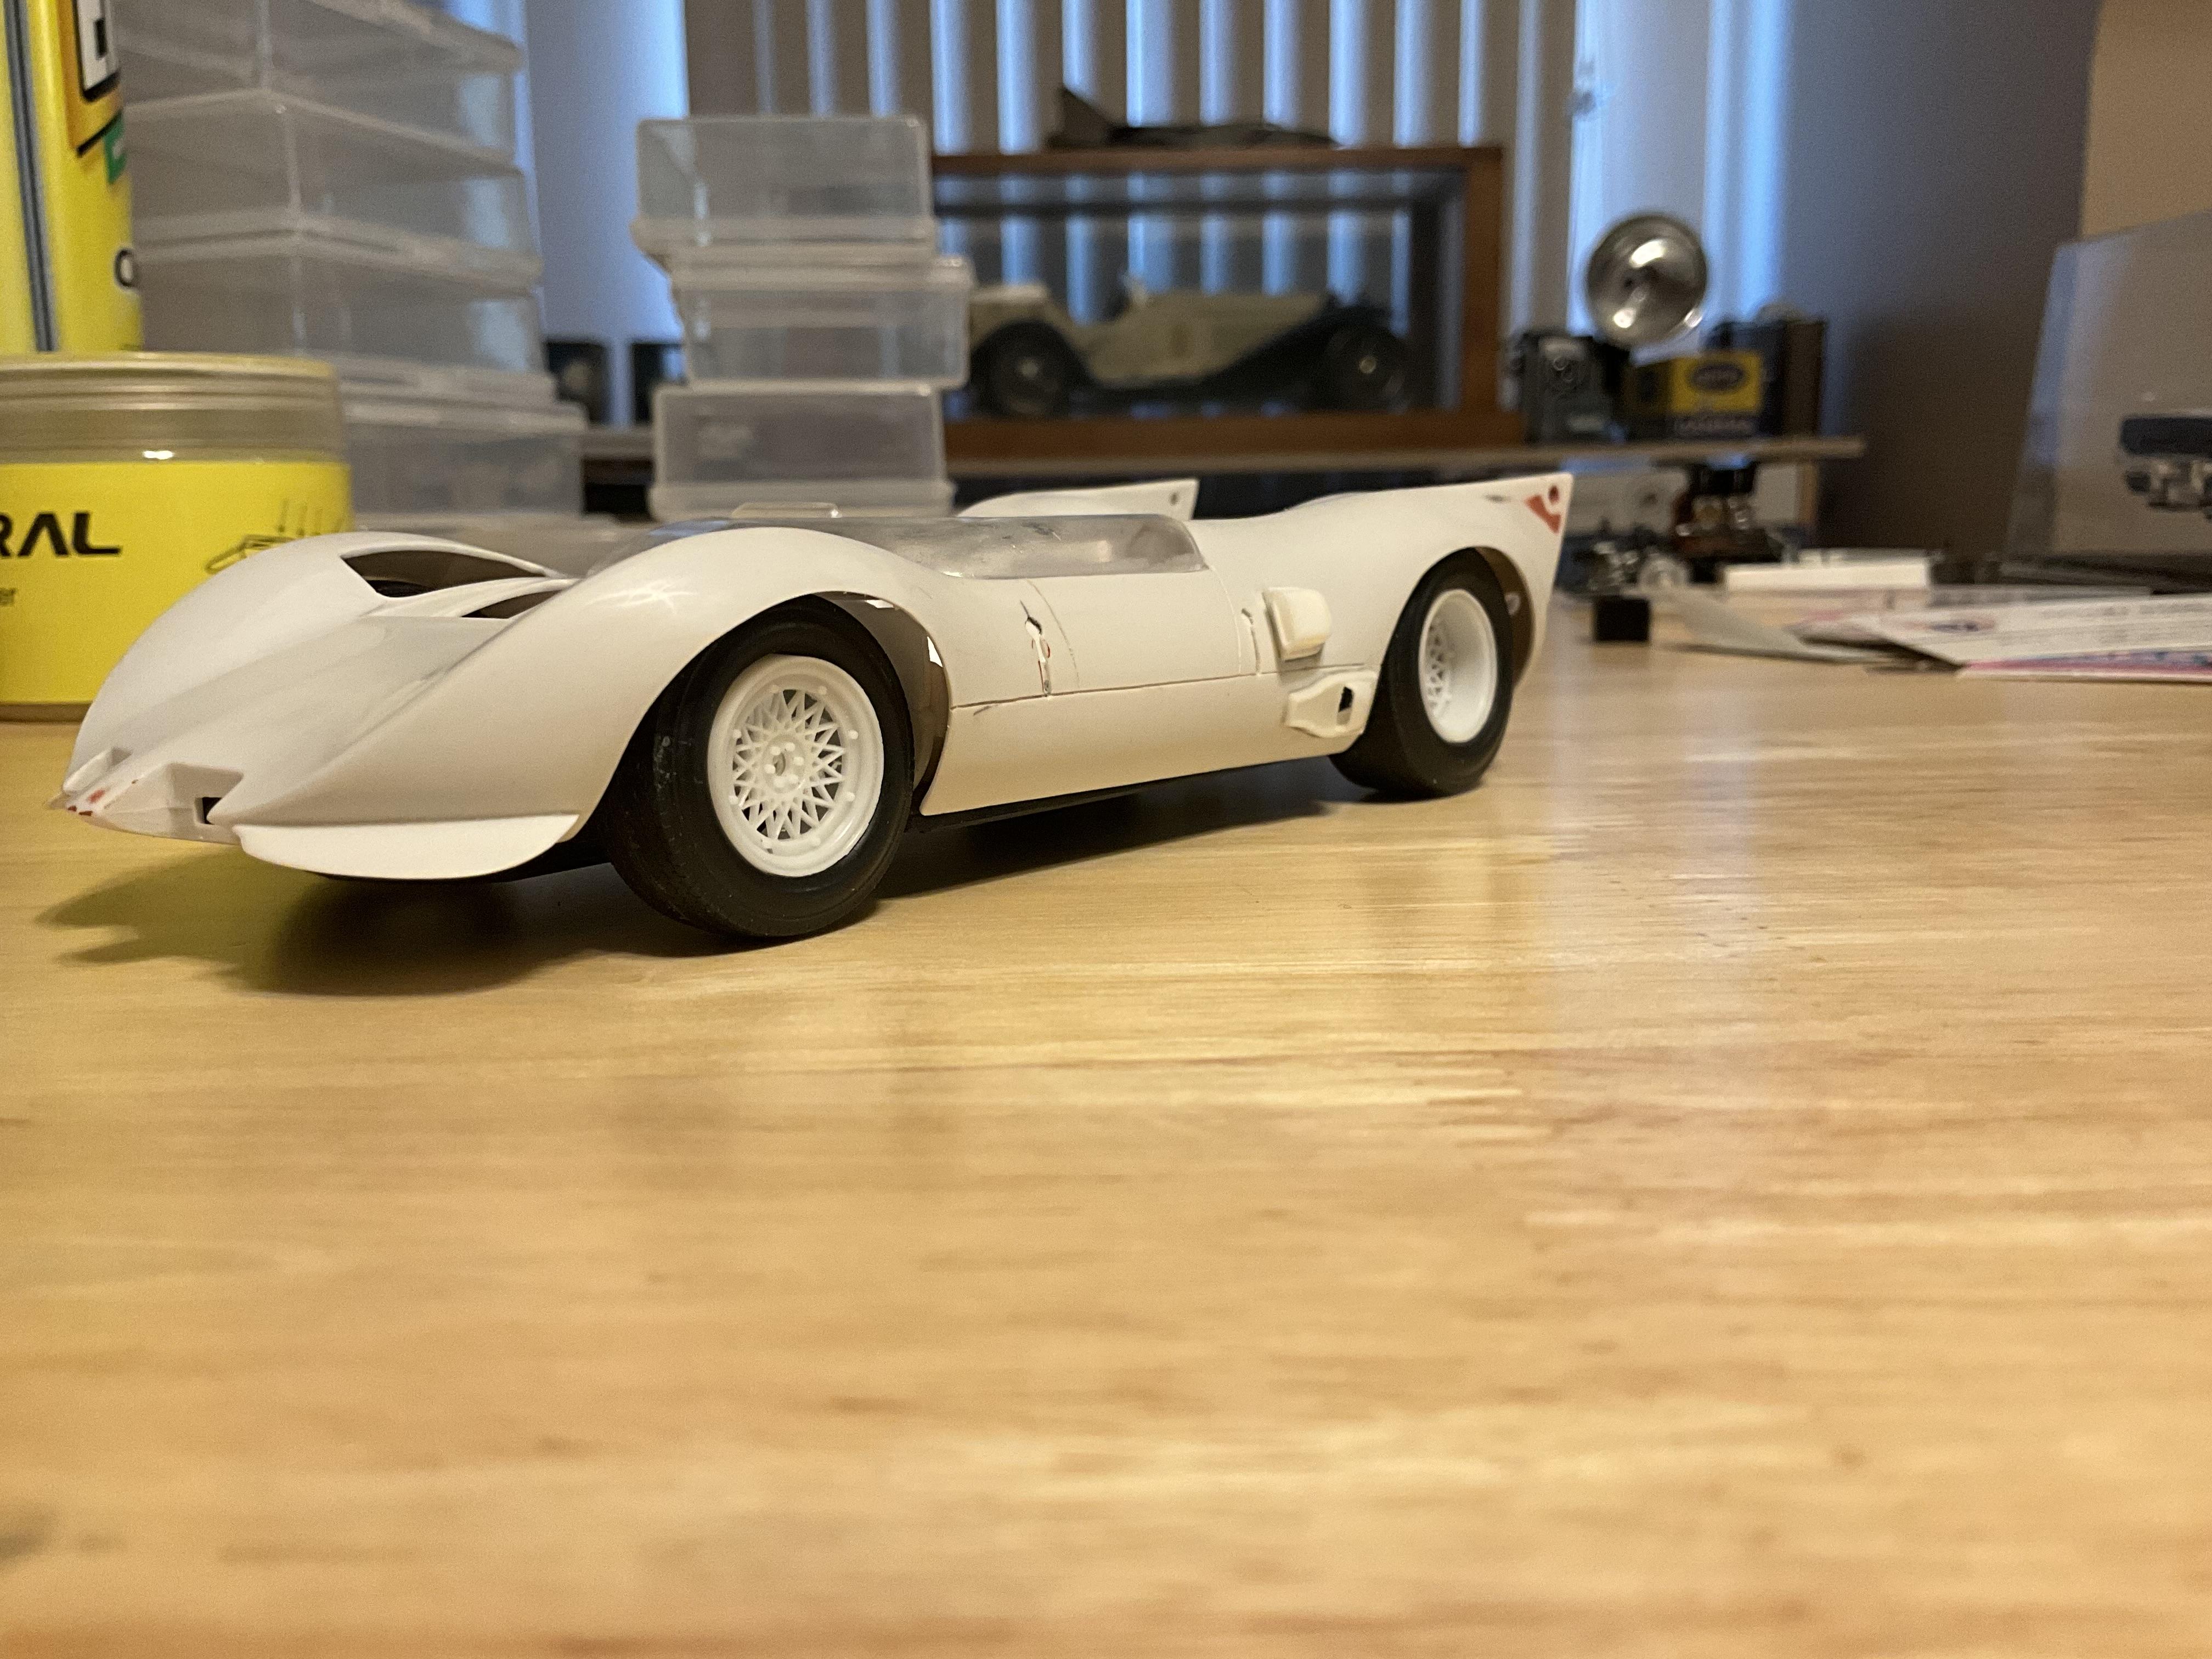
As I said, wish I would have done this full detailed. What started out as curbside is now growing. We’ve all been down that road. I realized there is a lot of see-through in the wheel well area and through the mesh. Drilled out the holes in the brake intakes for some aluminum rivets to be added after paint. Here’s a pic of some inner panels and what will be a basic engine/transaxle. Any suggestions on what to add will be welcome.
-
WC-54 Ambulance
Mark W replied to Chariots of Fire's topic in WIP: Model Trucks: Pickups, Vans, SUVs, Light Commercial
Absolutely beautiful scratchbuilding and detail work. Would love to see a video of your soldering technique. -
Everyone should have a Willys. Looks real clean!
-
The build so for is very impressive Matt. But your work on improving the body by thinning and re-scribing is really making the difference.
-
Very nice build Michelle!
-
ARII Chaparral 2C
Mark W replied to Mark W's topic in WIP: Other Racing: Road Racing, Land Speed Racers
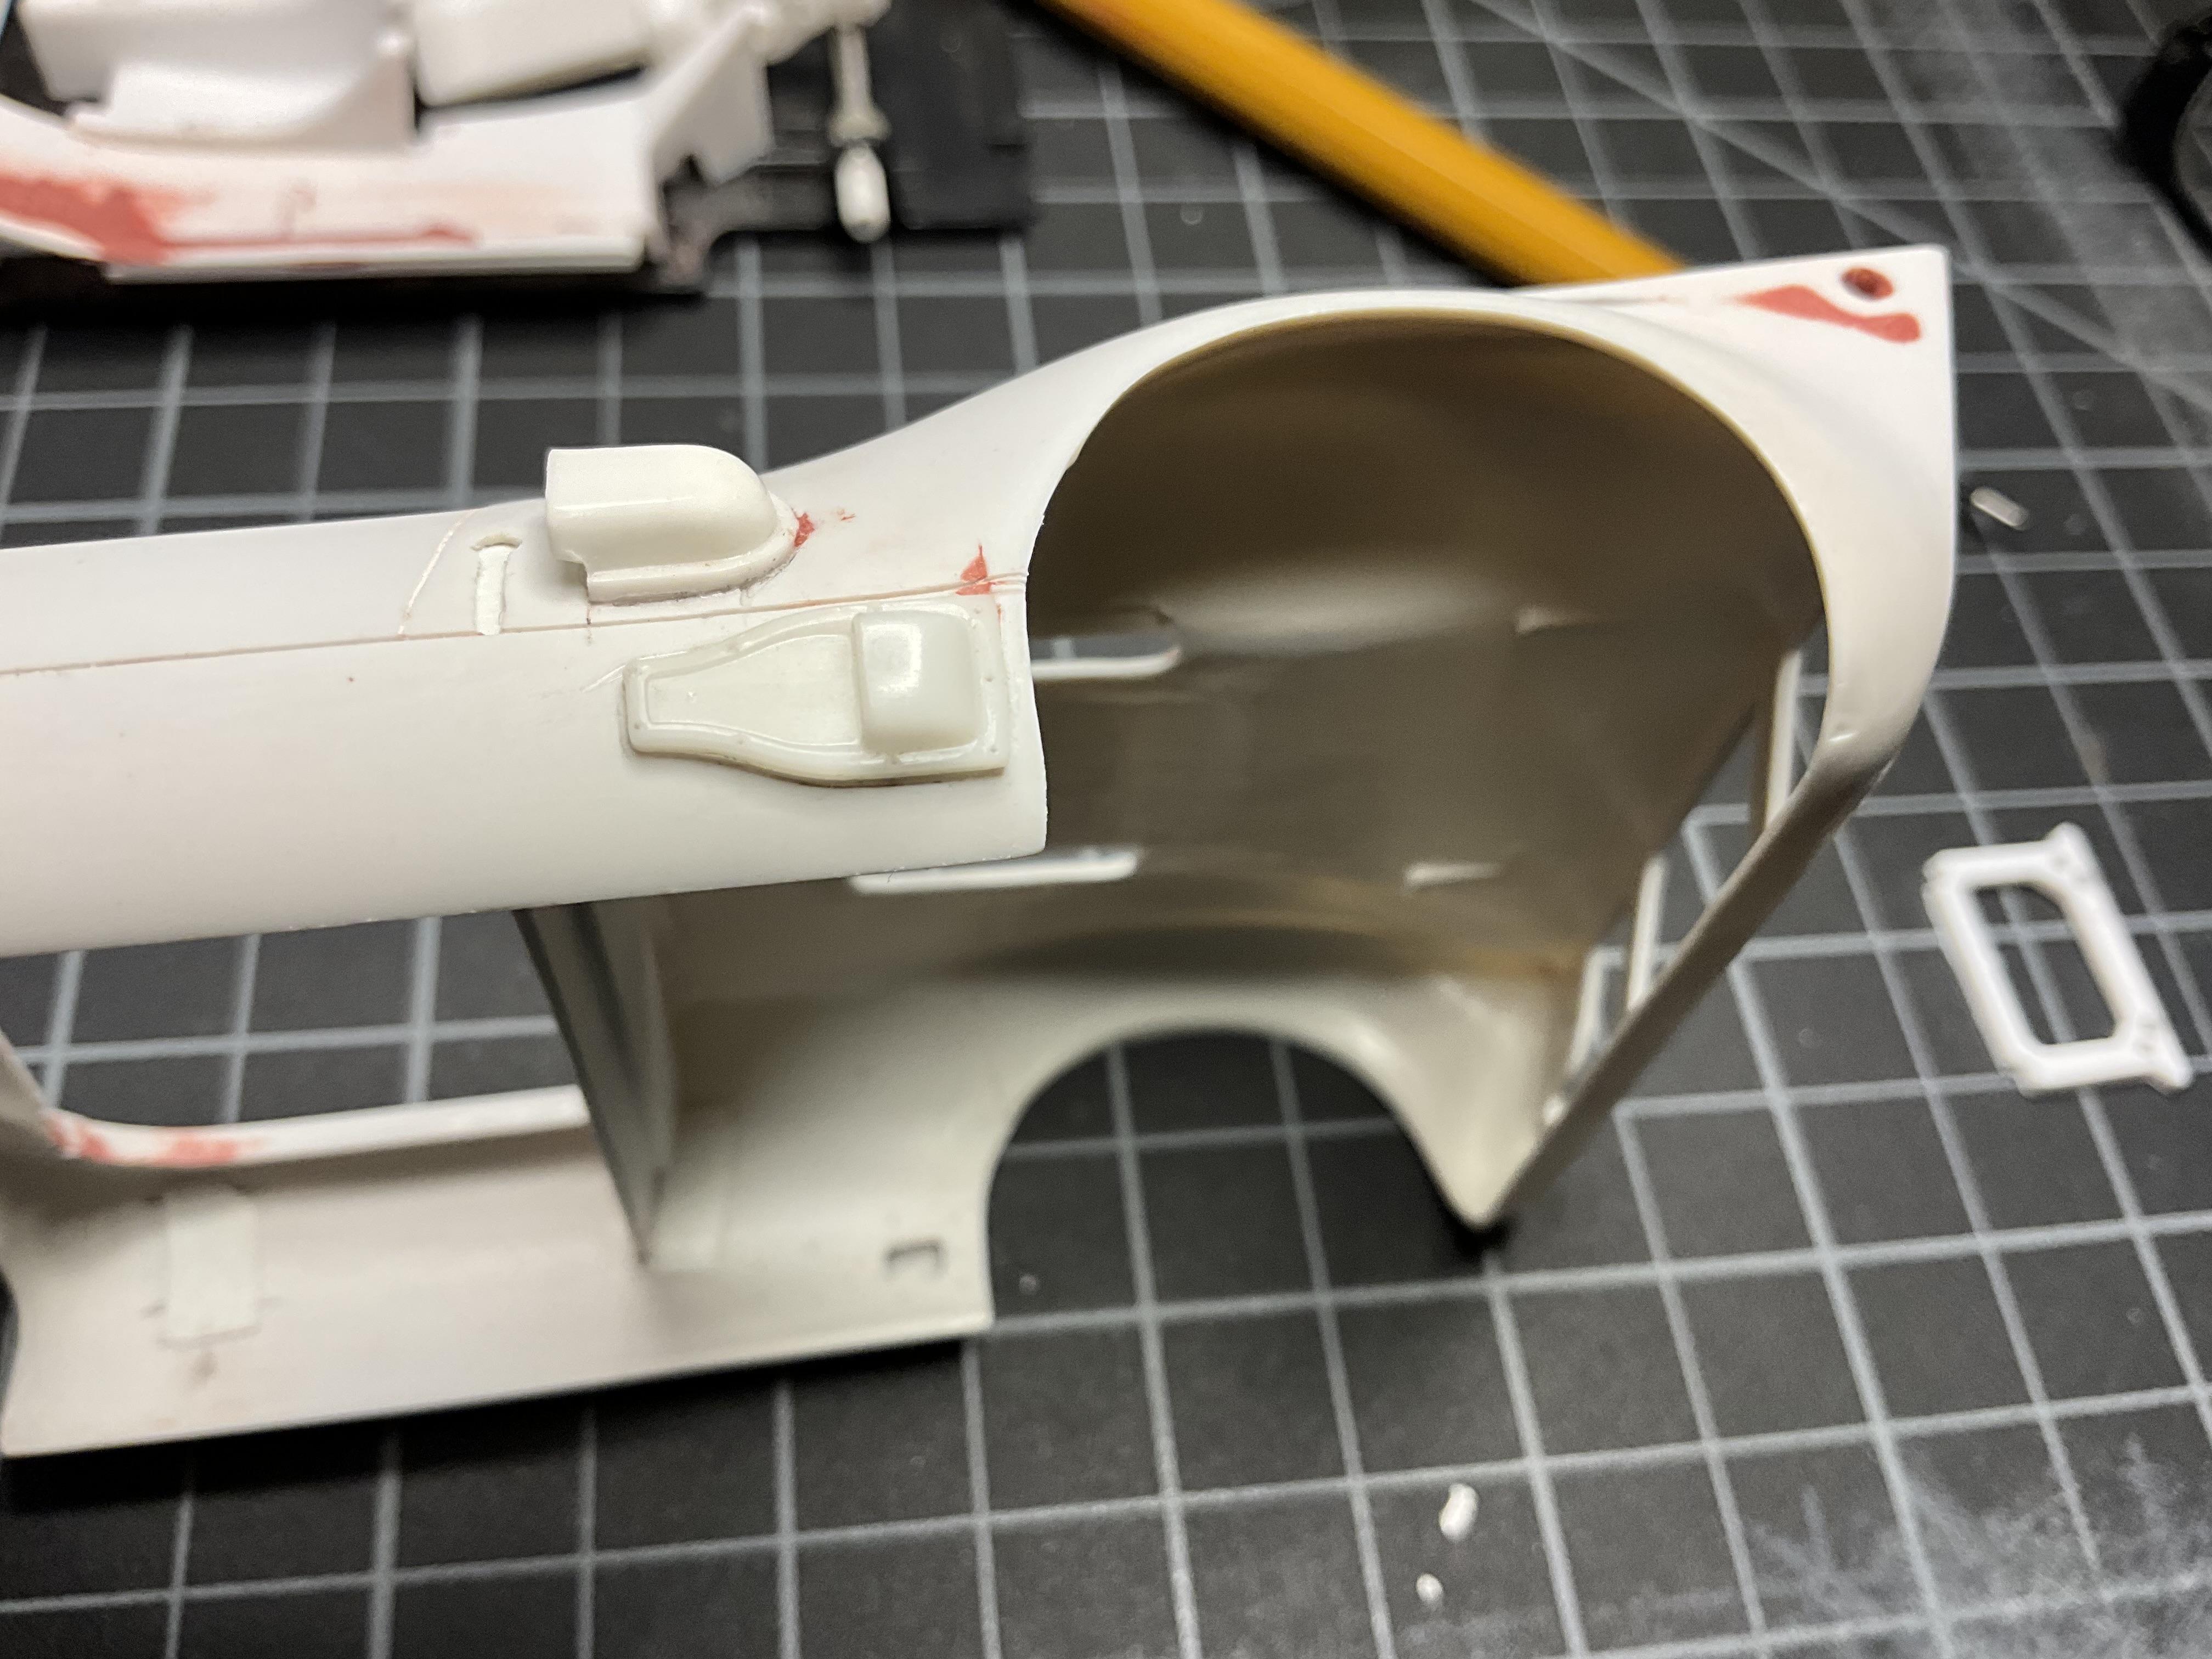
Another step along the way. The intakes were flat on the side against the car, the body is curved. This meant creating a flat on the car for each of the three intakes. It was time consuming but not as difficult as I feared. Thinking on some hose for the brakes just to fill the void in the wheel well. Maybe some interior work next.
-
Always like this custom since it came out in the 60s. Nice job, btw I like the third headlight.
-
Milner 32 5 window American Graffiti build
Mark W replied to Silvercreeker's topic in WIP: Model Cars
Build is spot on. Looks like it could double as the movie car. Your work just added another car to my “to do” list. Lucy, well she’s beautiful!