Mark W
-
Posts
332 -
Joined
-
Last visited
Content Type
Profiles
Forums
Events
Gallery
Everything posted by Mark W
-
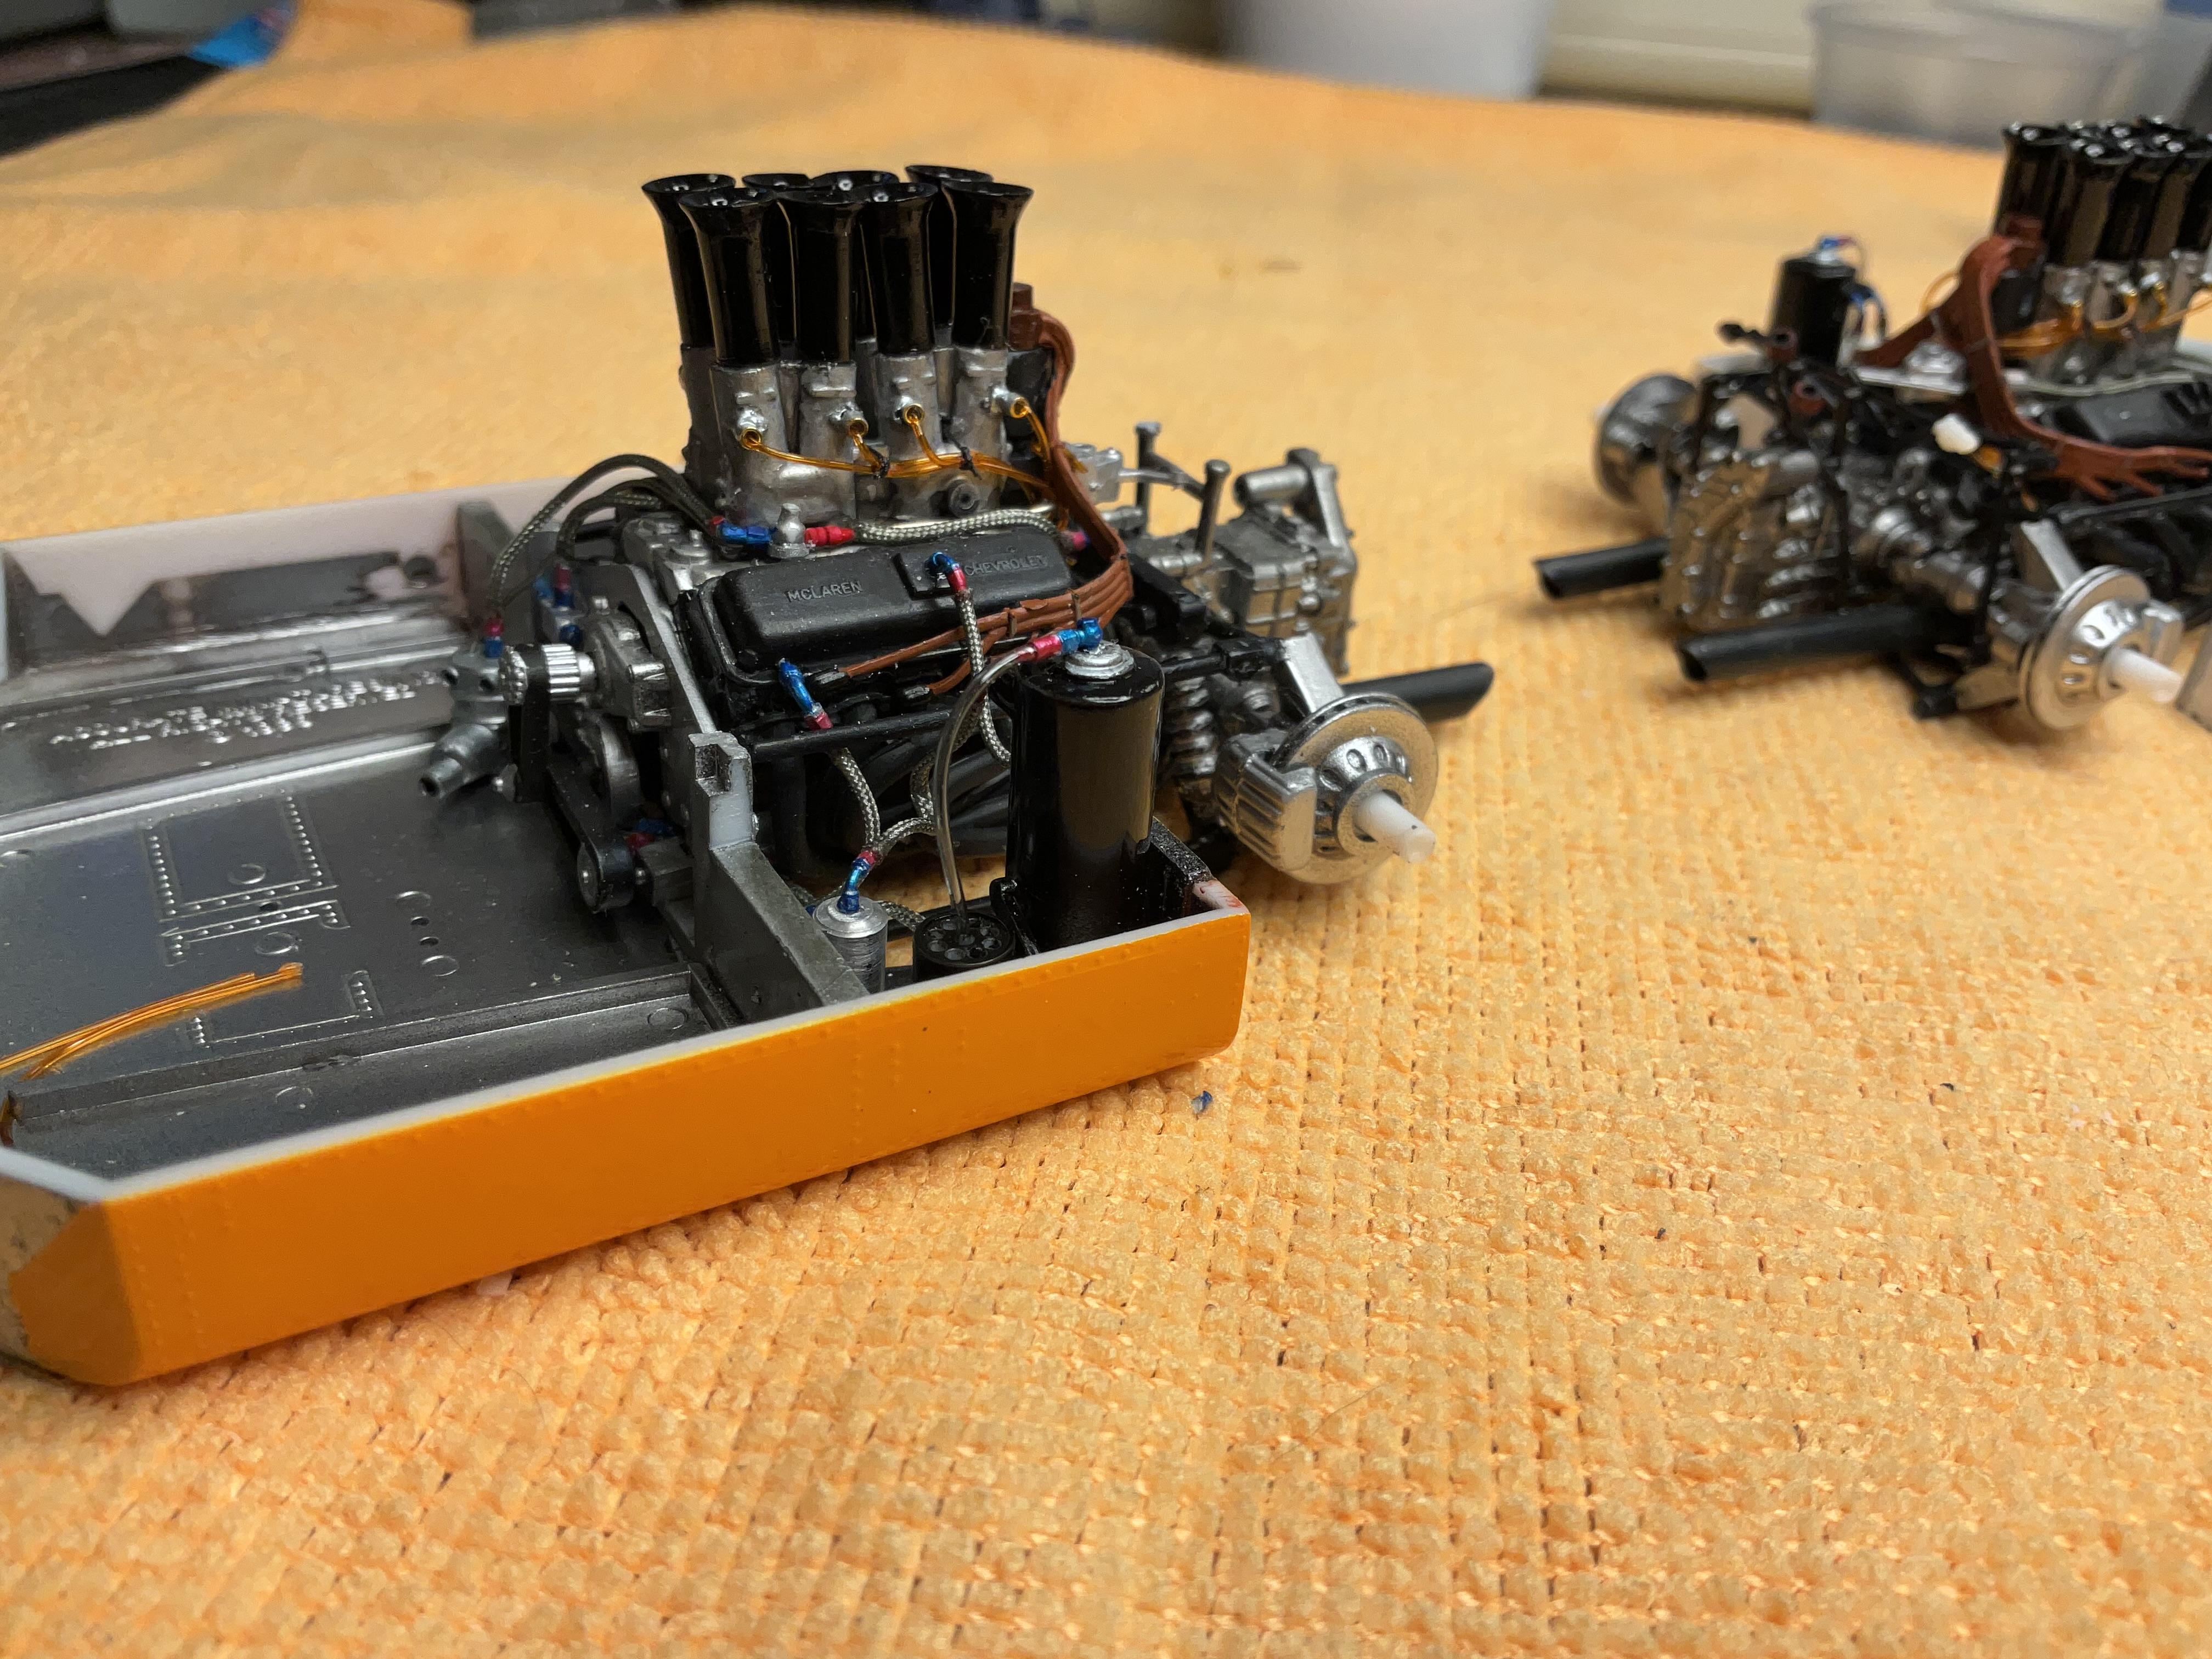
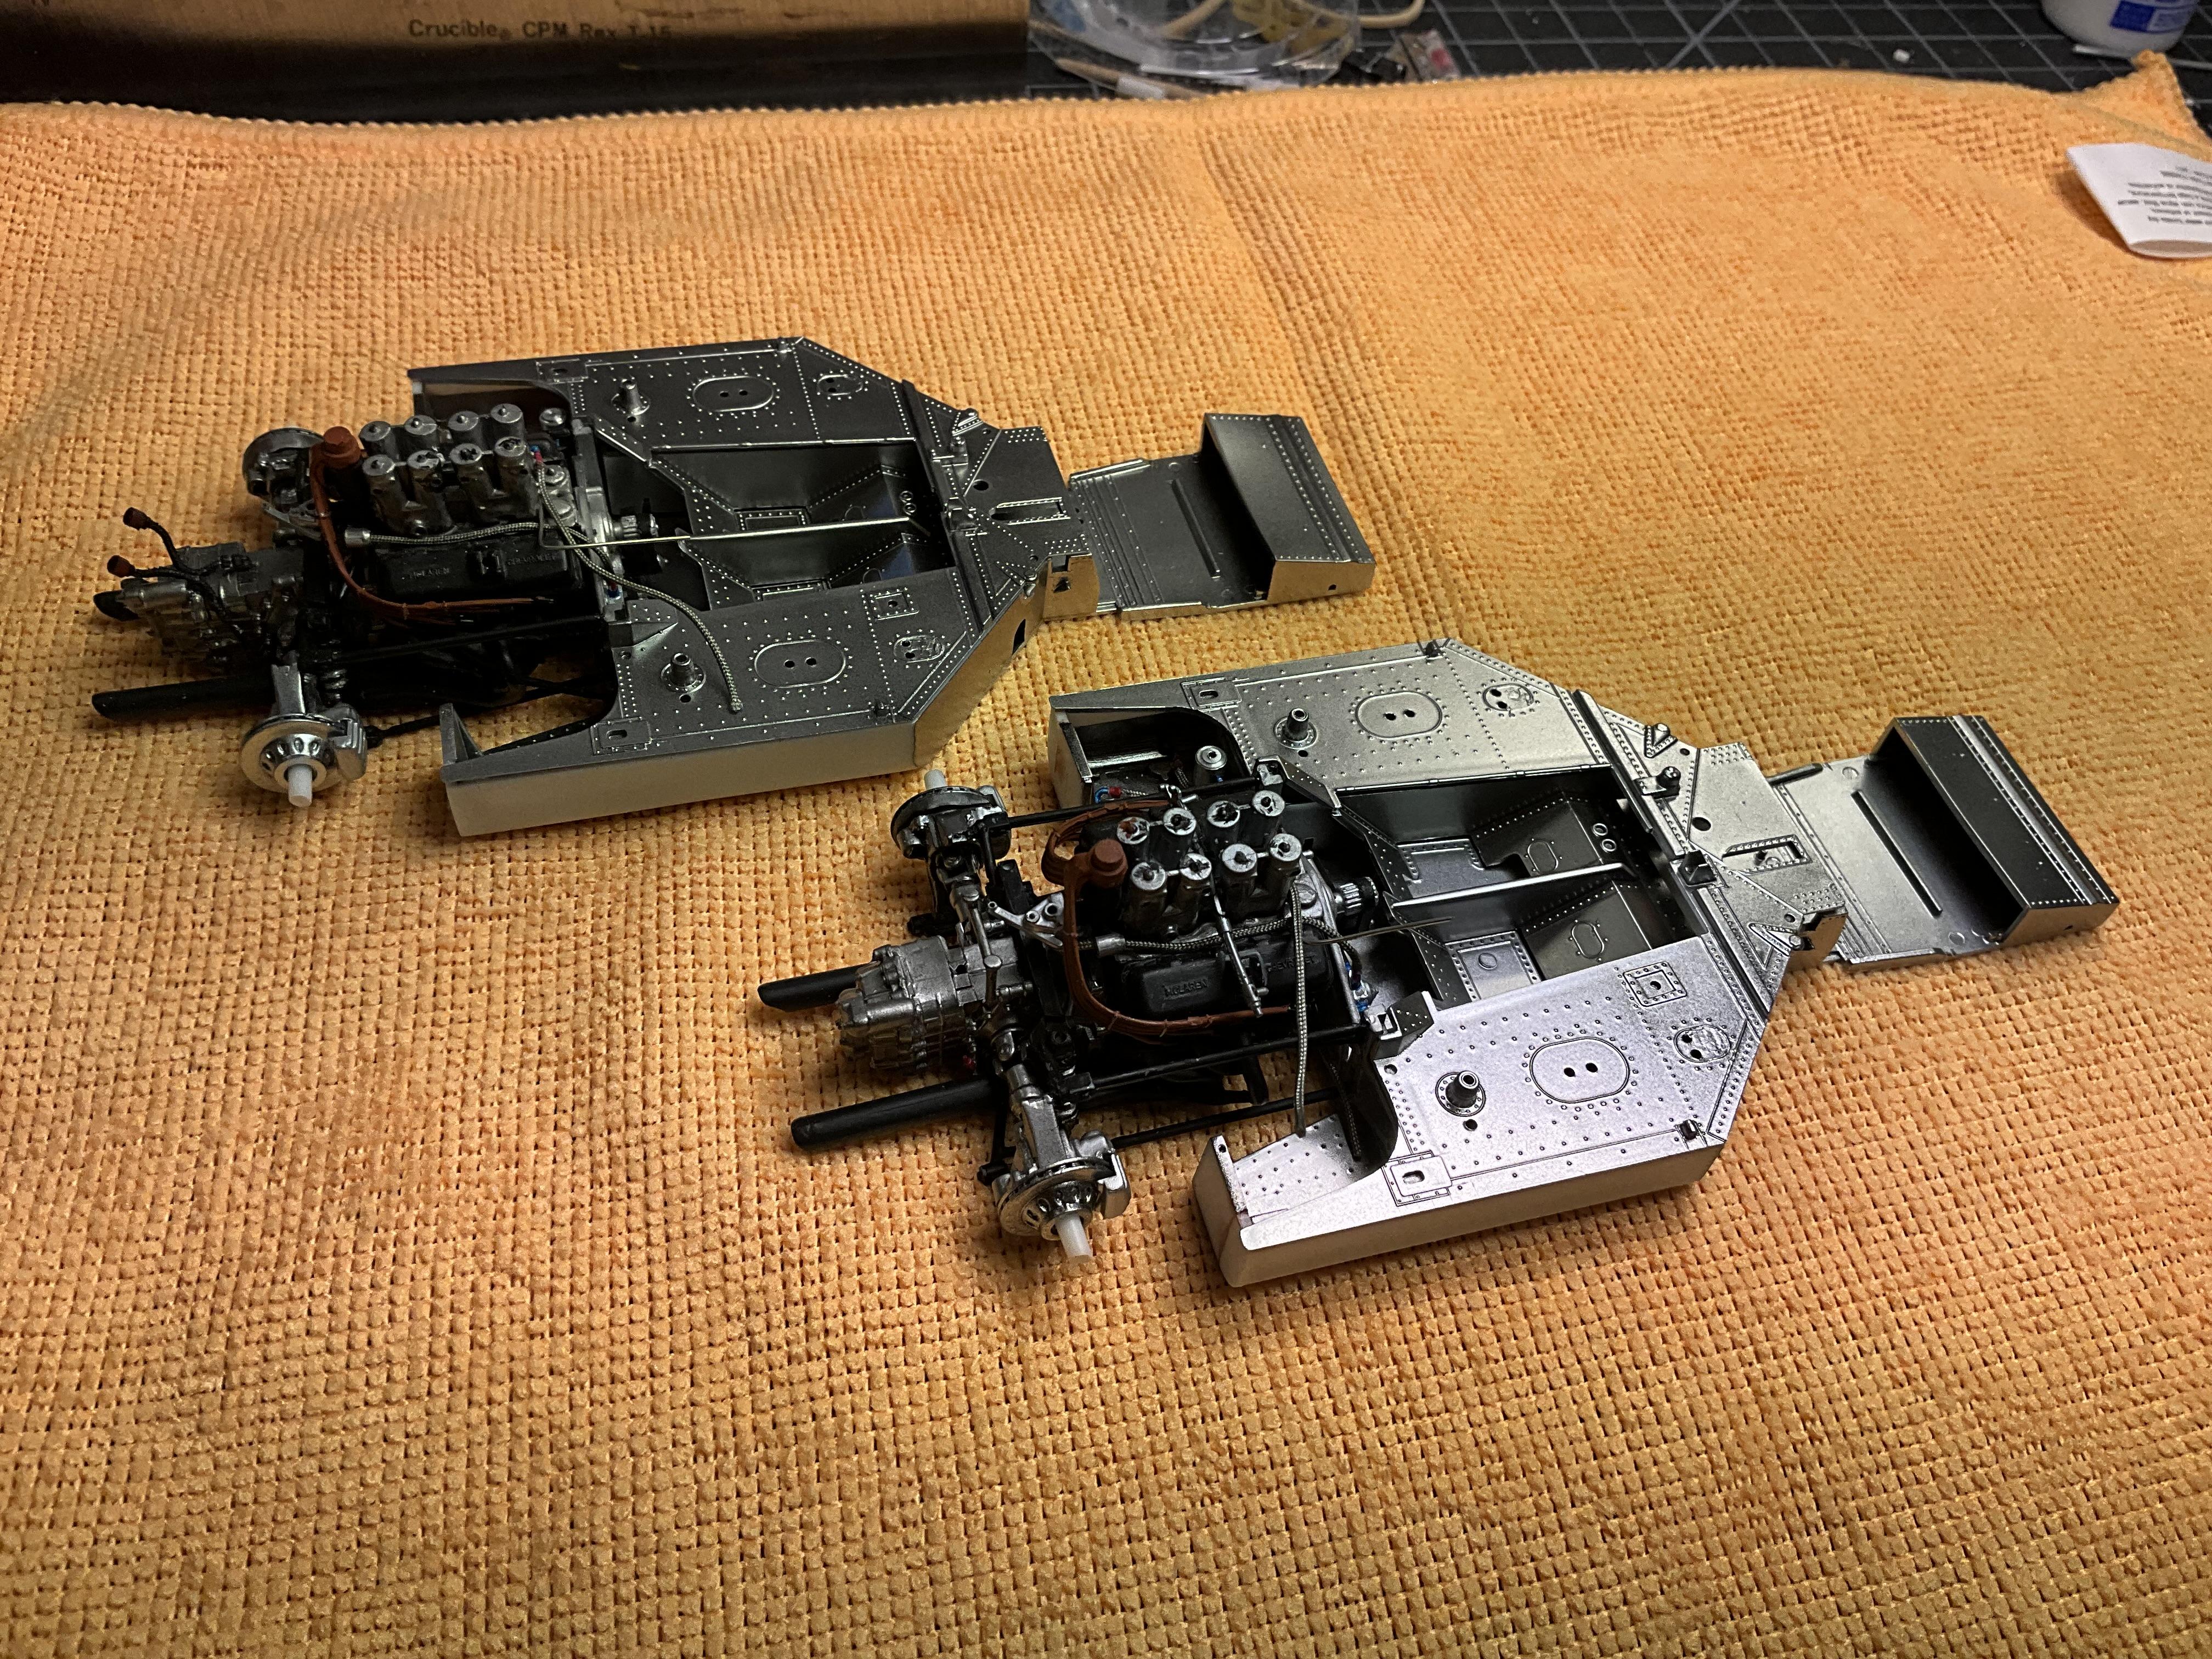
Much work done on this pair, but I see there is a ton more to do. I’m happy with the resin fittings and they save a lot of time and money over the metal ones. At least there’s a choice. The cars need to sit on a micro fiber cloth now because of the painting of the chassis. The colors are Mr Color #109 Character yellow for Bruce’s car and Tamiya TS-26 pure white for Oscar’s as recommended by Rich Chernosky. The tubing for the injectors is Hareline micro tubing orange, a fly tying product. Thanks for looking!

-
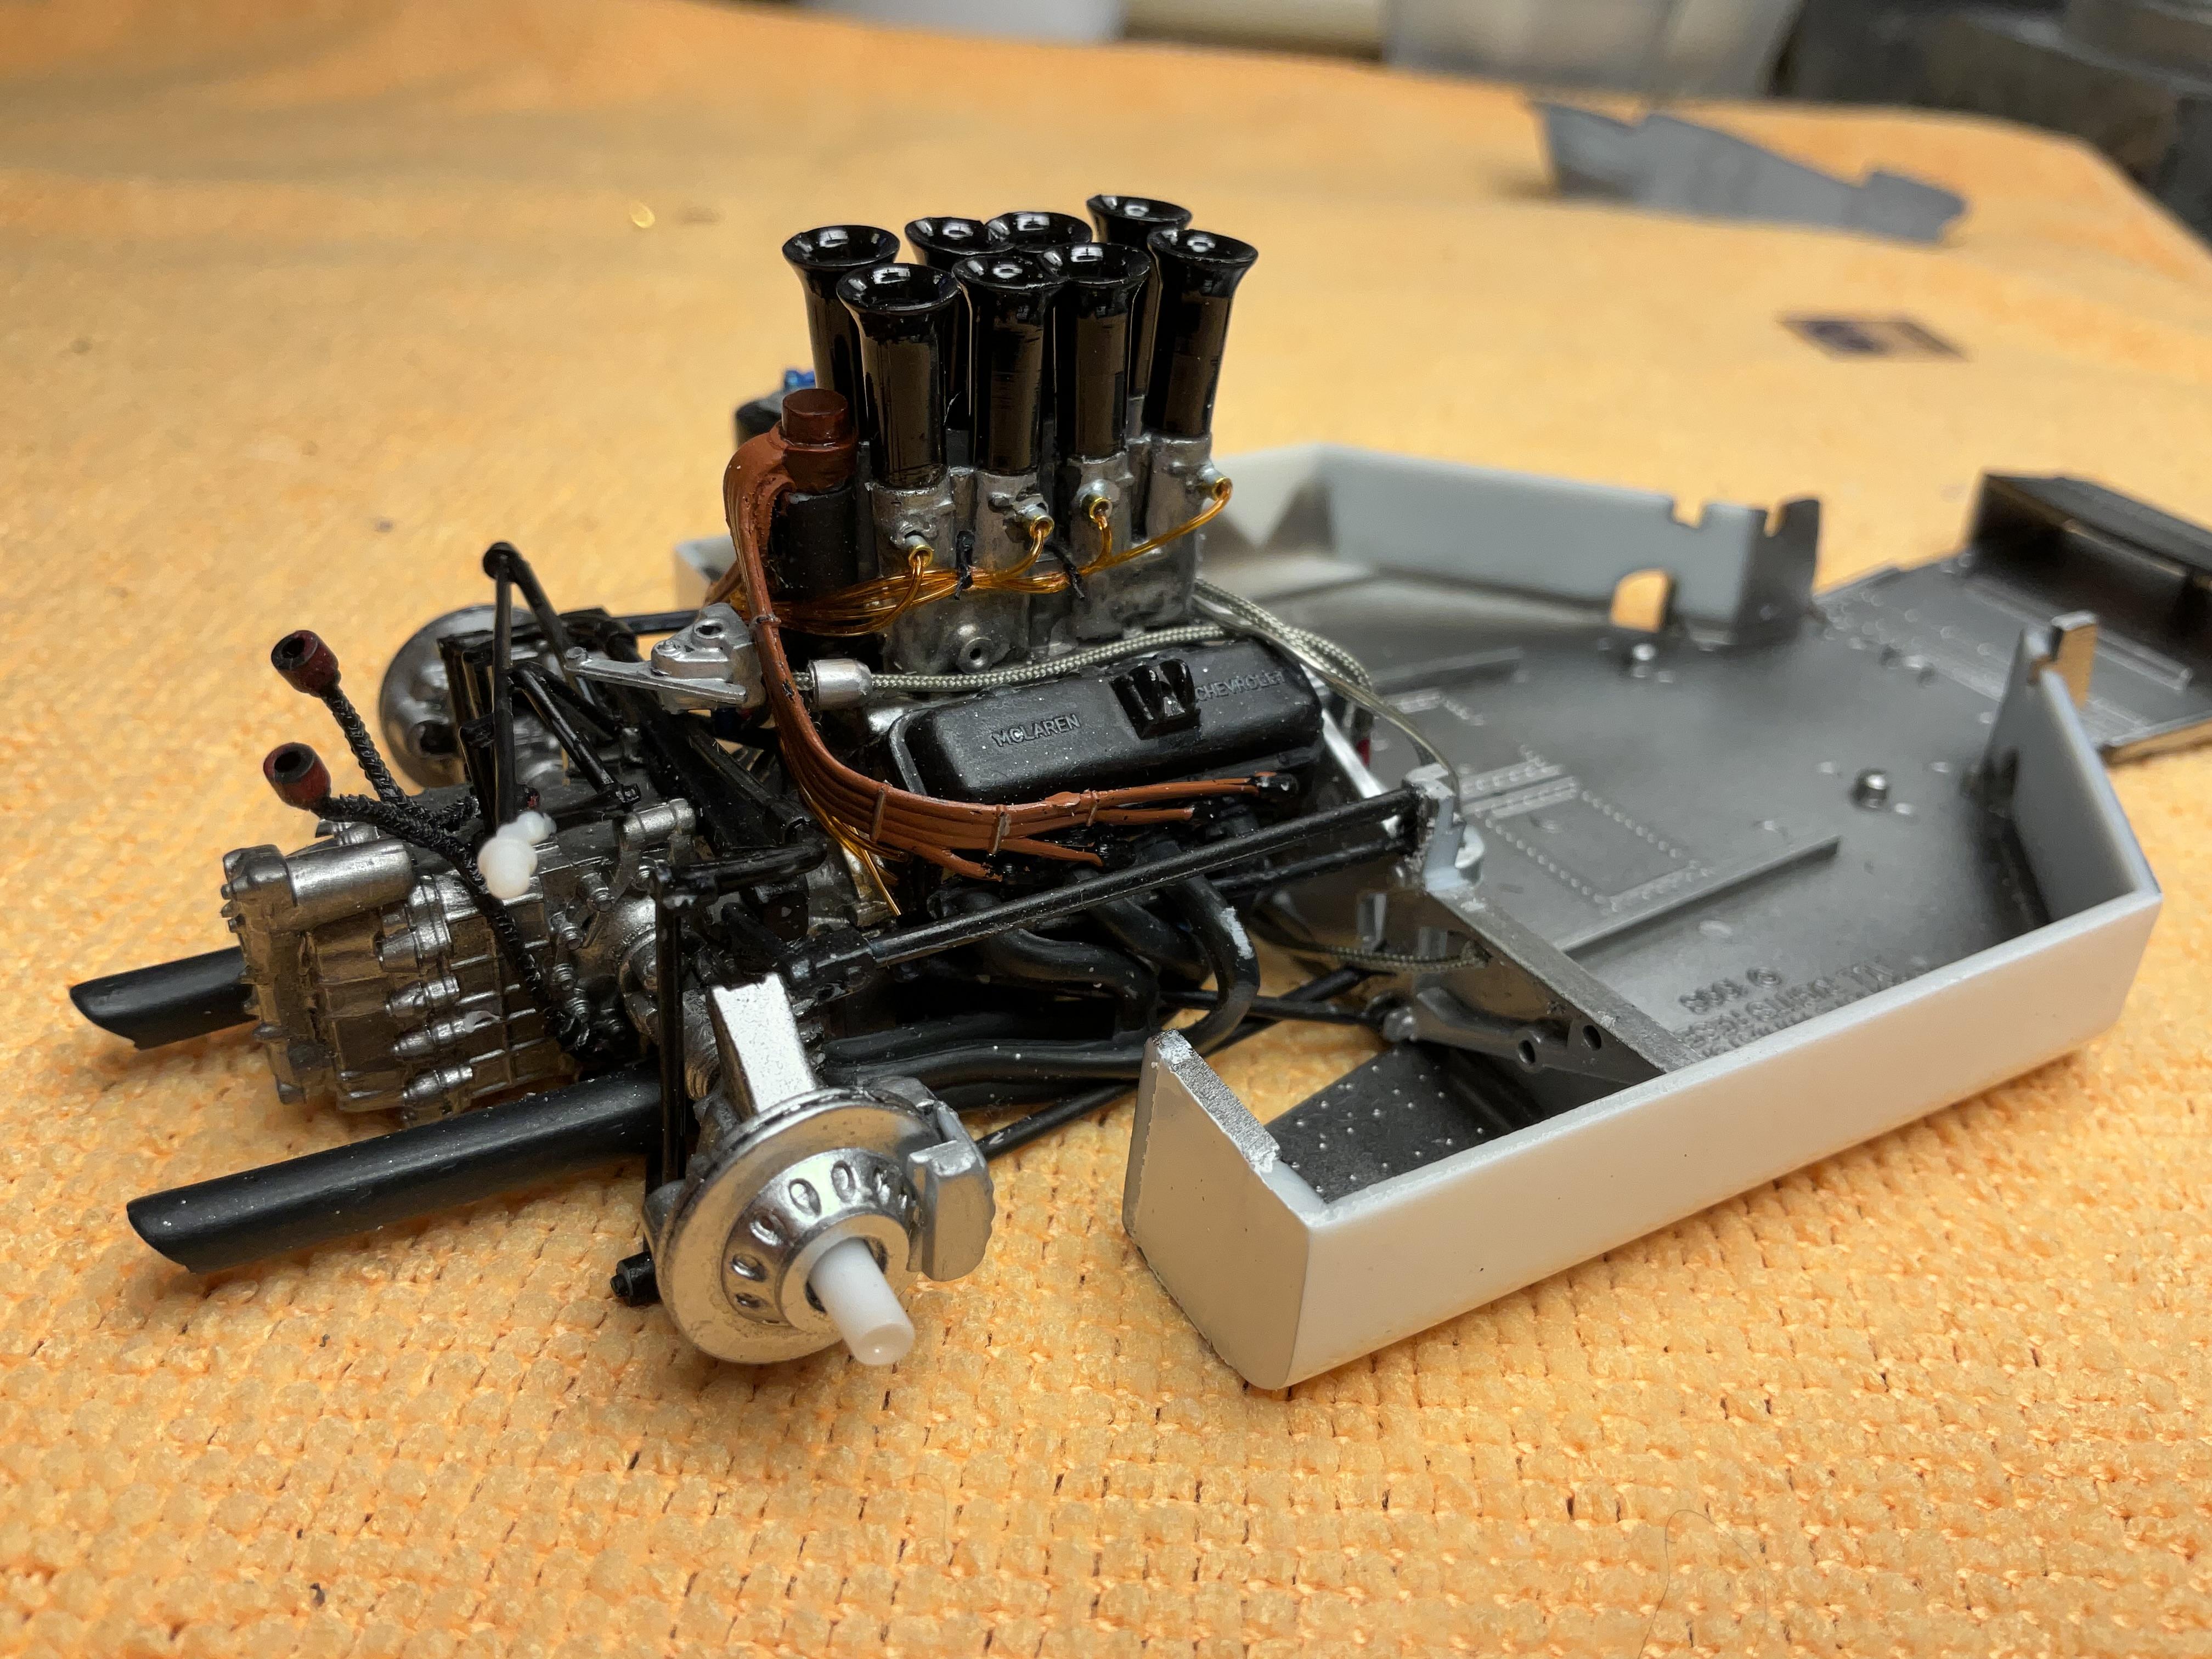
Did some major plumbing on the engine. I decided to put the stacks on before posting a picture, make it look prettier. Will be painting them today.
-
AMT Cheverolet Bel Air ´55 Regal turquoise / India Ivory
Mark W replied to Greasefinger's topic in Model Cars
Beautiful execution Kari. I agree with your color choices. Very crisp details. -
Great build to follow.
-
1965 Pontiac Tempest Pickup
Mark W replied to Chuck Most's topic in Model Trucks: Pickups, Vans, SUVs, Light Commercial
Perfect execution! You did a fine job. The level is in the bed cool. -
This will be followed closely. Very interesting subject.
-
That is nice! How do you like the Webers!
-
Greg, I checked out your hood correction. Great job!
-
Beautiful job correcting this issue. You have a good eye.
-
ARII Chaparral 2C
Mark W replied to Mark W's topic in WIP: Other Racing: Road Racing, Land Speed Racers
With help from you and others, it will get done. Interrupted at times by the M8B project. Thank you! -
ARII Chaparral 2C
Mark W replied to Mark W's topic in WIP: Other Racing: Road Racing, Land Speed Racers
Helmut, I also think the last photo is a 2A, looks more like a fiberglass tub not the aluminum 2C. No matter there’s enough info in the other pictures for me to make an instrument panel. I also agree it should be pushed forward some. Going by the 2E interior it also shows it belongs forward. The bare chassis you and Steve sent makes it definite. What is also nice is now I have good reference on the center switch panel on the tunnel. -
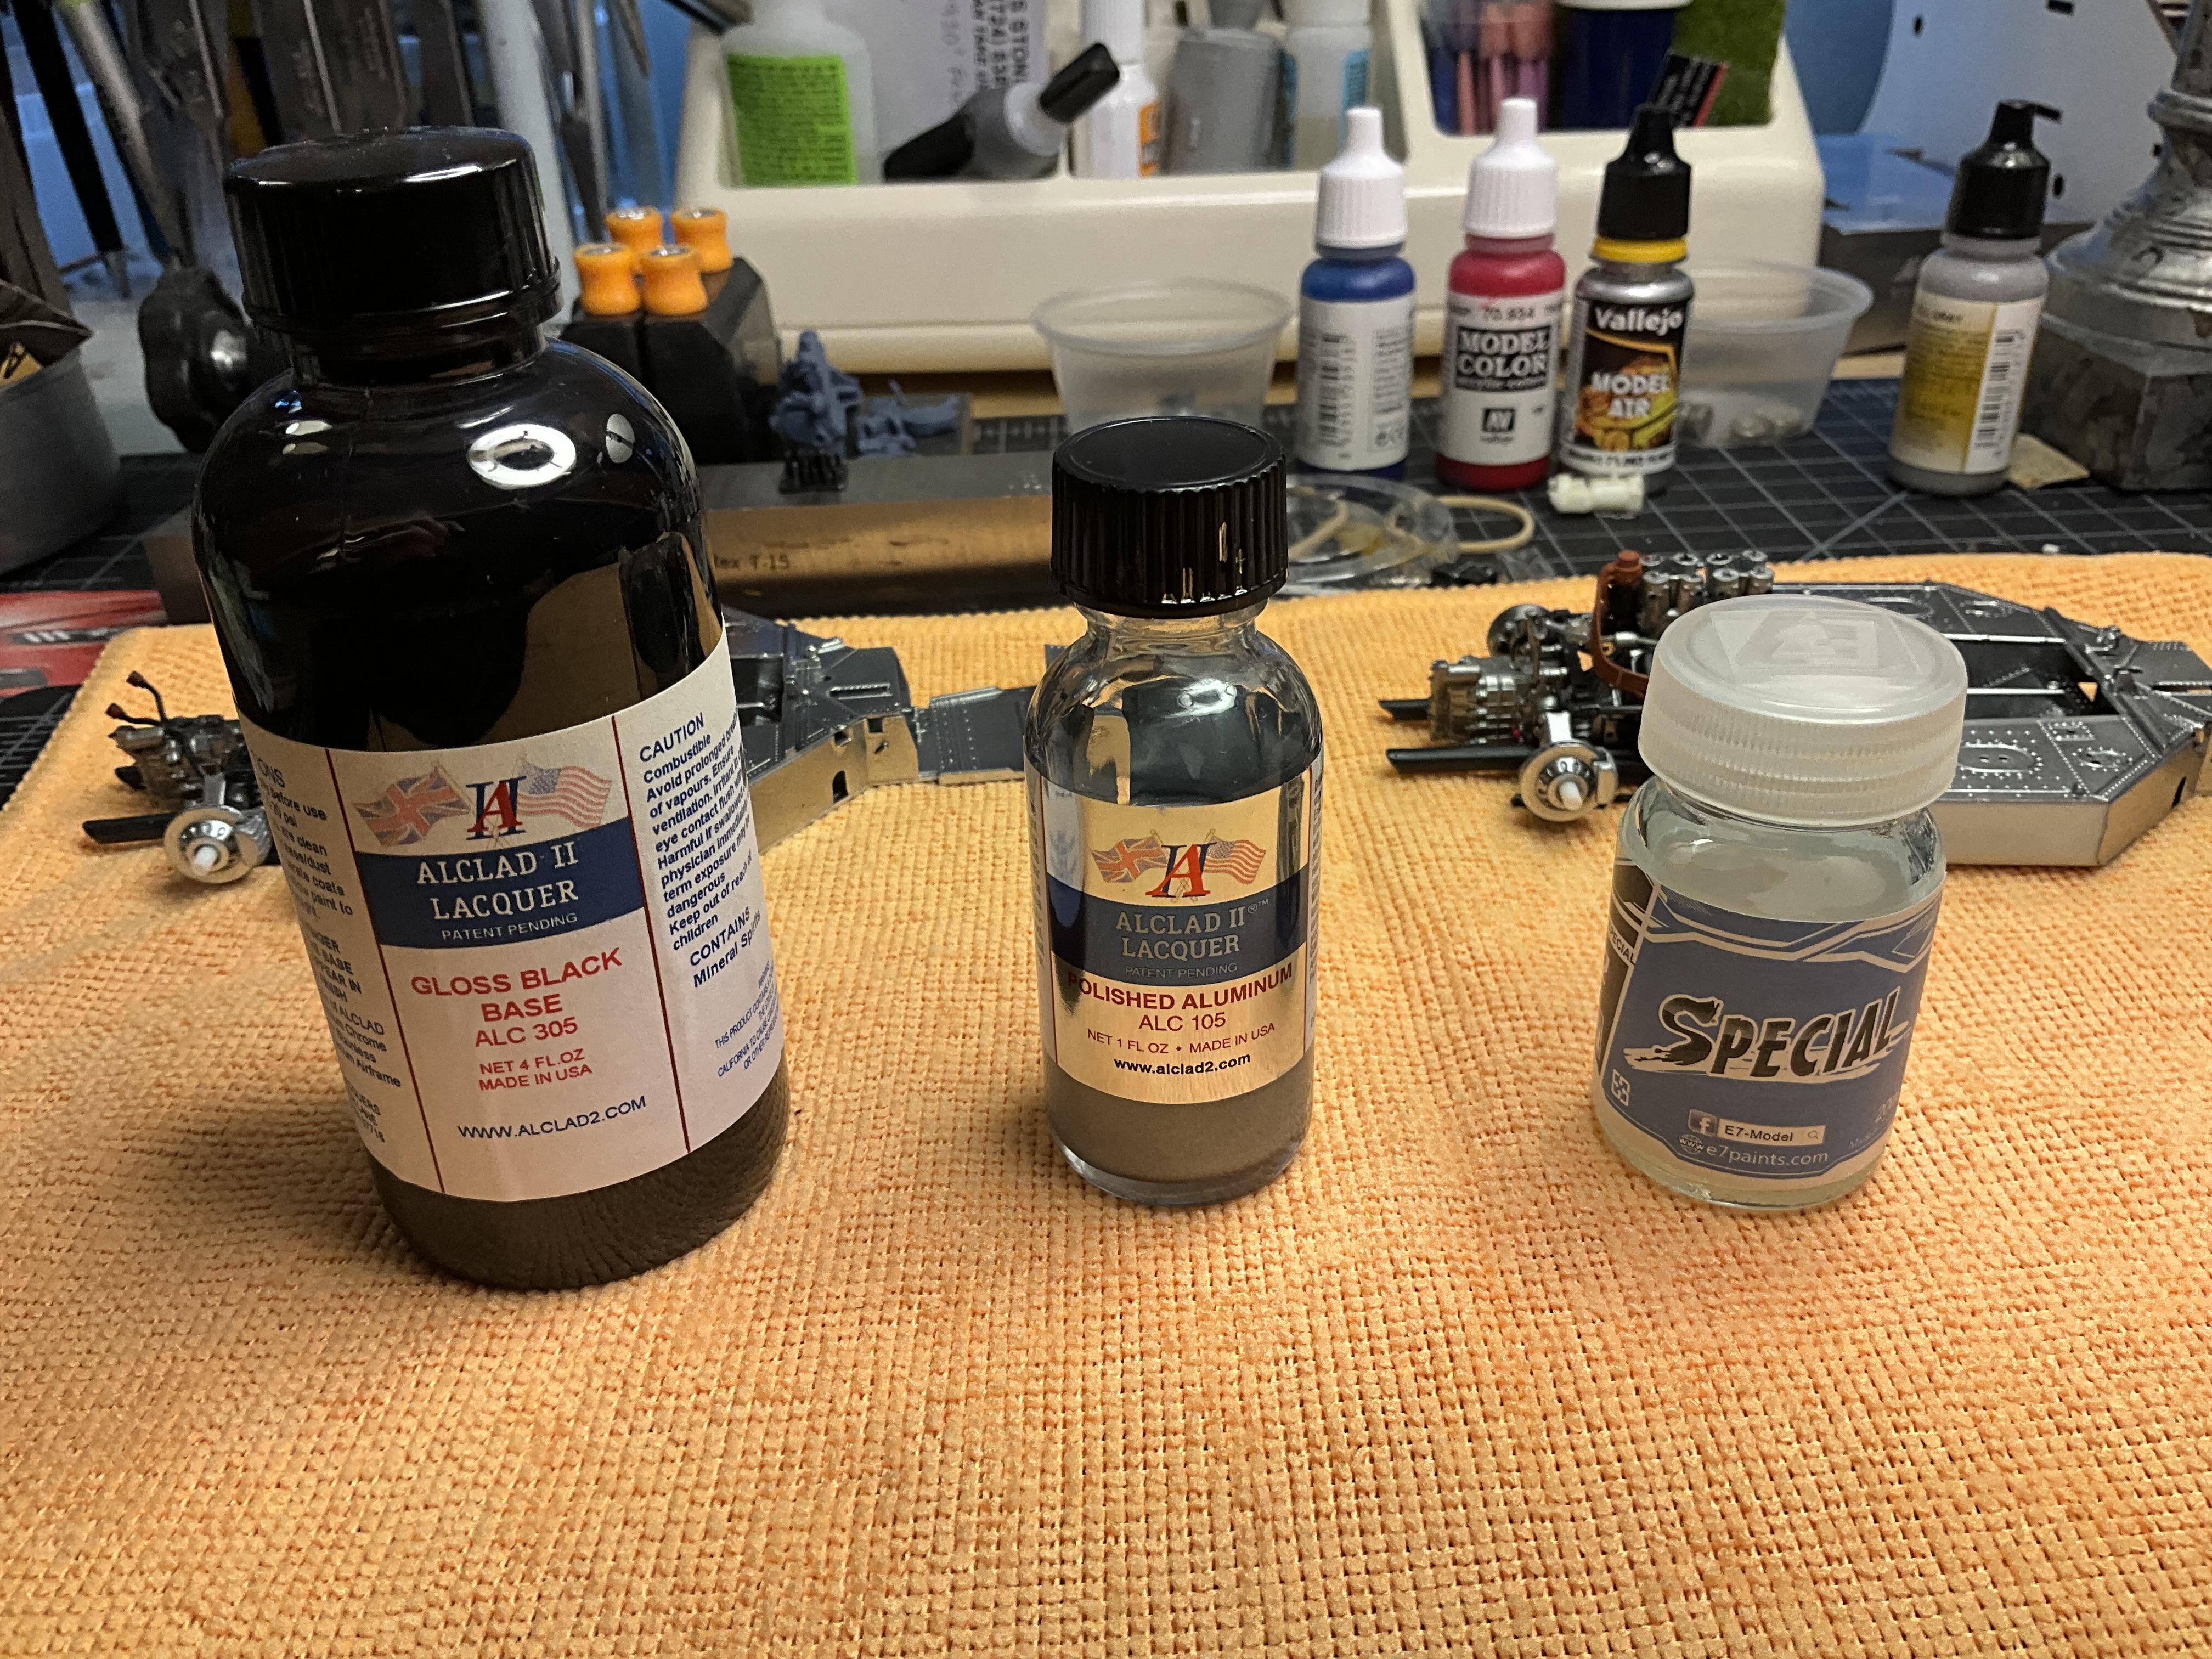
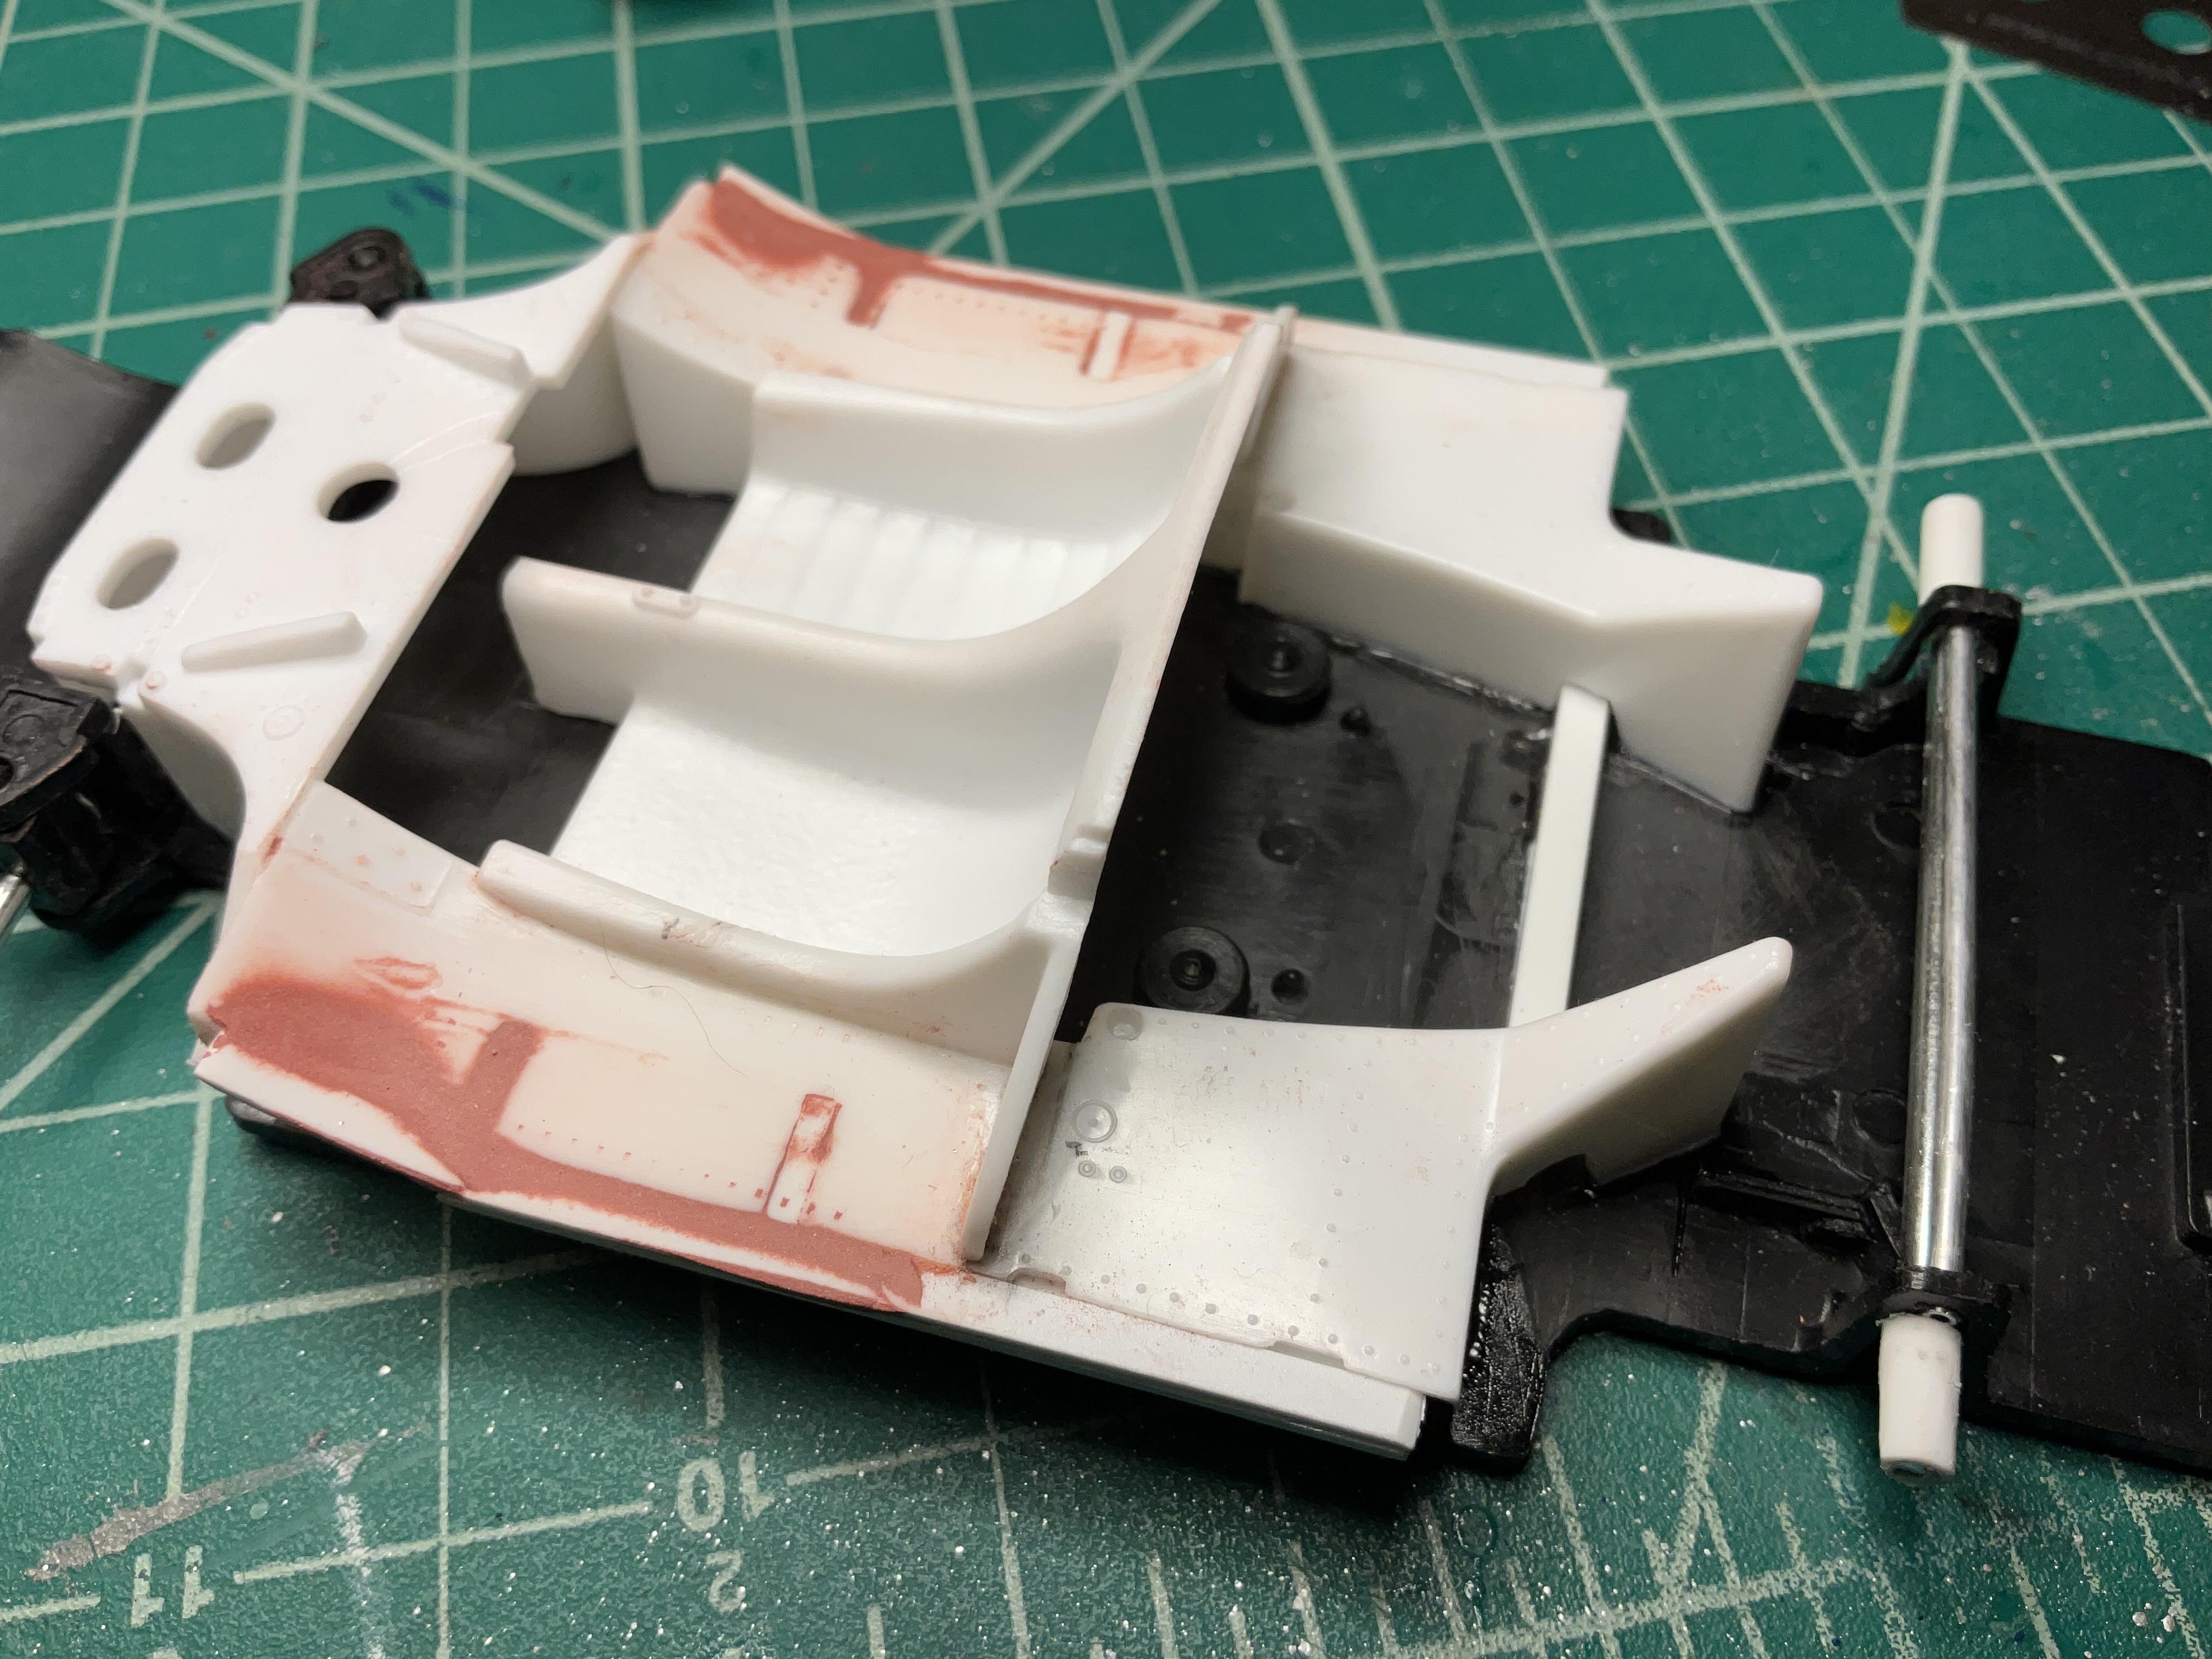
Chassis is painted! Just a mockup for the picture and be sure all parts fit. I’ll take it apart and paint the lower body now as I think it will be easier than when all the other bits are on it. Used Alclad gloss black base ALC305 as a base. Followed that with Alclad Polished Aluminum ALC 105. Final coated it with Special S-02 Chrome Sealer. This is an absolutely clear non-dulling coating. It was recommended to me by Barbatos Rex.
-
Ian, glad you like the braided lines and fittings, my first attempt at these. I’m happy I made the decision. Thanks for sharing the link, you did a beautiful McLaren! Always enjoy looking at another’s build.
-
ARII Chaparral 2C
Mark W replied to Mark W's topic in WIP: Other Racing: Road Racing, Land Speed Racers
This is perfect information Helmut, thanks for taking the time. Now the fin issue is settled, I can concentrate on detailing the side intakes, minus the right front fender one of course. I now notice an air dam just in front of the radiator exit, that should be an easy fix with some aluminum. Tonight I am adding a rear bulkhead for the interior, the 2E was a smaller car and there some unwanted openings. By chance you wouldn’t have a picture of the dash? Not so much the gauge layout, but would I be correct on mounting it where the ARII kit suggests? -
Tamiya Sauber Mercedes C9 detailed build
Mark W replied to kensar's topic in Other Racing: Road Racing, Salt Flat Racers
Beautiful detail Ken! -
ARII Chaparral 2C
Mark W replied to Mark W's topic in WIP: Other Racing: Road Racing, Land Speed Racers
So Helmut, a lot of good info on your post. Sorry to hear your build is at a standstill, but I understand. As you see, I solved the wheel/tire and interior problem, but you now pose some new problems for me. I have good reference on the car’s left side as far as the two intakes and will correct them, probably will not move the lower one back to the wheel well though. There is a scoop on the right front fender that I’m not sure if it’s on the early 2C that I am modeling, anyway the best picture I have for it is the one you posted. Do you have any info on this? You mentioned the higher tail fin that I was unaware of, this I can do, but will pass on making the rear body panel more vertical. Thanks for your post and it still would be nice to see your build finished. You have a great start and I’m sure it would turn out fine even without some of the mods you mention. -
ARII Chaparral 2C
Mark W replied to Mark W's topic in WIP: Other Racing: Road Racing, Land Speed Racers
Sounds great Helmut, do you have a wip on it? The wheels I used are still available from Harold at HRM. $15.00 a set with tires. -
ARII Chaparral 2C
Mark W replied to Mark W's topic in WIP: Other Racing: Road Racing, Land Speed Racers
Sounds great Dave, be sure to pm me if you do. I’d love to see another build. -
ARII Chaparral 2C
Mark W replied to Mark W's topic in WIP: Other Racing: Road Racing, Land Speed Racers
Brian, I just found an interesting photograph of the interior. You mentioned no snaps. The pic clearly shows the “upholstery” held in place with duct tape! Now, should I include that on my model? -
Excellent in it’s innovation and simplicity. thank you
-
ARII Chaparral 2C
Mark W replied to Mark W's topic in WIP: Other Racing: Road Racing, Land Speed Racers
The Chaparral is a very clean and smooth car. To add some interest, I’m re-making the spring and latch hold downs for the body panels. Started by opening up and reshaping the recessed slots. The body will be thinned and a piece of plastic added on the inside. Then a spring and some kind of latch. Also, the sides of the 2E interior needed reshaped, now to add some rivet detail, switches and a dash.
-
As said, any vinyl accessories need to be scratch built, there’s no drilling holes in the stuff. I turned a couple of oil filters and added them to the firewall. Also cut away a few already installed vinyl lines and replaced them. I’m starting to really like these resin fittings! I wanted ti put the McLaren aside for a bit and work on another car, but this is becoming an obsession, really enjoying it.
-
How many models are you working on at one time?
Mark W replied to rossfox's topic in Model Building Questions and Answers
I’m with Greg, I have 3 main ones now. But maybe a dozen on the shelves 3/4 or more finished, I’ll get to them…….yep, I will! -
Ismael, what you have done with this kit is amazing. I can really appreciate your attention to detail on the body. A badly prepared body can ruin an otherwise good kit. But you had a great amount of preparation on this printed body. The final result will be something to be proud of, I’m sure. Thanks for sharing with us.
-
Beautiful work! Everything is so crisp, it could pass for a 1:1