sak
-
Posts
671 -
Joined
-
Last visited
Content Type
Profiles
Forums
Events
Gallery
Everything posted by sak
-
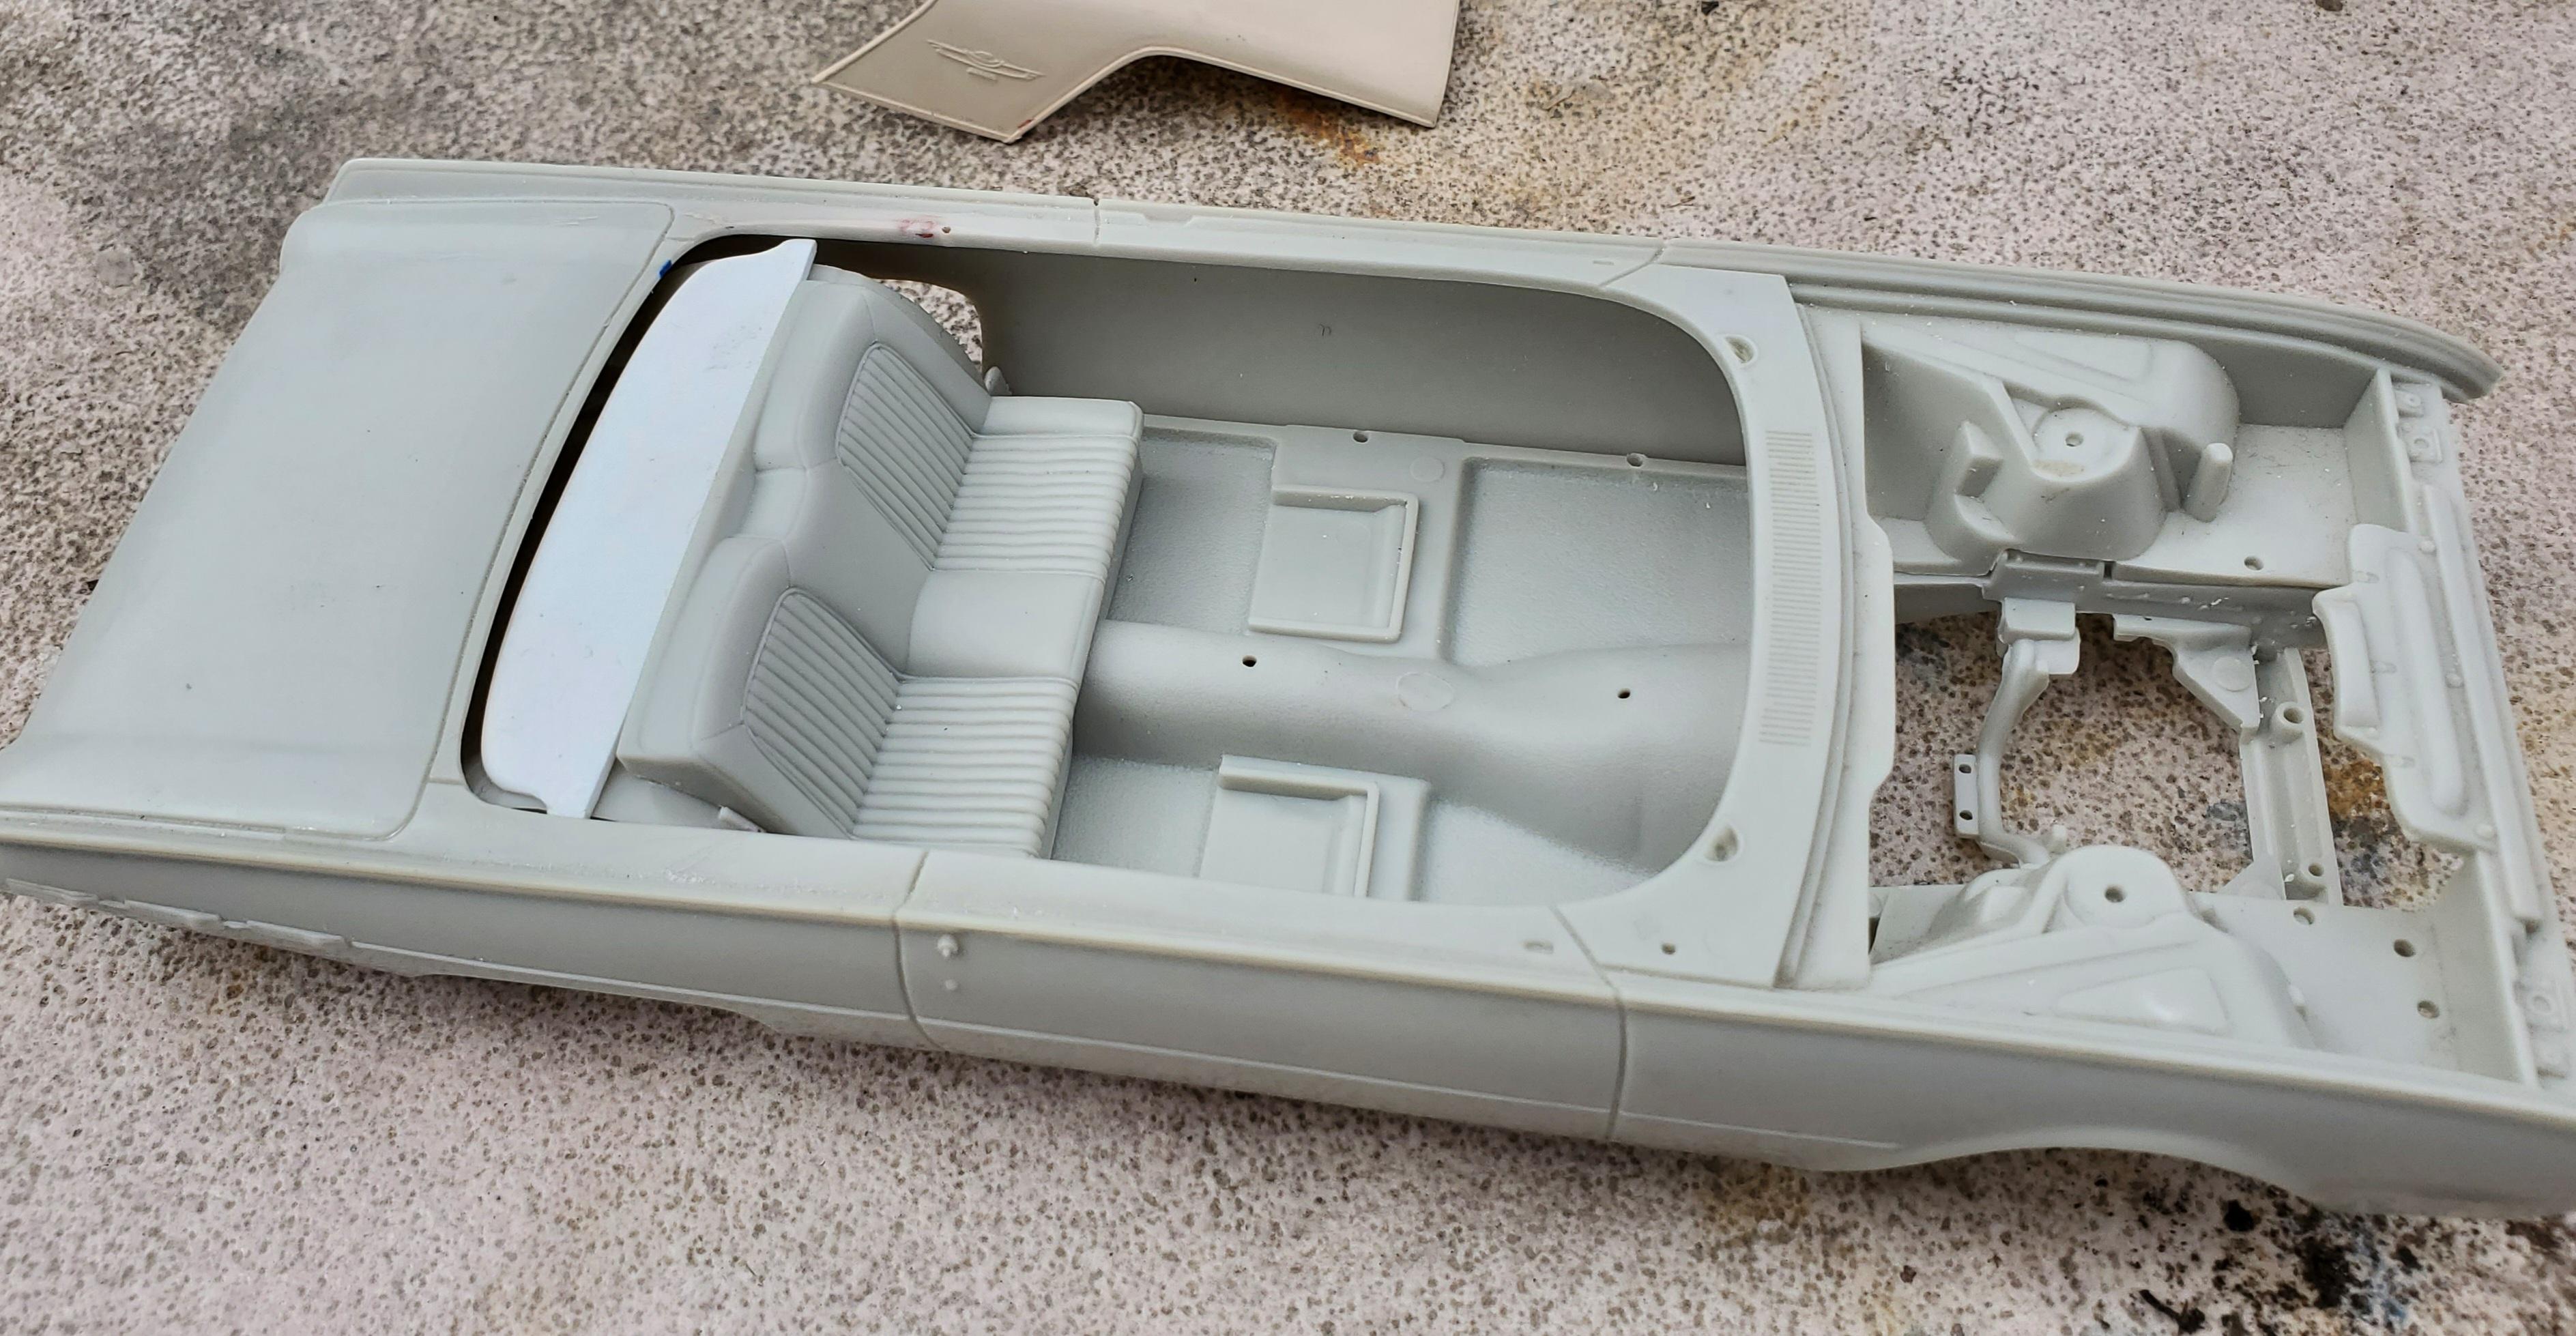
Started this 1962 thunderbird. Switching it to a hardtop. Doesn't quite match at the windshield frame. Will need to add some material to the top of the frame and chop the roof a little. I've read that mating the floorpans and interior is quite difficult. I chopped quite a bit of the inner fenders but I am adding fender skirts so it should not be too obvious. Modified how the floorpans are held in place in the back so I can drop the floorpans in vertically. Looks like much material with need to be removed from the door panels and dashboard too.

-
Looks good, especially the doorpanels, seats etc. Only flaw is the windscreen molding. Convertibles had a stainless steel or chrome trim surround.
-
I build it from small pieces of plastic.
-
Thanks. Modelhaus tires. Not sure what I used to paint the inserts. Whatever red paint I had on hand. Probably createx.
-
Finished today. Sorry for the dust, and also the lousy back-drop. Thats a project when spring starts.
- 51 replies
-
- 34
-

-

-
Awesome!
-
The finish line is in sight now. Just need to dot the Ps and cross the Qs.
-
Going to be badass.
-
Thanks. The seats were original, just modified into a bench seat.
-
Looks good.
-
Badass!
-
Where is Chad with R2 February news?
sak replied to Chris in Berwyn's topic in Car Kit News & Reviews
I own a Plymouth duster and I know there are subtle differences, but do we need a kit for EVERY model year? Some models were neglected for decades. Take the skylark for example, AMT made a '66 and that was it, until Monogram made a '70 decades later. ONE olds 88, in 1965, then ruined to make a stockcar. Just saying. Why not a '72 or '73 swinger or scamp before another duster? -
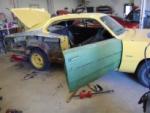
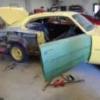
Alot on my plate lately but decided to update this a little. Had to touchup and re-clearcoat the drivers side. Slowly pecking away at the trim. Interior mostly done. Scratch-built armrests, window cranks etc.
- 22 replies
-
- 12
-
-
-
The beamont Super-Dupers are verry rare today. Cant wait to see it.
-
How does contact replicas & miniatures to place orders?
-
It would've been easier to engineer a way to quickly remove and install the pillar and glass as a unit, like the old pop-out sunroofs. It would not roll , but it would look the part in the end. I believe the pillar on my duster was spot-welded in but been a long time.
-
It should be mentioned that the "acrylic" in a paint is the resin. And not always the same. It can be modified to be water-born, like craft paints or solvent-based like what was used to paint automobiles decades ago. "Enamel" on the other hand, is a NOT a type of resin. Its a descriptive term referring to a durable, glossy finish, witch in our hobby, usually means an oil based product. That being said, it is the stability of the resin that determines how it will react, not the solvent that was originally used to emulisify it.
-
I like how you sculpted a lip around the opening for the windscreen. I dont see that in most of the 3-D printed cars.
- 1 reply
-
- 2
-
-
Painted the dashboard today. A mishmash of 59 cadillac and 61. The cadillac logo on the steering wheel is a hubcap decal from the monogram 1959 cadillac. Should be red for 1961 but good enough.
-
Yeah . I grinded away the driprail, re-shaped it, and made new drip rails.
-
Thanks. I cut it because it was badly warped and broke when I tried to repair. And the mobius catalina was the closest thing I had. I suppose the belair could've worked too. Either one is incorrect for a cadillac as it had a unique rear glass window.
-
And got it sprayed with 2k today. Just before that encountered a minor problem. The rear decklid was a thorn in my butt all summer. Lots of bondo back there and it would crack and I would gouge out the crack and patch it, then it would crack again. I thought it finally shrinked as shrunk as it was going to get, but this morning it cracked again. I went ahead anyway. Hopefully the 2k will be robust enough to lock it down. I can blocksand that area down and repaint at a later time.
-
The rear decklid area was really deformed and it the process of fixing it, had to sacrifice the spear on the decklid. Figured I should then remove the spear on the bonnet as well. Modified the 1959 cadillac interior to be as close to a 1961 as I could.