GMasterG
-
Posts
114 -
Joined
-
Last visited
Content Type
Profiles
Forums
Events
Gallery
Everything posted by GMasterG
-
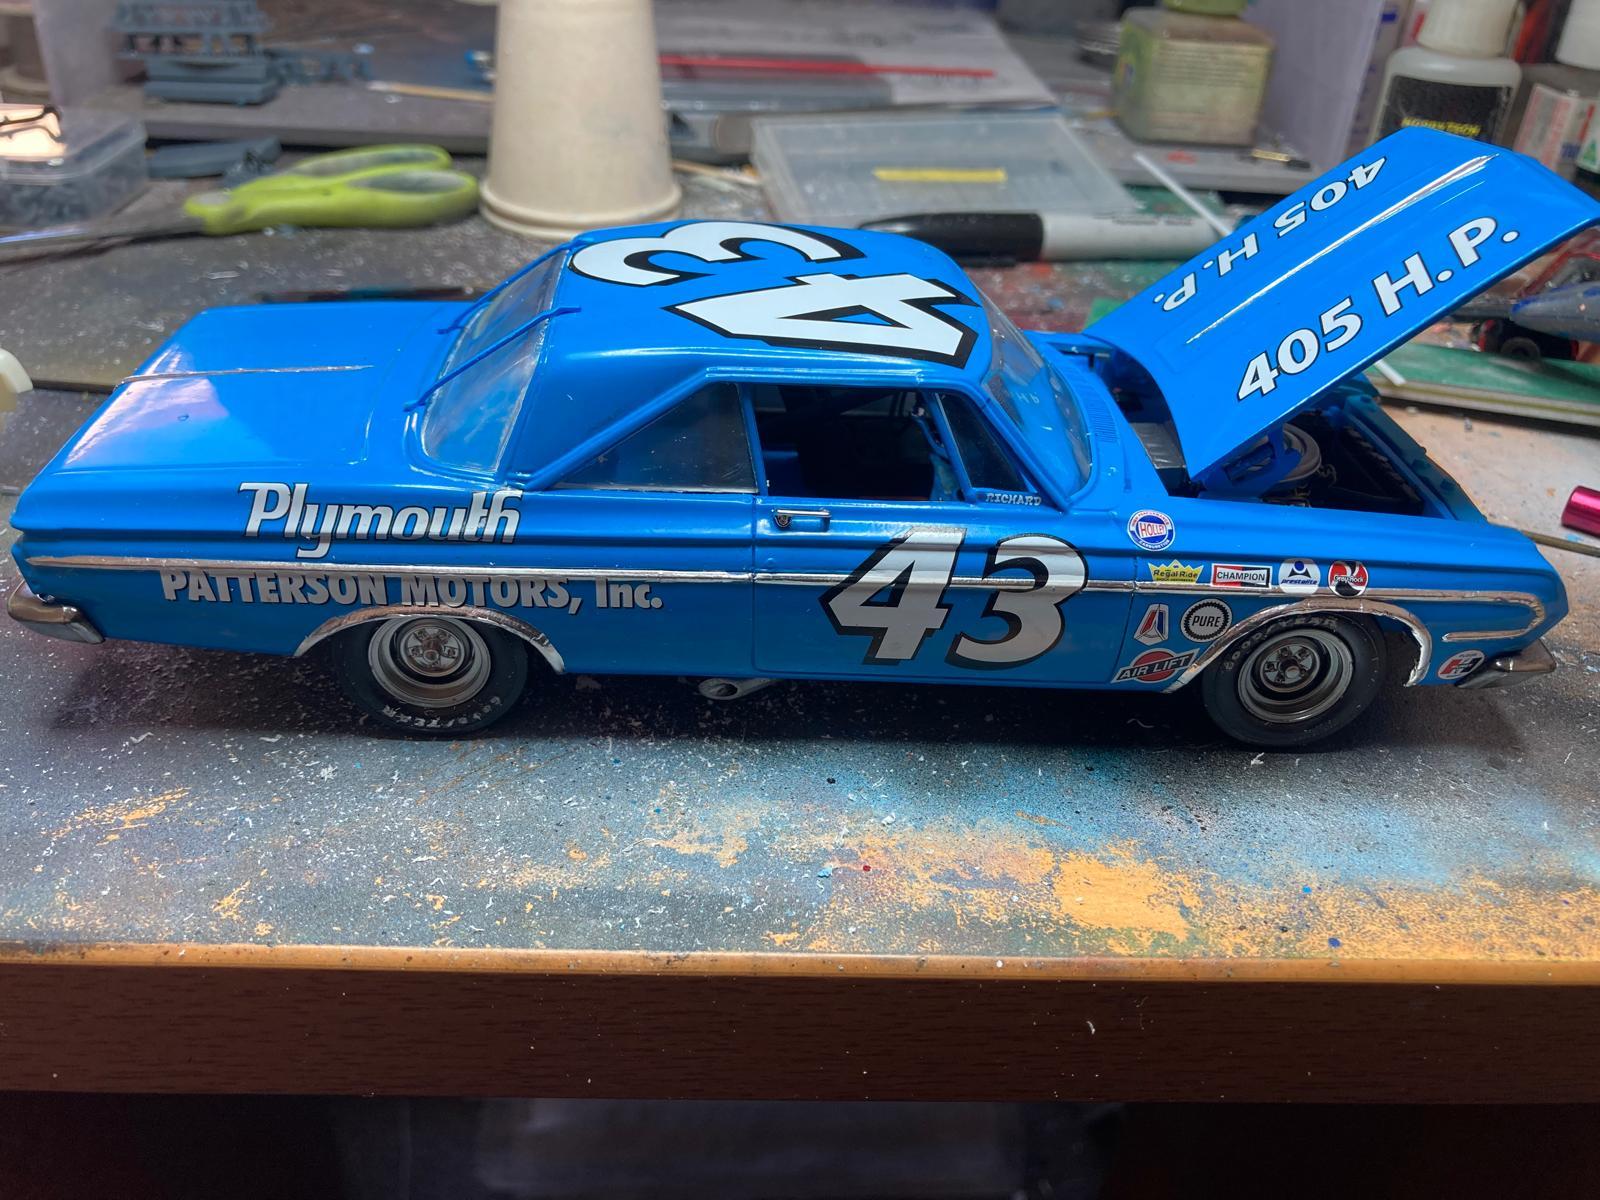
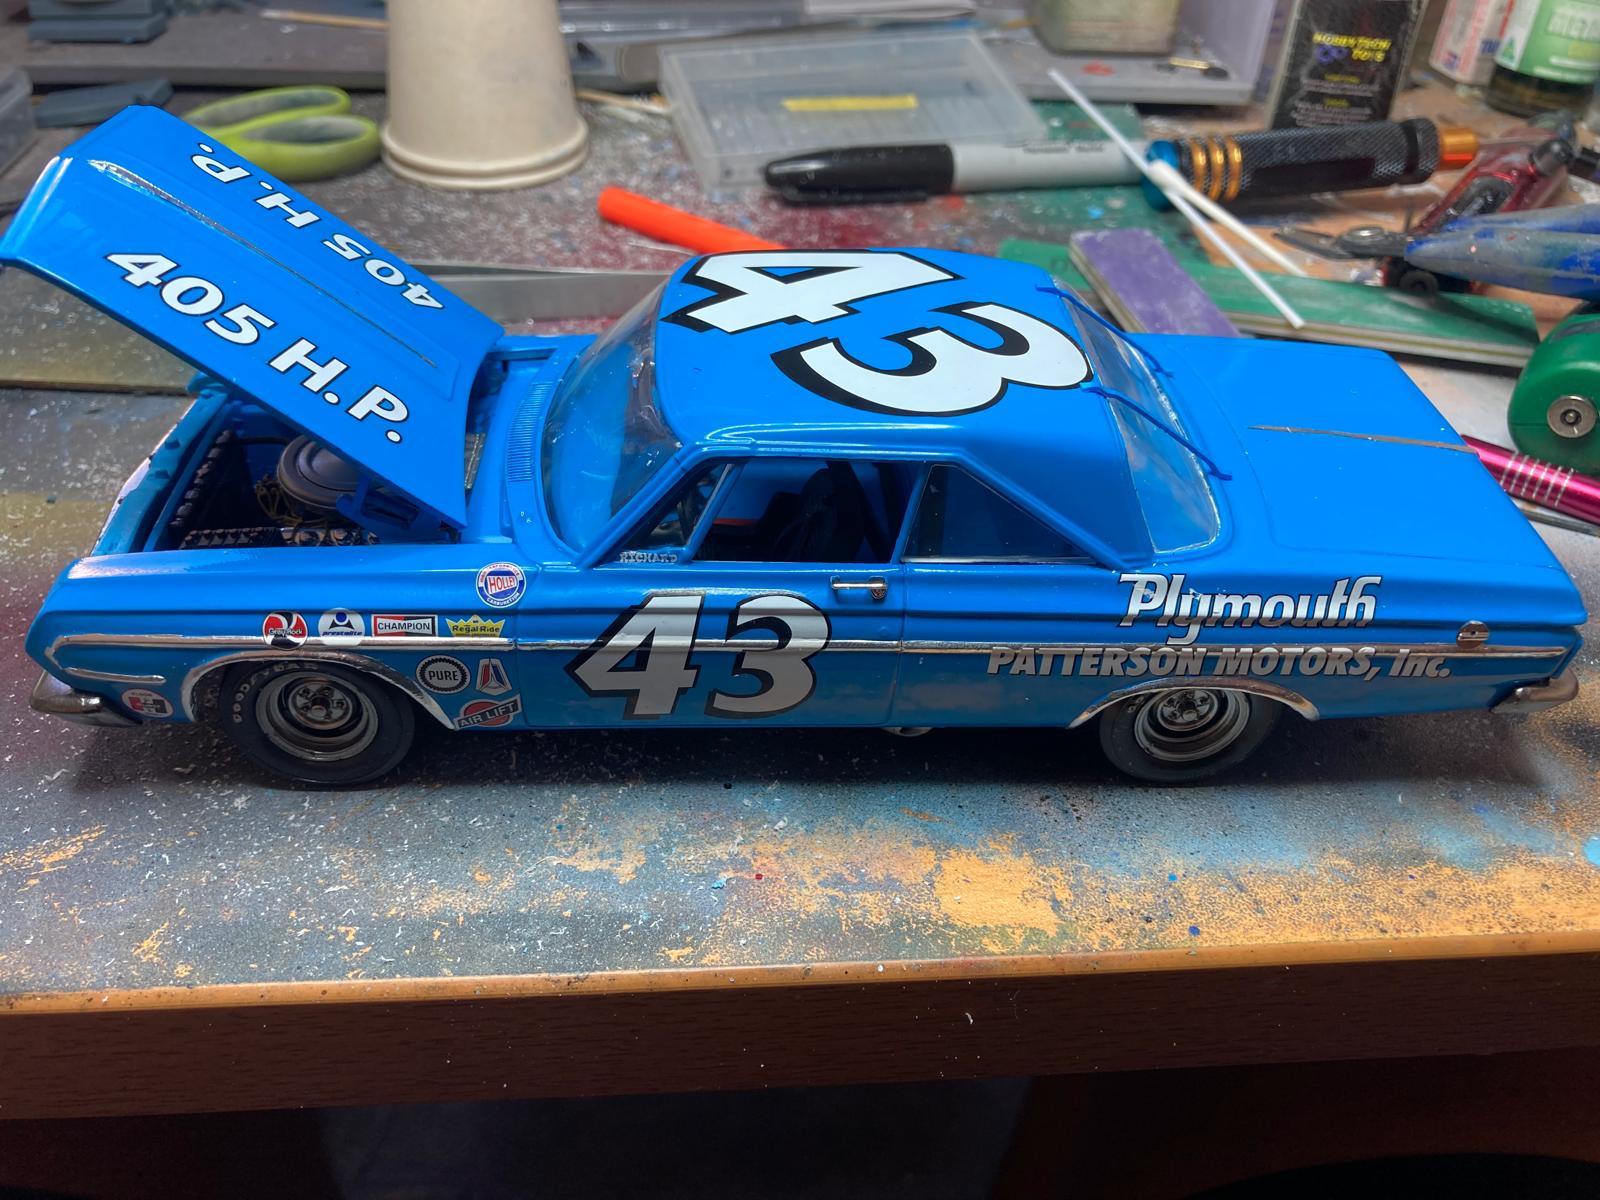
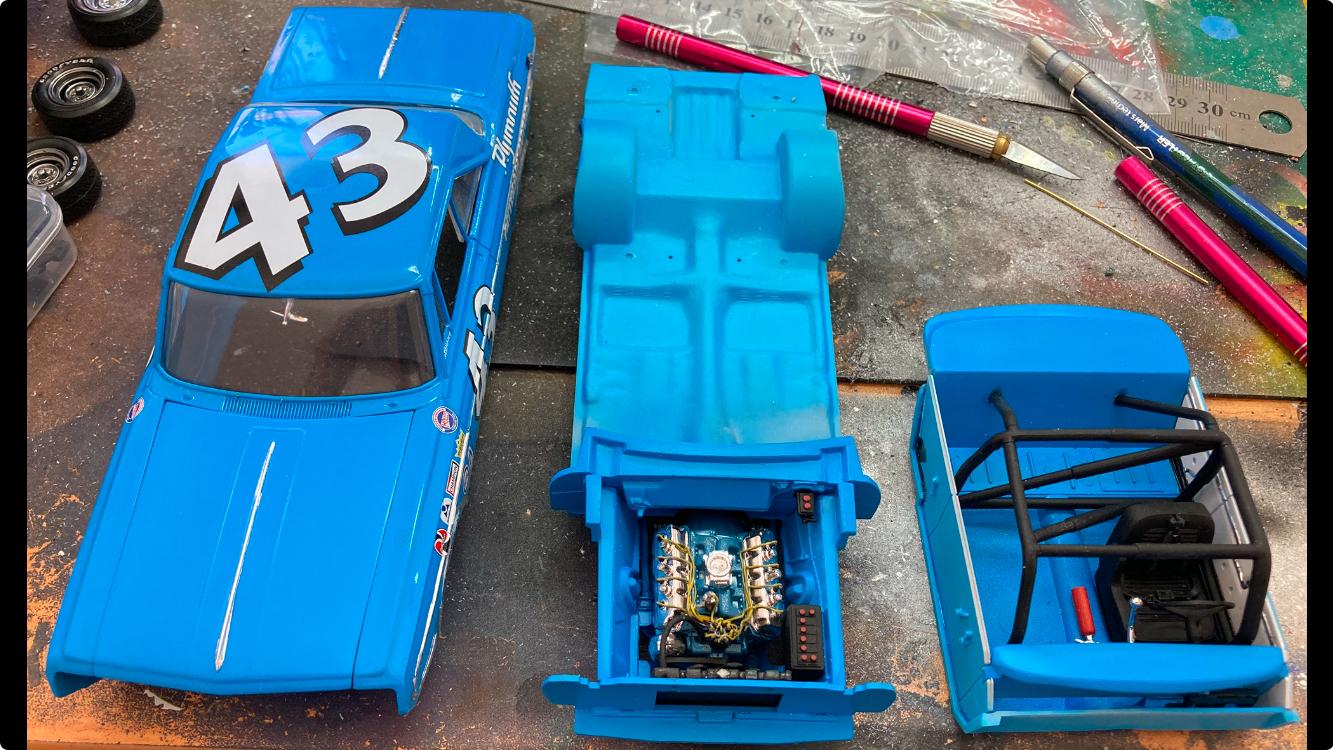
I’ve finished the Petty car. IMG_3877.mov

-
1/16 Neil Bonnett Charger
GMasterG replied to majel's topic in Stock Cars (NASCAR, Super Stock, Late Model, etc.)
I really like the way that you've weathered this car - very authentic and very well done. What did you use? -
Thank you. Yes, it's a very eye-catching color scheme. I was fortunate enough to have a full bottle of engine orange and it happened to be so close to an exact match.
-
Hi Todd. Thank you for the encouraging words. You may have noticed from my subsequent posts that this certainly won't be my last. I know nothing about NASCAR but I actually really like making these models
-
Thanks Chris
-
Thank you Donato.
-
Thank you Larry
-
Thanks Zak
-
Thank you Steve
-
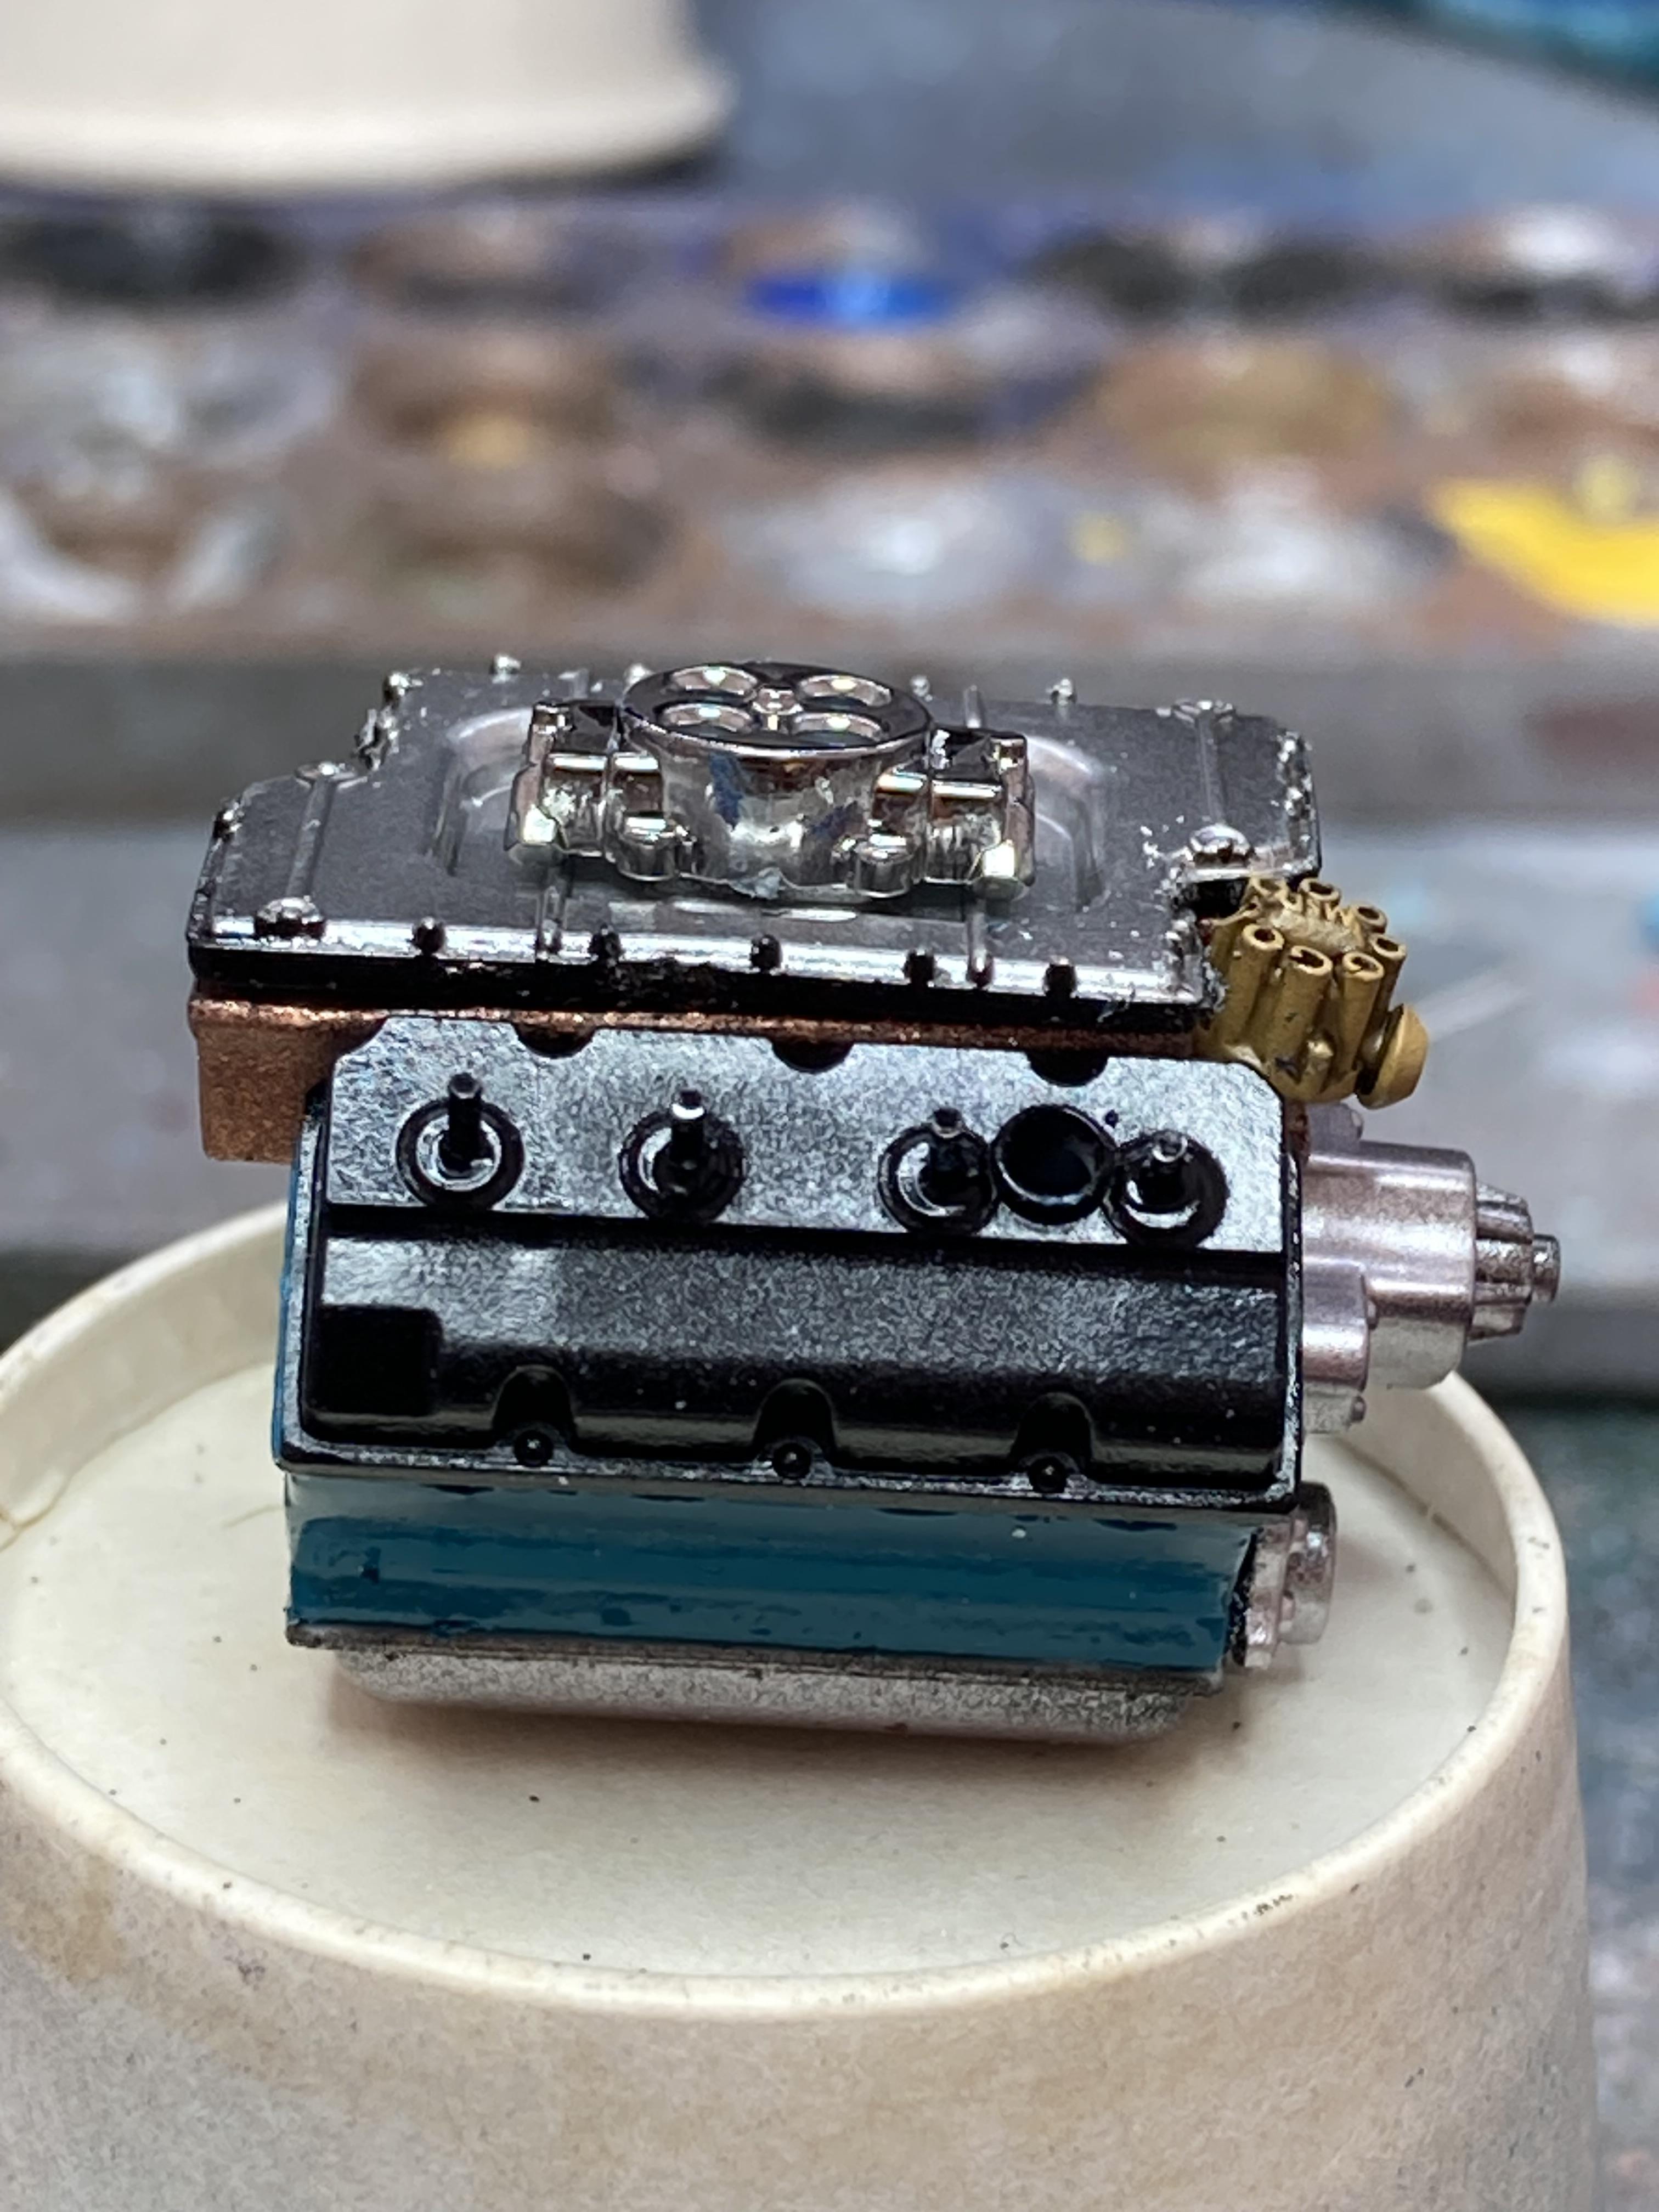
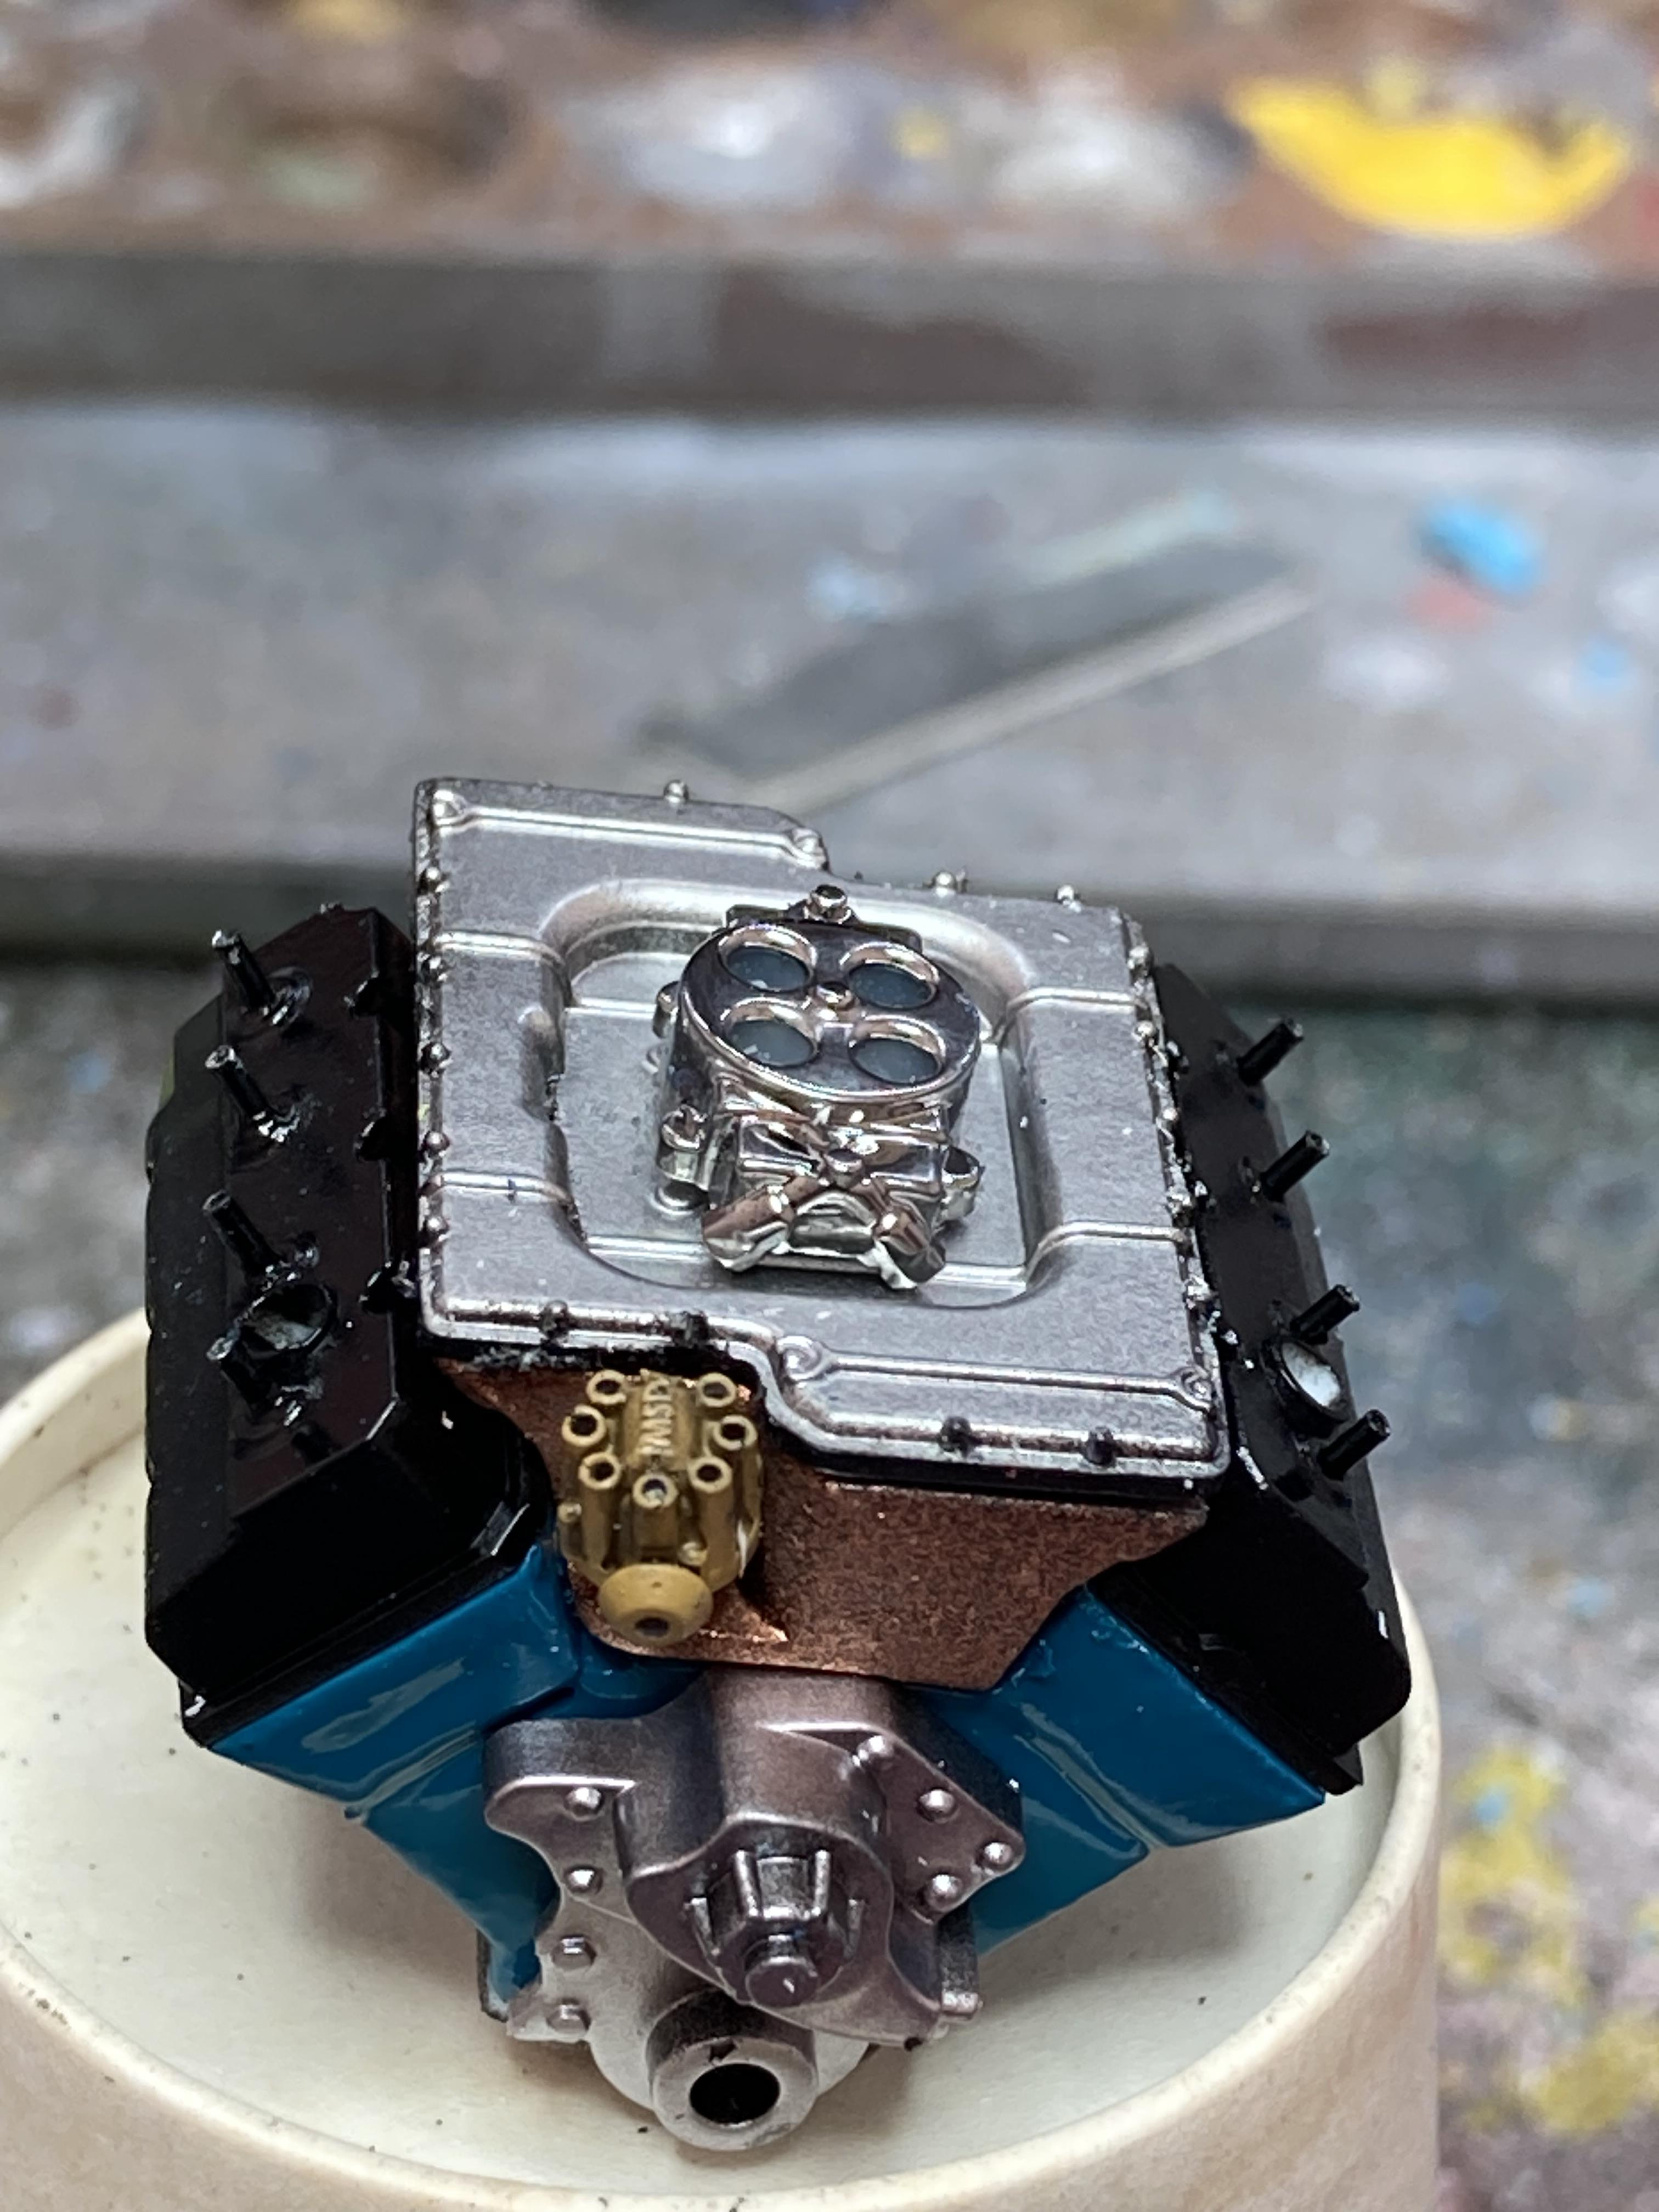
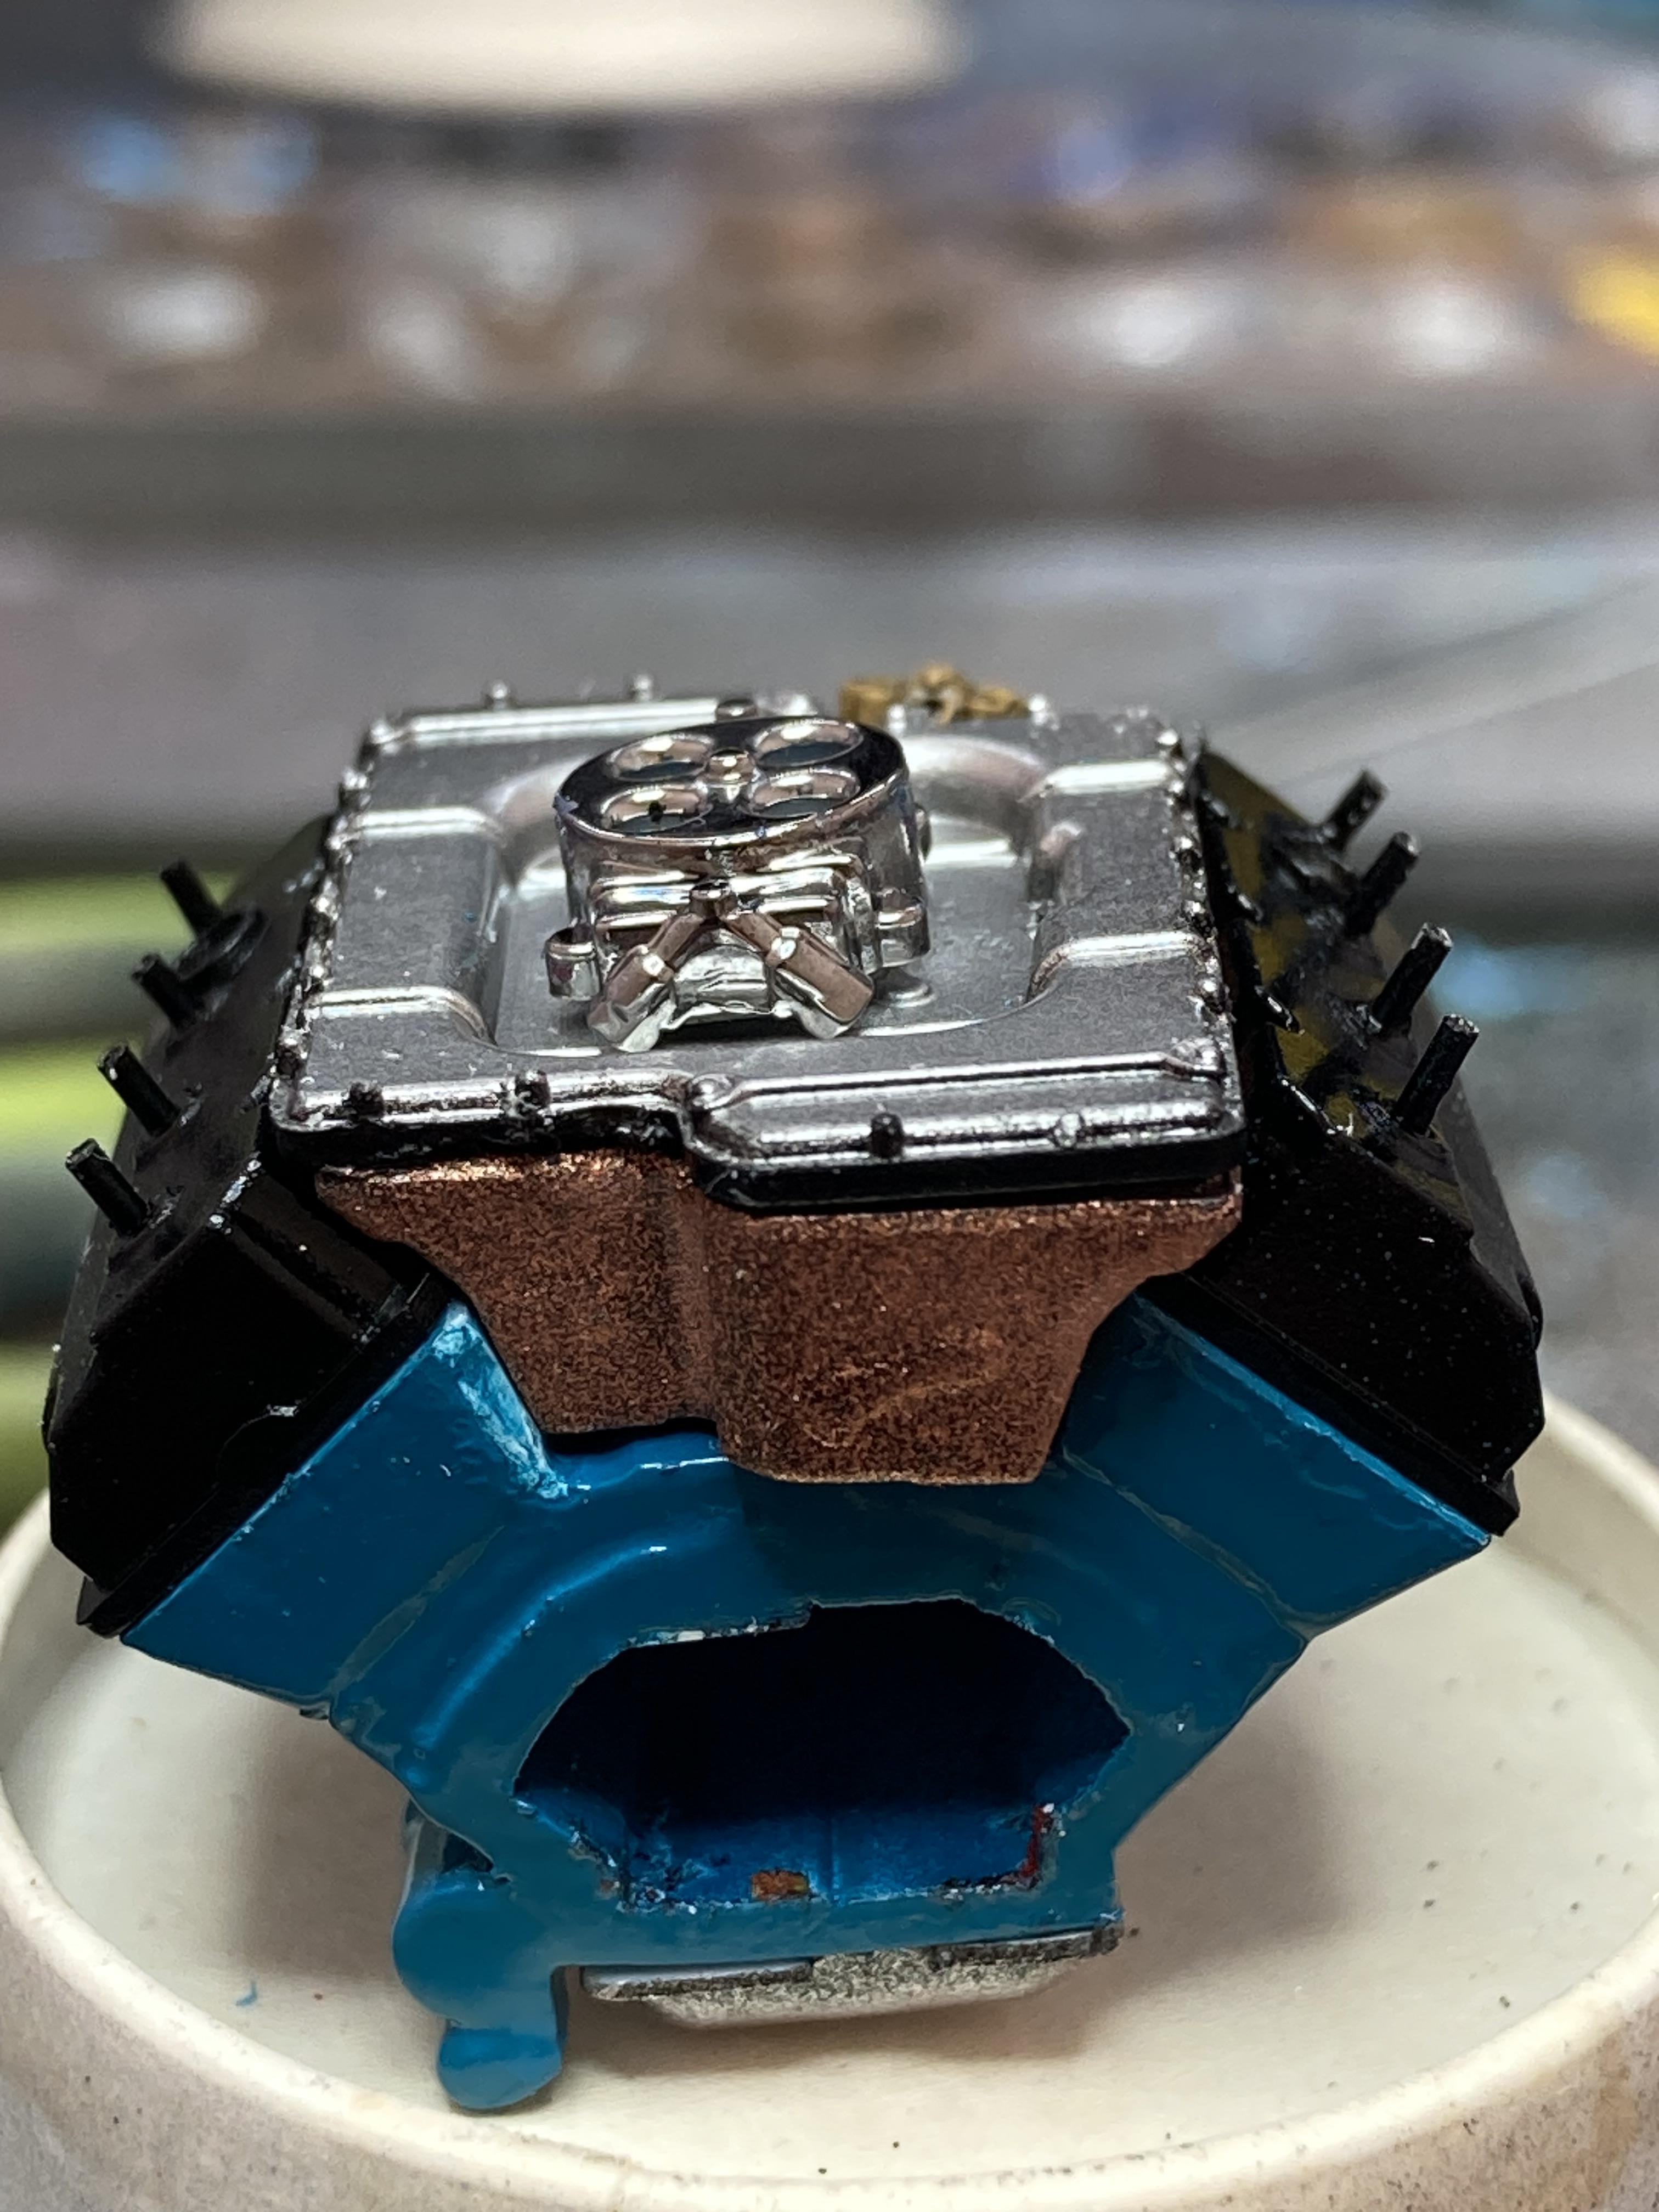
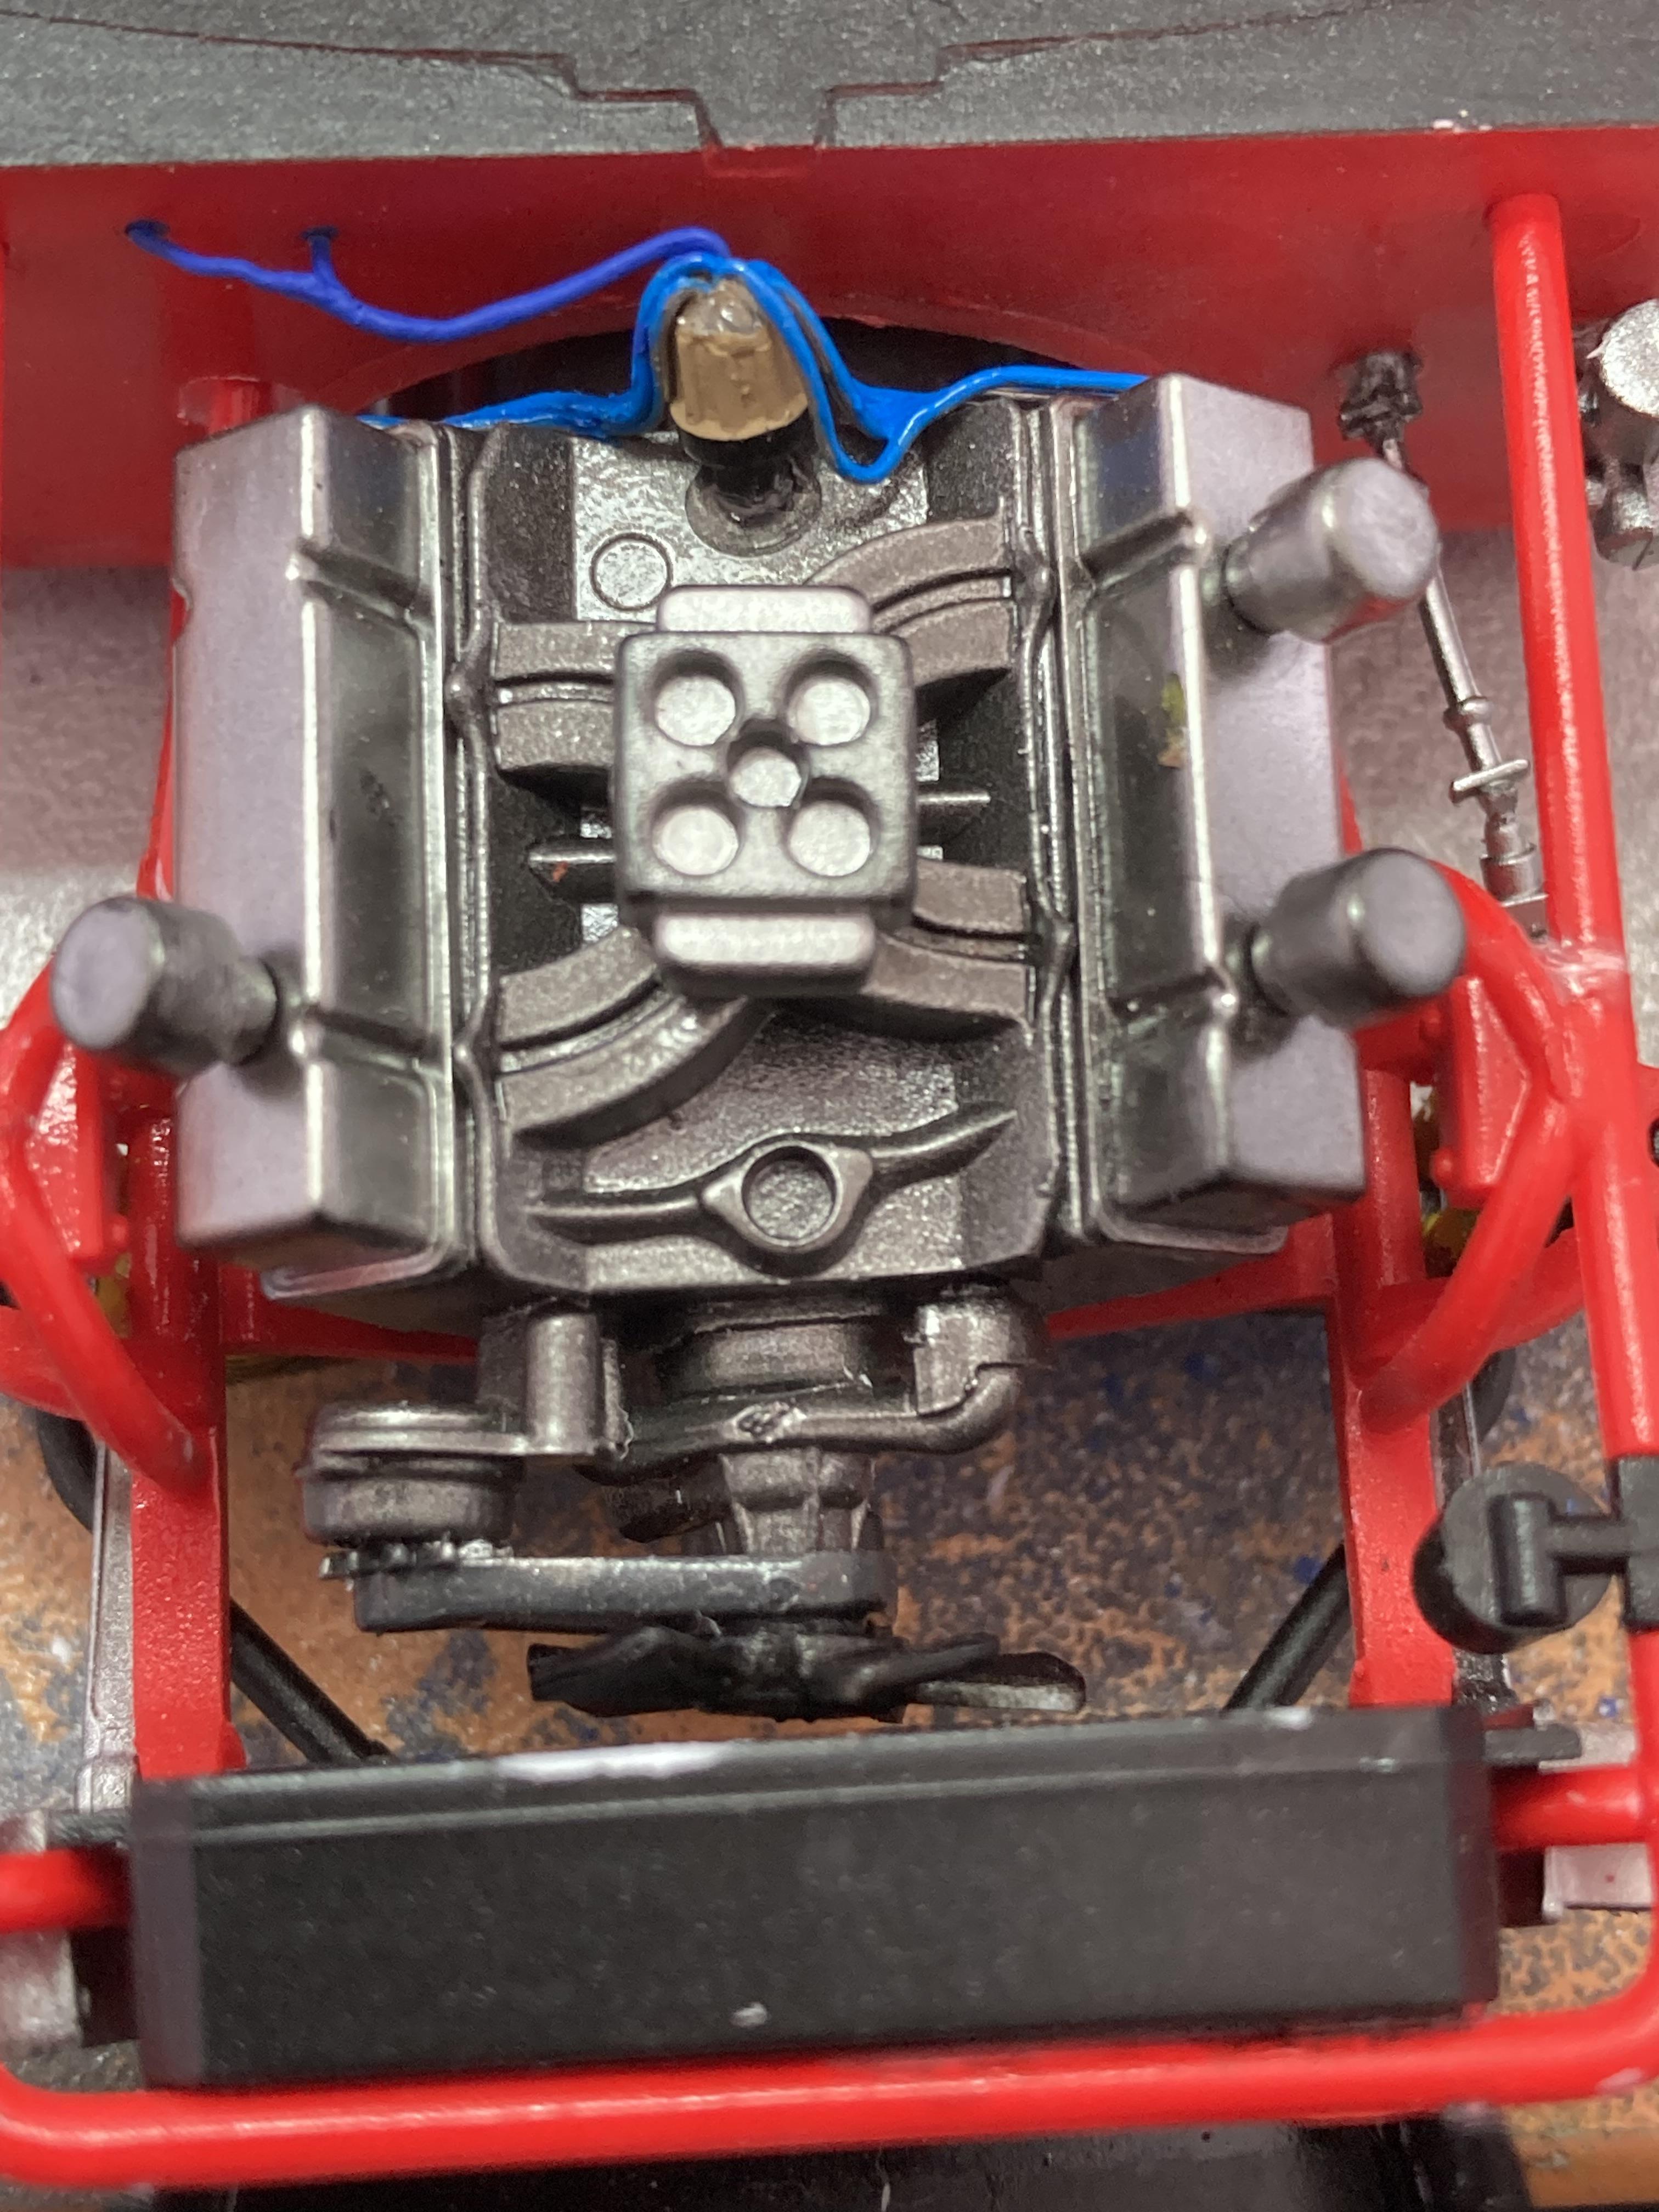
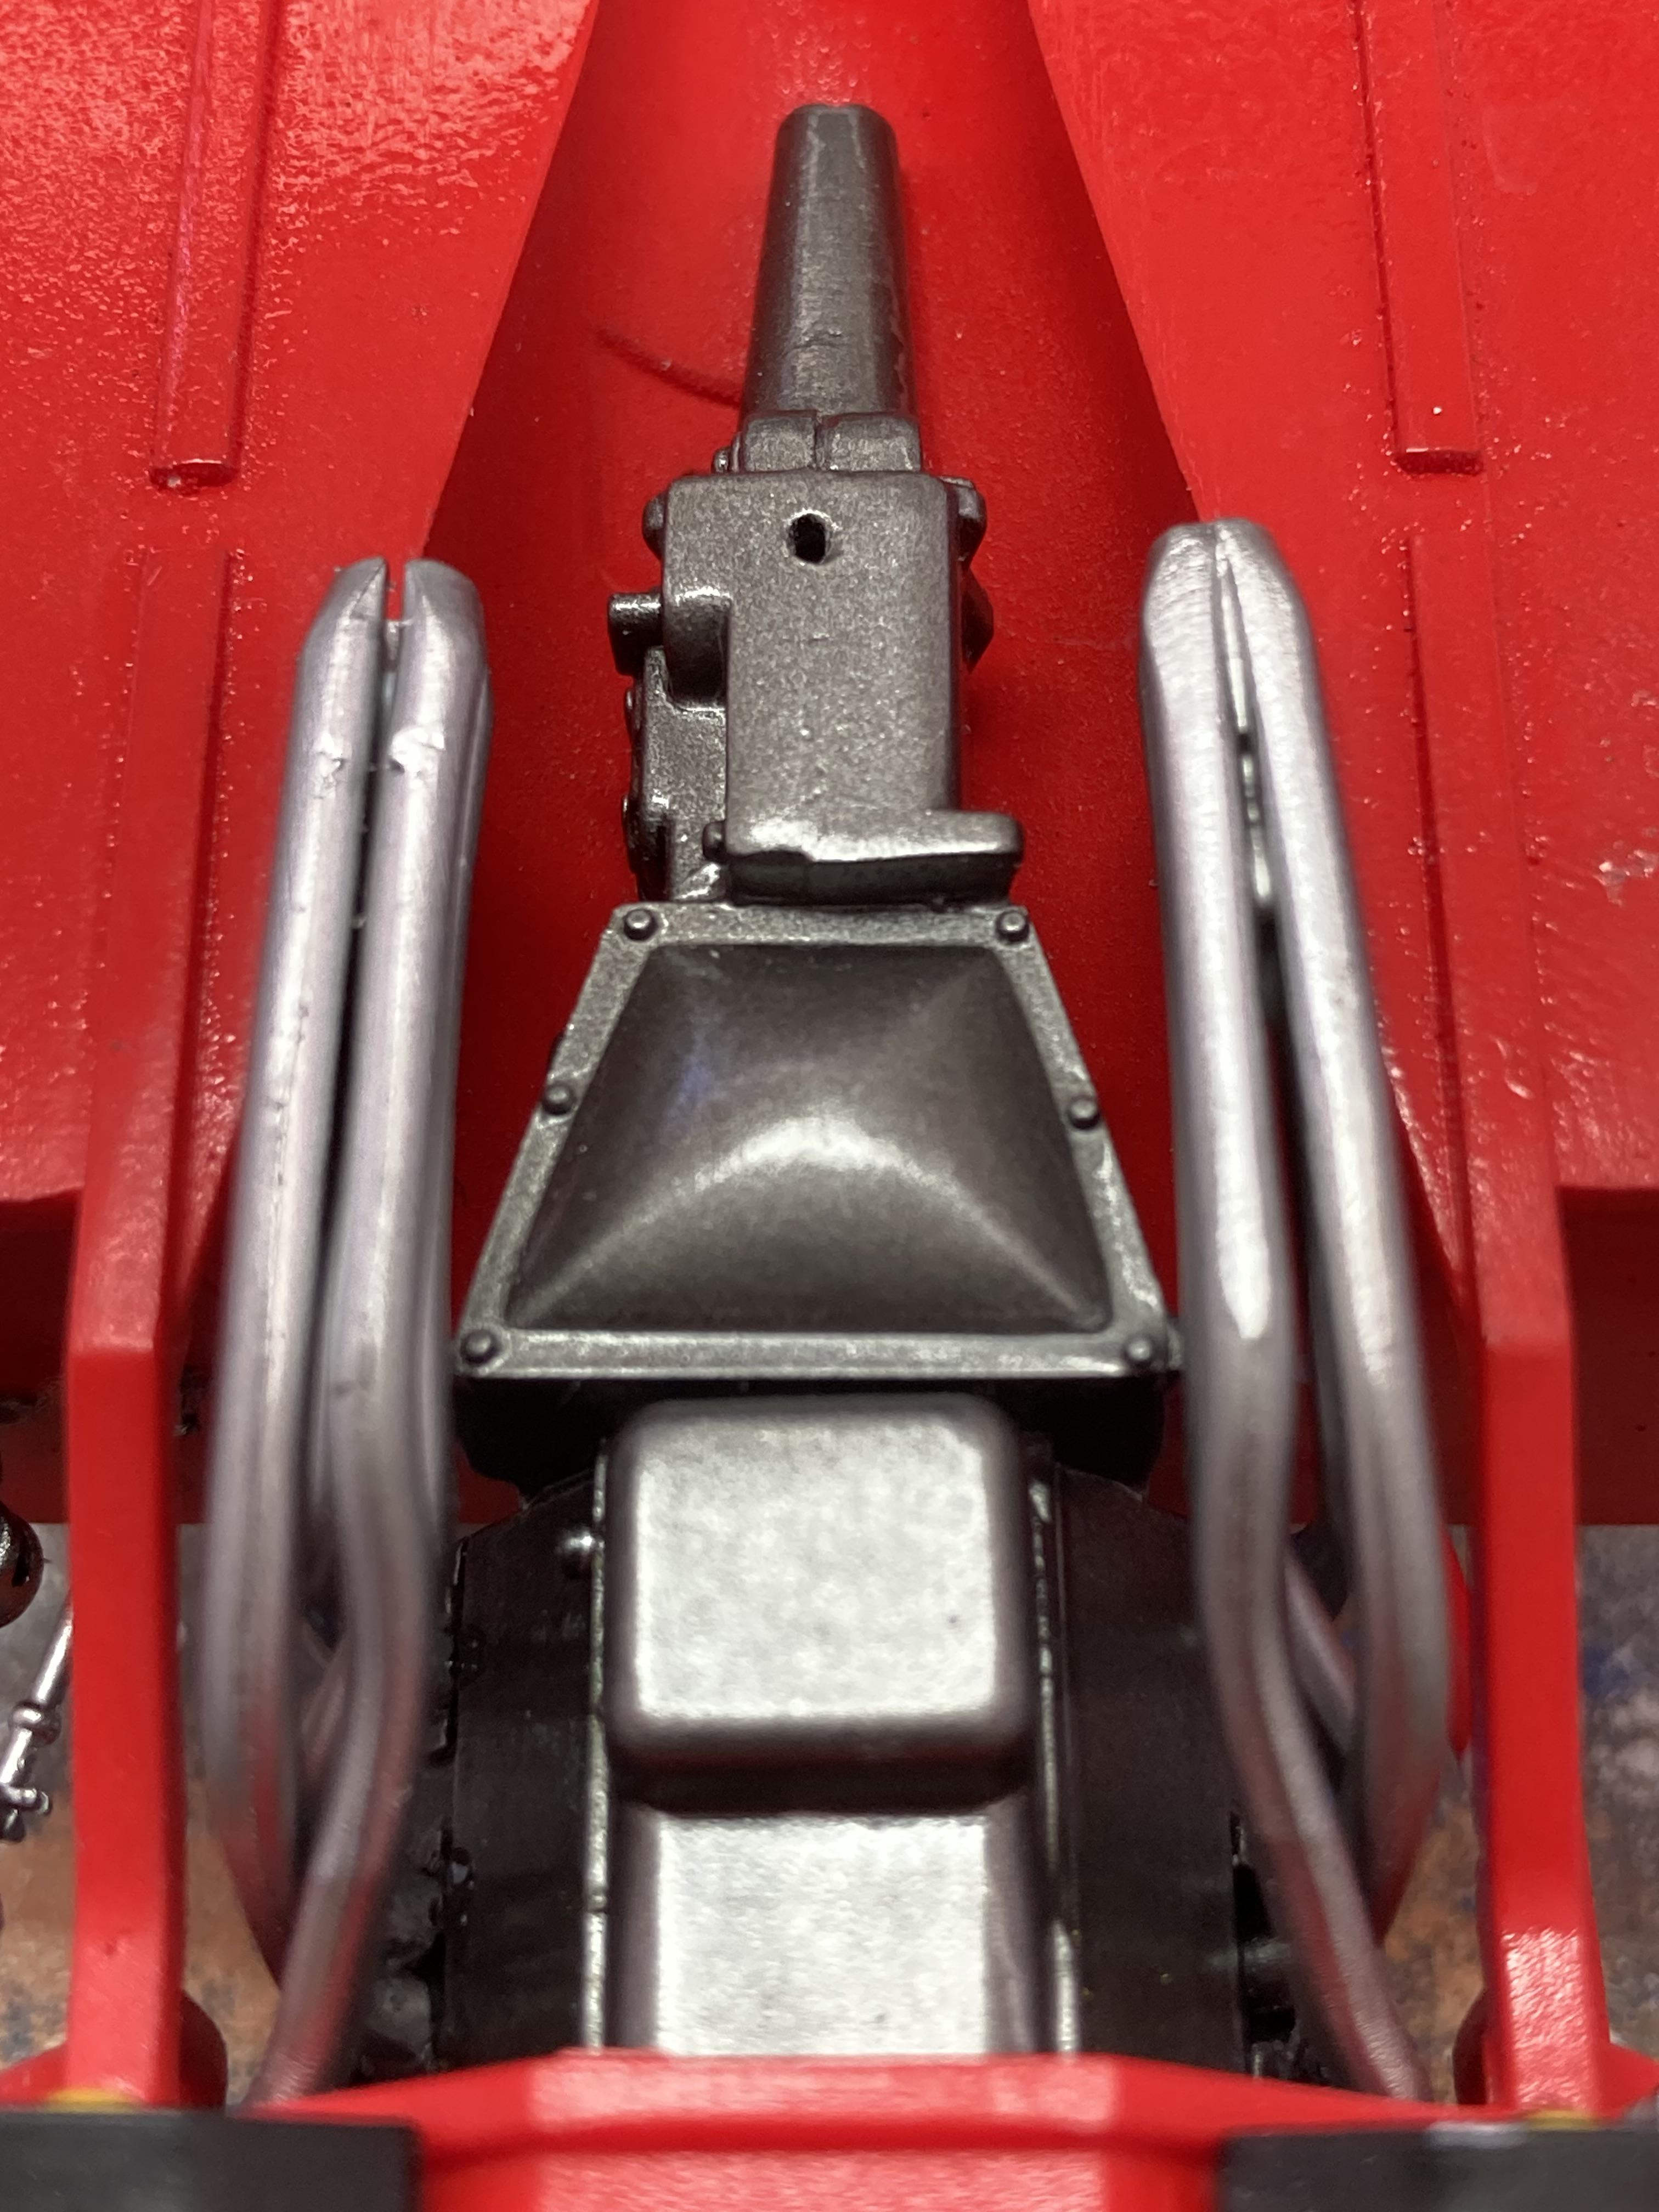
Some progress on the engine today. I’m happy with the finish of the individual parts but I was a little absent-minded and forgot to test fit everything before painting and gluing and it shows. I’m sitting here scratching my head and wondering how I could forget to do something so basic. Notwithstanding that, I’m happy with the detail I’ve added such as the spark plug tubes to take 0.4mm solder and the 3D-printed MSD dizzie which I detailed with some panel liner.
-
Time to now pay some attention to building the engine before fitting together the two halves of the chassis. Previous experience with the Oldsmobiles tells me it’s best to leave fitting the steering wheel until after fitting the section of the steering column that runs between the firewall and the steering tie rod.
-
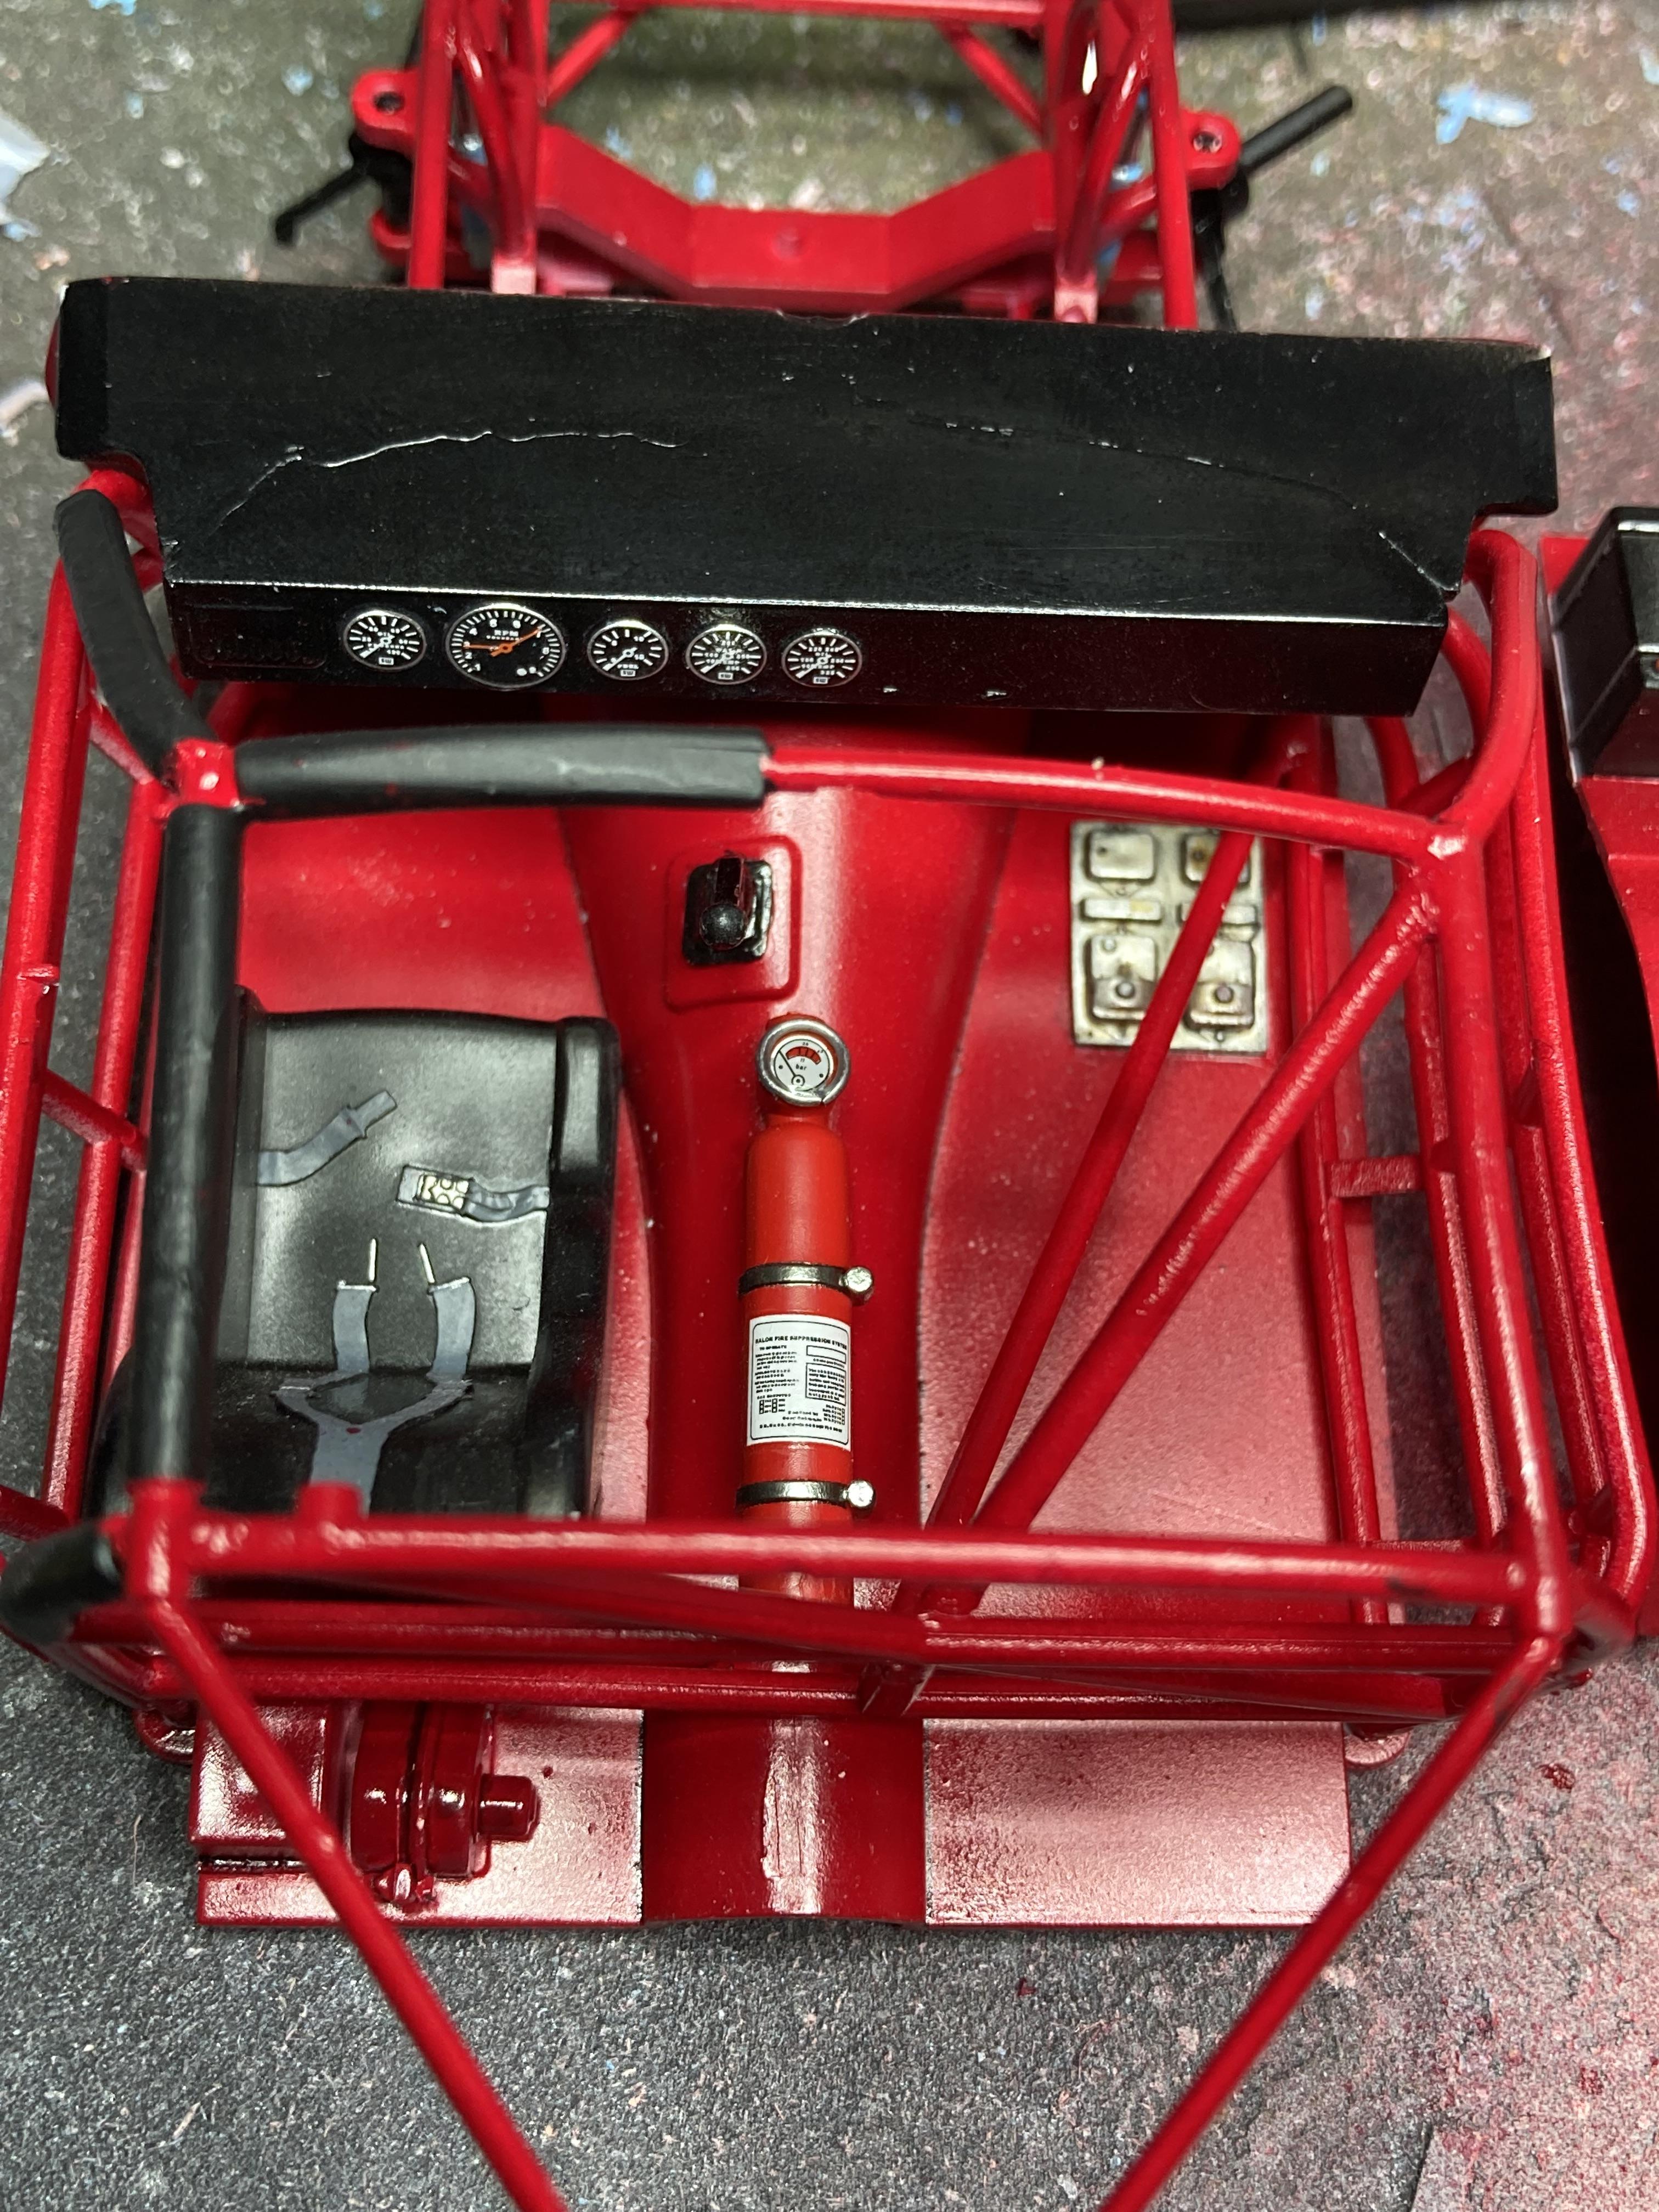
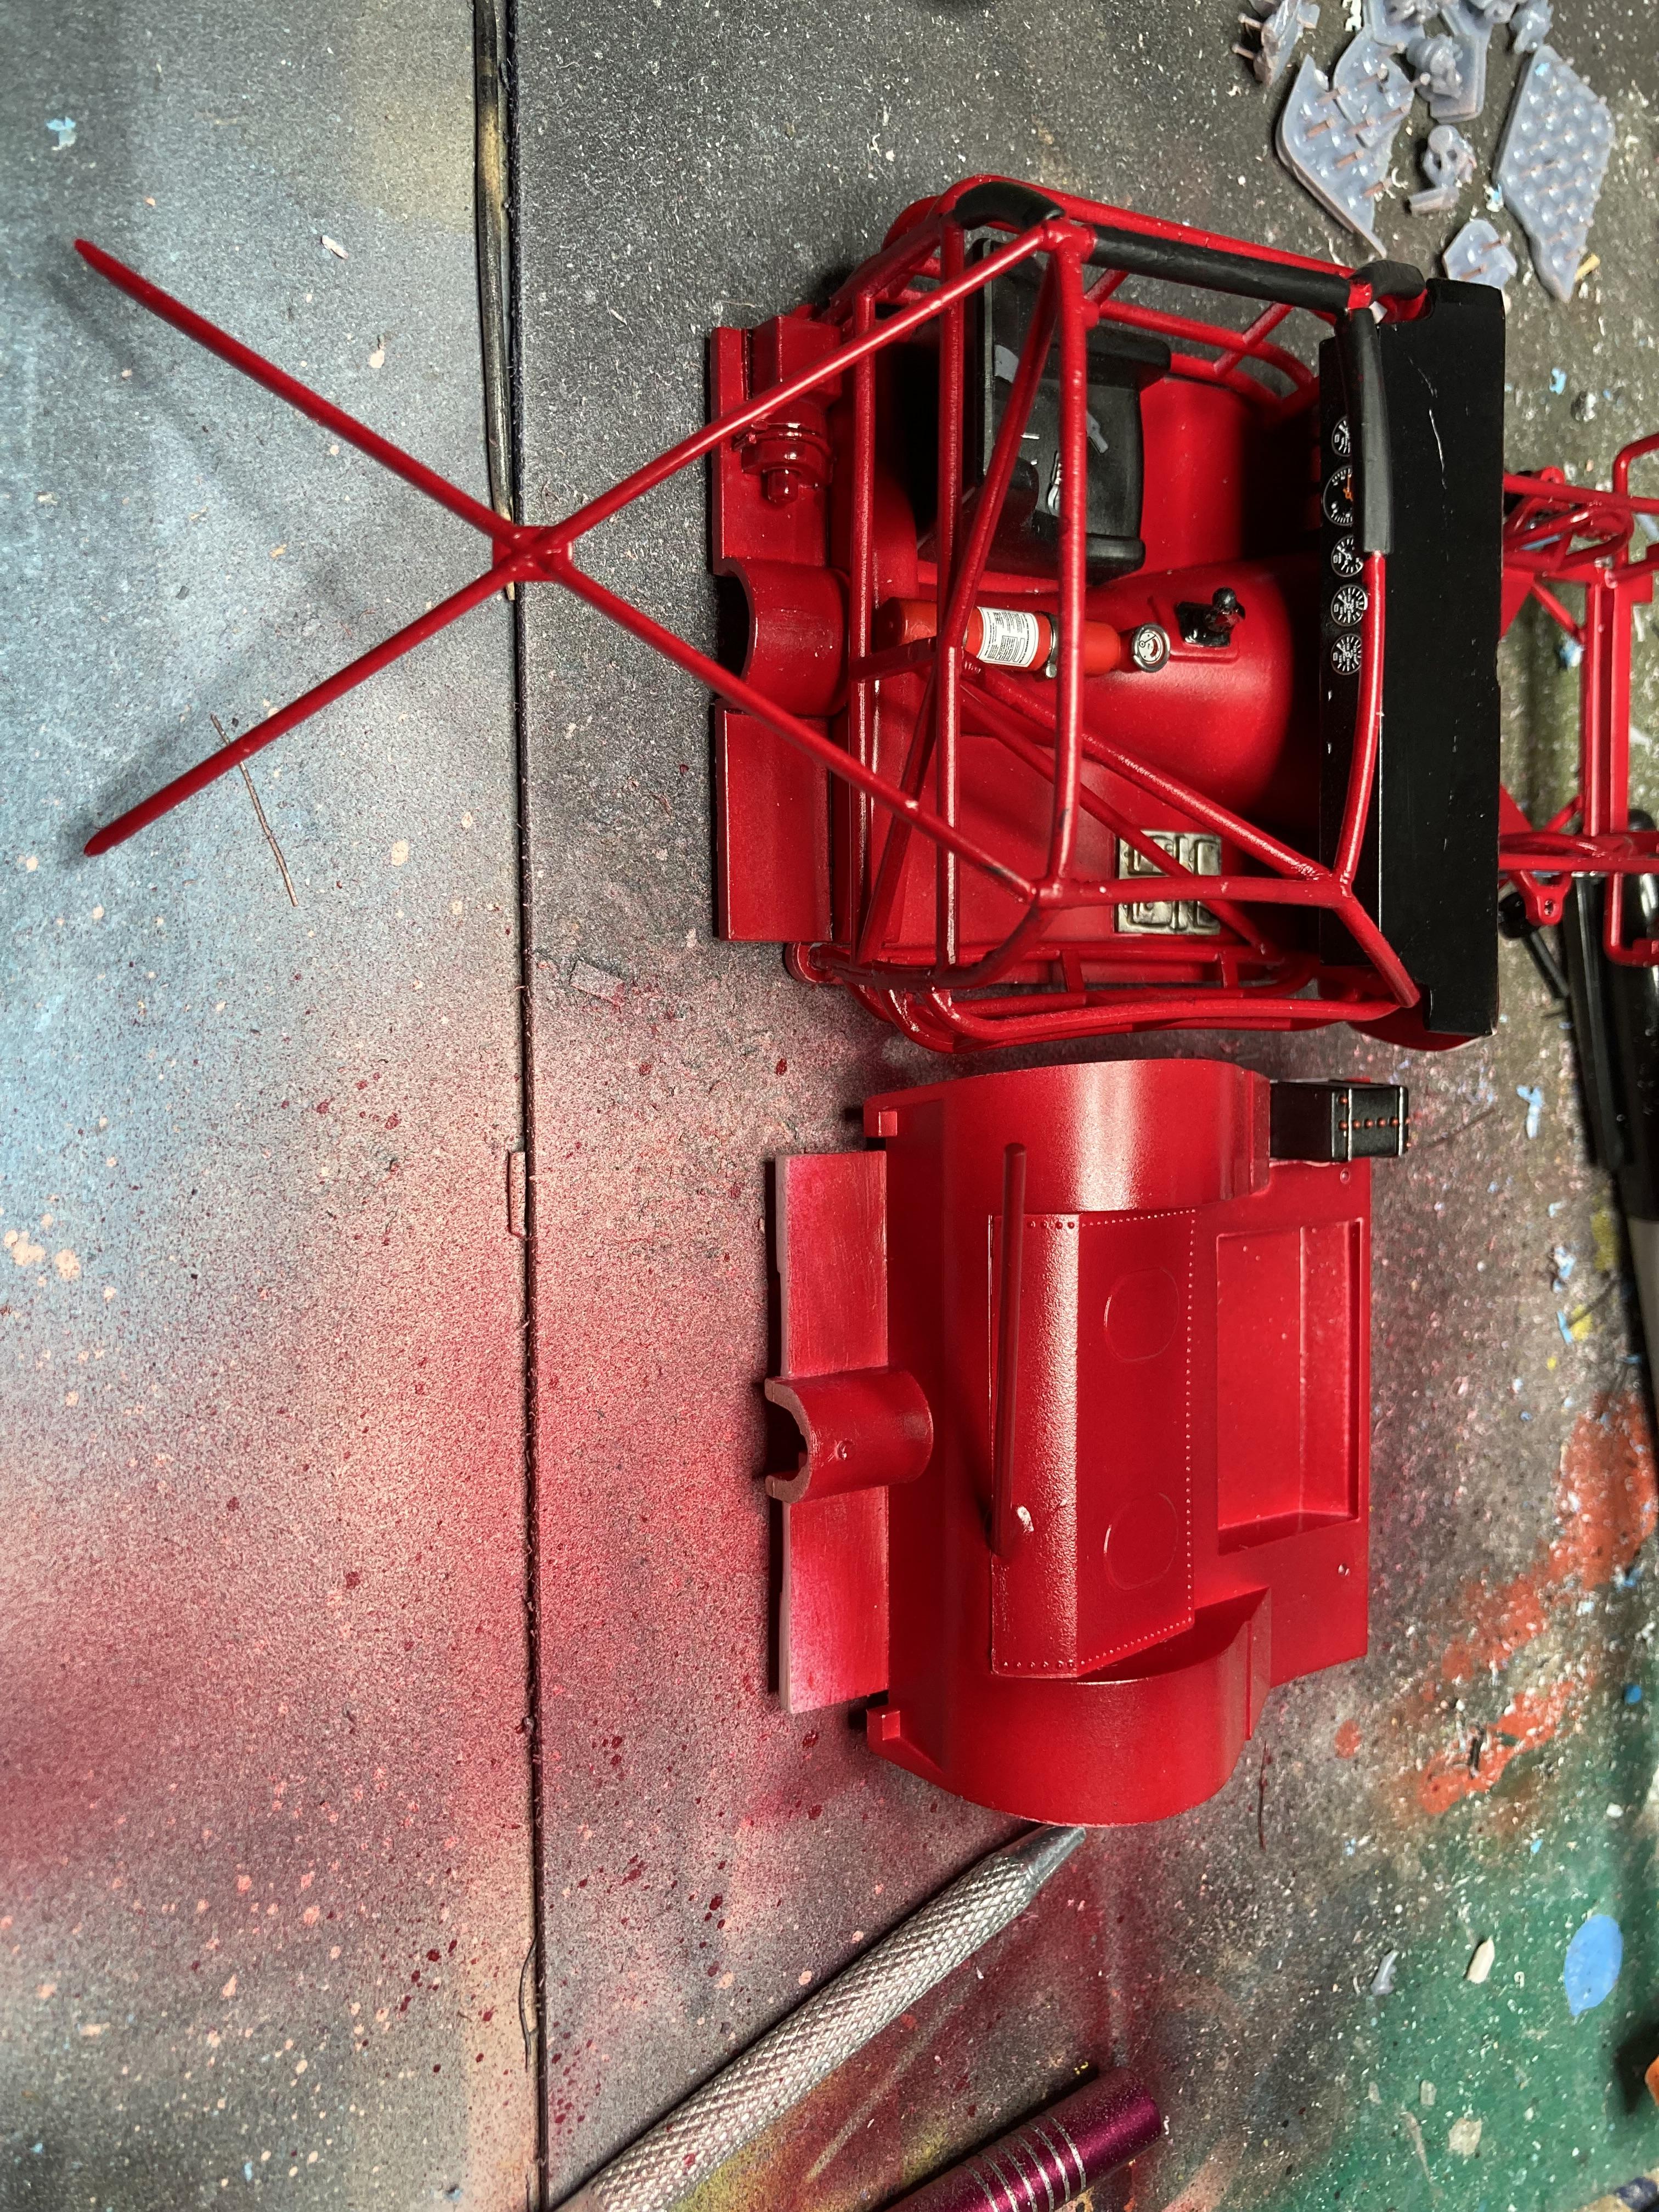
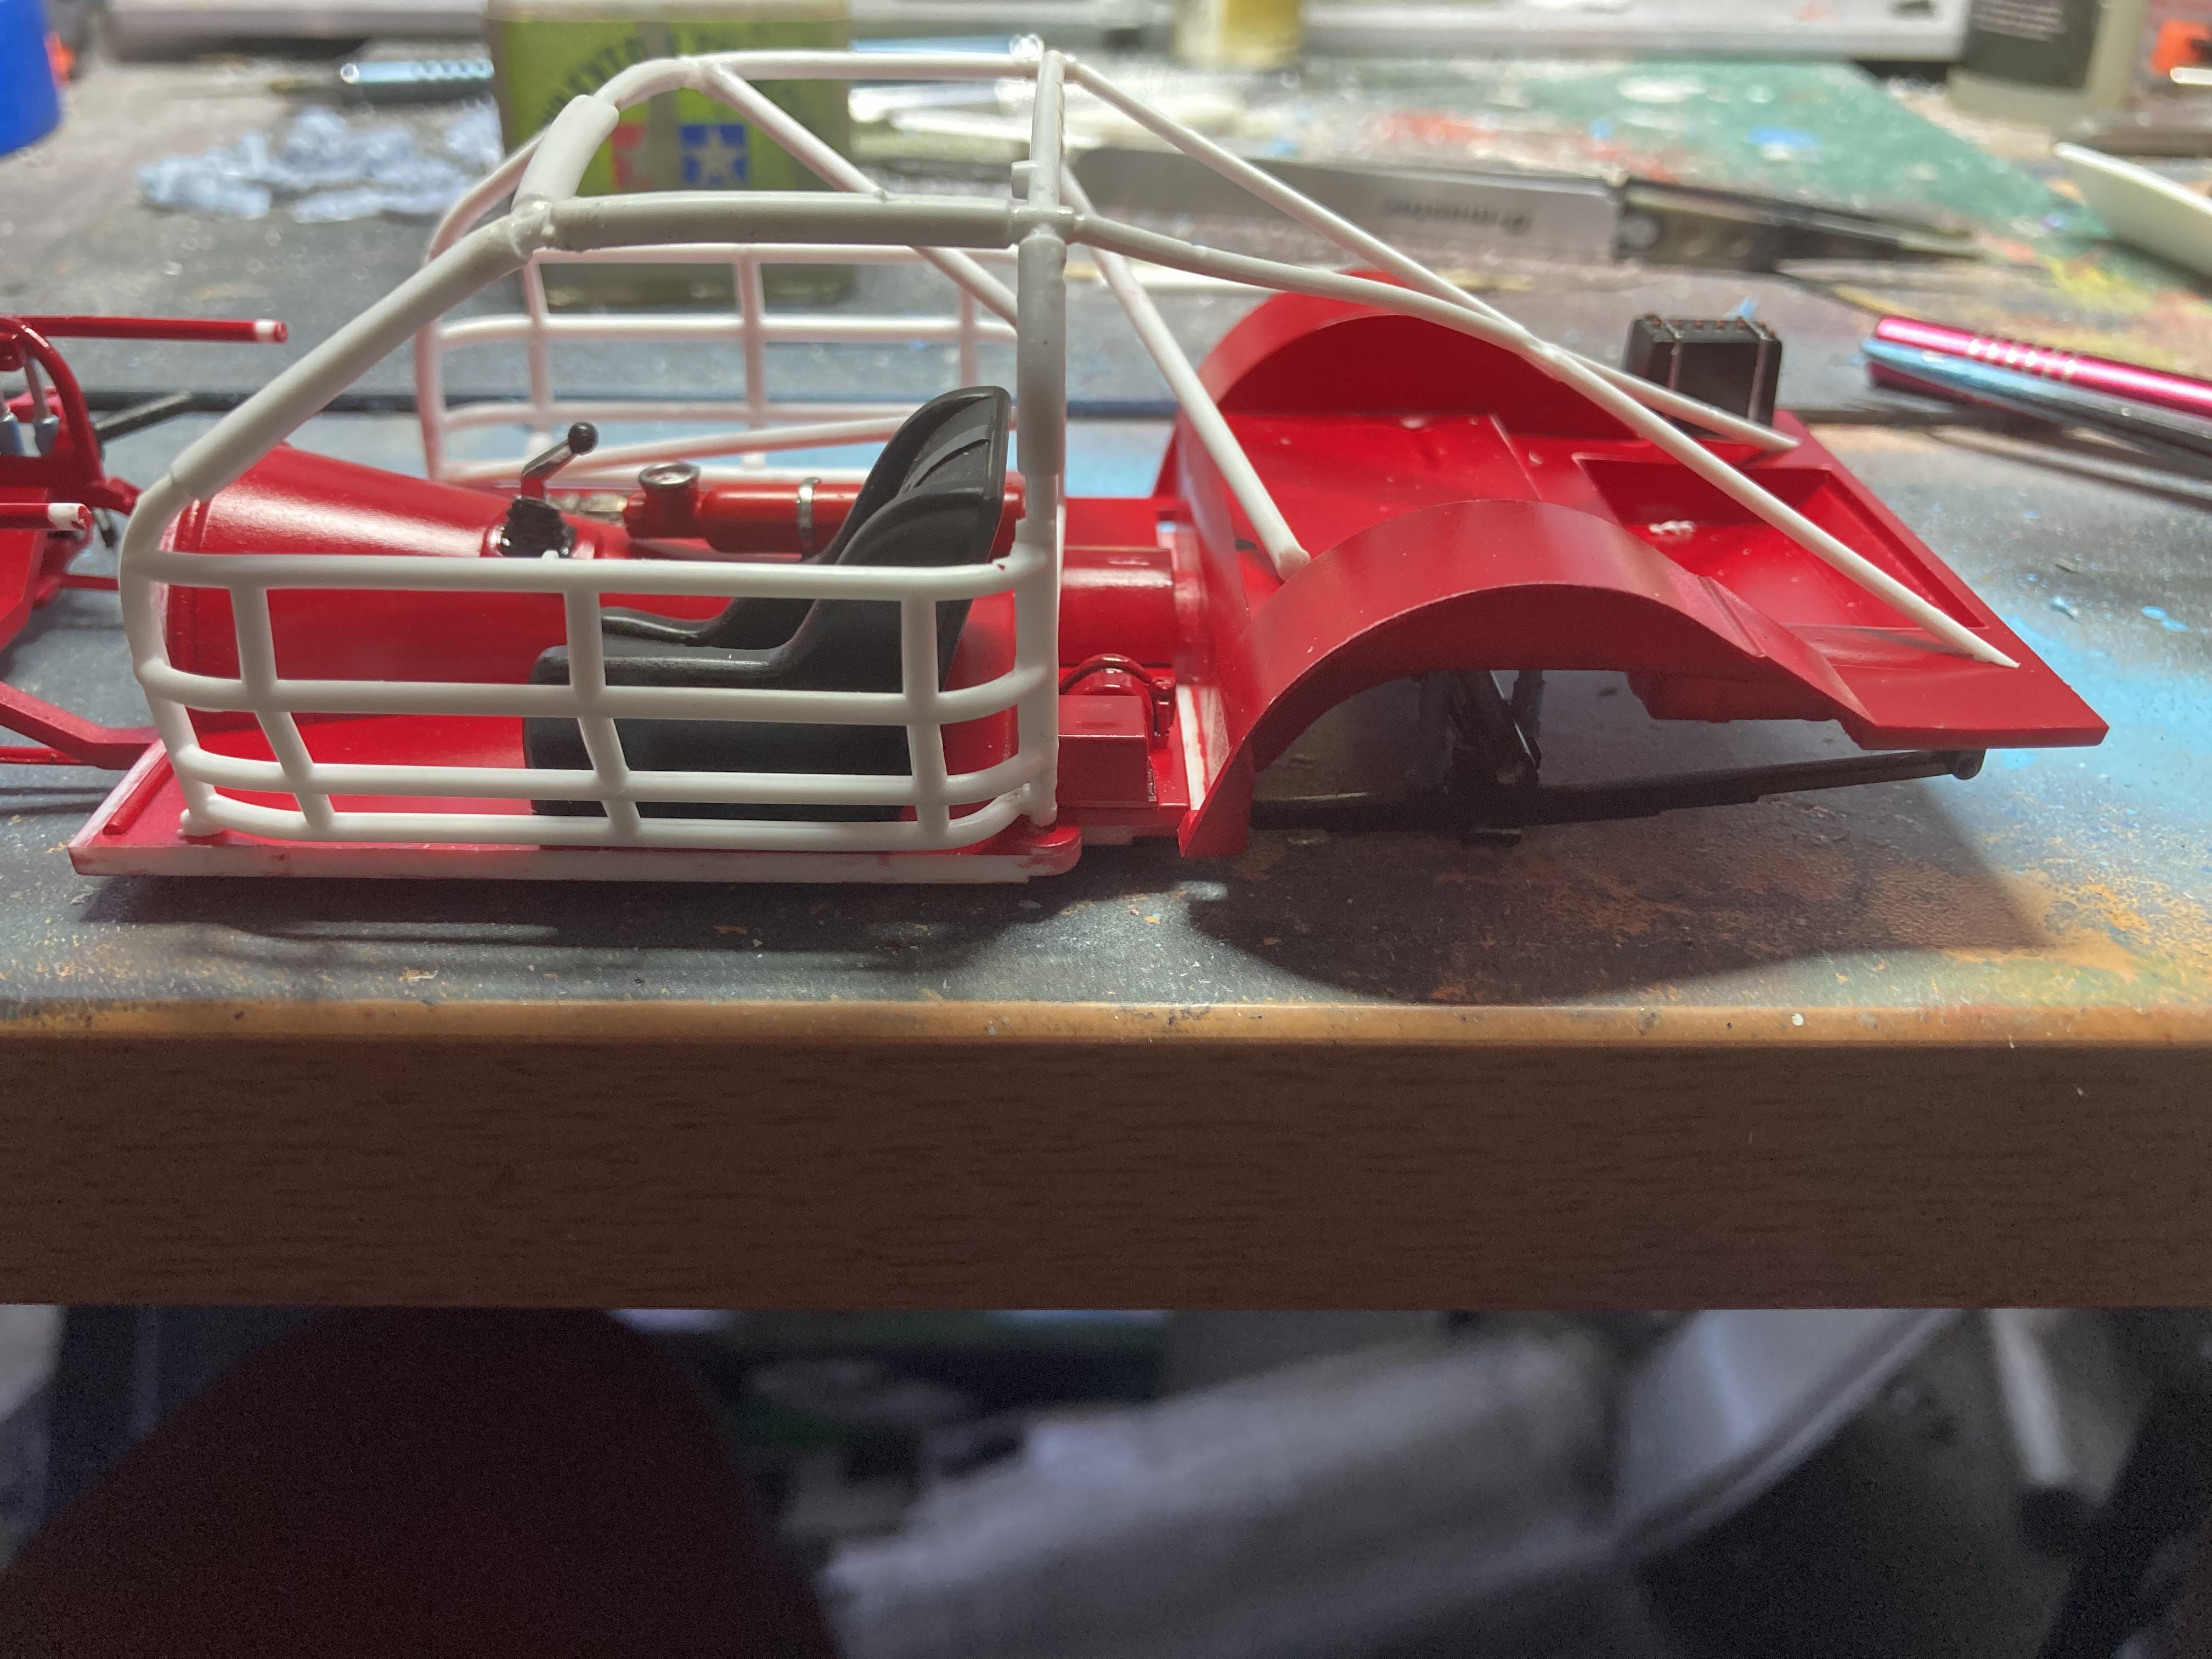
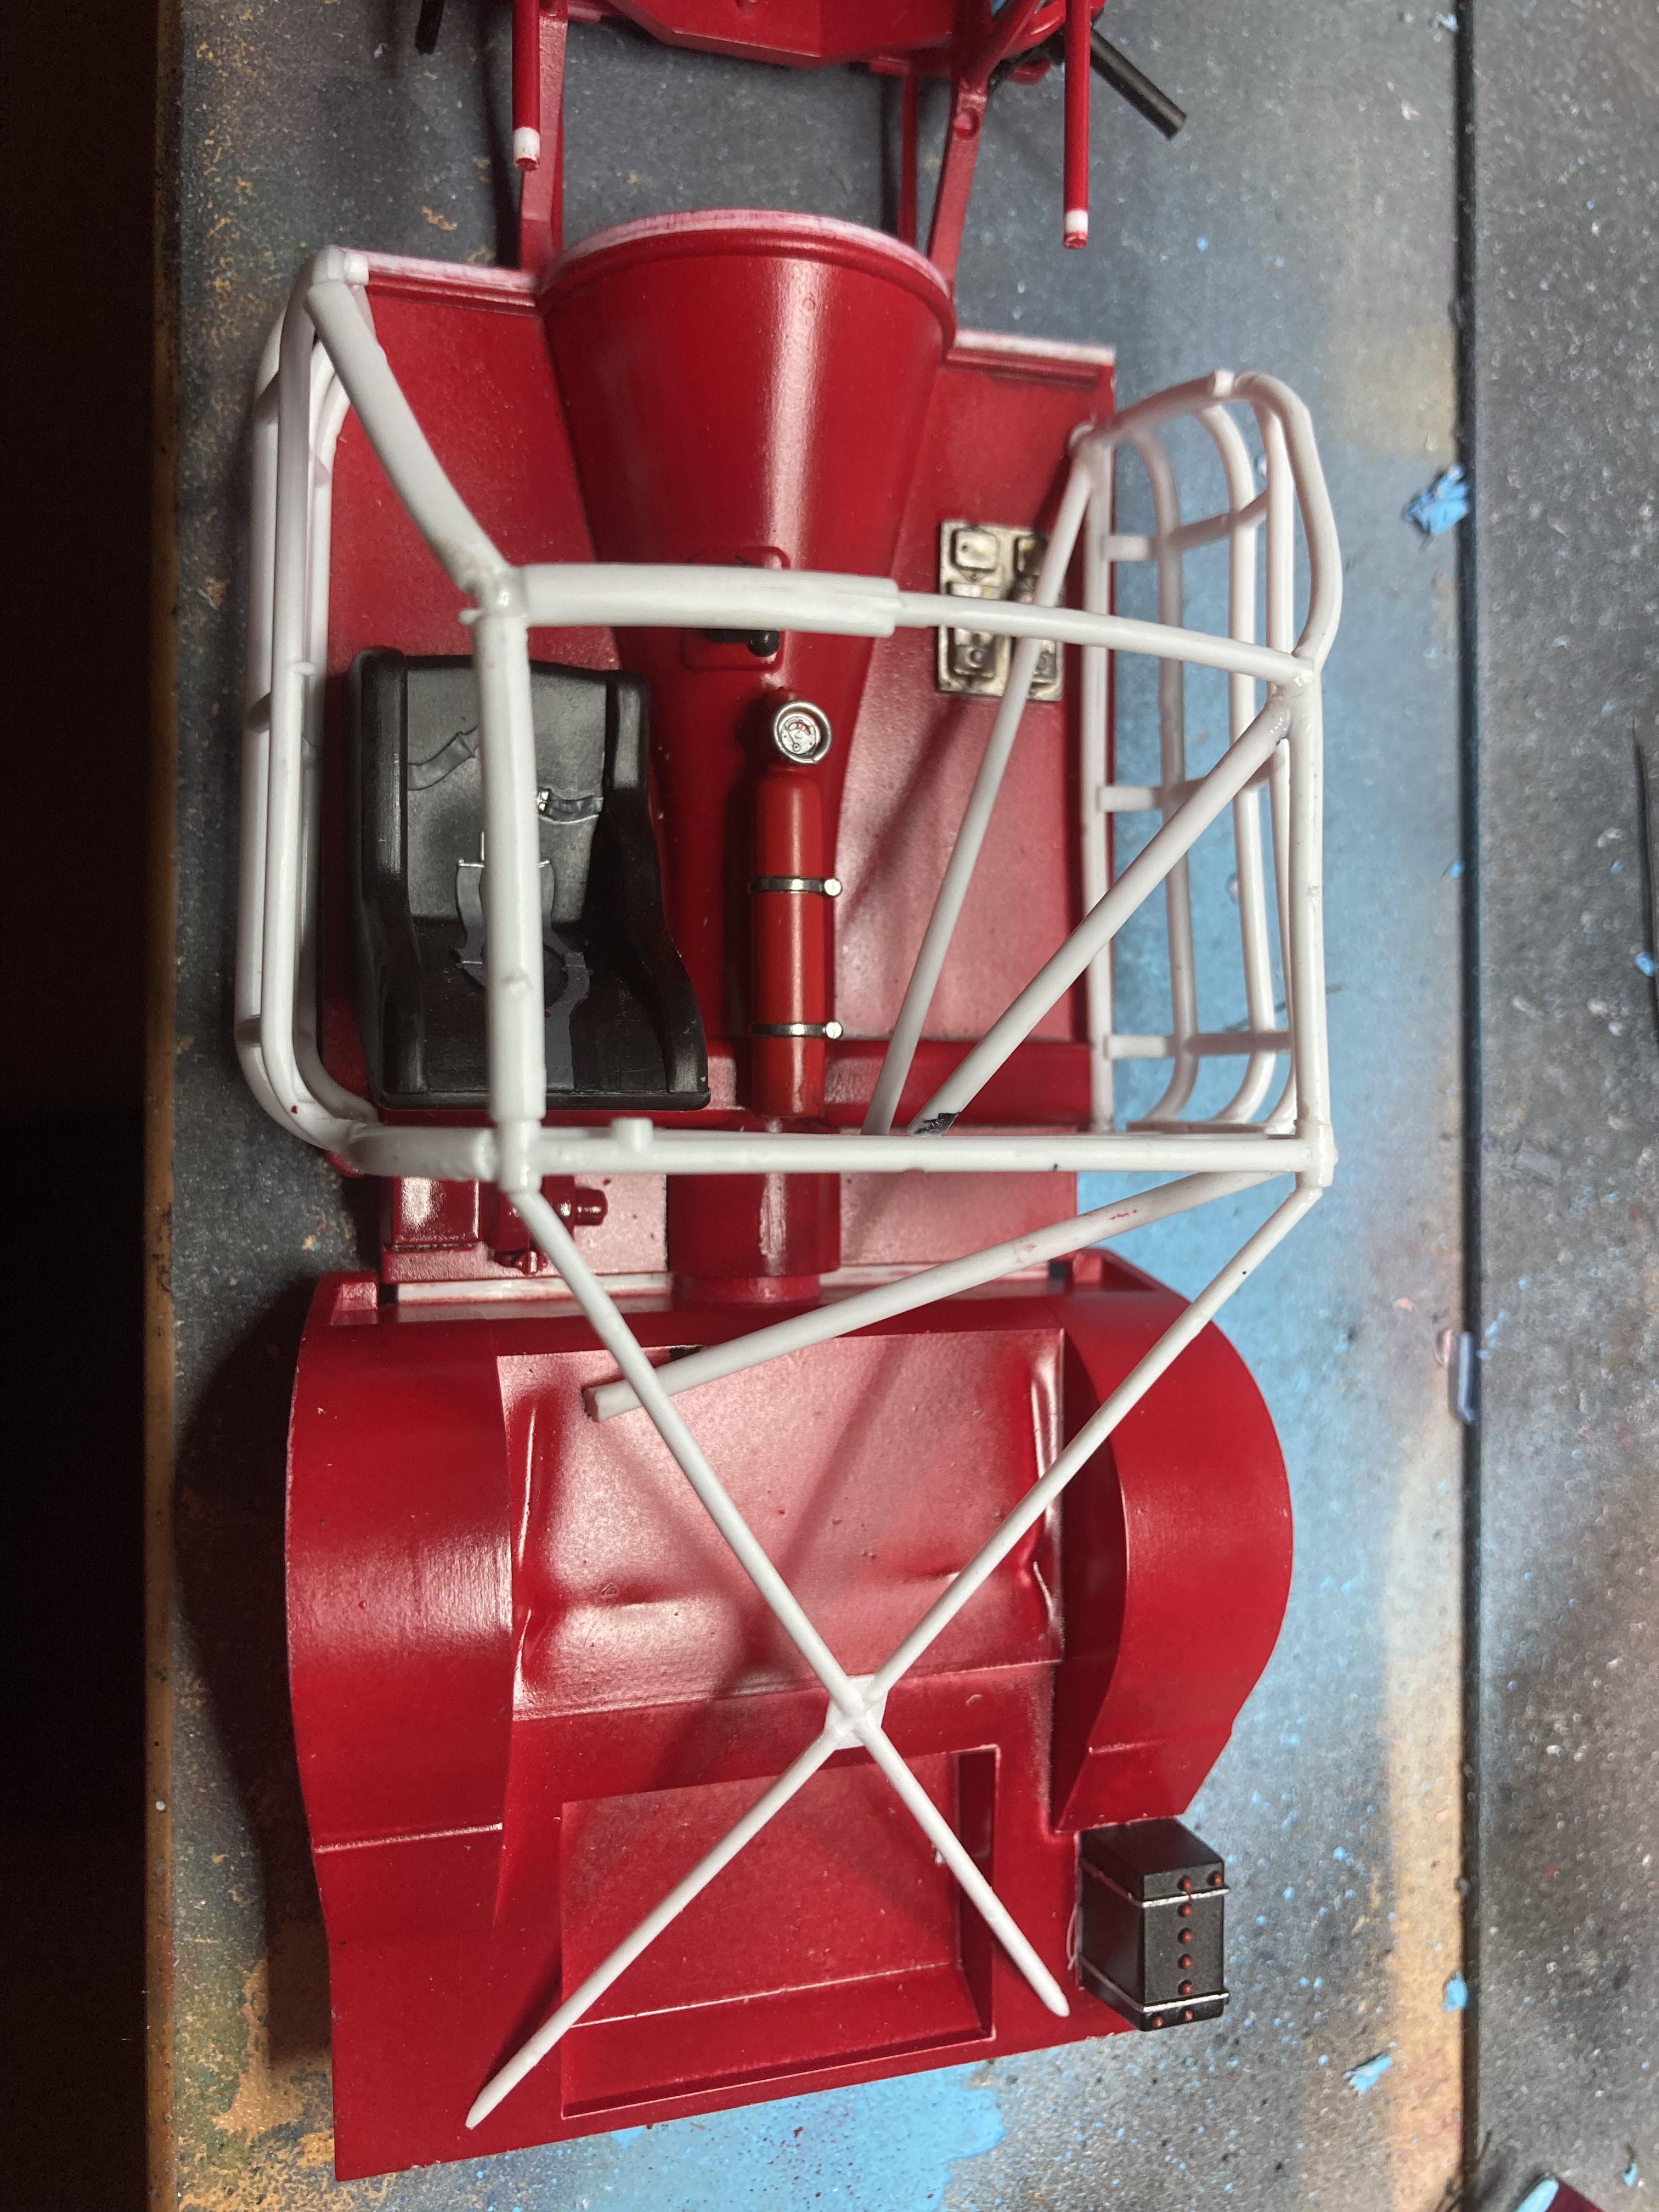
Test-fitting the roll cage. I initially assembled the 3 sides, top cross-bar, and rear cross-stays and fit them in place. Next came part 80 running from lower passenger-side front to the rear. Parts 77A & B aren’t long enough to connect to the locations they are meant to be placed so I’ve made new ones with 2mm round styrene. The other little detail that pleased me was the rectangular piece on the passenger's side floor. I have no idea what it is but I used it as an opportunity to apply some different-colored washes over the base silver. I don't think that I've truly appreciated the purpose of using such materials until now. The brown and black tones that I've used have created some really nice subtle shading. The highlights and contrasts have created depth and realism to the part (whatever it is). While I'm at it, I should give myself some praise for the metal bezel around the fire extinguisher gauge. Compared to the first two that I made for the Oldsmobiles that I am building, I fashioned this one with greater ease and affixed it to the extinguisher's face with greater precision and cleanliness. It's by these tiny milestones that we measure the development of our skills as modelers and it's important that from time-to-time we pause to recognise that progress.
-
Buddy Baker '73 Charger
GMasterG replied to SCRWDRVR's topic in WIP: Stock Cars (NASCAR, Super Stock, Late Model, etc.)
This is automotive paint made to the Ford paint code for 66 Poppy Red
-
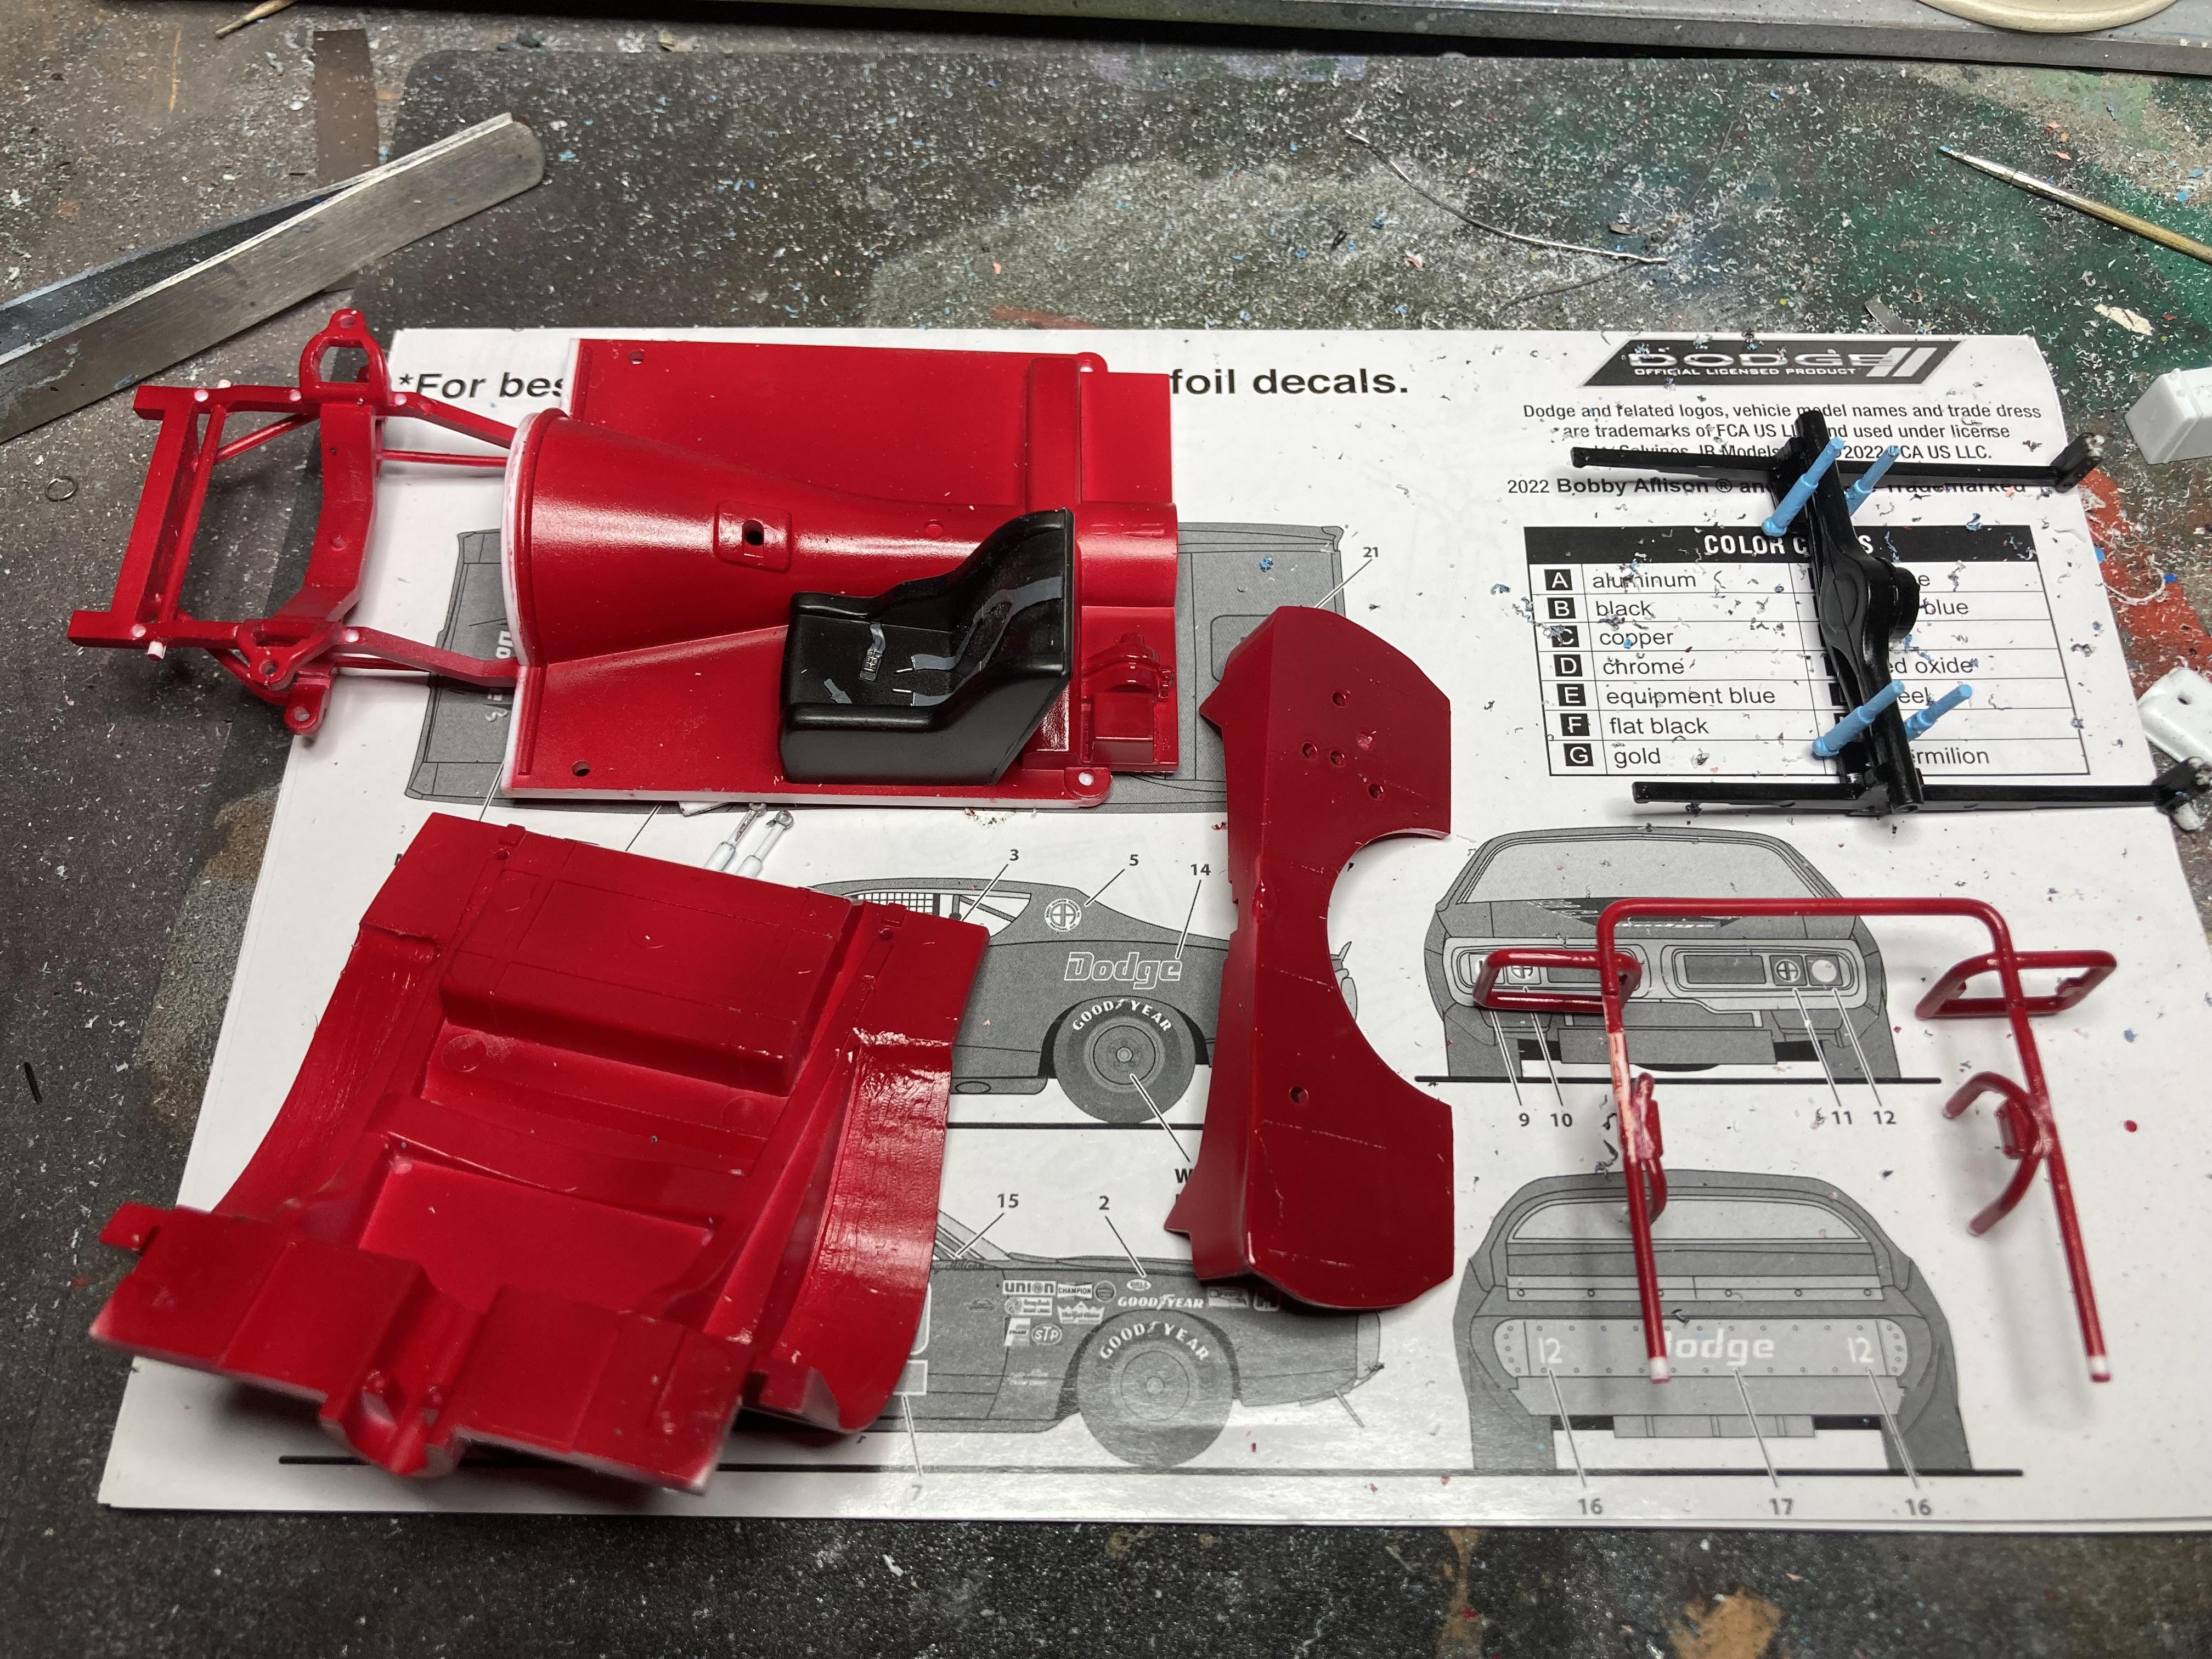
Im trying to improve the quality of my sub-assembly builds. I have some touch-ups to do on the engine frame but otherwise I’m pleased with the results of this evening’s endeavours:
-
Thank you. It’s progressing well.
-
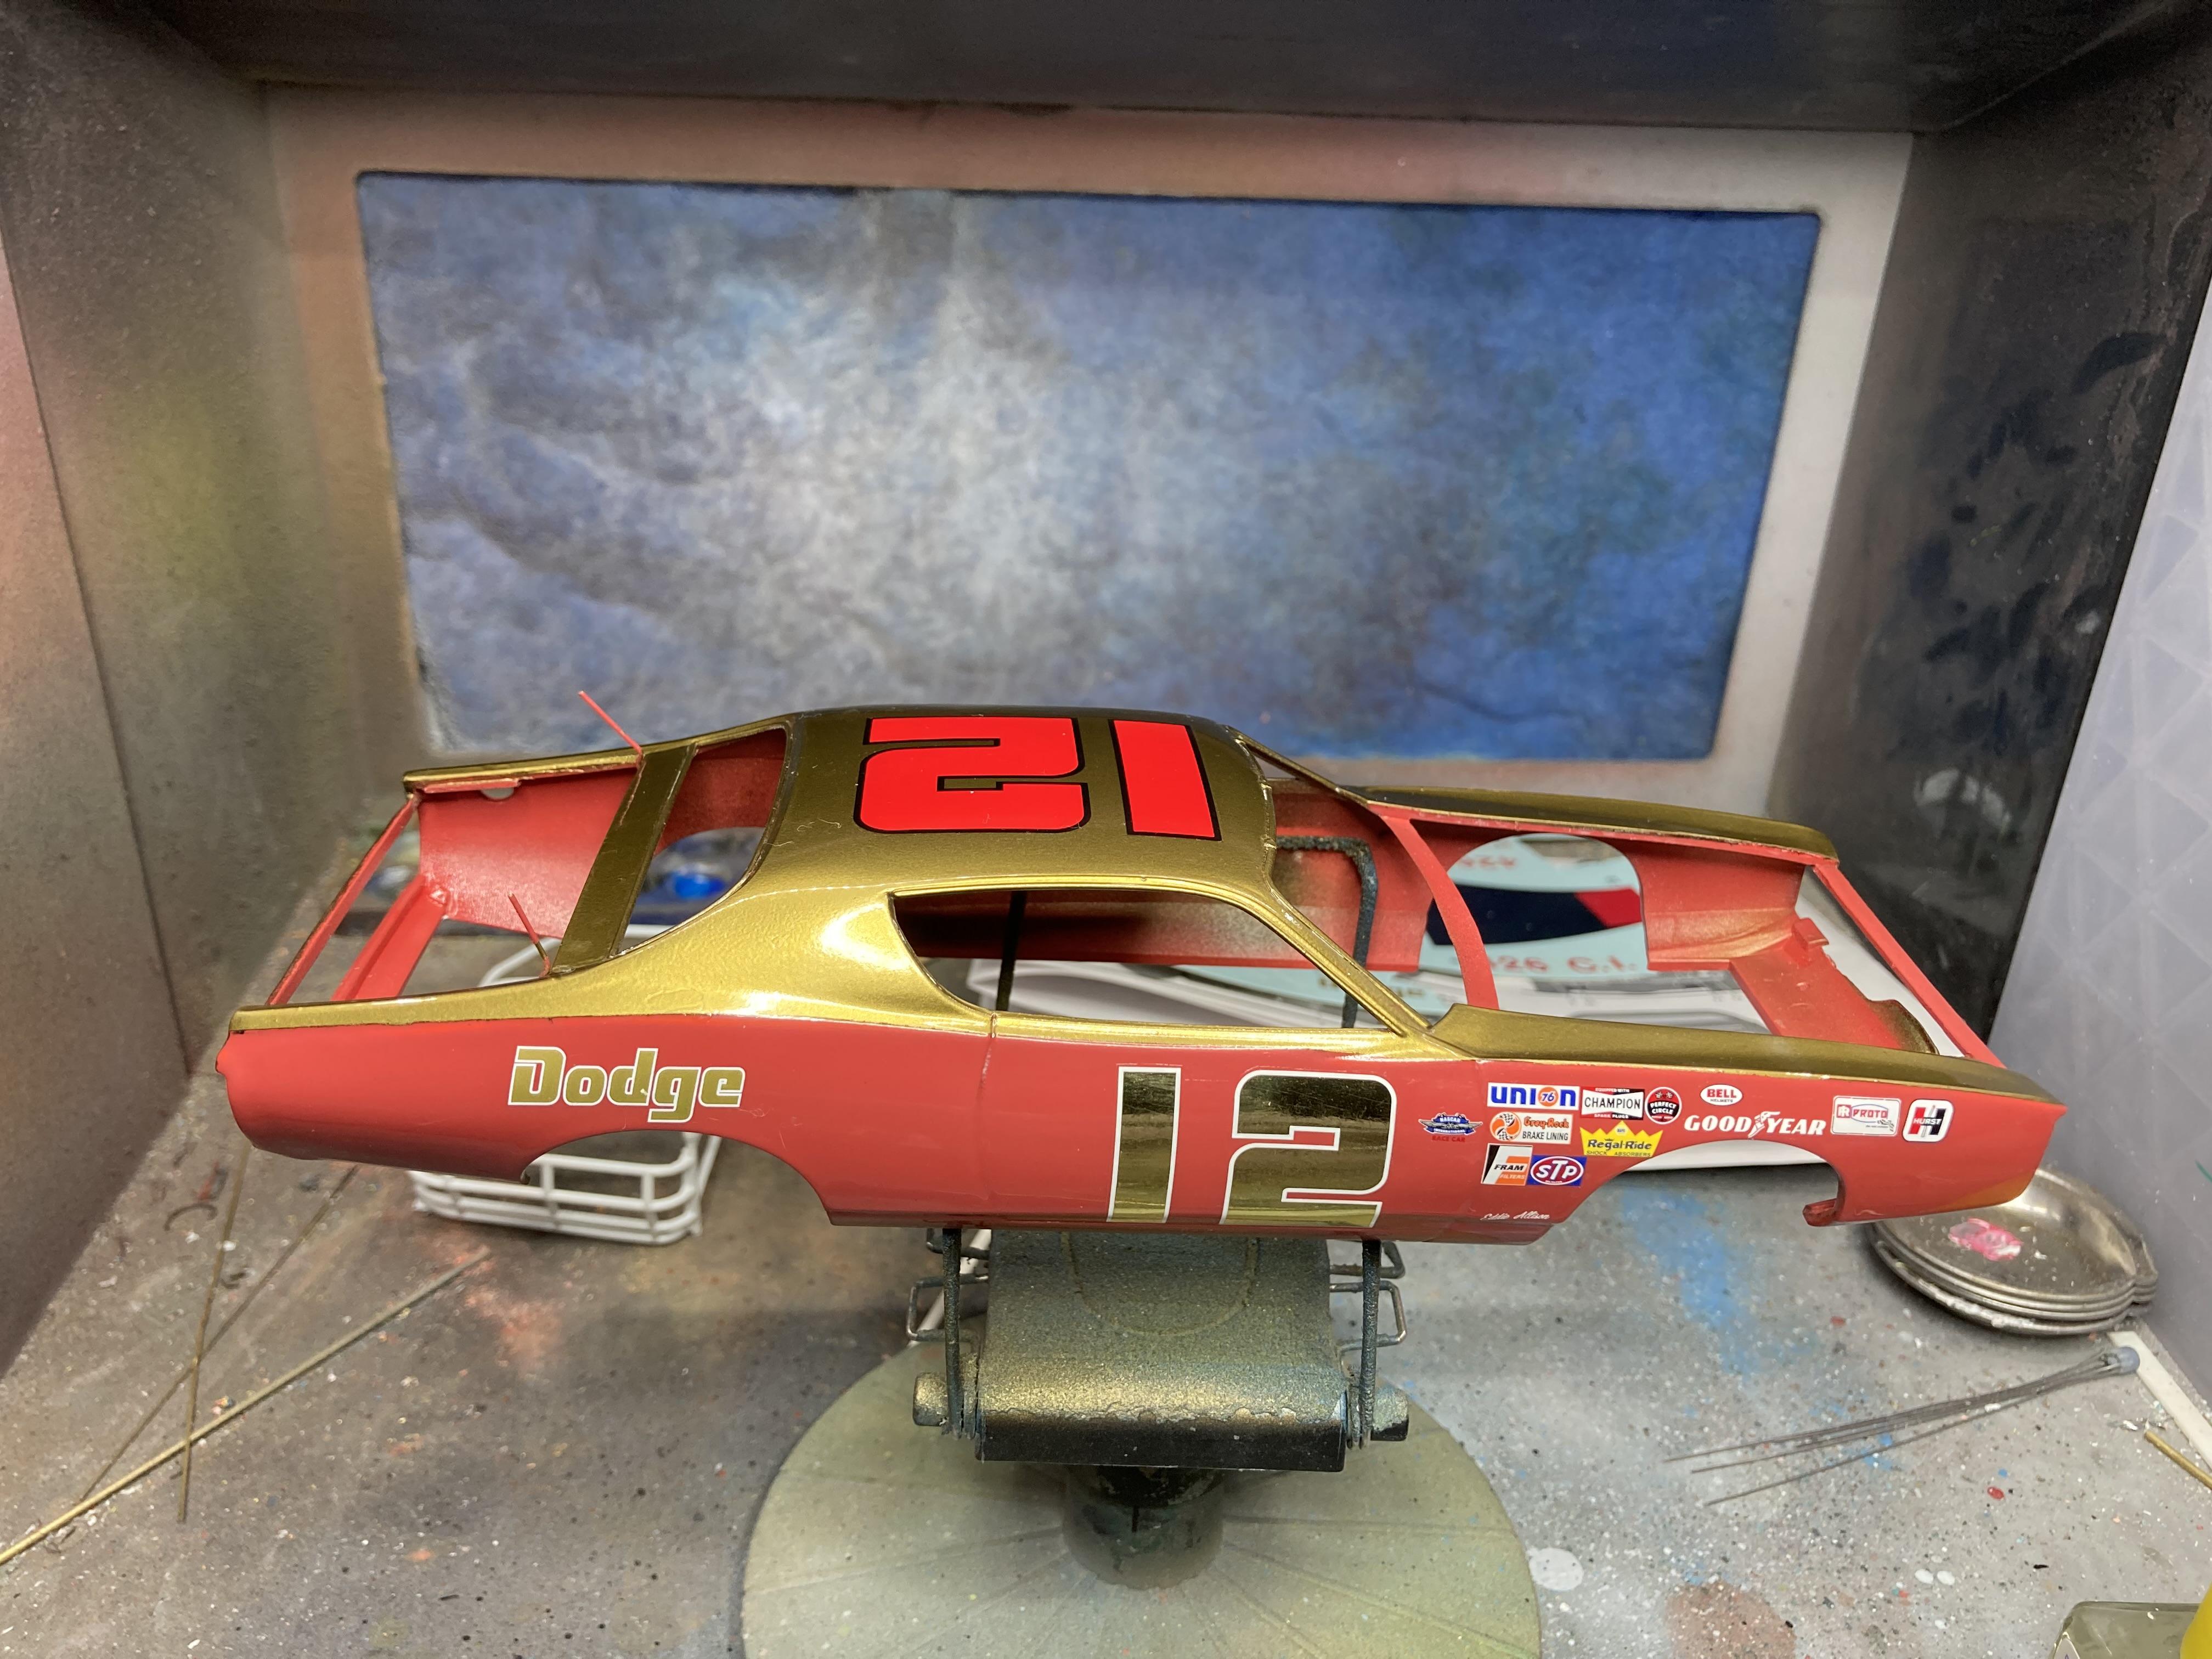
The body got its final coats of clear, a wet sand with 10k grit and a polish with some DSPIAE 10k polishing cream. And now some progress with decals on one side and on top:
-
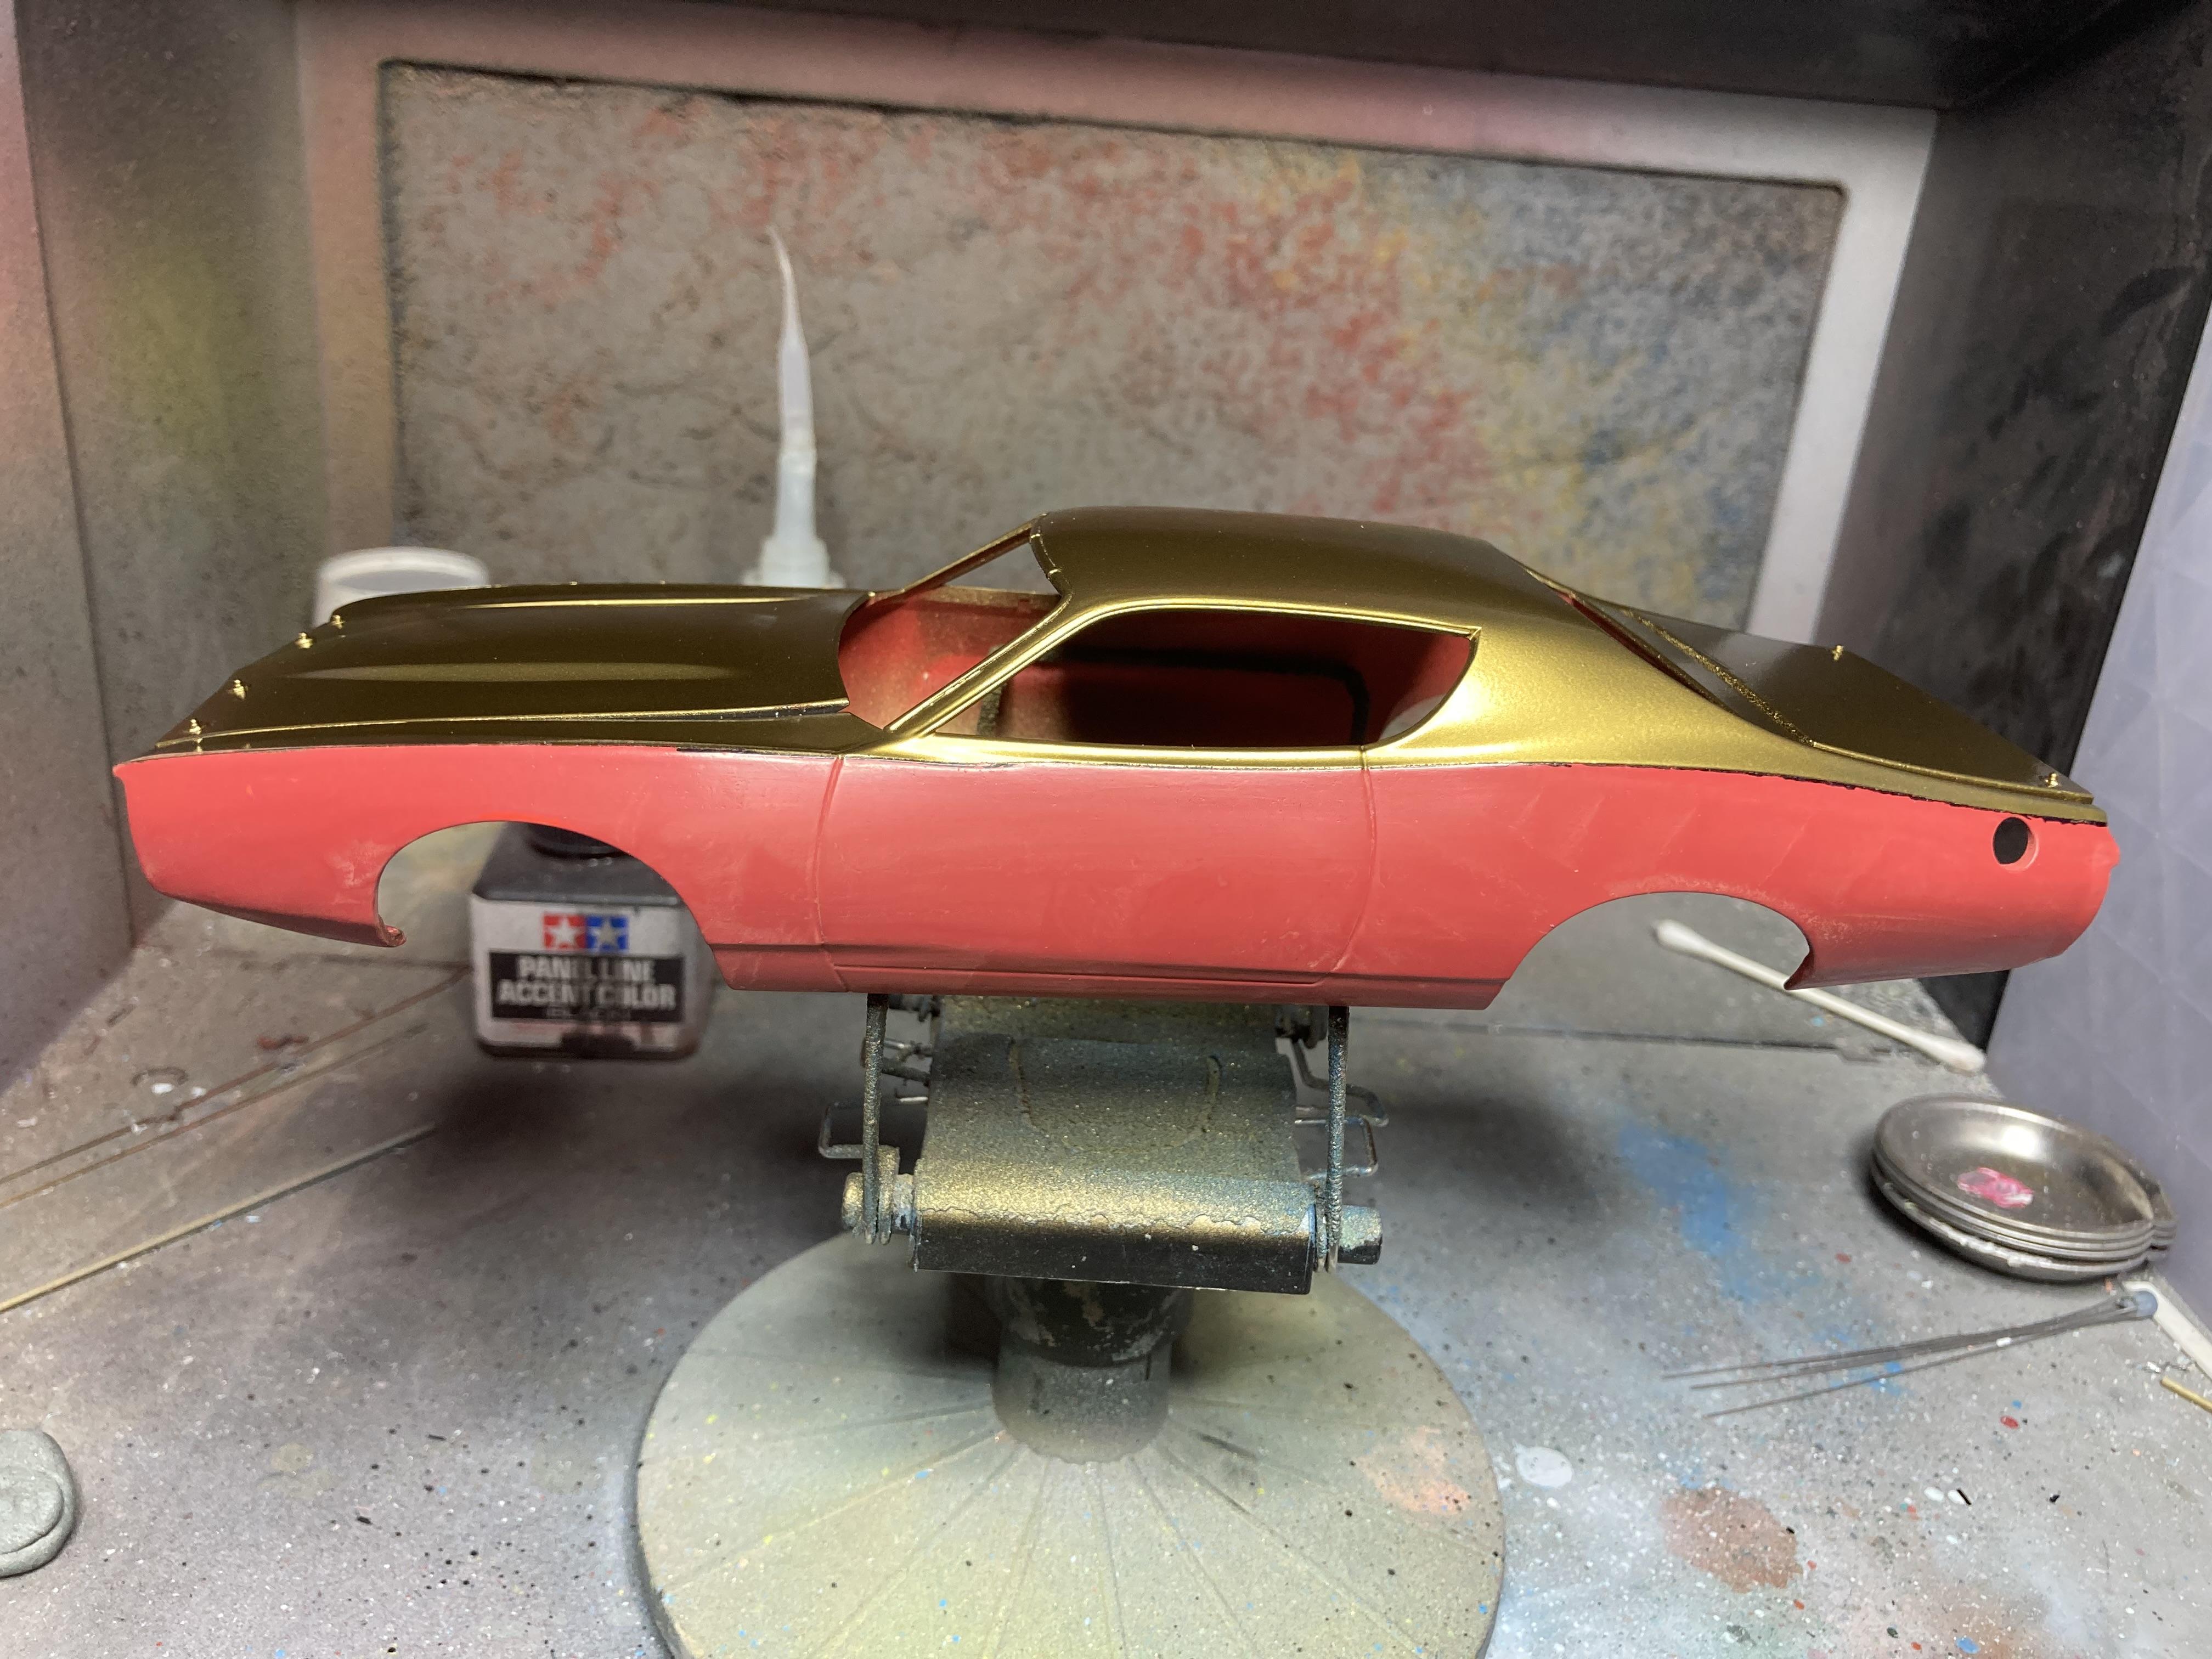
I lightly wet-sanded the masking line and removed as much of the marker as I was willing to remove without adding to the small patches of burn-through that began to emerge in a couple of places. I will use the marker again in the future but I will do things a little differently next time. And then I applied the 2k clear coat. I didn't use the HK automotive 2k that I've used recently but rather I opted for SMS 2k clear which is another of my favourites that I can mix in my sleep and apply almost without looking: This first batch of 2k is mixed as per SMS's directions without a lot of thinner. I first apply a very light tack coat and let it sit for about 10 minutes following which I apply regular coats at between 15-20 psi. I work under a magnifier lamp and at the end of the process I always look at the reflection of the lights on the hood. If the finish is generating a mirror-like reflection then I know I'm on the right track. I will wait for this to go off for 24 hours before giving it a light wet sand and applying some wetter/thinner coats of 2k.
-
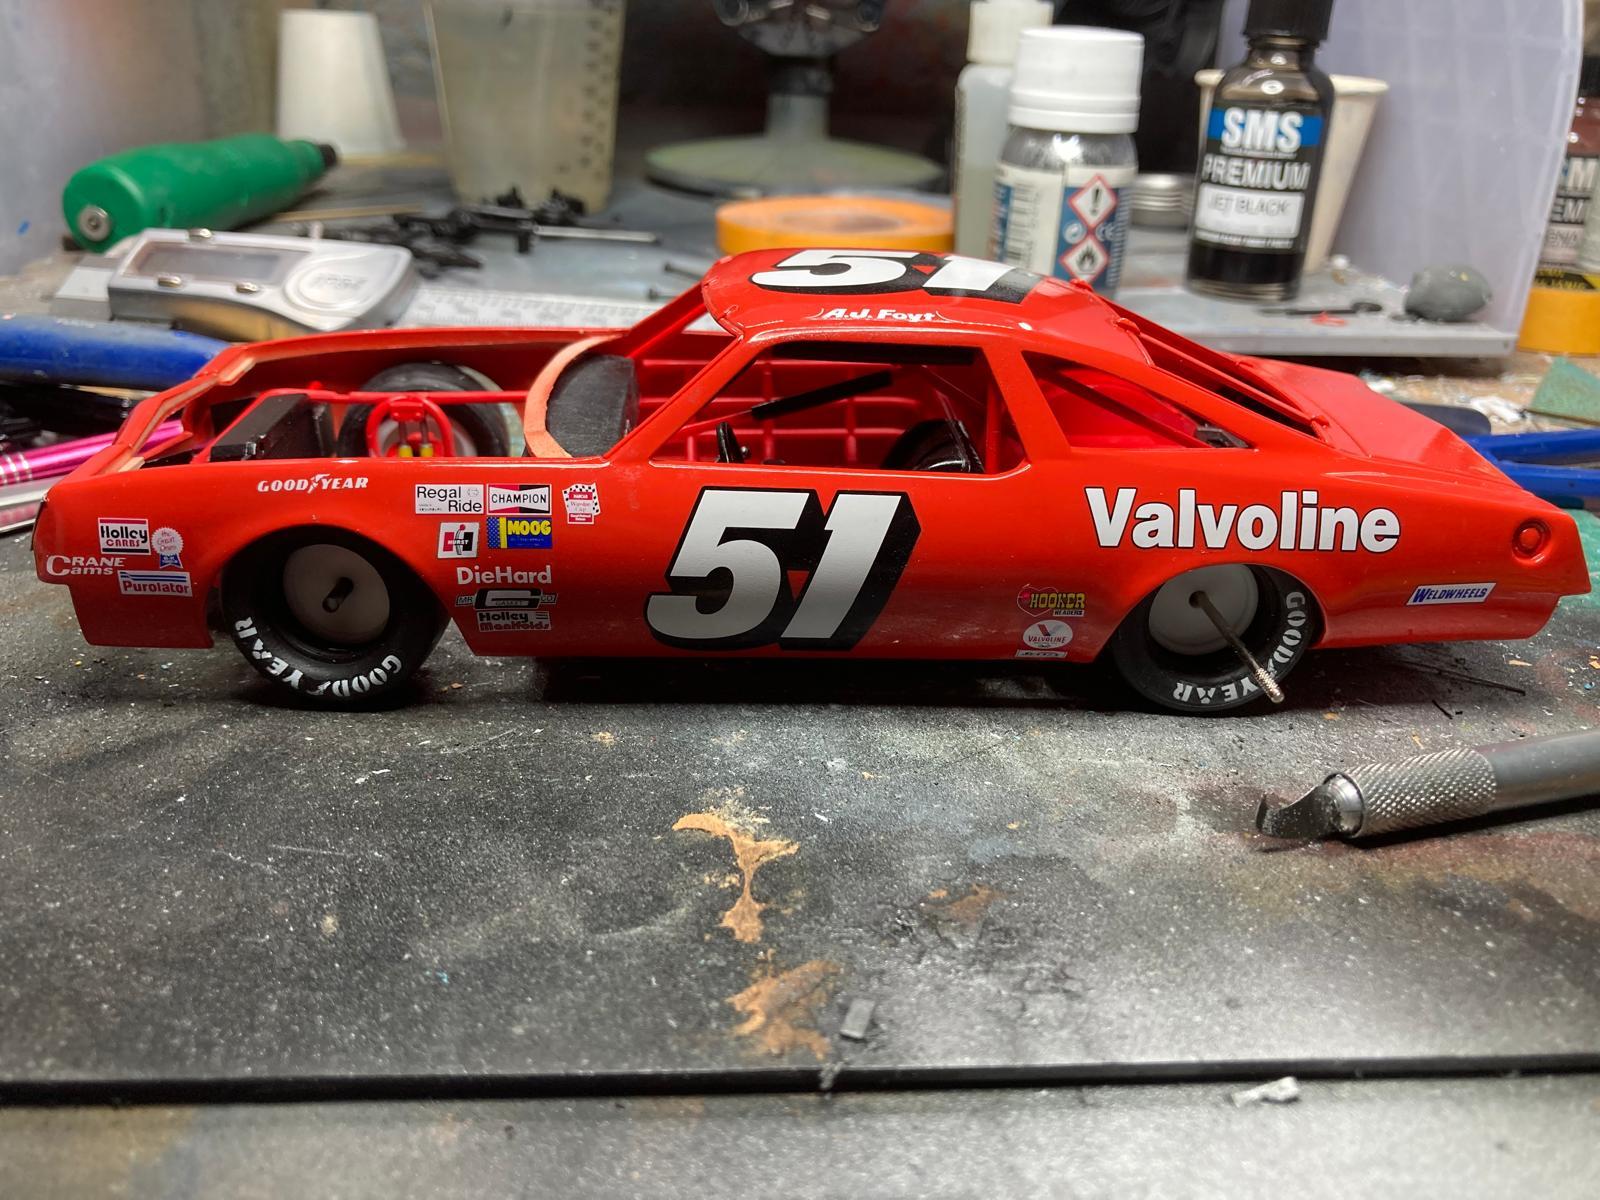
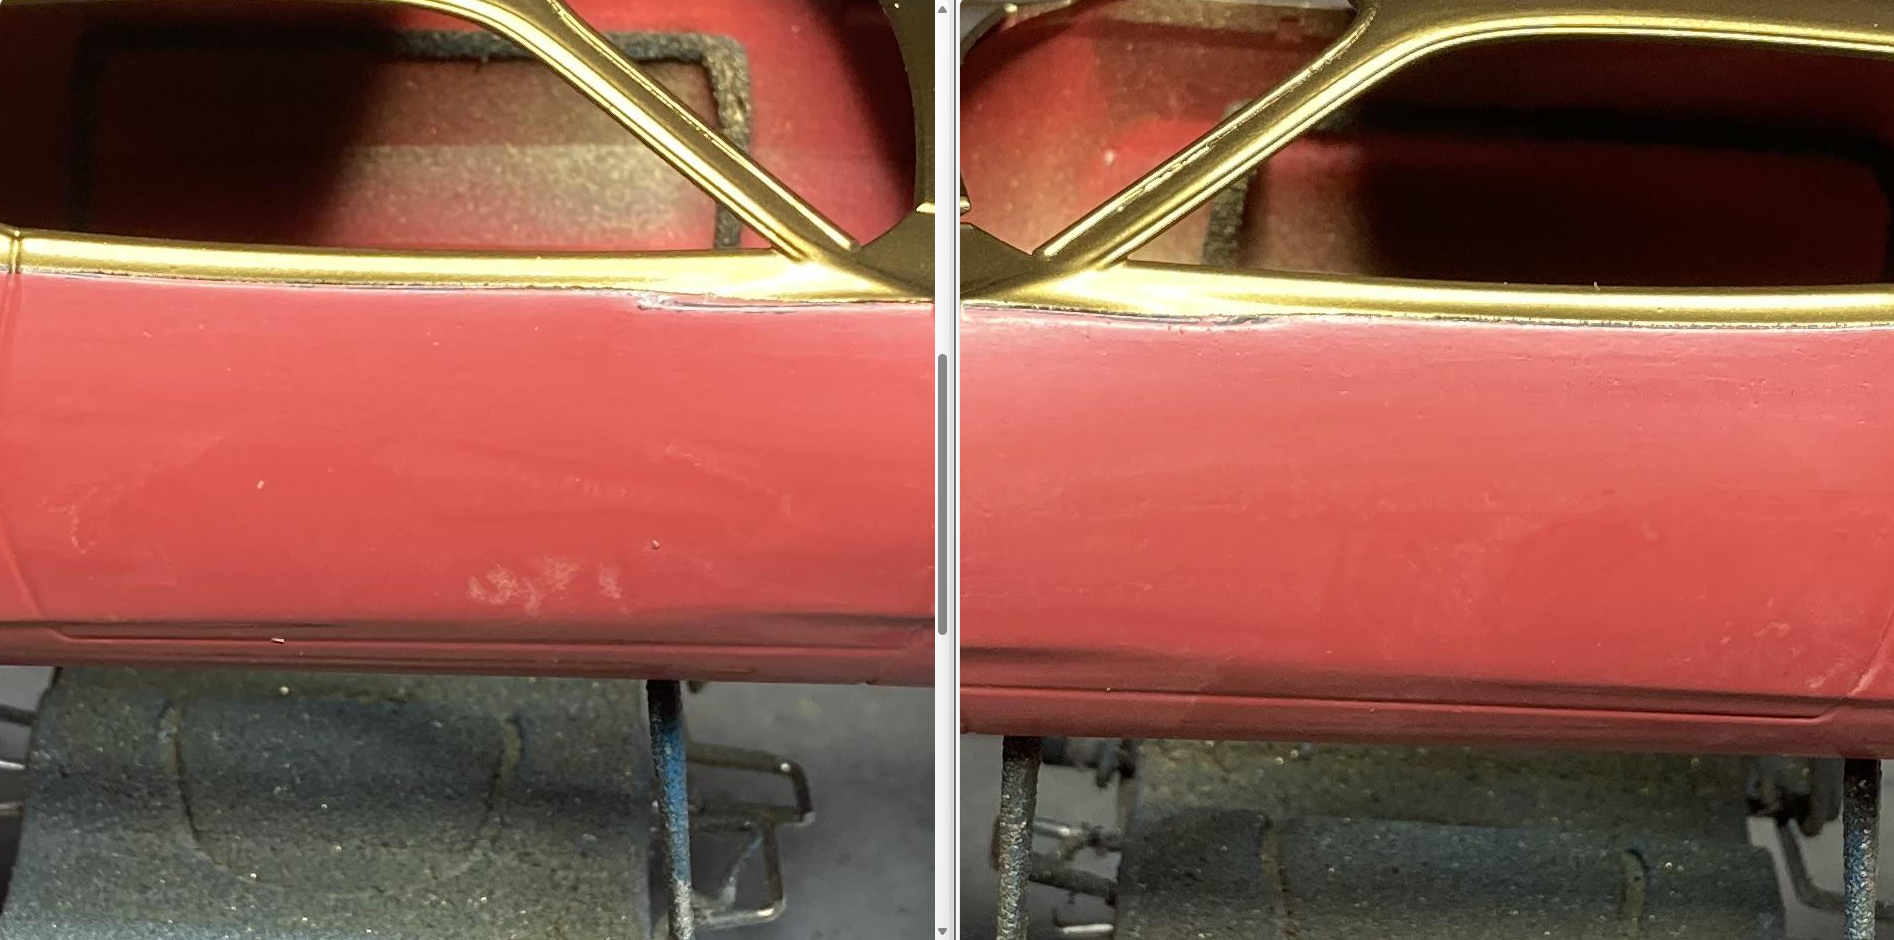
The devil is always in the detail with this hobby, and it is always the little things that we strive to perfect that ultimately give us the greatest sense of satisfaction. In this case it's achieving symmetry with the profiling of the two-tone paint. Below are a couple of visual juxtapositions that give me cause for a sense of a job well done even if I do say so myself.
-
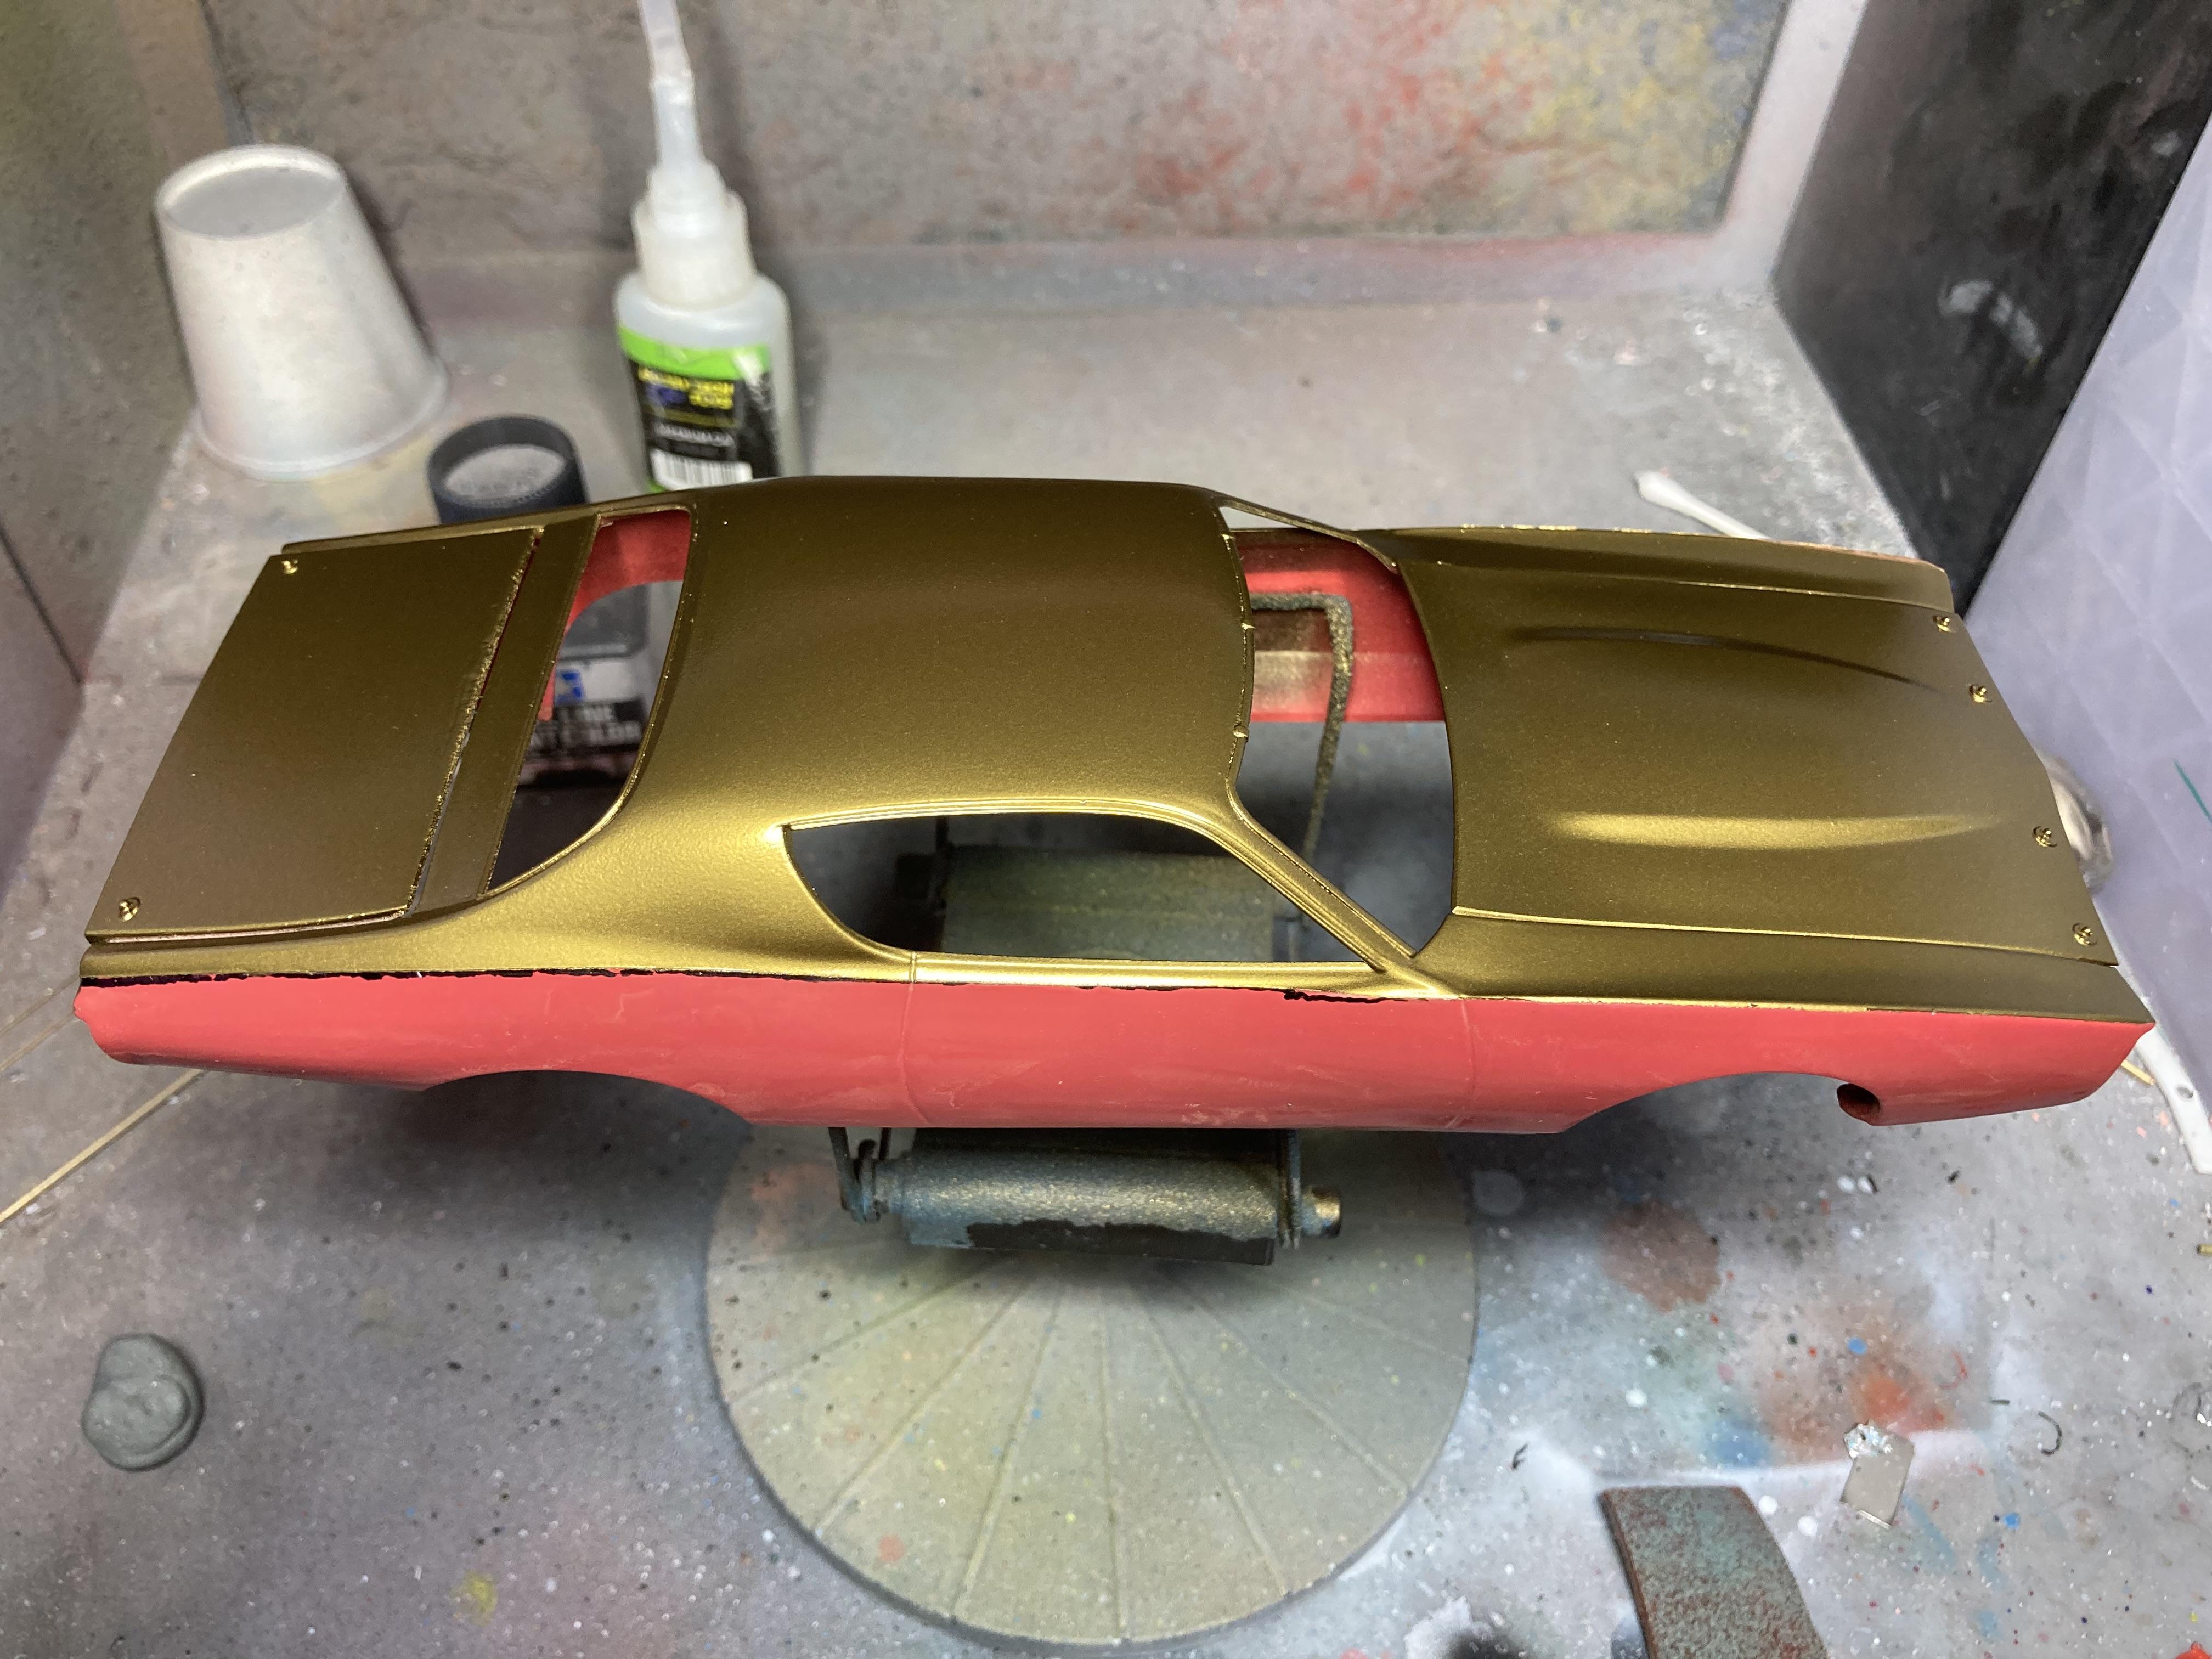
Well I think that tracing the profile of the gold has paid dividends in the sense that the lines are smooth and by and large reflect the real thing. Let’s see if removing the marker gives me cause for regret. The gold was meant to be metallic. I laid it over black primer. It looks like I’ve laid it on too thick and it doesn’t look metallic. Oh well, another learning curve for the future I’m sure.
-
I’m sure I don’t need to ask!
-
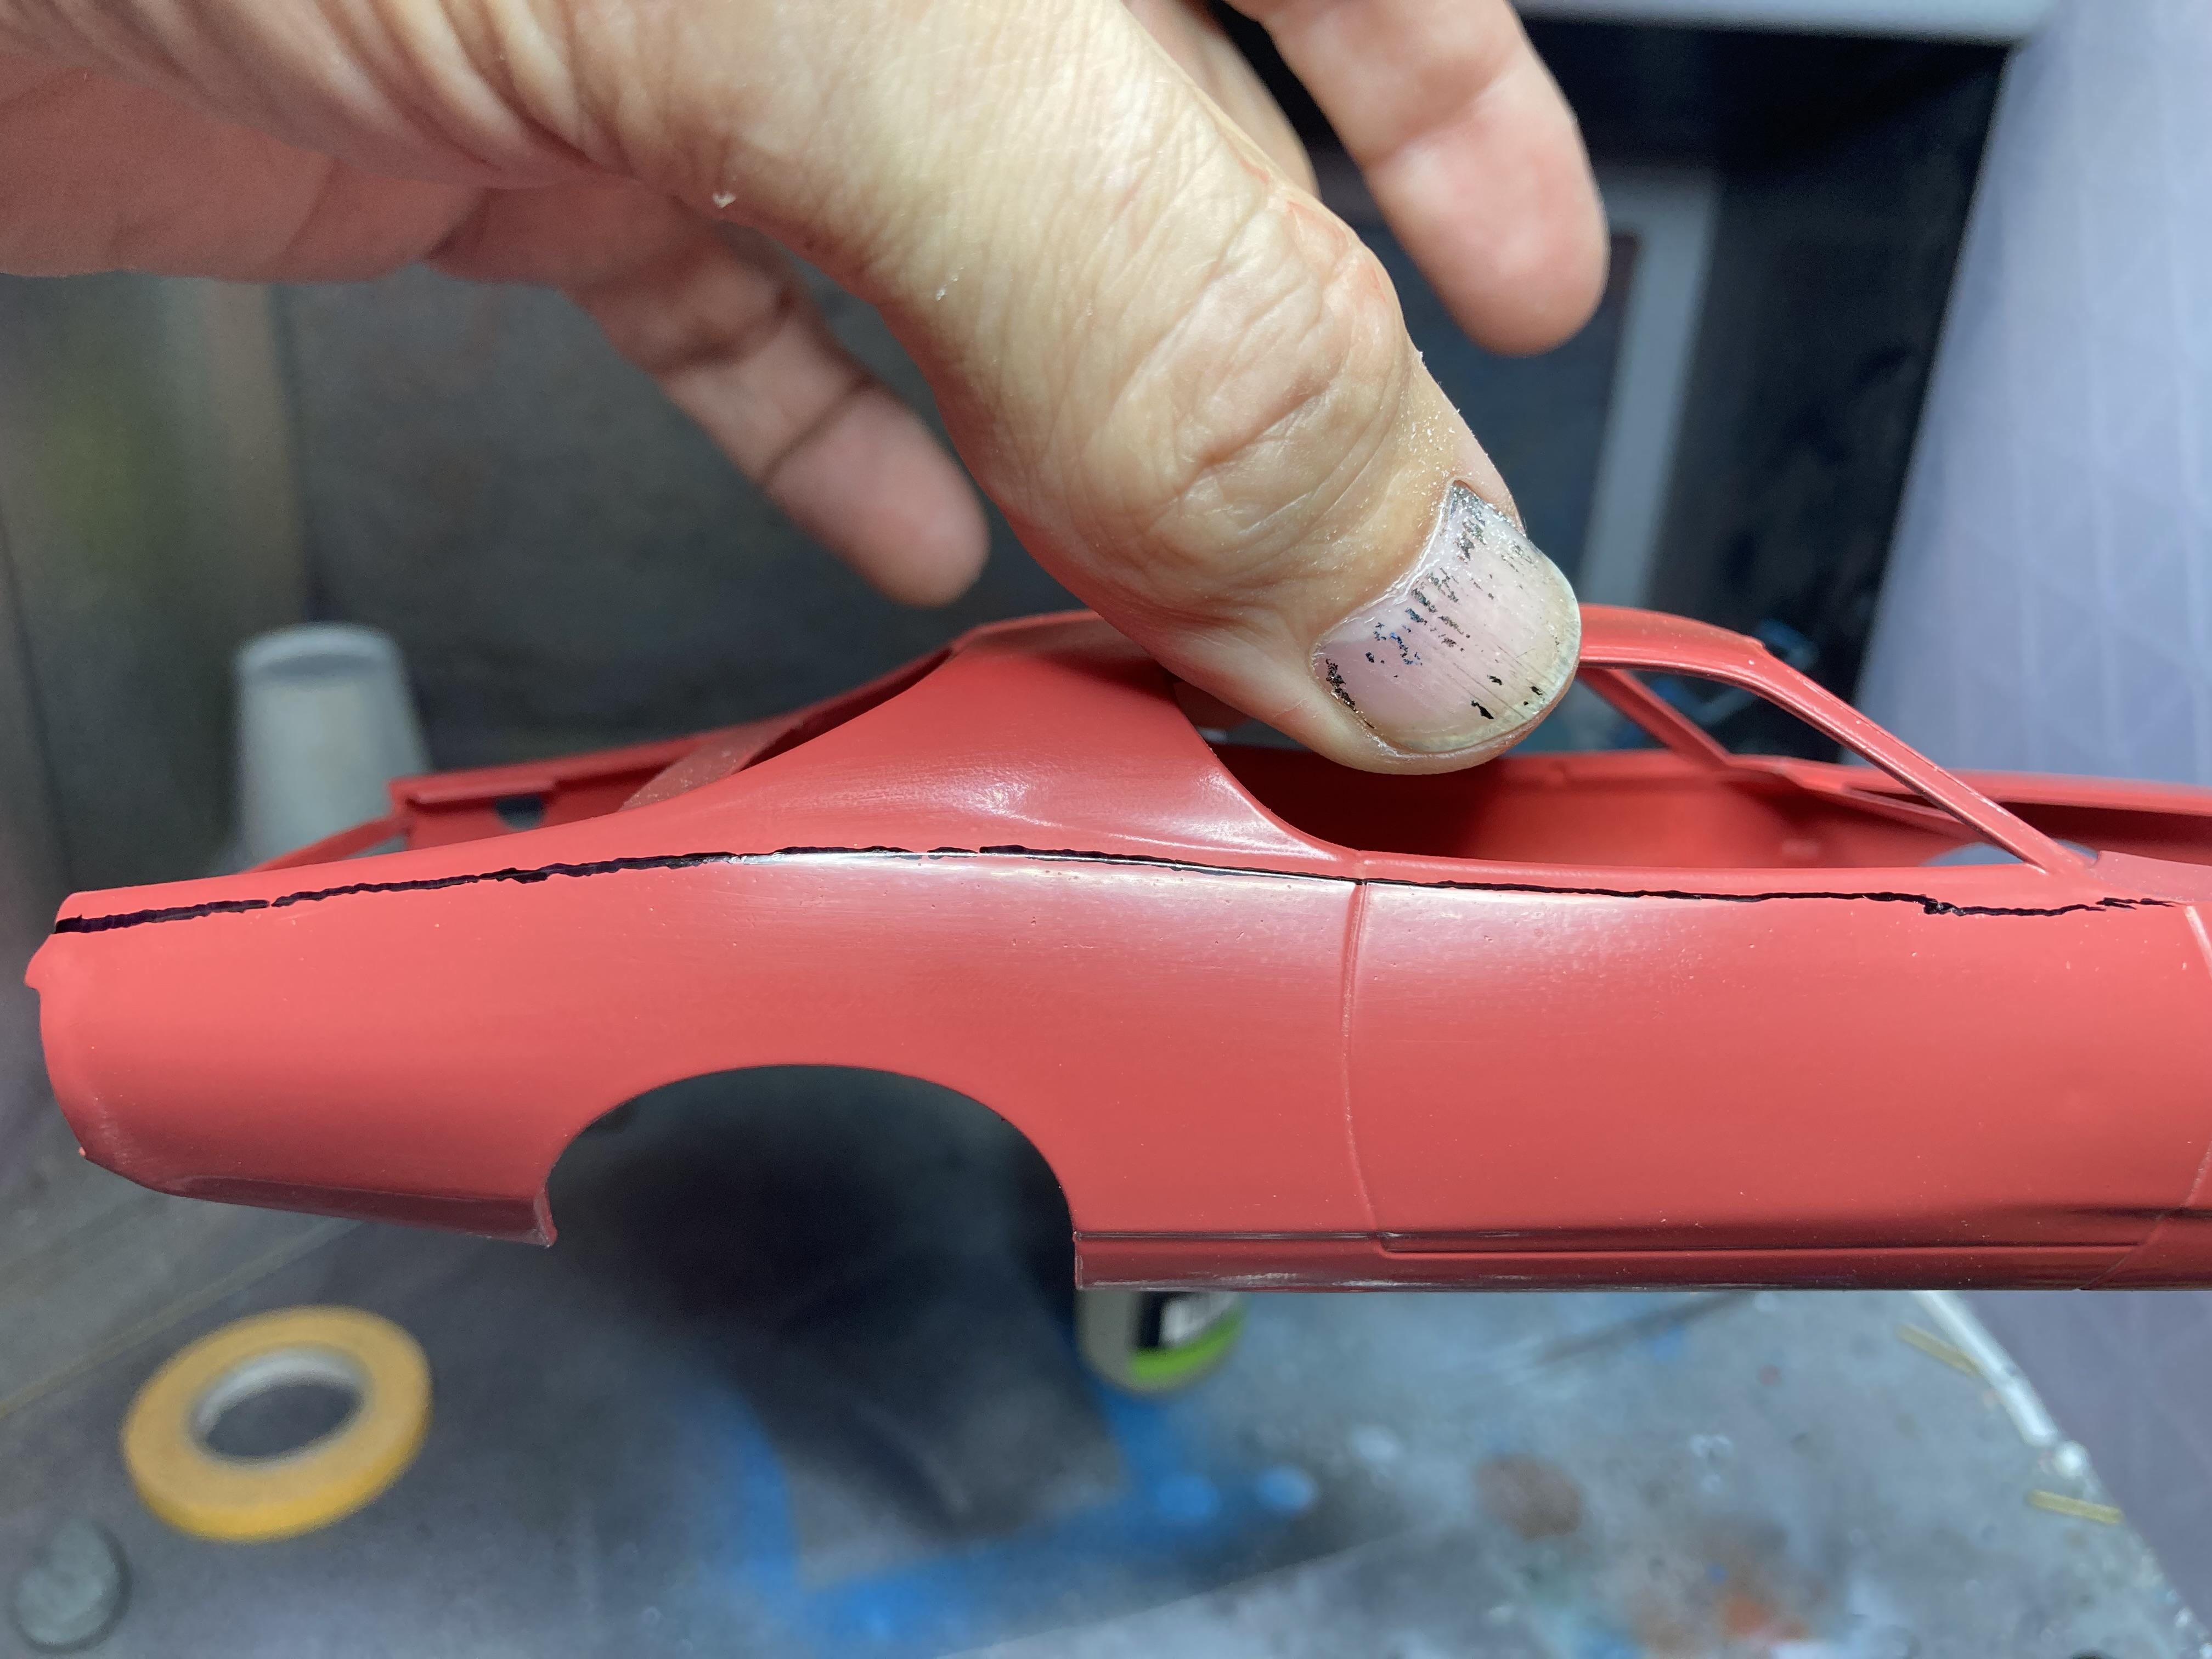
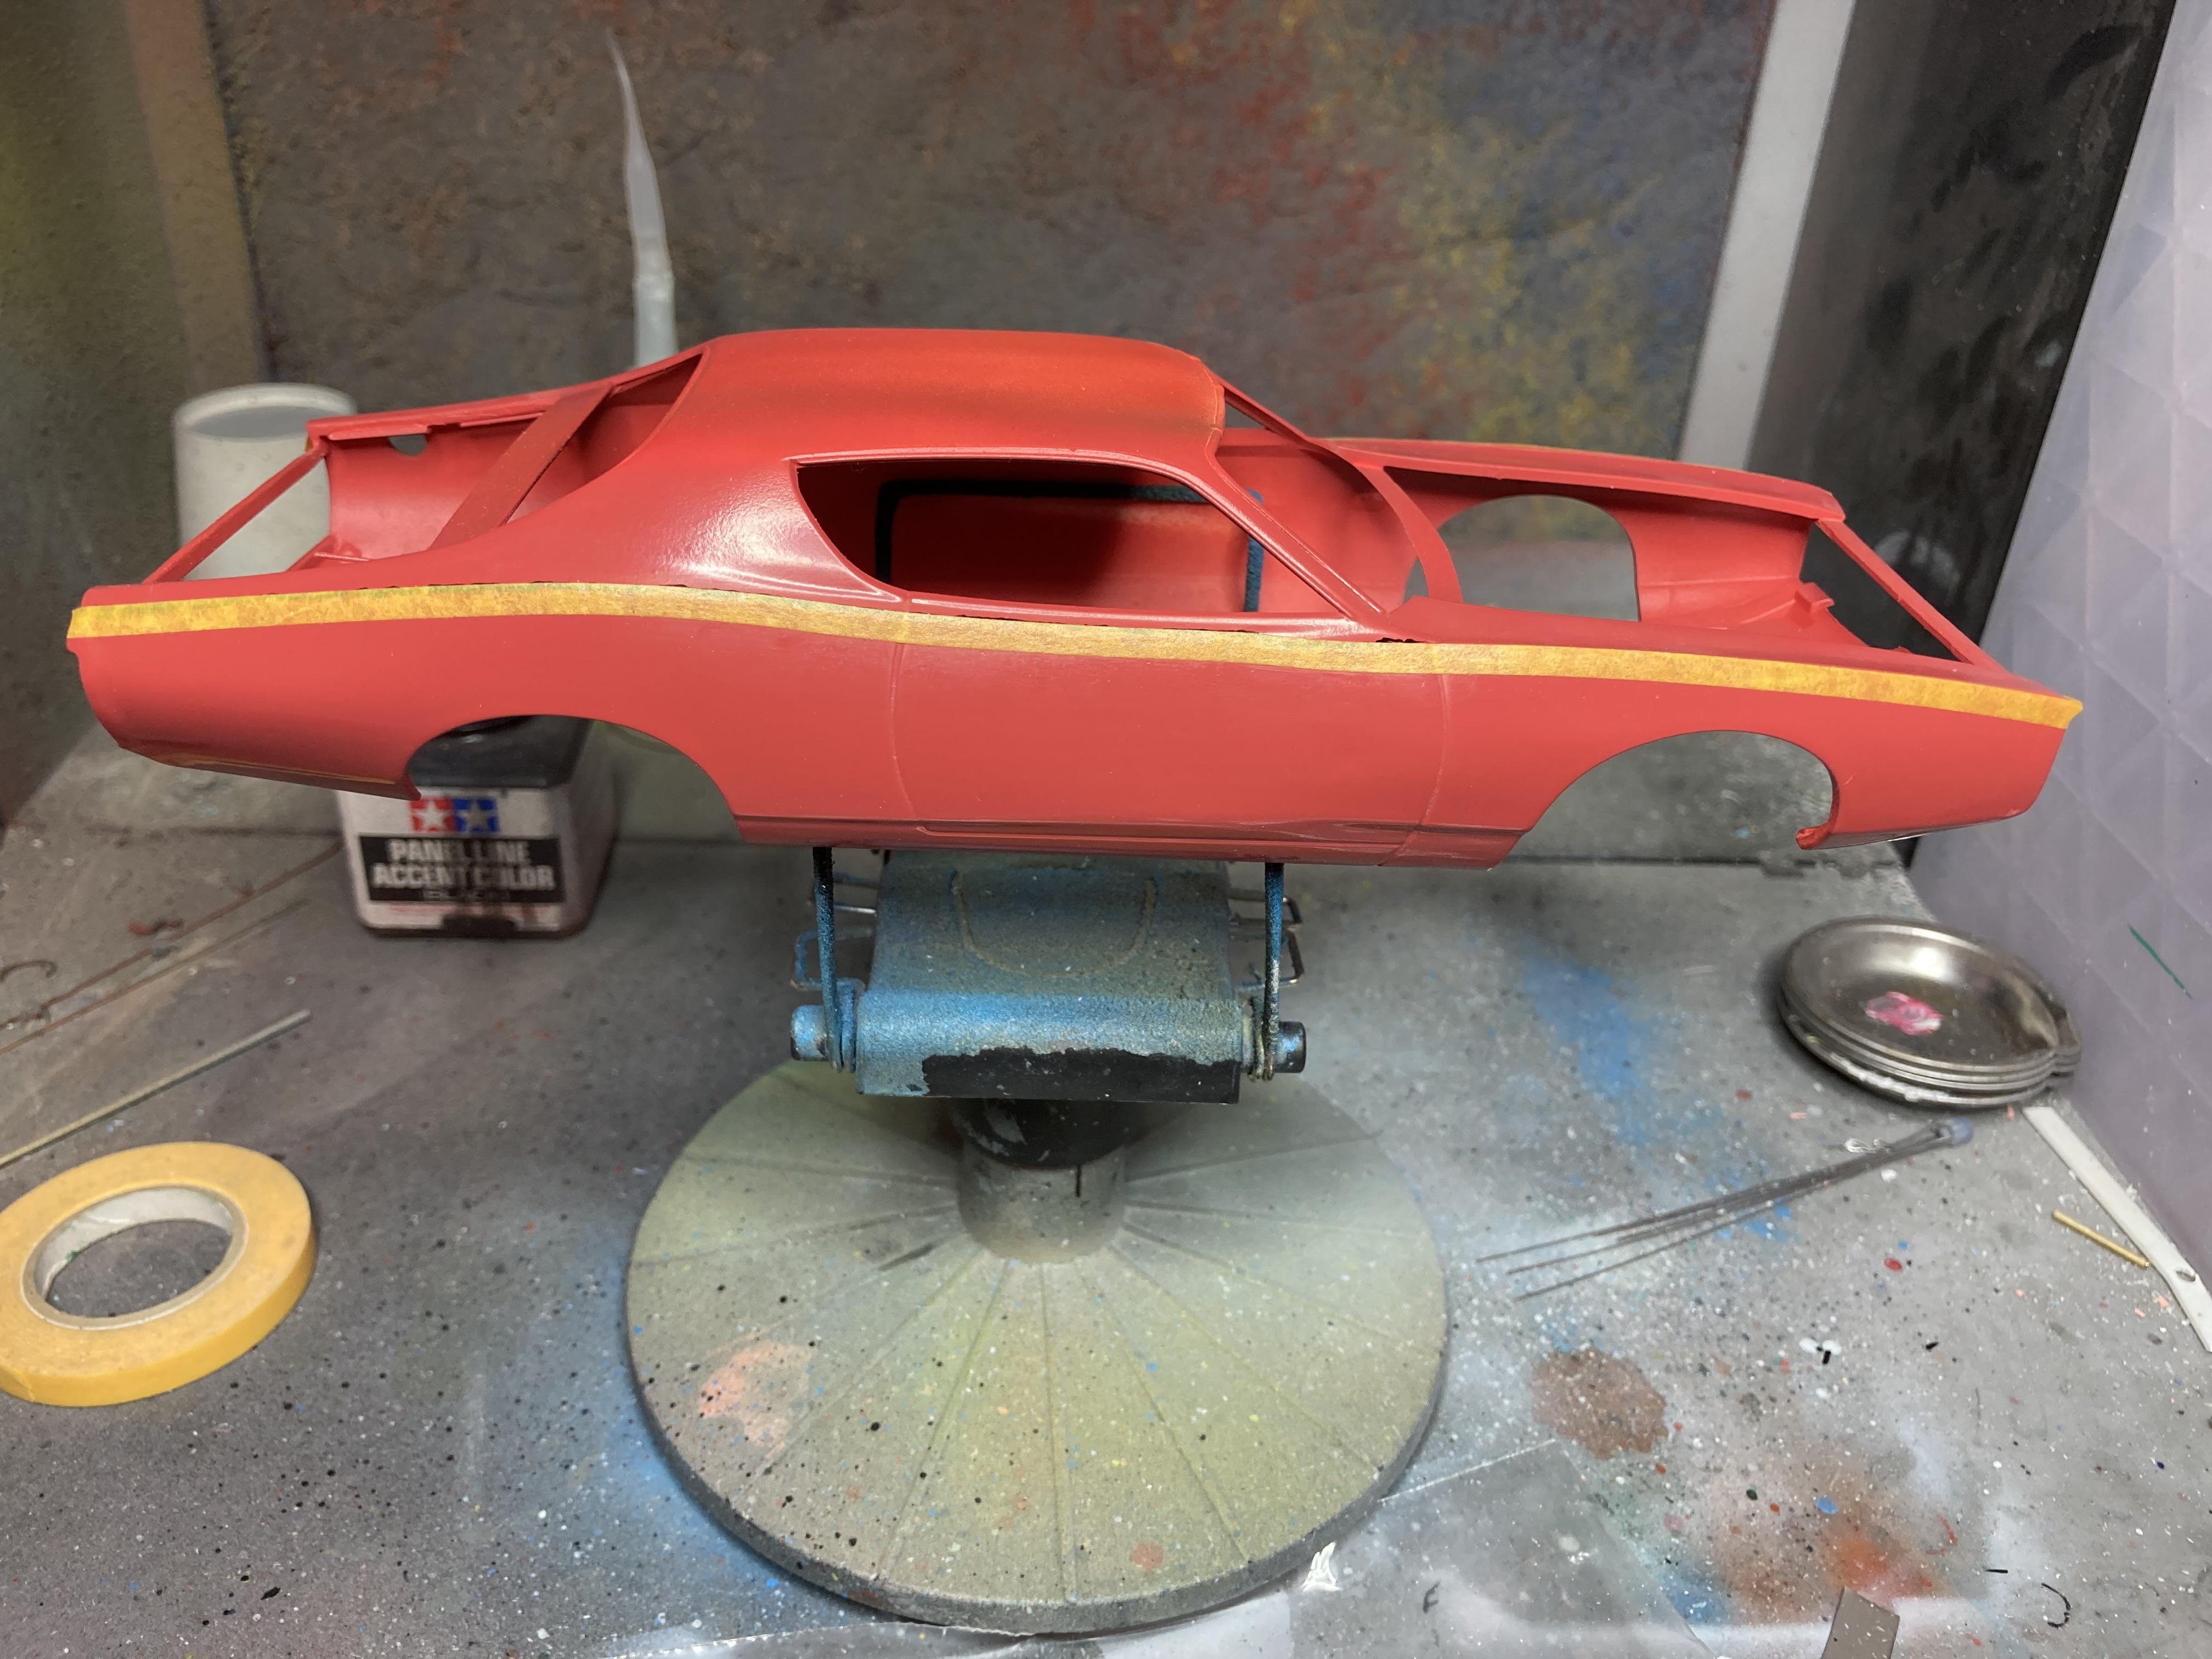
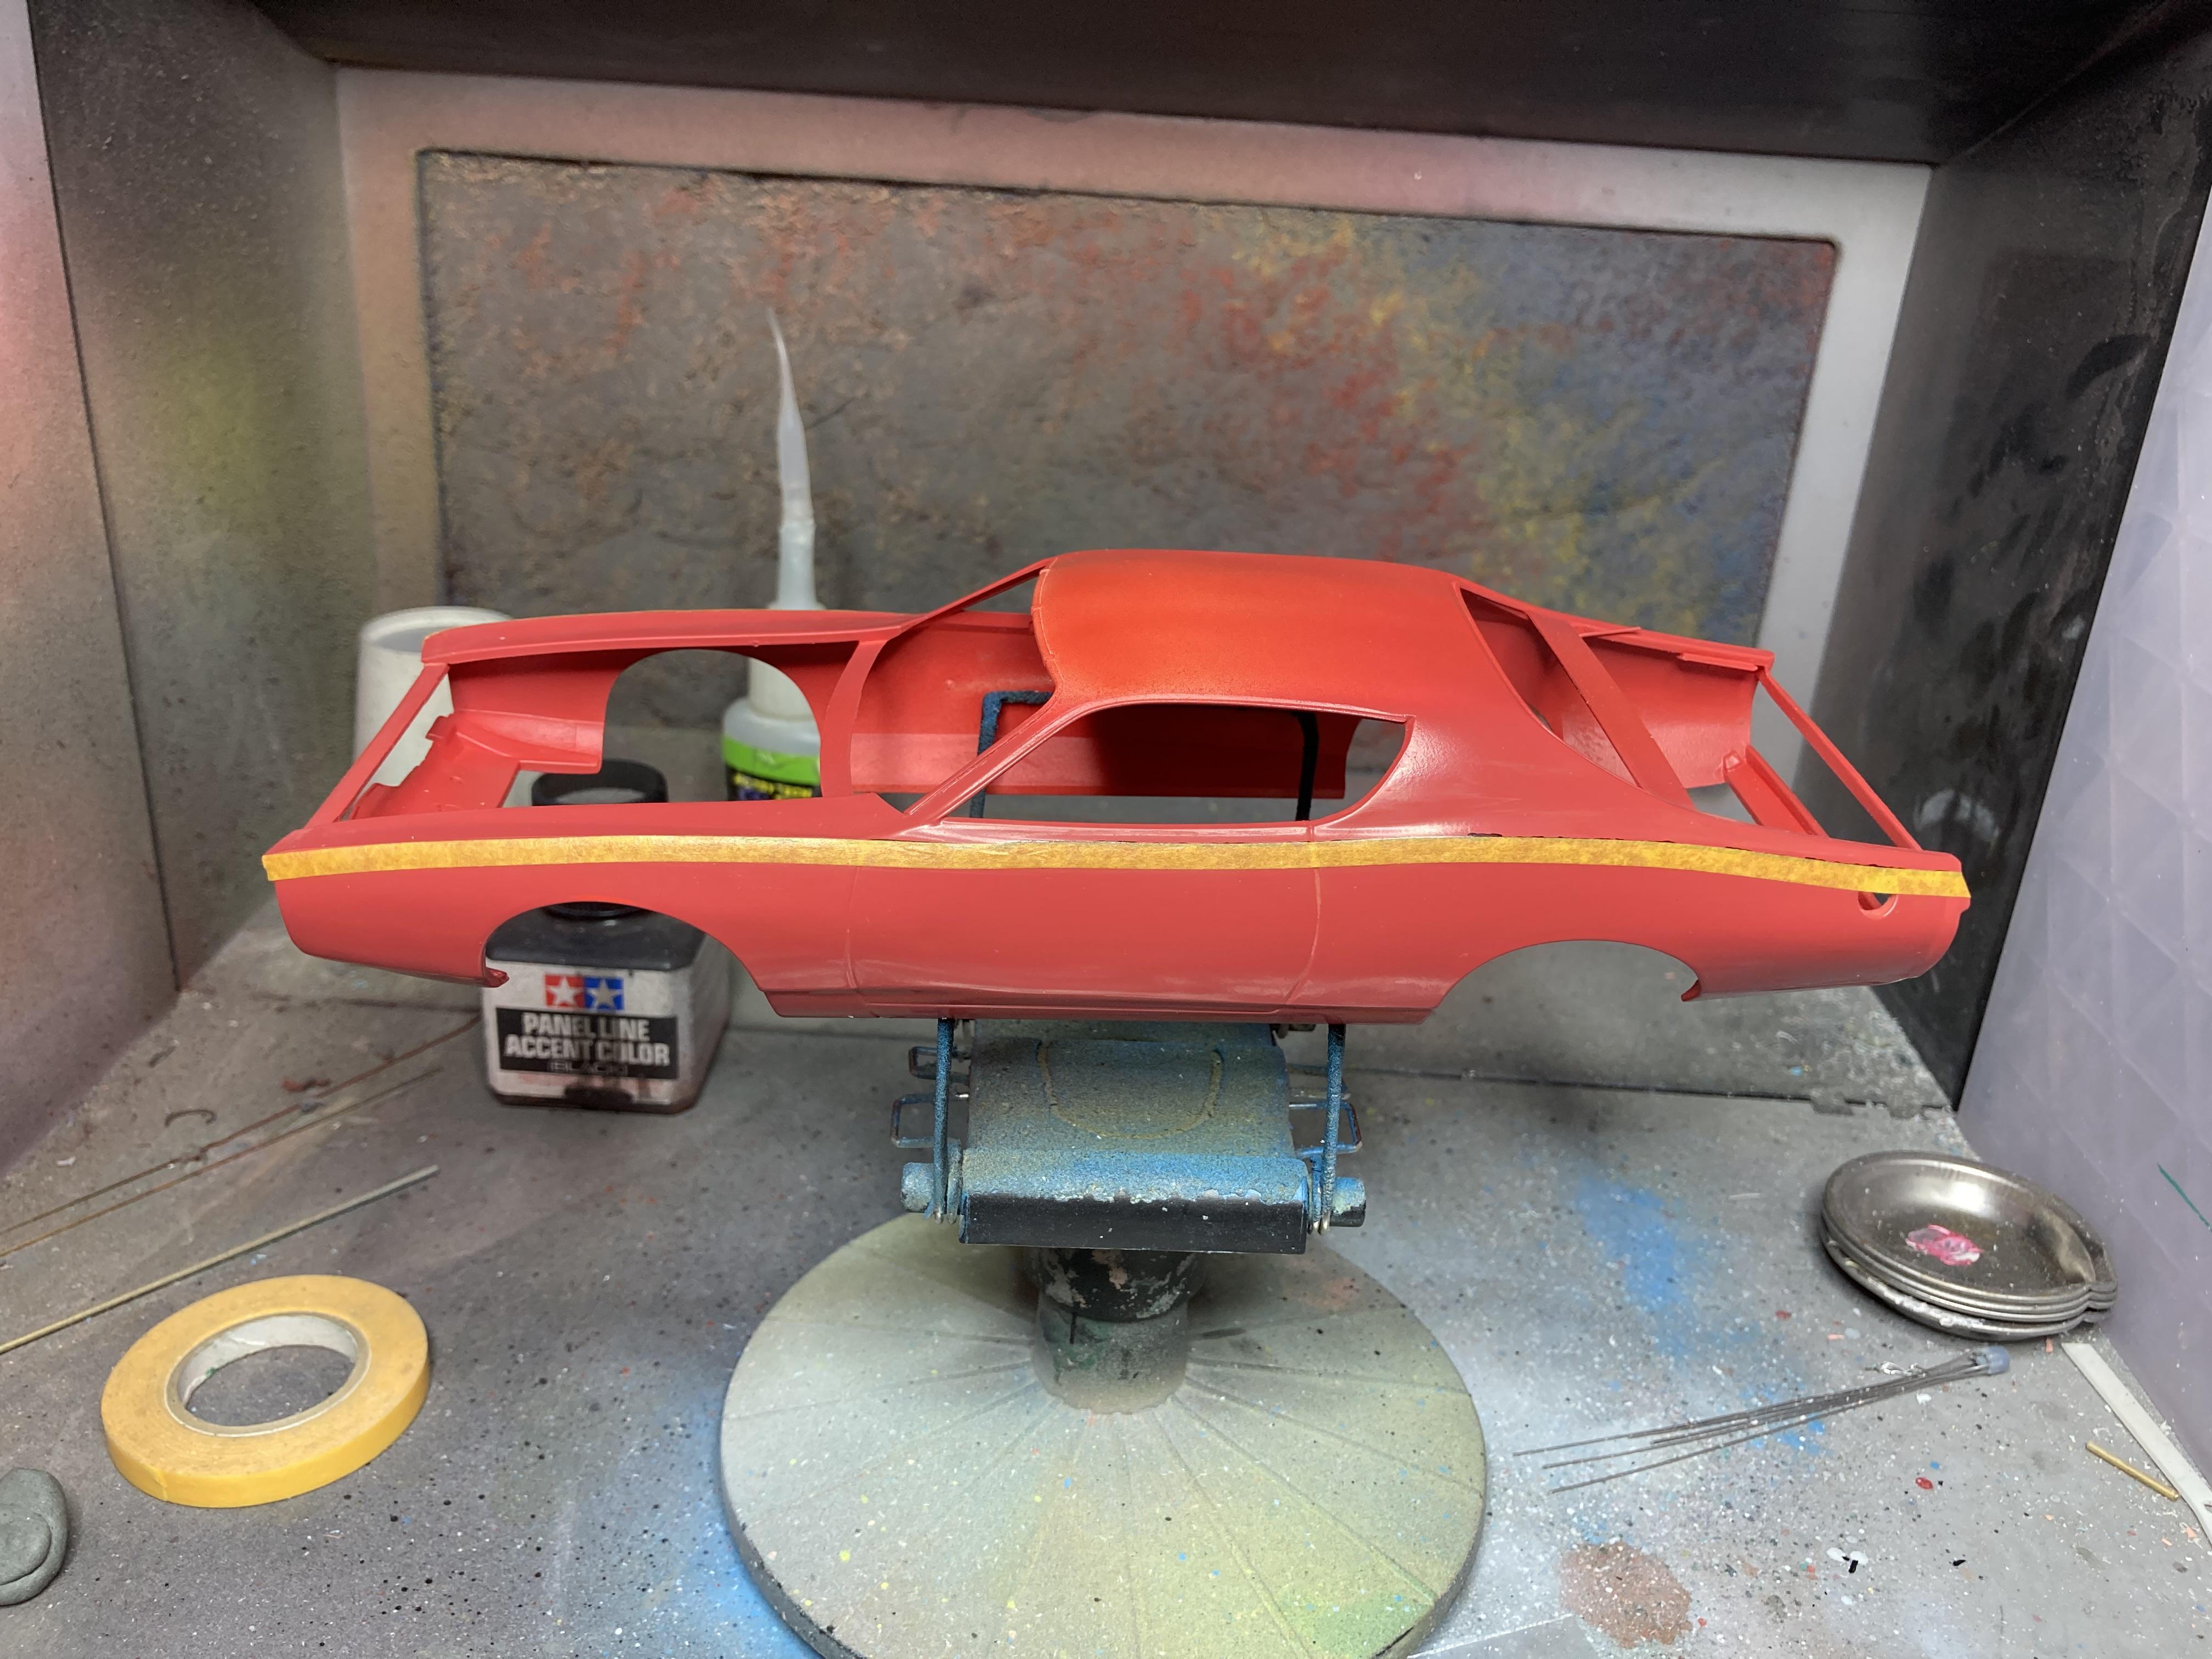
I decided to use a marker to make some guides for the masking tape: then I used some thin masking tape to follow the lines: After covering the rest of the lower body with masking tape, I sprayed some clear along the mask line, laid down some Mr Finishing Surfacer 1500 Black, and laid down some metallic gold coats:
-
I’m grateful for your including those pictures. They’re a great piece of racing history. Thank you.
-
Oldsmobile Quartet
GMasterG replied to GMasterG's topic in WIP: Stock Cars (NASCAR, Super Stock, Late Model, etc.)
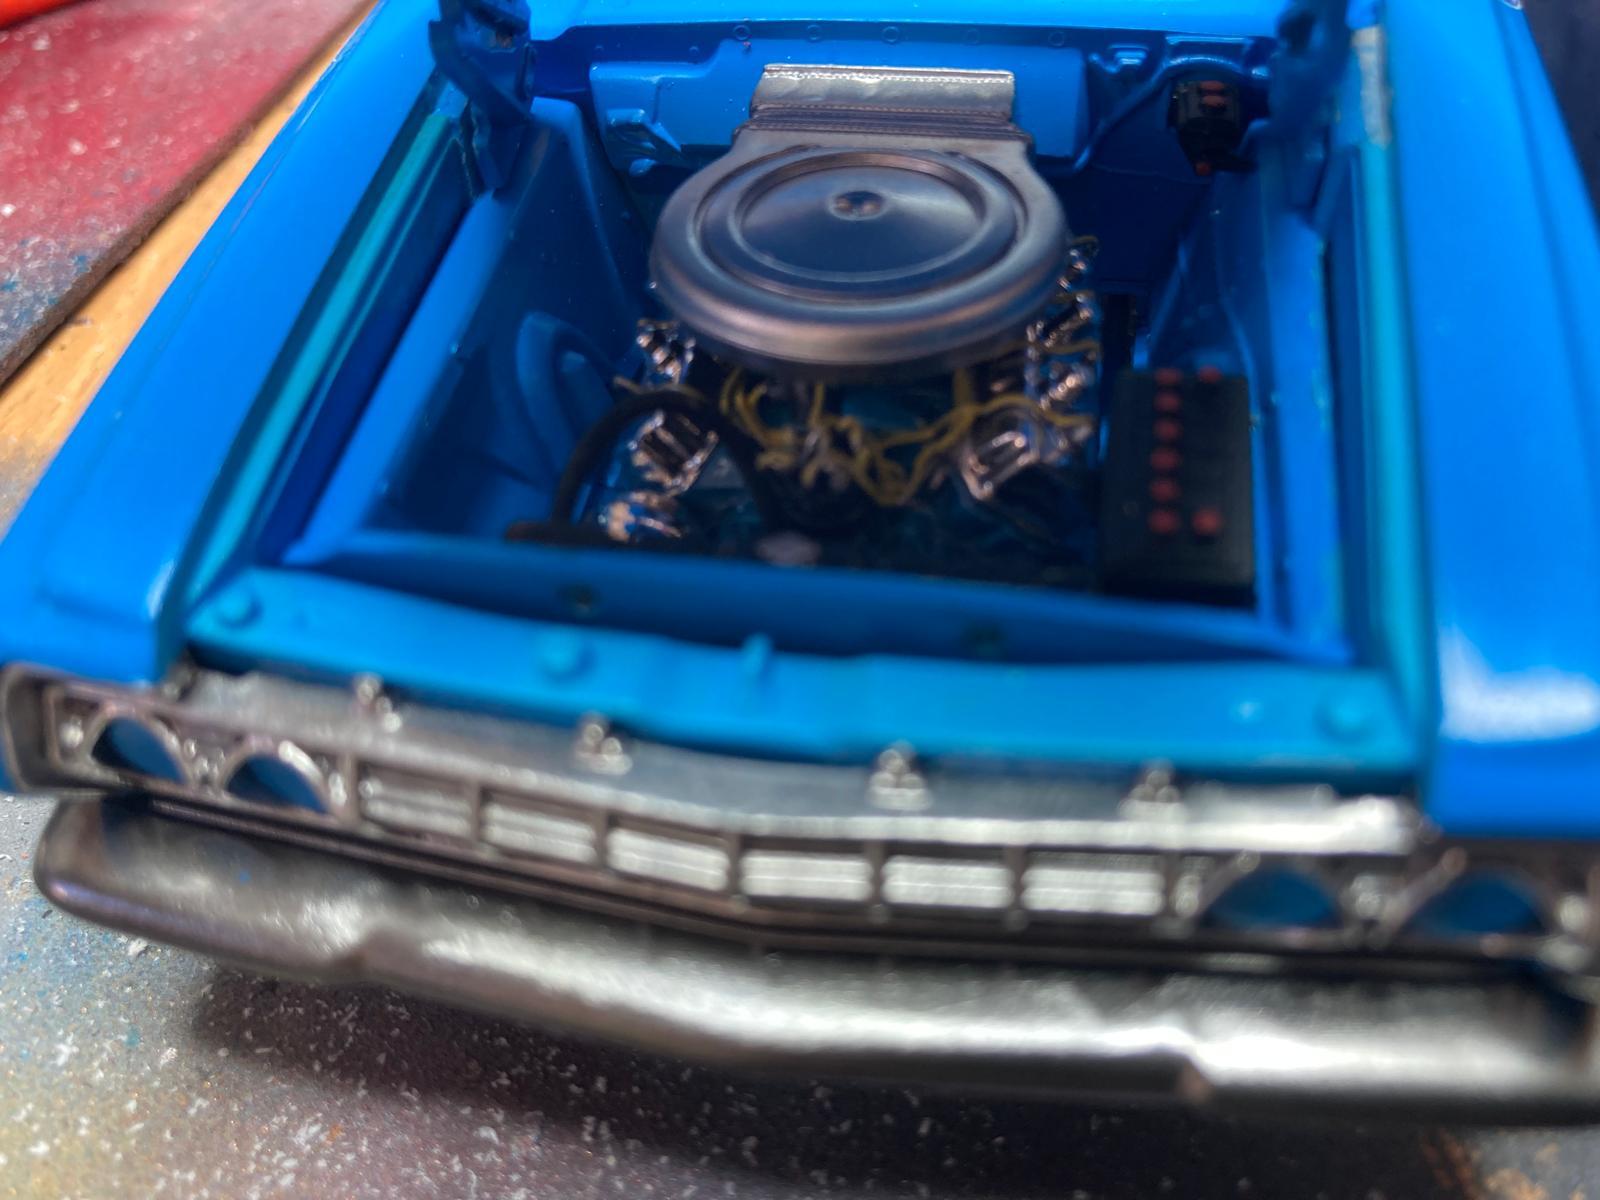
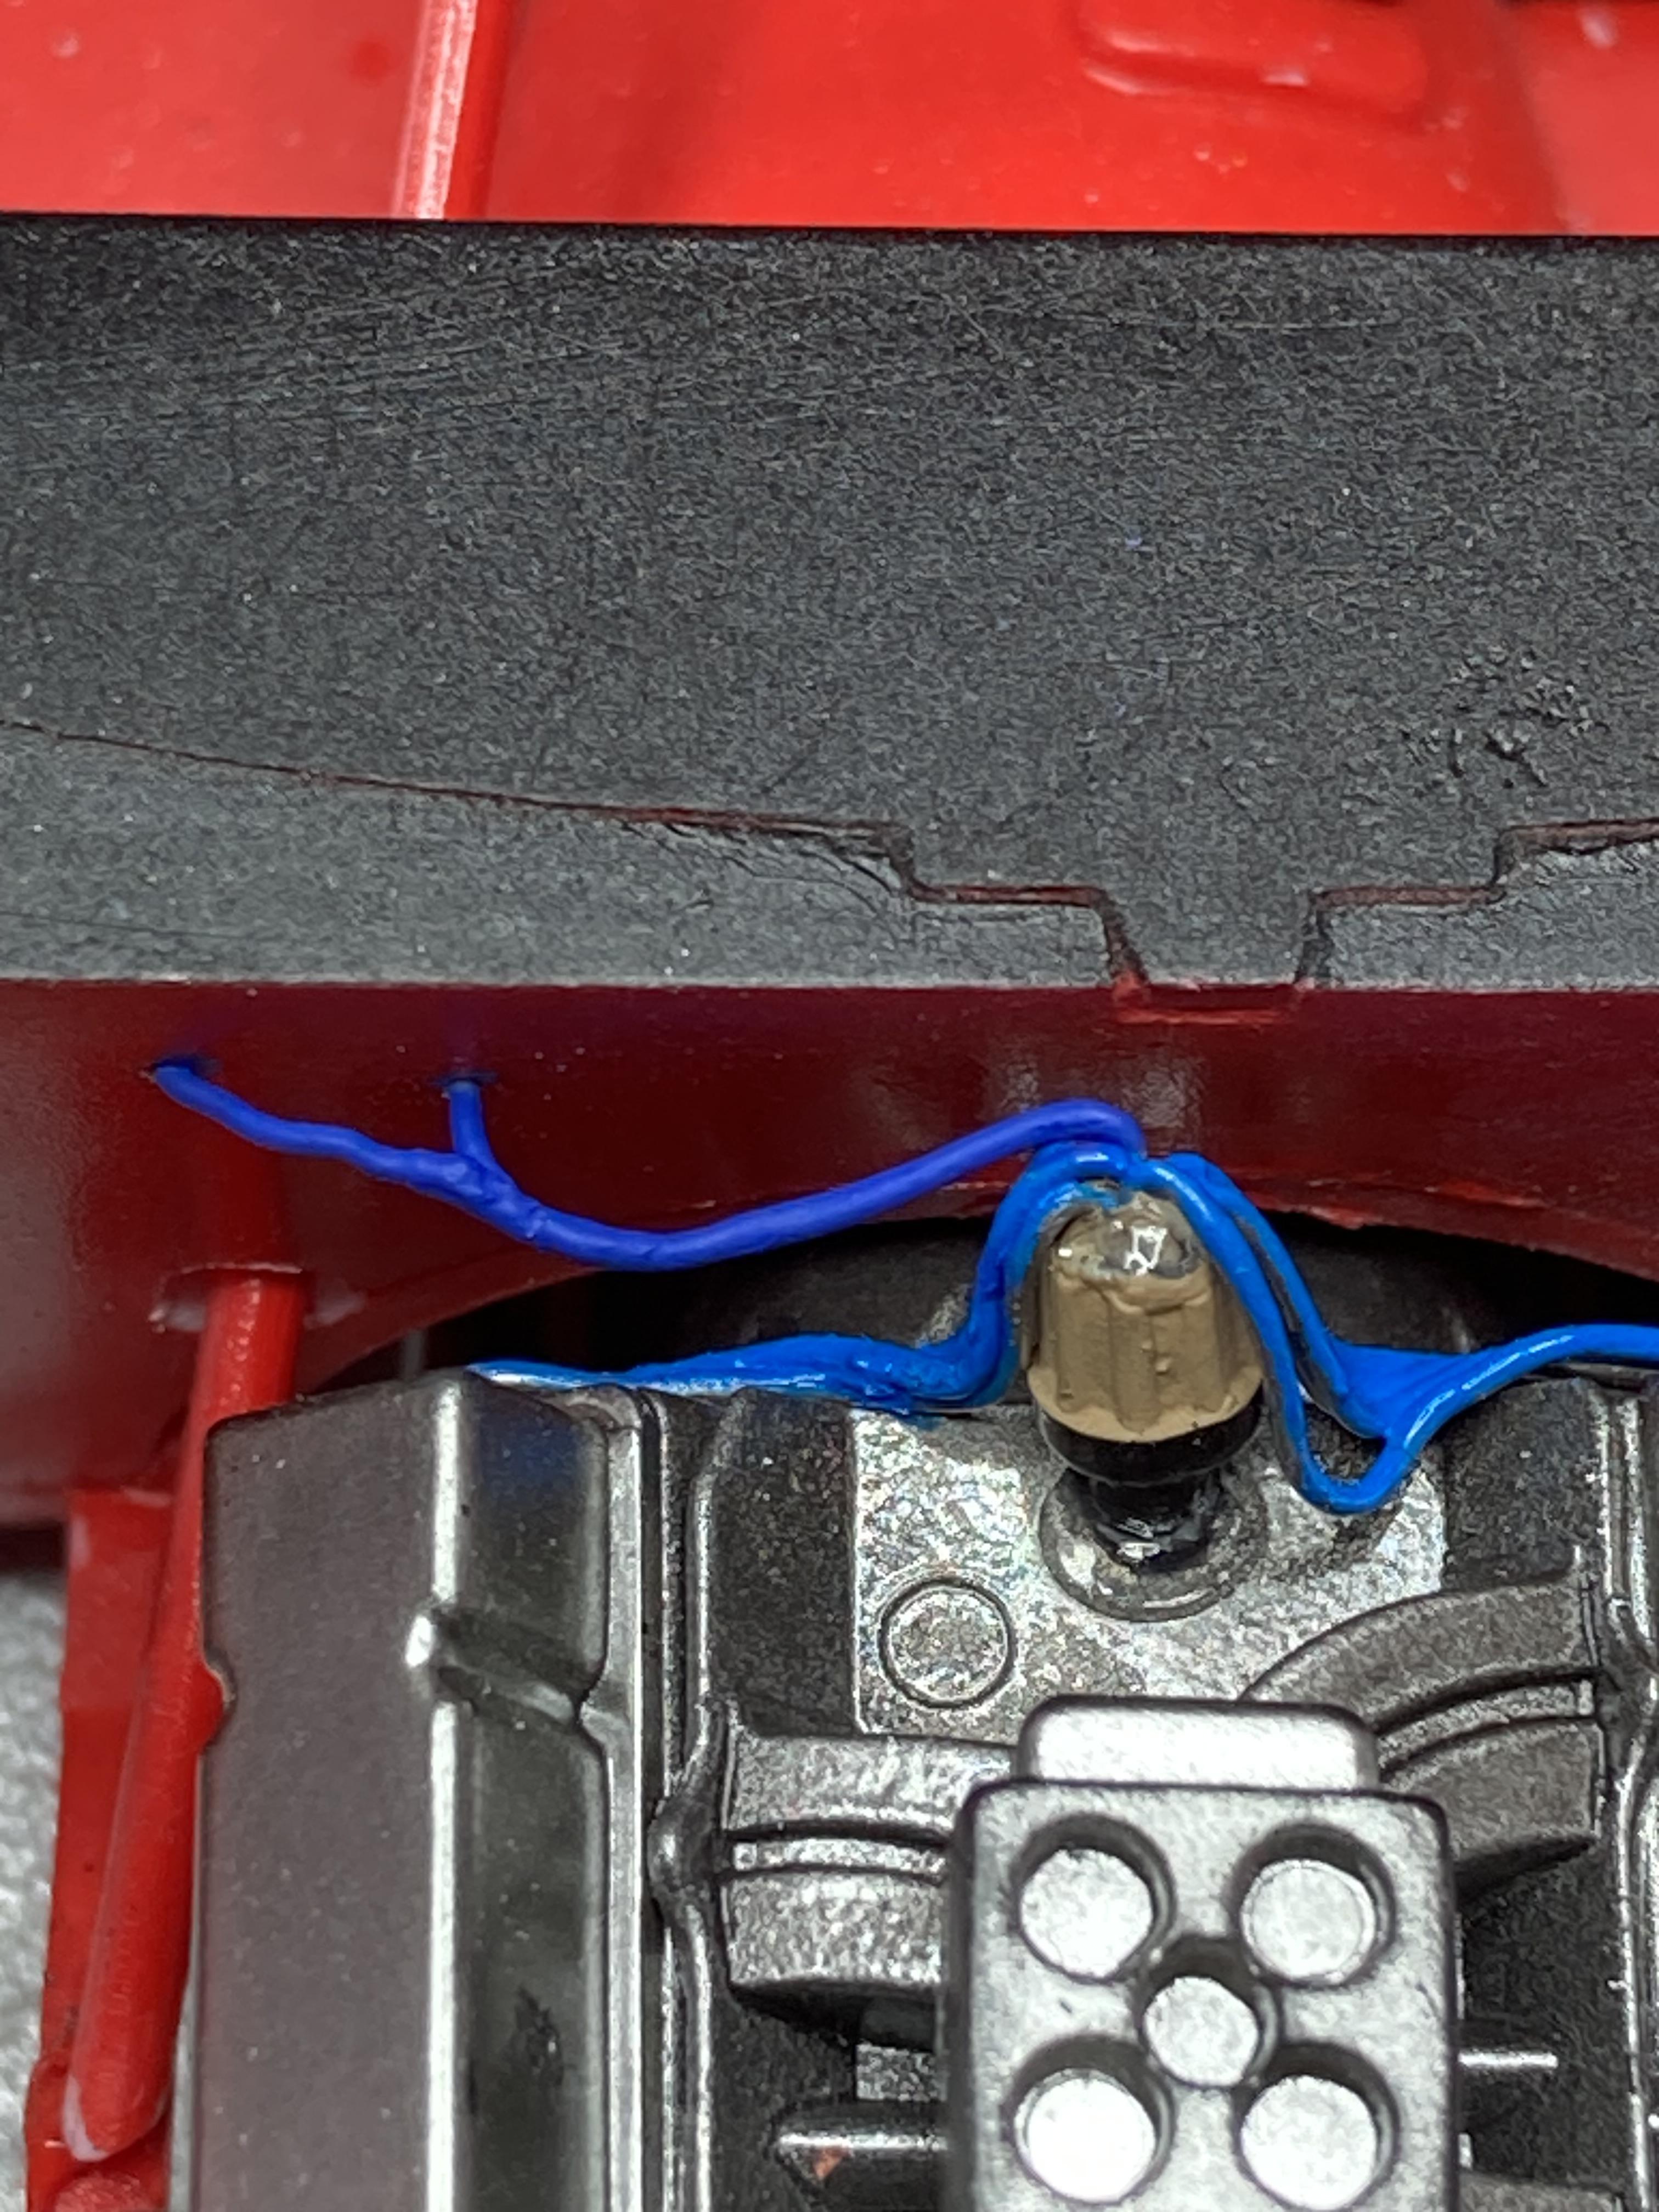
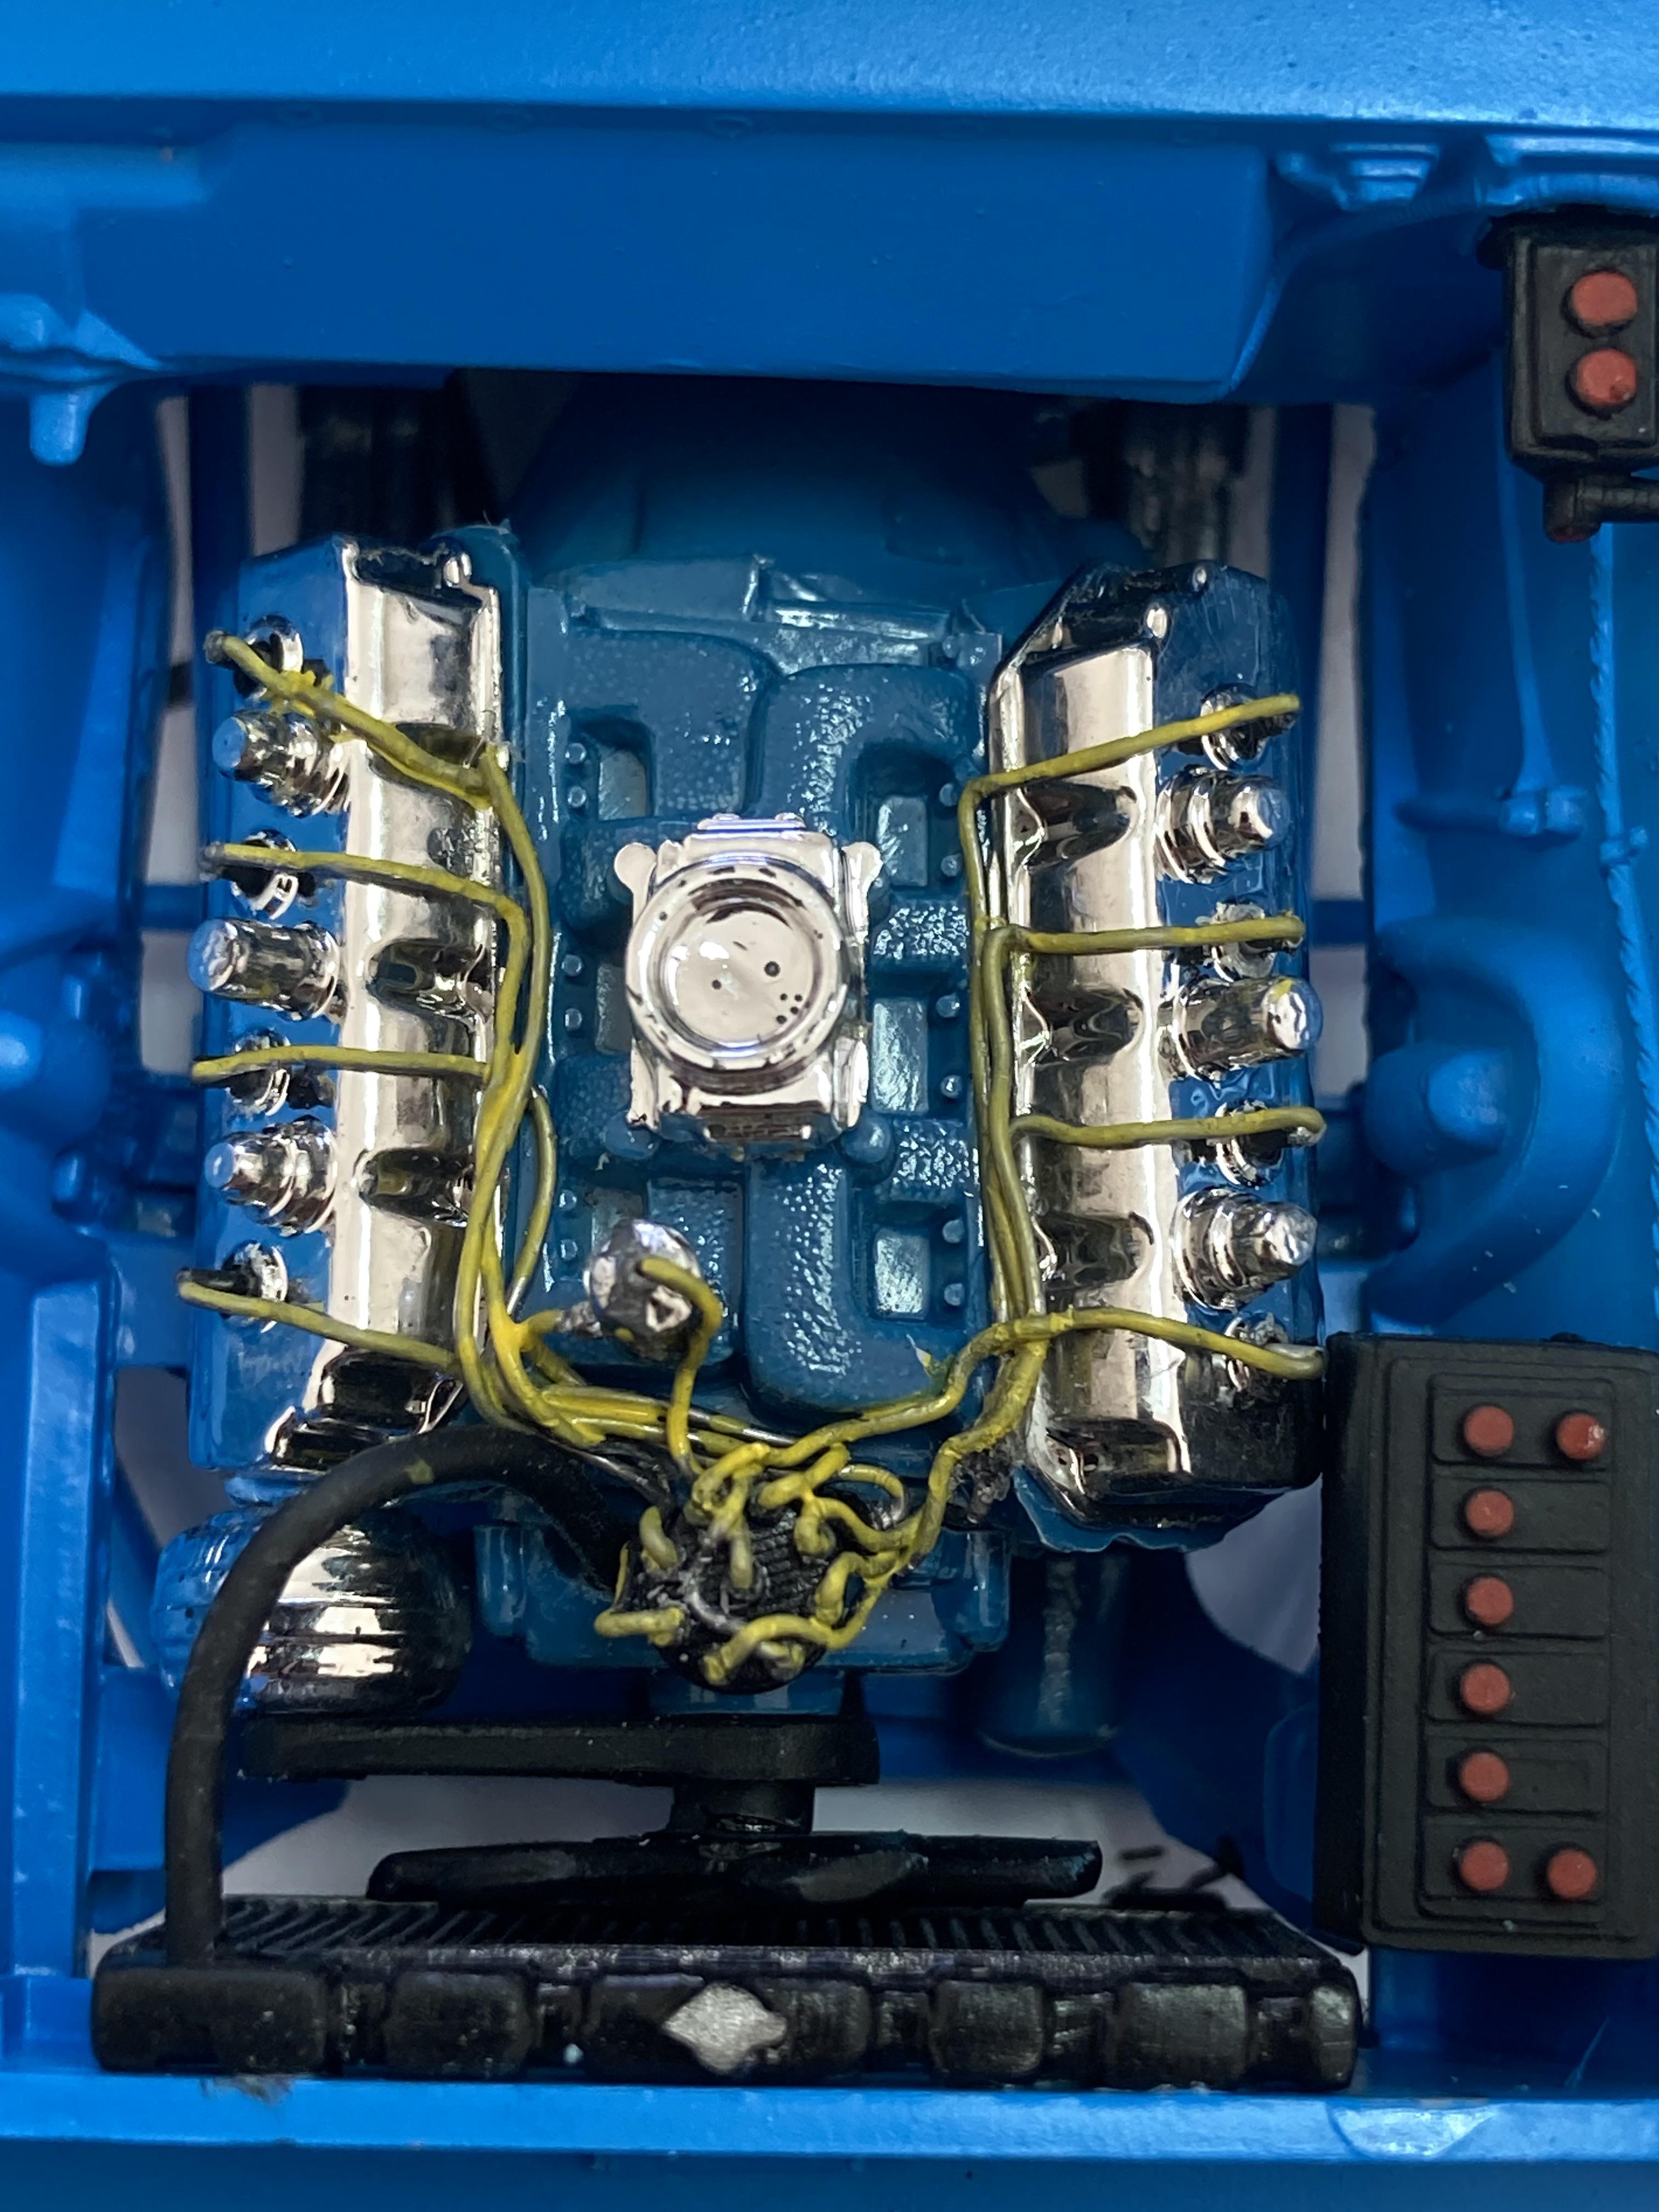
I’ve now installed the engine in this chassis and it’s fitting nicely both top: and bottom: I did want to 3D print some ignition coils to mount on the firewall but after changing the resin vat film I can no longer get any of my prints to adhere to the base plate. I will leave that challenge for another day and get on with these builds. So instead I’ve just fed the coil wire through the firewall and attached a 2nd:
-
Thank you for the references, I appreciate them.
-
In between building 4 Oldsmobile 442s I’ve been building this AMT kit. I’ve been really pleased with the quality and the ease with which I’ve been able to assemble it. All sub-assemblies ready for final assembly: