SteelyEd
-
Posts
81 -
Joined
-
Last visited
Content Type
Profiles
Forums
Events
Gallery
Everything posted by SteelyEd
-
1/16 Scale Army Vega Funny Car - Finished 10/14/2018
SteelyEd replied to Mooneyzs's topic in WIP: Drag Racing Models
Glad everything worked out for your Buddy! Like everyone else on here, I just love the amazing work you are doing on his build. Keep up the good work and God's speed to your Buddy! -
Thanks, when on the "tree" they seam to be rather thin, but after seeing them installed, apparently they aren't too thin after all. Thanks for the reply.
-
Looking Good Charlie! On the nuts, did you use one one per location or did you stack them to give them the desired thickness? Great job!
-
1/16 Scale Army Vega Funny Car - Finished 10/14/2018
SteelyEd replied to Mooneyzs's topic in WIP: Drag Racing Models
Super work overall!!!! I think the smaller ones (.7mm) look more to the correct size. -
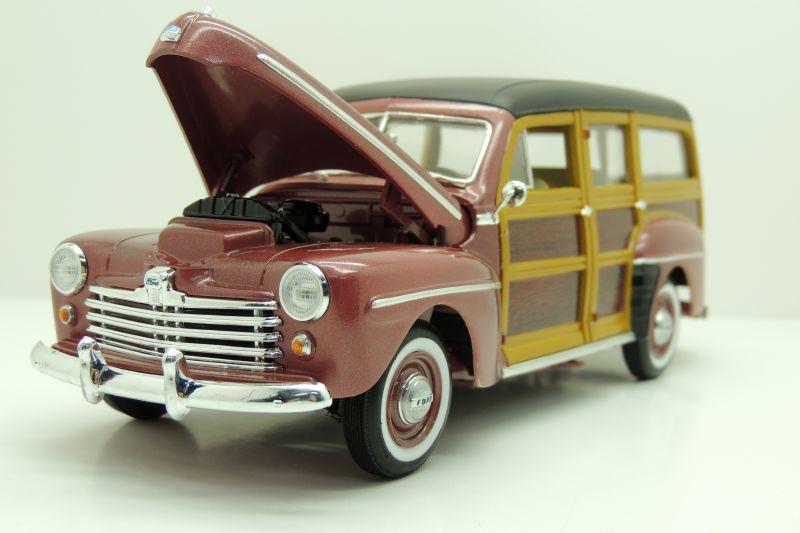
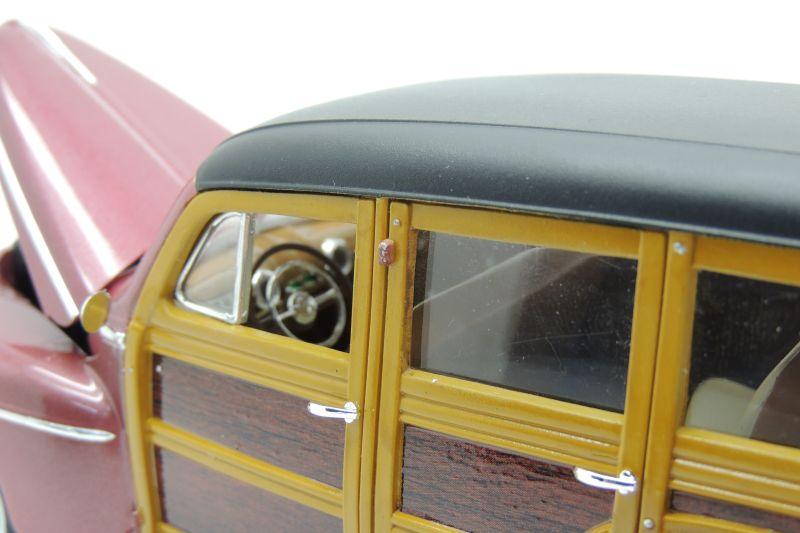
Thanks Guys! The wood grain is the kit decals, just put a light wash on them to make it look more like the real Mahogany I used on the boat. The red is a 50:50 mix of Testors Ruby Red and Red Metallic.
-
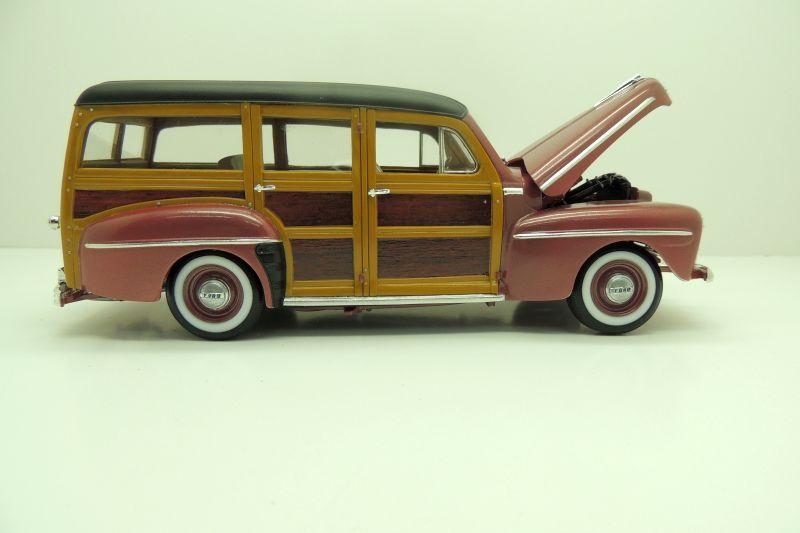
Thanks Guys! I checked it out and it is listing, I'll try to resolve the problem. When I first saw the pictures, I thought it was just my old eyes. Thanks again!
-
Just finished this one, It a Revell kit built box stock except for plug wires. The back bumper looks a little crocked in the pictures, but it's not.

-
Really love how this is coming out! Shame about the interior. Don't remeber what color you used on the Chevelle, what color is it? Great job with the BMF, very nice!
-
WIP 1961 Dodge = Bare metal foil nightmare
SteelyEd replied to gtx6970's topic in WIP: Drag Racing Models
Thanks for the info. I've never built a Johan kit, how does it compare to Revell as far as fit and quility? Whenever I saw a Johan kit I just skimed over it without paying very much attection to the kit. Oh! I forgot to mention, very nice work with the BMF. -
Thanks for the info. Again, beautyful work.
-
Very Nice! What kit is this (Box Art Please) Did the wrincle slicks come with the kit?
-
WIP 1961 Dodge = Bare metal foil nightmare
SteelyEd replied to gtx6970's topic in WIP: Drag Racing Models
Where did you get the kit? Been looking for a 1961 Dart for years. That was the very first model I ever built, Mine was a AMT kit molded in a greenish color. -
Thanks Charlie, he only time I tried the white glue, I was thinking it would set-up like other gules. Didn't think about the long set-up time white glue has. I'll have to try the white glue mock up one more time.
-
Nice start! I konw you will do a killer job with this one. I have a question, how do you use the white gule for your mock-up? I tried it a few times and couldn't get to glue to hold anything together.
-
First Race Car 55 Chevy Pro Sportsman
SteelyEd replied to SteelyEd's topic in WIP: Drag Racing Models
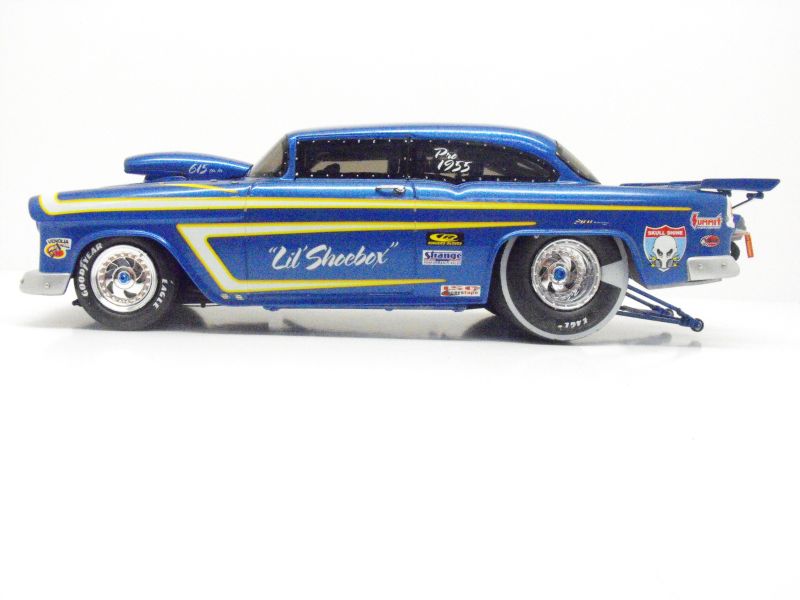
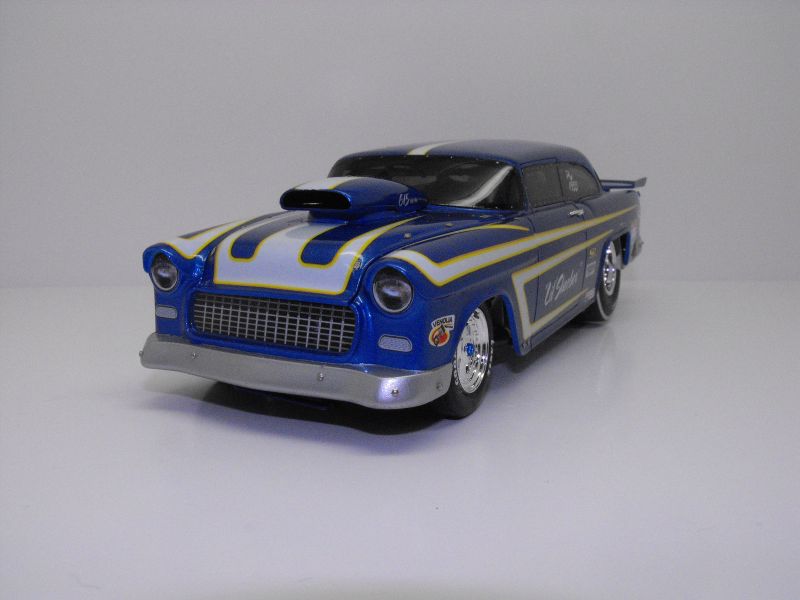
Thanks for all the complements fellas, really means so much coming from you all. As requested, I pullled this out of the case and shot some photos of it with the body on.
-
First Race Car 55 Chevy Pro Sportsman
SteelyEd replied to SteelyEd's topic in WIP: Drag Racing Models
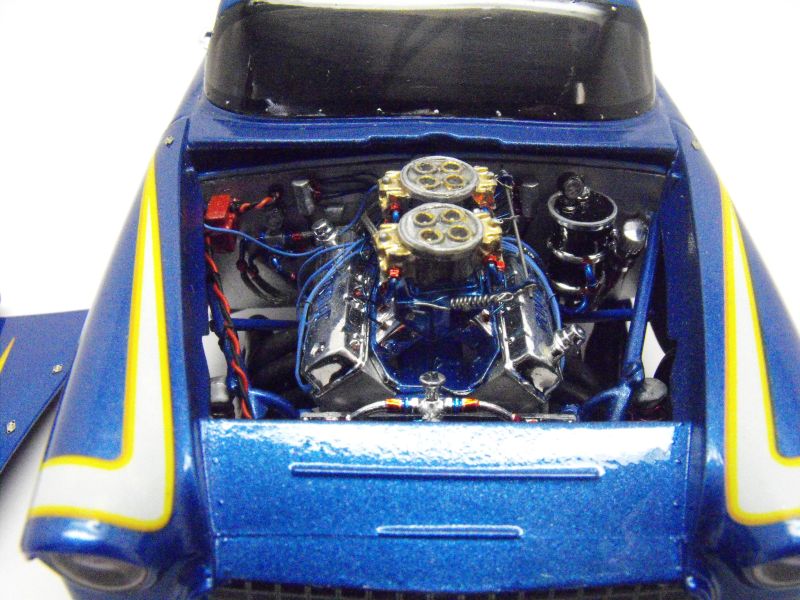
Thanks guys! I took it to two shows, one in Texas and the other one here in Louisiana, It took First Place in Drag Cars at both shows. I used the insulation off of 12 gauge electrical wire. I was lucky the insulation is soft rubber like and really compressed nicely under the 30 gauge wire I used to wrap around them. -
1/16th 69 Camaro ProMod 7/22/14 motor painted
SteelyEd replied to Romell R's topic in WIP: Drag Racing Models
Off to another stellar build I see! Will be following along with eager anticipation. So far great job on the block and chassis. Good luck in the new venture, if I every jump to 1:16, I will definitely be contacting you about some of your creations. Again Good Job! -
Clay, I have been admiring your work for years, it's a pleasure to watch one of your masterpieces come to life. Thanks so much for sharing.
-
69 Daytona Pro Mod 1/16th scale updated 4/3/12 ..It's a wrap!
SteelyEd replied to Romell R's topic in WIP: Drag Racing Models
Romell, this thing in off the hook, your scratch building skills are second to none. Outstanding work! -
First Race Car 55 Chevy Pro Sportsman
SteelyEd replied to SteelyEd's topic in WIP: Drag Racing Models
Thanks so much! Basiclly yes, I also used photos of these increatable builds on this site as reference and insperation. -
First Race Car 55 Chevy Pro Sportsman
SteelyEd replied to SteelyEd's topic in WIP: Drag Racing Models
I finally got this one finished. If you notice some of the sponsor decals are changed from the earlier photos. I made startling surprise when I unmasked where I painted the silver bumpers, I shot a couple coats of clear on the body a few days earlier, when I pulled off the tape, only a few minutes after shooting the silver some of the sponsor decals came off with the tape. So after some major blessings, I scrambled some replacements and put them on and shot some more clear to blend it all out. Lesson learned, do all painting before applying decals. I’m going to the Lone Oak model show this weekend and see how it does, never been to this one before. Thanks for looking and following along, even though I took a really long time to finish it. -
First Race Car 55 Chevy Pro Sportsman
SteelyEd replied to SteelyEd's topic in WIP: Drag Racing Models
Thanks guys. -
First Race Car 55 Chevy Pro Sportsman
SteelyEd replied to SteelyEd's topic in WIP: Drag Racing Models
Thanks guys, Coming from all of you really means a great deal to me. I have never seen such beautiful work before I found this site. I have learned so much from all of you. I can not thank you enough. Thanks! -
First Race Car 55 Chevy Pro Sportsman
SteelyEd replied to SteelyEd's topic in WIP: Drag Racing Models
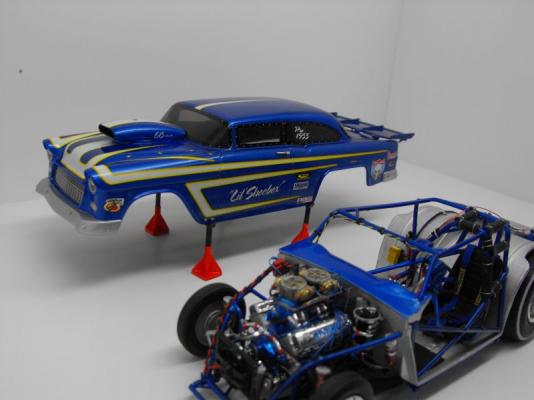
Got all the kit supplied decals on and added some from Slixx. Just have a few more details to finish up, paint the front and rear bumpers silver, put on the door handles, parachute, and real wing and this will be done. This is probably the longest I ever worked on a model car. -
First Race Car 55 Chevy Pro Sportsman
SteelyEd replied to SteelyEd's topic in WIP: Drag Racing Models
Got the chassis completed! Completed the roll-bar, that was a bear, lots of parts, had to glue one end and let that dry then glue the other end, it didn’t want to come together at one time. I also added the roll-bar padding and parachute cable. I think it came out pretty good for a first time race car build. It will be a whole before I tackle another one.