1tim1
-
Posts
113 -
Joined
-
Last visited
Content Type
Profiles
Forums
Events
Gallery
Everything posted by 1tim1
-
Thanks.
-
AMT Ford Phantom van
1tim1 replied to 1tim1's topic in Model Trucks: Pickups, Vans, SUVs, Light Commercial
Thanks! Thanks! Thanks! -
Thanks. Thanks! Thanks!
-
Thanks. There wasn't a gap so I just used the testors tube glue as the filler and to hold it together. I thought that method would work. Primer coat and color coat was fine, I think when it sat in the hot car for about an hour it caused the plastic to expand or something. Thanks Thanks Steve! Nice 1:1 S2000!
-
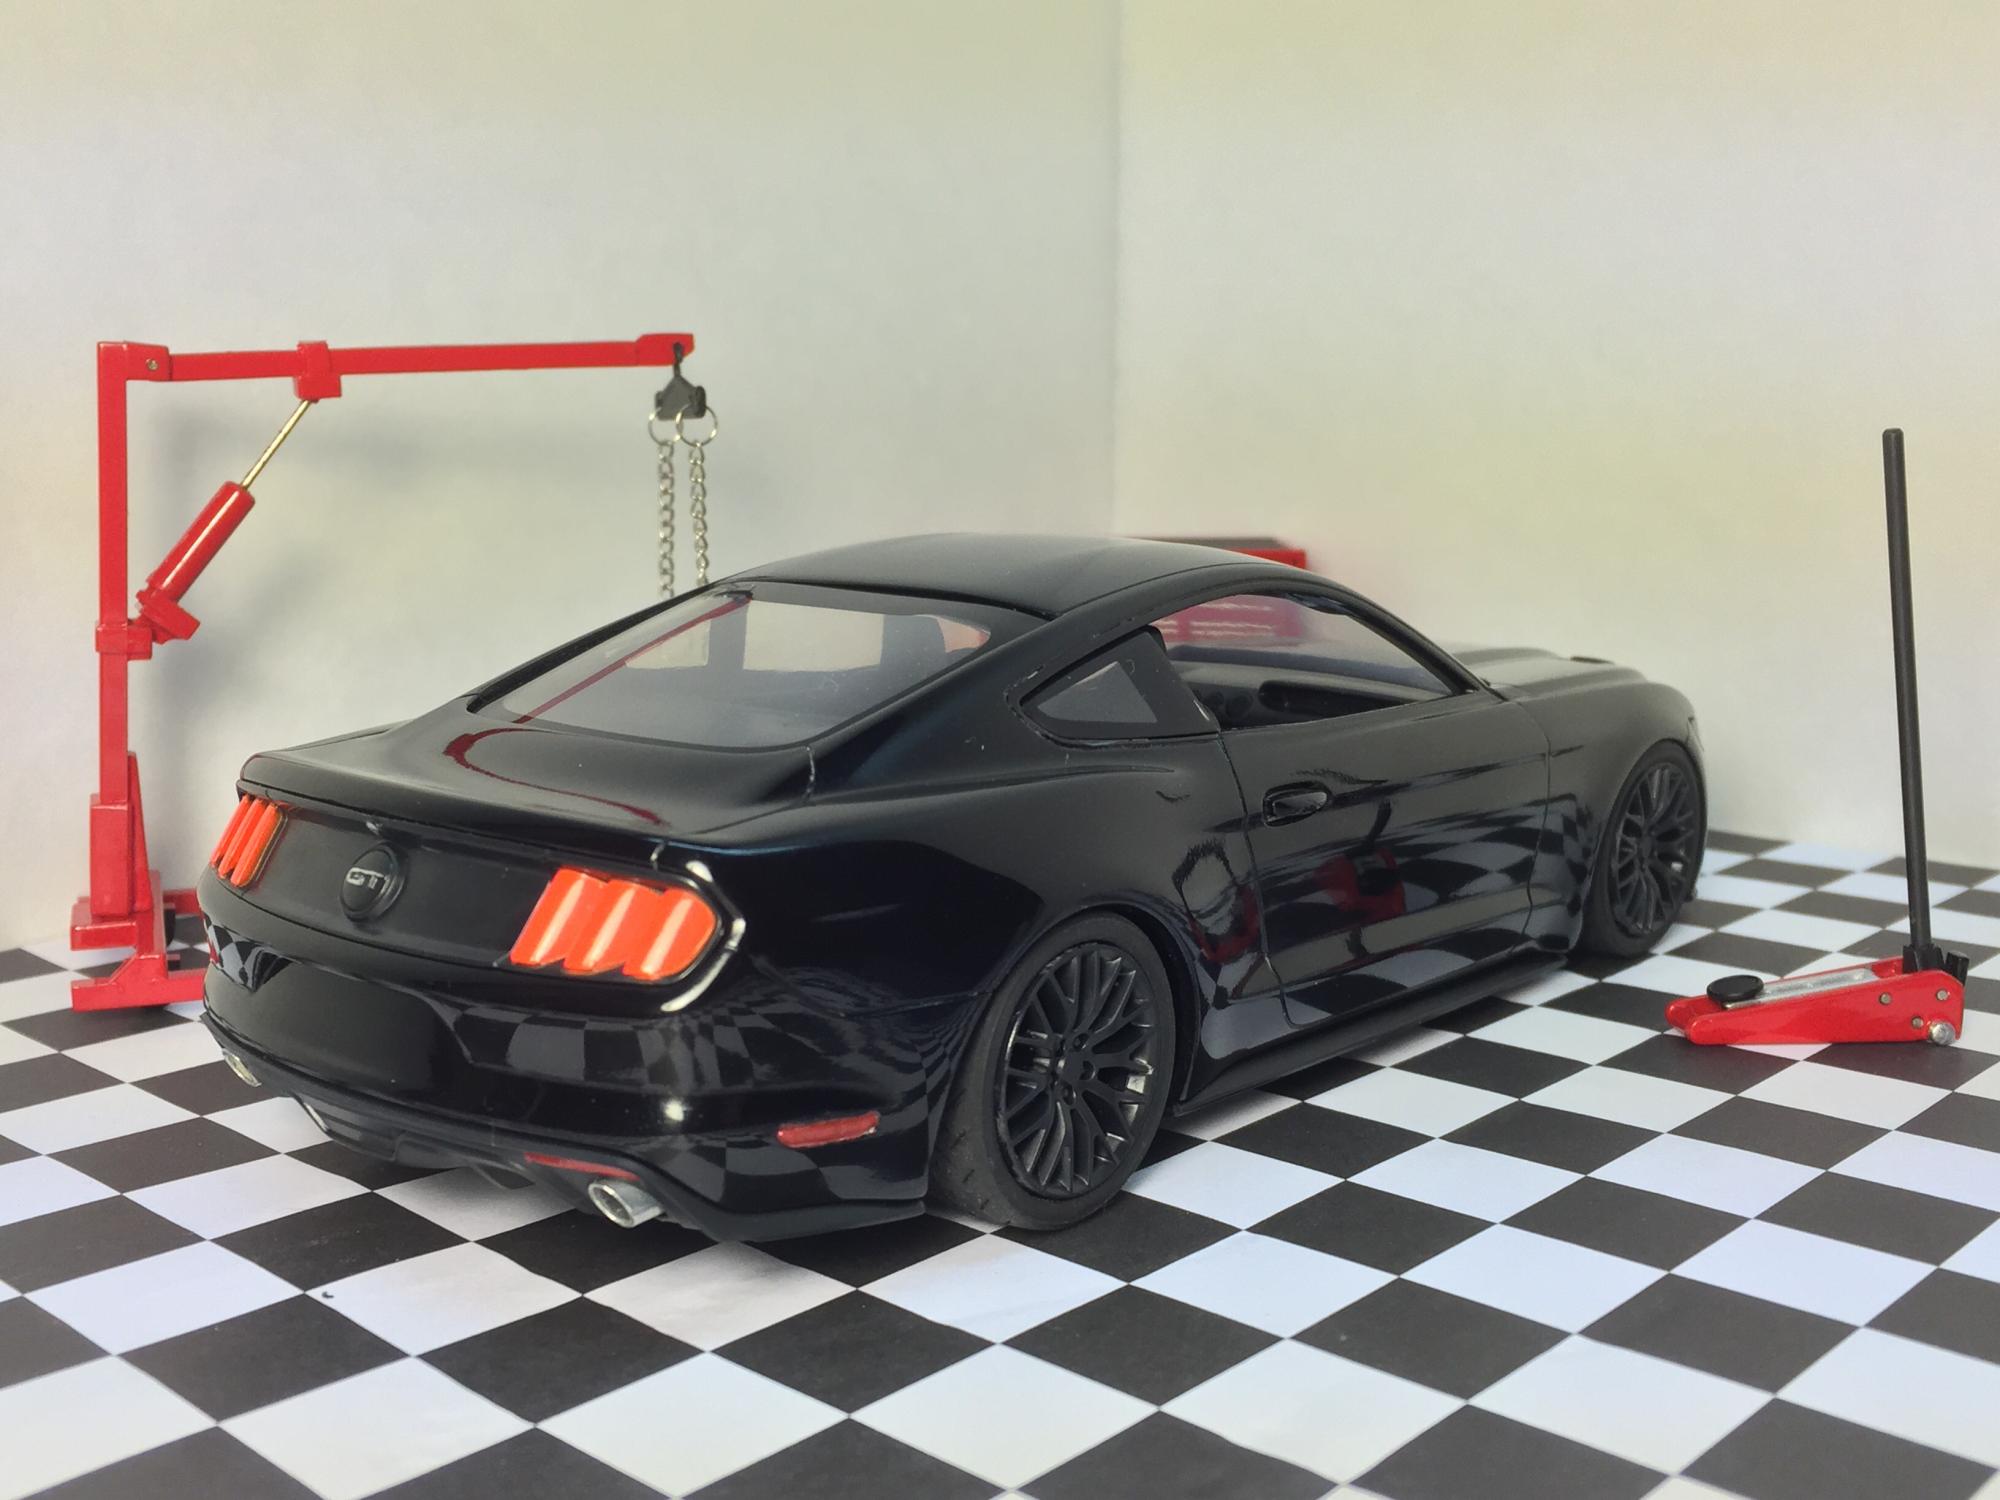
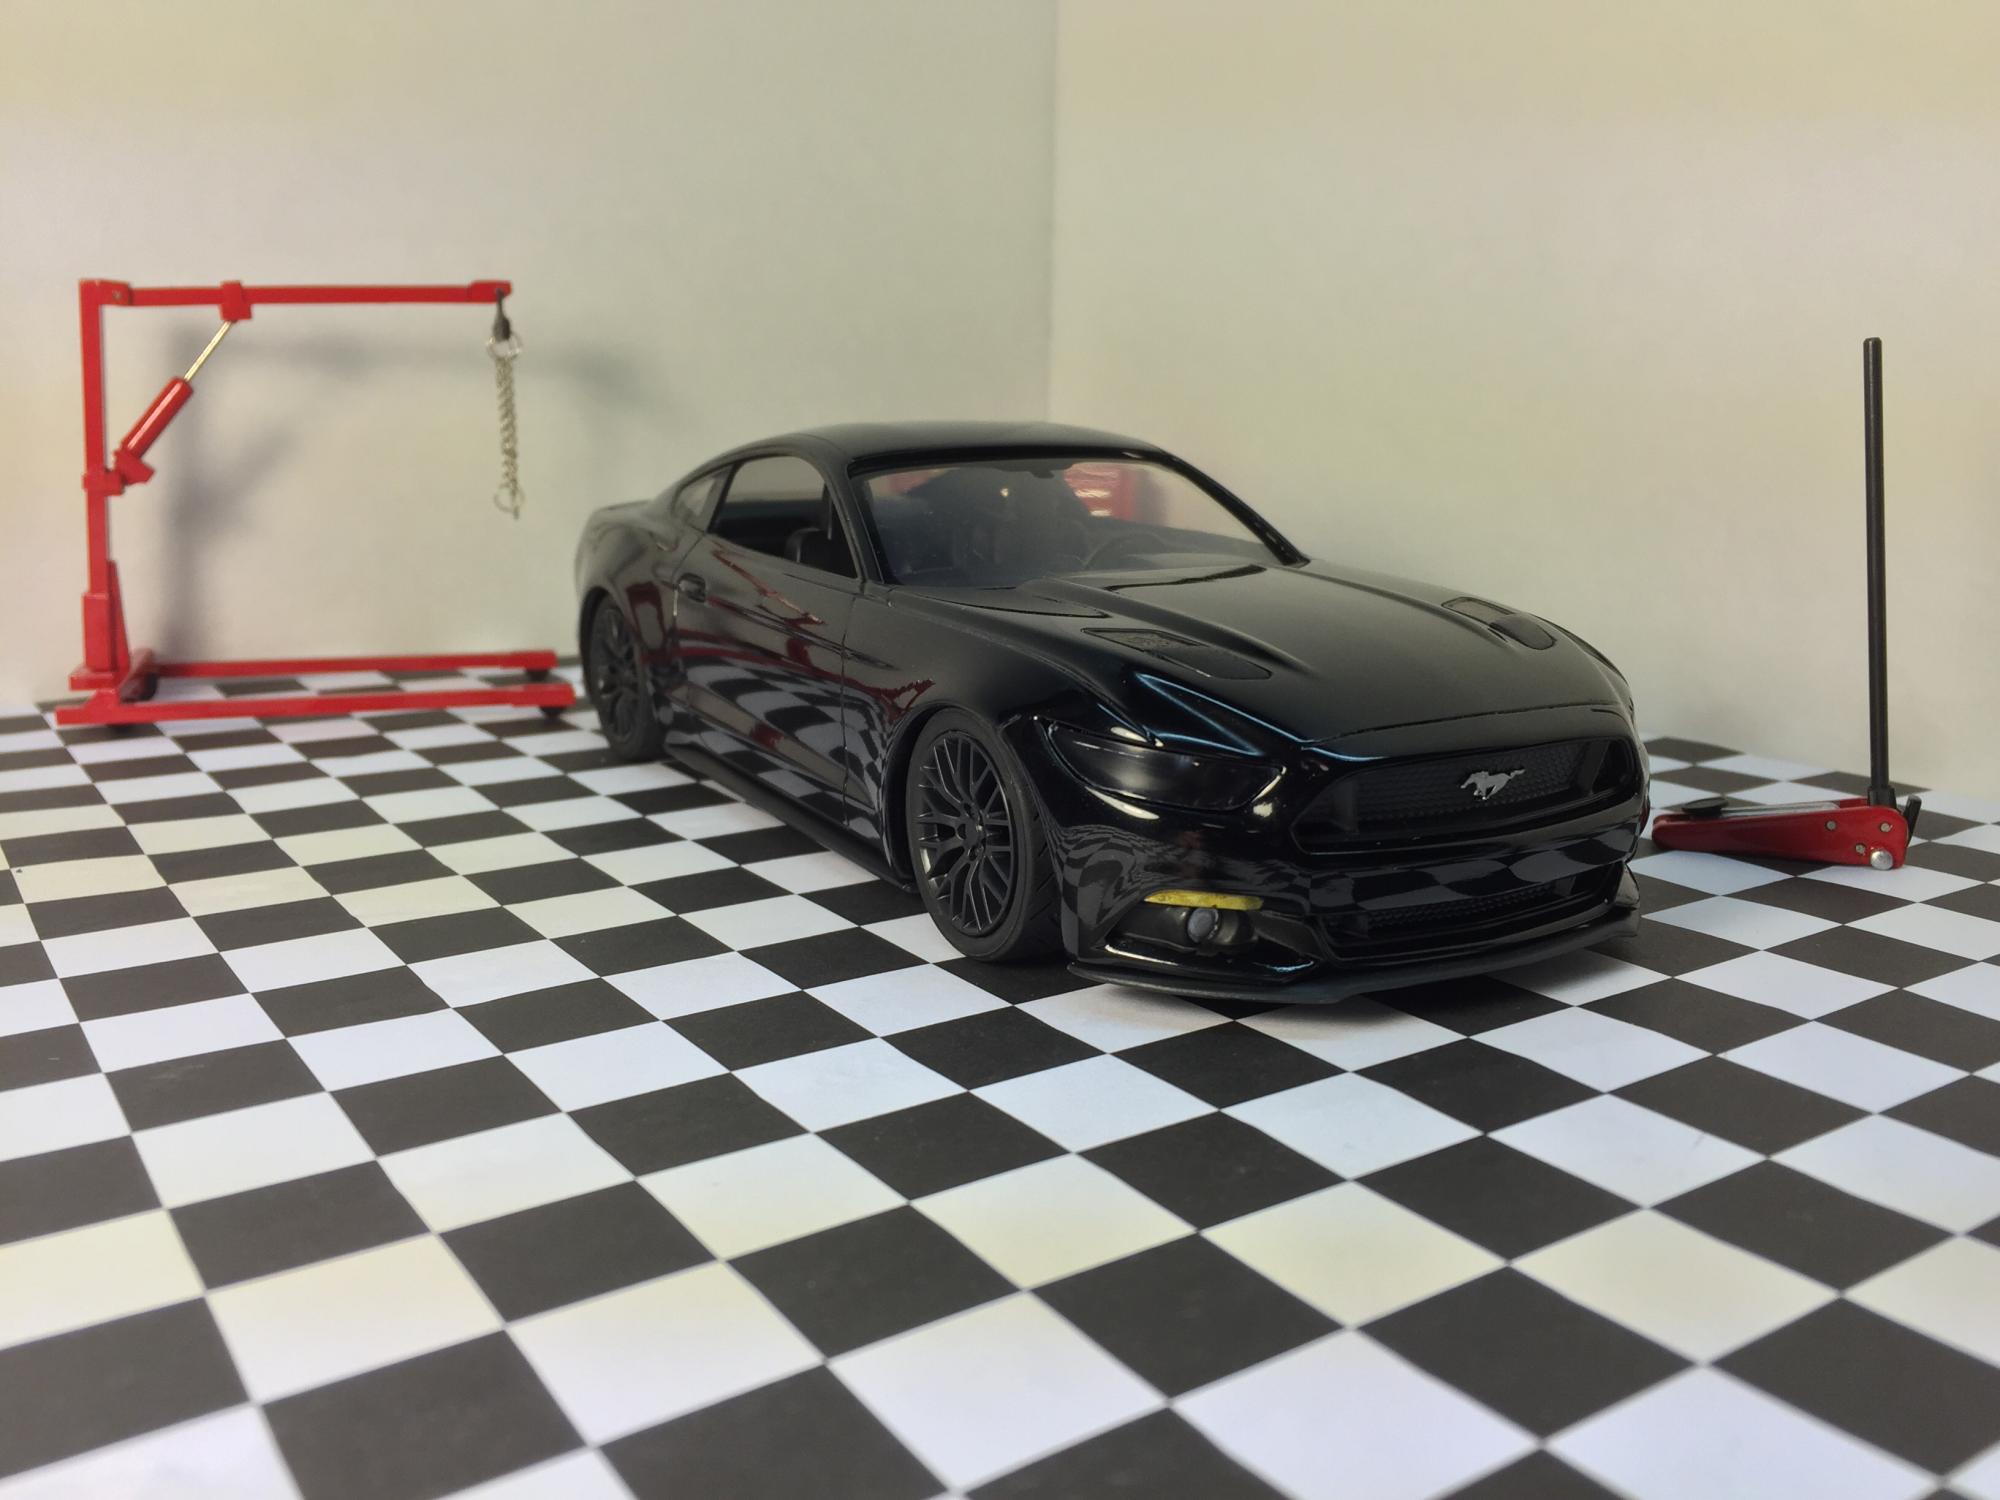
This build I used to practice painting. It was my first time using Duplicolor paint, and very pleased with the results. I used GM metallic black. Also, I have to give a shoutout to Shane Harrold (slammedi'am) for helping me along the way. I also blacked out the headlights, tried detail painting the marker lights but they didn't turn out as nice as I expected. Used tires from an old Tamiya rally car kit because the ones that come in the kit were way too big, then I added some exhaust tips. Hope you all like it.

-
I built this van a couple months ago. This kit fought me quite a bit, frame was warped badly, interior was warped bad too. The first 2 tone paint job I attempted, Wimbledon white and dark bronze metallic testors and model master colors. Used wheels from a revell kit. Hope you all like.
-
Thanks! Yeah that's where the crack is. It was actually much larger than that. Running jagged all the way up to the passenger fender and down the front bumper cover. Even the lower valence was broke.
-
Nothing special about this one. Just a practice piece. The body was cracked from being stored and thrown around. I thought I had the crack fixed, the crack wasn't visible after I painted it. I took it to my model club meeting one month, it sat in the hot car for a little bit and I'm guessing it made the plastic expand and made the crack show. Painted testors jade green metallic.
-
I'll do my best to get better pictures with better lighting.
-
I'm not a very active poster on the forum, I apologize for that. I thought it was time to change that. After getting back into the hobby around 4 years ago I've been getting disappointed with painting the bodies on these cars. So a few months ago I put this together and the paint turned out pretty decent. It's painted testors sapphire blue metallic. It's not perfect but with each model I build I keep striving to get better. I will be posting pictures of other builds I have done over the past couple years that I haven't shared on here yet.
-
That SVO looks great so far!
-
That's awesome, i wish i could build half as good as you two, lol. Hopefully I'll keep improving with each build.
-
Looks good. I didn't realize that was you walking around with Chip. Of course I've never met you, lol.
-
55 Chevy Slameo-DONE!
1tim1 replied to slammedi'am's topic in WIP: Model Trucks: Pickups, Vans, SUVs, Light Commercial
Looking great! I have noticed that we have the same interest in the "torque thrust" style wheels. They look good on almost anything to me. -
Love the Foxbody mustangs!
-
Very nice!
-
Thanks.
-
Out of curiosity, where did you get the wheels for option 2? If you don't mind me asking
-
It would be hard for me to make a decision, I like both equally. Option 2 has a more aggressive look and if I had enough skill to narrow the chassis and tub it, I think I would go with option 2
-
Watching this as well. Have one of these in my stash
-
I just got done building a workbench and a small shelf.
-
Thanks for all the comments. I don't know if i want to attempt making a lock, all this scratchbuilding is the most I have ever done.
-
They definitely don't sell them as cheap as they use to, lol. I'll try to be on the lookout for that kit on ebay or something. Thanks.
-
Looks good. Just curious as to where you got the pro-star wheels.
-
Another small update, I believe i will consider the outside of this thing done. Now i just have to work on the inside of this thing by adding details and custom touches.