Sergey
-
Posts
634 -
Joined
-
Last visited
1 Follower
Sergey's Achievements
MCM Ohana (6/6)
-
1973' Chevrolet El Camino
Sergey replied to Sergey's topic in WIP: Model Trucks: Pickups, Vans, SUVs, Light Commercial
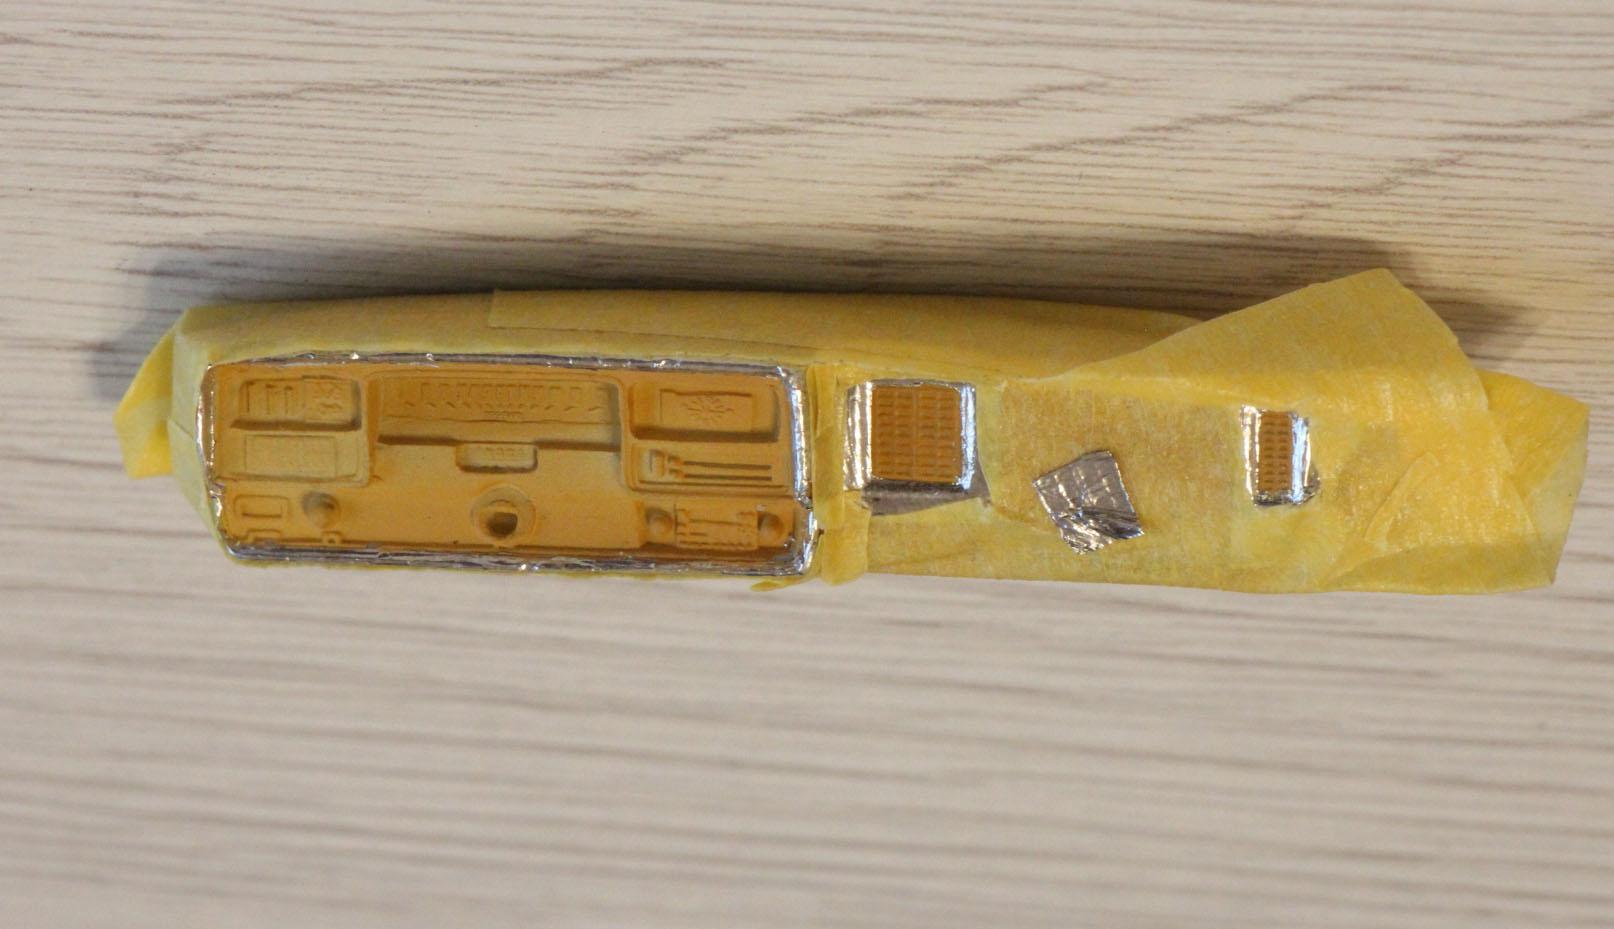
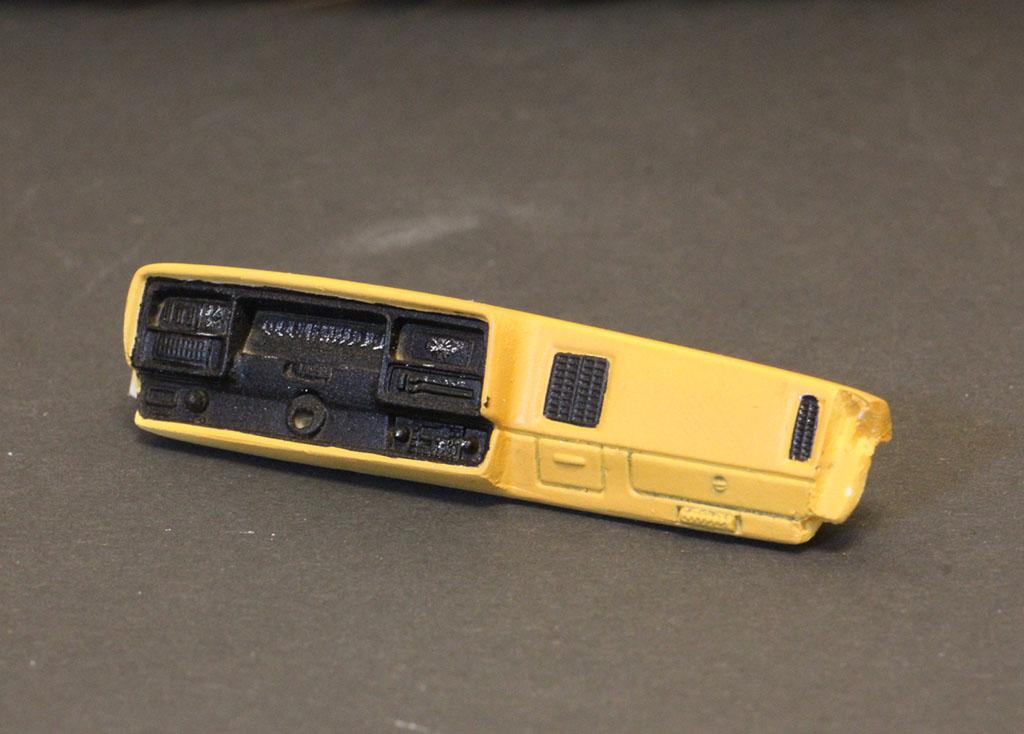
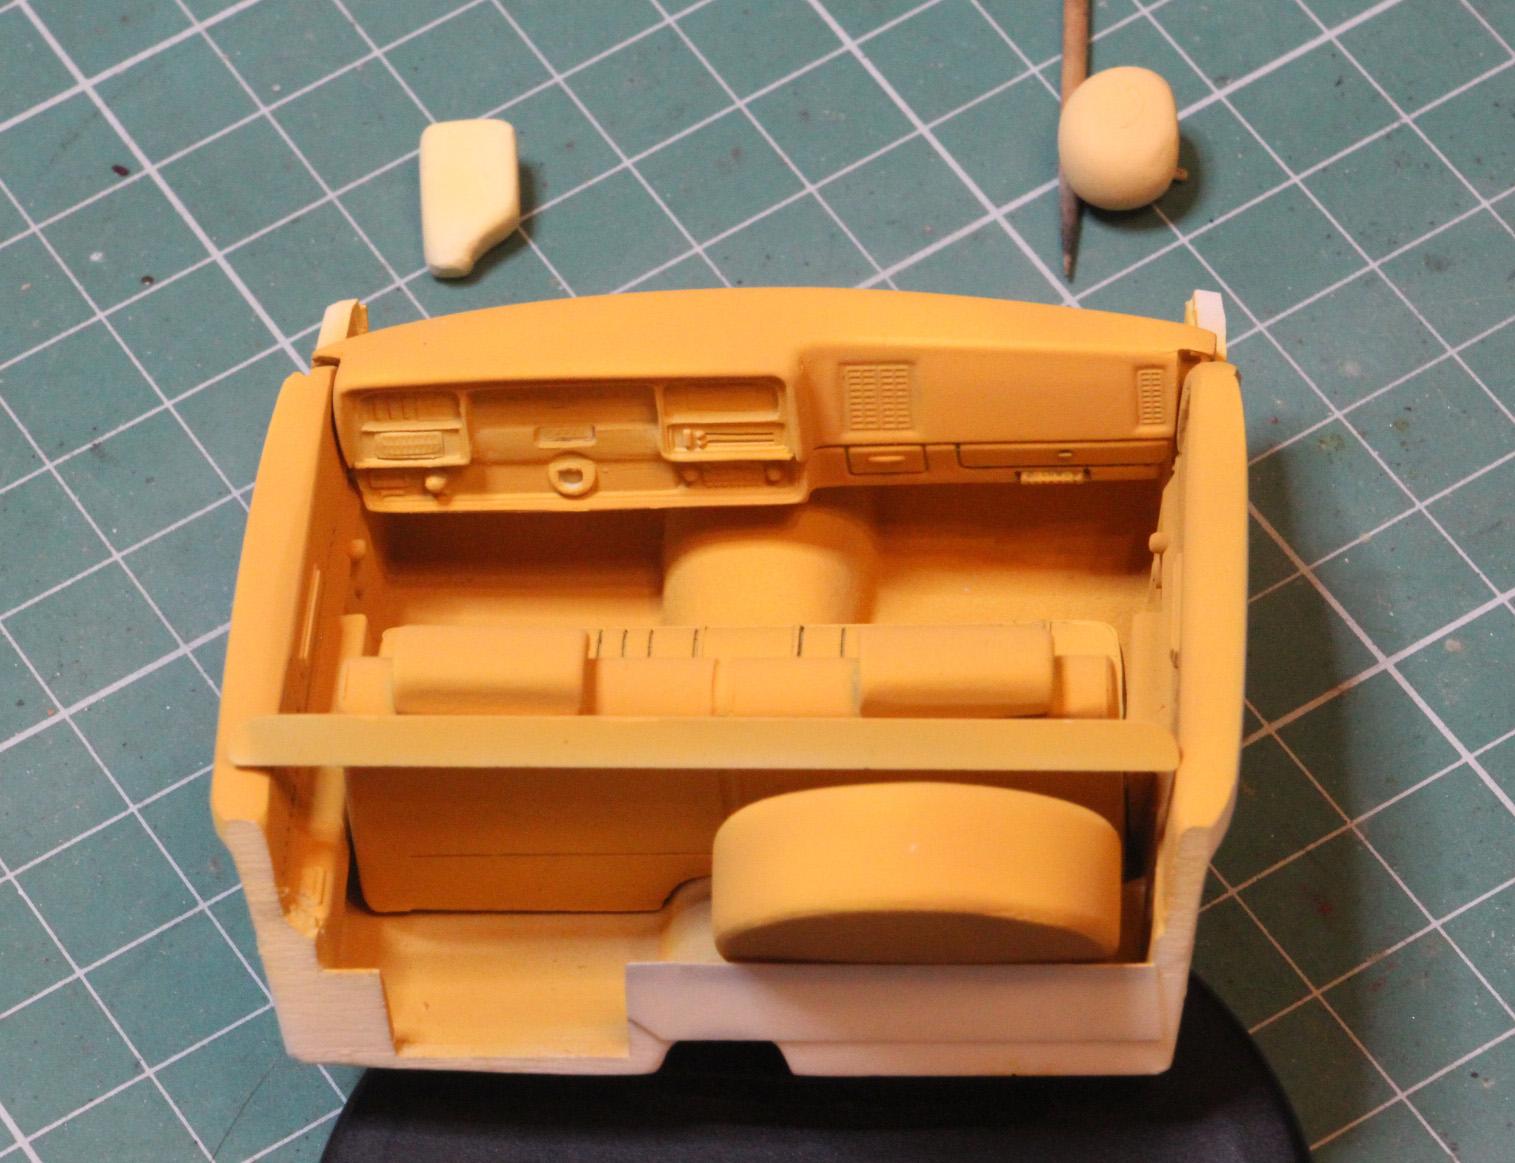
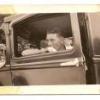
Hello, dear colleagues! Been busy with work last 4 months. Thank you for attention to my work! Now there's some progress. I've masked and painted the door window seals. ...And the dashboard Also made a chrome trimming around Thank you for watching!
-
1973' Chevrolet El Camino
Sergey replied to Sergey's topic in WIP: Model Trucks: Pickups, Vans, SUVs, Light Commercial
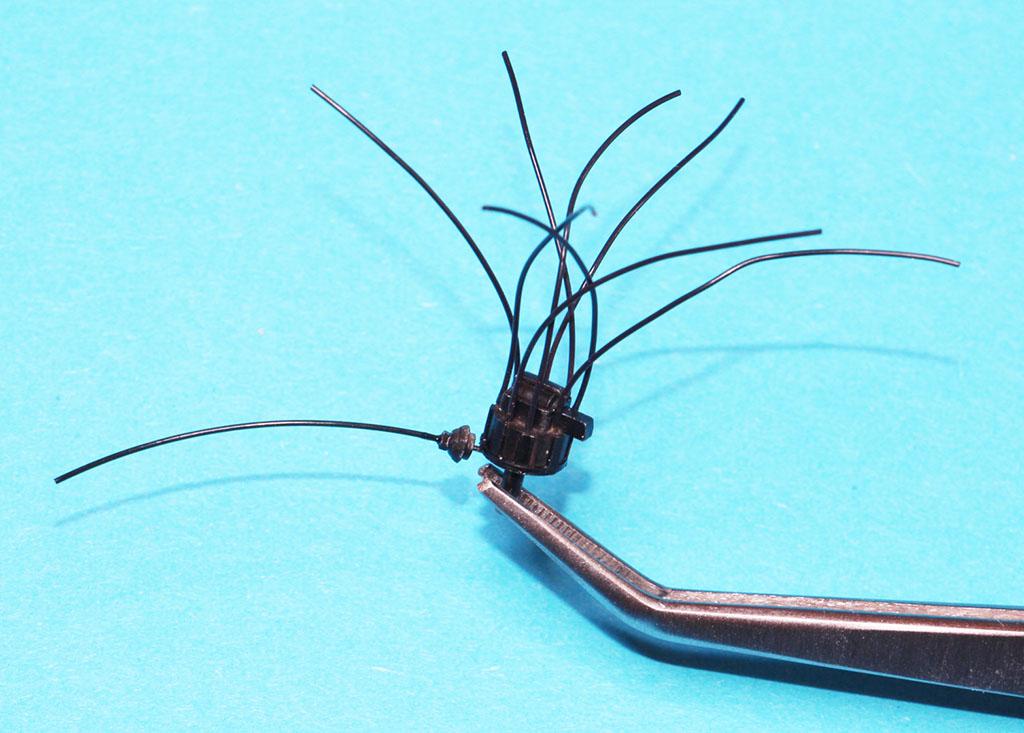
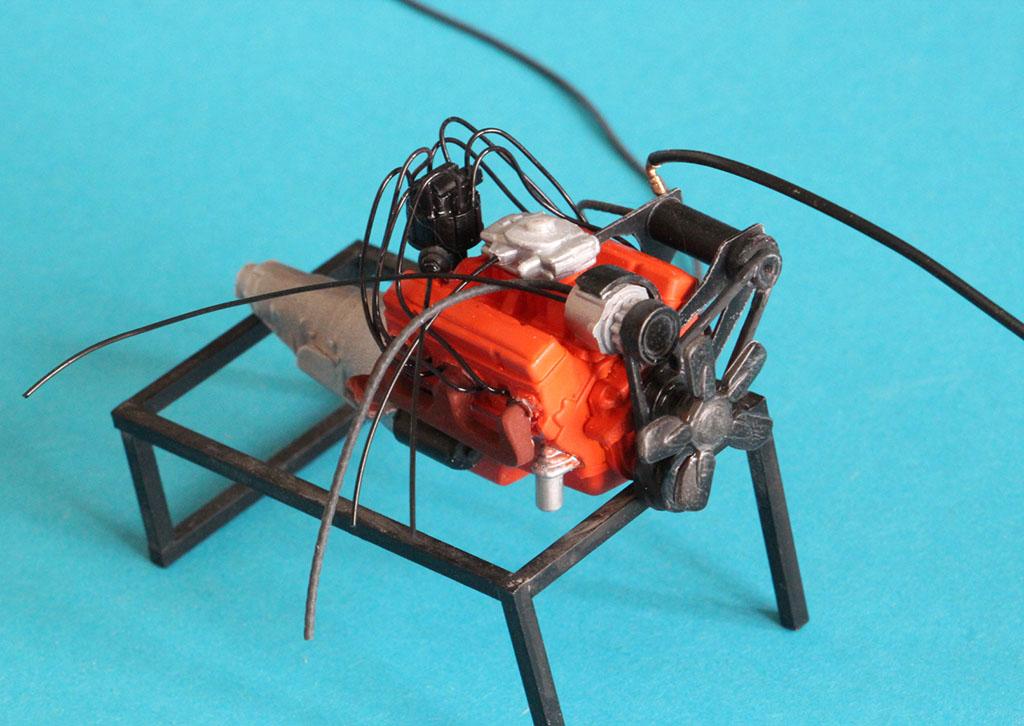
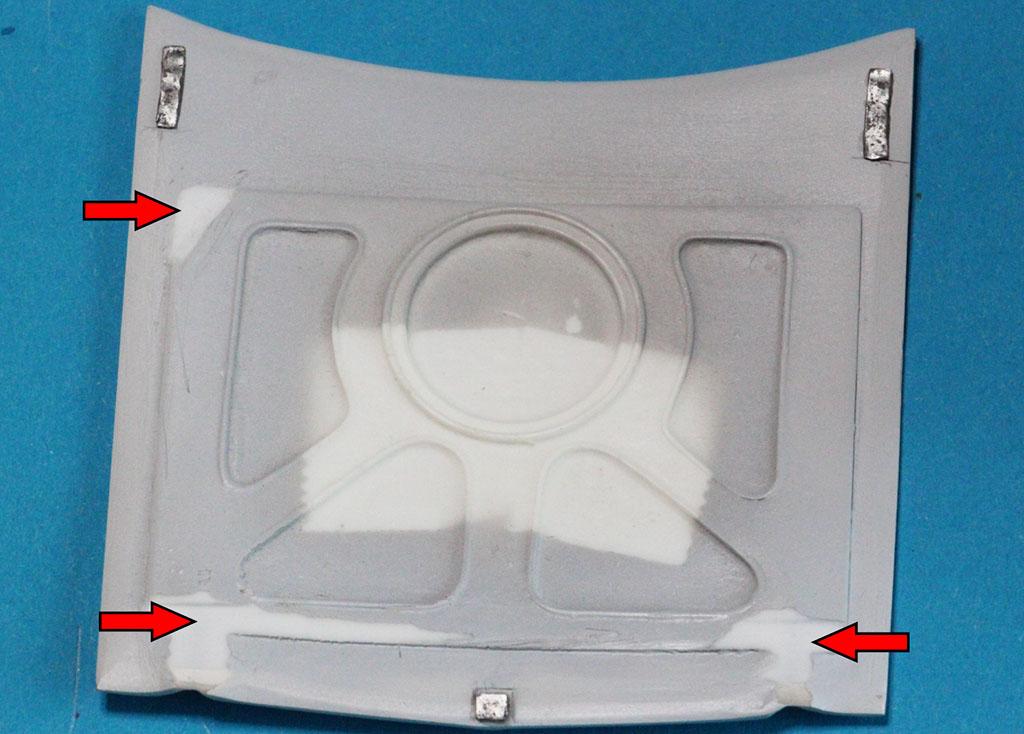
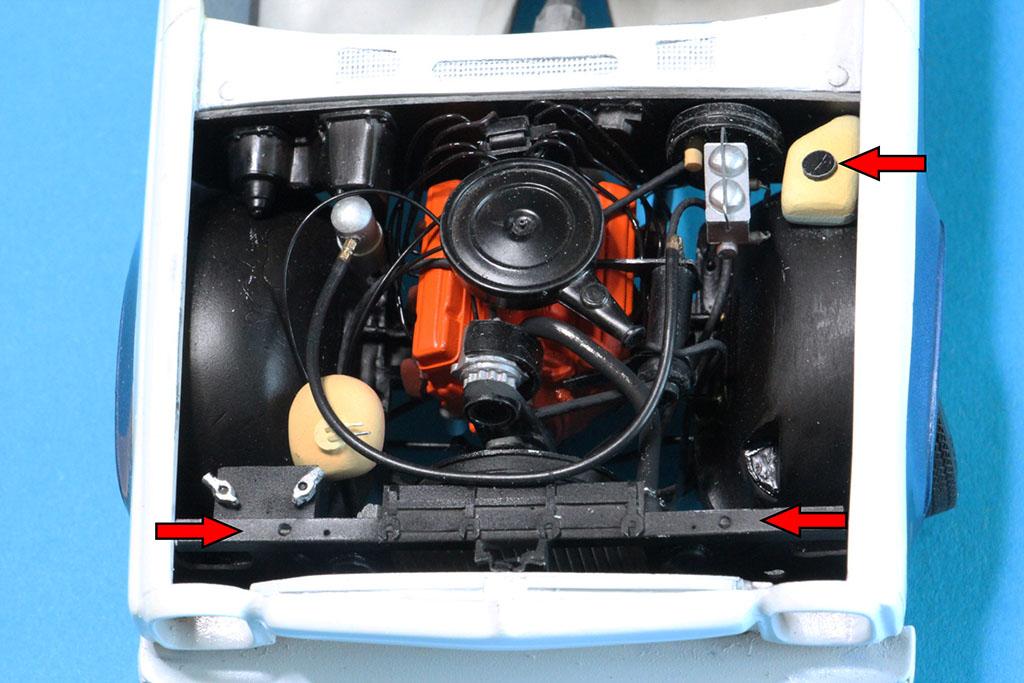
Engine bay wiring + extra parts By the way some of them didn't want to fit under the hood lid I was have to file down excess resin It is not a final result. I keep on working on it further. To be continued.... Good luck with your modeling!
-
1973' Chevrolet El Camino
Sergey replied to Sergey's topic in WIP: Model Trucks: Pickups, Vans, SUVs, Light Commercial
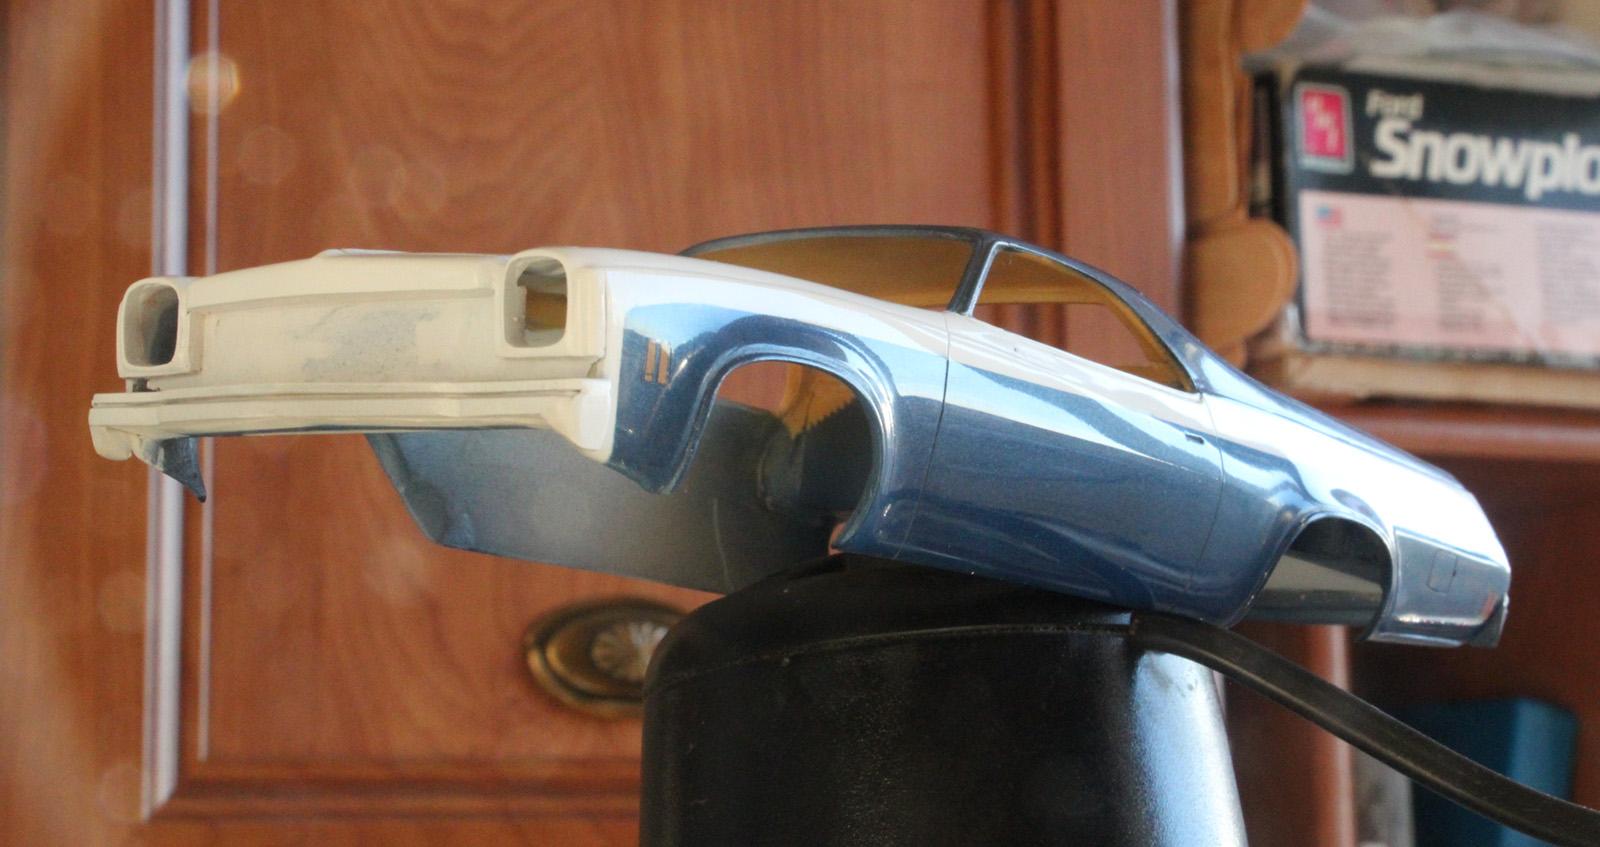
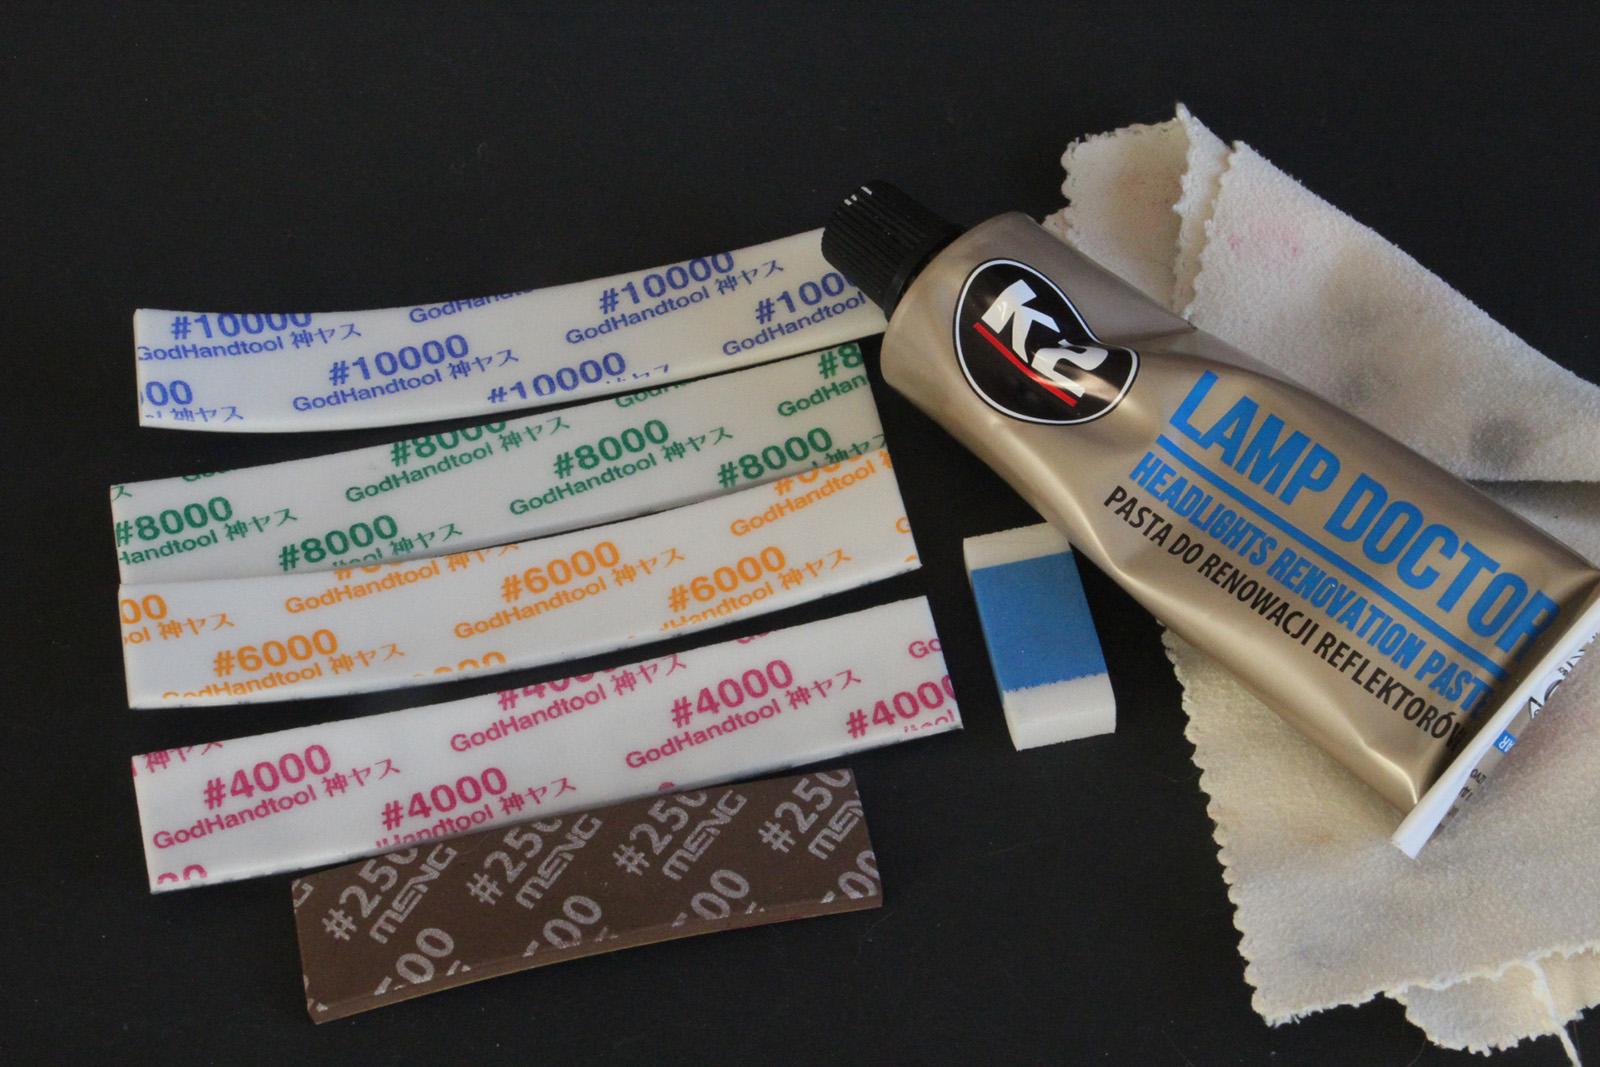
Thank you Dennis, Micah & Anton! Some polishing I used this
-
Farm Floater Truck 1/24th scale
Sergey replied to Randy D's topic in WIP: Model Trucks: Big Rigs and Heavy Equipment
Thank you, Randy to sharing us your outstanding project! It's so global and almost every part is made of steel. It makes me thing: 'How much effort (time, power and nerves) should it take!" You are very patient and skilled person! Make me your disciple! 😌 -
1973' Chevrolet El Camino
Sergey replied to Sergey's topic in WIP: Model Trucks: Pickups, Vans, SUVs, Light Commercial
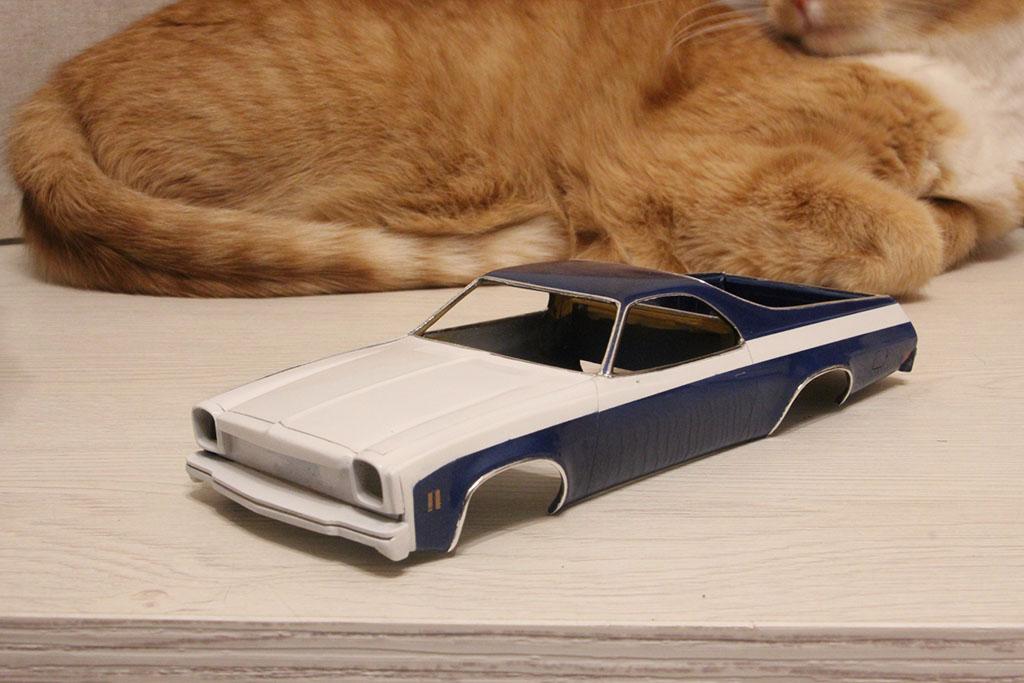
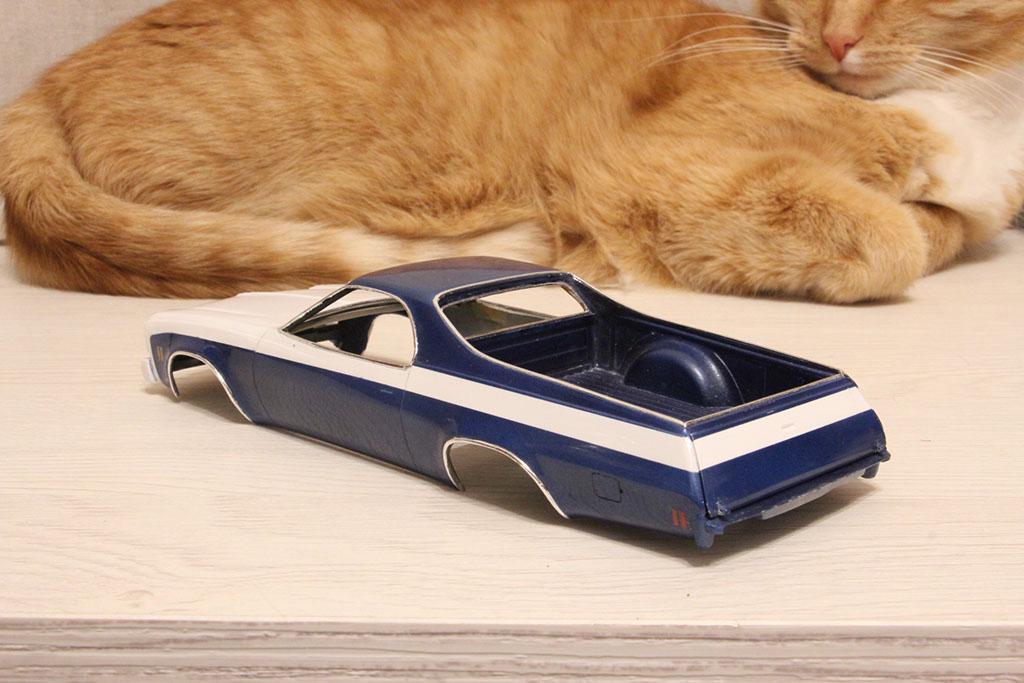
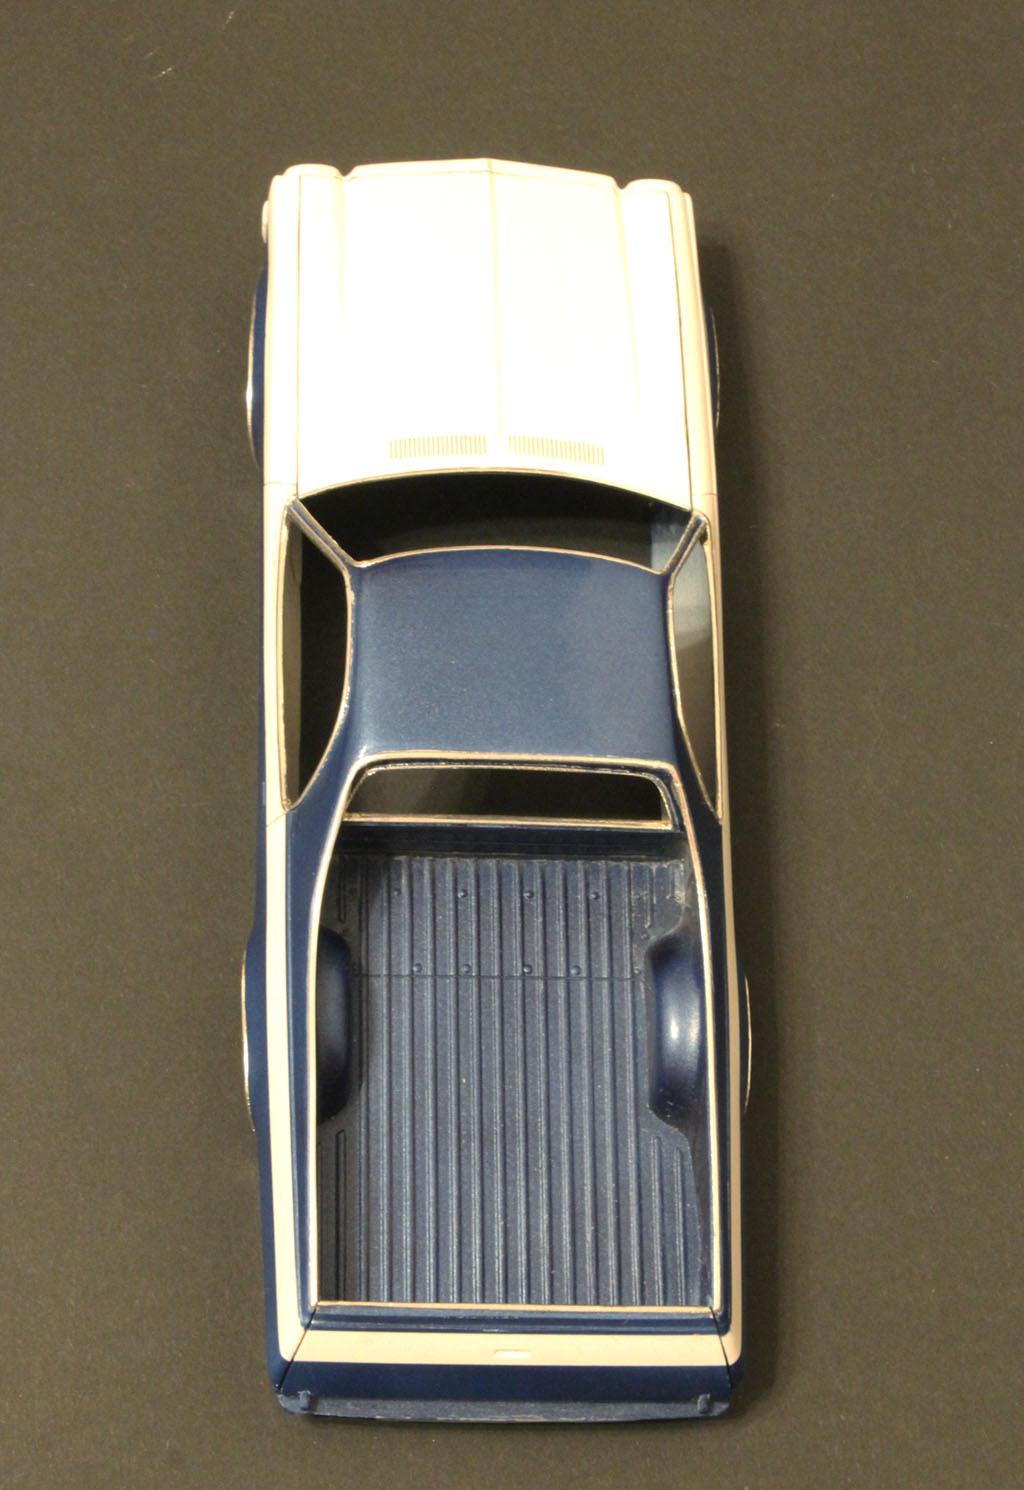
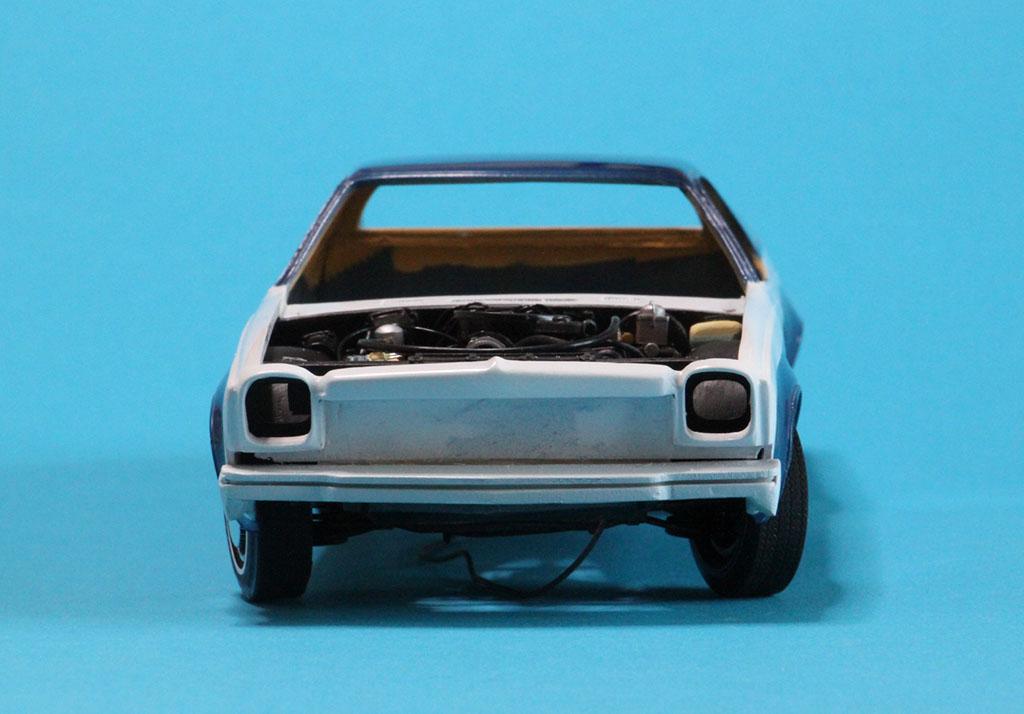
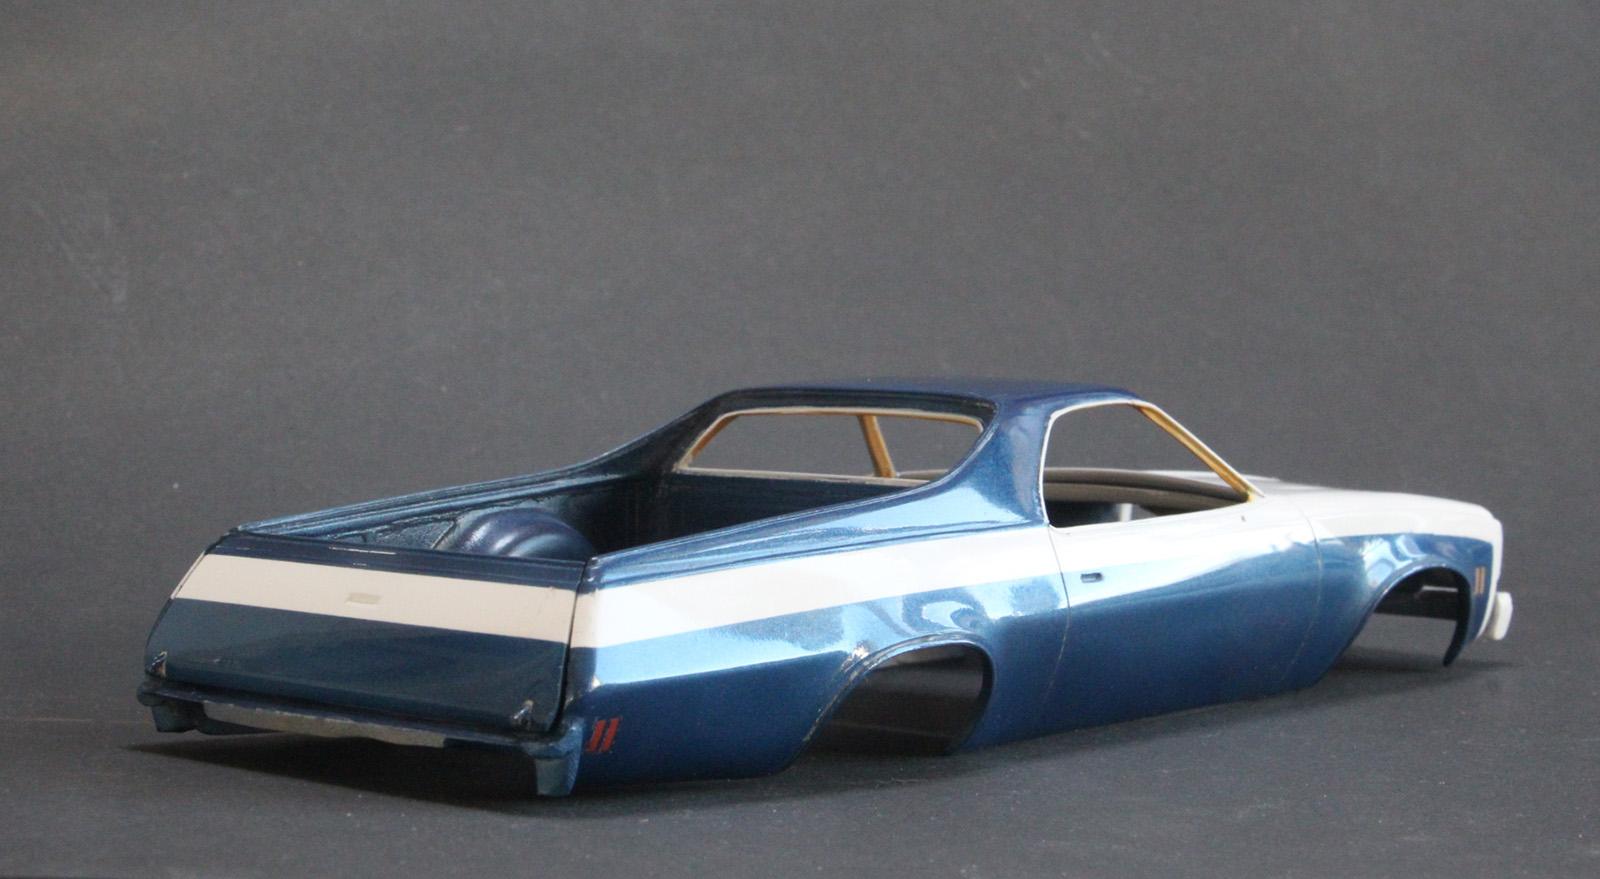
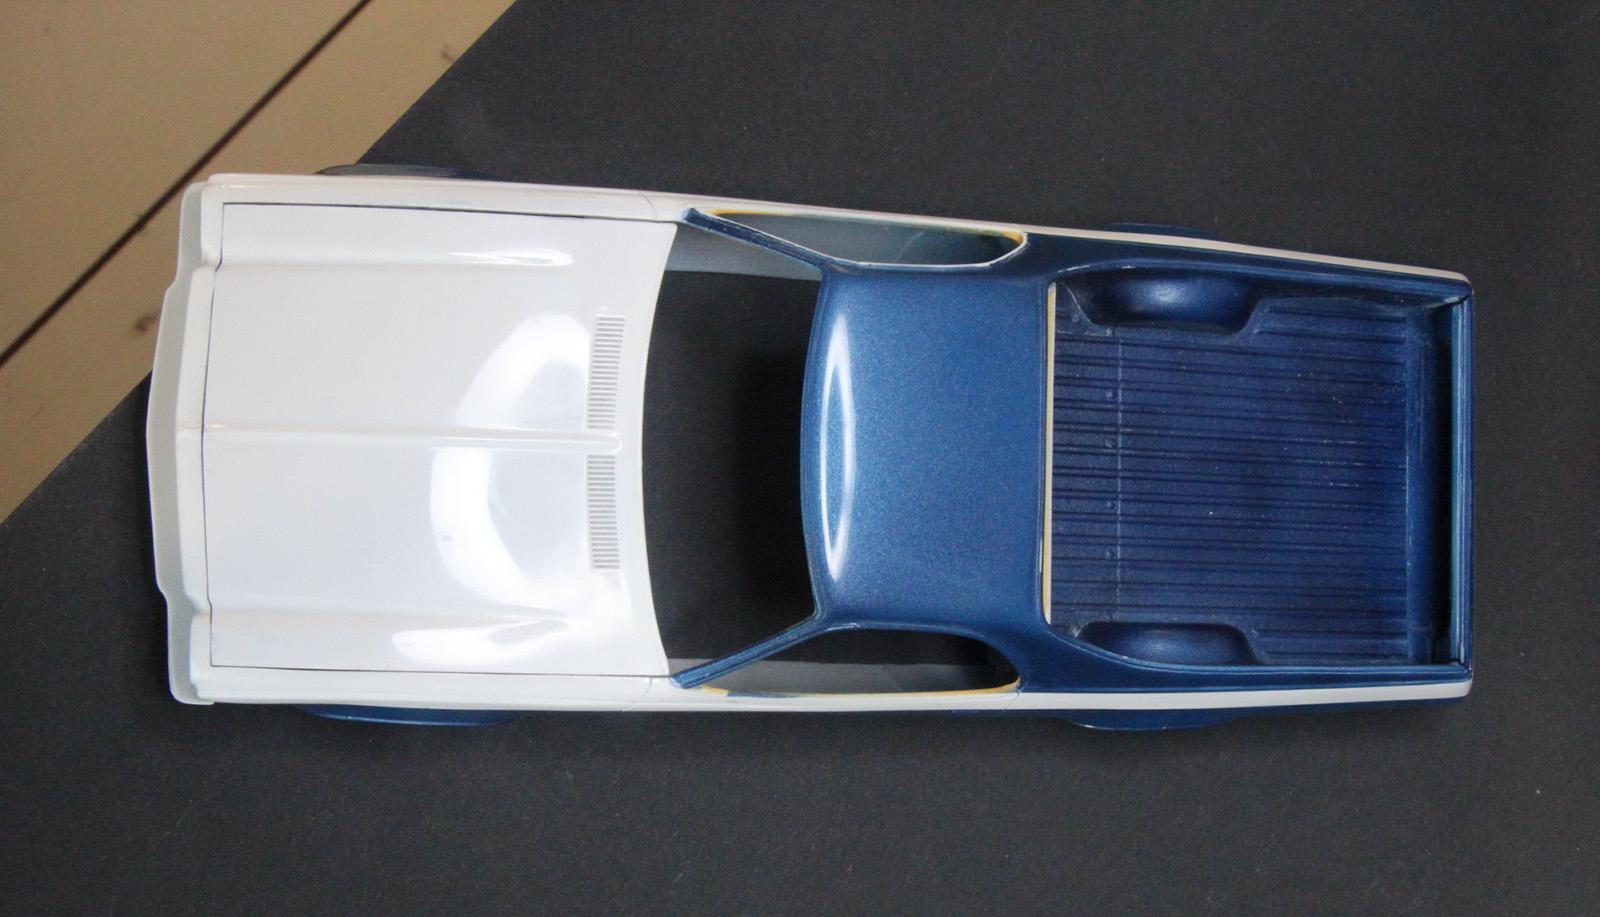
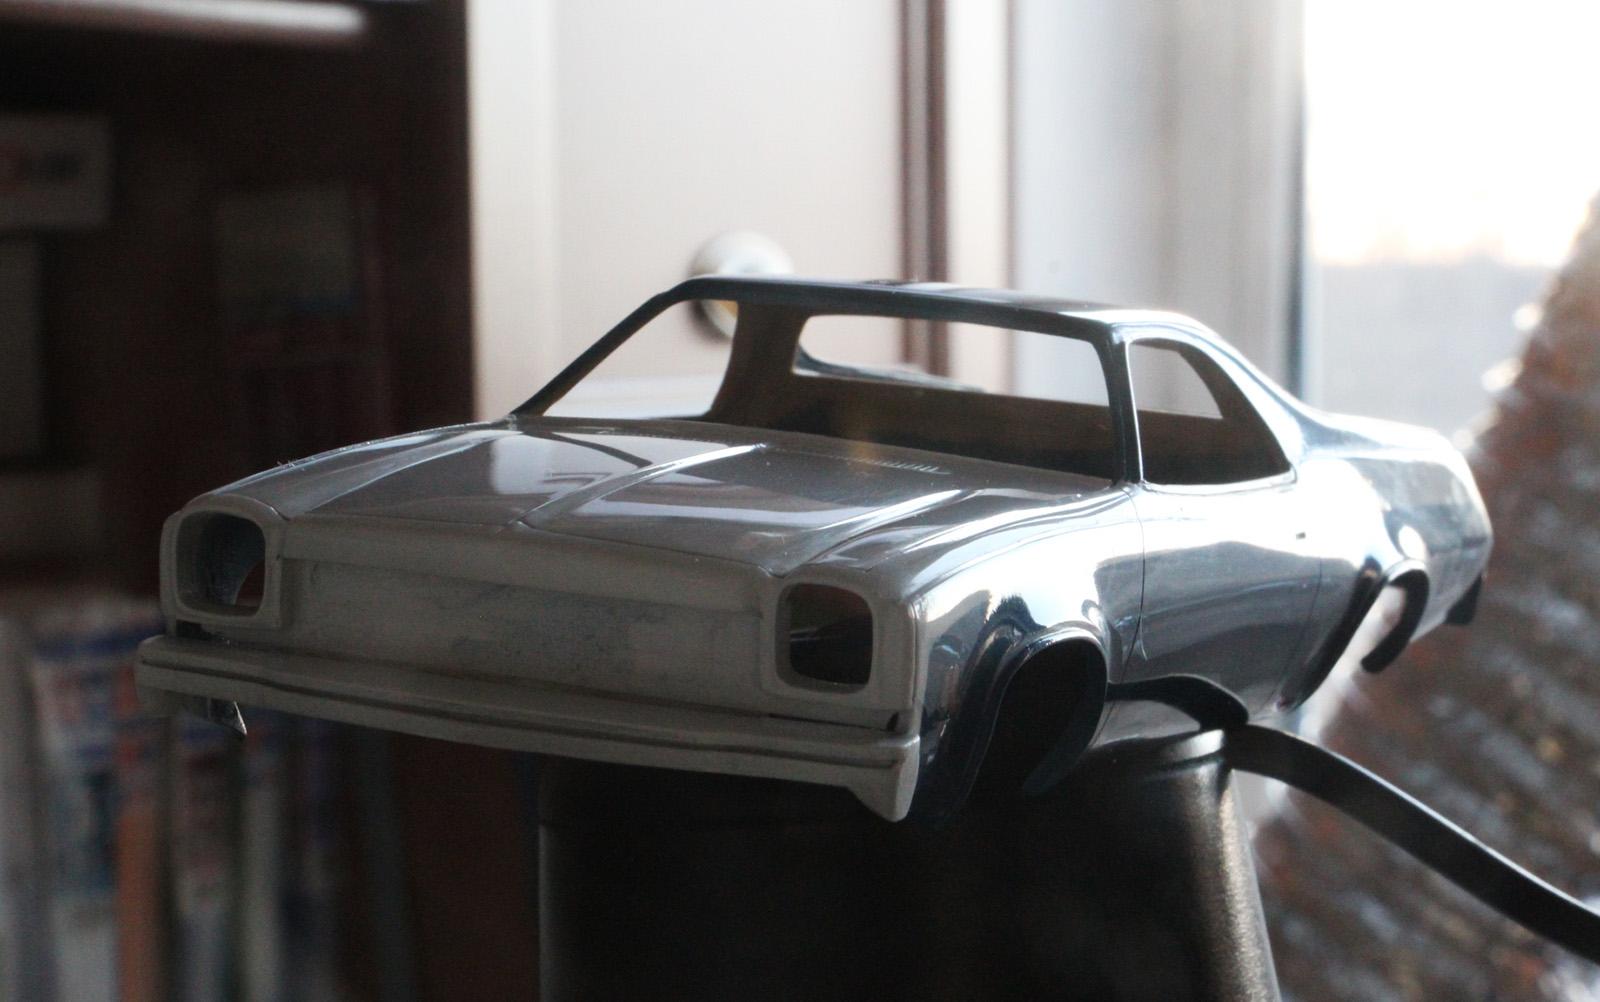
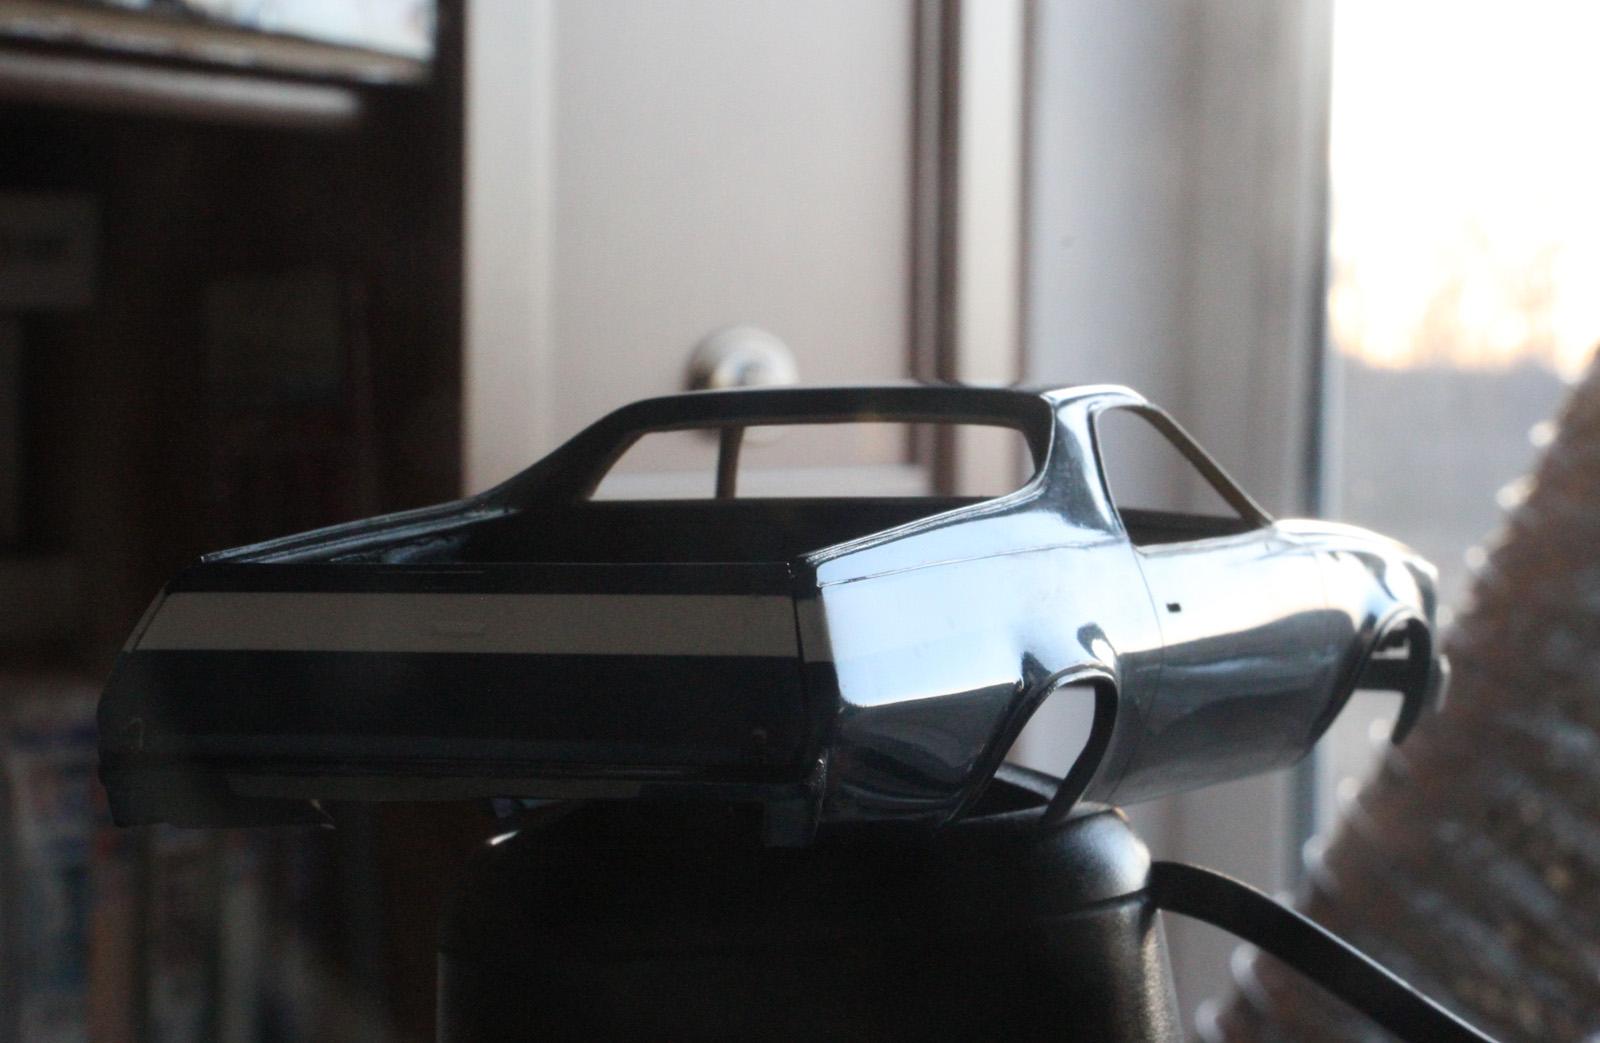
Hi, Gents! Have sprayed the body with 4 coats of Mr.Hobby GX 100 Light for front & tail bumper are ready Thank you for following my work! Good luck with your builds!🙂
-
Looks great!
-
Hummer H1
Sergey replied to Sergey's topic in WIP: Model Trucks: Pickups, Vans, SUVs, Light Commercial
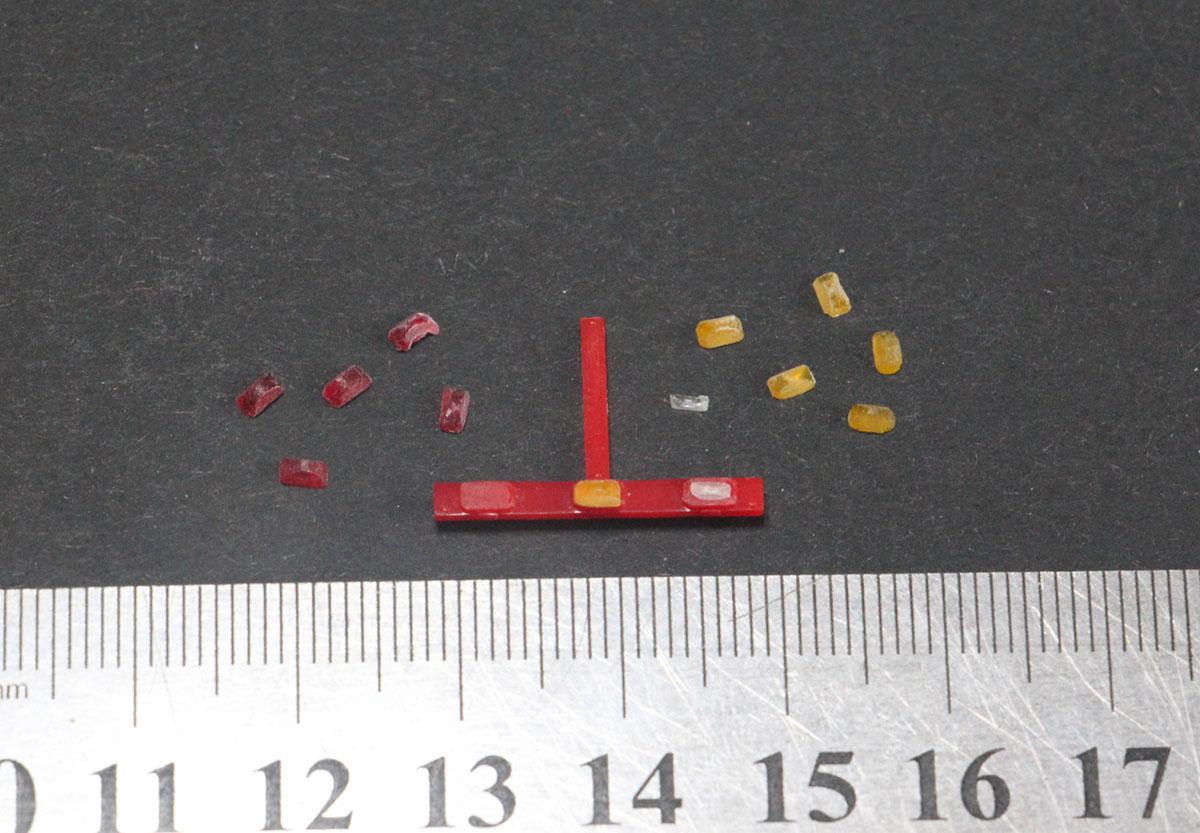
Thanks to everyone for your comments! Nov I will load pics on the forum. I started painting the interior, but first the shadows: After copying out a dozen marker lights, I realized that MENG's were 3 times smaller than needed. For comparison: transparent ones are a copy of the MENG's, colored ones are homemade That's the real one Painted with clears See you later!
-
Hummer H1
Sergey replied to Sergey's topic in WIP: Model Trucks: Pickups, Vans, SUVs, Light Commercial
Thanks to everyone for your comments! Nov I will load pics on the forum. -
1973' Chevrolet El Camino
Sergey replied to Sergey's topic in WIP: Model Trucks: Pickups, Vans, SUVs, Light Commercial
Thank you again, Anton! Happy modeling!
-
FDNY Wrecker
Sergey replied to Scott Eriksen's topic in WIP: Model Trucks: Big Rigs and Heavy Equipment
I might have guessed. Now we can't get these beautiful stuff. I suppose the air dryer came from the same source? Interesting: what do you use to tie up some pipes/wires? -
FDNY Wrecker
Sergey replied to Scott Eriksen's topic in WIP: Model Trucks: Big Rigs and Heavy Equipment
Well done, Scott! It seems I have never seen so much piping work and wireing on a model. It turn out a great bilding with all these stuff! Sorry, I have not follow all the topik. Where are those perfectly painted & decaled accumulators from? -
1973' Chevrolet El Camino
Sergey replied to Sergey's topic in WIP: Model Trucks: Pickups, Vans, SUVs, Light Commercial
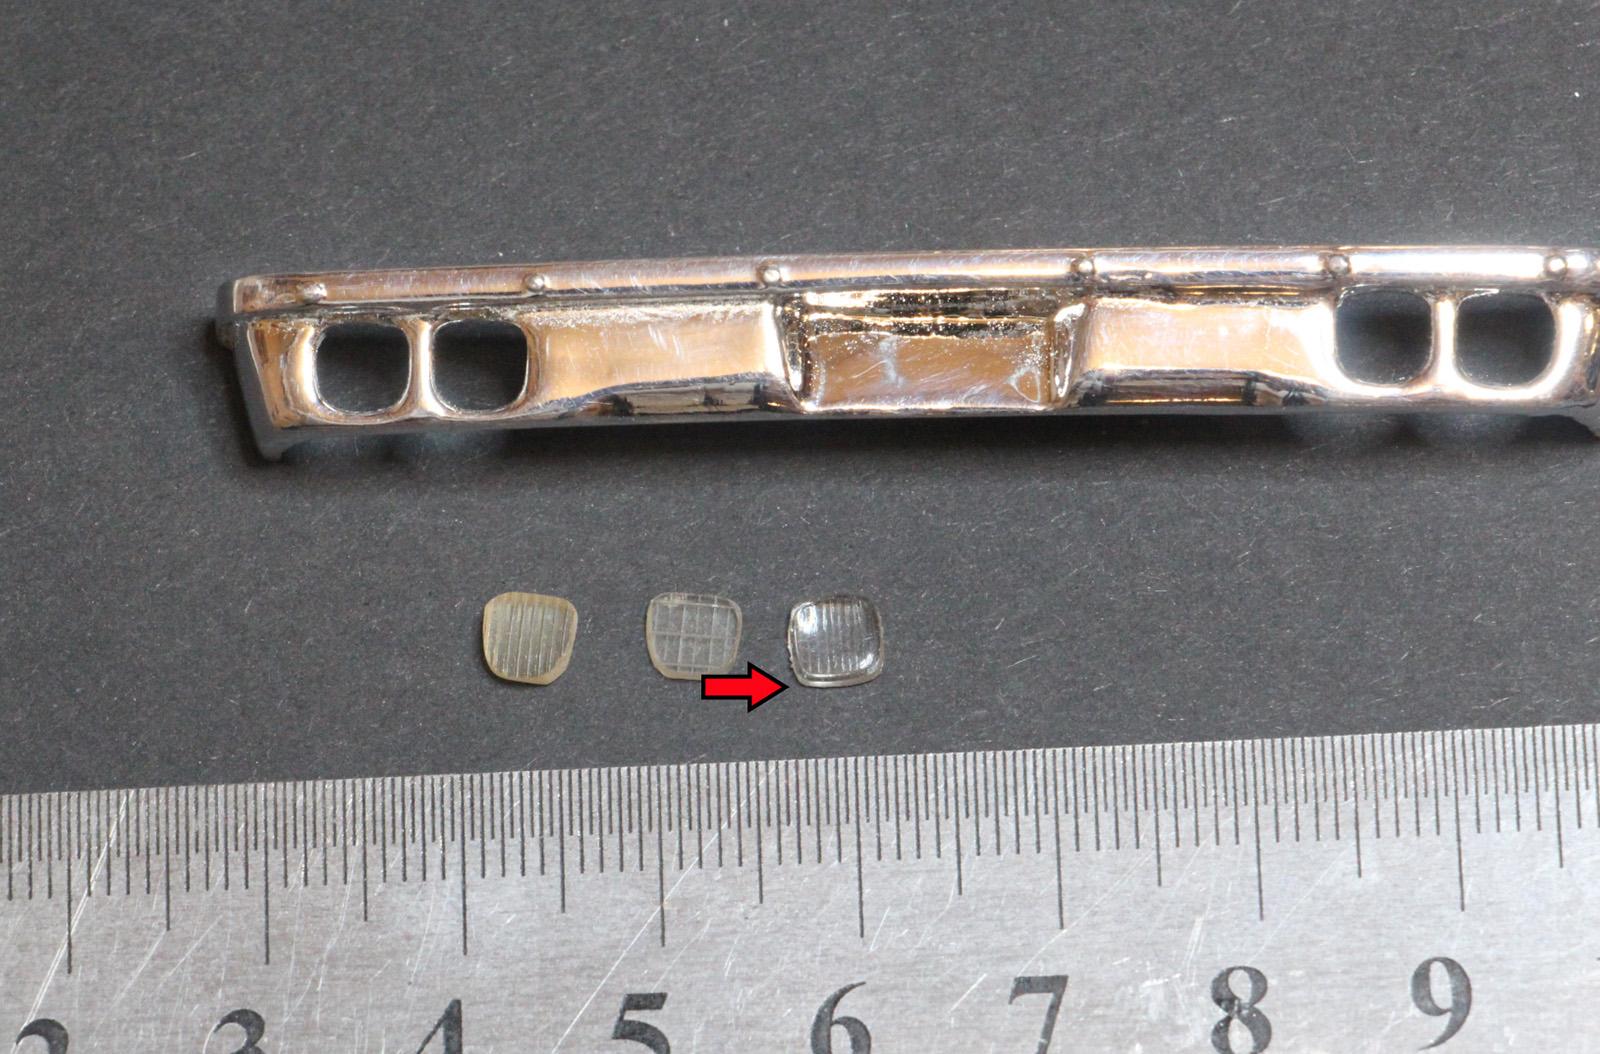
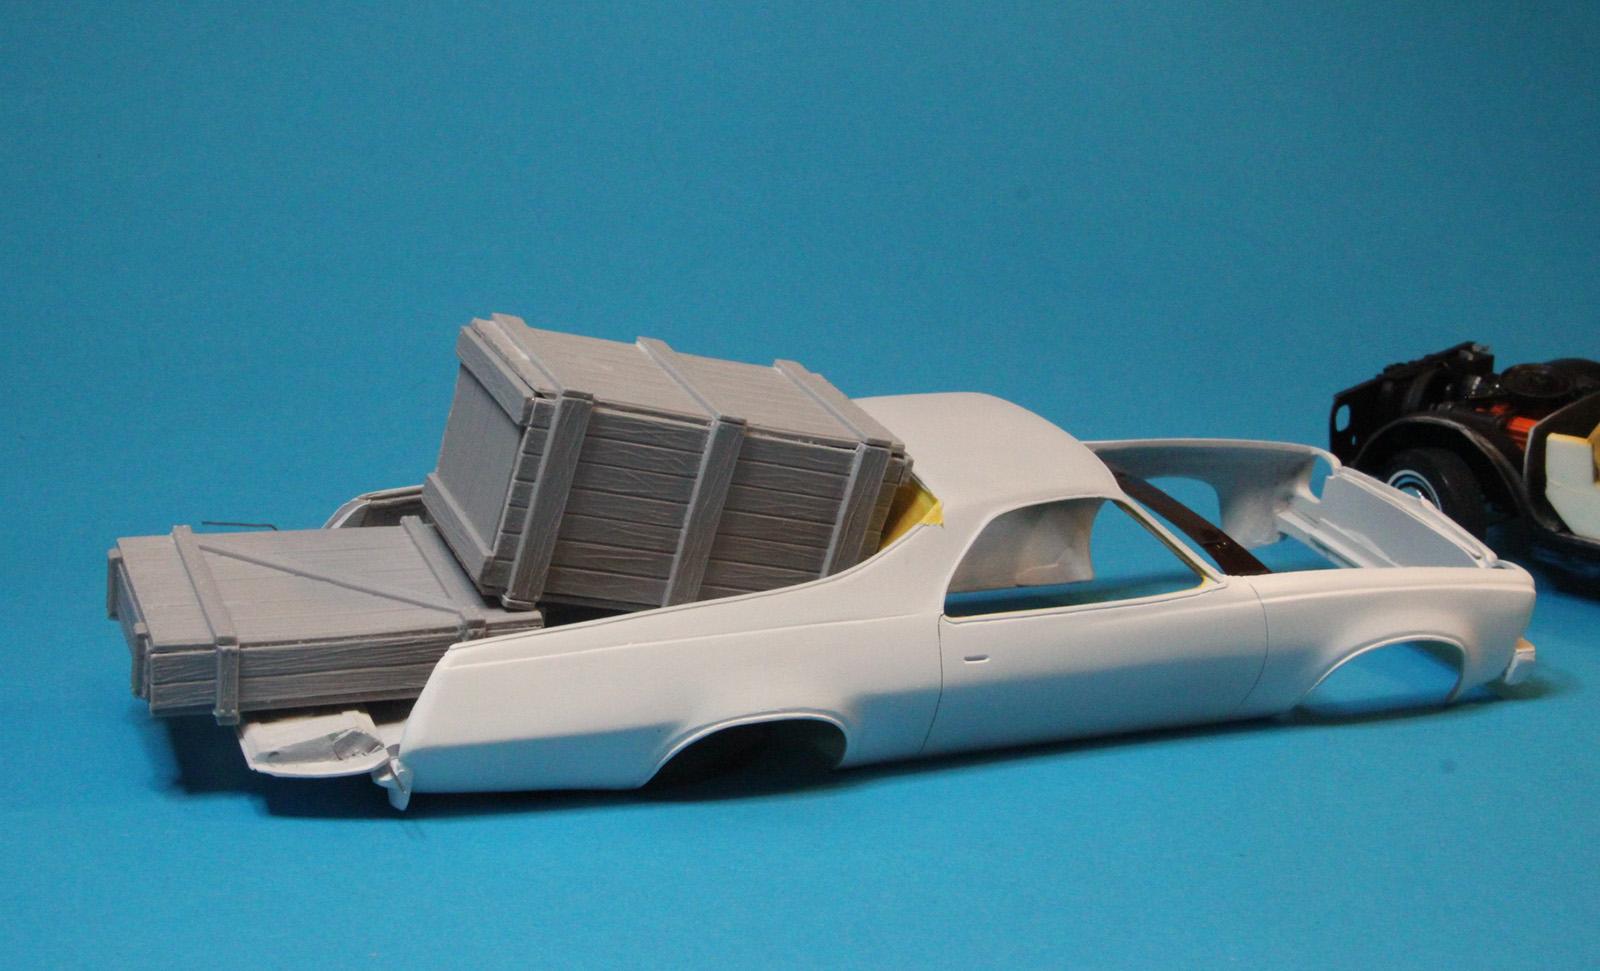
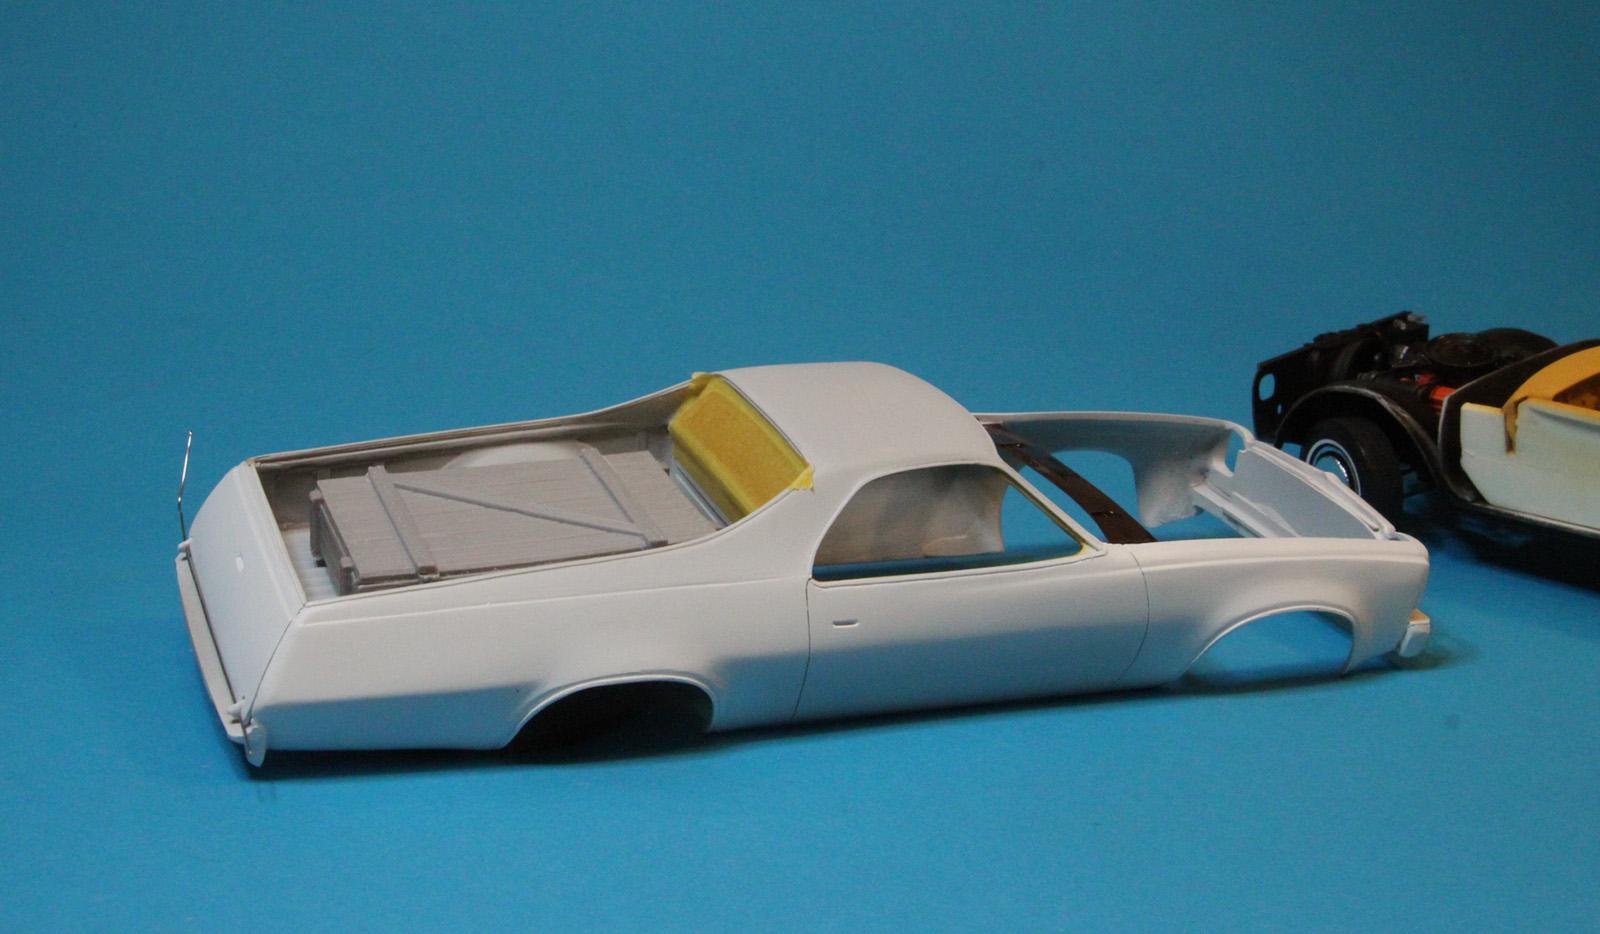
Hello again! Something is coming to show: I've added couple horns, copied from 1969 Ford F-100 Couple boxes were glued for load I can not choose which one to use. May be - both? Stay turned!
-
1973' Chevrolet El Camino
Sergey replied to Sergey's topic in WIP: Model Trucks: Pickups, Vans, SUVs, Light Commercial
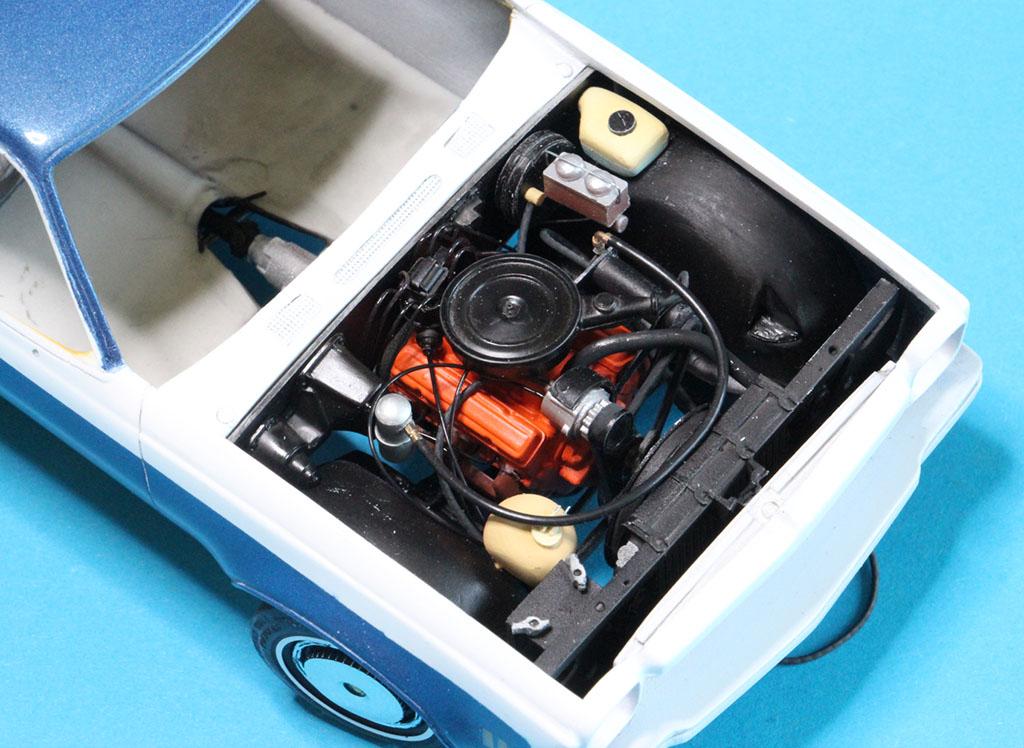
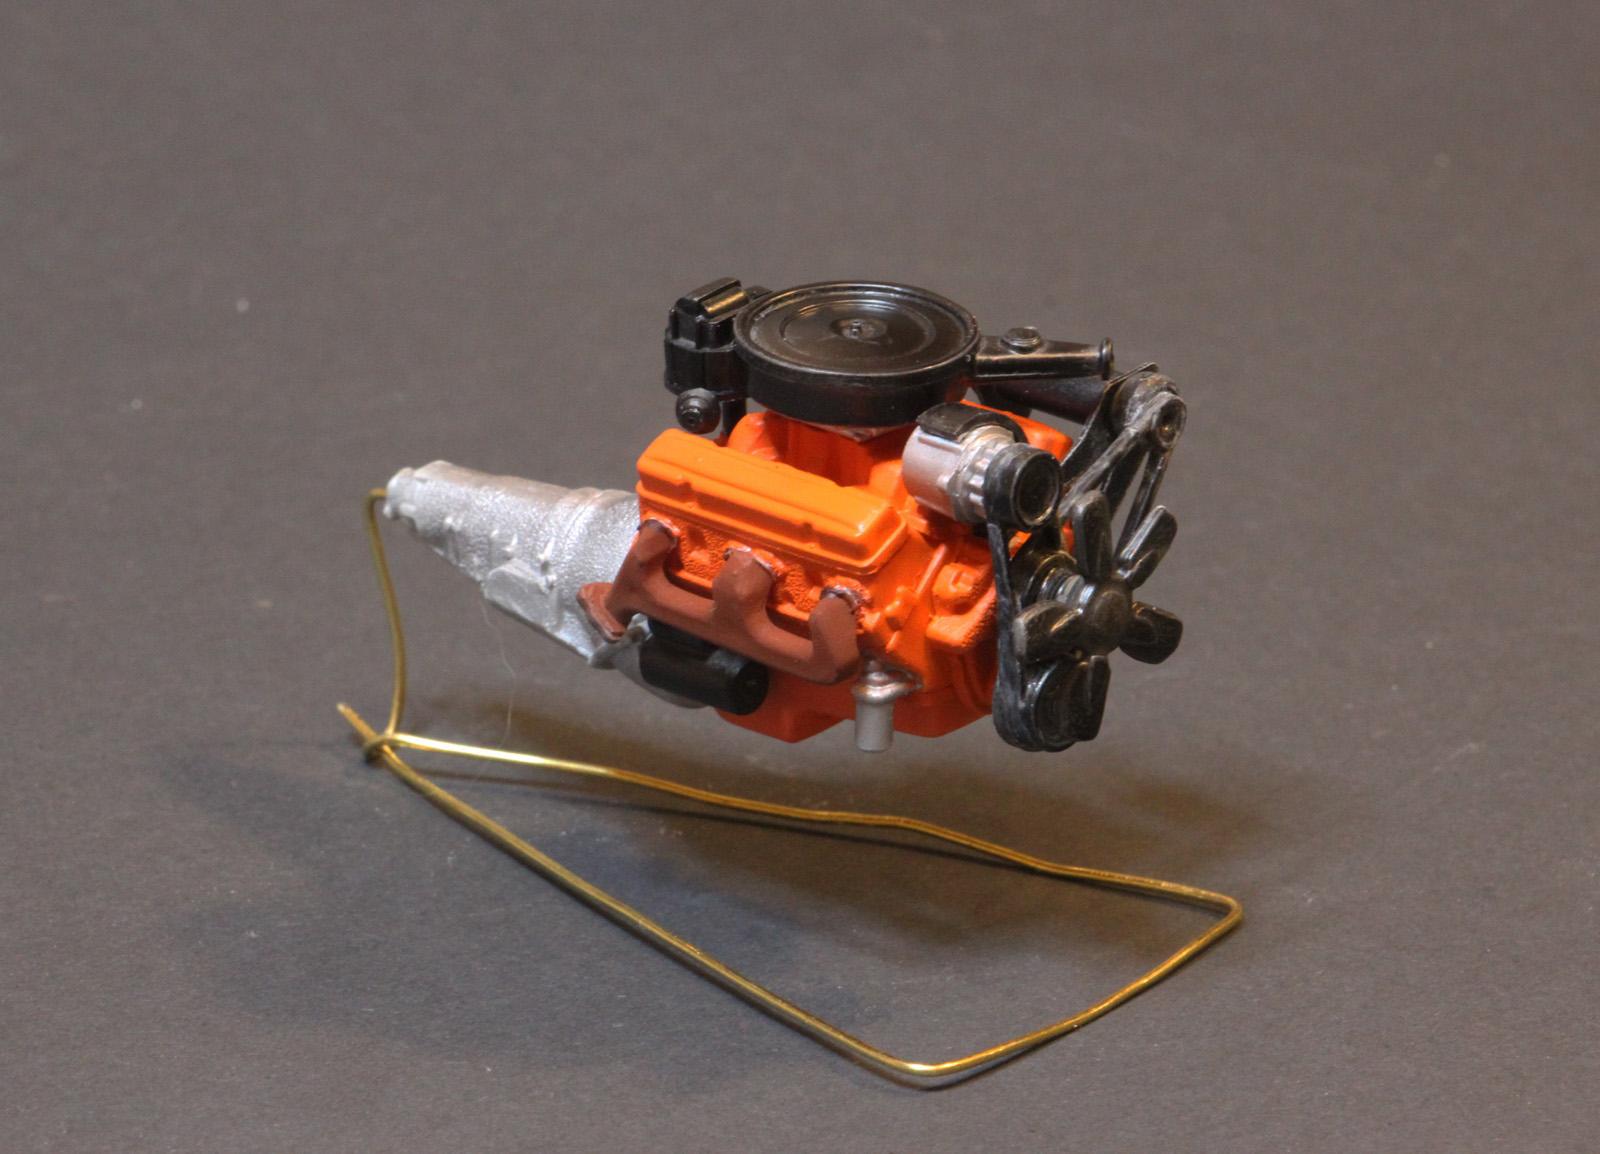
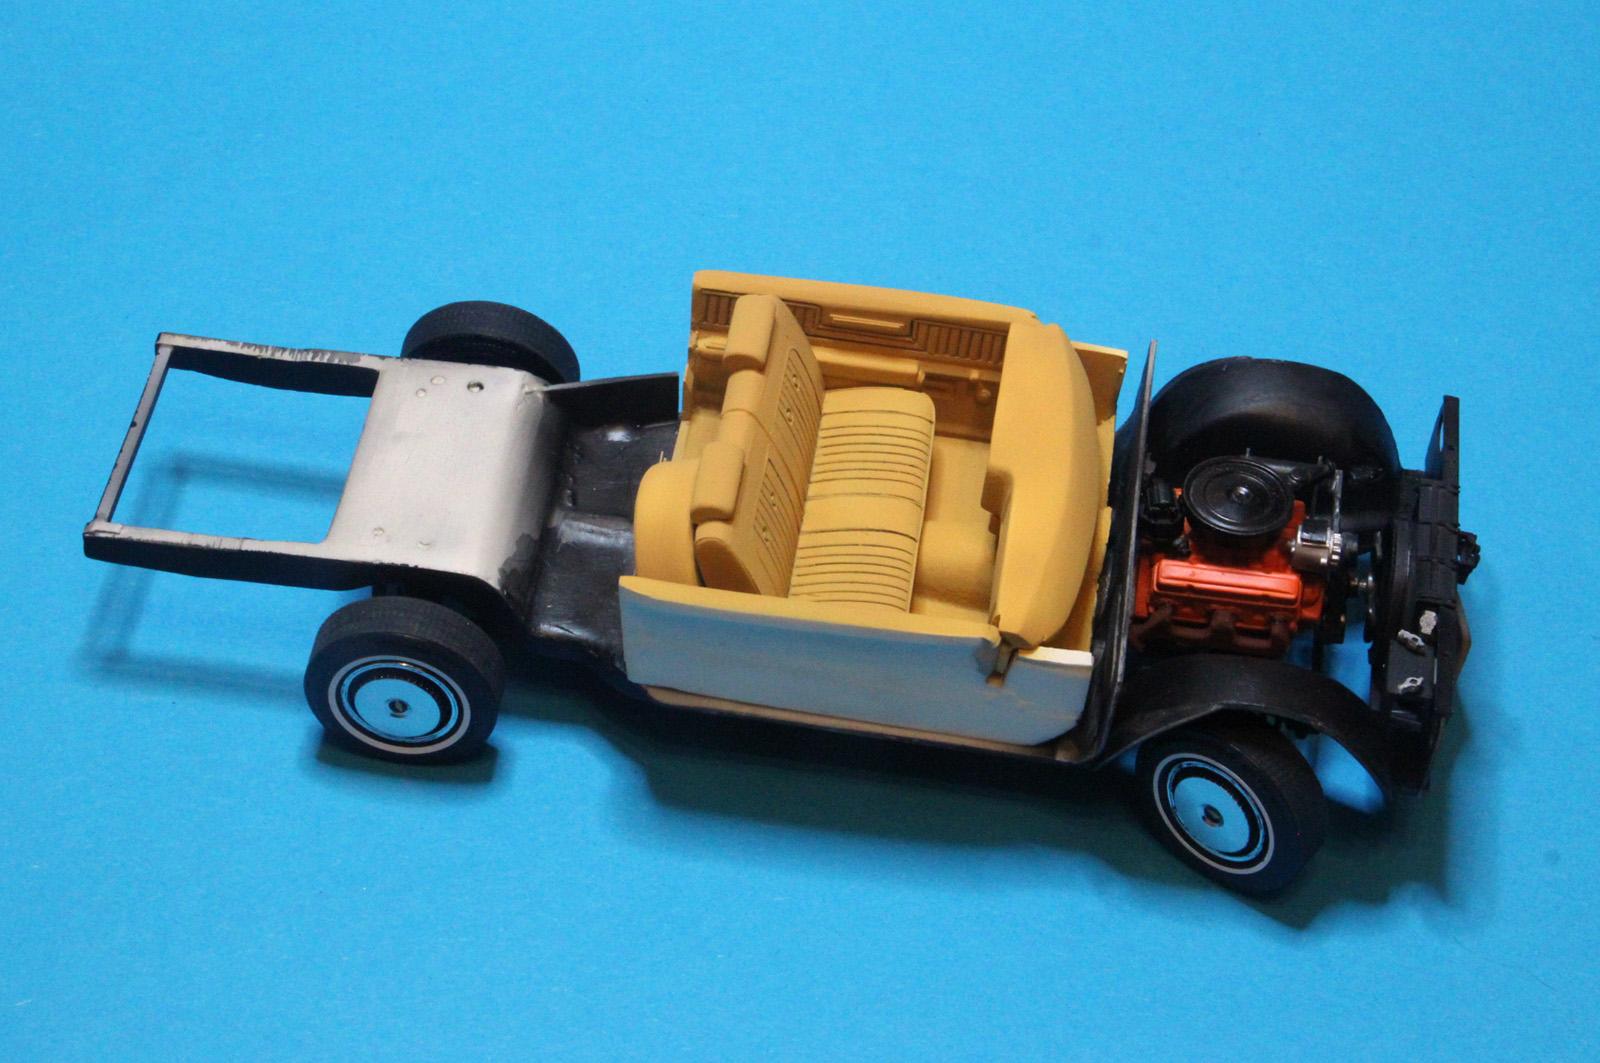
Thank you, Anton! The engine painted and assembled
-
1973' Chevrolet El Camino
Sergey replied to Sergey's topic in WIP: Model Trucks: Pickups, Vans, SUVs, Light Commercial
Thanks to everyone! The Paint is mix of Humbrol's 24, 62 & Tamiya's flat white. It seems I should cover the bench, spare wheel & door cards with semigloss varnish. Here is some wheels progress:
-
1973' Chevrolet El Camino
Sergey replied to Sergey's topic in WIP: Model Trucks: Pickups, Vans, SUVs, Light Commercial
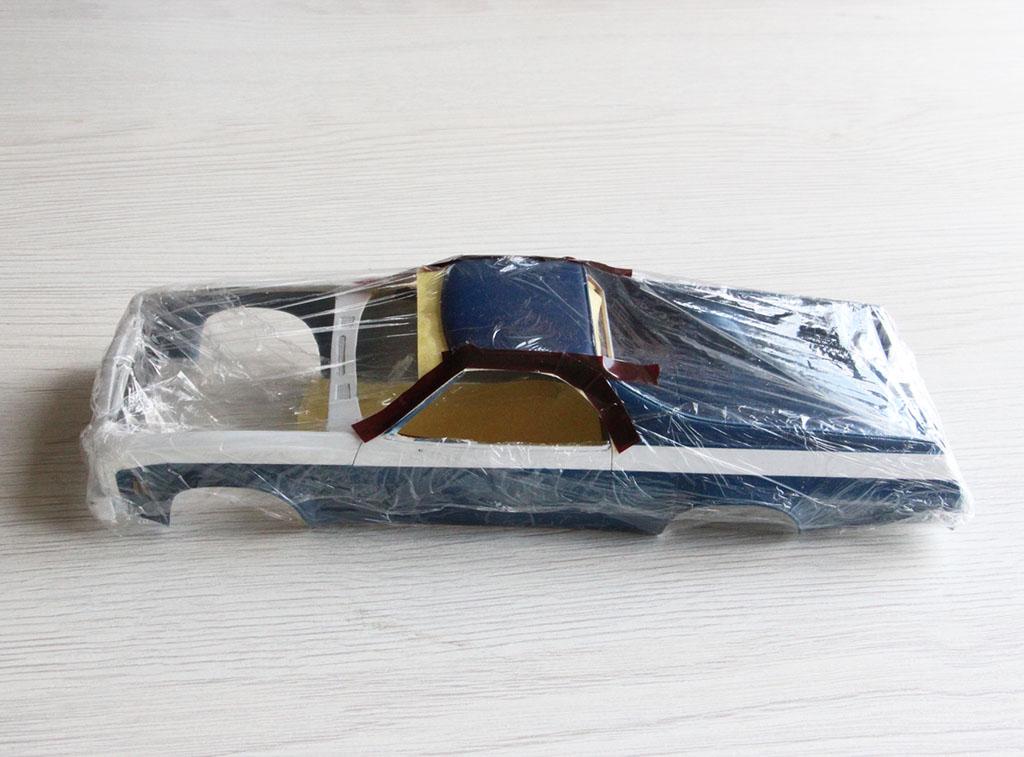
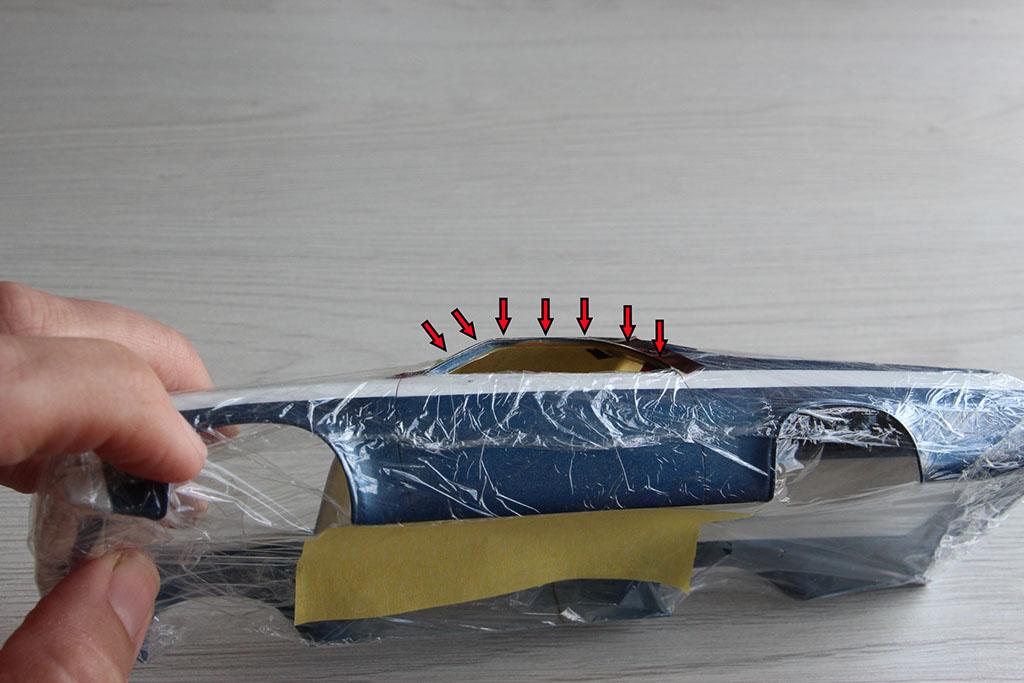
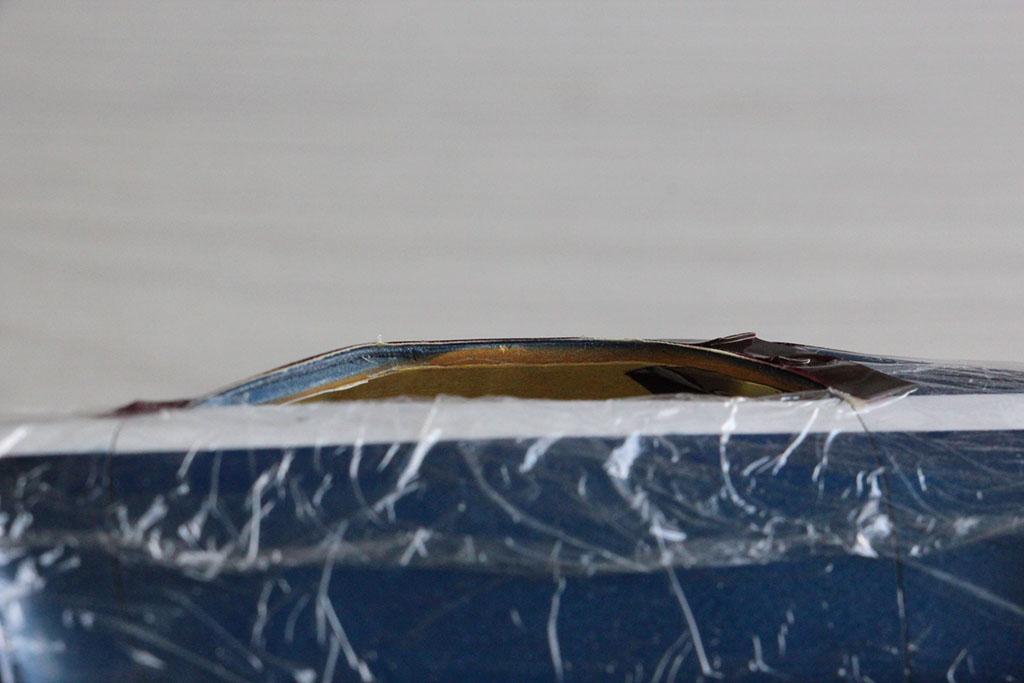
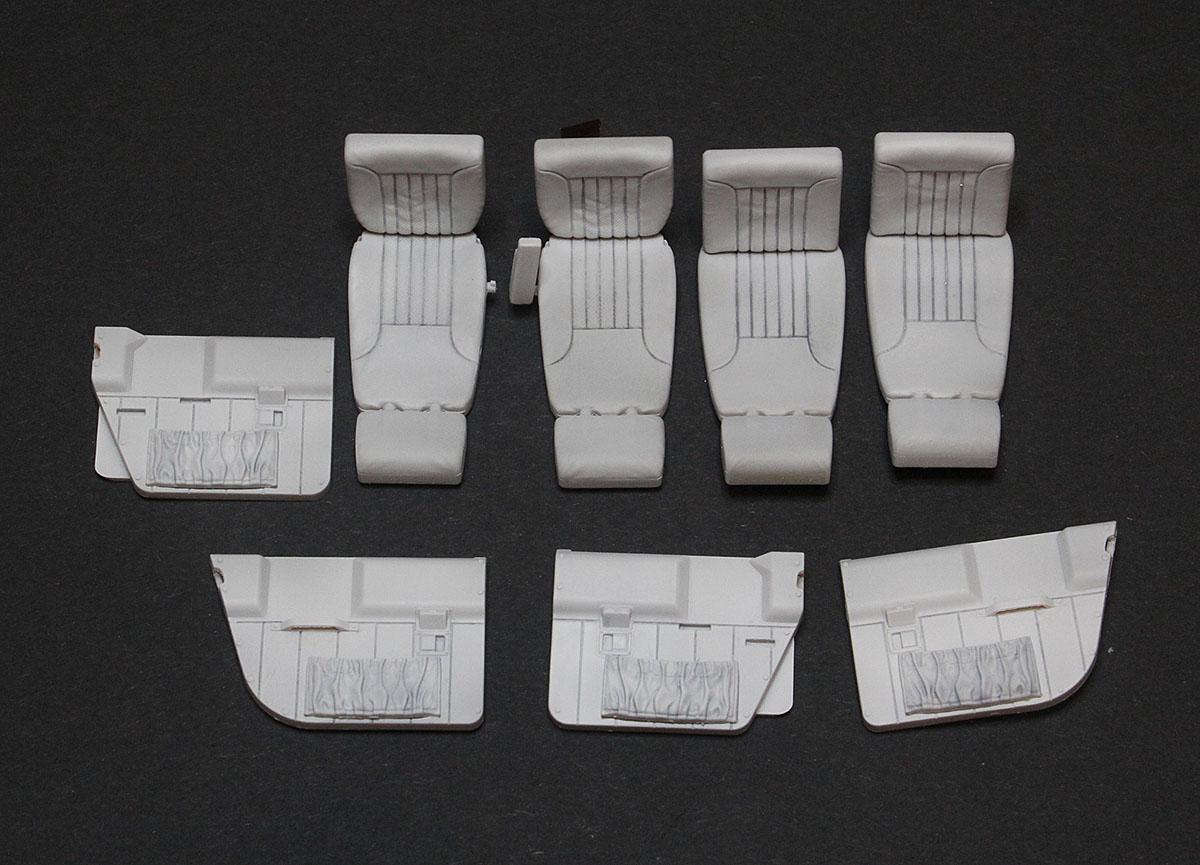
Hello again! Some interior (and not only) progress Masking for roof interior painting Thank you for stay turned!