Greg Pugh
-
Posts
2,718 -
Joined
-
Last visited
Content Type
Profiles
Forums
Events
Gallery
Everything posted by Greg Pugh
-
'65 Plymouth Satellite...The One That Got Away
Greg Pugh replied to Greg Pugh's topic in WIP: Model Cars
Something else for those building this kit, especially those wanting to build an accurate stock car, I discovered that the oil pan is wrong. The oil pan in the kit is correct for a C body car with a big block. In the picture below, the oil pan on the top is the Moebius Satellite piece, while the lower one is from AMT's Super Bee. Reference: http://www.440source.com/oilpans.htm
-
Type 2 VW Pickup
Greg Pugh replied to Brent's topic in Model Trucks: Pickups, Vans, SUVs, Light Commercial
That's really nice!! I just got to go for a ride in my first scab yesterday! -
'65 Plymouth Satellite...The One That Got Away
Greg Pugh replied to Greg Pugh's topic in WIP: Model Cars
I had three going, one being super close to completion, but they were all stalled out (waiting for parts, paint drying, etc). I had nothing to do and I just felt like I couldn't wait any longer on starting this one. Lol. So I currently have four, including this one. I generally don't like having more than three going at one time but like I said, one of the four is super close to being done. -
1955 Chevy stepside pickup
Greg Pugh replied to crazyjim's topic in Model Trucks: Pickups, Vans, SUVs, Light Commercial
That's sharp! I like it! -
'65 Plymouth Satellite...The One That Got Away
Greg Pugh replied to Greg Pugh's topic in WIP: Model Cars
All in all, a pretty productive 24 hours (for me anyways...Lol). Now to clean everything up, prime, and paint. Thanks for watching! -
'65 Plymouth Satellite...The One That Got Away
Greg Pugh replied to Greg Pugh's topic in WIP: Model Cars
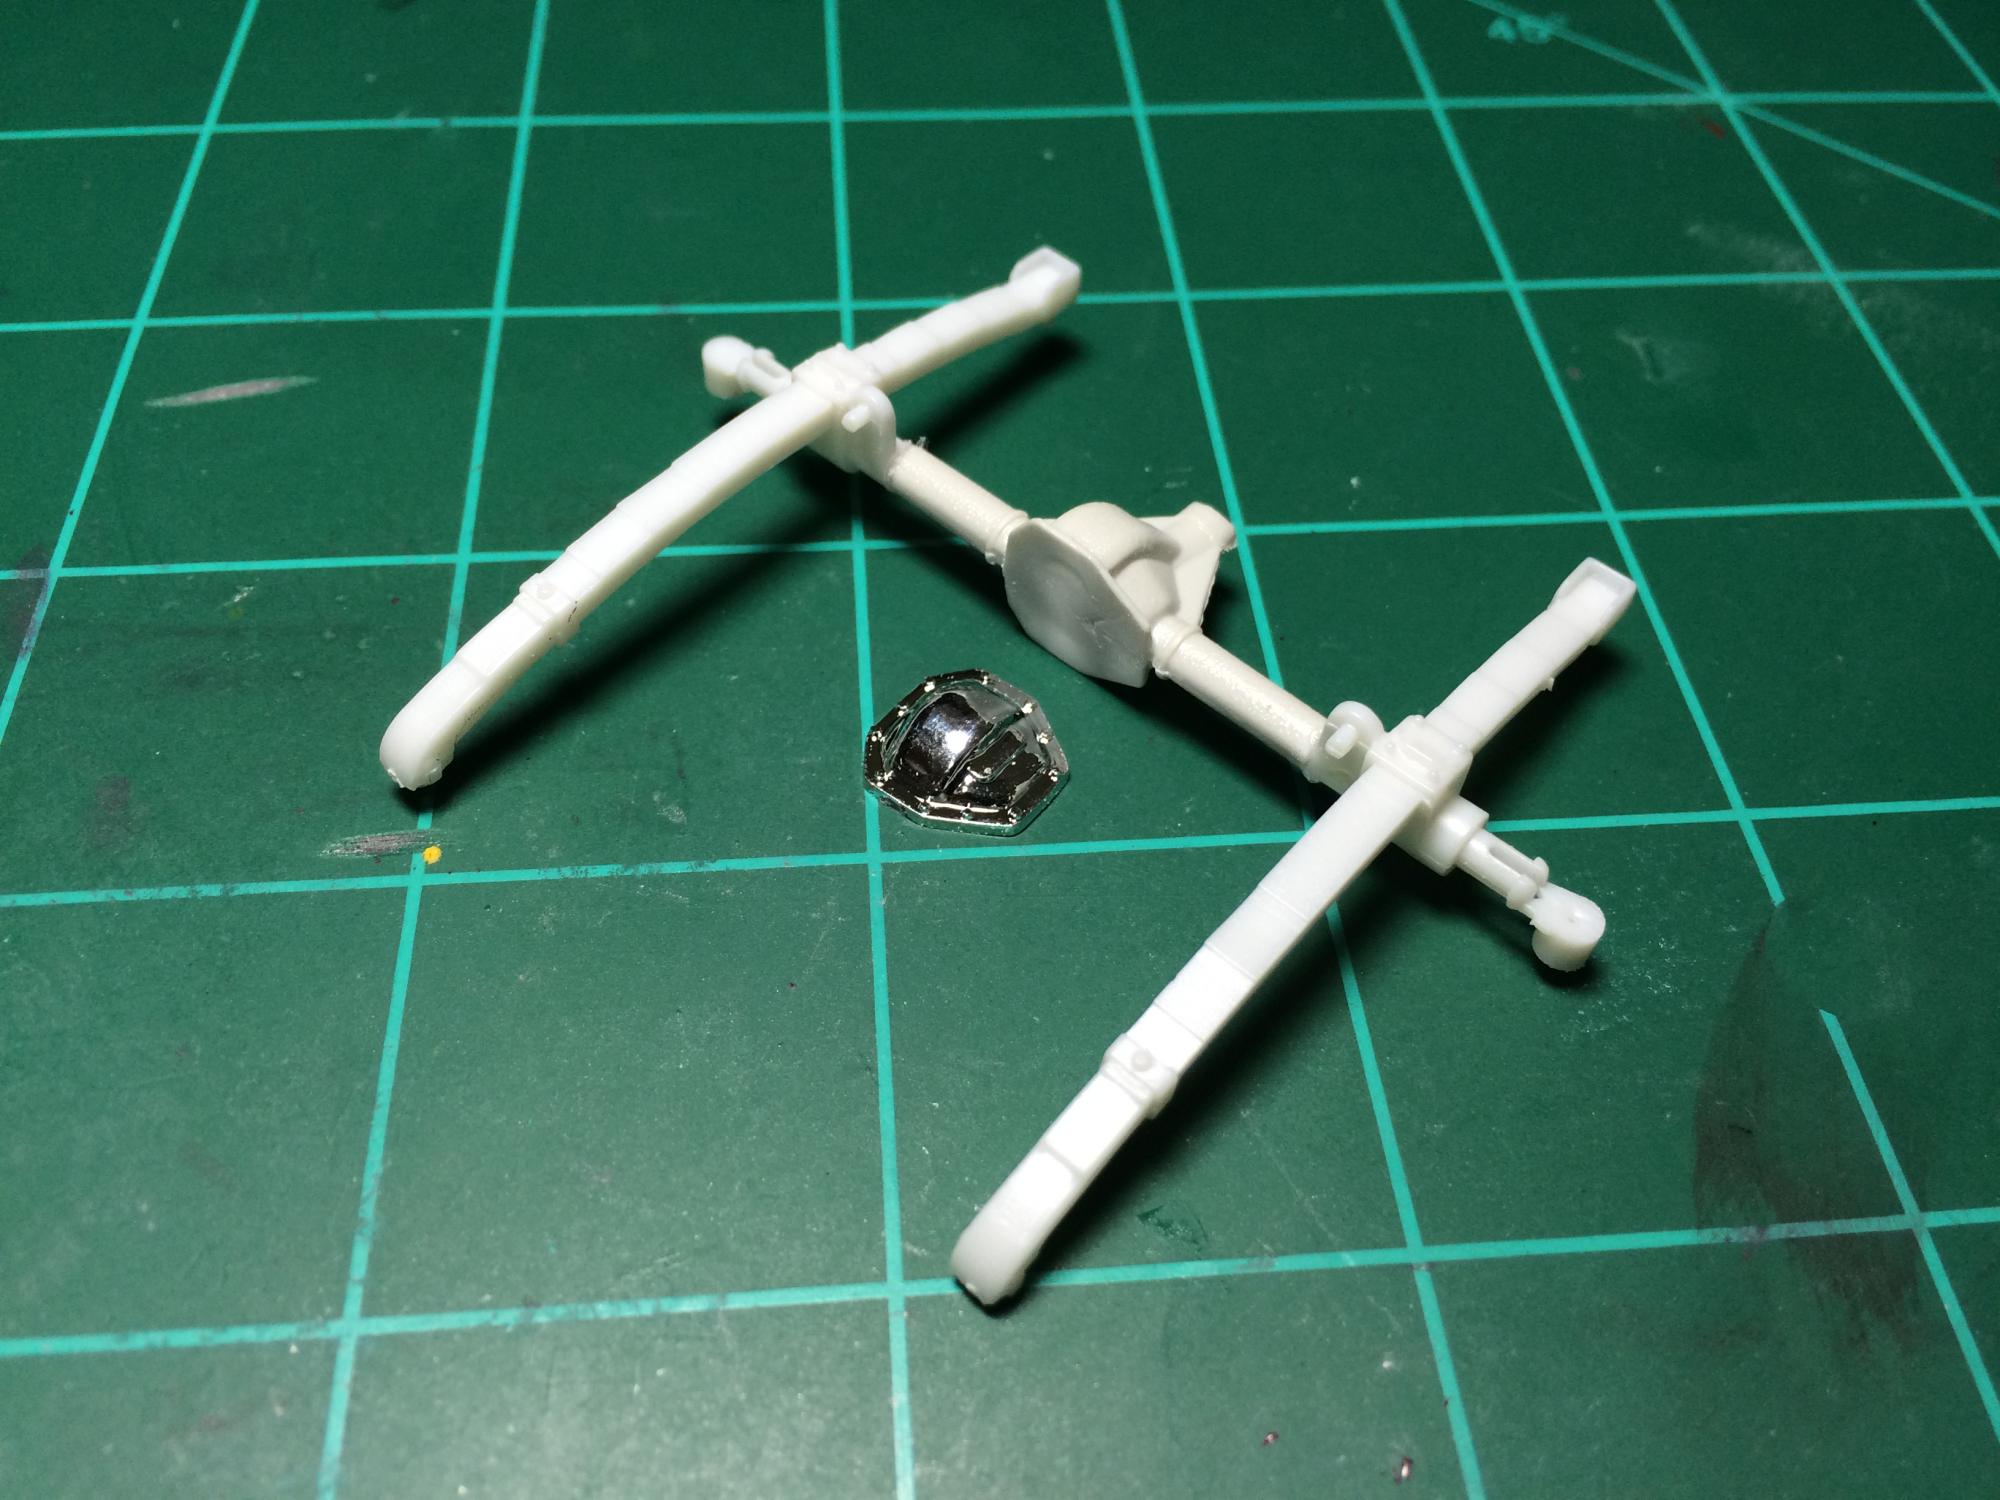
My original intention was to use the complete engine and transmission from the Super Bee but...that changed. I decided that I will be using the engine from the Satellite and mate it to the bell housing/transmission from the Super Bee. The first picture is of the two engines side by side for comparison when I was mocking it up. The second pic was after I already changed my mind but forgot to snap a pic, you can see the Torqueflite has been removed already. Also in that second pic, you can see what prompted this decision. If you'll notice where I marked with Sharpie, the motor's mounting point is too far back and too low on the Super Bee, and it's too high and just a bit too far forward on the Satellite. Once the motor is installed and the exhaust manifolds are installed, you won't see this anyways so instead of correcting the motor mounts, I chose the lesser of the two evils. As some of you know, the RB engine series (383, 413, 426 wedge, and 440) all share the same block. The Satellite kit came with a 426 Wedge and the Super Bee kit came with a 440. AMT and Moebius both did their homework here too as both blocks are identical in size. So much so in fact, that I'll be able to use the short block from the Satellite and still put the top end and all of the 6-pack stuff right on top of it and no one will ever know! Mwahahahahahahahahaha!
-
'65 Plymouth Satellite...The One That Got Away
Greg Pugh replied to Greg Pugh's topic in WIP: Model Cars
Holy cow Brad! You saved my bacon there! I double and triple checked that throughout the mocking up stages and must've flipped it around right before I glued it together! I was so sure that I had it right that I admittedly scoffed at your post and thought "Brad's lost his mind"! Then I thought, maybe I better take another look. And that folks, is why I love a build thread! Thank you Brad! You saved the day. It's already been fixed. -
'65 Plymouth Satellite...The One That Got Away
Greg Pugh replied to Greg Pugh's topic in WIP: Model Cars
DANA 60 done!
-
'65 Plymouth Satellite...The One That Got Away
Greg Pugh replied to Greg Pugh's topic in WIP: Model Cars
Moving onto the rearend, the DANA 60 from the Super Bee was just a bit narrow in comparison to the 8 3/4 from the Satellite. Originally, I was just going to use the rear end and the leaf springs from the Super Bee. When I discovered that it was just a tad too narrow, I came up with this idea. The axle tubes are the same diameter between the two so I just cut the DANA right before the U-bolt detail and added the axle ends with leaf springs from the Satellite to it. Thank you AMT and Moebius! This ended up being easier in the end anyways because the leaf springs mount right up to the chassis plate and the studs for the lower shock mount are already in place. Score!
-
Thank you!
-
'65 Plymouth Satellite...The One That Got Away
Greg Pugh replied to Greg Pugh's topic in WIP: Model Cars
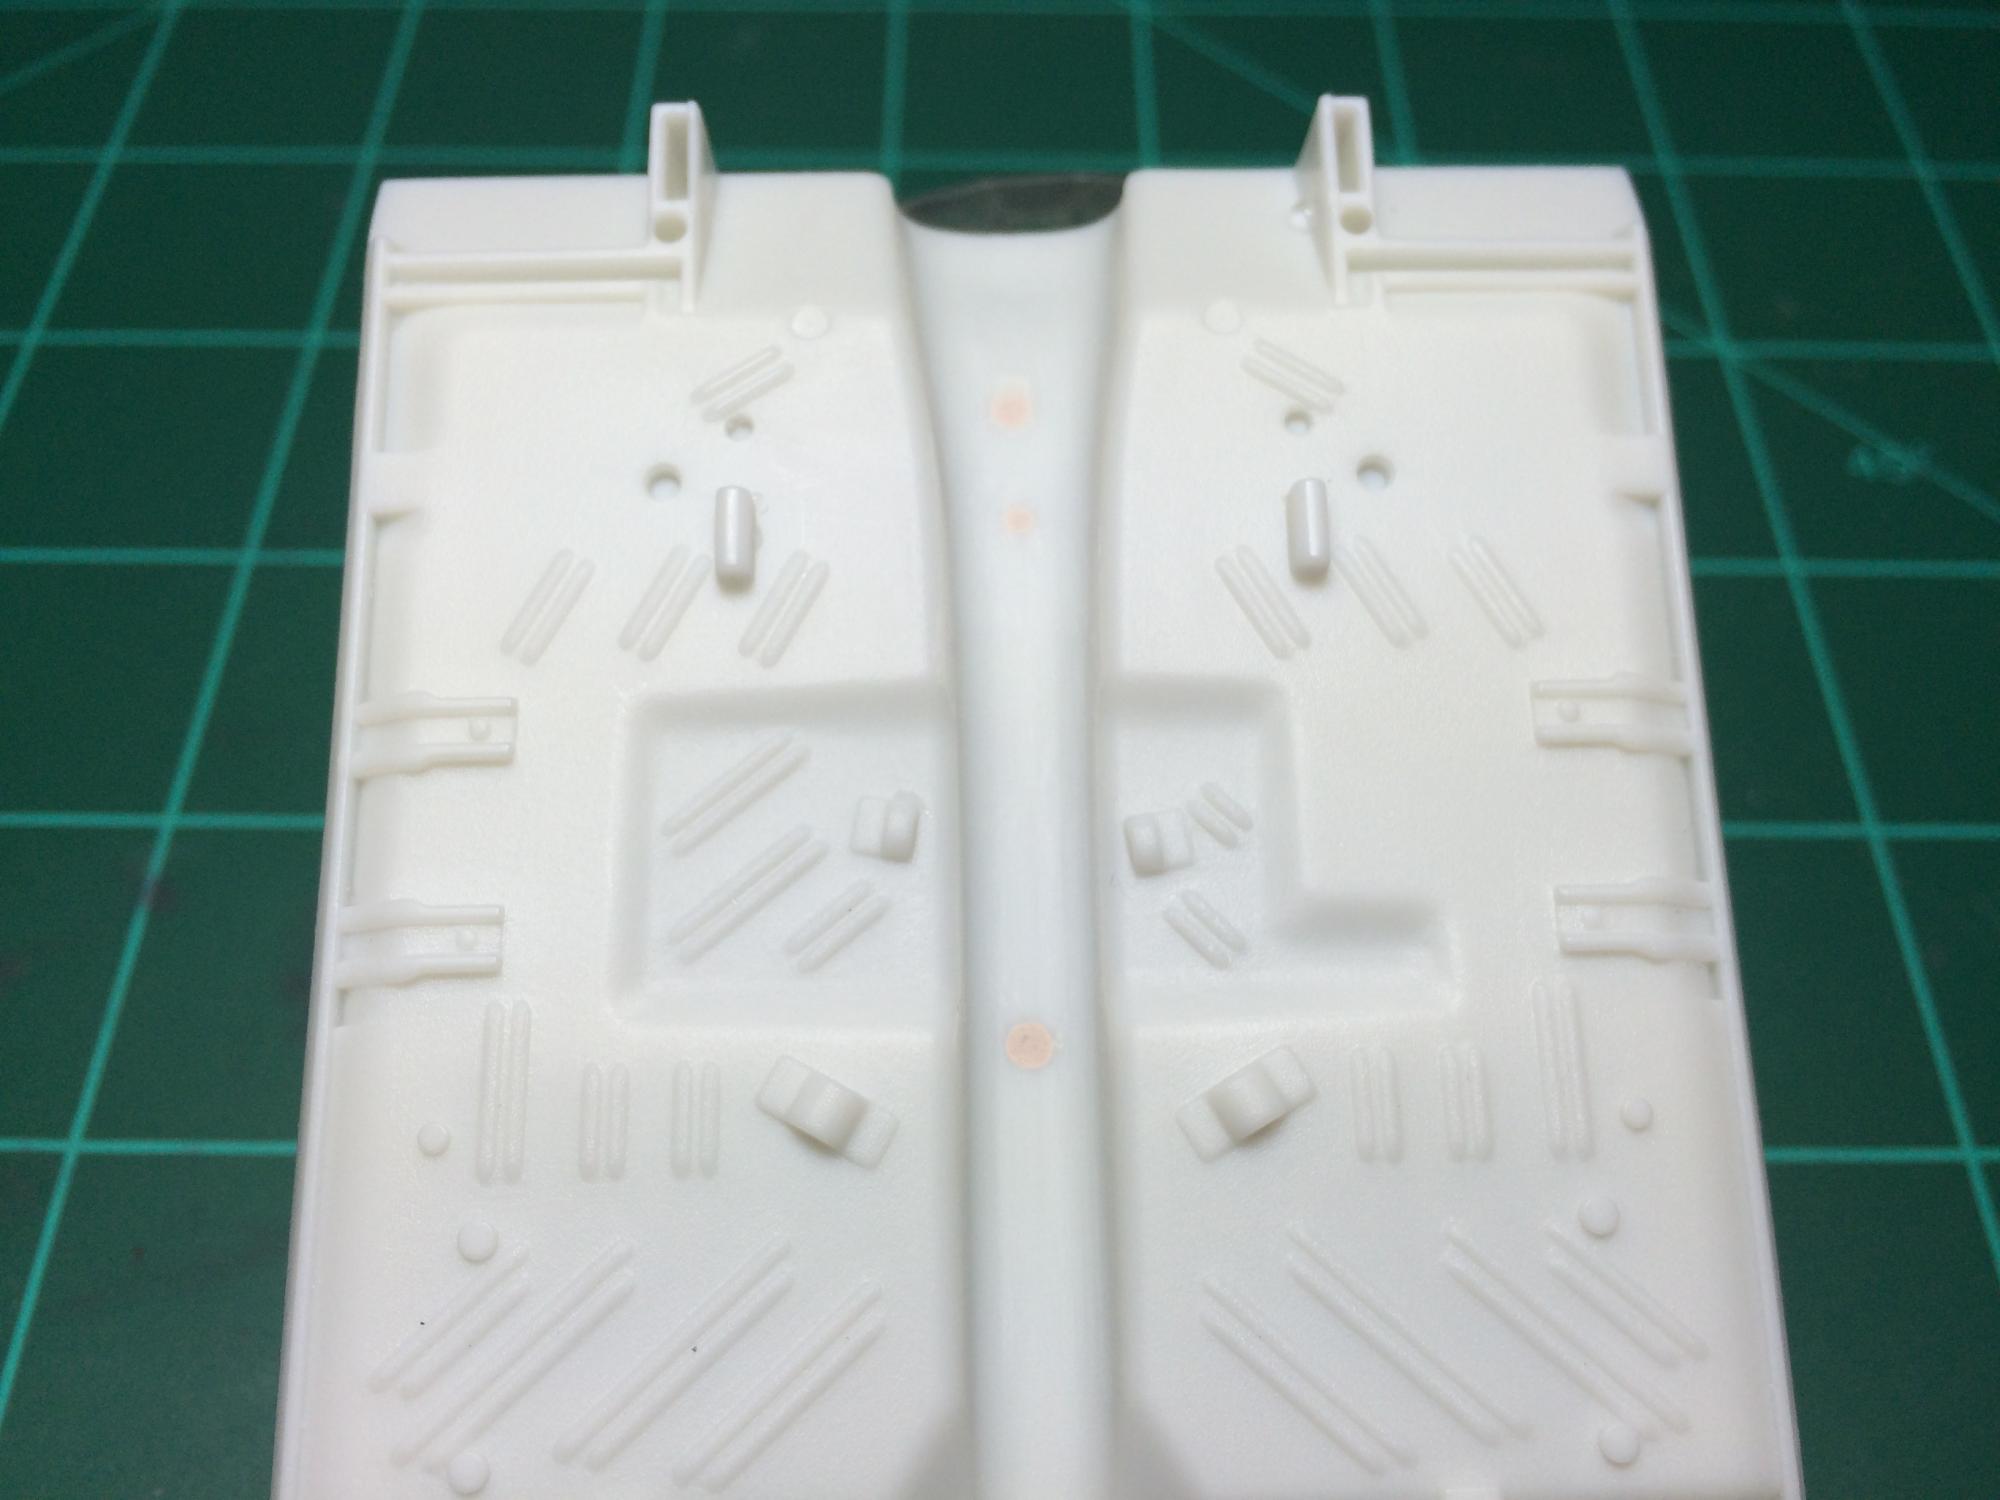
I then layed down some .010" sheet styrene on the top of the top piece (that has the torsion springs attached)(see first pic). When all is reassembled, it now has depth and looks much more realistic.
-
'65 Plymouth Satellite...The One That Got Away
Greg Pugh replied to Greg Pugh's topic in WIP: Model Cars
The funny thing is, if you look at the first picture, they got it right on the piece that lays over the top of the cross member and it has holes there, which will never be seen. So I decided to open up the recessed areas (see second pic) and then trimmed them to where they both matched.
-
'65 Plymouth Satellite...The One That Got Away
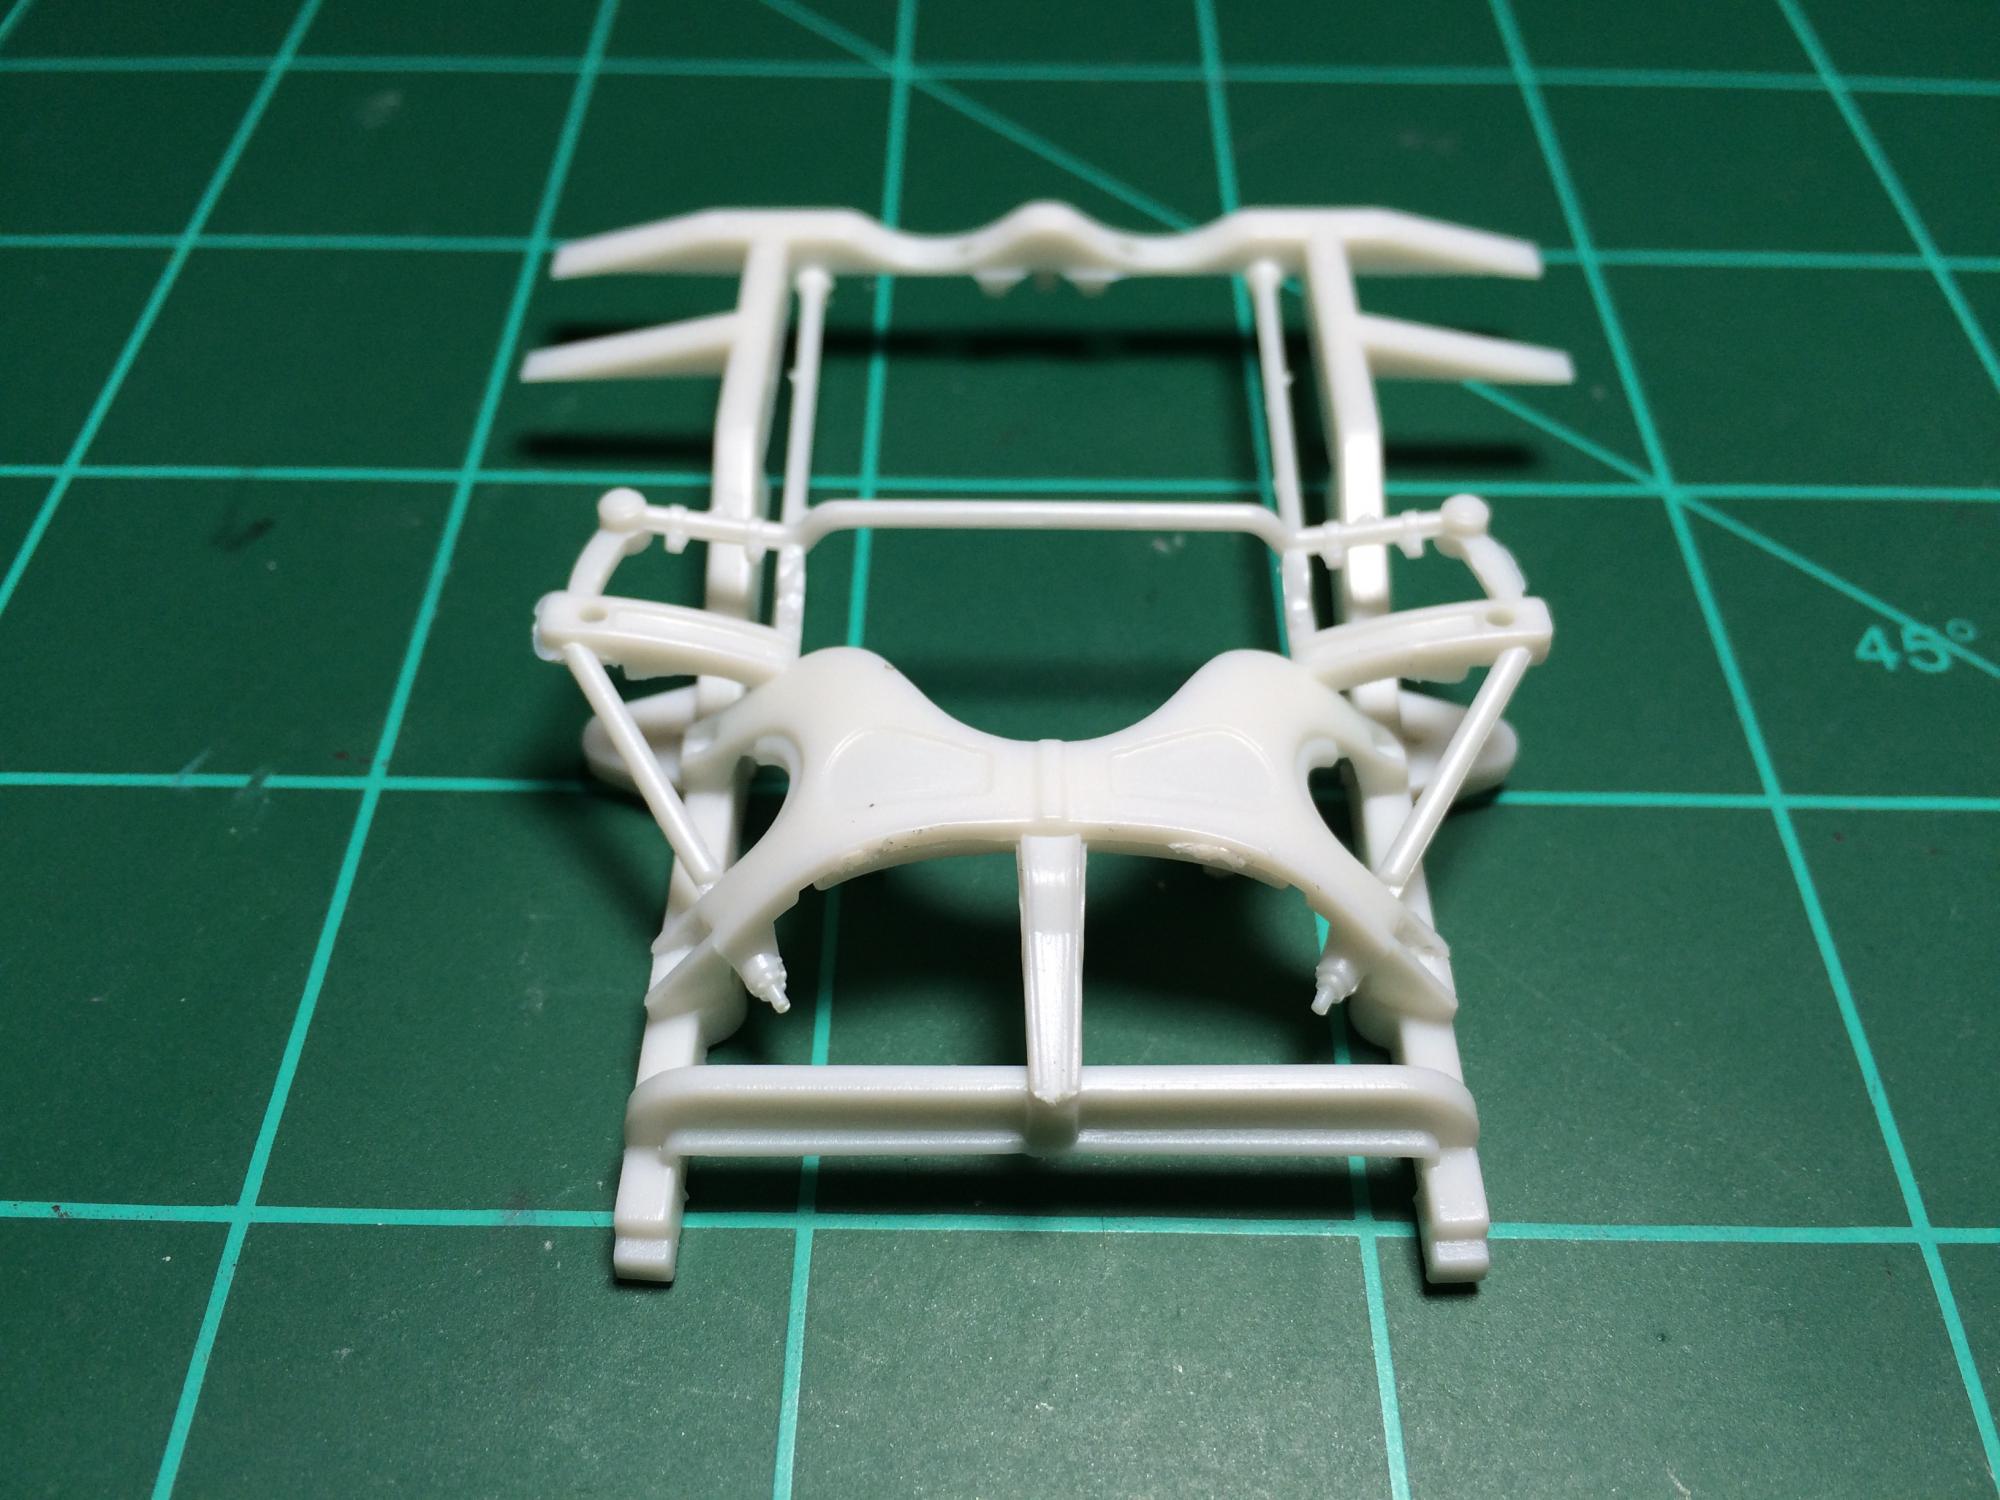
Greg Pugh replied to Greg Pugh's topic in WIP: Model Cars
Ok, so last night I played with the K-member. Overall, it's a pretty nice piece. The only thing lacking in my opinion was the lack of depth to the recessed areas/pockets under the cross member. First I'll show what the 1:1 looks like, followed by the kit piece and you'll see what I mean.
-
'65 Plymouth Satellite...The One That Got Away
Greg Pugh replied to Greg Pugh's topic in WIP: Model Cars
I do but I'll wait until the end to show them. The guy did a complete color change inside and out and it might detract from what I'm building and what the car was. I also have a video of me drag racing my buddy in his '71 Chevelle Super Sport that I've gotta try to figure out how to post here. It's on VHS and it's about 20 years old! -
Lol! It's a bit different, that's for sure!
-
'65 Plymouth Satellite...The One That Got Away
Greg Pugh replied to Greg Pugh's topic in WIP: Model Cars
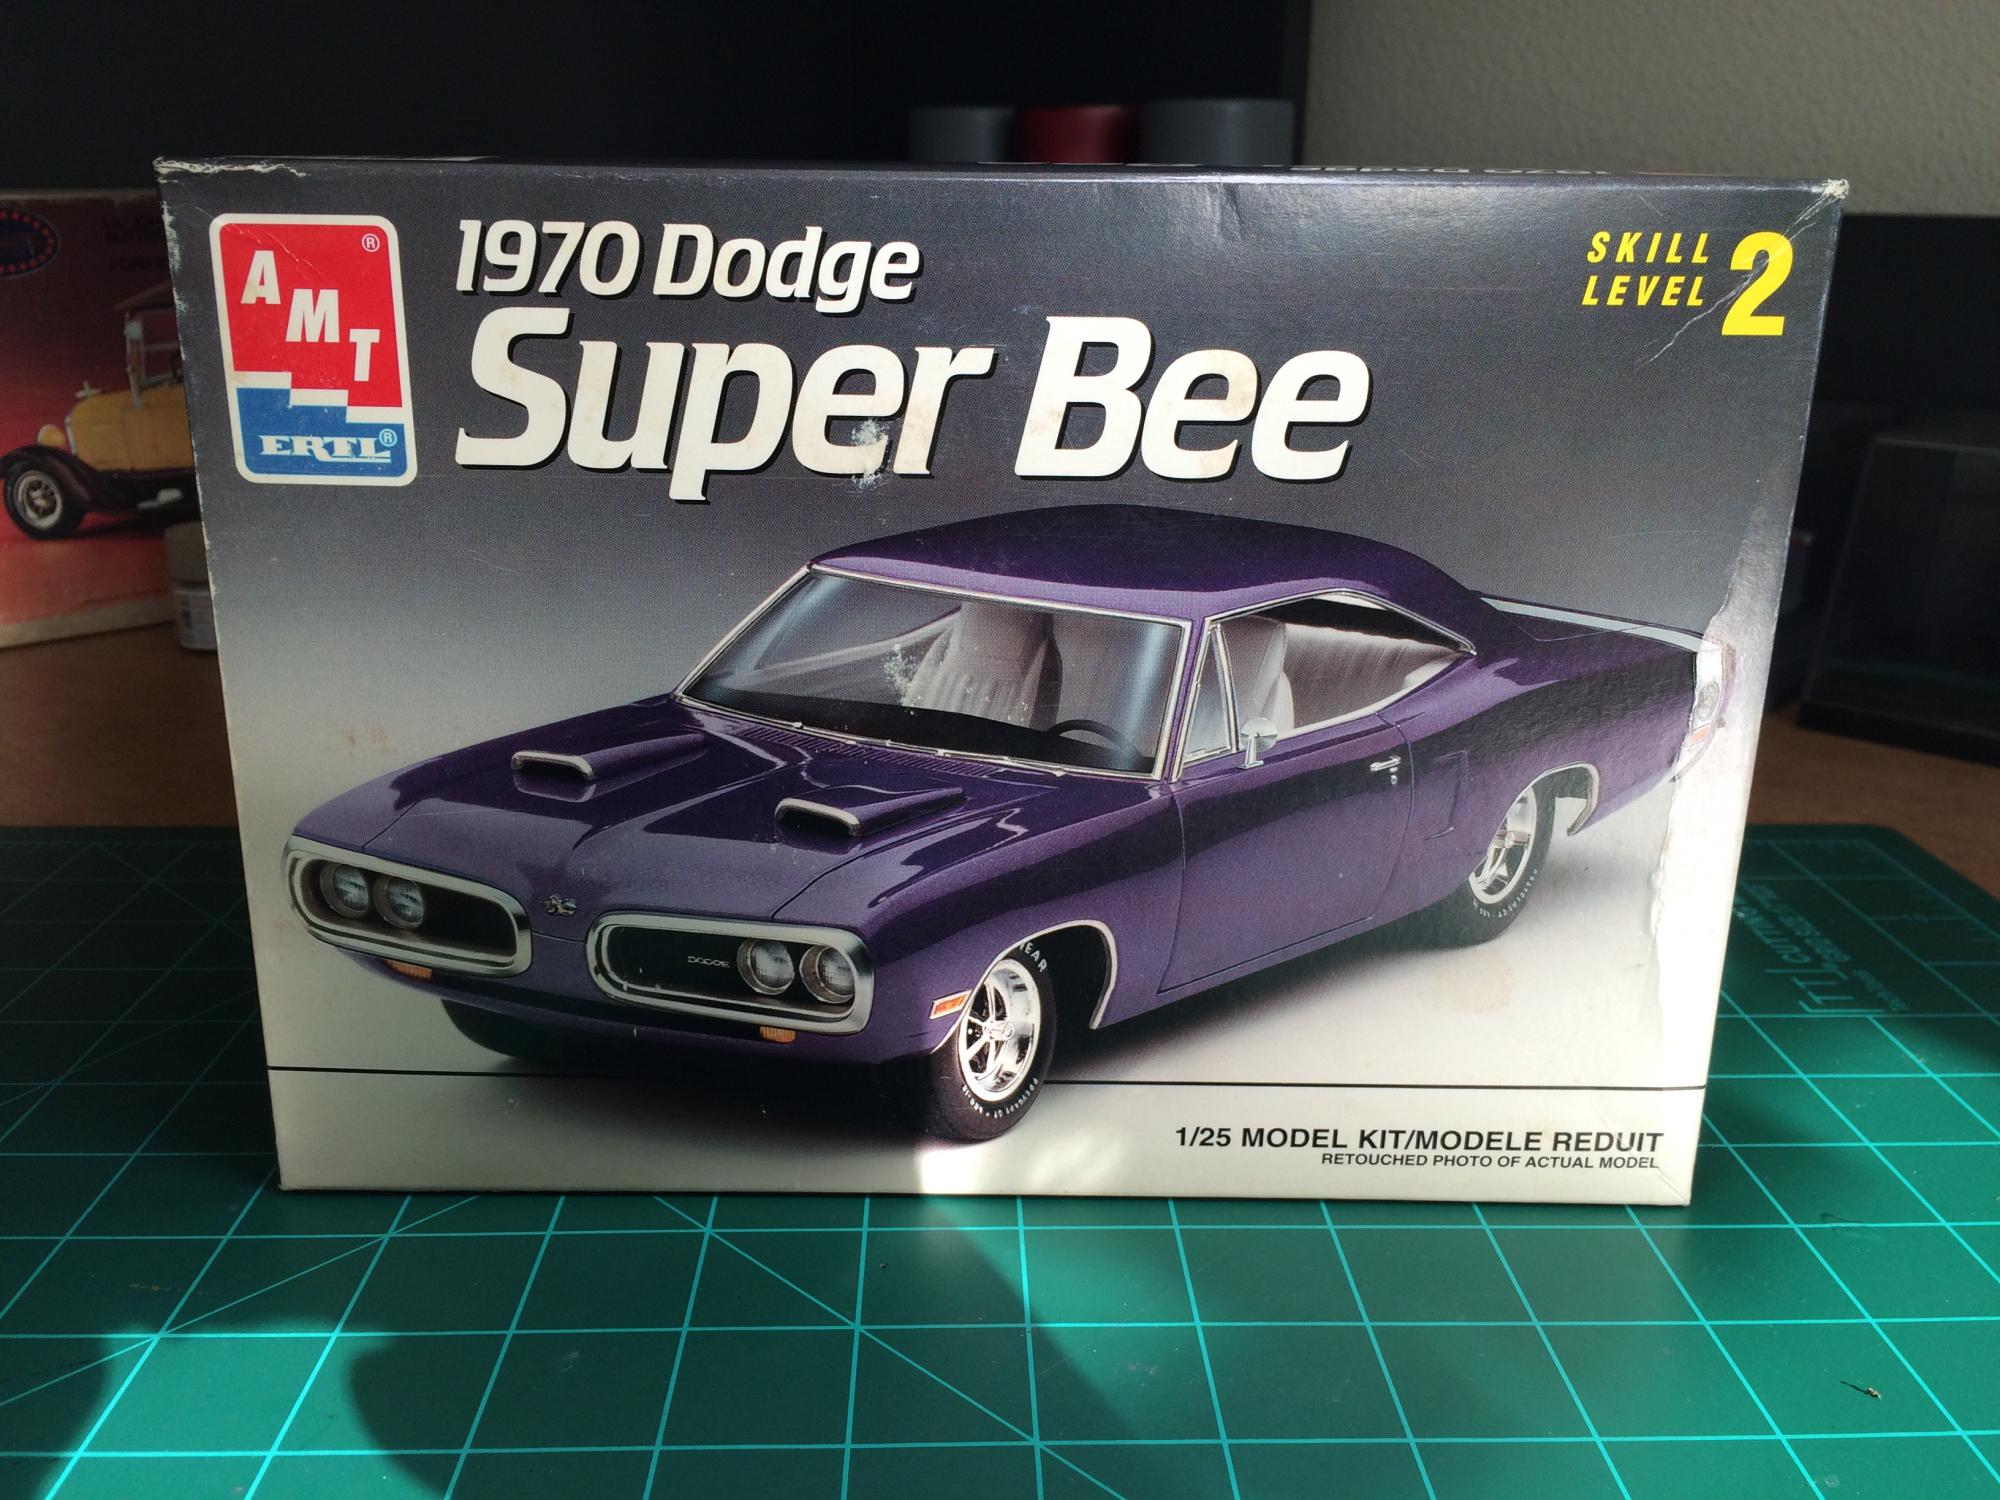
Talk about excellent timing! My donor kit showed up in the mail today. I will be using the complete engine (440-6 pack), the A-833 4 speed trans, the Dana rear end, and a couple other odds and ends. Stay tuned...
-
Yes. Crazy huh?!
-
'65 Plymouth Satellite...The One That Got Away
Greg Pugh replied to Greg Pugh's topic in WIP: Model Cars
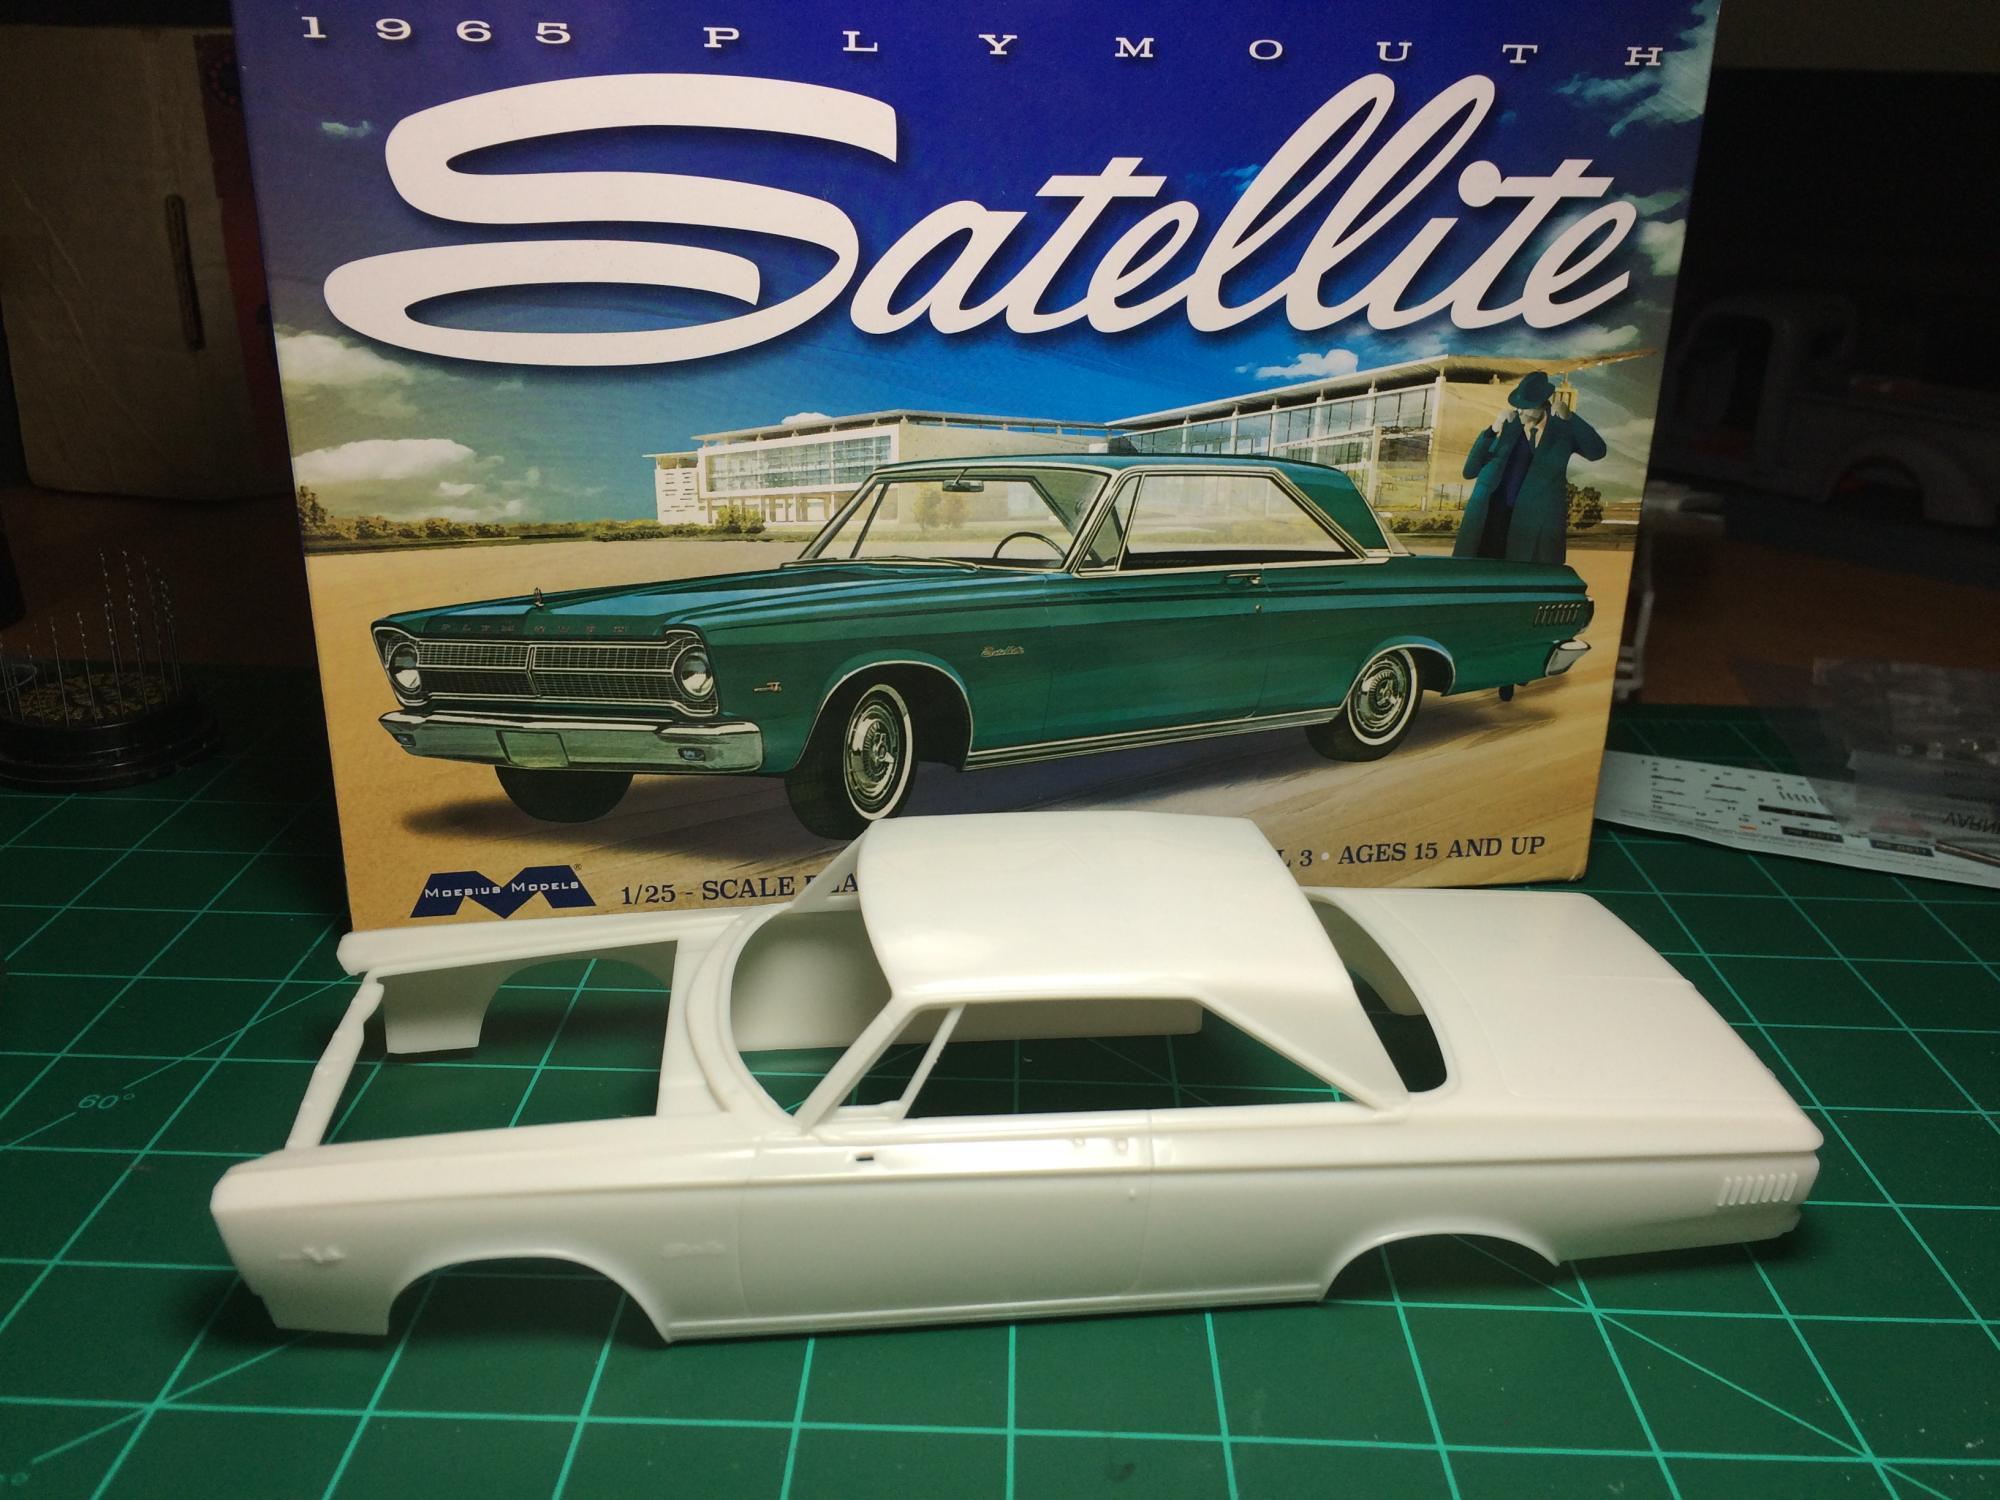
I always knew that if I got ahold of another Satellite, I would be painting it Ford's Dark Toreador Red. It's just a gorgeous maroon in my opinion. Steve Goldman did a fantastic build and article on building the Satellite in the last issue of MCM. Much like Steve, I painted and masked off the fuel tank before spraying the maroon. However, Steve assembled the firewall, inner fender wells, and core support prior to painting. I instead only installed the firewall and then painted the inner fender wells and core support separately. I felt I could get better accessibility while painting and also felt it would be easier to detail paint the pieces while they were apart and then assemble afterward. I used Dupli-Color for the paint, decanted it and sprayed it through an airbrush. The paint is a base coat/clear coat system so I covered it with Testor's Wet Look clear, also decanted and shot through an airbrush.
-
'65 Plymouth Satellite...The One That Got Away
Greg Pugh replied to Greg Pugh's topic in WIP: Model Cars
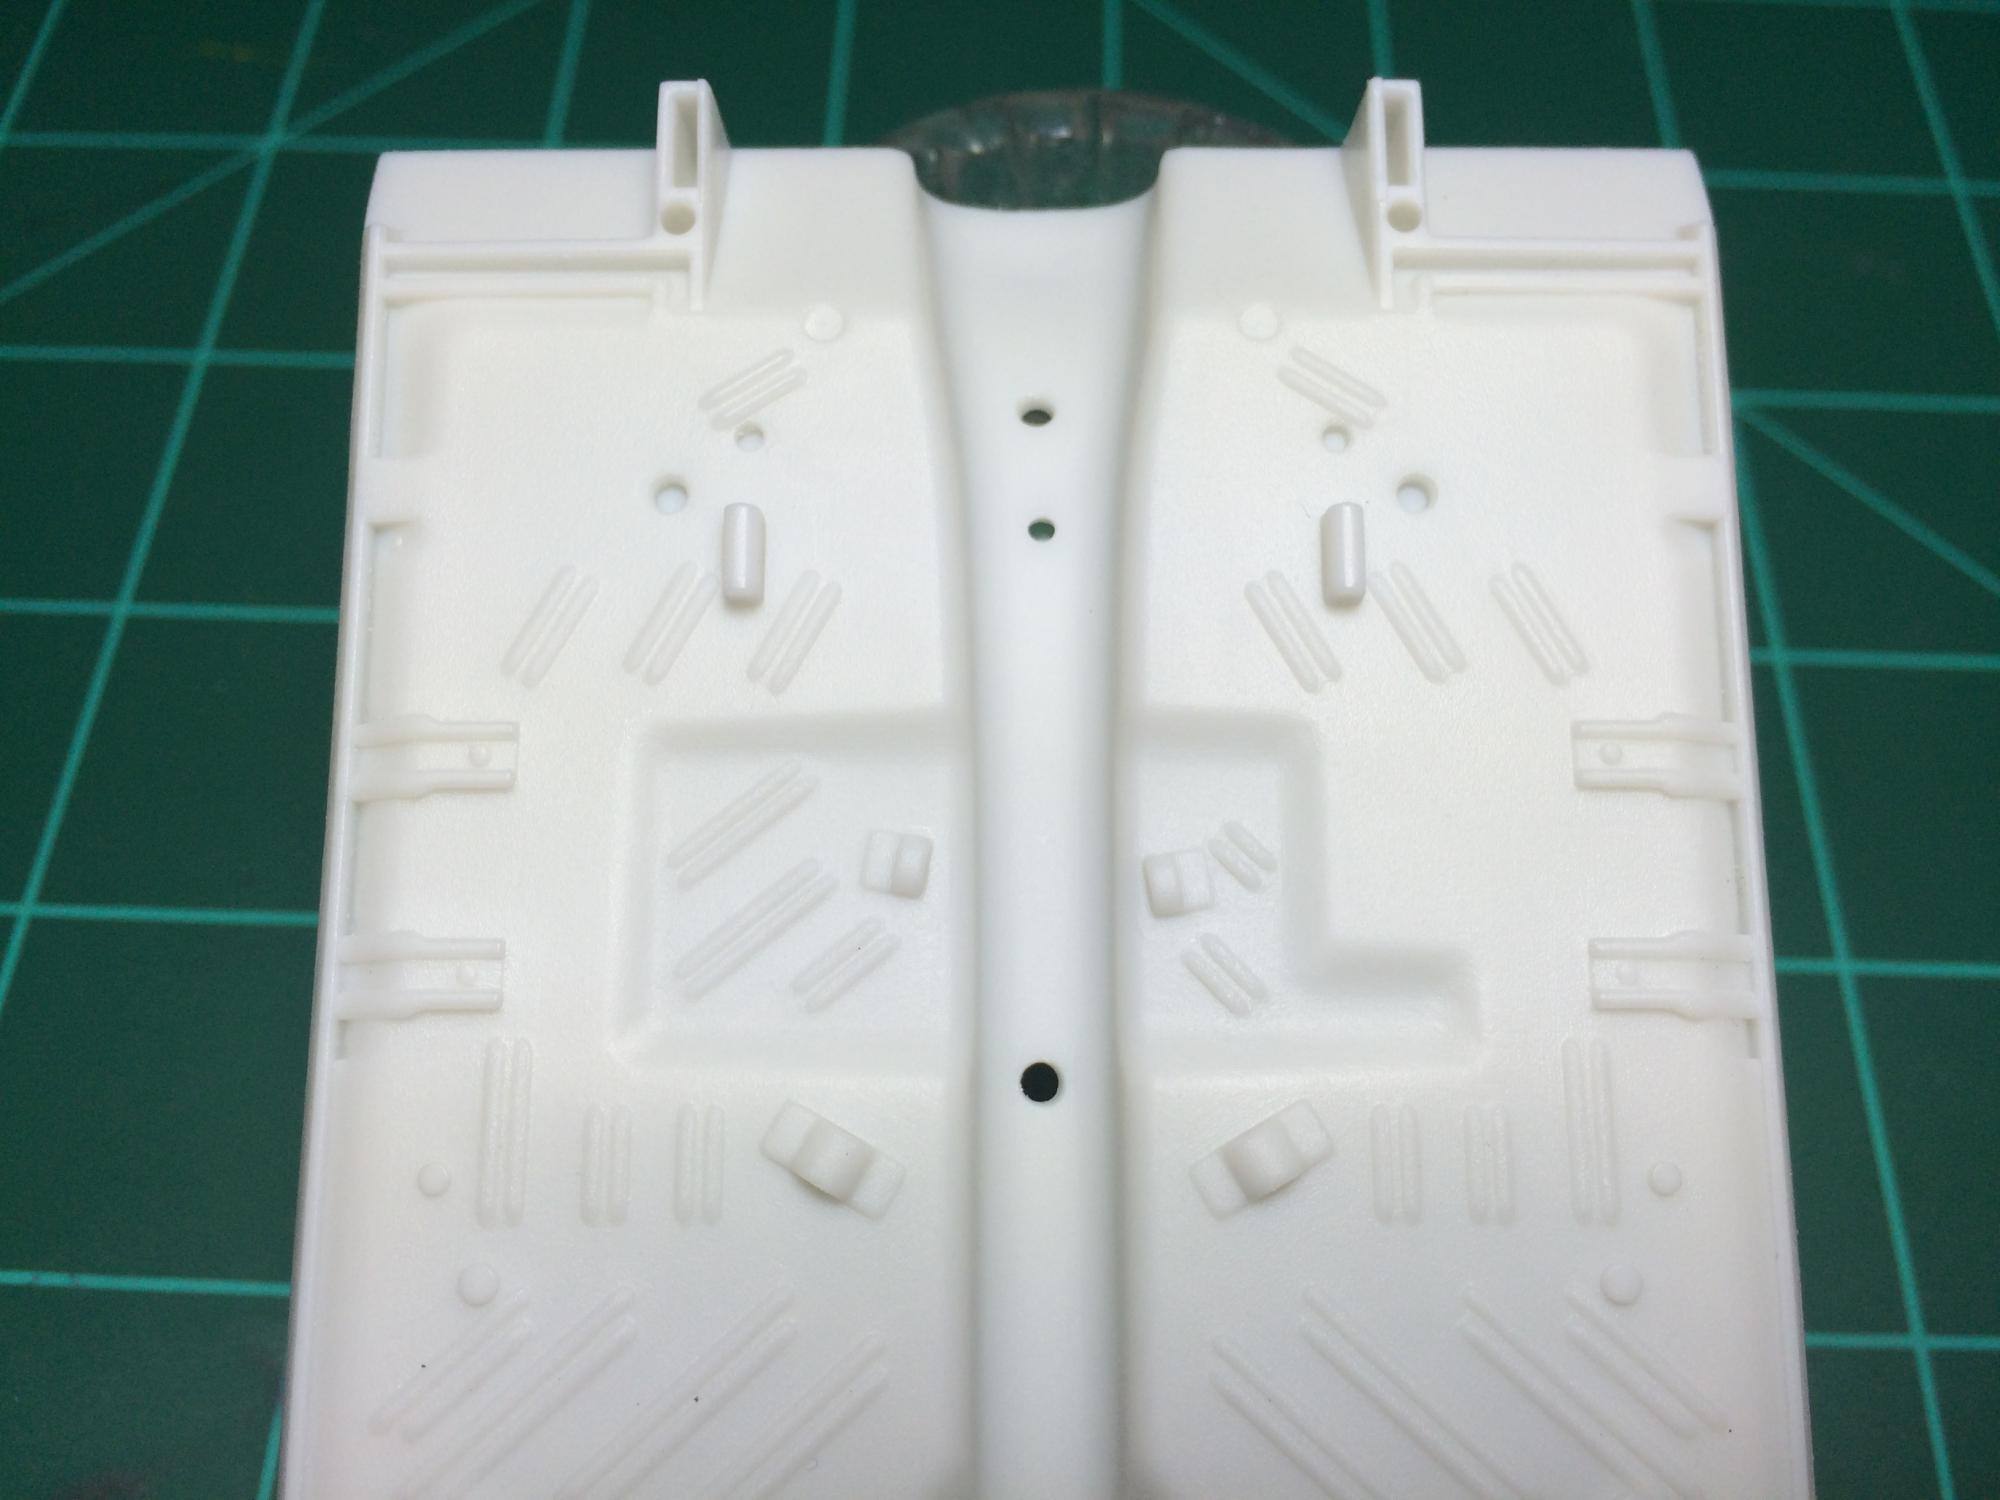
There are three holes in the transmission tunnel. The two to the outside are for the location pins on the underside of the console. The center one....beats me. I have no idea why its there. My first assumption was for a 4-speed shifter on the upcoming Belvedere but I hope that they don't put it in the center of the hump as it should be over to the left a bit. Anyways, they all gots-ta-go! I wanted to still use the location pins for the center console so all I did here was shorten the pins on the underside of the console, tape the console in place, then use spot putty on the underside. Once the putty was almost dry, I carefully and slowly removed the tape and the console so that the putty was not pulled or disturbed. Once the holes were sanded smooth, the chassis plate was ready for primer.
-
'65 Plymouth Satellite...The One That Got Away
Greg Pugh replied to Greg Pugh's topic in WIP: Model Cars
We'll start by getting rid of the molded in lettering on the chassis plate. I may have been able to sand it off but to prevent a bunch of extra work and the risk of the letters ghosting later, I just cut it out and replaced it with sheet styrene.
-
'65 Plymouth Satellite...The One That Got Away
Greg Pugh replied to Greg Pugh's topic in WIP: Model Cars
This is my Satellite the day I drove it home and after I gave it it's first bath (by me anyways...lol)
-
I’m going to first start off by apologizing for this long-winded story you’re about to get but I’ve waited for this kit for a long time! I was raised by a hard core Chevy guy. My dad owned and street raced Chevrolet’s since he got his driver’s license. Being a baby boomer, he grew up right in the middle of the muscle car era. I was also bitten by the car bug and by default, I was also a Chevy guy. I mowed lawns, saved my money, and bought my first car, a 1964 Impala Super Sport at the age of 11. In fact, I kept mowing lawns and when I had enough money, I’d buy another car. Now, of course, these were all project cars mind you, but by the time I was in high school, I had amassed a pretty impressive collection of cars! Meanwhile, it was during my Junior year of high school, a guy in the class ahead of me showed up to school one day in a ’65 Plymouth Satellite. I’d never seen one before. The car was maroon in color, it had Cragar SS wheels, and it had the wickedest idle I’d ever heard. It was love at first sight! He backed out of his parking spot, dropped it in gear, and lit up the tires all the way down the street! Oh my! Lol. I was so impressed by this car that I got bit by the MOPAR bug. So much so, I started searching around and ended up finding and purchasing a ’69 Dodge Coronet 2 door hardtop. It was just a 318 automatic car but I drove that car through the end of my Junior year and all of my senior year. Then, one day on my way to work, I happened to see a “For Sale” sign in the window of that wicked Satellite. He wanted $2900 for the car! I was working at the local grocery store and was making a whopping $4.75 an hour. So to me, that was a heck of a lot of money! Basically, I didn’t have any. But, I did have a whole back yard full of classic cars and graduation was coming, that had to mean some money, right? So I started off by selling cars and every time I’d sell one, I’d take the money over to the guy. He’d cut me a receipt and then I’d sell another one. I was basically chiseling down the price with every car I’d sell. Even though this was only 20 years ago, I can’t believe what cars I sold and what they were sold for. If I still had them, it’d bring a heck of a lot more money than it did back then! Lol. Anyways, I got to where I was within $400 of having it paid off when the graduation money started rolling in. I finally was able to go over, pay the car off, and drive it home. Now a little about the car, it was originally a basic 318, automatic, cream colored car with two-tone gold interior. The guy before the guy I bought it from, painted the car maroon. The gold interior stayed. He also installed a BUILT 440 in it backed by a 727 Torqueflite. It had a DANA 60 Sure-grip rearend in it with 3.90 gears. The car was very fast. Probably way too fast for an 18 year old kid. I did a lot of street racing with it and have a lot of great memories of the car. Unfortunately, after moving out and trying to be an adult, I ran into some money problems and sold the car about a year and a half after purchasing it. The car is still owned by the guy I sold it to and we’ve stayed in touch. I recently just went and visited my old baby. He has completely restored the car. This model will be built to look like what the car would look like if I still owned it and had done to it what I had always wanted to, the vision I had for it way back when. It will be maroon, with a black interior. It will be running a 440-6 pack, 4 speed, DANA 60 rear end, Cragar SS wheels, with white-lettered BFG Radial T/A’s. Now, although I’m excited beyond words to have this kit (THANK YOU MOEBIUS!!!), it does have some issues that will need to addressed. Some I’ve seen discussed here on this forum and some I’ve not seen discussed but I’ve noticed looking at my kit. We’ll be addressing those as we go, as well as doing some modifying/customizing to make this car the car I always dreamed of. Also, because there haven’t been many documented builds done of this kit, I’ll try to over-show what I’m doing with this one as we bump along. Although this won't be built stock, there might be some things along the way that are helpful for anyone about to build this kit. Anyways, sorry for the crazy long story and thank you for checking out what we do here. Now, let’s build my dream car…the one that got away!
-
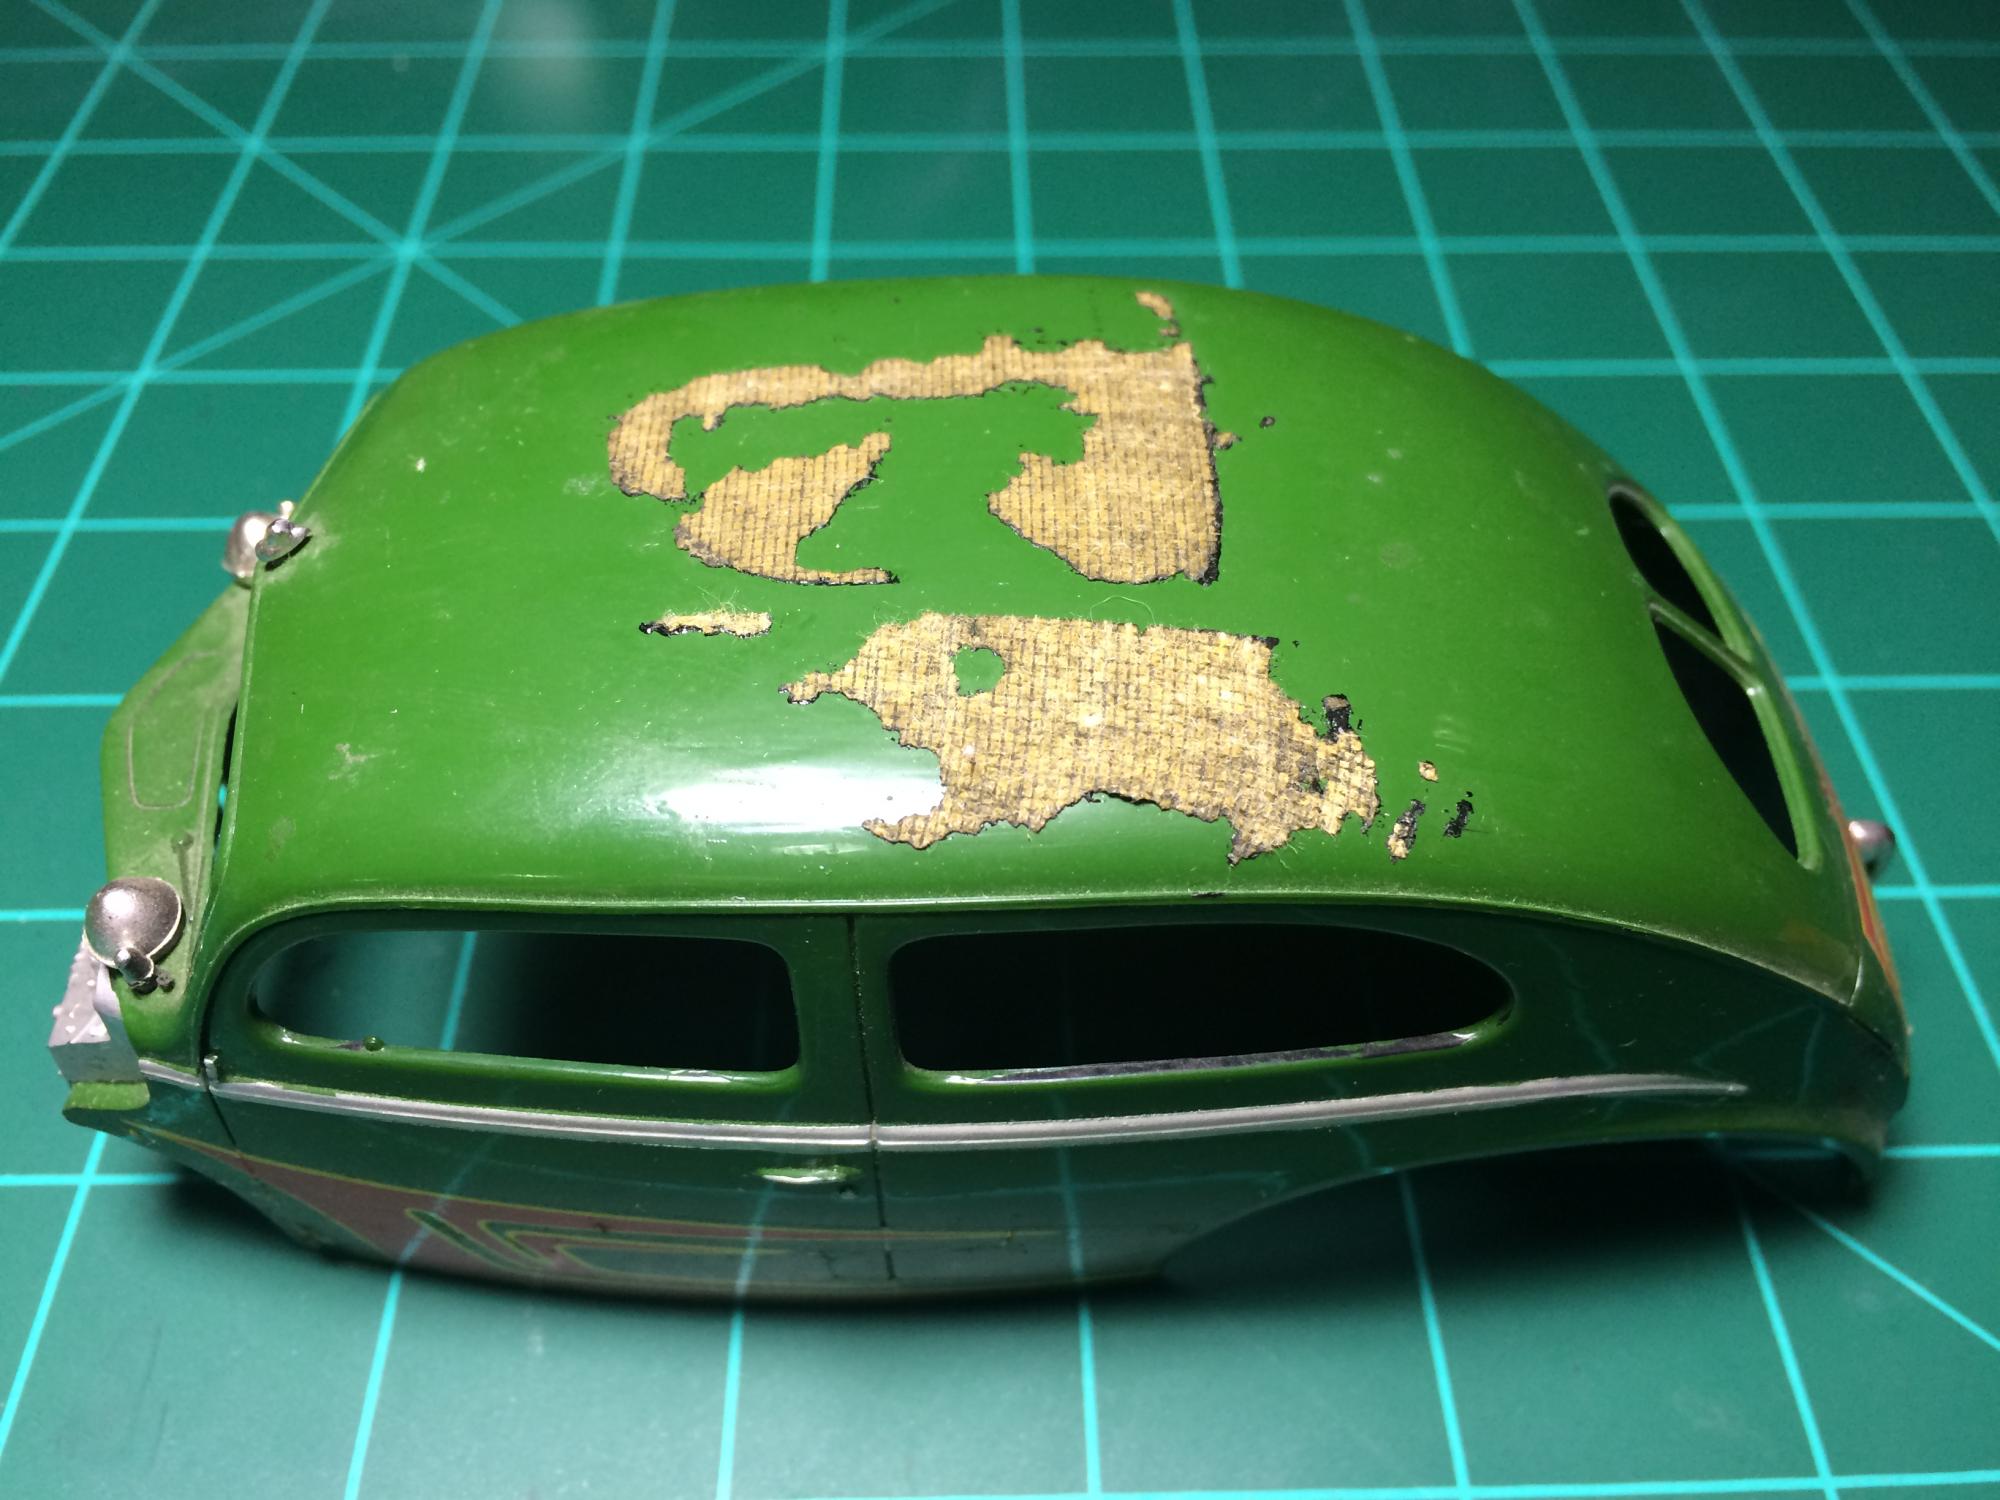
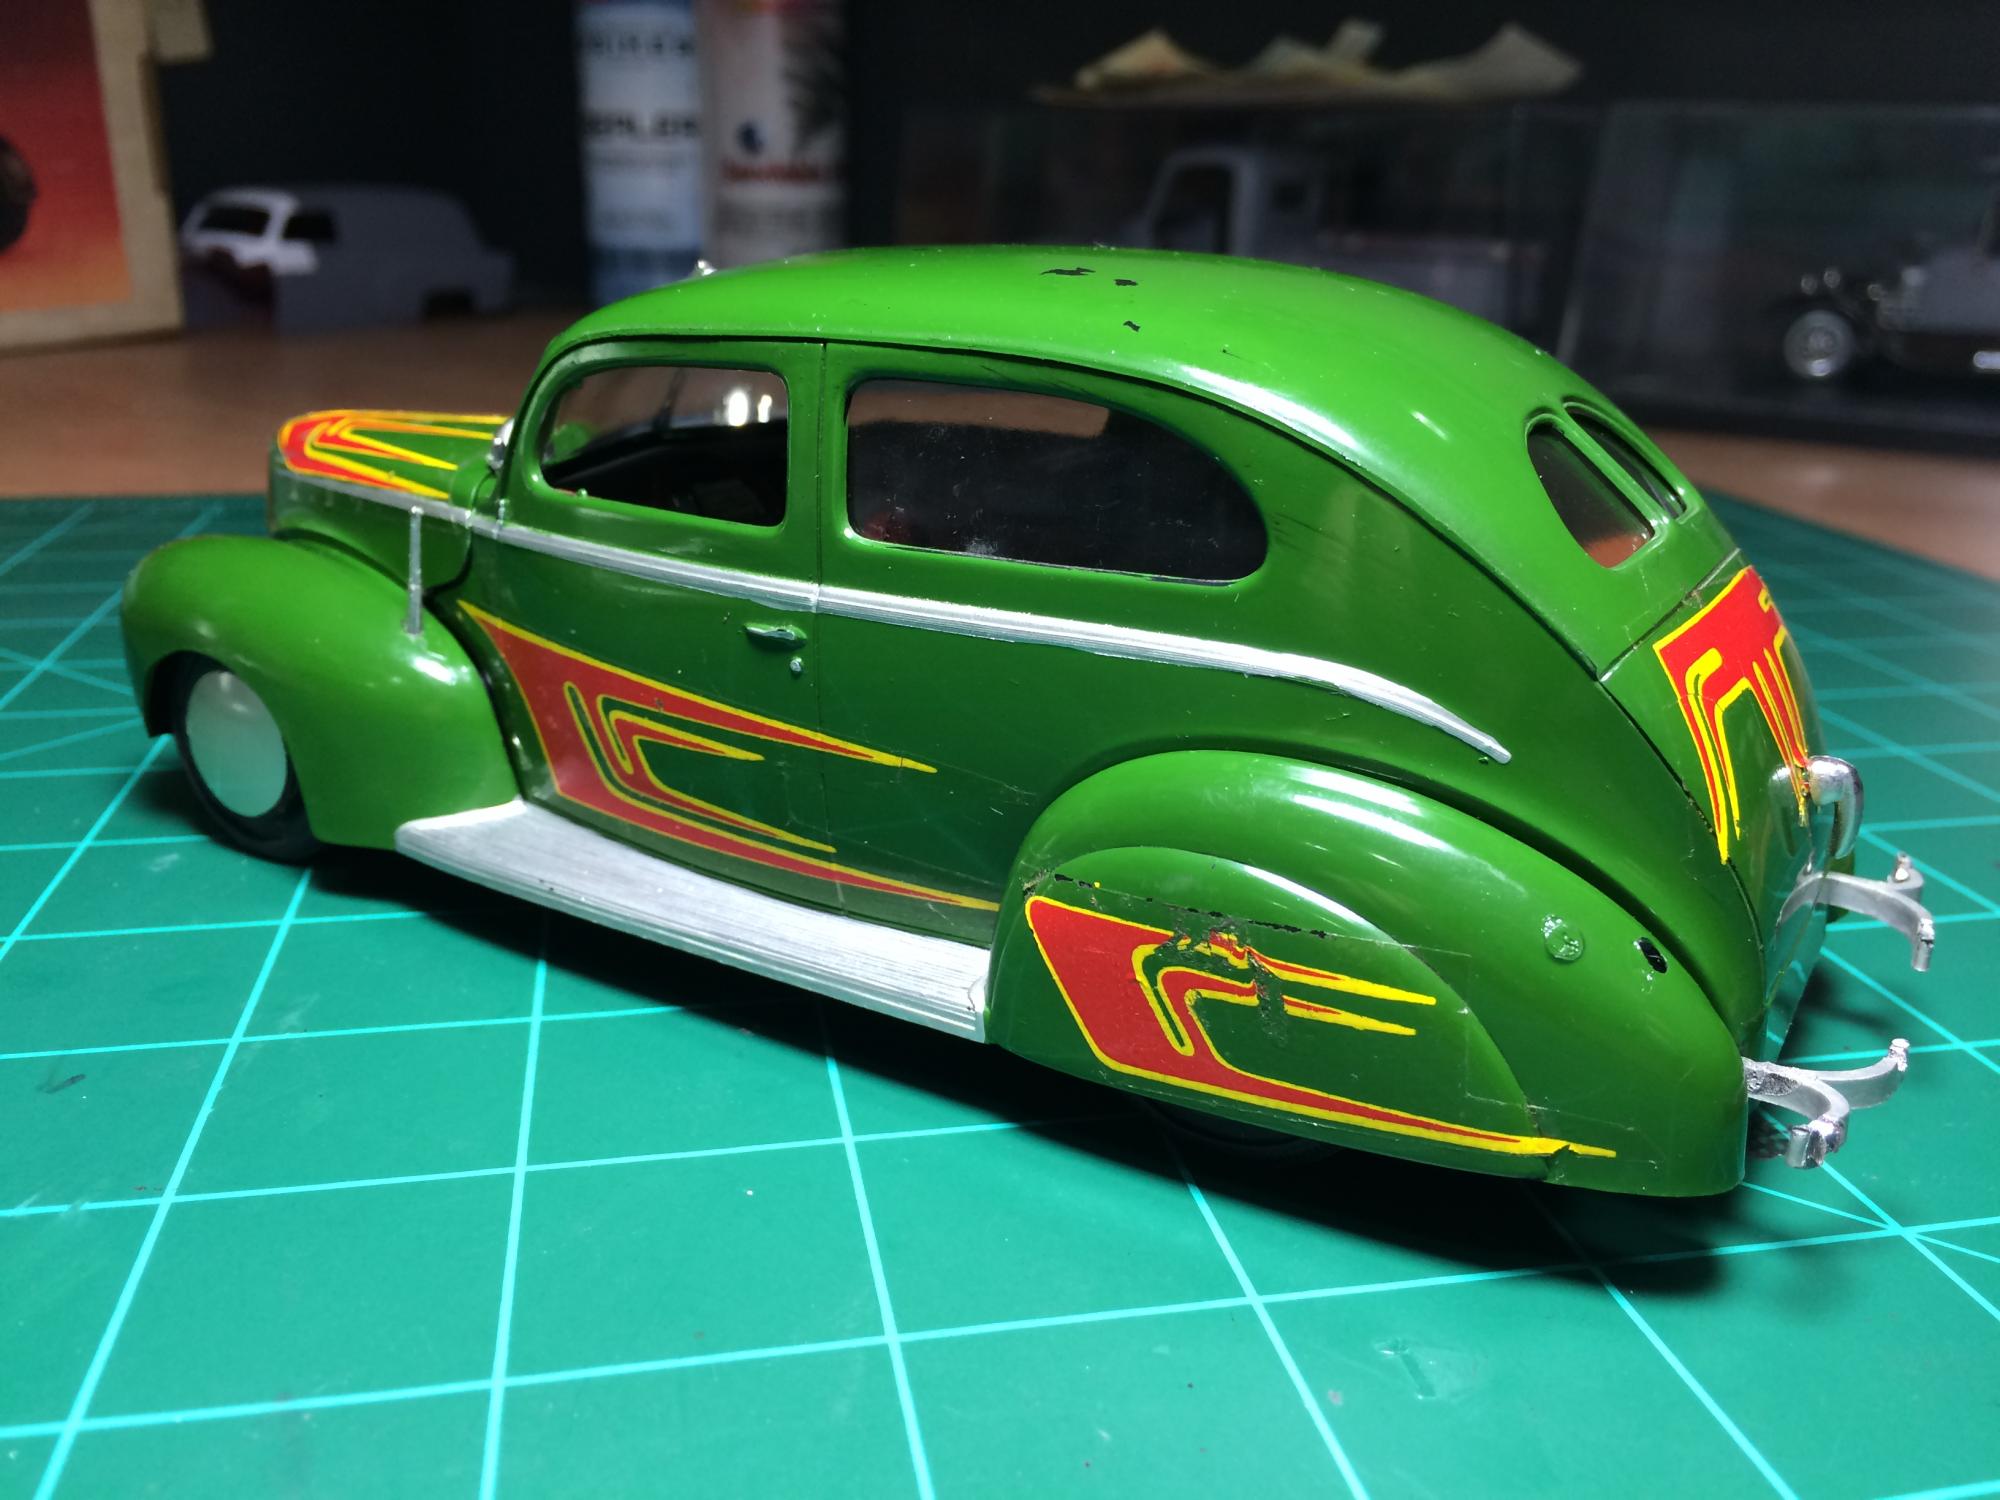
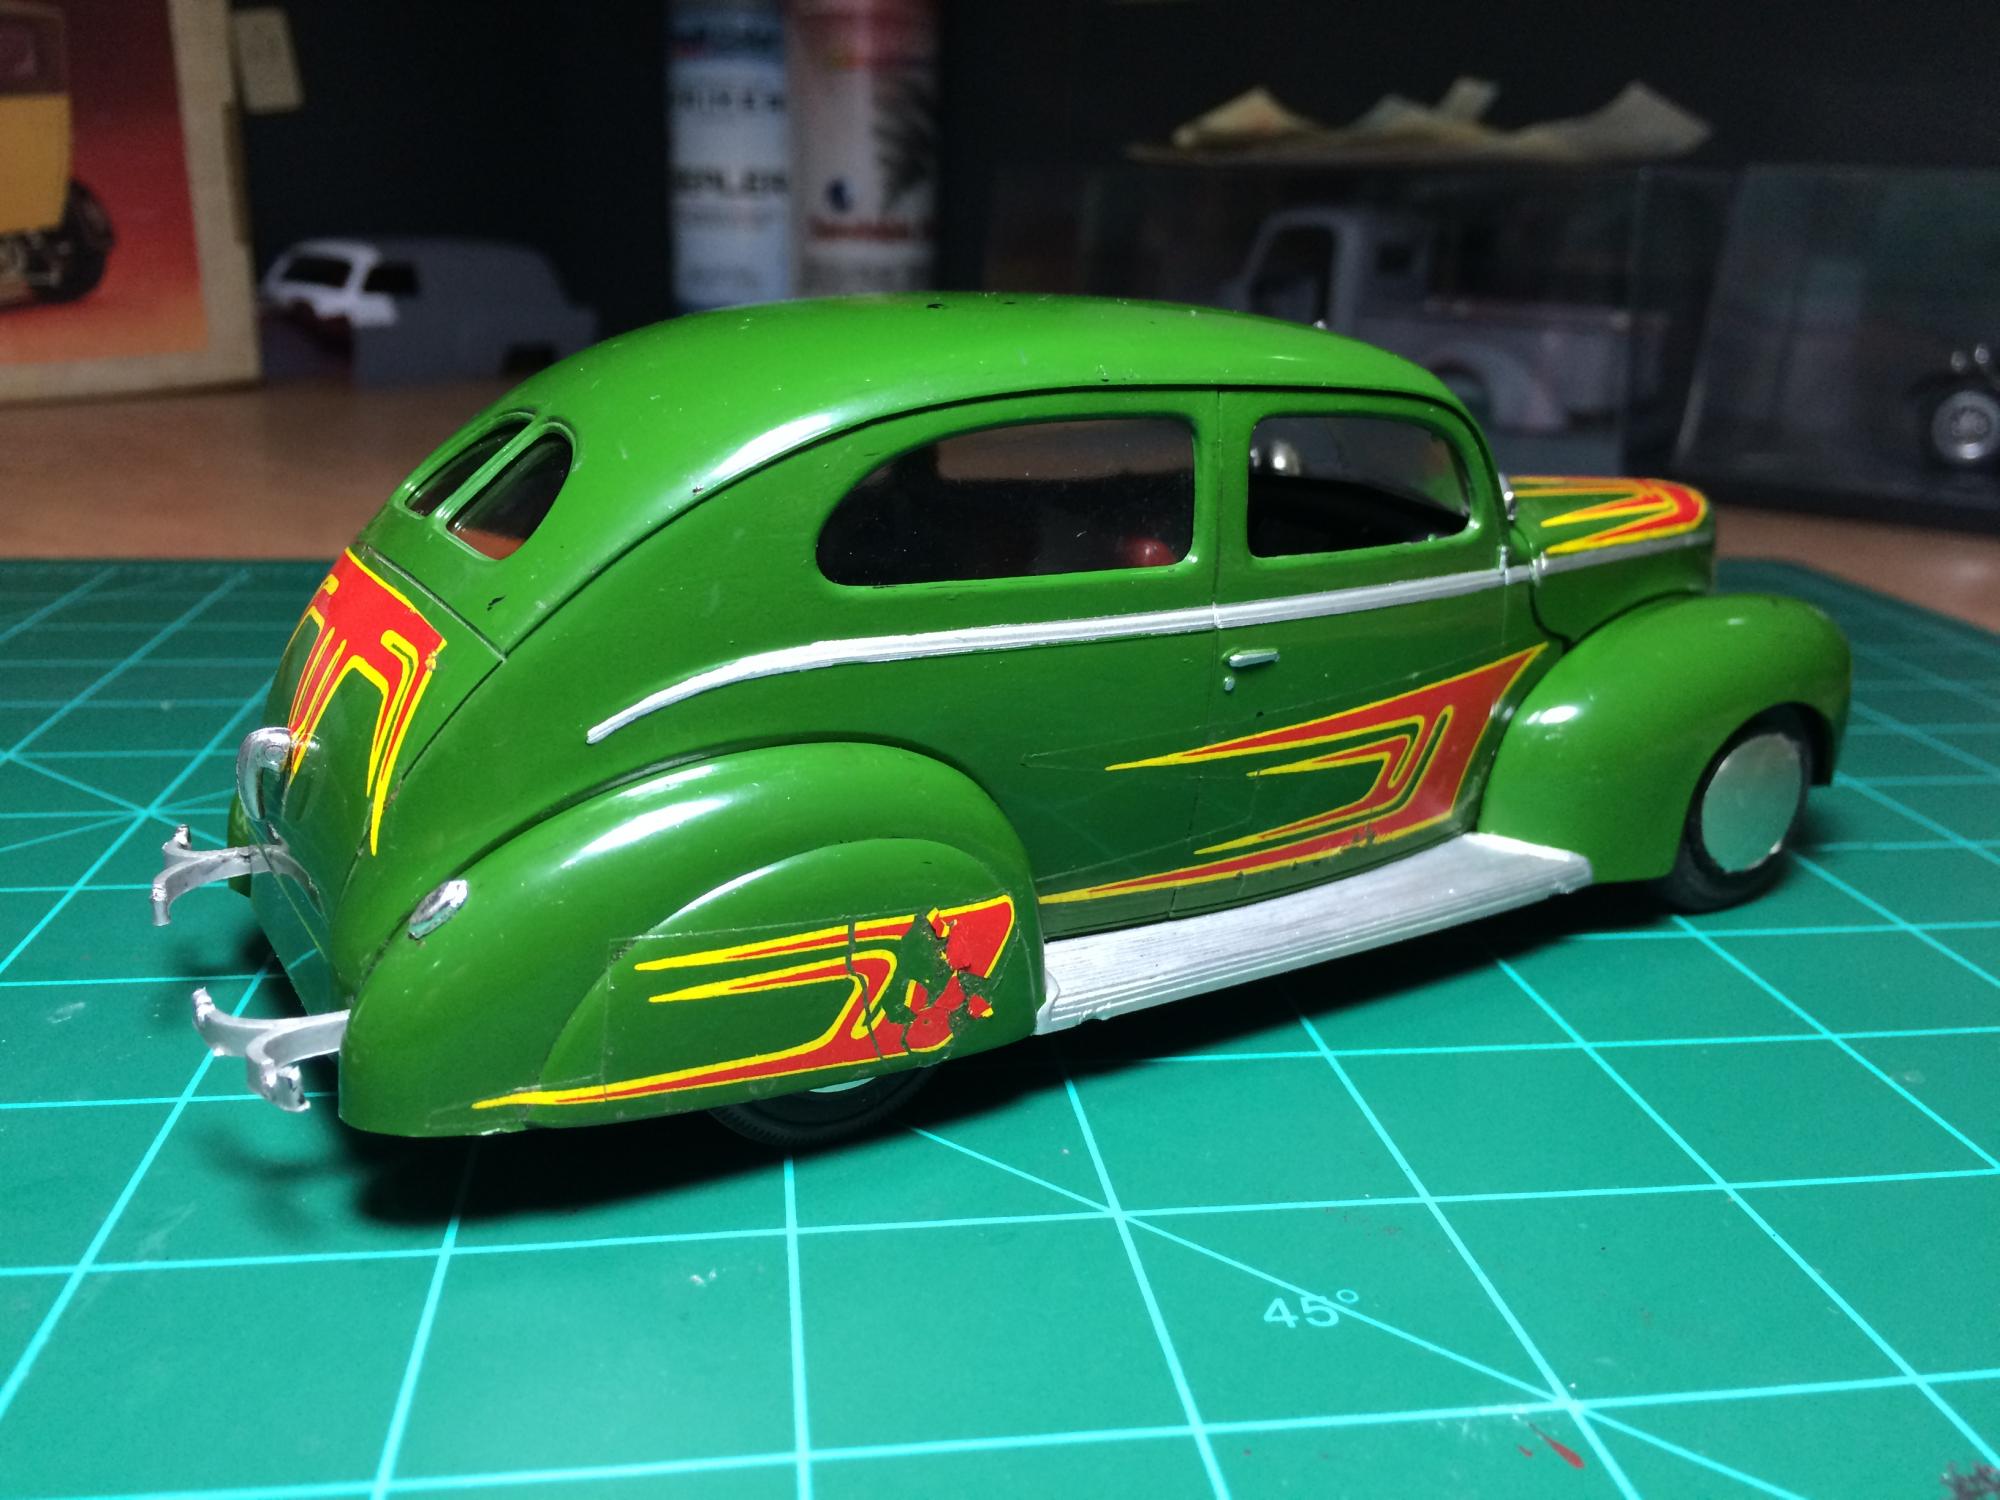
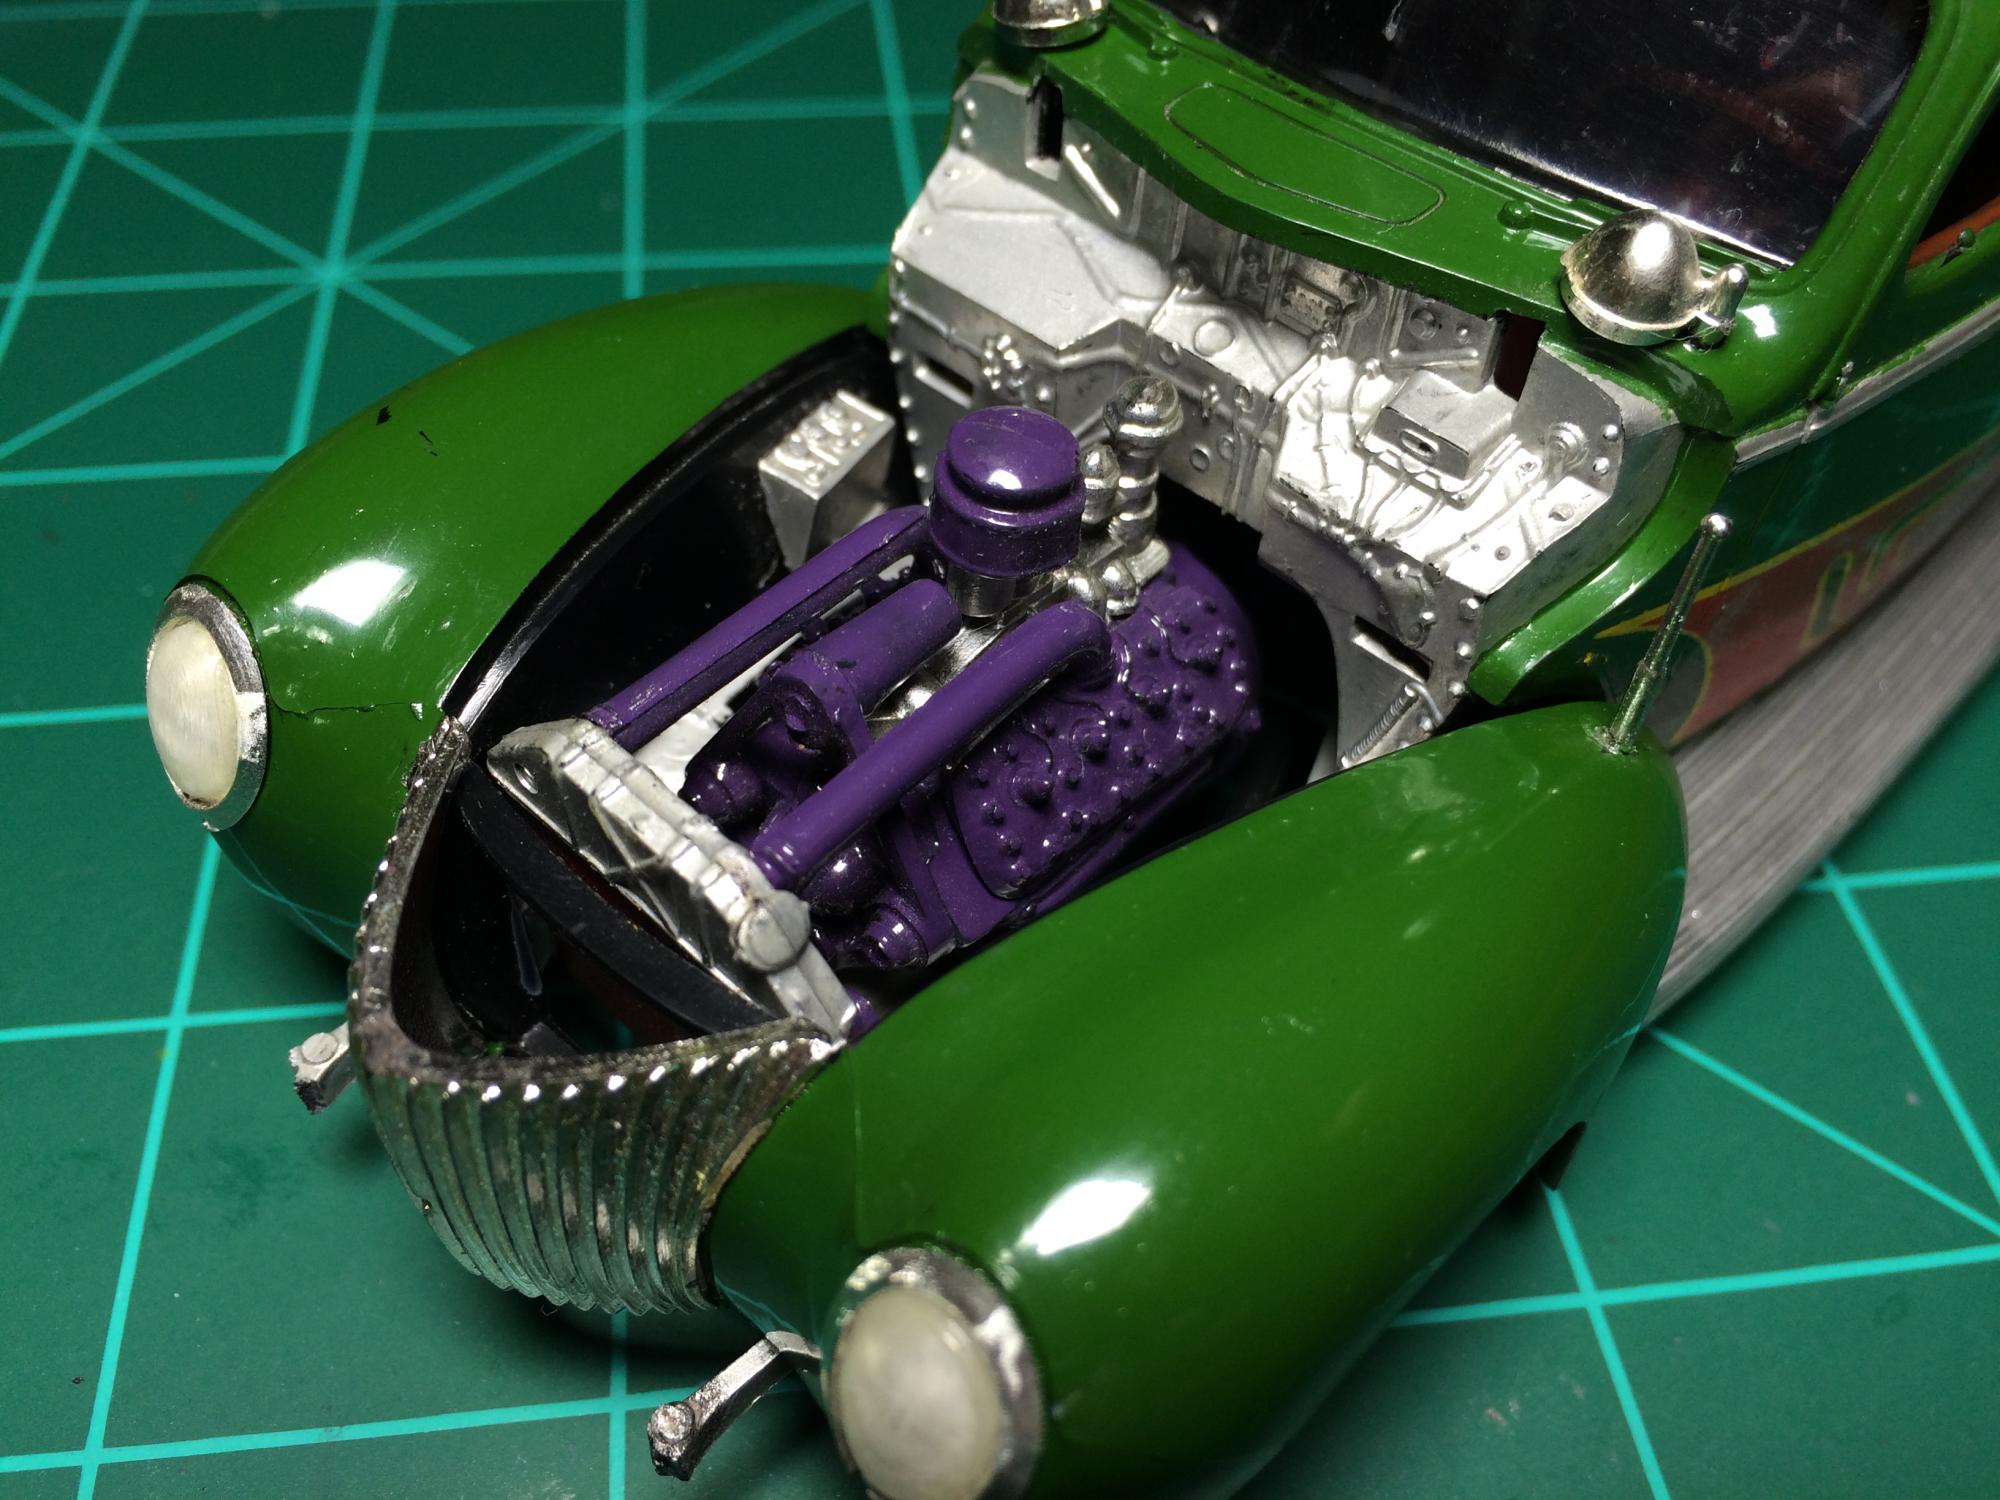
A Before and After of the roof...
-
Kind of a fun project from last night. I bought a handful of old kits from a friend of mine not too long ago and this '39 Sedan was in the middle of it all. It was very dusty and in about 8 different pieces so I cleaned it all up and reassembled it last night. The most nerve racking part was trying not to disturb any of the decals and getting the tape (?) off of the roof without damaging the paint. Letting it soak periodically and mucho patience was the key here. I was pleasantly surprised that it came off without much paint damage at all. It always amazes me how smooth the brush-painted jobs were back then! Anyways, it is proudly displayed on the shelf now in a dust-free display case, enjoying retirement. Lol. Oh, and a friend of mine is hooking me up with the missing taillight and rear bumper.
-
Again, thank you everybody!! It means a lot!