aksarben
-
Posts
209 -
Joined
-
Last visited
Content Type
Profiles
Forums
Events
Gallery
Everything posted by aksarben
-
Aluminum Willys Coupe: finished pictures posted 8/2/12
aksarben replied to John Teresi's topic in WIP: Model Cars
######! Really impressive.. how in the world will you ever top this? Steve -
The paint is beautifull! Those wheels are just awesome, very clean (aside from the chassis) build. Who really gives a rat's you know what about who posts the images? Does it matter? Let's just give the builder credit for his fantastic work and thank his friend who posted them for taking the time to share with us. Steve
-
The more I look at this paint job the more I love it, care to fill us in on the colors and how you achieved this great look? Streve
-
Nice paint! I think those wheels are perfect for this but agree they would be better if they were bigs "n" littles.. Steve
-
I had a feeling you were going to do something creative with this, I'm loving it so far Don. I think you may actually spark a new trend in building genres here. It looks like fun and like you said, just throw caution to the wind and let your creative juices flow! I'm for sure being inspired already and looking forward with anticipation to every update. Steve
-
I guess the hard work paid off...
aksarben replied to SuperStockAndy's topic in General Automotive Talk (Trucks and Cars)
Good for you! Not sure why all of the shock about you winning, looks like your Camaro is a deserving well built and presented entry. A fine achievement. Steve -
Thanks Don, the dipstick is there, just a bad angle for it in those previous shots. I can't wait to see "Coyotes Revenge"! Steve
-
Acouple of shots of the engine, scratch built elec. water pump, alternator, power steering pump, pulleys, brackets and intake manifold. Feedback welcome. Steve
-
I'd call this one a success for sure, very cool! Steve
-
Awesome! That paint job DOES ROCK! I love the louvers in back Steve
-
Scott, not sure if "the paper studio" is the brand name, on the back of the package is also "Crafts ETCI". So that may be it. The item number is #821462. The SKU # is 0972011052. Hope this helps. Steve
-
Thanks Scott. This is what I used, found at Hobby Lobby. I had to cut it to the width I needed as it is around 3/8 " wide. I also had to glue it to some paper first to keep it from fraying as it did without the paper. It has just the right scale texture I think for this scale though and is pretty convincing. Steve
-
Thought I would post what I have done lately. Been working on the interior, I scratchbuilt these belts from craft ribbon and sheet plastic. The Sparco decals are homemade as well... Here is the dash complete. The stereo was scratch built many years ago when this model was first built, I just freshened it up a bit. The keys were cut from pop can aluminum. Pedals are .032 aluminum sheet, drilled and polished. The guage faces were drawn out in Photoshop and printed on glossy photo paper. The lens covers were cut from clear sheet plastic. The guage needles were fun, very thin wire painted and glued to stretched sprue.. One last shot, the gear shift from alumium tubing... Thanks for looking. Steve
-
Very nice modern take on a classic truck, awesome! Steve D
-
An update, I have the chassis painted and the rear air lines in place, as well as the gas tank and fuel lines. The rear axle and four link peices are painted and ready for assembly, just wanted to get these lines out of the way first. Next I've started on the engine. I made a scratch built intake from sheet stryene.. here is the completed intake in place on the engine, which has been painted as well. Steve
-
Chip King's "Green Machine" Daytona Pro Mod
aksarben replied to David Thibodeau's topic in WIP: Drag Racing Models
He also mentioned that the body was from Flashpoint resins and I thought that those were only large scale. Then I thought, Gibson engines do not come in large scale that I am aware of so I thought I'd ask.... -
Hey thanks Don, this sure is a fun build so far. And thanks for the Dart, I'm looking forward to that project it looks like a great kit. I havn't seen a build thread on the "DUB" body, have you started one and I just missed it? I'm very curious to see what you are doing to it. Let me know or do we just have to wait and see what you whip up with it? Steve
-
I hadn't really given it much thought about whether or not these bags would be represented as filled or deflated. I guess since the car sits so low it would have to be deflated, or partially inflated. For making adjustable ones, maybe instead of the tall center piece running through the bag you could have an upper and a lower piece that slide independently through the bag so the ride hieght could be adjusted. Just the first thing that ran through my mind.. Steve
-
Chip King's "Green Machine" Daytona Pro Mod
aksarben replied to David Thibodeau's topic in WIP: Drag Racing Models
Man that green looks killer, really stands out! Sorry if I missed it somewhere but, what scale is this build? Steve -
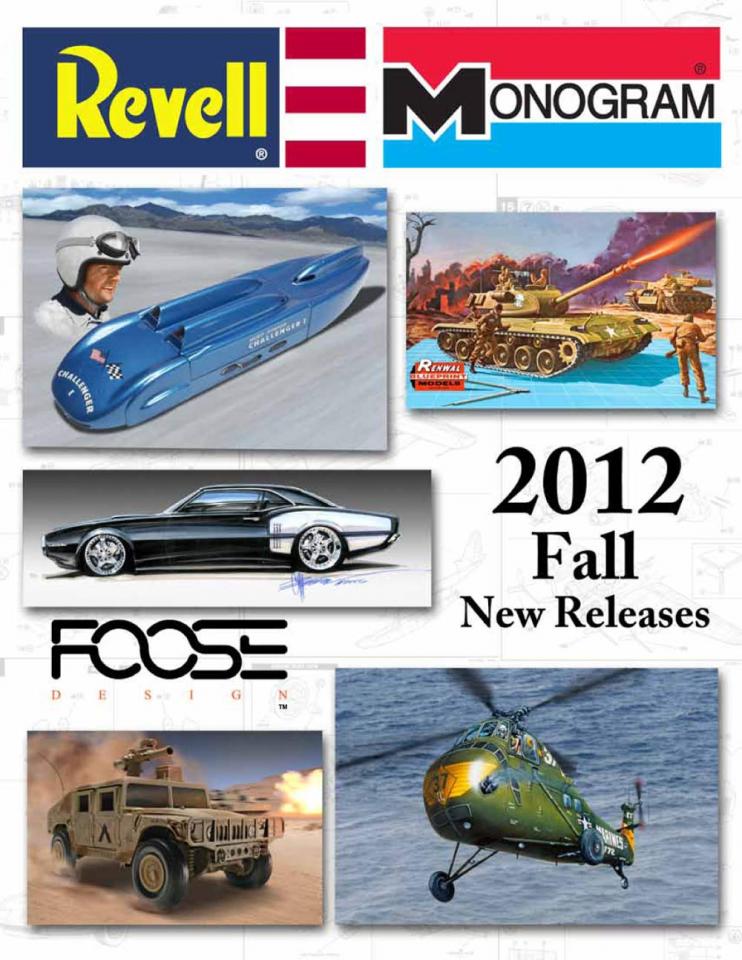
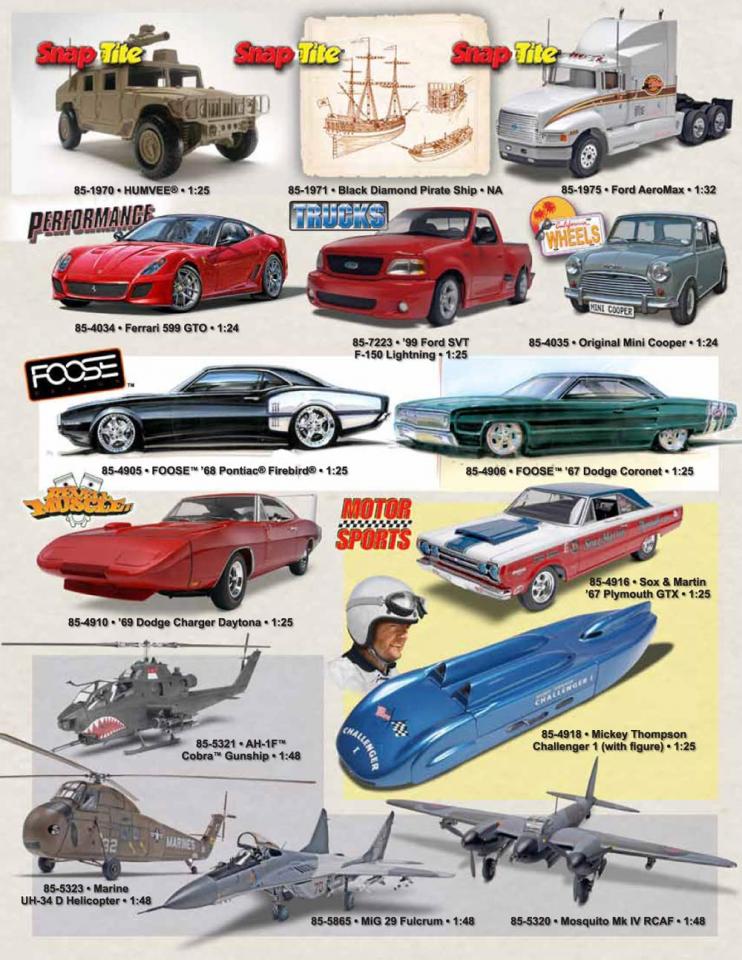
Revell 2012 Fall New Releases Announced
aksarben replied to TurboKitty's topic in Car Kit News & Reviews

-
And here is a close up of the completed bags... Steve
-
Thanks for the great feedback guys! Tim, I do have a couple of in progress photos but not of the entire process. I started with an inkpen that I chopped up and used the outer tubing from it, cut off the size of the bag... I mounted the piece on a grinding tip so I could sand and round off the upper and lower edges... then I cut a groove in the center of it with the back of an exacto blade... Finally, I don't have photos of this but I found another pen that fit inside the piece/bag I made, then cut a piece the right length, painted it silver. Then just painted the bag flat black. I also made a cap to go on top of the whole assembly. There you have it, old pens do have some use after all. Steve
-
Another update, been working on the driveshaft. The one from the kit was long lost so I had to scratch one. Starting with some plastic tubing for the u-joints... The completed u-joints Finally the whole assembly with aluminum tube.. Steve
-
Wow, thanks for the compliments Rick! I did brush paint the red stripes free hand but had to go back with the tan and the black and touch up areas that got out of line. Steve
-
1/12 Shelby GT500 build...on hold for the moment.
aksarben replied to brodie_83's topic in WIP: Model Cars
That engine is shaping up nicely Brodie, those lines look very realistic. The interior bay looks great as well. Steve